This is a complete guide of We Were Here Forever. This guide will contein all the information you need to complete this game like puzzle solution’s and how to get all the achievements.
We will be adding information about achievements and puzzles as we discover it.
We hope this guide will be useful to you 🙂
If you have any questions ask us in the comments, we will answer you as soon as possible <3
Chapter 1 – The Keep – Part 1
The Gaols

Escaped from the prisons
The Chasm
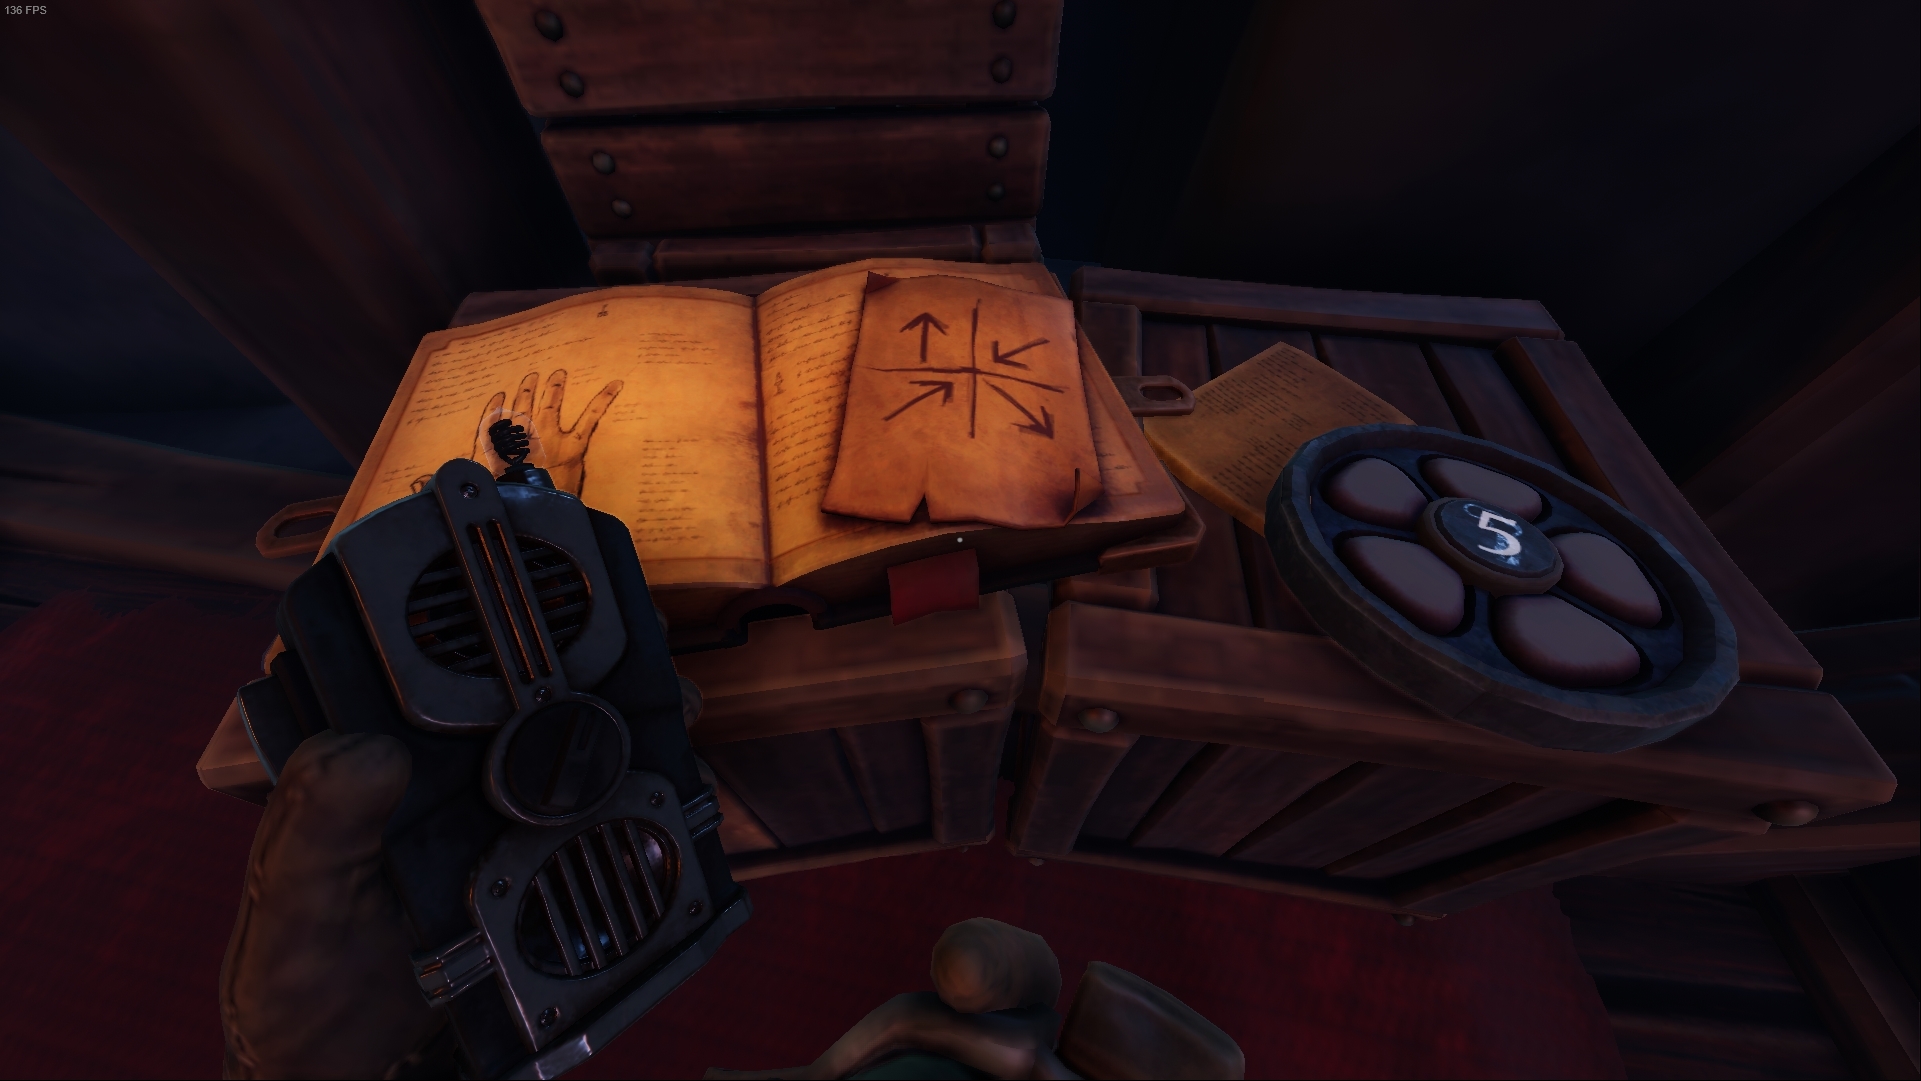
↑ In this puzzle your partner will get random figures (left image) and you will have to tell him the corresponding figure (right image). We think this is random so the image on the right hand side is just for illustration.
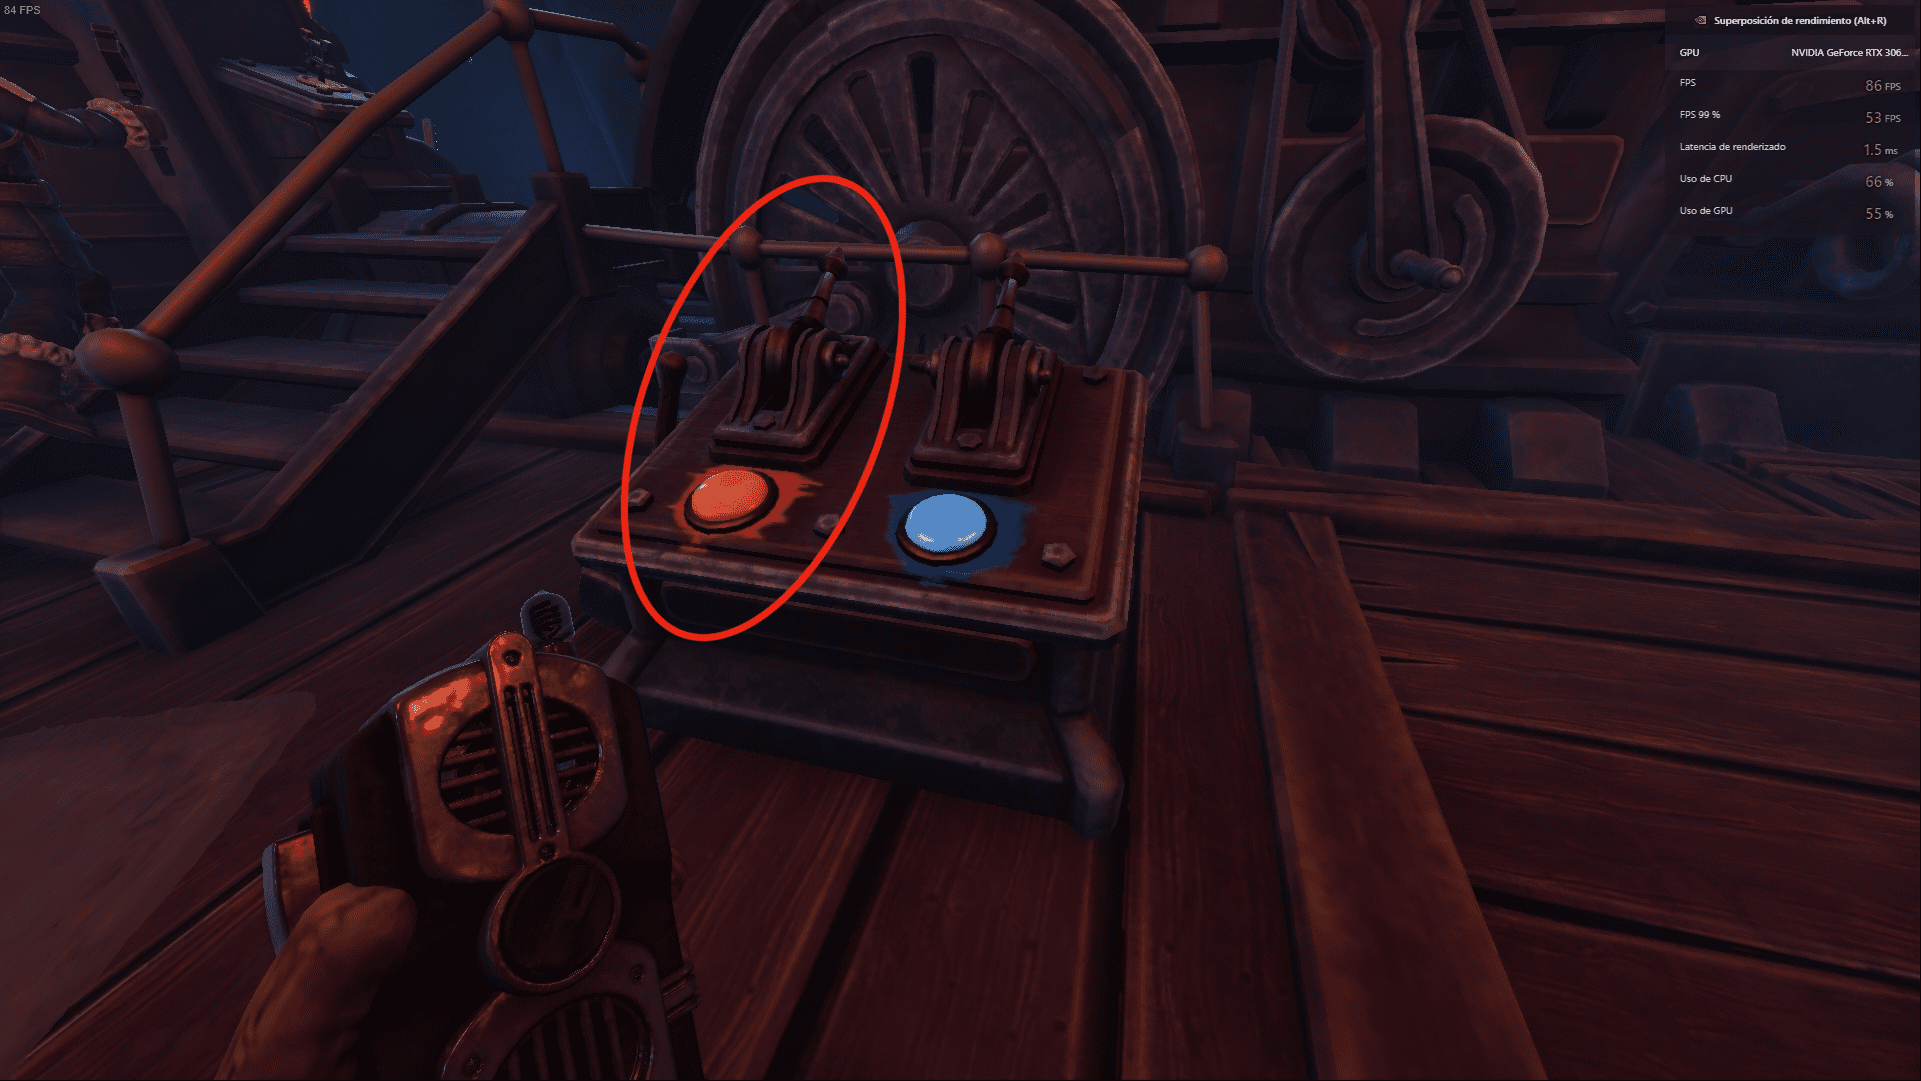
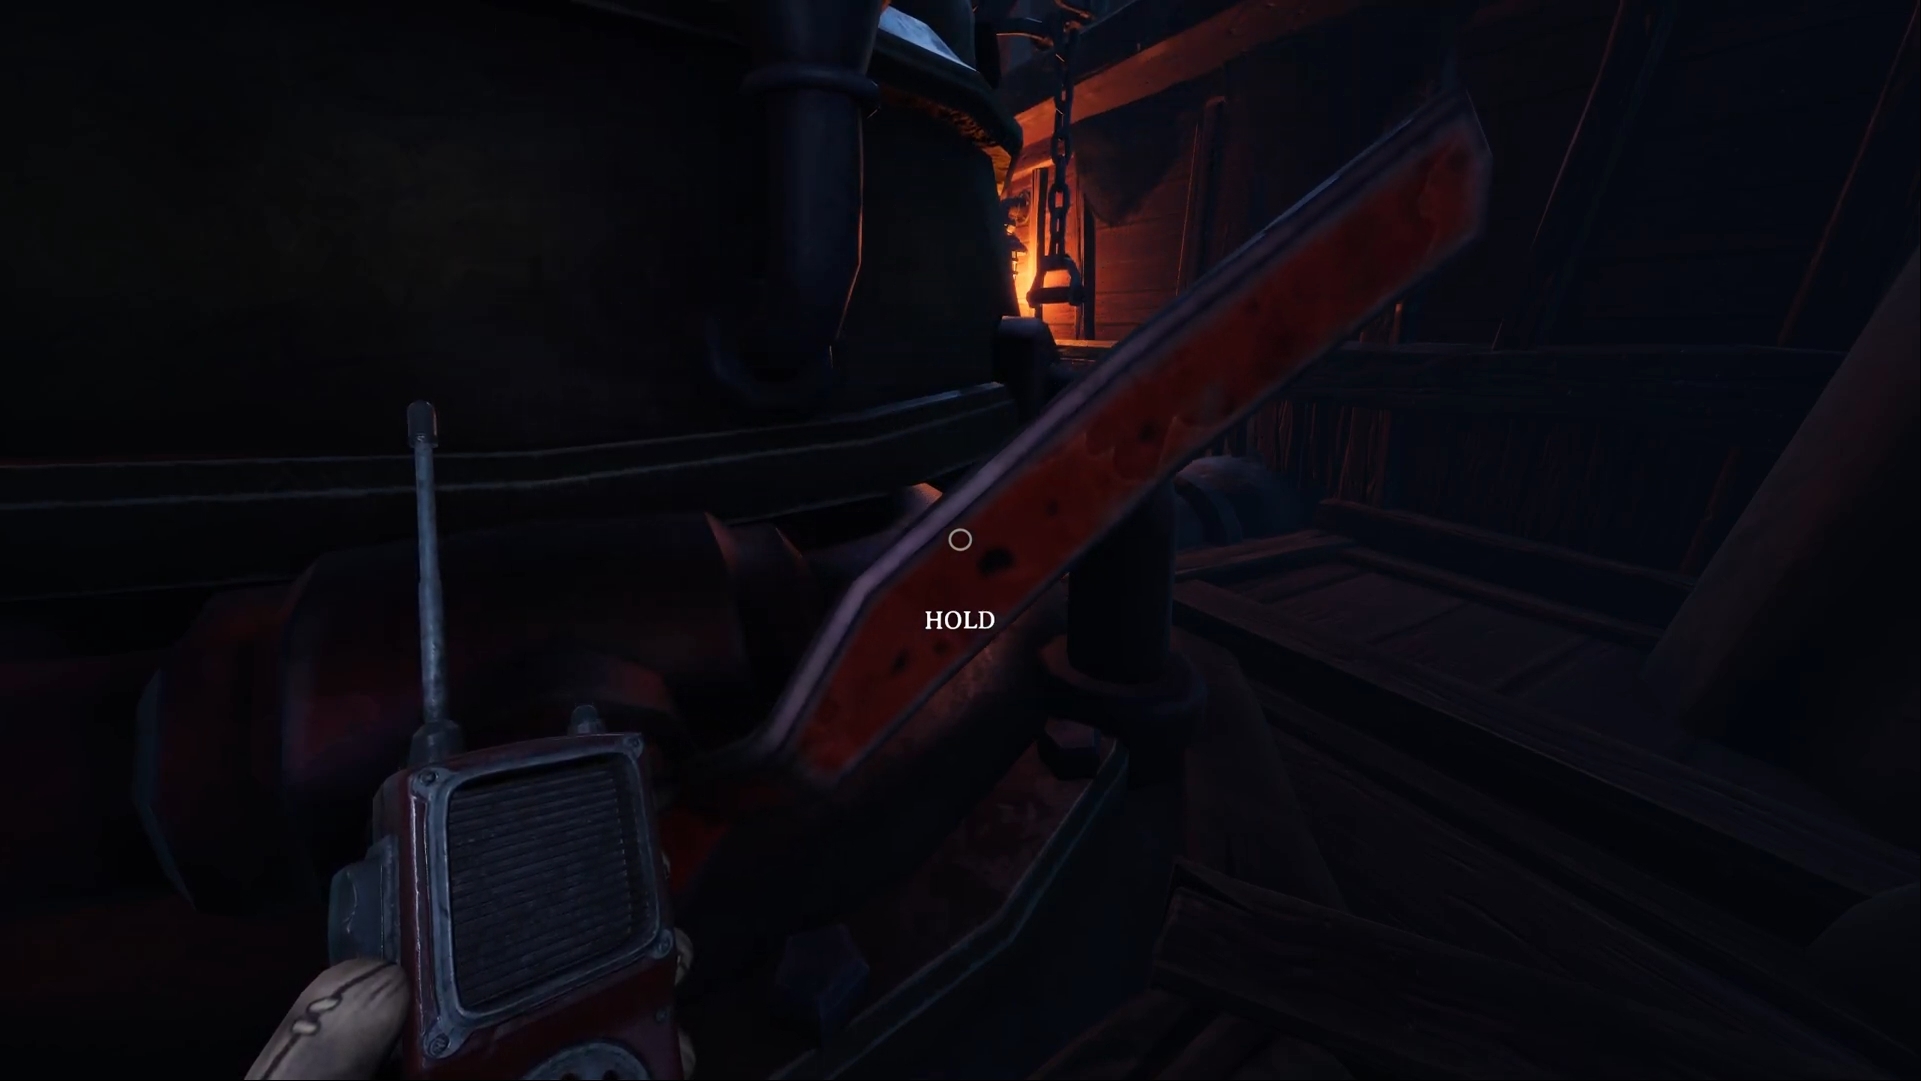
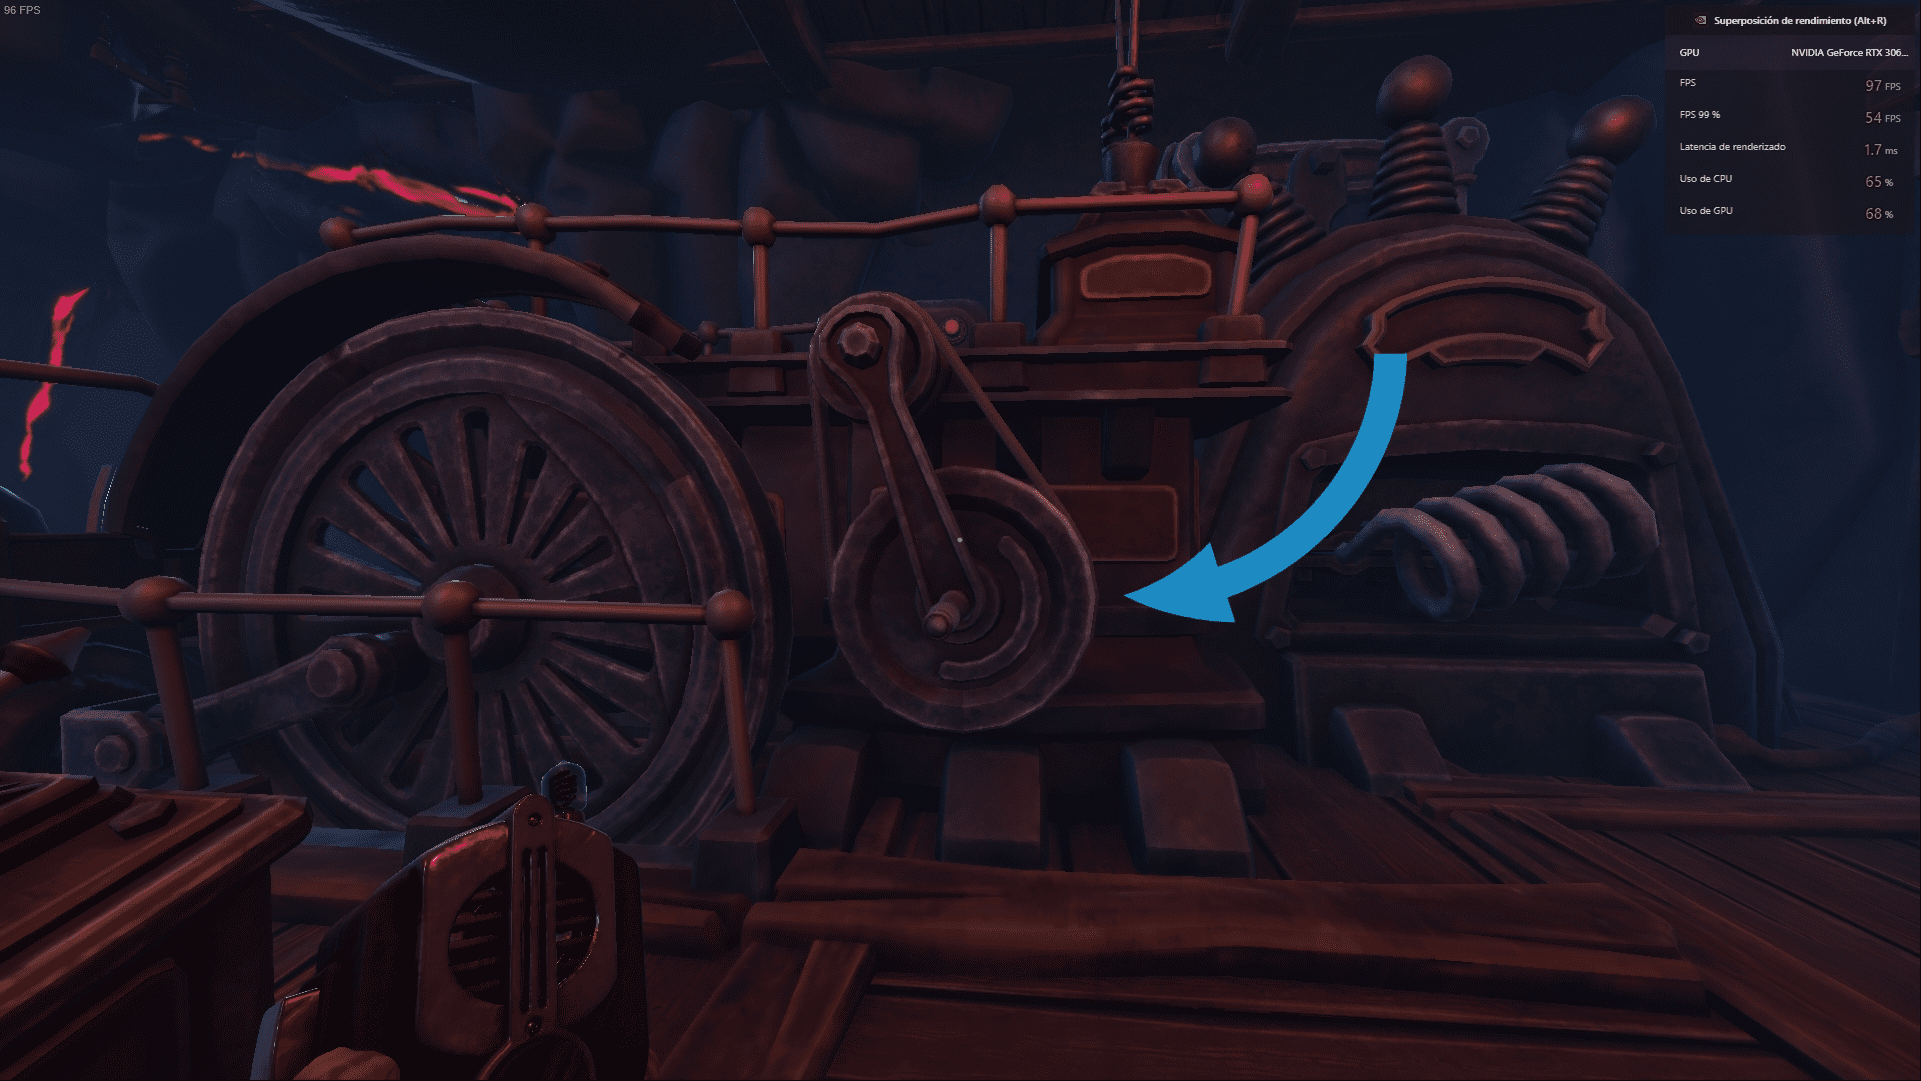
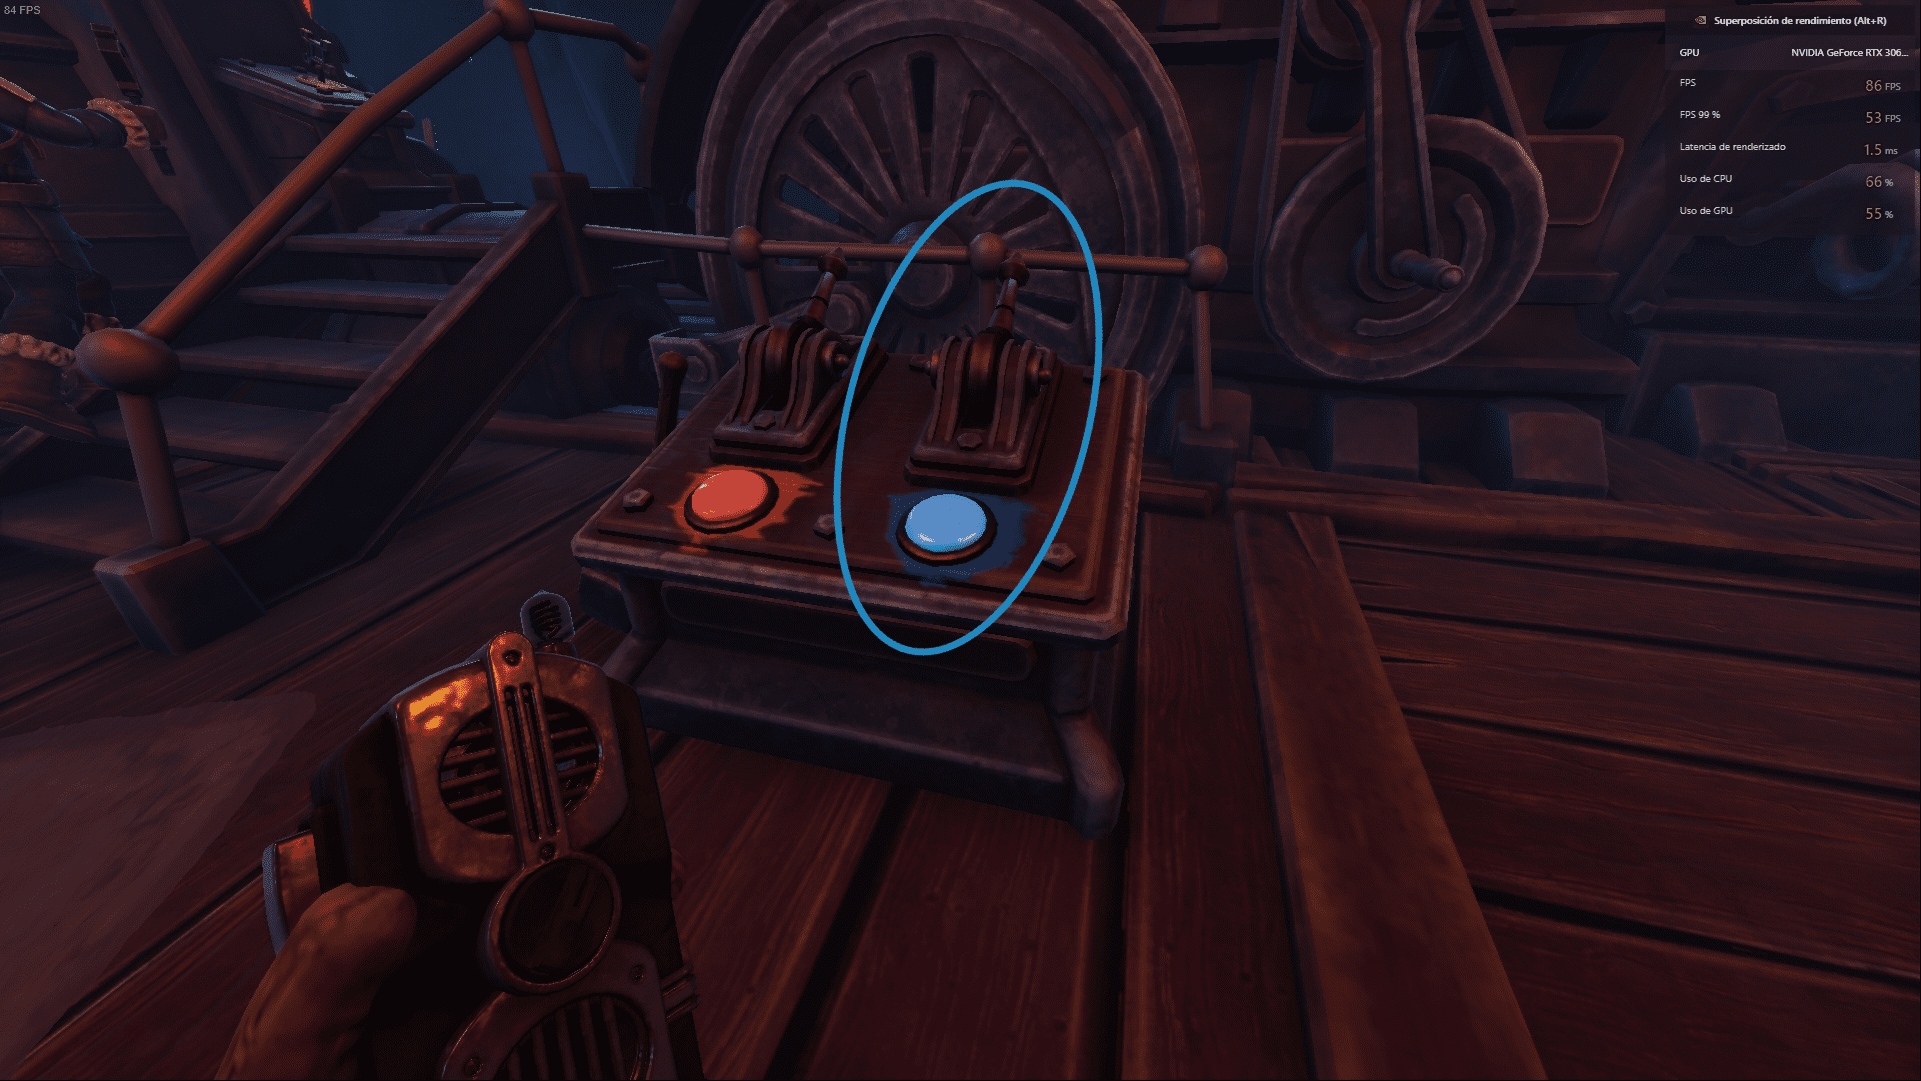
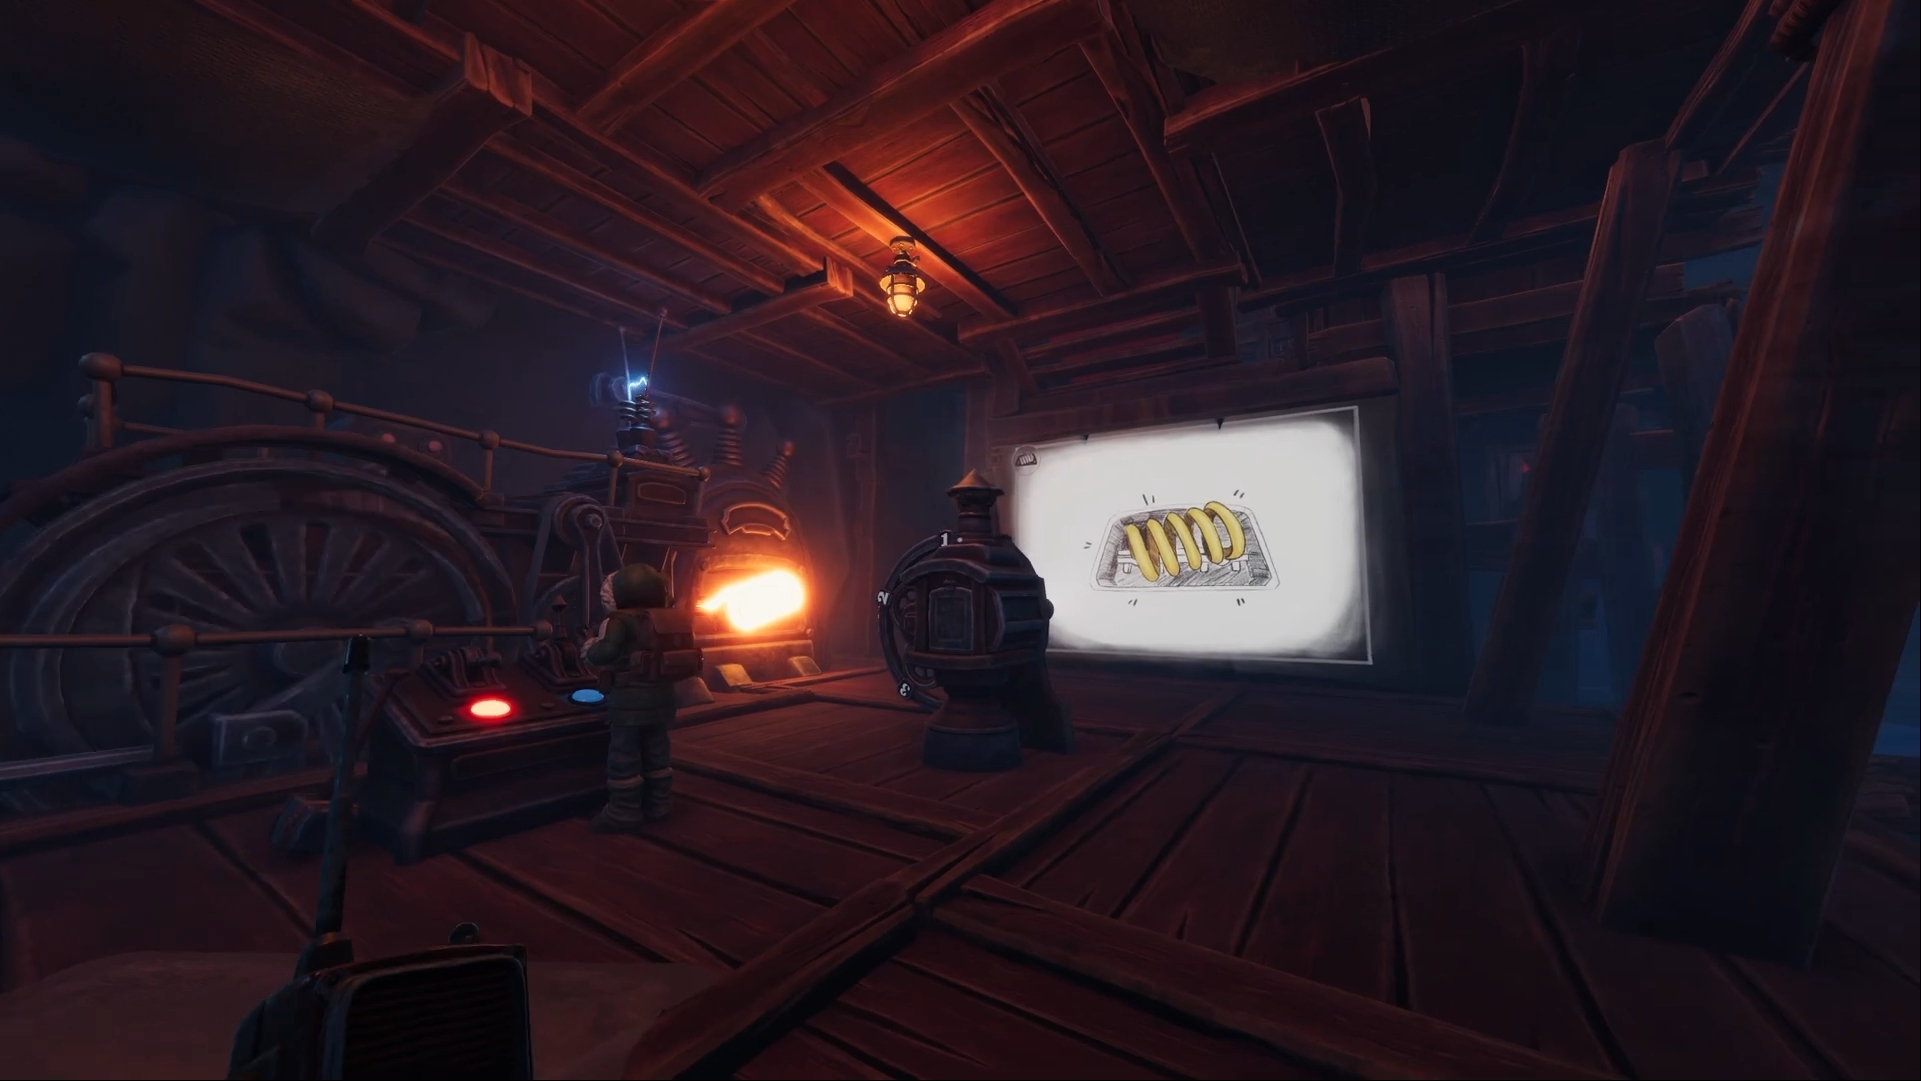
↑ To be able to do this puzzle you must have taken 4 video tapes that you will use in the projector.Once you put them all in the projector, follow this sequence:
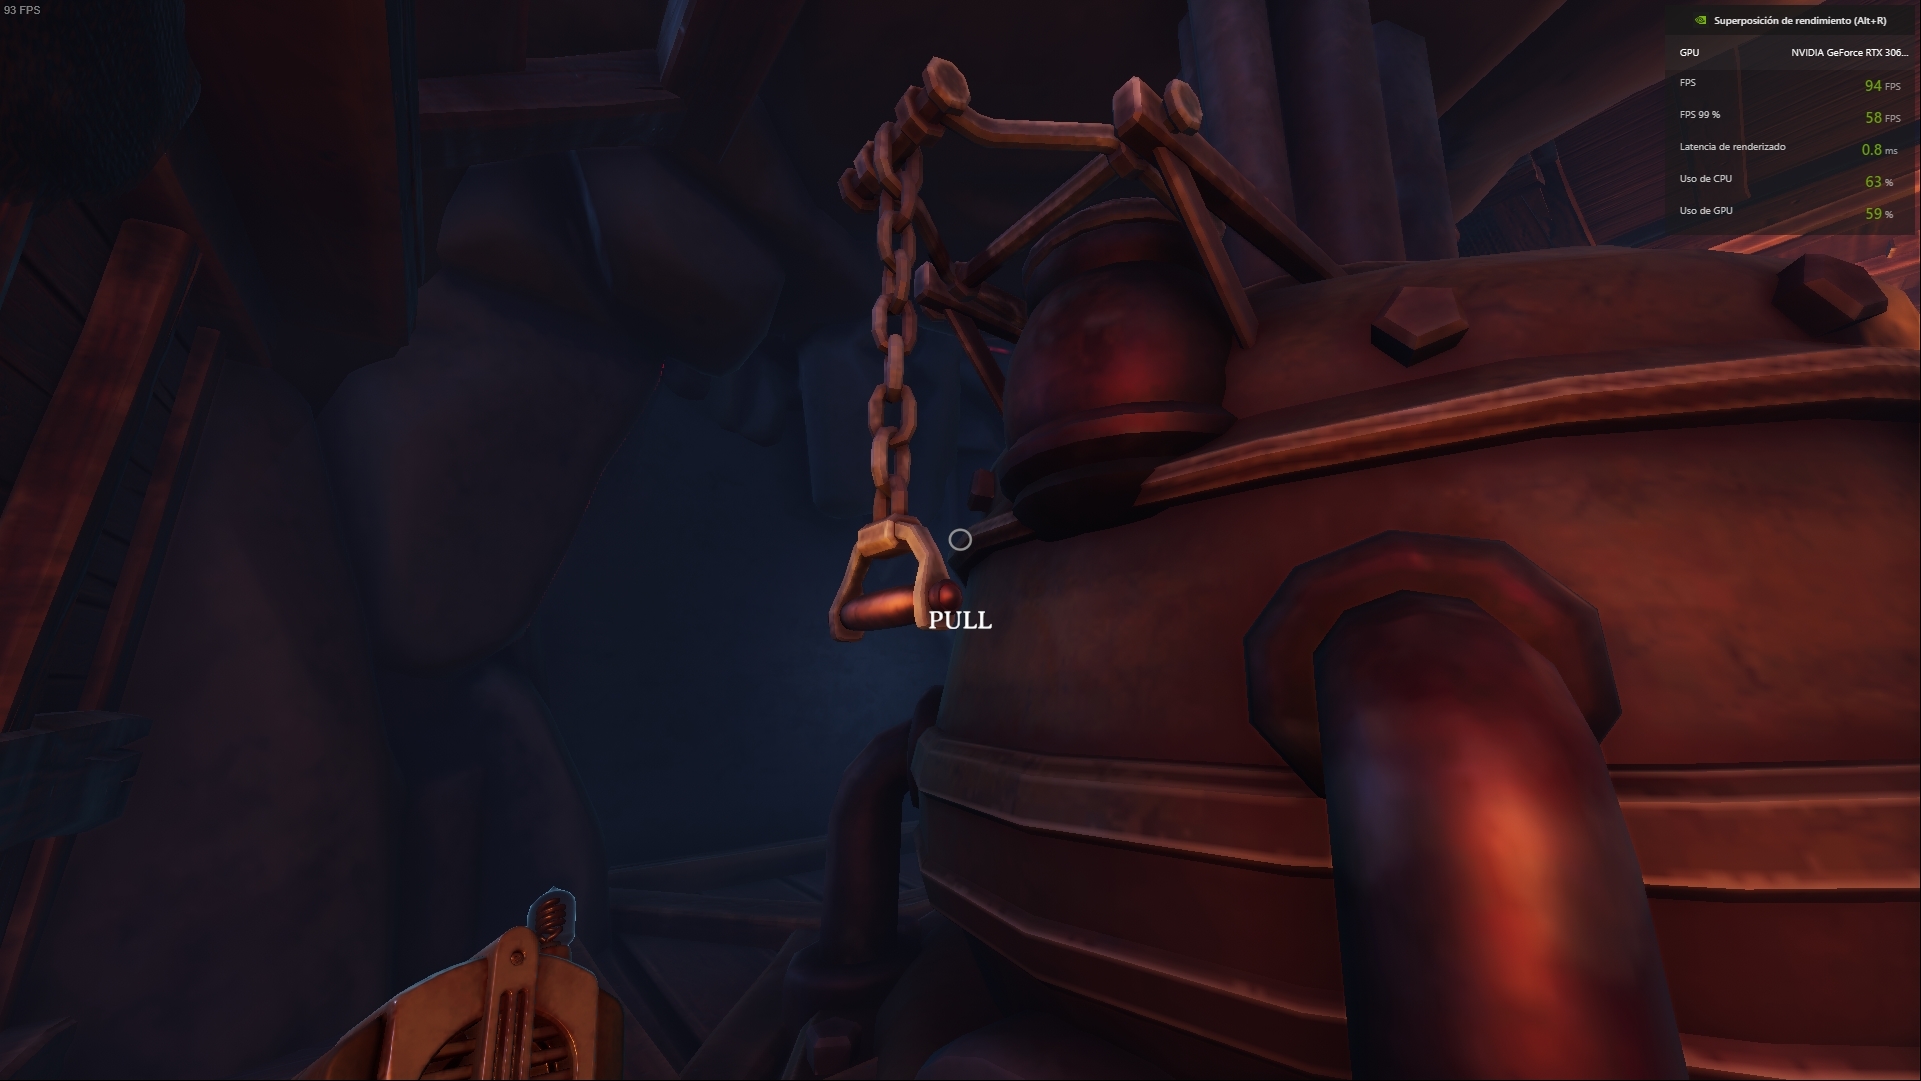
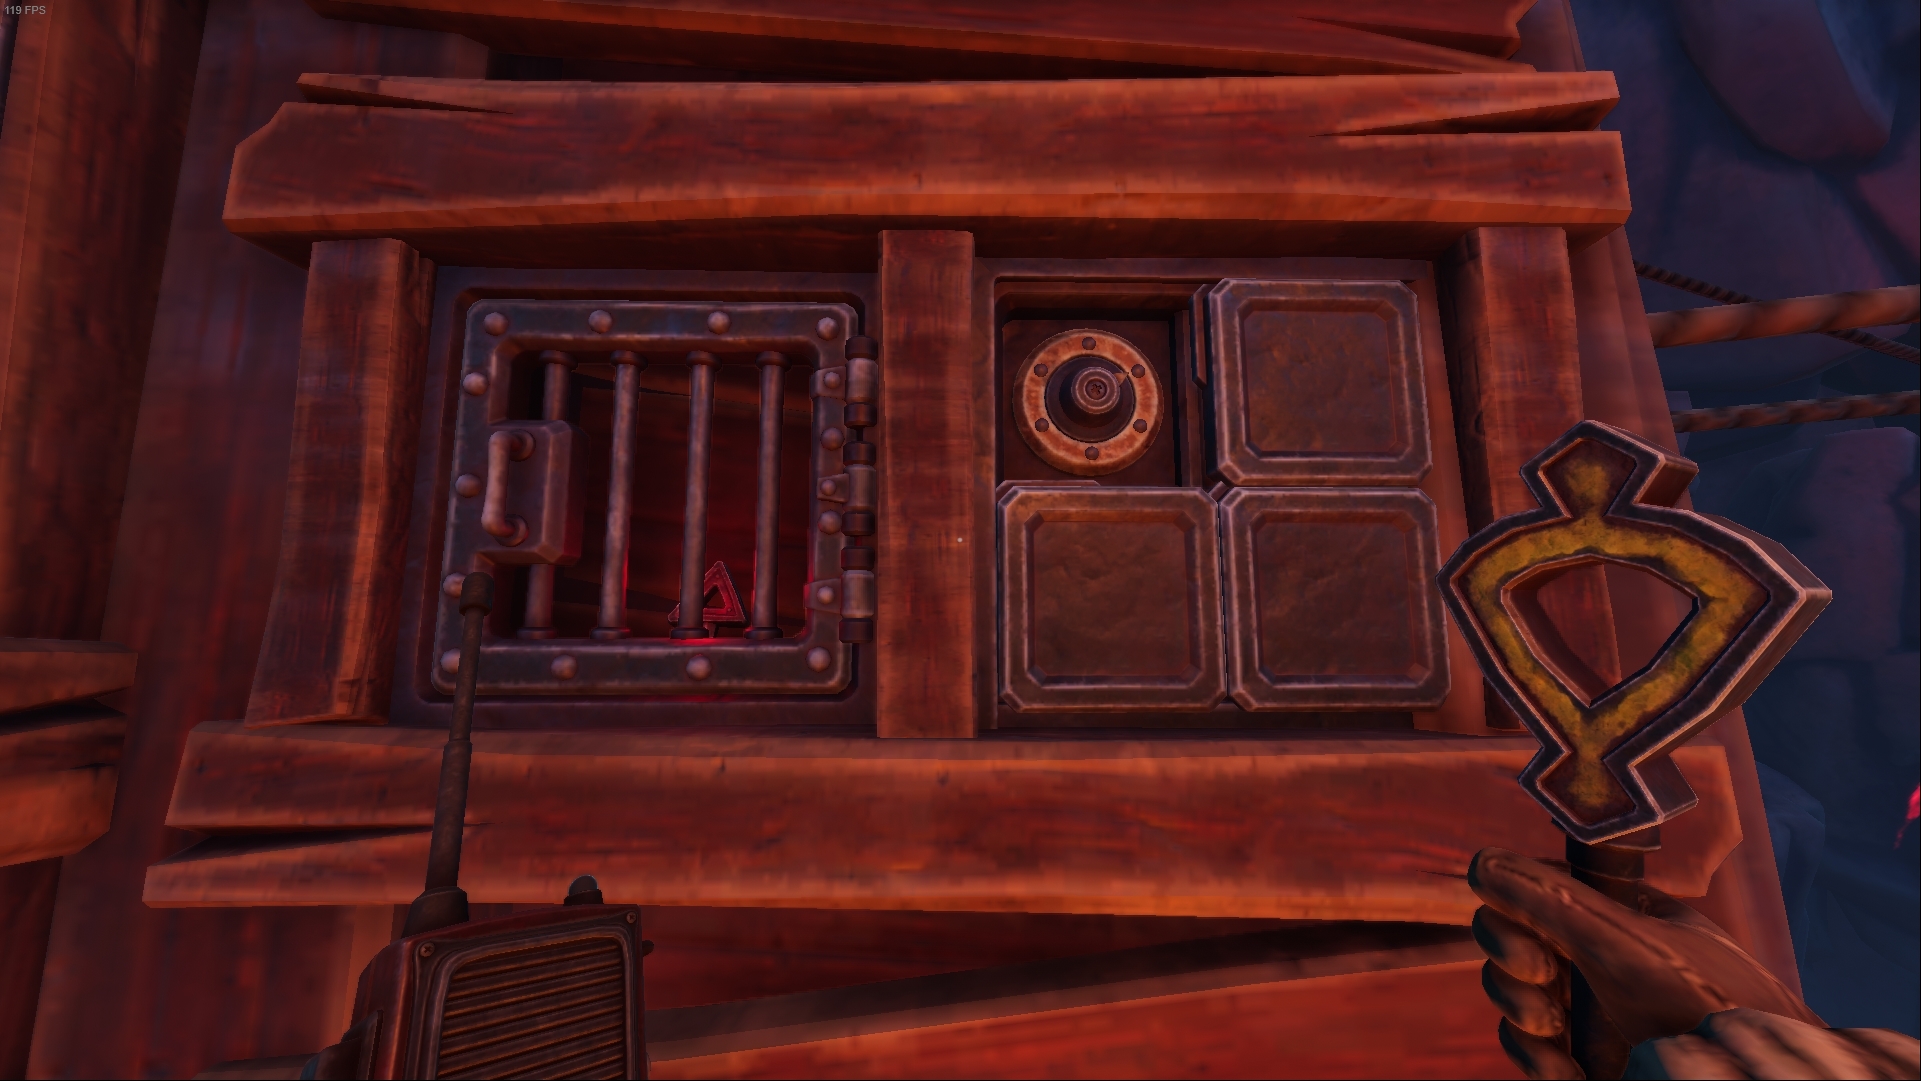
Key → Button Panel (Left Image) → Press both red buttons → Back lever + Wheel → Chain → Blue botton → Key
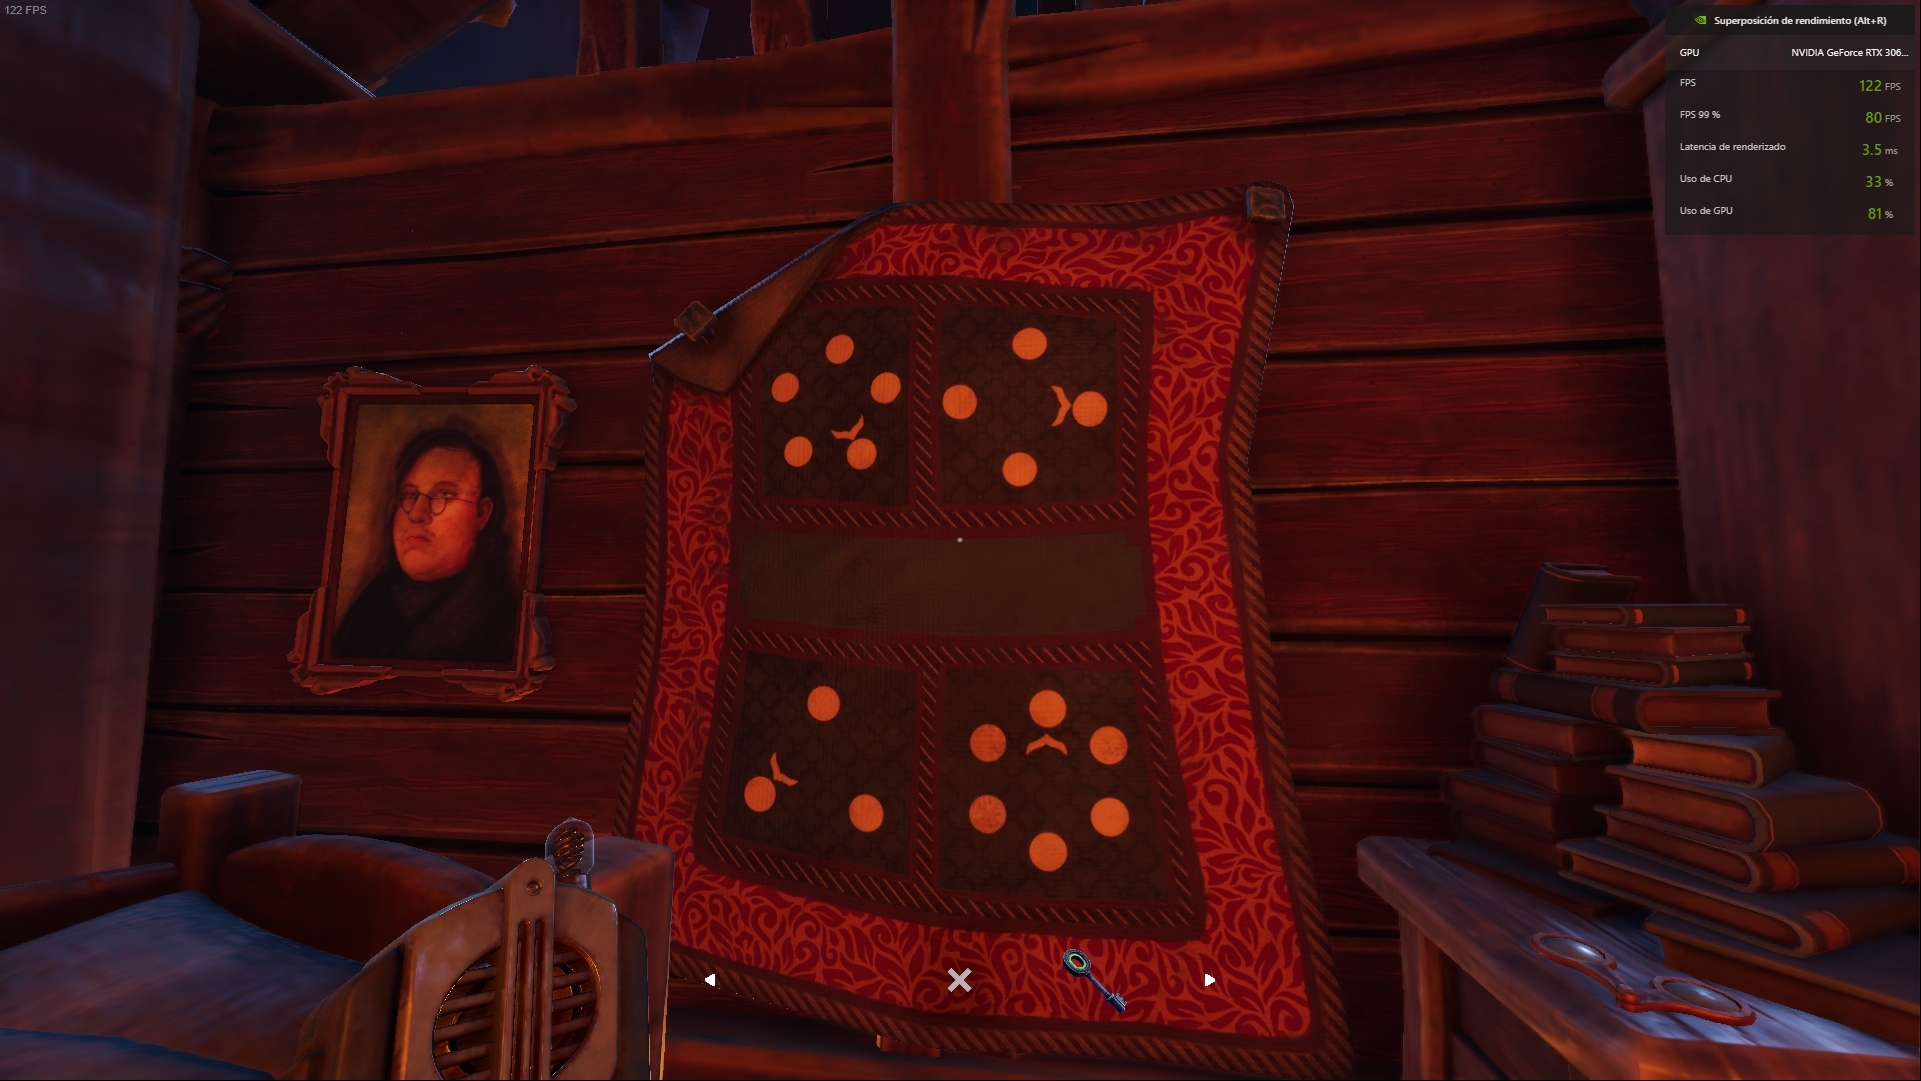
↑ Pay attention to the number of dots that the circle has, not in the position.

Escaped from the chasm
The Vault
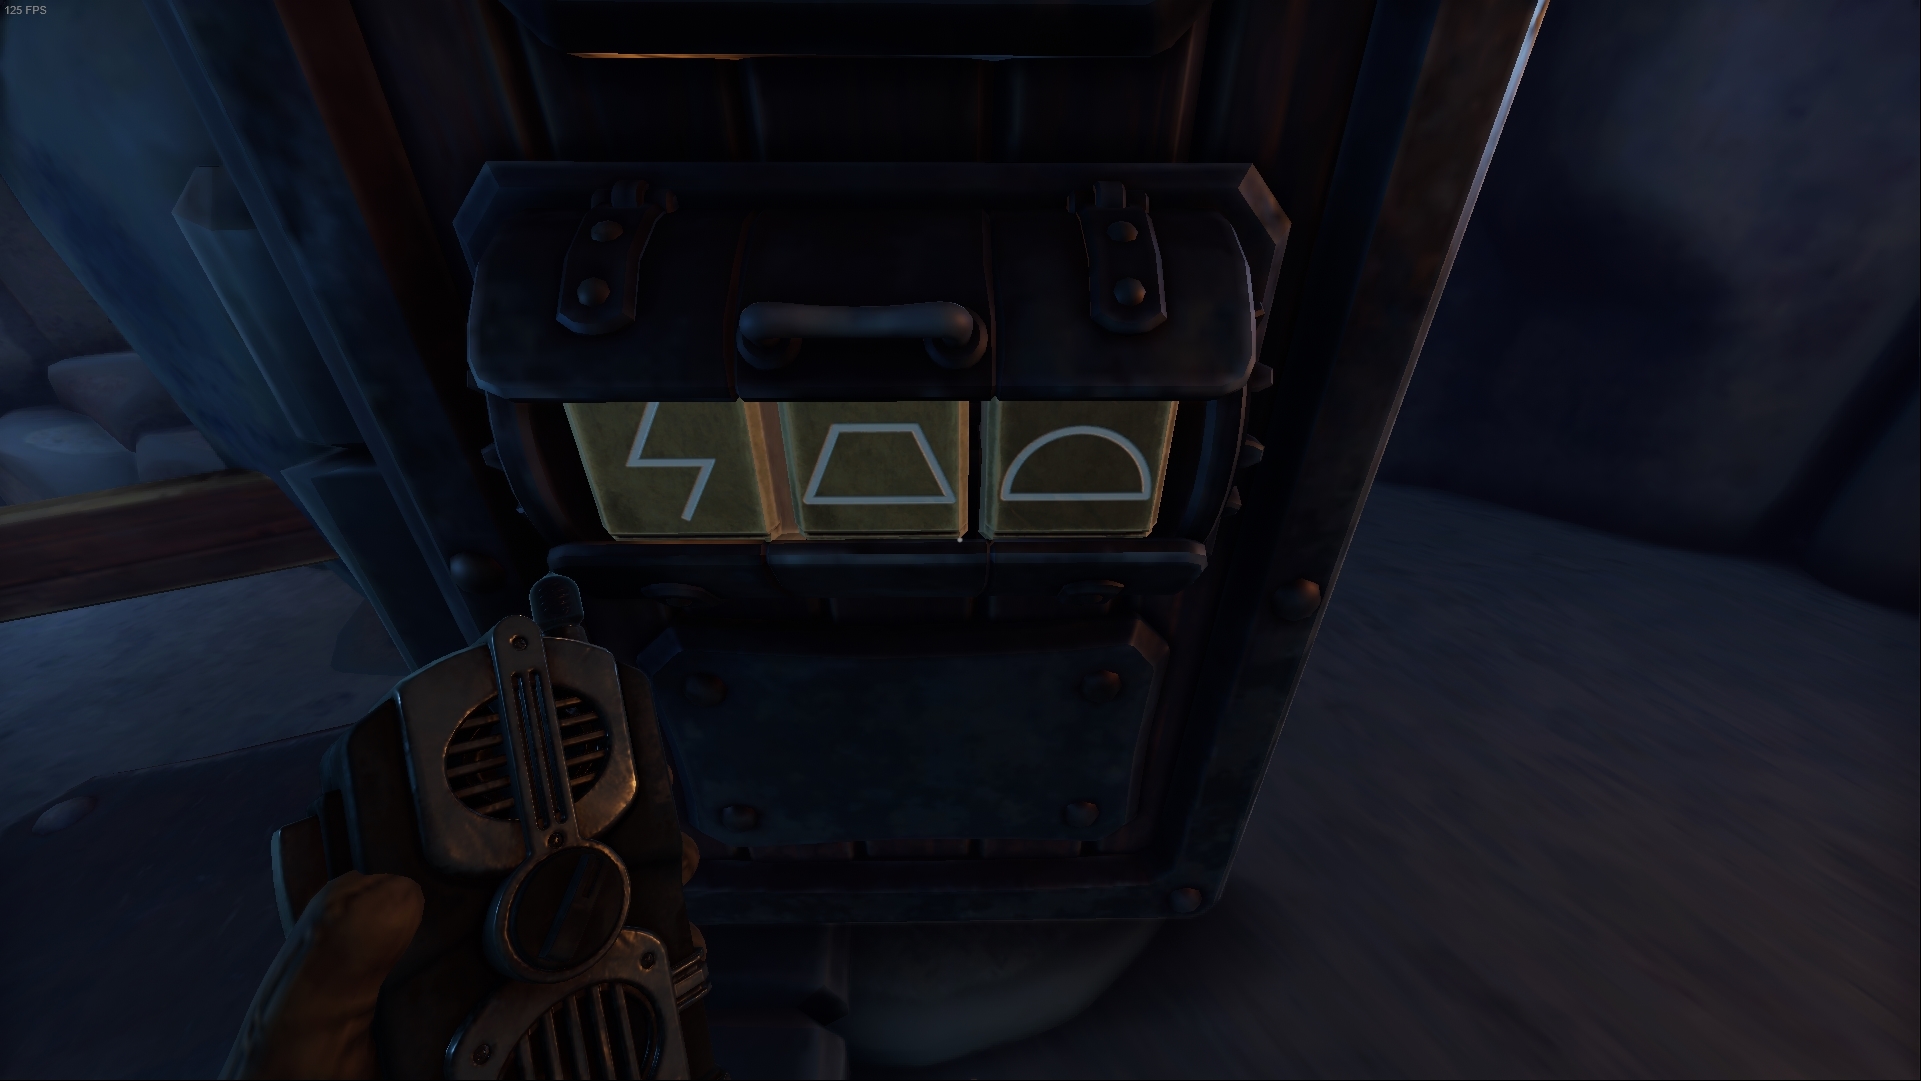
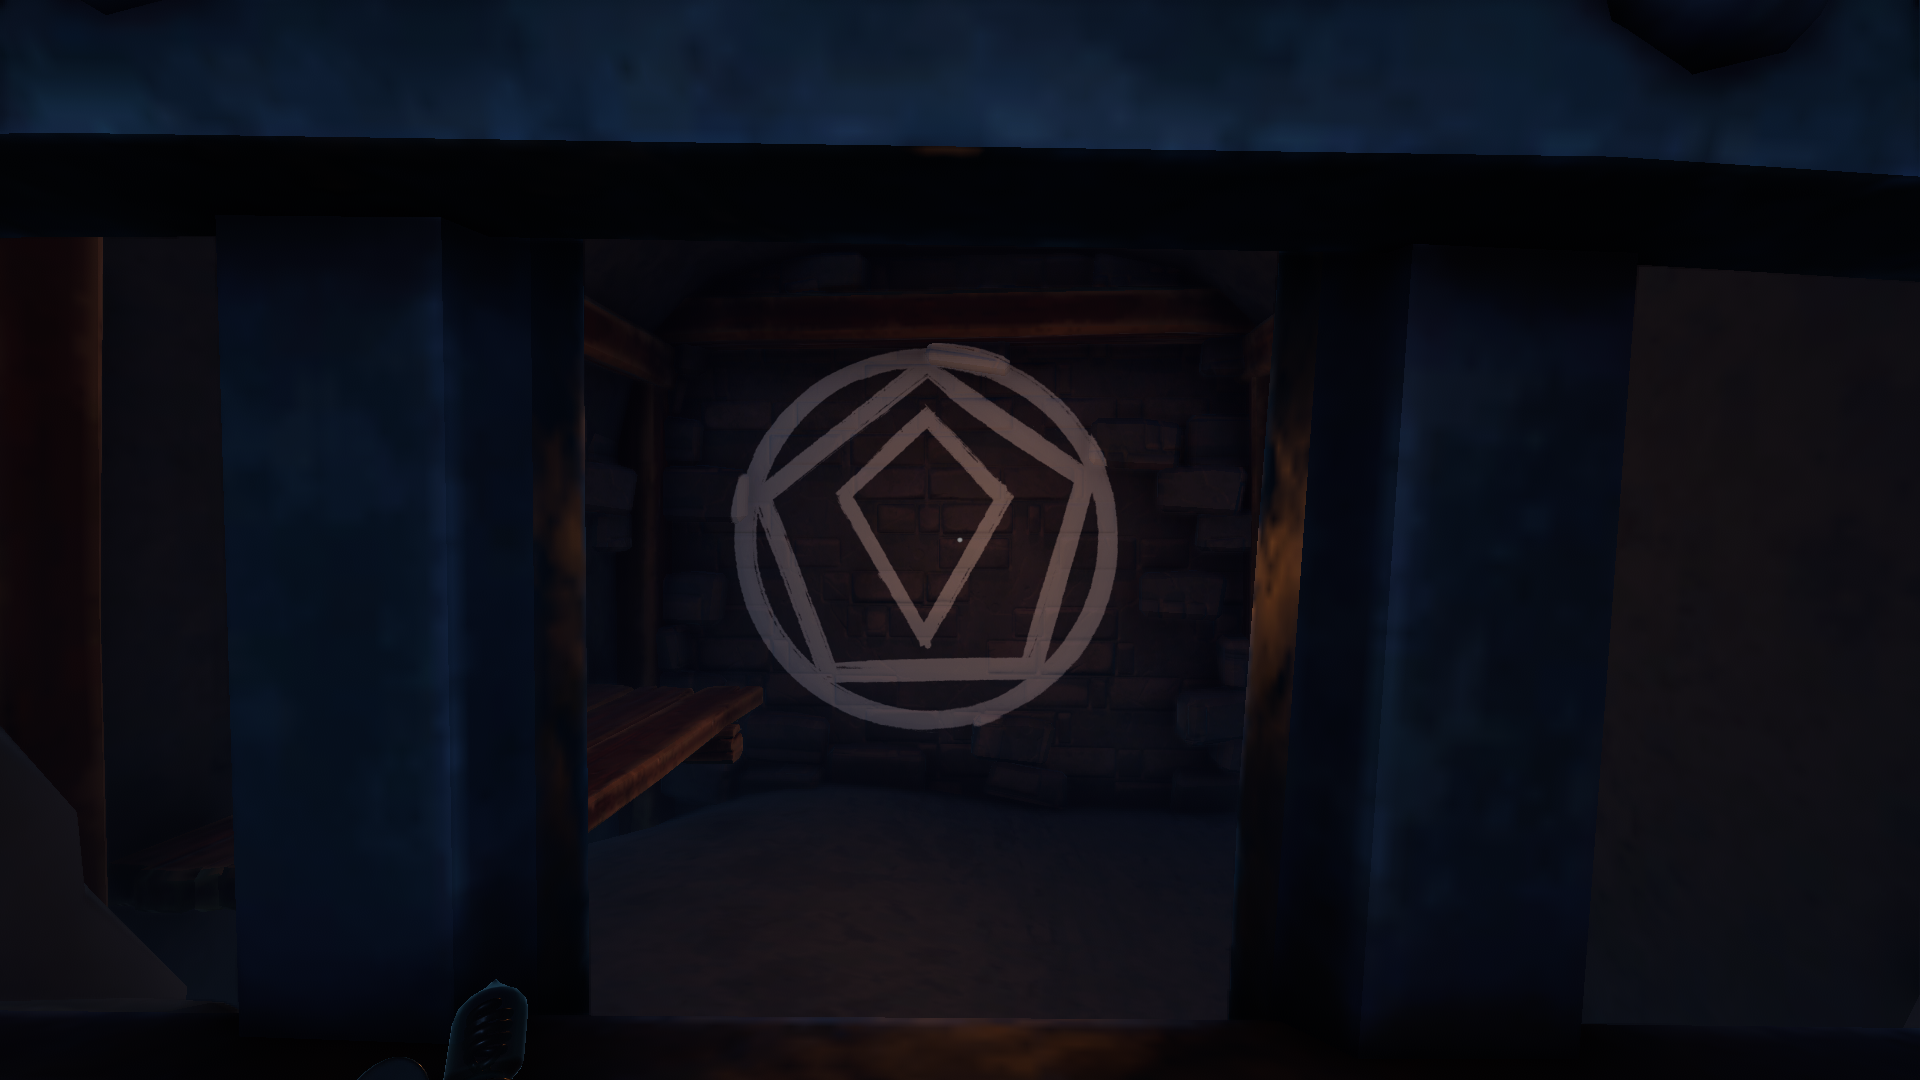
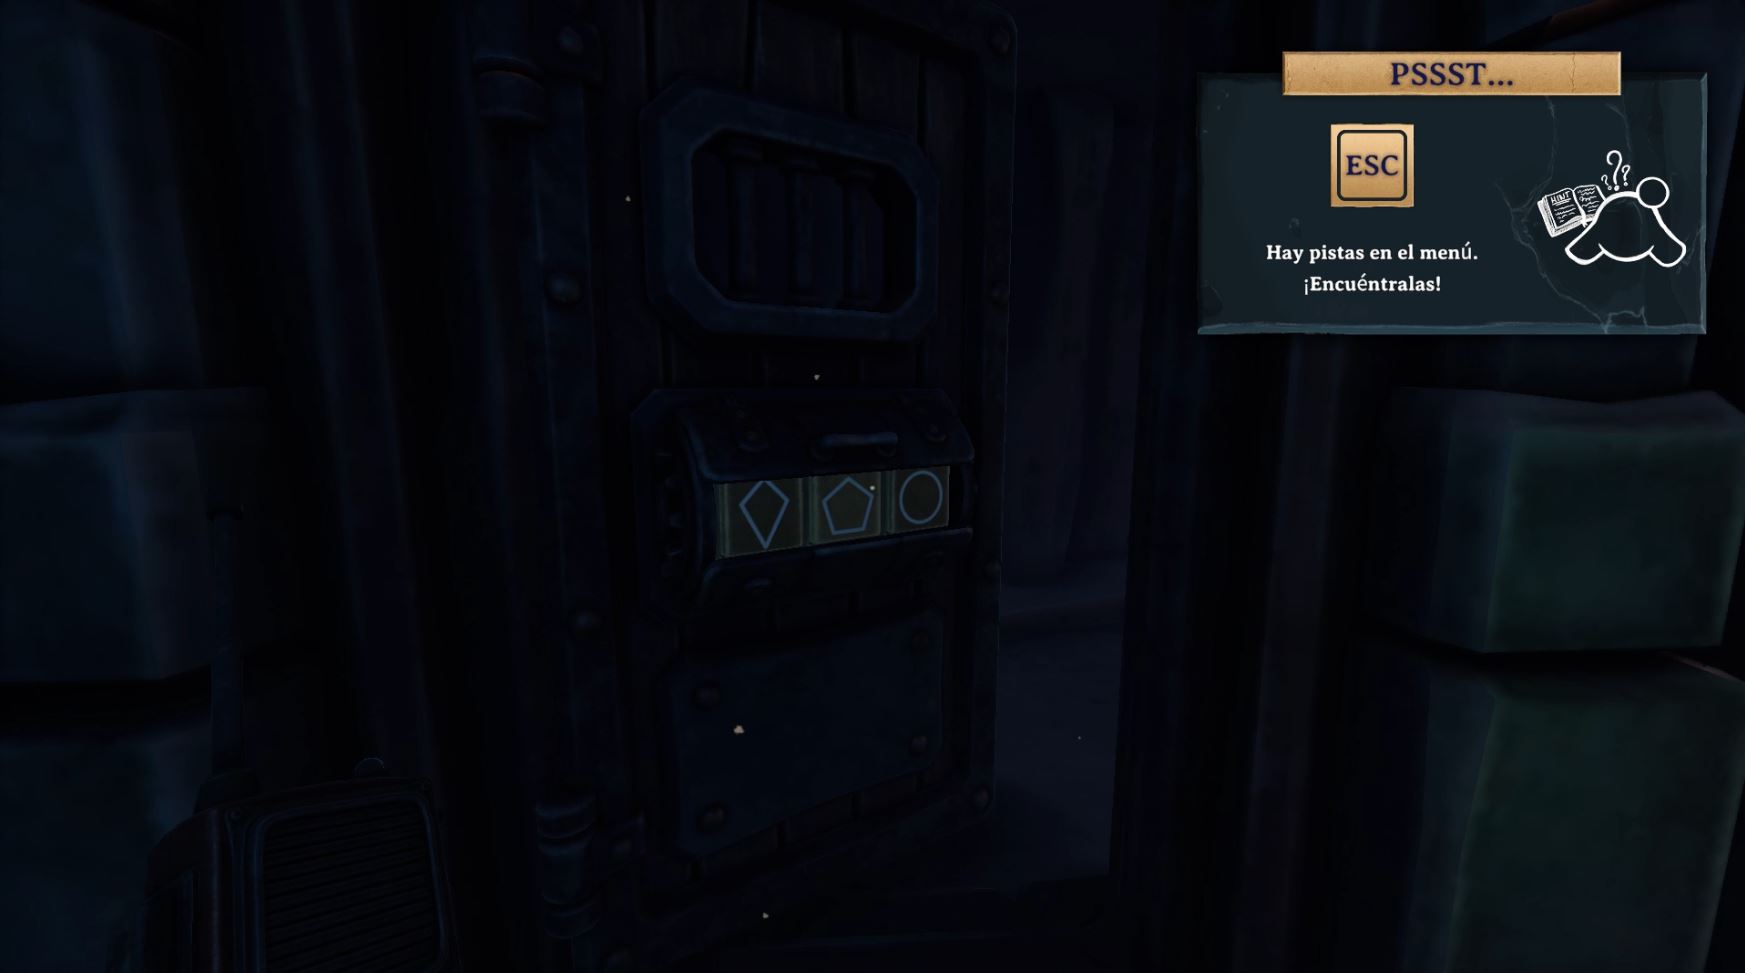
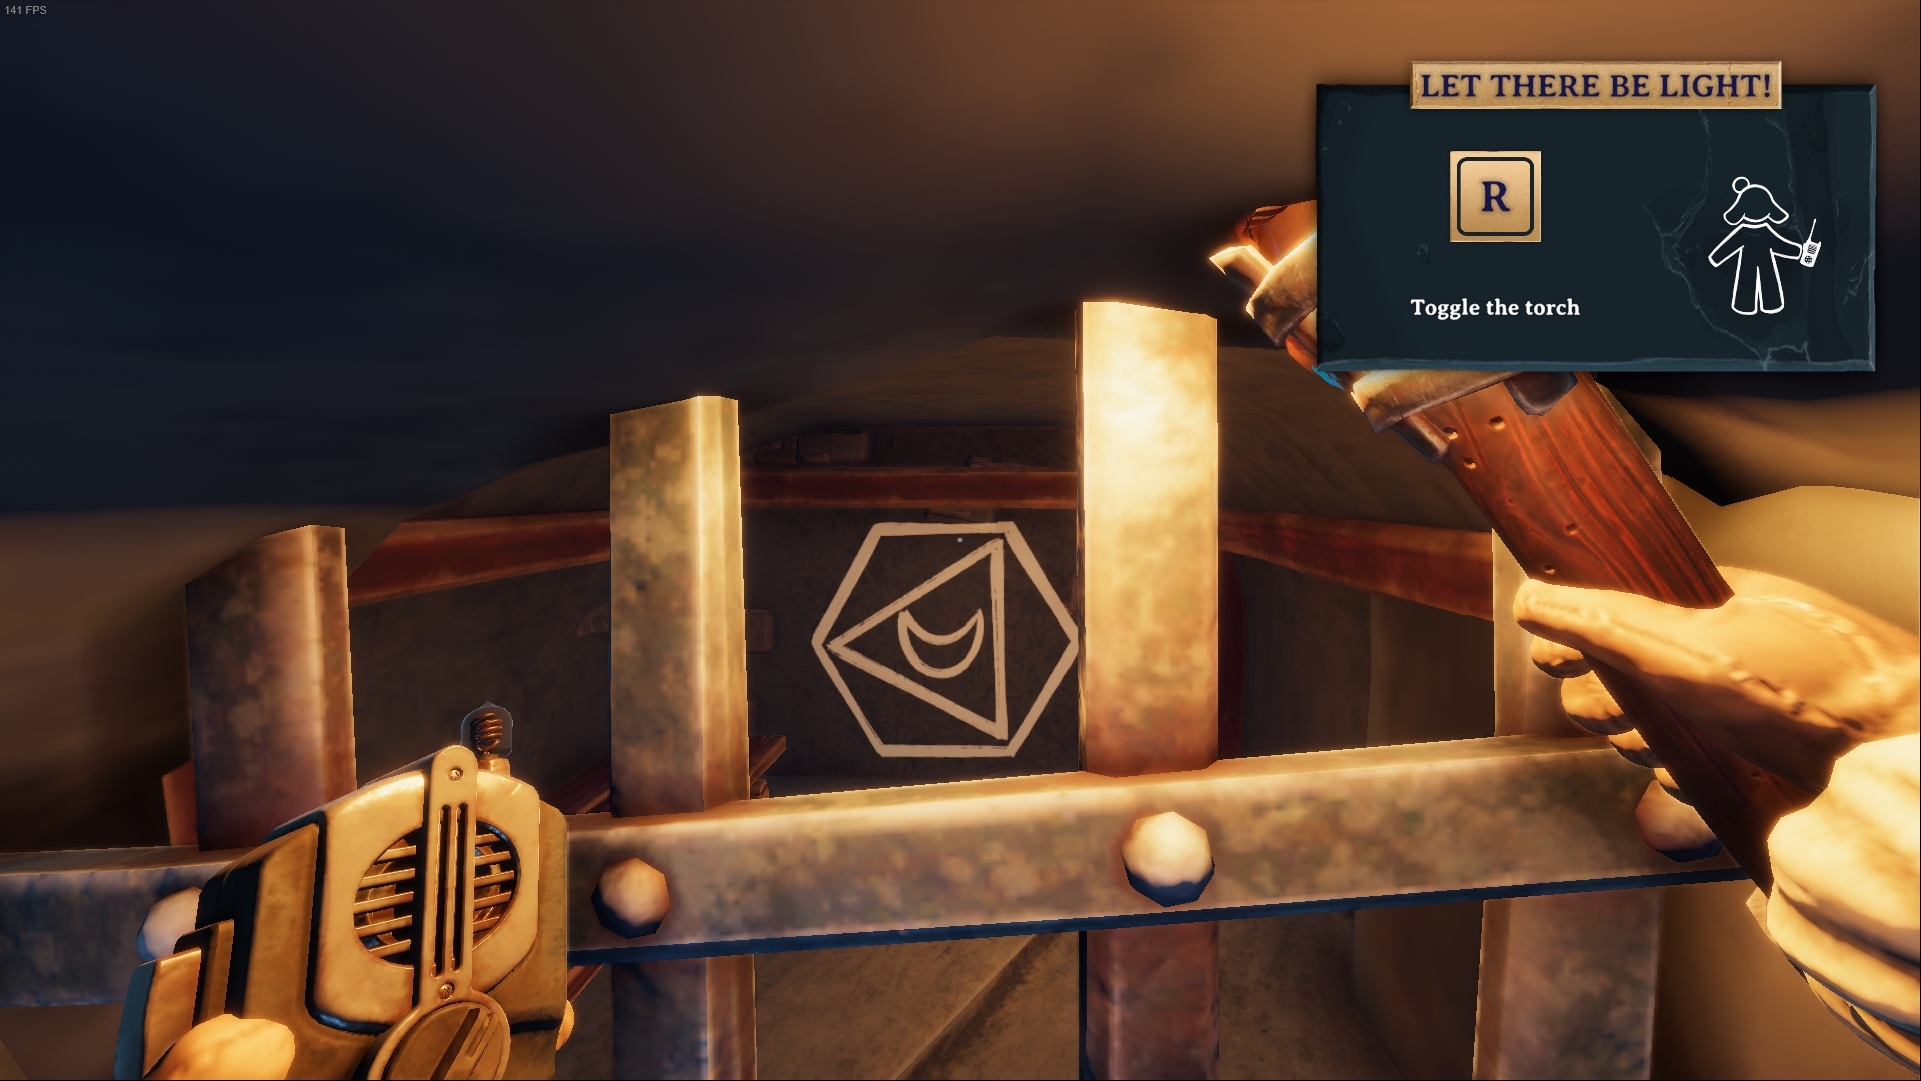
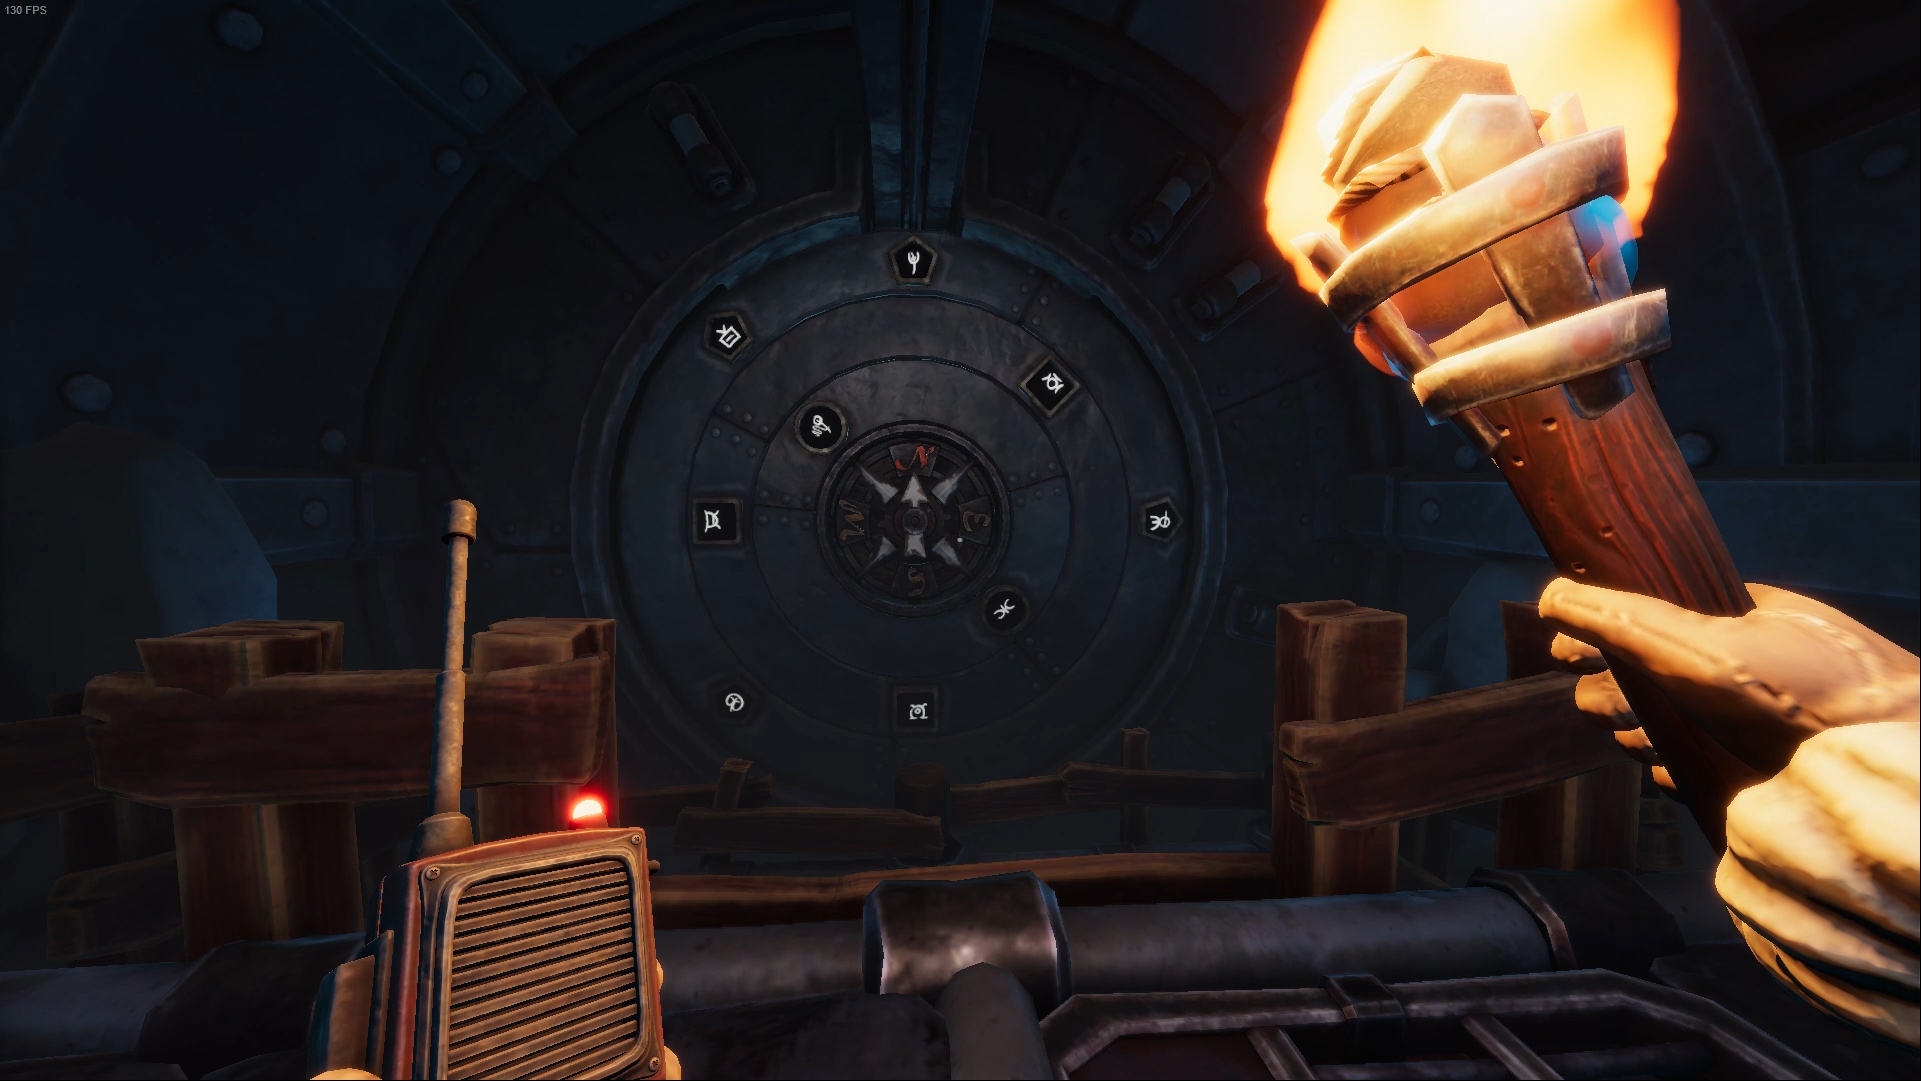
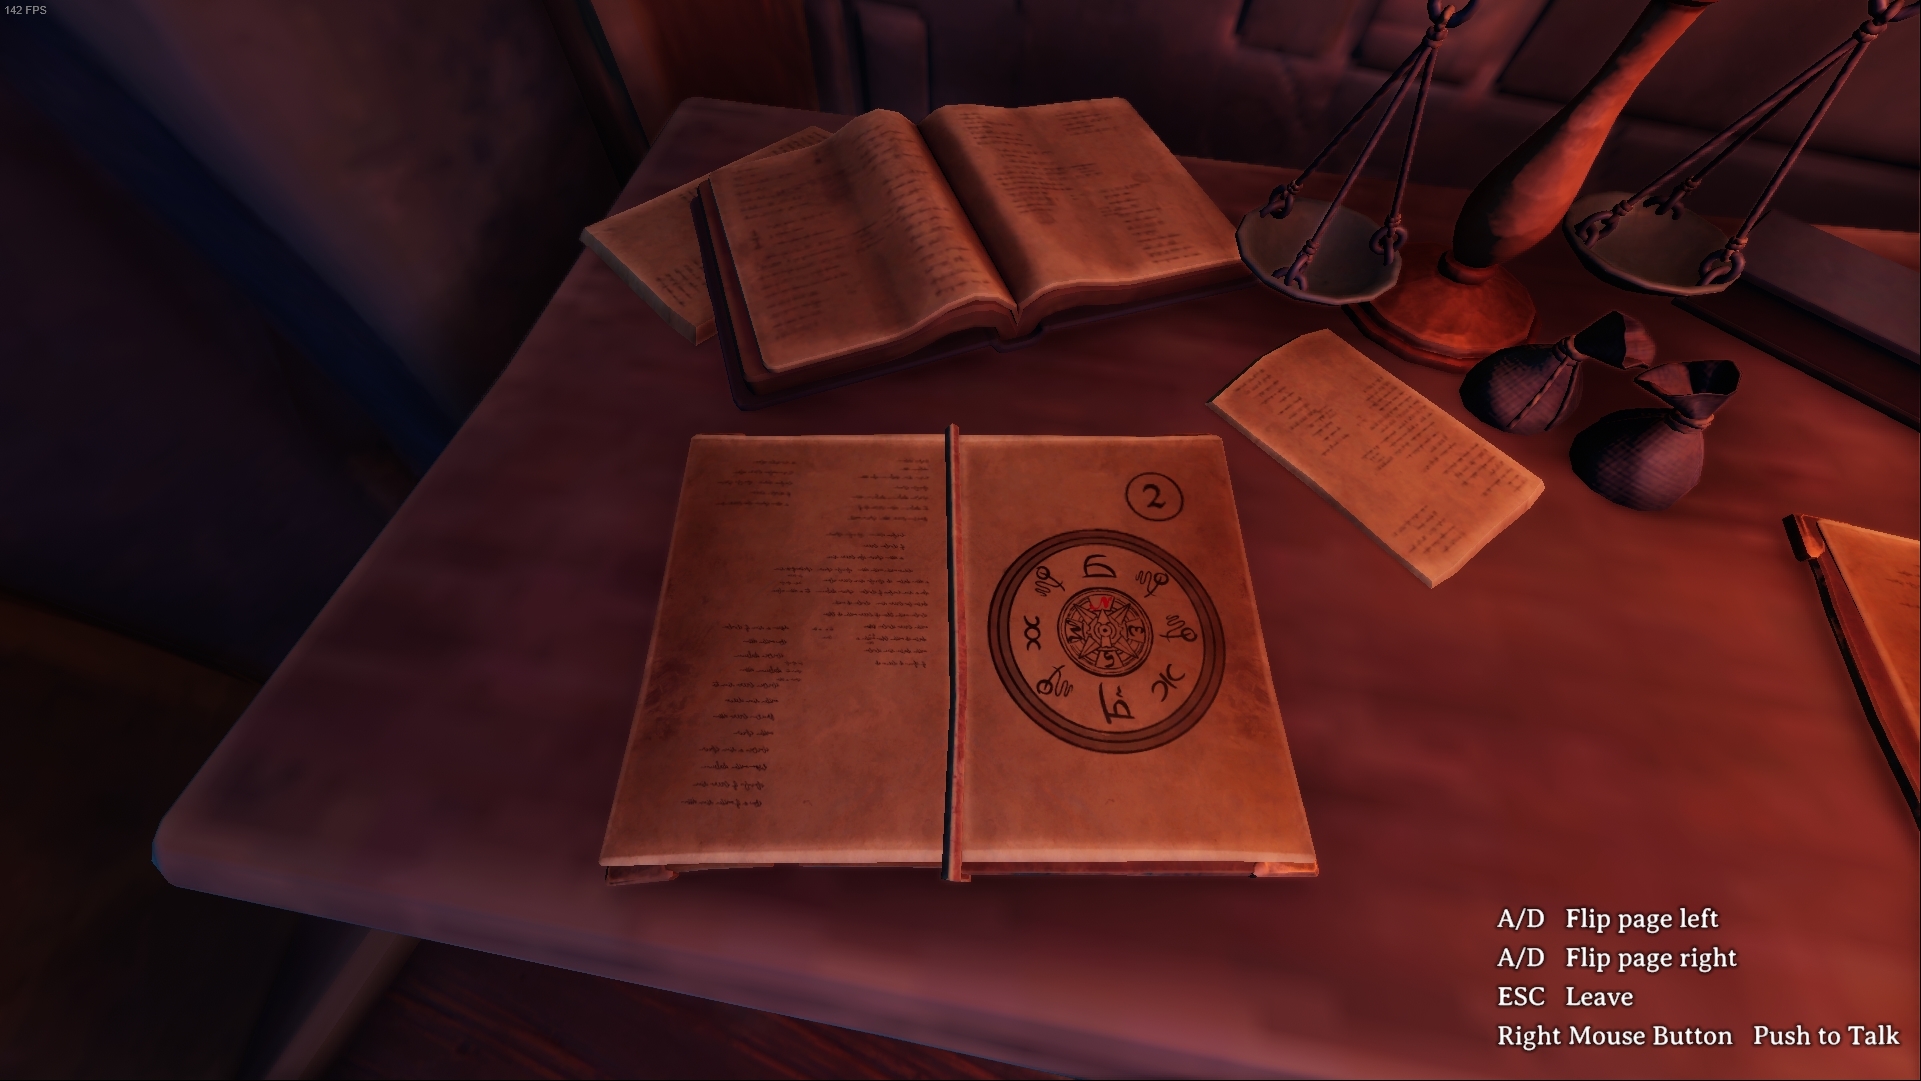
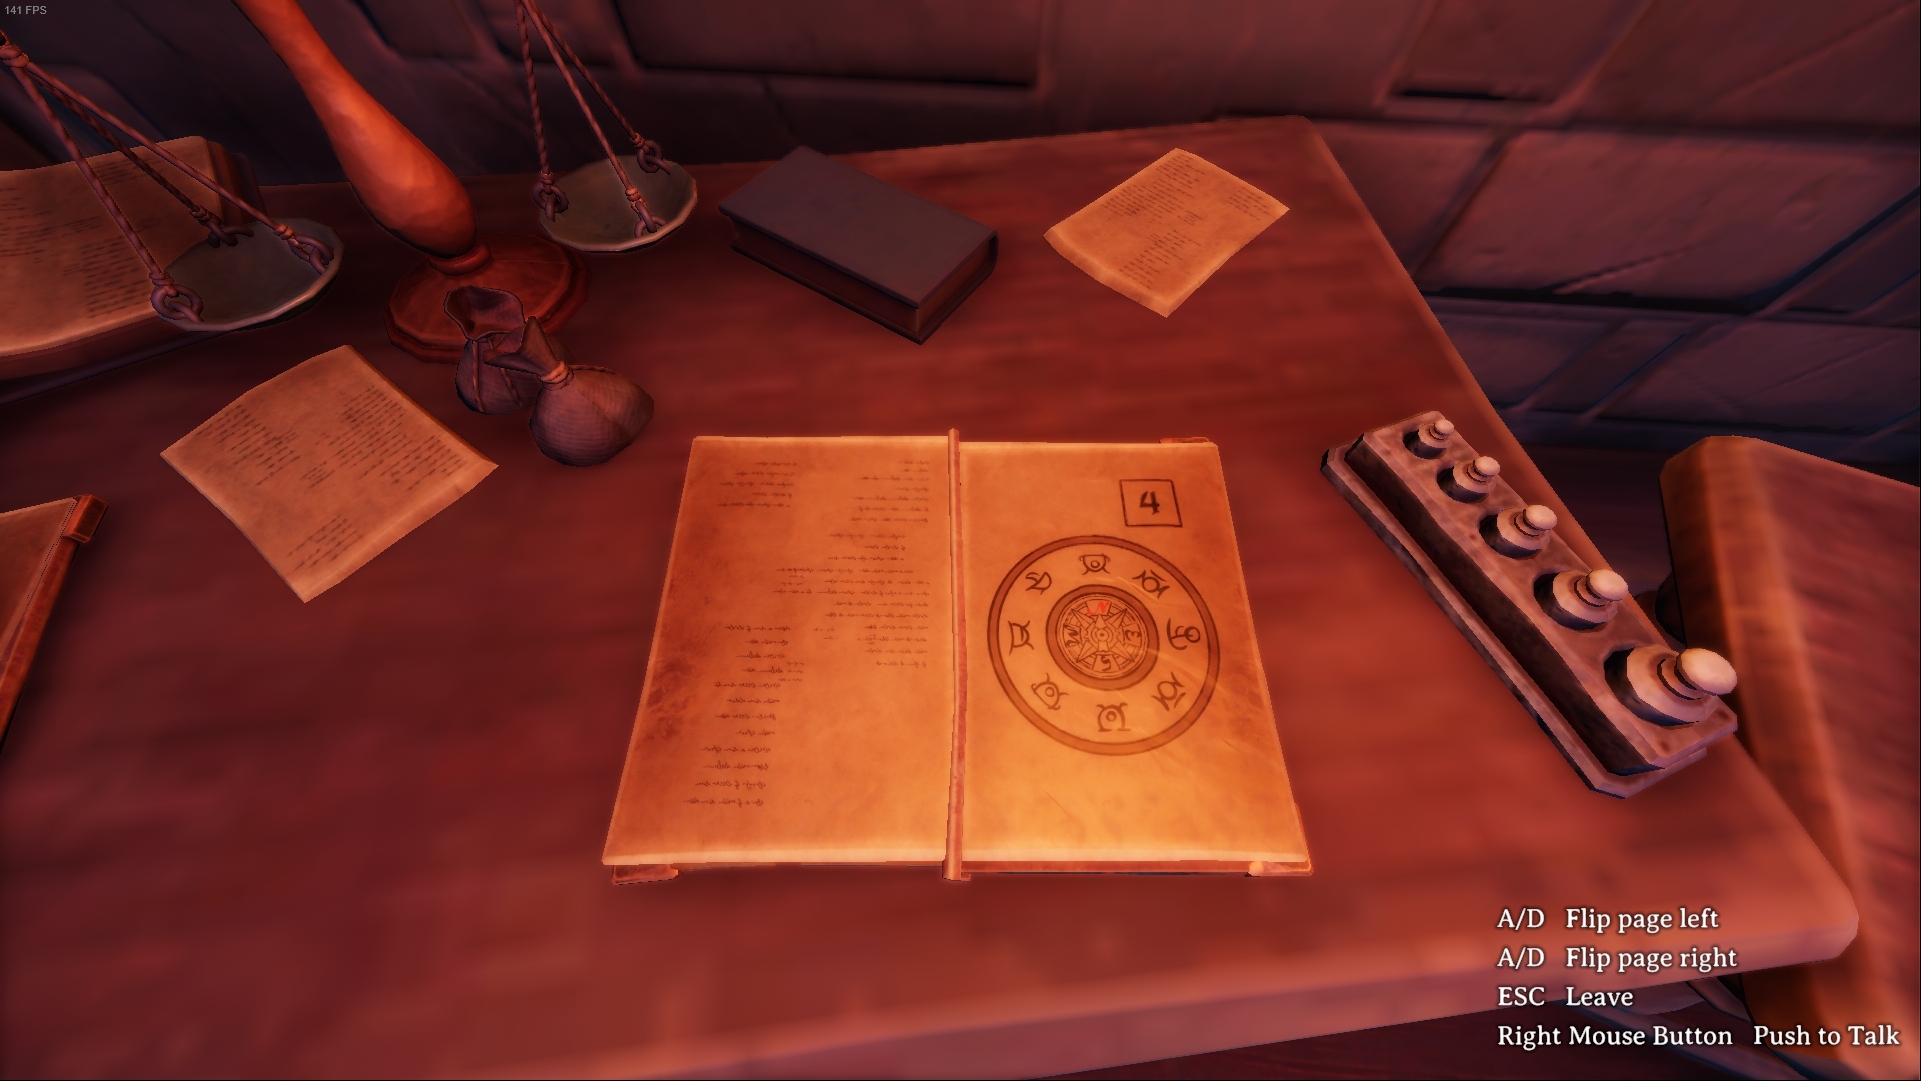
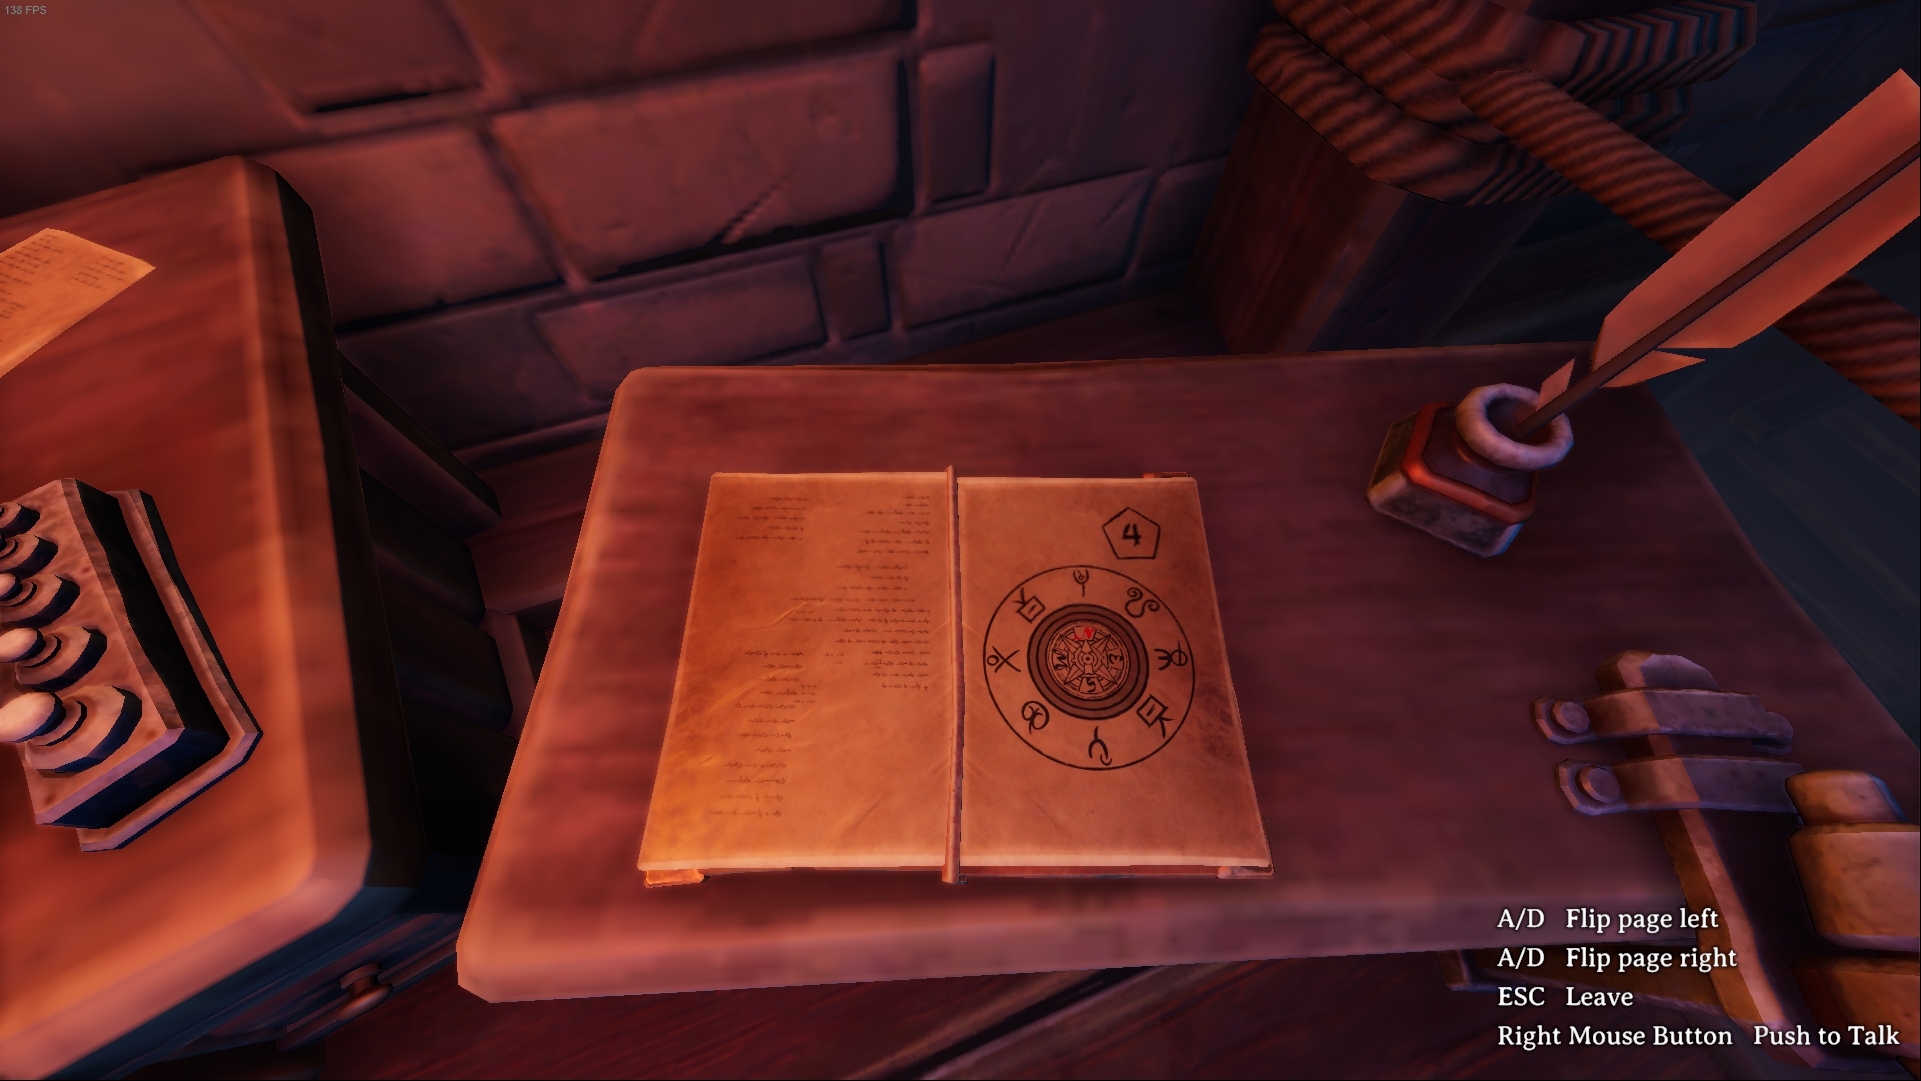
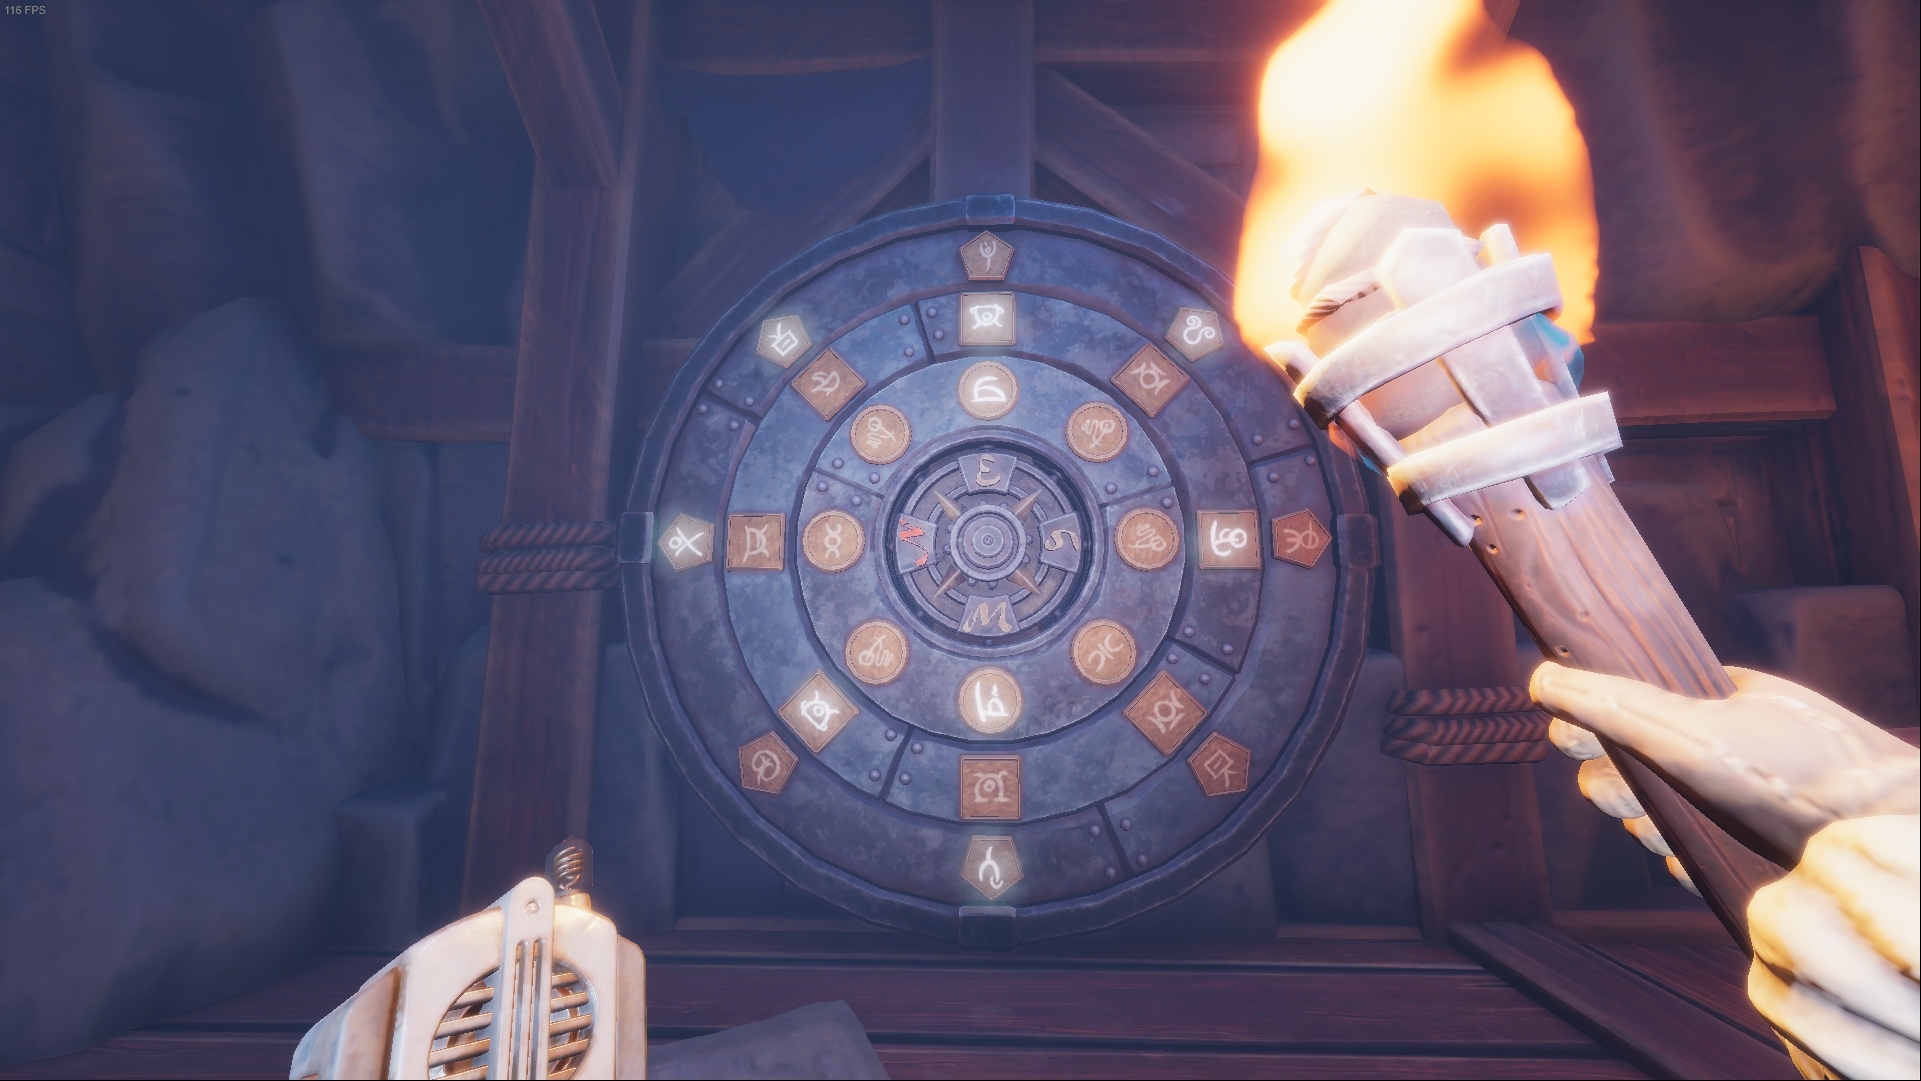
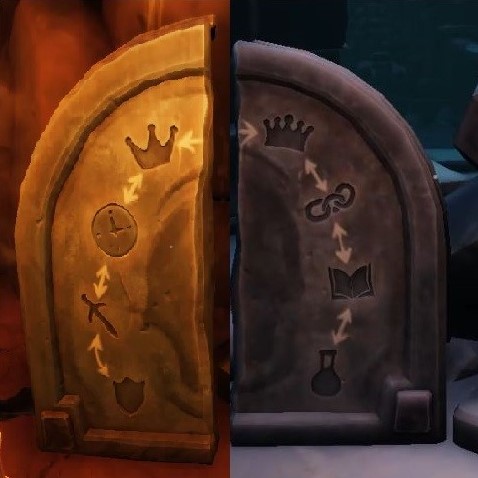
↑ You have to tell your partner what symbols you see and in what position they are. He will have to find the symbols and the positions in the books.
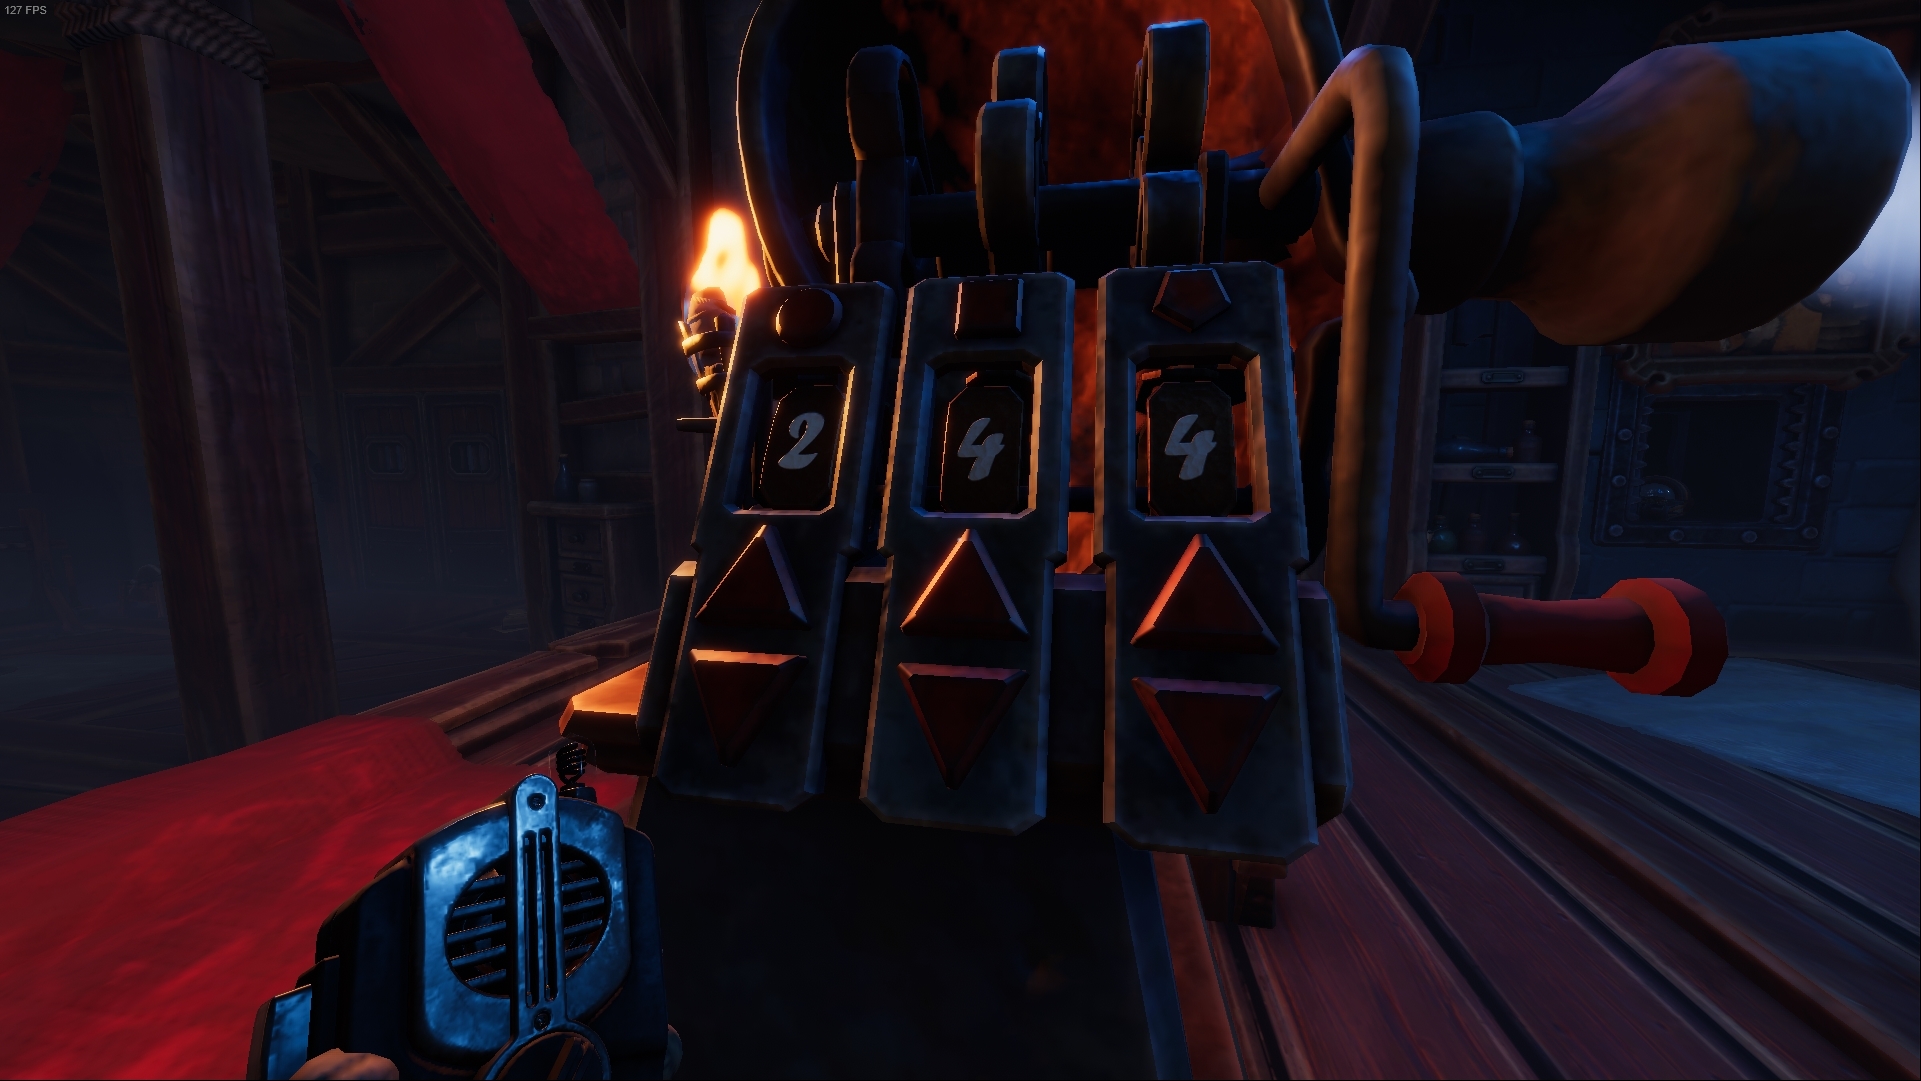
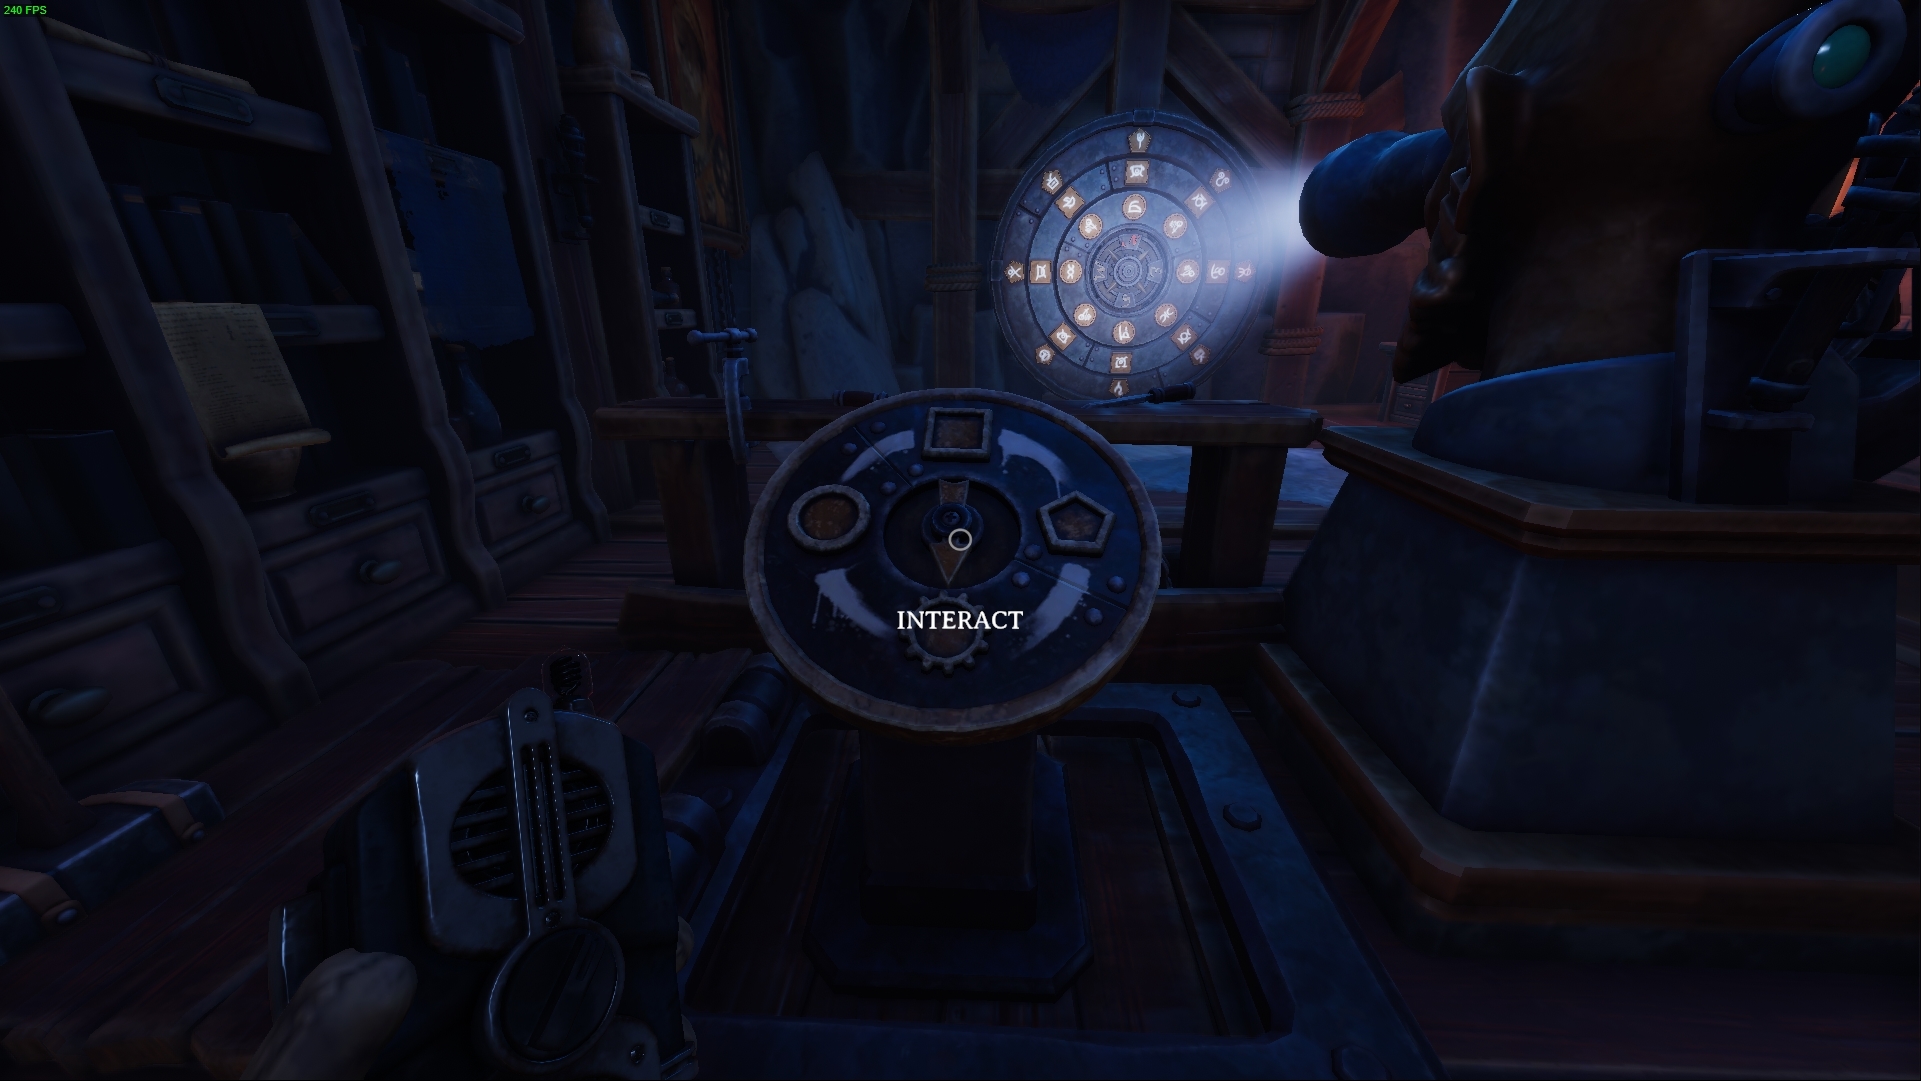
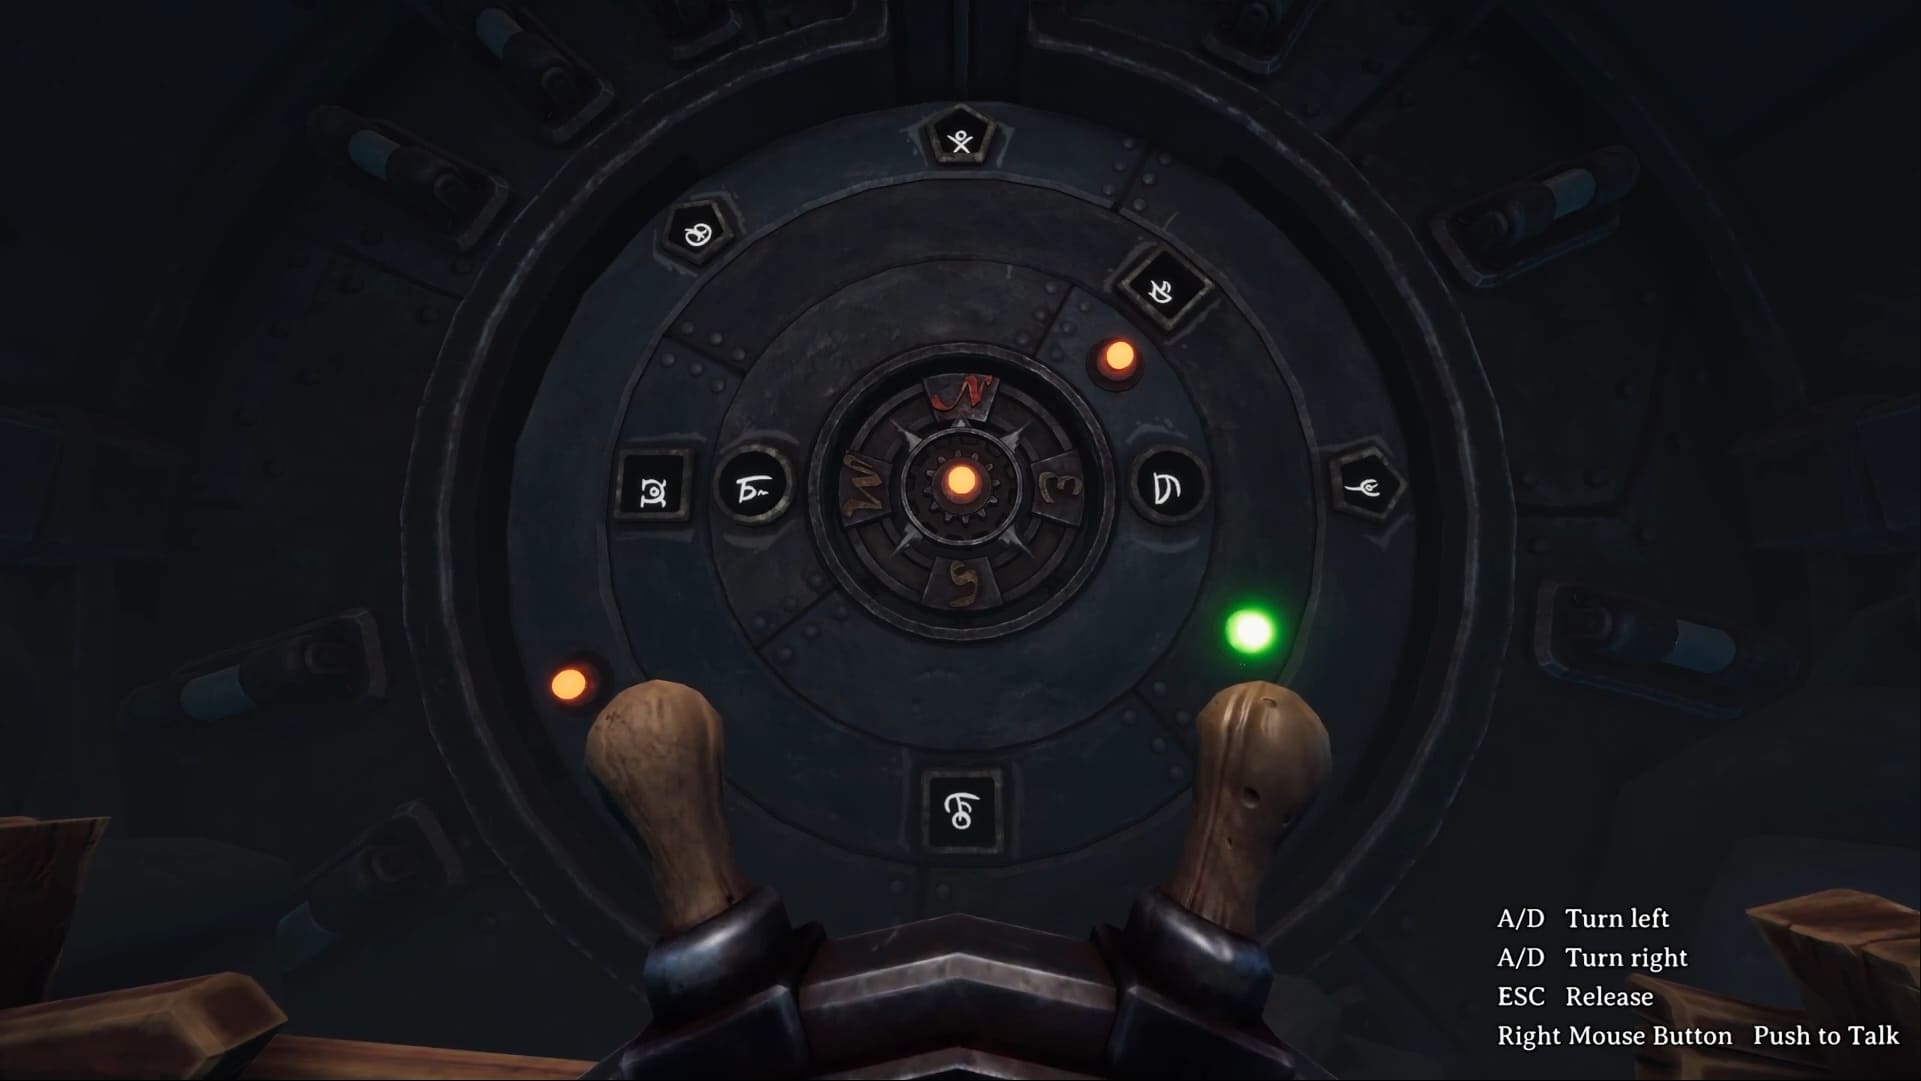
↑In this puzzle you will have to select the part of the compass that you want to move (square, pentagon or circle) and thus be able to put both the same, your partner’s and yours. The green light indicates which part is ready to be moved.

Escaped from the deep dungeons

Assisted in escaping from the deep dungeons
The Trials
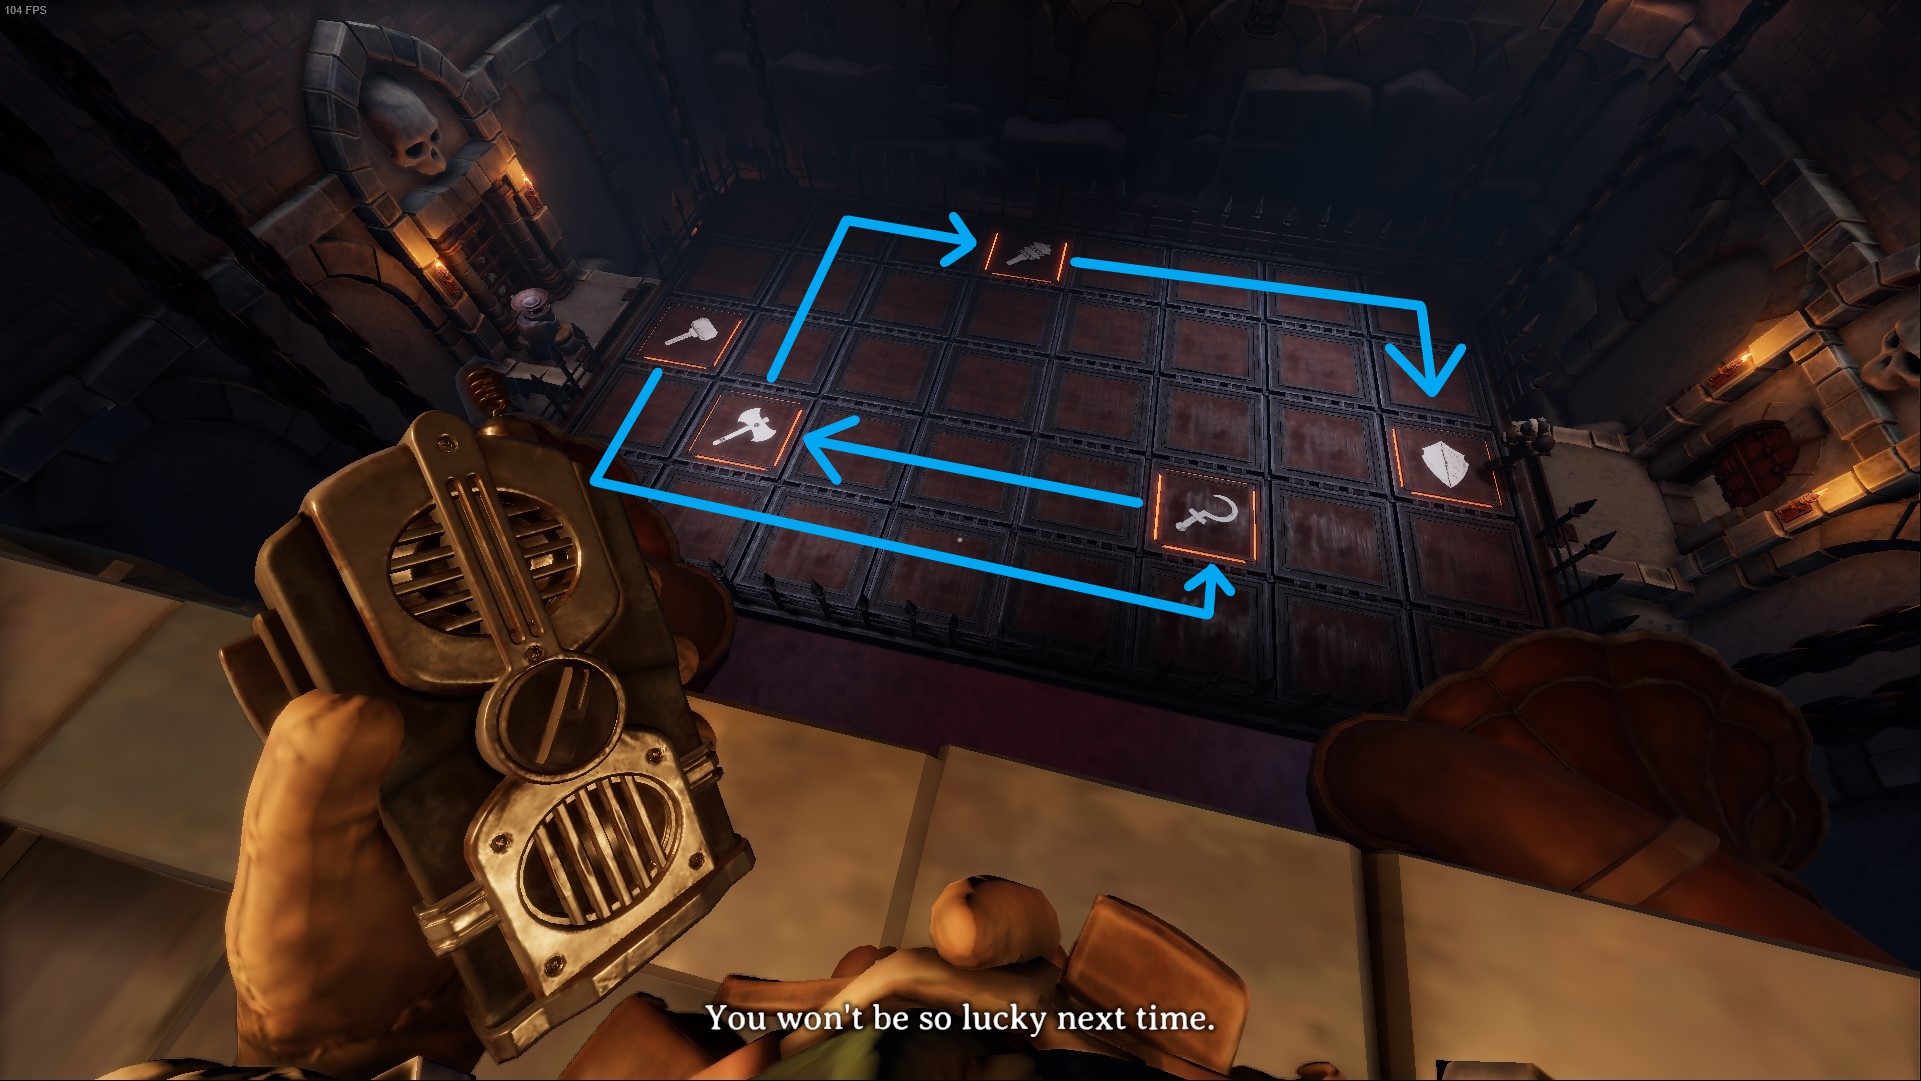
↑Your partner will have to tell you the order of the figures and you will have to go through them creating a path that does not disable you from going to the other areas. We think this part is random so photos are for reference only.
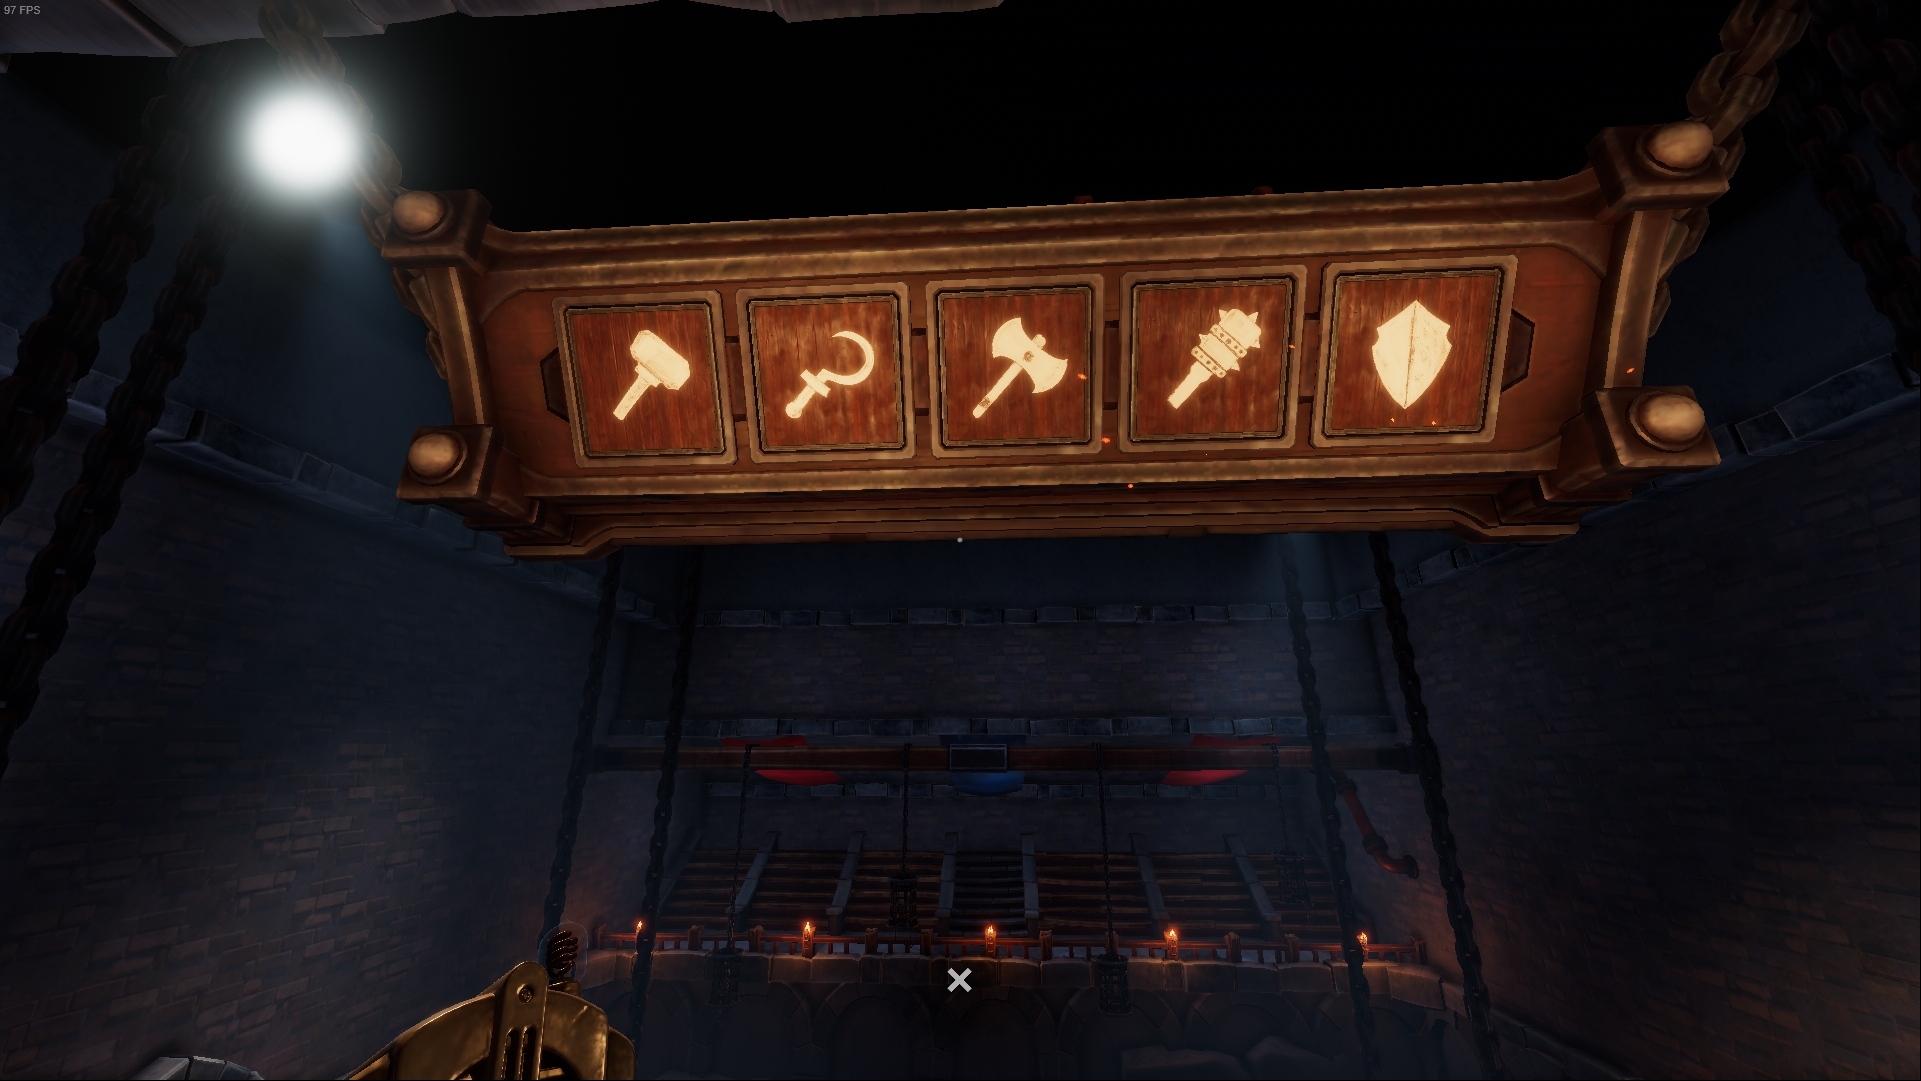
↑You must memorize the symbols that appear because when you activate the lever they will disappear. You will have to go to those symbols in order (you can go straight, there is no specific path) and wait for the time to run out. Once the time is up, the other symbols will rise and you can go to the next one.
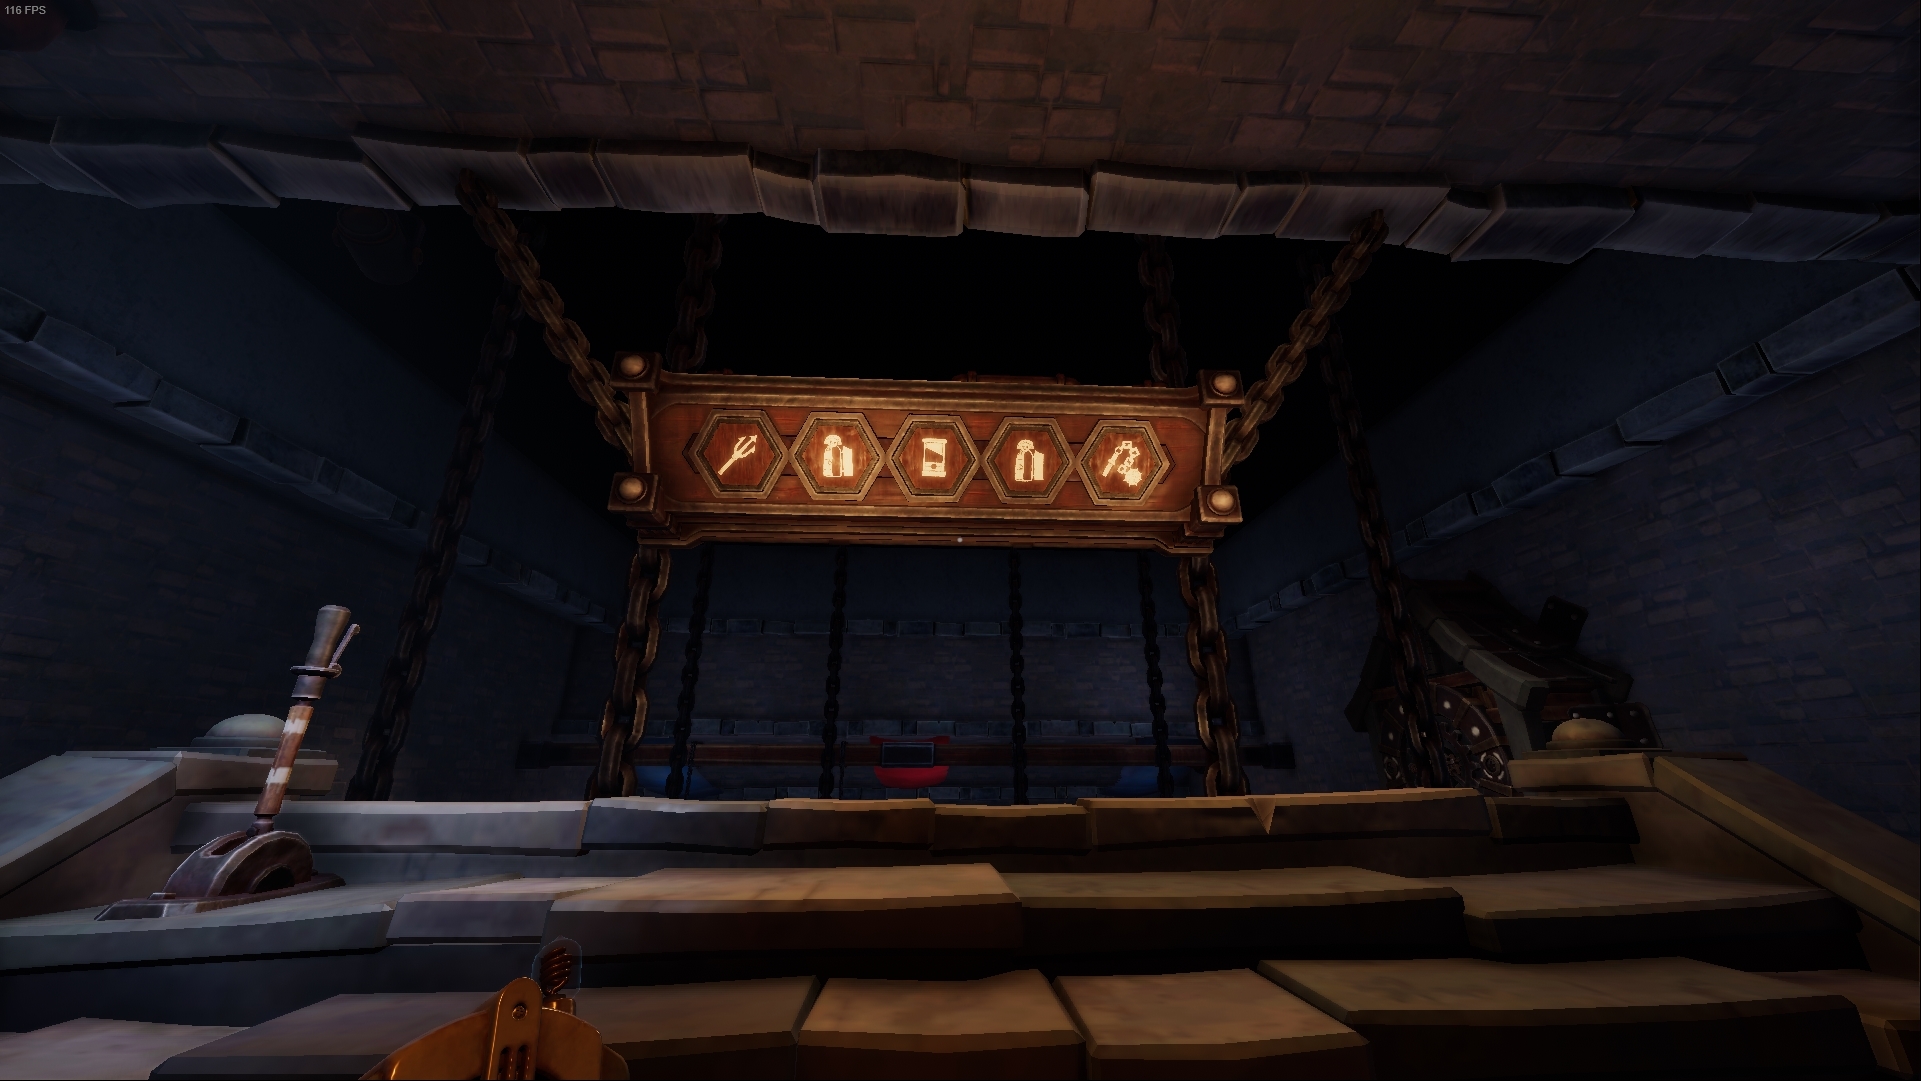
↑This is the same as the first part of The Trials, but this time you will about the walls that are in the way to create your path.
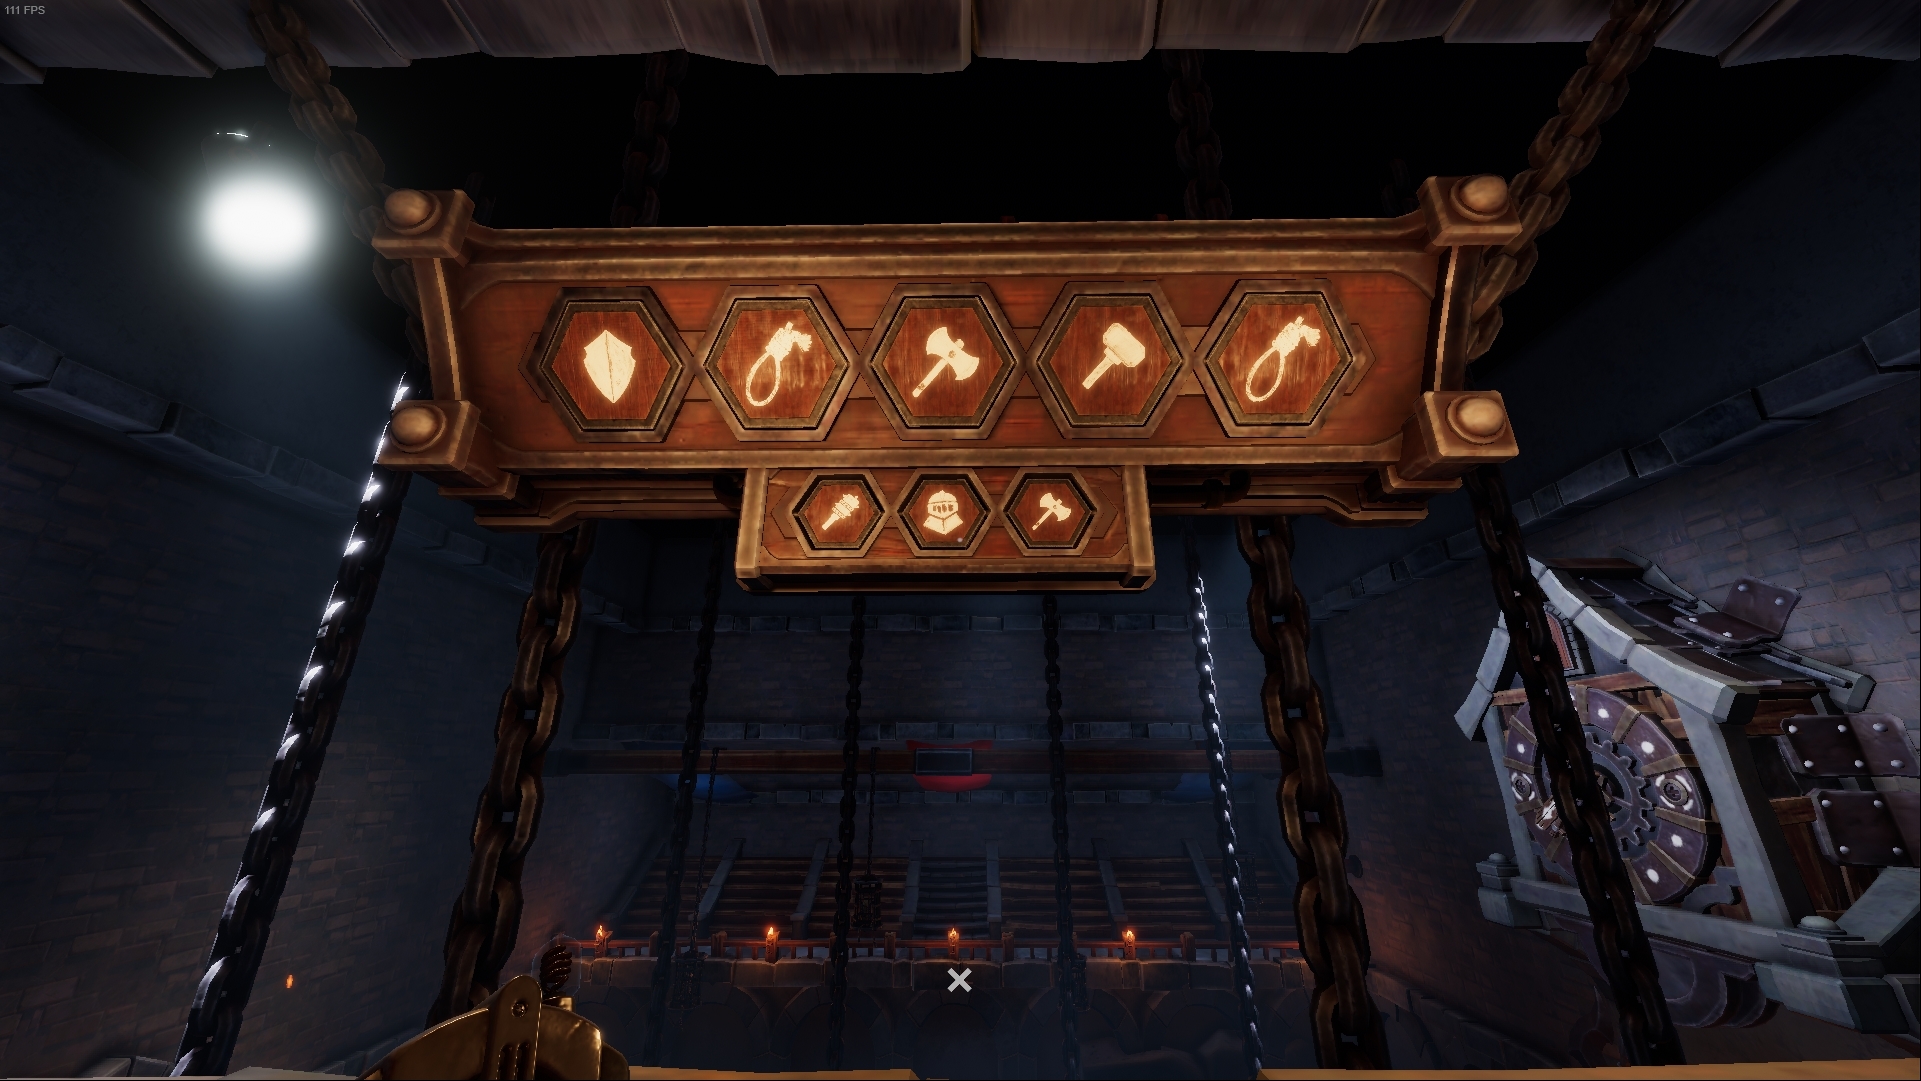
This is the same mechanic that you had in the second trial but this time there are three added symbols below that are the ones you can NOT step on. Just avoid them on your way, wait for the time to run out and go for the next one. The forbidden symbols change every round.

Survived the trials

Assisted in escaping from the trials
Chapter 1 – The Keep – Part 2
The Memento
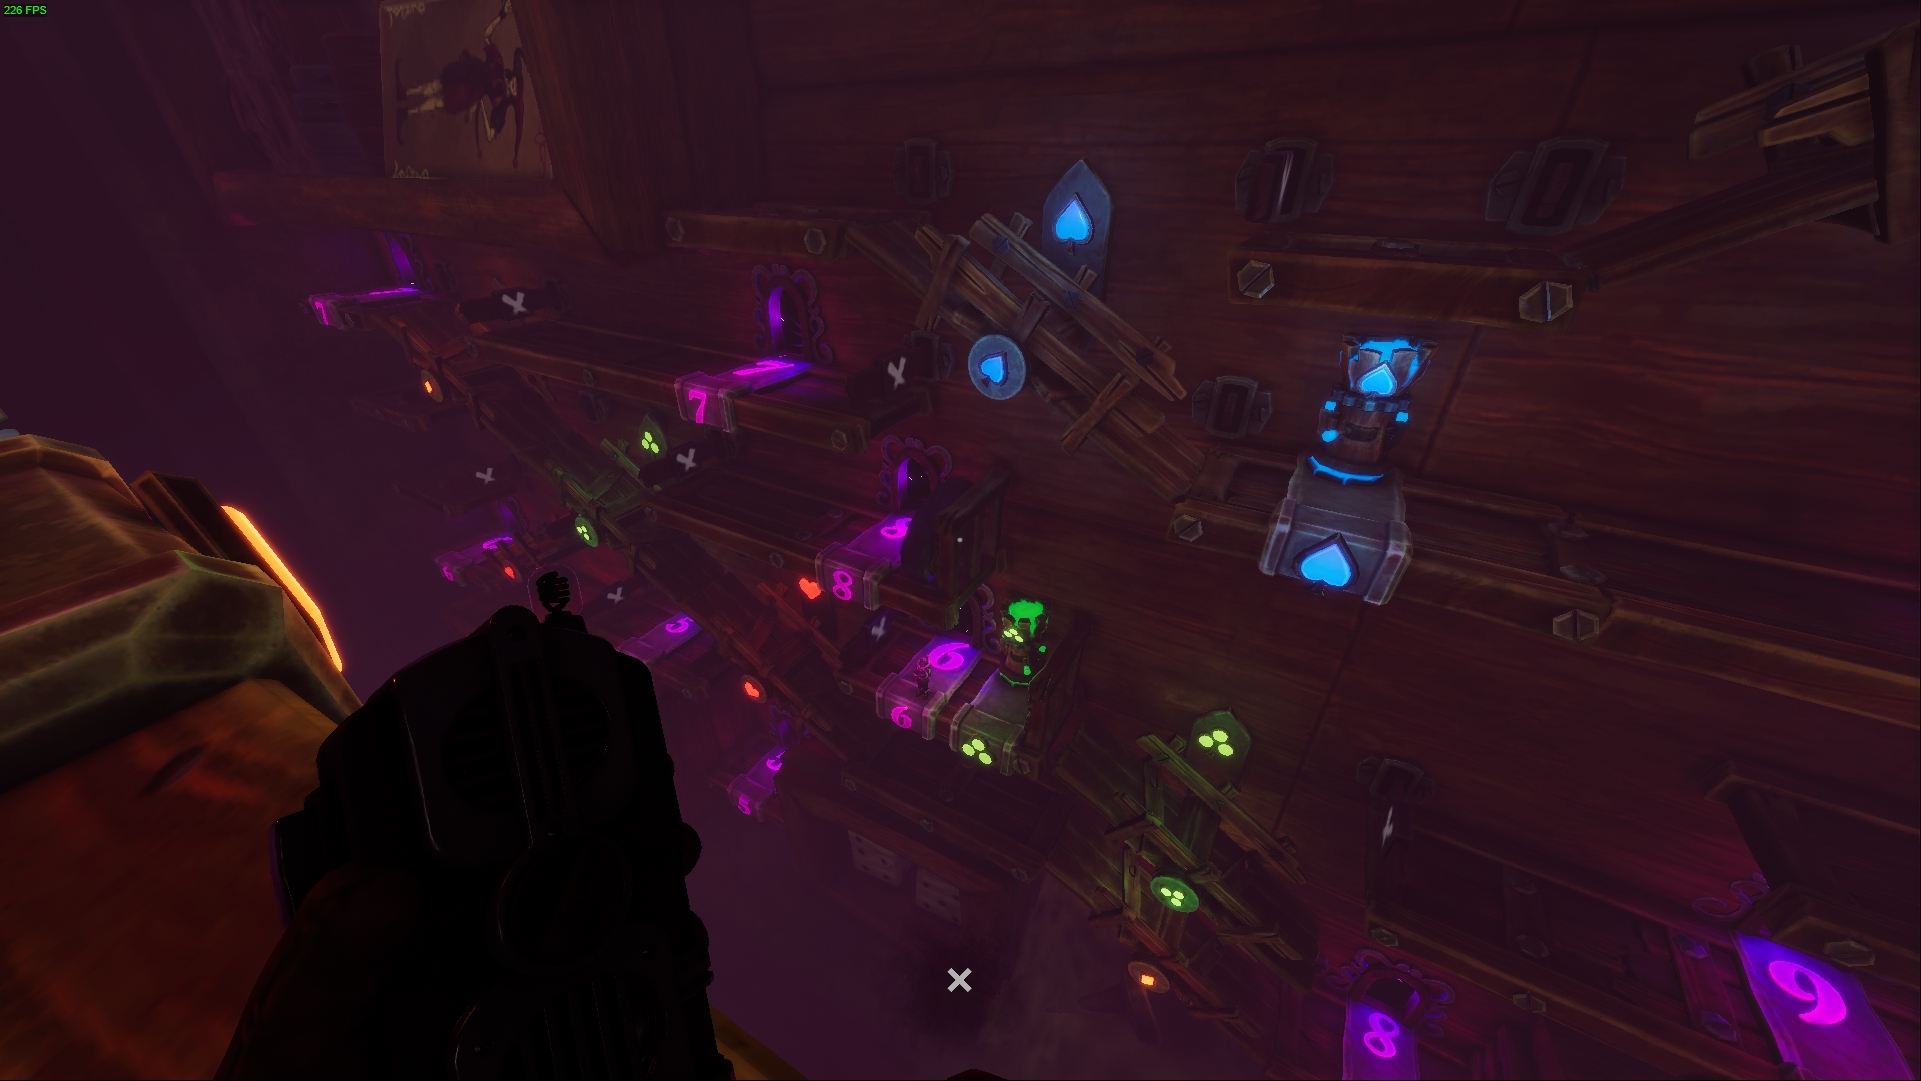
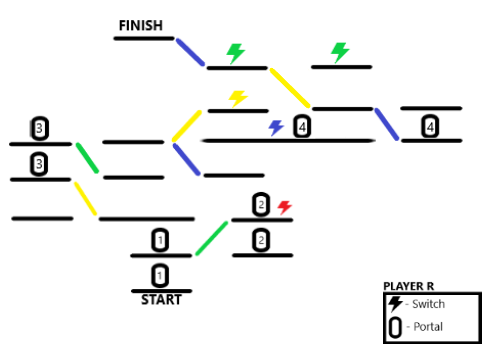
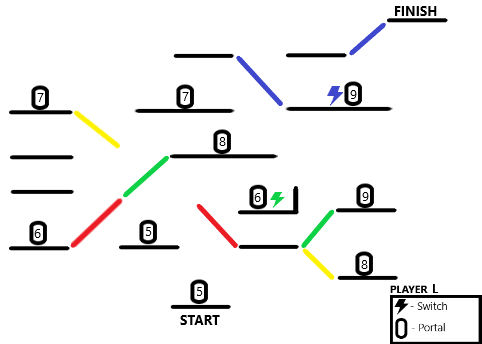
↑Indentify your side and follow the next steps:
1. Player R: enter Portal 1, go up green ramp and press red switch.
2. Player L: enter Portal 5, go up red ramp and press green switch.
3. Player R: press red switch, enter Portal 2 and go up green ramp.
4. Player L: press green switch.
5. Player R: go up yellow ramp and reach Portal 3 (does not enter).
6. Player L: press green switch.
7. Player R: go up yellow and green ramp, press yellow switch and go up yellow ramp.
8. Player L: press green switch, enter Portal 6, go up red and green ramp, and enter Portal 8.
9. Player R: press green switch and then press yellow switch.
10. Player L: go up yellow ramp and wait there.
11. Player R: press yellow switch, go up yellow ramp and press green switch.
12. Player L: go up green ramp, enter Portal 9, press blue switch, enter Portal 9 and go down green ramp.
13. Player R: press green and yellow switch.
14. Player L: go down yellow ramp and enter Portal 8.
15. Player R: press yellow switch, go up yellow ramp and press green switch.
16. Player L: go down green and red ramp, enter Portal 6 and press green switch.
17. Player R: press yellow switch, go down yellow and green ramp and enter Portal 3.
18. Player L: press green switch.
19. Player R: go down green ramp, go up blue ramp, press blue switch and go up blue and yellow ramp.
20. Player L: enter Portal 6, go up red and green ramp and enter Portal 8.
21. Player R: press green switch.
22. Player L: go up yellow, red, green and yellow ramp and enter Portal 7.
23. Player R: go down yellow and blue ramp, enter Portal 4 and press blue switch.
24. Player L: go up blue ramp.
25. Player R: press blue switch.
26. Player L: go up blue ramp reaching the goal.
27. Player R: enter Portal 4, go up blue, yellow and blue ramp reaching the goal.

Escaped from the Jesters’ Toybox
The Illusions
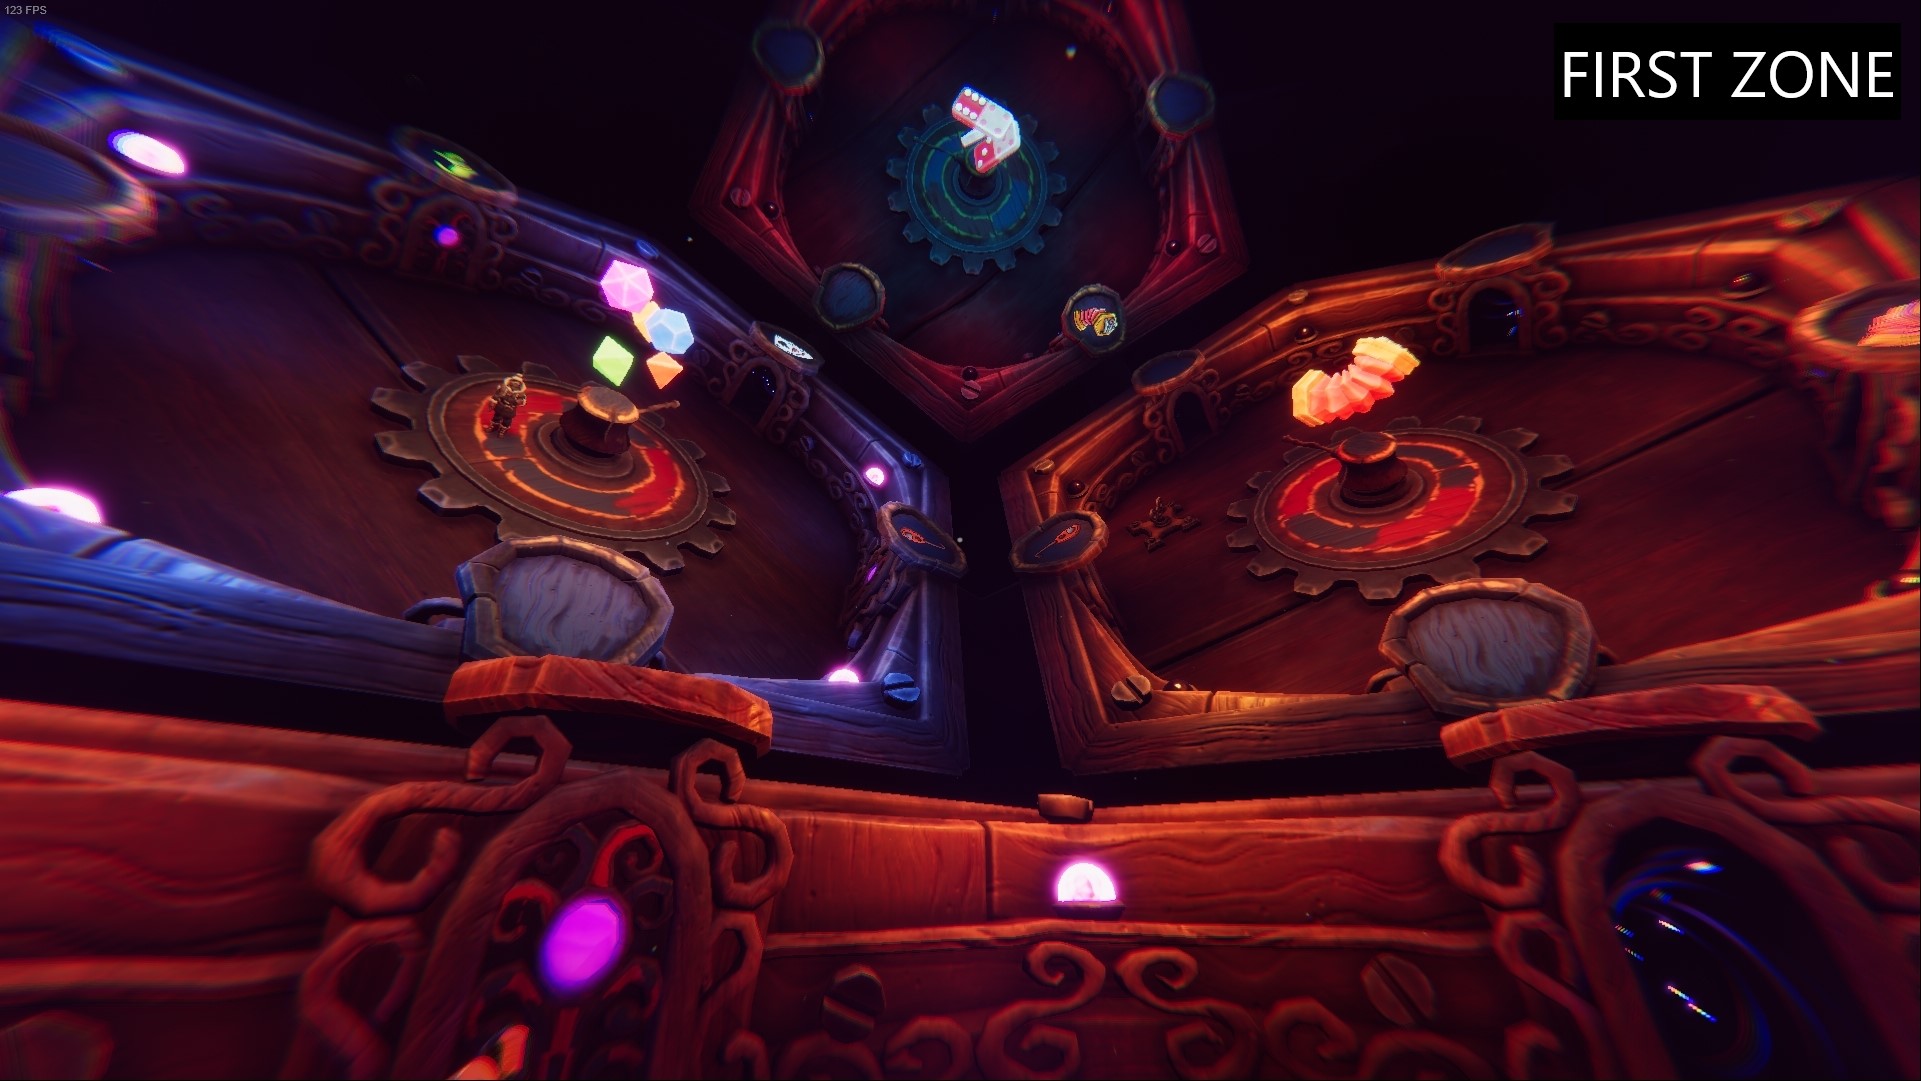
↑Follow the next steps:
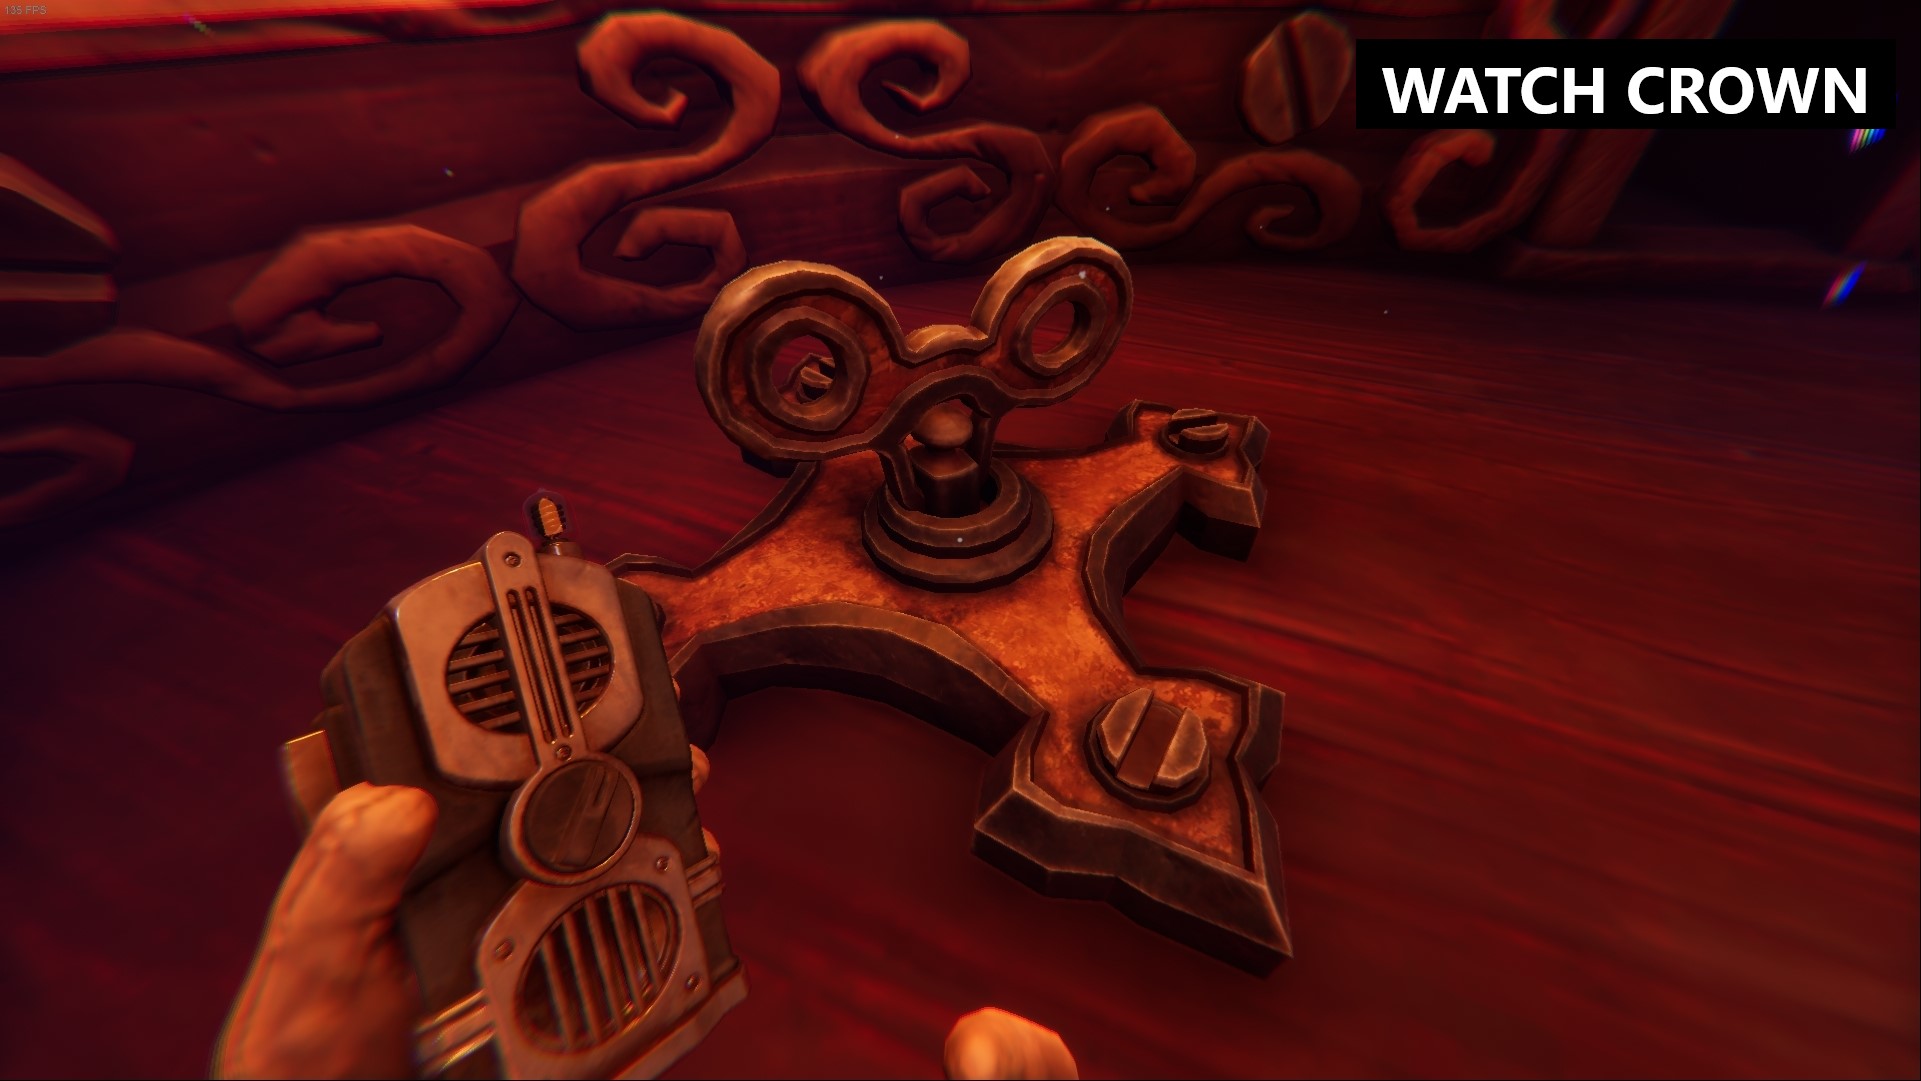
1. Player 1 match both accordions, goes in and actives watch’s crown.
2. Player 2 match both green shoes, goes in and actives watch’s crown.
3. Player 2 match both dices and goes in.
4. Player 1 and 2 match both lutes and player 1 goes in.
5. Player 1 and 2 match both cards, player 2 goes in and actives watch’s crown.
6. Player 1 and 2 match both jester’s hat and player 2 goes in.
7. Player 1 and 2 match both blue trumpets and player 1 goes in.
8. Player 1 and 2 match both lyres and player 1 goes in.
9. Player 2 match both cards and goes in.
10. Player 1 and 2 match both portals, goes in and actives watch’s crown to enter the big portal.
————–END OF THE FIRST PART————–
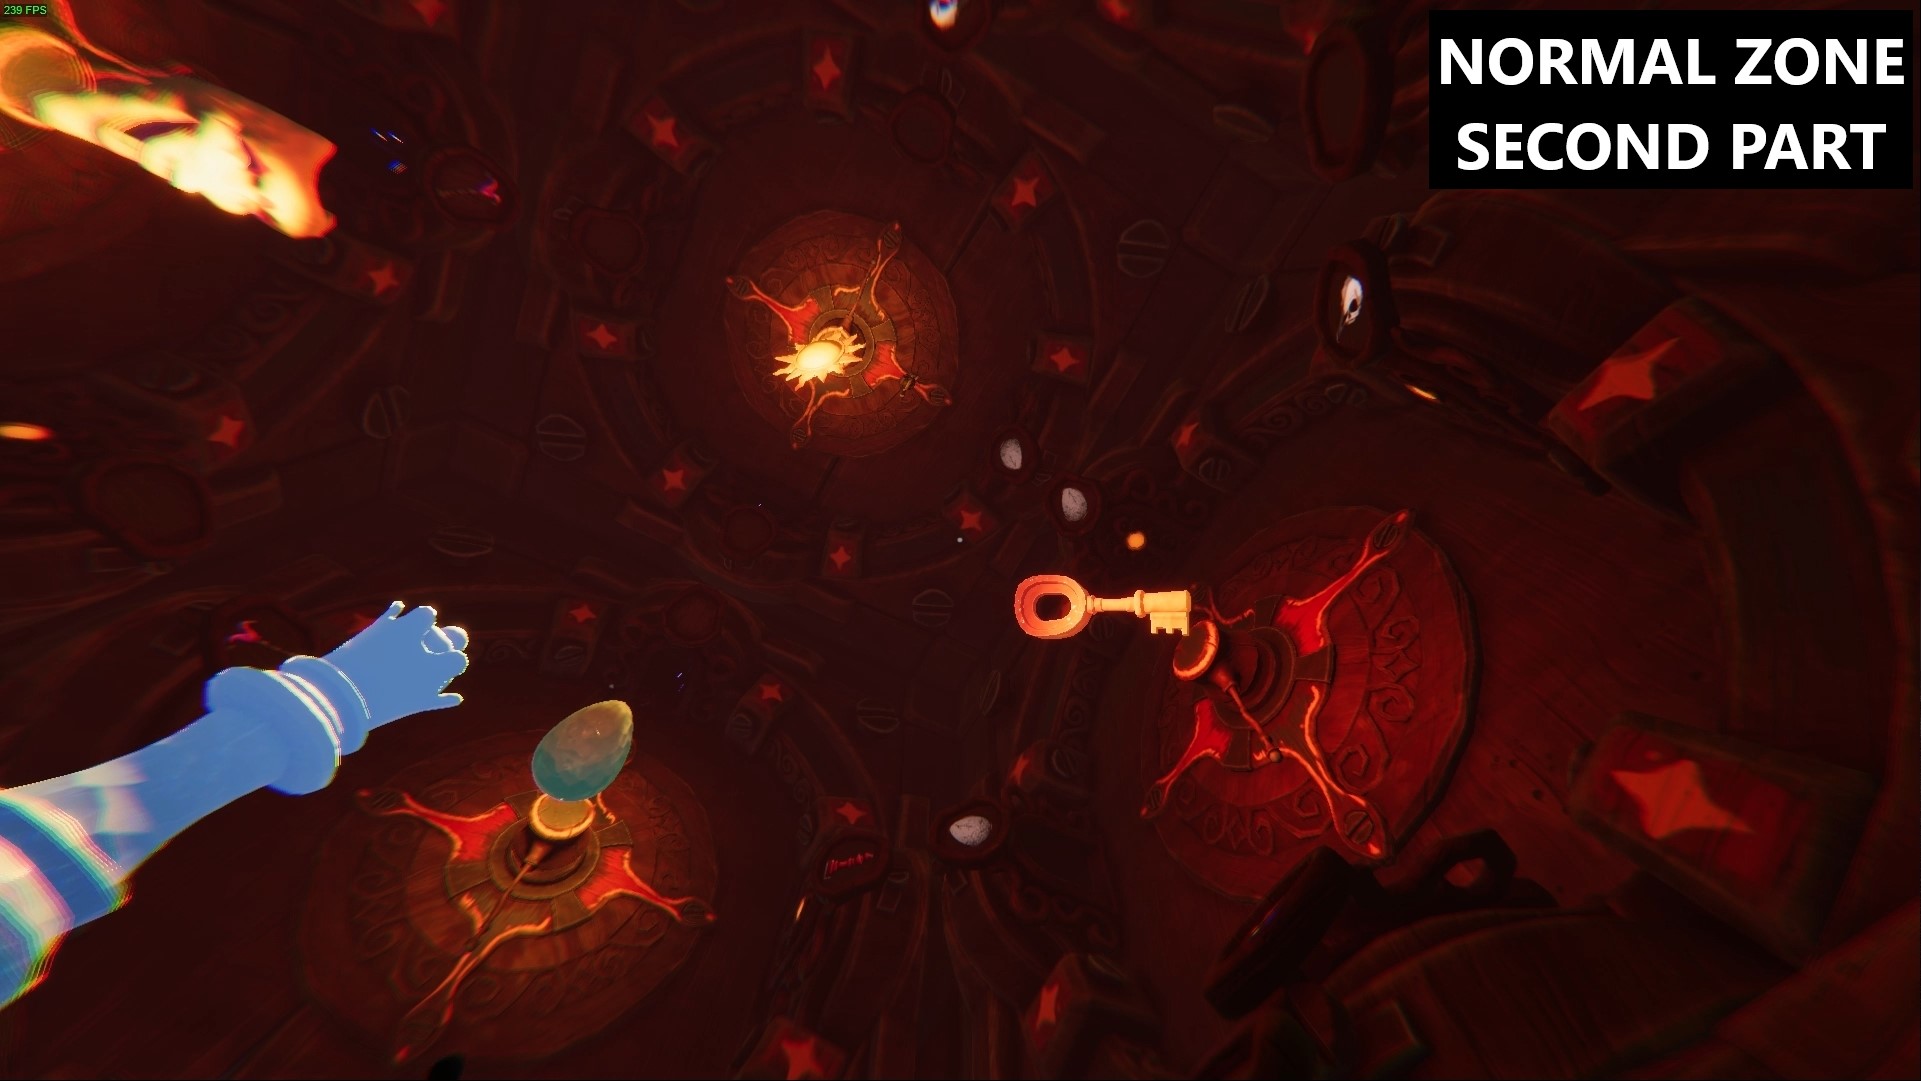
11. Player 1 match both eggs and goes in.
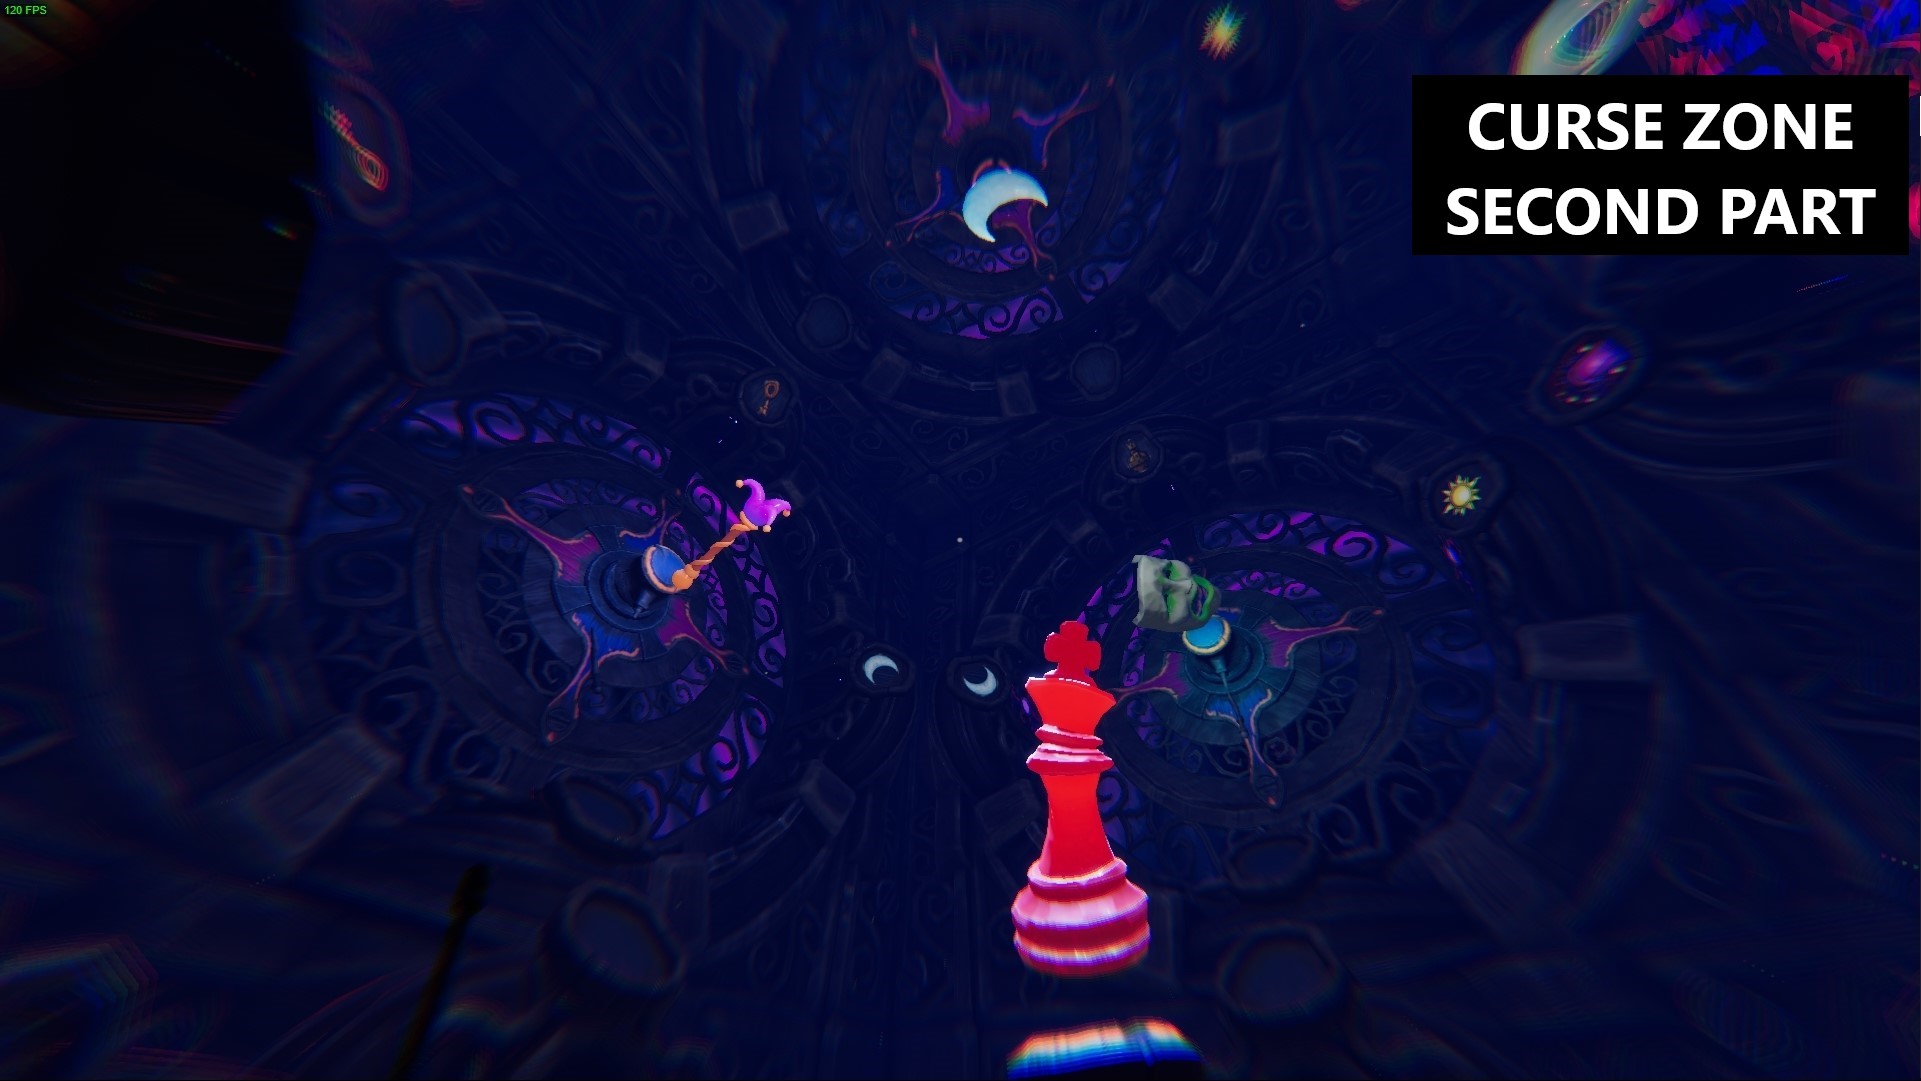
12. Player 1 and 2 match both red chess pieces and player 2 goes in (to be in cursed zone).
13. Player 1 turn plataform to make player 2 match both cursed masks and goes in.
14. Player 2 turn plataform to make player 1 match both jester’s rod and both balls with crown, goes in and return to normal zone.
15. Player 1 goes in through jester’s rods (to be in cursed zone).
16. Player 2 match both skulls and also the keys in the cursed zone for player 1, both goes inside, now player 2 is in cursed zone and P1 in normal zone.
17. Player 1 match both eggs and goes in.
18. Player 1 match portals for both players, now both can go in actives watch’s crown and leave the area through the big portal.

Escaped from the Jesters’ realm

Escaped from the keep
Chapter 2 – The Chapel
The Broken Road
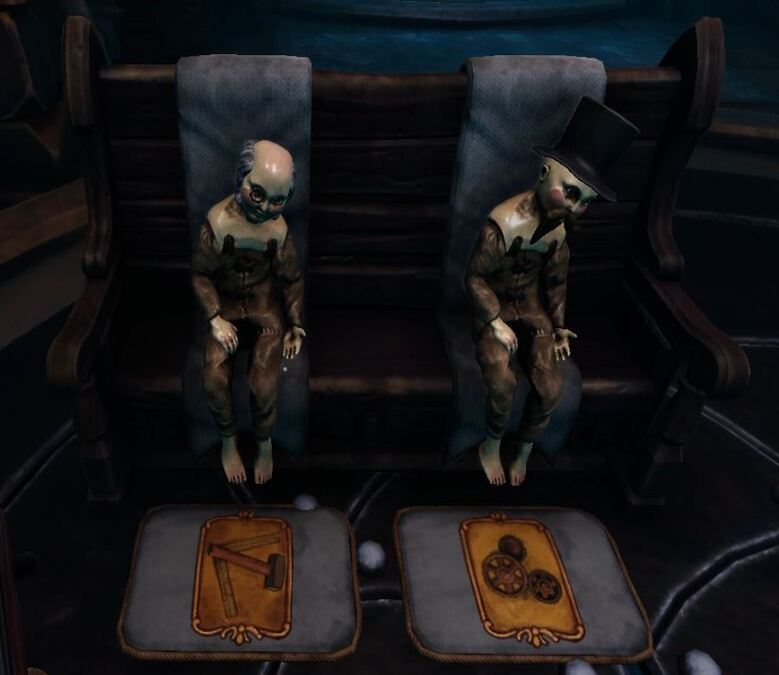
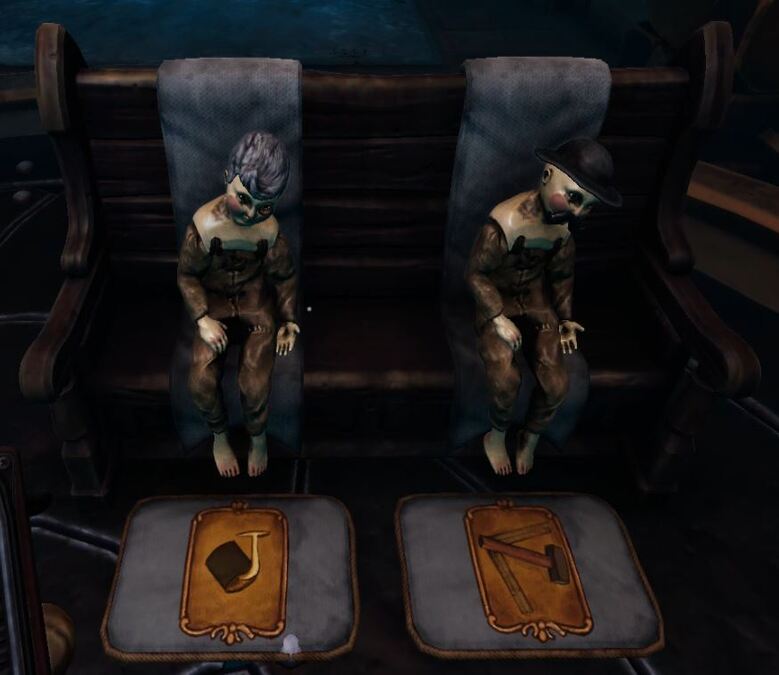
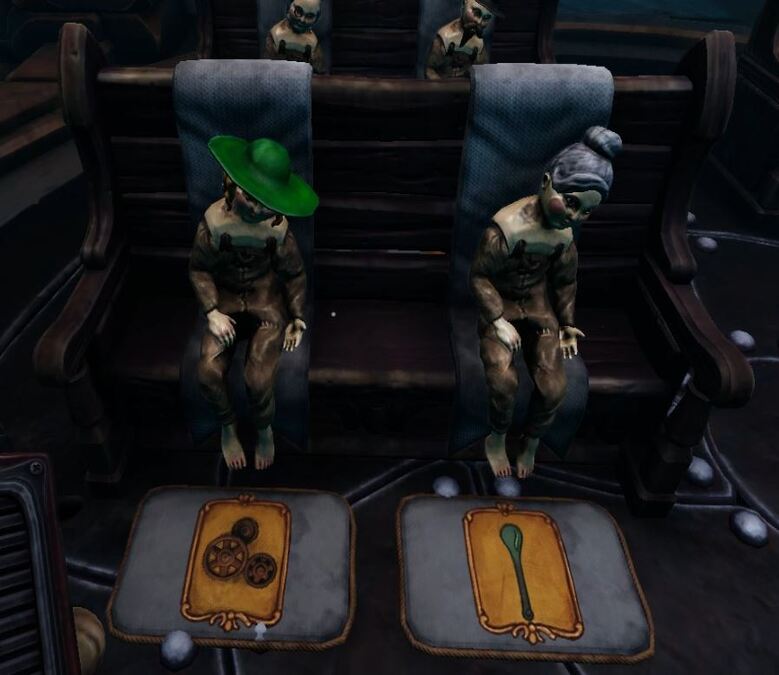
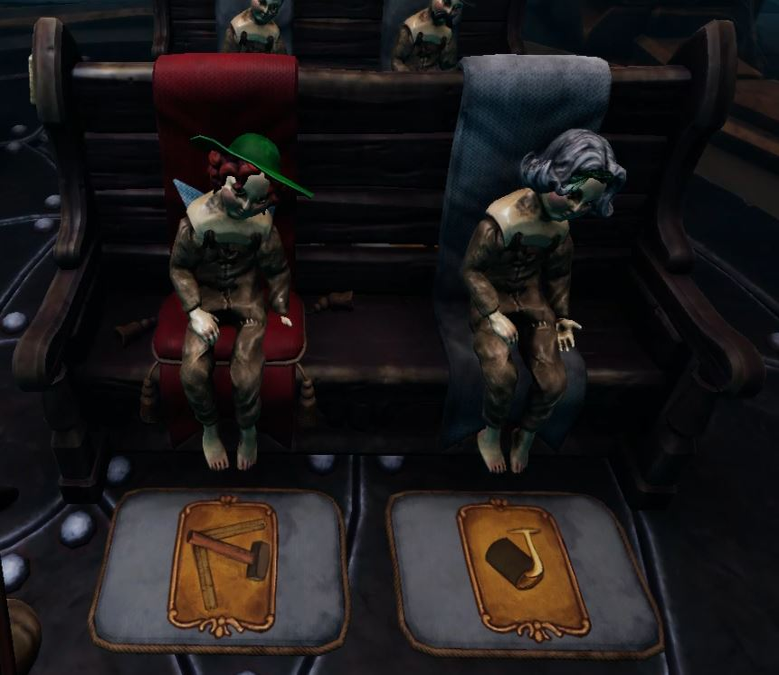
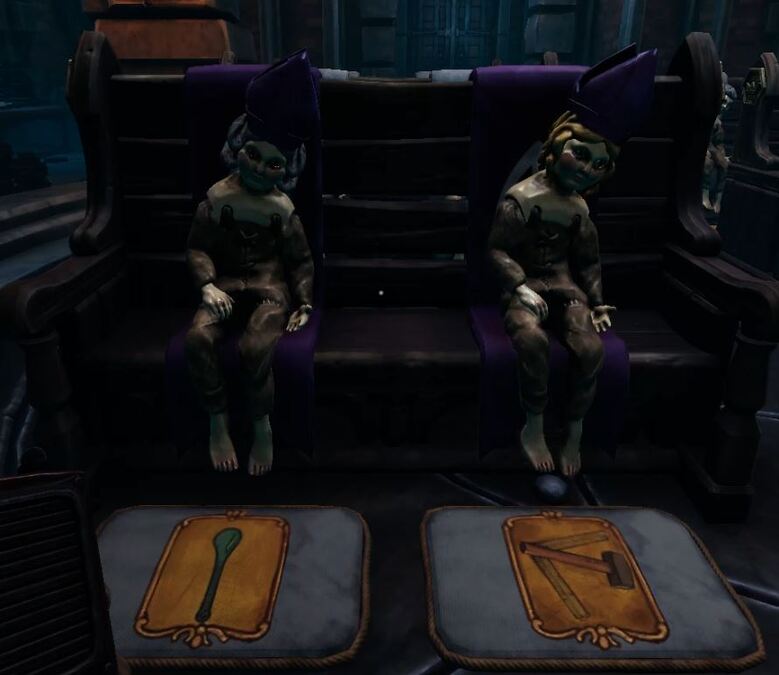
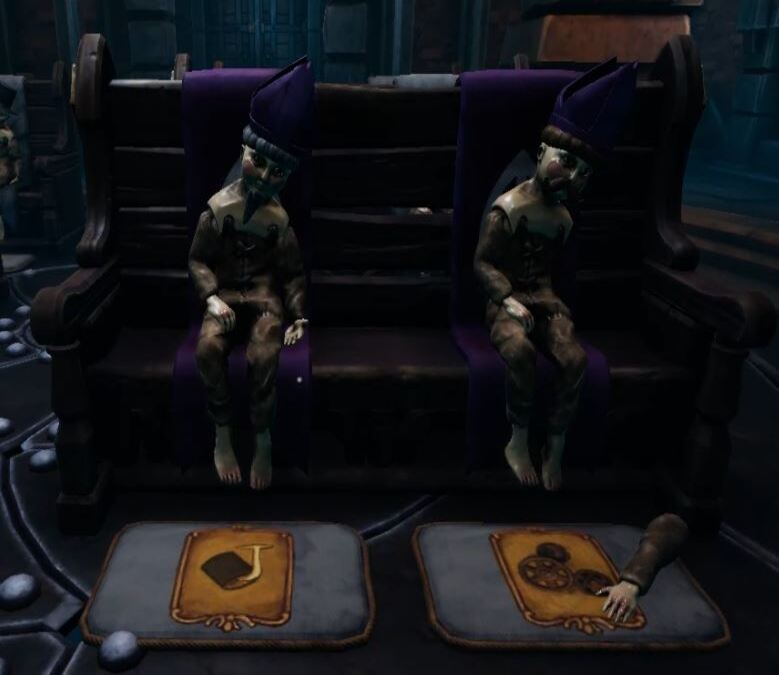
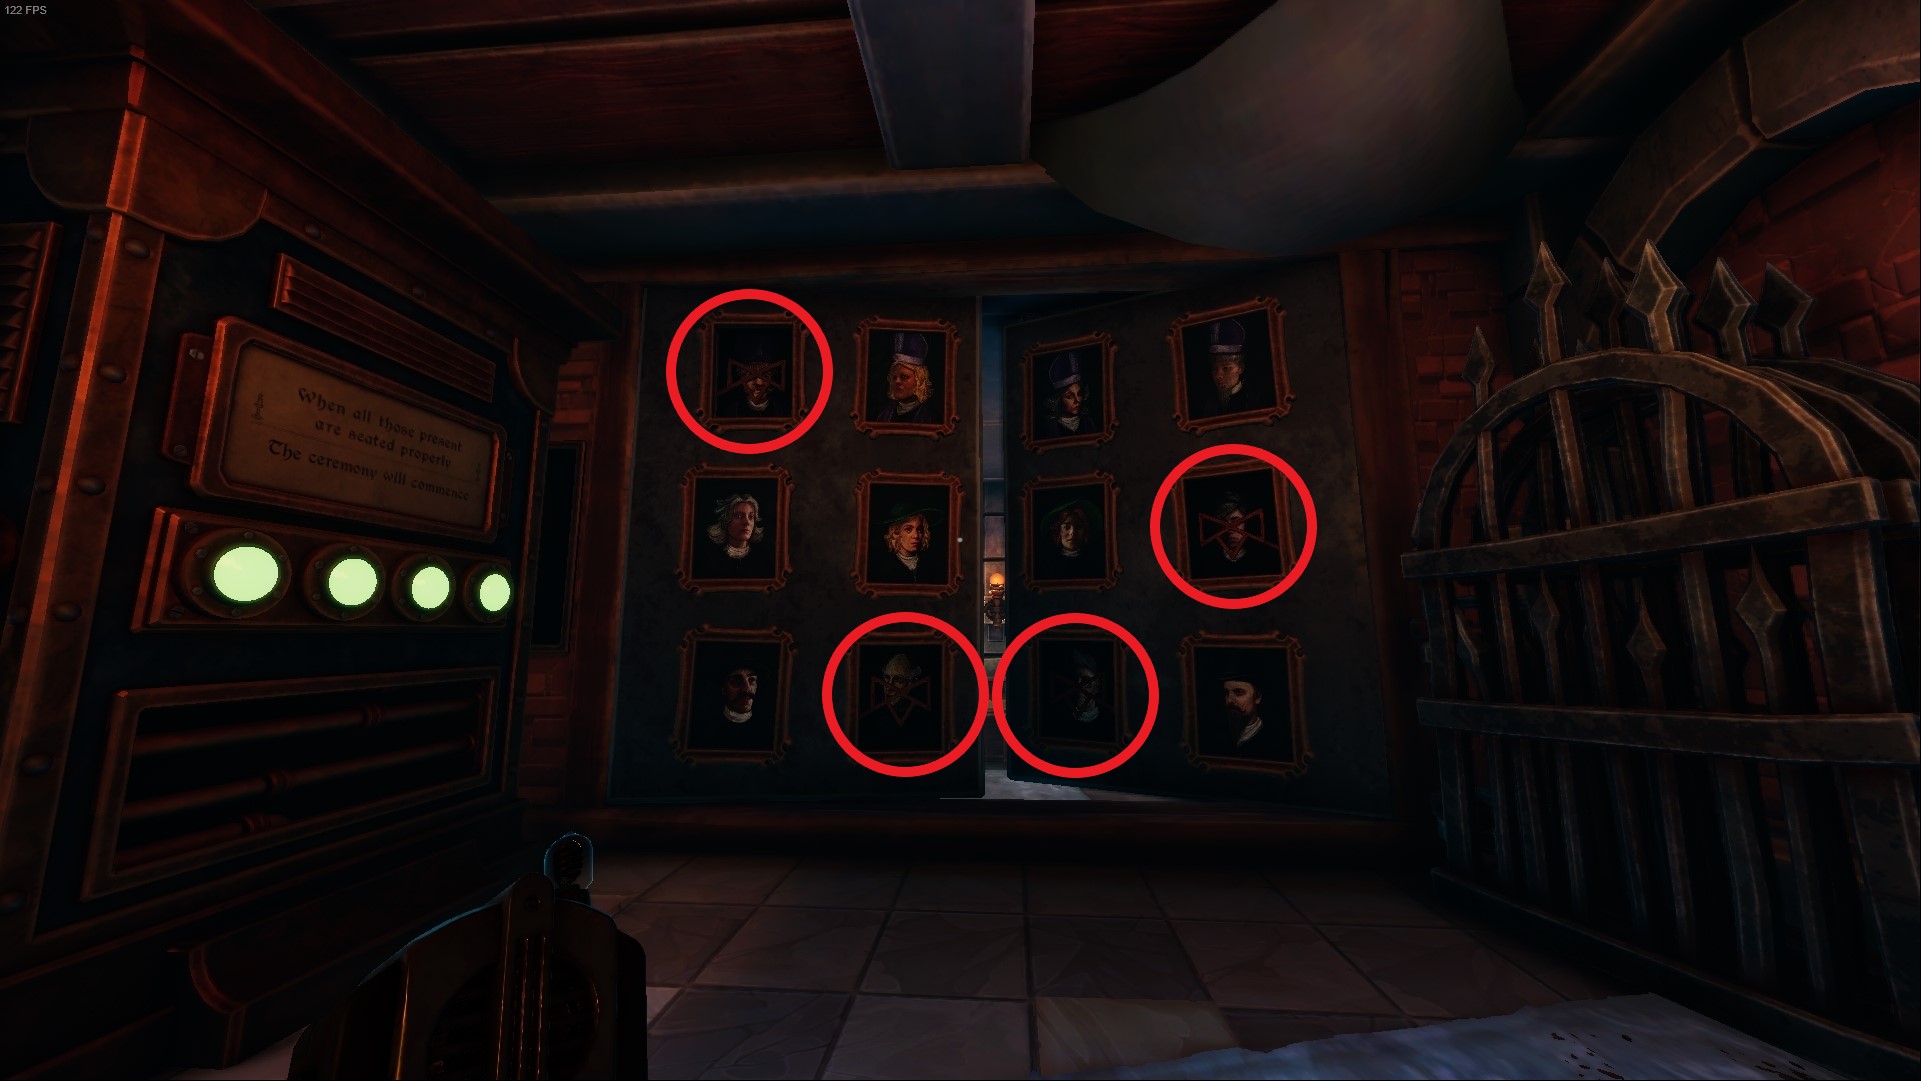
↑Follow the next instructions:
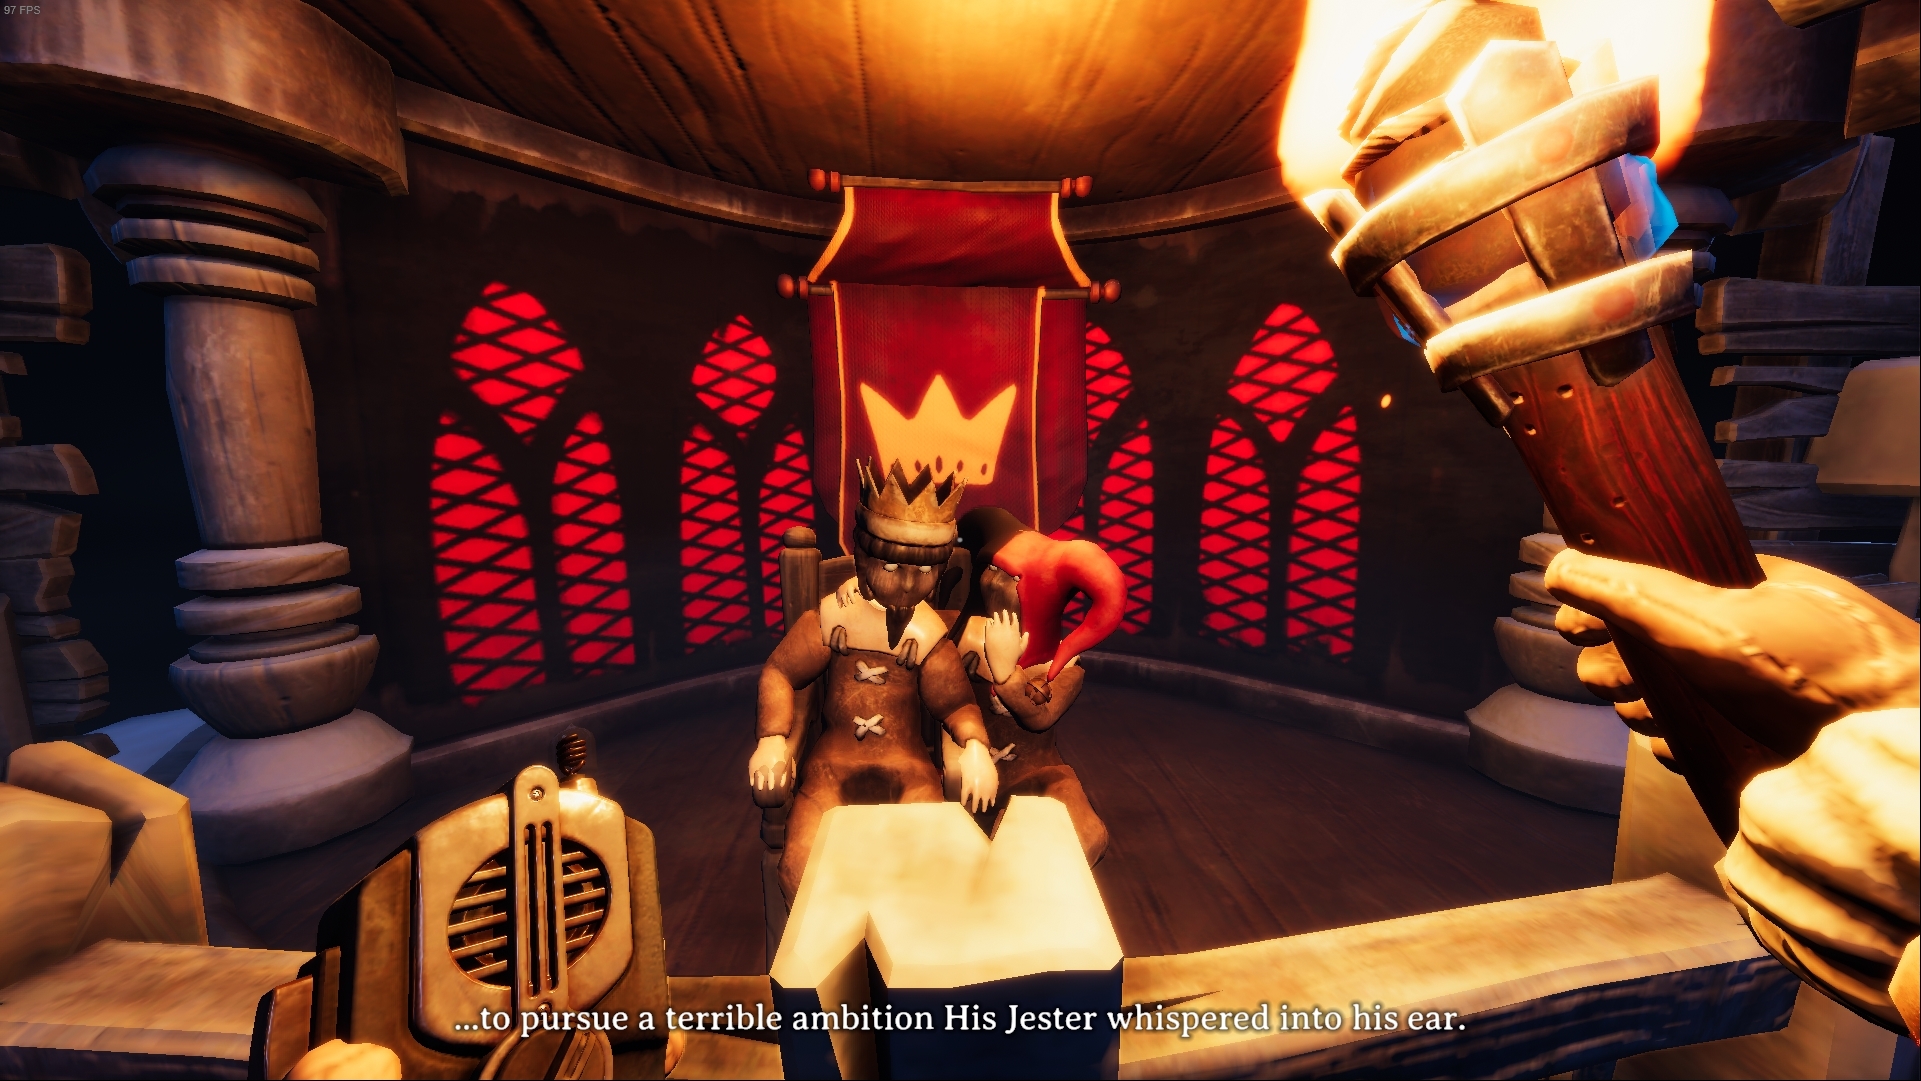
1. Bartholomeus the King + Rudolf the Court Jester
2. Alard the Clockenmakere + Yde the Steenhouwere
3. Hylle the Glaseblasere + Ysebrant the Bronsghieter
4. Emilia the Princess + Katherine the Princess

Solved the riddles

Assisted in solving the riddles
The Pledge
The Resistance

Discovered the realms’ defiance

Discovered the secrets of the Resistance
The Hymn
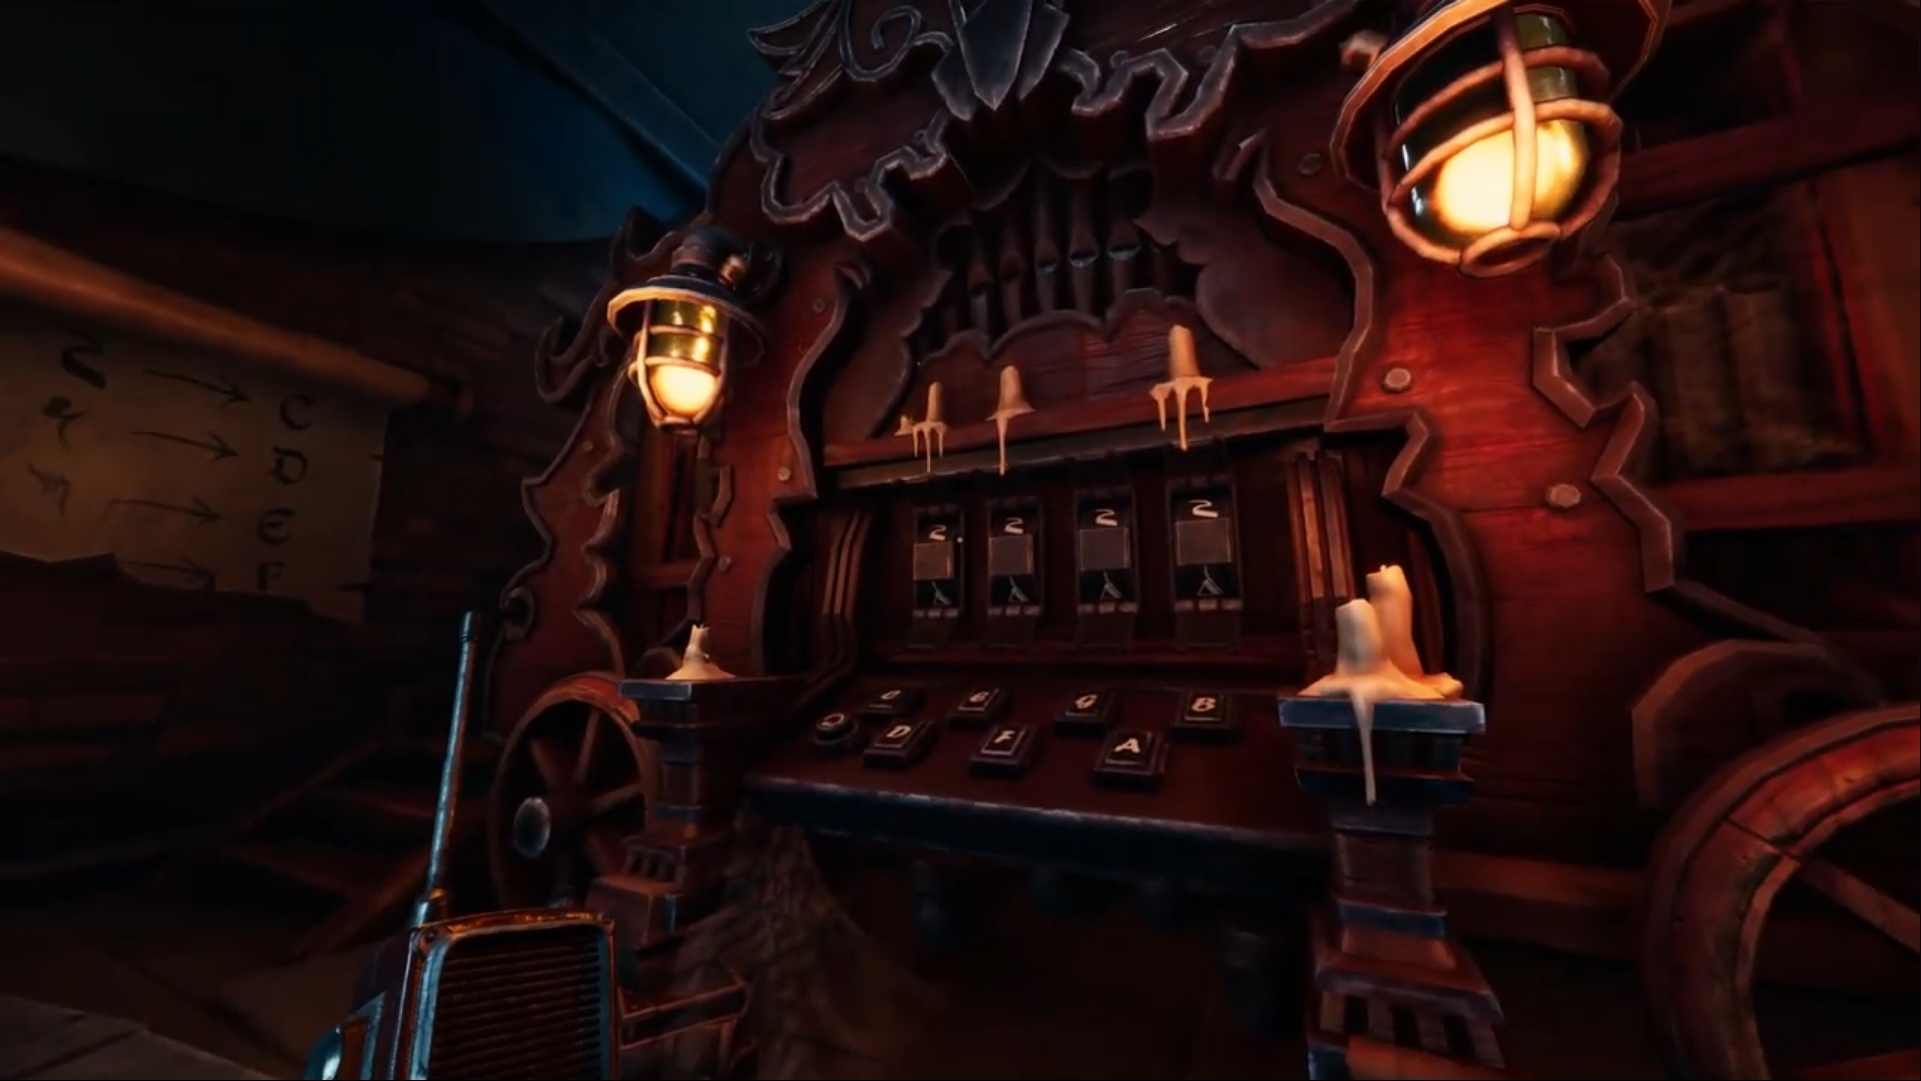
↑Hit the following sequences on the organ:
1-GACB
2-GFCB
3-GCCD
4-GFCC
5-CFGC
6-EFGA
Chapters 3, 4 and 5 can be played in any order. Depends on which path you take. Each time you finish a chapter return to the chapel and add the new part in the astrolabe.
Chapter 3 – The Graveyard

Entered the Royal Cemetery
The Seal
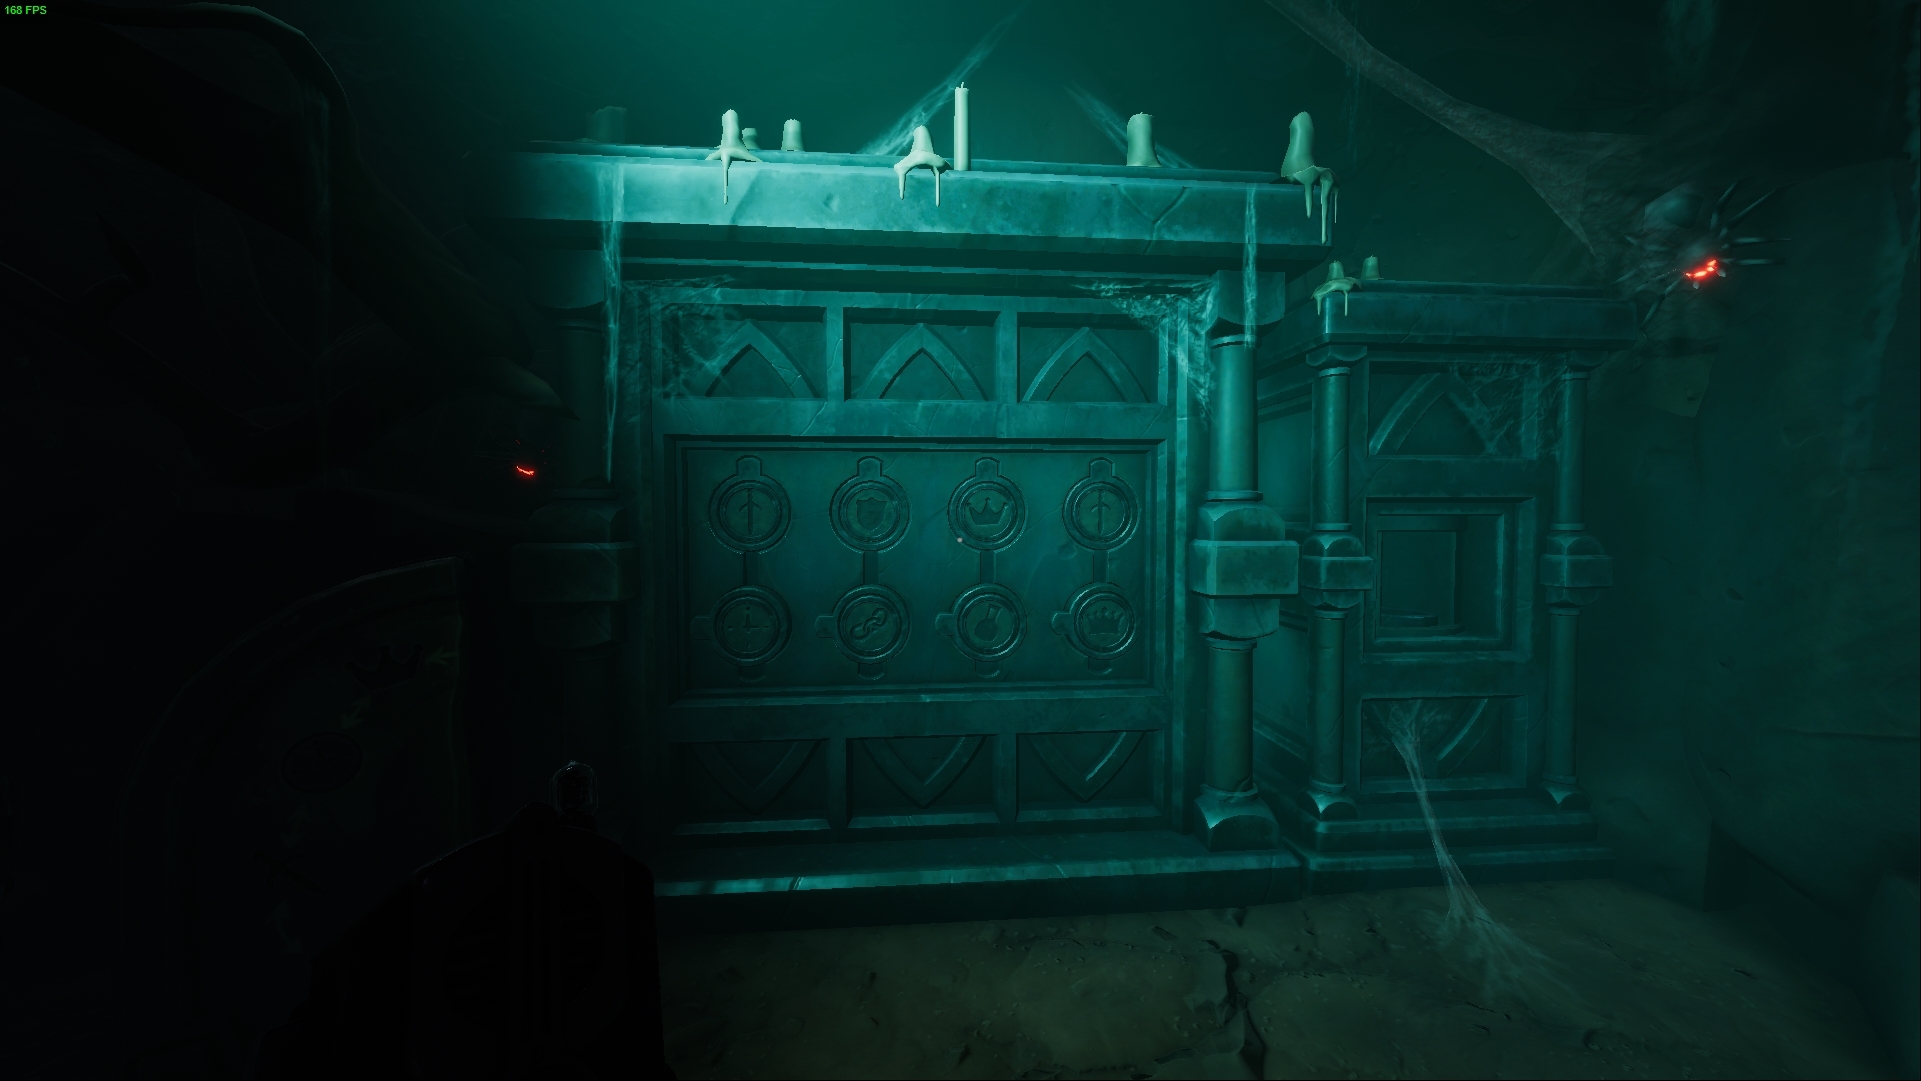
↑Place the seals in the correct positions. Use the elevator (right image) to swap the seals with your partner. Each seal can only be next to the others of the stone.

Unlocked the catacombs
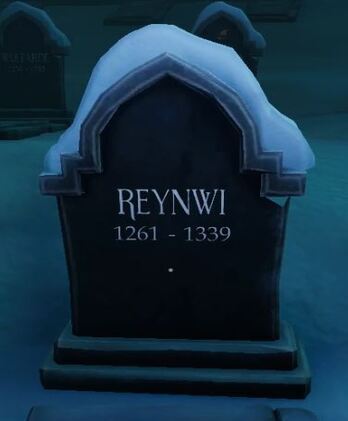
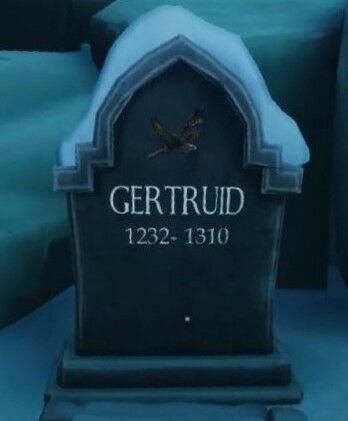
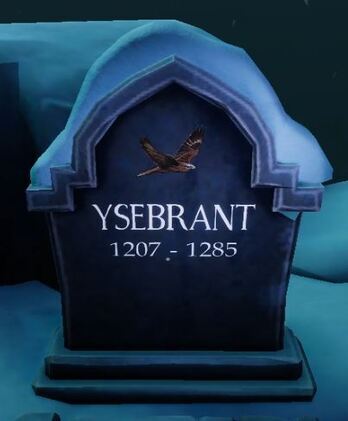
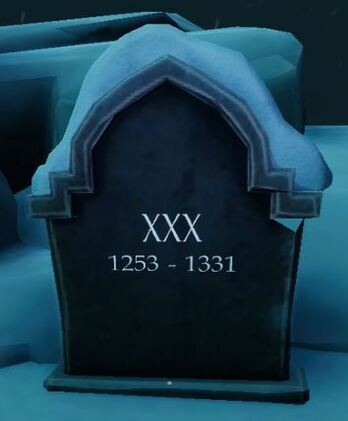
The Lost
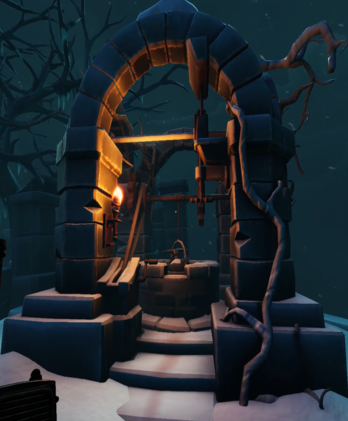
↑Give the pickaxe to your partner using the water well so you can use the pickaxe to open this tombs.
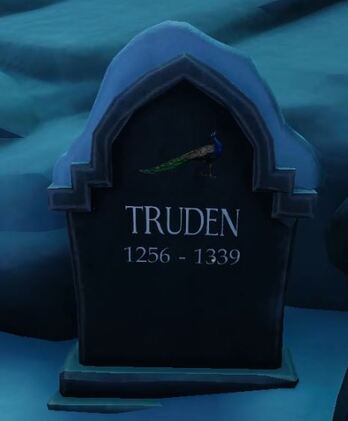
The keys are inside. Use the well to pass the keys to the other player.
1. Truden (1256-1339) Family: Clokenmakere
2. Reynwi (1261-1339) Family: Glaseblasere
3. Gertruid (1232-1310) Family: Steenhouwere
4. Ysebrant (1207-1285) Family: Bronsghieter
5. XXX (1253-1331) Family: Bronsghieter

Unlocked the treasure vault

Assisted in unlocking the treasure vault
The cache
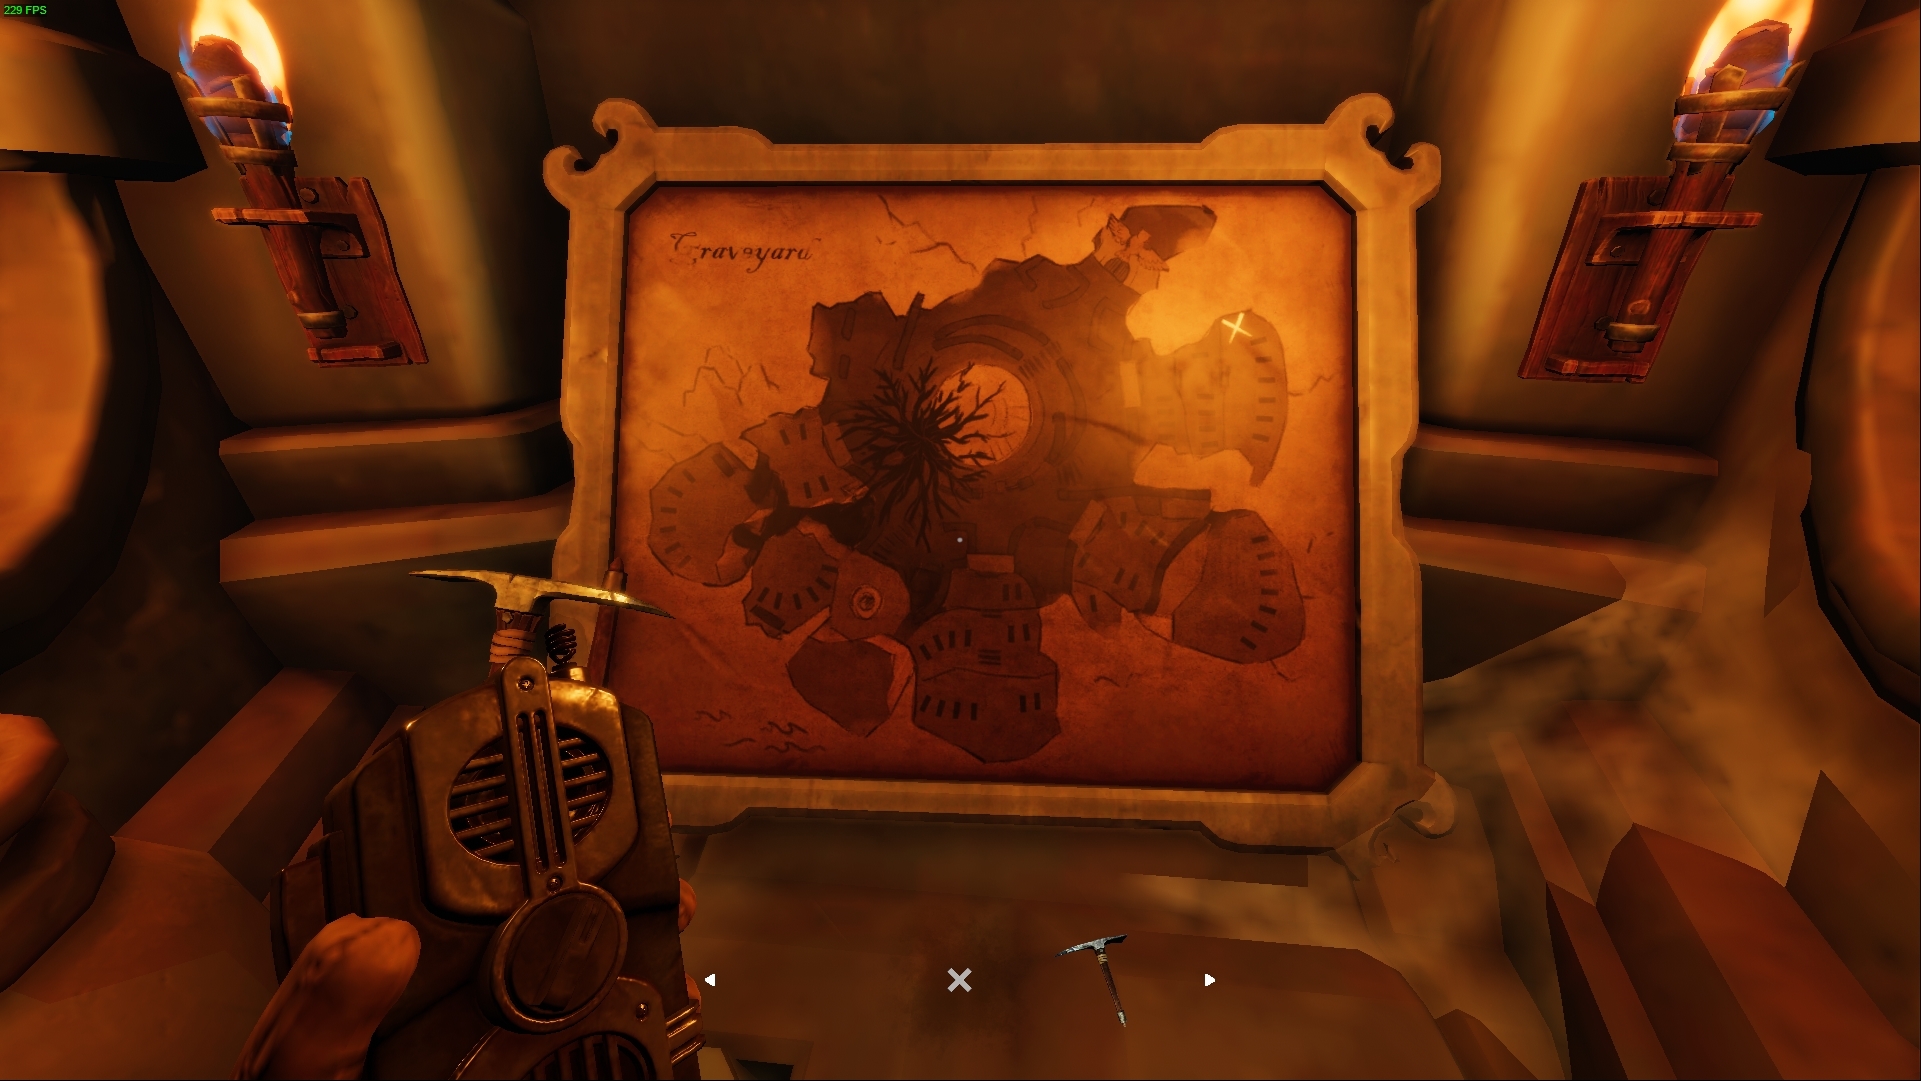
↑Use the map to find the clues. Tell the other player where is the cross.
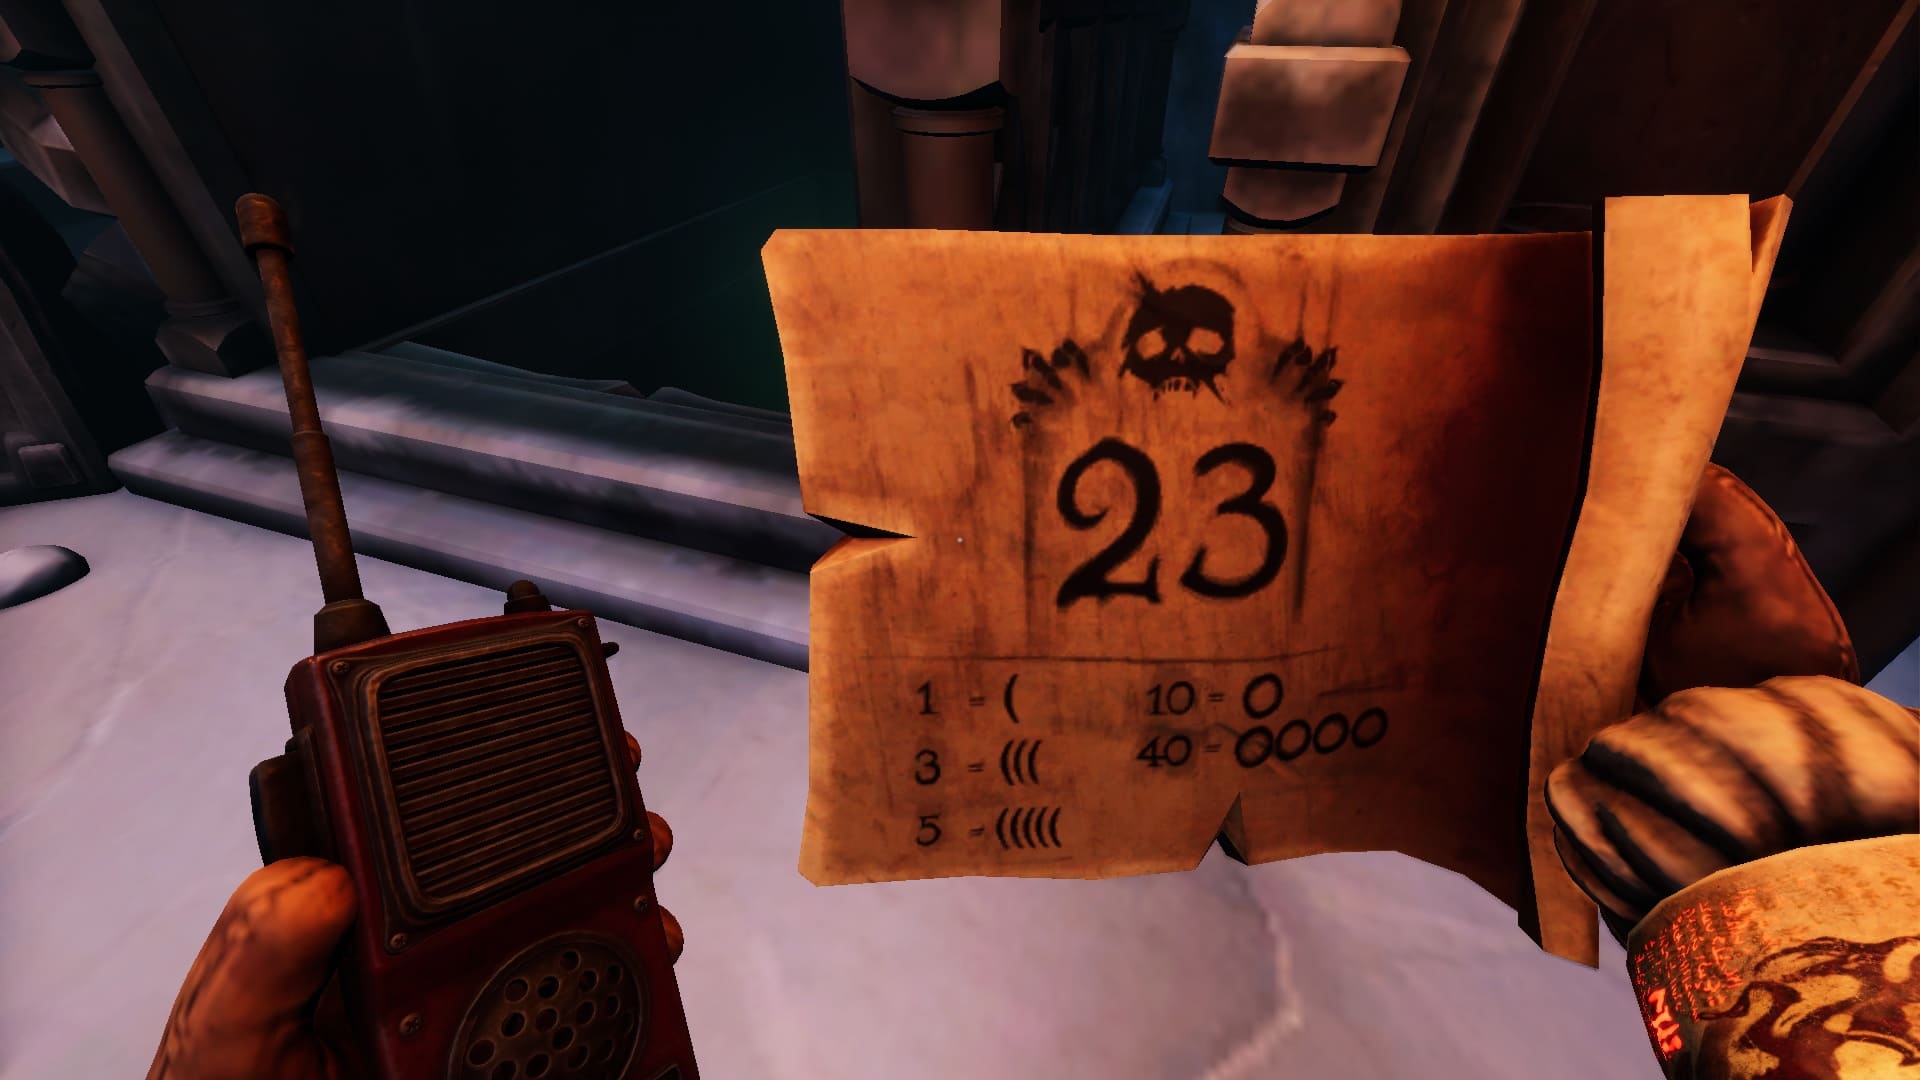
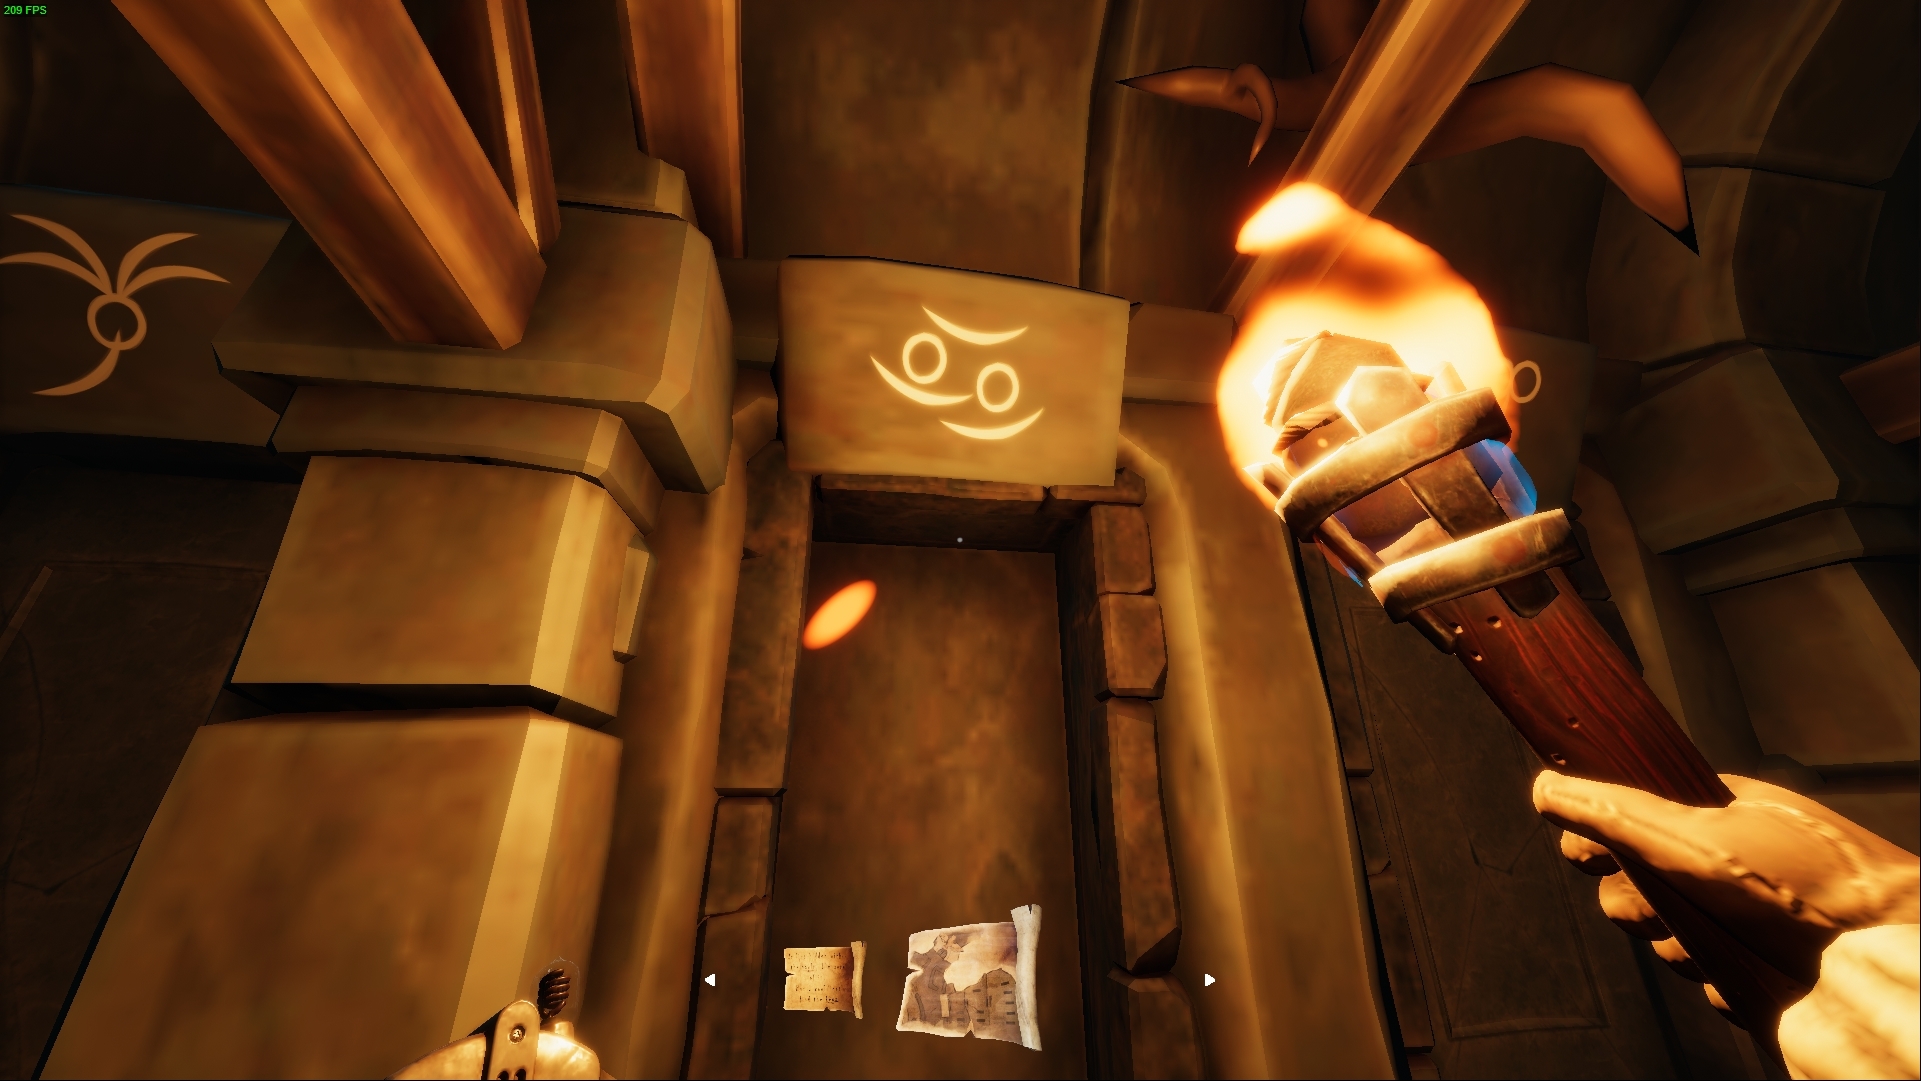
↑Use the clues to find the tombs.

Discovered hidden treasures

Assisted in discovering hidden treasures

Obtained the lens of the Astrolabe
Chapter 4 – Rockbury

Entered the Ruins of Rockbury
The Ruins of Rockbury
↑You have to turn the platform until you leave your partner in the lower area on your left side, where there will be a lever that he will have to activate so you can access the area on your right side. Keep turning the platform until you can leave your partner in the upper area and then go to the lower area using the platform, you will find and elevator that will reunite you with your partner

Realigned the light beam
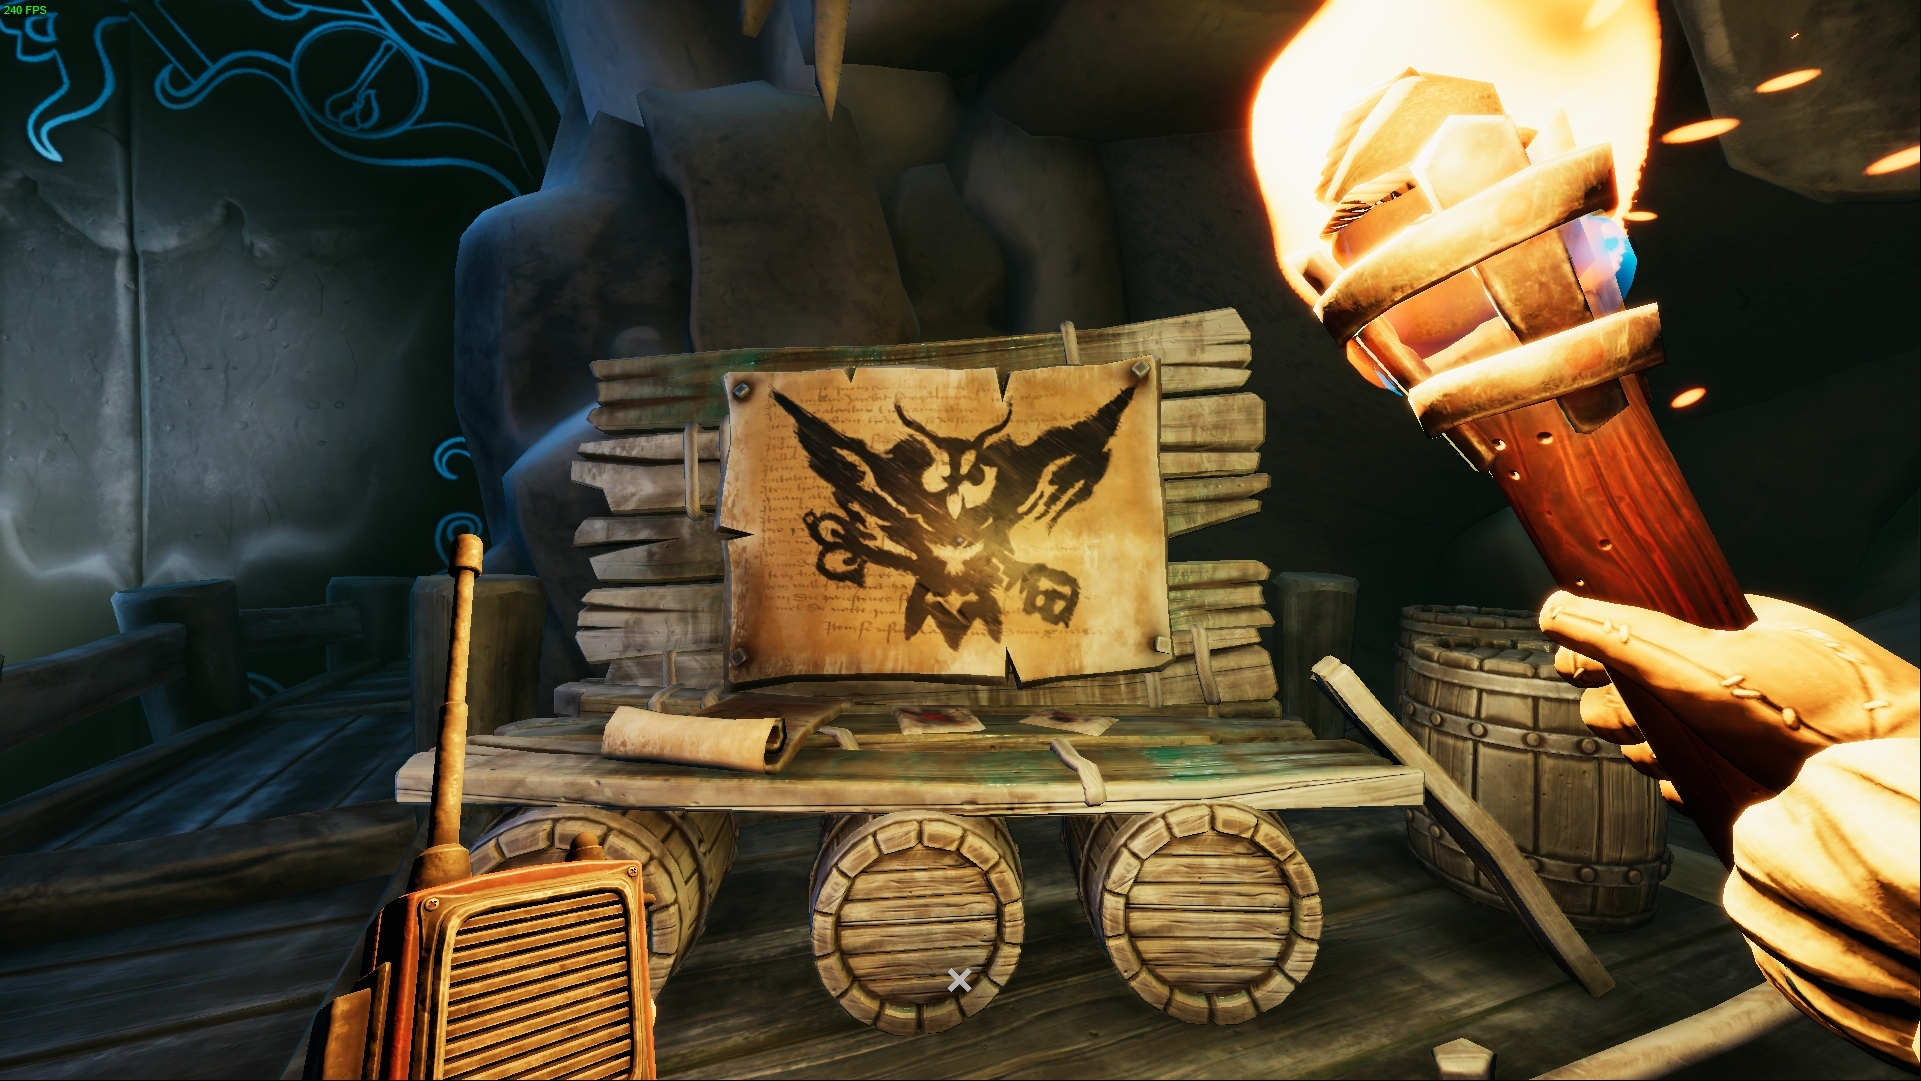
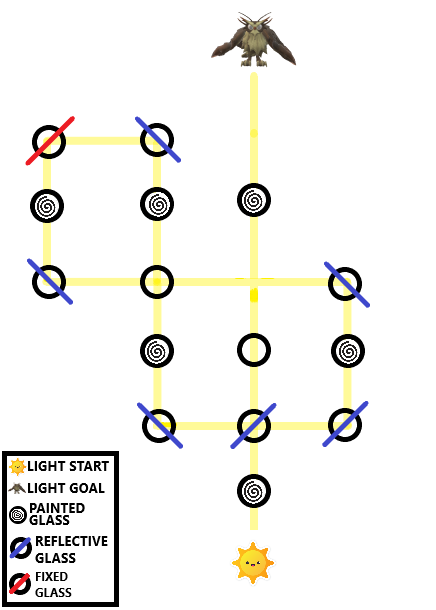
The Reflections
↑Take all the glass panels and put them as we indicate in the drawing. At the end of this puzzle the reflection of the howl must be seen like the first picture, if the reflection doesn’t look like that, the upper player may need to turn the crystal.

Discovered Rockbury’s secret

saAssisted in discovering Rockbury’s secret

Obtained the rete of the Astrolabe
Chapter 5 – The Foundry

Entered the Sunken Mines
The Expedition
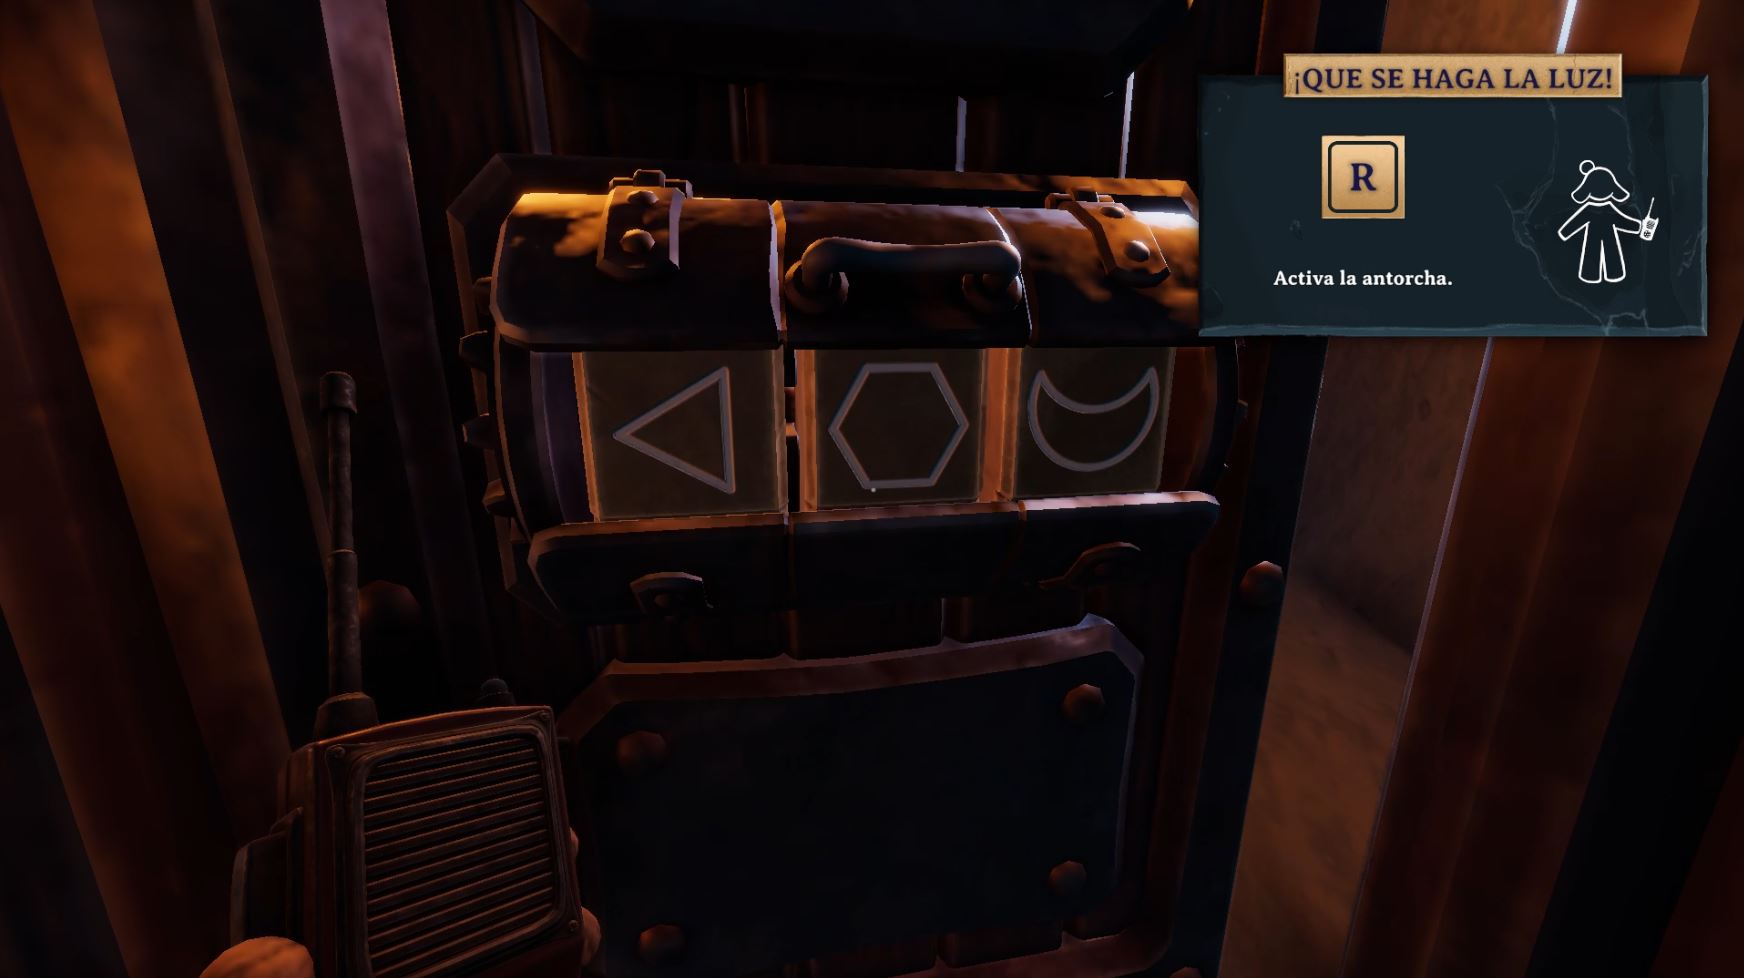
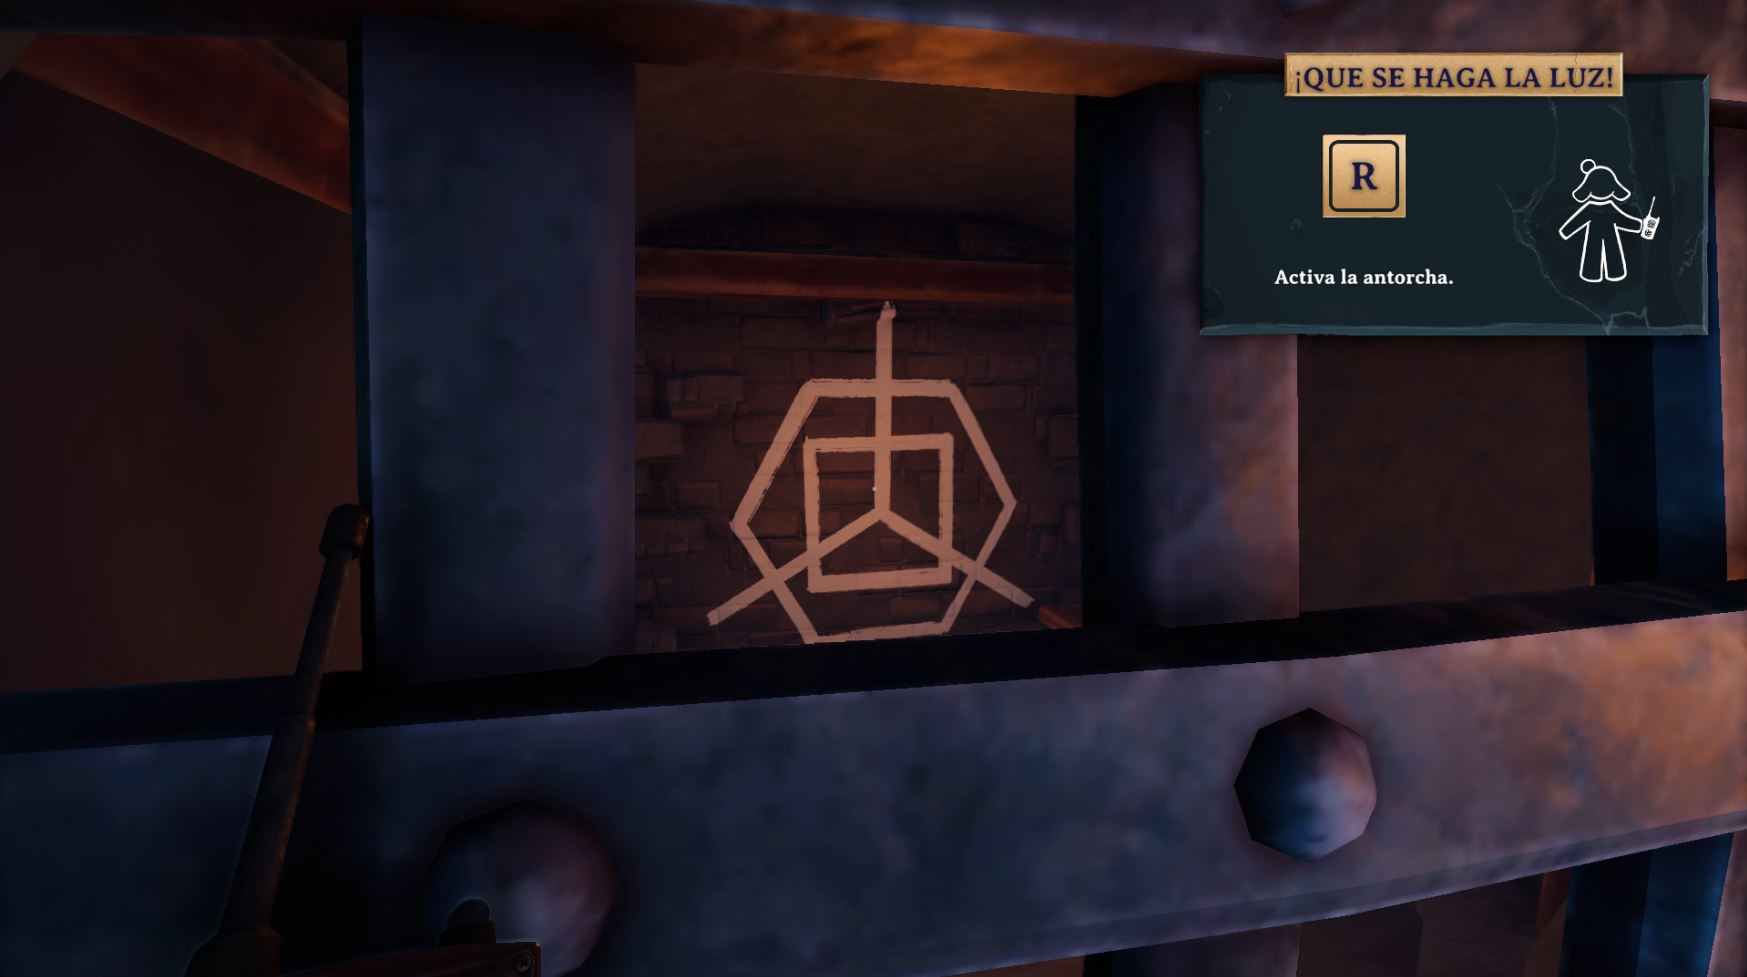
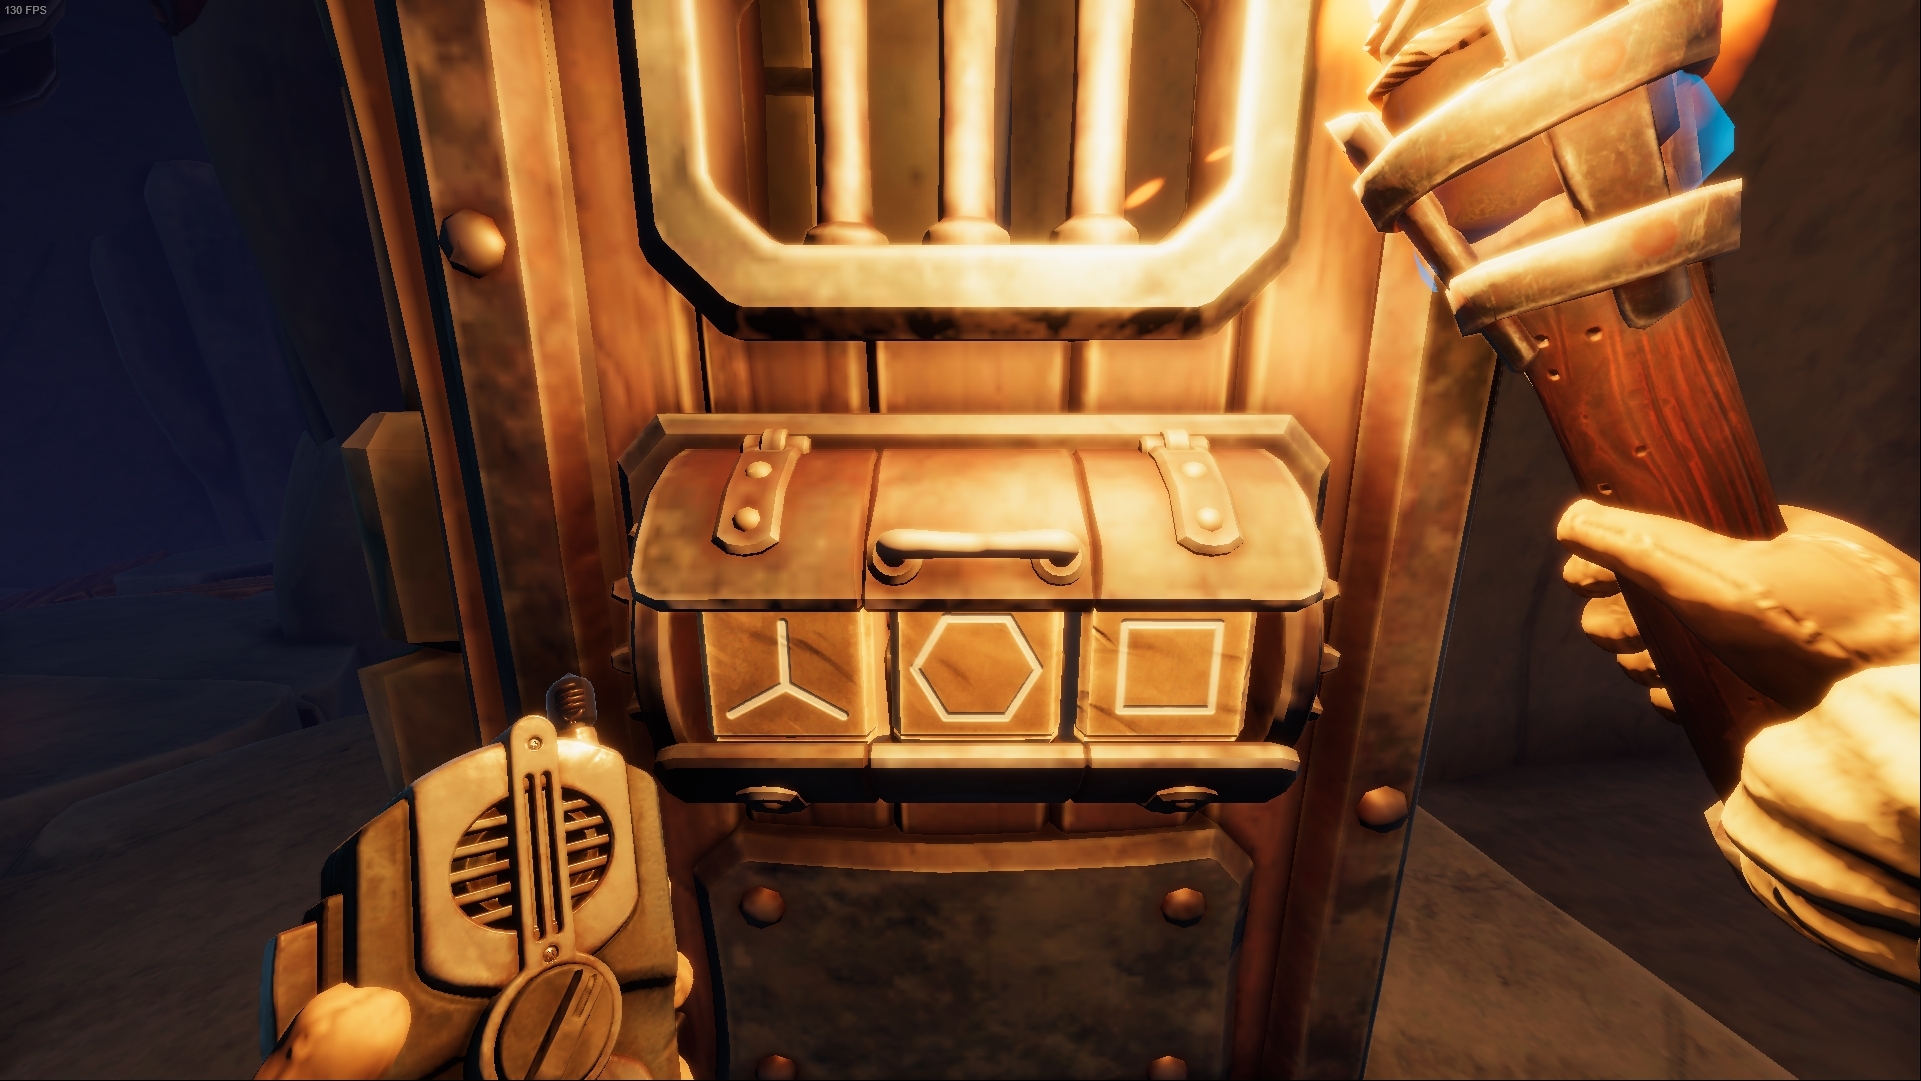
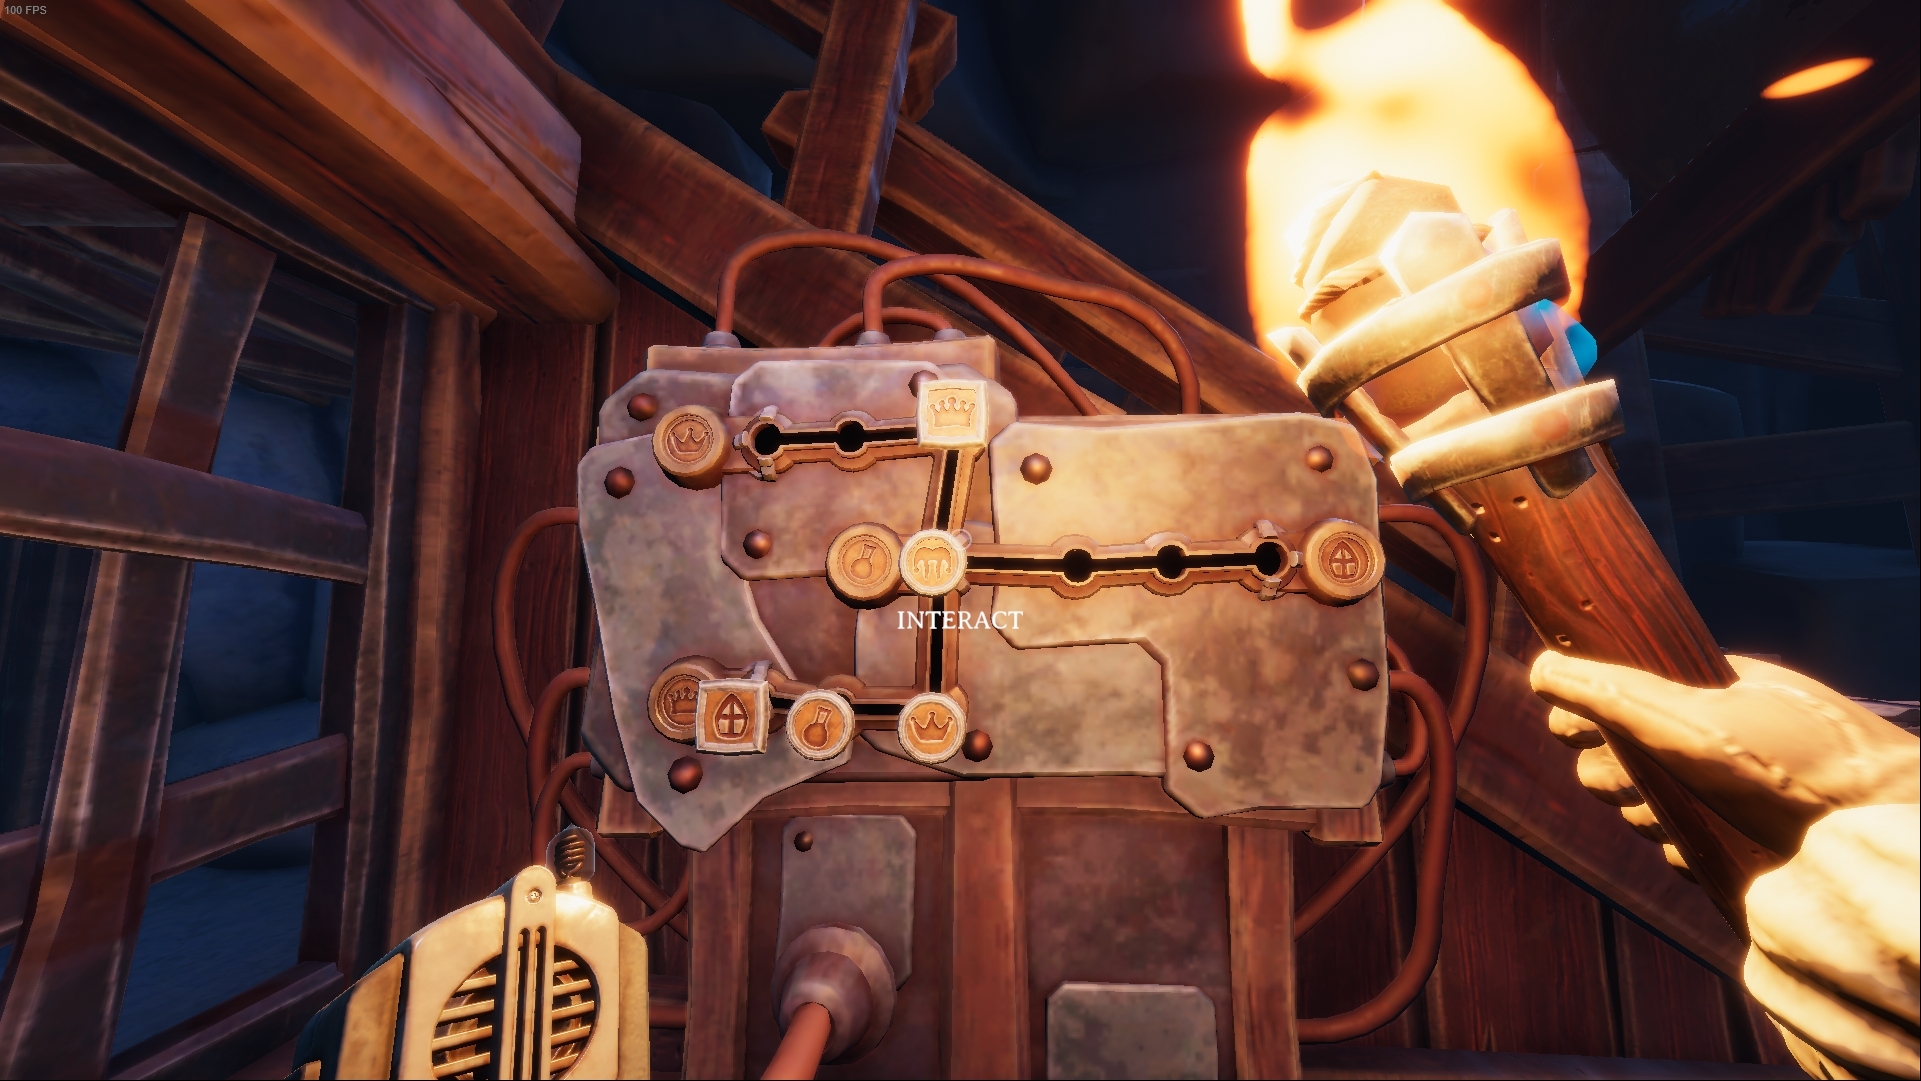
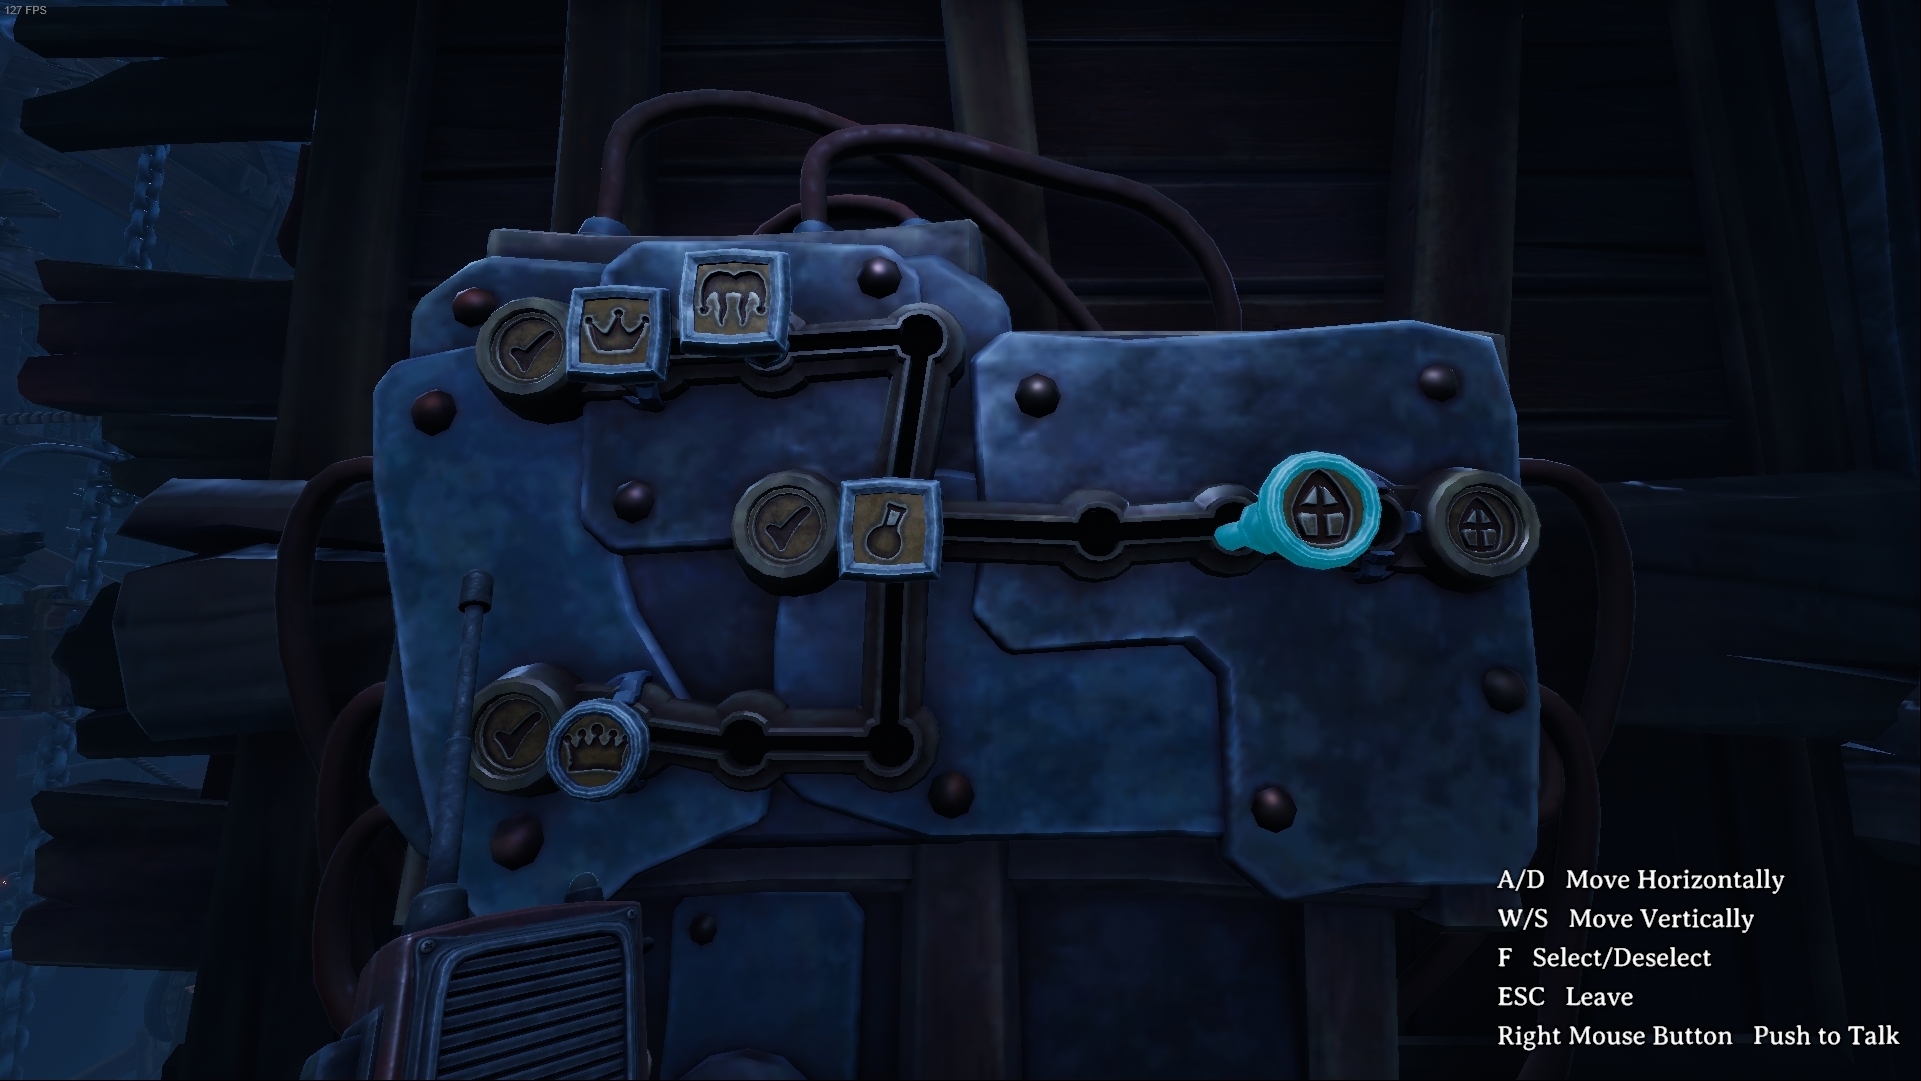
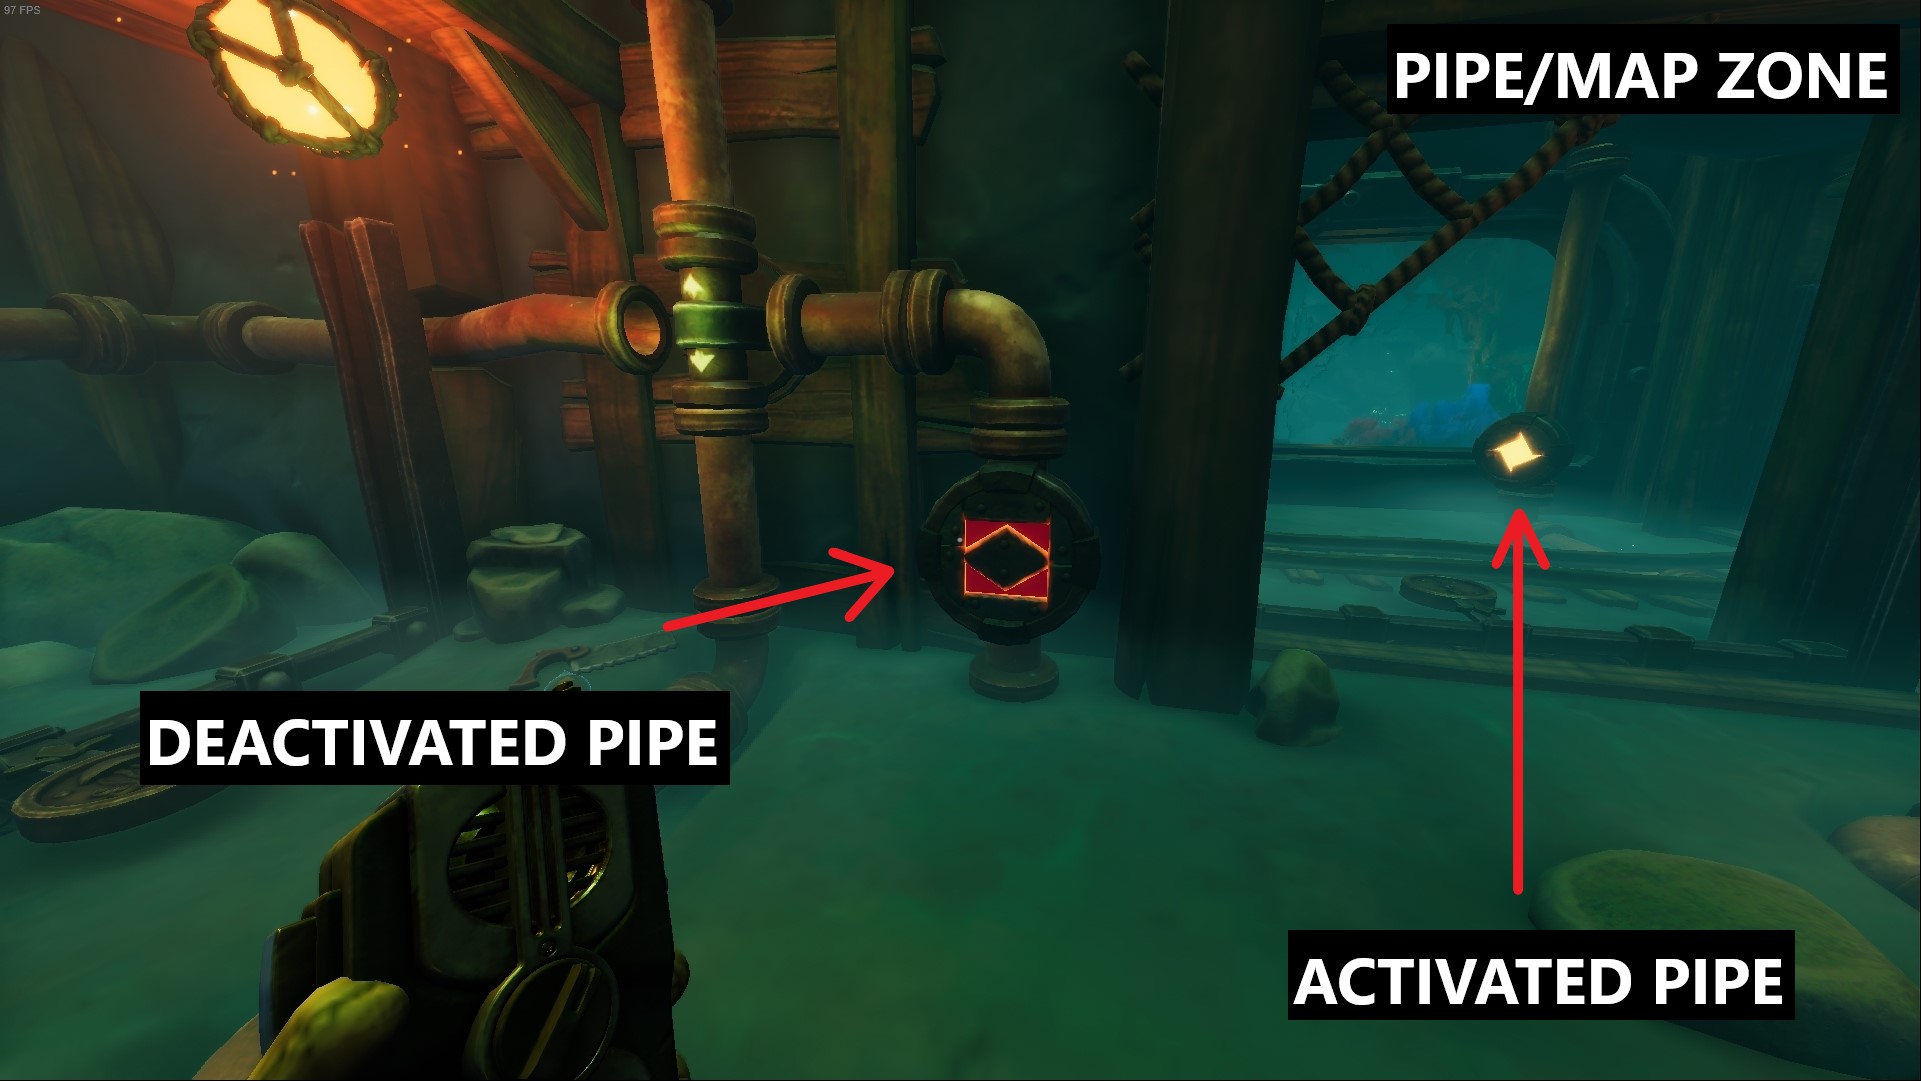
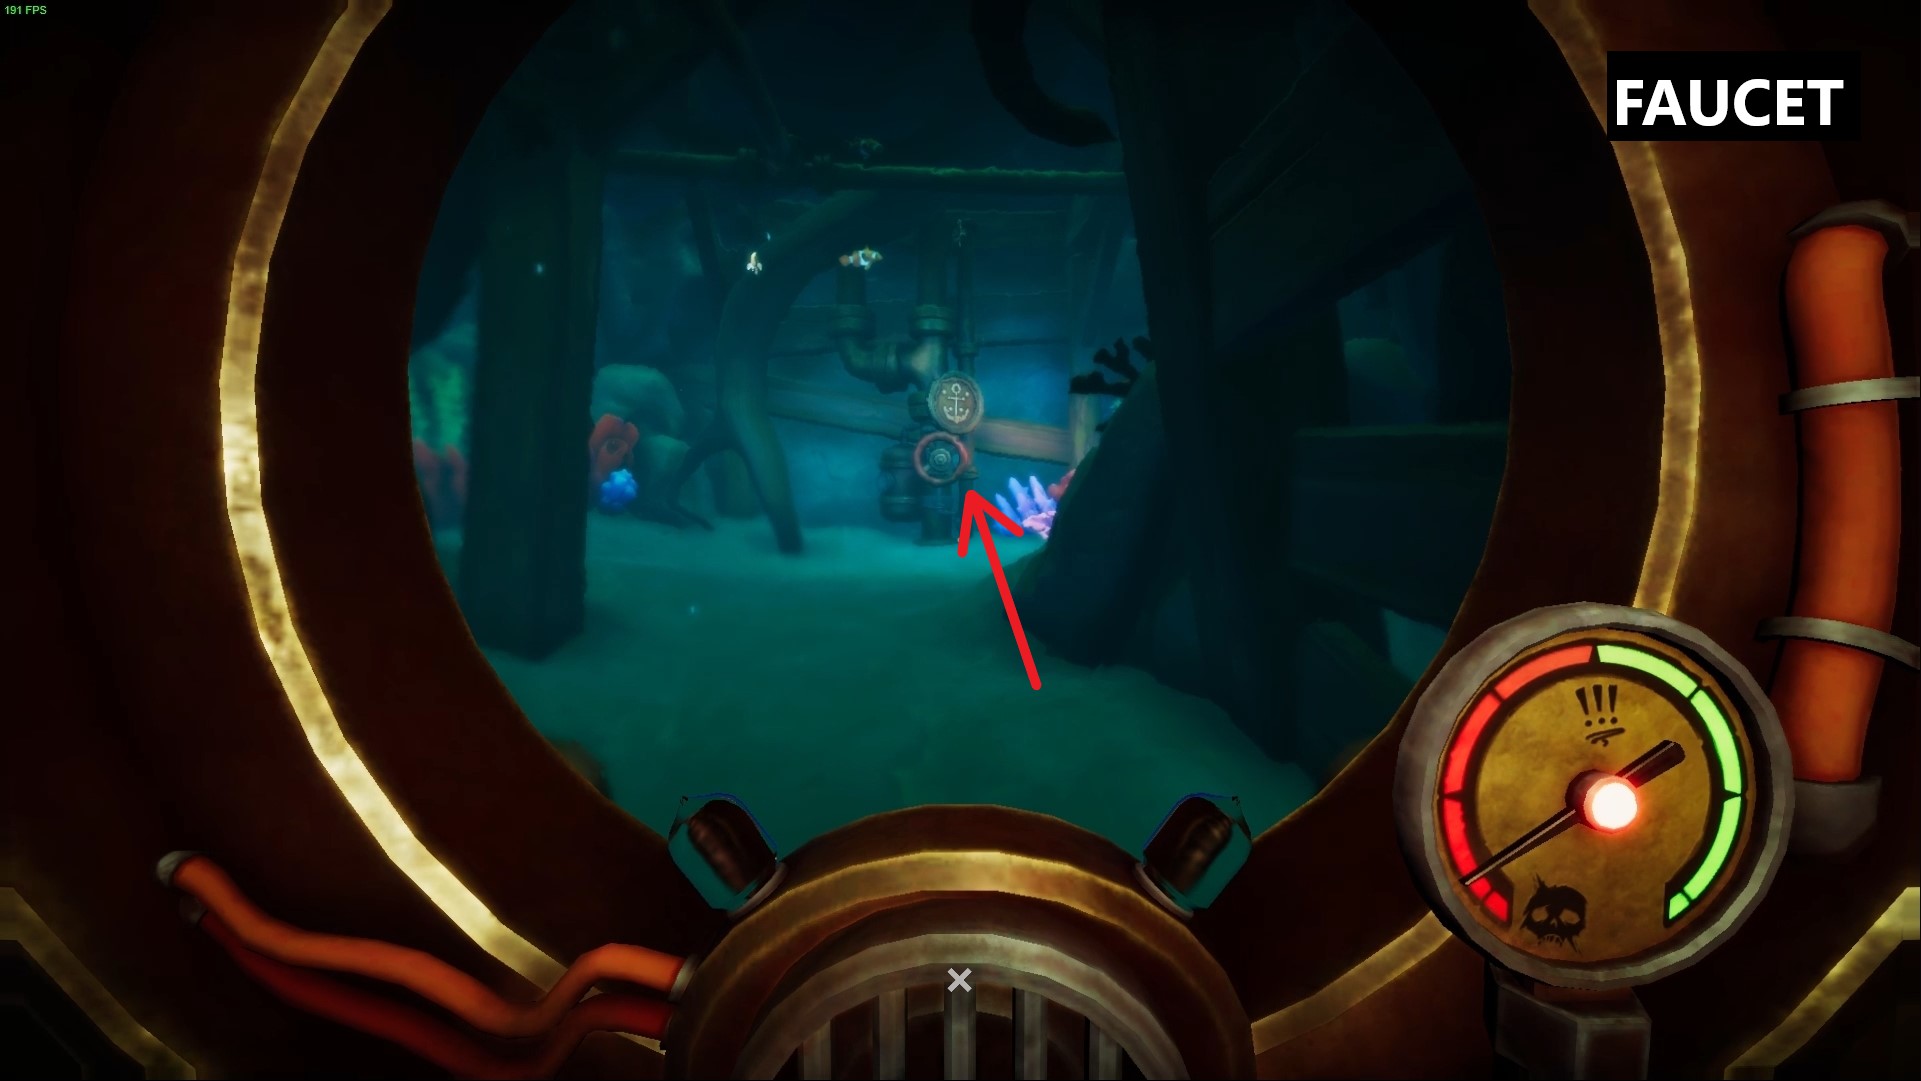
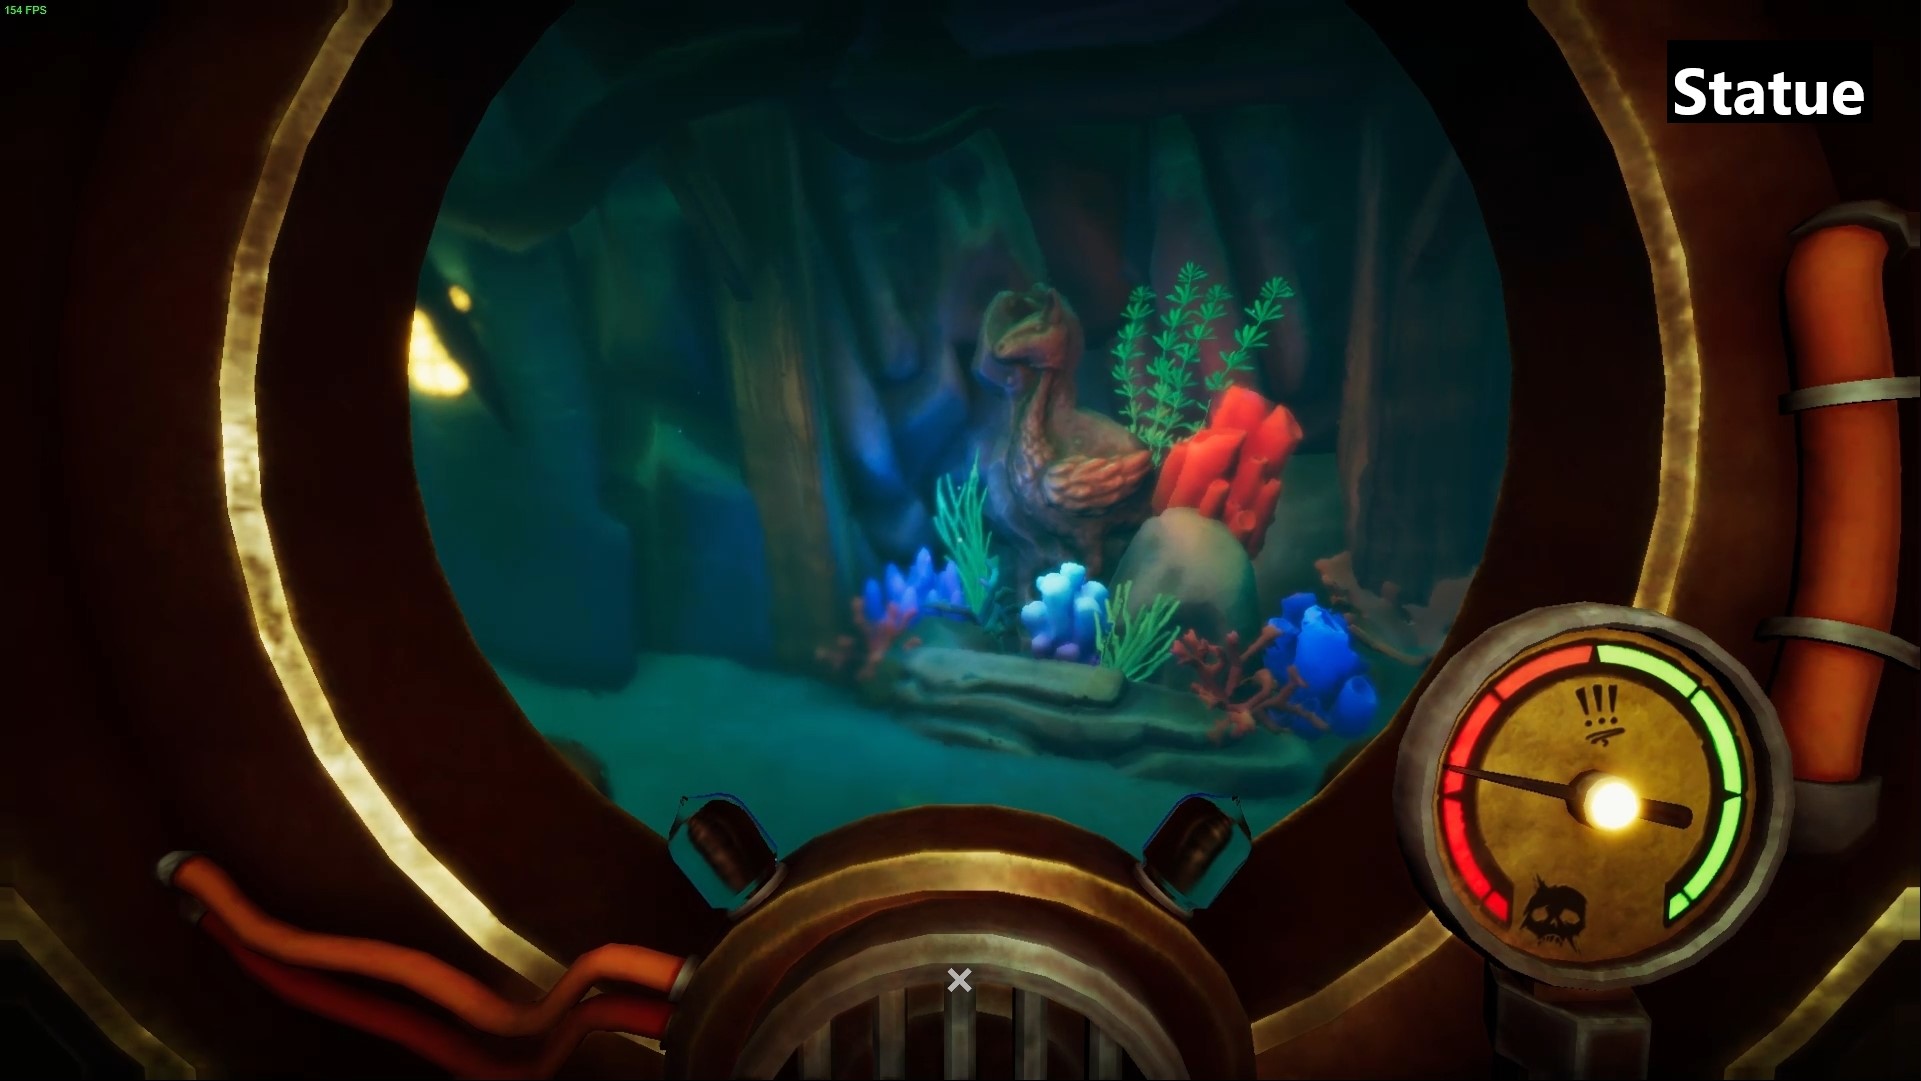
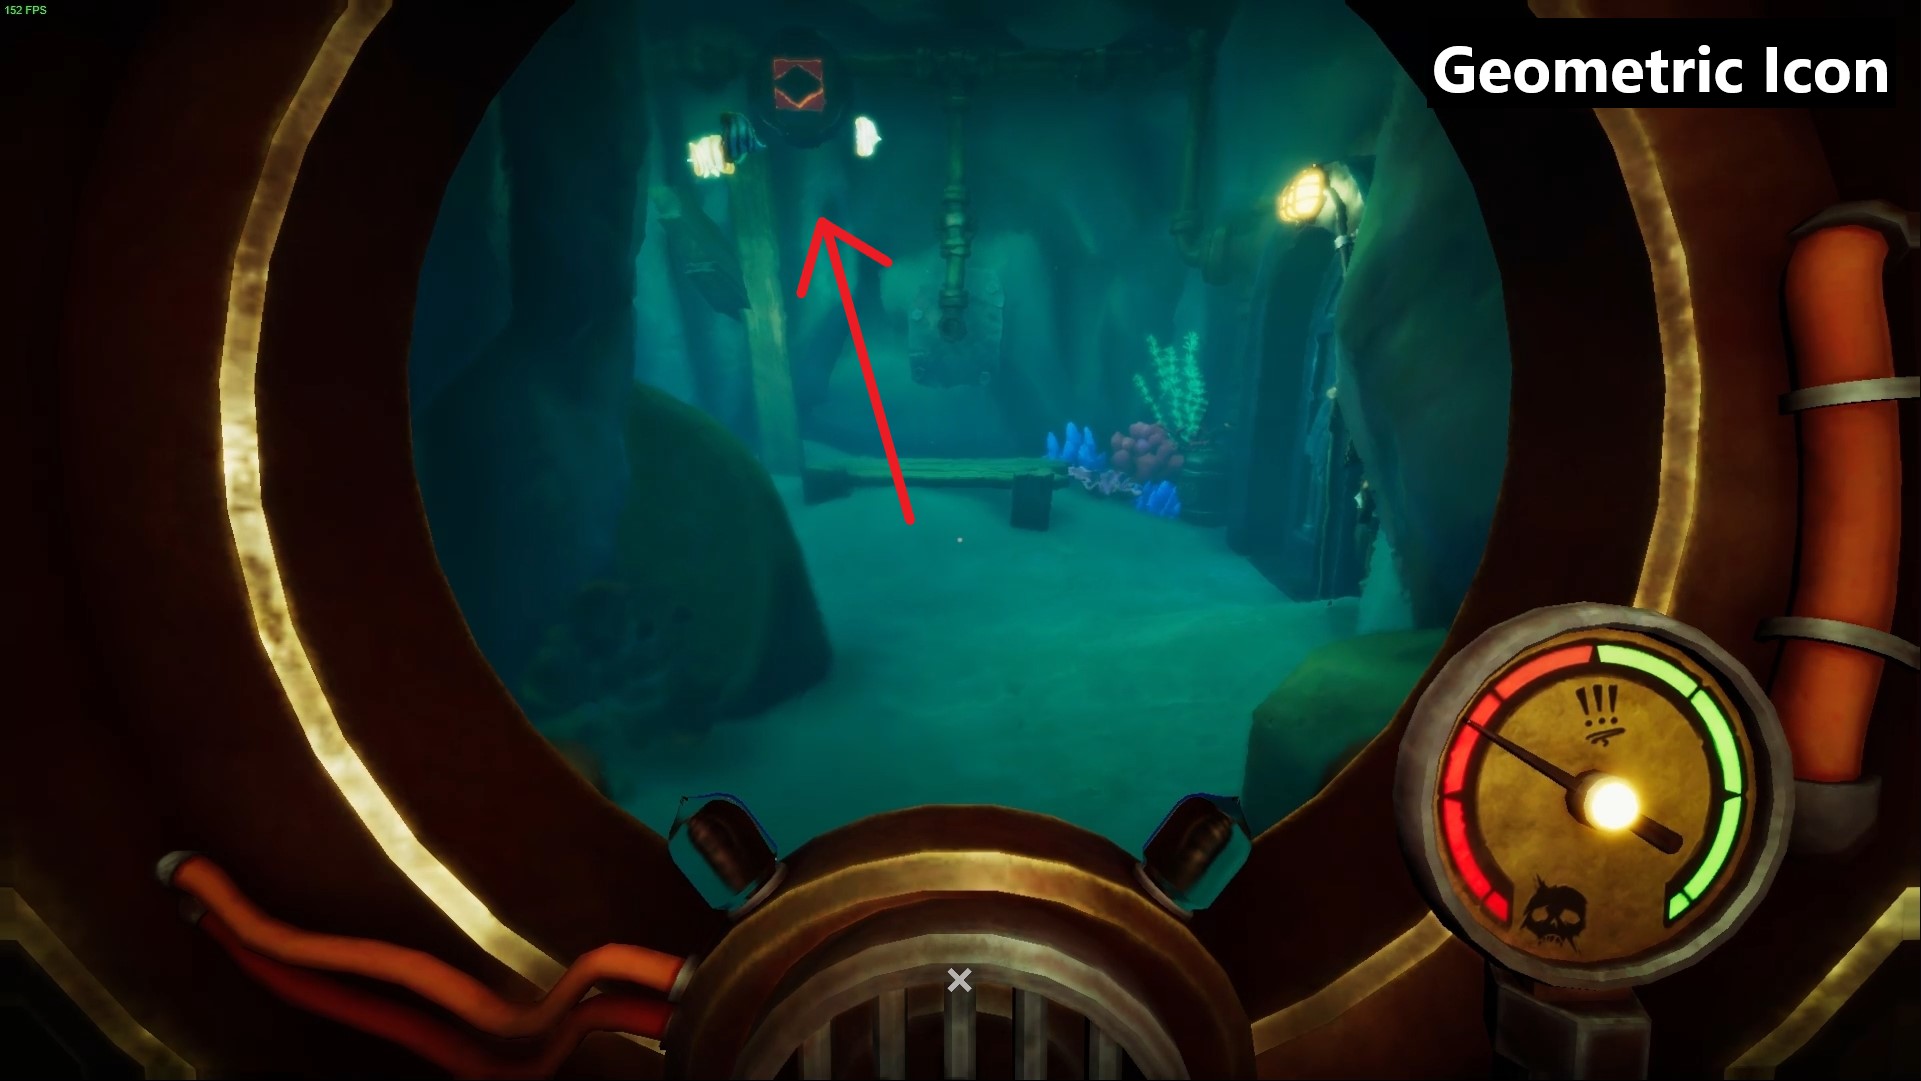
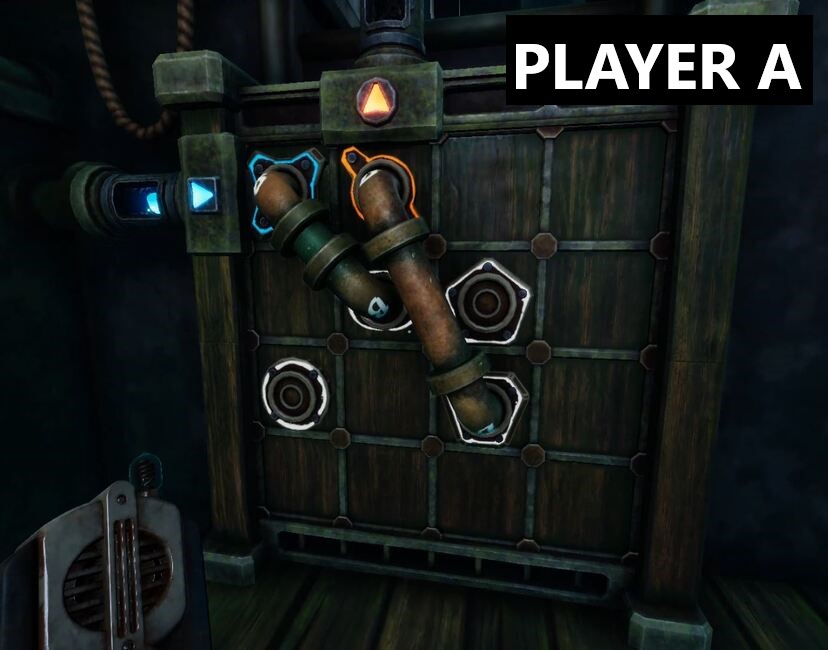
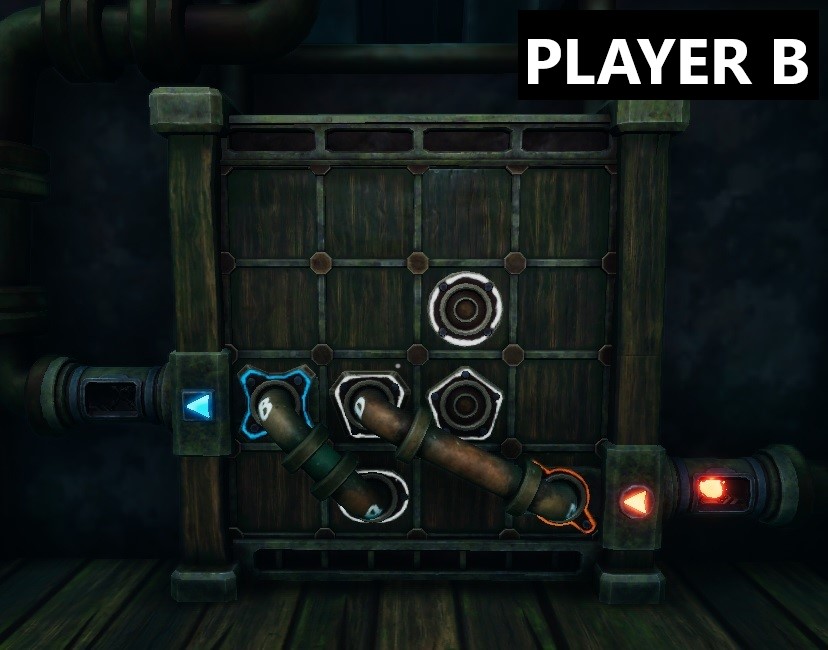
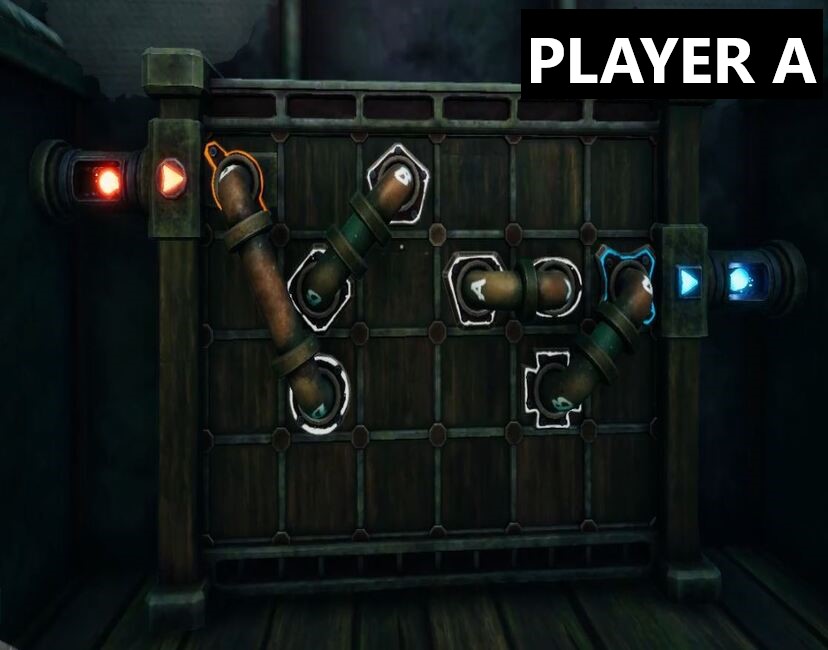
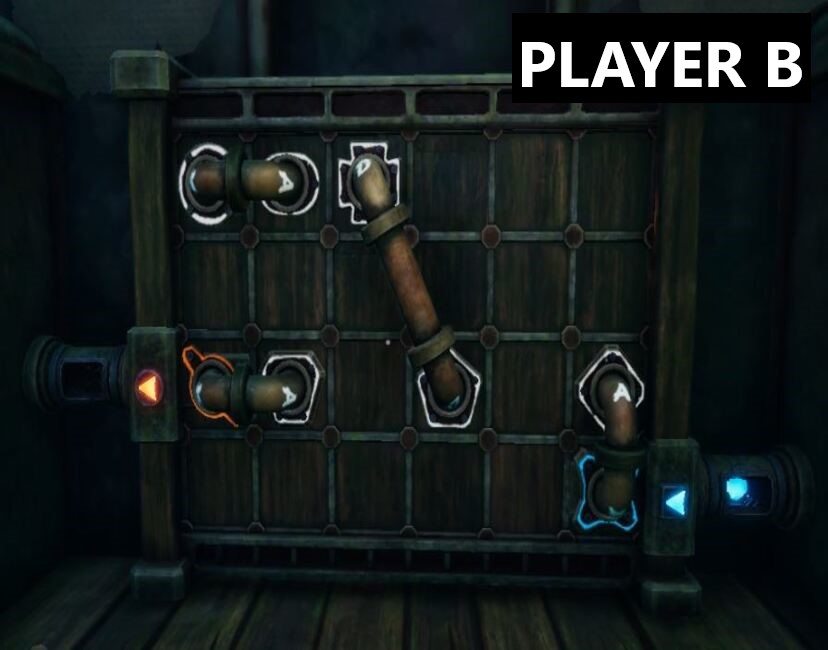
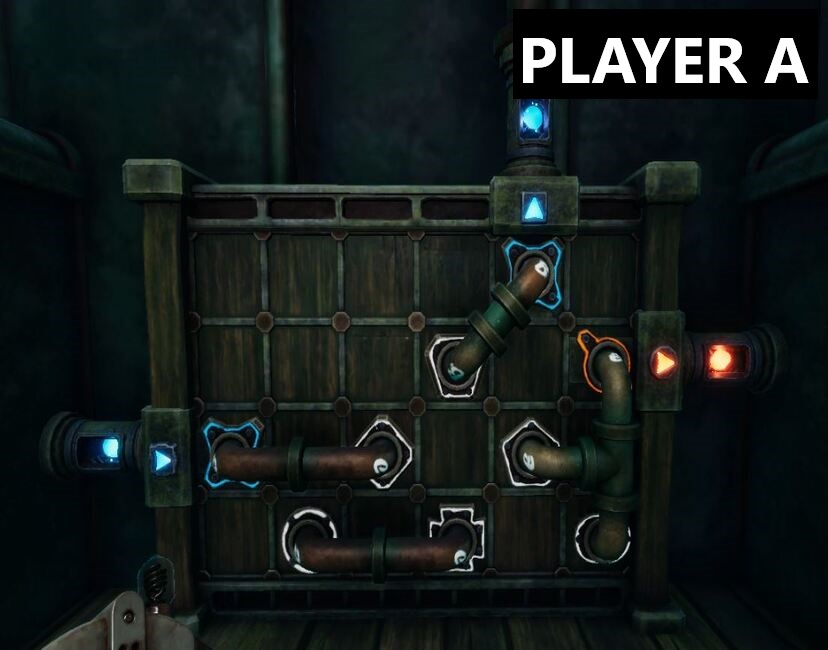
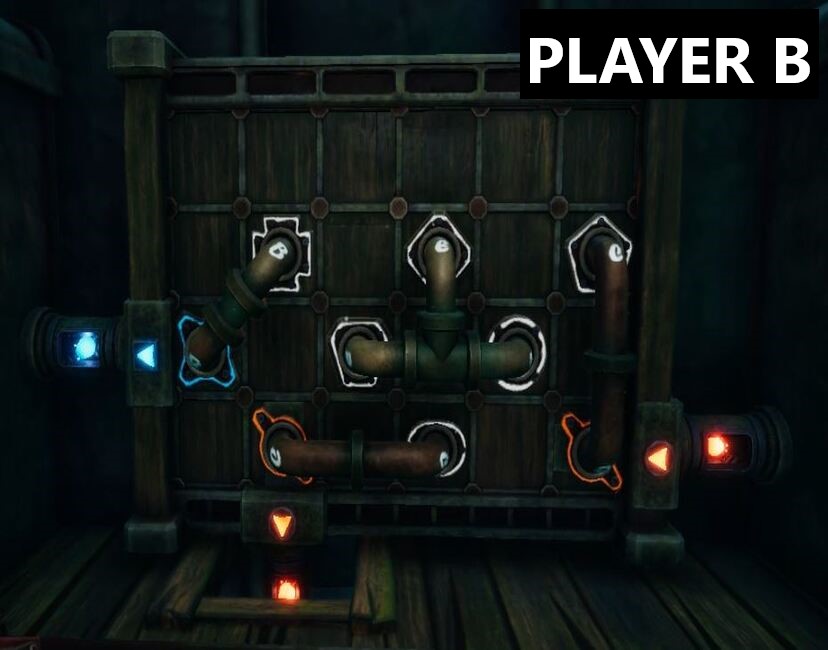
↑In this puzzle your partner will have to go to the sunken mines while you stay in the area of pipes and maps. The mines are made up of different floors connected to the pipe room. Your partner will have to open different water faucets that will unlock the closed doors of the pipe room while you will have to connect the different pipes indicated with geometric icons to provide your partner with oxygen and unlock the doors that will allow him to go down to the following levels.
You will be able to guide your friend by looking at the different statues around the mines, since these are indicated on the maps.
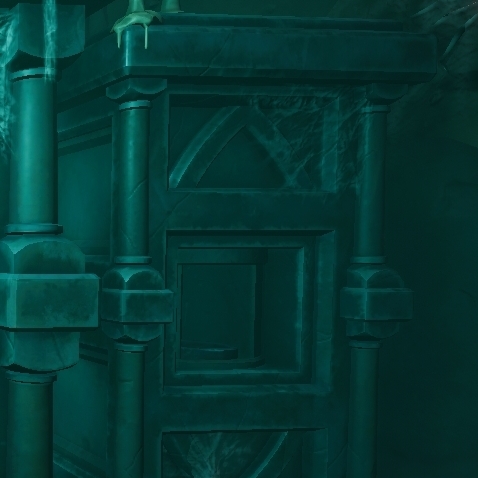
These images will provide you with an example of the parts we need to pay attention to.

Navigated the sunken mines

Assisted in navigating the sunken mines
The Nautilus
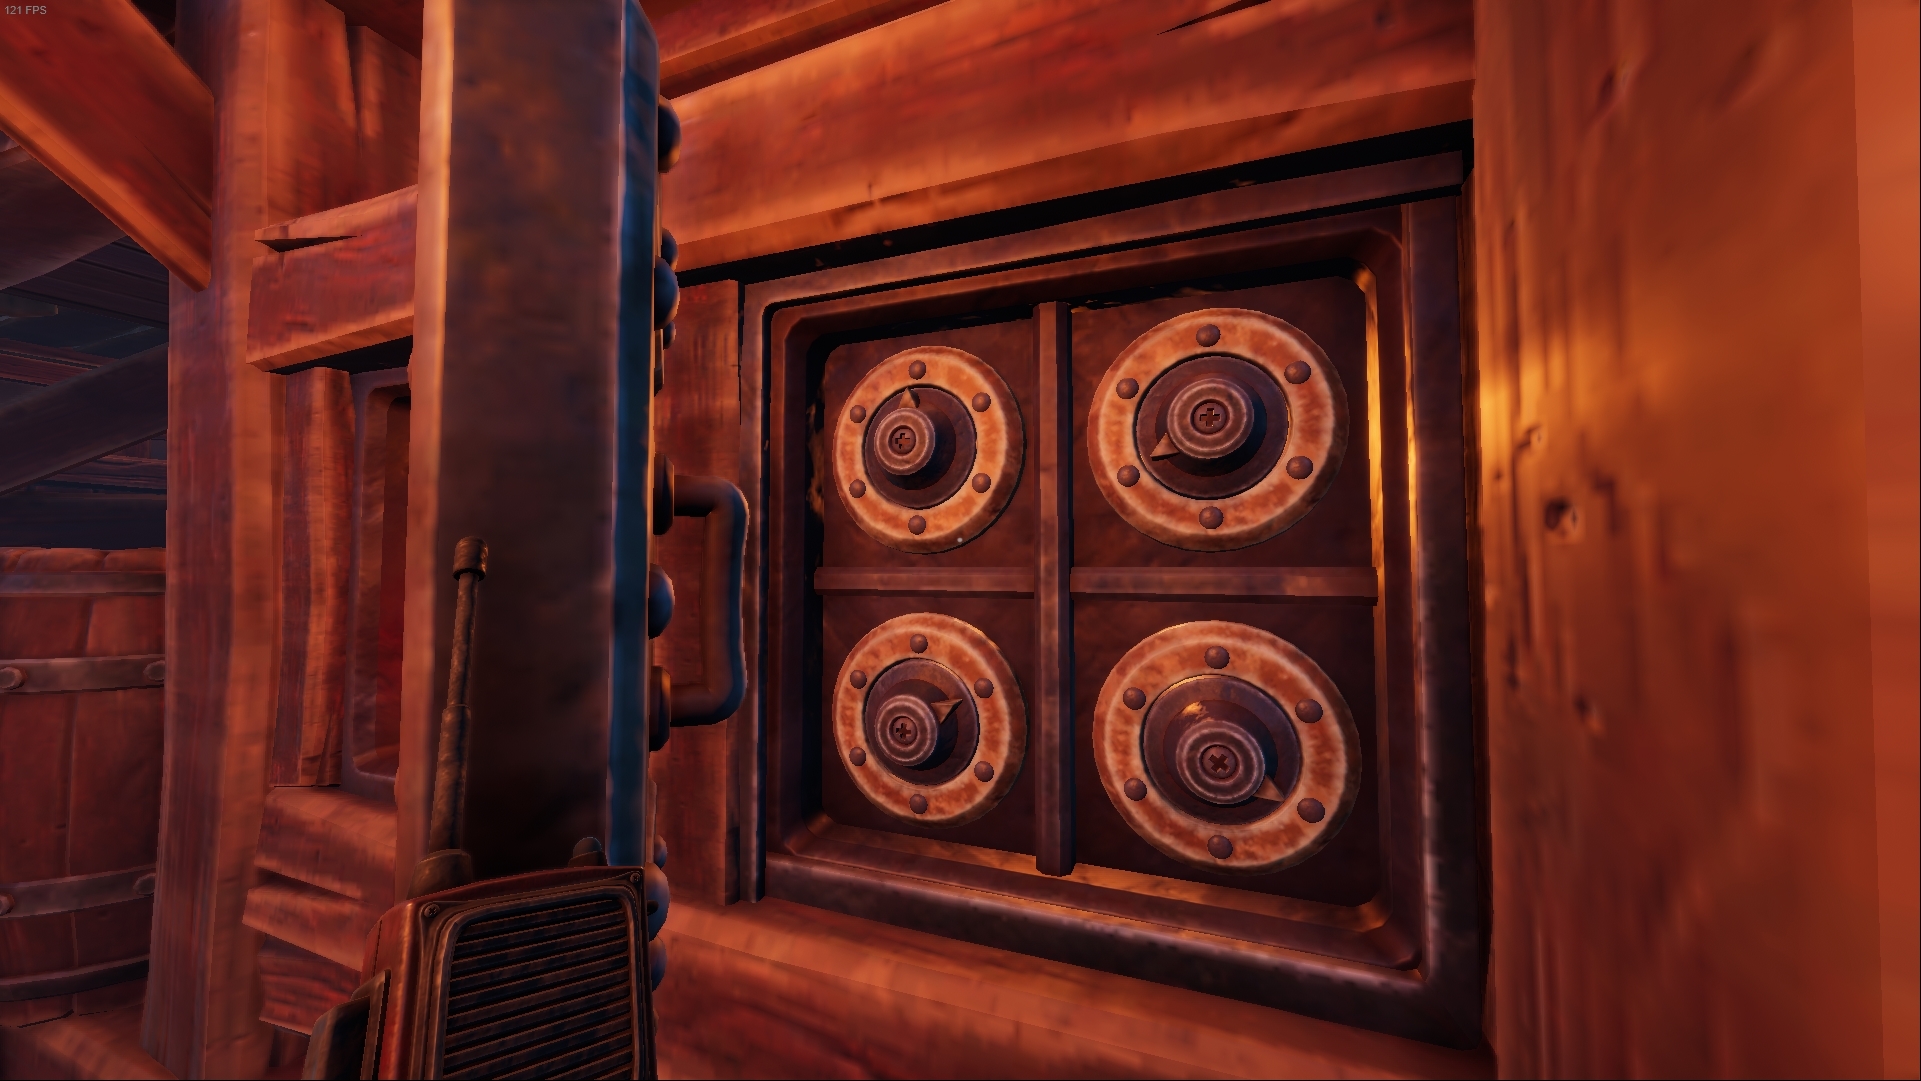
↑Just copy that patterns.

Refueled the Nautilus
The Deep

Assisted in negotiations with the guardian

Negotiated with the guardian
The Assembly
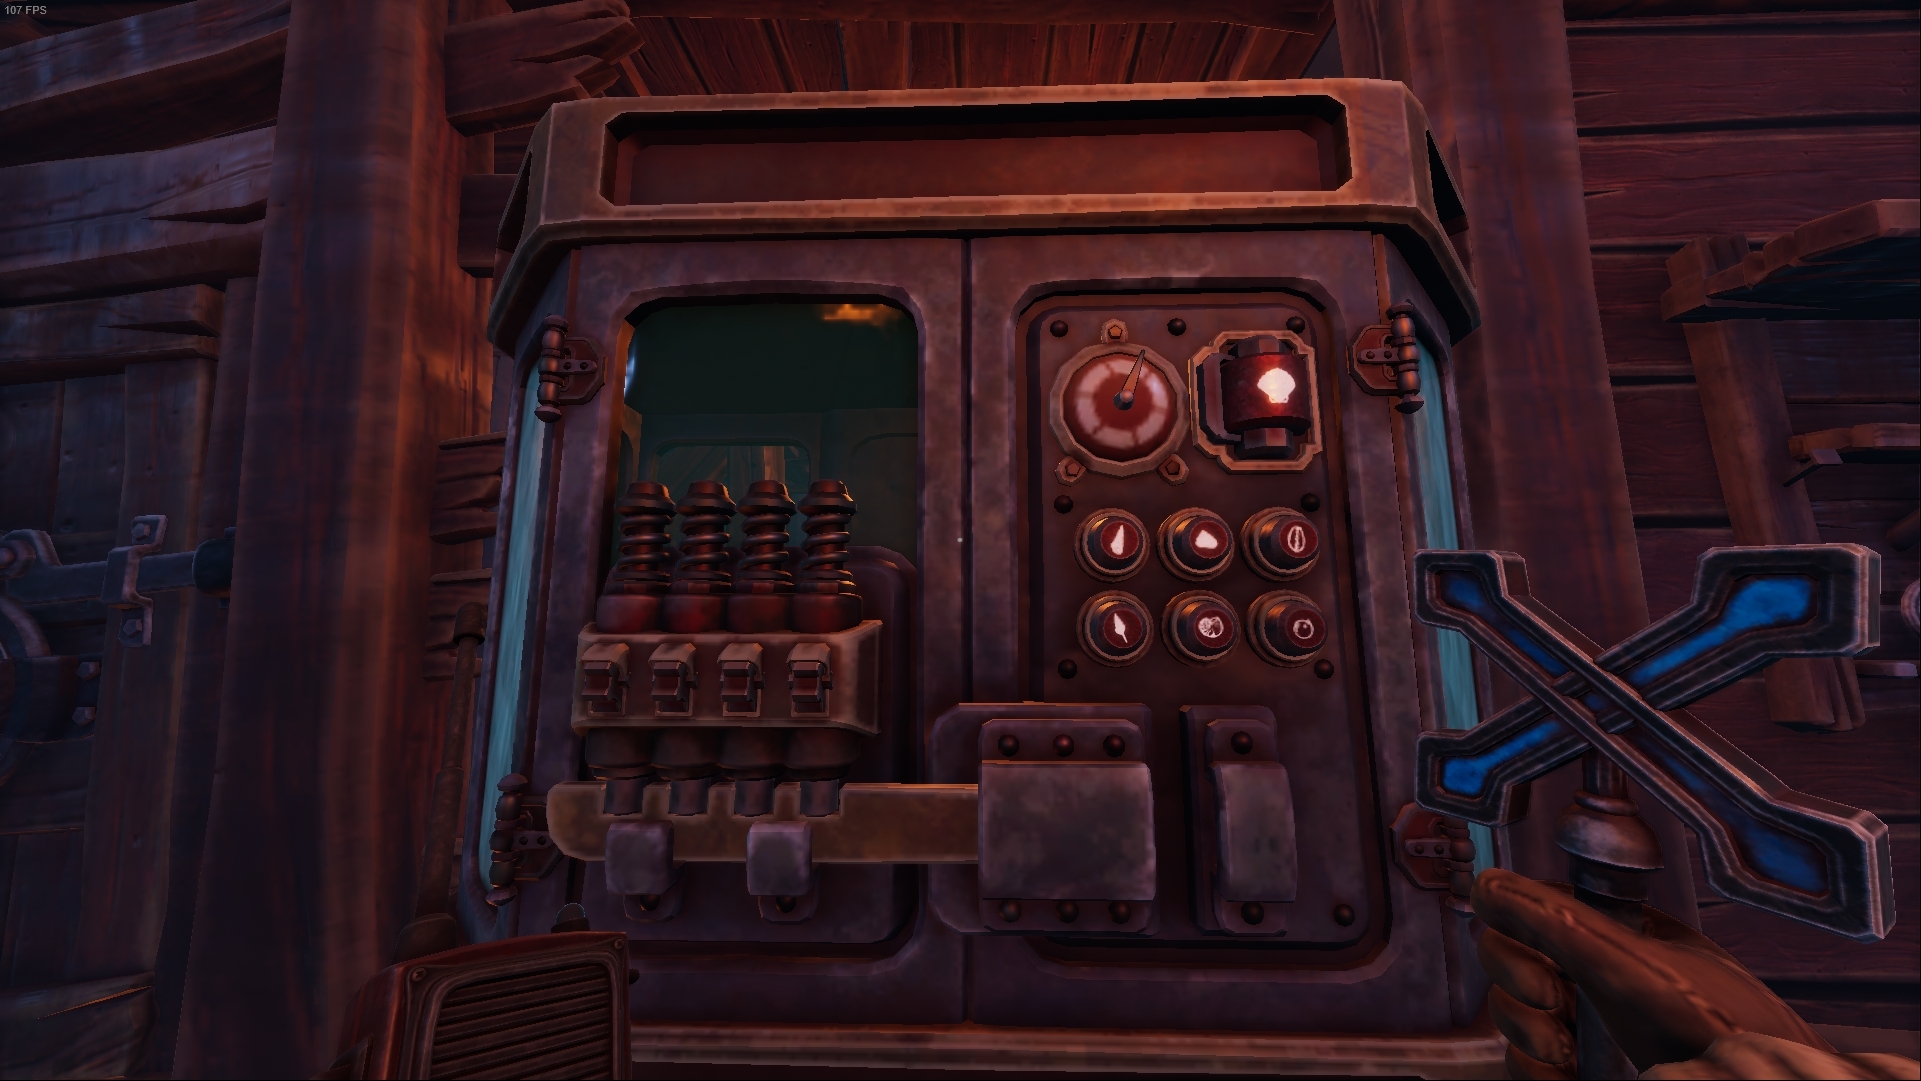
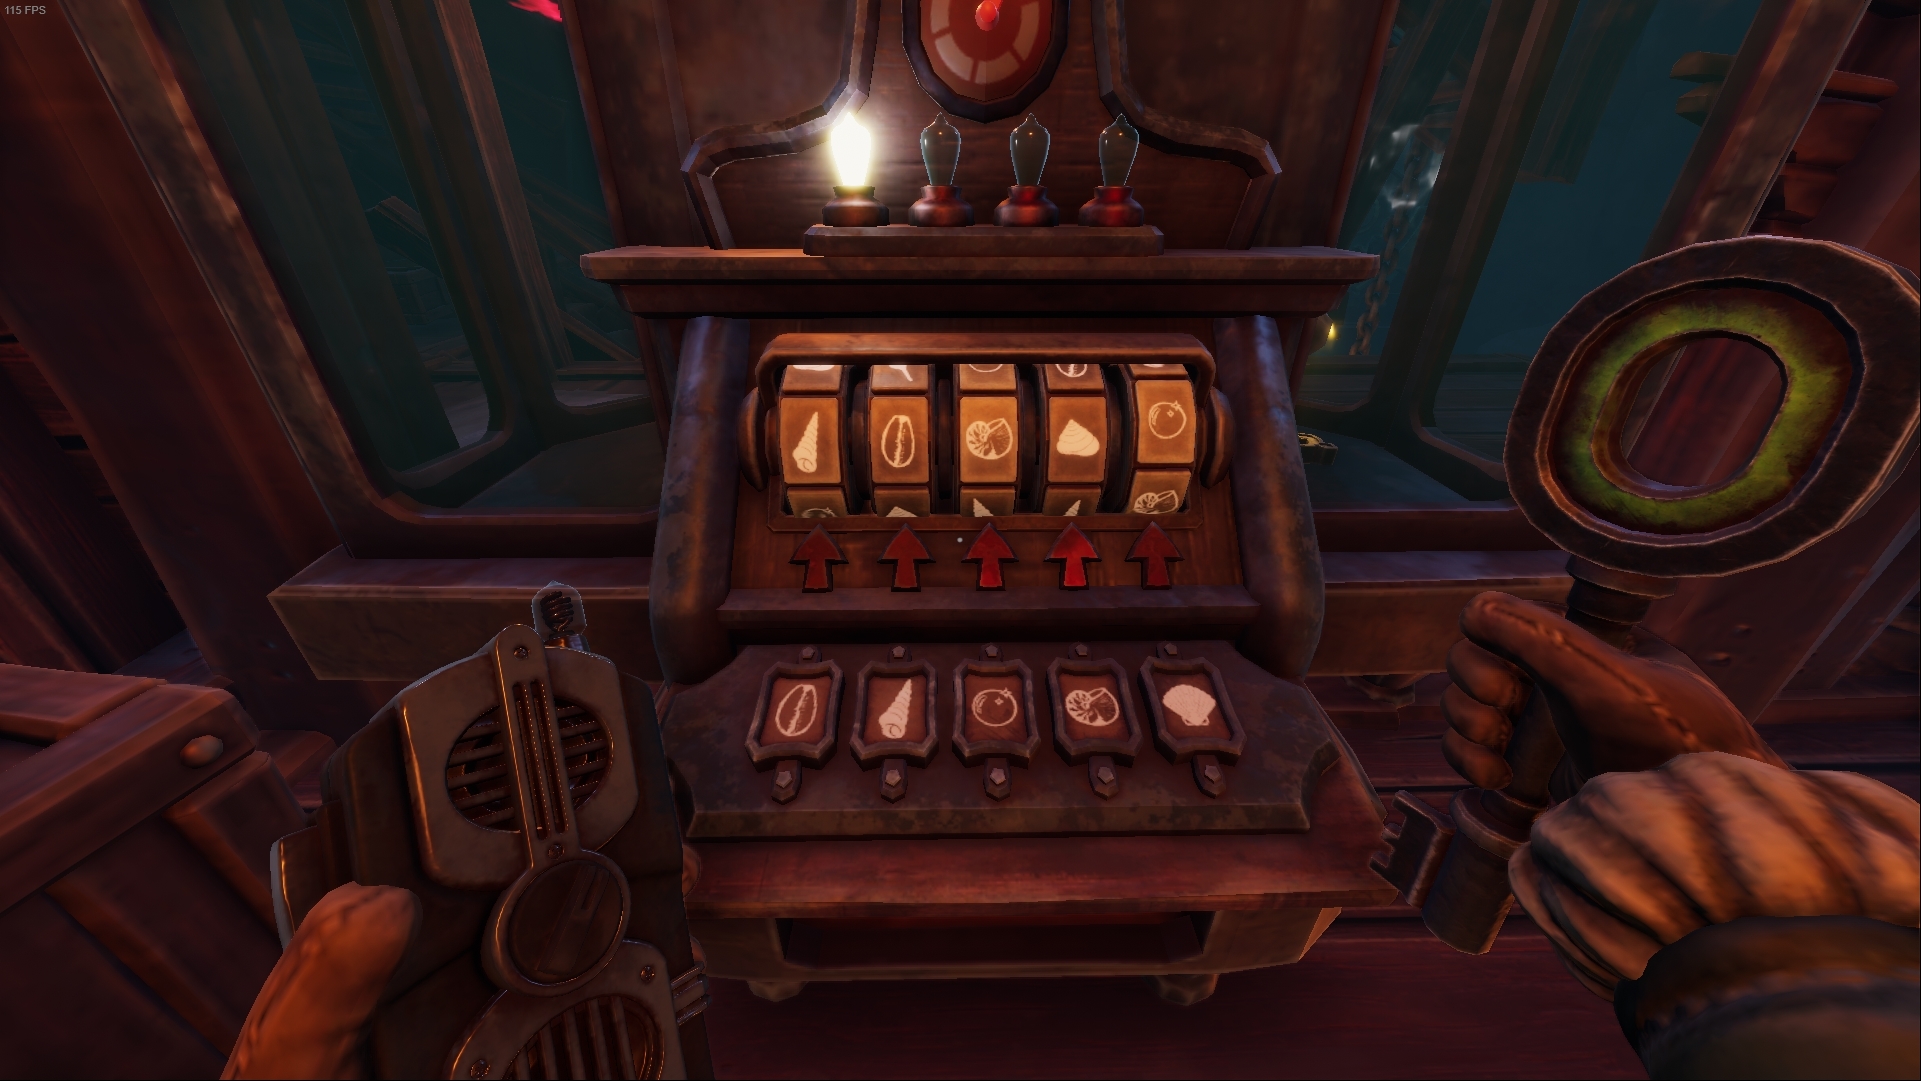
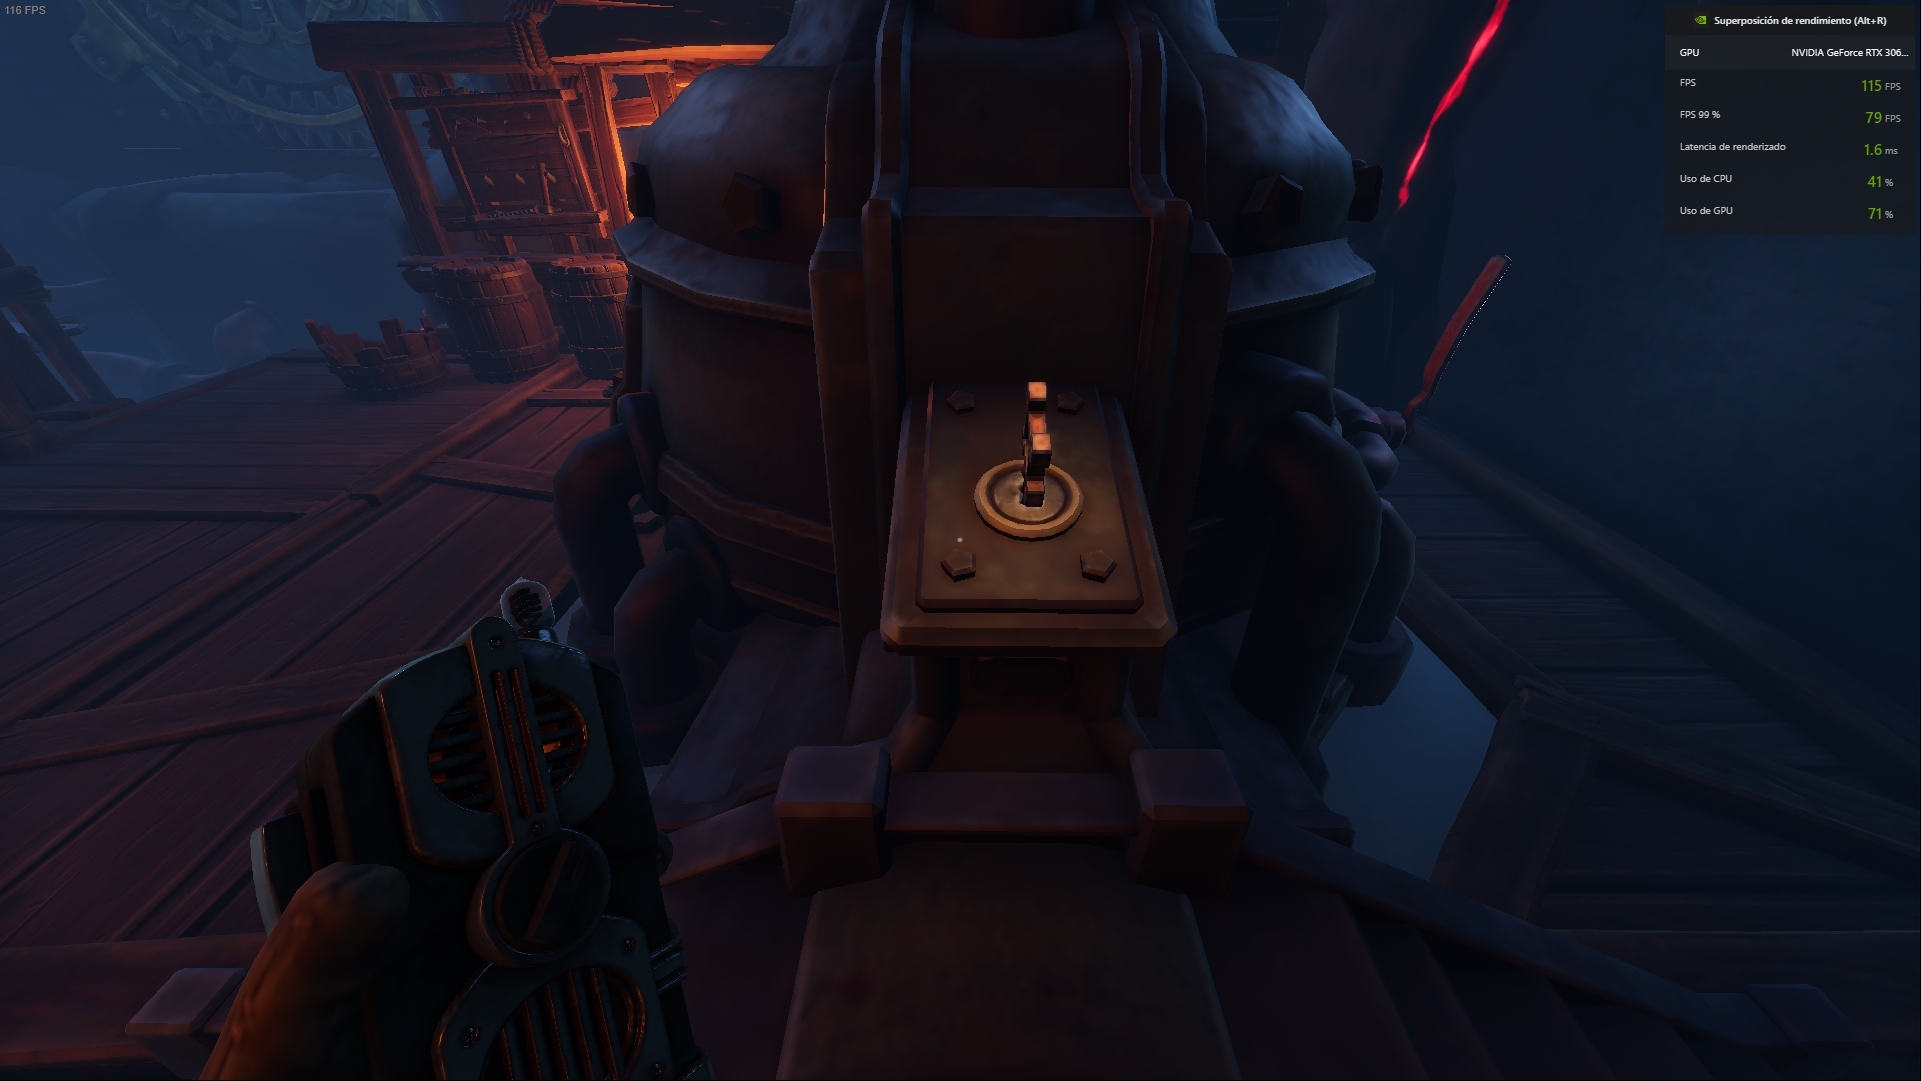
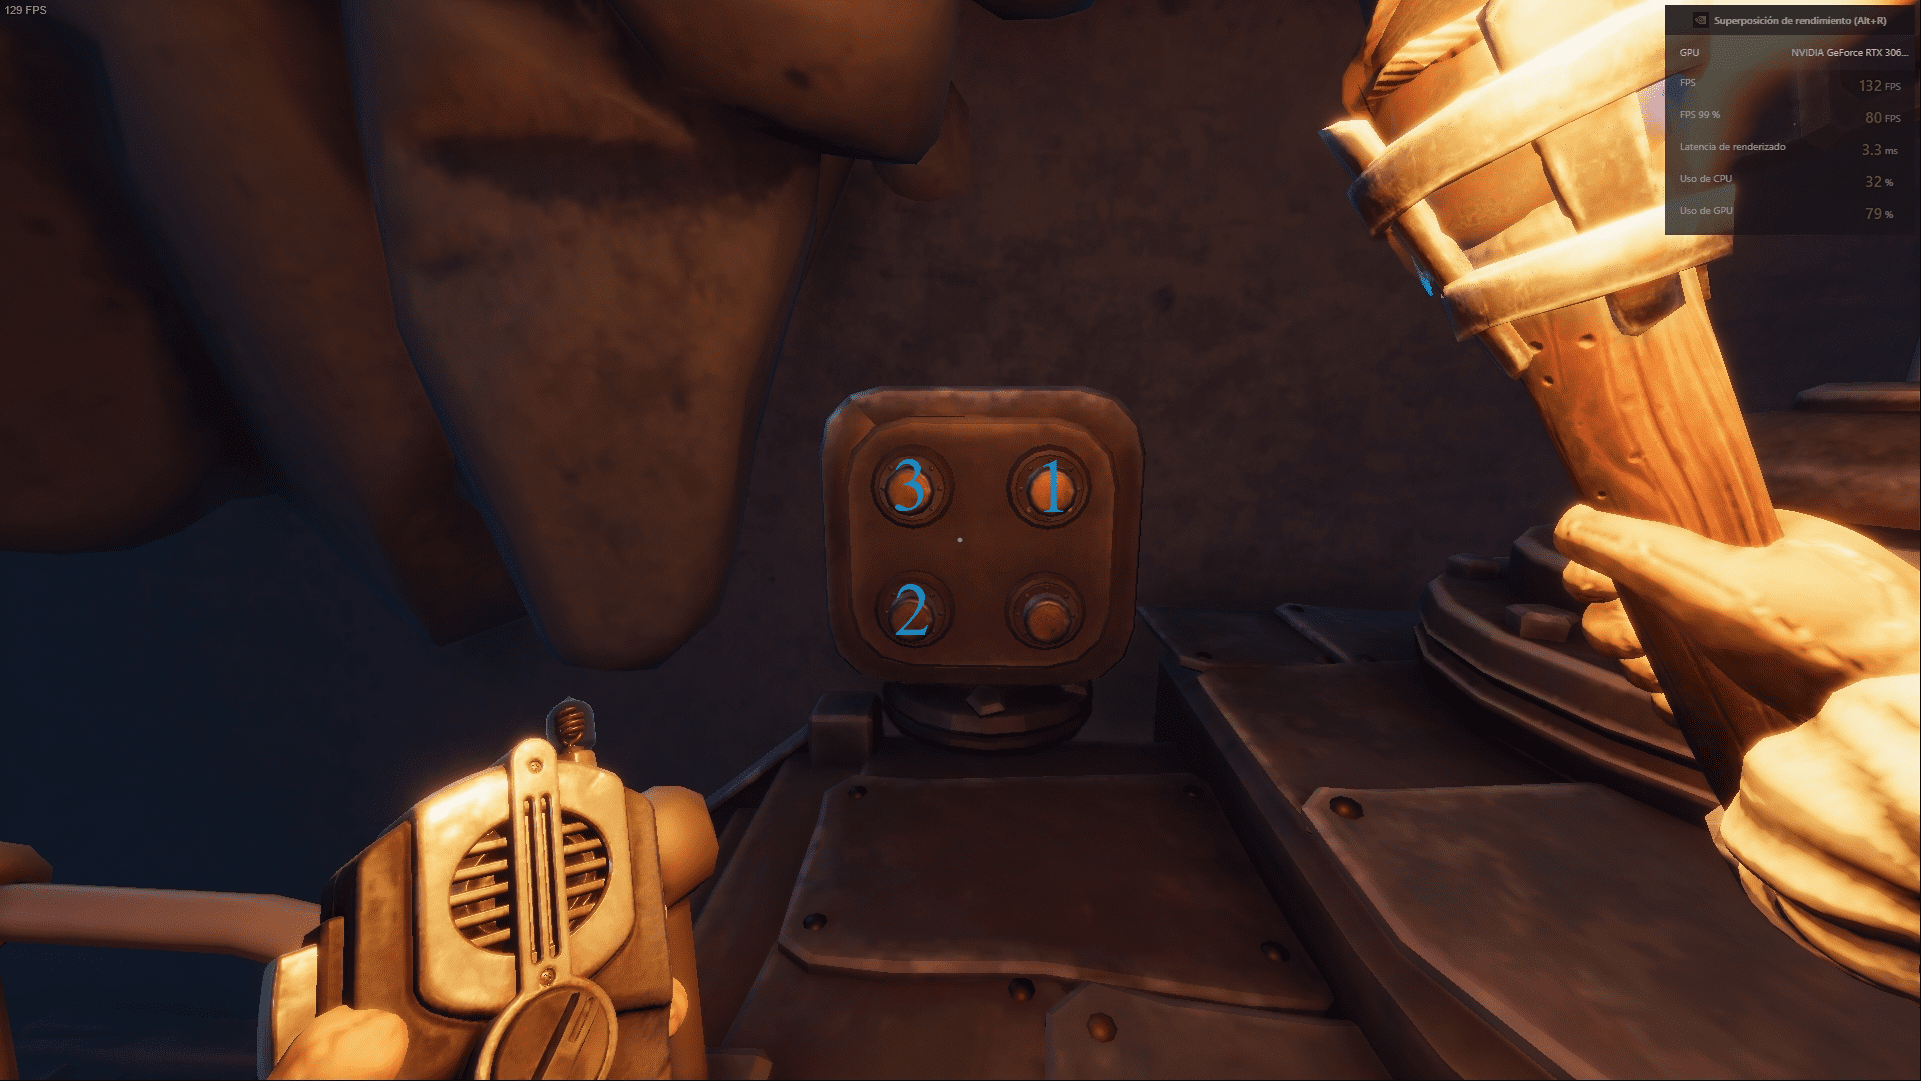
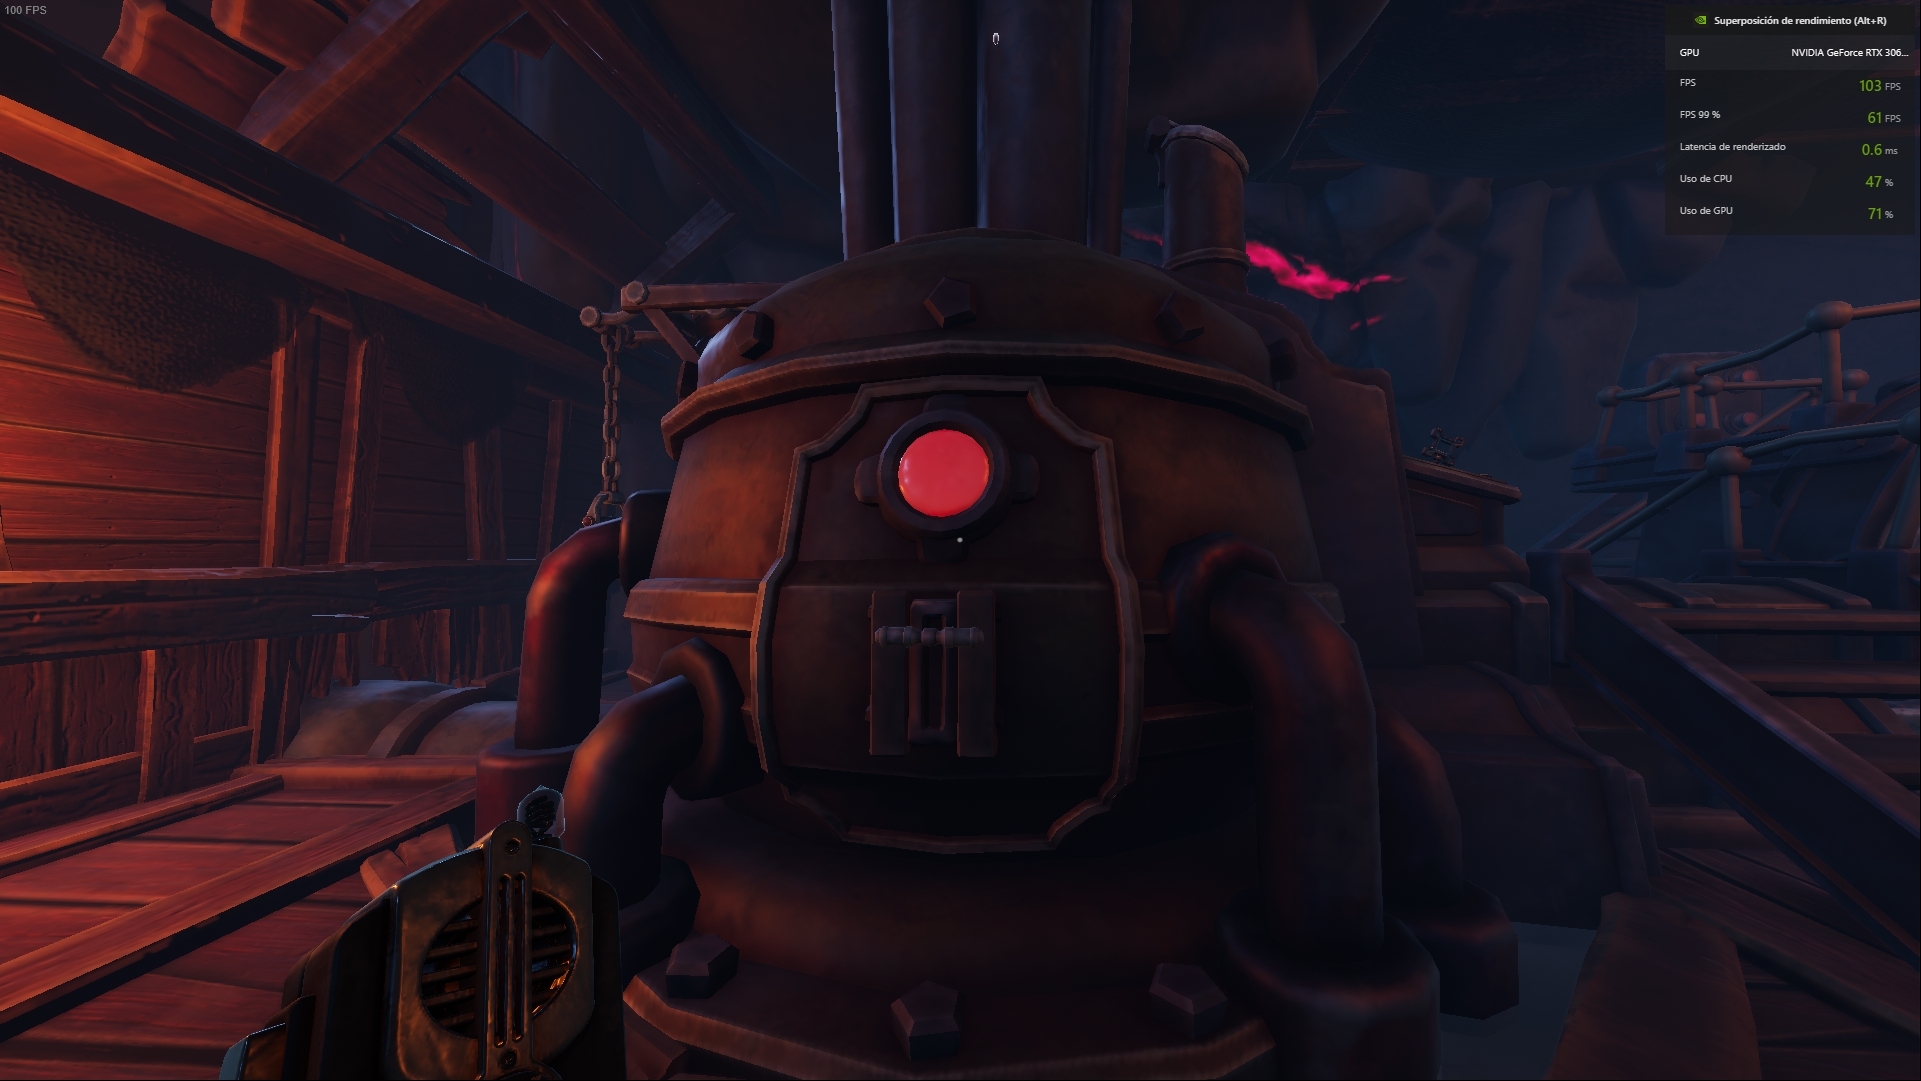
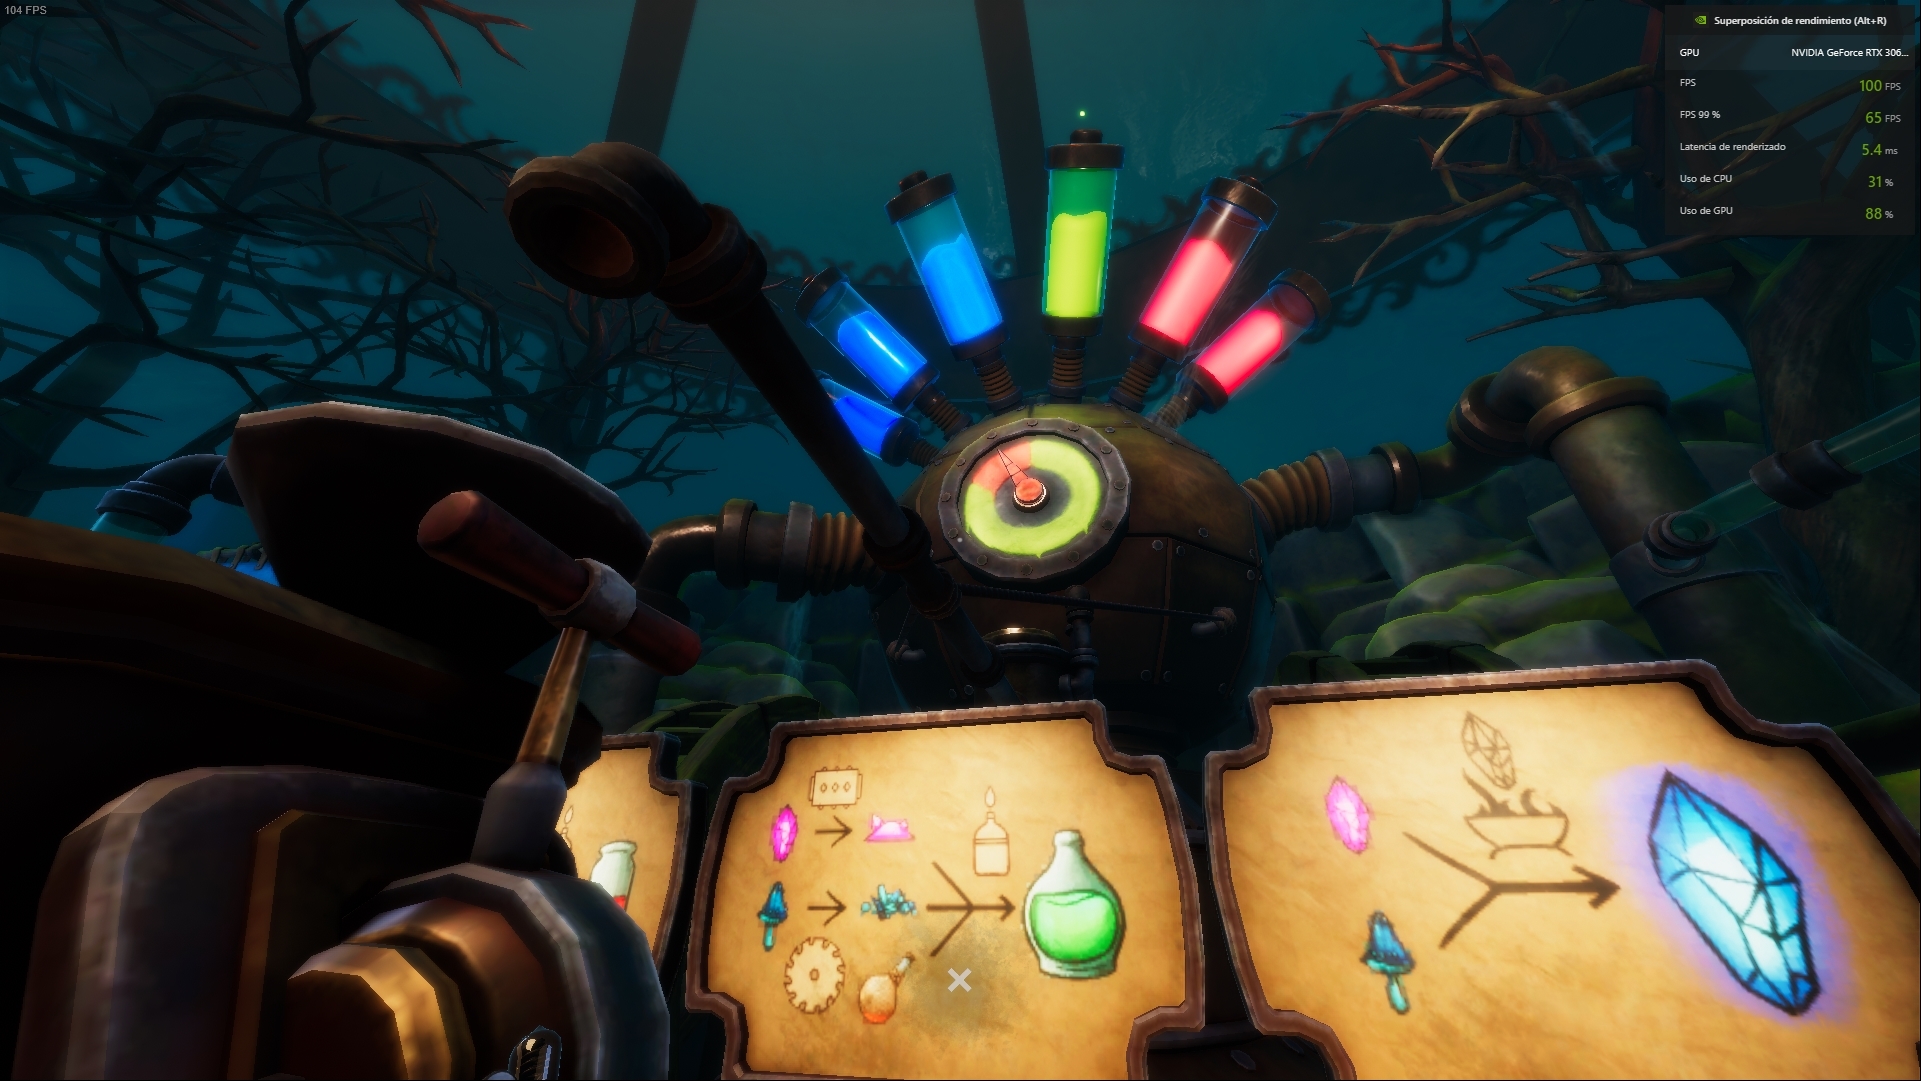
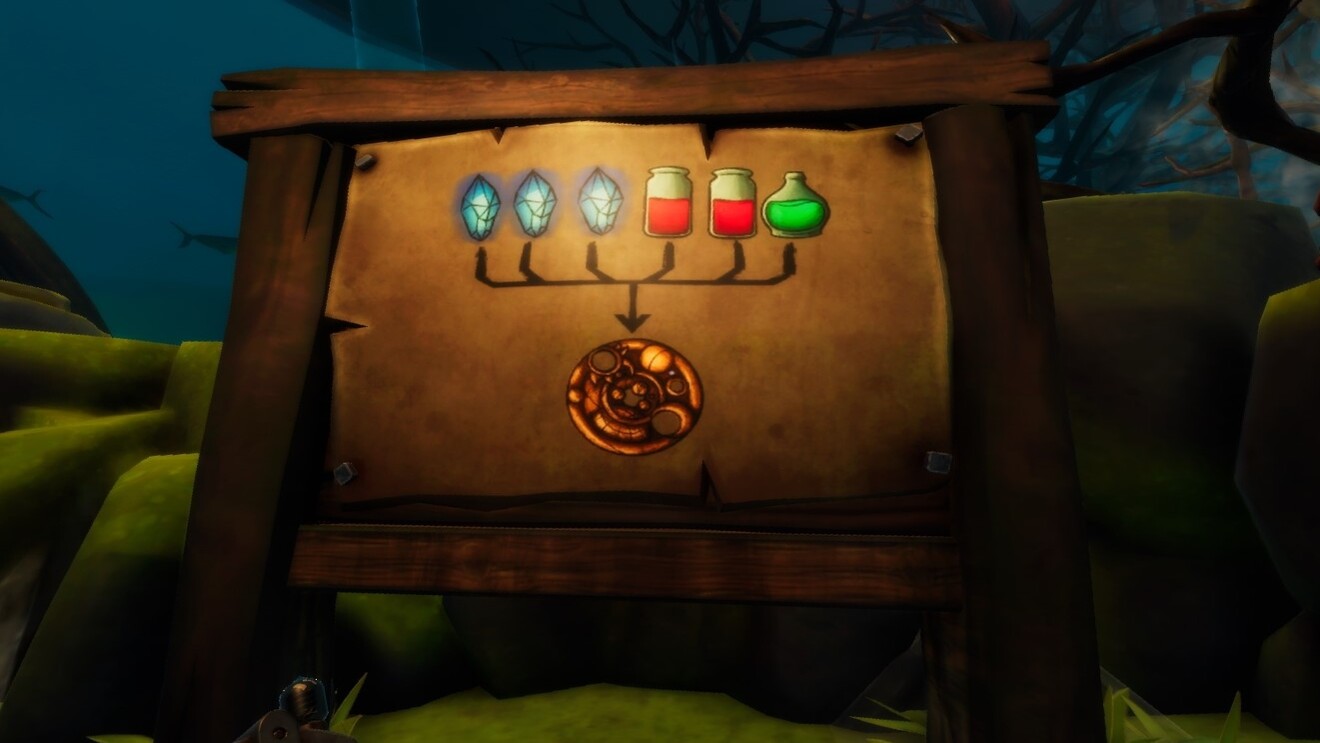
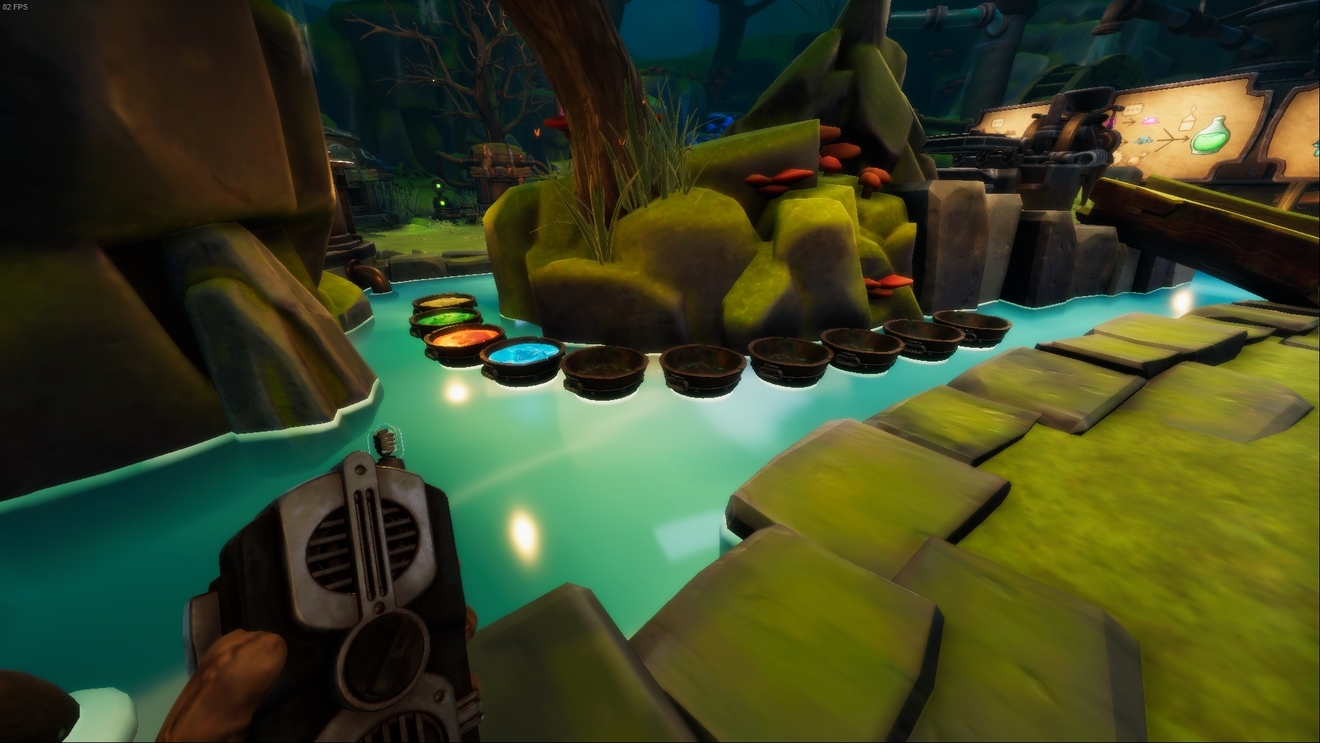
↑This part is a bit complicated to give a concrete solution, so I will explain how we did it to create the 6 potions within the indicated time.
You will see that on each side there are different machines, some work with liquids (yellow, green, orange and blue) and others work alone. Once you start, our recommendation is that you try to make the red potions first, constantly communicating with your partner so that the crafting is fluid. After making the red ones you will see that there is a “dead time” in which you cannot do much, take the opportunity to make the 3 blue potions and leave the green one for the last one. Try that at the time of making the green potion you already have all the materials at your disposal.

Reforged the base of the Astrolabe

Obtained the base of the Astrolabe
Chapter 6 – Finale

Unlocked the Bell Tower
↑ Put all the crystals in the astrolabe.
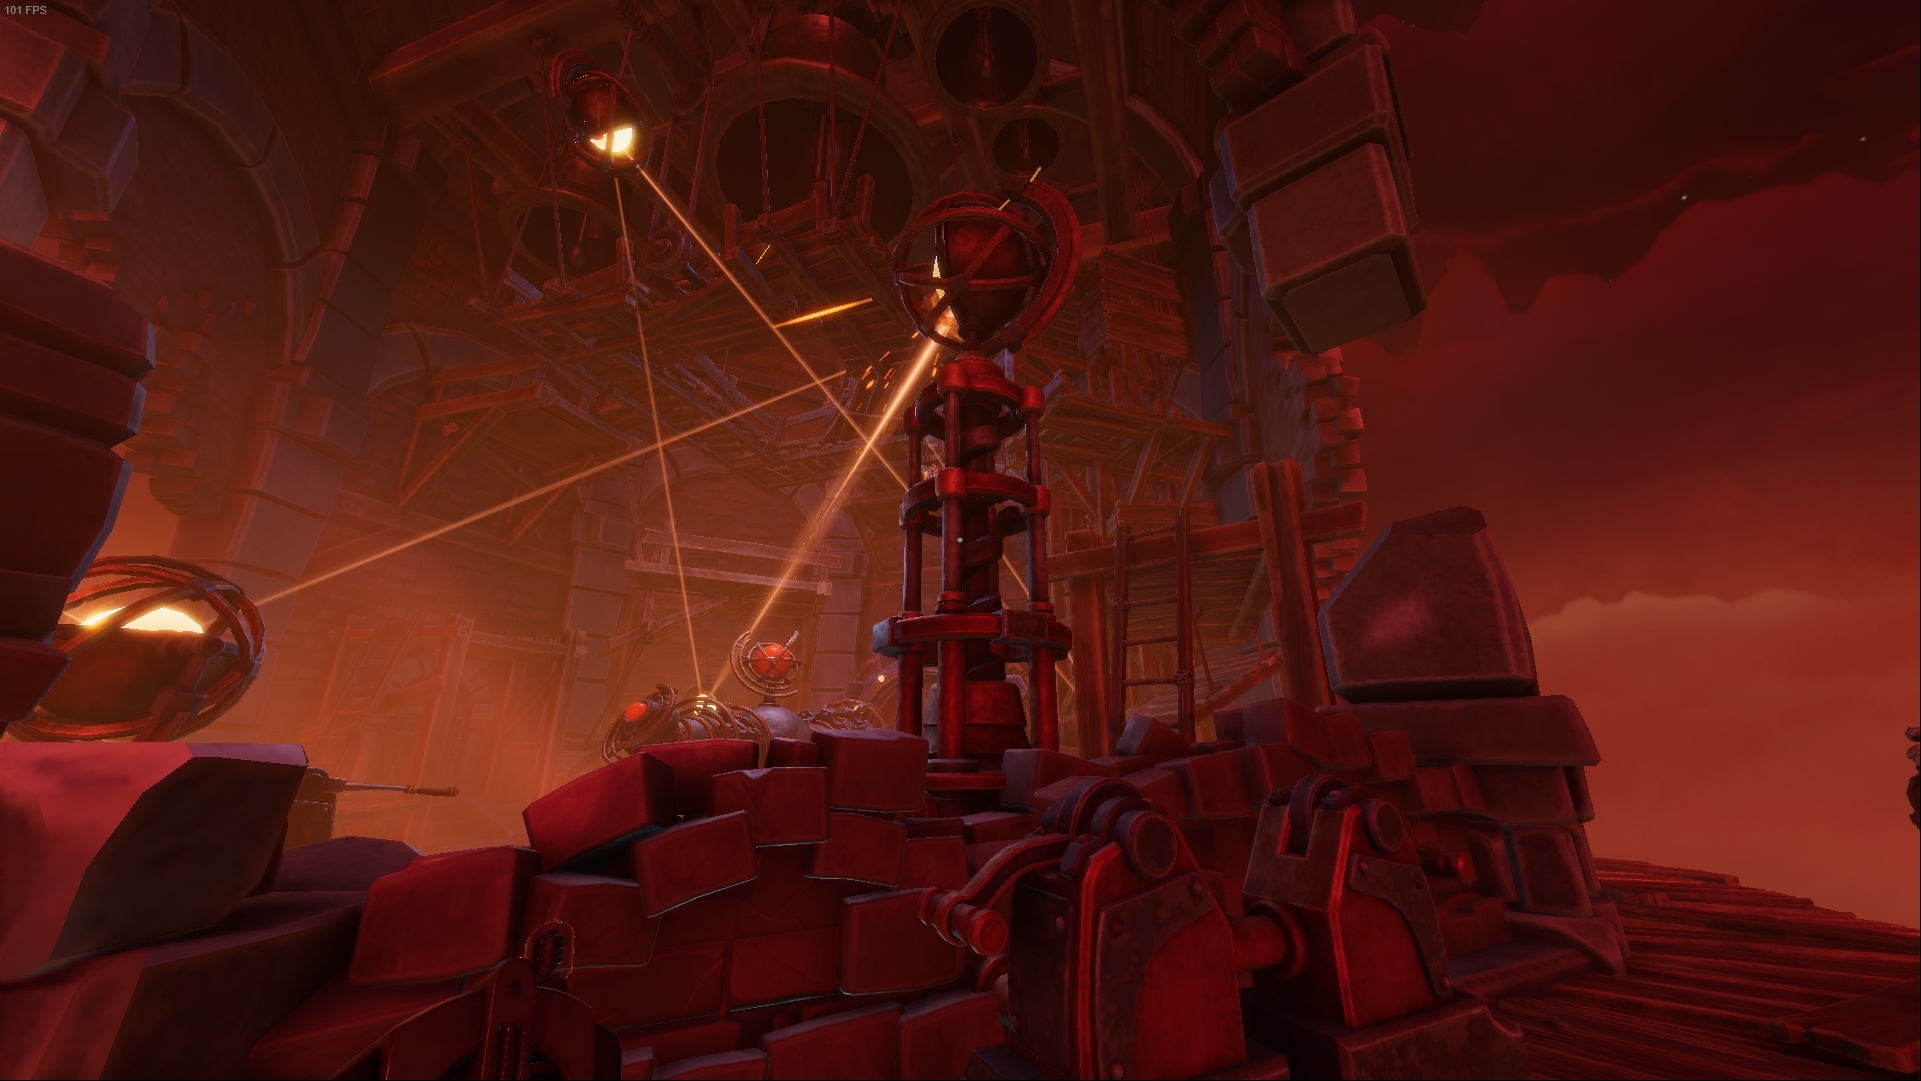
The Finale
↑ Just align the laser with the spheres of light.

Restored the device

Paid the ultimate price
↑ Choose to die in the endgame.

Escaped.. but at what cost?
↑ Let your partner die.

Escaped from Castle Rock
↑ Finish the game.

Invite a friend to play We Were Here Forever!
This is all for We Were Here Forever Full Achievements Guide hope you enjoy the post. If you believe we forget or we should update the post please let us know via comment, we will try our best to fix how fast is possible! Have a great day!


Leave a Reply