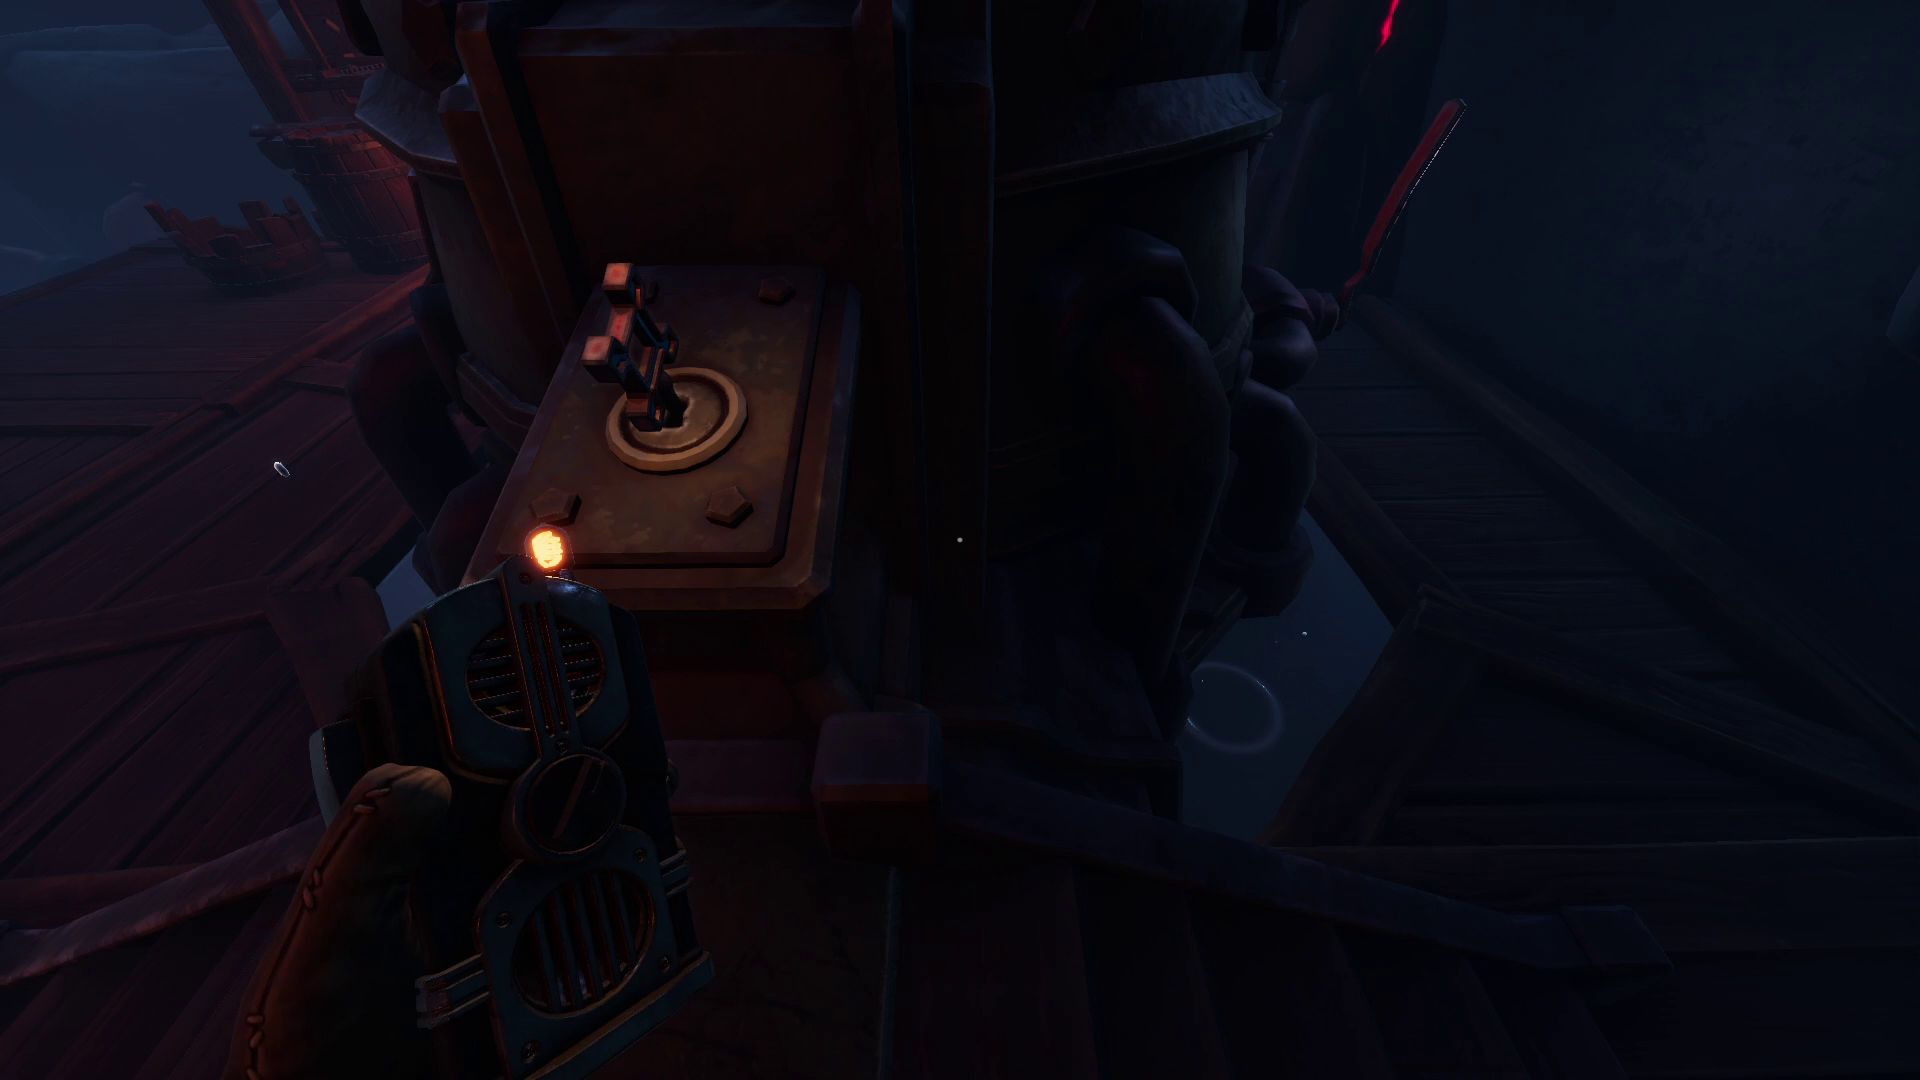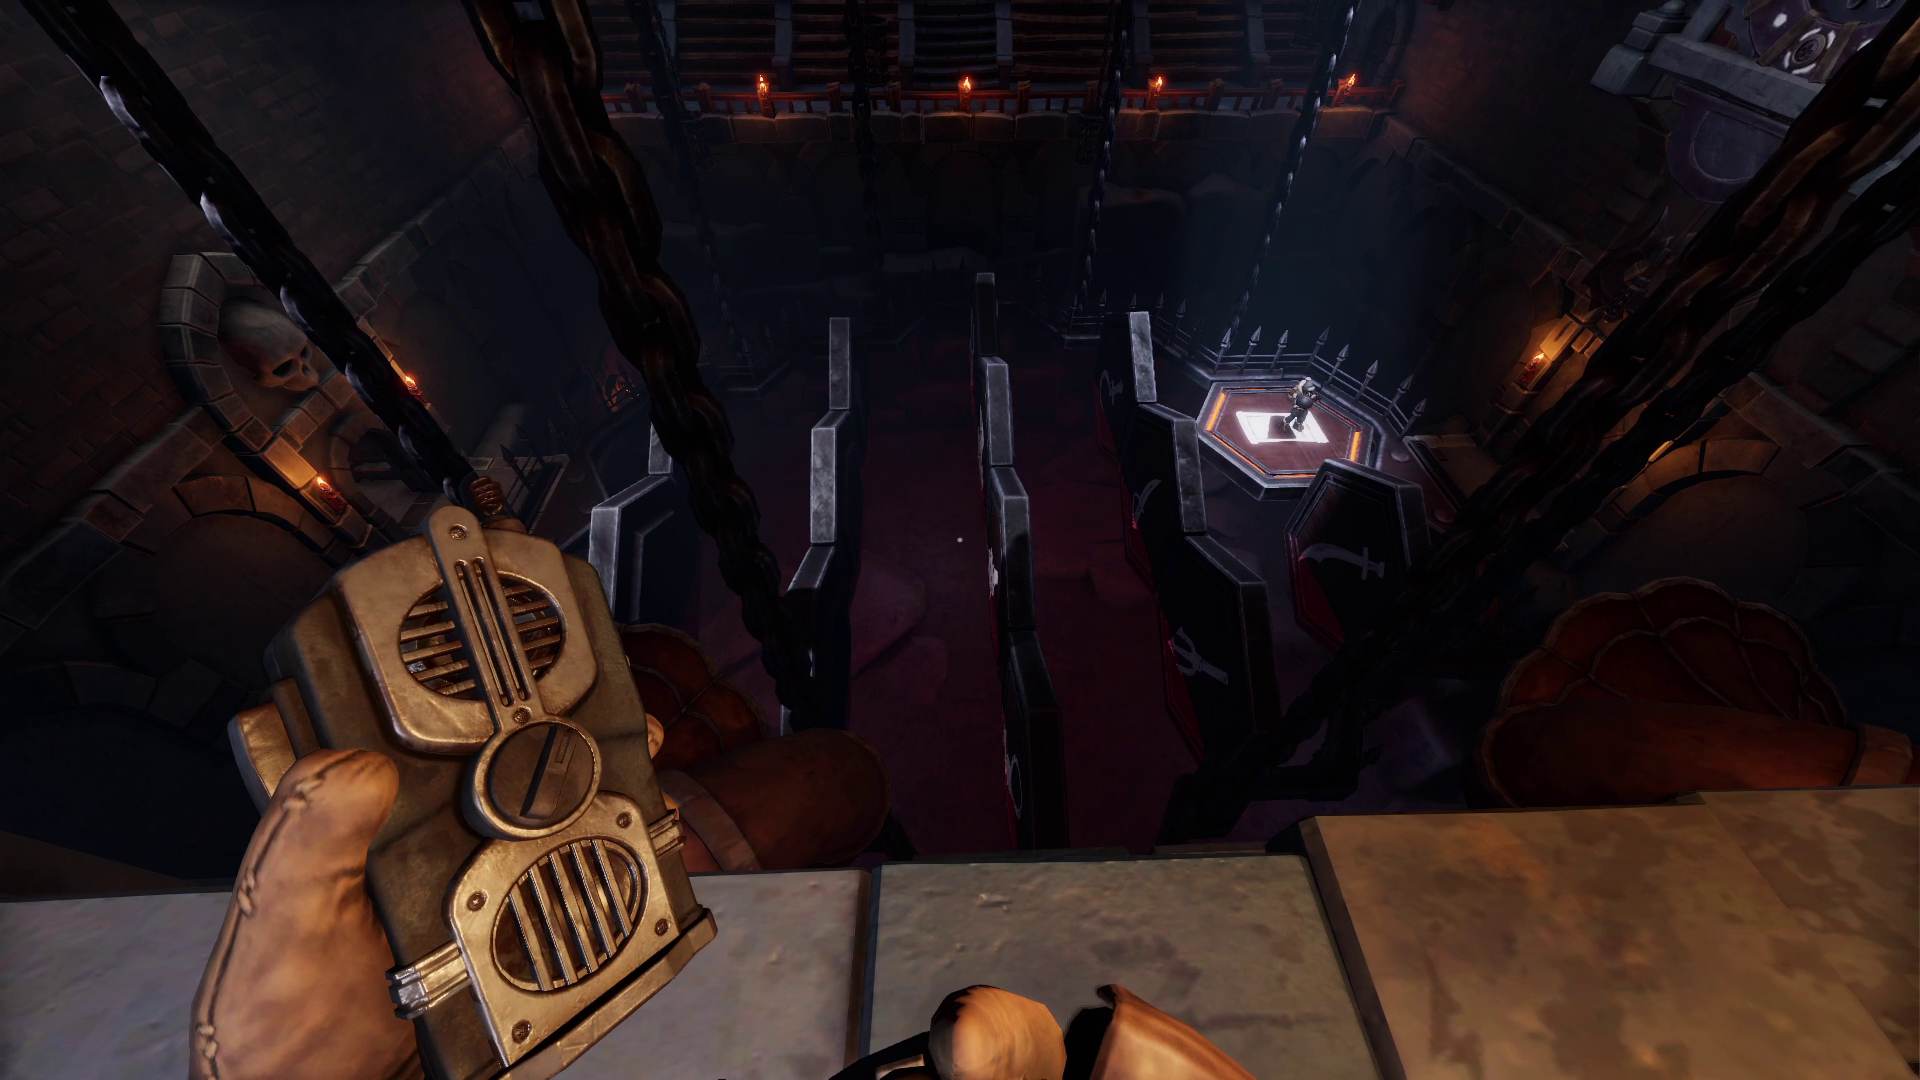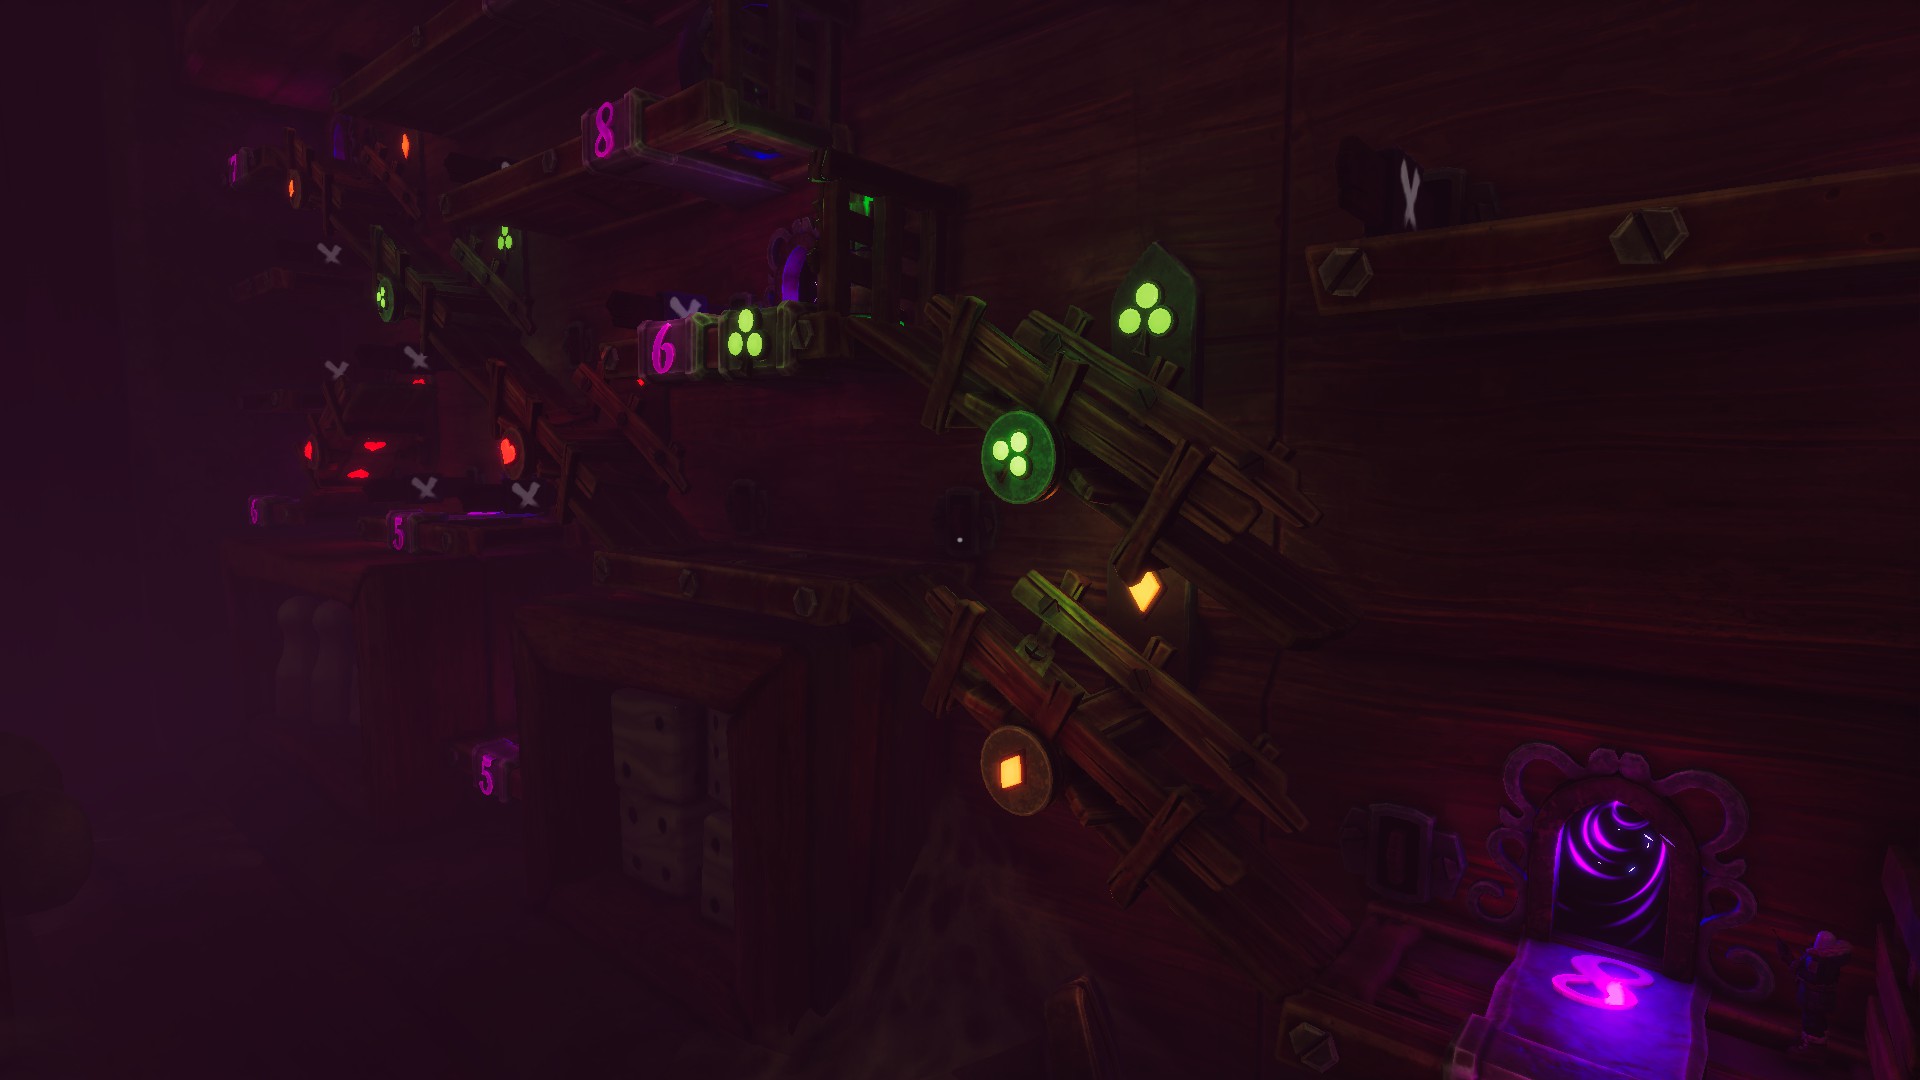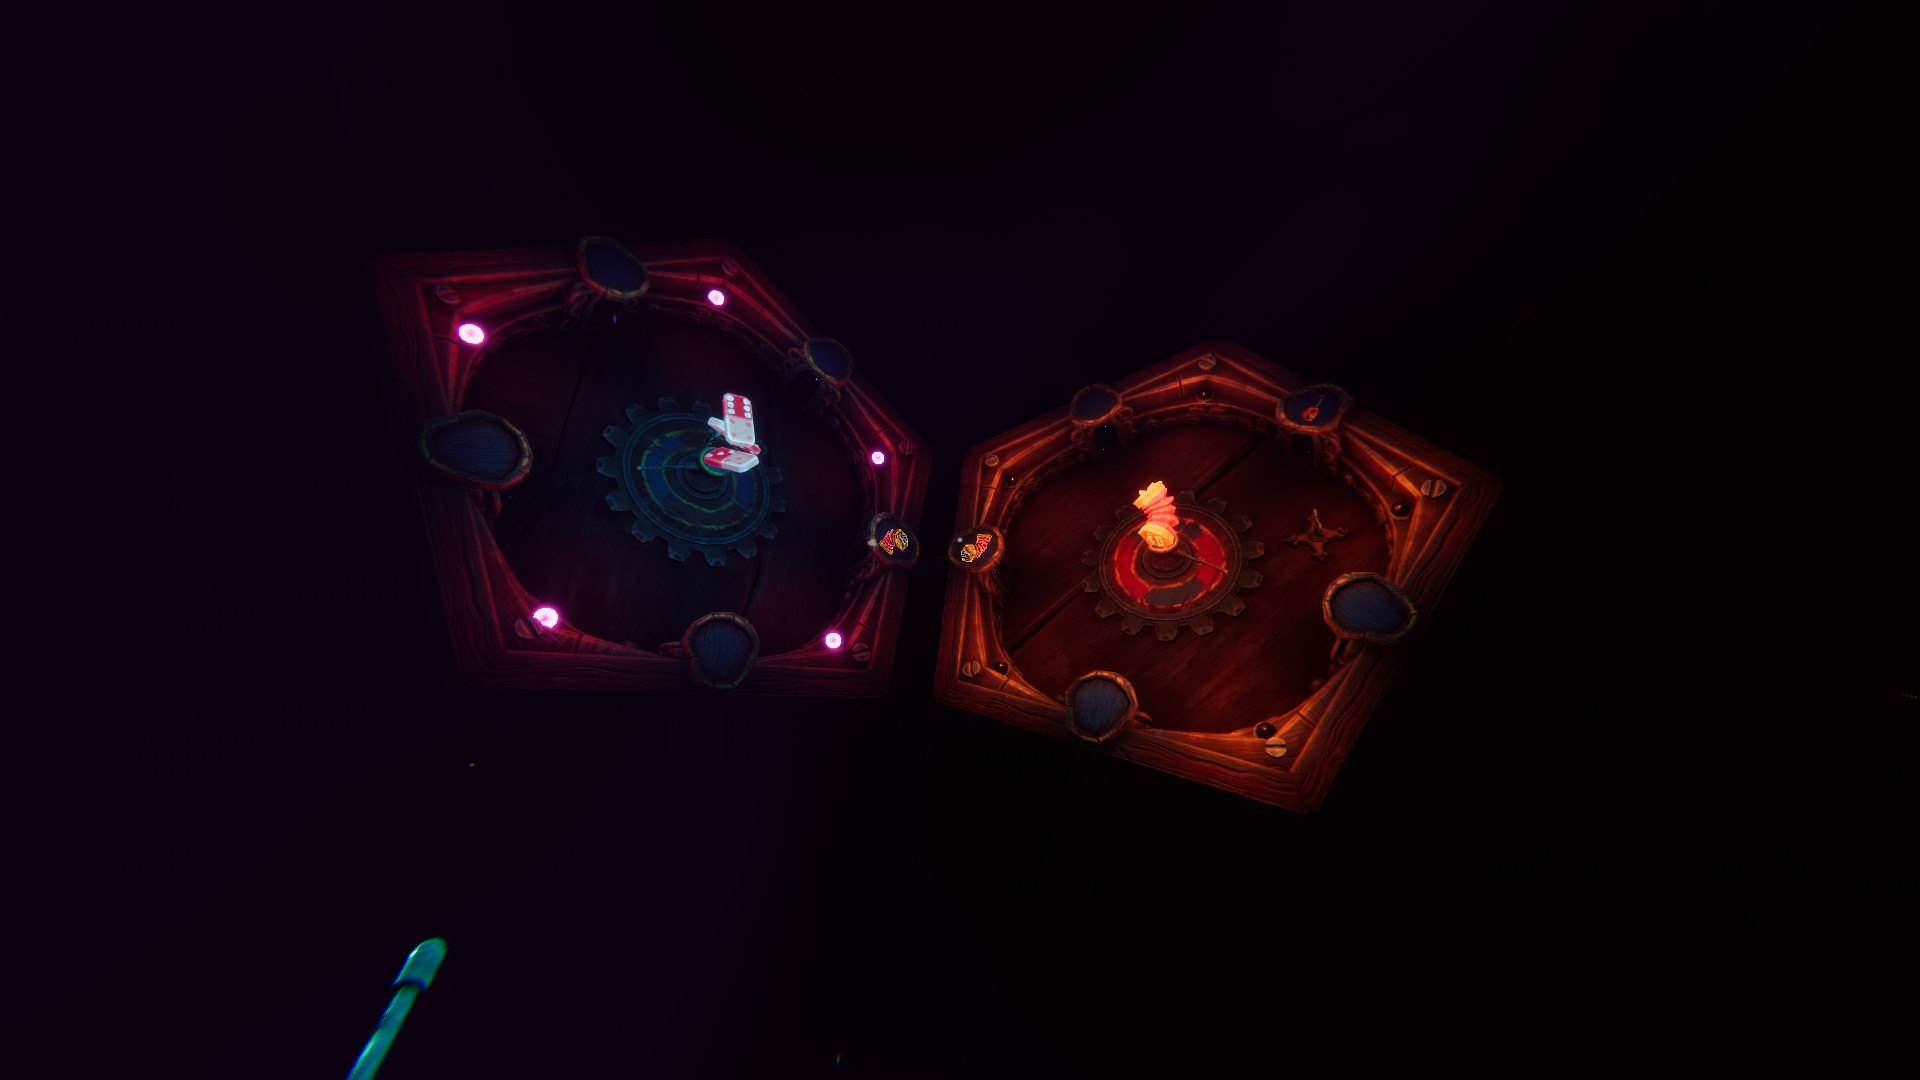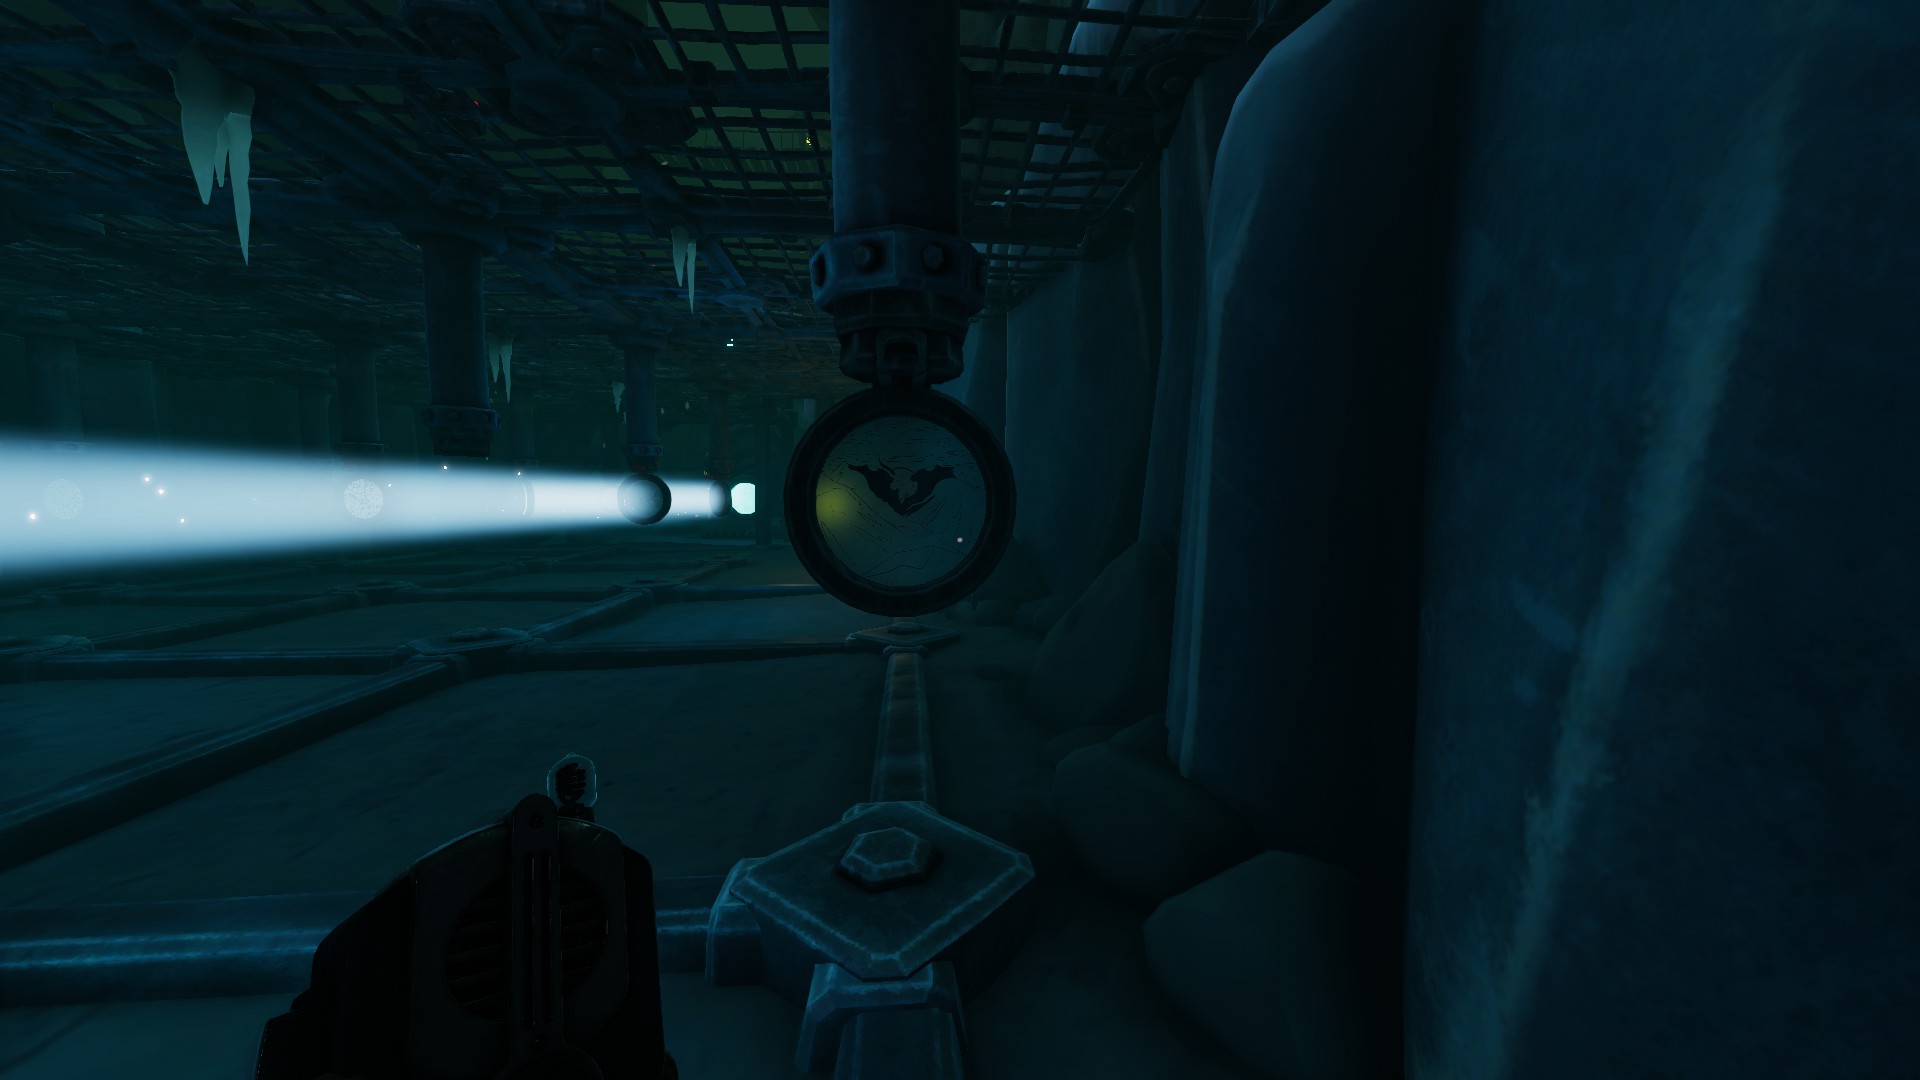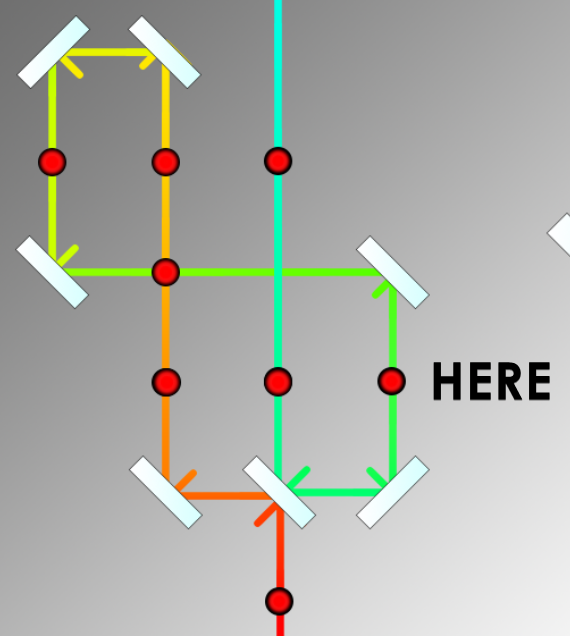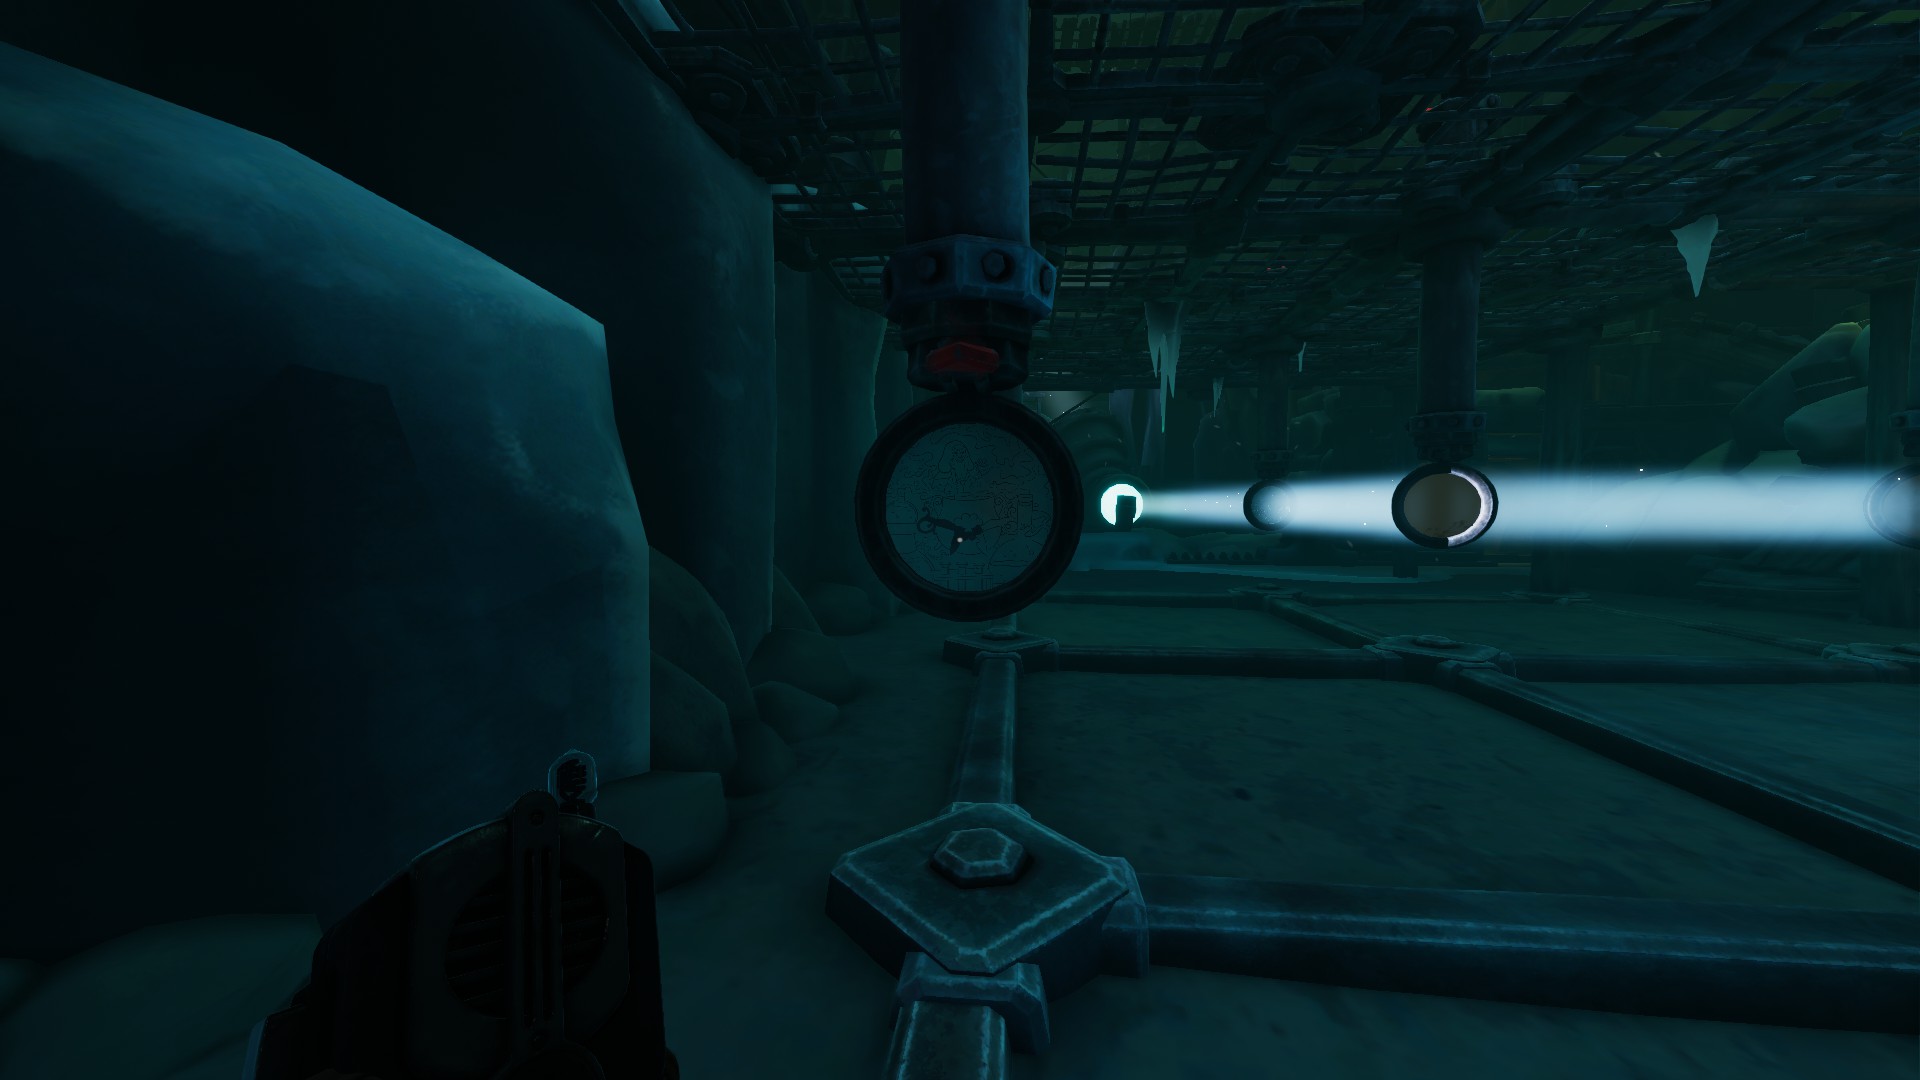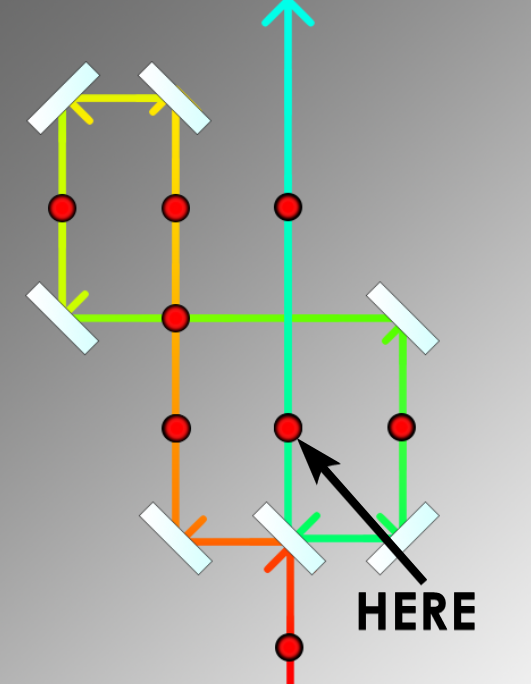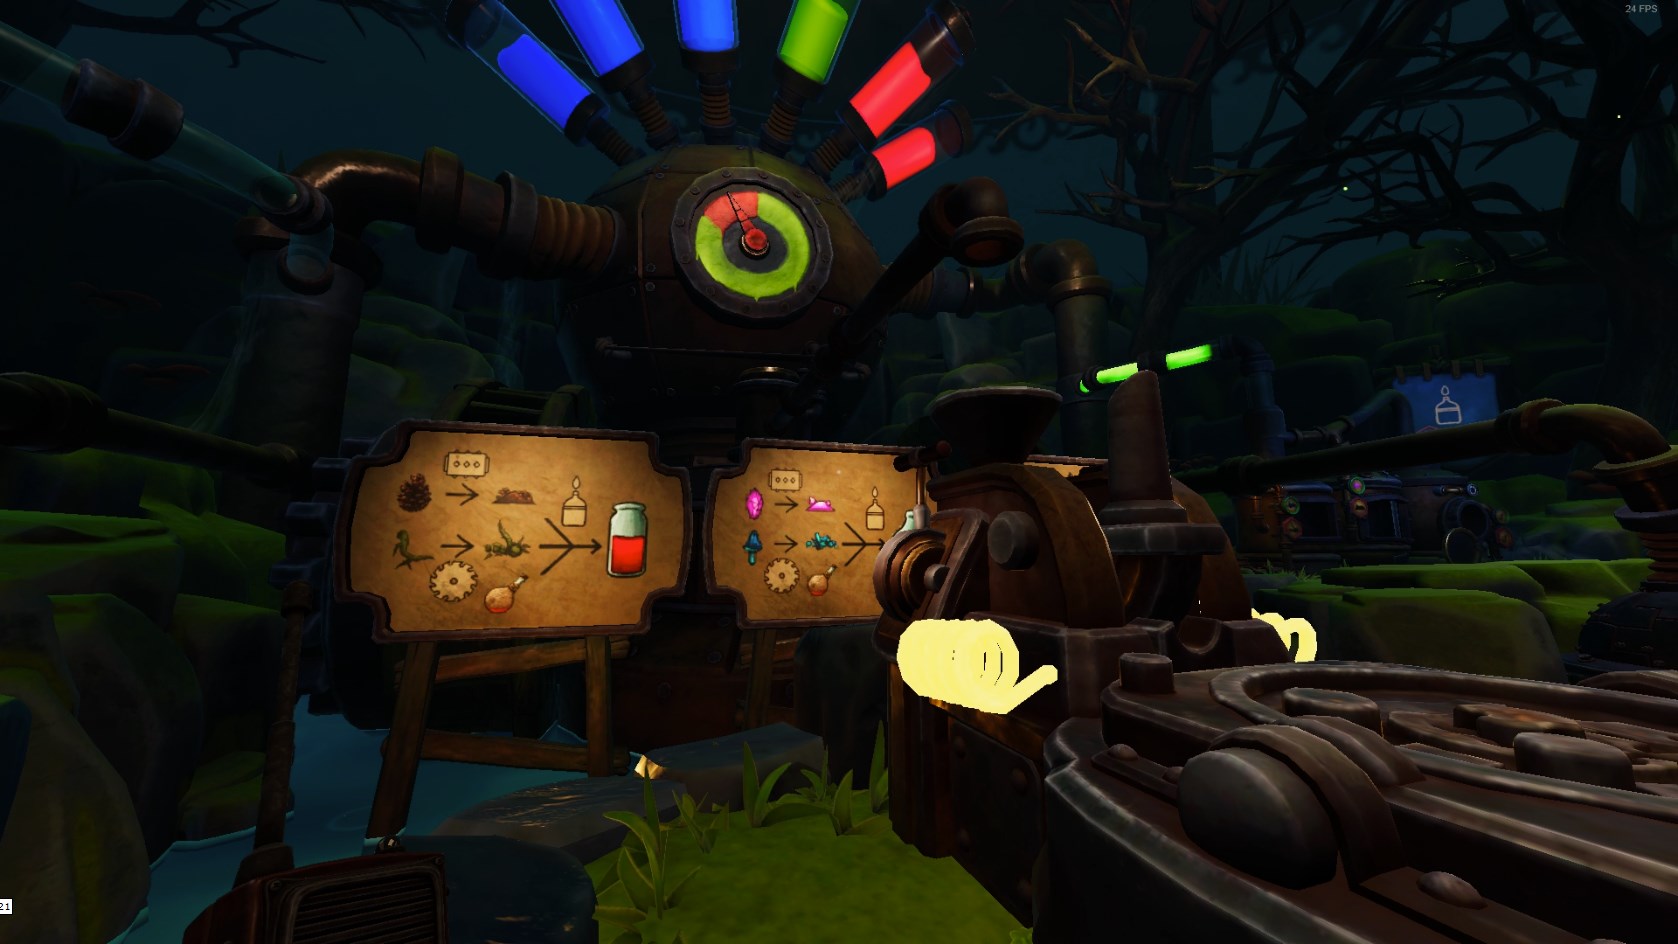
We Were Here Forever All Levels Full Game Walkthrough

We Were Here Forever All Levels Full Game Walkthrough 1 - steamsplay.com

This guide will help you get through all the levels of We Were Here Forever with pictures and detailed explanations


Chapter 1 — The Keep


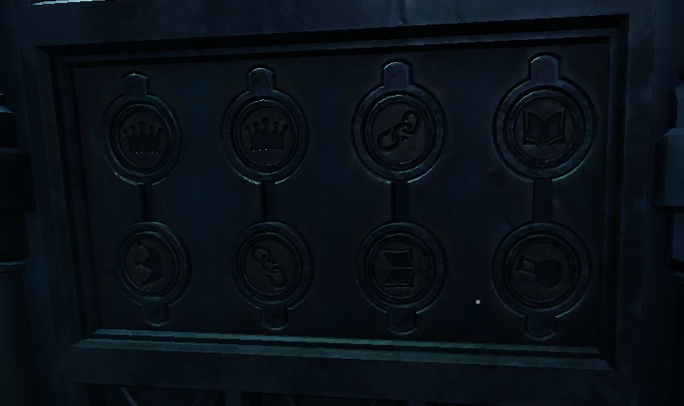
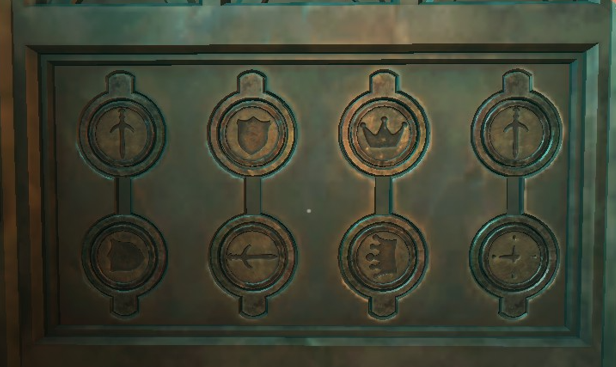
├─ The Gaols (doors)

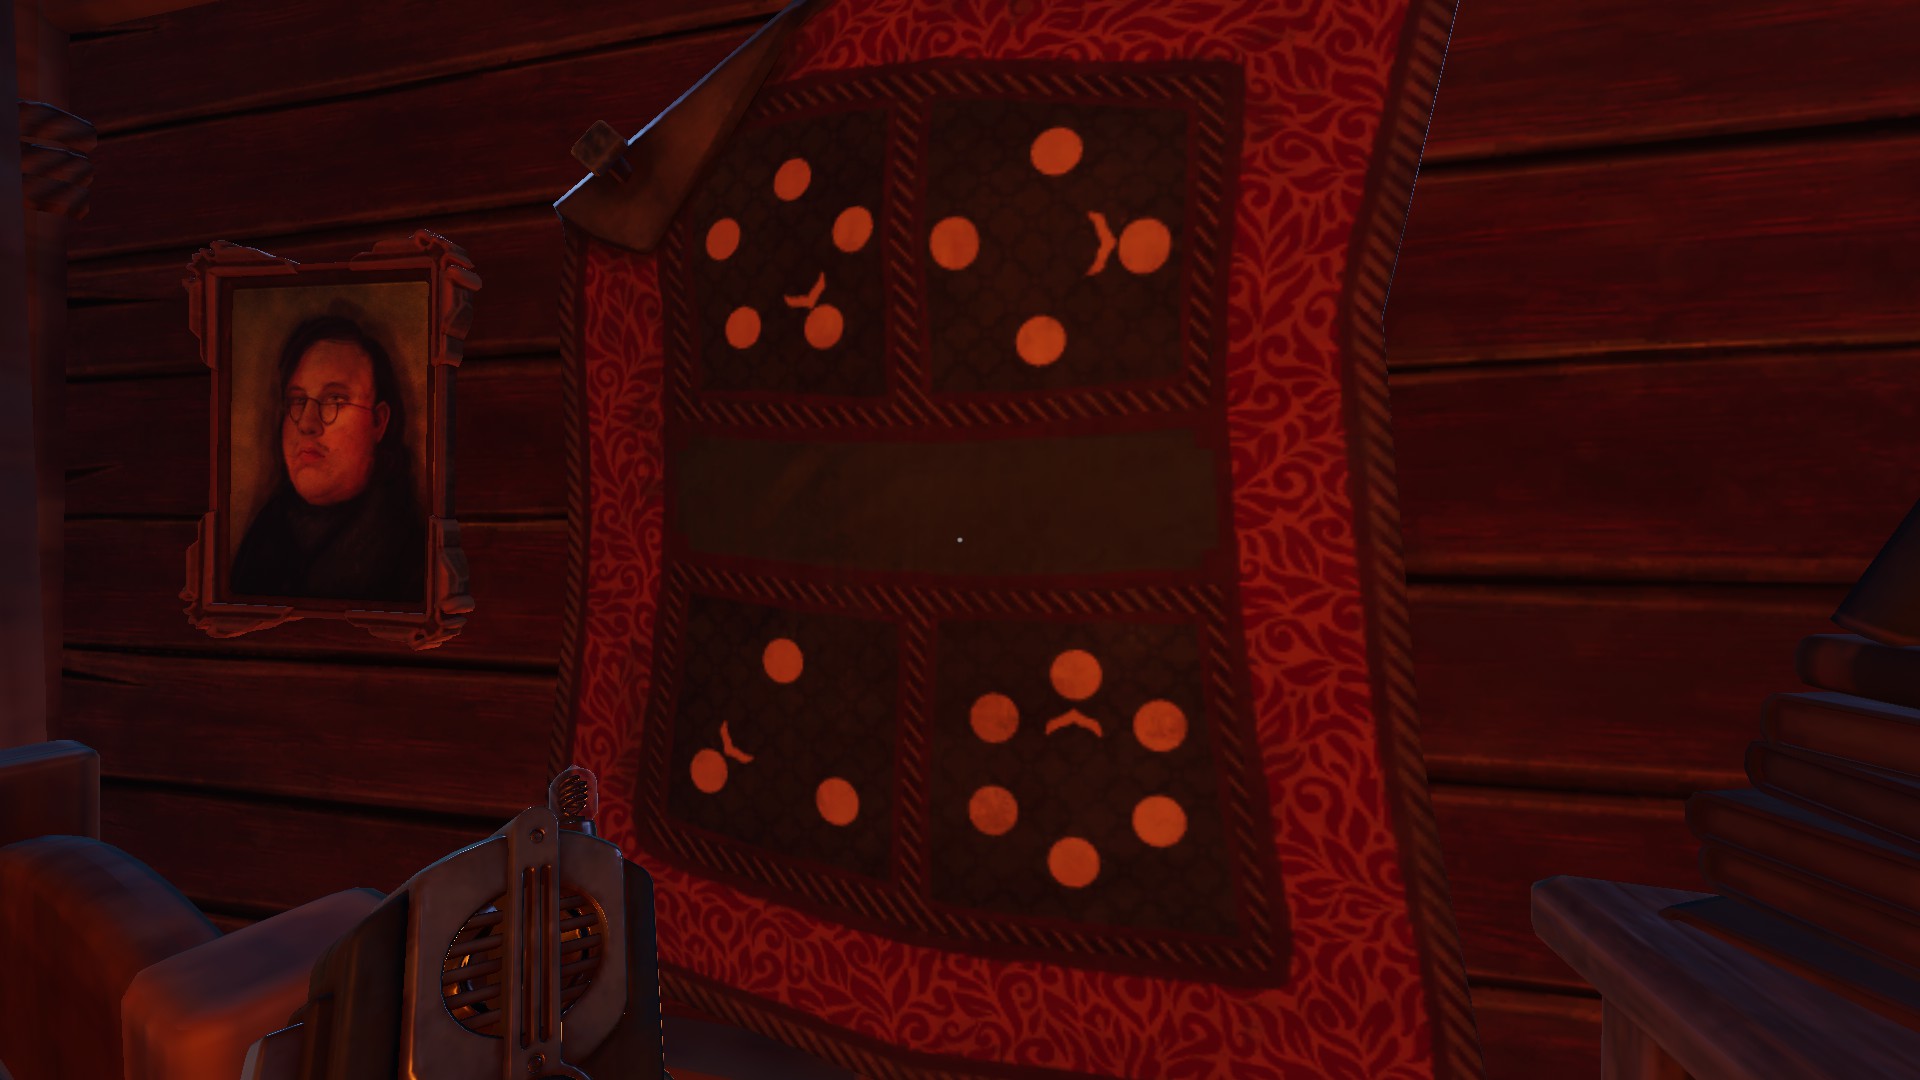
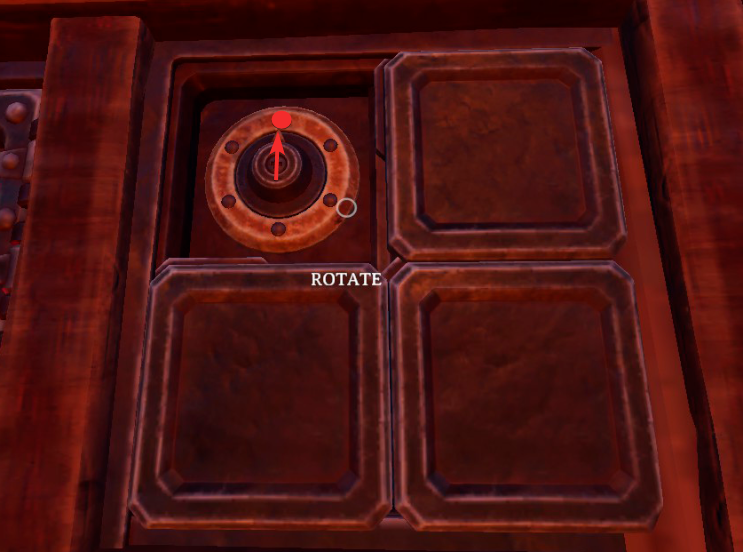
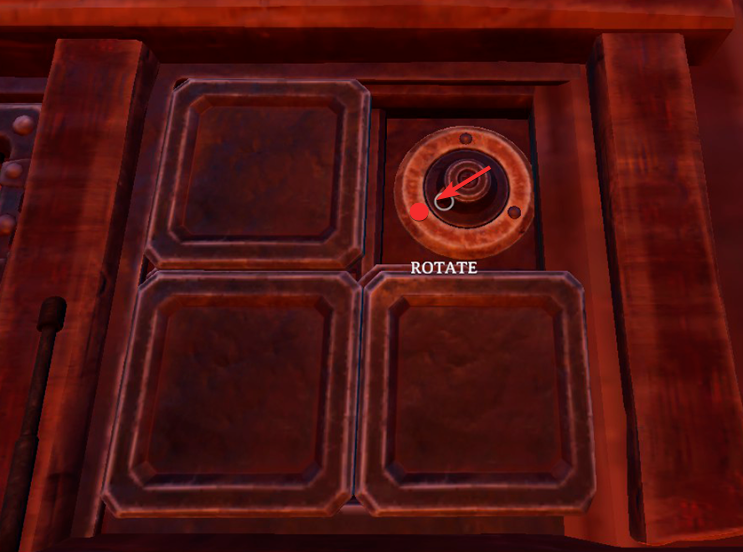
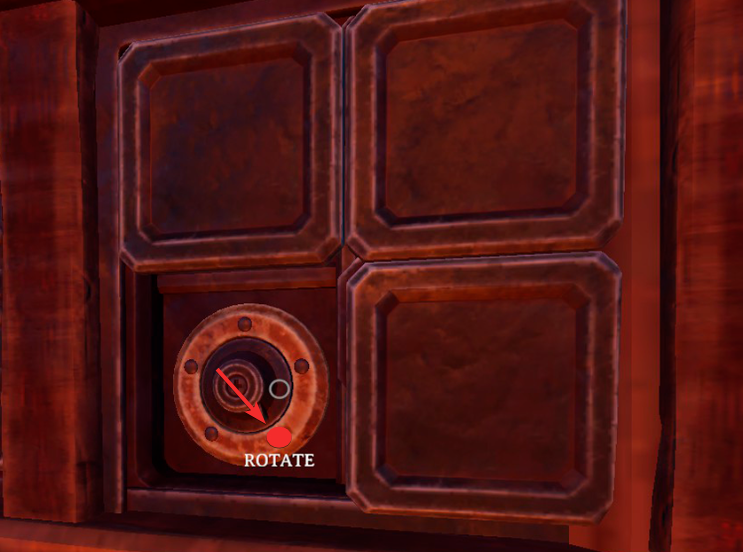
Door 1


Player 1 | Player 2


We Were Here Forever All Levels Full Game Walkthrough - ├─ The Gaols (doors) - E22CC5F


Door 2


Player 1 | Player 2


We Were Here Forever All Levels Full Game Walkthrough - ├─ The Gaols (doors) - F736F0A
 
 
We Were Here Forever All Levels Full Game Walkthrough - ├─ The Gaols (doors) - B4154FB


Door 3


Player 1 | Player 2


We Were Here Forever All Levels Full Game Walkthrough - ├─ The Gaols (doors) - AEDA42F
 
 
We Were Here Forever All Levels Full Game Walkthrough - ├─ The Gaols (doors) - AE4AEA5


├─ The Chasm (repair lift)

First step Player 1 need to put green key in the buscket, then Player 2 need to press the lever to exchange keys.
 
 
We Were Here Forever All Levels Full Game Walkthrough - ├─ The Chasm (repair lift) - C630EAB
 
 
To turn on light you need follow actions on the gif:
 
 
We Were Here Forever All Levels Full Game Walkthrough - ├─ The Chasm (repair lift) - 0CB345A
 
 
Then Player 1 need to set spinning pointer to the correct position and open the cage with key → open the elevator
 
 
We Were Here Forever All Levels Full Game Walkthrough - ├─ The Chasm (repair lift) - 166B9DF
 
 
Player 2 cross the abyss and with Player 1 open hidden room
 
 
We Were Here Forever All Levels Full Game Walkthrough - ├─ The Chasm (repair lift) - 228CE62
 
 
Both player cross to room of player 2 and open one more elevator


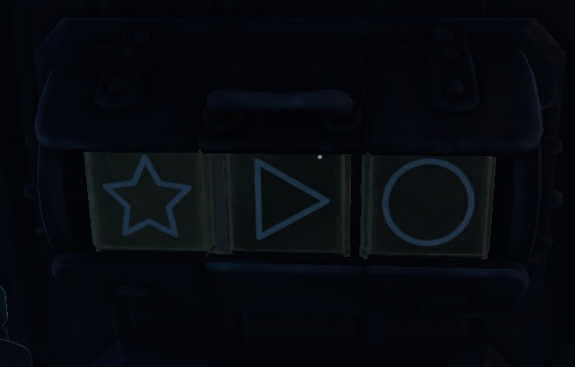
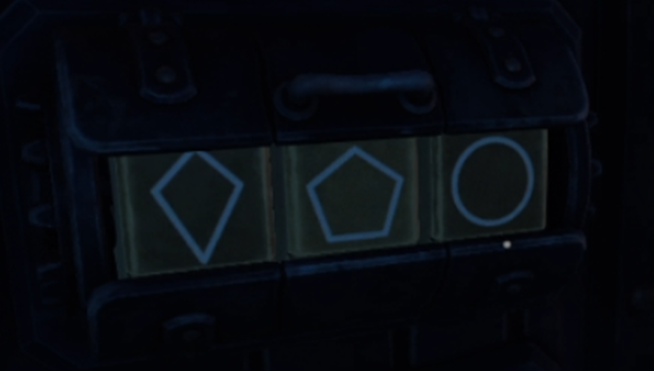
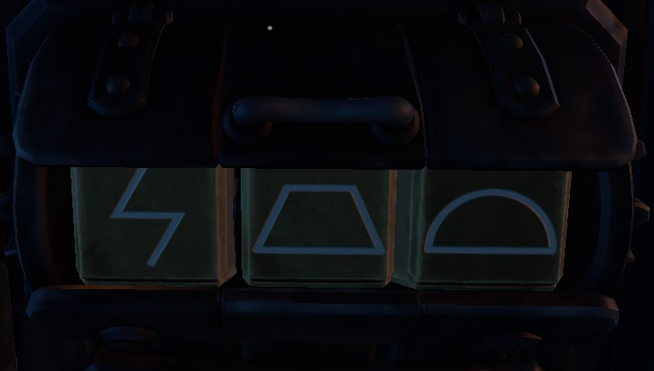
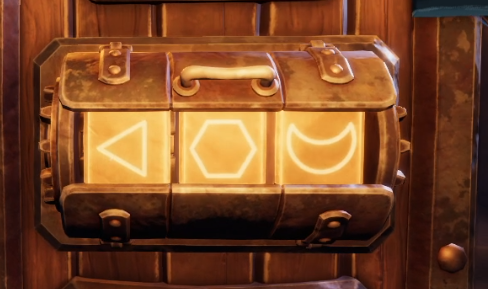
Slot machine

 
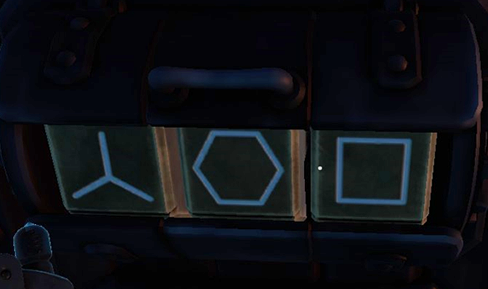
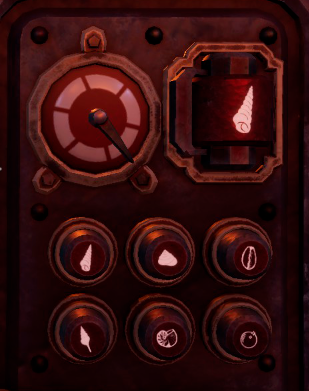
Player who press the button have one randomized figure
 
 
We Were Here Forever All Levels Full Game Walkthrough - ├─ The Chasm (repair lift) - F870DDC
 
 
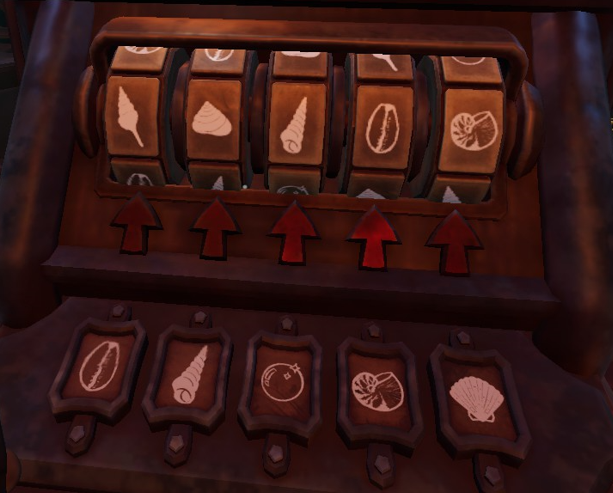
On the other side each figure points to a new figure
 
 
We Were Here Forever All Levels Full Game Walkthrough - ├─ The Chasm (repair lift) - 2D36FAF
 
 
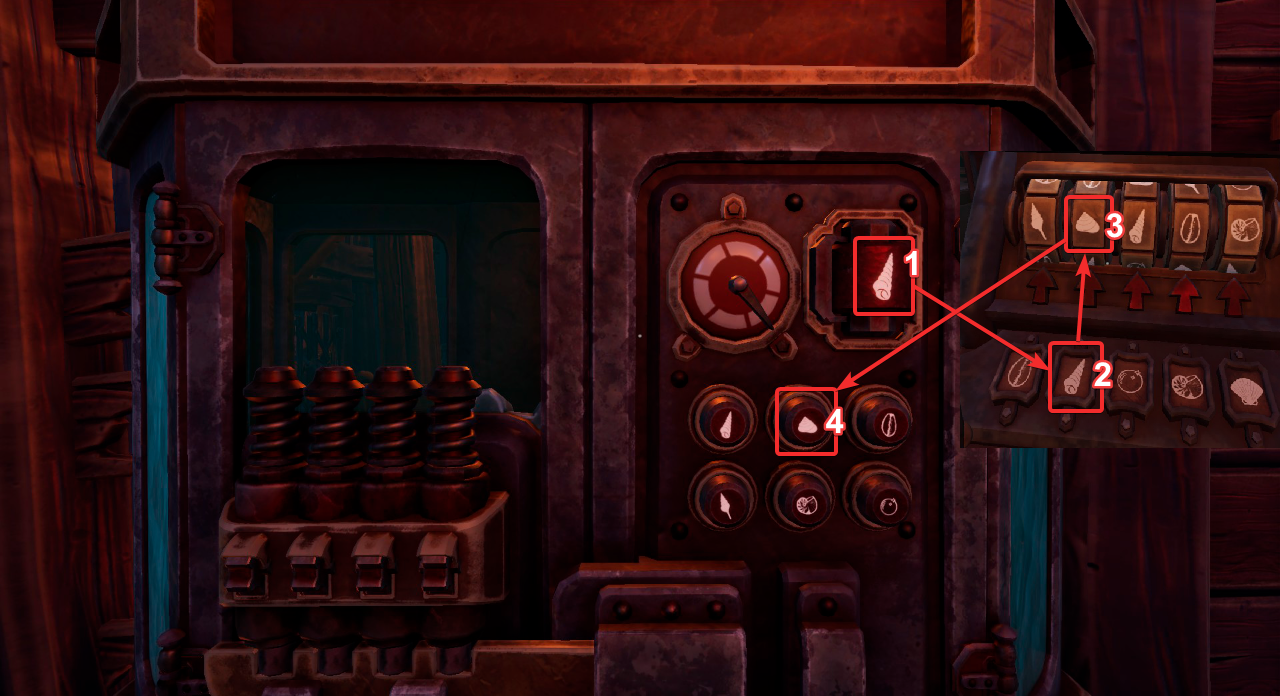
This new figure should be pressed by the player with the buttons
 
As example:
 
 
We Were Here Forever All Levels Full Game Walkthrough - ├─ The Chasm (repair lift) - 8C9D505
 
 
To open the box you need to repeat these steps 4 times
 
With new key you will get acces to the new room


Engine room / Projector room


You have to set up all projector discs in the right order
 
Then you need to be as fast as you can following next steps:


Step 1

 
Turn on engine (with key)


We Were Here Forever All Levels Full Game Walkthrough - ├─ The Chasm (repair lift) - 95814DC


Step 2

 
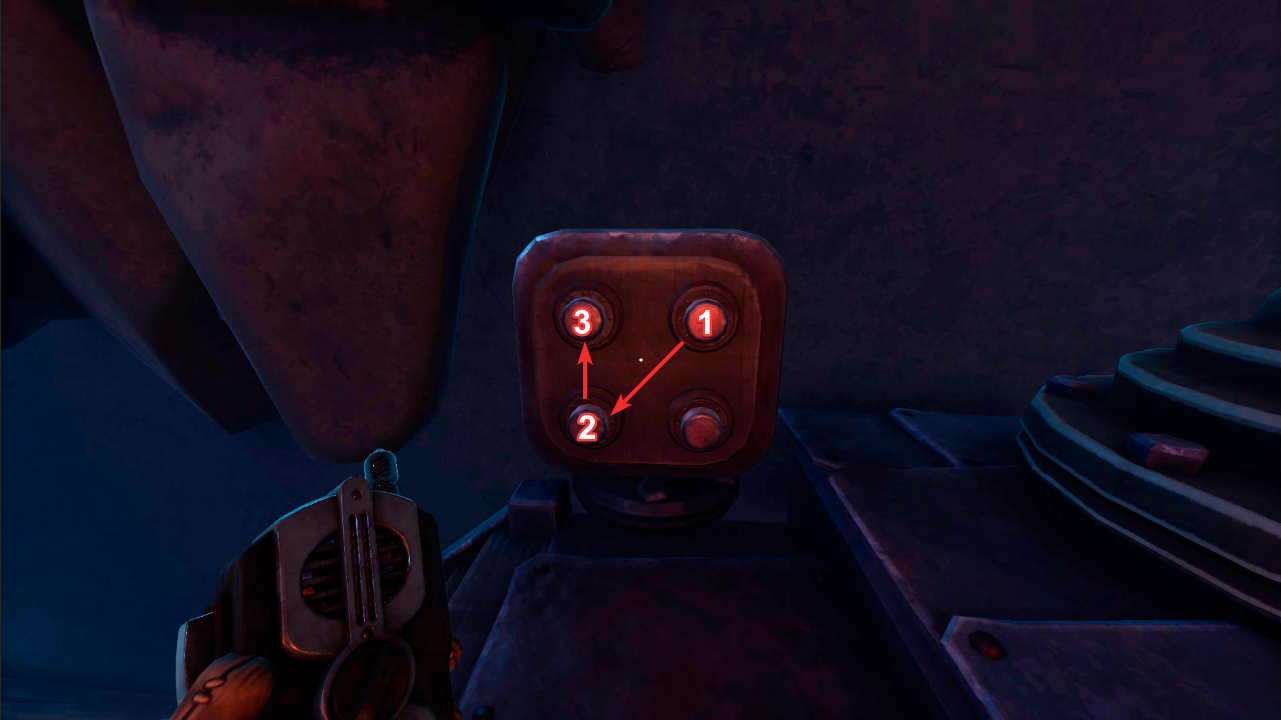
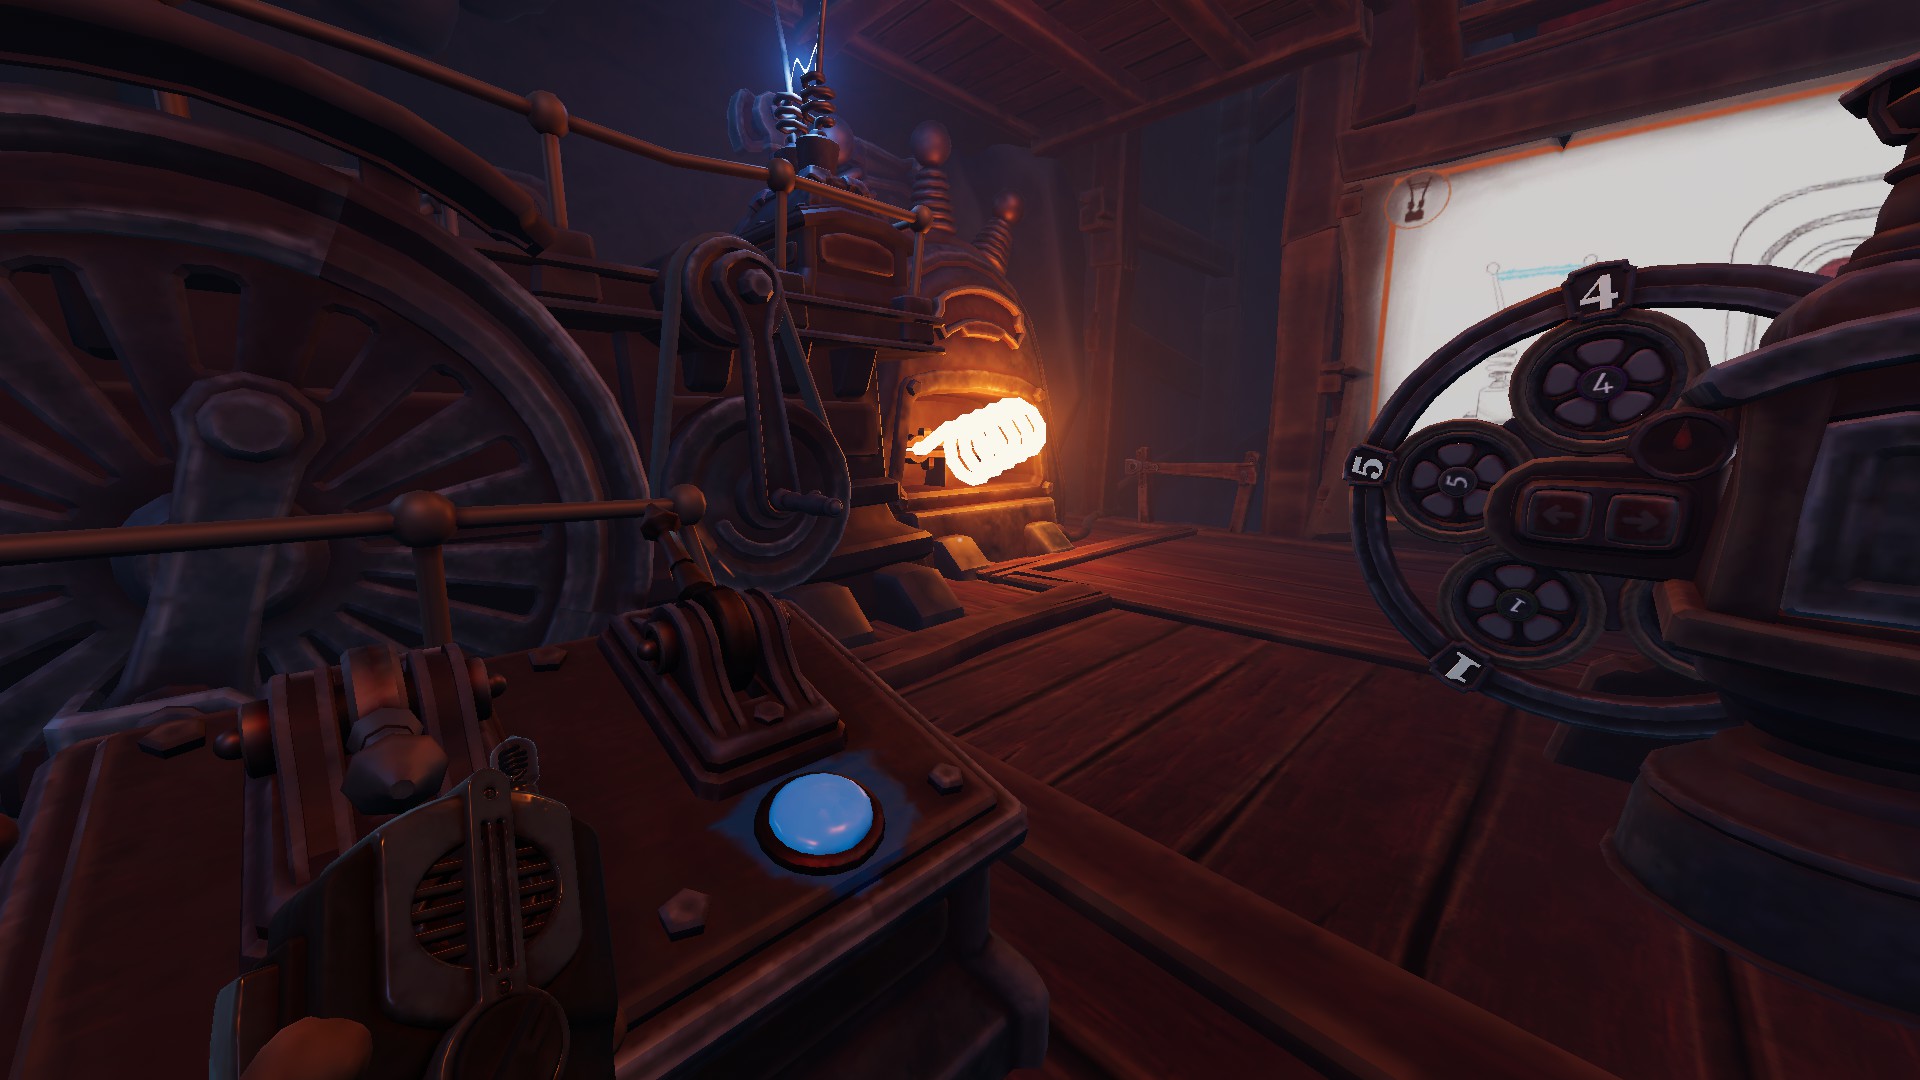
Press button in the right order


We Were Here Forever All Levels Full Game Walkthrough - ├─ The Chasm (repair lift) - FD109D8


Step 3

 
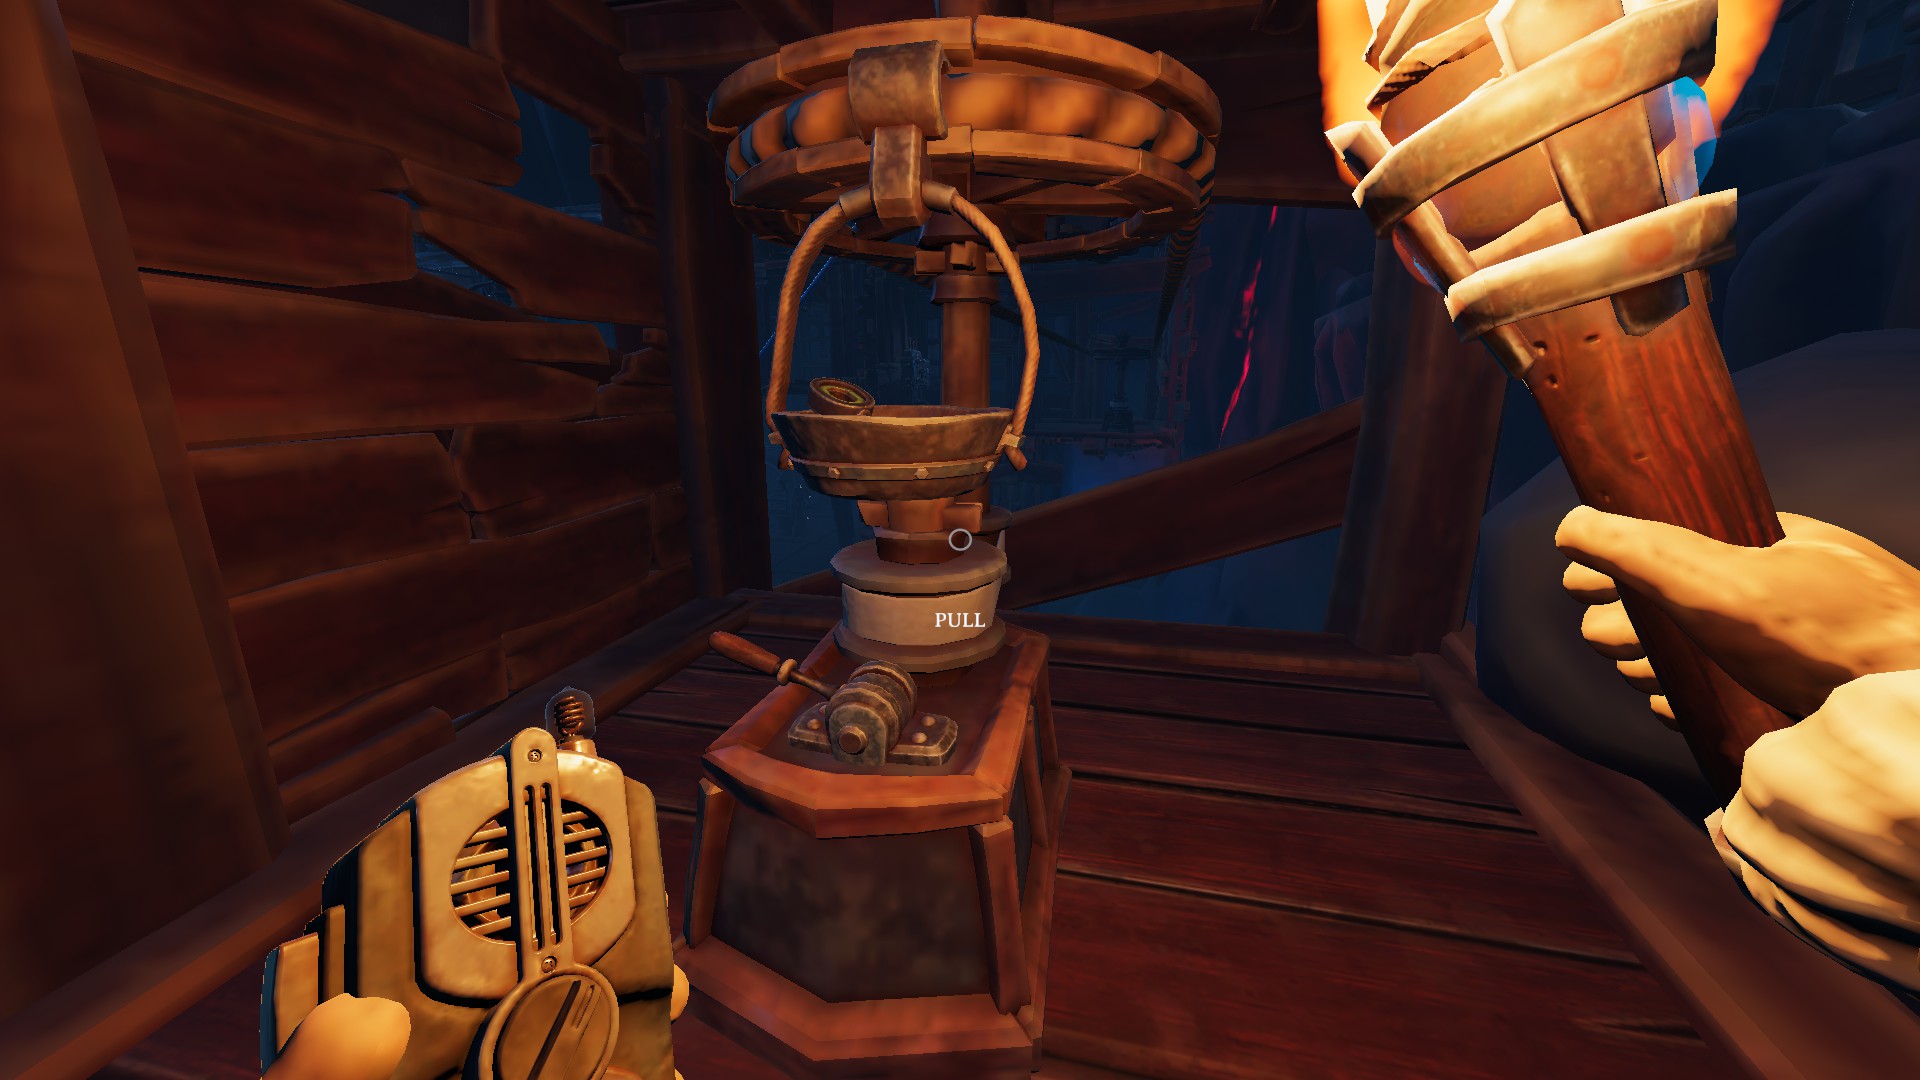
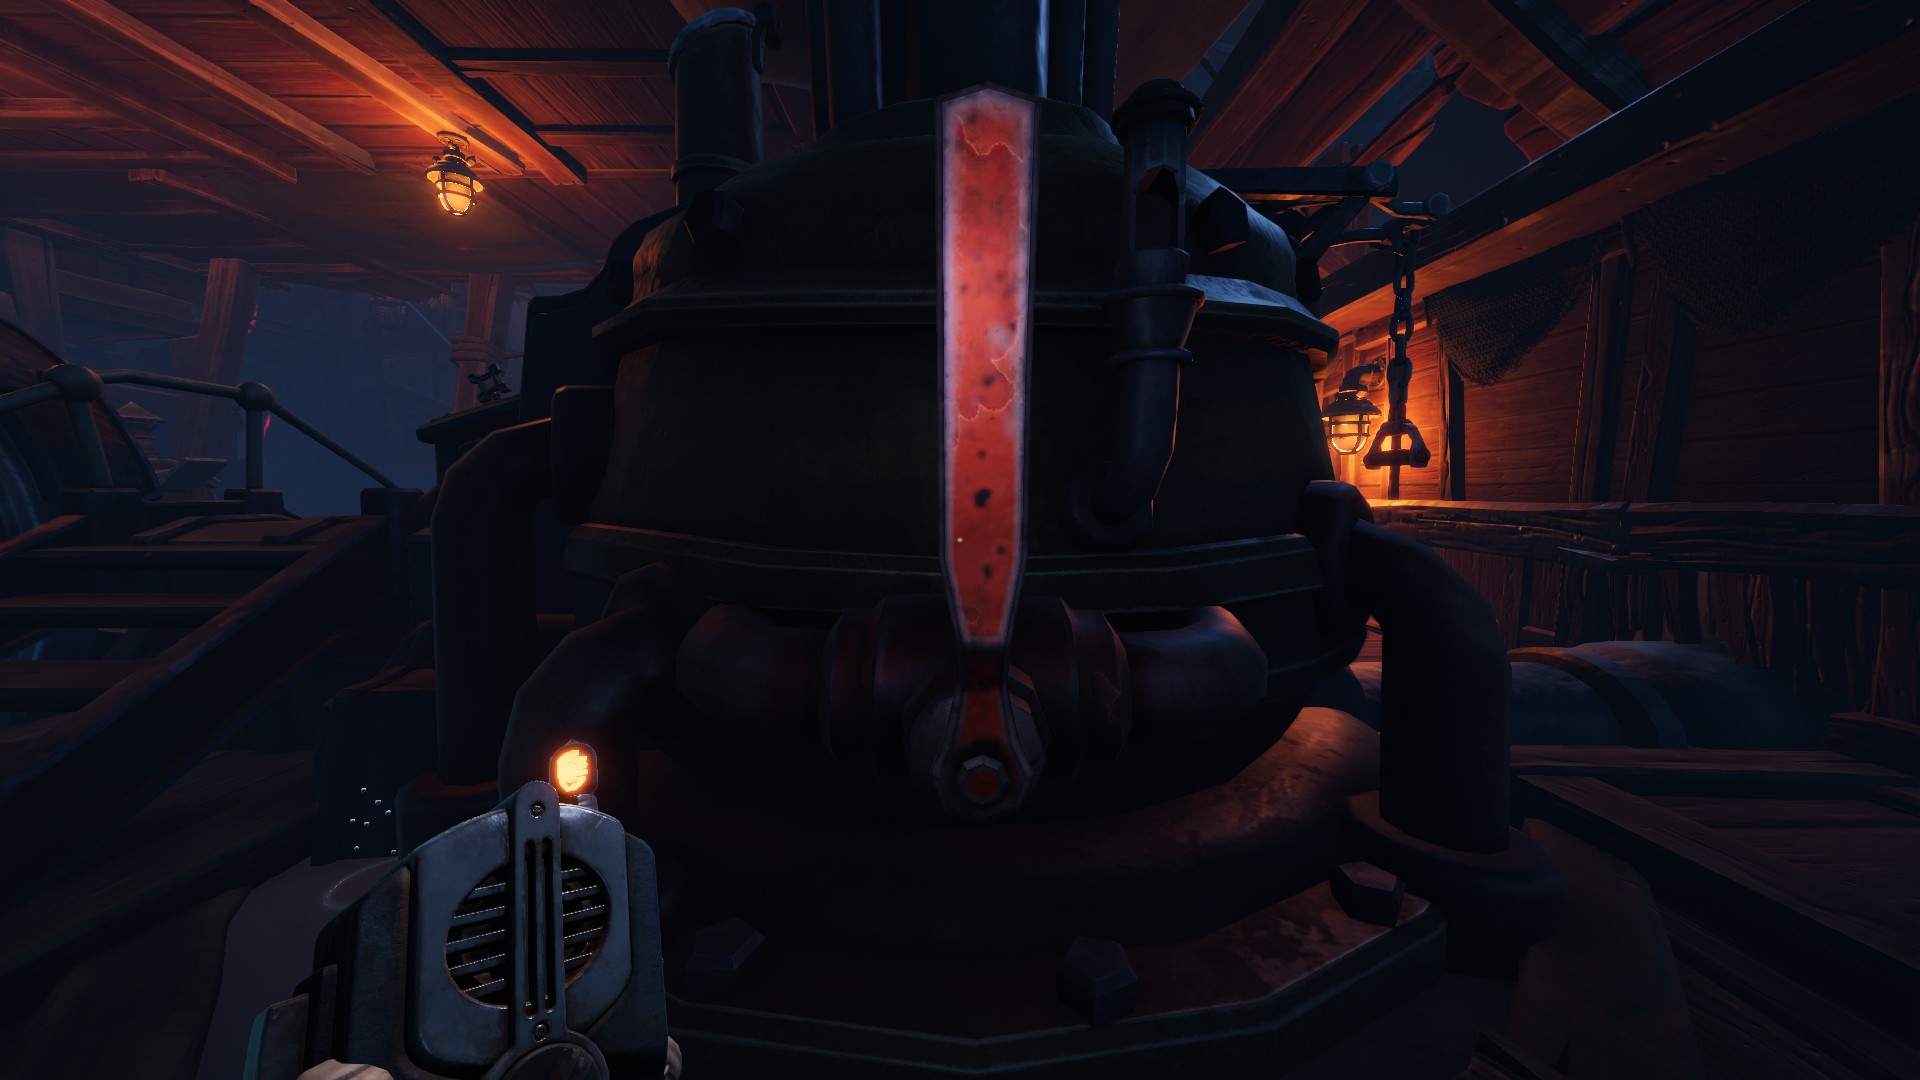
Pull 2 red leavers with lamp


We Were Here Forever All Levels Full Game Walkthrough - ├─ The Chasm (repair lift) - D212435
 
 
We Were Here Forever All Levels Full Game Walkthrough - ├─ The Chasm (repair lift) - C54AE16


Step 4

 
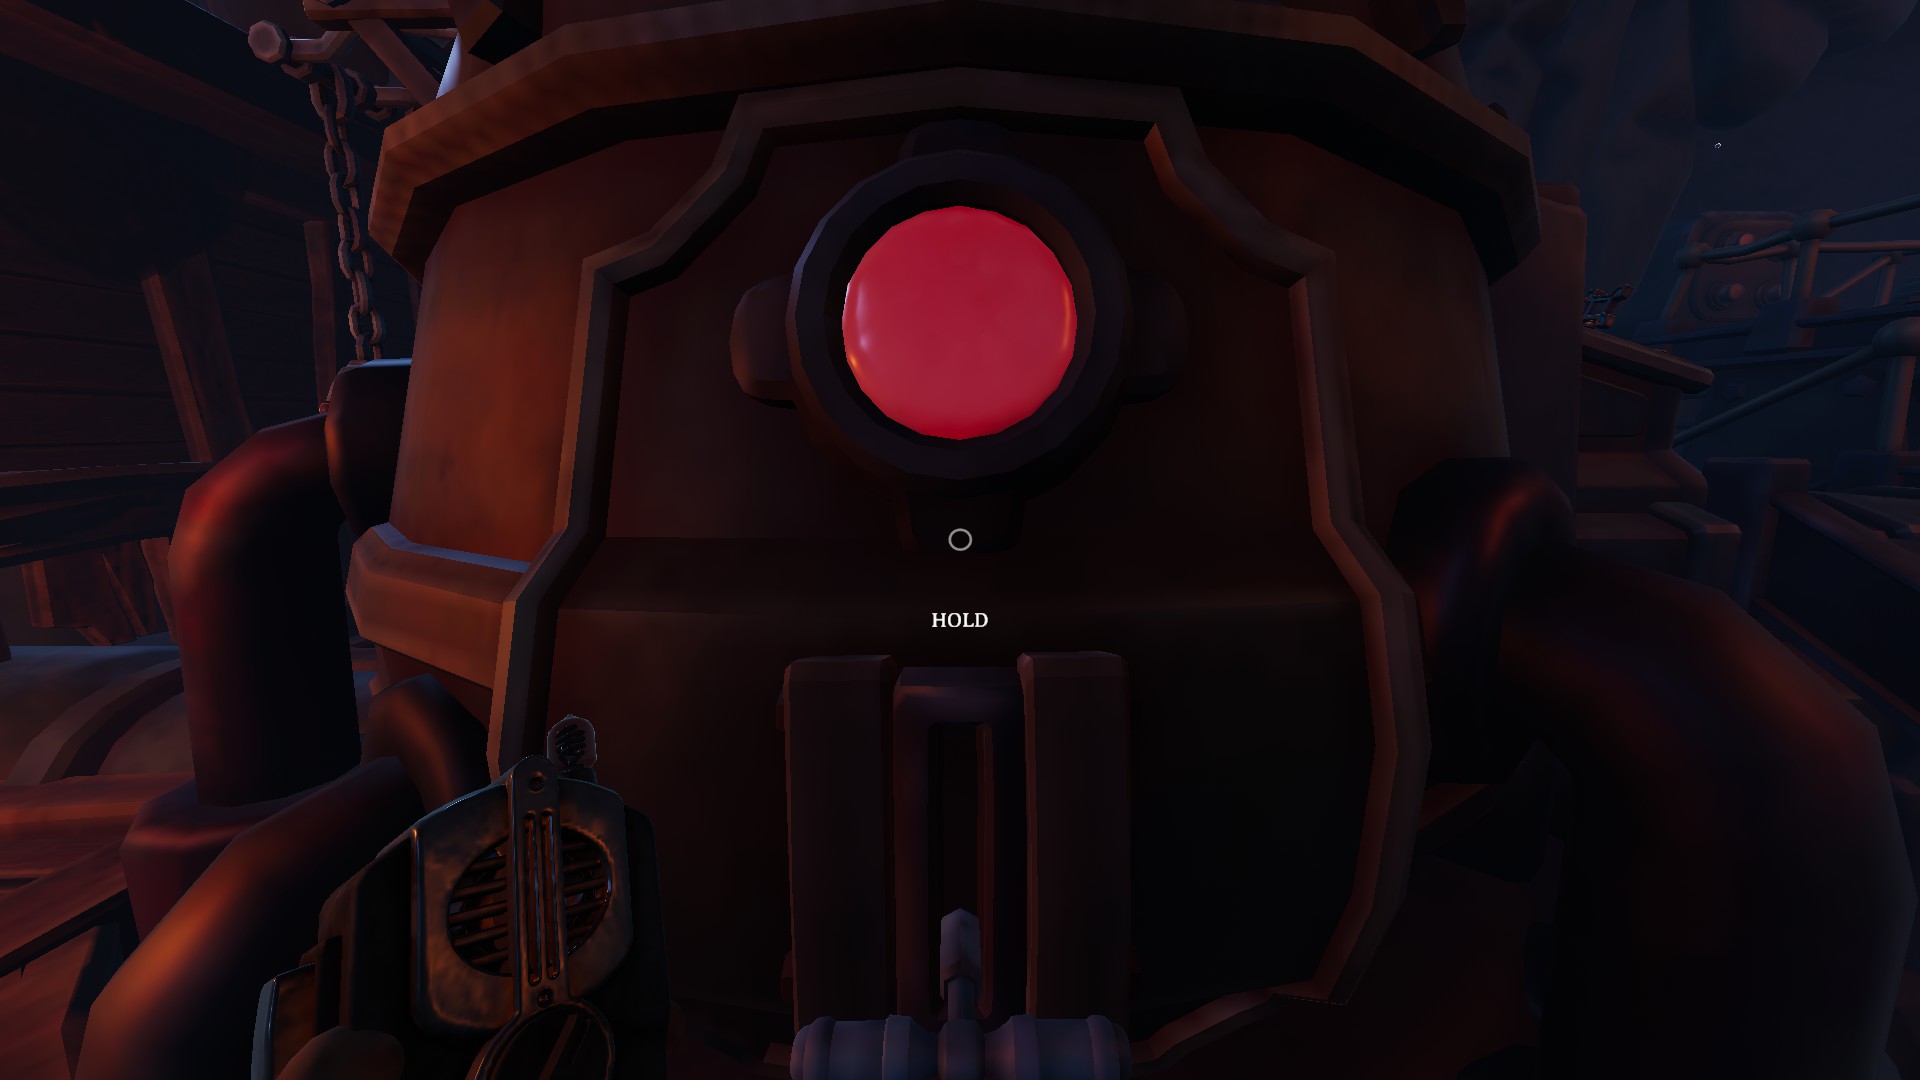
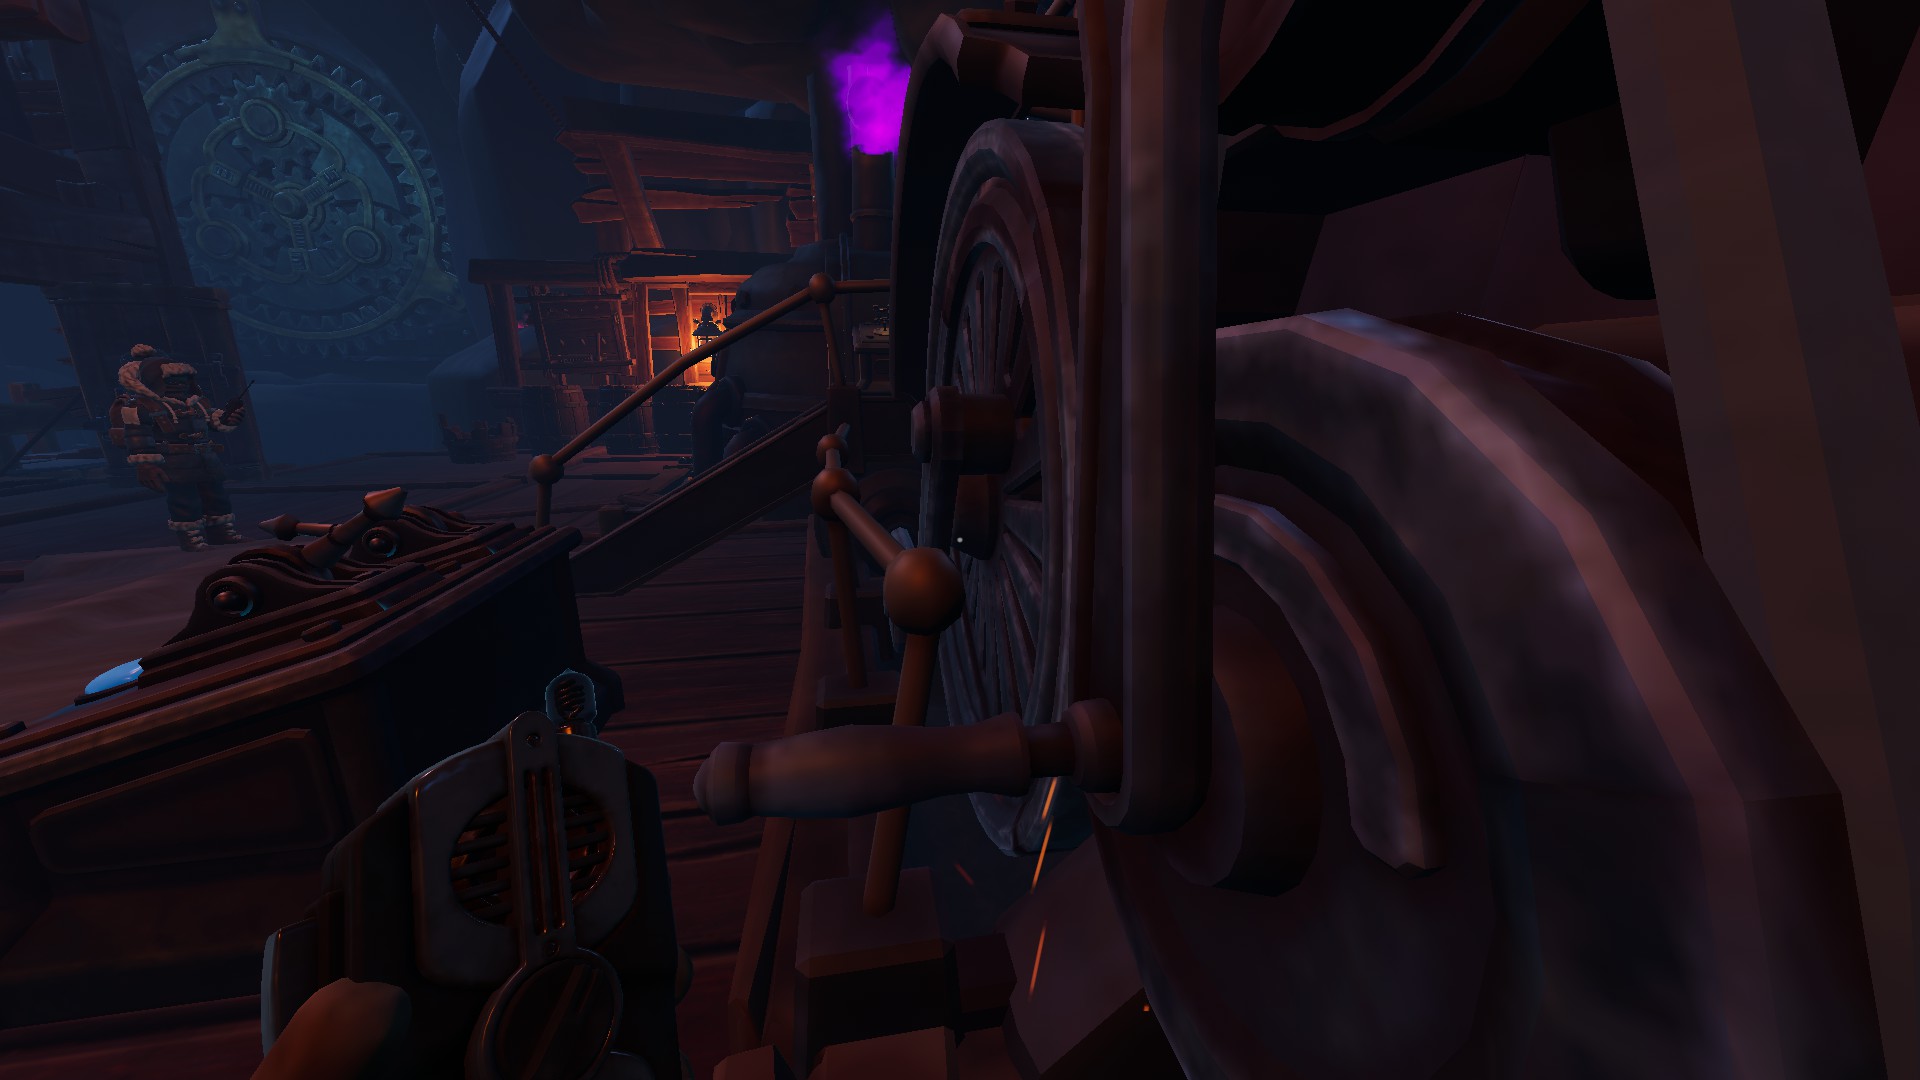
Start spinning the wheel


We Were Here Forever All Levels Full Game Walkthrough - ├─ The Chasm (repair lift) - 5577C0F


Step 5

 
Pull leaver (behind the engine)


We Were Here Forever All Levels Full Game Walkthrough - ├─ The Chasm (repair lift) - 1E8BC71


Step 6

 
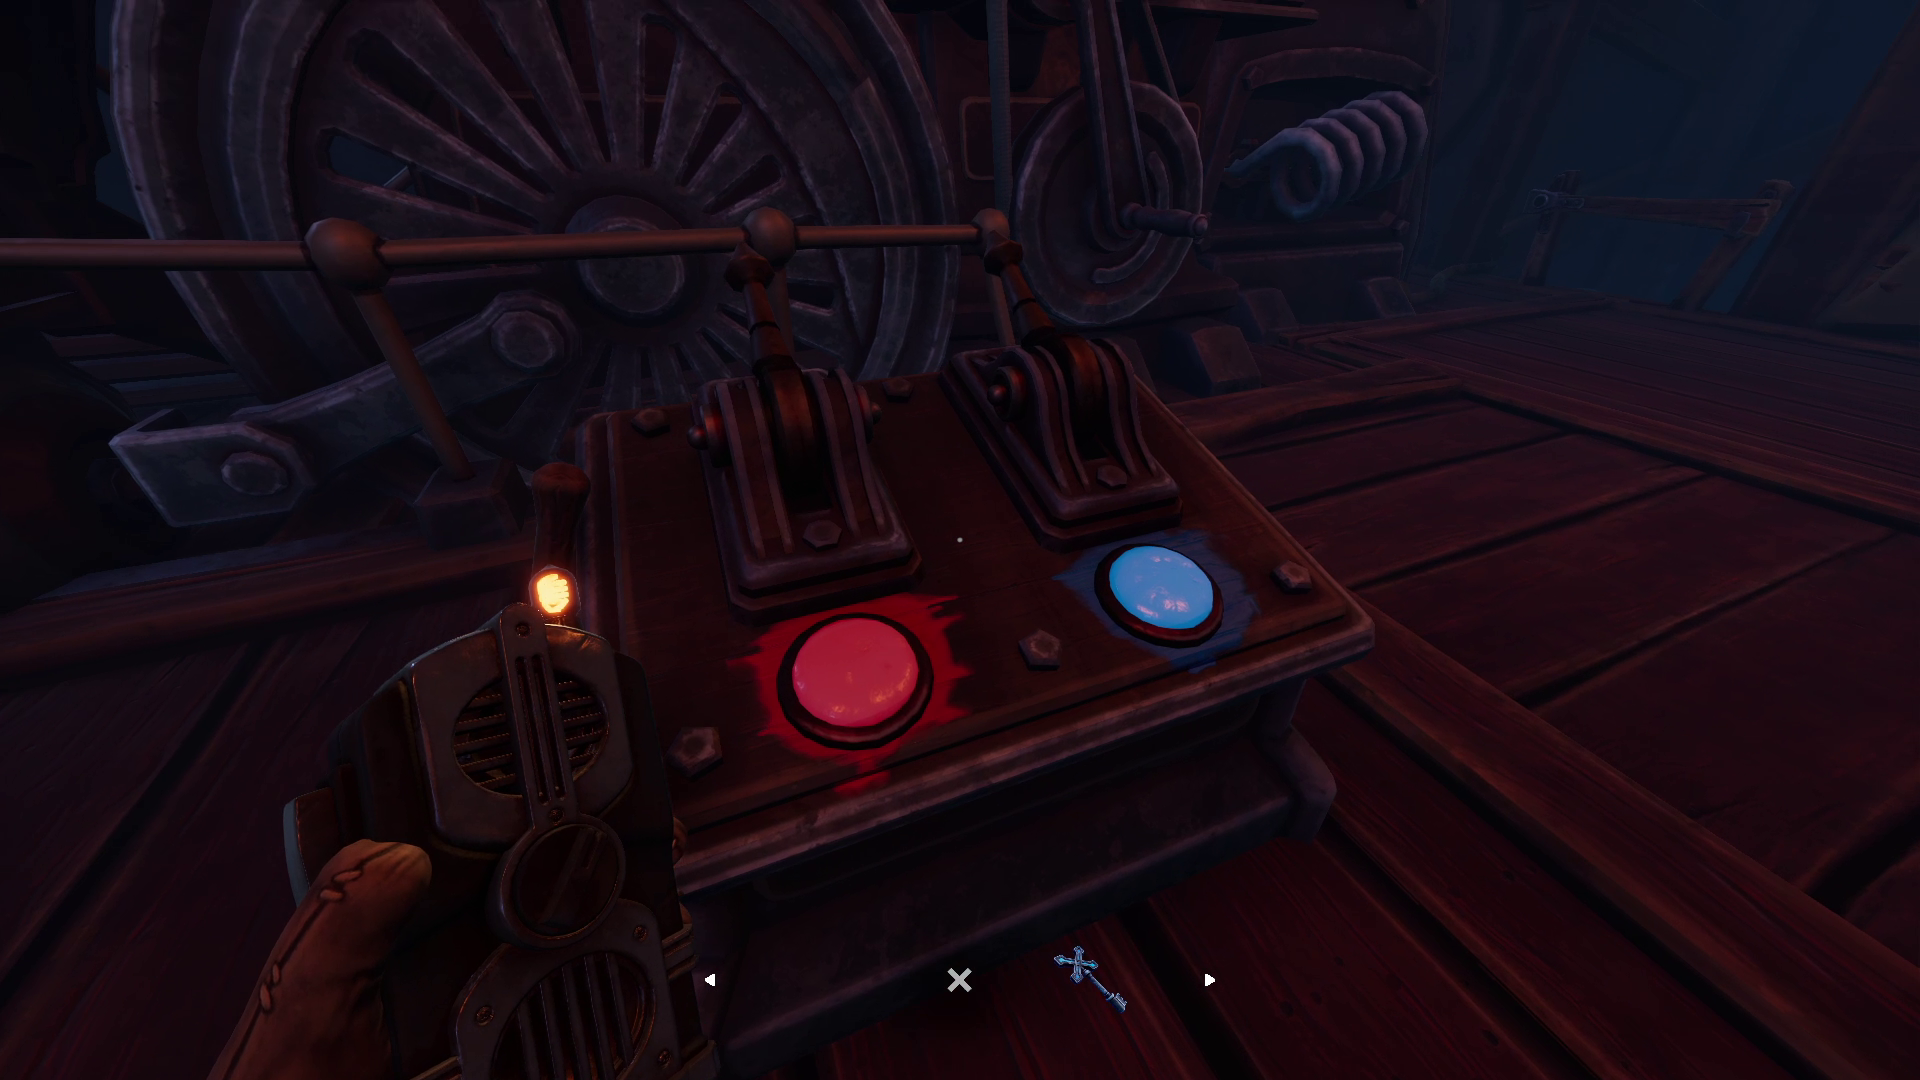
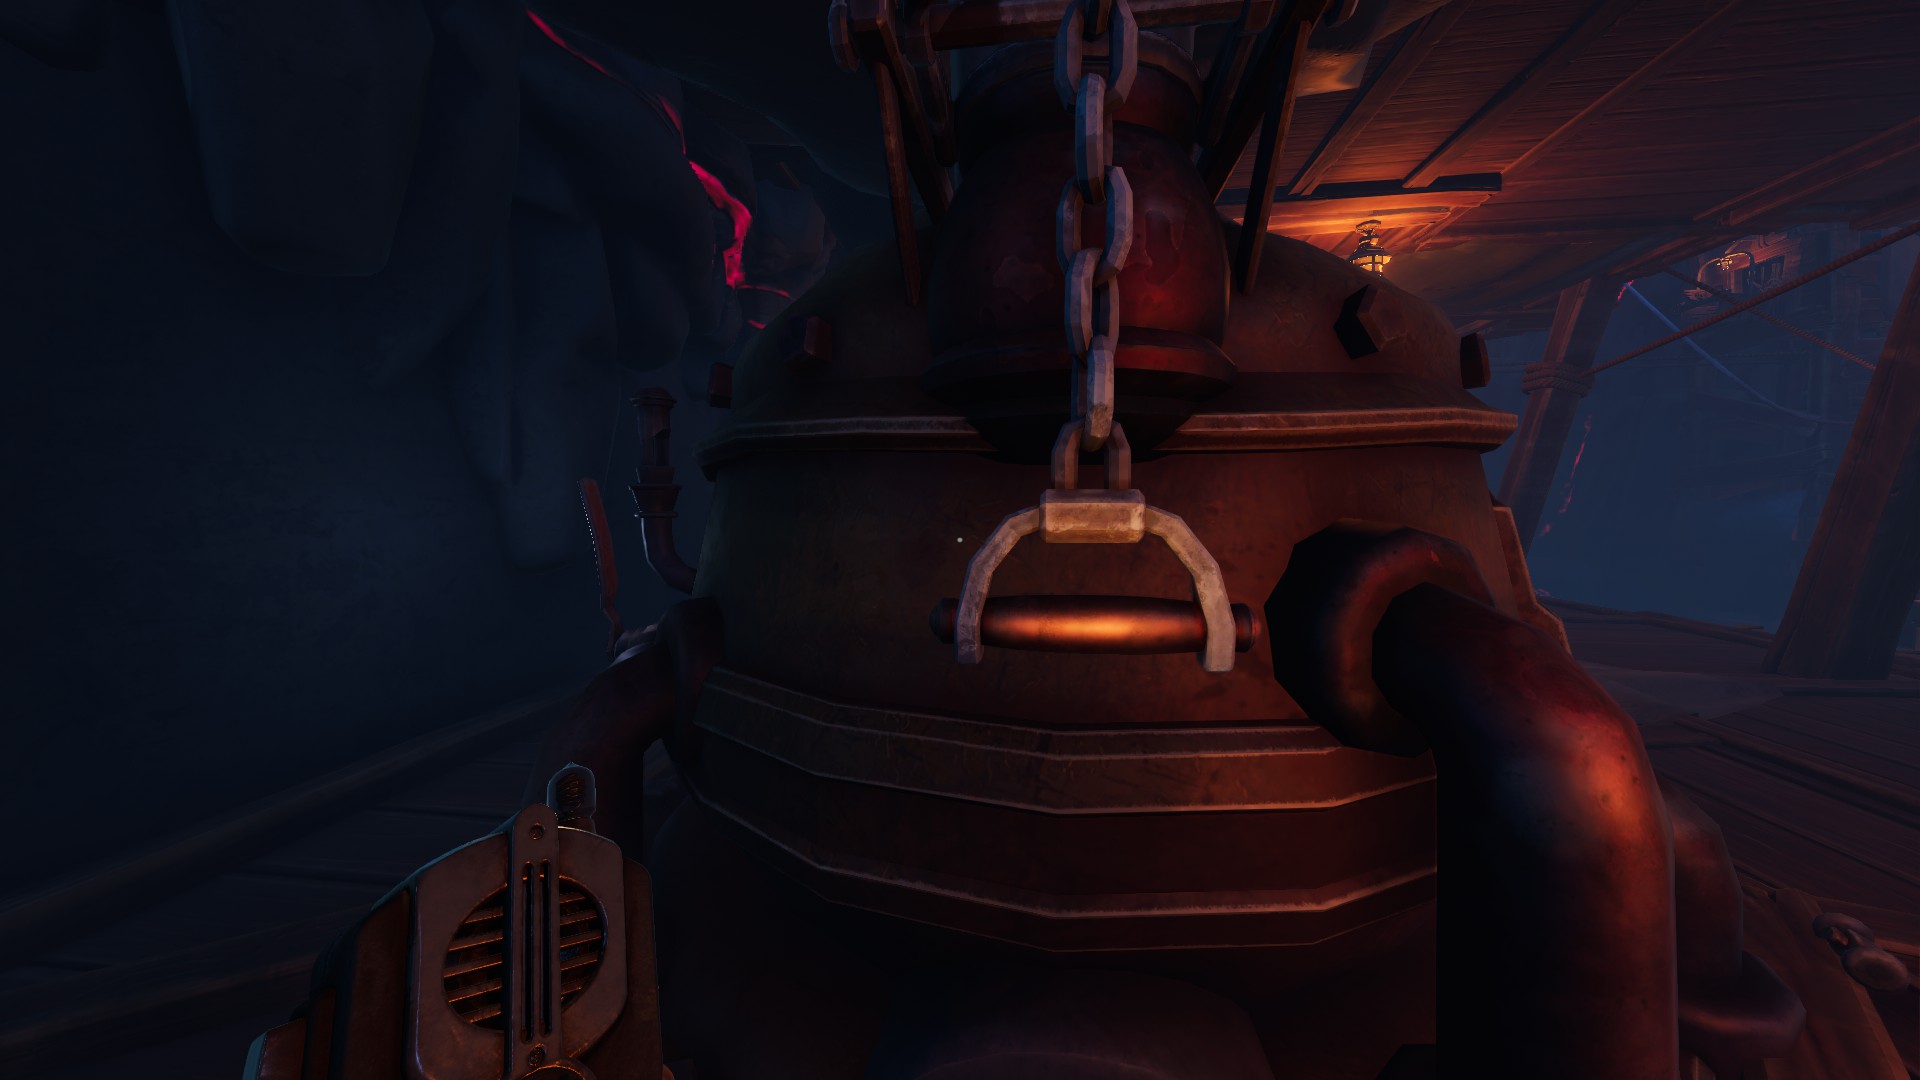
Pull chain handle and blue leaver


We Were Here Forever All Levels Full Game Walkthrough - ├─ The Chasm (repair lift) - 000050E
 
 
We Were Here Forever All Levels Full Game Walkthrough - ├─ The Chasm (repair lift) - A176F3E
 
 
You will get access to the elevator.
 
 
There you will see same spinning that you need to set up it like this:
 
 
We Were Here Forever All Levels Full Game Walkthrough - ├─ The Chasm (repair lift) - A2A1A4B
 
 
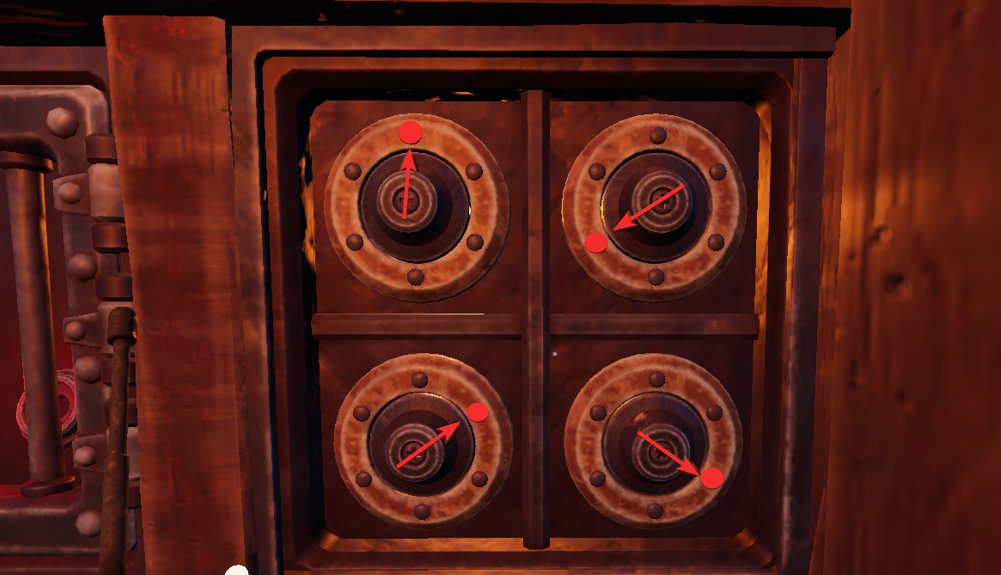
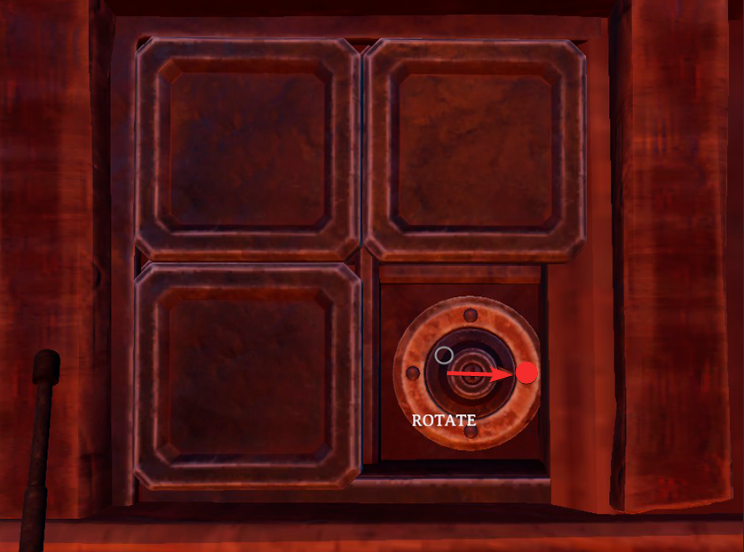
Spinning pointer must look like this:
 
 
We Were Here Forever All Levels Full Game Walkthrough - ├─ The Chasm (repair lift) - 89CDE7A
 
 
We Were Here Forever All Levels Full Game Walkthrough - ├─ The Chasm (repair lift) - 8B67BE7
 
 
We Were Here Forever All Levels Full Game Walkthrough - ├─ The Chasm (repair lift) - 449054E
 
 
We Were Here Forever All Levels Full Game Walkthrough - ├─ The Chasm (repair lift) - E0F1BB1


Setup all gears and spin central whell to get next stage.


├─ The Vault (projector and compass)

1st stage

 
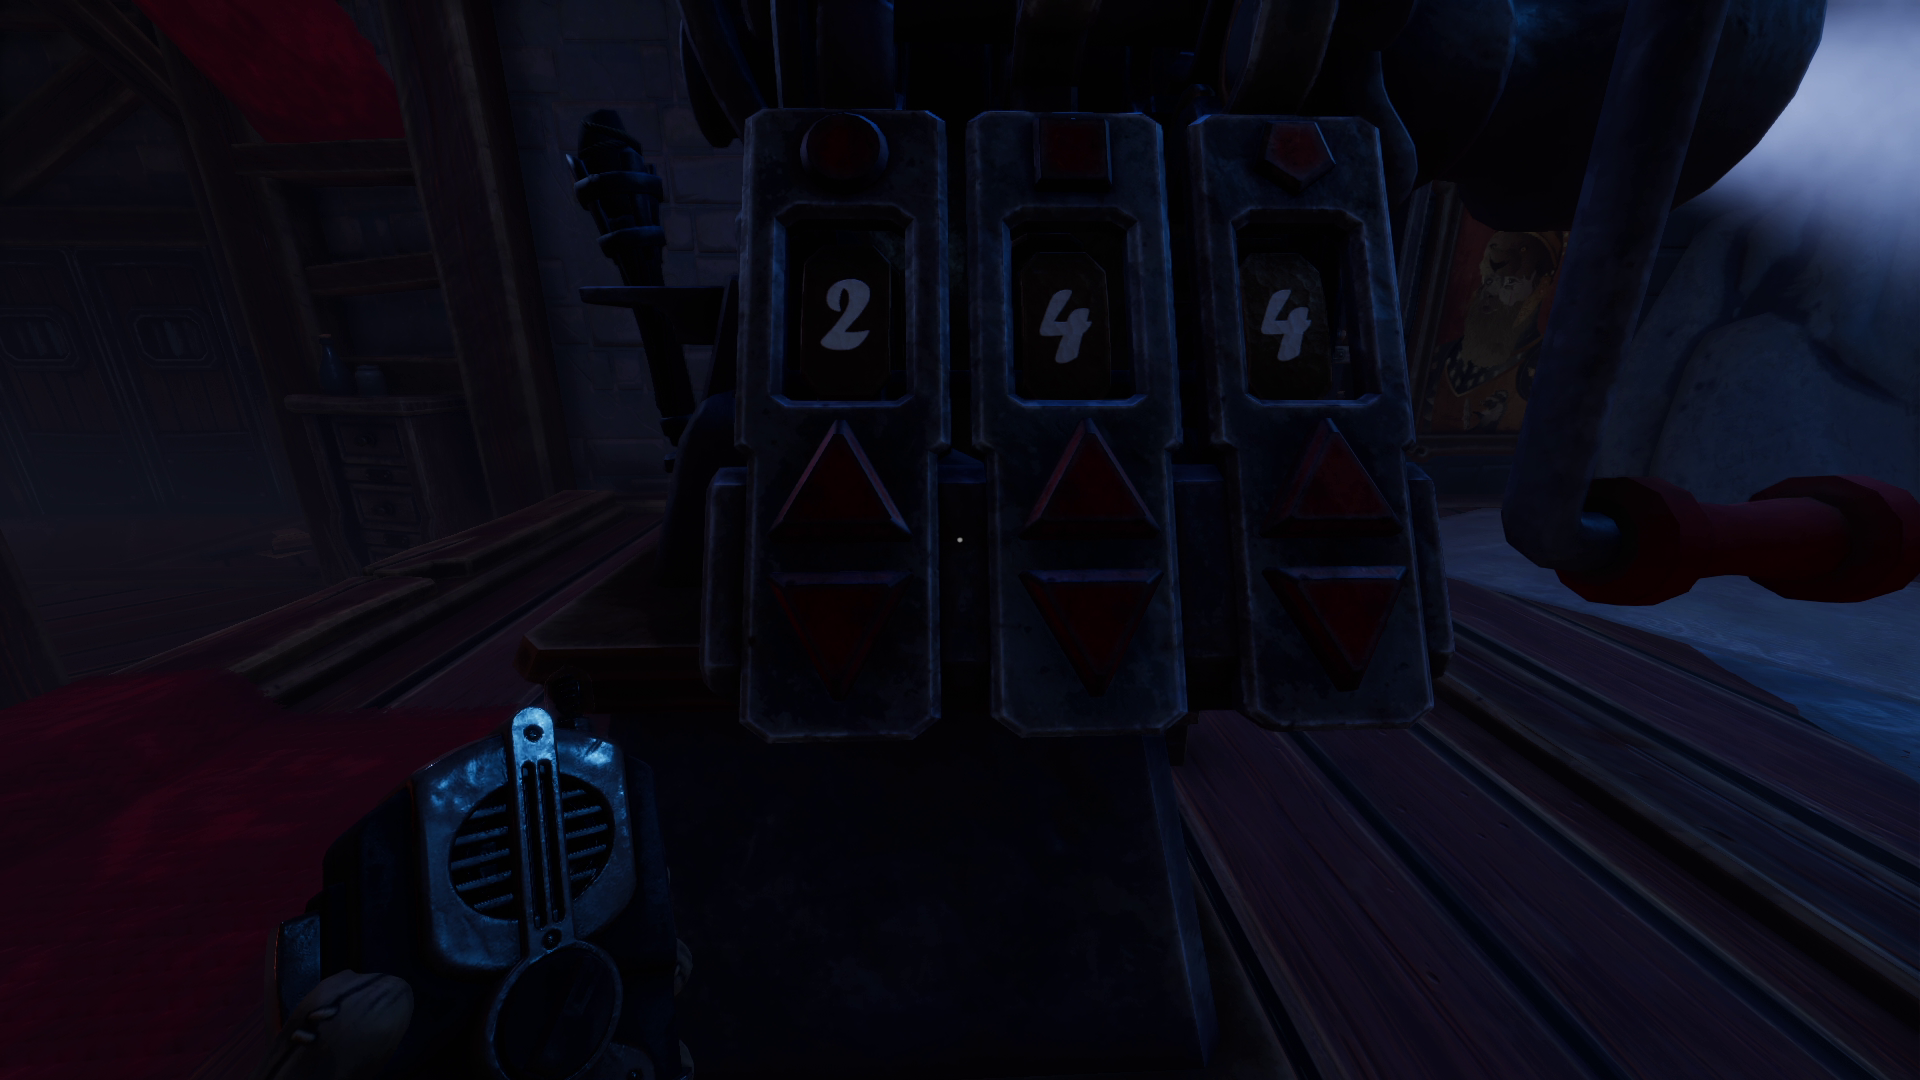
Player in room need to set numbers 4-2-2 on projectorand pull lever
 
 
We Were Here Forever All Levels Full Game Walkthrough - ├─ The Vault (projector and compass) - 6C70C1C


2nd stage

 
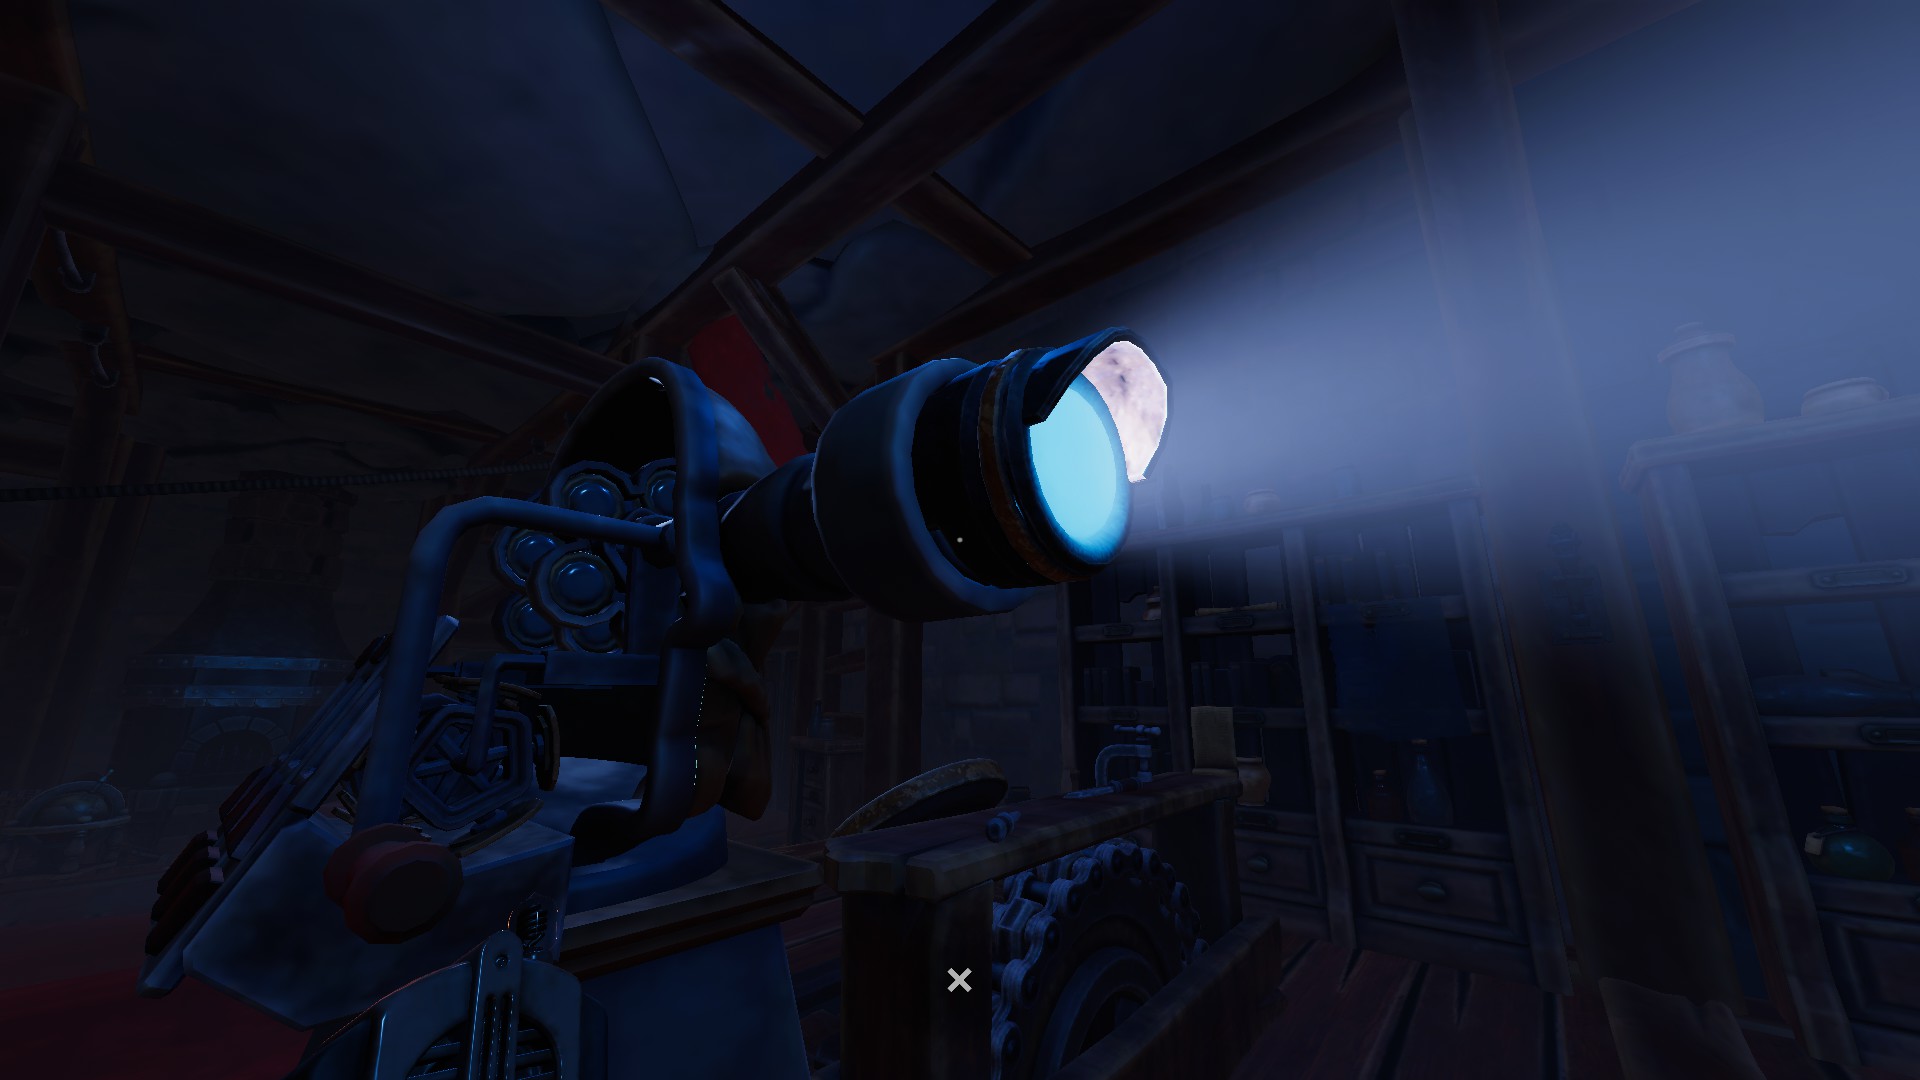
After hidden place will open were you need to take a lens and put it on projector
 
 
We Were Here Forever All Levels Full Game Walkthrough - ├─ The Vault (projector and compass) - 1891D8D
 
 
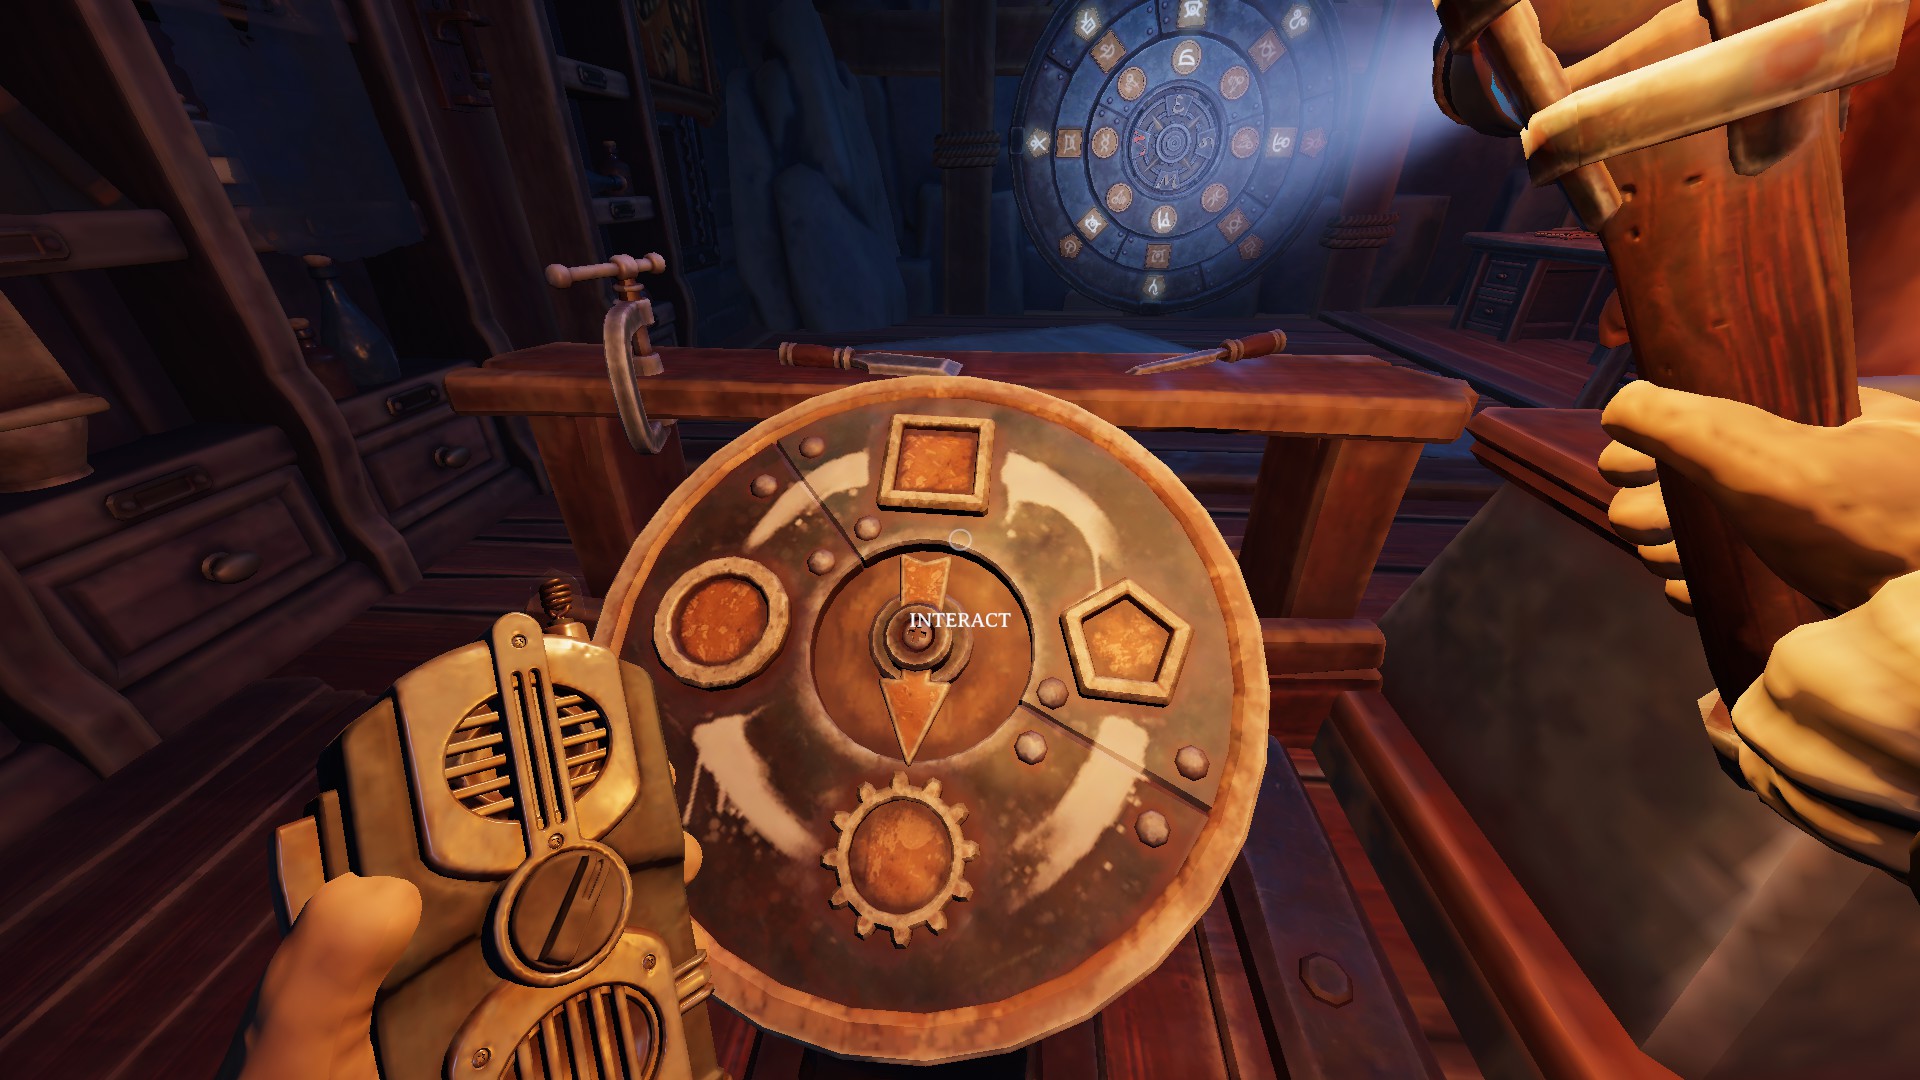
And go to the spinning wheel
 
 
We Were Here Forever All Levels Full Game Walkthrough - ├─ The Vault (projector and compass) - F7F12C6
 
 
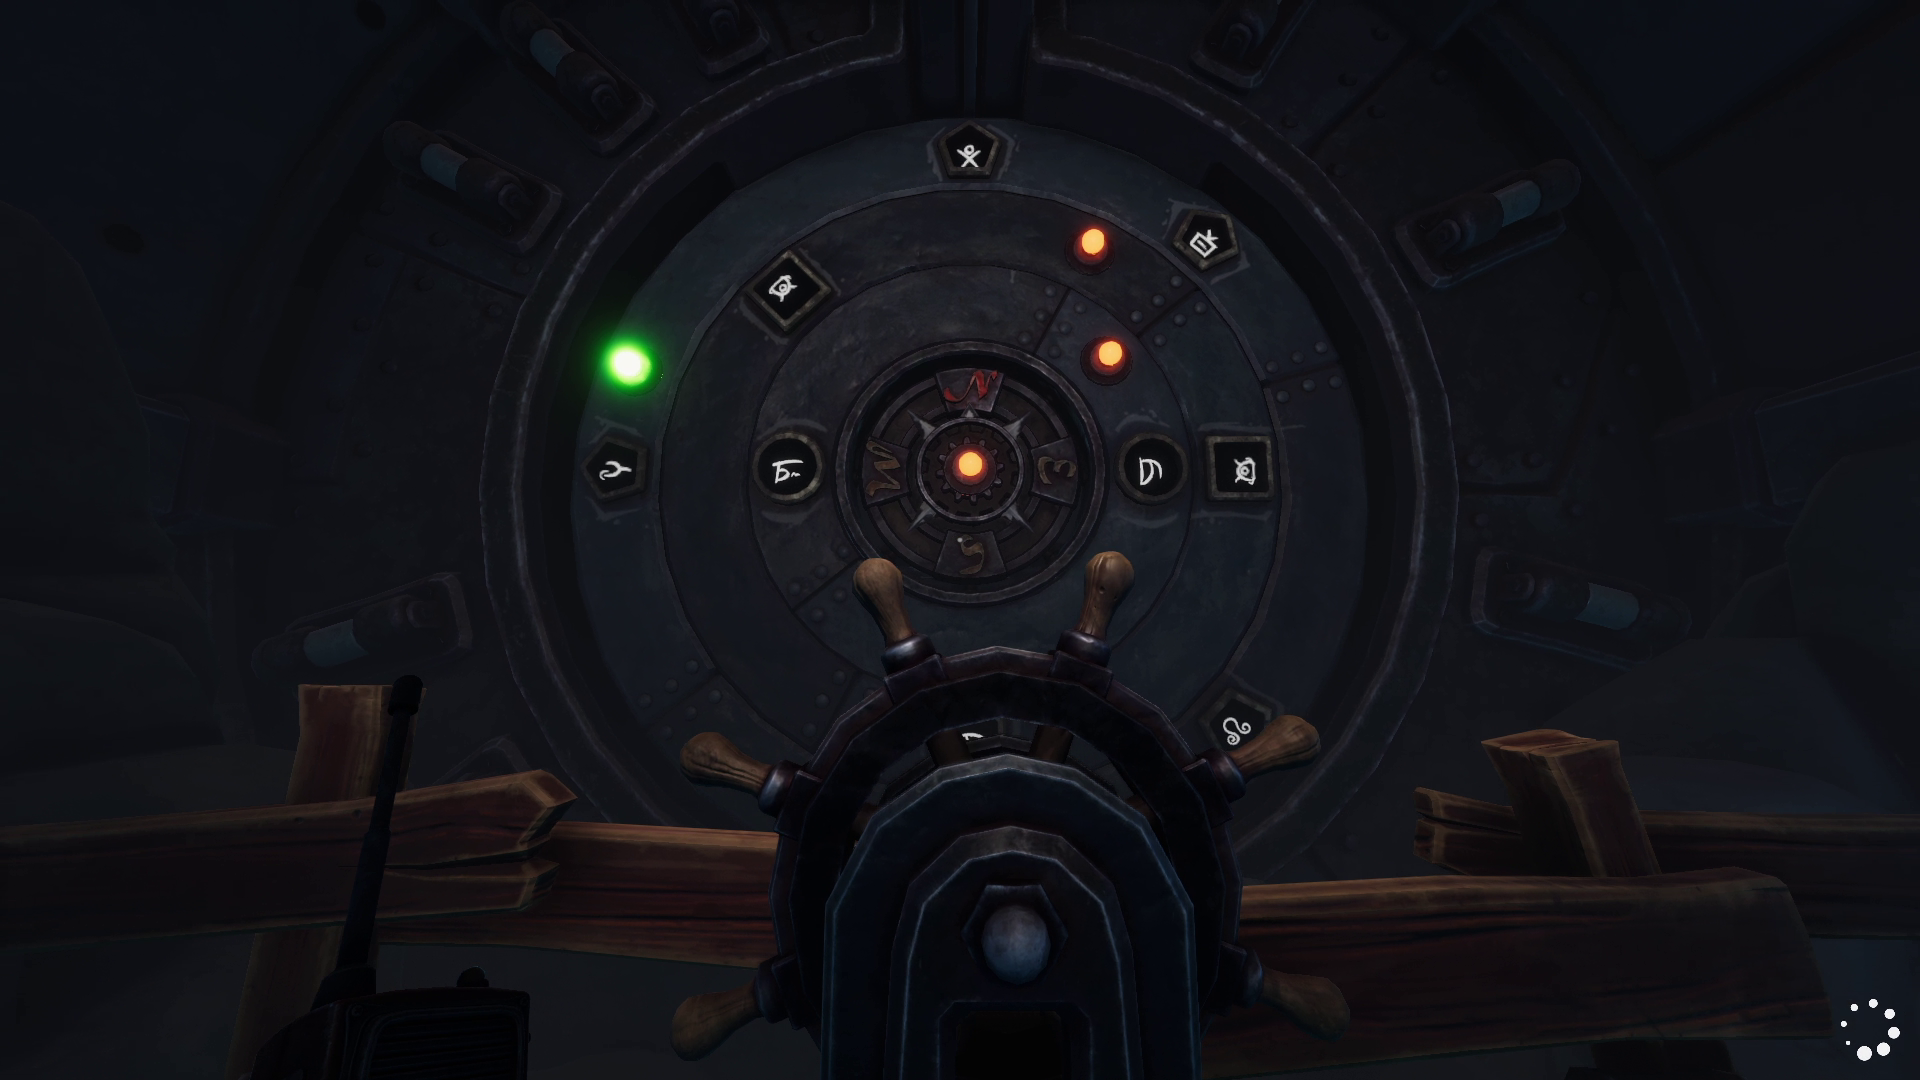
Player in cage spin to left 2 times
 
 
Player in room switch arrow to circle
 
Player in cage spin to right 3 times
 
 
Player in room switch arrow to square
 
Player in cage spin to left 2 times
 
 
Player in room switch arrow to pentagon
 
Player in cage spin to right 1 time


Finale result must look like this:


We Were Here Forever All Levels Full Game Walkthrough - ├─ The Vault (projector and compass) - FD85656


├─ The Trial (arena)

1st challenge


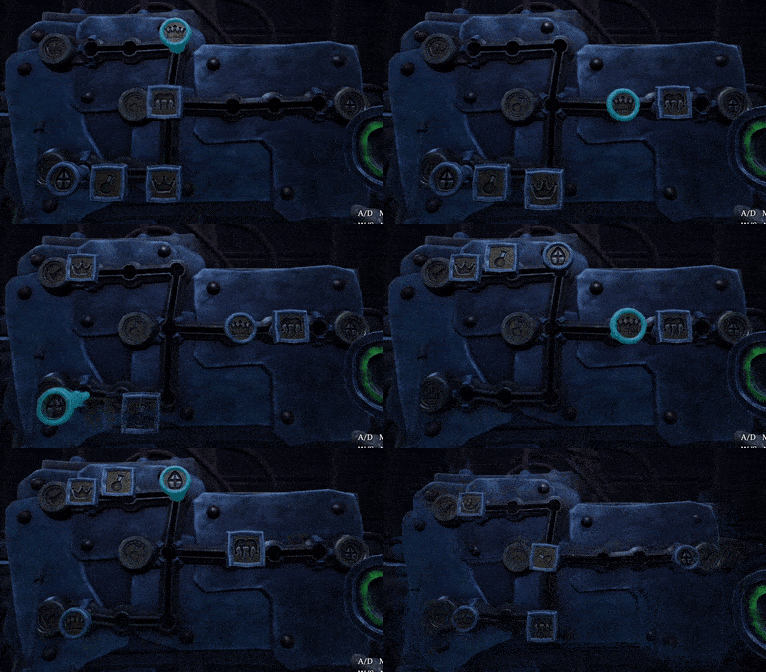
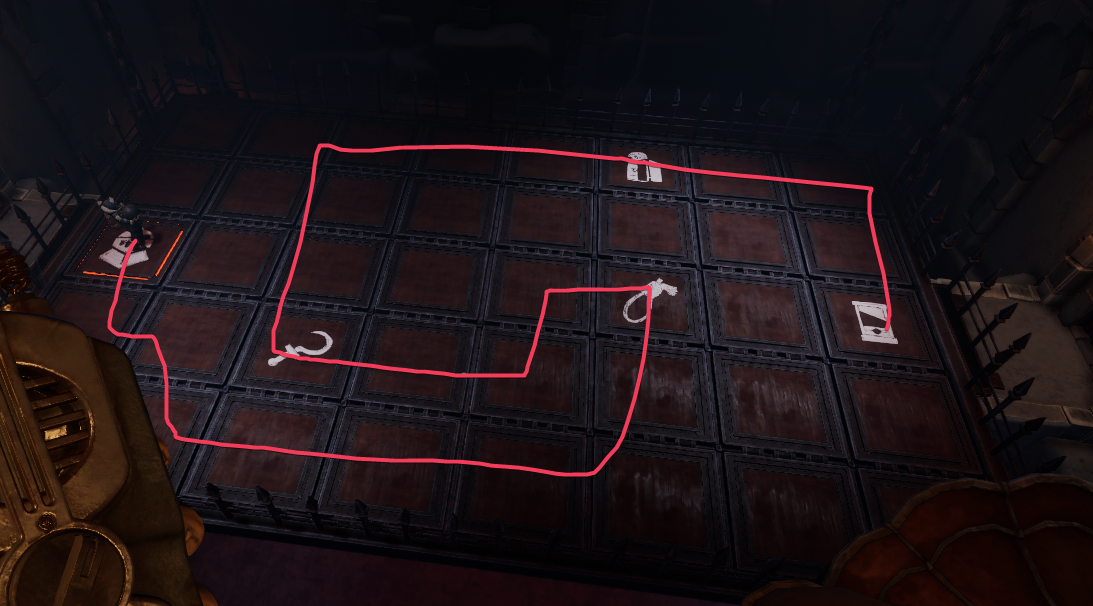
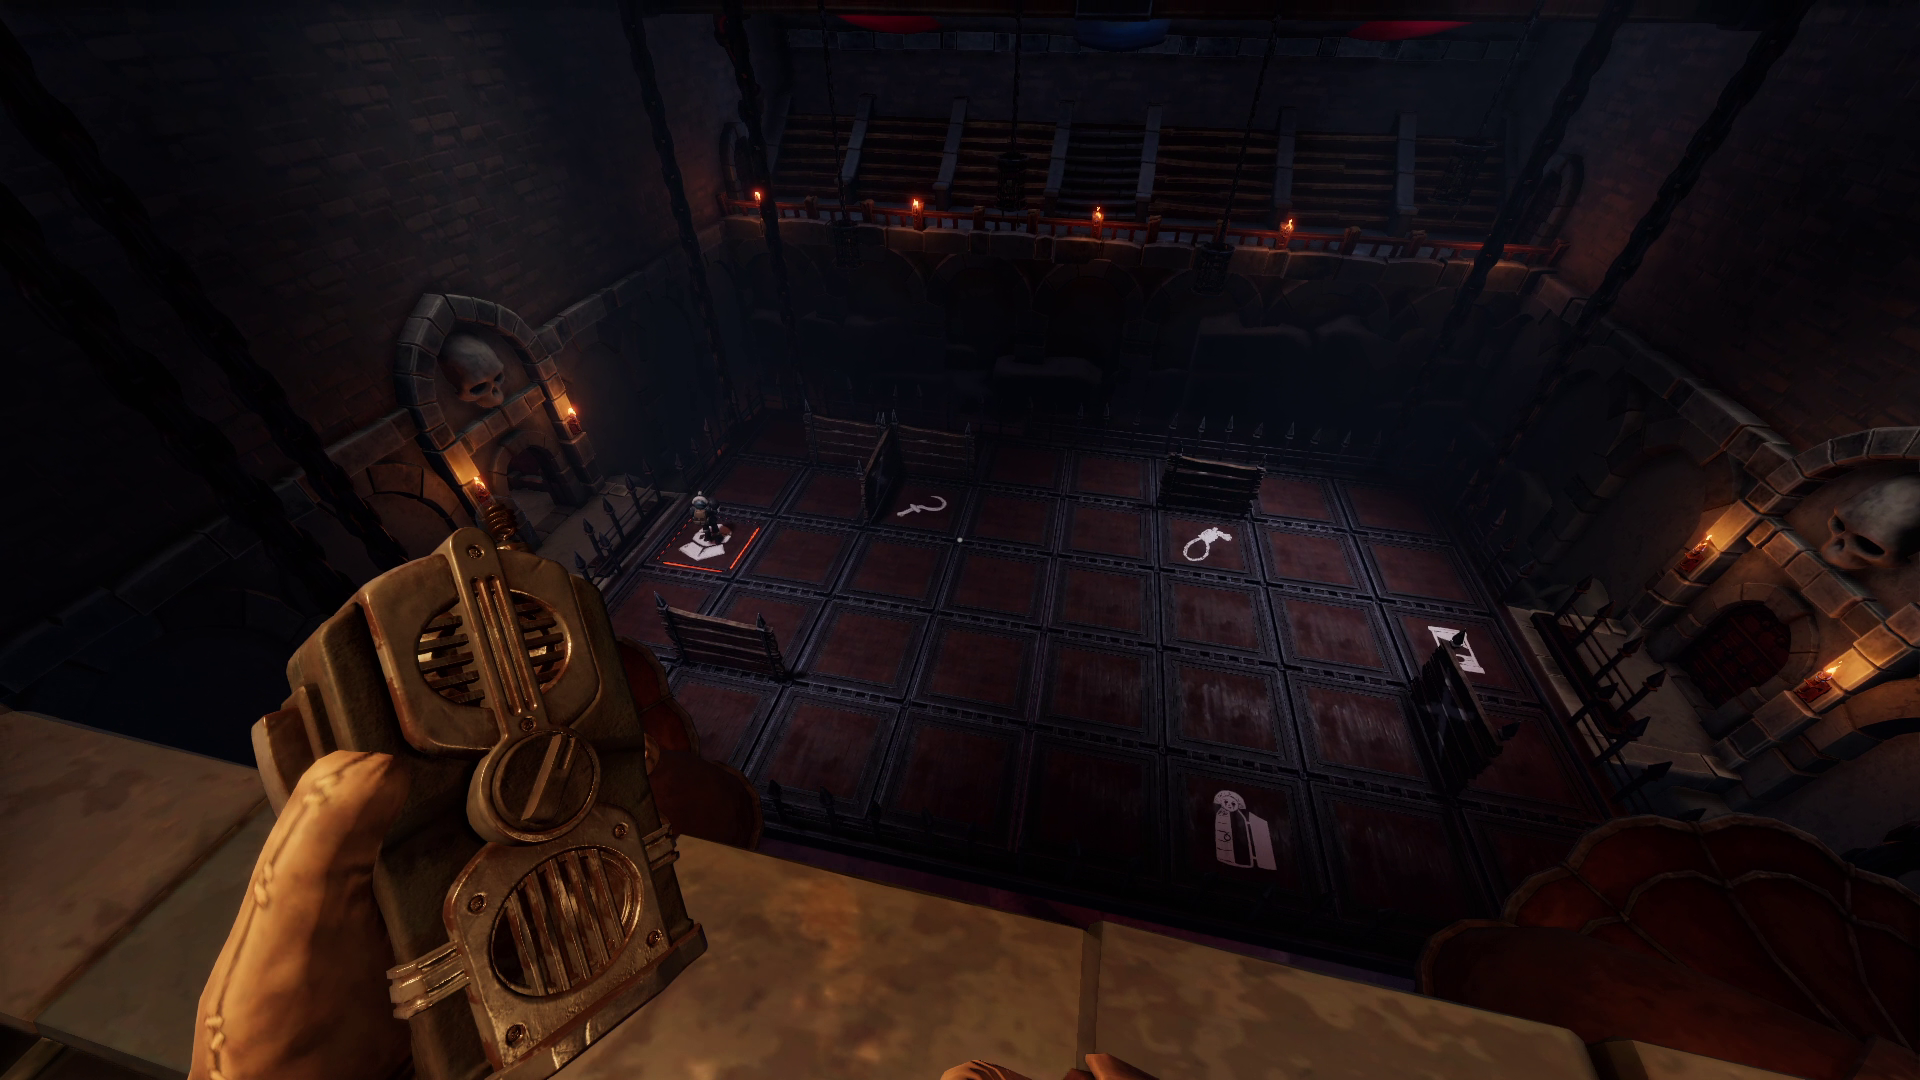
The player above must help the player below through all the squares shown from above.


The puzzle is random and use the pictures below as examples, not solutions.


We Were Here Forever All Levels Full Game Walkthrough - ├─ The Trial (arena) - 7F2A9AC
 
 
We Were Here Forever All Levels Full Game Walkthrough - ├─ The Trial (arena) - A4A1F39


2nd challenge


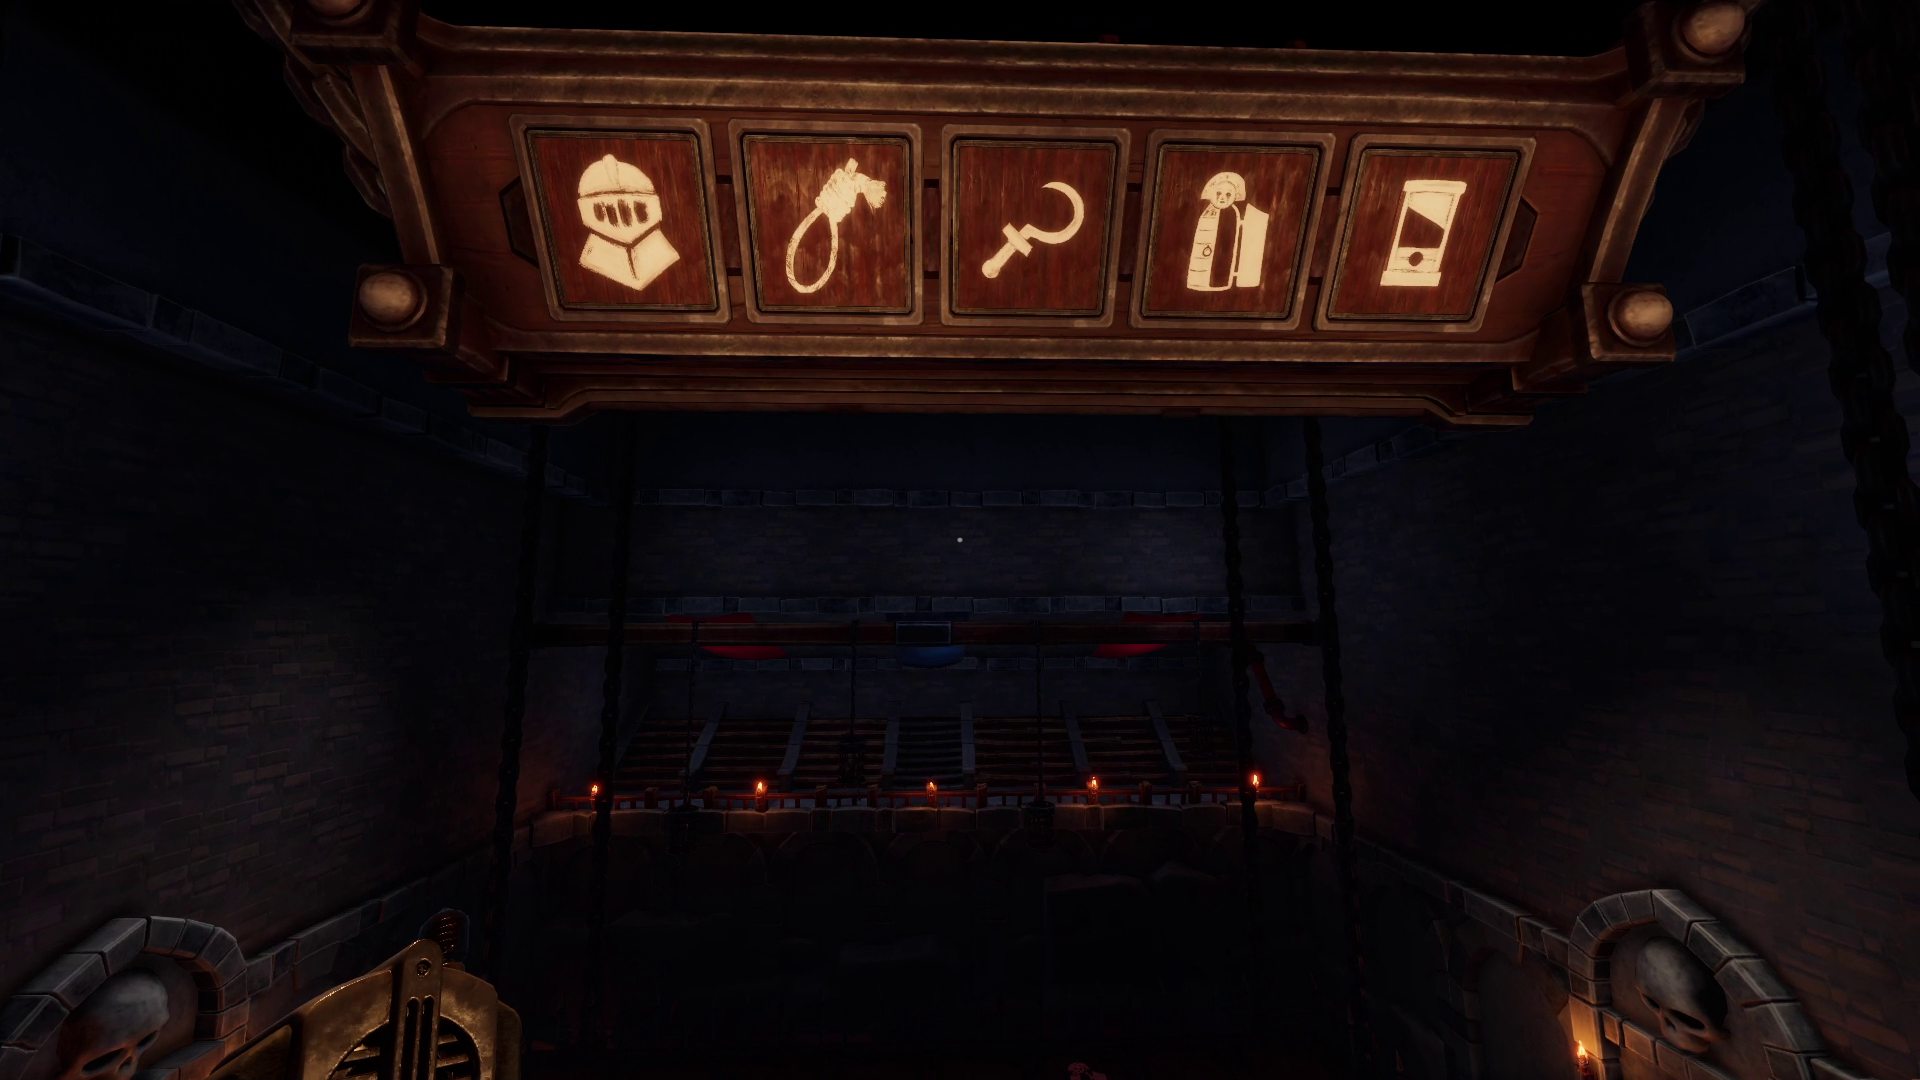
The next challenge is for the player from below to stand on the correct image for 5 rounds in a row.
 
 
The player at the top before the challenge begins sees which image will be in the next 5 rounds, from left to right. The player at the top has to memorize these images (you can screenshot them)
 
 
To start the challenge, press the lever on the left


The puzzle is random and use the pictures below as examples, not solutions.


We Were Here Forever All Levels Full Game Walkthrough - ├─ The Trial (arena) - 1B47E18
 
 
We Were Here Forever All Levels Full Game Walkthrough - ├─ The Trial (arena) - 4EFFF72


3rd challenge


Same as the 1st one, but with the walls


The puzzle is random and use the pictures below as examples, not solutions.


We Were Here Forever All Levels Full Game Walkthrough - ├─ The Trial (arena) - C4C1595


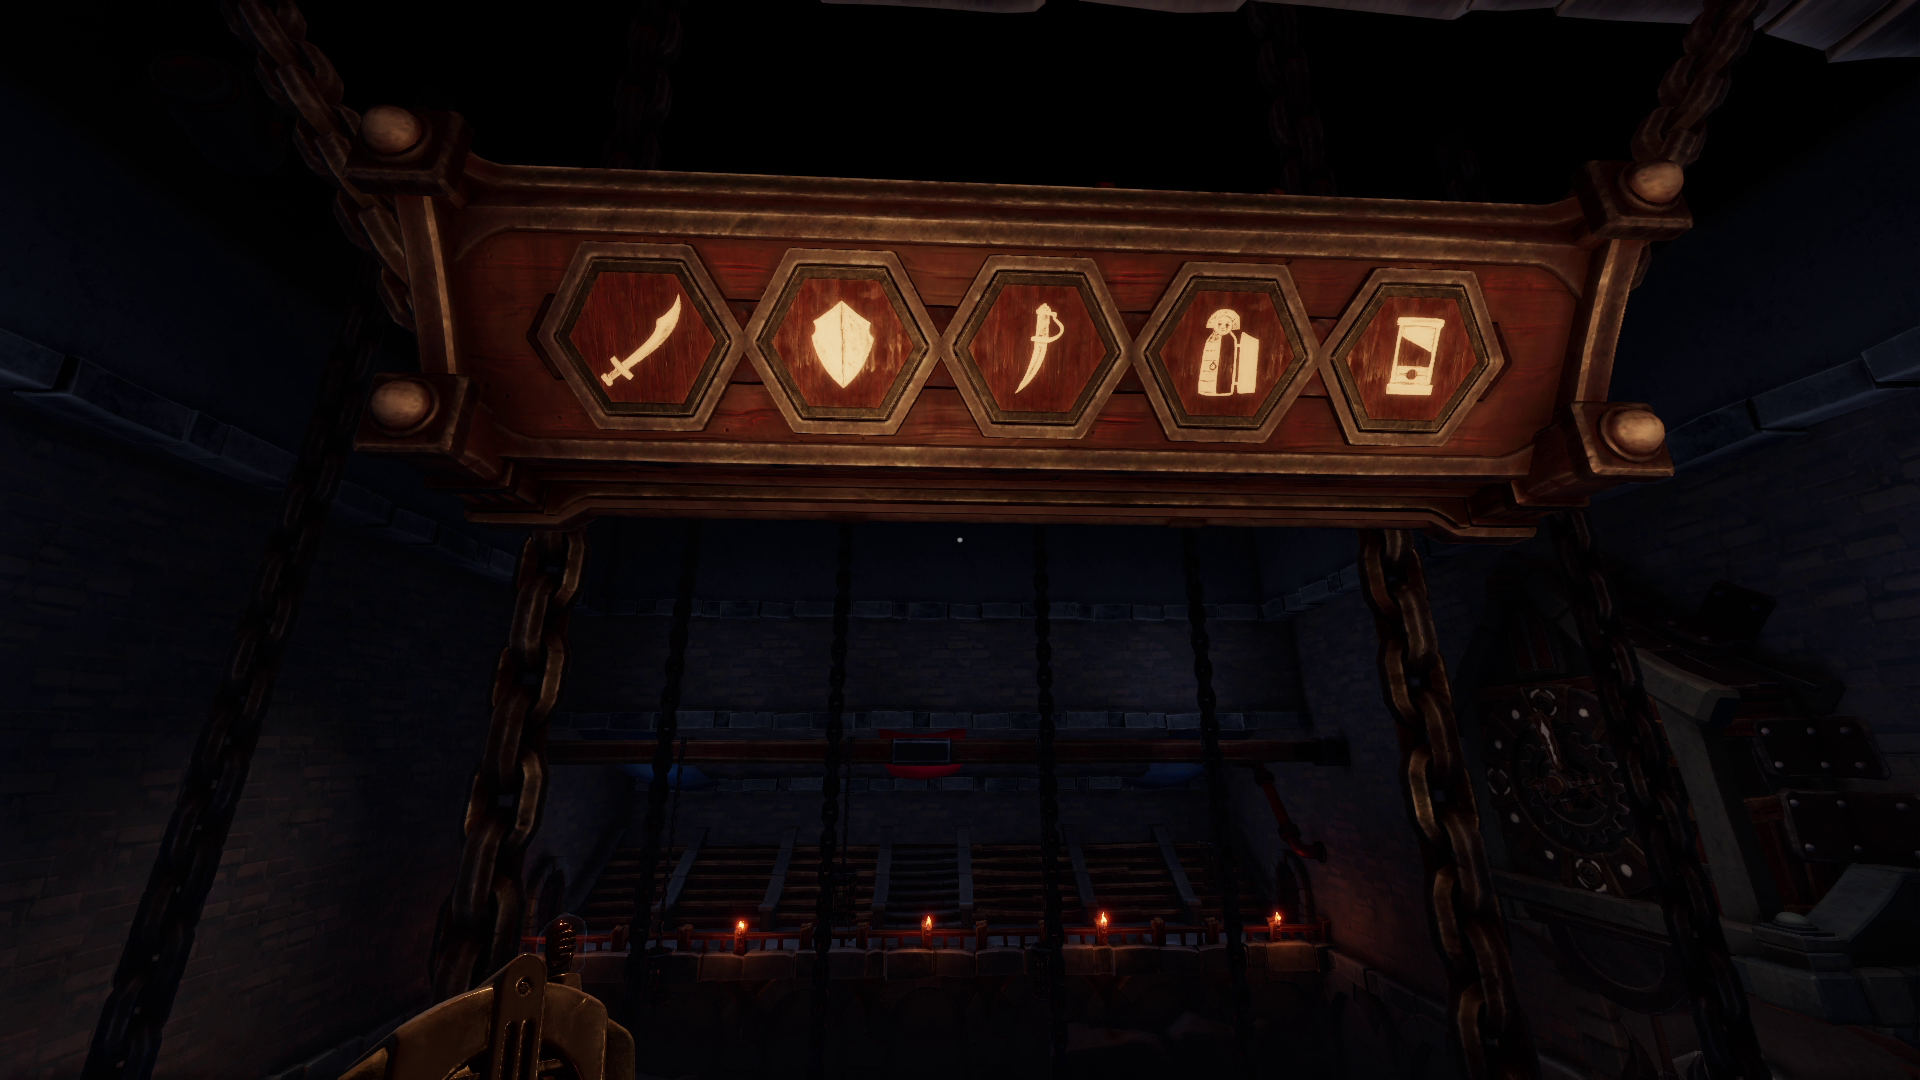
4nd challenge

 
Now, along with the images to stand on, there were images that can not be stepped on, otherwise you lose.
 
 
So now the path will have to build not directly, and bypass these forbidden icons


The puzzle is random and use the pictures below as examples, not solutions.


We Were Here Forever All Levels Full Game Walkthrough - ├─ The Trial (arena) - 80A338B


├─ The Memento (portals)

Both players enter their portals behind them.
 
 
Player 1 walks across the green bridge to portal 2 and pulls the red lever.
 
 
We Were Here Forever All Levels Full Game Walkthrough - ├─ The Memento (portals) - D67A34B
 
 
Player 2 walks across the red bridge to portal 6.
 
 
Player 1 pulls the red lever.
 
 
Player 2 pulls the green lever.
 
 
Player 1 enters portal 2 and walks across bridge
 
 
Player 2 pulls the green lever.
 
 
Player 1 goes up the green bridge to portal 3 (do not enter!)
 
 
Player 2 pulls the green lever.
 
 
Player 1 goes up to the yellow lever.
 
 
Next, Player 2 goes through portal 6 and up the bridge and into portal 8.
 
 
Player 1 pulls the yellow lever, then the green lever above and returns to the yellow lever and presses it again.
 
 
Player 2 climbs up the first bridge and stops.
 
 
Player 1 pulls the yellow lever, then the green lever above.
 
 
Player 2 climbs up to Portal 9 and enters it, then pulls the blue lever next to it.
 
 
We Were Here Forever All Levels Full Game Walkthrough - ├─ The Memento (portals) - 2B70C27
 
 
Player 2 returns to the portal.
 
 
Player 1 pulls the green lever, then the yellow lever below.
 
 
Player 2 passes into the portal 8.
 
 
Player 1 pulls the green lever, then the yellow lever below.
 
 
Player 2 descends and passes through Portal 6.
 
 
Player 1 descends and pulls the yellow lever.
 
 
Player 2 pulls the green.
 
 
Player 1 descends and passes through portal 3.
 
 
Player 2 pulls the green one more time.
 
 
Player 1 goes to the blue lever, pulls the blue lever, and goes further into Portal 4.
 
 
Player 2 goes back into portal 8.
 
 
Player 1 runs to the green lever and pulls it.
 
 
Player 2 runs over all the bridges and passes into Portal 7.
 
 
We Were Here Forever All Levels Full Game Walkthrough - ├─ The Memento (portals) - 04FD892
 
 
Player 1 runs back through Portal 4 to the blue lever and pulls it.
 
 
Player 2 runs over the first blue bridge.
 
 
Player 1 pulls the blue lever again and passes into Portal 4.
 
 
Both meet at the key and twist it together
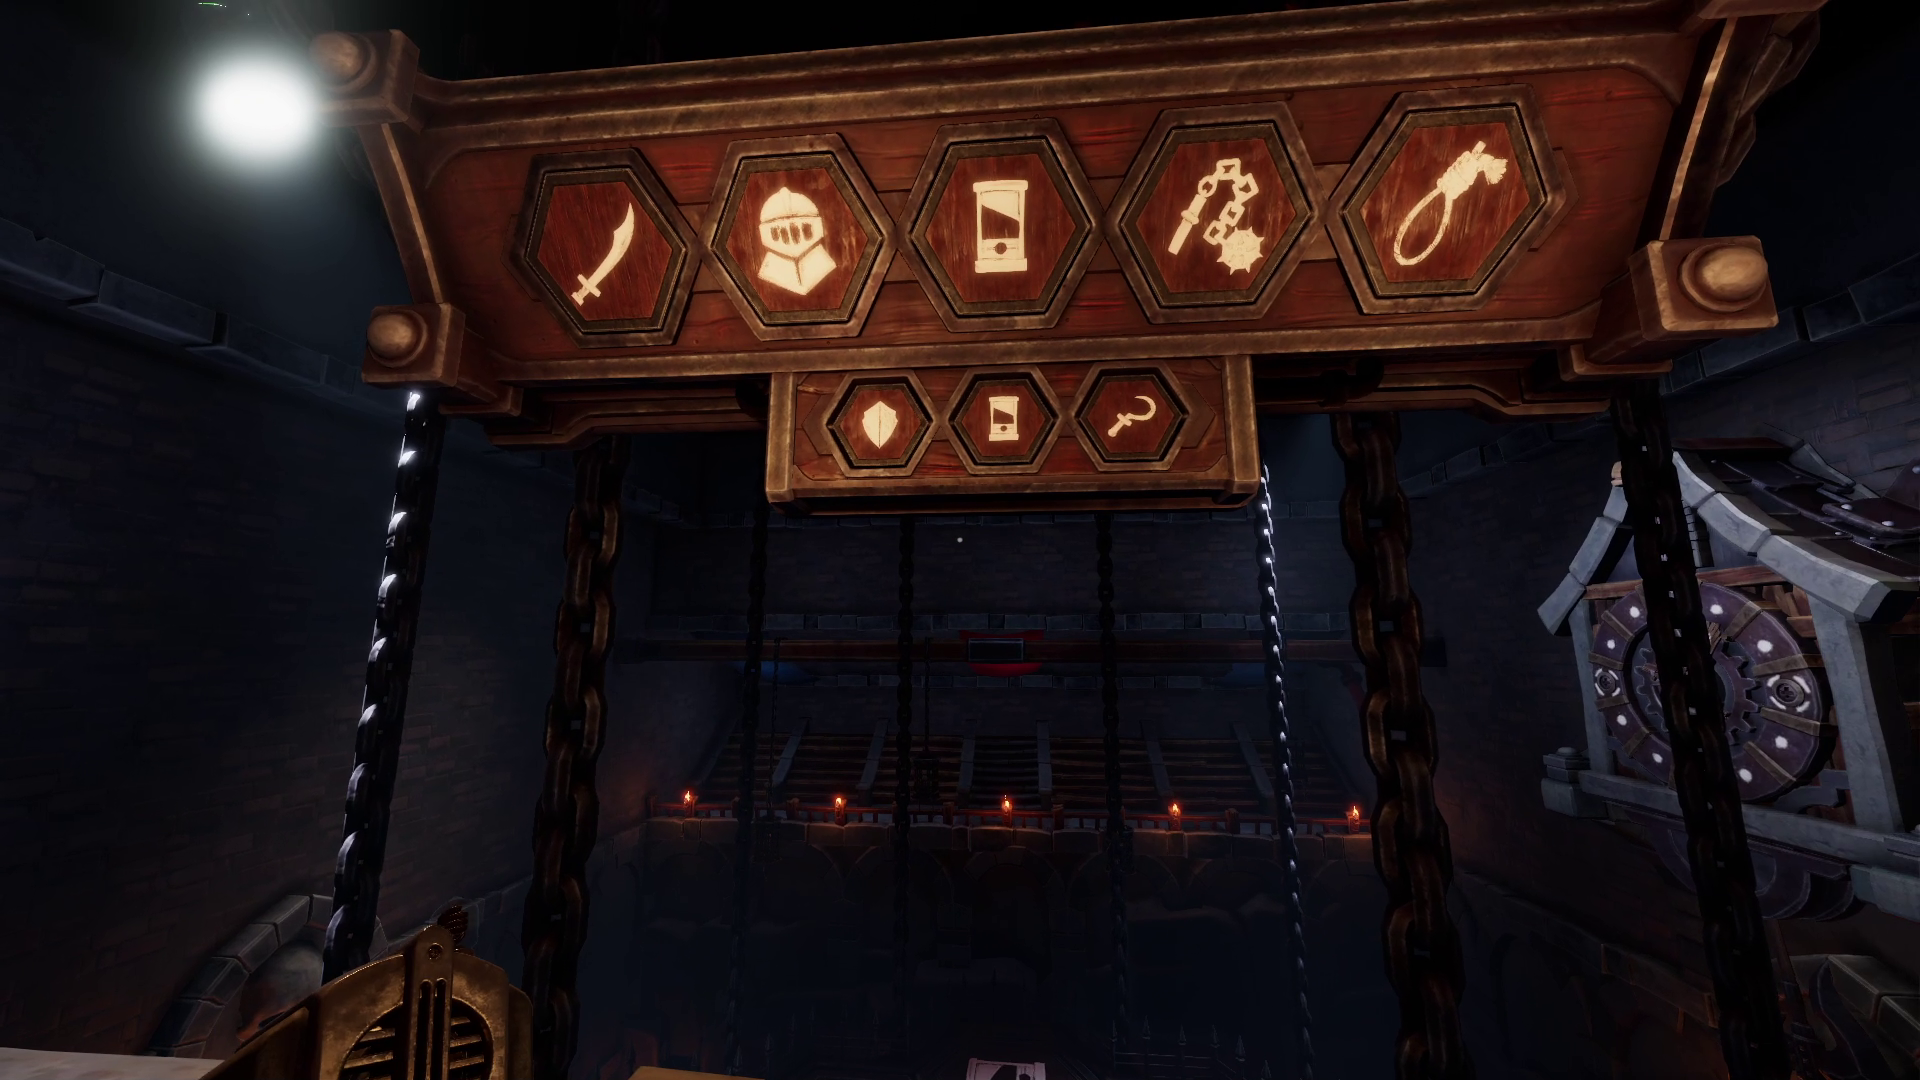


├─ The illusions (portal rooms)

1st Stage
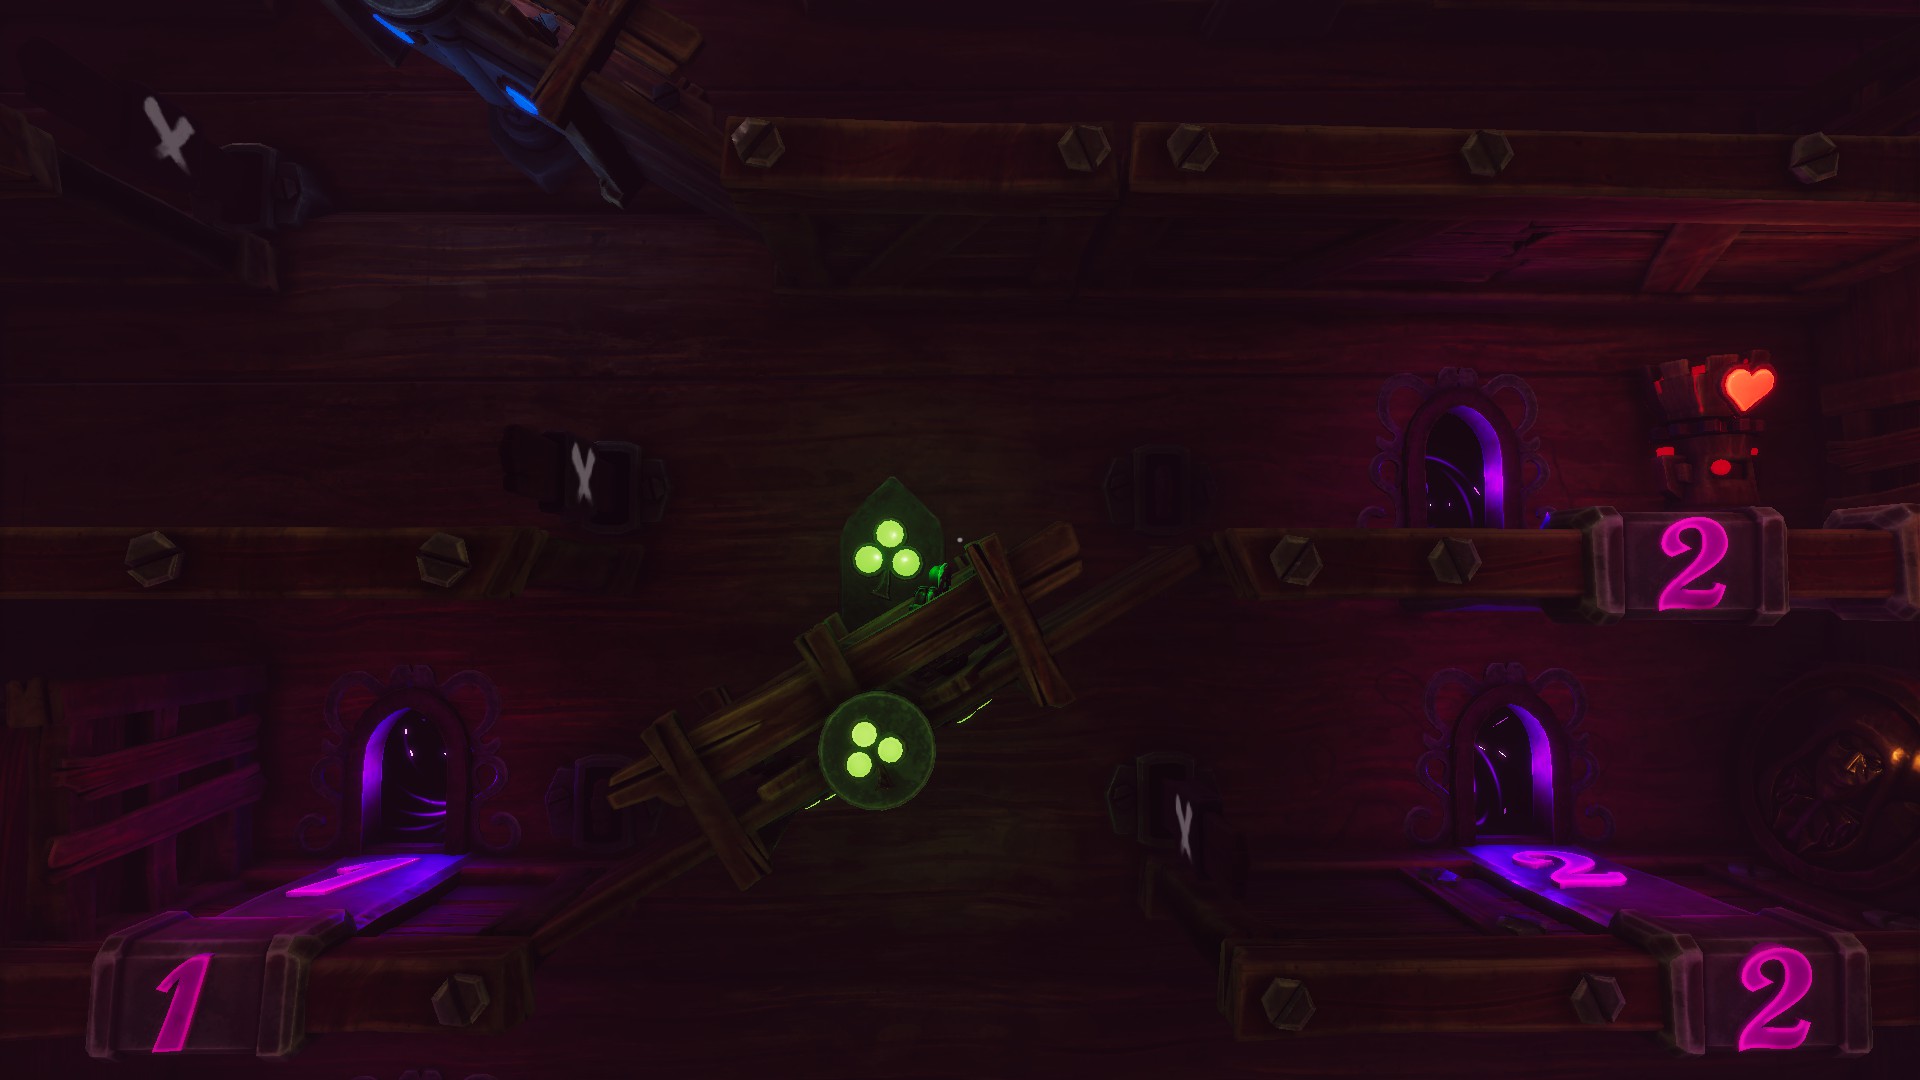
 
 
We Were Here Forever All Levels Full Game Walkthrough - ├─ The illusions (portal rooms) - 283E0BD
 
 
The first player spins the lever counterclockwise 2 times, enters the room with the accordion and presses the key.
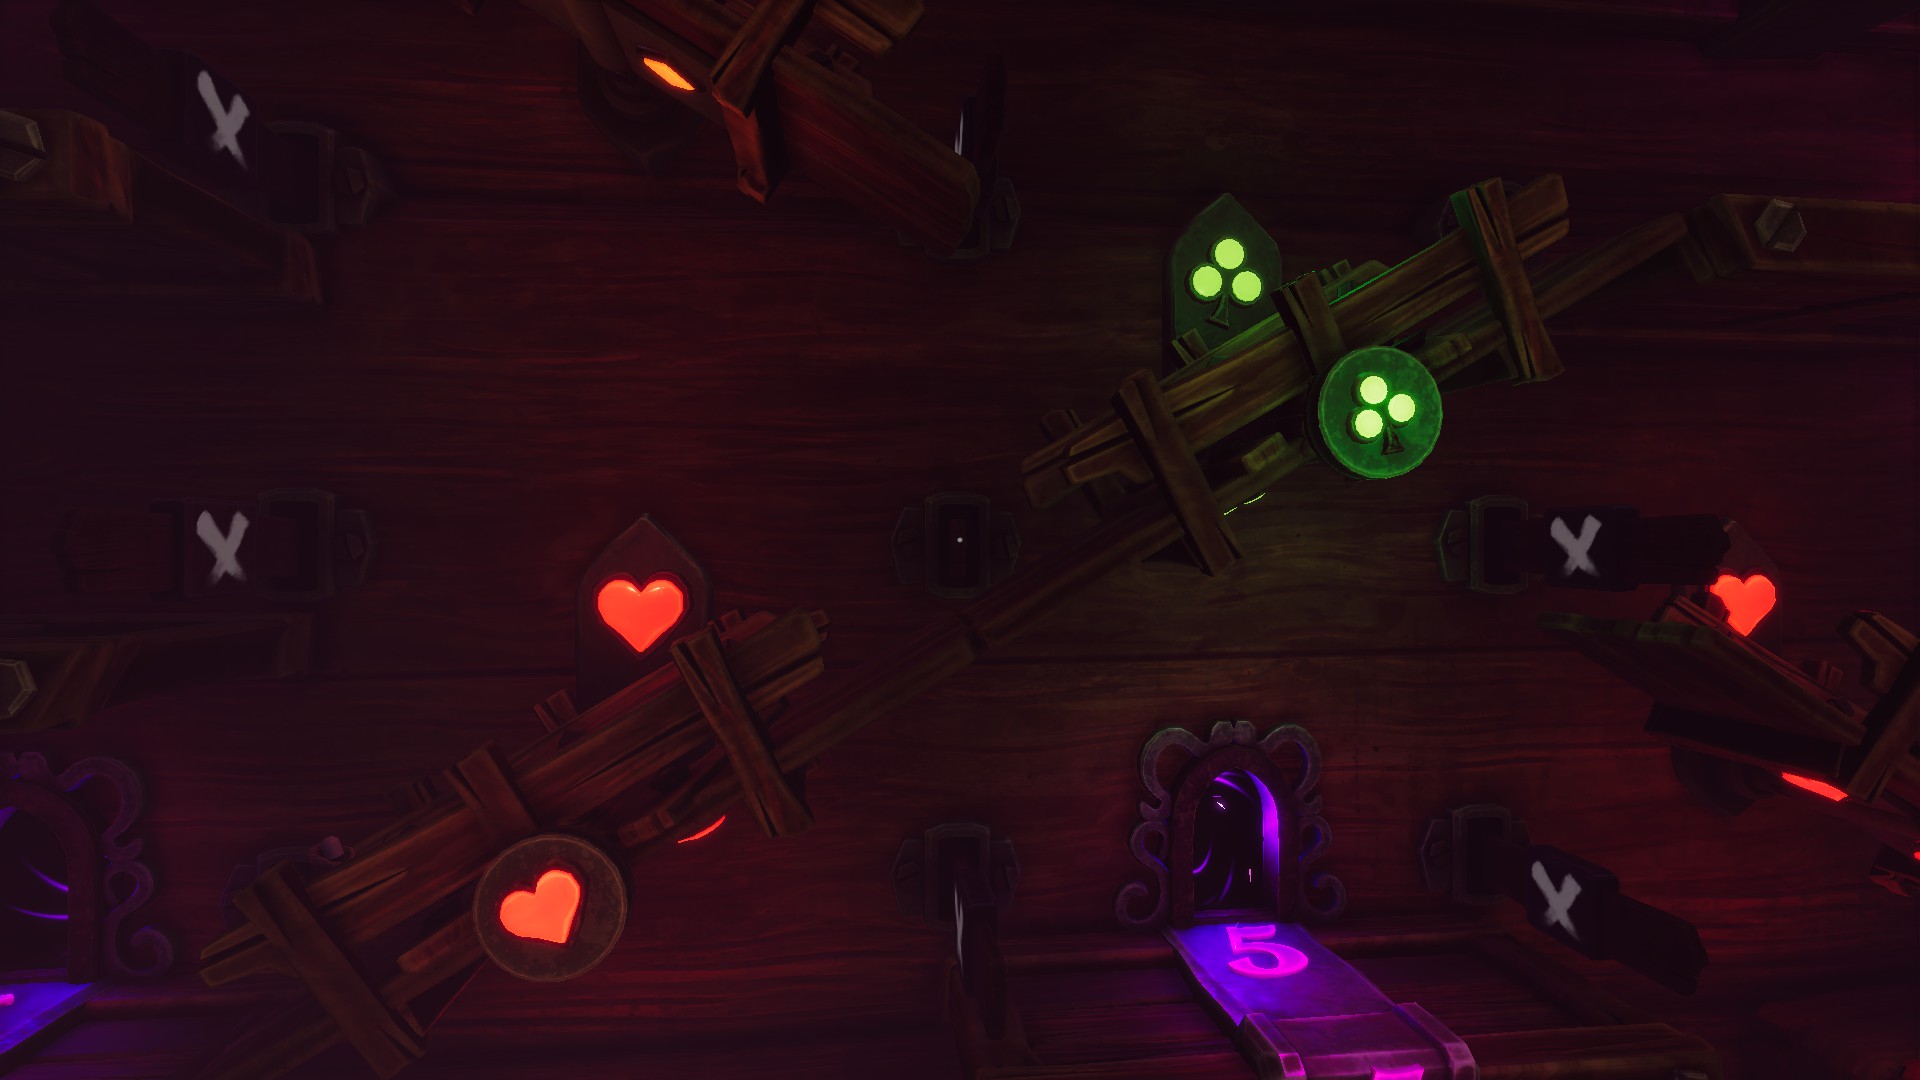
 
 
The second player spins the room clockwise 1 time, enters the room with the shoe
 
 
The second player spins the room clockwise 2 times and passes into the room with the dice.
 
 
The first player on the harmonica spins clockwise 2 times.
 
 
The second player spins 1 time clockwise.
 
 
The first player passes into the guitar.
 
 
The first player spins 2 times counter-clockwise.
 
 
The second player spins 2 times clockwise and passes into the card room and presses the key.
 
 
The first player in the guitar twists the walls 1 time counterclockwise.
 
 
The second player passes into the room with the cap.
 
 
Watch the cutscene.
 
 
The second player in the room with the cap twists counterclockwise 2 times.
 
 
The first player passes into the music pipe.
 
 
The second player in the cap room twists the walls counterclockwise 1 time.
 
 
The first player passes into the room with the harp.
 
 
The second player in the cap room twists counterclockwise 1 time and passes into the card room.
 
 
The first player in the room with the harp twists the walls clockwise 2 times.
 
 
The second player in the card room spins the walls counterclockwise 2 times.
 
 
Both players enter the room with the purple magic door and press the keys in the floor together.


2nd Stage


We Were Here Forever All Levels Full Game Walkthrough - ├─ The illusions (portal rooms) - 9C6A444
 
 
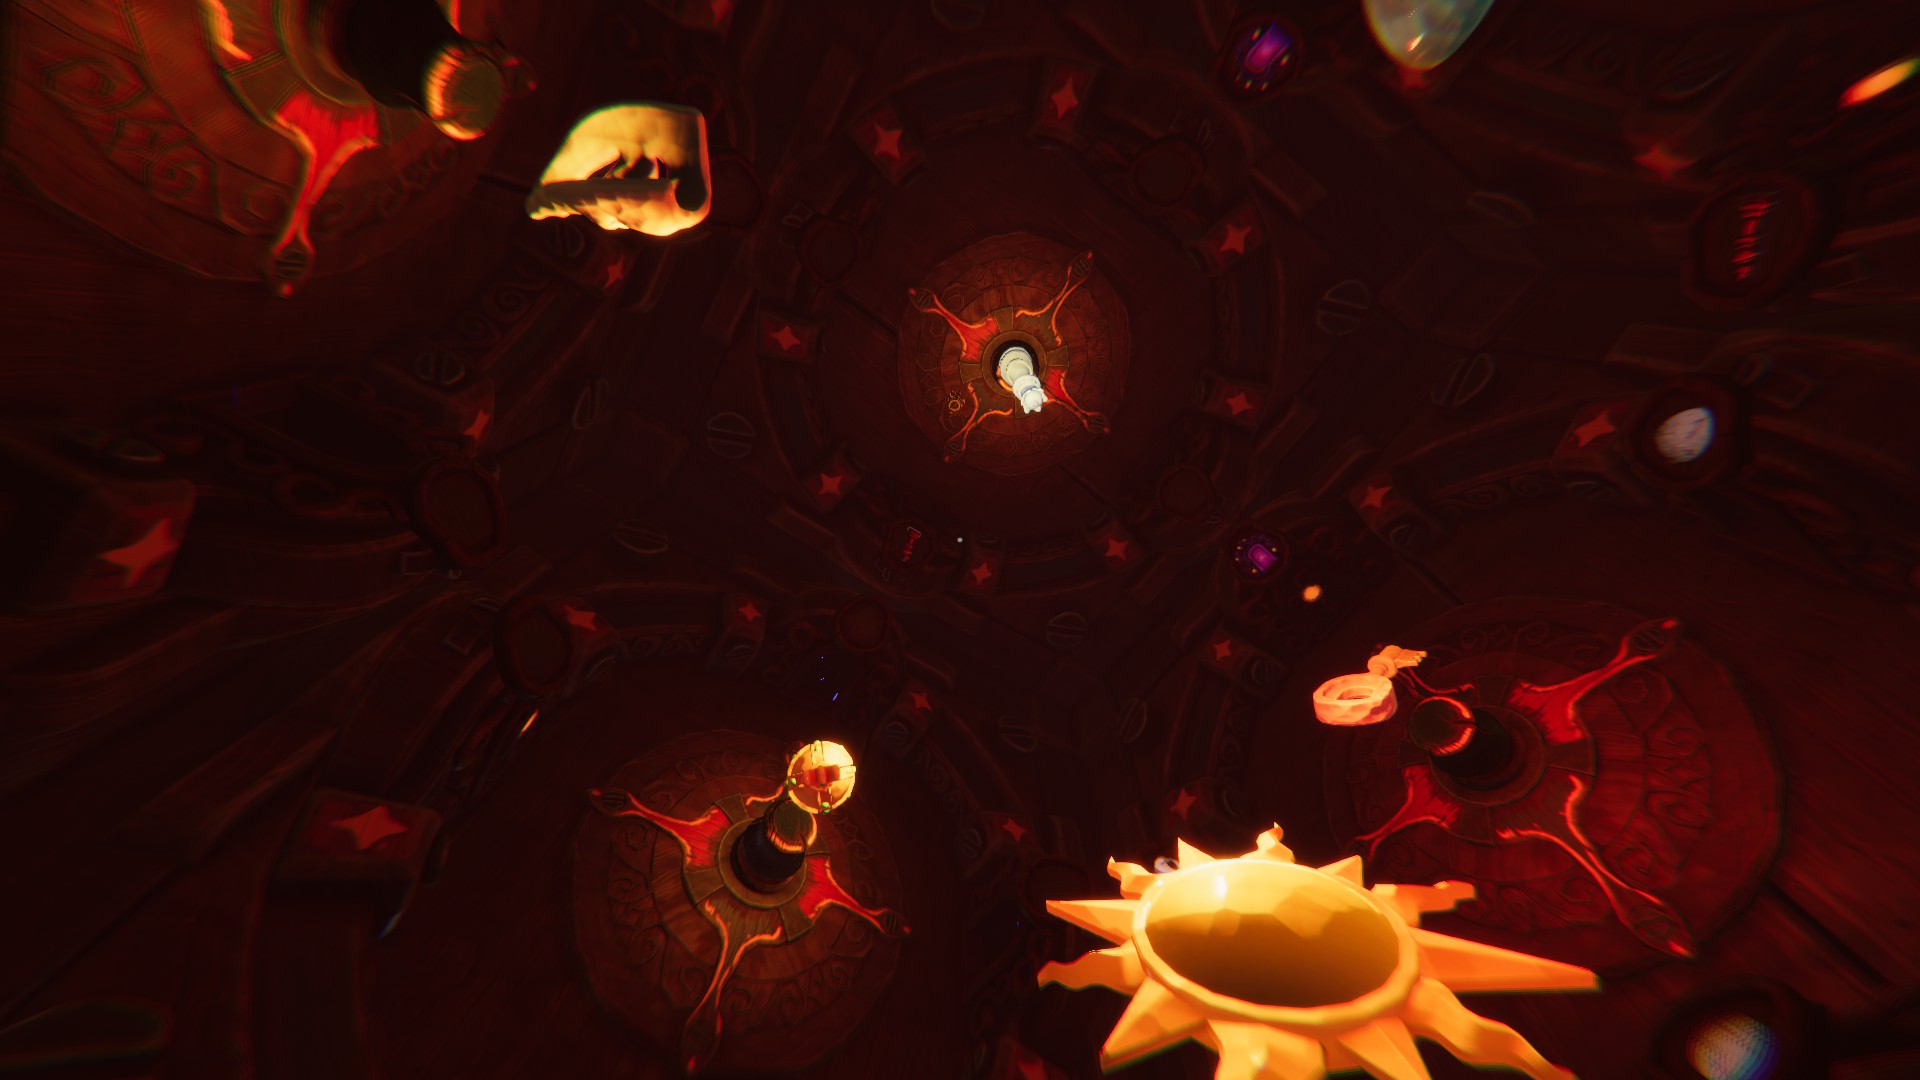
The first player on the sun twists the walls to the eggand passes through
 
 
The second player on the regular chess piece spins 1 time clockwise.
 
 
The first player on the egg spins 1 time clockwise.
 
 
The second player passes into the red chess piece and enters the parallel version of the puzzle.
 
 
The first player
on the egg spins 2 times.
 
 
The second player passes into the mask.
 
Second player spins the walls 1 time clockwise and passes into the “holy grenade
 
 
The first player on the egg spins 1 time clockwise and passes into the jester stick.
 
 
The second player on the “holy grenade” twists 1 time counterclockwise and passes into the skull.
 
 
The first player on the jester stick passes into the key.
 
Then the first player twists 1 time counterclockwise and passes intothe egg.
 
 
The first player on the egg twists the walls 1 time counterclockwise.
 
 
Both players enter into the purple portal


Chapter 2 — The Chapel


├─ The Pledge (heads)

Throne

 
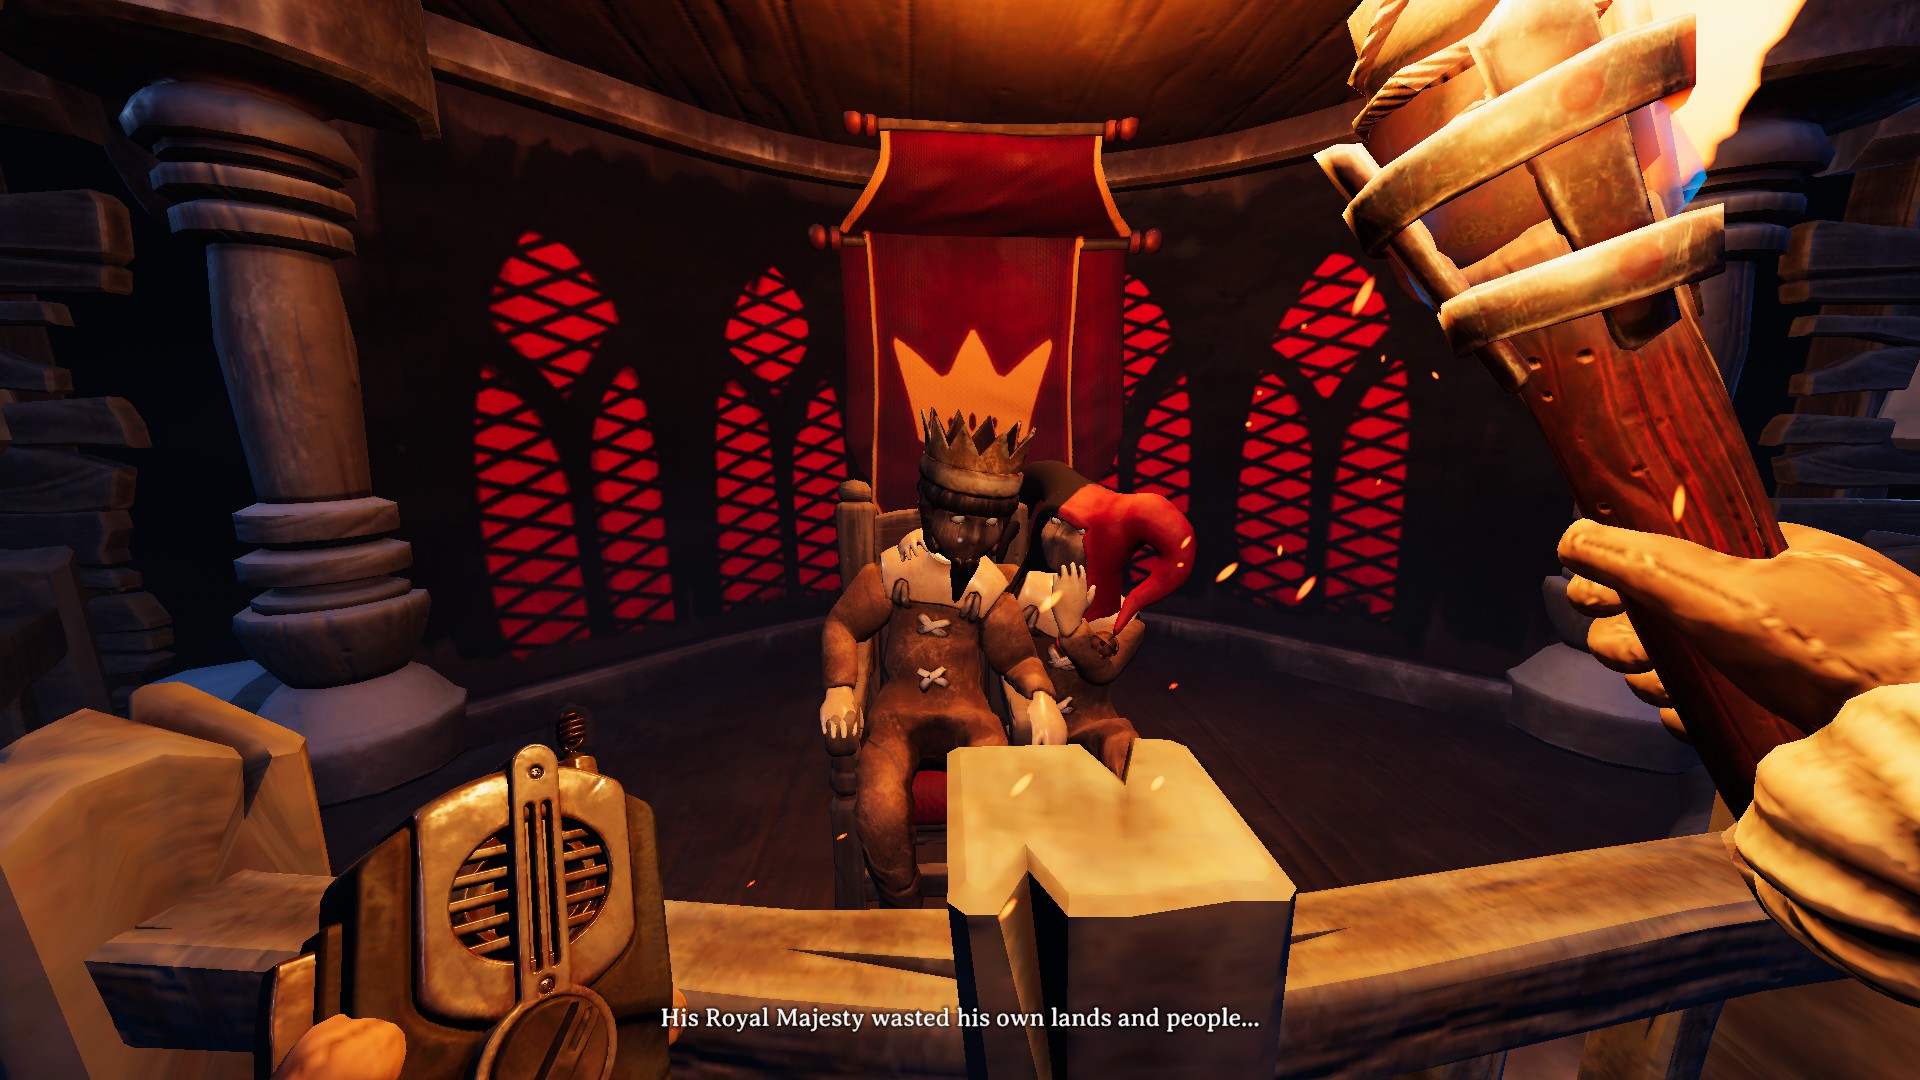
Put the king’s head on the throne and the jester’s head next to it.
 
 
We Were Here Forever All Levels Full Game Walkthrough - ├─ The Pledge (heads) - 169F1DD


Building a wall

 
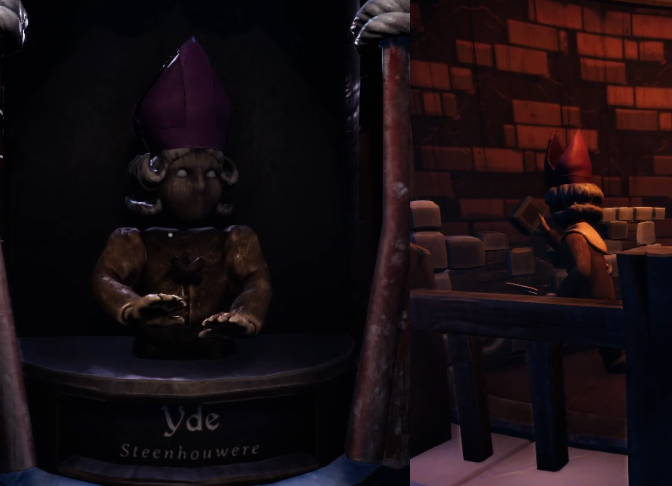
Put the head of Ydeto who builds the wall
 
 
We Were Here Forever All Levels Full Game Walkthrough - ├─ The Pledge (heads) - 32FE01F
 
 
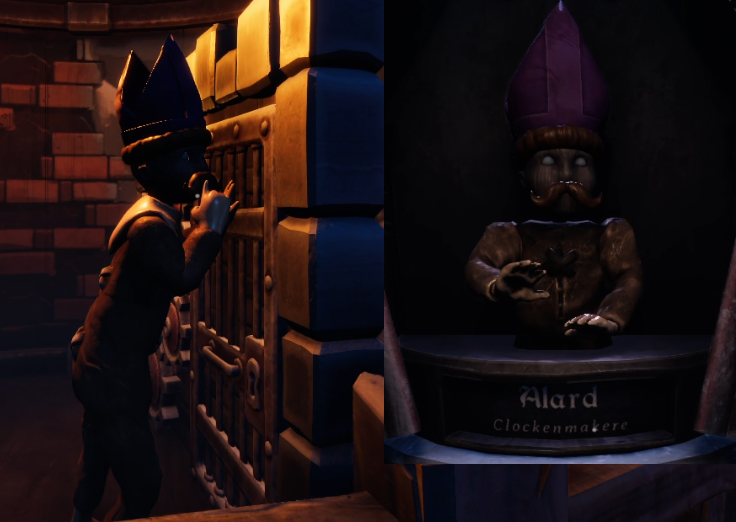
Put the head of Alardto who builds the door mechanism
 
 
We Were Here Forever All Levels Full Game Walkthrough - ├─ The Pledge (heads) - EE708DD


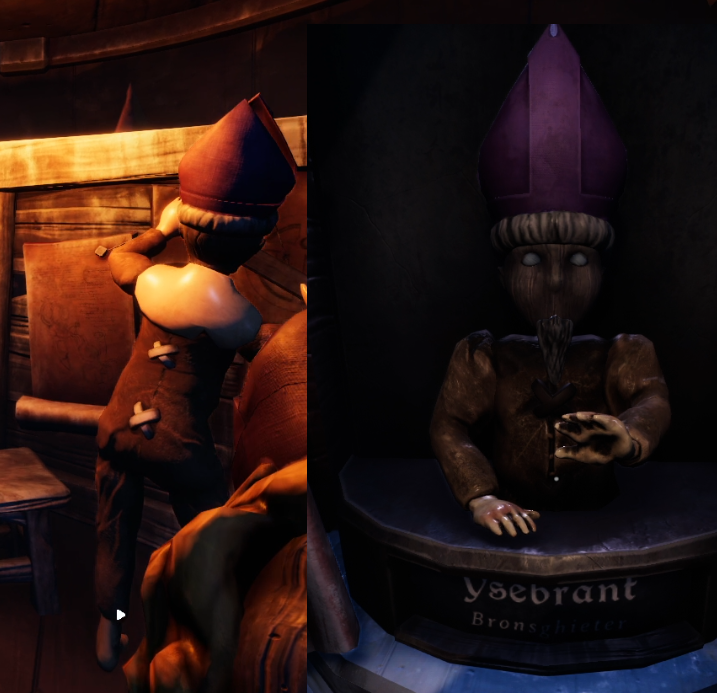
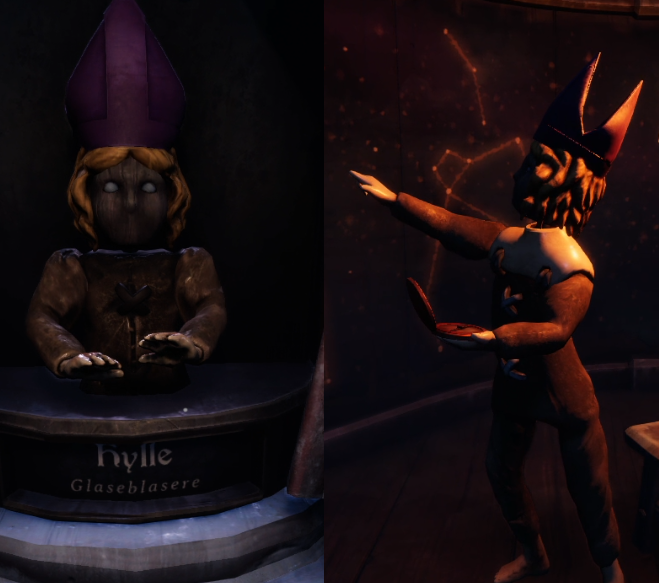
Astronomy

 
Put the head of Ysebrantto person near blueprints
 
 
We Were Here Forever All Levels Full Game Walkthrough - ├─ The Pledge (heads) - BE70B0A
 
 
Put the head of Kylleto whoever is pointing to the sky
 
 
We Were Here Forever All Levels Full Game Walkthrough - ├─ The Pledge (heads) - A7BE318


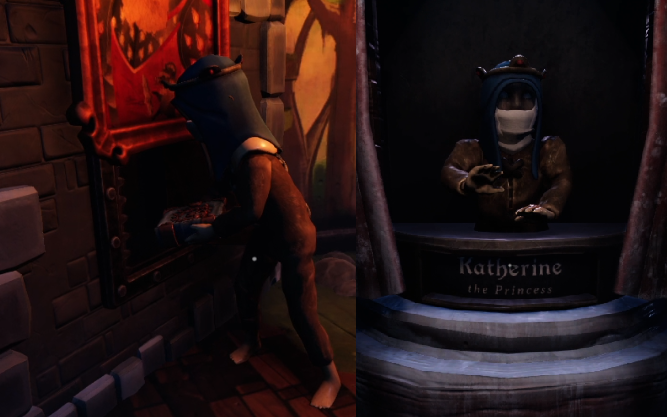
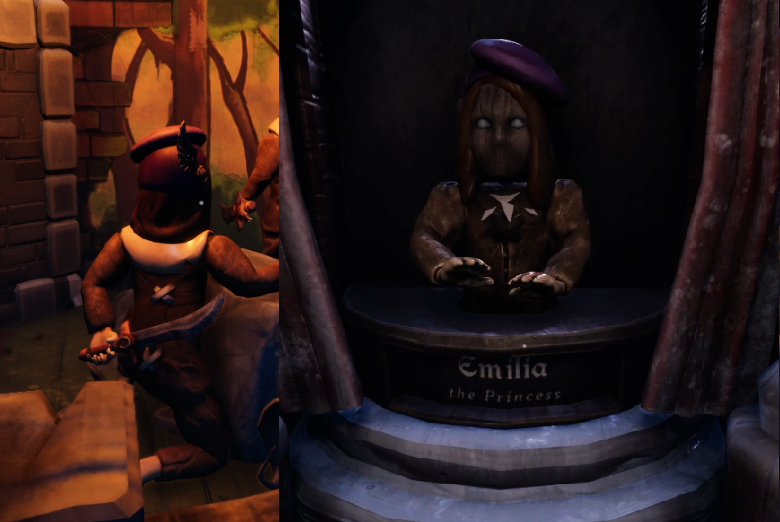
Revenge

 
Put the head of Princess Katherine to whoever is hiding the book behind the painting
 
 
We Were Here Forever All Levels Full Game Walkthrough - ├─ The Pledge (heads) - 4020B34
 
 
Put the head of Princess Emilia to the person, who is holding blade
 
 
We Were Here Forever All Levels Full Game Walkthrough - ├─ The Pledge (heads) - 13B6B97


├─ The Resistance (dolls)

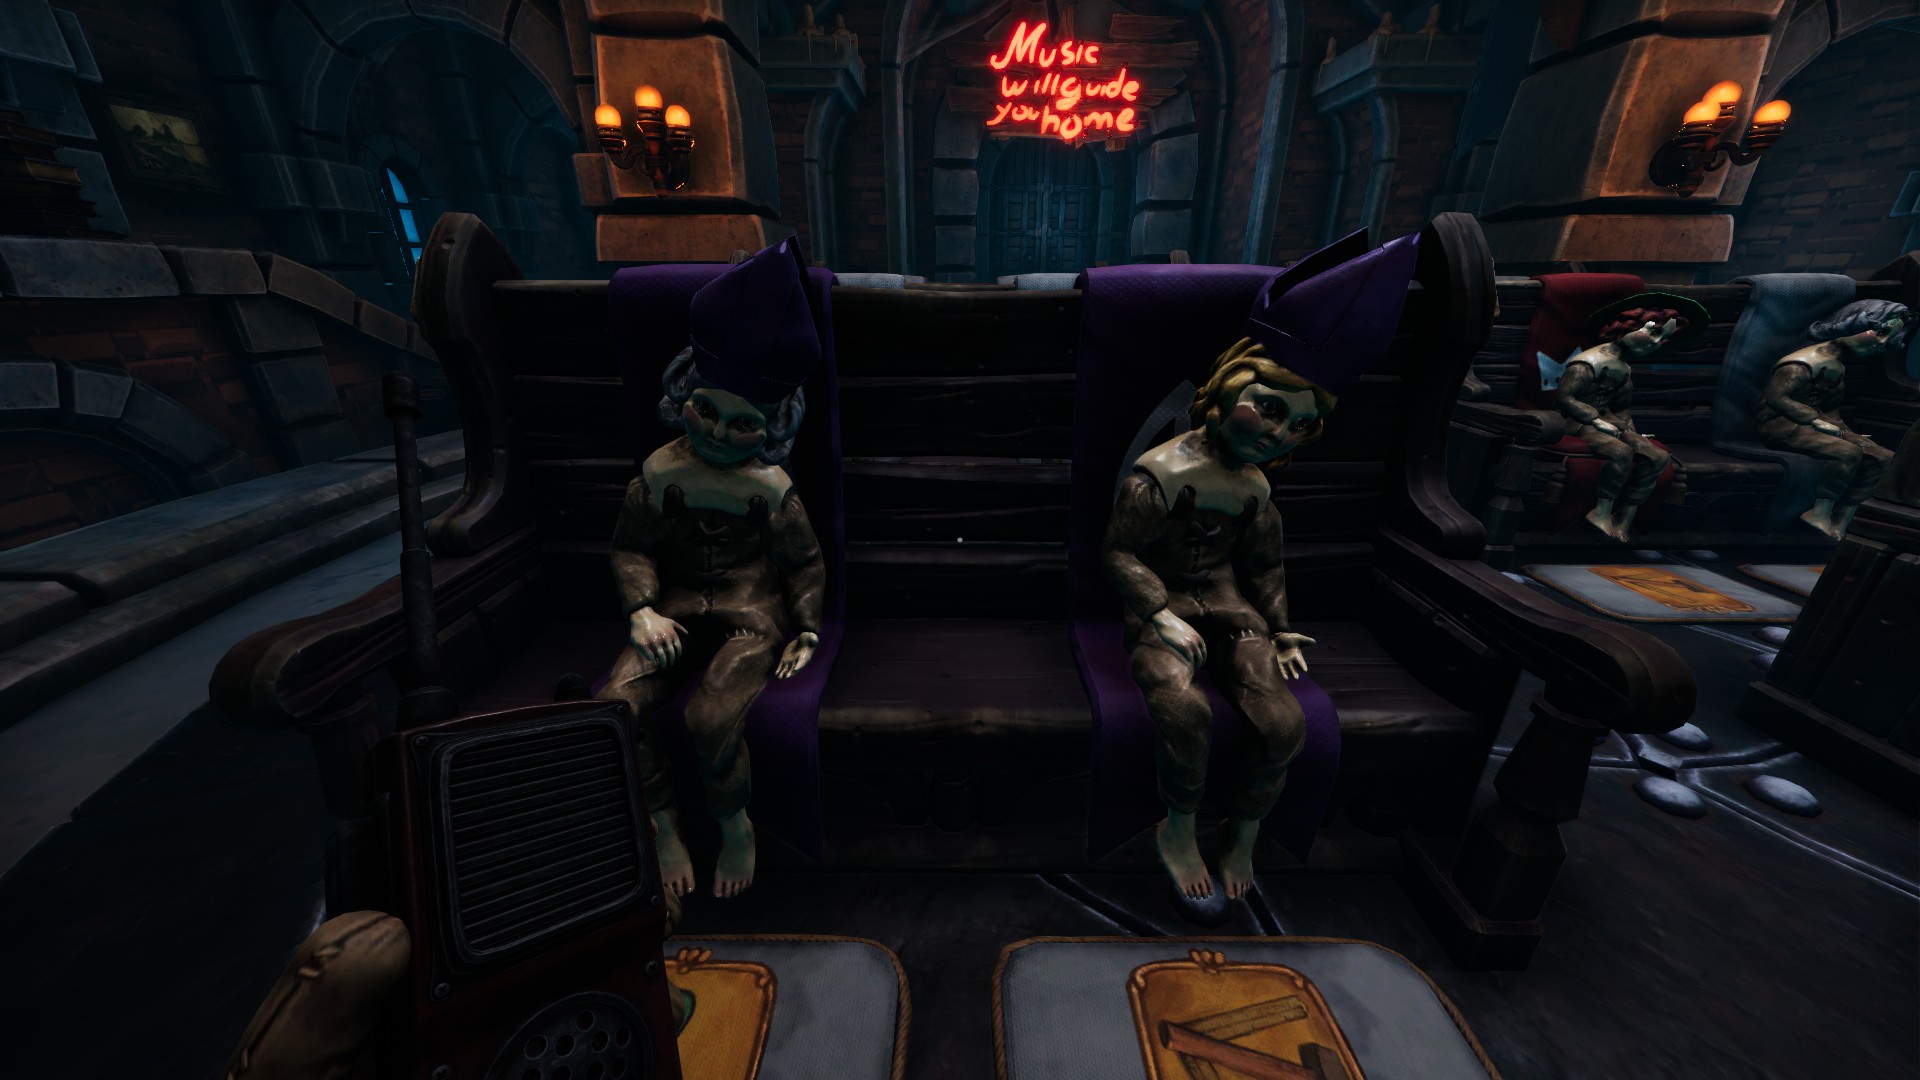
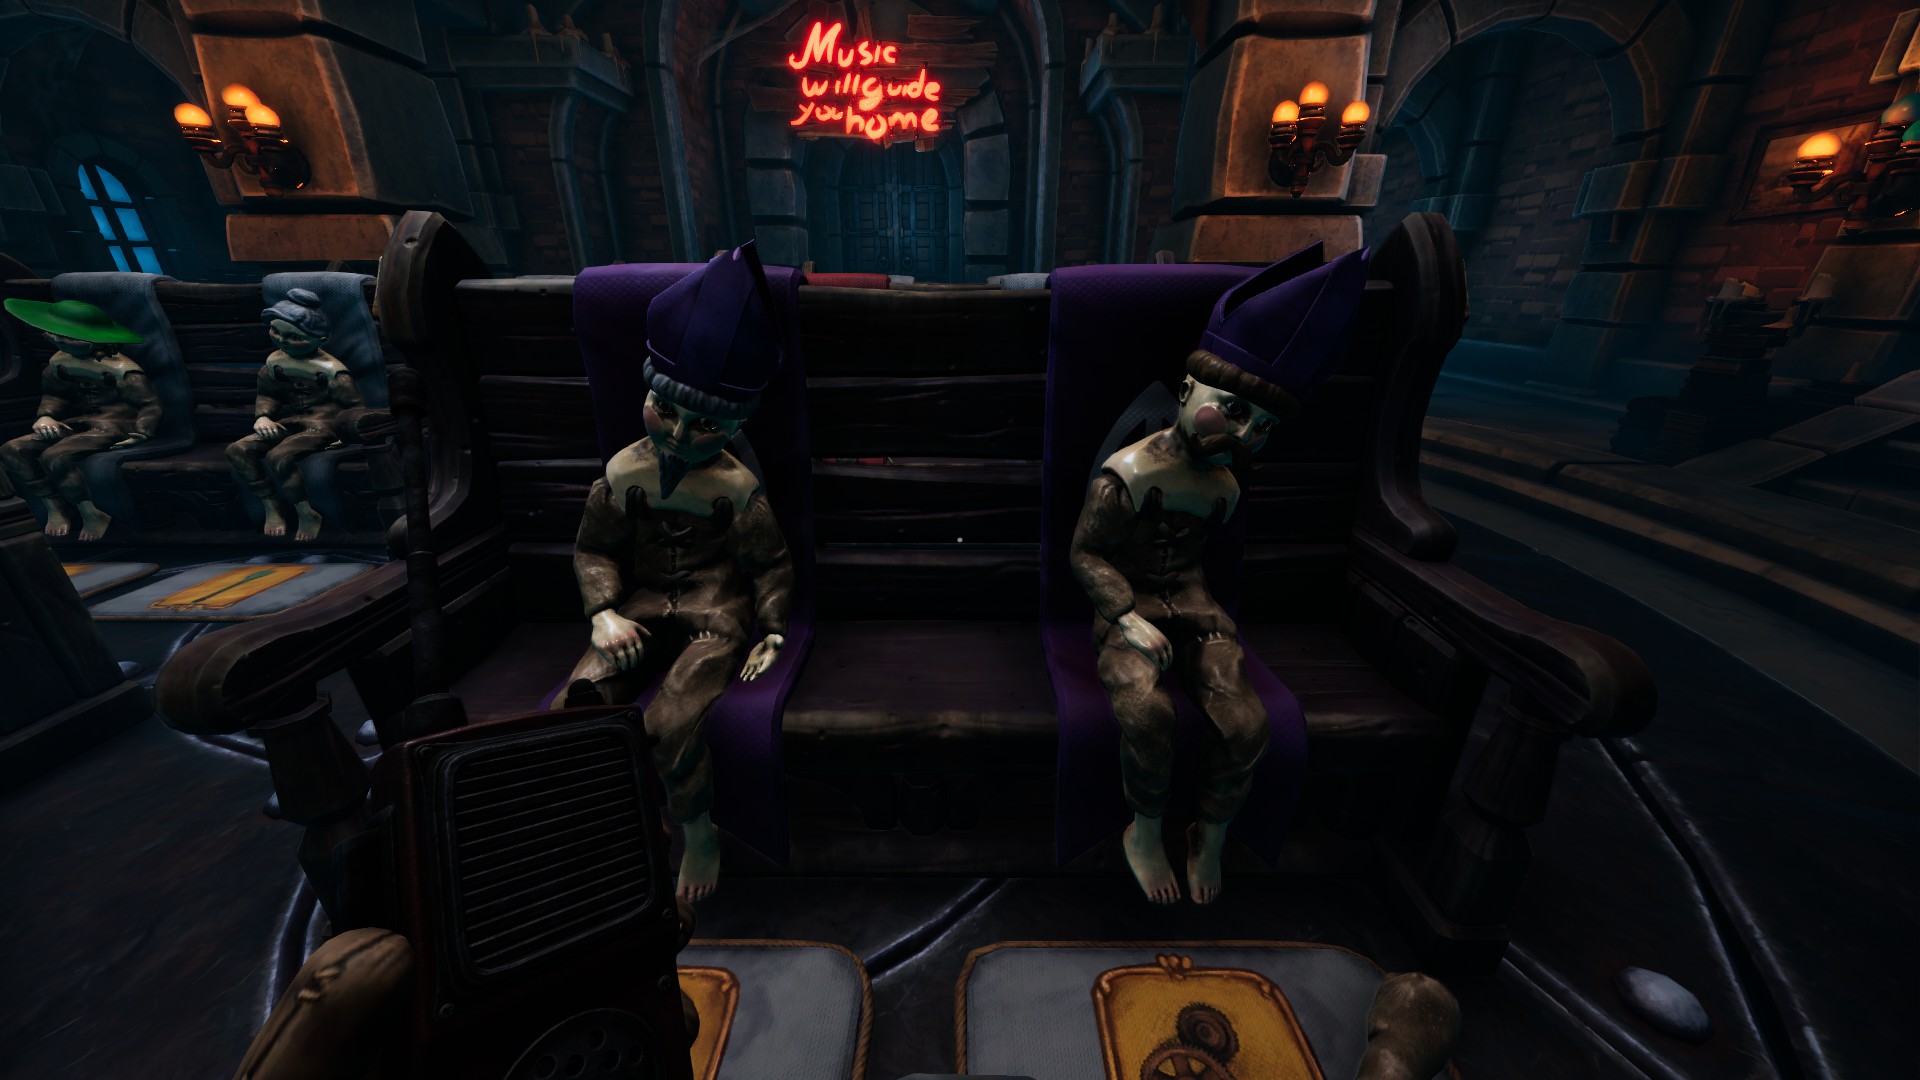
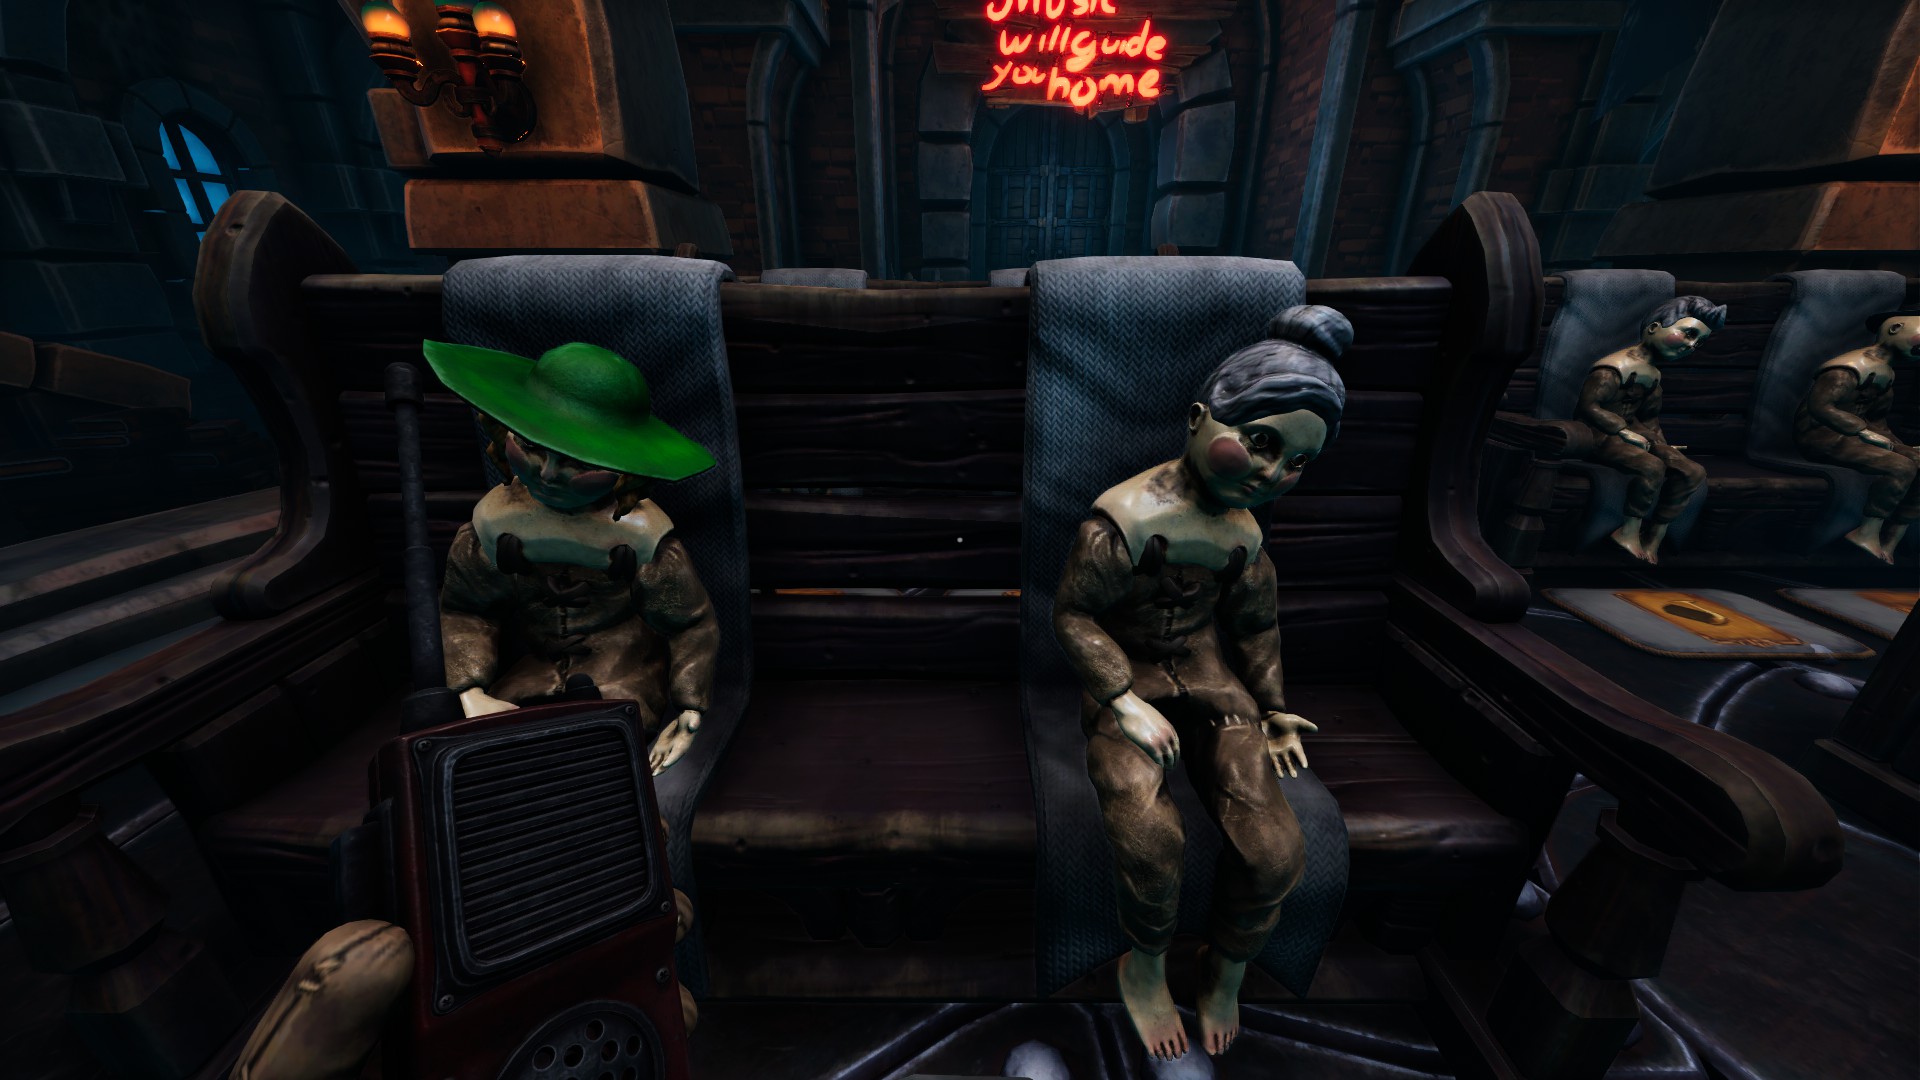
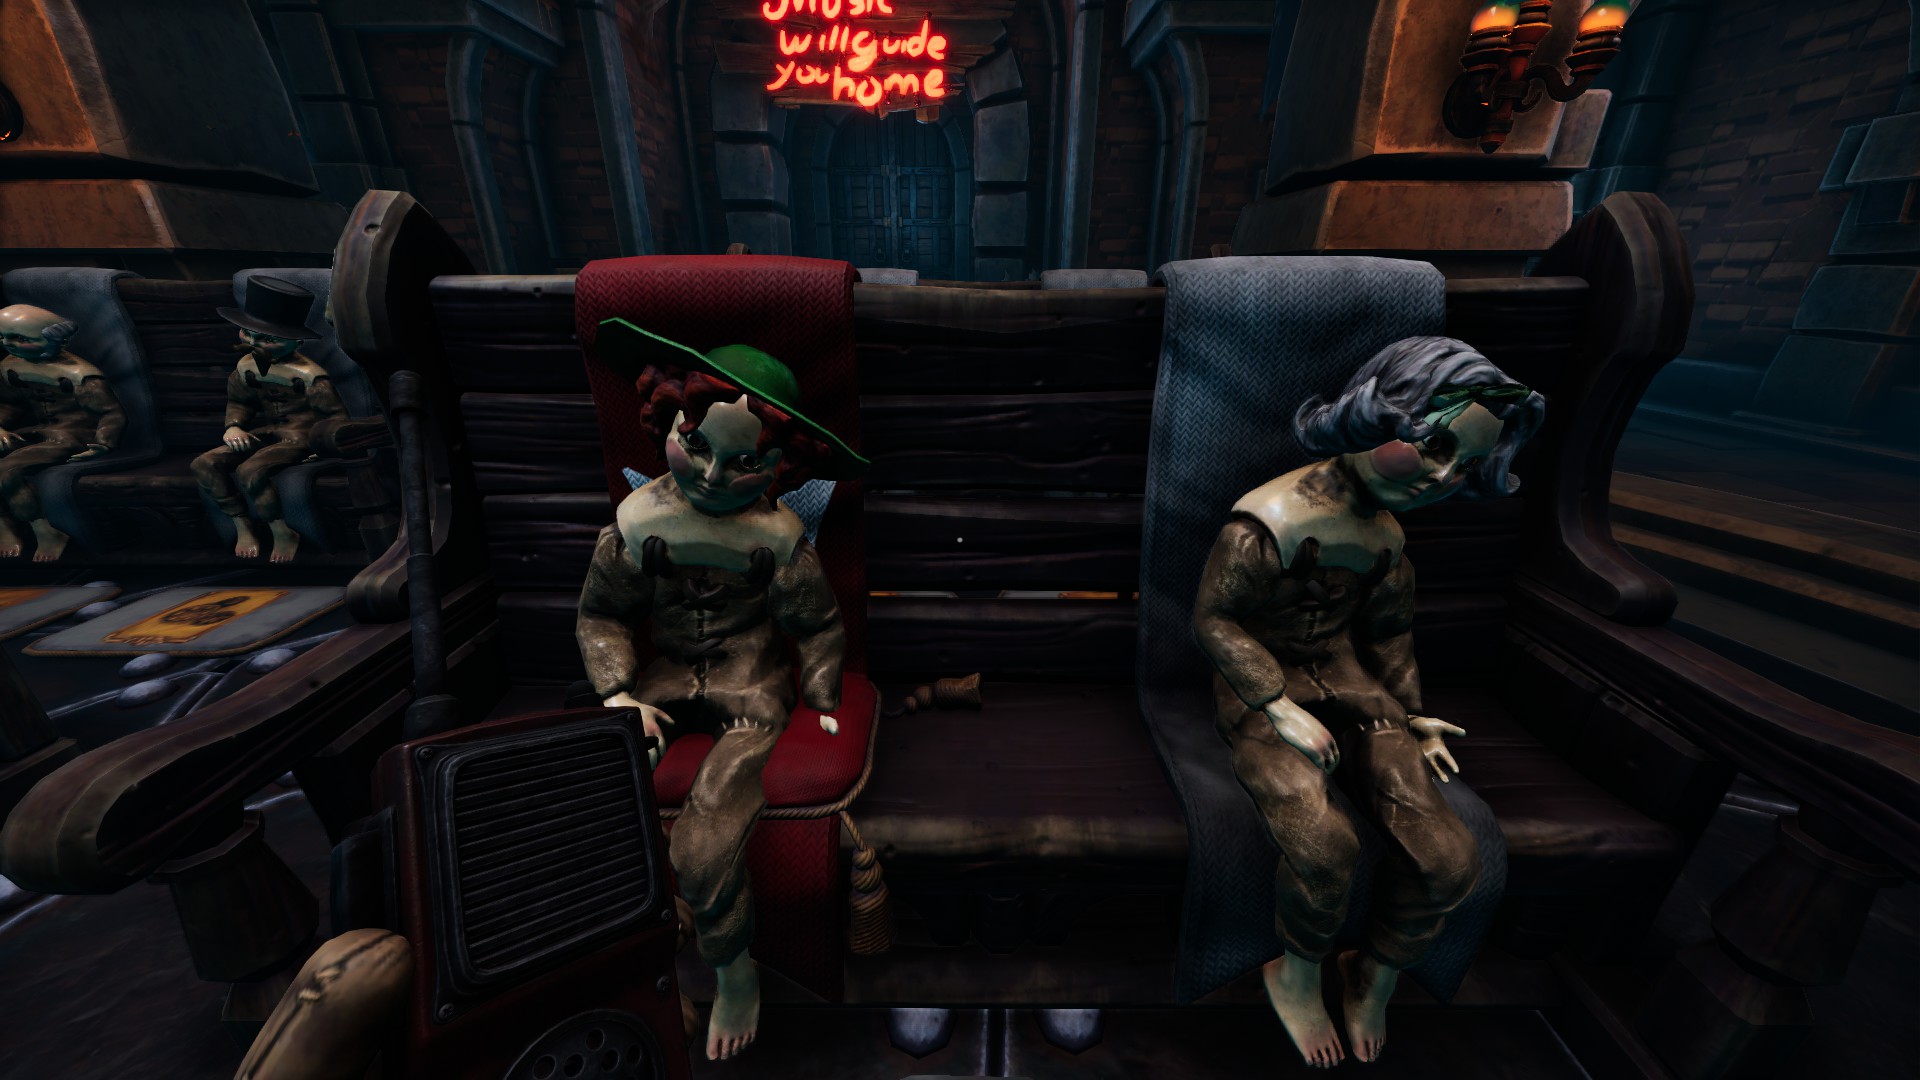
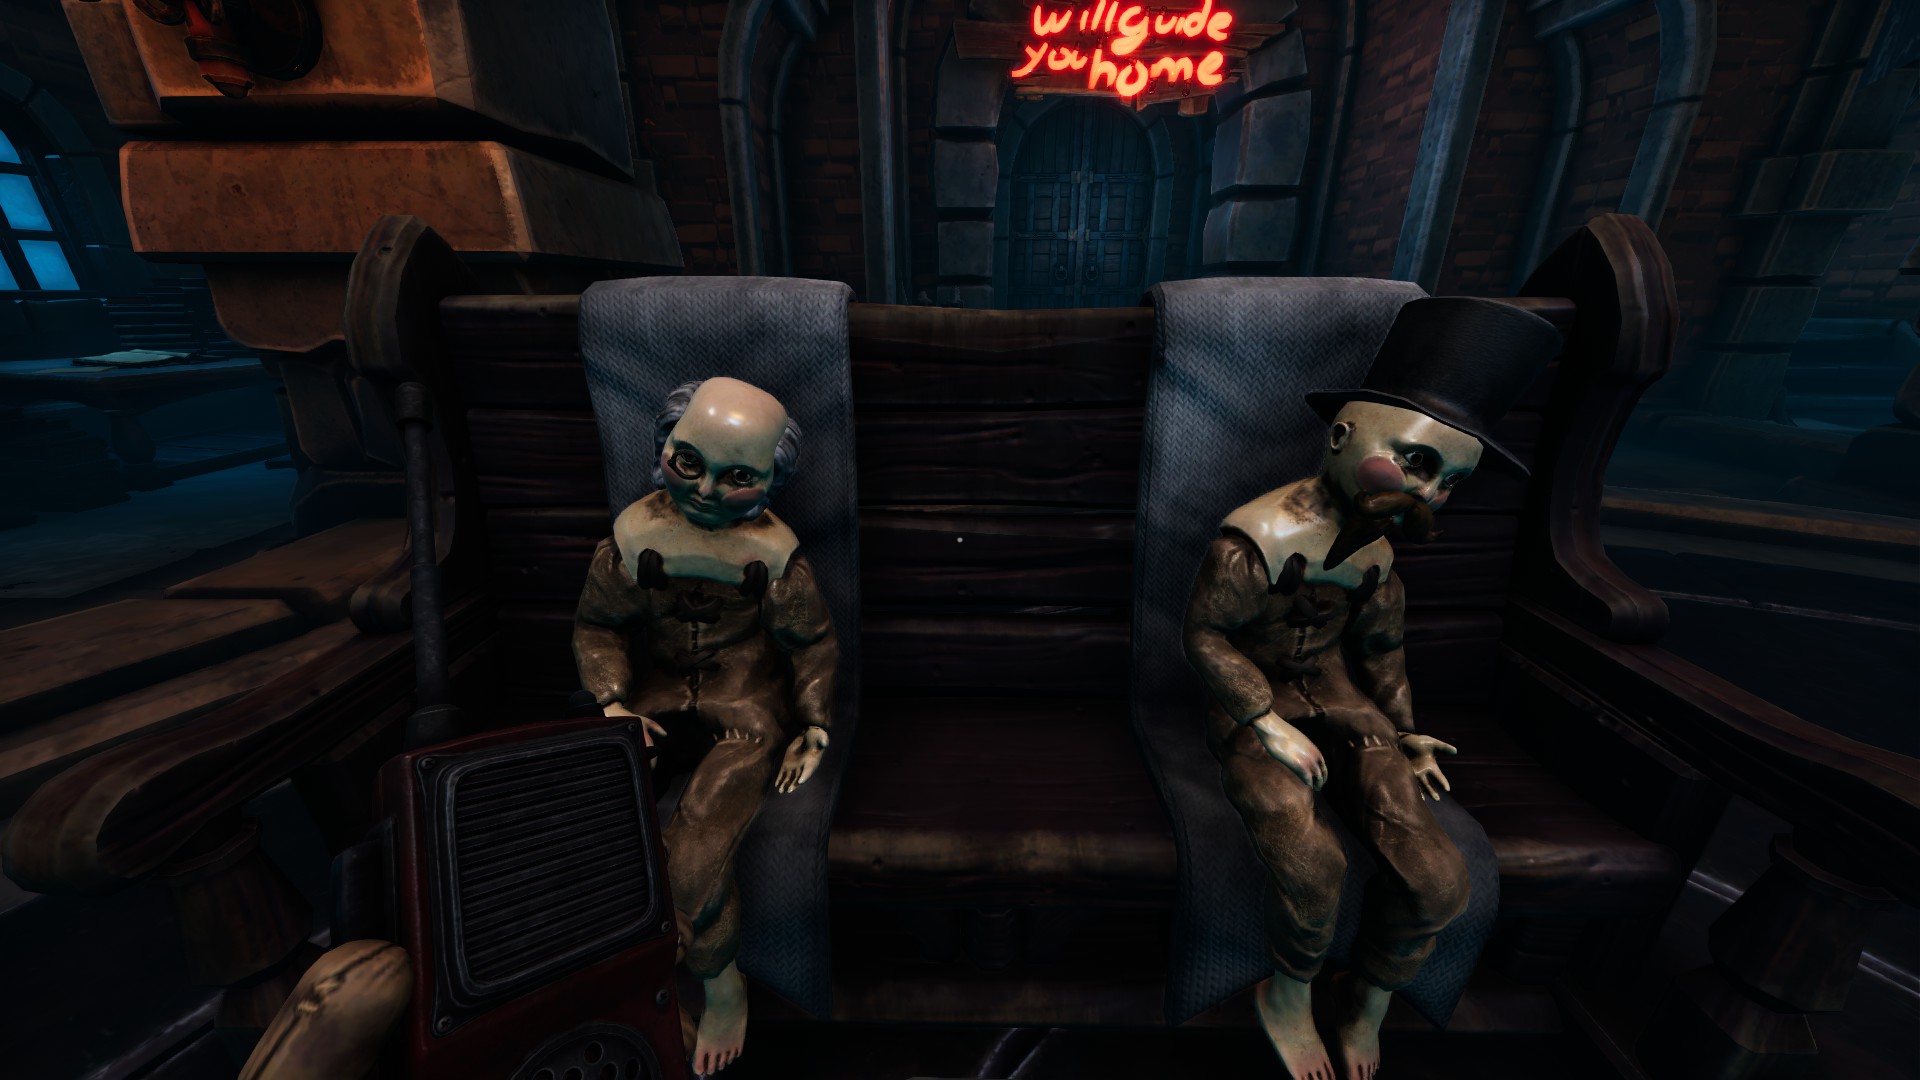
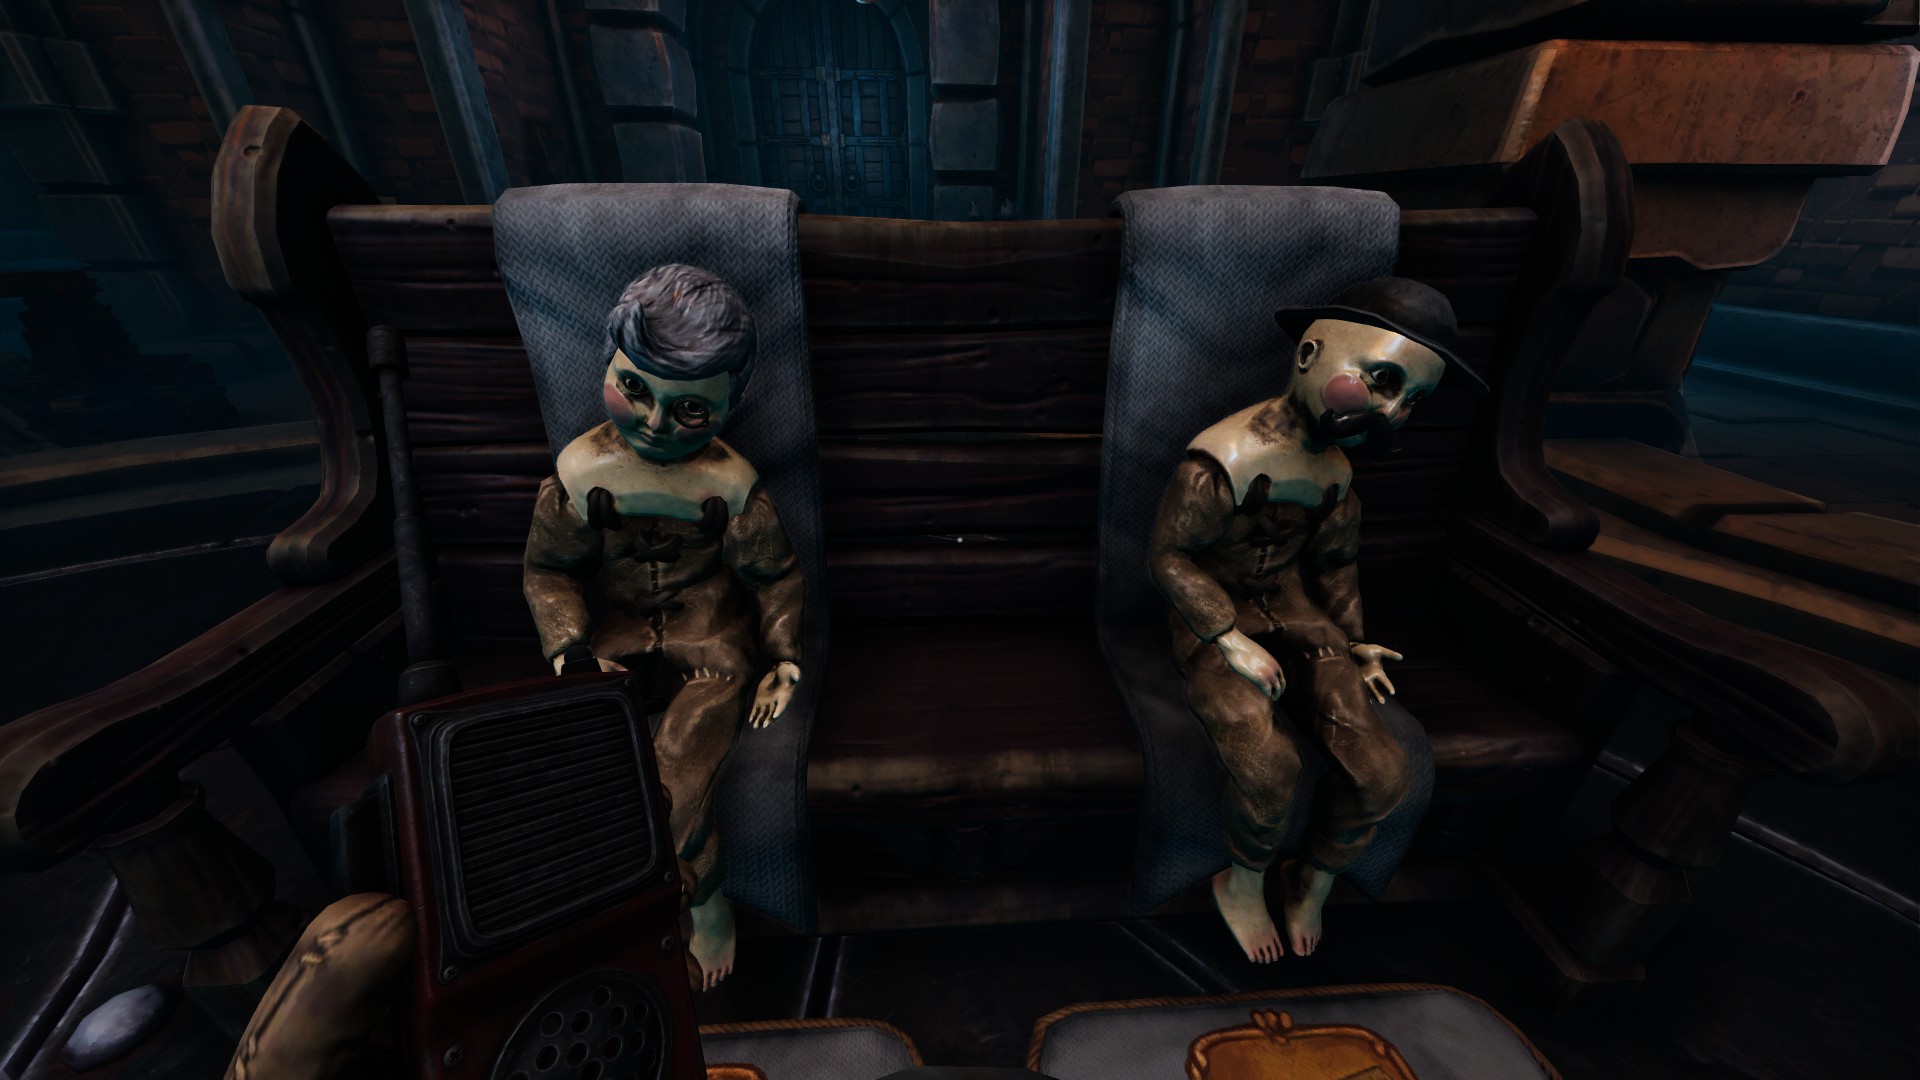
Place all dolls in this specific positions:

 
Left benches | Right benches
 
 
We Were Here Forever All Levels Full Game Walkthrough - ├─ The Resistance (dolls) - 3FF6258
 
 
We Were Here Forever All Levels Full Game Walkthrough - ├─ The Resistance (dolls) - 77331F0
 
 
We Were Here Forever All Levels Full Game Walkthrough - ├─ The Resistance (dolls) - FA305DC
 
 
We Were Here Forever All Levels Full Game Walkthrough - ├─ The Resistance (dolls) - 1730CF0
 
 
We Were Here Forever All Levels Full Game Walkthrough - ├─ The Resistance (dolls) - D4120CB
 
 
We Were Here Forever All Levels Full Game Walkthrough - ├─ The Resistance (dolls) - 20F08D3


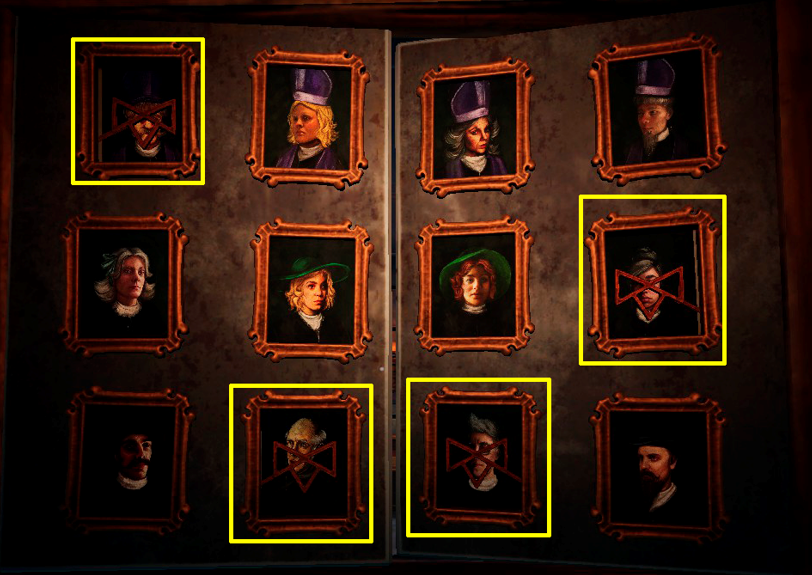
After that, come to 2nd floor and select these portraits:


We Were Here Forever All Levels Full Game Walkthrough - ├─ The Resistance (dolls) - 7BF6D34


├─ The Hymn (music)

Player 1

 
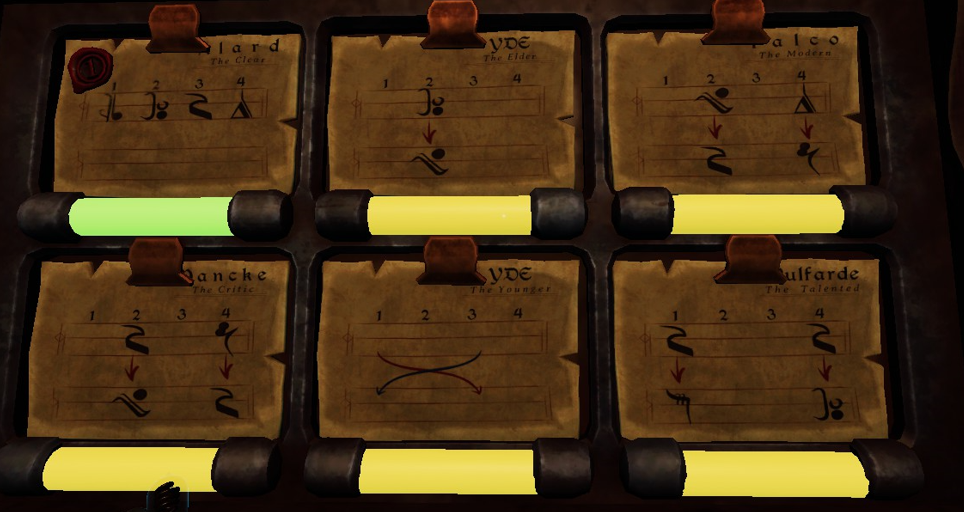
Place all notes like this
 
 
We Were Here Forever All Levels Full Game Walkthrough - ├─ The Hymn (music) - 526FB9F


Player 2

 
Approach the organ and enter the following sequence of notes:


  • G A C B
  • G F C B
  • G C C D
  • G F C C
  • C F G C
  • E F G A


Chapter 3 — The Graveyard


├─ The Seal (medallions)

Trade Step #1


Player above | Player below

 
We Were Here Forever All Levels Full Game Walkthrough - ├─ The Seal (medallions) - 20AE50AWe Were Here Forever All Levels Full Game Walkthrough - ├─ The Seal (medallions) - 41BDC52


Trade Step #2


Player above | Player below

 
We Were Here Forever All Levels Full Game Walkthrough - ├─ The Seal (medallions) - B413E3CWe Were Here Forever All Levels Full Game Walkthrough - ├─ The Seal (medallions) - 796E69D


Trade Step #3


Player above | Player below

 
We Were Here Forever All Levels Full Game Walkthrough - ├─ The Seal (medallions) - 796E69DWe Were Here Forever All Levels Full Game Walkthrough - ├─ The Seal (medallions) - 20AE50A


Trade Step #4


Player above | Player below


We Were Here Forever All Levels Full Game Walkthrough - ├─ The Seal (medallions) - 41BDC52We Were Here Forever All Levels Full Game Walkthrough - ├─ The Seal (medallions) - E1C1F86


Trade Step #5


Player above | Player below

 
We Were Here Forever All Levels Full Game Walkthrough - ├─ The Seal (medallions) - 20AE50AWe Were Here Forever All Levels Full Game Walkthrough - ├─ The Seal (medallions) - 41BDC52


Trade Step #6


Player above | Player below

 
We Were Here Forever All Levels Full Game Walkthrough - ├─ The Seal (medallions) - CD77C83We Were Here Forever All Levels Full Game Walkthrough - ├─ The Seal (medallions) - 5934E24


Trade Step #7


Player above | Player below

 
We Were Here Forever All Levels Full Game Walkthrough - ├─ The Seal (medallions) - We Were Here Forever All Levels Full Game Walkthrough - ├─ The Seal (medallions) -


Trade Step #8


Player above | Player below

 
We Were Here Forever All Levels Full Game Walkthrough - ├─ The Seal (medallions) - 41BDC52We Were Here Forever All Levels Full Game Walkthrough - ├─ The Seal (medallions) - 41BDC52


Trade Step #9


Player above | Player below

 
We Were Here Forever All Levels Full Game Walkthrough - ├─ The Seal (medallions) - 4C6DABEWe Were Here Forever All Levels Full Game Walkthrough - ├─ The Seal (medallions) - B413E3C


Trade Step #10


Player above | Player below

 
We Were Here Forever All Levels Full Game Walkthrough - ├─ The Seal (medallions) - B413E3CWe Were Here Forever All Levels Full Game Walkthrough - ├─ The Seal (medallions) - 796E69D


Trade Step #11


Player above | Player below

 
We Were Here Forever All Levels Full Game Walkthrough - ├─ The Seal (medallions) - 796E69DWe Were Here Forever All Levels Full Game Walkthrough - ├─ The Seal (medallions) - 20AE50A


After all trade operations, insert the medallions into the slots.


Player above | Player below


We Were Here Forever All Levels Full Game Walkthrough - ├─ The Seal (medallions) - F3197D8
 
 
We Were Here Forever All Levels Full Game Walkthrough - ├─ The Seal (medallions) - DB3EA35


├─ The Lost (graveyard)

Player below need to put pickaxe into the bucket.
 
Player above need to take it and find next graves:
 
 
We Were Here Forever All Levels Full Game Walkthrough - ├─ The Lost (graveyard) - 43605A2


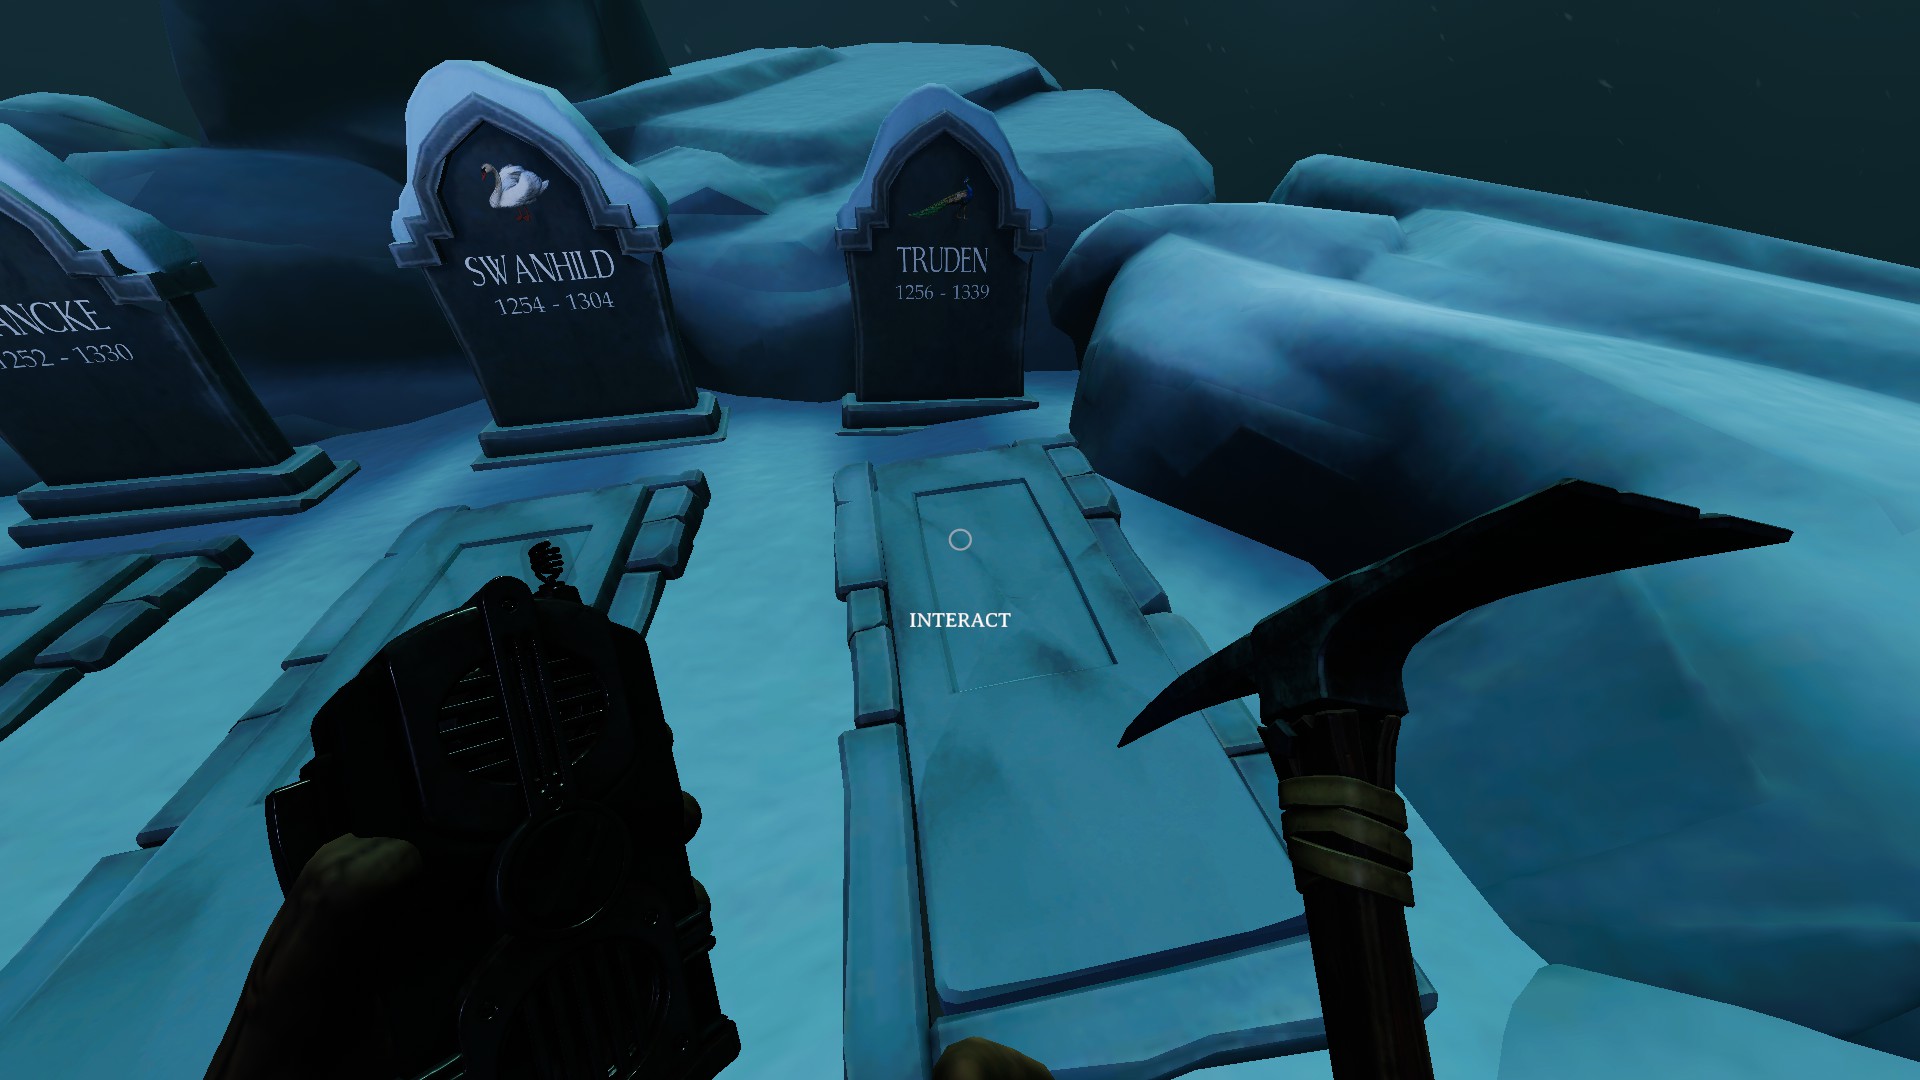
The player at the top must dig the following graves to get the keys:


Clockenmakere


TRUDEN (1256-1339)


We Were Here Forever All Levels Full Game Walkthrough - ├─ The Lost (graveyard) - 5C4ABA4


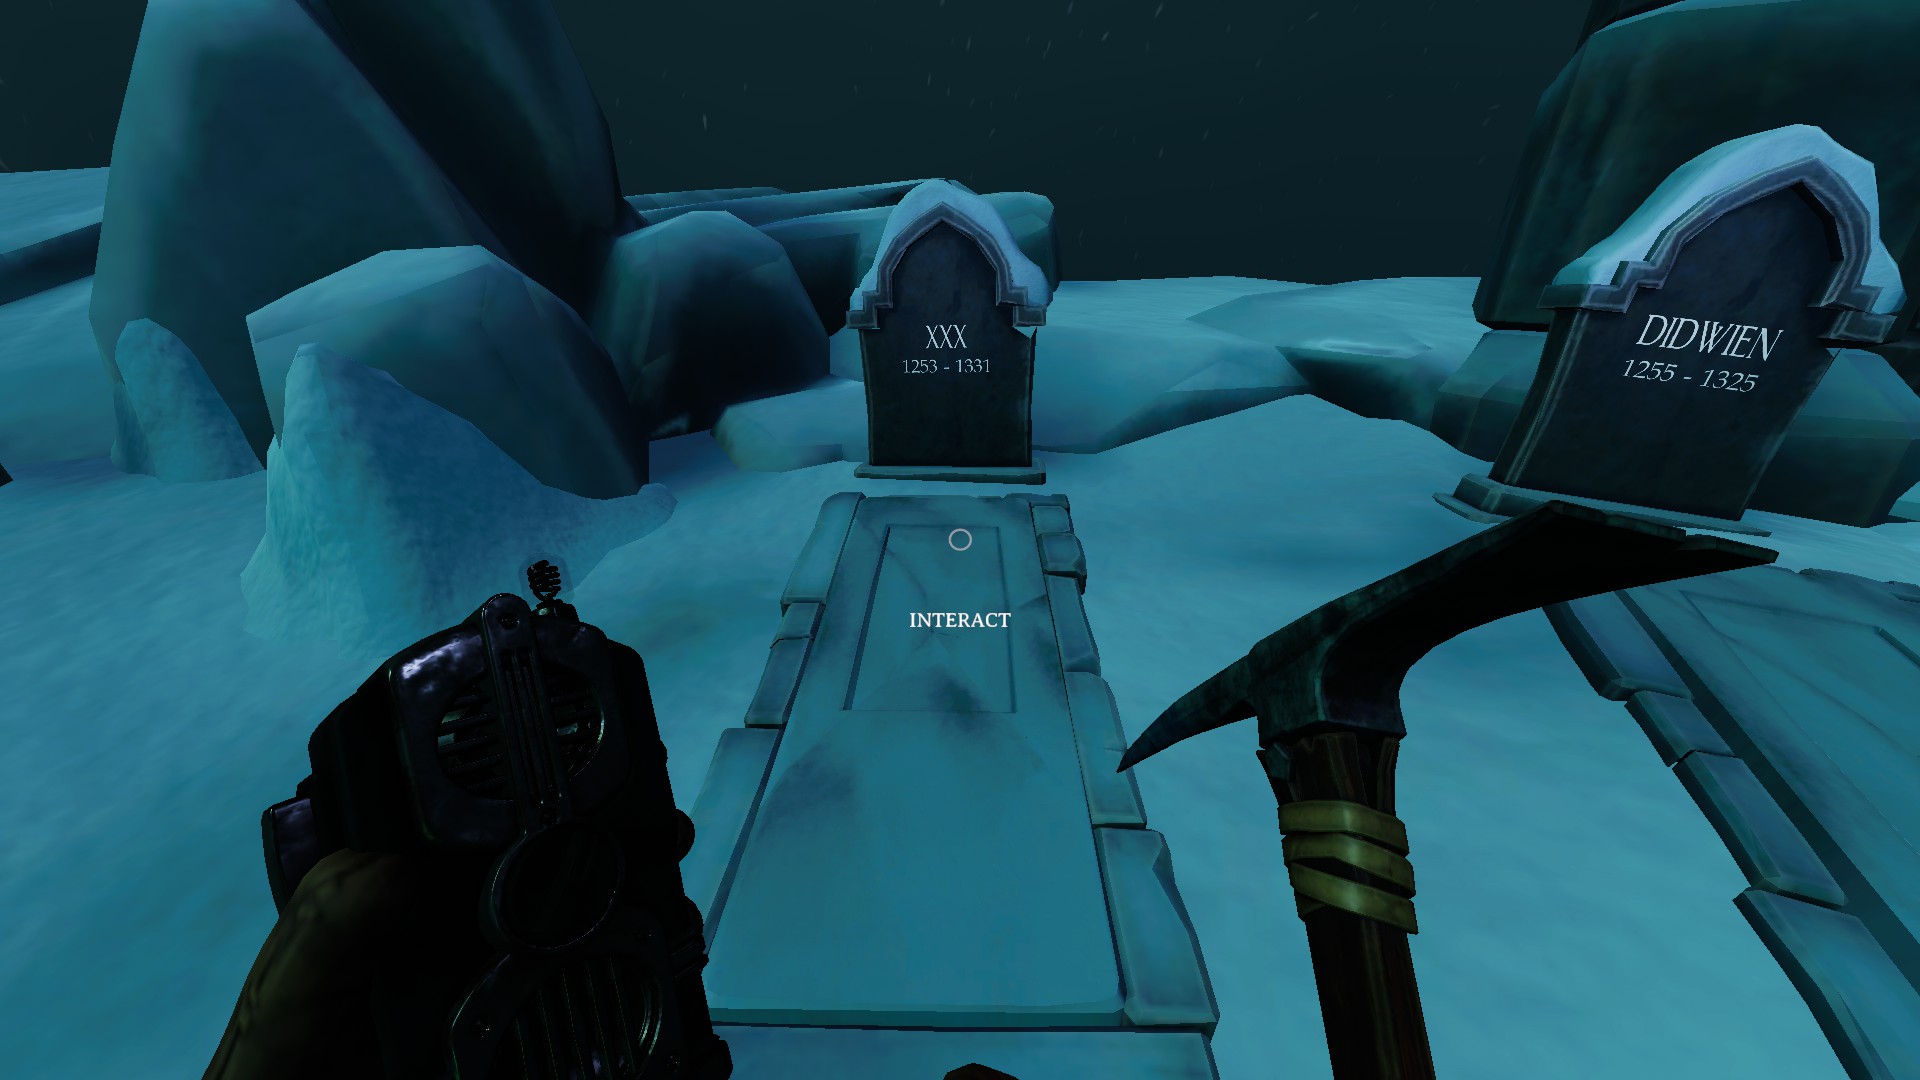
Brensghieter


XXX(1253-1331)


We Were Here Forever All Levels Full Game Walkthrough - ├─ The Lost (graveyard) - 64C3442


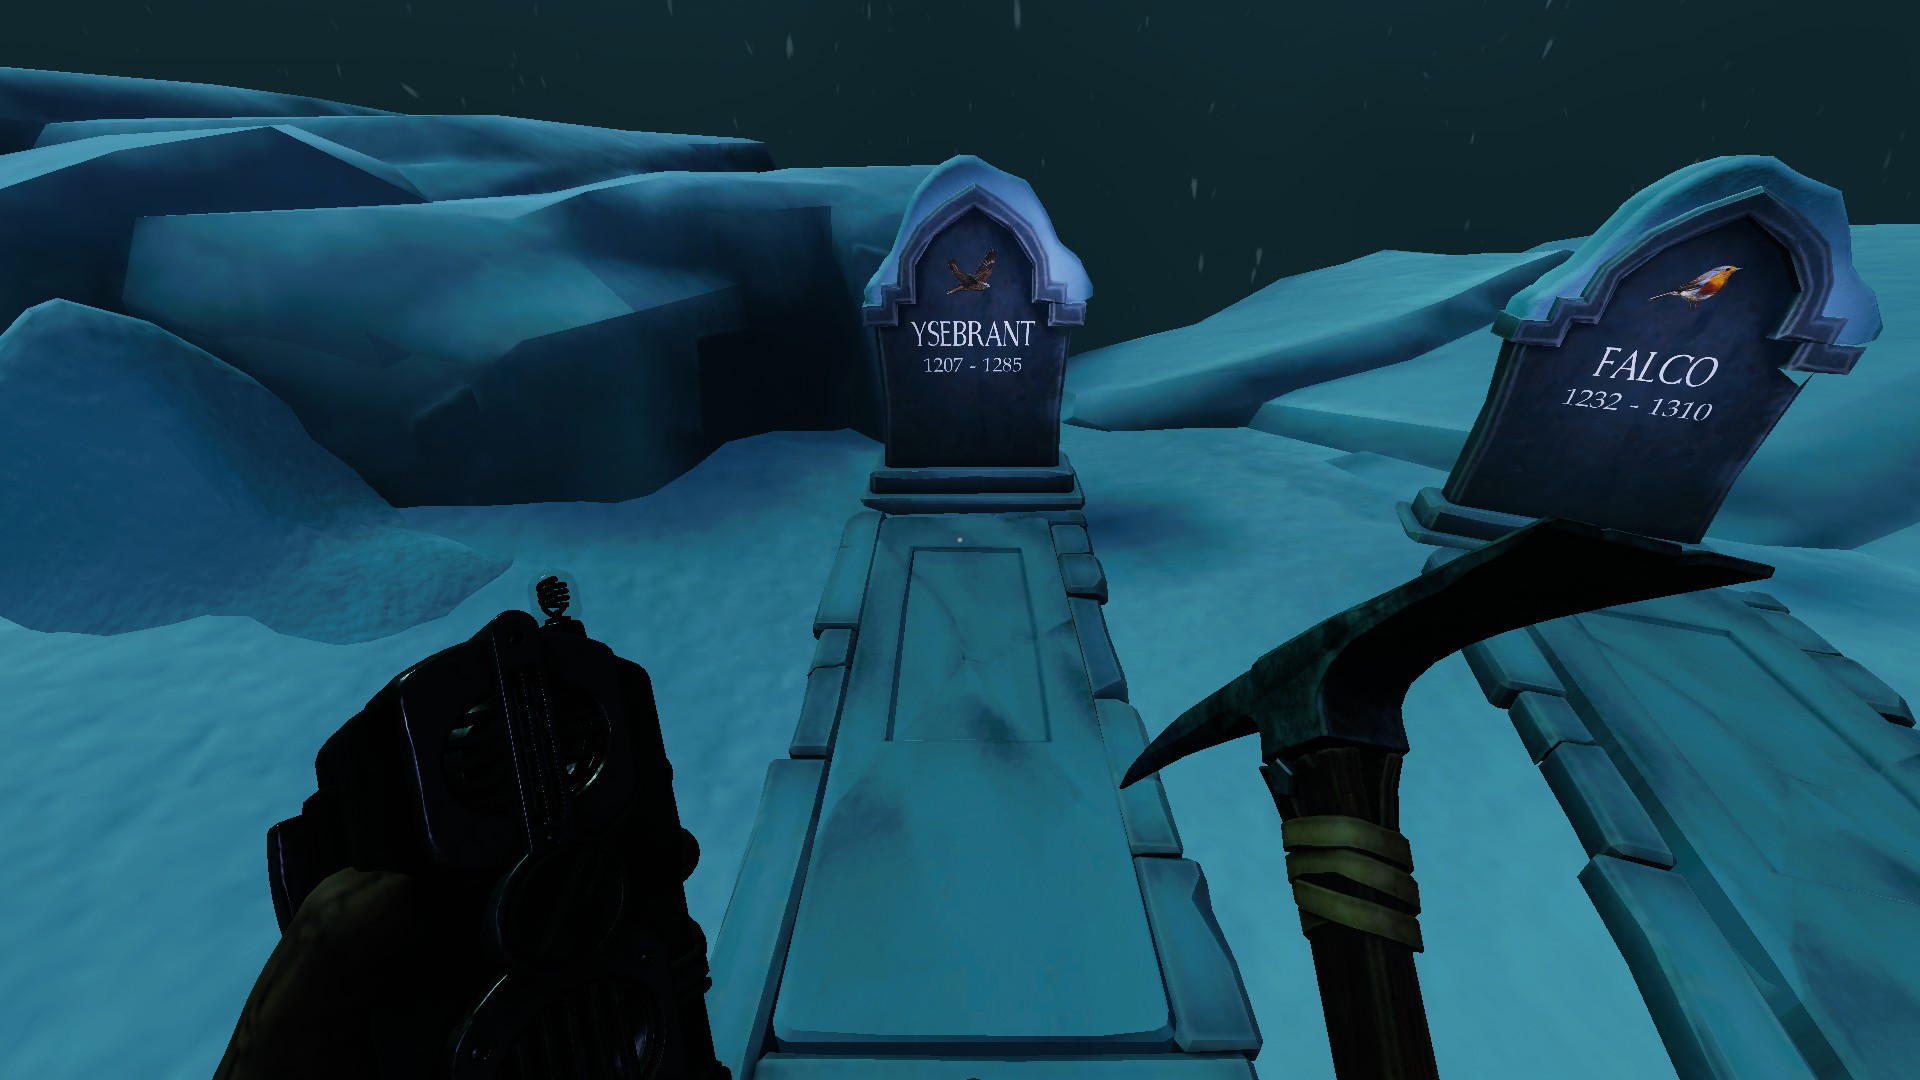
YSEBRANT(1207-1285)


We Were Here Forever All Levels Full Game Walkthrough - ├─ The Lost (graveyard) - E6EB349


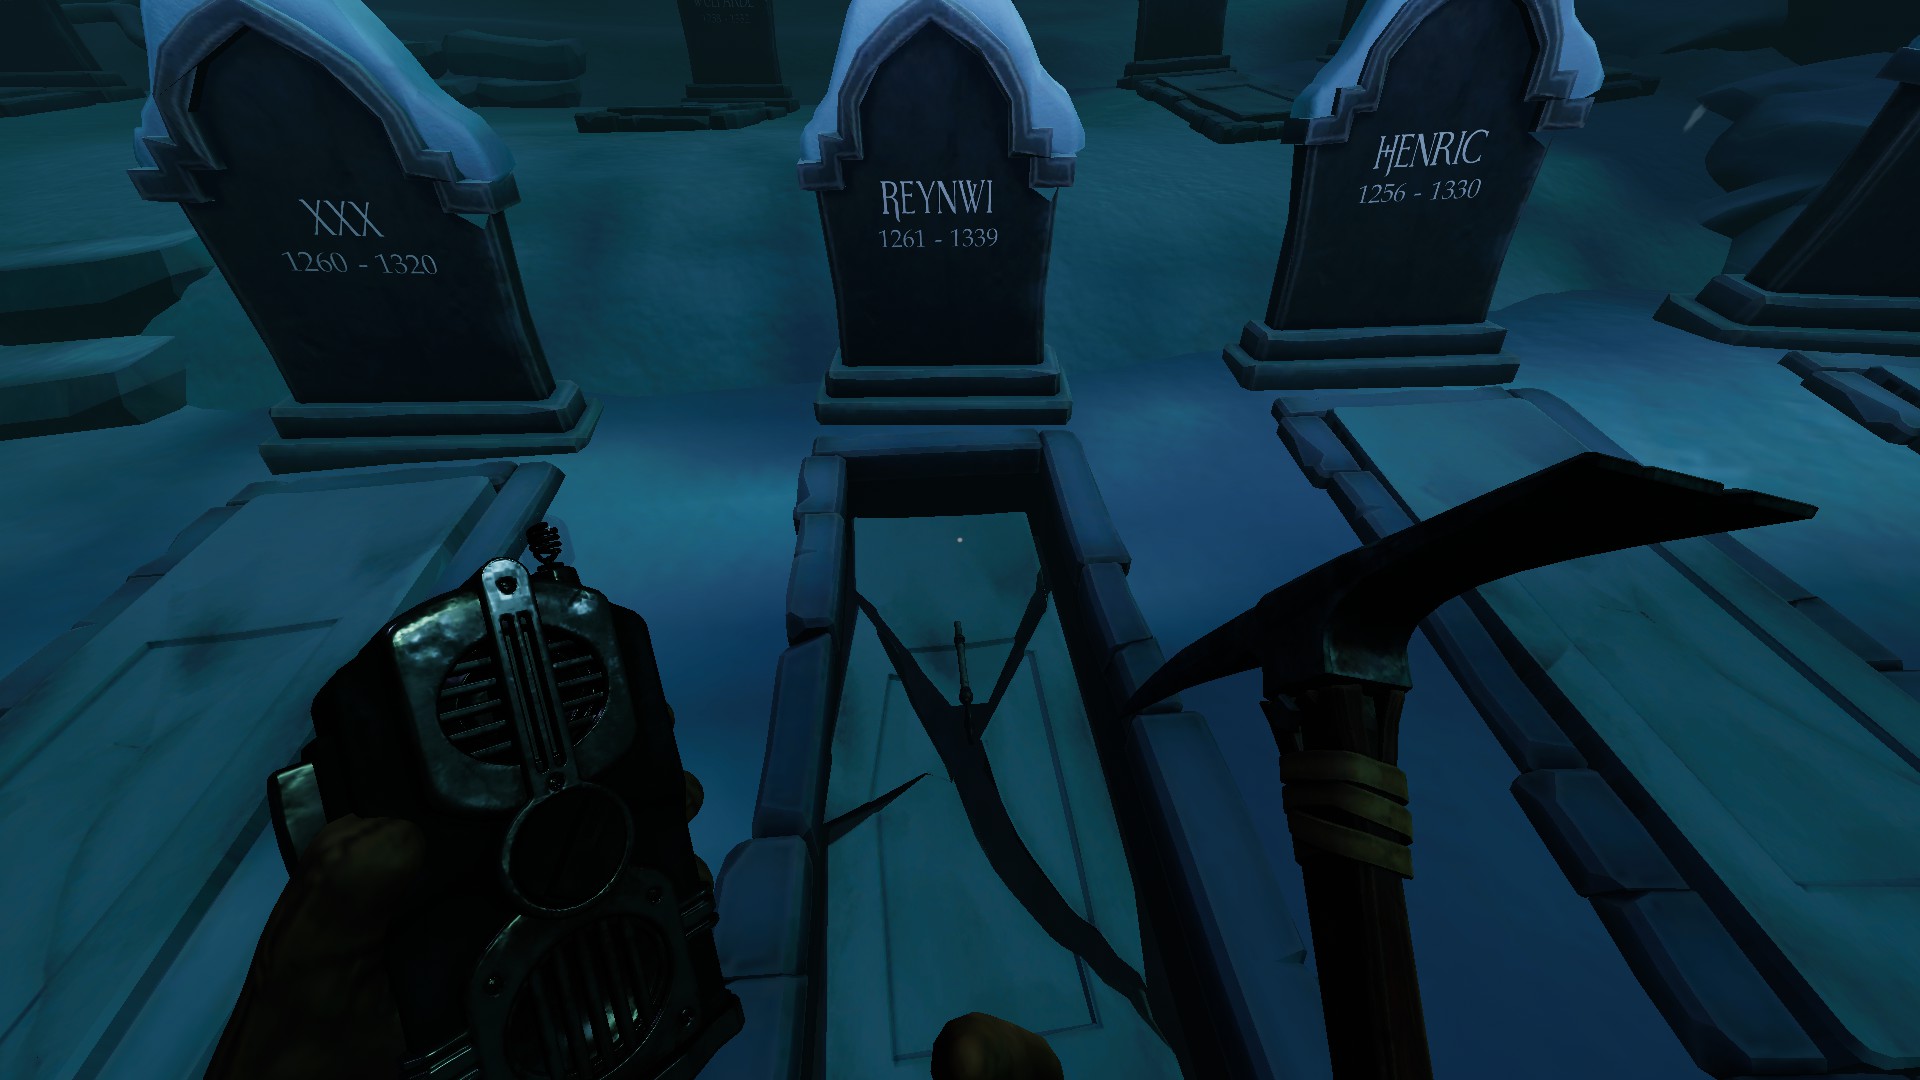
Glaseblaser


REYNWI(1261-1339)


We Were Here Forever All Levels Full Game Walkthrough - ├─ The Lost (graveyard) - 18389E3


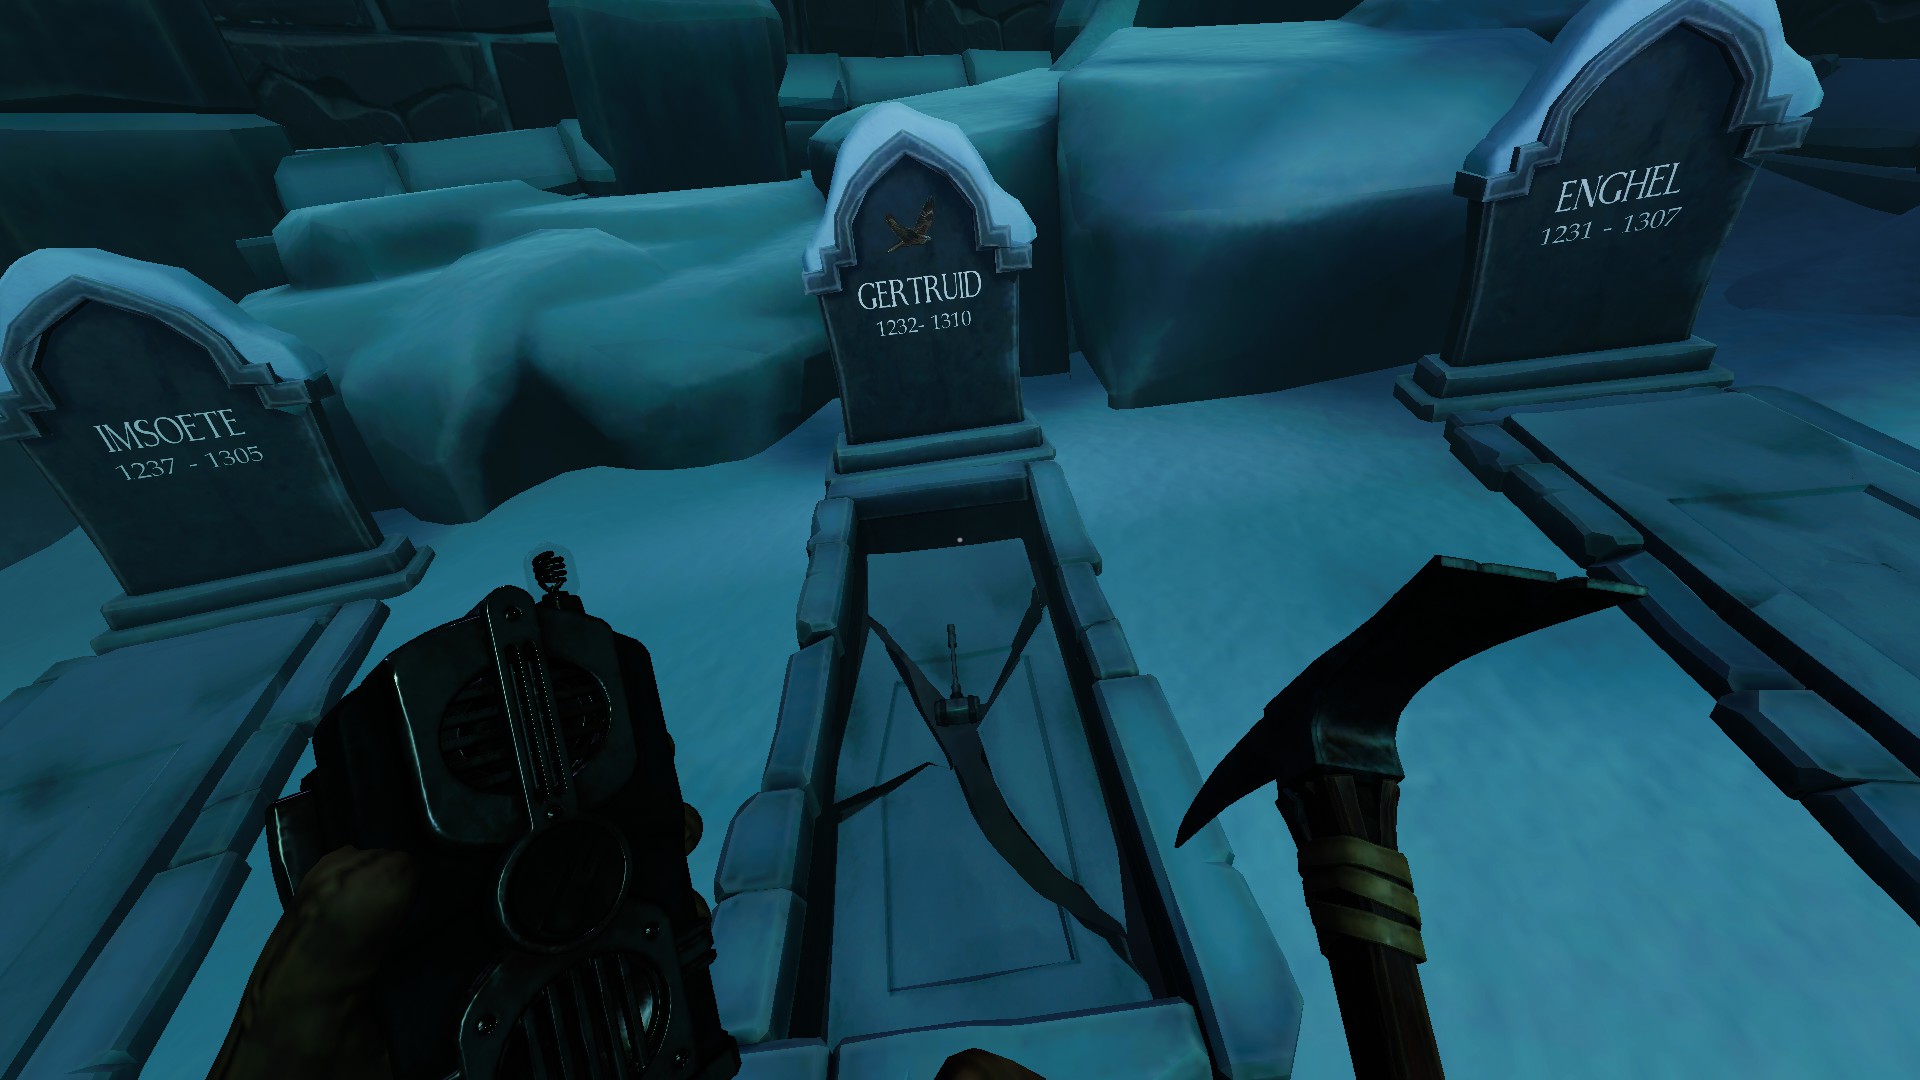
Steenhouwere


GERTRUID(1232-1310)


We Were Here Forever All Levels Full Game Walkthrough - ├─ The Lost (graveyard) - 4294E6A
 
 
After that, the Player above must pass the keys down using the well
 
 
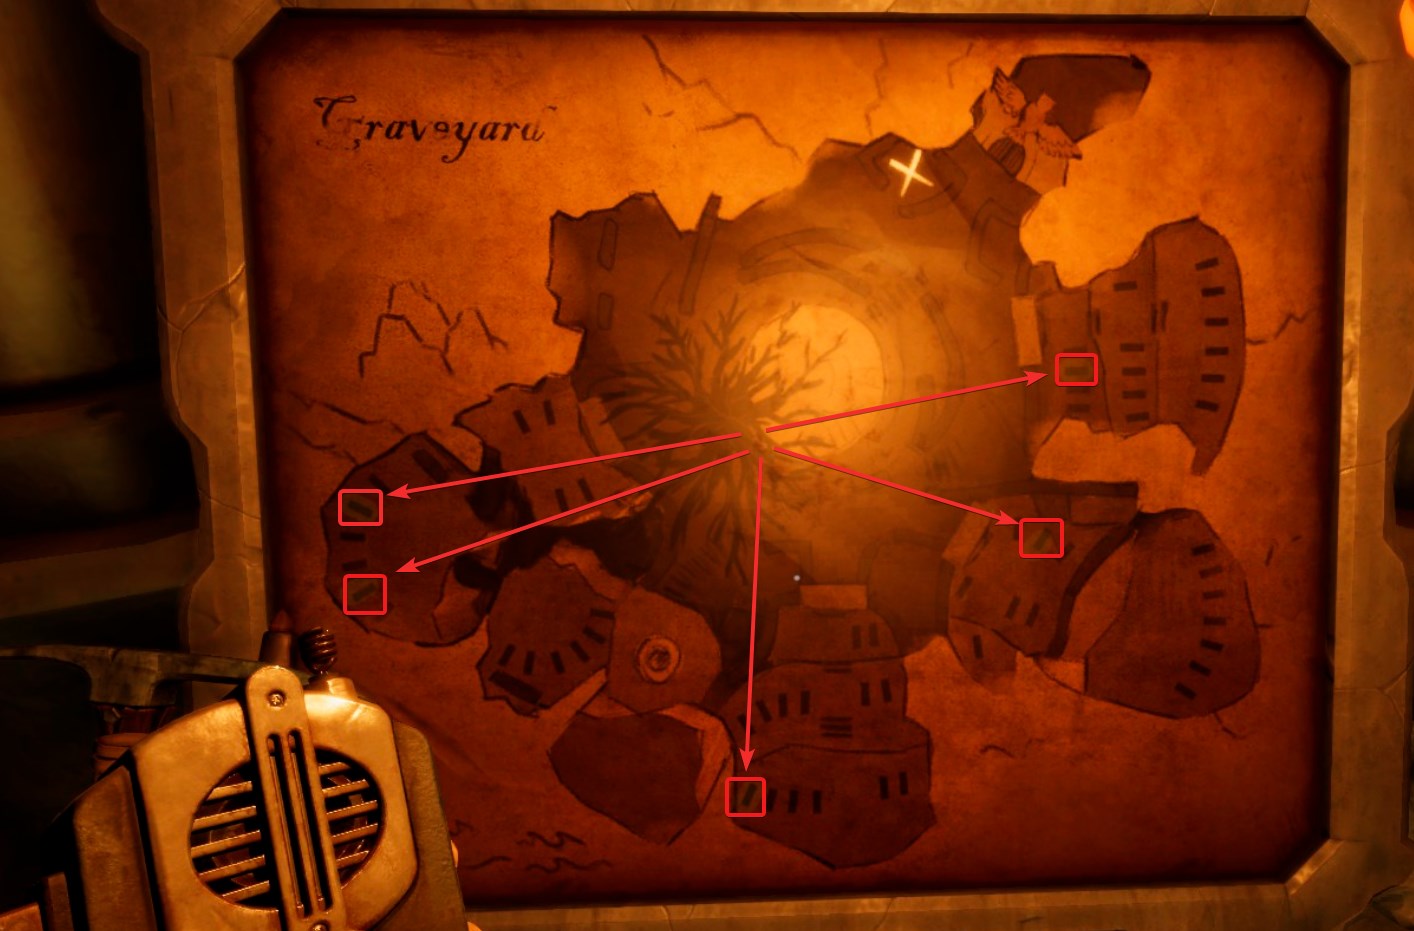
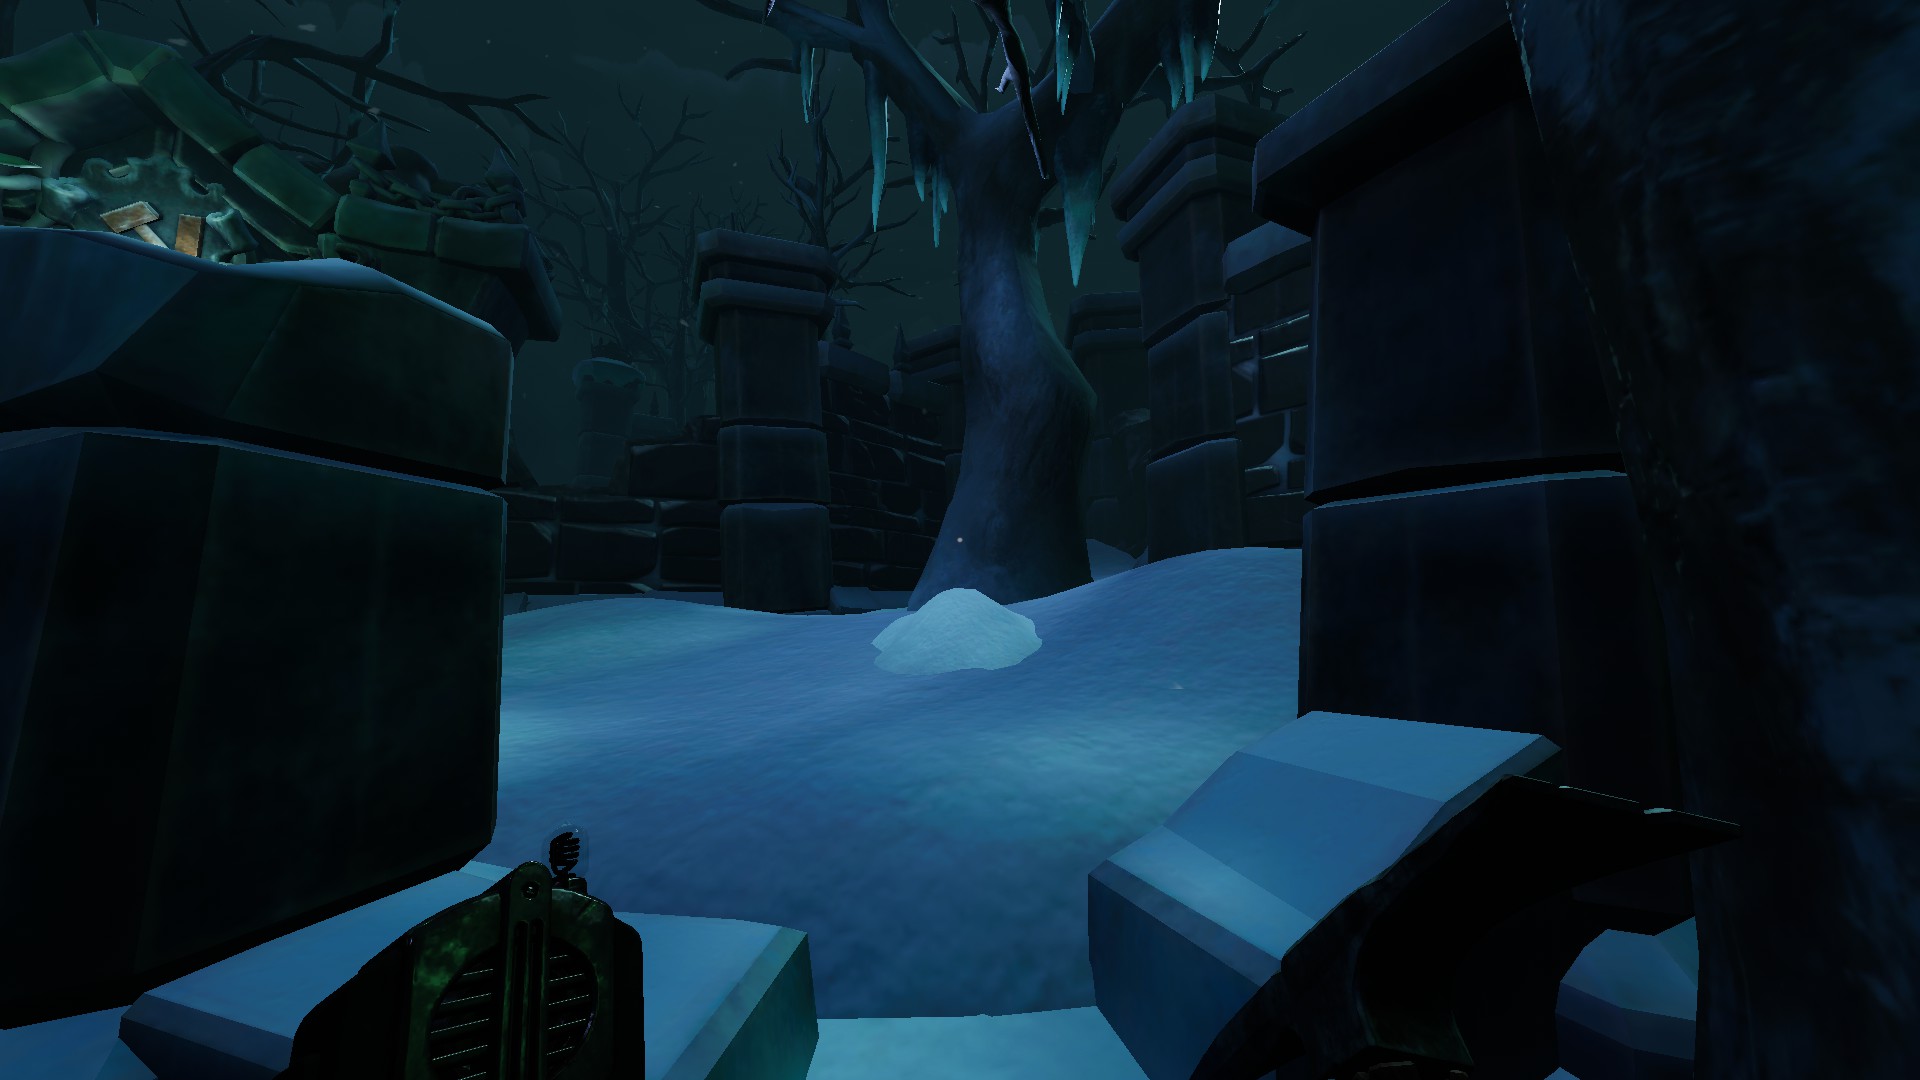
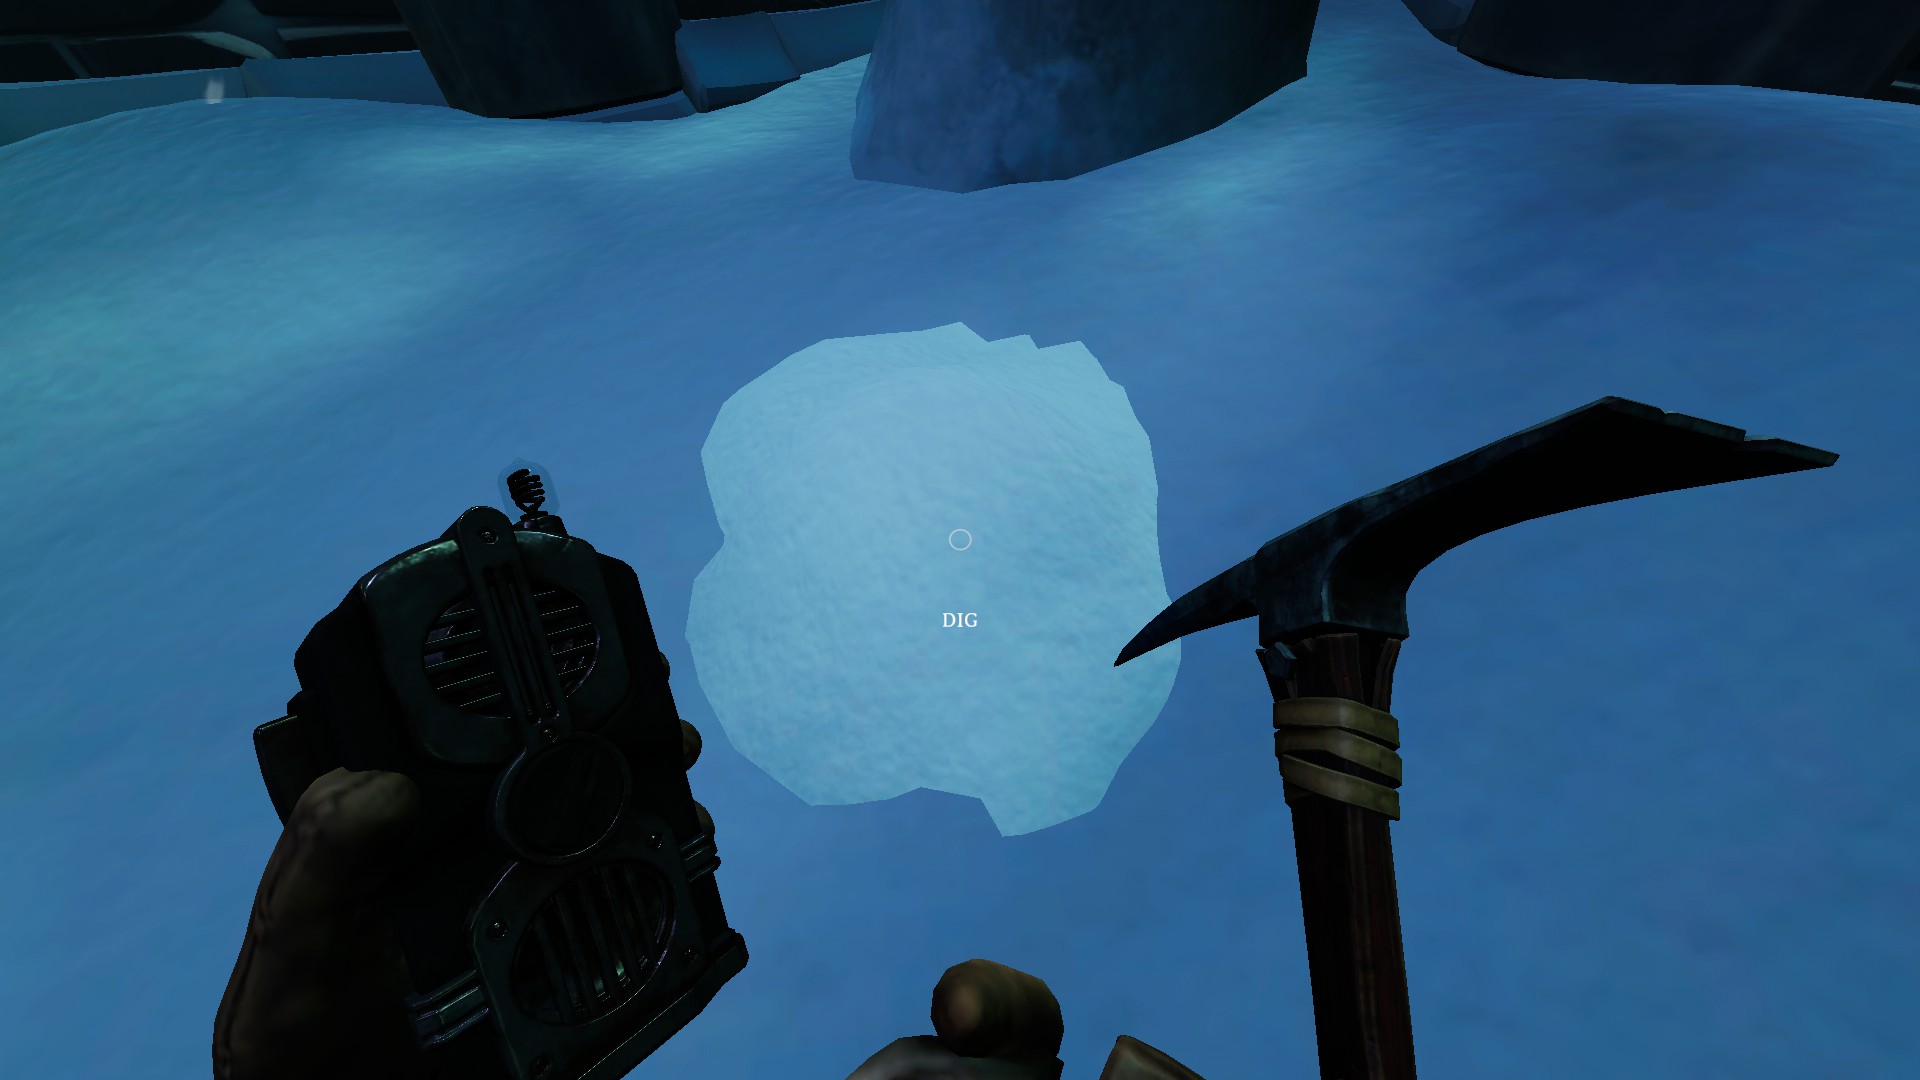
In the next room Player below see a map with a cross and take other pickaxe(near map). Player above need to search for snow hill with help of that cross.
 
This part is random so pictures below as examples
 
 
We Were Here Forever All Levels Full Game Walkthrough - ├─ The Lost (graveyard) - 9B7DA10
 
 
We Were Here Forever All Levels Full Game Walkthrough - ├─ The Lost (graveyard) - A01F46B
 
 
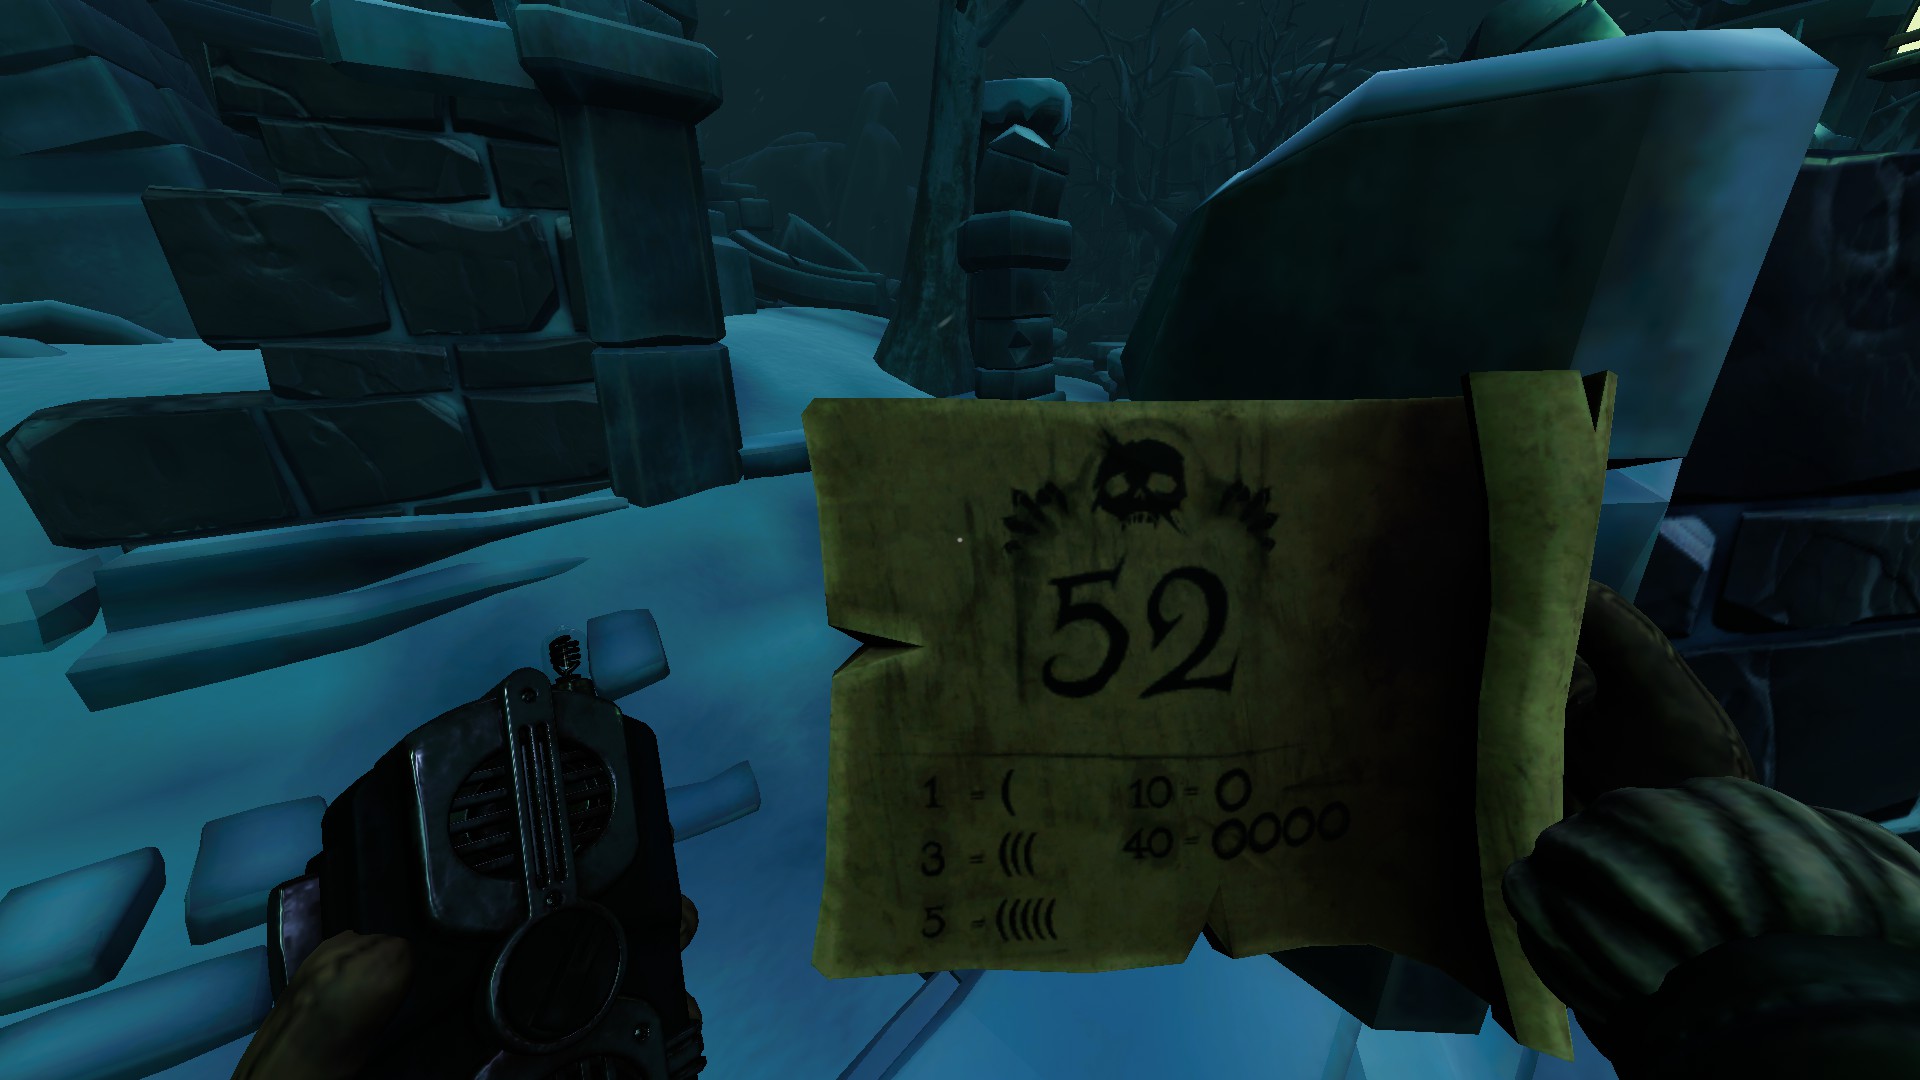
Player below need to find door with the correct abount of circles and lines
 
1 circle = 10
 
1 line = 1
 
 
We Were Here Forever All Levels Full Game Walkthrough - ├─ The Lost (graveyard) - B6EA24D


Chapter 4 — Rockbury


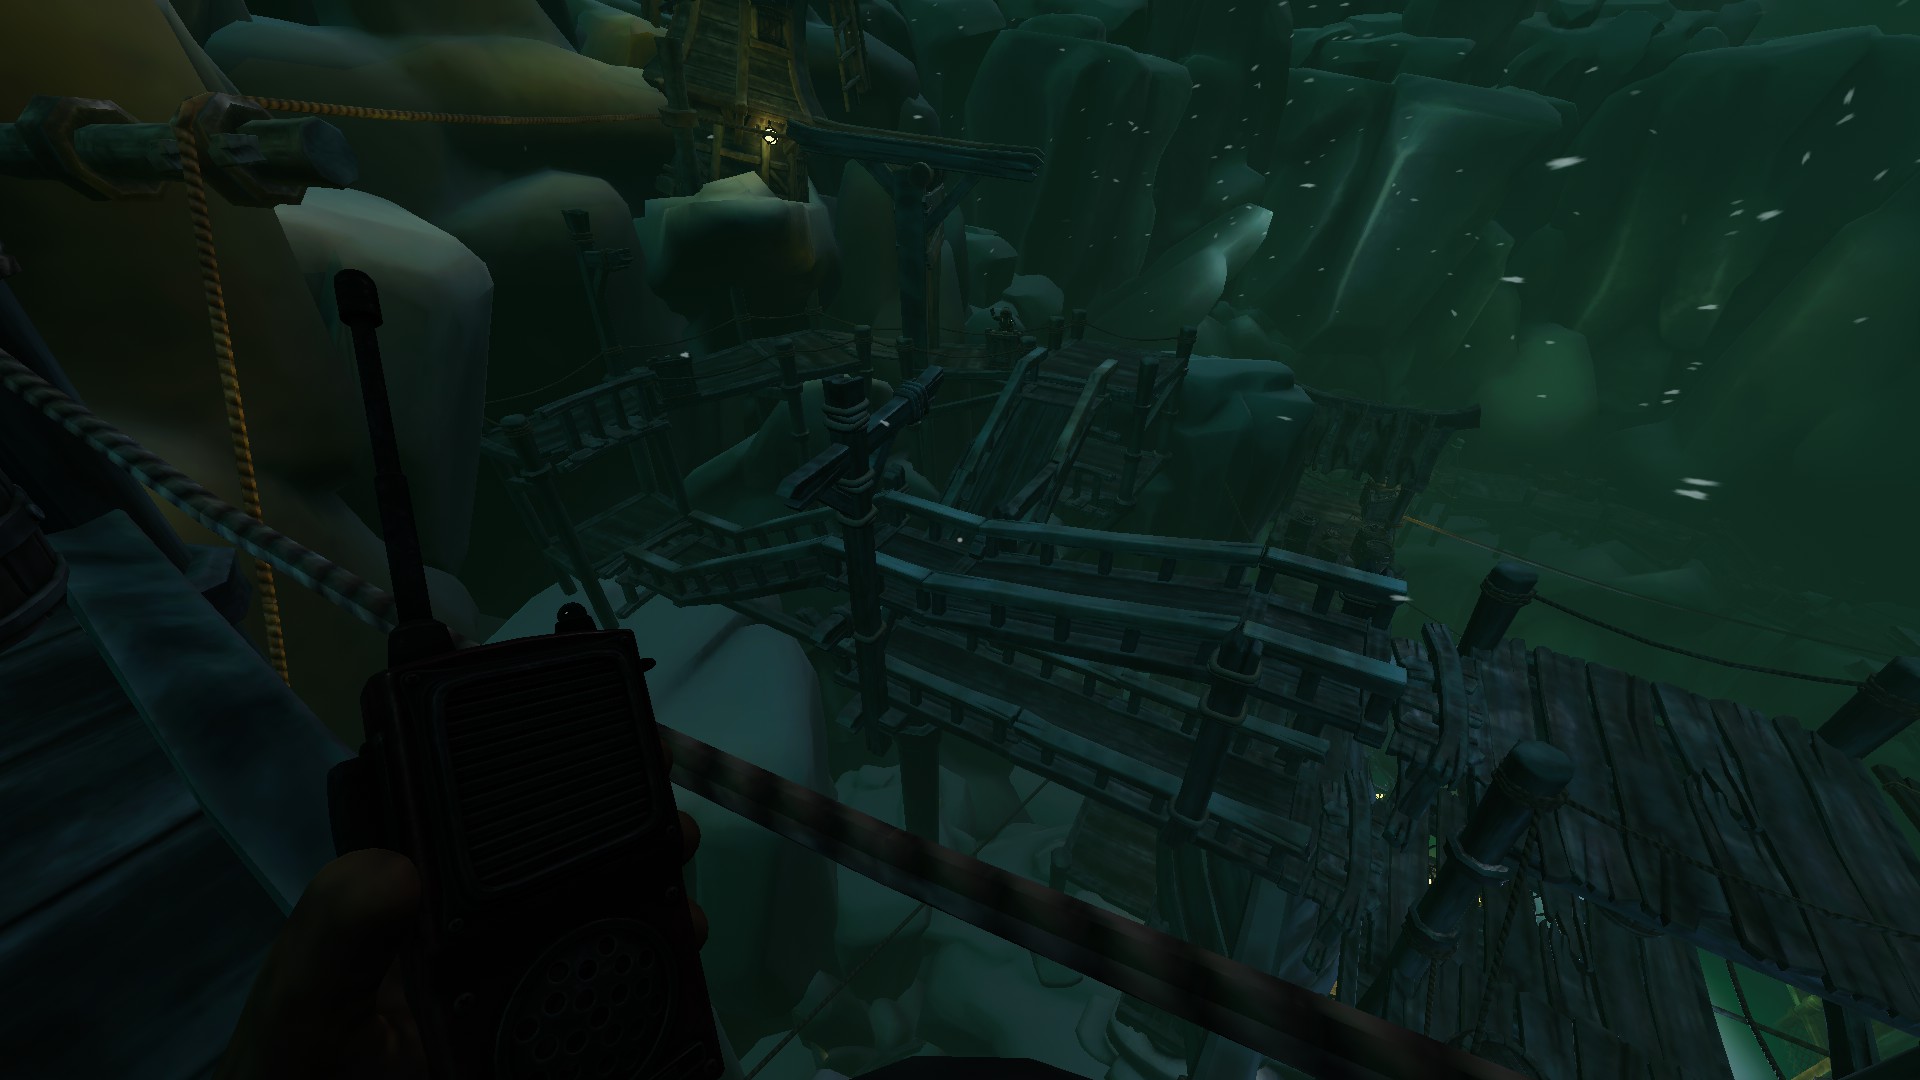
├─ The Ruins of Rockbury (spinning bridge)

We Were Here Forever All Levels Full Game Walkthrough - ├─ The Ruins of Rockbury (spinning bridge) - EC7481F
 
 
Player 1 press button 3 times
 
Player 2 go → hold the leaver and wait for Player 1 go through gate → go back to the start position
 
Player 1 press button 3 times
 
Player 2 go
 
Player 1 press button 2 times
 
Player 2 go
 
Player 1 press button 1 time and go


├─ The Reflections (lenses)

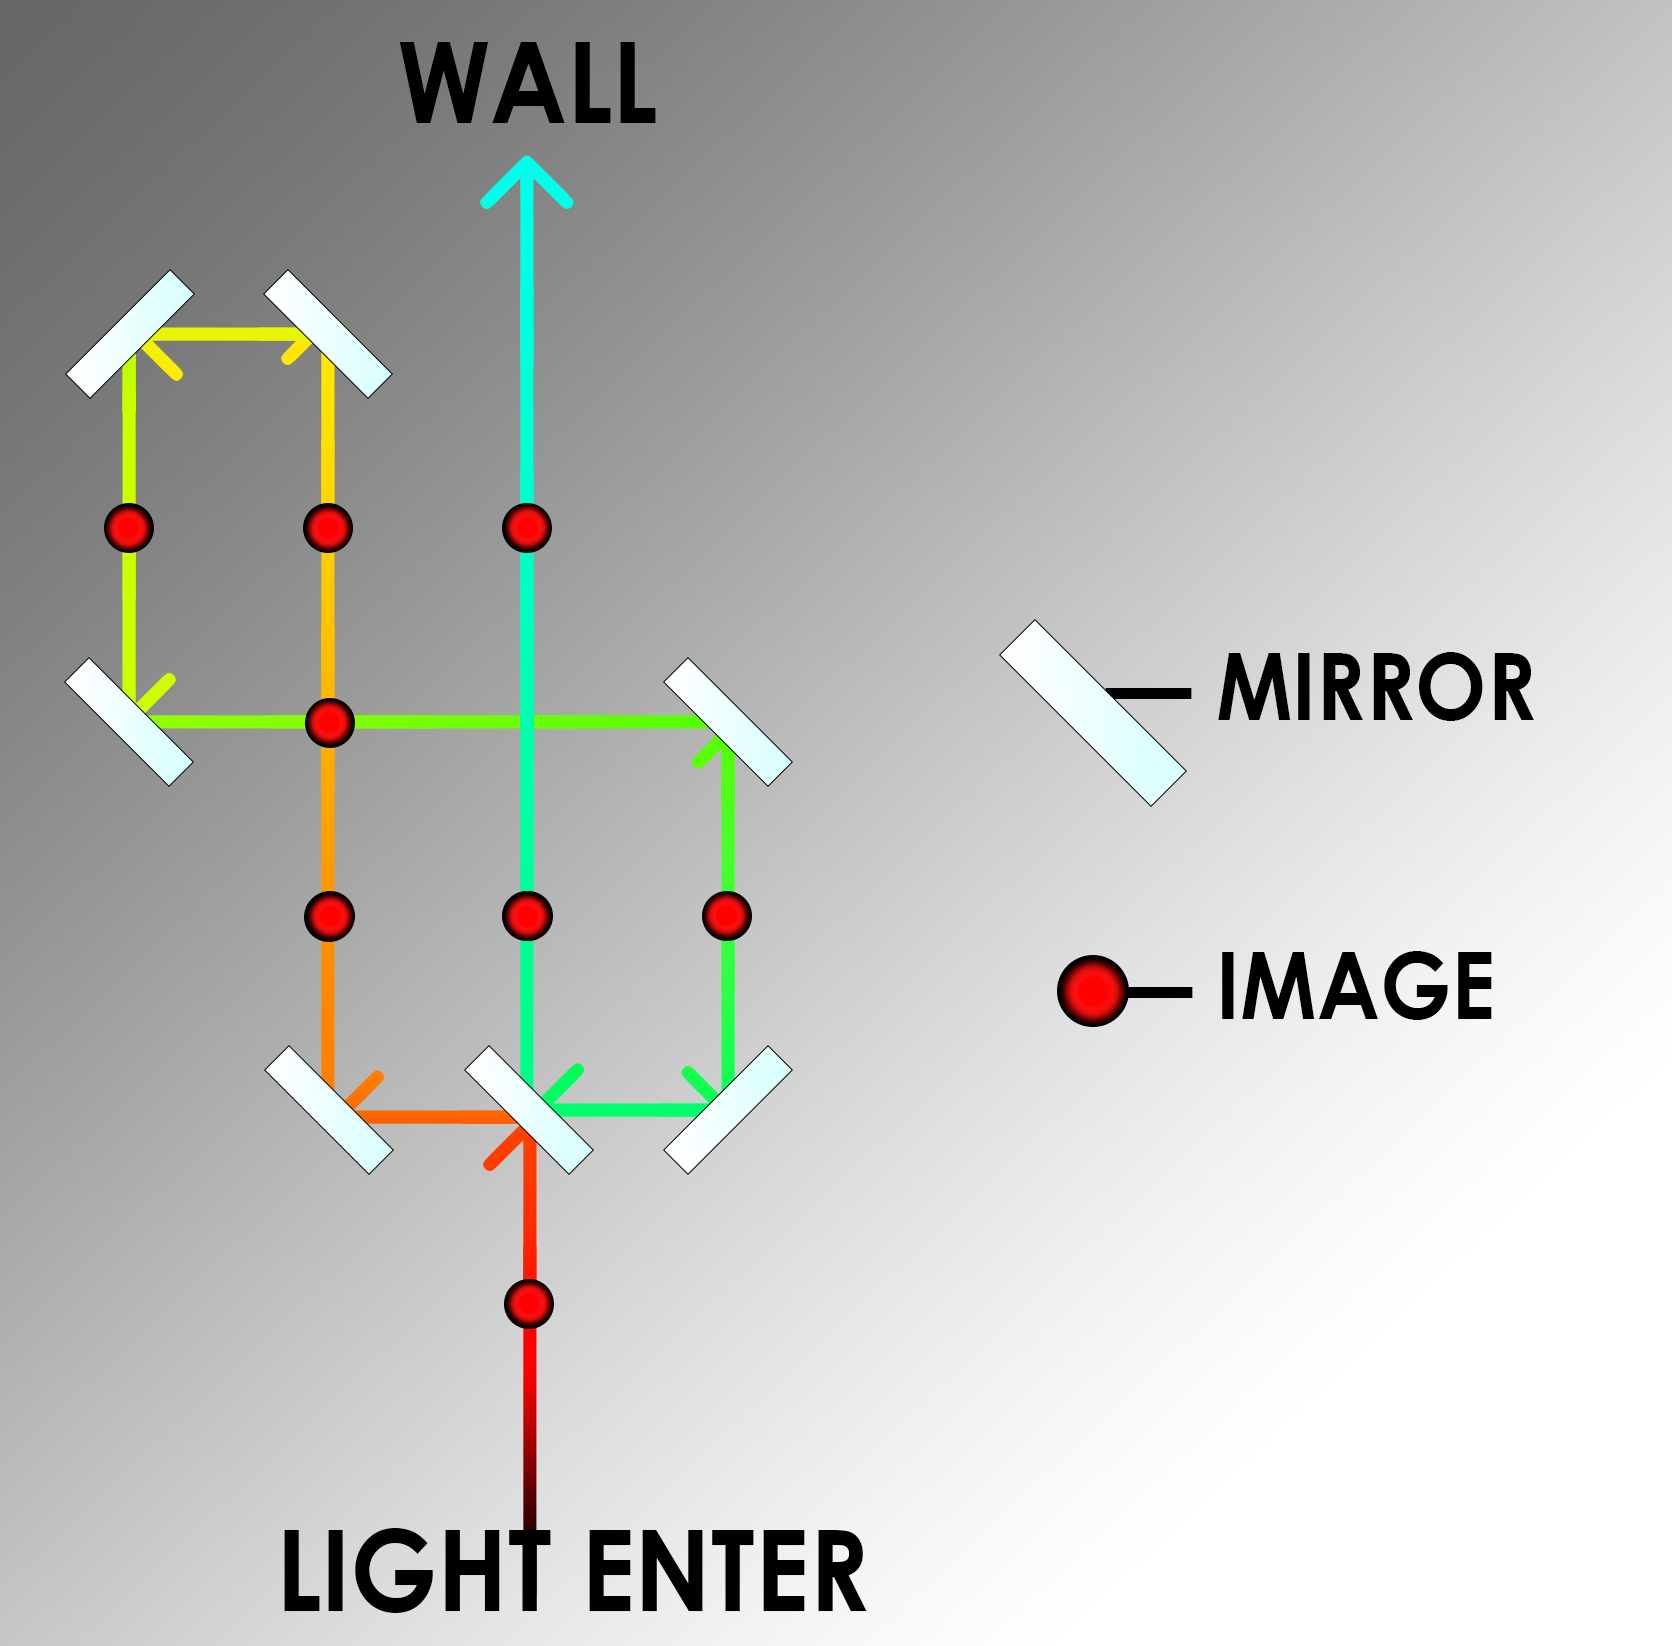
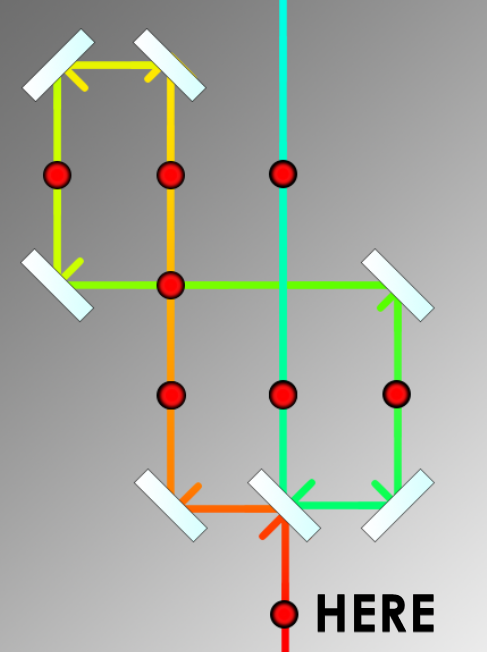
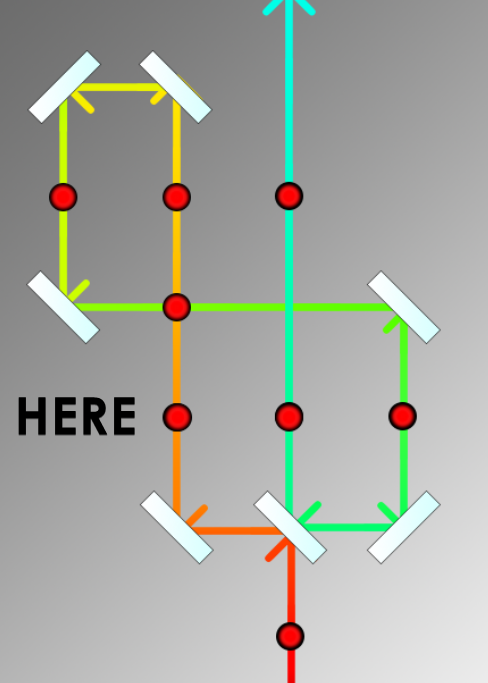
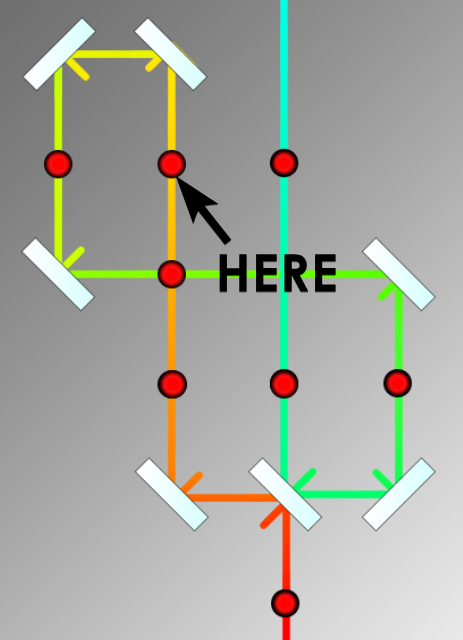
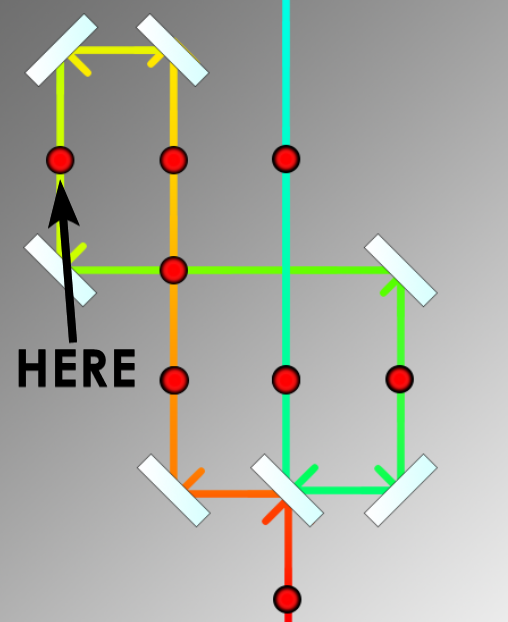
Place all reflecting lenses like this:


We Were Here Forever All Levels Full Game Walkthrough - ├─ The Reflections (lenses) - 51A226D


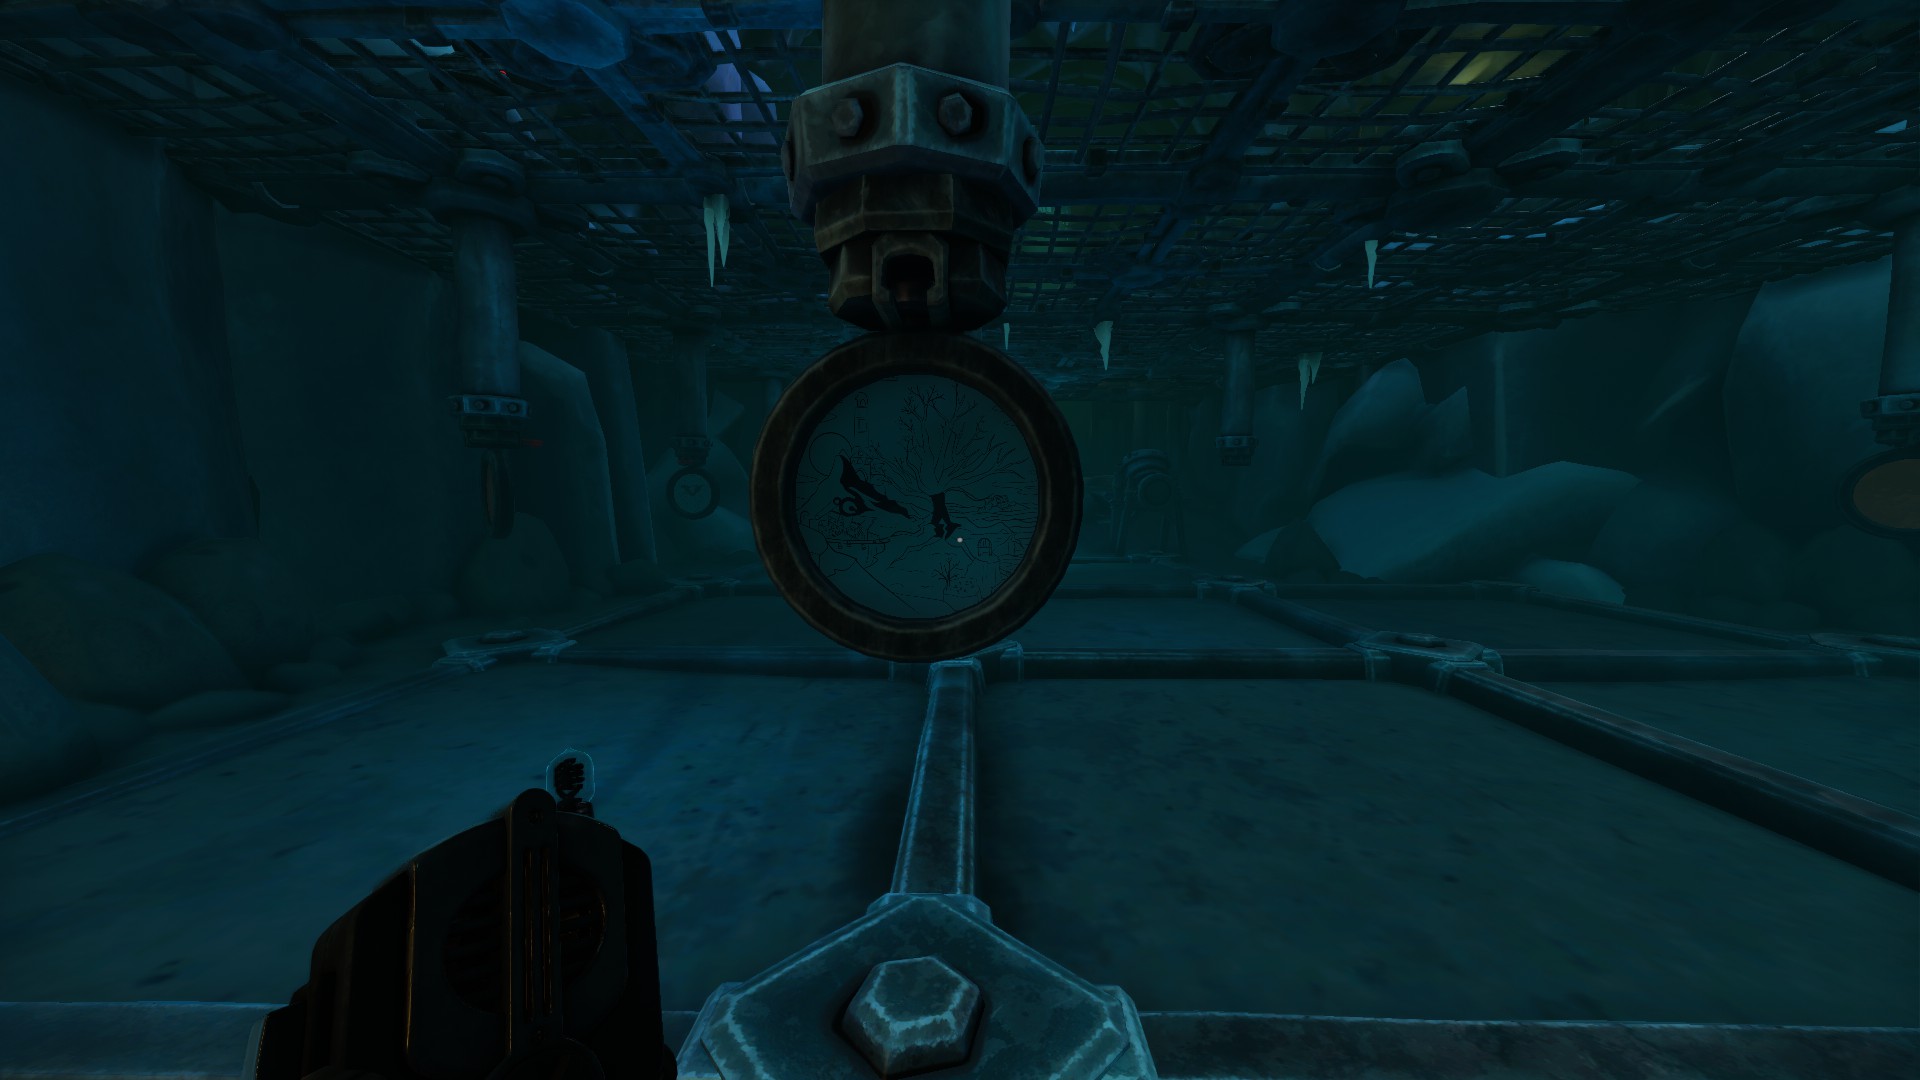
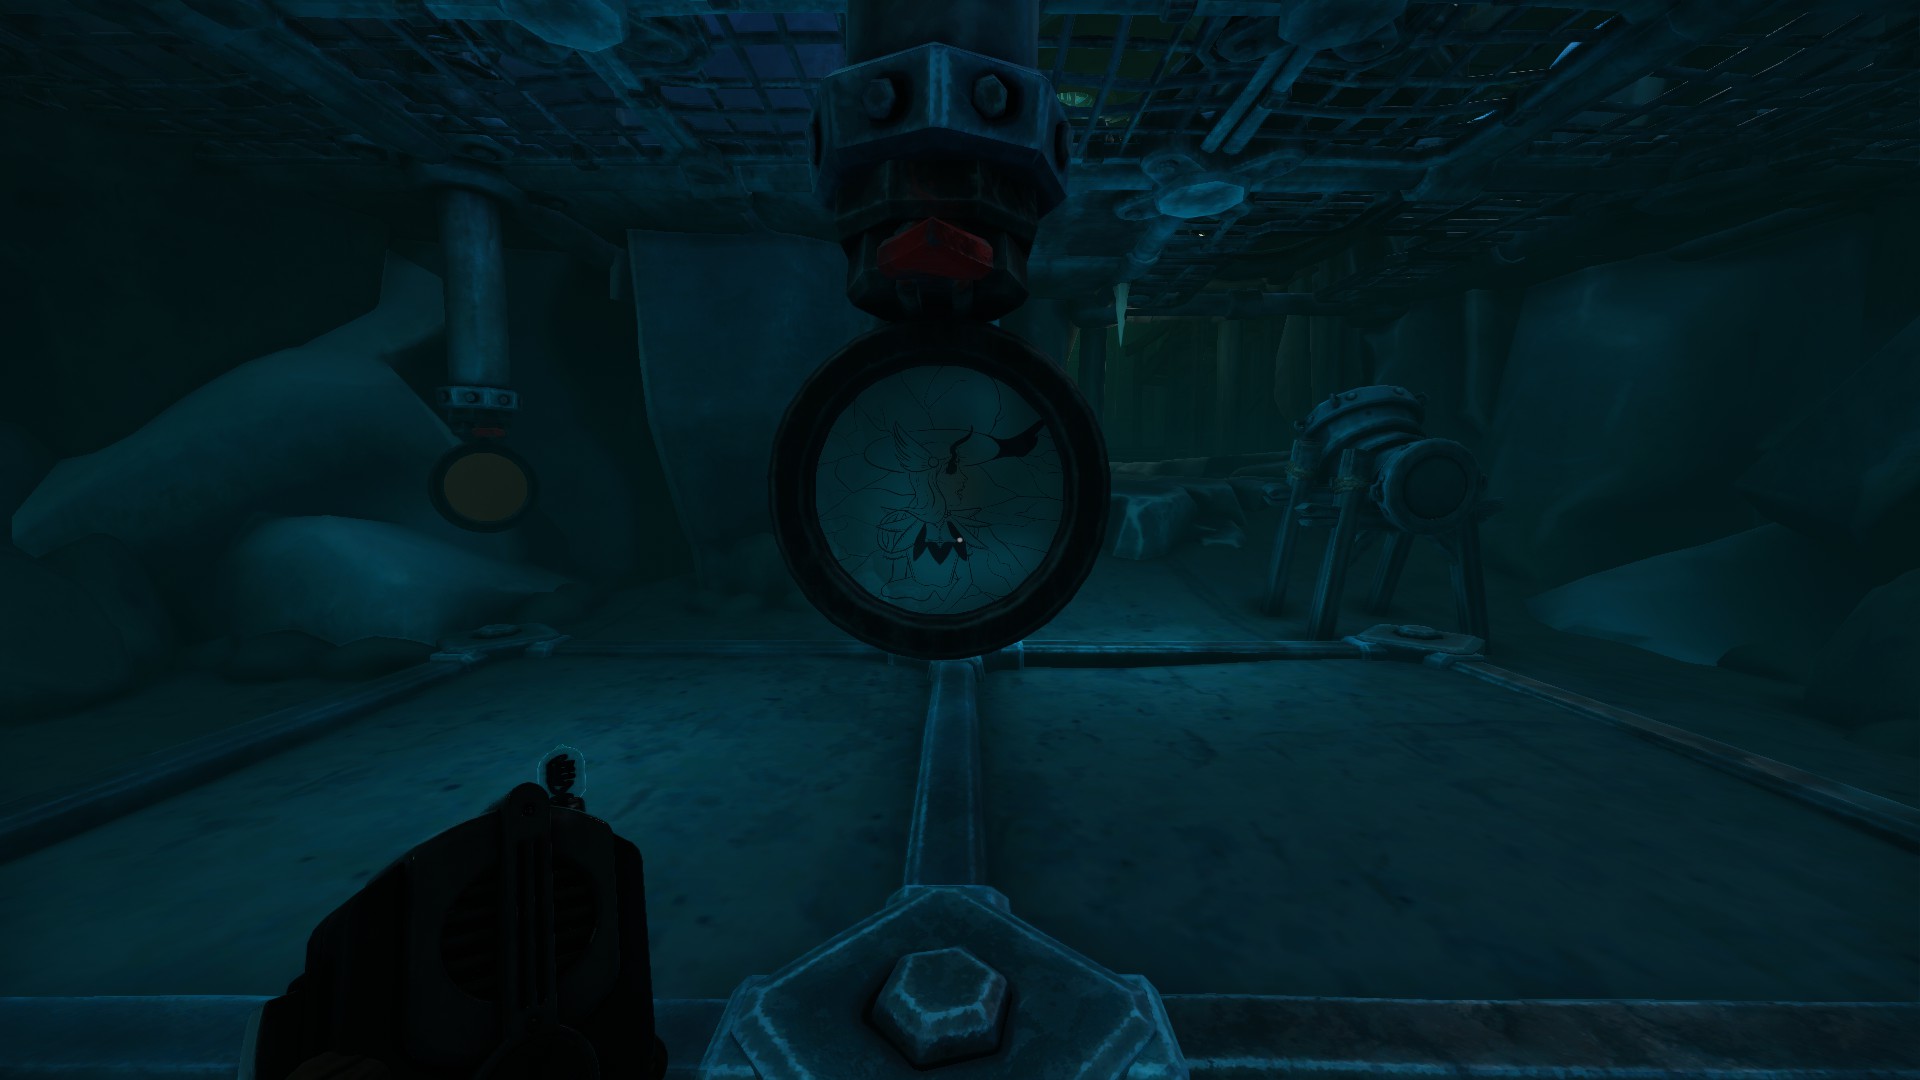
After that, put lenses with images in remaining slots. The side that the lens is turned is important.


1st image


We Were Here Forever All Levels Full Game Walkthrough - ├─ The Reflections (lenses) - 2B57ADB
 
 
We Were Here Forever All Levels Full Game Walkthrough - ├─ The Reflections (lenses) - 51617C3


2nd image


We Were Here Forever All Levels Full Game Walkthrough - ├─ The Reflections (lenses) - 2F1DBFB
 
 
We Were Here Forever All Levels Full Game Walkthrough - ├─ The Reflections (lenses) - 8CD217B


3rd image


We Were Here Forever All Levels Full Game Walkthrough - ├─ The Reflections (lenses) - 1C05972
 
 
We Were Here Forever All Levels Full Game Walkthrough - ├─ The Reflections (lenses) - F92E9C3


4th image


We Were Here Forever All Levels Full Game Walkthrough - ├─ The Reflections (lenses) - AC9DBA8
 
 
We Were Here Forever All Levels Full Game Walkthrough - ├─ The Reflections (lenses) - 345F36E


5th image


We Were Here Forever All Levels Full Game Walkthrough - ├─ The Reflections (lenses) - DF12B84
 
 
We Were Here Forever All Levels Full Game Walkthrough - ├─ The Reflections (lenses) - 84F7710


6th image


We Were Here Forever All Levels Full Game Walkthrough - ├─ The Reflections (lenses) - FD086B5
 
 
We Were Here Forever All Levels Full Game Walkthrough - ├─ The Reflections (lenses) - 69C48B9


Chapter 5 — The Foundry


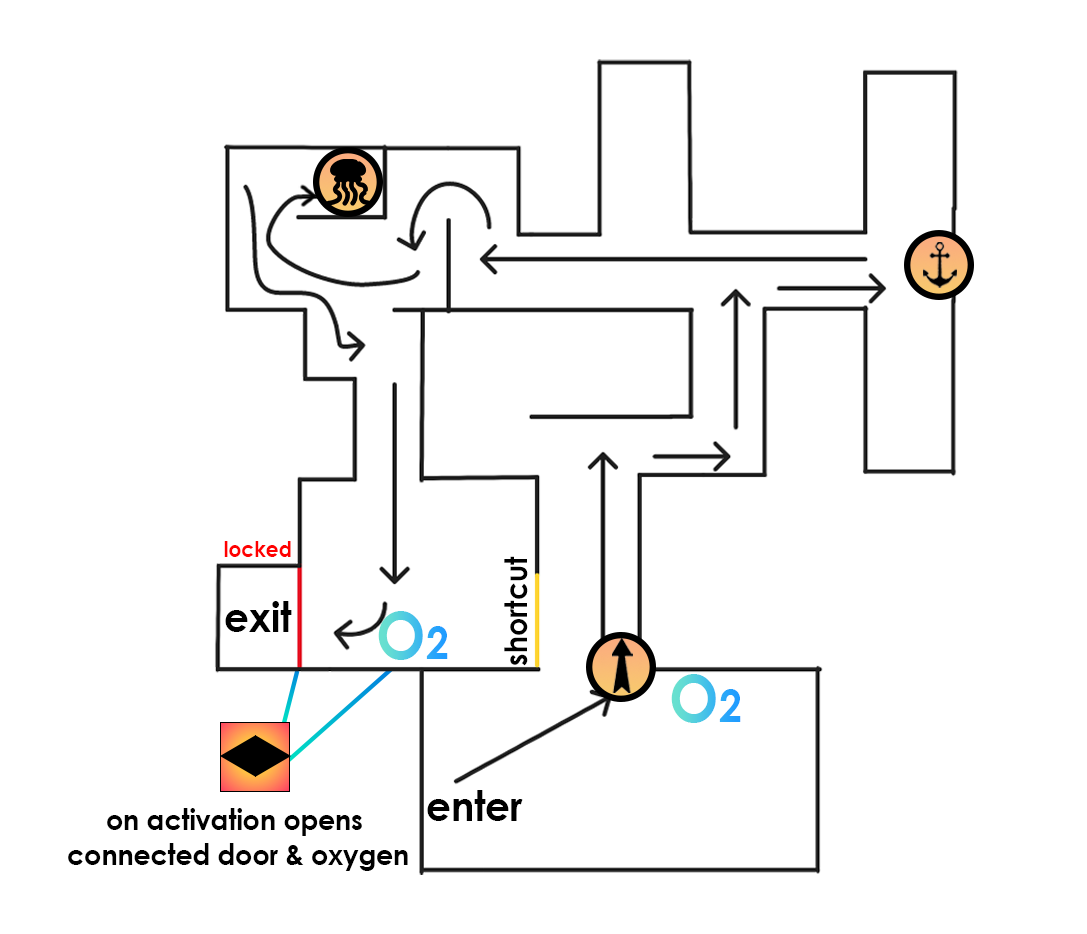
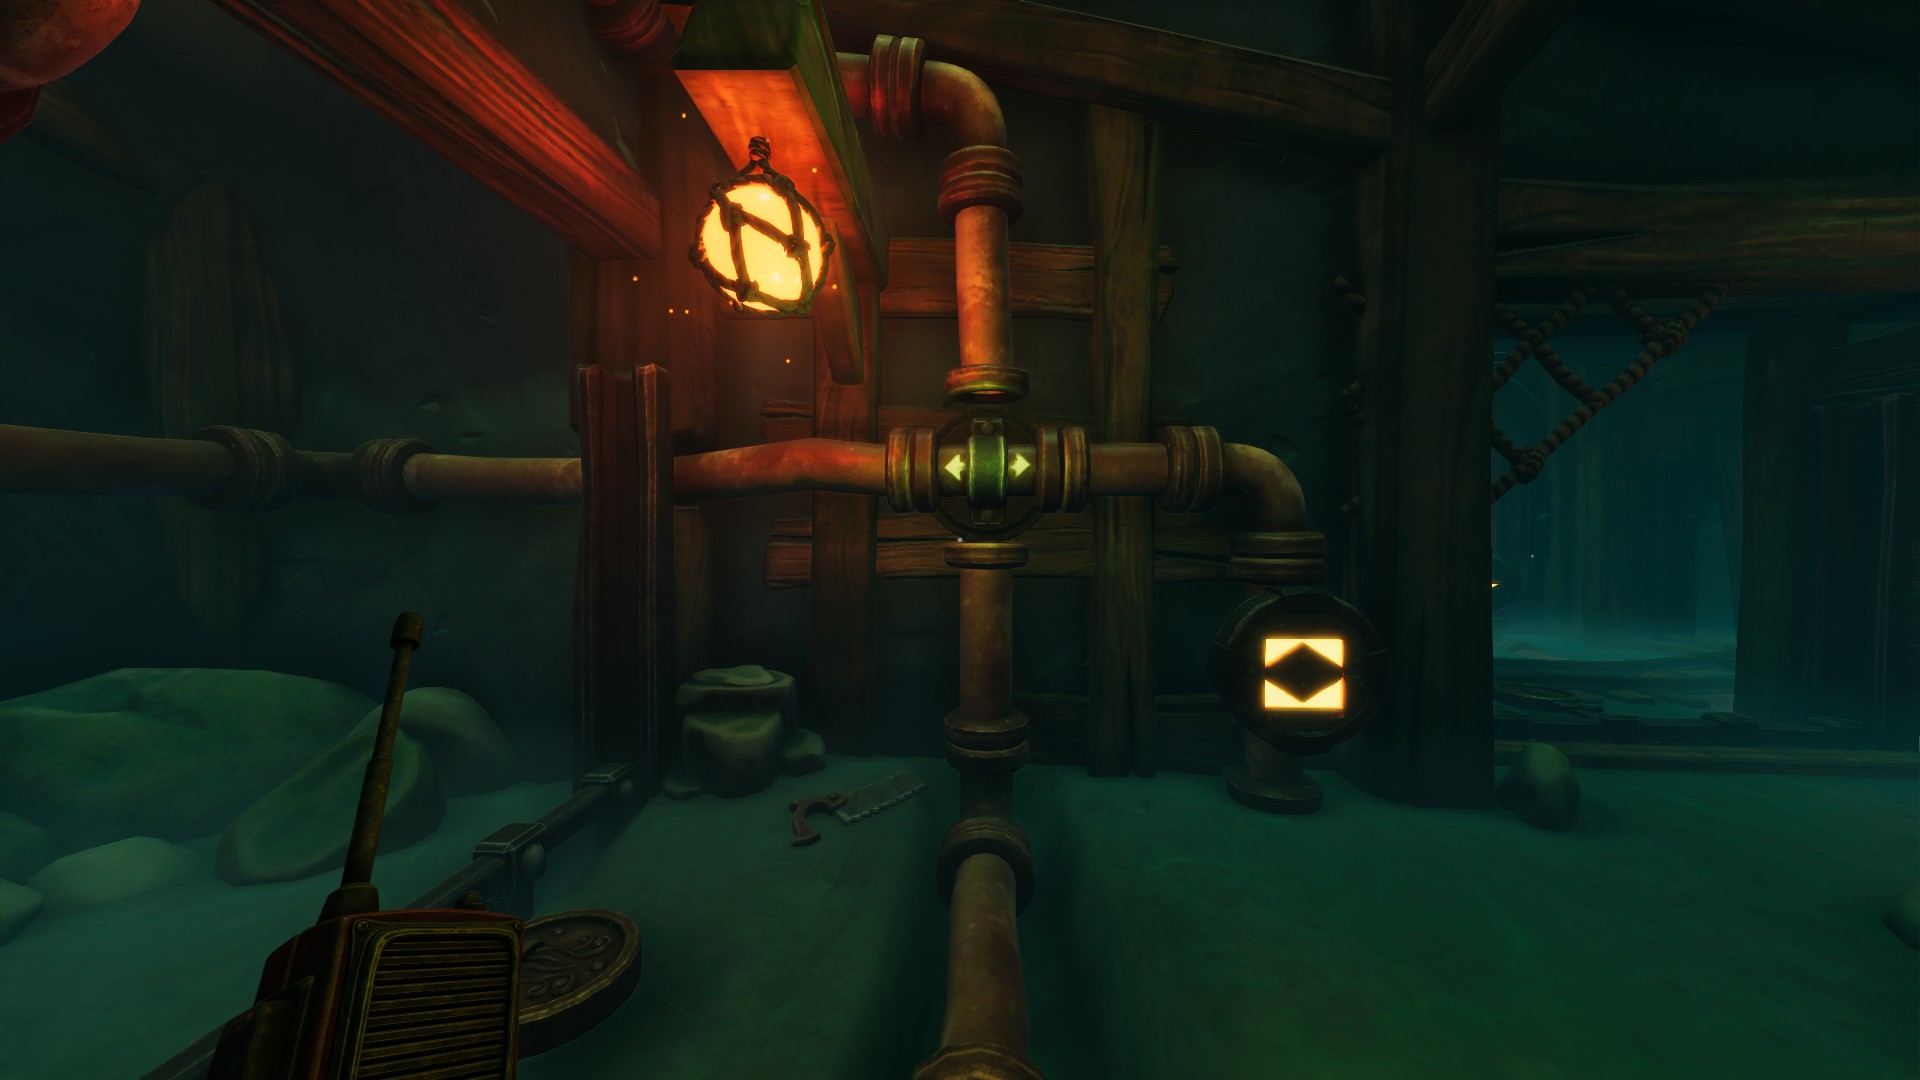
├─ The Expedition (underwater tunnels)

Level 1


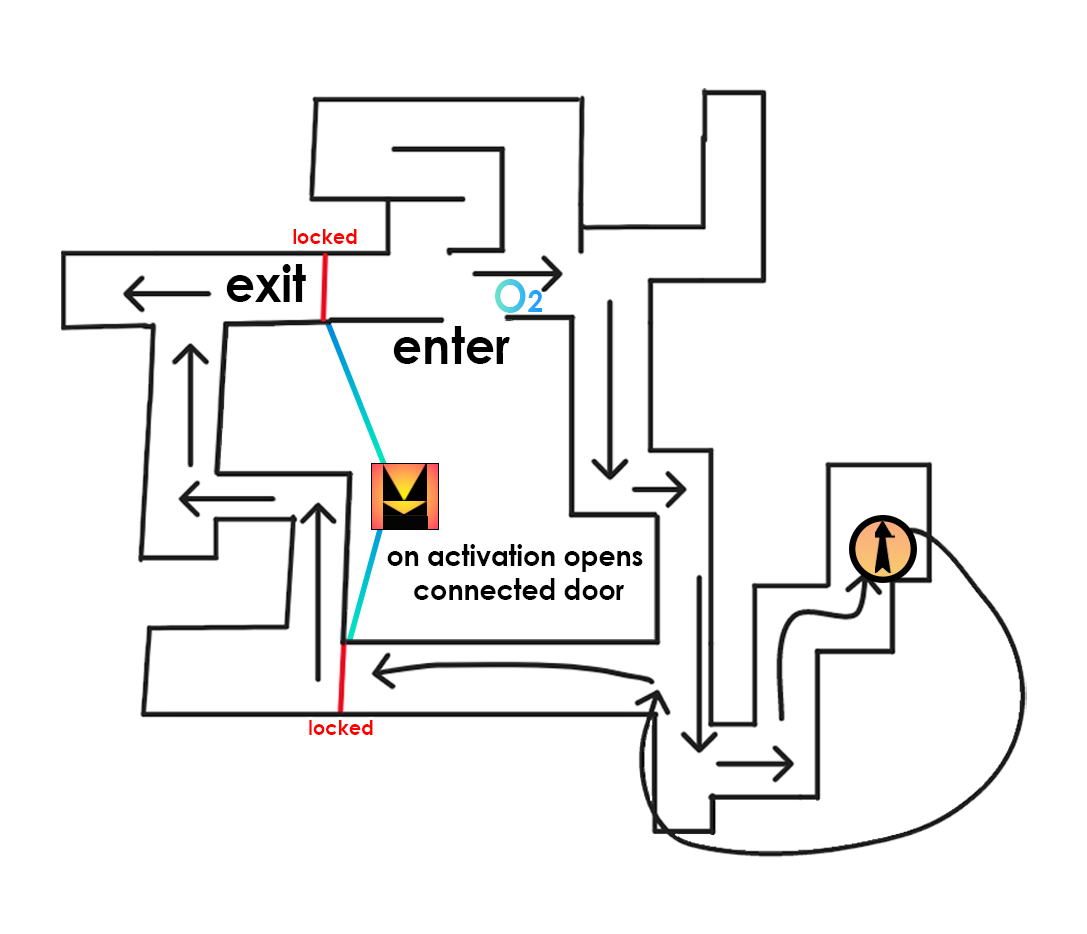
Route in tunnels


We Were Here Forever All Levels Full Game Walkthrough - ├─ The Expedition (underwater tunnels) - CE44F77


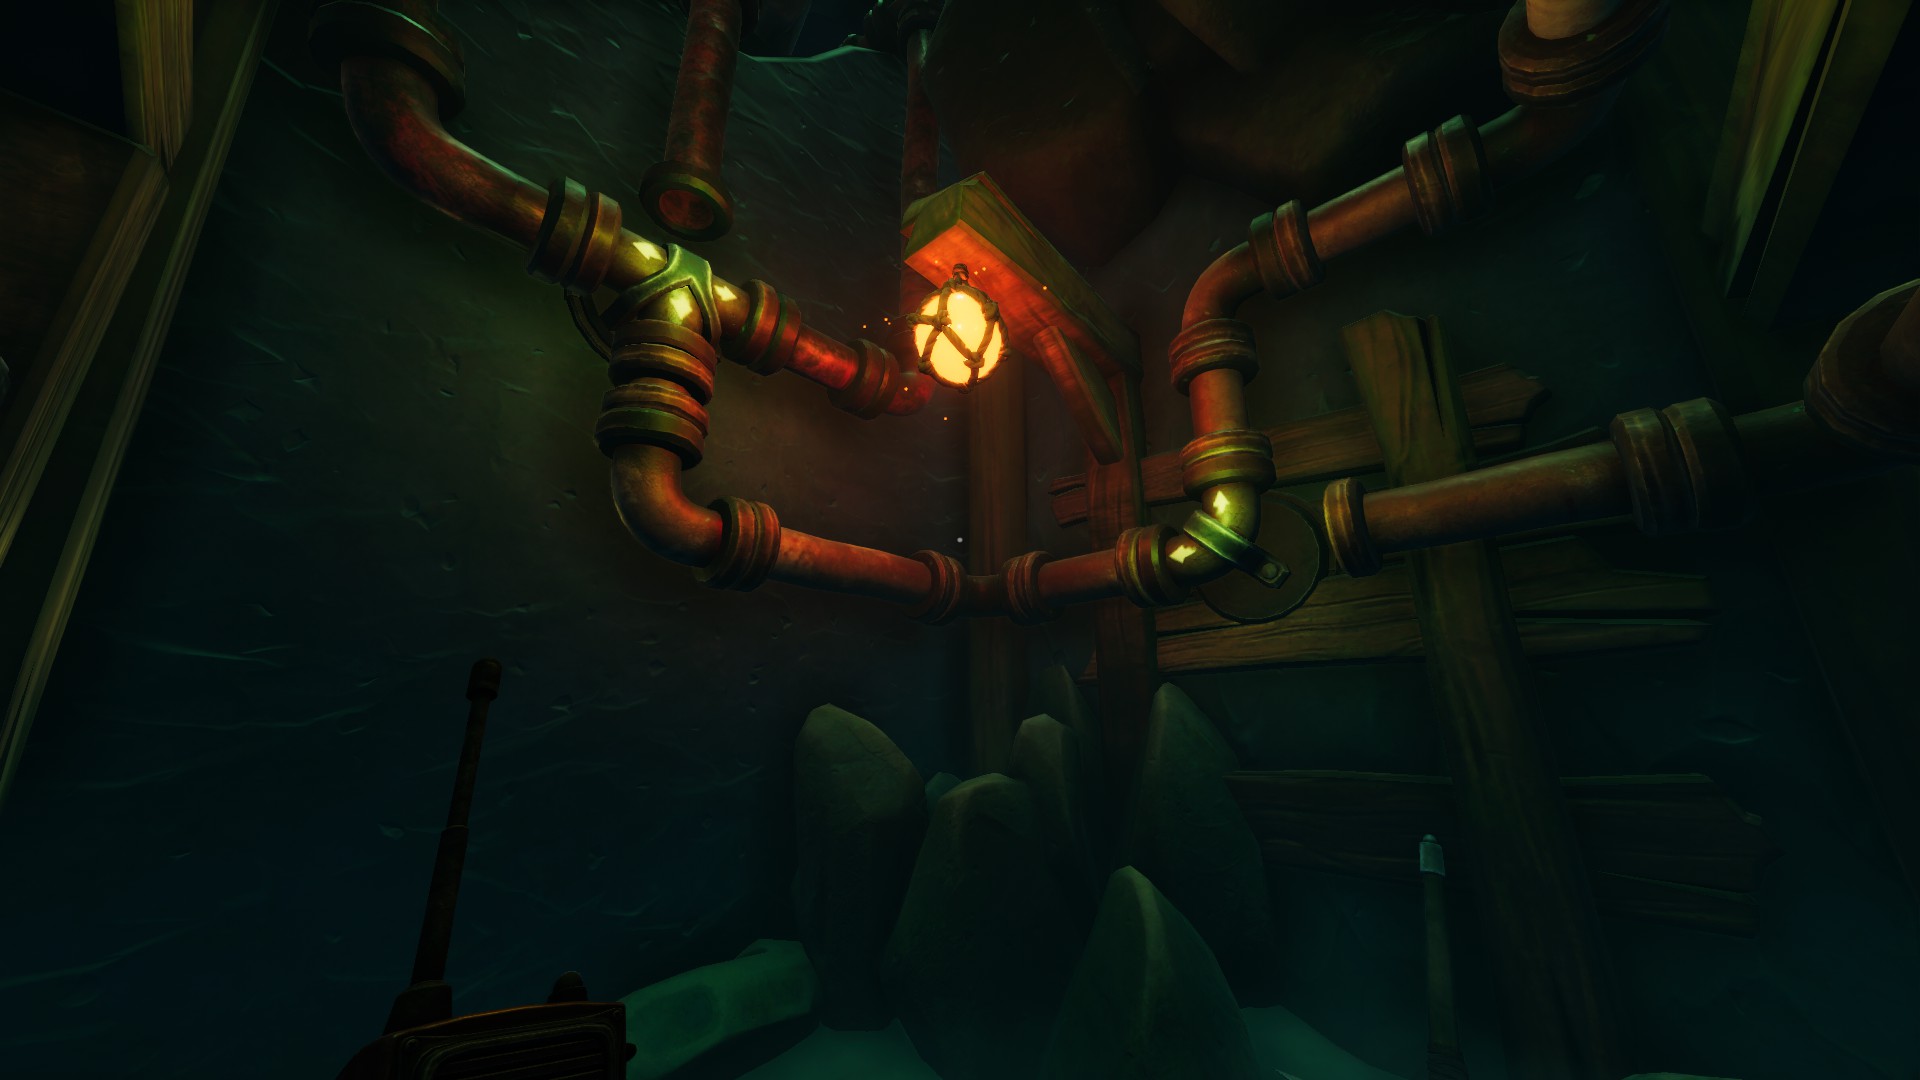
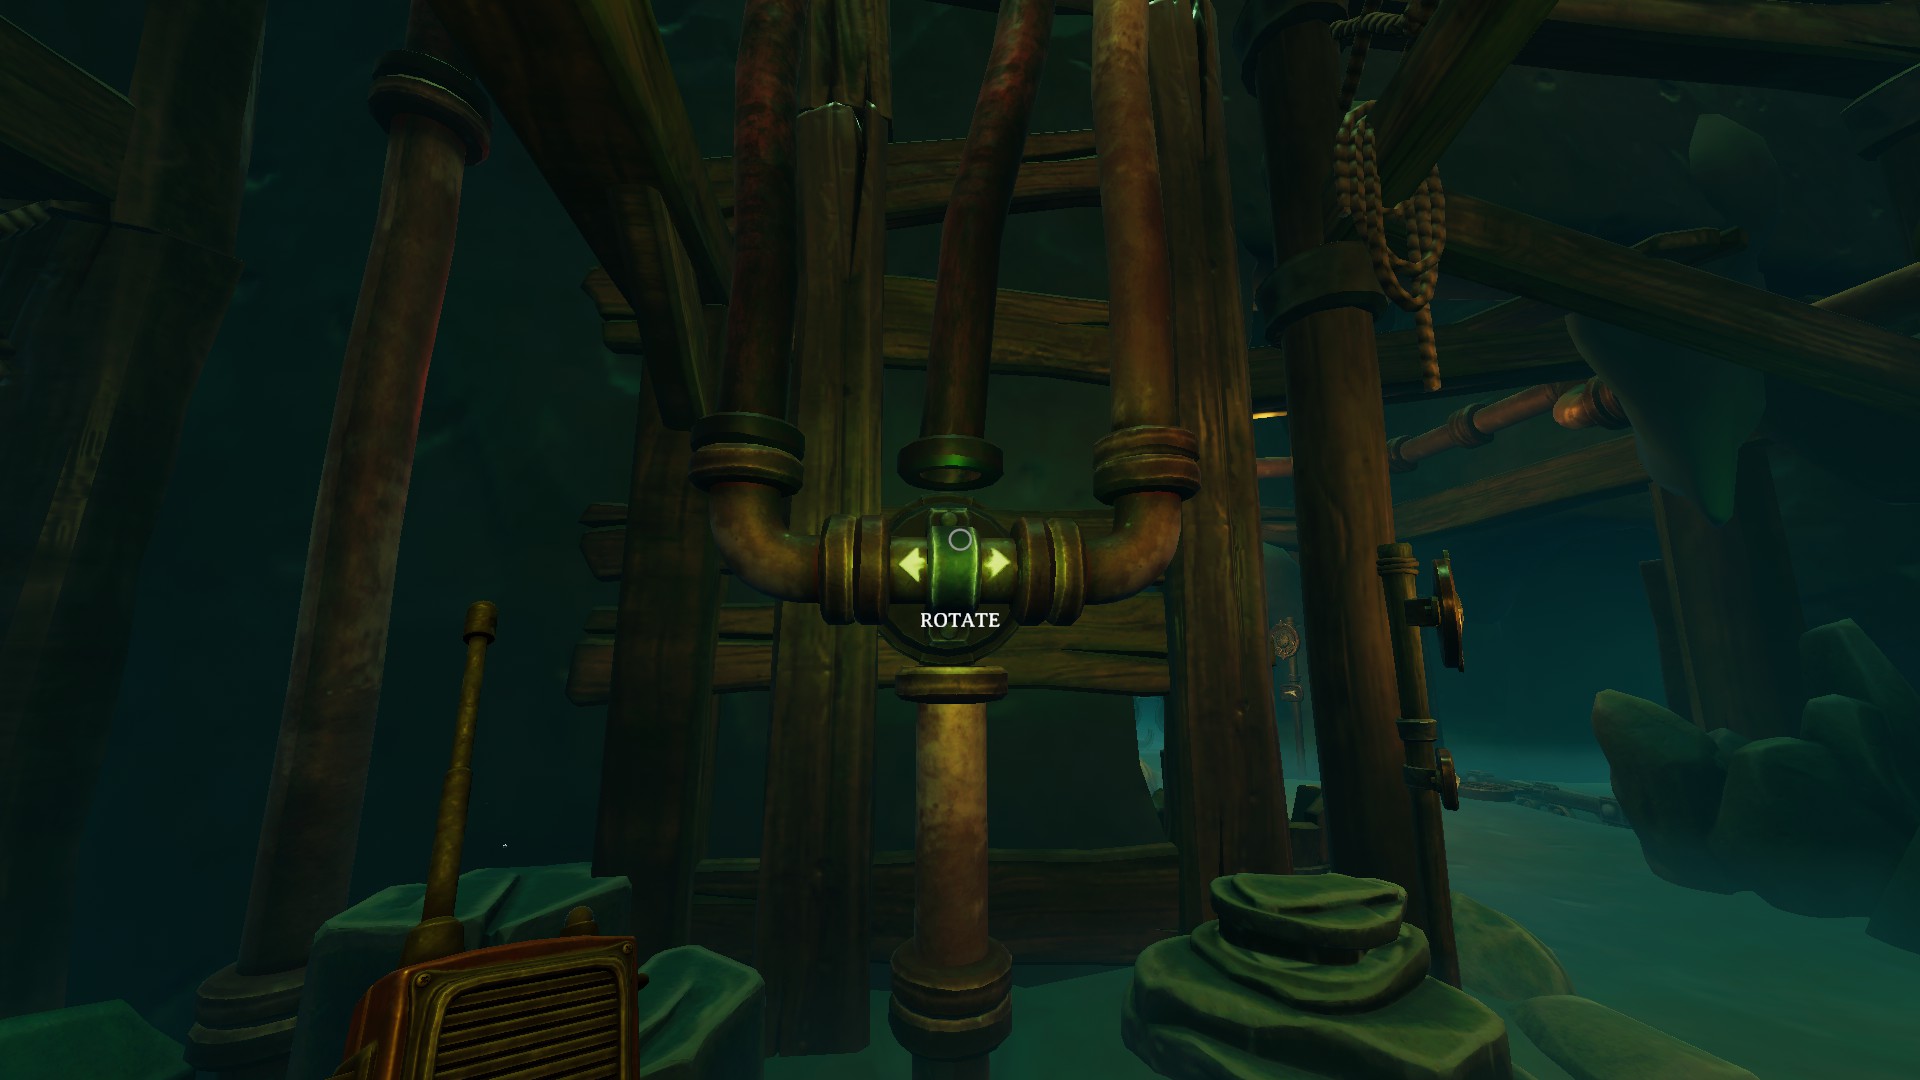
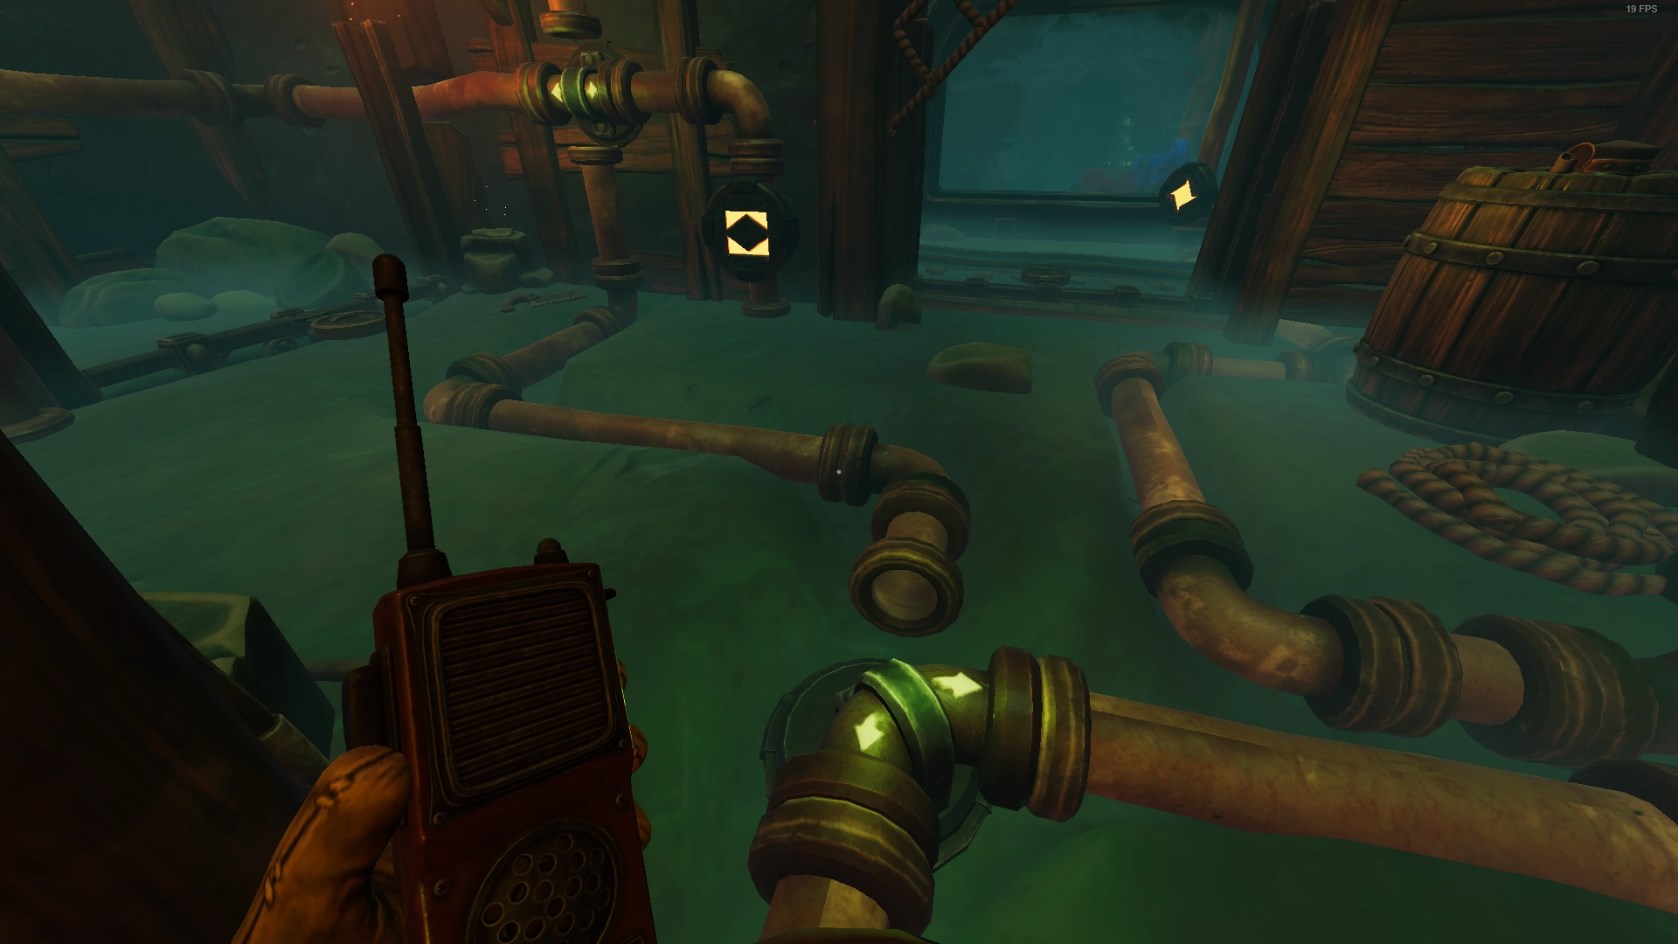
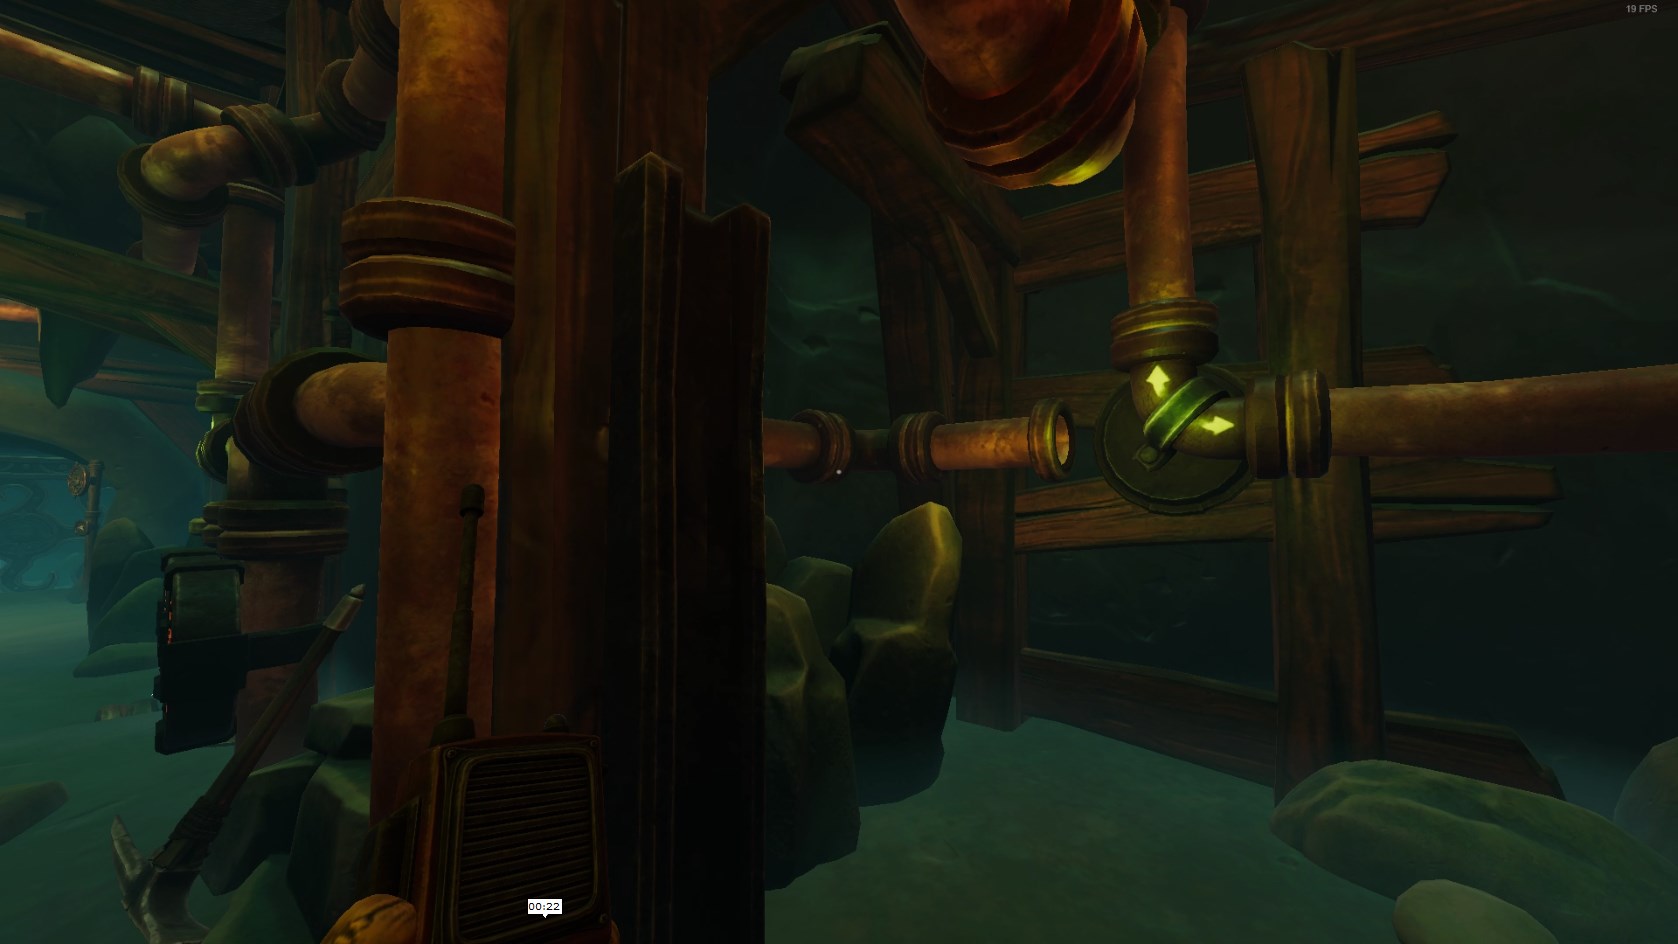
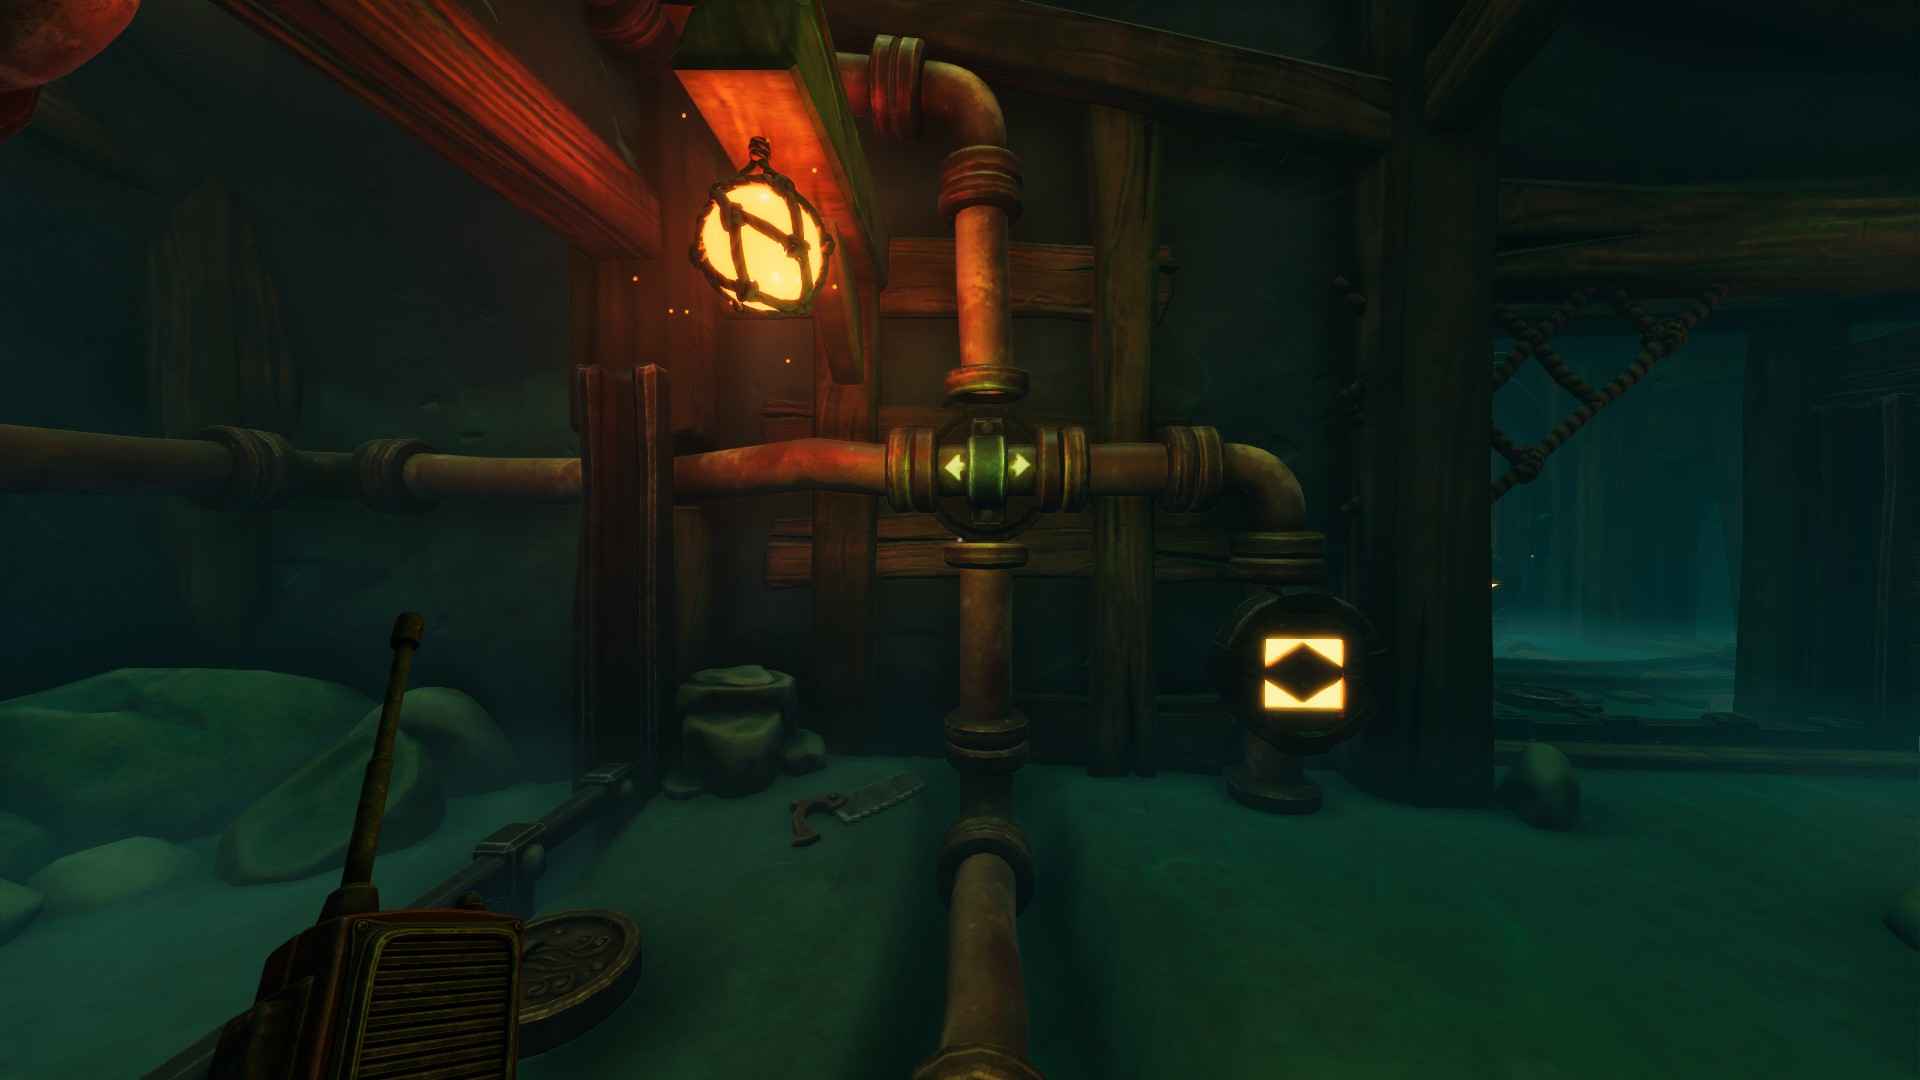
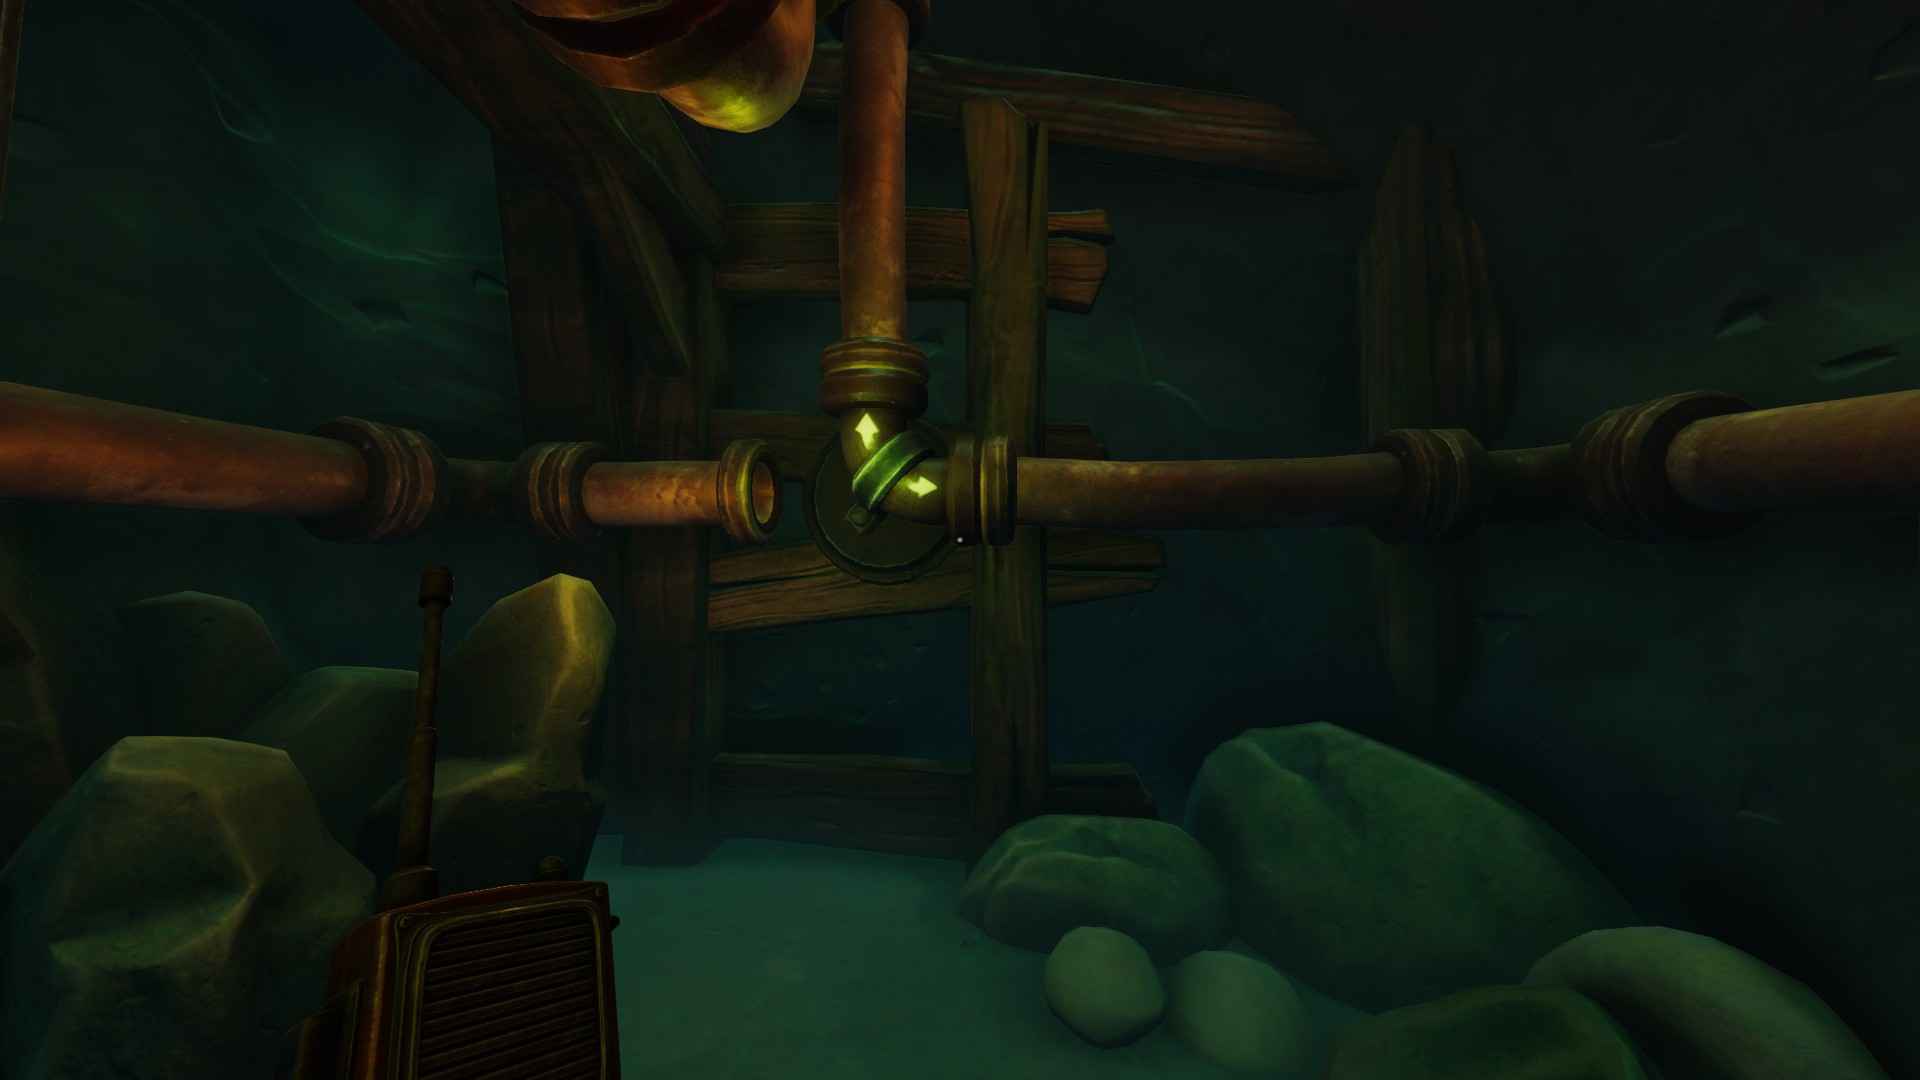
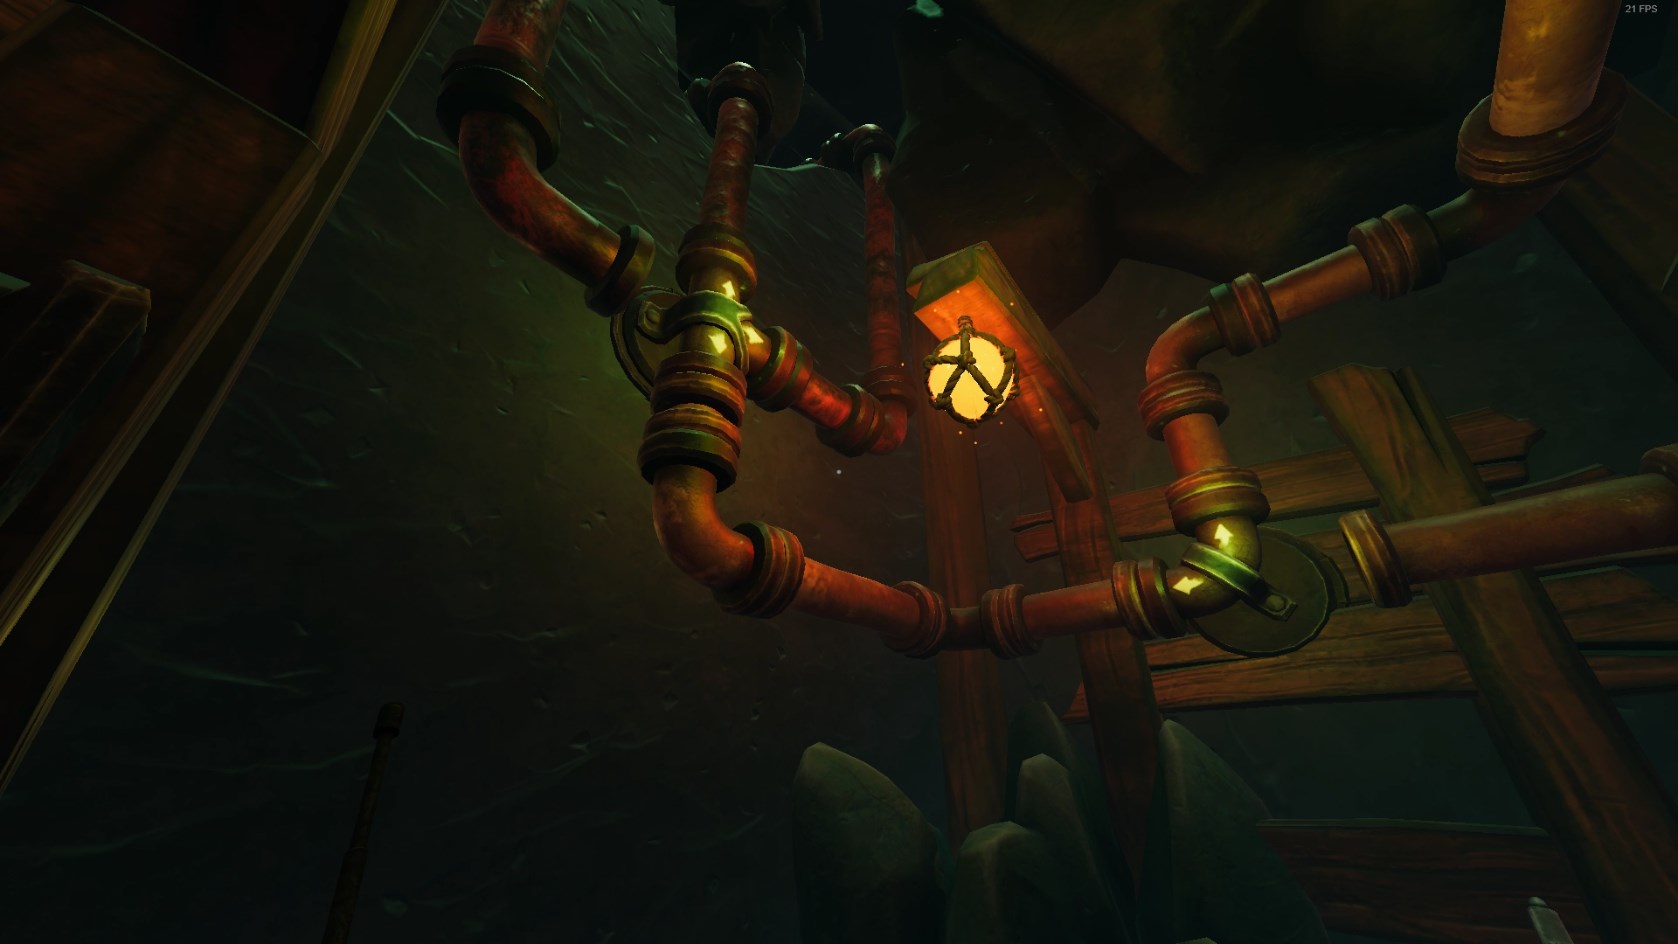
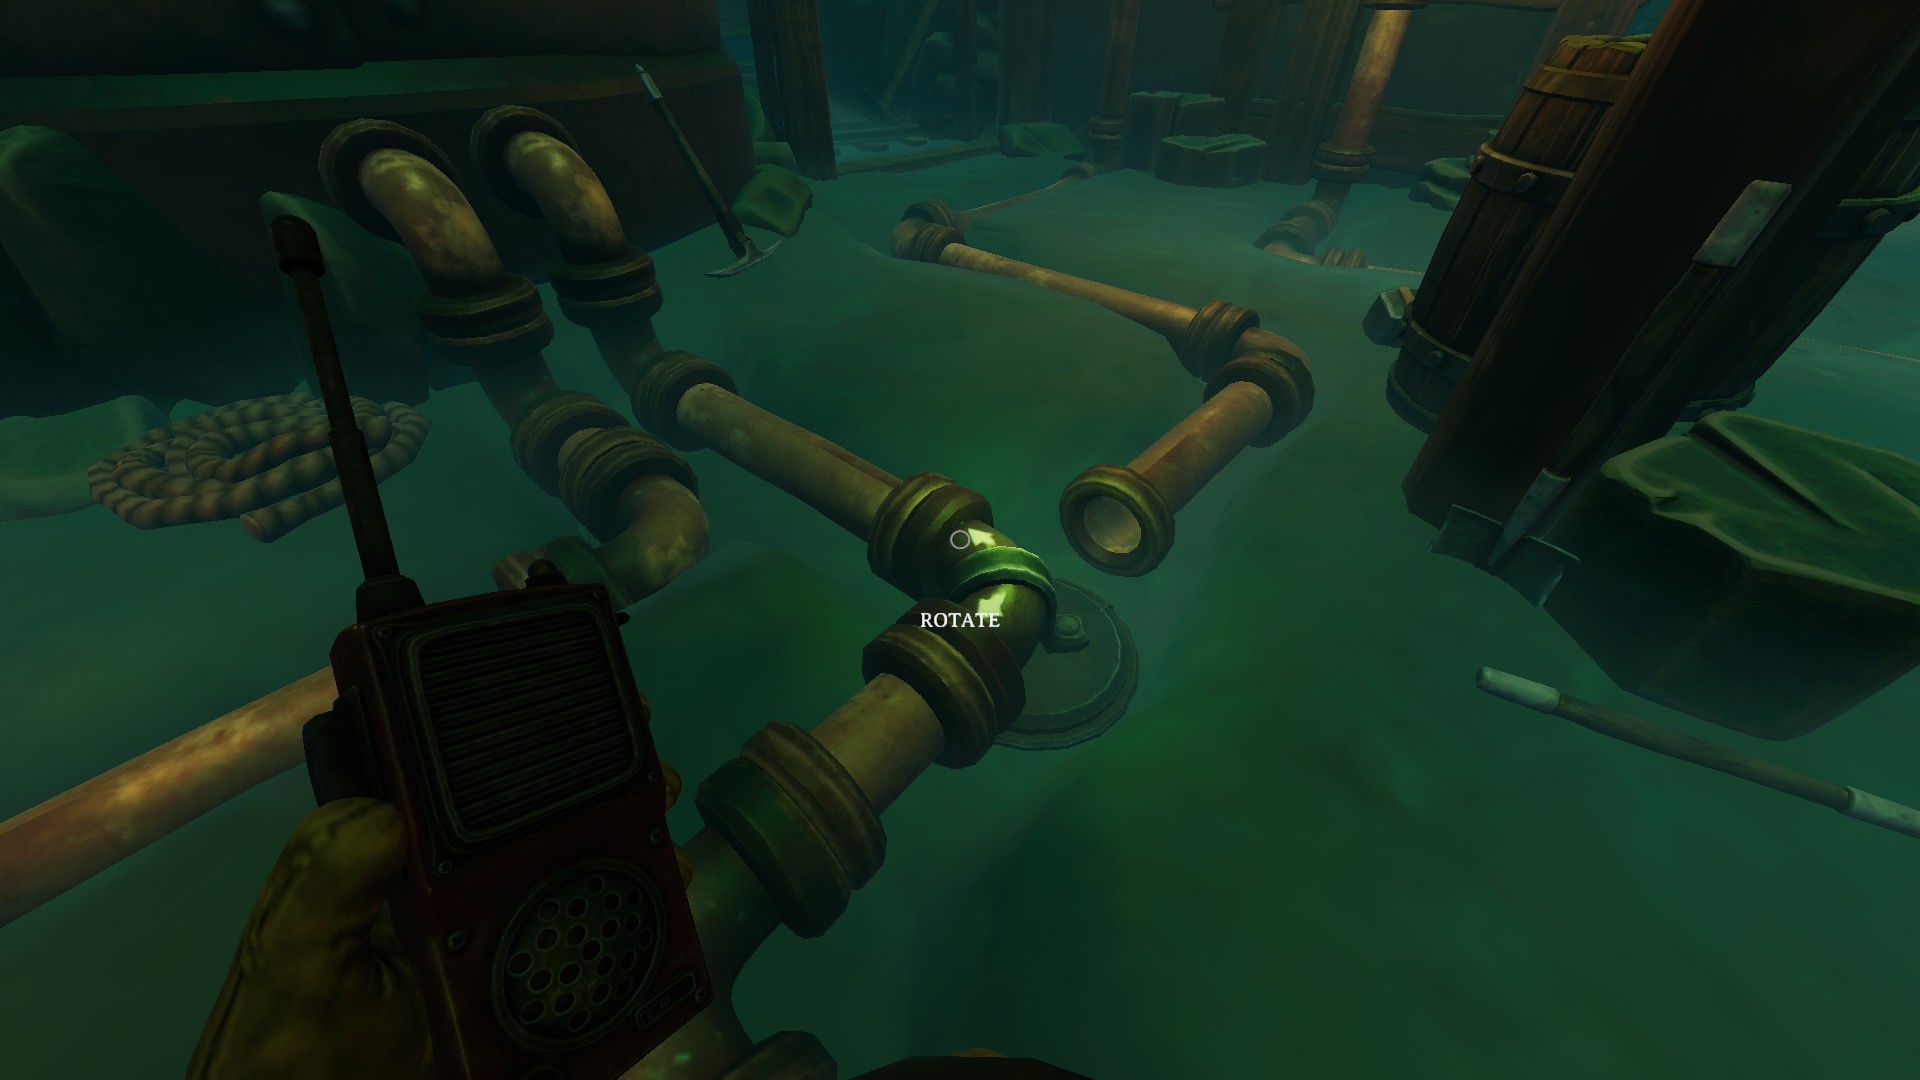
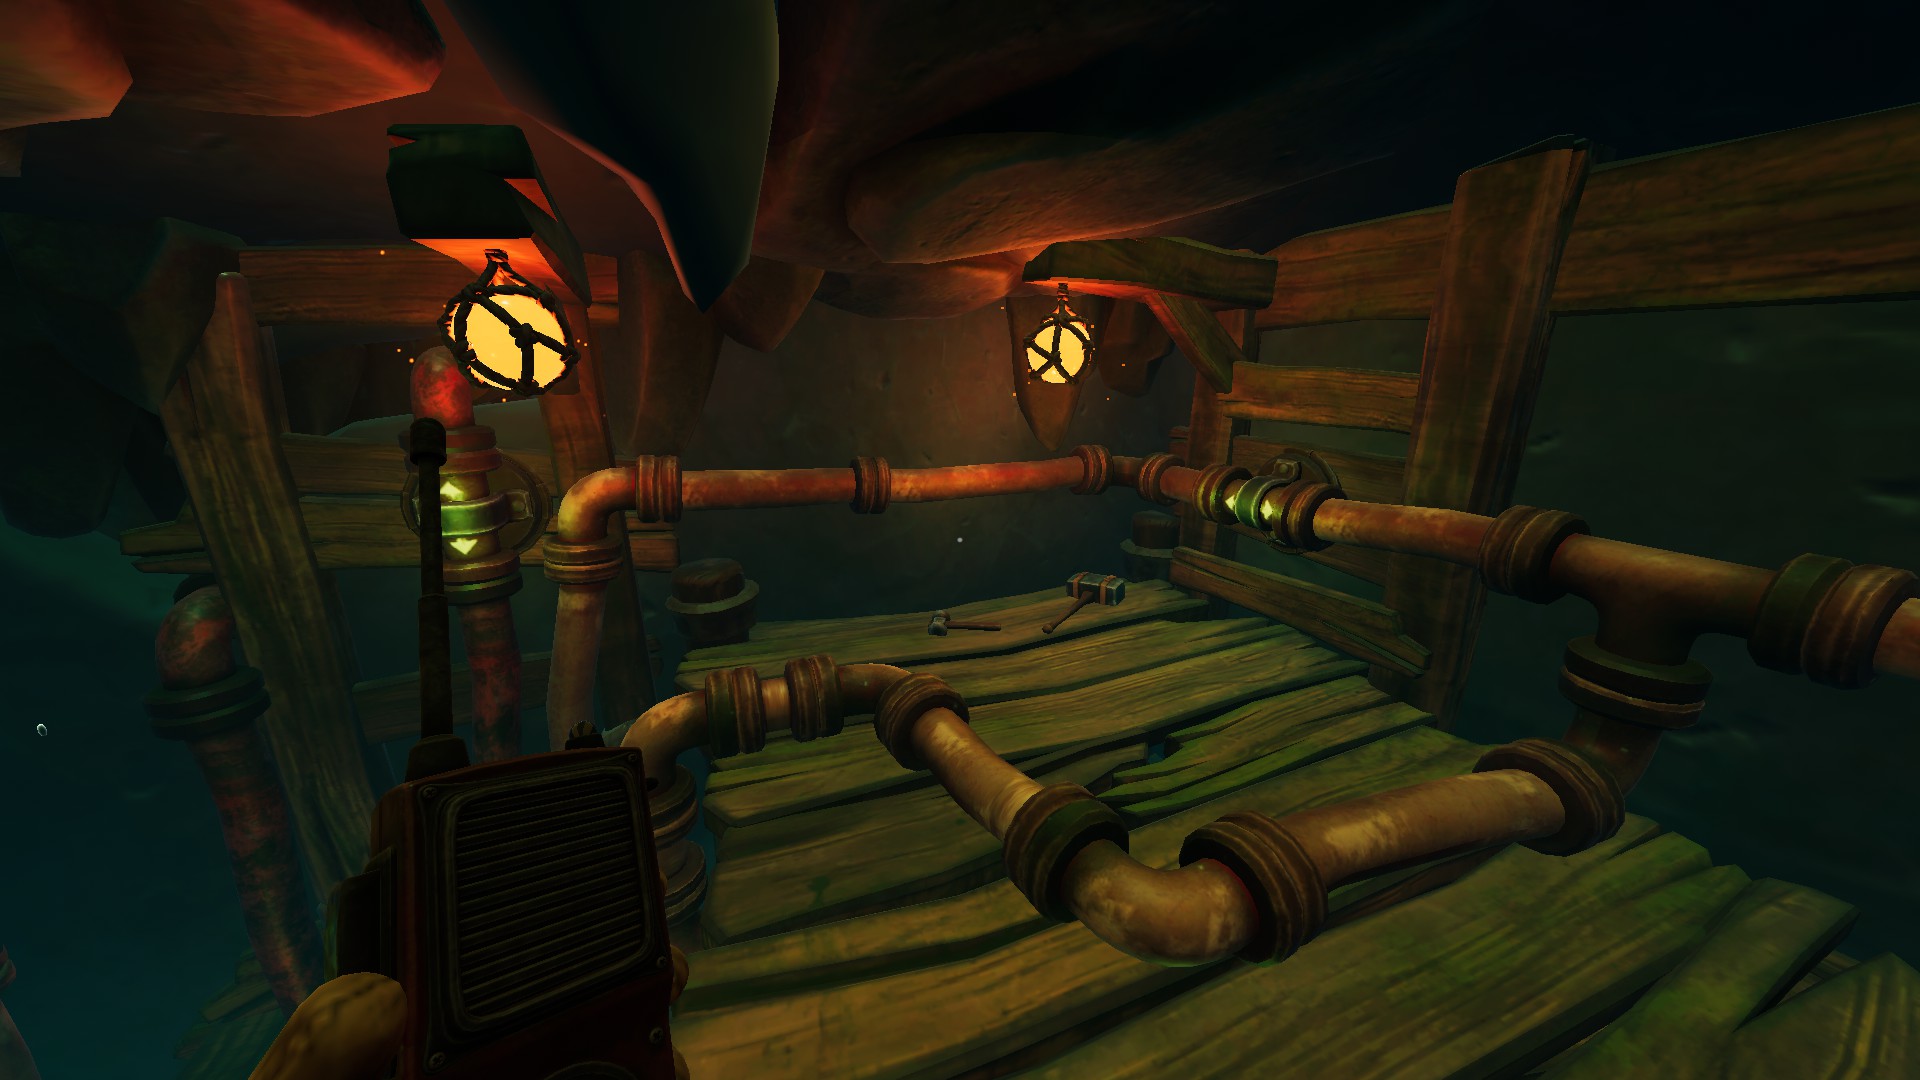
Pipes position


We Were Here Forever All Levels Full Game Walkthrough - ├─ The Expedition (underwater tunnels) - E245DDC
 
 
We Were Here Forever All Levels Full Game Walkthrough - ├─ The Expedition (underwater tunnels) - E997A2D
 
 
We Were Here Forever All Levels Full Game Walkthrough - ├─ The Expedition (underwater tunnels) - 1BBFCE4
 
 
We Were Here Forever All Levels Full Game Walkthrough - ├─ The Expedition (underwater tunnels) - D866C35


Level 2


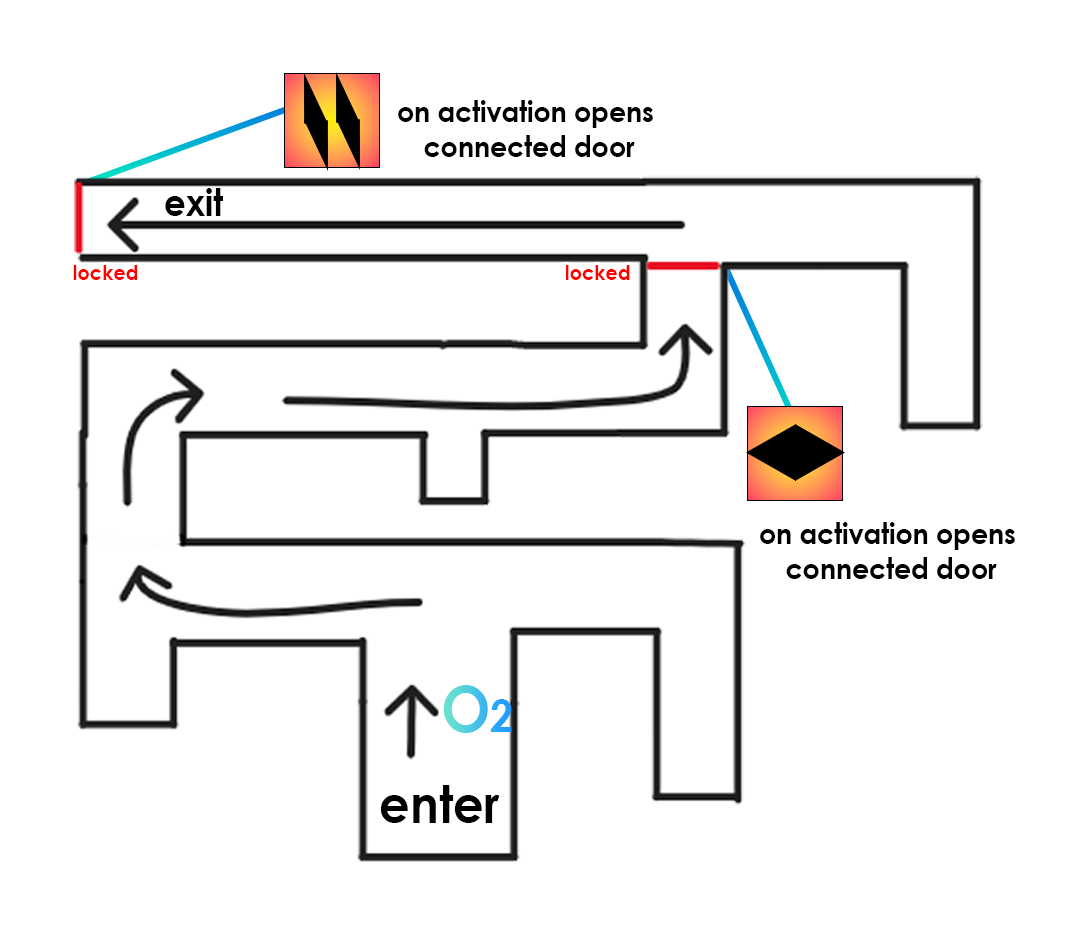
Route in tunnels


We Were Here Forever All Levels Full Game Walkthrough - ├─ The Expedition (underwater tunnels) - B1F45EE


Pipes position


We Were Here Forever All Levels Full Game Walkthrough - ├─ The Expedition (underwater tunnels) - E1C11CC
 
 
We Were Here Forever All Levels Full Game Walkthrough - ├─ The Expedition (underwater tunnels) - 104D1E7
 
 
We Were Here Forever All Levels Full Game Walkthrough - ├─ The Expedition (underwater tunnels) - 7E92BB6
 
 
We Were Here Forever All Levels Full Game Walkthrough - ├─ The Expedition (underwater tunnels) - F00346C


Level 3


Route in tunnels


We Were Here Forever All Levels Full Game Walkthrough - ├─ The Expedition (underwater tunnels) - B938751


Change these pipes for 1st door


We Were Here Forever All Levels Full Game Walkthrough - ├─ The Expedition (underwater tunnels) - 7A10A5F
 
 
We Were Here Forever All Levels Full Game Walkthrough - ├─ The Expedition (underwater tunnels) - 2F080DB


Change these pipes for 2nd door


We Were Here Forever All Levels Full Game Walkthrough - ├─ The Expedition (underwater tunnels) - 68A496B
 
 
We Were Here Forever All Levels Full Game Walkthrough - ├─ The Expedition (underwater tunnels) - 87CE6DC
 
 
We Were Here Forever All Levels Full Game Walkthrough - ├─ The Expedition (underwater tunnels) - 104D1E7


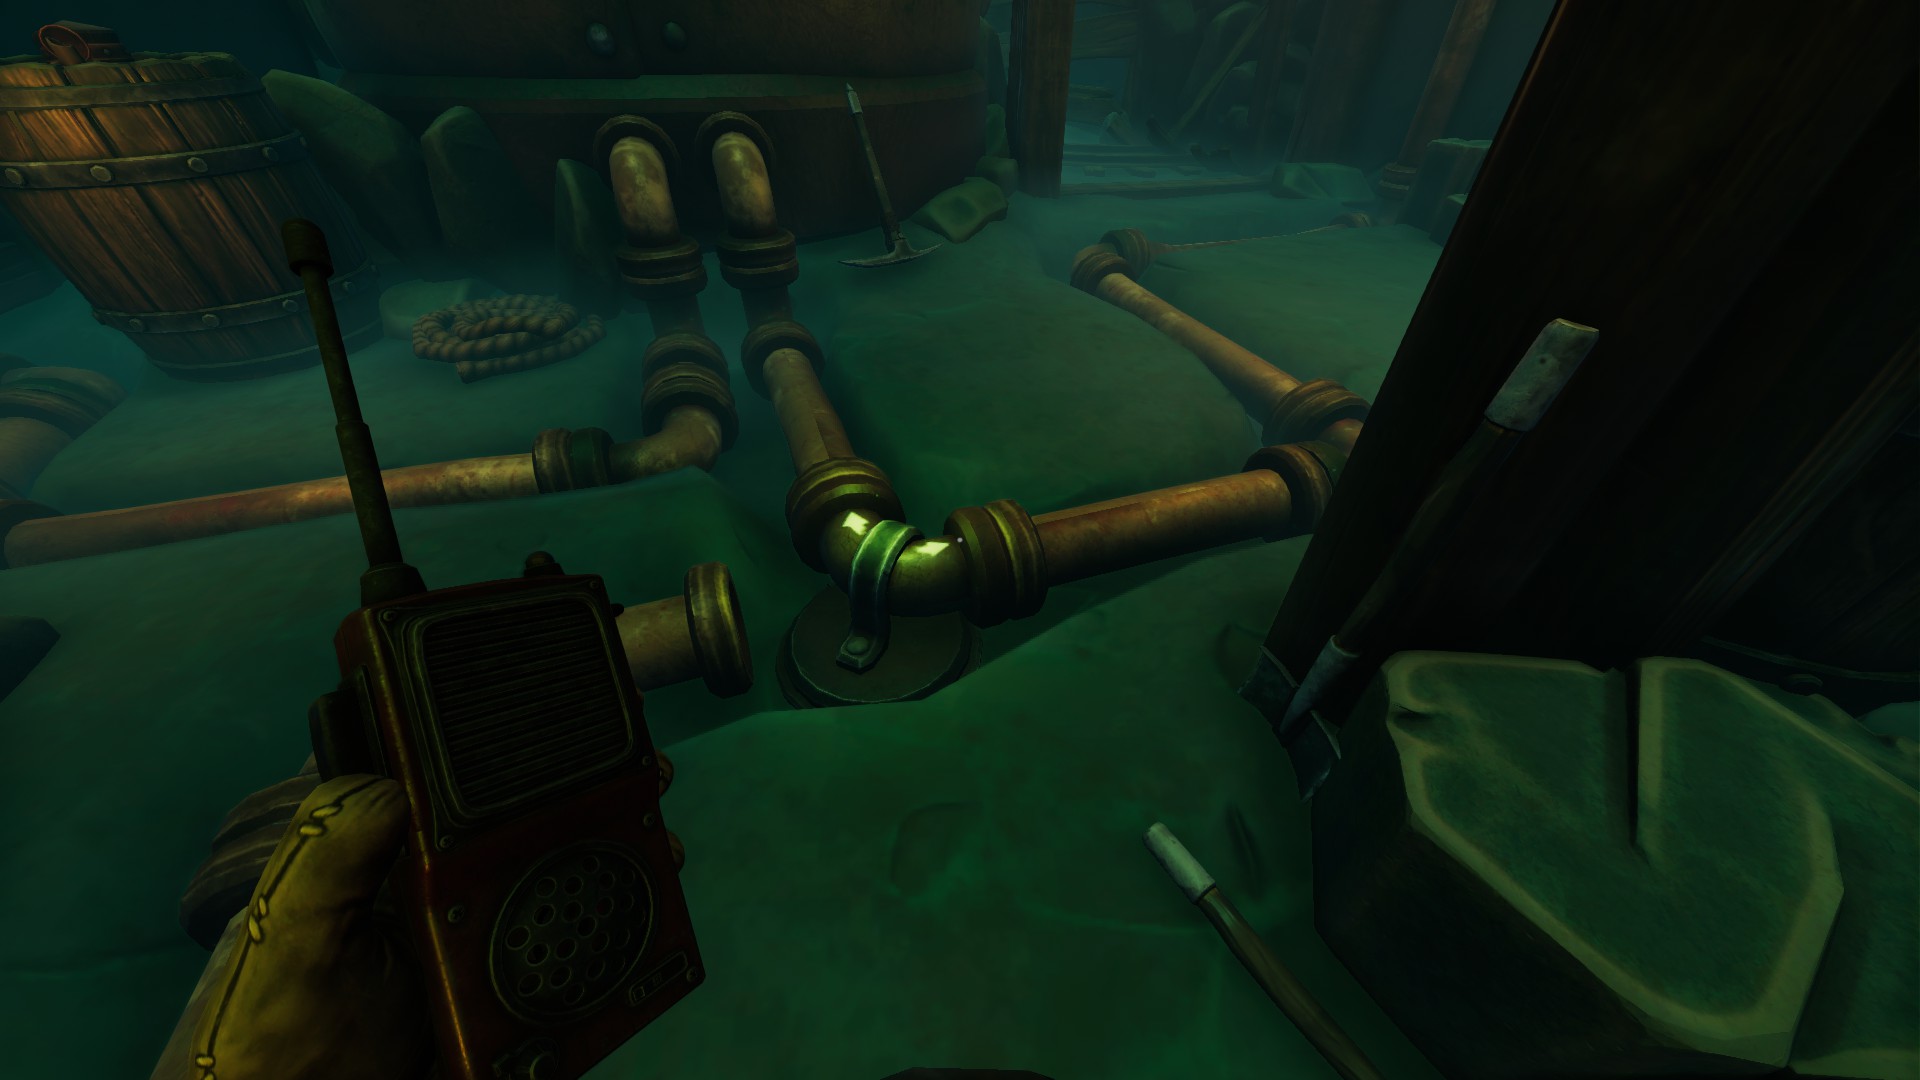
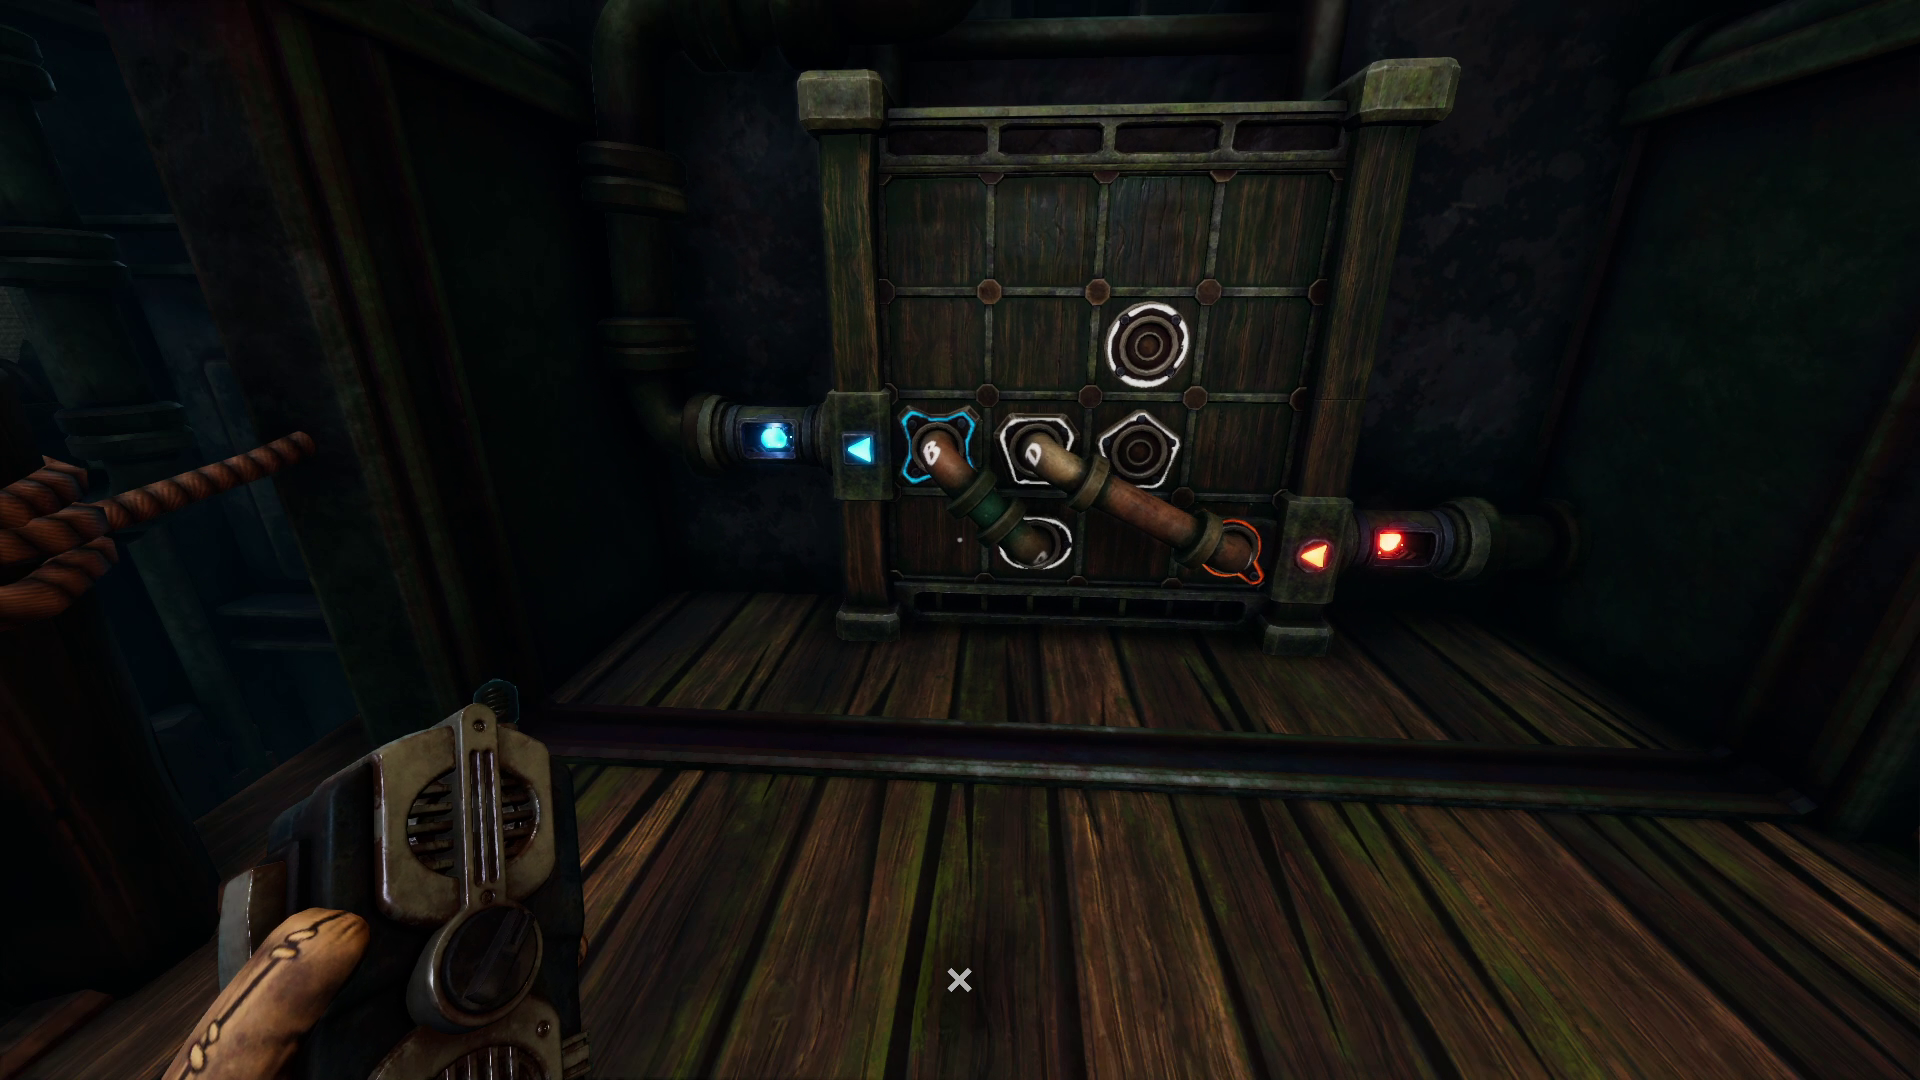
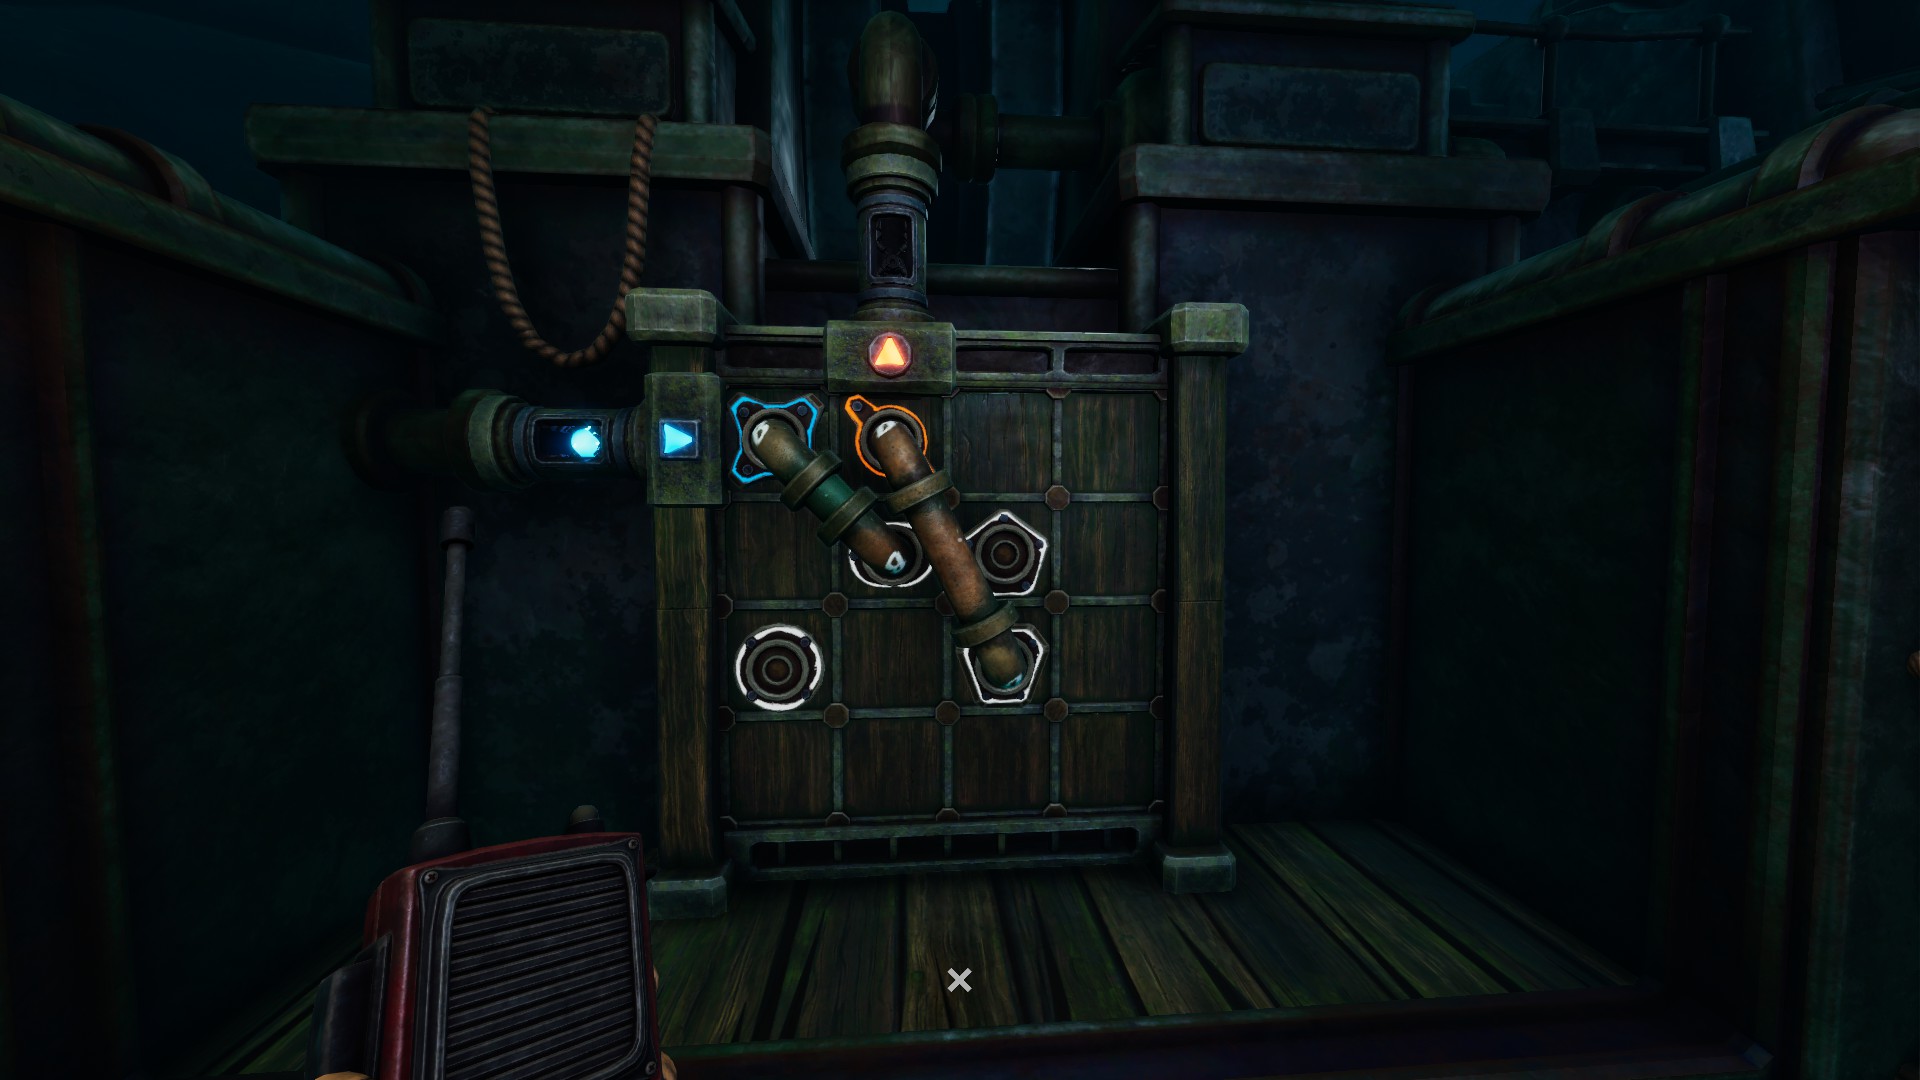
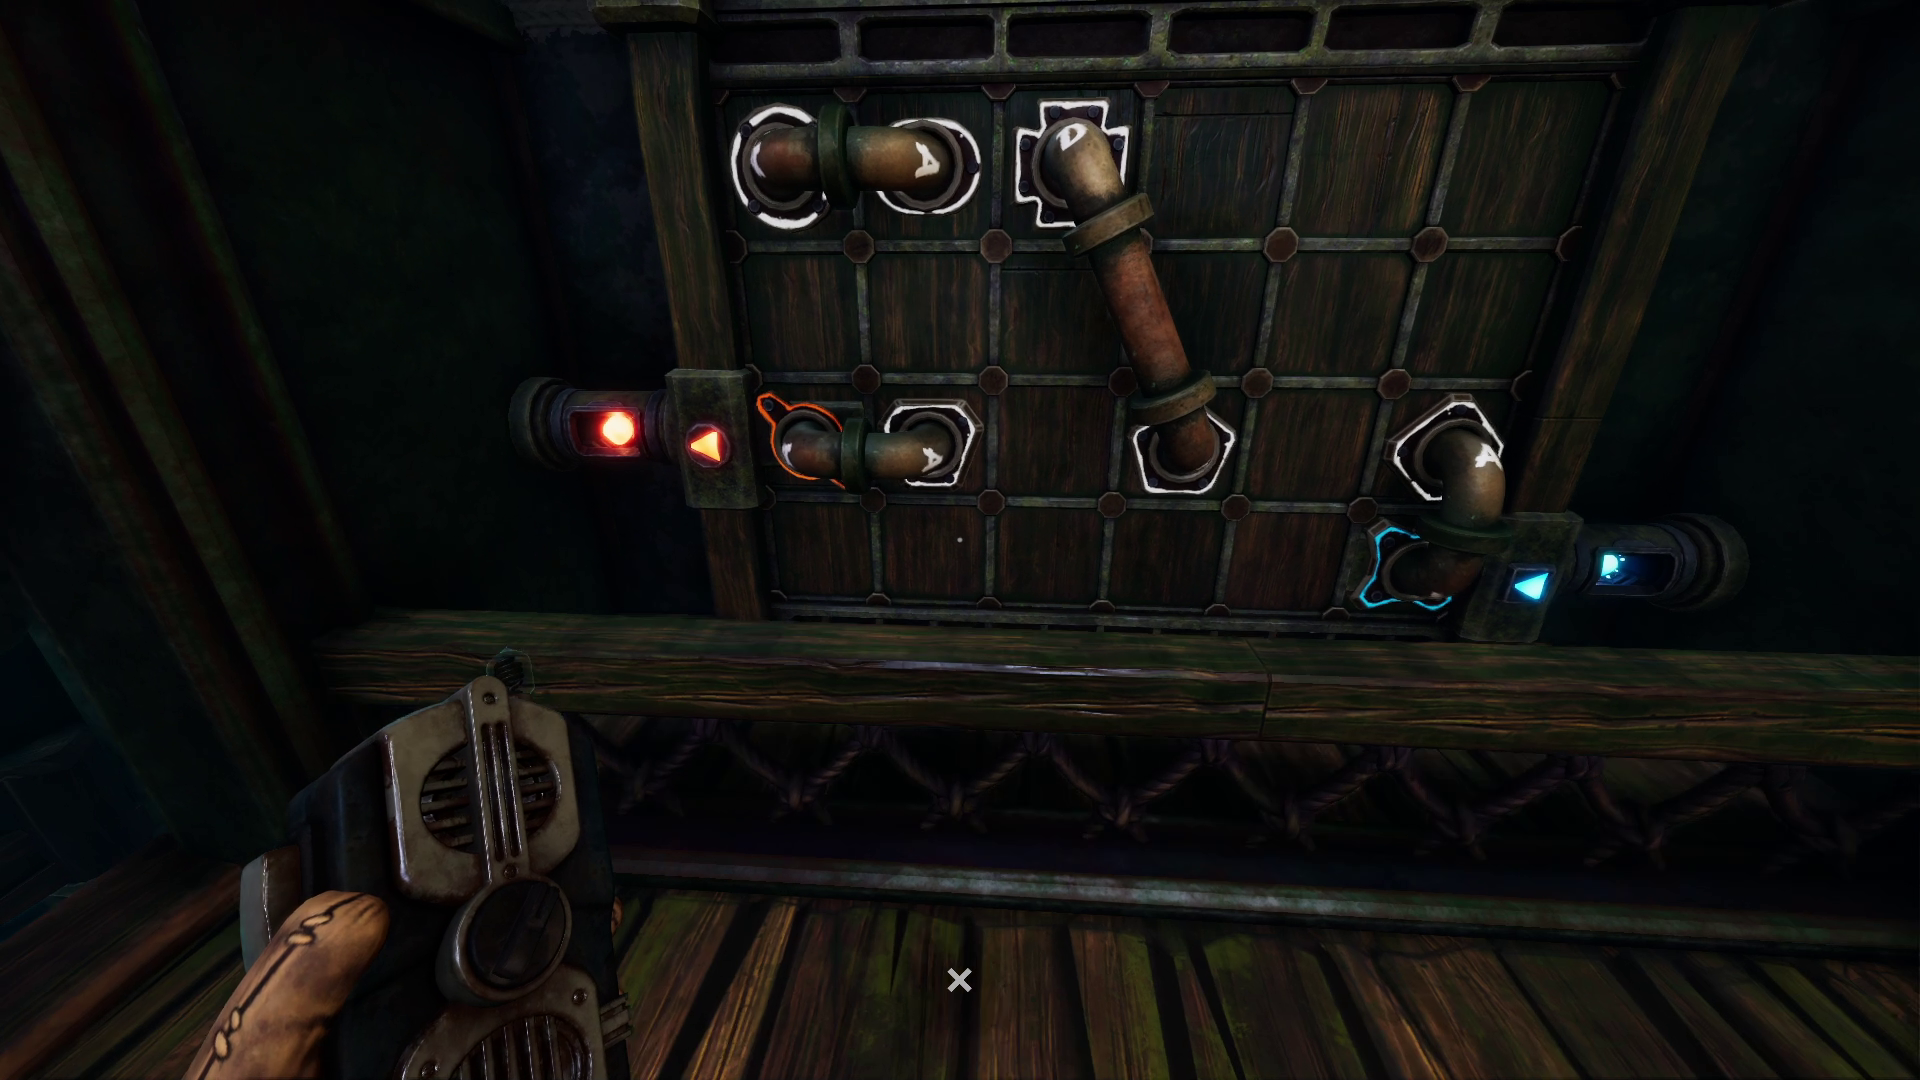
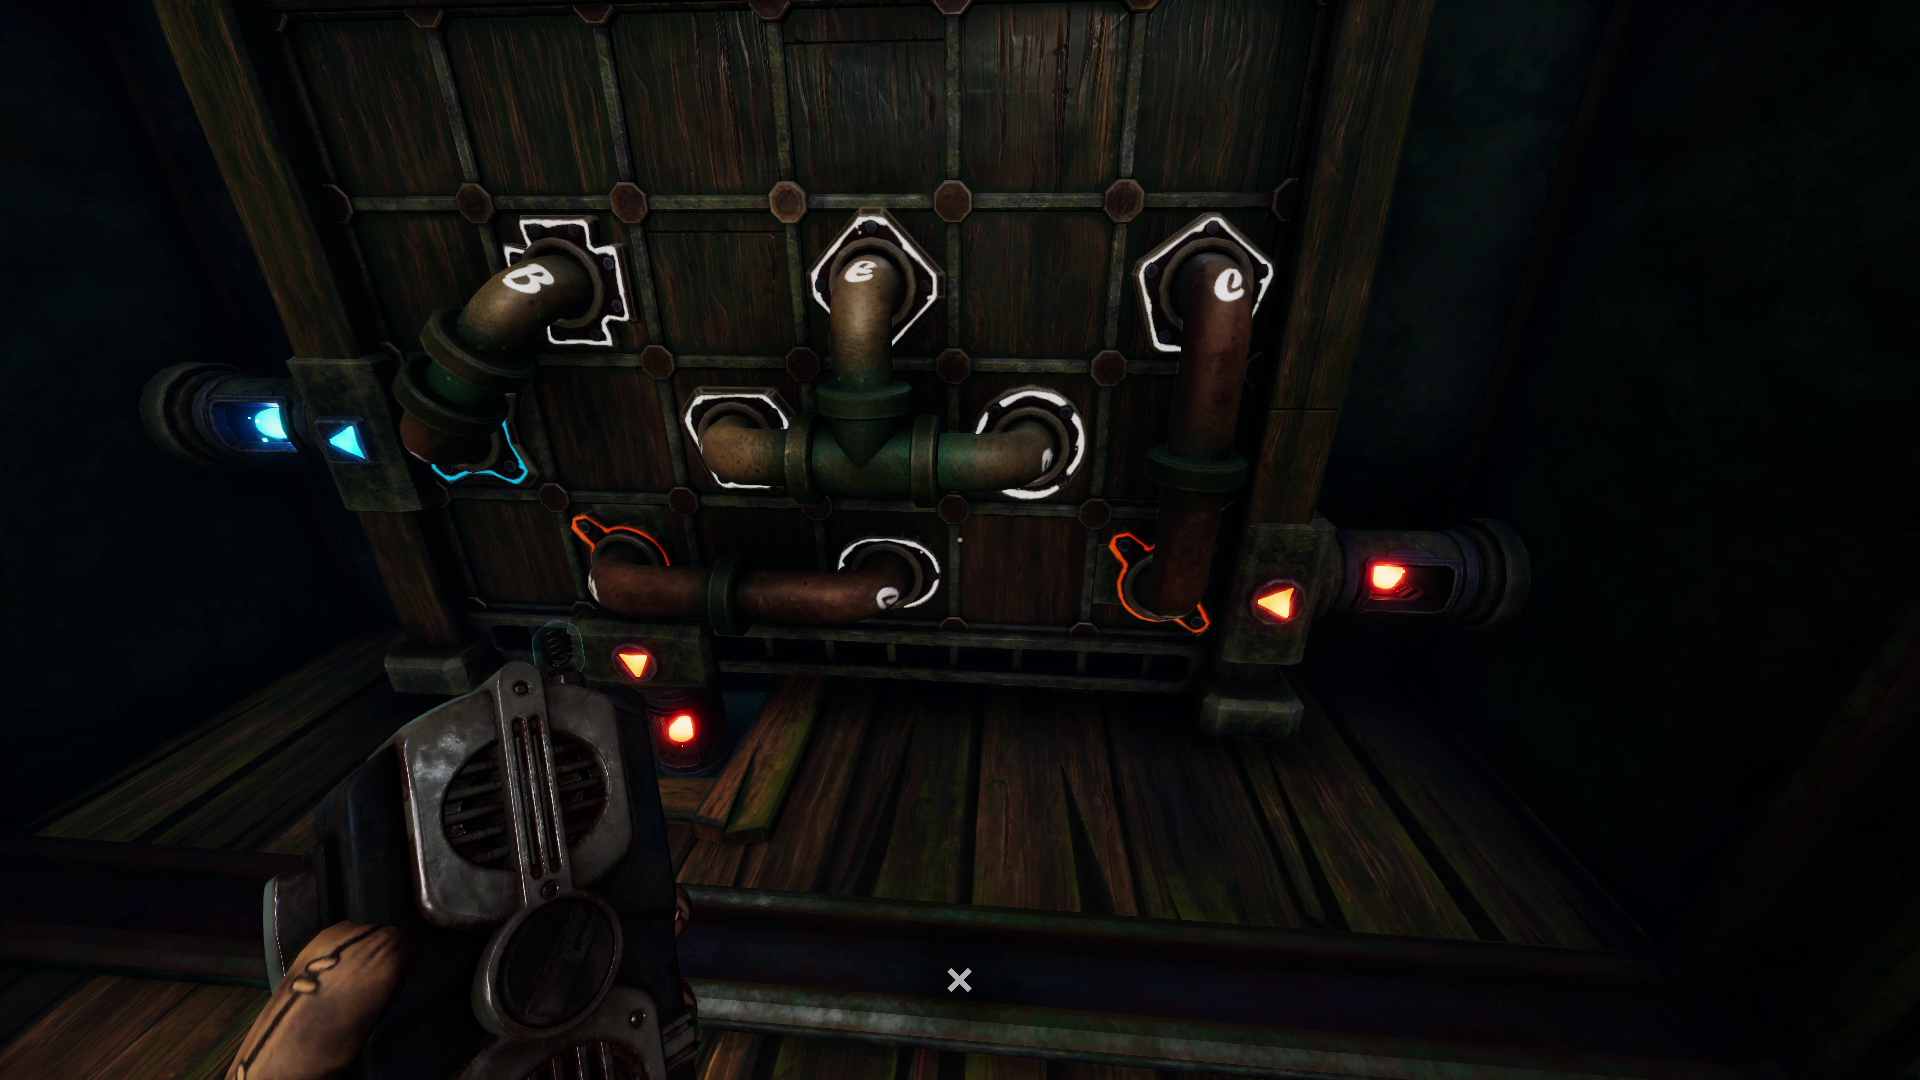
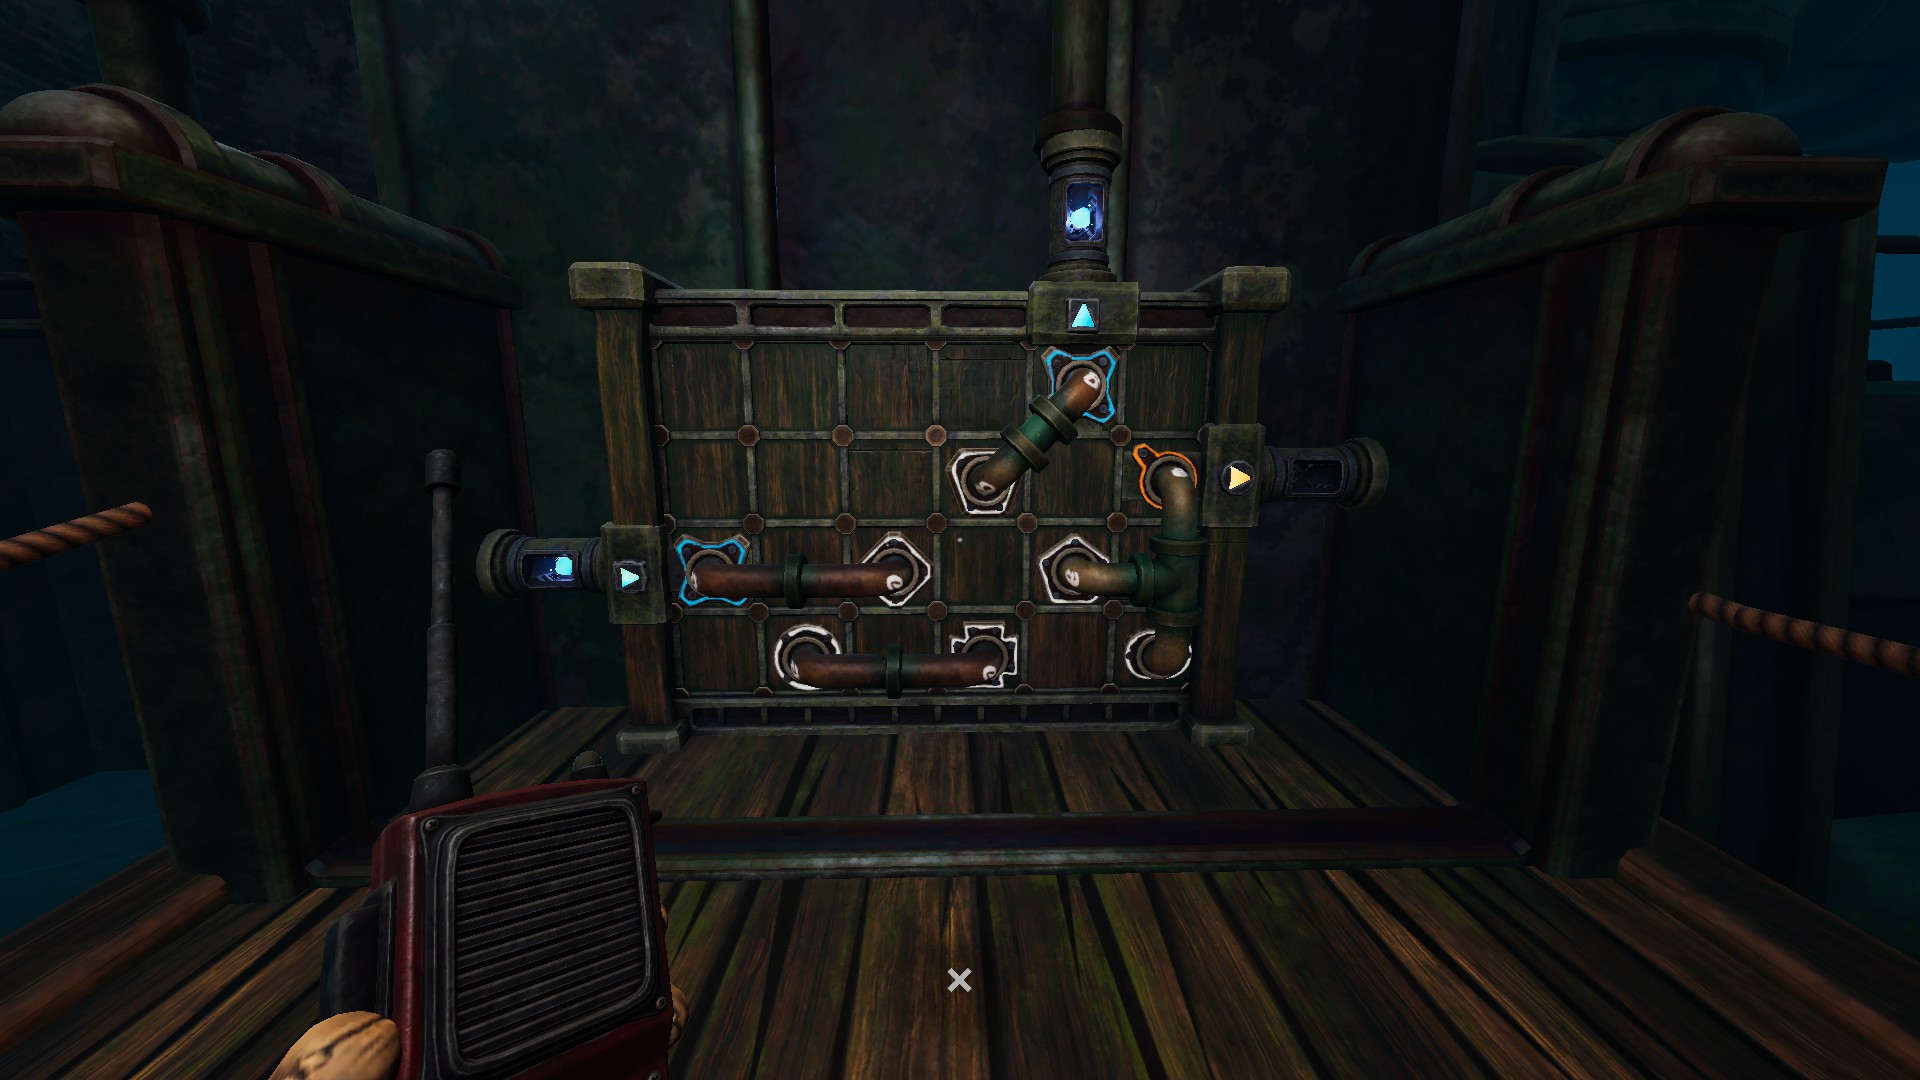
├─ The Nautilus (pipes)

Pipe 1


Player 1 | Player 2


We Were Here Forever All Levels Full Game Walkthrough - ├─ The Nautilus (pipes) - 9D3A14E
 
 
We Were Here Forever All Levels Full Game Walkthrough - ├─ The Nautilus (pipes) - 6B40215


Pipe 2


Player 1 | Player 2


We Were Here Forever All Levels Full Game Walkthrough - ├─ The Nautilus (pipes) - B281A96
 
 
We Were Here Forever All Levels Full Game Walkthrough - ├─ The Nautilus (pipes) - D2EC391


Pipe 3


Player 1 | Player 2


We Were Here Forever All Levels Full Game Walkthrough - ├─ The Nautilus (pipes) - 569C7C9
 
 
We Were Here Forever All Levels Full Game Walkthrough - ├─ The Nautilus (pipes) - 36E516F


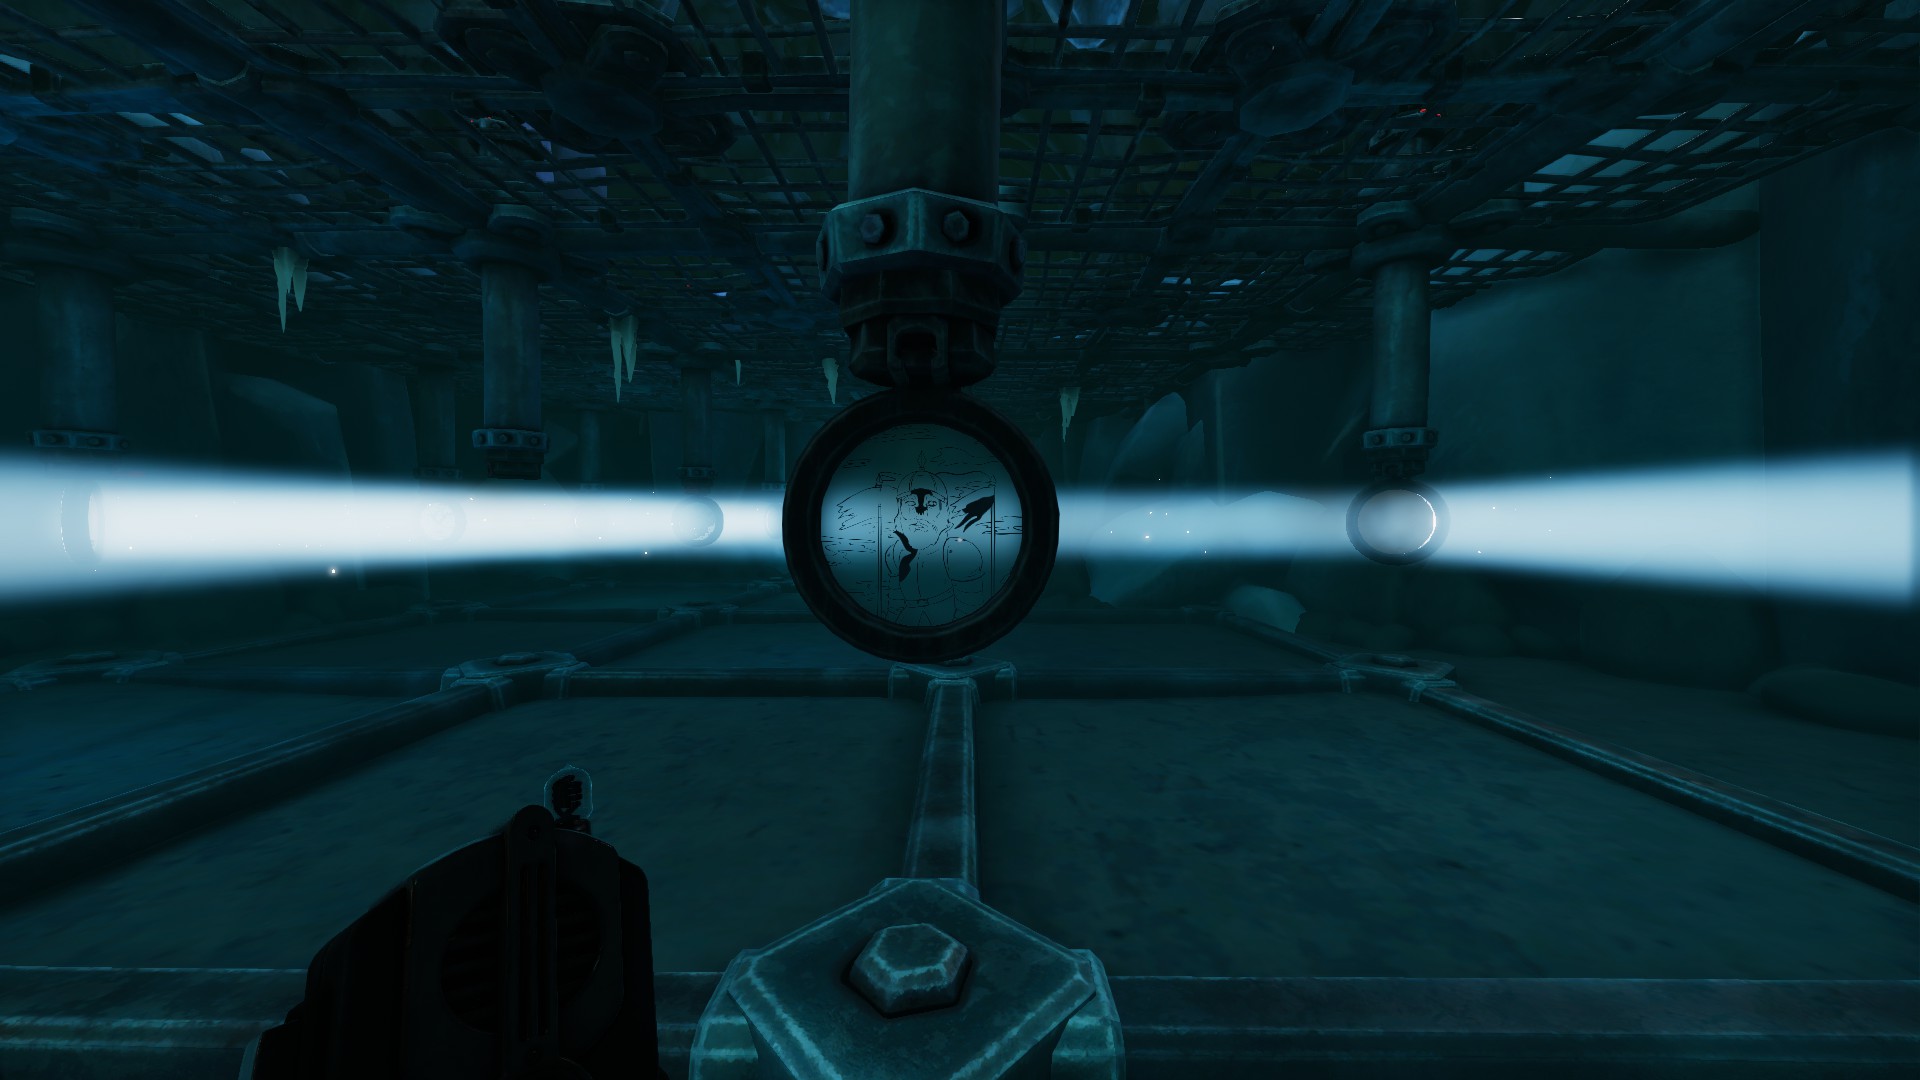
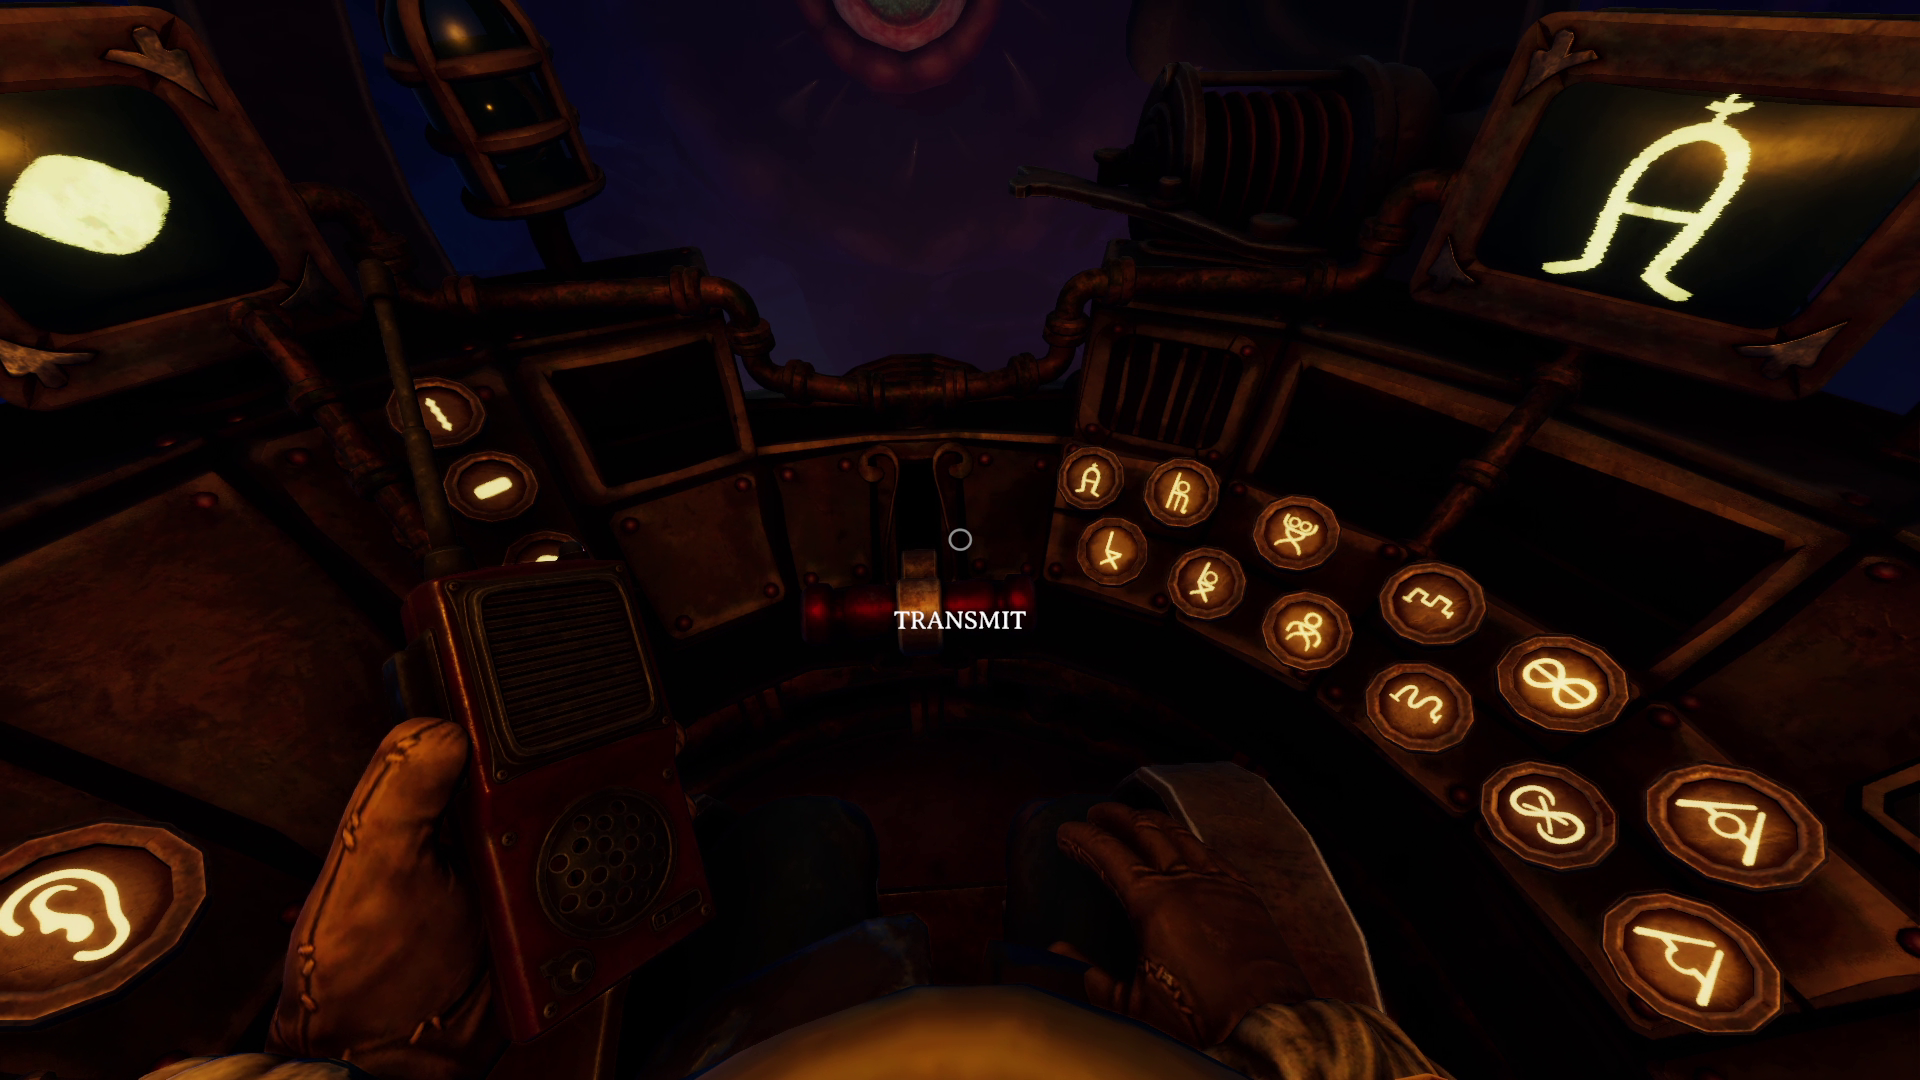
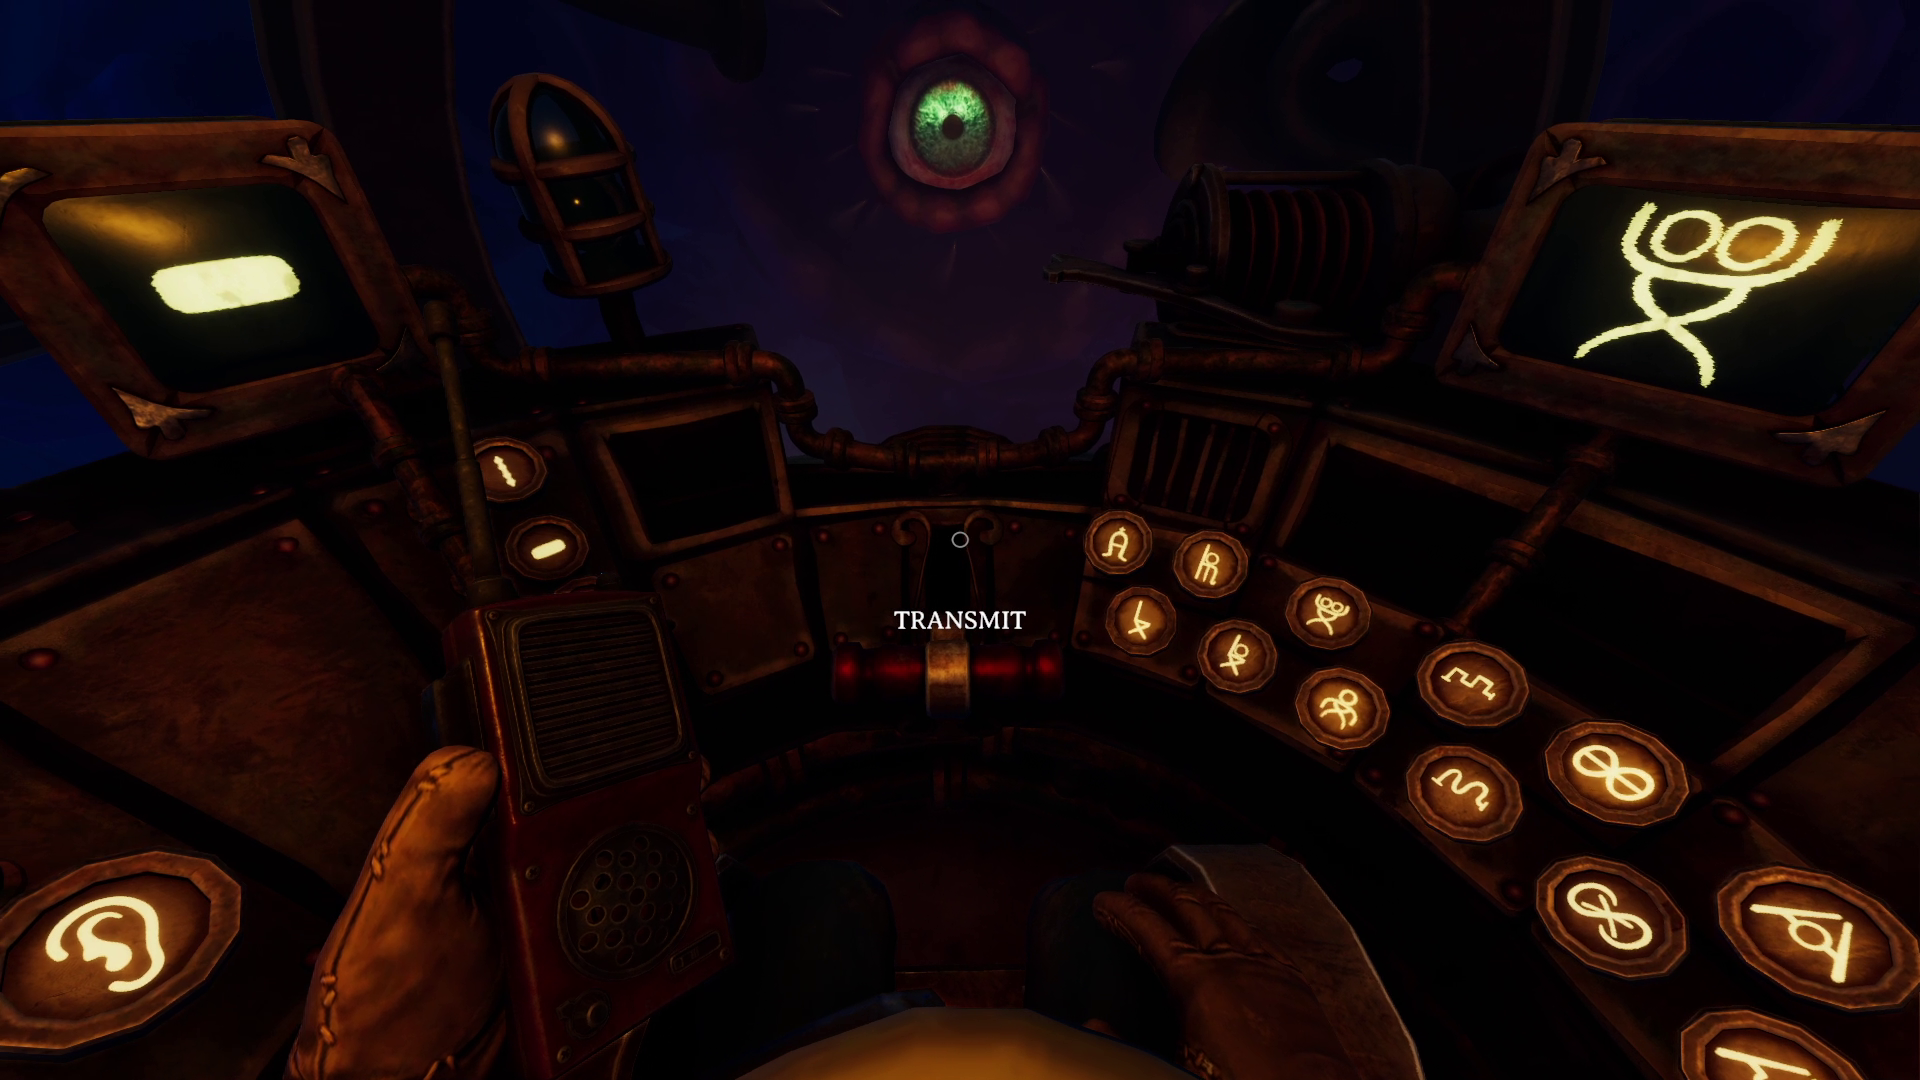
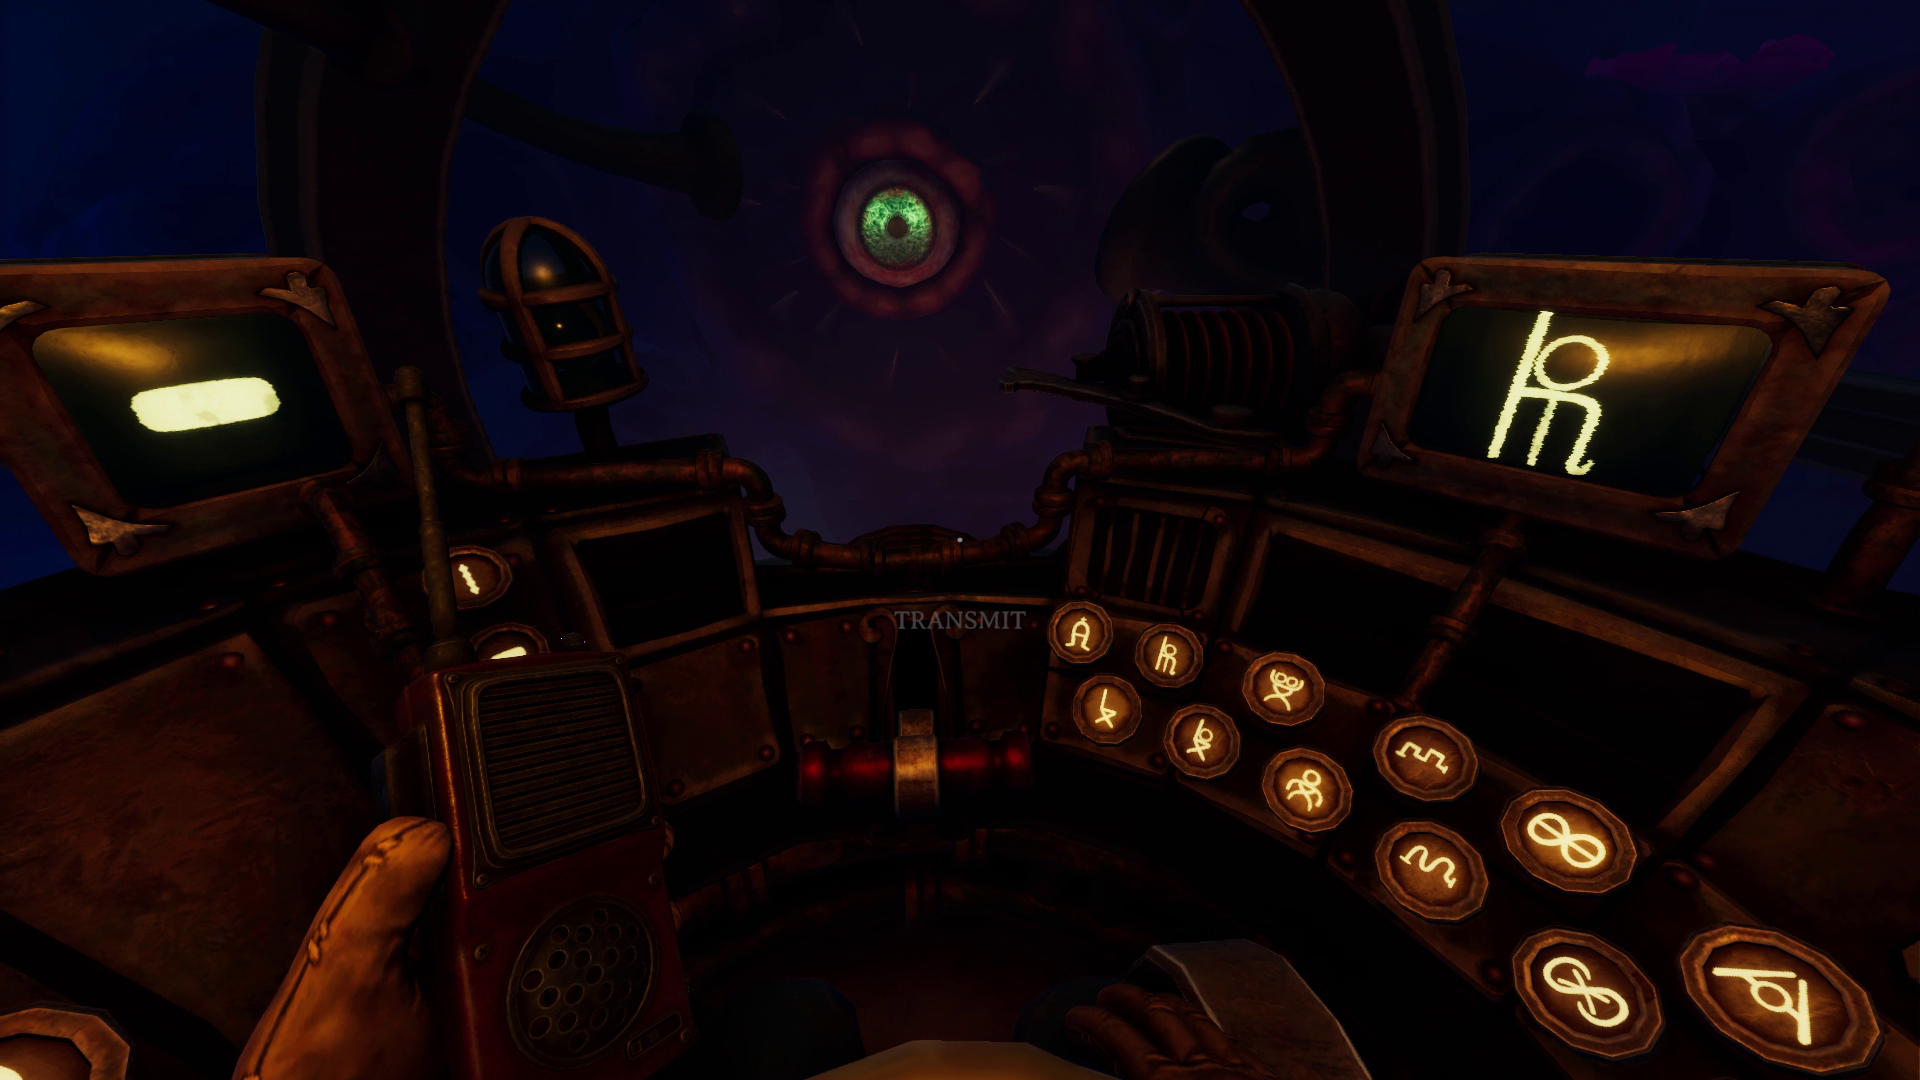
├─ The Deep (kraken)

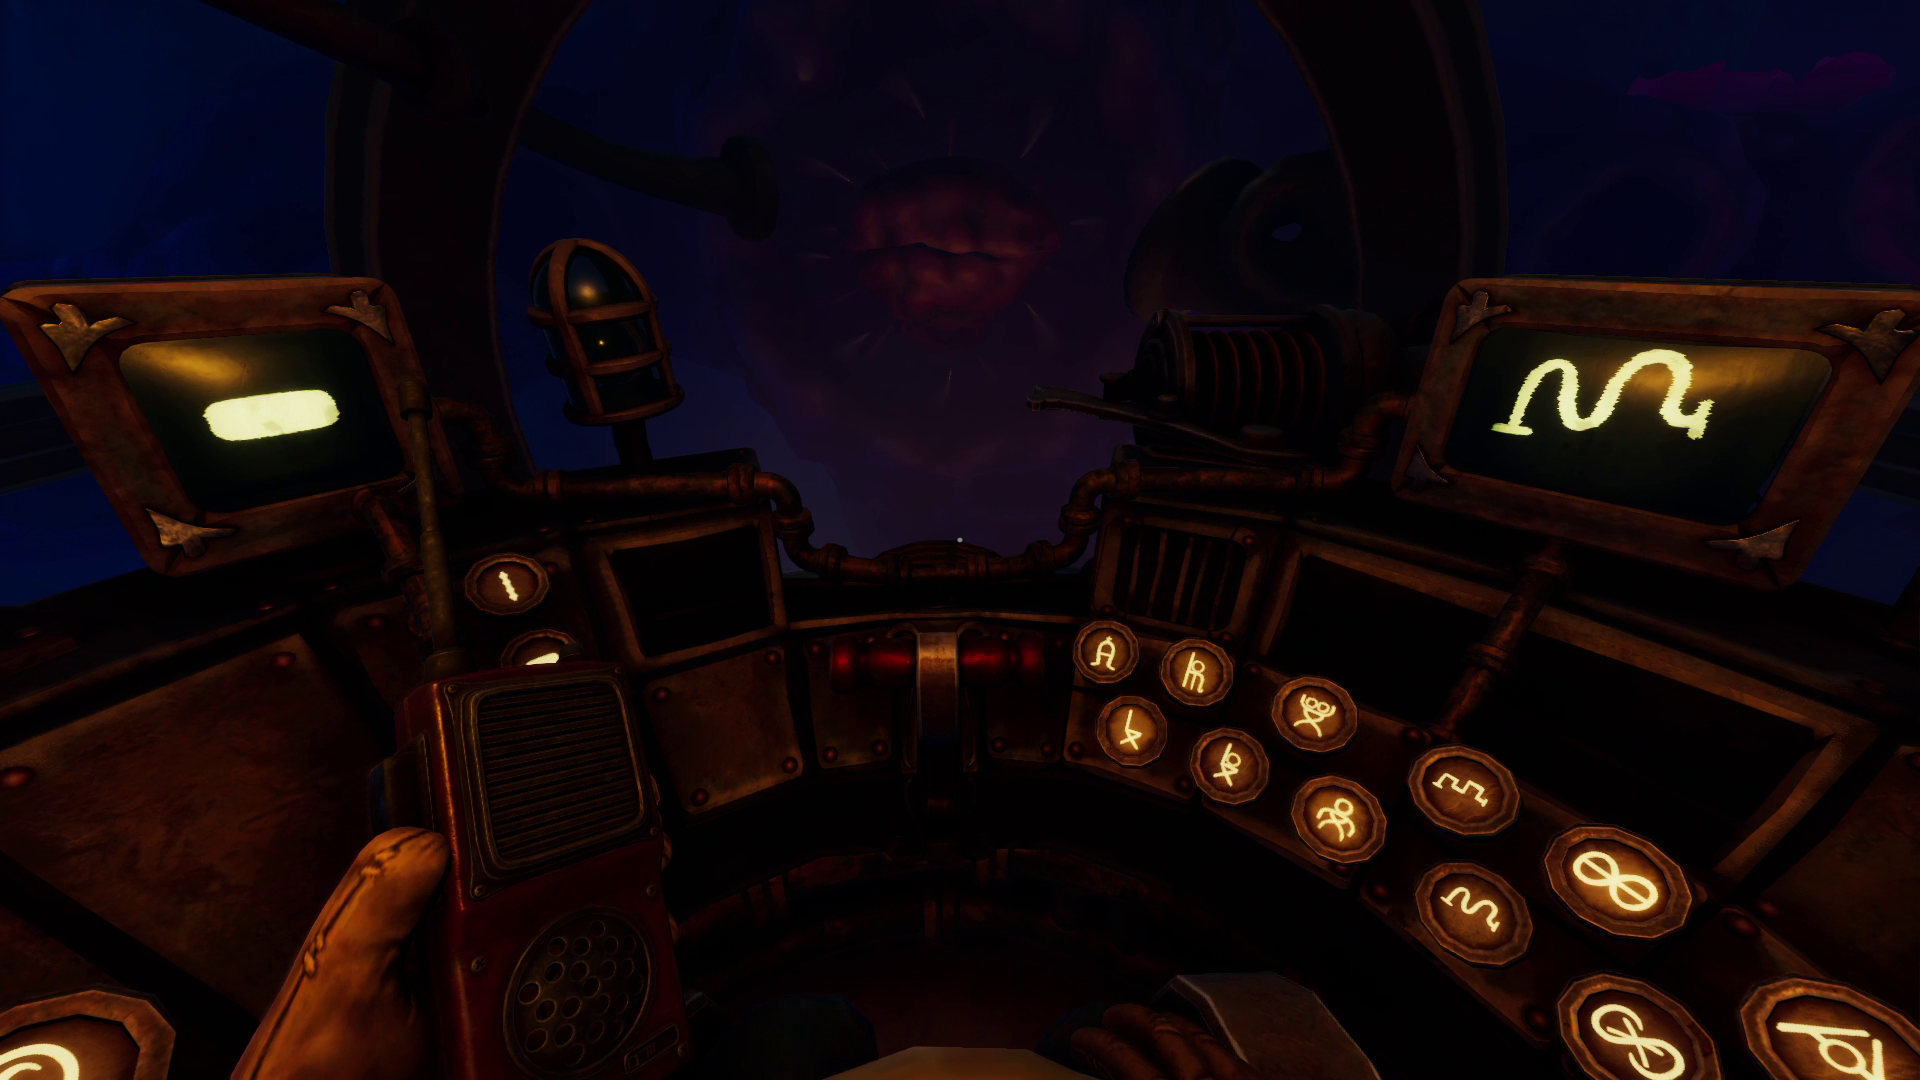
Send messages in this specific sequence:


Message 1

 
Send Diamondand amogus Church
 
 
We Were Here Forever All Levels Full Game Walkthrough - ├─ The Deep (kraken) - 8EA9170


Message 2

 
Send Rectangle and Two Head Person
 
 
We Were Here Forever All Levels Full Game Walkthrough - ├─ The Deep (kraken) - 6539666


Message 3

 
Send Rectangle and Person with the Raised Hand
 
 
We Were Here Forever All Levels Full Game Walkthrough - ├─ The Deep (kraken) - 68D2C64


Message 4

 
Send Rectangle and Curved Line
 
 
We Were Here Forever All Levels Full Game Walkthrough - ├─ The Deep (kraken) - 1373D01


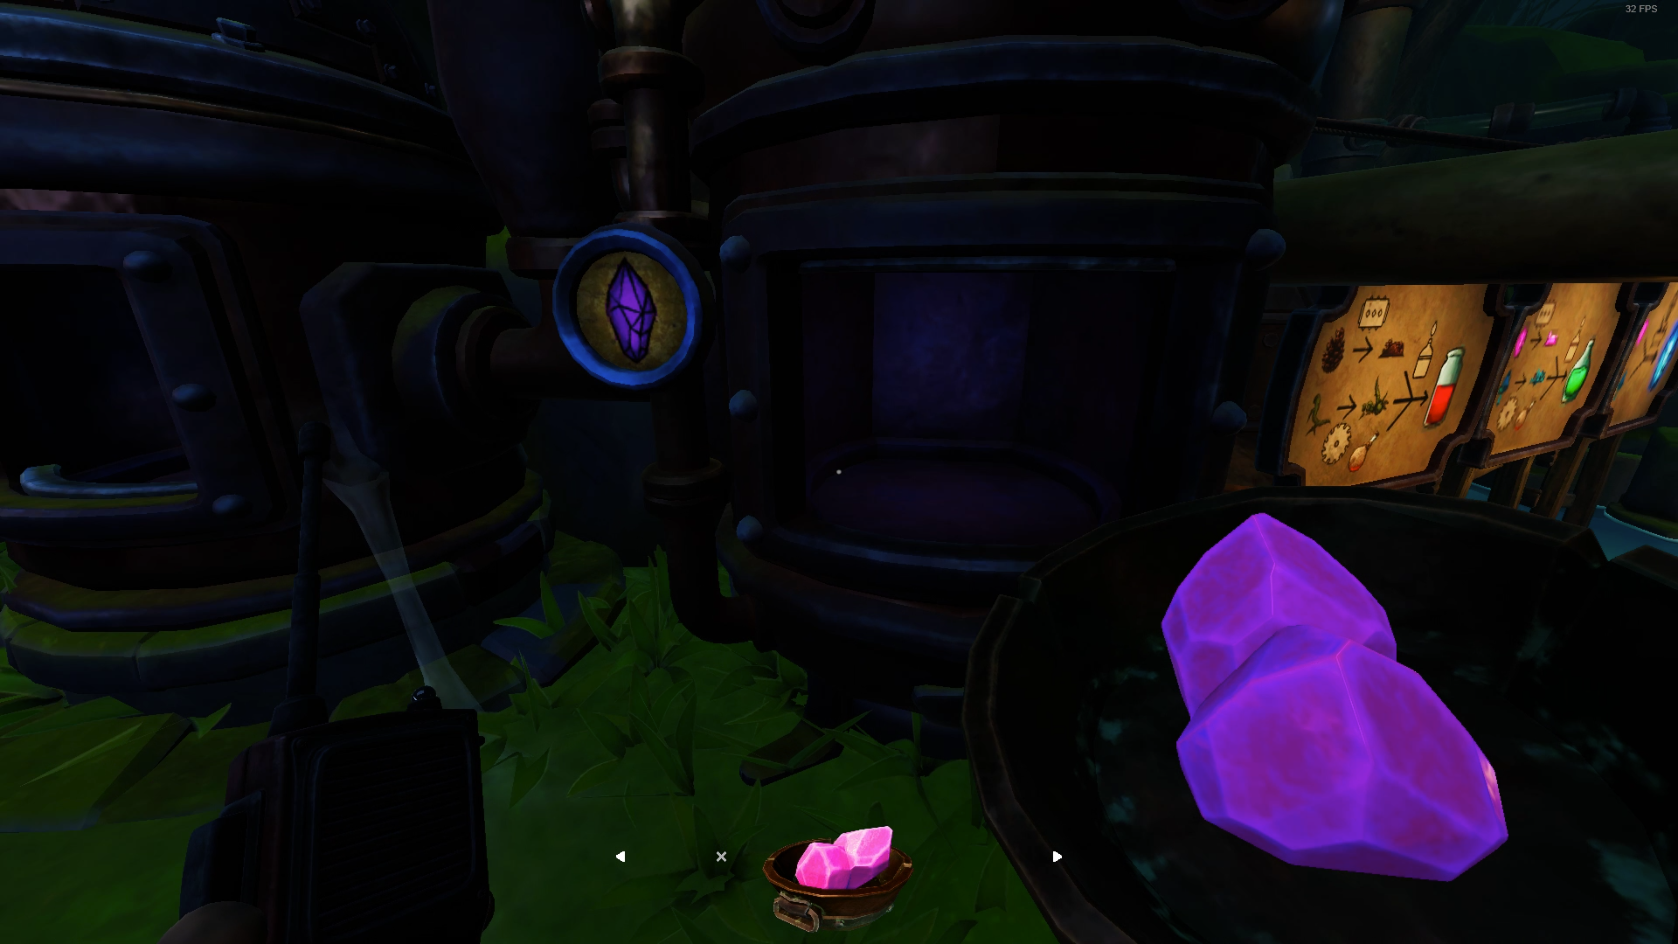
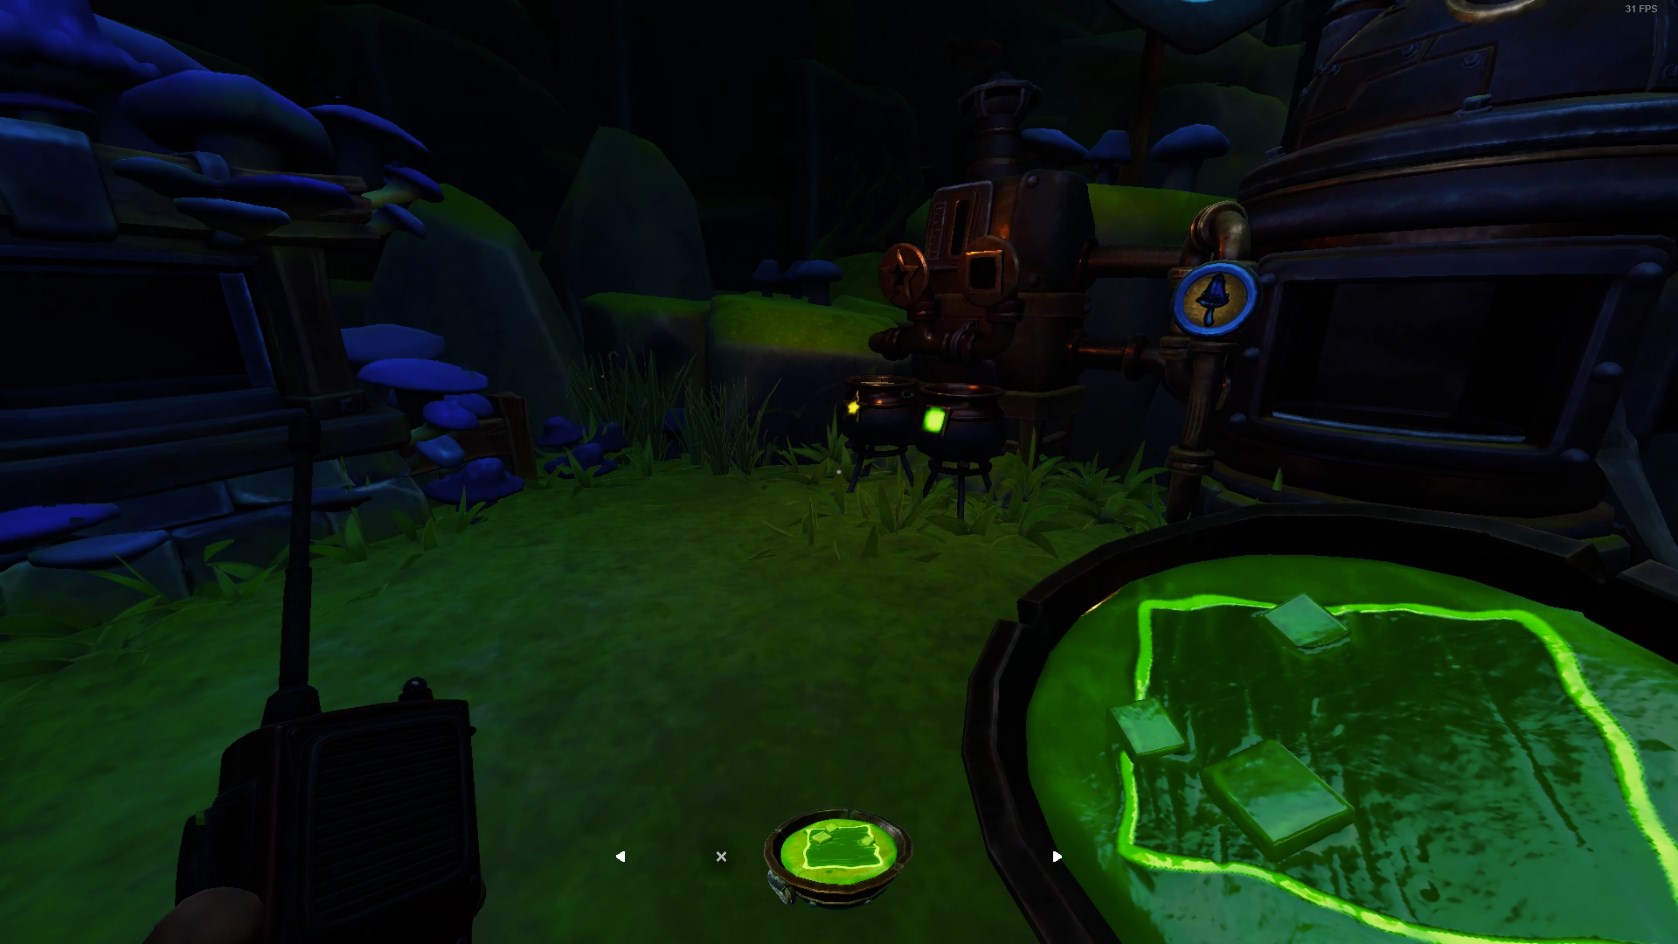
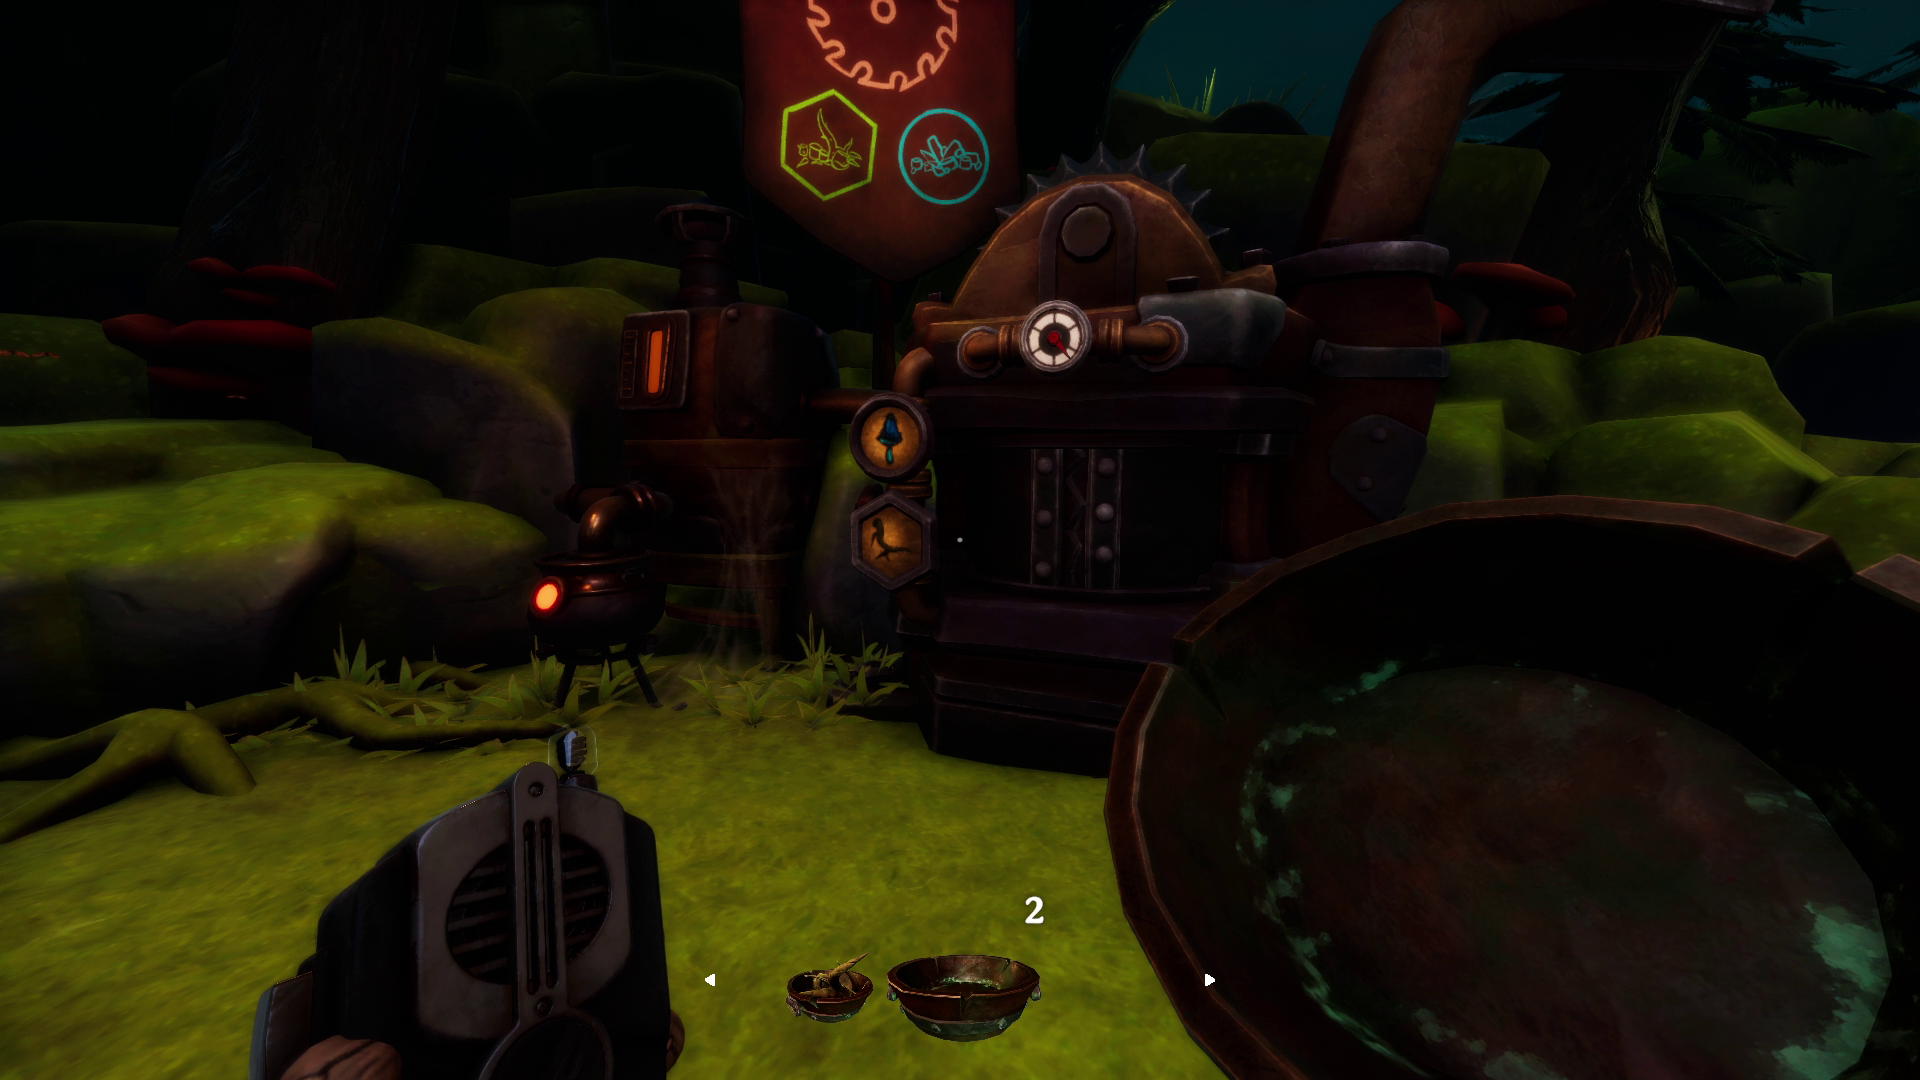
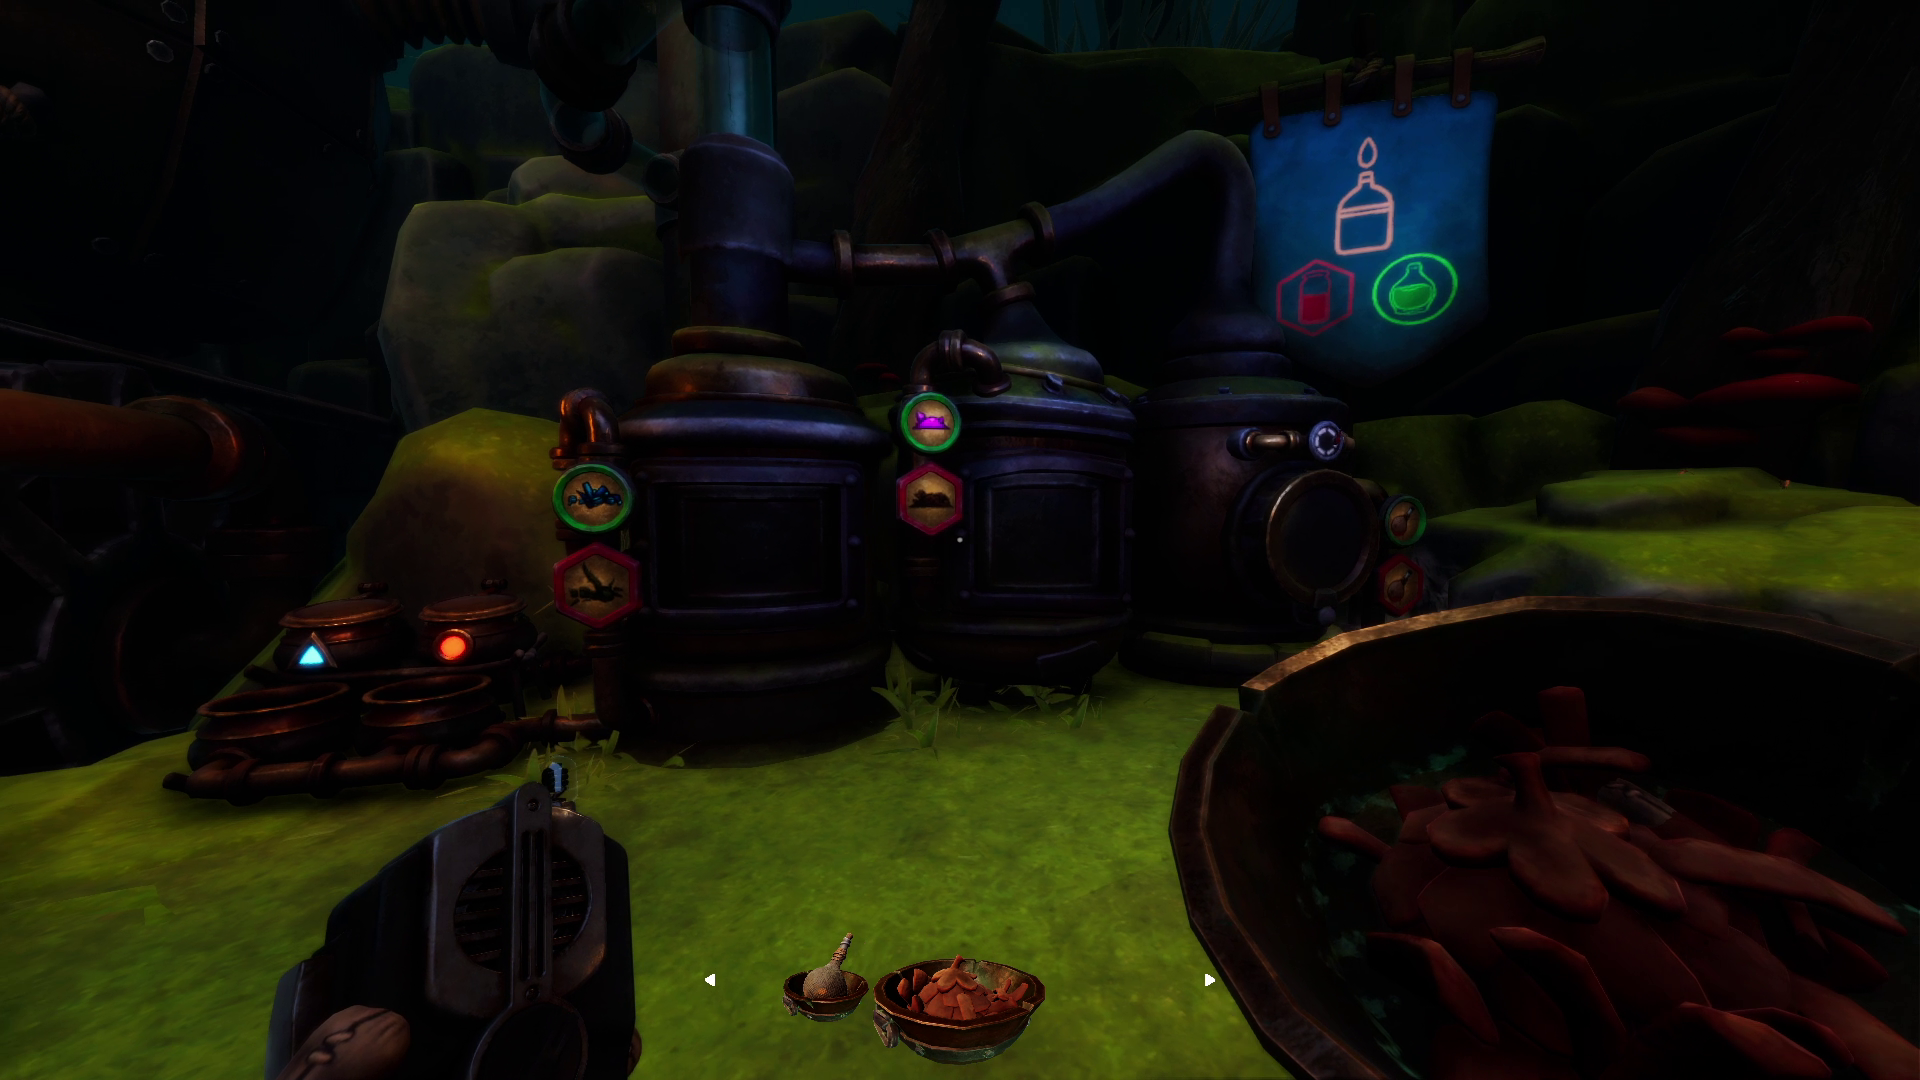
├─ The Assembly (cooking meth)

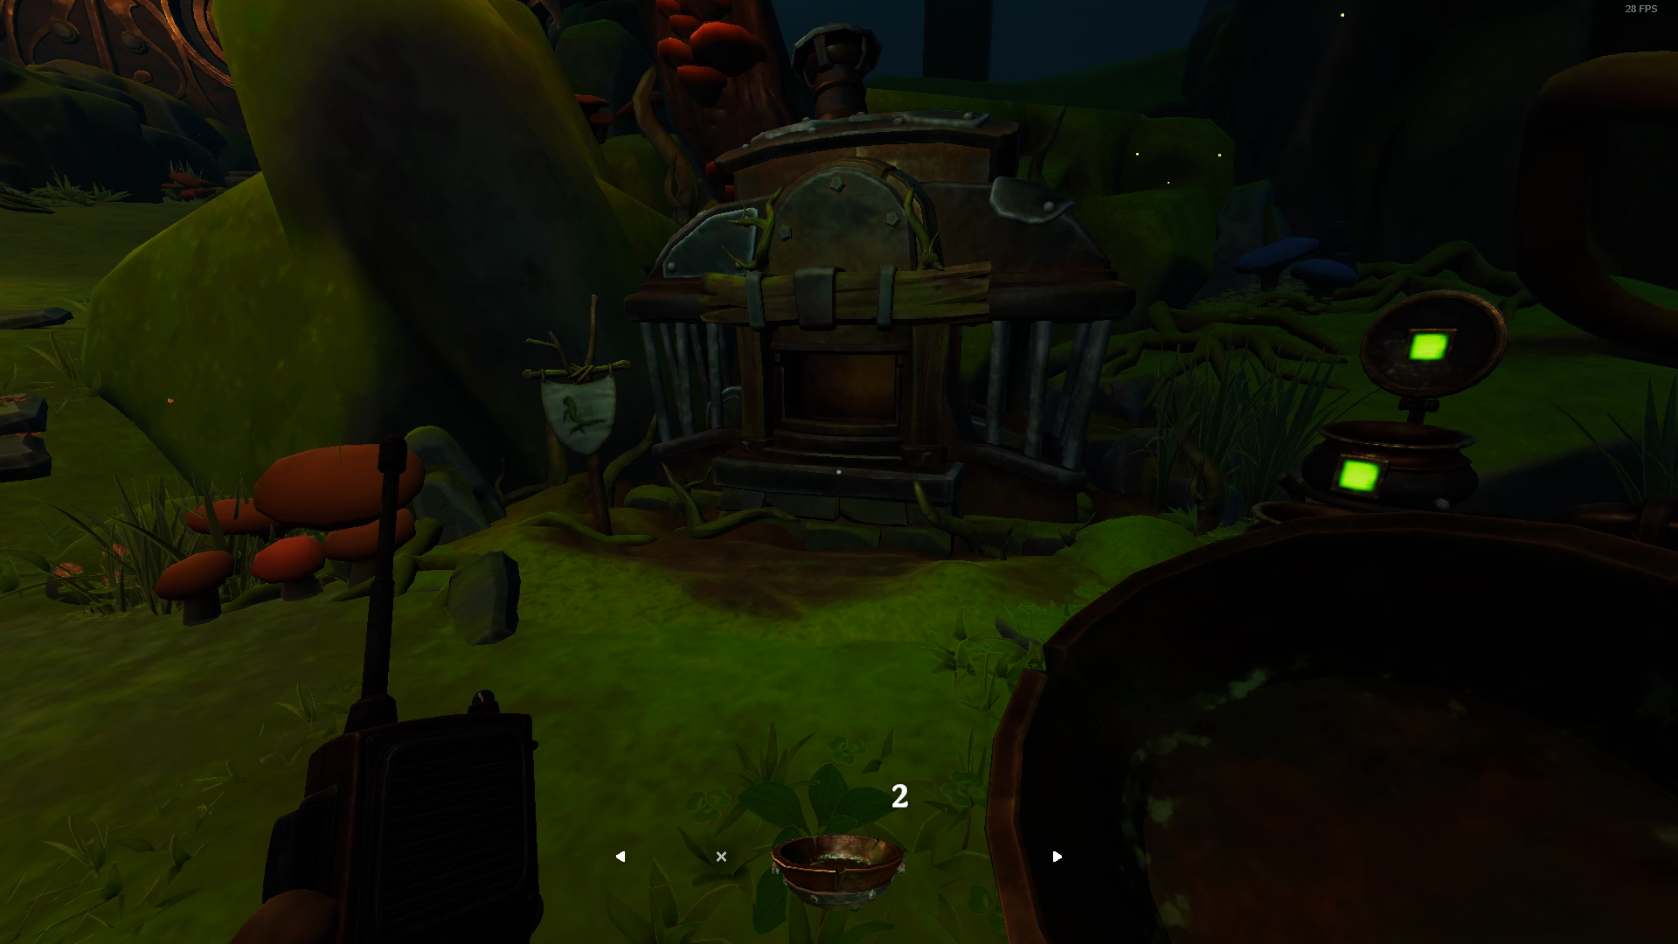
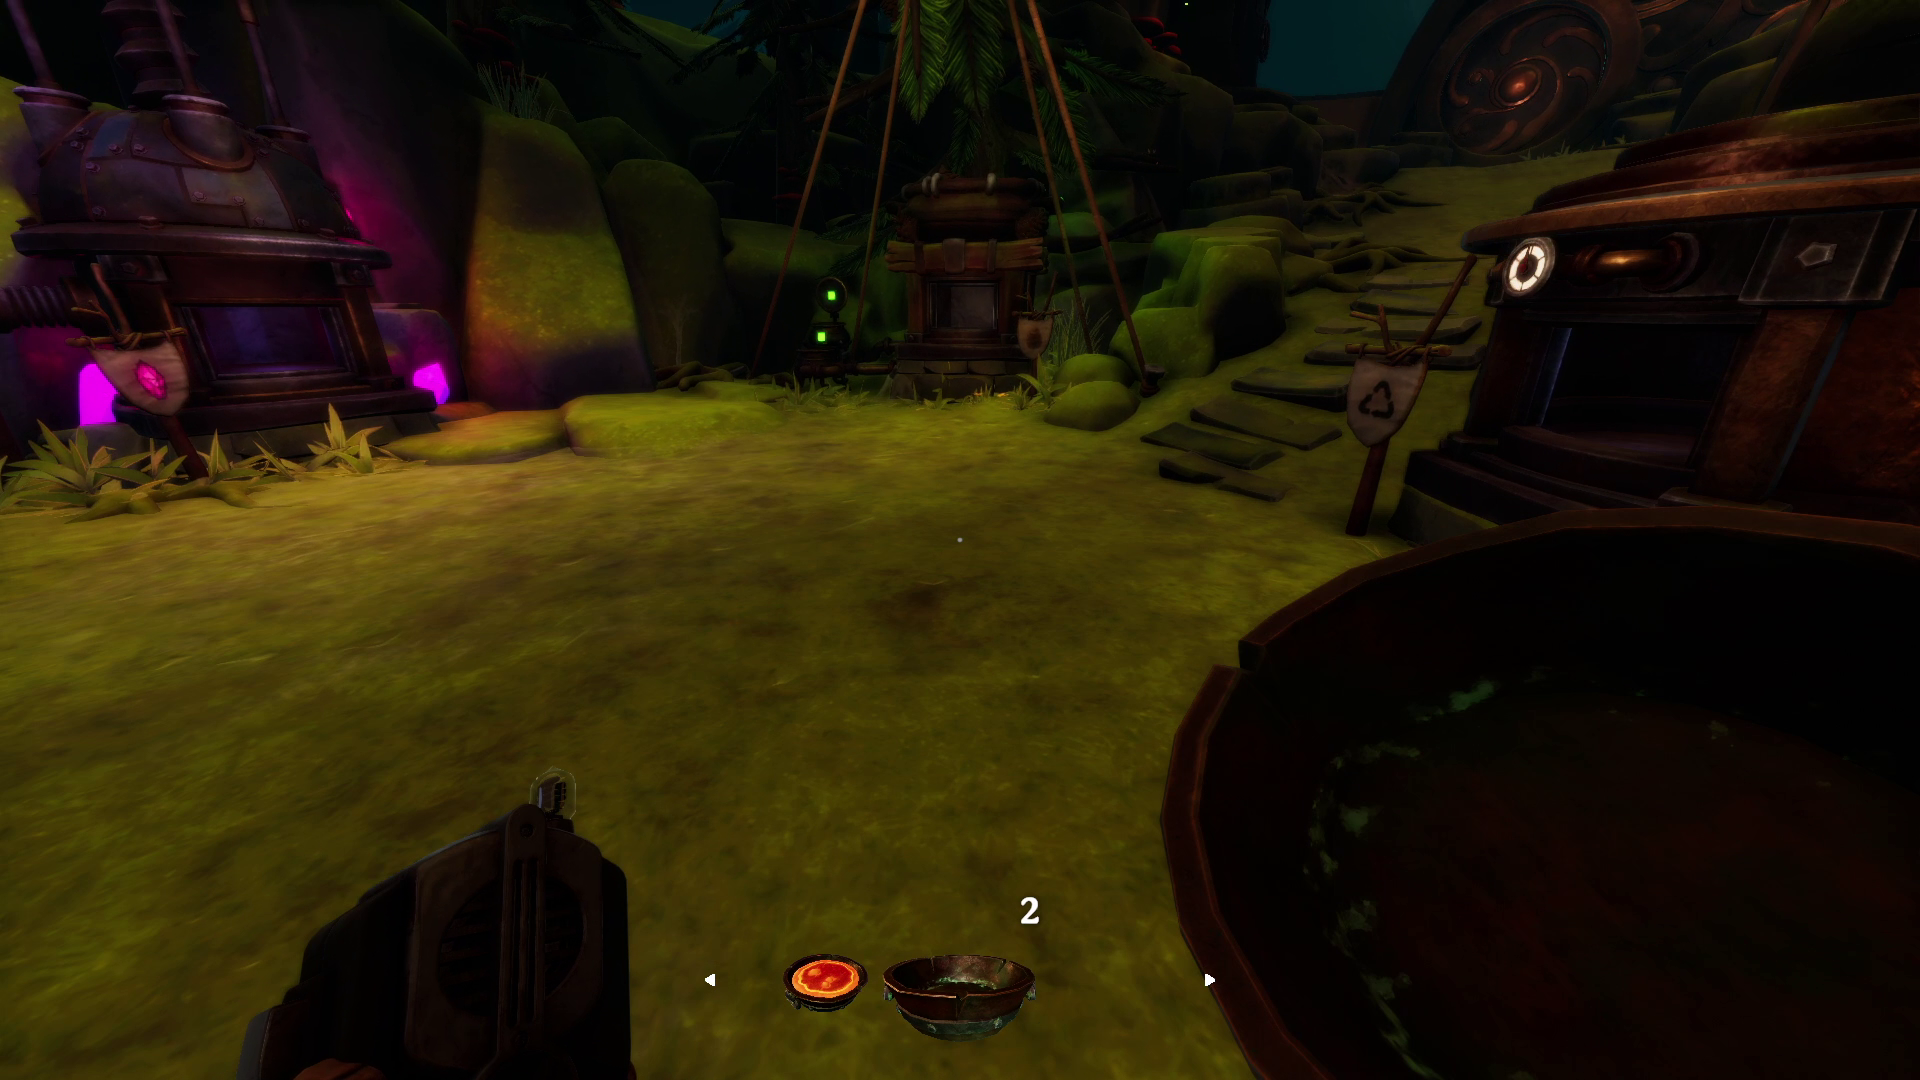
To complete the task you need to do in a limited time:
 
2 red jars
 
1 green jar
 
3 blue cristal
 
 
Our stratage to complete was:
 
Left Player / Right Player
 
 
Left Player take plate, fill it with rootand send to Right Player
 
 
We Were Here Forever All Levels Full Game Walkthrough - ├─ The Assembly (cooking meth) - 3491CCF
 
 
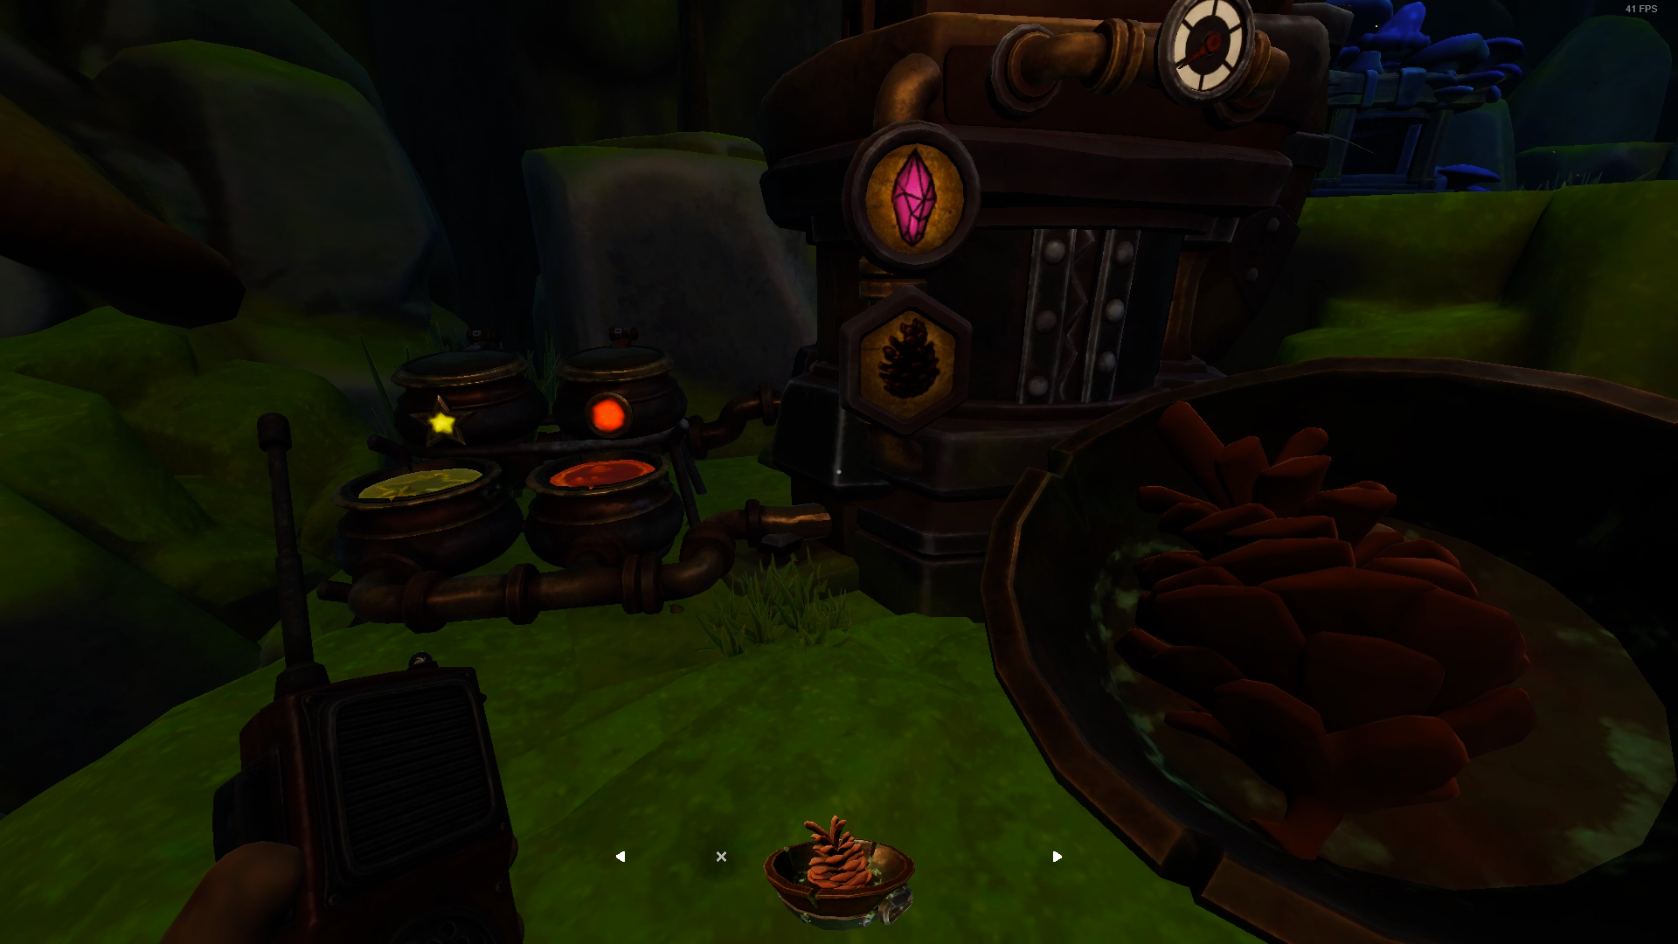
Right Player take green stuff to create cones
 
 
We Were Here Forever All Levels Full Game Walkthrough - ├─ The Assembly (cooking meth) - 41304BE
 
 
Right Player send2 coneand 1 clistaland green stuff
 
Left Player Take [bred and yellow stuff[/b] to grind 2 conesand put cristal
 
 
We Were Here Forever All Levels Full Game Walkthrough - ├─ The Assembly (cooking meth) - A5C5665
 
 
We Were Here Forever All Levels Full Game Walkthrough - ├─ The Assembly (cooking meth) - 630A12D
 
Left Player send red stuff
 
Left Player take green stuffto create 2 concentrates
 
Left Player send 2 concentrate and 2 grinded cone
 
Left Player take green and yellow stuff and mushroom
 
We Were Here Forever All Levels Full Game Walkthrough - ├─ The Assembly (cooking meth) - DB2F376
 
 
Left Player start cook first blue clistal
 
Right Player start cutting root
 
 
We Were Here Forever All Levels Full Game Walkthrough - ├─ The Assembly (cooking meth) - 4AF1C88
 
 
Right Player with all ingredients start cooking 2 red jar
 
 
We Were Here Forever All Levels Full Game Walkthrough - ├─ The Assembly (cooking meth) - 735511D
 
 
Right Player send 3 cristals and red stuff
 
Left Player grind 1 cristal and create one more concentrate
 
Left Player send mushroom, concentrate and grinded cristal
 
Right Player after cutting mushroom started creating green jar
 
Left Player create 2 more blue cristal
 
After all 5 capacities fill Right Player and Left Player press leaver in the middle
 
 
We Were Here Forever All Levels Full Game Walkthrough - ├─ The Assembly (cooking meth) - 0FB779F


Written by Чarlie, Tenzist
 
 
Hope you enjoy the post for We Were Here Forever All Levels Full Game Walkthrough, If you think we should update the post or something is wrong please let us know via comment and we will fix it how fast as possible! Thank you and have a great day!


Be the first to comment

Leave a Reply

Your email address will not be published.


*