
An in-depth guide on how to obtain all the achievements in Little Nightmares 2.
Introduction
Before reading, I’d strongly suggest you play through the game to avoid possible spoilers, then return for a second achievement run.
I’ll be covering:
Achievements
Hats
Glitching Remains
Which contains spoilers for the game in general, so like I said come back after a complete playthrough. Anyways, without further ado, let’s start with the achievements:
Chapter 1 Achievements

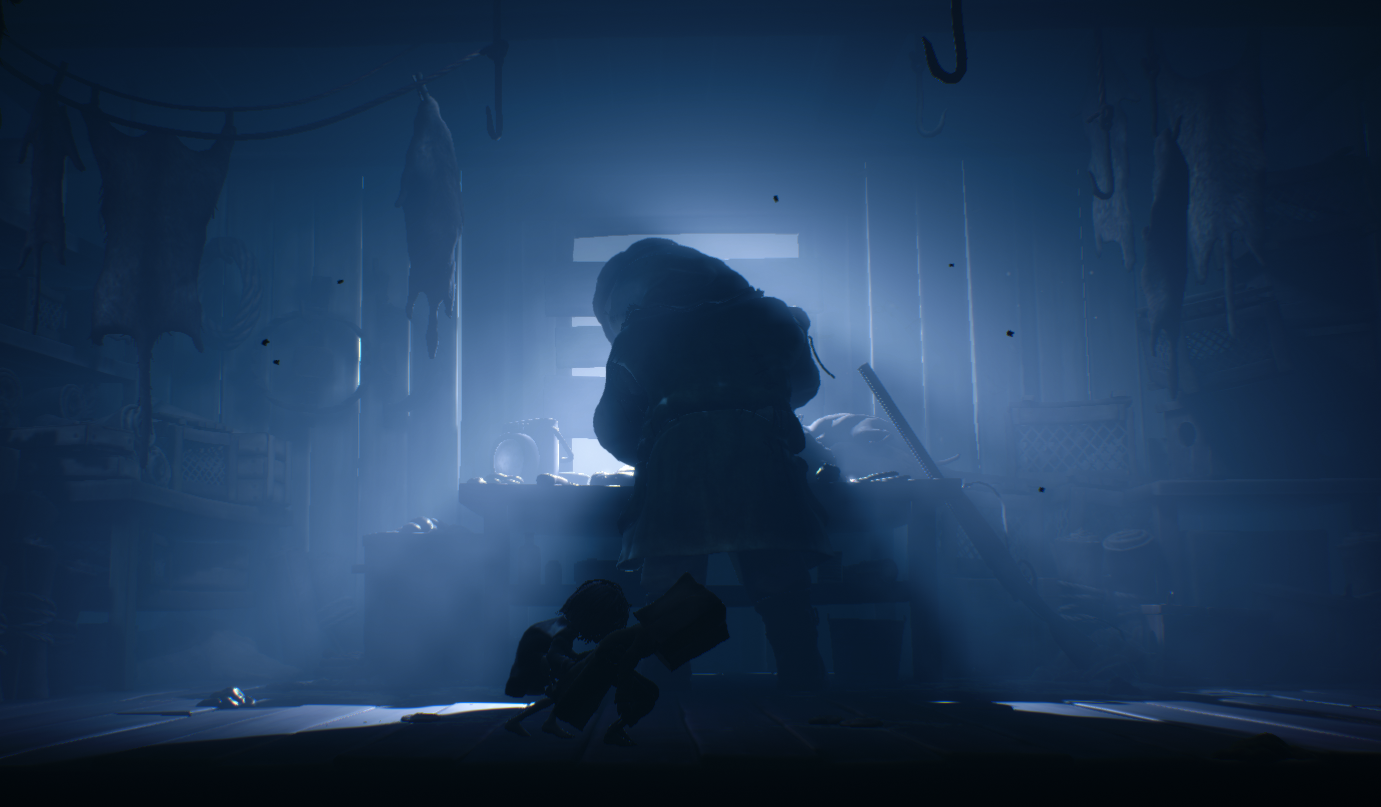
Make your way to the Hunter’s Cabin without dying

After entering the cabin, open the fridge at the other side of the kitchen.

Have the raccoon hat equipped whilst shooting The Hunter.

Find all of the Glitching Remains in Chapter 1.

Complete Chapter 1. (Story)
Chapter 2 Achievements

Equip the Ball Hat in the school’s playground, and walk through the goal.

Send the paper airplane found in the school’s bedroom, outside the window you came in from.

Use the shelf in the classroom closet to crush the Bullies.

After using the elevator outside the classroom, grab the pipe within the drawing area and leave without breaking the Bully.

After rescuing Six from the Bullies, make your way into the next building, There you will find a piano. Walk back and fourth on the piano until you get the achievement.

Find all of the Glitching Remains in Chapter 2.

Find Six’s raincoat. (Story)

Complete Chapter 2. (Story)
Chapter 3 Achievements

Find the vending machine and exhaust it of it’s contents. (Is not obtainable at the reception at the beginning of Chapter 4.)

Whilst the X-Ray Scanner is active, stand behind the screen and hold Six’s hand.

Whilst wearing the Bear Hat, use the furnace to burn the bear plush found in the hospital’s playroom.

Find the corn beside the wheelchair beyond the first fuse-powered door, and burn it in the furnace.

After “killing” the hand, hit it three more times to get the achievement. (Can be performed a total of 2 more times if missed the first chance.)

Just after being chased by mannequins in the patient ward, find the cheese marked by an eye beside a bed. Just outside of the room (behind the door), there is a gap in the bars. Go through and into the room on the left, and throw the cheese into the hole in the middle of the room.

After making it out of the dark hallway filled with mannequins, throw the ball (just outside the door), into their hands.

Instead of burning The Doctor, lock him inside the furnace and leave through the elevator.

Find all of the Glitching Remains in Chapter 3.

Complete Chapter 3. (Story)
Chapter 4 Achievements

Find the Lady Statue and break it. (More context at Chapter 4 Glitching Remains Locations)

After jumping down the garbage chute of the first apartment you enter, you will find a suitcase with a package inside of it. Equip the Delivery Hat, and send it through the door on the far left’s mail slot.

Find all of the Glitching Remains in Chapter 4.

Complete Chapter 4. (Story)
Chapter 5 Achievements

Complete Chapter 5.
Miscellaneous Achievements

Call to Six a total of 26 times.

Hold Six’s hand for a total of 6 minutes.

Find half of the hats in the game.

Find all of the hats in the game.

Wear the hat unlocked upon beating the game.

Find all of the Glitching Remains throughout the chapters. (Will be unlocked when last Glitching Remain is found / Unlocks secret ending cutscene upon completing the game.)

Obtain all of the Achievements within the game.
Hat Locations Intro
It’s time to move onto the various hats found in the world of Little Nightmares 2. Every chapter has two hats hidden within them (with the expection of Chapter 5), we’ll cover all of them including the Digital Content Bundle (Nome’s Attic DLC):
Chapter 1 Hat Locations
The Mokujin Hat is only available if you pre-ordered the game.
Raccoon Hat
Is found just beyond the front door of the Hunter’s Cabin. After exiting the kitchen, head down the hallway and to the left, you will find the hat laying on the carpet in the middle of the room.
–
Nome Hat (Digital Content Bundle)
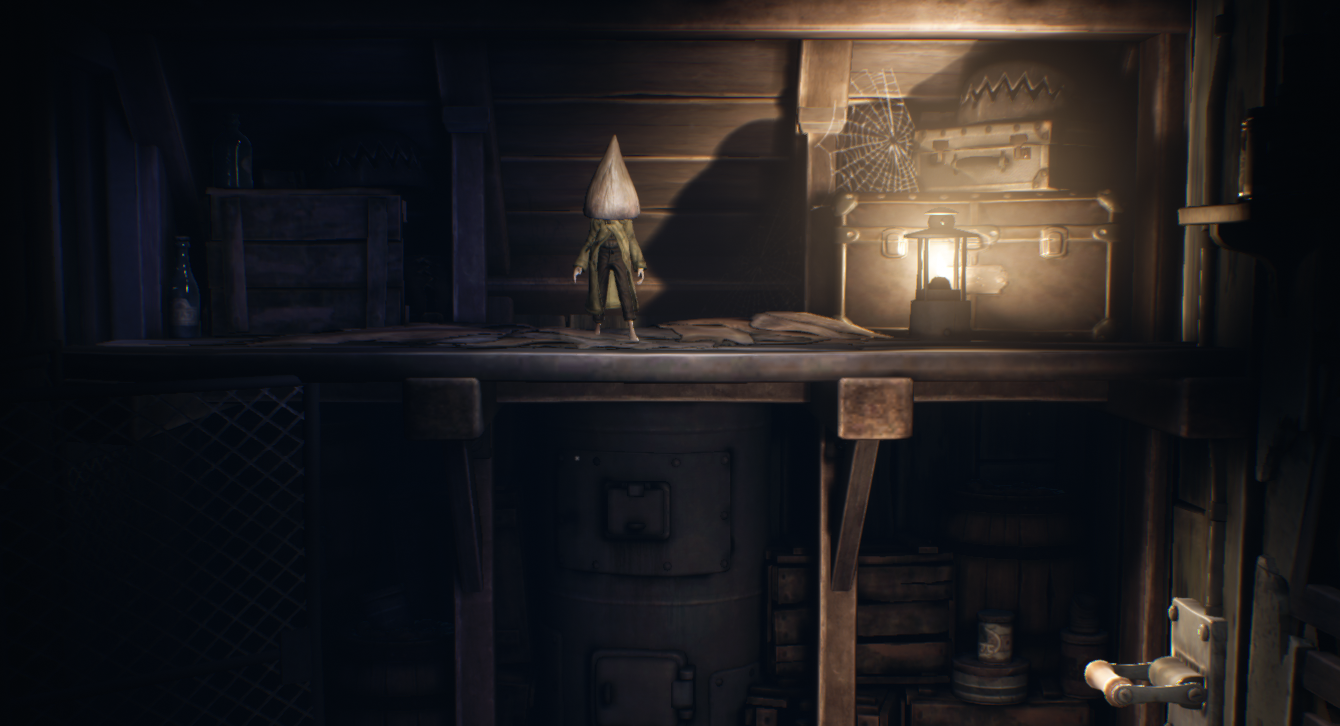
After getting the key in the Hunter’s attic, you’ll open a drawer in order to get back out. Opening the drawer will cause a Nome to run out from under the drawer and back over to the barricaded area of the attic, call Six to help you back over the cupboard and follow the Nome up further into the attic. You’ll have to fish the Nome out of it’s hiding places and then follow it through the painting passage, where you’ll have to guide the it throughout the room. After it opens the gate, you’ll pull a lever that will turn on the lights, go back to the left and open a drawer to climb up over to the Nome and the hat.
–
Rain Hat
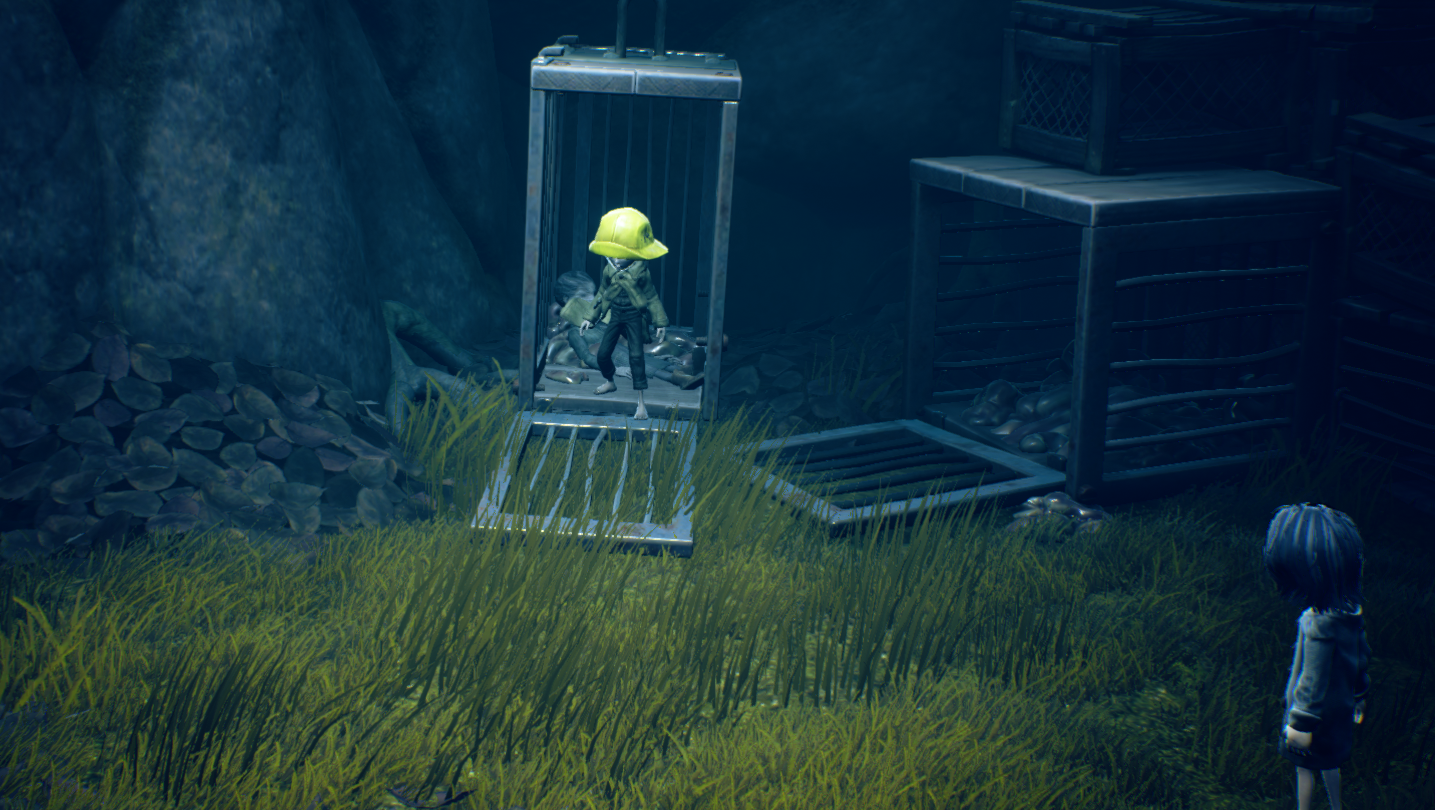
Once you have avoided the Hunter and crossed the broken bridge with Six, you will come across a couple of cages. Climb up the pile of cages and hop up onto the hanging cage and jump on it until it eventually falls. The cage door will open and you can obtain the hat.
Chapter 2 Hat Locations
Ball Hat
When entering the school’s playground, you will find the hat on a dumpster beside a goal.
–
Tin Hat
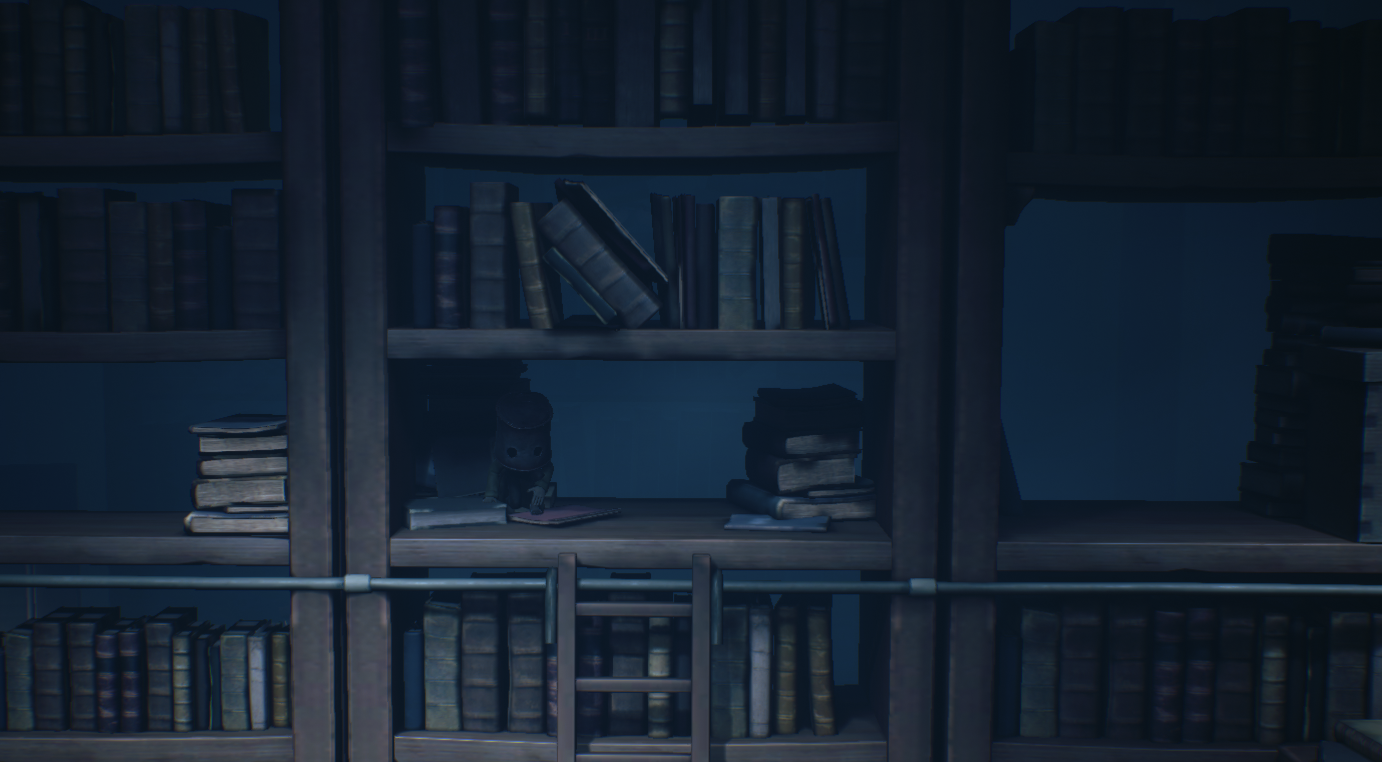
Once you reach the Library, a ladder will be spotted on the ground floor. Shift the ladder over to the next shelf and pick up the hat.
Chapter 3 Hat Locations
Bear Hat
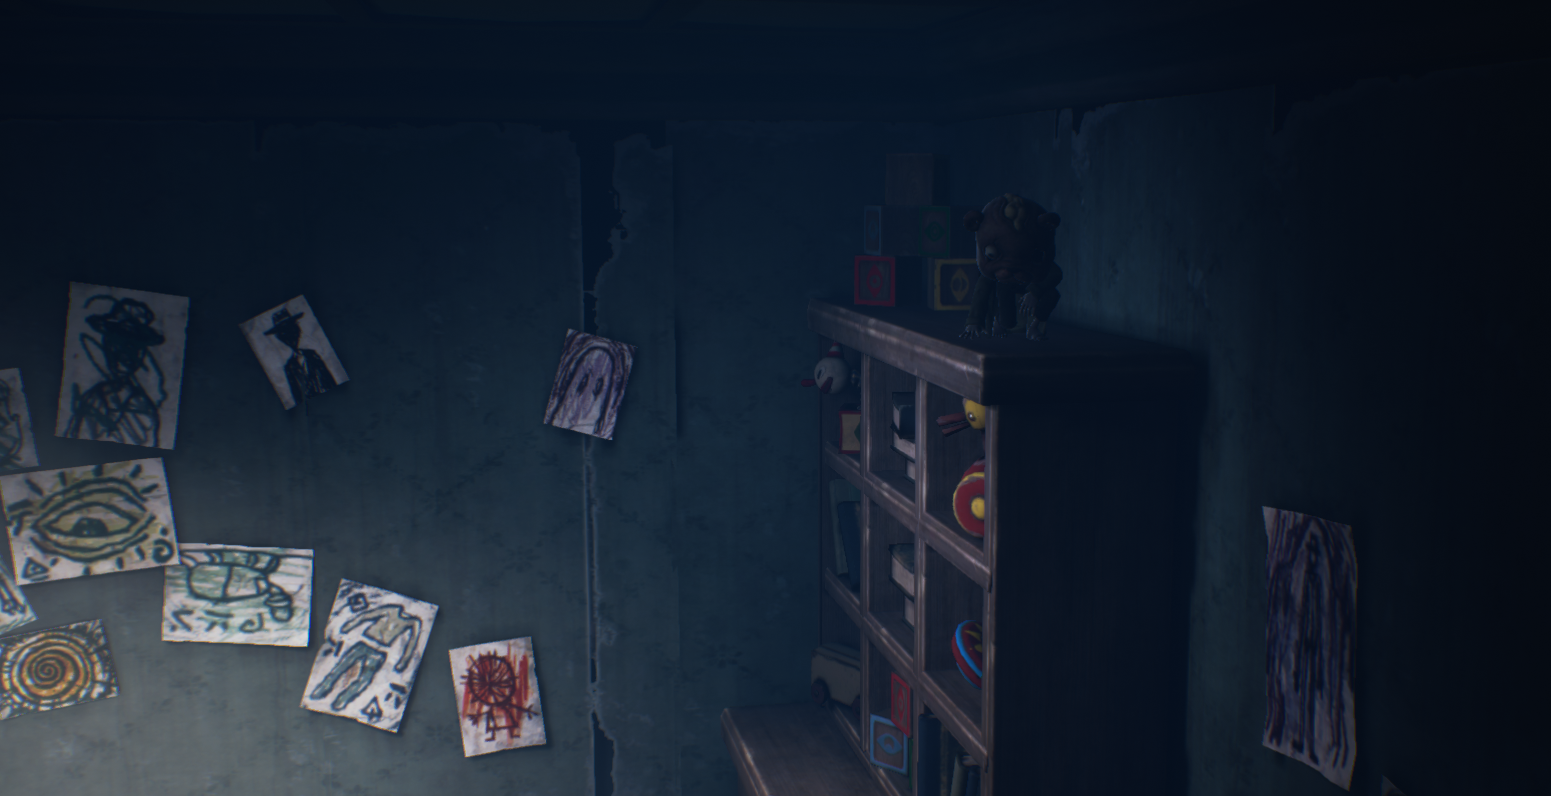
After being pulled out of the TV by Six in the hospital, head over to the far right room on the bottom floor. You will find a room filled with a couple of toys, climb up on the shelves on the right side of the room and collect the hat.
–
Bandages Hat
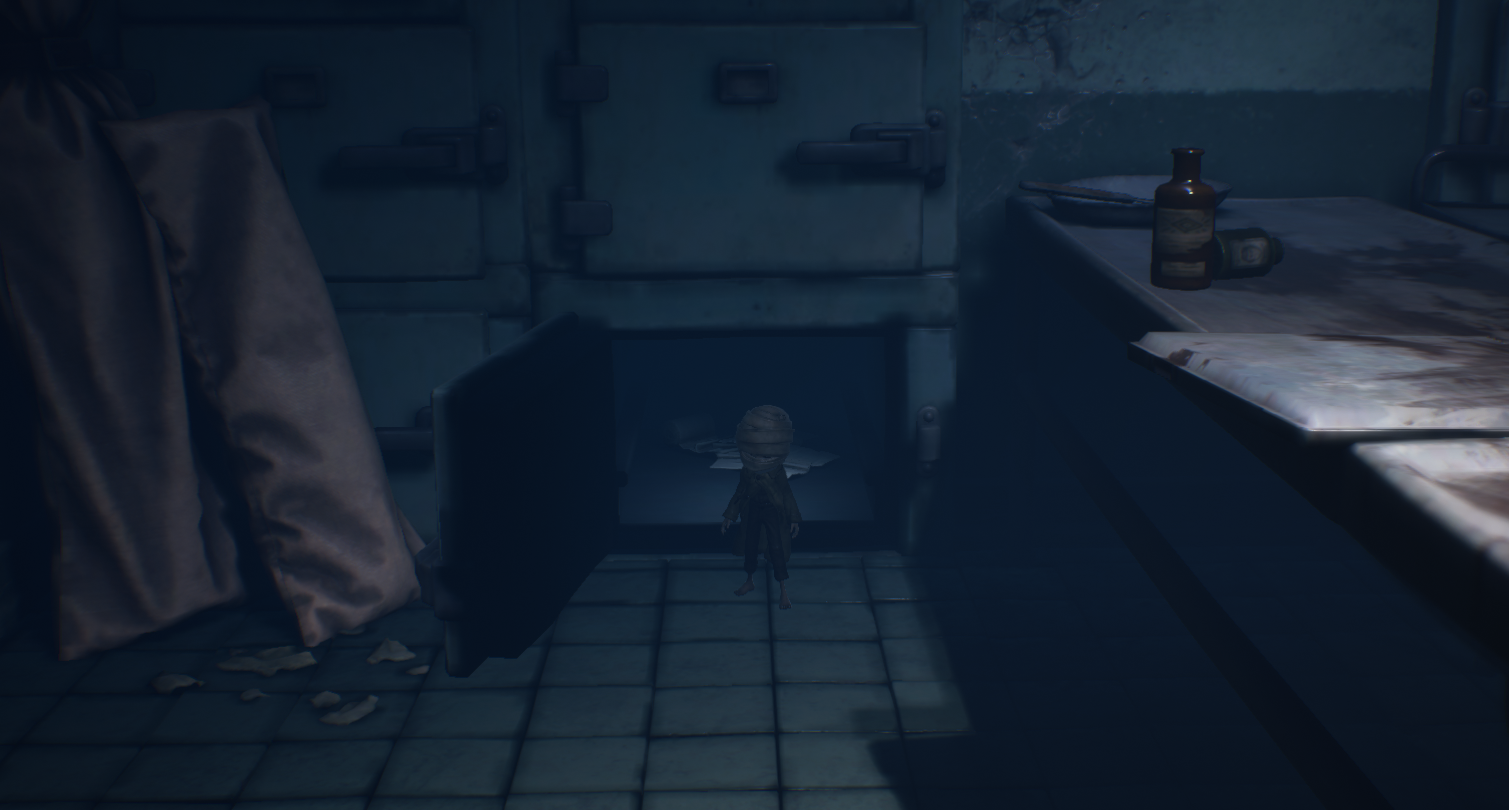
After having gotten away from The Doctor, you’ll need to find a key that requires you to search the morgue. Go over to the left side of the room and pull out the only other accessible locker and you’ll find the hat.
Chapter 4 Hat Locations
Delivery Hat
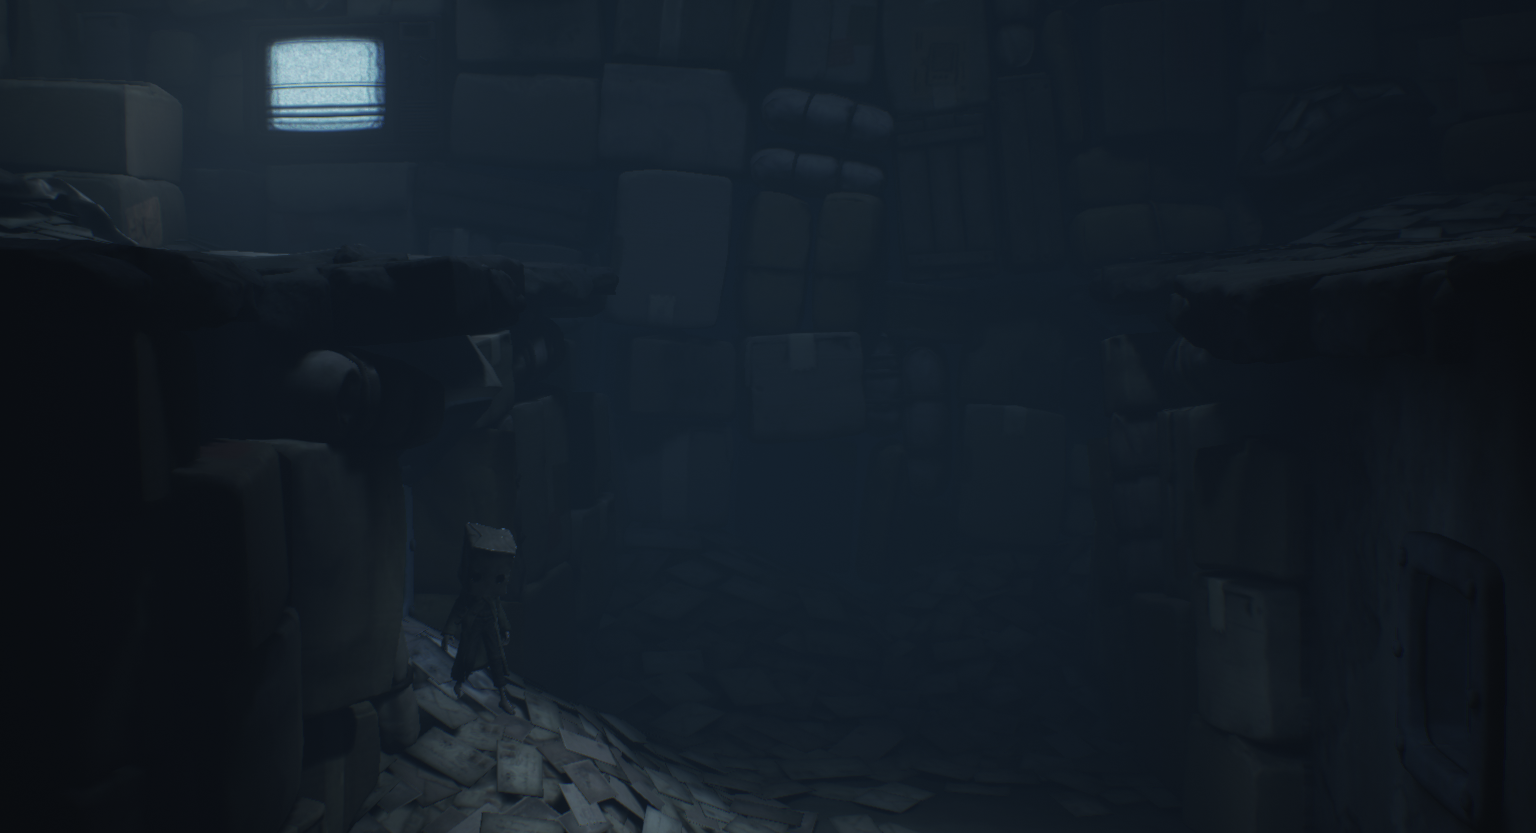
Shortly after gaining the Remote, you’ll end up in a mail room. Drop down the first gap in the floor, and climb up the pile of letters on the left side into the vent, there you will find the hat.
–
Fisherman Hat
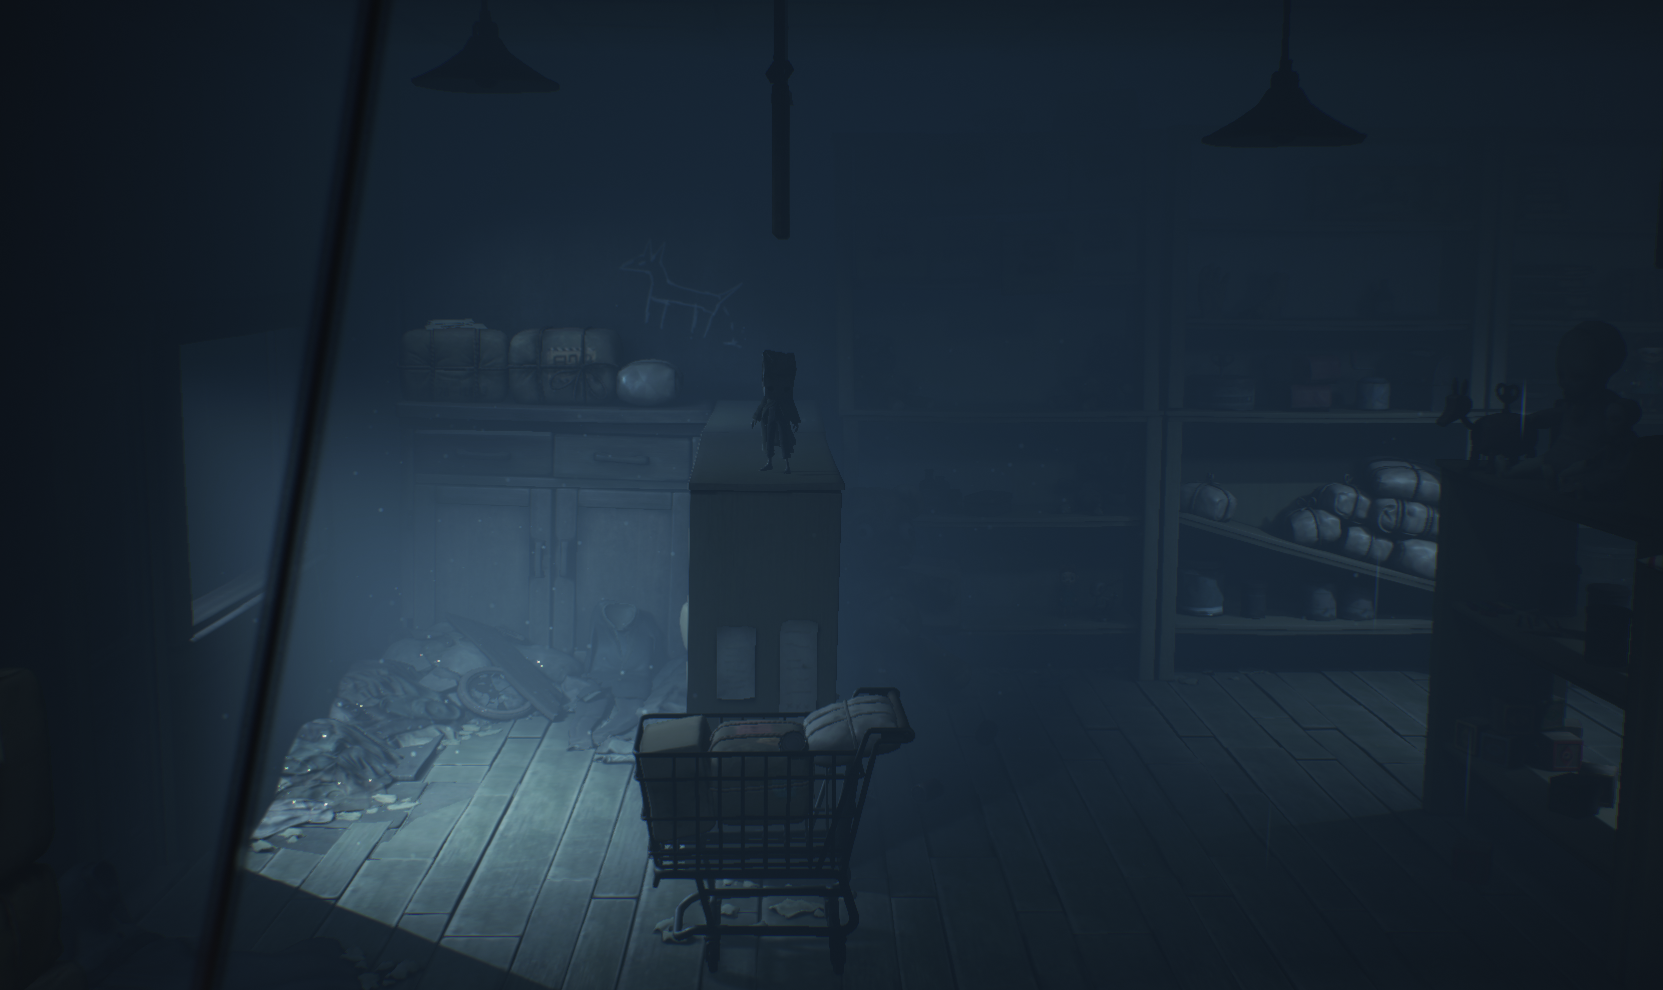
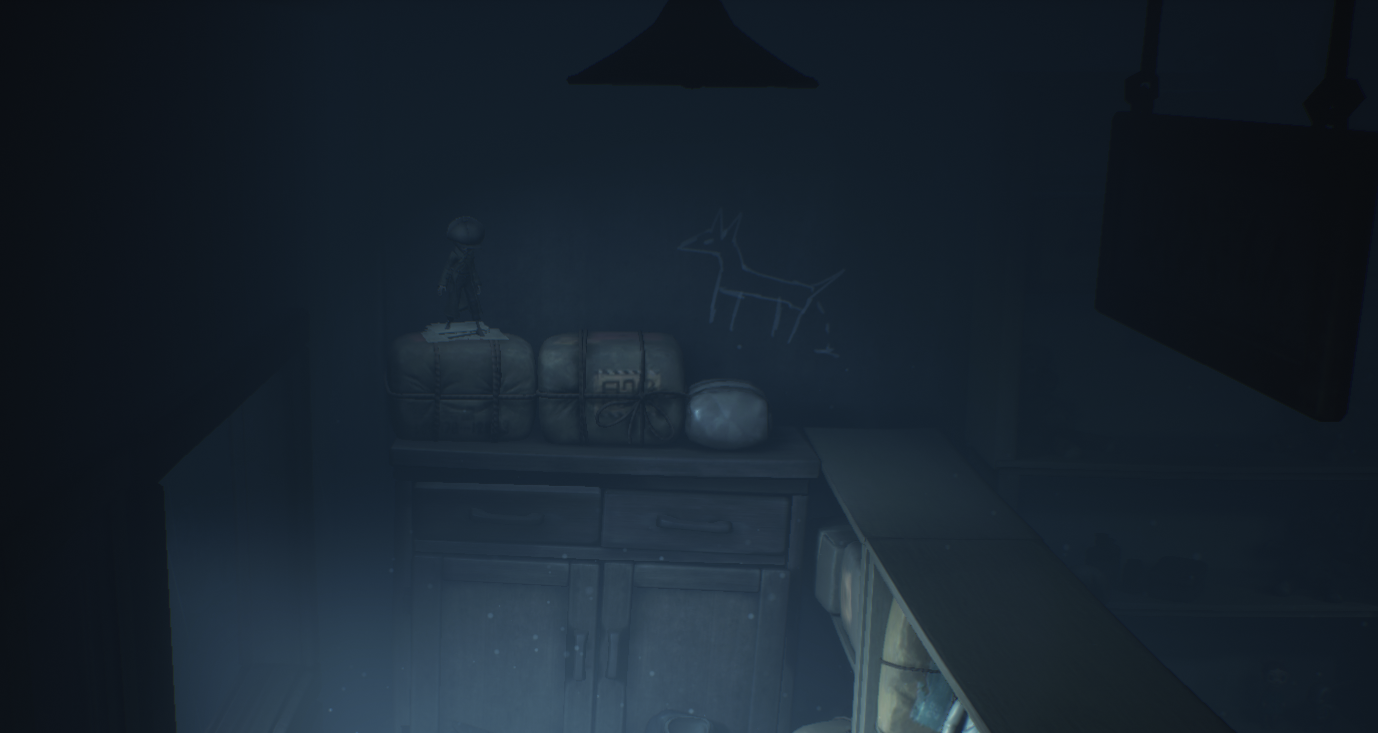
After dropping down into the alley with a few TV People, head into the flooded mail room on the right. Find the shopping cart and pull it over to the far left shelf marked by a dog, climb up and collect the hat.
Chapter 5 Hat Locations
Thinman’s Hat
Beat the game and you’ll receive the hat.
Glitching Remains Intro
And for the final part of the guide, we’ll go over where to find all of the Glitching Remains in each of the chapters. Finding all of them will reward you with a secret cutscene upon completing the game’s ending chapter again, which I highly recommend doing for lore purposes.
Chapter 1 Glitching Remains Locations
[1/4] Glitching Remains
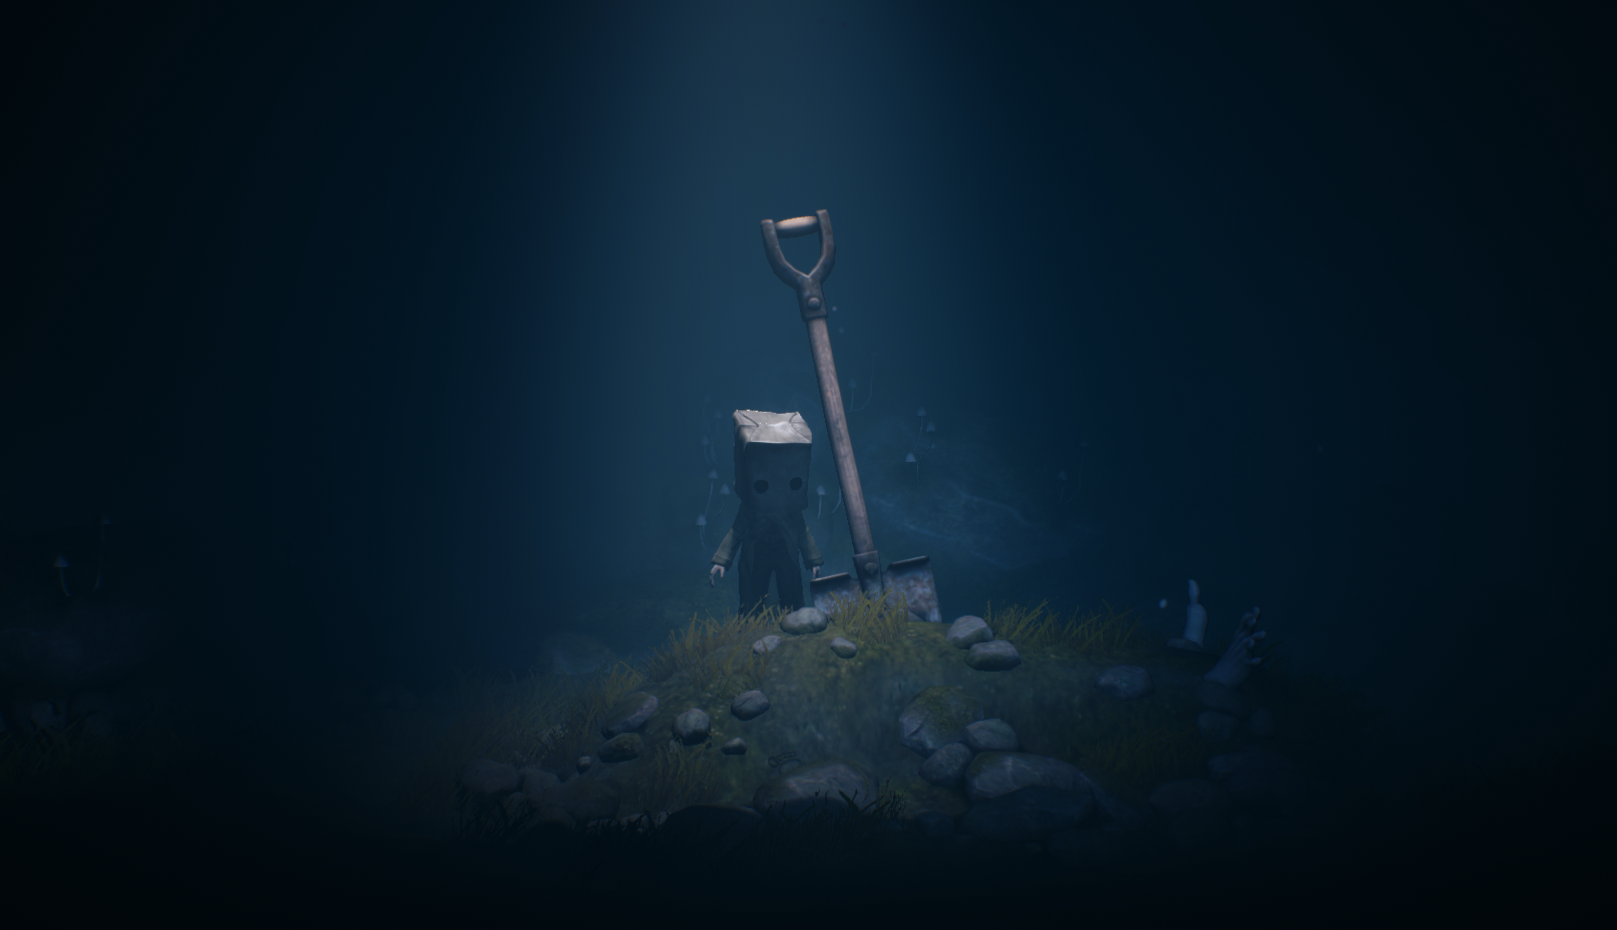
When coming across the broken bridge, drop down and go to the right. You’ll find a tunnel that leads you to a buried body and the remains.
–
[2/4] Glitching Remains
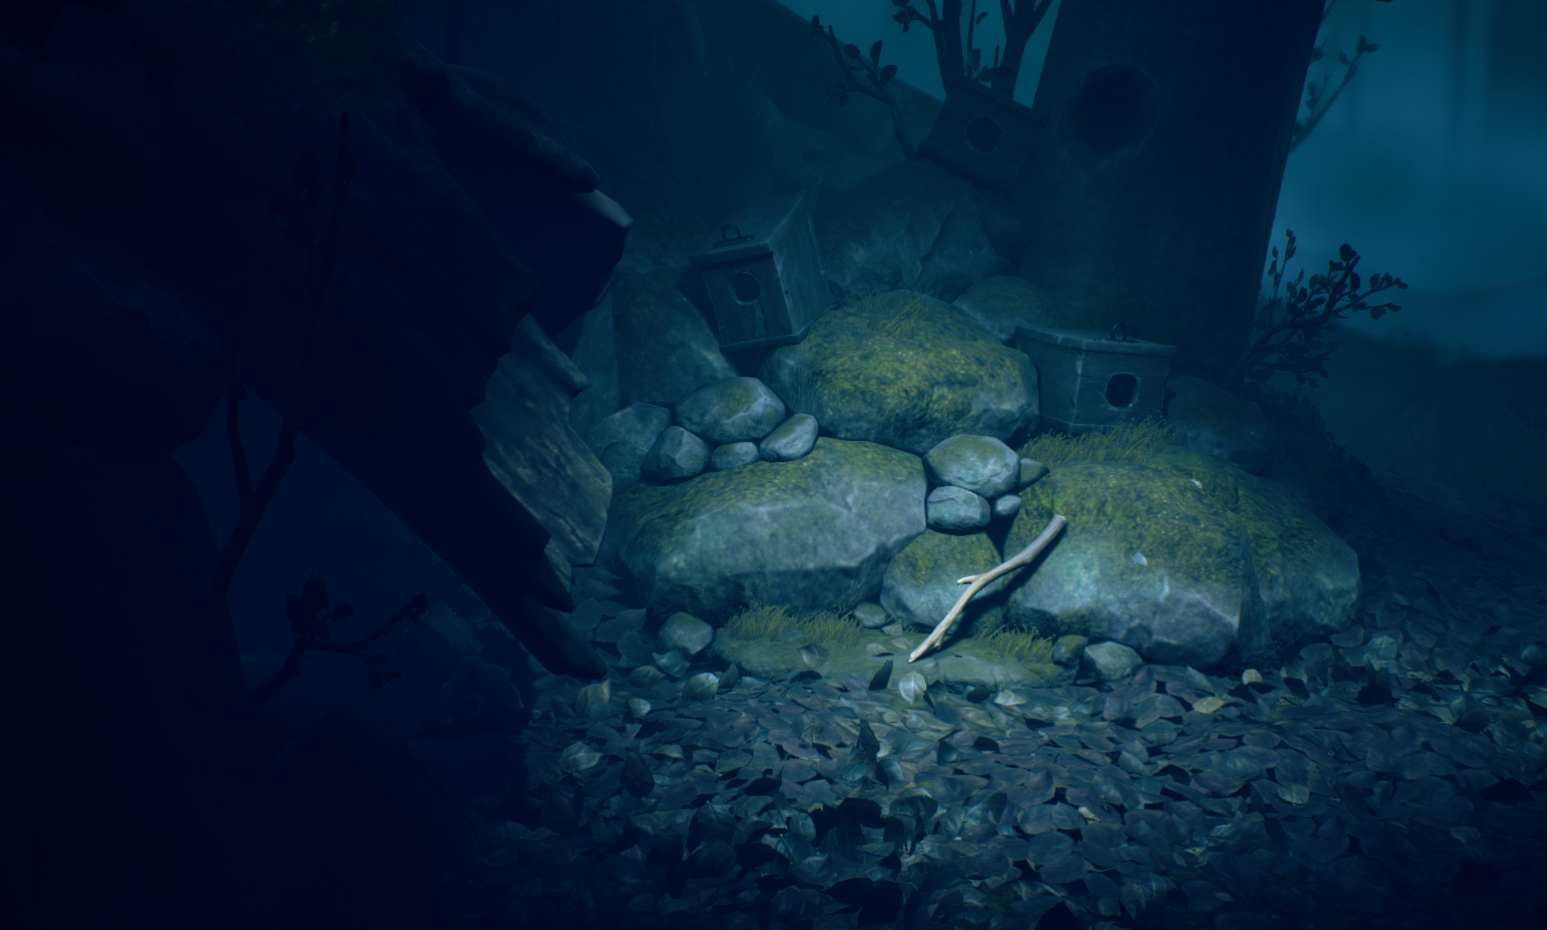
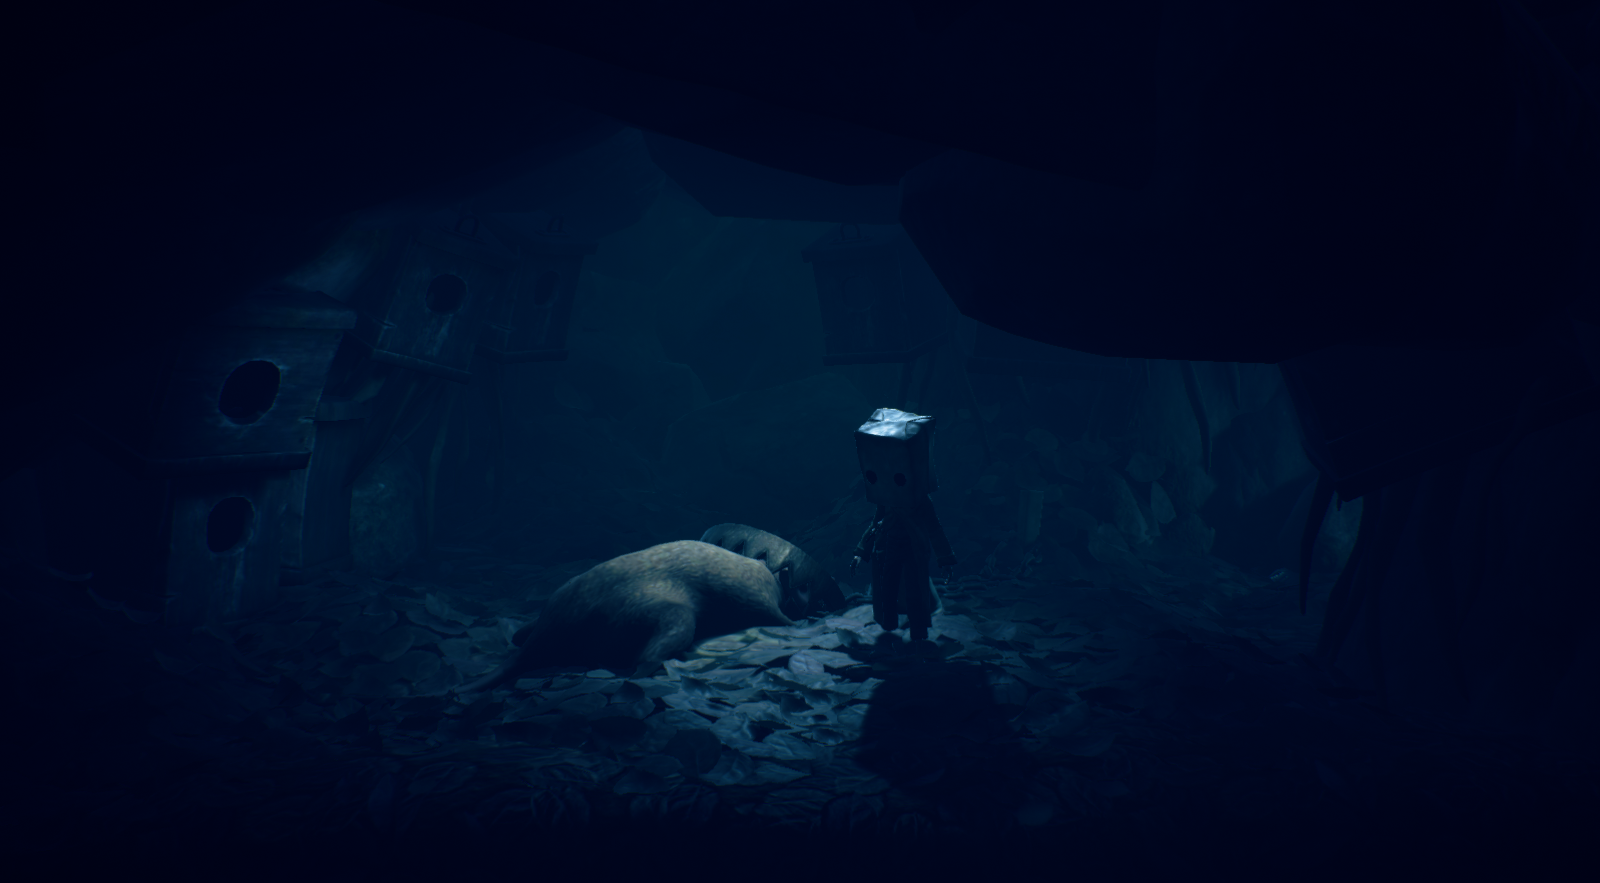
After triggering the first bear trap with a stick, you’ll slide down a log and land in leaves. Before going forward, crawl under the log and you’ll find the remains kicking a dead rat.
–
[3/4] Glitching Remains
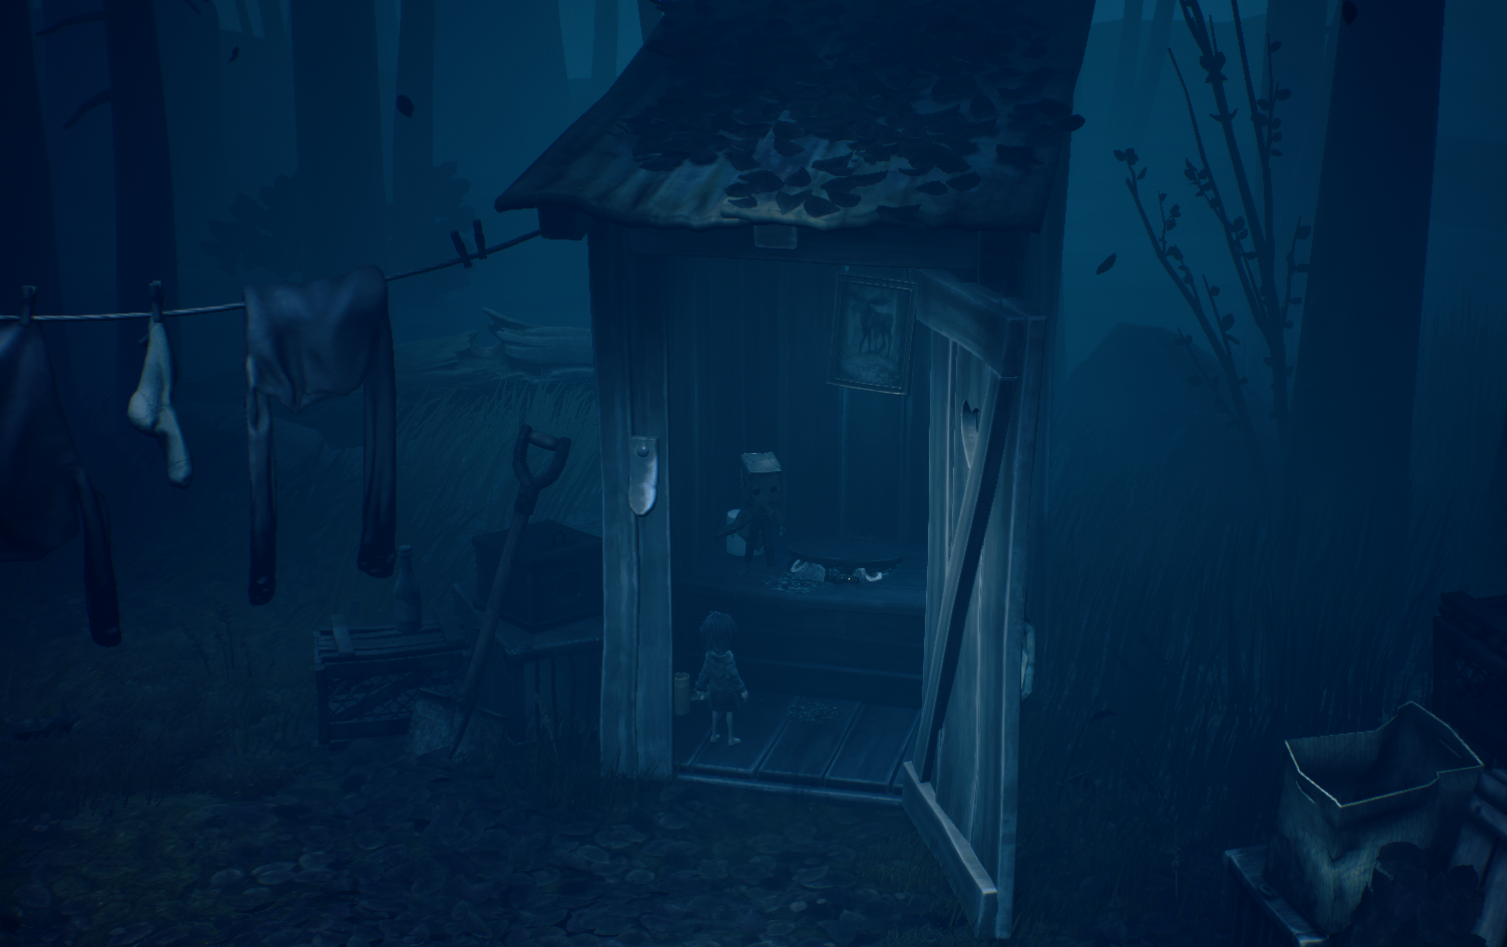
After escaping through the backdoor of the Hunter’s Cabin, open the outhouse door with Six’s help and you’ll find the remains.
–
[4/4] Glitching Remains
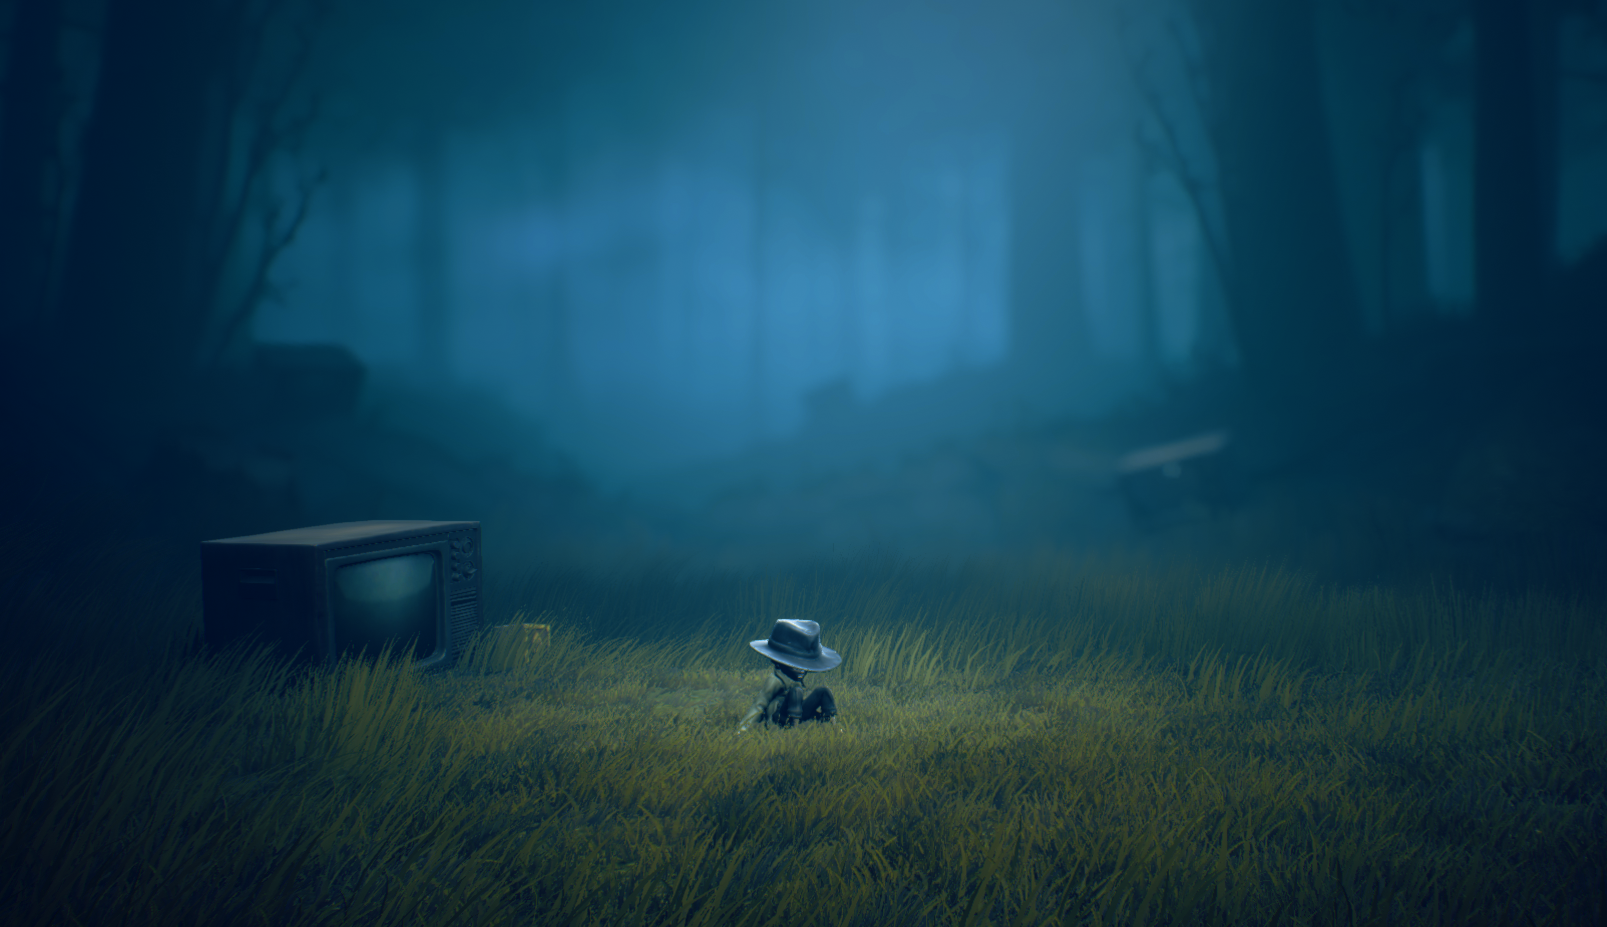
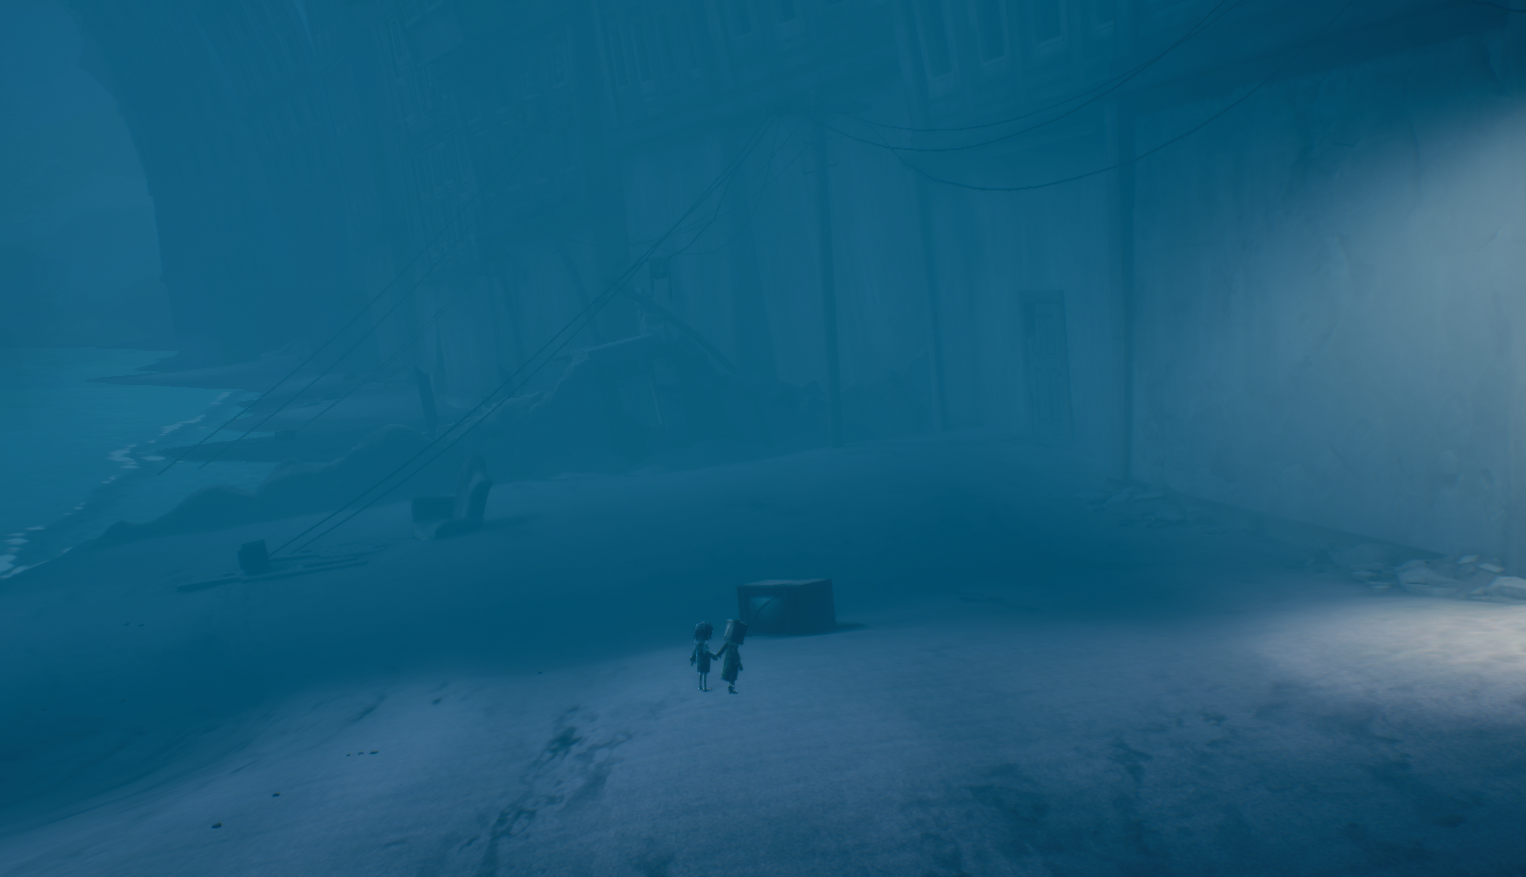
Once you’ve made it across the lake(?), you’ll end up on the beach where the remains are beside a TV.
Chapter 2 Glitching Remains Locations
[1/6] Glitching Remains
Once Six has pulled you up onto the stairs in the stairwell, there’s a room to the left using a door as a bridge. Go through, and you’ll see the remains staring down to the lower floors.
–
[2/6] Glitching Remains
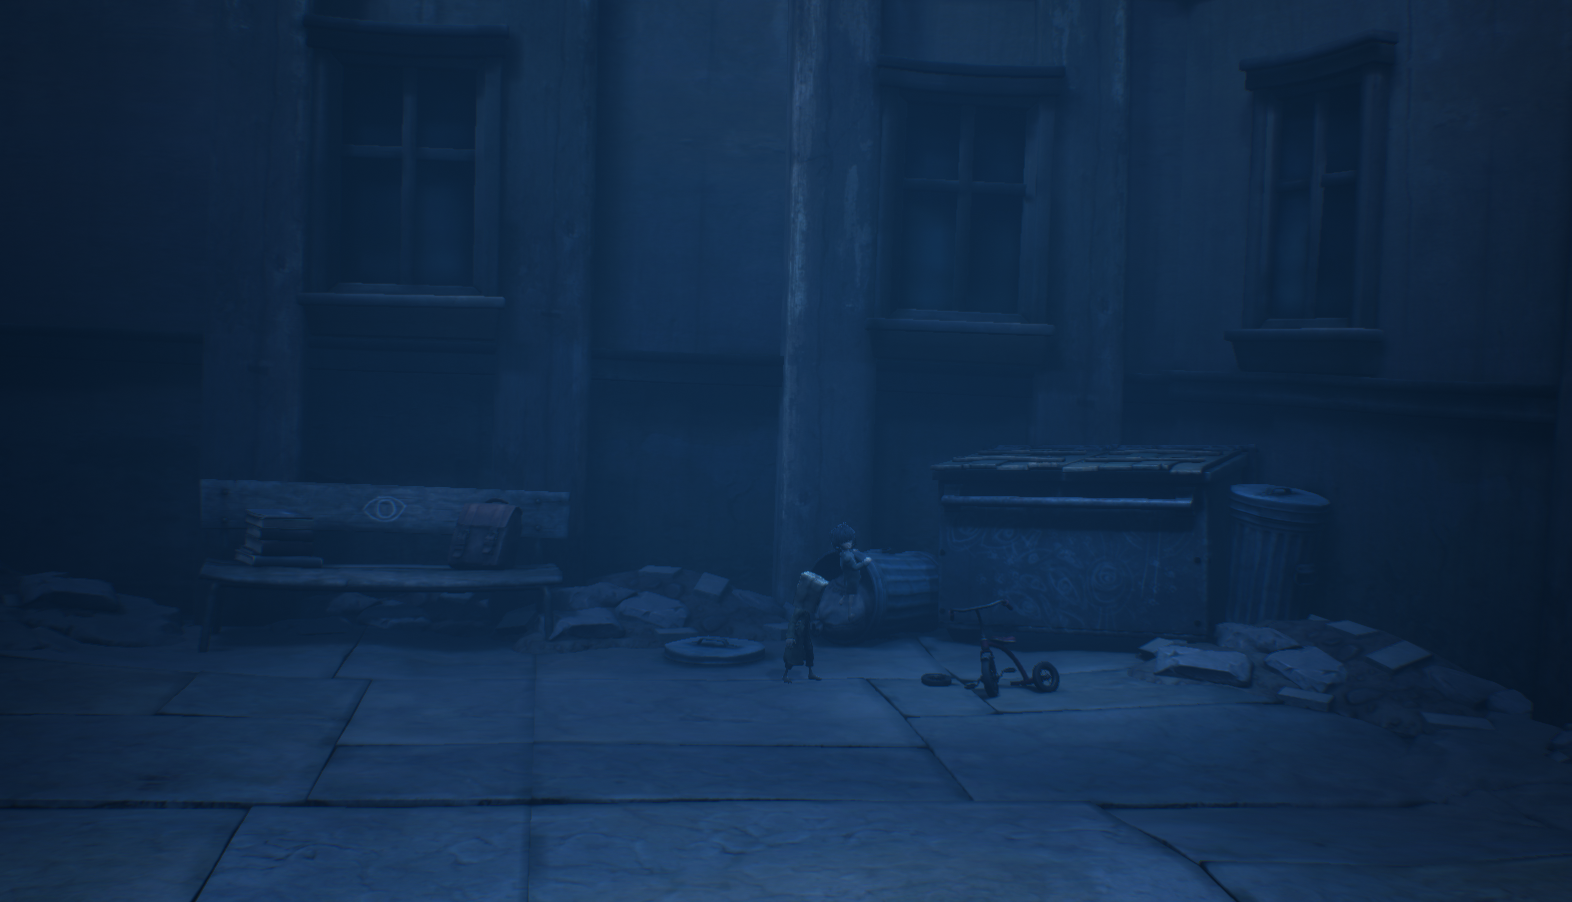
When you’ve made it to the school’s playground, the remains can be seen sitting next to the tricycle.
–
[3/6] Glitching Remains
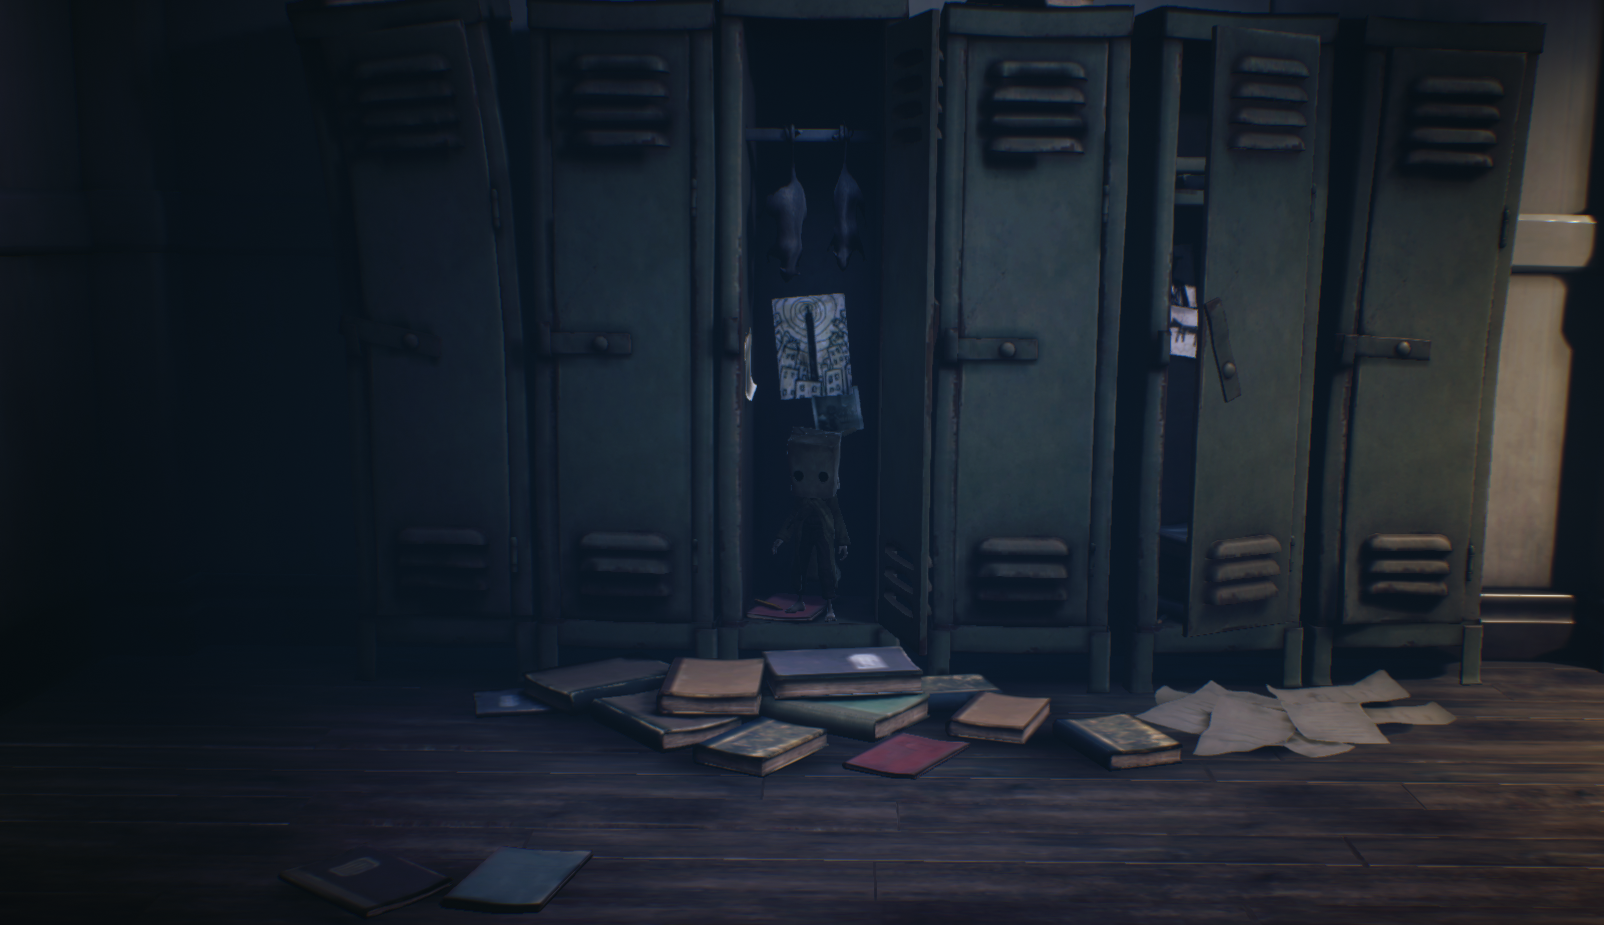
Just outside the Teacher’s classroom, there’ll be a row of lockers to the left off of the elevator. One of the locker’s is discoloured, open it to find the remains curled up into a ball.
–
[4/6] Glitching Remains
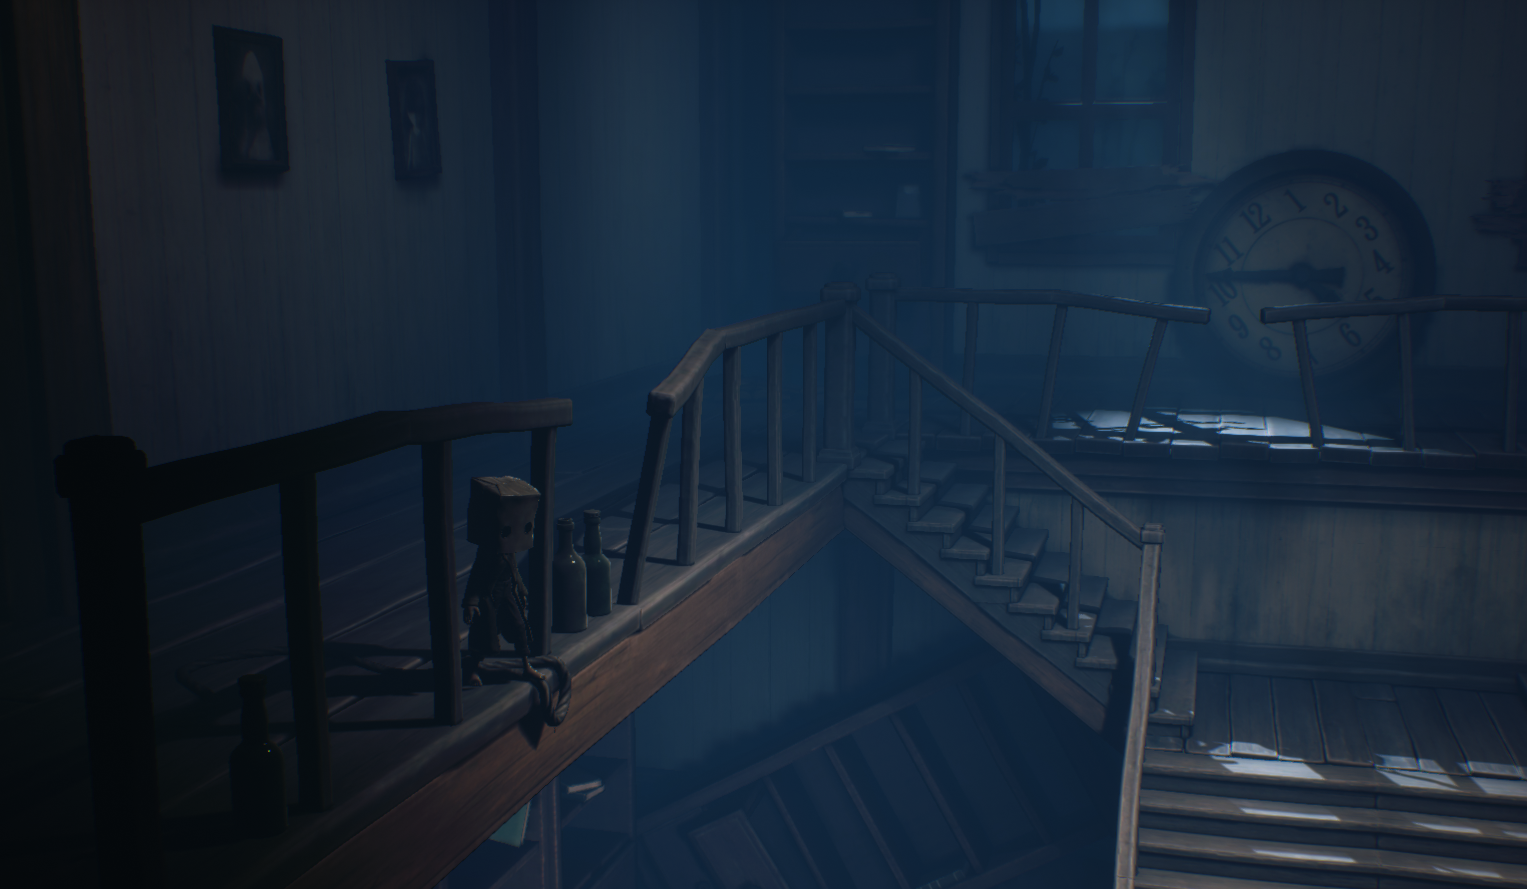
After you have escaped the Teacher in the library, head up the stairs and go to the left. You’ll find the remains sitting with it’s legs dangled over the edge beside a noose.
–
[5/6] Glitching Remains
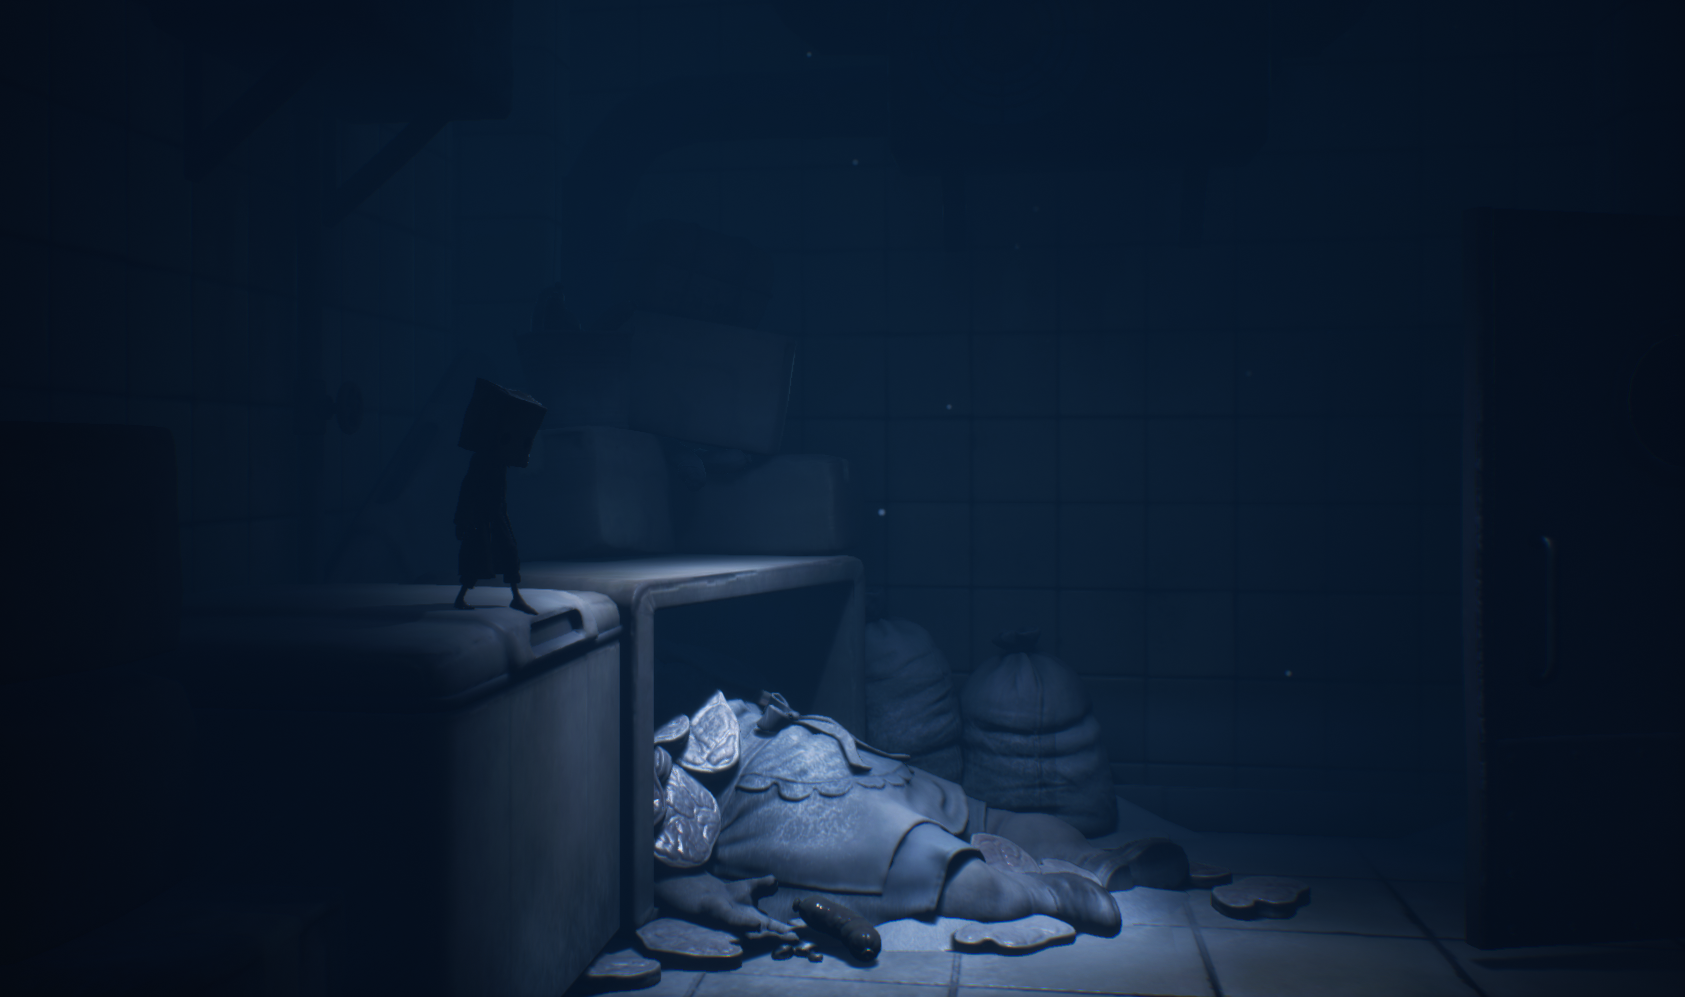
Before going into the cafeteria’s kitchen area, move the rack of plates and go into the door to the left. You’ll find the remains curled into a ball on the meat locker.
–
[6/6] Glitching Remains
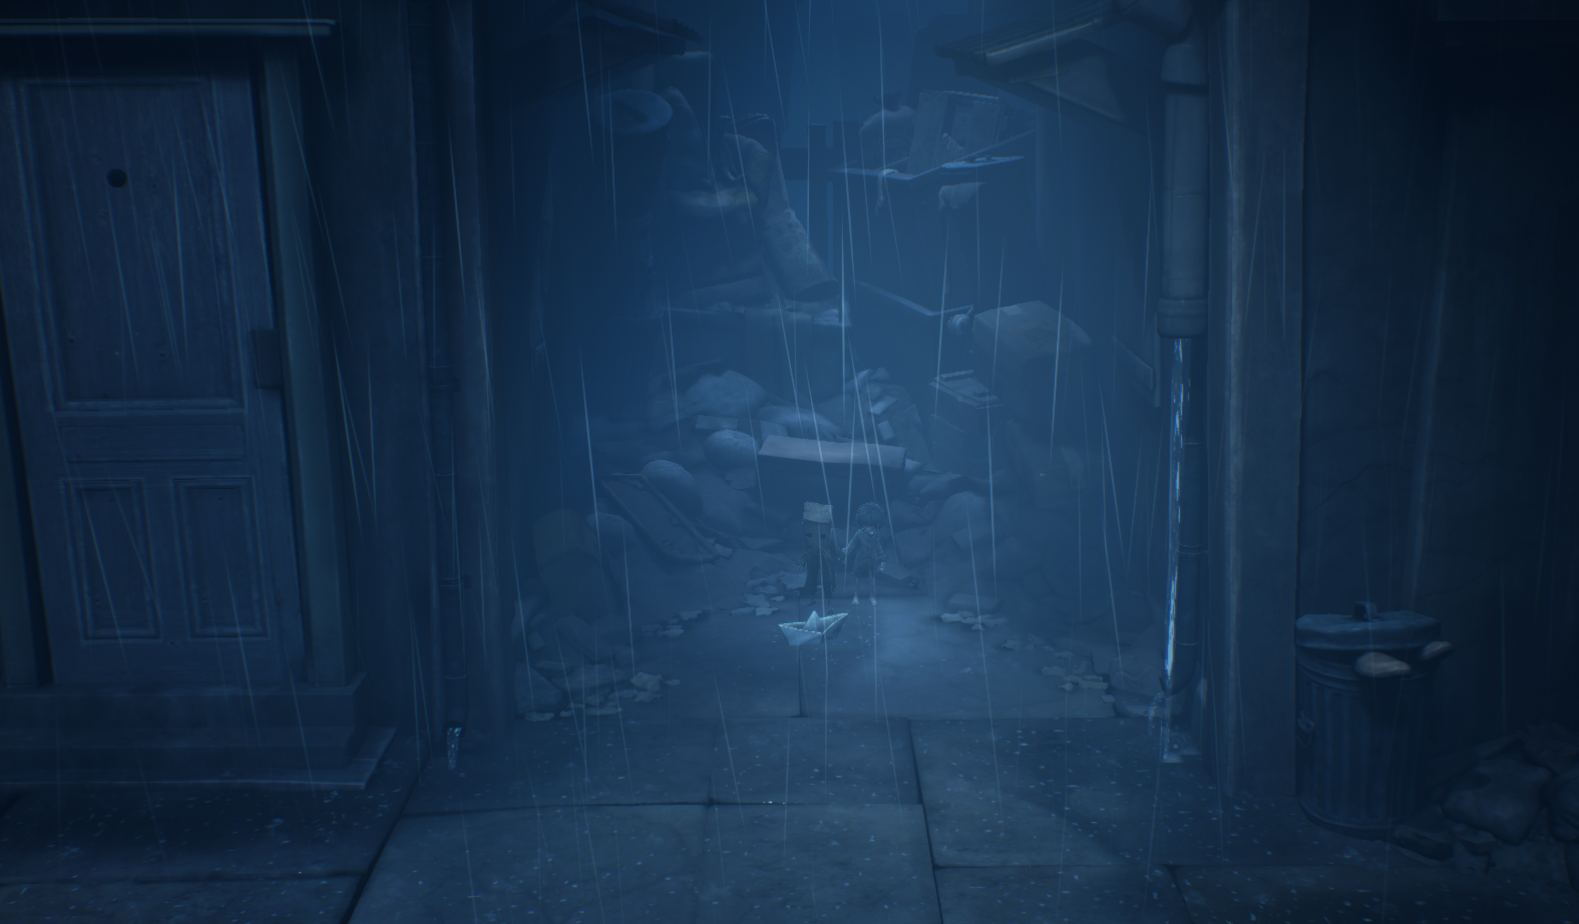
The last remains for chapter two will be found after you’ve made it out of the school. You’ll make your way over the bridge and down the street. There you’ll find the remains beside a paper boat in the alley.
Chapter 3 Glitching Remains Locations
(Technical Issues with the screenshots, coming soon though.)
After getting the flashlight, head into the next room and go into the “background”. You’ll find the remains beside a pull cart.
After unlocking the upper floor’s door and going through the room with the mannequin limbs hanging from the ceiling, go into the background again and you’ll find the remains trying to reach a toy duck.
Once you’ve escaped the mannequins chasing you in the patient ward, you’ll drop down onto a bed. Exit the room and push the door closed, you’ll find a gap in the bars behind it. Go through and head through the room on the left, there you’ll find the remains sitting on the edge of a hole in the floor.
After you’ve escaped the horde of mannequins, you’ll end up in a shower room. Take the box of soap in the corner of the room, and move it to make your way into the vent. There you’ll find the remains staring up at a body in a bathtub.
Chapter 4 Glitching Remains Locations
When you’ve made it out of the hospital and opened the window, head into the background and you’ll see a sewer drain. Go down and you’ll find the remains on the edge of a plank looking down into the water.
After you’ve made it up the first elevator puzzle, before exiting to the right, head to the left and move the box to find a vent. You’ll find the remains in a secluded room with bottles hanging from the ceiling.
Once you’ve actually gone to the right and seen the signal tower, instead of climbing up the netting, go through and climb up the boxes to get inside the room. The remains will be hopping up in attempt to open a cage with a rat inside.
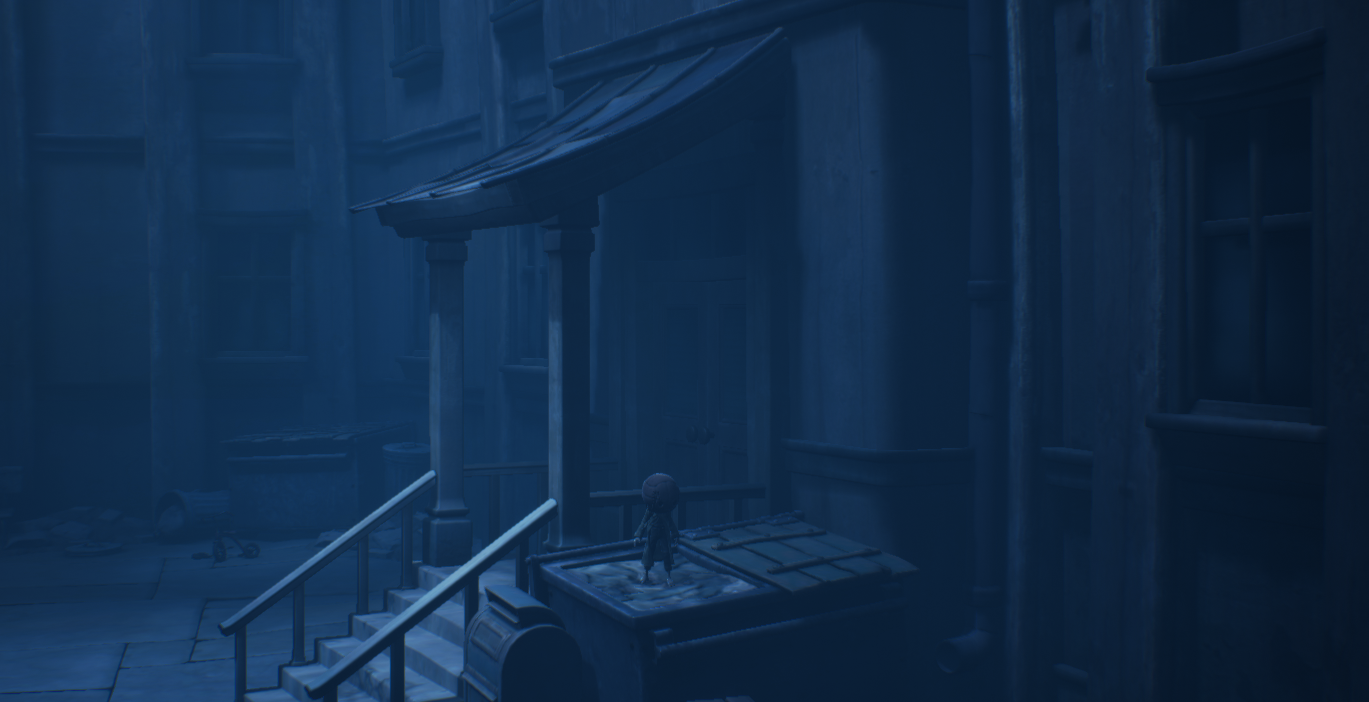
Later in the chapter, you’ll use a clothing hanger to leave the mail room. Instead of continuing forward, jump back outside the window you crashed in through. Head in the window just past the air vents and you’ll find the remains standing beside the Lady statue found in the first game. (You can also get the Unladylike achievement by breaking the statue.)
Hope you enjoy the post for Little Nightmares II Complete Achievements Guide + Walkthrough, If you think we should update the post or something is wrong please let us know via comment and we will fix it how fast as possible! Thank you and have a great day!

Leave a Reply