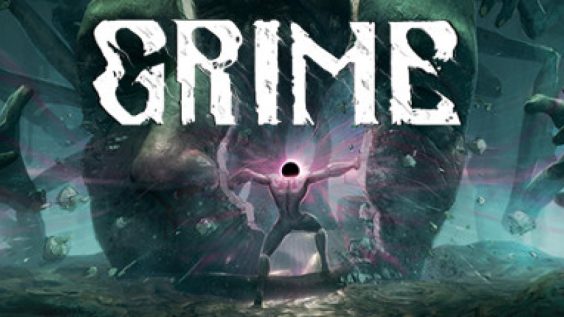
This is a guide for Collectors and Completionists.
This guide lists all available Armor Sets with images, as well as informations on how to obtain each set, while keeping accidental spoilers as low as possible.
On-par with GRIME Version 1.0.5.2
General Information
As of game version 1.0.5.2
• There are 20 Armor Sets in total
• Armor pieces do not provide any stat bonus; they are purely cosmetic
• It is unclear for me what triggers the appearance of the Goldgrowth Set
The spoiler factor of this guide is rather low.
I kept infos for locations pretty vague.
Explicit solutions for secret locations are all hidden behind a spoiler,
so it should be safe to scroll through the guide for visual purpose.
(1) Prickly Weeper Set
Location:
Weeping Cavity, scattered around the area
(2) Otherwhere Phlox Set
Location:
Weeping Cavity, secret location
Hints:
Left of the very beginning; secret within a secret within a secret.
Solution:
From the very start move left, there’s a breakable wall, in the next room is another breakable wall, in the last room is a breakable floor at the right end.
(3) Boulderplate Set
Location:
Unformed Desert, scattered around the area
(4) Petalstone Set
Location:
Lithic, scattered around the area
(5) Hyaline Set
Location:
Lithic, tradeable
Hints:
Obtainable from the Art Trader to the left of the central Checkpoint.
(6) Wakebone Set
Location:
Worldpillar, secret location
Hints:
Above the Trader go left to an outside area; platforming puzzle.
Solution:
Near the end of the platforming puzzle (indicated by multiple ladders you climb down), look at your map. You have to drop down from a little platform to the tallest pillar in that area (which is the lowermost).
(7) Hollowroot Set
Location:
Nerveroot, scattered around the area
(8) Jawplate Set
Location:
Feasters Lair, scattered around the area
(9) Bonebird Set
Location:
Feasters Lair, secret location, tradeable
Hints:
Sold by Trader Owl near the southern Nerve Pass.
Solution:
To the left of the Crab Boss Arena there is a wall to dash through. Directly after that there is a breakable floor. Go down and head left to find another breakable floor. Secret Trader and Nerve Pass ahead.
(10) Drained Shell Set
Location:
Gloomnest, scattered around the area
[requires air dash]
(11) First Yr Set
Location:
Yr Den, scattered around the area
(12) Celebration Set
Location:
Carven Palace, scattered around the area
Hints:
Left side of the area below floor 1, hug the walls.
(13) Formal Coda Set
Location:
Carven Palace, scattered around the area
Hints:
Right side of the area below floor 1, in the caves.
(14) Adept Embroider Set
Location:
Carven Palace, secret location
Hints:
Left shaft between floor 1 and floor 2; fake ceiling above a pullable platform.
Solution:
While riding the elevator up from floor 1, move to the left into the shaft between floor 1 and floor 2. Proceed through that area until you find a pullable platform on a wire. Above that platform, slightly to the left, there is a fake ceiling, leading to a secret area with the armor set and a captured rock giant at the end.
(15) Petalgem Set
Location:
The Garden
Hints:
To the left of the Thirsting Trees Checkpoint.
(16) Friendly Imposter Set
Unique visuals:
This is the only Armor Set with an actual Face Mask.
Location:
Weeping Cavity
[requires item pull]
Hints:
Near the exit to the Desert, next to the 3 ladders.
(17) Weathered Stitcher Set
Location:
Servants Path, scattered around the area
[requires air dash + item pull]
(18) Waneblood Set
Unique visuals:
(Afaik) this is the only Armor Set that generates a crimson trail behind you when moving around.
Location:
Worldpillar / Nerveroot, secret location
[requires air dash + self pull]
Hints:
At the end of the secret Challenge room below the Elevator.
Solution:
From the Worldpillar Elevator (lowest point) go left towards Nerveroot until you reach a pit with “orange death sparks”. You can drop down to a small ledge on the right end of that pit. On that ledge you can dash to the right into a pitch black secret shaft where the challenge begins. You will keep falling down into spikes there.
• Tip: Tapping pull mid-air helps to slow down your momentum and grants you slight moments for orientation.
• The needed actions in that shaft (if I remember correctly) are:
Dash left, pull left, pull right, dash right.
(19) Huskroot Set
Location:
Servants Path, secret location
[requires slow walk + double jump]
Hints:
Breakable floor near the Glowing Needle Thrower.
Solution:
The breakable floor is to the right of the Glowing Needle Thrower, shortly before you stand infront of the wall. There is a platforming challenge below, that requires you to slow-walk, double jump and air-dash multiple times. The very bottom is safe ground.
(20) Goldgrowth Set
Location:
Worldpillar, tradeable
(unknown trigger)
Hints:
Sold by the Trader after he expands his stock. The Shop expansion seems to be triggered at some point just by progressing in the game.
As of now it is unclear what exactly triggers that expansion.
If you know what the trigger is, please let me know in the comments.
Hope you enjoy the post for GRIME All Armor Sets + Armor Information Detailed Guide, If you think we should update the post or something is wrong please let us know via comment and we will fix it how fast as possible! Thank you and have a great day!

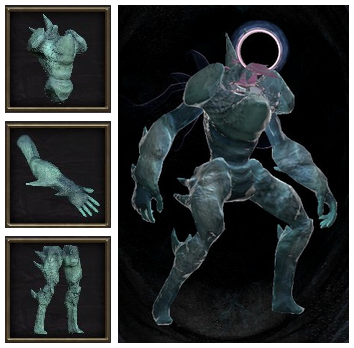
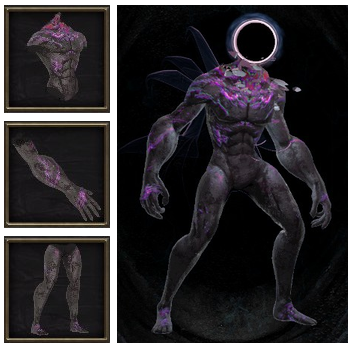
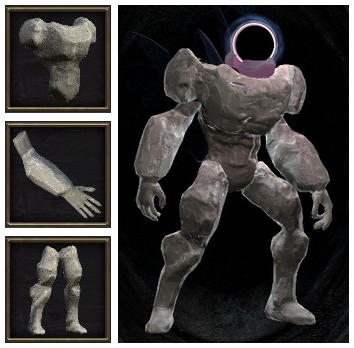
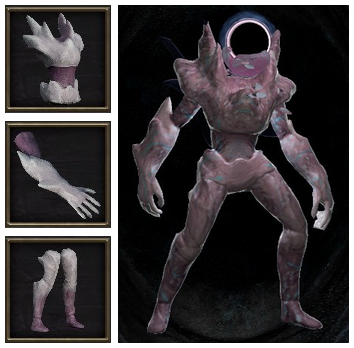
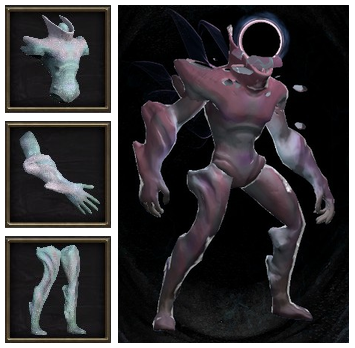
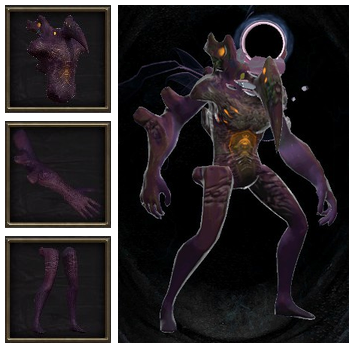
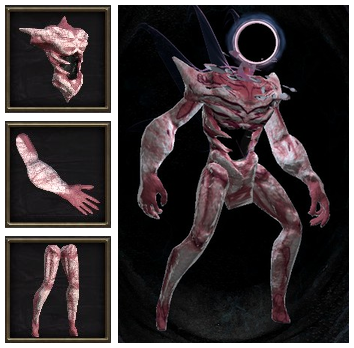
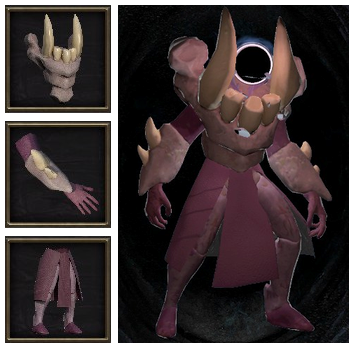
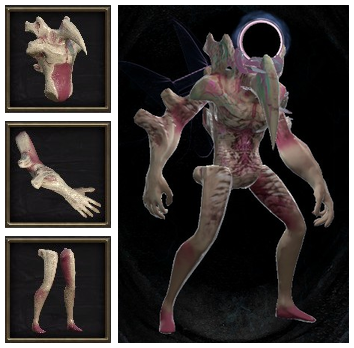
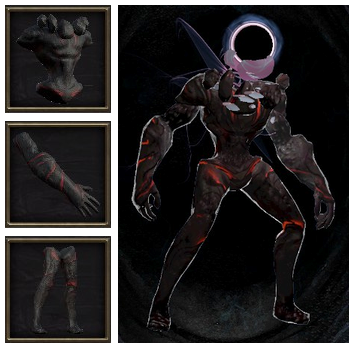
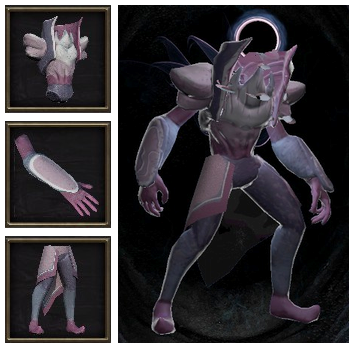
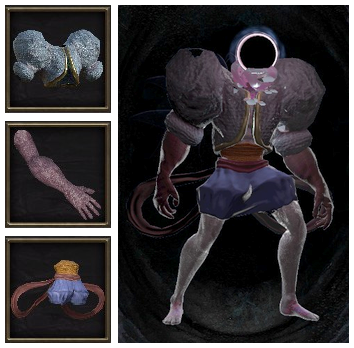
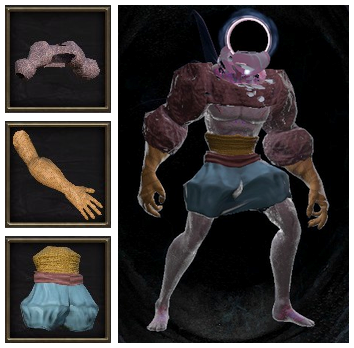
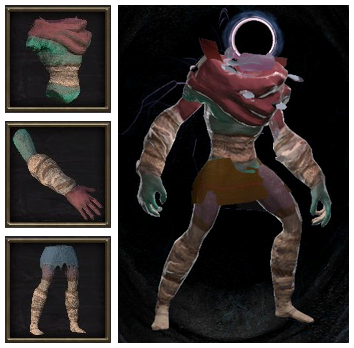
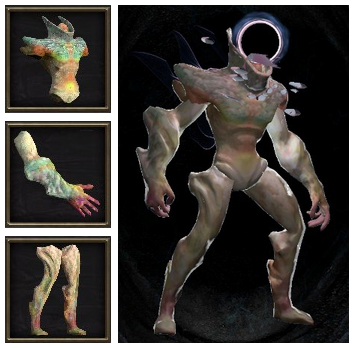
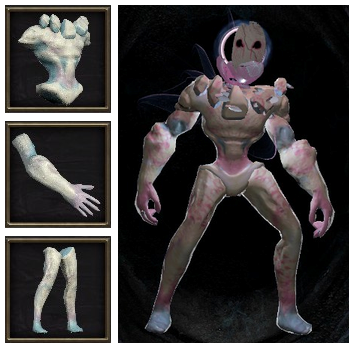
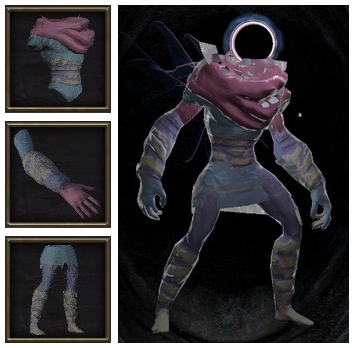
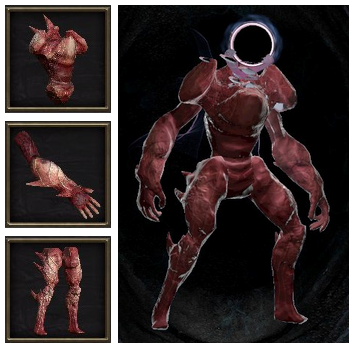
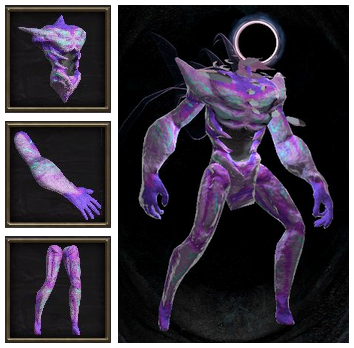
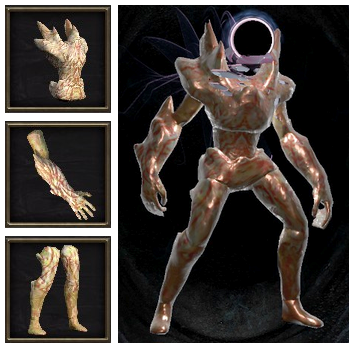
The armor sets provide set bonuses and stat up% as told in their description, I.E Prickly Weeper set increases the damage retaliation from their Prey ability by 30%, and the armor provides +health and +force stats, which increase the corresponding stat by the percentage of points you normally have in it. Armor sets make it much easier to conform to a certain ability, or give you a needed edge in combat.
Plus, the secret Otherworld set bonus increases damage taken, Goldgrowth increases mass gained, and so on.