Introduction
This guide is not finished yet. We’re near the end of the game and still listing locations. We decided to publish this early to let people catch up while we’re working on the last stages of the game. Guide should be fully completed within the next few days!
Welcome to yet another one of our extensive guides. This time it’s for the legendary Final Fantasy V!
Only first/easiest appearance of Monsters will be listed in the guide; repeats might be mentioned but only for rare encounters.
The following achievements are missable:
- Legendary Treasure Hunter: Collected treasure from 100% of the chests.
- Item Detector: Obtained all hidden items.
- Field Research- Professional: Completed 100% of the Bestiary entries.
- Learning- Genius: Learned all kinds of blue magic techniques. ← due to unobtainable blue magic once you hit MAX level. You would have to purposely try to miss it though.
…but all that is covered in our walkthrough!
We won’t list time-limited or missable locations as most of them actually are. We will mention when a dungeon is one-visit only and add checkpoints at the points of no return, though.
Controls:
- Hold Backspace to run.
- Press Q to auto-play during battles.
- Press Q to open the map and TAB to switch between locations. Chest progress can be also checked here.
- Bestiary progress can be only checked from main menu: Extras → Bestiary.
There’s two type of collectibles in this game:
- Chests (227 in total): referenced with []
- Hidden Items (44 in total): referenced with {}
There’s also two other type of kinda-collectibles:
- Pianos: 8 in total (not missable?)
- Blue Magic: 30 in total (missable if you hit max level before obtaining LV2, 4 and 5 Magic)
Achievements
- There’s one achievement for mastering all Jobs, but this is cumulative and counts for all characters. What does that mean? Well. If there’s 22 total jobs, then you can master 6 with one character, 6 with another, 5 with the third, and 5 with the last. That would sum 22, thus unlocking the achievement.
- There’s also one achievement for reaching level 50 with all your party members, but this will probably come naturally while progressing through the story.
- The achievement for visiting all locations is NOT missable? (needs confirmation)
Recommendations:
- Use a different job for each character and switch to a different one as soon as you hit master level.
- Save at least 5 Elixirs for collectibles near the end of the game (Phoenix Tower).
- Try to hunt for bestiary entries as soon as you reach a new location to prevent grind later.
Feel free to comment any typos/mistakes and we’ll fix them ASAP.
Don’t forget to follow us if you want more like these! It takes a lot of time and effort to write such extensive guides!
Prologue
Overworld
After a relatively short introduction, you’ll be thrown in the overworld with no indication where to go.
Ride your Chocobo east and enter the meteor.
Tycoon Meteorite
Go north through the linear path and fight both weak goblins.
| ㅤ ㅤ ㅤ BESTIARY: TYCOON METEORITEㅤ ㅤ |
|---|
| ID | MONSTER | HP | MP | GIL | EXP |
|---|---|---|---|---|---|
| 001 | Goblin | 16 | 3 | 20 | 10 |
After winning, name your character (we will use default names for this guide, Bartz in this case) and sit through more scenes. Here you will meet Lenna, our second party member.
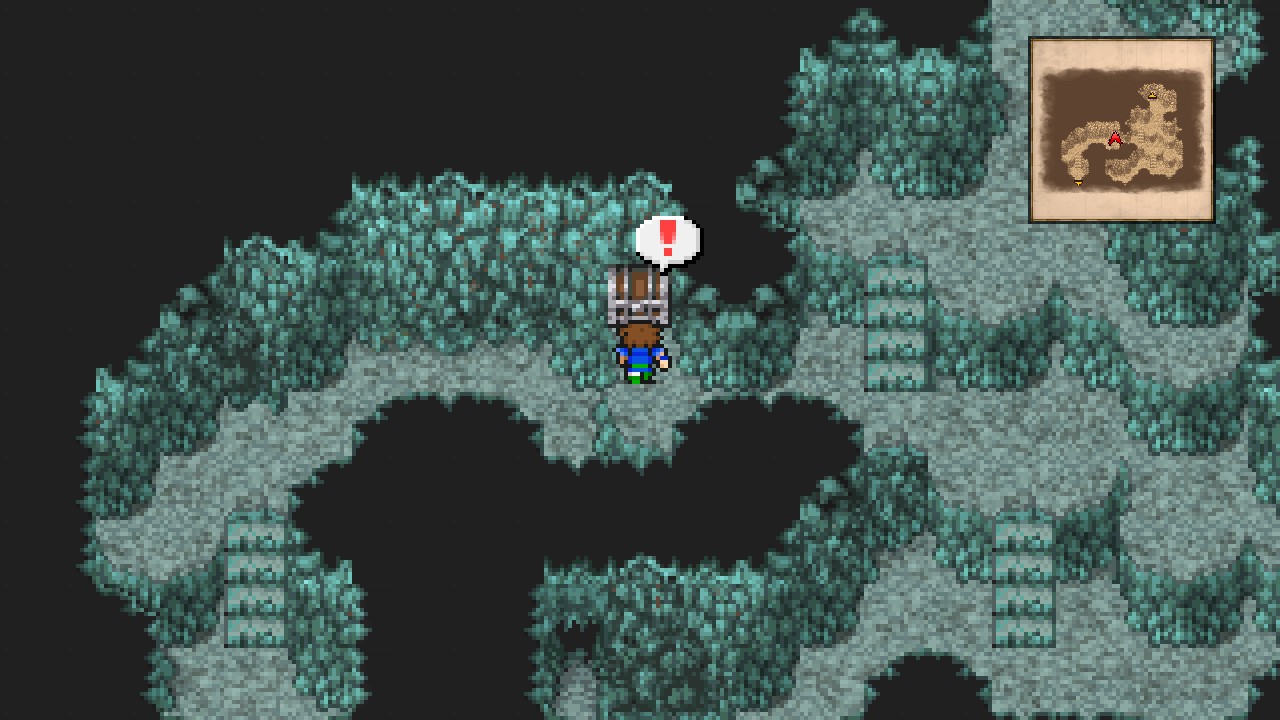
Once you regain control, head southeast to find a secret path. Follow it and open the chest to find a Phoenix Down. [1/227]
 |
That’s all treasures for this location. 1/1 chests and 0/0 items.
Exit the secret passage and head northeast to find an old man lying on the floor. Speak to him.
This is Galuf. Our third party member (and my favorite too!).
After some more scenes, make your way back to the entrance and ride Boko, your Chocobo.
Leave the location.
Overworld
Head west and then try to go north to trigger a cutscene.
Once you regain control, ride Boko and head north defeating the Goblins as they show up.
Some more scenes will take place here.
Take the First Step
Saved Lenna and Galuf and joined their party.
After the scenes, head north and enter the cave.
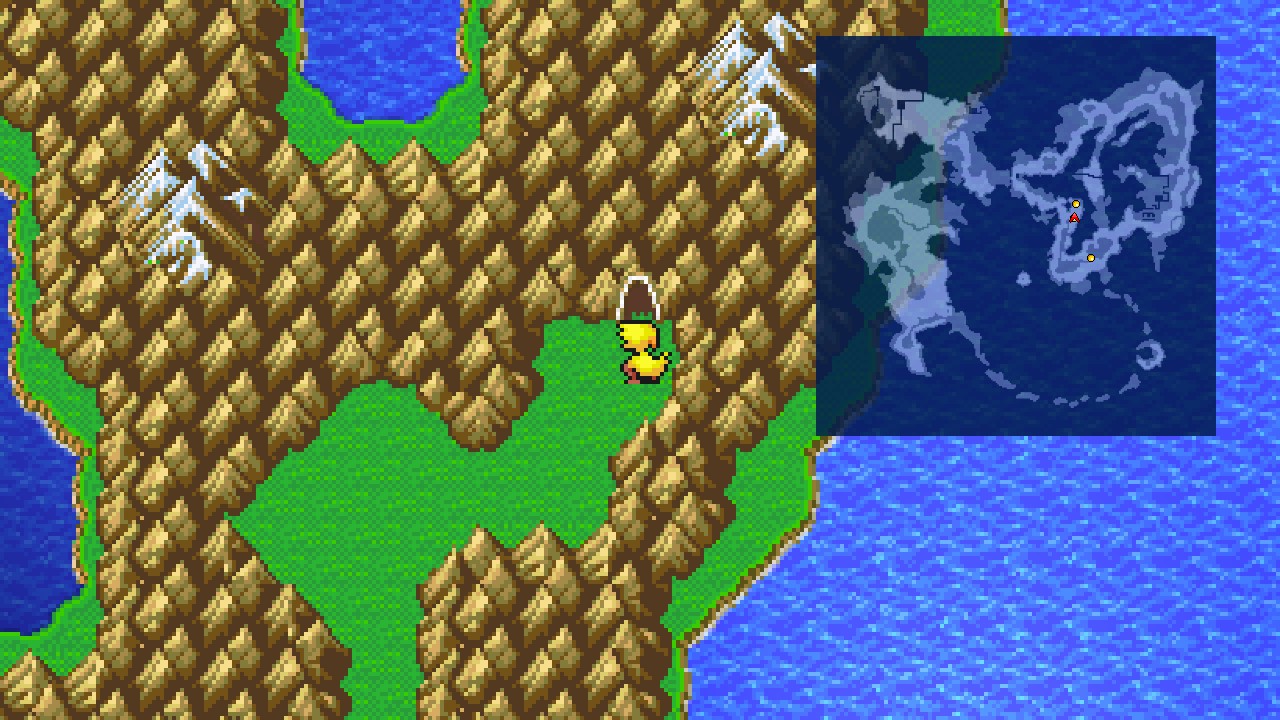 |
Cave – Entrance
Continue north and enter the cave for real this time. Boko sadly can’t go with you…
Cave – 1F
Random encounters will start happening from this point on.
| ㅤ ㅤ ㅤ BESTIARY: CAVEㅤ ㅤ |
|---|
| ID | MONSTER | HP | MP | GIL | EXP |
|---|---|---|---|---|---|
| 002 | Steel Bat | 20 | 10000 | 20 | 9 |
| 003 | Devil Crab | 16 | 0 | 20 | 7 |
| 004 | Stroper | 20 | 0 | 20 | 8 |
Go north past the arch to notice a spring.
Continue west and enter the recovery spring to heal, remove all status ailments, and revive all your KO’d party members. We’ll see many of those throughout the game.
After healing, head north through the opening.
Cave – 2F
Follow the linear path north, then east to find a pirate opening a secret passage. Don’t go there. Instead, head east and open the treasure chest containing a Leather Cap. [2/227]
 |
Trivia: For some reason, if you press Q → TAB, you will notice that this location has 0 Chests listed. This seems to be an error as we just opened one, right? Well, this chest will be listed in the next location so don’t worry about it.
Anyway, that’s all the collectibles for this place.
Feel free to equip the Leather Cap on any of your characters (do this every time you get new equipment as they won’t help you in any way by collecting dust in your inventory).
Head north and interact with the skull switch on the right side to open a secret passage, then go through it.
Cave – 3F
Go all the way north to watch a cutscene (how is that ship sailing when the wind is so weak?).
You can exit through this opening, but there’s nothing outside so let’s continue exploring the cave.
Head west and follow the linear path to the next opening. Go through it.
Pirate’s Hideout
There’s three extra chests in this place, but we can’t get them yet.
Sneak north and go across the eastern bridge to enter the ship.
Pirate Ship
Go north and try to steer the wheel to trigger yet another cutscene.
After some more scenes, Faris will join you, finally completing our party!
Tule
Overworld
Note: There’s no random encounters in the sea.
Sail north past the mountains to trigger a cutscene.
Answer with ‘No’ to control the ship yourself, then head northwest to find a town.
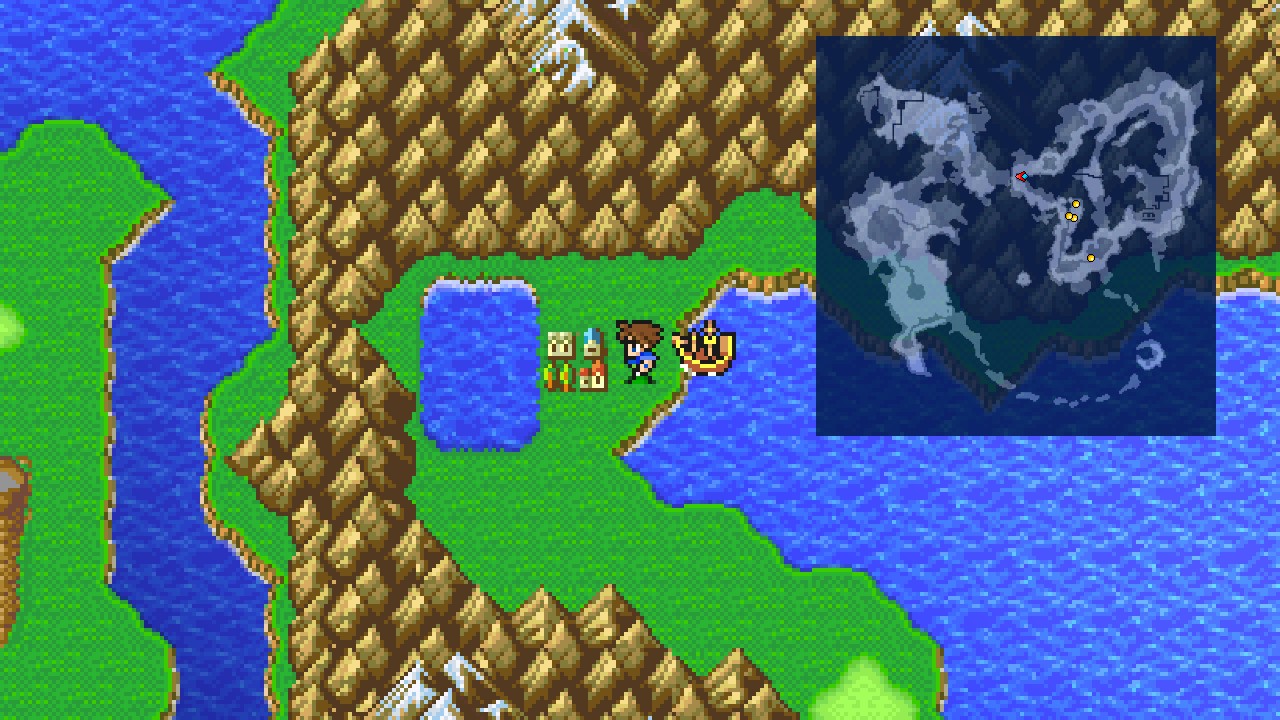 |
Go inside.
Tule
Head north to watch the pirates get a drink from the Pub.
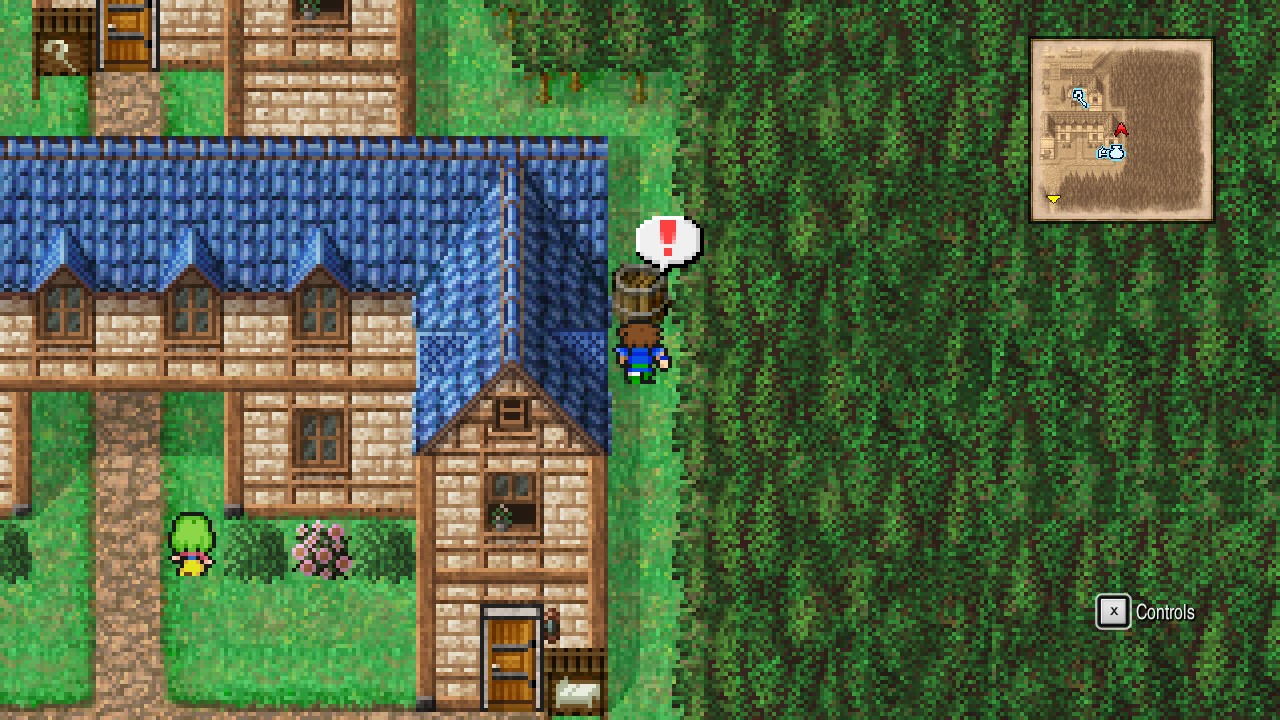
Now once you regain control, go east and through the small alley by the Inn to find a barrel.
Search the barrel for 150 Gil. {1/44}
 |
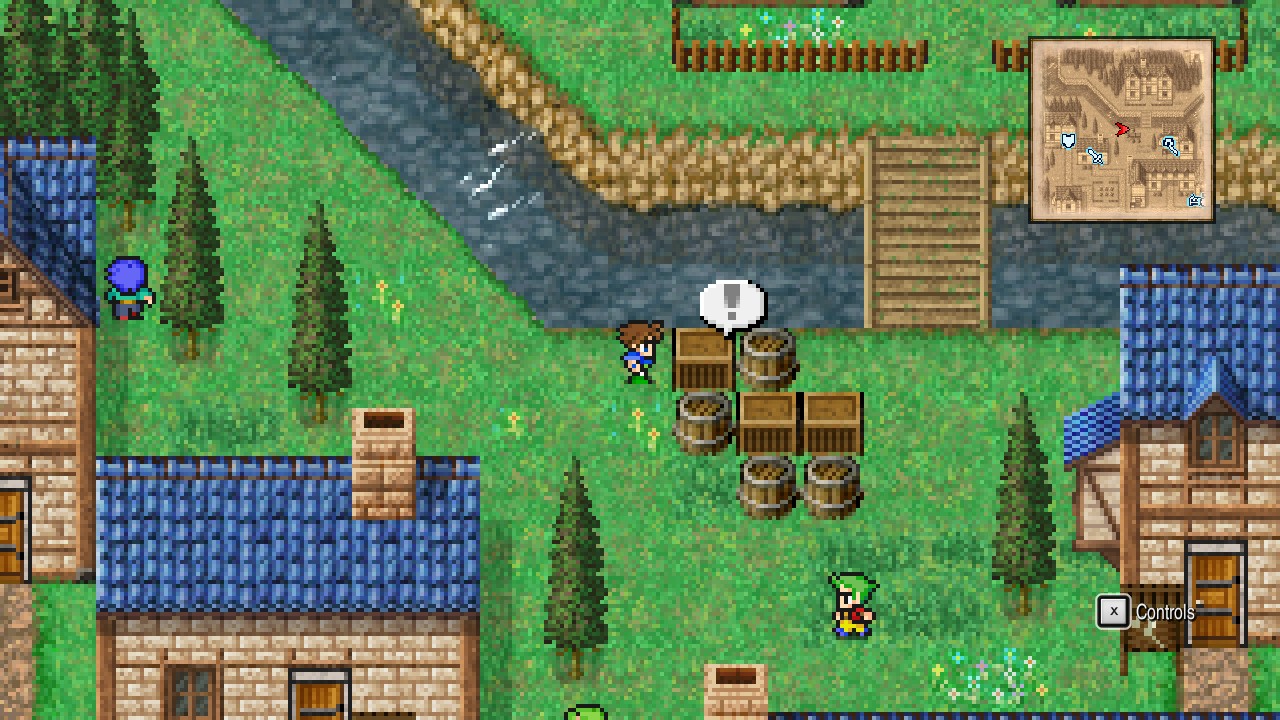
Backtrack to the entrance and go north past the Pub to find some boxes and barrels.
Search the top left box for a Tent. {2/44}
 |
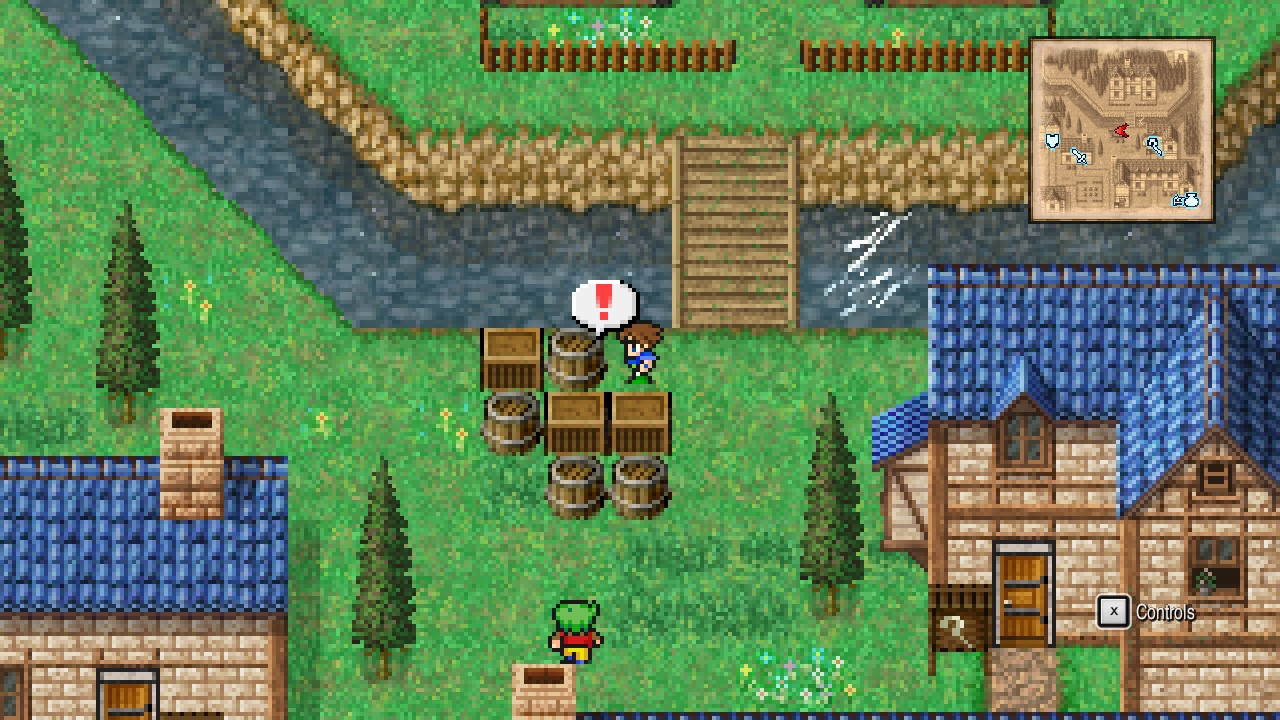
Now search the barrel at the opposite side to find a Potion. {3/44}
 |
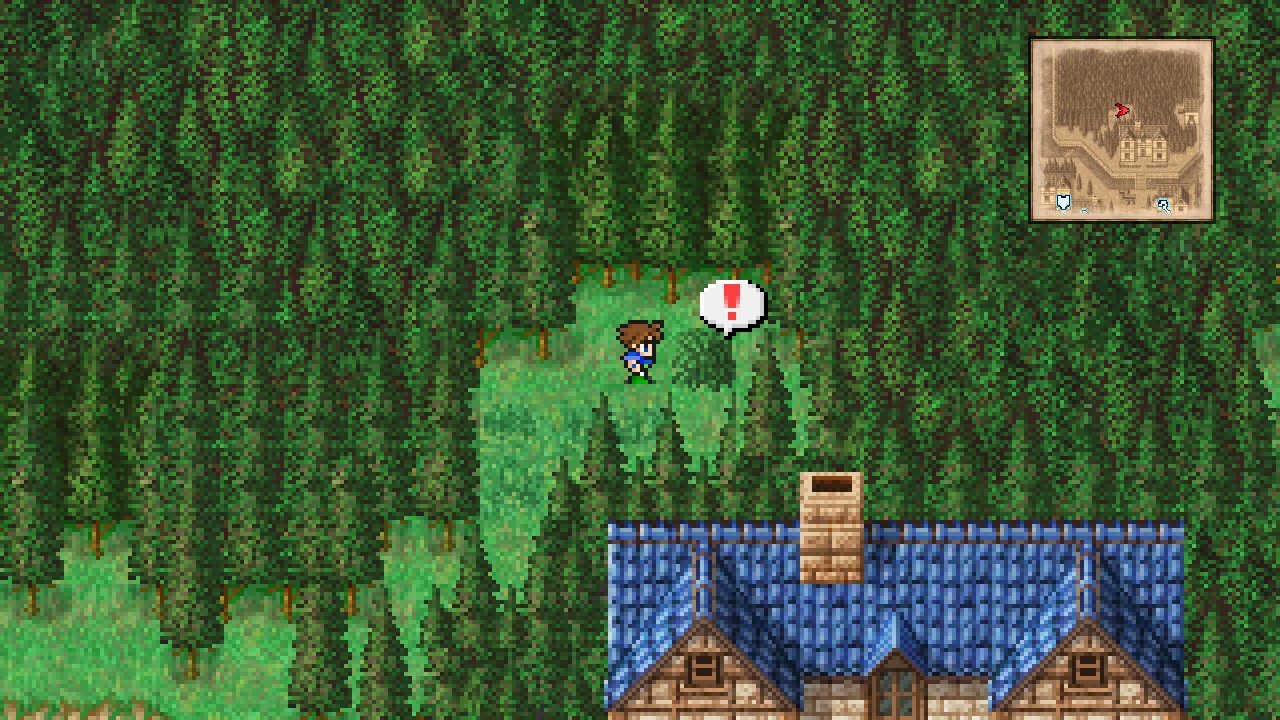
Go across the bridge to find Zok’s house, but don’t head inside yet. Instead, go west around the house to find a secret passage.
Inspect the bush at the top of the house for a Phoenix Down. {4/44}
 |
Now do the same thing but at the east side this time. Search the box at the very top for Leather Shoes. {5/44}
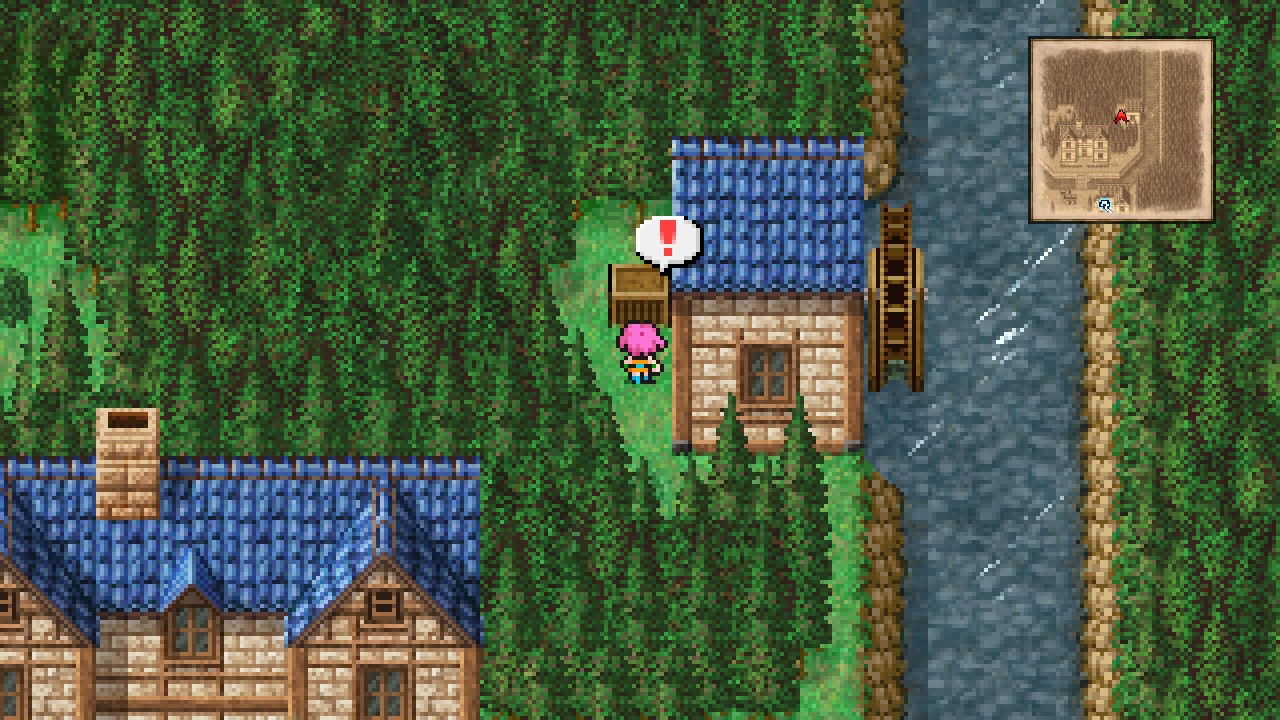 |
Make your way back to the entrance of the town and head west to find a building.
Go inside.
Greenhorn’s Club
Speak to the receptionist and answer with ‘Yes’.
Search the pot for a Potion, the barrel for a Phoenix Down, and the box for a Tent. {8/44}
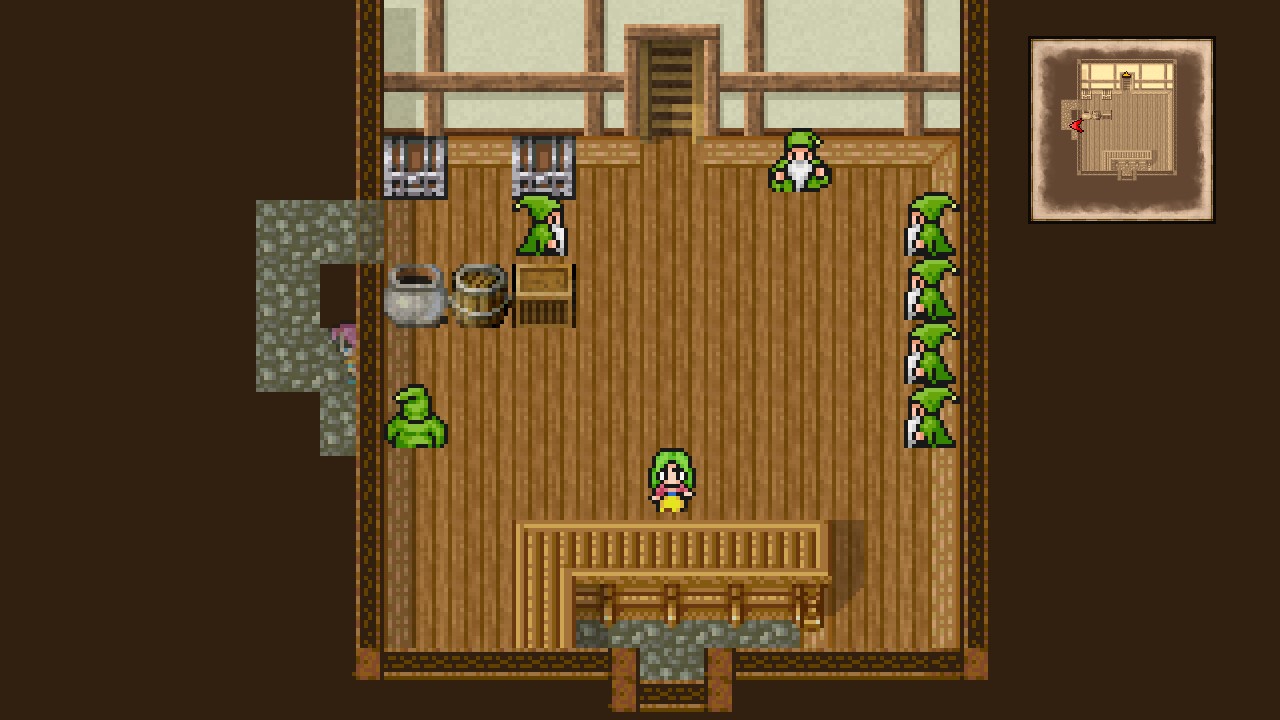 |
Also open both chests for an Ether and 100 Gil. [4/227]
Note: Left chest is only reachable through the secret passage shown in the screenshot.
Now go upstairs and open the lone chest on the west side for a Monsters-in-a-box encounter. Don’t worry. It’s just a Goblin.
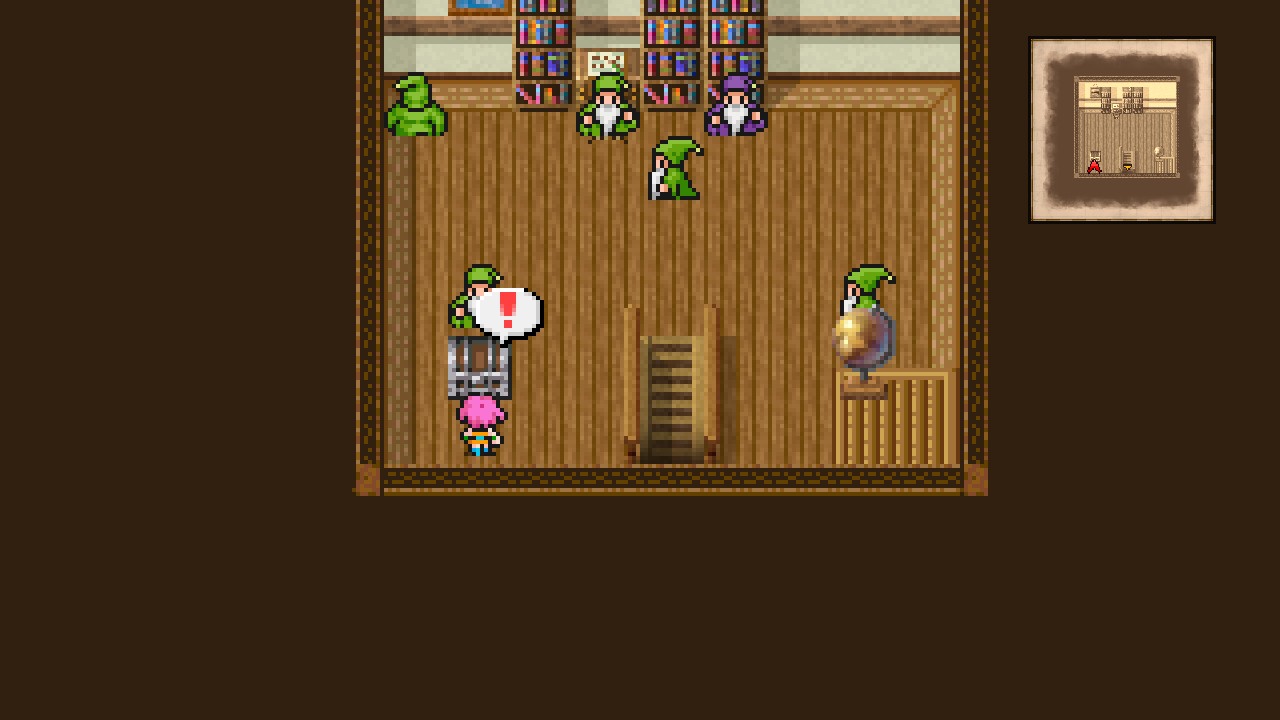 |
After defeating that monstrosity, you will be rewarded with Leather Shoes for such feat. [5/227]
Don’t forget to upgrade your party’s equipment.
That concludes all collectibles for this location. However, we’re still missing something important in this town so don’t leave just yet. Leave the building though.
Tule
Enter the Pub
Tule – Pub
Sit at the stool by the stage to make the dancers dance for you. This will make them get out of the path to the piano (which is our objective).
Go up the stage and play the piano. [Piano Maestro: 1/8]
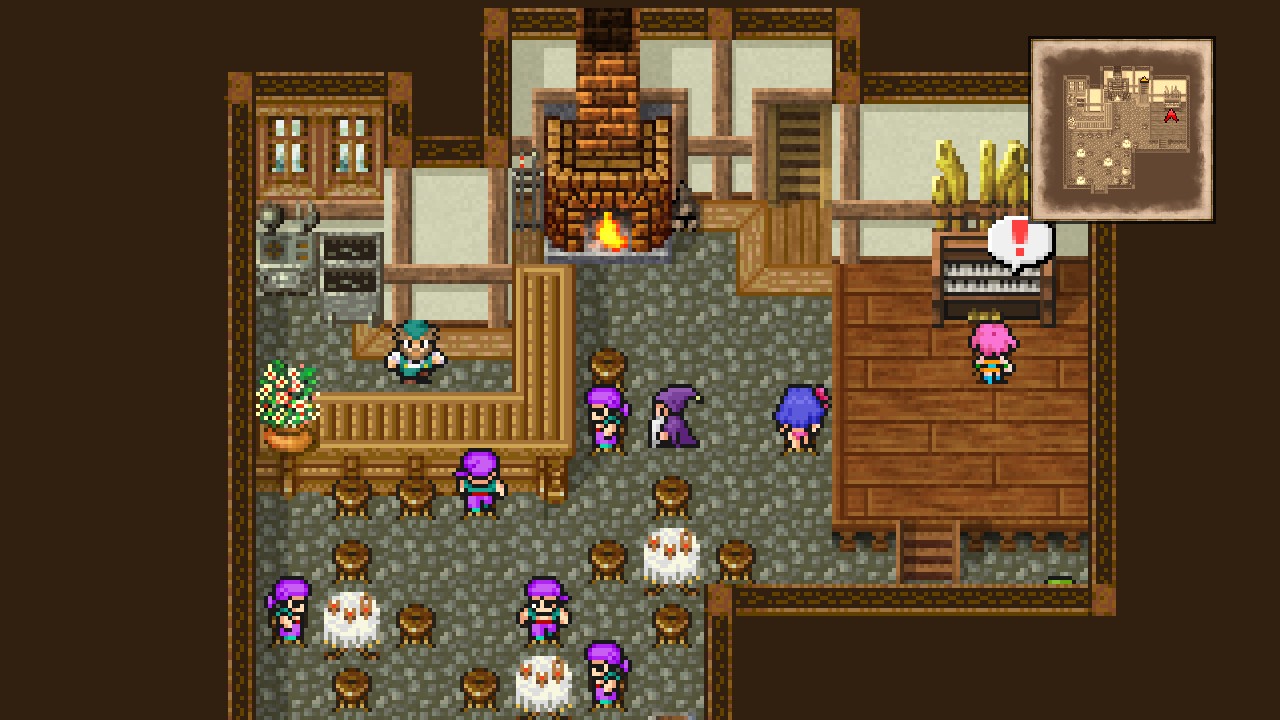 |
Note: This step is required for the Piano Maestro achievement.
Optional: Head upstairs and sneak into Faris bedroom to trigger a funny cutscene.
Exit the Pub.
Tule
Now go shopping spree if you desire. Just remember that you can’t use magic yet.
| Magic | ||
|---|---|---|
| Item | Cost | Description |
| Fire | 150 | Deals fire damage. |
| Blizzard | 150 | Deals ice damage. |
| Thunder | 150 | Deals lightning damage. |
| Cure | 180 | Restores HP. |
| Libra | 80 | Determines the enemy’s HP, weakness, current condition, and level. |
| Poisona | 90 | Cures poison. |
| Weapons | ||
|---|---|---|
| Item | Cost | Description |
| Broadsword | 280 | Attack +15 Can be two-handed Can be enchanted |
| Rod | 200 | Attack +8 Weight + 1 Magic +1 |
| Staff | 200 | Attack +9 Can be two-handed |
| Armor | ||
|---|---|---|
| Item | Cost | Description |
| Leather Shield | 90 | Evasion +10 Weight +2 |
| Leather Cap | 50 | Defense +1 Magic Defense + 1 Weight +1 |
| Leather Armor | 80 | Defense +1 Magic Defense + 1 Weight +2 |
| Items (inside Inn) | ||
|---|---|---|
| Item | Cost | Description |
| Potion | 40 | Recovers HP. |
| Tent | 250 | Recovers all members’ HP and MP. Can be used outdoors. |
| Inn | |
|---|---|
| Service | Cost |
| Rest | 10 |
Once you are ready to go, leave the town.
Wind Shrine
Overworld
Hop on the ship and head northeast to find a temple. This is the Wind Shrine.
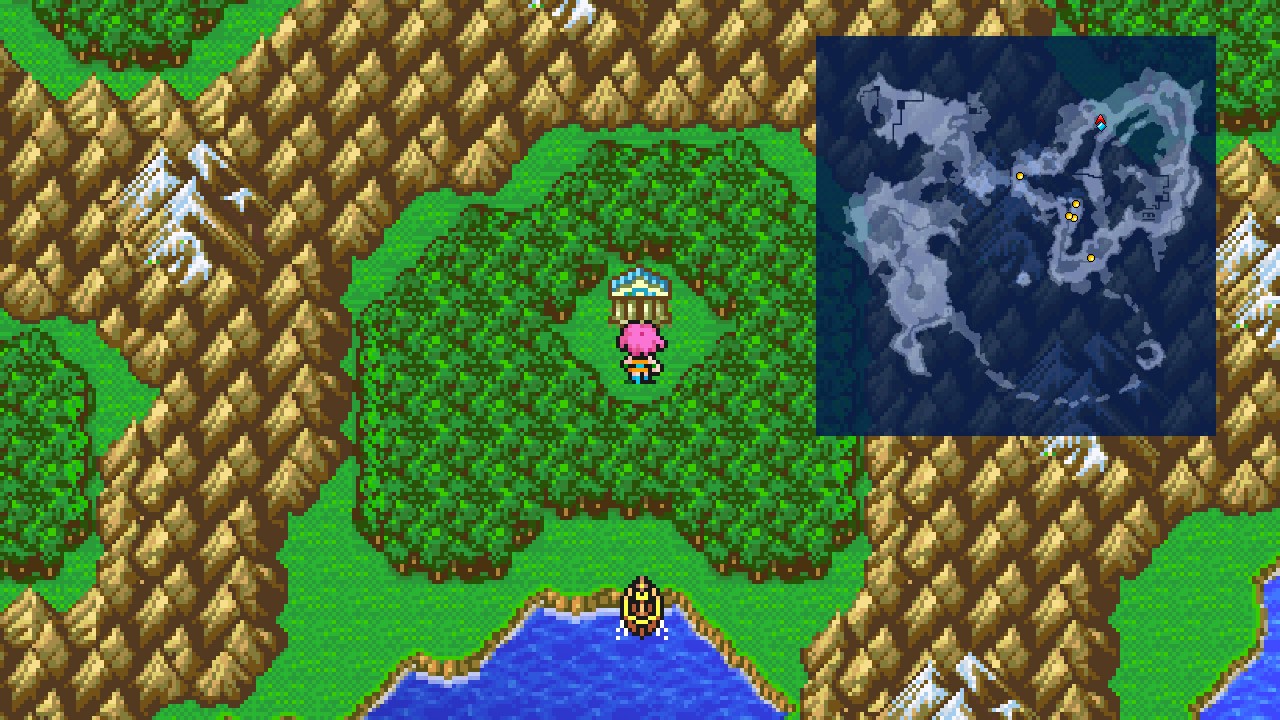 |
There’s three new encounters here. Feel free to update your bestiary.
| ㅤ ㅤ ㅤ BESTIARY: WIND SHRINE AREAㅤ ㅤ |
|---|
| ID | MONSTER | HP | MP | GIL | EXP |
|---|---|---|---|---|---|
| 005 | Killer Bee | 20 | 0 | 20 | 15 |
| 006 | Nutkin | 20 | 0 | 20 | 10 |
| 007 | Stray Cat | 20 | 0 | 20 | 15 |
Once ready, head inside.
Wind Shrine – 1F
Note: This floor has no random encounters.
Go north through the door and and enter the western room.
This will trigger a cutscene.
Speak to the NPC left of the pot to receive 5 Potions!
The pot itself is a healing point. Feel free to use it whenever you need to restore your party HP/MP/status ailments, or KO.
Now exit the room and go east to find the stairs leading up. Head up.
Wind Shrine – 2F
Note: Random encounters resume here.
| ㅤ ㅤ ㅤ BESTIARY: WIND SHRINEㅤ |
|---|
| ID | MONSTER | HP | MP | GIL | EXP | |
|---|---|---|---|---|---|---|
| 008 | Black Goblin | 20 | 0 | 21 | 20 | BM: Goblin Punch |
| 009 | White Serpent | 25 | 0 | 24 | 20 | |
| 010 | Moldwynd | 20 | 5 | 27 | 20 | BM: Aero |
| 011 | Mani Wizard | 20 | 7 | 30 | 20 |
BM is Blue Magic. We’ll explain that later.
Mani Wizard seems to spawn more frequently on 4F.
Head left past the split and open the chest for a Tent. [6/227]
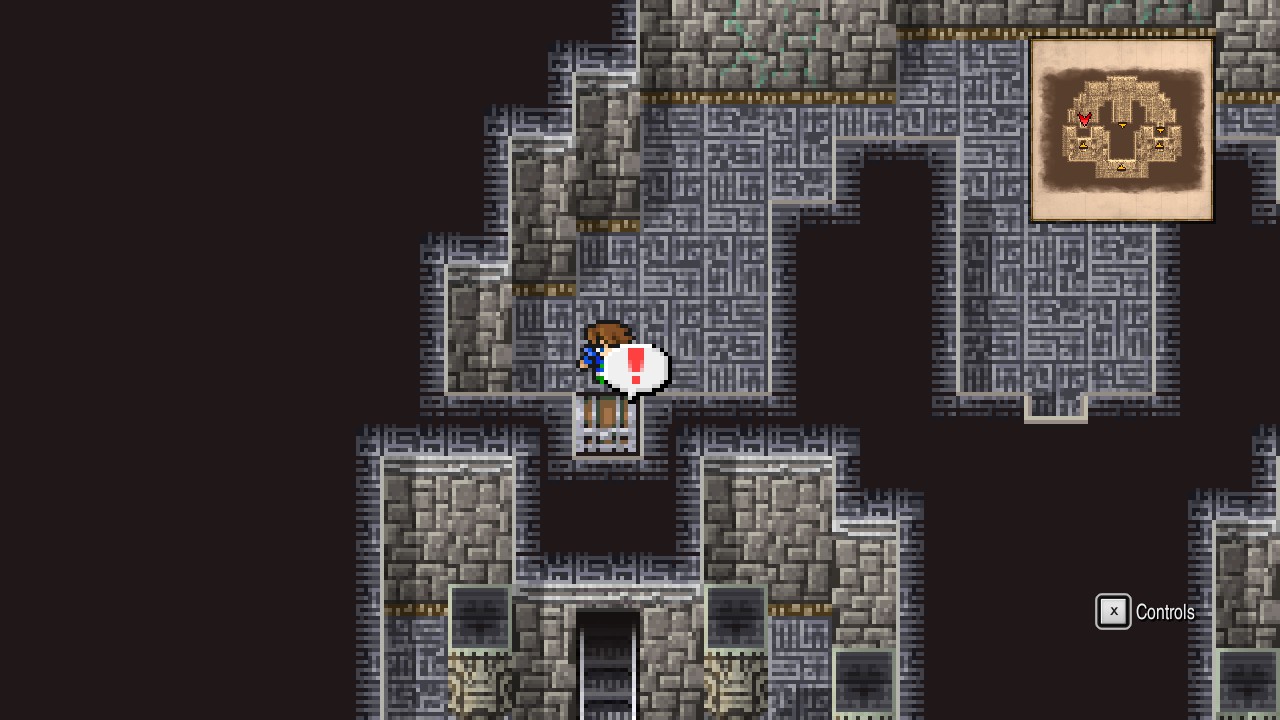 |
Backtrack to the middle and go southwards. Enter the room.
In this room, you will find a consecrated circle. Here, you can use tents, cottages, or even save your game. Unlike older versions of this game, you can quick-save anywhere, but only save in the Overworld or points like these.
Exit through the south door.
Head east and go up the stairs.
Wind Shrine – 3F
Open the lone chest here for Leather Cap. [7/227]
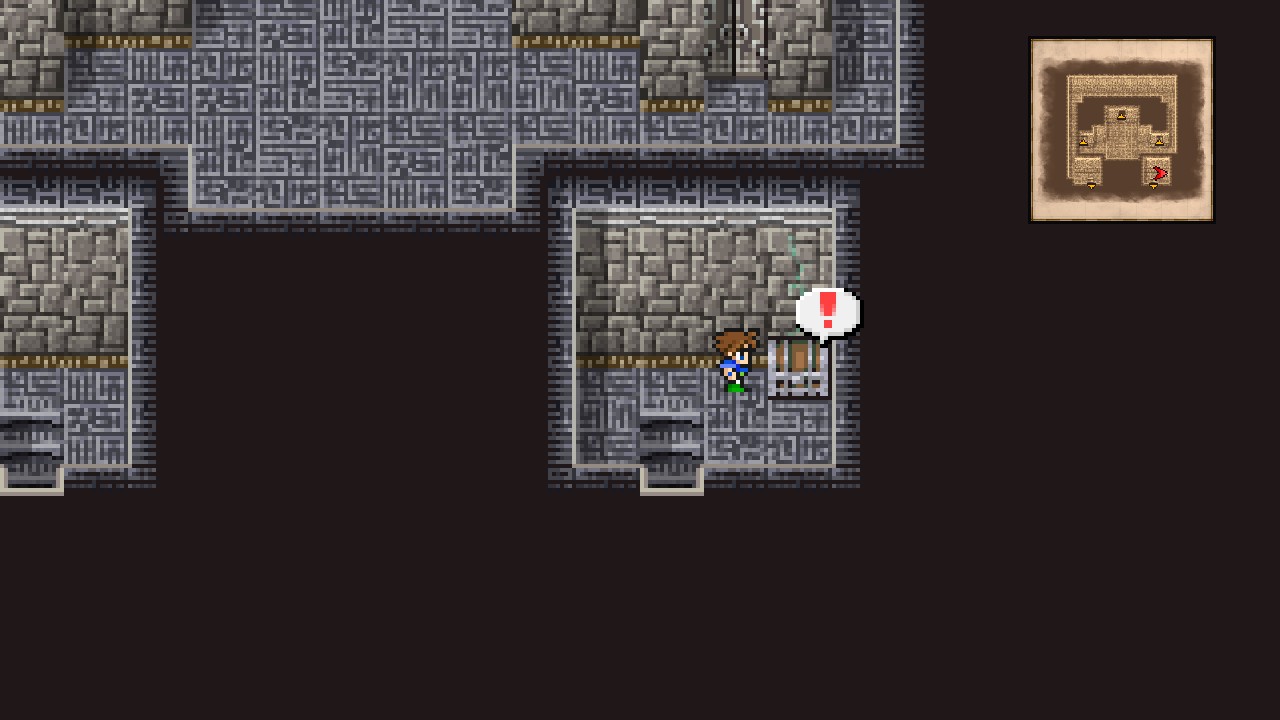 |
Return the way you came from.
Wind Shrine – 2F
Go west past the middle door and take the western stairs leading up.
Wind Shrine – 3F
Follow the counter-clockwise path to reach two doors and a boss. You can also cut path by pushing towards the left door for a shortcut.
Go through the left door for a chest containing a Broadsword.
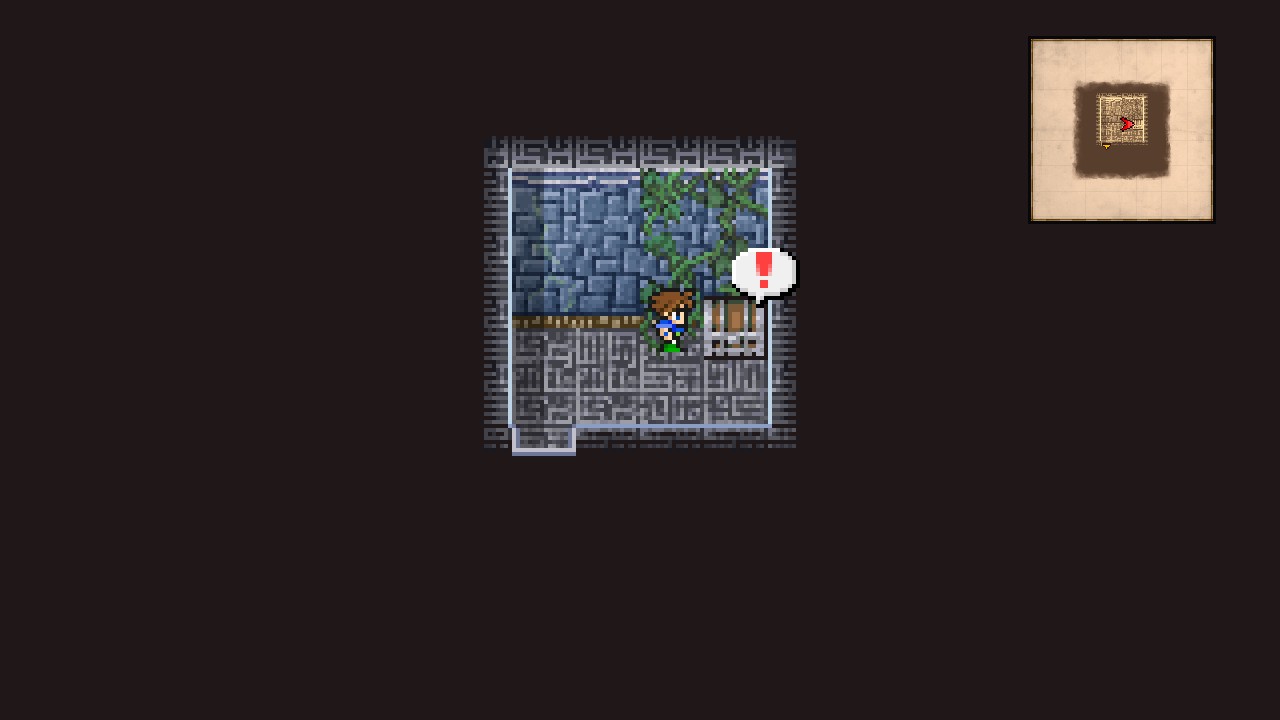 |
Exit the room.
Heal up and quick-save, then interact with the boss by the stairs leading up.
| Wing Raptor |
|---|
| ID | HP | MP | ATK | DEF | EVA | M.DEF | MAG | WEAKNESS | RESIST. | ABSORBS | CANCELS |
|---|---|---|---|---|---|---|---|---|---|---|---|
| 229 | 250 | 25 | 7 | 0 | 0 | 10 | 1 | None | Mini, Toad, Petrify | None | None |
Extremely easy boss fight. Auto-attack with all your party members and heal up with potions if needed. You probably will take the boss down before having to use a potion at all.
After defeating the boss, head upstairs.
Wind Shrine – 4F
Go around the structure, then head southeast and push against the bottom wall to reveal a secret passage.
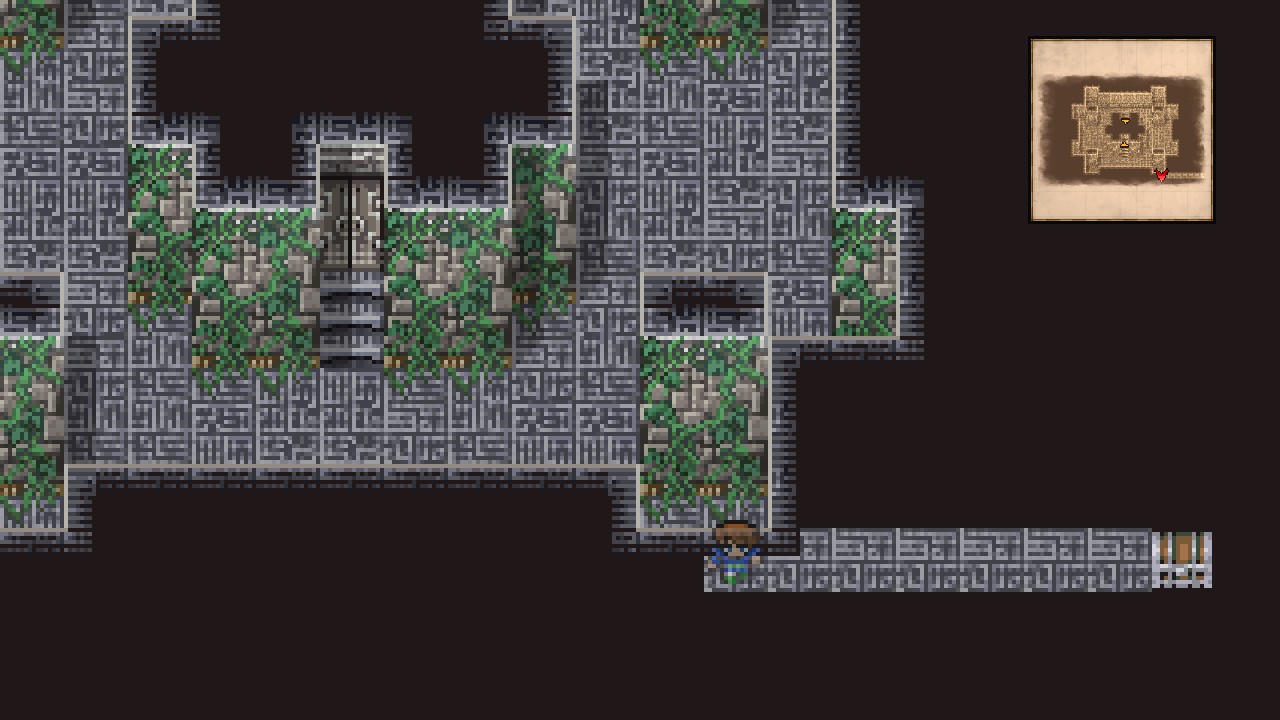 |
Open the chest at the end for a Staff. [9/227]
And that is. 4/4 chests for this dungeon.
Now return to the middle area and go through the door.
Crystal Room
Head through the door to trigger a cutscene and receive your very first set of Jobs.
Jobs unlocked:
- Knight
- Monk
- Blue Mage
- Thief
- Black Mage
- White Mage
Passion- Essence of Wind
Received power from the wind crystal.
Ok. First things first. Open menu → Jobs → and give one of your characters the Blue Mage job. I chose Bartz.
The other three jobs are up to you. Keep in mind that there’s several achievements related to jobs:
- Job Trainee: Mastered one job.
- Senior Worker: Mastered 5 kinds of jobs.
- Lead Operator: Mastered 15 kinds of jobs.
- Management Laborer: Mastered all jobs.
- Learning- Elementary: Learned 10 kinds of blue magic techniques.
- Learning- Genius: Learned all kinds of blue magic techniques.
All these are related to only one character, thankfully. Bartz will be my guinea pig for this.
Also this is my Job setup:
- Barts → Blue Mage
- Lenna → White Mage
- Galuf → Black Mage
- Faris → Knight
But play however you want. Only try to bring a blue mage to start collecting magic right away.
Also don’t forget to put your weak jobs (such as Mages) in the back row: Menu → Formation.
Leave through the warp pad at the back of the room or exit through the south door to collect some blue magic.
The following entries have blue magic:
Goblin → Goblin Punch
Moldwynd → Aero. Getting this is kinda annoying as the enemy runs out of MP after one use… Also the ability is pretty devastating so be careful if you get in an encounter against three of them.
Note that blue magic is learned differently from white and black magic. To learn a blue spell, the monster has to cast it on someone with the Learning Ability equipped, A.k.a. a Blue Mage, then you have to win the battle. If done correctly, you will see the following screen:
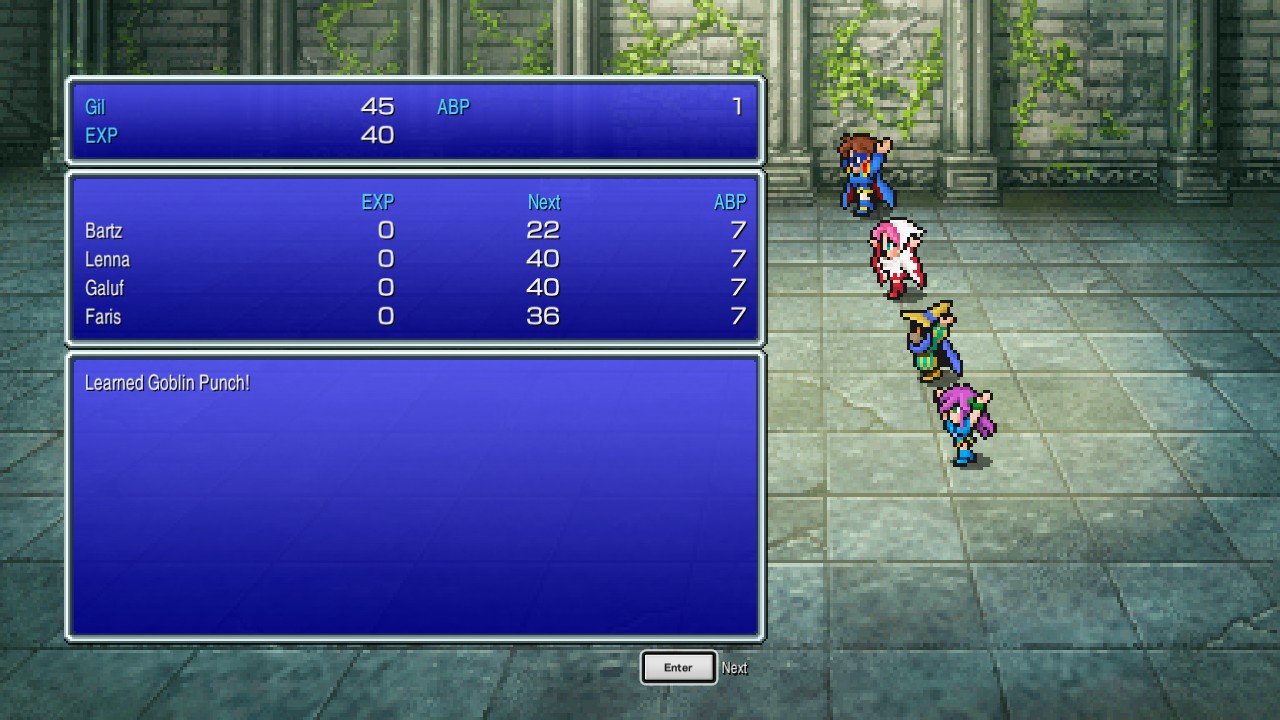 |
Easiest method to learn blue magic is to kill all but the teaching enemy, then defend with everyone else until learning the spell. You can also kill all your but your blue mage to ensure the target, but that might be a bit too much for this point of the game.
Once you’re ready, leave the dungeon.
Feel free to watch or skip the jobs tutorial.
Pirate’s Hideout and Torna Canal
Overworld
Hop on the ship and make your way back to Tule (southwest from Wind Shrine). Head inside.
Tule
Go all the way north and enter Zok’s House.
Zok’s House
Head north and approach to Zok to trigger a scene with important story plot.
During the scene, you will receive the key item ‘Canal Key’.
Once you regain control, attempt to exit the town.
A scene will play. Faris joins the party for good while the other pirates return to the hideout.
Overworld
Hop on the ship to trigger yet another important cutscene.
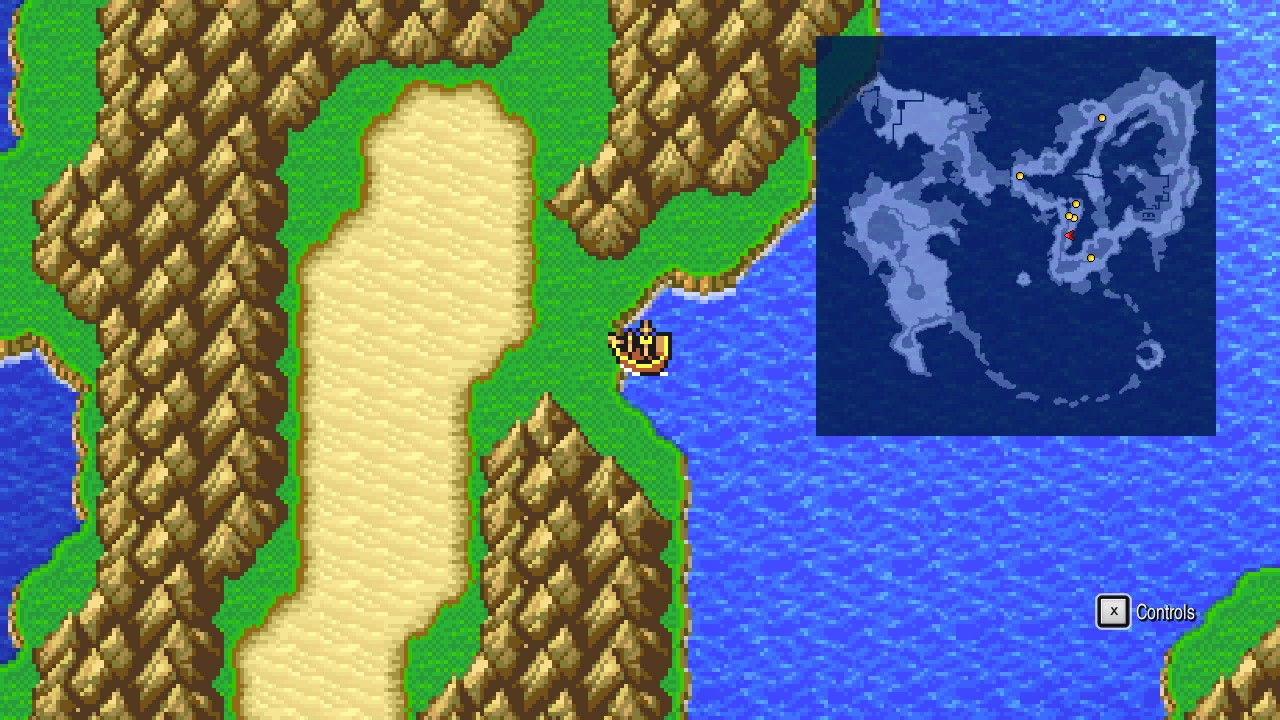
After the scene, go back to the Pirate’s Hideout: Dock between the mountains and then head north to find the entrance of the cave.
 |
Cave – Entrance
Boko’s footprints… but where did he go!?
Enter the cave.
Cave – 1F
Follow the linear set of caves to reach the Pirate’s Hideout. While doing so, make sure to grab the ‘Vampire’ blue magic from Steel Bat.
| ㅤ ㅤ ㅤ BESTIARY: CAVEㅤ ㅤ |
|---|
| ID | MONSTER | HP | MP | GIL | EXP | |
|---|---|---|---|---|---|---|
| 002 | Steel Bat | 20 | 10000 | 20 | 9 | BM: Vampire |
Pirate’s Hideout
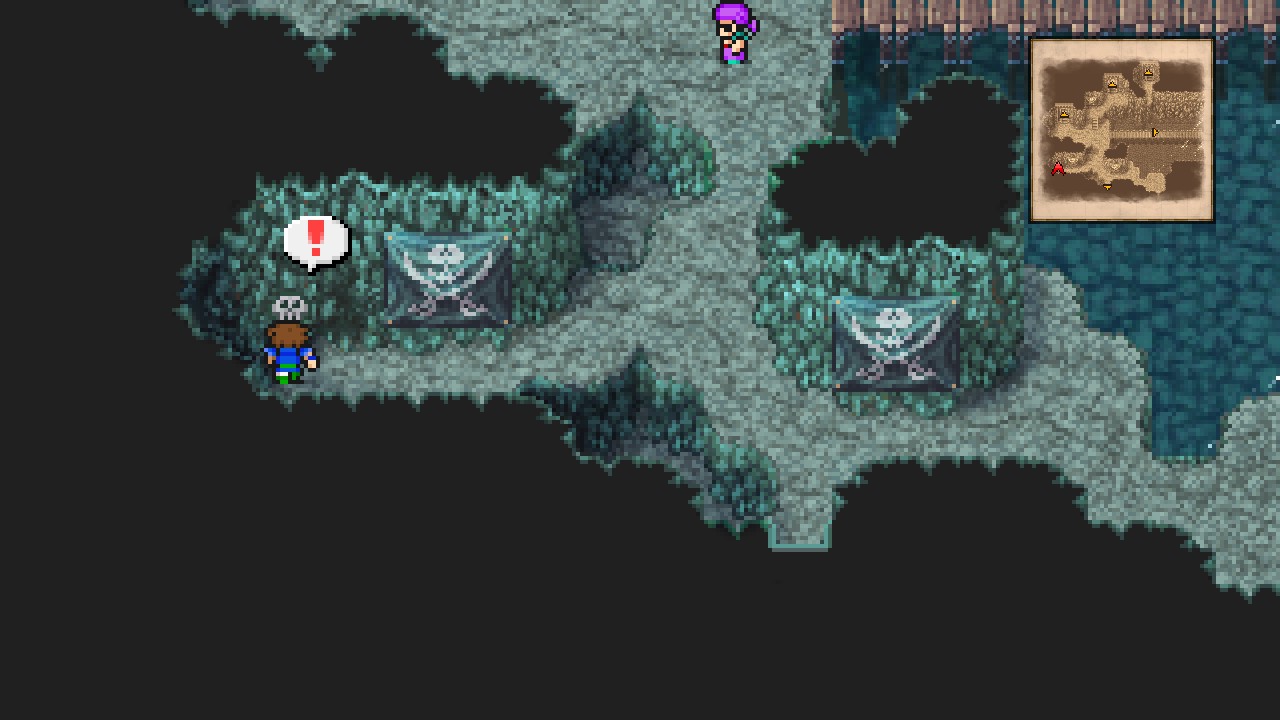
From the entrance, go west and flip the skull switch to open a secret passage somewhere else.
 |
Talk to one of the pirates near the bridge to receive 8 Potions!
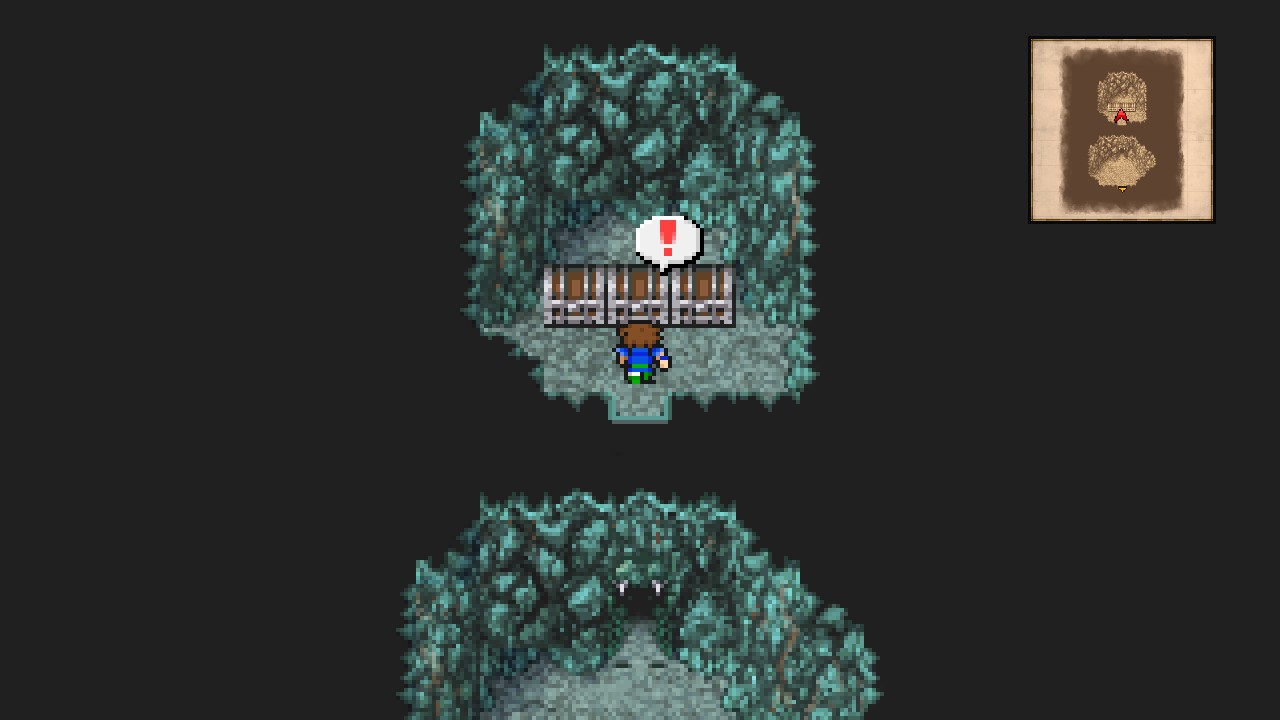
Now enter the westernmost room and open all three chests inside for a Tent, an Ether (don’t waste, we will need it later), and 300 Gil. [12/227]
 |
That’s finally 4/4 for this location.
Make your way back to the overworld through the caves.
Overworld
Board the ship and sail to the Torna Canal straight east from Tule.
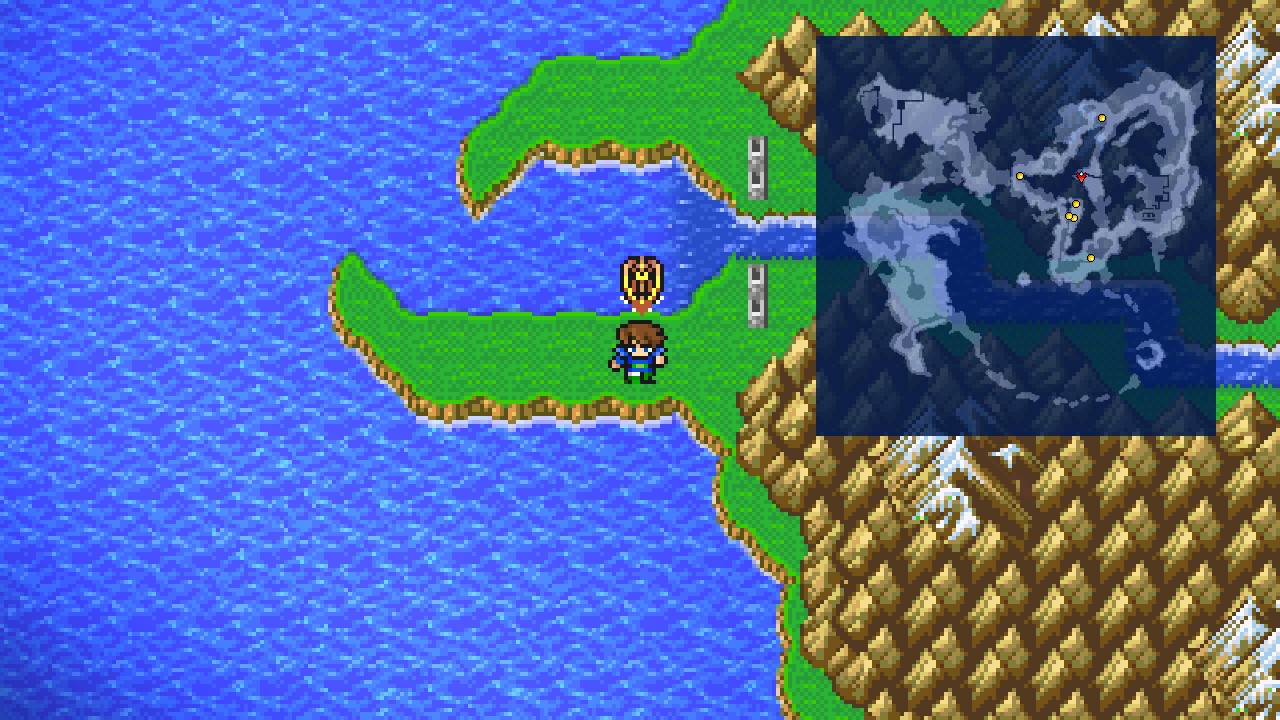 |
Dock at the small piece of land by the entrance to find a new creature.
| ㅤ ㅤ ㅤ BESTIARY: TORNA CANAL AREAㅤ ㅤ |
|---|
| ID | MONSTER | HP | MP | GIL | EXP |
|---|---|---|---|---|---|
| 019 | Bandersnatch | 120 | 0 | 100 | 60 |
Once ready, enter the Torna Canal.
Torna Canal
Head east and interact with the door to use the key.
WARNING: This is a one-visit location.
Summary of Missables:
- All bestiary entries: Sucker and Octokraken
| ㅤ ㅤ ㅤ BESTIARY: TORNA CANALㅤ ㅤ |
|---|
| ID | MONSTER | HP | MP | GIL | EXP |
|---|---|---|---|---|---|
| 191 | Sucker | 50 | 0 | 40 | 21 |
| 192 | Octokraken | 60 | 0 | 45 | 21 |
Note: enemies here only target female characters.
Follow the linear path to reach the monster of the canal!
| Karlabos |
|---|
| ID | HP | MP | ATK | DEF | EVA | M.DEF | MAG | WEAKNESS | RESIST. | ABSORBS | CANCELS |
|---|---|---|---|---|---|---|---|---|---|---|---|
| 230 | 650 | 100 | 10 | 0 | 0 | 10 | 0 | Lightning | Darkness, Zombie, Poison, Mini, Toad, Petrify, Death, Silence, Berserk, Confuse, Paralyze, Sleep, Old | None | None |
Have your white mage heal the party at all times while your black mage spams Thunder. Auto-attack with the rest. The battle should be over within a few turns.
After the battle, watch the scenes where Syldra gets absorbed by the whirlpool…. NOOOOOOOOO! followed by some more scenes.
Your ship won’t be able to sail anymore…
Ship Graveyard
Ship Graveyard
| ㅤ ㅤ ㅤ BESTIARY: SHIP GRAVEYARDㅤ ㅤ |
|---|
| ID | MONSTER | HP | MP | GIL | EXP |
|---|---|---|---|---|---|
| 012 | Skeleton | 70 | 0 | 57 | 38 |
| 013 | Calcruthl | 75 | 50 | 60 | 38 |
| 014 | Undead Husk | 130 | 0 | 63 | 46 |
| 015 | Mindflusher | 90 | 100 | 66 | 46 |
Undead Husk and Mindflusher start appearing further inside the second deserted ship. We will mention whenever that happens.
Feel free to use the bed at the deck below the starting ship to refill HP/MP.
Head east and then immediately south to find a path of rocks.
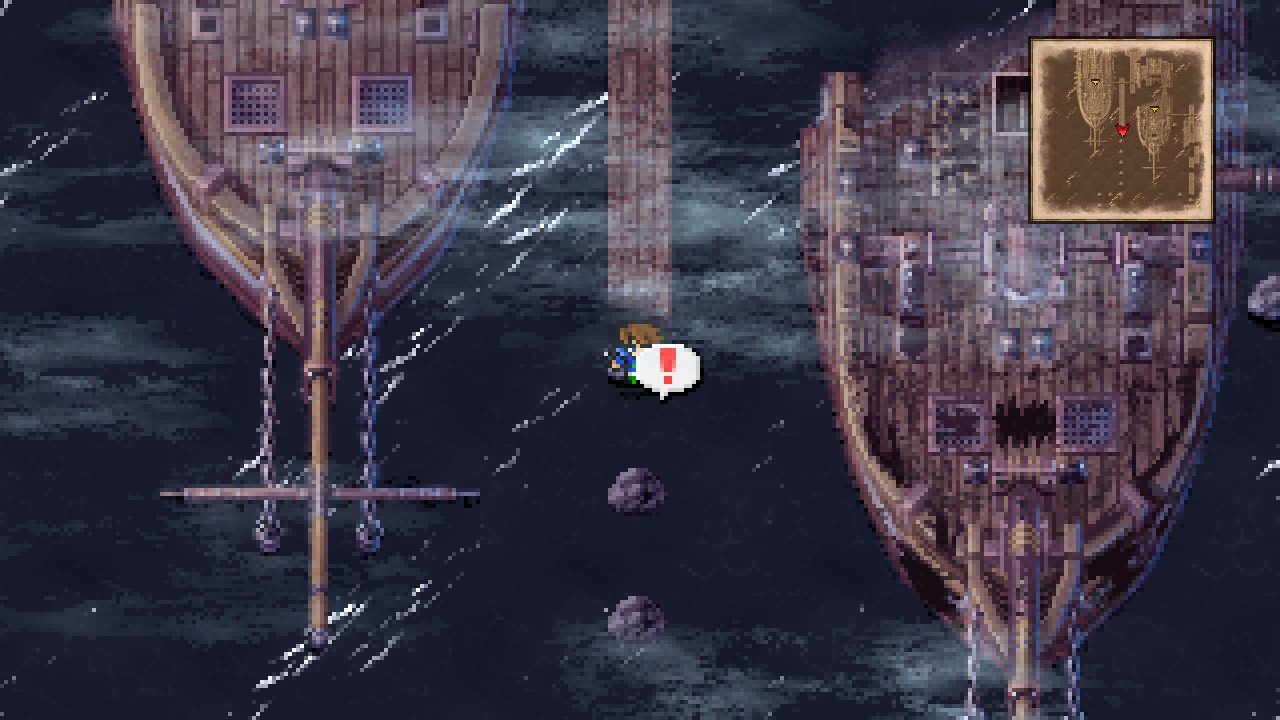 |
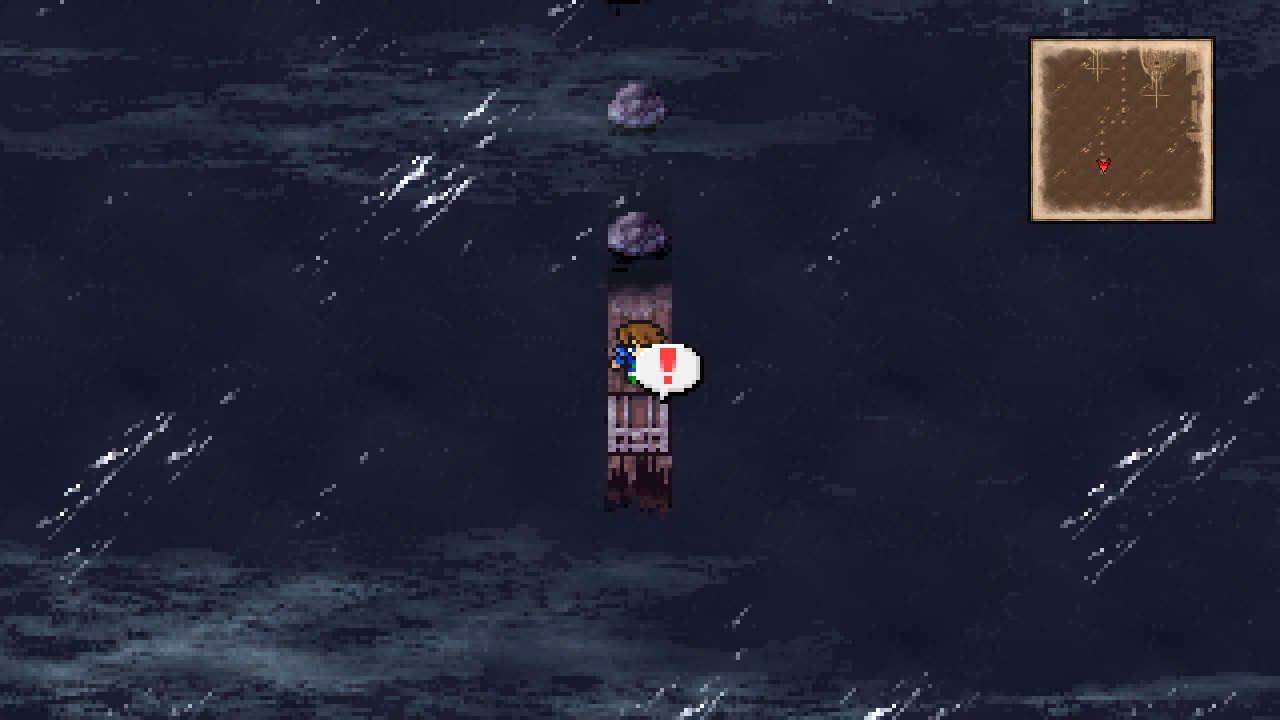
Jump over the rocks to reach a chest containing Flail. [13/227]
 |
Return the way you came from and continue east to reach a second abandoned ship.
Head north and go through the door.
Ship Graveyard – Sunken Shipwreck
Once inside, go east and take the stairs leading down.
From the stairs, head immediately west and enter the middle room.
Open the chest for Tent. [14/227]
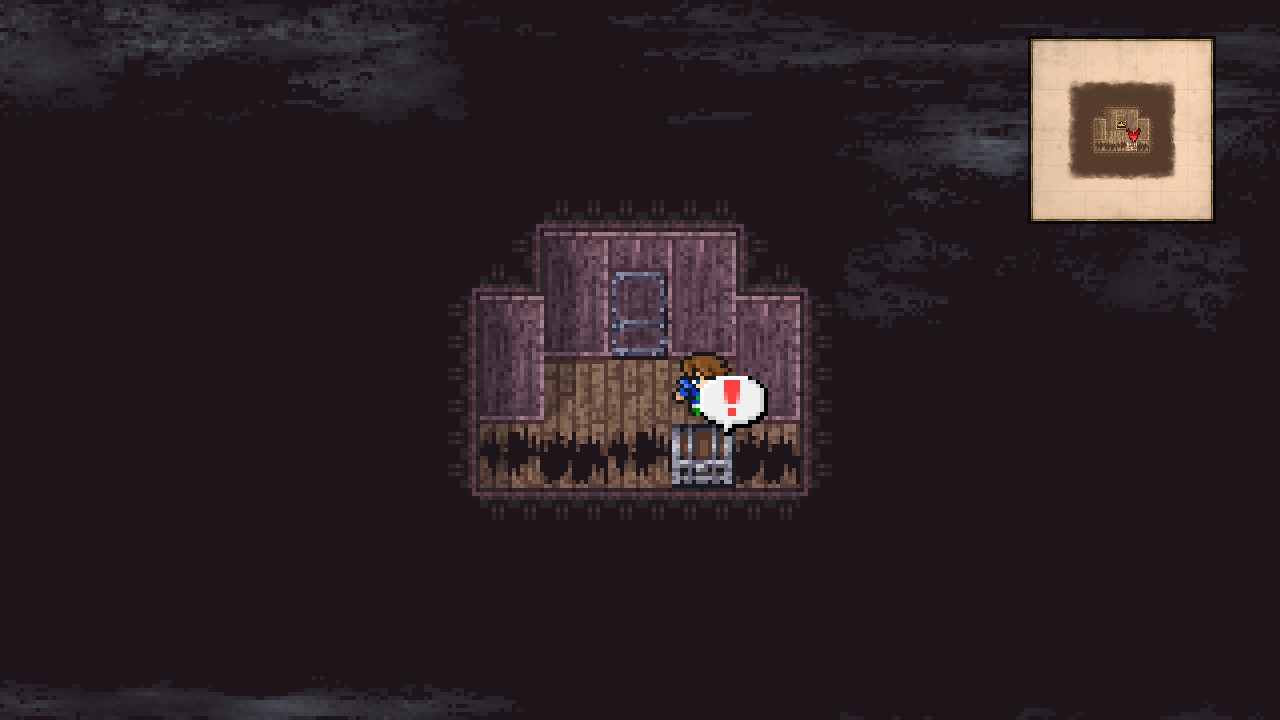 |
Exit the room and head back to the stairs.
From here, go south and through the door, then continue southwards to trigger a cutscene.
Enter the water and head west to find an one-tile staircase. Take the stairs down.
The vision here is kinda blurry due to the water effect.
Undead Husk starts appearing from this point on.
Anyway, go west and down the stairs, then interact with the skull box for 990 Gil. {9/44}
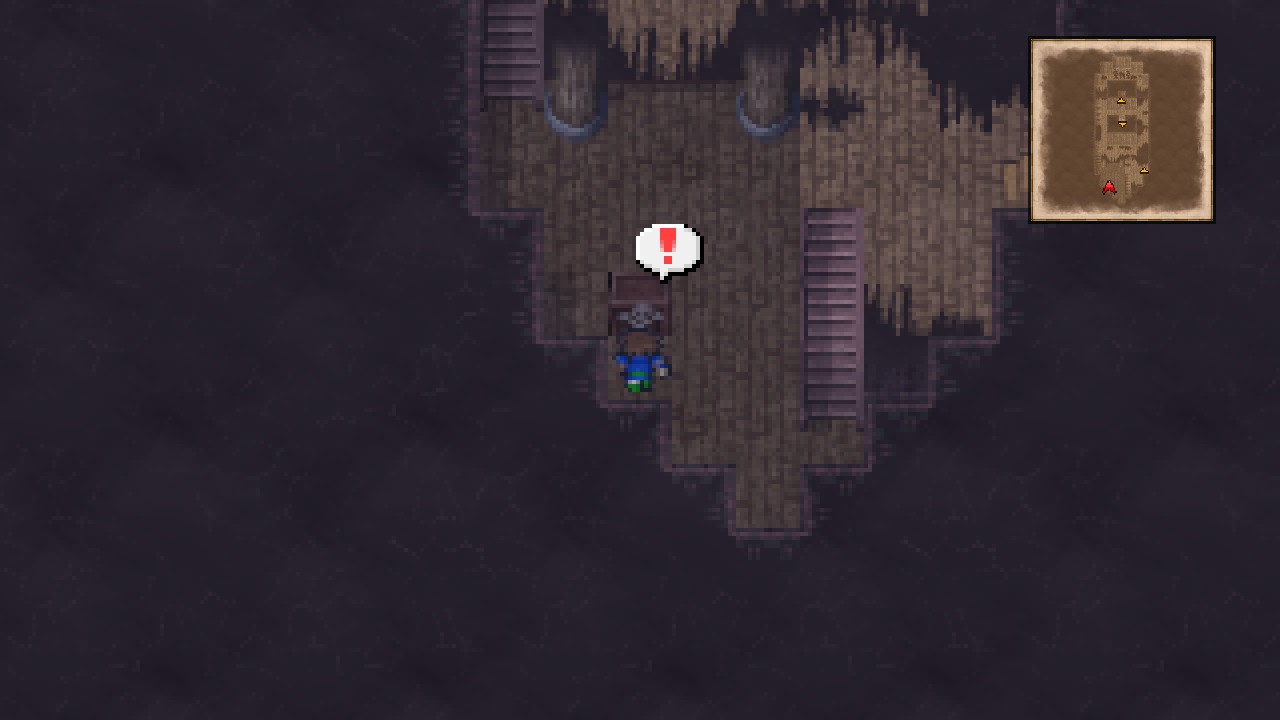 |
Trivia: This item is for some reason not shown in the statistics screen. However, it might be required for completion so better safe than sorry.
Head northwest up the stairs, then go through the north door.
Go west and down the stairs, then open the chest at the bottom for a Phoenix Down. [15/227]
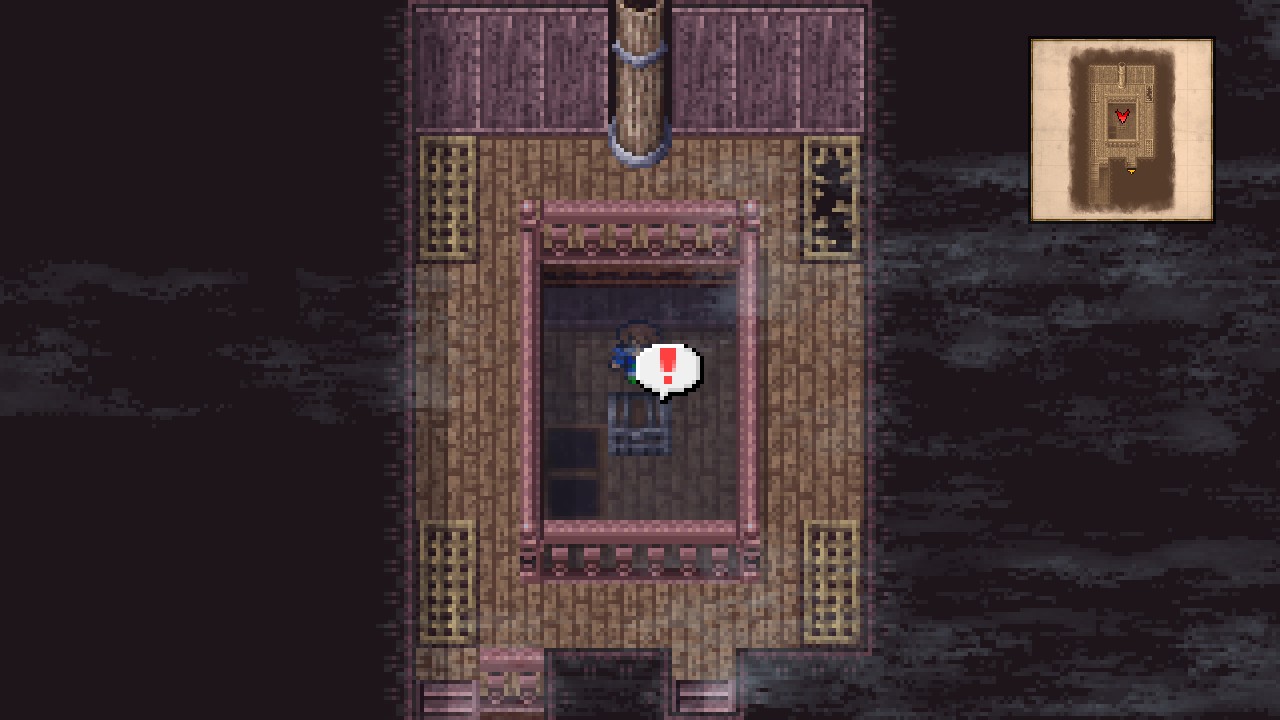 |
Head back up and exit through the south door.
Back at the previous room, take the south door.
Head south down the stairs and take the one-tile staircase to the next floor.
Go left and around the middle structure to find a chest bottom-right of the stairs. Open it for a Potion. [16/227]
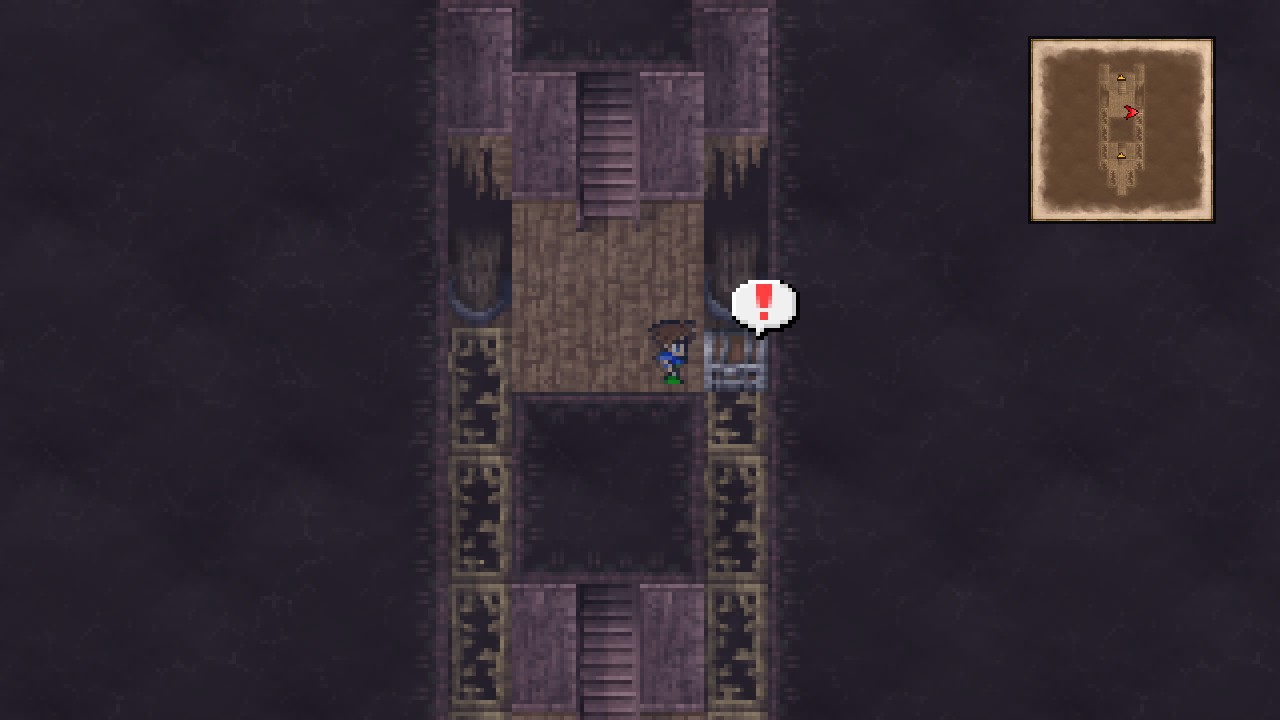 |
Take the stairs leading up.
Head south and go through the southern door to reach a safe room.
Note: Try to avoid stepping on any of the cracked tiles as they break on contact, returning you to the previous floor… They might not be visible at all, but one of them is just to the left of the southern door (I fell through this one too many times!).
Anyway, as soon as you enter the safe room, you will be greeted with a revealing cutscene.
After regaining control, go through the northeastern door.
This area has a consecrated circle, so save your progress if you desire and then head up.
Note: You can always rest for free on the room just before the save point.
Mindflusher starts appearing here.
Go up another two set of stairs to exit the ship.
Head west across the mast, then go south at the split, jump over the rock, and jump onto another ship.
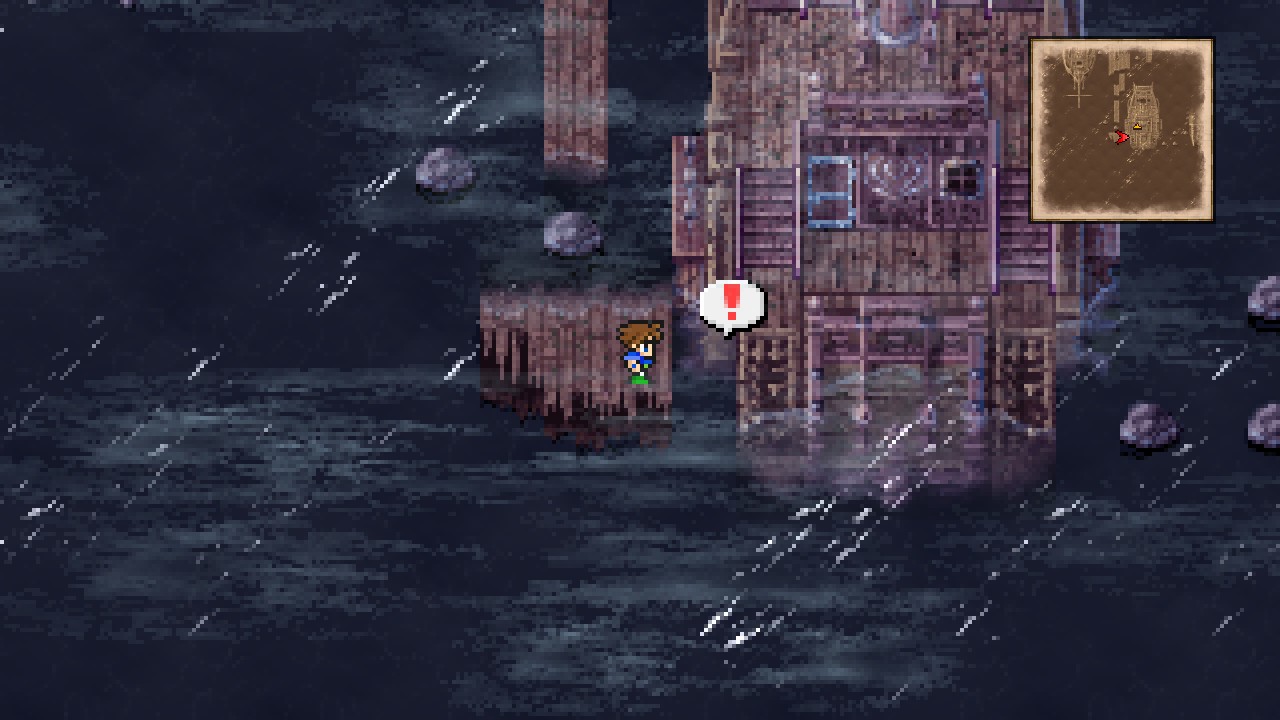 |
Go through the door.
Pick up the key item ‘World Map’, which is ironically the same thing as pressing Q → TAB…
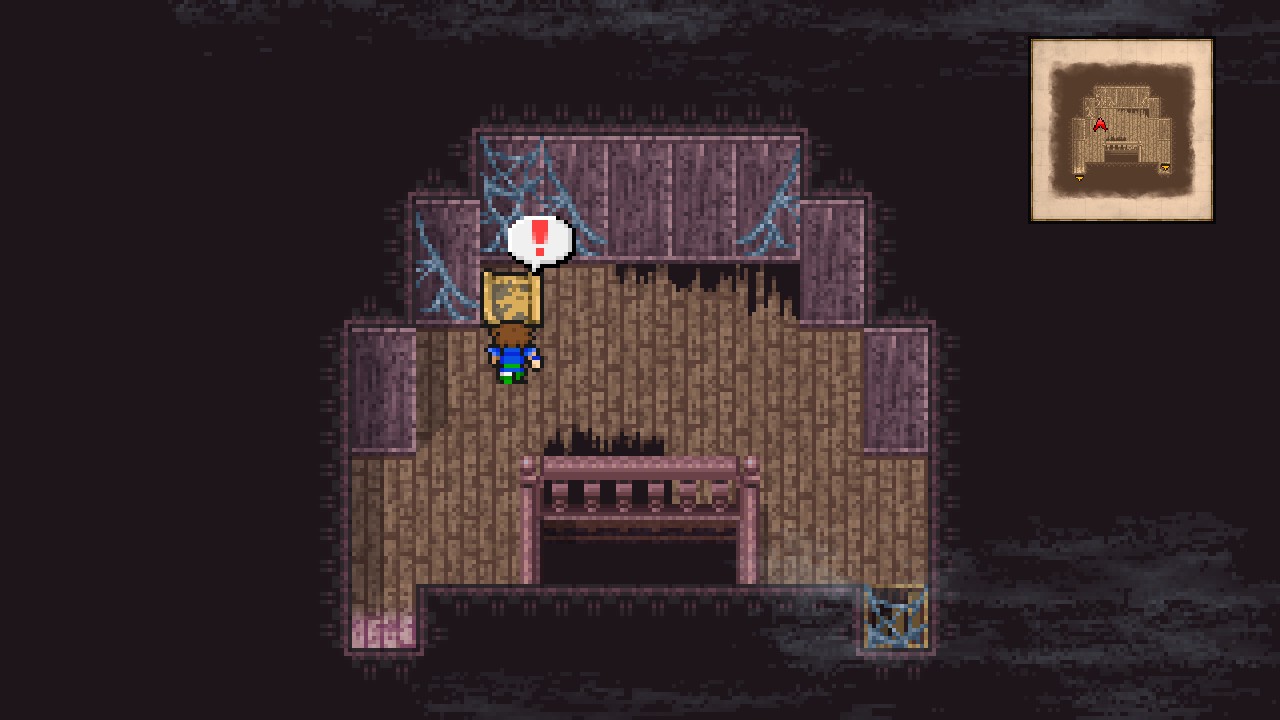 |
Now go east and head down the stairs.
This is a simple room with three whooping treasure chests! Open all for Antidote x2 and Phoenix Down. [19/227]
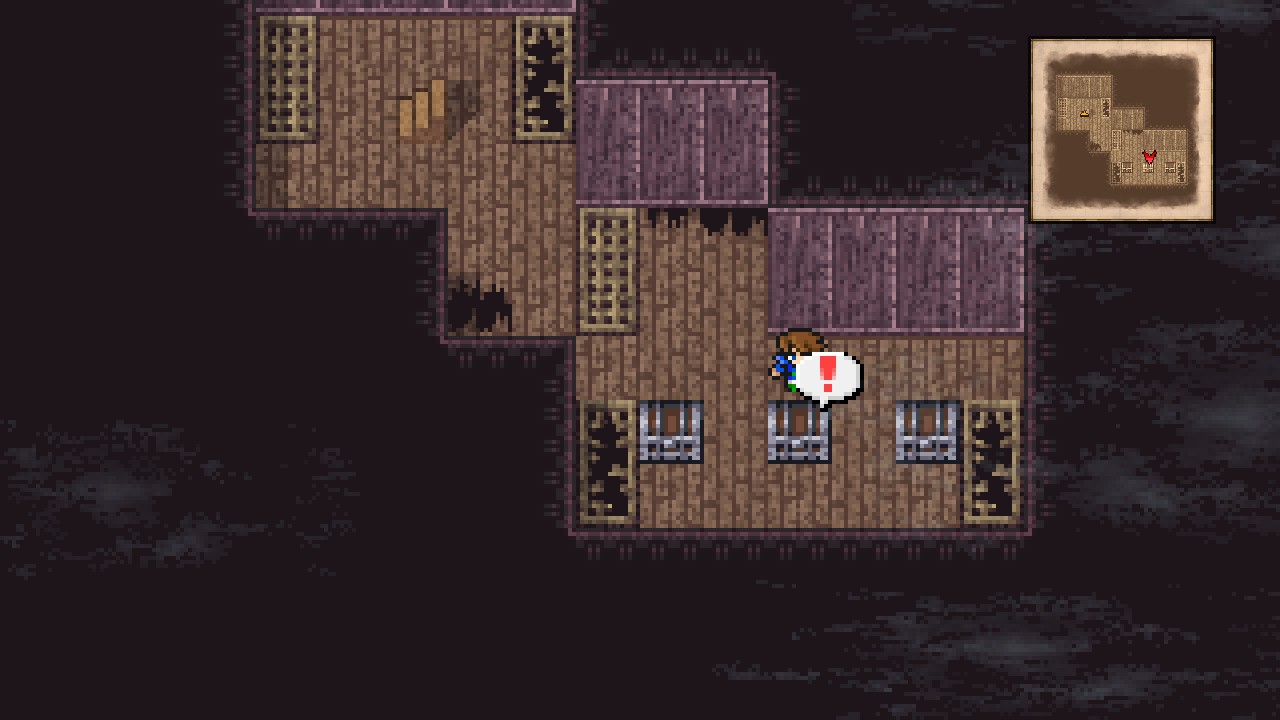 |
That’s pretty much all collectibles for this place. 8/8 chests and 1 non-counted item.
Make your way back out the ship, then head east and jump across the rocks to reach one final abandoned ship.
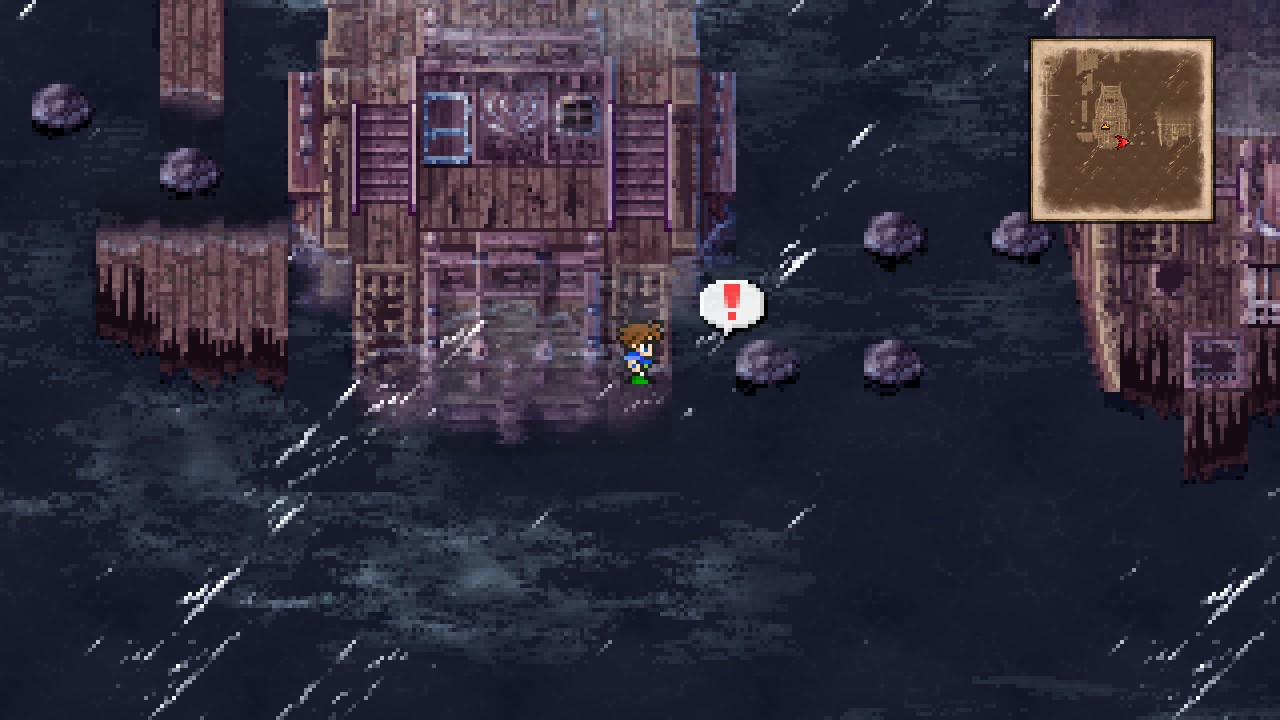 |
Open the chest at the other side to raise the ship from underwater. This chest is NOT counted as a collectible.
After raising the ship, head north and before jumping over the rocks, heal up and quick-save as another boss battle is happening really soon.
Once you feel prepared, jump over the rocks!
Immediately as you step on land, a cutscene will take place, followed by the previously mentioned boss fight…
| Siren |
|---|
| ID | HP | MP | ATK | DEF | EVA | M.DEF | MAG | WEAKNESS | RESIST. | ABSORBS | CANCELS |
|---|---|---|---|---|---|---|---|---|---|---|---|
| 231 | 900 | 200 | 15 | 0 | 0 | 20 | 0 | None | Mini, Toad, Silence, Sleep | None | None |
This boss alternately switches between two states.
Normal form is immune against magic attacks but weak against physical hits.
Undead form is weak to elemental attacks (more specific fire-based spells) but resistant to physical hits. This form is also weak to healing, so feel free to throw the boss any healing stuff you have been holding in your inventory.
After the battle, go through the north opening to exit the location.
Carwen
Overworld
| ㅤ ㅤ ㅤ BESTIARY: CARWEN AREAㅤ ㅤ |
|---|
| ID | MONSTER | HP | MP | GIL | EXP |
|---|---|---|---|---|---|
| 016 | Gatling | 80 | 0 | 42 | 30 |
| 017 | Big Horn | 90 | 0 | 50 | 40 |
| 018 | Tatou | 100 | 0 | 70 | 50 |
Finally back at the overworld!
Head east, then immediately south, east again, and follow the path one more time south to spot a town at the distance. This town is Carwen.
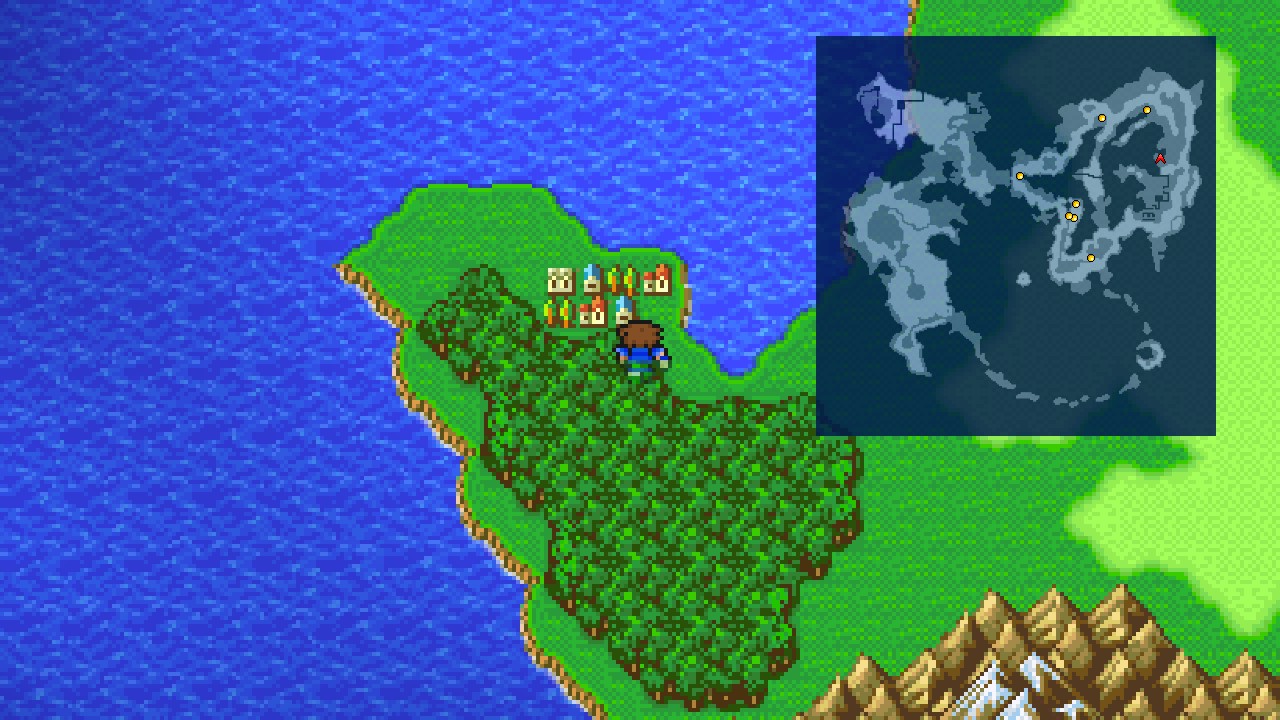 |
Head inside.
Carwen
Go north past the entrance arch, then go under the second arch on the right and search the second barrel for an Antidote. {10/44}
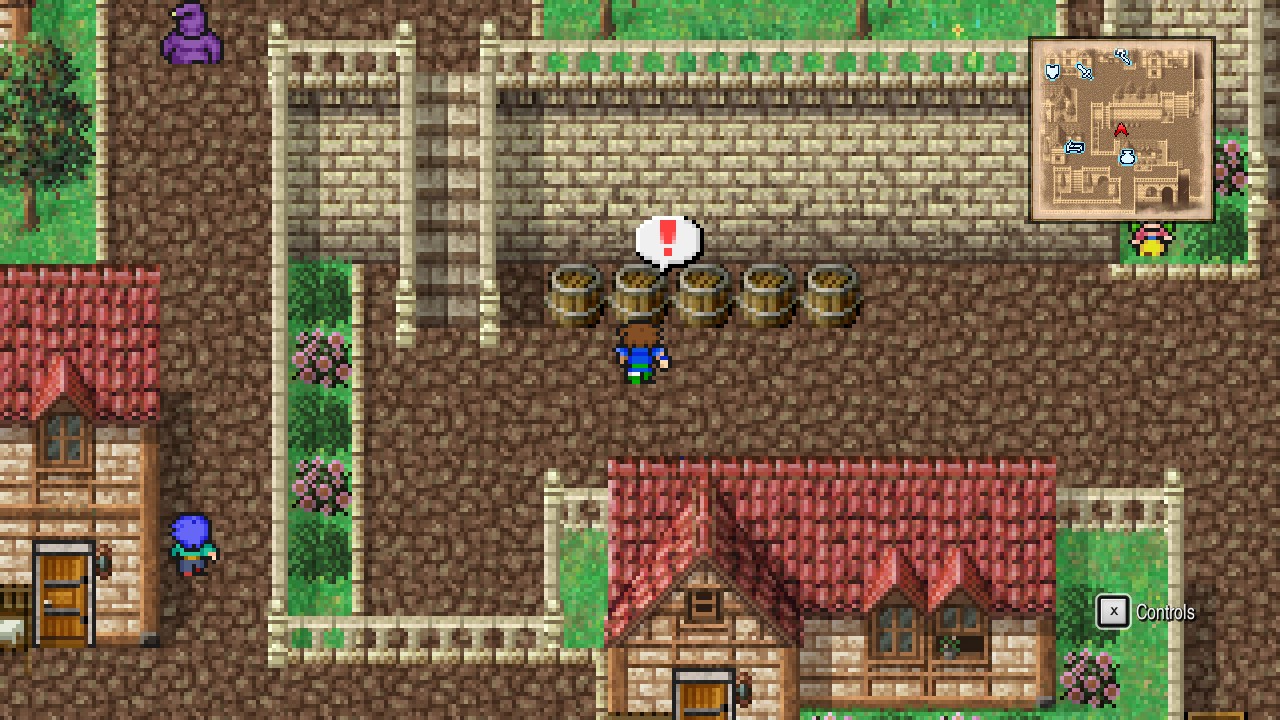 |
Continue east, then head south and stand between the two boxes.
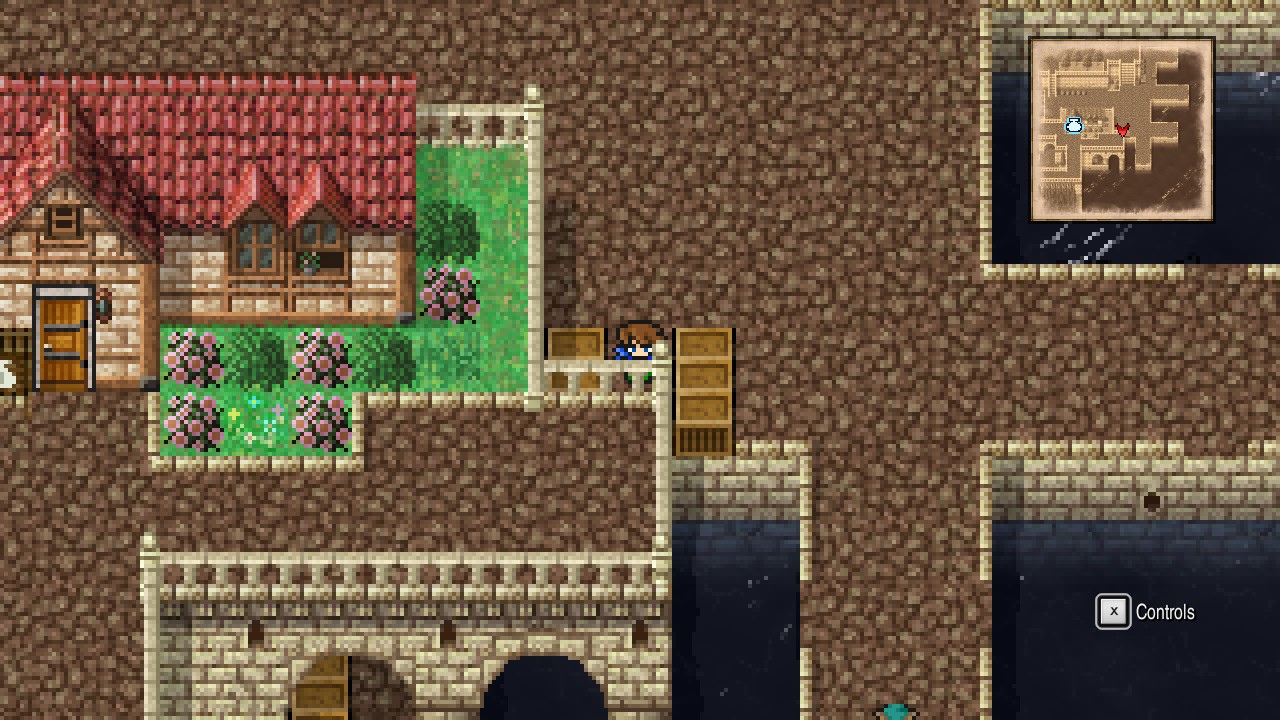 |
From here, go all the way south until hitting a wall, then west until hitting another wall, south, west, and south until seeing your character again.
Inspect the left box for a Frost Rod. {11/44}
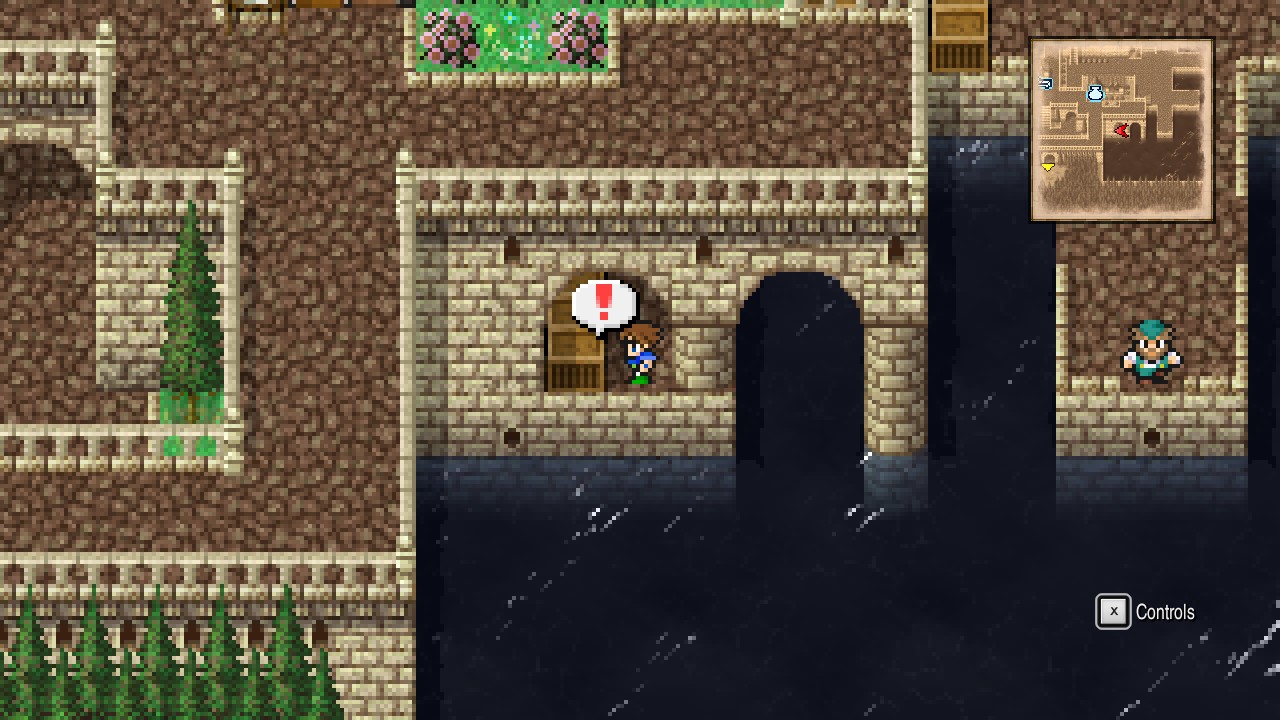 |
Backtrack to the entrance of this secret passage and head north to find some stairs leading up.
Go up and enter the Pub.
Carwen – Pub
As we did in the very first town, play the piano to get progress towards the related achievement (I wish learning to play the piano was that easy). [Piano Maestro: 2/8]
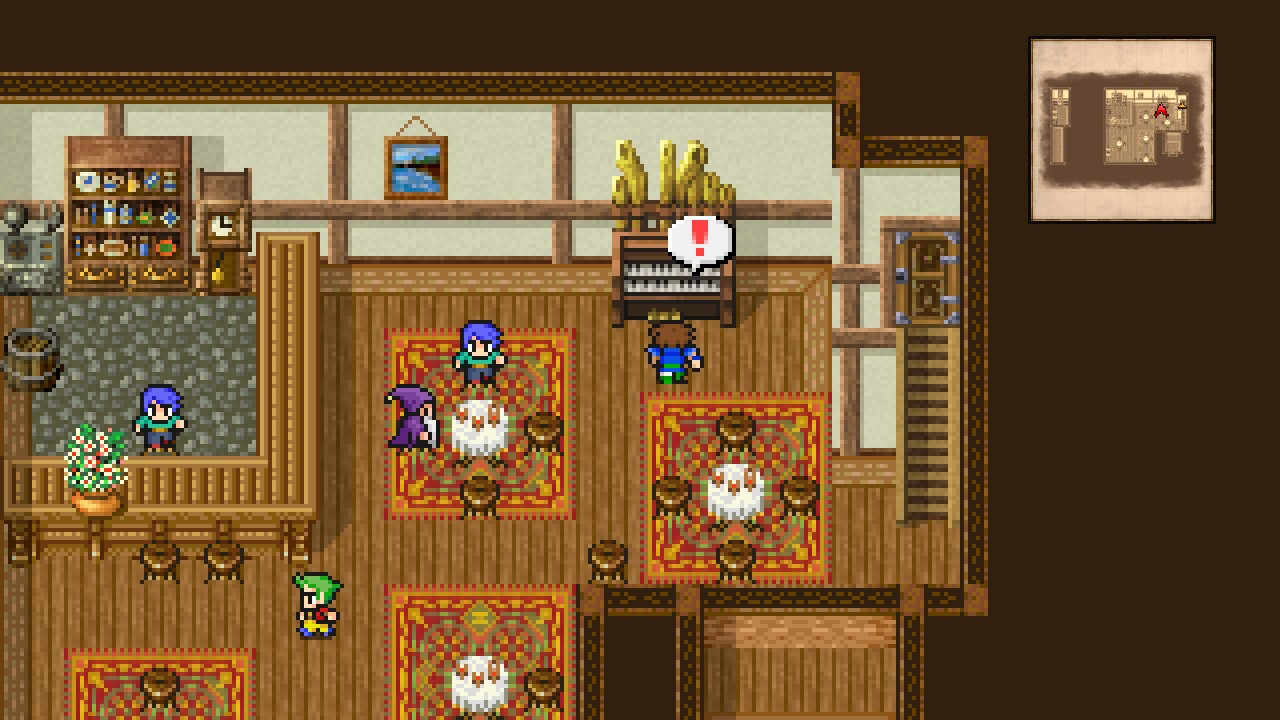 |
Now head to the southwestern corner of the Pub to find two white pots.
Push leftwards while standing under them to reveal a secret passage.
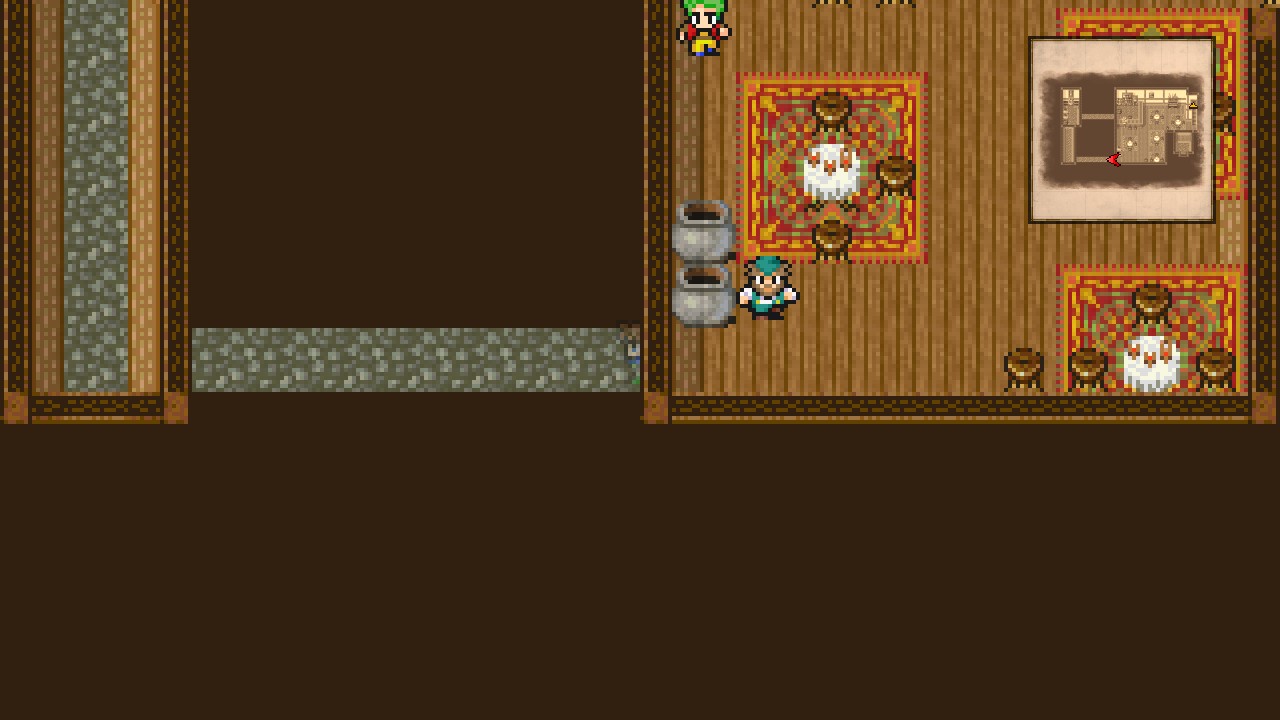 |
Follow the only possible path and search the top pot for 1000 Gil. {12/44}
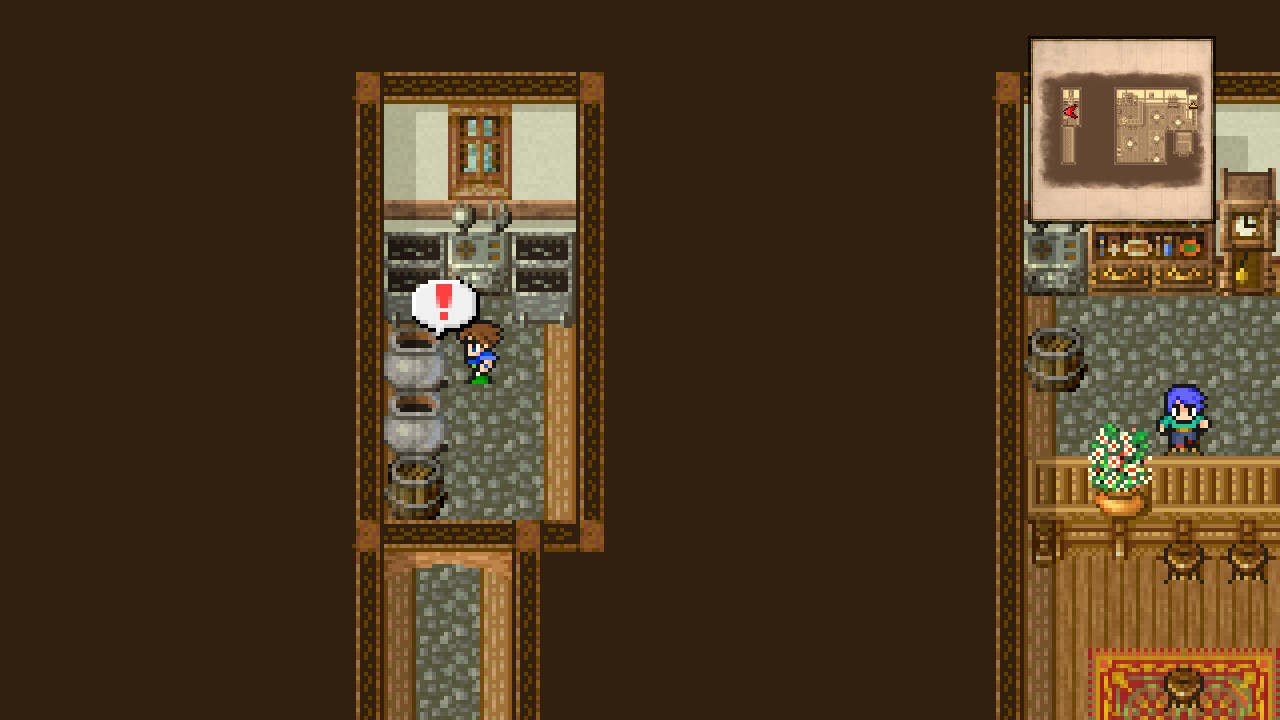 |
That concludes the collectibles of this location. 3/3 items.
Now it’s time to go in a shopping spree if you desire. I’ll list the shops below.
| Items | ||
|---|---|---|
| Item | Cost | Description |
| Potion | 40 | Recovers HP. |
| Antidote | 30 | Cures an ally of poison. |
| Eye Drops | 20 | Cures an ally of darkness. |
| Maiden’s Kiss | 60 | Cures an ally of the toad status. |
| Mallet | 50 | Cures an ally of the mini status. |
| Gold Needle | 150 | Cures an ally of petrification. |
| Phoenix Down | 1000 | Revives an ally from the KO status. |
| Tent | 250 | Recovers all members’ HP and MP. Can be used outdoors. |
| Armor | ||
|---|---|---|
| Item | Cost | Description |
| Bronze Shield | 290 | Defense +1 Evasion +15 Weight +5 |
| Bronze Helm | 250 | Defense +2 Magic Defense +2 Weight +4 |
| Bronze Armor | Cost | Defense +4 Magic Defense +2 Weight +8 |
| Copper Cuirass | Cost | Defense +3 Magic Defense +2 Weight +4 |
| Cotton Robe | Cost | Defense +2 Magic Defense +4 Weight +2 |
| Weapons | ||
|---|---|---|
| Item | Cost | Description |
| Dagger | 300 | Attack +14 Can be enchanted |
| Long Sword | 480 | Attack +22 Can be two-handed Can be enchanted |
| Rod | 200 | Attack +8 Weight +1 Magic +1 |
| Staff | 200 | Attack +9 Can be two-handed |
| Magic | ||
|---|---|---|
| Item | Cost | Description |
| Fire | 150 | Deals fire damage. |
| Blizzard | 150 | Deals icedamage. |
| Thunder | 150 | Deals lightning damage. |
| Sleep | 300 | Causes sleep. |
| Cure | 180 | Restores HP. |
| Poisona | 90 | Cures poison. |
| Silence | 280 | Causes silence. |
| Protect | 80 | Reduces physical damage received. |
| Inn | |
|---|---|
| Service | Cost |
| Rest | 10 |
After upgrading your equipment and stocking up on items, exit the town.
Overworld
Back at the overworld, farm just west of Carwen the following encounter (refer to the screenshot below for the exact location):
| ㅤ ㅤ ㅤ BESTIARY: WEST OF CARWENㅤ ㅤ |
|---|
| ID | MONSTER | HP | MP | GIL | EXP |
|---|---|---|---|---|---|
| 020 | Garula | 500 | 0 | 0 | 0 |
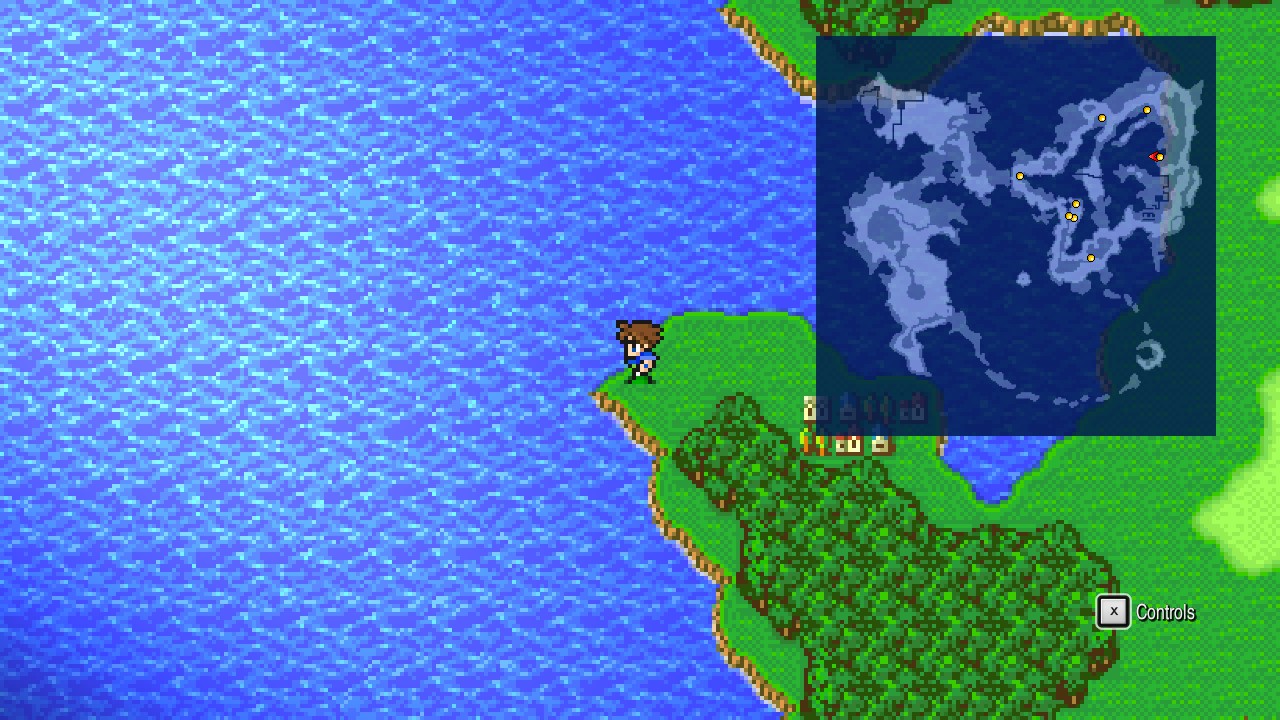 |
Once done, head east from Carwen, then north and take the woods all the way north until reaching the entrance of the mountains.
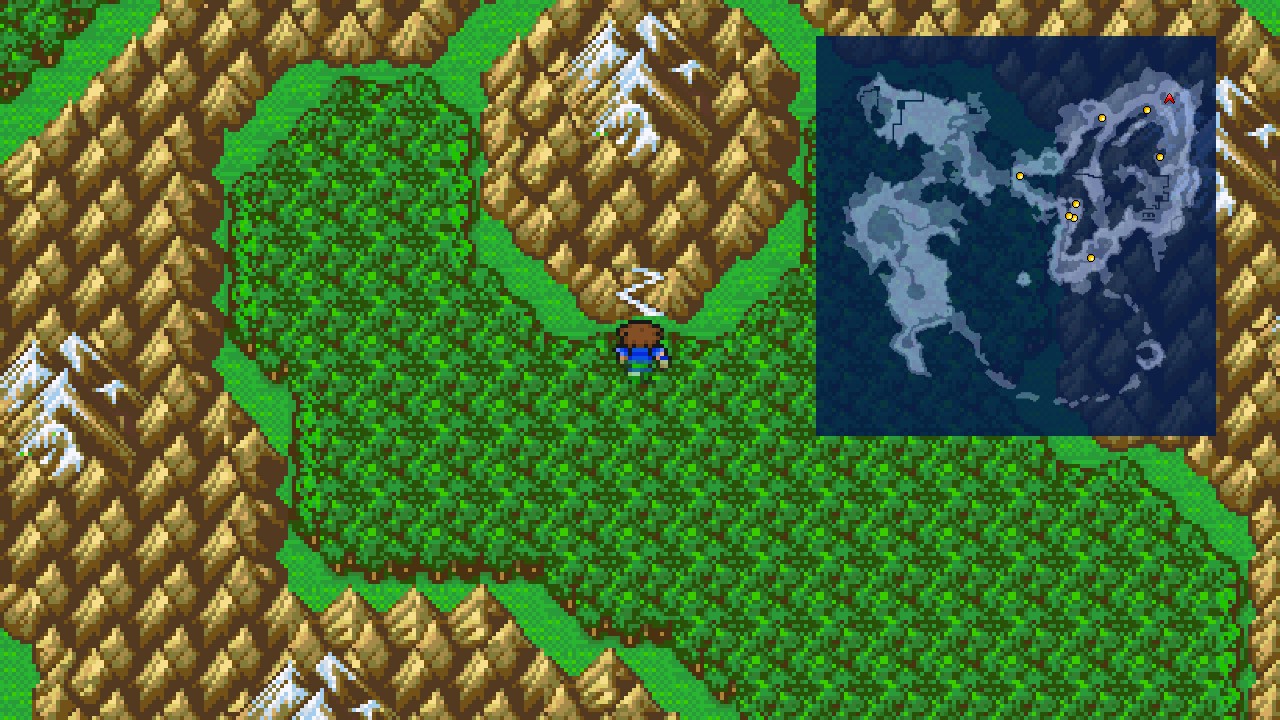 |
Head inside.
North Mountain
North Mountain
Go north and enter the cave.
North Mountain – Cave
| ㅤ ㅤ ㅤ BESTIARY: NORTH MOUNTAINㅤ ㅤ |
|---|
| ID | MONSTER | HP | MP | GIL | EXP | |
|---|---|---|---|---|---|---|
| 021 | Rock Slug | 120 | 0 | 69 | 46 | |
| 022 | Gaelicat | 100 | 20 | 72 | 55 | |
| 023 | Cockatrice | 100 | 0 | 75 | 55 | |
| 024 | Headstone | 50 | 0 | 78 | 55 | BM: Flash (use an Ether on it) |
Cockatrice shows up further into the dungeon.
Headstone has the blue magic ‘Flash’. Remember the Ether I mentioned you to save ages ago? well, It’s time to use it.
Get into a battle against Headstone, then use an Ether on it to get them to cast Flash on your party. What’s the reason of using an Ether? well, they have the spell but no MP to use it. Thanks Square, we love you.
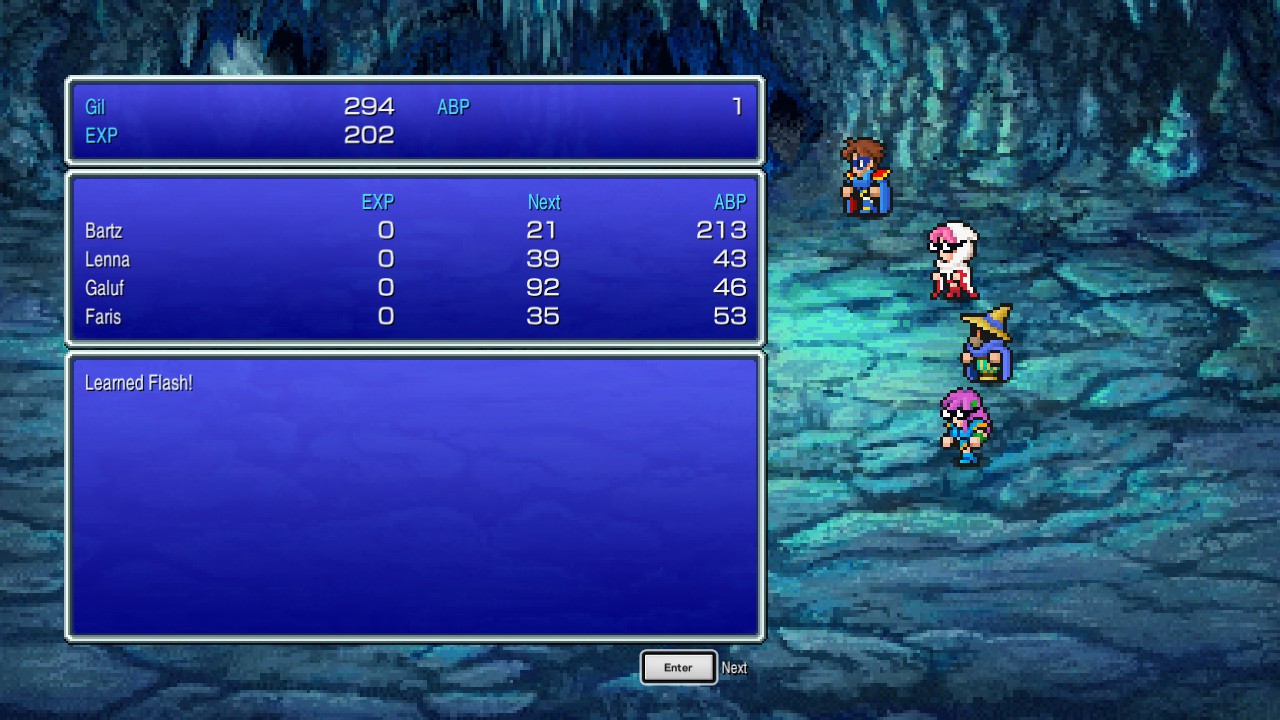 |
Anyway, head west, then follow the linear path south to reach a chest. Open it for a Phoenix Down. [20/227]
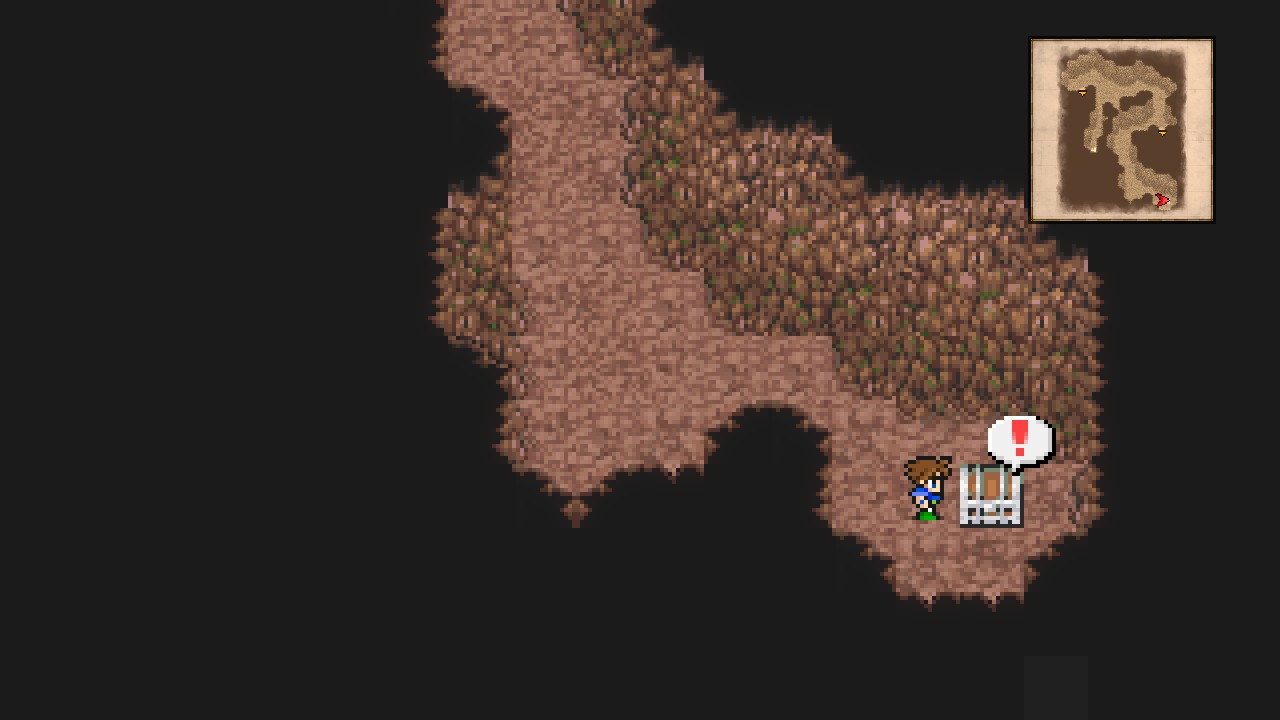 |
Trivia: Not sure if it’s just me, but there’s an odd square that stands out to the eye just below the chest… Silly Square Enix devs.
Backtrack to the entrance and go north, then west to a split and immediately south to find a chest containing a Gold Needle. [21/227]
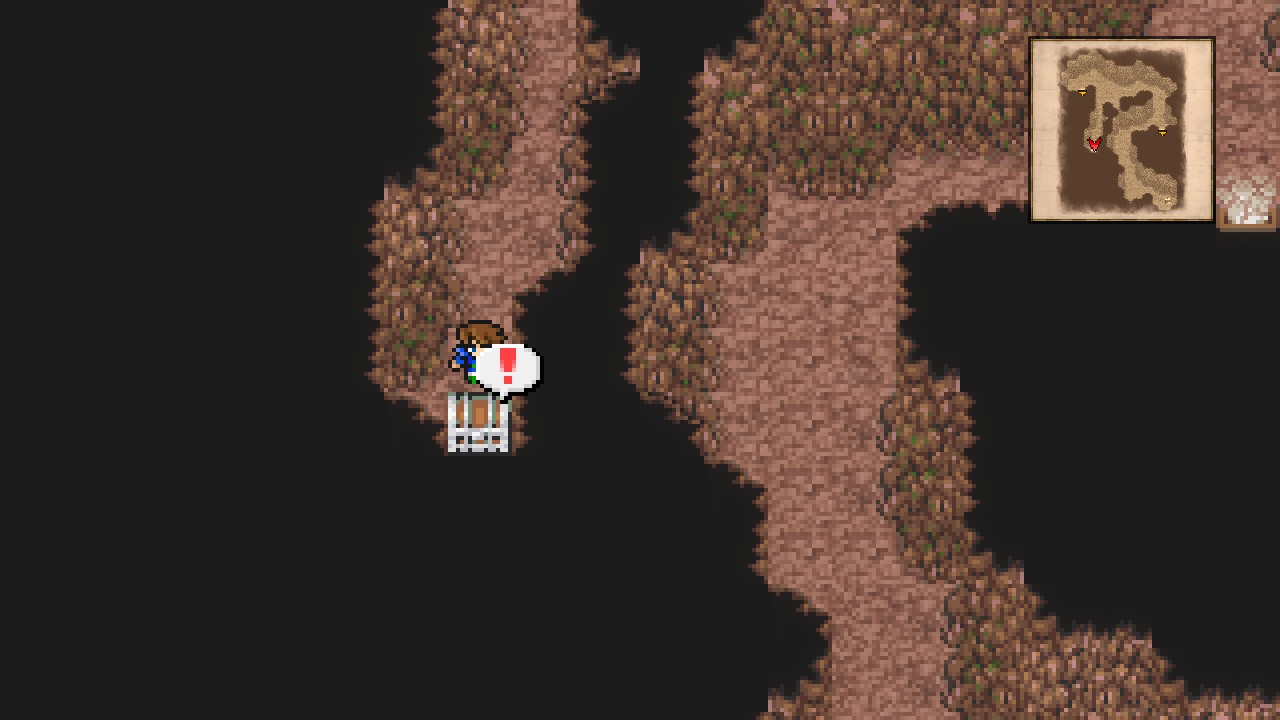 |
That sums all the collectibles for this location. Just 2/2 chests.
Go back north and take the western exit.
North Mountain – Mountain Path
Follow the linear path north and enter another cave.
North Mountain – Cave
Head east, down the stairs, east again and exit through the opening.
North Mountain – Mountain Path
Cockatrice starts appearing here.
Warning: Don’t step on the purple flowers or your whole party will get poisoned… If you do, cast Poisona with your White Mage.
Head east, then north through the bridge, and finally west into another cave, always avoiding the purple flowers (unless you feel like poisoning your party a bit, if that’s the case, then step on all the flowers!).
North Mountain – Rest Area
This cave features a consecrated circle. Here you can use a Tent to heal your party up and save your progress.
Anyway, once ready, take the southern exit.
North Mountain – Mountain Path
Go west to trigger a scene, followed by the respective boss fight.
| Magissa |
|---|
| ID | HP | MP | ATK | DEF | EVA | M.DEF | MAG | WEAKNESS | RESIST. | ABSORBS | CANCELS |
|---|---|---|---|---|---|---|---|---|---|---|---|
| 232 | 650 | 200 | 14 | 0 | 0 | 0 | 1 | None | Mini, Toad, Petrify, Death, Berserk, Confuse, Paralyze, Sleep, Old | None | None |
Lenna starts the battle poisoned, so start by casting Poisona on her to remove the status ailment.
After that, attack Magissa but don’t kill her. Instead, keep attacking with low damage until she summons Forza. Make sure to keep your party healed at all times.
| Forza |
|---|
| ID | HP | MP | ATK | DEF | EVA | M.DEF | MAG | WEAKNESS | RESIST. | ABSORBS | CANCELS |
|---|---|---|---|---|---|---|---|---|---|---|---|
| 233 | 850 | 100 | 14 | 3 | 0 | 5 | 0 | None | Mini, Toad, Petrify, Death | None | None |
There’s two ways to win this. One is throwing them everything you have, and the alternative is using Frost Rod to insta-kill both, but the weapon will break after use. Choose wisely!
After the relatively easy boss fight, head west and enter another cave.
North Mountain – Mountaintop
Go north and watch the scenes.
Why doesn’t Lenna uses Poisona on herself to cure her poison after stepping on the purple flowers? makes no sense!
Castle Tycoon
Overworld
Back at the overworld, we will notice something different. Yes, we’re now on Hiryu’s back!
Hiryu can fly, but not too high so mountains are still an obstacle. Also he can only land on plains, forest patches and deserts are excluded.
Before progressing with the story, I highly recommend paying a visit to Tycoon Castle.
It’s south-west from our current position (just above the first meteor).
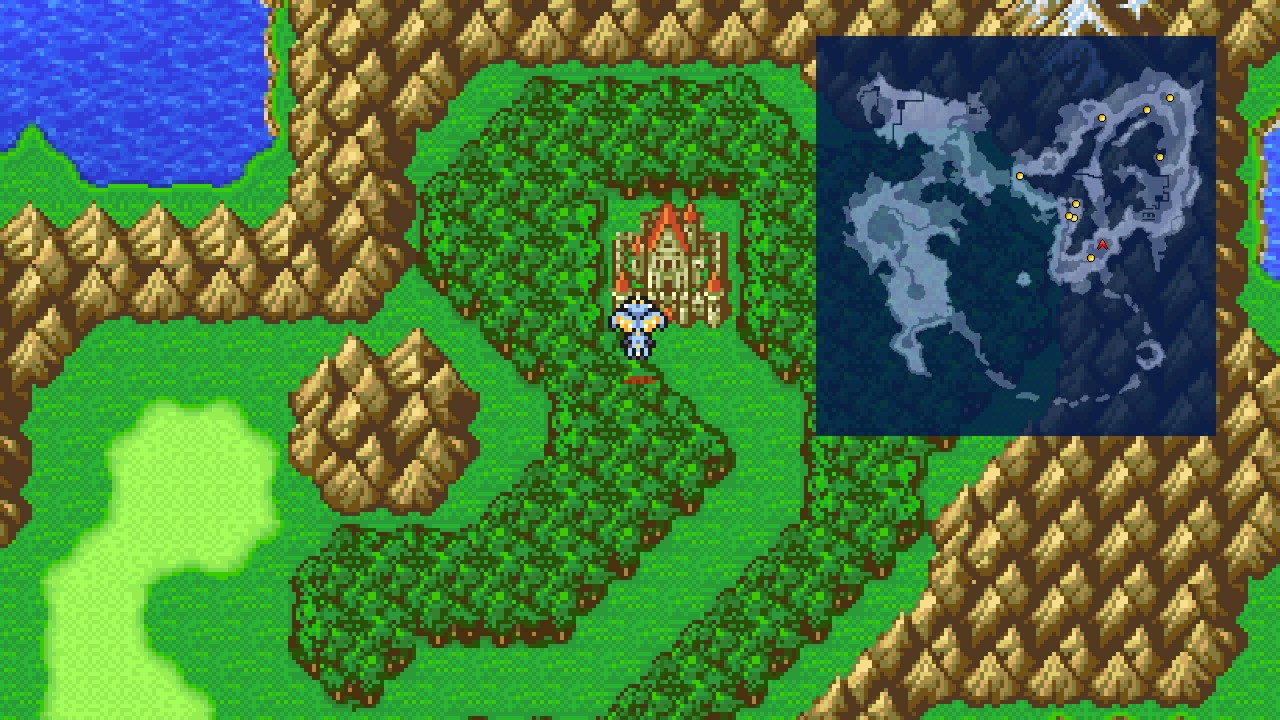 |
Land outside the castle and then head inside.
Castle Tycoon
Talk to the guard and then go north into the castle.
You’ll meet the Chancellor which will turn in some major plot revealing scenes.
Castle Tycoon –
Guess they forgot the name of this room, that or it’s called ‘ – ‘.
Anyway, after the scenes, we’re finally able to fully explore the castle.
Leave this weirdly named location, then go downstairs to reach 1F.
Castle Tycoon – 1F
Inspect the rightmost pot to find a Hi-Potion. {13/44}
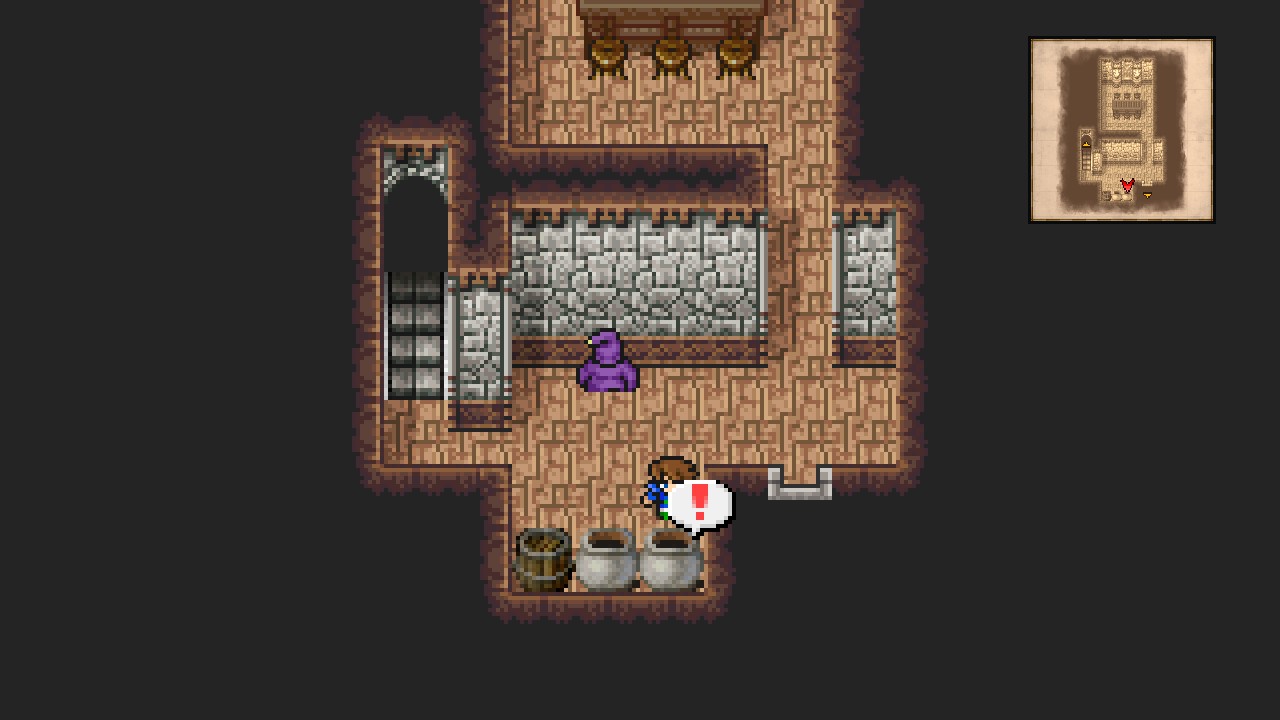 |
Exit through the southern door.
Head north into the throne room.
Castle Tycoon – Throne Room
Now head northeast and go through the door.
Castle Tycoon – 2F
Make your way up the stairs to the fourth floor.
Castle Tycoon – 4F
Search the following pots:
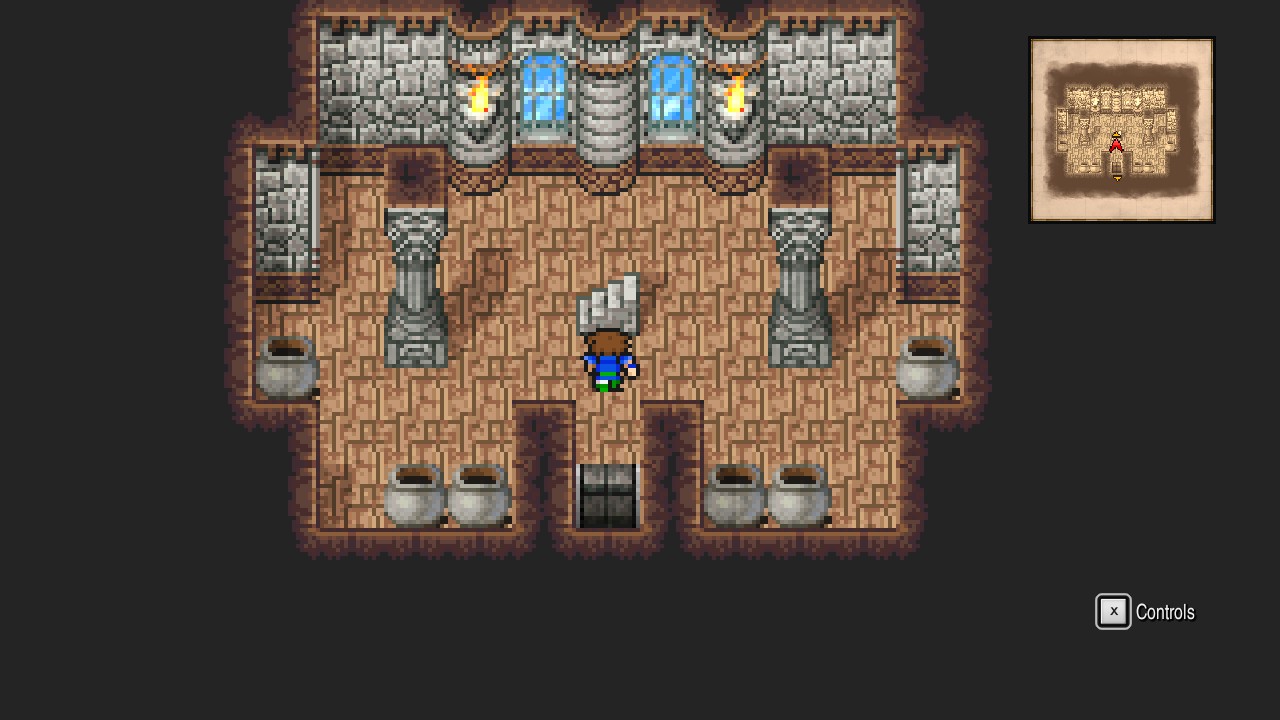 |
Third pot: Ether. {14/44}
Fourth pot: Elixir. {15/44}
Fifth pot: Phoenix Down. {16/44}
Sixth pot (rightmost): Maiden’s Kiss. {17/44}
Backtrack to the throne room and go south to the main hall.
Castle Tycoon – 1F
Head east and go through the door, then take the stairs leading up.
Castle Tycoon
Go north and enter another ‘ – ‘ room.
Castle Tycoon –
Search the barrel and the pot to the right of the entrance for Cottage and Ether. {19/44}
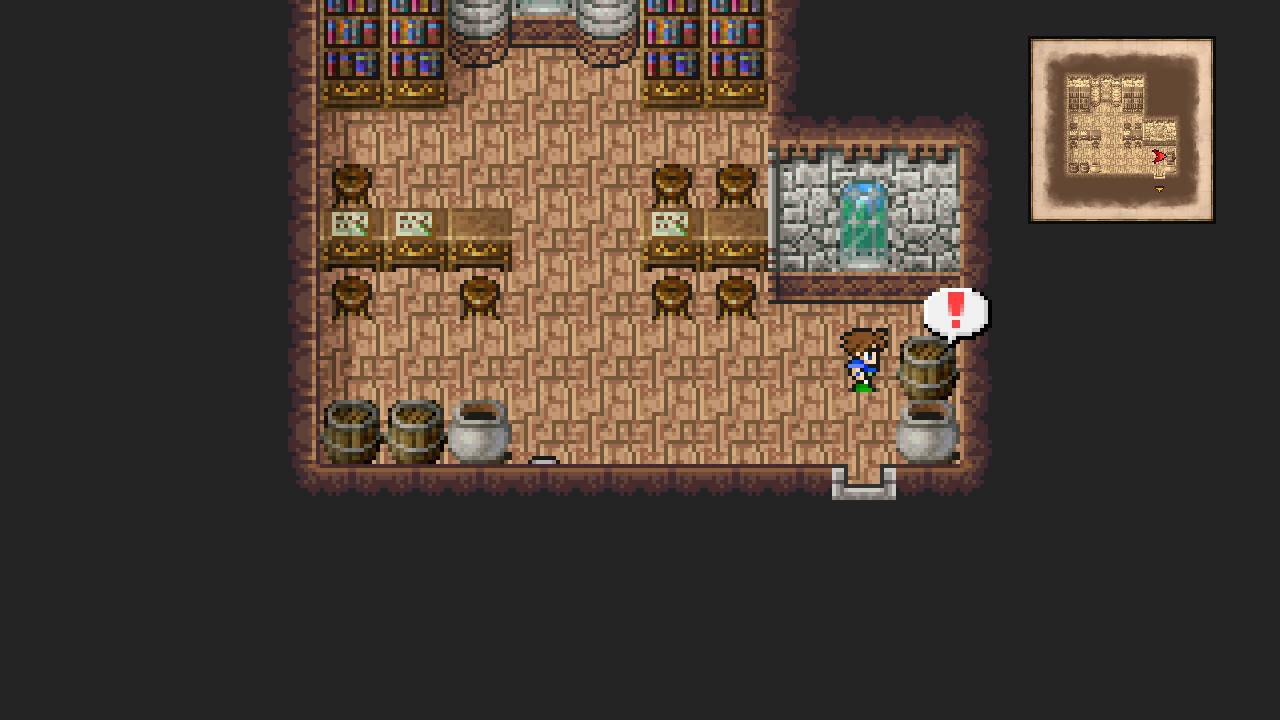 |
Now go to the other end and inspect both barrels for an Elixir and a Phoenix Down. {21/44}
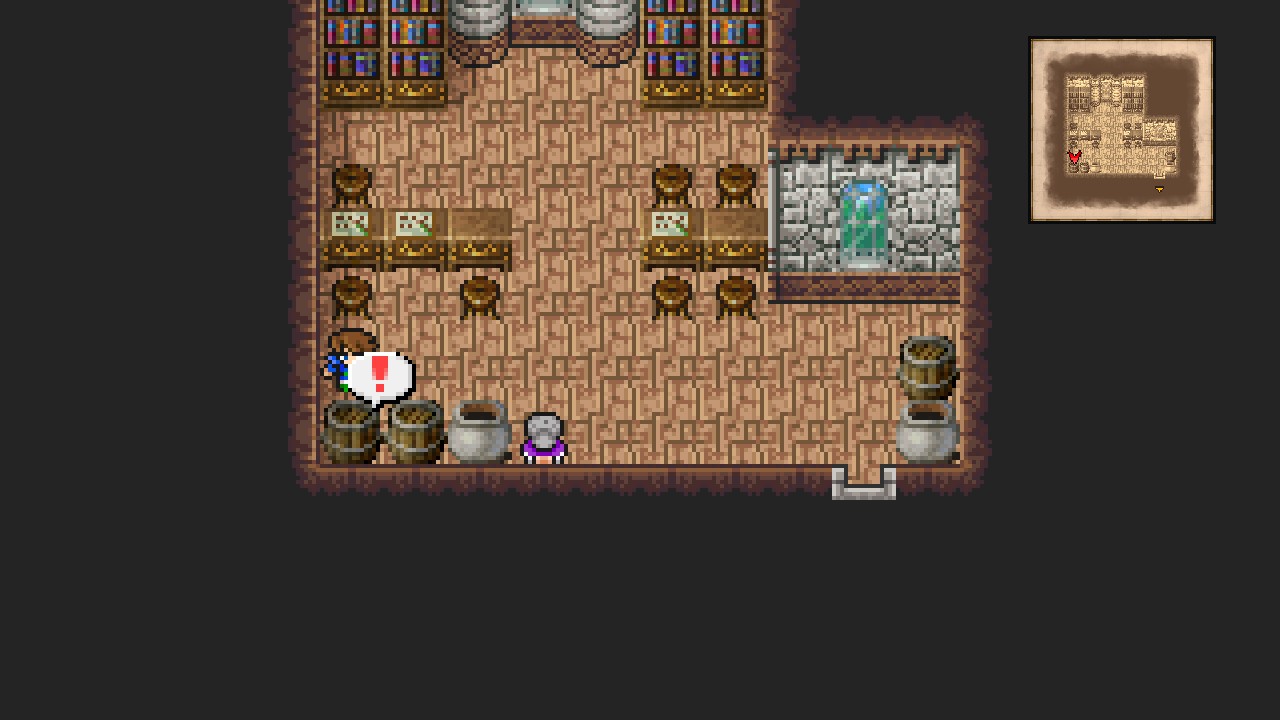 |
Feel free to speak to the person here to learn about something really interesting…
Make your way back out of the castle and to the main courtyard.
Castle Tycoon
Head southwest and take the stairs down, then go under the arch and follow the linear path to a door. Head inside.
Castle Tycoon – Storehouse
Flip the switch on the wall, then go through the opening to find a secret passage with three chests at the end.
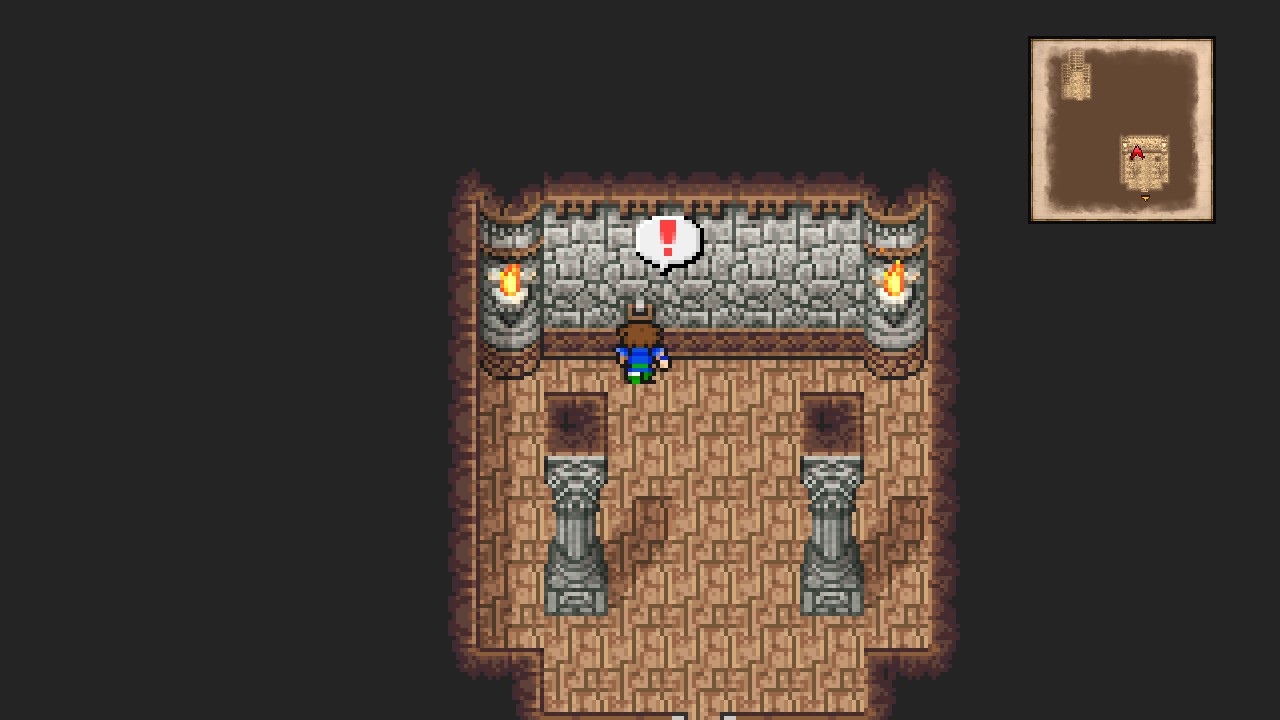 |
Open both reachable chests for Shuriken and Ashura [23/227]
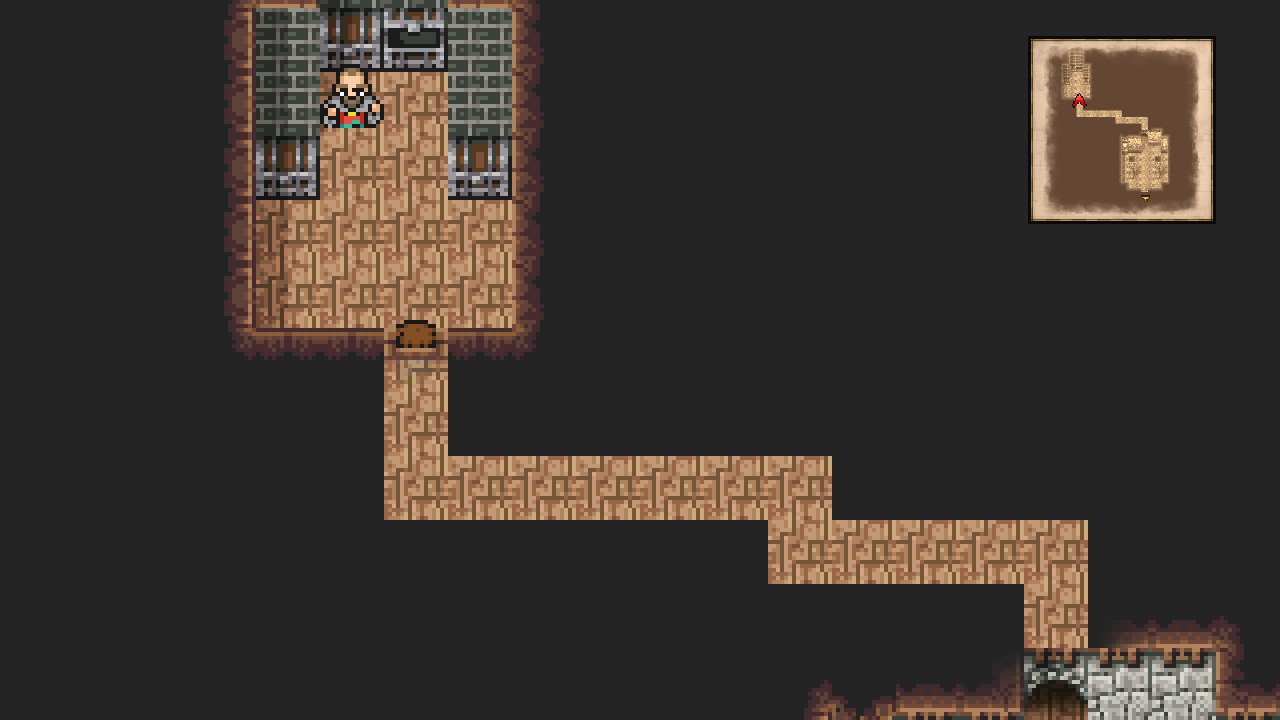 |
Now talk to the Chancellor to receive a Healing Staff, which will also make him move out of the last chest.
Rookie Treasure Hunter
Collected treasure from 10% of the chests.
Open the last chest for a Diamond Bell. [24/227]
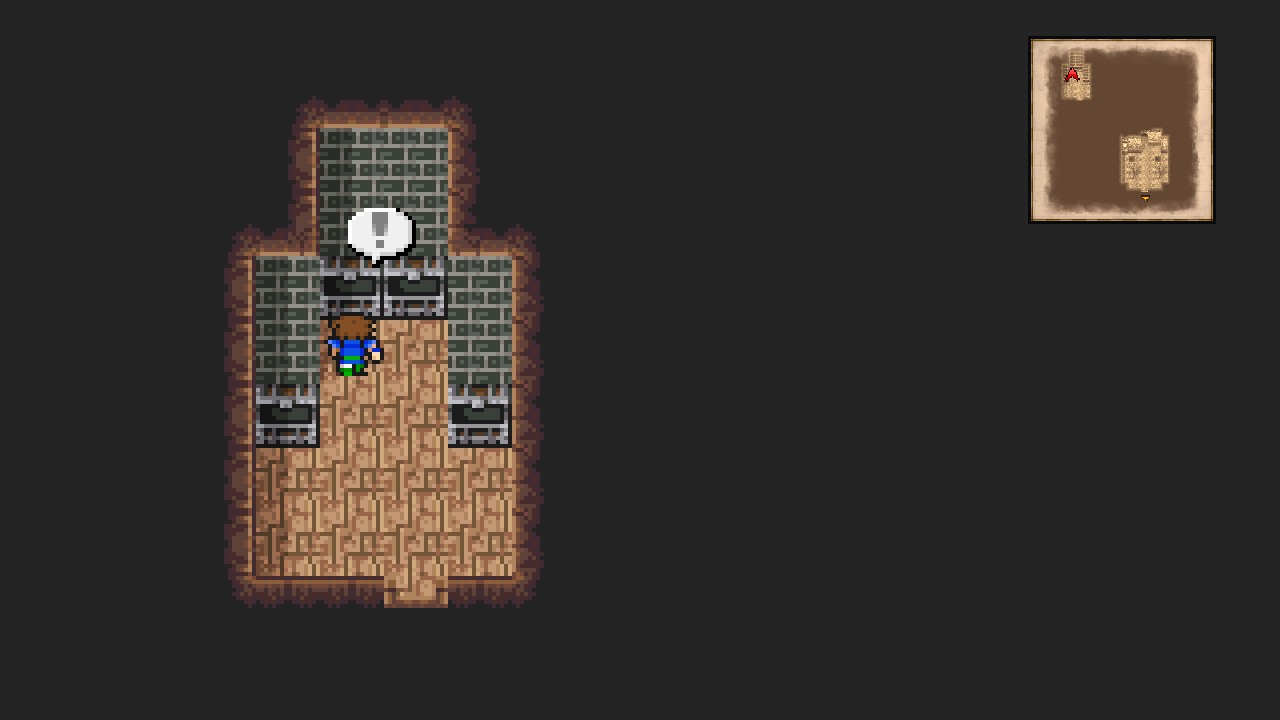 |
And that is for this location. 3/3 chests and 9/9 items.
Leave the location.
Walse
Overworld
Hop on Hiryu and fly a little north-east (you must go around the mountains, of course) to find our next destination.
Refer to the screenshot below for the exact location.
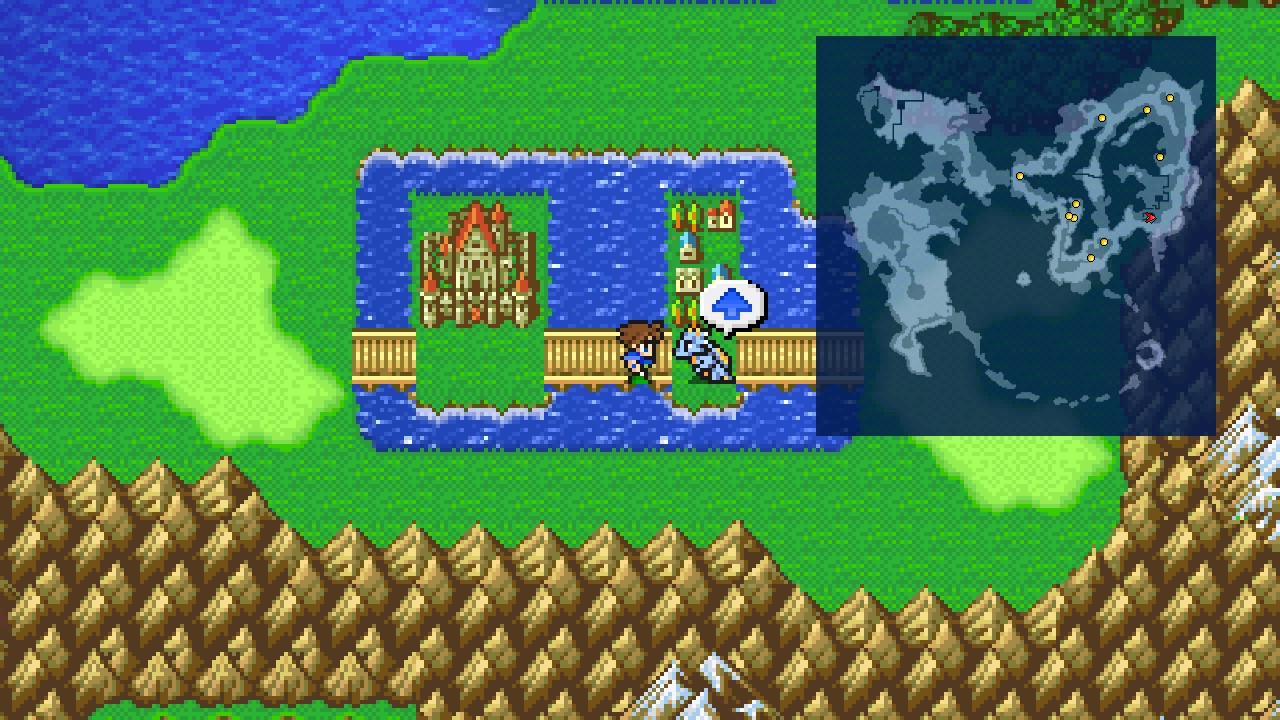 |
This location is Walse and it’s divided in two areas. Left one is the castle and right is the town. Head into the town first.
Walse
From the entrance, head west and take the stairs leading to the water.
Swim west and enter the westernmost house.
Inspect the white pot to find Silver Specs. {22/44}
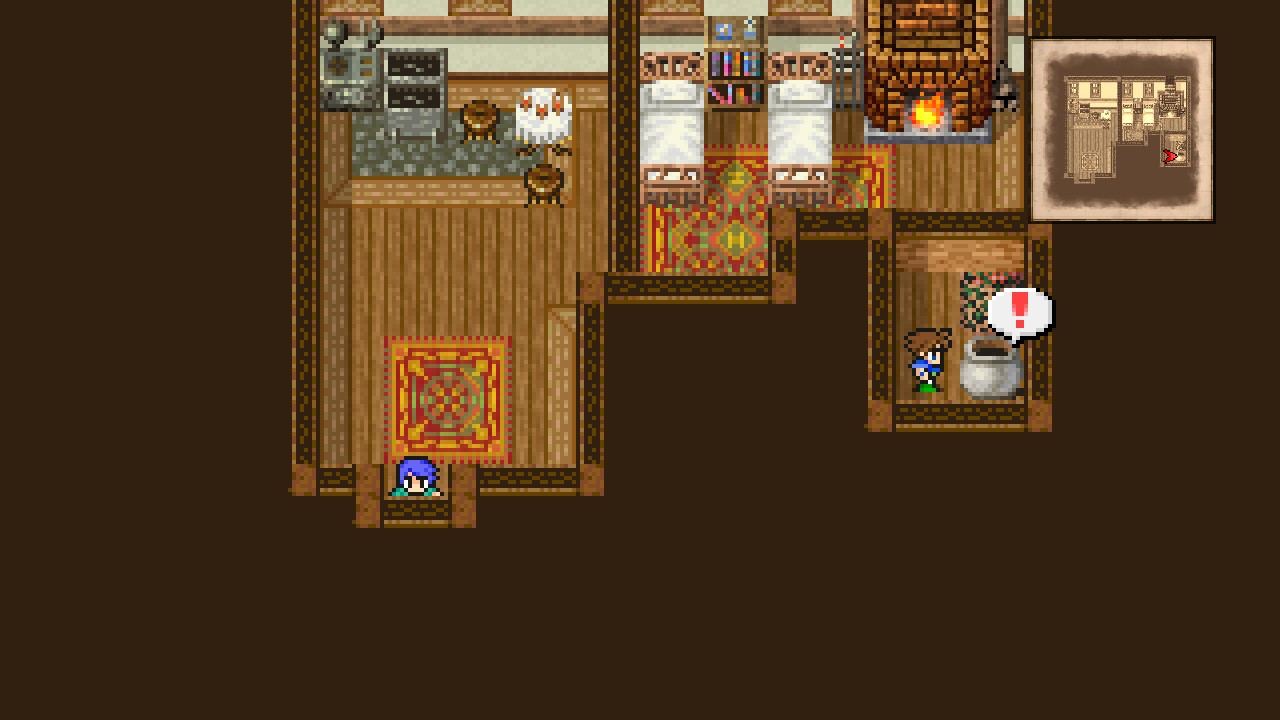 |
That’s the only collectible here. Feel free to visit the shops to purchase anything you want.
| Inn | |
|---|---|
| Service | Cost |
| Rest | 20 |
| Items | ||
|---|---|---|
| Item | Cost | Description |
| Potion | 40 | Recovers HP. |
| Antidote | 30 | Cures an ally of poison. |
| Eye Drops | 20 | Cures an ally of darkness. |
| Maiden’s Kiss | 60 | Cures an ally of the toad status. |
| Mallet | 50 | Cures an ally of the mini status. |
| Gold Needle | 150 | Cures an ally of petrification. |
| Phoenix Down | 1000 | Revives an ally from the KO status. |
| Tent | 250 | Recovers all members’ HP and MP. Can be used outdoors. |
| Weapons | ||
|---|---|---|
| Item | Cost | Description |
| Battle Axe | 650 | Attack +23 Can be two-handed |
| Long Sword | 480 | Attack +22 Can be two-handed Can be enchanted |
| Dagger | 300 | Attack +14 Can be enchanted |
| Armor | ||
|---|---|---|
| Item | Cost | Description |
| Iron Shield | 390 | Defense +2 Evasion +20 Weight +5 |
| Iron Helm | 350 | Defense +4 Magic Defense +2 Weight +4 |
| Iron Armor | 500 | Defense +6 Magic Defense +2 Weight +8 |
| Kenpo Gi | 450 | Defense +5 Magic Defense +2 Weight +3 Strength +1 |
| Cottom Robe | 300 | Defense +2 Magic Defense +4 Weight +2 |
| Magic | ||
|---|---|---|
| Item | Cost | Description |
| Slow | 80 | Slows the passing of time for one enemy. |
| Regen | 100 | Gradually restores HP. |
| Mute | 320 | Silences all allies and enemies. |
| Haste | 320 | Hastens the passing of time for one ally. |
| Chocobo | 300 | Triggers the “Choco Kick” attack against one enemy. Triggers the “Fat Chocobo” attack against all enemies. |
| Sylph | 350 | Absorbs HP from one enemy to heal all allies. Triggers “Whisperwind.” |
| Remora | 250 | Paralyzes one enemy. Triggers “Constrict.” |
Some great stuff in the Magic Shop. Make sure to get everything if you can.
Once prepared, leave the town and head into the castle.
Castle Walse
Go north and enter the castle.
Castle Walse – 2F
Head northeast and go through the door.
Once at the new room, go north and then take the south-eastern staircase leading down.
Castle Walse – Storehouse
Search the left barrel for a Tent and right barrel for a Phoenix Down. {24/44}
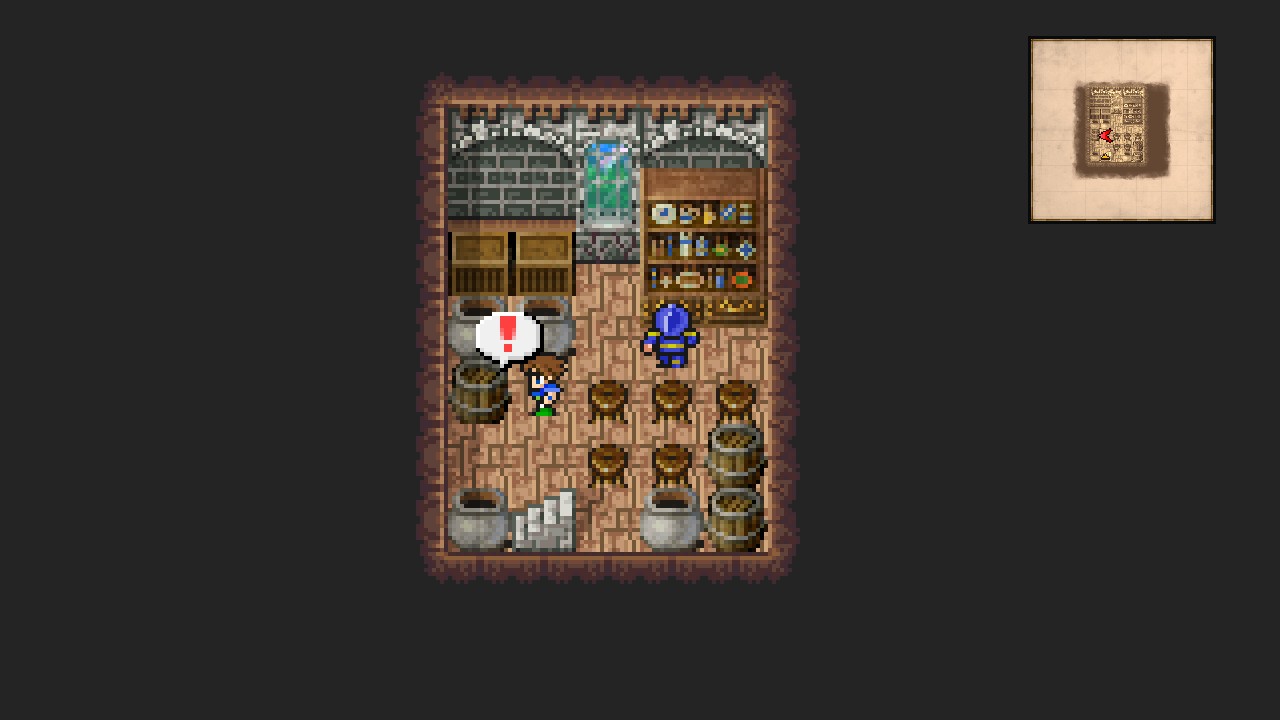 |
Now search the second crate for 490 Gil. {25/44}
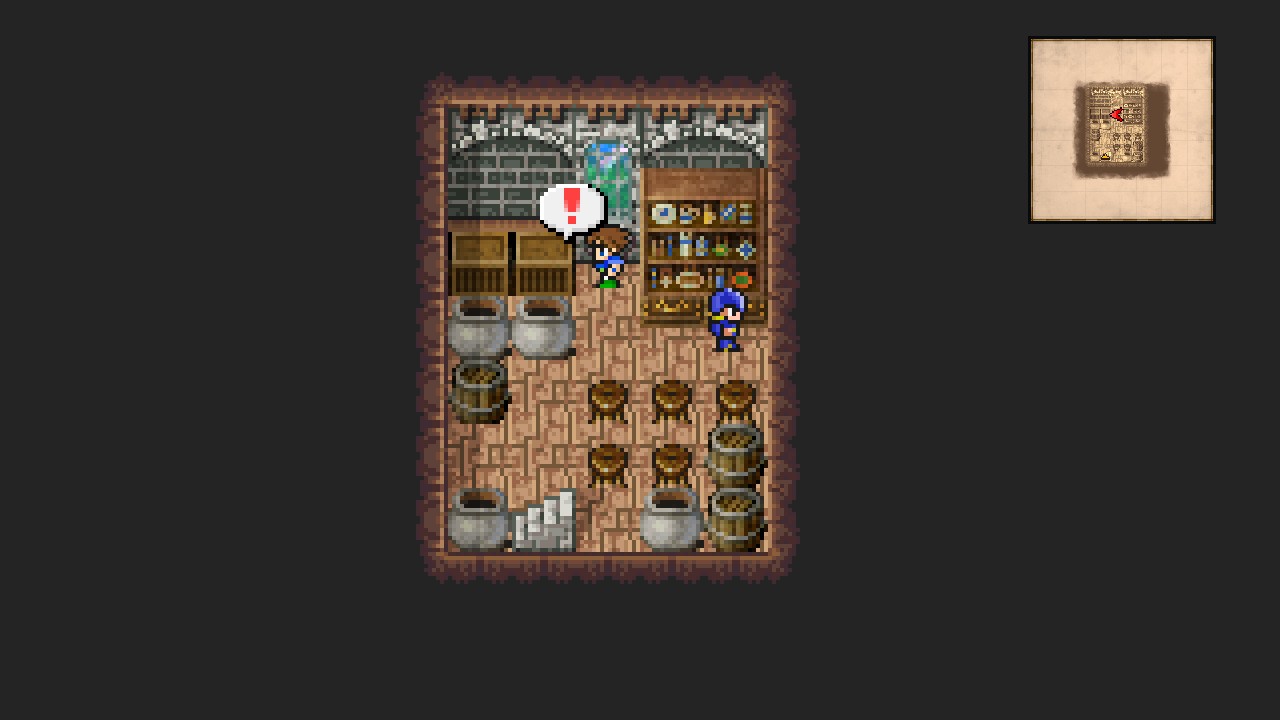 |
Backtrack to the main hall and take the eastern stairs leading down.
Castle Walse – 1F
Exit through the southeastern door.
Castle Walse
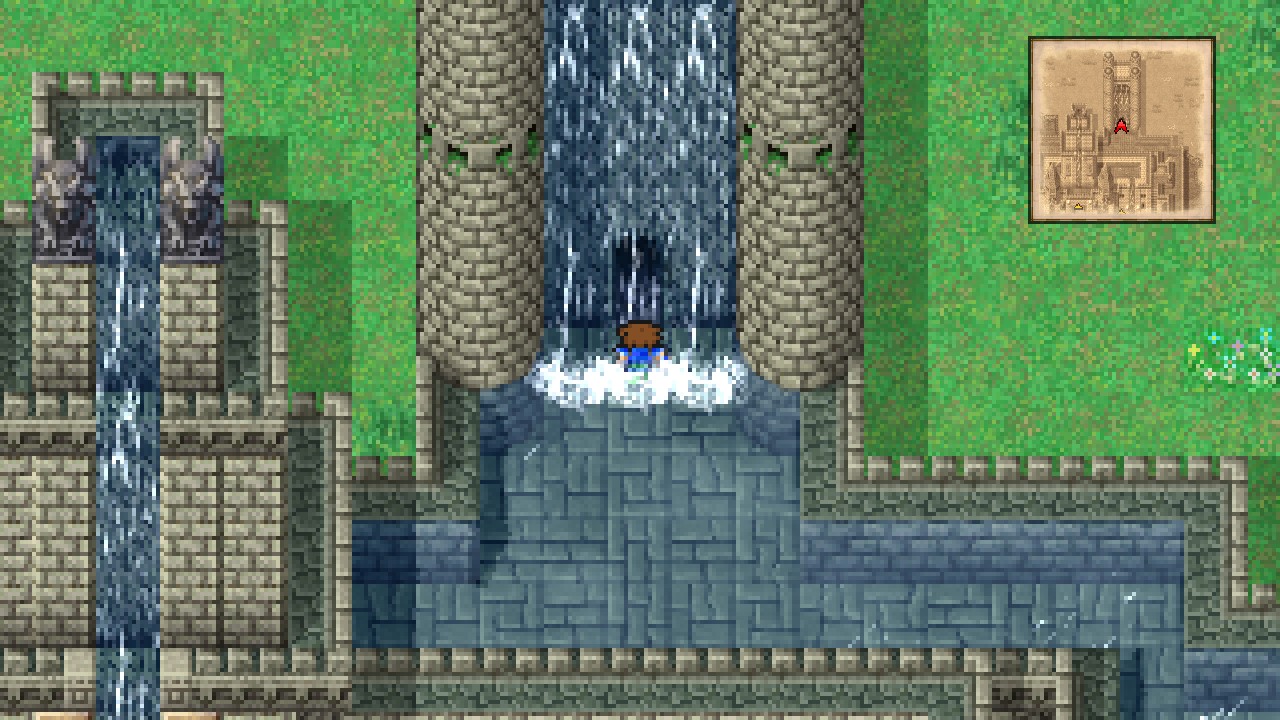
Follow the linear path until you reach the water, then go north and straight into the waterfall.
 |
Walse Tower – 1F
| ㅤ ㅤ ㅤ BESTIARY: WALSE TOWERㅤ ㅤ |
|---|
| ID | MONSTER | HP | MP | GIL | EXP | |
|---|---|---|---|---|---|---|
| 025 | Elf Toad | 160 | 50 | 81 | 65 | BM: Pond’s Chorus |
| 026 | Ice Soldier | 160 | 20 | 84 | 65 |
This area has random encounters.
This area has no collectibles.
Make sure to grab the Blue Magic ‘Pond’s Chorus’ from Elf Toad.
Take the stairs down into the water, then head north.
Walse Tower – 2F
2F and 3F have the exactly same layout, so make your way to 4F.
Walse Tower – 4F
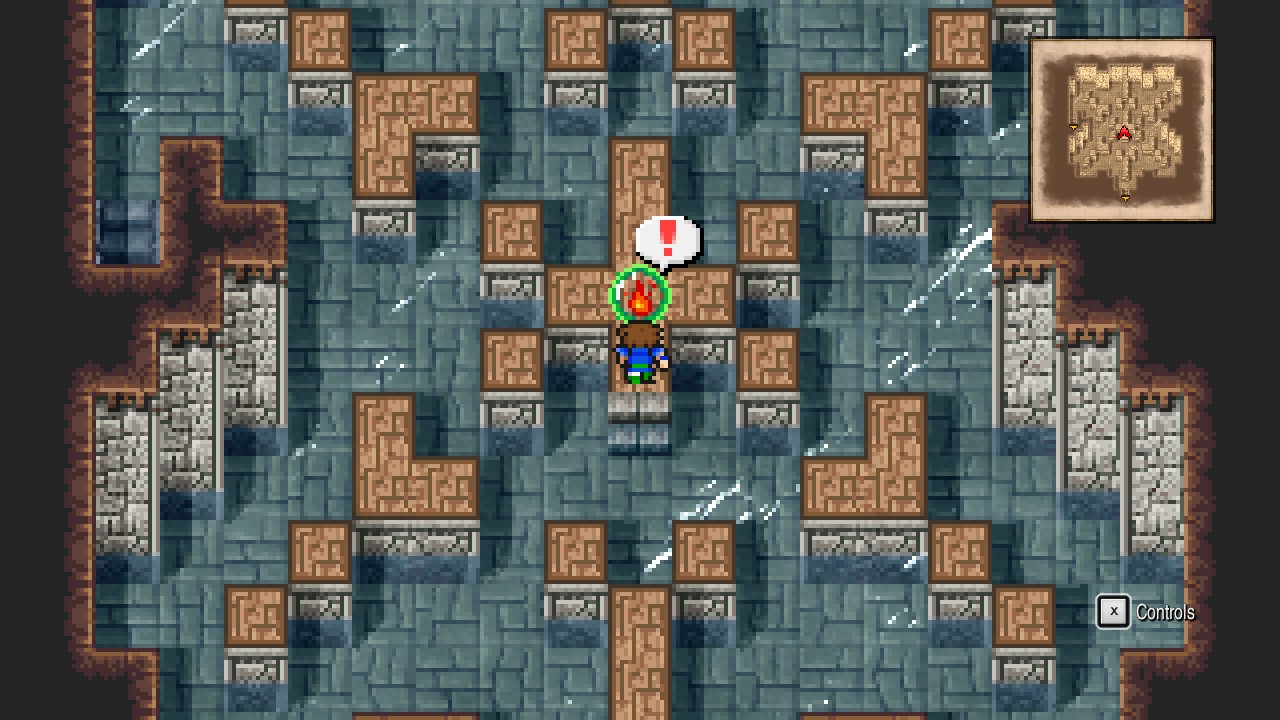
Walk towards the middle of the room and quick-save/heal up, then interact with the orb.
 |
| Ice Commander x3 |
|---|
| ID | HP | MP | ATK | DEF | EVA | M.DEF | MAG | WEAKNESS | RESIST. | ABSORBS | CANCELS |
|---|---|---|---|---|---|---|---|---|---|---|---|
| 234 | 600 | 200 | 21 | 0 | 10 | 0 | 10 | Fire | Mini | Ice | None |
| Shiva |
|---|
| ID | HP | MP | ATK | DEF | EVA | M.DEF | MAG | WEAKNESS | RESIST. | ABSORBS | CANCELS |
|---|---|---|---|---|---|---|---|---|---|---|---|
| 235 | 1500 | 1000 | 40 | 0 | 0 | 0 | 0 | Fire | Zombie, Mini, Toad, Petrify, Death, Silence, Berserk, Confuse, Paralyze, Sleep, Old, Stop | Ice | None |
This is a tough battle.
If you have the blue magic ‘Flash’, this is a good time to make use of it. Ice Commanders’ are not resistant against Darkness status and doing that can pretty much null all their devastating physical attacks.
Make your Black Mage (if you have one) spam fire-based spells on Shiva until taking her down. Yes, start with her as she can become extremely annoying with her Blizzara attacks.
As with the White Mage, heal your party on all turns, one by one if possible as healing all at once can be counterproductive if the enemies are focusing on just one of your characters.
The rest of the party can attack with anything you have. Just try to stick to the correct order: Shiva → Ice Commanders.
After winning this difficult fight, you will be rewarded with the powerful summoned monster Shiva!
If you’re having issues to win this battle at this time, you can wait until our next visit here to give it another go.
Anyway, now that we’re done here, backtrack to the main hall of the castle (walk south of the orb for a shortcut outside the waterfall) and then head into the throne room.
Whatever you do, DON’T free the Lone Wolf as that will get future treasure chests stolen, action that may void the ‘open all treasure chests’ achievement…
Watch the scenes to set your next objective!
Exit to the overworld.
Note: We’re purposely skipping a section of this dungeon since it’s way too hard for this point of the game. We will come back later when we are stronger!
Tower of Walse
Overworld
Pay a visit to Walse’s Inn if you need to refill your HP/MP.
From Walse castle, head directly north to spot the meteorite between some mountains.
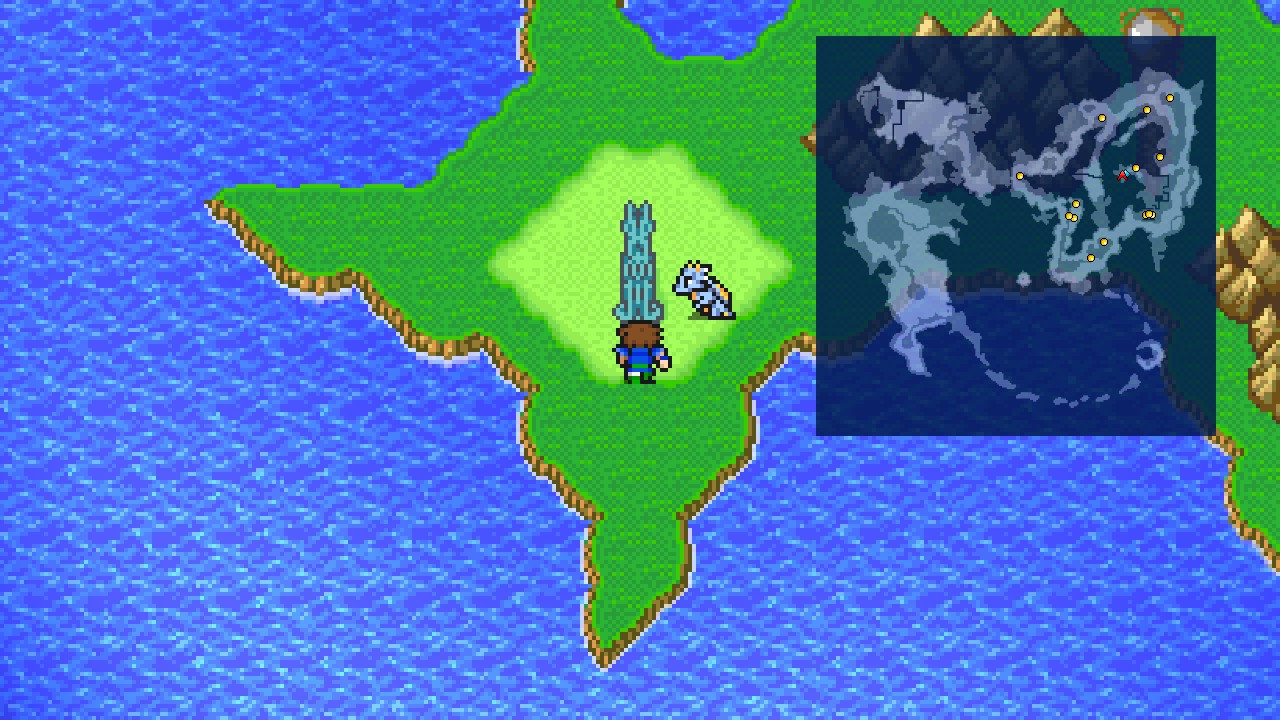
From here, go west and disembark near the large building. This is the Tower of Walse.
 |
Head inside.
Tower of Walse – 1F
WARNING: This is a one-visit location.
Summary of Missables:
- All treasure chests
- Wyvern and Pas de Seul bestiary entries
| ㅤ ㅤ ㅤ BESTIARY: TOWER OF WALSEㅤ ㅤ |
|---|
| ID | MONSTER | HP | MP | GIL | EXP |
|---|---|---|---|---|---|
| 027 | Ricard Mage | 100 | 70 | 87 | 75 |
| 028 | Wyvern | 200 | 0 | 90 | 160 |
| 029 | Pas de Seul | 280 | 50 | 93 | 100 |
This dungeon is very straightforward.
From the entrance, head north, go through the door and take the stairs leading up.
Tower of Walse – 2F
Go around the structure and up another set of stairs.
Tower of Walse – 3F
Go around the structure and head upstairs.
Tower of Walse – 4F
Here you will find the King Walse on deplorable state.
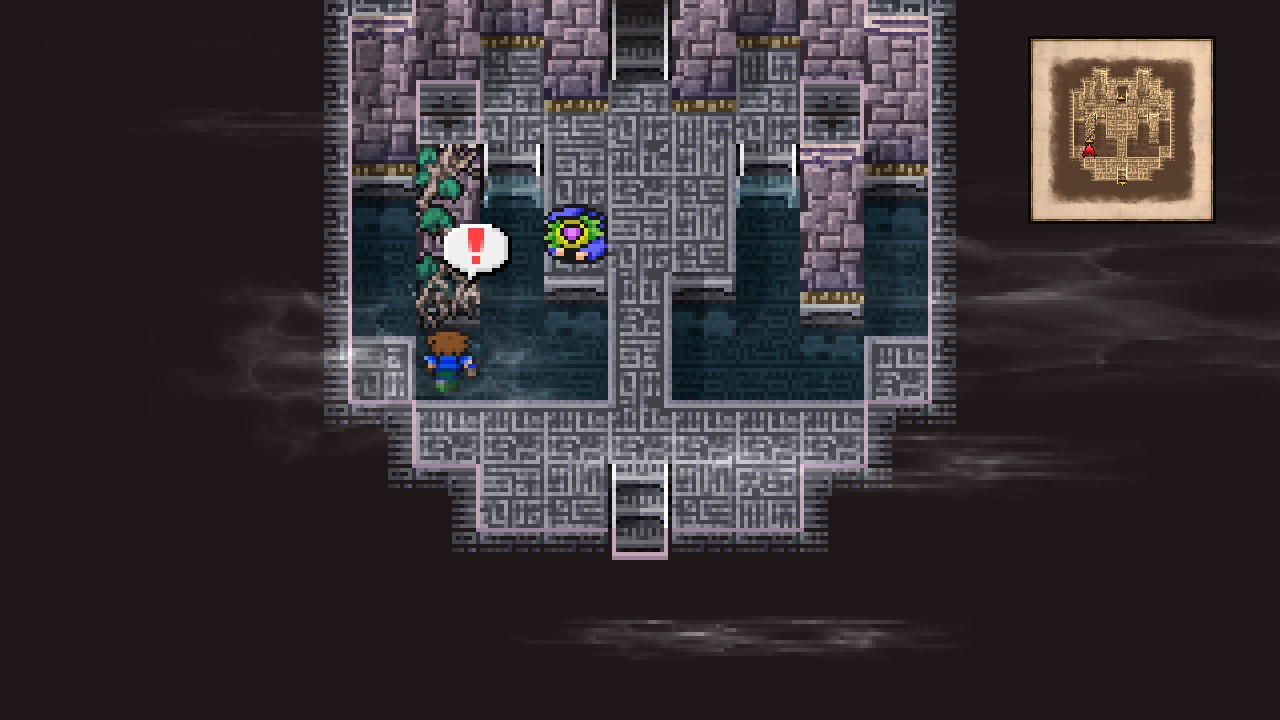
Feel free to talk with him, then take the left stairs to the water and climb up the vines.
 |
Tower of Walse – 5F
Open the chest for a Silk Robe. [25/227]
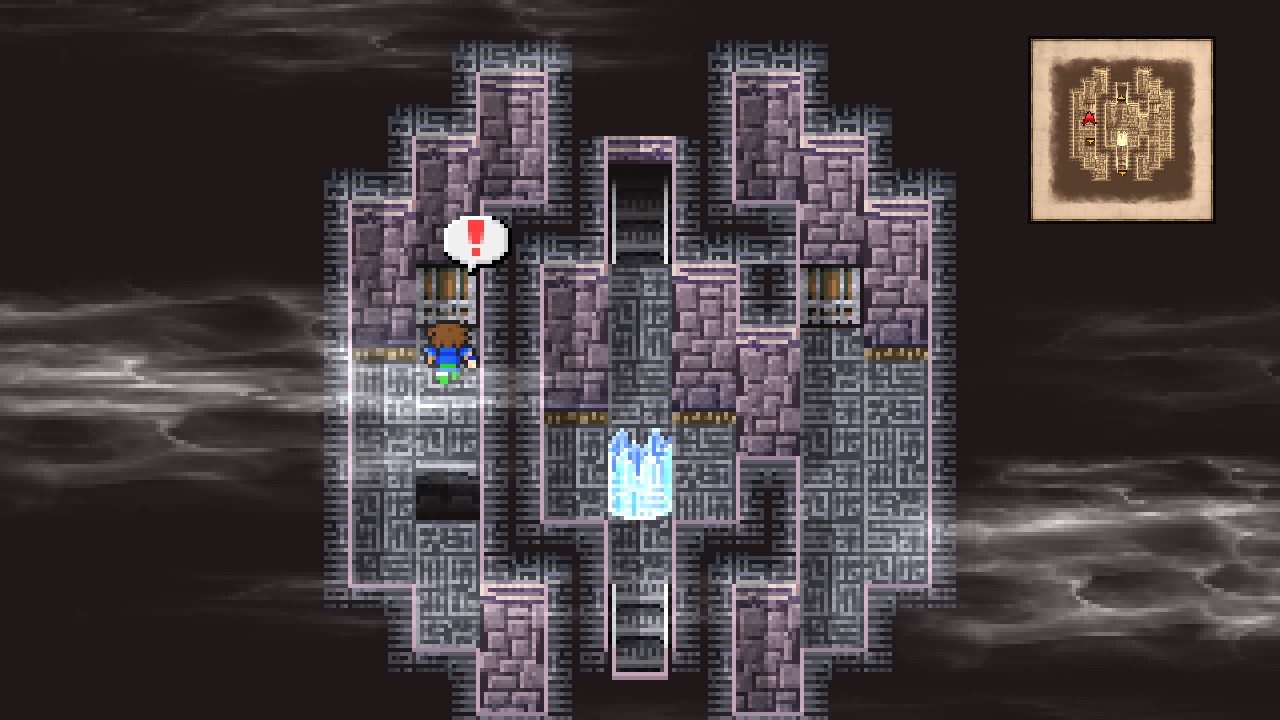 |
Drop down the hole to return to 4F.
Tower of Walse – 4F
Exit the water and take the stairs leading up.
Tower of Walse – 5F
There’s a consecrated circle here. Feel free to save/rest.
Now while standing on the circle, walk directly east to reach a chest containing a Maiden’s Kiss. [26/227]
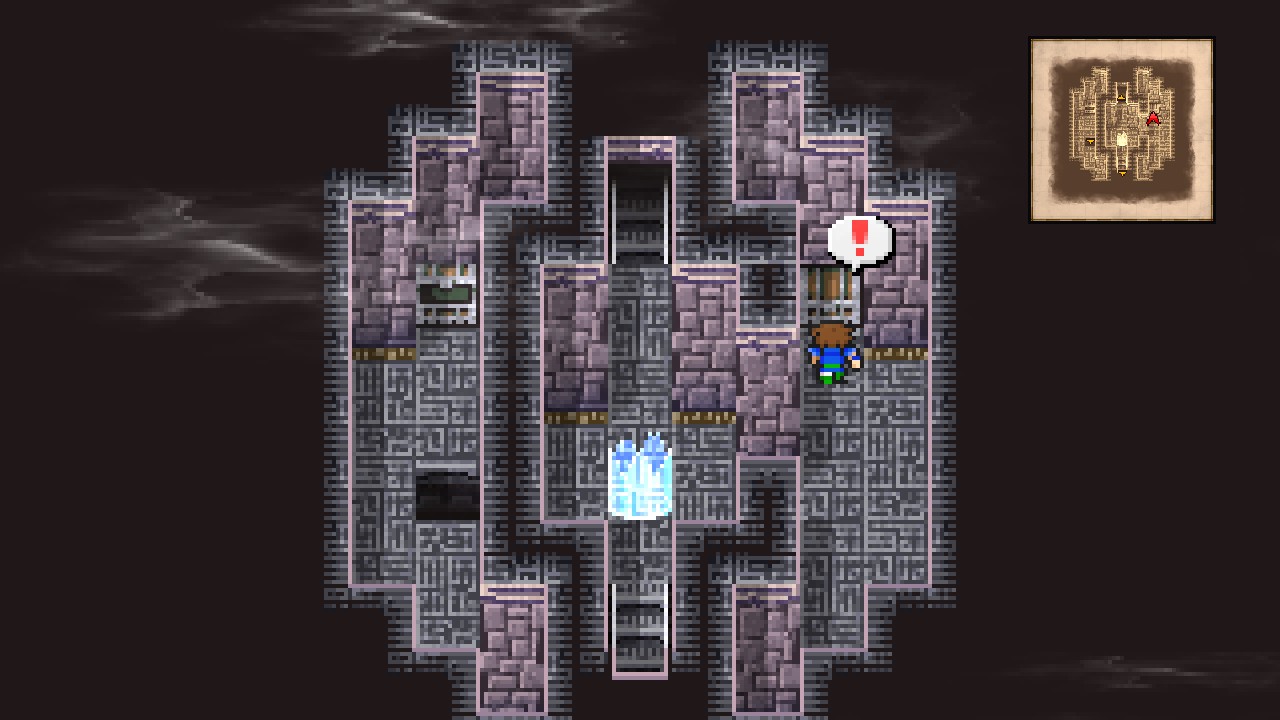 |
Continue your way to the top through the linear floors up to 8F.
Tower of Walse – 8F
As soon as you enter this room, you will spot three vines.
Ignore the middle vine for now and take the north-western one to find a chest containing Silver Armlet. [27/227]
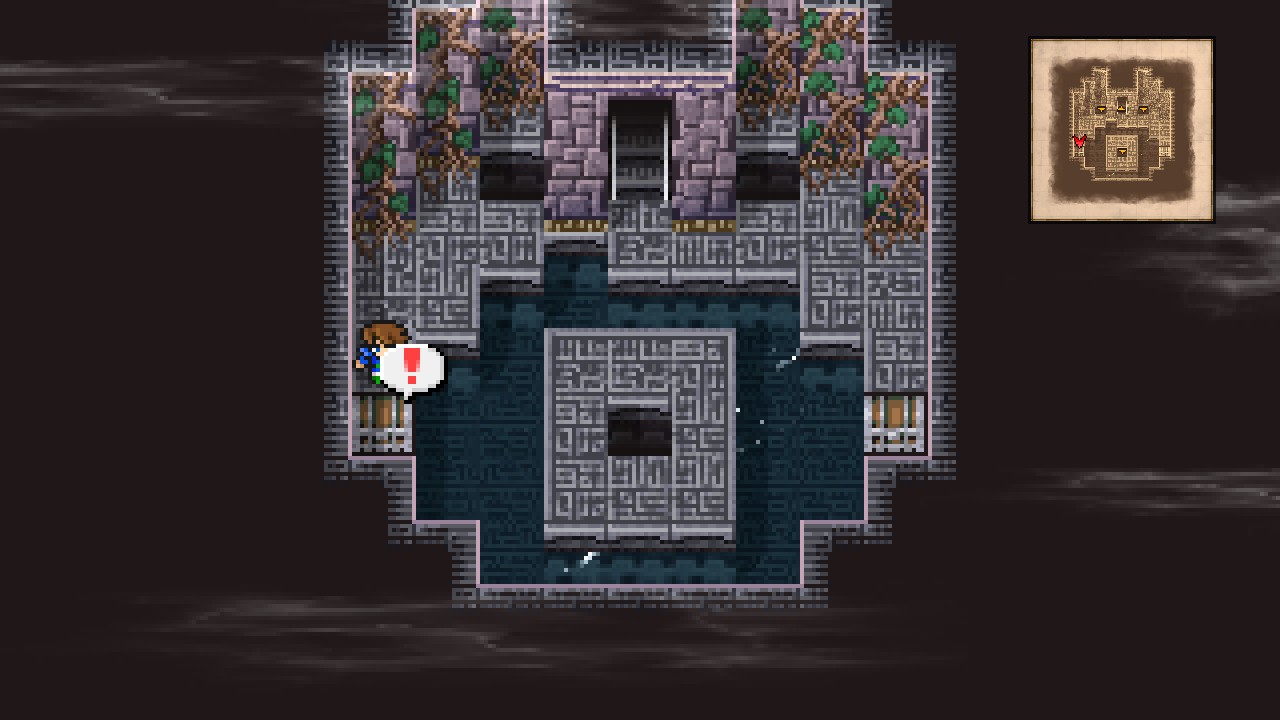 |
Jump down back to the previous floor.
Back at 8F, climb up the north-eastern vine this time.
Tower of Walse – 9F
Open the chest here for an Ether. [28/227]
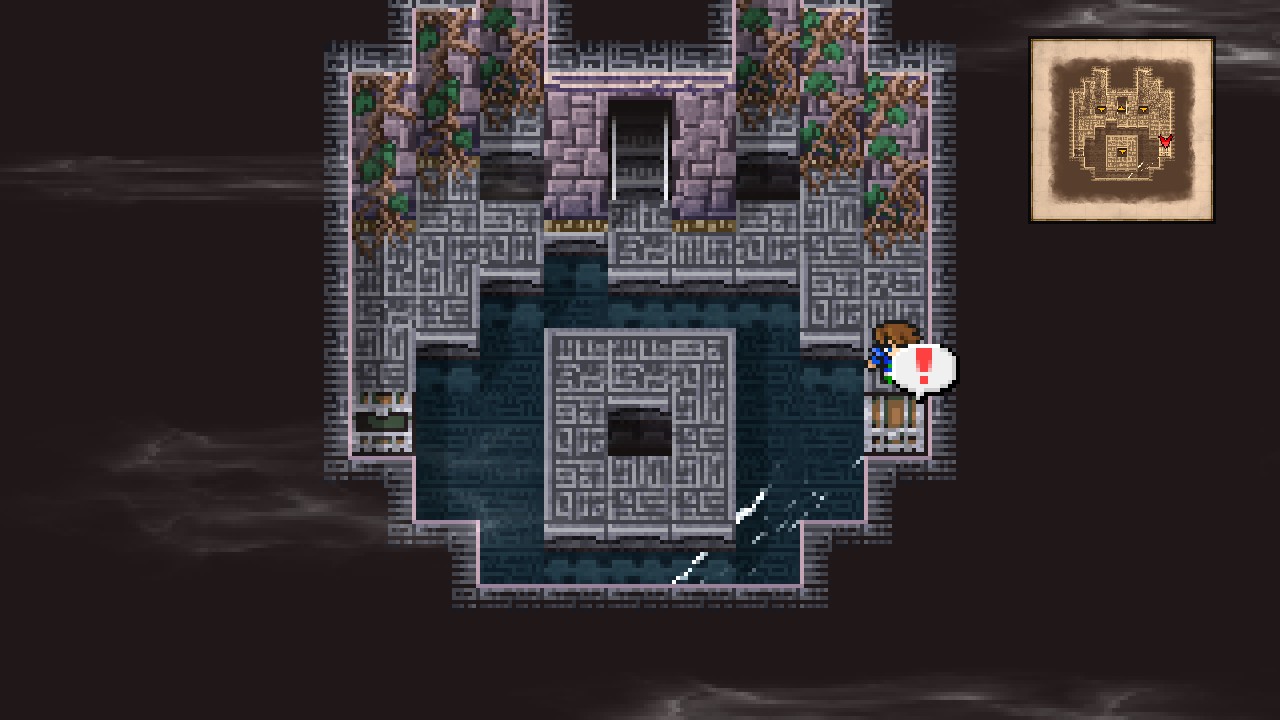 |
And with that, we’re done with the collectibles for this dungeon. 4/4 chests.
Take the stairs leading up.
Crystal Room
Before moving, heal up and quick-save.
Then, once prepared, go north to trigger a cutscene and the next boss fight.
| Garula |
|---|
| ID | HP | MP | ATK | DEF | EVA | M.DEF | MAG | WEAKNESS | RESIST. | ABSORBS | CANCELS |
|---|---|---|---|---|---|---|---|---|---|---|---|
| 236 | 1200 | 100 | 15 | 7 | 0 | 4 | 0 | None | Mini, Sleep | None | None |
Easiest way to win: Keep using the blue magic ‘Pond’s Chorus’ to turn Garula into a toad. The boss will cast toad on itself to recover from status, but won’t do anything else and that turn will be considered as wasted. Continue casting Pond’s Chorus to waste all boss turns while the rest of the party focuses on attacking with anything you have.
In older versions you could cast Silence on the boss to make it stop using Toad, but that doesn’t seem to work here.
After the fight, watch the short scene and collect the crystal shards from the floor.
Jobs unlocked:
- Summoner
- Red Mage
- Berserker
- Mystic Knight
- Time Mage
The last crystal shard is sadly, unreachable.
The tower will start shaking, so leave through the back opening before it crumbles.
Watch the scenes…
Devotion- Essence of Water
Received power from the water crystal.
Karnak
Overworld
After the tragic scene, you will be back at the overworld near the meteorite we saw earlier.
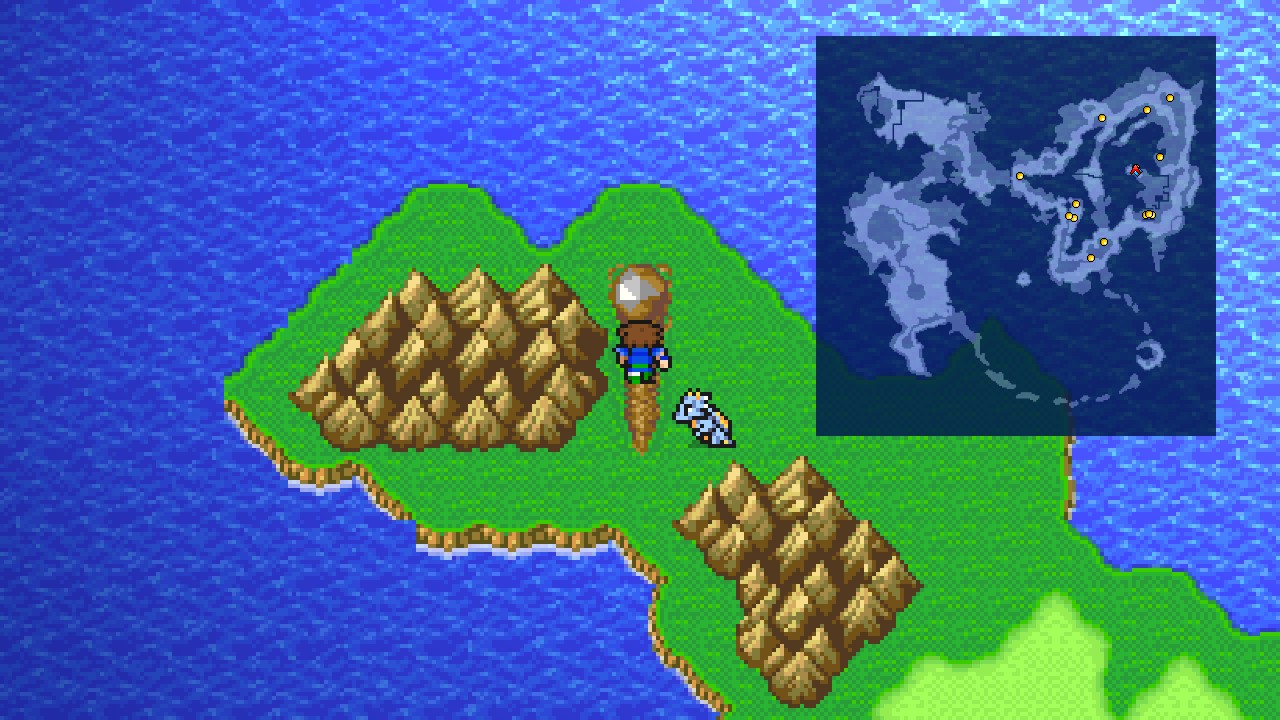 |
Head inside.
Walse Meteorite
Go north and enter through the hole.
Walse Meteorite – Interior
Follow the linear path to its end, then step on the warp pad.
Karnak Meteorite – Interior
Woah, we spawned in a new place!
Exit the meteorite and the location.
Overworld
| ㅤ ㅤ ㅤ BESTIARY: KARNAK AREAㅤ ㅤ |
|---|
| ID | MONSTER | HP | MP | GIL | EXP | |
|---|---|---|---|---|---|---|
| 031 | Aegir | 180 | 0 | 99 | 120 | |
| 032 | Zu | 850 | 0 | 150 | 360 | |
| 033 | Wild Nakk | 95 | 100 | 125 | 70 | BM: ??? |
| 034 | Grass Tortoise | 250 | 0 | 100 | 230 |
Wild Nakk spawn in the forest area.
Zu spawns near Karnak.
From outside the meteorite, go west and follow the woods north to reach a split.
At the split, head southwest and follow the linear path to reach a castle and a town. This is Karnak.
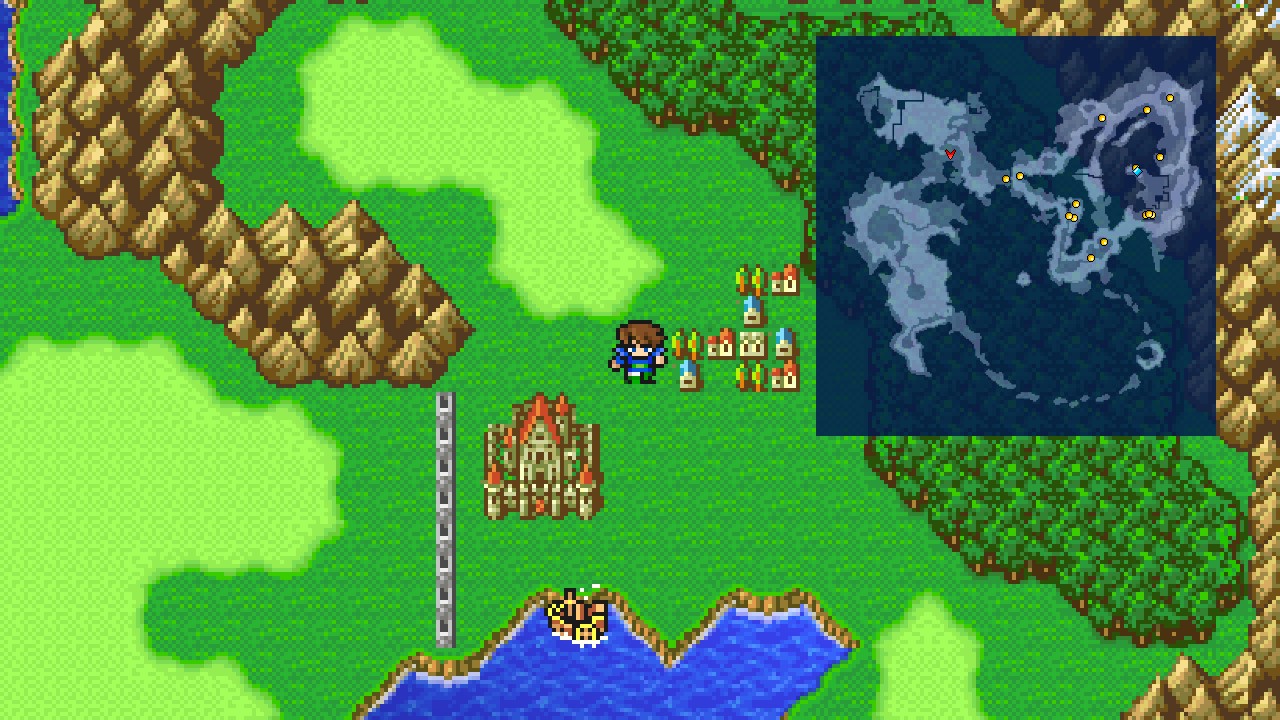 |
Enter the town.
Karnak
From the entrance, head northwest and enter the Pub.
Karnak – Pub
Play the piano to get progress towards the related achievement. [Piano Maestro: 3/8]
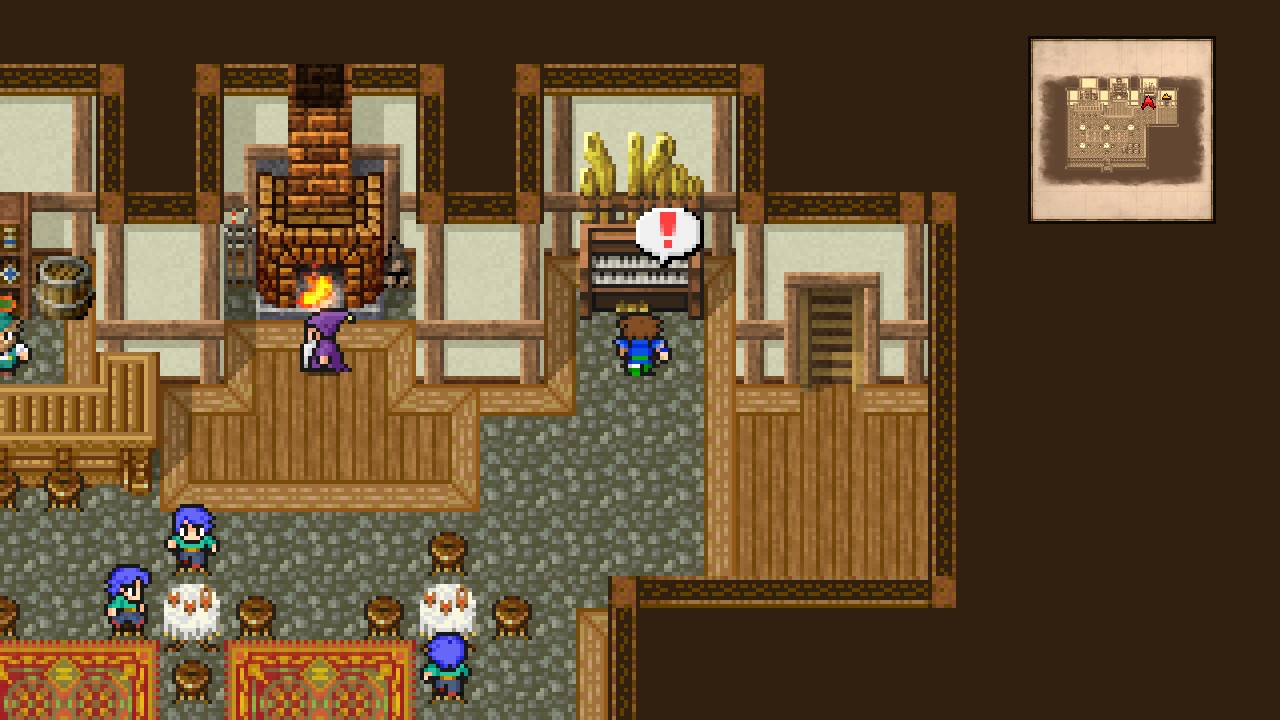 |
Exit the Pub.
Enter the Weapons/Armor shop and speak to any of the attendants. You’ll arrested, wtf?
Karnak Castle – B4
You’ll wake up in a cell.
Approach the jail door to trigger a cutscene. BOOM!
Speak to the old man to meet Cid! Hell yeah! and watch some more scenes.
Once regaining control, go north through the open jail door and up the stairs.
Karnak Castle – B3
Continue north and go up another set of stairs.
Karnak Castle – B2
Walk around the middle structure and through the door.
Karnak Castle – B1
Head north and up the stairs.
Karnak Castle – 1F
We’re finally in the main hall. Exit the castle through the southern door.
Note: Don’t bother by trying to loot anything, most of the castle is blocked by fire at the moment. We will return later anyways.
Karnak Castle
While exiting the castle, you’ll watch a short scene with the wolf we decided not to free in Walse. I’m pretty sure we’ll meet again with that peculiar character in the close future.
As for now, exit to the overworld.
Overworld
Re-enter Karnak (the town).
All shops are now open and free to explore, so it’s a good time to upgrade your spells and equipment!
| Magic (left) | ||
|---|---|---|
| Item | Cost | Description |
| Cura | 620 | Restores HP. |
| Raise | 700 | Revives a single target. |
| Confuse | 650 | Causes confusion. |
| Silence | 280 | Causes silence. |
| Cure | 180 | Restores HP. |
| Libra | 80 | Determines the enemy’s HP, weakness, current condition, and level. |
| Poisona | 90 | Cures poison. |
| Magic (top) | ||
|---|---|---|
| Item | Cost | Description |
| Fira | 600 | Deals fire damage. |
| Blizzara | 600 | Deals ice damage. |
| Thundara | 600 | Deals lightning damage. |
| Poison | 290 | Causes poison. |
| Sleep | 300 | Causes sleep. |
| Fire | 150 | Deals fire damage. |
| Blizzard | 150 | Deals ice damage. |
| Thunder | 150 | Deals lightning damage. |
| Magic (right) | ||
|---|---|---|
| Item | Cost | Description |
| Gravity | 620 | Halves one enemy’s HP. |
| Stop | 580 | Causes time to stop, halting the target’s actions. |
| Haste | 320 | Hastens the passing of time for one ally. |
| Mute | 320 | Silences all allies and enemies. |
| Slow | 80 | Slows the passing of time for one enemy. |
| Regen | 100 | Gradually restores HP. |
Make sure to get Gravity. It might help us a lot during the next boss fight.
| Armor | ||
|---|---|---|
| Item | Cost | Description |
| Mythril Shield | 590 | Defense +3 Evasion +25 Weight +5 |
| Mythril Helm | 550 | Defense +6 Magic Defense +2 Weight +4 |
| Plumed Hat | 350 | Defense +2 Magic Defense +2 Weight +2 |
| Mythril Armor | 700 | Defense +9 Magic Defense +2 Weight +8 |
| Silver Plate | 600 | Defense +7 Magic Defense +2 Weight +4 |
| Silk Robe | 500 | Defense +4 Magic Defense +6 Weight +2 |
| Mythril Gloves | 600 | Defense +3 Weight +5 |
| Silver Armlet | 500 | Defense +2 Magic Defense +3 Weight +3 |
| Shop | ||
|---|---|---|
| Item | Cost | Description |
| Mythril Knife | 450 | Attack +23 Can be enchanted |
| Mythril Sword | 880 | Attack +31 Can be two-handed Can be enchanted |
| Mythril Hammer | 1050 | Attack +28 Can be two-handed |
| Flame Rod | 750 | Attack +16 |
| Frost Rod | 750 | Attack +16 |
| Thunder Rod | 750 | Attack +16 |
| Flail | 780 | Attack +16 Can be two-handed |
| Items (Inn) | ||
|---|---|---|
| Item | Cost | Description |
| Potion | 40 | Recovers HP. |
| Antidote | 30 | Cures an ally of poison. |
| Eye Drops | 20 | Cures an ally of darkness. |
| Maiden’s Kiss | 60 | Cures an ally of the toad status. |
| Mallet | 50 | Cures an ally of the mini status. |
| Gold Needle | 150 | Cures an ally of petrification. |
| Phoenix Down | 1000 | Revives an ally from the KO status. |
| Tent | 250 | Recovers all members’ HP and MP. Can be used outdoors. |
| Inn | |
|---|---|
| Service | Cost |
| Rest | 20 |
That’s all we can do in the town for now.
Exit to the overworld.
Overworld
Board the ship just below Karnak Castle.
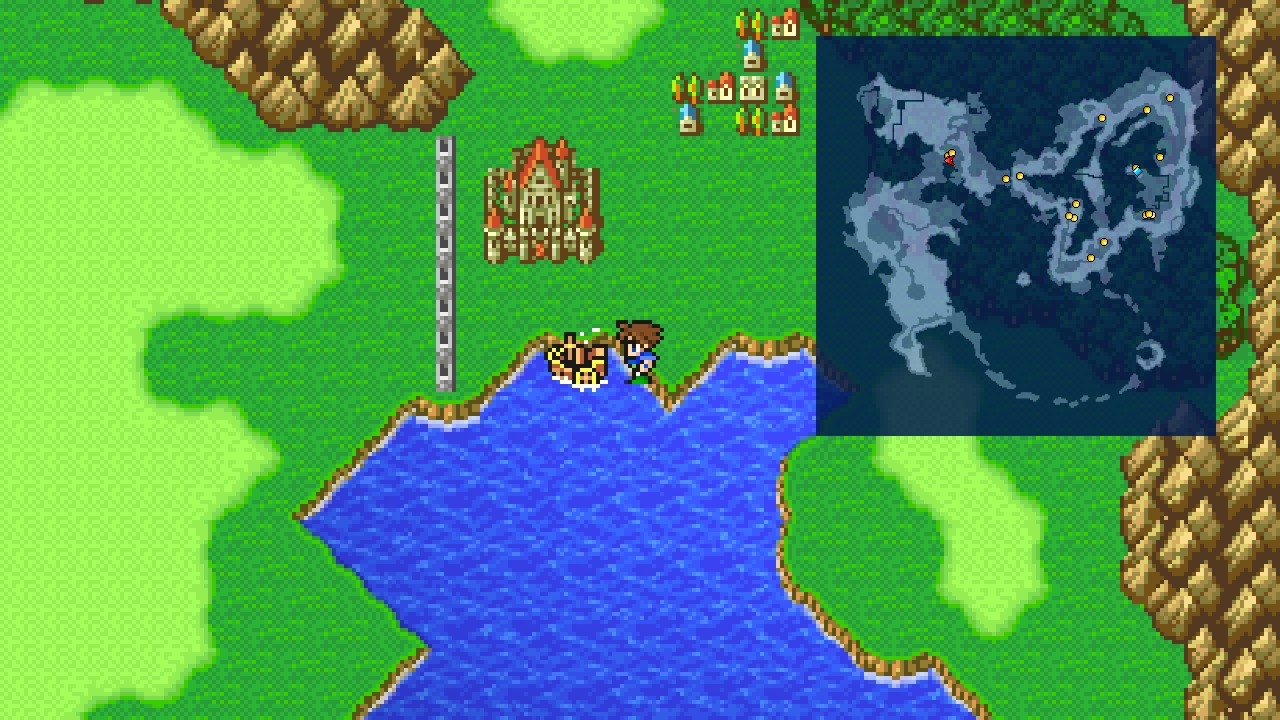 |
Fire-Powered Ship: Part I
Fire-Powered Ship
Go across the bridge to trigger a scene where Cid guides you into the ship.
Fire-Powered Ship – Below Deck
Head right and downstairs.
Go south and downstairs again.
Fire-Powered Ship – Engine Room
| ㅤ ㅤ ㅤ BESTIARY: FIRE-POWERED SHIPㅤ ㅤ |
|---|
| ID | MONSTER | HP | MP | GIL | EXP | ||
|---|---|---|---|---|---|---|---|
| 037 | Crew Dust | 240 | 100 | 120 | 130 | BM: Flash (repeat) | |
| 038 | Poltergeist | 240 | 100 | 123 | 135 | ||
| 039 | Defeater | 260 | 100 | 129 | 150 | ||
| 040 | Motor Trap | 240 | 100 | 126 | 150 | SC: Kill a Defeater as your last enemy | BM: Self-Destruct, Missile (requires ‘Control’) |
Crew Dust has the blue magic ‘Flash’ in case you missed it earlier.
SC: Spawn Condition. Motor Trap only spawns if a Defeater was your your last kill during a battle.
Motor Trap also holds the blue magic ‘Missile’, but that only can be obtained by controlling the creature with a Beastmaster (we don’t have that job yet).
Go through the nearby door (with a red arrow on it) to find a chest inside. Open it for Mythril Gloves. [29/227]
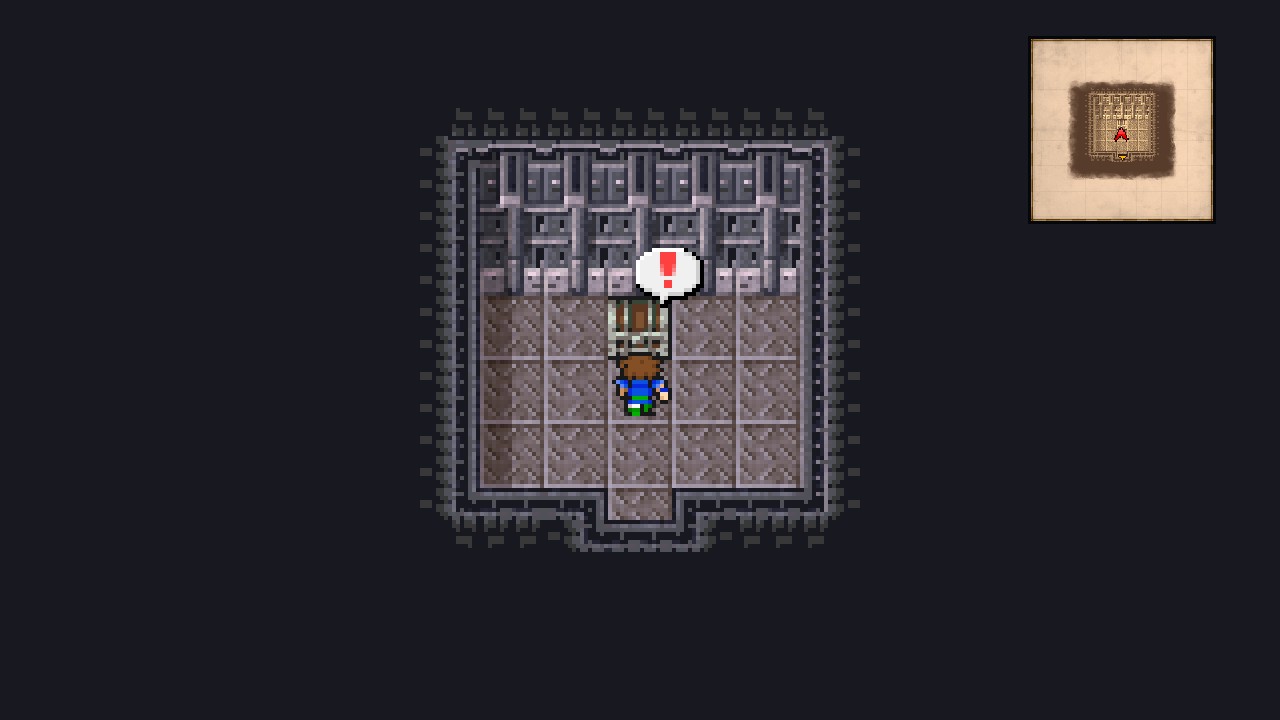 |
Go back to the engine room.
Head up the left stairs, then go west and head up another set of stairs.
Follow the catwalk east to reach a door. Go through it.
Open the chest for an Elixir. [30/227]
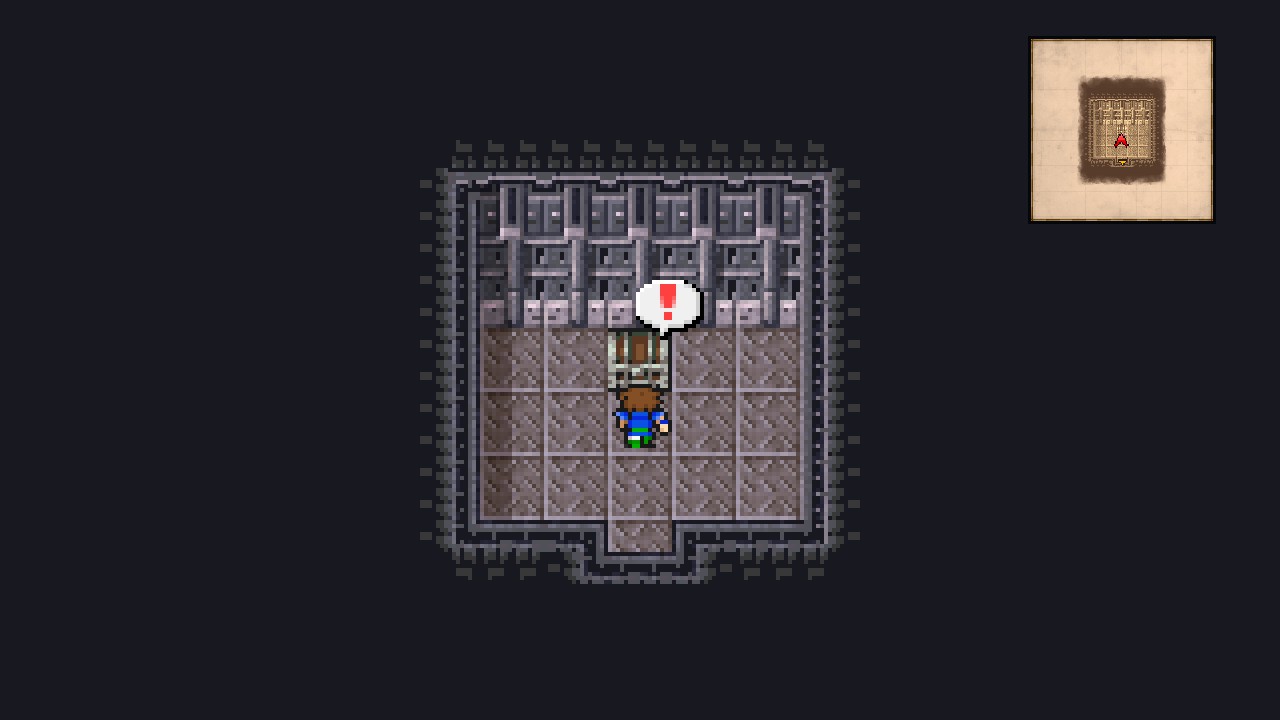 |
Backtrack to the engine room.
From the stairs leading to the catwalk, head all the way north until hitting a wall, then take the west stairs leading down to find a chest containing a Cottage. [31/227]
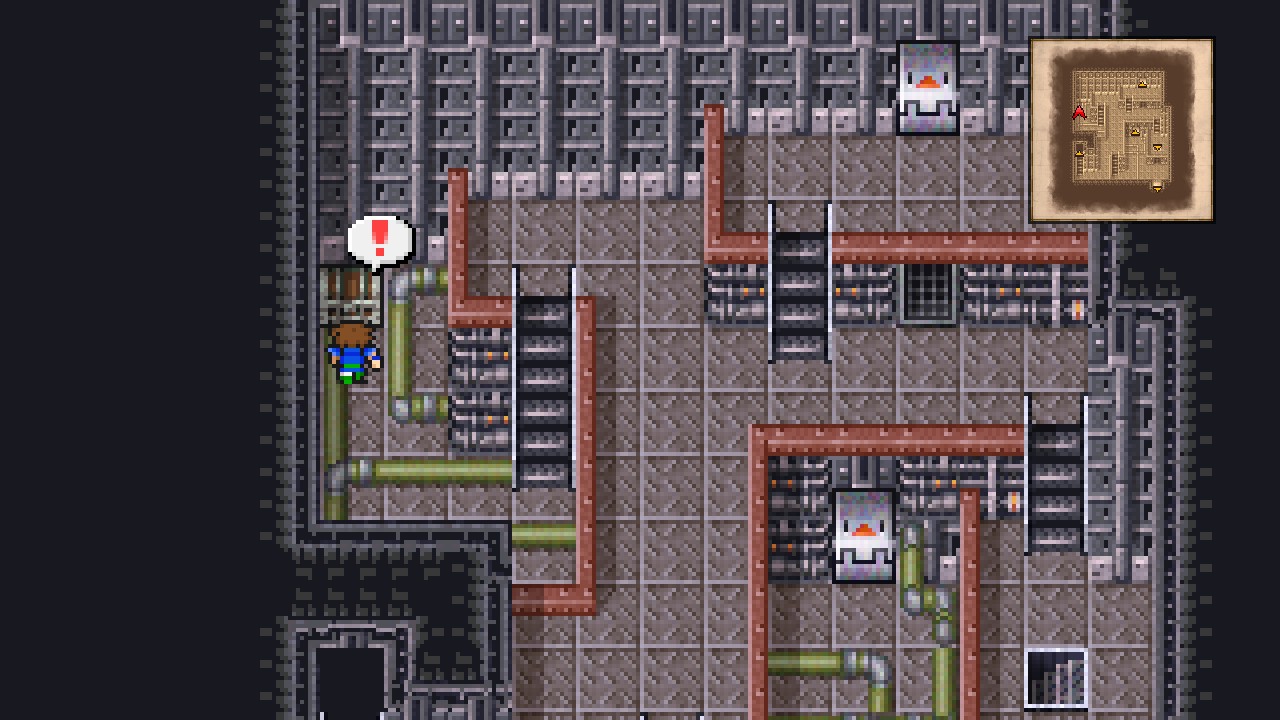 |
Go back upstairs and head all the way east.
Here, take the stairs leading down and the one-tile staircase down again.
Open the chest here for an Elixir. [32/227]
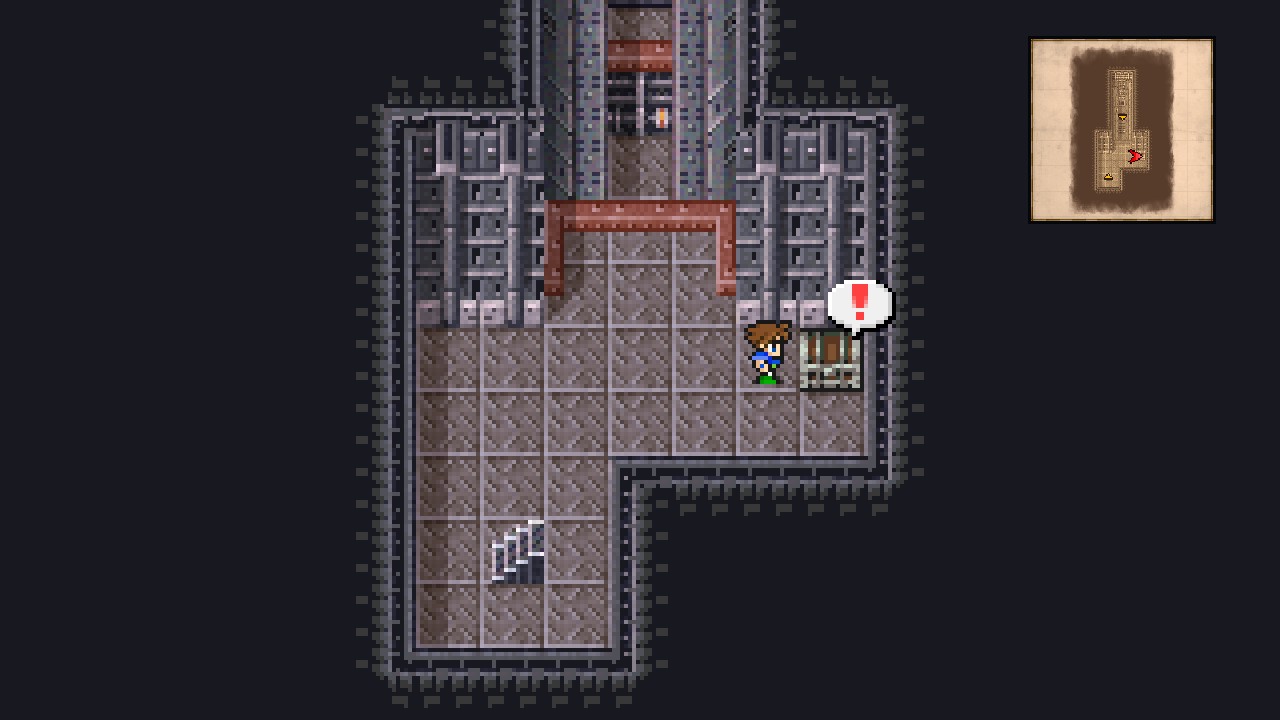 |
Go back up.
Back at the engine room, go north up the stairs and up some more stairs to find a door at the very top of the room. Go through it.
Fire-Powered Ship – Elevator
Flip the red lever to activate the elevator.
Exit the elevator through the southern stairs.
Fire-Powered Ship – Engine Room
We’re back at the engine room, but on a higher floor.
Poltergeist start appearing here.
Open the chest just east from the door for a Phoenix Down. [33/227]
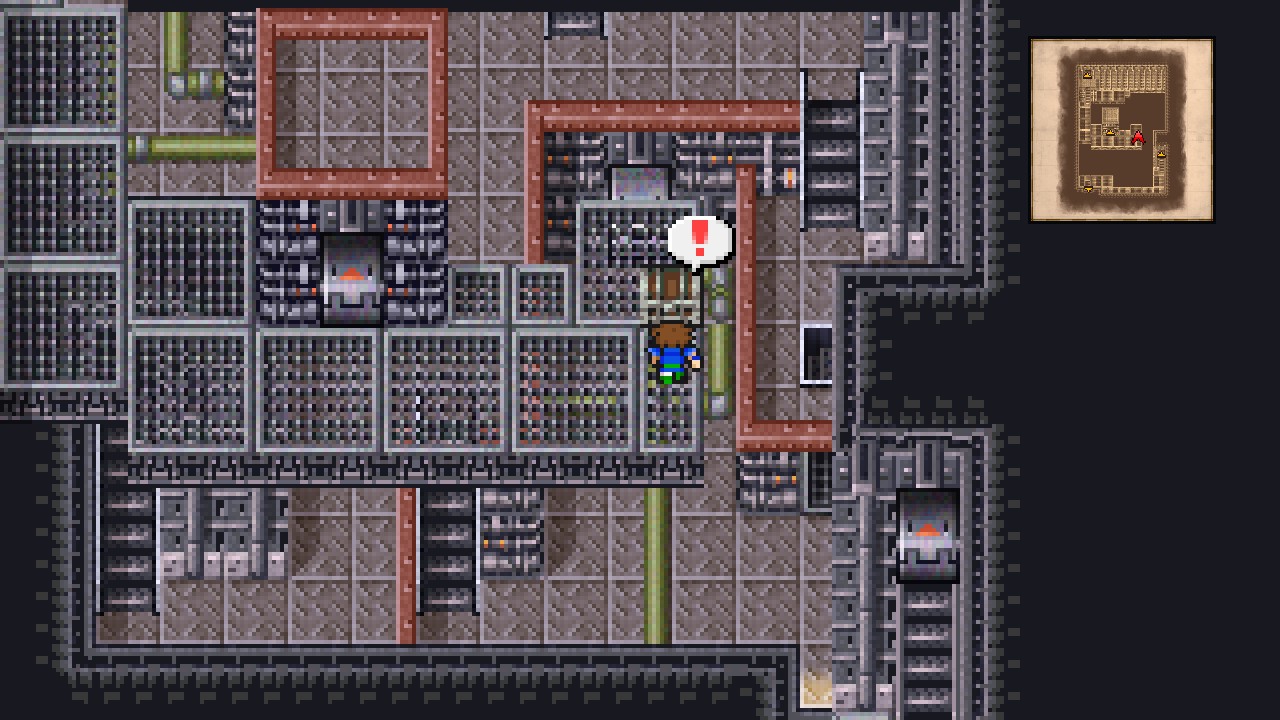 |
Follow the catwalk west and go north through the door.
Fire-Powered Ship – Elevator
Oh yes, that’s another elevator.
Flip the red lever to active it.
Exit through the southern stairs.
Fire-Powered Ship – Engine Room
Was it that hard to change the room names, Square? this is getting confusing…
Head north-west and enter the vent, then follow it until reaching a door.
Go through it.
Fire-Powered Ship – Elevator
Another elevator. You already know the drill. Red lever → exit through the southern door.
Fire-Powered Ship – Engine Room
We’re now in a room with three doors at the top and four vents at the bottom.
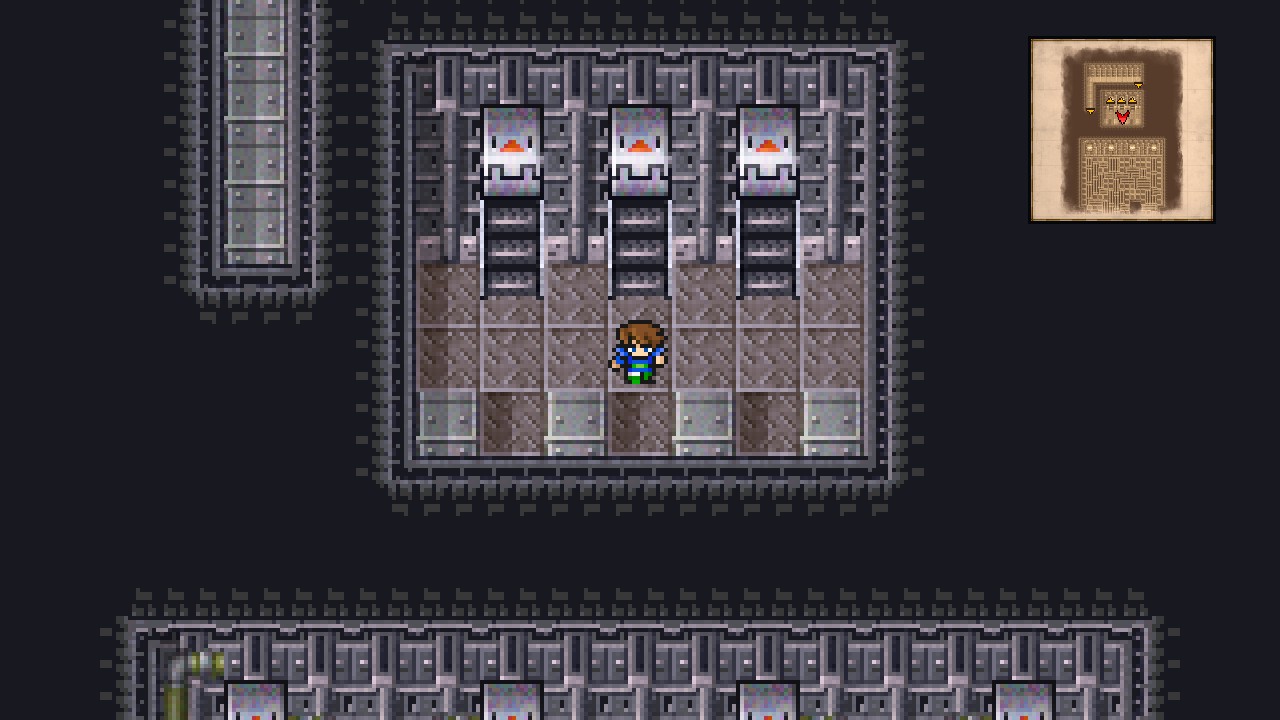 |
Go through the 3rd vent. What’s this madness!?
Okay. You will end in the floor below.
Open the chest here for Thief’s Gloves. [34/227]
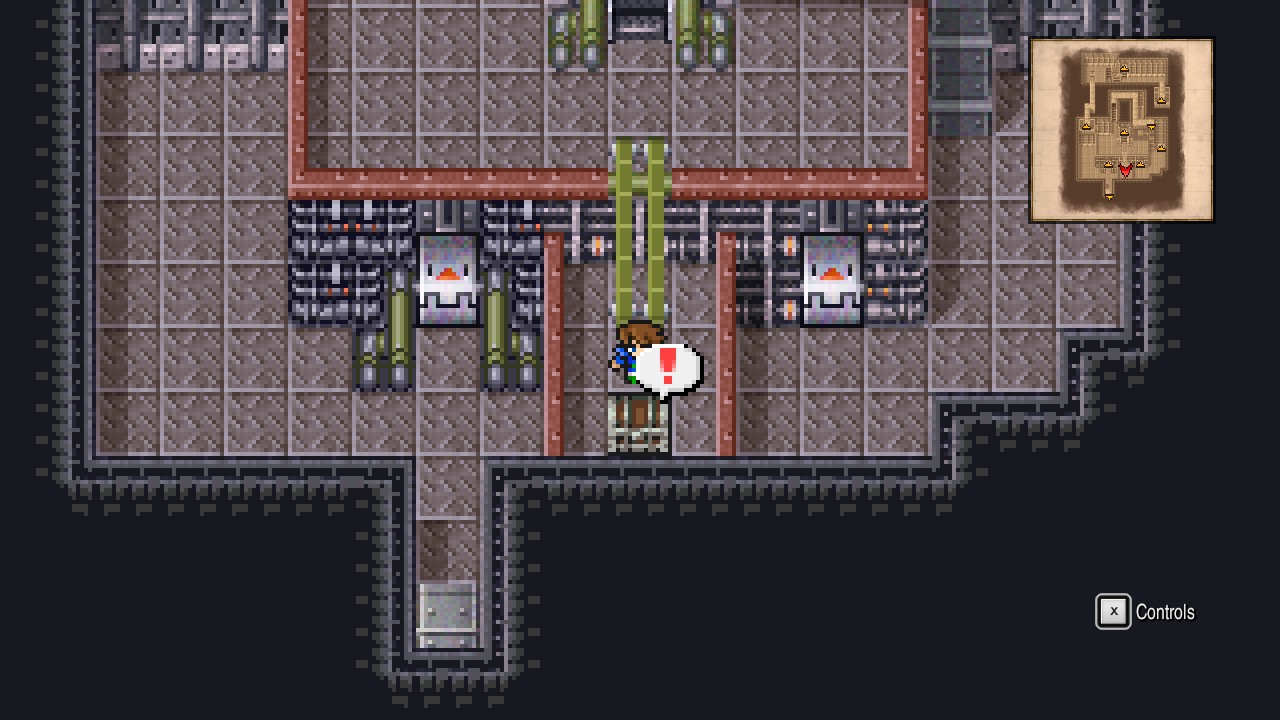 |
Now step on the green conveyer belt.
Guess what? Yes. We gotta make our way back to the room with the three doors and four vents. So do that.
Once at that room, go through the 4th vent.
You will end in a new location. A chest with a conveyor belt on the left side, a door next to it, and a vent on the right end of the corridor.
Go through the vent and follow the linear path to reach a treasure chest. This is the same treasure chest we spotted earlier. Open it for Green Beret. [35/227]
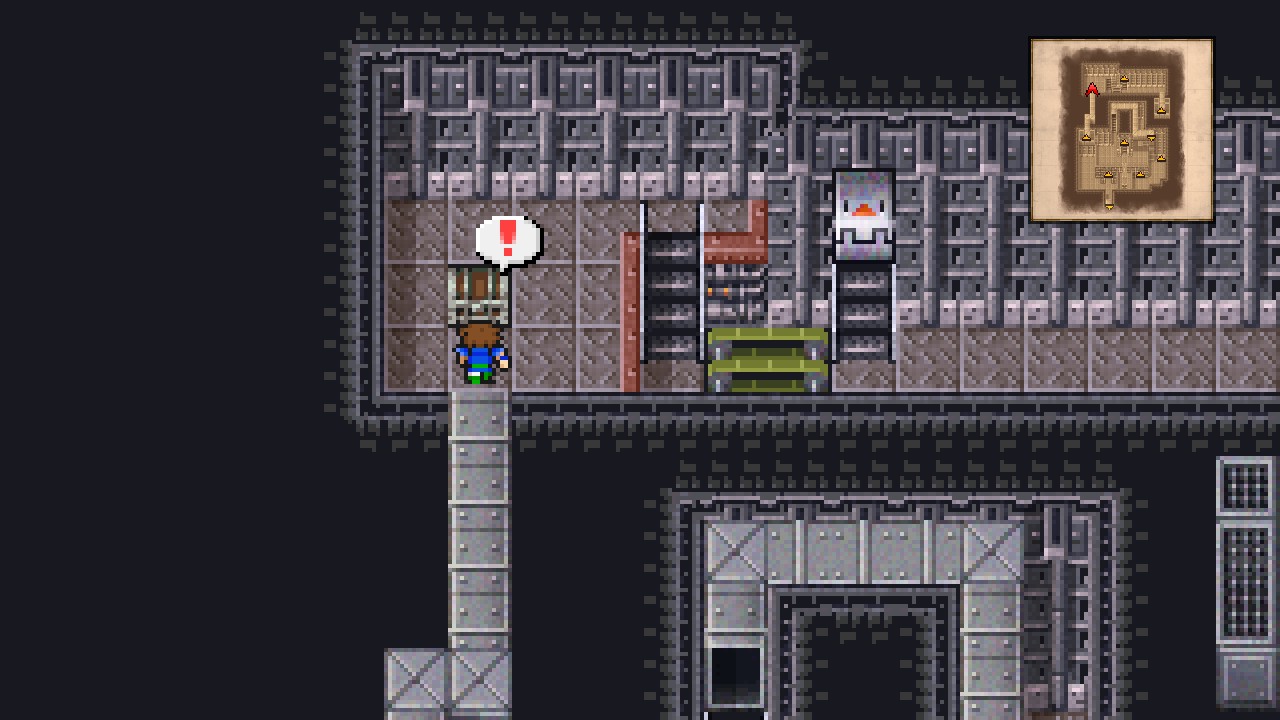 |
Now step on the conveyor belt to return to where we started and go through the door.
Fire-Powered Ship – Elevator
Activate the elevator and then exit through the southern door.
Fire-Powered Ship – Engine Room
Back at the doors/vents hall, go through the 2nd vent.
Remember this location? okay, go northeast and take the stairs leading up.
Walk one tile up and flip the lever, then go through the door that just opened.
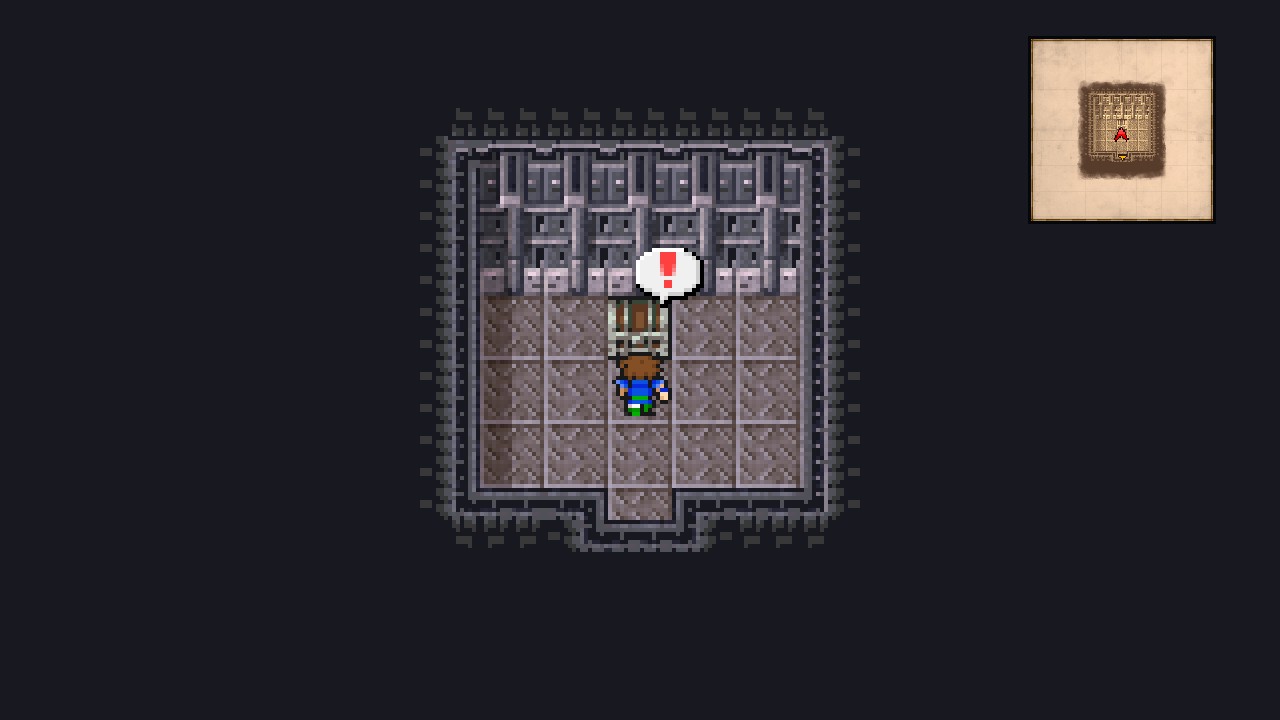
Open the chest inside for a Moonring Blade. [36/227]
 |
Backtrack to where we started and go through the door.
DON’T step on the conveyor belt yet. Instead, go through the left door to find a consecrated circle. Feel free to rest and save.
Once ready, go through the north door.
Fire-Powered Ship: Part II
You’ll end in a confusing room with many platforms and levers.
Head north and flip the lever.
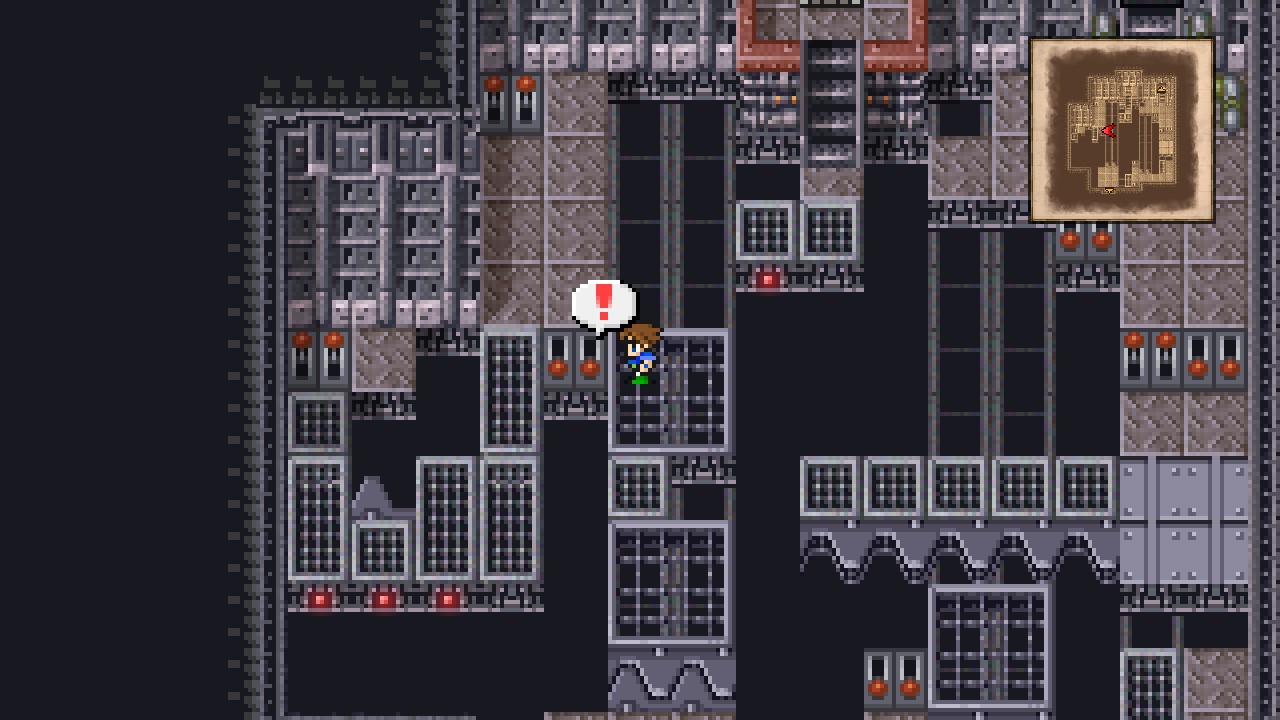 |
Now flip the northmost lever..
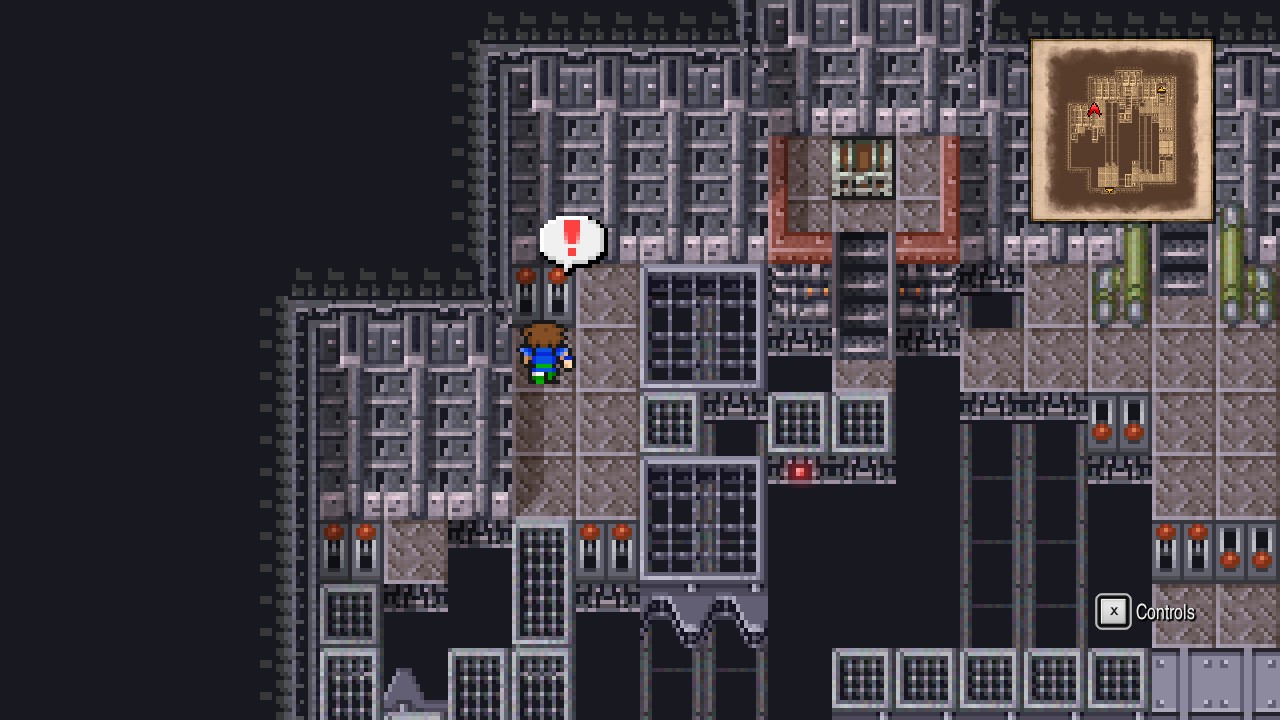 |
..followed by the westernmost lever.
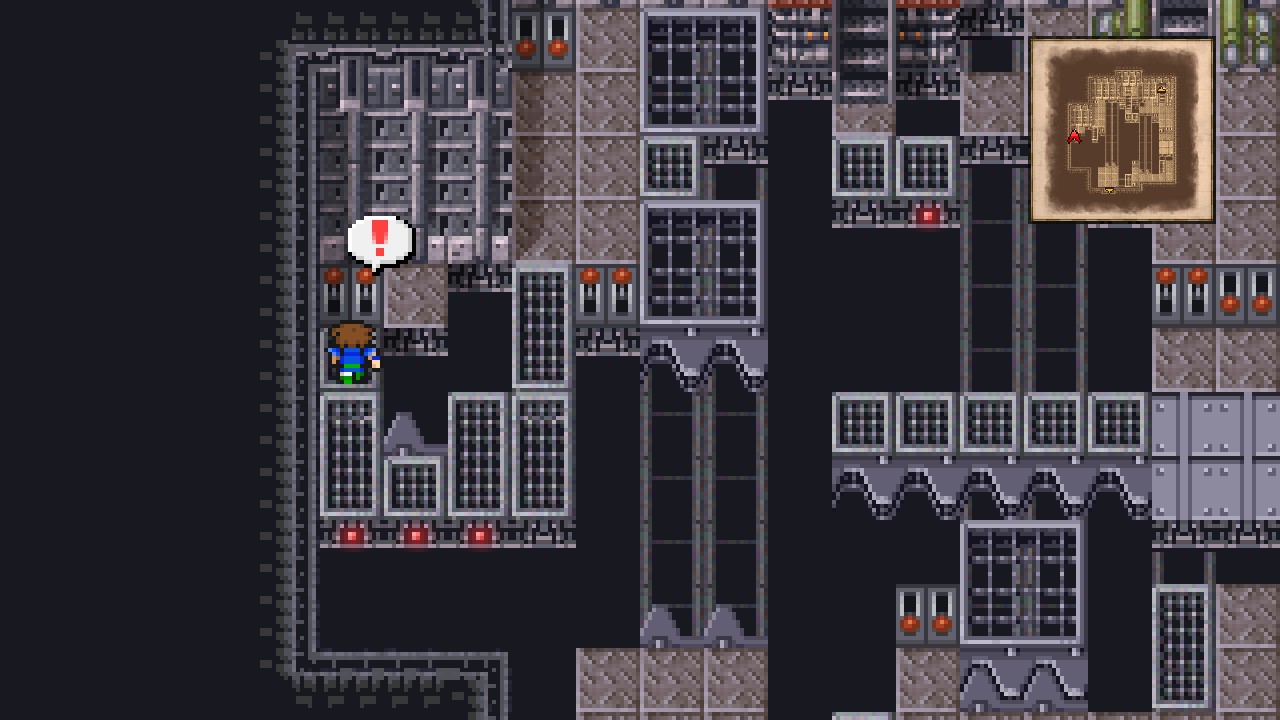 |
Go across the platform and flip both levers on the eastern side.
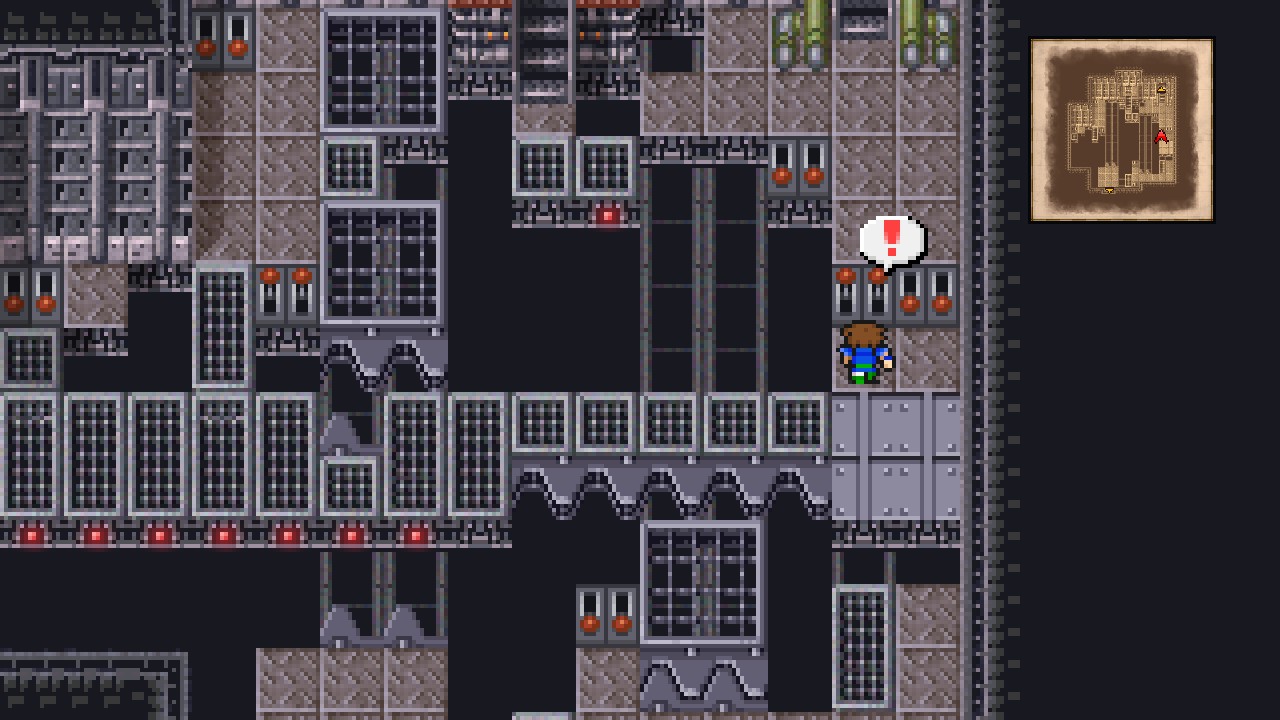 |
Head south and stand on the big platform, then flip the last lever to get to the other side.
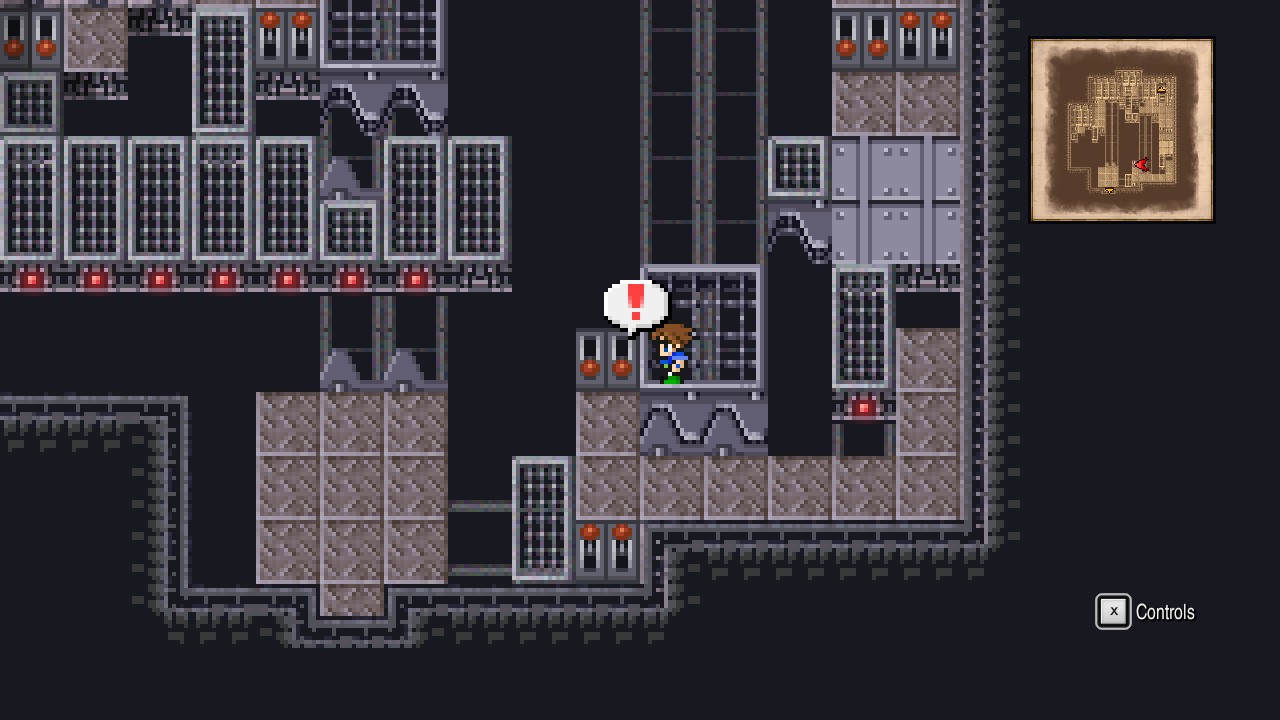 |
Go northwest and open the chest for an Elixir. [37/227]
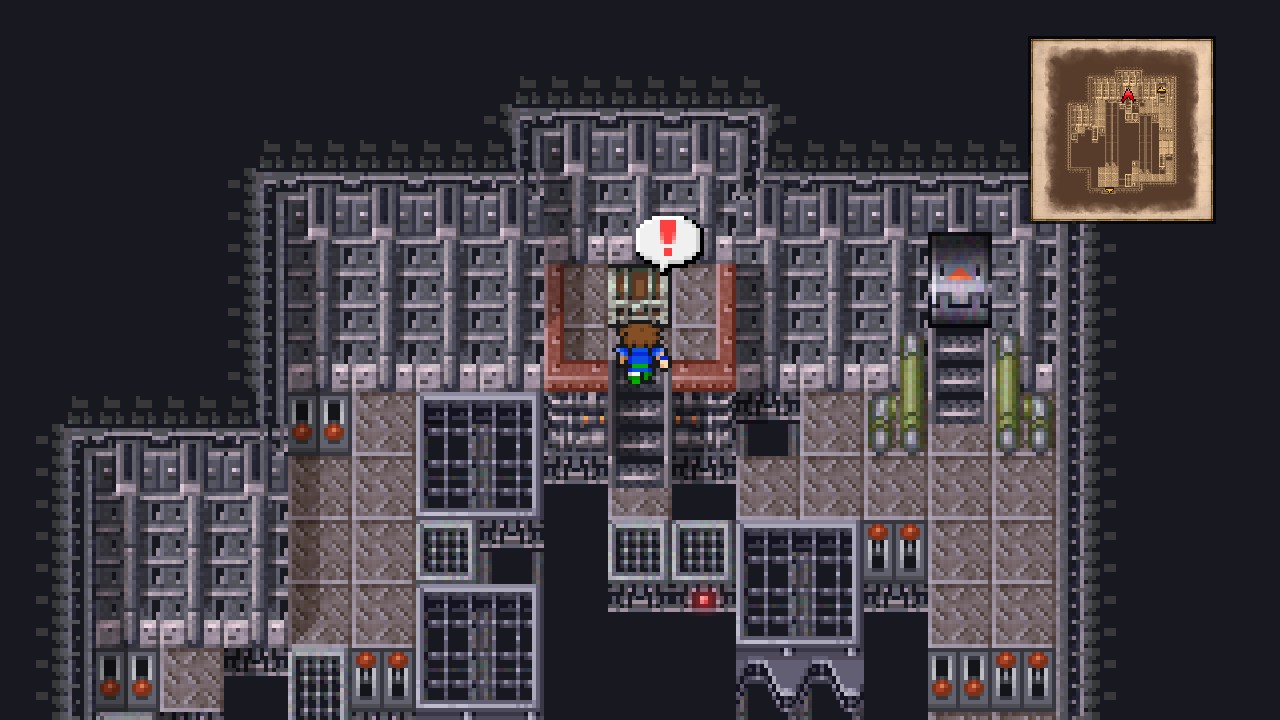 |
We’re finally done with this location. 9/9 chests.
Go through the northeastern door.
Fire-Powered Ship – Engine Room
We’re at the boiler’s room.
Before heading north to meet the boss, I highly recommend switching jobs so you have a Time Mage and a Summoner in your party. The reason? simply. Next boss has lots of health and we can bring that down quickly by casting Gravity and summoning Shiva (if you got that before).
I switched my Bartz to Time Mage (he was Blue Mage, but you can keep the ‘Learn’ ability equipped since that job is already high leveled up) and switched Galuf from Black Mage to Summoner.
Don’t forget to put weak characters on the back row.
Anyway. Heal up and quick-save, then head north to trigger a short scene followed by the boss fight.
| Liquid Flame |
|---|
| ID | HP | MP | ATK | DEF | EVA | M.DEF | MAG | WEAKNESS | RESIST. | ABSORBS | CANCELS |
|---|---|---|---|---|---|---|---|---|---|---|---|
| 237 | 3000 | 100 | 18 | 0 | 20 | 15 | 10 | Ice | Darkness, Zombie, Poison, Mini, Toad, Petrify, Silence, Berserk, Paralyze, Sleep, Old, Slow, Stop | Fire, Wind | Water, Poison |
This boss has three forms.
Human: Casts blaze on your party for relatively low damage and Rush for physical damage against one member.
Hand: Casts Ray (causes Paralysis) and Fira (deals insane amounts of damage to a single character). Also casts Fira on itself to heal HP. Nulls all magical damage.
Tornado: Counter-attacks with magnet to switch character row. Not much else, I think?
Strategy: Open the battle with Gravity to remove a whooping 1500 HP from the boss, then depending on which form it changes, cast another Gravity (if it’s not the Hand) or deal physical damage if it’s the hand. Try to use at least 3x Gravity to remove most HP of the boss, then finish it off with Shiva/Physical damage.
After such challenging battle, head north through the vent to reach the crystal room.
Crystal Room
Approach the crystal to trigger a rather sad cutscene…
Karnak Castle
Karnak Castle – B5
| ㅤ ㅤ ㅤ BESTIARY: KARNAK CASTLEㅤ ㅤ |
|---|
| ID | MONSTER | HP | MP | GIL | EXP | |
|---|---|---|---|---|---|---|
| 041 | Sergeant | 400 | 100 | 132 | 160 | |
| 042 | Sorcerer | 350 | 500 | 138 | 180 | |
| 043 | Cur Nakk | 140 | 0 | 141 | 140 | |
| 044 | Gigas | 760 | 35 | 144 | 350 | BM: Aera |
WARNING: This is a one-visit location.
Summary of Missables:
- All treasure chests
- All bestiary entries
- Sergeant: If you don’t defeat it during a random encounter (the one at the forced encounter won’t count towards the bestiary)
- Iron Claw: if you defeat Sergeant first during the forced encounter
Gigas holds the ‘Aera’ blue magic. If you see yourself with lots of extra time, feel free to give a chance to getting it now. If you don’t, then don’t worry as we will have more opportunities later.
After the scenes, you will be thrown back at the Karnak Castle with only 10 minutes to escape!
Don’t worry, that’s enough time to escape and grab all the chests on the way (if you follow my directions, of course).
Note: timer runs even on battles, it will only pause in menus and dialogue.
Another note: Most chests in this dungeon have monsters-in-a-box encounters, and they’re usually randomized from the following pool:
- Gigas
- 2x Cut Nakk, Sorcerer
- 2x Sorcerer
Not sure if there are any more encounters, but that’s all what I personally got through multiple attempts.
Save your progress at the consecrated circle and then go through the north door.
Karnak Castle – B4
Head north and enter the eastern cell to find a chest. Open it for 2000 Gil. [38/227]
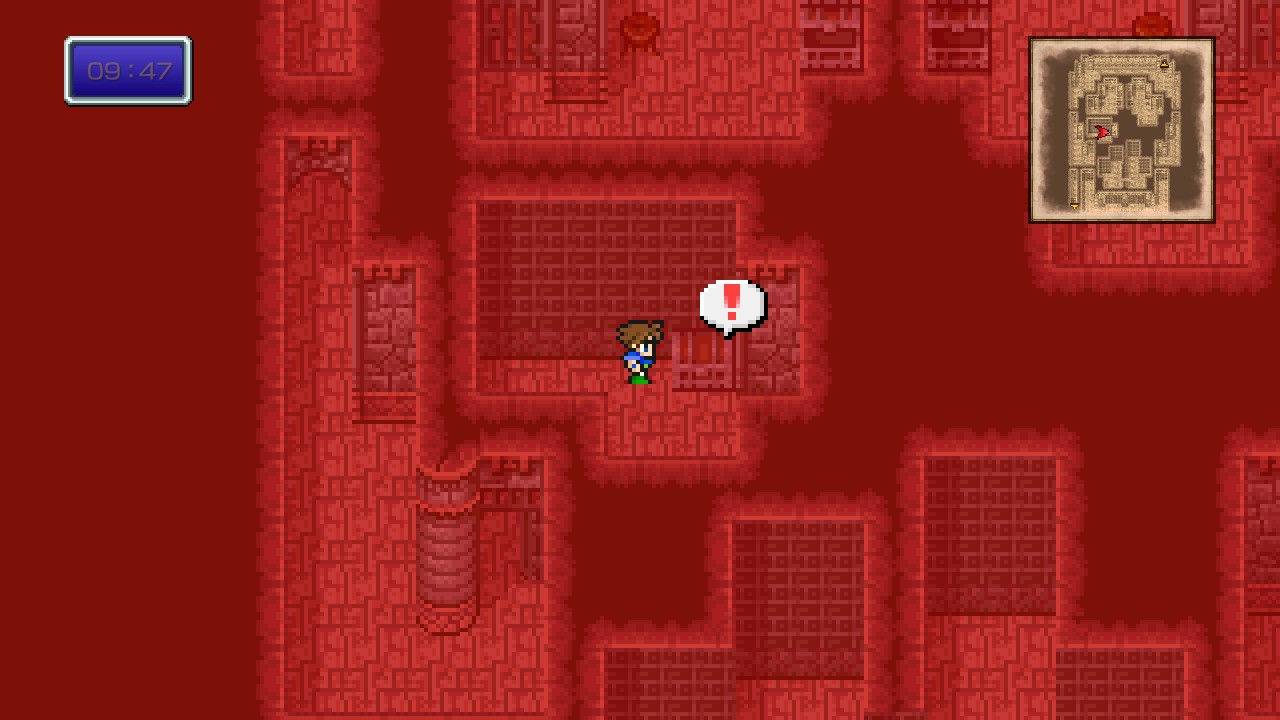 |
Now exit the cell and head north in clock-wise direction towards the exit at the northeastern portion of the room, but don’t go up yet. Instead, enter the cell just below to find an unopened chest with a monsters-in-a-box encounter.
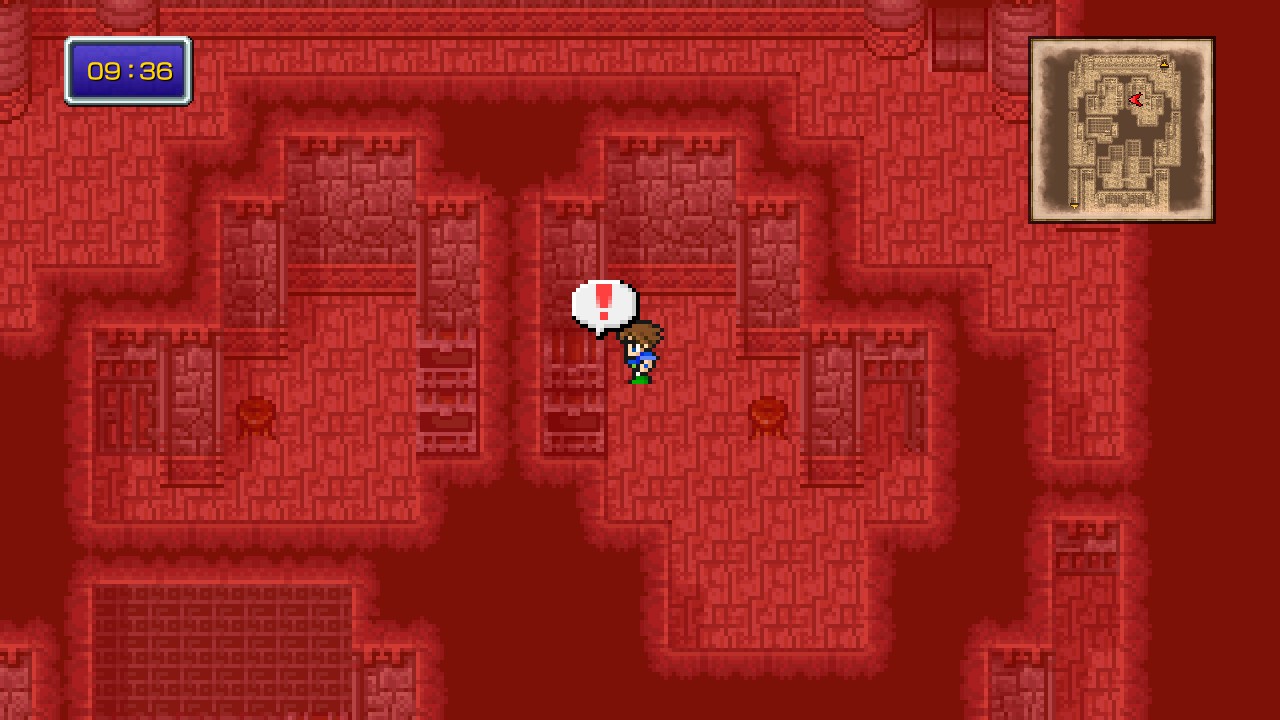 |
You will get an elixir after winning the battle. [39/227]
Head up the stairs.
Karnak Castle – B3
Go east and open the northeastern chest for a monsters-in-a-box encounter.
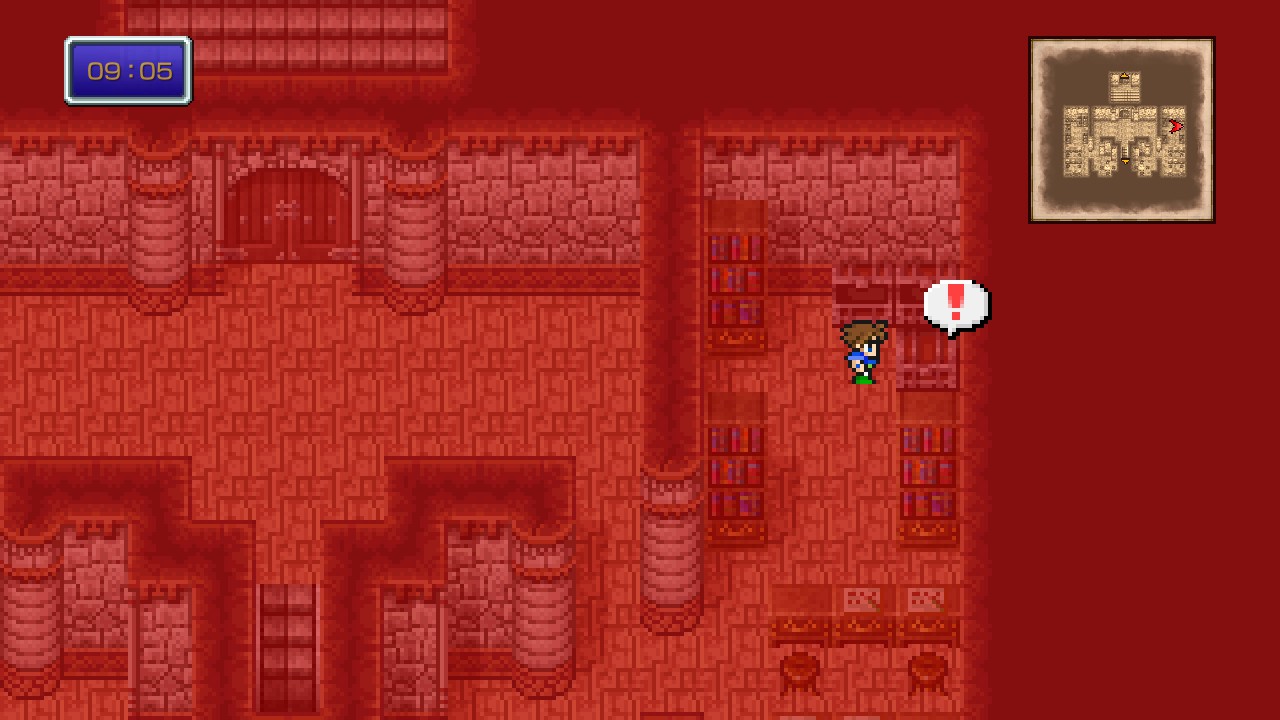 |
You will get rewarded with Shuriken after defeating the foes. [40/227]
Head to the opposite side of the room and open the chest for another monster-in-a-box encounter.
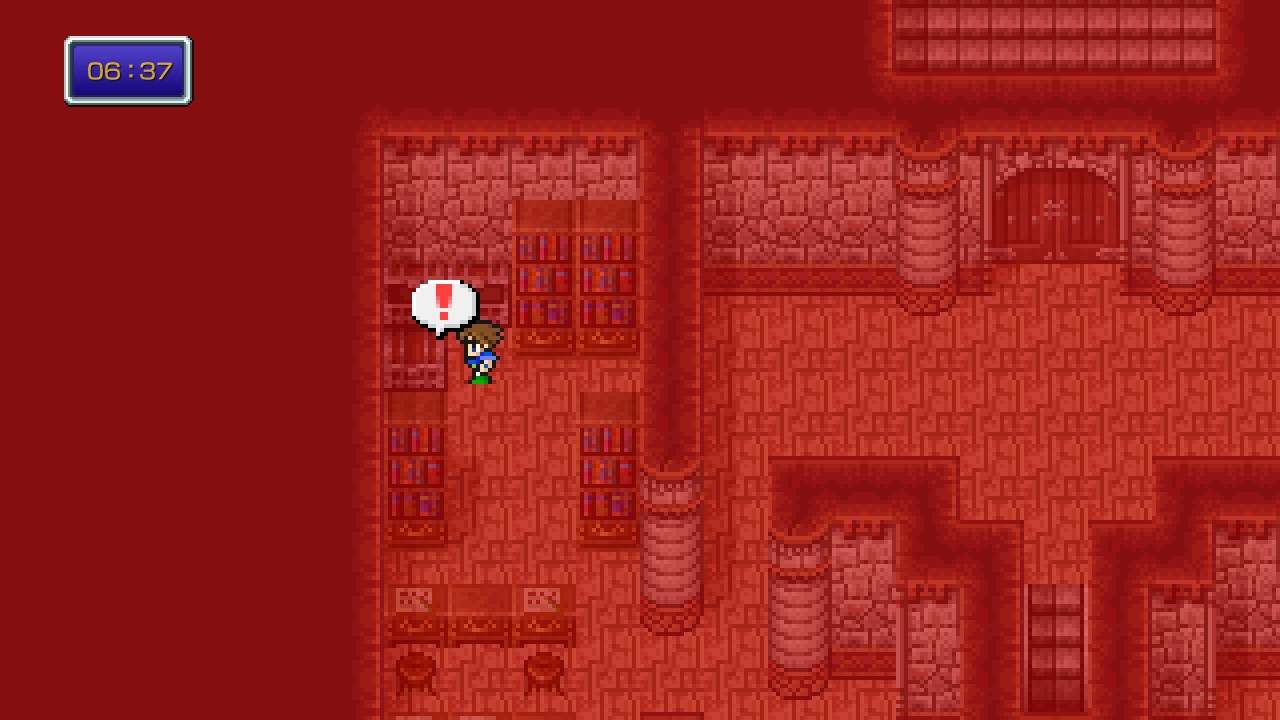 |
You will be rewarded with Ribbon. [41/227]
Now backtrack to the middle of the room and head up the stairs to the next floor.
Karnak Castle – B2
This room is empty, so quickly go around the structure and enter the southern door.
Karnak Castle – B1
Go up the north staircase.
Karnak Castle – 1F
We’re at the main hall.
Go through the door just to the right from where we came from and up the stairs to 2F.
Karnak Castle – 2F
Open the chest just in front of you for 2000 Gil. [42/227]
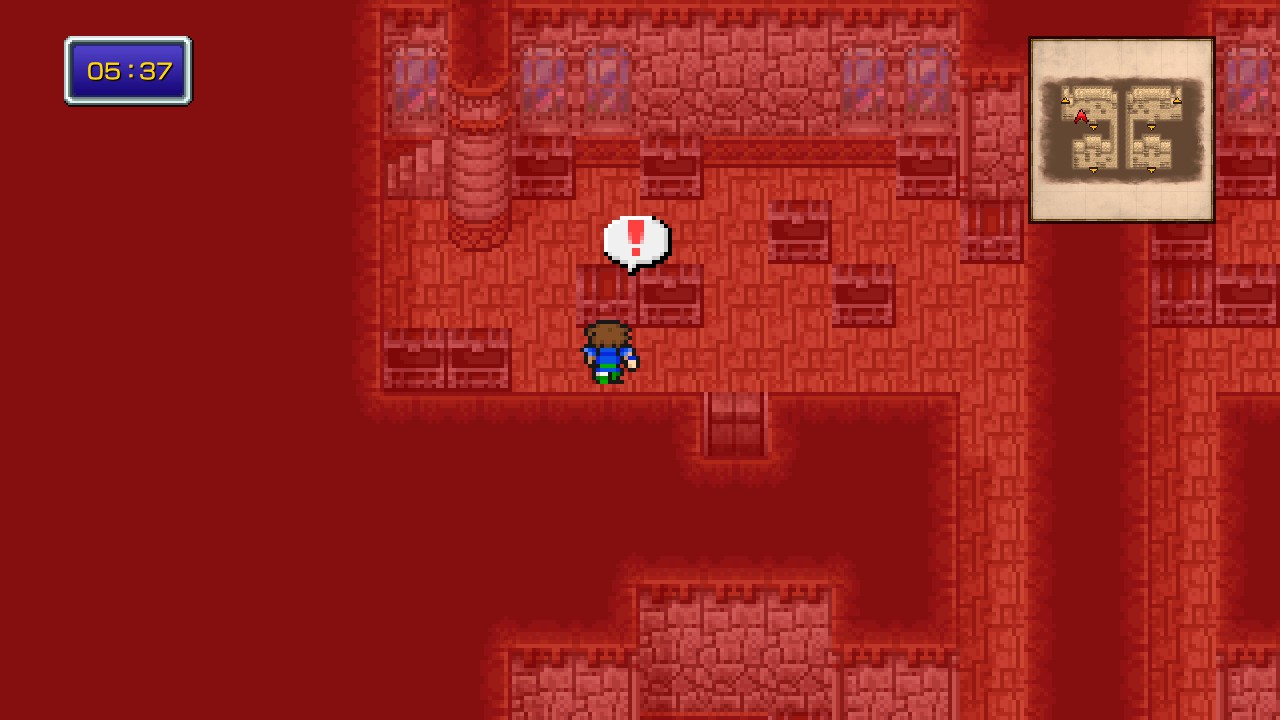 |
Now go immediately west and follow the stairs all the way to a small room. Open the chest here for a monsters-in-a-box encounter. I’m pretty sure this encounter is fixed against a Gigas.
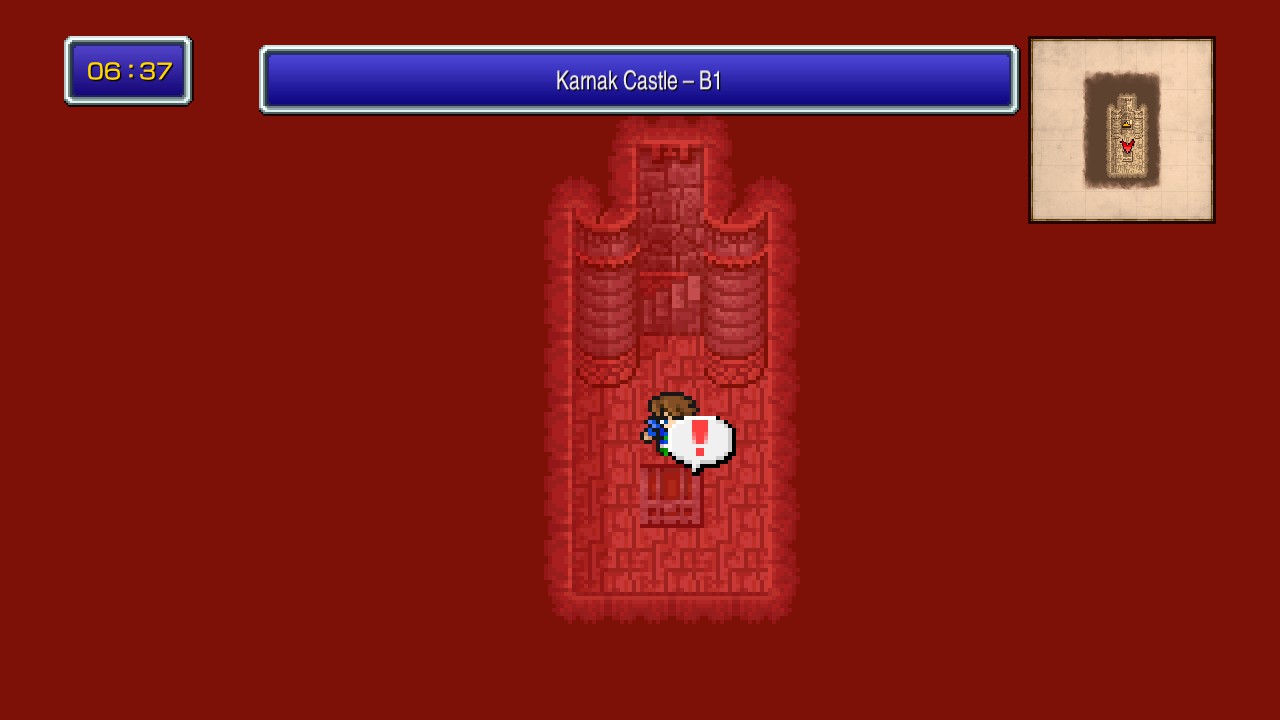 |
You will get an Elven Mantle after winning the battle. [43/227]
Backtrack all the way back to the room filled with chests.
Open the chest on the top right corner for a monsters-in-a-box encounter.
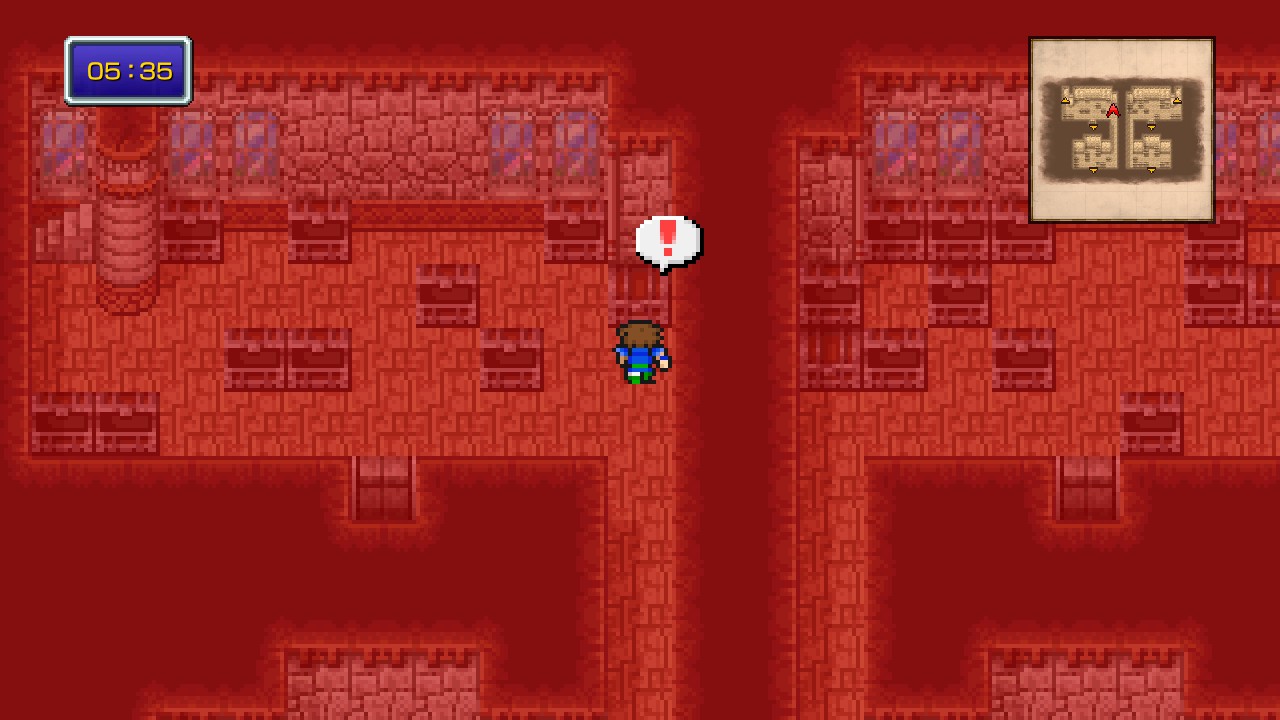 |
You will receive an Elixir as reward. [44/227]
Head down and open another chest near the southern exit for yet another monsters-in-a-box encounter.
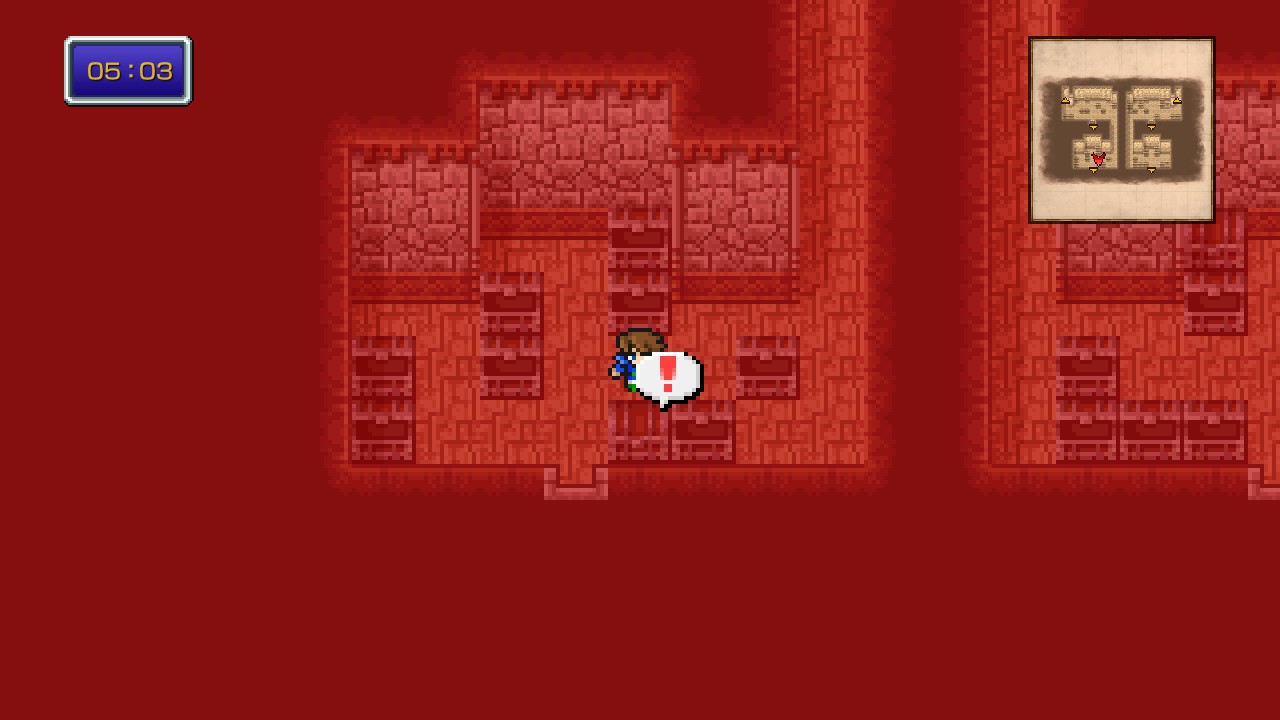 |
That’s another Elixir for us. [45/227]
Exit from the south and enter the door right next to you.
Open the bottom right chest for a monsters-in-a-box encounter.
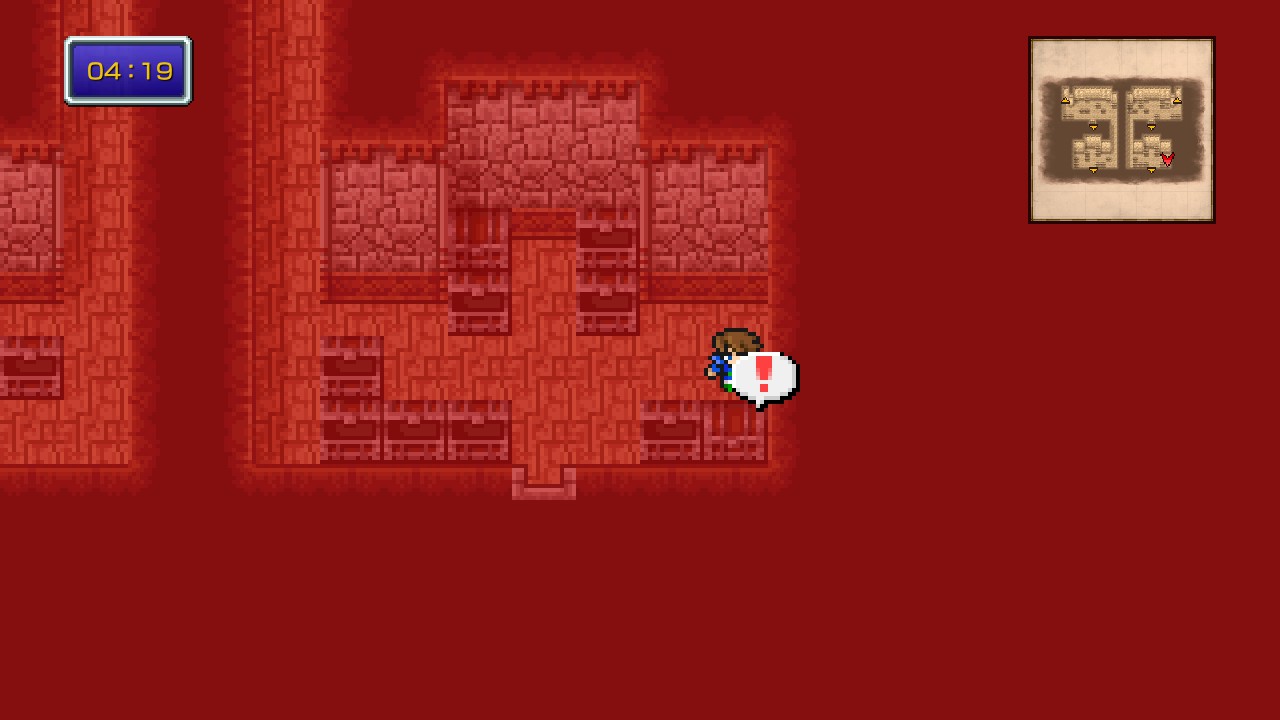 |
Another Elixir. Woohoo! [46/227]
Now open the chest just in front of the door we came from for another monsters-in-a-box.
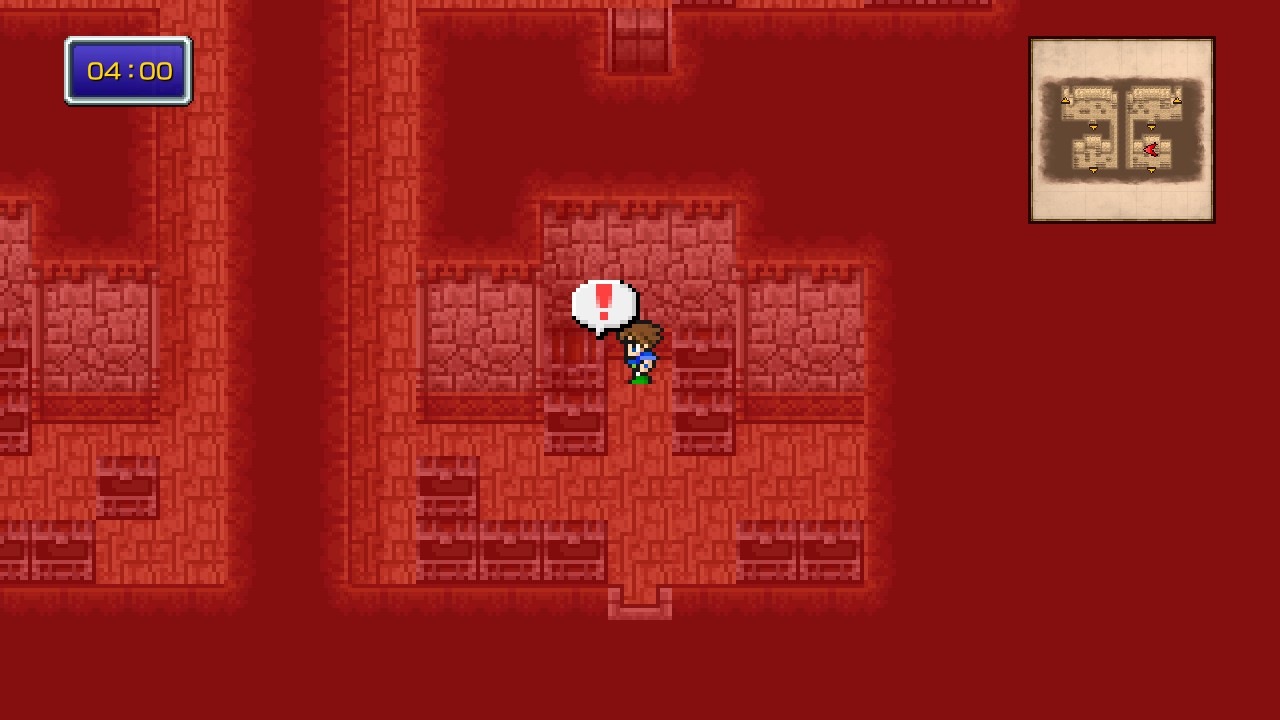 |
Yes sir. That’s exactly another Elixir! [47/227]
Head north and open the chest at the end of the corridor for a monsters-in-a-box encounter (aren’t you tired of all these forced encounters? because I am).
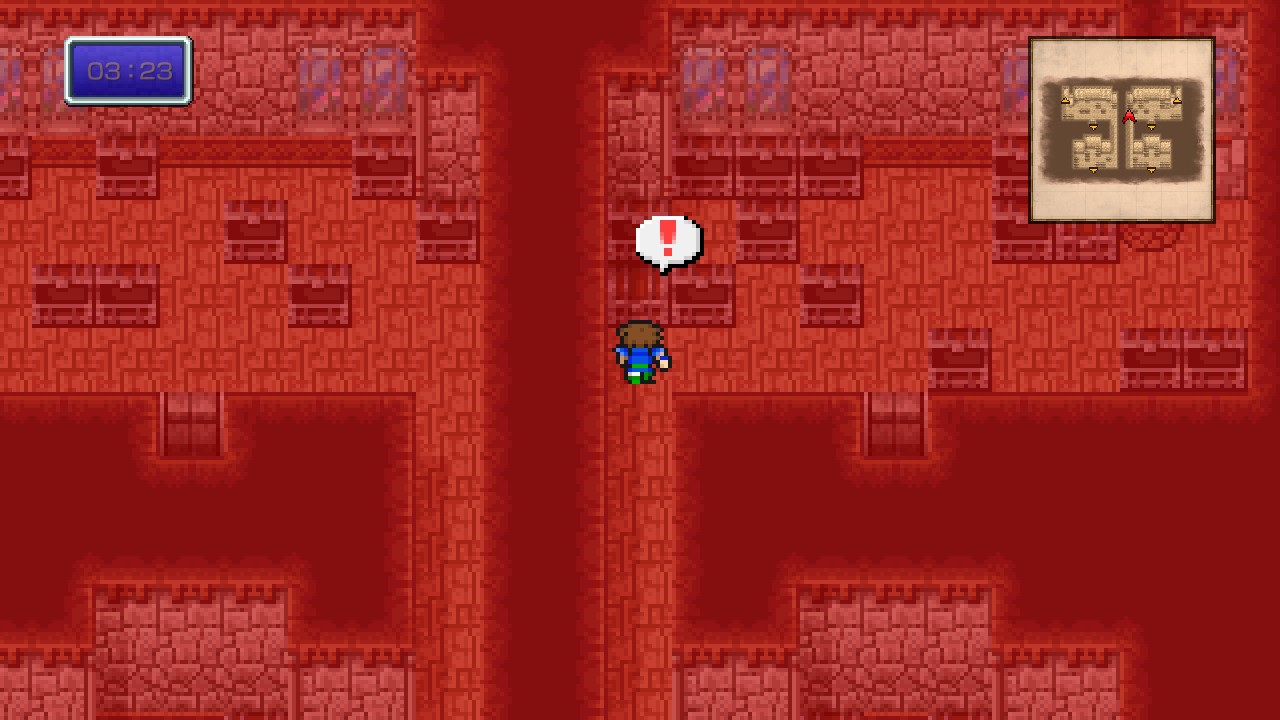 |
Take another Elixir! [48/227]
From the chest we just opened, go east and open the chest by the pillar for 2000 Gil (finally a clean chest, holy s***). [49/227]
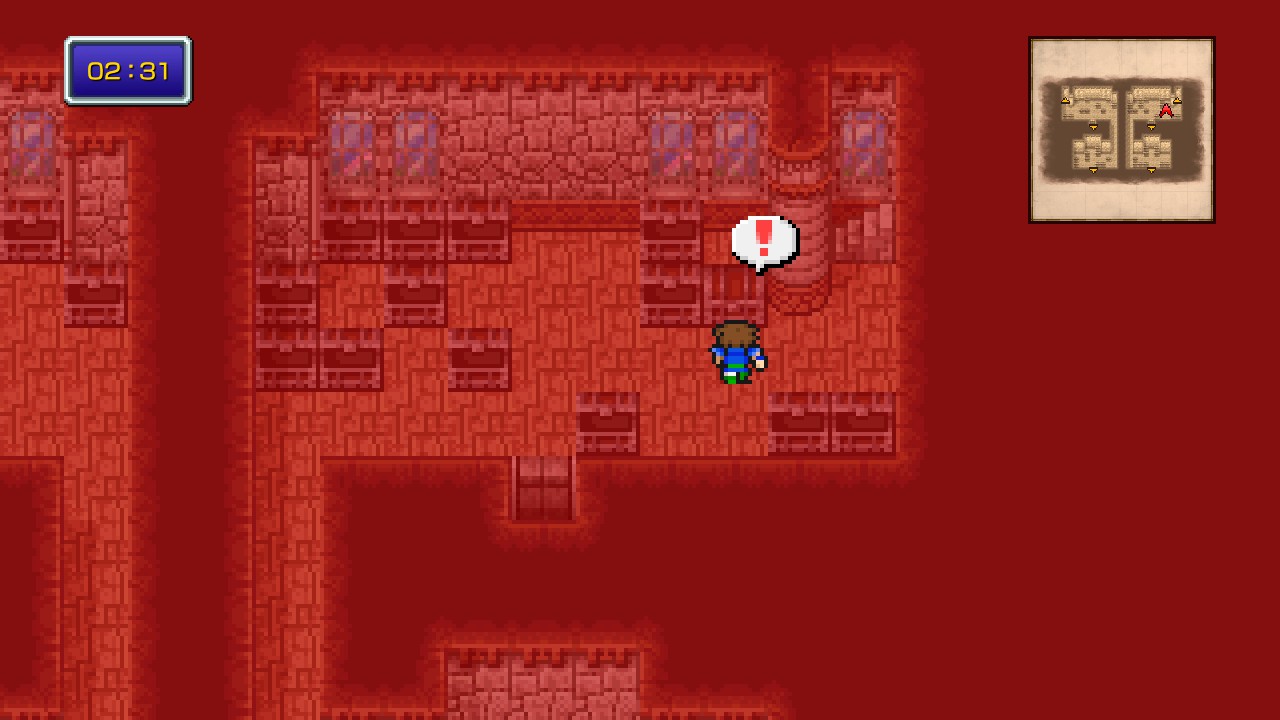 |
Now take the staircase right of the pillar and follow it all the way to find a chest with yes… another monsters-in-a-box encounter. This encounter seems to be fixed against a Gigas like the one at the opposite tower.
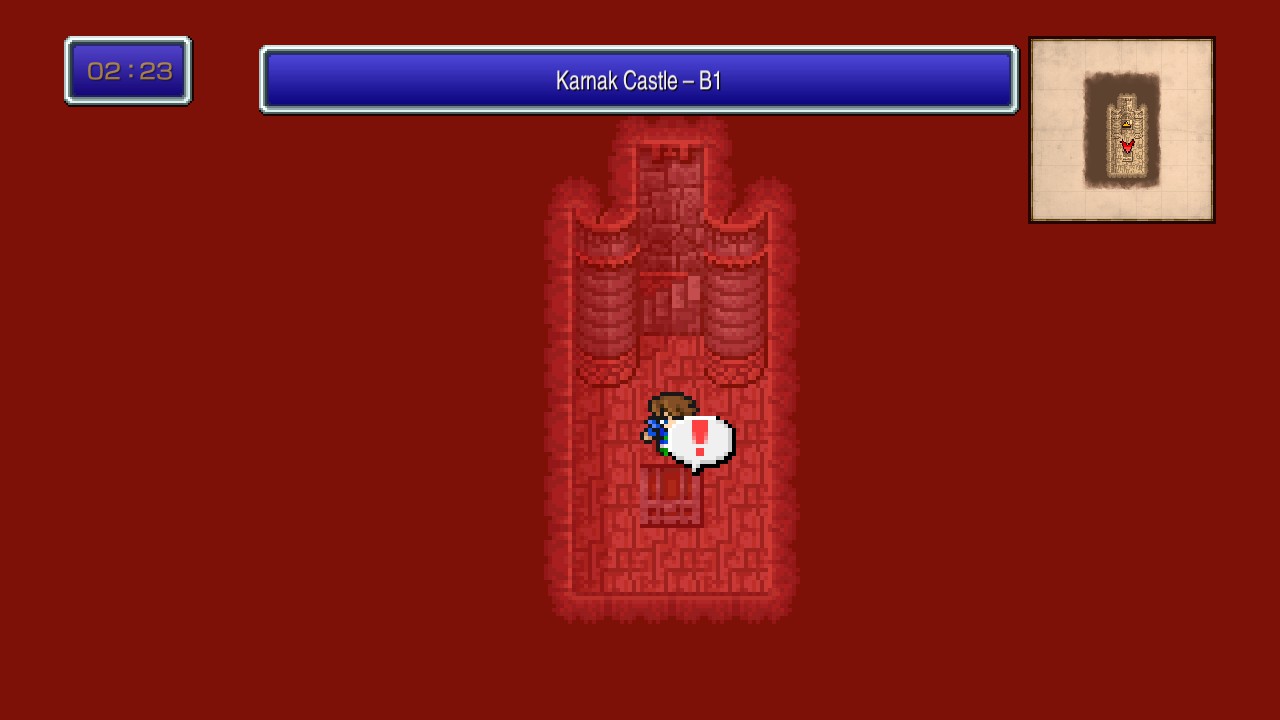 |
Defeat the enemy to receive a Main Gauche. [50/227]
Make your way back to the main hall (1F). Basically go back to the room with many chests and exit south through the first door you see.
Karnak Castle – 1F
Go south towards the exit of the castle (finally) but don’t leave yet.
Instead, open the chest on the left side for a monsters-in-a-box encounter.
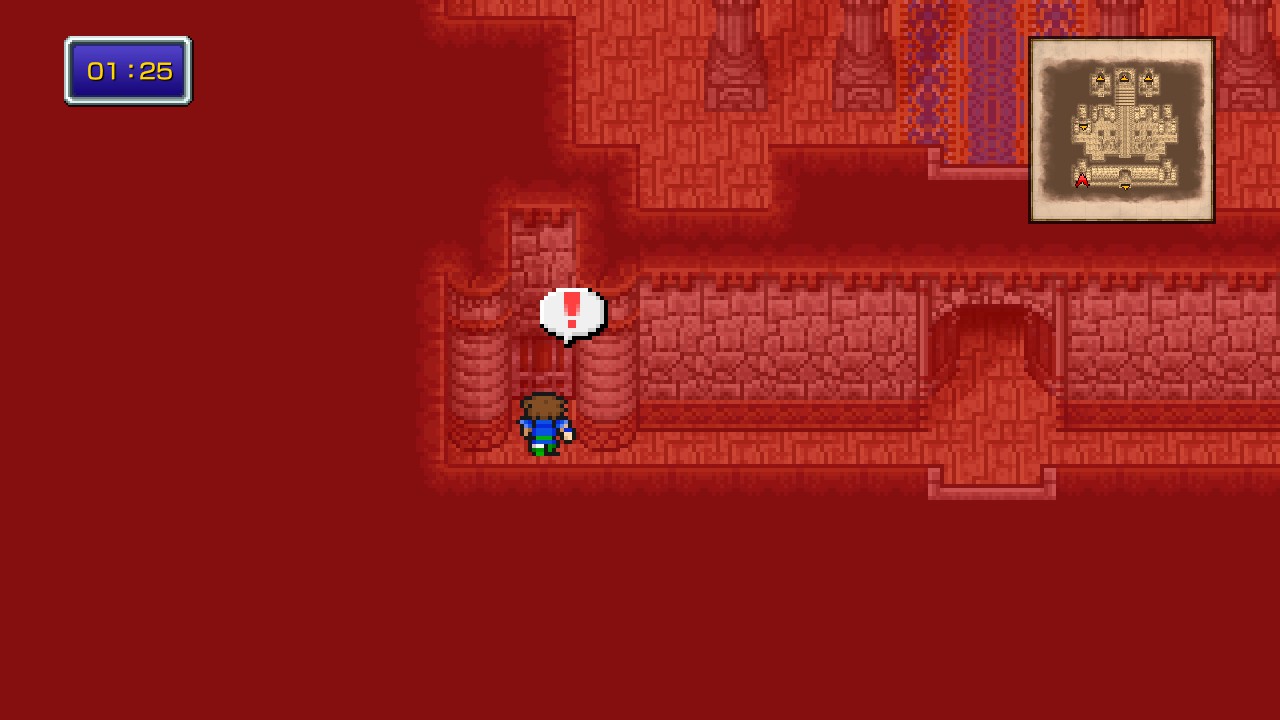 |
The reward will be Esuna. [51/227]
Now open the chest at the opposite side for the last monsters-in-a-box encounter.
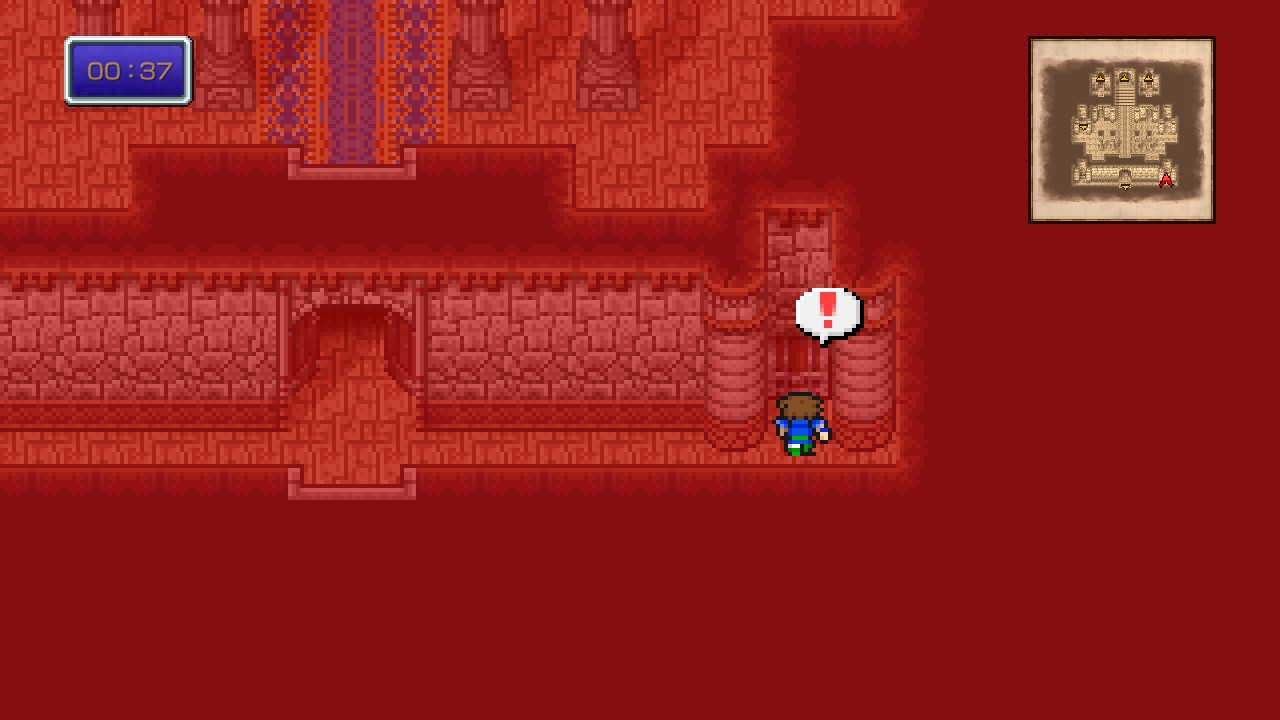 |
The prize is a Lightning Scroll. [52/227]
At this point, double check that you have 15/15 chests and then exit through the southern door.
Make sure you have 15/15 though, we won’t be able to return to this place ever again…
Karnak Castle
Head south and just at the steps of the castle, you will get yourself into a forced encounter against 3x Cur Nakk and 1x Sergeant. But there’s something strange about that Sergeant…
Defeat the Cur Nakks and then wait for the Sergeant to convert into a Iron Claw. This is a MISSABLE bestiary entry. So make sure to get it before leaving.
| ㅤ ㅤ ㅤ BESTIARY: KARNAK CASTLEㅤ ㅤ |
|---|
| ID | MONSTER | HP | MP | GIL | EXP | |
|---|---|---|---|---|---|---|
| 238 | Iron Claw | 900 | 150 | 100 | 40 | BM: Death Claw |
You can try to get the Death Claw ability from the boss, but don’t stress yourself too much if you don’t as there will be many other chances in the future.
Anyway, after the battle, leave the castle for good and watch the scenes.
The next set of jobs will be available here.
Jobs unlocked:
- Beastmaster
- Geomancer
- Ninja
Courage- Essence of Flame
Received power from the fire crystal.
Library of the Ancients: Part I
Overworld
Back at the overworld, switch the job of any of your characters to Beastmaster (I chose Bartz and set ‘Learn’ as ability) to start leveling it up ASAP. We will need the ‘Control’ ability which unlocks at level 2 to make the job of getting some of blue spells a little easier.
Now re-enter the Fire-Powered Ship.
Fire-Powered Ship
Talk to Cid so he leaves the ship.
Exit the ship too.
Overworld
Enter Karnak.
Karnak
Make your way to the northeastern portion of the town and go up the stairs.
Follow the path west and search the barrel at the end for a Flame Rod. {26/44}
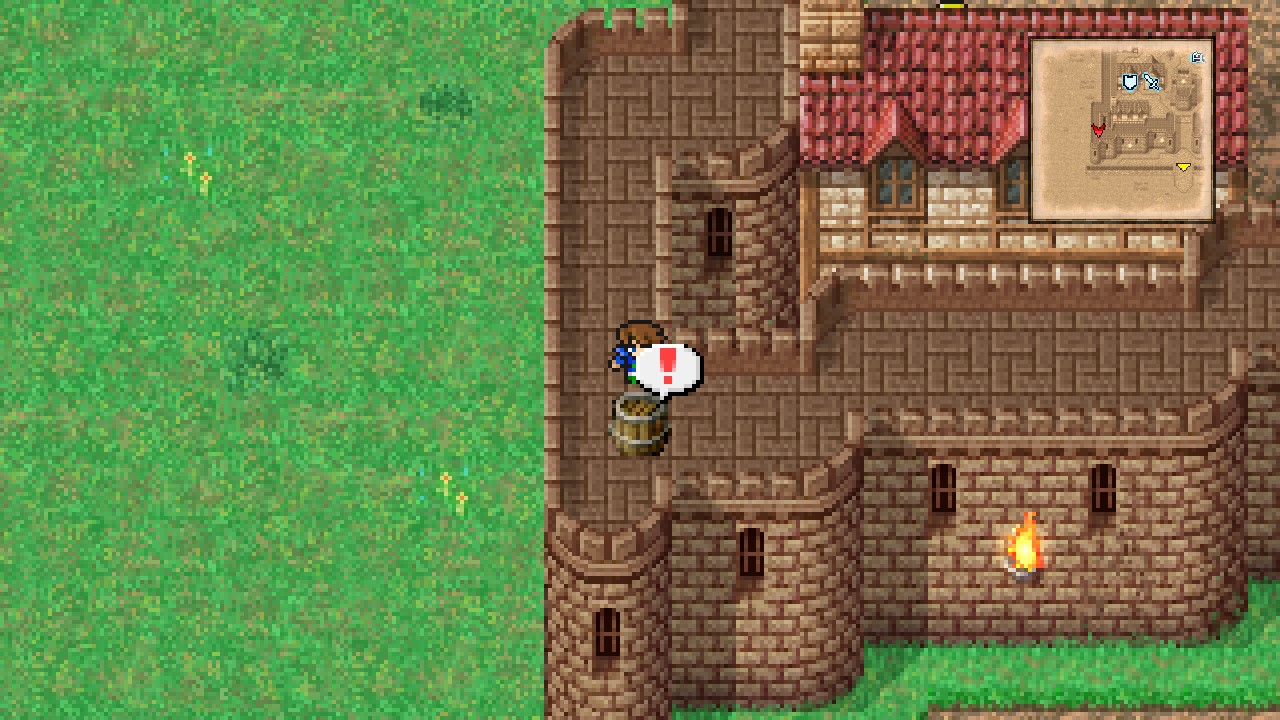 |
That’s the only collectible for this location! 1/1 items.
Now visit the pub at the northwestern corner of the town and head upstairs for a scene with Cid.
Leave the town.
Overworld
From Karnak, head west past the now broken wall and then southwest until you reach a desert area. Heal up and quick-save, then walk around until triggering the following encounter:
| ㅤ ㅤ ㅤ BESTIARY: LIBRARY OF THE ANCIENTS – DESERT AREAㅤ ㅤ |
|---|
| 058 | Dhorme Chimera | 1000 | 150 | 186 | 1000 | BM: Aqua Breath |
This creature is strong and deals massive amounts of damage, but also holds the powerful blue magic ‘Aqua Breath’, so try to get it now.
After getting or not getting the blue magic, continue southeast and go through the woods to find a temple.
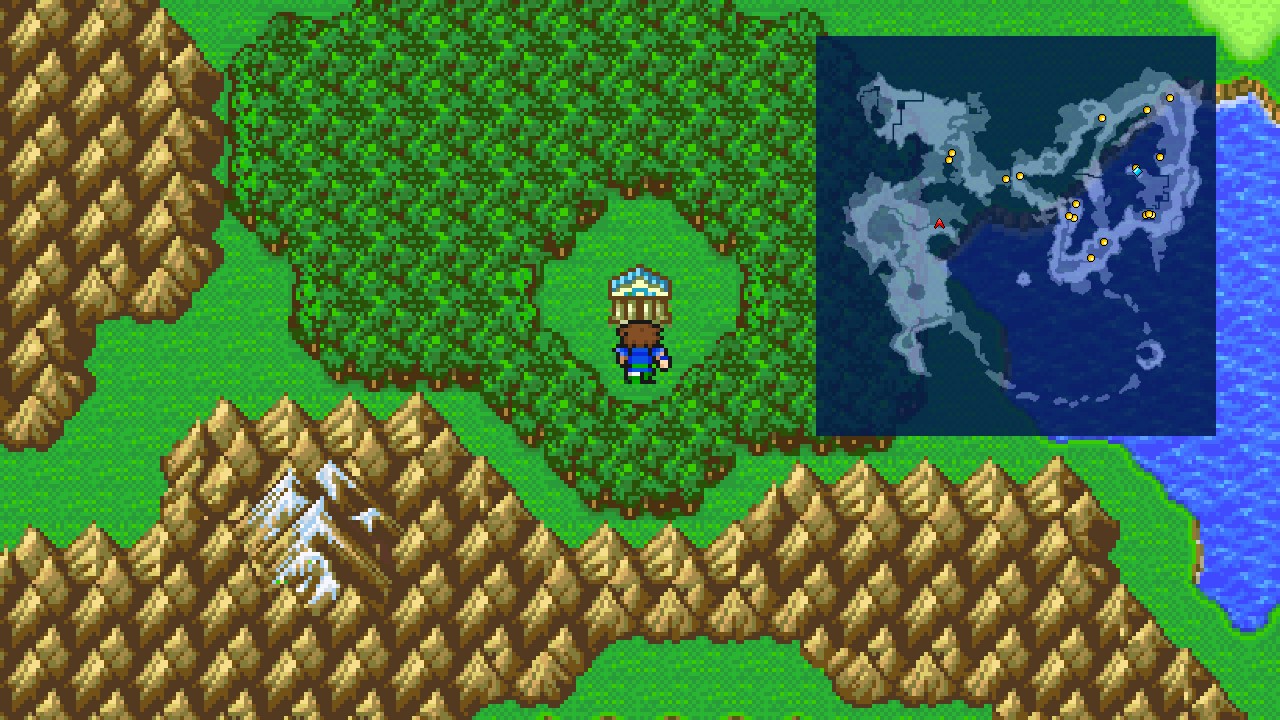 |
This is the Library of the Ancients. DON’T ENTER YET. Instead, farm encounters outside to get your Beastmaster to at least level 2 (to learn the ‘Control’ ability which we will be using a lot to learn blue magic) and your Blue Mage character (or anyone that has the Learn ability) to a level divisible by 5 (you should be around level 15 or 20 at this point). Just make sure that not all your characters have a level divisible by 5 or you’re gonna have a bad time.
| ㅤ ㅤ ㅤ BESTIARY: LIBRARY OF THE ANCIENTS AREAㅤ ㅤ |
|---|
| ID | MONSTER | HP | MP | GIL | EXP | |
|---|---|---|---|---|---|---|
| 034 | Grass Tortoise | 250 | 0 | 100 | 230 | |
| 035 | Silent Bee | 220 | 50 | 111 | 120 | |
| 036 | Mythril Dragon | 600 | 200 | 114 | 270 | BM: Transfusion (requires ‘Control’) |
For example, I’m using Bartz and I train him to level 20 around this area (Yeah, I missed my opportunity at level 15…. ).
Use the pot at 2F in the Library of Ancients to restore HP/MP/Status, or even revive KO’d characters (yes, you can enter but try to avoid exploring further yet).
You will need 60 ABP to reach level 2 (10 to level 1 and 50 to level 2). You will also grow your party stronger to speed through future areas, so go all in if you’re up to the task.
Once done, enter the temple.
Library of the Ancients – 1F
Nothing much to do here besides talking to the scholars, so do that if you desire and then head through the north door.
Library of the Ancients – 2F
You probably already know the healing pot if you were farming levels as suggested, so no presentations are really necessary. Heal up and then climb up the ladder in front of the entrance to continue.
Library of the Ancients – Roof
Quick-save here and switch your Blue Mage/Beastmaster character (if you have both in the same character) to Blue Mage and set ‘Control’ as the ability.
Now, interact with the third book to get into a battle against a ever changing creature.
| ㅤ ㅤ ㅤ BESTIARY: LIBRARY OF THE ANCIENTS – ROOFㅤ ㅤ |
|---|
| ID | MONSTER | HP | MP | GIL | EXP | |
|---|---|---|---|---|---|---|
| 045 | Page 32 | 480 | 500 | 147 | 180 | BM: Aera |
| 046 | Page 64 | 500 | 500 | 150 | 200 | BM: Level 5 Death |
Page 32 holds Aera, so learn it now if you didn’t against Gigas in Karnak Castle.
Page 64 holds Level 5 Death, which is the reason why we have been farming to get a level divisible by 5 (just make sure not all your characters meet the requirement or you will be OHKO).
Both pages also show up in the next dungeon so don’t worry if you don’t get the abilities right here.
After the battle, make your way back to the very first floor.
Library of the Ancients – 1F
Once at the first floor, go west, then down the stairs, then through the door.
Library of the Ancients – B1
Walk up and push the staircase out of the way.
Head to the northwest corner and attempt to enter the gap to move more bookshelves.
Continue east and go through the gaps to reach the ladder at the very bottom.
Climb up the ladder and head north to make the large bookshelf move, then walk over it past the ladder to reach the right wall.
The large bookshelf will return to its original position.
Climb down the ladder and interact with the bookshelf above the black mark on the floor.
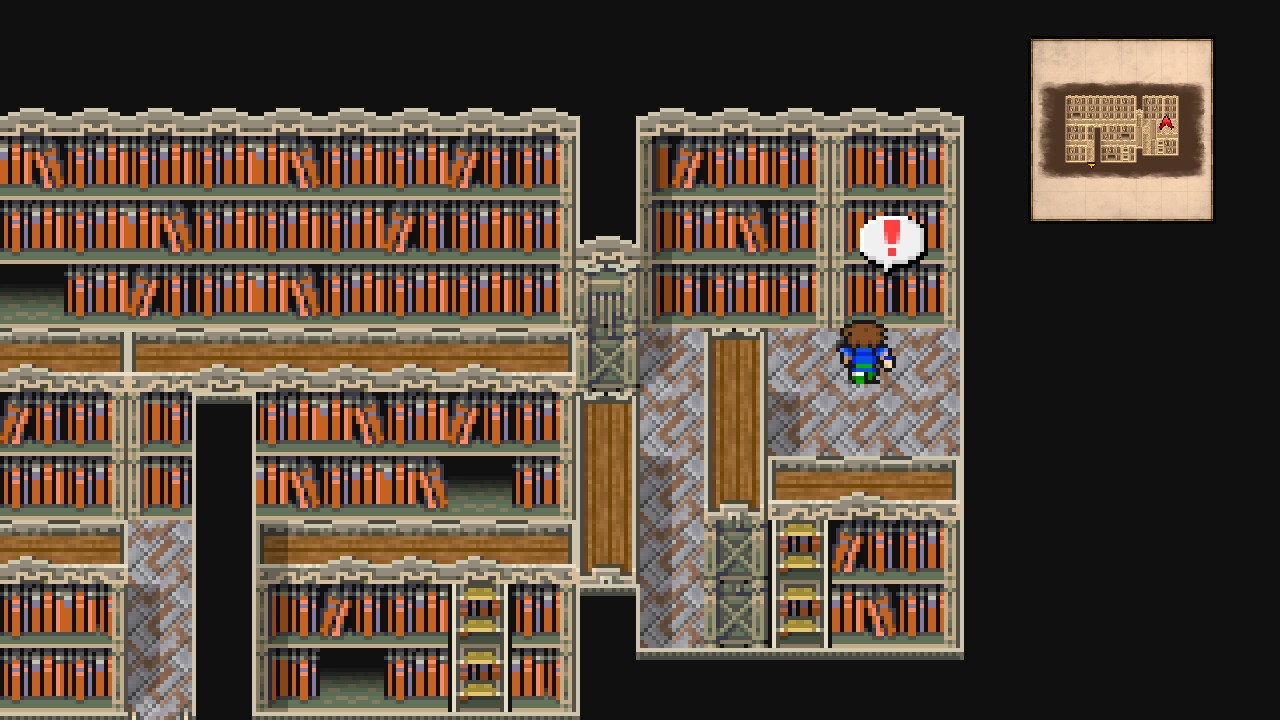 |
Enter the hole.
Random encounters resume here.
| ㅤ ㅤ ㅤ BESTIARY: LIBRARY OF THE ANCIENTSㅤ ㅤ |
|---|
| ID | MONSTER | HP | MP | GIL | EXP | |
|---|---|---|---|---|---|---|
| 047 | Page 128 | 700 | 500 | 153 | 190 | |
| 048 | Page 256 | 900 | 500 | 156 | 210 | BM: Moon Flute, Off-Guard (requires ‘Control’) |
Getting Off-Guard from Page 256 is among the most annoying blue magics to unlock. The reason? Well, there’s multiple reasons. Firstly, this enemy actions are scripted and abide to the following pattern: Turn 1: Attack → Turn 2: Moon Flute (inflicts Berserk to your whole party). So if you aren’t quickly enough, you will lose your opportunity. Secondly, this enemy is very rare. You will get a lot of encounters against the other three pages, but not many against this one. Lastly, ‘Control’ ability has only 40% chances of working, but in practice, it feels like that percentage is way lower. But that could be just me being unlucky. I don’t know.
So what’s your best bet? Well. I’d start by having a Beastmaster ready at all times. I can’t count the number of missed chances because I wasn’t ready when the enemy spawned and it ended using Moon Flute before I was able to act. Also be patient. That’s the golden rule when grinding anything that involves RNG.
Walk down then immediately right at the split to reach a chest. Open it for an Ether. [53/227]
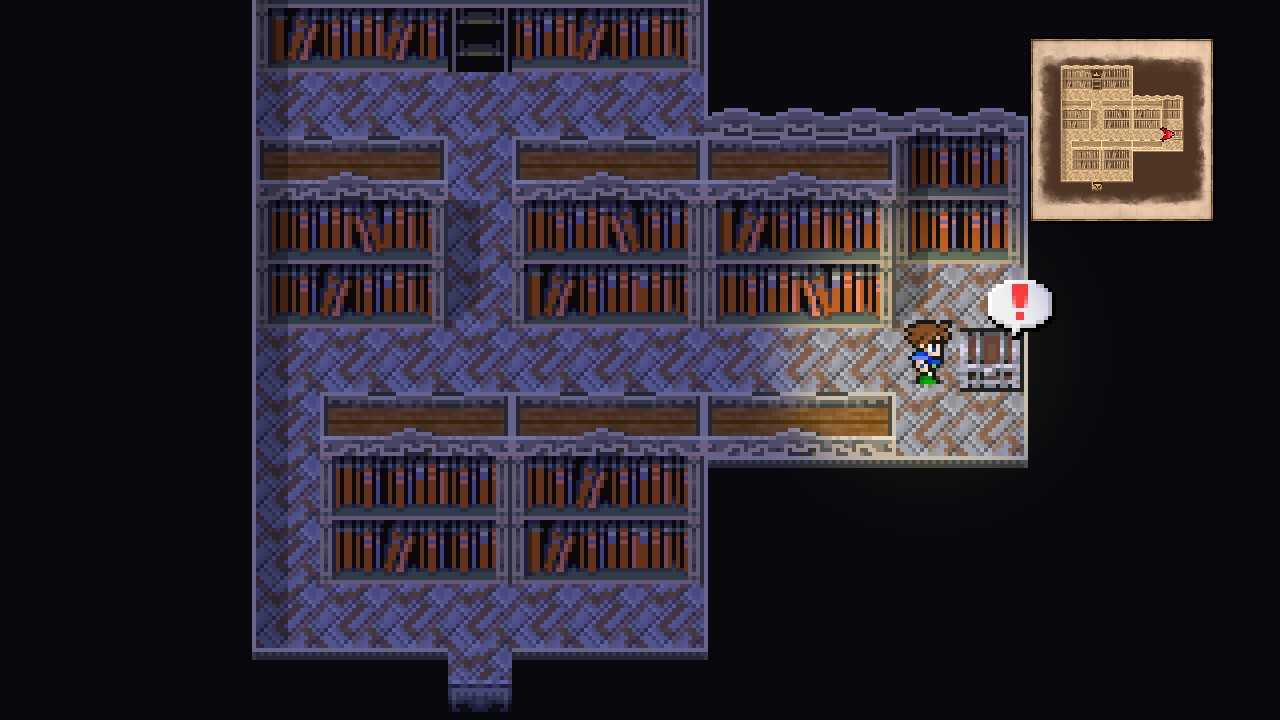 |
Backtrack to the split and then follow the east path to exit through the southern door.
Library of the Ancients: Part II
Library of the Ancients – Passage
Head south down the ladder, then go west past the door and interact with the book.
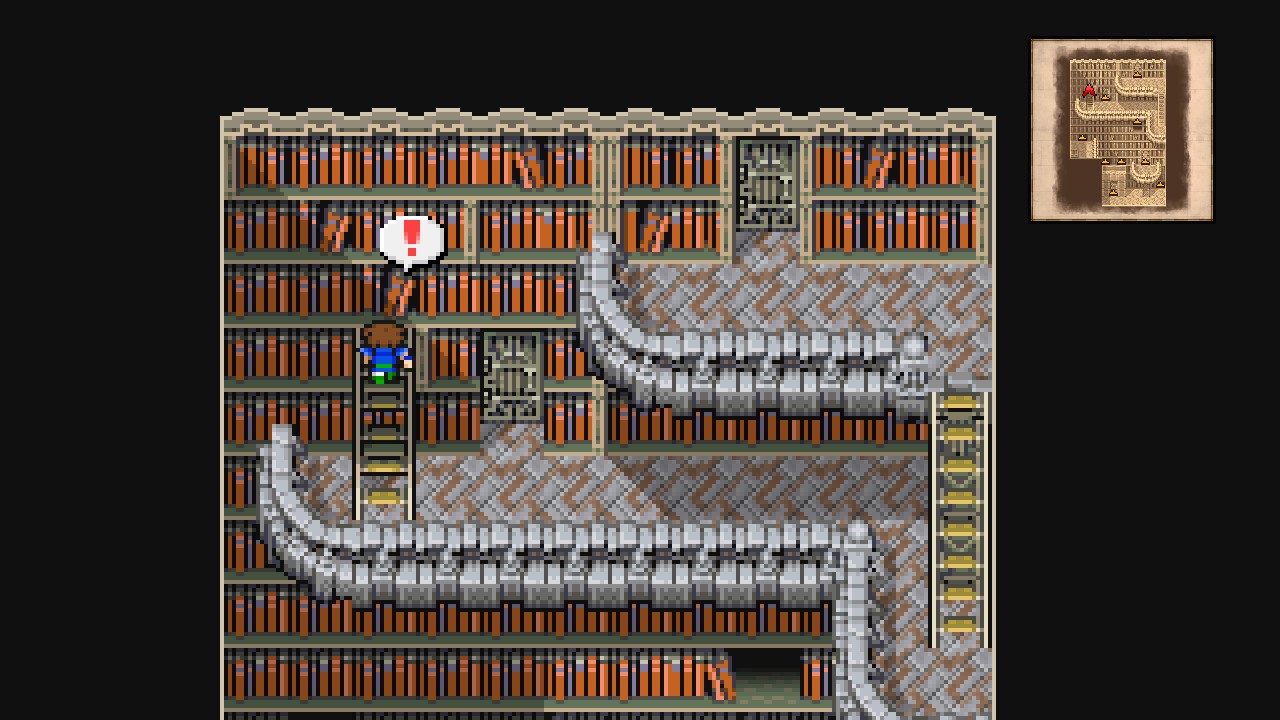 |
Go through the passage and follow it until a small room with a book.
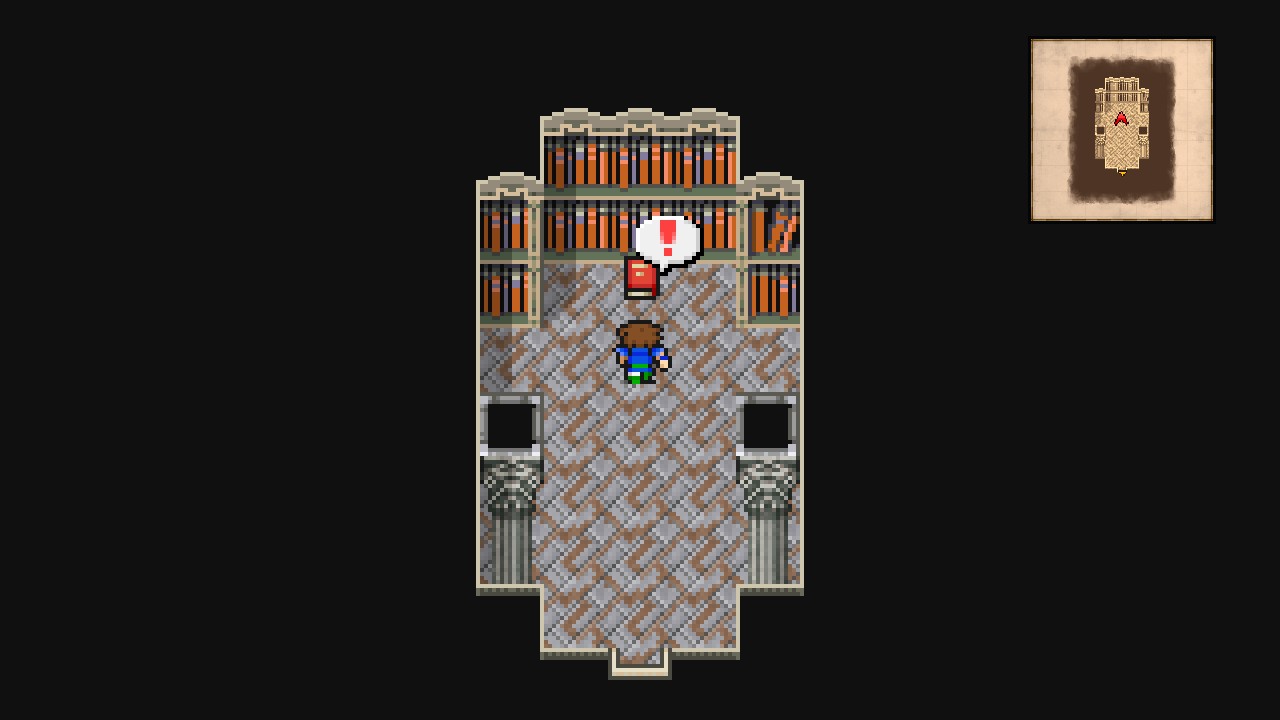 |
Heal up and quick-save, then interact with the book.
| Ifrit |
|---|
| ID | HP | MP | ATK | DEF | EVA | M.DEF | MAG | WEAKNESS | RESIST. | ABSORBS | CANCELS |
|---|---|---|---|---|---|---|---|---|---|---|---|
| 239 | 3000 | 1000 | 29 | 10 | 20 | 20 | 32 | Ice, Water | Mini, Toad, Sleep | Fire | Poison |
This is actually an easy fight. Really. Way easier than the one we had against Liquid Flame.
Since this boss is weak against water/ice elements, keep summoning Shiva, use Aqua Breath (if you got that from Dhorme Chimera in the desert area) and maybe Frost Rods if you have any equipped.
After the battle, you will be well rewarded with the summoned monster Ifrit!
Now make your way back to the passage (where you climbed the ladder to get here) and go through the door nearby.
Library of the Ancients – B2
Attempt to go through the gap between the bookshelves to trigger a scene where Ifrit will allow you to reach the other side.
From here, head left until the wall, then go south through the hole and take the stairs leading down.
Library of the Ancients – Passage
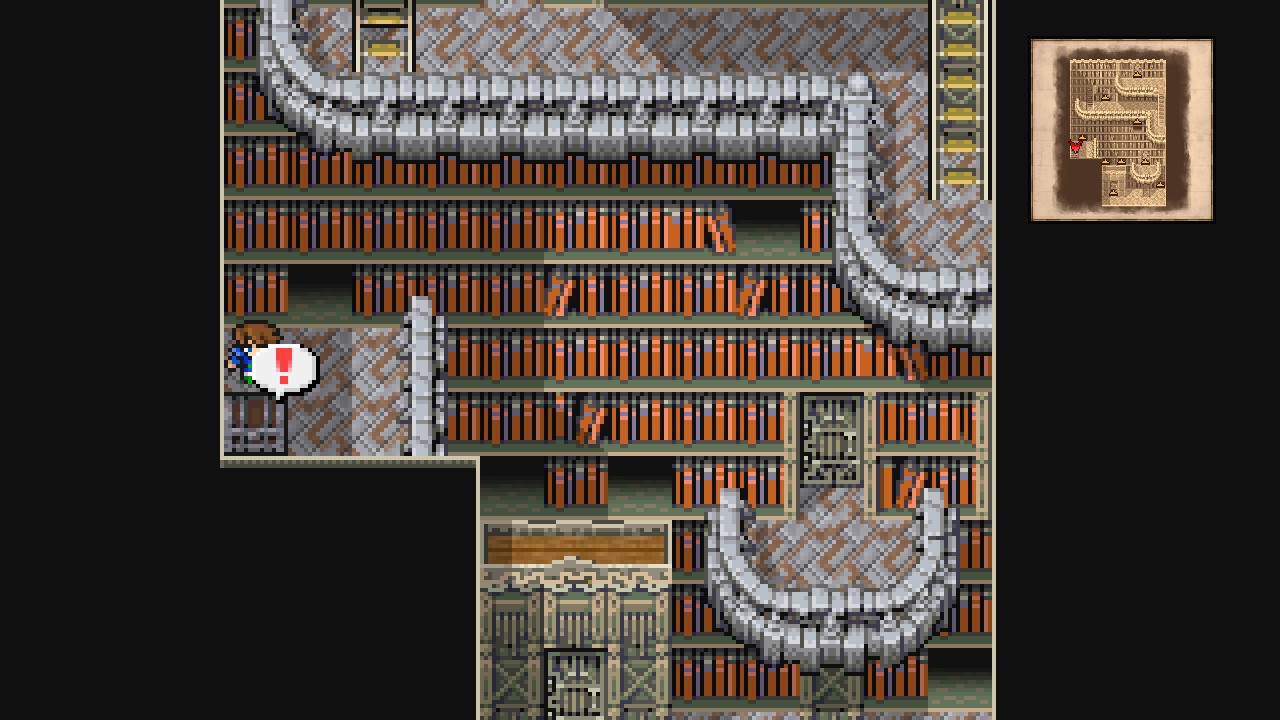
Open the chest here for a Ninja Suit. [54/227]
 |
Return to the previous room.
Library of the Ancients – B2
Now go through the north hole.
Library of the Ancients – Passage
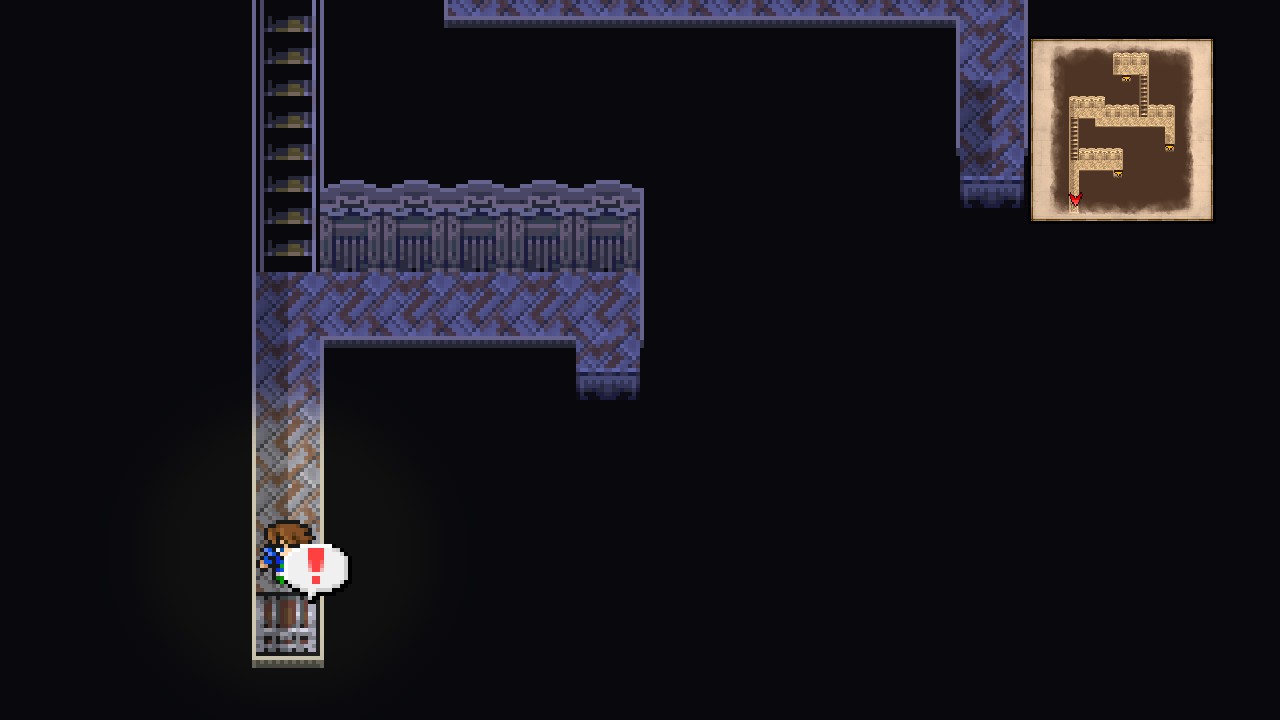
Walk down the stairs, then go left at the split and south at the next split to reach a chest. Open it for a Phoenix Down. [55/227]
 |
Backtrack to the previous split and follow the right path.
Go through the right hole.
Library of the Ancients – B3
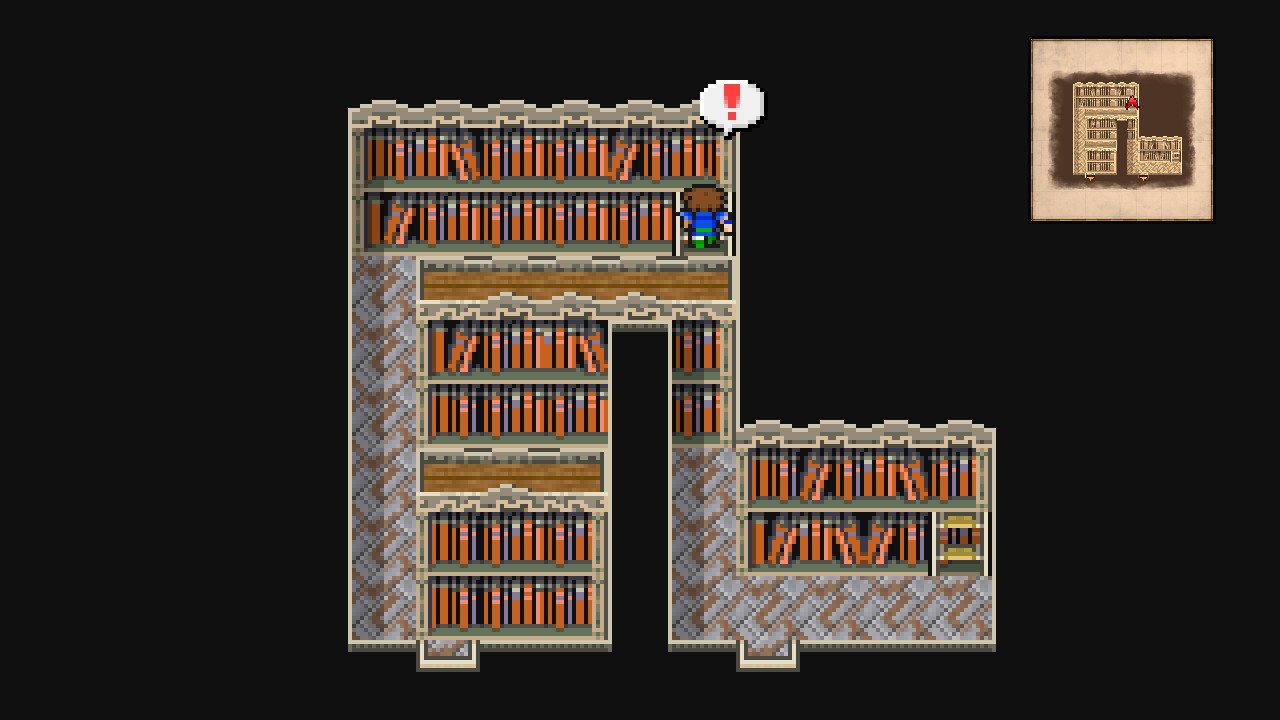
Go west, then all the way north to push the bookshelf.
Once it has moved, go east and examine the bookcase up the stairs.
 |
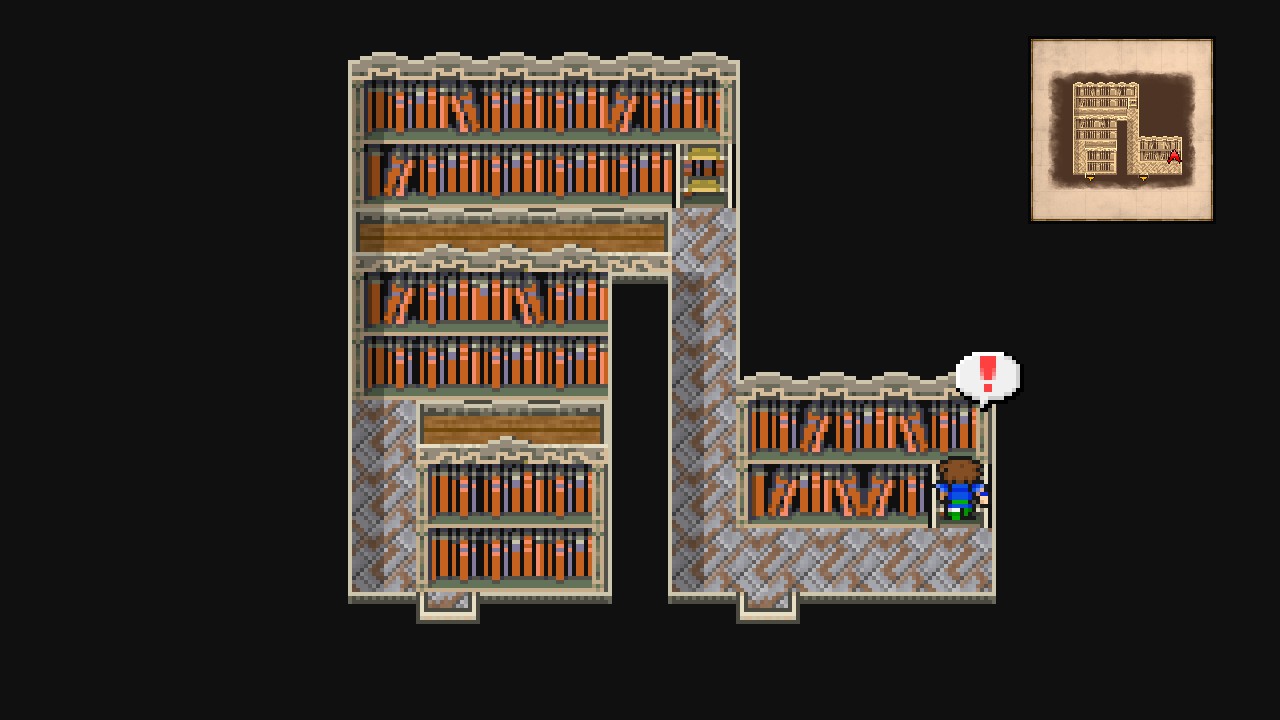
Walk south and then all the way east to find another ladder. Climb it up and examine the bookcase for a forced book battle (page 32 and 64).
 |
Trivia: If you defeat the book, then exit and re-enter through any of the doors, the book will respawn like nothing happened.
After the fight, go through the path.
You’ll reach a room with a consecrated circle.
Rest and save if you desire, then take the staircase leading down.
Library of the Ancients – Passage
Head west and go through the lone door.
Library of the Ancients – B4
Heal up and quick-save, then approach the kid to trigger a cutscene, followed by the respective boss fight.
| Byblos |
|---|
| ID | HP | MP | ATK | DEF | EVA | M.DEF | MAG | WEAKNESS | RESIST. | ABSORBS | CANCELS | |
|---|---|---|---|---|---|---|---|---|---|---|---|---|
| 240 | 3600 | 1000 | 30 | 10 | 30 | 30 | 20 | Fire | Mini, Toad, Petrify, Death, Silence, Confuse, Sleep, Old, Stop | Ice, Lightning, Earth, Water, Poison, Holy, Wind | None | BM: Magic Hammer |
Ok. This boss holds the blue magic ‘Magic Hammer’, so start by learning that. It randomly uses it against one of your party members, so keep skipping turns or attacking lightly to avoid killing the boss too fast.
Once done, spam all your fire-based spells/summon Ifrit and repeat until taking it down. Ifrit and Fira are your safe bets here.
But don’t let this boss’ friendly appearance fool you. It hits hard. And some of your characters may die during this encounter, but let your dedicated White Mage do its thing and keep your party healed/alive at all times and I assure you that the battle will be over before s*** gets real.
After the battle, head north and talk to the kid. This is Mid, grandson of Cid.
After the scenes, you will be back at the entrance of the Library of the Ancients. Exit to the overworld.
Blue Magic Hunting
Overworld
Now that we have the ‘Control’ ability and we’re a little stronger, it’s an excellent time to clean up any missed blue magic.
| ㅤ ㅤ ㅤ BESTIARY: LIBRARY OF THE ANCIENTS – DESERT AREAㅤ ㅤ |
|---|
| 058 | Dhorme Chimera | 1000 | 150 | 186 | 1000 | BM: Aqua Breath |
| ㅤ ㅤ ㅤ BESTIARY: LIBRARY OF THE ANCIENTS AREAㅤ ㅤ |
|---|
| ID | MONSTER | HP | MP | GIL | EXP | |
|---|---|---|---|---|---|---|
| 036 | Mythril Dragon | 600 | 200 | 114 | 270 | BM: Transfusion (requires ‘Control’) |
You can also pay a visit to the Library of the Ancients basement to continue your blue magic hunting if you have any business left there.
Once you feel prepared, head back to Karnak but DON’T GO INSIDE THE TOWN YET. Instead, enter the Fire-Powered Ship and make your way to the engine room.
Fire-Powered Ship – Engine Room
Farm battles until getting a Defeater, then leave it as your last kill to spawn a Motor Trap.
| ㅤ ㅤ ㅤ BESTIARY: FIRE-POWERED SHIPㅤ ㅤ |
|---|
| ID | MONSTER | HP | MP | GIL | EXP | ||
|---|---|---|---|---|---|---|---|
| 040 | Motor Trap | 240 | 100 | 126 | 150 | SC: Kill a Defeater as your last enemy | BM: Self-Destruct, Missile (requires ‘Control’) |
Once spawned, control the Motor Trap with any Beastmaster and use Missile on your Blue Mage.
Congratulations, you learned another elusive blue magic!
We should be halfway the blue magics if you’ve been following this guide thus far.
Now exit the ship and enter Karnak.
Karnak
Head northwest and enter the pub.
Karnak – Pub
Go upstairs and watch the inspiring cutscene.
Once you regain control, exit the town.
Overworld
Get onboard the Fire-Powered Ship for an important plot cutscene.
After the scenes, head south and talk to a sleeping Cid.
Woohoo! We have a working ship to explore the seas once again!
Unlike the first ship we had, this one do trigger random encounters. Here’s a summary of what you can encounter while sailing the seas:
| ㅤ ㅤ ㅤ BESTIARY: OPEN SEAㅤ ㅤ |
|---|
| ID | MONSTER | HP | MP | GIL | EXP |
|---|---|---|---|---|---|
| 193 | Sahagin | 550 | 10 | 100 | 180 |
| 194 | Thunder Anemone | 600 | 100 | 100 | 160 |
| 195 | Sea Ibis | 25 | 100 | 100 | 200 |
From Karnak, sail south until open sea, then head all the way southeast to reach a crescent-shaped island at the south-easternmost point of the map.
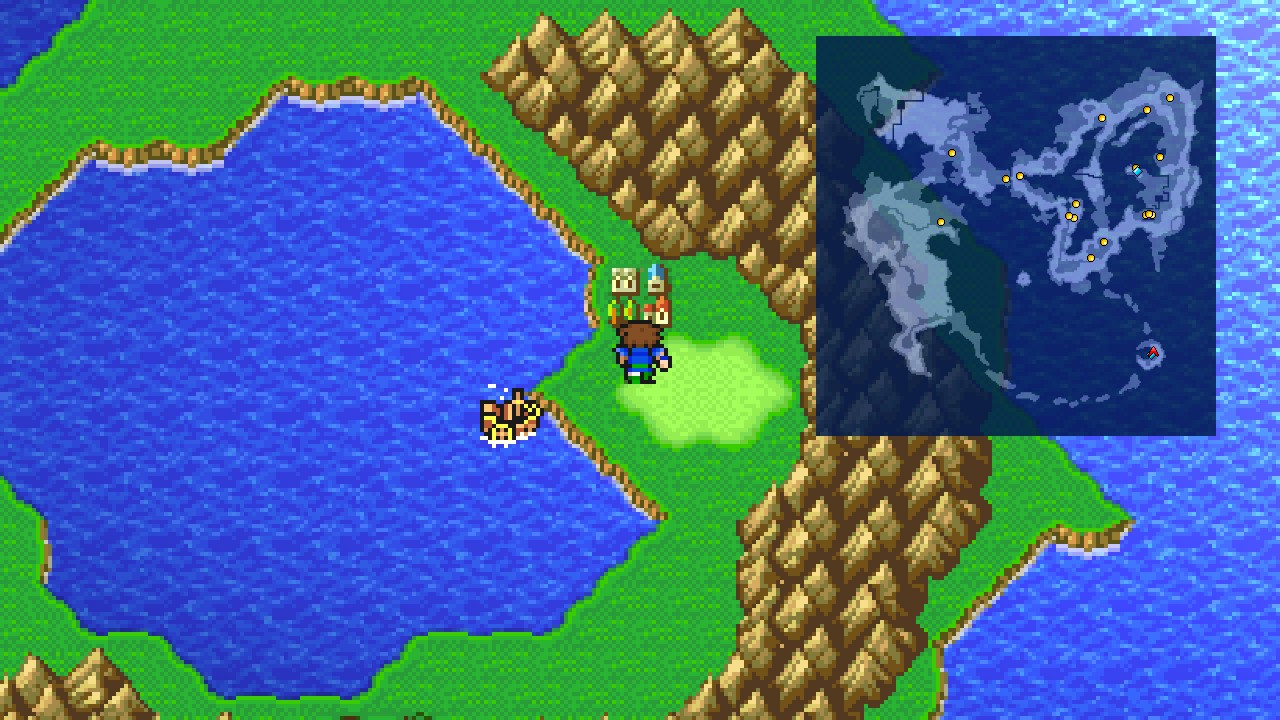 |
DON’T DOCK OR ENTER THE VILLAGE YET. Instead, sail southwest two islands to reach the following location:
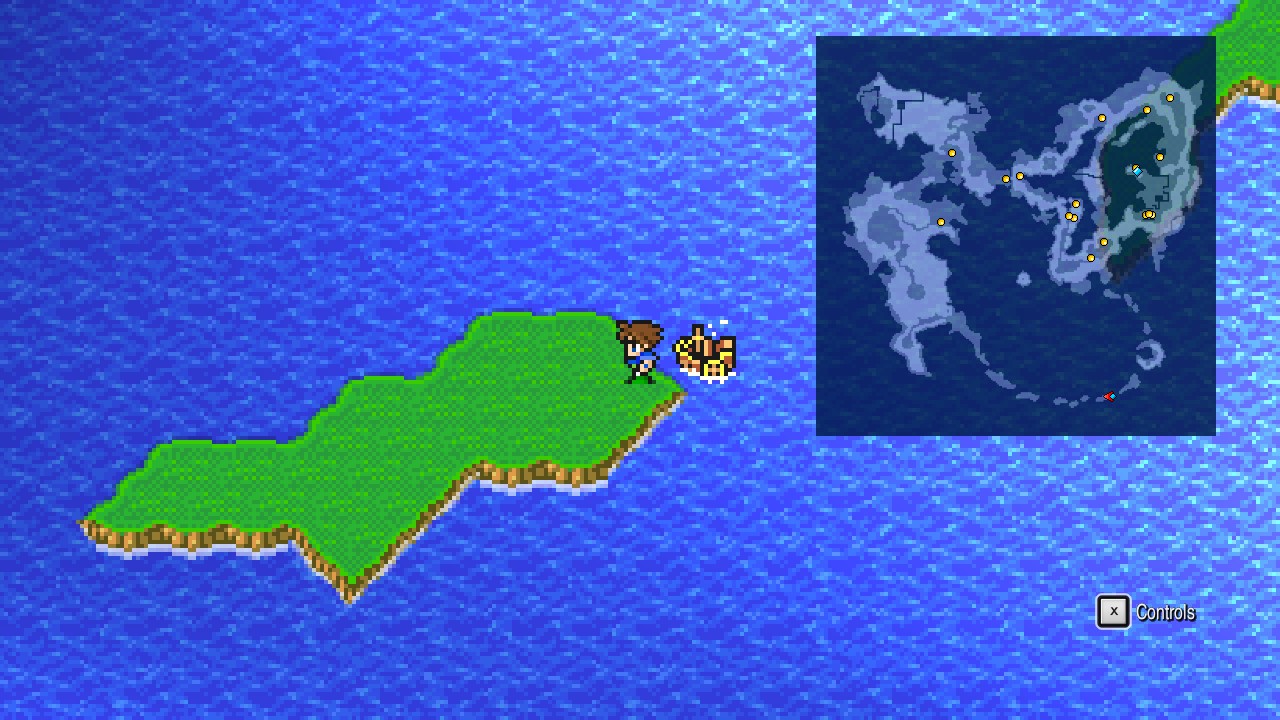 |
Dock at this area and then quick-save/heal up.
Now walk around to trigger a battle against a nasty creature named ‘Prototype’.
| ㅤ ㅤ ㅤ BESTIARY: SOUTHWEST FROM CRESCENT ISLANDㅤ ㅤ |
|---|
| ID | MONSTER | HP | MP | GIL | EXP | |
|---|---|---|---|---|---|---|
| 056 | Prototype | 5000 | 1000 | 0 | 2000 | BM: Flame Thrower, Self-Destruct (requires ‘Control’), Missile |
This disgusting enemy has insanely high defenses which render most if not all your attacks useless.
But we aren’t looking to defeat the creature yet. Our main business here is to get the ‘Flame Thrower’ blue magic. For this, you will have to survive as many turns as it takes for the enemy to cast the ability on your Blue Mage or character with the ‘Learn’ ability equipped. This can range from a very few, to many, many rounds. It’s all based on the player’s luck.
Controlling ain’t an option either as this spell isn’t accessible from the Control menu.
A good strategy to get this ability relatively quickly, is to keep only your Beastmaster (with the Learn ability equipped) and White Mages alive, then keep healing with the White Mage until the enemy decides to bless you with its grace. Then once you get it, cast ‘Control’ on the creature and use self-destruct on itself to get out of this nightmare.
This lovely creature also holds Missile (which we should already have gotten at the Fire-Powered Ship) and Self-Destruct (which can be gotten through Control), but I don’t recommend going for any of these now for obvious reasons.
Here’s a screenshot to tease you:
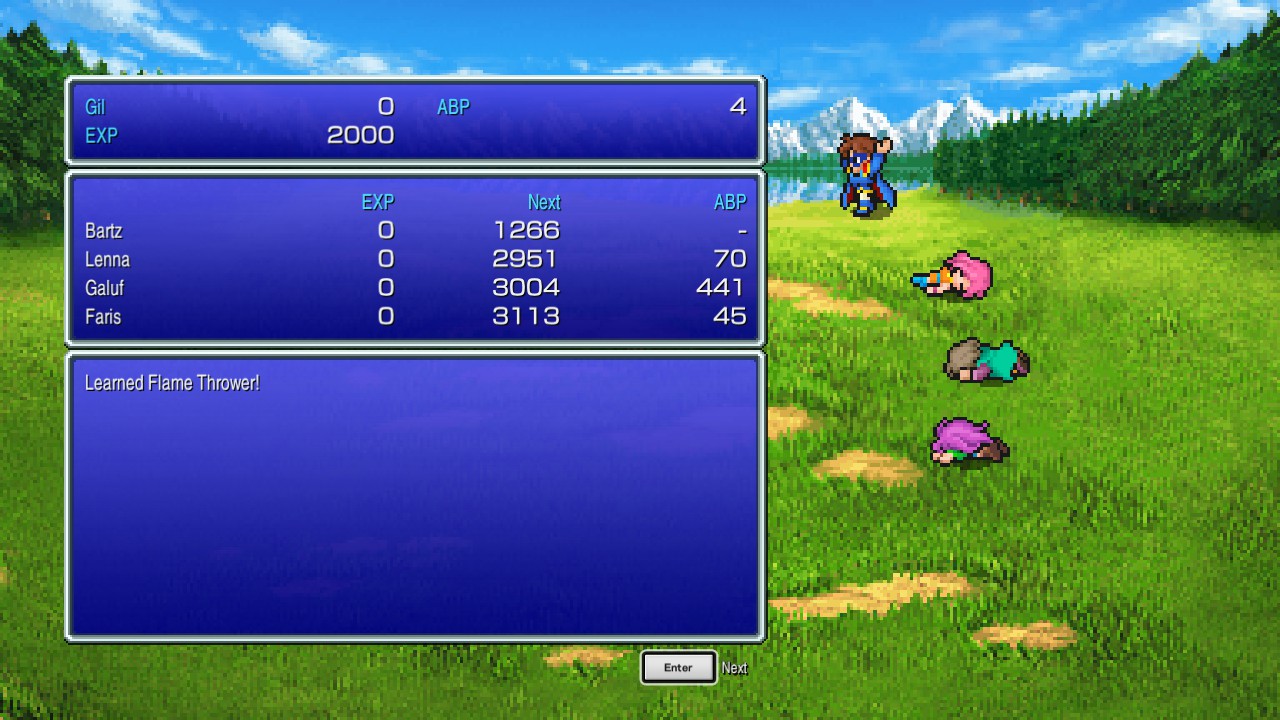 |
Godspeed. You got all my good vibes on you!
Once you’re done with the previous task, return to the crescent island and dock near the village, but again, DON’T GO INSIDE YET. Instead, farm the following encounters to update your bestiary:
| ㅤ ㅤ ㅤ BESTIARY: CRESCENT AREAㅤ ㅤ |
|---|
| ID | MONSTER | HP | MP | GIL | EXP | |
|---|---|---|---|---|---|---|
| 050 | Doublizard | 700 | 0 | 165 | 260 | |
| 051 | Bio Soldier | 540 | 500 | 168 | 320 | |
| 052 | Harvester | 580 | 0 | 171 | 300 | |
| 053 | Black Flame | 220 | 100 | 174 | 290 | BM: Dark Spark |
Black Flame holds the ‘Dark Spark’ blue magic which halves opponent levels. This ability is very useful and will lead to interesting combinations later on, so try to grab it ASAP.
Now that we’re done with the bestiary-hunting, head inside the village.
Crescent and Black Chocobo Forest
Crescent
Upon arriving, you will be greeted by an unexpected earthquake.
Try to leave the village to sight the depressive demise of our brand-new ship… damn, all that hard work down the drain… but don’t be sad. We will fix that soon!
Anyway, we’re now free to fully explore the town.
This location holds no collectibles, so feel free to go shopping spree if you desire.
| Items | ||
|---|---|---|
| Item | Cost | Description |
| Potion | 40 | Recovers HP. |
| Antidote | 30 | Cures an ally of poison. |
| Eye Drops | 20 | Cures an ally of darkness. |
| Maiden’s Kiss | 60 | Cures an ally of the toad status. |
| Mallet | 50 | Cures an ally of the mini status. |
| Gold Needle | 150 | Cures an ally of petrification. |
| Phoenix Down | 1000 | Revives an ally from the KO status. |
| Tent | 250 | Recovers all members’ HP and MP. Can be used outdoors. |
| Inn | |
|---|---|
| Service | Cost |
| Rest | 10 |
| Armor | ||
|---|---|---|
| Item | Cost | Description |
| Plumed Hat | 350 | Defense +2 Magic Defense +2 Weight +2 |
| Sage’s Surplice | 1000 | Defense +6 Magic Defense +8 Weight +2 |
| Weapons | ||
|---|---|---|
| Item | Cost | Description |
| Flame Bow | 2500 | Attack +39 |
| Flame Bow | 2500 | Attack +39 |
| Flame Bow | 2500 | Attack +39 |
| Silver Harp | 800 | Attack +15 |
| Magic (top) | ||
|---|---|---|
| Item | Cost | Description |
| Fira | 600 | Deals fire damage. |
| Blizzara | 600 | Deals ice damage. |
| Thundara | 600 | Deals lightning damage. |
| Poison | 290 | Causes poison. |
| Sleep | 300 | Causes sleep. |
| Fire | 150 | Deals fire damage. |
| Blizzard | 150 | Deals ice damage. |
| Thunder | 150 | Deals lightning damage. |
Once finished with your purchases, make your way to the southeastern corner of the town and enter the house.
 |
Crescent – Minstrel’s House
Play the piano to yield progress towards the related achievement. [Piano Maestro: 4/8]
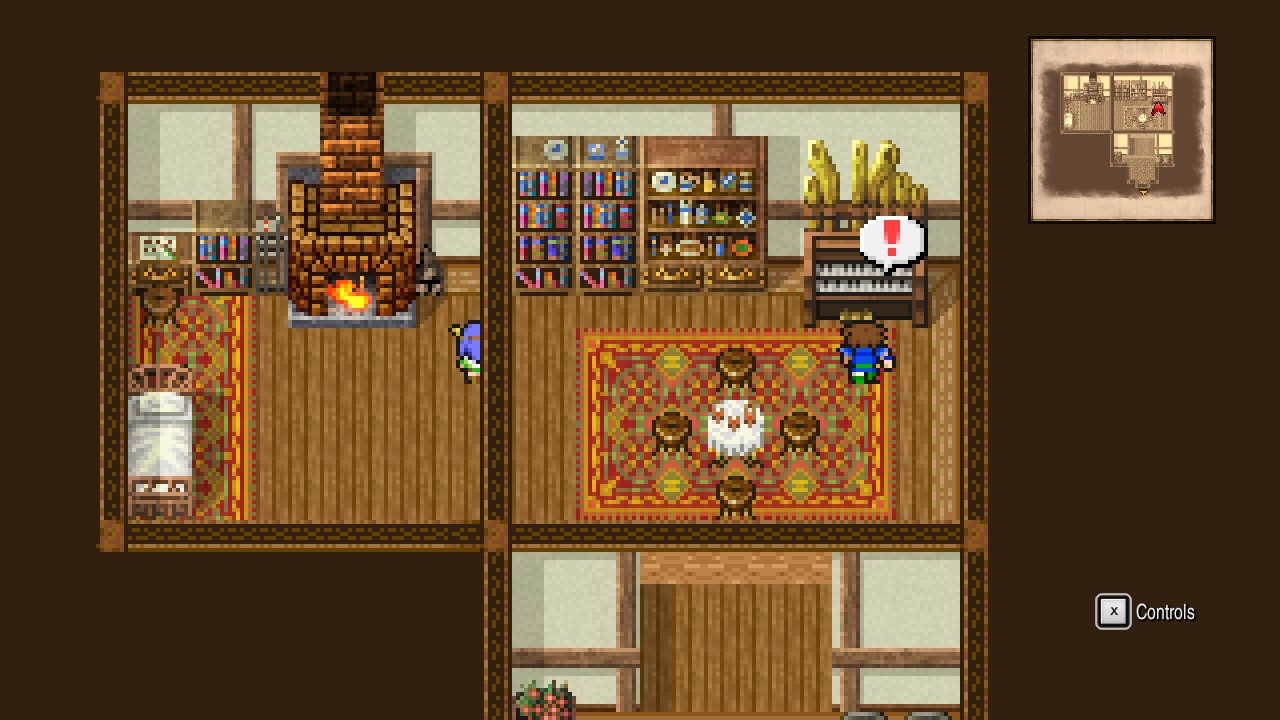 |
We’re halfway there. Woohoo!
Now talk to the person roaming the house to learn the song: Mighty March!
Talk to this person again to learn another song: Sinewy Etude! This may be a bug since that song is usually obtained later in the game.
Leave the house and the town.
Overworld
Head south and enter the forest.
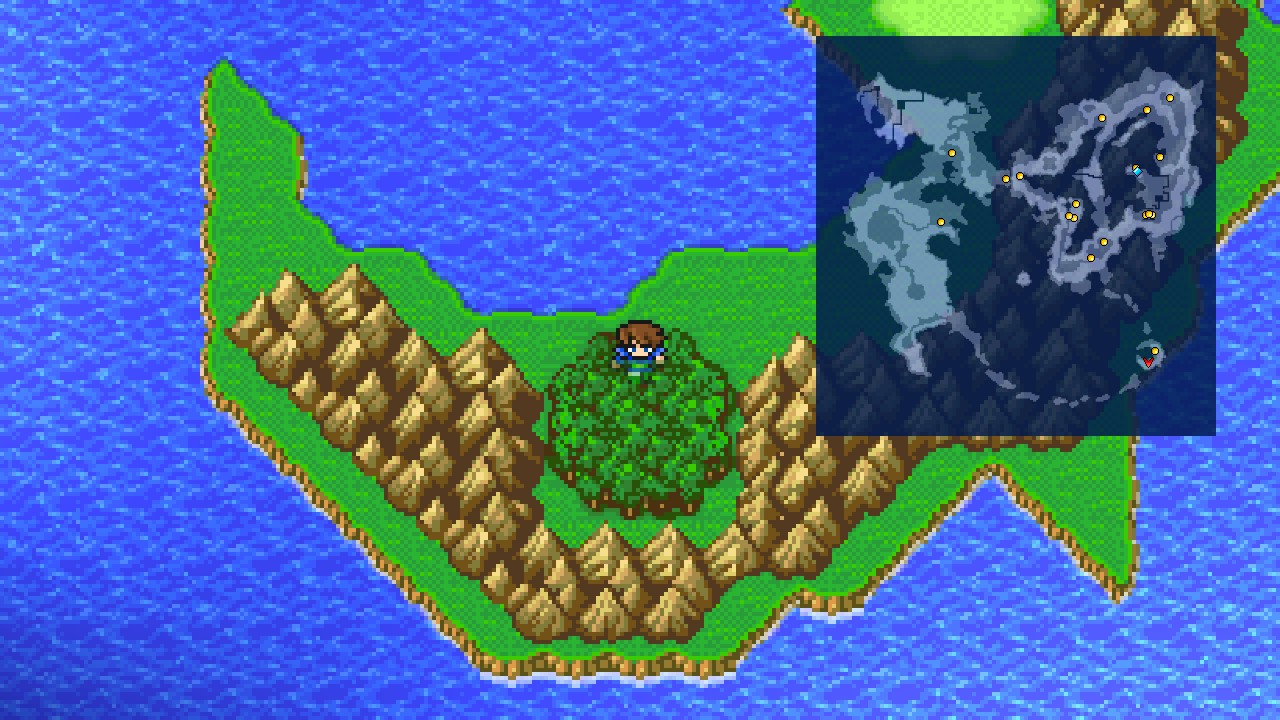 |
Black Chocobo Forest
Walk a few steps north to trigger a short cutscene.
Catch the black Chocobo to trigger a hilarious scene.
During the scene, you will receive the following jobs:
- Bard
- Ranger
Weren’t you wondering what the songs we got in Crescent were for? well, the Bard job is the answer you were looking for.
Endangered Creature
Discovered a black chocobo.
Overworld
The black Chocobo can fly over almost anything, with the exception of high peaks (snowy spots in mountains). It can also only land on forests, so don’t be overhyped as we can’t explore the whole world map yet.
First of all, make a stop at the Library of the Ancients.
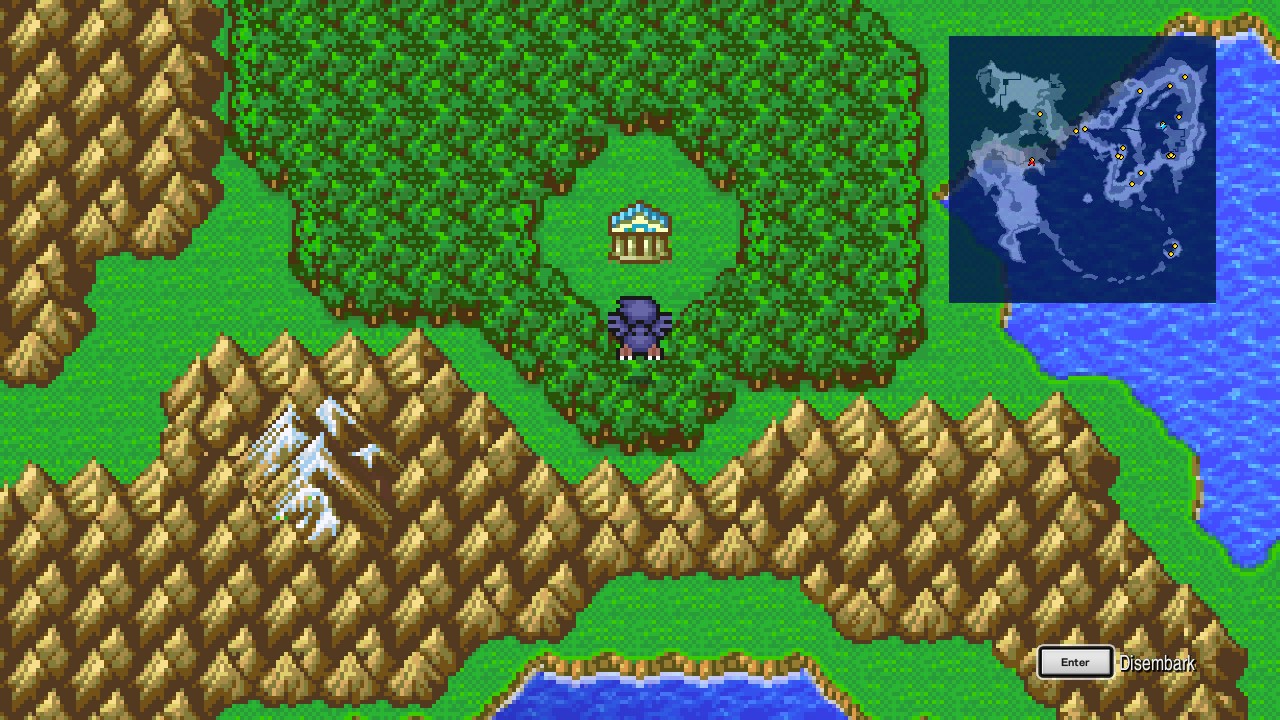 |
Library of the Ancients
As soon as you enter, you will communicate the bad news about the ship to Cid and Mid, but it seems that they don’t care one bit about it. Odd. Then they will tell you about the whereabouts of the King Tycoon which will give us a hint on where to go next.
Overworld
Ride the Chocobo and make your way to the north-westernmost corner of the map to find a waterfall, a large forest, and a town.
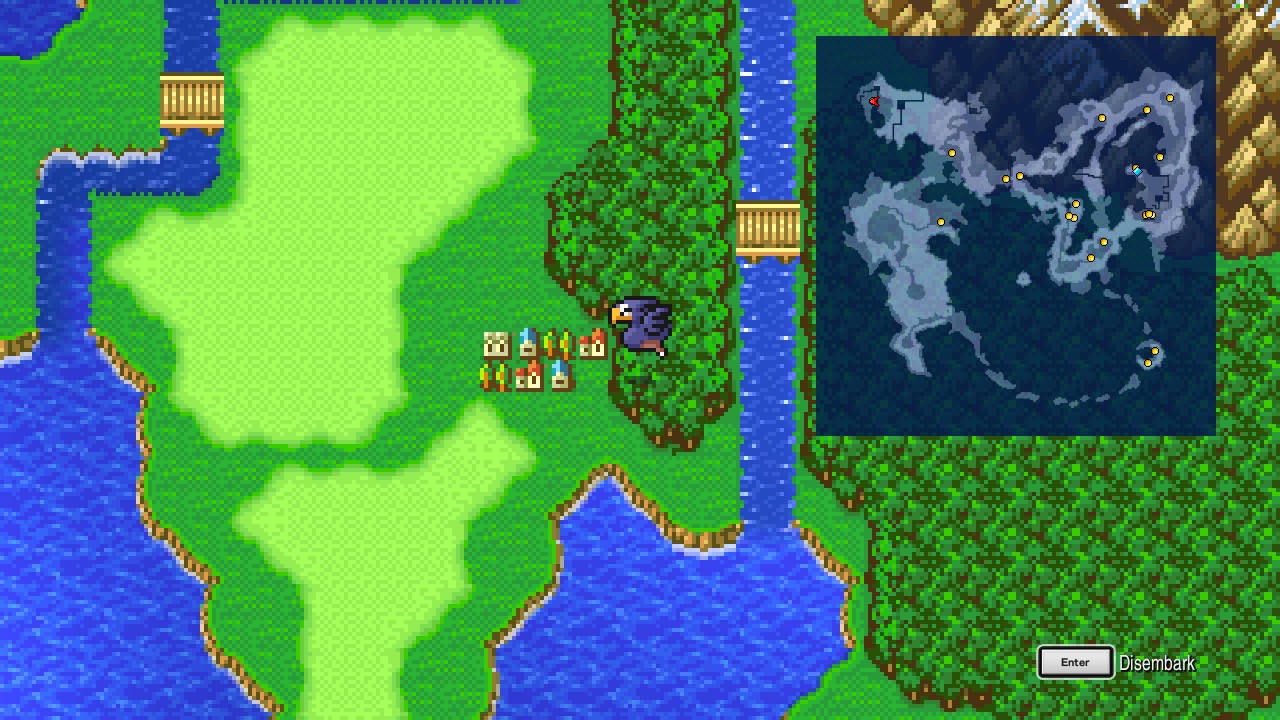 |
The town is Istory. Head inside.
Istory
Istory
Another town with no collectibles…
| Inn | |
|---|---|
| Service | Cost |
| Rest | 30 |
| Items | ||
|---|---|---|
| Item | Cost | Description |
| Potion | 40 | Recovers HP. |
| Antidote | 30 | Cures an ally of poison. |
| Eye Drops | 20 | Cures an ally of darkness. |
| Maiden’s Kiss | 60 | Cures an ally of the toad status. |
| Mallet | 50 | Cures an ally of the mini status. |
| Gold Needle | 150 | Cures an ally of petrification. |
| Phoenix Down | 1000 | Revives an ally from the KO status. |
| Tent | 250 | Recovers all members’ HP and MP. Can be used outdoors. |
| Accessories | ||
|---|---|---|
| Item | Cost | Description |
| Flame Ring | 50000 | Defense +5 Magic Defense +5 Weight +1 |
| Coral Ring | 50000 | Defense +5 Magic Defense +5 Weight +1 |
| Angel Ring | 50000 | Defense +5 Magic Defense +10 Weight +1 |
| Magic | ||
|---|---|---|
| Item | Cost | Description |
| Gravity | 620 | Halves one enemy’s HP. |
| Stop | 580 | Causes time to stop, halting the target’s actions. |
| Haste | 320 | Hastens the passing of time for one ally. |
| Mute | 320 | Silences all allies and enemies. |
| Slow | 80 | Slows the passing of time for one enemy. |
| Regen | 100 | Gradually restores HP. |
This town features no Armor or Weapons shops. However, this town holds one of the most interesting shops in the game: The Accessories shop!
Its products might seem a bit expensive for this point of the game, but I can assure you that they will be extremely useful in the latter stages. If you have the money, go ahead and purchase one, two, or even, all.
If you don’t, just remember the location and return later.
Once done with your purchases, head to the northwestern corner of the town to find a small garden with eight flowers.
 |
Step on all of them to trigger a secret.
 |
A toad will pop out of the ground and drop the Toad spell!
 |
Trivia: This secret was the bane of the existence of the FINAL FANTASY V (Old ver.) – [steamdb.info] players due to it being the only non-chest collectible counted for the Treasure Hunter achievement. That version also didn’t have a counter for each location like this one. Sad times.
Now make your way to the northeastern corner of the village and enter the farm.
Stand behind the top left sheep and press the interaction button to get kicked to the other side of the wooden fence.
 |
Talk to the bard and answer with ‘Yes’ to learn: Romeo’s Ballad!
Now follow the bath between the trees to exit the town.
Overworld
Back at the overworld, switch the job of any of your party members to Time Mage, then quick-save and heal up if you didn’t rest at the Inn of Istory.
Once done, walk around the forest area.
You’re looking for an encounter against…
| Ramuh |
|---|
| ID | HP | MP | ATK | DEF | EVA | M.DEF | MAG | WEAKNESS | RESIST. | ABSORBS | CANCELS |
|---|---|---|---|---|---|---|---|---|---|---|---|
| 241 | 4000 | 300 | 27 | 20 | 10 | 5 | 50 | None | Poison, Toad, Petrify, Silence, Confuse, Paralyze, Sleep, Old | Lightning | None |
This boss is kinda annoying if you don’t handle it with caution.
The best strategy is to open the battle with 2x Gravity (first should deal 2000 and second 1000), then throw anything you have to finish it off (2x Ifrit does wonders). Make sure to keep your party healed at all times to prevent unexpected outcomes.
You will be rewarded with the ‘Ramuh’ item for your feat. Unlike other summons, you will have to use this one from menu to unlock it in your summons (Menu → Items → Use → Ramuh).
Congratulations. You now have the powerful Ramuh in your summoning arsenal!
Note: Discarding this item will result in permanently losing the summon.
Feel free to update your bestiary before leaving the area.
| ㅤ ㅤ ㅤ BESTIARY: ISTORY AREAㅤ ㅤ |
|---|
| ID | MONSTER | HP | MP | GIL | EXP | |
|---|---|---|---|---|---|---|
| 053 | Black Flame | 220 | 100 | 174 | 290 | BM: Dark Spark |
| 054 | Stone Golem | 1000 | 0 | 177 | 550 | |
| 055 | Mini Dragon | 1000 | 100 | 180 | 900 |
Black Flame makes another apparition here in case you missed the ‘Dark Spark’ blue magic in Crescent area.
Stone Golem is highly resistant to all damage and only spawns on the grass area.
Mini Dragon is highly resistant to physical damage and only spawns in the forest area.
Once prepared, make your way to the west end of the southern islands and disembark at the forest (refer to the screenshot below for the exact location).
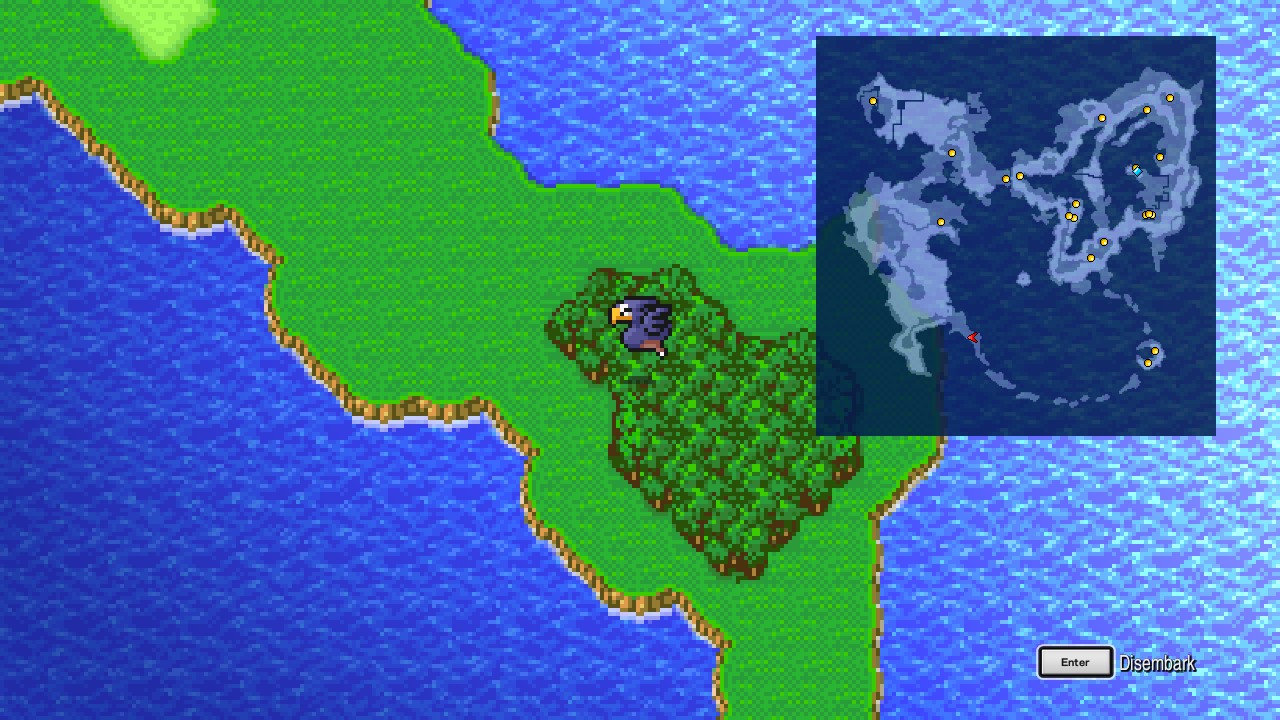 |
| ㅤ ㅤ ㅤ BESTIARY: JACHOL AREAㅤ ㅤ |
|---|
| ID | MONSTER | HP | MP | GIL | EXP |
|---|---|---|---|---|---|
| 049 | Bomb | 440 | 50 | 162 | 230 |
Now on foot, head west from the forest and follow the path all the way to a village (ignore the cave for now).
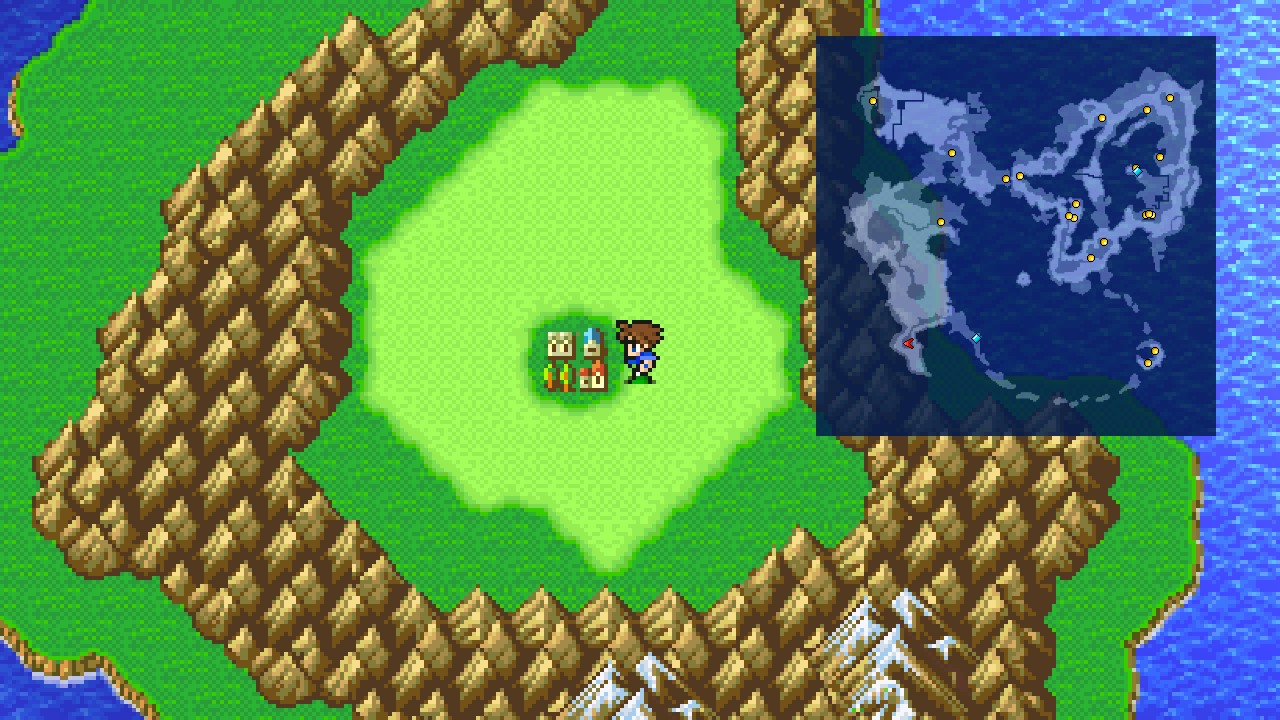 |
This is Jachol. Head inside.
Jachol
Jachol
Again, another town without collectibles… However, there’s a Piano!
So, head to the pub and play the piano (was just me or the end notes sounded a bit weird?).
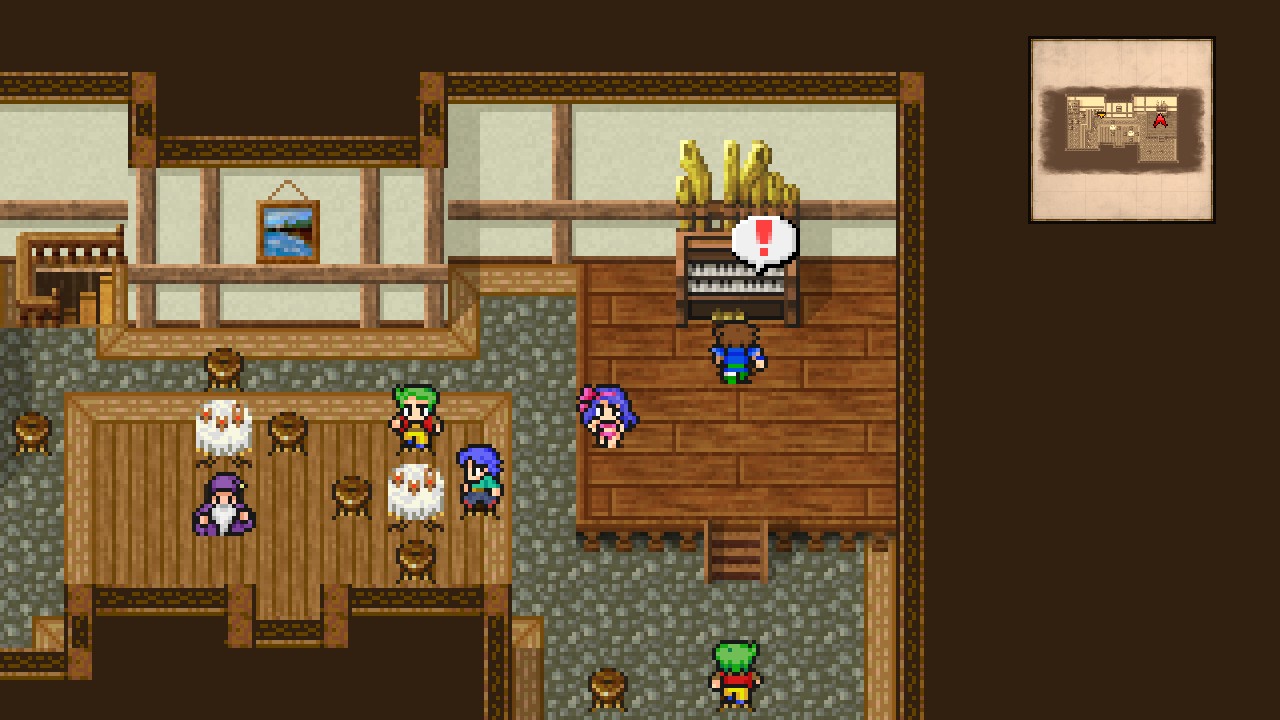 |
That should be the fifth piano. [Piano Maestro: 5/8]
Feel free to speak to the dancer for a hilarious cutscene.
Now as with every town, go shopping spree.
| Inn | |
|---|---|
| Service | Cost |
| Rest | 30 |
| Items | ||
|---|---|---|
| Item | Cost | Description |
| Potion | 40 | Recovers HP. |
| Antidote | 30 | Cures an ally of poison. |
| Eye Drops | 20 | Cures an ally of darkness. |
| Maiden’s Kiss | 60 | Cures an ally of the toad status. |
| Mallet | 50 | Cures an ally of the mini status. |
| Gold Needle | 150 | Cures an ally of petrification. |
| Phoenix Down | 1000 | Revives an ally from the KO status. |
| Tent | 250 | Recovers all members’ HP and MP. Can be used outdoors. |
| Magic (left) | ||
|---|---|---|
| Item | Cost | Description |
| Cura | 620 | Restores HP. |
| Raise | 700 | Revives a single target. |
| Confuse | 650 | Causes confusion. |
| Silence | 280 | Causes silence. |
| Protect | 280 | Reduces physical damage received. |
| Cure | 180 | Restores HP. |
| Libra | 80 | Determines the enemy’s HP, weakness, current condition, and level. |
| Poisona | 90 | Cures poison. |
| Weapons | ||
|---|---|---|
| Item | Cost | Description |
| Ogre Killer | 3200 | Attack +33 Can be two-handed |
| Coral Sword | 2800 | Attack +37 Can be two-handed Can be enchanted |
| Mage Masher | 900 | Attack +31 Magic +1 Can be enchanted |
| Trident | 2700 | Attack +38 |
| Ashura | 5800 | Attack +42 Can be two-handed |
| Silver Bow | 1500 | Attack +38 |
| Amor | ||
|---|---|---|
| Item | Cost | Description |
| Green Beret | 2500 | Defense +3 Magic Defense +2 Weight +2 Strength +1 Agility +1 |
| Ninja Suit | 3000 | Defense +9 Magic Defense +2 Weight +3 Agility +1 |
| Sage’s Surplice | 1000 | Defense +6 Magic Defense +8 Weight +2 |
There’s nothing much else to do in here, so exit the location.
Overworld
Switch any character job to Ninja. We will need it for the next dungeon.
Head north and enter the cave we ignored earlier.
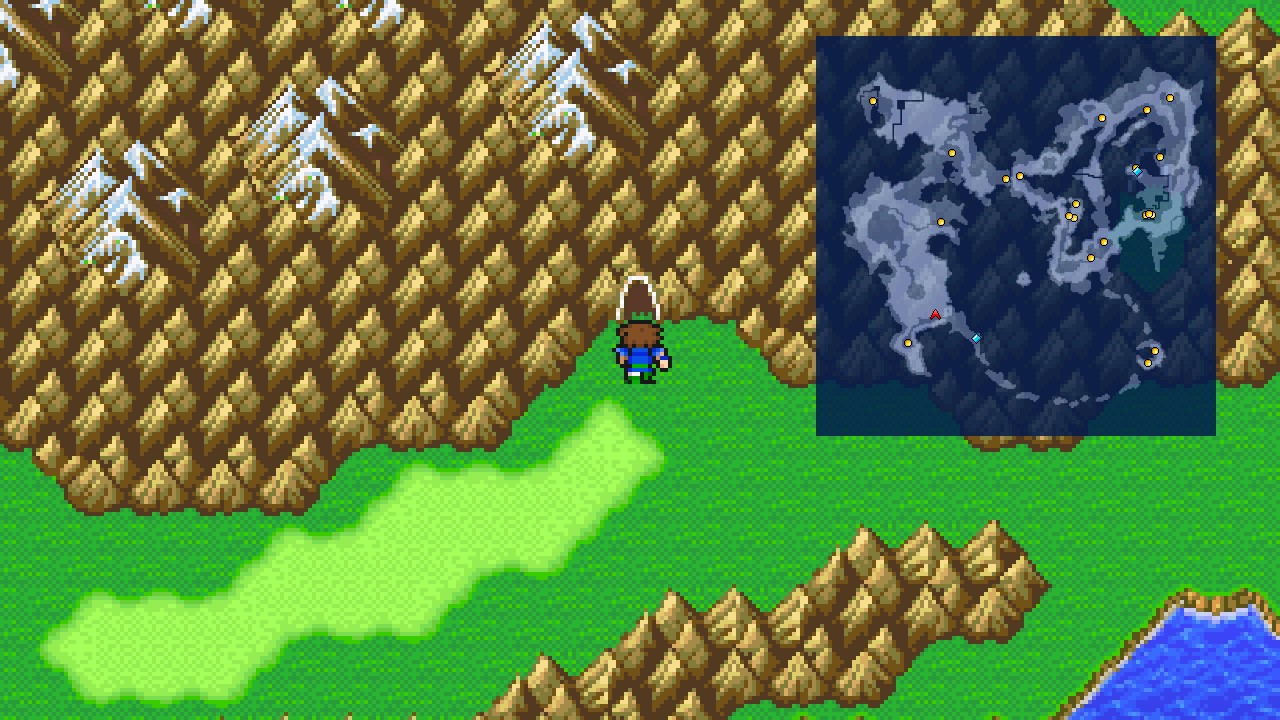 |
Jachol Cave – B1
| ㅤ ㅤ ㅤ BESTIARY: JACHOL CAVEㅤ ㅤ |
|---|
| ID | MONSTER | HP | MP | GIL | EXP |
|---|---|---|---|---|---|
| 057 | Skull Eater | 1 | 100 | 100 | 300 |
This dungeon is filled by the weak Nutkins and an apparently unbeatable Skull Eater. Well, the truth is that Skull Eater is easily beatable by throwing him anything with the Ninja (and it grants nice ABPs).
Ignore the skull-switch by the entrance and head south to find another skull-switch at the bottom. Interact with that one.
 |
Go through the now open path towards the bottom and stand still in front of the row of switches. Wait a bit and press the one that doesn’t disappear.
 |
Go back north and head east at the split, then continue north to find an empty chest.
 |
Examine it and choose to flip the hidden switch.
Go through the metal door.
Jachol Cave – B2
Follow the path all the way north to reach a split, then head west to find two chests.
 |
Open the top chest for a Shuriken. [56/227]
Walk in clockwise direction to reach the bottom chest, then open it for a Tent. [57/227]
That’s supposedly all collectibles for this location. 2/2 chests. But wait, isn’t that a chest up there?
Backtrack to the split and go east this time.
Follow the path to another split at the top area, then go southwest to find a chest containing Blitz Whip! [58/227]
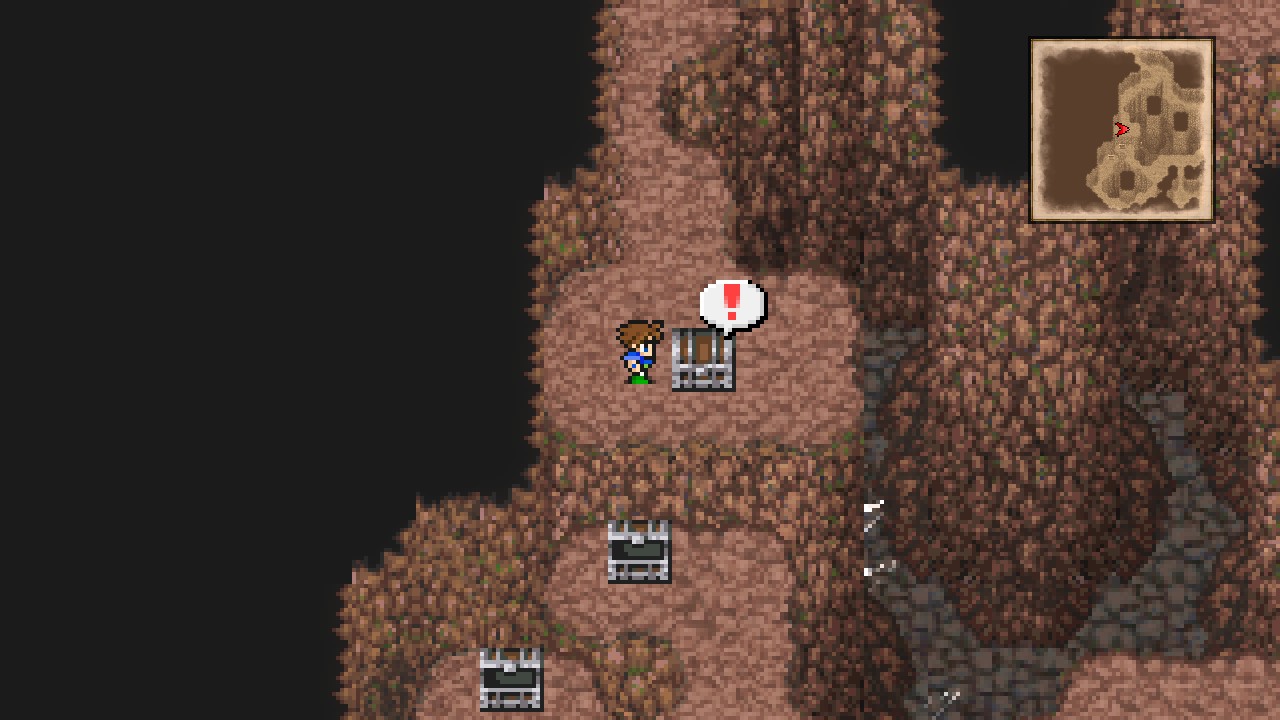 |
Yeah. This location has three chests, not two as indicated by the hud. Guess someone forgot to do proper testing…
Anyway, head north and climb up the wall to reach the top exit.
Overworld
This is just a dead end. Not sure if this is required for anything but better safe than sorry.
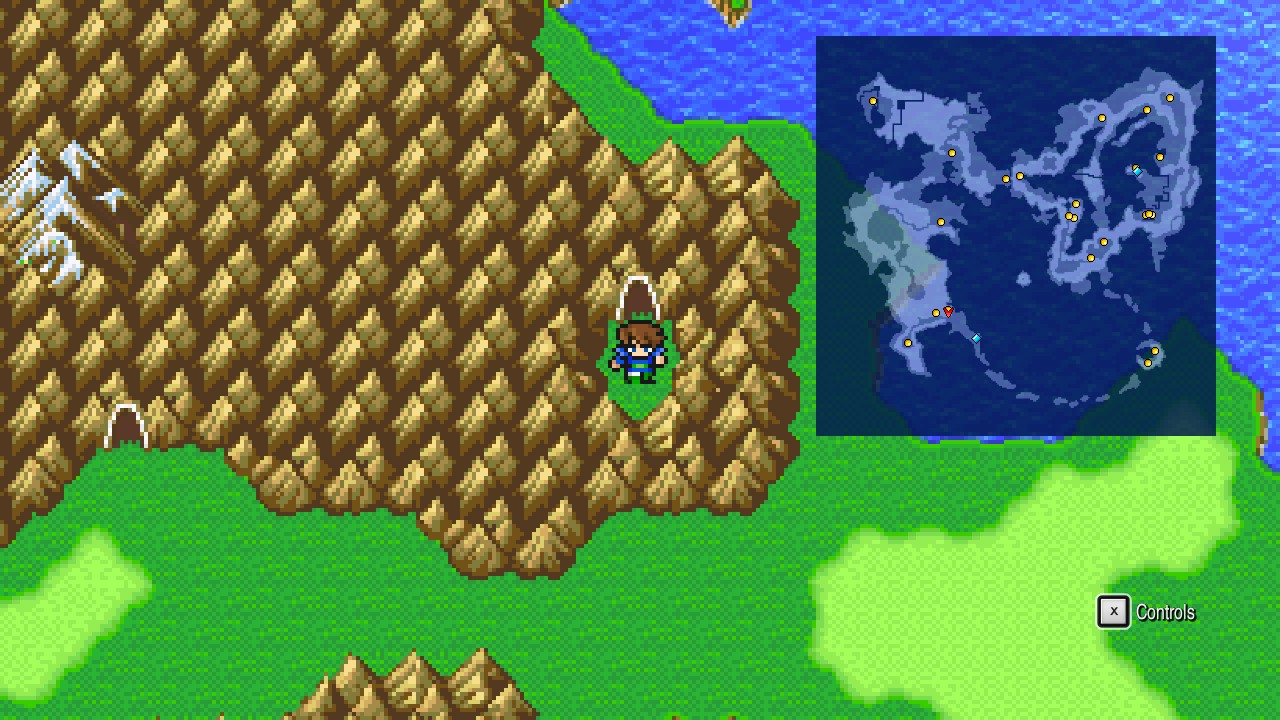 |
Re-enter the cave and make your way back to the entrance, then leave through the proper exit.
Overworld
Back at the overworld, head to the southeastern forest and ride your Chocobo.
From your current position, fly all the way northeast to find an isolated town, surrounded by mountains and forest (refer to the screenshot below for the exact location).
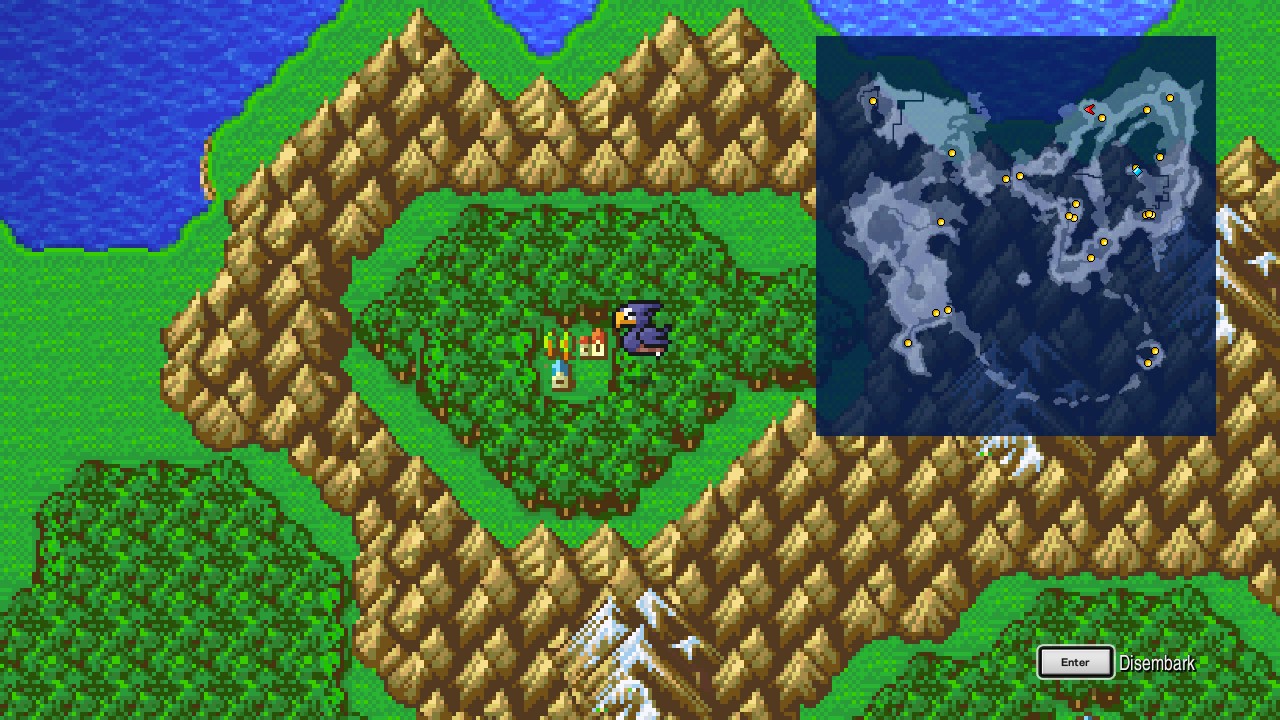 |
This is Lix. Hometown of Bartz. Go inside.
Lix and Desert of Shifting Sands
Lix
Another town without collectibles. We’re on a roll!
This town features three interesting cutscenes related to Bartz’s past. Here’s a list of all:
- Rest at the inn.
- Talk to the scholar walking near the pond.
- Examine the pink/purple music box at Bartz’s House (which is located at the west side of the town).
After the music-box cutscene, speak to the person living in Bartz’s House to learn the song: Alluring Air!
Now visit the shops and stuck up in anything you want.
| Magic | ||
|---|---|---|
| Item | Cost | Description |
| Esuna | 3000 | Cures all status effects except KO and zombie. |
| Items | ||
|---|---|---|
| Item | Cost | Description |
| Ether | 750 | Recovers MP. |
| Potion | 40 | Recovers HP. |
| Antidote | 30 | Cures an ally of poison. |
| Eye Drops | 20 | Cures an ally of darkness. |
| Mallet | 50 | Cures an ally of the mini status. |
| Maiden’s Kiss | 60 | Cures an ally of the toad status. |
| Gold Needle | 150 | Cures an ally of petrification. |
| Tent | 250 | Recovers all members’ HP and MP. Can be used outdoors. |
A shop that sells Ethers? that’s new!
| Ninja Supplies | ||
|---|---|---|
| Item | Cost | Description |
| Kunai | 600 | Attack +29 Agility +1 Can be enchanted |
| Shuriken | 2500 | Attack +50 |
| Flame Scroll | 200 | Strikes all enemies with fire elemental damage. Used with the Throw command. |
| Water Scroll | 200 | Strikes all enemies with water elemental damage. Used with the Throw command. |
| Lightning Scroll | 200 | Strikes all enemies with thunder elemental damage. Used with the Throw command. |
| Armor | ||
|---|---|---|
| Item | Cost | Description |
| Green Beret | 2500 | Defense +3 Magic Defense +2 Weight +2 Strength +1 Agility +1 |
| Ninja Suit | 3000 | Defense +9 Magic Defense +2 Weight +3 Agility +1 |
Mostly Ninja stuff.
Once done, exit the town.
Overworld
Ride your Chocobo and make your way back to the Library of the Ancients.
 |
Disembark at the forest and head through the passage between the mountains until spotting desert area.
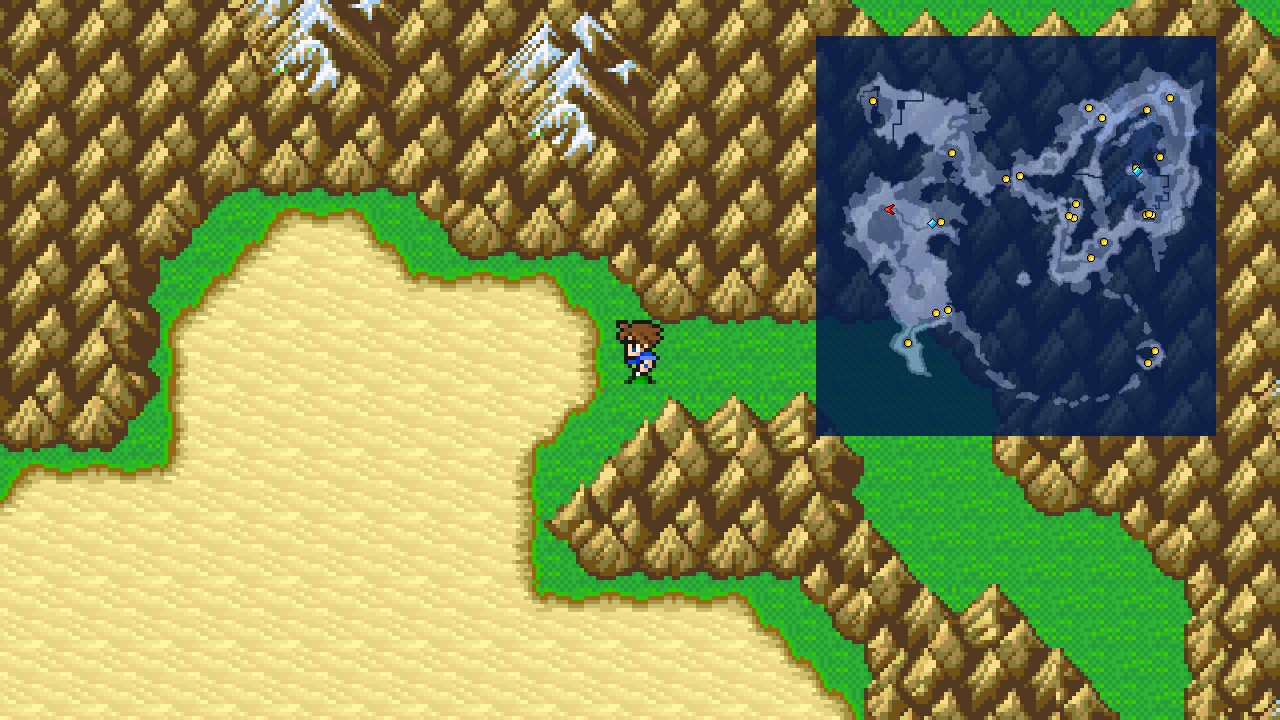 |
This is actually an explorable location. Head inside.
Desert of Shifting Sands
| ㅤ ㅤ ㅤ BESTIARY: DESERT OF SHIFTING SANDSㅤ ㅤ |
|---|
| ID | MONSTER | HP | MP | GIL | EXP |
|---|---|---|---|---|---|
| 059 | Sandboil | 420 | 0 | 189 | 260 |
| 060 | Desert Killer | 620 | 0 | 192 | 300 |
| 061 | Sand Bear | 1000 | 0 | 195 | 360 |
Desert of Shifting Sands holds one of the highest random encounter rates of the game, so be prepared for a lot of battles.
This place has no collectibles.
Walk to any of the shifting tiles to notice that you can’t get through as they all lead back to the entrance. However, Cid and Mid come to the rescue!
If you’re ready for a boss fight, answer with ‘Yes’. If not, answer ‘No’ and prepare your party, then talk to Cid or Mid again and answer ‘Yes’. Bring your Blue Mage if you want to end things quickly.
| Hole x3 |
|---|
| ID | HP | MP | ATK | DEF | EVA | M.DEF | MAG | WEAKNESS | RESIST. | ABSORBS | CANCELS |
|---|---|---|---|---|---|---|---|---|---|---|---|
| — | ??? | ??? | ??? | ??? | ??? | ??? | ??? | ??? | ??? | ??? | ??? |
| Sandworm |
|---|
| ID | HP | MP | ATK | DEF | EVA | M.DEF | MAG | WEAKNESS | RESIST. | ABSORBS | CANCELS |
|---|---|---|---|---|---|---|---|---|---|---|---|
| 242 | 3000 | 10125 | 25 | 0 | 0 | 10 | 1 | None | Darkness, Zombie, Poison, Mini, Toad, Petrify, Death, Silence, Berserk, Confuse, Paralyze, Sleep, Old, Stop | None | None |
Wait for the Sandworm to spawn. Ignore the holes and focus on the Sandworm. This boss ain’t really hard. It can get annoying with Quicksand which drains your HP continuously and Gravity that halves your HP, but that’s nothing a White Mage can’t fix. Gravity won’t work here, so you will have to resort to other methods.
Remember I told you a Blue Mage works great here? well, that’s because it does. A single use of Aqua Breath can deal 5000 points of damage to this boss, decimating it in just two turns. Isn’t that amazing?
If you decide not to use a Blue Mage (I don’t know why you wouldn’t want to do that), then a Ninja is a great choice, as you can use the Shurikens you’ve been collecting thus far (that isn’t as effective as Aqua Breath but still takes around 2000 points of life).
Trivia: I think HP and MP values are swapped in this version of the game, as 3000 points of damage won’t kill the boss.
Anyway, after the battle you will be able to cross the first portion of the shifting sands.
So head across the bridge until its end, then walk east.
 |
You should reach this location:
 |
From here, go to this place:
 |
And walk down. You will end here:
 |
Walk one tile left and one tile down, then go down through the sand.
 |
You will reach this place:
 |
Now walk west until spotting the sands leading down.
 |
So walk down. You’ll end at this place:
 |
Go immediately south to reach the exit.
 |
Then continue south to exit to the overworld.
Overworld
Follow the linear path south with familiar random encounters until reaching a village.
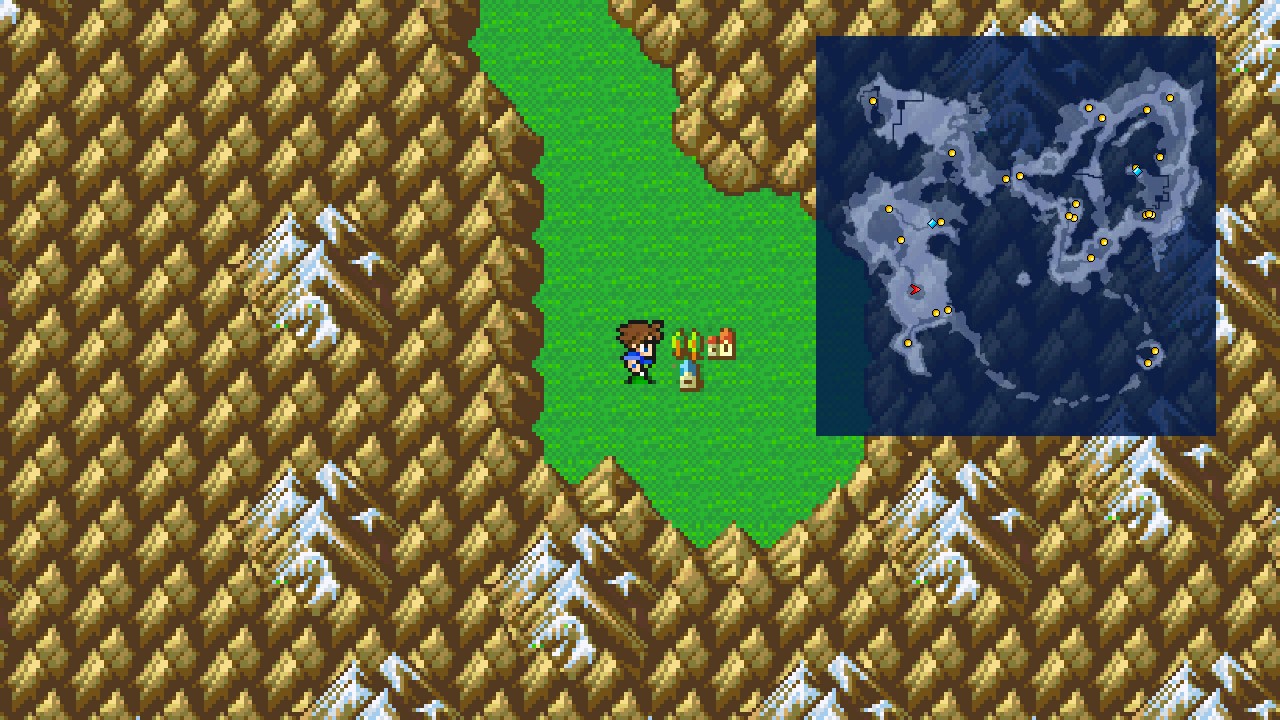 |
This is Gohn, the Town of Ruin. Head inside.
Gohn, the Town of Ruin and Castle Tycoon Revisited
Gohn, the Town of Ruin
Walk north to trigger a short cutscene.
Continue north and try to walk up the stairs just to be interrupted by another scene (I’m pretty sure we’ve seen that person before…)
DON’T GO UP THE STAIRS. Instead, head west and approach another set of stairs for yet, another cutscene.
Head up the stairs and follow the path until reaching the middle stairs we ignored before. Try to go down for the next cutscene.
Walk north and enter the destroyed structure for one last scene…
Gohn, the Town of Ruin – B1
Just kidding. There’s another scene at the bottom of the pit!
Anyway, once regaining control, head west and go through the door.
Once at the new room, go north and stand on the large platform. Wow, what was that? You are teleported back to Crescent!
Watch the scenes.
Phew. That was close!
Catapult – Passage
Once you regain control, go east and walk up the stairs.
Head up another set of stairs.
Catapult – Living Quarters
What is this place?
Before pressing the switch by the northern door, head south and exit through the southern door.
Enter the middle room and rest if you desire.
Now after waking up, examine the rightmost plants to find a note:
“Read the notepad in the room on the right…”
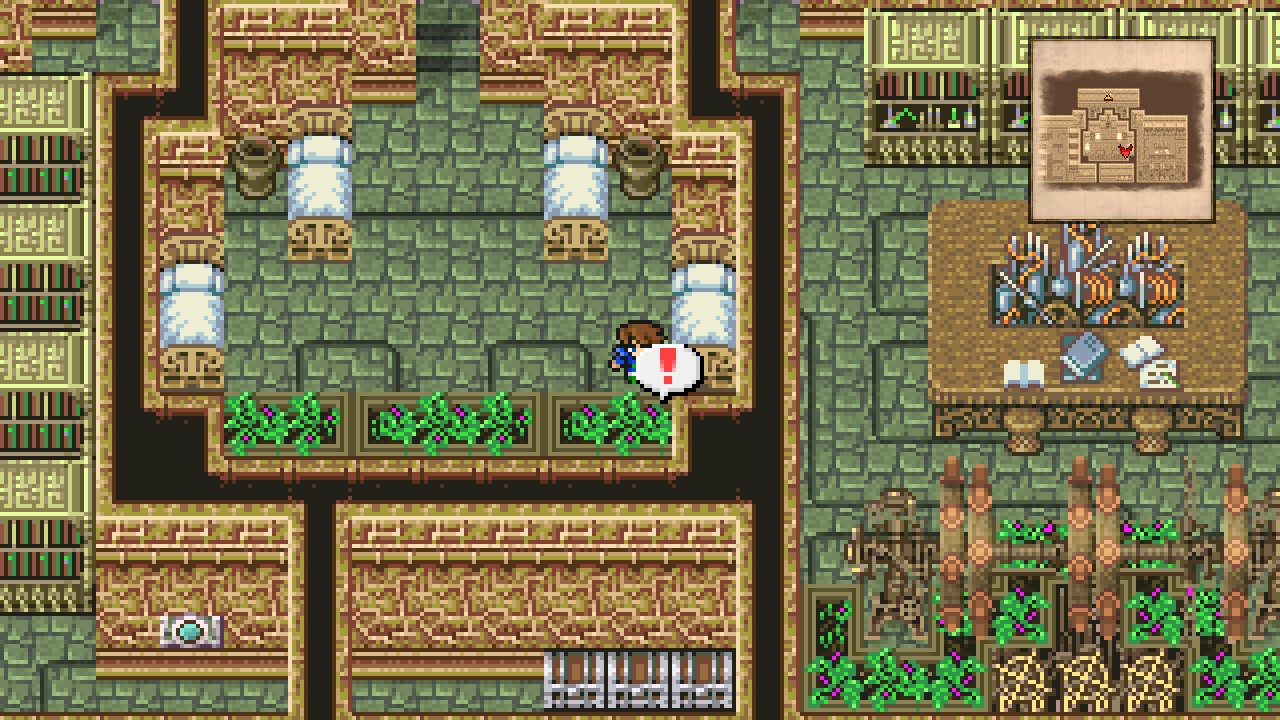 |
Do as the note says and examine the notepad in the eastern room for more instructions:
“Check the urn.”
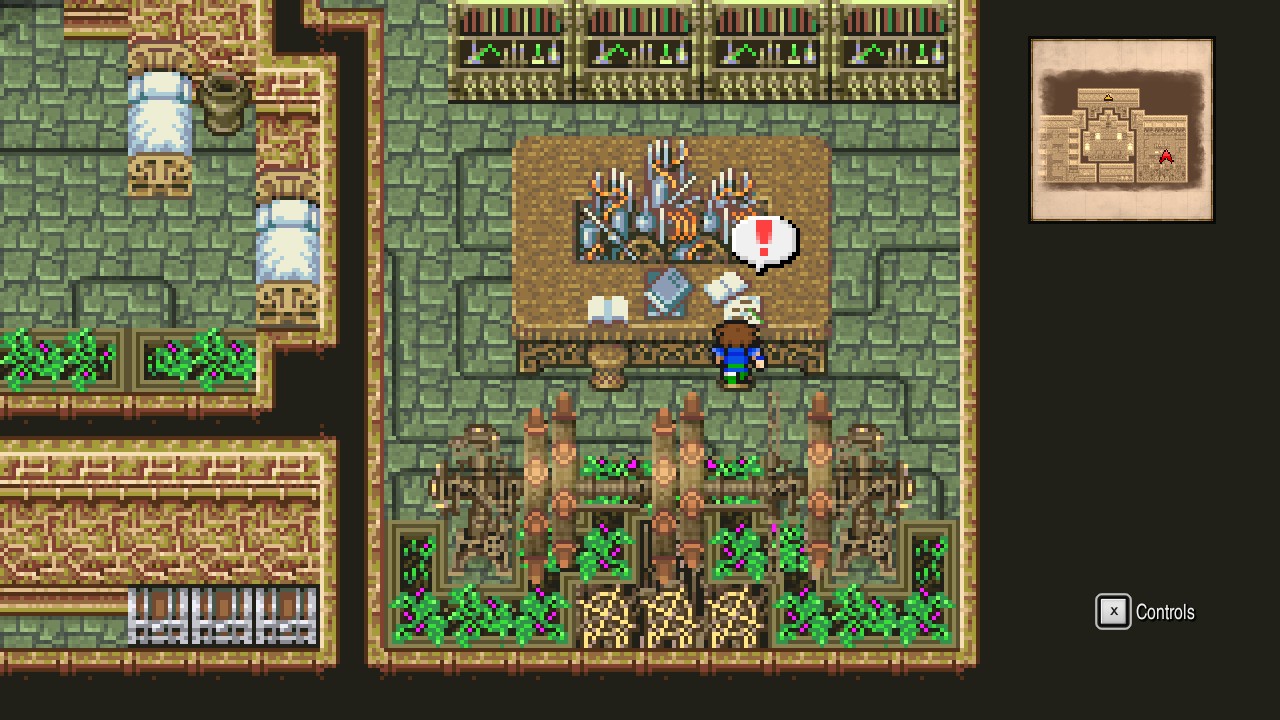 |
Head to the western room and examine the left urn under the top-left bookcase.
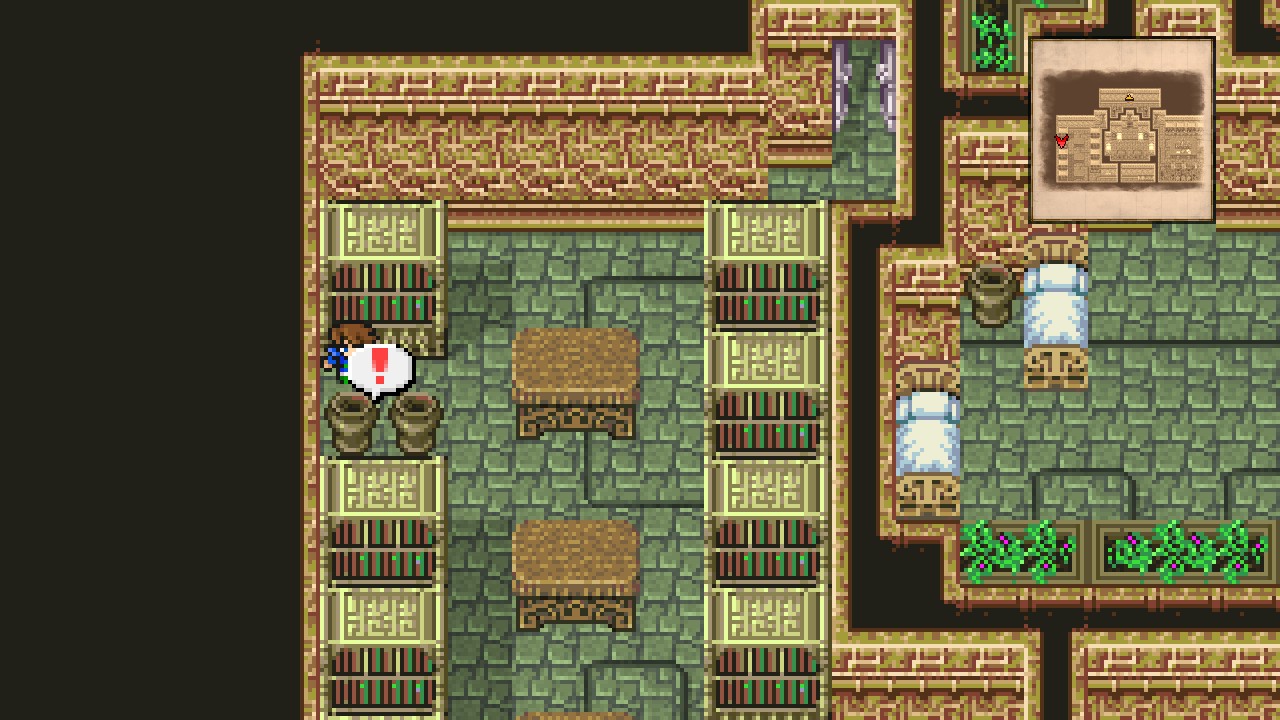 |
A toad will show up and knock a book off the top-right bookcases. Read the book:
“Go down 8 and right 4, then pull what’s there!”
Alright. Do that.
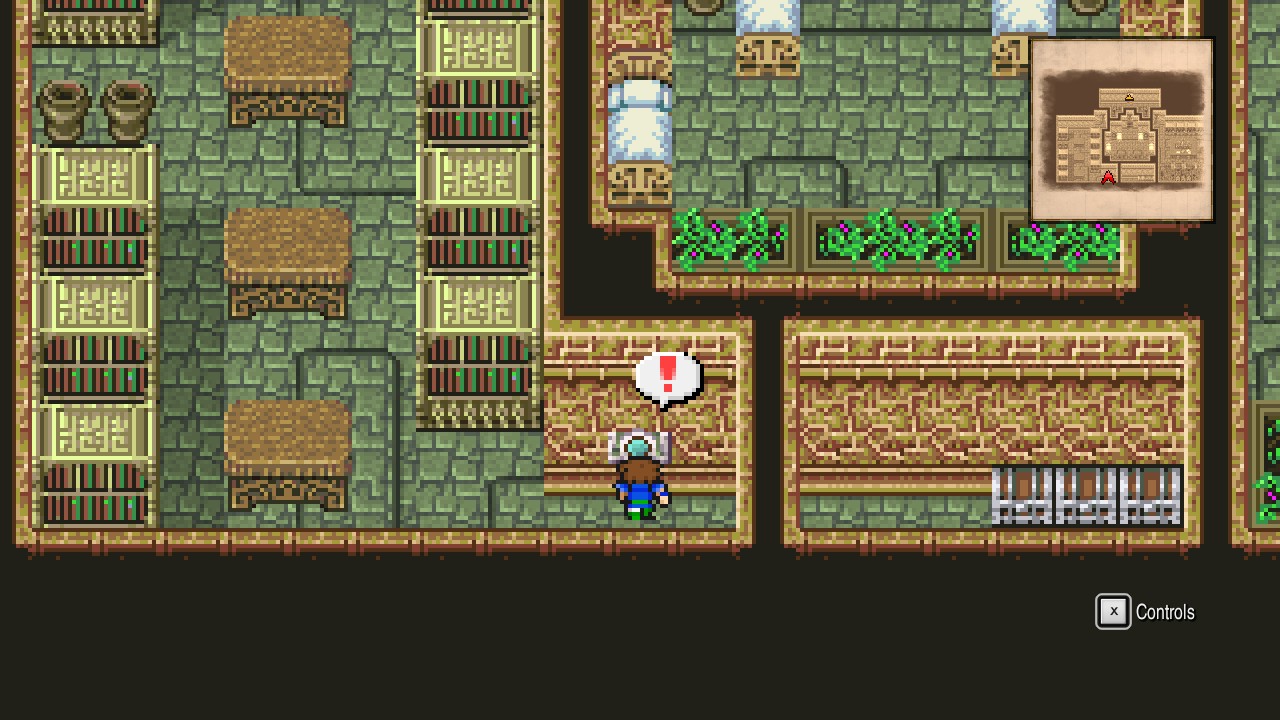 |
The wall blocking your path to the chests will disappear! Go ahead and open all three chests for Shuriken x2 and Mini. [61/227]
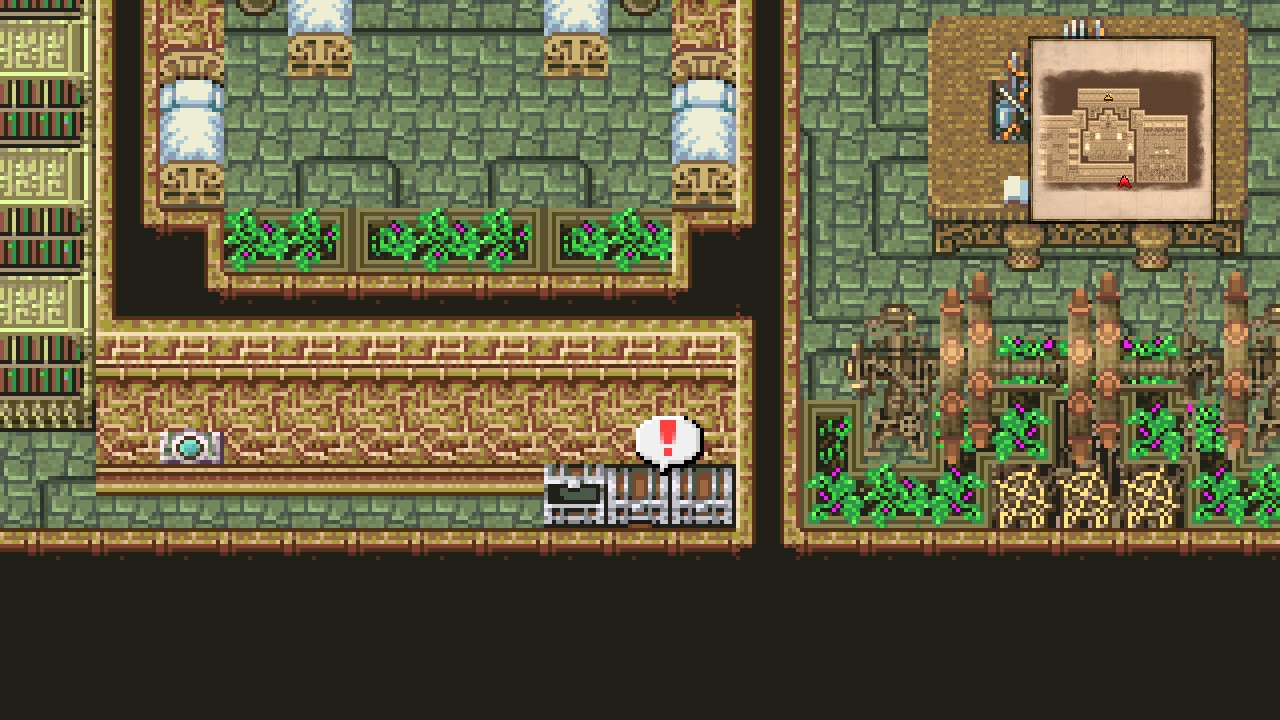 |
And that concludes the collectibles for this mysterious location. 3/3 chests.
Exit this area back to the room with the staircase we came from.
Push the switch by the northern door for a scene.
After the scene, go north through the newly-open door.
This room features a consecrated circle, so save if you want and then head through the north door.
Go west and down the stairs.
Catapult – Hangar
Is this… the Fire-Powered Ship we lost ages ago? What the hell is it doing here?
Anyway, walk across it and through a bridge to find… a replica of our ship with propellers?
Watch the scenes.
Once you regain control, head down inside the ship.
Catapult – Below Deck
Go down again and at the new room, talk to Cid.
Watch the scenes.
Airship
Ancient Relic
Obtained an airship.
Woah, an airship?
Sadly something is weighing us down. Heal up and quick-save (you probably know what’s coming), then talk to Cid to check what’s going on.
| Cray Claw |
|---|
| ID | HP | MP | ATK | DEF | EVA | M.DEF | MAG | WEAKNESS | RESIST. | ABSORBS | CANCELS |
|---|---|---|---|---|---|---|---|---|---|---|---|
| 243 | 2000 | 500 | 37 | 25 | 0 | 25 | 1 | Lightning | Mini, Toad | Water | None |
This boss is a joke. Throw two Shurikens with a Ninja and the battle will be over. If you don’t have a Ninja, attack with your best abilities and the result will be the same. My Ramuh was doing over 1000 points of damage, so you can get an idea.
After the battle, watch some more relevant scenes.
Overworld
The airship is at your disposition now. We’re finally able to explore the whole world the way it’s meant to be explored!
The airship can fly over anything, unlike the Black Chocobo. However, it can only land on normal land and not on forests or deserts. It can also turn into a ship if you need so (just Disembark anywhere in the ocean).
Once we’re ready, make your way to the Castle Tycoon.
Land nearby and head inside.
Castle Tycoon
Enter the castle to speak to the Chancellor, then choose the stay the night.
Watch the scenes.
Now make your way out the castle.
Tycoon Meteorite Revisited
Overworld
Board the airship and head back to Gohn, just to trigger a scene as you get closer.
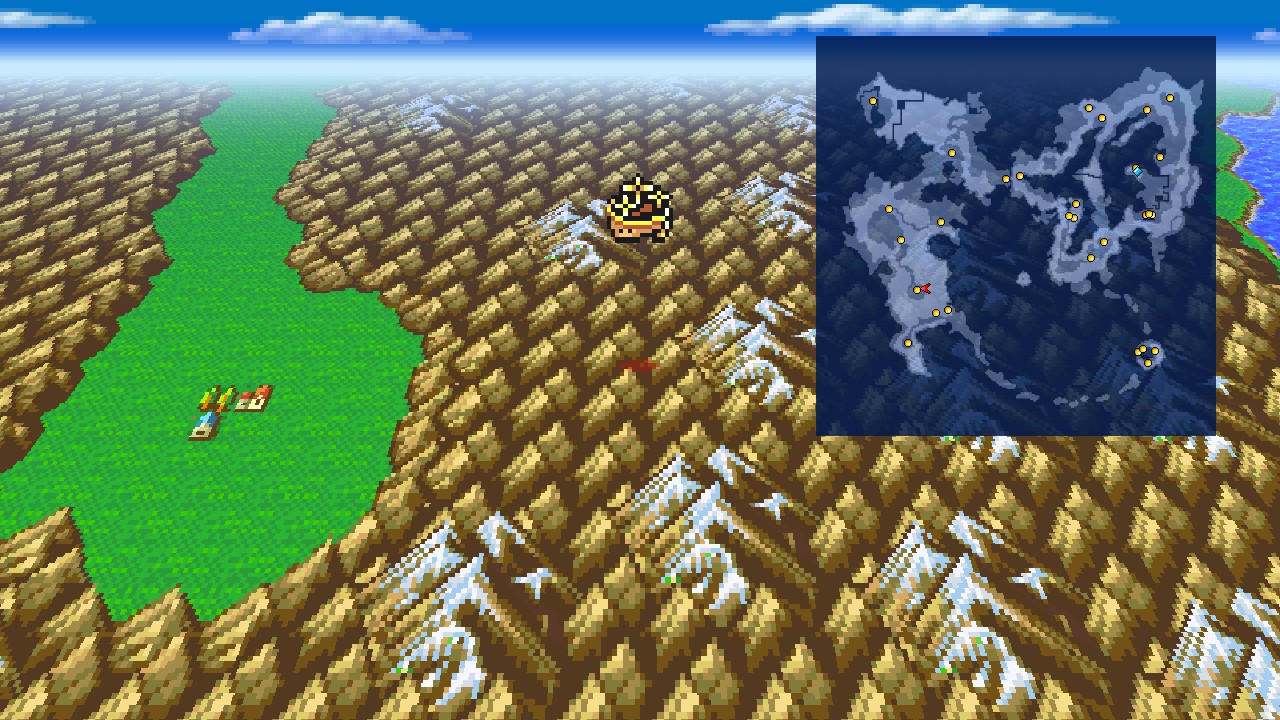 |
Wait, what was that? Did the whole town flew away?
Oh well. Go back to Crescent and descend to the catapult.
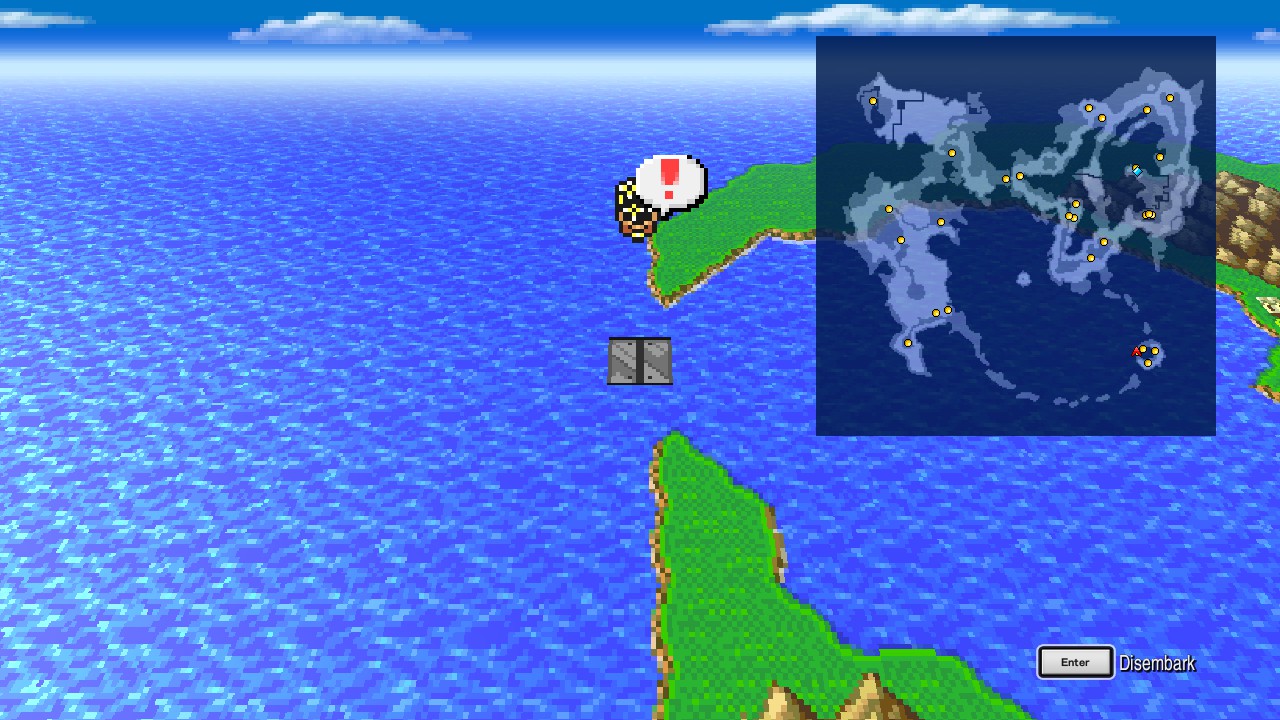 |
Catapult – Hangar
Approach the bridge and watch the scenes.
After the scenes, interact with the wheel to depart.
Overworld
Fly north-east to the first meteor, just below Tycoon Castle.
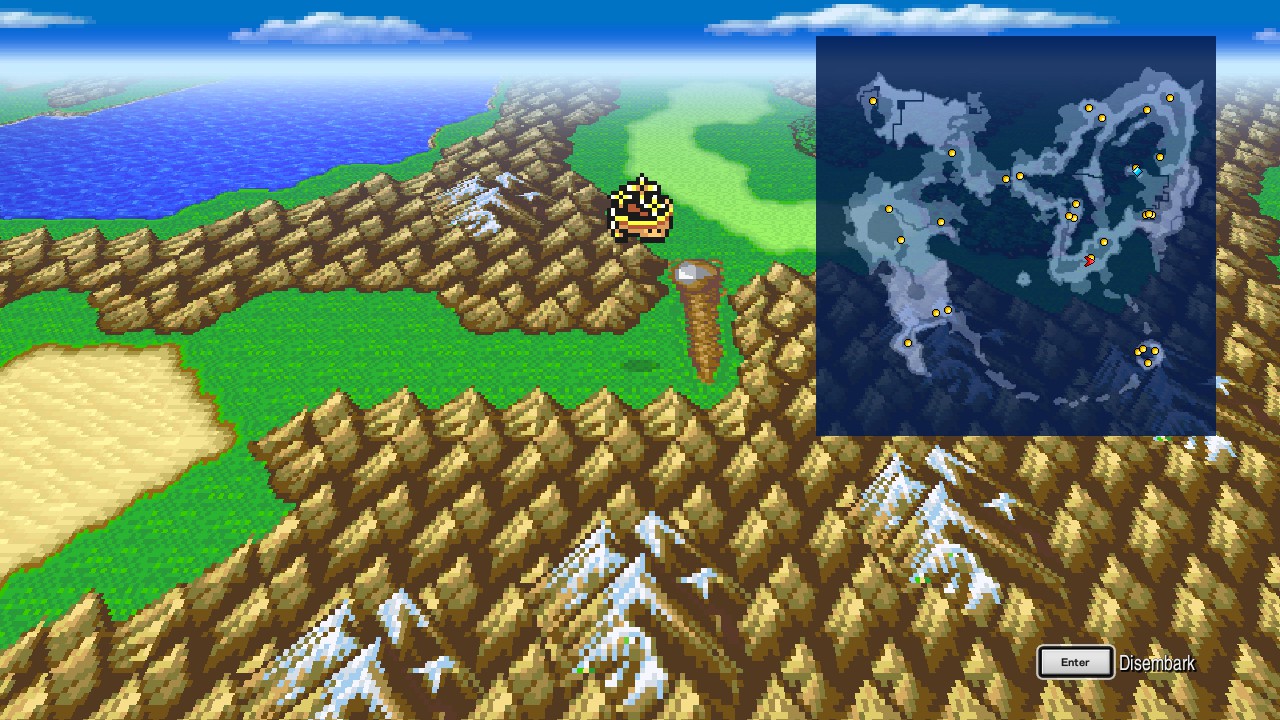 |
Disembark and head inside.
Tycoon Meteorite
Make your way to the meteorite to trigger a scene where Galuf opens it for you. What a nice guy!
So what are you waiting for? get into the meteorite.
Tycoon Meteorite – Interior
The warp pad is disabled, so head north and take the crystal from the wall. Obtained Adamantite!
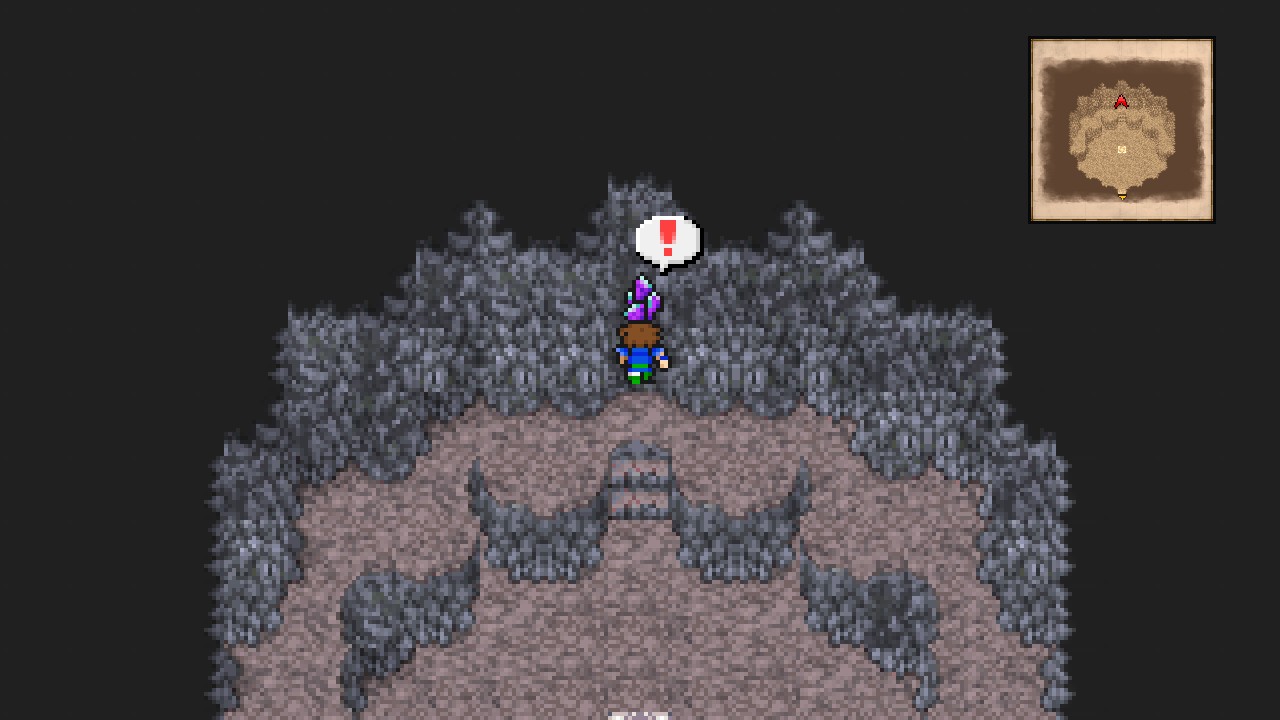 |
Heal up and quick-save, then try to exit the meteorite… (bring your Blue Mage if you want to finish the battle really fast).
| Adamantoise |
|---|
| ID | HP | MP | ATK | DEF | EVA | M.DEF | MAG | WEAKNESS | RESIST. | ABSORBS | CANCELS |
|---|---|---|---|---|---|---|---|---|---|---|---|
| 244 | 2000 | 125 | 31 | 25 | 0 | 5 | 0 | Ice | Zombie, Mini, Toad, Petrify, Confuse, Paralyze, Sleep, Stop | None | None |
There’s two ways to defeat this little friend.
The cheap way is to cast ‘Level 5 Death’ which will OHKO the enemy, and the non-cheap but still easy is to throw everything ice-based you have. Shiva, Blizzara, Frost Rods, etc. Anything that resembles ice should work.
Either way, leave the meteorite and the location after winning the battle.
Overworld
Board the airship and fly back to the Catapult (next to Crescent).
Catapult
Approach the bridge to inform Cid about your triumph.
Watch the scenes.
Overworld
Now head to your favorite town so you can rest whenever required (Lix recommended as the Inn is free) and press the action button to Boost/Disembark. This time, we want to boost, so choose the top arrow.
Ronka Ruins: Part I
Ronka Ruins – Floating Fortress
WARNING: This is a one-visit location.
Summary of Missables:
- All treasure chests
- The following bestiary entries: Enchanted Fan, Archeotoad, Hydra, Lamia, Ra Mage, Stone Mask, and Ghidra
Know how each Final Fantasy Game has a remarkable mid-game dungeon where you feel that ‘this is where s*** gets real’ sensation? Well. This one falls under that category.
Head up to find a big flying structure that resembles Gohn (so this is where it went…).
 |
We notice that we enter it enter yet. To be able to enter, you first have to disable its defense system. For that, approach one of its sides and run into the cannons to engage into a fight against…
| ㅤ ㅤ ㅤ BESTIARY: ENTRANCE OF RONKA RUINSㅤ |
|---|
| ID | MONSTER | HP | MP | GIL | EXP | |
|---|---|---|---|---|---|---|
| 245 | Flame Thrower | 2400 | 125 | 0 | 0 | BM: Flame Thrower |
| 246 | Rocket Launcher | 2500 | 200 | 0 | 0 | BM: Missile |
Inner cannons trigger a 2x Rocket Launcher encounter while Outer trigger a 2x Flame Thrower encounter. There’s two cannons on each side.
It’s also important to remark that Rocket Launchers are another great opportunity to snatch the ‘Missile’ blue magic (if you don’t have that yet), as well as the Flame Throwers are for the blue magic with the same name.
All are weak against lightning-based spells, so use Ramuh, Lightning scrolls, or anything related.
After defeating all side-cannons, the main cannon will make a majestic apparition.
Feel free to leave the location and rest at any Inn before going further. Remember that Lix Inn is free.
I recommend bringing blue magic to the next battle.
Once ready, approach the huge cannon at the center of the structure to engage yourself into a boss fight…
| Soul Cannon |
|---|
| ID | HP | MP | ATK | DEF | EVA | M.DEF | MAG | WEAKNESS | RESIST. | ABSORBS | CANCELS |
|---|---|---|---|---|---|---|---|---|---|---|---|
| 247 | 22500 | 1000 | 7 | 5 | 0 | 10 | 1 | Lightning | Darkness, Zombie, Poison, Mini, Toad, Petrify, Death, Silence, Berserk, Confuse, Paralyze, Sleep, Old, Stop | None | Water, Poison, Wind |
| Launcher |
|---|
| ID | HP | MP | ATK | DEF | EVA | M.DEF | MAG | WEAKNESS | RESIST. | ABSORBS | CANCELS |
|---|---|---|---|---|---|---|---|---|---|---|---|
| 248 | 10800 | 1000 | 7 | 0 | 0 | 10 | 1 | None | Darkness, Zombie, Poison, Mini, Toad, Petrify, Death, Silence, Berserk, Confuse, Paralyze, Sleep, Old | None | Water, Poison, Wind |
| Launcher |
|---|
| ID | HP | MP | ATK | DEF | EVA | M.DEF | MAG | WEAKNESS | RESIST. | ABSORBS | CANCELS |
|---|---|---|---|---|---|---|---|---|---|---|---|
| 249 | 10800 | 1000 | 7 | 0 | 0 | 10 | 1 | None | Darkness, Zombie, Poison, Mini, Toad, Petrify, Death, Silence, Berserk, Confuse, Paralyze, Sleep, Old, Stop | ABSORBS | Water, Poison, Wind |
This is an annoying boss if you don’t handle it with care. Especially the two side Launcher which spam missiles like there’s no tomorrow.
Thankfully, there’s an easy way to win. Open the battle with ‘Level 5 Death’ to take both Launchers down without any effort, then cast ‘Dark Spark’ to half the boss’ levels and spam all lightning-based to finish it off. Shurikens are also good here.
It’s gonna be a relatively long fight so make sure your White Mage is in good shape to keep the team up at all times.
After winning, you will open the path to ENTER the dungeon. LOL.
We haven’t even started here.
Feel free to rest at the Inn and refill your ninja stuff if you’re parked at Lix area. I recommend getting 99x Lightning Scrolls if you can afford them.
Once prepared, approach the newly-opened hole to reach the dungeon entrance.
Ronka Ruins – Airship
Head south and go through the bridge to enter the actual dungeon.
Ronka Ruins – Level 1
| ㅤ ㅤ ㅤ BESTIARY: RONKA RUINSㅤ ㅤ |
|---|
| ID | MONSTER | HP | MP | GIL | EXP | |
|---|---|---|---|---|---|---|
| 062 | Ra Mage | 760 | 200 | 198 | 370 | |
| 063 | Ronkan Knight | 860 | 0 | 201 | 380 | |
| 064 | Stone Mask | 450 | 20 | 204 | 320 | |
| 065 | Enchanted Fan | 1000 | 200 | 207 | 470 | BM: Aera, White Wind (requires ‘Control’) |
| 066 | Lamia | 900 | 100 | 210 | 490 | BM: 1000 Needles (requires ‘Control’) |
| 067 | Archeotoad | 800 | 100 | 213 | 390 | BM: Pond’s Chorus |
| 068 | Hydra | 2000 | 1000 | 216 | 1800 | |
| 069 | Ghidra | 3000 | 1000 | 219 | 3108 | BM: Level 4 Graviga (used upon death) |
Where to start…
Archeotoad and Lamia starts appearing at level 5.
Hydra and Ghildra starts appearing after the second consecrated circle (very deep into the dungeon). Don’t use any lightning-based spells as they absorb that element.
Archeotoad holds ‘Pond’s Chorus’ in case you missed that in Walse Tower.
Enchanted Fan holds Aera (which we should already have) and White Wind (which we should get through Beastmaster’s Control ability).
Lamia holds ‘1000 Needles’ blue magic which can be only obtained through Control. Be aware that 1000 Needles deal exactly 1000 points of damage, so be prepared to revive your Blue Mage after using it.
Ghildra holds ‘Level 4 Graviga’ which can only be learned by a Blue Mage (or someone with Learn ability equipped) whose level is divisible by 4. This ability is only casted upon the creature’s death. Ghildra can’t be controlled.
From the entrance, head south through the door, go around the gap and head north through another door. Take the stairs leading down.
Ronka Ruins – Level 2
Down here, go east across the invisible pathway to the other side of the room.
 |
Now go south across another invisible pathway to reach a chest.
 |
Open it for Golden Armor. [62/227]
 |
Head downstairs.
Ronka Ruins: Part II
Ronka Ruins – Level 3
Walk left and step on the bottom-right tile of the left area to reveal another invisible pathway.
 |
Walk through it to reach the bottom area.
Proceed west and then north to reach a 4-way fork. Go through the third option to reveal a passage and open the chest at the end for an Elixir. [63/227]
 |
Backtrack to the fork and take the first option to reach the top area.
Now go all the way east path the stairs to find a chest. Open it for a Phoenix Down. [64/227]
 |
Take the stairs leading up if you want to find a consecrated circle to save/rest.
Continue east from the chest and follow the path downwards to find more stairs. Head down.
Ronka Ruins – Level 4
Follow the path around and go upstairs.
Ronka Ruins – Level 3
Go east and north across an invisible pathway to reach a chest.
 |
Open it for Golden Shield. [65/227]
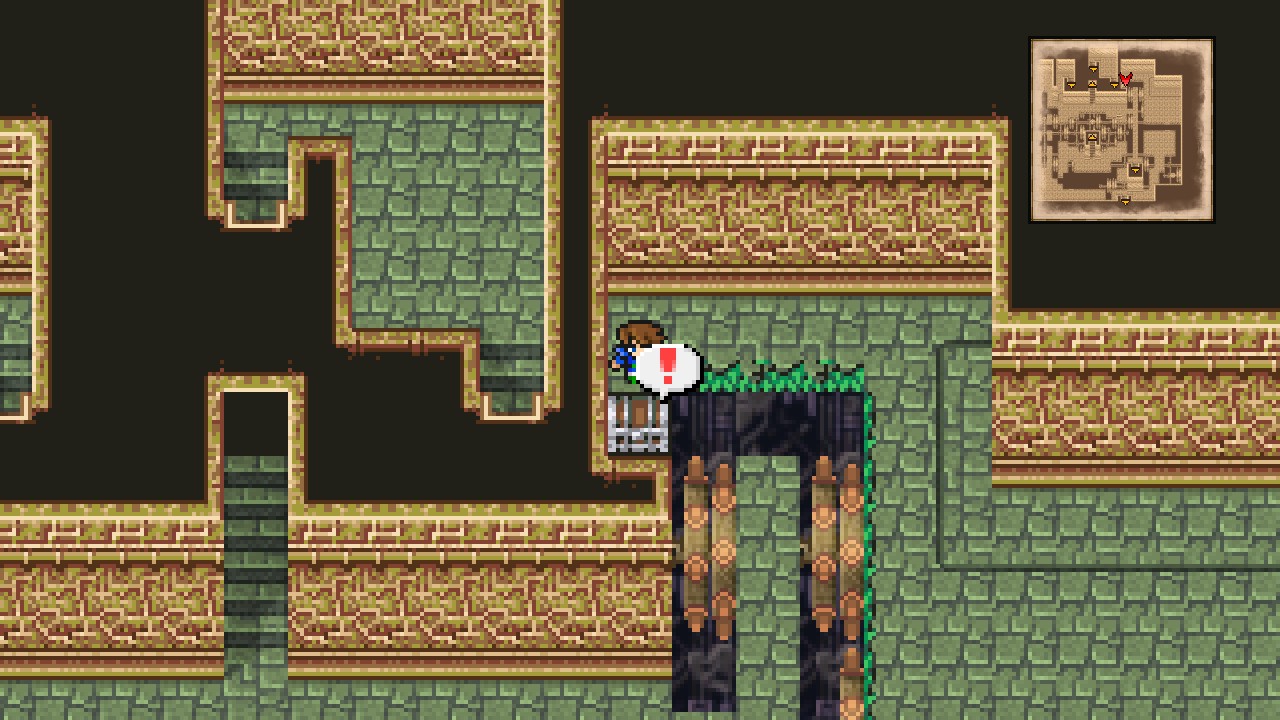 |
Make your way back to the previous chest (outside the room with the consecrated circle) and go west past the stairs to reach another split.
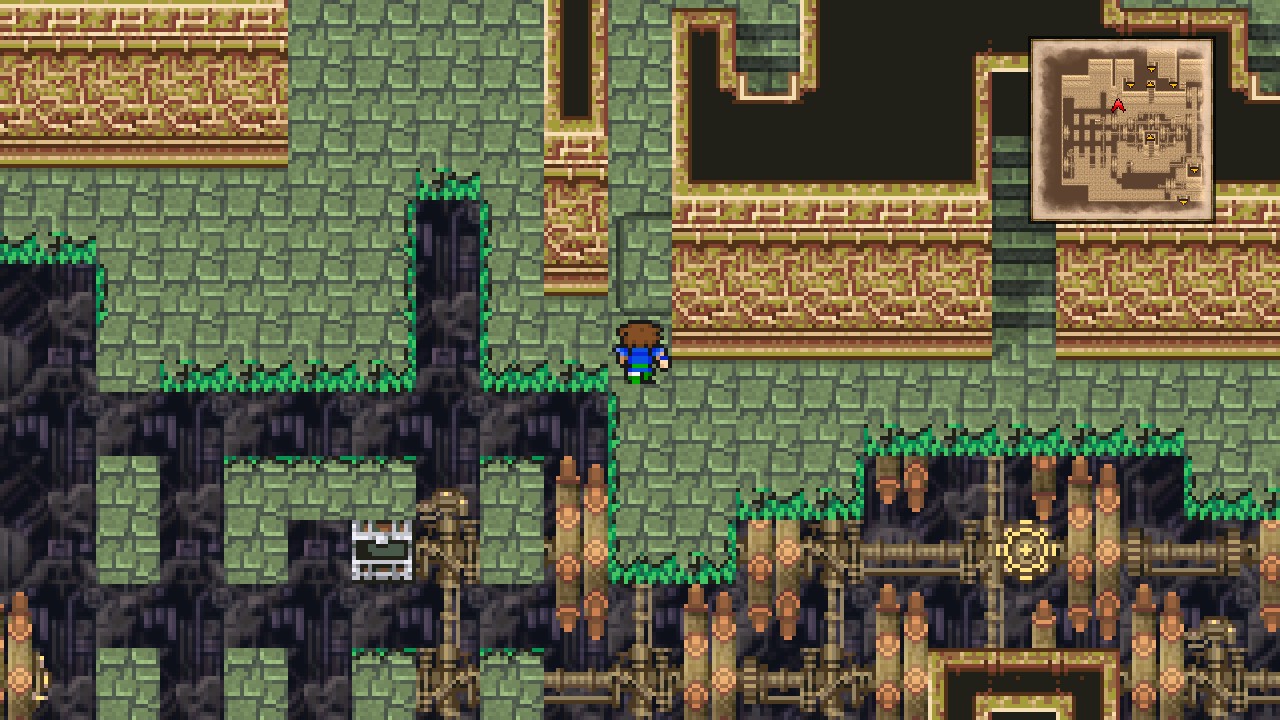 |
Go north and take the stairs leading down.
Ronka Ruins – Level 4
Head east and go up the stairs.
Ronka Ruins – Level 3
Go west and down the stairs.
Ronka Ruins – Level 4
Go south and down the stairs.
Ronka Ruins – Level 5
Archeotoad and Lamia start appearing here.
Head east, go south through the door, and take the stairs leading up.
Ronka Ruins – Level 4
Proceed north and open the chest for a Hi-Potion. [66/227]
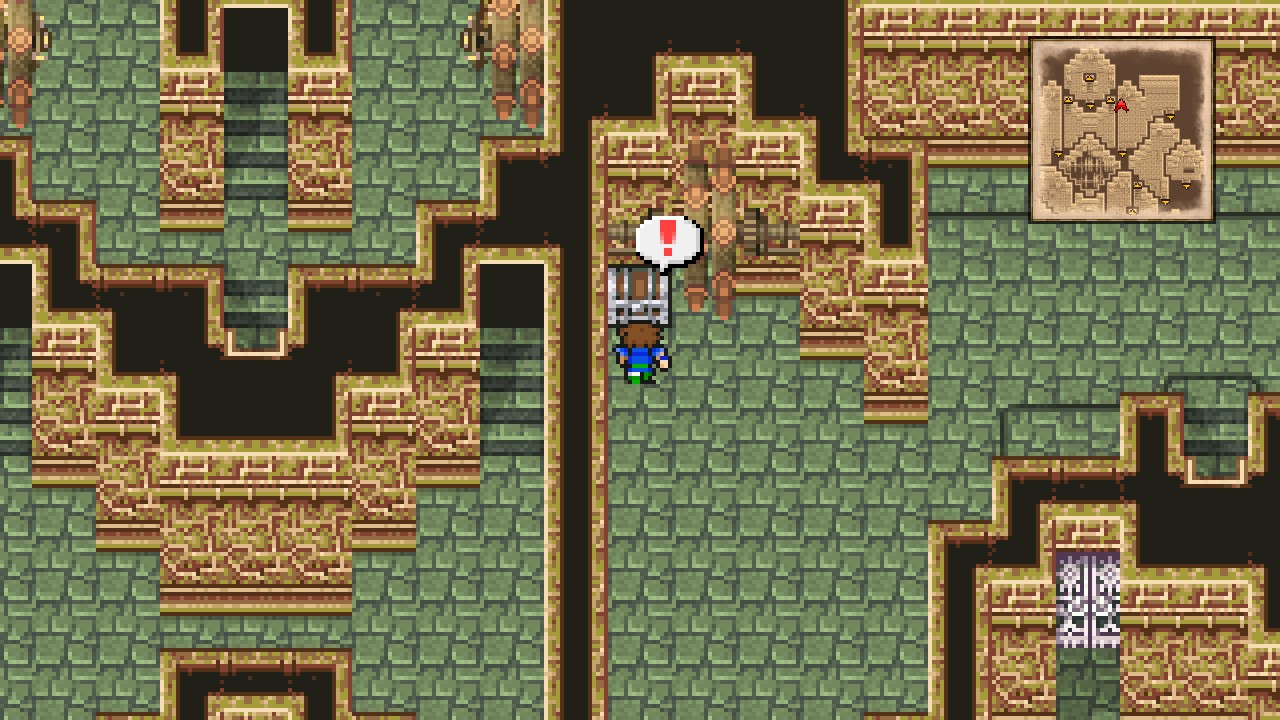 |
Now go east and take the stairs leading down.
Ronka Ruins – Level 5
Follow the linear path south and go up the stairs.
Ronka Ruins – Level 4
There’s five whooping chests in here!
Watch out with the hole just in front of you, so go around and open all chests for 5000 Gil, Shuriken, Ancient Sword, Moonring Blade, and Power Armlet. [71/227]
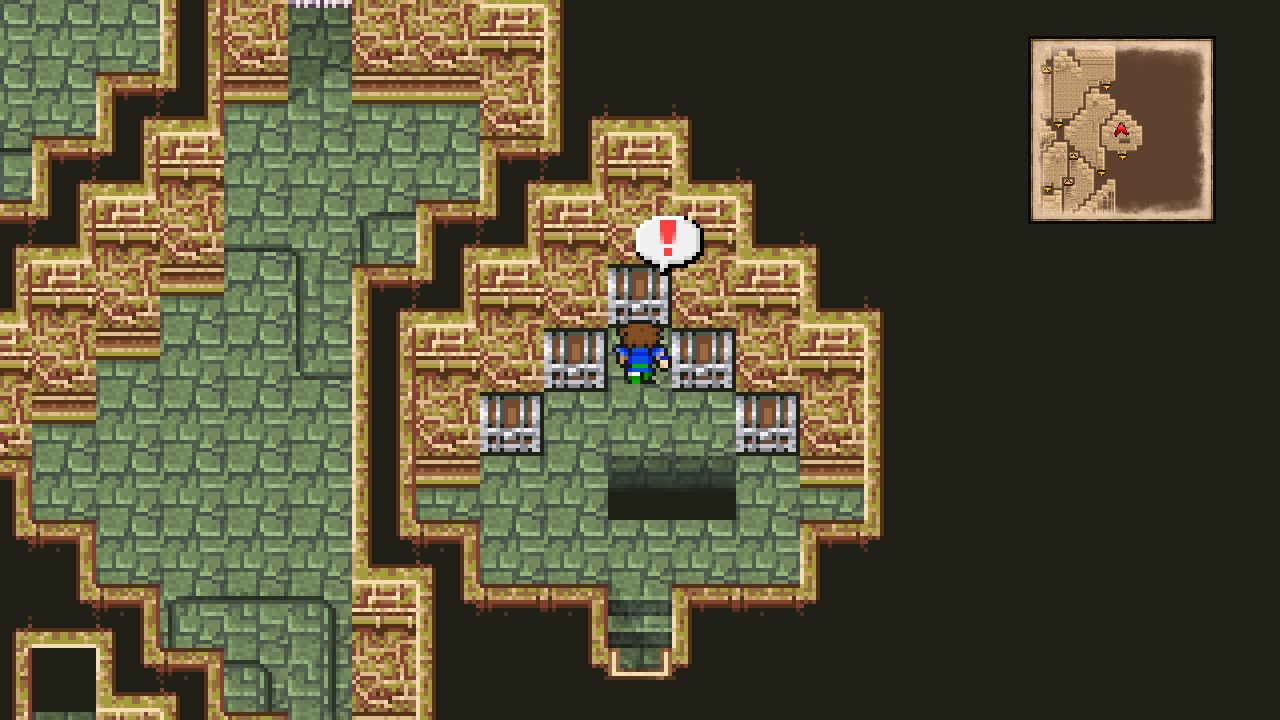 |
Jump on the hole.
Ronka Ruins – Level 5
You’ll fall near the stairs leading back to Level 4. Go south and up the beforementioned stairs.
Ronka Ruins – Level 4
Head northeast and instead of going through the stairs, head through the door to reach another stairs at the south end of the room.
Ronka Ruins – Level 5
Go around and head upstairs.
Ronka Ruins – Level 4
Head through the door leading south (watch out with the hole!) and follow the path through several doors to more stairs.
Ronka Ruins – Level 5
Ignore the door by the stairs and head south to find a lone staircase leading up. Go up.
Ronka Ruins – Level 4
There’s a consecrated circle here. Use it for a well deserved rest and return downstairs.
Ronka Ruins – Level 5
Go through the door we ignored earlier then head upstairs.
Ronka Ruins – Level 4
Hydra and Ghidra start appearing here, but Ghidra is more common in the next room.
Head through the door and down the eastern staircase.
Ronka Ruins – Level 5
Farm Ghidra here if you’re looking for ‘Level 4 Graviga’. Remember that the creature will only cast the spell upon death.
From the stairs, go all the way south to reveal an invisible pathway leading to two chests.
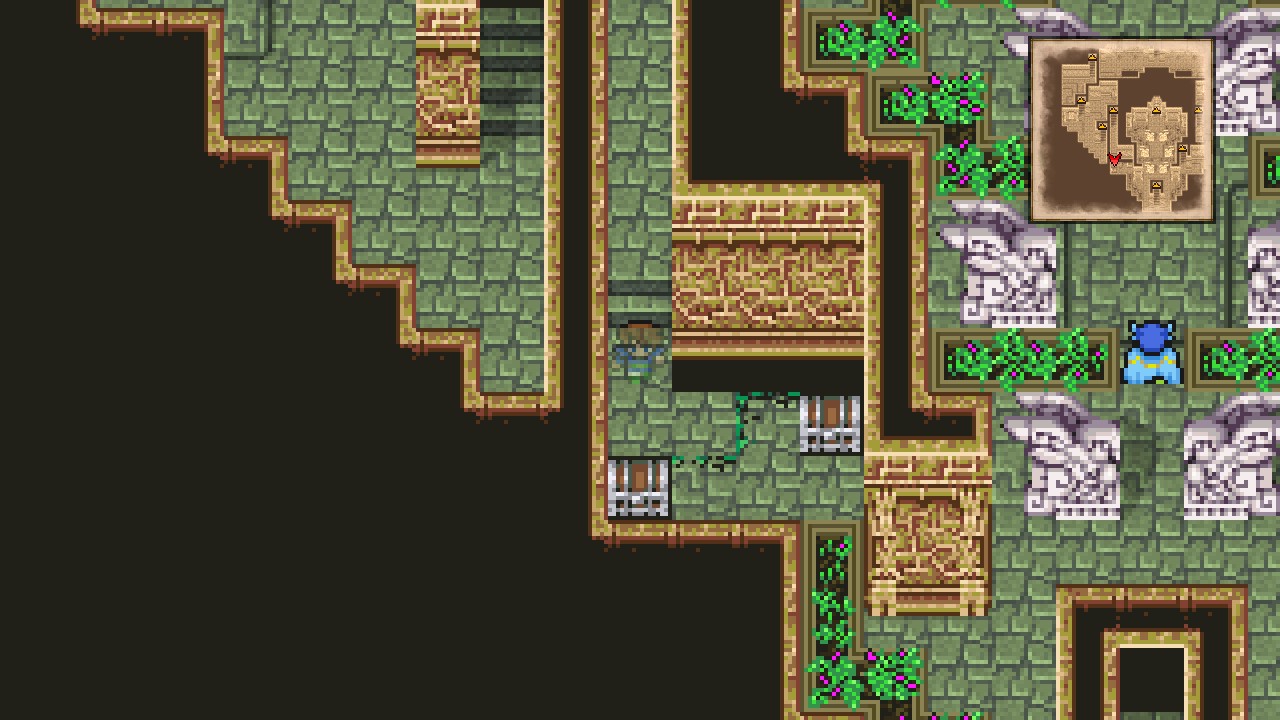 |
Open both chests for Cottage and Ether. [73/227]
That’s all the collectibles for this exhausting dungeon. 12/12 chests.
Return upstairs.
Ronka Ruins – Level 4
Remember to learn ‘Level 4 Graviga’ before finishing the dungeon. Grind near the previous consecrated room if you need levels.
Once ready to continue, head south through the door and interact with the switch on the wall.
A path south will open. Go through it and head downstairs.
Ronka Ruins – Level 5
Bringing a Blue Mage is highly recommended for the next battle.
Heal up and quick-save, then head north and talk to King Tycoon.
| Archeoaevis |
|---|
| ID | HP | MP | ATK | DEF | EVA | M.DEF | MAG | WEAKNESS | RESIST. | ABSORBS | CANCELS |
|---|---|---|---|---|---|---|---|---|---|---|---|
| 250 | 1600 | 2000 | 39 | 30 | 10 | 6 | 1 | Wind | Poison, Mini, Toad, Petrify, Death, Silence, Berserk, Confuse, Paralyze, Sleep, Old, Stop | None | Earth |
This is a tough multi-stage battle, but not that difficult if you follow the following strategy:
Spam 1000 Needles with your Blue Mage, heal the party with the White Mage, and attack with everything you have with the other two party members. Repeat until defeating the first phase.
Once the first phase has been defeated and the boss revives, use Level 5 Death to finish it off.
After such difficult battle, you will watch some scenes and then regain control.
Head north and go through the door.
Crystal Room
Enjoy the long and extremely important plot-revealing cutscenes…
Jobs unlocked:
- Samurai
- Dragoon
- Dancer
- Chemist
Hope- Essence of Earth
Received power from the earth crystal.
Meteorites
Overworld
Back at the overworld, try to disembark anywhere in the sea to trigger a cutscene.
Once you regain control, head to Catapult (next to Crescent) and disembark.
Catapult – Hangar
Go south and all the way west through the bridges.
Catapult – Living Quarters
Make your way to the bedroom area and enter the eastern room.
Read the note on the workbench.
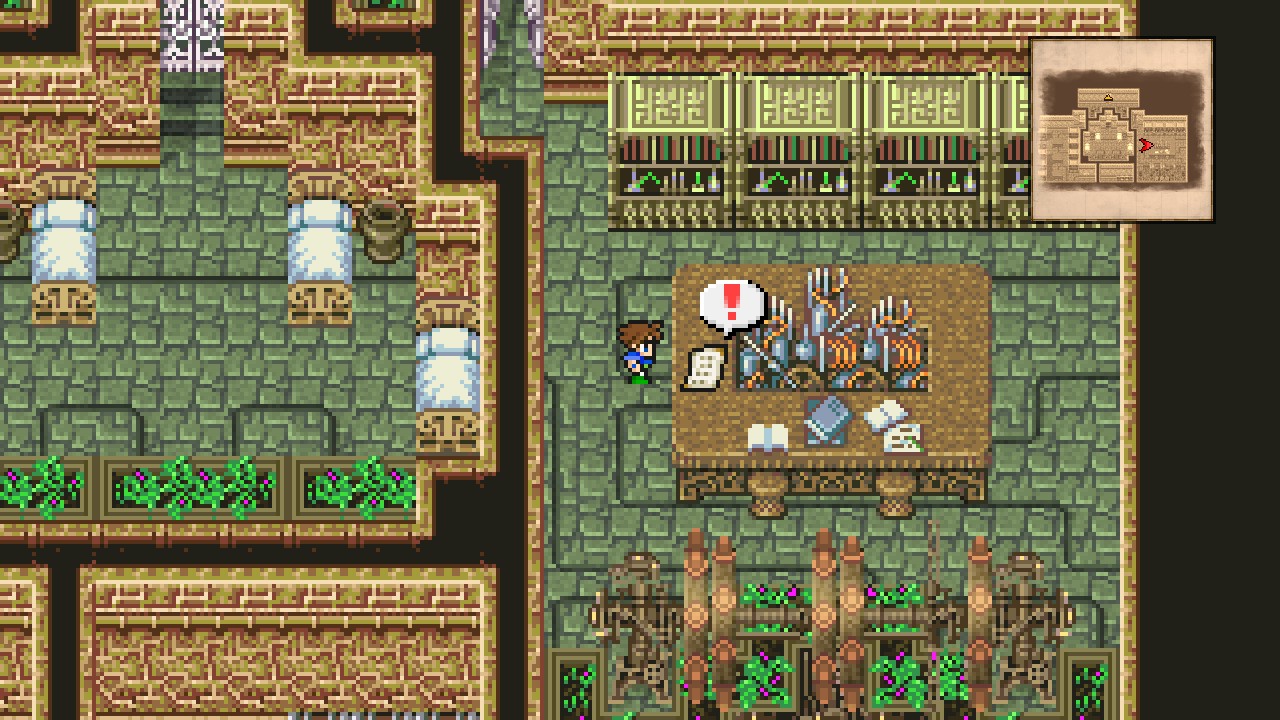 |
“The adamantite left over from the airship renovations is dangerous. Gone to put it back.”
That should give us a hint on where to go next. Exactly, to the Tycoon Meteorite!
Overworld
Tycoon Meteorite is again, northwest from the Catapult and below Castle Tycoon. Head there.
Tycoon Meteorite
Enter the meteorite and watch the scene.
Once you regain control, exit the location.
Overworld
Board the airship and head to Castle Tycoon. Go inside.
Castle Tycoon
Enter the castle to speak to the Chancellor, then choose the stay the night.
Watch the scene.
The next morning, leave the castle.
Overworld
Board the airship and fly to the Gohn meteorite.
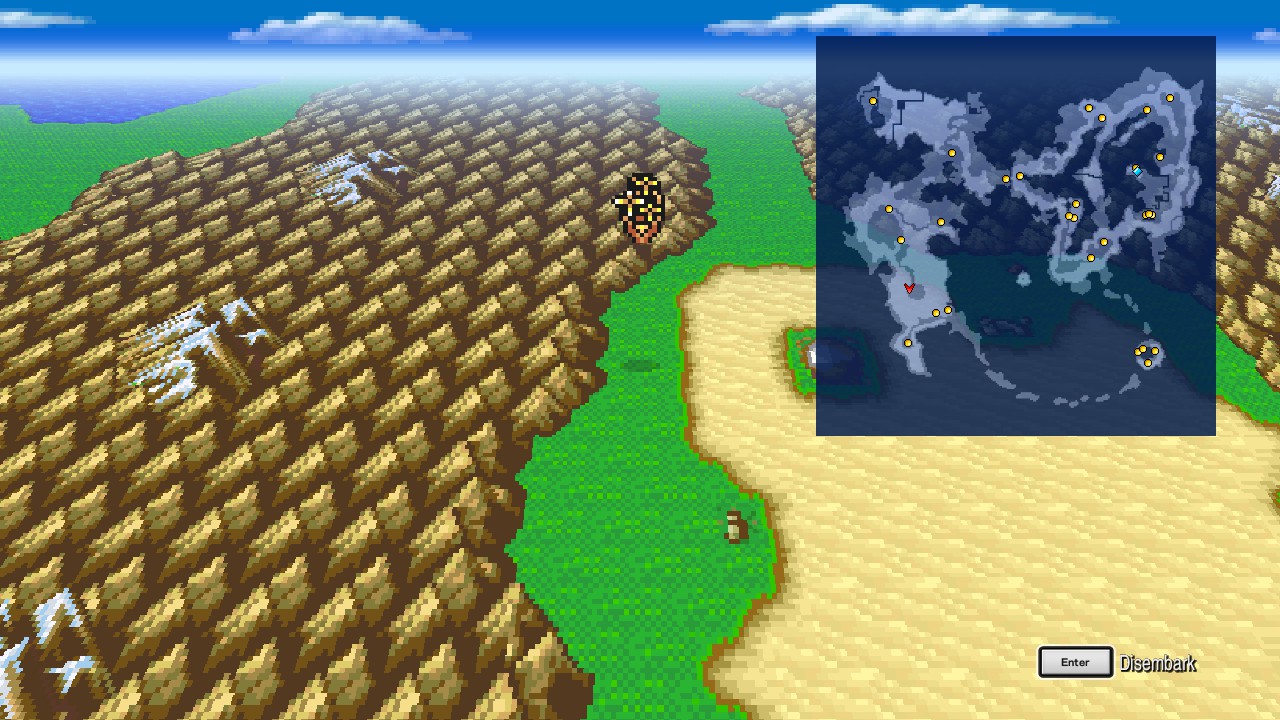 |
Land on the plains, then head inside.
Gohn Meteorite
Go north and speak to Cid for a scene.
Both (Cid and Mid) will head inside. After some wait, you will notice that they’re probably not coming back, so you and your party decide to investigate.
Enter the meteorite.
Gohn Meteorite – Interior
Heal up and quick-save (you probably know the reason), then head downstairs.
Note: The following boss holds Aqua Breath, which you already should have, but here’s another chance for the brave.
You will find Cid and Mid wrapped around a purple thing, approach them to engage into the next boss fight.
| Chimera Brain |
|---|
| ID | HP | MP | ATK | DEF | EVA | M.DEF | MAG | WEAKNESS | RESIST. | ABSORBS | CANCELS | |
|---|---|---|---|---|---|---|---|---|---|---|---|---|
| 253 | 3300 | 1000 | 40 | 10 | 10 | 20 | 1 | None | Mini, Toad, Confuse, Paralyze, Sleep | Ice | None | BM: Aqua Breath |
Not a very difficult fight, even with only 3 party members. You can go cheap and bring a Ninja with 3-4 Shurikens, or use 1000 Needles until the boss is down. Either way, the battle should be over rather quickly regardless of the strategy you adopt.
Anyway, after the battle, enjoy some more scenes before regaining control.
First meteorite down. Two to go.
Now exit the location.
Overworld
Board the airship and set the Karnak meteorite as your destination.
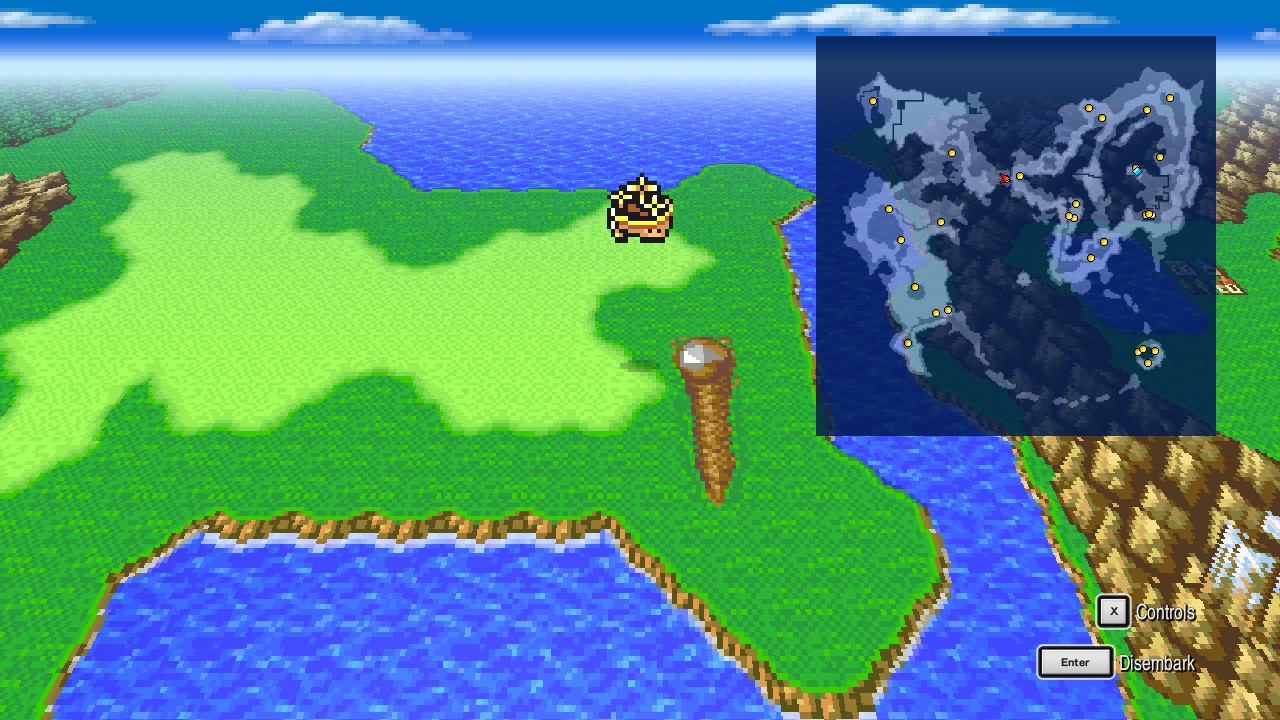 |
Disembark and head inside.
Karnak Meteorite
Head north, talk to Cid, wait for the scenes and then enter the meteorite.
Karnak Meteorite – Interior
Follow the linear path and head downstairs.
Head south and interact with the green orb to face another boss.
| Titan |
|---|
| ID | HP | MP | ATK | DEF | EVA | M.DEF | MAG | WEAKNESS | RESIST. | ABSORBS | CANCELS |
|---|---|---|---|---|---|---|---|---|---|---|---|
| 252 | 2500 | 2000 | 45 | 10 | 10 | 0 | 0 | None | Darkness, Zombie, Poison, Mini, Toad, Petrify, Death, Silence, Berserk, Confuse, Sleep, Old | Earth | None |
This boss hits hard, but at the same time, it barely has any health so the same strategy from the previous boss will do wonders here!
I personally used 2x Lightning scrolls + 2x 1000 Needles before the boss said no more.
You will receive the summoned monsters Titan for your efforts!
Second meteorite down. One to go.
Watch the scenes and once you regain control, exit the location.
Overworld
Our last stop is the Walse meteorite, so make your way there.
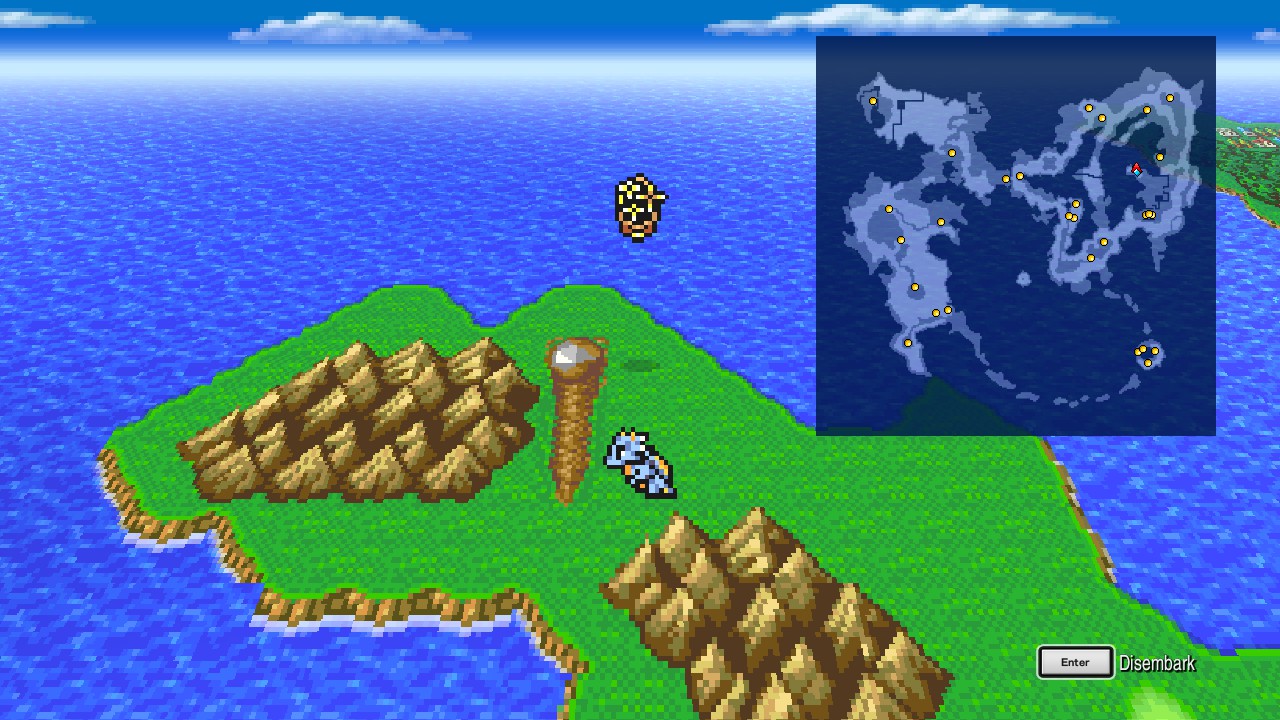 |
Disembark and head inside.
Walse Meteorite
You already know the drill. Speak to Cid and wait. This time you don’t have to enter the meteorite as the boss will come for you…
| Purobolos (x6) |
|---|
| ID | HP | MP | ATK | DEF | EVA | M.DEF | MAG | WEAKNESS | RESIST. | ABSORBS | CANCELS |
|---|---|---|---|---|---|---|---|---|---|---|---|
| 251 | 1500 | 100 | 45 | 0 | 0 | 0 | 10 | None | Mini, Toad, Confuse, Paralyze | None | None |
Okay. This battle is a little different. The Purobolos will try to revive their fallen mates each time one of them dies. This is specially annoying if you don’t have any group attacks, since the enemies will keep reviving infinitely or until they run out of MP. For this reason, there’s two good strategies you could adopt to win without much hassle.
The first method is casting Silence on the bosses to circumvent the revive phase. This way you could kill one by one without having to worry about them getting revived all the time.
The second and my favorite, is bringing a Bard and a Ninja to the fight. The bard should sing Romeo’s Ballad every turn in order to keep the creatures stopped, while the Ninja does the dirty job by spamming Lightning Scrolls until all enemies are out of combat. The choice is yours.
After winning, watch the scenes and notice the map showing your destination to progress with the game. However, we don’t want to head there yet as there’s unfinished business in this world.
For the time being, exit the location.
Overworld
Board the airship and head to Castle Walse, just south from the meteorite.
Departure
Castle Walse
We should have 0/1 chests and 3/6 items. I think we’re strong enough to finally complete this location.
Head north and enter the castle.
Castle Walse – 2F
Go east and take the stairs leading down.
Castle Walse – 1F
Head through the northeastern door and go downstairs.
Castle Walse – B1
| ㅤ ㅤ ㅤ BESTIARY: CASTLE WALSE – BASEMENTㅤ ㅤ |
|---|
| ID | MONSTER | HP | MP | GIL | EXP | |
|---|---|---|---|---|---|---|
| 030 | Jackanapes | 666 | 5000 | 1 | 0 | BM: Moon Flute |
This enemy was so damn strong the first time we were here… and now it’s just a little kitten… Not really, it’s still pretty strong, but we have ‘Level 5 Death’ on our side, so use that to OHKO it.
Follow the linear path to a split, then go through the left door to find a chest. Open the chest for Elven Mantle. [74/227]
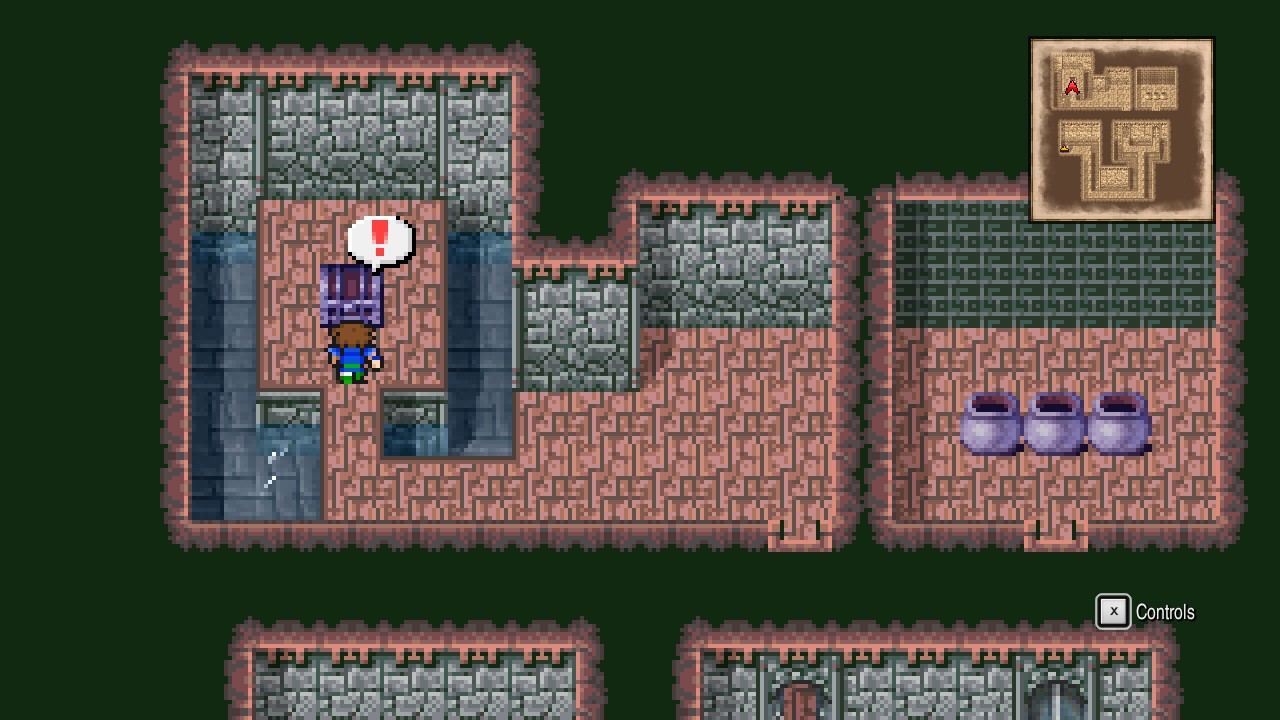 |
Backtrack to the split and head through the right door this time.
Search all three pots for 1000 Gil, Speed, and 1000 Gil. {29/44}
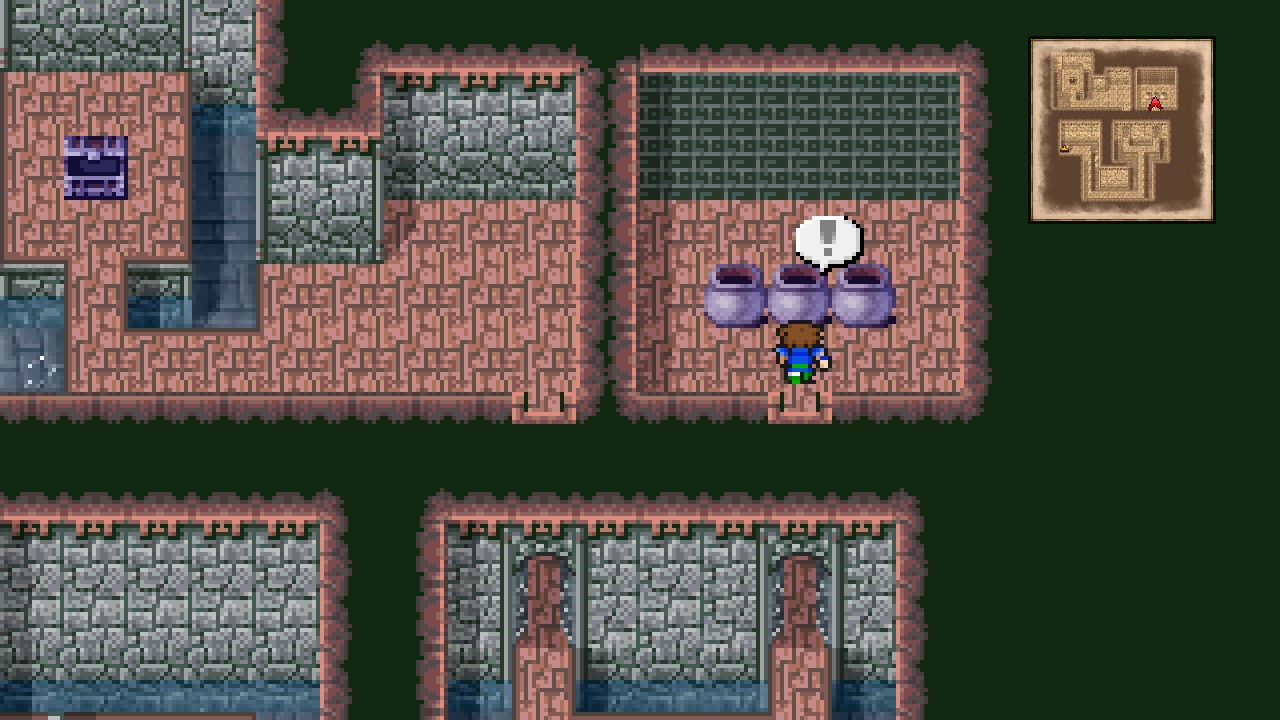 |
After ages, we’re finally done with this location! 1/1 chests and 6/6 items.
Exit the castle.
Overworld
We’re about to progress further with the game, so now it’s a good moment to deal with any business you have left in this world. Get all treasure chests you missed, all blue magics, all bestiary entries. Etc.
Here’s the first checkpoint checklist:
- Sinewy Etude (we unlocked this early)
- Mighty March
- Romeo’s Ballad
- Alluring Air
Once you’re ready to continue, head west from the Pirate’s Hideout and step on the warp.
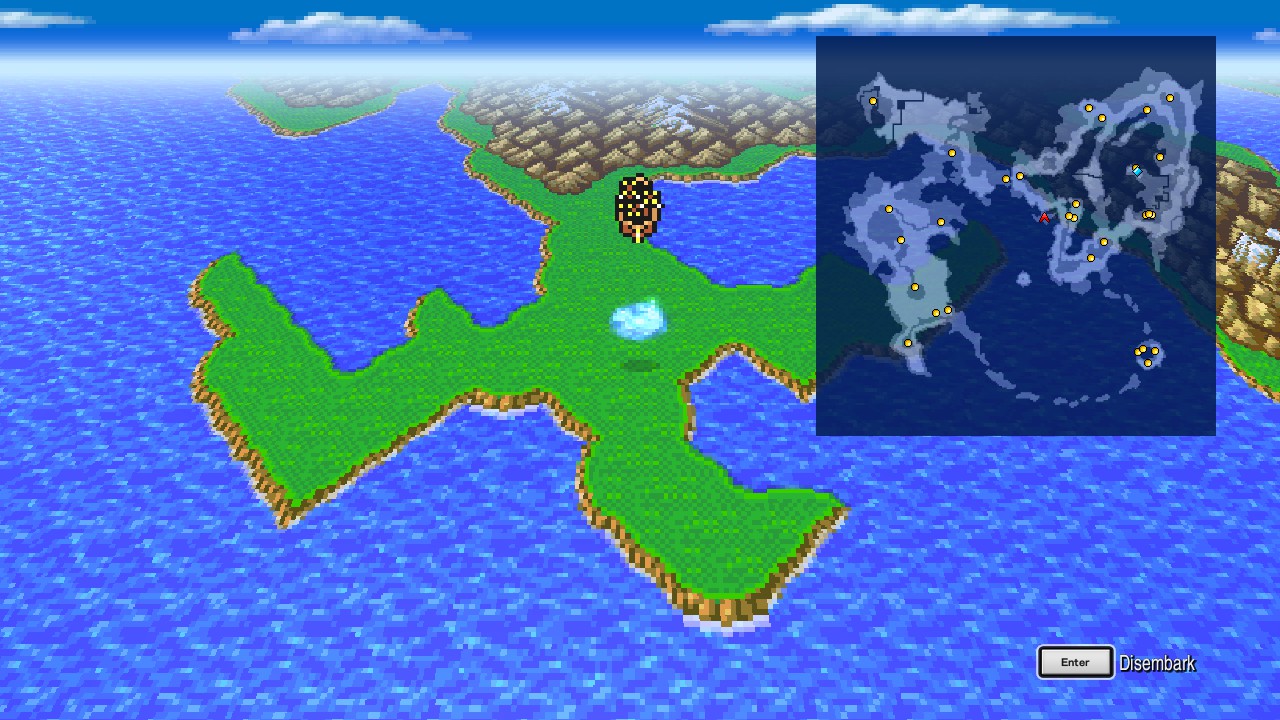 |
Galuf’s World
Congratulations. You just completed the first world! We’re 1/3 of the game.
Enjoy the scenes.
Overworld
Whole New Realm
Arrived in Galuf's world.
After the warm welcome, walk around until getting into a fight.
| ㅤ ㅤ ㅤ BESTIARY: DESERTED ISLANDㅤ ㅤ |
|---|
| ID | MONSTER | HP | MP | GIL | EXP |
|---|---|---|---|---|---|
| 070 | Pao | 500 | 0 | 0 | 0 |
This enemy drops tents, in case you’re interested in farming some. They’re cheap so this isn’t really necessary, but know the opportunity is always there.
Anyway, defeat at least one to update your bestiary.
Now, enter the forest north from the spawn point.
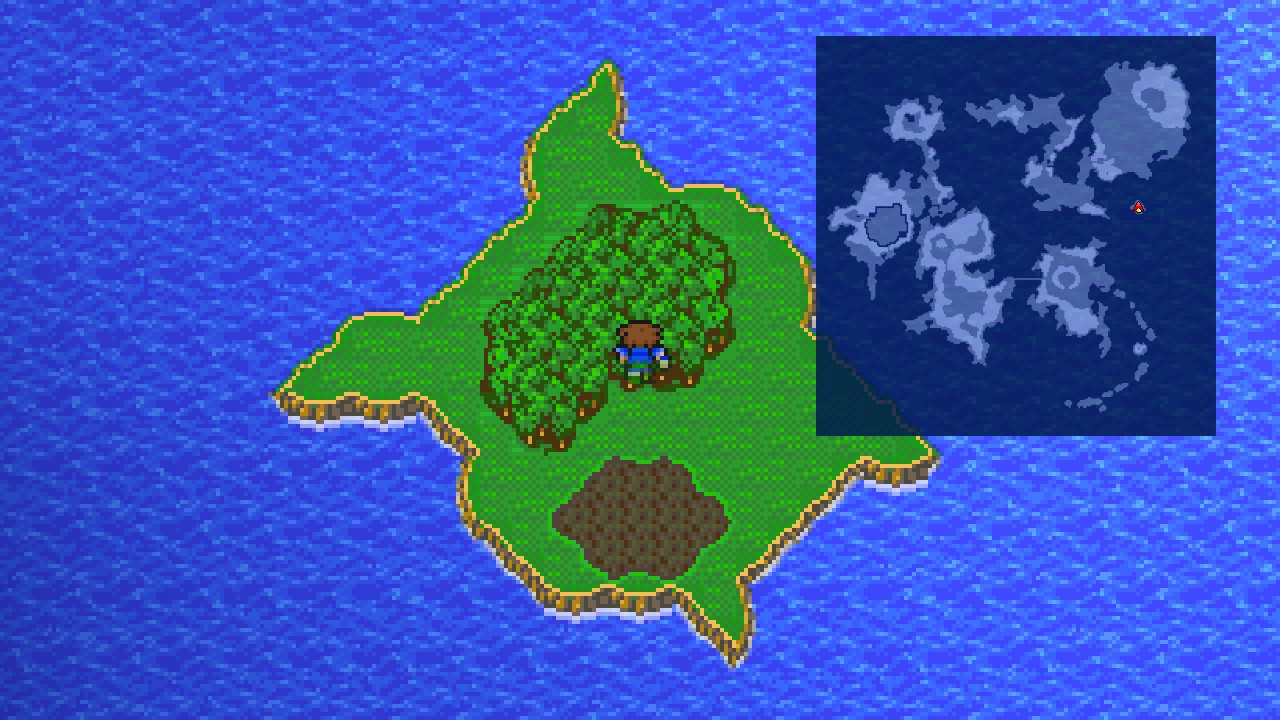 |
Save your game.
Answer with ‘Yes’ when asked about setting up a tent and resting.
During the middle of the night, your will be interrupted by…
WARNING: This might be a missable bestiary entry.
| Abductor |
|---|
| ID | HP | MP | ATK | DEF | EVA | M.DEF | MAG | WEAKNESS | RESIST. | ABSORBS | CANCELS |
|---|---|---|---|---|---|---|---|---|---|---|---|
| 254 | 1500 | 2000 | 40 | 0 | 0 | 0 | 10 | None | Mini, Toad, Paralyze, Sleep | None | None |
I’m not completely sure, but this creature had to be defeated in previous versions of the game in order to get credit for it in the bestiary. They probably changed that for this version, but I wouldn’t take the risk if I was you. Reload your save if you lose the battle, as the game continues even if you die.
After winning, open the chest full of gas to continue with the story.
Watch the scenes.
What a beautiful re-arrangement they did to one of the best music of this game! Damn, I love this track!
Enjoy it here: https://youtu.be/6mdTgAZU3Vg – [youtu.be]
Castle Exdeath – 1F
WARNING: This is a time limited location (it will morph in the future).
Summary of Missables:
- All bestiary entries: Tarantula and Shell Bear
| ㅤ ㅤ ㅤ BESTIARY: CASTLE EXDEATHㅤ ㅤ |
|---|
| ID | MONSTER | HP | MP | GIL | EXP |
|---|---|---|---|---|---|
| 071 | Tarantula | 200 | 0 | 231 | 88 |
| 072 | Shell Bear | 380 | 0 | 334 | 89 |
After the scenes, you regain control over Galuf with the objective of rescuing your friends. So what are we waiting for? let’s go!
Head through the north door to find a consecrated circle.
Save your game if you desire, then return to the previous room and proceed through the western stairs.
Castle Exdeath – B1
Go east and take the stairs leading down.
Castle Exdeath – B2
Head northwest and take another set of stairs down.
Castle Exdeath – B3
Heal up and quick-save, then follow the linear path to engage in a fight…
| Gilgamesh (first encounter) |
|---|
| ID | HP | MP | ATK | DEF | EVA | M.DEF | MAG | WEAKNESS | RESIST. | ABSORBS | CANCELS |
|---|---|---|---|---|---|---|---|---|---|---|---|
| 255 | 11500 | 2000 | 40 | 0 | 0 | 0 | 0 | None | Poison, Toad, Petrify, Confuse, Paralyze, Sleep | None | None |
I wouldn’t call this encounter a boss fight. Simply throw him anything you have and the battle should be over within 2-3 turns.
After such stressful fight, our group will be reunited again. YAY!
Make your way back to the consecrated circle at 1F.
North of the circle is a room with a spring that restores HP/MP/Status/KO.
Go back to the main hall, then exit through the south door.
Overworld
Before exploring this world, I highly recommend you to update your bestiary and blue magics.
Here’s a table of what you can encounter around this area:
| ㅤ ㅤ ㅤ BESTIARY: CASTLE EXDEATH AREAㅤ ㅤ |
|---|
| ID | MONSTER | HP | MP | GIL | EXP | |
|---|---|---|---|---|---|---|
| 073 | Devilfish | 600 | 50 | 222 | 330 | BM: Transfusion (repeat) |
| 074 | Treant | 700 | 50 | 225 | 330 | BM: Death Claw |
| 075 | Strapparer | 600 | 100 | 228 | 330 | BM: Dark Spark (repeat), Death Claw |
Devilfish spawns in plains and marshes (brown spots).
Treant spawns in plains and forests.
Strapparer spawns in plains.
This is also the perfect place to grind the blue magic ‘Death Claw’ as 2/3 enemies have access to the spell. You can even ‘Control’ any of the creatures to make the task much easier (I personally did it with a Strapparer).
Once you have finished, head northwest from the castle and enter the bridge.
The Big Bridge
Big Bridge
Here comes the favorite part of all Final Fantasy V lovers. The big bridge!
Come and enjoy with me this beautiful re-arrangement: https://youtu.be/8acSnOSMVq8 – [youtu.be]
Square Enix did it again, people. It’s time to forgive all bugs and enjoy the amazing job they did to this masterpiece!
| ㅤ ㅤ ㅤ BESTIARY: BIG BRIDGEㅤ ㅤ |
|---|
| ID | MONSTER | HP | MP | GIL | EXP |
|---|---|---|---|---|---|
| 076 | Merrow | 400 | 0 | 200 | 300 |
| 077 | Flying Killer | 300 | 0 | 200 | 300 |
| 078 | Little Chariot | 480 | 100 | 200 | 300 |
| 079 | Neo Garula | 980 | 1000 | 500 | 300 |
WARNING: This is a time-limited location.
Summary of Missables:
- All bestiary entries
Anyway, this dungeon is a bridge, so don’t expect anything more complex than a straight corridor. Literally. Go all the way north fighting the forced encounters until you reach the boss.
| Gilgamesh (second encounter) |
|---|
| ID | HP | MP | ATK | DEF | EVA | M.DEF | MAG | WEAKNESS | RESIST. | ABSORBS | CANCELS |
|---|---|---|---|---|---|---|---|---|---|---|---|
| 256 | 6500 | 1000 | 49 | 14 | 10 | 10 | 0 | None | Poison, Mini, Toad, Petrify, Death, Confuse, Paralyze, Sleep, Stop | None | None |
Long time no see, fellow! A little harder than the first encounter, but nothing that could pose a challenge to our experienced team.
Opening the battle with Silence is a good move as that prevents Gilgamesh from buffing himself. Silence seems to wear off after some turns, though, so be prepared to cast it again or be quick when defeating him.
1000 Needles is also a good ally here as it’s 1000 points of unavoidable damage per turn. Throw some Shurikens if you have any left and make use of all our recent acquired summons (such as Titan). Bringing someone with access to white magic shouldn’t even be mentioned at this point of the game. That’s a MUST for all boss fights!
After defeating this now recurrent opponent, return to the first bridge and keep going back and forth until collecting all the bestiary entries for this location. Switch tiles if you’re having issues finding any enemies (like hug the left or right walls instead of going through the middle).
Once done with this time-limited location, go all the way north to trigger a scene.
Regole and Moogle Forest
Overworld
| ㅤ ㅤ ㅤ BESTIARY: REGOLE AREAㅤ ㅤ |
|---|
| ID | MONSTER | HP | MP | GIL | EXP | |
|---|---|---|---|---|---|---|
| 080 | Tunneller | 1000 | 100 | 237 | 353 | |
| 081 | Birostris | 1000 | 500 | 240 | 353 | BM: Transfusion (repeat) |
| 082 | Fairy Orc | 1000 | 1000 | 243 | 385 | |
| 083 | Devourer | 1000 | 100 | 246 | 385 | |
| 084 | Mandrake | 1000 | 100 | 249 | 385 |
Mandrake is more common in marshes.
After the previous events and once we regain control, head east past the mountains and go through the woods to reach a village.
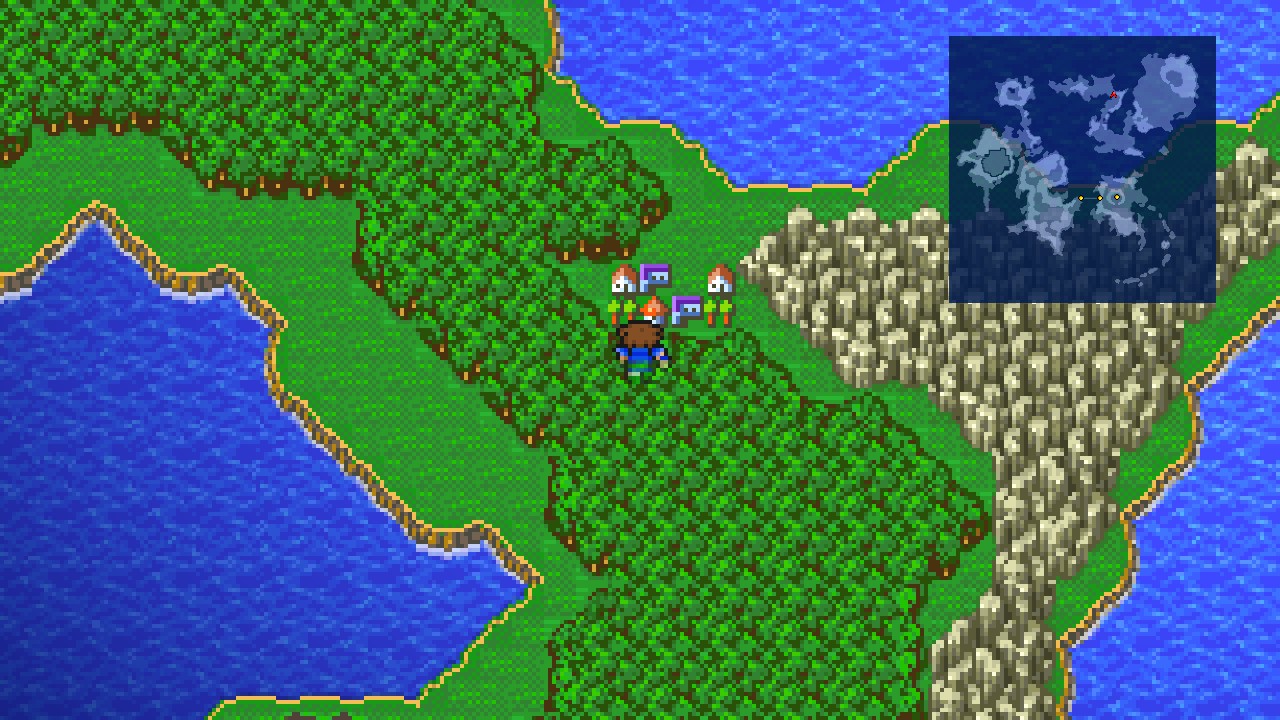 |
This is Regole. Head inside.
Regole
As it’s becoming usual, this town holds no collectibles. However, I heard that there’s a hidden piano somewhere…
First and foremost, pay a visit to the Inn located at the northwest corner of town and choose to stay the night.
Watch the scenes.
Now enter the Pub just below the Inn and push towards the bottom left wall to reveal a secret passage.
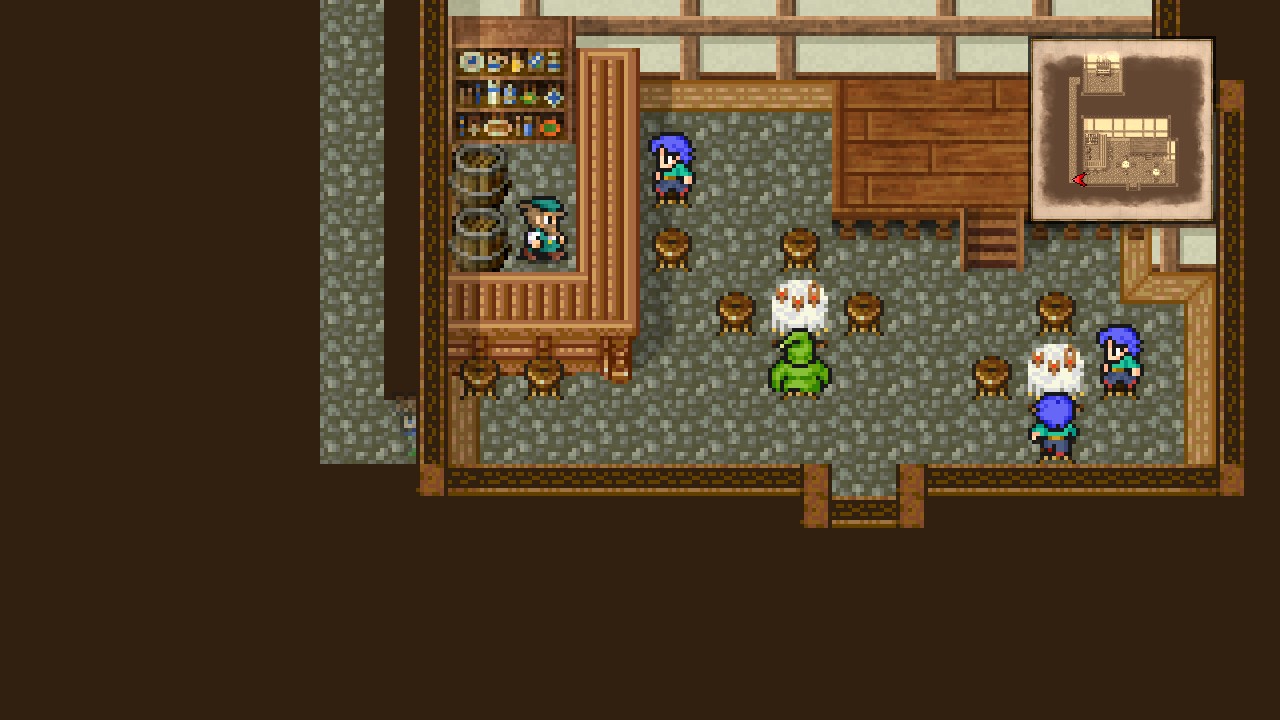 |
Follow the path to the back of the Pub to find the mysterious piano we mentioned earlier.
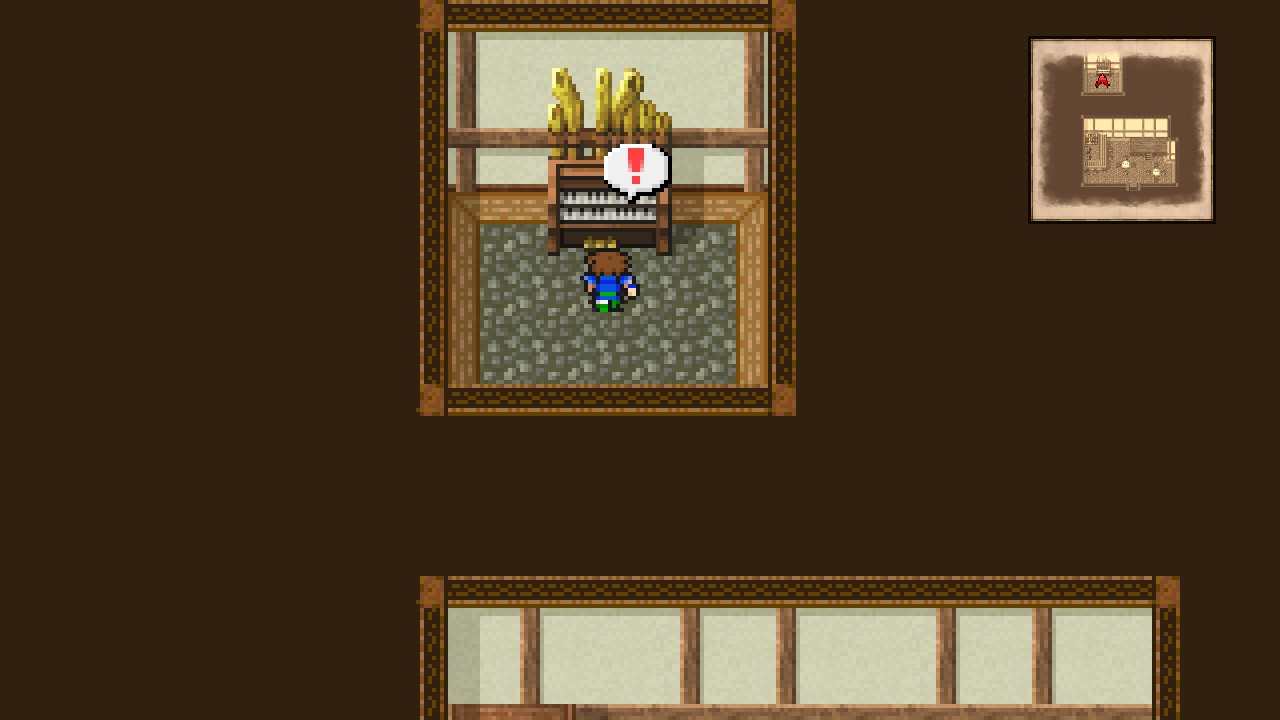 |
Play the piano to get progress towards the related achievement (Damn, Bartz is really getting the hang of it!) [Piano Maestro: 6/8]
Exit the Pub.
Note: Dancing at the stage will yield you 100 Gil. This action can be repeated as many times as you want (infinite money, anyone?).
Now that we’re done with the exploration phase, feel free to go shopping spreee!
| Items #1 | ||
|---|---|---|
| Item | Cost | Description |
| Hi-Potion | 360 | Recovers HP. |
| Potion | 40 | Recovers HP. |
| Phoenix Down | 1000 | Revives an ally from the KO status. |
| Gold Needle | 150 | Cures an ally of petrification. |
| Maiden’s Kiss | 60 | Cures an ally of the toad status. |
| Mallet | 50 | Cures an ally of the mini status. |
| Eye Drops | 20 | Cures an ally of darkness. |
| Antidote | 30 | Cures an ally of poison. |
| Items #2 | ||
|---|---|---|
| Item | Cost | Description |
| Ether | 1500 | Recovers MP. |
| Holy Water | 150 | Cures an ally of the zombie status. |
| Cottage | 600 | Recovers all members’ HP and MP. Can be used outdoors. |
| Goliath Tonic | 110 | Temporarily doubles maximum HP. Consumed with the Drink command. |
| Power Drink | 110 | Temporarily increases attack. Consumed with the Drink command. |
| Speed Shake | 110 | Replicates the effect of the Haste spell. Consumed with the Drink command. |
| Iron Draft | 110 | Replicates the effect of the Protect spell. Consumed with the Drink command. |
| Hero Cocktail | 110 | Temporarily increases level. Consumed with the Drink command. |
| Weapons | ||
|---|---|---|
| Item | Cost | Description |
| Orichalcum Dirk | 3400 | Attack +41 Can be enchanted |
| War Hammer | 6400 | Attack +38 Can be two-handed |
| Ashura | 5800 | Attack +42 Can be two-handed |
| Sleep Blade | 5600 | Attack +49 Can be two-handed Can be enchanted |
| Wind Spear | 5400 | Attack +44 |
| Dark Bow | 3800 | Attack +43 |
| Dream Harp | 1600 | Attack +25 |
| Chain Whip | 3300 | Attack +52 |
| Armor | ||
|---|---|---|
| Item | Cost | Description |
| Golden Shield | 3000 | Defense +4 Evasion +30 Weight +5 |
| Golden Helm | 3500 | Defense +8 Magic Defense +2 Weight +4 |
| Green Beret | 2500 | Defense +3 Magic Defense +2 Weight +2 Strength +1 Agility +1 |
| Wizard’s Hat | 1500 | Defense +4 Magic Defense +2 Weight +2 Magic +1 |
| Golden Armor | 4000 | Defense +12 Magic Defense +2 Weight +8 |
| Ninja Suit | 3000 | Defense +9 Magic Defense +2 Weight +3 Agility +1 |
| Gaia Gear | 2000 | Defense +8 Magic Defense +10 Weight +2 |
| Magic #1 | ||
|---|---|---|
| Item | Cost | Description |
| Blink | 3000 | Creates illusions of oneself to trick the enemy. |
| Shell | 3000 | Reduces magic damage received. |
| Esuna | 3000 | Cures all status effects except KO and zombie. |
| Magic #2 | ||
|---|---|---|
| Item | Cost | Description |
| Drain | 3000 | Absorbs HP. |
| Break | 3000 | Causes petrification. |
| Bio | 3000 | Attacks with a poison that deals sapping damage. |
| Magic #3 | ||
|---|---|---|
| Item | Cost | Description |
| Comet | 3000 | Calls forth meteors that damage one enemy. |
| Slowga | 3000 | Slows the passing of time for all enemies. |
| Return | 3000 | Turns back time to the beginning of the battle. |
Nice new spells! Get everything if you can. Trust me, they may come very in handy later in the game.
Once done with your purchases, exit the town.
Overworld
From Regole, head south until you reach a large forest (ignore the castle for now), then go east, north, and east again to reach a square-shaped forest.
Note: There’s a nasty creature called ‘Kuza Beast’ roaming outside the castle area. If you run into it, ESCAPE. I mean, you can kill it now with some tricks, but I don’t think it’s worth the effort as we will have to come back to this place later anyway.
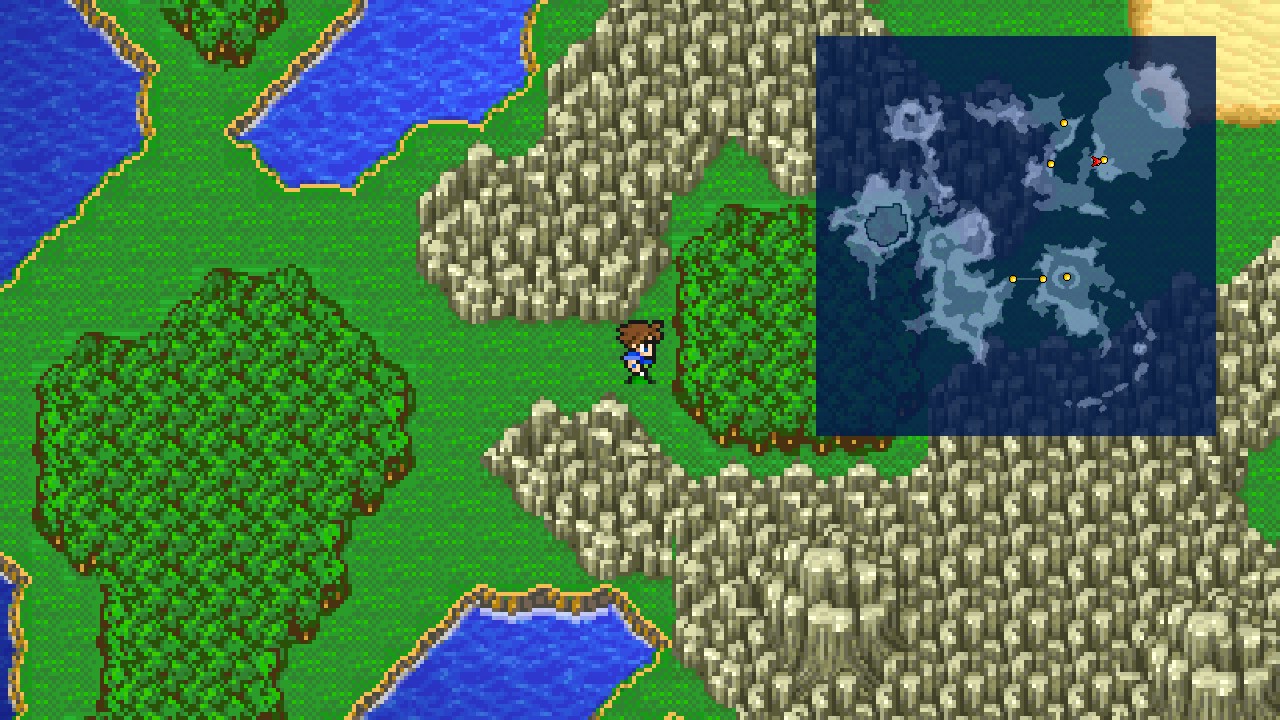 |
Once you reach the marked location, head inside.
Moogle Forest
Go east and try to speak with the Moogle. The poor creature will run off just to end falling down a hole…
Well, we’re the hero of this story and as such, it’s our duty to keep everything in order. So follow the little fellow down the hole.
Underground Waterway and Moogle Village
Underground Waterway
WARNING: This is a one-visit location.
Summary of Missables:
- All treasure chests
- All bestiary entries
| ㅤ ㅤ ㅤ BESTIARY: UNDERGROUND WATERWAYㅤ ㅤ |
|---|
| ID | MONSTER | HP | MP | GIL | EXP |
|---|---|---|---|---|---|
| 088 | Blood Slime | 600 | 100 | 264 | 365 |
| 089 | Acrophies | 900 | 0 | 267 | 410 |
| 090 | Moogle Eater | 1000 | 50 | 270 | 665 |
| 091 | Lesser Lopros | 2300 | 200 | 273 | 888 |
Time to conquer another dungeon! (and rescue our little friend while we’re at it)
Step into the water and let it transport you to solid ground.
Now head east and go down the stairs to get transported to another landing.
Head east and go through the narrow passage to find a chest. Open the chest for 4400 Gil. [75/227]
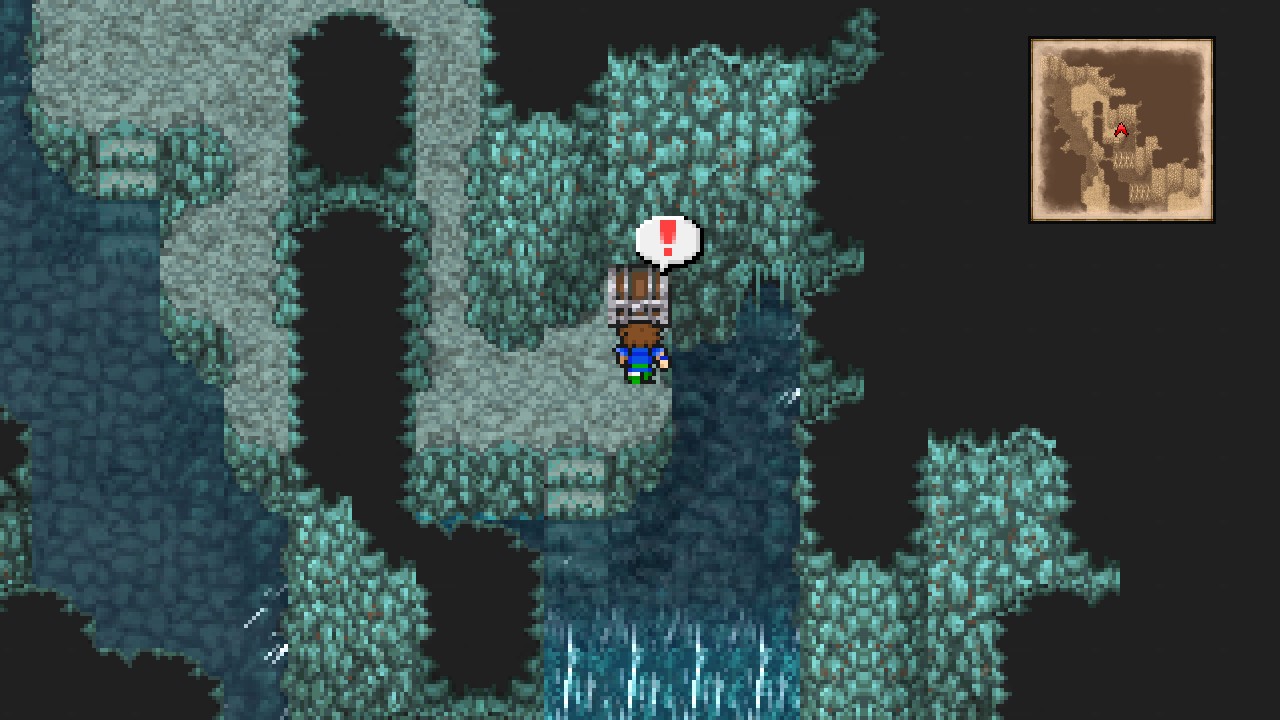 |
Step into the water and let the waterfall take you to the next section of this dungeon.
Now step into the water once again to reach the lower area.
From here, go west and open the chest for a Phoenix Down. [76/227]
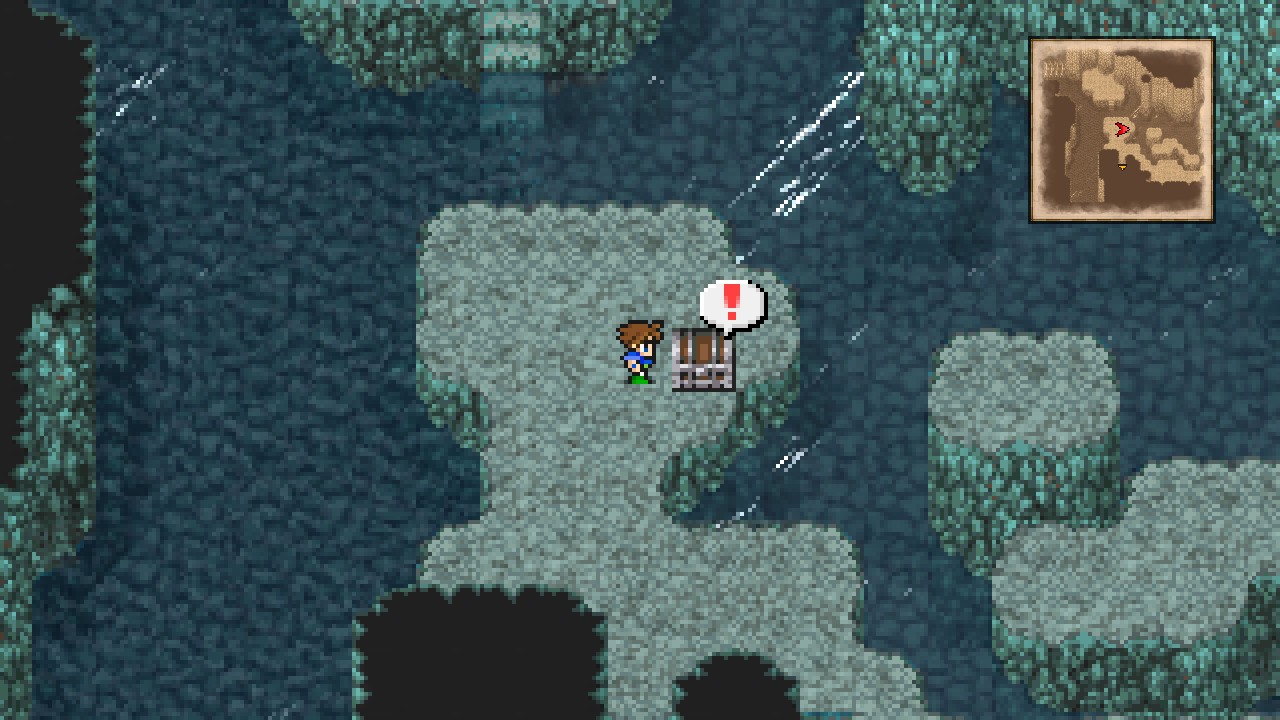 |
And that concludes the collectibles of this location. 2/2 chests.
Next, head east and follow the linear path up the stairs to find our little friend.
Heal up and quick-save, then approach the skeleton to engage in a boss fight.
| Tyrannosaur |
|---|
| ID | HP | MP | ATK | DEF | EVA | M.DEF | MAG | WEAKNESS | RESIST. | ABSORBS | CANCELS |
|---|---|---|---|---|---|---|---|---|---|---|---|
| 257 | 5000 | 1000 | 45 | 20 | 0 | 20 | 0 | Fire | Poison, Mini, Toad, Petrify, Silence, Confuse, Paralyze, Sleep, Stop | None | Ice |
This is by far the easiest boss fight in the whole game. Not because the boss is weak or doesn’t have any devastating attacks in its arsenal, but because you can end the battle with just one action. Yes. You read it right. Simple use a Phoenix Down on the creature and the battle will be over.
If you don’t have any Phoenix Downs left to use (which is highly unlikely), then spam fire-based spells/summons until the boss is no more.
Either way, watch the aftermath scenes and pay attention to the path the Moogle is taking. Did you get it? Well, let me explain it for you. What the creature is trying to say, is that no matter what you do, don’t ever step on the sand. There has to be a good reason for that, right?
Note: Don’t leave the dungeon until you have collected all treasure chests and bestiary entries. This is again an one-visit only location and if you miss anything, you will have to start all over again in order to reach 100% completion.
Overworld
Remember the path the Moogle went through during the previous cutscene? Well. The summary is basically ‘follow the plains and forests without ever stepping on the sand’. But we’re completing the bestiary here so running away like a little scared girl isn’t part of our agenda.
So what to do? Well. Switch any party member to ‘Mystic Knight’, heal up and quick-save, then roam over the desert area to trigger the so called dangerous encounter…
| ㅤ ㅤ ㅤ BESTIARY: MOOGLE VILLAGE AREA – DESERTㅤ ㅤ |
|---|
| ID | MONSTER | HP | MP | GIL | EXP |
|---|---|---|---|---|---|
| 092 | Cactus | 1000 | 50 | 255 | 419 |
| 093 | Sandcrawler | 15000 | 1000 | 1000 | 1000 |
Cactus shouldn’t be much of a problem. Simply cast any group attack and they will be out of combat really quick.
The Sandcrawler on the other hand, is the true boss of this location. However, if we brought a Mystic Knight, then the battle will last exactly two turns.
With the Mystic Knight, use Spellblade → Break during the first turn, then attack during the second to kill the Sandcrawler instantly. That basically is. If you want to fight this overpowered creature in the old-fashioned way, then it’s all on your hands.
Once done with the previous task, follow the path the Moogle went through to reach the next location (It’s just one step north from the screenshot below).
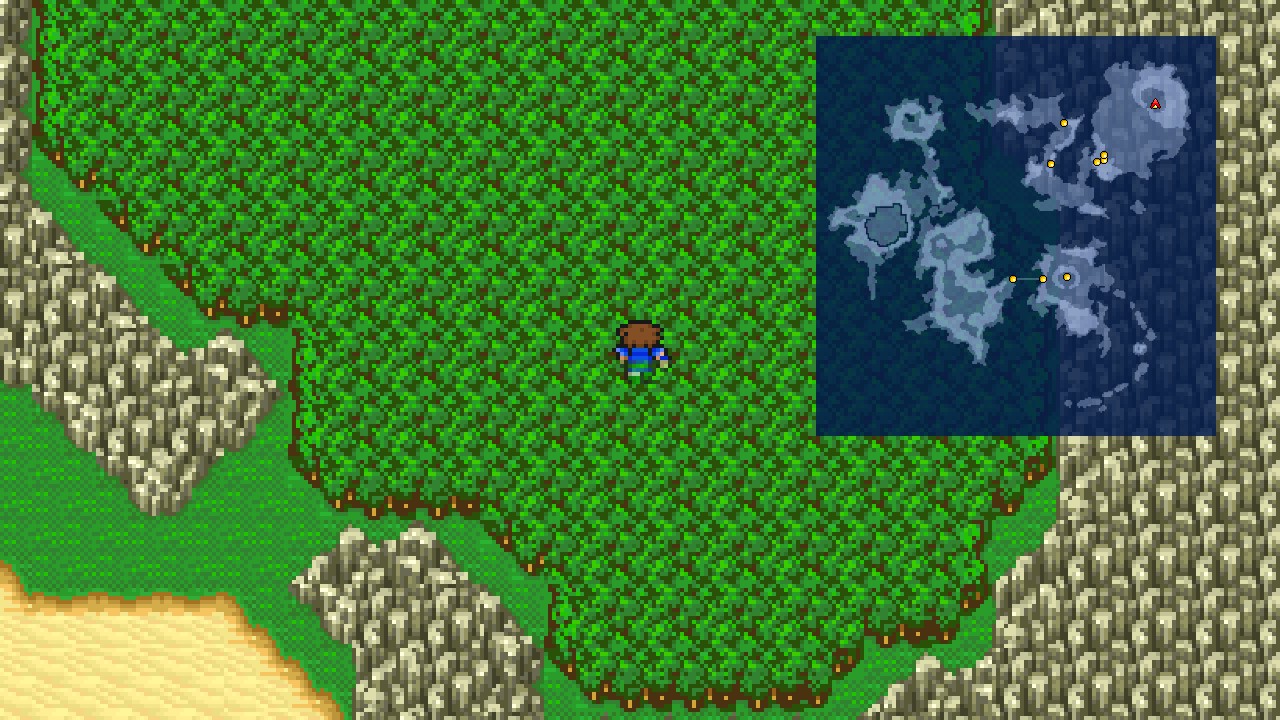 |
Moogle Village
Approach the group of Moogles near the entrance and they will run off.
Head to the northeastern corner of the town and interact with the Moogle for a scene. This is the Moogle we helped earlier! As a thank, it will open the door to the nearby tree and invite you inside.
Open all chests here for Ether, Phoenix Down, 10000 Gil, 1 Gil, Dancing Dagger, and Cottage. [82/227]
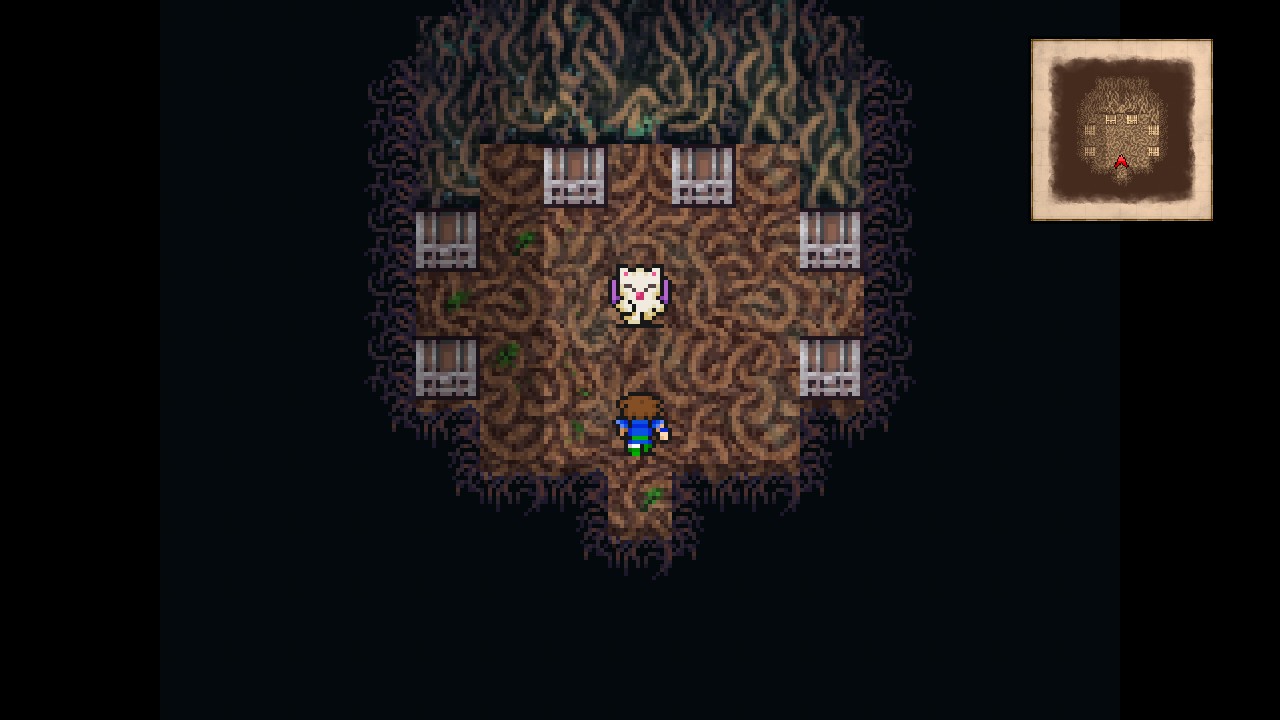 |
Leave the house.
Head back to the entrance and enter the middle tree.
Interact with the Moogle costume and choose to wear it.
Exit and enter the tree just left of this one.
Speak to the moogle so it removes the lock from the chest for you.
Now open the chest for a Elven Mantle. [83/227]
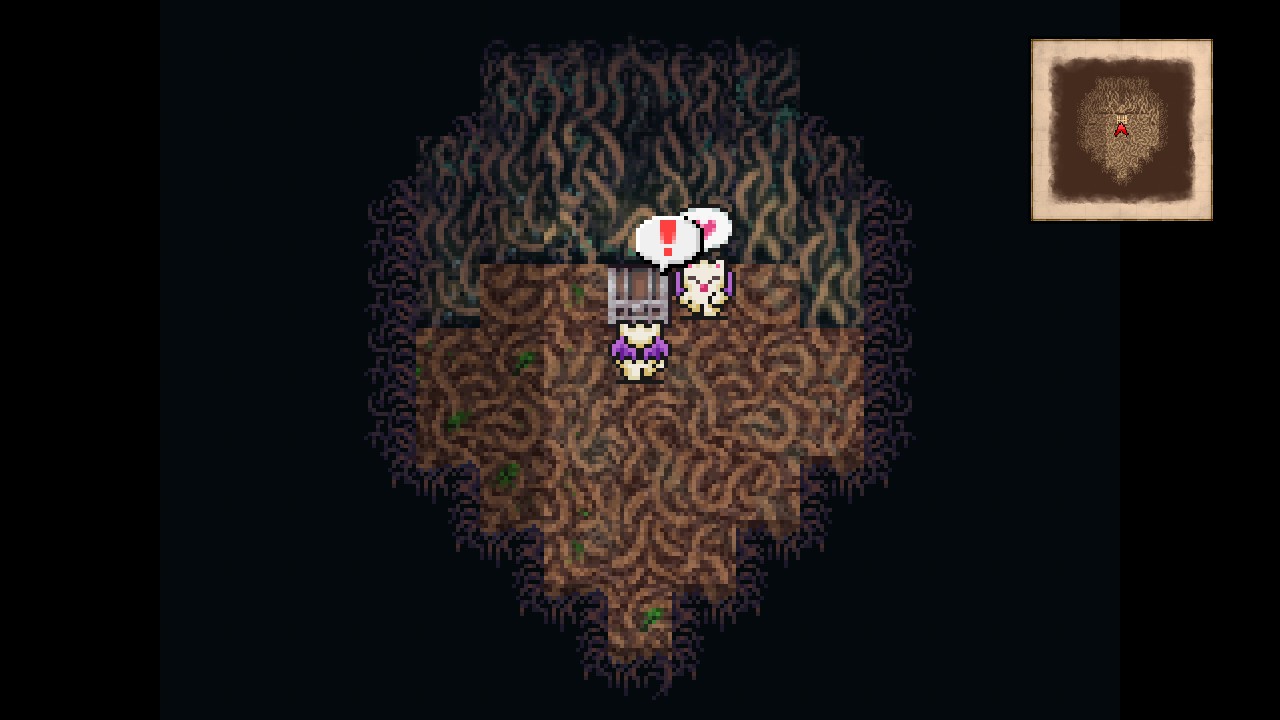 |
And with that, we have 7/7 chests for this location.
Now that we’re done with this place, go back to the first Moogle and speak to it.
Watch the scenes.
Krile comes to the rescue!
Castle of Bal: Part I
Castle of Bal – Throne Room
After a relatively long sequence of cutscenes, you will finally regain control over your party to freely explore Galuf’s hometown.
While still in the throne room, head west and open the only unopened chest for Hero Cocktail. [84/227]
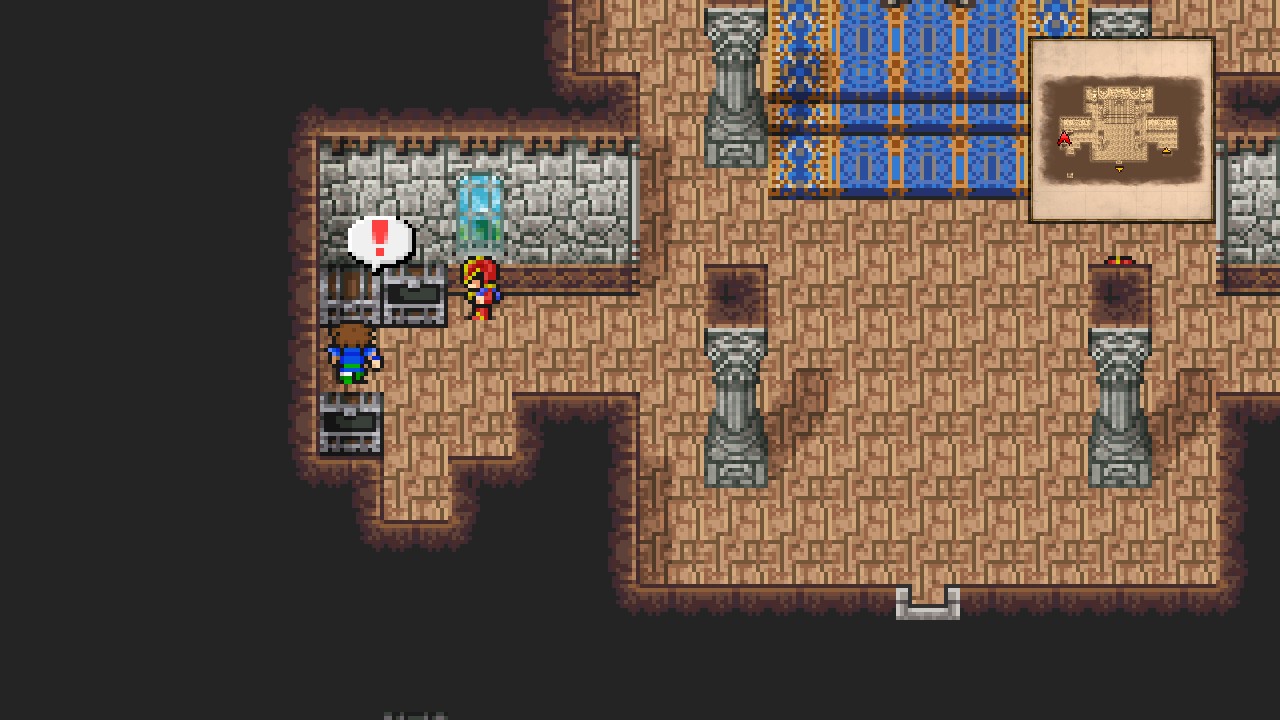 |
Head south from the chests to find a secret passage. At the bottom is a chest with Teleport. [85/227]
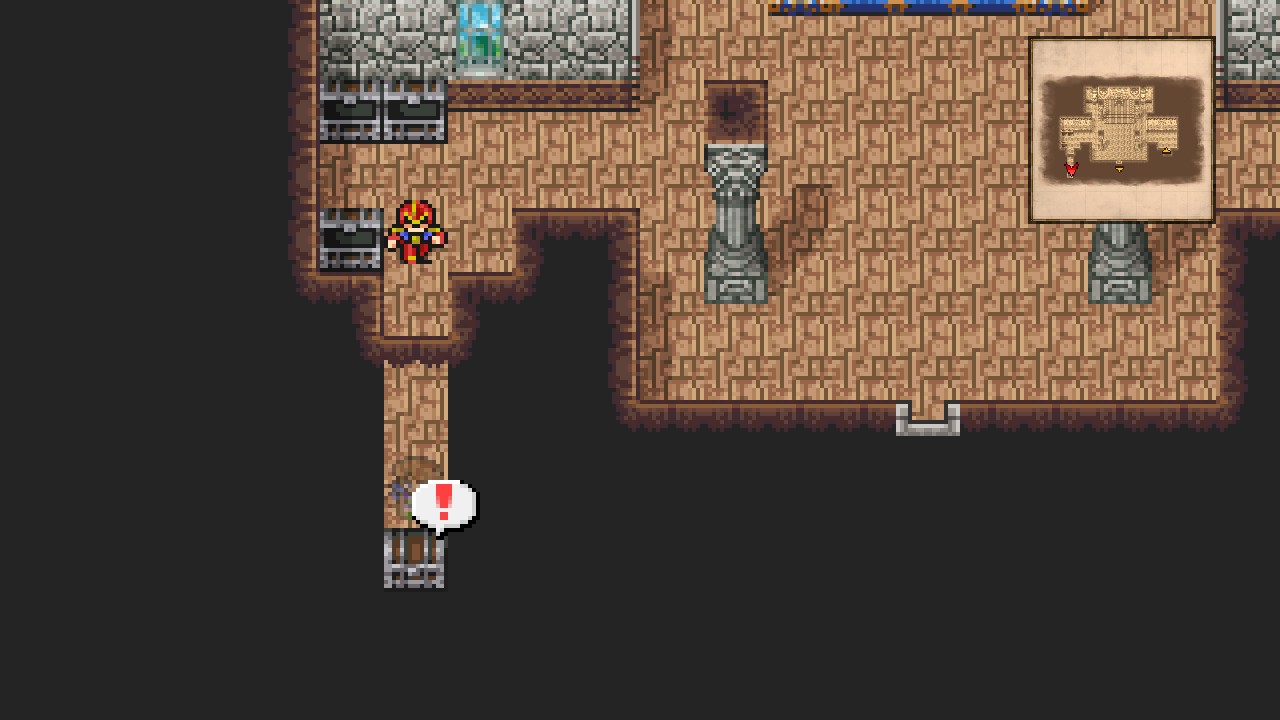 |
Now go south twice to exit to the courtyard.
Castle of Bal
Enter the leftmost tower.
Castle of Bal – 1F
Go north between the counters and take the stairs leading up. Make your way to the top.
Castle of Bal
Head west from the stairs to find another stairs hidden behind the tower.
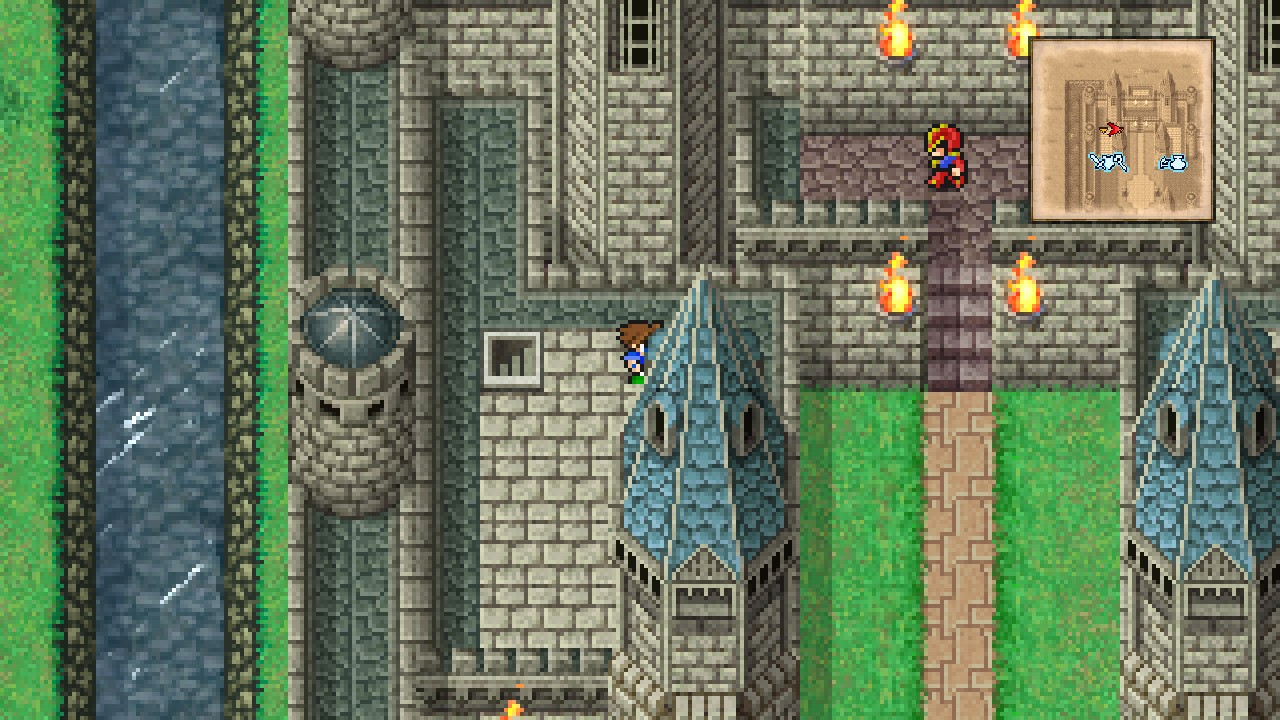 |
Go all the way down.
Castle of Bal – 1F
Open the single unopened chest for Angel Robe. [86/227]
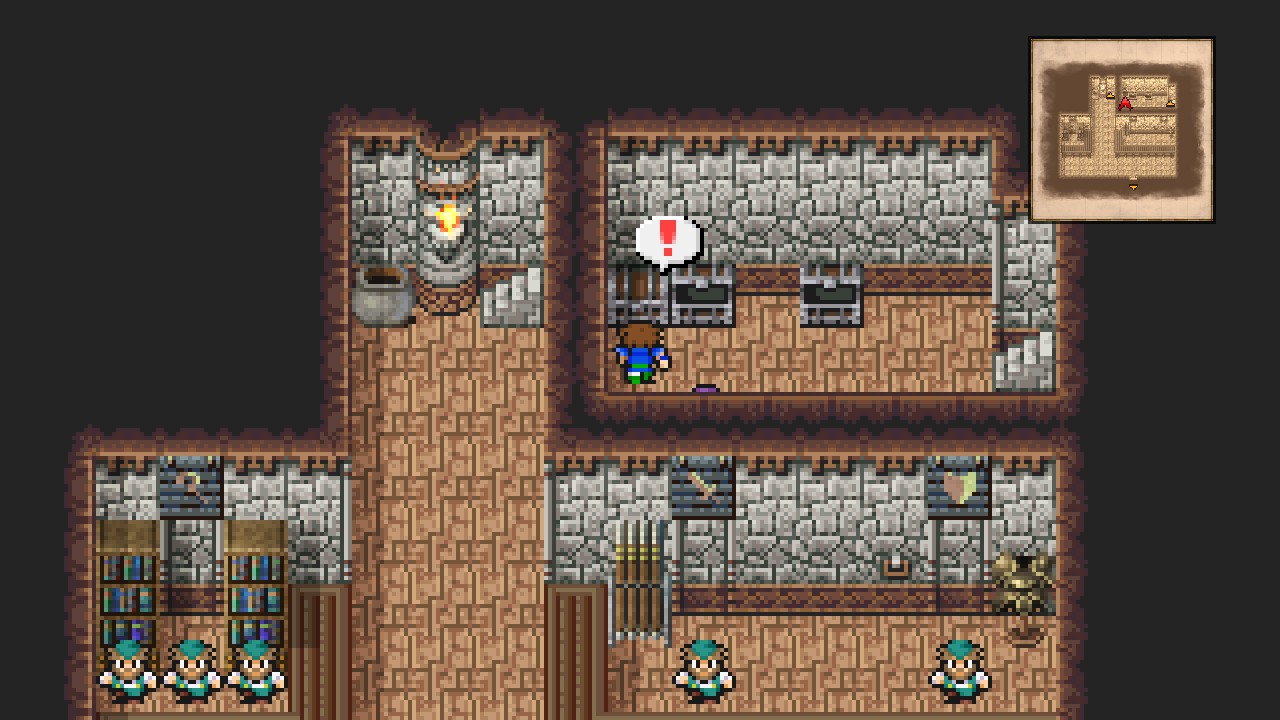 |
Now stand one tile right from the rightmost chest and walk south towards the wall.
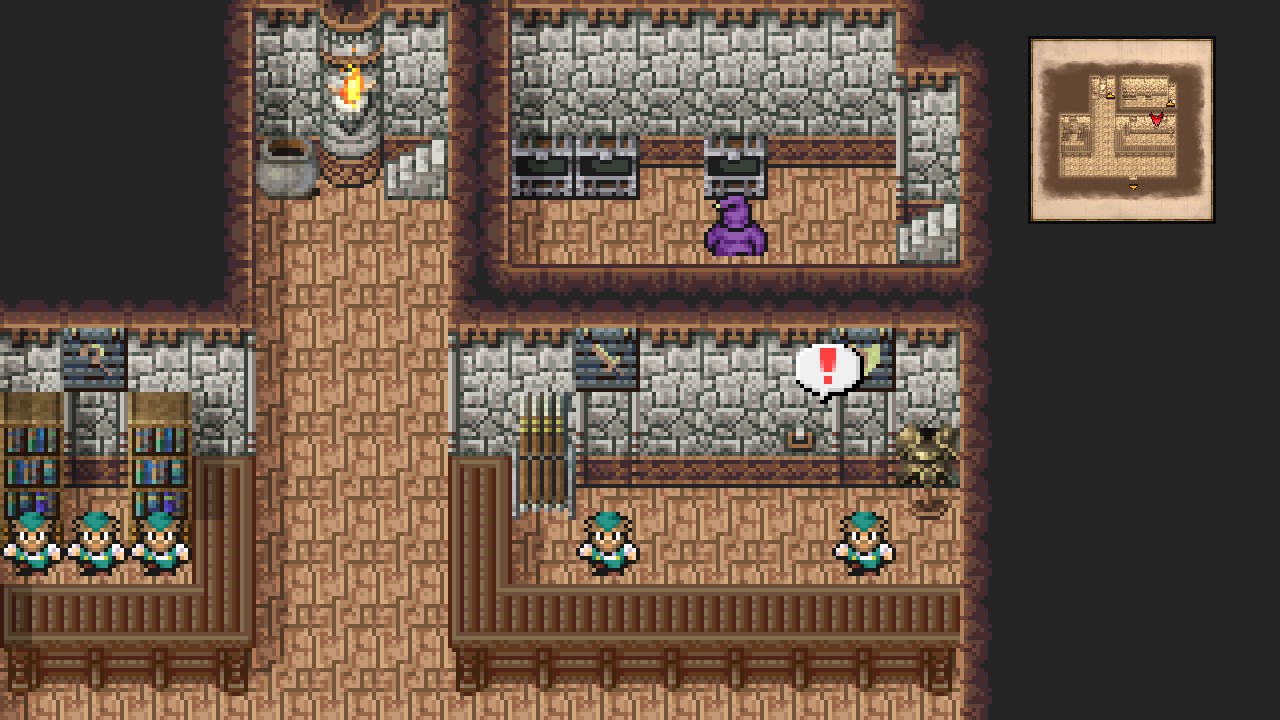 |
Press the switch to open a passage to the shop.
Watch the hilarious scene to receive a Lamia’s Harp afterwards.
Make your way back to the courtyard.
Castle of Bal
Head immediately south from the left tower’s door and enter the water.
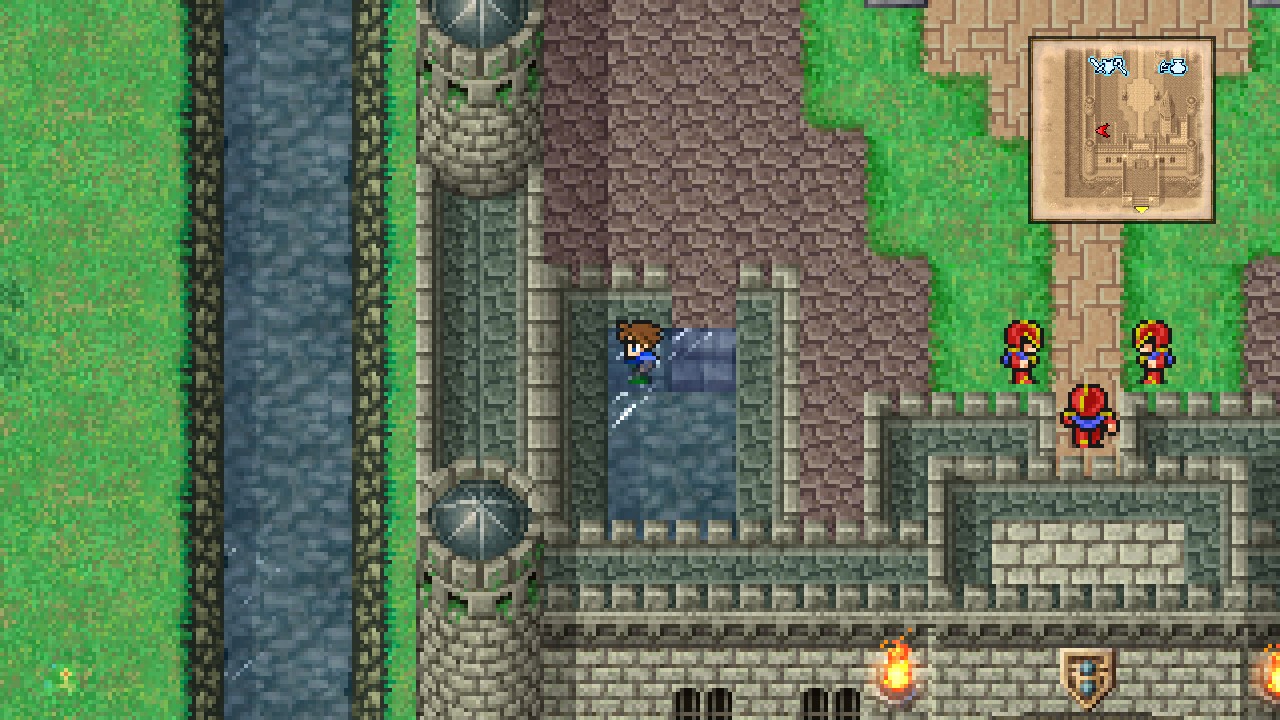 |
Walk to the lower-left corner to get flushed out of the castle.
Follow the linear path to the other side and interact with the marked spot for a Great Sword! {30/44}
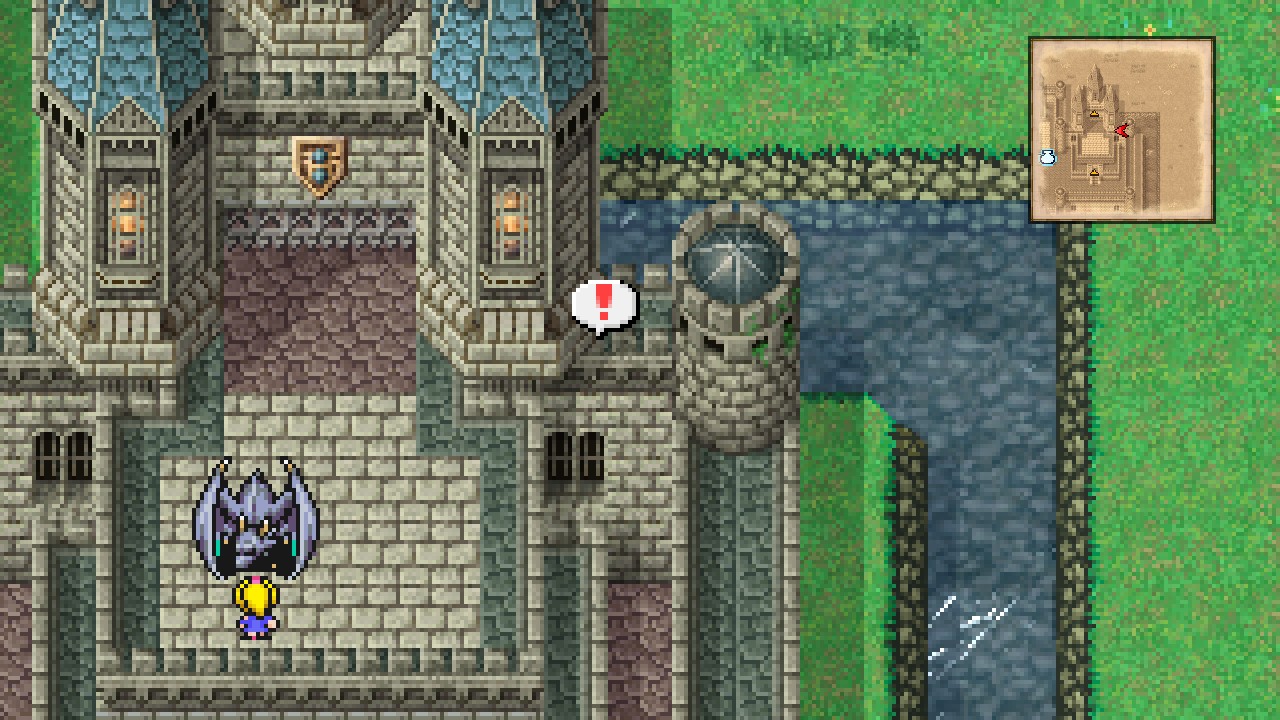 |
We’re done collecting treasures for this location. 3/3 chests and 1/1 items.
Make your way back into the castle (flip the northwest switch to get pulled back into the castle).
Once back at courtyard, feel free to visit the shops and purchase anything you need.
| Magic #1 | ||
|---|---|---|
| Item | Cost | Description |
| Blink | 3000 | Creates illusions of oneself to trick the enemy. |
| Shell | 3000 | Reduces magic damage received. |
| Esuna | 3000 | Cures all status effects except KO and zombie. |
| Magic #2 | ||
|---|---|---|
| Item | Cost | Description |
| Drain | 3000 | Absorbs HP. |
| Break | 3000 | Causes petrification. |
| Bio | 3000 | Attacks with a poison that deals sapping damage. |
| Magic #3 | ||
|---|---|---|
| Item | Cost | Description |
| Comet | 3000 | Calls forth meteors that damage one enemy. |
| Slowga | 3000 | Slows the passing of time for all enemies. |
| Return | 3000 | Turns back time to the beginning of the battle. |
| Weapons | ||
|---|---|---|
| Item | Cost | Description |
| Orichalcum Dirk | 3400 | Attack +41 Can be enchanted |
| War Hammer | 6400 | Attack +38 Can be two-handed |
| Ashura | 5800 | Attack +42 Can be two-handed |
| Sleep Blade | 5600 | Attack +49 Can be two-handed Can be enchanted |
| Wind Spear | 5400 | Attack +44 |
| Dark Bow | 3800 | Attack +43 |
| Dream Harp | 1600 | Attack +25 |
| Chain Whip | 3300 | Attack +52 |
| Armor | ||
|---|---|---|
| Item | Cost | Description |
| Golden Shield | 3000 | Defense +4 Evasion +30 Weight +5 |
| Golden Helm | 3500 | Defense +8 Magic Defense +2 Weight +4 |
| Green Beret | 2500 | Defense +3 Magic Defense +2 Weight +2 Strength +1 Agility +1 |
| Wizard’s Hat | 1500 | Defense +4 Magic Defense +2 Weight +2 Magic +1 |
| Golden Armor | 4000 | Defense +12 Magic Defense +2 Weight +8 |
| Ninja Suit | 3000 | Defense +9 Magic Defense +2 Weight +3 Agility +1 |
| Gaia Gear | 2000 | Defense +8 Magic Defense +10 Weight +2 |
| Gauntlets | 3000 | Defense +6 Magic Defense +1 Weight +5 |
Pretty much the same stuff as Regole, with the addition of Gauntlets in the armor shop.
| Inn | |
|---|---|
| Service | Cost |
| Rest | 50 |
| Items #1 | ||
|---|---|---|
| Item | Cost | Description |
| Hi-Potion | 360 | Recovers HP. |
| Potion | 40 | Recovers HP. |
| Phoenix Down | 1000 | Revives an ally from the KO status. |
| Gold Needle | 150 | Cures an ally of petrification. |
| Maiden’s Kiss | 60 | Cures an ally of the toad status. |
| Mallet | 50 | Cures an ally of the mini status. |
| Eye Drops | 20 | Cures an ally of darkness. |
| Antidote | 30 | Cures an ally of poison. |
| Items #2 | ||
|---|---|---|
| Item | Cost | Description |
| Ether | 1500 | Recovers MP. |
| Holy Water | 150 | Cures an ally of the zombie status. |
| Cottage | 600 | Recovers all members’ HP and MP. Can be used outdoors. |
| Goliath Tonic | 110 | Temporarily doubles maximum HP. Consumed with the Drink command. |
| Power Drink | 110 | Temporarily increases attack. Consumed with the Drink command. |
| Speed Shake | 110 | Replicates the effect of the Haste spell. Consumed with the Drink command. |
| Iron Draft | 110 | Replicates the effect of the Protect spell. Consumed with the Drink command. |
| Hero Cocktail | 110 | Temporarily increases level. Consumed with the Drink command. |
Exactly same stuff as Regole…
Now that we’re done with our purchase, re-enter the castle.
Castle of Bal: Part II
Castle of Bal – 1F
Head downstairs into the basement area.
Castle of Bal – B1
Save at the consecrated circle, then head downstairs again.
Castle of Bal – B2
Keep going back and forth until engaging in a battle against…
| ㅤ ㅤ ㅤ BESTIARY: CASTLE OF BAL – BASEMENTㅤ ㅤ |
|---|
| ID | MONSTER | HP | MP | GIL | EXP |
|---|---|---|---|---|---|
| 099 | Objet d’Art | 3300 | 20 | 507 | 100 |
Those are weak to Level 5 Death. Considering that, this is a great place to farm EXP and ABP. You can even get 5 enemies at once depending on your luck. Visit the Inn whenever you need to refill HP and MP.
Either way, after grinding or just getting that bestiary entry, make your way back to the Throne Room and head up the eastern staircase.
Castle of Bal – 3F
Go another floor up and exit through the southern door.
Castle of Bal
Talk to Krile to initiate a worrying cutscene. She tells you that the Wing Drake is dying, so we need to bring Dragon Grass in order to save his life… So what are we waiting for? get ready to travel to Drakenvale!
Exit the castle, heal up and quick-save, then talk to the guards by the gate to head outside.
As soon as you set foot outside the gates, Exdeath’s minions will come and attack you…
| ㅤ ㅤ ㅤ BESTIARY: CASTLE OF BAL – GATEㅤ ㅤ |
|---|
| ID | MONSTER | HP | MP | GIL | EXP |
|---|---|---|---|---|---|
| 258 | Abductor | 2500 | 1000 | 0 | 0 |
After the battle, exit the location.
Overworld
| ㅤ ㅤ ㅤ BESTIARY: QUELB AREAㅤ ㅤ |
|---|
| ID | MONSTER | HP | MP | GIL | EXP | |
|---|---|---|---|---|---|---|
| 094 | Aquathorn | 800 | 100 | 279 | 490 | |
| 095 | Weresnake | 900 | 20 | 282 | 490 | |
| 096 | Kornago | 1000 | 300 | 285 | 512 | BM: Pond’s Chorus (repeat) |
| 097 | Cursed Being | 1380 | 200 | 288 | 900 |
Aquathorn is more common in marshes.
Kornago is more common in plains.
Back at the overworld, head north along the path to reach a village in between the mountains.
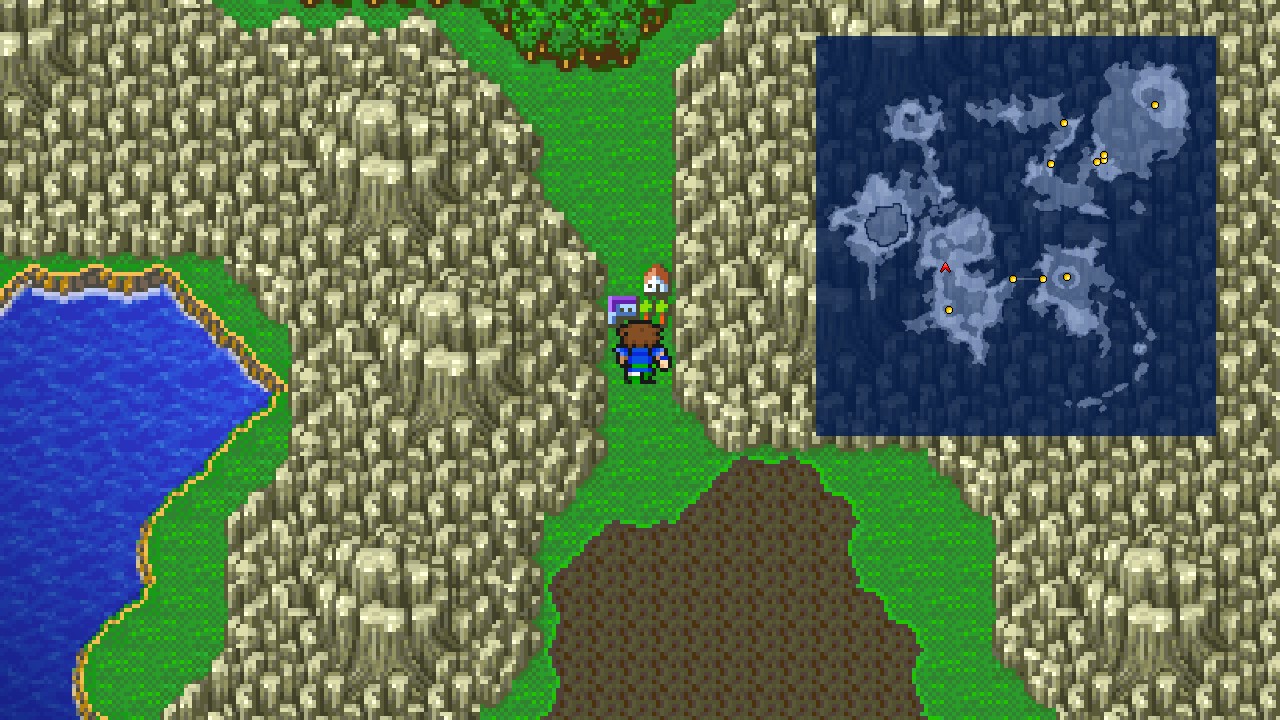 |
Enter the location.
Quelb: Part I
Quelb
All buildings are closed, except for the large house at the northern portion of the town. Head inside.
Quelb – Kelger’s House
Go north and interact with the door just to realize that it’s locked, then try to leave the building.
Cutscene time!
Kelger’s House
Once you regain control, exit the house.
Now you’re free to explore the town!
| Magic #1 | ||
|---|---|---|
| Item | Cost | Description |
| Drain | 3000 | Absorbs HP. |
| Break | 3000 | Causes petrification. |
| Bio | 3000 | Attacks with a poison that deals sapping damage. |
| Magic #2 | ||
|---|---|---|
| Item | Cost | Description |
| Blink | 3000 | Creates illusions of oneself to trick the enemy. |
| Shell | 3000 | Reduces magic damage received. |
| Esuna | 3000 | Cures all status effects except KO and zombie. |
| Magic #3 | ||
|---|---|---|
| Item | Cost | Description |
| Comet | 3000 | Calls forth meteors that damage one enemy. |
| Slowga | 3000 | Slows the passing of time for all enemies. |
| Return | 3000 | Turns back time to the beginning of the battle. |
| Armor #1 | ||
|---|---|---|
| Item | Cost | Description |
| Headband | 3500 | Defense +6 Weight +2 Strength +3 |
| Power Sash | 4500 | Defense +11 Strength +3 |
| Power Armlet | 2500 | Defense +3 Strength +3 |
| Armor #2 | ||
|---|---|---|
| Item | Cost | Description |
| Golden Shield | 3000 | Defense +4 Evasion +30 Weight +5 |
| Golden Helm | 3500 | Defense +8 Magic Defense +2 Weight +4 |
| Green Beret | 2500 | Defense +3 Magic Defense +2 Weight +2 Strength +1 Agility +1 |
| Wizard’s Hat | 1500 | Defense +4 Magic Defense +2 Weight +2 Magic +1 |
| Golden Armor | 4000 | Defense +12 Magic Defense +2 Weight +8 |
| Ninja Suit | 3000 | Defense +9 Magic Defense +2 Weight +3 Agility +1 |
| Gaia Gear | 2000 | Defense +8 Magic Defense +10 Weight +2 |
| Gauntlets | 3000 | Defense +6 Magic Defense +1 Weight +5 |
| Weapons #1 | ||
|---|---|---|
| Item | Cost | Description |
| Kodachi | 5100 | Attack +46 Agility +1 Can be enchanted |
| Killer Bow | 5000 | Attack +49 |
| Poison Rod | 1500 | Attack +32 |
| Shuriken | 2500 | Attack +50 |
| Flame Scroll | 200 | Strikes all enemies with fire elemental damage. Used with the Throw command. |
| Water Scroll | 200 | Strikes all enemies with water elemental damage. Used with the Throw command. |
| Lightning Scroll | 200 | Strikes all enemies with thunder elemental damage. Used with the Throw command. |
| Weapons #2 | ||
|---|---|---|
| Item | Cost | Description |
| Orichalcum Dirk | 3400 | Attack +41 Can be enchanted |
| War Hammer | 6400 | Attack +38 Can be two-handed |
| Ashura | 5800 | Attack +42 Can be two-handed |
| Sleep Blade | 5600 | Attack +49 Can be two-handed Can be enchanted |
| Wind Spear | 5400 | Attack +44 |
| Dark Bow | 3800 | Attack +43 |
| Dream Harp | 1600 | Attack +25 |
| Chain Whip | 3300 | Attack +52 |
Mostly repeats here. Stock up on ninja stuff in Weapons #1 if you have a ninja in your party, but make sure to leave at least 10,000 unused Gil for a side-quest later.
| Inn | |
|---|---|
| Service | Cost |
| Rest | 60 |
| Items #1 | ||
|---|---|---|
| Item | Cost | Description |
| Hi-Potion | 360 | Recovers HP. |
| Potion | 40 | Recovers HP. |
| Phoenix Down | 1000 | Revives an ally from the KO status. |
| Gold Needle | 150 | Cures an ally of petrification. |
| Maiden’s Kiss | 60 | Cures an ally of the toad status. |
| Mallet | 50 | Cures an ally of the mini status. |
| Eye Drops | 20 | Cures an ally of darkness. |
| Antidote | 30 | Cures an ally of poison. |
| Items #2 | ||
|---|---|---|
| Item | Cost | Description |
| Ether | 1500 | Recovers MP. |
| Holy Water | 150 | Cures an ally of the zombie status. |
| Cottage | 600 | Recovers all members’ HP and MP. Can be used outdoors. |
| Goliath Tonic | 110 | Temporarily doubles maximum HP. Consumed with the Drink command. |
| Power Drink | 110 | Temporarily increases attack. Consumed with the Drink command. |
| Speed Shake | 110 | Replicates the effect of the Haste spell. Consumed with the Drink command. |
| Iron Draft | 110 | Replicates the effect of the Protect spell. Consumed with the Drink command. |
| Hero Cocktail | 110 | Temporarily increases level. Consumed with the Drink command. |
Sit on the left stool at the back area of the Inn for a short cutscene. Your party will be fully healed and you will receive 8 potions! This can be repeated up to 3 times for a total of 24 whooping potions! (not like we need potions at this point of this game, but hey, it’s free).
Quelb: Part II
Once done with your purchases, head to the northeast corner of to the town and speak to the pack of wolves chasing each other to learn the song: Requiem!
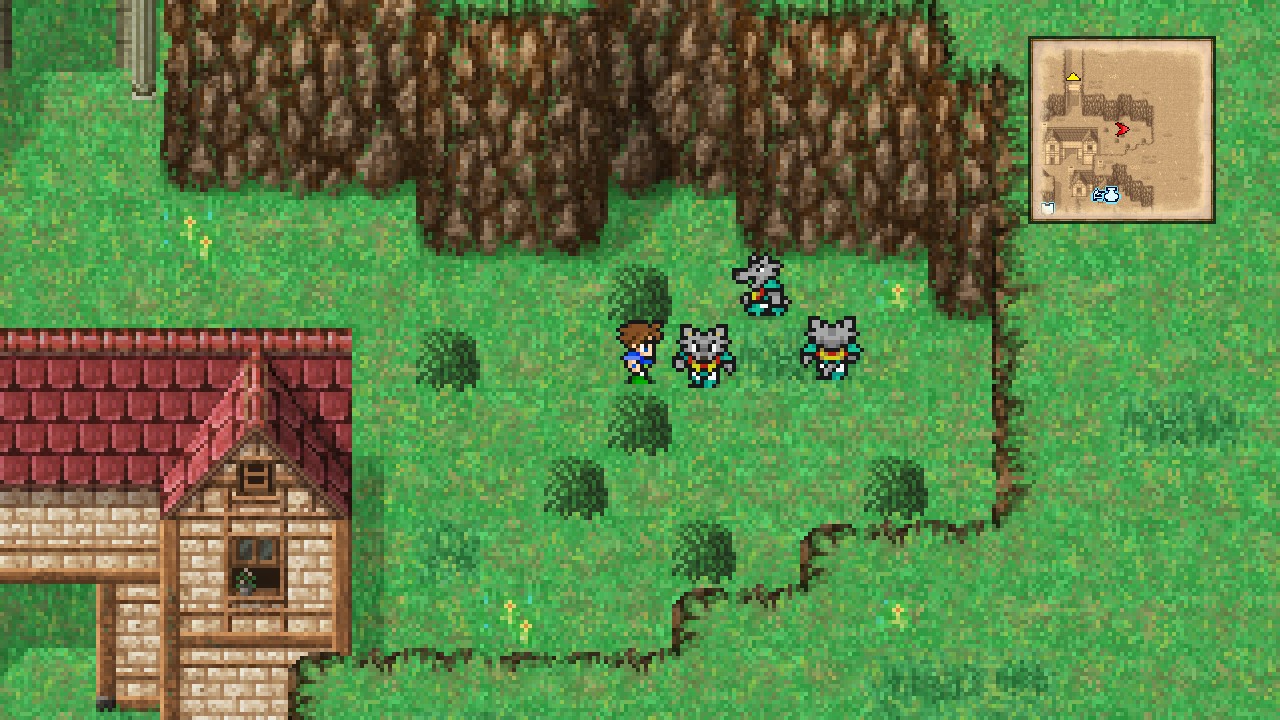 |
Now examine the well at the lower-left corner of the village to make a wizard pop up.
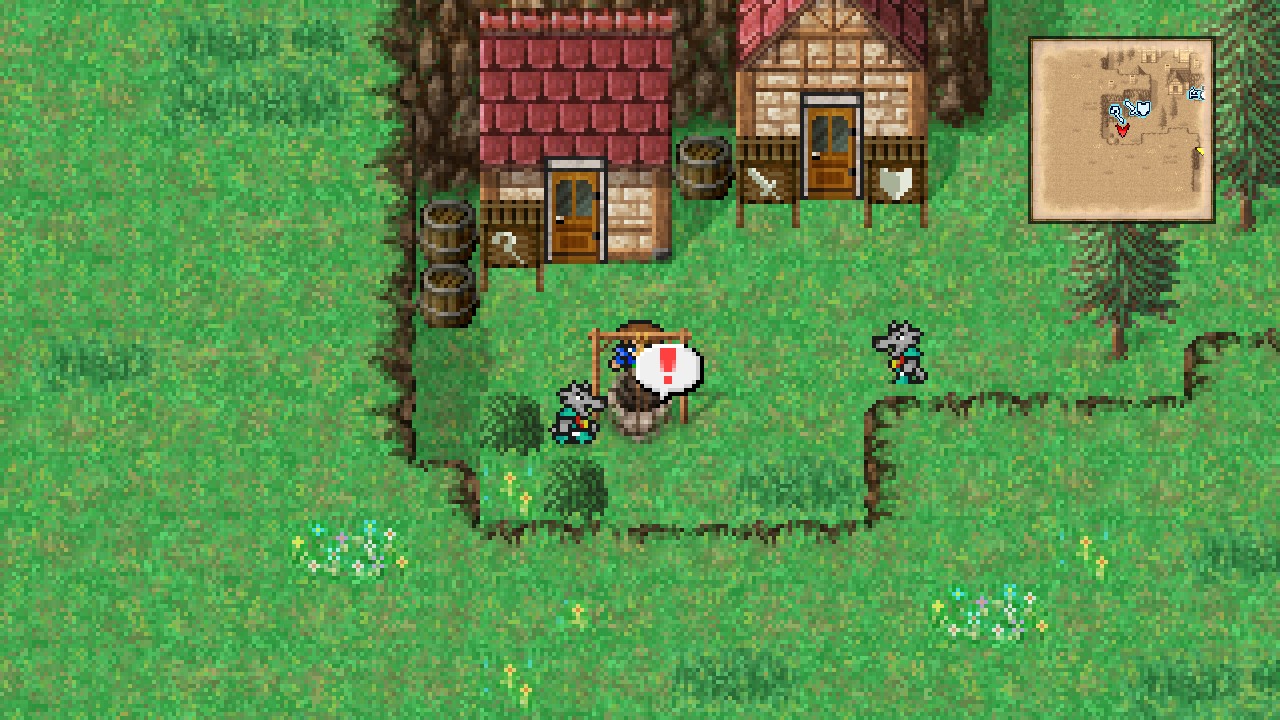 |
He wants a frog, but we don’t have any yet, so why don’t we go hunt one?
Optional side-quest:
- Leave the town through the southern exit.
- Equip a Beastmaster with Blue Magic ability (make sure you have the ‘Death Claw’ ability unlocked).
- Walk around the plains until engaging in a battle against a Kornago.
- Hit the Kornago until about to die (be careful as you can kill it pretty fast). Alternatively, use Death Claw to get its HP to single digits.
- Use ‘Catch’ with the Beastmaster to capture the frog.
- Re-enter Quelb and interact with the well to bring out the wizard again.
- Speak to the wizard and choose to give him the 10,000 Gil we have been saving and the Toad we just captured.
- You will be rewarded with Kornago Gourd, an accessory that increases the rate of catching enemies! (excellent item if you’re into the Beastmaster job, I personally don’t like it much, but I know of people that really like that Pokémon-esque mechanic).
That’s all we can do here. Leave the town through the northern exit.
Overworld
Just north of the town is the entrance to our next dungeon: Drakenvale!
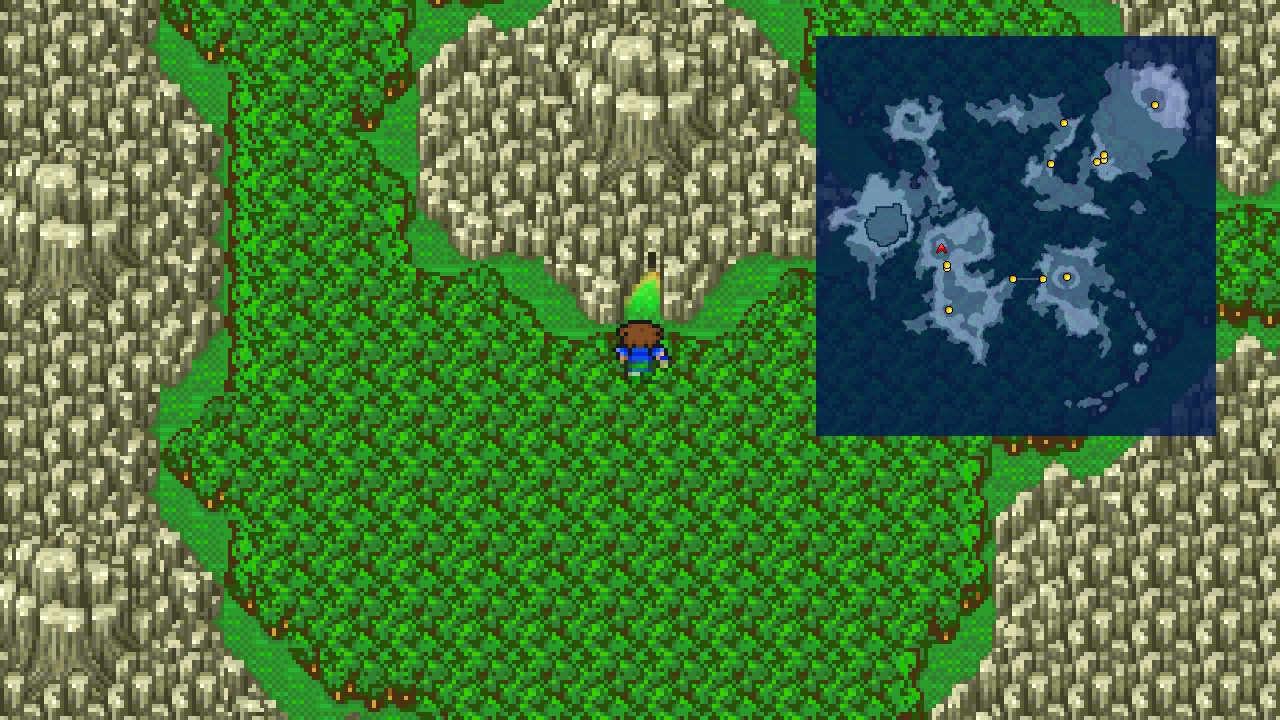 |
Head inside.
Drakenvale
Drakenvale – Mountain Path
| ㅤ ㅤ ㅤ BESTIARY: DRAKENVALEㅤ ㅤ |
|---|
| ID | MONSTER | HP | MP | GIL | EXP | |
|---|---|---|---|---|---|---|
| 100 | Drippy | 900 | 100 | 294 | 540 | BM: Magic Hammer (repeat) |
| 101 | Lycaon | 500 | 0 | 200 | 300 | |
| 102 | Bone Dragon | 2590 | 10000 | 300 | 890 | |
| 103 | Poison Eagle | 100 | 0 | 303 | 500 | |
| 104 | Zombie Dragon | 4590 | 0 | 500 | 1650 |
Welcome to Drakenvale! (I really like the name of this dungeon for some reason).
From the entrance, head east and then go north to find a cave entrance. Enter the cave.
Drakenvale – Cave
Open the lone chest here for 5000 Gil. [87/227]
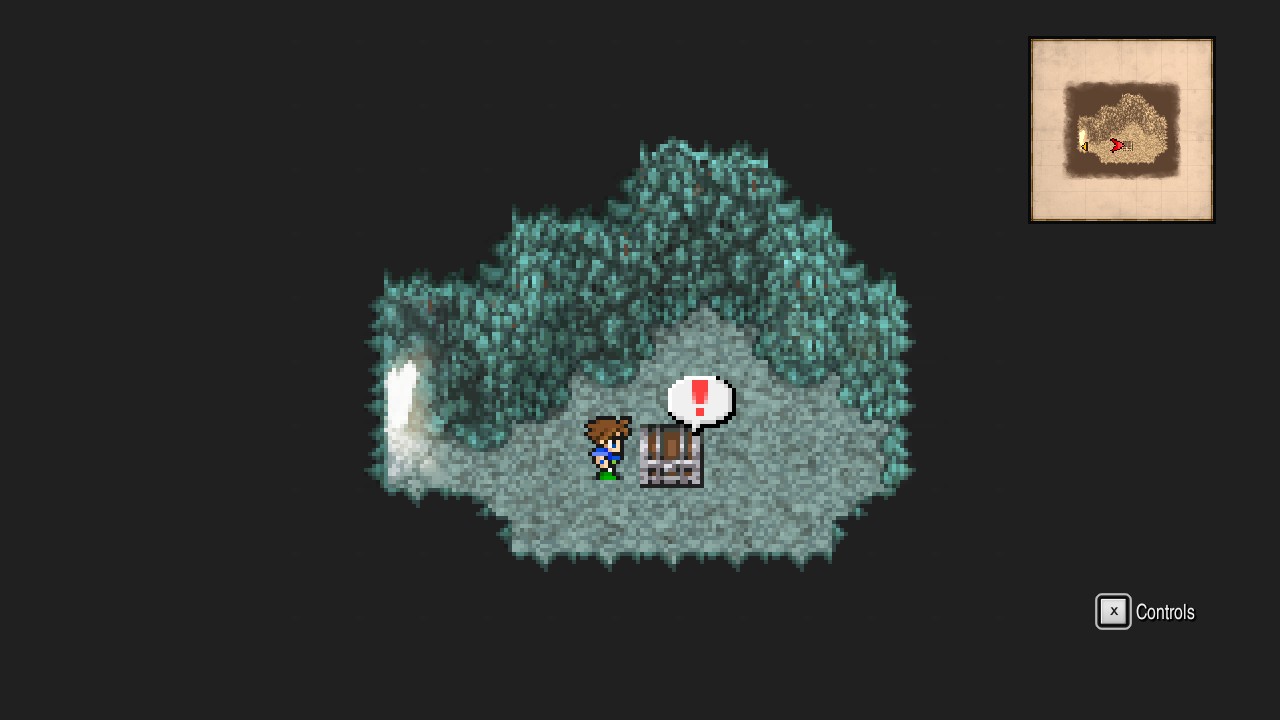 |
Exit the cave and continue north to find another cave entrance. Head inside.
Drakenvale – Cave
Walk up the flight of stairs and exit through the northwest side.
Drakenvale – Mountain Path
Head east and enter another cave.
Drakenvale – Cave
Head down two sets of stairs to reach a chest. Open the chest for Cottage. [88/227]
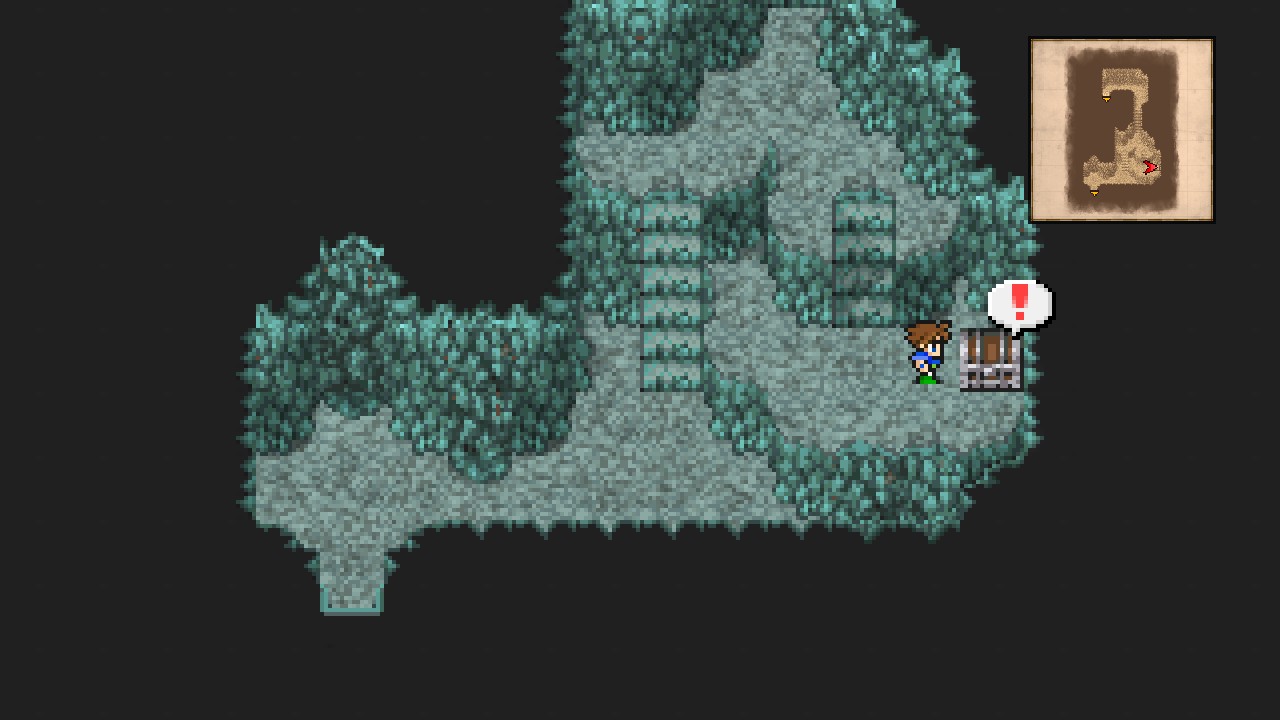 |
Now go through the left stairs and exit through the southern opening.
Drakenvale – Mountain Path
Lycaon starts appearing here.
Go across the bridge and follow the ledge south until reaching another cave.
Drakenvale – Cave
Follow the linear path down and out.
Drakenvale – Mountain Path
In this area, you will encounter a Golem (called ??? at first) which will flee from the very first battle.
During the second encounter, the golem will be accompanied by two dragons. Kill the dragons BEFORE THEY KILL THE GOLEM. I recommend casting healing spells to the dragons, throwing them Hi-Potions, or anything curative.
If you manage to defeat the dragons before they kill the golem, it will be very grateful and will offer its help to you. In other words, you will receive the Golem item which unlocks the Golem summon!
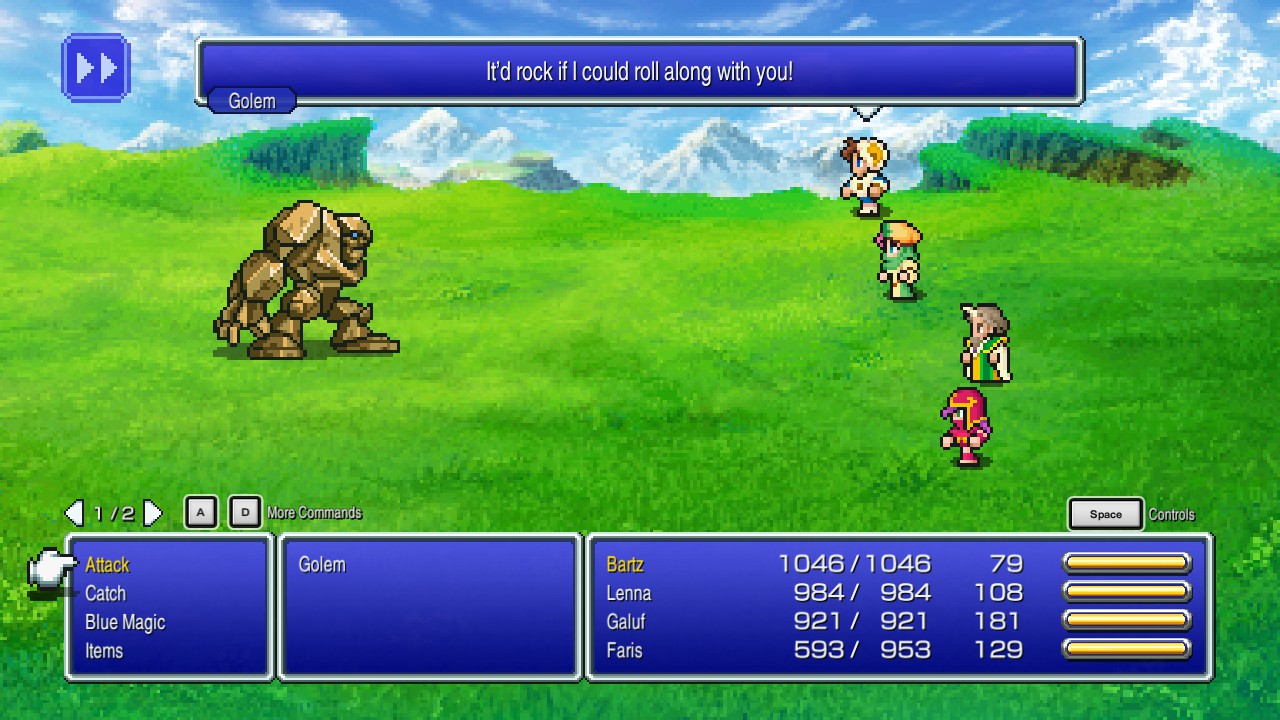 |
With the item in hand, open the Menu → Items → use Golem. Congratulations on your new acquisition!
Note: Bone and Zombie dragons from this battle aren’t counted for the bestiary.
On your way to the next cavern, you will spot many bones on the floor.
Interact with the one to the right of the next cave entrance to find a Bone Mail! {31/44}
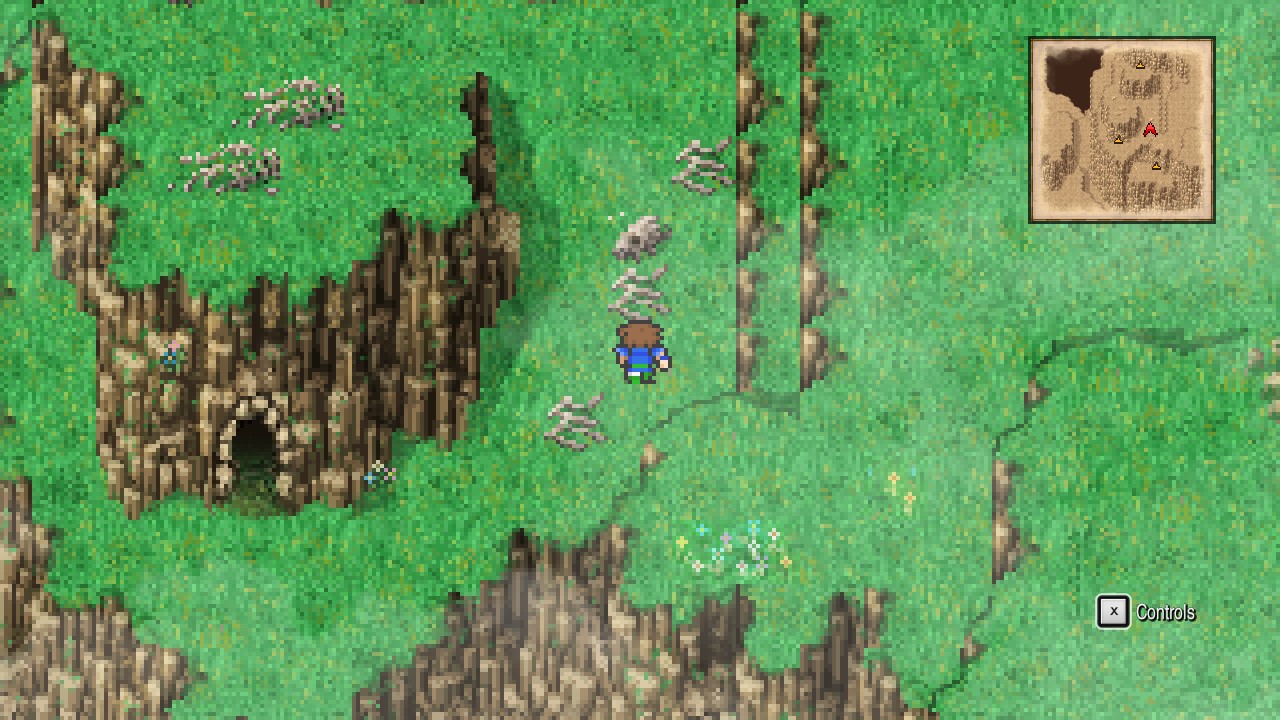 |
Note: Sorry, I forgot to take a screenshot before picking the item up. The item is just in front of my character though, so you shouldn’t have many issues finding it.
Now enter the cave.
Drakenvale – Cave
Head east and step on the cracked floor.
Open the chest next to you for 7000 Gil. [89/227]
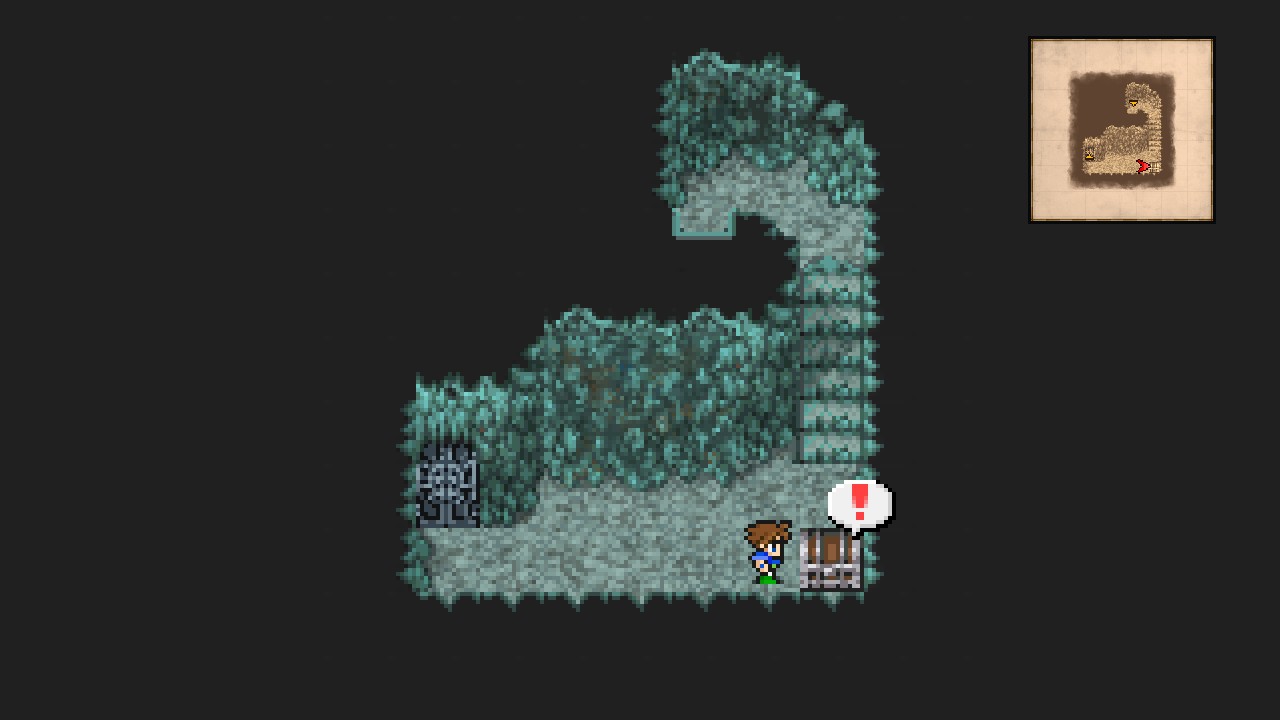 |
Head through the metal door and press the skull.
Backtrack to the previous chest, head upstairs, and go through the opening.
You will return to the room where you fell through the cracked floor.
Exit through the west opening.
Drakenvale – Mountain Path
Back at the area where we rescued the Golem, go south through the newly-opened passage and enter the cave.
Drakenvale – Cave
Take the left stairs and follow the path to reveal a secret passage.
Go through it and open both chests for Hypno Crown and Wind Slash! [91/227]
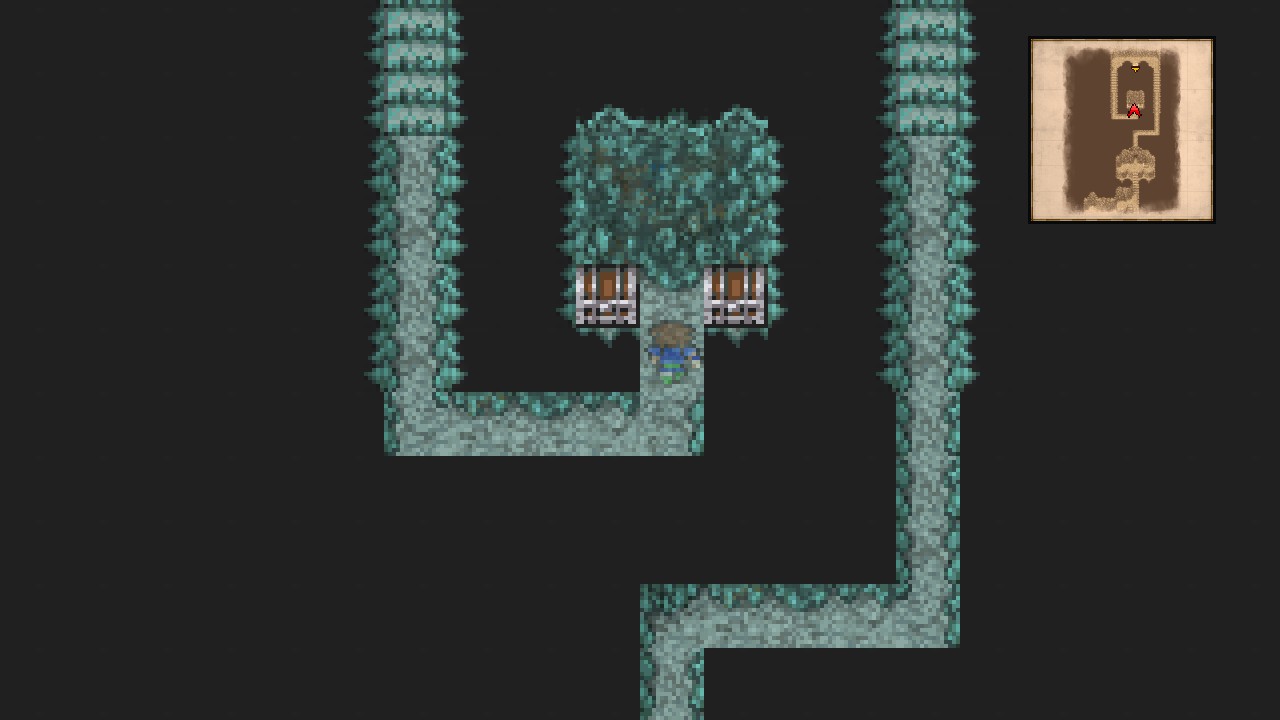 |
Note: Hypno Crown is an amazing item that increases the success rate of manipulating enemies. This is great when going for blue magics that require manipulation. DON’T SELL IT!
Return to the top of the stairs and go through the right path this time.
Follow the path down to a chest, then open it for a Phoenix Down. [92/227]
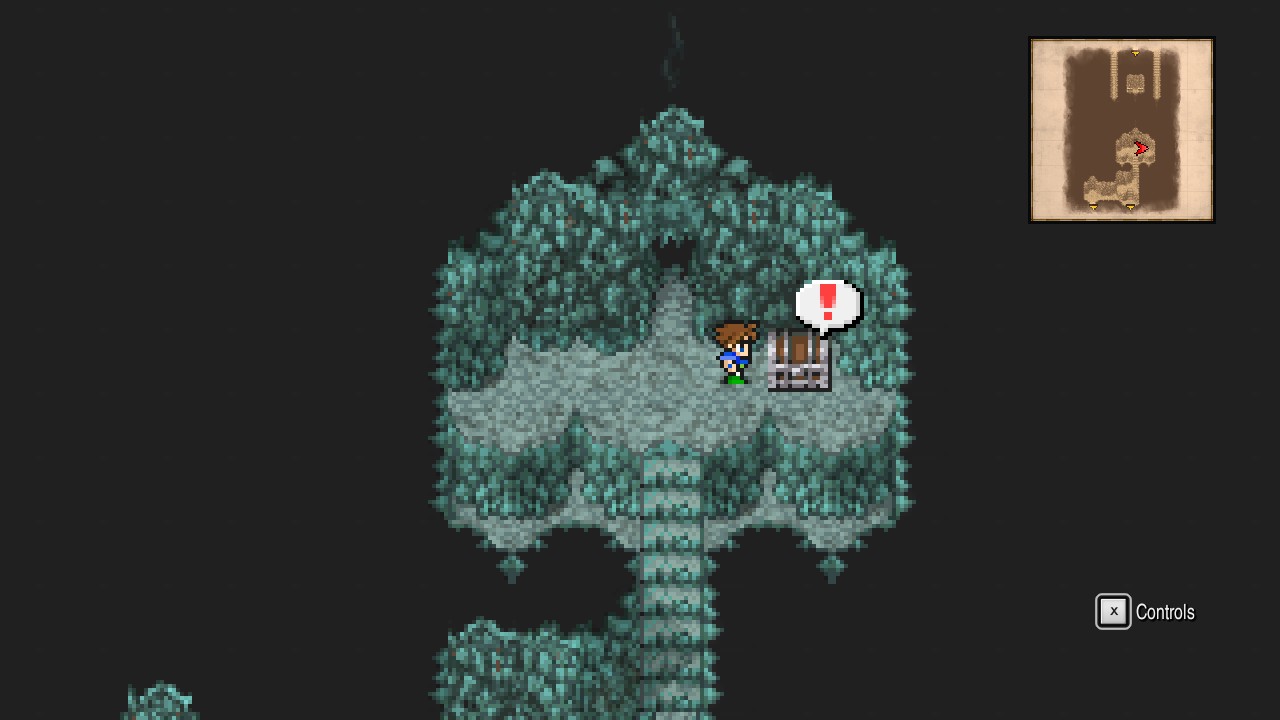 |
That’s all the collectibles for this dungeon. 6/6 chests and 1/1 items.
Continue the path down and go through the east door.
Here’s a consecrated circle. Rest and save if you desire, then return to the previous room.
Now go through the west door to exit the cave.
Drakenvale – Mountain Path
Bring a Summoner and a Blue Mage for the next battle.
Follow the linear path south until you find the dragon grass we have been looking for…
Wait, that ain’t dragon grass…
| Dragon Pod |
|---|
| ID | HP | MP | ATK | DEF | EVA | M.DEF | MAG | WEAKNESS | RESIST. | ABSORBS | CANCELS |
|---|---|---|---|---|---|---|---|---|---|---|---|
| 260 | 12000 | 1000 | 40 | 0 | 0 | 40 | 50 | None | Poison, Mini, Toad, Petrify, Silence, Confuse, Paralyze, Sleep | None | None |
| Dragon Flower |
|---|
| ID | HP | MP | ATK | DEF | EVA | M.DEF | MAG | WEAKNESS | RESIST. | ABSORBS | CANCELS |
|---|---|---|---|---|---|---|---|---|---|---|---|
| 261 | 100 | 1000 | 5 | 0 | 0 | 50 | 50 | None | None | None | None |
Golem is a good resource for this encounter as it protects all allies from physical damage under a certain limit. So open the battle by summoning Golem (if you brought the Summoner) and build from there.
Group-attacks/summons are usually my to-go for multi-enemy encounters like this one. So spam Titan to deal massive damage to the boss while taking down the annoying flowers. Bio is also a good option.
If you have the blue magic ‘Death Claw, then use that against the boss. It will reduce its HP to single digits! turning the battle into a real joke.
Once the battle is over, let your party get the Dragon Grass and make your way out the dungeon.
There’s two ways to exit, one is the classic walking (which would net you decent amounts of EXP) and the other is using Time Mage’s Teleport spell, which will return you to the overworld in a single use. Whatever you decide, make your way back to the Castle of Bal: All the way south past Quelb.
Surgate Castle
Castle of Bal
Try to enter the castle, but they won’t let you in… so your party jumps into the water.
Follow the path northeast and flip the switch at the top to get inside courtyard.
Now rest at the Inn if you desire, then head inside the castle to the Throne Room, up to 3F and enter Krile’s bedroom.
Watch the scenes.
After the scenes, head upstairs to 4F and out through the southern door.
Interact with the Wind Drake for a charming scene… Lenna really loves these creatures, doesn’t she?
Your next destination is Ghido’s place.
Also Wind Drake is unlocked. Hurrah!
Overworld
Now on your brand-new dragon, make your way back to Drakenvale but don’t enter. Instead, go east along the mountains to exit to open sea.
Now go a little north and land on the small island with a rock hole in middle of the woods.
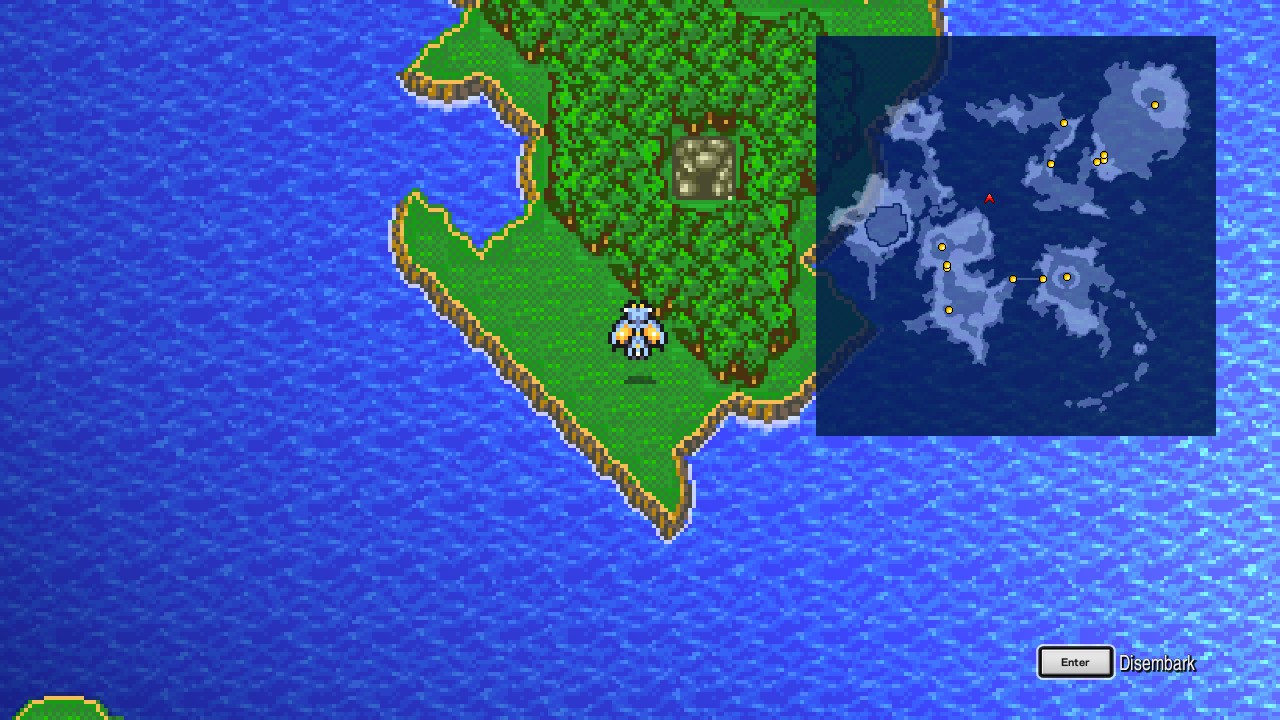 |
This is our destination. Head inside for a scene.
The whole island sunk. Damn you, Exdeath!
Rescued by Wind Drake and back at the overworld, head west to reach a castle.
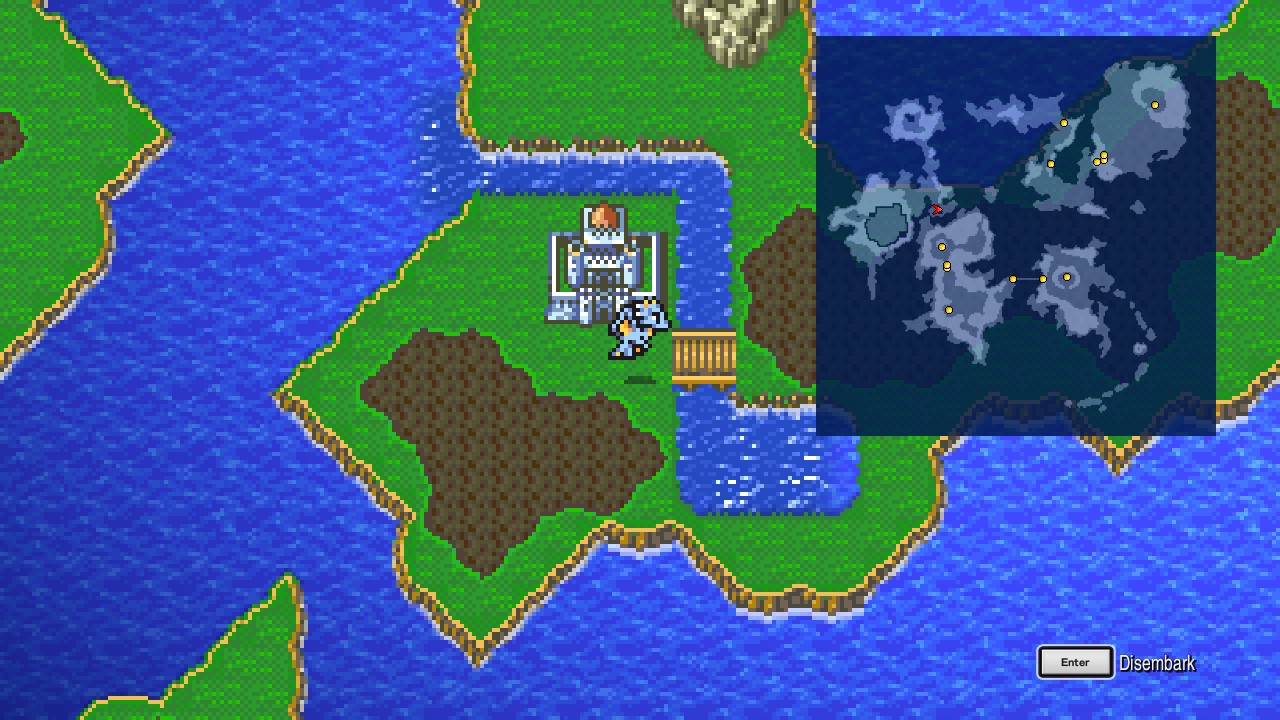 |
This is Surgate Castle. Land and head inside.
Surgate Castle
Interact with the door to get invited into the castle.
Surgate Castle – Throne Room
After the scene, head downstairs twice to reach the shops.
Surgate Castle – B2
It’s shopping time!
| Inn | |
|---|---|
| Service | Cost |
| Rest | 60 |
| Weapons | ||
|---|---|---|
| Item | Cost | Description |
| Great Sword | 8400 | Attack +57 Can be two-handed Can be enchanted |
| Heavy Lance | 8100 | Attack +54 |
| Osafune | 8800 | Attack +51 Can be two-handed |
| Poison Axe | 9600 | Attack +48 Can be two-handed |
| Items #1 | ||
|---|---|---|
| Item | Cost | Description |
| Hi-Potion | 360 | Recovers HP. |
| Potion | 40 | Recovers HP. |
| Phoenix Down | 1000 | Revives an ally from the KO status. |
| Gold Needle | 150 | Cures an ally of petrification. |
| Maiden’s Kiss | 60 | Cures an ally of the toad status. |
| Mallet | 50 | Cures an ally of the mini status. |
| Eye Drops | 20 | Cures an ally of darkness. |
| Antidote | 30 | Cures an ally of poison. |
| Items #2 | ||
|---|---|---|
| Item | Cost | Description |
| Ether | 1500 | Recovers MP. |
| Holy Water | 150 | Cures an ally of the zombie status. |
| Cottage | 600 | Recovers all members’ HP and MP. Can be used outdoors. |
| Goliath Tonic | 110 | Temporarily doubles maximum HP. Consumed with the Drink command. |
| Power Drink | 110 | Temporarily increases attack. Consumed with the Drink command. |
| Speed Shake | 110 | Replicates the effect of the Haste spell. Consumed with the Drink command. |
| Iron Draft | 110 | Replicates the effect of the Protect spell. Consumed with the Drink command. |
| Hero Cocktail | 110 | Temporarily increases level. Consumed with the Drink command. |
| Armor #2 | ||
|---|---|---|
| Item | Cost | Description |
| Golden Shield | 3000 | Defense +4 Evasion +30 Weight +5 |
| Golden Helm | 3500 | Defense +8 Magic Defense +2 Weight +4 |
| Green Beret | 2500 | Defense +3 Magic Defense +2 Weight +2 Strength +1 Agility +1 |
| Wizard’s Hat | 1500 | Defense +4 Magic Defense +2 Weight +2 Magic +1 |
| Golden Armor | 4000 | Defense +12 Magic Defense +2 Weight +8 |
| Ninja Suit | 3000 | Defense +9 Magic Defense +2 Weight +3 Agility +1 |
| Gaia Gear | 2000 | Defense +8 Magic Defense +10 Weight +2 |
| Gauntlets | 3000 | Defense +6 Magic Defense +1 Weight +5 |
| Magic #1 | ||
|---|---|---|
| Item | Cost | Description |
| Comet | 3000 | Calls forth meteors that damage one enemy. |
| Slowga | 3000 | Slows the passing of time for all enemies. |
| Return | 3000 | Turns back time to the beginning of the battle. |
| Magic #2 | ||
|---|---|---|
| Item | Cost | Description |
| Drain | 3000 | Absorbs HP. |
| Break | 3000 | Causes petrification. |
| Bio | 3000 | Attacks with a poison that deals sapping damage. |
| Magic #3 | ||
|---|---|---|
| Item | Cost | Description |
| Blink | 3000 | Creates illusions of oneself to trick the enemy. |
| Shell | 3000 | Reduces magic damage received. |
| Esuna | 3000 | Cures all status effects except KO and zombie. |
Meh. Mostly repeats. Only the weapons shop features new wares.
Once ready with your purchases, head back to the Throne Room and take the southwest stairs leading up.
Surgate Castle – King’s Chamber
Examine the book to learn Swift Song!
 |
Go back to the Throne Room and head through northwest stairs this time.
Surgate Castle
Follow the path east and then go north for a door. Go through it.
Surgate Castle – 3F
Proceed downstairs.
Surgate Castle – Library
Go downstairs and place the books in the correct spots:
[-][1][-]
[-][-][-][2]
[-][3][-][-]
1: Forbidden Book
2: Register of Monsters
3: Weird Ronka
Now speak to the lady to make her reveal a hidden passage.
Go through the passage and up the stairs.
Once at the new floor, take the southern stairs to an unopened chest.
Open the chest for 5000 Gil. [93/227]
 |
Exit through the southern door.
Surgate Castle
Head west under the bridge and go through the door to re-enter the library.
Surgate Castle – Library
Go downstairs.
Open the chest for Float! [94/227]
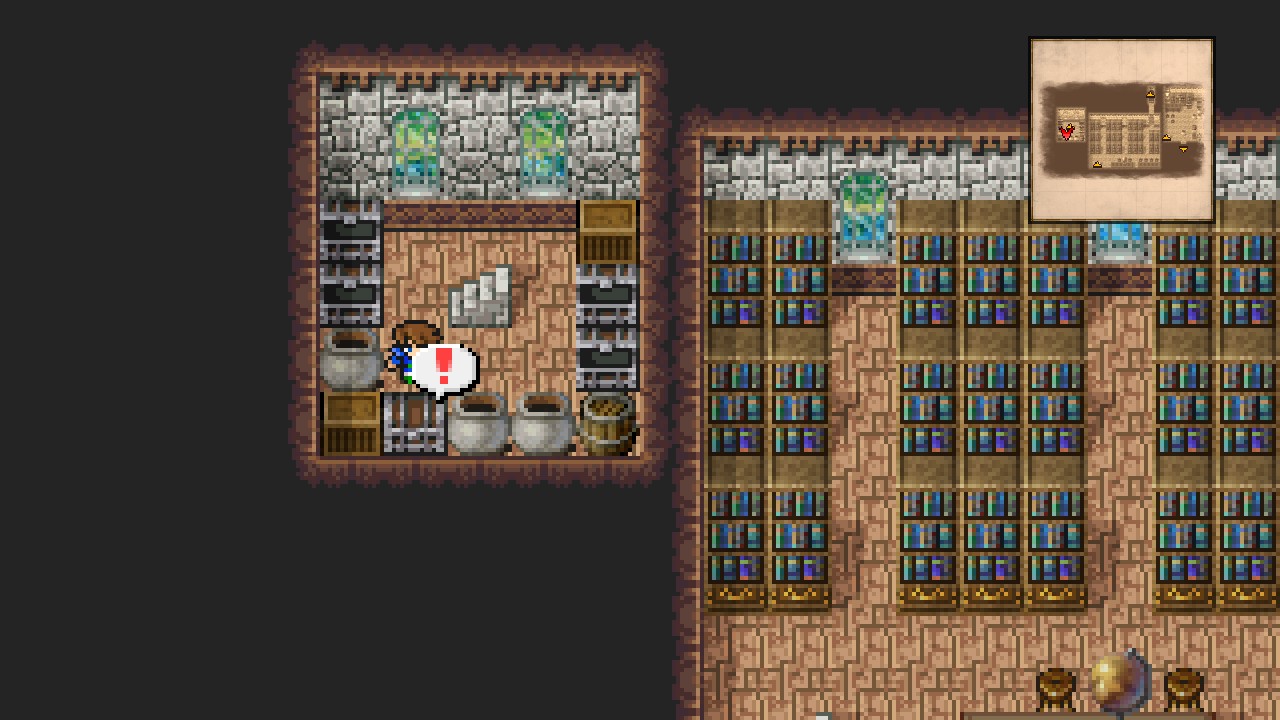 |
That concludes the collectibles for this place. 2/2 chests.
Now make your way back to the Throne Room and exit the castle through the southern door.
Xezat’s Fleet
Overworld
Mount the Wind Drake and fly to the Castle Exdeath at the other side of the Big Bridge.
Note: Make sure you bring several Phoenix Downs and Dragon Fangs to the next dungeon. The Phoenix Downs are not to revive your party, but to get elusive blue magic (I’ll explain further whenever the moment comes).
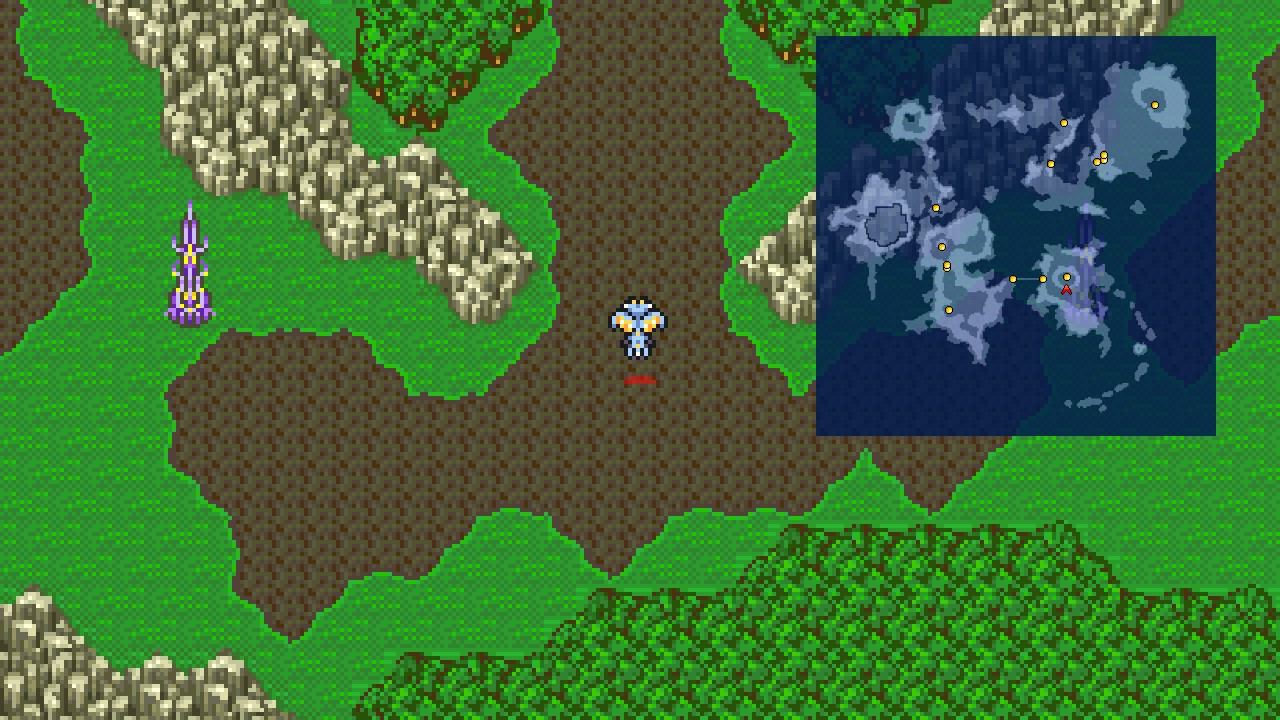 |
The barrier is still up, so you won’t be able to enter.
So what to do? Well. Go east from the castle to find a fleet of ships.
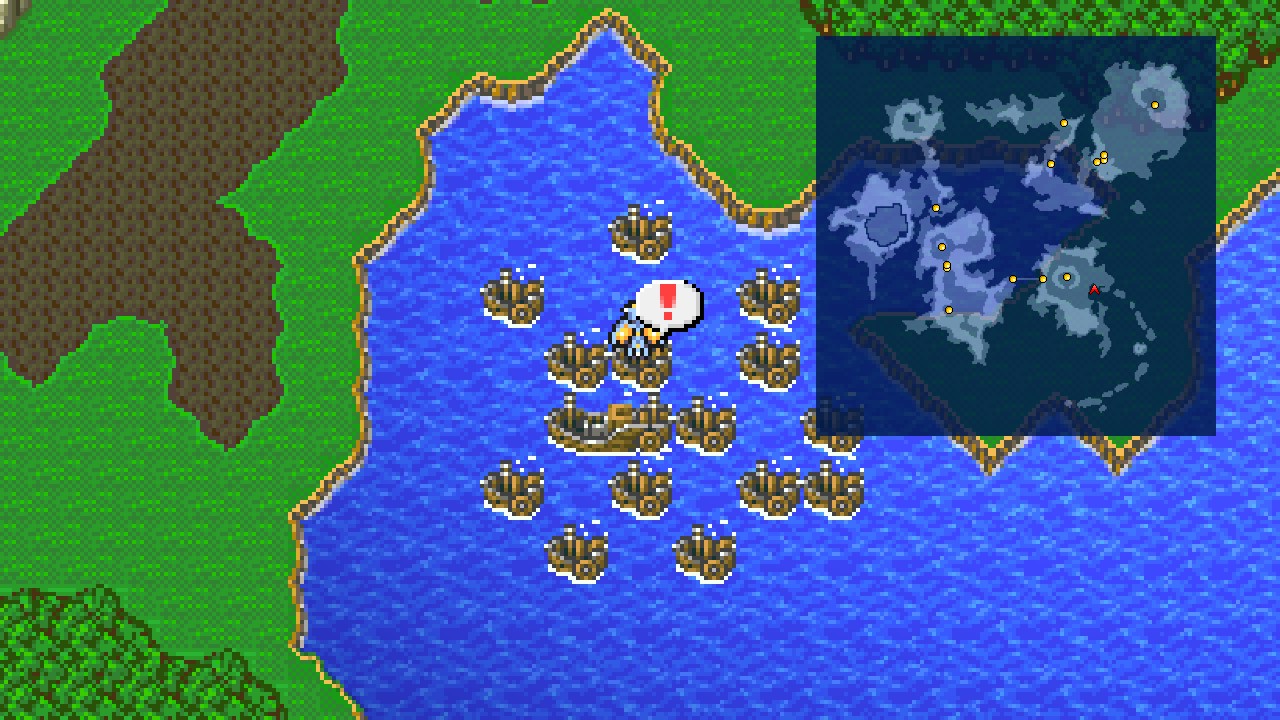 |
Try to land in any to trigger a scene.
Xezat’s Fleet
Once you regain control, enter the below deck of the ship and make your way to the very bottom to find the cabins.
Enter the east cabin and rest up.
You will wake up to an attack (and with Clash of the Big Bridge playing in the background, so you probably suspect what’s coming up!)
Leave the cabin and head up to the upper deck.
Speak to Xezat to spawn some monsters, then clean up the ship!
| ㅤ ㅤ ㅤ BESTIARY: XEZAT’S FLEETㅤ ㅤ |
|---|
| ID | MONSTER | HP | MP | GIL | EXP |
|---|---|---|---|---|---|
| 105 | Gobbledygook | 1200 | 100 | 1000 | 890 |
Note: You can go directly to defeat the enemy at the bottom pole to advance with the story.
Bring a thief if you want to get some powerful equipment from the next boss.
Once the ship is clear (or if you decided to just the kill the enemy at the pole), walk south the pole and interact with Gilgamesh…
| Gilgamesh (third encounter) |
|---|
| ID | HP | MP | ATK | DEF | EVA | M.DEF | MAG | WEAKNESS | RESIST. | ABSORBS | CANCELS |
|---|---|---|---|---|---|---|---|---|---|---|---|
| 262 | 8888 | 888 | 50 | 10 | 10 | 10 | 50 | None | Poison, Mini, Toad, Petrify, Confuse, Paralyze, Sleep, Stop | None | None |
Oh, look what we have here… another encounter with our favorite villain of the game!
If you brought a thief, make sure to steal the Genji Gloves before defeating the opponent.
As for the battle, there’s nothing much to say as this boss is kinda weak as all our previous encounters.
About halfway the battle, Gilgamesh will summon a backup!
| Enkidu |
|---|
| ID | HP | MP | ATK | DEF | EVA | M.DEF | MAG | WEAKNESS | RESIST. | ABSORBS | CANCELS |
|---|---|---|---|---|---|---|---|---|---|---|---|
| 263 | 4000 | 1000 | 50 | 0 | 20 | 0 | 40 | None | Poison, Mini, Toad, Petrify, Confuse, Paralyze, Sleep, Stop | None | Earth |
Actually, the battle doesn’t get much harder. So continue throwing them everything you can until both opponents are out of combat.
After teaching Gilgamesh a lesson, watch the scenes where the Wind Drake saves our a** once again… Such a good dragon!
Upon regaining control, enter the below deck and make your way to the cabins.
Once here, enter the left cabin and interact with the lower side of the box to help Xezat open a hidden path to a submarine!
Submarine
Speak to Xezat.
Barrier Tower: Part I
Barrier Tower – Sea Floor
Speak to Xezat at the south area to make him blast off the entrance.
Head south.
Barrier Tower – 1F
WARNING: This is a one-visit location.
Summary of Missables:
- Most bestiary entries: Neon, Magnetite, Reflect Knight, Traveler, Level Tricker, and Gravitator
- All treasure chests
| ㅤ ㅤ ㅤ BESTIARY: BARRIER TOWERㅤ ㅤ |
|---|
| ID | MONSTER | HP | MP | GIL | EXP | |
|---|---|---|---|---|---|---|
| 106 | Neon | 700 | 100 | 312 | 600 | BM: Flash (repeat) |
| 107 | Magnetite | 1200 | 100 | 315 | 610 | |
| 108 | Reflect Knight | 1600 | 200 | 318 | 700 | |
| 109 | Traveler | 1400 | 100 | 321 | 580 | BM: Time Slip |
| 110 | Level Tricker | 1300 | 100 | 324 | 710 | BM: Level 2 Old (requires Control + Reflect), Level 4 Graviga (repeat), Level 5 Death (repeat) |
| 111 | Gravitator | 1800 | 200 | 327 | 720 | |
| 112 | Ziggurat Gigas | 2420 | 500 | 330 | 1200 | BM: Off-Guard (repeat) |
This is the second important dungeon in this Final Fantasy game! Be prepared for a lot of missable stuff.
Note: You can always return to the submarine if you need to rest.
Go south to trigger another scene, where Xezat gives you instructions on how to proceed.
Immediately after the scene, switch your jobs so you end with:
- A Blue Mage with the ‘Control’ ability + Hypno Crown
- A Chemist with the ‘Mix’ ability + several Phoenix Downs and Dragon Fangs
Once done, you’re ready to explore the dungeon.
Head east and go up the stairs.
Barrier Tower – 2F
There’s a consecrated circle here. Rest and save if you desire, then head through the north door.
Engage in a battle against Traveler, then Control it and cast Time Slip on your Blue Mage to learn the ability. Another ability to our collection! We’re almost there.
Now follow the linear path to a split.
At the split, go north first and open the chest for a monsters-in-a-box encounter.
This can be two different encounters: Two Yellow dragons or one Red Dragon. For the purpose of this guide, I will only consider the Yellow Dragon as that’s what I got when I opened both random-encounter chests. Also Red Dragon shows up later again and it will be easier to get its blue magic once we have access to more spells. Yellow Dragon also shows up again later.
It’s okay if you decide to go for the Red Dragon now, just keep in mind that you need Reflect
(doable at this point of the story with the Chemist’s Mix ability: combine a Phoenix Down with a Dragon Fang and throw it to the enemy) and the ‘Control’ ability. Besides that, you need a Blue Magic or someone with ‘Learner’ ability equipped whose level is divisible by 3, and some luck for the spell to land on that specific character. Check the method for getting ‘Level 2 Old’ further down this section if you decide to take this path.
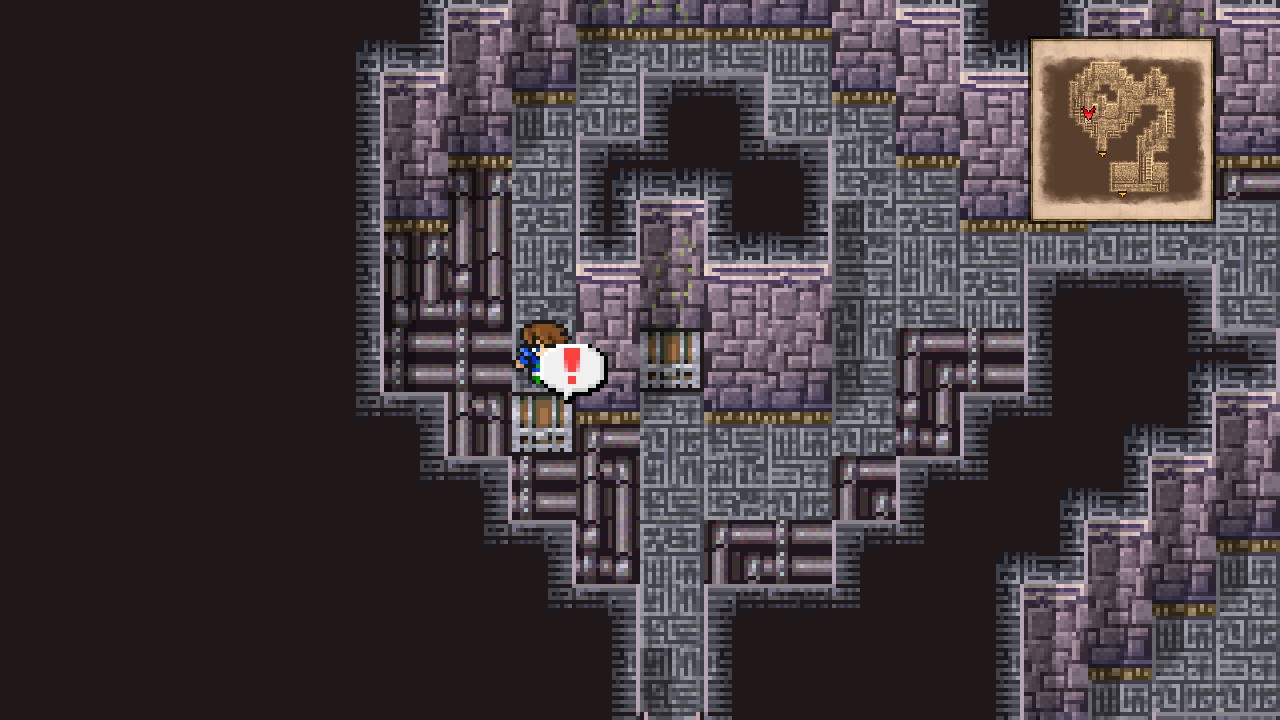 |
| ㅤ ㅤ ㅤ BESTIARY: MONSTERS-IN-A-BOXㅤ ㅤ |
|---|
| ID | MONSTER | HP | MP | GIL | EXP | |
|---|---|---|---|---|---|---|
| ID | Yellow Dragon (x2) | 8500 | 1000 | 500 | 2600 | BM |
This is a tough battle. The best way to handle the dragons is by Controling one and then using ‘Hurricane’ to reduce the health of the other to single digits, then finish it off with a simple physical attack. Repeat for the controlled dragon and you should win without any scratches.
You will receive a Blood Sword for your efforts! [95/227]
Backtrack to the consecrated circle or the submarine if you need to restore your health.
Now go around the structure and open the chest southwards for 9000 Gil. [96/227]
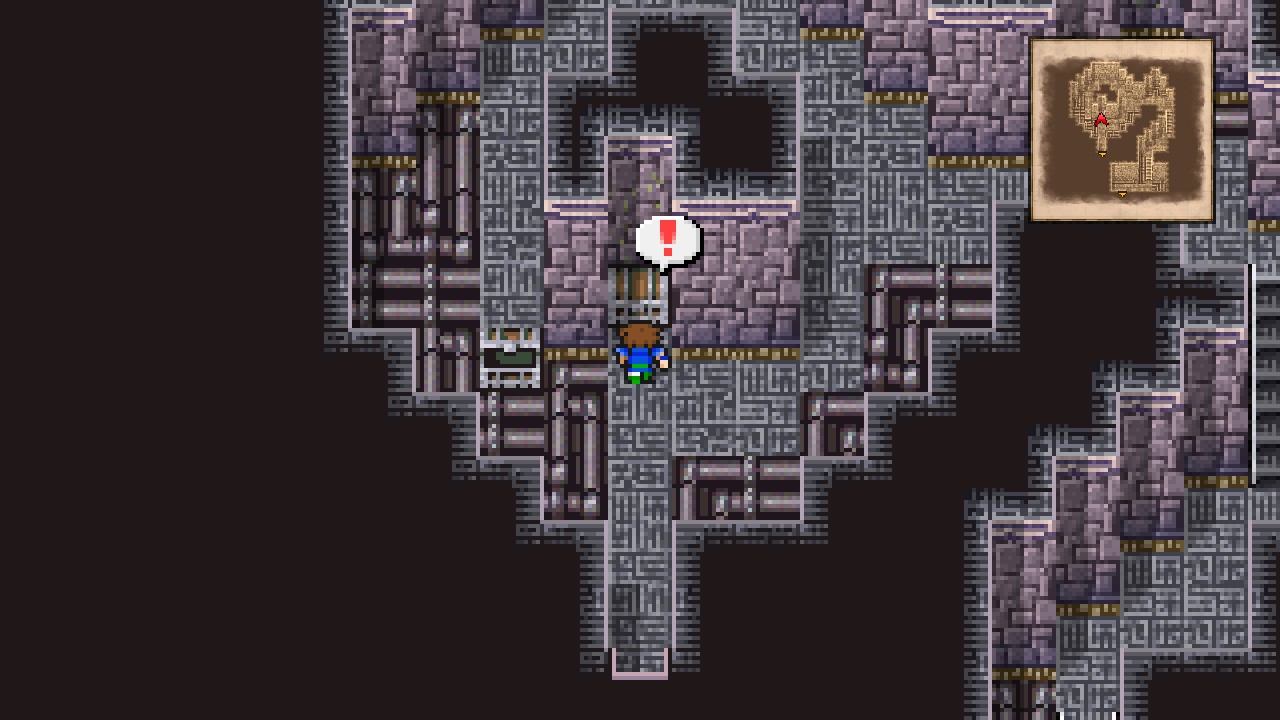 |
Exit through the southern door.
Barrier Tower – 3F
Once outside, head up the the long flight of stairs and go through the door.
Barrier Tower – 4F
Go around the structure and head upstairs.
Barrier Tower – 5F
Level Tricker, Gravitator, Magnetite, and Reflect Knight start appearing here.
Level Tricker holds a new blue magic: Level 2 Old. This blue magic however has high requirements and can be a pain to obtain. The pre-requisites are the following:
- A Blue Mage with a level divisible by 2 and the ‘Control’ ability + Hypno Crown (Hypno Crown is optional)
- A Chemist with the ‘Mix’ ability and a Phoenix Down + a Dragon Fang
Once you have both, engage in a battle against a Level Tricker (they usually show up in groups of three) and leave only one alive.
Next, Control the Level Tricker and mix a Phoenix Down + Dragon Fang with the Chemist, then use it on the Level Tricker. This grants Protect, Shell, Reflect, and Regen. The important buff here is Reflect.
Now keep using Level 2 Old with the Tricker on itself praying for it to land in your Blue Mage (with a level divisible by 2).
And that is. Godspeed!
Note: The effect of the mix lasts a limited amount of time. If you wasted too many materials, reload a quick-save and try again.
Once ready to continue, head up another long set of stairs to reach a door. Go through it.
Barrier Tower: Part II
Barrier Tower – 6F
Open the chest immediately to your left for 18000 Gil. [97/227]
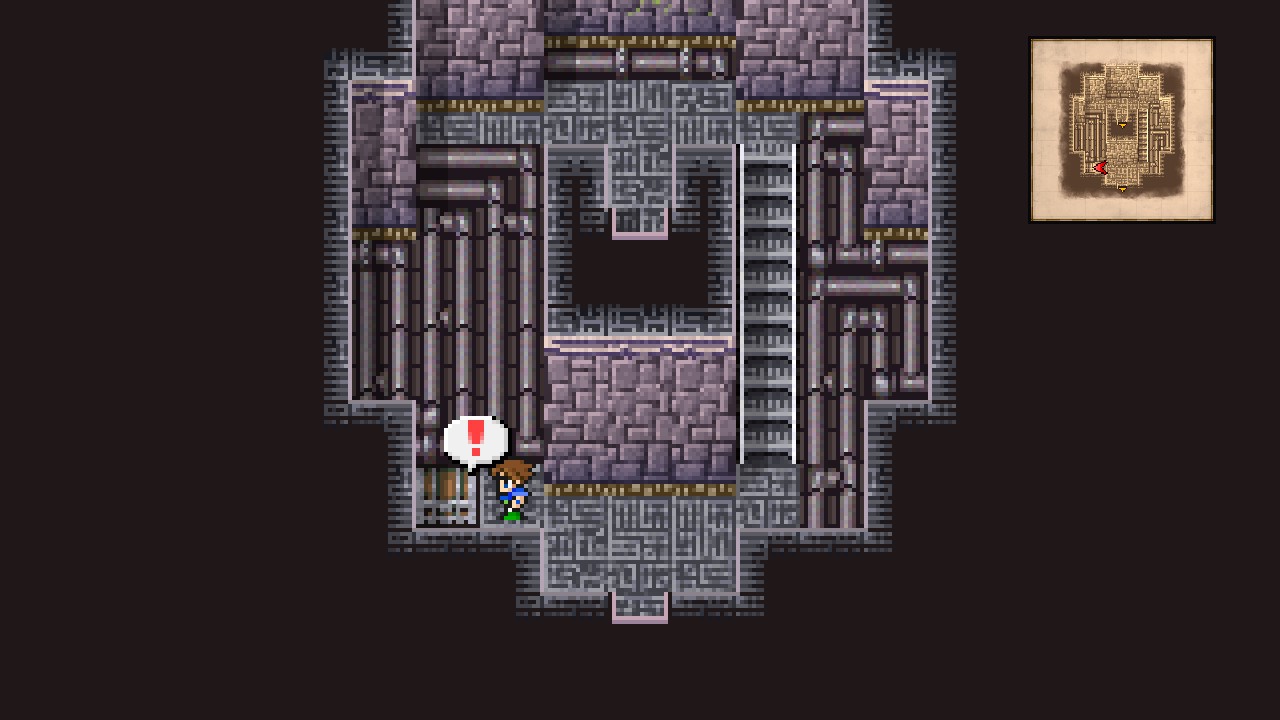 |
Now continue climbing upwards until reaching 9F. All next floors are pretty much the same we’ve seen thus far.
Barrier Tower – 9F
Once at 9F, take the left stairs and go through the door.
Barrier Tower – 10F
This chest is custodied by more dragons. Again, this can be either be a Red Dragon or two Yellow Dragons. Like I said at the beginning of this section, I won’t consider Red Dragons as I didn’t get that (and I’m too lazy to replay the whole section just to guide them). Having said that and considering we got two yellow dragons, apply the same strategy as before: Control any → cast Hurricane on the other → kill it → repeat for the controlled one.
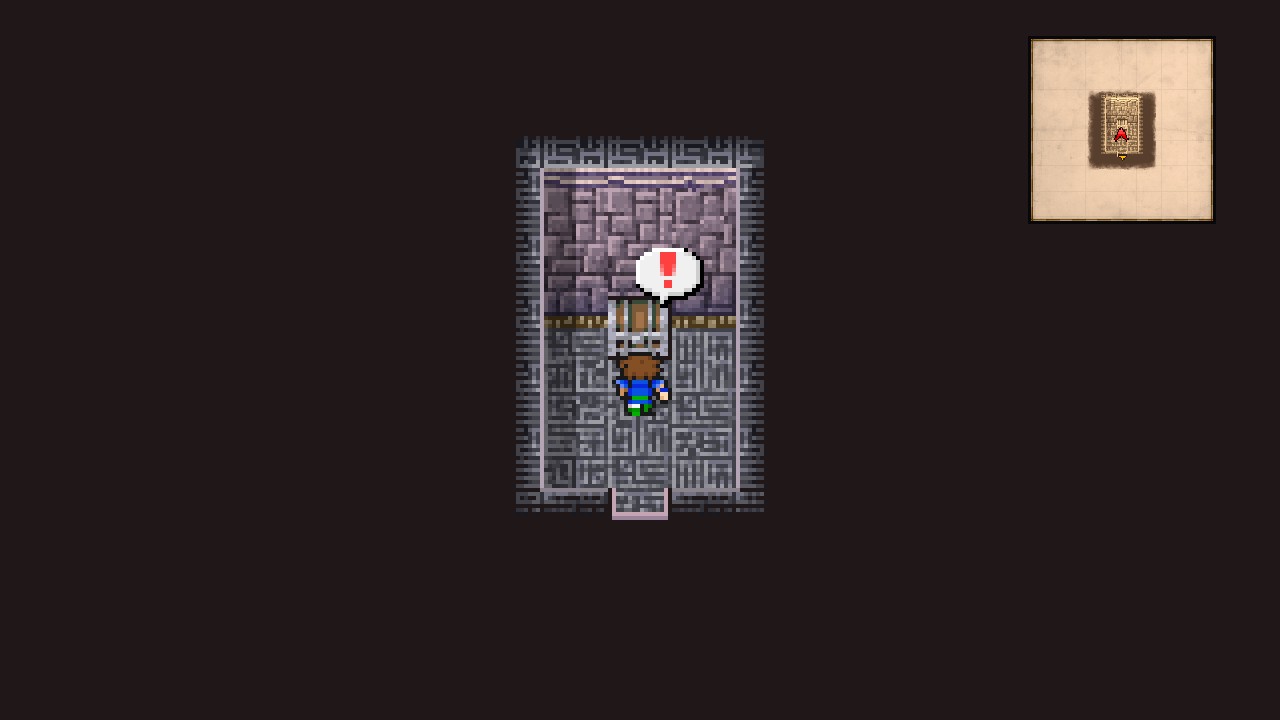 |
This chest will net you a Gold Hairpin! [98/227]
That’s the last collectible for this dungeon!
Exit the room.
Barrier Tower – 9F
Go back to the base of the stairs, then head up the right one. Go through the door.
Barrier Tower – 10F
Here’s a consecrated circle (thank god!), so rest and save if you desire and then exit through the nearby door.
Barrier Tower – Roof
Ziggurat Gigas appears here.
Go through any of the stairs, then up another set of stairs to reach the top.
Bring a Blue Mage to the next battle if you want to win without much effort.
Heal up and quick-save (if you got any injuries when fighting the Ziggurat Gigas), then interact with the antenna.
Watch the scenes…
| Atomos |
|---|
| ID | HP | MP | ATK | DEF | EVA | M.DEF | MAG | WEAKNESS | RESIST. | ABSORBS | CANCELS |
|---|---|---|---|---|---|---|---|---|---|---|---|
| 264 | 19997 | 10000 | 10 | 14 | 0 | 20 | 80 | None | Darkness, Zombie, Poison, Mini, Toad, Petrify, Death, Silence, Berserk, Confuse, Paralyze, Old, Slow, Stop | None | None |
This boss is an annoyance if you fight it the proper way. It won’t stop casting the devastating ‘Comet’ spell until one of your characters is down, then it will keep dragging the death character until sending them to another dimension (which basically means KO without the possibility to revive). So if you try to be legit, then leave one character death and take advantage of that time to throw everything you have to the boss (Titan/Bio or any other powerful abilities in your skillset).
On the other hand, if you decide to go full cheaty, then use the blue magic ‘Dark Spark’ until it connects, then cast Level 5 Death to OHKO the boss. Due to the random nature of Dark Spark, this can take from several to many attempts to work, so going legit is probably better. But the strat is there if you decide to take it!
Anyway, watch the tragic scenes that follow to the battle and say goodbye to this location as it can’t be visited ever again…
Underwater Exploration
Barrier Tower – Sea Floor
Speak to Galuf, then try to enter the submarine to trigger the next scene.
Entrusted Hearts
Obtained a submarine.
Nice, we finally have a way to explore the depths of the sea!
Sea Floor
There’s no random encounters while controlling the submarine (kinda obvious, but one never knows).
Make your way to the northwest corner of the world and approach the yellow spot to head inside.
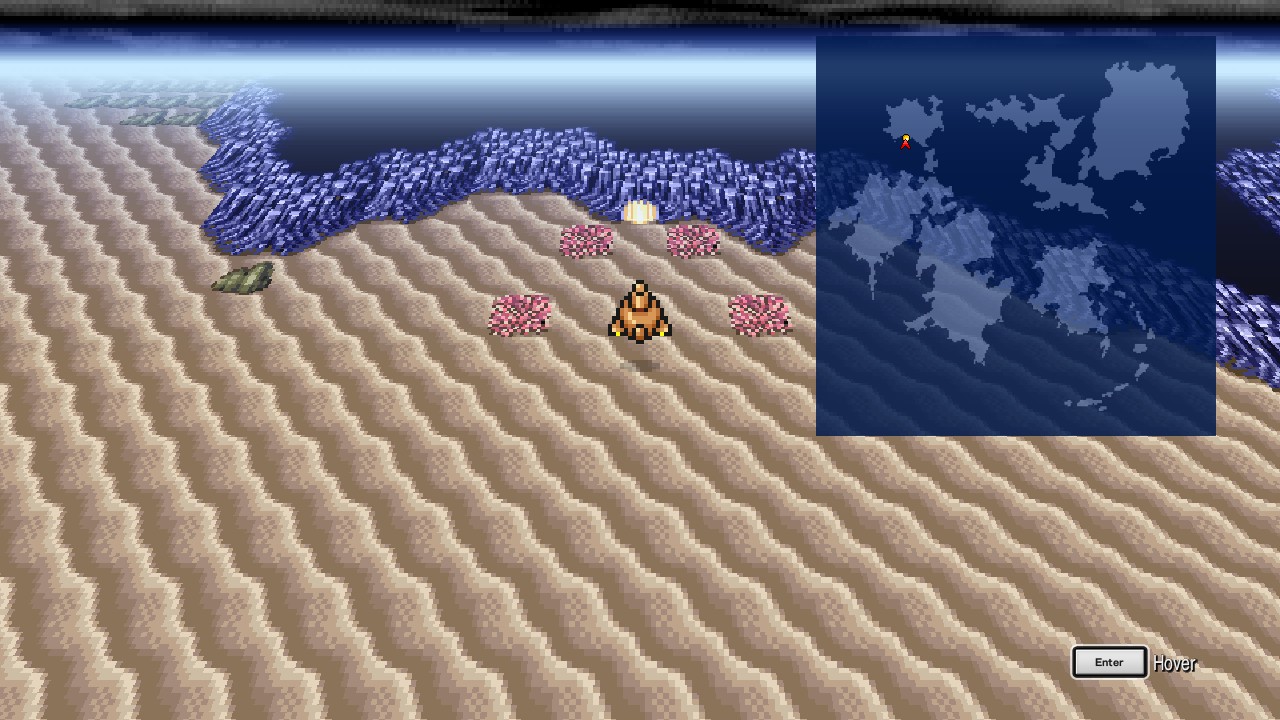 |
Submarine
Exit through the northern door to reach a cave.
Cave
| ㅤ ㅤ ㅤ BESTIARY: CAVEㅤ ㅤ |
|---|
| ID | MONSTER | HP | MP | GIL | EXP |
|---|---|---|---|---|---|
| 176 | Druid | 2200 | 900 | 501 | 1500 |
| 177 | Ironback | 2200 | 0 | 504 | 1300 |
This location features new bestiary entries. Be careful as they’re kinda powerful for this point of the game, so if you for example get in a battle against three Ironbacks, ESCAPE without thinking it twice! The best encounter to get these entries now is: 1x Druid + 1x Ironback.
Also it’s a smart idea to capture an Ironback for the next boss: Weaken the enemy first with ‘Death Claw’ blue magic, then use Beastmaster’s ‘Catch’ ability to capture it.
Overworld
Walk around this area to engage in a fight against Catoblepas, a hidden summon.
| Catoblepas |
|---|
| ID | HP | MP | ATK | DEF | EVA | M.DEF | MAG | WEAKNESS | RESIST. | ABSORBS | CANCELS |
|---|---|---|---|---|---|---|---|---|---|---|---|
| 269 | 5000 | 500 | 55 | 20 | 0 | 10 | 50 | None | Darkness, Zombie, Mini, Toad, Petrify, Death, Silence, Berserk, Confuse, Paralyze, Sleep, Old, Slow | None | None |
There’s multiple ways to take it down, but my favorite is releasing the Ironback we captured earlier for 6000 points of damage. This will insta-kill the creature!
You will receive the Catoblepas item as reward! As usual with secret summons, use it from Menu → Items → Catoblepas to add it to your collection.
Note: Discarding this item will result in permanently losing the summon.
This island also features more bestiary entries, so catch ’em all while you’re still here.
| ㅤ ㅤ ㅤ BESTIARY: CHOCOBO ISLANDㅤ ㅤ |
|---|
| ID | MONSTER | HP | MP | GIL | EXP |
|---|---|---|---|---|---|
| 115 | Cure Beast | 1000 | 100 | 333 | 620 |
| 116 | Land Turtle | 1300 | 0 | 336 | 790 |
| 117 | Dechirer | 1300 | 0 | 339 | 660 |
Now enter the forest at the southeastern corner of the area to find a Chocobo Forest.
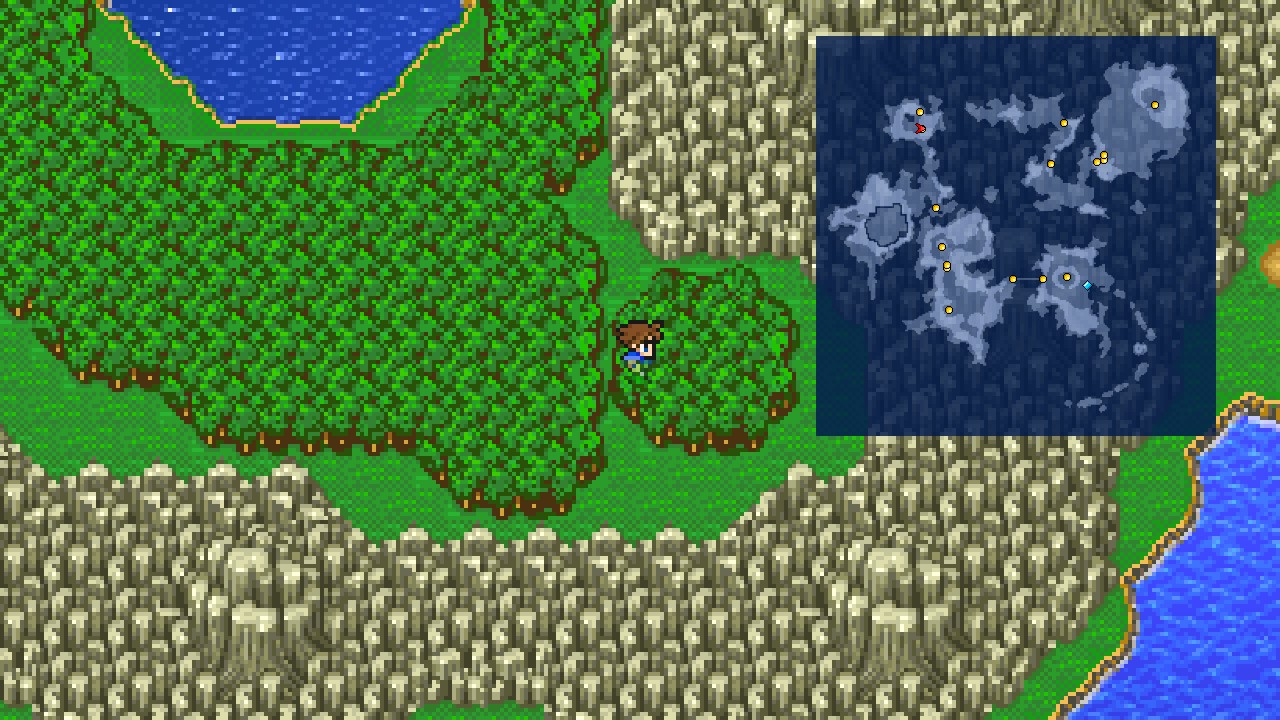 |
Chocobo Forest
There’s nothing much to do here. You can try to interact with the yellow Chocobo wandering around, but since she’s female, you can’t ride her. We’re mostly visiting this location to cross it off from the list for the ‘Adventurous Wayfarer – Traveled to all the map locations’ achievement.
Leave the location.
Overworld
Make your way back to the cave and enter the submarine. Again, be careful with the Ironbacks that roam the area. Capture another one if you want to save it for later!
Sea Floor
Remember the island with a rock-shaped cavern that sank when we tried to enter? Well, that must have ended somewhere around this area. Time to look for it!
Back at the submarine, head to almost the middle point of the map (refer to the screenshot below for the exact location) and enter the cave.
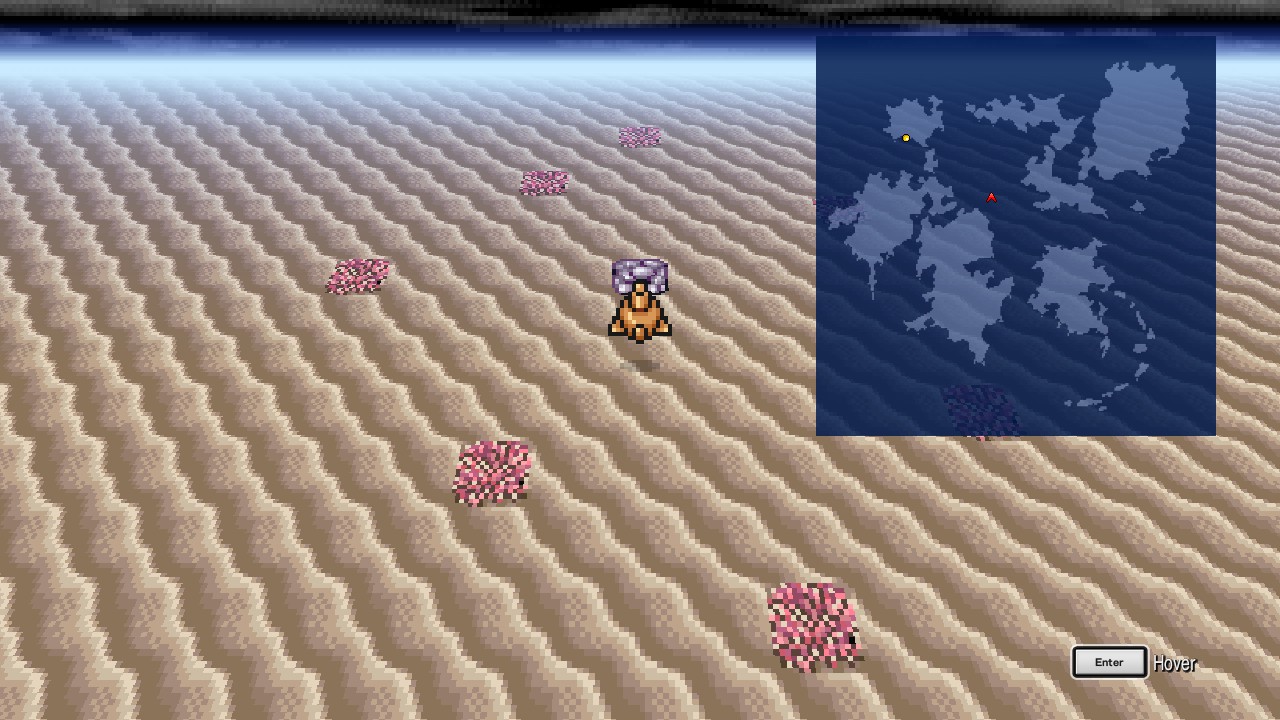 |
Guido’s Cave – Sea Floor
| ㅤ ㅤ ㅤ BESTIARY: GUIDO’S CAVEㅤ ㅤ |
|---|
| ID | MONSTER | HP | MP | GIL | EXP | |
|---|---|---|---|---|---|---|
| 113 | Dark Aspic | 900 | 1000 | 417 | 800 | |
| 114 | Metamorph | 7000 | 10000 | 777 | 20 | BM: Aeroga (Enchanted Fan form), Pond’s Chorus (Elf Toad form, repeat), Flash (Crew Dust, repeat) |
Go south and head downstairs.
Guido’s Cave – B2
Metamorph starts appearing here. Metamorph can morph into multiple different enemies. The list includes:
- Ifrit, Wyvern, Enchanted Fan
- Ramuh, Crew Dust, Zombie Dragon
- Shiva, Gaelicat, Elf Toad
- Shiva, Ifrit, Ramuh
We’re interested in this version: Ifrit, Wyvern, Enchanted Fan. Why? because Enchanted Fan holds the powerful ‘Aeroga’ blue magic.
Note: Once you one of the variants, you can’t get enemies from any of the others. Also, if you get one of the variants in a room, you can’t get a different variant in that same room until you exit and re-enter again. So keep re-entering any of the rooms until you get the correct version!
Go south and exit through the opening.
Once at the room with the five chests, open the middle one and take the stone, then put it in the northwest one.
 |
This will open the rightmost door. Go through it.
Press the skull-like switch and return to the chests.
Take the stone from the northwest chest and put it inside the southwest one.
This will open the middle door. Go through it.
Go around the path and take the stairs leading down.
Guido’s Cave – B3
Follow the path southwest and go through an obvious hidden passage to reach another skull-like switch.
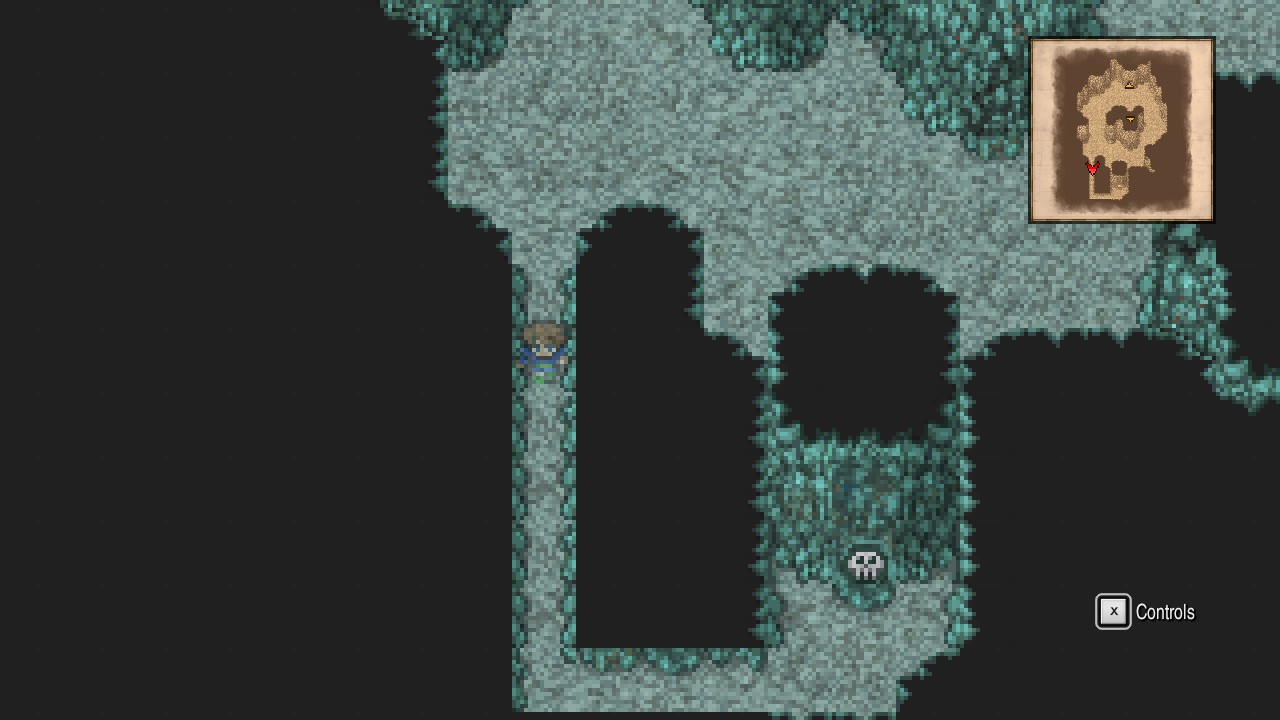 |
Press the switch.
Go back through the passage to the middle area and head down the newly-opened staircase.
Guido’s Cave – B4
Head south through two hidden passageways, then go east through another passage to reach a door. Exit south.
Guido’s Cave – B5
Jump into the pool to reach a our destination.
Guido’s Cave
Head north and climb up the rocks, then continue north to watch an scene featuring animal cruelty… *sigh*
You will receive the key item: Guardian Branch.
Now you can either walk your way out of the cave or use teleport to return to the submarine.
Moore
Sea Floor
Back at the submarine, head immediately west from the cave and go around the western continent until reaching the following location:
 |
Surface here.
Overworld
You will rise in a small lake outside a town.
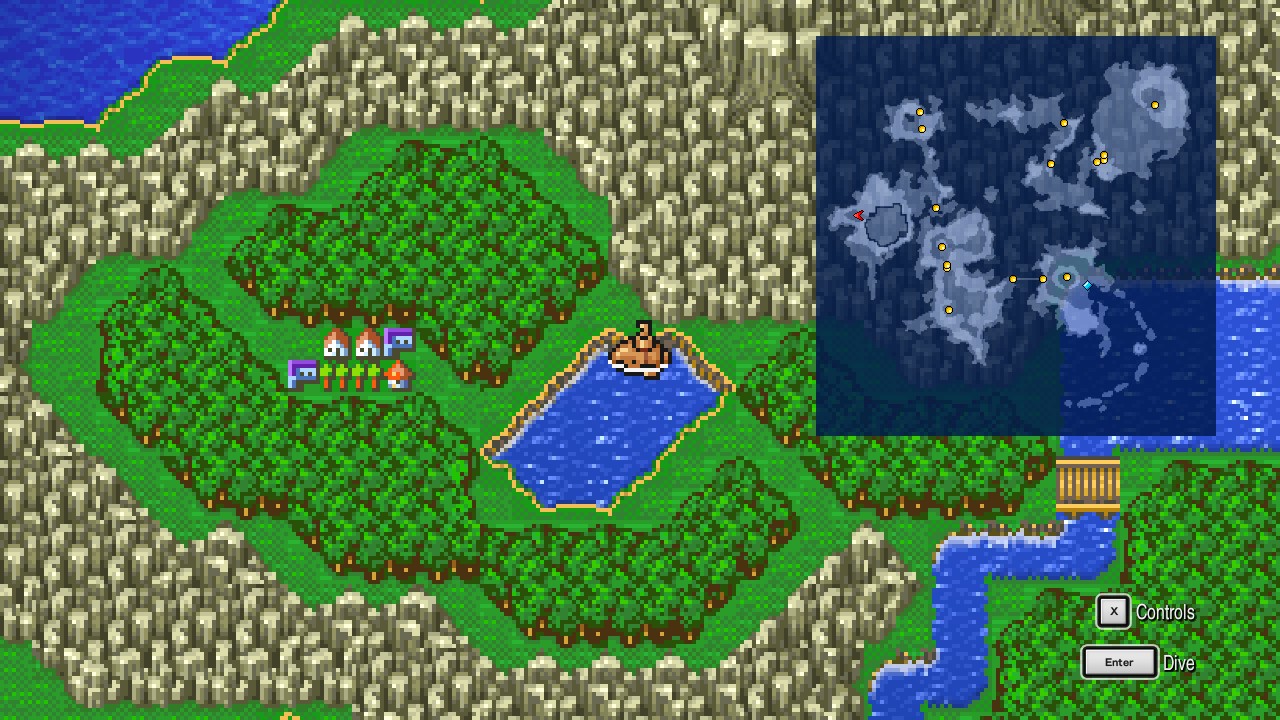 |
The town is Moore. Head inside.
Moore
Finally a town with a collectible!
From the entrance, go west past the pub and examine the top barrel for Main Gauche. {32/44}
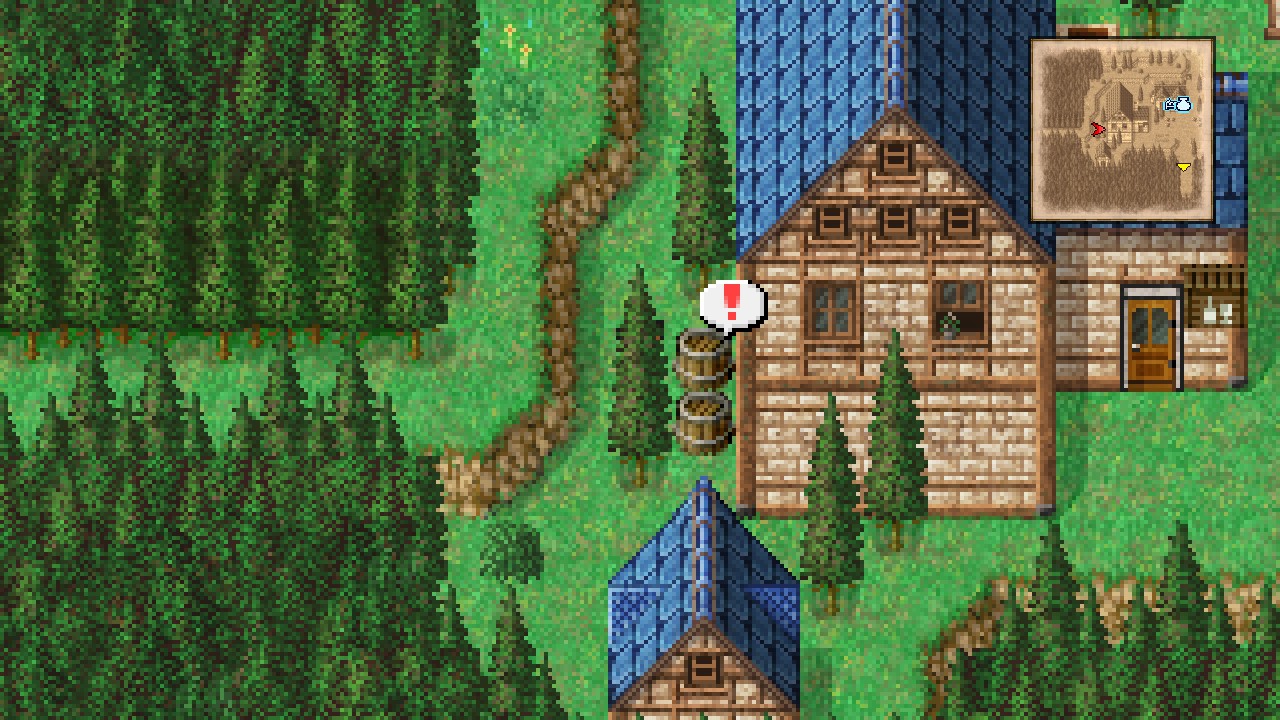 |
Now enter the pub at the eastern portion of the town and play the piano (Bartz it’s not just getting better at it, he’s becoming a virtuoso!) [Piano Maestro: 7/8]
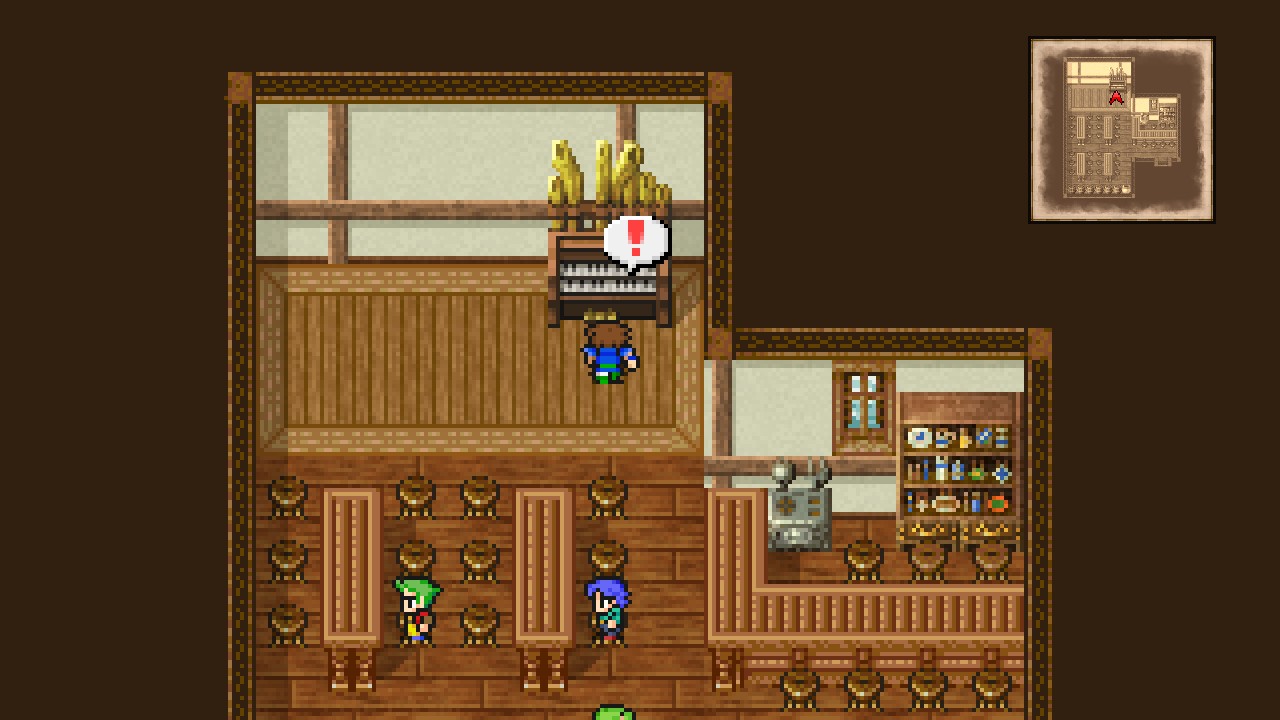 |
And that’s all when it comes to collectibles for this location. Feel free to go shopping spree as this town holds some very useful new magic.
| Inn | |
|---|---|
| Service | Cost |
| Rest | 70 |
| Items #1 | ||
|---|---|---|
| Item | Cost | Description |
| Hi-Potion | 360 | Recovers HP. |
| Potion | 40 | Recovers HP. |
| Phoenix Down | 1000 | Revives an ally from the KO status. |
| Gold Needle | 150 | Cures an ally of petrification. |
| Maiden’s Kiss | 60 | Cures an ally of the toad status. |
| Mallet | 50 | Cures an ally of the mini status. |
| Eye Drops | 20 | Cures an ally of darkness. |
| Antidote | 30 | Cures an ally of poison. |
| Items #2 | ||
|---|---|---|
| Item | Cost | Description |
| Ether | 1500 | Recovers MP. |
| Holy Water | 150 | Cures an ally of the zombie status. |
| Cottage | 600 | Recovers all members’ HP and MP. Can be used outdoors. |
| Goliath Tonic | 110 | Temporarily doubles maximum HP. Consumed with the Drink command. |
| Power Drink | 110 | Temporarily increases attack. Consumed with the Drink command. |
| Speed Shake | 110 | Replicates the effect of the Haste spell. Consumed with the Drink command. |
| Iron Draft | 110 | Replicates the effect of the Protect spell. Consumed with the Drink command. |
| Hero Cocktail | 110 | Temporarily increases level. Consumed with the Drink command. |
| Armor | ||
|---|---|---|
| Item | Cost | Description |
| Diamond Shield | 6000 | Defense +6 Evasion +35 Weight +5 |
| Diamond Helm | 7000 | Defense +10 Magic Defense +2 Weight +4 |
| Tiger Mask | 5000 | Defense +9 Magic Defense +2 Weight +2 |
| Sage’s Miter | 3000 | Defense +6 Magic Defense +2 Weight +2 Magic +2 |
| Diamond Armor | 8000 | Defense +15 Magic Defense +2 Weight +8 |
| Diamond Plate | 6000 | Defense +13 Magic Defense +2 Weight +4 |
| Luminous Robe | 4000 | Defense +11 Magic Defense +12 Weight +2 Magic +2 |
| Diamond Armlet | 4000 | Defense +4 Magic Defense +5 Weight +3 |
| Weapons | ||
|---|---|---|
| Item | Cost | Description |
| Air Knife | 6800 | Attack +56 Can be enchanted |
| Elven Bow | 7500 | Attack +56 |
| Magic #1 | ||
|---|---|---|
| Item | Cost | Description |
| Graviga | 6000 | Reduces the target’s HP to 1/8 of its total. |
| Hastega | 6000 | Hastens the passing of the time for all allies. |
| Old | 6000 | Causes the target to age. |
| Comet | 3000 | Calls forth meteors that damage one enemy. |
| Slowga | 3000 | Slows the passing of time for all enemies. |
| Return | 3000 | Turns back time to the beginning of the battle. |
Hastega is a MUST!
| Magic #2 | ||
|---|---|---|
| Item | Cost | Description |
| Firaga | 6000 | Deals fire damage. |
| Blizzaga | 6000 | Deals ice damage. |
| Thundaga | 6000 | Deals lightning damage. |
| Drain | 3000 | Absorbs HP. |
| Break | 3000 | Causes petrification. |
| Bio | 3000 | Attacks with a poison that deals sapping damage. |
| Magic #3 | ||
|---|---|---|
| Curaga | 6000 | Restores HP. |
| Reflect | 6000 | Creates a barrier that reflects magic back at the caster. |
| Berserk | 6000 | Causes berserk. |
| Item | Cost | Description |
| Blink | 3000 | Creates illusions of oneself to trick the enemy. |
| Shell | 3000 | Reduces magic damage received. |
| Esuna | 3000 | Cures all status effects except KO and zombie. |
Finally an upgrade for our mages! Make sure to get all three -aga spells from the second shop and Curaga (to heal), Reflect (useful when we go for the blue magic from the Red Dragon we missed earlier), and berserk (can come in handy) from the third shop.
Once ready, exit the town.
Overworld
Back at the overworld, go east past the lake and head across the bridge to reach our next destination, the Forest of Moore.
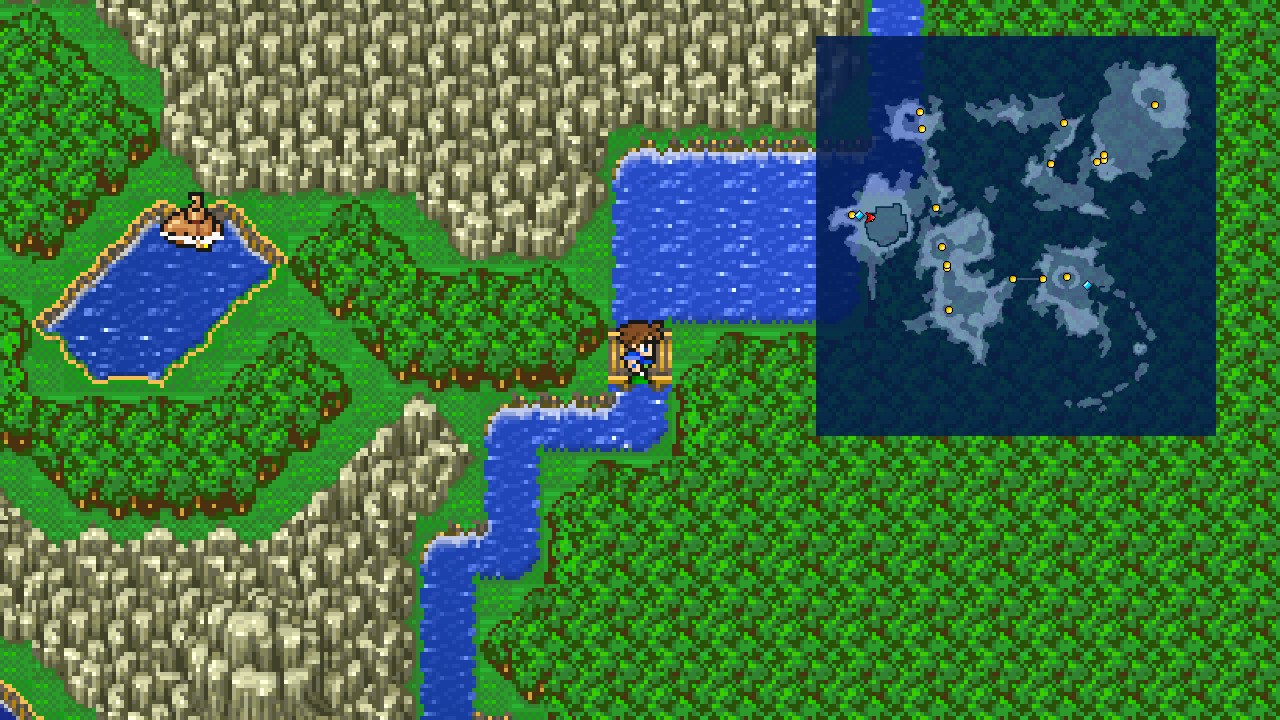 |
Head inside.
Forest of Moore: Part I
Forest of Moore
| ㅤ ㅤ ㅤ BESTIARY: FOREST OF MOOREㅤ ㅤ |
|---|
| ID | MONSTER | HP | MP | GIL | EXP | |
|---|---|---|---|---|---|---|
| 118 | Mini Magician | 1100 | 10 | 345 | 600 | BM: Lilliputian Lyric |
| 119 | Galajelly | 75 | 100 | 348 | 750 | |
| 120 | Mammon | 1700 | 100 | 351 | 700 | |
| 121 | Imp | 2000 | 200 | 354 | 840 | |
| 122 | Wyrm | 2700 | 100 | 357 | 200 |
Galajelly absorbs all elements. Use physical or non-elemental attacks to defeat them.
Mini Magician holds a new blue magic: Lilliputian Lyric.
Such a nostalgic melody…
Head north to make Bartz use the branch we got from Ghido to open the path.
Recommendation: Use the mini-map. Really. I know the mini-map hasn’t been that great in dungeons, but this place is extremely confusing and you can easily get lost without its help.
Now that the path is open, go all the way north and open the chest for 2500 Gil. [99/227]
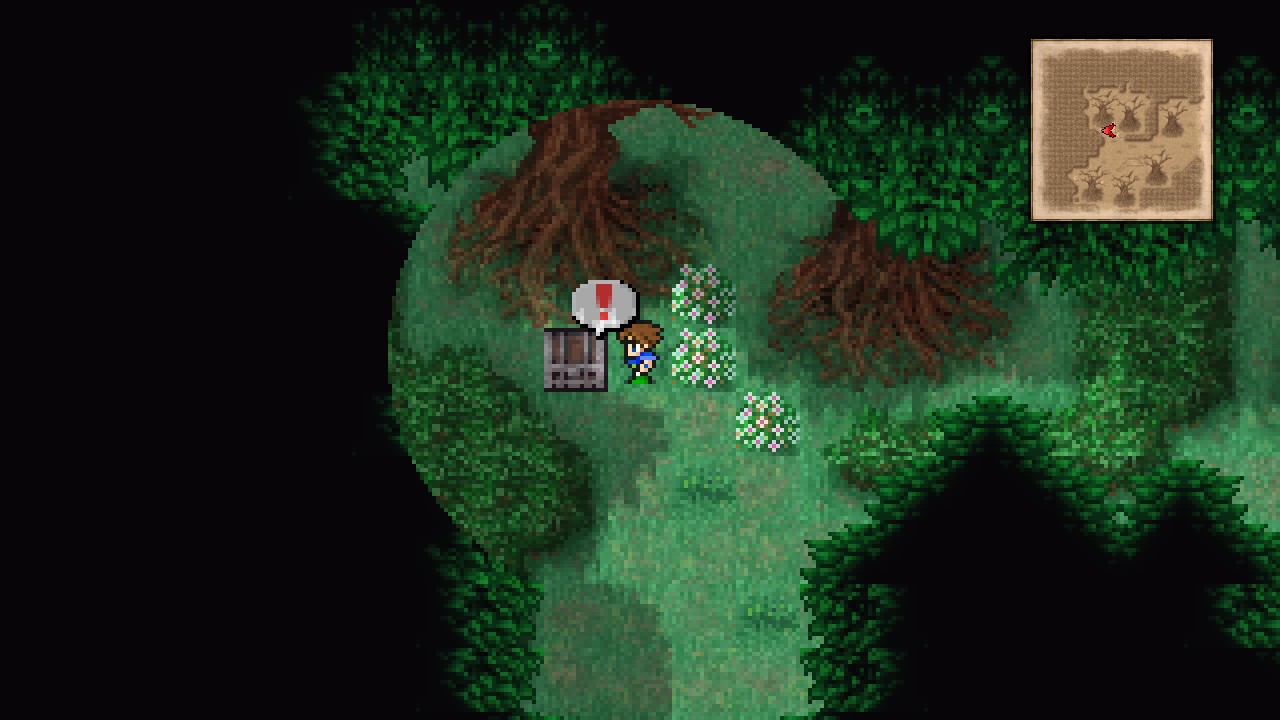 |
From here, head all the way east and open chest under the trees for an Ether. [100/227]
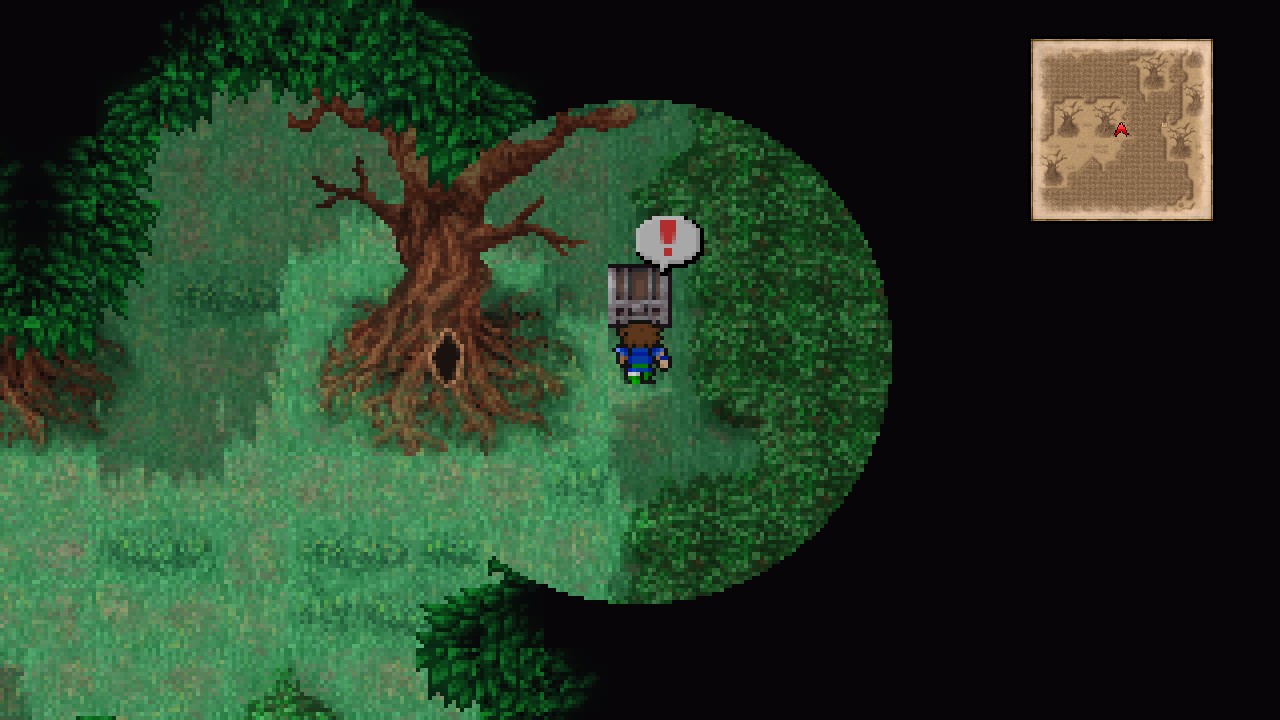 |
Now interact with the hole at the base of the nearby tree to open a passage to the next area. Go through it.
Forest of Moore – Passage
Head north and exit through the opening.
Forest of Moore
Follow the dirt path to a split, then go northwest and open the chest behind the tree for 4900 Gil. [101/227]
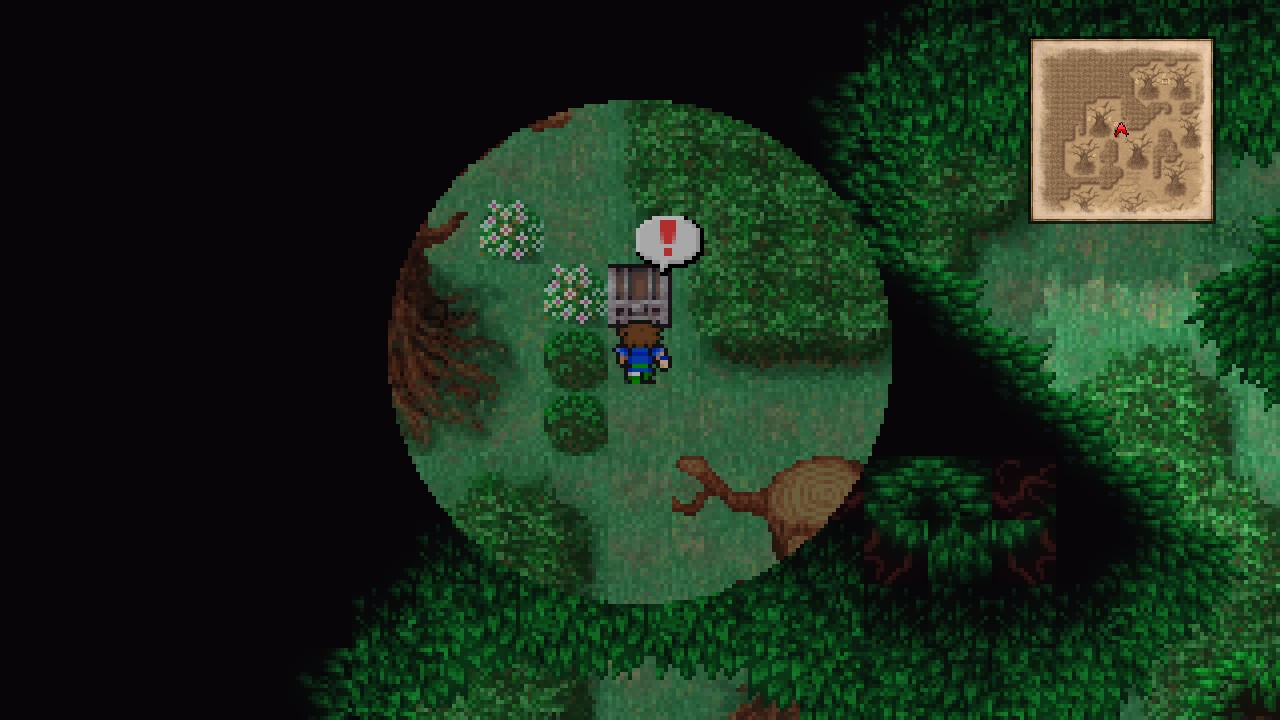 |
From the chest, go east to another split, then head north and open the chest between the trees for a Phoenix Down. [102/227]
 |
Backtrack to the previous split and go south to return to the dirt path.
Back at the path, proceed east until reaching an open area.
Head northeast to find a barely visible chest behind a tree. Open it for 9500 Gil. [103/227]
 |
Return to the dirt path and follow it north to reach a tree with a hole (just like the one we found at the first area).
 |
Examine the hole to open a path to the next screen, then go through it.
Forest of Moore – Passage
Head north and exit through the opening.
Forest of Moore
Wyrm starts appearing here.
Go around the tree and open the chest for a Cottage. [104/227]
 |
Now go east and open the chest behind another tree for a Goliath Tonic. [105/227]
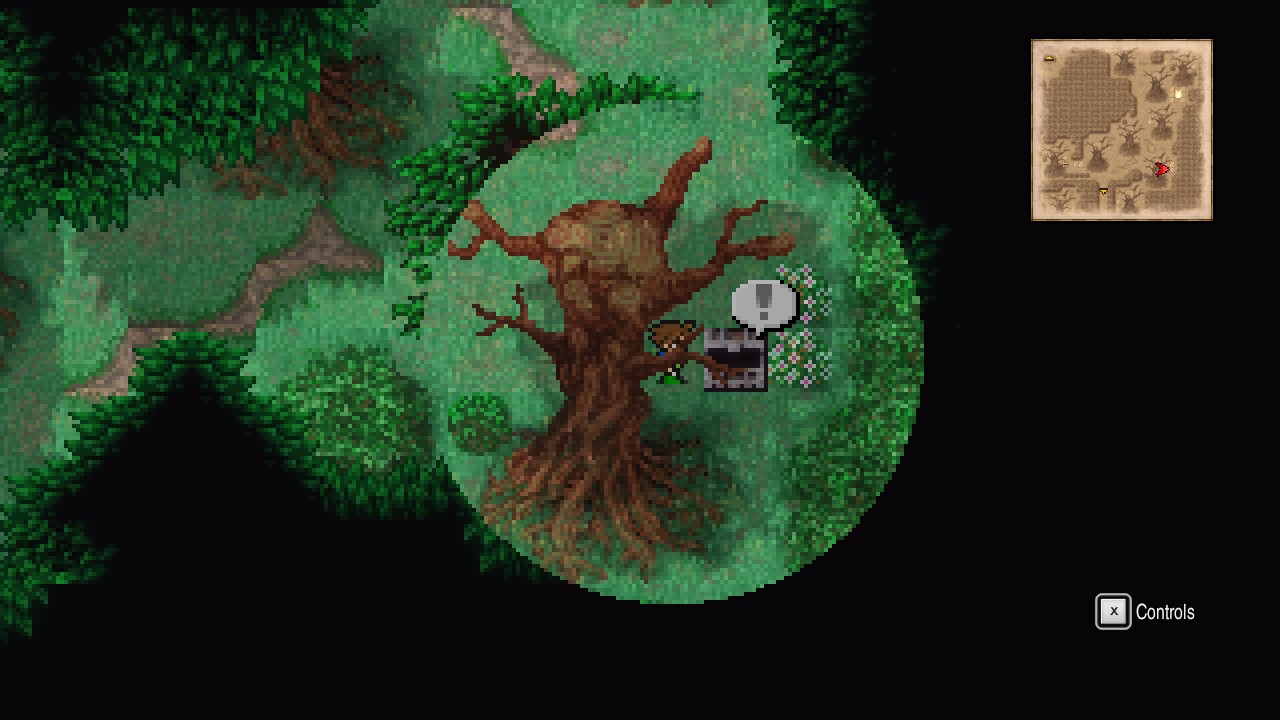 |
Head north from the chest we just opened to reach a consecrated circle.
Rest and save if you desire, then head west until hitting the wall.
From the western wall, go a little north to find a chest containing an Elixir. [106/227]
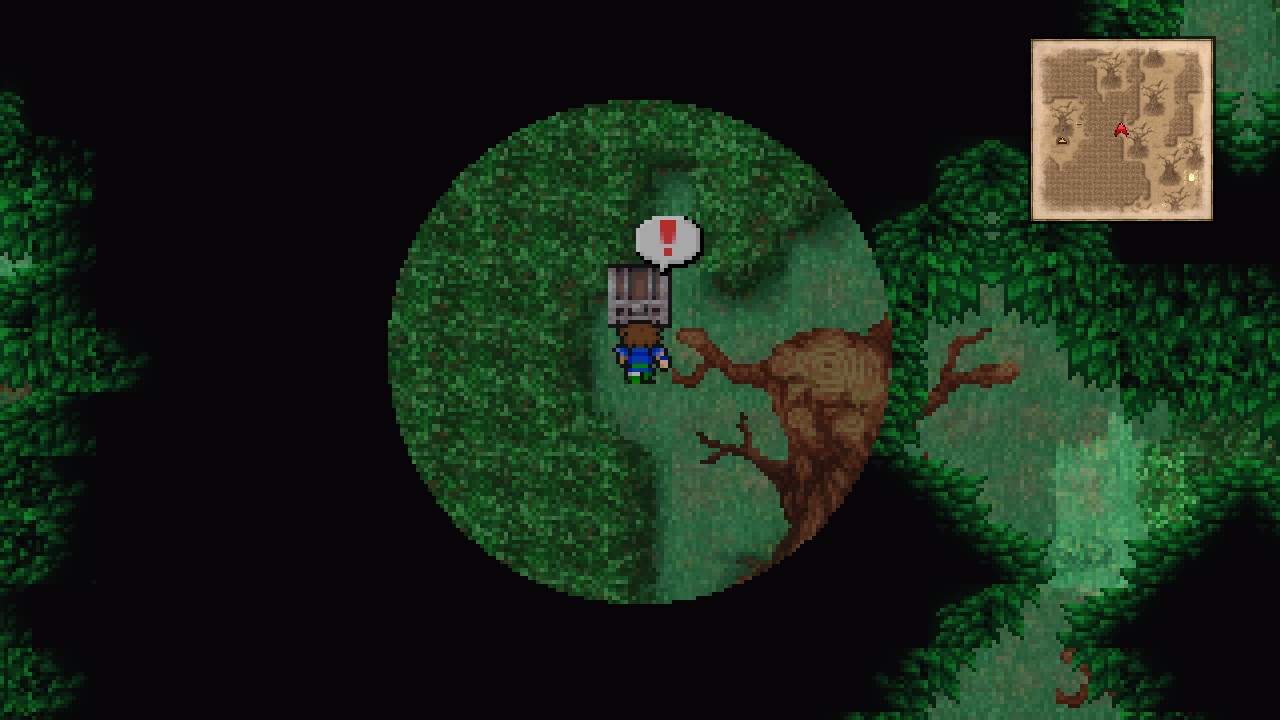 |
Veteran Treasure Hunter
Collected treasure from 50% of the chests.
Halfway there!!! (win a battle or switch location to make the achievement pop)
Wait, is it just me or did that unlock early? We should be at 106/227 chests, which isn’t the half. Oh well. Confirm me in comments if the achievement unlocked early for you too! Thanks!
Now continue all the way north to reach another chest. Open it for Morning Star. [107/227]
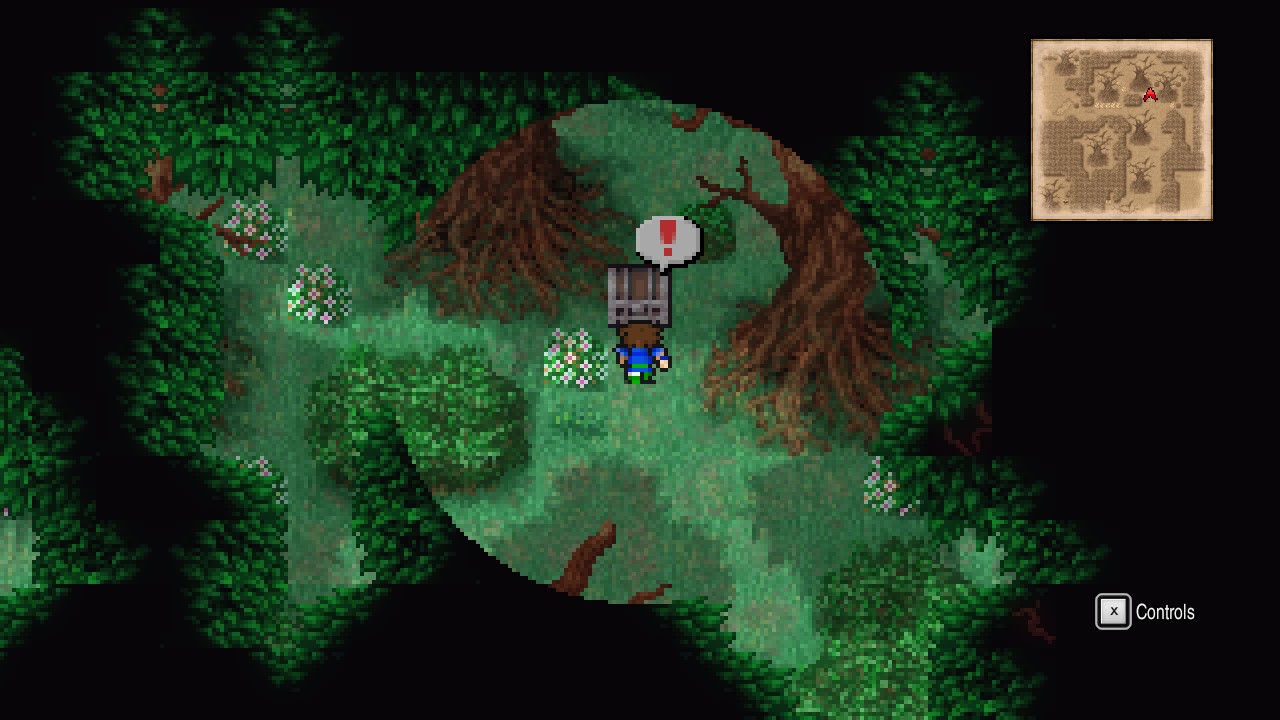 |
From the chest we just opened, go west to trigger a scene…
Once you regain control, approach the middle area to make a Moogle pop up from the ground.
Enter the hole.
Trivia: In previous versions of the game, you could get an Aegis Shield (during the fire) or a Flame Shield (post fire) inside the chest at the northeastern corner of this area. For some reason, Square blocked the path to the Aegis Shield in Pixel Remaster, forcing us to wait for the Flame Shield later. Not like I’m complaining as the Flame Shield is miles better, but this is such an odd change to make to a 28 years old game.
Moogle Cave
Enter the spring to heal your party if you desire.
Speak to the Moogle guarding the exit to make it move away, then leave the cave.
Forest of Moore: Part II
Forest of Moore
Oh no… the beautiful Forest of Moore is no moore… I’ll see myself out.
Note: Battles still happen here. However, they’re the same as when the forest was still alive (even the background remains intact LOL).
Anyway, open the chest northeast from the hole to obtain the previously mentioned Flame Shield! [108/227]
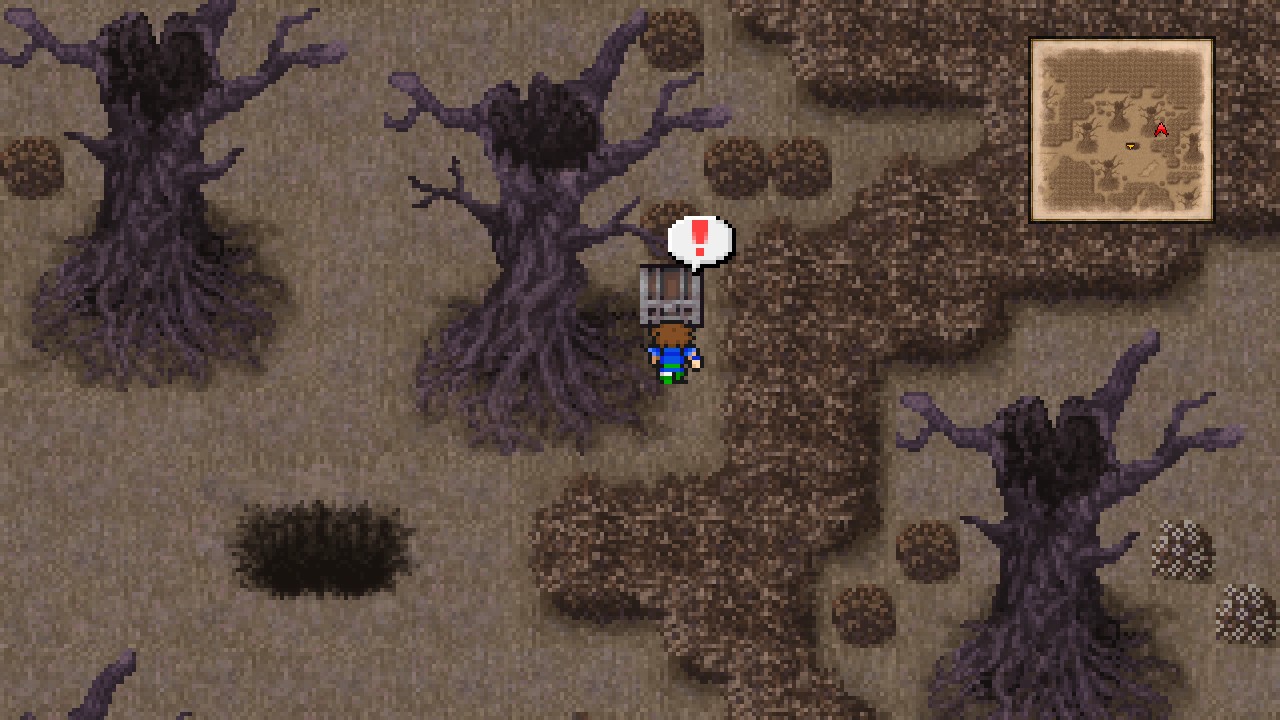 |
Now head west through the path and open the chest next to a dead tree for Ash. [109/227]
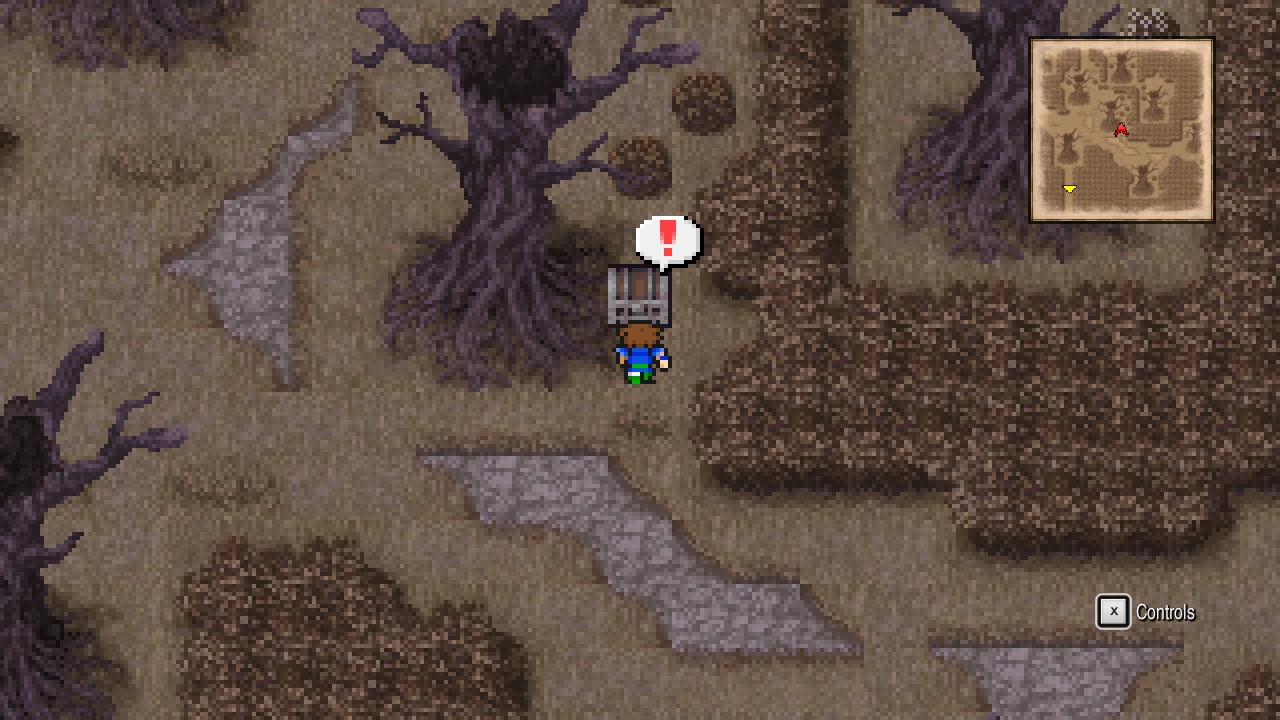 |
Continue west and open the chest just above some rocks for Flametongue. [110/227]
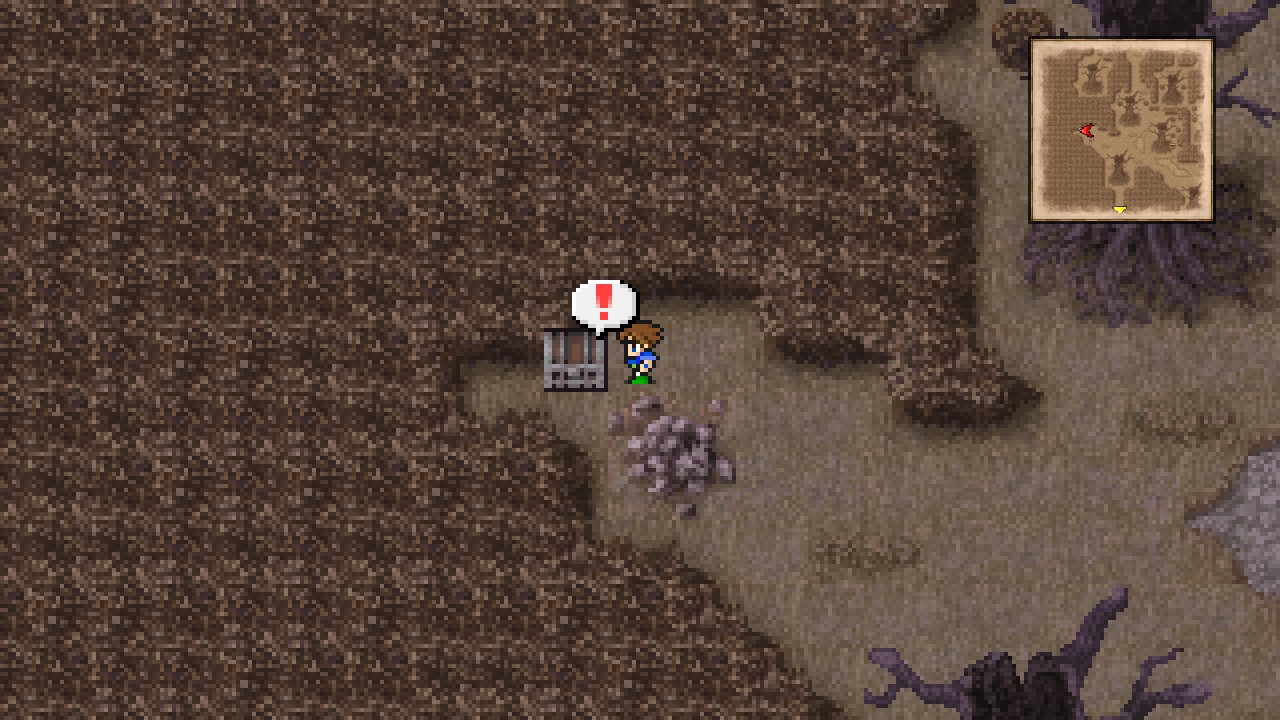 |
That concludes the collectibles for this location. 13/13 chests.
Proceed north to find the Guardian Tree, then watch the scenes.
Once you regain control, heal up and quick-save, then enter the Guardian Tree.
Guardian Tree – Interior
Head north to trigger a short scene, followed by a boss fight…
| ??? (top, absorbs fire) |
|---|
| ID | HP | MP | ATK | DEF | EVA | M.DEF | MAG | WEAKNESS | RESIST. | ABSORBS | CANCELS |
|---|---|---|---|---|---|---|---|---|---|---|---|
| 265 | 7777 | 10000 | 40 | 10 | 0 | 20 | 15 | None | Poison, Mini, Toad, Petrify, Silence, Berserk, Confuse, Paralyze, Sleep, Old, Stop | Fire | Ice, Lightning, Poison, Holy |
| ??? (bottom, absorbs earth) ( |
|---|
| ID | HP | MP | ATK | DEF | EVA | M.DEF | MAG | WEAKNESS | RESIST. | ABSORBS | CANCELS |
|---|---|---|---|---|---|---|---|---|---|---|---|
| 266 | 7777 | 10000 | 40 | 10 | 0 | 20 | 15 | None | Poison, Mini, Toad, Petrify, Silence, Berserk, Confuse, Paralyze, Sleep, Old, Stop | Earth | Ice, Lightning, Poison, Holy |
| ??? (right, absorbs water) |
|---|
| ID | HP | MP | ATK | DEF | EVA | M.DEF | MAG | WEAKNESS | RESIST. | ABSORBS | CANCELS |
|---|---|---|---|---|---|---|---|---|---|---|---|
| 265 | 7777 | 10000 | 40 | 10 | 0 | 20 | 15 | None | Poison, Mini, Toad, Petrify, Silence, Berserk, Confuse, Paralyze, Sleep, Old, Stop | Water | Ice, Lightning, Poison, Holy |
| ??? (left, absorbs wind) |
|---|
| ID | HP | MP | ATK | DEF | EVA | M.DEF | MAG | WEAKNESS | RESIST. | ABSORBS | CANCELS |
|---|---|---|---|---|---|---|---|---|---|---|---|
| 265 | 7777 | 10000 | 40 | 10 | 0 | 20 | 15 | None | Poison, Mini, Toad, Petrify, Silence, Berserk, Confuse, Paralyze, Sleep, Old, Stop | Wind | Ice, Lightning, Poison, Holy |
Whaaa, four bosses at once!?
Don’t be scared, this isn’t as bad as it looks. I also got you covered with my amazing tips!
Just check the elements of each crystal and avoid casting anything that would heal them. If you want to be cheap, you can use Death Claw to lower each boss’ HP to single digits, then finish them off with any attack.
I personally opened the battle by summoning Golem and casting Hastega on my party, then used Shell on the healer and followed by spamming Titan for massive damage (about 1800 damage per use, excluding the bottom enemy which absorbs earth) until all but one enemy was death, then defeated the last with Graviga + non-elemental attacks. This method can be dangerous though, as the bosses will start casting very powerful spells whenever they’re about to die, and if you reduce their HPs at once, they will all do that in succession, making it impossible to survive without healing in between the attacks (that’s the reason why I casted Hastega).
If you’re the safe kind of player, then focus on one boss at a time and don’t let your HP go below the minimum levels (this strategy is kinda boring though, so I definitely recommend the other one).
After the battle, Exdeath comes to ruin the party.
Play the AMAZING scripted battle (best in the game and probably the most emotional in any FF title in my humble opinion), then watch the scenes that follow…
| Exdeath |
|---|
| ID | HP | MP | ATK | DEF | EVA | M.DEF | MAG | WEAKNESS | RESIST. | ABSORBS | CANCELS |
|---|---|---|---|---|---|---|---|---|---|---|---|
| — | ??? | ??? | ??? | ??? | ??? | ??? | ??? | ??? | ??? | ??? | ??? |
Galu’s flame has flickered out…
Speak to Krile for more scenes…
Gil Cave
Krile joins the party.
Overworld
Powers Bequeathed
Krile received Galuf's abilities.
As the achievement hints, Krile is the replacement to our loved Galuf. Sad times (not really, but I already miss that old bastard).
Alright. Now that we’re finally back at the overworld, exit this mountainous area though the southern passage and make your way back to the Castle of Bal.
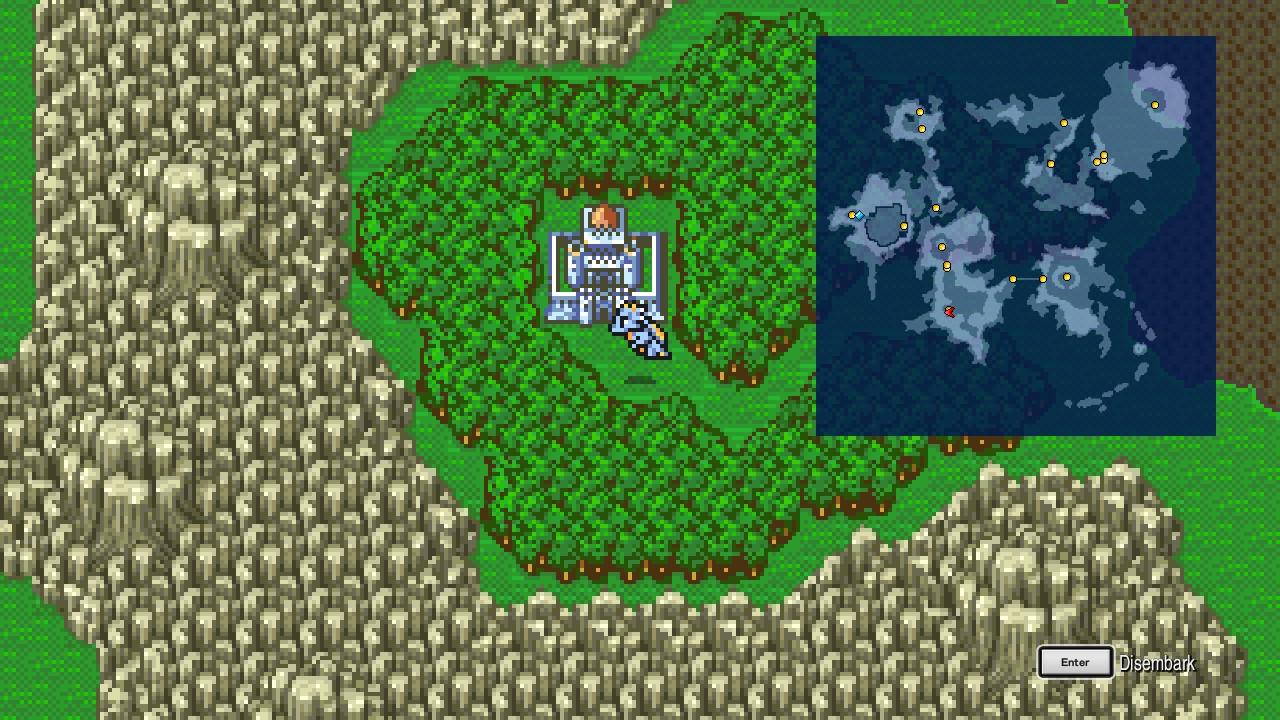 |
Feel free to enter the Castle and rest (the main door is now open).
Once ready to continue, fly northeast to find a cave we didn’t visit before.
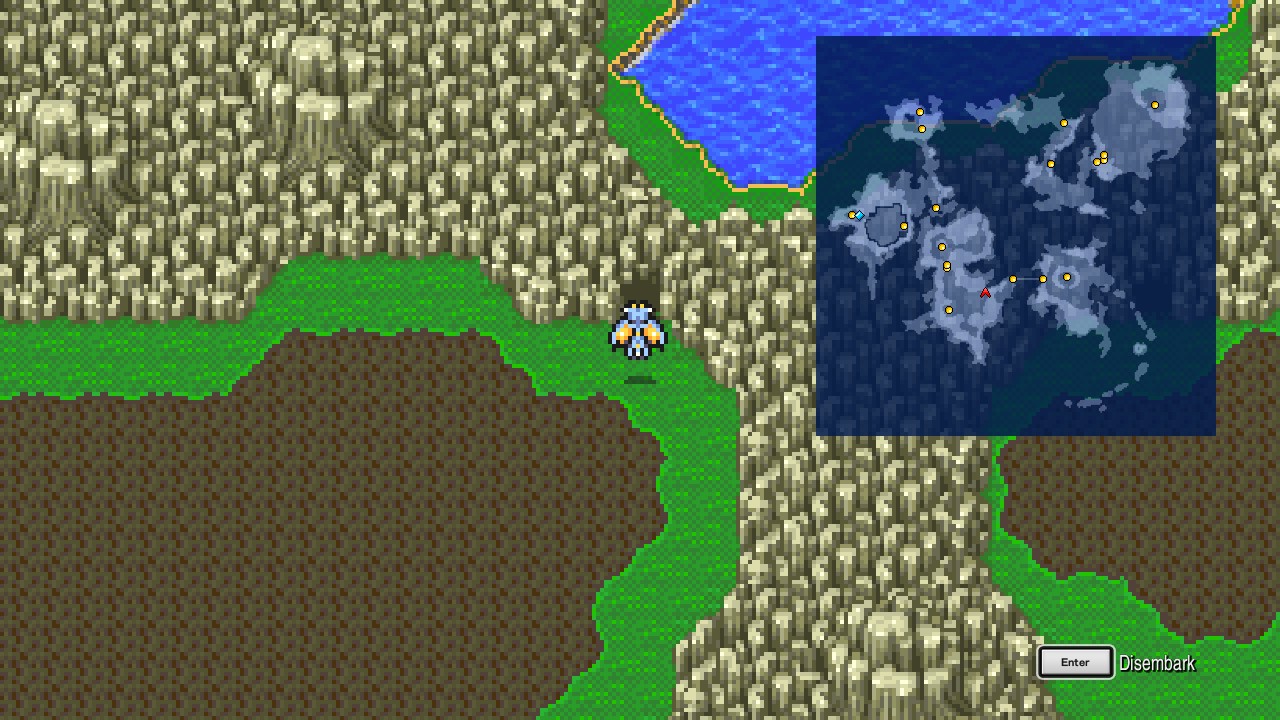 |
Land and head inside.
Gil Cave
| ㅤ ㅤ ㅤ BESTIARY: GIL CAVEㅤ ㅤ |
|---|
| ID | MONSTER | HP | MP | GIL | EXP |
|---|---|---|---|---|---|
| 098 | Undergrounder | 1450 | 200 | 291 | 520 |
Head east, down the stairs and then immediately south to find a secret passage (refer to the screenshot below for the exact location; walk south from there to find the passage).
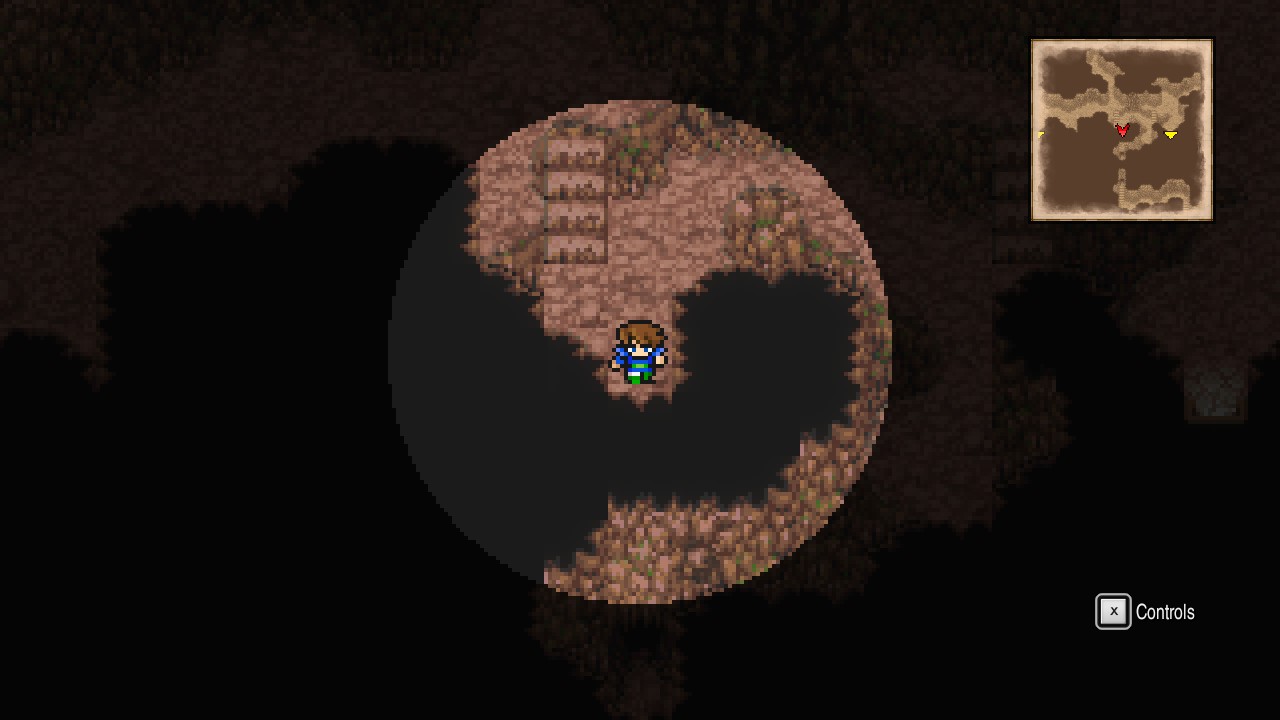 |
Follow the passage all the way until reaching a metal door, but DON’T GO THROUGH IT YET.
Read the instructions below before progressing further.
The first step past the metal door gives you 10 Gil, then every step you take will double that quantity to a maximum of 40,960. However, it can’t be as easy as just walking around to earn Gil, right?
Correct. Every few steps, you will have a chance to meet one of the most nasties creatures in the whole game. Yes. I’m talking about the Gil Turtle. And it doesn’t show up just once, but can show up several times while collecting the Gil.
So, what to do?
There’s two ways to handle this. The first is praying to god that it doesn’t show up at all while we’re collecting the Gil. Easy, right?
The other is making a quick-save at every step you take and reload if you get the encounter.
BUT, we still want to defeat the creature for collection purposes, right?
Fighting this boss the proper way is not viable, so I have a good strategy prepared for you.
Switch your jobs so you have a Knight, a Black Mage, and a Time Mage. Fourth character can bring anything you want.
Engage in a battle outside the metal door and cast Graviga on all your teammates but the Knight.
Make sure to finish the battle that way. 3/4 characters on critical HP.
Equip the Knight with Bone Mail and cast Float with your Time Mage on all your party members while outside a battle (VERY IMPORTANT STEP).
Finally, switch your jobs so you have a Knight and three Black Mages.
Your party should look like this:
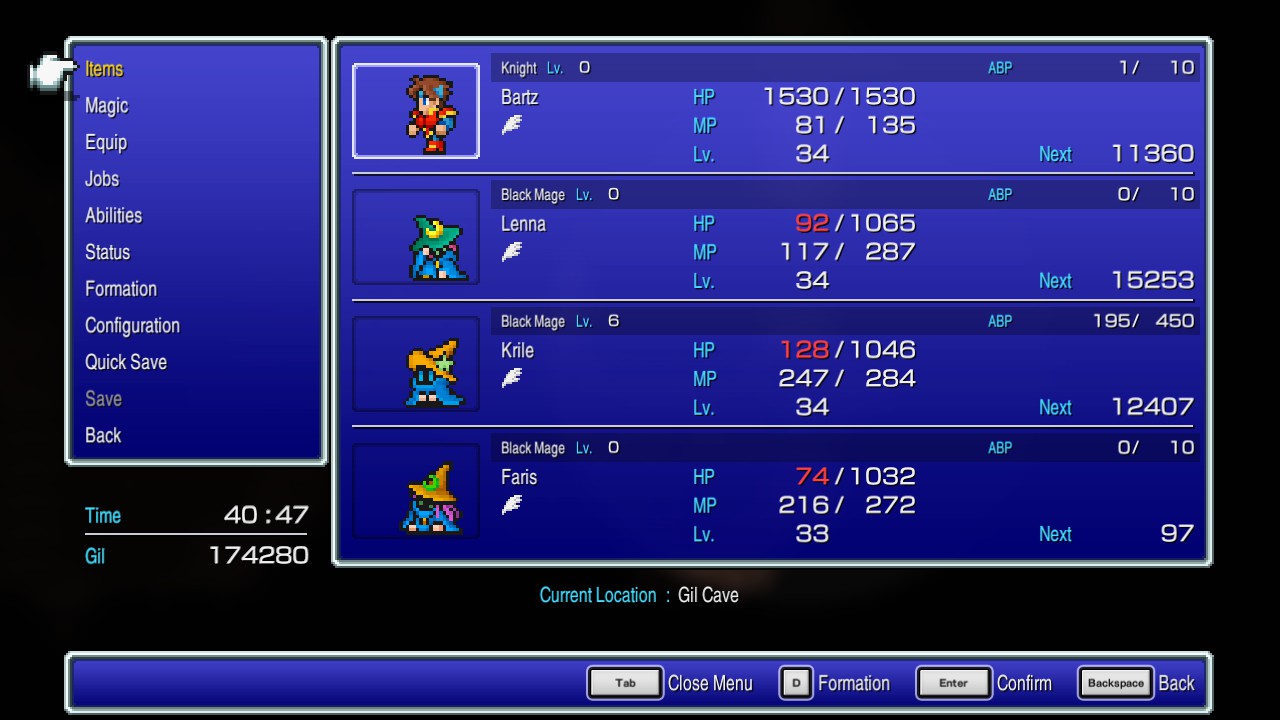 |
Make sure all are relatively high on MP.
Go through the metal door and collect Gil until the Turtle shows up.
| Gil Turtle |
|---|
| ID | HP | MP | ATK | DEF | EVA | M.DEF | MAG | GIL | WEAKNESS | RESIST. | ABSORBS | CANCELS |
|---|---|---|---|---|---|---|---|---|---|---|---|---|
| 270 | 32768 | 8000 | 115 | 40 | 40 | 55 | 90 | 5000 | Ice | Darkness, Zombie, Poison, Mini, Toad, Petrify, Death, Silence, Berserk, Confuse, Paralyze, Sleep, Old, Stop | Fire, Lightning, Earth, Water, Poison, Wind | Holy |
Strategy:
- Knight: Guard all turns
- All Black Mages: Blizzaga all turns
Press Q once you have your turns decided and enjoy the show.
The boss will cast Earthquake before dying, but that won’t do anything to our floating characters.
After winning, teleport your party out of the dungeon (or walk, but that’s way too dangerous if you’re deep past the metal door).
Overworld
Heal your party (Tent, Cottage, or go Rest in Bal), then head to the northeastern continent to hunt a creature we didn’t kill in the past. THIS STEP IS CRUCIAL to complete the bestiary.
Once at the northeastern continent, fly to the Kuza Castle and land nearby.
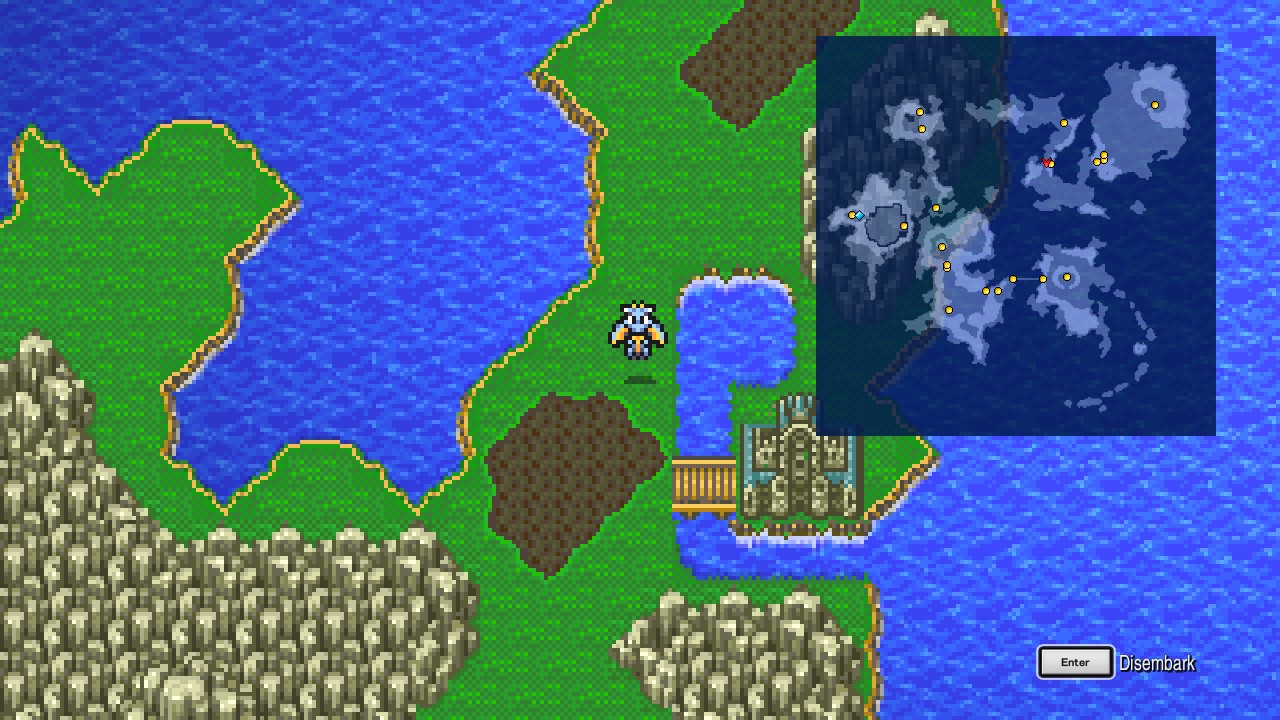 |
Give one of your party members the Control or Blue Magic ability and wander around the green area until trigger the following encounter:
| ㅤ ㅤ ㅤ BESTIARY: KUZA CASTLE AREA ㅤ ㅤ |
|---|
| ID | MONSTER | HP | MP | GIL | EXP |
|---|---|---|---|---|---|
| 085 | Kuza Beast | 5000 | 1000 | 1000 | 1000 |
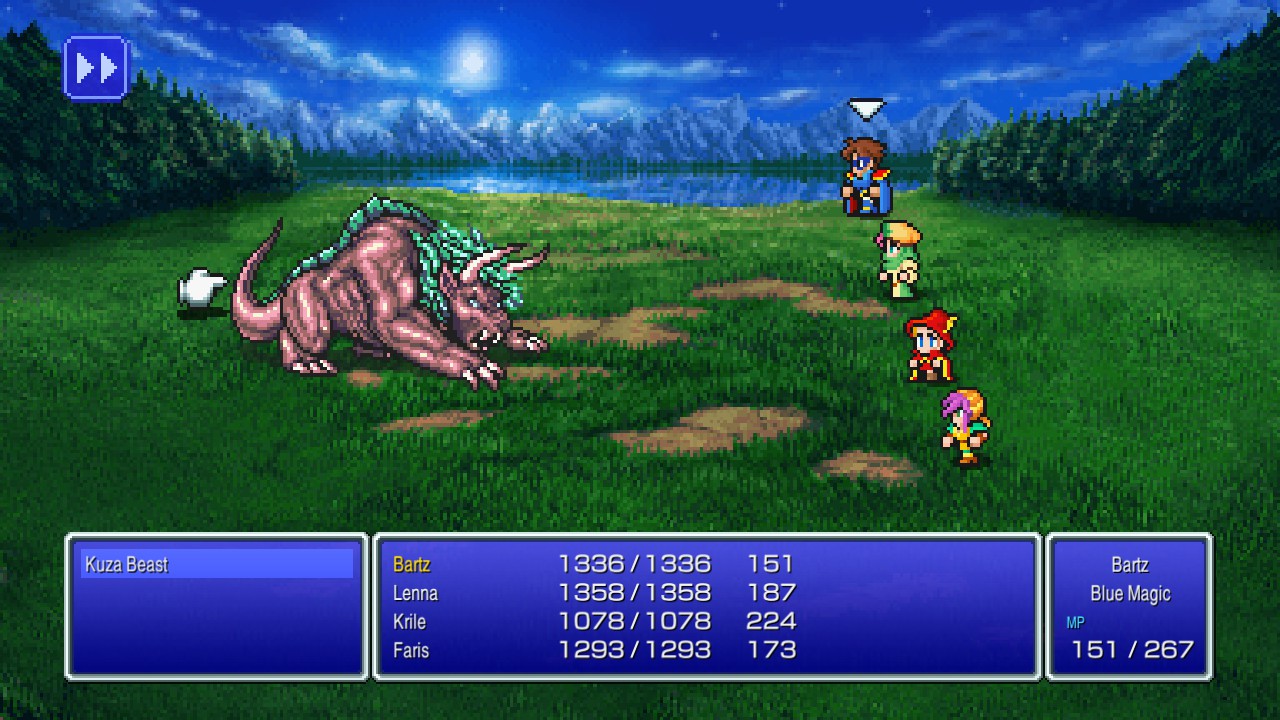 |
Now we’re finally ready to take down this formidable beast. There’s multiple ways to do so. One is by controlling the creature with Beastmaster’s Control ability and then spam magical attacks until it’s down. Can take several attempts, but it’s possible. The other way is by reducing its HP to single digits with Death Claw or Missile blue magics. That’s the reason why I recommended you to bring a Beastmaster or Blue Mage. The choice is yours.
Once done, make your way to the Castle Exdeath located at the southeastern continent and head inside.
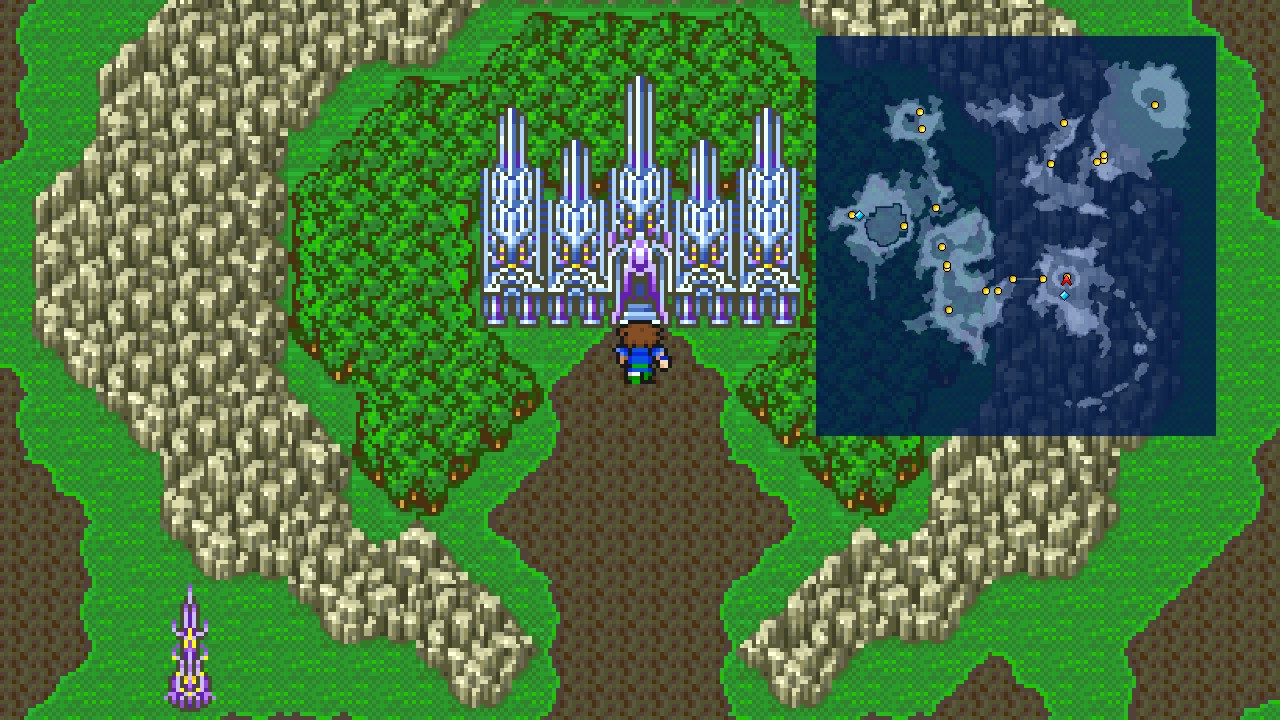 |
Castle Exdeath: Part I
Castle Exdeath – 1F
This is another one of those important game-changing dungeons. Actually, this is probably the most important one as it’s the bridge between this world and the rest of the story.
I’ll divide the encounters every few floors to make the guide a little easier to follow.
WARNING: This is a one-visit location.
Summary of Missables:
- All bestiary entries
- All treasure chests
From the entrance, go through the door just in front of you.
Note: There’s a consecrated circle behind the northernmost door and a healing spring after that.
Castle Exdeath – Passage
Head up the stairs.
Castle Exdeath – 2F
| ㅤ ㅤ ㅤ BESTIARY: CASTLE EXDEATH – LOWER FLOORSㅤ ㅤ |
|---|
| ID | MONSTER | HP | MP | GIL | EXP |
|---|---|---|---|---|---|
| 123 | Twin Lizard | 1500 | 0 | 360 | 720 |
| 124 | Blind Wolf | 900 | 0 | 363 | 500 |
| 125 | Hellraiser | 1050 | 100 | 366 | 750 |
| 126 | Reflect Mage | 1300 | 100 | 369 | 900 |
Make your way to the southern portion of the room to find two chests. Open both for an Ether and Diamond Shield. [112/227]
 |
Now go up the stairs.
Castle Exdeath – 3F
Follow the path to… a dead end?
Return the way you came from to trigger a scene.
After the scenes, the castle will reveal its true form, opening a path to the next floor in the process.
Head upstairs.
Castle Exdeath – 4F
| ㅤ ㅤ ㅤ BESTIARY: CASTLE EXDEATH – MIDDLE FLOORSㅤ ㅤ |
|---|
| ID | MONSTER | HP | MP | GIL | EXP | |
|---|---|---|---|---|---|---|
| 127 | Magic Dragon | 2900 | 300 | 372 | 1200 | BM: Aeroga (repeat), Off-Guard (repeat), Level 2 Old (repeat) |
| 128 | Black Warlock | 1999 | 500 | 375 | 950 | |
| 129 | Adamantite Golem | 3650 | 0 | 378 | 1100 | |
| 130 | Bandercoeuri | 2600 | 100 | 381 | 1150 |
Magic Dragon is a great opportunity to get missed blue magic.
Follow the linear path until reaching a split, then head north and flip the switch to open a path to the nearby chest.
 |
Open the chest for an Ice Shield. [113/227]
 |
Now follow the path south and head up the stairs.
Castle Exdeath – 5F
Adamantite Golem starts appearing here.
Head all the way north, then all the way east past a secret passage/shortcut to reach a chest. Open it for an Ether. [114/227]
 |
Go through the door.
Castle Exdeath – 6F
Bandercoeuri and Black Warlock starts appearing here.
Have a Time Mage cast Float on your party, then step on the lava (walk down the stairs by the entrance) and head immediately south to spot a chest on the right side. Push against the right wall to reveal a secret to the chest.
 |
Open the chest for Hayate Bow. [115/227]
Get out of the lava and follow the room around to reach a chest containing an Elixir. [116/227]
 |
Go up the stairs.
Castle Exdeath – 7F
| ㅤ ㅤ ㅤ BESTIARY: CASTLE EXDEATH – UPPER FLOORSㅤ |
|---|
| ID | MONSTER | HP | MP | GIL | EXP | |
|---|---|---|---|---|---|---|
| 131 | Iron Fist | 3300 | 0 | 384 | 1300 | BM |
Head north and step on the switch to make the middle platform move and walk away to make it stop.
If the platform stops in front of the pillars, you will get into an encounter against one of the following enemies:
- Imp
- Oiseaurare
- Abductor
- Jackanapes
They aren’t numbered, so none of them are actually required for the bestiary completion. I highly recommend saving before attempting to move the platform to prevent unnecessary fights (especially against Jackanapes, which can be OHKO’d with Bio).
Open both chests before heading through the middle path.
 |
Left chest contains an Icebrand while the right contains a Kotetsu. [118/227]
Go through the middle path to continue.
There’s a consecrated circle before 8F. Rest and save if you desire, then head upstairs.
Castle Exdeath – 8F
| ㅤ ㅤ ㅤ BESTIARY: CASTLE EXDEATH – UPPER FLOORSㅤ ㅤ |
|---|
| ID | MONSTER | HP | MP | GIL | EXP | |
|---|---|---|---|---|---|---|
| 132 | Blue Dragon | 6900 | 1000 | 500 | 2500 | |
| 133 | Red Dragon | 7500 | 1000 | 500 | 3000 | BM: Level 3 Flare |
| 134 | Yellow Dragon | 8500 | 1000 | 500 | 2600 |
Blue Dragon, Red Dragon, and Yellow Dragon encounters are common around this area.
Remember when I told you to wait until another time before going for Red Dragon’s ‘Level 3 Flare’ blue magic? Well. Now it’s that time.
Prerequisites
- A Blue Mage or someone with ‘Learner’ ability whose level is divisible by 3
- A Beastmaster with Control ability
- A White Mage with Reflect spell
Instructions
- Engage in a battle against the Red Dragon
- Use your Beastmaster to control the Red Dragon
- Once controlled, use Reflect on the Red Dragon
- While controlling the dragon, use Level 3 Flare on itself
- Pray for the spell to land on your Blue Mage/Learner whose level is divisible by 3
- Revive the learner (which probably died) and win the battle
- And that is. Congratulations on learning one of the most annoying to learn blue magic!
Once ready to continue, head north past the arch and go east to spot a chest on the right side. Push right three tiles from the bottom to reveal a secret passage to the chest.
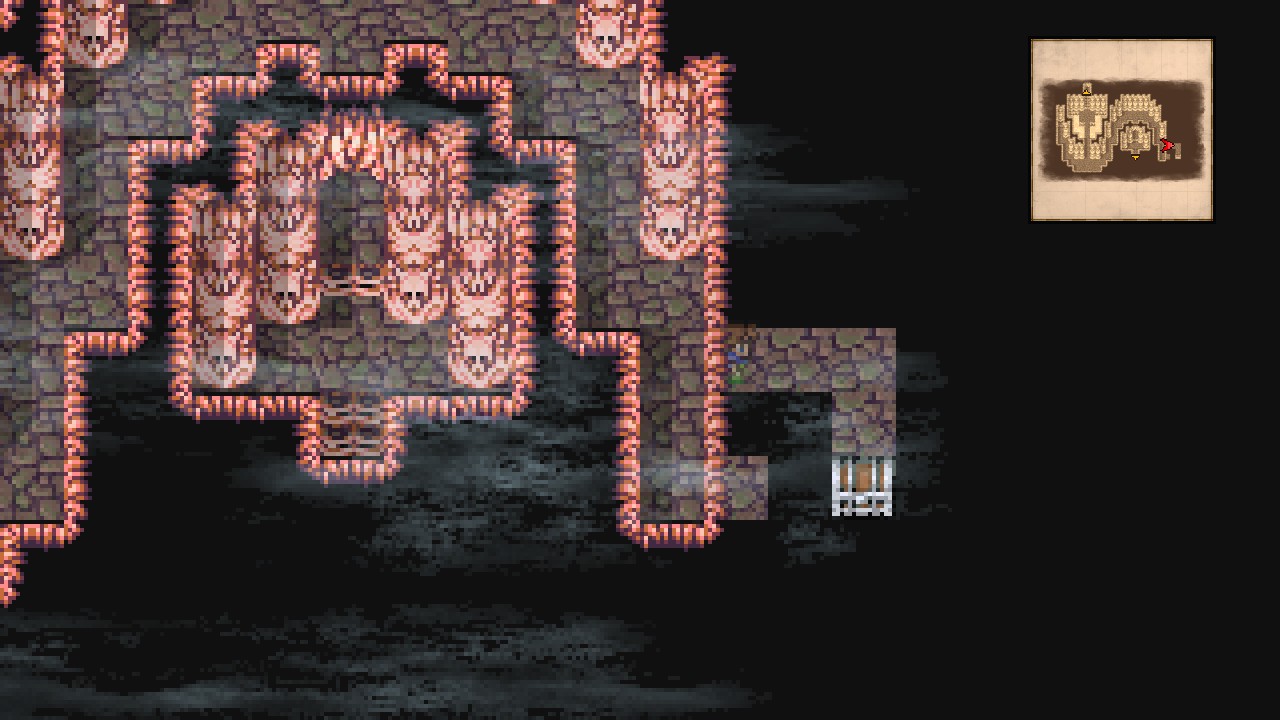 |
Open the chest for an Elixir. [119/227]
Now make your way to the opposite side of the room to find another chest. Open it for 9900 Gil. [120/227]
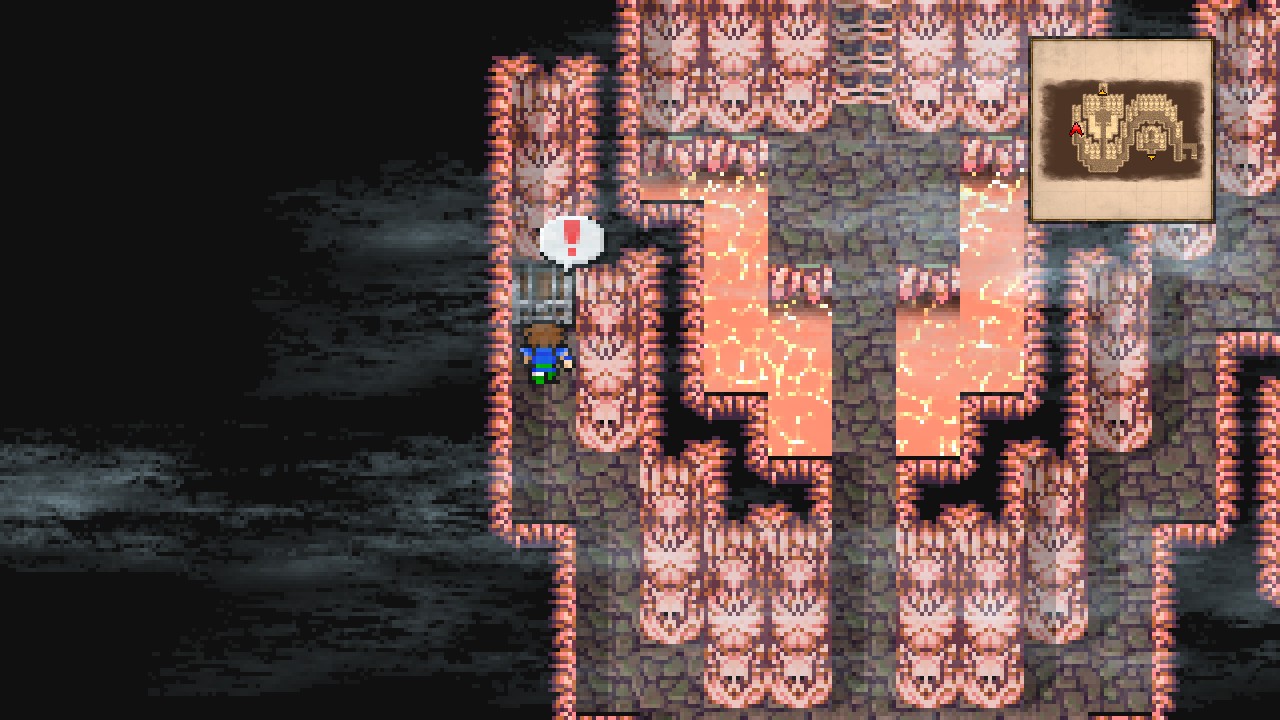 |
Go up the middle path and head upstairs.
Castle Exdeath – 9F
Walk upstairs again.
Castle Exdeath – 10F
Head downstairs through the other staircase.
Castle Exdeath – 9F
Cast Float on your party, then step on the lava.
There’s four staircases in this room. Go east and head up the fourth staircase.
Castle Exdeath – 10F
Open the chest for 8000 Gil. [121/227]
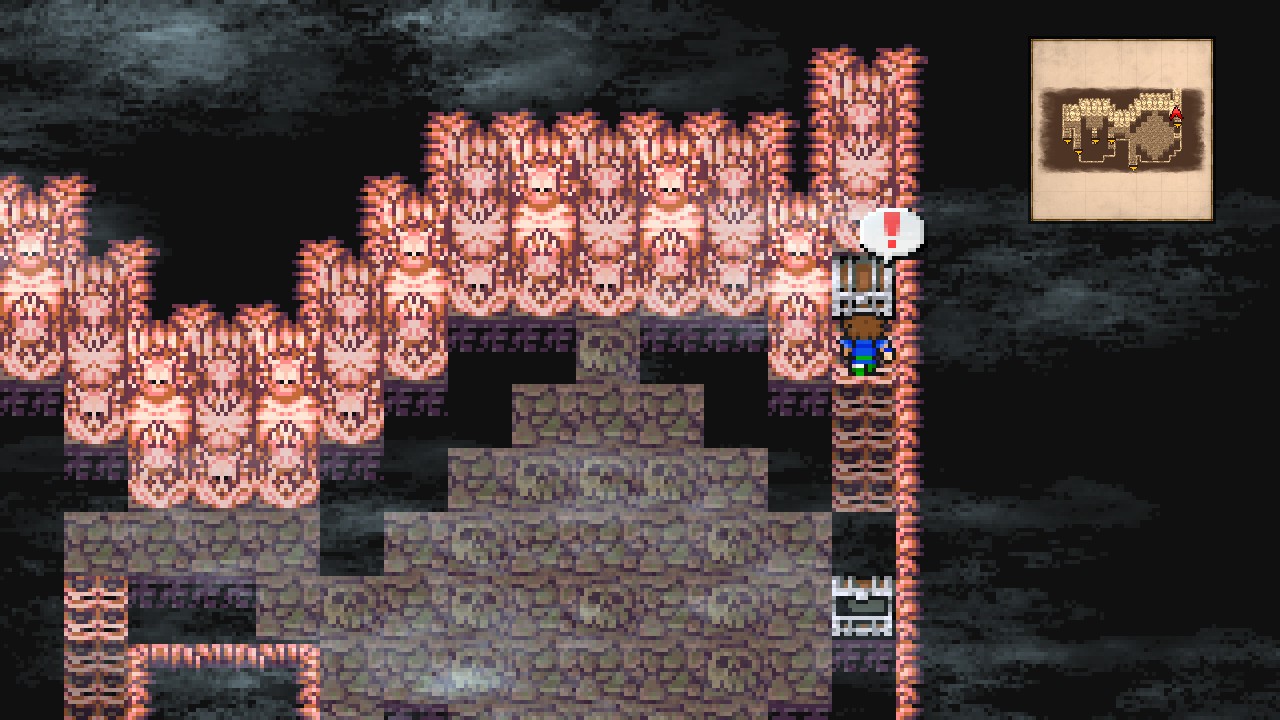 |
Go back down.
Castle Exdeath – 9F
Now go up the third staircase. Second staircase isn’t accessible from here.
Castle Exdeath: Part II
Castle Exdeath – 10F
Head east directly to the chest, then open it for Twin Lance (1). [122/227]
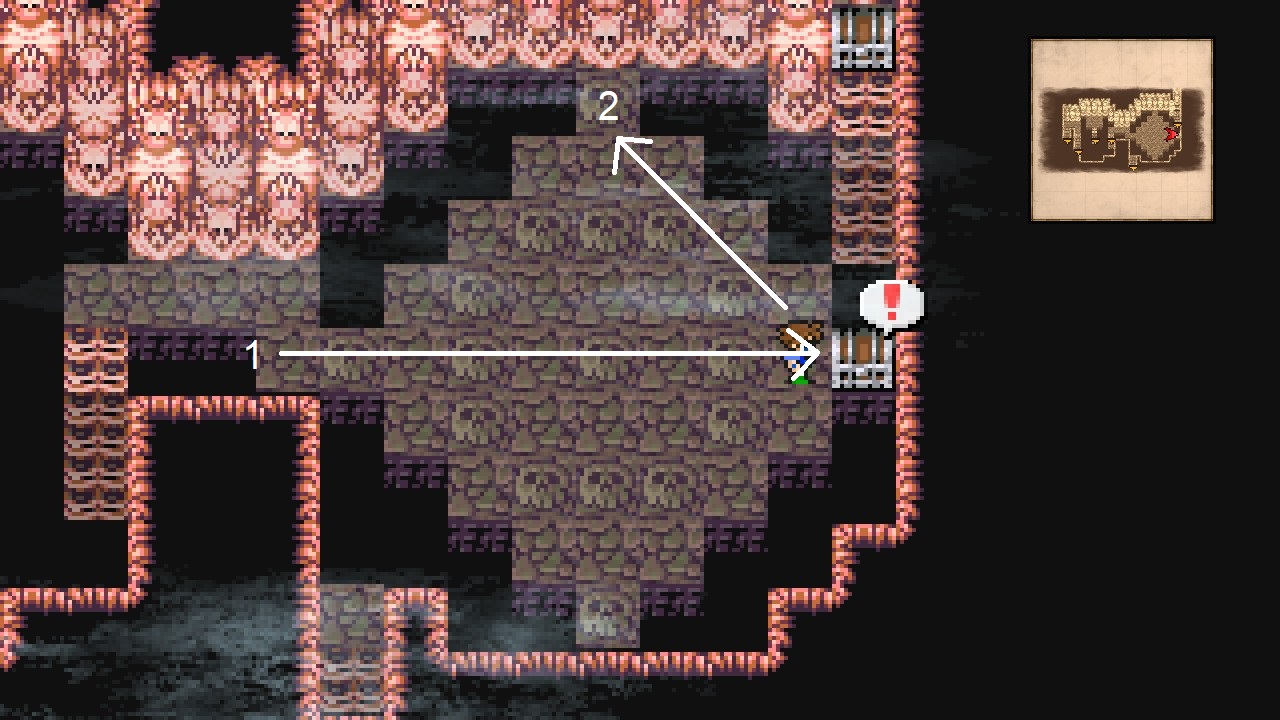 |
Now step on the top skull (2) to get teleported to the orb.
Heal up and quick-save, then interact with the orb.
| Carbuncle |
|---|
| ID | HP | MP | ATK | DEF | EVA | M.DEF | MAG | WEAKNESS | RESIST. | ABSORBS | CANCELS |
|---|---|---|---|---|---|---|---|---|---|---|---|
| 271 | 15000 | 1000 | 50 | 50 | 70 | 50 | 50 | None | Poison, Mini, Toad, Petrify, Death, Berserk, Confuse, Paralyze, Sleep, Old, Stop | None | Earth |
There’s several ways to defeat this boss. My favorite method is by using a Mystic Knight with Spellblade + Bio, then attacking the next turn to OHKO the creature.
The other way is by petrifying the boss. You can either cast Reflect on any party member and then keep bouncing Breaks off until one connects, use a Mystic Knight with Spellblade + Break, or summoning Catoblepas. This method may require way more attempts than the first, though.
Anyway, you will be rewarded with the summoned monster ‘Carbuncle’ for defeating this foe! (insta-granted summon: you don’t need to use it from menu to get the actual unlock).
Head downstairs.
Castle Exdeath – 9F
Step on the switch to get teleported back to the main area, then go up the third staircase again.
Castle Exdeath – 10F
Step on the bottom skull to open a path to the lower staircase. Head downstairs.
Here’s a consecrated circle, so rest and save if you desire, then go up the stairs.
Castle Exdeath – 11F
Open the chest at the middle of the room for… nothing!? [123/227]
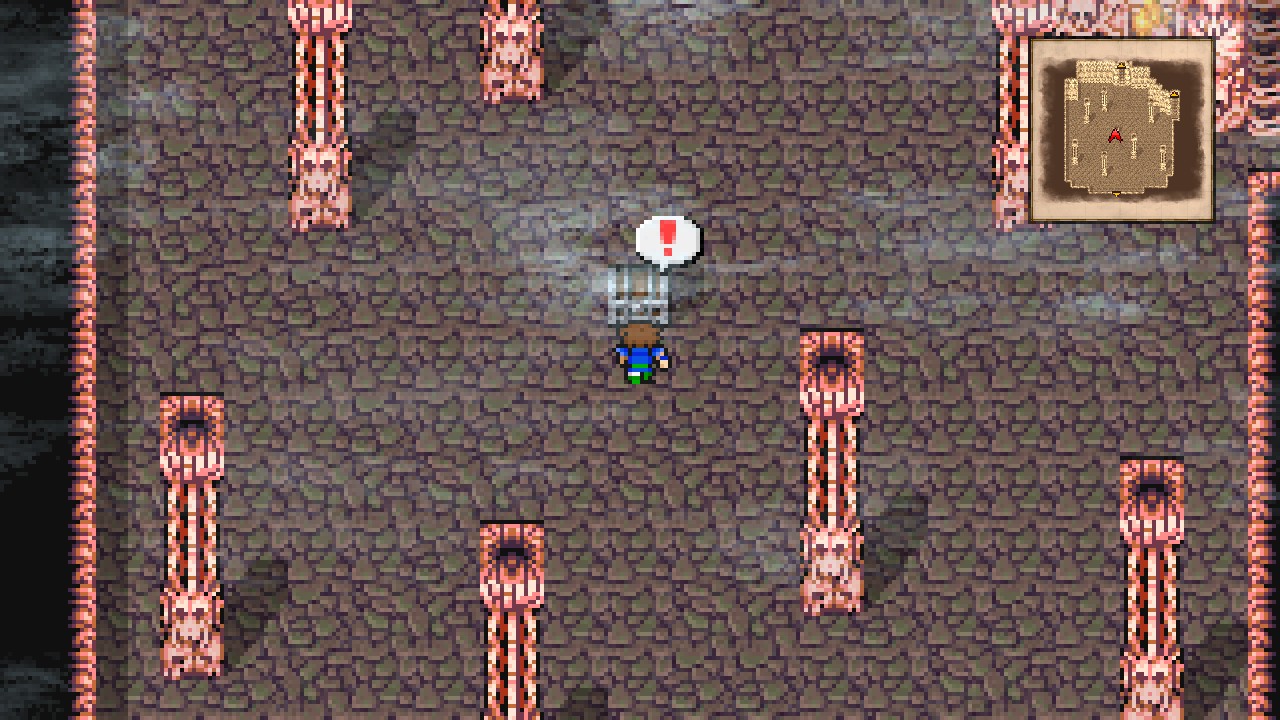 |
Trivia: This chest actually triggers a missable boss fight which is required for the bestiary completion.
Head east and go up the stairs.
Castle Exdeath – 12F
Open both chests here for Fuma Shuriken and Partisan. [125/227]
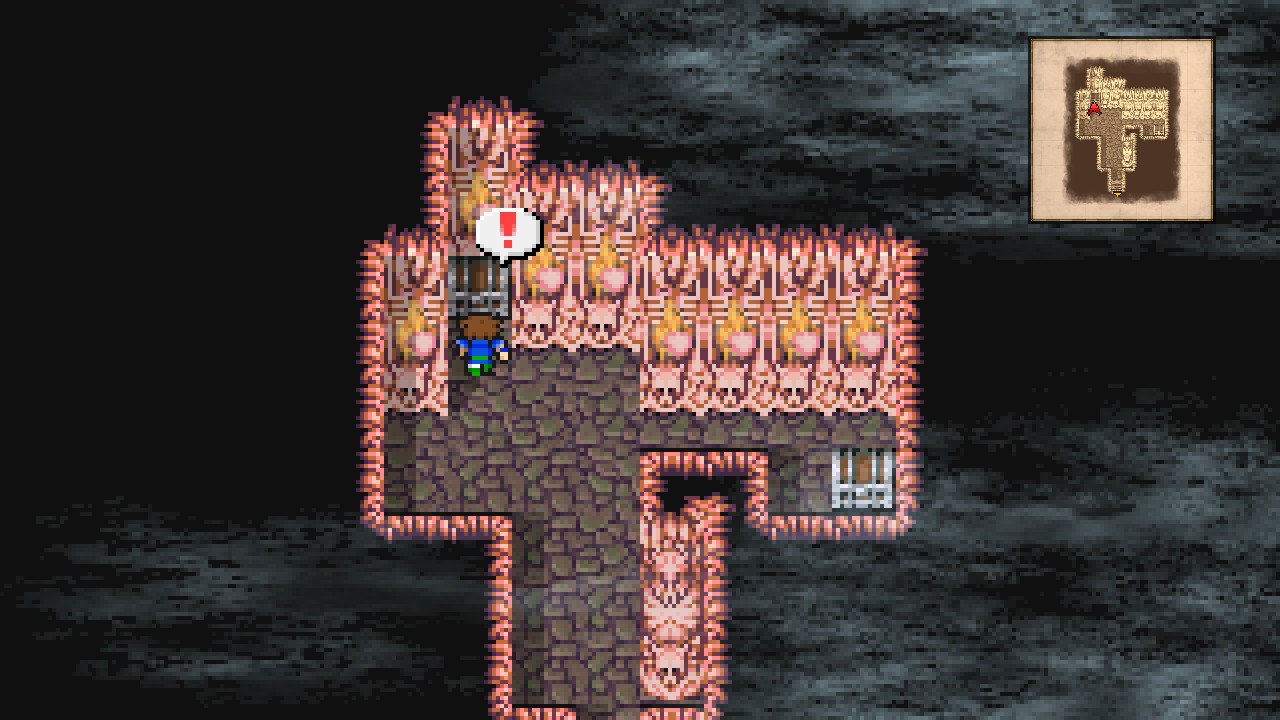 |
That makes 15/15 chests for this location. Make sure that you actually collected everything before facing the final boss.
Head back downstairs.
Castle Exdeath – 11F
Bring a Thief to steal powerful gear during the next battle.
Go north and try to head upstairs to make a familiar face show up (only if you opened the empty chest).
Watch the scenes.
| Gilgamesh (fourth encounter) |
|---|
| ID | HP | MP | ATK | DEF | EVA | M.DEF | MAG | WEAKNESS | RESIST. | ABSORBS | CANCELS |
|---|---|---|---|---|---|---|---|---|---|---|---|
| 272 | 55000 | 2000 | 60 | 10 | 0 | 15 | 1 | None | Darkness, Zombie, Poison, Mini, Toad, Petrify, Death, Silence, Berserk, Confuse, Paralyze, Sleep, Old, Stop | None | None |
Gilgamesh is back and more buffed than ever!
He will keep putting status ailments on everybody and attacking for relatively high amounts of damage. I personally don’t have any tips besides throwing everything you have while your dedicated White Mage handles the HP/status ailment healing.
It’s definitely one of the most annoying boss fights in the whole game, but the amazing soundtrack makes up for it.
After Gilgamesh has received enough damage, he will transform into a more powerful version of himself. Once this happens, Steal the ‘Genji Helm’ from him!
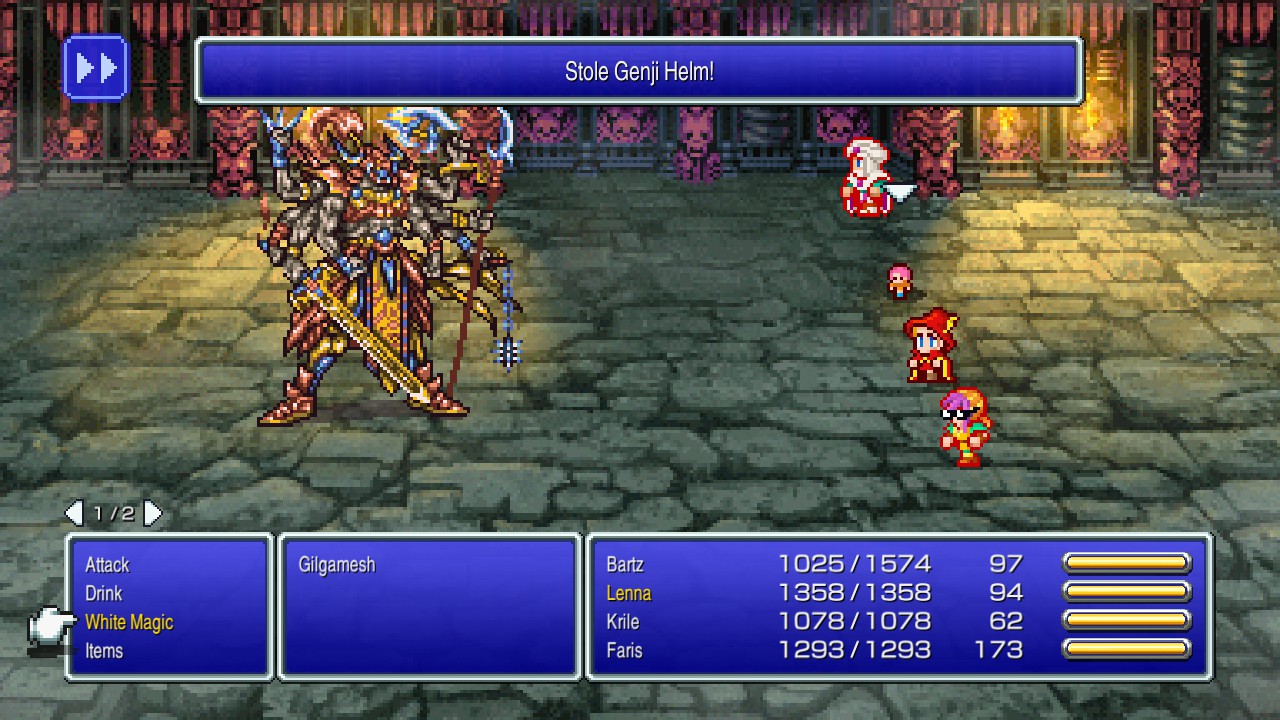 |
Now continue attacking the boss until a scene happens…
That’s a sad ending for one of the most charismatic characters in the game. I hope we get to see him again!
Return to the previous consecrated circle to rest and save.
Before progressing further, take a look to the following checklist as we’re about to get to the second point of no return of the game.
Here’s what you should have up to this point:
- Sinewy Etude (we unlocked this early)
- Mighty March
- Romeo’s Ballad
- Alluring Air
After you made sure you got all, head up the staircase that triggered the Gilgamesh encounter.
Castle Exdeath – 12F
Head north and go through the door.
Castle Exdeath – 13F
Bring a Blue Mage or Learner to the next boss fight. This is not required, but you might want to snatch the ‘Doom’ blue magic while you’re at it.
If you also want to win without much effort, bring 3 Black Mages. My setup was:
- Bartz: Black Mage with Learner
- Lenna: White Mage
- Krile: Black Mage
- Faris: Black Mage
Walk north to finally confront the final boss!
| Exdeath |
|---|
| ID | HP | MP | ATK | DEF | EVA | M.DEF | MAG | WEAKNESS | RESIST. | ABSORBS | CANCELS | |
|---|---|---|---|---|---|---|---|---|---|---|---|---|
| 273 | 32768 | 32768 | 58 | 25 | 10 | 25 | 0 | Holy | Darkness, Zombie, Poison, Mini, Toad, Petrify, Death, Silence, Berserk, Confuse, Paralyze, Sleep, Old, Stop | None | Poison | BM: Doom |
Exdeath will open with Doom (30 seconds to live…) and will re-use that annoying ability every 9 turns. This isn’t a problem as we will be definitely done before it gets to kill even one of our party members. This Doom ability is a blue magic. You can learn it here or wait for later. If you brought a Blue Mage, then it’s worth a shot. If you didn’t, don’t worry. There will be better places in the future to gain such spell.
Now onto the boss.
If you brought 3 Black Mages, then spam Firaga. It will deal about 2000 damage per use, which adds to a whooping 6k per turn (insane damage if you think about it). Use your White Mage to heal and that is. There’s not much more to this fight.
There’s definitely more strategies to handle this boss, but this was the one that worked the best for me.
Watch the scenes.
The Return Home
Defeated Exdeath and returned to the original world.
Merged World
Overworld
We’re back at… our world!?
Enter the Castle Tycoon.
Castle Tycoon
Head inside the castle and you will speak with the Chancellor. Watch the scenes.
Castle Tycoon – Throne Room
The party has split up.
Once you regain control, exit to the balcony through the southeast or southwest door.
Castle Tycoon
Speak to Krile. She rejoins the party!
Exit to the overworld.
Overworld
Remember that we had a Chocobo at the very beginning of the story? Me neither.
Head south from the castle, west, across the bridge, and north to the Cave.
Cave – Entrance
Try to enter the cave. Oh, Boko is here, and he has company!!!
Watch the lovely scene.
Overworld
Boko is back on the road!
Head back to Castle Tycoon but DON’T ENTER. Instead, continue north, then go east across the river and follow the path all the way to Tule (the town with a small lake beside).
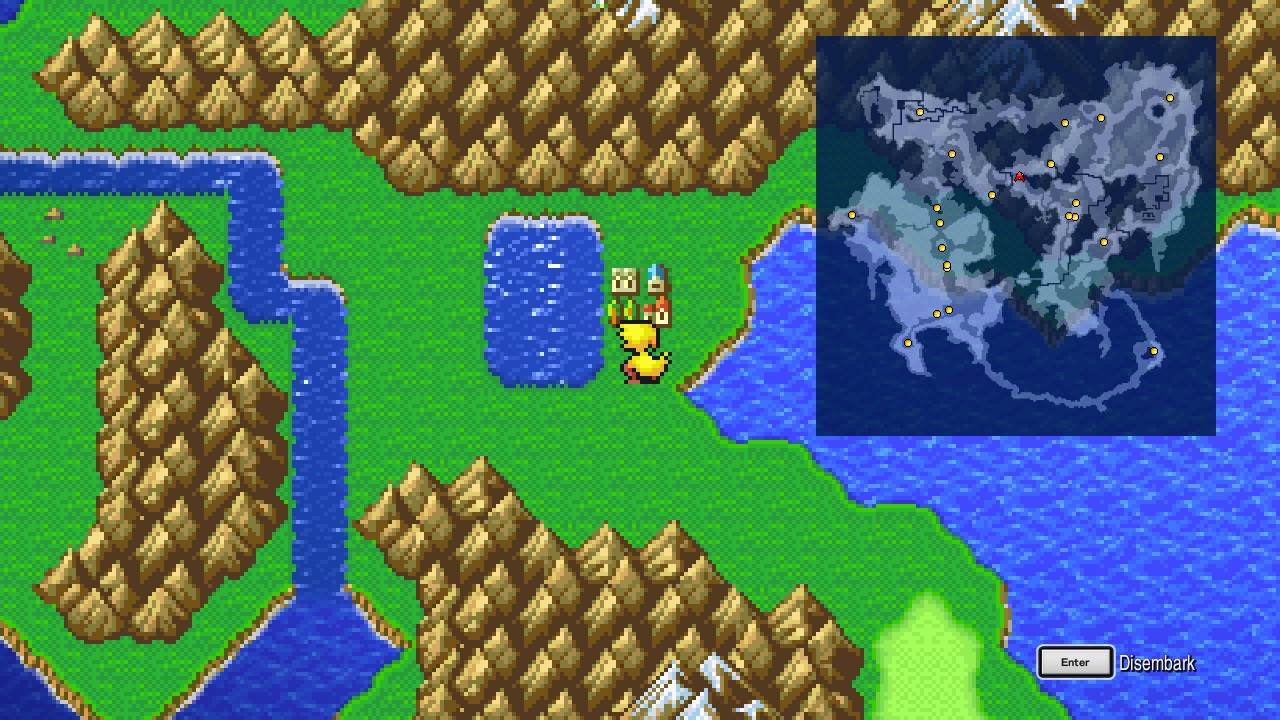 |
Once at Tule, go east across the river and head south to a narrow path.
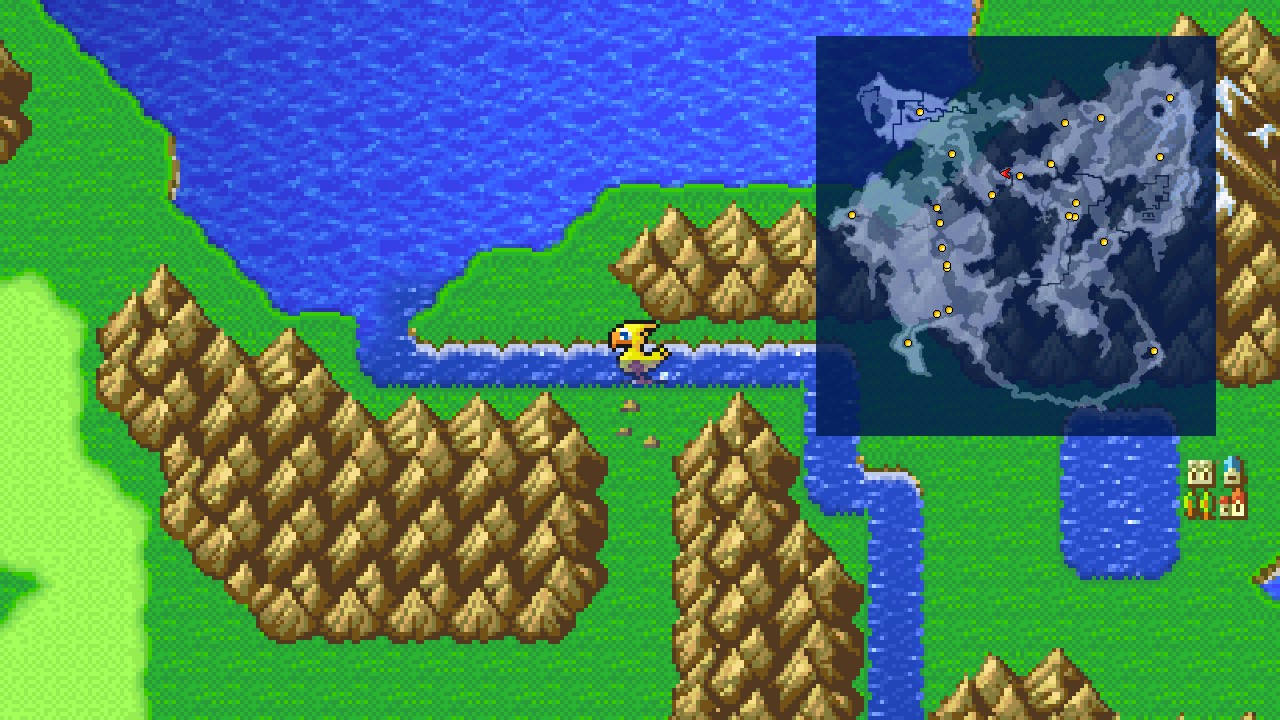 |
Death Valley
Quick save, then go all the way south to fall down a hole.
Watch the scene for…
| Antlion |
|---|
| ID | HP | MP | ATK | DEF | EVA | M.DEF | MAG | WEAKNESS | RESIST. | ABSORBS | CANCELS |
|---|---|---|---|---|---|---|---|---|---|---|---|
| 274 | 8100 | 1000 | 48 | 20 | 10 | 20 | 0 | Water | Poison, Mini, Toad, Petrify, Death, Confuse, Paralyze, Stop | None | Earth |
Extremely easy battle. Just throw everything you have to the boss. High-level spells recommended (I personally spammed Bio + 1000 needles). Healer not needed; the battle should be over before needing to heal.
After the encounter, walk north and try to grab the rope.
Try to grab it again, and again, and again… thanks, Faris, lovely as always.
Watch the hilarious scene.
Faris joins the party! Just one to go.
Overworld
Back at the overworld, go south, west, then south again to reach the entrance of a cave.
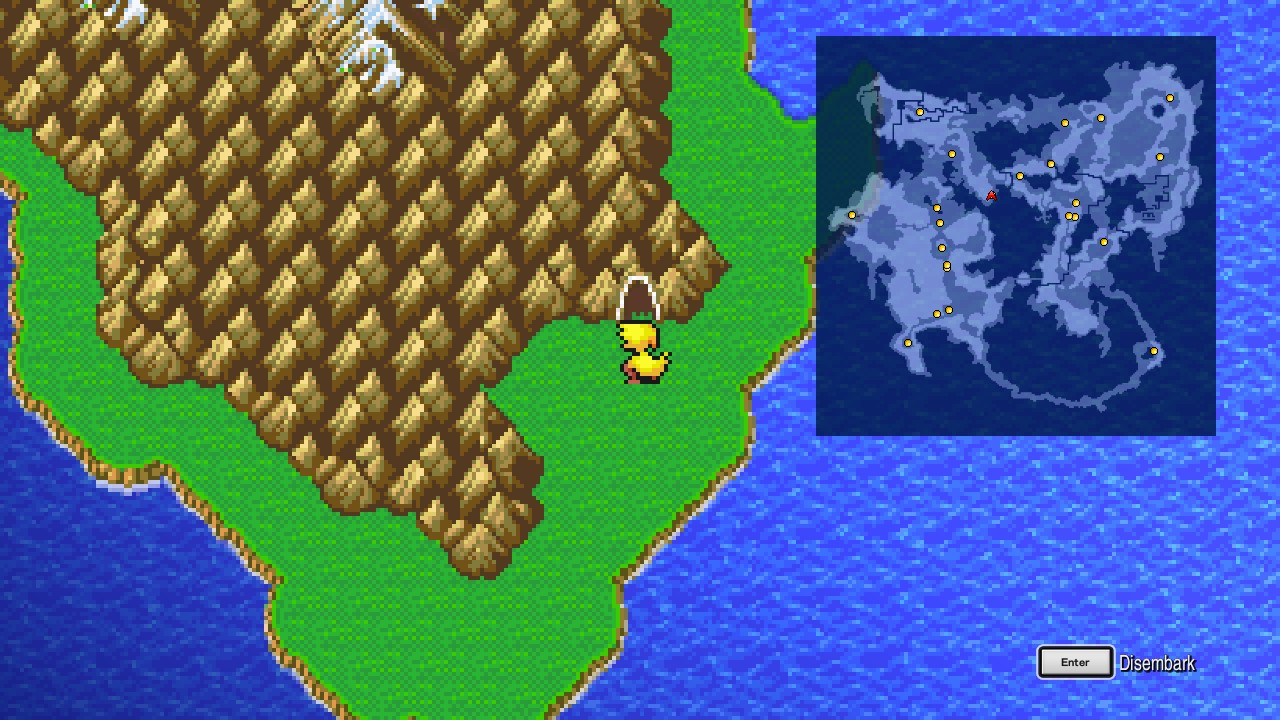 |
Head inside.
Ghido’s Cave – Entrance
Enter the cave.
Ghido’s Cave
Head north for… oh noes, that poor turtle is in trouble!
After helping Guido, watch the long but extremely relevant scenes. The plot thickens.
We’ll be thrown back to the Library of the Ancients before regaining control.
Library of the Ancients – 2F
Received Sealed Tome!
Feel free to use the healing pot, then head upstairs to the roof.
Library of the Ancients – Roof
Talk to the Scholar on the right side to learn the song: Mana’s Paean!
Exit the location.
Overworld
| ㅤ ㅤ ㅤ BESTIARY: LIBRARY OF THE ANCIENTS AREA – MERGED WORLDㅤ ㅤ |
|---|
| ID | MONSTER | HP | MP | GIL | EXP |
|---|---|---|---|---|---|
| 135 | Sleepy | 1600 | 100 | 396 | 700 |
| 136 | Triffid | 2200 | 100 | 399 | 825 |
| 137 | Hedgehog | 1000 | 0 | 402 | 850 |
| 138 | Python | 1800 | 0 | 405 | 680 |
| 139 | Shadow | 1000 | 0 | 408 | 880 |
| 140 | Elm Gigas | 4170 | 5000 | 411 | 810 |
Sleepy and Hedgehog spawn in forests.
Triffid, Python, and Shadow spawn in plains.
World map music has changed. I like it! There’s also many new encounters, so make sure to update your bestiary while you’re exploring the new locations.
Head west along the mountains and enter the forest.
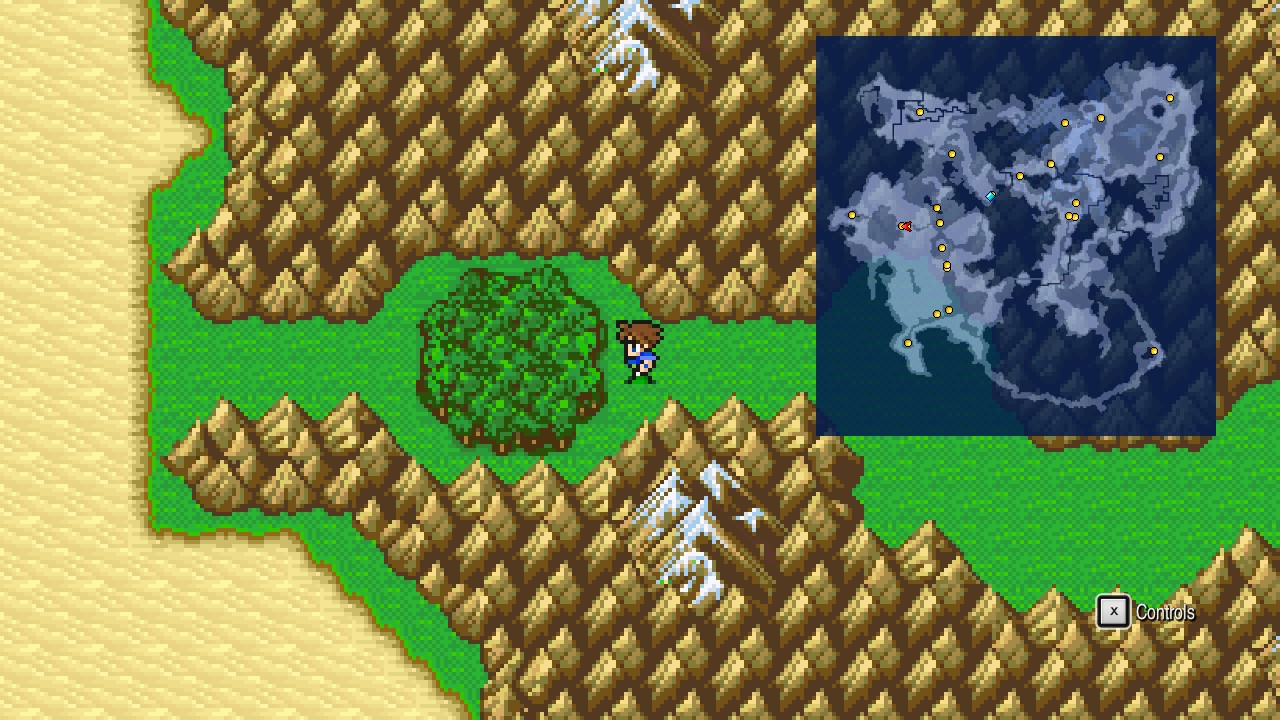 |
Guardian Tree
Head east to find the Guardian Tree from Galuf’s World (Merged World is such a chaotic place, everything is mixed together!)
After the short intermission, leave the location through the western exit.
Overworld
Continue west to find a changed Desert of Shifting Sands. Sand ain’t moving. The place is also not enterable like it used to be. It’s all world map now.
| ㅤ ㅤ ㅤ BESTIARY: PYRAMID OF MOORE AREAㅤ ㅤ |
|---|
| ID | MONSTER | HP | MP | GIL | EXP |
|---|---|---|---|---|---|
| 141 | Desertpede | 2150 | 0 | 426 | 900 |
| 142 | Bulette | 1000 | 0 | 429 | 1050 |
Two new encounters around this area. Grab them while you’re here, then approach the Pyramid at the center of the desert.
Head inside.
Pyramid of Moore: Part I
Pyramid of Moore
Heal up and quick-save, then interact with the entrance door to engage in a boss fight!
| Gargoyle (x2) |
|---|
| ID | HP | MP | ATK | DEF | EVA | M.DEF | MAG | WEAKNESS | RESIST. | ABSORBS | CANCELS |
|---|---|---|---|---|---|---|---|---|---|---|---|
| 276 | 5000 | 300 | 58 | 13 | 10 | 12 | 50 | None | Mini, Toad, Confuse | Holy | None |
Gargoyles are connected. What does that mean? Well, it means that you have to kill both within a short span of time from each other or they will revive.
Besides that is an easy battle. If you did get Level 3 Flare from the Red Dragon, then this is a good occasion to make use of it. It can deal a whooping 3000 points of damage to each Gargoyle!
All other high-level magic works well too.
After the battle, watch the short scene where our heroes open the entrance.
Head inside.
Pyramid of Moore – 1F
| ㅤ ㅤ ㅤ BESTIARY: PYRAMIND OF MOOREㅤ ㅤ |
|---|
| ID | MONSTER | HP | MP | GIL | EXP | |
|---|---|---|---|---|---|---|
| 143 | Lamia Queen | 2100 | 600 | 435 | 700 | |
| 145 | Ushabti | 1200 | 10 | 441 | 480 | BM: Off-Guard (repeat, use Ether), Dark Spark (repeat, use Ether) |
Once inside the pyramid, go west past the door, then head all the way north to find three buttons.
Press the left and right buttons, then go south through the path.
Step on the flowing sands to be pushed down to the bottom floor.
Pyramid of Moore – B1
| ㅤ ㅤ ㅤ BESTIARY: ROAMING THE PYRAMID OF MOOREㅤ ㅤ |
|---|
| ID | MONSTER | HP | MP | GIL | EXP | |
|---|---|---|---|---|---|---|
| 149 | Aspis | 1280 | 50 | 0 | 800 | BM |
There’s traps all around this dungeon. But, what do these traps have to do with me? Well. Stepping on any of the mentioned trap tiles will release snakes that roam the area you’re on and trigger an encounter against Aspis on touch. Sounds fun, right?
Open the chest by the sand pit for a monsters-in-a-box-encounter.
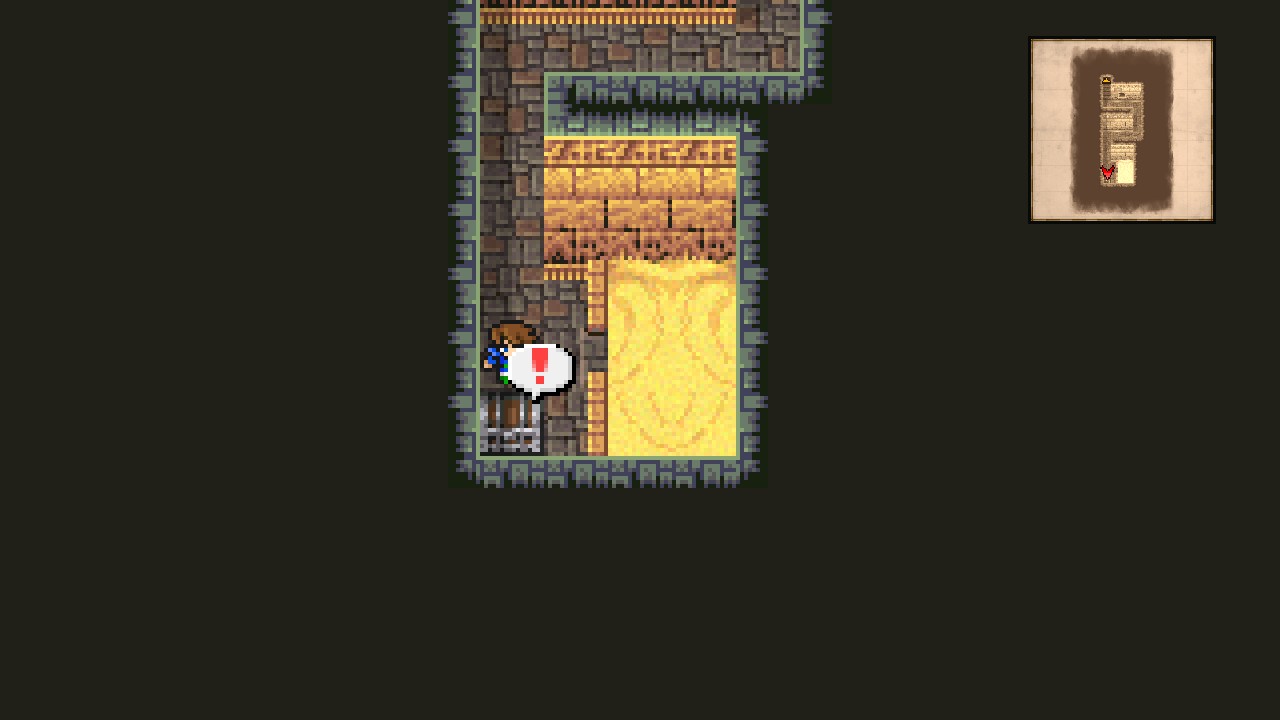 |
| ㅤ ㅤ ㅤ BESTIARY: MONSTERS-IN-A-BOXㅤ ㅤ |
|---|
| ID | MONSTER | HP | MP | GIL | EXP |
|---|---|---|---|---|---|
| 151 | The Damned (x4) | 1980 | 0 | 471 | 1200 |
You will be rewarded with an Ice Shield. [126/227]
Now head all the way north to the staircase. Go up.
Pyramid of Moore – 1F
Back at 1F, follow the path around and press the switch to stop the sand from flowing.
Head up the stairs.
Pyramid of Moore – 2F
Lots of invisible passages around this area!
Thankfully you got me to save your day! I’ll be adding screenshots so you know where the paths are.
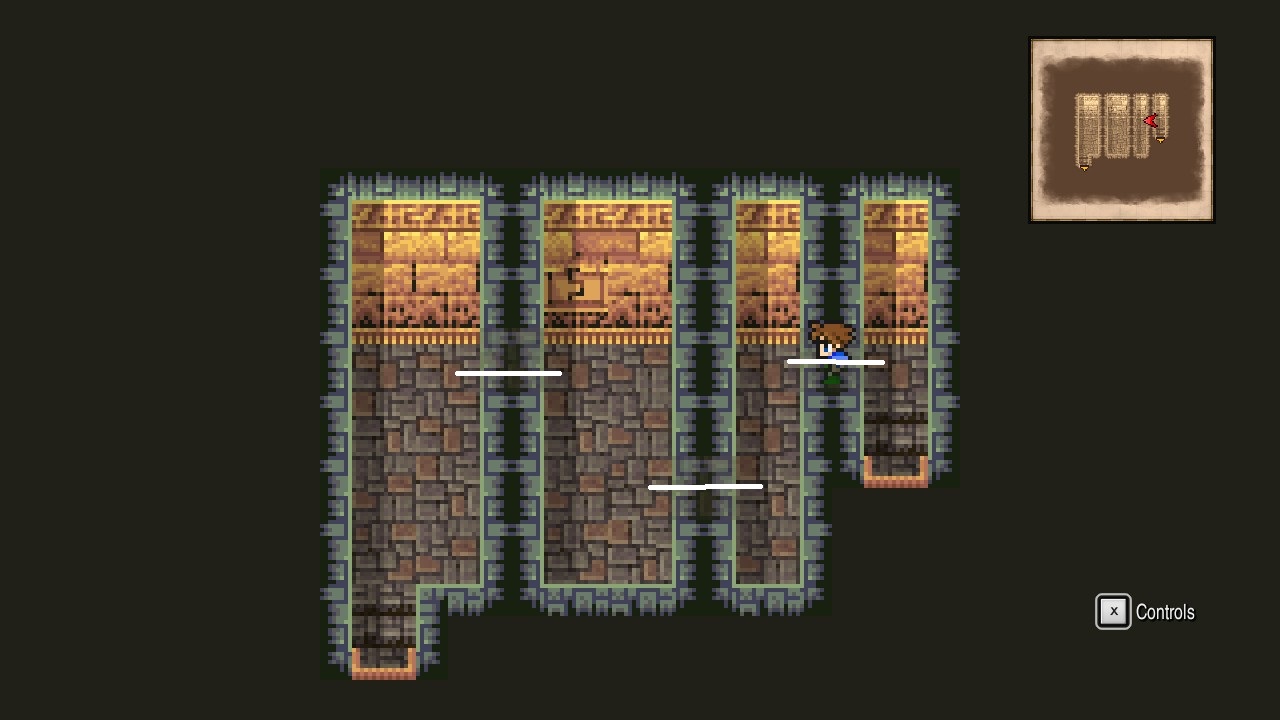 |
Head down the staircase.
Pyramid of Moore – 1F
Heal up and quick-save, then walk to the coffin for a forced-encounter…
| ㅤ ㅤ ㅤ BESTIARY: MONSTERS-IN-A-COFFINㅤ ㅤ |
|---|
| ID | MONSTER | HP | MP | GIL | EXP |
|---|---|---|---|---|---|
| 152 | Grand Mummy | 6000 | 300 | 0 | 0 |
Grand Mummy is weak against fire-based spells, so keep casting Firaga until they’re out of combat.
After the battle, enter the room behind the coffin and open the chest for Cursed Ring. [127/227]
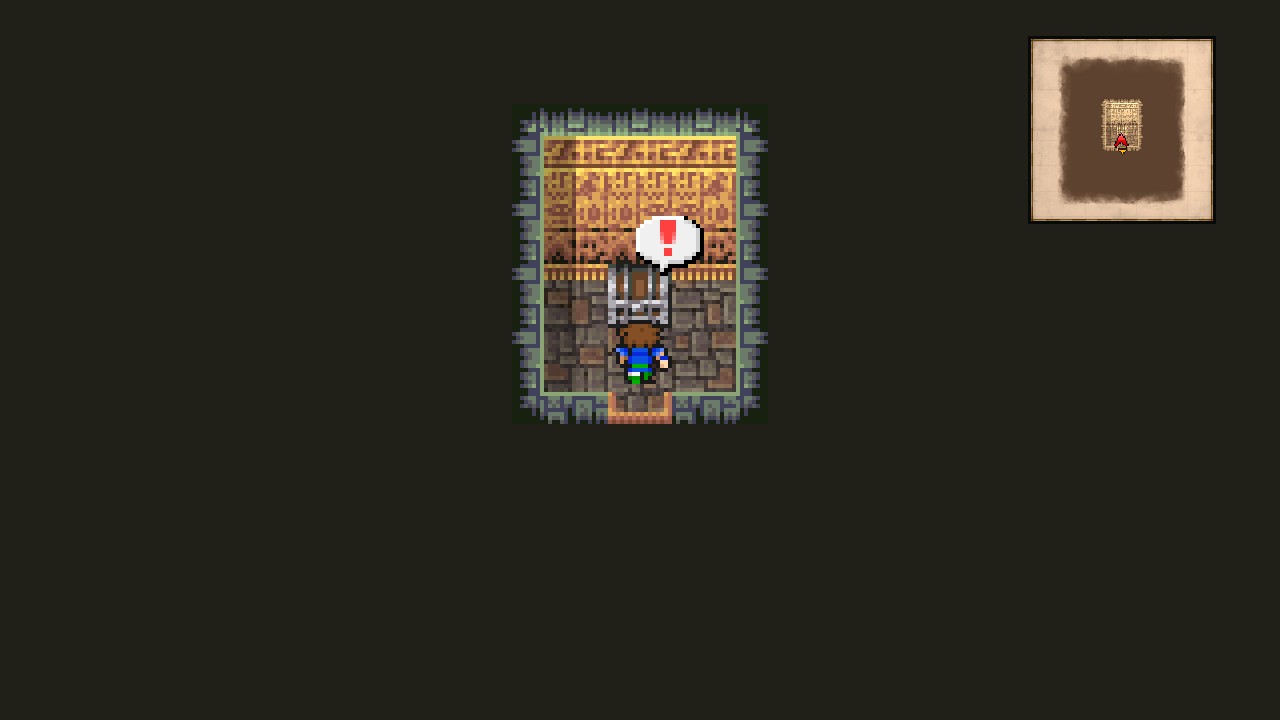 |
This accessory greatly increases the defenses of its holder with the downside of killing them once 50 seconds have passed. I wouldn’t equip it if I were you!
Now make your way back to the entrance of the pyramid. Feel free to exit back to the overworld or pay a visit to the Library of the Ancients if you need to rest.
Pyramid of Moore – 1F
Back at the entrance, go through the west door and head upstairs.
Pyramid of Moore – 2F
Follow the path down to step on another trap tile which releases more Aspis.
You will find three buttons on the wall here. The middle button opens the door you just came through, so press the first and last to open the path to the bottom area.
Head upstairs.
Pyramid of Moore – 3F
| ㅤ ㅤ ㅤ BESTIARY: PURAMID OF MOORE – 3Fㅤ ㅤ |
|---|
| ID | MONSTER | HP | MP | GIL | EXP |
|---|---|---|---|---|---|
| 144 | Rajiformes | 2200 | 1000 | 438 | 800 |
A new encounter! Hunt for Rajilformes now as it’s a rare encounter on later floors.
From the stairs, head north into a small room with three chests, each containing a monsters-in-a-box encounter.
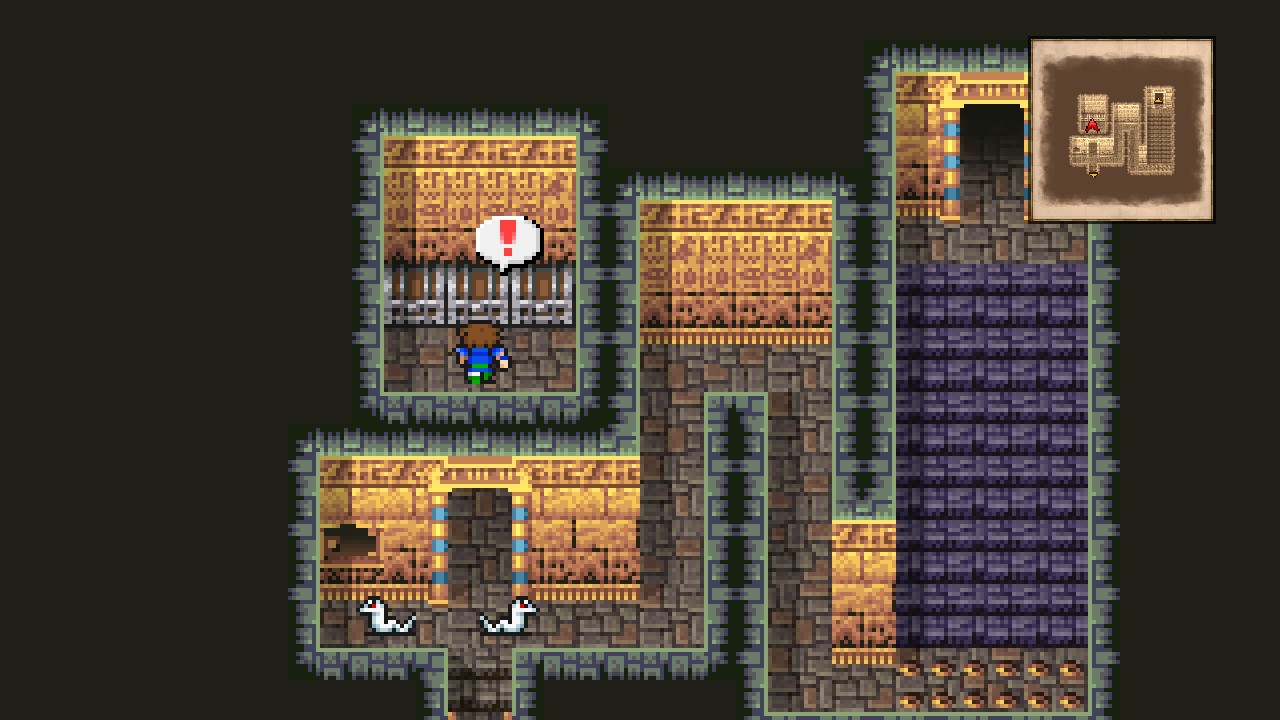 |
Left chest: The Damned x4 → Flame Shield. [128/227]
Middle chest: The Damned x4 → Dark Matter. [129/227]
Right chest: Archeosaur (lots of HP, but weak against Fire) and Ushabti x2 → White Robe. [130/227]
| ㅤ ㅤ ㅤ BESTIARY: MONSTERS-IN-A-BOXㅤ ㅤ |
|---|
| ID | MONSTER | HP | MP | GIL | EXP | |
|---|---|---|---|---|---|---|
| 146 | Archeosaur | 9960 | 1000 | 444 | 1800 | BM |
Exit the room with the chests and follow the path around to a wide staircase.
Head upstairs.
Pyramid of Moore: Part II
Pyramid of Moore – 4F
| ㅤ ㅤ ㅤ BESTIARY: PYRAMID OF MOORE – 4Fㅤ ㅤ |
|---|
| ID | MONSTER | HP | MP | GIL | EXP | |
|---|---|---|---|---|---|---|
| 150 | Mecha Head | 7210 | 5000 | 0 | 0 | BM: Flame Thrower (repeat), Self-Destruct (repeat, requires ‘Control’), Missile (repeat) |
This room is filled with Mecha Heads, robotic creatures with lots of HP but weak to Lightning (can deal 4000+ of DMG with a single Thundaga). Mecha Heads don’t give EXP, so kill one for the bestiary and then avoid the rest to prevent unnecessary fighting.
Make your way to the northeastern corner of the room and open the chest for an Elixir. [131/227]
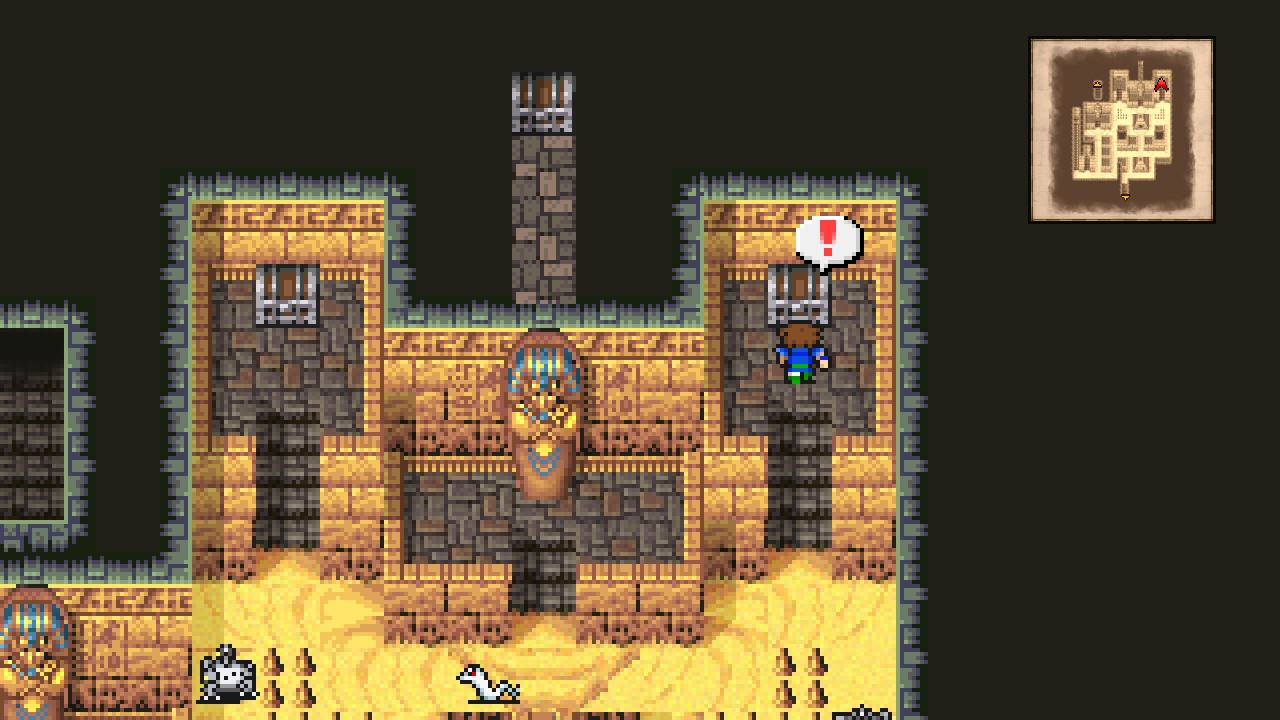 |
Now go through the middle coffin for an encounter against three Mummies.
| ㅤ ㅤ ㅤ BESTIARY: MONSTERS-IN-A-COFFINㅤ ㅤ |
|---|
| ID | MONSTER | HP | MP | GIL | EXP |
|---|---|---|---|---|---|
| 148 | Mummy | 2900 | 50 | 500 | 0 |
These are a weaker version of the Grand Mummy. Again, fire works well.
After dealing with the mummies, head inside the coffin and open the chest for Thornlet. [132/227]
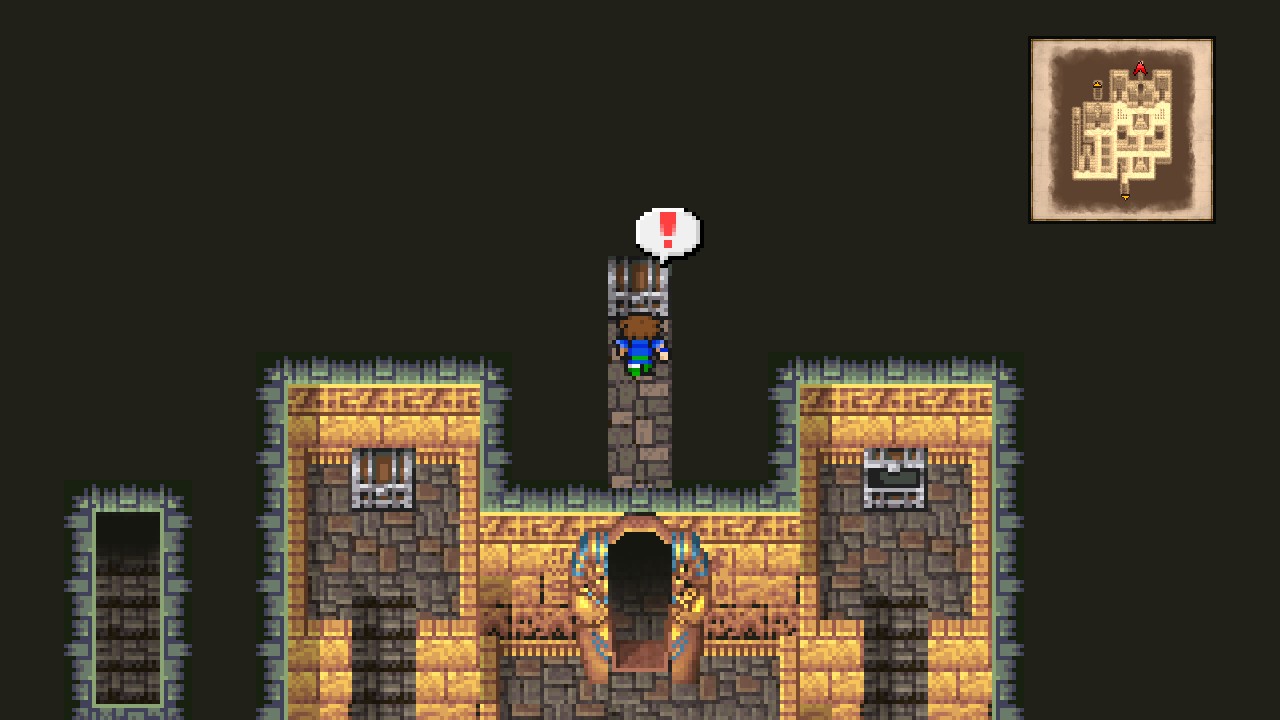 |
Now open the chest to the left for an Elixir. [133/227]
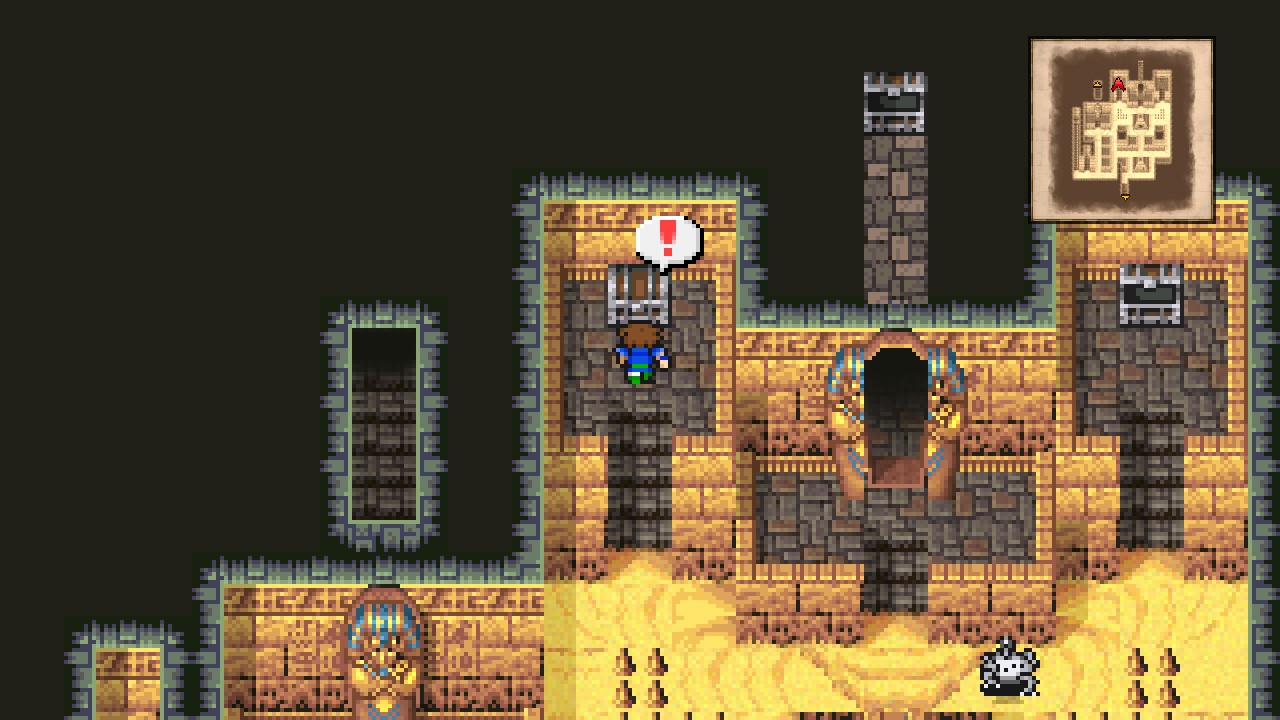 |
Make your way to the southwestern corner of the room and press the switch to lower the spikes.
Follow the path to a chest and open it for a monsters-in-a-box encounter: Archeosaur and Ushabti x2. Remember, Archeosaur is weak against fire.
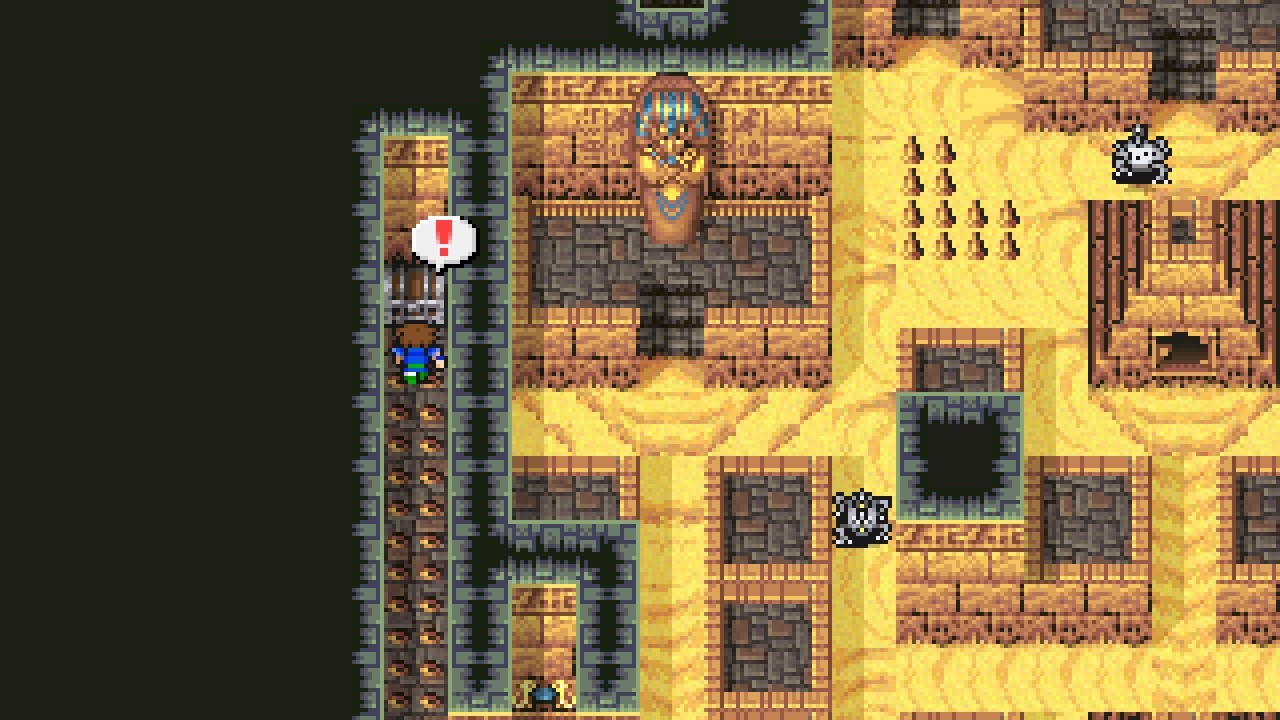 |
You will be rewarded with Black Robe. [134/227]
Now go around and enter the coffin beside the chest. Another encounter against 3x Mummies. Kill them with fire!
After the battle, head up the stairs behind the coffin.
This room contains a consecrated circle (YAY!). Rest and save if you desire, then head upstairs.
Pyramid of Moore – 5F
| ㅤ ㅤ ㅤ BESTIARY: PYRAMID OF MOORE – UPPER FLOORSㅤ ㅤ |
|---|
| ID | MONSTER | HP | MP | GIL | EXP |
|---|---|---|---|---|---|
| 147 | Zephyrus | 3780 | 5000 | 500 | 2000 |
| 153 | Sekhmet | 6000 | 0 | 10 | 3 |
Some interesting encounters around this floor.
Sekhmet hits hard. And when I say hard, I mean really hard. However, it shouldn’t be much of an issue if you defeat it quickly (spam high-level spells). This creature can be encountered and defeated only once.
Zephyrus is a summoner. Her list of summoned creatures includes:
- Adamantite Golem, Bio Soldier
- Dhorme Chimera, Ronkan Knight
- Ziggurat Gigas (BM: Off Guard), Tunneller (BM: Level 3 Flare)
From the stairs, follow the path west (ignore the open coffin for now) and head upstairs.
Pyramid of Moore – 6F
Enter the room to release two Aspis. Defeat them, then open both chests for two monsters-in-a-box encounters.
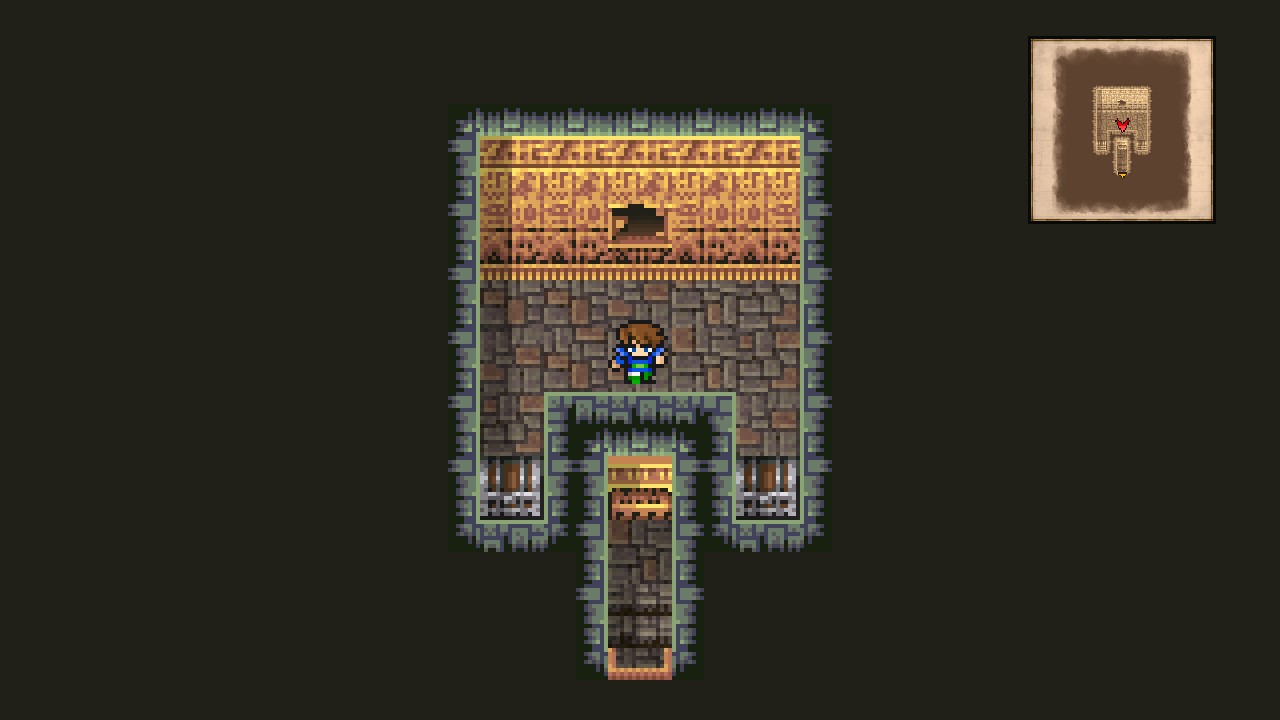 |
Left chest: The Damned x4 → Dark Matter [135/227]
Right chest: Object d’Art x5 (use Level 5 Death to OHKO all) → Crystal Armor [136/227]
Head back downstairs.
Pyramid of Moore – 5F
Go south back to the stairs to 4F, then enter the coffin we ignored earlier.
Head all the way south for a hidden passage (check the screenshot below to know where to go). At this point, I highly recommend switching the job of one of your party members to Thief or equipping the ability ‘Find Passages’, otherwise you will have a hard time finding/going through secret passages.
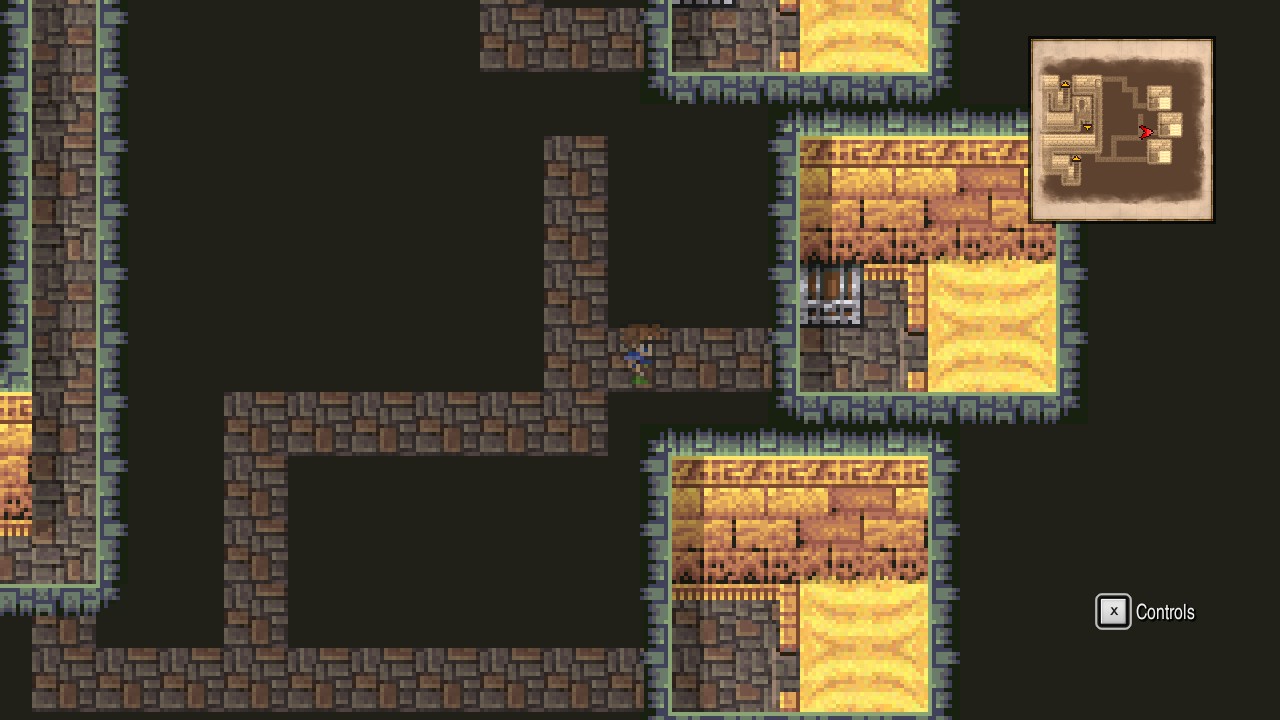 |
Open the chest at the end of the passage for a monsters-in-a-box encounter…
Pool
- Steel Fist x3 ← new bestiary entry, but will covered in a later dungeon where they’re a random encounter
- Bandercoerul x2, Black Warlock
The chest contained Black Garb! [137/227]
Exit the secret passage and head west path to reach more stairs. Head up.
Pyramid of Moore – 6F
Fall down the pit by stepping on the flowing sand.
Pyramid of Moore – 5F
Open the chest for a monsters-in-a-box encounter: The Damned x4 → Dark Matter [138/227]
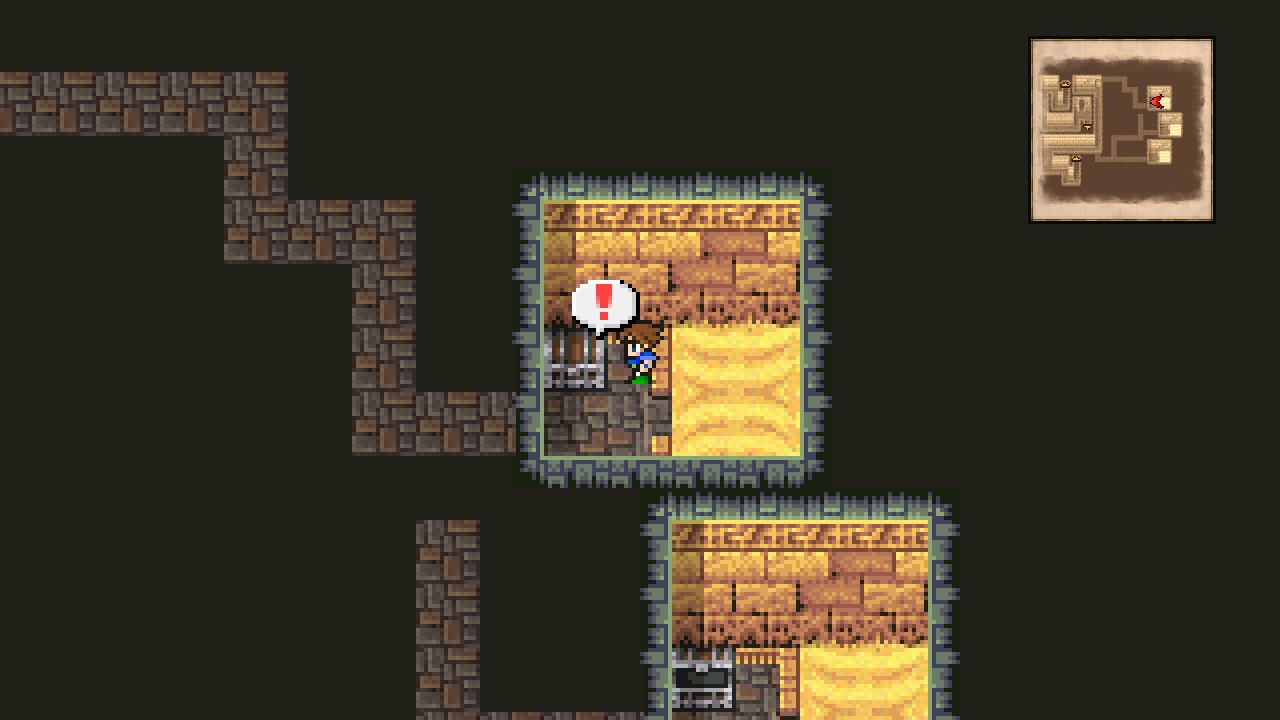 |
Go east and exit the passage.
Follow the path south and head upstairs to the previous room.
Pyramid of Moore – 6F
Press the switch to stop the sand from flowing, then go east and enter the room.
Head west and press the left switch. DON’T PRESS THE RIGHT SWITCH or the block will push you down. Open the four chests for…
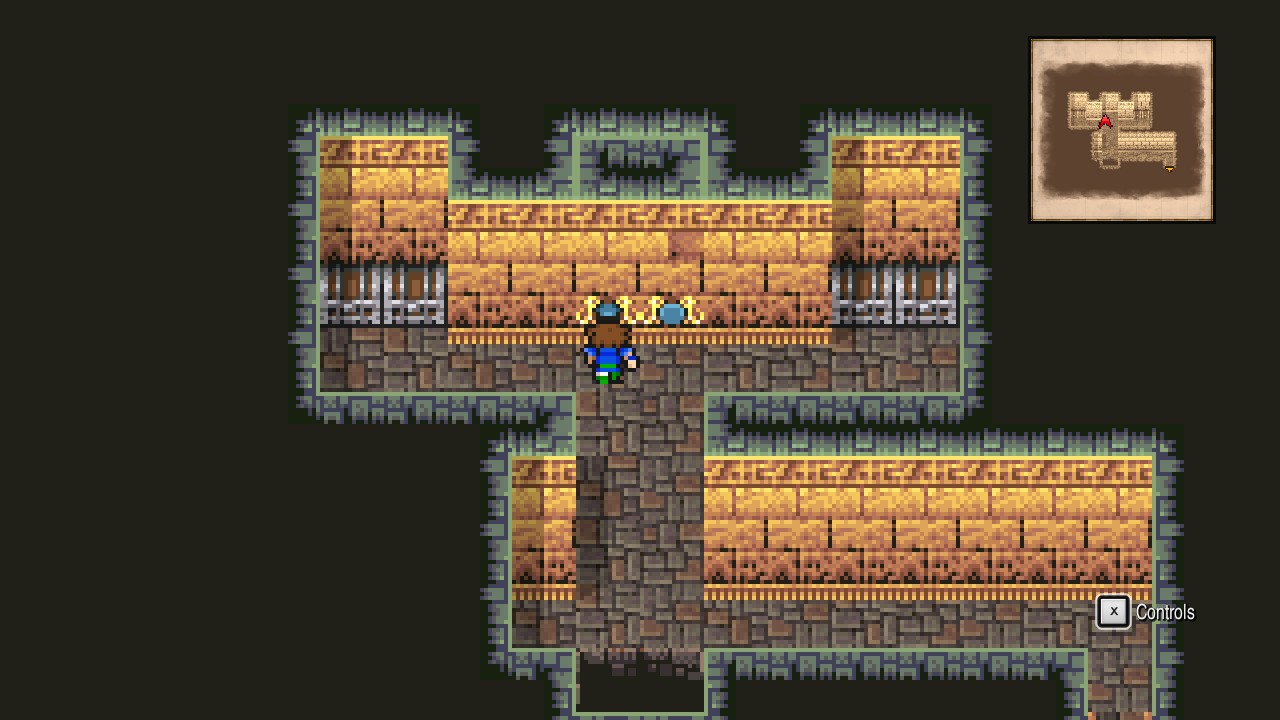 |
First chest: The Damned x4 → Dark Matter [139/227]
Second chest: The Damned x4 → Dark Matter [140/227]
Third chest: 9000 Gil [141/227]
Fourth chest: 8000 Gil [142/227]
Exit the room.
Back at the room with many pits, press the switch left from the door to stop the sand from flowing at the middle area.
Head south and press the switch by the middle pit to stop the bottom sand from flowing, then continue south and head upstairs.
Pyramid of Moore – 7F
Go up through the middle stairs.
Pyramid of Moore – 8F
Oh boy, this is an annoying room. I recommend you to quick-save before attempting to explore it.
But what’s so annoying about this room? Well. It holds 3 treasure chests, but they’re all hidden behind a bunch of ever-changing platforms that won’t let you pass that easily. If you fall down, you will end at the previous floor, forcing you to walk your way back here. Doesn’t that sound annoying by just reading it?
Anyway, the following screenshot show the tiles that persist through the changes, so use them strategically in order to reach each one of the chests.
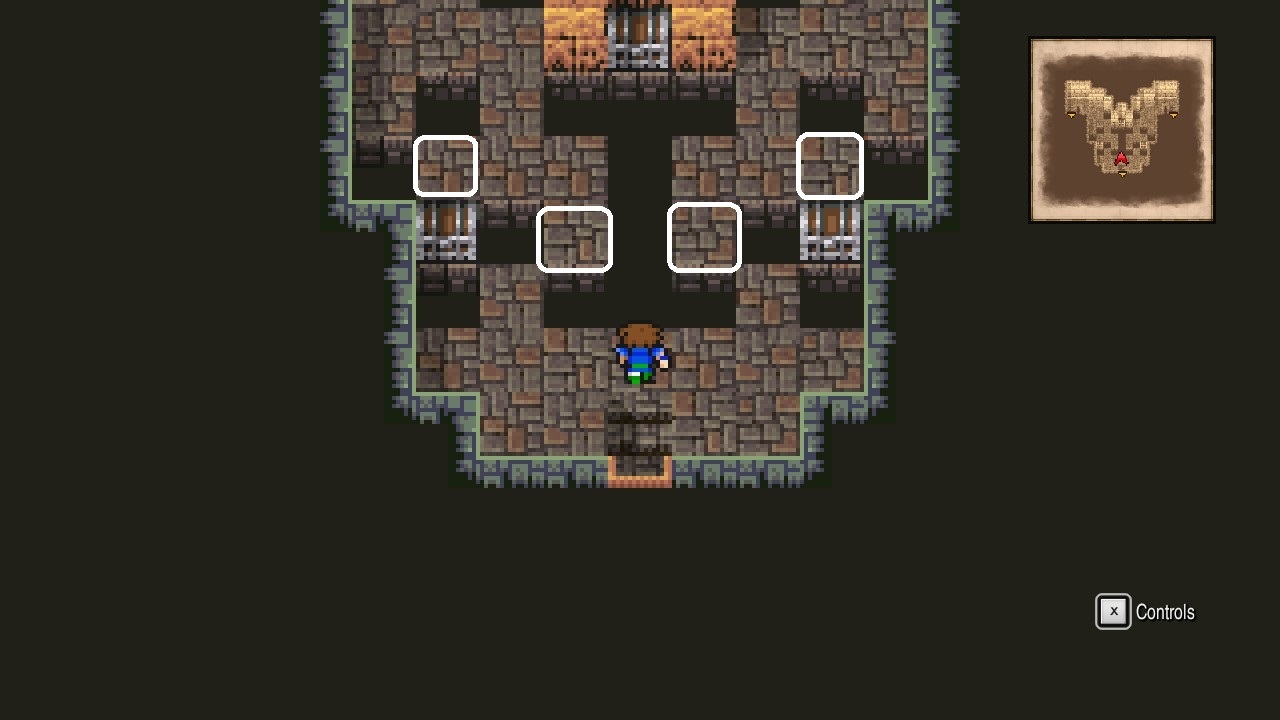 |
Contents of the chests from left to right: Ribbon, Protect Ring, and Gold Hairpin. [145/227]
Leave the room through the northeastern staircase.
Pyramid of Moore: Part III
Pyramid of Moore – 7F
Enter the room and open both chests for 12000 Gil and The Damned x4 → Dark Matter. [147/227]
 |
Return to the shifting room.
Pyramid of Moore – 8F
Fall down any hole purposely to end in the room below.
Pyramid of Moore – 7F
Head upstairs and open the chest for an Elixir. [148/227]
 |
Exit through the top passage and head all the way east for a chest with 10000 Gil. [149/227]
 |
Now open the chest just below for a Cottage. [150/227]
 |
Head all the way west to find a chest containing The Damned x4 → Gaia Hammer. [151/227]
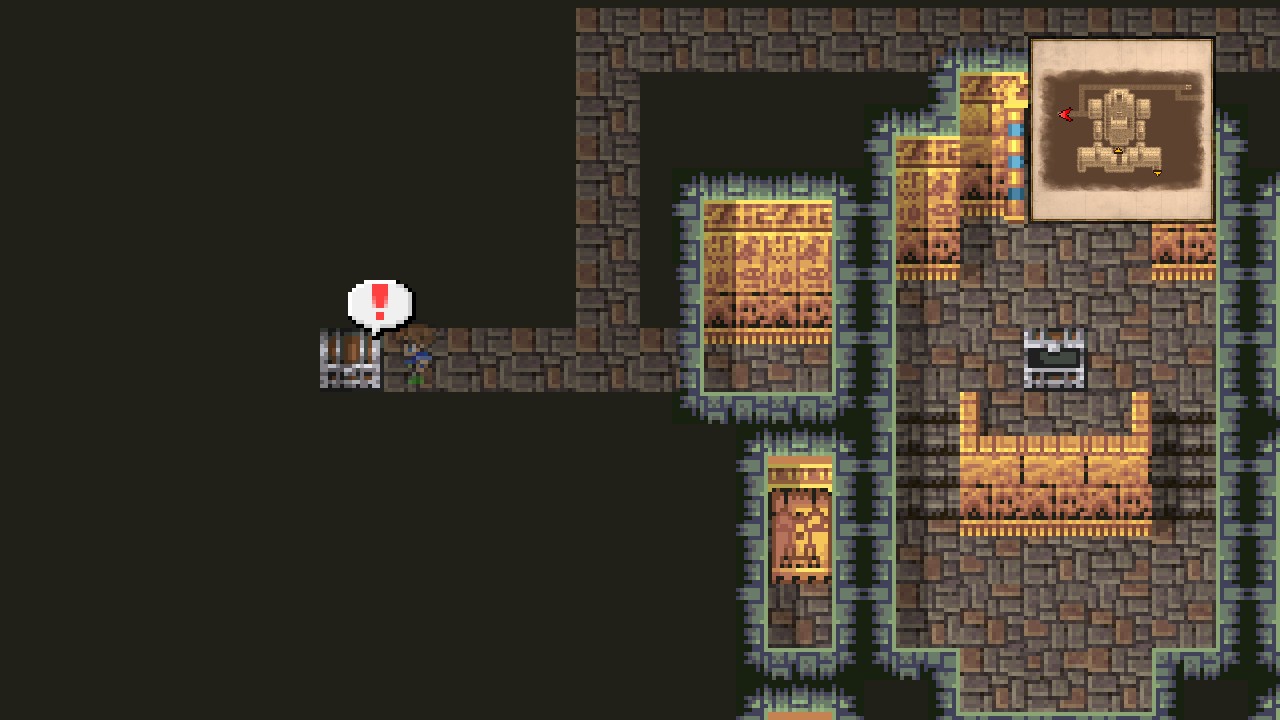 |
Exit through the southeastern door and head upstairs to the shifting room.
Pyramid of Moore – 8F
Exit the room through the northwestern staircase.
Pyramid of Moore – 7F
Enter the room and open both chests for an Elixir and The Damned x4 → Dark Matter. [153/227]
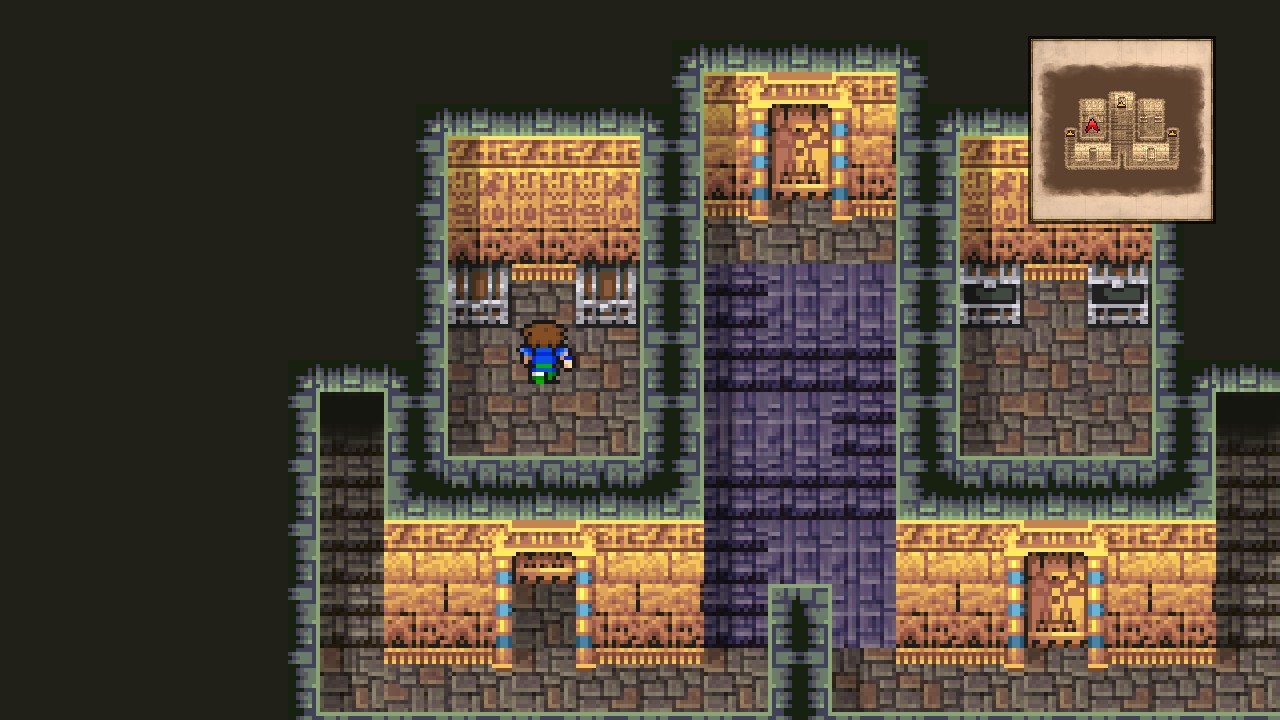 |
That concludes all the collectibles for this location. A whooping sum of 28/28 treasure chests!
Exit the room, then head up the staircase and go through the door.
Pyramid of Moore – 8F
Head north and interact with the tablet. Obtained the first tablet!
We’re finally done with this long dungeon!
Watch the interesting scene.
Pyramid of Moore
You will regain control at the top of the pyramid. Leave through the southern exit.
Overworld
Back at the overworld, head east and enter the Guardian Tree.
Kuza, the Sealed Castle
Guardian Tree
Approach the tree for a scene.
Lenna is back, hurrah! wait, that’s not the Lenna we know…
| Melusine |
|---|
| ID | HP | MP | ATK | DEF | EVA | M.DEF | MAG | WEAKNESS | RESIST. | ABSORBS | CANCELS |
|---|---|---|---|---|---|---|---|---|---|---|---|
| 275 | 20000 | 500 | 49 | 90 | 10 | 0 | 5 | Fire | Poison, Mini, Toad, Petrify, Death, Berserk, Old | Ice, Lightning | Earth, Water, Poison, Holy, Wind |
This boss is pretty much immune to physical damage, so don’t waste time by going that way.
Magical attacks however, can deal massive amounts of damage depending on her barrier. At the beginning of the battle, she will be weak to Fire, so cast Firaga to obliterate her (we’re talking about ~5000 points of damage if casted directly or 8000+ if used on a party member who’s buffed with Reflect). The boss will change her elemental barrier after a few turns, so be quickly or switch to another spells.
After defeating the boss and more scenes, Lenna rejoins the party! Our party is complete, once again!
Overworld
Head west to corroborate the obvious, Library of the Ancients is gone for good.
Continue north to find Surgate Castle.
Head inside if you need to rest or resupply, then continue east to find our old airship.
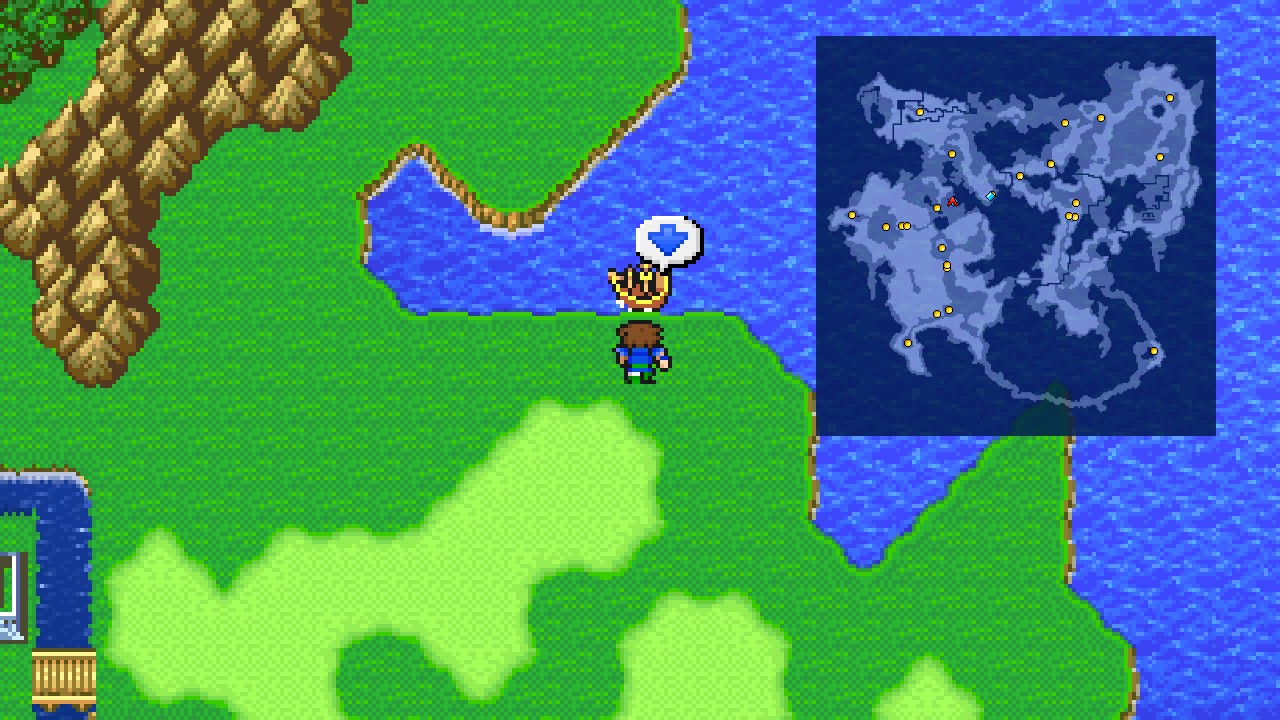 |
Board the ship for more scenes… Damn, you, Exdeath!
Overworld
Once regaining control, head southwest to find a castle we purposely ignored in Galuf’s World.
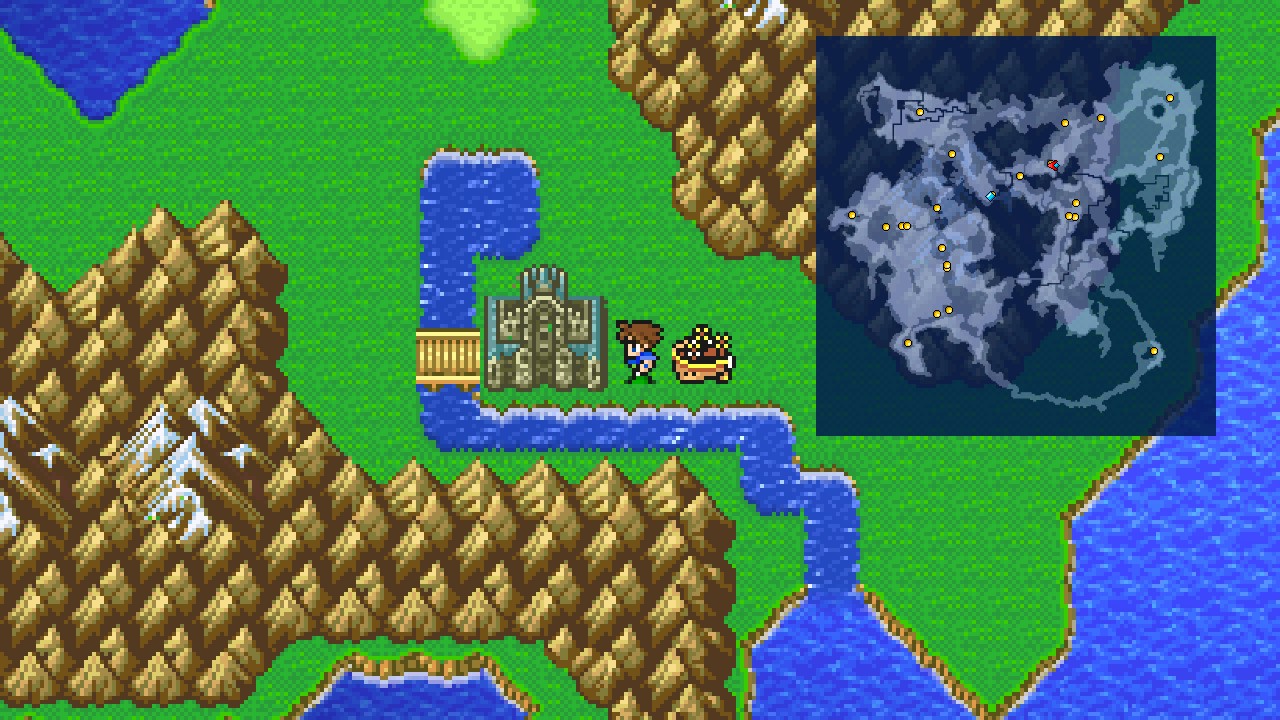 |
This is Kuza. Land and head inside.
Kuza, the Sealed Castle – 1F
Speak to the Chancellor and agree on him to read the tablet for more backstory.
Talk to the right scholar to make him place a healing pot, then heal up if you desire.
Head north through the large door.
Kuza, the Sealed Castle – Great Hall
Quick-save, then head all the way north to room with the most powerful weapons in the game!
Escape from all battles as you’re probably not prepared to defeat the enemy that shows up at this area.
Kuza, the Sealed Castle – Sealed Room
Interact with the altar to use the tablet and get to choose three ultimate weapons. Here’s a resume of what you can choose from:
- Assassin’s Dagger: The Legendary Dagger, it has an Attack Power of 81. It increases Speed by 1 and has a 25% chance of inflicting Instant Death on the target.
- Apollo’s Harp: The Legendary Harp, it has an Attack Power of 45, but for ordinary attacking purposes executes a spell with 75 base power. It does eight times the normal damage to undead and dragon enemies.
- Excalibur: The Legendary Knight Sword, it has an Attack Power of 110. It is Holy-elemental and increases Strength by 5.
- Fire Lash: The Legendary Whip, it has an Attack Power of 82 and a Hit Rate of 90. It increases Strength and Speed by 2 and has a 33% chance of casting Firaga when attacking.
- Gaia’s Bell: The Legendary Bell, it has an Attack Power of 35, Hit Rate of 99, increases the power of Earth-elemental attacks, and has a 25% chance of casting Quake when attacking.
- Holy Lance: The Legendary Spear, it has an Attack Power of 109. It is Holy-elemental and increases Strength by 3.
- Magus Rod: The Legendary Rod, it has an Attack Power of 40. It is fire, ice and lightning-elemental, and increases the damage done by all forms of elemental damage, except for Water and Holy-elemental attacks.
- Masamune: The Legendary Katana, it has an Attack Power of 107. It casts Haste when used as an item, the user always gets the first turn in battle, and it has a 15% chance to score a critical hit.
- Rune Axe: The Legendary Axe, it has an Attack Power of 71, a Hit Rate of 90, raises Magic Power by 3, and consumes some MP when attacking to deal an automatic critical hit.
- Sage Staff: The Legendary Staff, it has an Attack Power of 45 (53 when used with Goblin Punch). It casts Raise when used as an item, deals eight times the normal damage against undead targets, and increases the power of Holy-elemental attacks.
- Sasuke’s Katana: The Legendary Short Sword, it has an Attack Power of 99. It increases Speed by 1 and will block physical attacks 25% of the time.
- Yoichi’s Bow: The Legendary Bow, it has an Attack Power of 101 and Hit Rate of 90. It raises Strength and Speed by 3 and has a 30% chance to score a critical hit.
Information extracted from this wiki – [fandom.com] .
I personally chose Assassin’s Dagger (due to its high compatibility with a wide range of jobs), Magus Rod (same reason), and Masamume (user always gets the first turn; who doesn’t love some speed?).
Interact the tablet once you’re done, then exit through the door.
Note: Don’t worry too much about choosing ‘the correct weapons’. We will be able to get all weapons once we get more tablets, which will be doing really soon!
Watch the scenes. Oh god, will we have to defeat all of them!?
Kuza, the Sealed Castle – Passage
Equip the ‘Control’ ability on any of the your party members, then head south towards the exit.
You will probably engage in a battle against the following creature:
| ㅤ ㅤ ㅤ BESTIARY: KUZA, THE SEALED CASTLEㅤ ㅤ |
|---|
| ID | MONSTER | HP | MP | GIL | EXP |
|---|---|---|---|---|---|
| 086 | Shield Dragon | 19999 | 20000 | 1000 | 10000 |
Control it, then use Blaze on itself for a whooping 4999 damage. Repeat 5x and the enemy will be down and out. Bestiary entry acquired!
The other enemy is a bit too hard for this point of the game, so I wouldn’t even bother if I were you.
Leave the castle.
Side Exploration
Overworld
Board the airship and fly directly north to Regole.
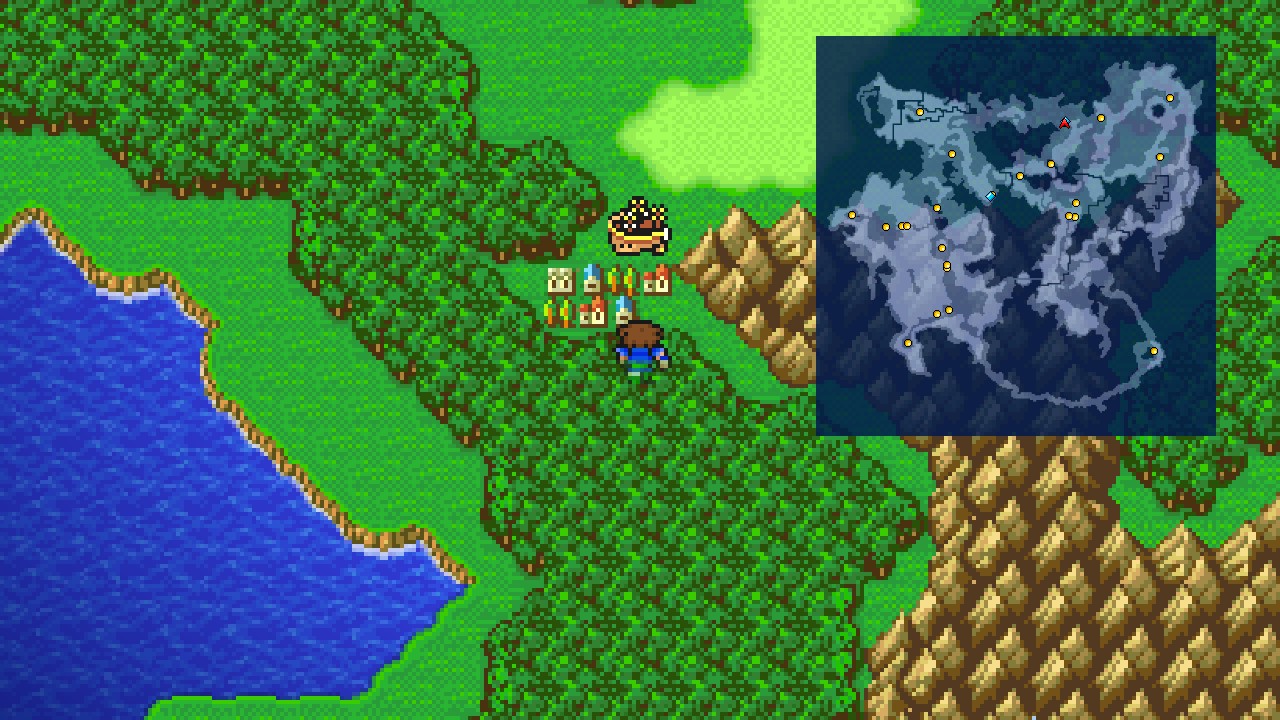 |
Disembark and head inside.
Regole
Enter the armor shop, then push against the southwestern corner to reveal a secret passage to the girl.
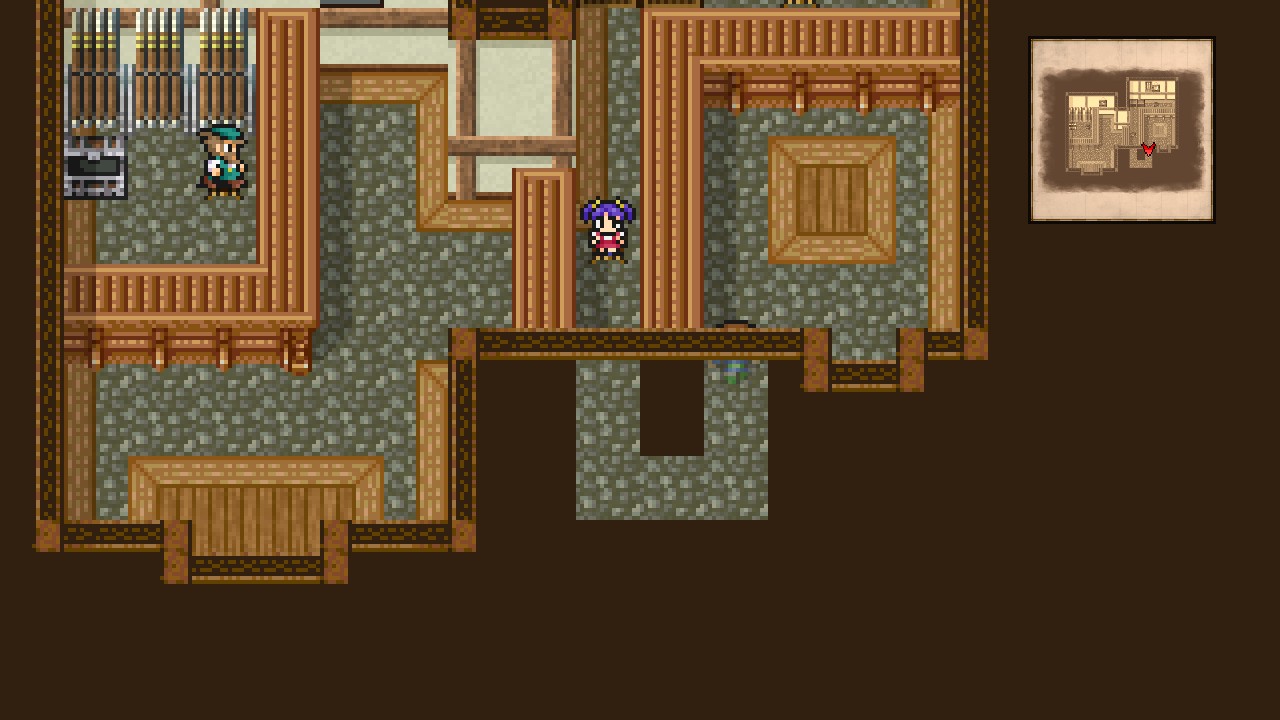 |
Talk to her to receive a Ribbon!
Note: This item isn’t required for completion, but still good to have.
Exit back to the overworld.
Overworld
Board the airship and head south and a little east to find an entrance to the first cave between the mountains.
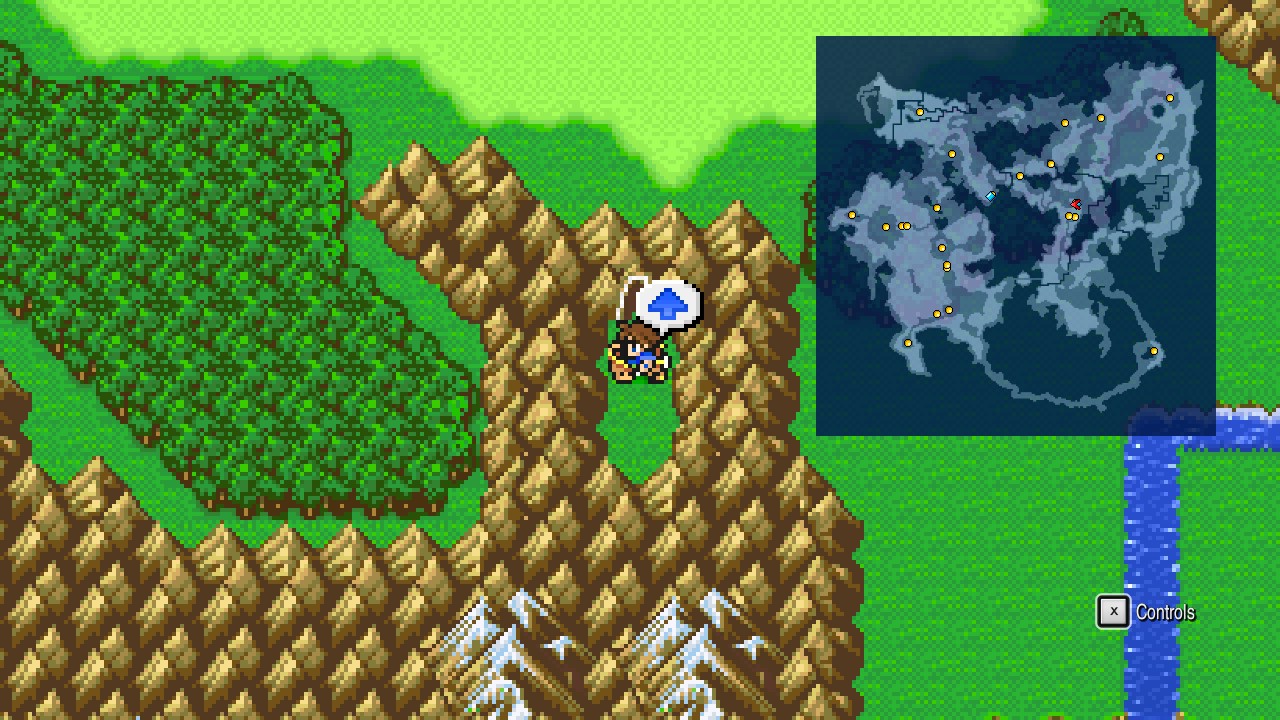 |
Make your way through the cave to reach the Pirate’s Hideout (should be ridiculously easy considering the power you have now).
Pirate’s Hideout
Head north to trigger a rather sad cutscene… (must be due to that music)
Received the summoned monster Syldra!
Now make your way out the hideout.
Overworld
From the cave we just visited, head west to find Boko outside Guido’s Cave.
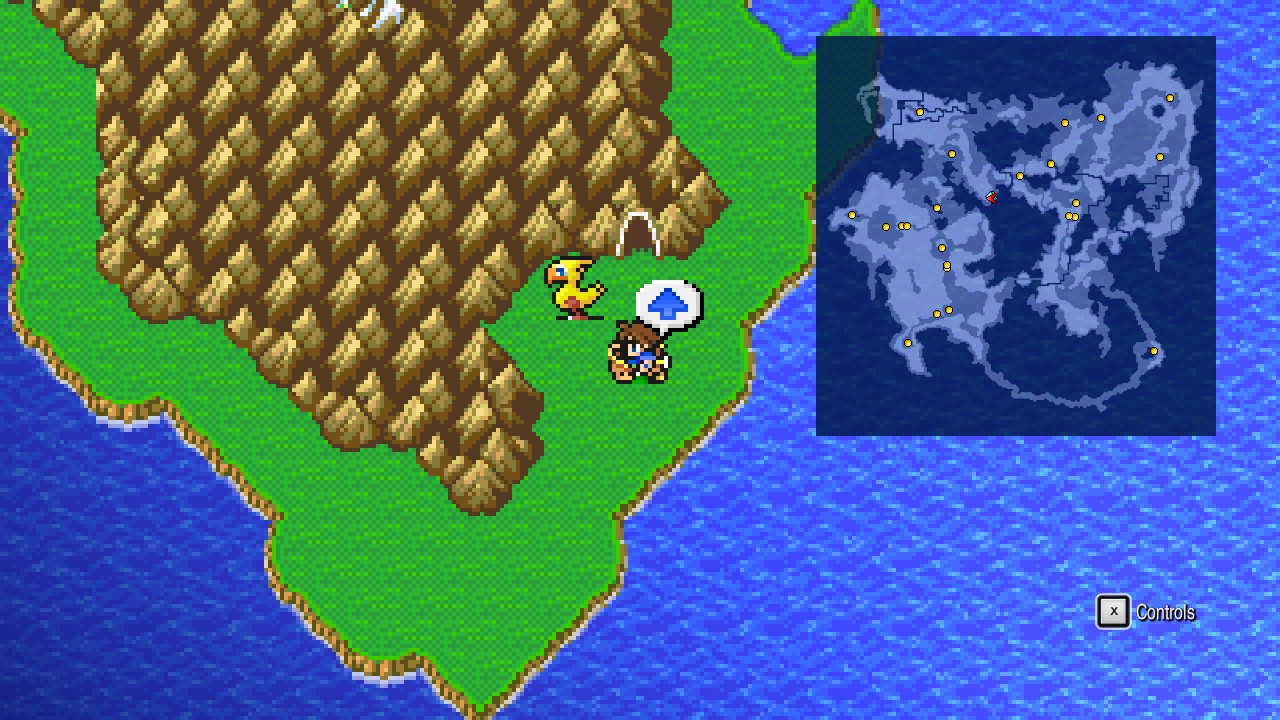 |
Land and ride the Chocobo.
Once mounted in Boko’s back, head northeast to Tule, then go north between the mountains and continue northeast to Regole.
From Regole, ride all the way west and through the rivers to reach a waterfall (refer to the screenshot below for the exact location).
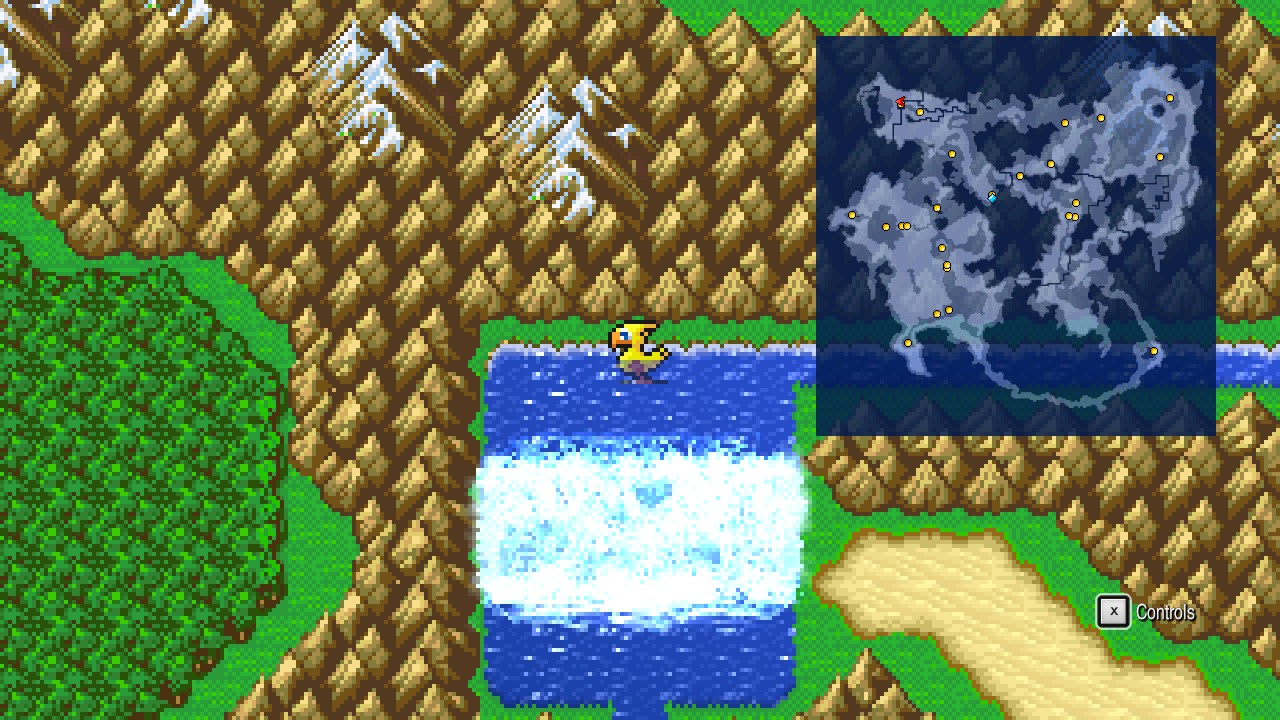 |
Head inside.
Istory Falls – B6
Examine any of the waterfall tiles to find a Magic Lamp! {33/44}
 |
Note: This item IS REQUIRED for completion.
Exit the location.
Overworld
Make your way back to the airship. Yes. All the way back.
Once there, board the airship and head to the town of Moore just west from the Pyramid of Moore (refer to the screenshot below for the exact location).
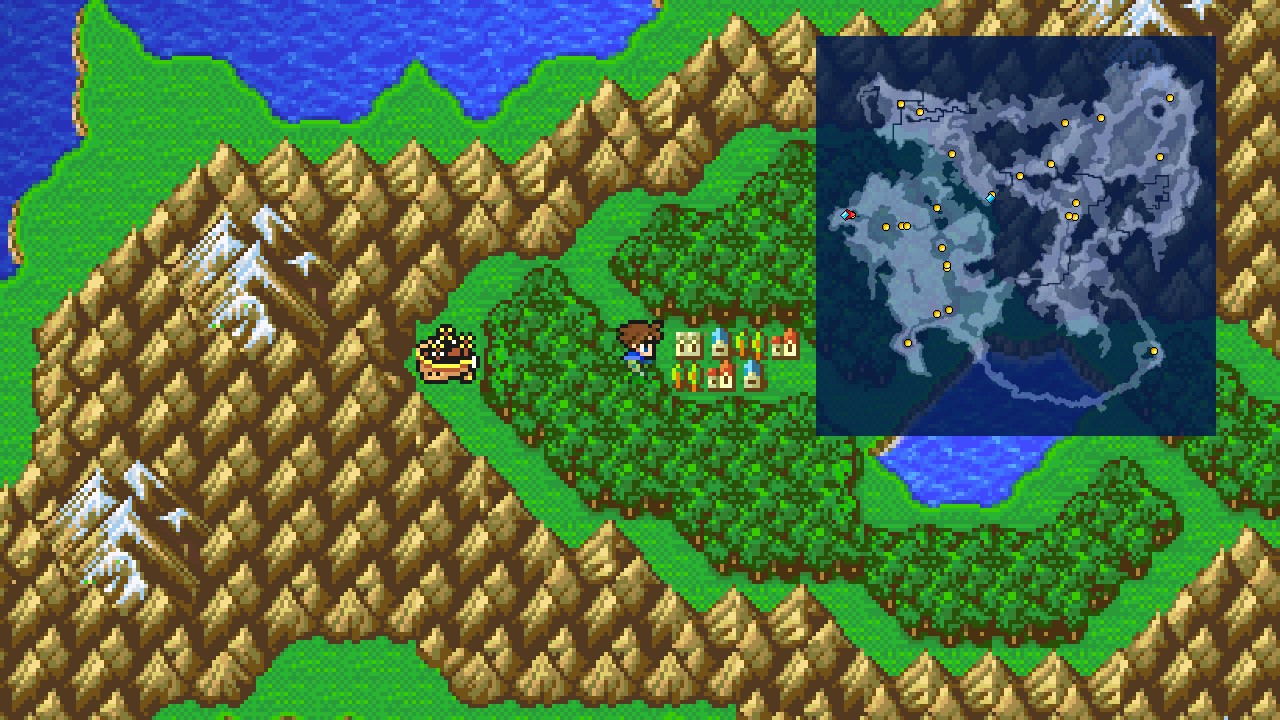 |
Land and head inside.
Moore
Go around the pub to reach the eastern portion of the town, then stand under the bottom barrel and head south until hitting a wall.
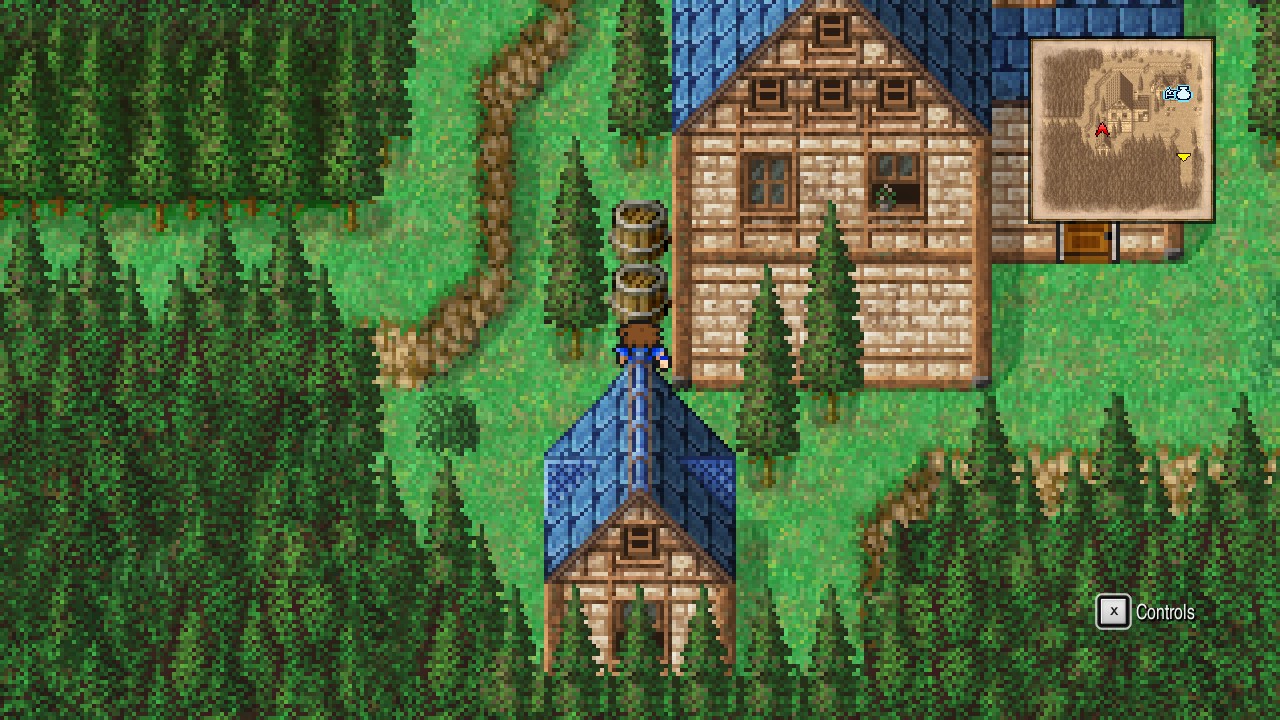 |
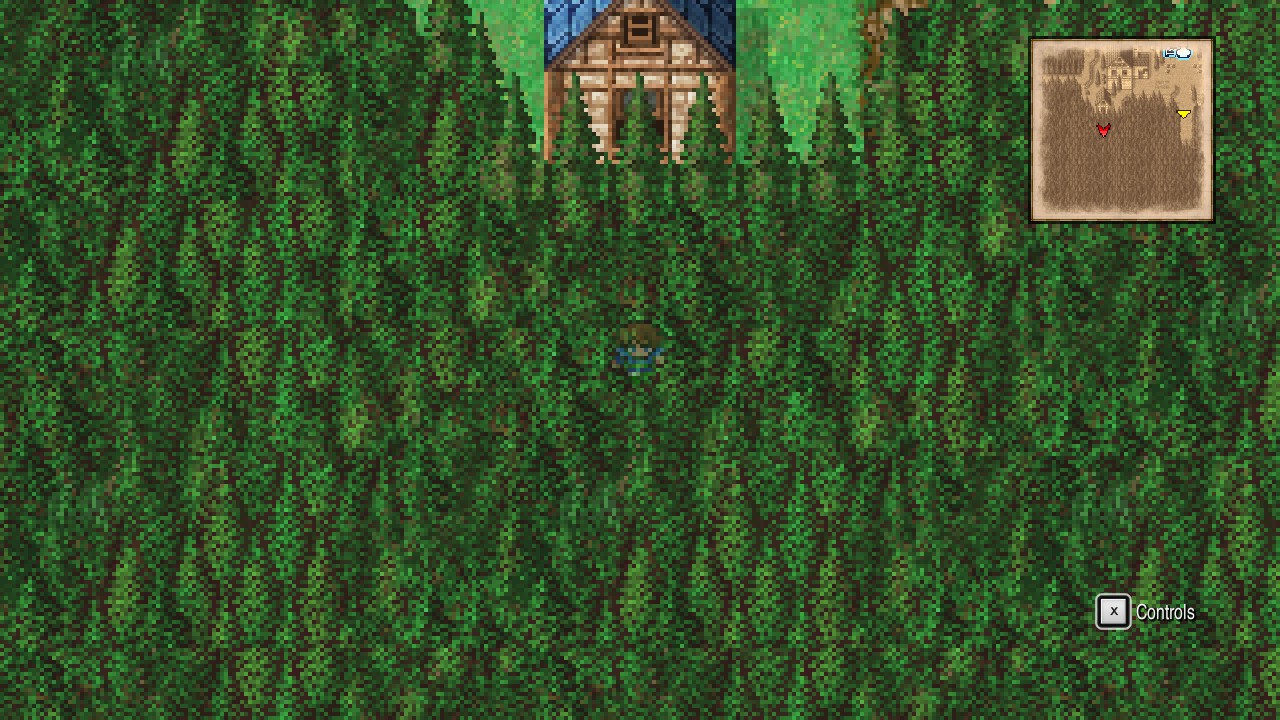 |
From here go east, all the way south, all the way west, north, east, and all the way south.
You will meet a wizard which will give us the choice between two weapons.
Your choices are:
Left crate: Brave Blade (reduces its power for every battle you have escaped)
Right crate: Chicken Knife (increases its power for every battle you have escaped)
The choice is yours.
For the record, I chose the Chicken Knife because it’s easier to increase its power by just escaping battles, while the other can’t be powered any further.
Trivia: If you quick-save before choosing, then reload your save you will spawn at the following place:
 |
Here you can pick one of the weapons, head north and south to re-enter the area, quick-save, and repeat the glitch to get infinite weapons (not like it’s a game changer but it’s something worth to mention).
Return the way you came from and exit the location.
Overworld
Board the airship and head to Crescent (southeastern corner of the world).
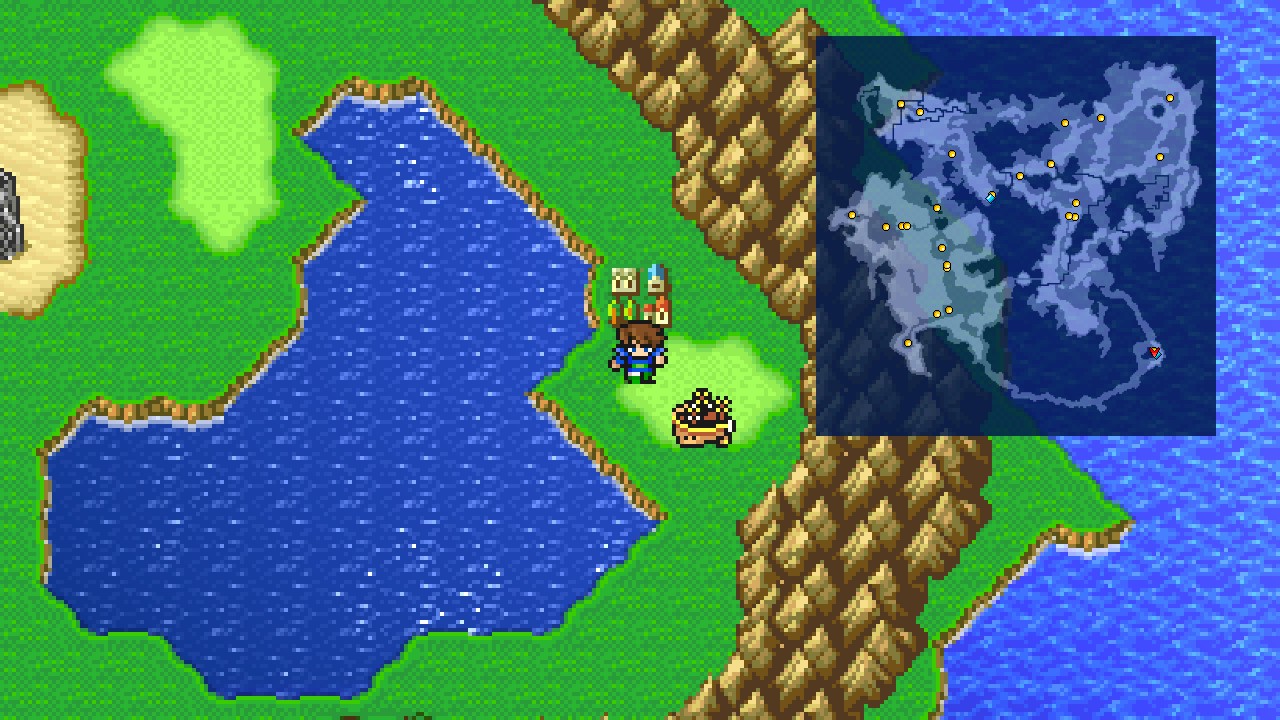 |
From here, fly southwest past the first two forest and land near the third forest.
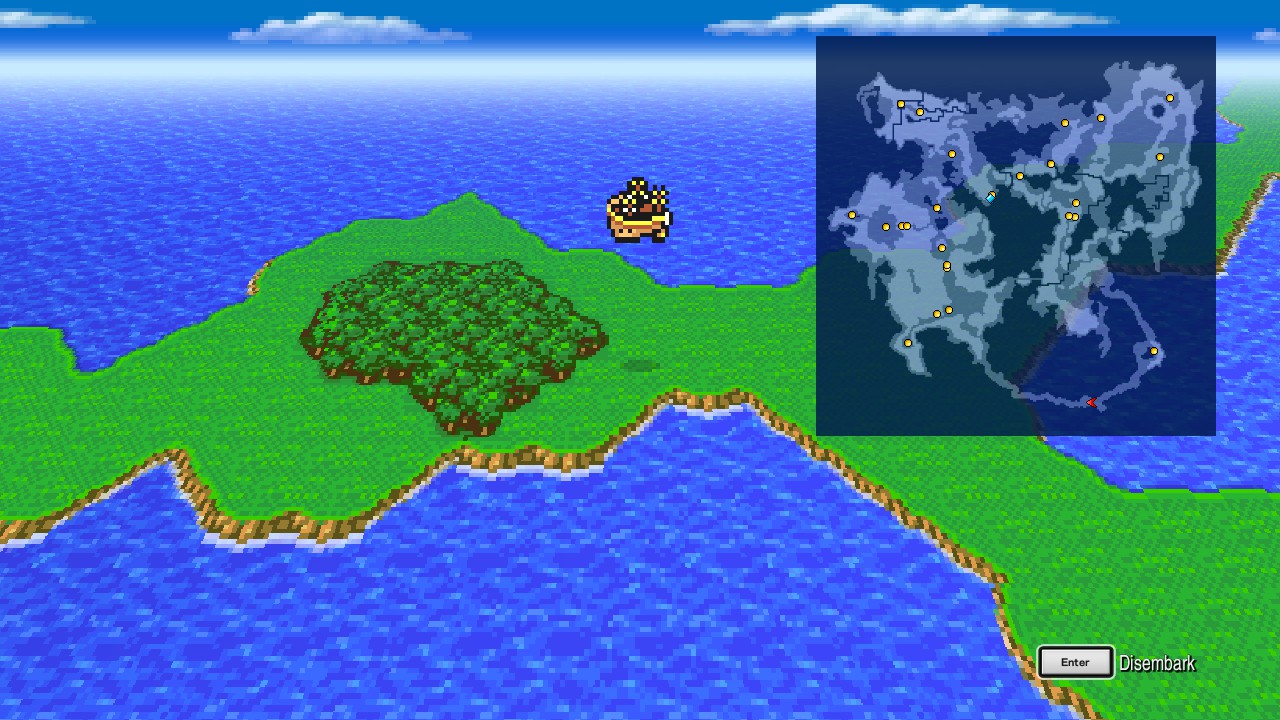 |
Walk around the forest to update your bestiary and if you’re lucky, get into a hidden location. I think you must check every tile as it constantly changes, so don’t keep running left and right with hopes of finding the location.
| ㅤ ㅤ ㅤ BESTIARY: PHANTOM VILLAGE AREAㅤ ㅤ |
|---|
| ID | MONSTER | HP | MP | GIL | EXP |
|---|---|---|---|---|---|
| 154 | Slug | 1820 | 100 | 453 | 1100 |
| 155 | Gloom Widow | 1820 | 0 | 456 | 1100 |
| 156 | Mykale | 2000 | 200 | 459 | 1200 |
You will experience a battle effect once you find it.
Phantom Village: Part I
Phantom Village
Bring a Thief or equip the ‘Find Passages’ ability in order to find all this town’ secrets.
The Inn is right at the entrance. Rest and stock up on supplies if you desire, then head west and upstairs.
| Inn | |
|---|---|
| Service | Cost |
| Rest | 10 |
| Items #1 | ||
|---|---|---|
| Item | Cost | Description |
| Elixir | 50000 | Fully recovers HP and MP. |
| Ether | 1500 | Recovers MP. |
| Holy Water | 150 | Cures an ally of the zombie status. |
| Goliath Tonic | 110 | Temporarily doubles maximum HP. Consumed with the Drink command. |
| Power Drink | 110 | Temporarily increases attack. Consumed with the Drink command. |
| Speed Shake | 110 | Replicates the effect of the Haste spell. Consumed with the Drink command. |
| Iron Draft | 110 | Replicates the effect of the Protect spell. Consumed with the Drink command. |
| Hero Cocktail | 110 | Temporarily increases level. Consumed with the Drink command. |
| Items #2 | ||
|---|---|---|
| Item | Cost | Description |
| Potion | 40 | Recovers HP. |
| Hi-Potion | 360 | Recovers HP. |
| Phoenix Down | 1000 | Revives an ally from the KO status. |
| Maiden’s Kiss | 60 | Cures an ally of the toad status. |
| Antidote | 30 | Cures an ally of poison. |
| Eye Drops | 20 | Cures an ally of darkness. |
| Gold Needle | 150 | Cures an ally of petrification. |
| Mallet | 50 | Cures an ally of the mini status. |
Now go south and around the magic shop to find a secret entrance (go right from the screenshot below).
 |
Speak to the merchant for some nice spells.
| Magic (secret) | ||
|---|---|---|
| Item | Cost | Description |
| Arise | 10000 | Revives and restores full HP to a single target. |
| Dispel | 10000 | Removes magic effects. |
| Death | 10000 | Causes instant death. |
| Osmose | 10000 | Absorbs MP. |
| Quick | 10000 | Stops the passing of time for all but the caster. |
| Banish | 10000 | Erases one enemy from the battlefield. |
Purchase everything if you have the funds, then exit the secret shop.
This is what the official magic shop has to offer:
| Magic | ||
|---|---|---|
| Item | Cost | Description |
| Mini | 300 | Shrinks the target or restores their normal state. |
| Toad | 300 | Turns the target into a toad or restores their normal state. |
| Speed | 30 | Slows the pace of the battle. |
| Float | 300 | Levitates the target. |
| Teleport | 600 | Warps the party out of a dungeon or battle. |
| Chocobo | 300 | Triggers the “Choco Kick” attack against one enemy. Triggers the “Fat Chocobo” attack against all enemies. |
| Sylph | 350 | Absorbs HP from one enemy to heal all allies. Triggers “Whisperwind.” |
| Remora | 250 | Paralyzes one enemy. Triggers “Constrict.” |
Now visit the southeastern corner of the town to find the Armor shop. Like with the Magic shop, this place also features two shops.
Armor shop is reached by just talking to the merchant…
| Armor | ||
|---|---|---|
| Item | Cost | Description |
| Crystal Shield | 9000 | Defense +8 Evasion +45 Weight +5 |
| Crystal Helm | 10500 | Defense +13 Magic Defense +2 Weight +4 |
| Black Cowl | 6500 | Defense +12 Magic Defense +2 Agility +2 |
| Circlet | 4500 | Defense +10 Magic Defense +2 Weight +2 Magic +3 |
| Crystal Armor | 12000 | Defense +20 Magic Defense +2 Weight +8 |
| Black Garb | 9000 | Defense +17 Magic Defense +2 Weight +3 Strength +1 Agility +1 |
| Black Robe | 8000 | Defense +14 Magic Defense +14 Weight +2 Magic +5 |
| White Robe | 8000 | Defense +14 Magic Defense +14 Weight +2 Stamina +3 Magic +3 |
…while for the secret you must inspect the crate by the entrance to reveal a passage behind the counter, then follow it to reach the second merchant.
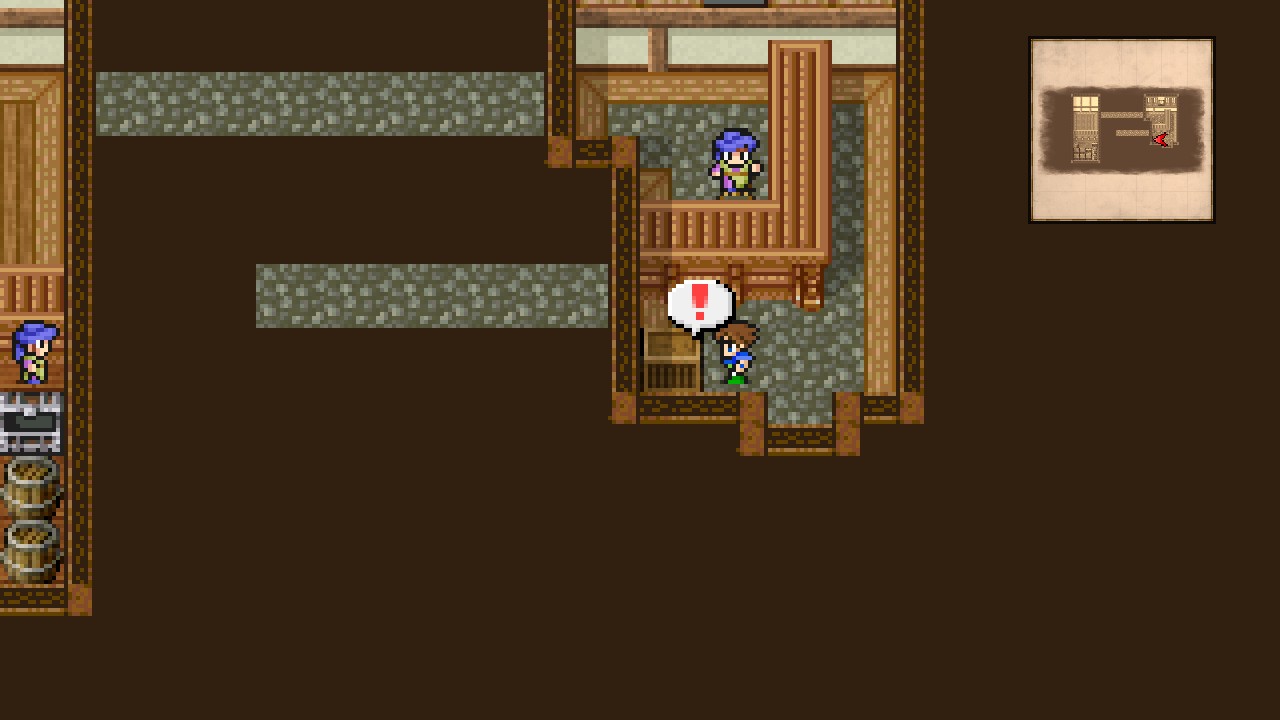 |
| Accessories | ||
|---|---|---|
| Item | Cost | Description |
| Herme’s Sandals | 50000 | Magic Defense +3 Weight +1 |
| Angel Ring | 50000 | Defense +5 Magic Defense +10 Weight +1 |
| Flame Ring | 50000 | Defense +5 Magic Defense +5 Weight +1 |
| Coral Ring | 50000 | Defense +5 Magic Defense +5 Weight +1 |
| Lamia’s Tiara | 2500 | Defense +3 Magic Defense +7 Weight +2 Magic +3 |
| Angel Robe | 3000 | Defense +10 Magic Defense +11 Weight +2 Stamina +5 |
Leave the shop when prepared to continue.
Don’t go to the Weapons shop as we will be visiting that really soon from another side.
Back at the town, head northwest behind the pub to find a secret entrance (south from the screenshot below).
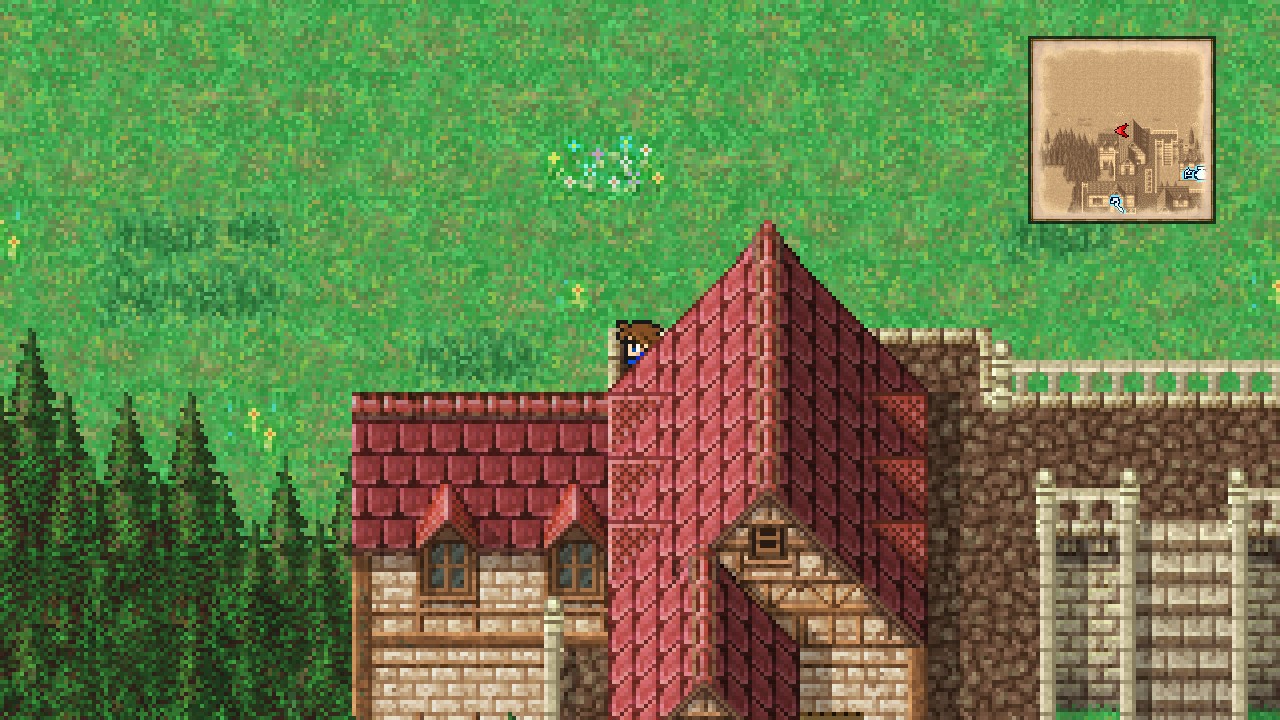 |
Phantom Village – Pu
Inspect the second to bottom barrel to find a Thief Knife. {34/44}
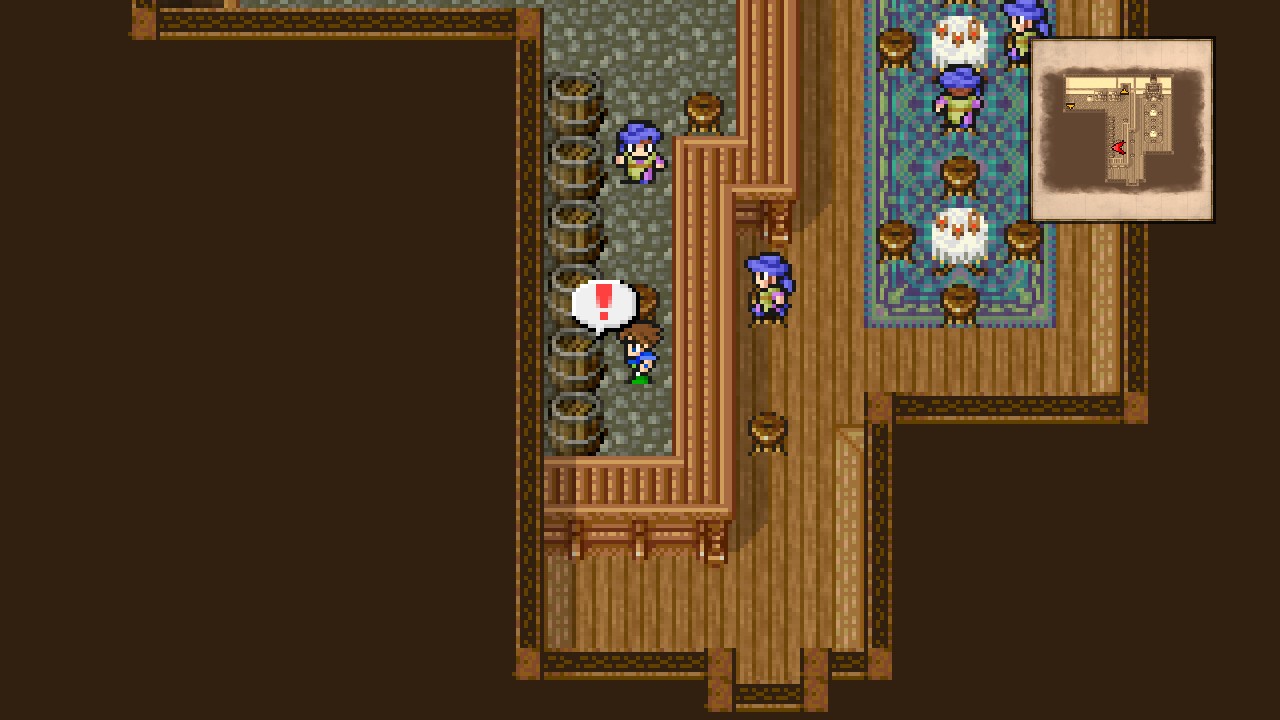 |
That’s 1/1 items for this location. We ain’t done yet though.
Head downstairs.
Phantom Village – Rear Entrance
The person here offers you a deal. If you travel around the entire world with Boko, he will give you a Mirage Vest.
The Mirage Vest is a piece of light armor that grants the user the Blink status (with one image though, not two) at the start of battle, and has 14 Defense and 4 Magic Defense.
Not worth it, imho.
Leave through the south exit.
Phantom Village
Back outside, head all the way south and enter the bottom building.
Go through the first door to find a healing pot, then continue through another door and head downstairs.
Phantom Village – B1
Head south until a split, then east, north, and upstairs.
Phantom Village: Part II
Phantom Village – Weapons Shop
The merchant here sells some nice Ninja stuff.
| Ninja Supplies | ||
|---|---|---|
| Item | Cost | Description |
| Fuma Shuriken | 25000 | Attack +117 |
| Shuriken | 2500 | Attack +50 |
| Twin Lance | 10800 | Attack +61 |
| Moonring Blade | 1100 | Attack +35 |
| Flame Scroll | 200 | Strikes all enemies with fire elemental damage. Used with the Throw command. |
| Water Scroll | 200 | Strikes all enemies with water elemental damage. Used with the Throw command. |
| Lightning Scroll | 200 | Strikes all enemies with thunder elemental damage. Used with the Throw command. |
| Weapons | ||
|---|---|---|
| Item | Cost | Description |
| Flametongue | 10000 | Attack +63 Can be two-handed Can be enchanted |
| Icebrand | 11000 | Attack +65 Can be two-handed Can be enchanted |
| Gaia Hammer | 12800 | Attack +58 Can be two-handed |
| Morning Star | 7800 | Attack +50 Can be two-handed |
| Magic Bow | 10000 | Attack +0 |
| Kikuichimonji | 14800 | Attack +87 Can be two-handed |
| Partisan | 10200 | Attack +62 |
Return downstairs.
Phantom Village – B1
Head south and all the way west through two hidden passages until reaching the final piano.
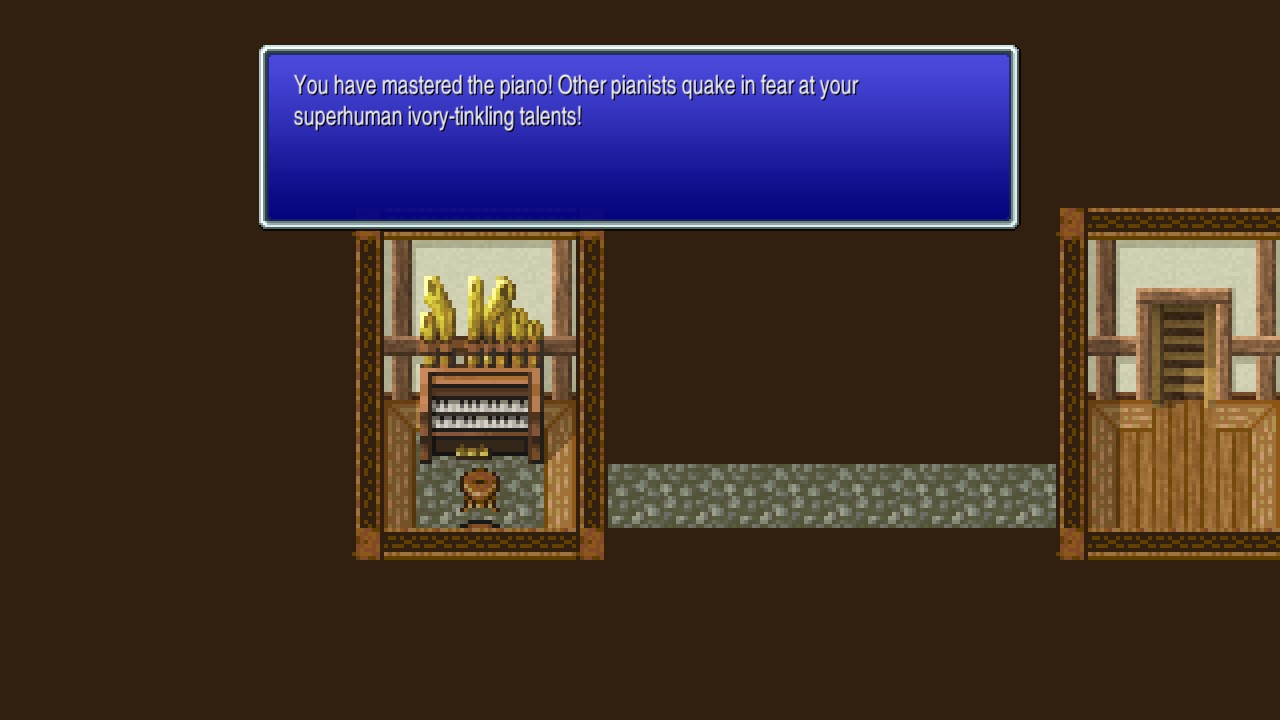 |
Play the piano. You have mastered the piano! Other pianists quake in fear at your superhuman ivory-tinkling talents! (lol) [Piano Maestro: 8/8]
Piano Maestro
Became a master pianist.
Return east to a staircase in between the secret passages. Head upstairs.
Phantom Village
We’re at the westernmost portion of the town.
Interact with the Black Chocobo to ride him!
Overworld
Fly to the forest near Crescent with the Black Chocobo, then land nearby and enter Crescent.
Odin
Crescent
Head to the southeastern corner and enter the house.
Play the piano, then speak to the Bard to learn the ultimate song: Hero’s Rime!
Leave the location.
Overworld
Ride the Chocobo and fly to Bal, which is located at the southwestern corner of the world.
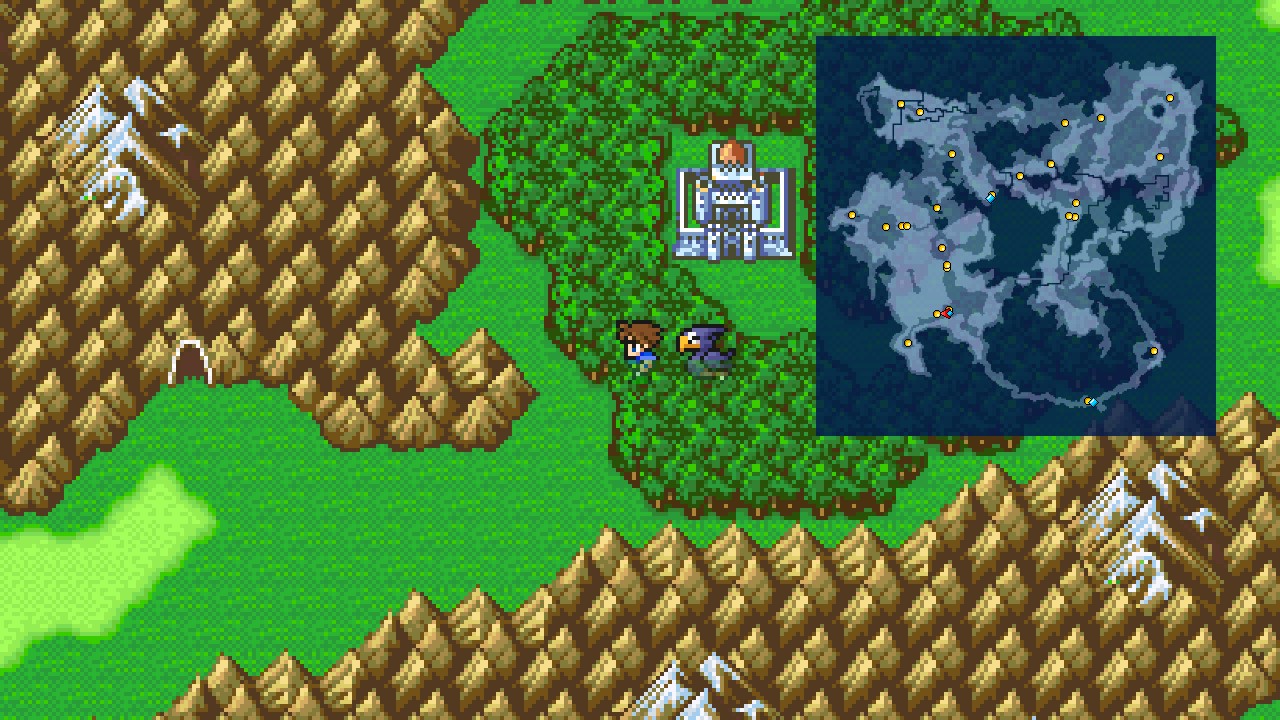 |
Land at the forest, then proceed west to find Jachol’s Cave. Head inside.
Jachol Cave – B1
This location hasn’t changed since our last visit. Same layout, same encounters, same everything.
Since we don’t have to do any extra exploration this time around, I’ll just give you a brief walkthrough to reach our destination.
Be aware that the Skull Eater is still pretty dangerous if you don’t kill it fast.
Walkthrough
- From the entrance, head south and press the bottom switch.
- Proceed south through the newly-opened path until reaching the very bottom.
- Once at the southern corridor, press the switch that doesn’t disappear.
- Head northeast and follow the path to a chest.
- Inspect the chest and flip the switch inside.
- Go through the door that just opened.
- Head all the way north until a split, then follow the path east until another split.
- Proceed north and climb up the wall.
Castle of Bal – B2
Guess where we are… Yes! The basement of Castle Bal! More specifically the room behind the large door we couldn’t get through during Galuf’s World.
Navigate your way north through the cracks until reaching a summon orb.
 |
Heal up and quick-save, then interact with the orb and answer with ‘Yes’ twice to challenge Odin to a combat…
| Odin |
|---|
| ID | HP | MP | ATK | DEF | EVA | M.DEF | MAG | WEAKNESS | RESIST. | ABSORBS | CANCELS |
|---|---|---|---|---|---|---|---|---|---|---|---|
| 278 | 17000 | 500 | 60 | 20 | 10 | 20 | 50 | None | Poison, Mini, Toad, Death, Confuse | Holy | None |
This battle has a 1 minute time limit. If it takes you longer than one minute, then Odin will finish your party off in a single attack. Sounds scary, right? Well. The battle is actually pretty easy if you are up to some cheesing. Remember the Sandcrawler we killed near Moogle Village in Galuf’s World? More exactly, remember HOW we killed it? Let me refresh your memory. That worm was weak against Petrify, so we used a Mystic Knight with Spellblade + Break in order to OHKO the creature. Do I have to say more? Bring a Mystic Knight and use Spellblade → Break, then attack until the boss is petrified. Pretty easy.
After the battle, you will be rewarded with the summoned monster Odin! Yay!
Now make your way back to the entrance of this area but DON’T ENTER the hole to Jachol Cave. Instead, continue south and unlock the door that previously prevented us from reaching this area during Galuf’s World.
Head upstairs.
We’re back at Bal. Feel free to rest at the Inn, then once ready, leave the location.
Overworld
Back at the overworld, ride the Black Chocobo and fly all the way northeast until reaching a large desert area.
Land at the forest just east from the beforementioned desert.
| ㅤ ㅤ ㅤ BESTIARY: PHOENIX TOWER AREAㅤ ㅤ |
|---|
| ID | MONSTER | HP | MP | GIL | EXP |
|---|---|---|---|---|---|
| 184 | Ankheg | 2780 | 100 | 570 | 1250 |
| 185 | Ammonite | 2780 | 0 | 573 | 1170 |
| 186 | Landcrawler | 22000 | 500 | 576 | 3270 |
Feel free to update your bestiary while you’re around this area, but be extremely careful when dealing with the Landcrawler. Why’s that? Well. This abominable creature really likes to use an ability called ‘Maelstrom’, which reduces the HP of all party members to mere single digits. It also hits really hard with physical attacks (1000+ per hit), so we have to be fast or we will suffer the consequences…
A good strategy to win? Graviga. That’s the fastest way to reduce its life quickly, use two Gravigas and then finish it off with regular attacks.
Once ready to continue, head north and enter the mountain.
 |
Bahamut
North Mountain – Entrance
Another location that remains intact from our previous visit (do you still remember? It was so long ago).
Make your way to the top to face Bahamut:
- Head north into the cave.
- Go west and exit through the opening.
- Proceed north and enter another cave.
- Exit through the eastern opening.
- Head east (careful with the poisoned flowers), north across the bridge, and west into a cave.
- Consecrated circle. Rest and save if you desire, then leave through the southwest exit.
- Go west across the rope and enter another cave.
You’ve finally reached the top, BUT WAIT…
Before attempting this boss, I highly recommend bringing a Summoner or someone with the Summon ability equipped. Why’s that? Simple. If you’re a seasoned FF player, you will know that Bahamut has a fetish with the ‘Mega Flare’ ability. But, what’s the problem with that? Well. Mega Flare is usually considered one of the most powerful spells in the whole saga, and this game is not the exception. Soooo, how much damage are we talking about? What about 3000+ to all party members? Yes. And if that isn’t enough, there’s a high chance that he uses it during the very first turn, obliterating your party before you’re even able to act.
This is where the Summoner joins the equation. If you open the battle with Carbuncle, then all your party members will be protected with Reflect, which will reflect Mega Flare back to Bahamut, dealing 9999 of free damage. Nice! The only downside is that you won’t be able to heal your party the normal way, but who needs to heal when you have my amazing strats?
Okay, but reflecting isn’t enough to defeat the boss, as he also counts with a whole set of other moves that aren’t reflectable, so what to do?
If you’re good on funds, then take a look to the Zeninage ability. It can be devastating! 5000-6000 damage per use!
I said good on funds but about 15000G should be more than enough to cover Bahamut’s funeral. If you’re convinced, then switch all your party members to Samurai and gave one the Summon ability to stick with the original plan.
Once prepared, heal up and quick-save, then head north for…
| Bahamut |
|---|
| ID | HP | MP | ATK | DEF | EVA | M.DEF | MAG | WEAKNESS | RESIST. | ABSORBS | CANCELS |
|---|---|---|---|---|---|---|---|---|---|---|---|
| 286 | 40000 | 10000 | 69 | 10 | 5 | 20 | 20 | None | Poison, Mini, Toad, Petrify, Death, Berserk, Confuse, Paralyze, Sleep, Old | None | Earth |
This menacing boss holds some of the most nasty magical attacks in the game. The list includes: Mega Flare (3000+ damage to the whole group), Maelstrom (reduces HP to single digits to the whole group), Ice Storm (massive Ice-based damage to the whole group), and Poison Breath (big damage + poison status to the whole group). This is not a problem if you decide to follow my plan.
Open the battle with Carbuncle to get protected against Mega Flare, then spam Zeninage until Bahamut is down and out. Zeninage is hella OP, isn’t it?
After the battle, you will be rewarded with the summoned monster Bahamut! Hurrah!
Now switch back to your original jobs and leave the dungeon. Teleporting is an option.
Overworld
Head all the way south through the desert until spotting a tower.
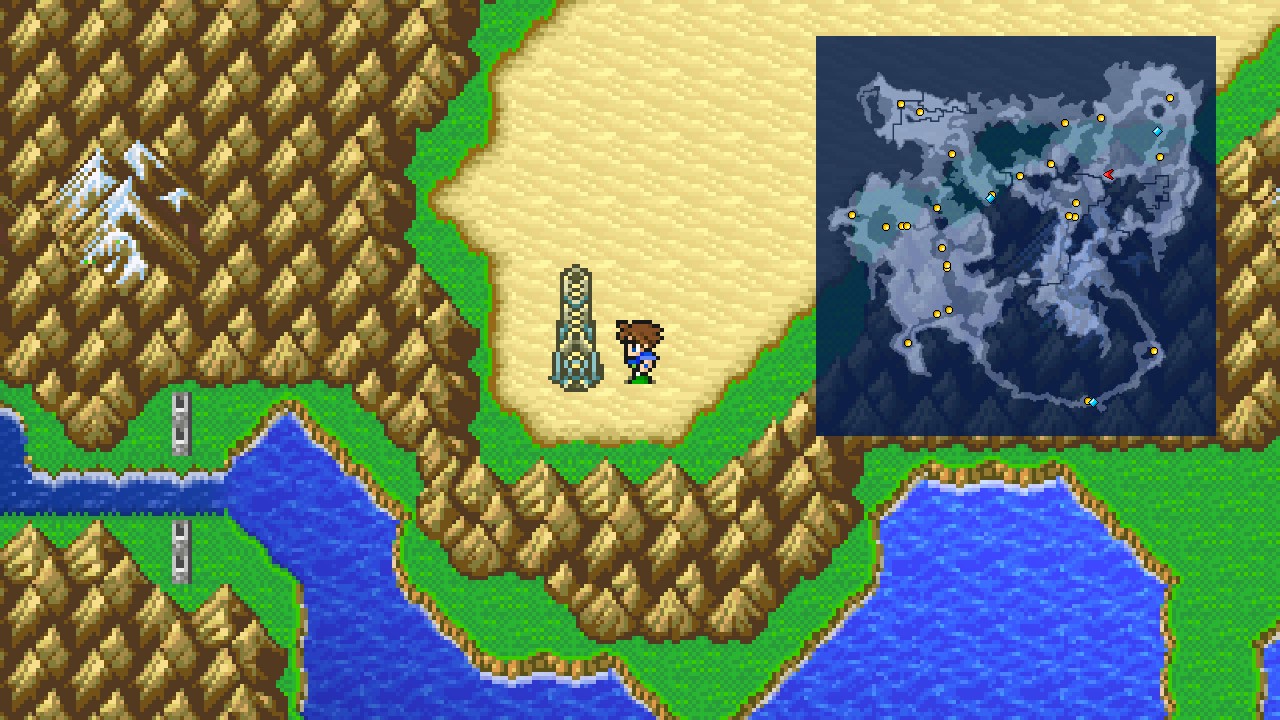 |
This is the Phoenix Tower. Head inside.
Phoenix Tower
Phoenix Tower – 1F
| ㅤ ㅤ ㅤ BESTIARY: PHOENIX TOWERㅤ ㅤ |
|---|
| ID | MONSTER | HP | MP | GIL | EXP | |
|---|---|---|---|---|---|---|
| 187 | Lemure | 3800 | 300 | 579 | 1500 | BM: 1000 Needles (repeat), Pond’s Chorus (repeat) |
| 188 | Parthenope | 3900 | 300 | 582 | 1500 | BM: Roulette |
| 189 | Cherie | 4000 | 300 | 585 | 1500 | BM: Aeroga (repeat), Lilliputian Lyric (repeat), Time Slip (repeat) |
EPIC MUSIC!
Make sure you have at least 5 Elixirs for collectibles as you REALLY don’t want to climb this more than once.
Parthenope holds a new blue magic: Roulette!
Note: Random encounters can’t be escaped for the whole duration of this dungeon.
This location introduces an interesting new mechanic.
Each floor has an column in the middle that contains two mossy tiles.
In order to progress, you must interact with the correct tile. Interacting with the wrong tile will trigger one of the following encounters:
- Bandercoeuri
- Liquid Flame
- Kuza Beast
- Soul Cannon
Sadly none of them count for the bestiary, so I would avoid all if I were you!
But how do you know which one is the correct? Well. Trial and error. Thankfully, I’m here to save your day!
The correct path is:
1F → Left
2F → Nothing
3F → Left
4F → Right
Phoenix Tower – 5F
This floor holds two pots. Left one contains 5000 Gil {35/44} and right one a singular monster-in-a-pot encounter. Quick-save before searching the right pot!!!
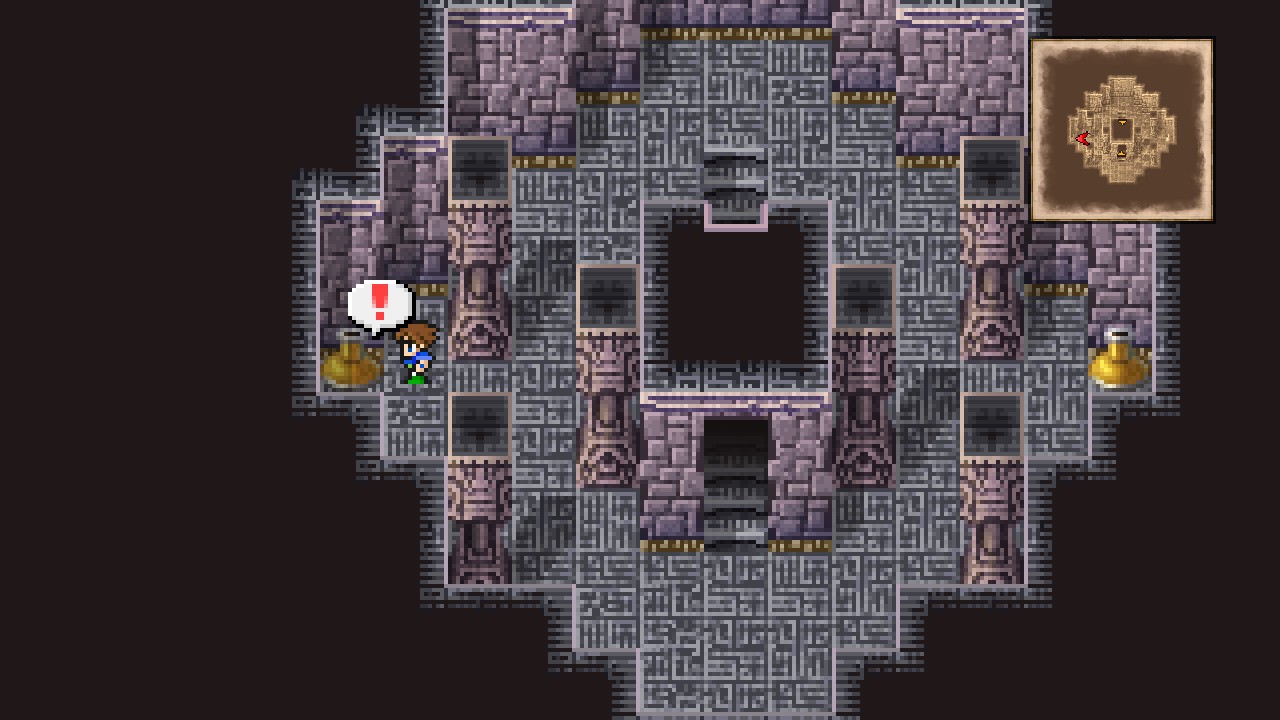 |
| ㅤ ㅤ ㅤ BESTIARY: MONSTER-IN-A-POTㅤ ㅤ |
|---|
| ID | MONSTER | HP | MP | GIL | EXP |
|---|---|---|---|---|---|
| 190 | Magic Pot | 65255 | 50000 | 10000 | 10000 |
This enemy can’t be hit and won’t hit you either. The only way to end this battle is by giving it an Elixir. But why would you waste a precious Elixir in such way? Well. All I can say is 100 ABP. If the creatures doesn’t leave after giving it an Elixir, then reload your save and try again. You don’t want to waste too many Elixirs around this area as there’s more than one encounter against it (and we need all for the collectibles).
The right pot contained a Phoenix Down. {36/44}
Continue upstairs.
6F → Nothing
7F → Left
8F → Left
9F → Right
Phoenix Tower – 10F
Just like the 5th floor, this one also holds two pots. Left one contains 10000 Gil {37/44} and right one another pot. Remember to quick-save before attempting the pot! (I’ll stop going too deep in those floors as they’re the same thing for the whole dungeon).
The right pot contained a Phoenix Down. {38/44}
11F → Nothing
12F → Left
13F → Left
14F → Right
15F → Magic Pot: Phoenix Down – 15000 Gil {40/44}
16F → Nothing
17F → Left
18F → Left
19F → Right
20F → 20000 Gil – Magic Pot: Phoenix Down {42/44}
21F → Nothing
22F → Right
23F → Left
24F → Right
25F → Magic Pot: Aevis Killer – 25000 Gil {44/44}
These are the last hidden items for the game. The following achievement unlocks:
Item Detector
Obtained all hidden items.
26F → Left
27F → Left
28F → Right
29F → This room has a single tile, which translates to an unavoidable ‘boss’ fight from the pool we saw earlier. I’ll repeat it again so you have an idea on what you’re engaging in:
- Bandercoeuri
- Liquid Flame
- Kuza Beast
- Soul Cannon
Either way, none of the enemies should be much of an issue to you at this point of the game. Godspeed!
Phoenix Tower – 30F
Watch the scenes…
Answer with whatever you want; choice is irrelevant.
The wind drake Hiryu became a phoenix, and entrusted his strength and soul to Lenna.
Received the summoned monsters Phoenix!
Leave the dungeon in any way you want, but I highly recommend using teleport as you don’t want to fight all those unescapable battles over again. Right?
Overworld
Make your way back to the Black Chocobo and ride it back to the airship (which should still be parked near Phantom Village).
Board the airship and head to the center island, where the Big Bridge used to be in Galuf’s World.
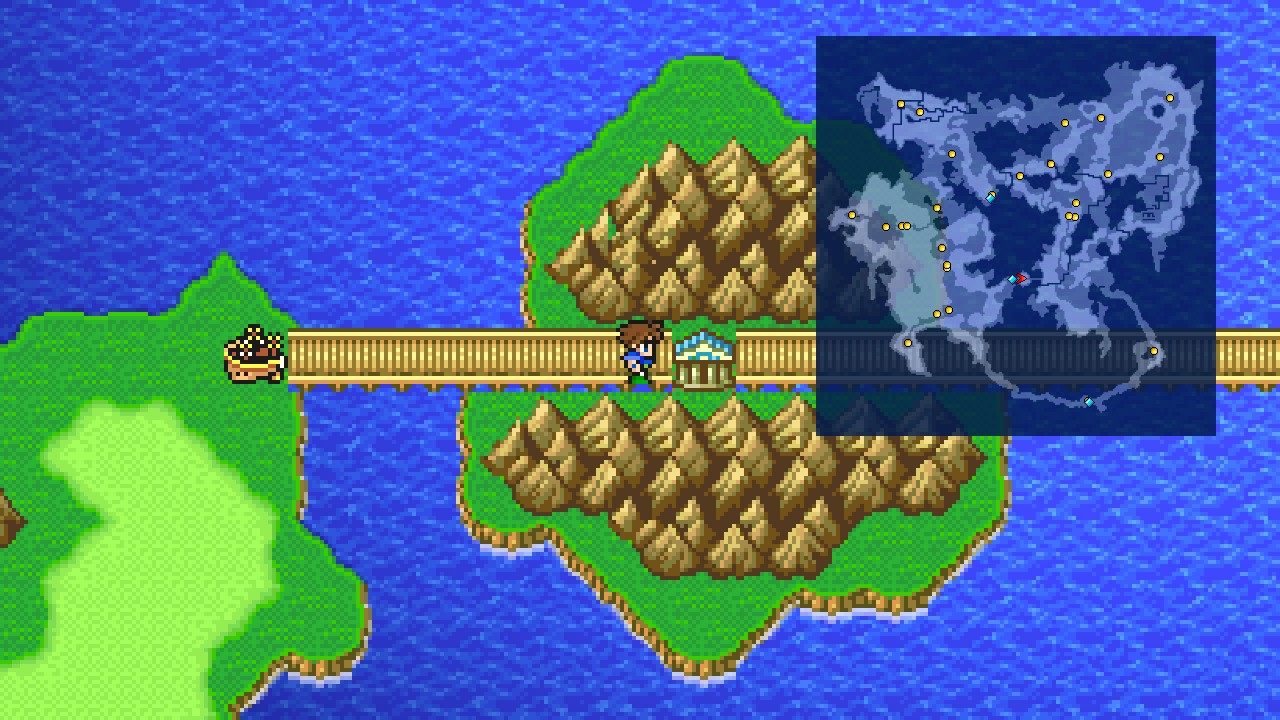 |
Land near the left end of the bridge, then head east and into the shrine.
Island Shrine: Part I
Island Shrine – 1F
Heal up and quick-save, then try to go through the large door…
| Gargoyle (x2) |
|---|
| ID | HP | MP | ATK | DEF | EVA | M.DEF | MAG | WEAKNESS | RESIST. | ABSORBS | CANCELS |
|---|---|---|---|---|---|---|---|---|---|---|---|
| 276 | 5000 | 300 | 58 | 13 | 10 | 12 | 50 | None | Mini, Toad, Confuse | Holy | None |
This is exactly the same boss fight we had back the Pyramid of Moore, and just like back then, Gargoyles are still connected. This means that you have to kill both within a short span of time to prevent them from reviving each other.
Like I recommended during that previous encounter, Level 3 Flare does wonders, as it does any other high-level spells.
After defeating the creatures, interact with the door to open the door by burning another page of the Sealed Tome. Head upstairs.
Island Shrine – 2F
| ㅤ ㅤ ㅤ BESTIARY: ISLAND SHRINEㅤ ㅤ |
|---|
| ID | MONSTER | HP | MP | GIL | EXP | |
|---|---|---|---|---|---|---|
| 157 | Executor | 2000 | 10000 | 462 | 1300 | BM: Level 2 Old (repeat), Level 3 Flare (repeat), Level 4 Graviga (repeat), Level 5 Death (repeat) |
| 158 | Oiseaurare | 1900 | 100 | 465 | 1250 | BM |
Executors are a good source to learn missed blue magic!
From the stairs, head west and push against the right wall to reveal a secret passage.
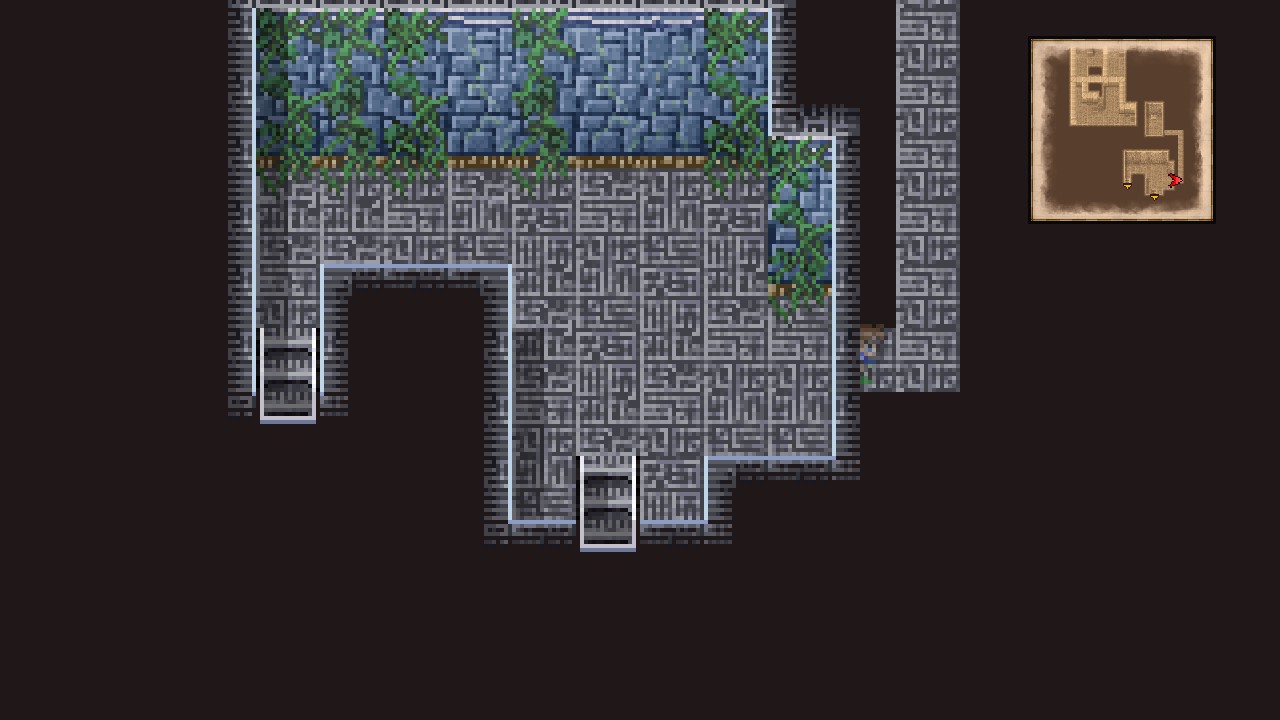 |
Go through the passage and open the chest at the end for 12000 Gil. [154/227]
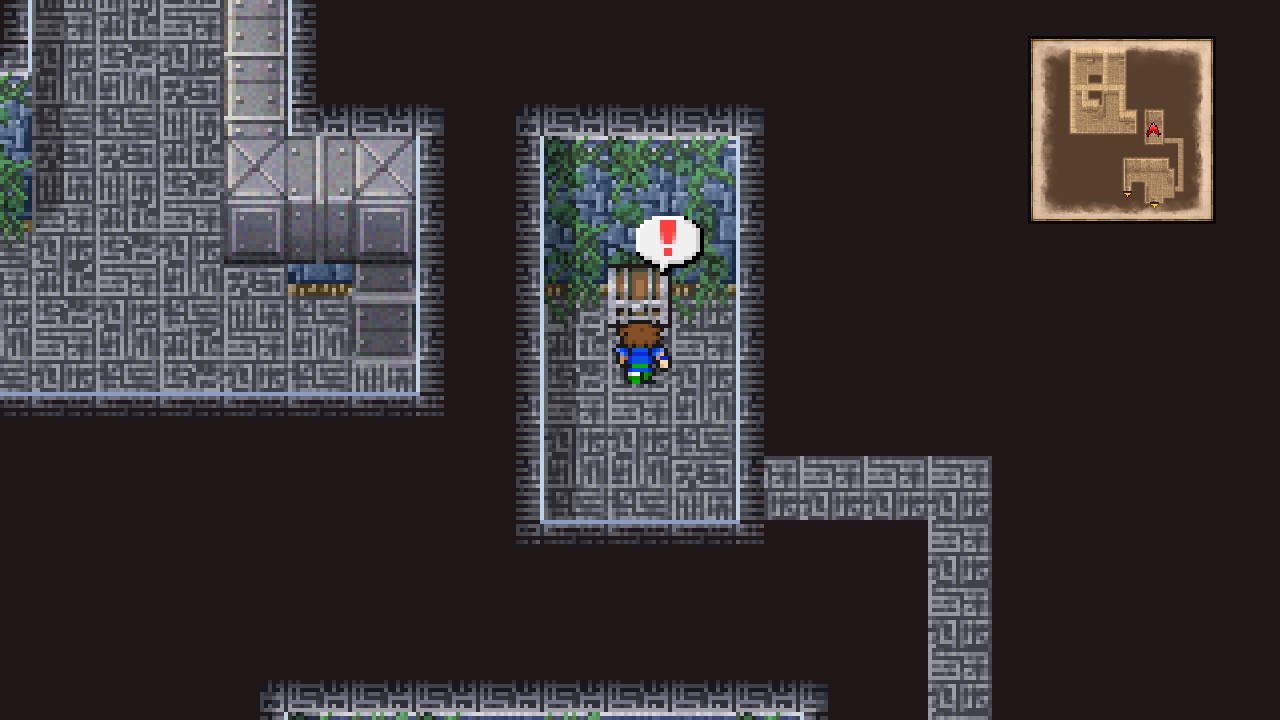 |
Head back through the passage and go down through the westmost staircase.
Island Shrine – 1F
Approach the vent to get sucked to another place.
You’ll reach a room with two switches.
Inspect one tile up from the bottom-left corner to find a Hi-Potion. [155/227]
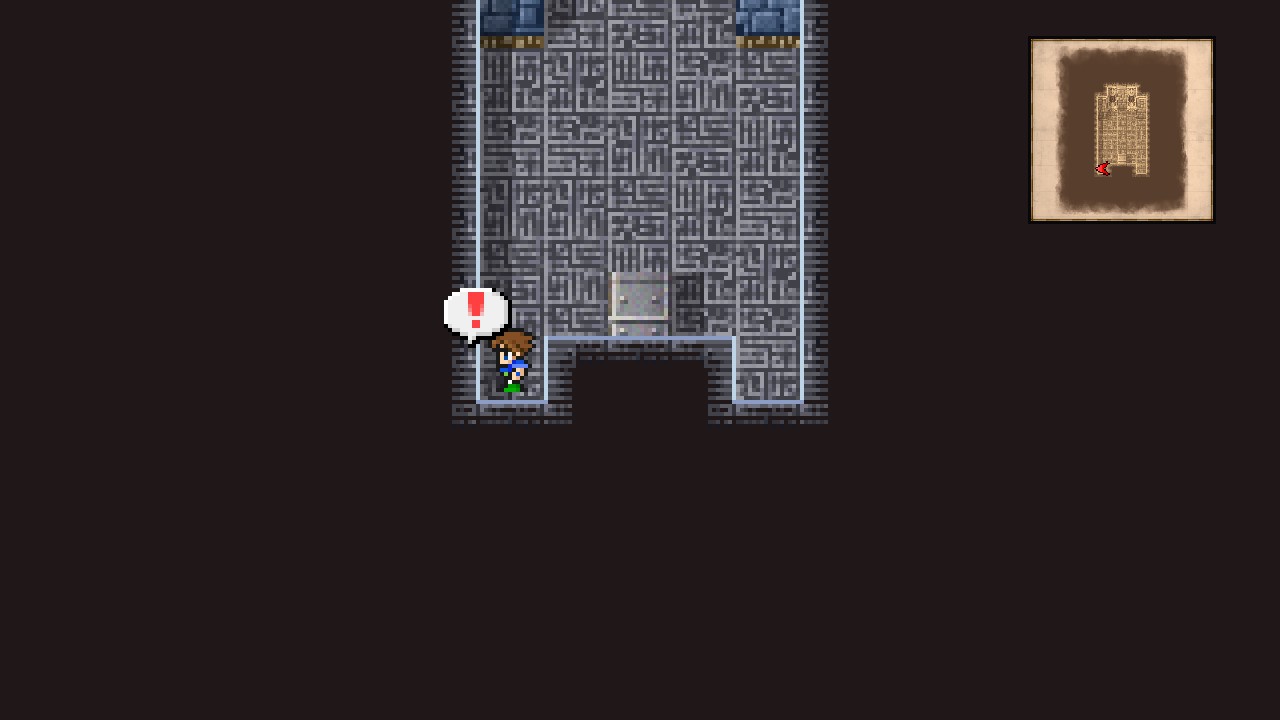 |
Now inspect the bottom-right corner for an Iron Draft. [156/227]
 |
Press the right switch, then go back through the vent.
Open the chest in this new room for an Elixir. [157/227]
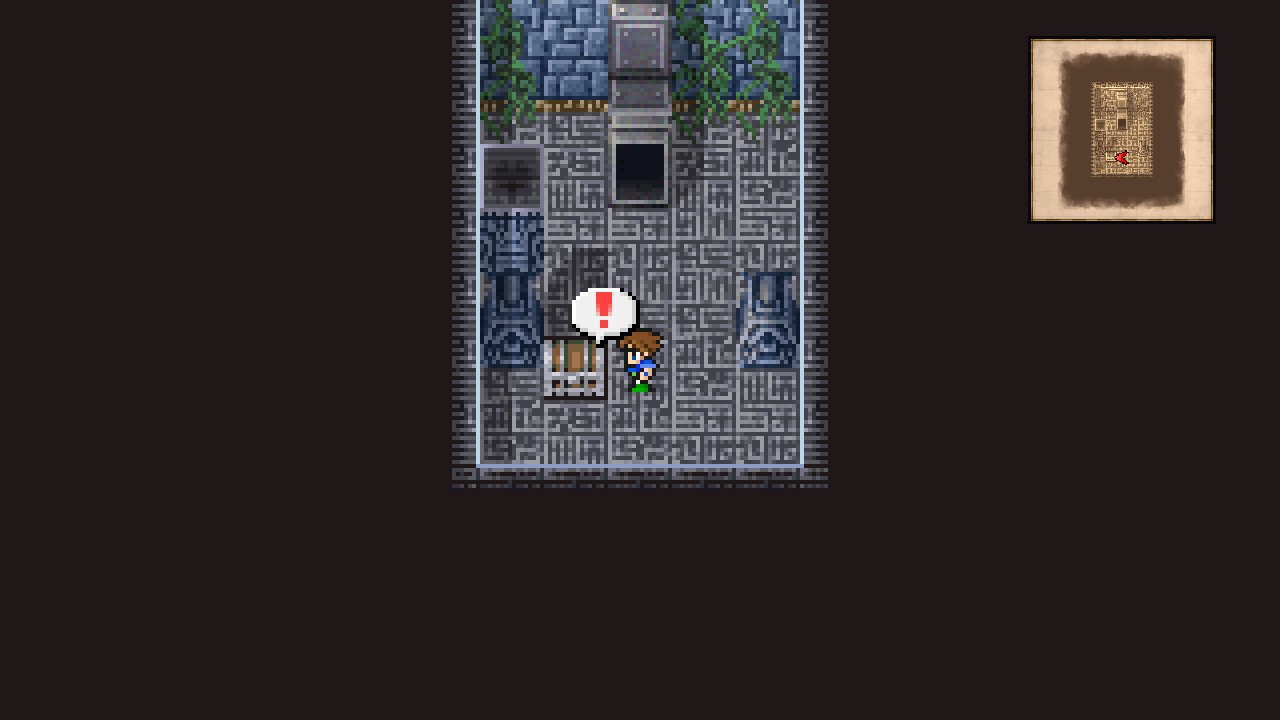 |
Head back through the vent.
Now press the left switch and go through the vent once more.
Open the chest in this room for 9000 Gil. [158/227]
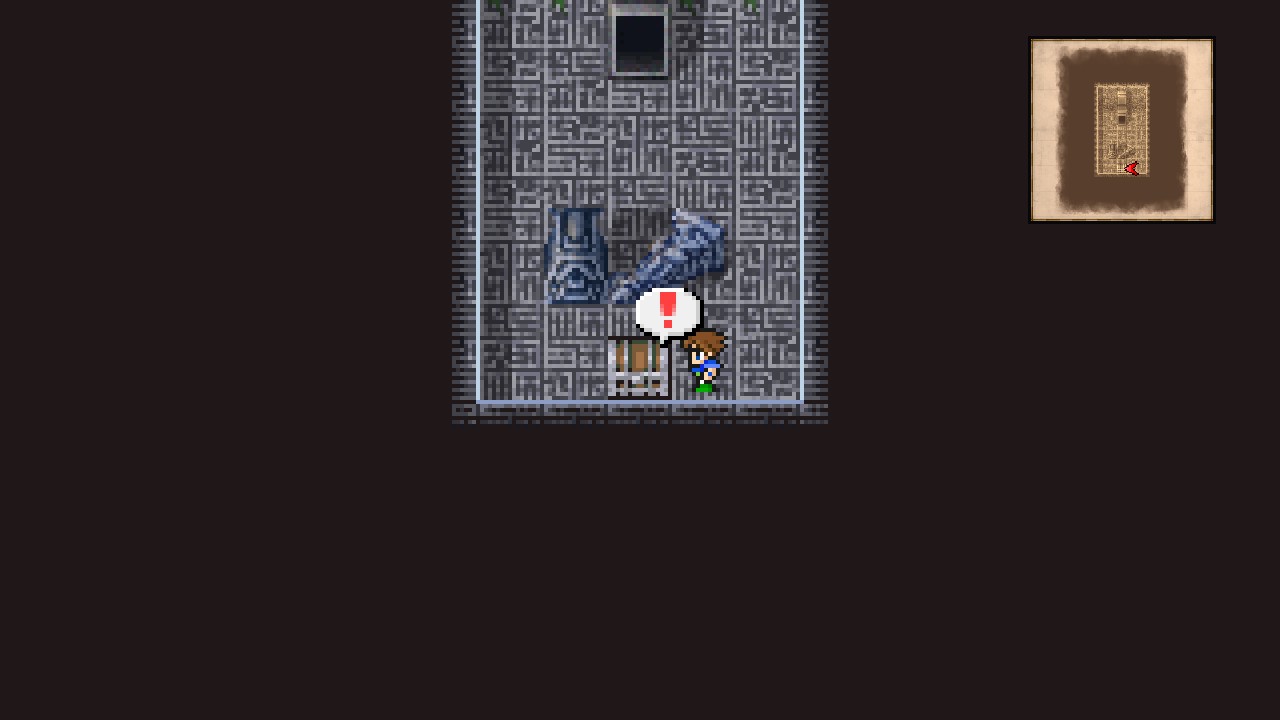 |
Go back through the vent.
Press the right switch to disable it, then go through the vent.
We’re finally at the right place to continue!
Heal up and quick-save, then open the chest left from the vent for a monsters-in-a-box encounter.
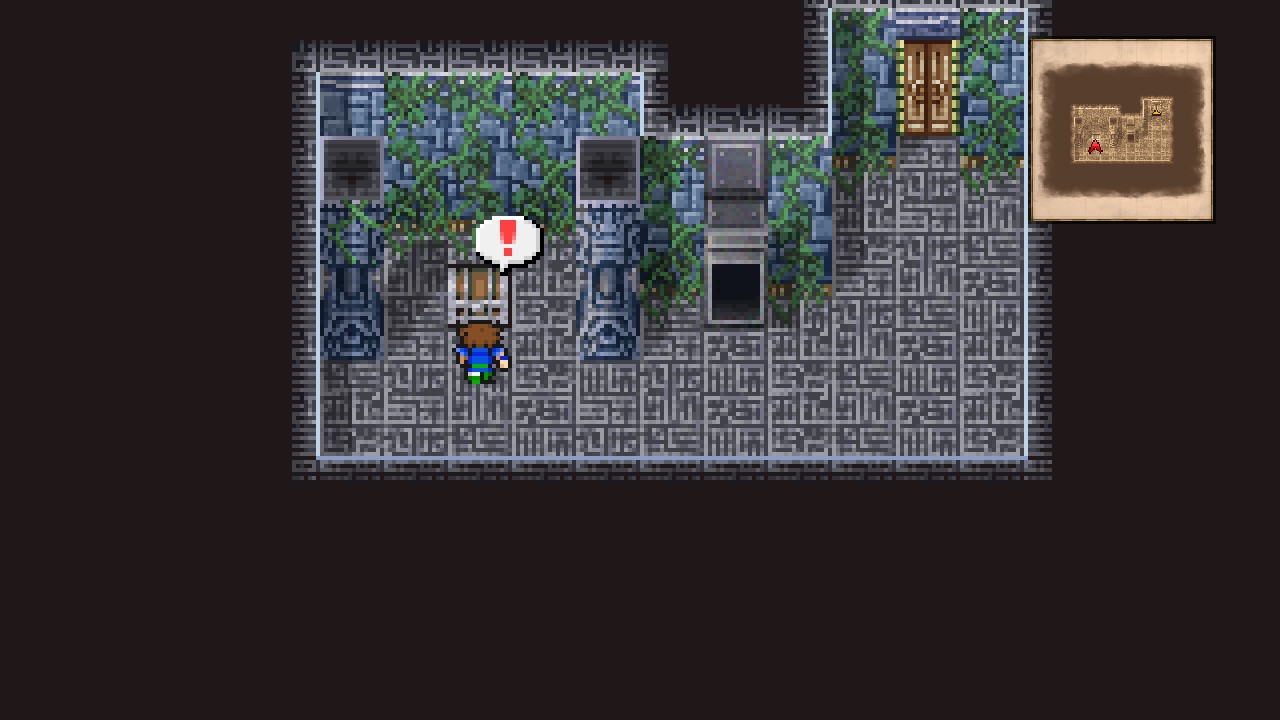 |
| ㅤ ㅤ ㅤ BESTIARY: MONSTER-IN-A-BOXㅤ ㅤ |
|---|
| ID | MONSTER | HP | MP | GIL | EXP |
|---|---|---|---|---|---|
| — | Covert | ??? | ??? | — | — |
Not really a tough battle. Just spam your best attacks and the combat will be over before you notice.
The chest contained Rising Sun! [159/227]
Head west and through the door (be careful of not getting sucked by the vent).
There’s a consecrated circle in this room. Rest and save if you desire, then head upstairs.
Island Shrine – 2F
Head directly north and open the chest for a monsters-in-a-box encounter → Protect Ring [160/227] (I think this is random, but I personally got a Mecha Head).
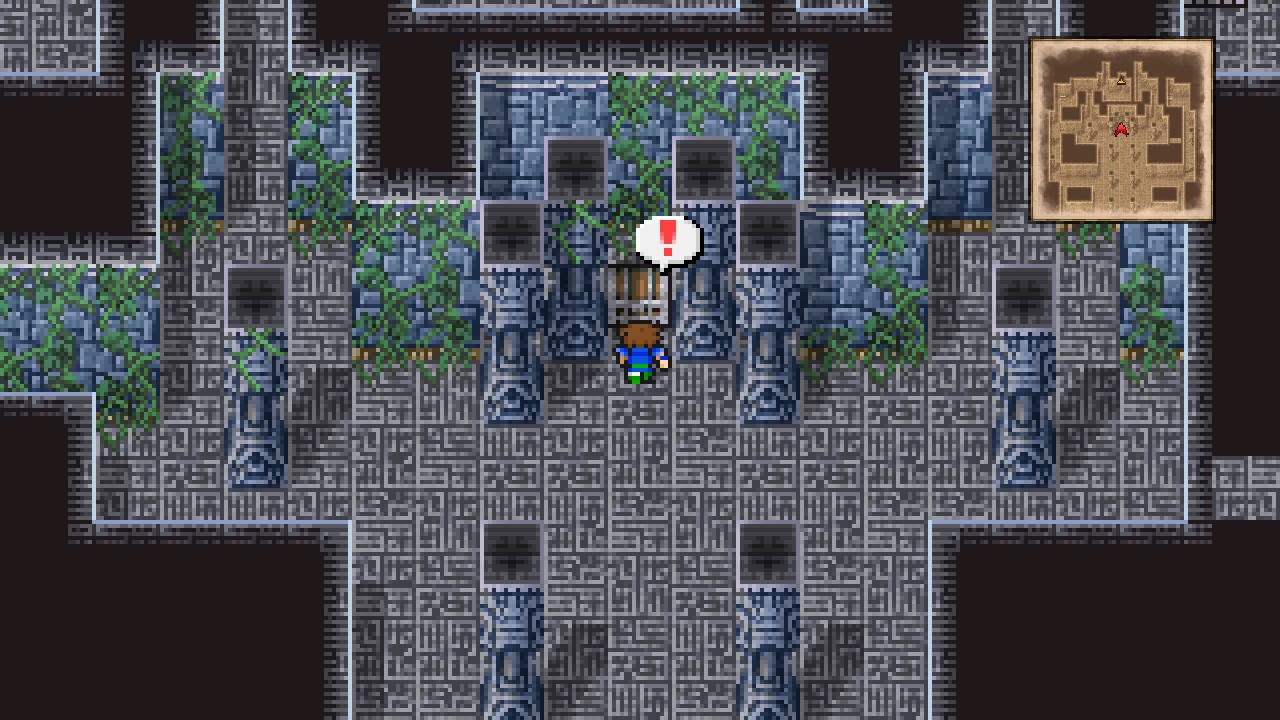 |
Now head east and go through a secret passage to find yet another chest.
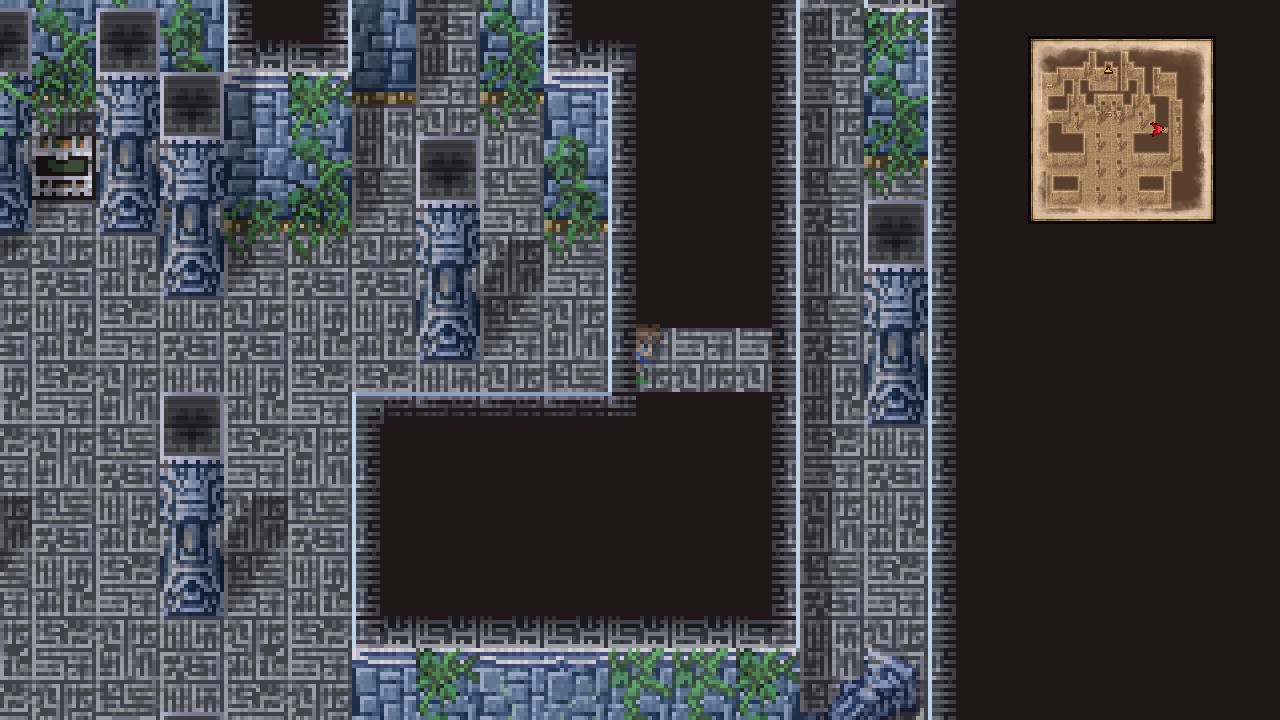 |
Open it for Crystal Helm. [161/227]
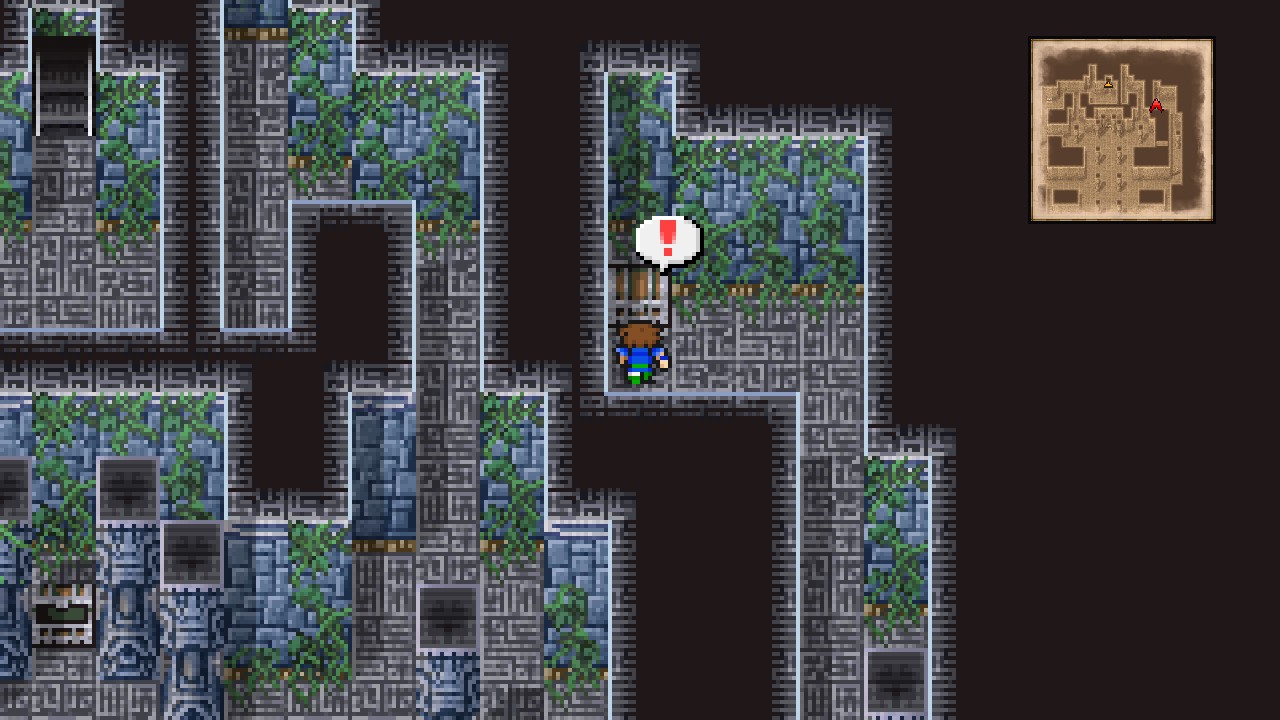 |
Make your way to the northwestern corner of the room and open the chest for an Ether. [162/227]
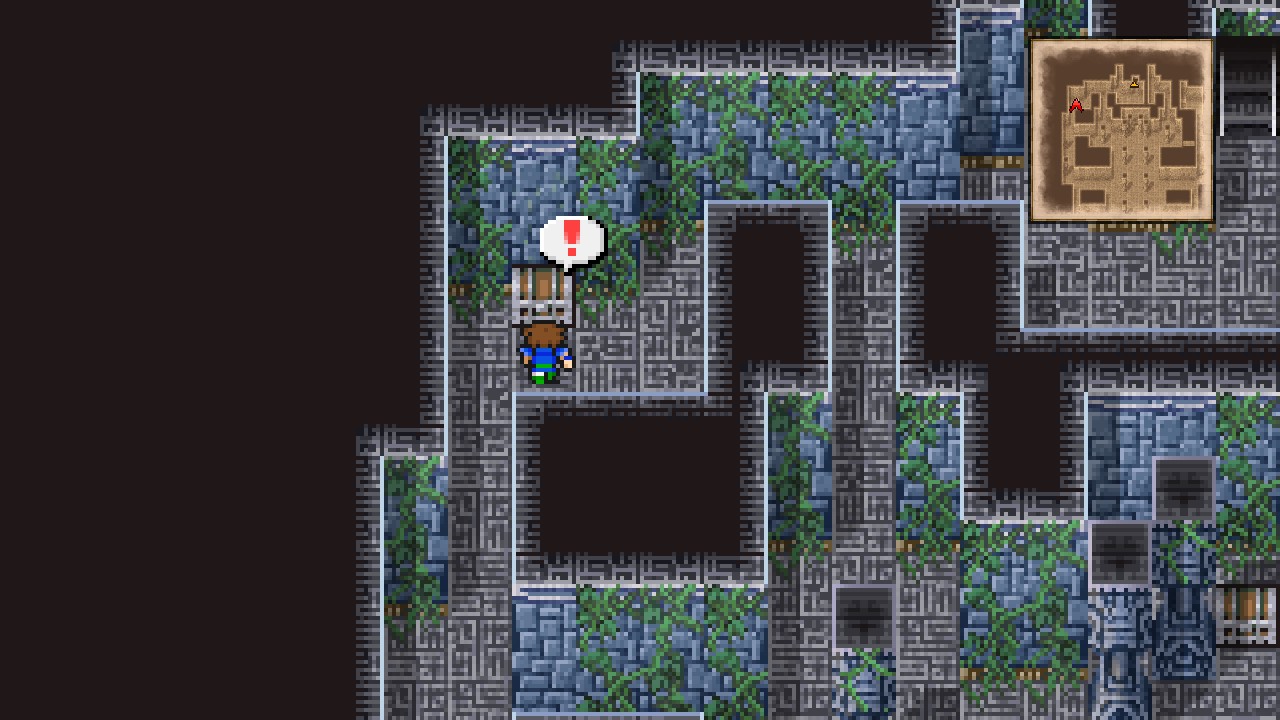 |
Head east and go up the stairs.
Island Shrine – 3F
Go north through the door and open the chest for Beast Killer. [163/227]
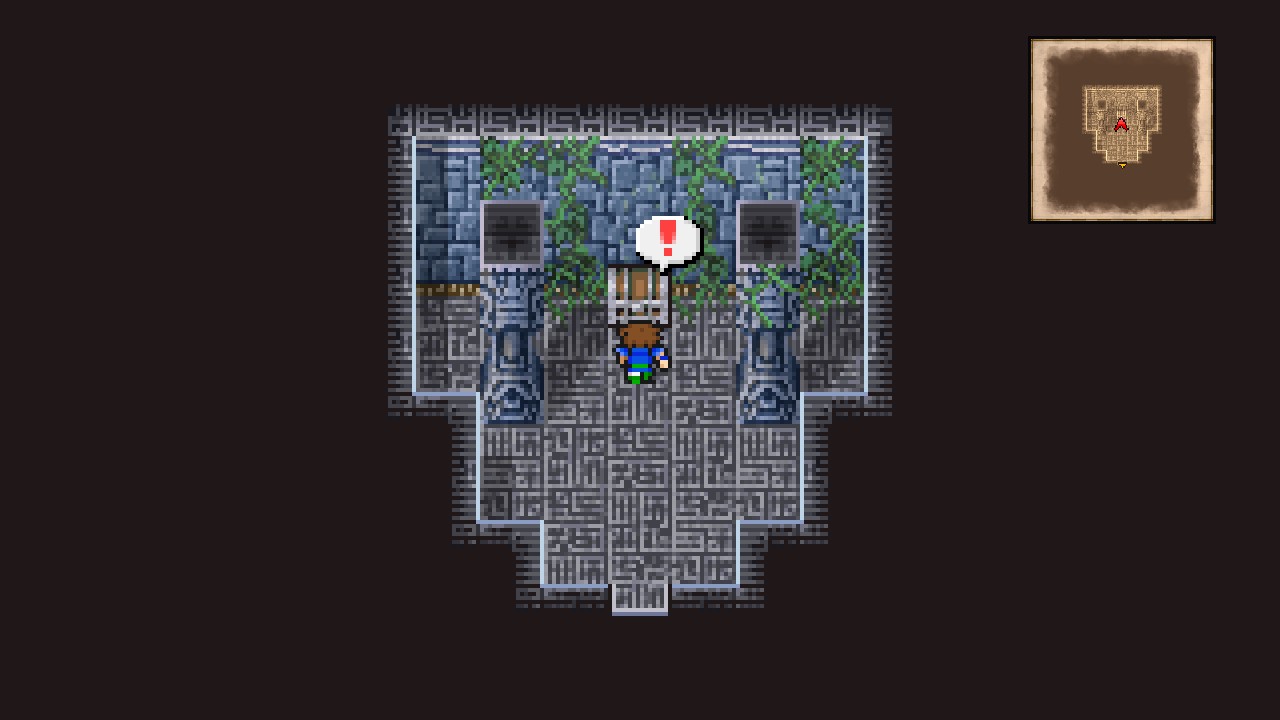 |
Leave, then walk around to reach a staircase at the top of the room. Head upstairs.
Island Shrine – 4F
Head north through the door and go up the stairs.
Island Shrine: Part II
Island Shrine – 5F
| ㅤ ㅤ ㅤ BESTIARY: ISLAND SHRINE – 5F OR LATERㅤ ㅤ |
|---|
| ID | MONSTER | HP | MP | GIL | EXP |
|---|---|---|---|---|---|
| 159 | Shadow Dancer | 4480 | 100 | 468 | 1550 |
| 160 | Numb Blade | 2400 | 0 | 474 | 1400 |
| 161 | Tot Aevis | 33090 | 1000 | 0 | 0 |
This room is full of traps. If you step in the wrong tile, you fall down to the room below.
Stick to the following route to safely reach the staircase while collecting both treasure chests:
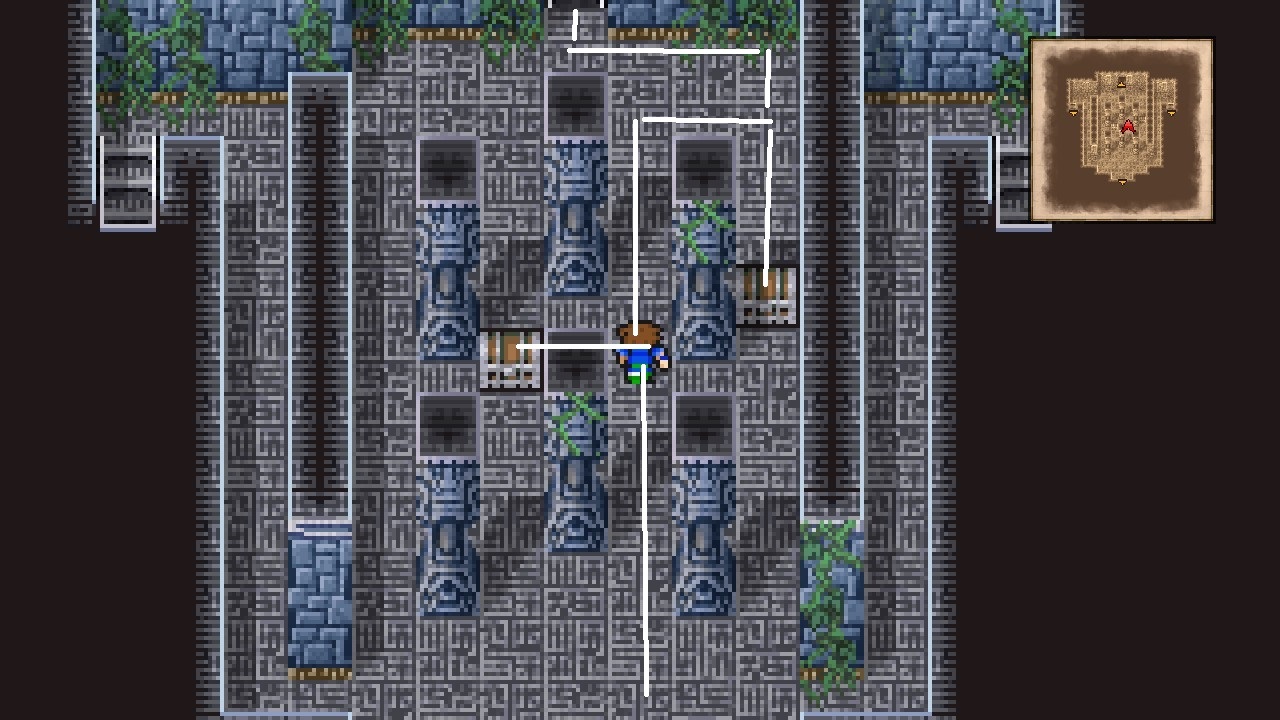 |
Left chest contains an Ether. [164/227]
Right chest contains a Dragon Fang. [165/227]
Head upstairs.
Island Shrine – 6F
Another consecrated circle. Wow!
Rest and save if you desire, then continue upstairs.
Island Shrine – 7F
Before going through the middle door, head northwest for a chest containing a Dark Matter. [166/227]
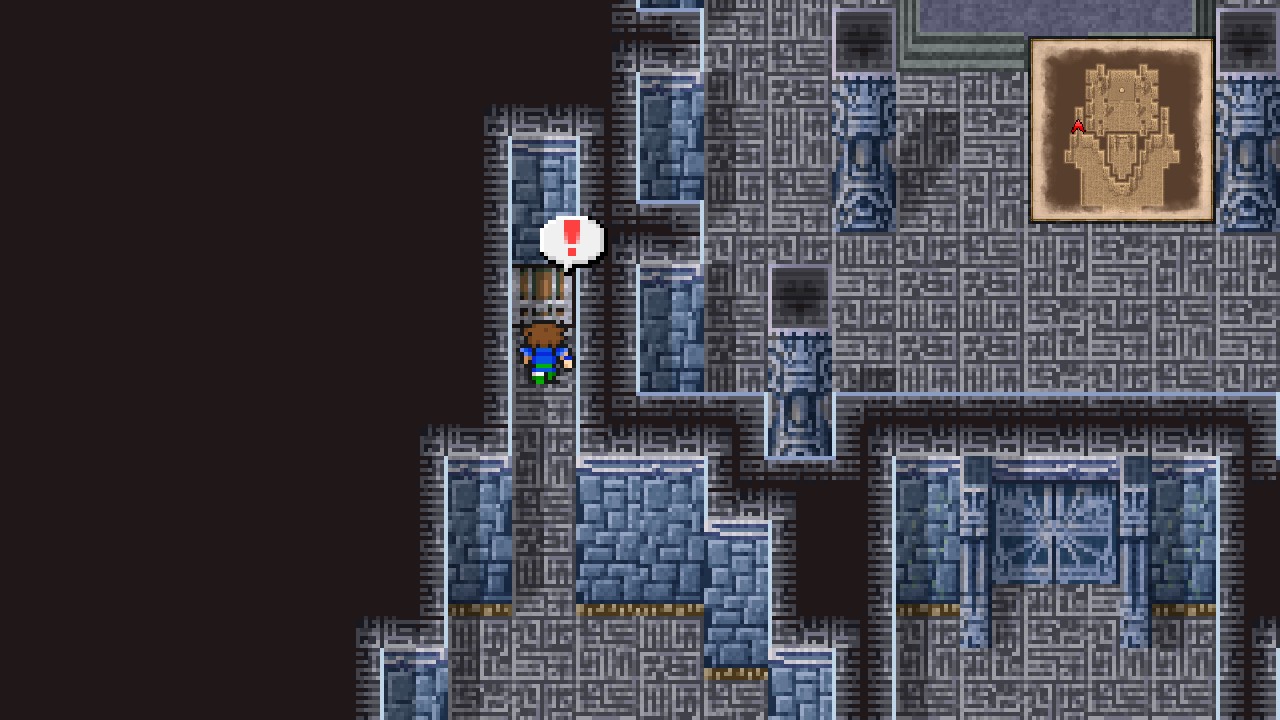 |
And northeast for another chest containing Circlet. [167/227]
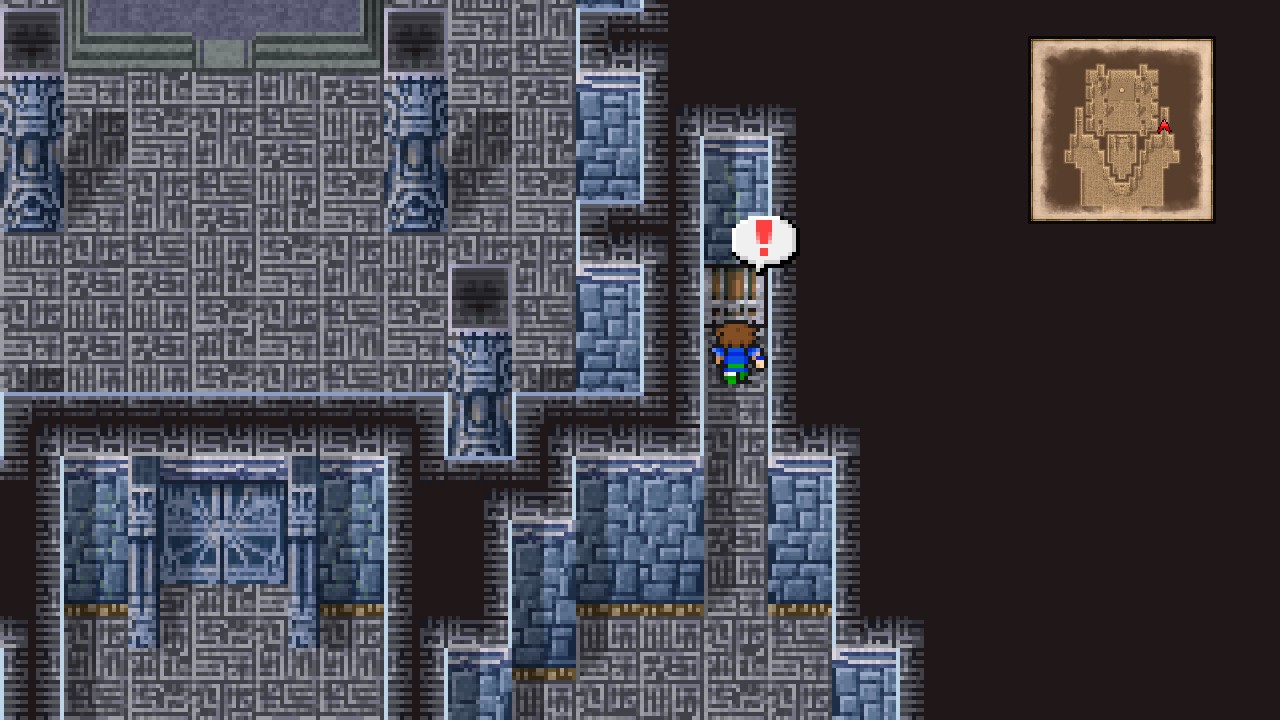 |
That is. 14/14 chests for this dungeon.
Head through both middle doors and approach the tablet, but DON’T PICK IT UP YET.
Instead, equip the ‘Learn’ ability to your Blue Mage, heal up and quick-save, and only then interact with the tablet.
Surprise!
| Wendigo |
|---|
| ID | HP | MP | ATK | DEF | EVA | M.DEF | MAG | WEAKNESS | RESIST. | ABSORBS | CANCELS | |
|---|---|---|---|---|---|---|---|---|---|---|---|---|
| 277 | 20000 | 8192 | 65 | 10 | 0 | 20 | 10 | None | Poison, Mini, Toad, Petrify, Death, Silence, Berserk, Confuse, Paralyze, Old, Stop | Water | Earth | BM: Mind Blast |
Am I seeing double or that’s four bosses?
This is an rather boring encounter. There’s four Wendigos in battle. Yes. But only one is real. The other three won’t take any damage. And once you hit the real, it will change its position… *sigh*
But why can’t we just spam group-attacks? Because doing so will make them counter with Frost which deals relatively high damage to all party members.
So what’s the best method to defeat this boss? I personally took the laziest route and attacked each separately until finding the right one, then rinsed and repeated.
You can equip Fire rings to absorb Frost damage and spam Bahamut to deal BIG damage, but I personally think this battle ain’t worth any strategies.
Oh, on a sidenote, this boss holds the blue magic: Mind Blast, but I wouldn’t recommend getting it here as
After the battle, you will receive the second tablet!!!
Time to go do some shopping spree at Kuza Castle.
Watch the scenes, then teleport out the dungeon.
Overworld
TO BE CONTINUED….
Here we come to an end for FINAL FANTASY V Walkthrough & Achievement Guide Prologue hope you enjoy it. If you think we forget something to include or we should make an update to the post let us know via comment, and we will fix it asap! Thanks and have a great day!
- Check All FINAL FANTASY V Posts List


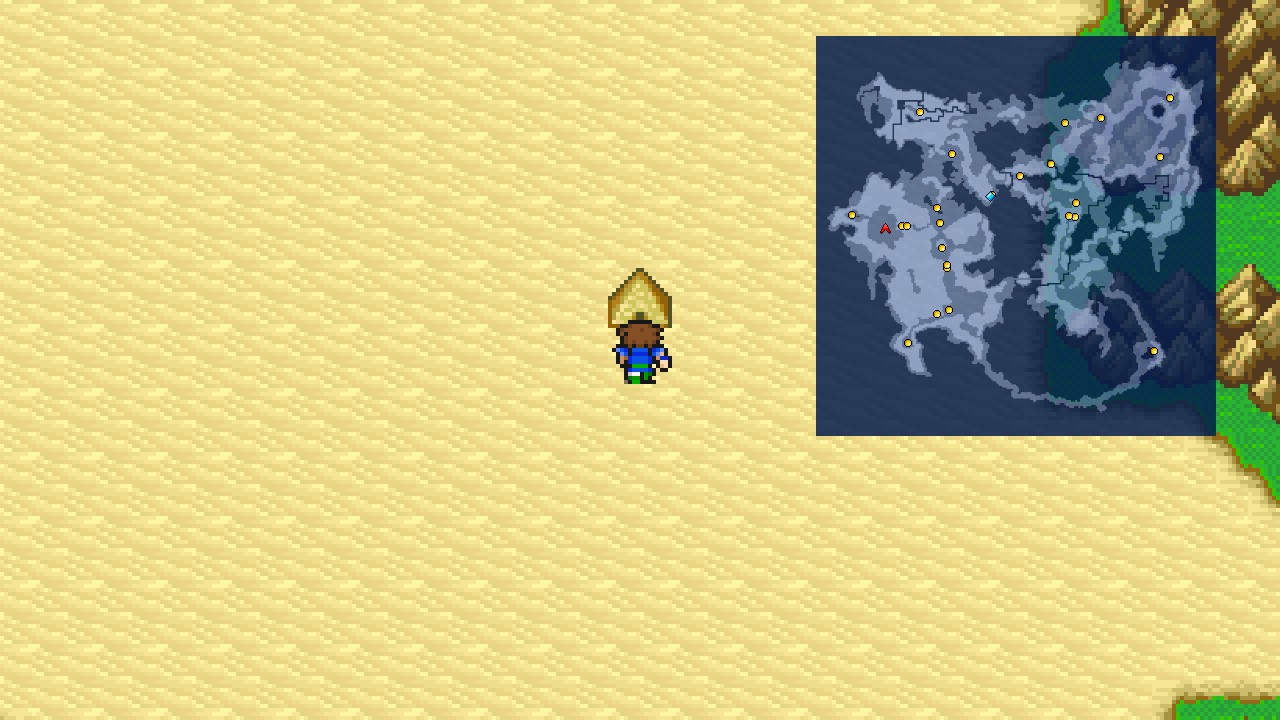


Leave a Reply