A Walkthrough for the Farmhouse, The Asylum, The Inn and The Town. Also has Tips!
Intro
Hi! In this guide you’ll find instructions and pictures that will help you figure out how to play this game and also give you good tips to be a good player. Hopefully you find this useful! (Guide applies to co-op & singleplayer).
To begin, controls:
F – Turn on/off Flashlight
SHIFT – Sprint
E – Grab Items
G – Drop Items
C – Crouch
Right MB – UV Light (will come in handy)
K – Check Key Inventory & Ritual Progress
Enter – Chatbox
T – Push to Talk (If activated)
R – Use Battery
ESC – Configure any settings
That’s all you’ll need to know in terms of keys.
Feel free to use the Guide Index to find which map you are doing!
The Farmhouse (Anna)
Alright, I’m going to get into this right away.
When you spawn you will have to jump over a tire and get over the fence, where you will be at the farmhouse. Around the outside you will notice hay outlined in white, (items outlined in white means you can pick them up).
If you run towards the back of the house you will notice an altar. This is where the sacrifices are going to happen.
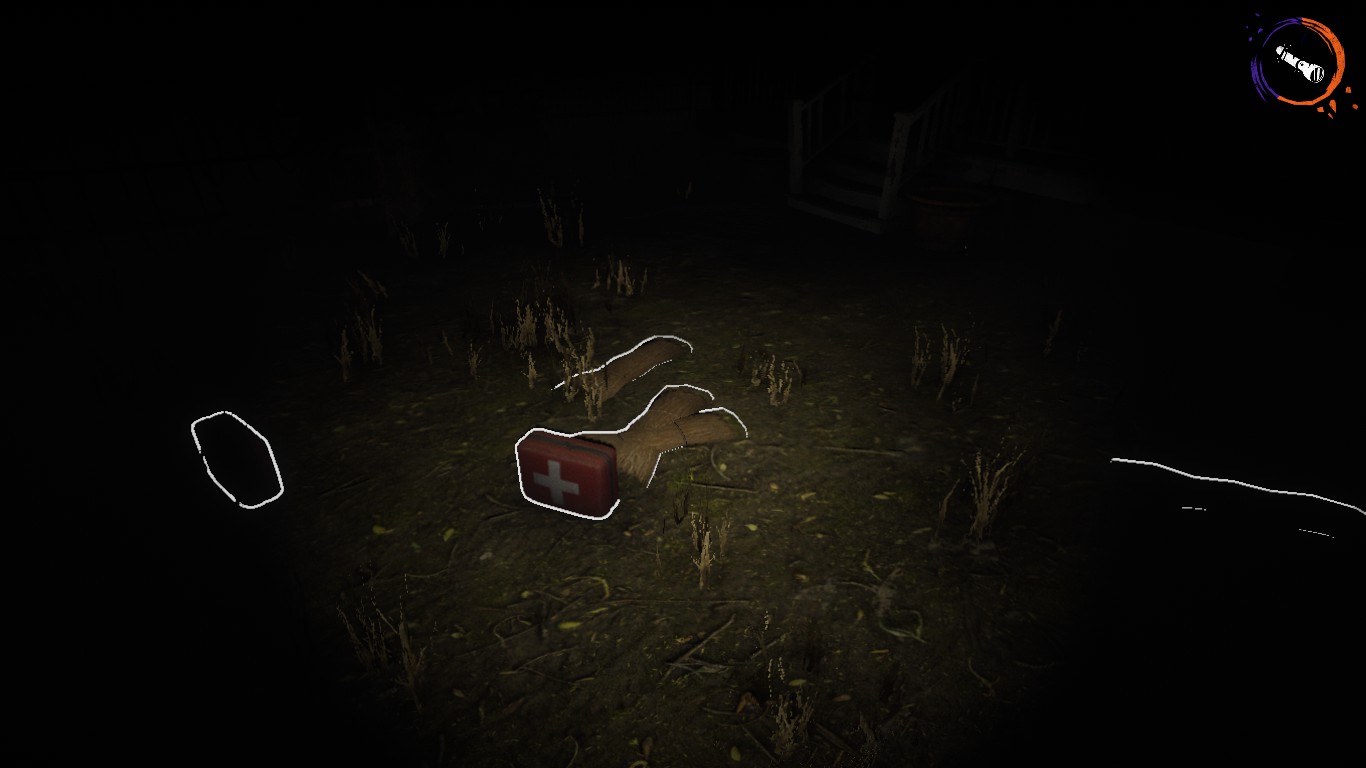
-A recommended thing to do is put a bunch of hay near the outside of the basement door AND the front door. Put medkits as well in the front and back. The hay will be easy to grab, and the medkit placement is in case Anna drops someone near the front/back of the house and you can’t get to them.
Like so-
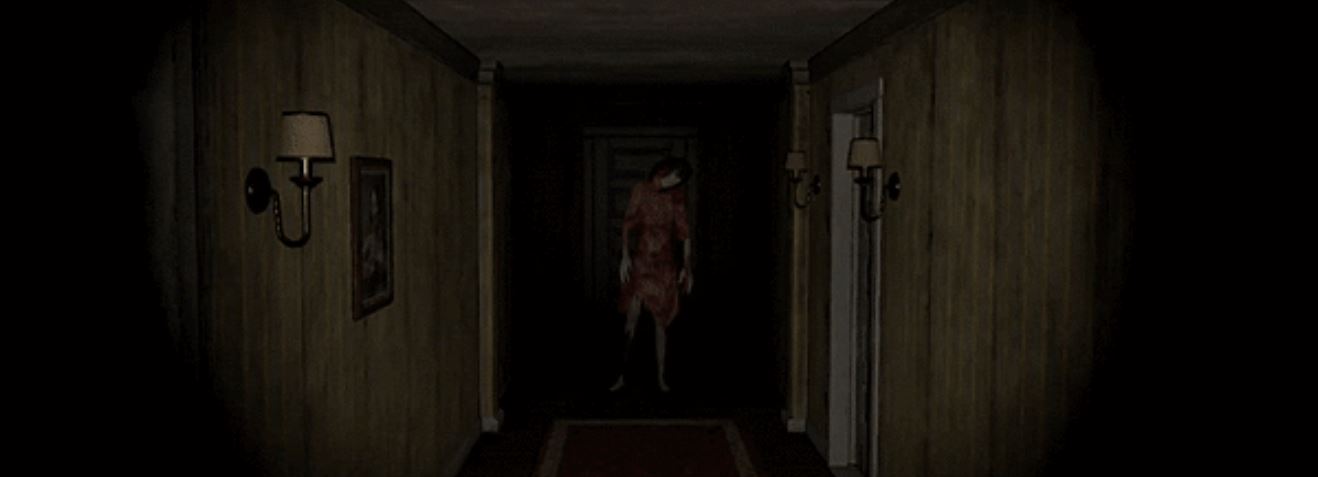
Now grab the key from the area to the left of the altar, and unlock the goat cage you walked past earlier. They will break down the basement door. Grab the key from the table in the basement, and get inside the house, where you will find Anna at the end of the hallway. It’ll look like this-
Walk up to her and activate her. This will be so that you can get keys and start unlocking the house. Once you activate her, demons will soon start spawning around the map. Use your UV light to burn them. Do not worry about Anna, she is harmless while walking around the house.
IMPORTANT TIP – DO NOT STARE AT HER (while she is walking around the house). This WILL get her mad and she will enter her rage mode. Just walk past her.
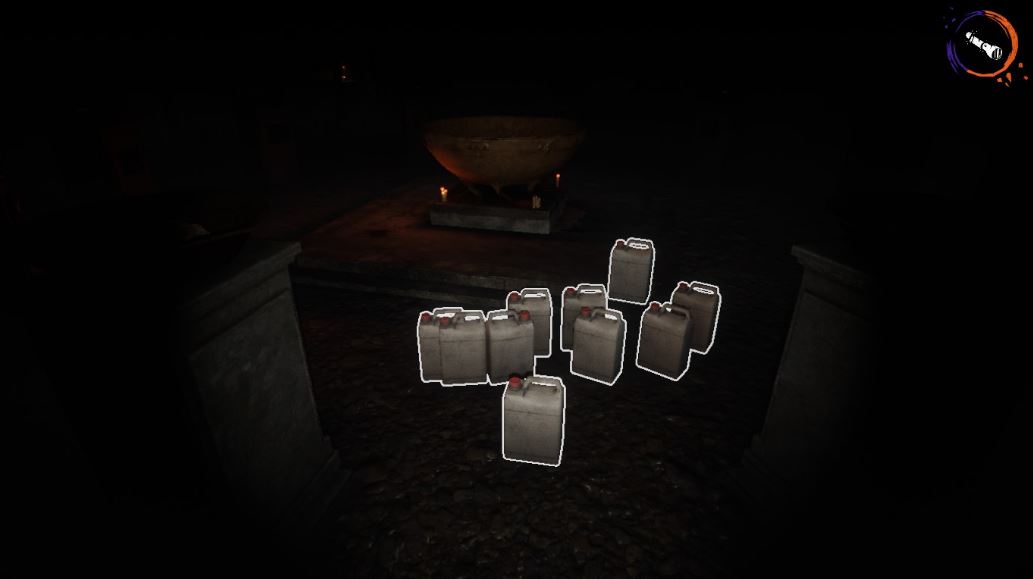
Unlock the house and get gasoline. You will need exactly 10. Stack them near the altar like so-
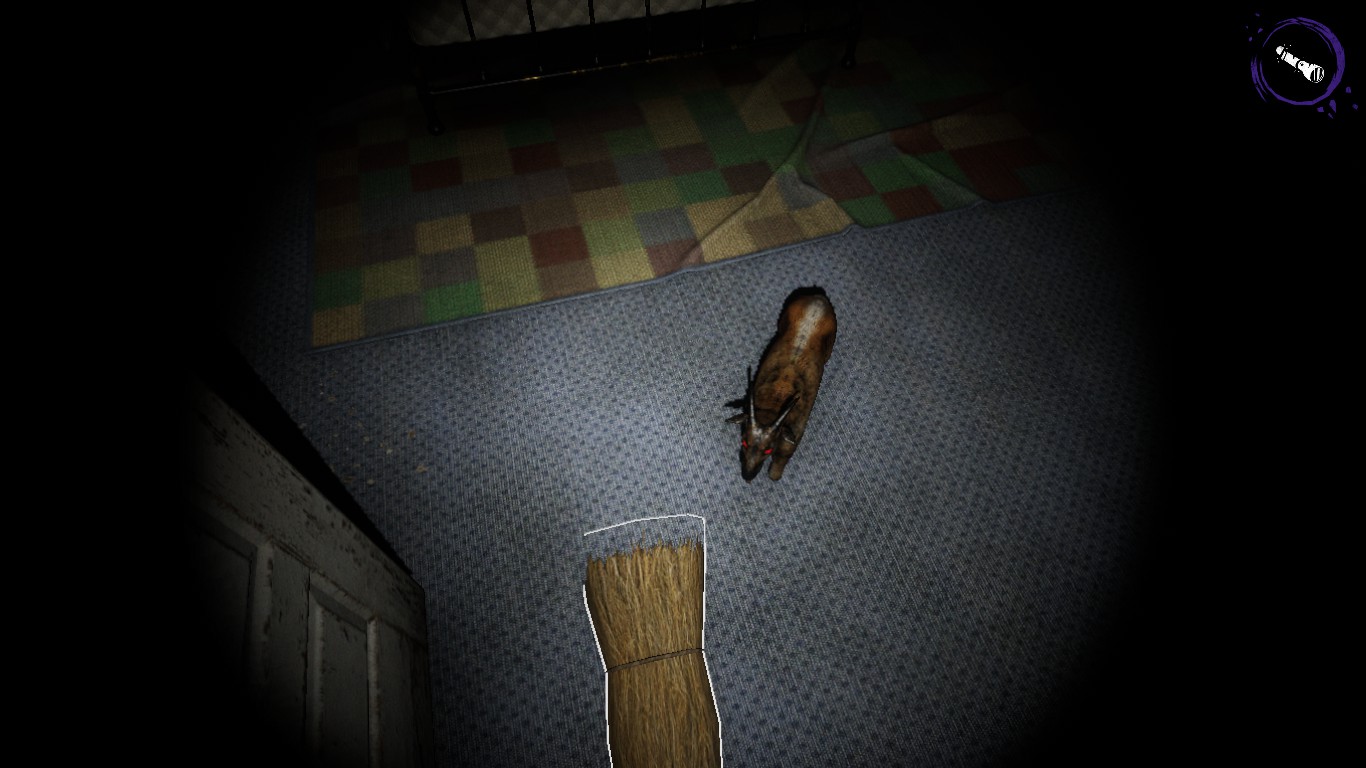
Once you have the gasoline ready, start picking up hay and looking for lambs. Keep in mind there is also another lamb cage in the attic that you will need a key for. To pick up a lamb, you drop wheat near them, where they will walk up to it like so-
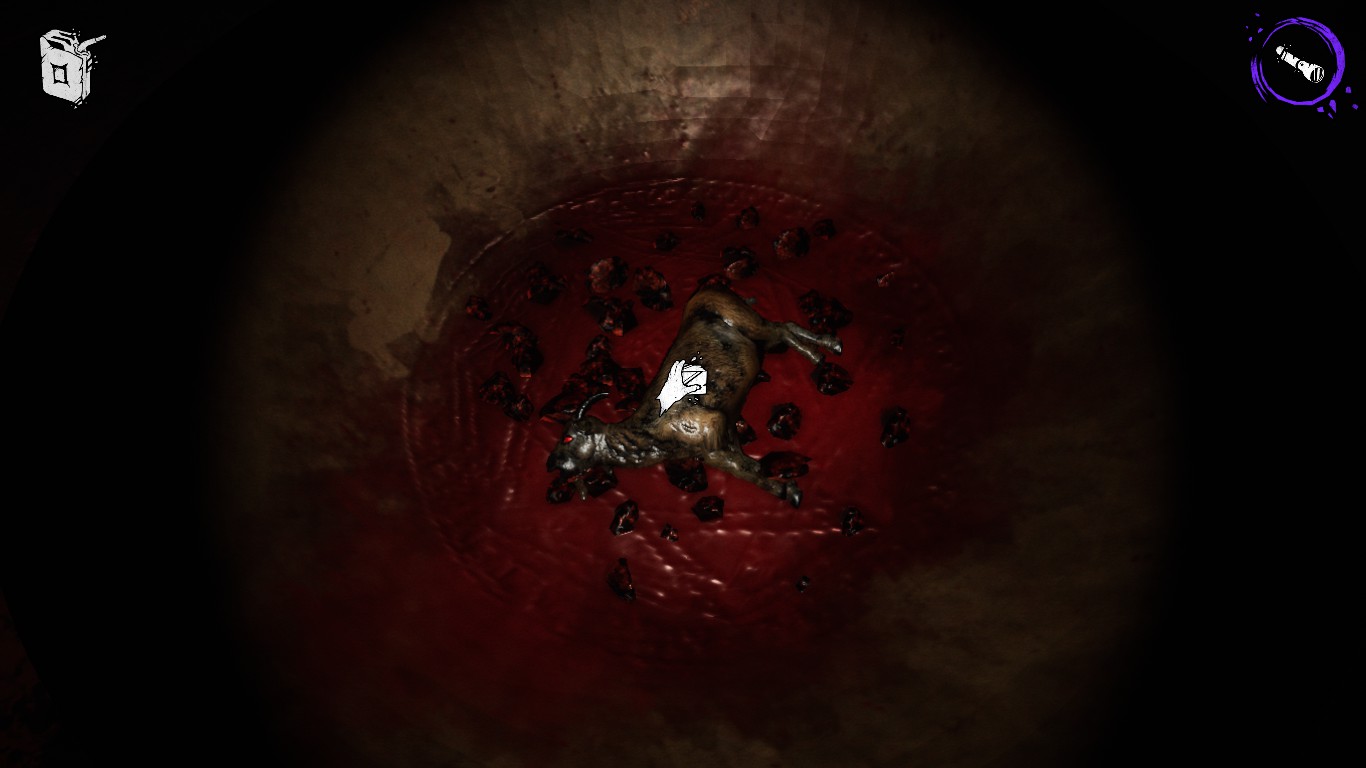
Then once the lamb starts eating it, they will be outlined in white. Hit E and pick the lamb up. After that bring the lamb to the altar, and hit E on the altar to put them in. Grab a gasoline, and hold down E to light the lamb on fire. In order to win the game you need to sacrifice 10 lambs. The process will look like this-
Anna will get mad once you start the ritual progress. DO not worry much, with the first few lambs she will be able to be calmed. You can use your UV light to calm her down when she is running at you, and through the ritual progress you can stagger her with the UV. RUN after you stagger her, as she will still be in rage mode. UV can be increased with batteries, to pick up a battery hit E and hit R to use it.
Repeat the process until you finish the game!
IMPORTANT NOTE- When you sacrifice 7/10 lambs, there will be lightning outside, and Anna will become really fast. Rush the game as much as you can from there.
TIP for nightmare mode- For nightmare mode, when you collect the lambs, put them in the cellar or TV room. This is so that you won’t need to run around the house looking for them.
The Asylum (Molly)
This gameplay is similar to the Farmhouse. Instead however, you will be dealing with Molly, the shock therapy psychopath.
As soon as you spawn, you are in the downstairs level. Just look for the door on the even lower floor that opens, where you will see a wheelchaired creature. Grab the key next to them, which will let you go upstairs.
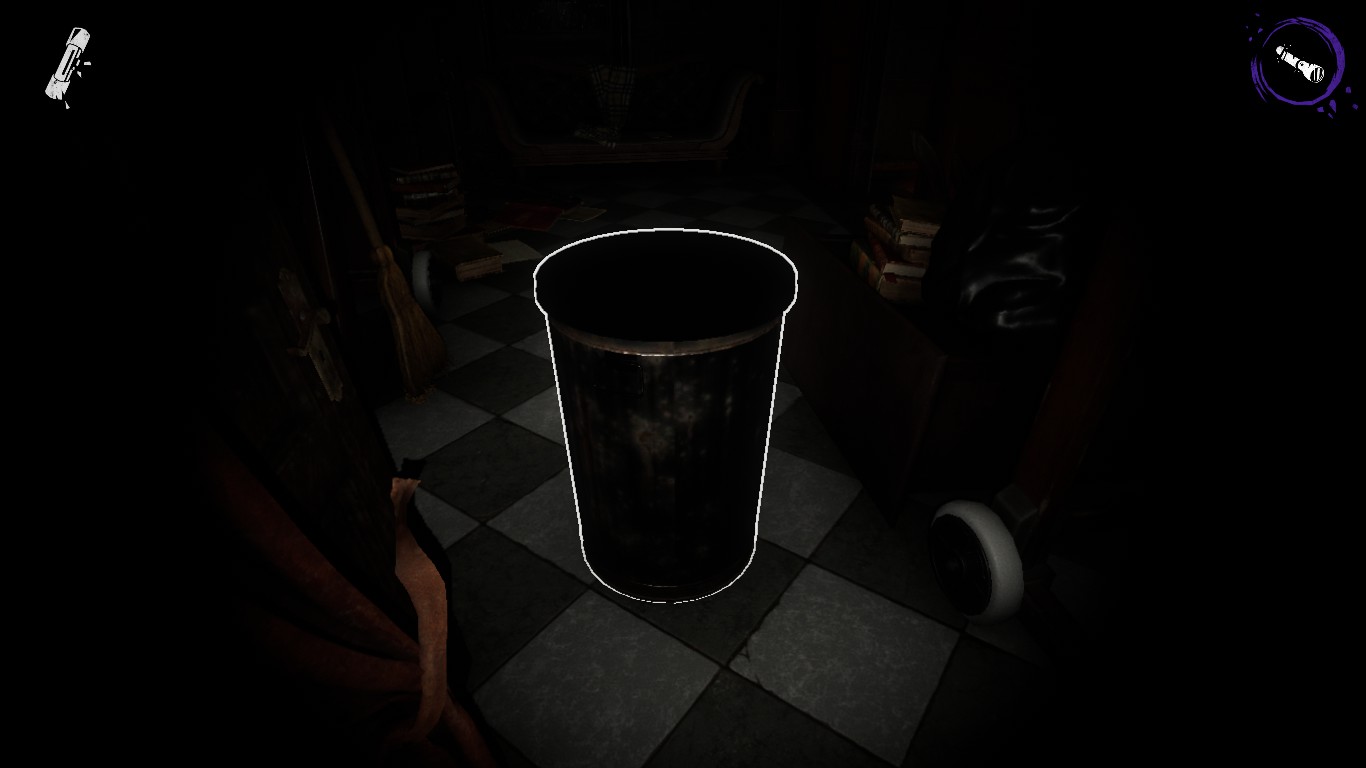
In order to activate Molly, you will need to go behind the fireplace. Right away you will see a trash can like so-
Tip over ANY trash can you find, as they contain rats. These are what you will need for the sacrificing process.
As you walk past that and down into the ritual area, you will find Molly like so-
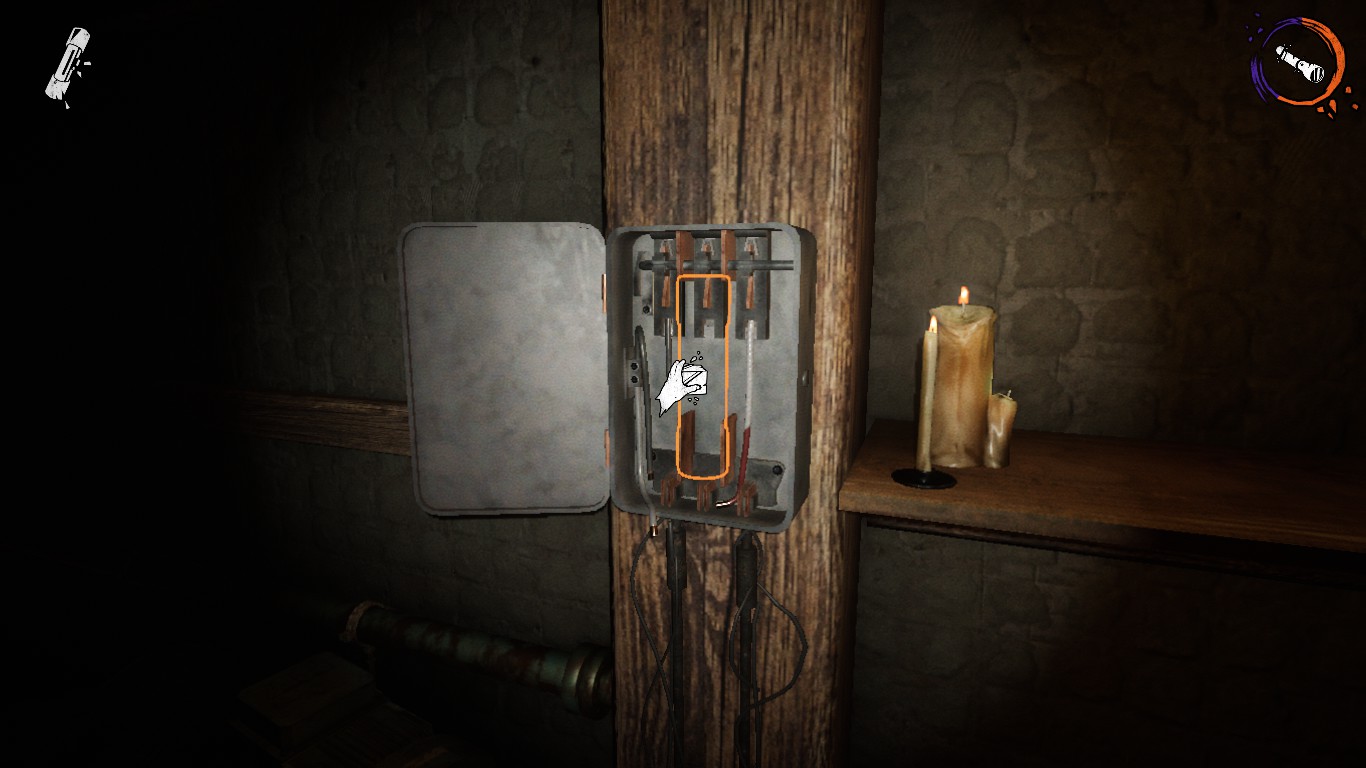
To activate her, you will have to put a fuse into the fuse-box by pressing E with a fuse on it like so-
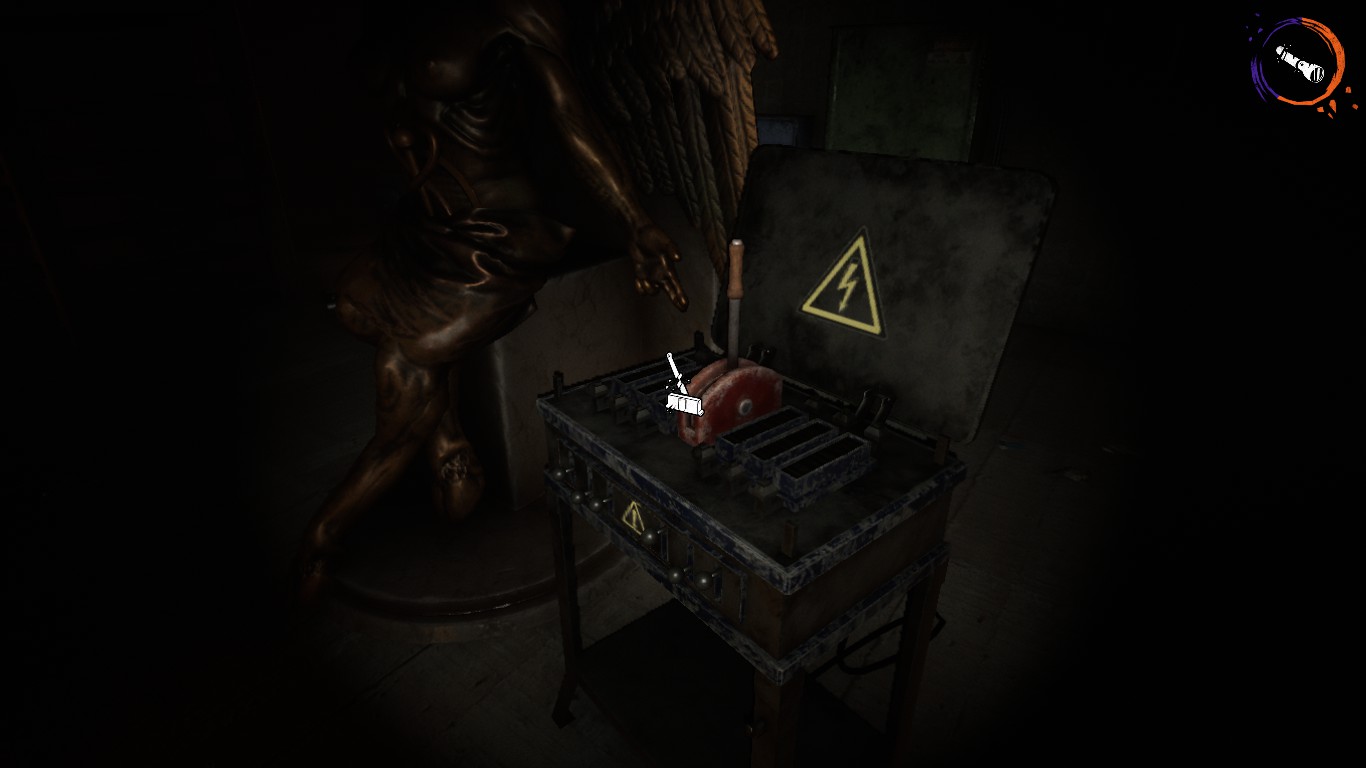
After you put the fuse in, walk over to the lever that’s right next to the statue. To activate the machine, you have to press E on the lever. The lever looks like this-
DO NOT walk into the electric circle, as it will kill/down you. ONCE she is activated, run upstairs and start collecting fuses and food. (You can also do that before she is activated, but you won’t have any keys to unlock doors to find more supplies until she is activated). Keep in mind you will need 10 food and 10 fuses, since there will be 10 rats you need to sacrifice.
Since she is activated, wheelchair demons will start spawning. You can burn them with your UV.
Once again, DO NOT STARE AT HER while she is walking. Walk past her, if you stare it will make her enter rage mode.
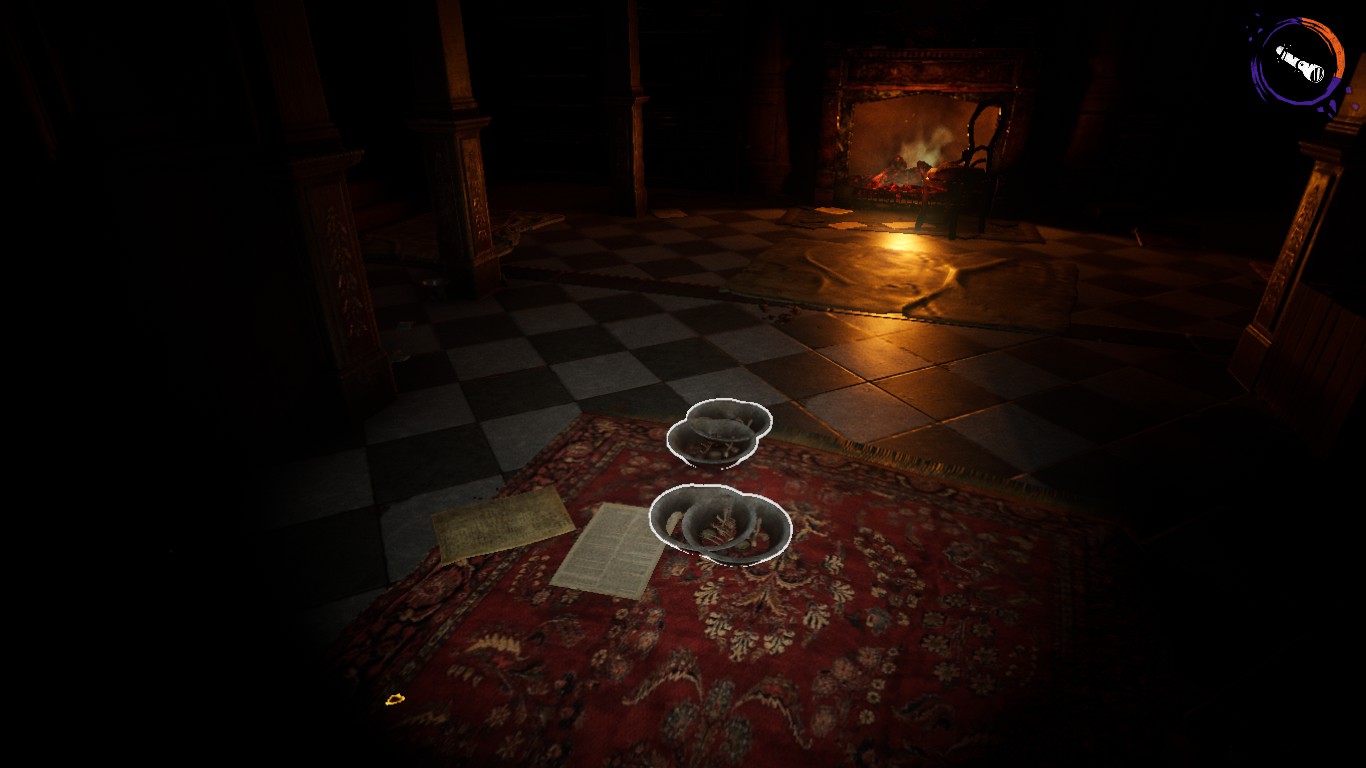
Put the food near the front of the fireplace, so that it is easy to locate and grab like so-
ALSO do this with medkits.
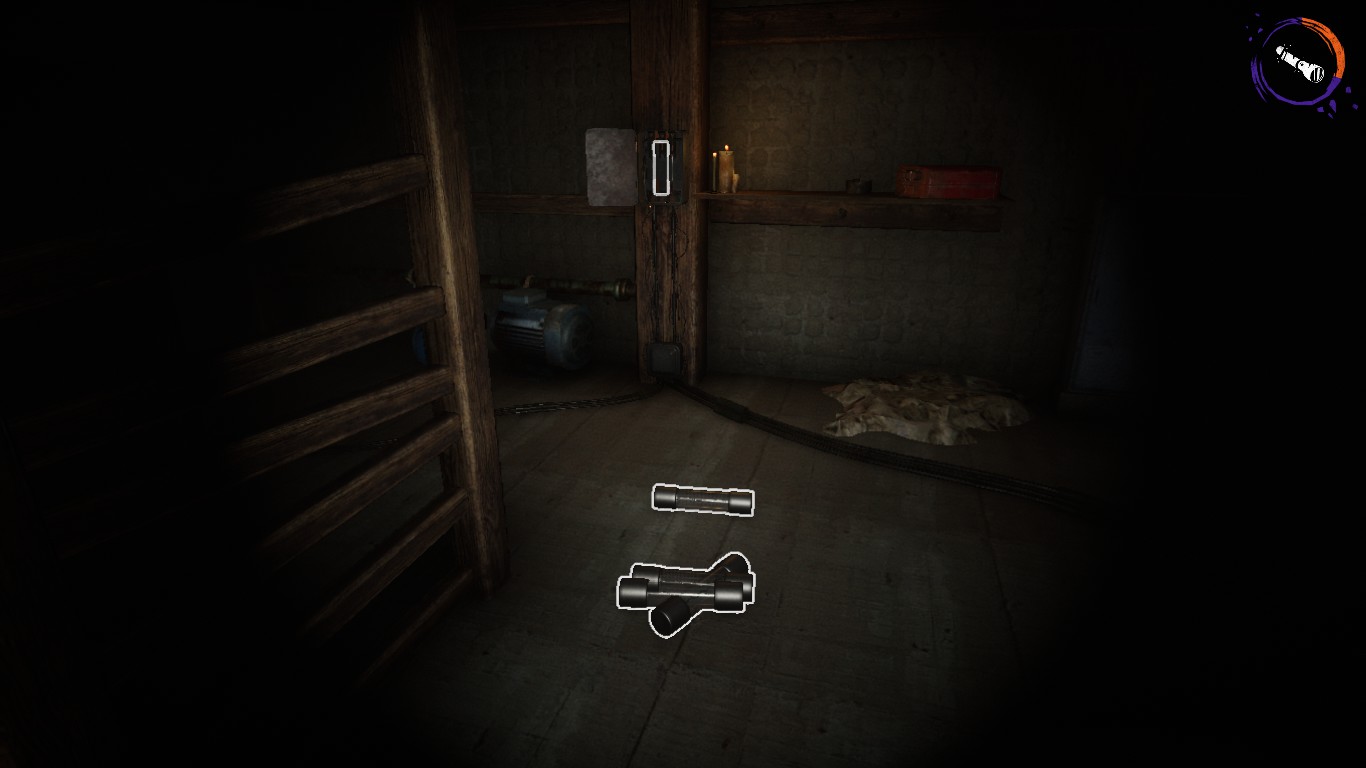
The fuses you will collect will go near the fuse-box-
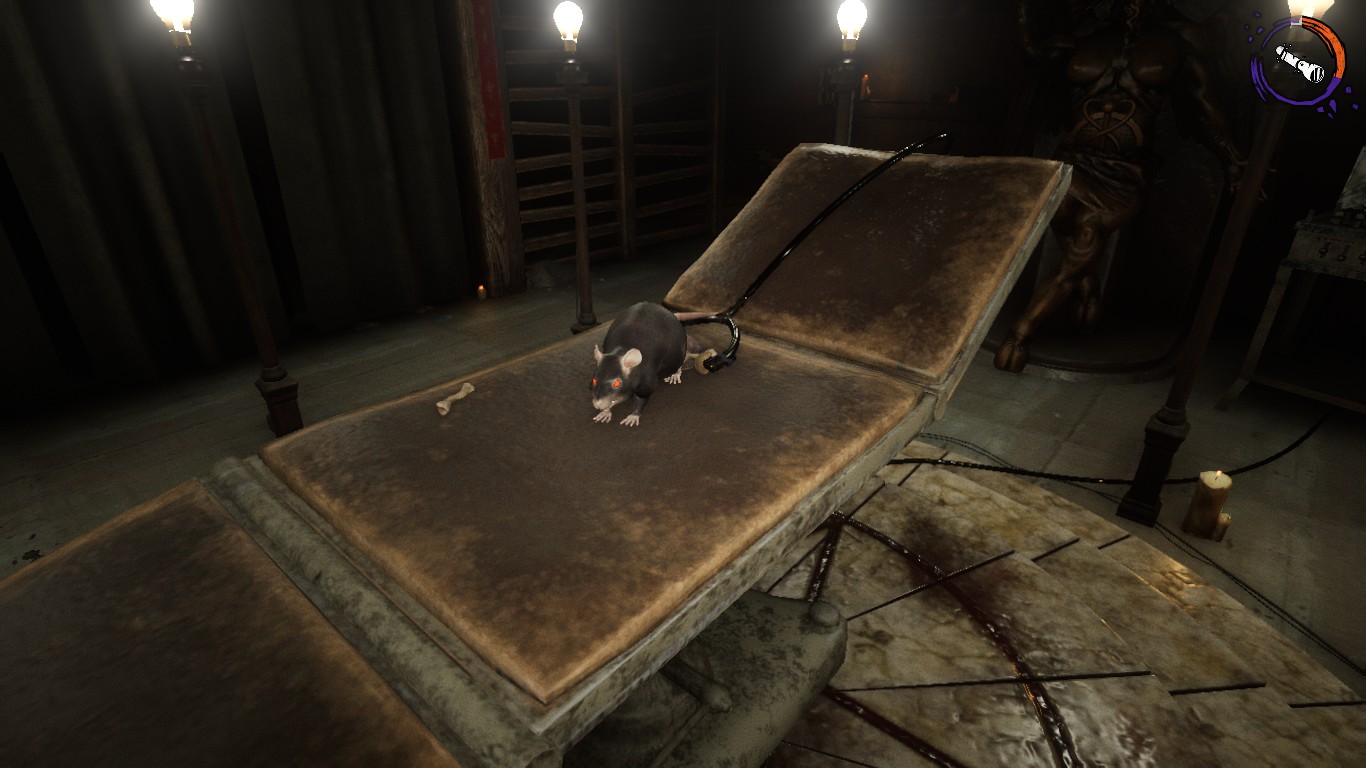
Now comes the fun! Pick up food and locate rats like you did with the farmhouse. You drop the food in front of a rat you are near, and the rat will walk towards it. They will then be outlined in white so that you can pick them up. With rat in hand, run to the ritual place behind the fireplace. Walk up to the table, and hit E to place the rat on the table like so-
After this the process will be the same with activating Molly, just put a fuse in the fuse-box and activate the lever.
Repeat the process until you get all 10 rats sacrificed!
TIP for nightmare mode- Collect the rats in the Warden’s Bedroom, and grab them for the ritual.
IMPORTANT NOTE- Molly is like Anna, after 7/10 rats she also gets really aggressive.
The Inn (Zara)
The Inn is the most different from the Farmhouse and the Asylum. It is also a more difficult sacrifice process, but my job here is to help you on your way!
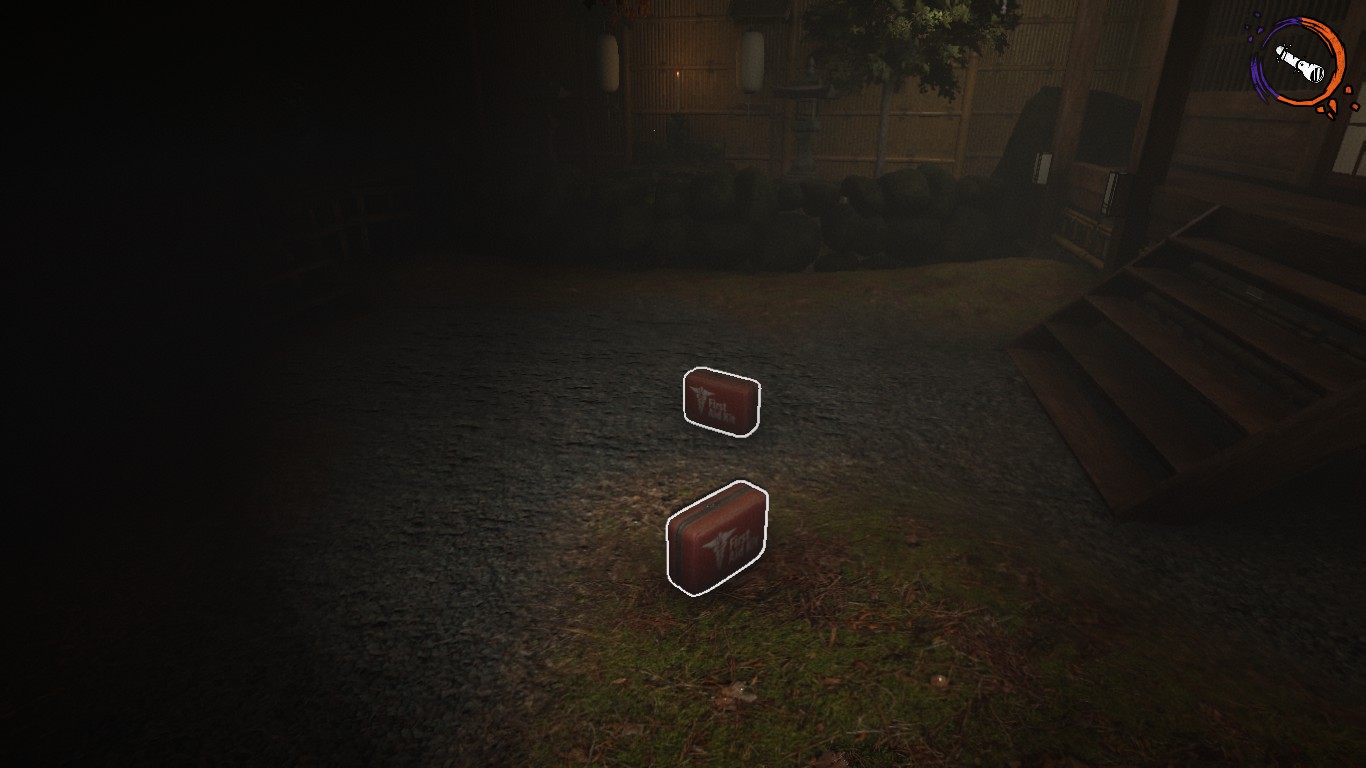
Once you spawn, you are outside the Inn, you will notice a trash can propped up against a window, jump on the trash and get in the building. Right away try opening all the doors that can be opened. With the medkits, collect them in the center of the map like so-
(There are only 2 in this photo, but you will need plenty more).
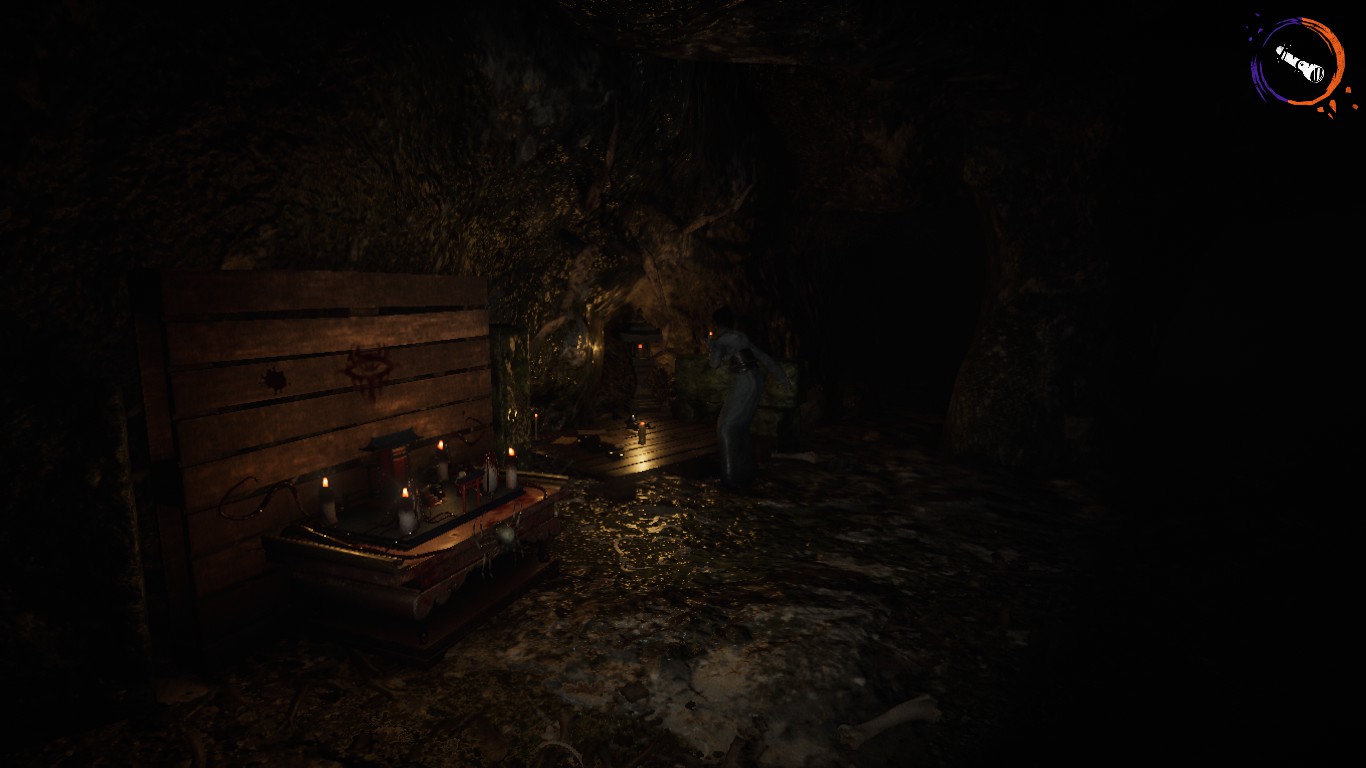
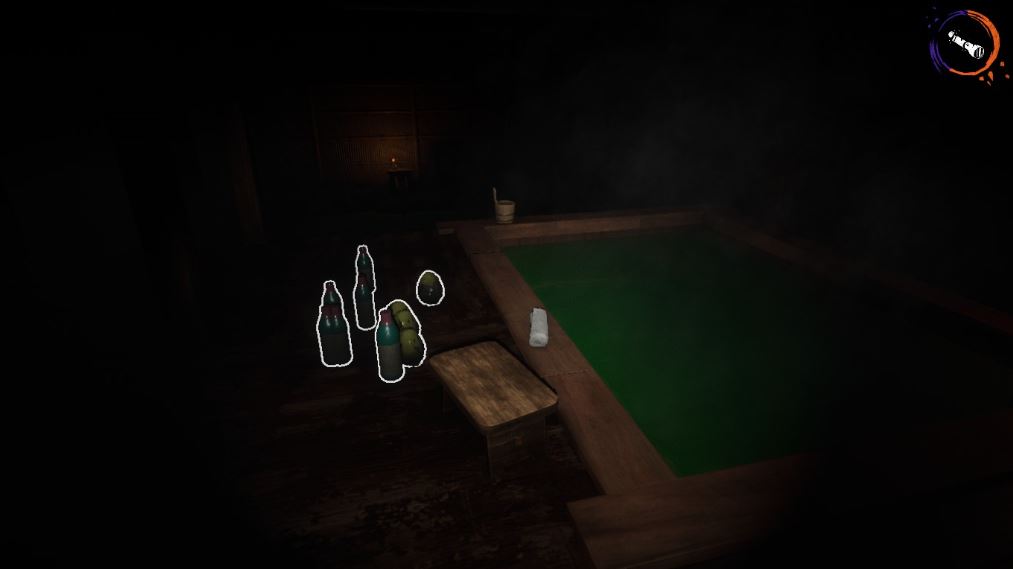
After medkits, start collecting any bottles you find and put them near the pool. To get to the pool, go through the building with the purple flag on it. Once you have a somewhat decent pile of bottles, you will have to go down the steps of the pool and down to the spider cave outside. In the cave, you will find Zara, (you will need to activate her).
She will look like this-
Walk up to her and what happens is she will puke a spider egg. Pick up the egg, and run back to the pool. Since she is activated, spiders will start spawning, you can burn them with your UV light.
Put the egg you have next to the pool.
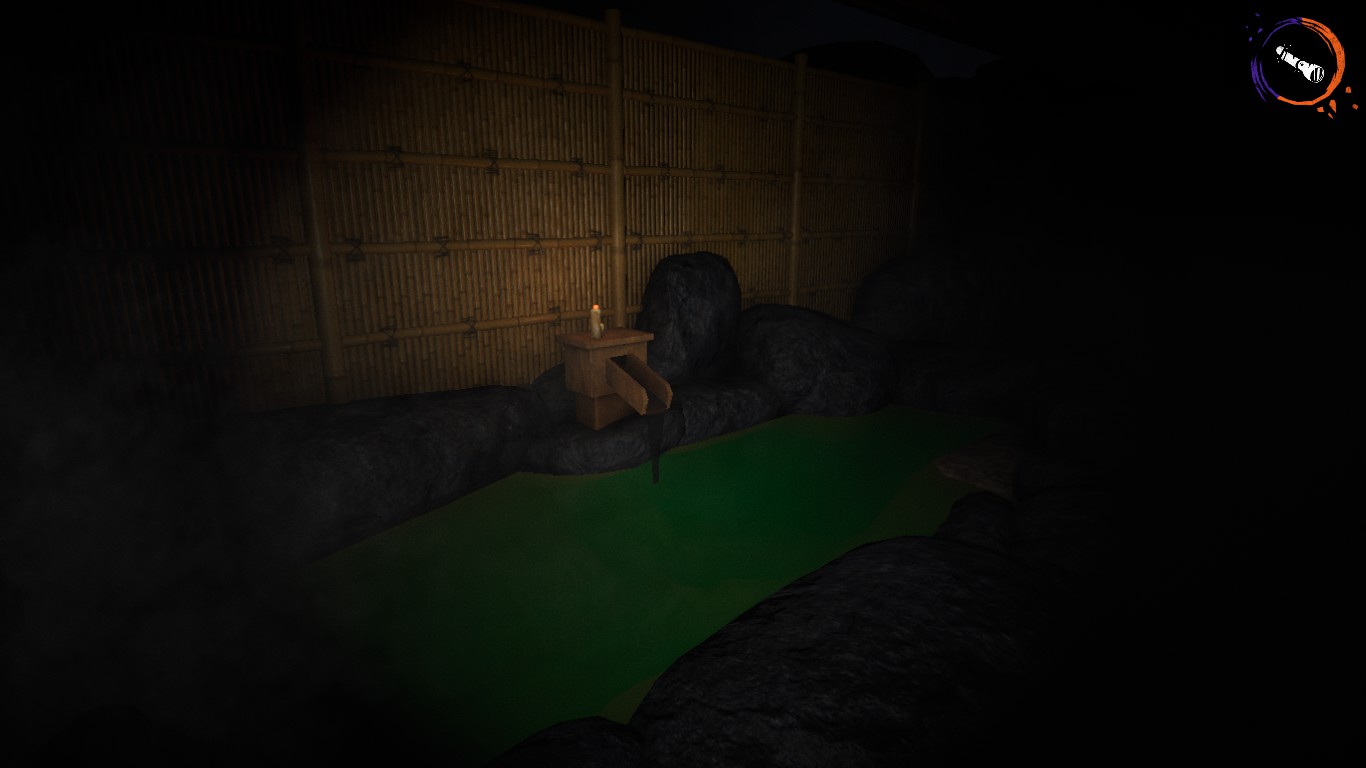
IMPORTANT TIP- Cleanse the water with the bottles beforehand. This will save a lot of time. There are 2 areas of water you can use. Life-changer. You can cleanse the pool, and you can also cleanse this area-
Use both to your advantage.
Start exploring the map, finding keys, and collecting bottles and eggs. Zara will also be around the map just puking eggs, don’t worry about her. Keep in mind there can only be 5 eggs spawned at a time. Put the bottles and eggs beside the pool like so-
Spiders can carry off eggs. UV light any spiders who are carrying eggs. They are as precious as the lambs and rats, you will need them for the ritual. Also, when you have unlocked the rooms and probably have noticed around the map, there are altars with symbols on them. These will be in handy.
Once you are all set, start cleansing the eggs in the water you have cleansed. They will have symbols on them. The symbol on the egg goes with the corresponding altar. Cleanse all the eggs on hand, and if you have a team everyone grabs one and sacrifices them all at once. If you are on your own, I suggest dropping the eggs next to the altar that they are supposed to go with, then sacrificing them one by one very fast.
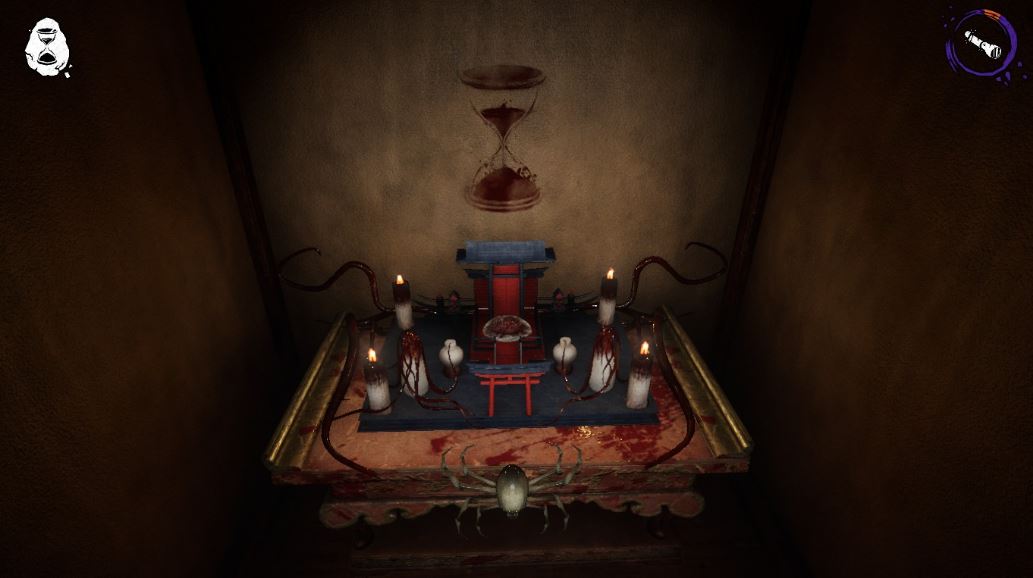
Sacrificing should look like this-
Notice how in the top left the egg has an hourglass symbol, and that it goes with the hourglass altar.
Zara will get mad after burning an egg, so use your UV light. (She is a bit short per say, gotta look down to do it).
I don’t recommend using closets, she usually does search them. She also does place webs on the map sometimes, just use your UV to burn through them.
Keep the process going until you sacrifice all 10 eggs!
IMPORTANT NOTE- Zara will get extremely mad once you hit 8/10. Watch out.
TIP for nightmare mode- Place the first 5 eggs you cleanse right at the corresponding altar and sacrifice them all at once one by one. Repeat after as well.
For nightmare players without UV, it’s literally impossible idk what to say.
The Town (Sam)
This map is like a combination of all the maps, however the gameplay is very different. It is also very difficult, (it can be more than the other maps).
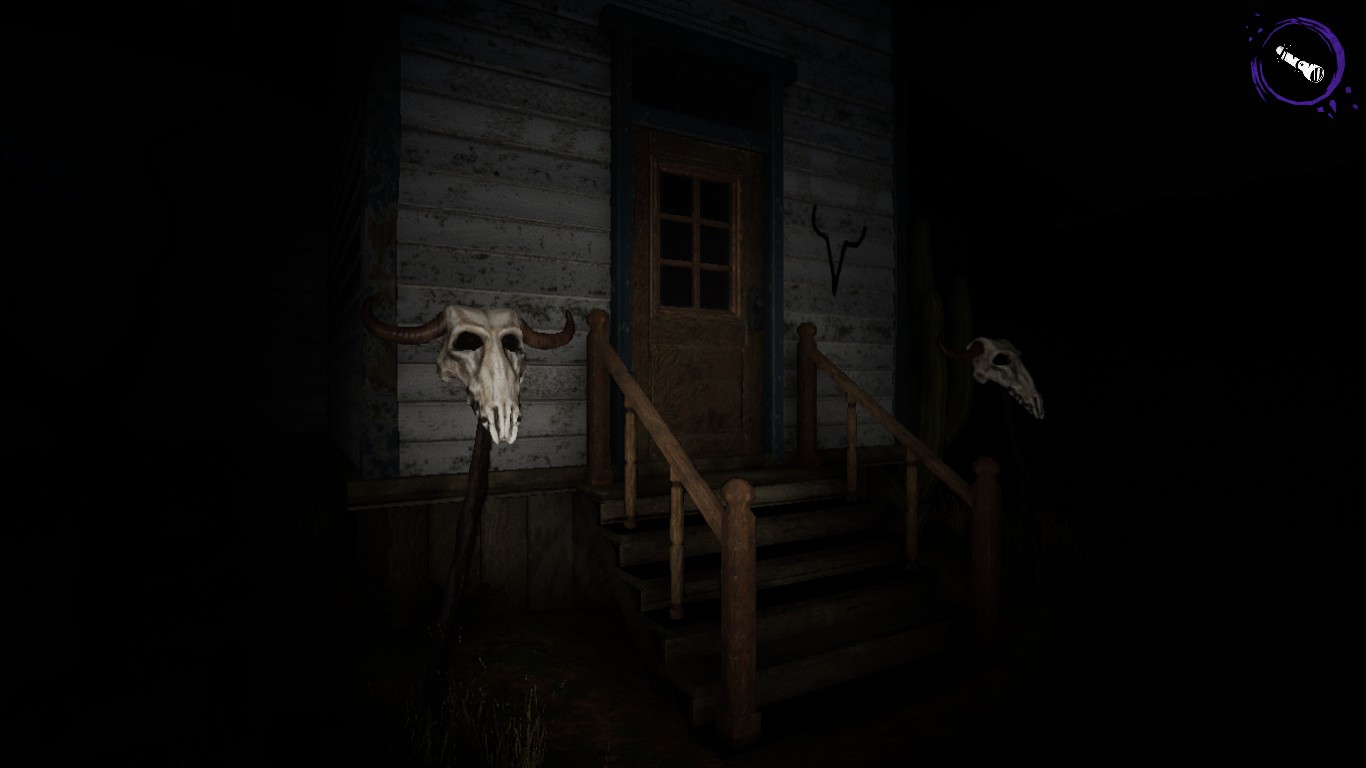
When you first spawn in, you are on dirt in front of the town. (Feel free to explore, otherwise here is the game progress). You do not need keys to unlock doors, so feel free to read papers, explore rooms, etc.
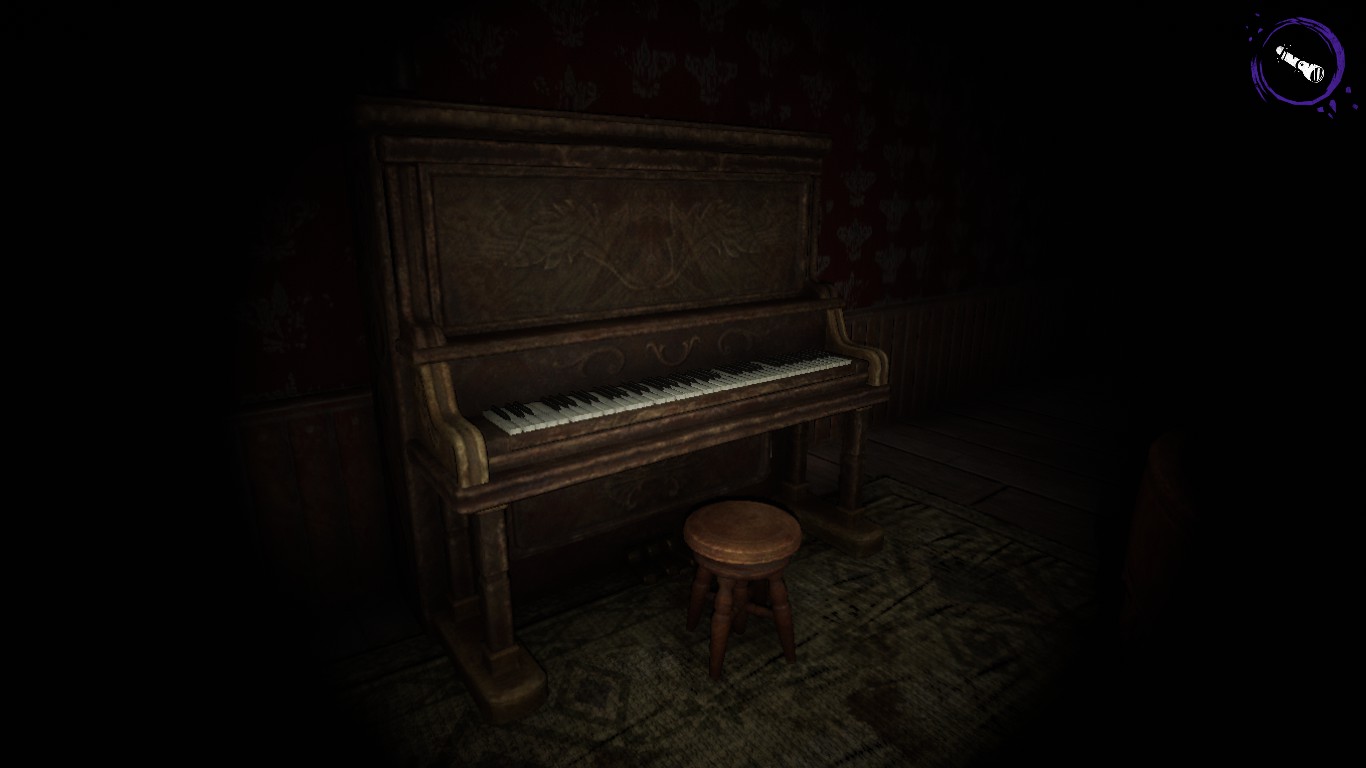
To really get the game going, walk into the building that you hear piano music coming from in The Saloon. Walk up to the piano-
The piano will immediately stop playing. This is step one. Walk up the stairs directly to the left, (you will hear footsteps), and walk into the bedroom that you hear the steps from. When you enter, walk towards the window and collect the key on the table. The key should be the key for the Church. After this, walk outside, nothing has been summoned yet.
When you walk to the right of the saloon building leading to the back you will find a pathway marked with cross gravestones. This is the path to the Church. Walk up the path. Enter the Church. (There are a couple entrances, this is the one you will mainly use)-
Once you are in the church and step into the Pentagram in it, Sam will be summoned. (Do not panic, he is not hostile). From here on you will be using your flashlight to burn away the demons on this map, which are ghosts. The ghosts can go through walls, and will become very annoying. Burn them if you can in Normal, otherwise for Hard and Nightmare I would recommend trying to dodge them until it becomes impossible to do so.
Since Sam has been summoned, head back down the path to the town, (which will now be lit up. Yay light!). The buildings that are lit up are your main objective buildings. You might run into Sam while he is walking around, but do not panic. He is harmless currently because you have not started the ritual progress yet.
(DO NOT STARE AT HIM. THIS WILL MAKE HIM AGGRESSIVE).
Start collecting medkits and gas cans.
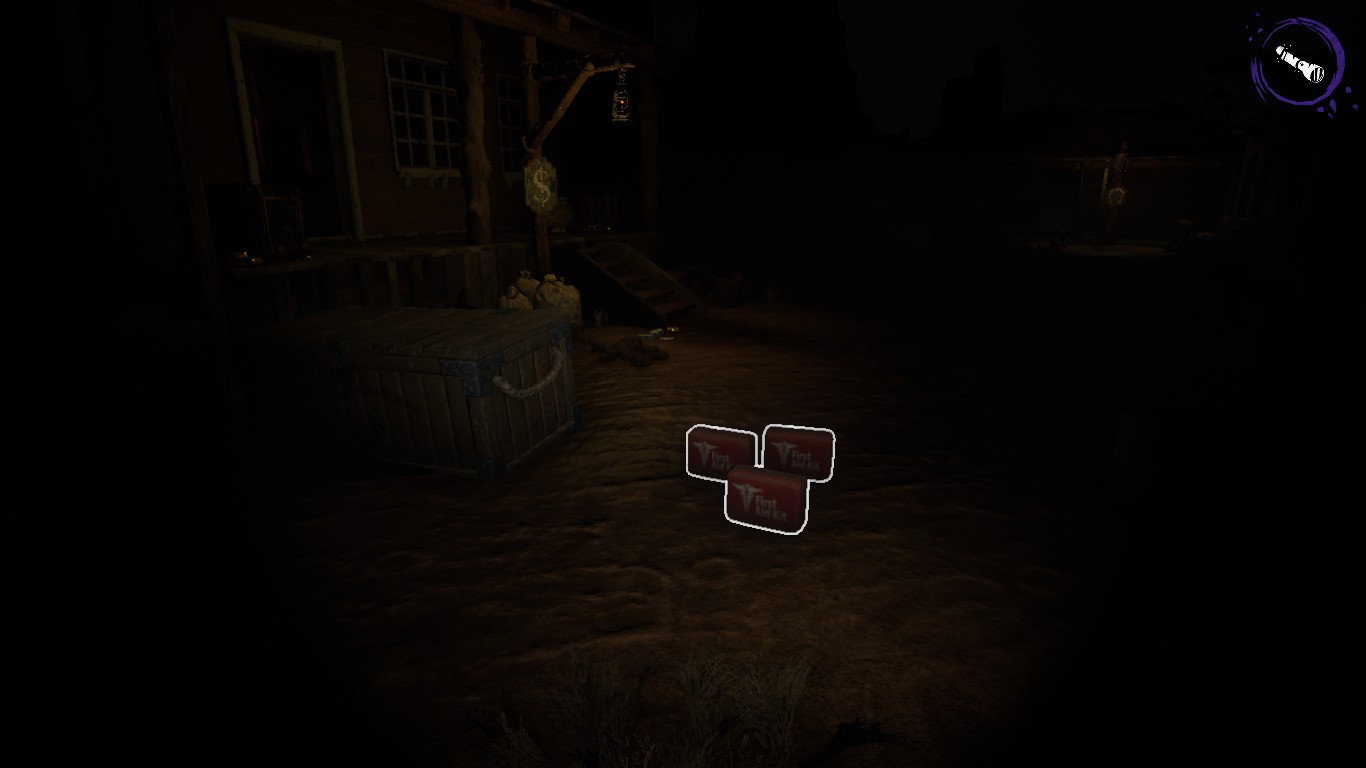
This is the best place that I have found for medkit strategy (In front of the bank)-
(This is so that they are directly in the middle of the map, however I also suggest scattering them near the mine as well).
For the gas cans, collect them all in the church, that is the only area that you will need them for. You will notice small boxes around the map as well. Those are matches, and will come in handy later. Once you have a sufficient supply of gas cans (10, since you will need to burn 10 items), start collecting keys.
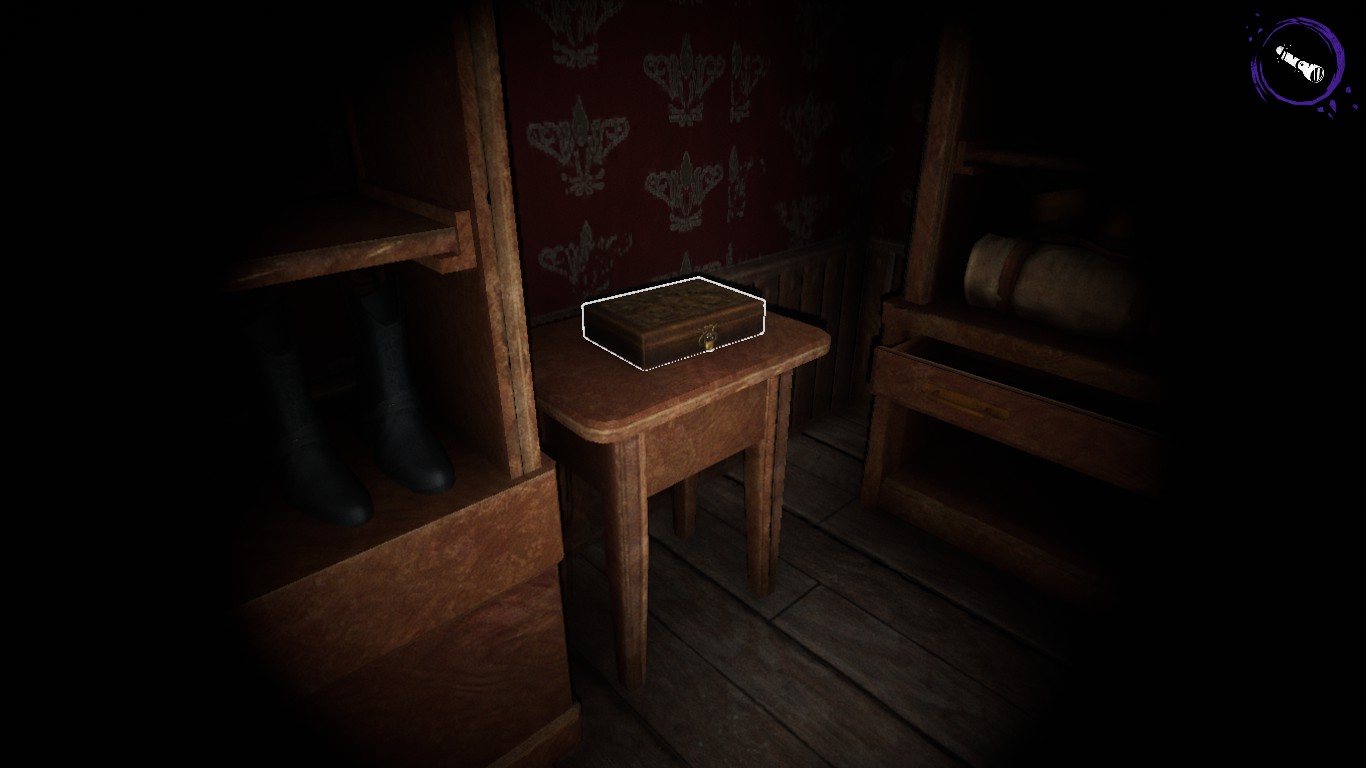
Keys are used to open these cases around the map, which contain books. (They look like this)-
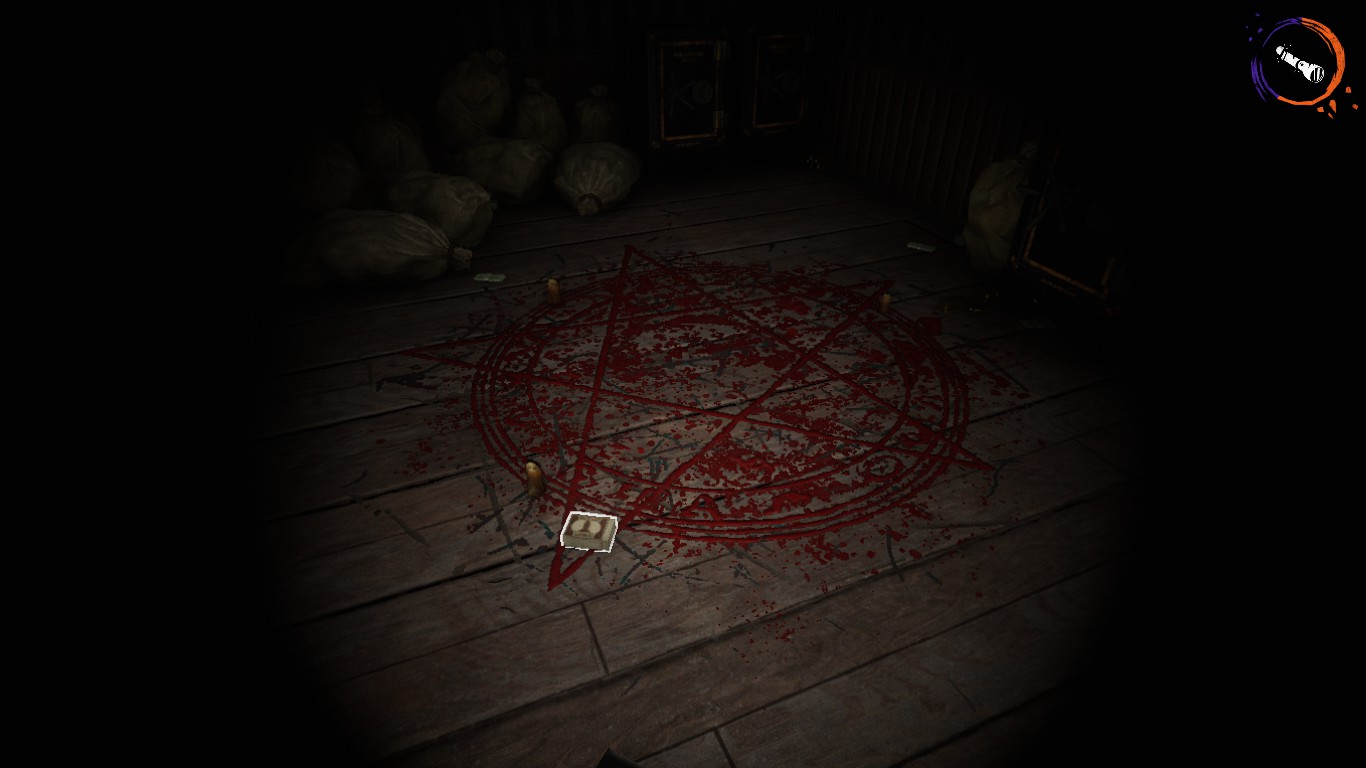
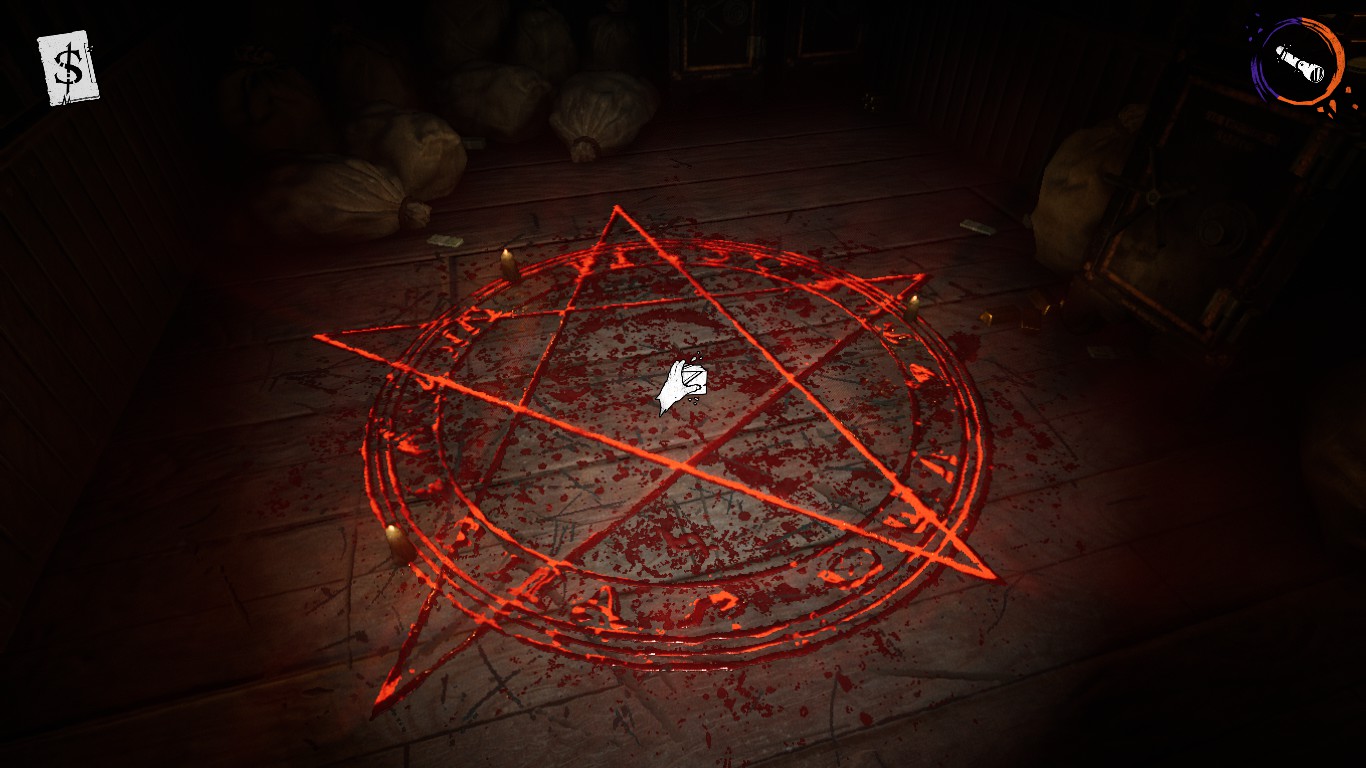
You will notice that in certain rooms in certain buildings, there is a pentagram on the floor. This will be needed for the multi-step ritual process. When you unlock the book case that you have found the key for, you will notice that the book has a symbol on it corresponding to the building that it is in. Start collecting matches. Put 1 box of matches on each pentagram circle that you find like so-
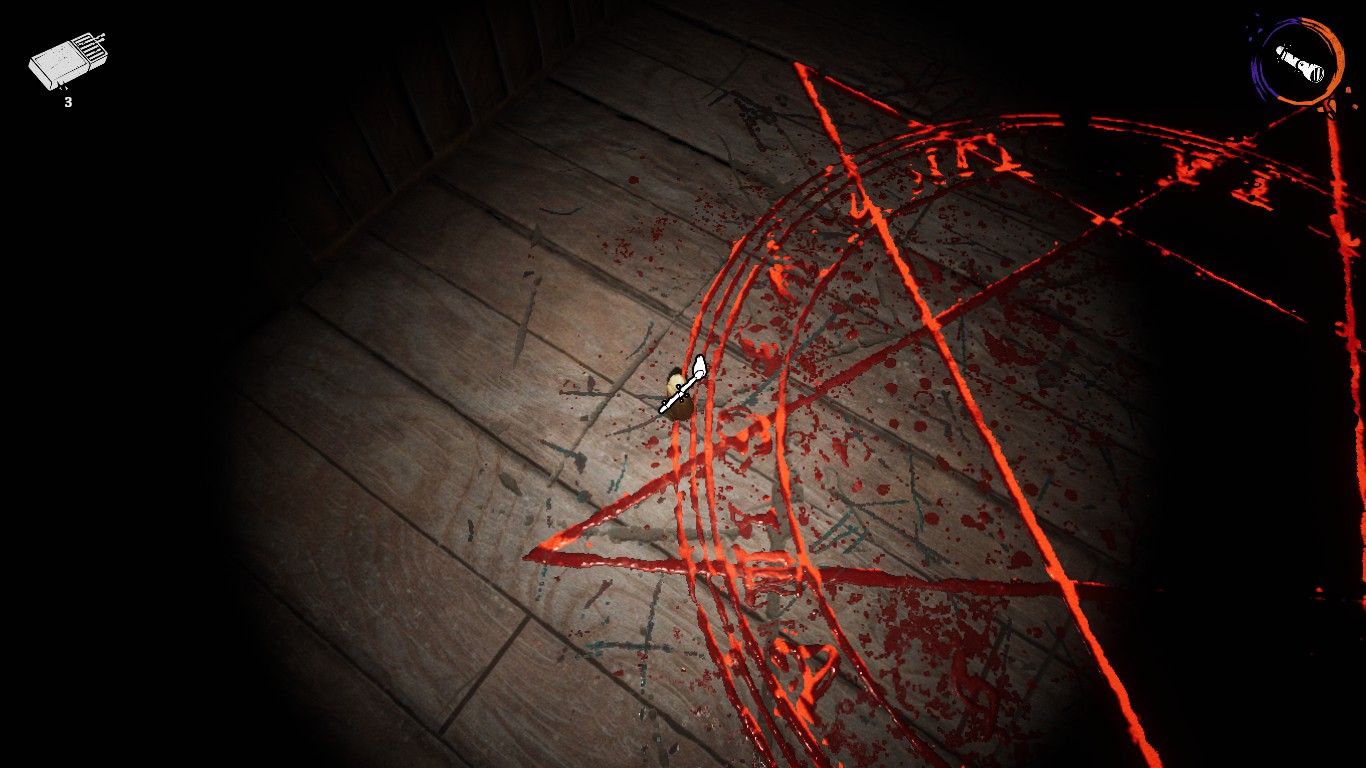
Some pentagrams are lit up a fiery red and some are not. The lit up pentagrams are the ones that are available to you currently. (This is similar to the Inn, like how in the beginning there are only 4-5 eggs that spawn.) If you are in a team, I recommend everyone taking a book and putting it on the pentagram in the room that is available to them. In order to do this, take the matches. You will see a ‘3’ on the matches. This is because on each pentagram there are 3 candles. Walk up to the candles and light them with the matches. (This only works on pentagrams that are lit up). It will look like this-
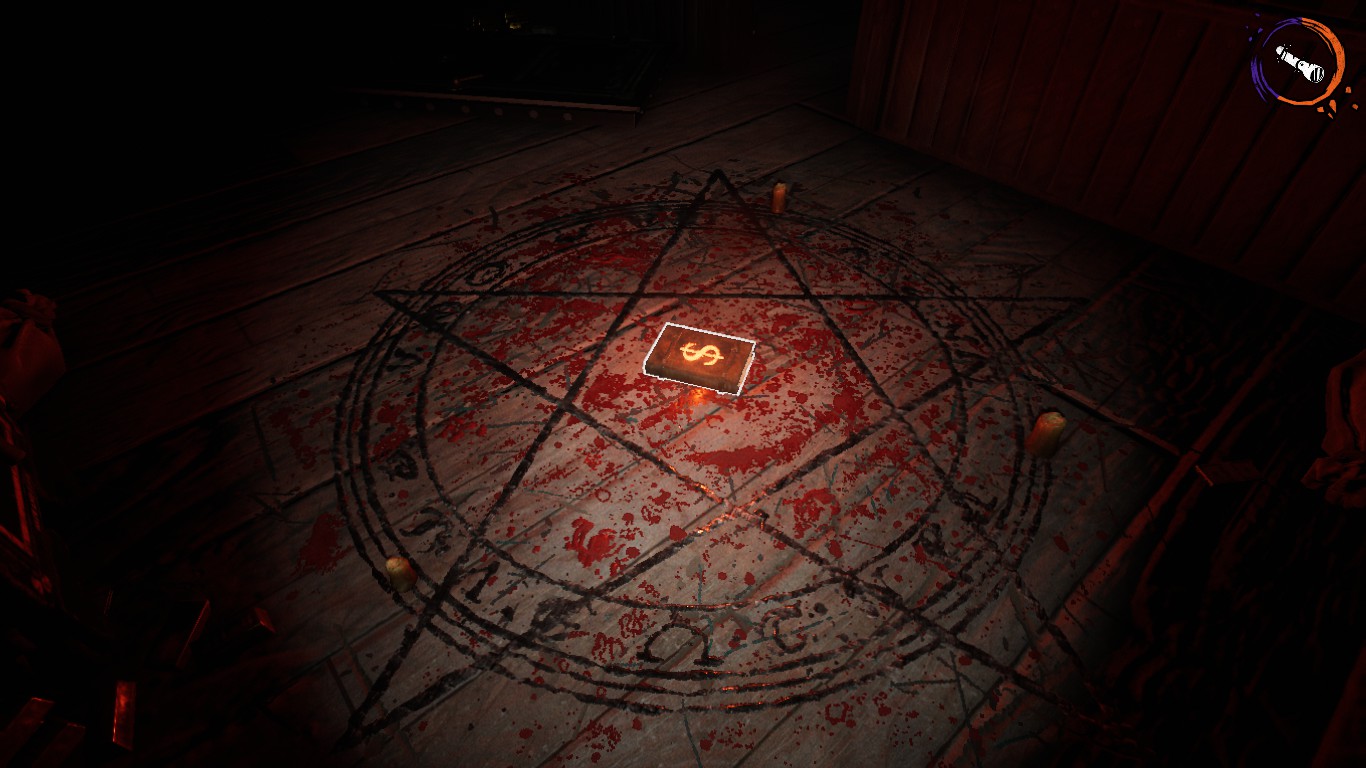
Grab the book with the symbol on it and put it on the lit pentagram that it corresponds to. Like I said earlier, if you are in a team have everyone do their book. Place the book on the lit altar-
(In this image you can see that I have the bank’s book, so I’m placing it on the pentagram in the bank).
ONCE the book is in place, the pentagram will light up bright red. Then all that energy goes into the book. It will look like this afterwards-
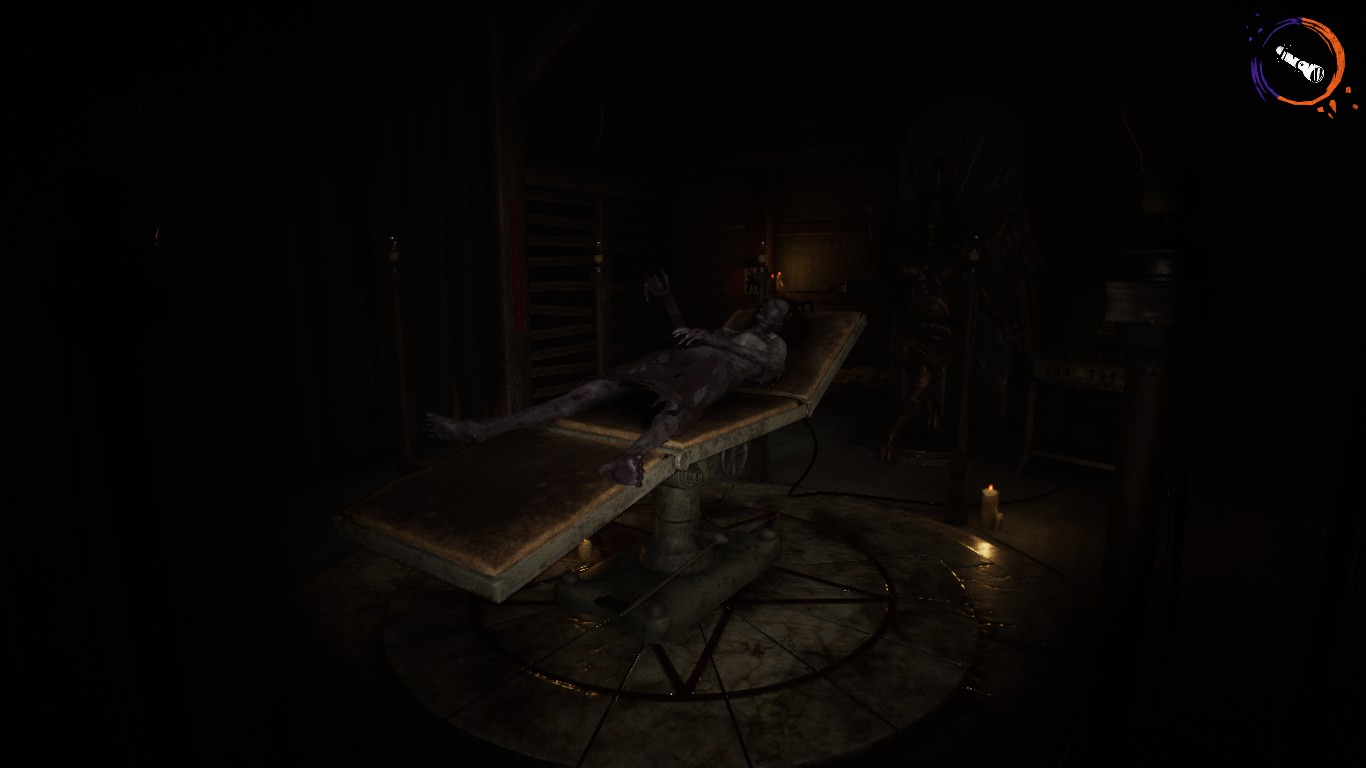
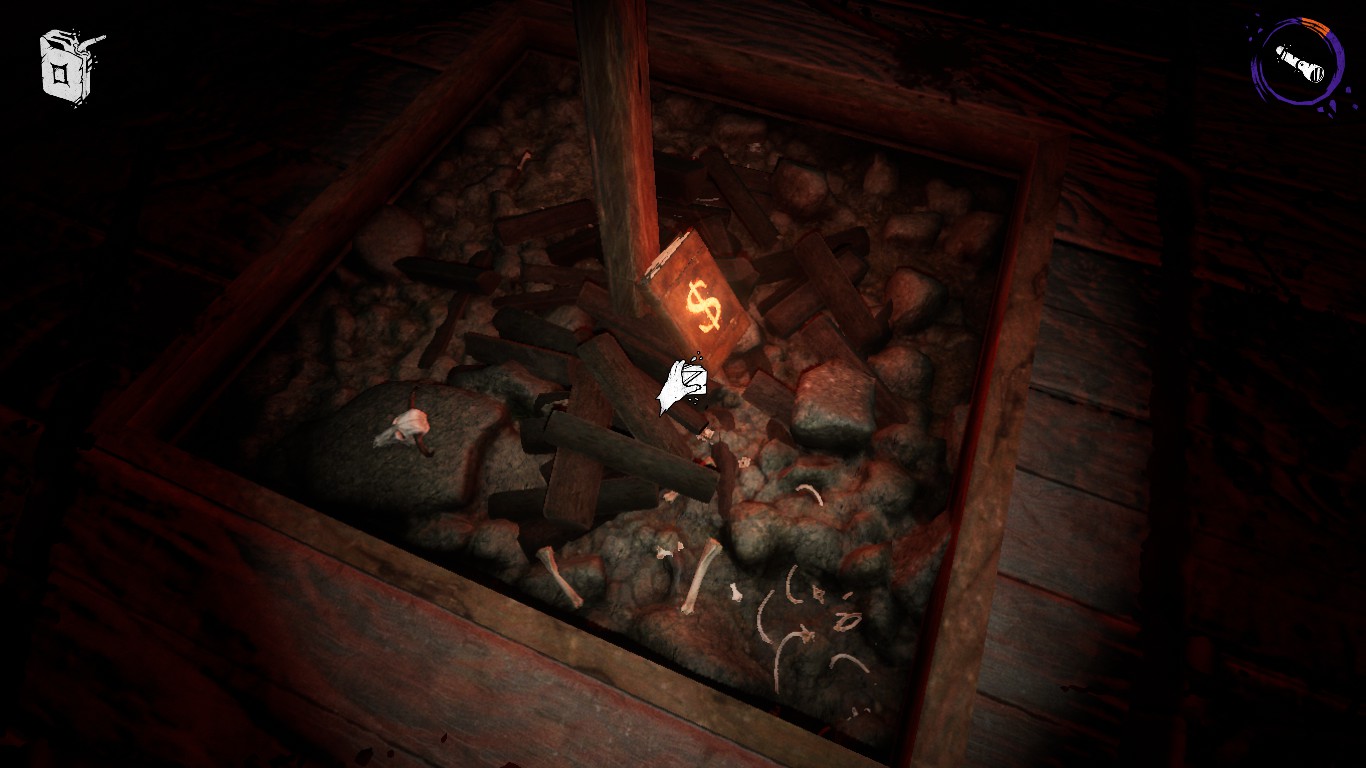
Pick up the book and head to the church. In the church there is the gigantic pentagram with the candles around it (those are permanently lit, you do not need matches for them). Place the book in the center of the circle where the firepit is. To start the ritual and progress through it, pour gas on the book like so-
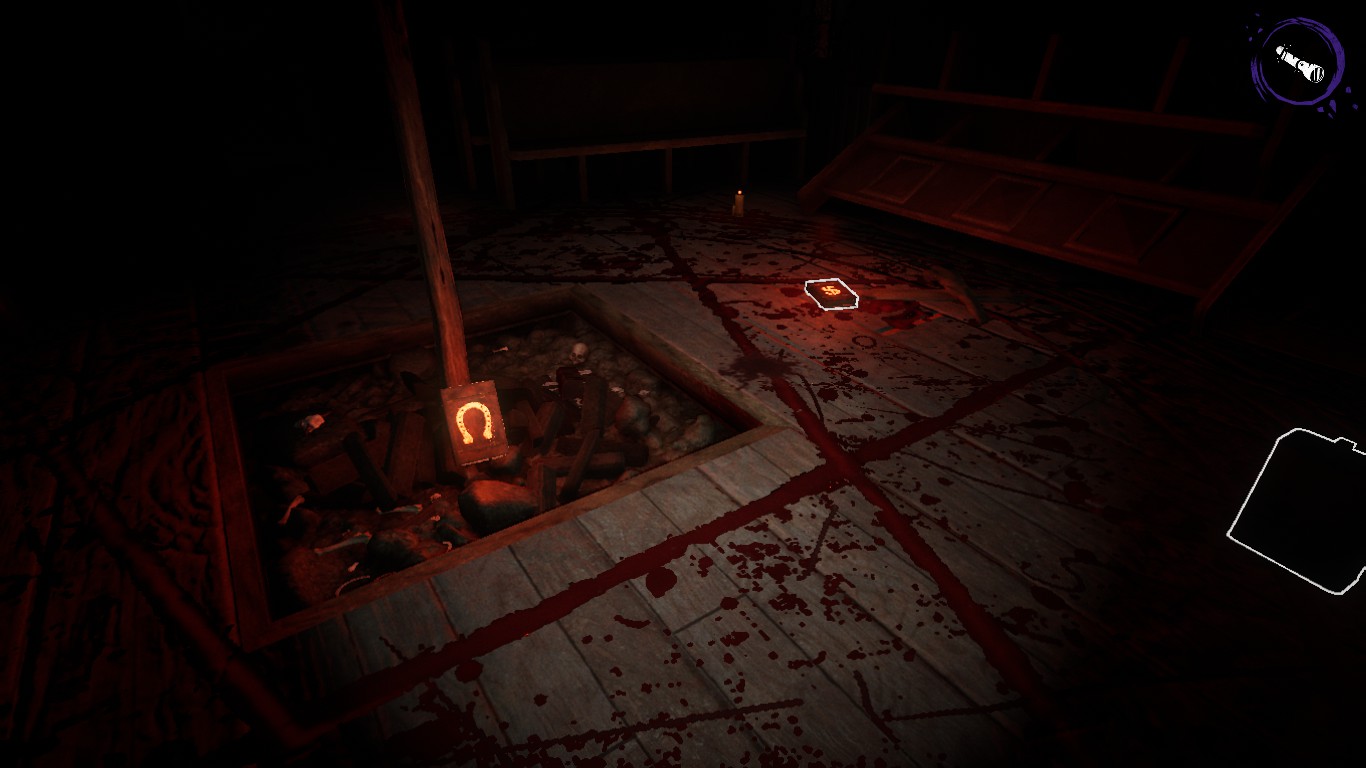
Similarly to the Farmhouse it will light on fire, and you will gain ritual progress. Of course right after this Sam will get angry, but it only takes one stagger since you have only sacrificed one item. To make it quicker, (if you or your teammates brought the other books), sacrifice them one by one in the same moment and you will already be halfway done. You can collect them in the church anywhere like so-
Have a gas can at the ready nearby. Do not waste any time. If you are in a team, have someone burn any ghosts nearby and watch the door for Sam if they are not doing anything.
Repeat the process until you burn all 10 books!
IMPORTANT NOTE-
Sam is different from Anna, Zara, and Molly. He will walk past you probably several times but watch out. DO NOT be in an open area or run directly in a straight line when he is after you. Instead of plainly running after you, he also grabs out guns and shoots you, which is one way of him downing you. Keep to buildings.
Sam will get aggressive the more the ritual progresses, especially after 7/10. Watch out.
That’s it for the Town! I will admit I find Sam much more intimidating than the others. His gaining footsteps are scary.
General Game Tips
General tips-
ALL maps have demons that can be burned with UV.
Sprint during the entire game, don’t waste time crouching or walking. There is no sprint cooldown regardless of gamemode.
If you’re on a team and someone gets downed, you usually want to revive them ASAP. If you have suddenly another teammate downed there’s only 2 people left and especially once the ritual is progressed really far, it gets harder to outrun killer. Medkits are very handy.
Use batteries as much as you can. In other gamemodes like Hard/Nightmare I would just recommend using them wisely.
All killers have a state they enter after they get staggered where they have red eyes. Run. Do not try to UV them again, because when they have red eyes they are immune to UV light.
Be a good teammate. Especially on the Inn, sacrifice your egg with your teammates if you’re doing the first 4 together.
With voicechat I don’t recommend turning on proximity, especially if you’re playing in random servers. You need to know what’s happening everywhere. And please make sure your mic is not buggy.
Whenever Anna, Molly, or Zara gets angry it will sound like they are yelling right next to you, don’t panic suddenly because it’s most likely they aren’t. If your light is flickering, then they probably are.
Farmhouse tips-
Anna is pretty easy to calm and stagger. When you hear her make sure there is enough distance to UV her and back up.
Best thing to do is that everyone gets a lamb and brings it to the altar for sacrificing. The first person will put it on the altar and then will be able to light it and everyone else’s lambs. This makes the process much quicker.
Asylum tips-
It is more trickier to pinpoint where Molly is coming from since also most of the hallways are narrow. She does run a long mile. Always look around you to see areas you can run. You can also jump down some of the railings to get to the main floor.
Sacrifice rats as soon as possible. Most of the rats you will find are on the third floor, where a lot of rooms are needed to be opened with keys. Open everything before sacrificing process begins.
Inn tips-
Don’t place eggs around randomly on the map, spiders will take them. If you put them near the pool area, not a lot of spiders ever go there so it will more rarely happen.
Once you hit 8/10 eggs, I highly recommend doing the last 2 eggs at the same time, because when you do 9/10 and you don’t know where the 10th one is, it’s game over. It could be anywhere since spiders carry eggs and there are spiders everywhere.
Write down the locations of the altars in the chat, so that when you have an egg you/your teammates can hit the ENTER key to remember where they are.
Town tips-
In all modes (especially Nightmare and Hard), I recommend placing batteries in the church. It is the area you will most likely spend the most time in. I also noticed people tend to place the books in the corner of the church in Nightmare mode.
Right next to the church outside the second entrance there is a bridge. If you cross it there is a hole in the floor that will drop into the jail. When Sam is chasing you and you have no UV or in general need to run, this is a very good spot to be in.
Outro
I hope you found this guide useful! If you did I would appreciate any support or an award! I will update it if I ever find any more useful information, otherwise if it didn’t help there are always walkthroughs on YouTube as well as other guides to look at.
This game gets very intense at times and at other times it is just very funny. Have fun!
This is all for DEVOUR Walkthrough & Tips for All Maps hope you enjoy the post. If you believe we forget or we should update the post please let us know via comment, we will try our best to fix how fast is possible! Have a great day!

Leave a Reply