Introduction and useful notes
Starting in Stalker Clear Sky can be a challenging experience : money is not as easily earned as it was in Shadow of Chernobyl and having to worry about the politics of the new Faction Wars experience can reduce early and mid game looting opportunities if the player choses to stay neutral until they have got enough weapons and a decent suit of armor.
Considering the fact that it’s more advantageous to keep neutral relations with the Bandits until the player upgrades the Seva suit fully at their mechanic Limpid who’s the only one who can fully upgrade it to final tier removes one of the possible sources of income that the player could use.
As such the Player has a limited set of options in getting better gear waiting around till a skirmish between factions arises and looting the corpses for both sides which can be pretty profitable but such opportunities are usually erratic and being at the right place at the right time can’t always be the case
or you could start a fight with the 2 factions you can’t join and are easily available :
-The Renegades
-The Army
The former seem like a good option since they are weak and could be easily overwhlemed but their loot is mostly useless and won’t bring good profits aside from their Viper smgs.
The latter might scare more inexperienced players but they have by far some of the better gears in the game and considering the fact that in this game the military checkpoint is guarded not by regular soldiers as was the case in the first game but by Spetsnaz operatives makes this far more enticing and they are going to be the focus of this guide.
Equipment required and the location
Some might worry at the thought of having to face around 20ish special forces soldiers but fret not with an upgraded viper smg that uses 9×18 pistol ammo, a few medkits, food items, bandages and a Sunrise or Seva suit this can be easily achieved.
We are going to start this endeavor by firstly going to the Loner base in the Cordon this will be first and last stop before going to the military base so make sure you stack up on supplies, I’d advise at least 500 9×18 rounds and at least 5-7 medkits, we won’t have to worry about these after we’ve started our rampage but we need a few initially just in case.
Getting into the Military Checkpoint Outpost
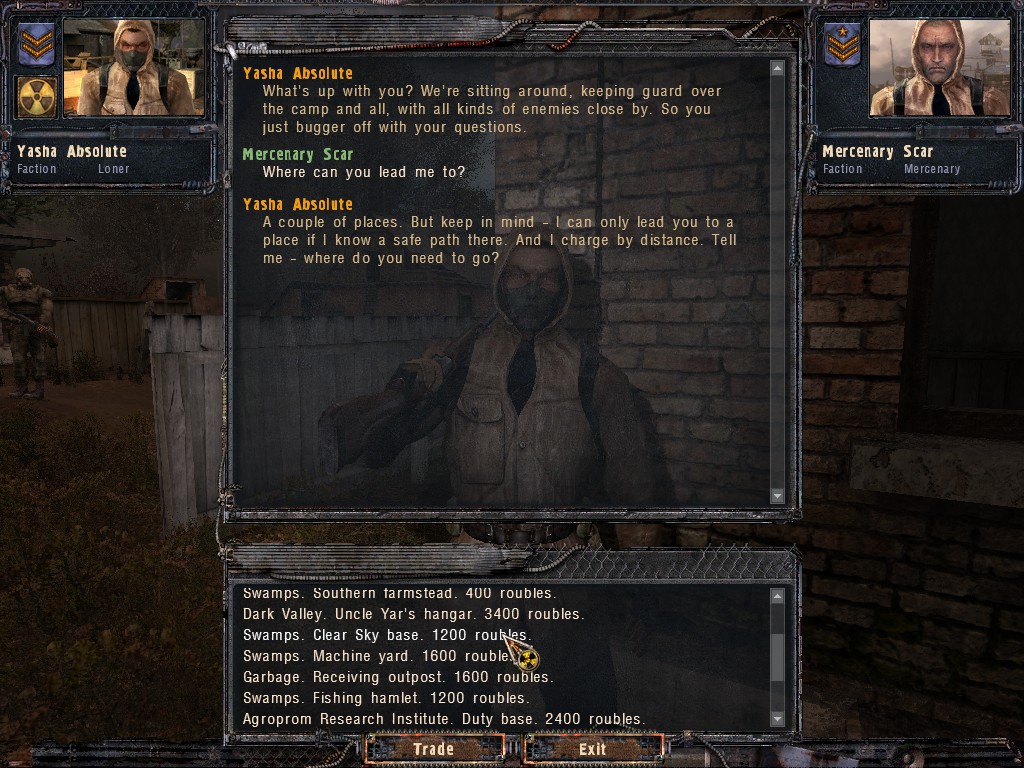
Now we can either run the whole way from the Neutral Base or we can use a guide to leave us at the much closer Rookie Village I’d suggest the 2nd one as the profits will far outweight the fast travel costs.
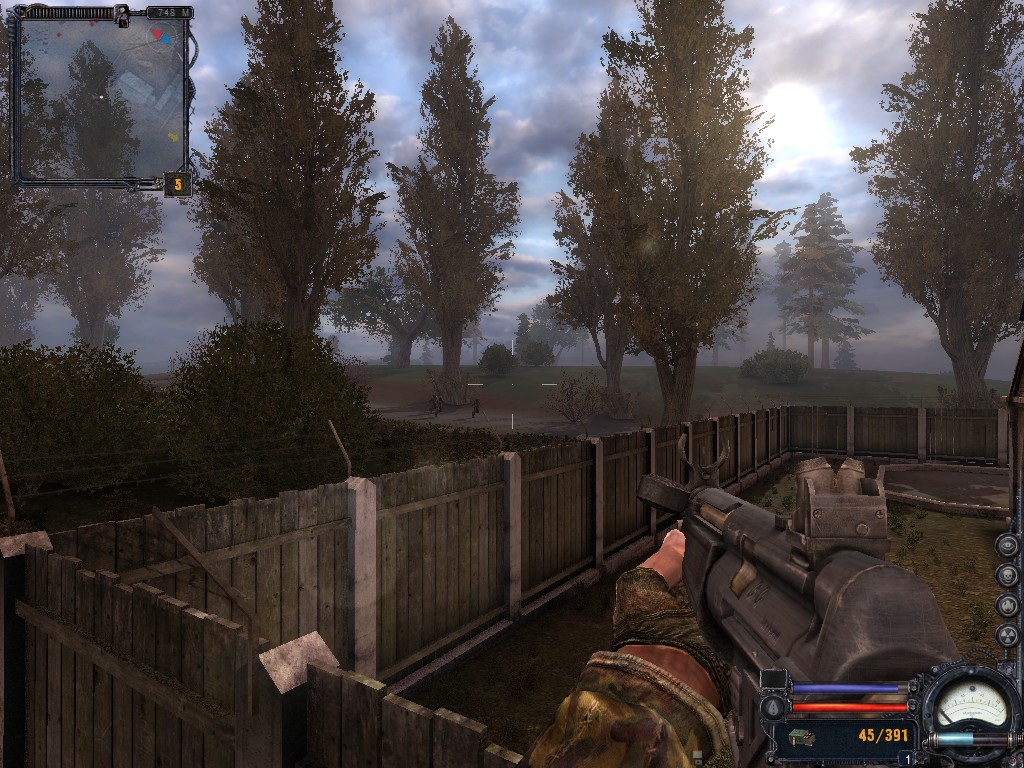
Leaving the Rookie Village we are going to head towards the Military Checkpoint on road and switch our direction swerving to the left and jump on the fallen tree that leaves a hole in the barbed wire fence. After jumping over you should be seeing a pile of concrete and trash around the back end of the Outpost, avoid the anomaly and jump on the debris and over the fence.
Fighting your way around the Outpost
Now that you are in the outpost you need to clean the place up of the military personnel if you’ve not seen and killed a patrolman already peek into the windows of the barracks and shoot a couple of the soldiers they shouldn’t be able to put much of a resistance to your suprise attack.
There’s a 2nd Room in the barracks and taking the rest of the soldiers out through the windows is advised but before that make sure you aren’t getting flanked from across the sides of the building by the other soldiers if you hear no noise or you’ve already killed a few troops you can proceed to kill the rest of the guys in the 2nd room. After that head around the building towards Guard House ( the building with a 2nd level ) and kill the guard that’s shooting from the high ground then go into the barracks and check if anyone is still breathing there some soldiers tend to hide in the small coridor.
Just to be safe if you haven’t done this already make sure to loot all soldiers,take their ammuntion out of their guns and especially pistols to replace our smg rounds and put their loot in the 1st barrack room storage chest we will need the guns later keep the essentials such as ammo and medical supplies on you.
Move carefully around the Guard House and peak through the door there should be a few soldiers around the road trying to shoot you. Dealing with them won’t be that hard. After they are all dead the last units should be holding their positions around the watch tower, if no one is alive go up the stairs and kill the pkm gunner he’s the last one you have to take care of. Loot everyone else and store their guns in the storage chest mentioned above.
Clearing off any reinforcements ( Optional )
No soldiers will spawn around the base as long as you are there but we can take advantage of this to pretend to run away from the Outpost for 15-20 meters ~ and an initial squad of around 5 military personnel will spawn a few dozen meters away from the base.
Now we will jump over the fallen tree running back to edge of the fence corner to shoot them. 3 of them usually move to the road barrier and 2 of them will typically try to engage you.Killing the first 2 ones you should now go to the concrete and the trash pile and jump into the base, run around the courtyard and try to shoot the 3 guys holding their positions around the barrier.
From my experiences these 3 guys tend to ignore any damage done to them from a distance and will keep their positions without taking cover, this is most likely a bug. After taking them out check the map to see if anyone is left if there’s still a red dot check the watch tower gunner spot, a 6th guy will sometimes go there.
When they are all dead take their loot and move it into the chest now we can repeat the feigned retreat tactic, or retreat for a while and wait for all the soldiers to respawn ( you will see 4 dots when the military base is at full strenght ). Regardless of which of the 2 you chose I’d advise you to get to around 200-500 kgs worth of loot in the chest anything under or over that amount would not be worth the effort or might lag the game for the future actions of the guide.
Carrying the loot out and reaching the Guide
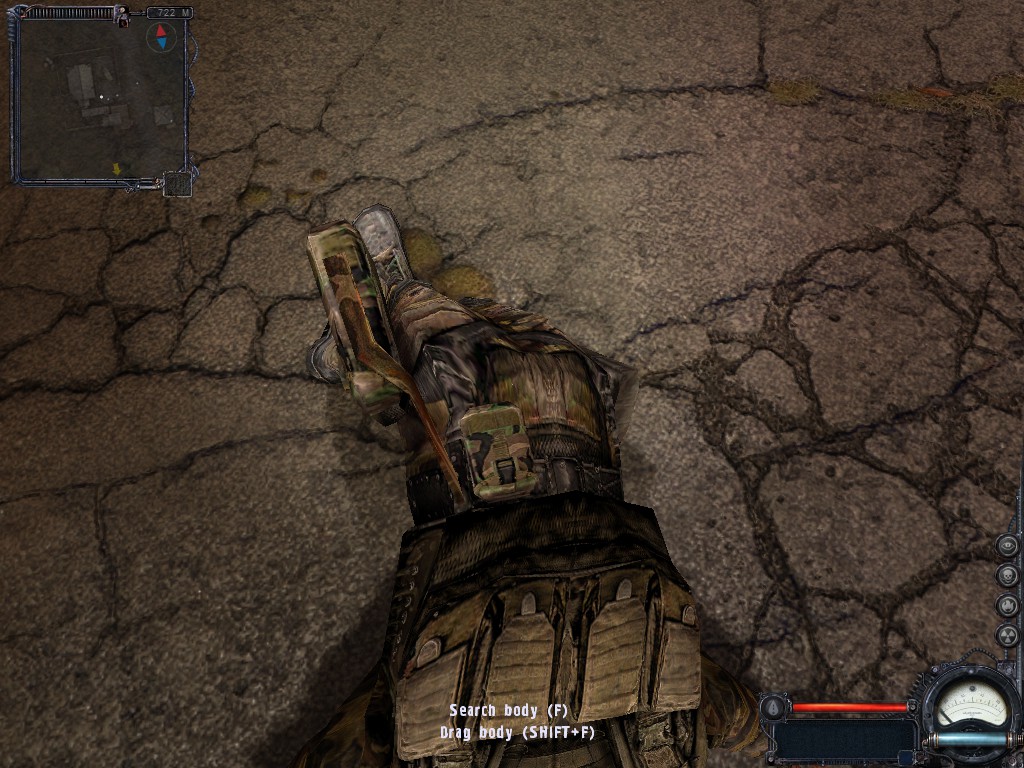
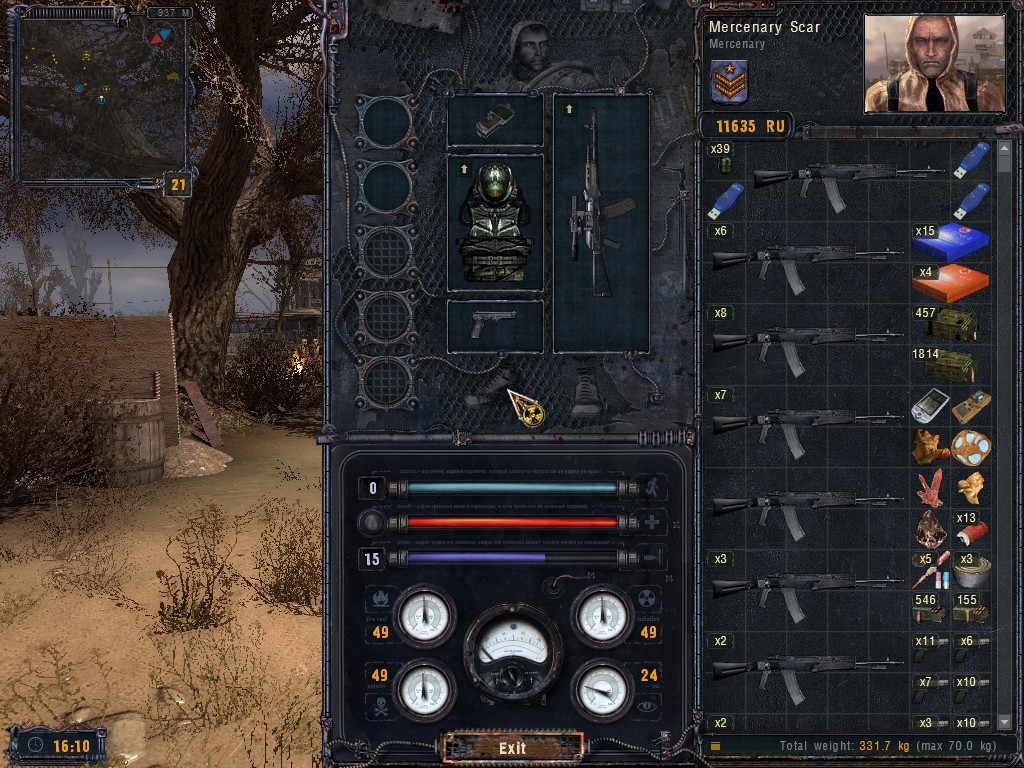
Now that we’ve made sure we got enough loot we need a way to transport it out, our backpack can only carry so much so we are going to drag one of the dead bodies lying around ( make sure to unequip the seva suit if you have it as it doesn’t allow us to drag bodies around for some reason ) into the barracks next to the chest and unload the contents into the corpse’s inventory ( including you seva suit :’).
After all of this we have to haul the dead body out of the barracks and base and get to Rookie village. This is relatively safe but a boring task. Sometimes dogs will go around on the road but they are mostly harmless but you should be keeping your smg ready in any case. The reinforcements from the checkpoint won’t be fast enough to get us as we will be a bit further from the base by the time they appear.
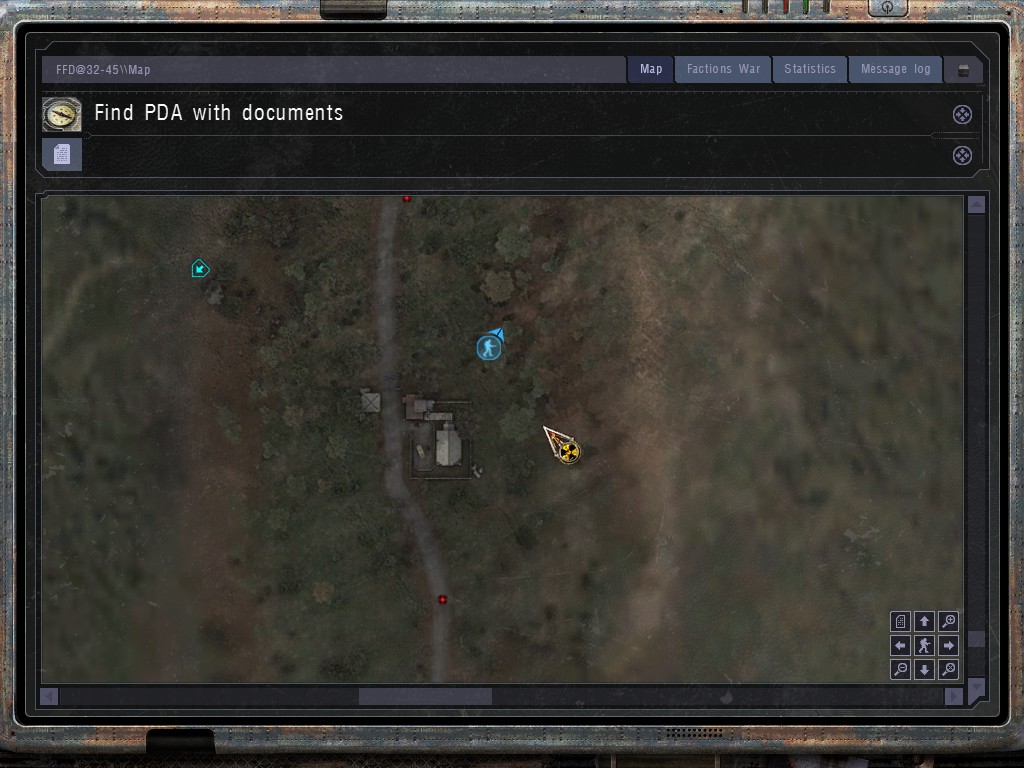
Getting into the rookie village will be easy make sure to look on your PDA map for the Guide’s location and drag the body next to him, we won’t be able to move after taking all the loot from the body when we get to him so being next to him to ask him to ferry us to Clear Sky will be mandatory.
Make sure to equip your seva suit in case you have it and fast travel to the Clear Sky base.
Profit
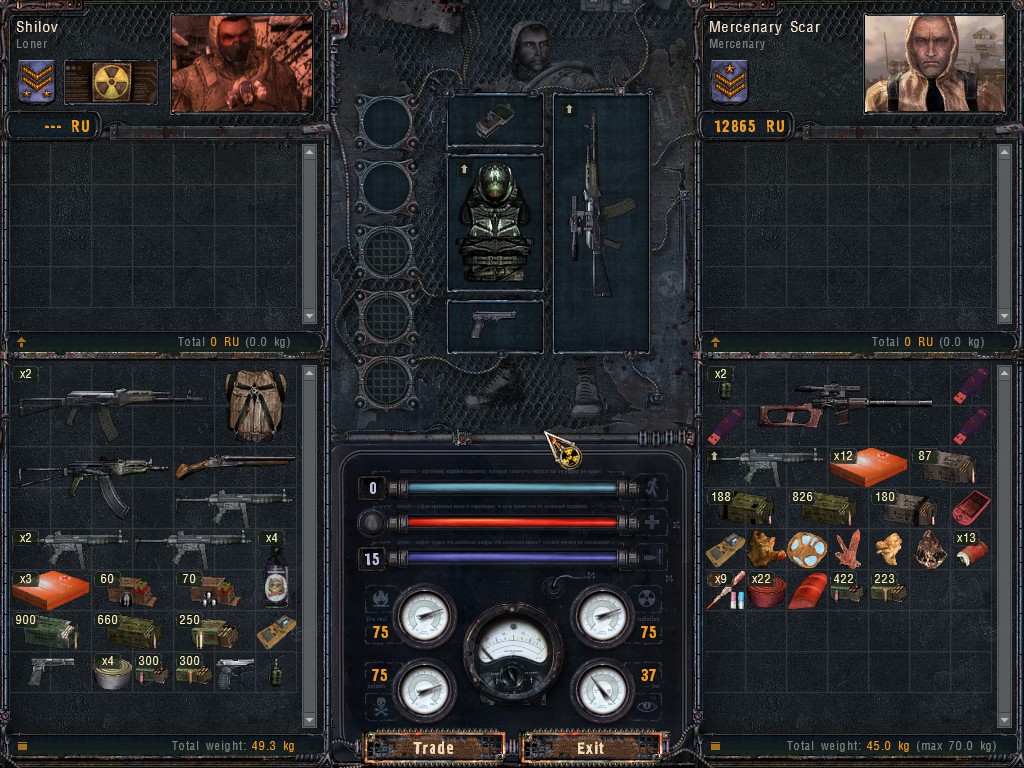
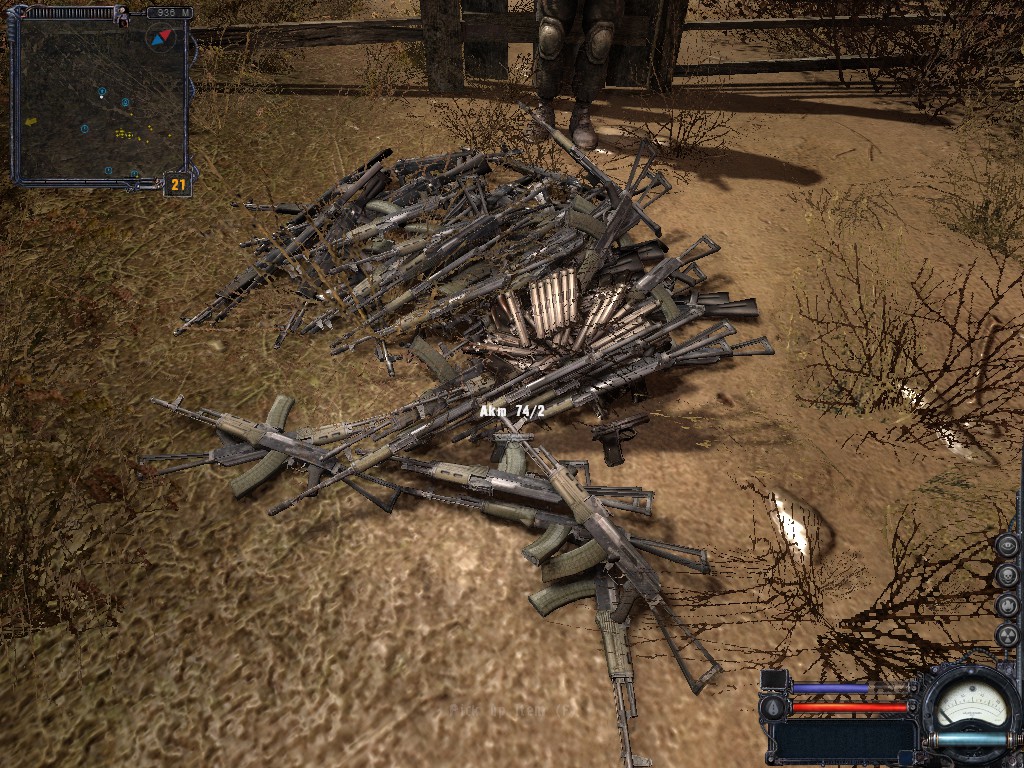
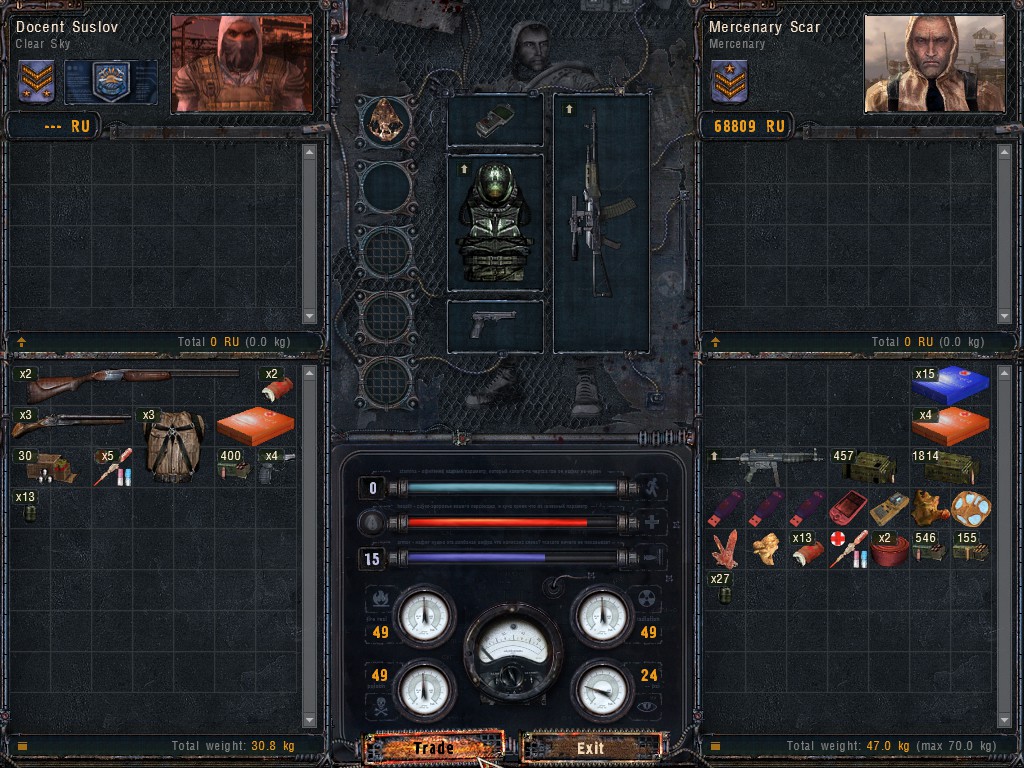
After reaching Clear Sky we won’t be able to move so drop most of the guns on the ground and keep what you can within the weight limit and run towards the CS trader ( he pays the most for any high tier weapons so we will make a larger profit than if we were selling to the Stalker trader for example ).
Trade and run back to the stash of guns next to the local Guide, keep doing this until you’ve sold everything of value from our adventure. You should be left with at least 50 000 to perhaps over 100 000 Rubles after this.
Hope you enjoy the post for S.T.A.L.K.E.R.: Clear Sky How to Farm More Loots in Game + Equipment Required and the Location, If you think we should update the post or something is wrong please let us know via comment and we will fix it how fast as possible! Thank you and have a great day!

Leave a Reply