In this Official RPG Maker MZ Guide, we walk you through making custom art for a Weapon in your game, so that your characters can wield visually unique gear!
Intro and SVBattler
Official Guide from Avery
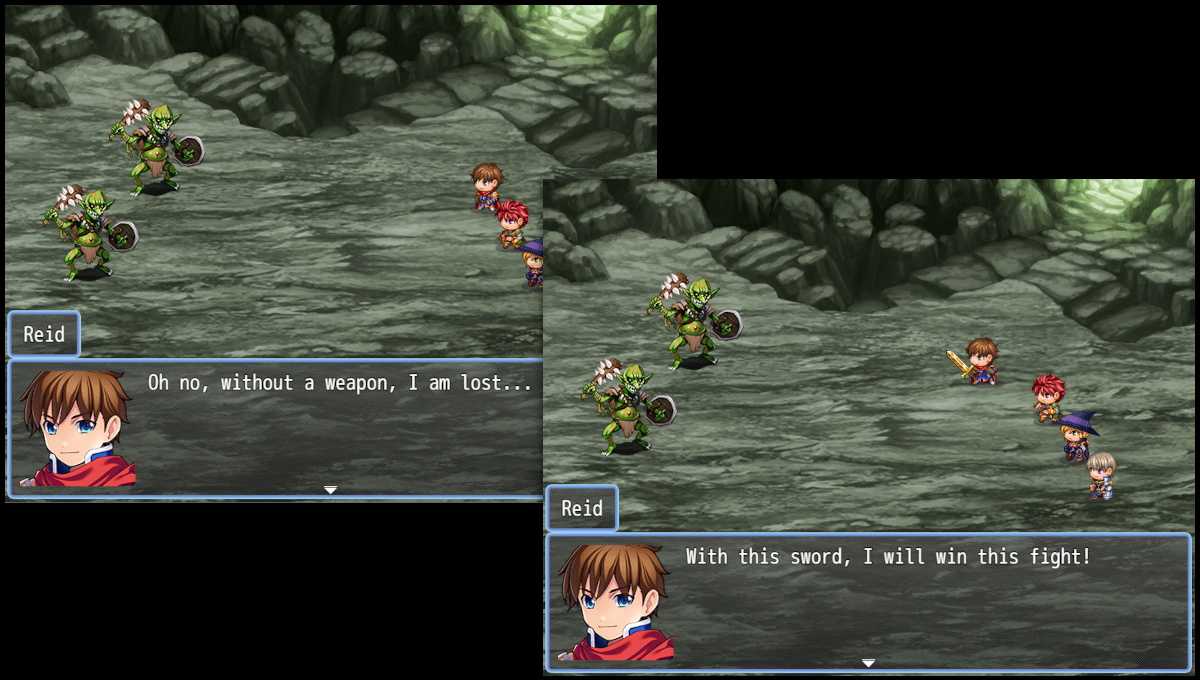
Wouldn’t it be cool if your heroes wielded the special weapons you made just for them? Today we are going to look at how to make that happen!
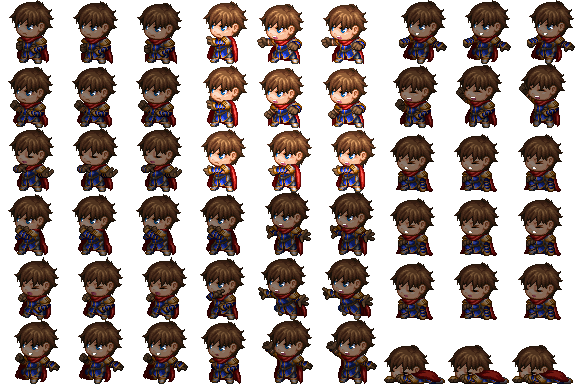
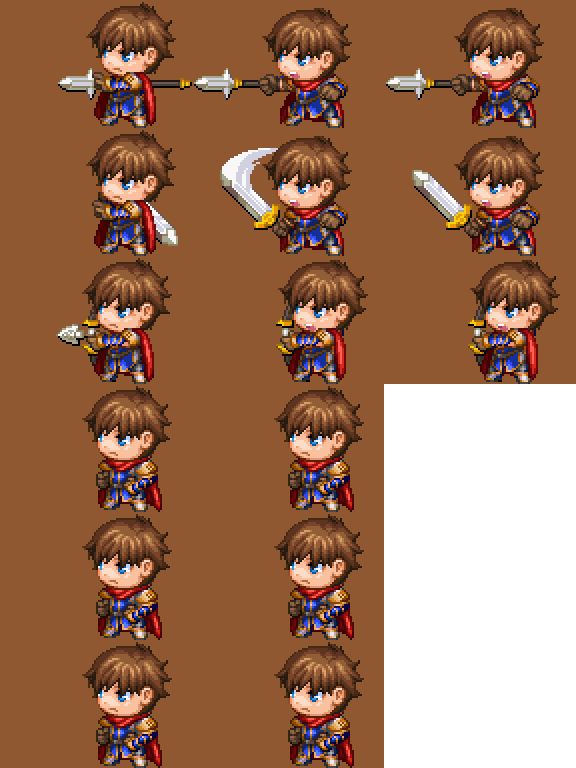
First, let’s take a look at a default SV sheet:
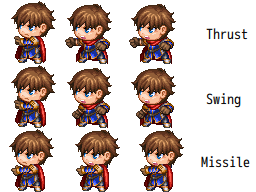
Out of all these frames, only the 9 that are highlighted here are used in any of the battle weapon animations.
Attack Motions
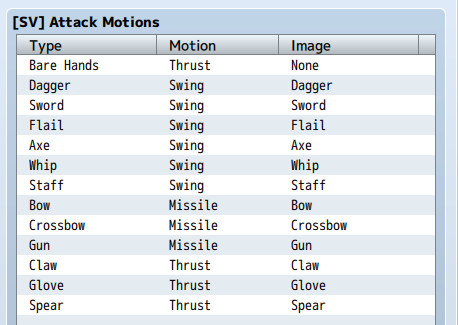
There are 3 types of attacks, and you can see which weapon type they were attributed to in the System 2 tab of the database:
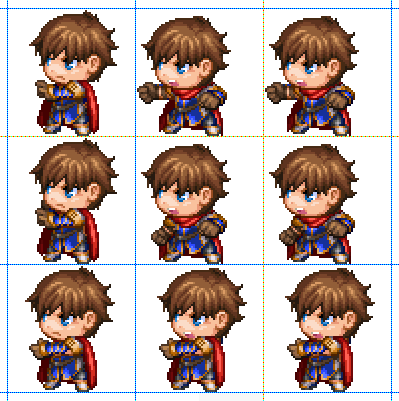
As you can see, there are three motion types: Thrust, Swing, and Missile, and each of them uses one row of these frames:
Combining SVBattler with Attack Motion
If we want to understand how the weapons are added to this sprite, we have to remember, that each “cell” of these animations is 64×64 pixels:
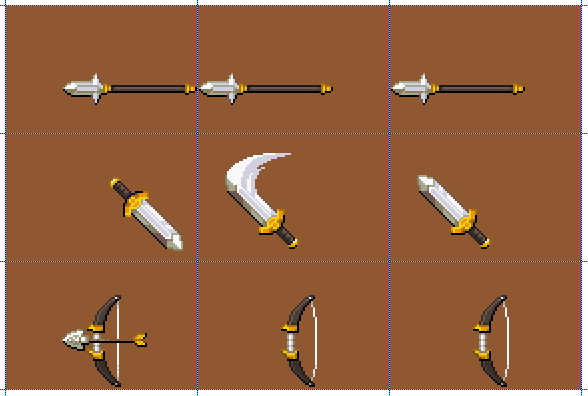
In contrast, each weapon cell is 96×64 pixels, since there needs to be more room for the weapon to be moved around.
Here we have a typical thrust, swing and missile weapon from the default sets and can see how they fit that grid.
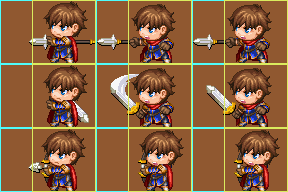
The combination of battle weapon and battler is simply handled by drawing the battler frame on the right side of the weapon frame. We can also see that the battler is always drawn on top of the weapon.
Here you can see in the green cells the battler in its grid and on the left how the weapon cell expands beyond that:
This is how these motions look like, when they are performed:
Examining the Swing Animation
Now if we want to create our own weapon animation, we need to understand how the movement works. For a swing animation, the weapon has 2 positions, one when the actor takes a swing and the second in front of them:
Since we need our own personal weapon which will be swung to line up with the battler, we can trace for example the handle of the sword:
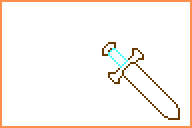
Outlining a Sword
With this little template we can now arrange any weapon of the right size that we pixelated to perfectly line up with the character’s hand!
But before we actually make the weapon we have to remember: our weapon also has to fit each of these 96×64 pixel cells, so each frame must not be larger than that!
This is our template (upscaled to 200%, as well as the following frames so you can better see what we do)
With these two guidelines we can now sketch out any type of swing weapon we could ask for, a typical example would of course be another sword:
Something you will see soon: it is easier and faster to do something symmetrical here.
Coloring In
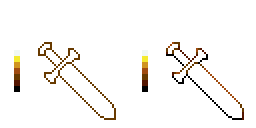
Now we need a proper palette, and I personally like to use the color scheme of my own icons + black, if I need colors that don’t already exist in the default sheets. Generally, you need colors with a good contrast and the weapon colors tend to be very saturated.
The light for the battle weapons for some reason comes from the upper right instead of the upper left, and so you can start your shading by shading the outlines:
The outlines of the battle weapons always feature some black at the areas that are on the lower left, and then you can use your darkest and then maybe one or two lighter shades to highlight the areas that are the closest to the light source.
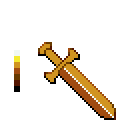
Now after we have the lines, we can fill in the different areas with a solid color. At this point, I also like to add in the ridge, if I am making a sword (and since we are making one…).
Since the ridge also divides the blade into a lighter and a darker area, we can color those in with different shades.
Shading
After that all that is left is the actual shading. For blades I like to add a 1px wide bright line at the rim to indicate that these are sharp. Besides that, we can shade the blades with horizontal and vertical lines and everything else is shaded according to the light source on the upper right:
Now why it is easier to make a symmetrical weapon:
If your weapon is asymmetrical, we need to turn your weapon by 180° and reshade it again according to the new, now totally different light position.
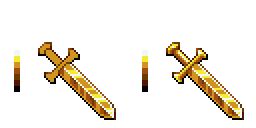
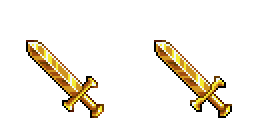
If your weapon is symmetrical, as this sword is, we can mirror it and turn it by 180°.
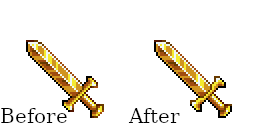
This will lead to the sword on the left, and as you can see, all that is left is that some parts of the hilt and handle have to be fixed, which you can see on the right:
Here a small gif as comparison:
Adding the Whoosh
With these two frames arranged with our little template as guide, we are already pretty close to having our sword ready:
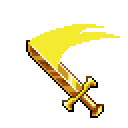
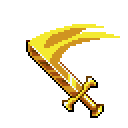
But there is something missing, the “whoosh” part of the second frame:
To achieve this, we take this frame and add a curved shape on the right, that looks about this:
It should start somewhere in the middle of the blade, and we can either use white or one of the light colors for it, here I went with yellow.
And then you can add some shadows in the shade which is one shade darker than the one you used for the shape to the bottom of it.
If you have problems with this step, have a close look at how the default swing weapons handle this. And if you have massive problems or want to take a short cut, you can copy this part from one of the default weapons and recolor it to match yours!
Now if we add this frame in, we are done!
Setting it Up in the Editor
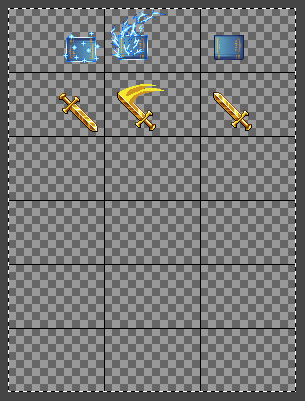
Now all that is left is the actual import. If you want this to be an additional weapon, you can cut it onto “Weapon 3” in your system graphics folder. Make sure it is in the right position of the grid!
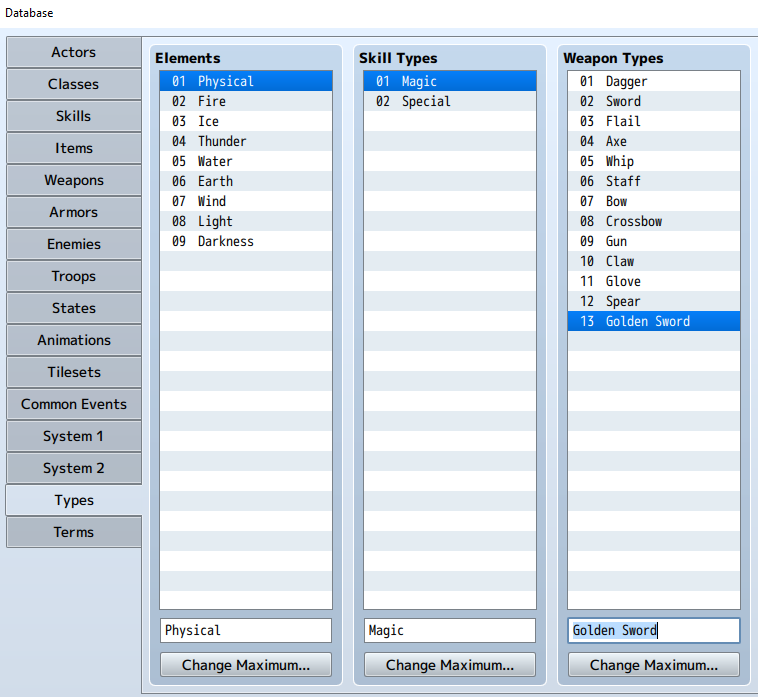
Now go to the Types tab of the database and create a new weapon type for your new graphic. I called minde Golden Sword:
And then you go to the database 2 tab and apply the motion type – here Swing – and the graphic – in this case, User-defined 2, as it is the second slot on the weapons 3 image.
Now all you have to do is to apply your type to a fitting weapon, you could for example turn the mithril sword into a golden sword as I did here!
Remember that you also need to enable that new weapon type for the classes you want to be able to use it.
And there you go! Time to turn your own ideas and designs into virtual reality and equip your heroes with them!
Hope you enjoy the post for RPG Maker MZ Custom Battle Weapon Graphic Tutorial, If you think we should update the post or something is wrong please let us know via comment and we will fix it how fast as possible! Thank you and have a great day!
- Check All RPG Maker MZ Posts List








Leave a Reply