This is a guide I’ve gathered through multiple sources online about basics of the game. I tried my best to cover everything about game and put it on Steam to make things a bit more easier. Do not forget to check actual creators work, I put the sources in the guide!
👉🏻
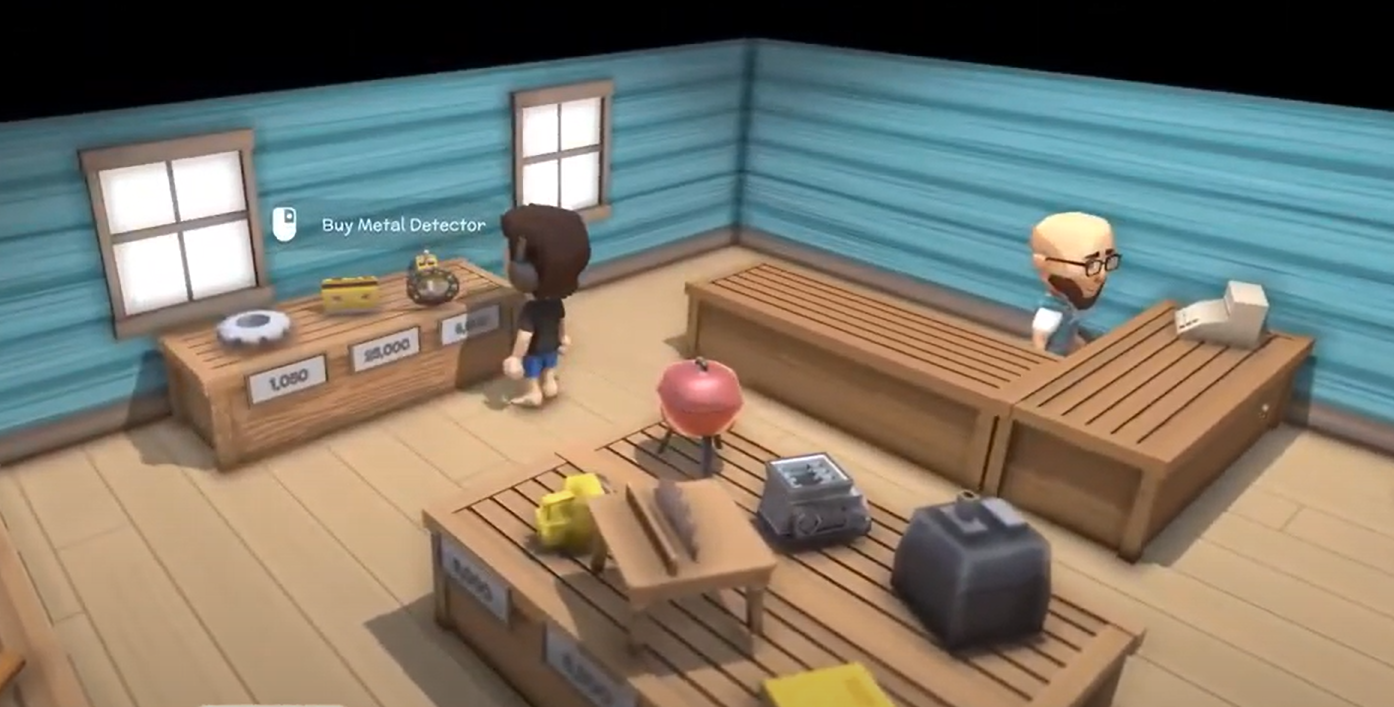
Dinkum: All John’s Goods Prices List
Comprehensive list of prices Jack will buy and sell items for.
Critters
White Yabbie – $980
Bay Bug – $4540
Yabbie – $1899
Blue Mussel – $799
Fresh Water Mussel –
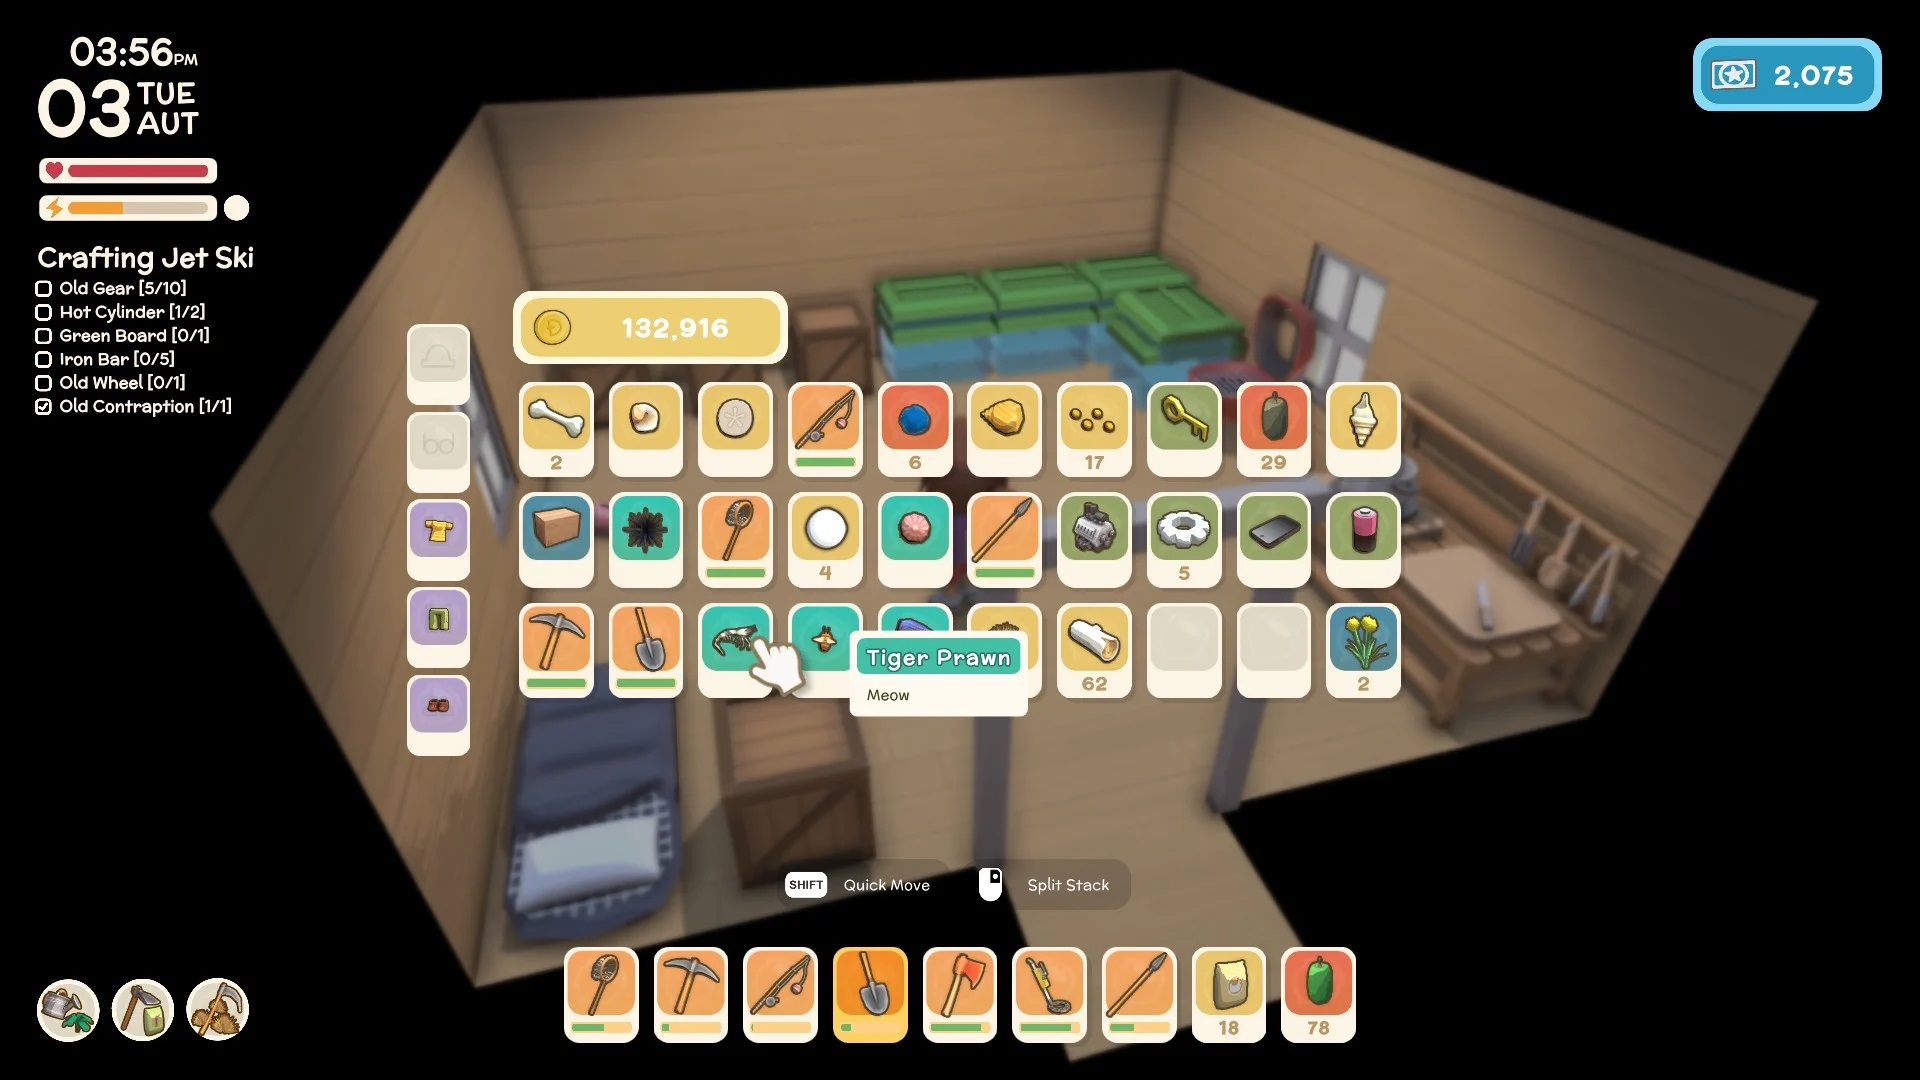
Tiger Prawn –
Spiny Sea Urchin –
Inland Crab – $740
Bugs
Ulysses Butterfly – $660
Blue Moon Butterfly – $290
Harlequin Butterfly – $2121
Fly – $72
Firefly – $860
Scarlet Jezebel Butterfly – $790
Bee – $680
Queen Bee – $2300
Largidae –
Funnel Web Spider – $1020
Red Back Spider –
Harlequin Spider –
Huntsman – $3552
Stink Bug – $300
Fish
Bluefish – $1560
Blue Spot Flathead – $998
Jungle Perch –
Barcoo Grunter – $1290
River Bass – $2784
Bonytongue –
Carp – $1996
Barracuda – $16000
Barramundi – $8416
Stingray (RIP Steve) – $3396
Eye Stripe Surgeon – $3996
Shell
Cassidae Shell – $7
Buccinidae Shell – $10
Tonnidae Shell – $6
Scallop Shell – $5
Syrinx Shell – $80
Nautilus Shell – $20
Sand Dollar – $10
Food
Chicken Egg – $350
Meat (uncooked) – $400
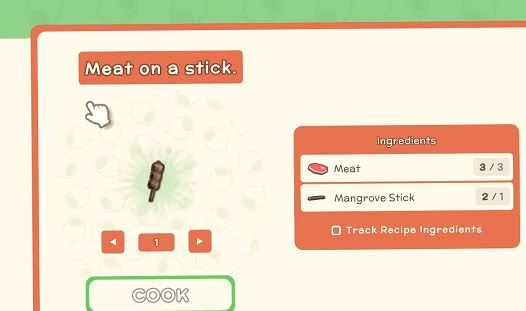
Cooked Meat – $800
Quandong (uncooked) – $110
Cooked Quandong – $220
Bush Lime (uncooked) – $90
Cooked Bush Lime – $190
Cactus Fig (uncooked) – $100
Cooked Cactus Fig – $250
Honey – $3100
Bananas – $248
Cooked Banana – $290
Apple – $107
Cooked Apple – $390
Croco Meat – $625
Cooked Croco Meat – $1750
Raw Drumstick – $350
Cooked Drumstick – $700
Flour – $1680
Resources
Palm Wood – $150
Gum Log – $100
Tin Ore – $25
Copper Ore – $50
Iron Ore – $100
Stone – $10
Mangrove Stick – $90
Bottle Tree Wood (Hardwood) – $280
Spiniflex Tuft – $2748
Quartz Crystal – $200
Shiny Stone – $100
Refined Resources
Palm Wood Plank – $225
Gum Wood Plank – $150
Hardwood Plank – $250
Tin Bar – $500
Copper Bar – $1000
Iron Bar – $2000 (Thanks Isded)
Tin Sheet – $275
Nail – $78
Concrete – $10
Buried Barrels and Items
Button Board – $2335
Old Toy – $2385
Smooth Slate – $1490
Old Gear – $525
Old Spring – $920
Glass Bulb – $1035
Old Contraption – $15090
Shiny Disk – $1480 ——————- Franklyn Pays $8880
Bright Wires – $1270
Sliding Handle – $1185
Old Wheel – $1320
Green Board – $9120
Hot Cylinder – $3090
Old Key – $4080
Clothing
Daisy Shorts – $2500
Ear Hats – $835
Blue T Shirt – $1075
Black Coat – $2560
White Flats – $1675
Straw Sun Hat – $1350
Red Dress – $795
Blue Shorts – $903
Pink Sneakers – $750
Agriculture
Grass Seed – $2
Coconut – $261
Yellow Wattle Flower – $145
Billy Button – $140
Wattle Seed – $55
Gum Nut – $4
Palm Tree Seed – $4
Pumpkin Seed – $390
Cabbage – $350
Prickly Pear Flesh – $600
Wheat – $216
Wheat Seeds – $360
Misc/Currently Unsorted
Crocodile Tooth – $3680
Simple Animal Trap – $2738
Termite Nest – $38
Toad Skin – $200
Opal – $15000
👉🏻
Source: Robert N. Adams – [techraptor.net]
Dinkum Starter Guide and Walkthrough
Your adventure in Dinkum begins by designing your character and naming the island. From there, Fletch will instruct you in the basics of island living.
Your First Day in Dinkum
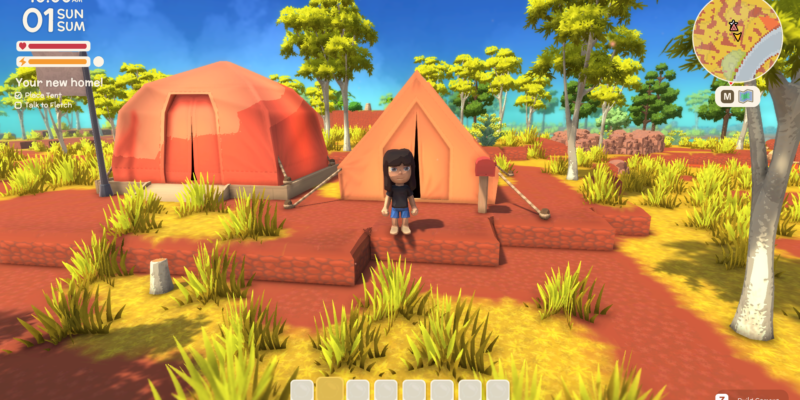
The first main objective is to place the Base Tent, your own Tent, and the Visitor’s Site. Here’s what each of these buildings does:
Base Tent – Fletch’s home. Includes a Crafting table and provides services such as Deed and License purchases. (More on that shortly.)
Your Tent – Your own home. You can decorate it however you like. It’s a good place to put some Crates (for storage) and your Sleeping Bag.
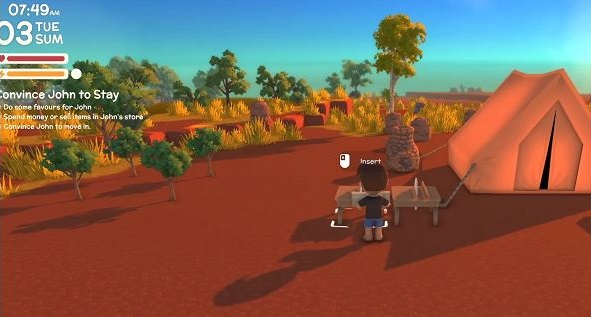
Visitor’s Tent – Much like the Campsite in Animal Crossing: New Horizons, this is where prospective villagers will visit one day at a time. Doing Favors for a person and buying items in their shop will let you get a Deed for their own unique Building.
You’ll also get your first item of food — most likely, you’ll find a Bush Lime since those are typically close to the starting location.
Health, Energy, and Time
Three key elements to a day are Health, Energy, and Time.
Health is pretty straightforward — take damage, and your Health goes down. If your Health reaches zero, you pass out and have to end the day. You can restore Health with most Food.
Energy is consumed when you do actions such as mining for ore or swinging your Bug Net. You can also restore it with Food. When your Energy gets low, you will move slower and the screen will begin to turn grey. If your Energy hits zero, you pass out and the day ends.
Finally, there’s the element of Time. A day in Dinkum starts at 7:00 AM and ends at midnight. Shopkeepers will open and close at different times of the day, Fletch included — there’s no 24/7 service with this ol’ gal.
Once it hits midnight, the time will change to “Late.” This is a perpetual state where your Energy is capped at about 10-20% of your normal, making it very difficult to do any meaningful work. Late Time, however, is perfect for smelting ore or Cooking since you don’t need to use Energy for those tasks.
Making Money for a Table Saw
On the second day, your focus will shift to making money (a currency called “Dinks.”) Pretty much all of your money will be earned by selling random things to John. Fletch will give you some more Tasks with the ultimate goal of getting John to Build a shop in town.
Part of that process is getting a Table Saw, a workbench that can turn Logs into Planks. This will be needed for most Buildings and some Crafting throughout the game.
After John agrees to move in, you’ll have to get the Deed from Fletch. This will allow you to place John’s shop anywhere on the island. Then, you’ll have to supply construction materials in order for the shop to be built. You’ll also accrue a debt that must be paid off before you can erect another Building.
After John’s Shop
With John’s Goods completed, your next goal is getting more people to move in. You’ll meet new characters such as Rayne (who sells Farming equipment and Seeds). Much like John, however, their shops will be limited compared to a permanent building.
We’re not entirely sure of the exact specifics, but the general idea is that you want to do Favors for them — select “I want to Talk” and then “Got a Job for Me?” You’ll also want to spend money at their shops. Eventually, they’ll decide they want to move in and you’ll have to place the Deed, supply construction materials, and pay off the Debt upon completion.
The Town Hall and Beyond
Your final goal in the early game and mid-game is to get a total of 5 permanent residents. Once you do, you will be able to upgrade the Base Tent into a proper Town Hall.
From here, it’s all about growth. There are more people to unlock and more items to craft (especially from Franklyn). There’s a big adventure to explore here, and you’re only just getting started. Have fun!
👉🏻
Source: Shamsuddin – [nintendosmash.com]
In this guide, we’ll tell you about the Milestones System in Dinkum.
Milestones
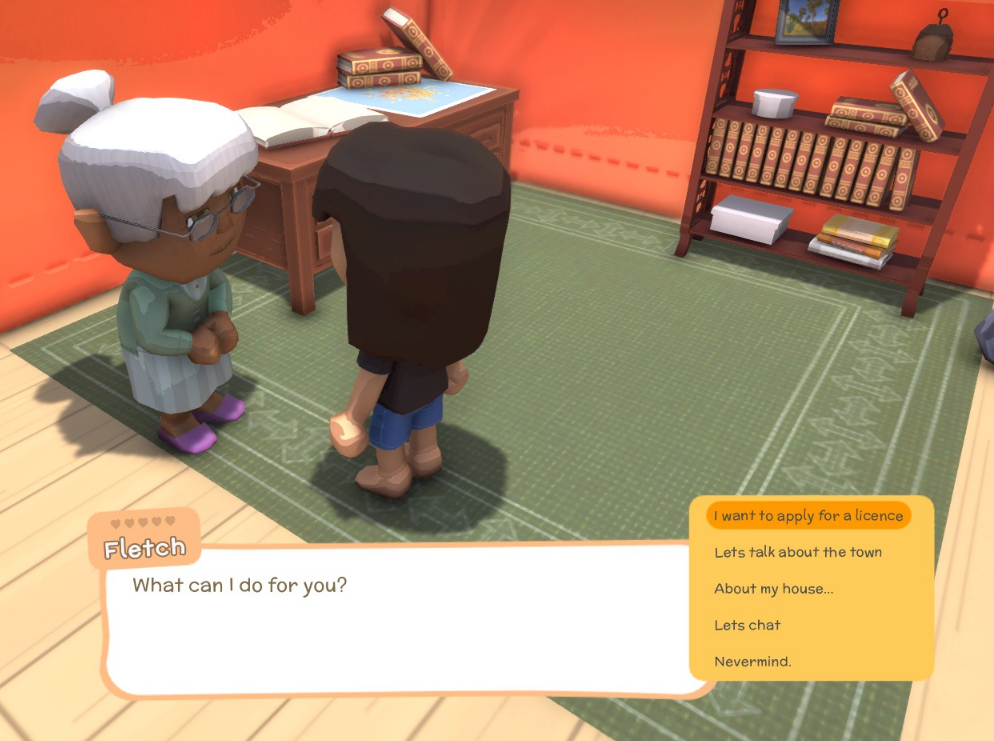
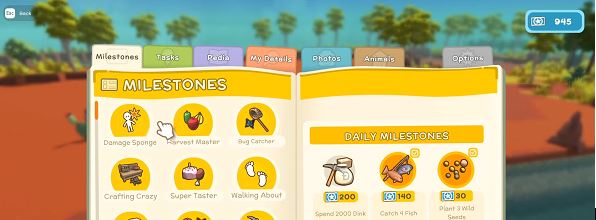
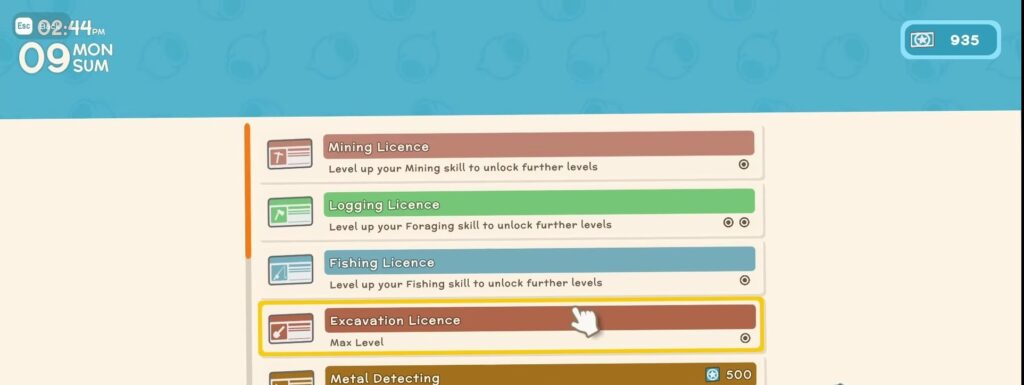
Milestones are like missions in the game that will reward you with Permit Points on completing the missions. There are several milestones in the game that you’ll have to complete in order to get Permit Points to buy the Licenses from Fletcher. The Licenses will open new tools at John’s Goods store that you can buy with the Dinks.
Milestones have multiple levels as well and when you complete a level, it will give you a certain amount of Permit Points. Milestones’ higher level will have a higher reward as well, meaning as you complete more levels of a Milestone, you’ll get more Permit Points. You’ll be able to see the Milestones section in your journal by pressing the “Esc” key. You’ll unlock the Milestone by completing a level of any milestone in the game and on completing the first level, you’ll also get the Permit Points. So, to unlock different milestones, you’ll have to at least complete the first level of the milestones. For example, on catching 10 bugs, you’ll unlock the Bug Catcher Milestone and you’ll also get 200 Permit Points.
Dinkum also has a Daily Milestone option in which you’ll be to get a small amount of Permit Points by completing a small Milestone. The Daily Milestones are comparatively easier than the normal Milestones of the game. You’ll be able to gather hundreds of Permit Points by simply doing the Daily Milestones but keep in mind that these Daily Milestones are only for 1 day and after one day the milestones will change and new milestones will appear. So, you can gather a few hundred extra Permit Points every day.
👉🏻
Source: Kirthana K – [quoramarketing.com]
In Dinkum, you will require plenty of materials to help you survive on the deserted island. In this guide, we will see how to craft and unlock items in Dinkum.
How To Craft And Unlock Items in Dinkum
Crafting items is an integral part of Dinkum, where you can craft various types of equipment to help you make your way through the dangerous terrain. Here we will see how to craft and unlock items in Dinkum.
To craft any item, you will require a workbench. There are different types of workbenches that you can create at your base. Each type of workbench offers different materials upon completion. Below are all the workbenches you can place and what they will give you.
Crafting Bench – Your basic craft bench, which is also the first workbench you will acquire. You can use this to craft decorative items as well as build other types of workbenches.
Smelter – To use the Smelter you will first need to mine for ore, and upon using Ore, the Smelter will give out Iron Bars.
Table Saw – You will have to gather lumber to use the Table Saw. This workbench will give Planks as the result.
Cooking Table/ Campfire/ Grain Mill / BBQ – Craft these to cook your food using fire.
If you wish to acquire advanced tools for crafting, you can visit the various NPCs around the island to get different tools. For example, visiting Franklyn will help you acquire advanced Power Tools in exchange for a certain amount of Dinks
If you wish to acquire more recipes to craft various items, there are a few ways you can go about this. Just by simply progressing through the story you can unlock various crafting recipes. You can also buy Permits from Fletch for a small price to unlock new items, and also get crafting recipes from Franklyn. And finally, by accepting Favors from the residents and completing them, you can unlock more crafting recipes as rewards.
That’s all there is to know about crafting in Dinkum.
👉🏻
Source: Robert N. Adams – [techraptor.net]
How Dinkum Building Works
Dinkum Building works in two ways:
Unlocking a Deed, placing it, supplying the construction materials, and paying off the resultant Debt
Placing Fences, Paths, etc. freely in the world
Generally speaking, you’ll want to place Buildings first and then build any Fences, Paths, or decorations around them. You may also want to flatten out large areas of land to make Farming and caring for Animals easier.
An important note: you will not be able to get a new Deed until you’ve paid any existing Debt. Keep this in mind if you’re hoping to erect multiple Buildings very quickly!
Can You Move Buildings in Dinkum?
Yes, you can move Buildings in Dinkum. Speak with Fletch during normal business hours and she’ll be able to move a Building at the cost of an increase in the town’s Debt.
List of Dinkum Buildings
Here’s a list of all the Dinkum Buildings we’ve found so far! This list covers how to unlock them, what they do, what you need to construct them, how much debt they add, and how big they are!
Tent
Unlock Condition – Unlocked for free on first day
Associated NPC – You
Building Size – 5×5
Construction Costs – N/A
Debt Increase – N/A
Your Tent is your own personal home with an interior space of 4×4.
Your Home (1st Upgrade)
Unlock Condition – Complete the first few early game quests.
Associated NPC – You
Building Size – 5×5
Construction Costs – ?
Debt Increase – 95,000 Dinks
The first upgrade for your home increases its internal size to 6×6.
Your Home (2nd Upgrade)
Unlock Condition – Build your first home upgrade.
Associated NPC – You
Building Size – 5×5
Construction Costs – ?
Debt Increase – 220,000 Dinks
The second upgrade for your home increases its internal size to 8×8.
Base Tent
Unlock Condition – Unlocked for free on first day
Associated NPC – Fletch
Building Size – 5×5
Construction Costs – N/A
Debt Increase – N/A
The Base Tent is where Fletch is located. It also has a Crafting Bench
Town Hall
Unlock Condition – Have 5 permanent residents living in your town.
Associated NPC – Fletch
Building Size – 5×5
Construction Costs – 15 Gum Wood Plank, 15 Hardwood Plank, 4 Iron Bar, 4 Copper Bar, 4 Tin Sheet, 32 Nails
Debt Increase – ?
The Town Hall looks nicer, but it doesn’t increase much in the way of amenities.
Visitor’s Site
Unlock Condition – Unlocked for free on first day
Associated NPC – All (Rotating Visitors without Homes)
Building Size – 4×4
Construction Costs – N/A
Debt Increase – N/A
The Visitor’s Site is where prospective townsfolk will stay for one day at a time.
Tele-Tower
Unlock Condition – Complete repairs on each tower.
Associated NPC – N/A
Building Size – 2×2
Construction Costs – 3 Green Board, 2 Hot Cylinder, 1 Shiny Disc, 8 Bright Wire, 1 Smooth Slate
Debt Increase – N/A
All islands have a total of 4 Tele-Towers; there is typically one Tele-Tower at the northern, eastern, western, and southern sides of the island. You can instantly teleport for free between any two completed Tele-Towers.
John’s Goods (General Store)
Unlock Condition – Do favors for John and spend money in his shop.
Associated NPC – John
Building Size – 4×5
Construction Costs – 15 Gum Wood Plank, 10 Palm Plank, 2 Tin Sheet, 16 Nails
Debt Increase – 75,000
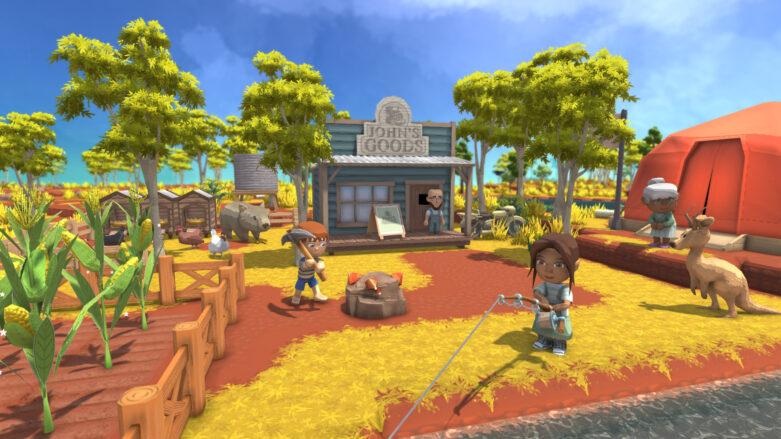
John’s Goods is where you’ll make most of your money by selling goods. You can also buy tools and some Food.
Bulletin Board
Unlock Condition – Unlocked after completing the first few early game quests.
Associated NPC – John
Building Size – 2×1
Construction Costs – 2 Gum Wood Planks, 1 Nails
Debt Increase – 10,000 Dinks
The Bulletin Board is where you can take on Tasks that can earn you money.
The Museum
Unlock Condition – ?
Associated NPC – Theodore
Building Size – 6×5
Construction Costs – ?
Debt Increase – ?
The Museum allows you to display caught Bugs and Fish. You can eventually buy the Camera from there. You will get 100 Permit Points for every new species you donate.
Mine
Unlock Condition – Buy the Mining License, get Mining to Level 10, buy the Mining License Level 2, and then buy the Deep Mining License to unlock the Deed.
Associated NPC – N/A
Building Size – 3×3
Construction Costs – 10 Cement, 10 Old Gear, 1 Old Contraption, 2 Old Key, 5 Tin Bar, 5 Copper Bar
Debt Increase – 250,000 Dinks
The Mine is an excellent place to get ore, make money, and find useful items by opening up Gates with Old Keys. You’ll need to use a Mine Pass (which costs 25,000 Dinks) to go down the elevator every time, though.
The Bank
Unlock Condition – Uncertain; as far as we can tell, you have to spend Dinks in town until the Economy score in the Base Tent/Town Hall Book is at 33% or higher.
Associated NPC – Milburn
Building Size – 4×4
Construction Costs – 15 Hardwood Plank, 10 cement, 10 Stone, 4 Quartz, 4 Copper Bar, 24 Nails
Debt Increase – 100,000
The Bank will store your money and give you approximately 1% interest per day. If you have 10,000 Dinks in the Bank, you’ll have 1,0100 on the next day, 10,201 on the third day, 10,303 on the fourth day, and so on. The Bank can also convert 500 Dinks into 1 Permit Point.
Tele Pad
Unlock Condition – ?
Associated NPC – N/A
Building Size – 4×4
Construction Costs – 8 Cement, 4 Iron Bar, 6 Green Board, 4 Smooth Slate, 2 Shiny Disc
Debt Increase – 75,000 Dinks
The Tele Pad is a placable waypoint for the Tele-Tower network.
The Greenhouse (Farming Store)
Unlock Condition – Convince Rayne to move into town by doing Favors for her and buying items from her shop.
Associated NPC – Rayne
Building Size – 5×4
Construction Costs – 10 Cement, 10 Quartz, 5 Tin Sheet, 4 Copper Bar, 4 Tin Bar, 10 Stone
Debt Increase – 200,000 Dinks
Sells Farming equipment and Seeds.
Threadspace (Clothing Store)
Unlock Condition – Convince Clover to move into town by doing Favors for her and buying items from her shop.
Associated NPC – Clover
Building Size – 4×5
Construction Costs – 10 Gum Wood Planks, 25 Palm Wood Planks, 6 Quartz, 8 Cement, 4 Copper Bar, 18 Nails
Debt Increase – 180,000 Dinks
Sells clothing. Clover can also make any clothing in your Catalog for a fee.
Irwin’s Barn (Animal Shop)
Unlock Condition – Convince Irwin to move into town by doing Favors for him and buying items from his shop.
Associated NPC – Irwin
Building Size – 5×4
Construction Costs – 15 Gum Wood Plank, 10 Palm Plank, 4 Tin Sheet, 4 Copper Bar, 5 Cement, 16 Nails
Debt Increase – 150,000 Dinks
A store that sells Animals, feed, and other useful items for taking care of critters.
Melvin’s Place (Furniture Shop)
Unlock Condition – Convince Melvin to move into town by doing Favors for him and buying items from his shop.
Associated NPC – Melvin
Building Size – 4×4
Construction Costs – 18 Gum Wood Plank, 18 Palm Plank, 16 Nails, 3 Tin Sheet
Debt Increase – 145,000 Dinks
A store that sells Furniture. Melvin can also make any Furniture in your catalog for a fee.
Franklyn’s Lab (Crafting Lab)
Unlock Condition – Convince Franklyn to move into town by doing Favors for him and buying items from his shop.
Associated NPC – Franklyn
Building Size – 4×4
Construction Costs – 15 Gum Wood Plank, 15 Hard Wood Plank, 2 Old Wheel, 10 Old Gear, 5 Tin Sheet, 24 Nails
Debt Increase – 145,000 Dinks
A store that sells random Blueprints. Franklyn can also Craft special items and workbenches for you, such as Power Tools and Vehicles.
Tele Pad
Unlock Condition – Talk to Franklyn in his shop after he moves in.
Associated NPC – Franklyn
Building Size – ?
Construction Costs – 8 Cement Bag, 4 Iron Bar, 4 Green Board, 4 Slate, 2 Shiny Disc, 2 Bright Wire
Debt Increase – 75,000 Dinks
A teleporter pad that you can place anywhere which connects to the Tele-Tower network.
👉🏻
Source: Erik Hodges – [tryhardguides.com]
How to farm in Dinkum
In this guide, we’ll show you how to get your first farm started on Dinkum.
How to start a farm in Dinkum
Before you can start a farm on Dunkum, you’ll need to get Rayne at your visitor’s center. You’ll need a few items, which you can only buy from her. When Reyna is in town, make sure you approach her and buy the following items:
A Hoe
A Watering Can
Any Seeds
If you do enough favors for Rayne, she will eventually ask you to make her a permanent house in town, allowing you to purchase from her more easily.
With your new hoe, you can till some ground. Tilled soil is required for a farm, so this should always be your first step after allocating some land to your farm. Aside from purchasing seeds from Rayne, you can occasionally get seeds from cutting down trees and bushes.
How to plant seeds in Dinkum
Once your soil is tilled, you can use your seed packets to start planting your farm. To do this, equip your seed packets and add them to the tilled soil vile the prompt that pops up. If you can’t see the prompt, you might need to rotate your camera.
That’s all you need to know to plant seeds in Dinkum!
👉🏻
Source: BORUT UDOVIC – [riseupgamer.com]
Fishing in Dinkum: How Does It Work?
Get a License
The Players will need a fishing license before they can begin fishing. They must fulfill a few milestones and accrue permit points on the Milestones page to do this. Simply select a few of the simple milestones from your notebook’s milestones menu to quickly get those permit points.
Dinkum has a lot of features and skills that require a license, but the fishing license isn’t that expensive, so you should be able to get it quickly. After that, proceed to Fletch to submit a fishing license application.
Purchase a Rod
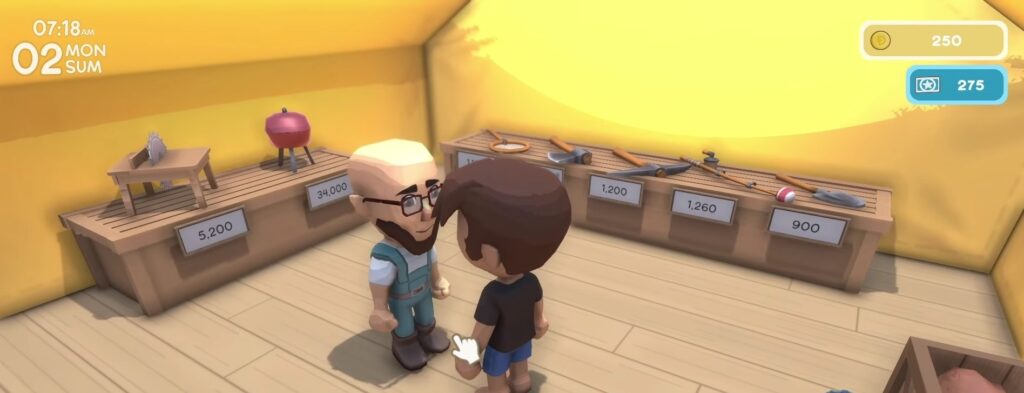
Once you obtain a license, you’ll need to purchase a fishing rod from John’s store for 1260 dinks. Whether he is at the tent or you have relocated him to a permanent structure, this can be purchased.
Fishing Rod is the most important for this activity. You should be able to get the rod right away because it will be reasonably priced. However, you can sell a few items and acquire them right away if you don’t have the money on hand.
Locate a Fish
Once you have got a fishing rod, proceed outside to the nearest body of fresh water or ocean water in your area. Before you begin fishing, make sure you can see the fish, so pick a nice location where there are lots of them swimming around.
You won’t catch anything if you cast your line in an area with no fish. Also with creature catching, check sure the area is free of any predators before you begin fishing if you don’t want an emu assault to ruin your peaceful fishing session.
Catch your first Fish
Get the bobber as near to the fish as you can by aiming the fishing rod in its general direction. You’ll need to get the bobber to the fish because they won’t be drawn to the fishing pole or generally come to you.
While there isn’t a meter on the screen that indicates how far the fishing rod will go, you’ll get a fair idea of it after practicing a few times. The distance that the fishing rod will travel depends on how long you hold it.
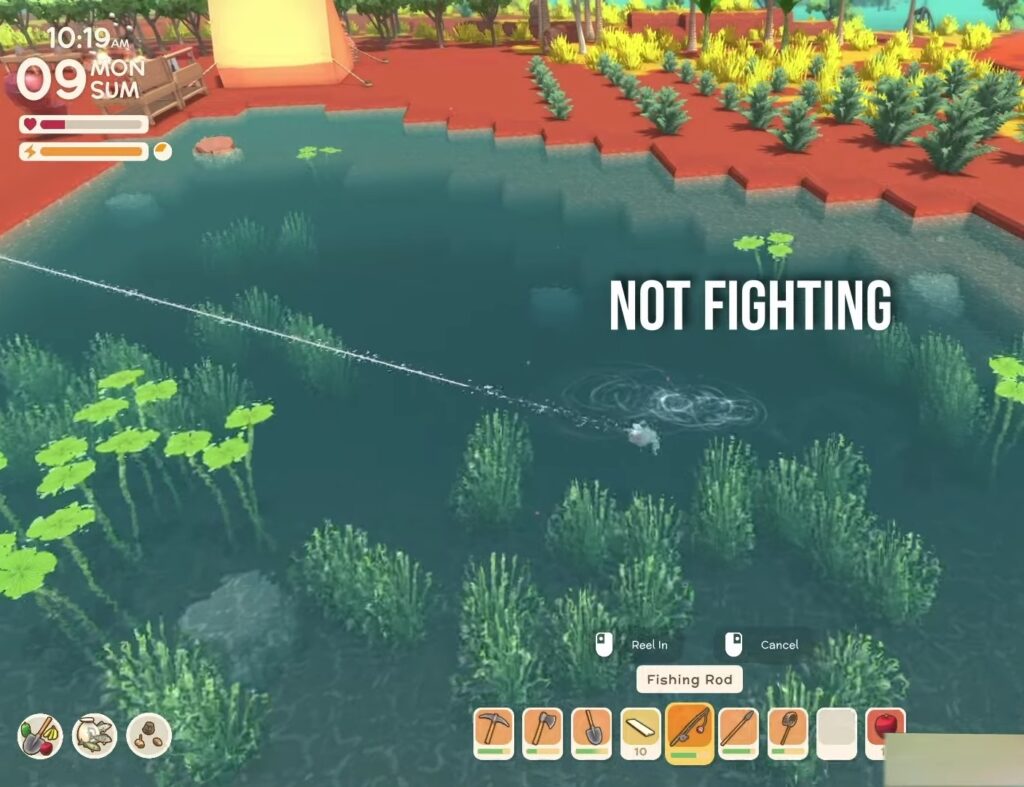
Allow the fish to thrash when it is on the end of the line. You’ll break the line and lose the fish if you try to reel them while they’re engaged in a fight. Reel it in again after it stops fighting.
To properly exhaust the fish and get it out of the water, and here you have your first catch. You might need to repeat this process a few times.
Tips & Tricks for Dinkum Fishing
Sharks cannot be caught with a fishing rod and are not considered fish. You’ll need to fight and kill one if you wish to catch one.
Jellyfish are those blue blobs you see swimming about in the ocean. They cannot be captured using a fishing line, either, but a good spear poke can kill them and cause them to release jelly that can be used in cooking. Your hunting level is determined by the number of jellyfish you kill, not your fishing level.
It’s likely not a fish if you notice something in the water that’s moving very little or hardly at all; instead, it’s a creature. The fishing rod won’t work; you must enter the water and dive to capture creatures.
A spear cannot be used to catch fish. It’s tried and tested.
You can update your fishing license to show bubbles in the water where fish are once you reach fishing level 5. If you’re having problems locating fish or utilizing the fishing rod, catching aquatic creatures will also raise your fishing level.
List of Dinkum Fishes
In Dinkum, there are 33 distinct species of fish that can be caught. Some of the most popular fishes the player can catch in Dinkum are listed below. There are plenty of these fishes around and they are accessible year-round. The list is as follows:
Barcoo Grunter: Habitats include rivers, billabongs, and mangroves; times found are morning, day, and evening; and seasons include spring, summer, autumn, and winter.
Bluefish: Habitat includes Southern and Northern Oceans; Times found are morning, day, and evening; and seasons include spring, summer, autumn, and winter.
Black and White Snapper: Habitat includes Northern and Southern Oceans, Time of Discovery would be day; and seasons include spring and autumn.
Billabongs: Habitat is a bony tongue; Times found are mornings, day, and evening; Seasons include spring, summer, autumn, and winter.
Blue Spot Flathead: Habitats of the northern and southern oceans are home to them; the Time of Discovery would be morning or daytime; and Seasons include Spring, Summer, or Autumn.
Carp: Habitats include Mangroves, and Rivers; Times found are morning, day, and evening; and seasons include spring, summer, autumn, and winter.
Jungle Perch: Habitats include Rivers and Billabongs; Times found are mornings, day, and evening; and seasons include spring, summer, autumn, and winter.
Mangrove Jack: The habitat of Mangroves is home to them, Time of Discovery would be mornings, day, and evening; and seasons include spring, summer, autumn, and winter.
What a Player Can Do With Fish In Dinkum?
In Dinkum, there are a few alternatives for what you can do with fish. Surprisingly, one of those isn’t cooking because there aren’t any fish-friendly recipes at the moment. Theodore will welcome donations for his museum and will take both Fish as well as Bugs and Critters if John puts up a permanent store and island tourists begin arriving on a regular basis.
Regardless of whether John is in a permanent structure or a tent, customers can purchase fish from him at his shop for a range of rates. Additionally, having a few fish on hand is a smart idea because you can use them to fulfill requests from other characters.
👉🏻
Source: Shamsuddin – [nintendosmash.com]
Dinkum is the new survival game in which the players will build their towns on an island and craft different items for their survival. As you progress through the game, you’ll be required to collect the metal Ingots. The metal ingots can be collected with Mining and for mining you need specific tools.
In this guide, we’ll tell you how to Mine in Dinkum.
How to Mine
In order to start the mining, you’ll have to get the mining license first. The mining license can be gotten at the start of the game. The 1st Level of mining can be gotten for 250 Permit points from Fletcher. After getting the Level 1 license, you’ll be able to get the Basic Pickaxe from John’s Goods store. The Basic Pickaxe will cost you 1200 Dinks and it can be used to mine the Tin Ores along with the rocks. Tin Ores can be crafted into Tin Bars that are used in many things.
To collect rare Ingots, you’ll have to get the Level 2 of Mining license. The Level 2 will cost 1000 Permit Points so, you’ll need to complete more milestones to obtain more permit points. You’ll be able to unlock this level later in the game. The 2nd level of mining license will allow you to craft the Copper Pickaxe at the Crafting Table. The required items to craft the Copper Pickaxe are the following.
- Basic Pickaxe
- 2 Copper Bars
To collect the rarest Ingots, you’ll have to get the Level 3 of Mining license. The Level 3 will cost 3000 Permit Points so, you’ll need to complete more milestones to obtain more permit points. You’ll be able to unlock this level in the late-game. The 3rd level of mining license will allow you to craft the Iron Pickaxe at the Crafting Table. The required items to craft the Iron Pickaxe are the following.
- Copper Pickaxe
- 2 Iron Bars
You can also unlock the Jackhammer tool for mining. This tool will speed up the late-game mining and you’ll be able to get it after John has a permanent store in the town. Jackhammer can be bought from an inventor that will visit the town after you have sold the Data Disks to Franklyn. The Jackhammer will cost 100,000 Dinks and several materials. The list of the materials is the following.
- 5 Old Springs
- 2 Hot Cylinders
- 1 Green Board
- 8 Iron Bars
- 1 Stone Grinder
These 4 Tools will help you mine all the necessary Metal Ingots in the game and turn them in to the useful items that you can use.
👉🏻
Source: Shamsuddin – [nintendosmash.com]
In this guide, we’ll tell you about hunting in Dinkum.
Hunting
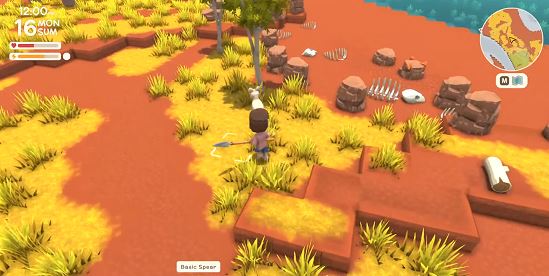
Dinkum also has an action in which you have to fight various animals on the island. You cannot defeat the animals with your bare hands. You’ll need weapons that are used for hunting and you’ll be able to defend and defeat the animals. You cannot simply buy the weapons in this game you’ll have to craft them on your crafting station after getting the recipes of the weapons. Only the Basic Axe is a tool that you can buy but you wouldn’t be able to defend yourself with a tool.
To get the recipes for the weapons, you’ll have to buy the Hunting License level 1. This license will cost you 250 Permit Points. The Level 1 license will unlock the recipes of Basic Weapons that you can buy from Franklyn. The Basic Weapons are Basic Hammer, Basic Spear, and Basic Bat. You can gather the ingredients of the recipe and then craft it on your crafting station. The ingredients required for the Basic Weapons are the following.
- Basic Hammer
- 1 Gum Wood Plank and 3 Tin Bars
- Basic Spear
- 1 Gum Wood Plank and 1 Tin Bar
- Wooden Bat
- 1 Gum Wood Plank and 2 Spinafex Resin
These Basic Weapons will help you get through the early game but as you progress through the game, the animals you face will be stronger and these weapons will do less damage to them. You’ll have to buy the Hunting License Level 2 from Fletch in order to unlock the recipes of Copper Weapons. Level 2 will require you to have a Hunting level of 10 and 1000 Permit Points. The hunting level can be increased as you kill the animals in your playthrough. After getting the level 2 License, you’ll be able to buy the Copper weapons recipes from Franklyn and then craft it on your crafting station. The ingredients required for the Copper Weapons are the following.
- Copper Hammer
- 1 Gum Wood Plank and 3 Copper Bars
- Copper Spear
- 1 Gum Wood Plank and 2 Copper Bars
- Croc Teeth Bat
- 1 Copper Bar, 2 Spinafex Resin, 2 Crocodile Teeth, and 2 Hard Wood Planks
The Copper Weapons will help you get through the mid-game but in the end-game, you’ll be going to need the Iron Weapons which are the elite weapons of this game. The recipes of these weapons will be unlocked after buying the Hunting License Level 3. You should have Hunting Level 20 and the price of the license is 3000 Permit Points. After you’ve bought it from Fletch, the Iron Weapons recipes will be available for you to buy from Franklyn. After getting the recipes, you’ll be able to craft the Iron Weapons on your crafting station. The ingredients required for the Iron Weapons are the following.
- Iron Hammer
- 2 Hard Wood Planks and 3 Iron Bars
- Iron Spear
- 1 Palm Wood Plank and 2 Iron Bars
- Flaming Bat
- 1 Iron Bar, 2 Spinafex Resin, 2 Flame Sacs, and 2 Hard Wood Planks
The Iron weapons will help you in the late game to defeat all the Alpha Animals of the island.
👉🏻
Source: Courtney Ehrenhofler – [techraptor.net]
Critter Catcher Ready for Action
Our Dinkum Critters Catching Guide we’ll explain what critters are, where to find them and what to do with them once you’ve caught them!
What is a Critter in Dinkum?
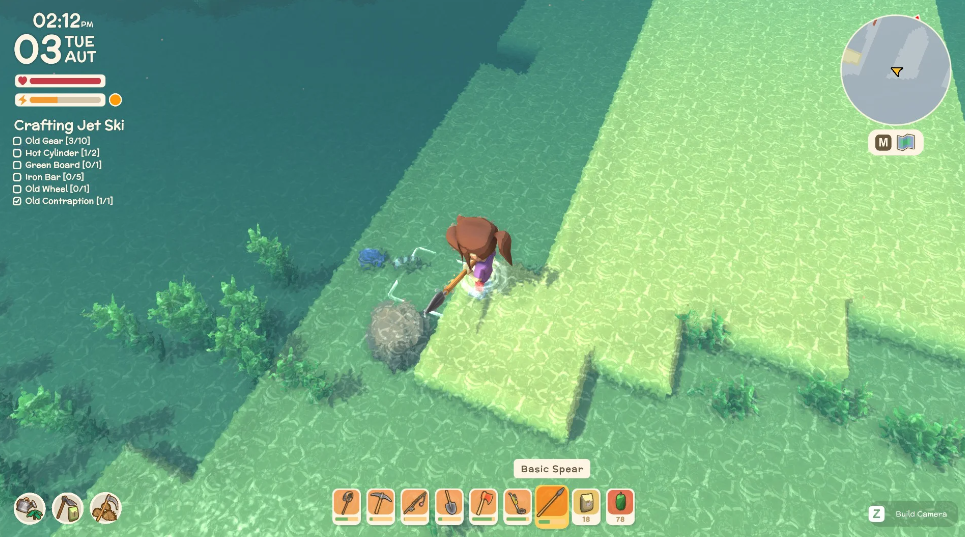
Critters are any small creatures that you can snag when diving underwater. They’re not fish and cannot be caught by use of the Fishing Pole, you do need to physically get in the water and dive, even if the critter is just on the square next to you. There’s a total of 19 different critters to find in Dinkum throughout the seasons.
Dinkum Critter Catching Tricks and Tips
Through exhaustive trial and error, we’ve cooked up a few critter catching tips to help you make the most of your expedition.
First, clear the area of any potential predators before you set out. Mainly, this is keeping an eye out for nearby sharks and crocodiles, which can and will attack you while you’re in the water, but if you’re next to an area heavily populated by emus and Tasmanian devils, or any other land predators, we recommend getting rid of those too. Additionally, keep an eye out for jellyfish that tend to lurk in the sea. If you’re near enough to spear one and get it out of the way, you can also get a nice reward of Jelly for doing so.
Critter catching is easier on days when it’s not raining. The rain hitting the water further obscures your vision and makes it harder to see what’s under the surface, which is normally blurry anyway. It’s also important to note that critters count towards your level of fishing skill, rather than your level of foraging skill.
A good rule of thumb is if it’s not moving, it’s probably a critter. Critters can move small distances in the game, but if it’s wiggling about it’s probably a fish or a plant. If it’s staying mostly still, it’s a critter. This applies to both the ocean and to the inland waters.
While you’re on the lookout for critters, also keep an eye out for anything sparkly. Underwater sparkles usually indicate a pearl that you can dive and Harvest. Pearls sell at John’s store for 5,000 apiece, which is a nice supplement to your income. You can also get Pearl Picker milestones the more you collect.
List of Dinkum Critters
Here’s a list of Dinkum Critters that you can catch in the game.
Bay Bug
Habitat – Everywhere
Time Found – Morning/Day/Evening
Season – Spring/Summer/Autumn/Winter
Biscuit Sea Star
Habitat – Northern oceans and southern oceans
Time Found – Morning/Day/Evening
Season – Spring/Summer/Autumn/Winter
Blue Mussel
Habitat – Northern oceans and southern oceans
Time Found – Morning/Day/Evening
Season – Spring/Summer/Autumn/Winter
Blue Mussel Sell Price: 799
Fresh Water Mussel
Habitat – Rivers
Time Found – Morning/Day/Evening
Season – Spring/Summer/Autumn/Winter
Inland Crab
Habitat – Rivers
Time Found – Morning/Day/Evening
Season – Spring/Summer/Autumn/Winter
Pink Sea Urchin
Habitat – Northern oceans and southern oceans
Time Found – Morning/Day/Evening
Season – Spring/Summer/Autumn/Winter
Purple Mottled Crab
Habitat – Northern oceans and southern oceans
Time Found – Morning/Day/Evening
Season – Summer
Purple Mottled Crab Sell Price: 440
Spiny Sea Urchin
Habitat – Northern oceans and southern oceans
Time Found – Morning/Day/Evening
Season – Spring/Summer/Autumn/Winter
Tiger Prawn
Habitat – Northern oceans and southern oceans
Time Found – Morning/Day/Evening
Season – Spring/Summer/Autumn/Winter
Tiger Prawn Sell Price: 1,540
White Yabbie
Habitat – Rivers
Time Found – Morning/Day/Evening
Season – Spring/Summer/Autumn/Winter
Yabbie
Habitat – Everywhere
Time Found – Morning/Day/Evening
Season – Spring/Summer/Autumn/Winter
What To Do With Critters in Dinkum
Once you’ve caught a bunch of critters in Dinkum, what then? Well, you have a couple of options.
After you’ve set John up with his store and you have a rotating set of visitors to the island, Theodore will eventually come by and express his desire to set up a museum on the island. Either in the tent or in the museum, you can donate critters to Theodore’s collection in exchange for Permit Points. However, he only takes one of each type, but once the museum is open you can go and see the critters in the exhibits, which is pretty cool.
Critters can also be sold to John for various prices if you’re looking for some extra funding for your next island project. Not all critters are worth a ton of money and each individual one does take up a separate slot in your backpack or toolbar, just like bugs.
Finally, critters can be requested by various people as part of daily requests or on the bulletin board. We recommend keeping a spare set of some common critters handy so you don’t have to go searching for a White Yabbie every time someone decides to ask. Fortunately, unlike bugs they can be kept in storage containers and chests rather than their own habitats. Critters can also be used in photography requests, but you will need to find them in the wild to complete these.
👉🏻
Source: Shamsuddin – [nintendosmash.com]
In this guide, we’ll be telling you about cooking in Dinkum.
Cooking
Dinkum is a survival game and just like in any other survival game, cooking plays a very important role in making your character stay alive and fit. If you are low on health or energy, your character will slow down and it would be harder for you to play in that situation. You can always eat fruits that you will get by cutting down the trees but the fruits will not restore that much energy. That is where cooking comes in because cooking fruits or meat will greatly increase your energy and you can work for more hours in the game.
You’ll get the Camp Fire/BBQ in the early game by completing the few objectives on Day 1. The Camp Fire/BBQ will only need a single ingredient to cook the food that will restore your energy more than eating raw fruits or meat. You can place fruit or meat on the Camp Fire/BBQ to cook the food. There are also other cooking tools in the game that will restore your energy more quickly but they will also require more ingredients for the recipe. The other cooking tools are the following.
- Cooking Table
- Keg
- Grain Mill
These cooking stations can also be used to cook the food and to restore health and energy more quickly. All of these stations will require multiple ingredients in a recipe. But as you progress through the game, you’ll be able to gather many resources and ingredients for the recipes that you’ll be able to cook the food on these stations.
👉🏻
Source: Shamsuddin – [nintendosmash.com]
In this guide, we’ll tell you about bugs and what can you do with them in Dinkum.
Bugs
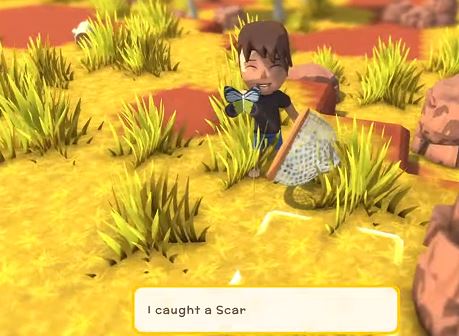
You can catch bugs with your Net and then you can sell them to John for money. This is one of the early-game methods to make money. You’ll catch bugs in the start of the game and there are also some milestones for catching bugs. If you complete the milestones, you’ll get certain Permit points.
To catch the bugs, you’ll need to buy the Net from John once he is in the town or opened his shop. You can buy the Net from John for 1100 Dinks. After that you can start catching the bugs on the island and sell them to John for money. It is an easy way to make money but it would be helpful in the early game. There are also other things that you can do after catching the bugs. You don’t always have to sell them to john.
Once John has opened his shop on the island, new NPCs will start to visit your island. There’ll be an NPC named Theodore that will come to the island and will open his museum. You can choose to donate a single bug from each specimen of the bugs. There are characters as well in the game that will request you for the bugs and can give you much better items in return than the money. You can see requests of the people on the Bulletin Board and you can complete these requests to earn useful items. So, try to keep some bugs in your inventory to complete these requests or donate them to zoo.
Here we come to an end for Dinkum Wiki – Full Guide hope you enjoy it. If you think we forget something to include or we should make an update to the post let us know via comment, and we will fix it asap! Thanks and have a great day!
- Check All Dinkum Posts List













Leave a Reply