This guide aims to help new Modders and veteran Modders alike dive into the world of custom vehicles, which can include all ranges from mobile cranes, to battleships with broadside cannons.
This may be confusing for newer Modders and if you run into any issues the guide isn’t very good at explaining or is missing outright. Please contact me on discord (Tony Stark#5913) for more personal help. Or consider checking out the official Teardown Discord (https://discord.gg/teardown) – []
Disclaimer:
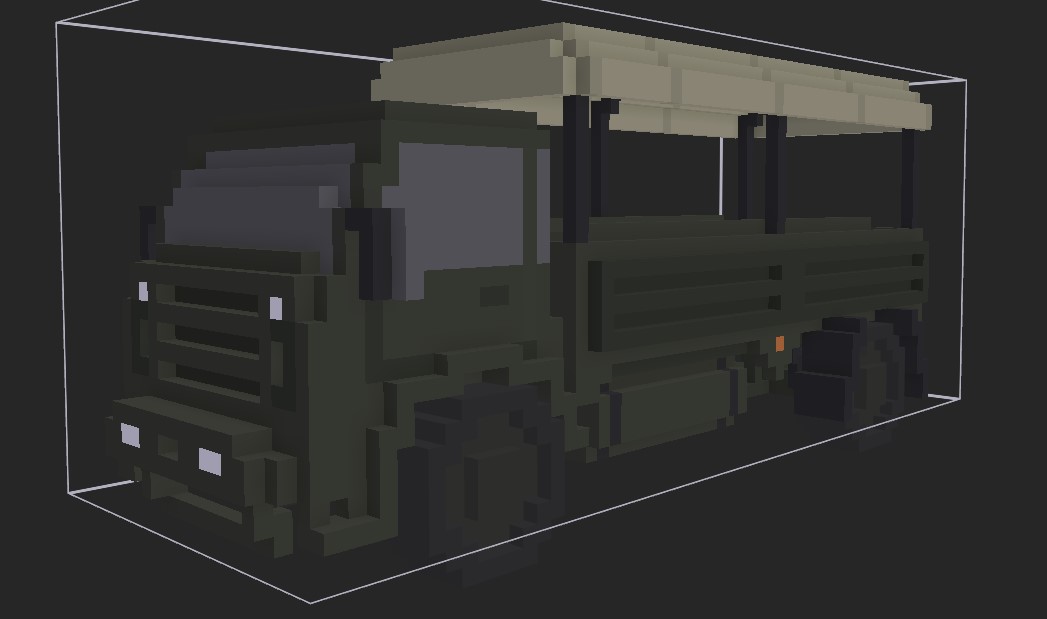
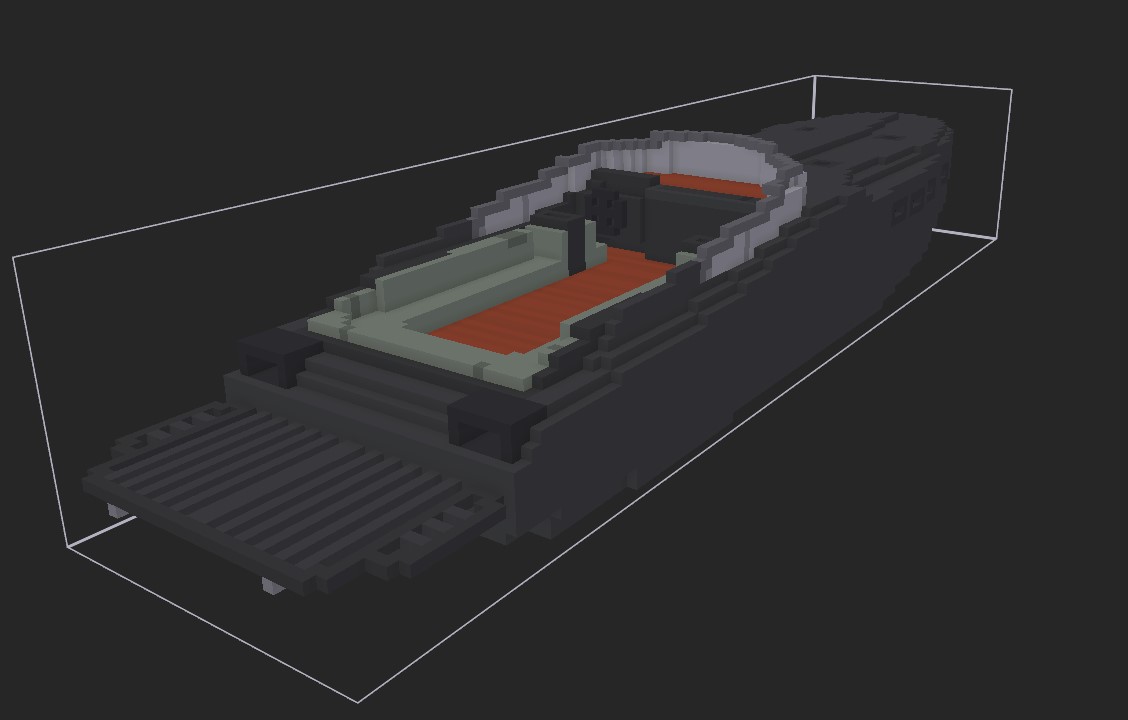
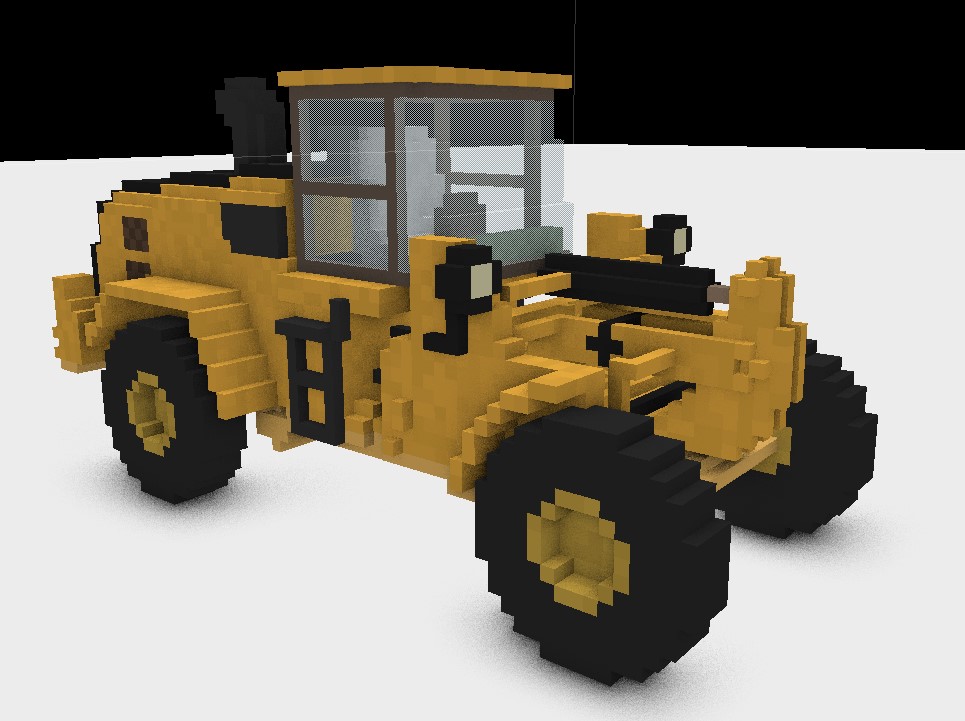
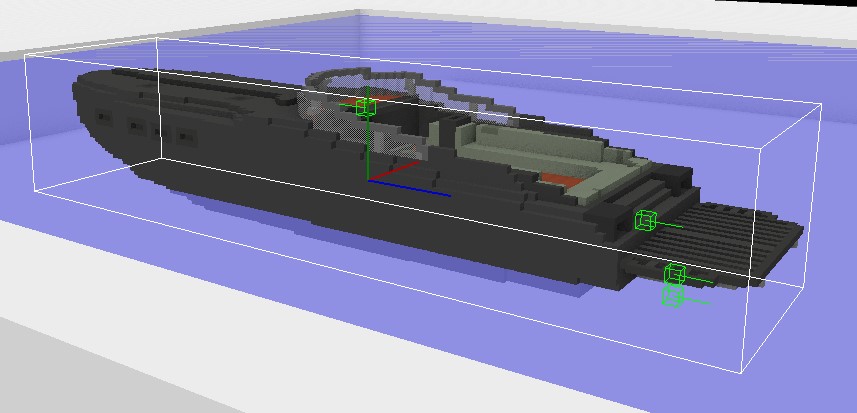
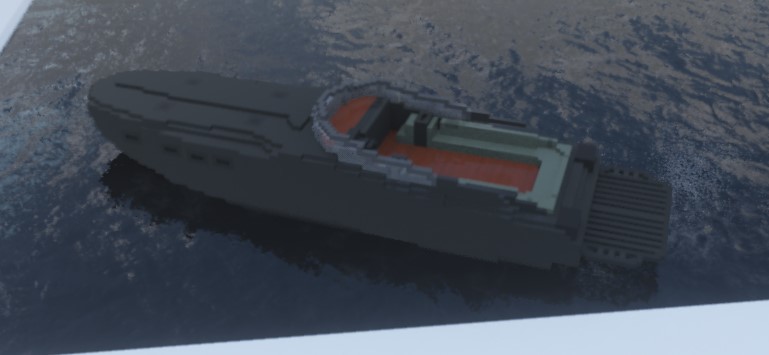
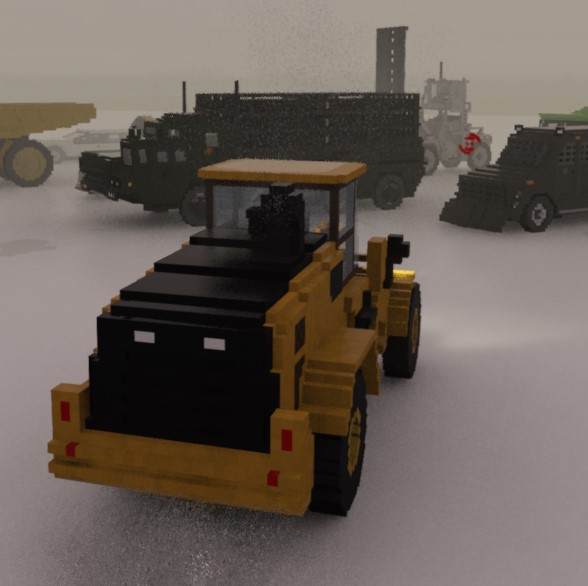
Some skills like voxel art is learnt by time and practice, do not come into this guide expecting to nail the design and shape of your first vehicle instantly such as the one shown in the image. Plus, keep in mind this process takes time and the model alone can take you an hour.
Part 1. Magicavoxel Basics
If you already have a vehicle model ready or prepared. You may skip this section.
The first important piece of this elaborate puzzle is the vehicles physical model that the players will be interacting with. This is made in Magicavoxel which is a free voxel modelling program you can download off the internet.
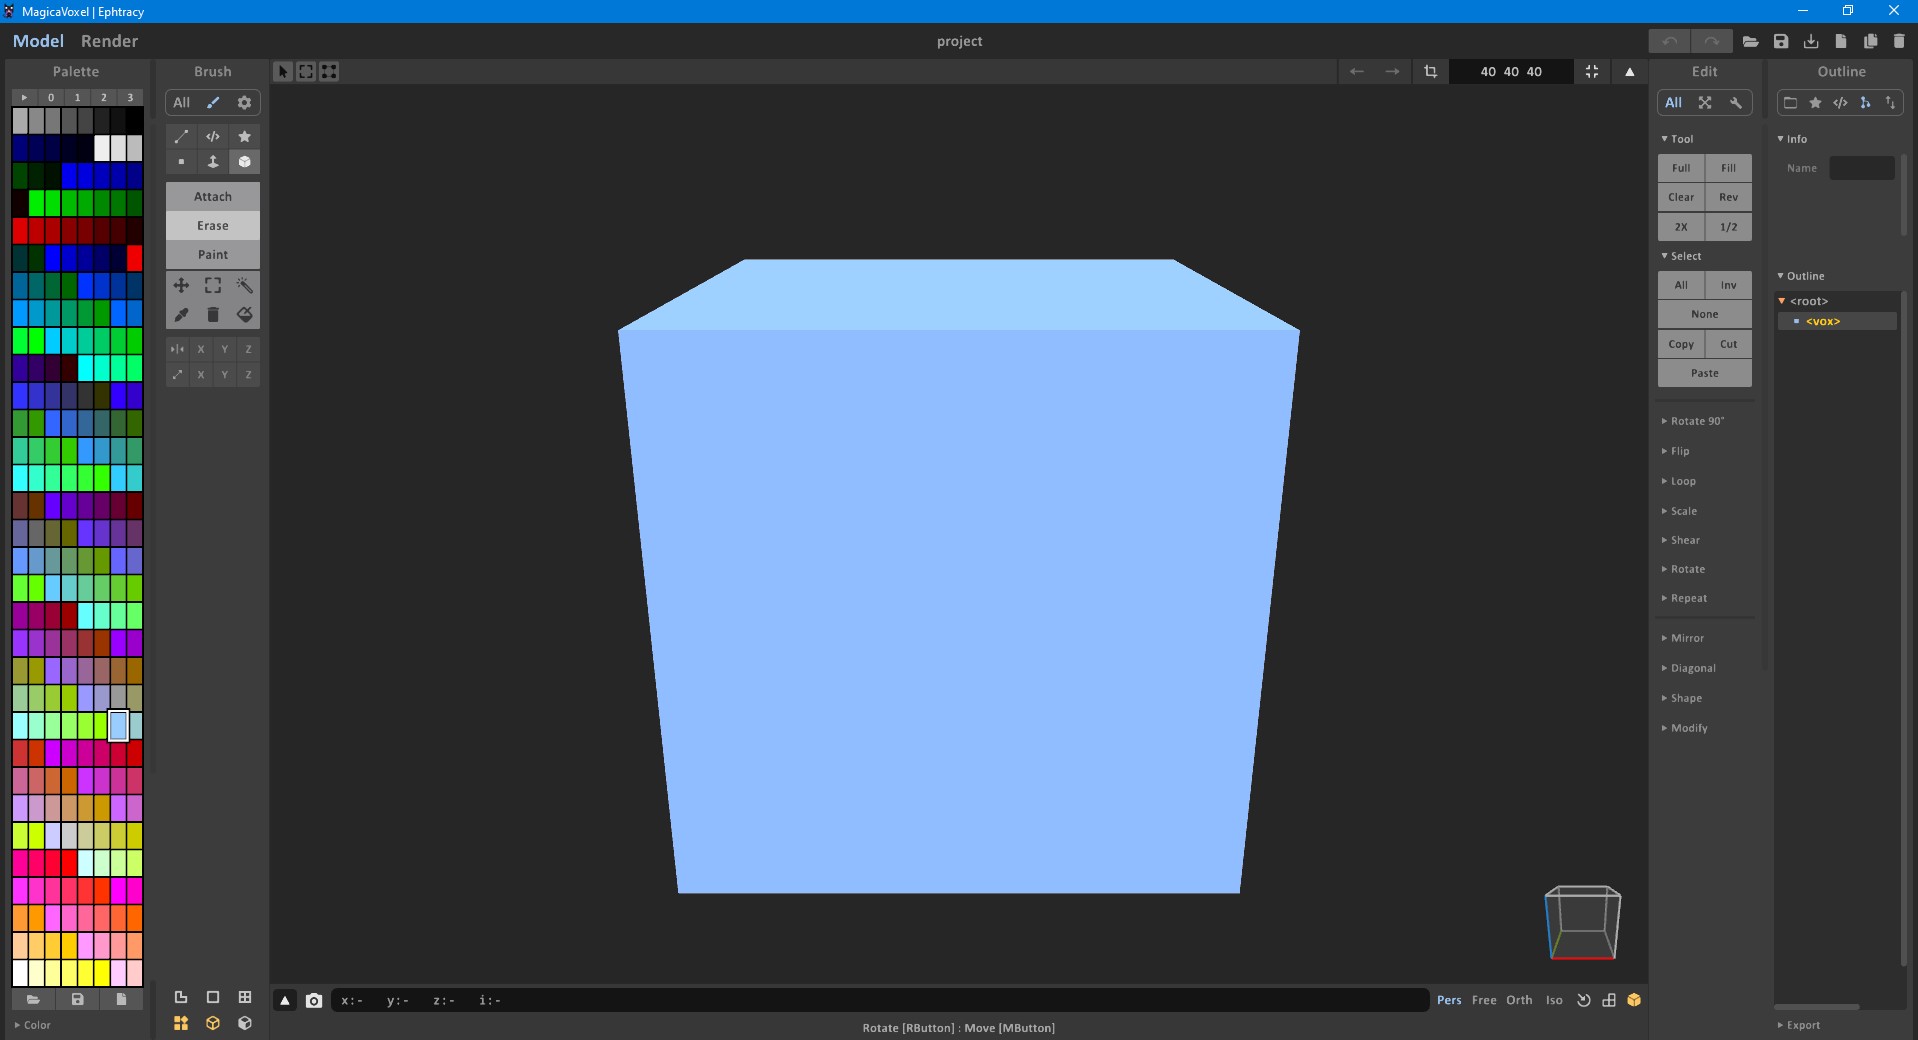
Once you have Magicavoxel open it up, You should be seeing something similair to this.
This is good, but something is missing. Now this next part is VERY important so pay attention.
The colors on the left are your respective voxel colors, very obviously. But, hold on a second, Each row is assigned its own respective material property. Here are the ones you want to be using.
This is viewed from the bottom of the color spectrum to the top, anything above Masonry is Unphysical (Meaning it disappears and is generally Indestructible) or reserved for the blowtorch and spraypaint. There is also index 255. (Top right most color) which acts as a hole puncher, anywhere that is placed will be removed once the model is imported ingame, which can be useful for windows or doorways that are intersecting with any other wall.
If you’d like to change the colors of a certain box, you can Click the arrow under the color spectrum to open a color slider. Also keep in mind some useful keybinds that can help you in the long run.
Holding CTRL on a color allows you to swap its location with another
Holding CTRL and SHIFT lets you duplicate a color, replacing another.
Holding ALT has a similar effect, replacing a color. But acts like an eyedropper tool.
Holding CTRL and ALT lets you create a gradient between two colors by dragging to another color.
Camera controls are quite simple. Holding Right-Click lets you orbit the object. Holding the Middle mouse button lets you pan around, and you can zoom in and out with scroll. Revolutionary, i know.
Now for actual object editing, in your display viewport is most likely a cube. (Wonder where i’ve seen this before) you can remove this cube in two ways.
- 1. Press the Delete button and it will remove all voxels in the object (This is an important term, do not get it confused with the actual voxel model itself)
- 2. press the Tab button to switch to Object mode, select the model, and press Delete. This removes the Object itself.
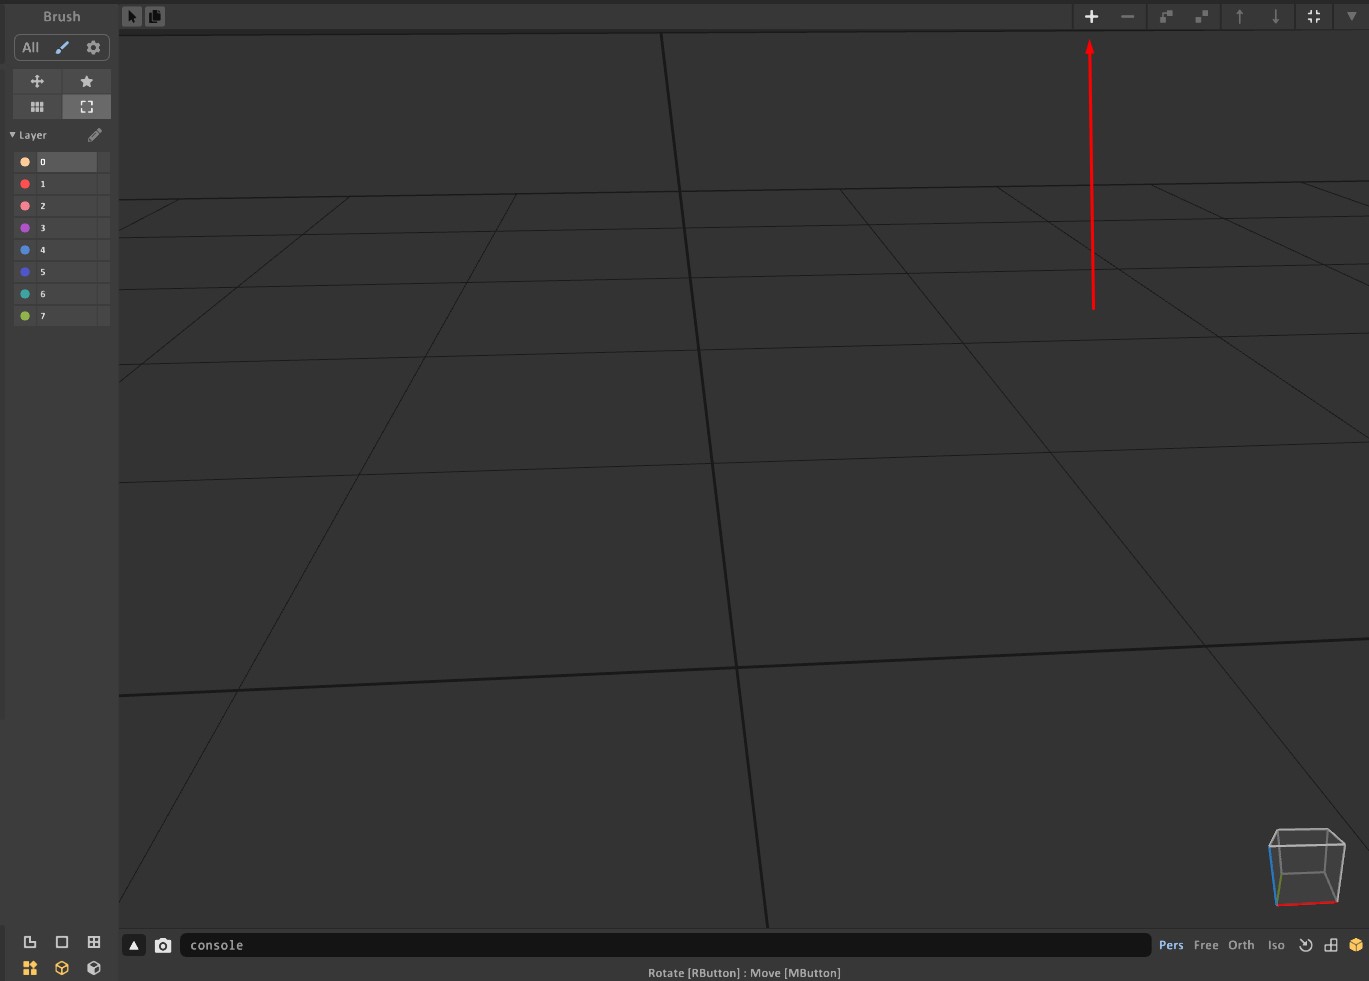
If you removed the cube using method 2. Press this button at the top right to add a new Object back. This will add a new object into the scene, pressing Tab on it will put you back into edit mode so you can start drawing with voxels. This will be later useful when making your vehicle’s tires and any addons like doors you want to be openable or anything that you want to have seperate properties like a gas tank that may explode. IMPORTANT: You can increase your objects max size in the top right while in edit mode, default is 40 40 40, you can change it to anything that is below 256. To the left of that is the “Shrink Wrap” Button, if your object is too big but you dont know its size specifications you can press this to “Shrink Wrap” the size.
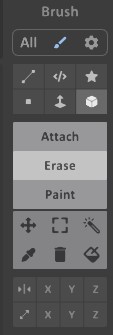
Next is your handy dandy tools you can use to build your vehicle. These all do different things but you’ll only end up using a few of them. Make sure with all these tools that any voxels placed touch another on atleast one other side, not diagonally. as any unconnected voxels with be either removed ingame or not attach and fall off as soon as gravity is enabled on the object.
- 1. The first tool is the one represented by a line with two square ending points, this tool can draw Lines of voxels. make squares with a center origin, or circles, which i consider the most useful for making tires. NOTE: if using the line tool make sure you disable “Project Line” as this will attempt to draw the line making sure its always touching something. Also consider double enforcing voxel thickness on lines to prevent unconnection.
- 2. The next tool is Pattern tool, this is used with shaders and patterns, you’ll not be using this one so further explanation is not required.
- 3. the Star represents a “sticker” resembling tool, where if you save brushes in another vox file you can use them here, so if i saved a sphere object in another vox file, i could use it here to add or remove voxels in a spherical shape.
- 4. This is the voxel drawing tool, its used to draw voxels by holding left click and acts like a pencil following elevation and such. this is good for curved surfaces.
- 5. This is the second most useful tool and its the extrude tool, it will extrude the face of the voxel you click and drag on. The keybind is F.
- 6. This is the tool you’ll be using the most, the Box tool can draw rectangles, cubes, and more. This is how you’ll be designing most of your vehicle. They keybind is B.
The three modes of painting are pretty self explanatory, but should be explained anyways. Attach is for actually painting and filling in voxels, delete is, well, delete. and paint is for changing the color of a voxel.
The next important tools are as follows, the first tool is for moving selected voxels. the square is for selecting voxels, and the magic brush is for selecting all of a color, alternatively by clicking
the “L” shaped squares you can select all of a color in a section instead of globally. The last three are very self explanatory, an eyedropper, delete, and paint bucket tool.
At the top you can also find the render button for rendering your creation. this can be used for screenshots of your vox object. IMPORTANT: If you have a color selected you can also apply material properties onto said color on the right while in render mode, such as Emit for glowing lights, Glass, Metallic and so on. If adding the emit property you also need to make sure its a minimum of 3 bars of power. or else it won’t show up ingame.
Top right you can find these buttons, the most important ones are as follows.
- The first one is quite simple, it is just an open file button.
- The second is the holy lord and saviour, the save button.
- Third is the “Save As” Button.
- Fourth is clone project button, you can use this to clone the vox model you’re working on in a different file.
Part 2: Creating the Vehicle. (Car)
Now for the meat of it! This section is focused on CARS The vehicle you make is up to you. You need to make tires for your vehicle, you can use the circle tool previously mentioned for this. Make sure tires are made of indestructible metal or rock so the player cannot break them.
Something like this will do, plus make sure to have the tires be atleast 3 voxels thick. But keep in mind this is vehicle dependant, the Missile loaded truck will obviously have thicker tires than a small sedan. Dont forget to shrink wrap your tires after. Then create a new object for the car body.
Now to begin your actual car body, some basic tips to follow
Simple, dont overestimate your ability, you can try to make something large, i can’t stop you. But i recommend smaller simpler cars for a beginner.
For doors or crevices use a slightly darker and slightly lighter version of the cars main color to give an effect of depth similar to how i’ve done it.
dont try to mimic every single detail on a car you are remaking, certain things like antennas and slight curves or crevices can be skipped, the vehicle will turn out fine without most of these.
Try to have the car make sense, no doors that lead into solid metal or having no steering wheel. It’s the little details that matter.
This is an important part, pay close attention.The headlights have specific colors they must be set as to work properly.
- Far Right is main headlights. Usually White
- 2nd Right is reverse lights, turn on while backing up. Usually White
- 3rd Right is Reverse Lights, turn on when you start backing up, then swap to the white lights, usually Red
- 4th is decorative lights from my experience, just lights you’d see on the side of a trucks trailer, or warning lights. Can be any color, mostly orange.
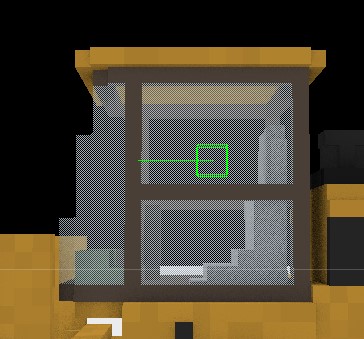
- Far left is cabin glass, this is just glass you’d use on any car, windshield, etc. Any color of your choice.
Next is the Chassis, when making the chassis use indestructible materials for whats connected to the wheels and any other bits of the chassis, this is so when the car is totally destroyed the wheels dont fall off and glitch. So this is done to prevent that.
Now, the final step is to name the different objects so you can spawn them ingame.

Naming Convention
- wheel_fr
- wheel_fl
- wheel_br
- wheel_bl
- body
The wheel ones are used for the side and part of the car its on, so front left, or back right. and body is the main part of the car. These ones are textbook but dont be afraid to name them something different.
Part 3: Creating the Vehicle. (Boat)
This part of the tutorial is focused around boats, which is harder to make with voxels but miles easier to adapt ingame.
To start, i recommend turning on X mirroring, so that way your boat’s hull will be the same on both sides, plus it will copy over any details you also add. This can be found under the tools on the left, and is the X on the top row.
You start out with a prism or rectangle, and using the delete tool, or line tool, slowly carve out the boats hull.
after you are happy with how your boat looks, you can save it. You do not need to name it like with the car as the boat only consists of one object, if you have multiple objects then you would name it.
Boat Tips
- use some indestructible materials, unlike a car boats
dont use wheels, so theres no need for any chassis or similar parts on a boat. But a boat still requires some parts that are indestructible for gameplay purposes. - make sure the boat is
somewhat sizeable, a small
boat just looks weird.
Part 4: Putting your Vehicle ingame. (Car)
Hooboy, this part might confuse you. So give it a good read, and don’t be afraid to ask questions in the comments or using the discord tag at the top of the guide to contact me personally.
First step is load up Teardown, Done? Good! Go to your mods tab, and find the “Basic” Map in the Built-In Section.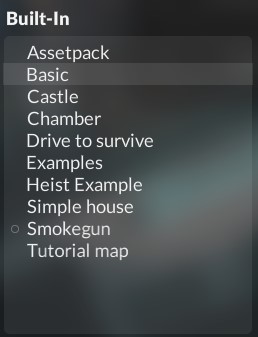
Now locate the Basic copy you just made in the “Local Files” tab on the right. Click the small file directory found at the bottom under the mods menu. Click it to open the file directory to the mod, add your car’s vox model into the “main” folder, or just put it in the main directory where all the files are. Now go back ingame, and click the “Edit” Button where the “Make Local Copy” button used to be.
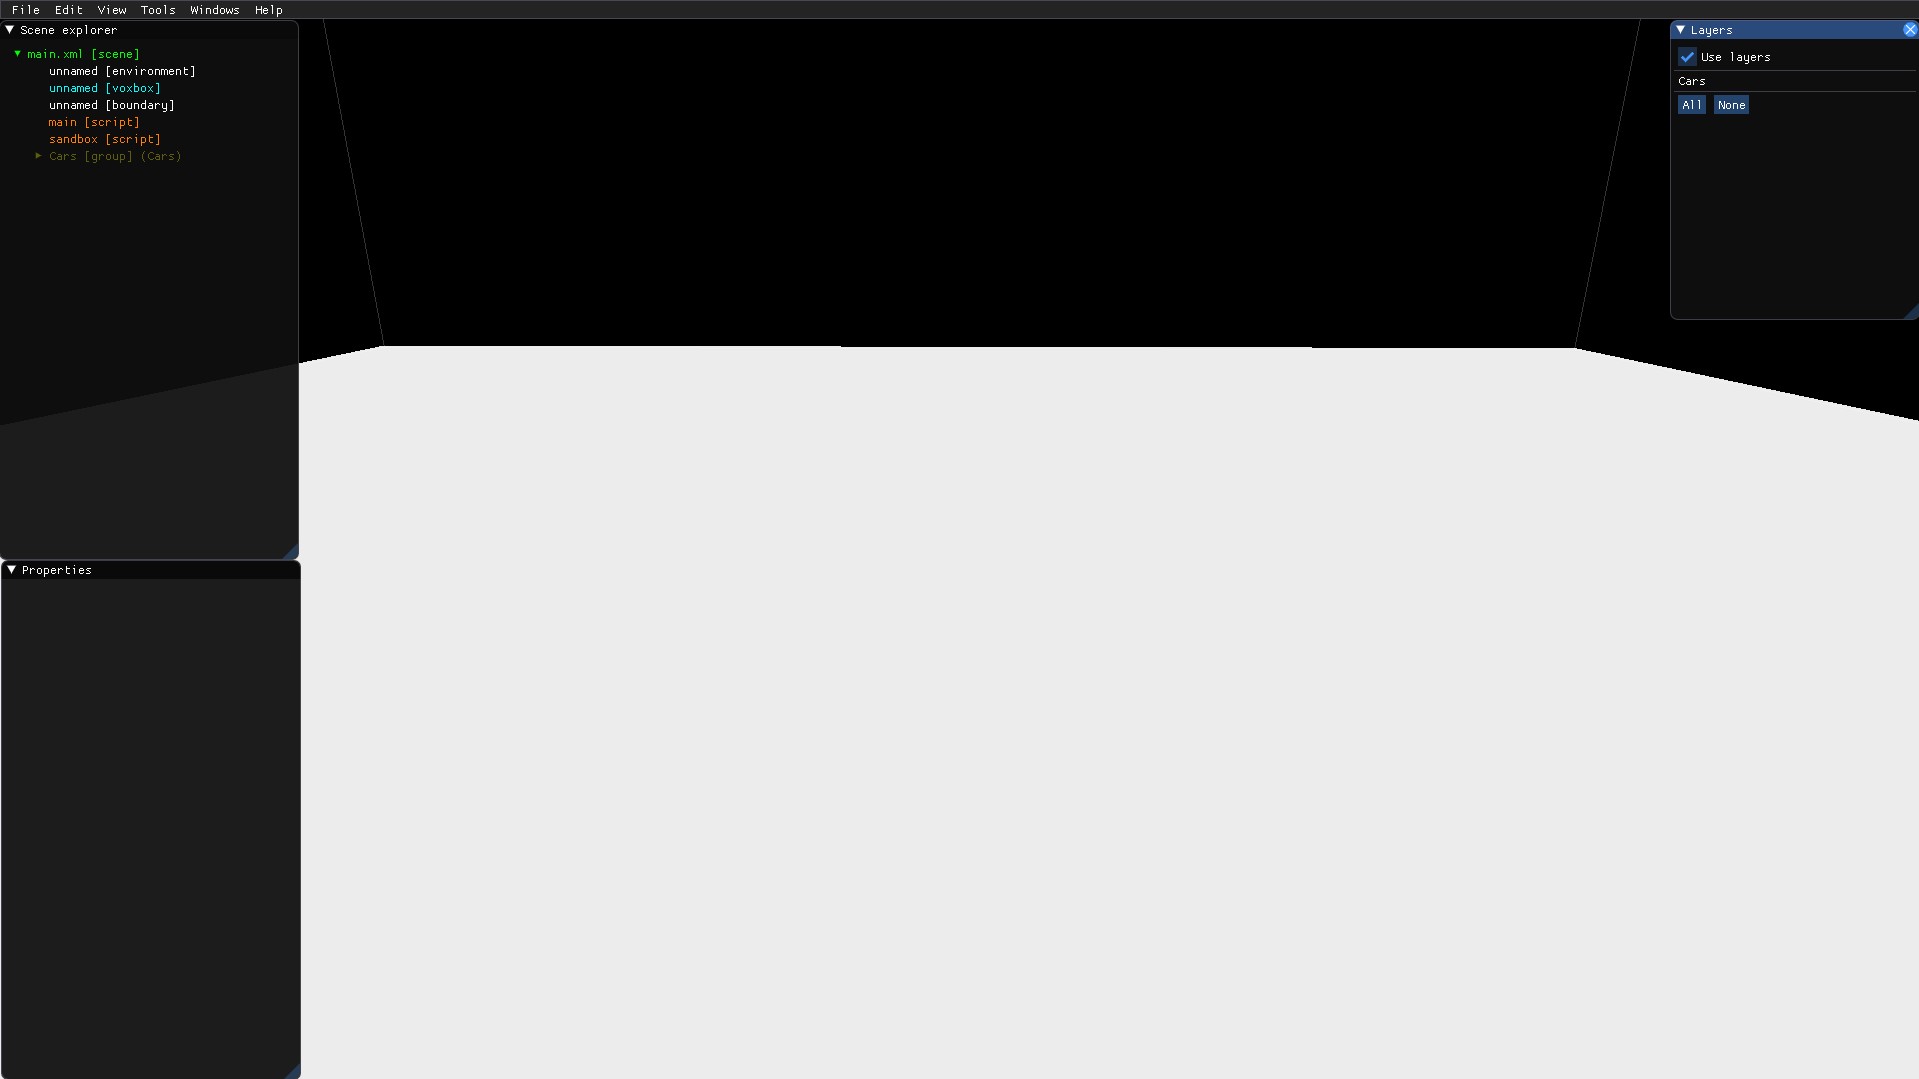
You should see something similar to whats below. The camera position may be incorrect and the Layers tab on the right will be missing. This is fine. You can move exactly how you do it in Magicavoxel, with the added bonus of being able to reorient the camera orbit point with Middle-Mouse and Right-Click. Find the green text on the left that says “main.xml.” Right click it and a new menu should come up, find the “New” Header and hover over it. A new box! Find “Vehicle” in this big scary list, and you should be greeted with a white cube somewhere in the map. Plus it will show up in the hierarchy on the left as unnamed [vehicle]
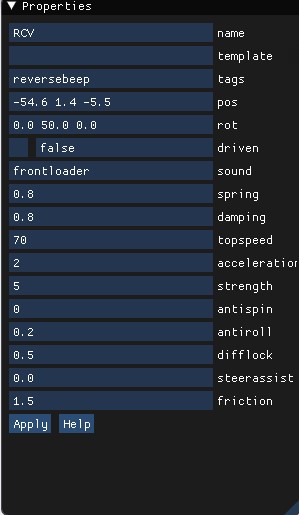
I will try my best to explain each value.
Tags is for certain things the vehicle will do. On their own these do nothing, I will expand more on these in a later portion of the tutorial. a short list can be things like
- crane
- reversebeep
- forklift
- tank
- frontloader
The sound used for the car is quite simple, what sound it makes. You can find a full list of all vehicle sounds in Teardown files under“data/snd/vehicle.” Do not include the OGG extension or the type of sound, just the first word. Something like “excavator” or “tank1”
The rest of the settings are pretty much a mystery to me, more car inclined people will know better than i do. Simple ones like Topspeed, Acceleration, and Friction are pretty obvious but i am unsure on the rest and because of that i can only tell you exactly what the ingame description of the property says.
Now, right click the vehicle entity, and enter the “New” Menu again, this time add a body. and make sure it is parented to the vehicle. (This just means the word is nested below the vehicle entity)
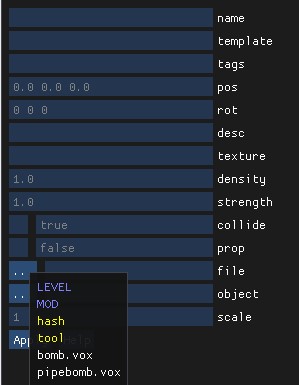
This is just the model, it won’t do anything on its own. Select the vox again and right under those three dots you clicked earlier, click the second pair of three dots, left of the “Object” property. You should hopefully see those names you gave the pieces of the car, like the tires and body. If not, please go back to Part 2, and re-read the section on naming the car pieces.
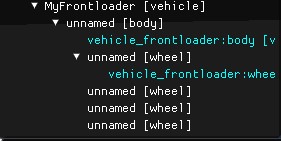
You’ll now have the tireless husk of your car, perfect! Now, right click the body again and a “wheel” entity. Do this three more times. Now right click one of the wheel entity’s, and add a vox. make it your car vox and this time make it a wheel sub-object.
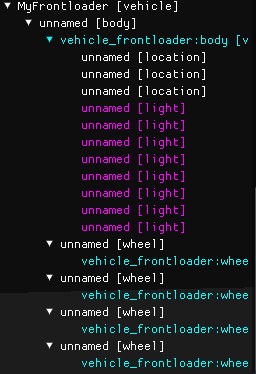
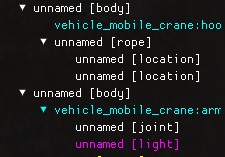
You should see something similar to whats shown on the left there. Your vehicle entity with all previously mentioned parts and pieces.
Now the simple (Hah, i wish) Part. Positioning your car’s tire, read SLOWLY, this part messes up the most people. Make sure the wheel ENTITYis selected. and not the wheel VOX. Now, is it a back wheel? set the drive property to “1”. If its a front wheel, make both “Drive” and “Steer” 1, Unless you have back wheel steering like what is found on Dock handlers. in which case swap the roles. Perfect. You can repeat this process for all wheels.
Now, once again. select the wheel entity and using the axis helper. move the wheel to its correct position on your car. If its flipped 180 the wrong way, rotate THE VOX, not THE ENTITY.
Likewise, when positioning, do not move the wheel VOX, only the ENTITY.
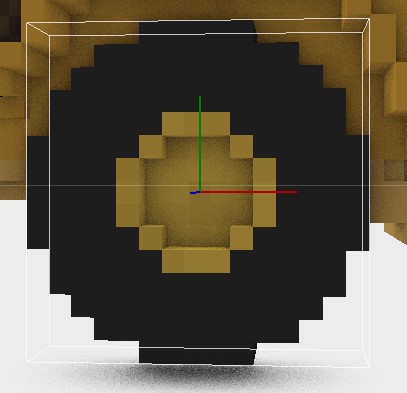
Now with your tire placed in the correct spot, we must adjust the rotation point of the tire. Select the wheel ENTITY, see the 3 colored lines? That’s the POR (Point Of Rotation) right now. Holding CTRL, you can move these 3 lines by dragging them. Adjust this in the direct center of the tire. Depth does not matter, as long as its in the middle in Height and Horizontal location.
If you are unable to get a perfect center due to the grid snap being too high. you can navigate to the top of the screen where it says “Windows” and click “Snap”. Then adjust the “Move Snap” to 0.5.
Repeat this entire process for all 4 Tires. Keep in mind to only move the Wheel ENTITY, not the VOX. But only to rotate the VOX if it is facing the wrong way. Also, you can reset the VOX “pos” value to 0 0 0 if it is in a very wrong position, but it is not neccesary to be at 0 0 0, so you don’t need to reset all the tire pos values.
BTW If you have an issue where driving forward makes you move backwards and reversing either makes you go forwards or also just reverse. OR the tires move sideways, it is an issue of your tire VOX or your WHEEL ENTITY being rotated wrong, at that point just remake the tires or flip the body of the car 180
Phew! Hope you made it through all that. We’re nearly done! This last part should be a cakewalk after that nightmare.
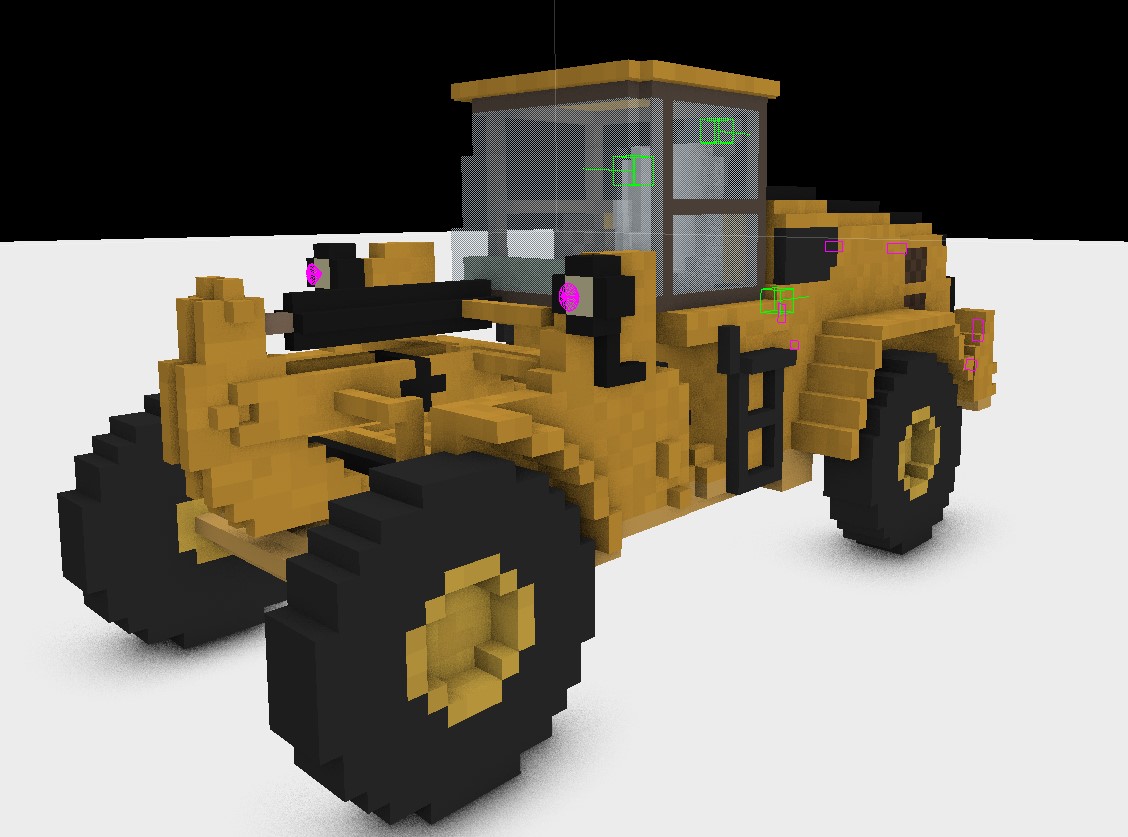
Right click the CAR VOX in the hierarchy, not the TIRE VOX. You now need to add 3 “Location” entitys” and as many lights as you have light surfaces. Decorative lights do not count.
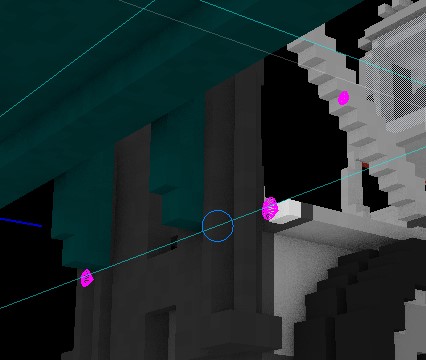
First up is the locations, they are the most simple. Select one and in the properties add the TAG “player.” This is where the player camera will be in first person mode, and where the “enter vehicle” prompt shows up. Try to have it positioned where the drivers head would be, with the green line facing the way the player should see.
The next location entity should be given the Tag “vital.” This is the engine in other words, place this where the cars engine will be, if this area is destroyed the car will either stop working or take a hefty amount of damage. The line does not need to face any direction.
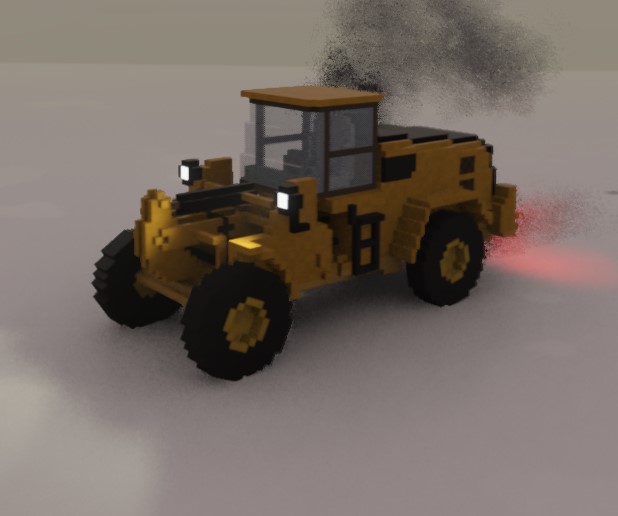
The final location entity should have the tag “exhaust.” This is where exhaust comes from, place it either on an exhaust pipe you made or somewhere the pipe would be. I won’t judge if there’s no exhaust pipe. I am guilty myself of ghost exhaust a few times.
Next is the lights, add a light and change its type in properties to “area.” this will be used on the reversing lights on the back. the “Size” value can be used to change the area of effect, in my case one voxel is “0.1 0.1” So, in relation a 2×3 voxel light would be “0.2 0.3” Dont forget to change its color to red!
Part 4: CONTINUED!
For the headlights, make the type “cone”. Same rules apply here, change the settings to your liking.
Once finished it should look something similar to this. (the amount of lights doesn’t need to be the same, you may have more or less. It depends on how many lights you have on the car after all.)
This should look like yours, all locations and lights set up. Tires set up and one beautiful car at your disposal! The final step, is to press F5 and hop ingame to test it. (F4 can be used to return to the editor incase of an error) If you made any mistakes and something is not working you should go back and read Part 4, if the error persists contact me personally or ask through the comments.
Part 5: Putting your Vehicle Ingame (Boat)
Welcome sailor! This is where we learn how to add boats into your map! If you’ve read up to here from the Car section you may continue up forward. If not, i recommend learning the important vocabulary terms and how to use the editor. You may want to go to Part 4, and read up until where we start actually adding the car into the editor. As doing this part with no idea how to work the editor will be a pain.
The first step, similar to the Car is to add a Vehicle entity. Except this time we give it the tag “boat”
I also recommend a boat vehicle sound, something like “speedboat.” Once again, add a body parented to the vehicle entity. and then the boat’s vox.
Now, you just need to the add the three locations the car had, Vital, Player and Exhaust. But also a fourth, you will need a location entity, with the tag “propeller.” make sure it is decently underwater behind your boat.
The final step is to adjust the Center of Gravity of the boat, similar to the wheels, select the “Body” of the boat and center the Axis on the middle of the boat, this time all Axis will matter, Depth, Height and the General location.
Now you may be thinking, Wait, That’s it? Yep, thats litterally it. You’ve added a boat into the beautiful world of Teardown, Congrats!
Part 6: Special Vehicles.
Crane
The mobile crane, also known as “a force to be reckoned with”
The crane is made exactly the same as to the car, except you also need to add the “crane” tag to the vehicle entity. And, two extra bodies that contain the Hook, and the Crane arm.
We will start with the arm. The first step is to add the body (Parent it to the vehicle entity), obviously. Then, add the vox of the crane arm. Parent a joint to that vox, and give it the “hinge” type in its properties.
The way Joints work is the blue sphere will try to connect two objects in its range, this range can be increase but shouldnt need to be here. Place the joint between the arm and crane body.
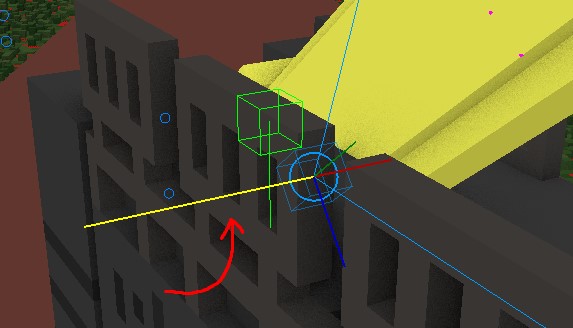
Hinge’s can be a bit finnicky, but listen carefully now. You want the yellow line to point on the Axis its rotating around. On a door the line points straight up. on the Crane arm it should be pointing horizontally. You can rotate the hinge by holding SHIFT and dragging any of the three colored lines.
You may also want to apply a limit so it doesn’t go past an intended amount. the vanilla crane uses a limit of “-40 30”
The final part is the Hook, add a new body. And then the vox, just like before. Tag the VOX, “unbreakable” and “hook” Now add a rope parented to the BODY. and connect the two points to the crane arm and the hook. that should be it!
Keep in mind the crane doesn’t need a rope, or hell, even an arm! You could have it be just the hook, or a magnet. This is what i did for the dock handler.
Forklift
The forklift is much easier to create, and this method will be used for most bucket or joint based vehicles like a frontloader or dump truck.
First, add the “forklift” tag to the vehicle entity
Now, you add a body parented to the main vehicle entity. Add a vox inside that body, make it your forklifts fork, now add a joint parented to the BODY. Make it a prismatic type joint in properties, and then apply the limits based on the size of your forklifts rail. So the fork doesn’t go past the rail as amusing as it would be.
And thats it! Forklift created!
Frontloader
I see you’ve come for help, on how to make arguably the best vehicle in the game. Well look no further! Its actually quite simple, and mirrors a forklift for the most part.
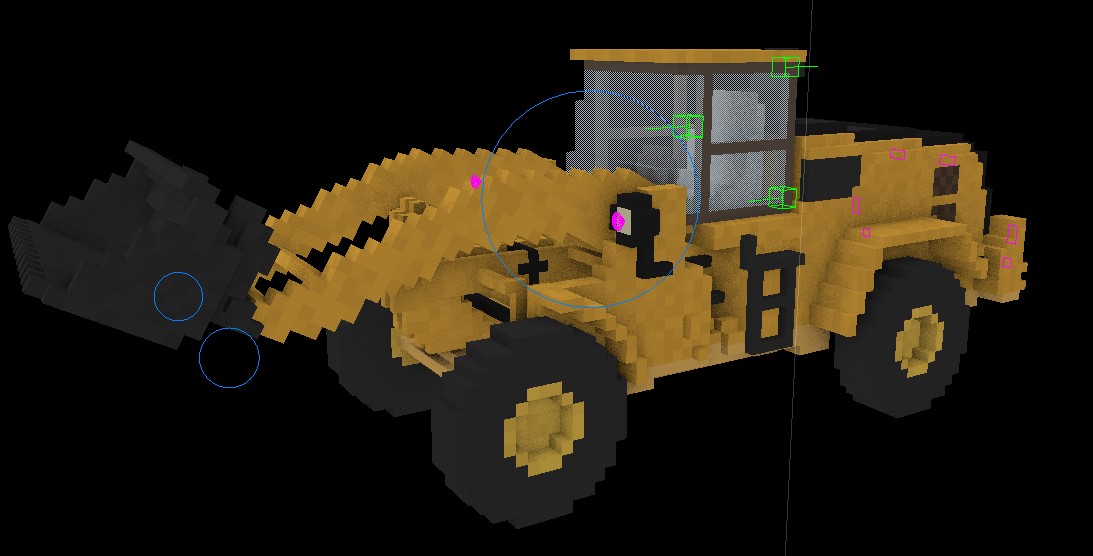
The setup being used in the image is for the vanilla base game frontloader, there are two sets of hinges parented to the bucket so it can flail around. But this is not neccesary, if your bucket is a part of the arm model then you dont need those. First step is the same, apply frontloader tag to main vehicle entity, add a body parented to the vehicle entity. and the frontloader arm vox parented to the body you just added.
Then we add the joint parented to the body, make it a hinge in its properties, and similar to the crane. make sure the yellow line is horizontal. If you’re confused on what that meant, go look at the hinge portion in the Crane tutorial at the top. the diagram can also help. Add limits on the joint to finish it all off
Dumptruck
Now, the dumptruck. This is exactly the same formula as a forklift or frontloader. a tag applied to the vehicle entity. body parented to vehicle entity, vox of dumptruck bed parented to the body, with a hinge type joint connecting the dump to the base of the vehicle.
Fun Fact: The cement truck uses a dumptruck tag to make the barrel spin, and the box truck’s even the flatbed all use a dumptruck tag to lower the back doors or platform.
See, that was it! Quite simple right?
Missile Car
Well, this is probably one of the reason’s you’re here. This ones a bit more advanced.
First step is to add the “car” tag to your vehicle entity. then the “body” tag to the vehicles body.
Now we add a new body parented to the vehicle entity for the missile launcher. You add the tag “gun” to the body. And then add the vox of the missile launcher parented to the body, decrease its density to 0.1. now add a joint parented to the body. leave it as a ball joint. but increase “rotstrength” to 200, and the “rotspring” to 0. now put it so it connects the missile launcher to the car. Now, select the body with the “gun” tag and move the Center Point to the base of the launcher, using CTRL and dragging it.
You also need to have the missiles seperated into different sub-objects so the missiles may be removed upon ammo exhaustion. What you do is parent the missile vox to the “gun” body. and add the tag “m” to the vox, aswell as “unbreakable” The script will remove the missiles upon firing. You need atleast eight missiles
The final step is to go to into Teardowns file, under data/level/mall/script. And copy the sprite folder. Now head back to your maps folder, and put it in your maps main directory. In the same folder as main. NOT in main.
Now, head back to that same folder. and this time grab the “mountedmissile.lua” file. Put it in your maps main directory aswell. Now we can begin altering it. Open the lua file you just copied in a text editor like Notepad++
Lua Scripting the Missile Truck
Yes, i know it looks scary. But trust me, its very simple. And you should easily get it the first time if you follow along.
First, you want to change on the 7th line. Where it says
- reticle = LoadSprite(“LEVEL/script/sprite/reticle4.png”)
To instead say
- reticle = LoadSprite(“MOD/sprite/reticle4.png”)
Now, you can also change its ammo amount by changing the “ammo” value on line 18, its default is 4 but you can change it to anything. Now save the file and minimize it.
Head back ingame. And now what you need to do it Right click the green “main.xml” text, and add a script. now navigate to your script file using the three dots in properties. and select it.
Now, select your vehicle entity. that you were working on previously, and hit CTRL X to cut. now find the script again, and press CTRL V to parent everything to the script.
FINAL REMARKS
The missile truck can be altered alot, the method i used is for the base game missile truck but you can edit things like removing the eight missiles you added so its just the launcher if you want to have the missile be a part of your vox file. Plus the location can also change, you could have a side mounted launcher. Also you can edit the reticle in a photo editor to have it be anything. a sniper scope mabye.
Tank
Definitely the reason you’re here right now.
Right, so the tank. It uses a similar formula to the missile truck. If you skipped missile truck, go back and read up from the part where we start copying files from the main games directory, you’ll need to repeat this exact process here for the tank. Also follow along with changing the lua file for the tank with the process used on the missile truck for the reticles.
First step is to add the script for the tank. Right click “main.xml” at the top and add a new script, find the tank script you hopefully have in your maps directory.
Now, add the “tank” tag to the main vehicle entity you will be using as the tank. and then add the tag “body” to the body parented to the vehicle entity.
And that should be it, the tank will now shoot. But the shooting may be wrong, and it could be shooting from the sides or back. To fix this, You can edit the “tank.lua” and on line 90, change
- local direction = Vec(0,0,1)
to
- local direction = Vec(0,0,-1)
Part 6: CONTINUED
Or alternatively you can Rotate the CAR VOX 180 then rotate the CAR BODY 180 so the vox is facing the way it was originally. Now, fix your tires so its not rear wheel drive or they arent misplaced.
Some more bugs that may occur could be the car moves forwards when reversing, or moves backwards when accelerating, if either of these happen its most times then not something is wrong with tire rotation.
going Backwards when Accelerating is much harder to fix and at that point i recommend going back to the first part where you flipped the VOX 180. When i had done it the Tank shot correctly forward but would accelerate when reversing. I fixed that by rotating the TIRE VOX 180. then rotating the WHEEL ENTITY 180.
Part 7: Closing Remarks
Thank you for reading this guide. Hopefully now you’ve got a working fully functioning car, boat, or whatever monstrosity of nature you’ve cooked up. Be proud! you made it yourself. Most people would’ve given up at that point.
If more tutorials like these are requested i can always make a new one on something like How to make a custom mission or How to add lighting to any map. Time will tell.
Get out there and make more beautiful cars!
Here we come to an end for Teardown How to Create Custom Vehicles Tutorial Guide hope you enjoy it. If you think we forget something to include or we should make an update to the post let us know via comment, and we will fix it asap! Thanks and have a great day!
- Check All Teardown Posts List





Leave a Reply