Wanted to know how to add that little bit of extra realism to your layout with accurate signalling but found it too complicated? Then look no further as this guide will cover the basics of signalling and help you avoid a pile-up every few seconds.
Disclaimer
Disclaimer: the signalling system I have devised is not based off of any one sort of train control in the real world, but is instead one which I think works best with Rolling Line’s current signals and their limitations.
Signal Types
Firstly, let’s look at the types of signals we have in Rolling Line. When you first open the signalling drawer (Page 5 of the “Track Addons” drawer), you are faced with a large array of signals and signal props at your disposal. For this guide, we are only going to focus on the original signals from version 1 of the game.
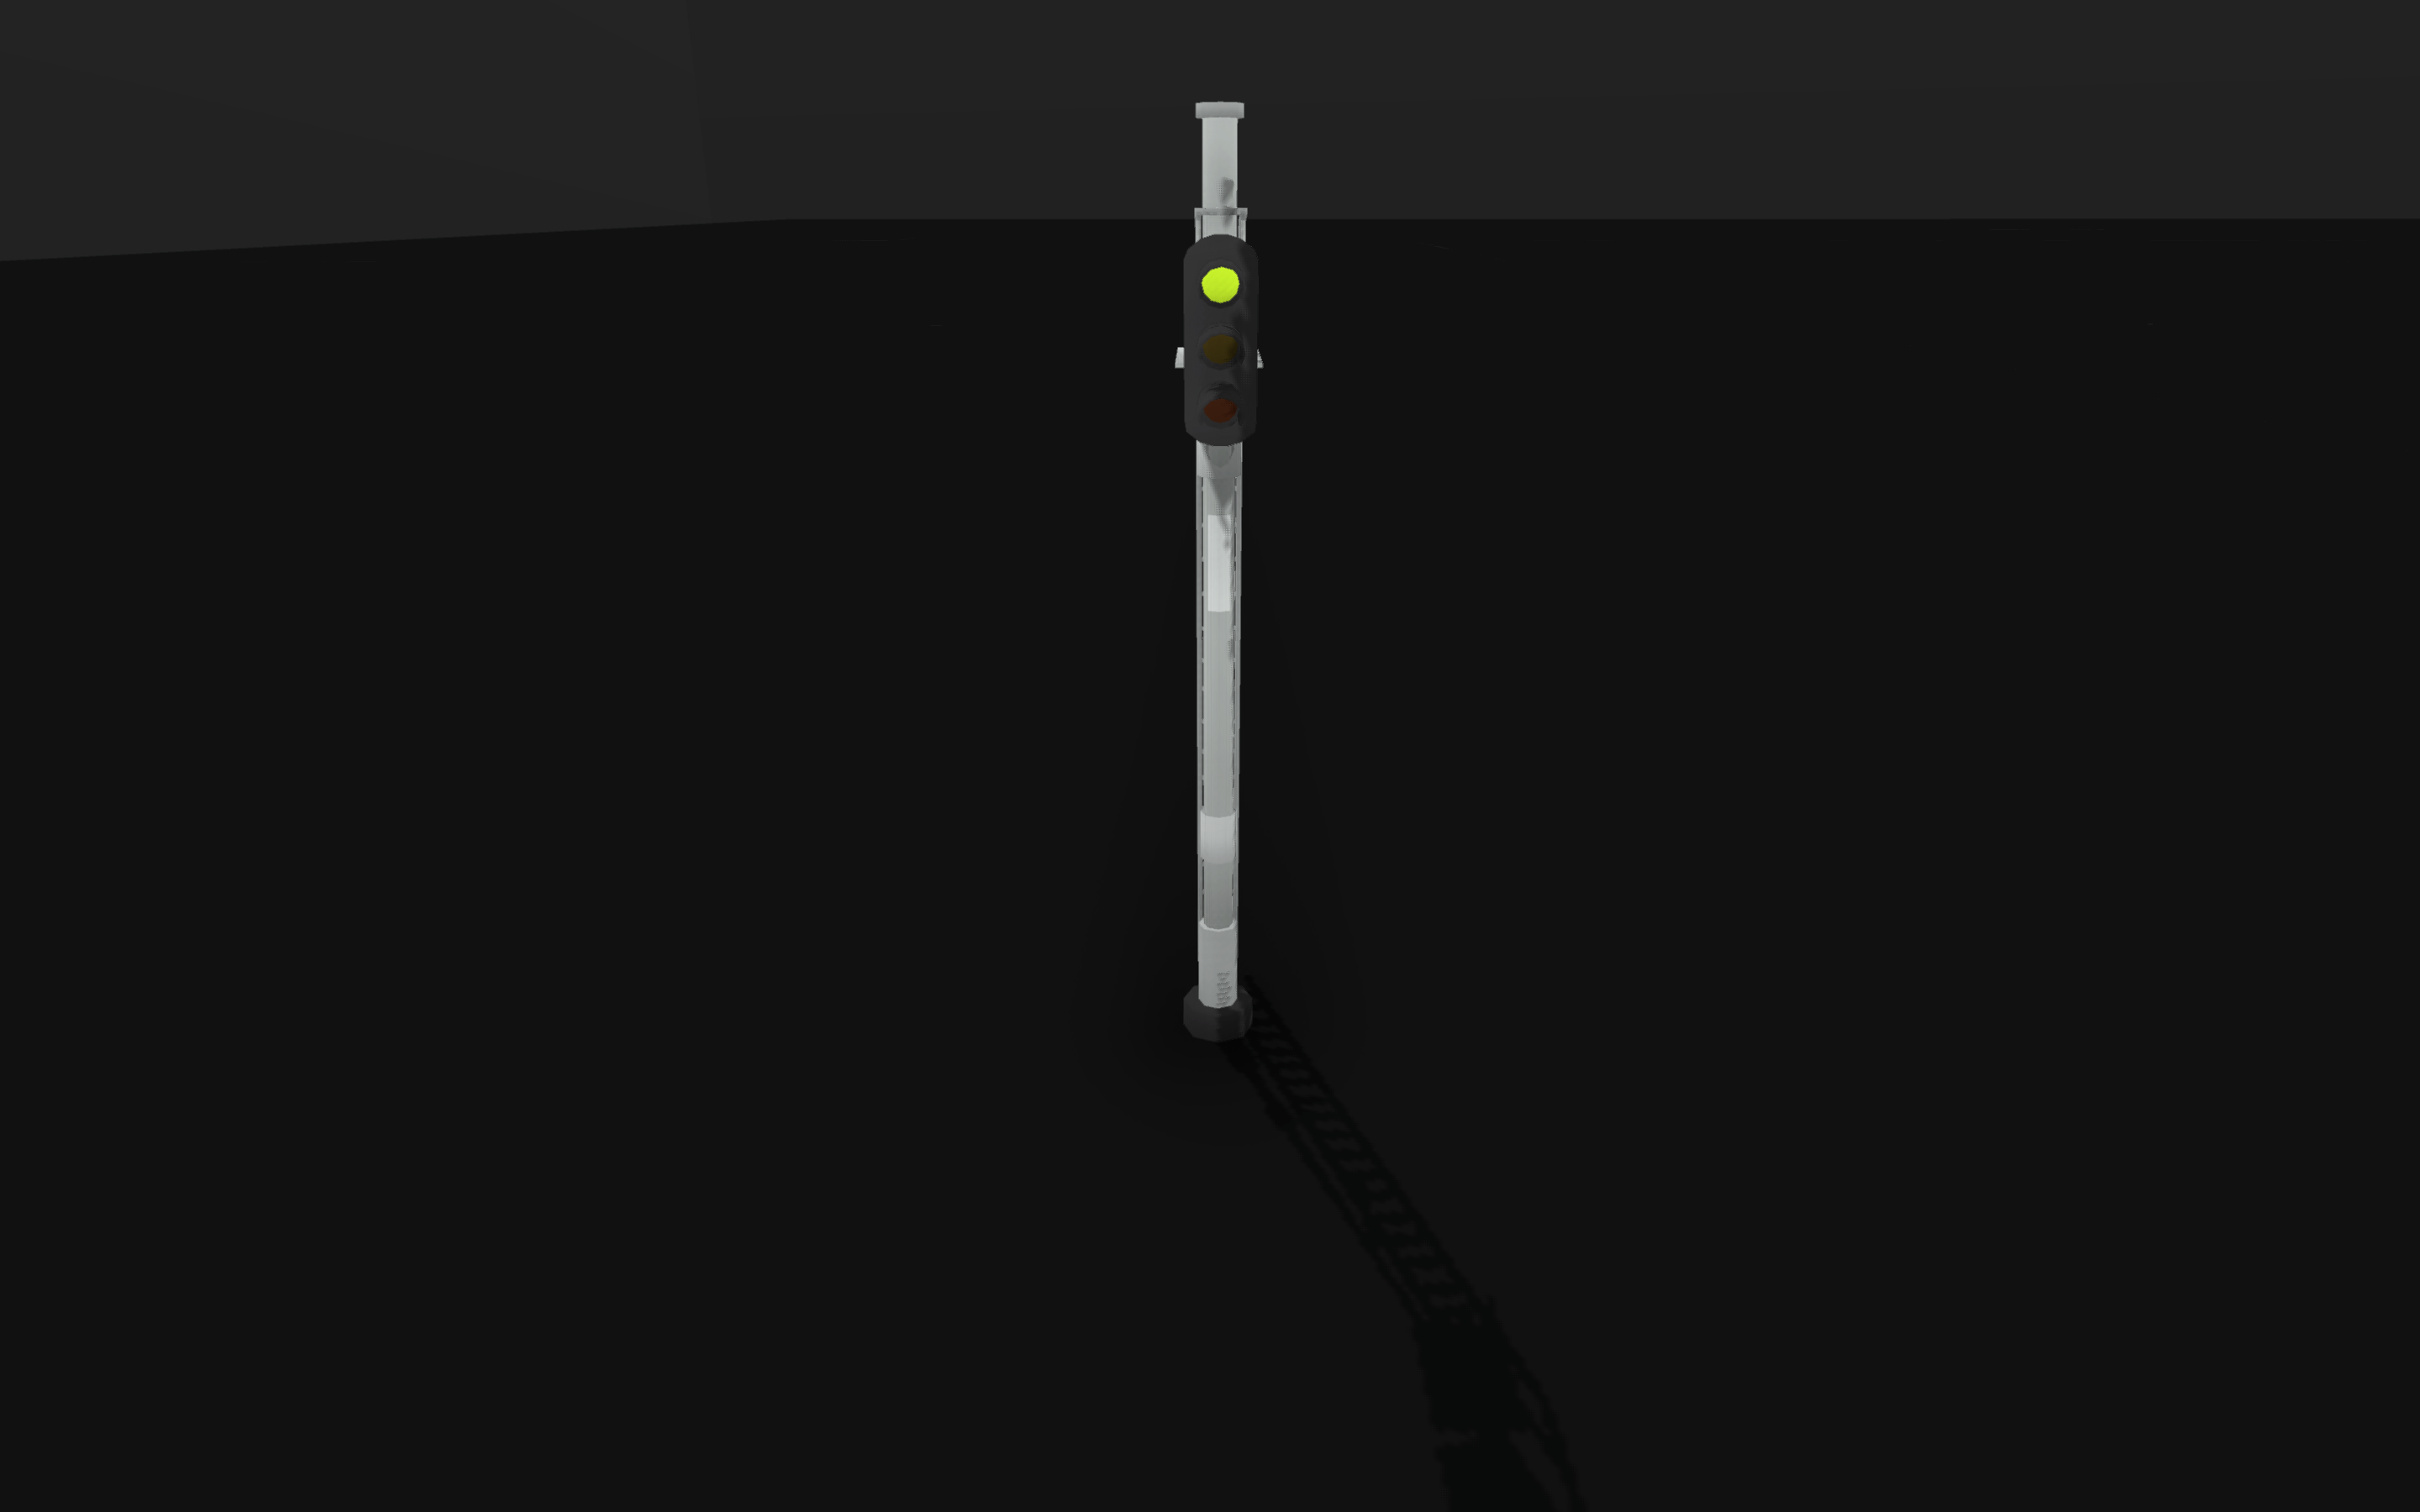
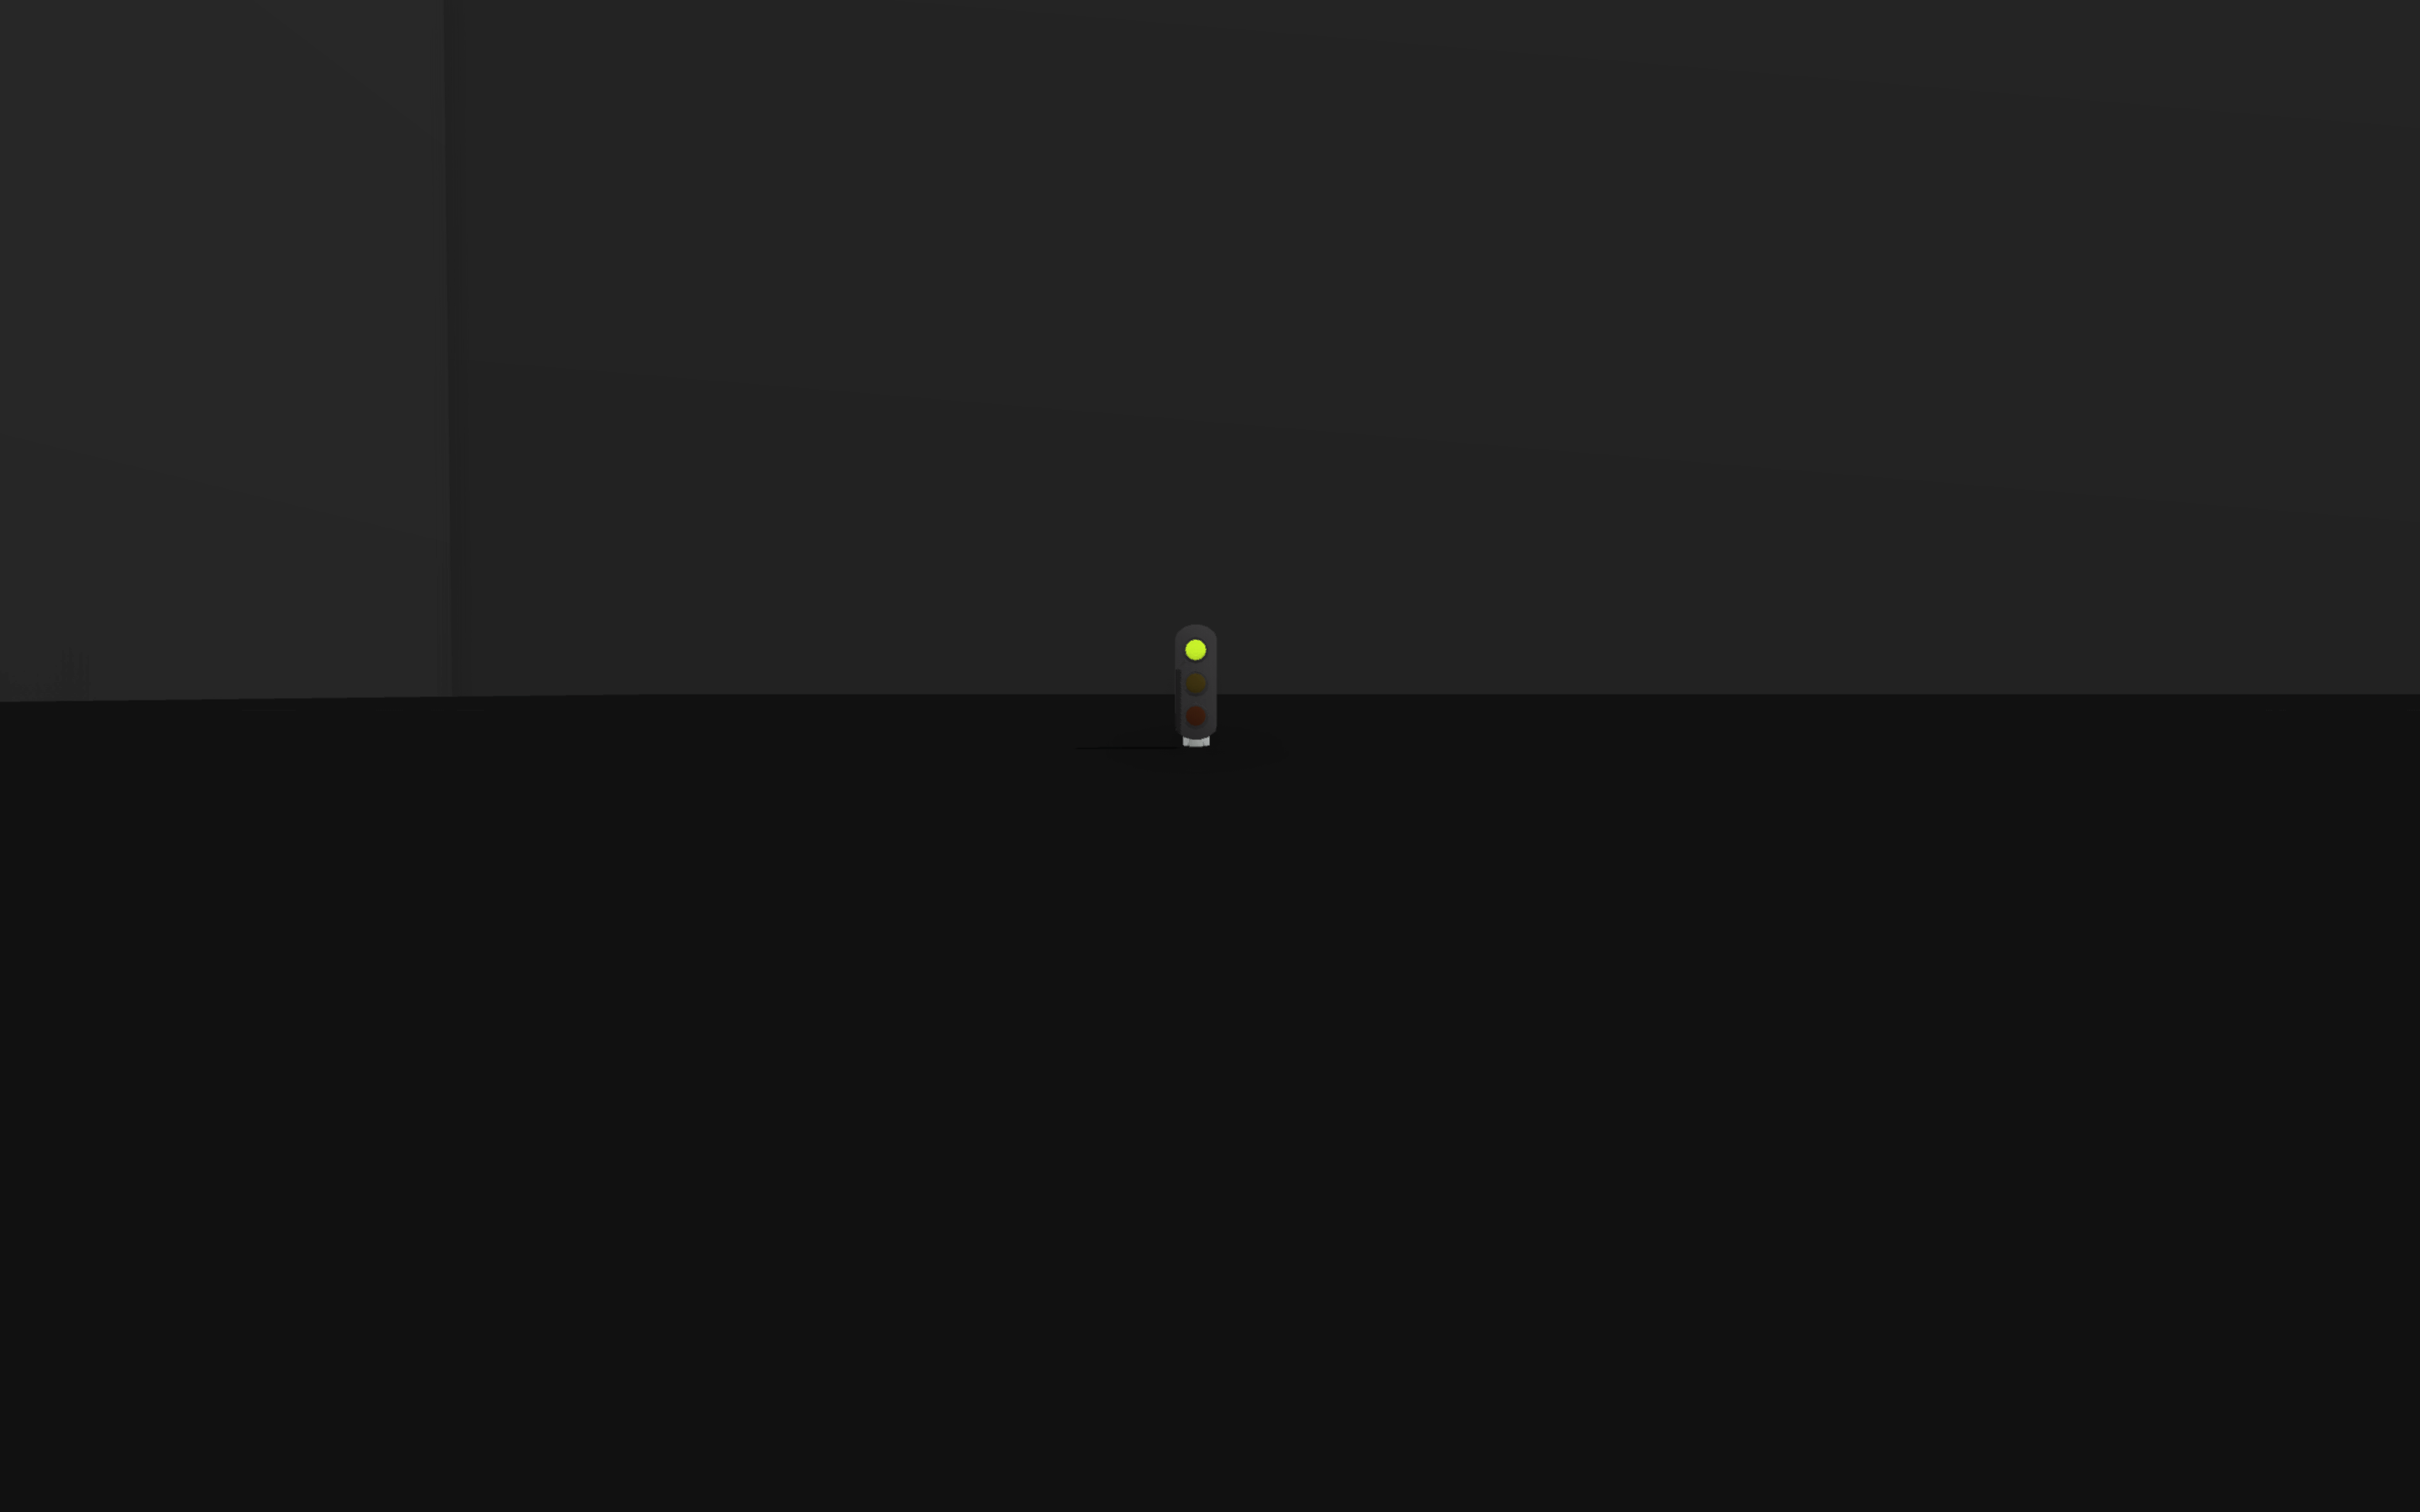
Standard 3-light signal
This is a standard triple-aspect colour-light signal with green, orange/yellow and red lights.
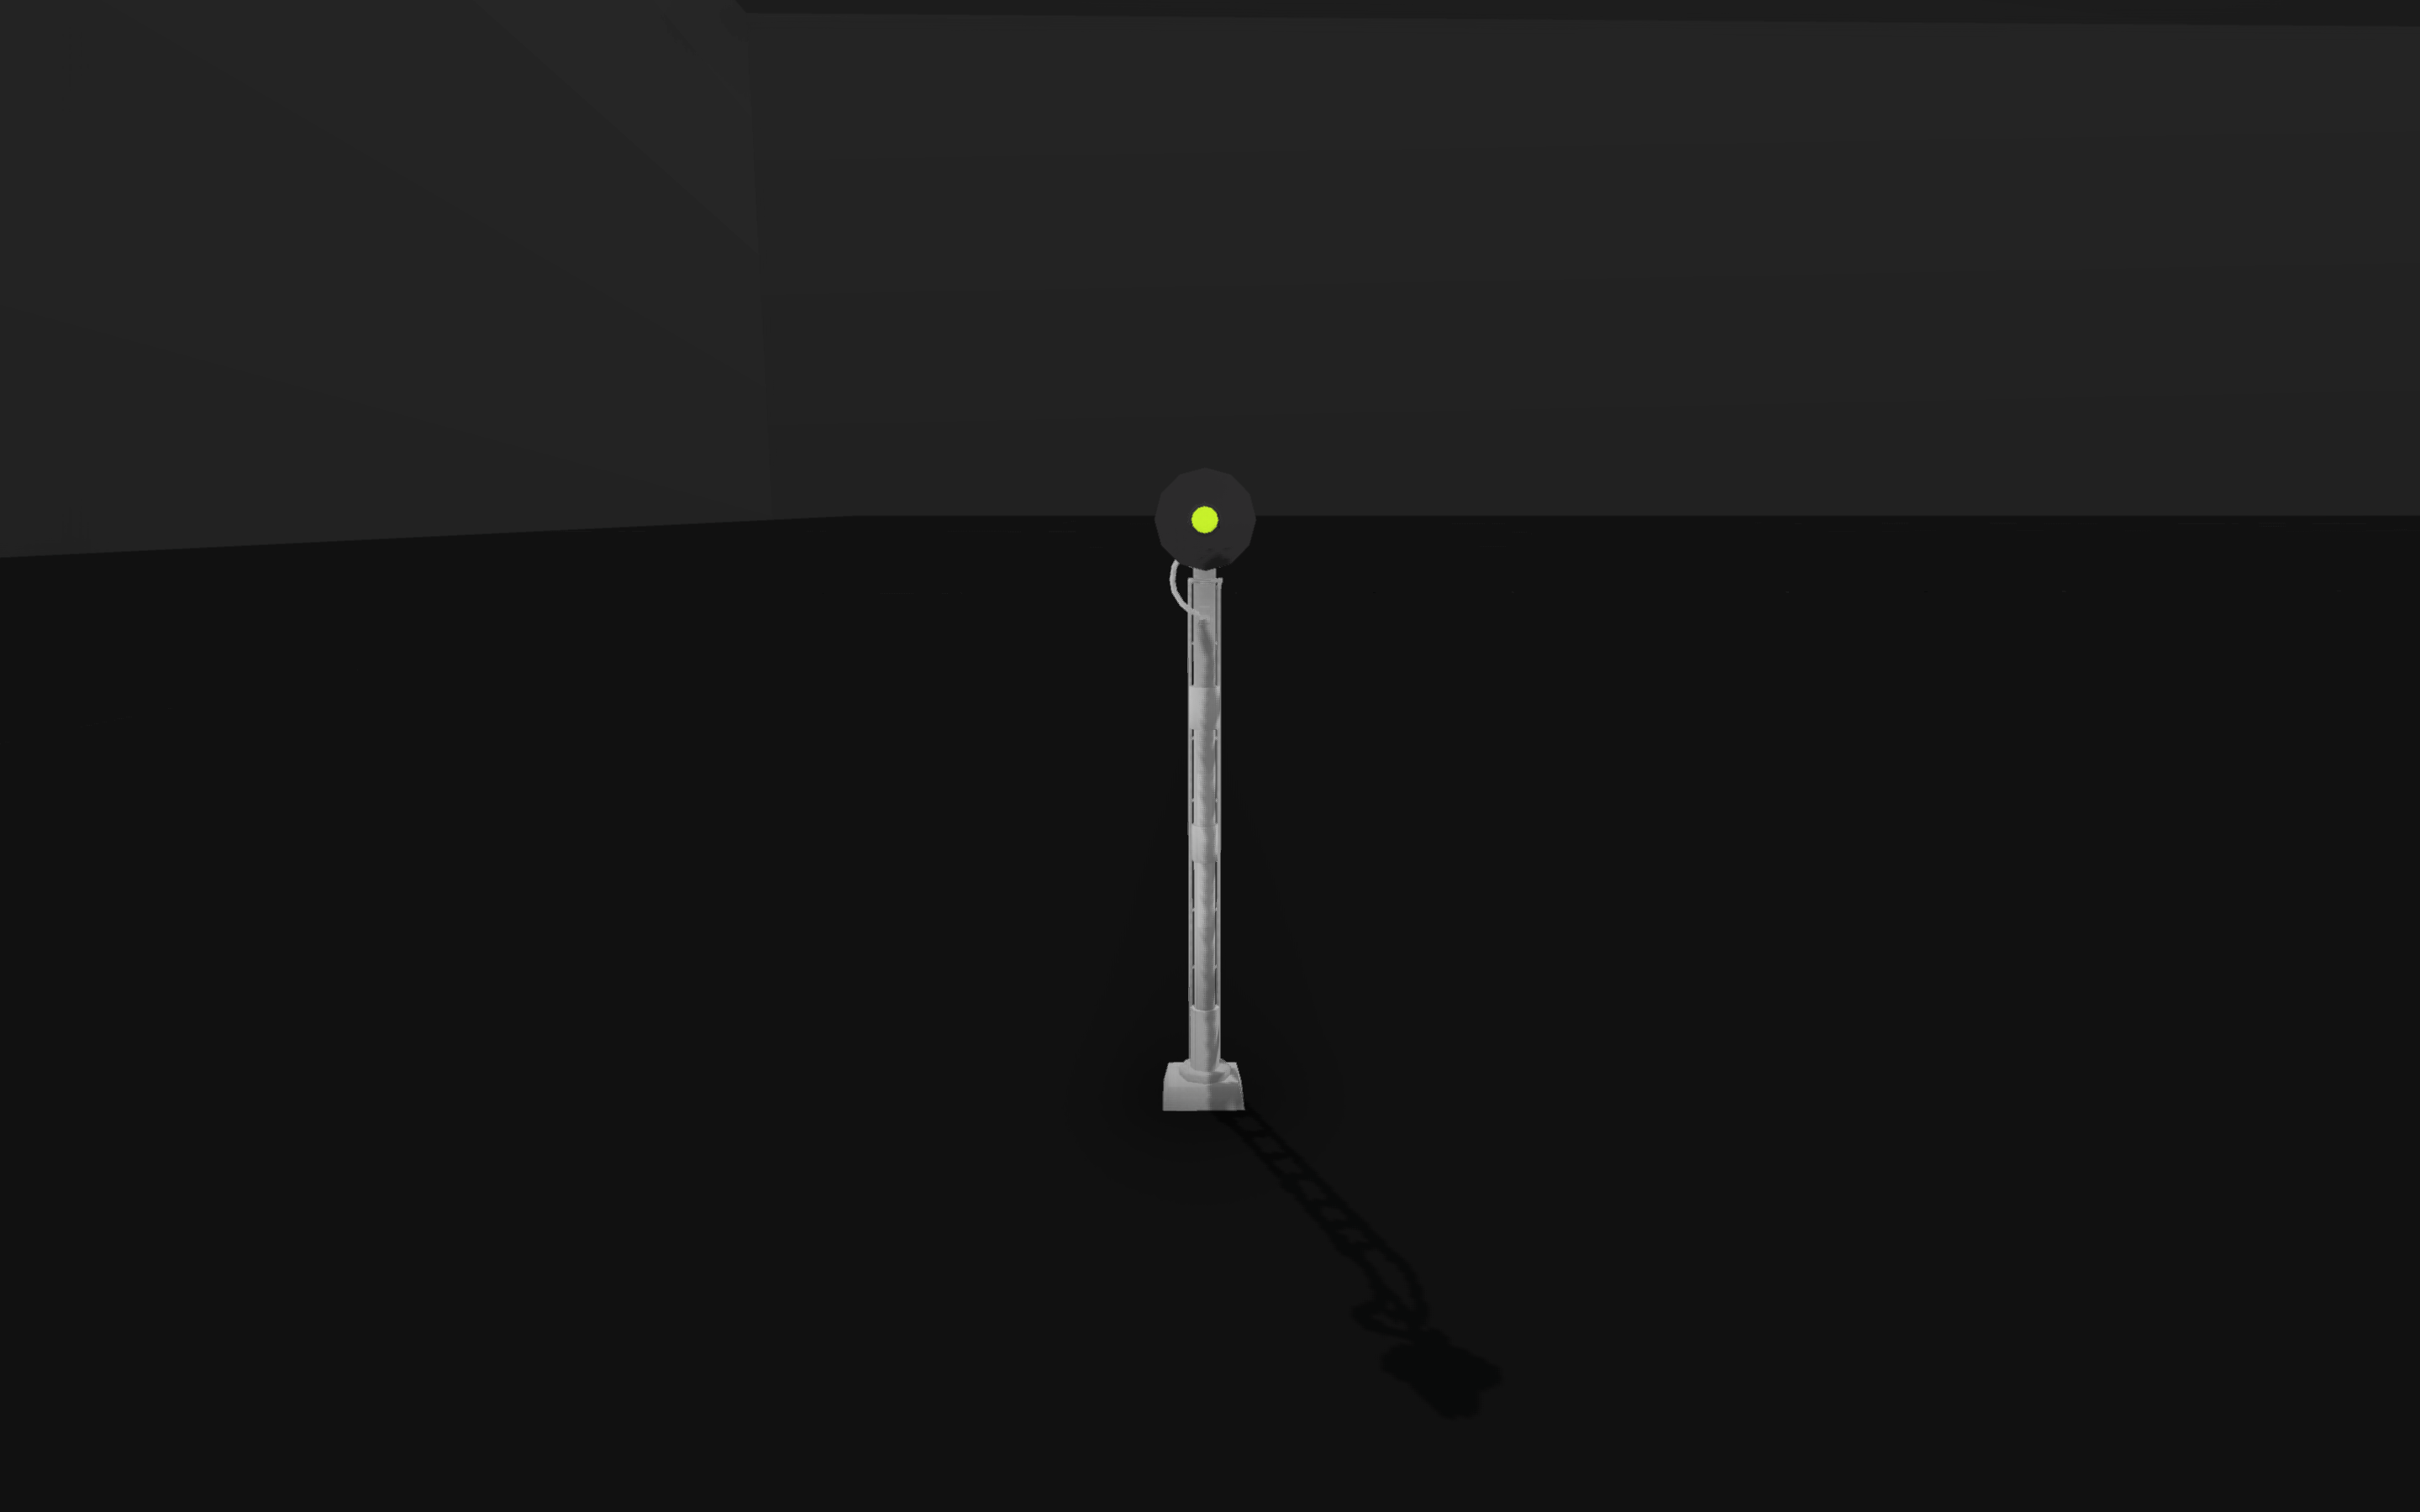
Standard pole-mounted single-light signal
This is a standard single-aspect LED signal. It’s aspect can change between green, orange/yellow and red lights.
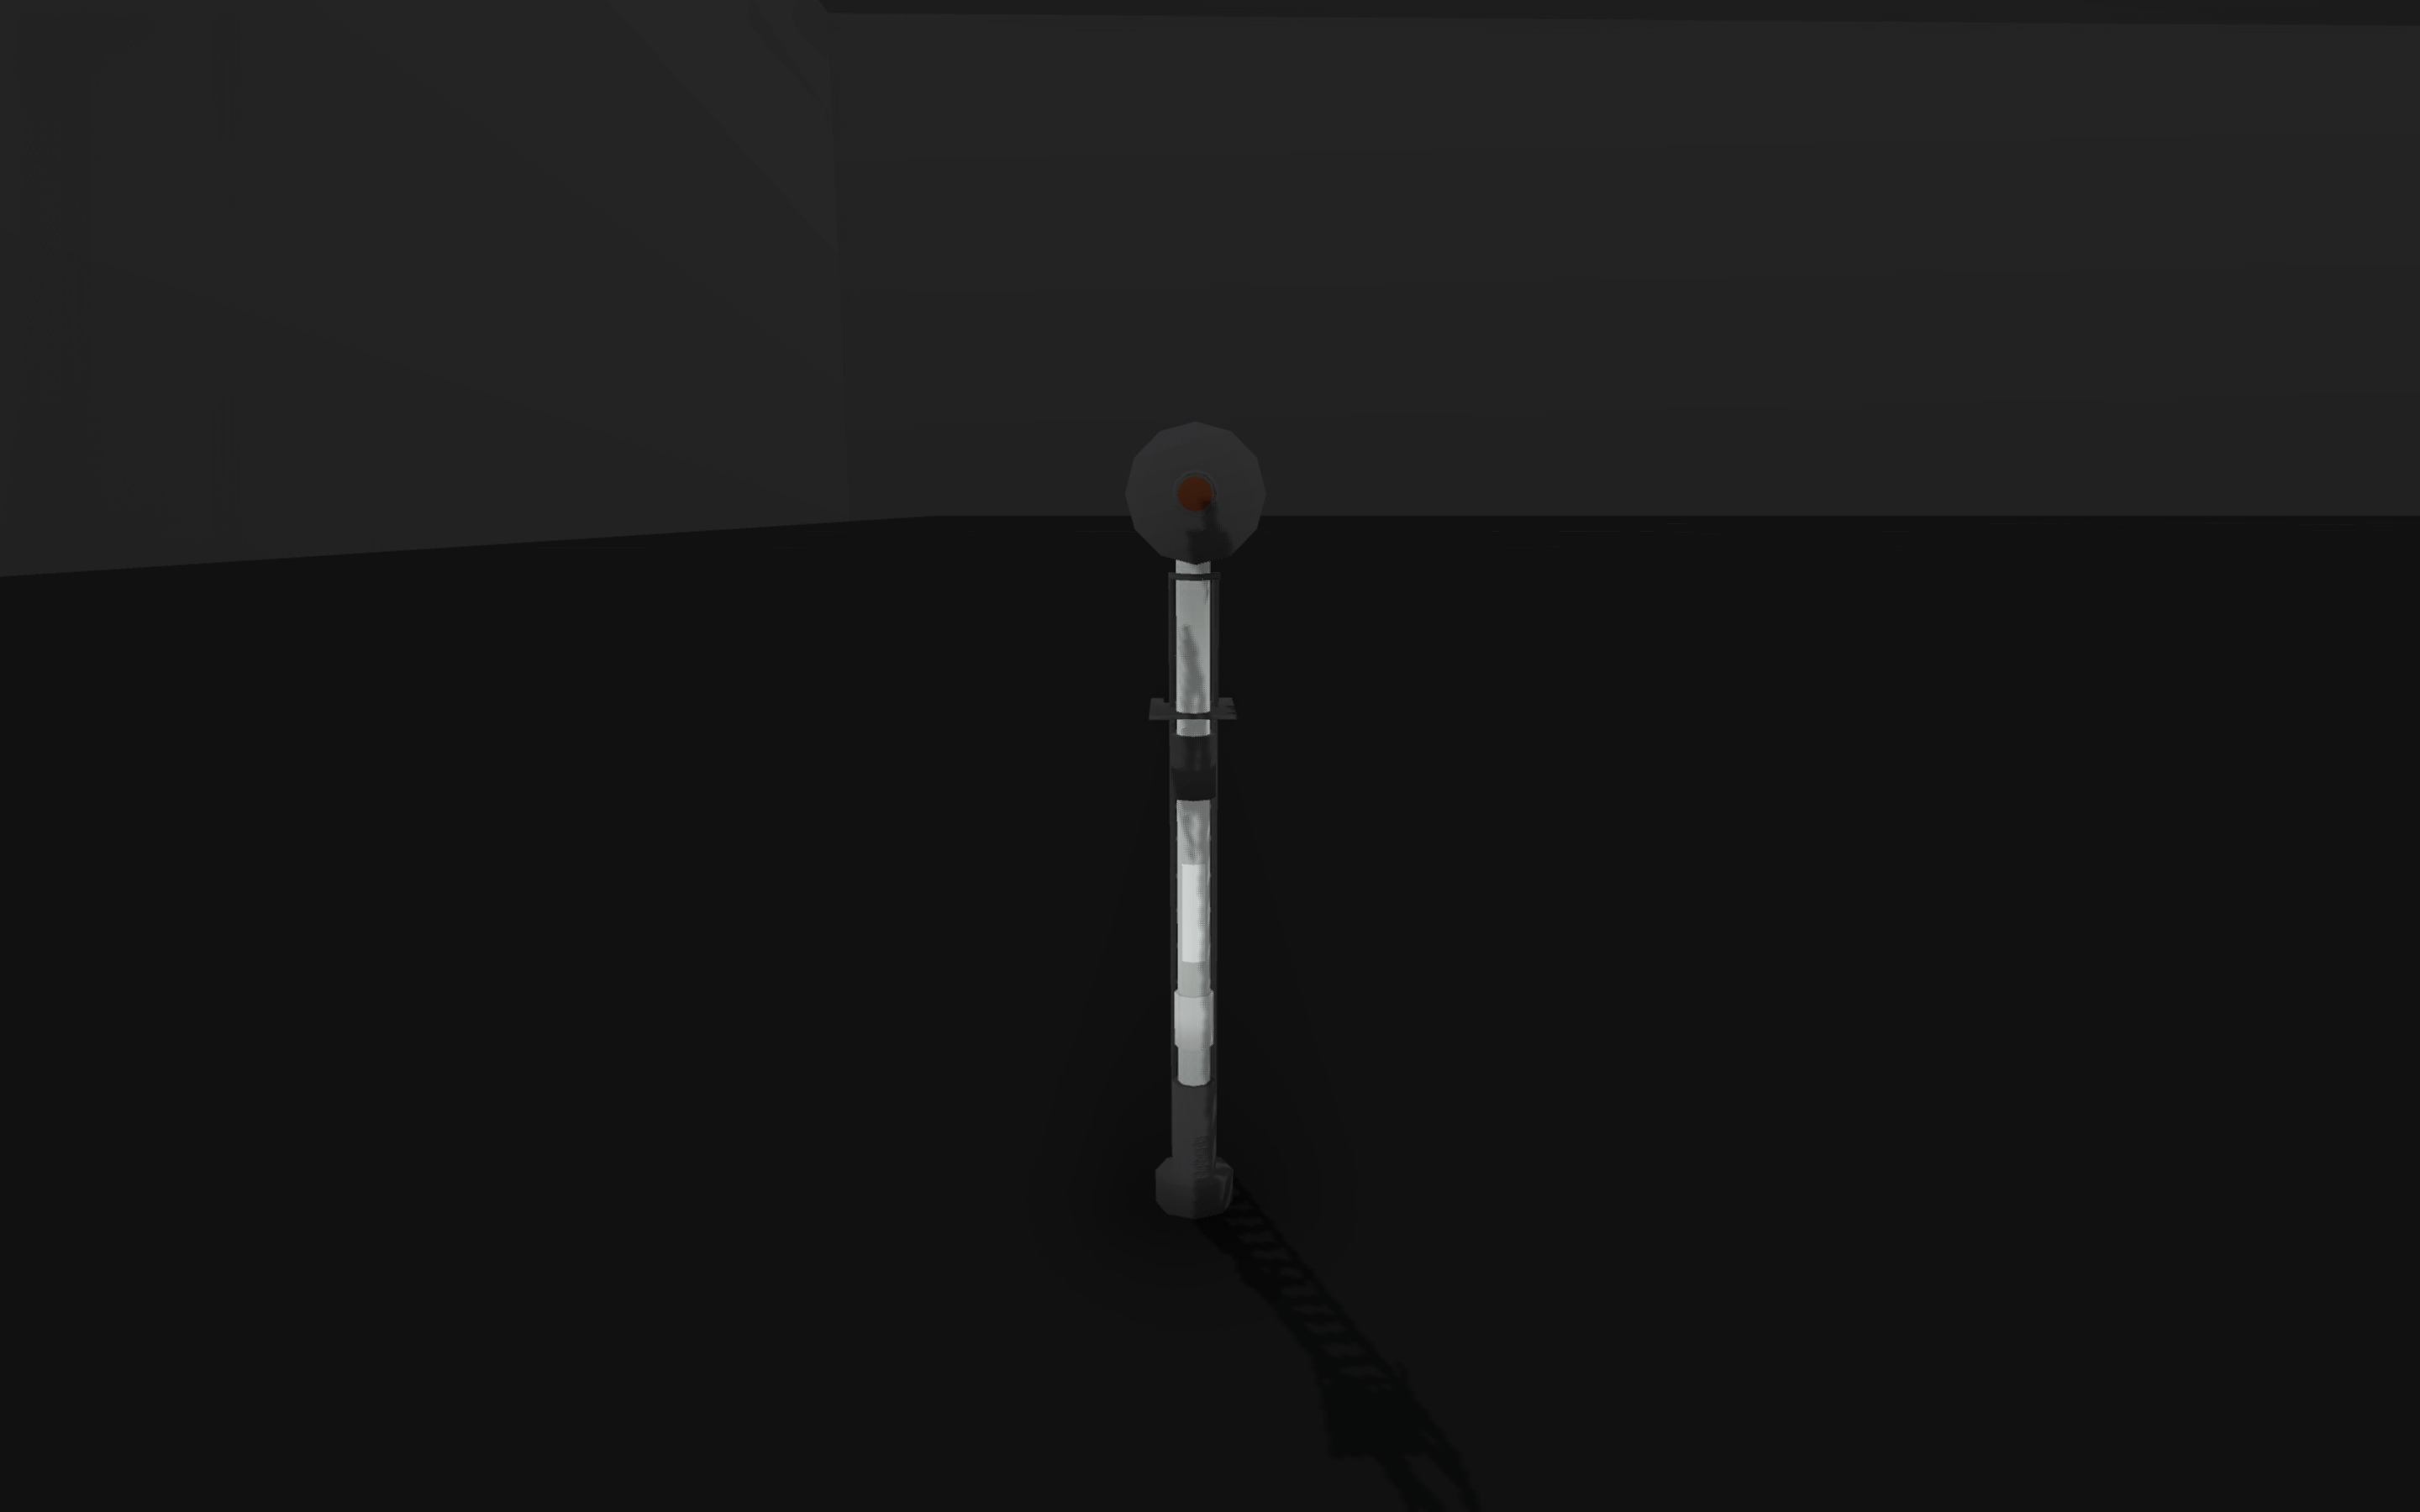
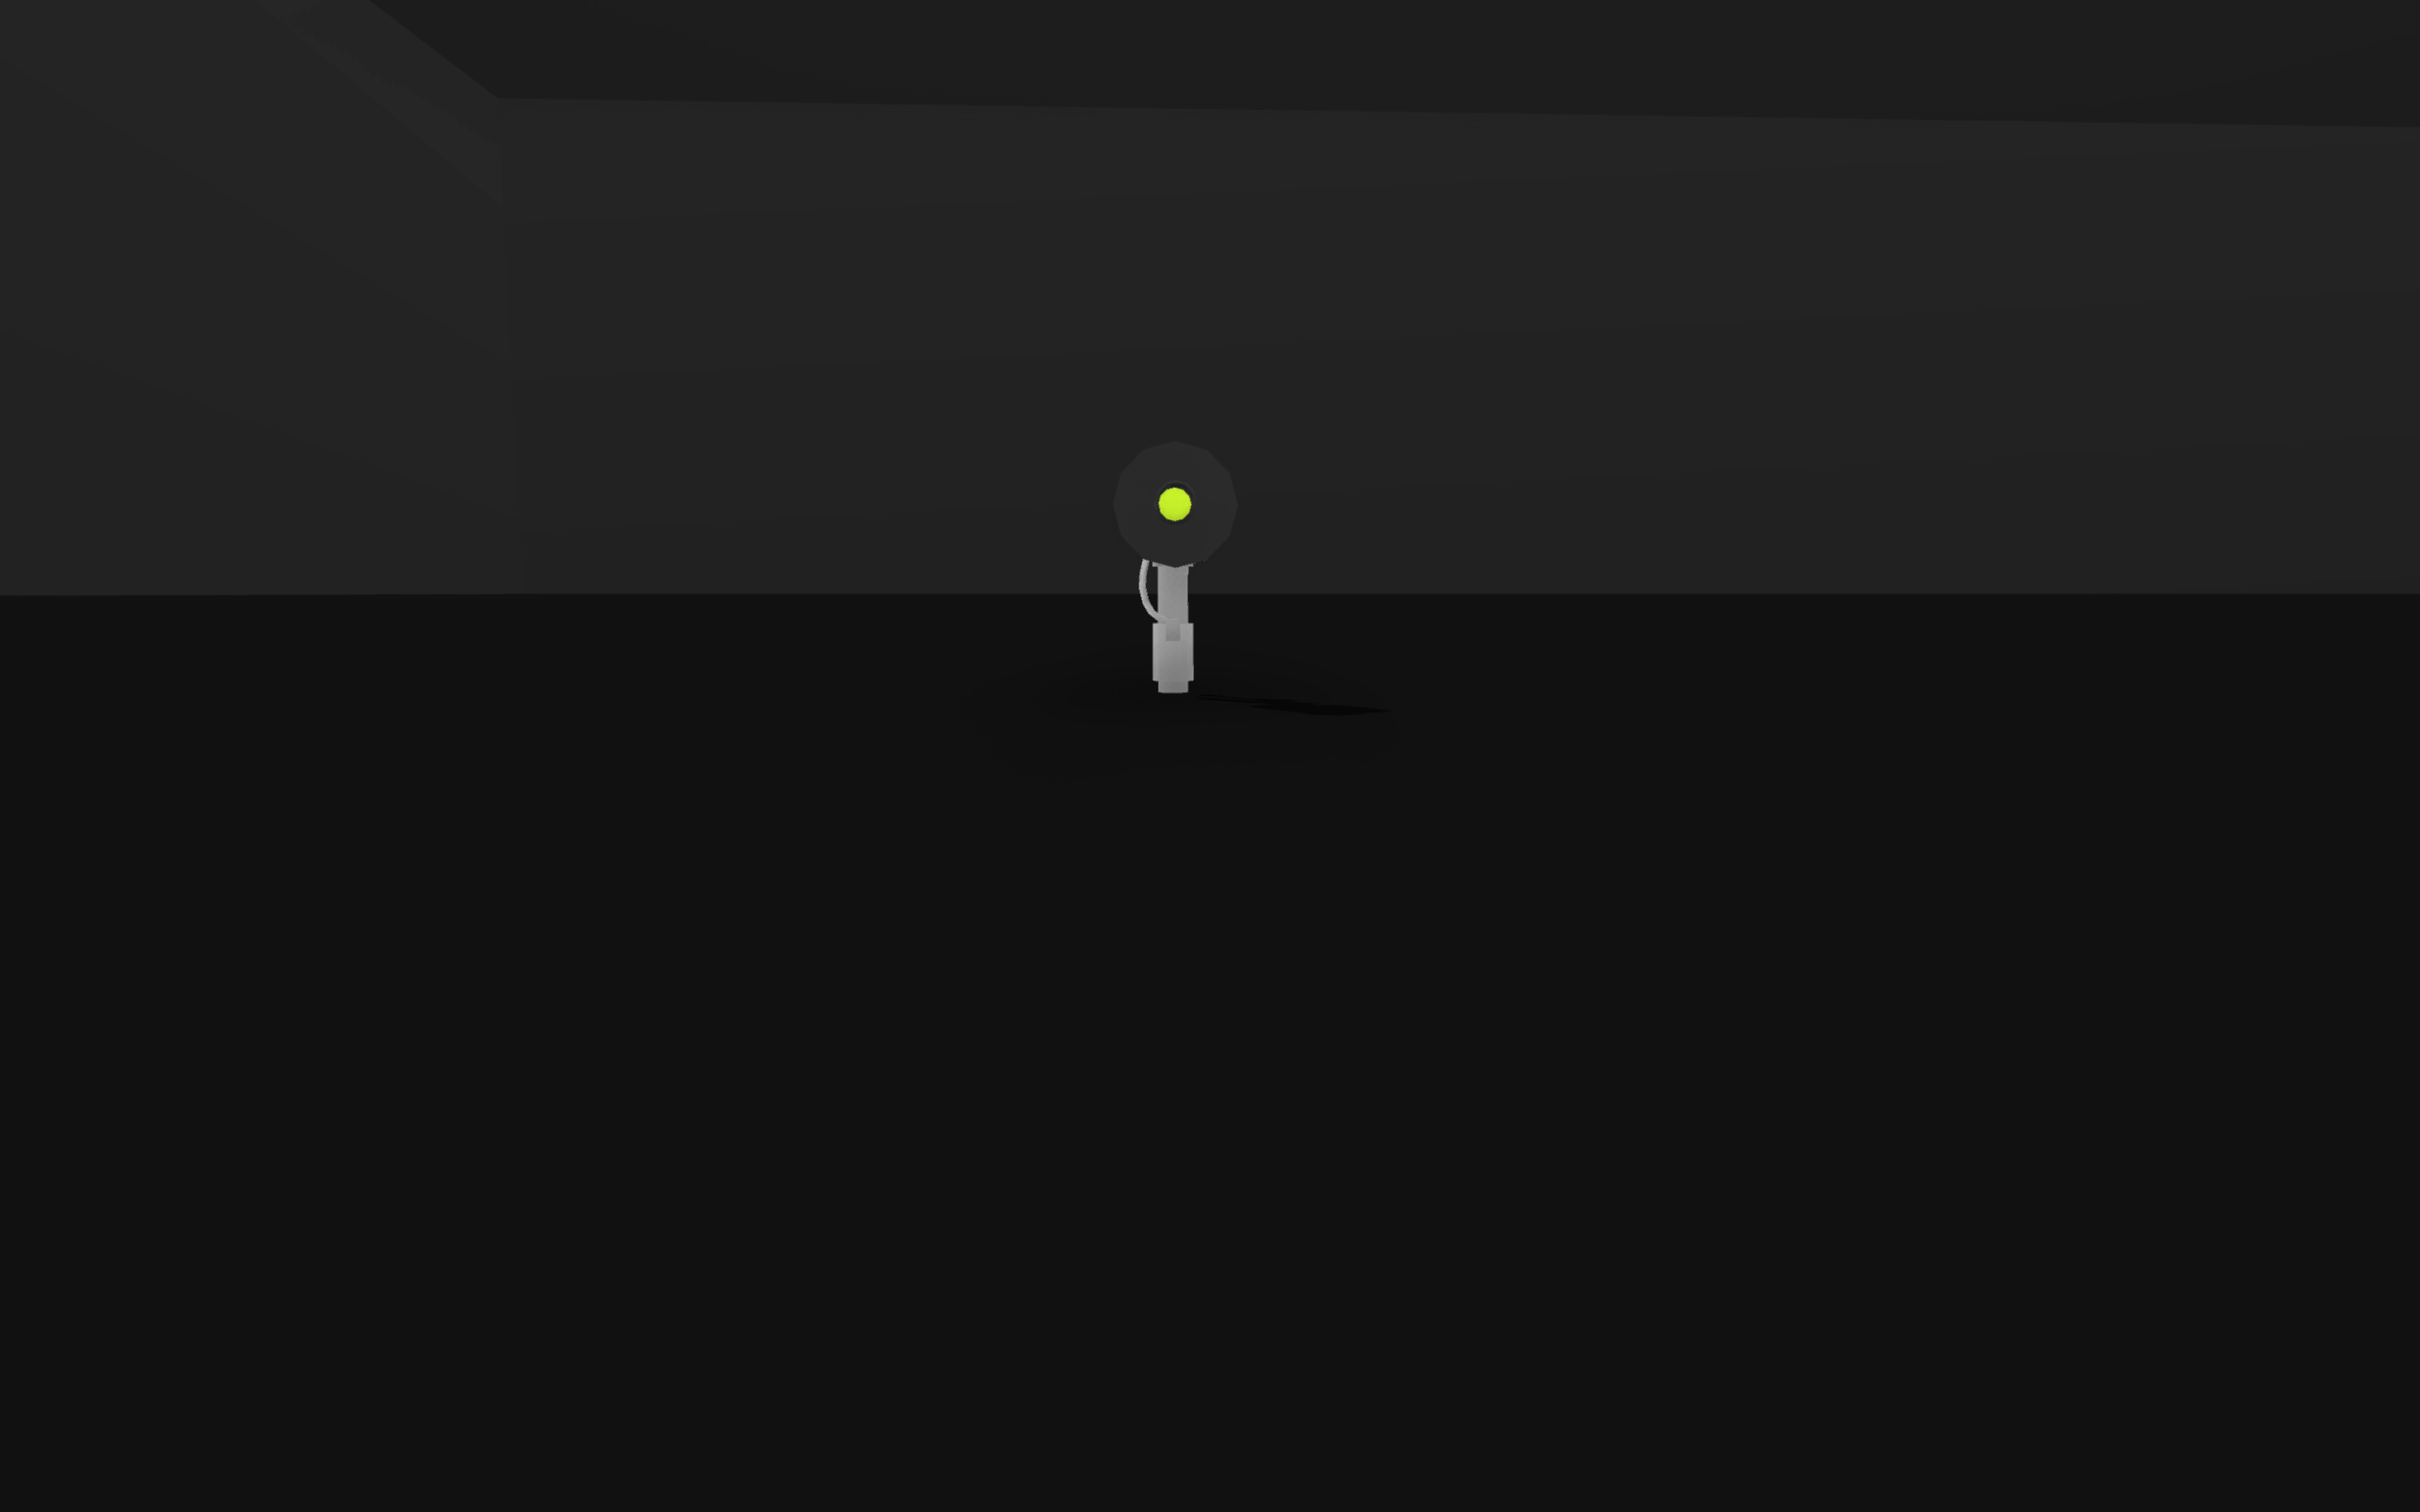
Standard energy-saver single-light signal
This is a standard single-aspect LED signal, but it turns off when the aspect displayed is not yellow or red.
Standard low ground-mounted shunting signal
This is a standard single-aspect LED signal that is mounted low to the ground. These are primarily used for yards, industries and sometimes sidings.
Standard ground-mounted shunting signal
This is a standard single-aspect LED signal that is mounted on the ground. These are primarily used for yards, industries and sometimes sidings.
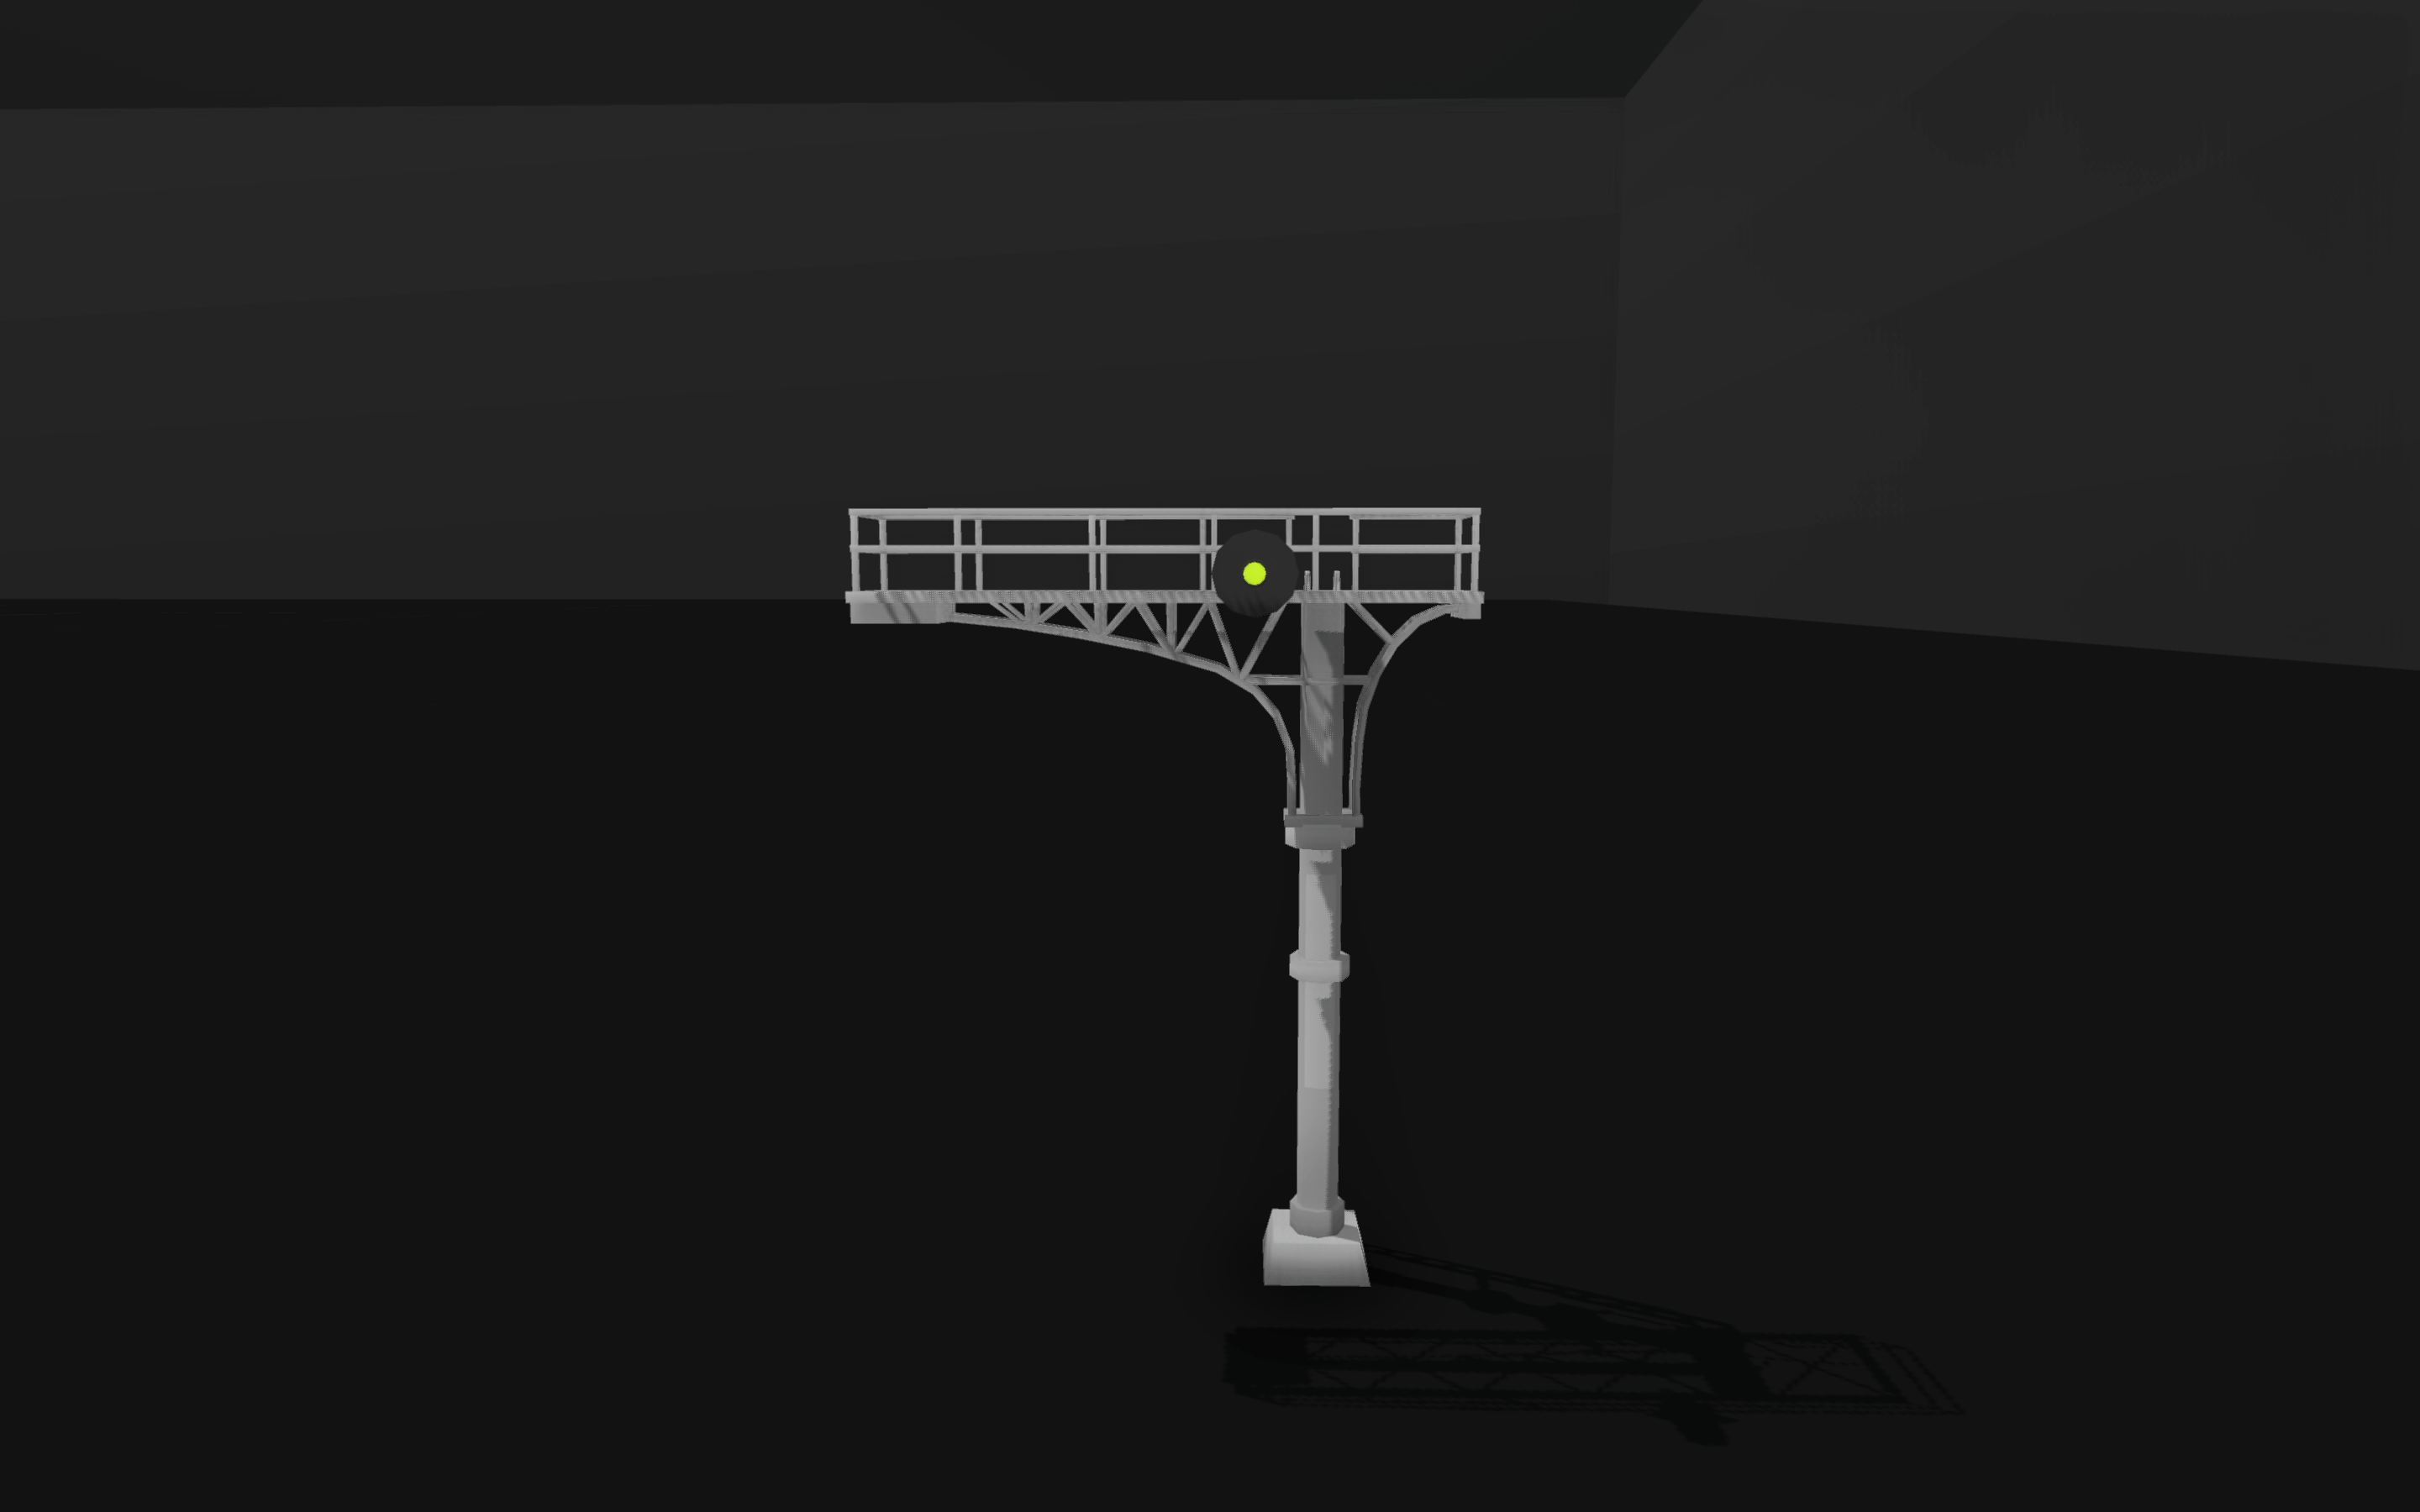
Standard single light signal
This is a single LED aspect signal which can be snapped or manually mounted onto other signals, overhead signal posts (pictured), catenary and more.
Standard triple-aspect colour-light signal
This is a triple aspect signal which can be snapped or manually mounted onto other signals, overhead signal posts (pictured), catenary and more.
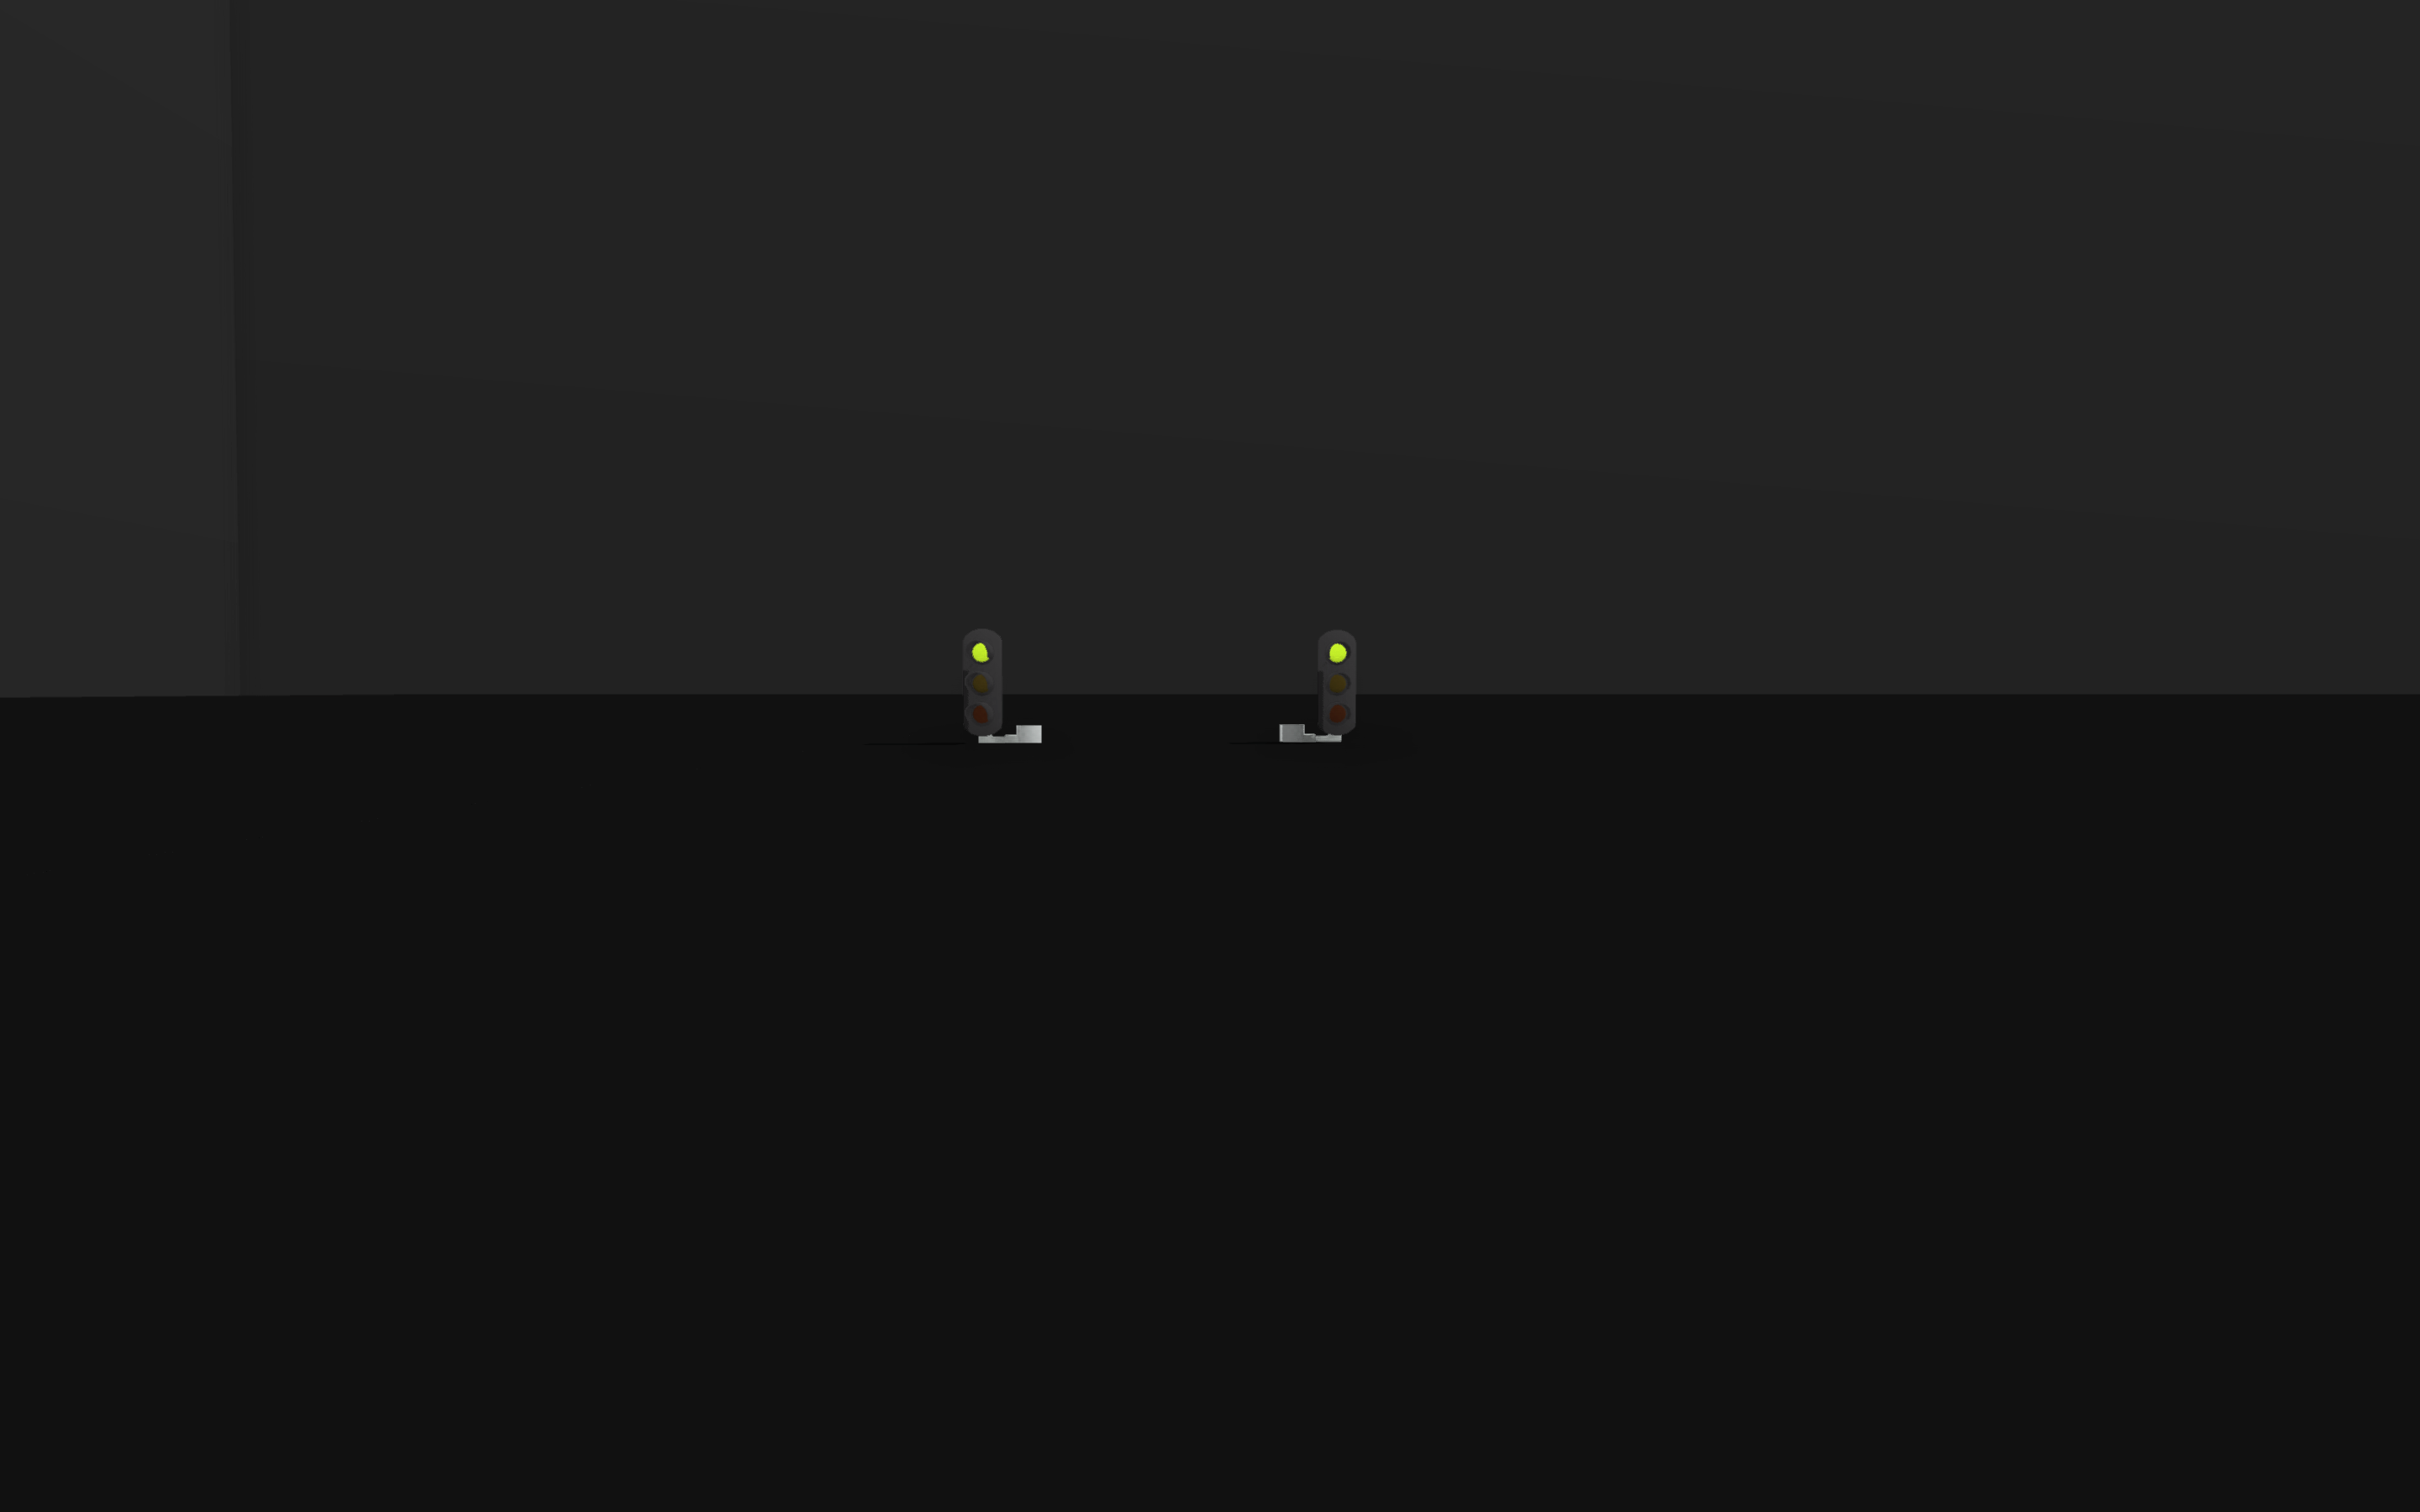
Standard directional triple-aspect colour-light signal
This is a triple aspect signal that shows either direction or priority depending on which system you use. My system uses it to show direction. This signal can be snapped or manually mounted onto other signals, overhead signal posts (pictured), catenary and more.
Those are the signals I will be using for this guide, however I may make another guide on semaphores as well.
Simple Dual-track block signals
Arguably one of the easier signalling methods, block signals protect blocks, allowing a single train into a block at a time. Speaking simply, a block is a section of track between two signals. The first signal protects the block, being green when the block is empty, red when the block is occupied and yellow when the next block is occupied.
In the above screenshot, you can see that the dark blue track is the block the selected signal is protecting, and the light blue track is the block the next signal will protect. If a train is in the dark blue block, the selected signal will display a red aspect, whereas if the train is in the light blue block the signal will display a yellow aspect. If the train is occupying neither blocks, the signal will display a green aspect.
I have chosen the standard triple-aspect colour-light signal for these blocks as they are on a mainline and realistically the railway company would want to spend more money on the mainline.
Placement of signals depends on three factors: how long you want your trains to wait for; how long your train are going to be and what a train stopped at a signal may obstruct.
For example, if the line is home to a high-frequency passenger service with no public crossings and not many disruptions to the line (turnouts, etc), you wouldn’t want your trains to stop for very long and the trains themselves will probably not be particularly long: therefore, the block sizes would probably be small, with a lot of signals placed roughly 1 and a half to 2 trains length apart from each other.
But, if the mainline is home to mostly low-frequency freight services with public level crossings dotted along it, placement of signals should be thought of a little more carefully. Firstly, as it is low-frequency, blocks should be longer, as it should be a rare occurrence for a train to be stopped at a red signal; this will also benefit freight services because they are generally quite long and will fit in the block: remember, one of the last things you want is a train holding up services by occupying two blocks at the same time.
Here are some general rules to keep in mind when creating blocks:
A block signal should almost never come directly after a turnout – the only reason it should is if the turnout is used in the direction the signal is facing.
Signals should be placed before level crossings, turnouts and anything else that would be obstructed by a train held at a red aspect.
Station platforms should count as blocks: a signal is placed before the platform and another one at the end of it.
Signals should be placed before level crossings to avoid obstructing roads.
Crossovers
Single Crossovers
For a simple crossover from one track to the other, I put a block signal before the switch (on the outside of the track) and snap another pole-less signal on to it. This can be a standard single LED signal, a standard triple colour-light signal, or (pictured), a standard directional triple colour-light signal. I generally prefer to use the standard directional triple colour-light signal for crossovers as they show which way the train will be crossing over.
The block signal should be able to have its path switch between tracks as the switch moves. This will allow it to protect the block if the train is going straight on, or the crossover if it’s taking the crossover.
The other signal will protect the crossover by showing if the adjacent track is clear in the other direction. The red should extend to the first signal for trains heading the same direction on the other track and the orange should extend to the signal after that.
I then put a standard low ground-mounted shunting signal on the adjacent track to protect trains from entering the crossover while there is another train crossing over.
This system is mirrored on the other side.
Dual Crossovers
For dual crossovers it’s pretty much just the same as single crossovers but mirrored on the other side.
Extra signals
Now, my system does not completely work with crossovers: you may have noticed that if a switch is changed so the train can enter the crossover, there are no longer any signals protecting the track ahead. This is because I have designed my system to be practical, but also somewhat realistic and in my mind the single block signal should be able to protect both the crossover and the track ahead which in Rolling Line, it does not. However, if you want a completely practical crossover, you can just add another signal a little further ahead to protect only the main stretch of track.
Single Track, Passing Loops and Sidings
Single Track is a little different to Dual-Track block signals, in that you can’t have two trains running alongside each other the whole time. To get a train to pass another one on single track you will need to make use of what is called a passing loop. Simply, a passing loop is just another track that branches off the main line and follows it for a while, before joining back again.
I signal single-track with a mixture of path and block signalling.
In short, path signalling treats every track in a passing loop as if it’s a siding, which means that both tracks have signals at the ends, instead of the usual way of signalling sidings with only one track being signalled.
All the signals are set up a bit like block signals, where the reds extend to the next passing loop and the yellows extend to the one after that.
The same rules from the dual-track block signalling apply as well:
A block signal should almost never come directly after a turnout – the only reason it should is if the turnout is used in the direction the signal is facing.
Signals should be placed before level crossings, turnouts and anything else that would be obstructed by a train held at a red aspect.
Station platforms should count as blocks: a signal is placed before the platform and another one at the end of it.
Sidings:
Sidings operate in a similar way to passing loops, except they’re usually not used for passing – they are commonly used for industries that don’t need much of a lead on local lines, or for the railway company to store things in.
A siding is signalled with two signals on one track, instead of both, as it does not count as a part of the mainline, unlike a passing loop.
Once again, this system will not work completely, as there is no signal protecting the other direction of the adjacent track. If you like, you can fix this.
Turnouts
Single-Track Turnouts
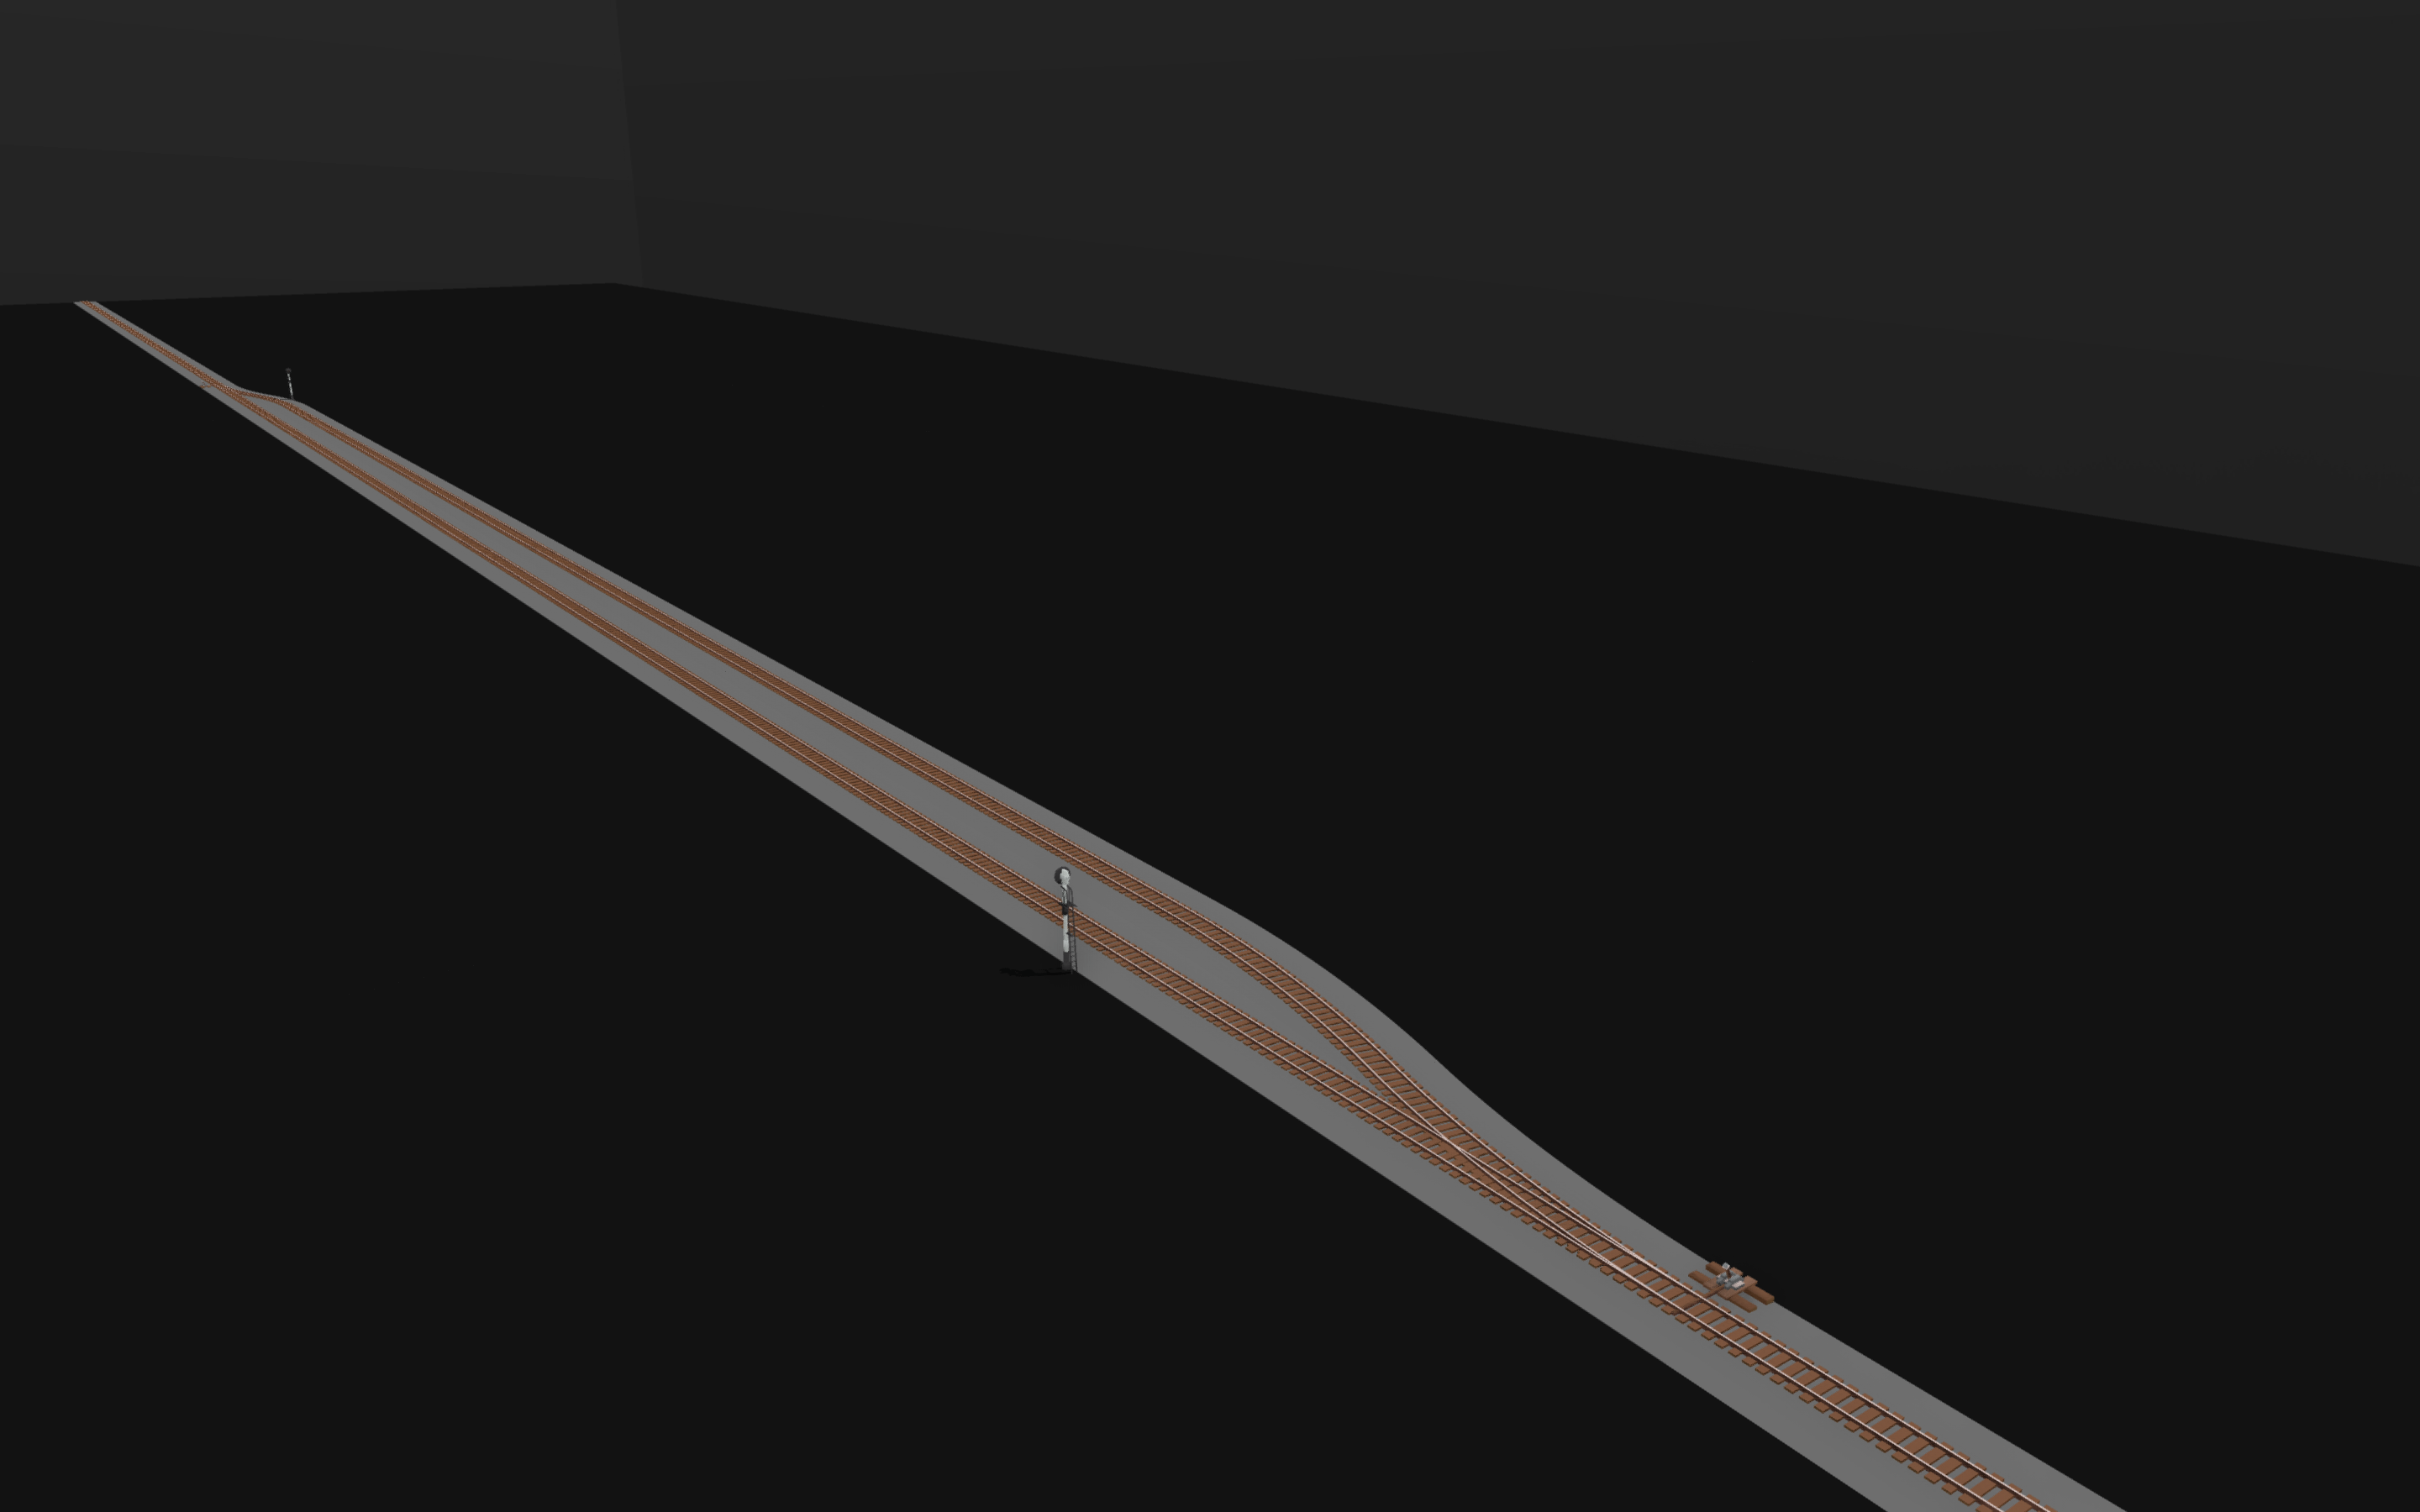
Most single-track turnouts will follow the same sort of thing I have here in my example. In this example I have also included the “ditch track” that is found on New Zealand’s railways – I’m not sure if they are found anywhere else but I thought I’d include it as an iconic piece of infrastructure.
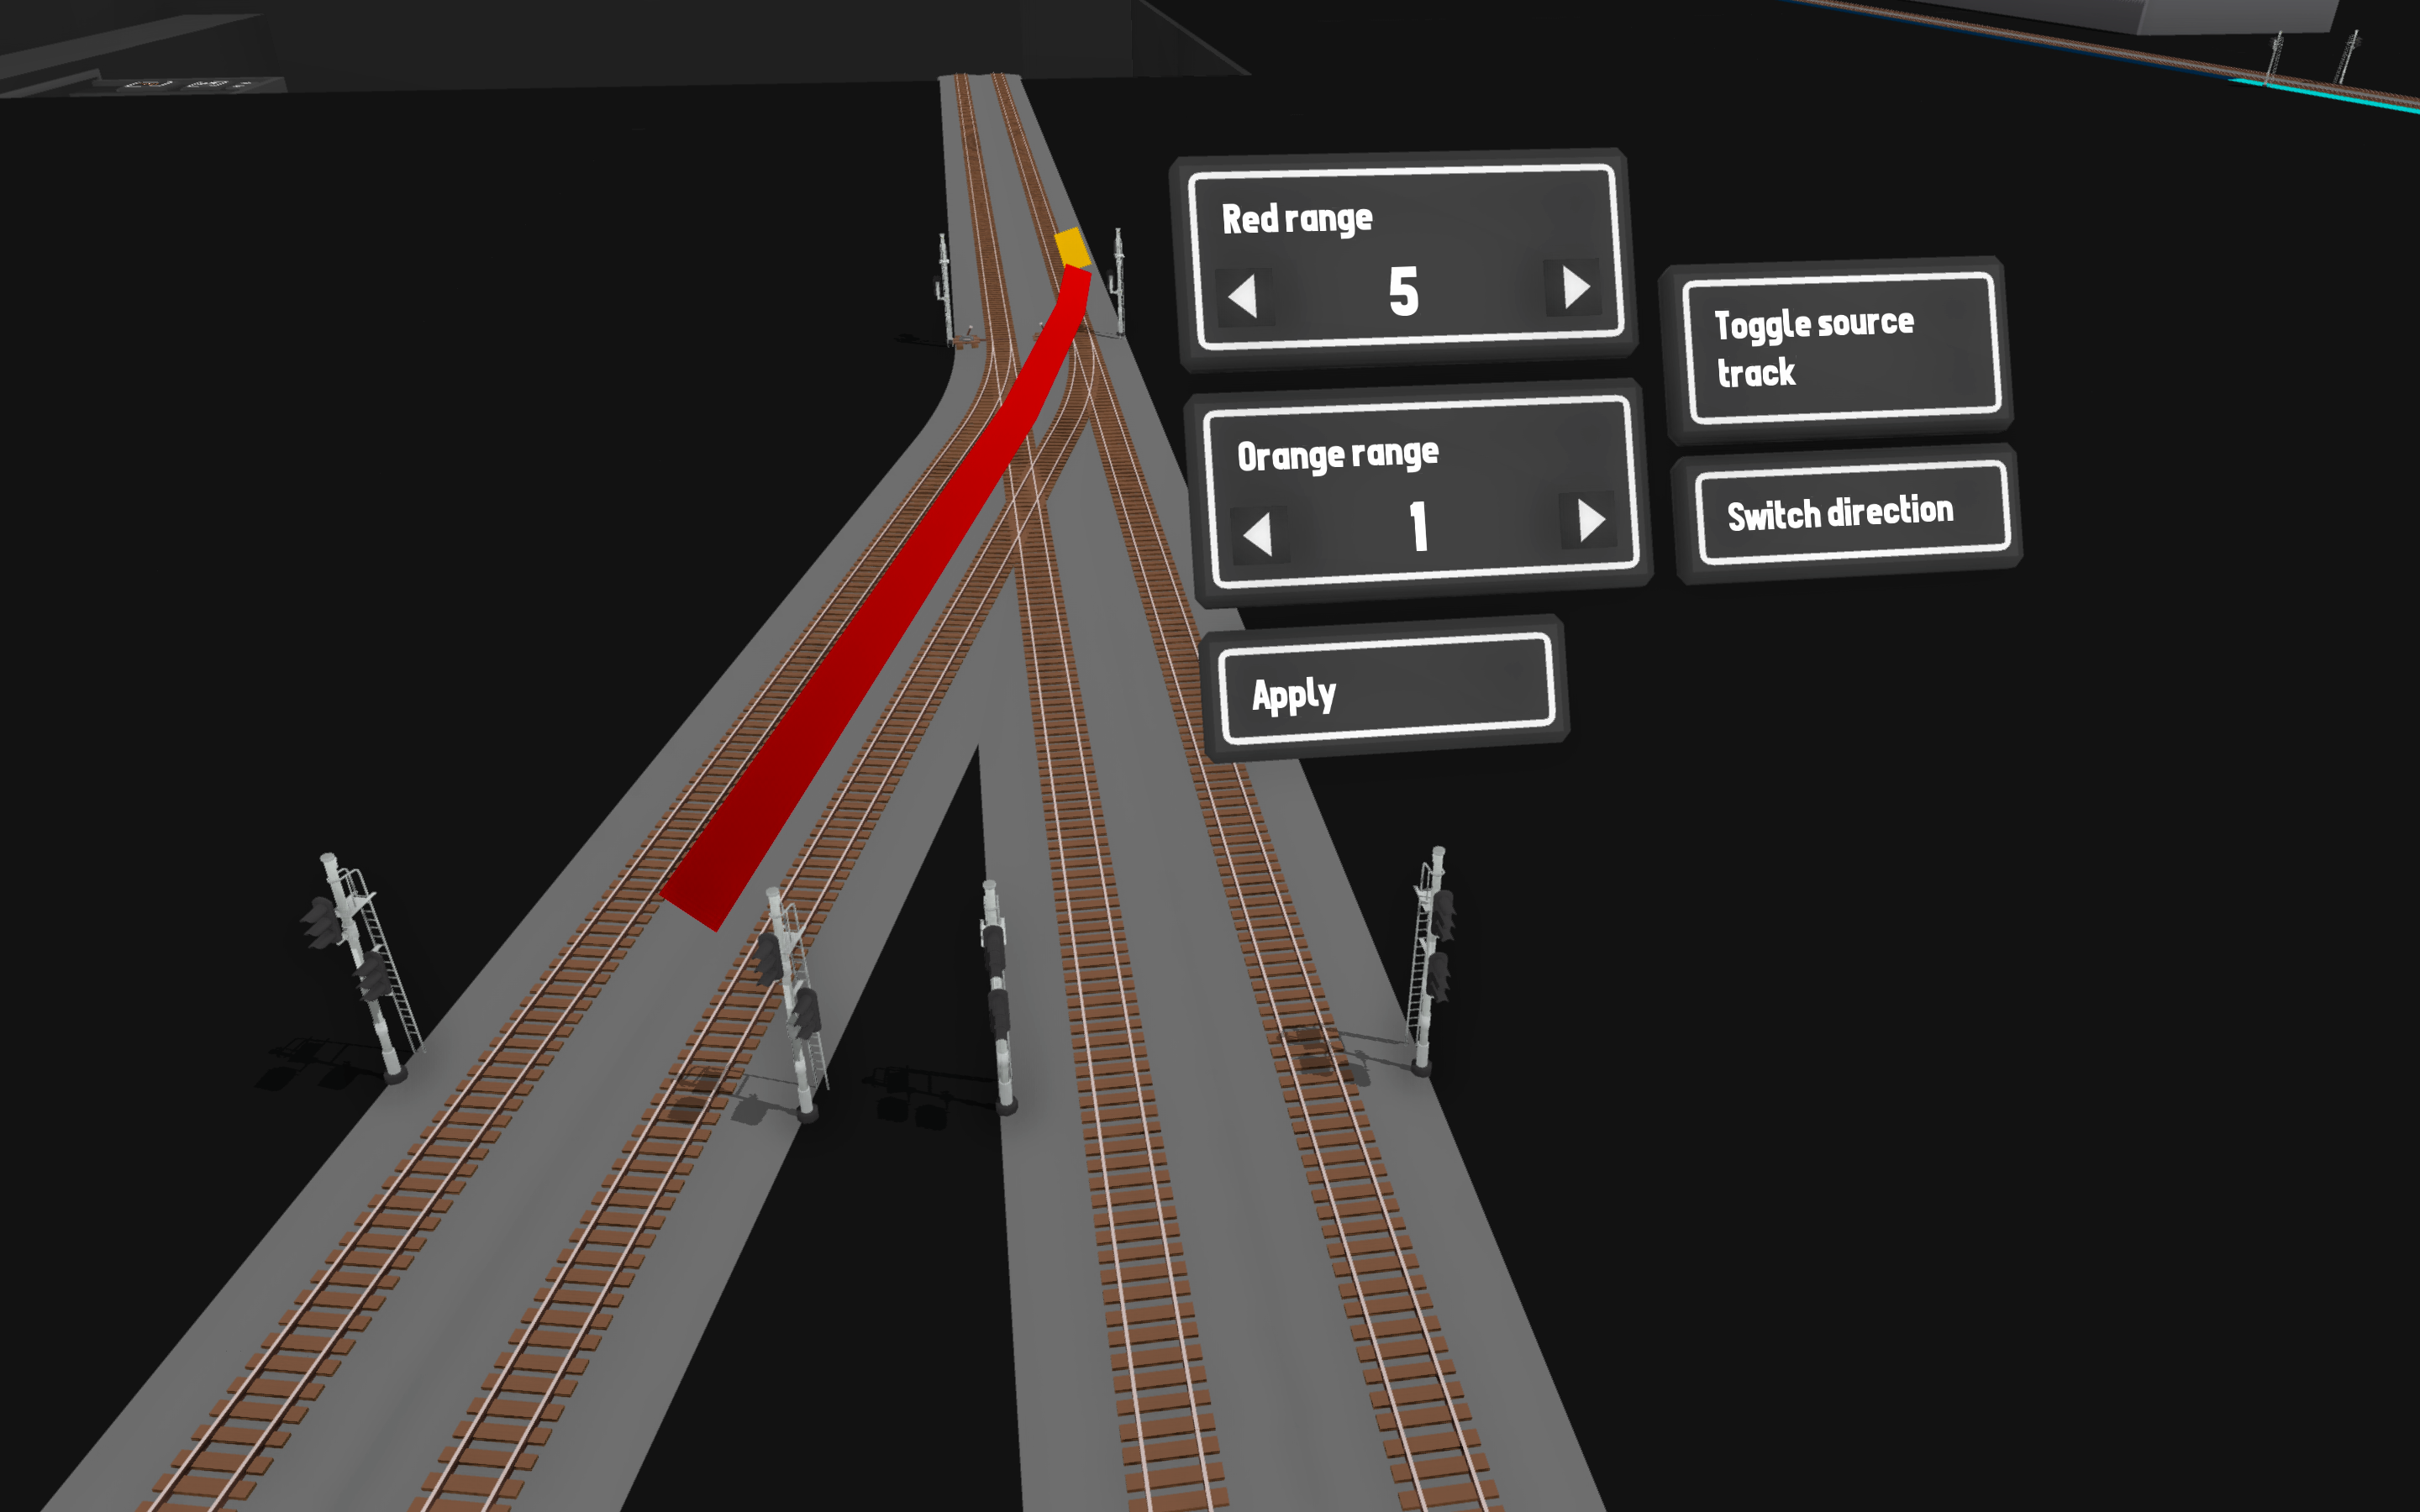
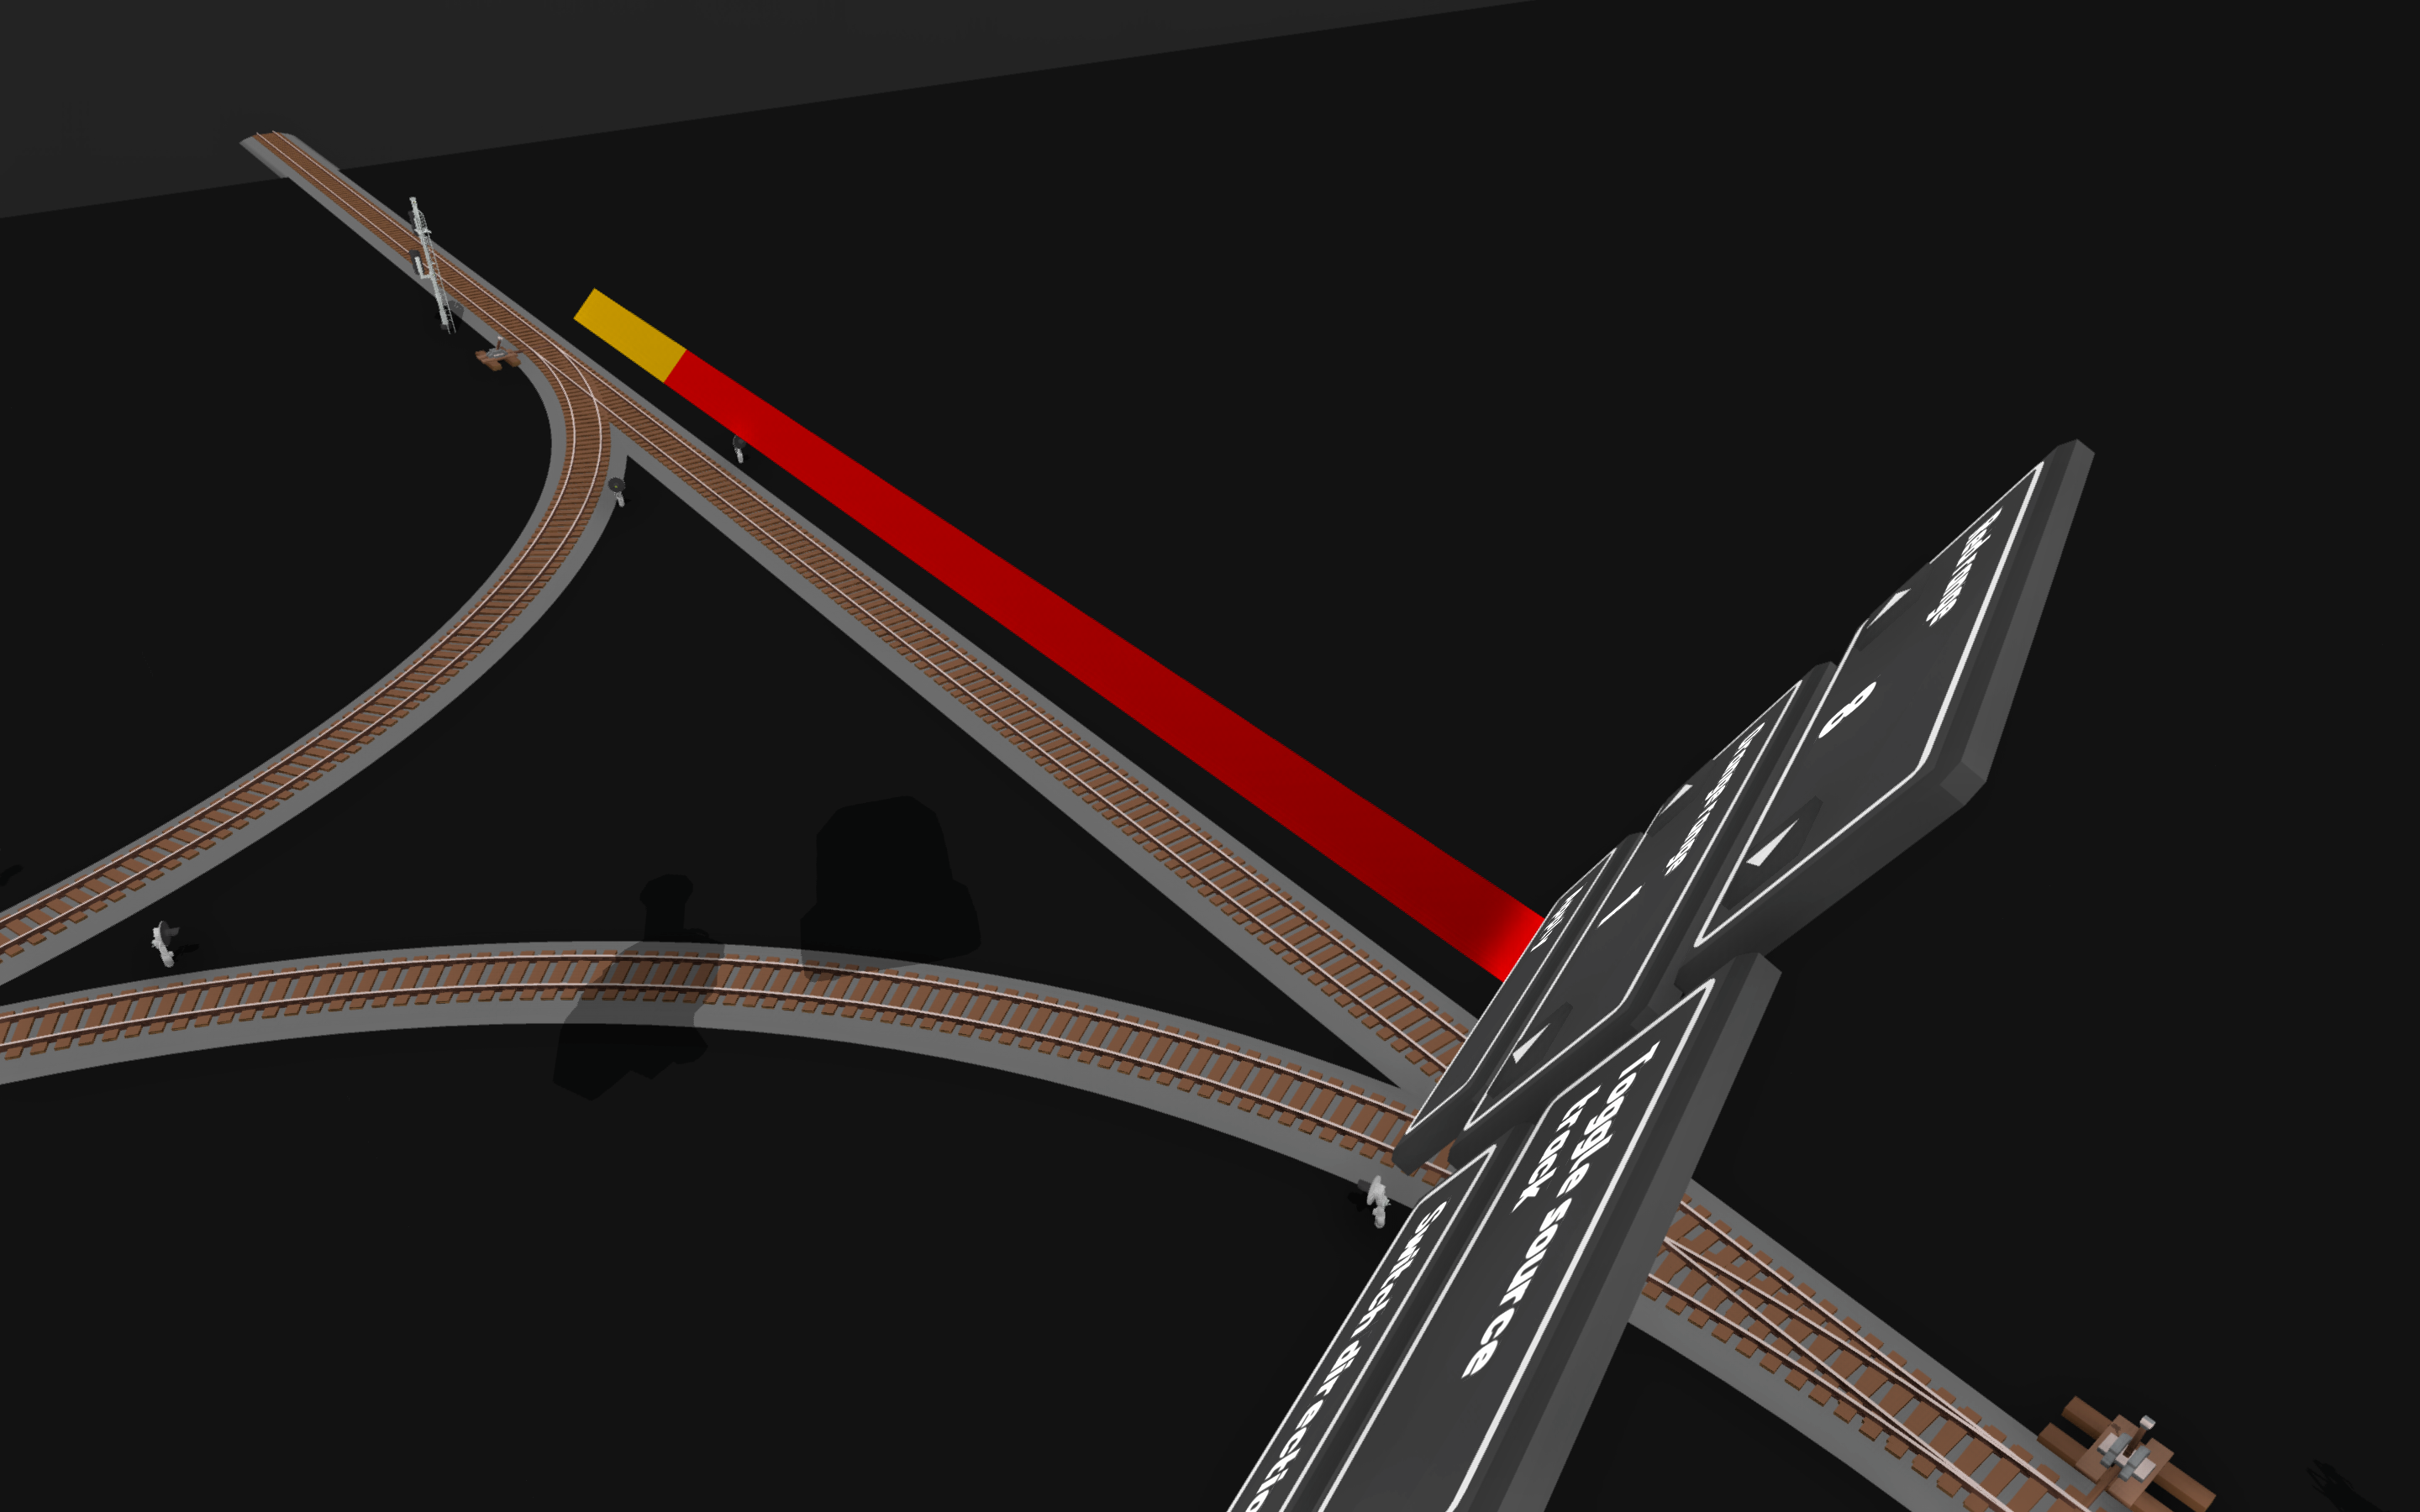
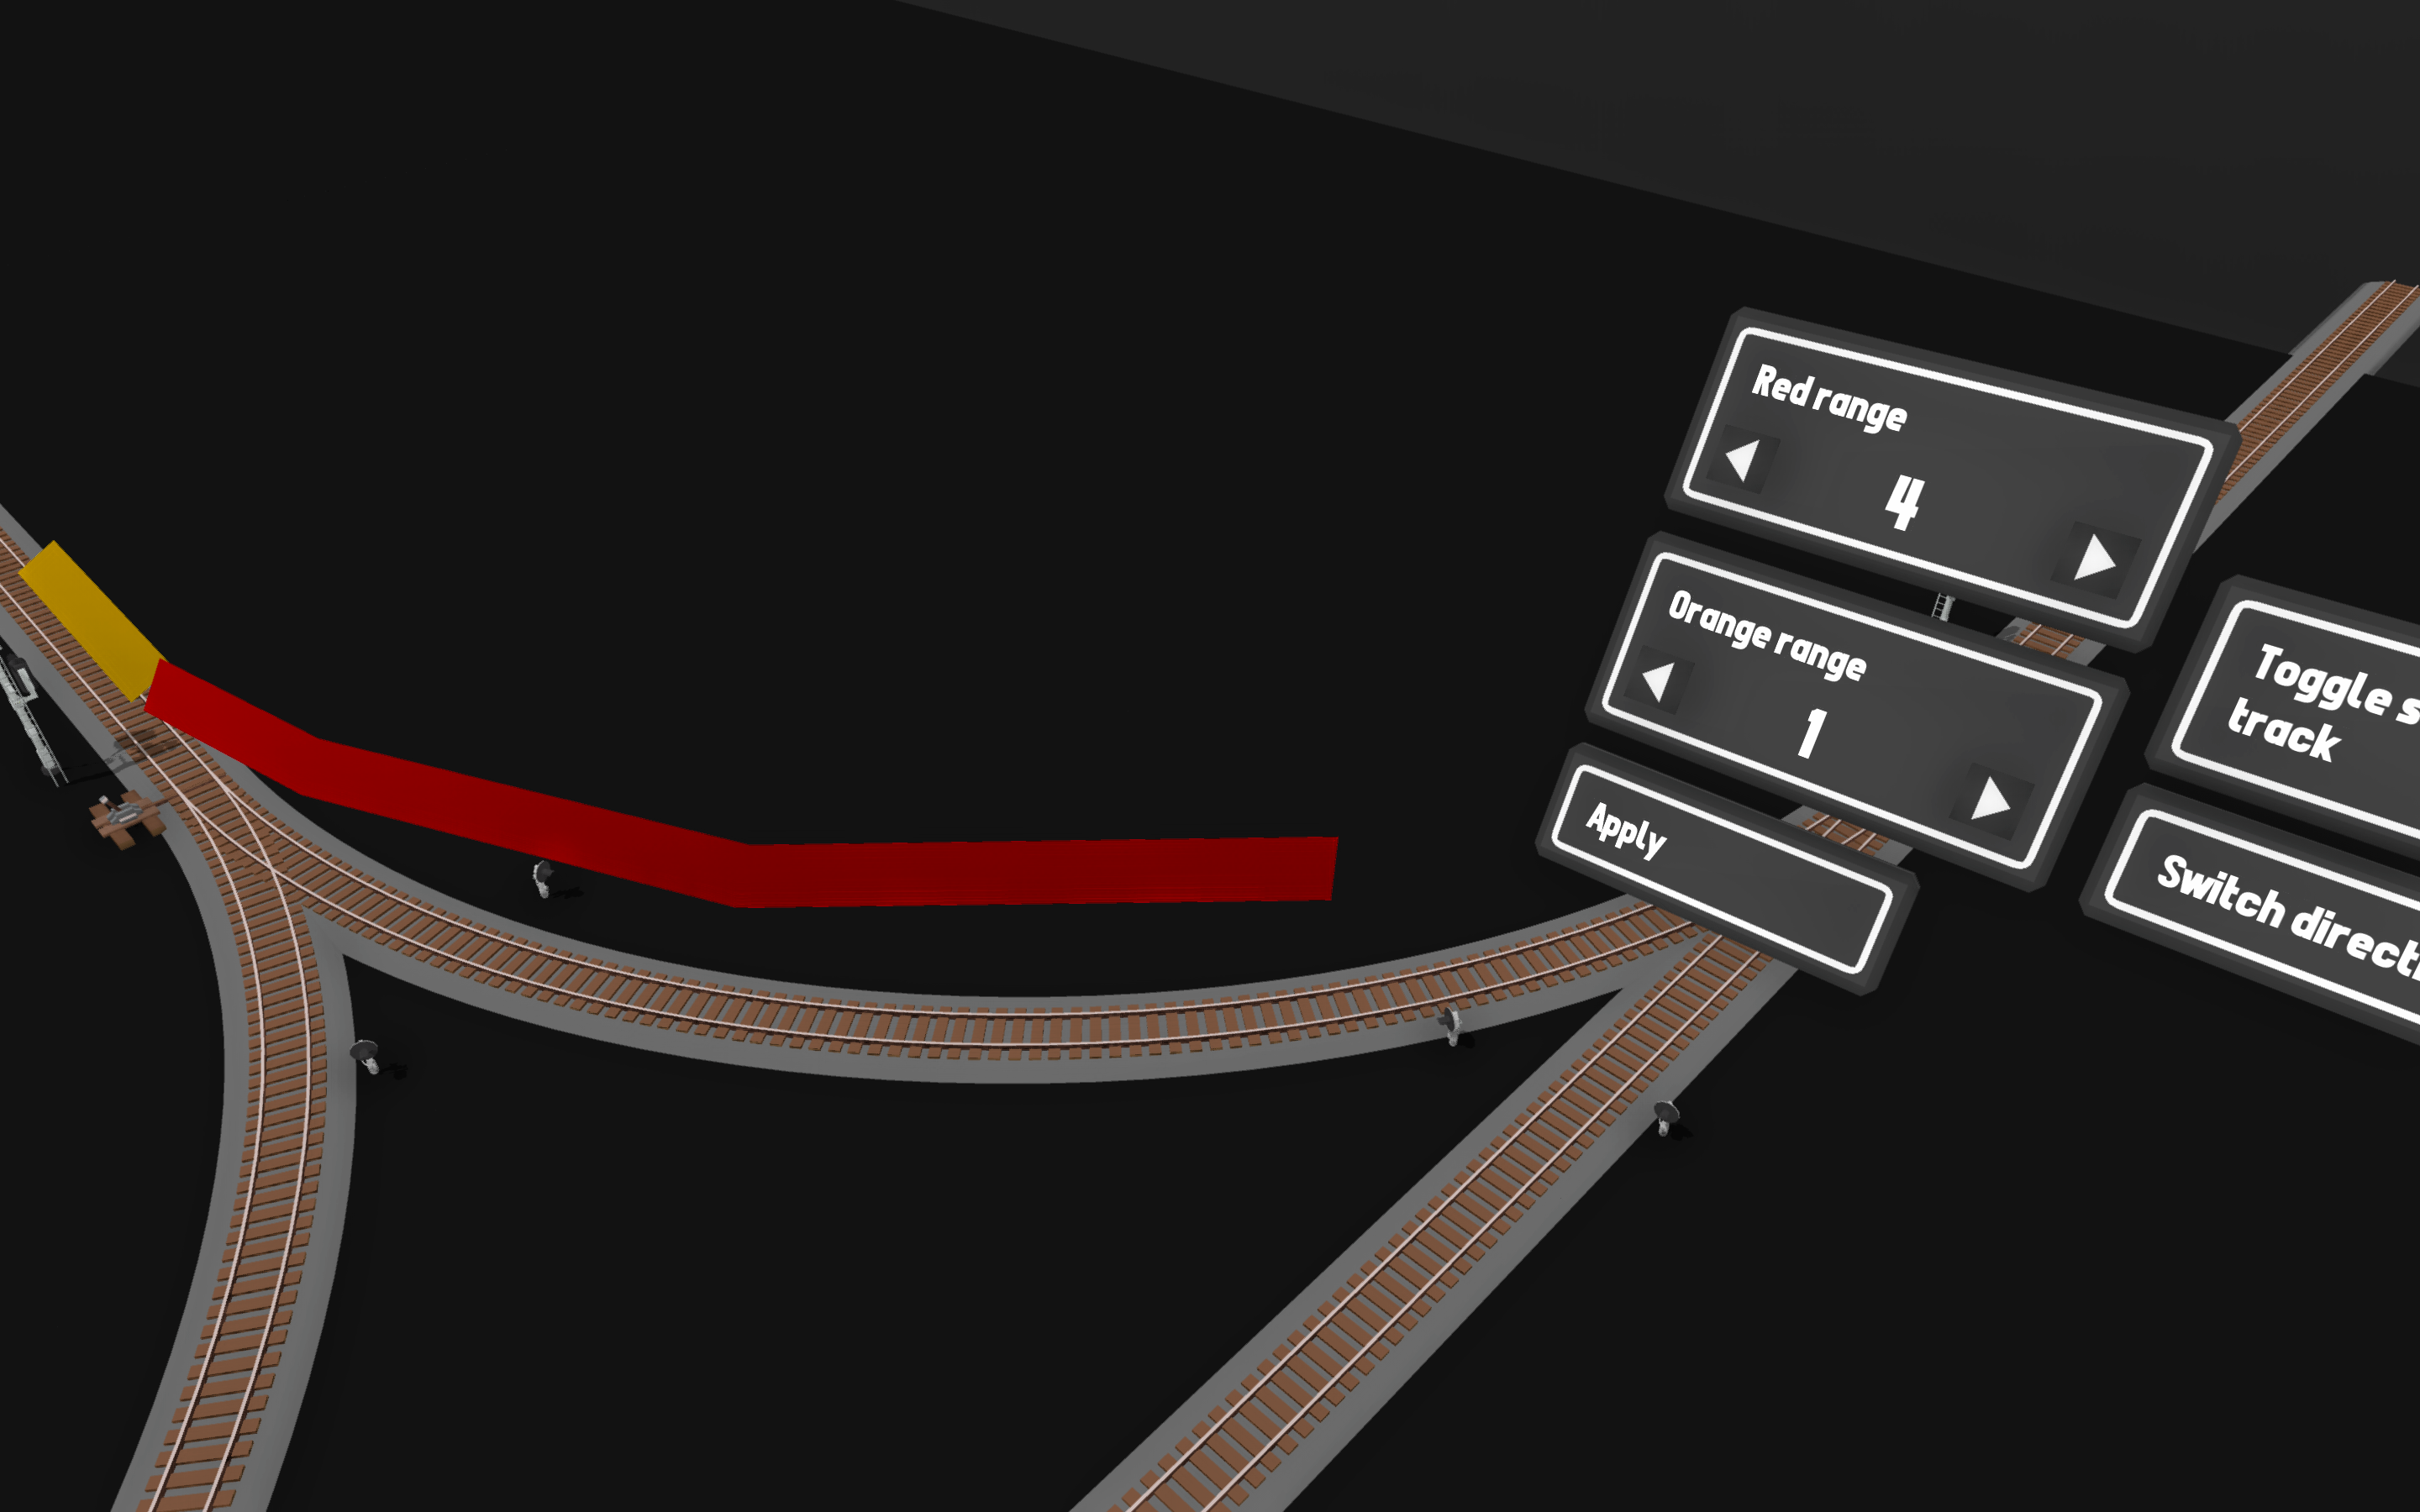
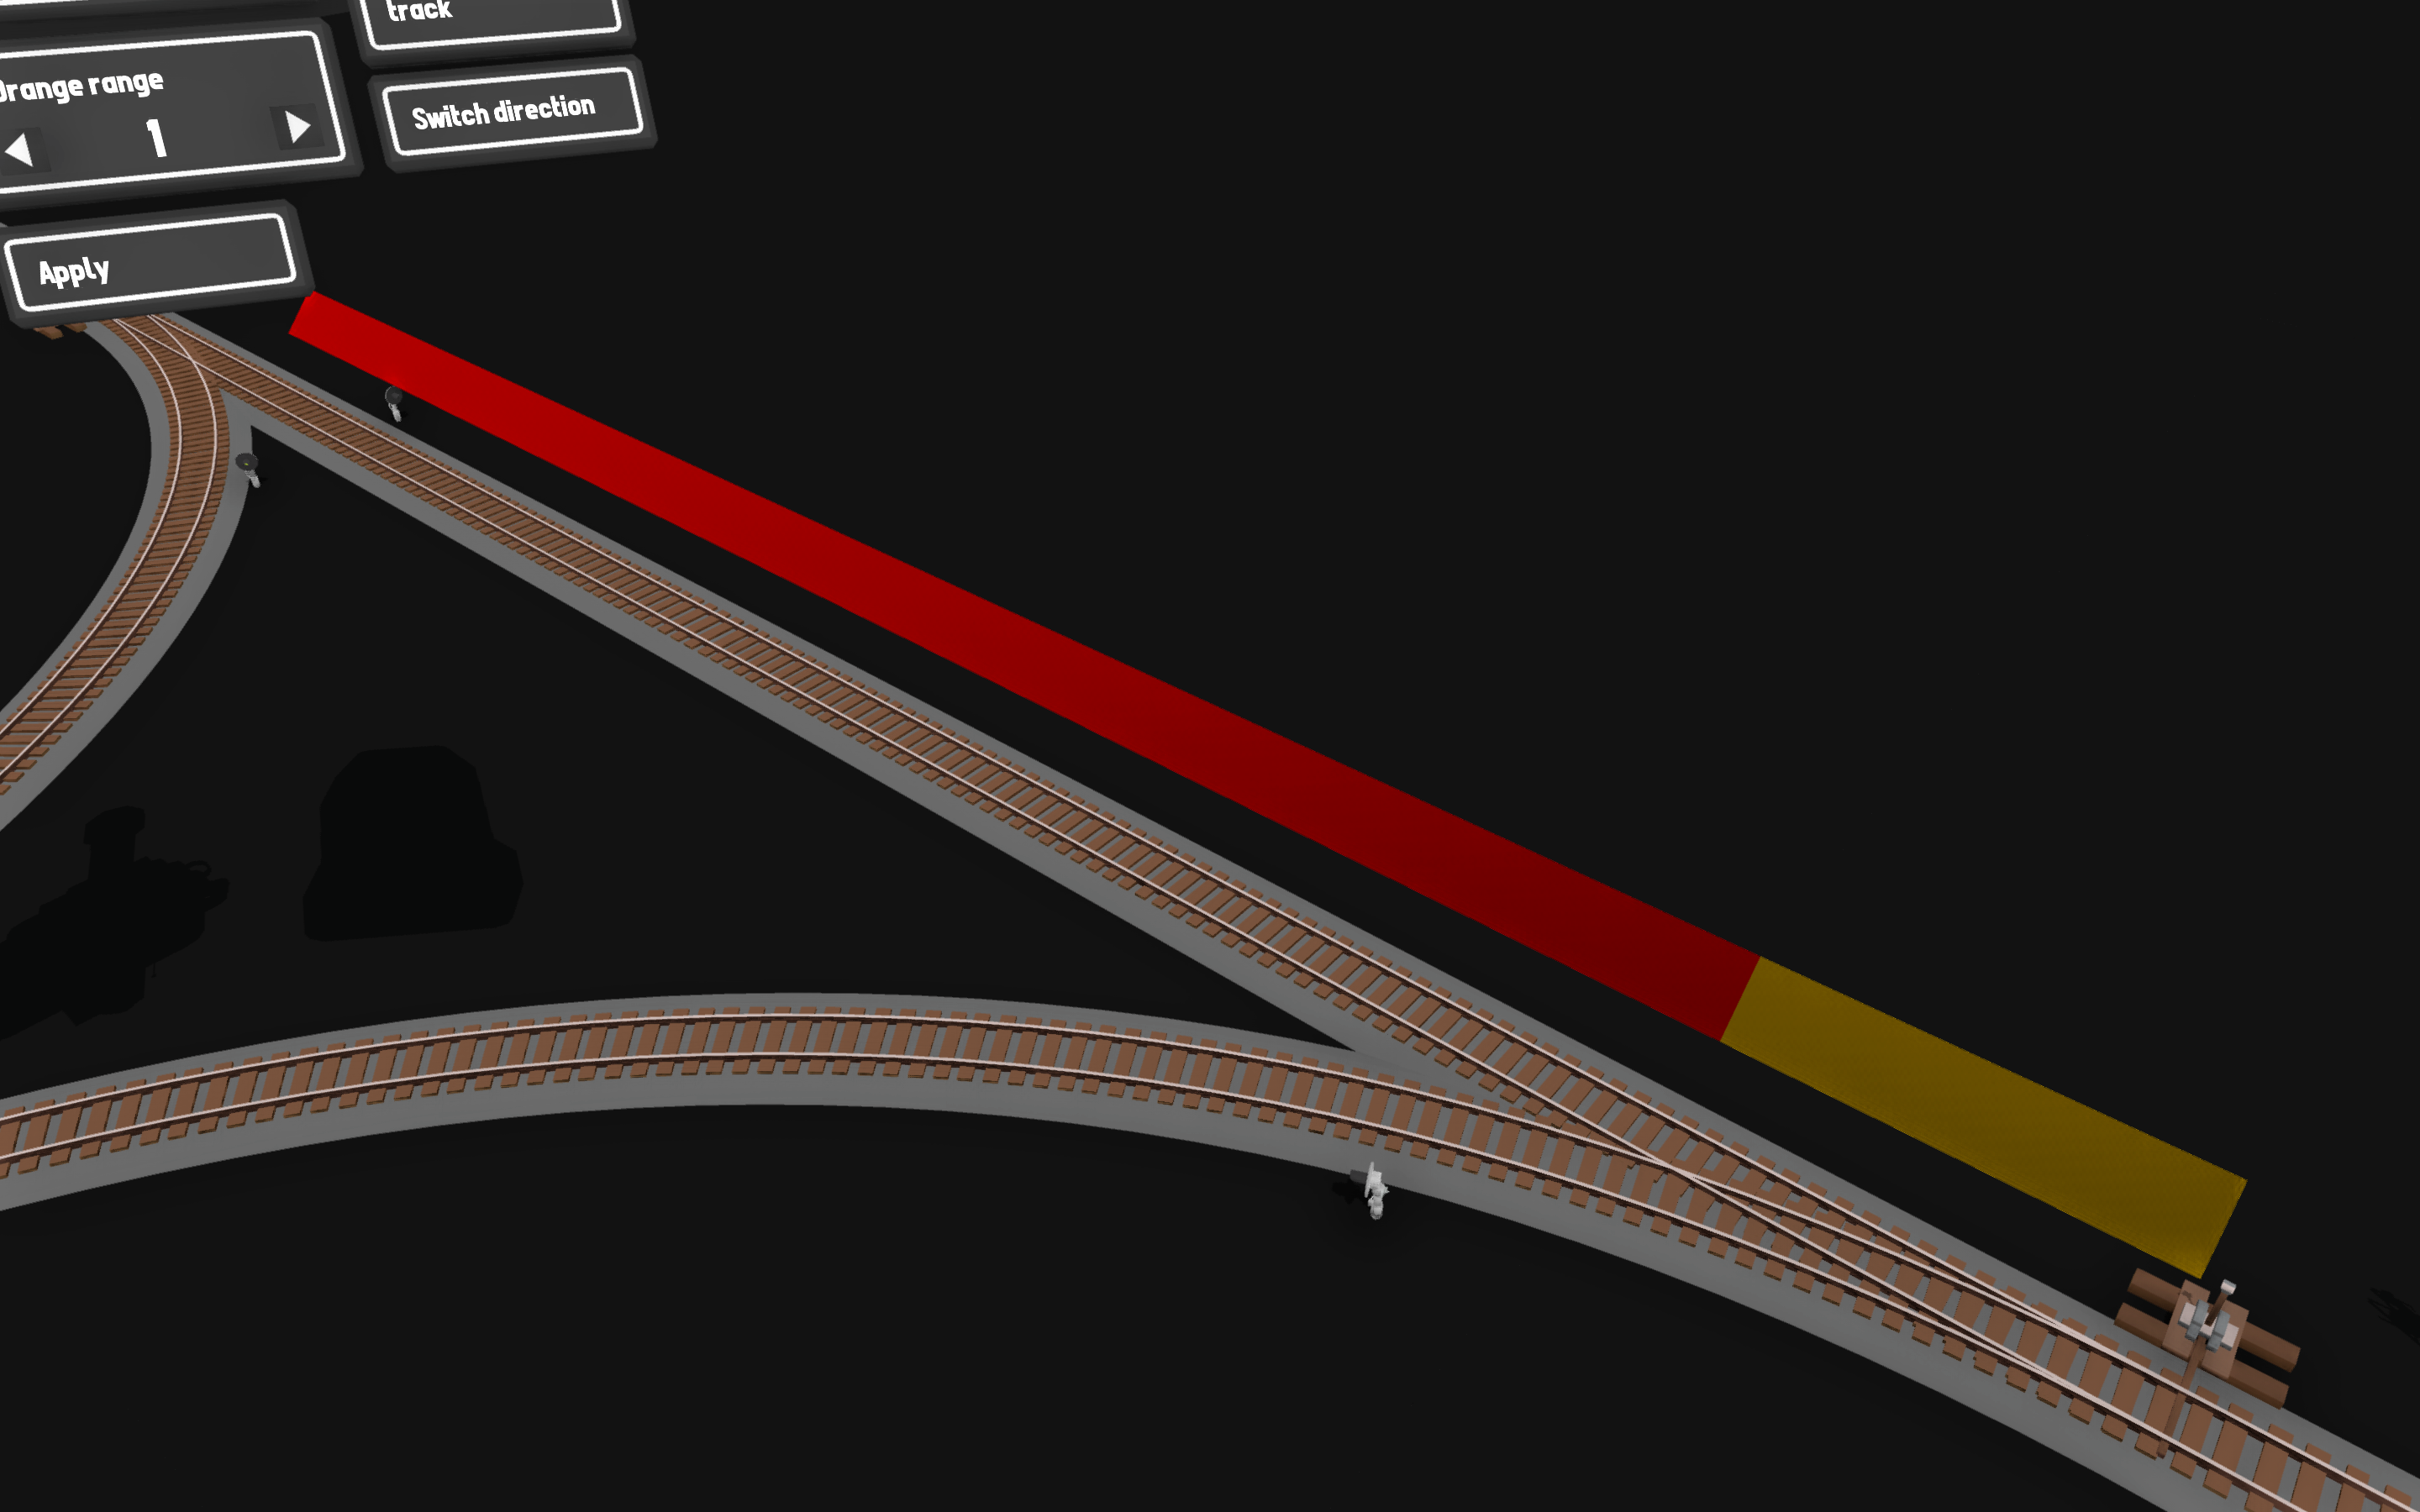
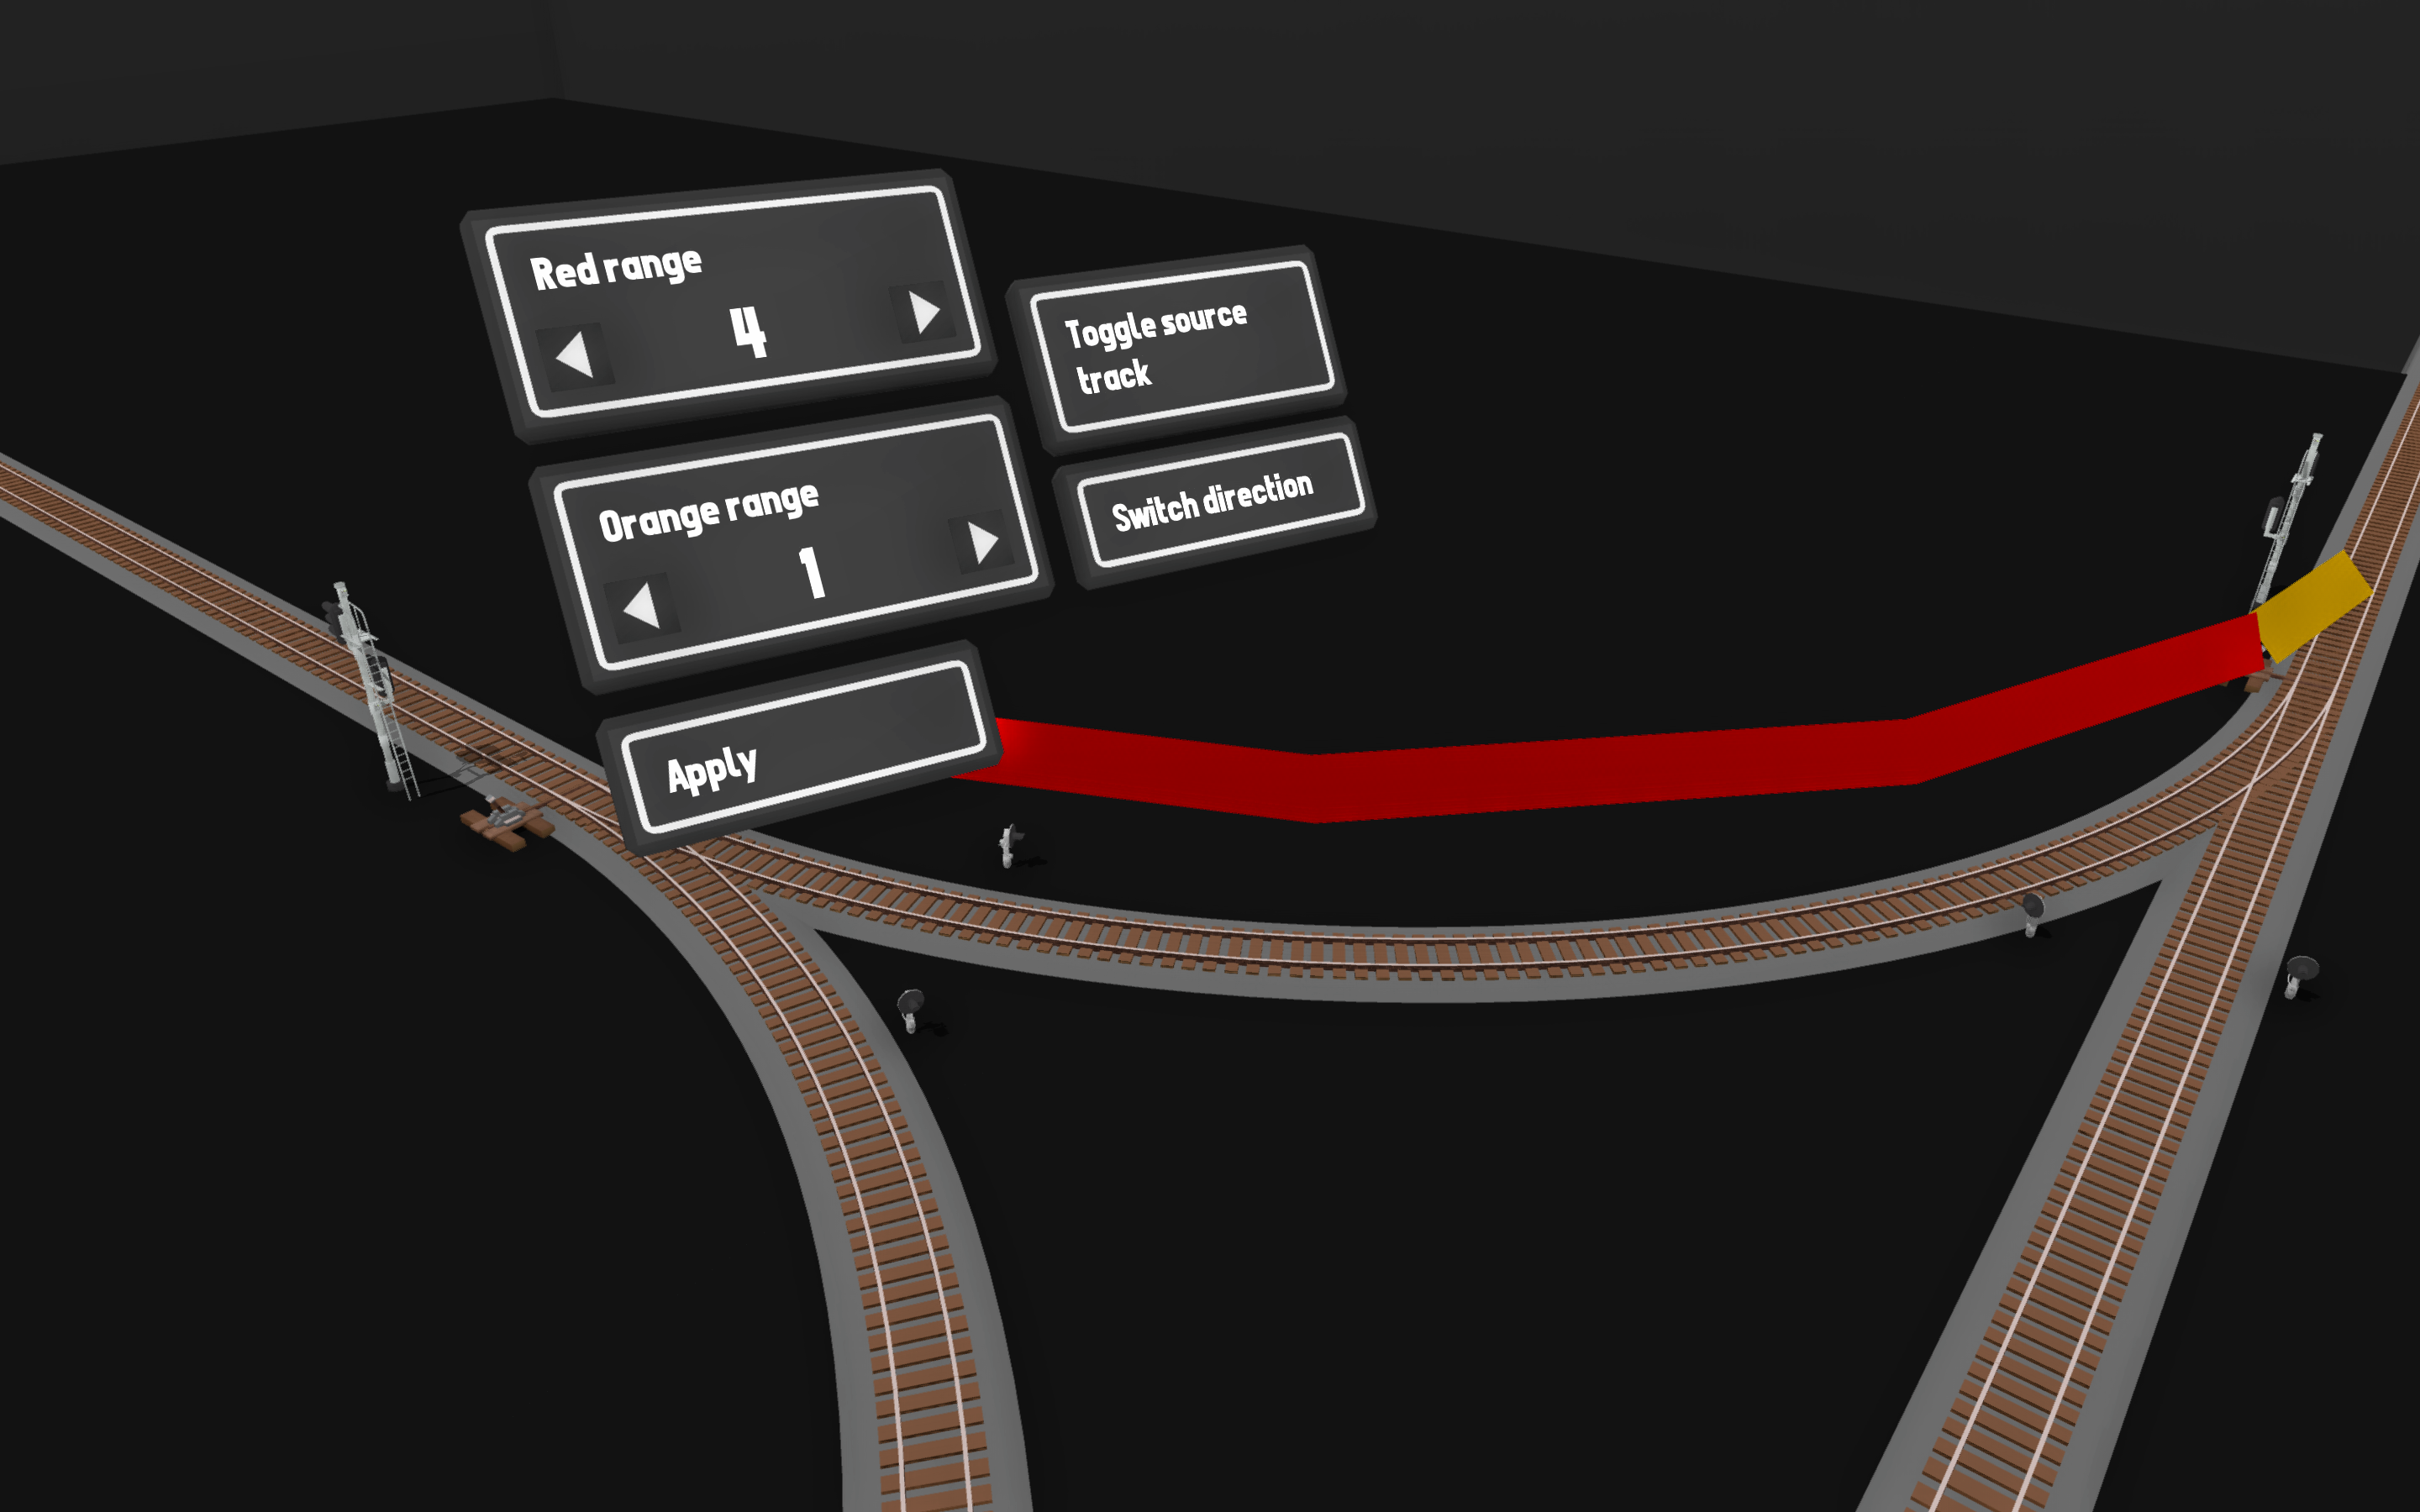
In this first image I have used, the standard triple-aspect colour-light signal with the standard directional triple-aspect colour-light signal facing left. The directional signal protects the left turnout and the track after it and the pole-mounted signal acts as a block signal, protecting the mainline.
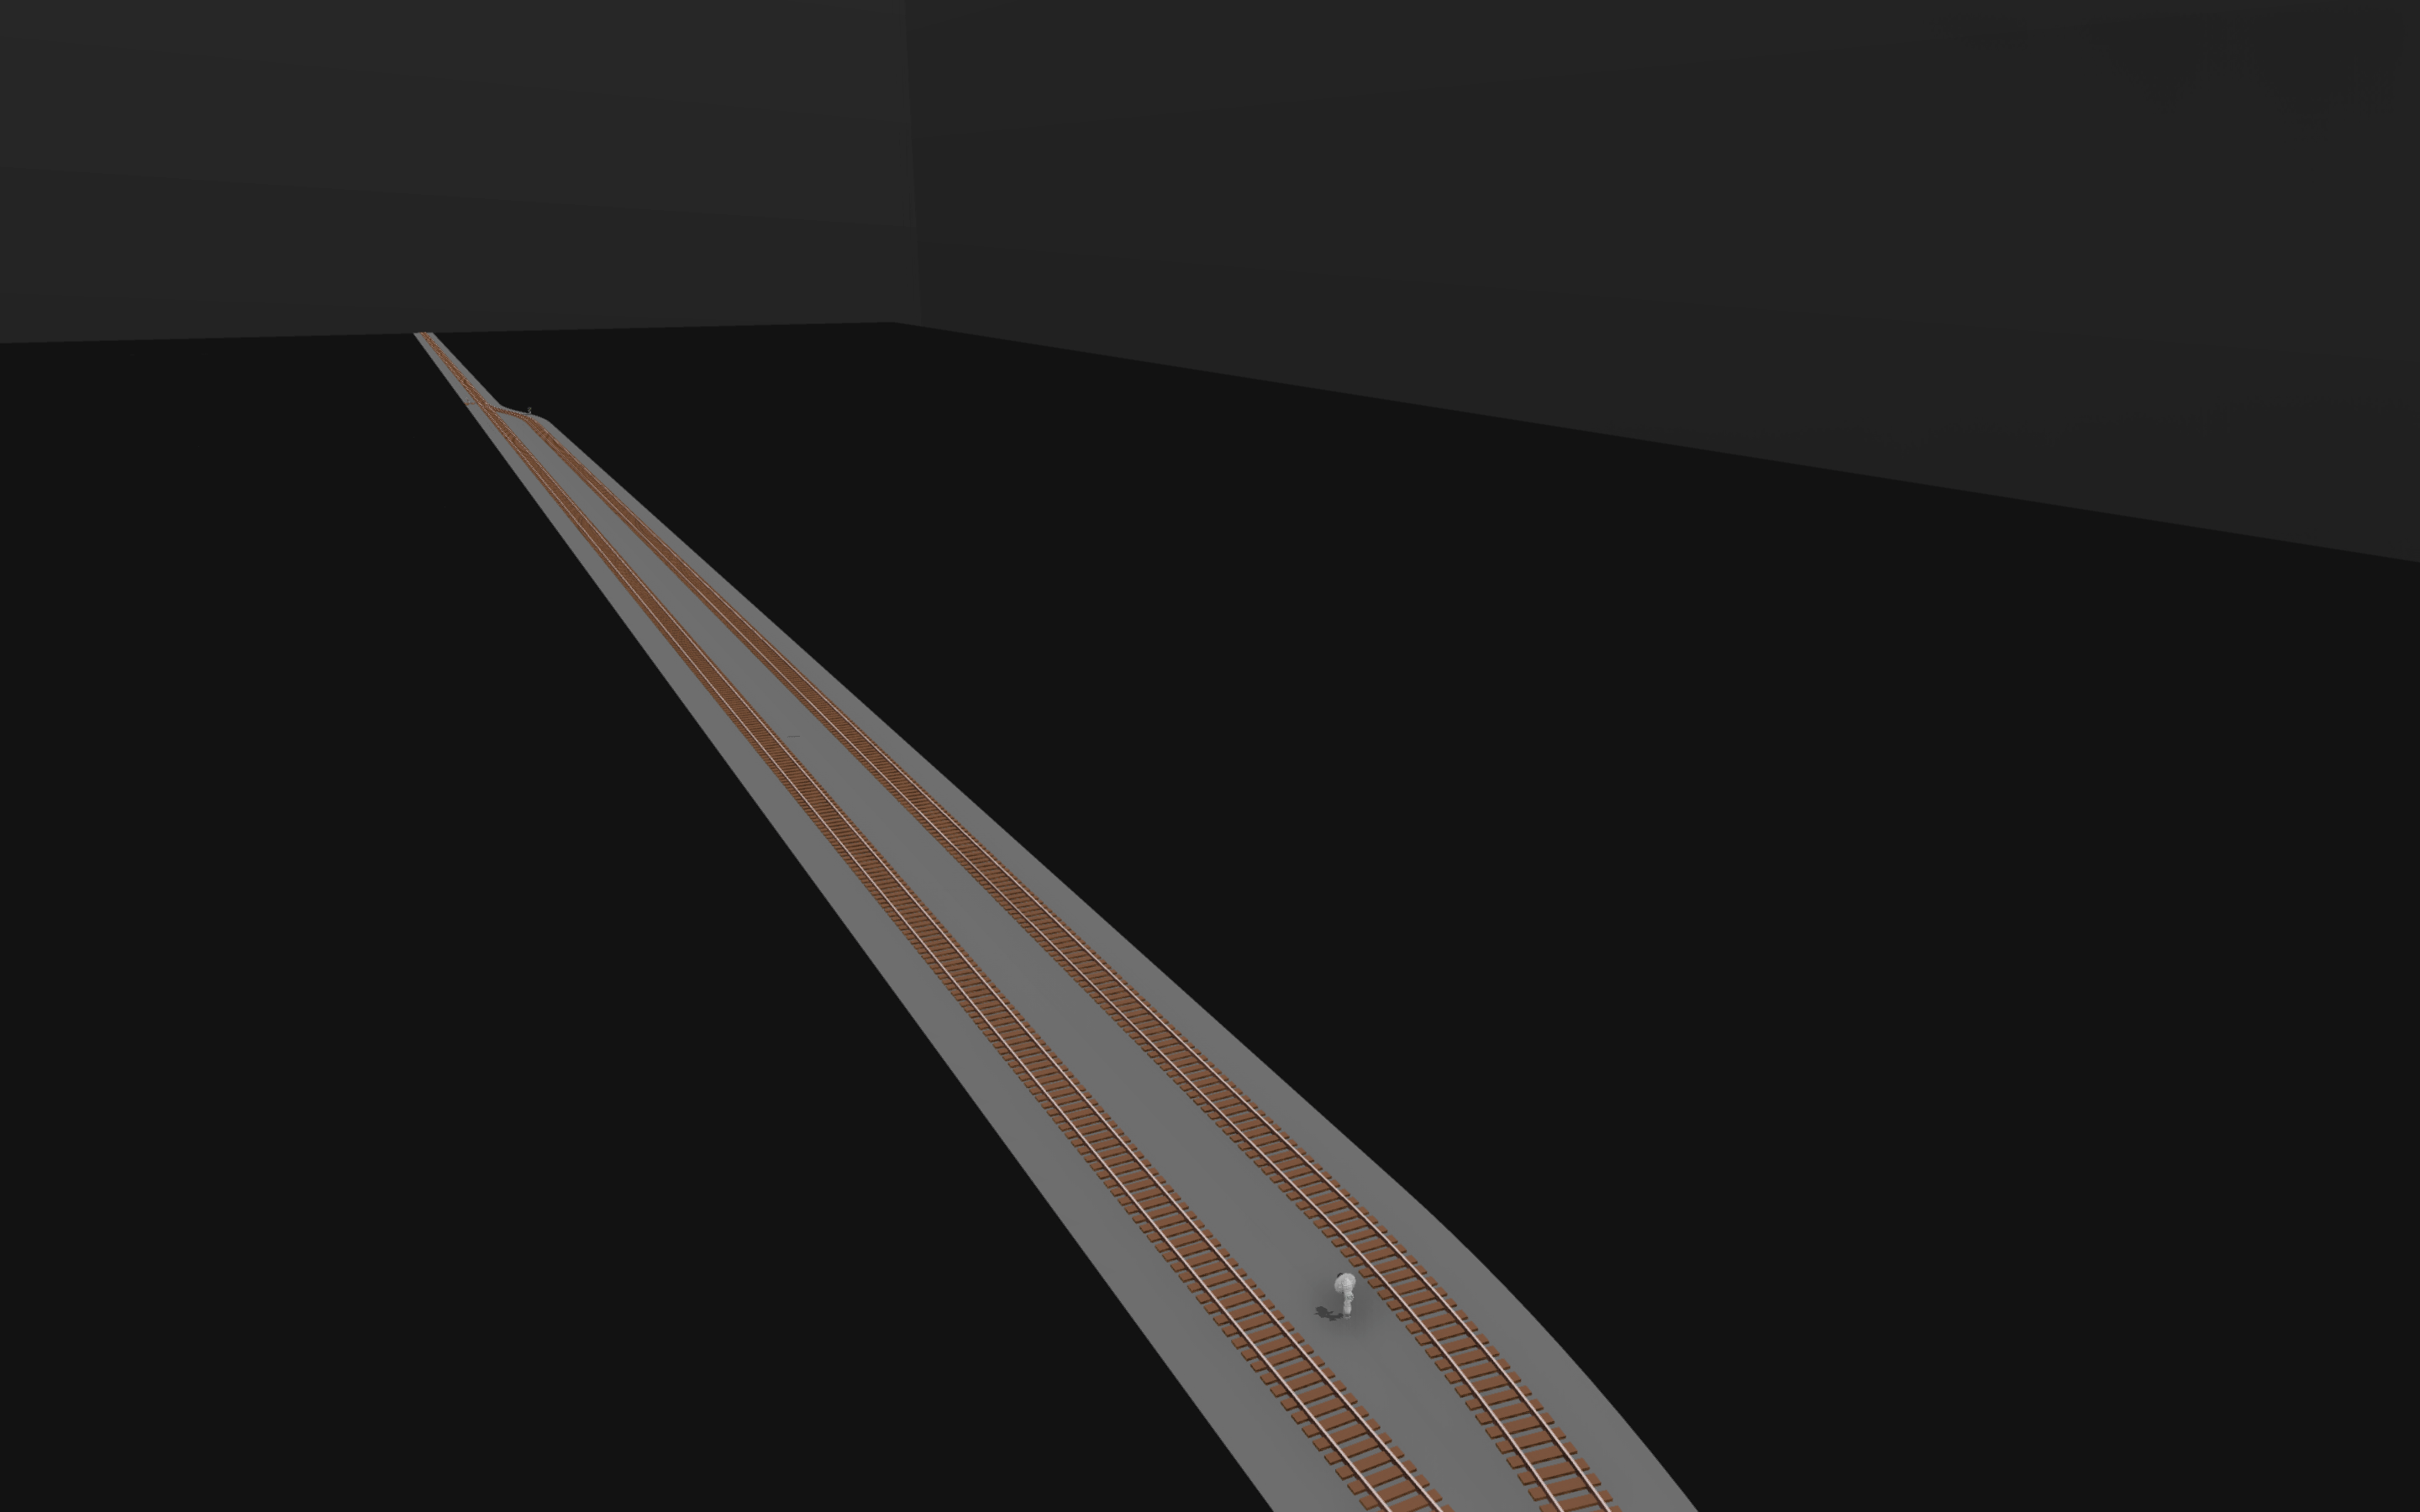
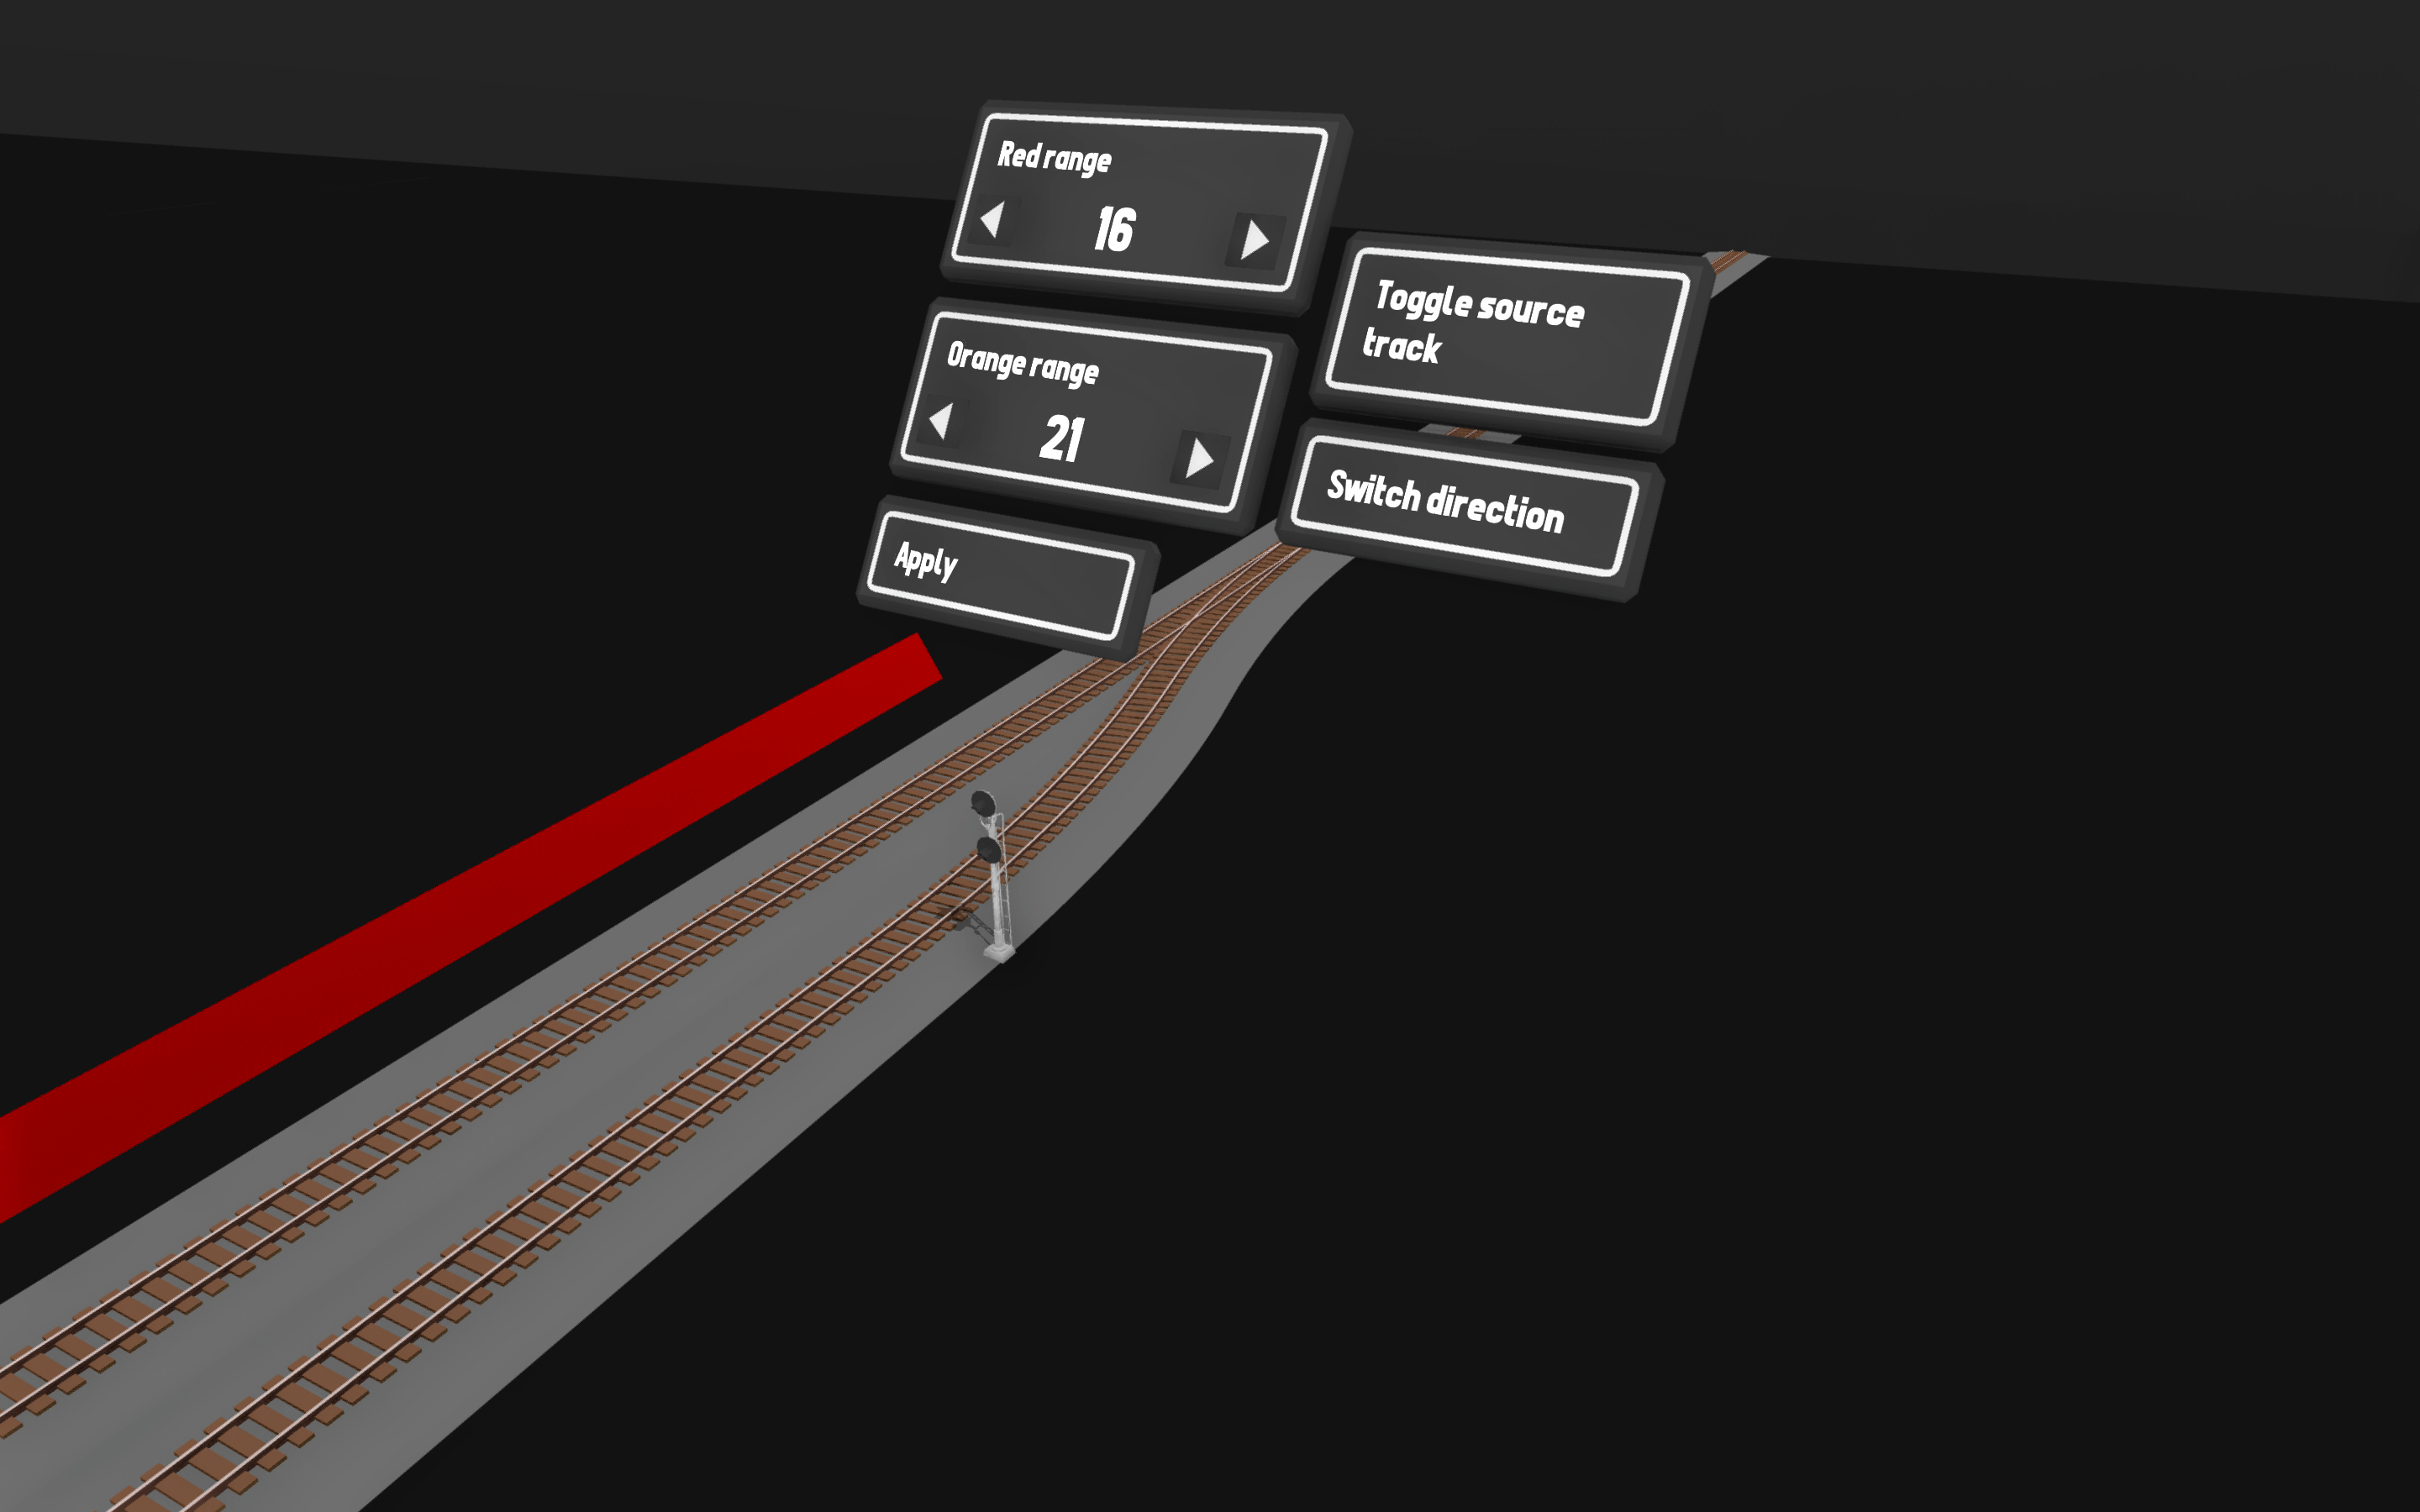
The second image is focusing on the directional signal mounted onto another pole-mounted 3-aspect signal. The directional signal protects the track between the two mainline signals, while the pole-mounted 3-aspect signal acts as a block, with the red extending until the next signal on the mainline, etc.
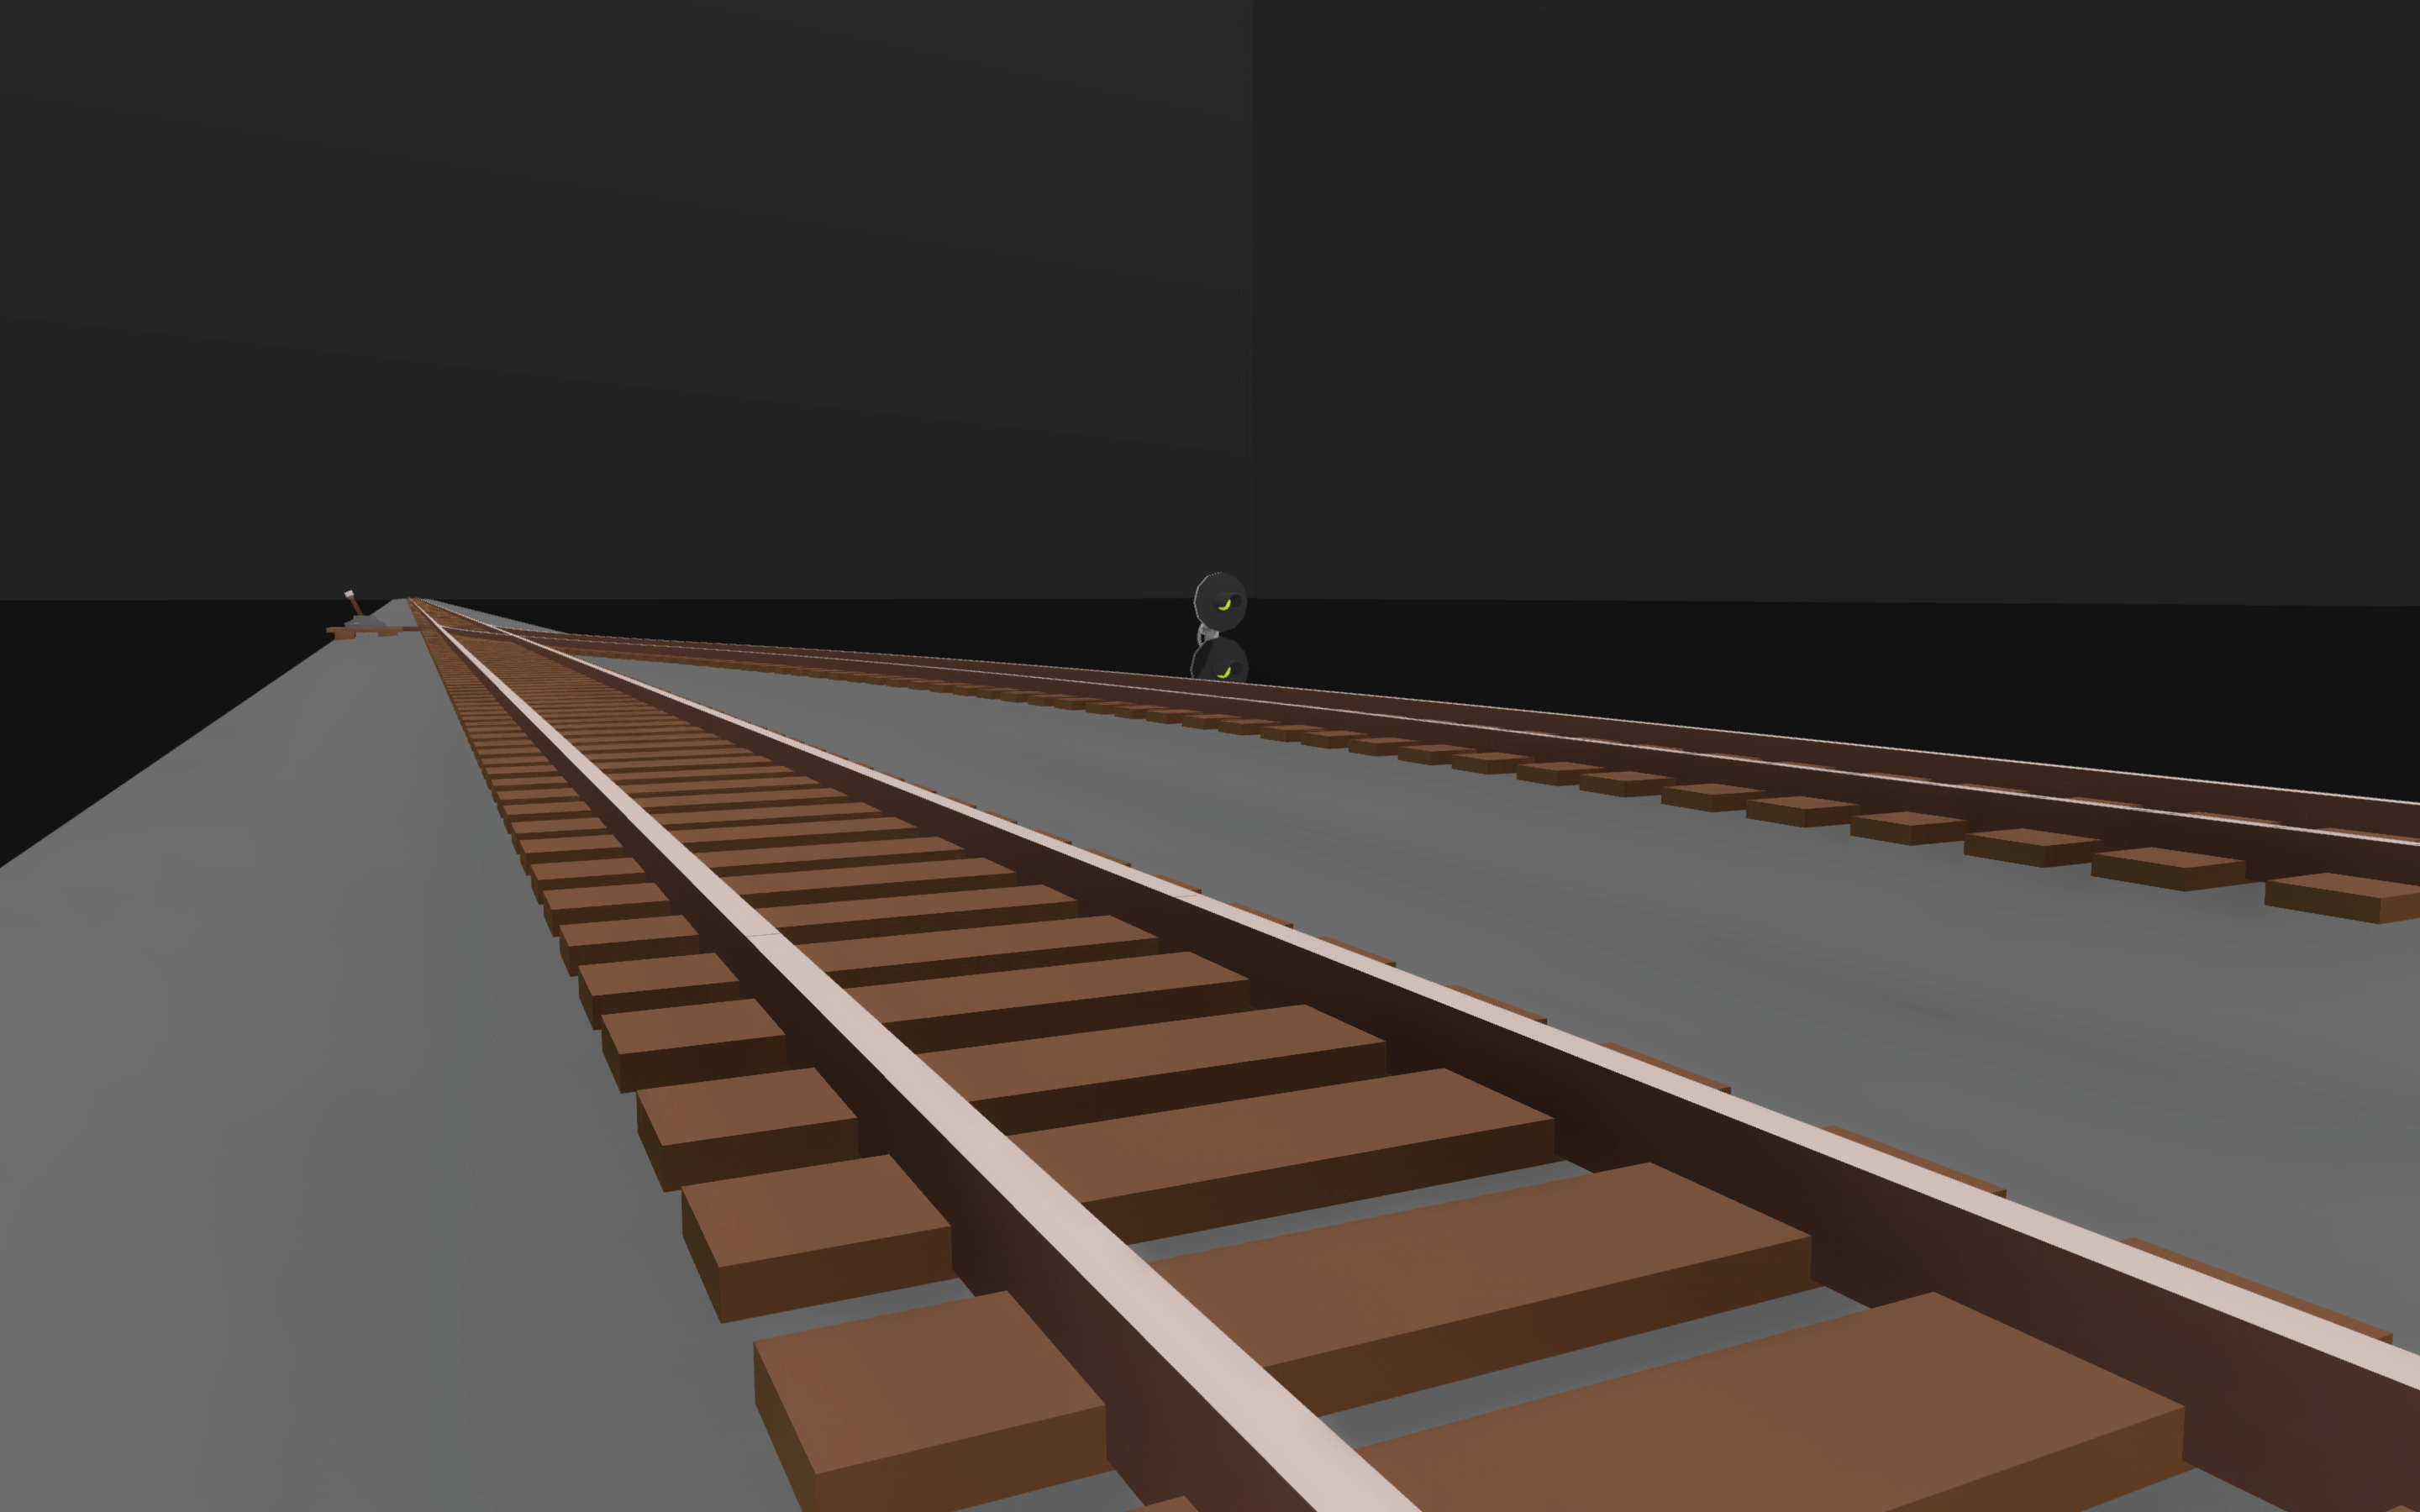
The third image is focusing on the signal mounted onto another pole-mounted 3-aspect signal on the mainline. This signal protects the space between the first and second signals we used, while the pole-mounted 3-aspect signal is a block signal.
Double-Track Turnouts
Note: this is for turnouts where both tracks have switches – for turnouts where only one of two tracks switch, just follow the above section, it’s pretty much the same logic.
Most double-track turnouts will follow the same sort of thing I have here in my example, in that they are incredibly complicated to explain in a guide.
For simplicity, the direction the mainline faces is called “north”.
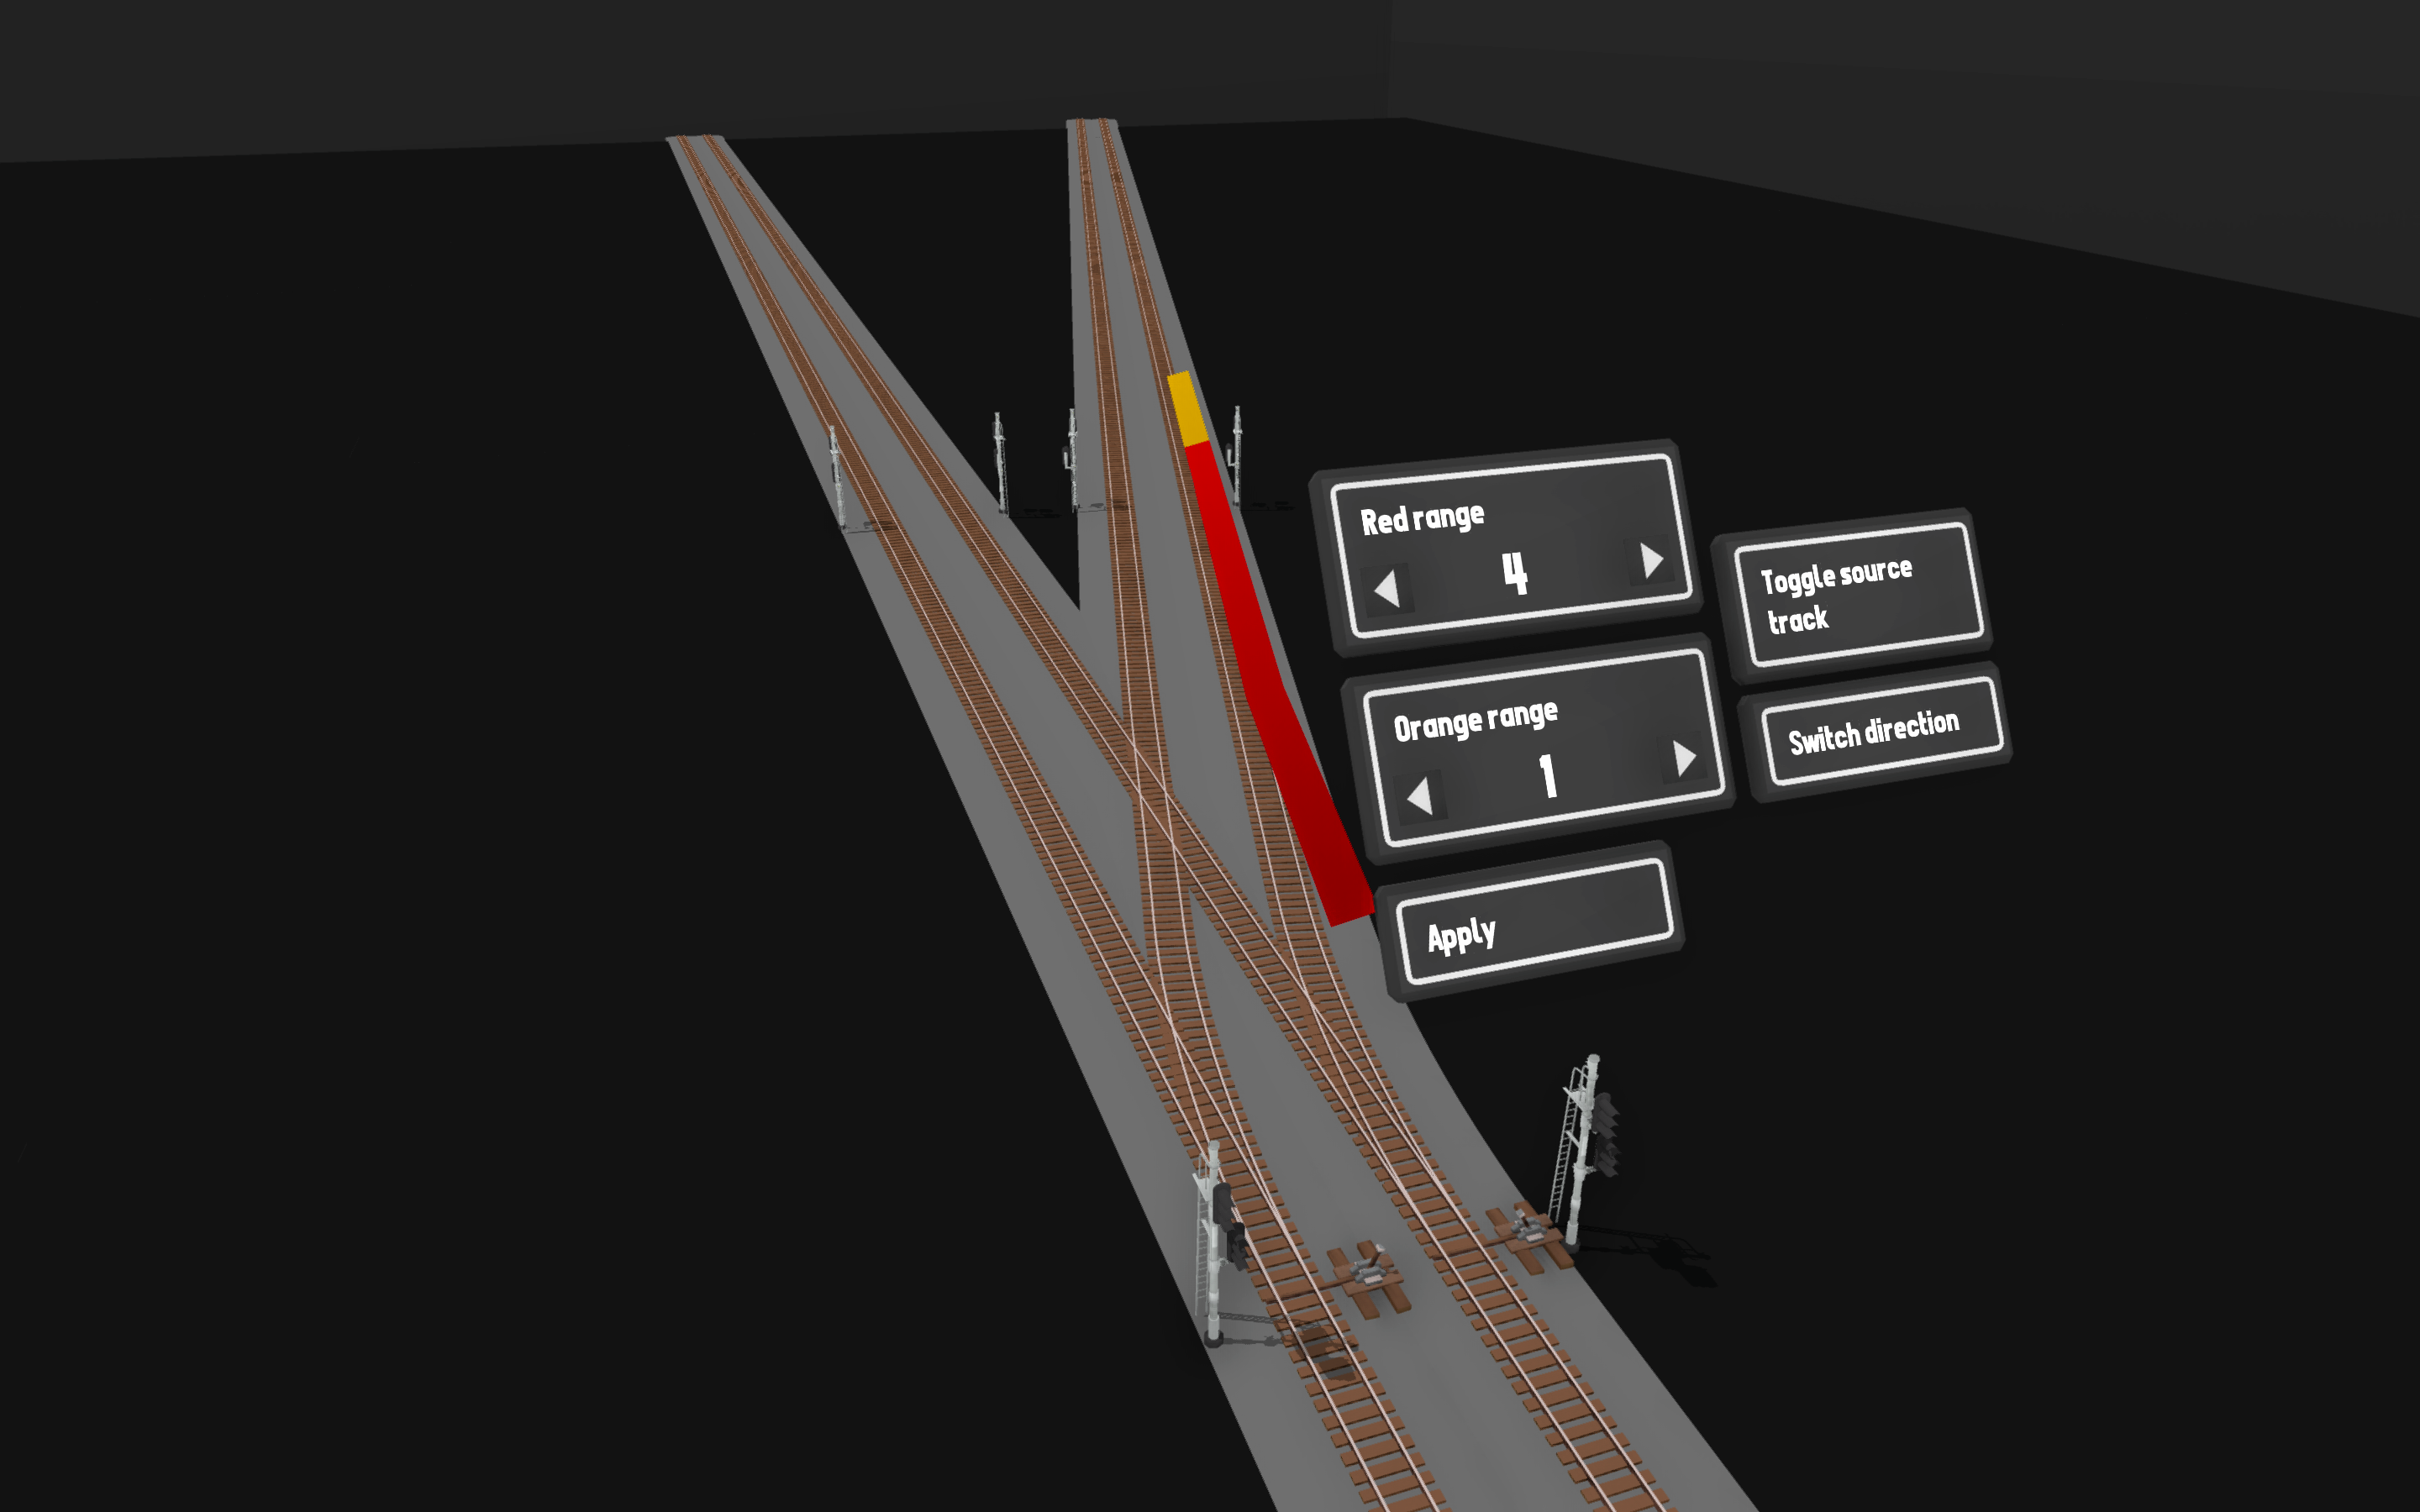
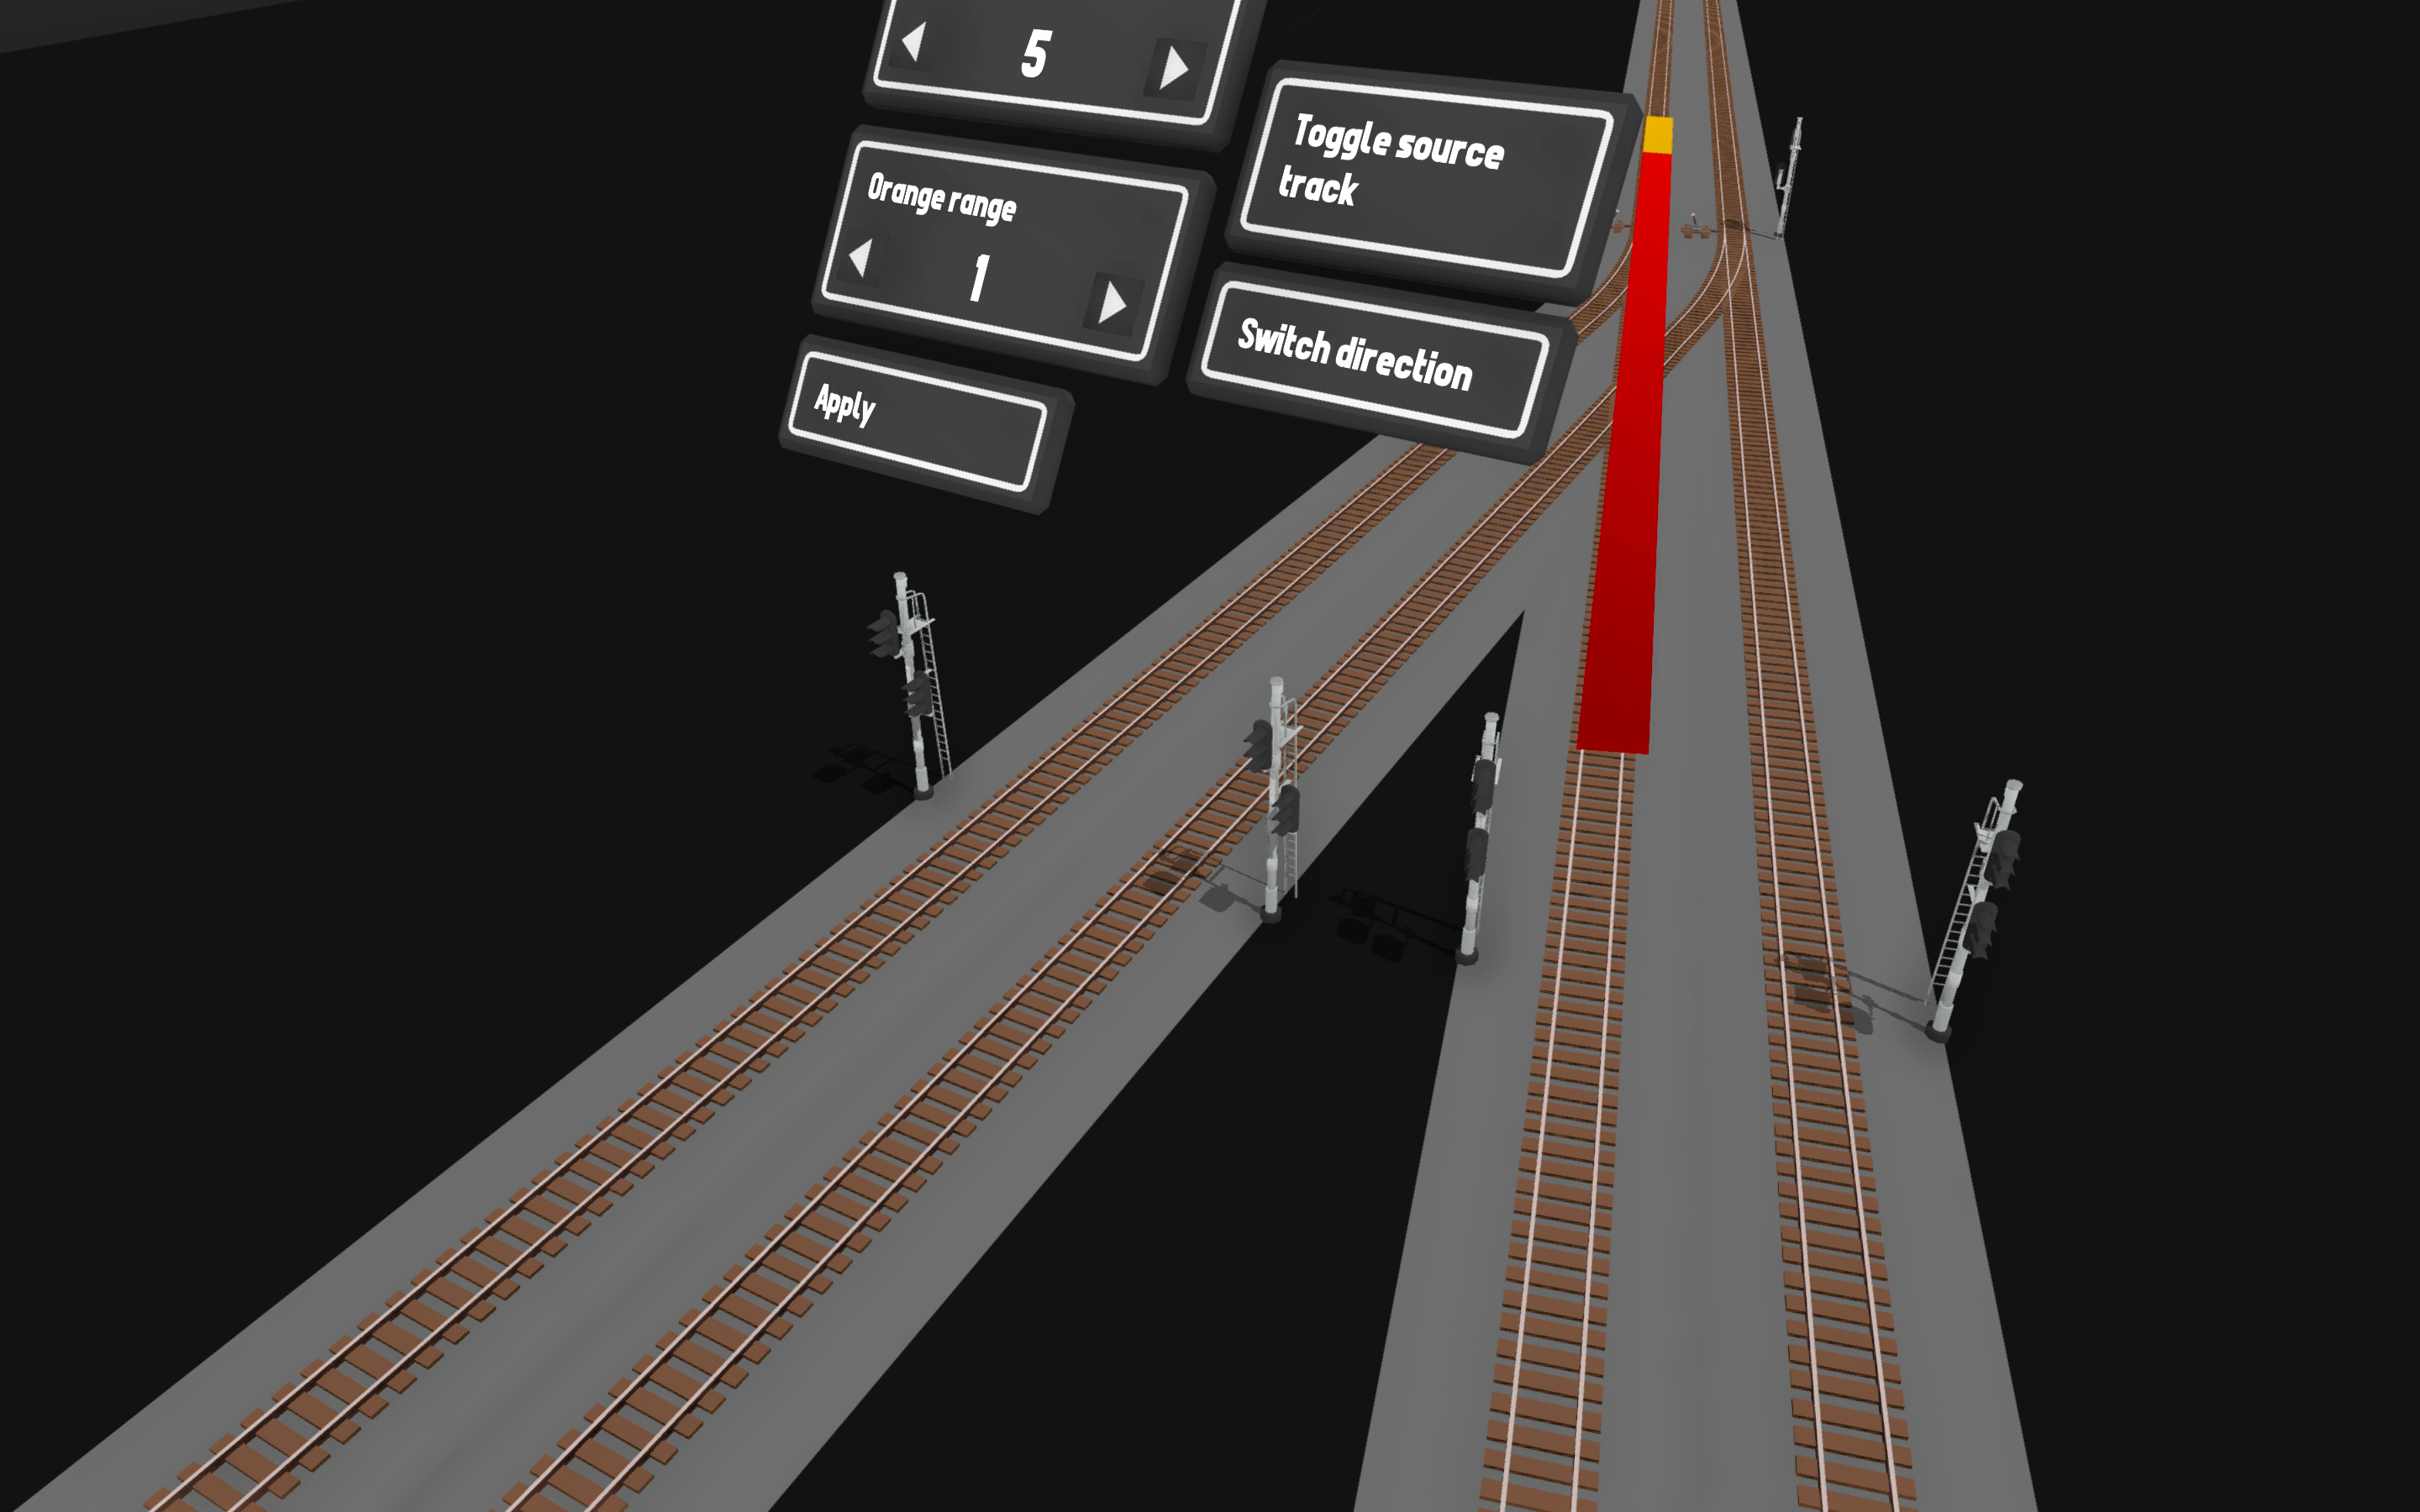
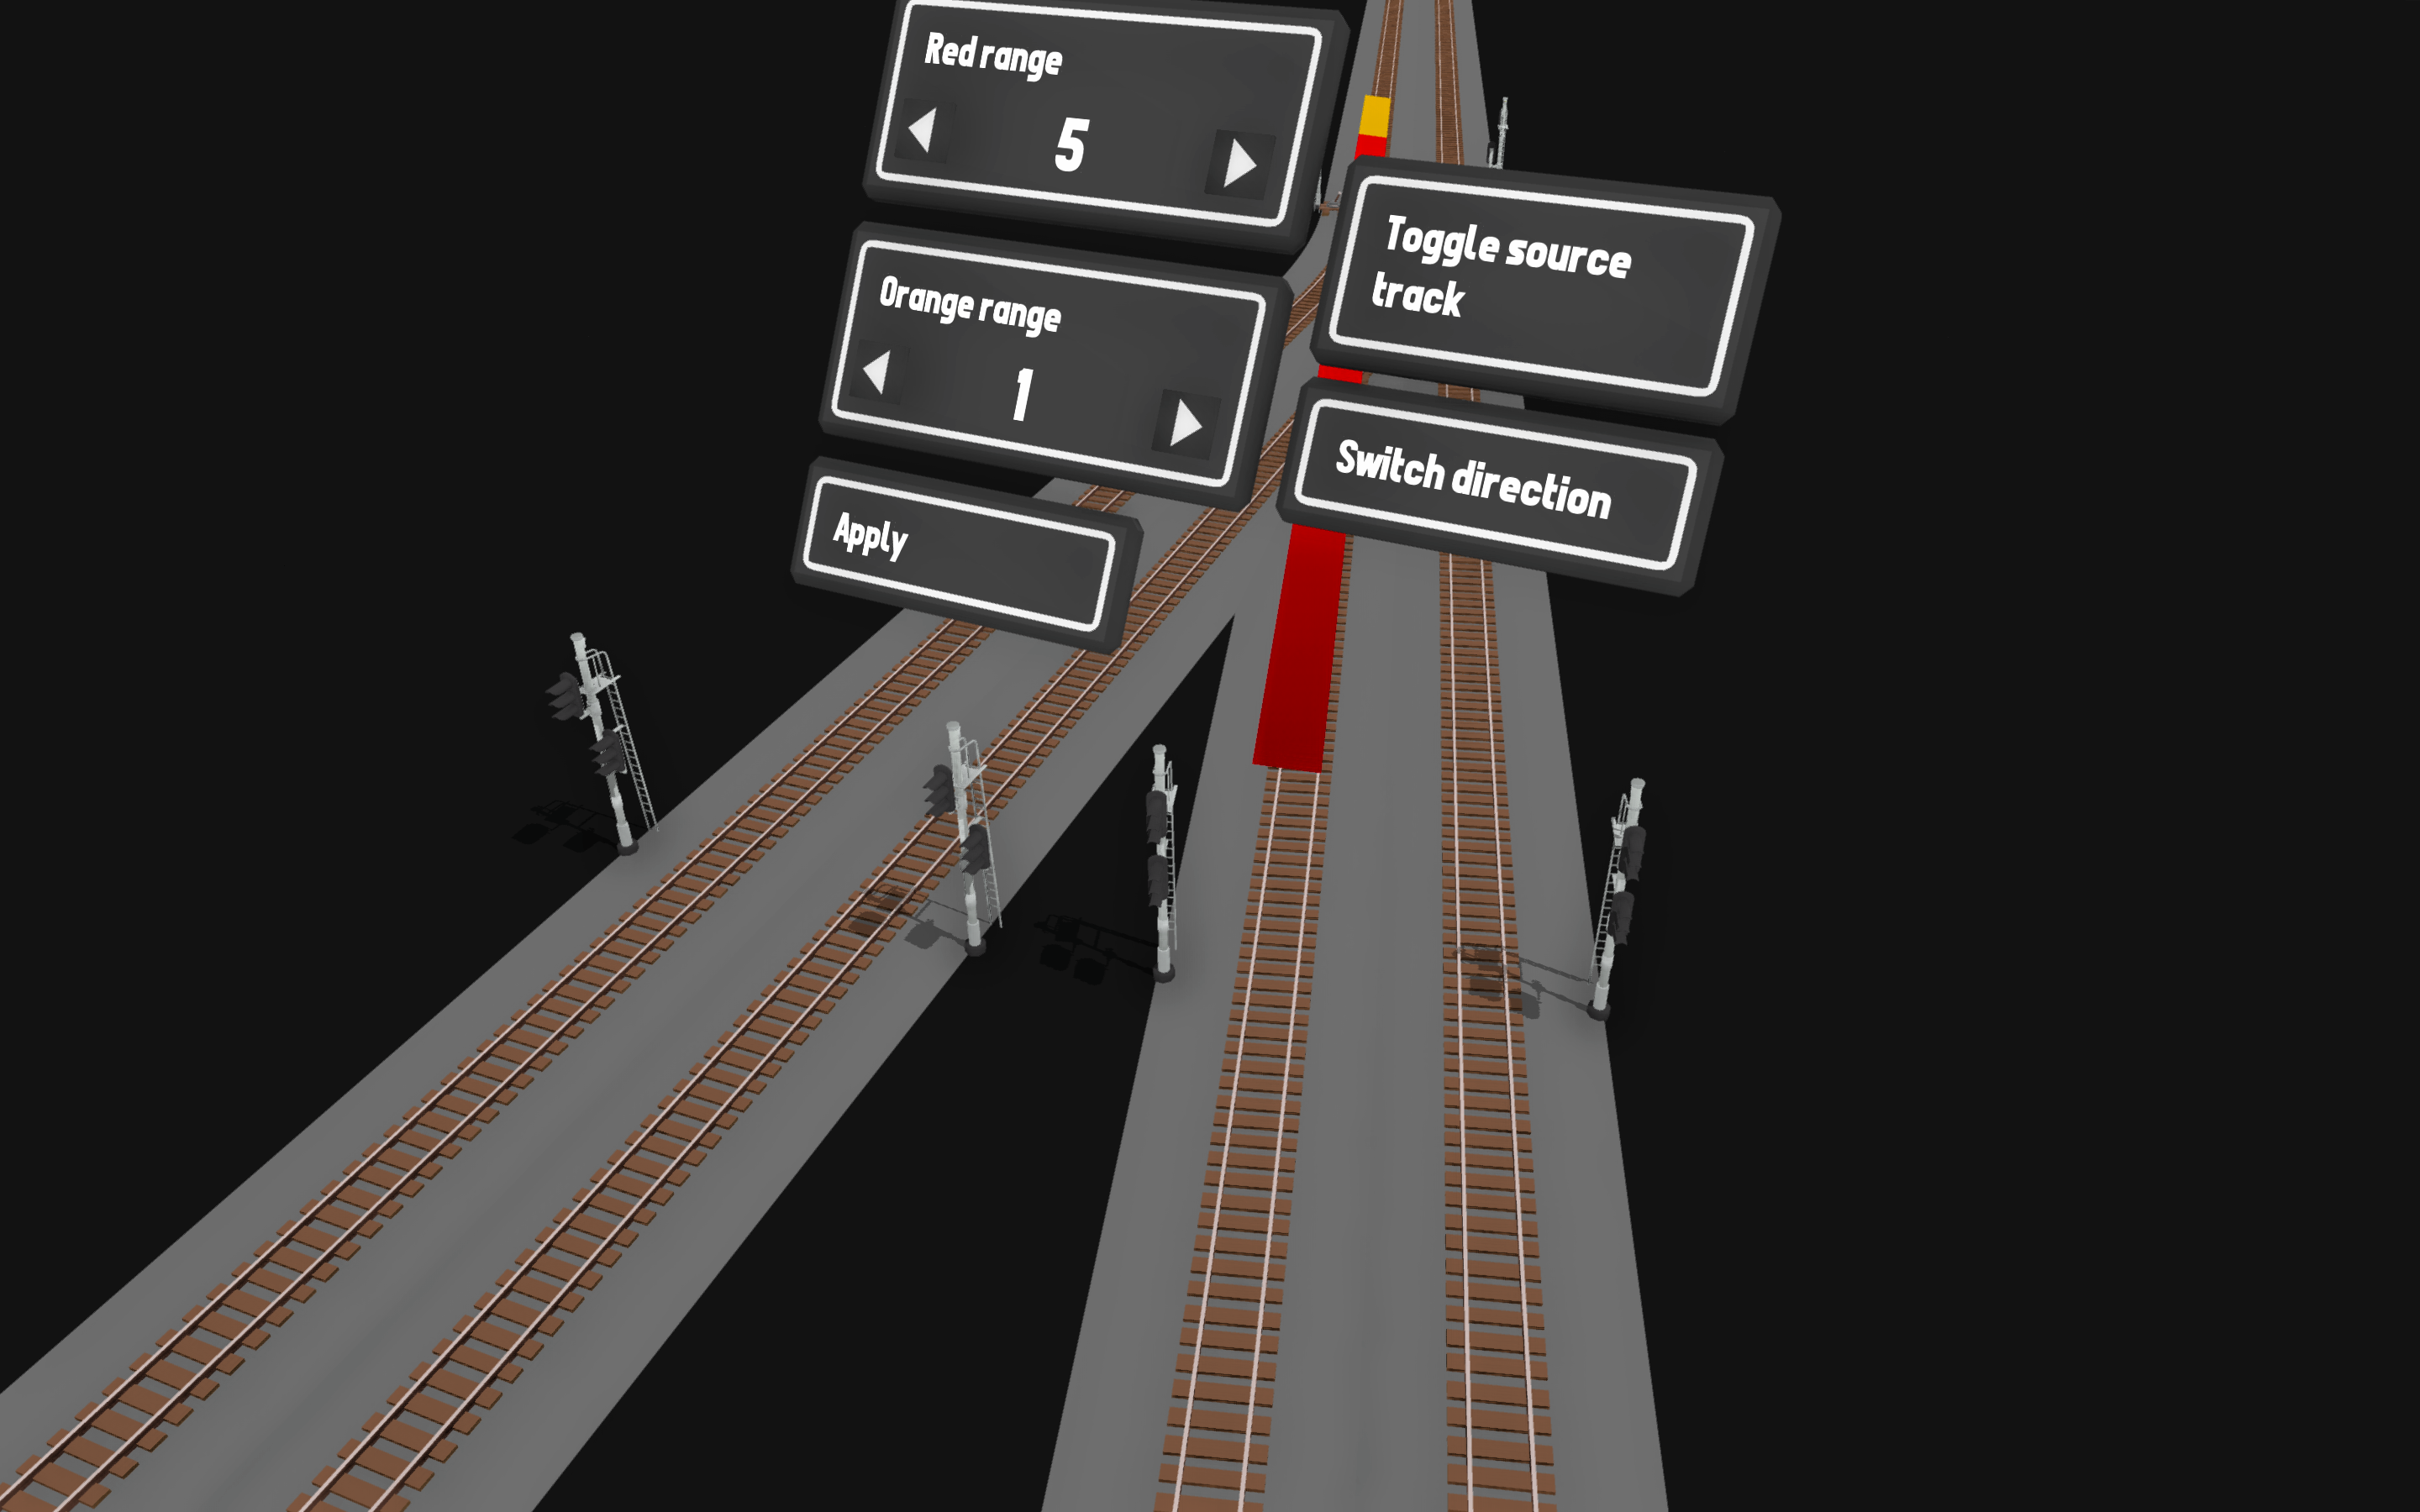
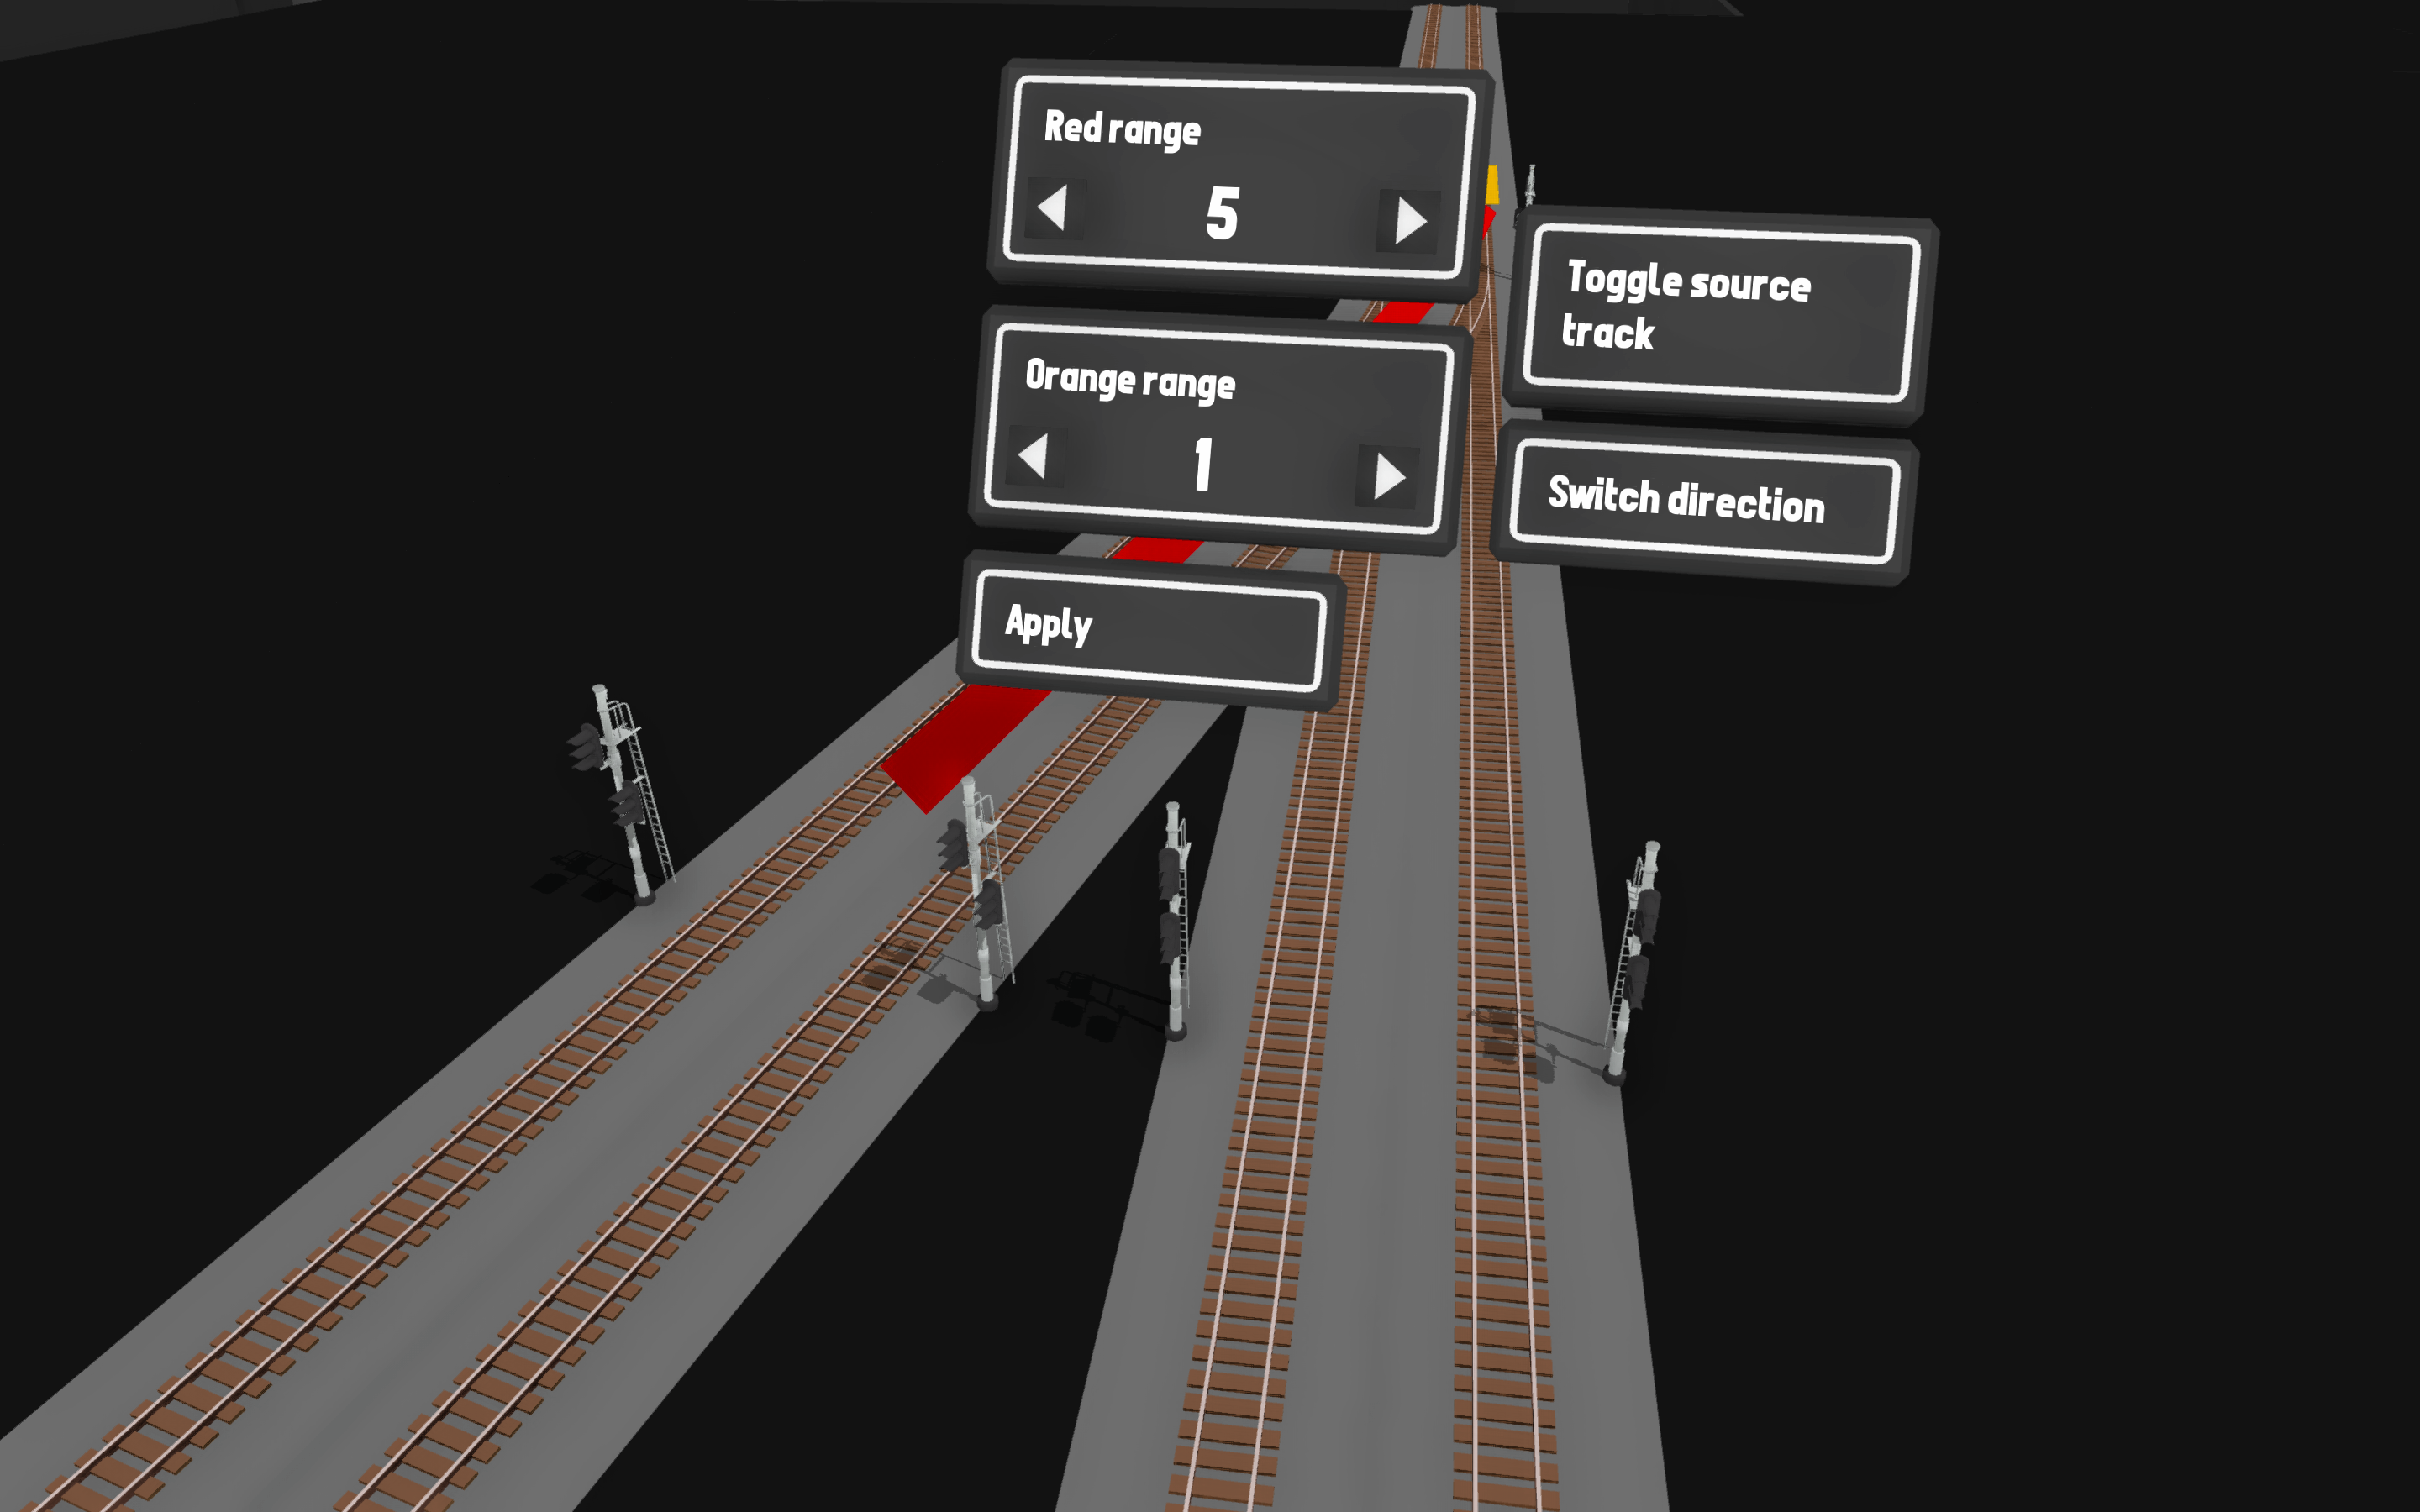
Firstly, we have 6 sets of two 3-aspect signals on the same pole – all pole-mounted signals are block signals and just follow their original path.
This first image highlights the directional signal on the standard 3-aspect signal on the west main track going away from the branch. It protects the space between it and another signal facing the opposite direction. If you like you can treat it as a block signal and extend the red all the way out to the next signal.
This second image highlights the directional signal on the standard 3-aspect signal on the east main track going away from the branch. It protects the space between it and another signal facing the opposite direction. If you like you can treat it as a block signal and extend the red all the way out to the next signal.
This third image highlights the signal mounted on the standard 3-aspect signal on the southeast branch track. It protects the space between two signals on the east main track.
This fourth image highlights the signal mounted on the standard 3-aspect signal on the northwest branch track. It protects the space between two signals on the east main track.
This fifth image highlights the signal mounted on the standard 3-aspect signal on the east main track. It protects the space between two signals on the west branch track.
This sixth image highlights the signal mounted on the standard 3-aspect signal on the west main track. It protects the space between two signals on the west branch track.
Industries/Yards
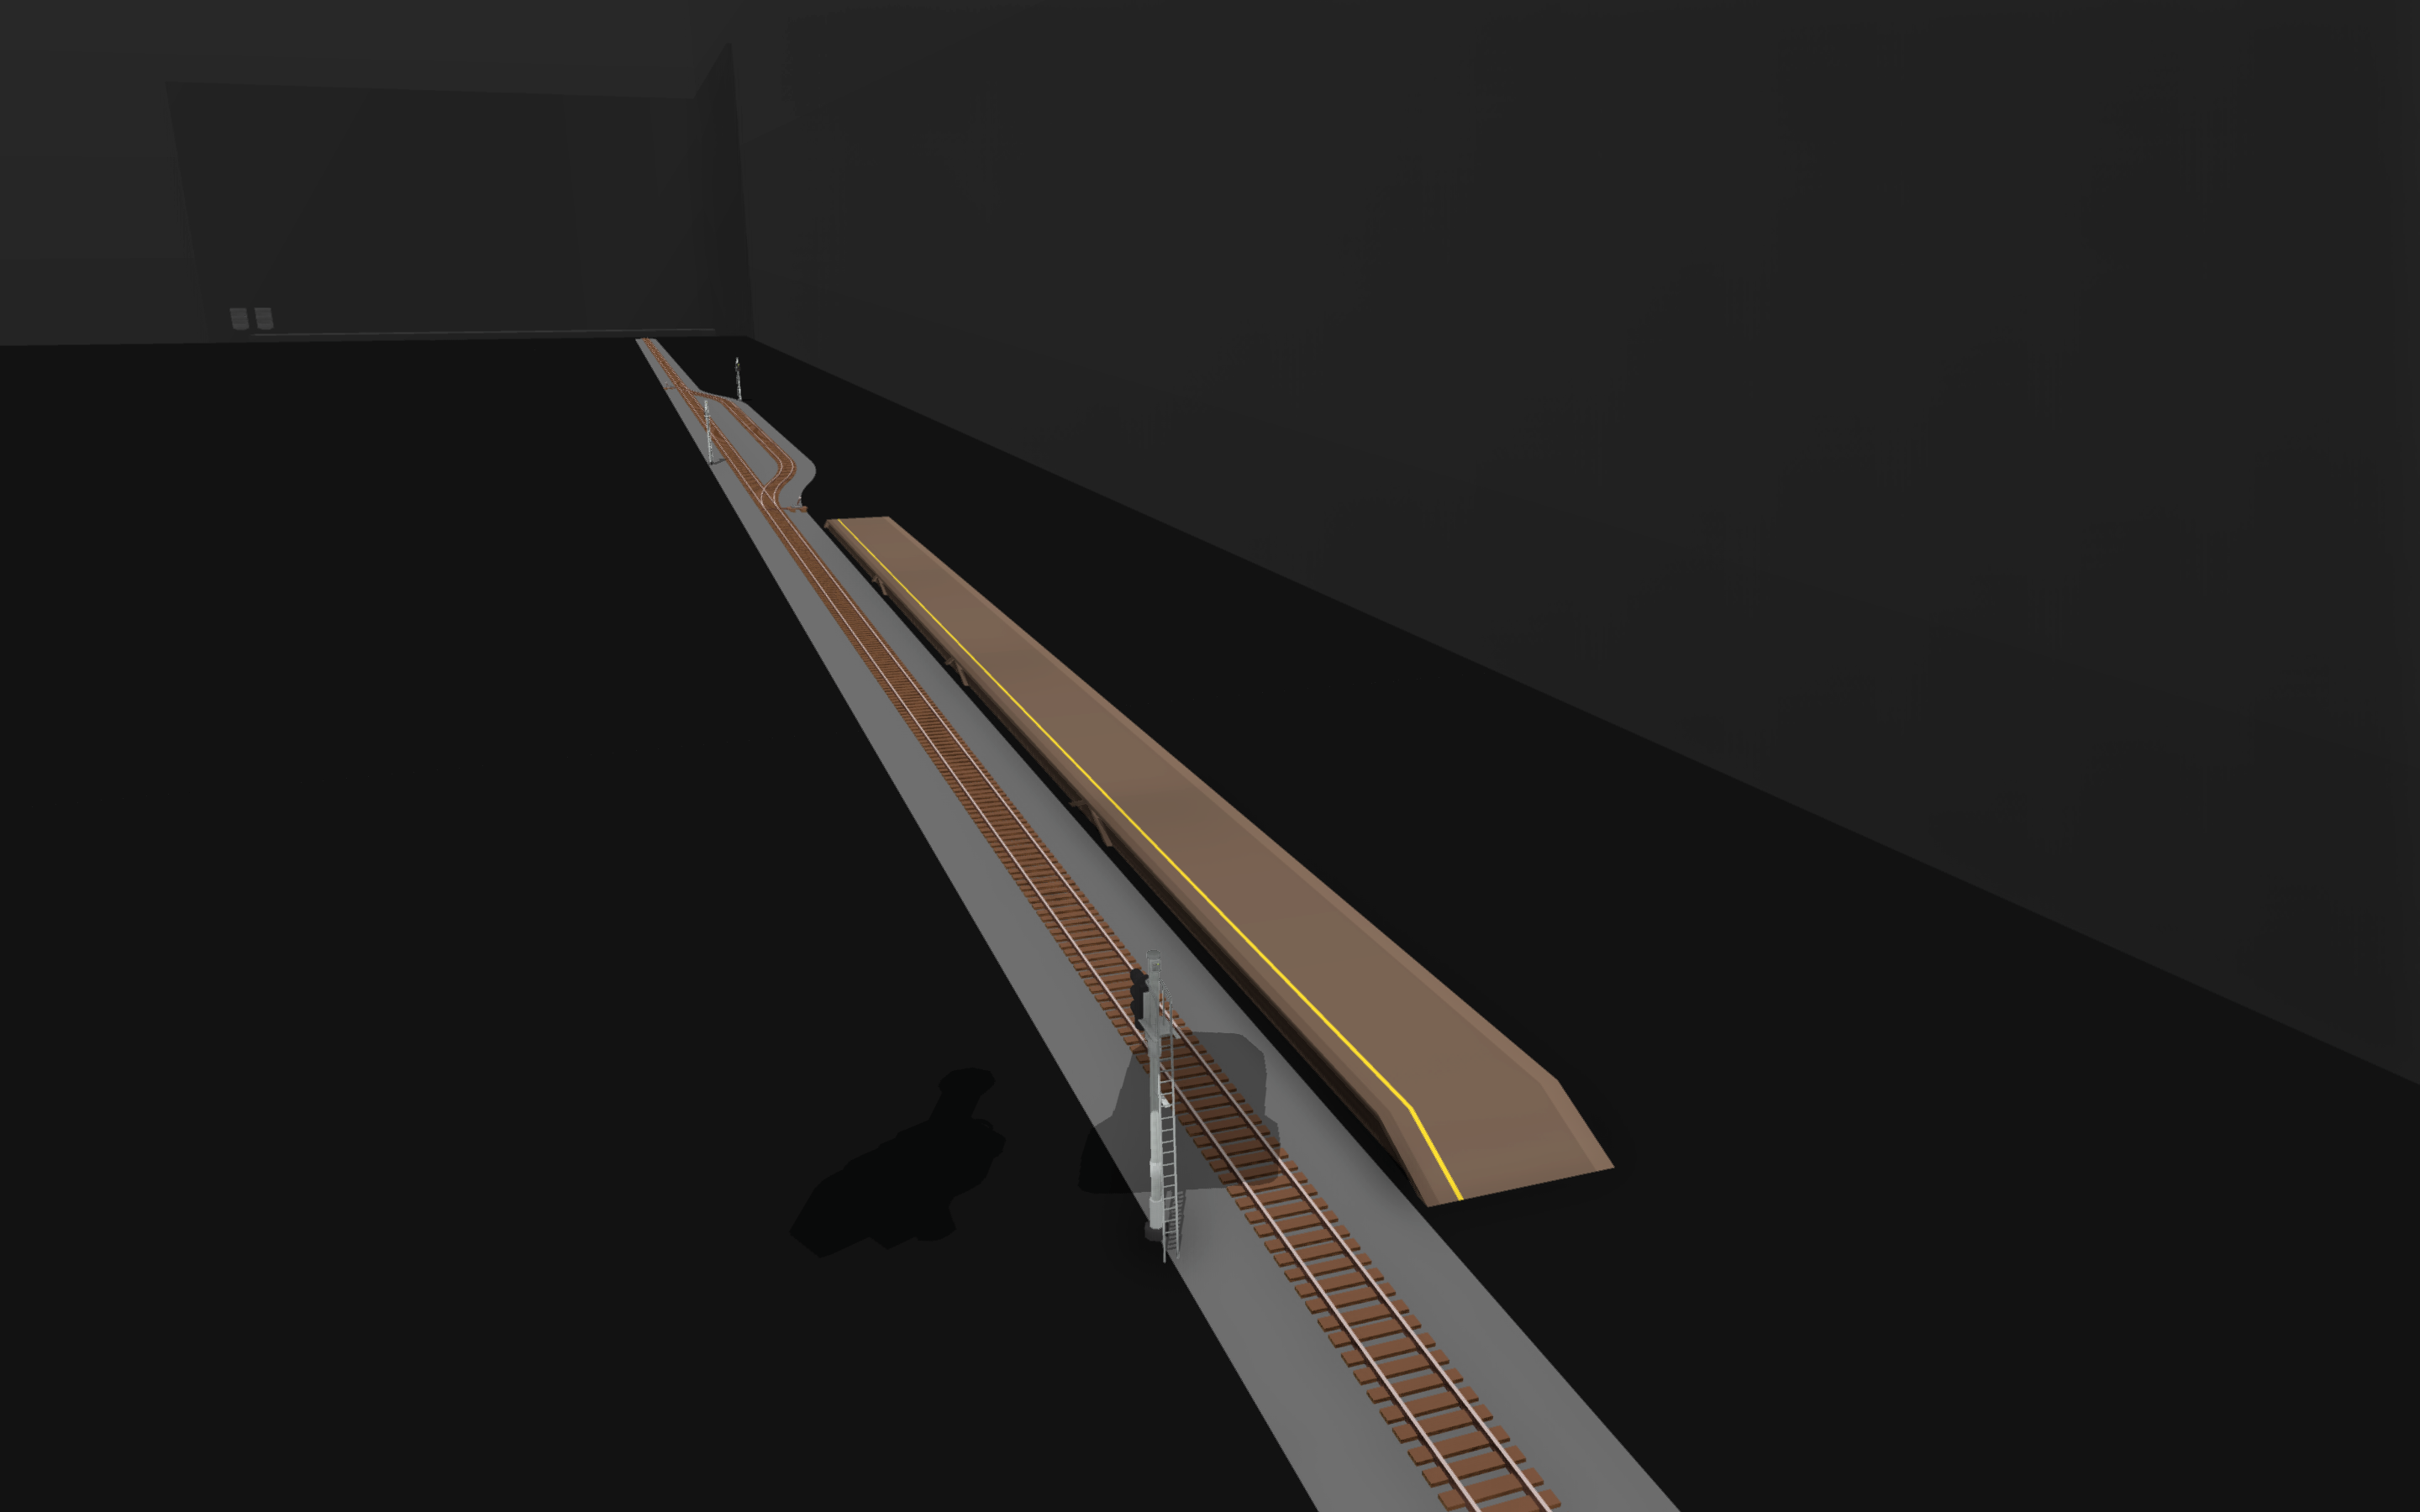
Unless an industry is of considerable size with yards and other industries and all sorts of stuff, you won’t need to put much work into signalling. Here, I have a small industry/yard with a short lead.
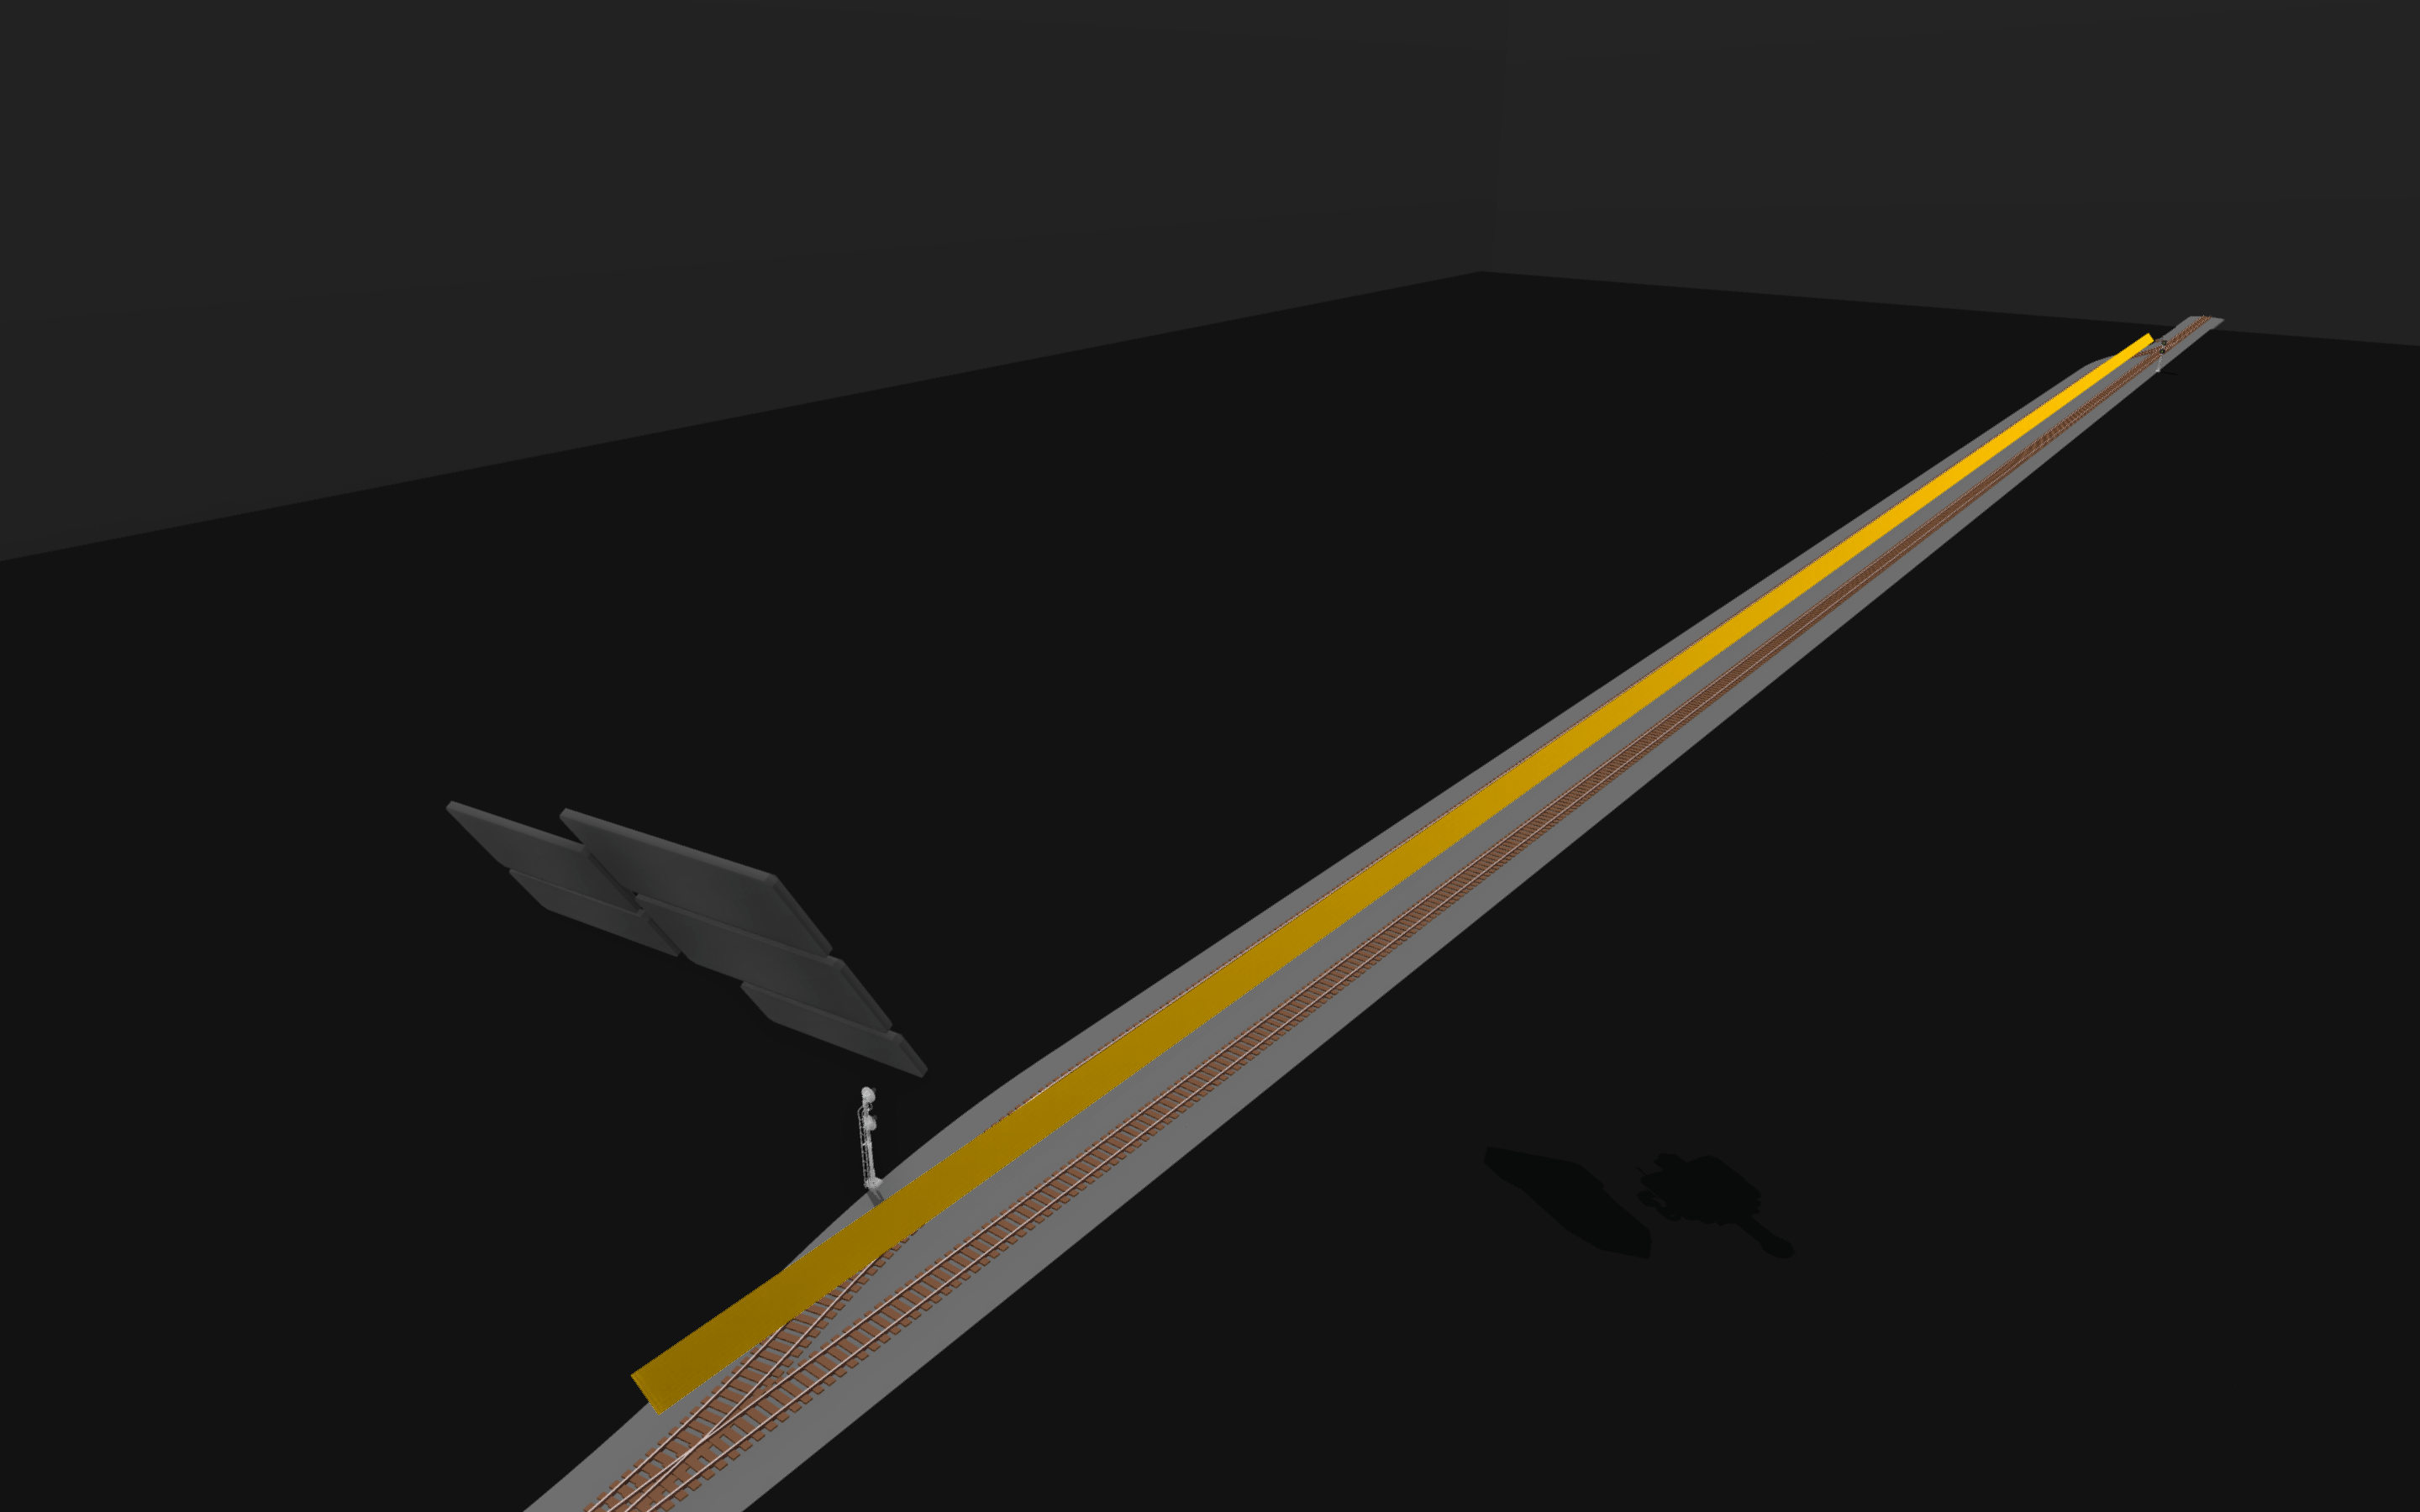
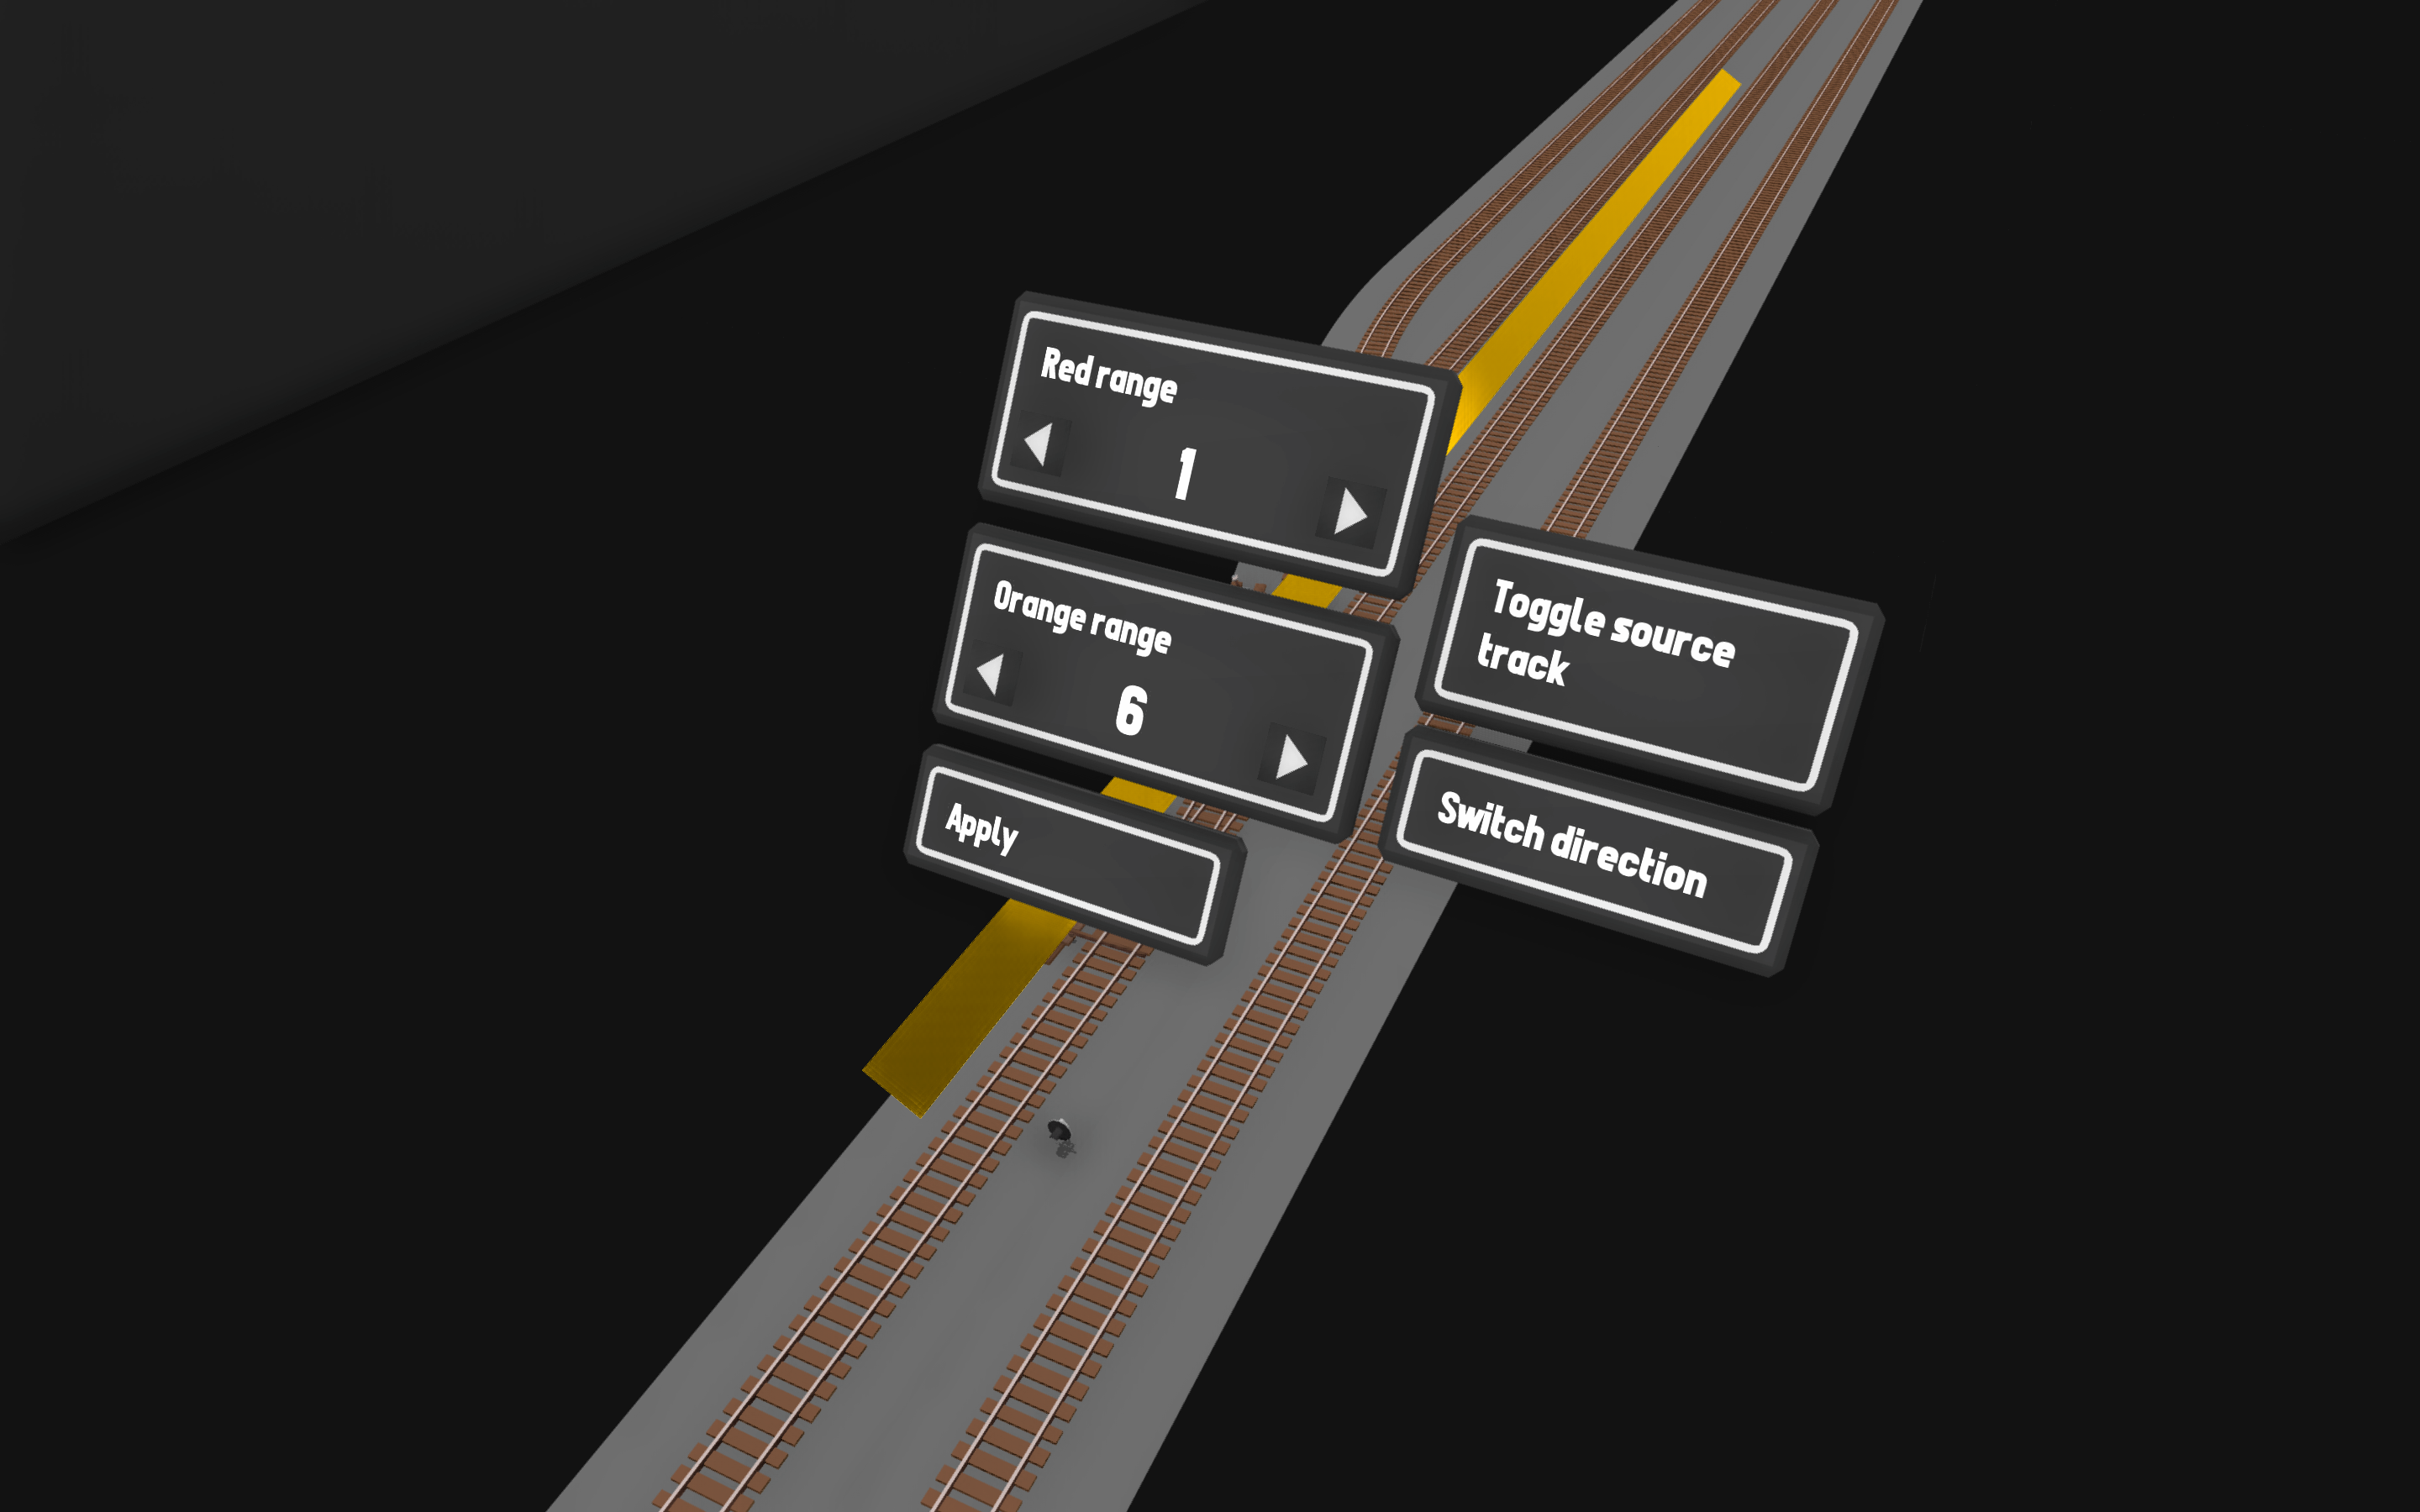
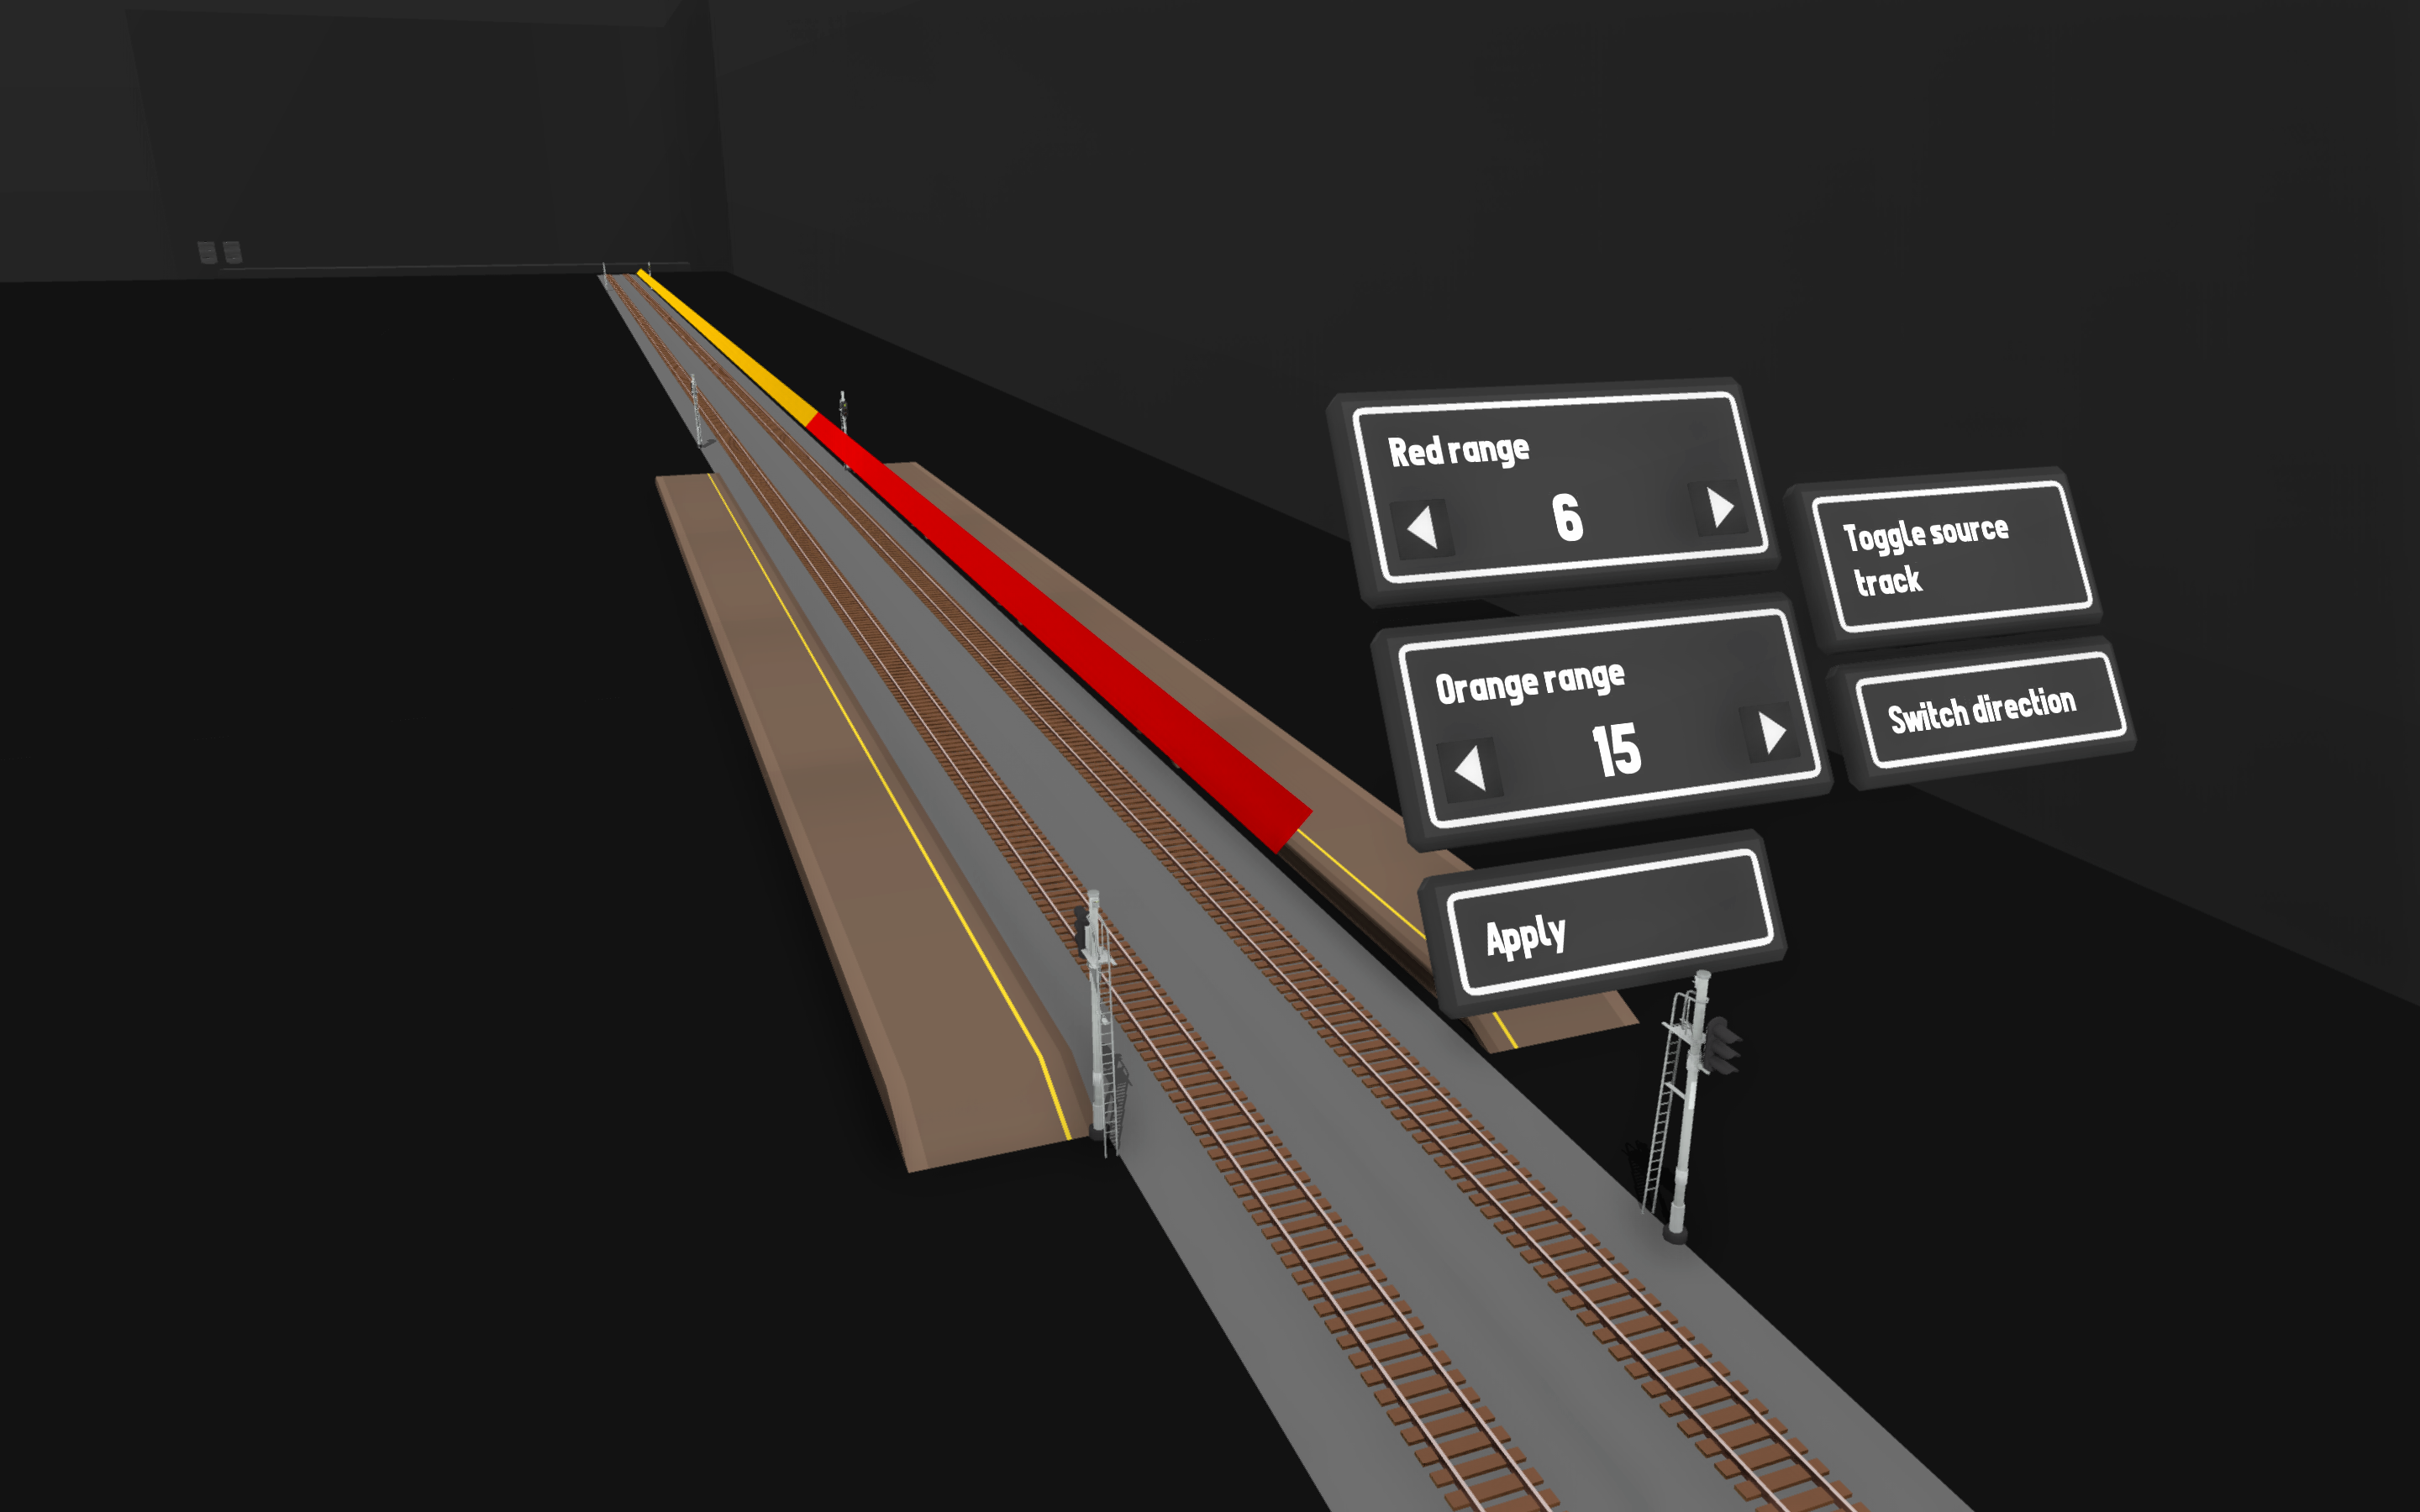
In the above picture, there is what I call a “Yard Entry Signal”. I almost never have a red aspect on these; the point of a yard entry signal is to warn the train to check if there is anything blocking the track they want to take.
You can make its’ yellow line as long as you like, depending on how much space may be available and if there is a consistency to store stock near to the entry or not.
At the end of the lead, there is a standard pole-mounted single-light signal with another standard single-light signal on its’ pole. The pole-mounted signal is a block signal, with its’ red extending to the next signal on the mainline and so forth. The other signal snapped onto the standard pole-mounted single-light signal (selected in picture) protects the line back to the next block signal.
Keep in mind you don’t have to use the same signals I have used, they’re just there to show my point.
I won’t be showing a large industry/yard’s signalling in this guide, but that may come in a separate one.
Simple Stations
Single-Track Stations
A station is a great opportunity to have a passing loop, as two trains can drop off/pick up passengers at the same time.
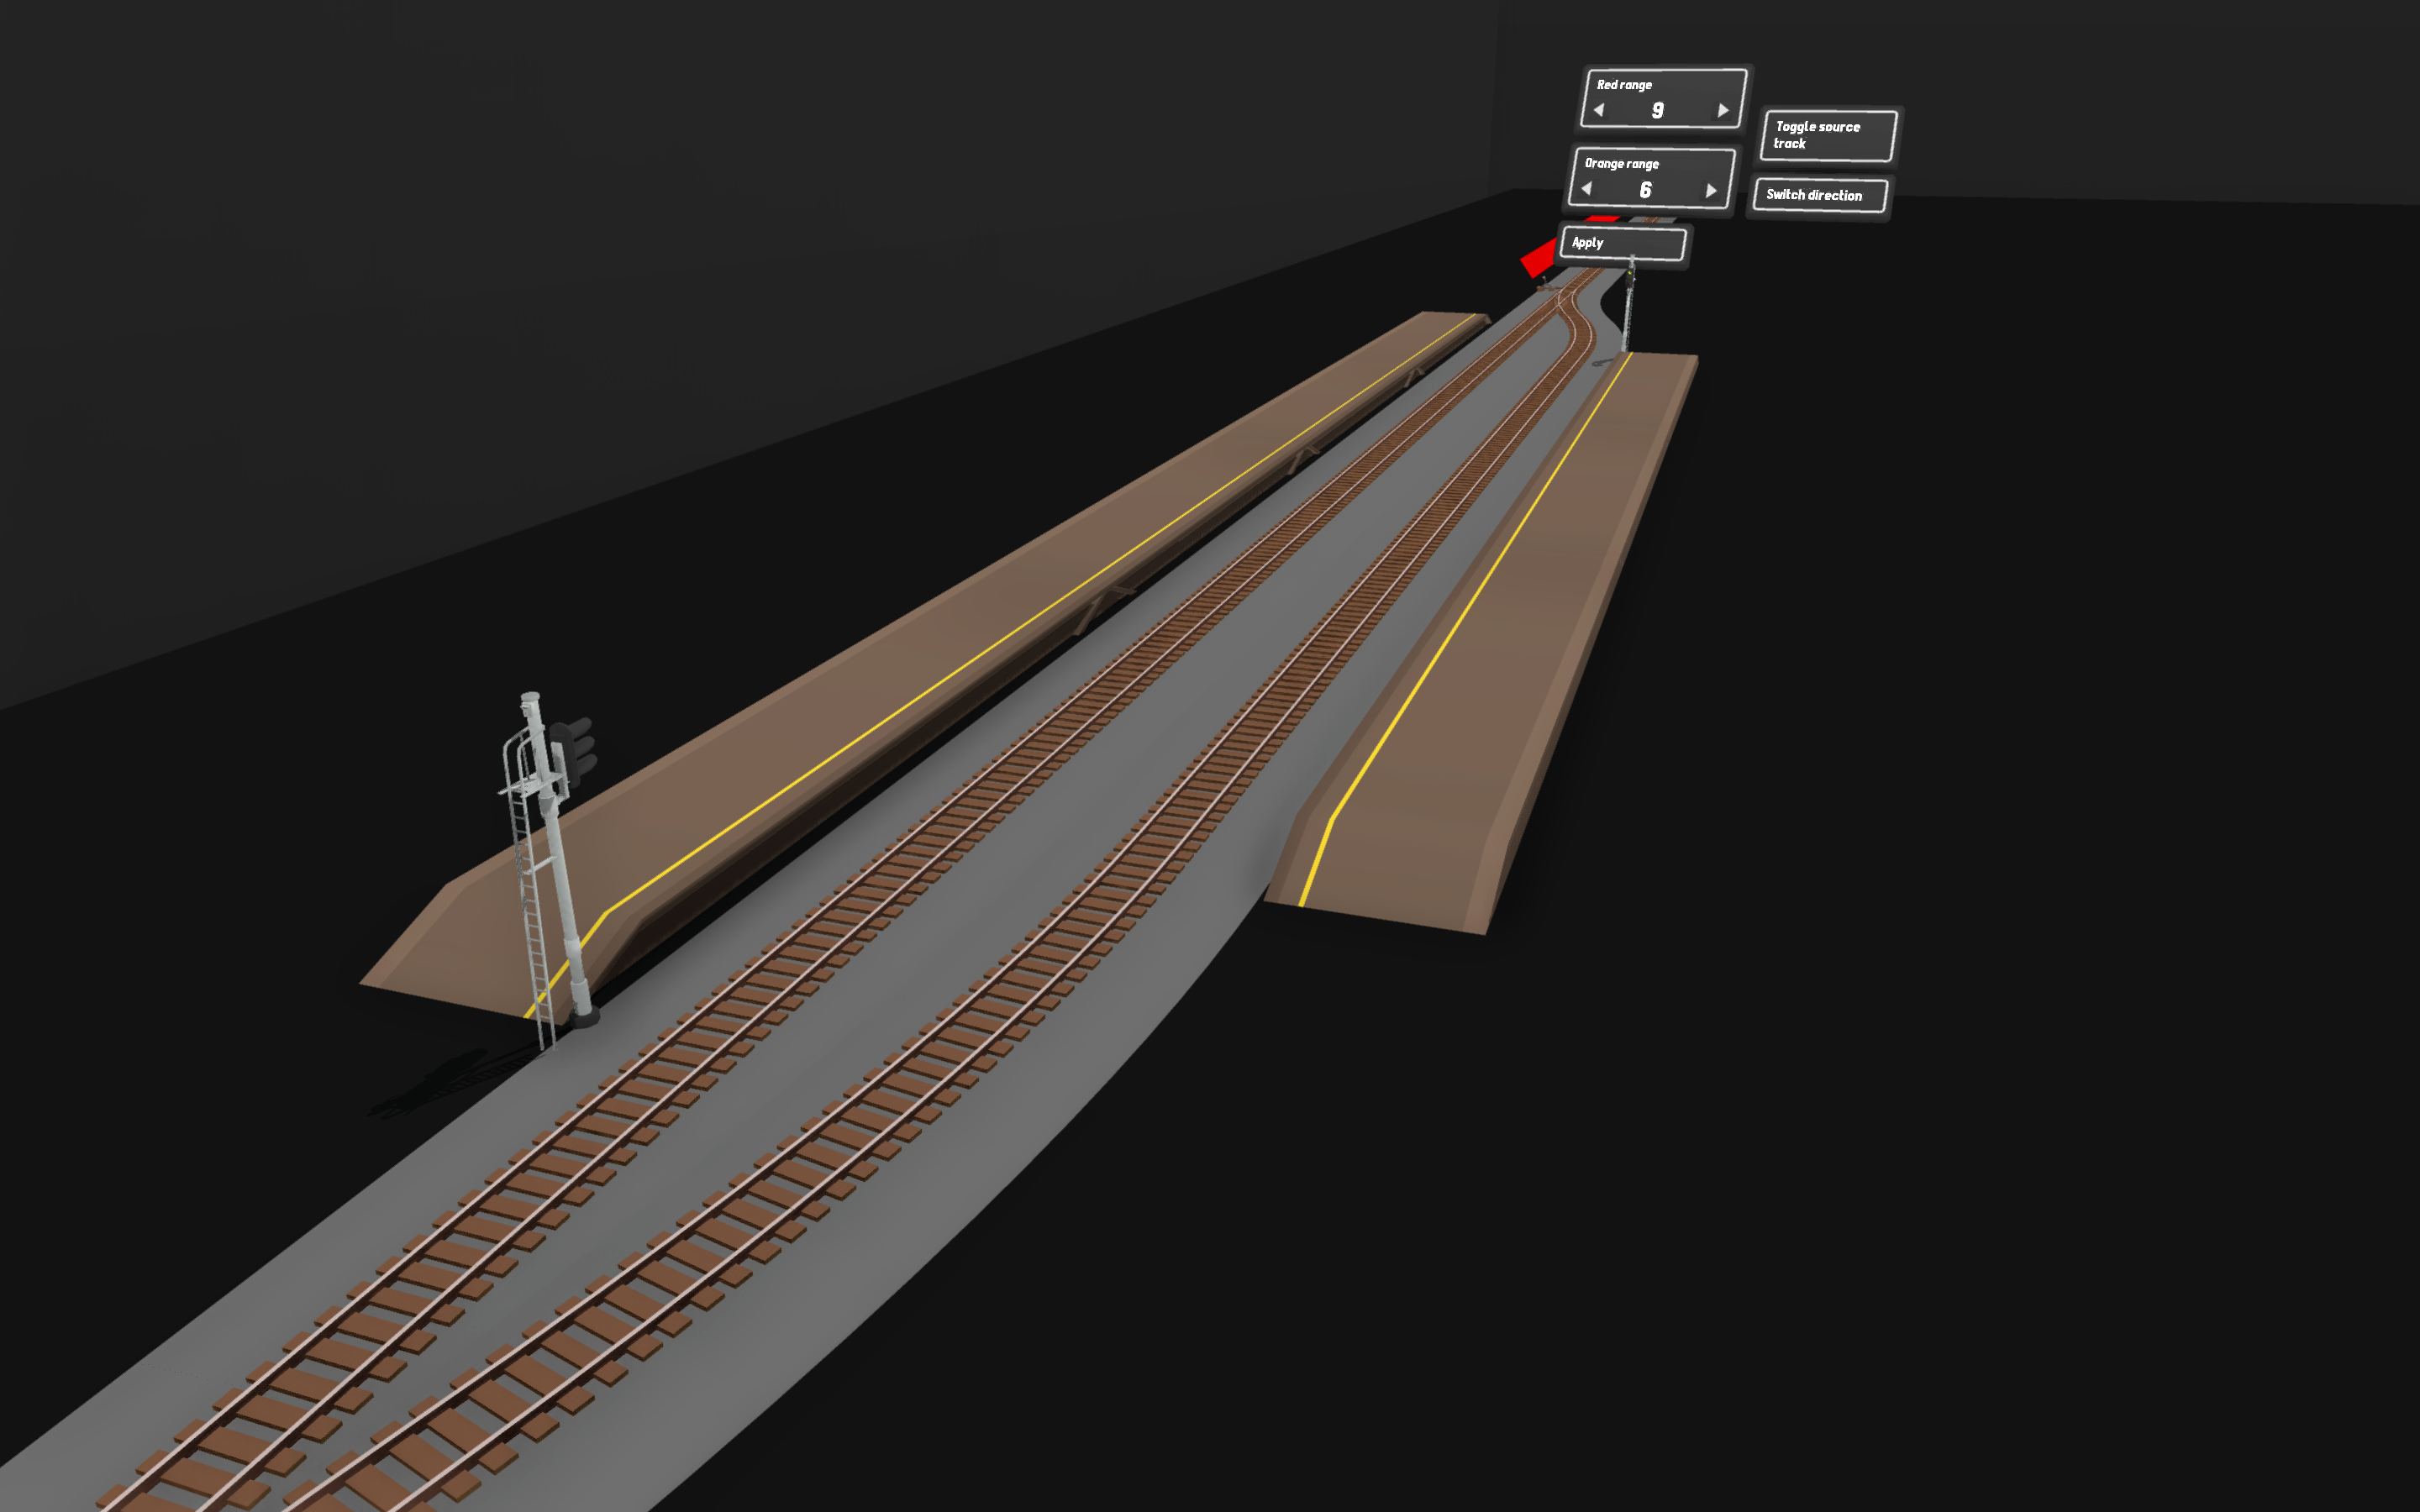
In the above picture, the signal at the end of the platform starts from the adjacent platform: this is so another signal is not necessary to protect the turnout. This is mirrored on the other side.
If you don’t want two platforms at your station, you can just have a passing loop next to it.
There’s no need to put a signal at the platform end next to the passing loop.
Double-Track Stations
With double-track stations, it’s a good idea to make a block out of the station itself, especially on high-frequency lines.
If your station is a terminus, you may want to have a crossover or dual-crossover at the end of the platforms.
Wyes
The signalling for wyes may look complicated at first, but when you look at it, all it is is just a repeated pattern.
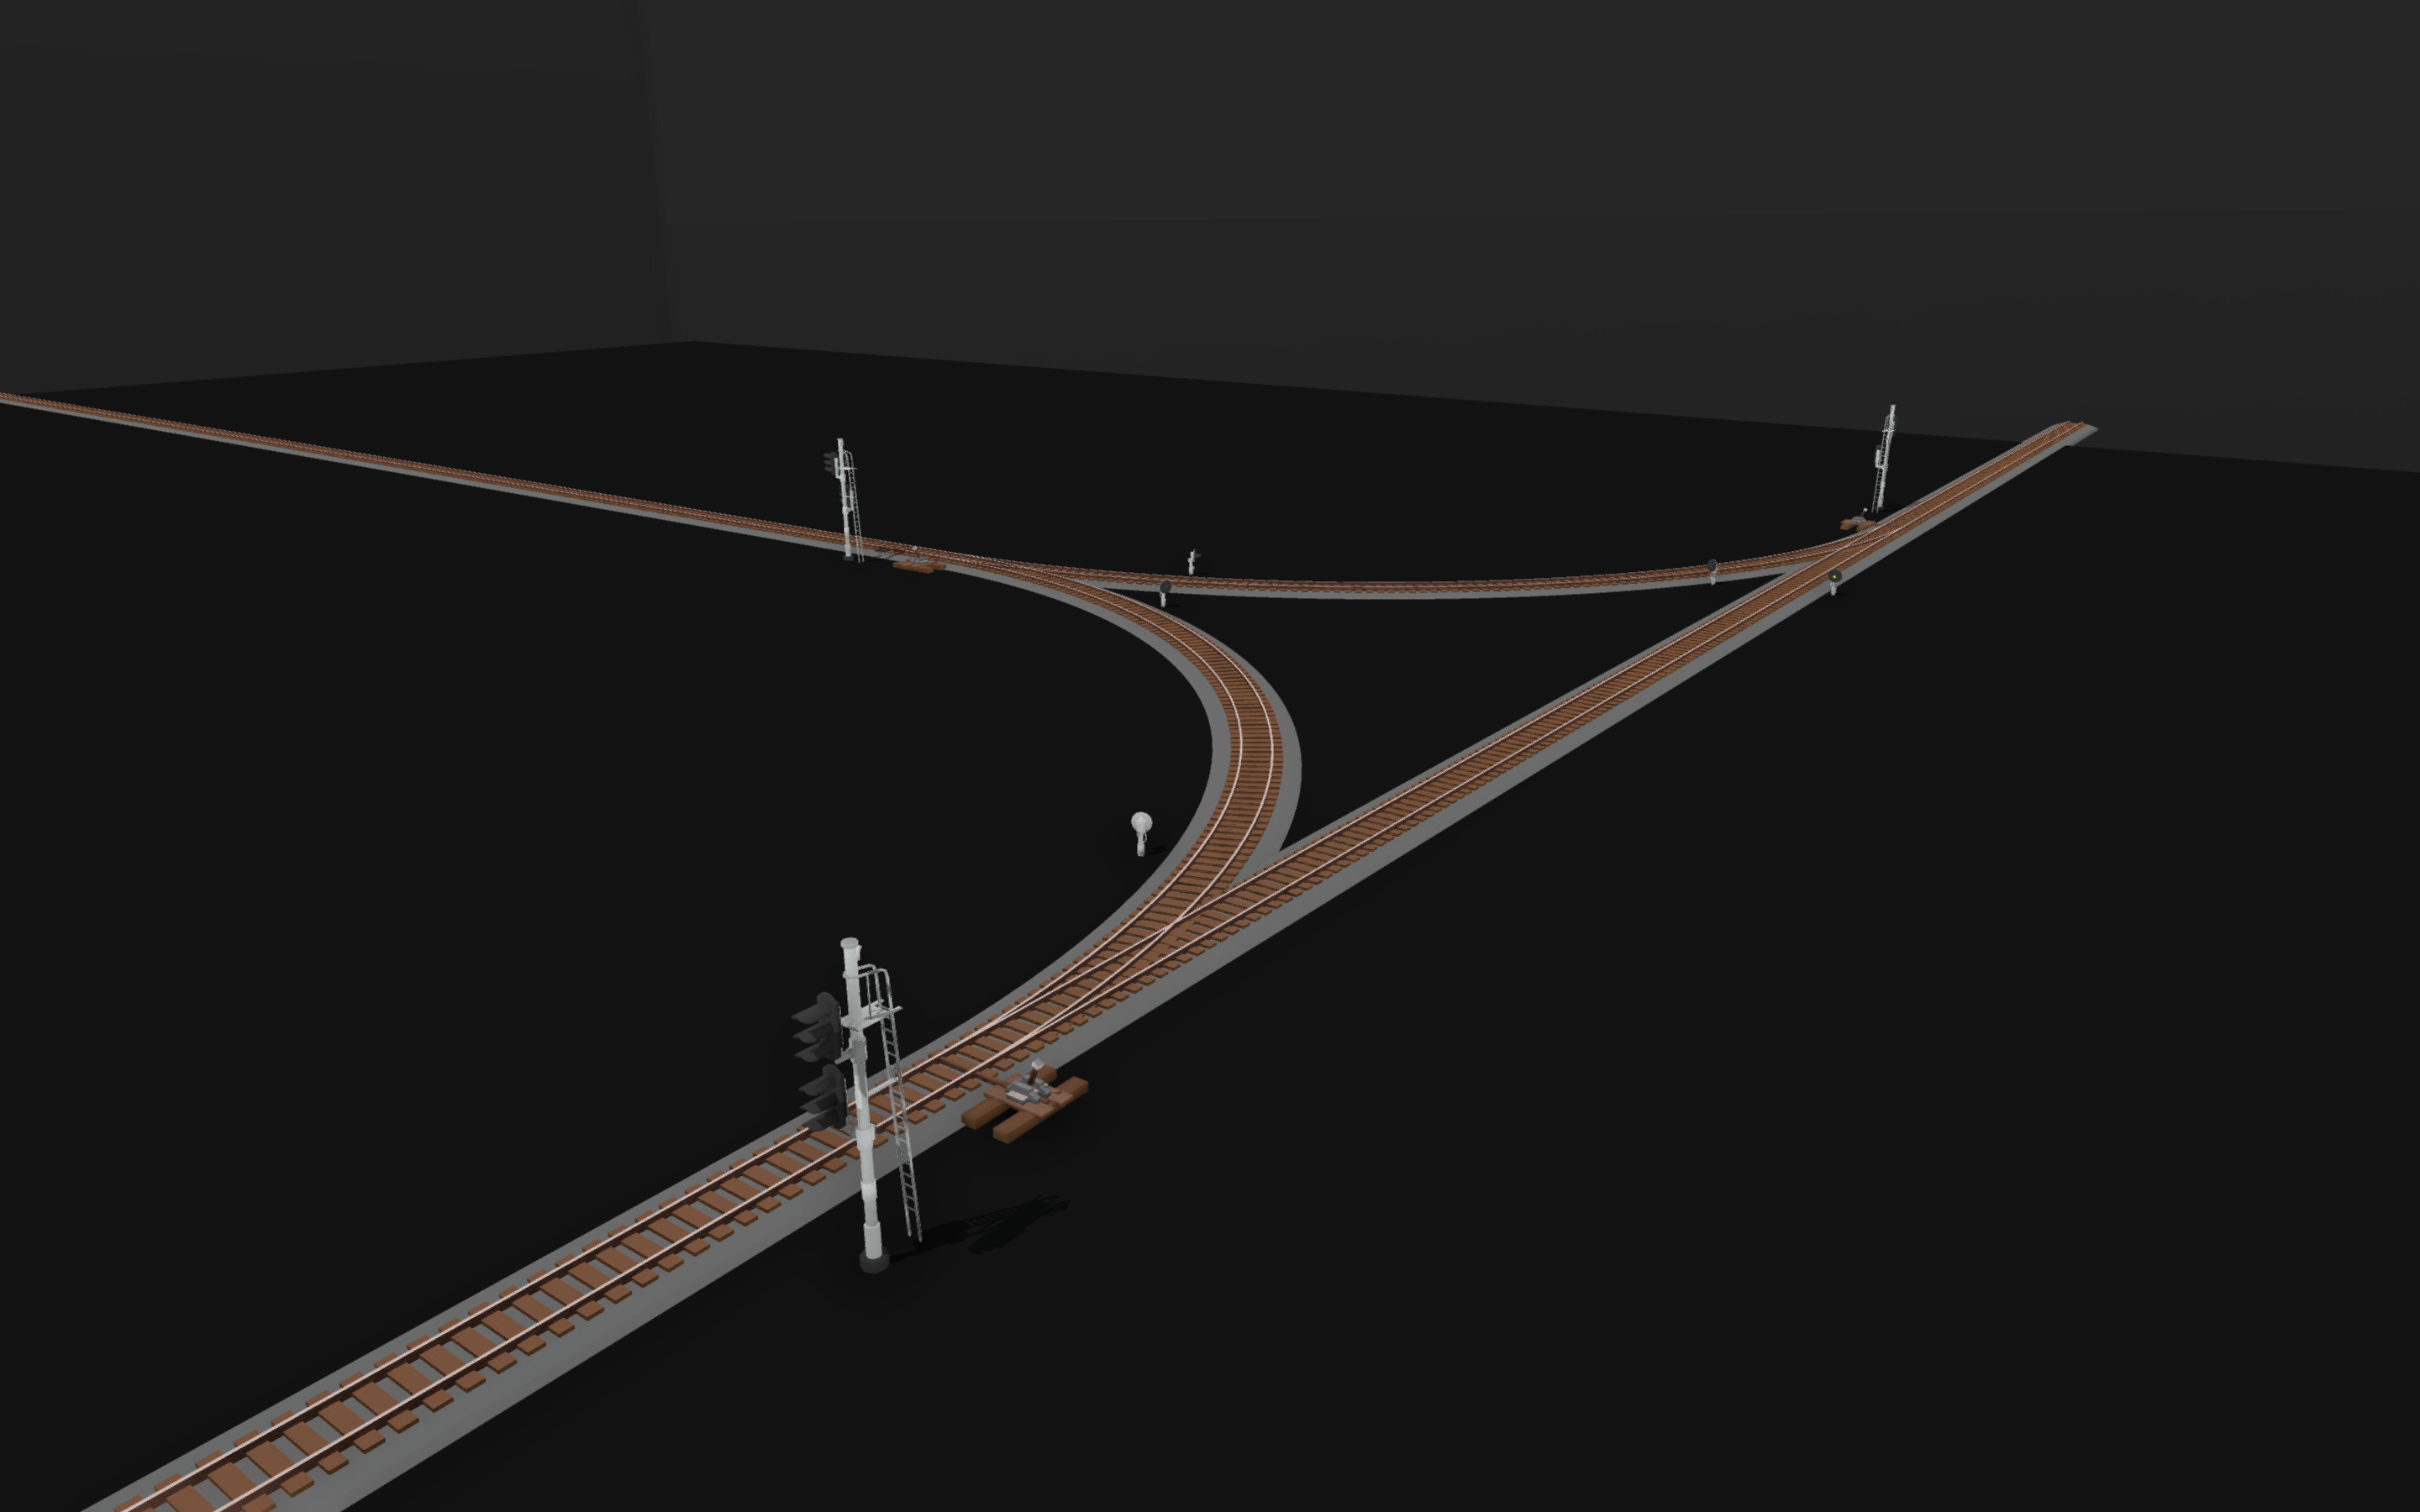
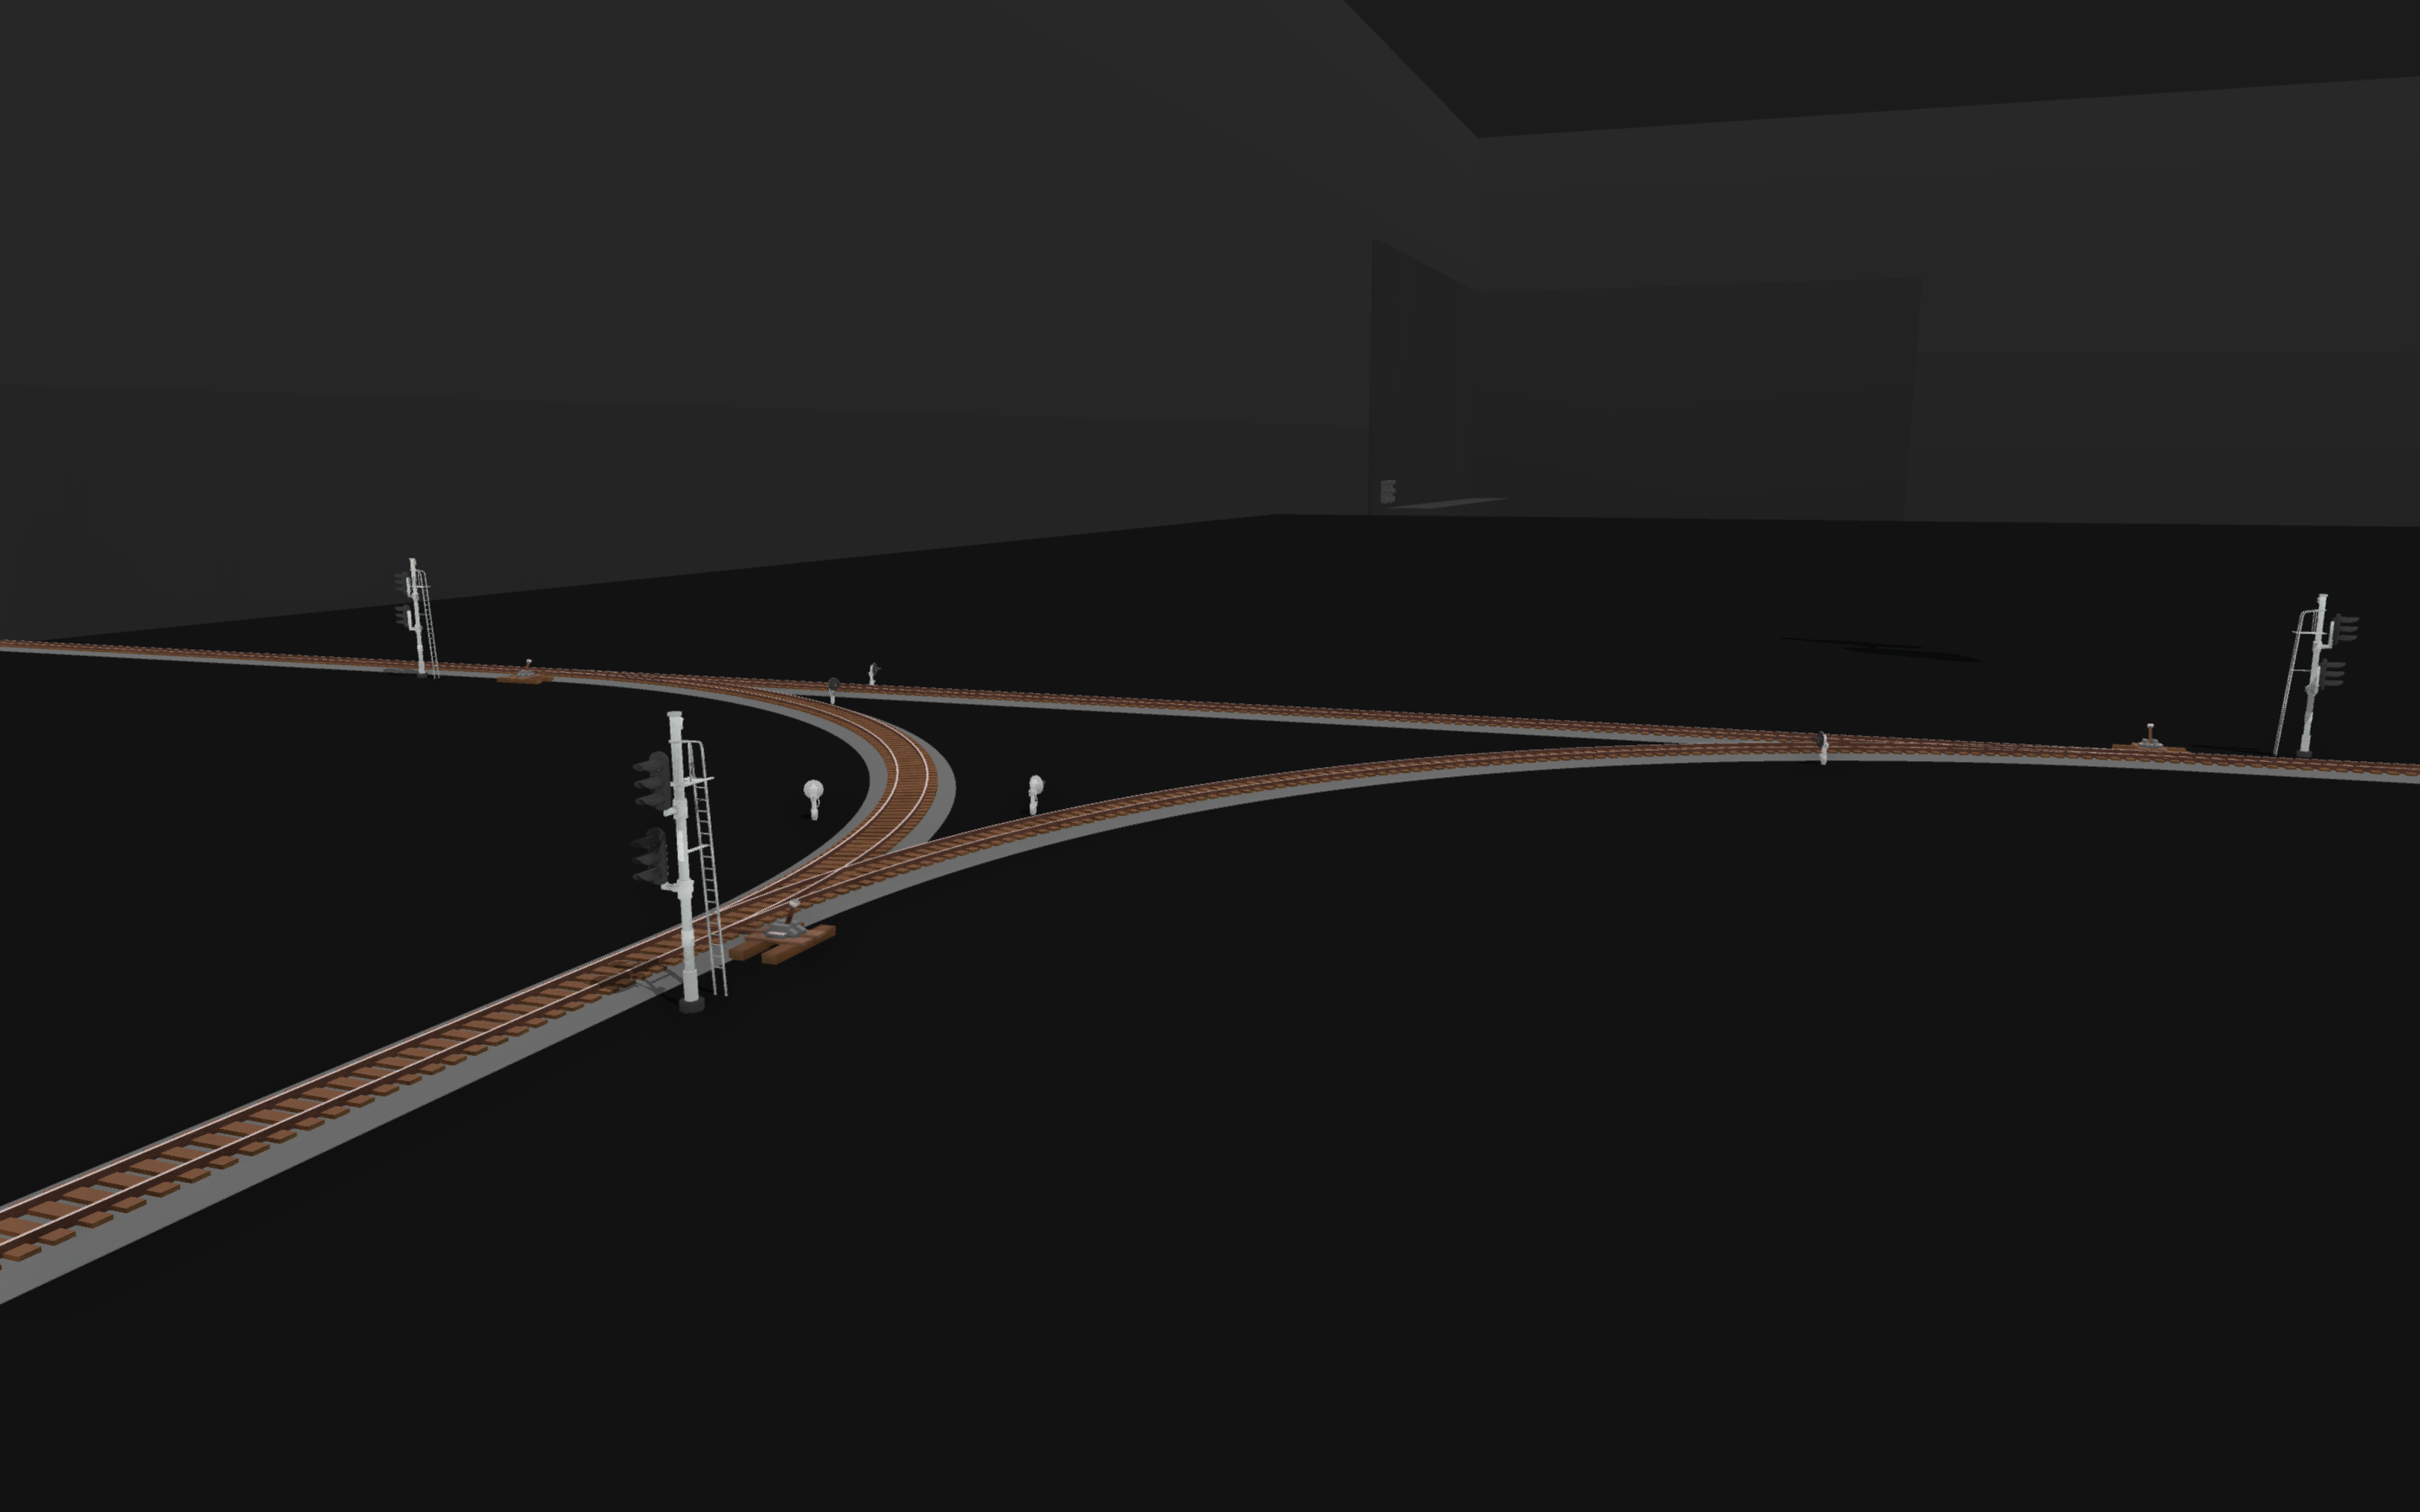
Here we have a small wye.
Next to each switch is a standard 3-aspect colour-light signal with a 3-aspect directional colour-light signal attached to it.
The two pole-mounted signals on the main track face the direction the main goes (up & down). Their directional signals protect the wye.
At the entrance to the wye, the pole-mounted signal protects the right turnout, while the attached directional signal protects the left turnout.
Now here’s where things get complicated:
Just before each switch is a ground-mounted signal that will stop a train entering the switch if another train is occupying the section of the wye the train is about to enter. (Read slower if you don’t understand – it is a bit of a mouthful.)
Hopefully that’s not to confusing for you and if it is you can leave a comment asking me to put circles around the signals that each picture focuses on.
Conclusion
So, you’ve made it to the end? Well done! I’m as surprised as you are. Before you go, here’s a reminder that you don’t have to use any of the same signals that I used.
Also, this was my first ever Steam guide, so if you thought I did something wrong or I missed something out, I’d be very happy to hear your feedback in the comments.
That’s all from me and happy signalling.
Here we come to an end for Rolling Line Basic Signaling & Signal Types hope you enjoy it. If you think we forget something to include or we should make an update to the post let us know via comment, and we will fix it asap! Thanks and have a great day!


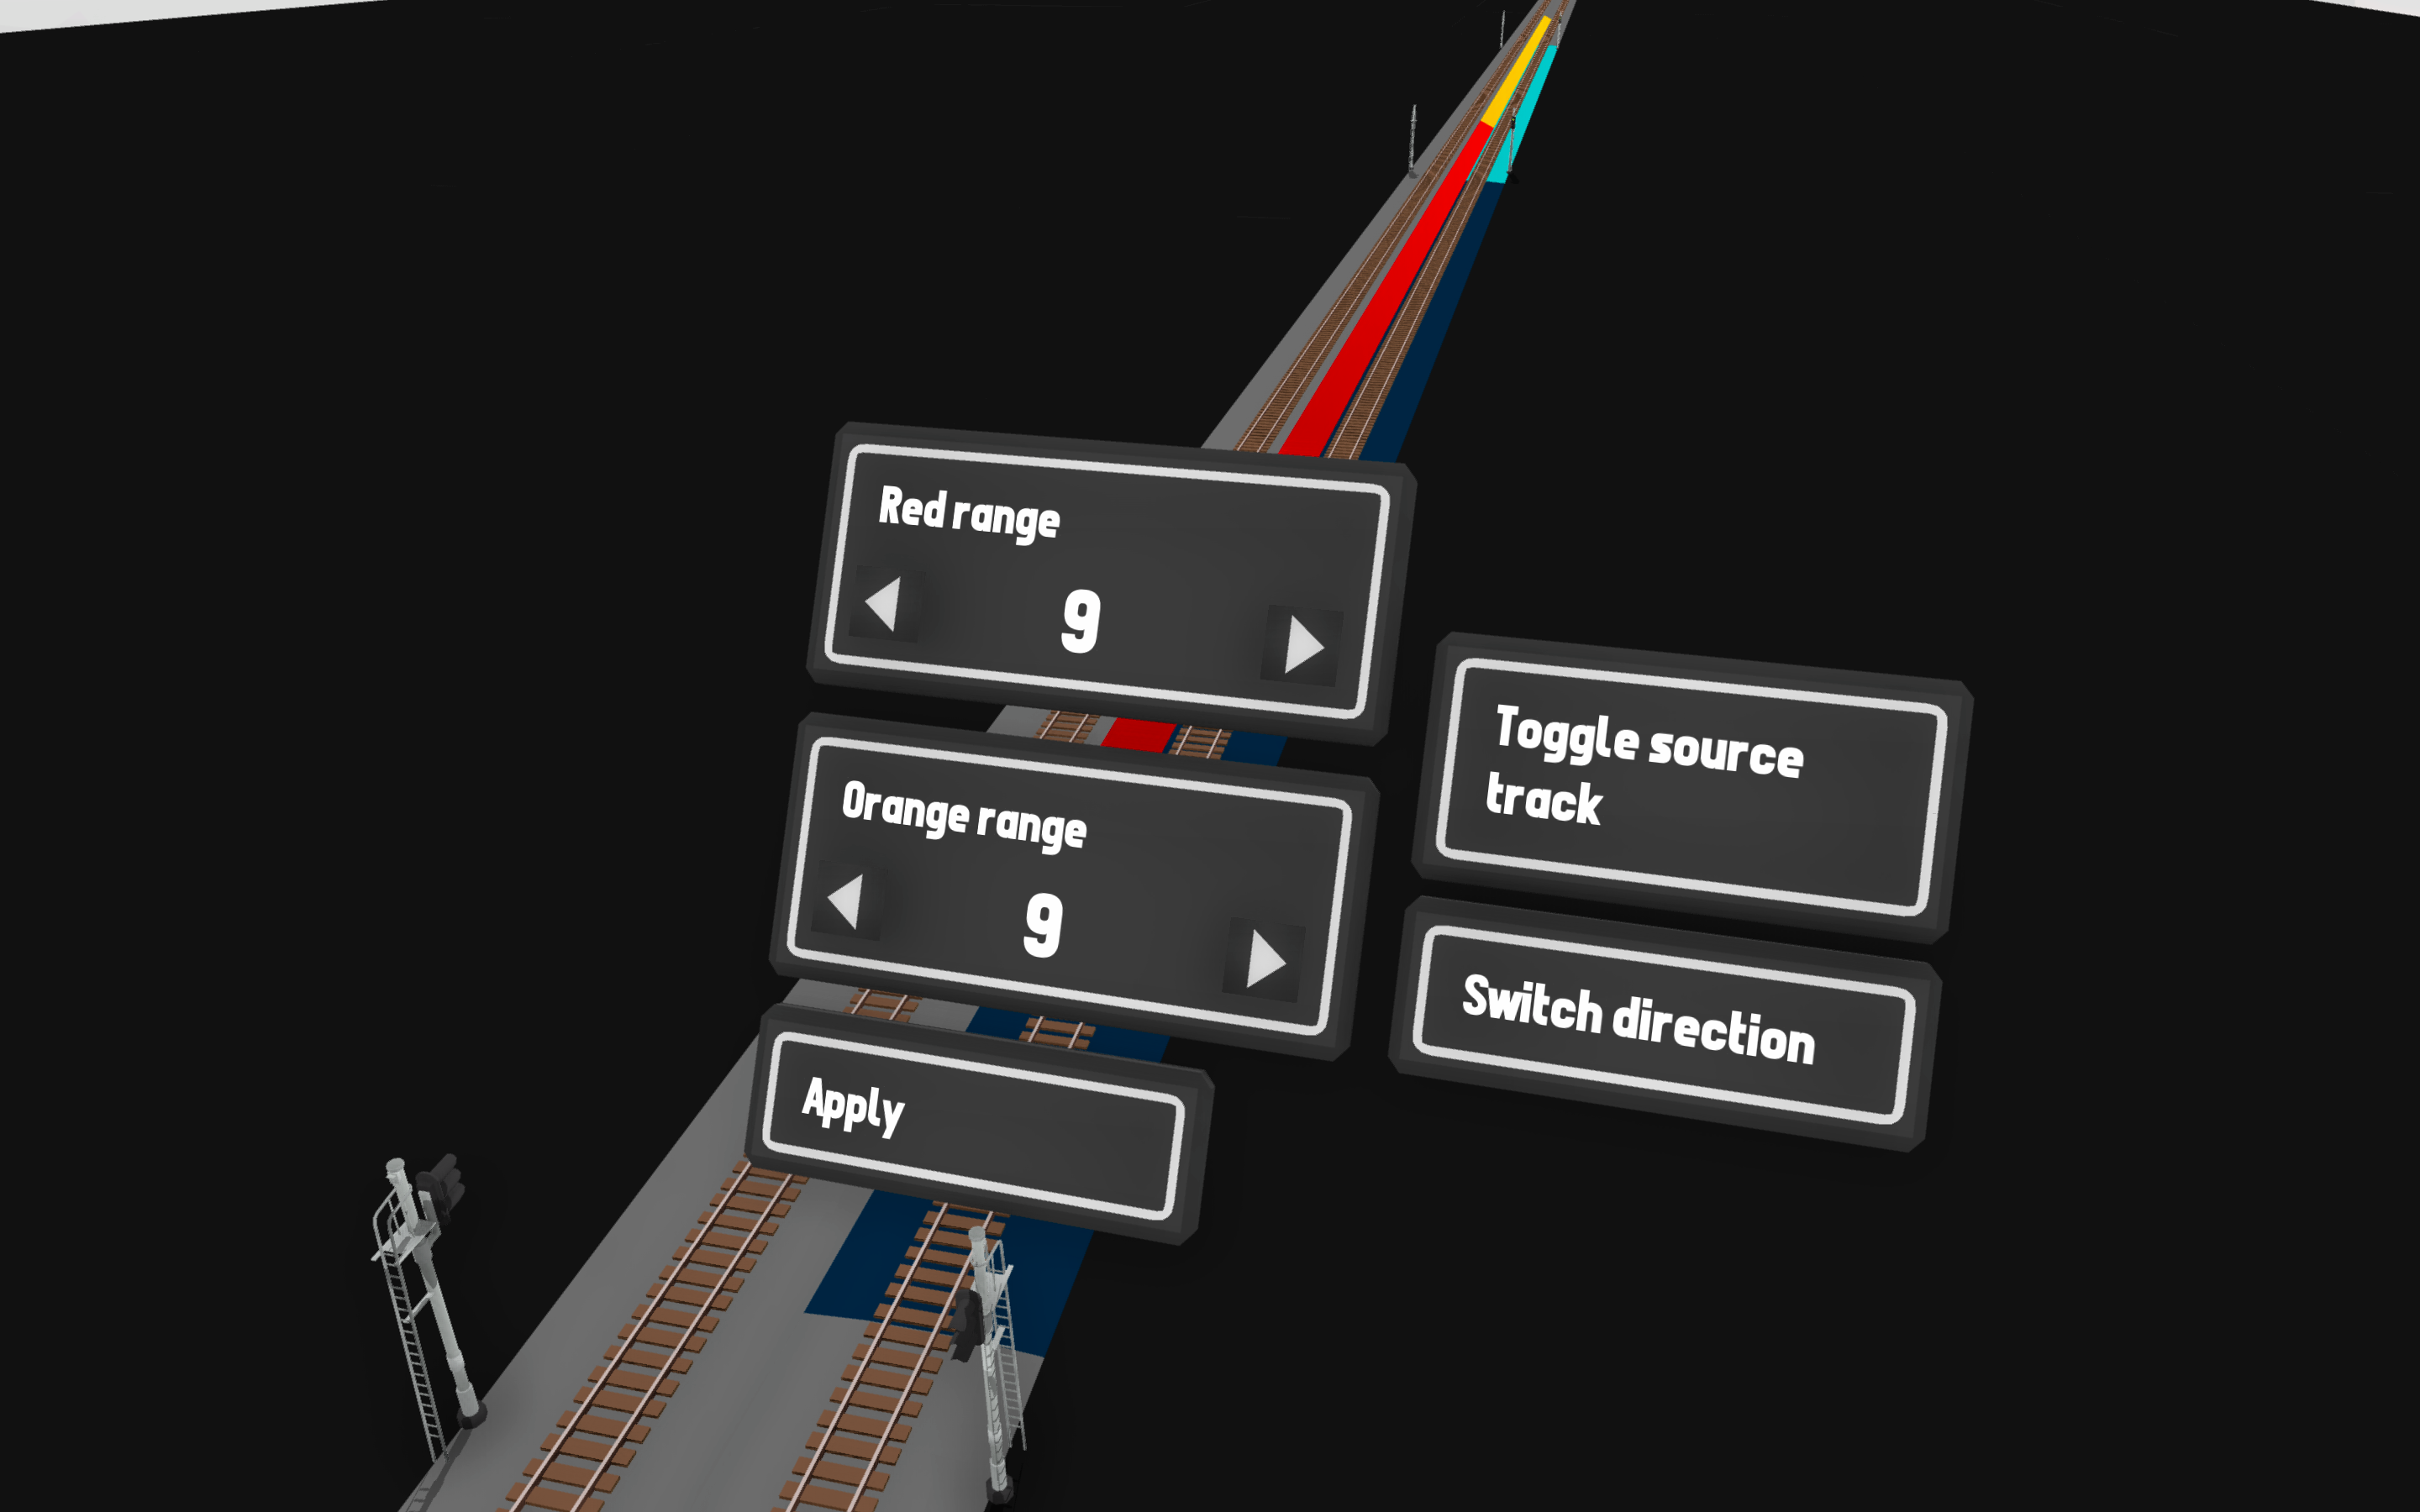
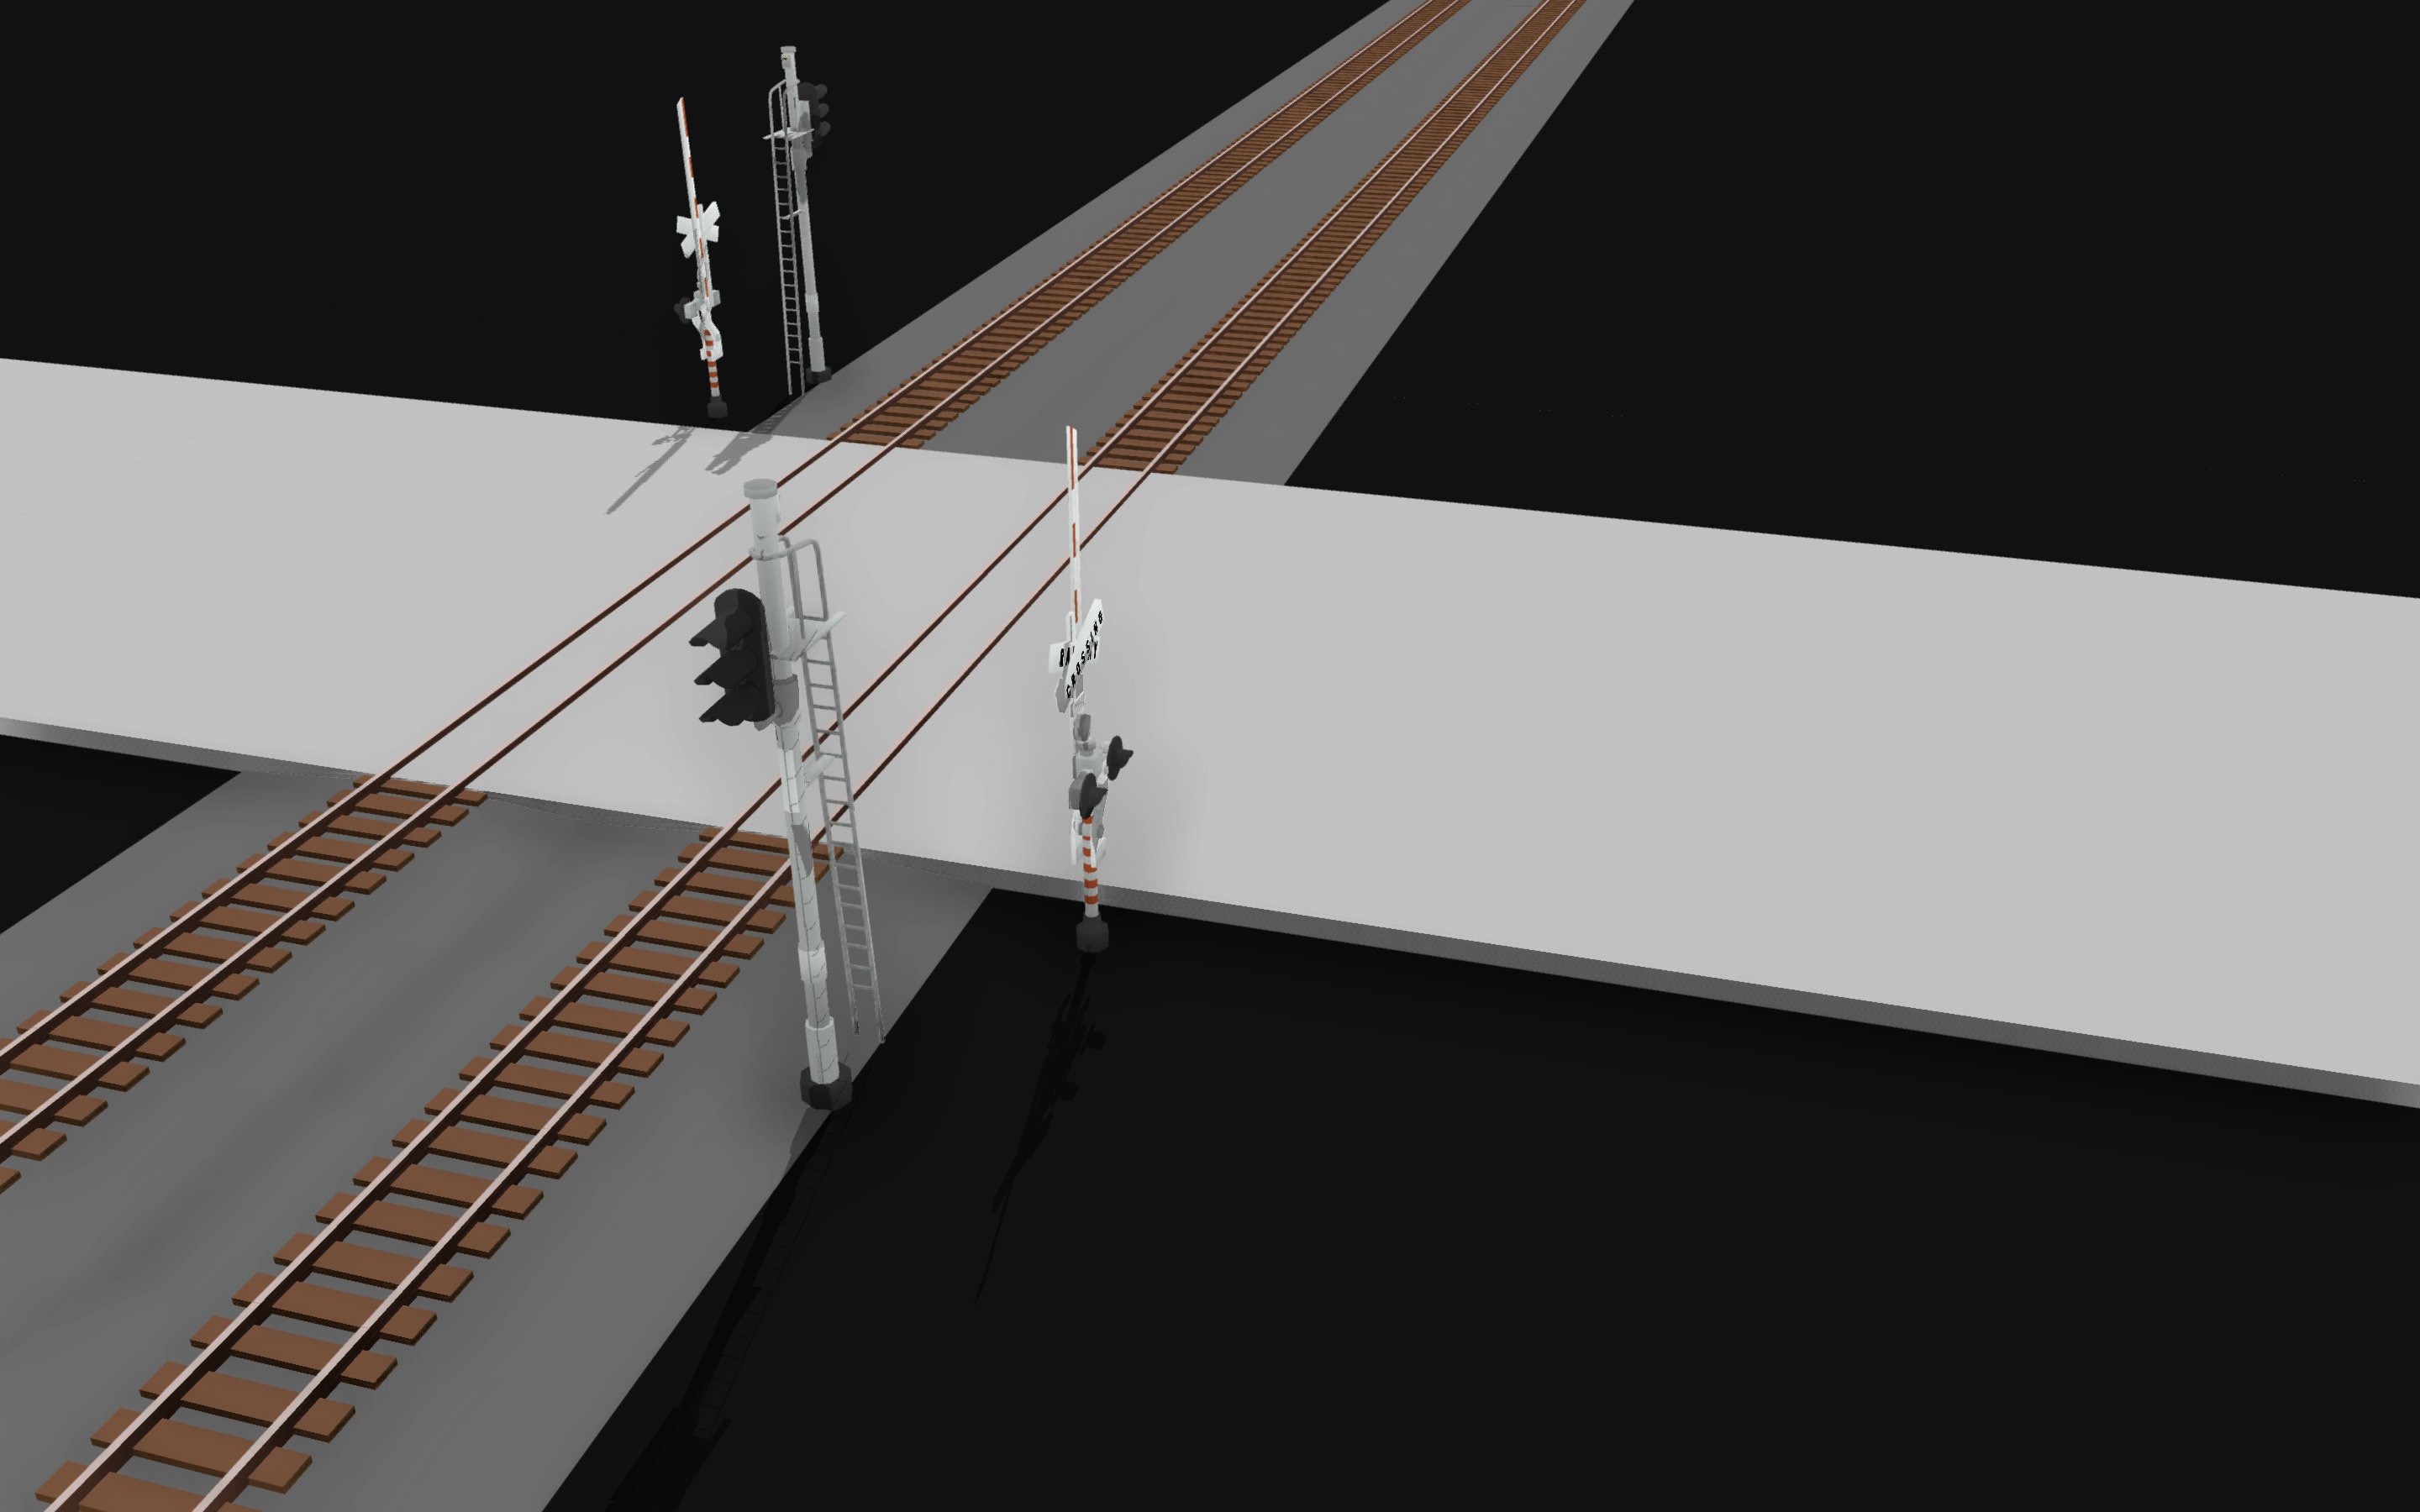
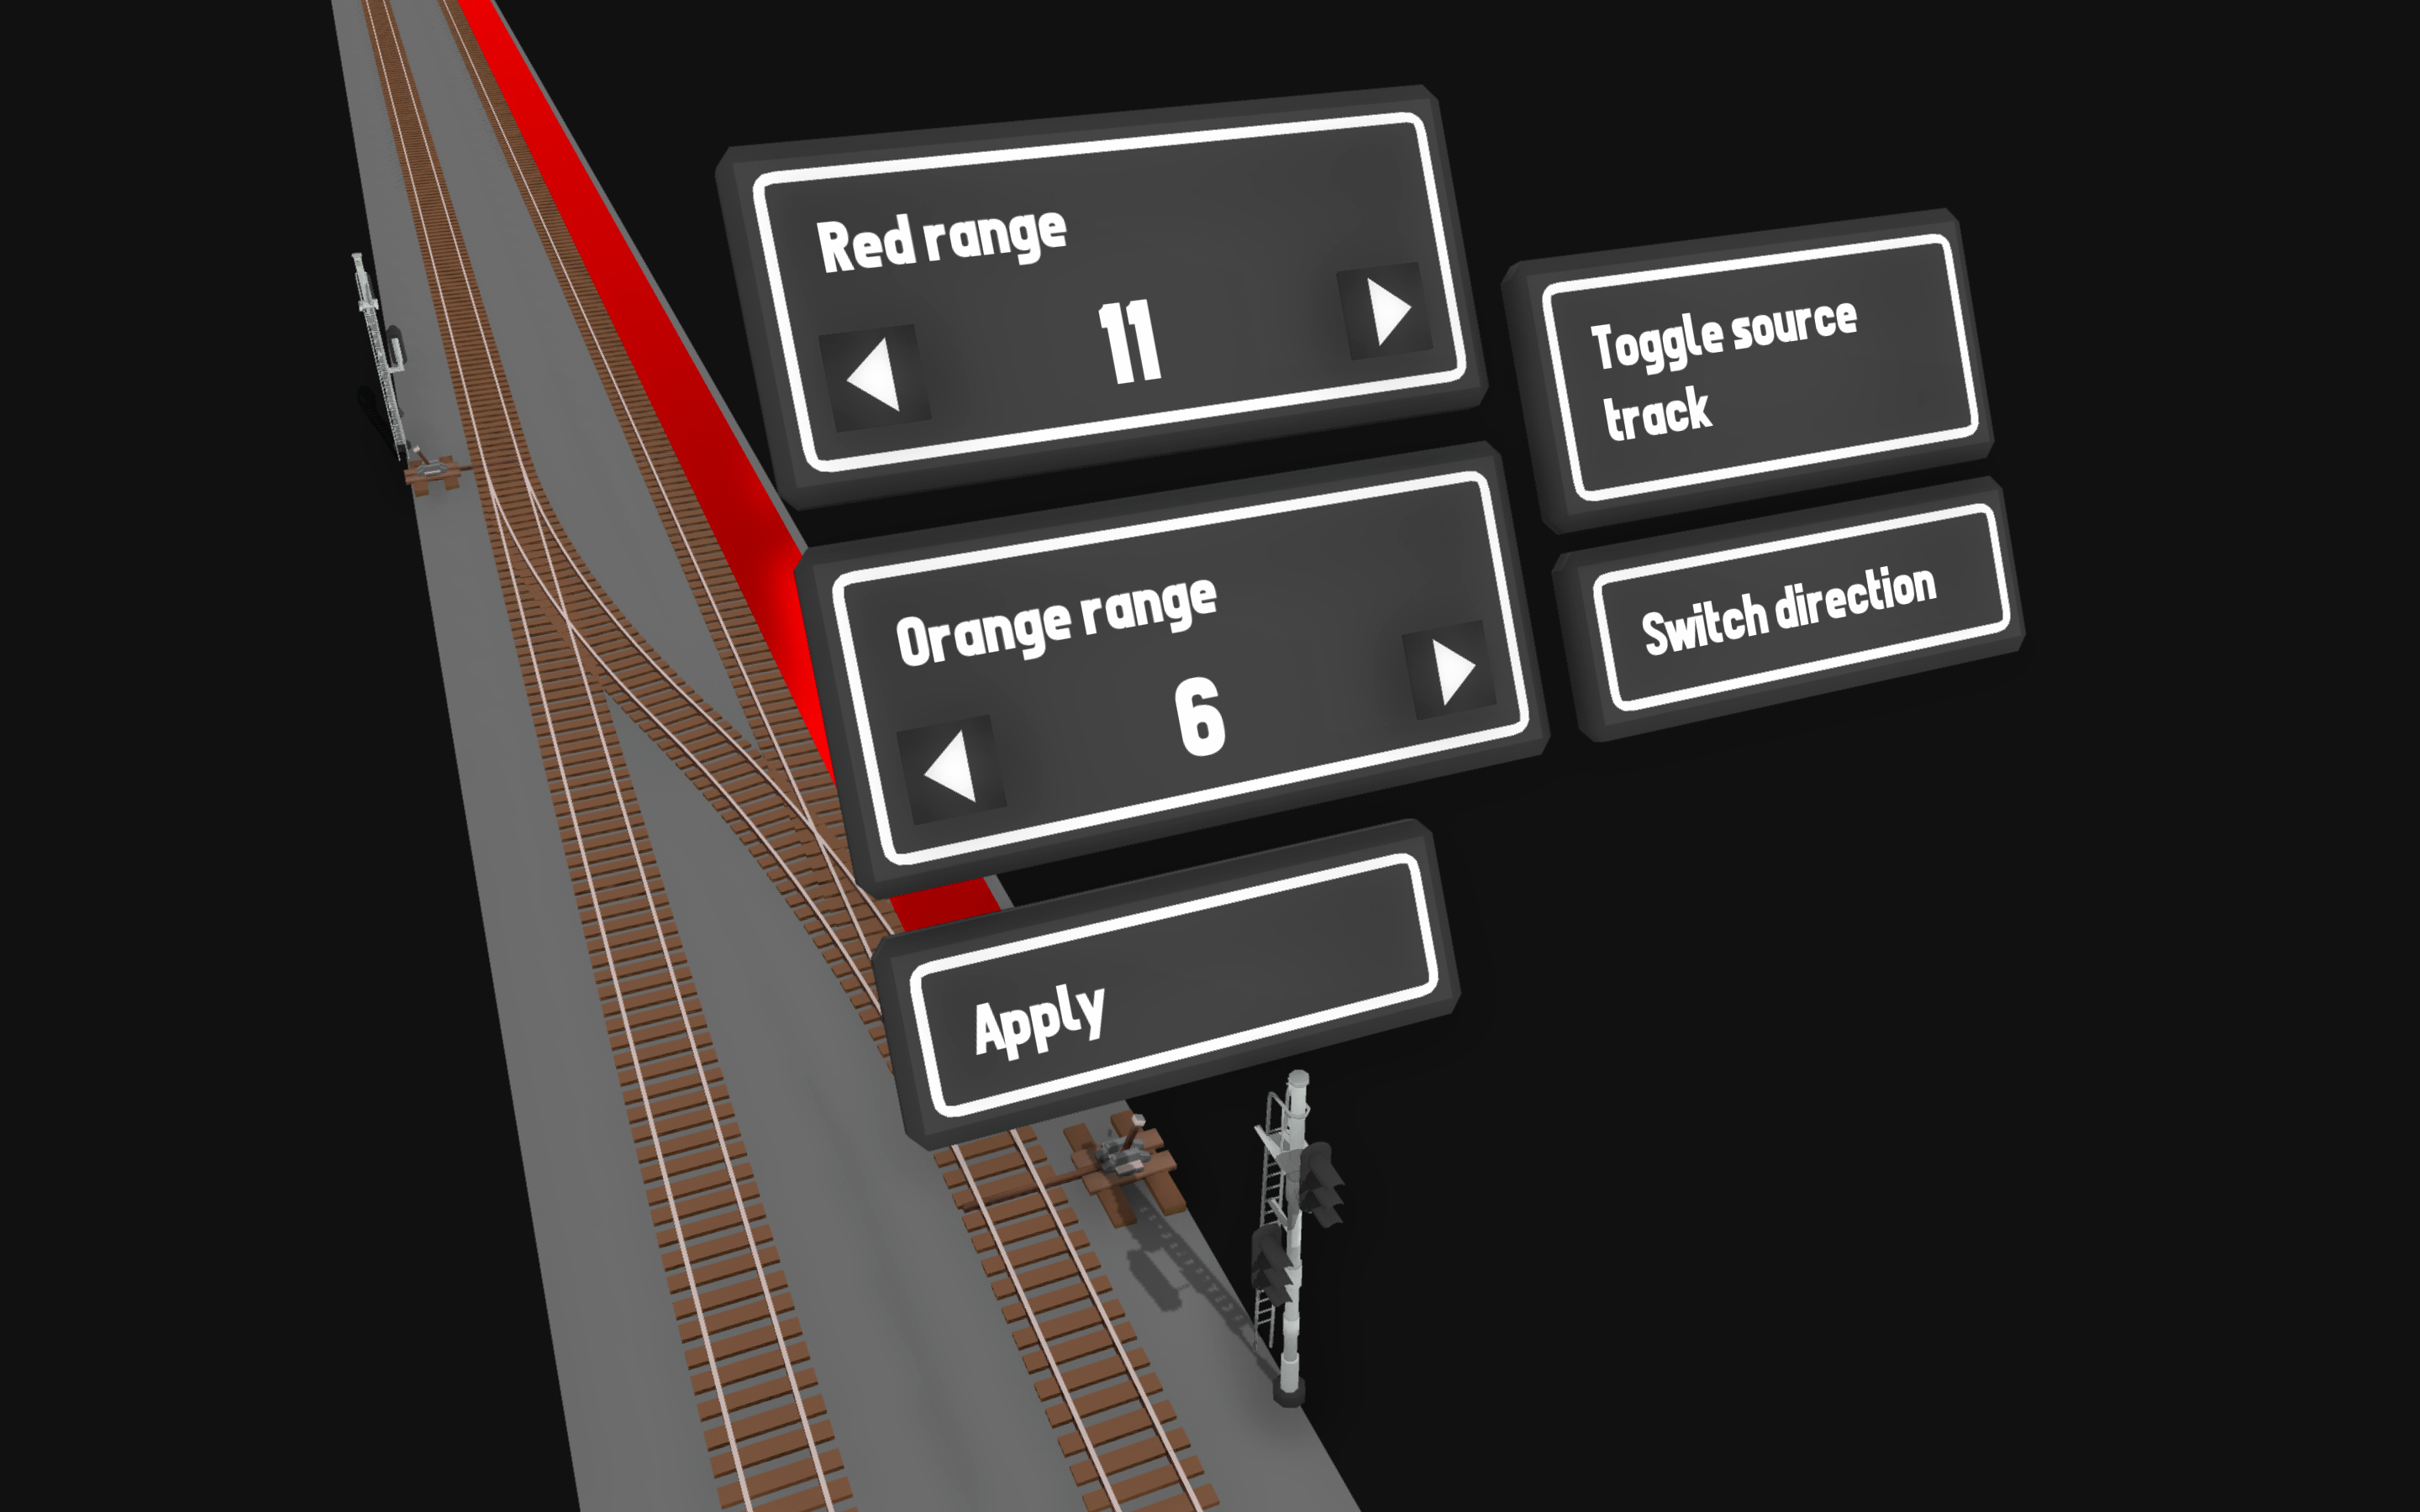
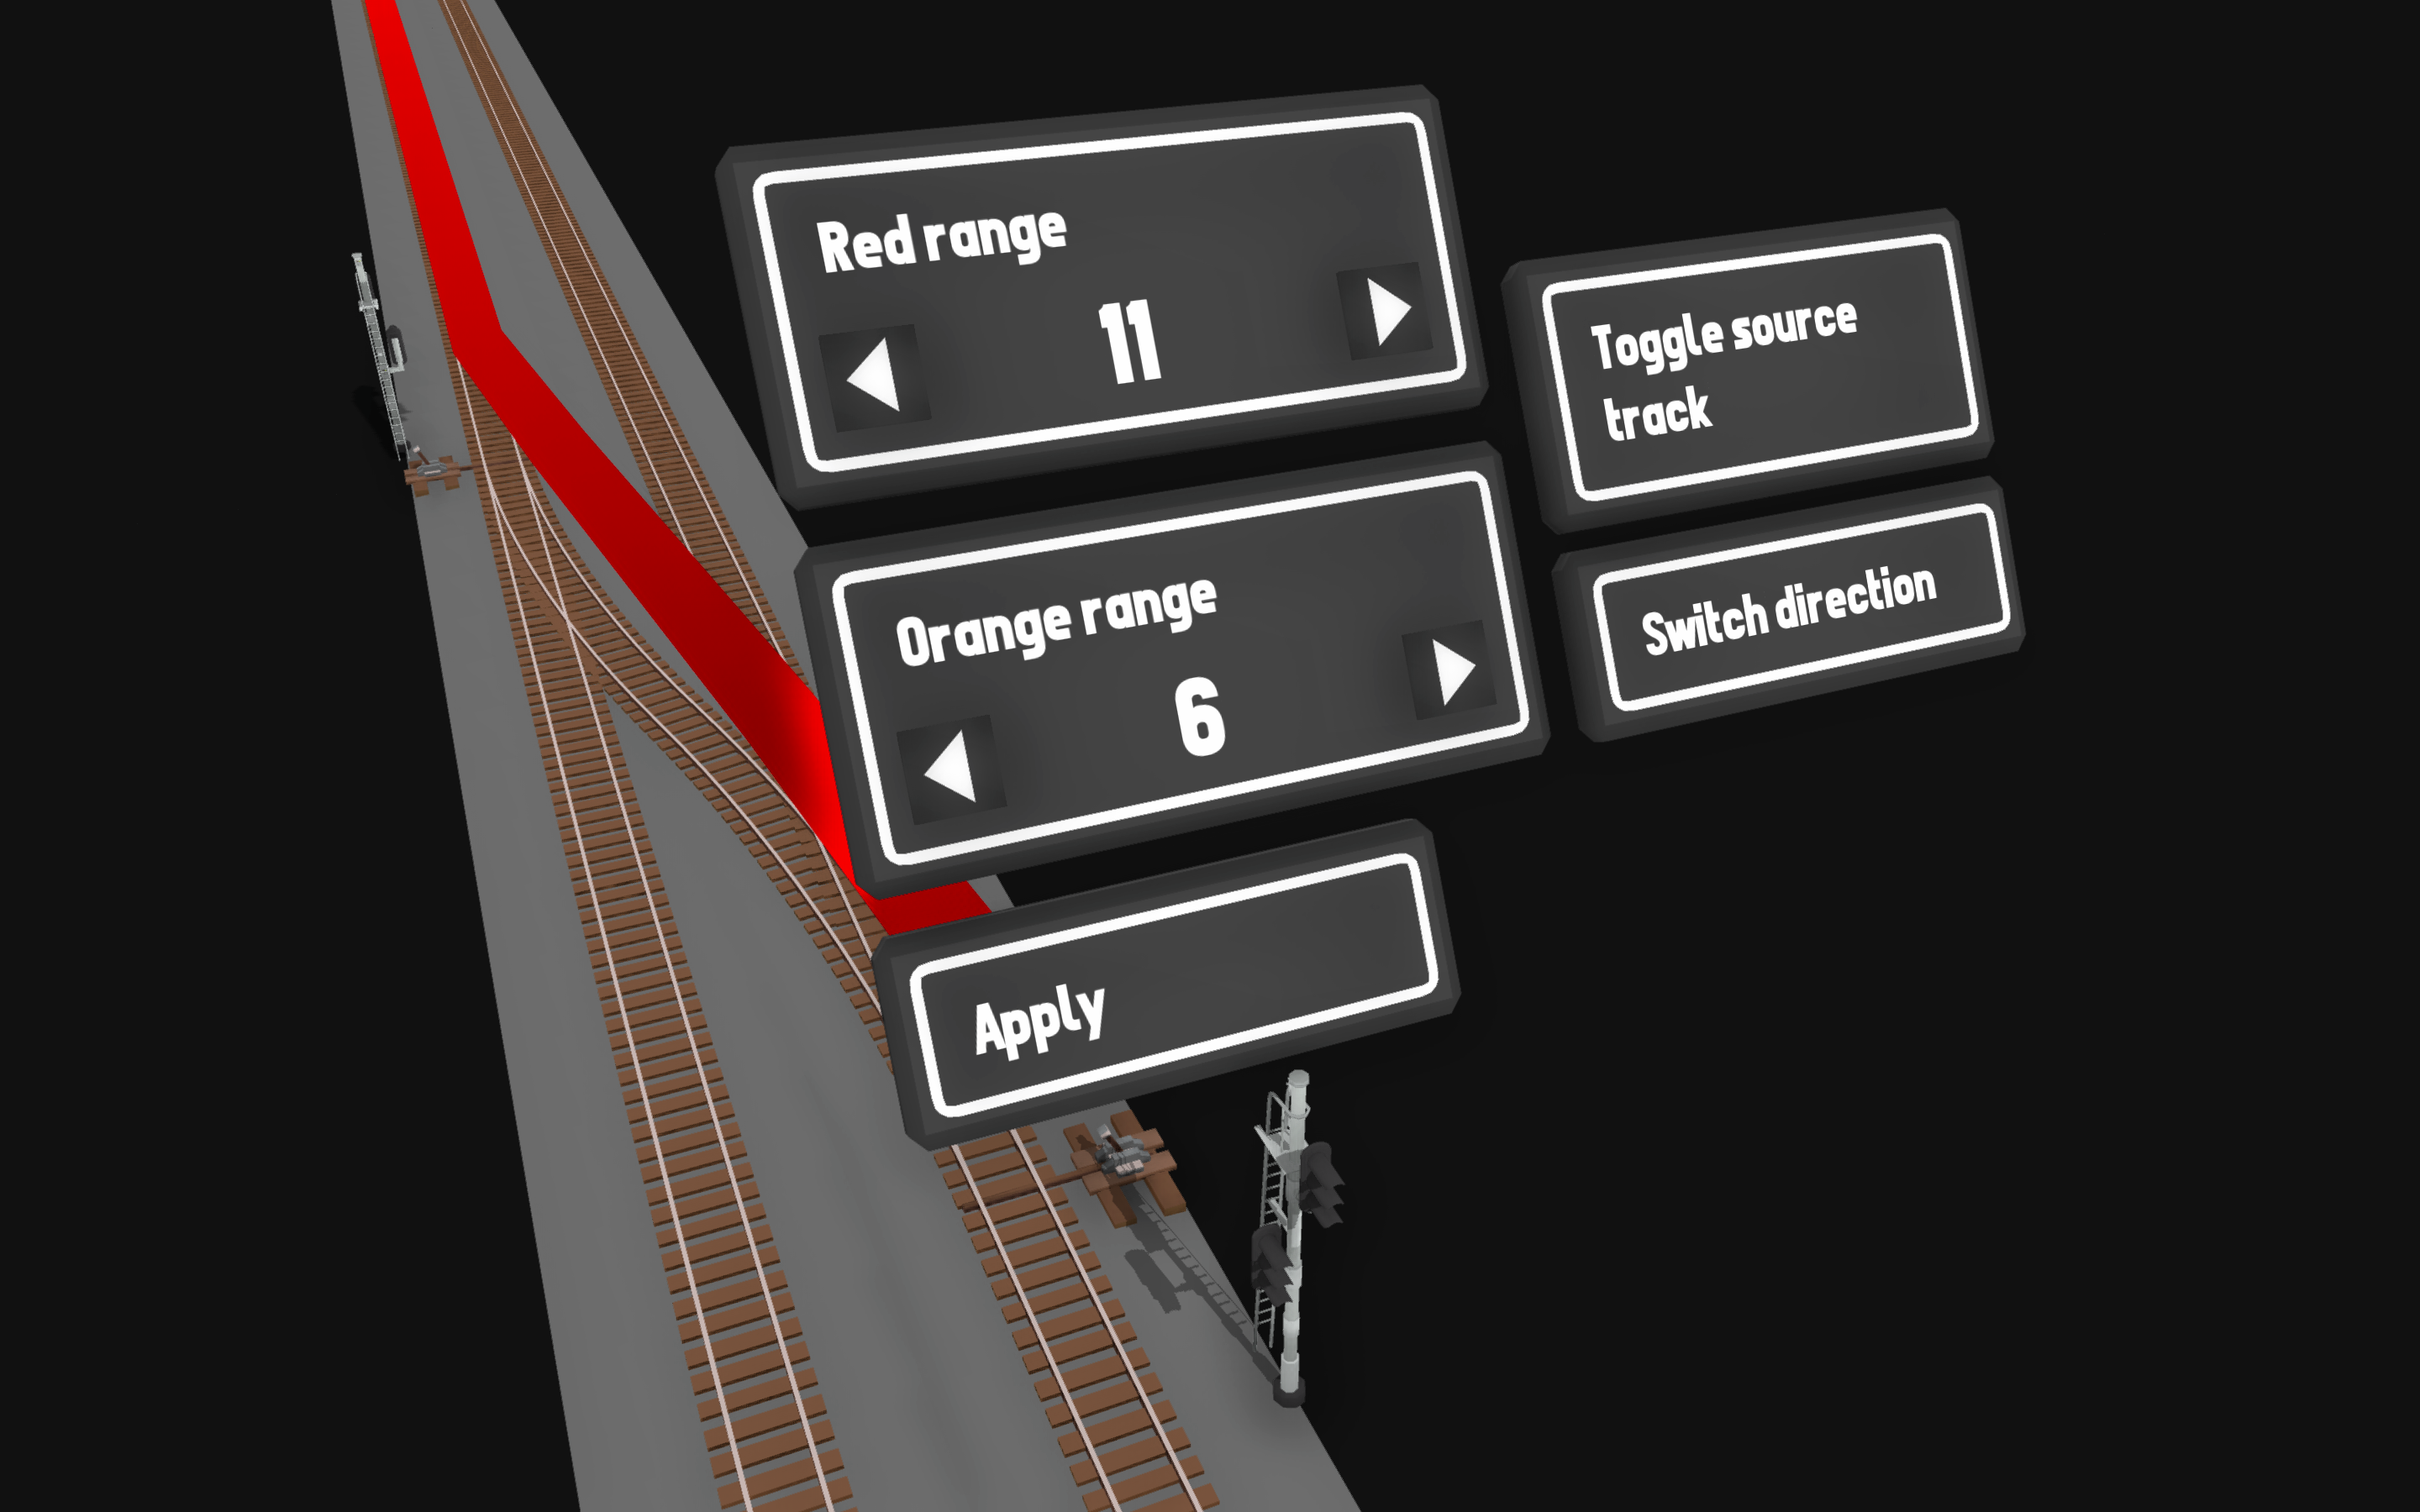
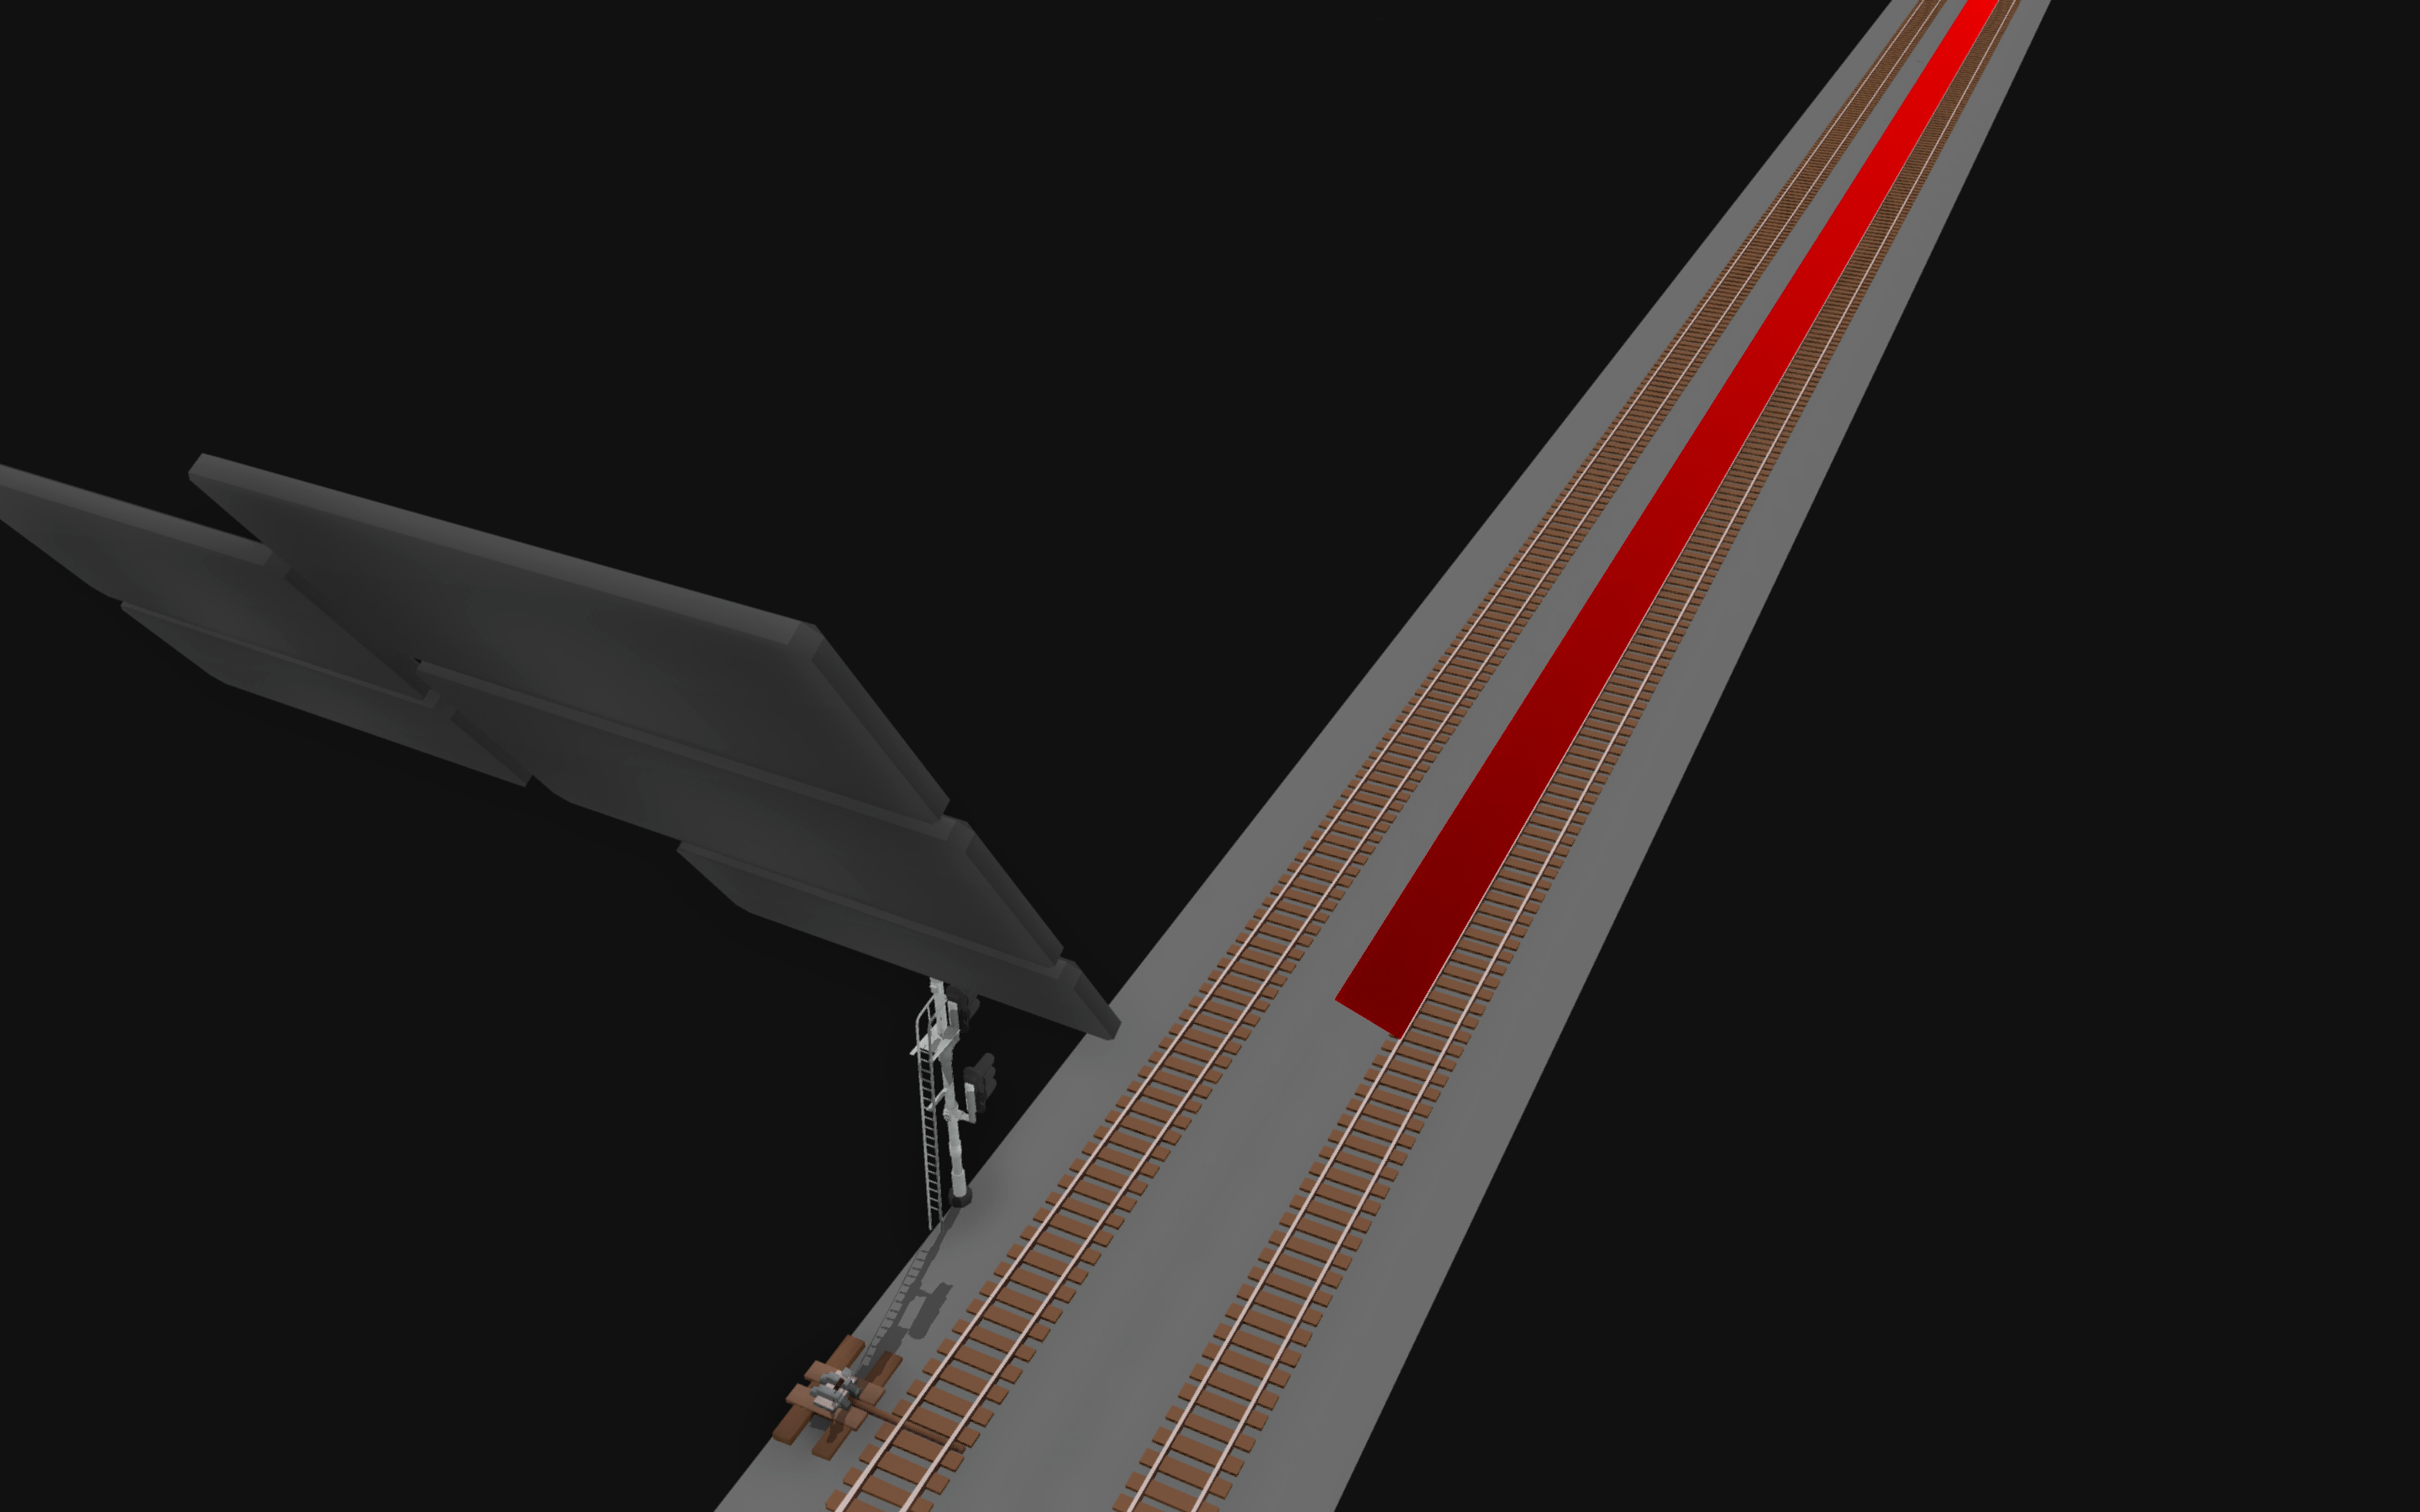
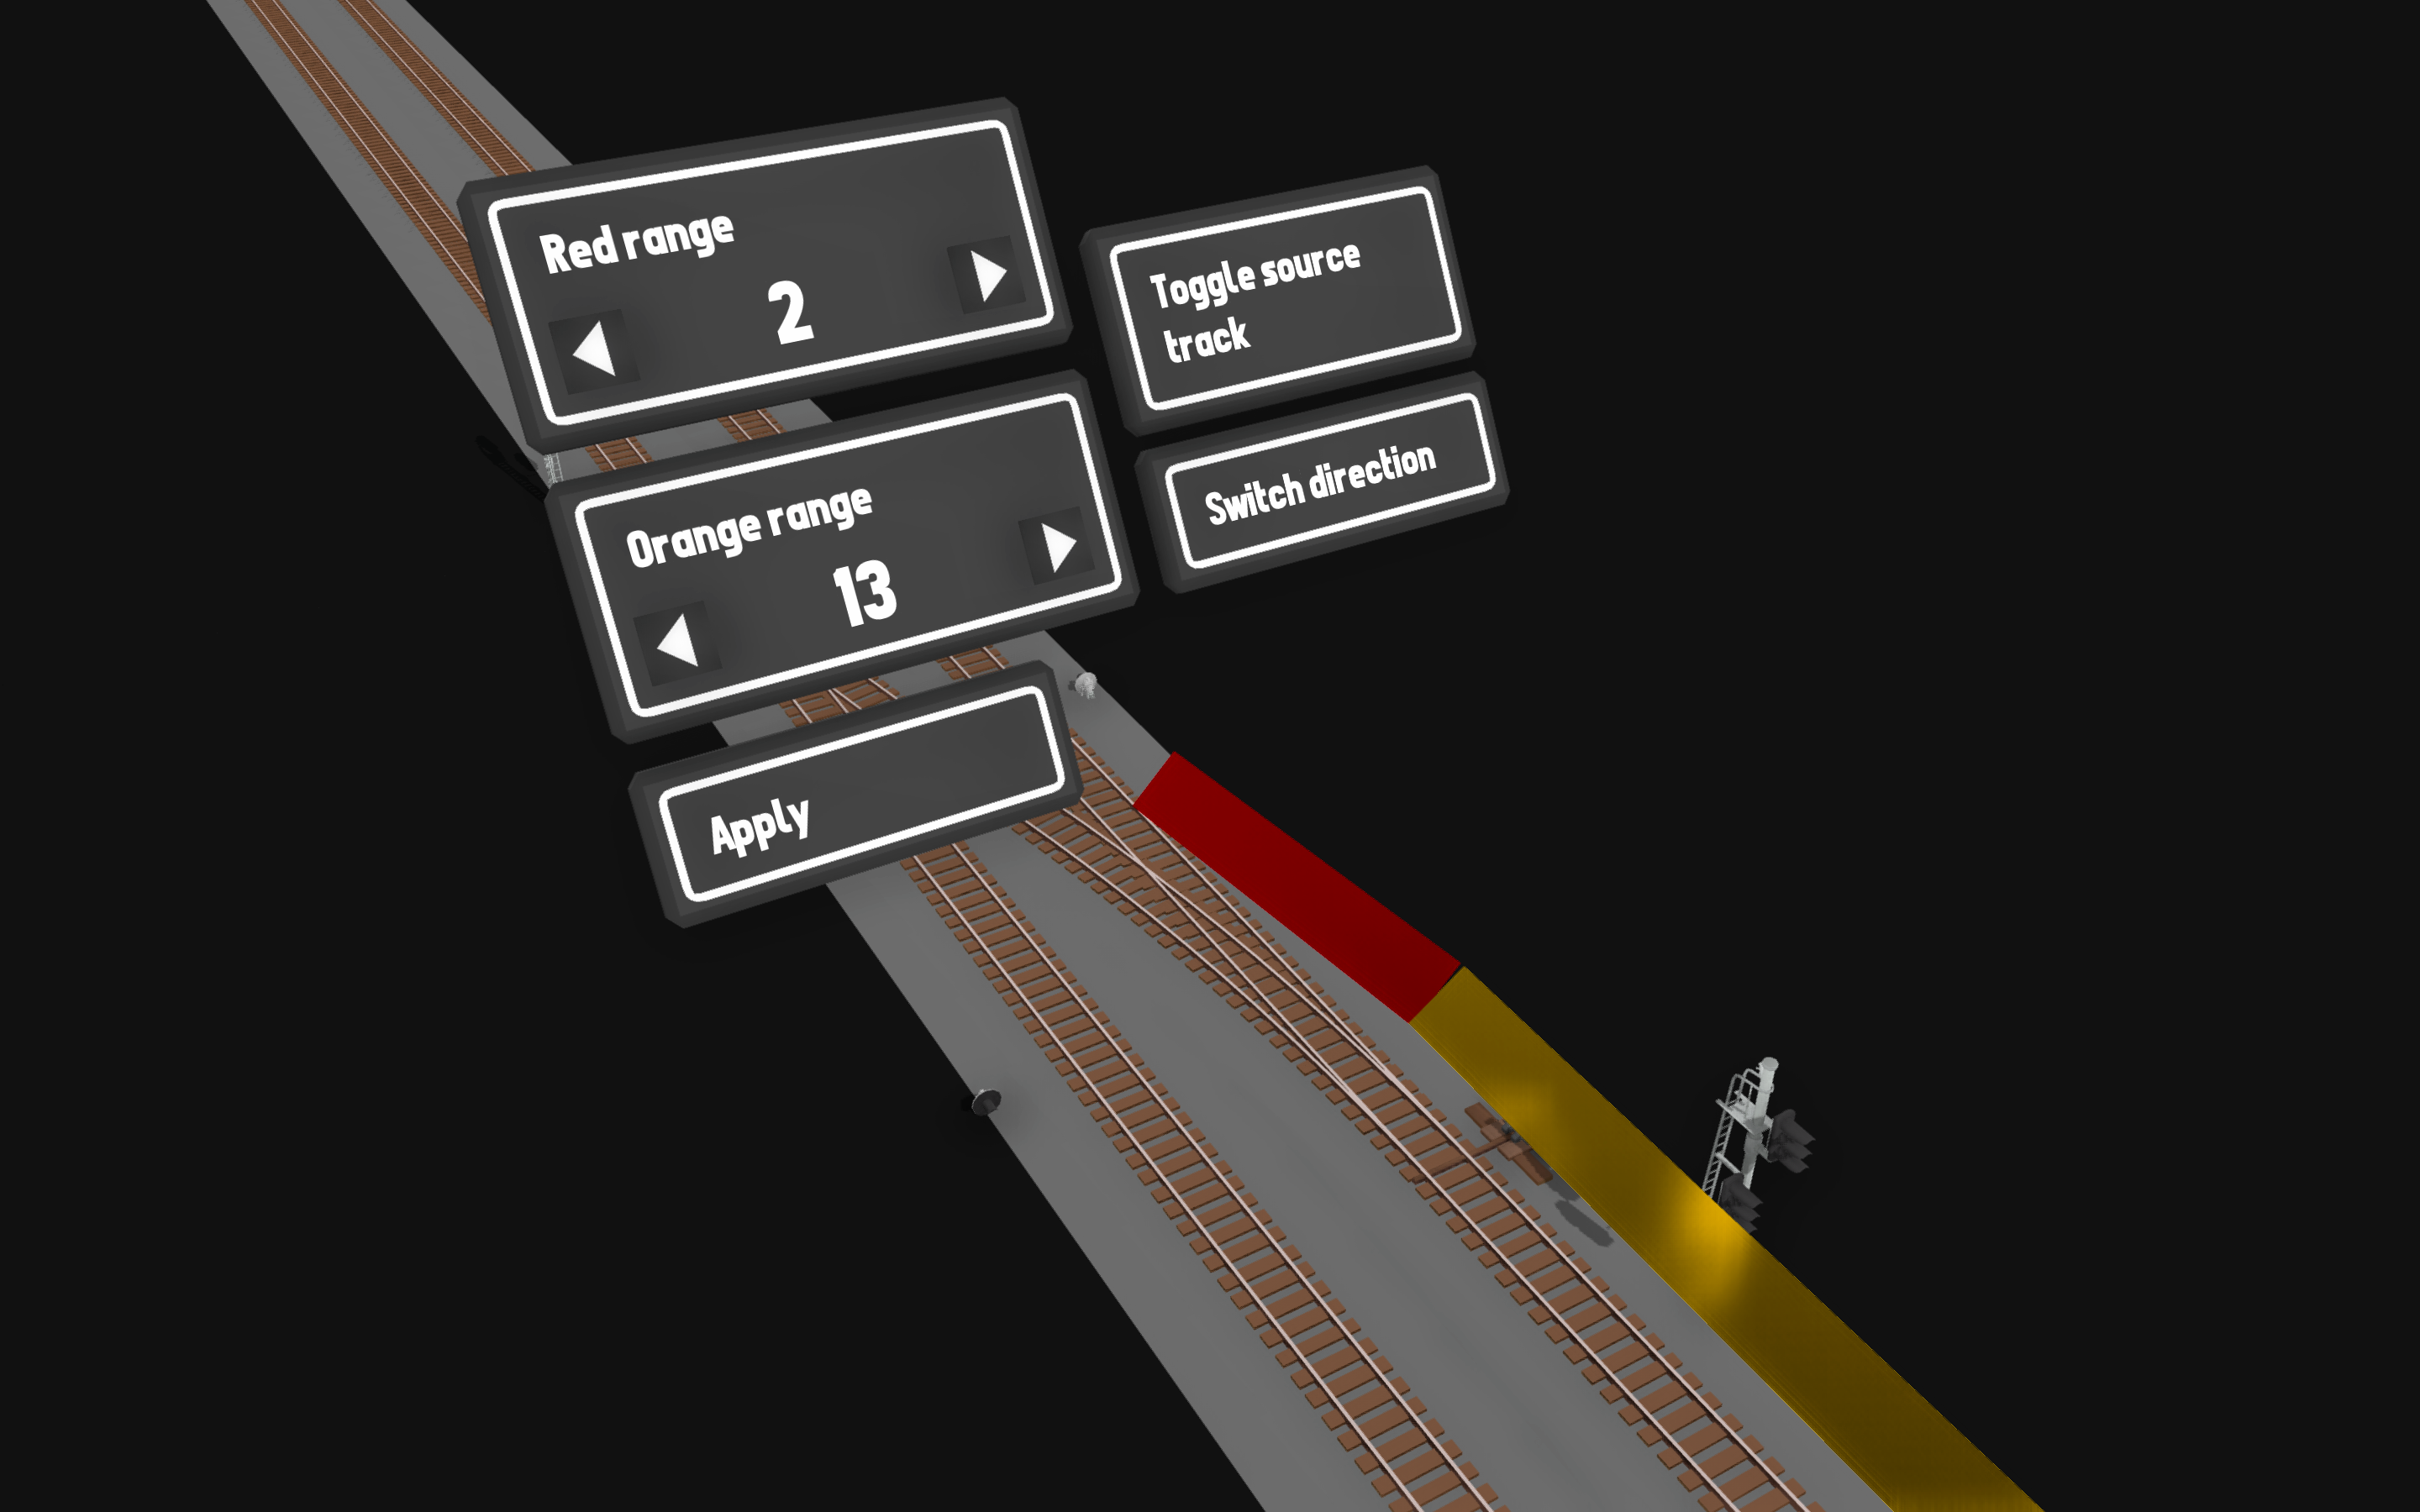
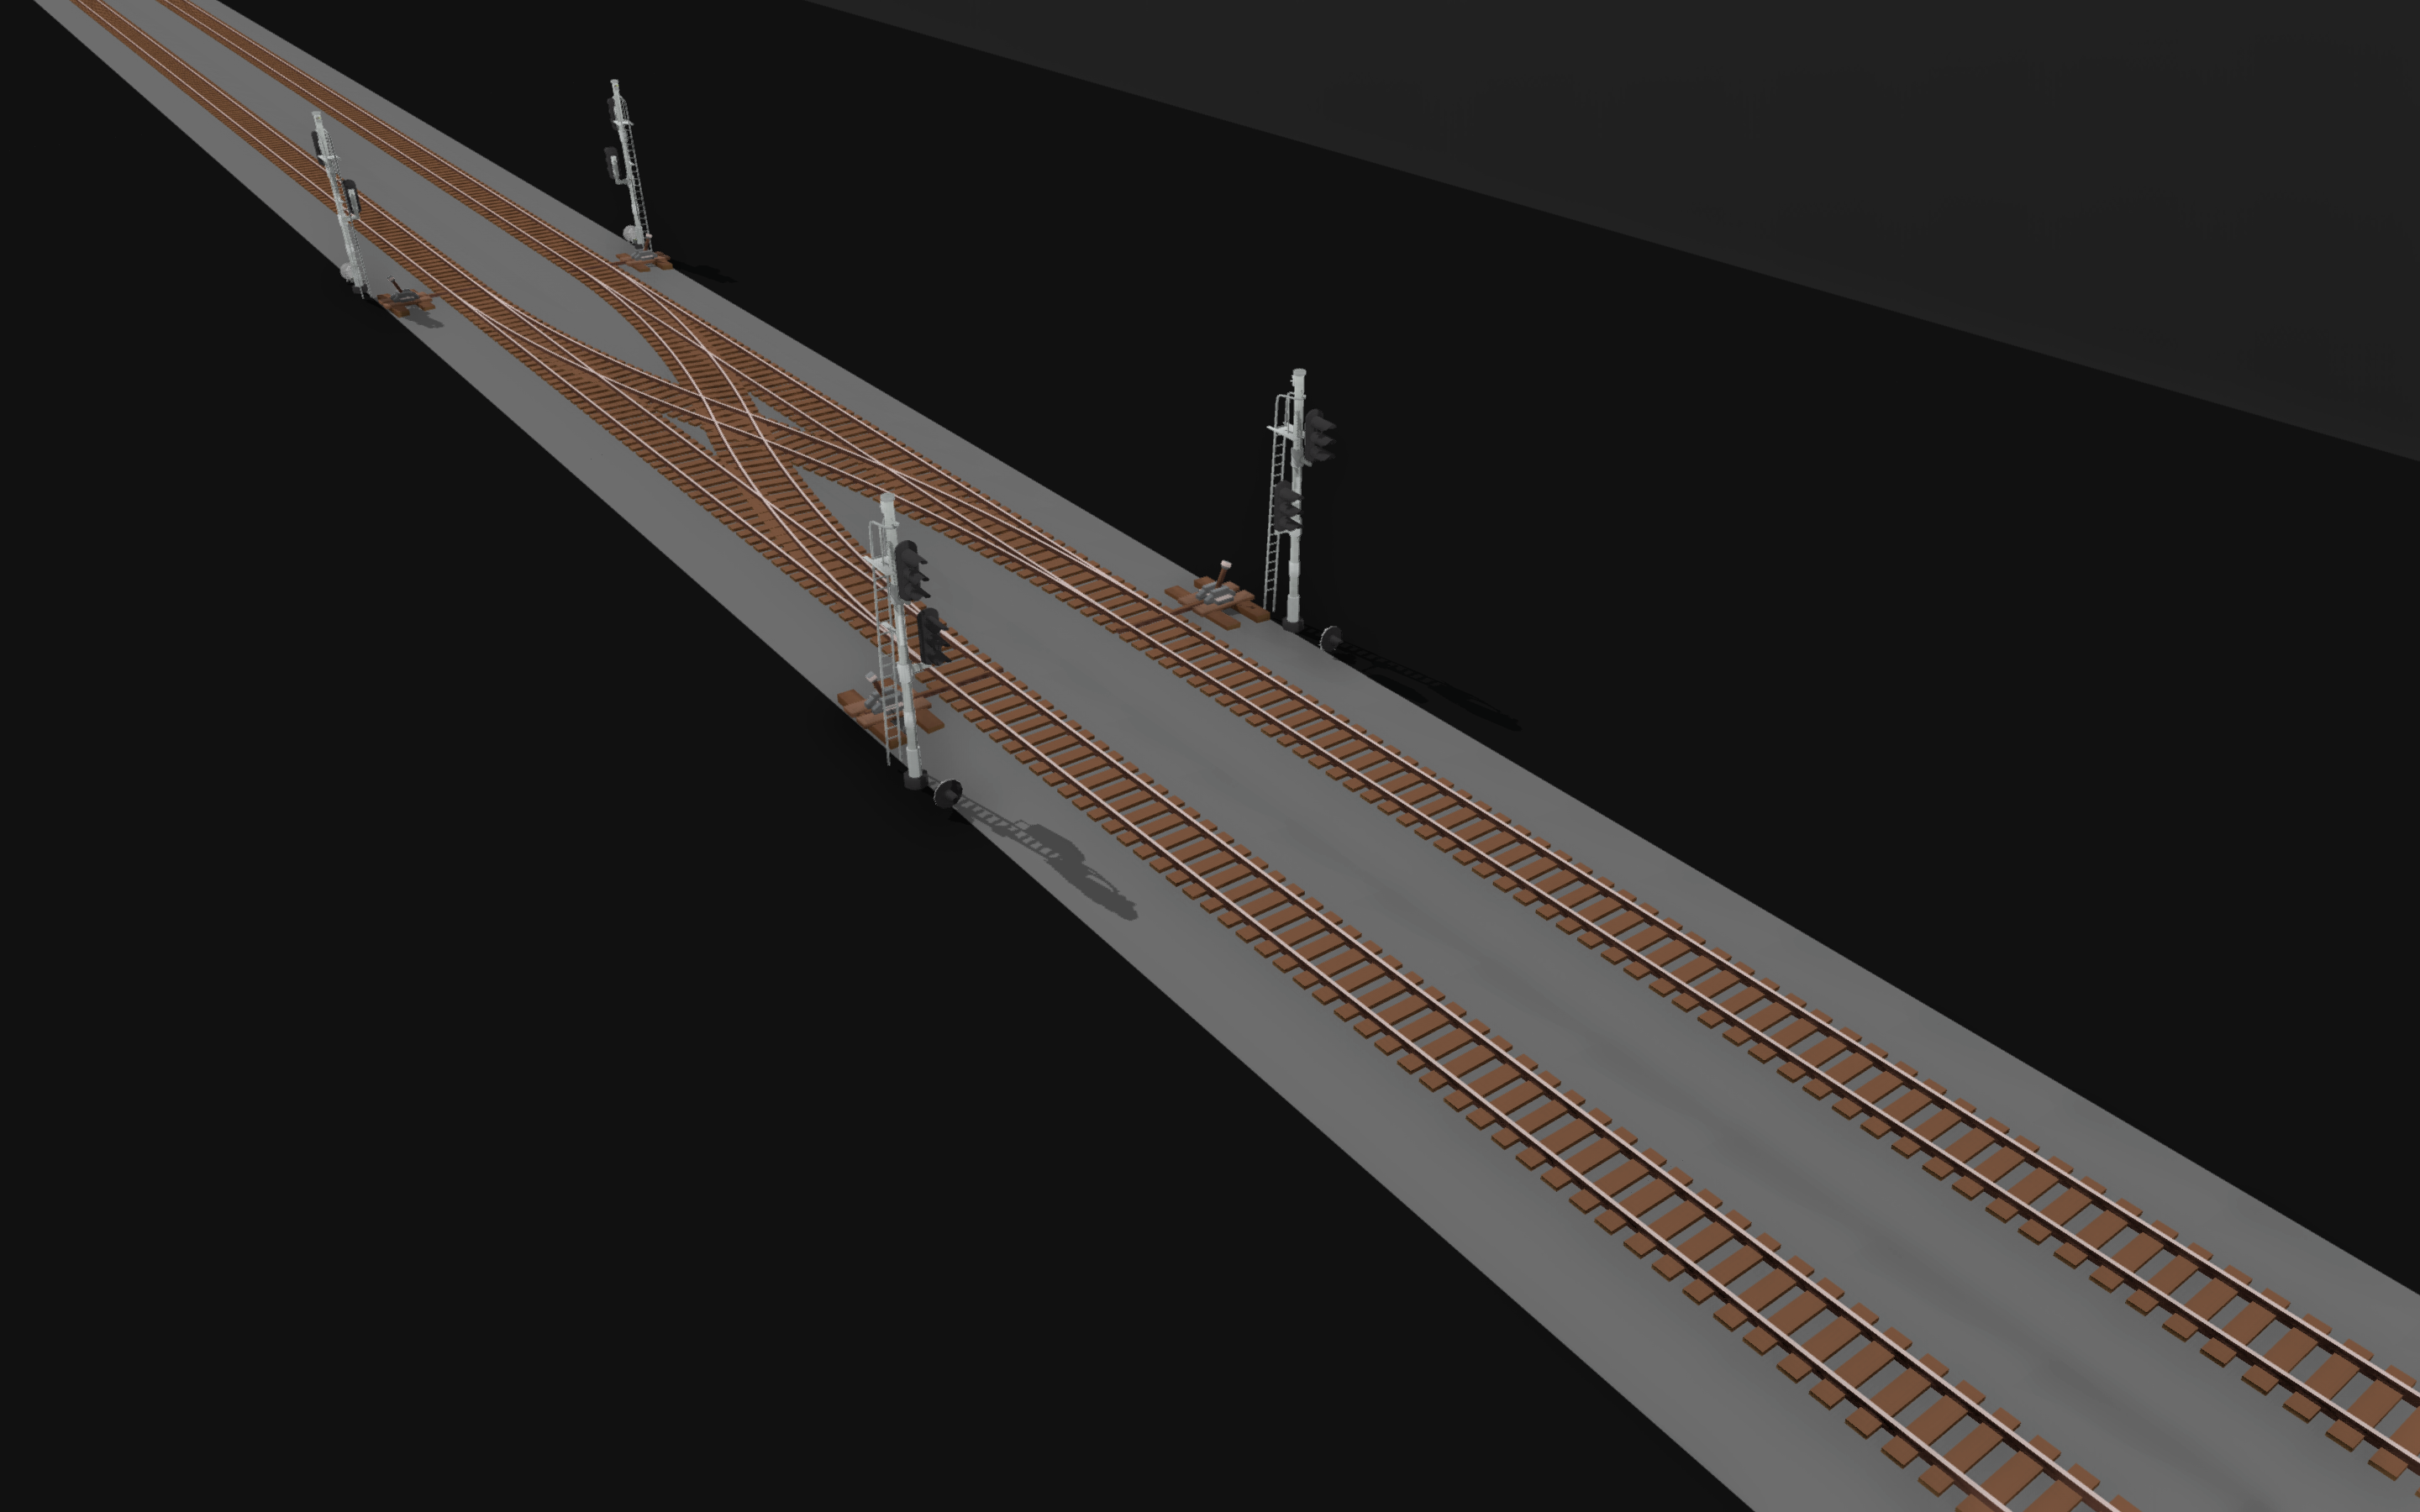
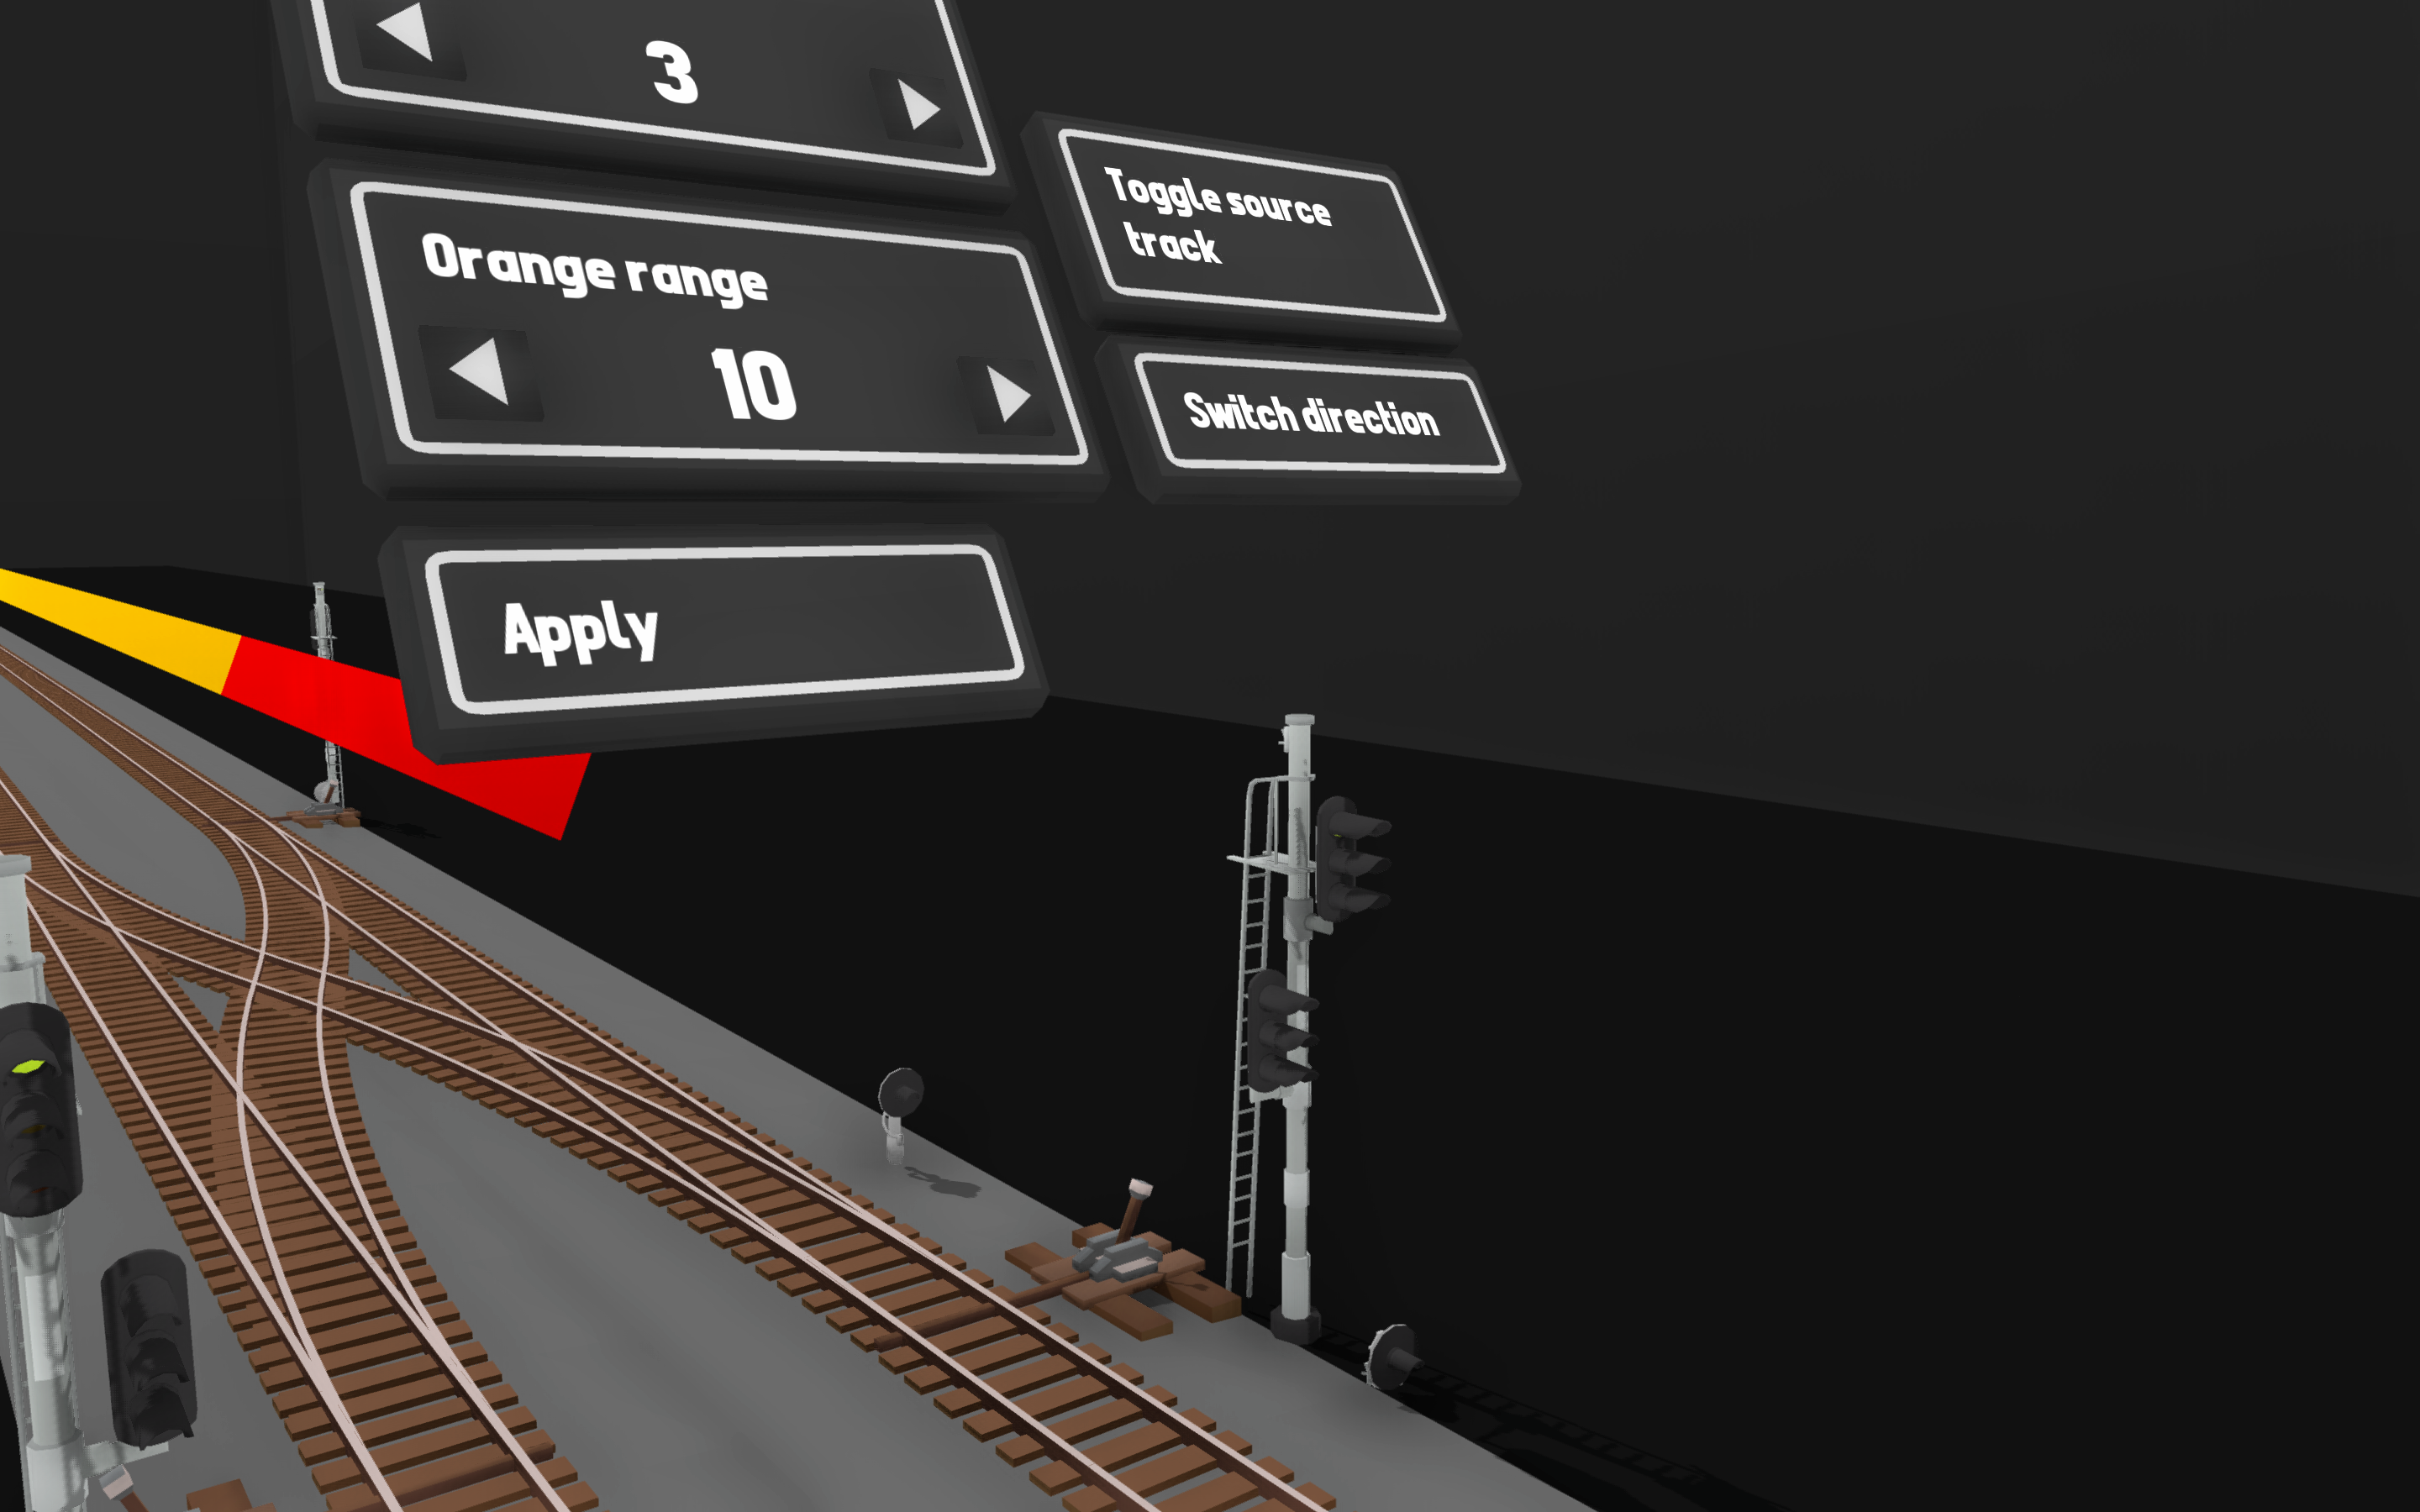


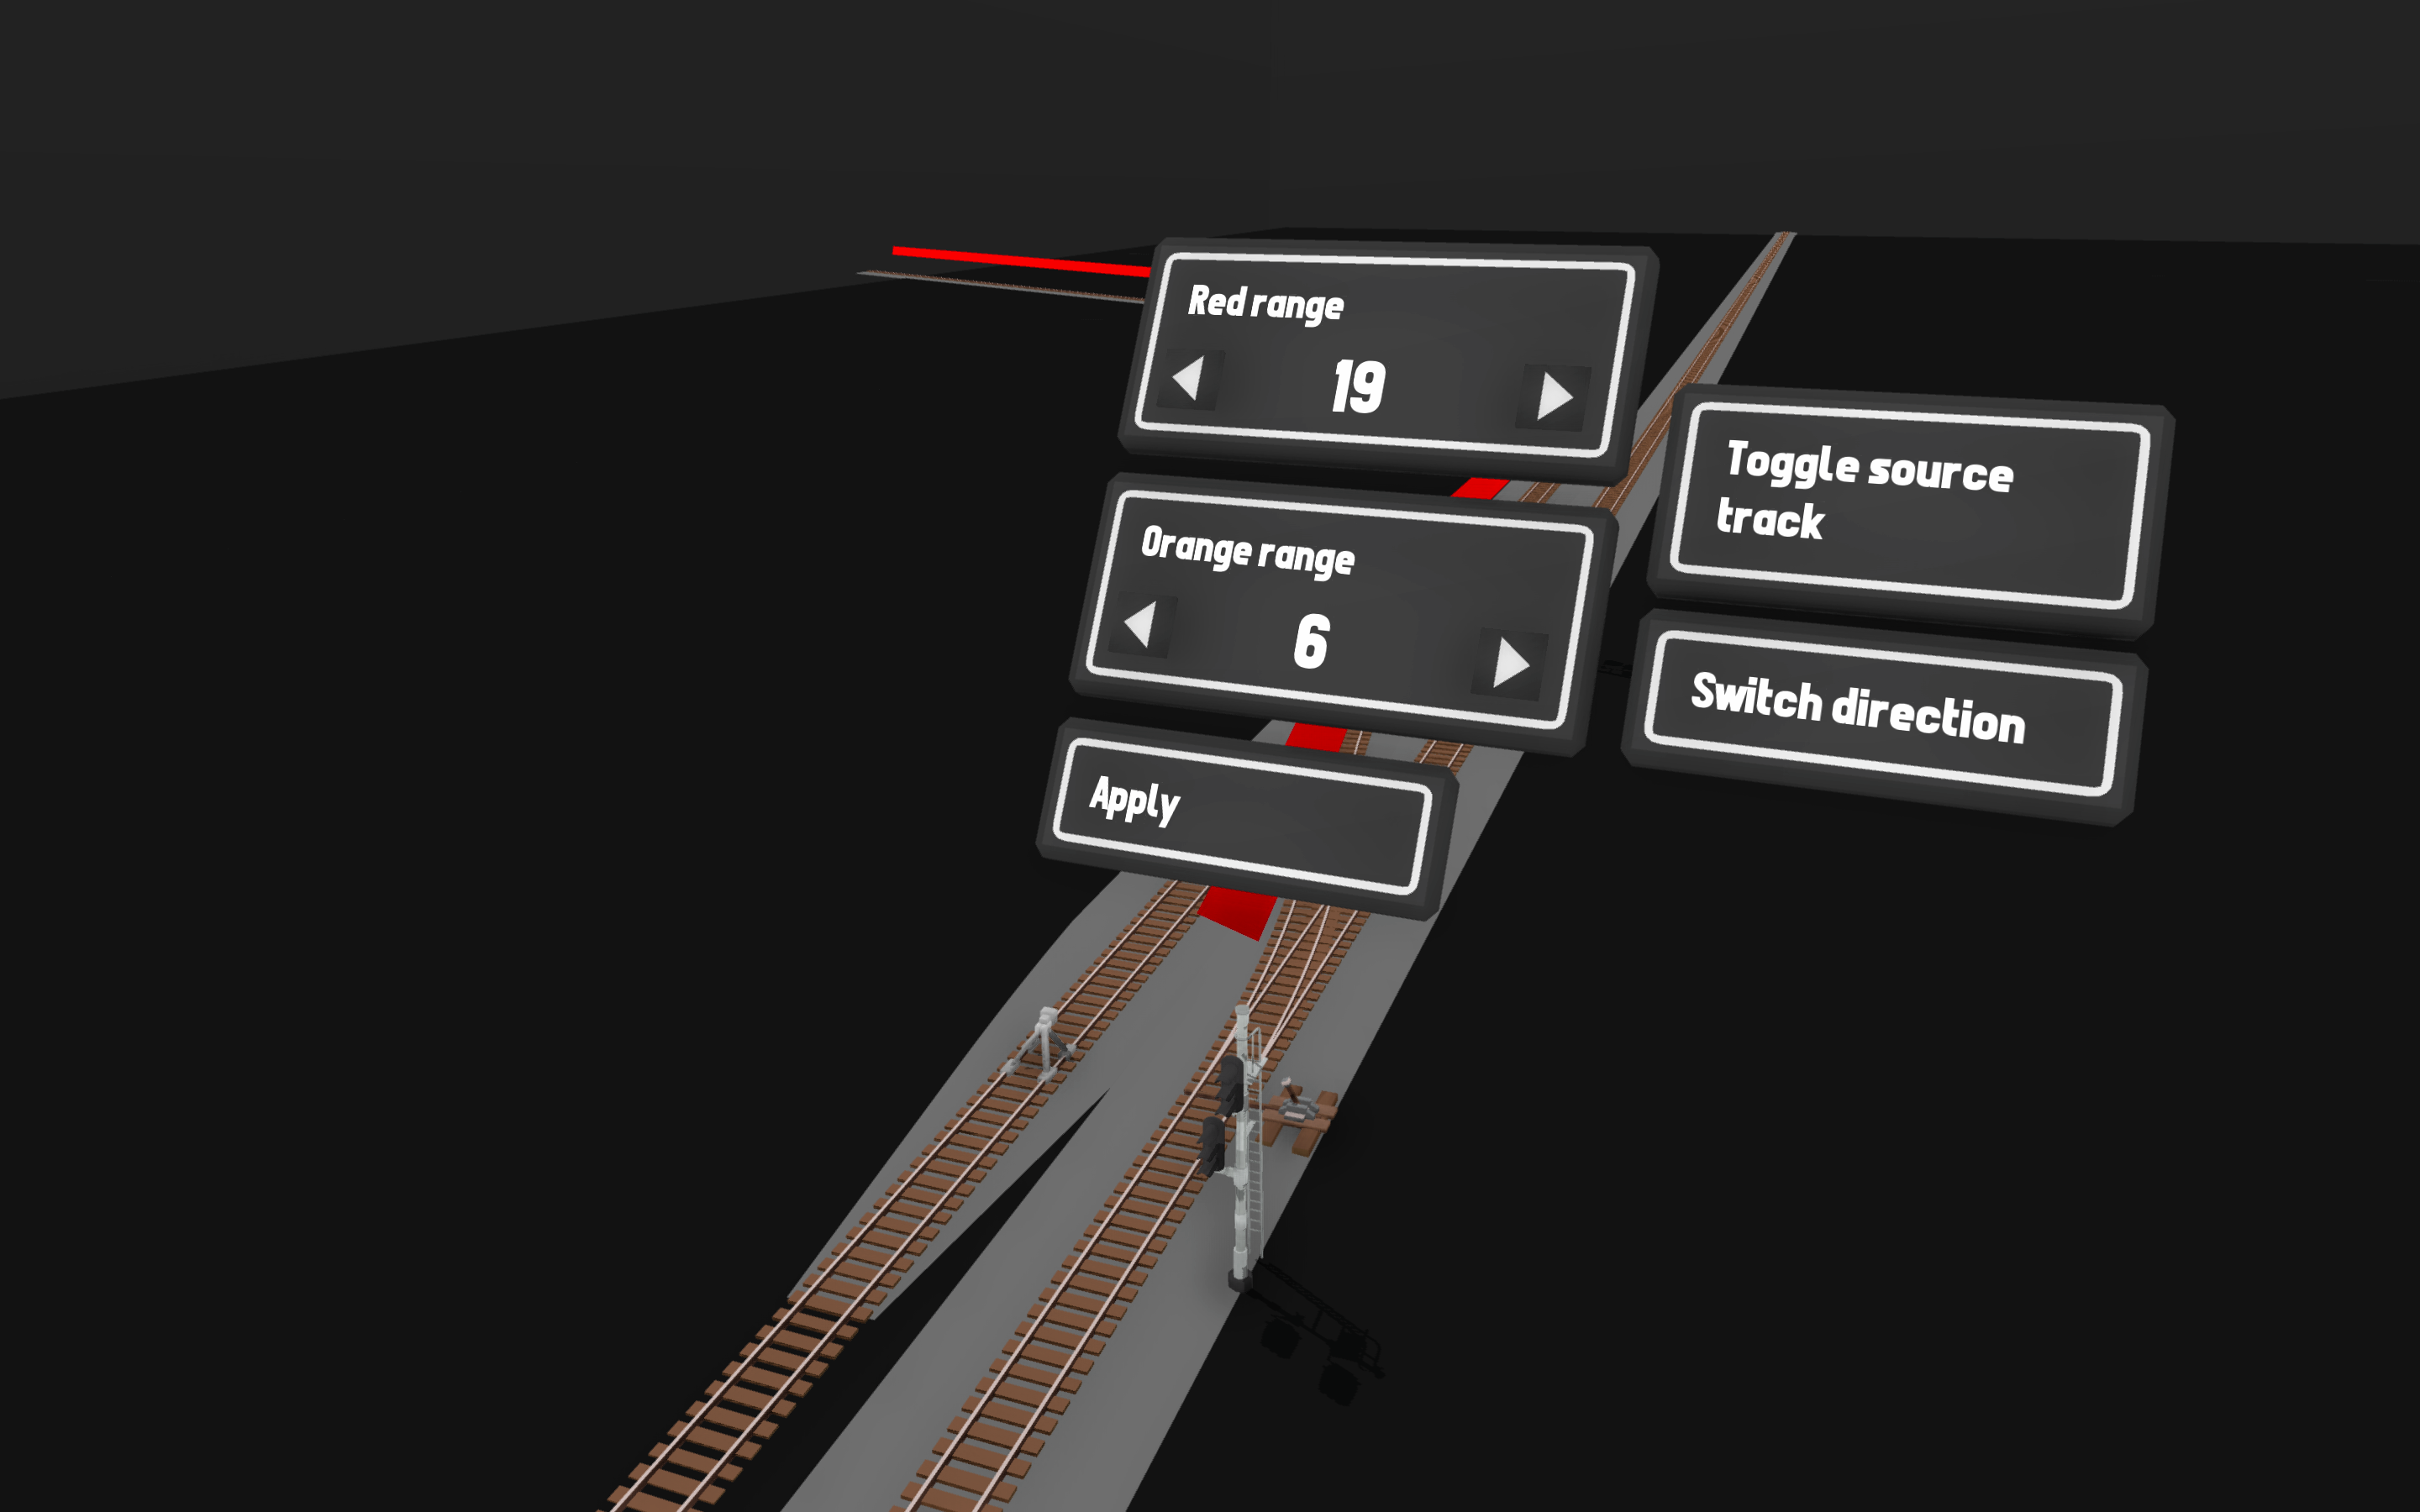
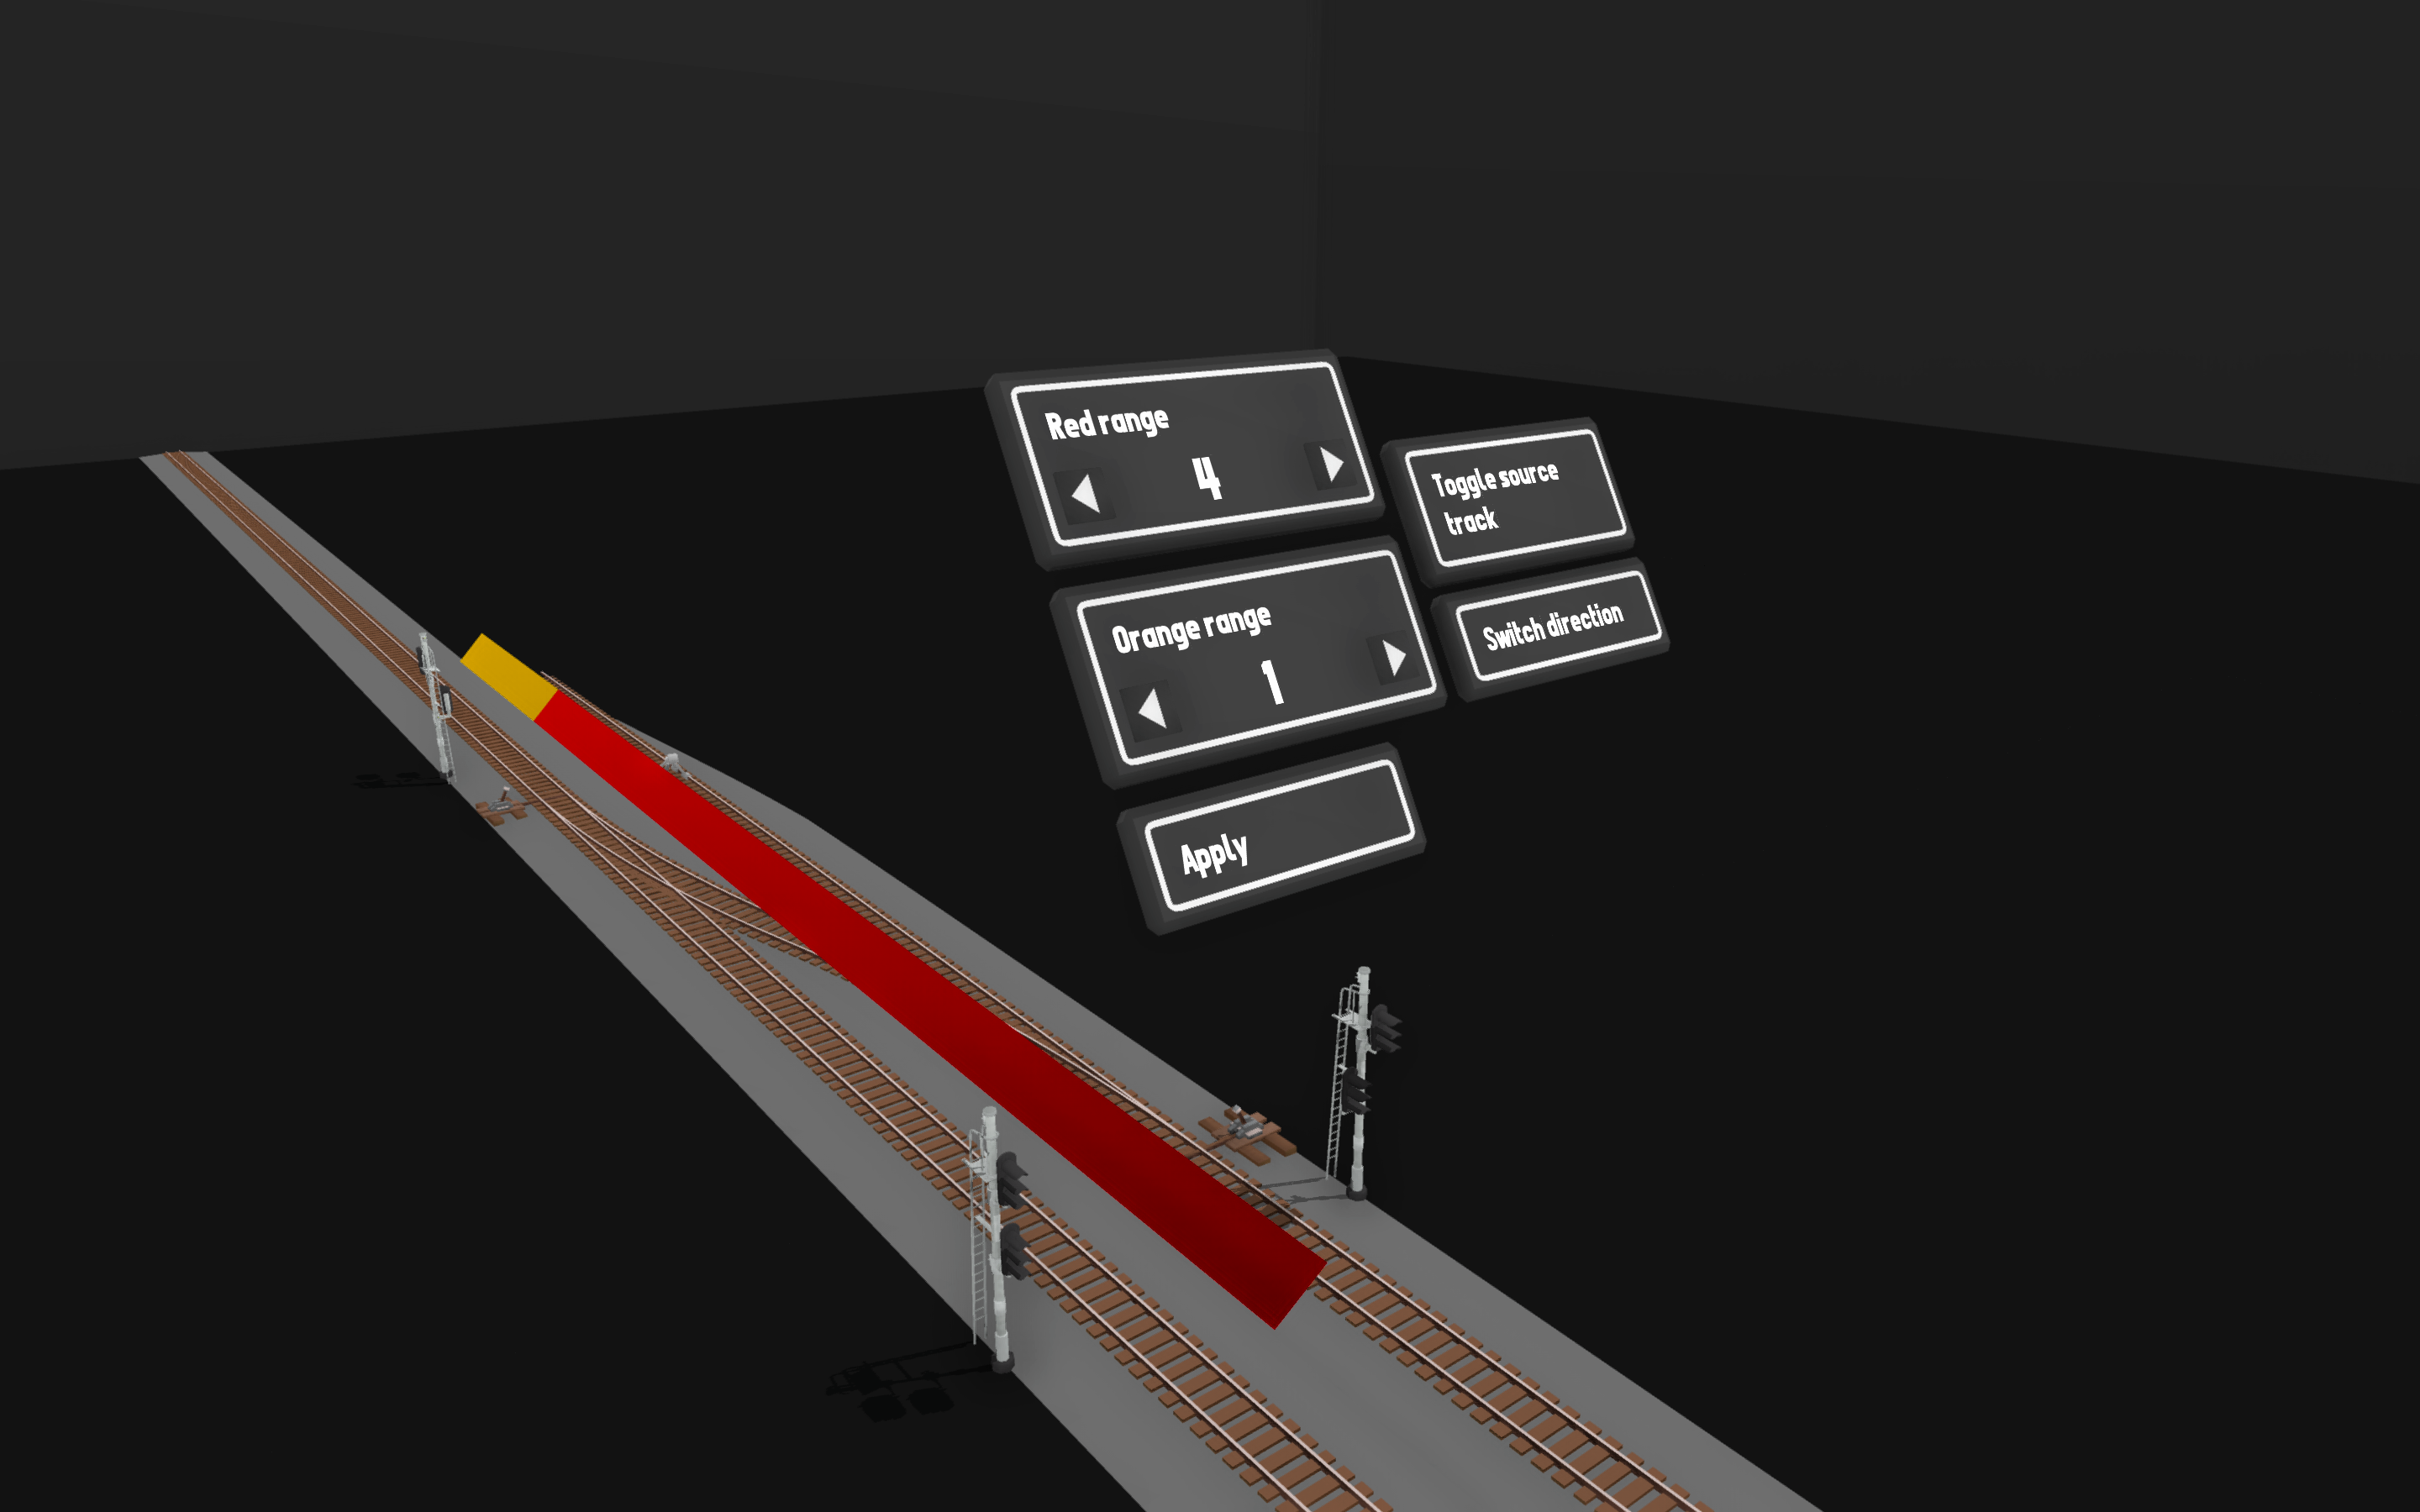
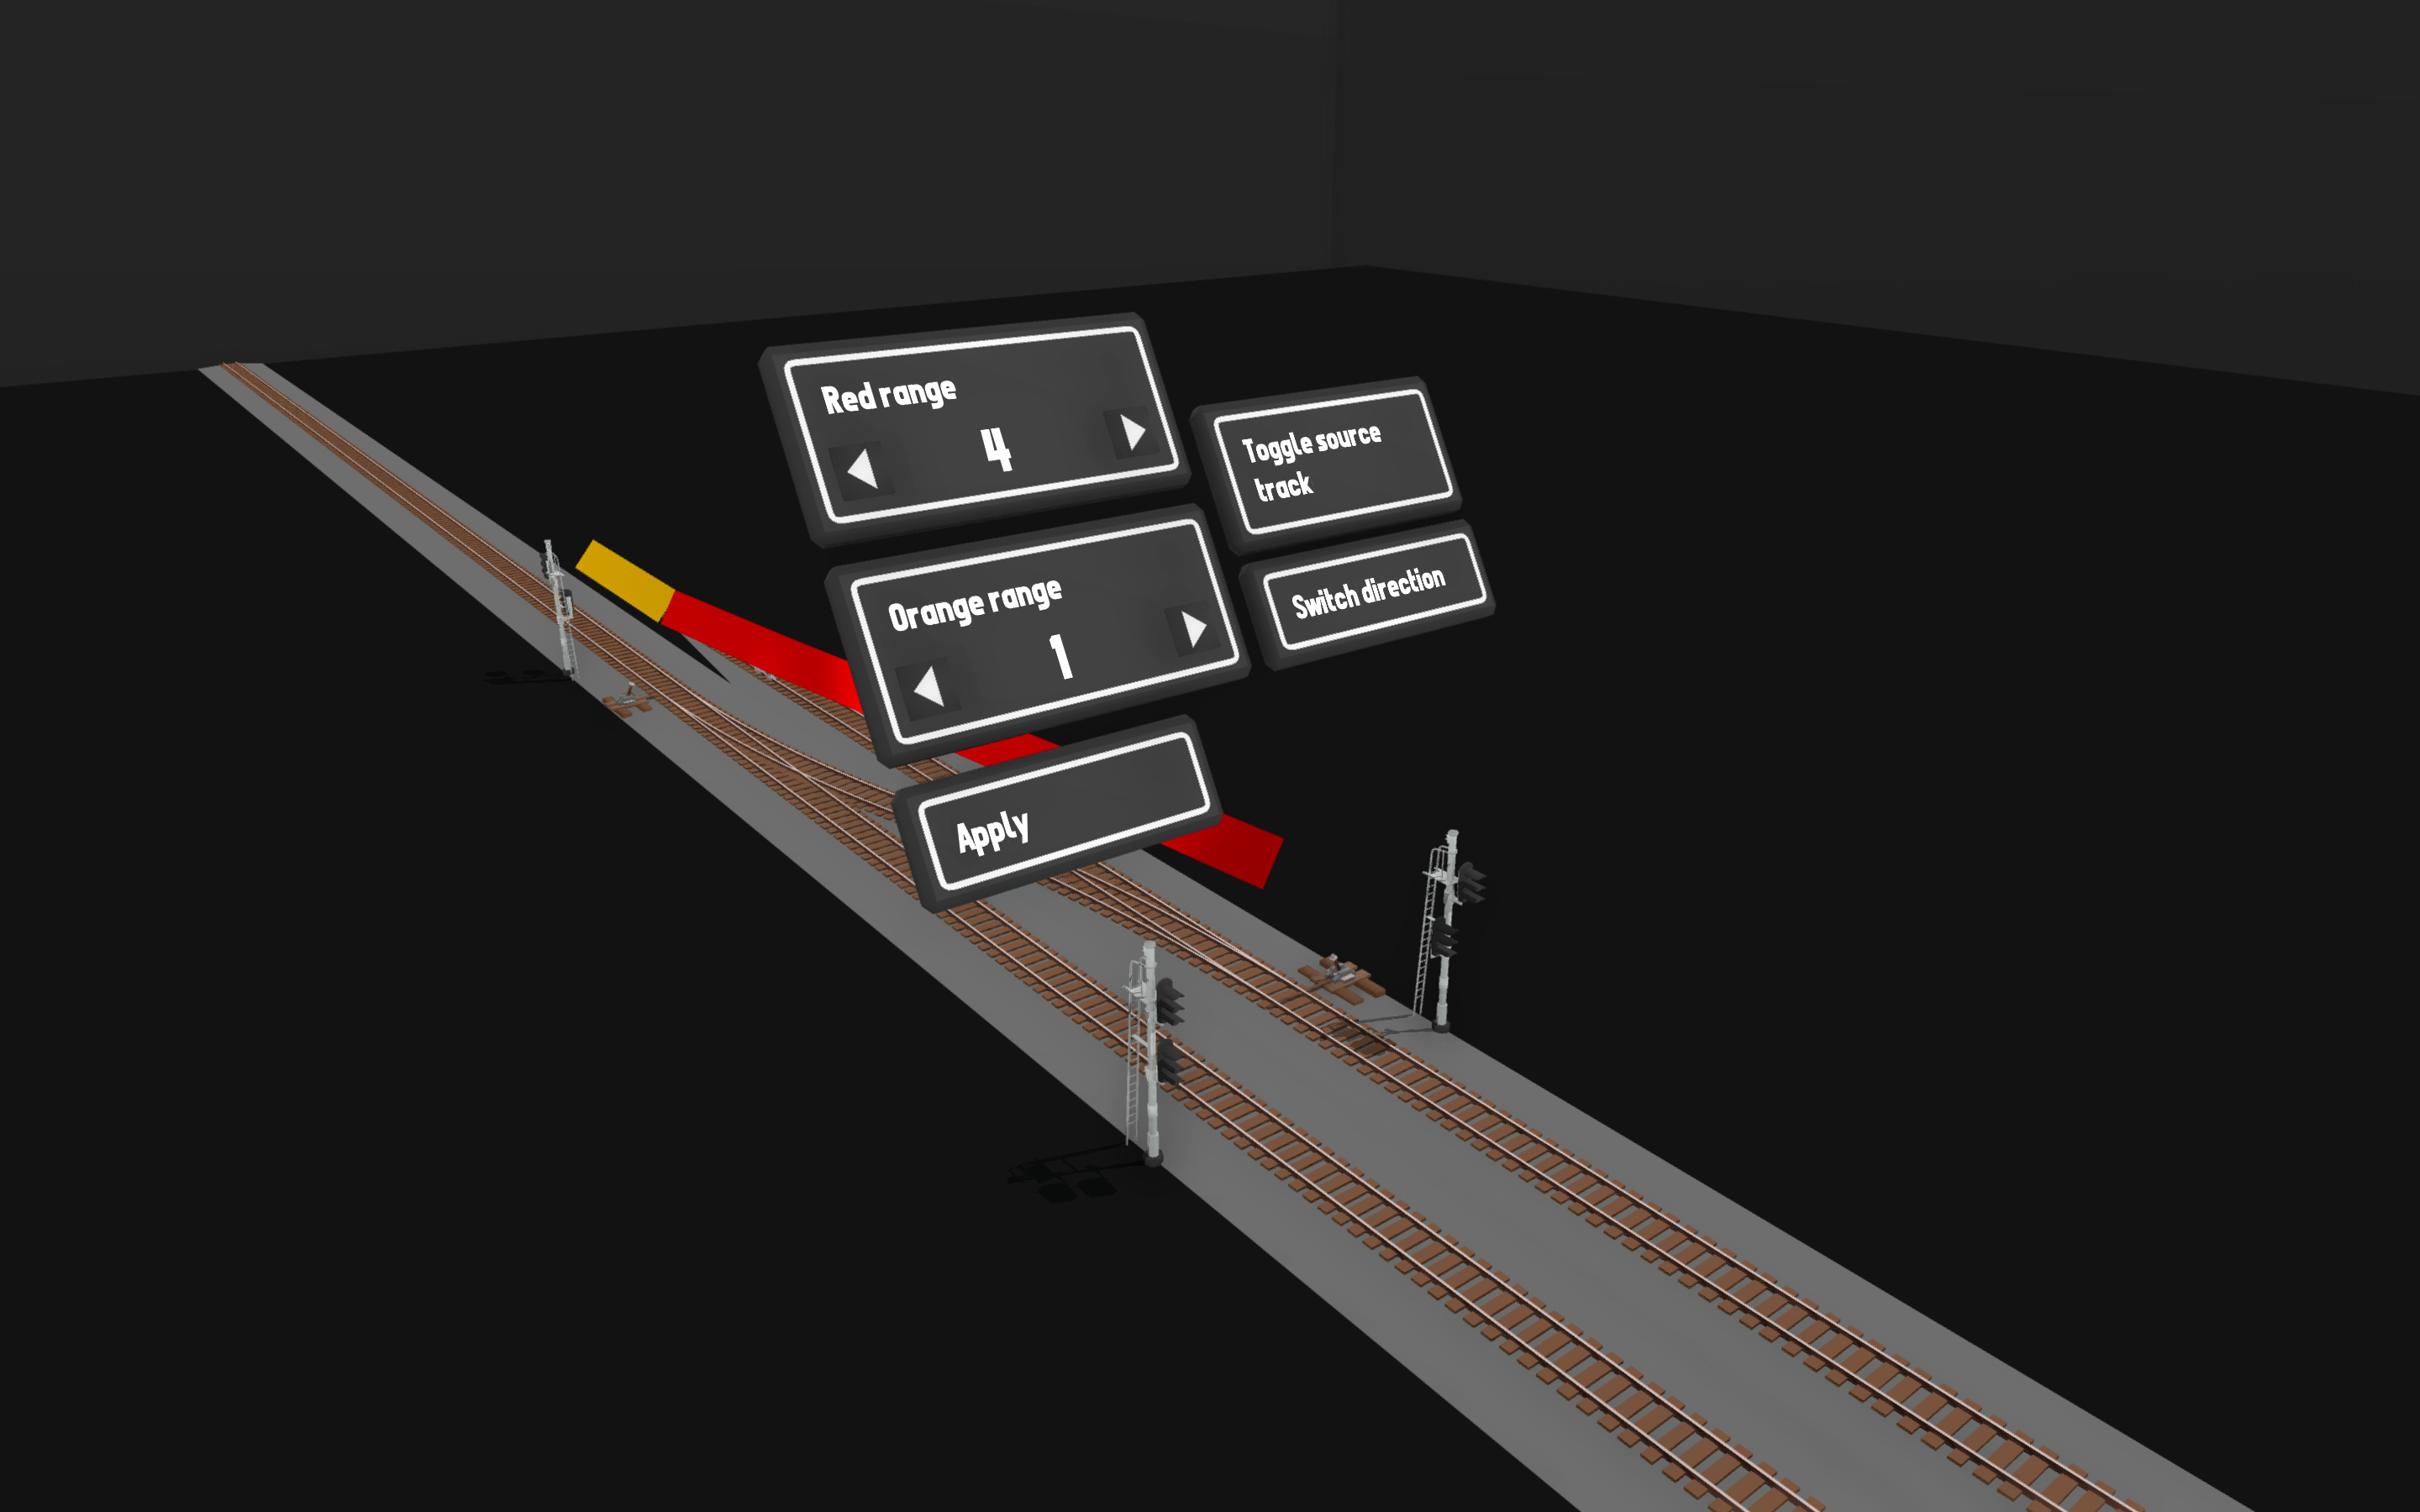
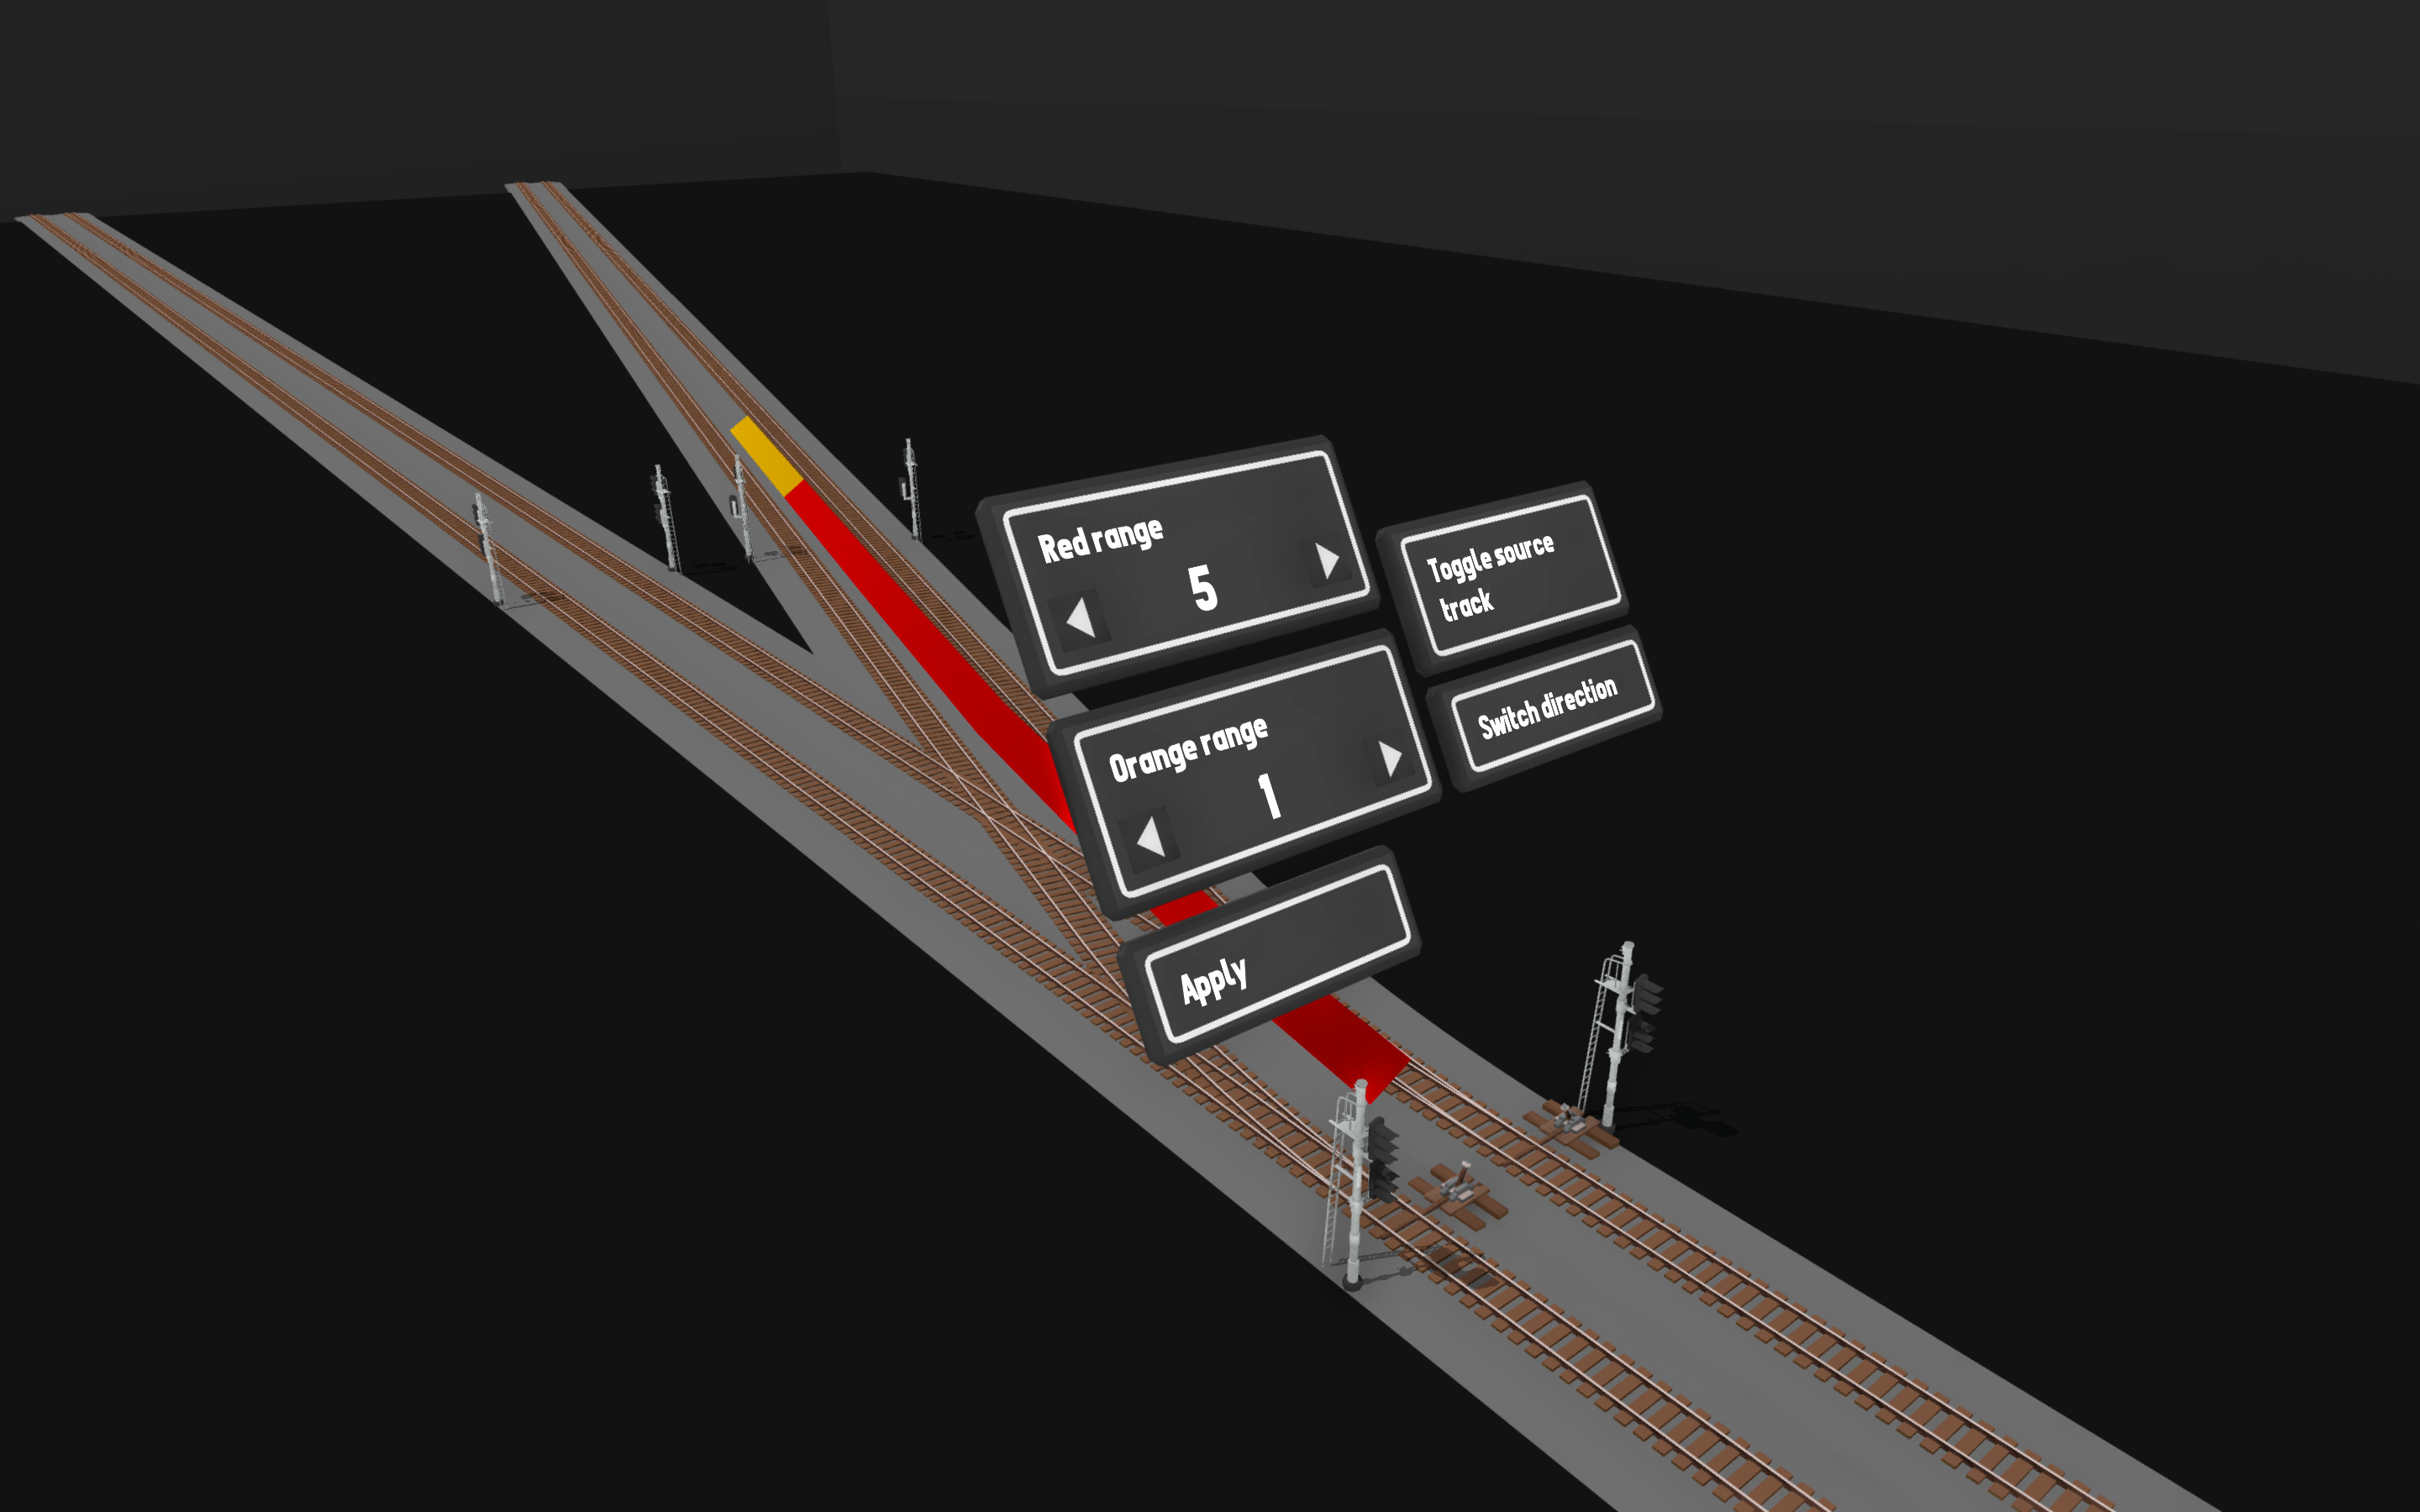
You’ve really made a mess of this guide. There’s a lot of information but too much waffle.
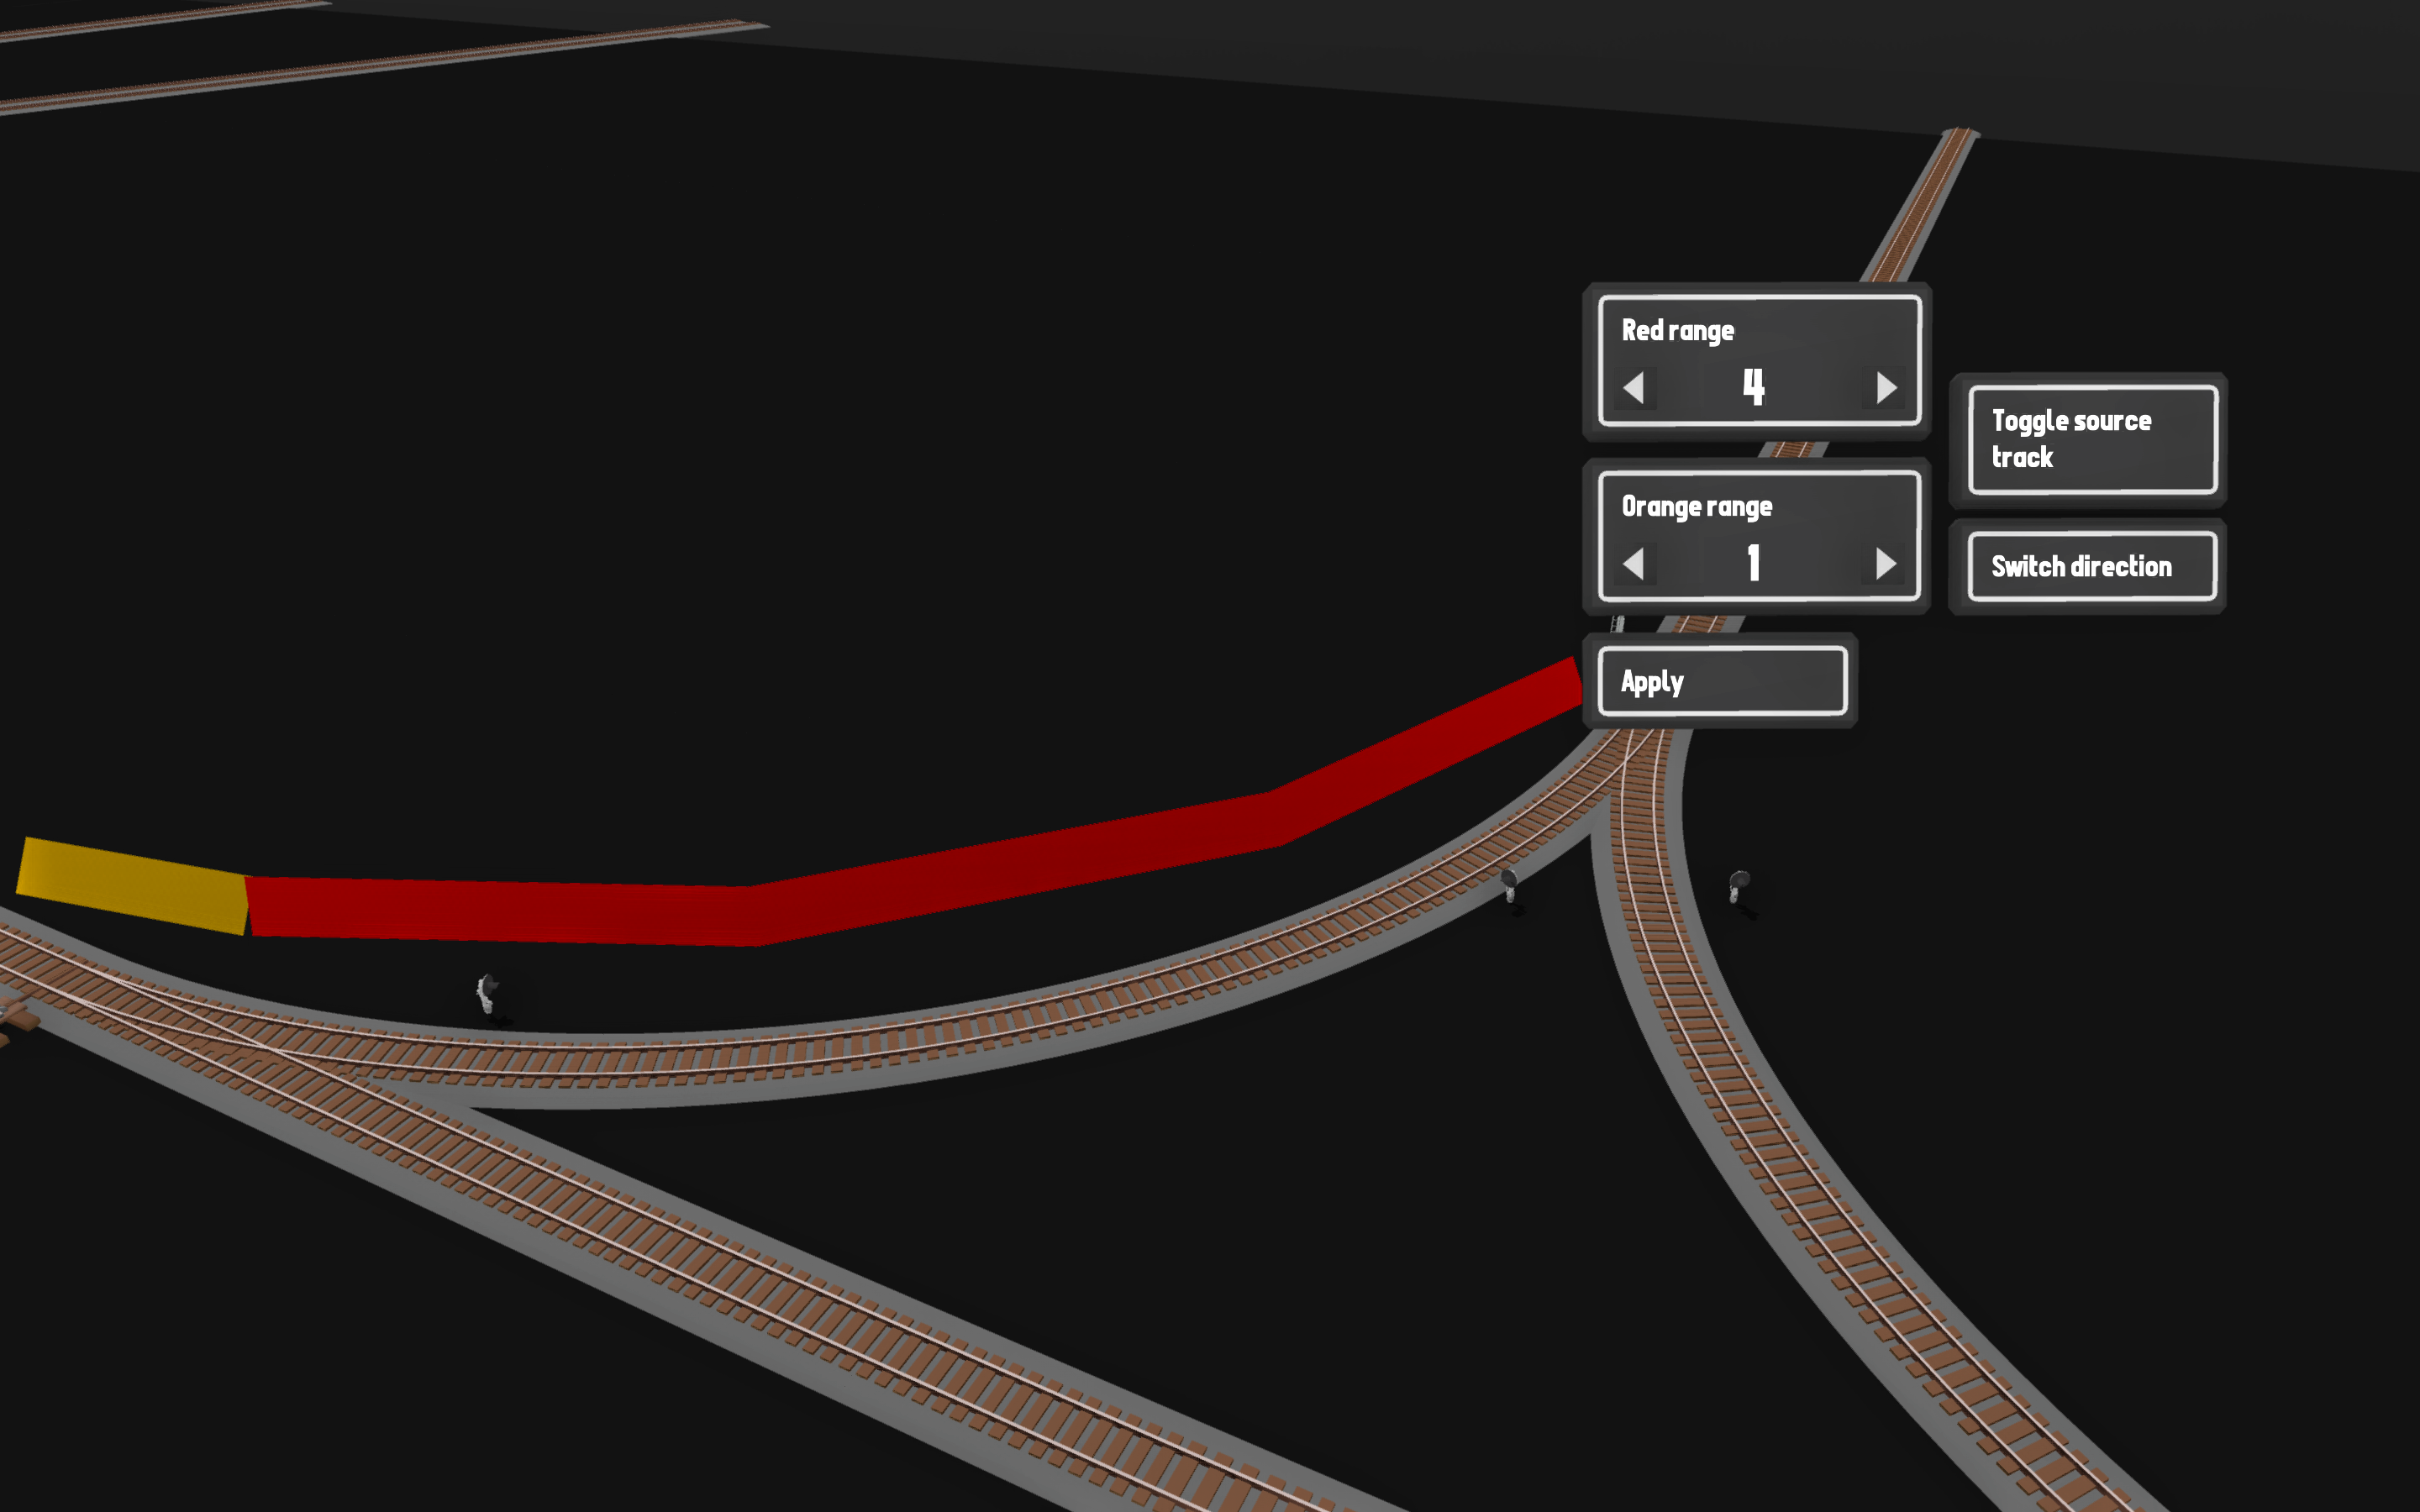
You need to go back and simplify the wording. You’ve used too much jargon and the pictures are covered most of the time with the UI settings for each light.
You need to start simple and increase the complexity. You’ve started with a difficult set-up first.
The fact of the matter is, the whole system is complicated, switching the tracks from the main track and expecting a train to stop when the light is red because a train is blocking a track, should work, but it doesn’t.
The developer needs to spend more time on this, because at the moment the whole system is a shambles.