A complete full guide for the game Raft 🙂 i hope it helps ! Please leave a like 🙂
About The Game
(Hei! :3 i wanted to do my take on the guide for raft! i make guides here and there so please leave a comment, favorite and like maybe even an award. Hope this helps! Check out my other guides too! Much love!)
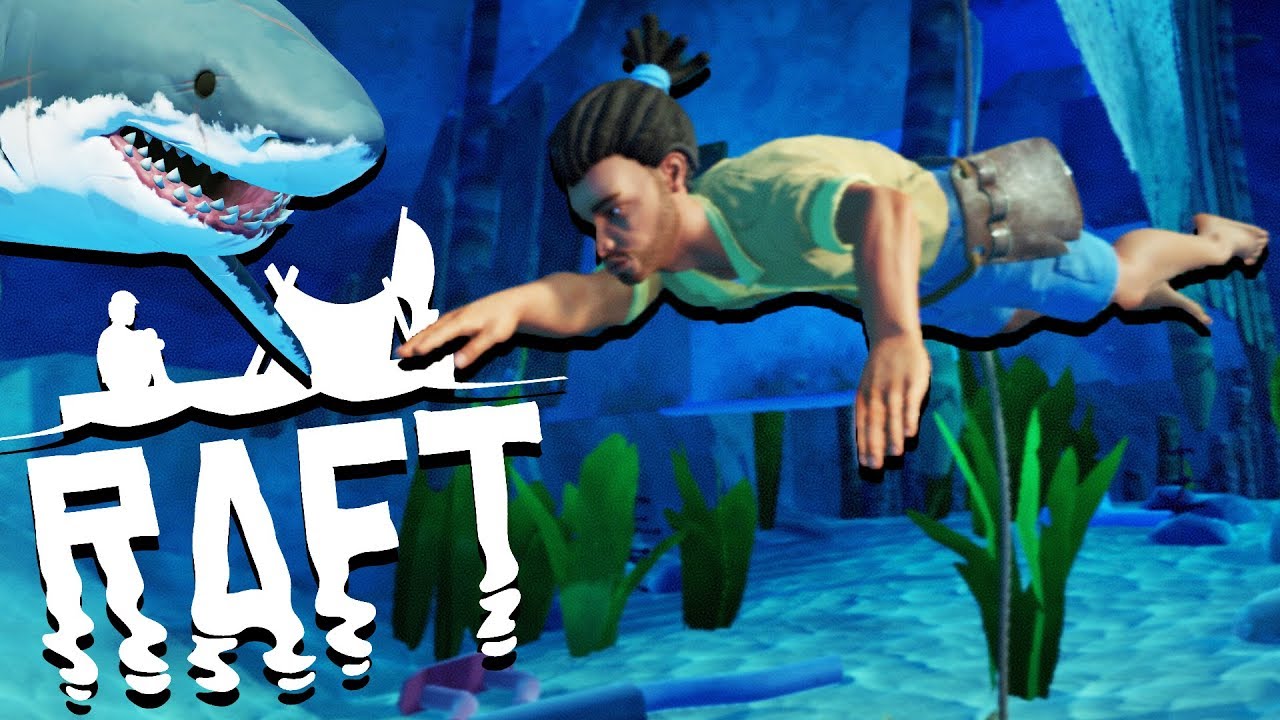
Raft is a Survival Game which you play by yourself or with friends, your mission is to survive an oceanic adventure across the sea! Gather loot to survive, expand your raft and be wary of the dangers of the ocean!
You start on a small raft with nothing but a hook made of old plastic, players awake on a ocean totally alone and with no land in sight. You need to move fast to gather everything you need for survival.
Resources are tough to come at sea so players will have to make sure to catch whatever it floats by using their hook and when possible, scavenge the reefs beneath the waves. You need to make sure your thirst and hunger don’t go out, but you also need to watch out for the shark who is a threat to you, your friends and your raft as he keeps trying to either eat you or destroy your raft.
– – – – – – – – – – – – – – – – – – – – – – – – – – – – – – – – – – – – – – – – – – – – – – – –
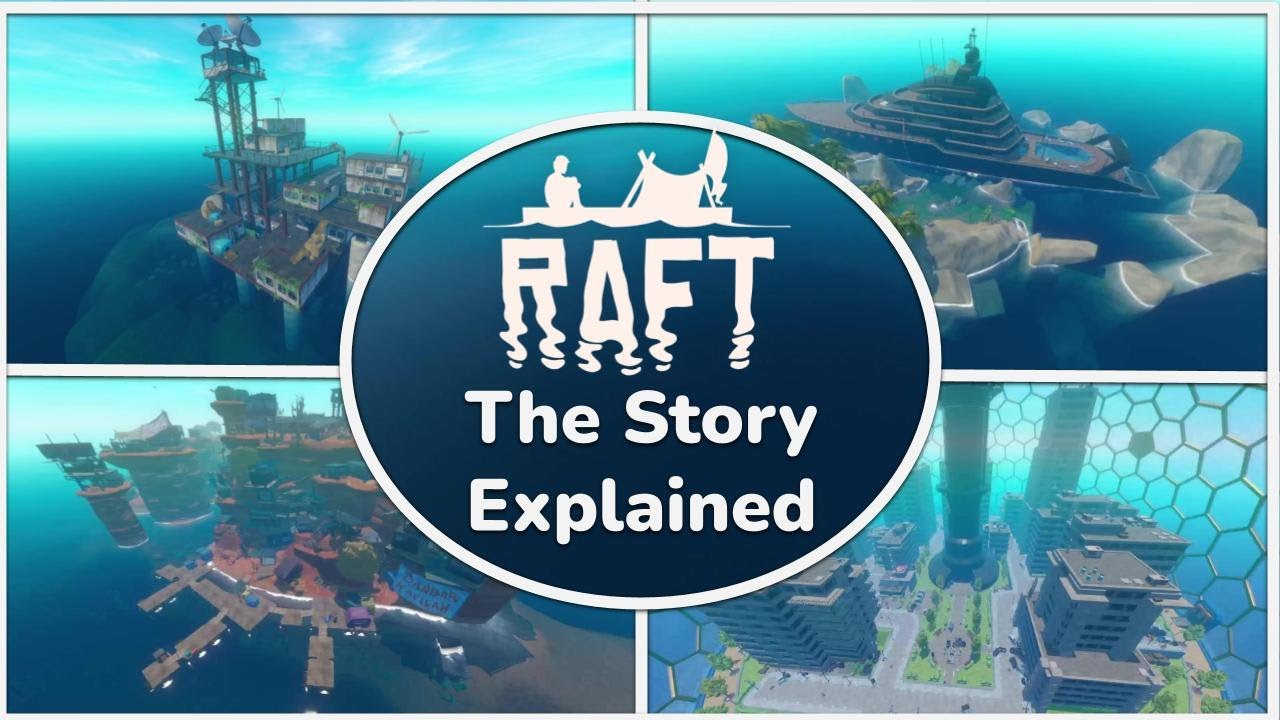
Game Story
The First Chapter
Radio Tower
Vasagatan
Balboa Island
The Second Chapter
Caravan Island
Tangaroa
The Third Chapter
Varuna Point
Temperance
Utopia
Story will be described in the next chapters of the guide
Radio Tower
Radio Tower
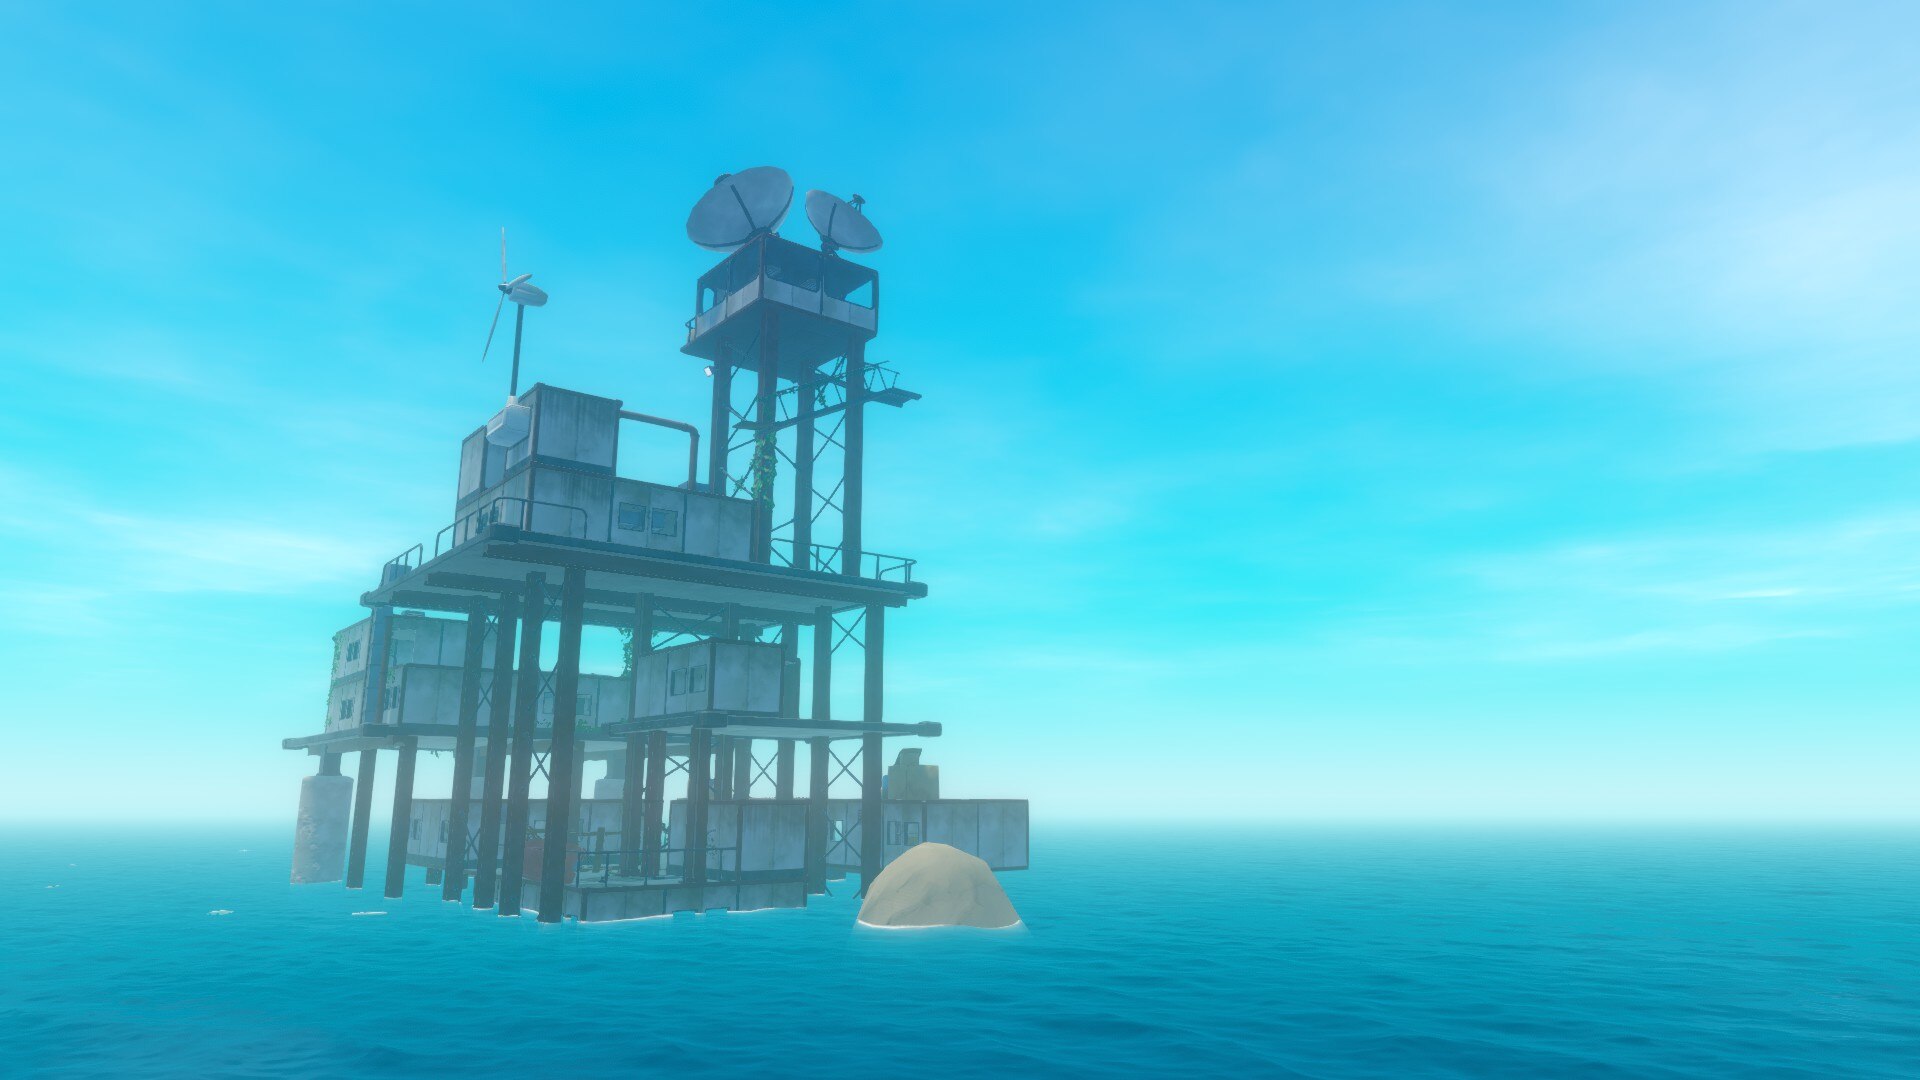
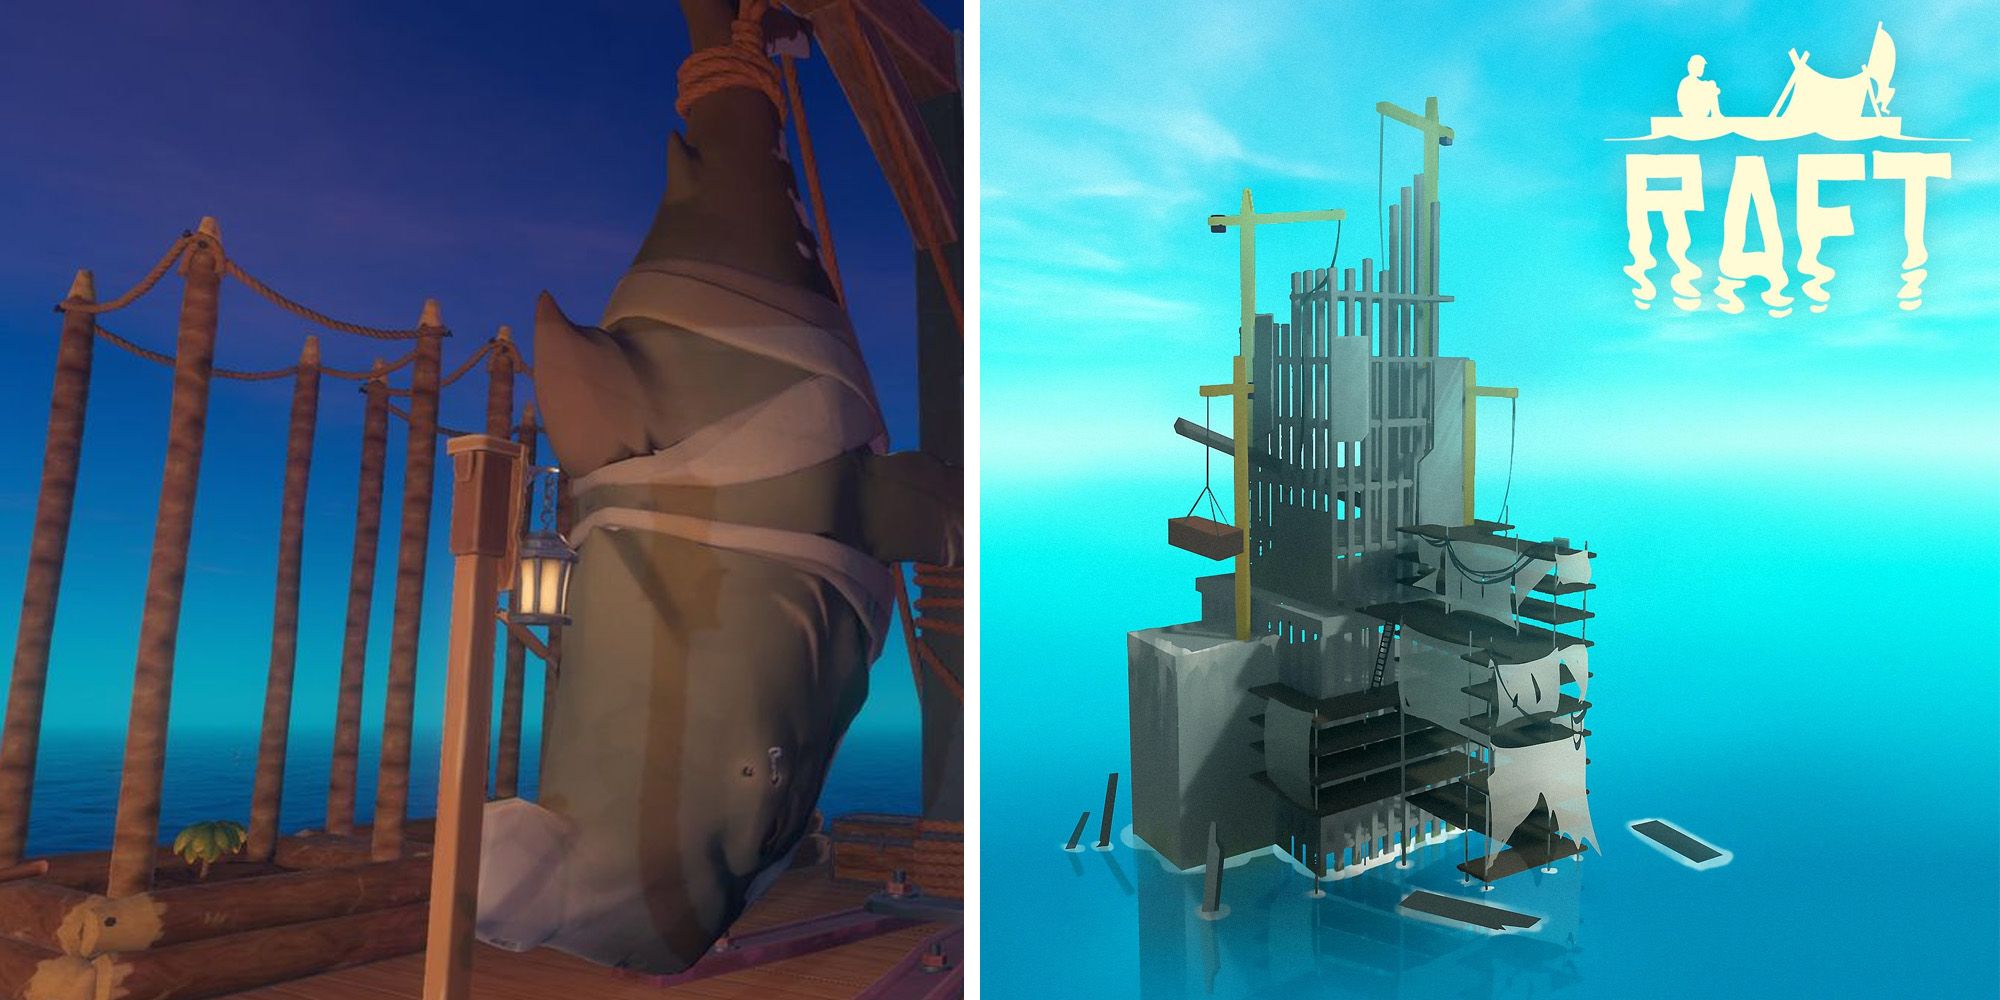
The Radio Tower, also called the abandoned sea facility, is a location in Raft. It can only be reached using a Receiver.
Summary
It is a large facility built upon a small barren Island.
There are 5 blueprints for the Head Lamp and the Recycler here. As of the Final Chapter, the player will also find the player character Tala at the top of the tower. Simply speak to her to unlock her. After speaking, she will fade out, leaving behind a glowing circle where you can speak to her again to repeat her activation dialogue.
Finding the Tower
The first time a Receiver is turned on, the player is automatically given the first four-digit code on the Story journey. A Sail is usually sufficient to reach the tower, as it is coded to spawn in the direction the raft is moving.
Navigating the Tower
The tower is partially submerged in the ocean, and has multiple levels containing a variety of rooms in which an assortment of Materials such as Scrap, Plastic, and even a few Loot Boxes can be found.
In the submerged parts, the Shark cannot follow the player into the rooms, but drowning can be a threat as swimming around in the rooms can become disorienting.
The entire tower can be climbed, so look for barrels, platforms, and other objects that can be used to climb onto rooftops. At the top of the tower, the player will find a billboard that contains clues to the game’s lore and Utopia.
Blueprints
1. Blueprint: Head Light – is a Blueprint in Raft. It is now found in the building called C-1 not at the top of the tower any longer.
2. Blueprint: Recycler – is found on the Radio Tower. It is located at the top of the tower, pinned to the whiteboard
Vasagatan
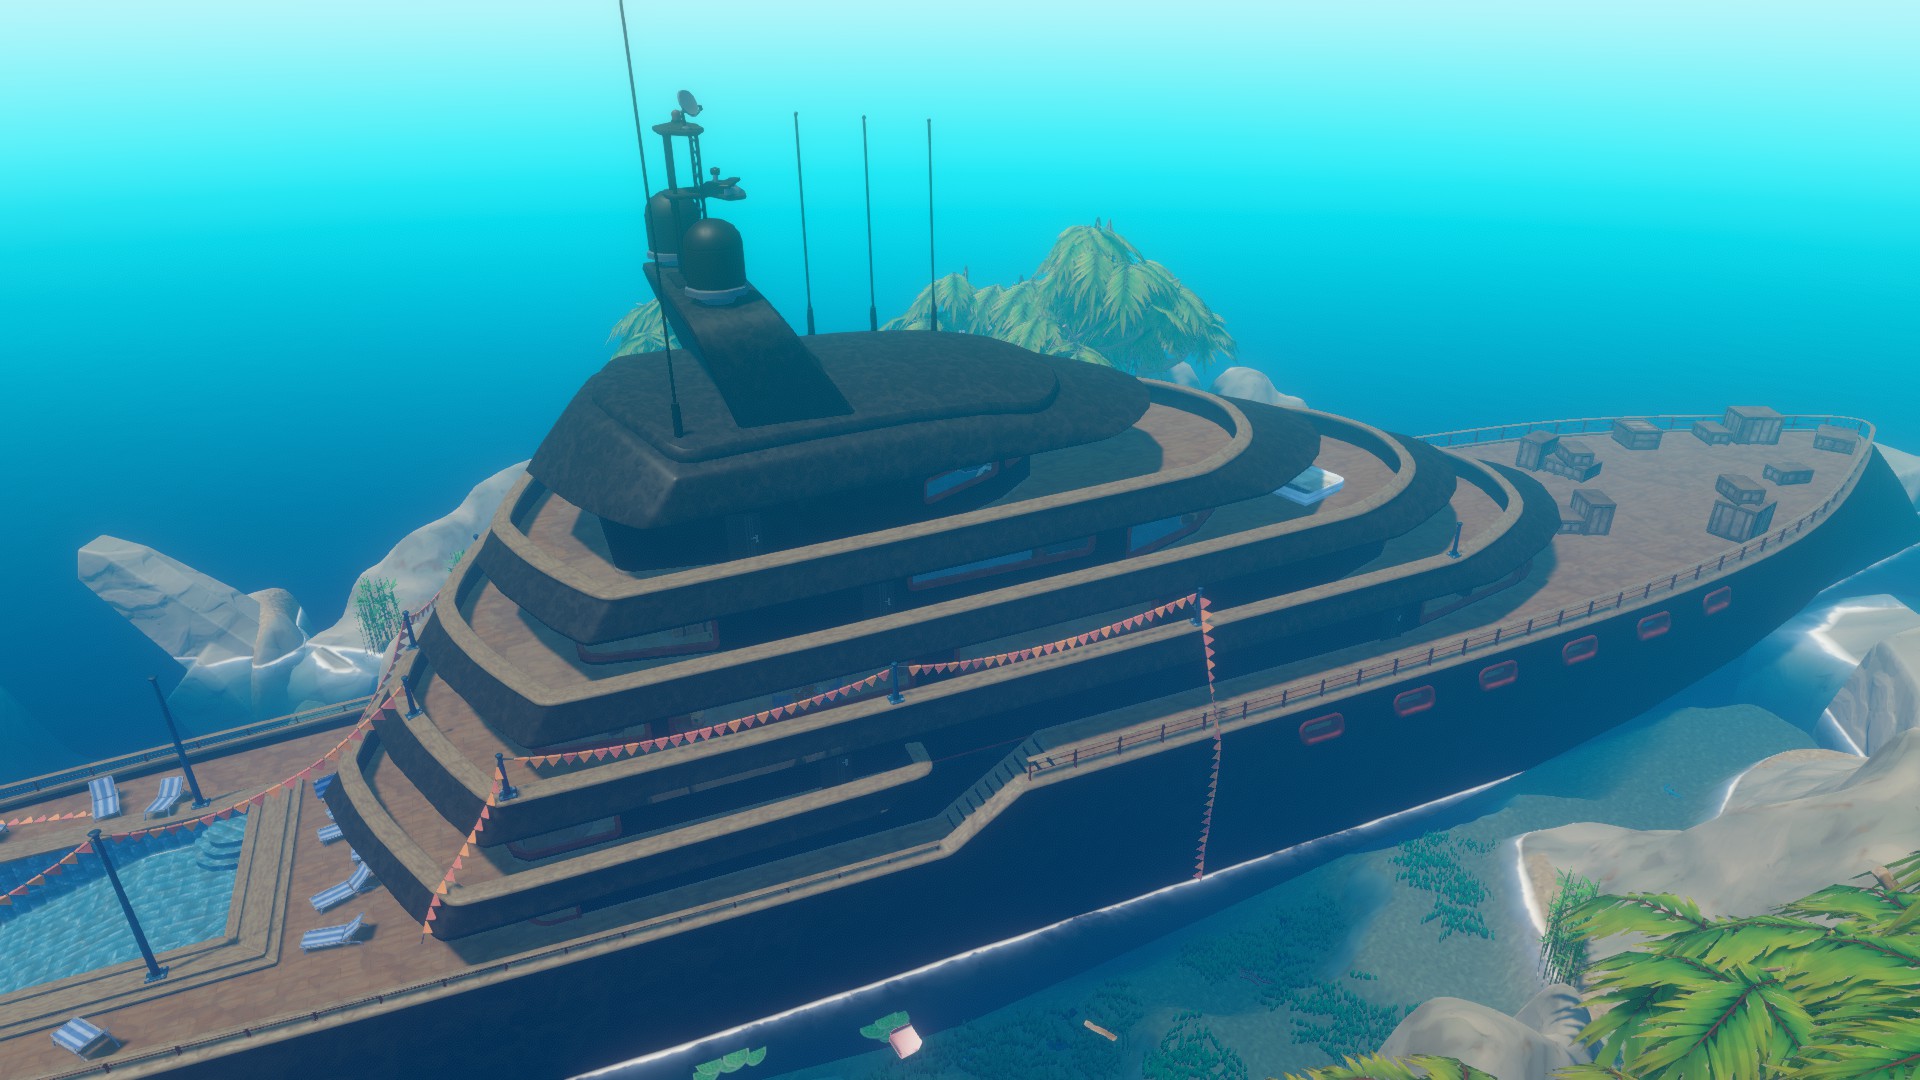
The Vasagatan shipwreck is an Environmental Element in Raft, which contains both the Blueprint: Engine and Blueprint: Steering Wheel, as well as loose Plastic, Scrap, and several Loot Boxes with supplies.
Summary
The wreck is situated in a small lagoon, located by following the receiver coordinates found in the Radio Tower. Access to the interior of the ship is via the rear.
The interior is composed of many rooms, most containing supplies. In addition to regular supplies, the player will also find several unique items. The wreck also is home to several Lurkers. The player may also find many notes, which explain the story behind the ship and its wreckage in more detail.
The blueprints for the Engine and Steering Wheel are in the bridge at the top of the ship, access being provided by finding all the quest items. The bridge will also contain a set of Receiver coordinates to Balboa Island. There are 11 notes in total.
Strategy
Due to its size and layout nature, it can take a few in-game days to fully explore the wreck. It is recommended to bring supplies to explore the ship
Unique Items
The unique items contained in the wreck are used to progress past locked doors and obstacles, eventually leading to the top.
Bolt Cutter – Used to open a locker in a room on the lowest deck
Bomb – Used to open door to wheelhouse at top of ship. Assembled from Bullet, Gas Can, Lighter, and Electrical Wires.
Bullet – Bomb part.
Car Jack – Used to open access to room blocked by metal cabinet. Assembled from five Mechanical Components.
Crowbar – Used to open the door in the engine room.
Electrical Wires – Bomb part.
Four Digit Code – Used to open the safe in Bedroom 3.
Gas Tank – Bomb part.
Key Card – Used to open door to study.
Lighter – Bomb part.
Mechanical Components – Used to build the Car Jack. Two may be found outside the ship, on each side of the lagoon.
Recorder – Used to transcribe tapes found around the ship.
Red, Green, Blue Keys – Each key corresponds to a locked door.
Blueprints
1. Blueprint: Engine – Found in the bridge of the ship.
2. Blueprint: Steering Wheel– Found in the bridge of the ship.
Balboa Island
Balboa Island is an Environmental Element in Raft. It is the last location of the First Chapter.
Summary
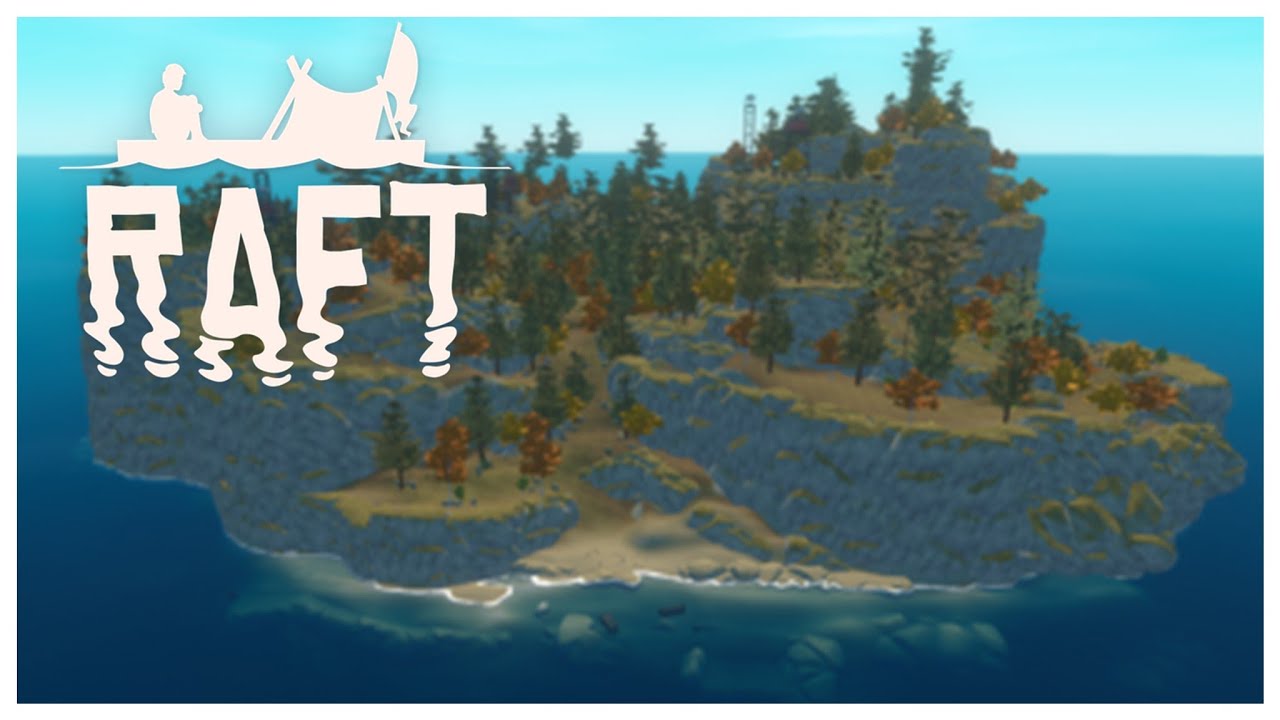
Balboa Island is the third place the player visits while following the main game Story. The area resembles a National Park, having features such as trails and Ranger Outposts. It is also heavily covered in flora with few man made structures. Unlike the other Islands, Balboa Island is an Evergreen Island and therefore, home to Bears, and the first boss-level enemy; Mama Bear, both threats to the player, making it the most challenging area of the three in the First Chapter.
Balboa Island has a Ranger Station as well as three Relay Stations. Johnny, can be found laying on a mattress on top of Relay Station 6. More story related notes are spread around the Island. Hints as to what happened on the Island are revealed in notes, along with some interesting visual hints. While exploring, the player will also find a number of Blueprints. There are 12 Journal notes in total.
A) Main Entrances
There are mainly two ways to enter the island:
1. Docking on a beach
2. Swimming towards the center following a river from either of its ends.
The beach has lots of rubble that covers the sand out into the sea floor, plotted among barrels and cargo crates (which hold no Materials). Some of the notable features of the area include a torn metal fence and multiple signs warning the player of the presence of Bears.
B) Cross Paths
Walking up the main roads of the island will eventually lead the player to a cross paths with signs indicating that there are three Relay Stations, and one Ranger Station. Continuing on any of the roads will eventually lead the player in range of hostile Bears.
Strategy
Balboa Island is the biggest Island the player will experience in the First Chapter. Therefore it’s a good idea to stock up on enough Sustenance and Weapons. Following are the main things to consider before going:
1. Go during the day. Since the place is huge, darkness will almost certainly disorient the player.
2. Bring enough weapons. There are quite a few bears on the Island, and they respawn a few minutes after being killed.
3. Use the way signs and follow the roads. Getting lost is easy.
Special Places
Acid Pool
Bicycle
Henry’s Stuff
Mama Bear’s Cave
Ranger Station
Relay Stations
Draw Bridge
Triplets’ Couch
Unique Items
The unique items contained on the Island are used to progress in the Story and gain all the achievements.
Wild Berries – Used to lure away Mama Bear from her cave, in which a Machete and the Blueprint: Machete can be found.
Brunos Hammer – Necessary to find the note behind the tool rack at the Ranger Station.
Brunos Saw – Necessary to find the note behind the tool rack at the Ranger Station.
Brunos Wrench – Necessary to find the note behind the tool rack at the Ranger Station.
Lightbulb – Needed to complete the Fix Errol! achievement.
Blueprints
1. Blueprint: Fuel Tank – Found inside Relay Station 6.
2. Blueprint: Biofuel Refiner– Found inside the Ranger Station.
3. Blueprint: Machete – Found inside a toolbox found inside Mama Bear’s cave.
4. Blueprint: Fuel Pipe – Found in Relay Station 4.
Caravan Island
Caravan Island is an Environmental Element in Raft.
Summary
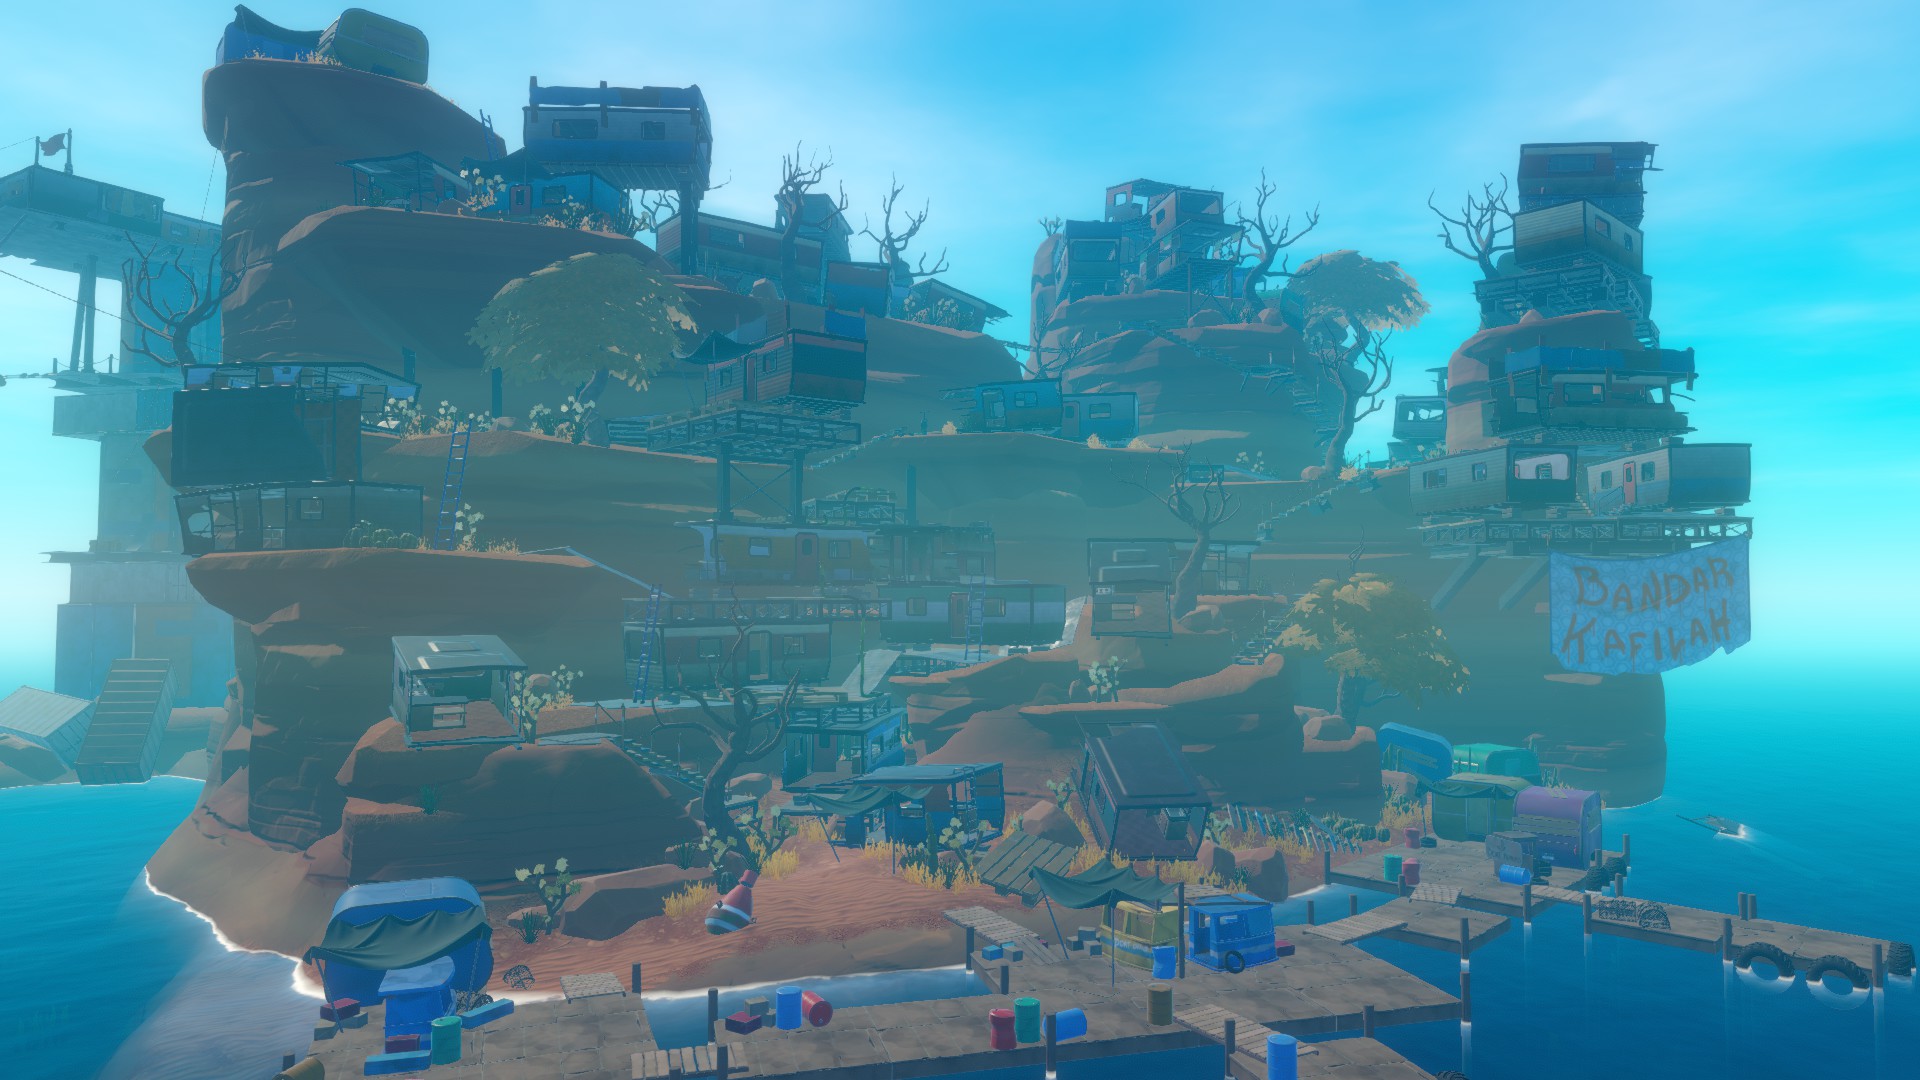
Caravan Island is the first location of the Second Chapter released in Update 12. The island consists of a town, also referred to as Caravan Town, which spreads out over three pinnacles with a tower built of containers in the middle. Ziplines and suspension bridges connect the pinnacles, allowing the previous tenants quick access to the different parts of the island. The player is presented with a number of tasks while on the island. There are 10 notes in total.
White Screecher is a threat which can be found roaming above the island.
Unique Items
The unique items consist of blueprints and quest items that will help the player progress with the story.
Infirmary Key – key used to unlock the infirmary wagon.
Major Tom – Miscellaneous decorative item
Mayor’s Chest Key – used to unlock the Mayor’s Chest.
Zipline Parts – three used to acquire the Zipline Tool and Ziplines for the raft.
Battery Charger Part – used to acquire the Battery Charger.
Blueprints
1. Blueprint: Battery Charger
2. Blueprint: Engine Controls
3. Blueprint: Firework
4. Blueprint: Metal Detector
5. Blueprint: Zipline Tool
6. Blueprint:Zipline
Tangaroa
Tangaroa is an Environment location in Raft. It is the second and last location introduced in the Second Chapter.
Summary
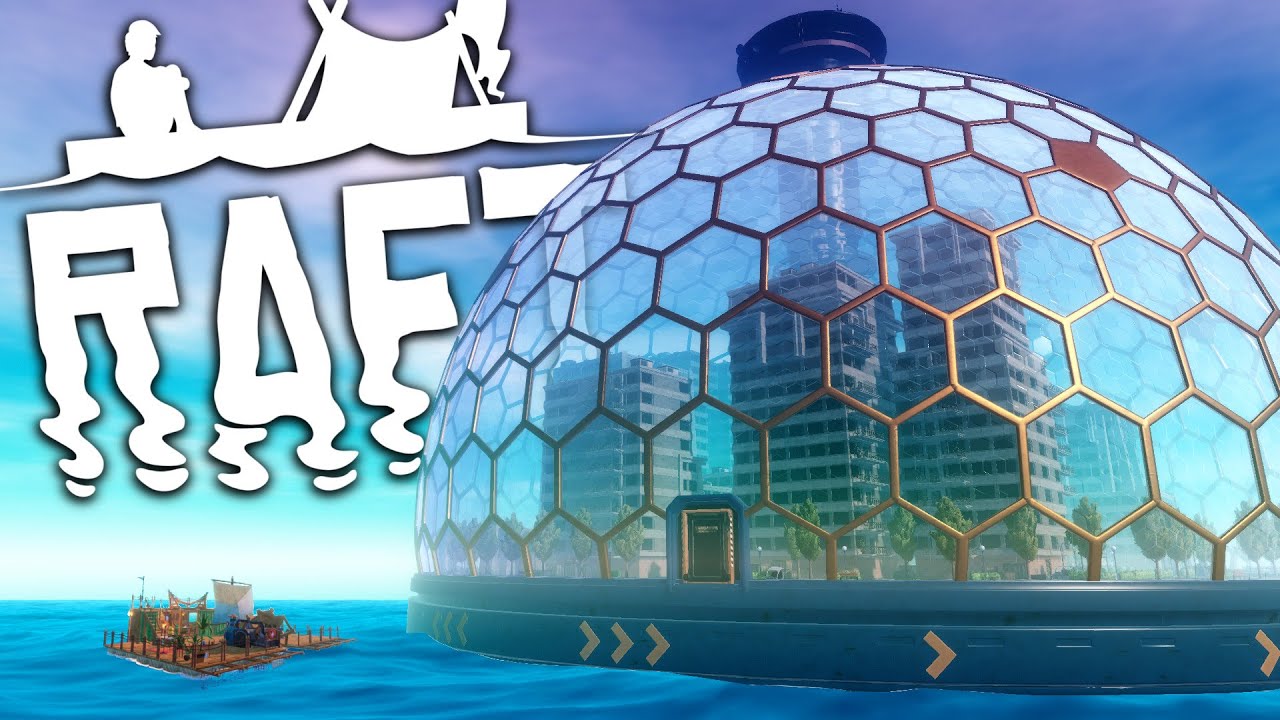
Tangaroa City is a massive location that consists of a metallic, circular foundation topped by a hexagonal-patterned glass and metal dome. Inside the dome is a complete city, full of apartment buildings that can be explored, shops such as a barber or hamburger restaurant, and a new type of enemy: the Butler Bot. To be completed, the city requires being explored pretty much in full, as well as backtracking to previously visited locations with newfound supplies. There are 10 journal notes here.
Unique Items
Elevator Cassette
Generator Part
Tangaroa Keycard
Tangaroa Painting
Tangaroa Plant
Vending Machine Token
Tape
Blueprints
1. Blueprint: Electric Purifier
2. Blueprint: Large Storage
3. Blueprint: Water Pipe
4. Blueprint: Water Tank
Resources
Banana
Banana Seed
Palm Leaf
Plank
Plastic
Scrap
Strawberry
Strawberry Seed
Titanium Ore
Varuna Point
Varuna Point is Environmental Element in Raft, introduced in the Third Chapter, released on June 20th 2022. Varuna Point is the first location players will visit in The Third Chapter.
Summary
Varuna Point is the sixth location the player visits while following the main game Story. There are 2 half submerged tall buildings under construction that are not finished due to unknown circumstances. Over time, the ruins of the building became inhabited by various jellyfish species and Anglerfish, while on the surface, lurkers appeared. Deep inside the foundations of one of the skyscrapers lives the the Rhino Shark that is present as the second Boss Enemy that players will encounter. It is the first boss that is forced.
Unique Items
Blueprints
1. Blueprint: Advanced Battery
2. Blueprint: Advanced Head Light
3. Blueprint: Wind Turbine
4. Blueprint: Electric Grill
Resources
Anglerfish Head
Temperance
Temperance is an Environment Location in Raft, introduced in the Third Chapter, released on June 20th 2022. It is the second area players visit in The Third Chapter, after Varuna Point. Temperance is also part of the snow biome.
Summary
Temperance is the seventh location the player visits while following the main game Story. It is located in a polar climate, and consists of a very large island where icebergs and ice caps surround the area, making navigation for large rafts difficult. Temperance is also the first location with Polar Bears. Since it is located in the polar regions, it does not have any natural resources. Temperance is very expansive, making traversal slow.
Unique Items
Temperance Paintings
Temperance Plants
Temperance Cutlery
Temperance Mug
Temperance Rugs
Vending Machine Token
Blueprints
1. Blueprint: Advanced Biofuel Refiner
2. Blueprint: Electric Smelter
3. Blueprint: Advanced Stationary Anchor
Resources
Plank
Plastic
Titanium Ore
Leather
Polar Bear Head
Utopia
Utopia is an Environmental location in Raft. Originally hinted at the start of the game prior, it is the third area you will go to in The Third Chapter, and the final one overall.
Summary
Utopia is a story island unlocked after collecting a note at Temperance. It was originally hinted at the radio tower as a location in the lore of Raft. The player can find out some information form the whiteboard found in the Radio Tower’s control room. It is basically a floating town in the middle of submerged skyscrapers. With it’s own working power, water purifier and farm.
Special Places
Detto’s house
Farm
Warehouse
Marketplace
Unique Items
Utopia Dream Catcher
Utopia Decorations
Utopia Herbs
Utopia Plants
Utopia Light Bottles
Utopia Bottles
Vending Machine Token
Blueprints
Blueprint: Big Backpack
Blueprint: Electric Zipline Tool
Blueprint: Titanium Tools
Resources
Hyena Head
Alpha’s Head
– – – – – – – – – – – – – – – – – – – – – – – – – – – – – – – – – – – – – – – – – – – – – – – –
BASICS
Getting Started
GAME MODES:
Creative Mode:This mode is just to create the raft of your dreams without having to gather any material. Everything can be crafted for free. You can grow plants and spawn domesticated animals, even the rare ones. The raft won’t move and the shark will swim around but not attack you. You won’t get thirsty nor hungry. Achievements don’t work in Creative Mode.
Peaceful Mode:It’s pretty much Easy Mode except here nothing will attack you. Shark and Puffer-Fish won’t even defend themselves, Warthog and Screecher will attack you once in retaliation, Lurker will start attacking normally in retaliation. The Screecher is really really hard to hit because usually you wait for it to attack you to be able to hit it and here it will not attack… Same for the shark who keeps swimming really fast and you kinda have to continually swim after him to hope to hit him a few times.
Easy Mode: When you die, you respawn will all of your inventory. It takes 5 hits from a shark to die. Shark attacks every ~8mins. ~25mins to lose a whole thirst bar. ~31mins for hunger. Damage is divided by 1.5 compared to Normal Mode.
Normal Mode: When you die, you can respawn by yourself but you will lose all of your inventory. You can be saved by a friend to keep what you’re holding ( he needs to put you in a bed ). It takes 3 hits from a shark to die. Shark attacks every ~6mins. ~15mins to lose a whole thirst bar. ~18mins for hunger.
Hard Mode: When you die, you can’t respawn by yourself. You absolutely need a friend to put you in a bed when you die to save you. So basically, if you’re playing alone : dying = game over. You can also be surrounded by up to 3 sharks ! You will start with one shark, then after a while another will come, etc… Attacking/Killing sharks has a link with how many attack you, apparently the more aggressive you are, the more sharks will appear.
GATHERING MATERIALS
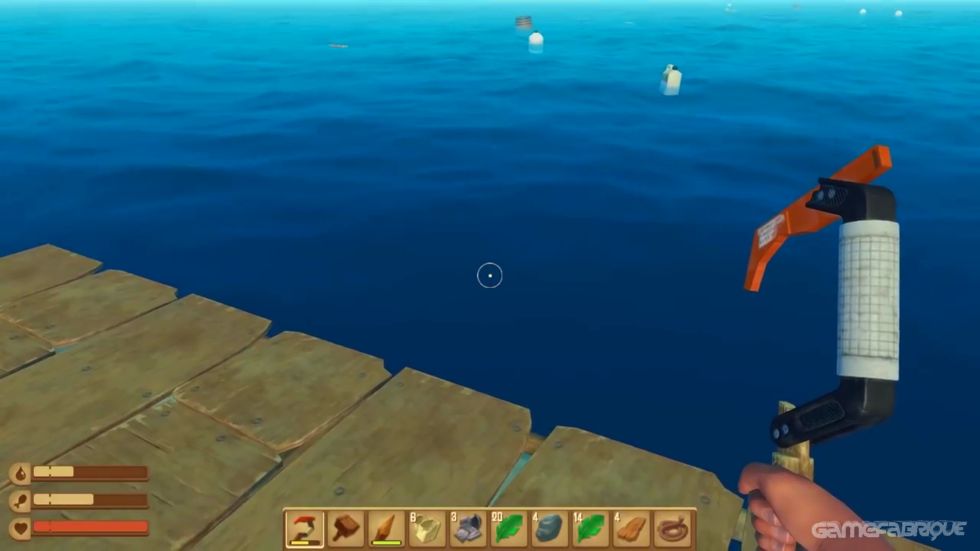
At the beginning: You start with a Hook, use it to grab everything that’s floating in the water. [Left Click] to throw the hook, hold [Left Click] to bring back your Hook, [Right Click] to cancel your throw (that way if you’ve missed, you don’t need to wait for your Hook to come back to you. doesn’t work if you’ve caught something). You can grab several things with the same throw. You can still move when your hook is in the water, which makes it possible to control a little where your hook is going. If something gets close to your raft, you can pick it up without using your hook.
Everything is important but you should keep an eye out for barrels. They are extremely useful in the beginning because they can hold Scraps which are hard to get at first.
From times to times, you will see small rafts appearing in the distance. Try to swim to the rafts and climb to the top to get the crate which can hold lots of really useful and hard to come by ( for now ) materials. You’ll have to act fast, because the shark will be tempted to follow you… The moment you walk on the raft, it will start to slowly sink.
After:You will naturally come by small islands, there are many things to gather on them ( wood, food, flowers… ) but don’t forget what’s underwater, around the island. There are many materials like iron/copper ores, seaweeds, scraps, sand and clay… Some can be harvested with a Hook, others can just be picked up.
Even more after: You can use a receiver to find large islands which hold exclusive materials and tamable animals.
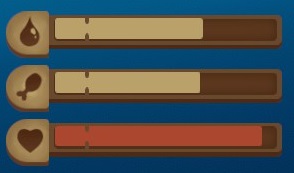
THIRST AND HUNGER
Soon after you start the game your thirst and hunger level starts dropping. Depending on the game mode theres the speed of this process. (Peaceful/Easy – full to empty: 25 min 15 sec; Normal – full to empty: 15 min 9 sec; Hard – full to empty: 10 min 6 sec)
On the bottom left corner you can see 3 bars. The Thirst goes down faster than the Hunger bar.
For fulfilling your needs you will need to:
Thirst: Build a simple purifier. It needs planks to work, when you get next to it, it will give you the option to add planks. Then craft a Cup [Plastic(4)]. Go to the sea and equip your cup, [E] to fill your cup then go to the purifier fill it with salt water, and it will take a few seconds to turn it in to normal water that you can drink. With this you have your thirst problem solved later on you can upgrade on better purifiers.
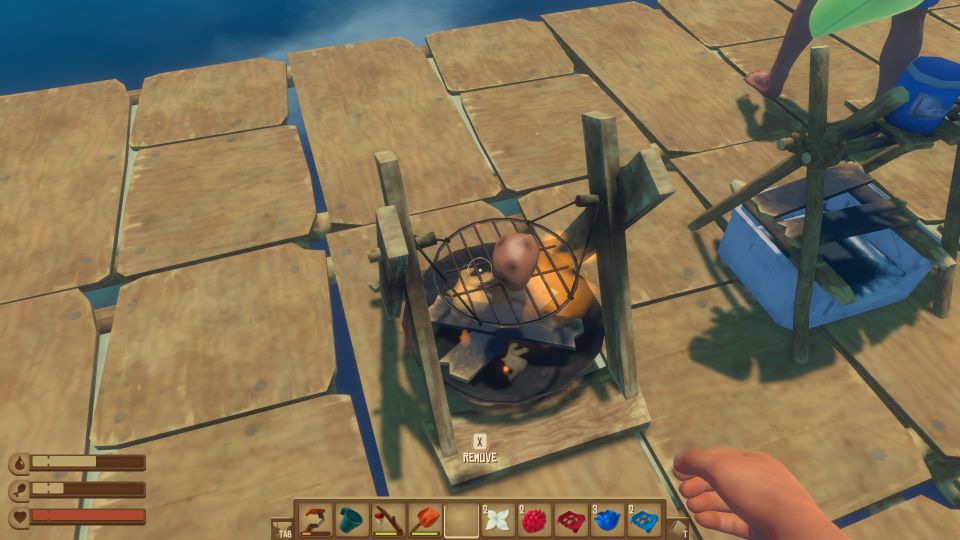
Hunger: Build a simple grill. It also needs planks to work. You will get potatoes and beets in barrels, you can start by cooking them, that way they will fill more efficiently your hunger bar. Then you can craft a Fishing Rod, with it you can catch fishes and put them on the grill.
You can only cook small fishes and plants on the simple grill. This will take care of your hunger and later on you can upgrade your grill and grill shark meat and bigger fish.
Must-Have Items
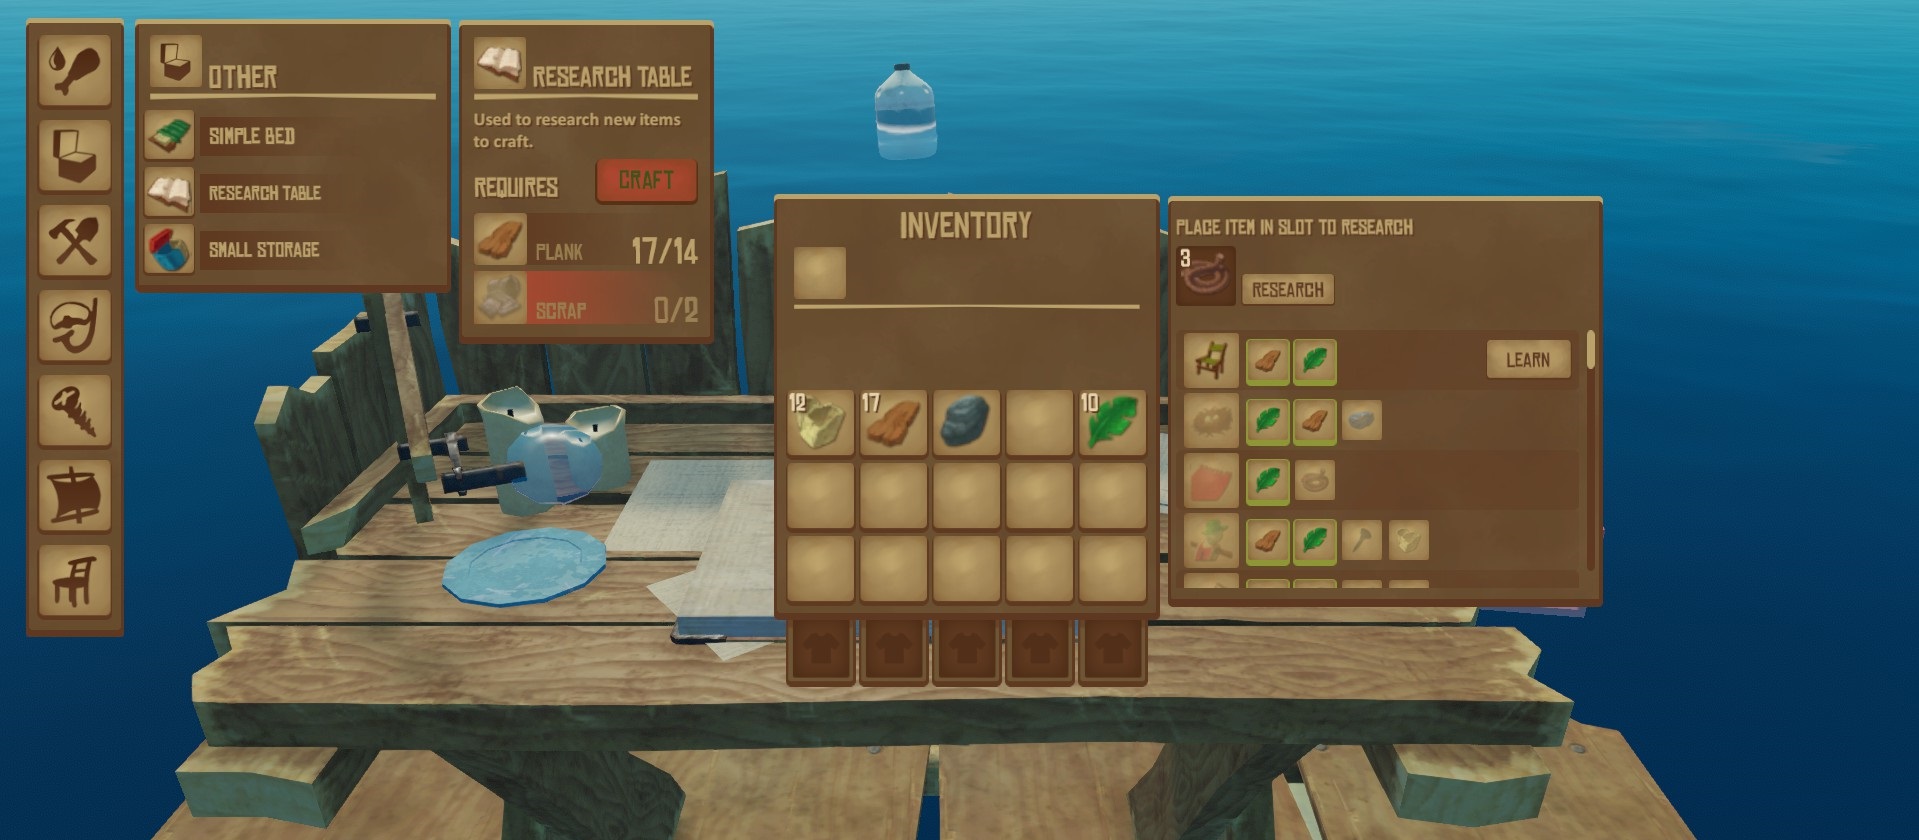
Press [Tab] to open the Craft Window. There are some things you should always have close to hand. Try to craft them as soon as you can.
1) Building Hammer
You need this to add foundations to your raft and repair it, you also need to expand it as much as possible to fit new things on it.
2) Weapon
As soon as you can, craft a Wooden Spear because it doesn’t cost much and will allow you to defend your raft against the shark.
3) Purifier and a Cup
You need something to drink and keep your thirst in check. Thirst goes down faster than Hunger. To take care of that you need a purifier and a cup so you can drink water.
4) Grill
Potatoes and beets in barrels will help you stay well fed. Once you can afford it, craft it to make all your food more effective with it you can grill the potatoes and beets, but you can also grill smaller fish.
5) Fishing Rod
You’re gonna need this. Brings a lot of food to your raft. As potatoes and beets wont keep you full for long and will get harder to get fish will be excellent food
6) Research Table
There are some things you can only craft after researching it through the Research Table.
7) Collection Nets
Even if you feel you’re not ready for islands yet, you can find scraps in barrels which will allow you to craft Collection Nets. They will collect the floating materials for you and meanwhile you can do other things. Its a great essential to your raft. Have as many as possible.
8) Storage
You should keep everything you can but for that you will need storage so craft some storage to keep everything in check.
9) Shark Bait
If you haven’t done it yet, it’s time to explore islands ! It’s usually best to kill the shark because it leaves you at peace for 3m30s to harvest anything underwater and gives you some food. Whereas the Shark Bait costs some food.
Raft
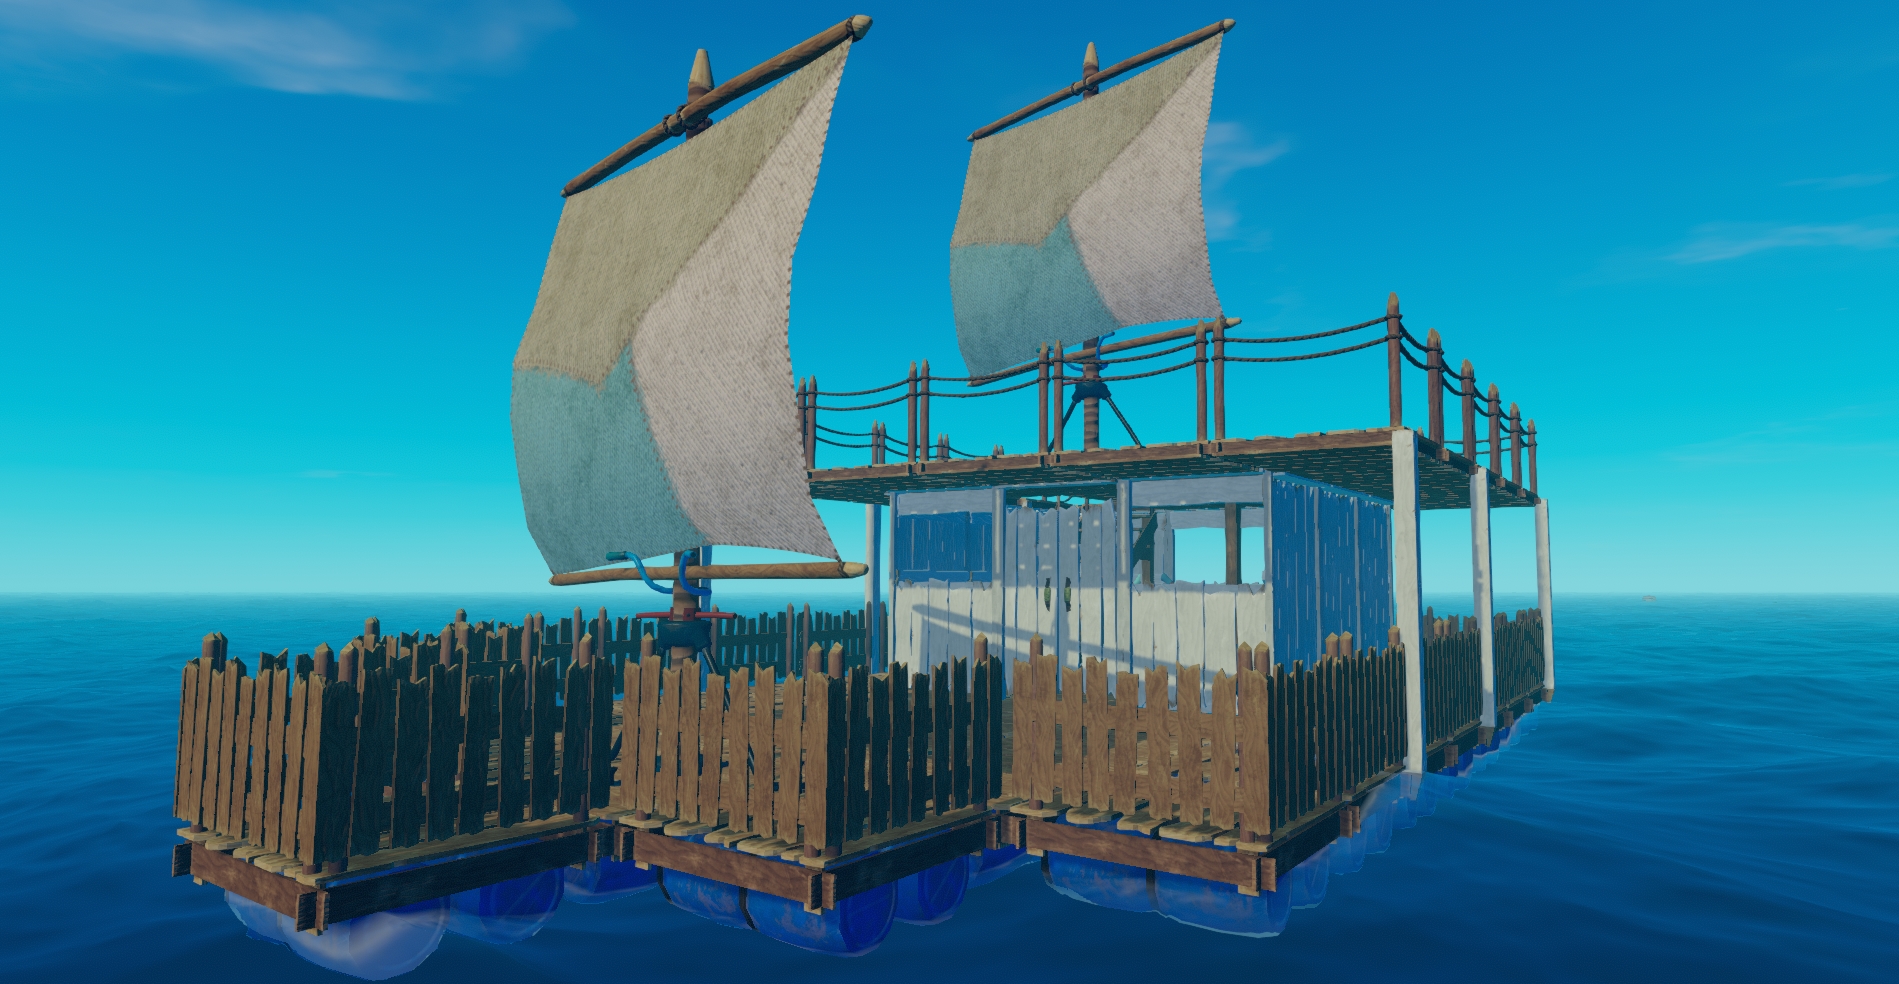
When first starting out on Raft, the size of it is just a 2×2 square. Not really enough space to build at all. Eventually, Sharks will attack potentially taking the size down by 1 block each time. Therefor, you need to make your Raft bigger as soon as possible! Thankfully, the process is easy and can be done pretty much straight away. Just make sure you have enough wood.
How to Unlock Raft Building
You can unlock Raft Building by Crafting a Building Hammer. This will give you access to most of the major construction pieces. However, you will still need to do Research to unlock the various workbenches and devices you’ll want to put in your Raft.
Is There a Size Limit For Your Raft?
There is no size limit for your Raft as far as we know. However, larger Rafts may require more Engines to move them forward at a decent speed. Larger Rafts may also result in lower framerates or other performance issues depending on how powerful your PC is.
How to Turn Your Raft in Raft – How to Unlock the Steering Wheel
You can turn your Raft in Raft with a Steering Wheel. You can unlock the Steering Wheel by progressing the Story.
Best Way to Build in Raft
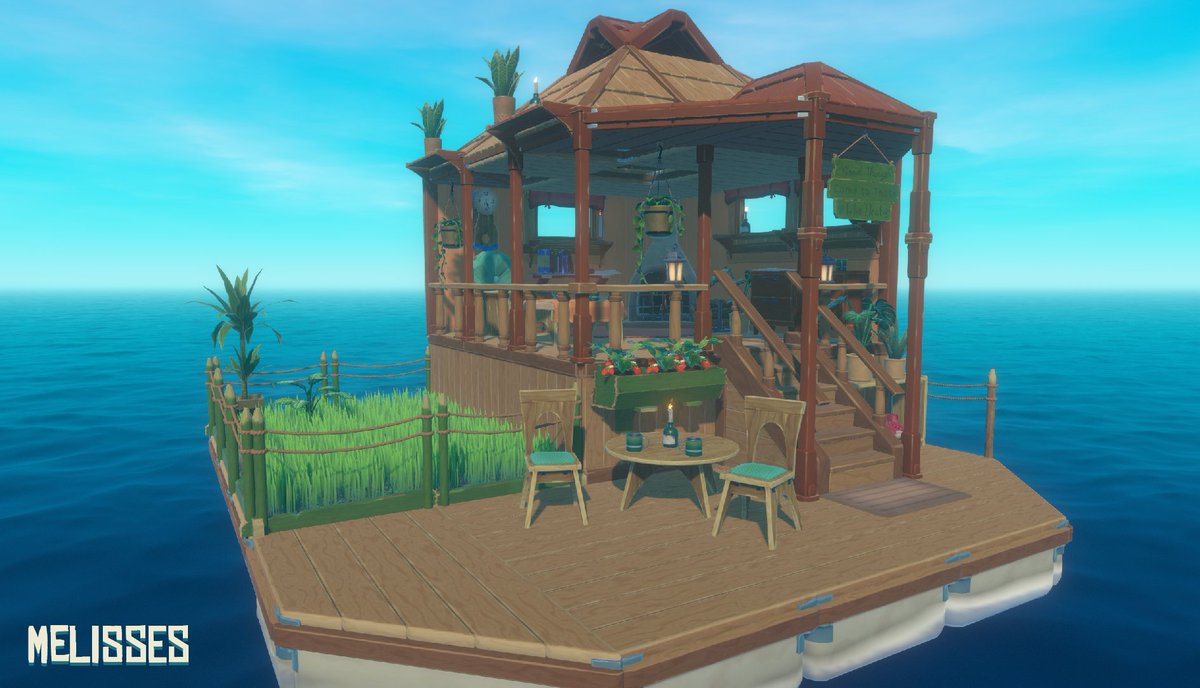
The best way to build in Raft is by making sure you leave room for expansion. Your initial Raft design might work well for you in the beginning of the game, but you’ll probably discover that you need more space as you explore more islands.
For example, Engines require a fair amount of infrastructure to keep them running. You’ll need Biofuel Refiners, a Farm, and Beehives to produce Biofuel. This can easily add 30 or 40 Foundations worth of space on your Raft depending on how ambitious you’d like to be.
Animals, too, are another concern. You’ll be able to tame creatures later in the game, but that means you’ll have to provide them with enough living space and food. You might want to expand horizontally, but you can expand vertically, too, and simply add another floor to your existing Raft.
How to Sharkproof Your Raft with Foundation Armor
You can Sharkproof your Raft by building Foundation Armor on all of the outer pieces of your Raft. You’ll have to Research Scrap, Metal, and the Nail before you can build Foundation Armor. You can build Foundation Armor by equipping your Building Hammer, holding down right-click, highlighting Foundation at the top of the list, and scrolling to the right.
Shark Problems
Need to get in water but scared you’ll run into Bruce, the Shark? Well, look no further than Shark Bait, as the meaty distraction will allow you to explore underwater without any distractions for a short period.
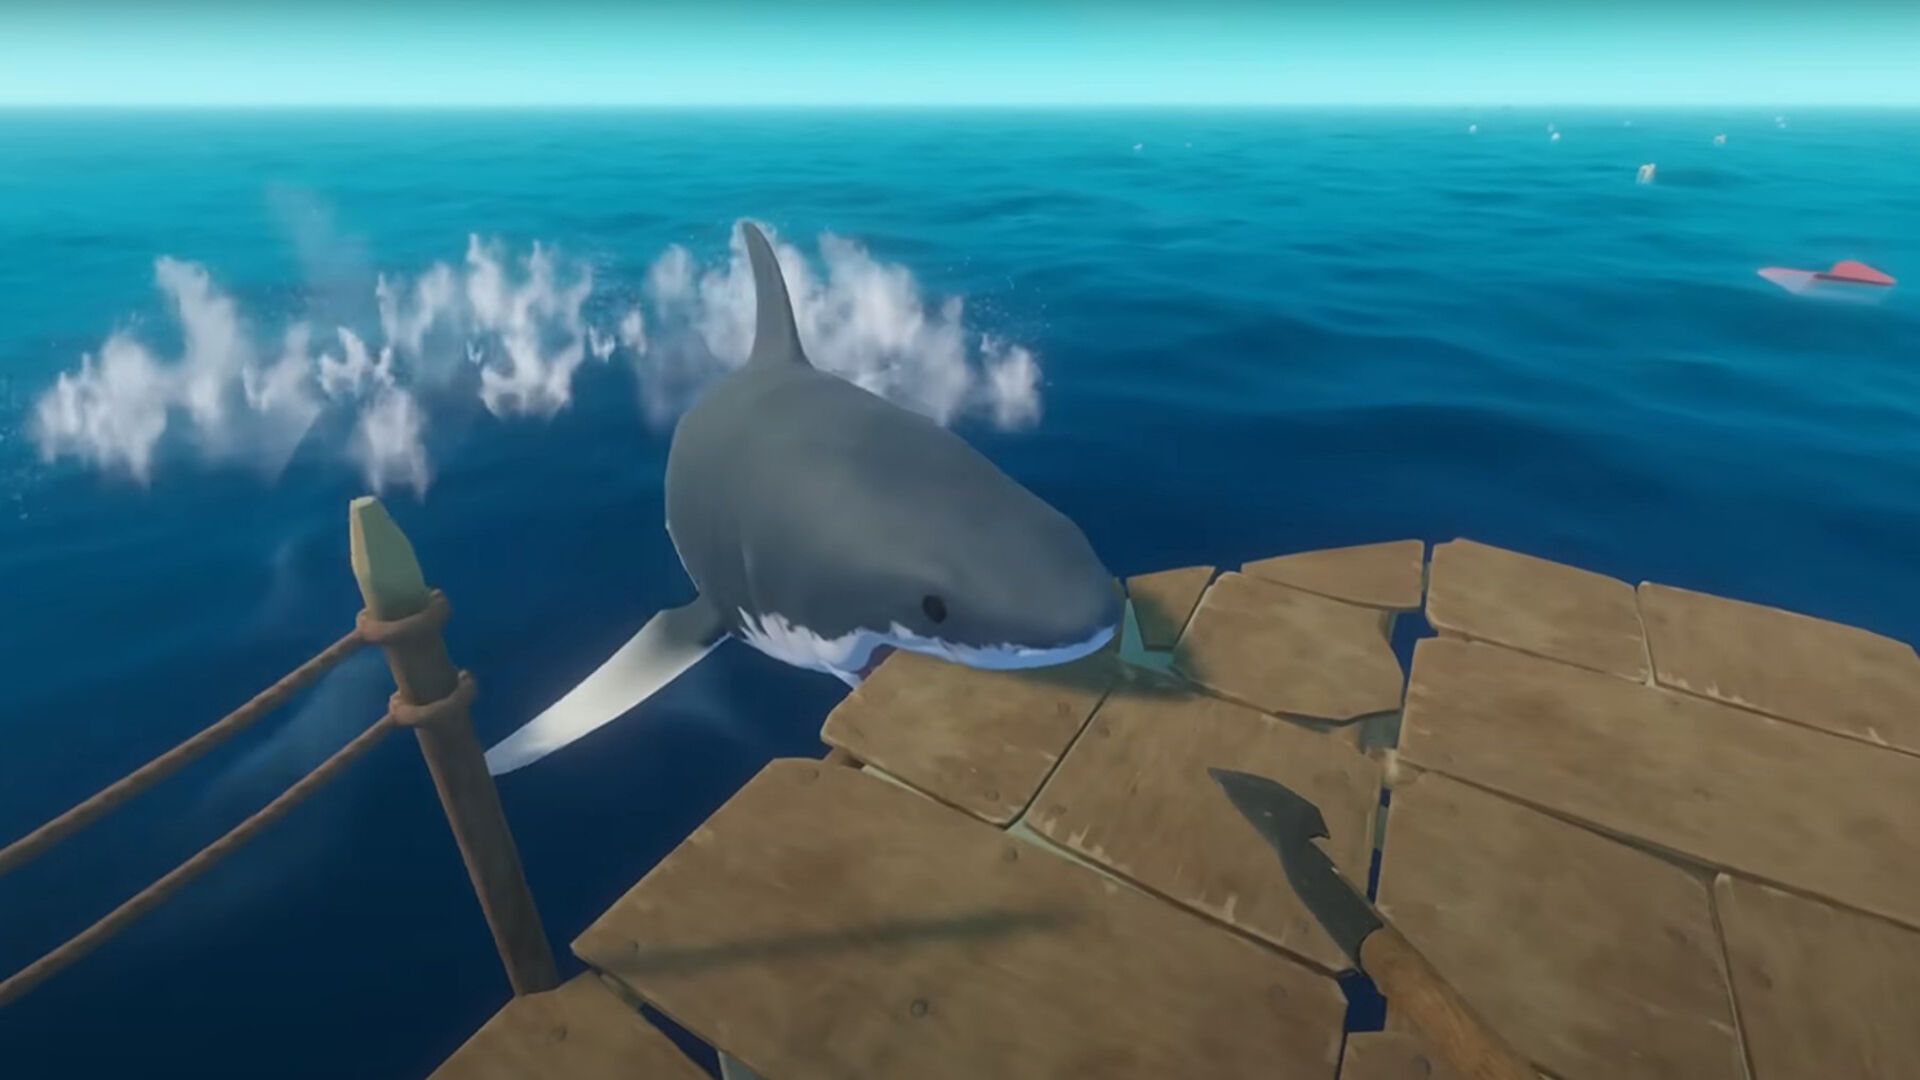
Shark that stalks your raft will attack you when it spots you underwater. You can kite the shark with a spear, but you can also use Shark Bait to take it down easily. The shark will bite the bait, allowing you to get a free hit on it before it swims off. It will return until the bait is eaten, so you should be able to defeat the shark before the bait is gone. Once the shark is dead, you can harvest it for meat and swim around freely… until the shark respawns.
With up to 1,000 health points, you can expect the Shark Bait to last the following duration.
Game Mode: Easy & Normal
Health: 800
Time: 1 Minute and 5 Seconds
Game Mode: Hard
Health: 1,000
Time: 1 Minute and 20 Seconds
So if you’re looking to create a Shark Bait distraction, you’ll need 2 Rope, 2 Raw Herring, and 1 Raw Pomfret.
It’s important to remember to time your dives, as you, the baits are only a temporary distraction, and you do not want to get caught off guard.
Alternatively, if you’re playing with friends, you can always have them store their items and distract the shark for you while you attempt to gather the underwood resources.
When it comes to diving, it’s important to remember that shallow water near the shore of islands is always the most prepared diving in the shallow water near shore, instead of the ocean’s deep, dark depths.
Underwater Exploration
As scary as it may be, underwater exploration is a must as it yields some of the best resources you can find in the game. You’ll have the chance to collect resources such as Clay, Sand, Scrap, and Seaweed.
But be careful of the shark, as in the previous chapter shark will follow you and your raft anywhere. If you go for a dive it will most likely attack so make sure you use either your friends or shark bait to distract him.
Navigating
STEP 1
At the very beginning, your raft will follow the current on its own.
After a while you should craft a Sail [] and a Streamer []. The Sail will allow you to control where your raft is going, and if you’re following the current, it will make your raft go much faster. The Streamer is a little flag that shows you the direction of the said current, allowing you to point the Sail in the same way. If you aim your Sail in the complete opposite of the current, your raft will be slow or even stop moving altogether.
STEP 2
The next step is to craft a Receiver [] and 3 Antennas []. The Receiver and Antennas need to be on a higher floor, not next to each other but not too far either. The Antennas will turn green when positioned correctly. If they are red, turn on the Receiver which will tell you what’s wrong ( not high enough, too far… ).
STEP 3
You need a Battery [] to make the Receiver work. It will slowly deplete itself, and when it’s dead, you need to place a new one and get rid of the old one ( for now, you can’t recharge them ).
The Receiver, when on, will show you a radar, a green dot will be there, and a number indicating how far it is. Turn your Sail in the direction of the green dot and turn off the Receiver to not use too much of your Battery. Come back regularly to check you’re still going in the right direction. The green dots will show you the way to Radio Stations and Large Islands!
While navigating and sailing pay close attention to:
– Abandoned Rafts
– Small Islands
– Radio Stations
– Large Islands
– – – – – – – – – – – – – – – – – – – – – – – – – – – – – – – – – – – – – – – – – – – – – – – –
FOOD
Gardening
SMALL CROPS
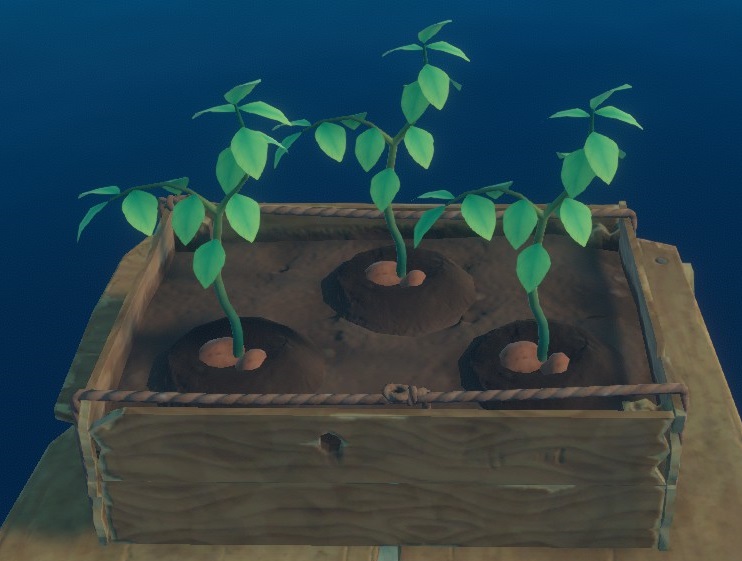
Potatoes
Where to find seeds : The potatoes can be used as seeds. You find them in barrels.
Growing time : 5mins
Harvest :
– 2 Potatoes (100%)
Beets
Where to find seeds : The beets can be used
as seeds. You find them in barrels.
Growing time : 5mins
Harvest :
– 2 Beets (100%)
Strawberries
Where to find seeds : By picking them up in Tangaroa’s underground area
(5th story place).
Growing time : 5mins
Harvest :
– 1 Strawberry (16%)
– 1 Strawberry + 1 Seed (84%)
Flowers
Where to find seeds : By picking up flowers, which you can find on most islands.
Growing time : 5mins
Harvest :
– 1 Flower + 1 Seed (100%)
MEDIUM CROPS
Pineapples
Where to find seeds : By picking up pineapples, which you can find on most islands.
Growing time : 8mins
Harvest :
– 1 Pineapple (40%)
– 1 Pineapple + 1 Seed (60%)
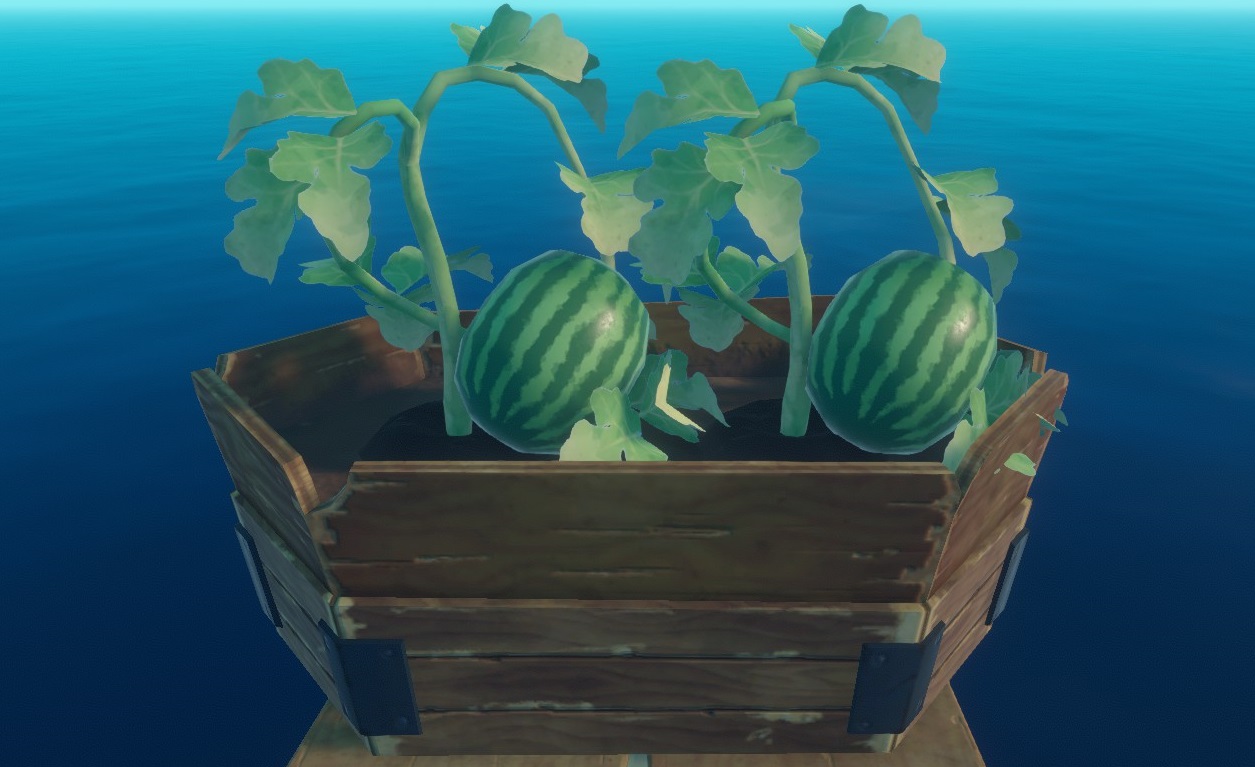
Watermelons
Where to find seeds : By picking up watermelons, which you can find on most islands.
Growing time : 8mins
Harvest :
– 1 Watermelon (35%)
– 1 Watermelon + 1 Seed (65%)
LARGE CROPS
Mango Tree
Where to find seeds : By cutting Mango – Trees, which you can find on most islands.
Growing time : 10mins
Number of harvests per tree : 5
Harvest : Always = 3 Planks, 2 Palm Leaves and 1 Mango + 15% to get 1 Seed or 15% to get 1 Mango per harvest
Palm Tree
Where to find seeds : By cutting Palm Trees, which you can find on most islands.
Growing time : 12mins
Number of harvests per tree : 5
Harvest : Always = 4 Planks and 2 Palm Leaves + 10% to get 1 Seed or 10% to get 1 Coconut
per harvest.
Pine Tree
Where to find seeds : By cutting Pine Trees, which you can find on Balboa Island
Growing time : 15mins
Number of harvests per tree : 5
Harvest : Plank is always = 7 Planks + 10% to get 1 Seed per harvest.
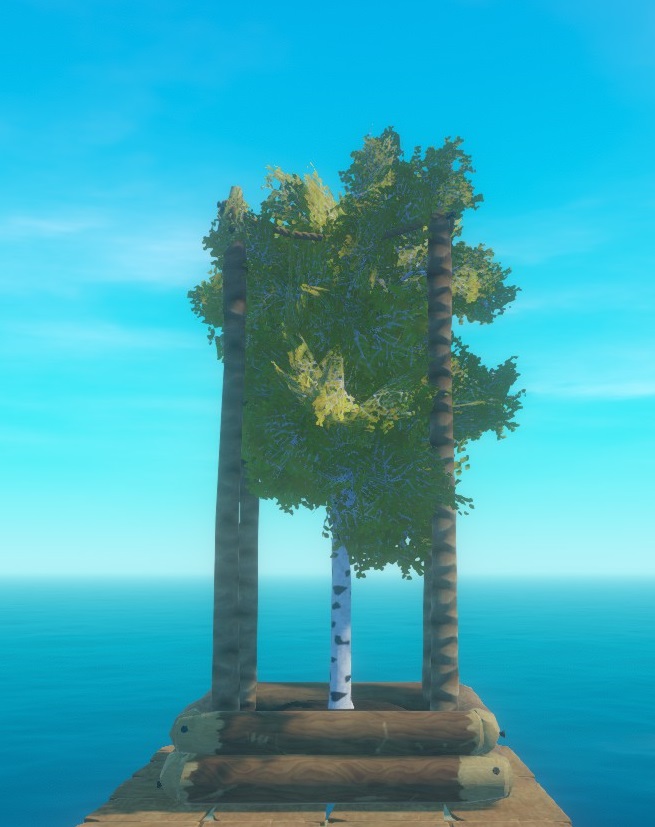
Birch Tree
Where to find seeds : By cutting Birch Trees, which you can find on Balboa Island
Growing time : 15mins
Number of harvests per tree : 5
Harvest = 7 Planks + 10% to get 1 Seed per harvest.
Banana Tree
Where to find seeds : By cutting Banana trees in Tangaroa’s underground area
Growing time : 12mins
Number of harvests per tree : 5
Harvest = 4 Planks and 2 Bananas + 27% to get 1 Seed or 27% to get 1 Banana
per harvest.
Cooking
MEAT
(The bigger the fish/meat the more hunger it will sattisfy, uncooked fish and meat can lower your health and thirst)
Small Fish (you can use the small grill):
– Herring
– Mackerel
– Pomfret
– Tilapia
Big Fish (You need a bigger grill):
– Catfish
– Salmon
Meat:
– Drumstick
– Meat
– Shrak
Plants/Other:
– Banana
– Cave Mushrooms
– Coconut
– Beet
– Potatoes
– Mango
– Pineapple
– Red berries
– Silver algae
– Strawberries
– Watermelon
– – – – – – – – – – –
– Egg
– Milk
– Honey
(Some plants will help you with hunger AND thirst)
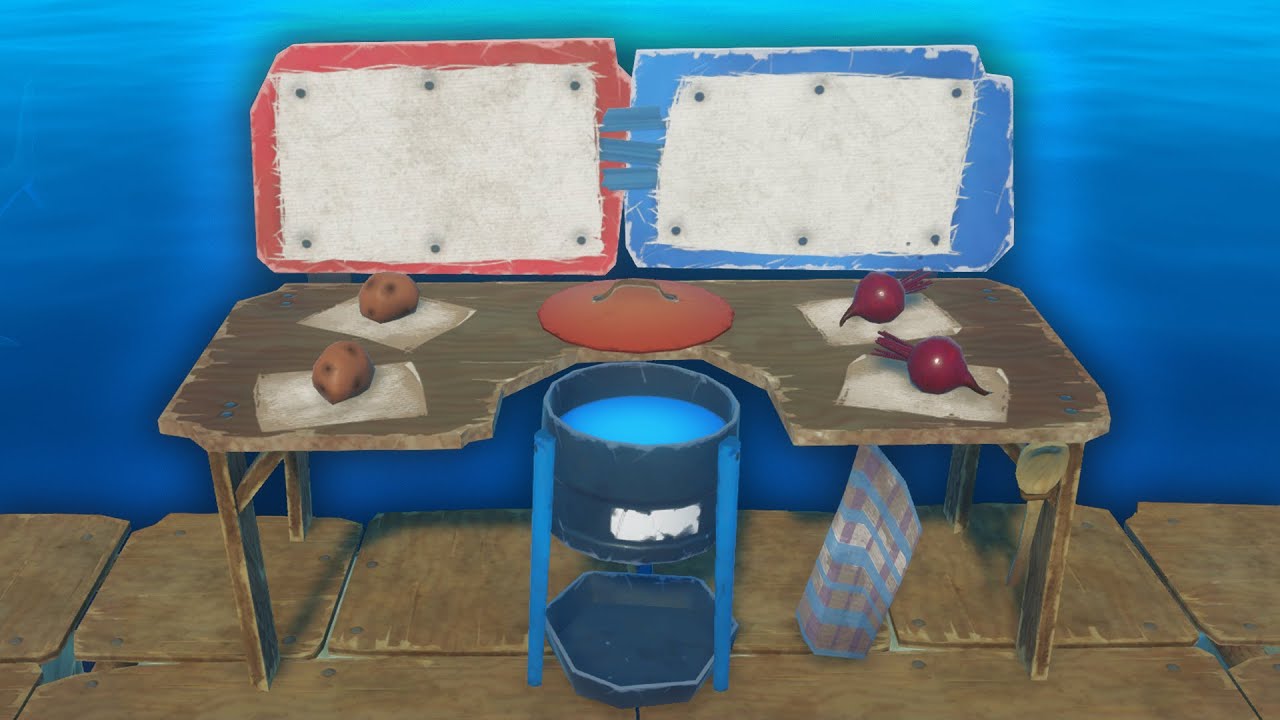
Cooking Pot
Cooking Recipes can be found in barrels or in crates. Some recipes can only be found on Large Islands/Radio Stations. You don’t need to find a recipe to actually use it.
There are currently 10 Recipes and 3 Star Recipes for the Cooking Pot / 6 Recipes and 2 Star Recipes for the Juicer.
Star Recipes can be bought at a Trader (on large islands).
Put each ingredient on the table, then start the cooking process, remember to add planks for it to work. When it’s ready, use a Claybowl to take it. The Claybowl is consumed with the food.
Food that can be made:
– Catfish Deluxe
– Hearty Stew
– BBQ
– Salmon Salad
– Coconut Chicken
– Head Broth
– Leftovers
– Mushroom Omelette
– Shark Dinner
– Simple Fish Stew
– Sushi
– Steak with Jam
– Vegetable Soup
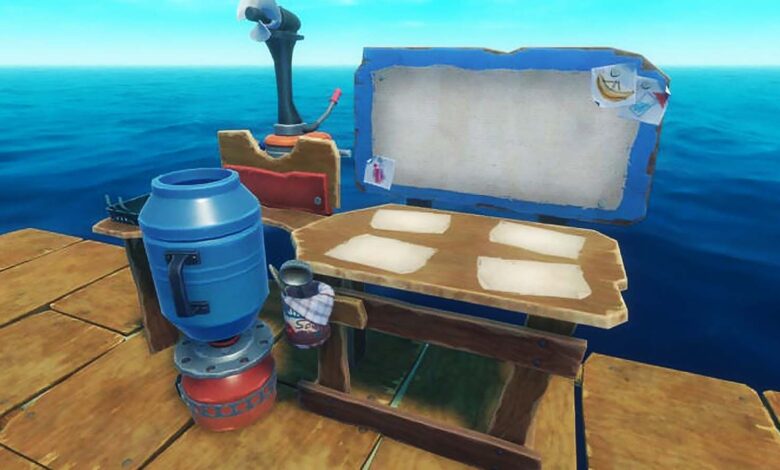
Juicer
As with any survival game, keeping yourself fed and watered is a top priority. While living on a raft gives you plenty of access to fish and water to purify, using the Juicer to create a smoothie will provide you with valuable buffs
Juices you can make:
– Redbeet Shot (Beet x2, Coconut x1, Turmeric x1)
– Spicy Pineberry (Pineapple x1, Strawberry x2, Chili x1)
– Coconut Beat
– Mangonana
– Red Melon (Red Berries x1, Strawberry x1, Watermelon x1, Coconut x1)
– Silver Smoothie (Banana x1, Mango x1, Bucket of Milk x1, Silver Algae x1)
– Simple Smoothie (Mango x1, Ananas x1, Coconut x2)
– Strawberry Colada (Ananas x1, Strawberry x1, Coconut x2)
– – – – – – – – – – – – – – – – – – – – – – – – – – – – – – – – – – – – – – – – – – – – – – – –
ANIMALS
Domesticated Animals
Taming Animals
Tamable animals can be found on large islands. The number animals per island is randomized.
Use a Net Launcher on a tamable animal to catch it (you also need at least 1 Net Canister in your inventory for it to work, as it is the gun’s ammo. Whether you miss or not, you won’t be able to get your net back so use them carefully).
Once caught in a net, you can carry the animal. If the animal is dropped on the island, it will run around happily and it’s not hard to catch up to it. If it’s dropped in the water, it will swim at the surface and wait there, the shark won’t attack it.
Feeding animals
Put Grass Plots on your raft and pour fresh water ( with a bottle or a cup ) on it to make the grass grow. Grass takes about 5mins to grow and become edible. Each square of grass can only be eaten once before it has to be watered again. Animals dont have to drink.
SPRINKLERS: They water your grassplots for you ! You need to fill it with water ( doesn’t matter if it’s salty or fresh ) for it to work and add a battery.
DIFFERENT ANIMALS:
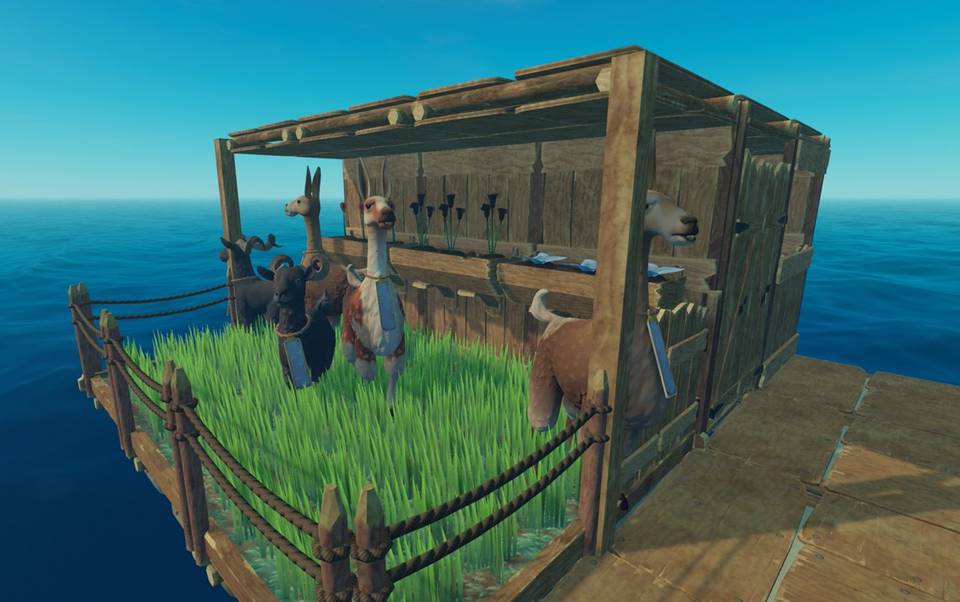
Llama – You can use Shears to get wool from the llama every 10m30s. And it comes in 3 different skins
Goat – Every 9mins, you can use a bucket to milk the goat. It comes in 3 different skins.
Clucker – Every 5m30s, the Clucker will leave an egg on the ground. Eggs will disappear after 10mins, There can only be two eggs from the same bird on the floor at the same time. It comes in 3 skins.
Hostile Animals
Shark
From times to times, the shark will attack your raft, if you don’t stop it, it will break a square and if there is anything on it, it will disappear with it.
To stop the shark, it takes 4 hits with a rock or a wooden spear, 2 hits with a metal spear or stone arrow, 1 hit with a machete or metal arrow.
Use the hammer to repair the raft and add foundation armor ( Metal Ingot + 2 Nails per square ) to make it unbreakable. Hit just after the shark opens its mouth with a spear to deal damage without getting bitten
Seagull
Seagull are your enemies because they attack your crops, but they can also be somewhat “domesticated”.
If you plant crops, Seagulls will come from time to time to eat them and you will need Scarecrows to prevent the Seagulls from eating your plants.
You can also craft Birds Nests. They will rest on your nests and leave feathers (/!\ they used to also leave eggs, but that’s not the case anymore). But it’s also a way to know exactly where the Seagulls will land and be prepared to attack them. Once dead, it will give you 6 Feather and 2 Raw Drumstick.
Puffer-Fish
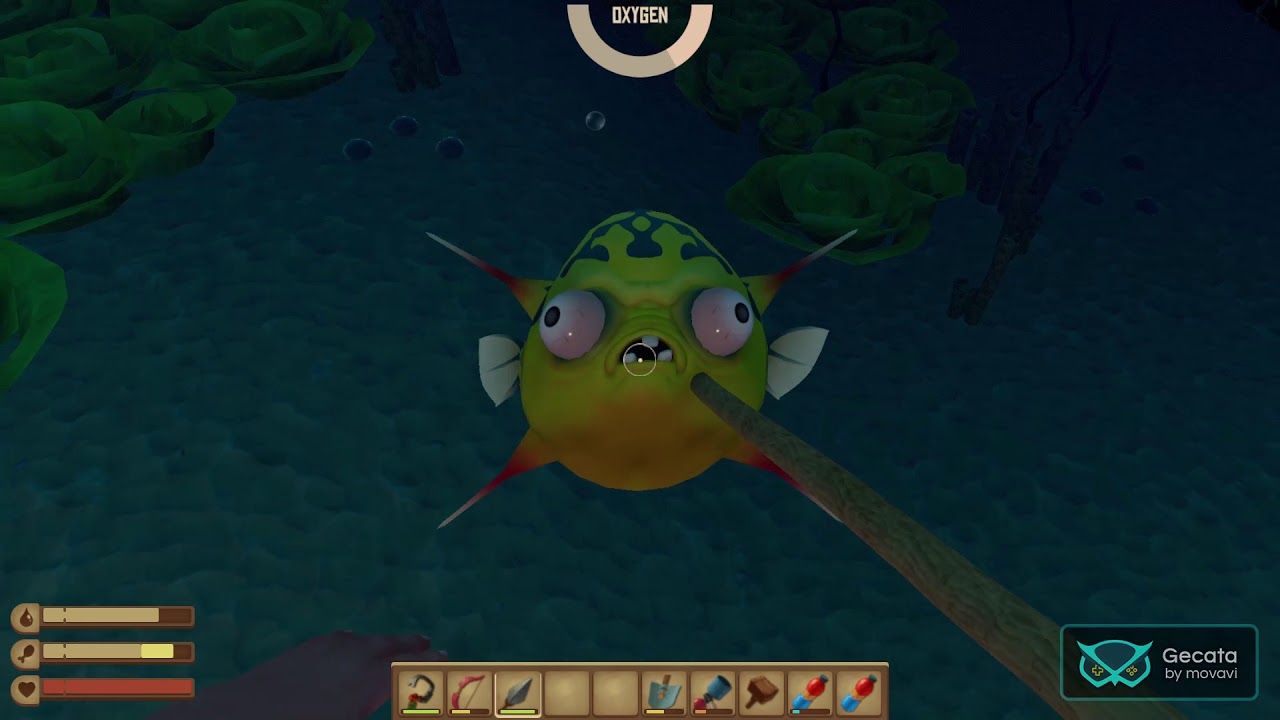
The Puffer-Fish can be found underwater next to large islands, usually near treasure spots. Greenish goo puddles on the surface of the water can indicate there’s one under it. There are usually 3-4 Puffer-Fish per island, sometimes more.
If you get too close, it will explode and disappear leaving a yellow smokescreen that does multiple small damage until it disappears. If you stay too long in it, it will kill you even if you came with full life. If you kill it without it exploding, you will get 1 Explosive Goo and 1 Puffer-Fish Head and have a 33% chance to get another Explosive Goo.
Warthog
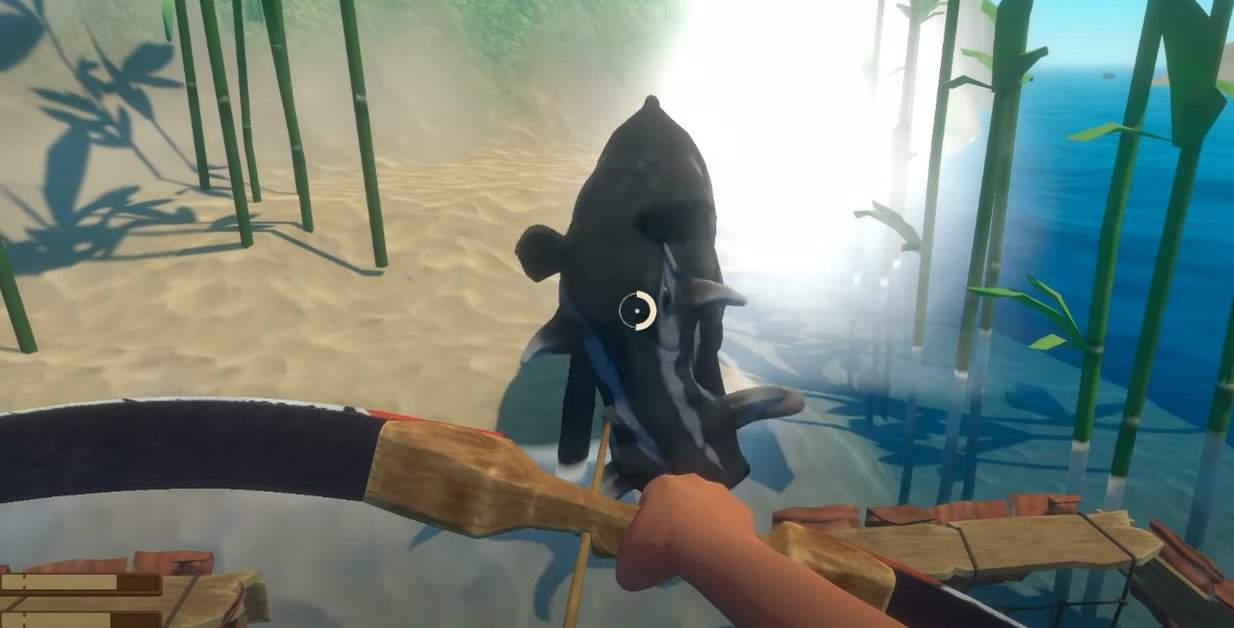
The Warthog can be found on large islands.
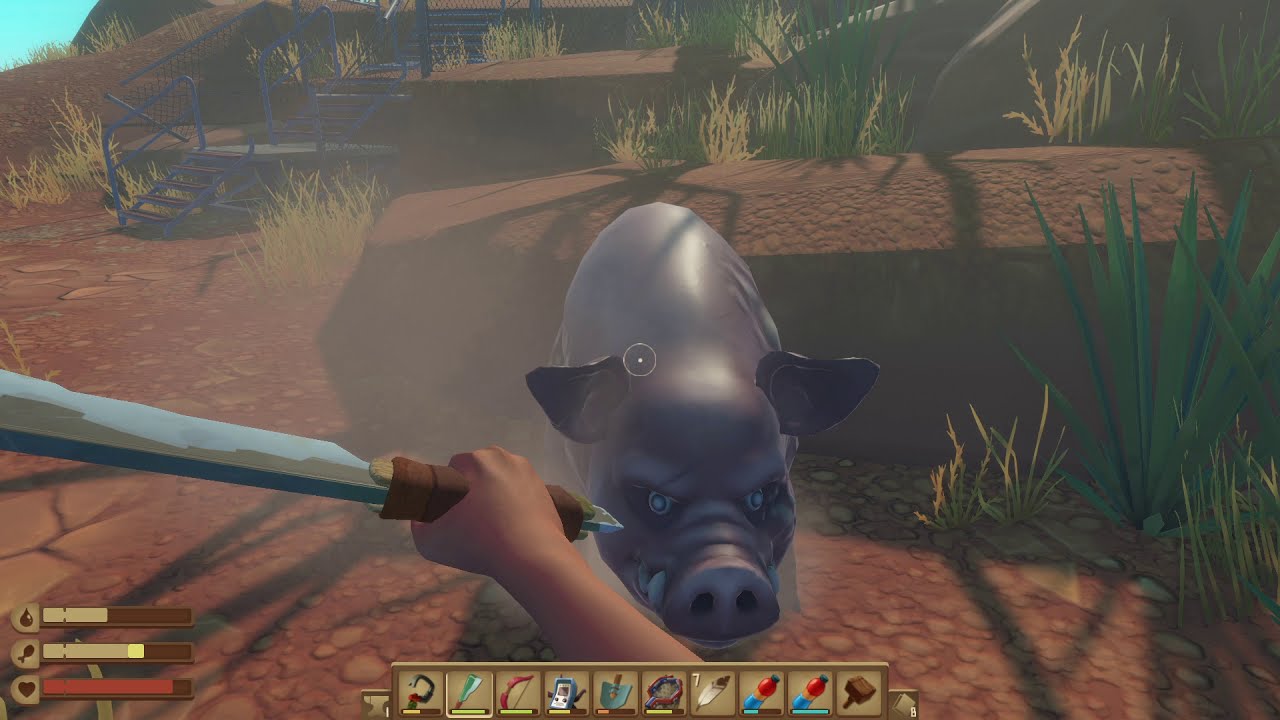
When it looks at you and stops moving, it means it’s going to charge so be ready to dodge by sprinting out of the way. Once dead, it gives 3 Leather, 2 Raw Meat and 1 Warthog Head.
Screecher
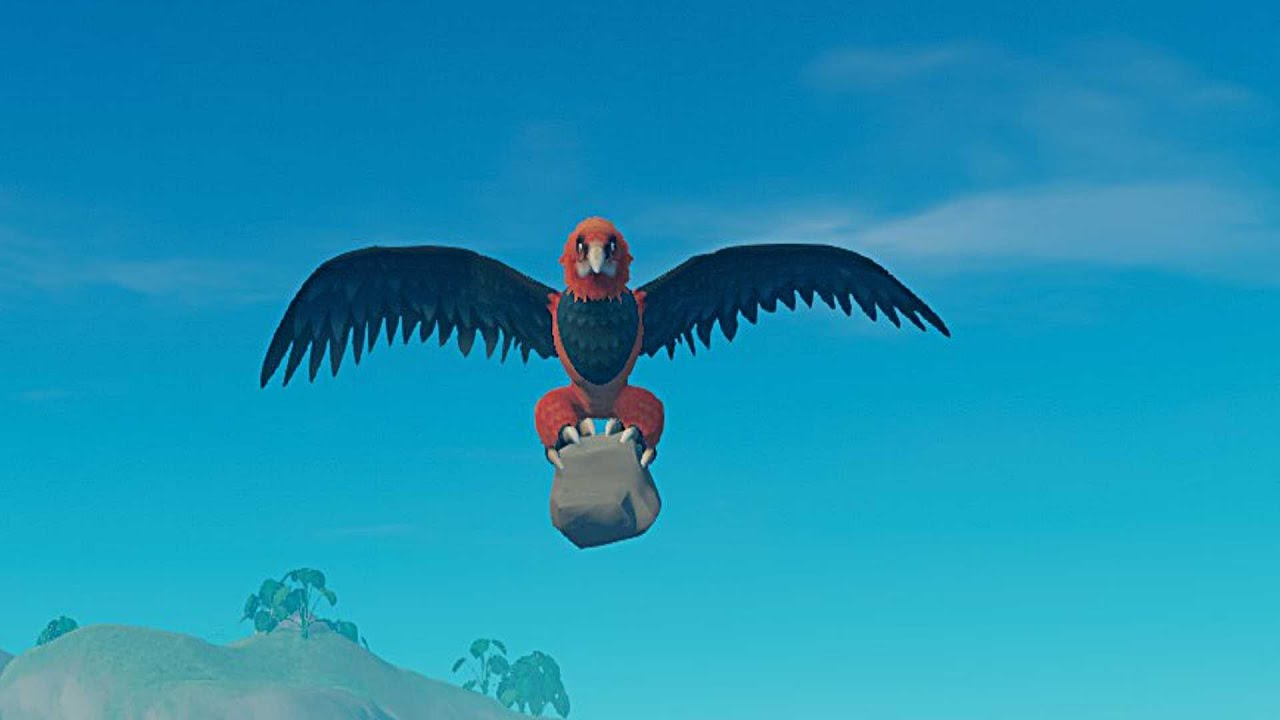
The Screecher can be found on large islands. It will fly around the island and when it sees you it will go towards the ground to pick up a rock then come back and throw the rock at you.
Wait for the Screecher to come to you and when it’s close aim with your bow a little above its head and shoot. Just after this, sprint [shift] forward or sideways to dodge the rock.
Once dead, searching its body will give you : 12 Feathers, 4 Raw Drumstick and 1 Screecher Head
Lurker
They can be found in Vasagatan. The lurkers respawn regularly so you can farm them as much as you want without having to leave the place and come back later. Sprint sideways when it’s about to bounce then hit it. When killed, it drops : 1 Raw Meat
Bear/Mama Bear
Bear –They can be found in Balboa Island. The bears respawn regularly so you can farm them as much as you want without having to leave the place and come back later. Move backward before it hits, then attack, then quickly move backward again.
Mama Bear – Use range attacks, she’s just too fast. Try to attack her from as far as possible, that way she should come at you then go back to her leash spot because you’re out of her zone.
Mughog
The Mudhogs are creatures found on Caravan Island and on islands within the Desert Biome. Mudhogs will attack the player by charging at them. When a Mudhog is killed, its parts can be harvested by interacting with it. They do not respawn when killed, and do not drop a head.
Butler-Bot
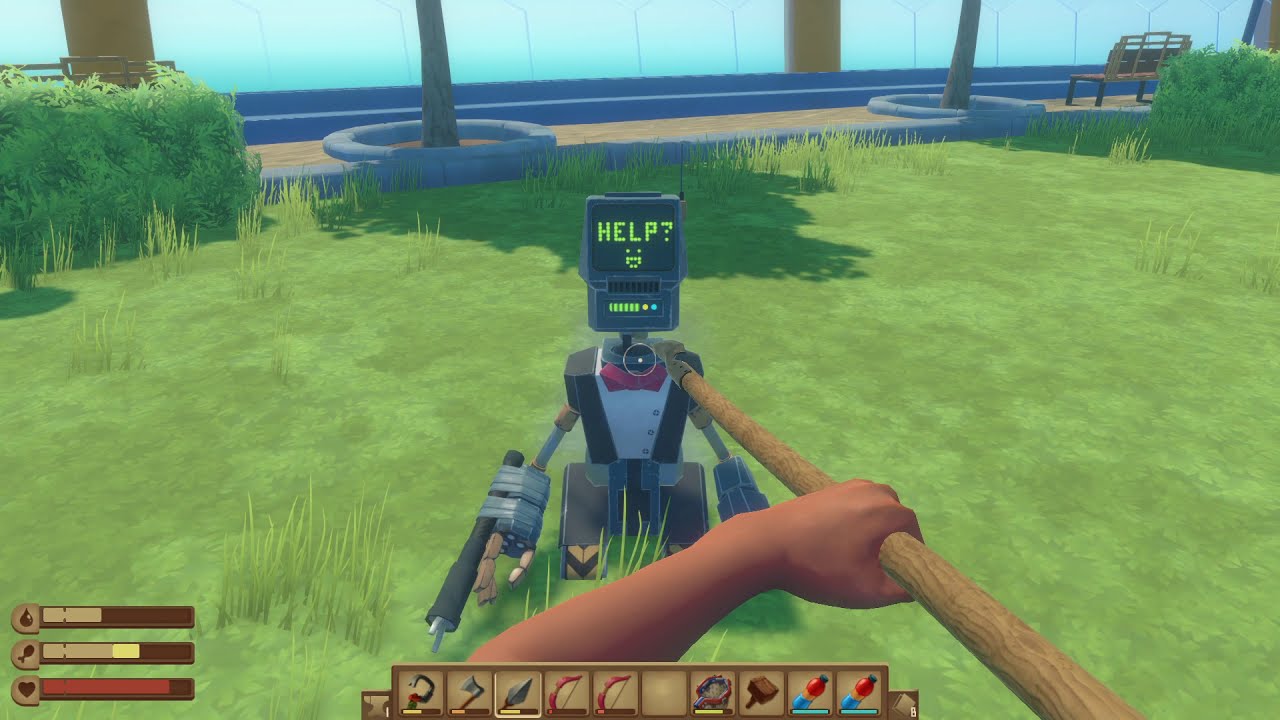
Butler Bots are found on Tangaroa. They are seemingly friendly robots that wish to assist the player like they assisted their former owners. However, tasers have been taped to their arms. They will spot the player when they are within 10 meters radius, and then move to the player. While attempting to assist the player, they involuntarily use a zap attack damaging the player. They cannot be destroyed or killed; only deactivated for a short duration. Once disabled, the player may loot a single Tangaroa Keycard. After 60 seconds, the Butler Bot will revive and approach the player once again.
Scuttler
Scuttler are found inside the Selene Research Facility on Temperance. Upon death, a scuttler may be harvested for one Raw Meat.
Bee Swarm
While the Bee Swarm is categorized as a Threat, it can also be seen as an environmental object, as they are the prime source of getting Bee Jars necessary to build Beehives, and they cannot be killed. The swarms can be found on Balboa Island, Evergreen Islands, Caravan Town, and Desert Islands. They are typically found near Natural Beehives, where they loiter about in the air. They can be caught with the Sweep Net. They will buzz around in the air, flying a certain route indefinitely until caught.
Rhino Shark
The Rhino Shark is a large shark with a rhino like horn on the front of its head. It can not be attacked with weapons instead needing to be lured into charging at pillars with explosives to damage it. Upon death it will drop 25 Raw Shark Meat and the Rhino Shark Trophy.
Hyena
Perhaps the last known surviving animal from Africa, Hyena are seen on Utopia transported by a man named Olof Wilkstrom.
Anglerfish
Anglerfish are found on Varuna Point and Temperance.
Strategies
Swim in circles while looking and hitting it
Alpha
The Alpha is the final Story Boss. You can meet him in Utopia. When you reach the room where the battle takes place, try to attack him when he stops glowing. Each hit leaks a small puddle of acid(?)
Strategies
1. Alpha has 2 attacks including
2. A lunge that leaves a trail of Acid puddles and a large one where Alpha lands
A bite
– – – – – – – – – – – – – – – – – – – – – – – – – – – – – – – – – – – – – – – – – – – – – – – –
What Happens When You Die
Let’s be honest; death happens to even the best of us, as sometimes there is just no avoiding it. So if you do happen to die while playing solo, you will respawn, but all of your items on your character will be lost forever.
If you died while playing multiplayer with friends, they would be able to carry your body to a bed or hammock. This would cause you to wake up, but your stats health, water, and food stats will be very low.
Tips and Tricks
1. Think twice before removing flooring as any items on the square will instantly disappear upon destroying the floor piece.
2. When dropping items, be sure to pick them back up before the one minute and thirty-second timer causes them to de-spawn and disappear forever.
3. Took your eyes off the path and lost your way? A Streamer is a must-have tool if you’re struggling to navigate the world as it’ll help you gauge the direction in which the wind is blowing. To build a streamer, you’ll need 6 Planks, 3 Ropes, and 3 Nails.
4. Don’t be fooled; one sail will produce all the speed you need.
As tempting as it may be, please do not drink the saltwater as it’ll cause your hydration bar to deplete.
5. Just drank the last of your fresh water? Be sure to refill your cup, as you’ll want your water purifier to always be working on a new batch of water.
6. Vine Goo is a popular item that is often used in crafting; however, its rarity makes it hard to come by. Thankfully, you won’t have to rely on finding Vine Goo through abandoned rafts and barrels, as you’ll be happy to know that you can create Vine Goo by using seaweed in a furnace.
7. See a barrel coming towards your raft? Stop what you’re doing, and be sure to grab it. With Scrap and other resources being scarce during your early game experience, these barrels and their supplies can be a complete lifesaver.
8. Don’t feel pressured to stop at every abandoned raft and island that you find. While some will often provide somewhat decent supplies, you’ll often find that many lackluster and much more of a waste of time, if anything.
9. The Shark is set to attack the raft every 5 minutes, but should you enter the water, the five-minute timer will be paused until you exit.
10. While it’s entirely up to you, having space in-between your collection nets is completely fine. Not only does it save you resources, but the actual chance of items slipping between the gap is very unlikely.
11. While you may want to explore the islands straight away, we recommend waiting until you’ve at least crafted an axe and have the ability and means to reach the higher points of the island. One of the only reasons you will want to visit an island early on in the game is to search the shallows along the beach for resources.
12. When leaving your raft, always use an anchor, even if it’s just for a short period. Not only is it easy to lose track of your Raft should it get swept away by the current, but being left stranded with a circling shark hot on your tail, you’ll quickly learn just how vital an anchor can be.
13. As you progress through the game, your inventory will quickly begin to fill up with items. Try using the research table to unlock Storage Boxes, as they’ll allow you to store anywhere from 8 to 20 items.
– – – – – – – – – – – – – – – – – – – – – – – – – – – – – – – – – – – – – – – – – – – – – – – –
ACHIEVEMENTS
Story Achievements
First Chapter : Radio Station
Is there a Utopia? (Hidden)
Find the white board in the radio station.
Radio Tower Historian!
Find all notes on the Radio Tower!
You can find a list of all notes in the story walkthrough.
First Chapter : Vasagatan
Bootleg Fireworks! (Hidden)
Breach the cockpit of Vasagatan!
Vasagatan Historian!
Find all notes on Vasagatan!
You can find a list of all notes in the story walkthrough.
First Chapter : Balboa Island
Pling! (Hidden)
Can bears use bicycle bells?
Tiny Little Murderer (Hidden)
It’s all so obvious now…
Fix Errol!
There you go Errol.
A Revelation! (Hidden)
Why is there a photo behind the toolboard??
Mother Lode!
Slay the Mama Bear.
Balboa Historian!
Find all notes on Balboa!
You can find a list of all notes in the story walkthrough.
Second Chapter : Caravan Town
Caravan Town Historian!
Find all notes on Caravan Town!
You can find a list of all notes in the story walkthrough.
Second Chapter : Tangaroa
Launch Initiated! (Hidden)
A backup emergency system?
Boxed In! (Hidden)
Find the secret behind the boxes.
You Should Not Be Here! (Hidden)
Twenty floors down.
Small Spender!
Spend 10 tokens.
Medium Spender!
Spend 20 tokens.
Big Spender!
Spend 30 tokens.
Tangaroa Historian!
Find all notes on Tangaroa!
You can find a list of all notes in the story walkthrough.
Game Achievements
Multiplayer Achievement
Teamplay!
Team up with a friend in multiplayer.
Raft Achievements
It’s better without the salt.
Craft and place a simple purifier.
Dinnertime!
Craft and place a simple grill.
A More Complex Concoction!
Cook a meal by following a recipe.
Aye Aye Captain!
Place a sail and a stationary anchor on the same raft.
This goes here! (Hidden)
Break or pick up 100 blocks.
Hoarder!
Have 20 storages on the same raft.
Bookworm!
Research everything in the research table.
Plumber Power!
Have 30 pipes placed at once
Real Fireworks!
Witness 50 firework explosions.
Instrumentalist! (Hidden)
Play a note on an instrument.
An Ocean Cemetary! (Hidden)
Die 25 times.
– – – – – – – – – – – – – – – – – – – – – – – – – – –
Beginner Gatherer!
Hook 100 items.
Intermediate Gatherer!
Hook 500 items.
Expert Gatherer!
Hook 5000 items.
– – – – – – – – – – – – – – – – – – – – – – – – – – –
Beginner Painter!
Paint 50 blocks.
Intermediate Painter!
Paint 200 blocks.
Expert Painter!
Paint 1000 blocks.
– – – – – – – – – – – – – – – – – – – – – – – – – – –
Beginner survivor!
[[b][/b]i]Survive 1 day.[/i]
Intermediate survivor!
Survive 7 days.
Expert survivor!
Survive 30 days.
Master survivor!
Survive 365 days.
– – – – – – – – – – – – – – – – – – – – – – – – – – –
Beginner Builder!
Build 10 foundations.
Intermediate Builder!
Build 100 foundations.
Expert Builder!
Build 1000 foundations.
– – – – – – – – – – – – – – – – – – – – – – – – – – –
Zip Zap!
Travel 50 meters on a zipline without disjointing.
Your zipline must be at least 34 foundations long.
Beginner Ziponaut!
Travel 100 meters with the zipline tool.
Intermediate Ziponaut!
Travel 500 meters with the zipline tool.
Expert Ziponaut!
Travel 1500 meters with the zipline tool.
Kill Achievements
Beginner Shark Hunter!
Kill a shark.
Intermediate Shark Hunter!
Kill 10 sharks.
Expert Shark Hunter!
Kill 50 sharks.
– – – – – – – – – – – – – – – – – – – – – – – – – – – – – – – – – – – – – – – – – – – – – – – –
Beginner Bird Hunter!
Kill a bird.
Intermediate Bird Hunter!
Kill 10 birds.
Expert Bird Hunter!
Kill 50 birds.
– – – – – – – – – – – – – – – – – – – – – – – – – – – – – – – – – – – – – – – – – – – – – – – –
Beginner Poison-Puffer Hunter!
Kill a Poison-puffer.
Intermediate Poison-Puffer Hunter!
Kill 10 Poison-puffers.
Expert Poison-Puffer Hunter!
Kill 50 Poison-puffers.
– – – – – – – – – – – – – – – – – – – – – – – – – – – – – – – – – – – – – – – – – – – – – – – –
Beginner Warthog Hunter!
Kill a Warthog.
Intermediate Warthog Hunter!
Kill 10 Warthogs.
Expert Warthog Hunter!
Kill 50 Warthogs.
– – – – – – – – – – – – – – – – – – – – – – – – – – – – – – – – – – – – – – – – – – – – – – – –
Beginner Screecher Hunter!
Kill a Screecher.
Intermediate Screecher Hunter!
Kill 10 Screechers.
Expert Screecher Hunter!
Kill 50 Screechers.
– – – – – – – – – – – – – – – – – – – – – – – – – – – – – – – – – – – – – – – – – – – – – – – –
Beginner Lurker Hunter!
Kill a Lurker.
Intermediate Lurker Hunter!
Kill 10 Lurkers.
Expert Lurker Hunter!
Kill 50 Lurkers.
– – – – – – – – – – – – – – – – – – – – – – – – – – – – – – – – – – – – – – – – – – – – – – – –
Beginner Bear Hunter!
Kill a Bear.
Intermediate Bear Hunter!
Kill 10 Bears.
Expert Bear Hunter!
Kill 50 Bears.
– – – – – – – – – – – – – – – – – – – – – – – – – – – – – – – – – – – – – – – – – – – – – – – –
Beginner Disruptor!
Disrupt 1 Butler-Bot.
Intermediate Disruptor!
Disrupt 10 Butler-Bots.
Expert Disruptor!
Disrupt 20 Butler-Bots.
Tame Achievements
Some Look Different!
Capture a rare animal.
Beginner Wrangler!
Capture an animal.
Intermediate Wrangler!
Capture 10 animals.
Expert Wrangler!
Capture 50 animals.
– – – – – – – – – – – – – – – – – – – – – – – – – – – – – – – – – – – – – – – – – – – – – – – –
Beginner Bee-nevolent!
Capture 1 bee.
Intermediate Bee-nevolent!
Capture 10 bees.
Expert Bee-nevolent!
Capture 25 bees.
Bee Keeper!
Have 10 beehives placed at once.
Exploration Achievements
Exploring the depths! (Hidden)
Reach a depth of 100 meters below the surface.
Large landmass ahoy!
Discover a large island.
Not a great landing! (Hidden)
Discover a crashed plane.
O Captain! My Captain!? (Hidden)
Reach Captains Island
– – – – – – – – – – – – – – – – – – – – – – – – – – – – – – – – – – – – – – – – – – – – – – – –
Beginner Excavator!
Dig up a treasure.
Intermediate Excavator!
Dig up 20 treasures.
Expert Excavator!
Dig up 50 treasures.
– – – – – – – – – – – – – – – – – – – – – – – – – – – – – – – – – – – – – – – – – – – – – – – –
Former Glory! (Hidden)
Four pieces of wood restored.
Artistic Collection! (Hidden)
Find & place all developer paintings.
The Renovator! (Hidden)
Learn all crafting recipes from packages.
– – – – – – – – – – – – – – – – – – – – – – – – – – – – – – – – – – – – – – – – – – – – – – – –
My review
🌺8/10🌺
A fun and interesting game for your whole squad
🌺DIFFICULTY🌺
🔲 A 5y/o could do it
✅ Easy
🔲 Normal
🔲 Hard
🔲 Even Satan can’t help you
🌺GRAPHICS🌺
🔲 Jesus take the wheel what am i looking at
🔲 Bad
✅ Good
🔲 Beautiful
✅ Graphics don’t matter in this game
🌺MUSIC🌺
🔲 Bad
✅ Not special
🔲 Good
🔲 Beautiful
🌺 STORY🌺
🔲 You create a story
🔲 This game has no story
🔲 Better watch a movie instead
✅ Could be better
🔲 Good story
🔲 Imagine Harry Potter but on crack
🌺PRICE🌺
🔲 Free
🔲 Underpriced
✅ Perfect Price
🔲 Could be cheaper
🔲 Overpriced
🔲 Is like buying a castle
🌺REQUIREMENTS🌺
(I run a sh*tlaptop)
✅ A brick could run it
✅ Average PC
🔲 High end gaming PC
🔲 Advanced alien computer
🌺LENGTH🌺
🔲 You’re done before you even start (0 – 2h)
🔲 Short (2 – 15 h)
🔲 Normal (15-50 h)
✅ Long (50-90 h)
✅ Longer than a math problem (90-110h)
🔲 No ending
🌺 FUN🌺
🔲 I’d rather stare at the wall
🔲 Meh not really
🔲 Repetitive
✅ Very fun
🔲 You’ll remember it
🔲 Best time of your life
🌺REPLAYABILITY🌺
🔲 It’s a one-time experience
🔲 Good for achievements
✅ If you wait for a while
🔲 Definitely
🔲 Can play it 24/7
🌺ADDICTING🌺
🔲 You get bored before you even start
🔲 Nah, I play it now and than
✅ Somehow
🔲 Cant stop playing
🔲 I’m playing it rn if that explains anything
🌺TOXICITY🌺
✅ Everyone is wholesome
🔲 Is alright
🔲 Normal
🔲 People are on some weird sh*t
🔲 Satan would be proud
🌺 WORTH BUYING🌺
🔲 Hell no i rather buy a whole McDonald menu
🔲 Wait for sale
✅ Yes
Hope you enjoy the post for Raft Full Walkthrough Gameplay, If you think we should update the post or something is wrong please let us know via comment and we will fix it how fast as possible! Thank you and have a great day!
- Check All Raft Posts List



Leave a Reply