Foreword
Following the same structure set by the original, Ground Zero’s singleplayer mode consists of five units of varying length and features a total of 37 secrets. This guide has been created to serve as a clean-cut visual aid for new and returning players alike aiming for getting all of them. As with all classic shooters, discovering the secrets by one’s self is a huge part of the fun so it is recommended that you only refer to the guide to find out what you are missing instead of following it step by step. Though not marked as secrets, there are also many more items to be found in explosive crates or hard to reach spots so a thorough search of any given level is almost always rewarding. Besides, due to this second mission pack being way harder compared to both the original and The Reckoning, you need those precious items more than ever.
The guide is laid out so that the numbering of the secrets is in line with the mostly linear flow of the game: where multiple paths are available, it is presumed that the player goes towards the objective first. In addition, due to the unit-based nature of the title, a few of the secrets are only accessible upon returning to the same level at a later stage. In those cases, a later visit to the level in question can be identified by the tag (Continued) besides its name.
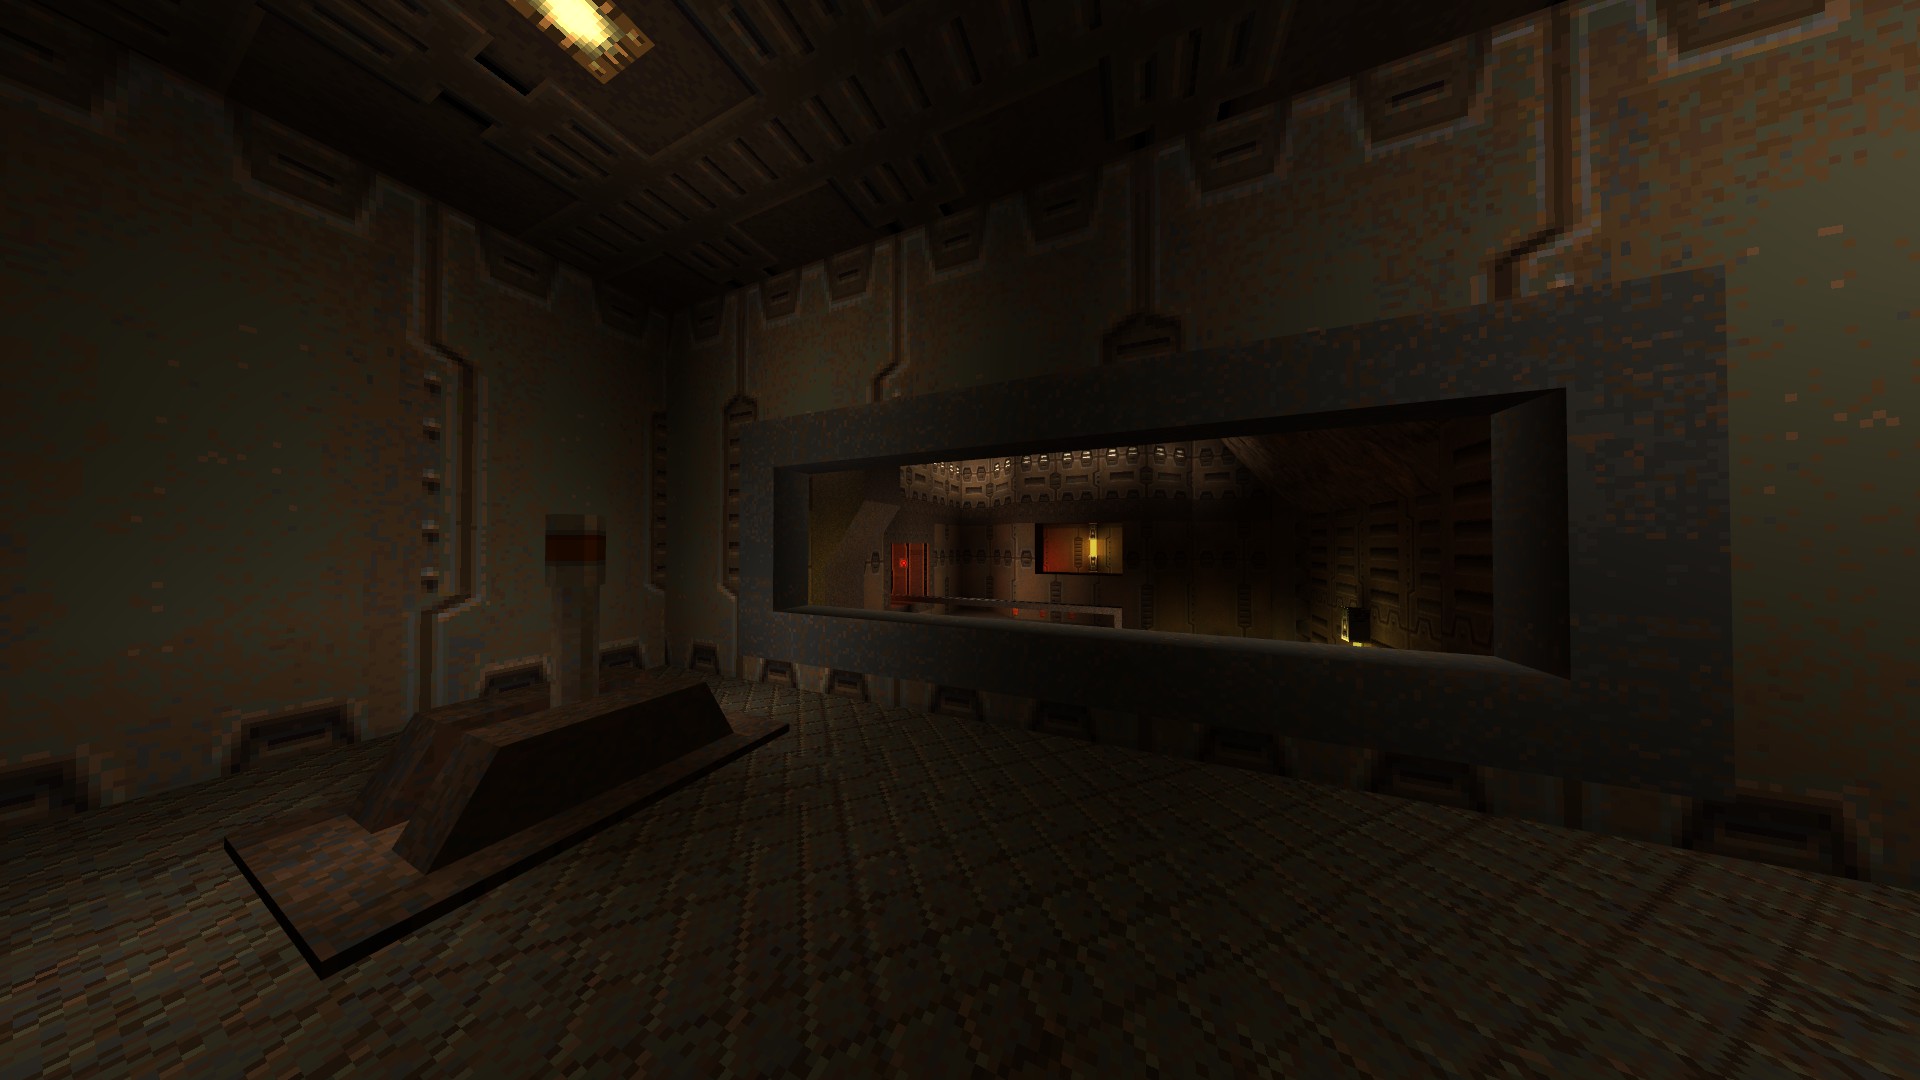
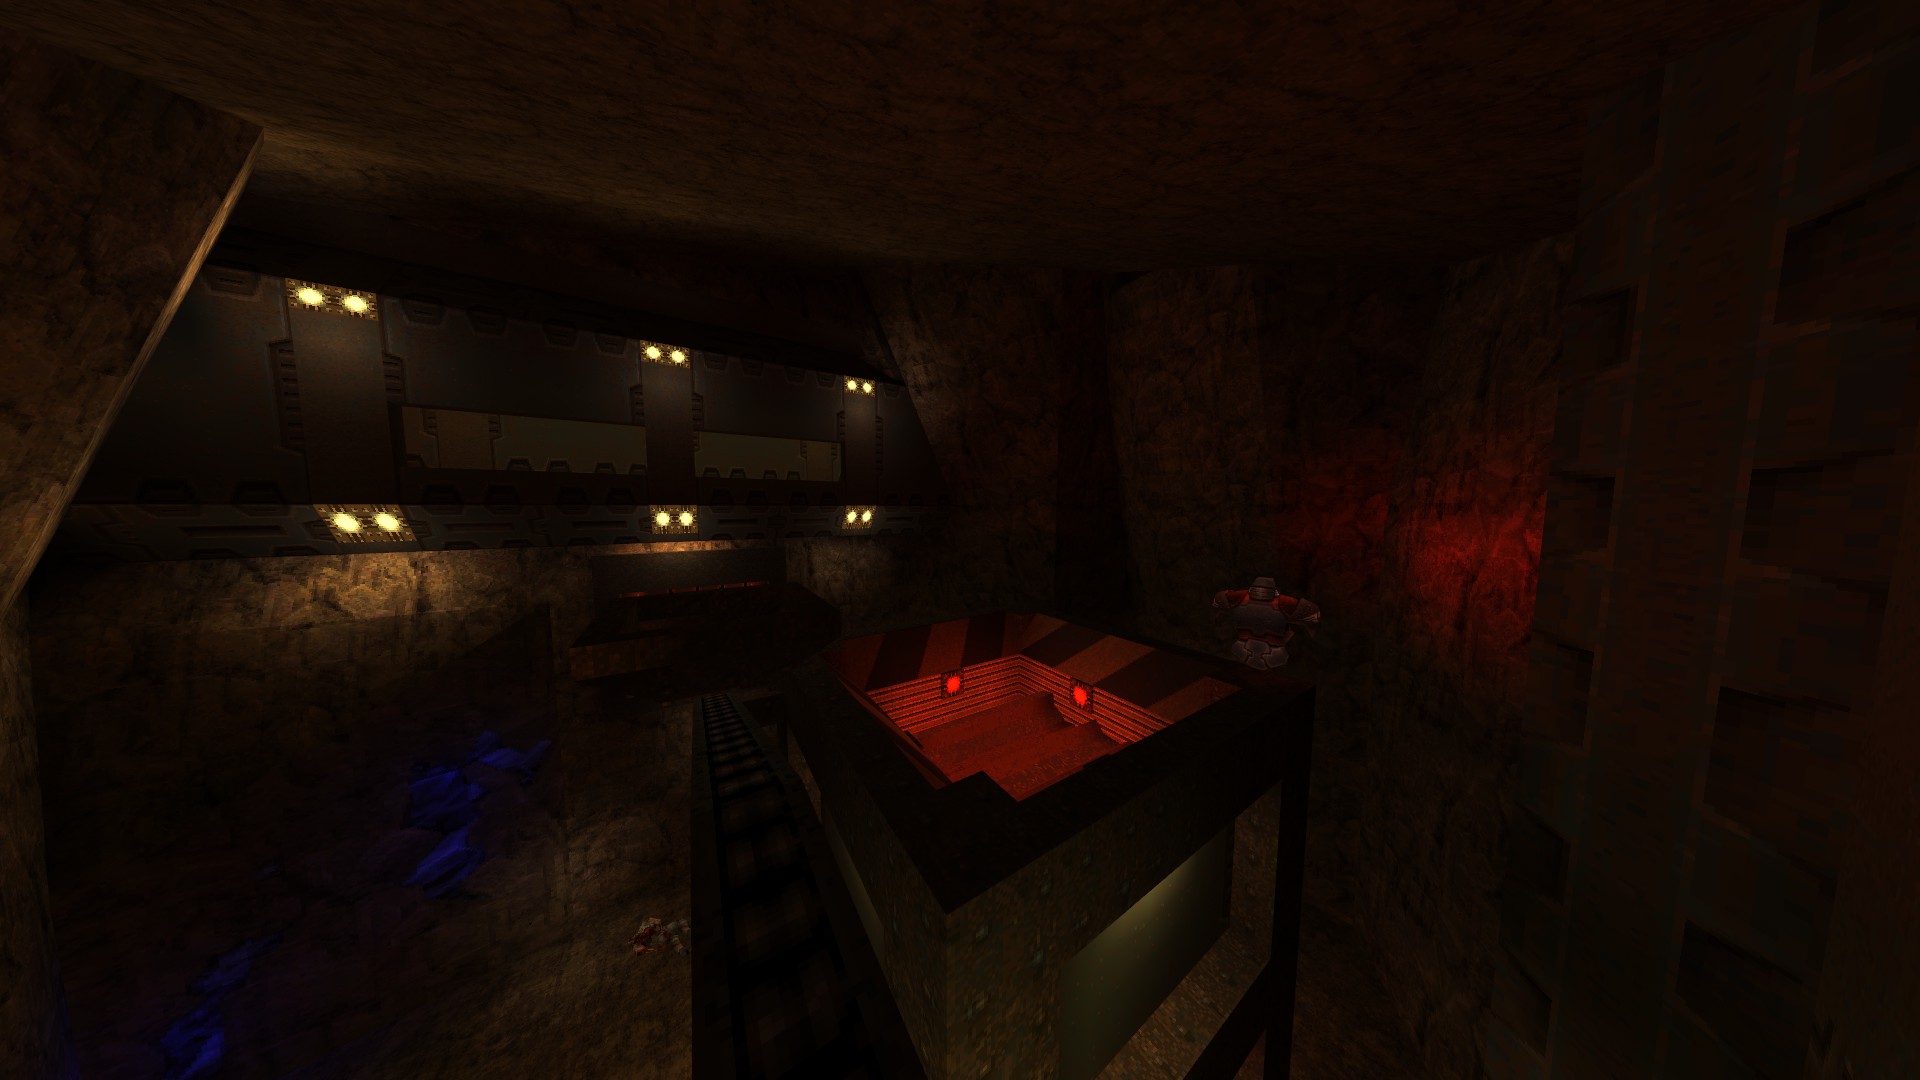
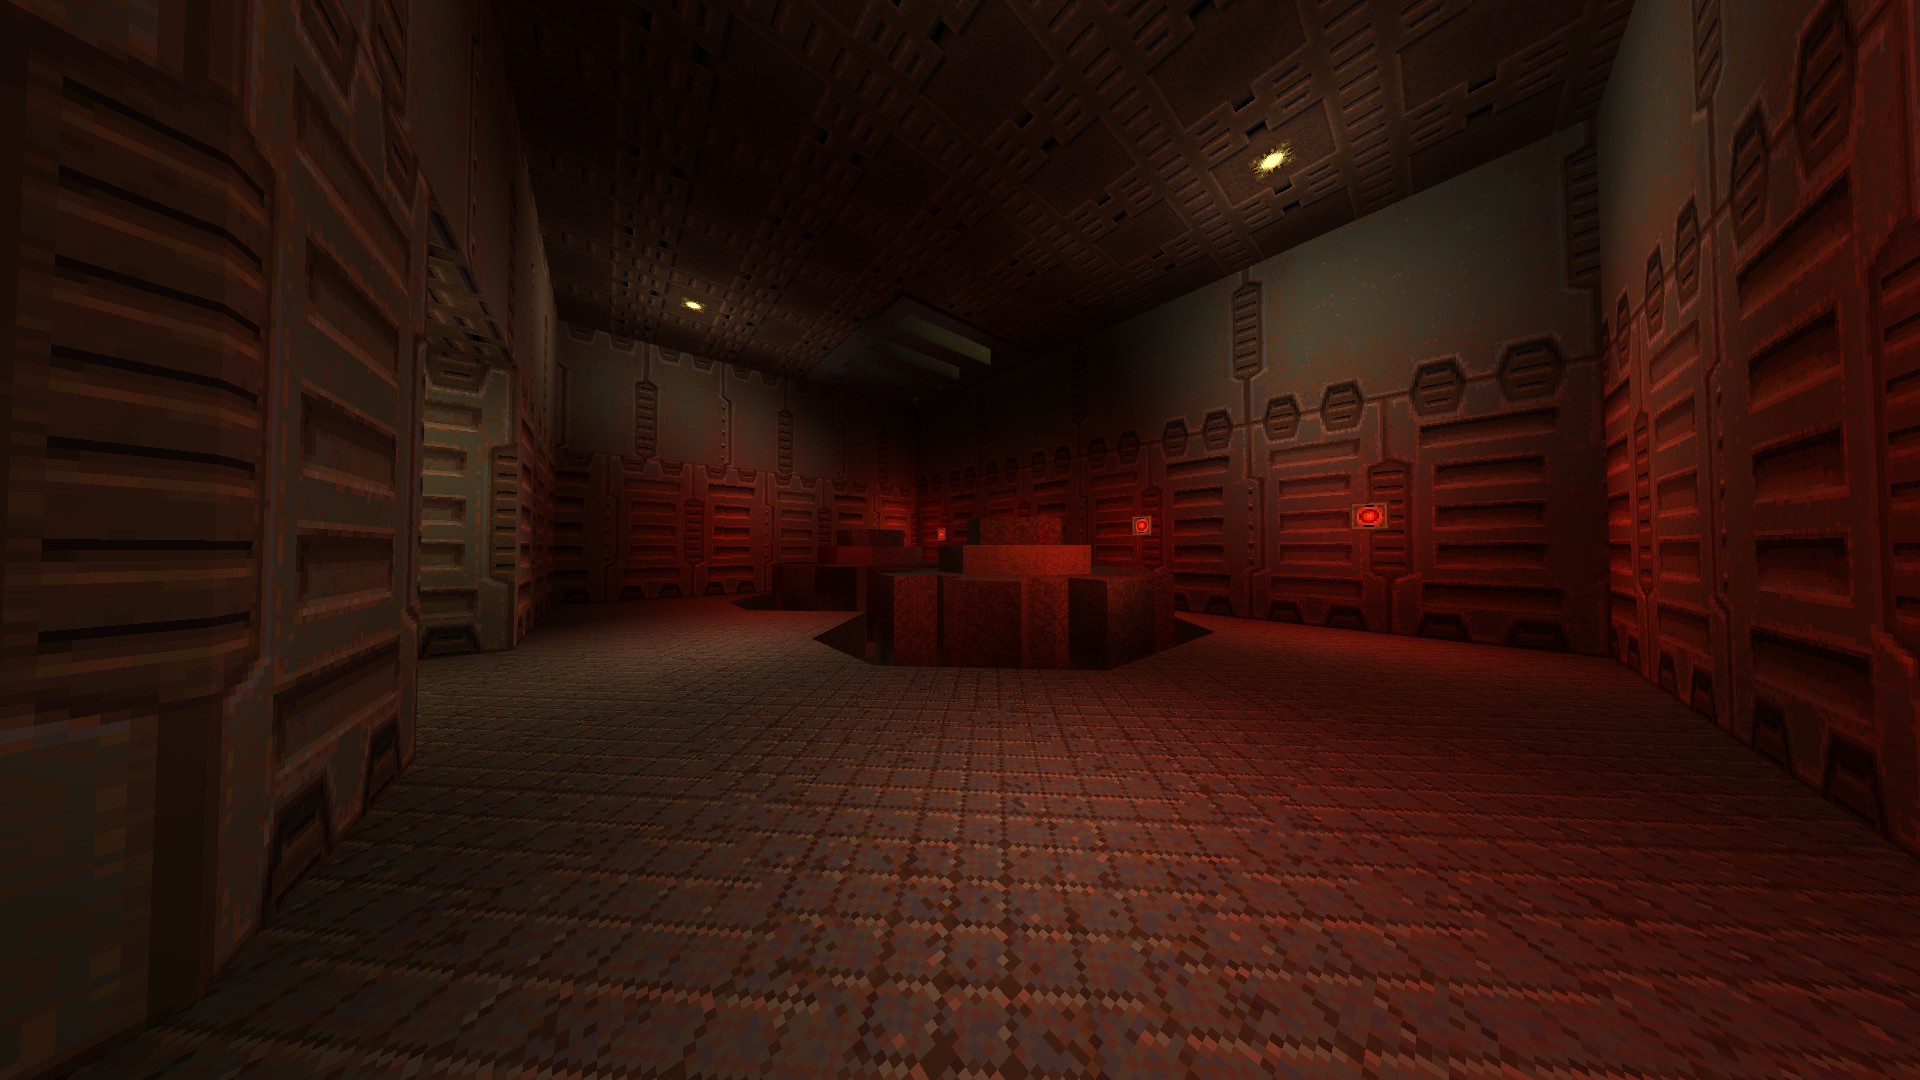
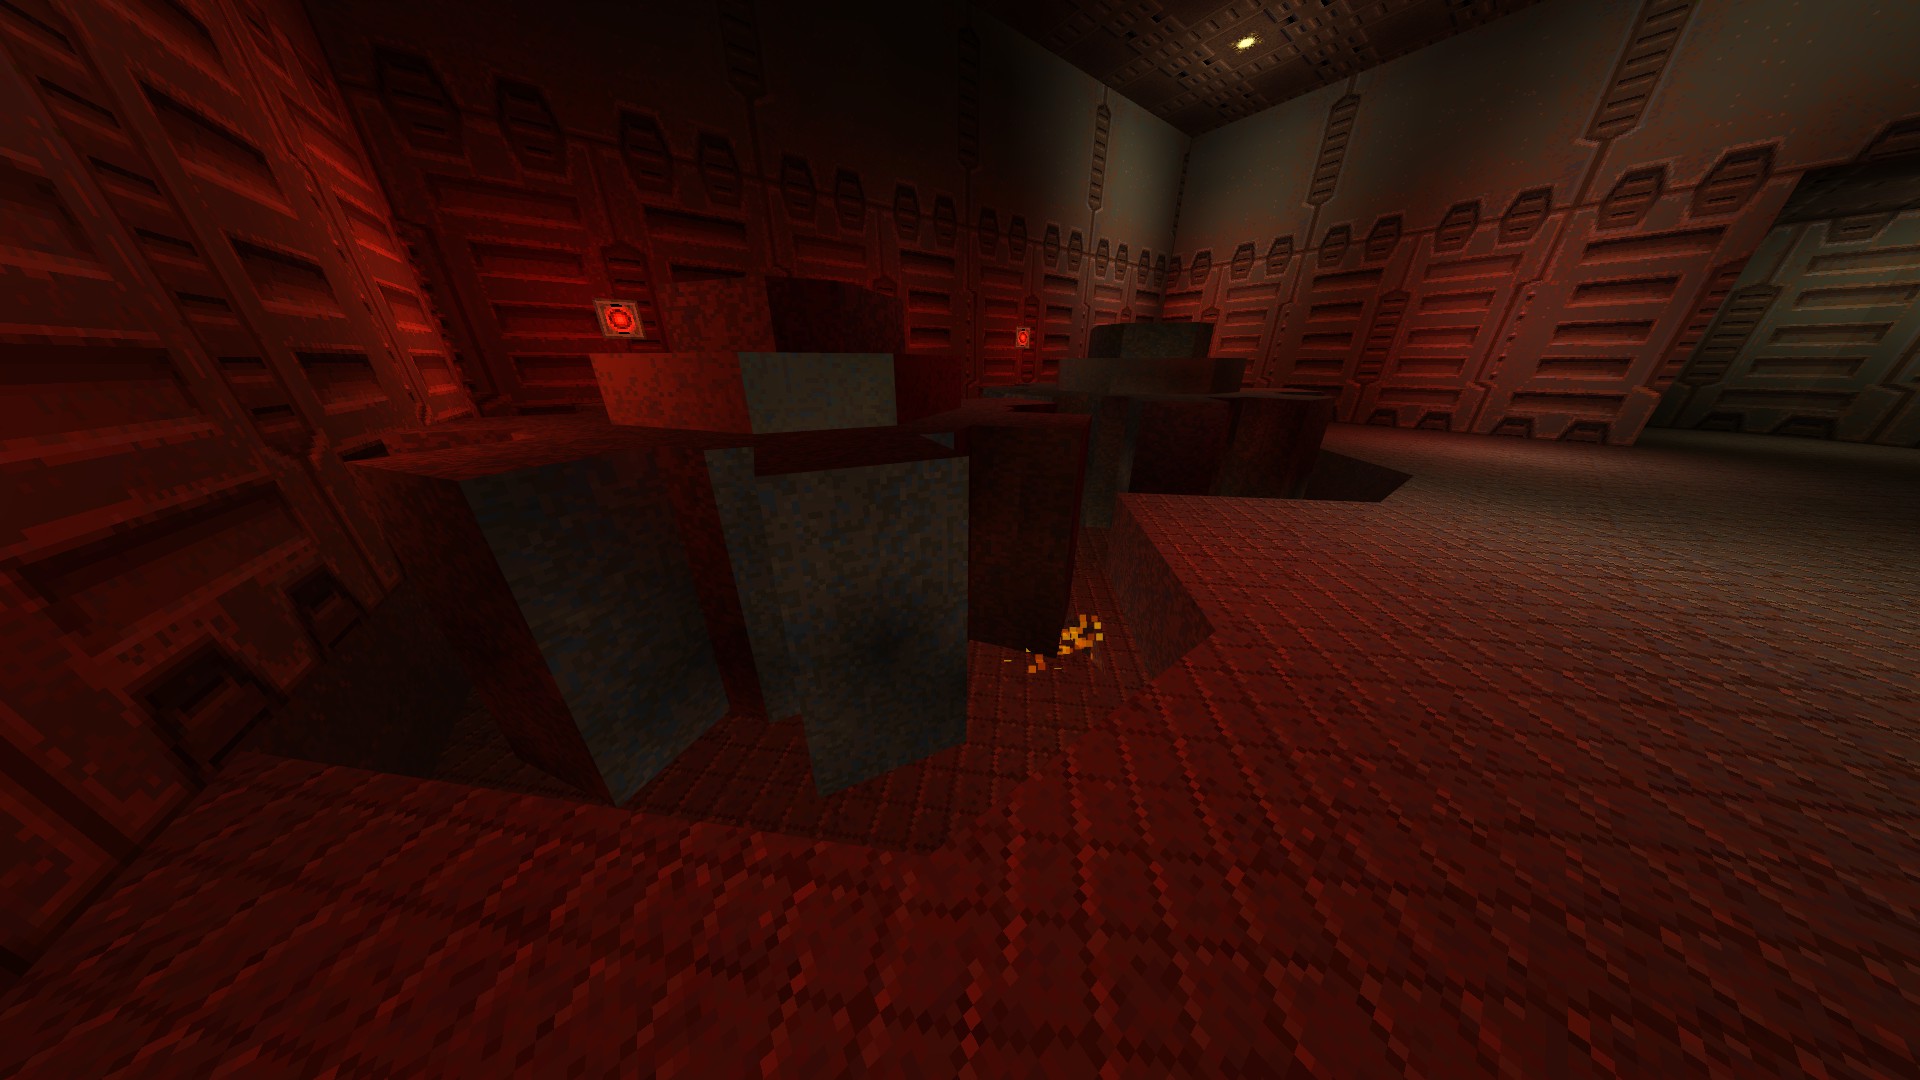
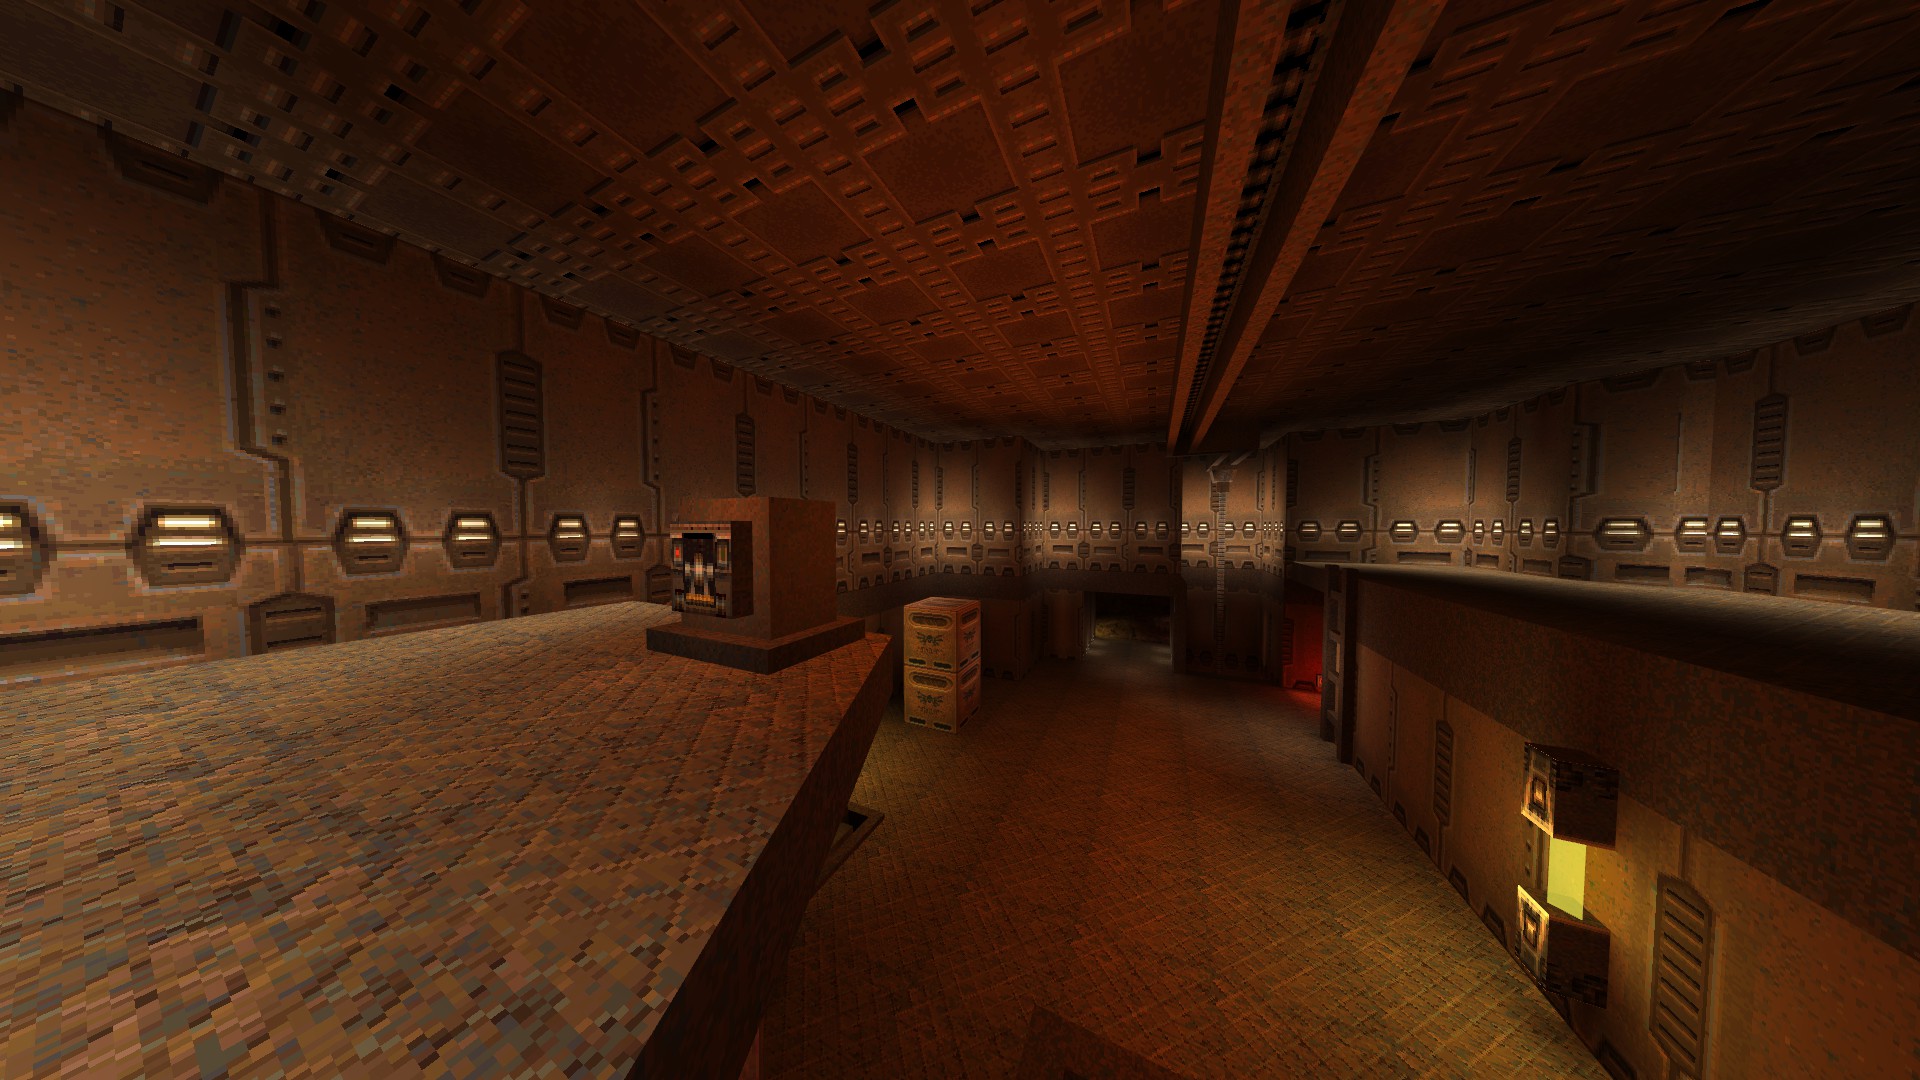
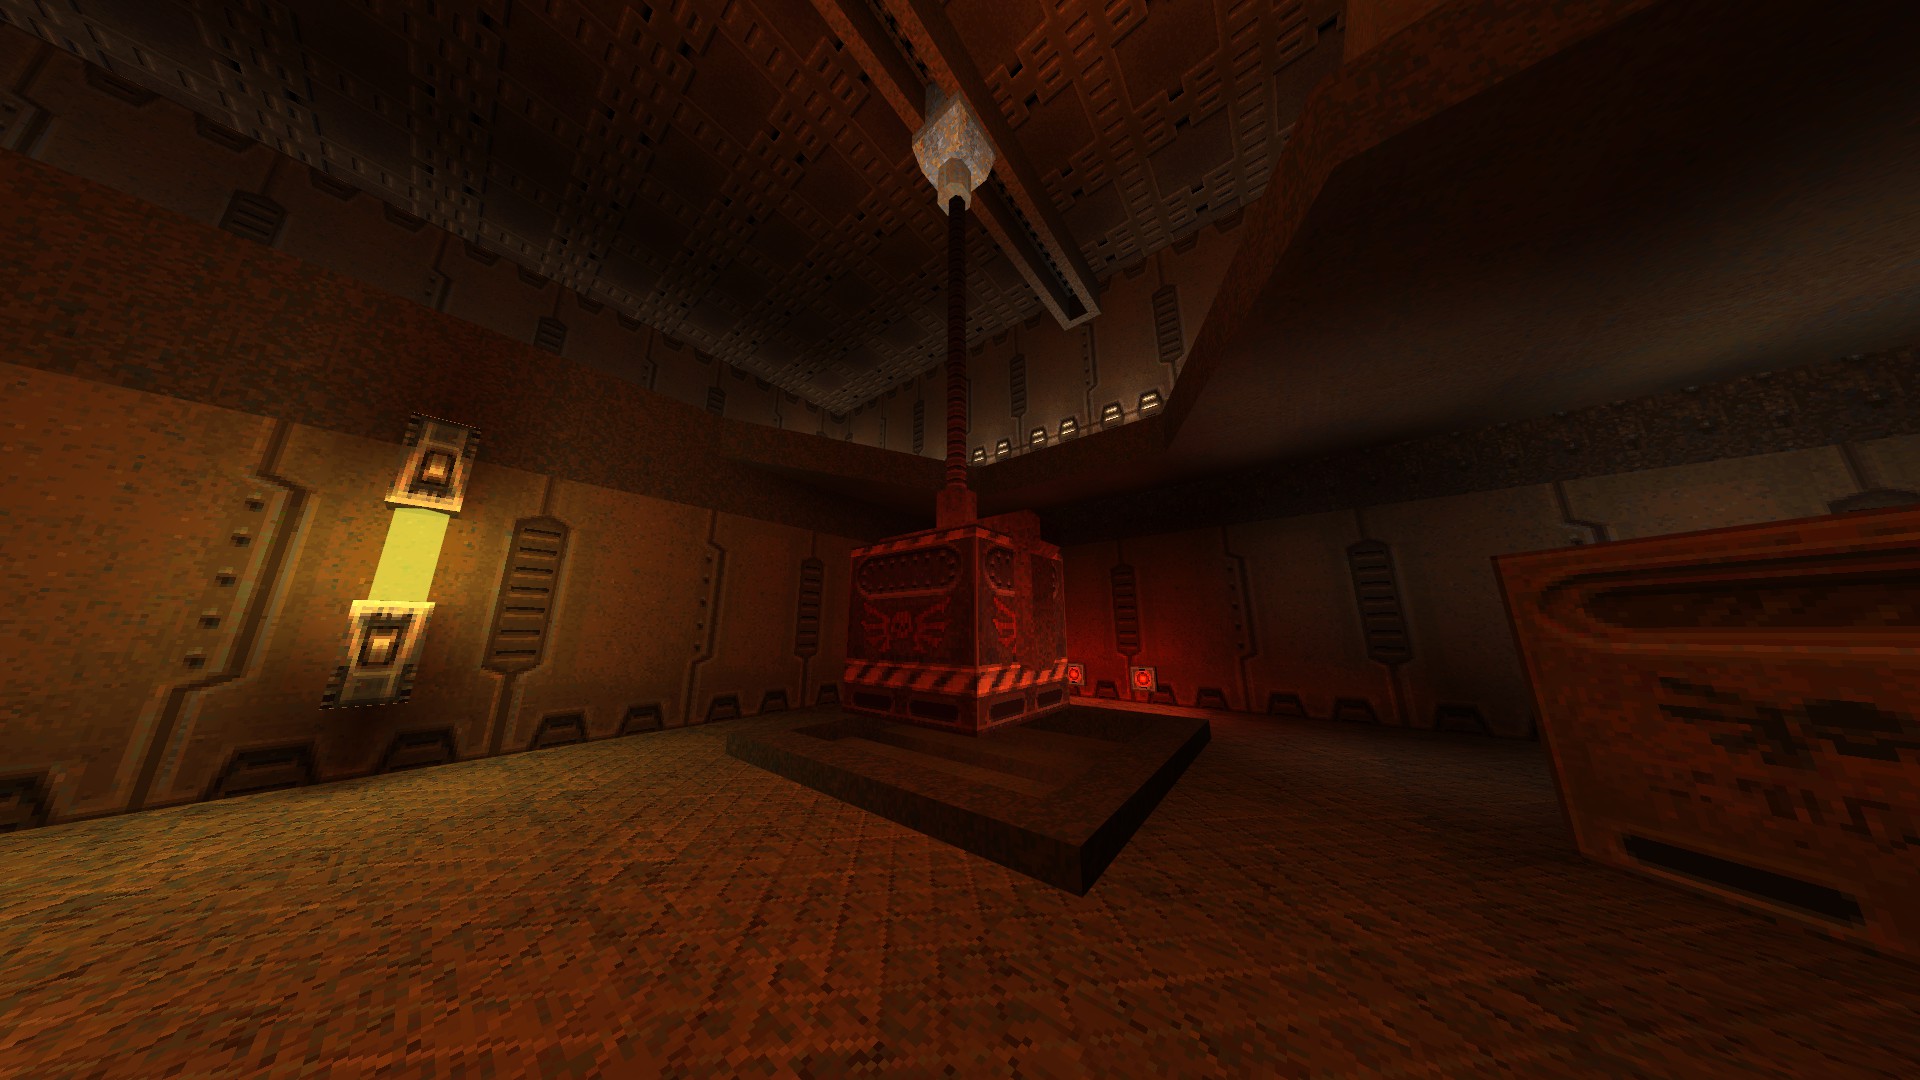
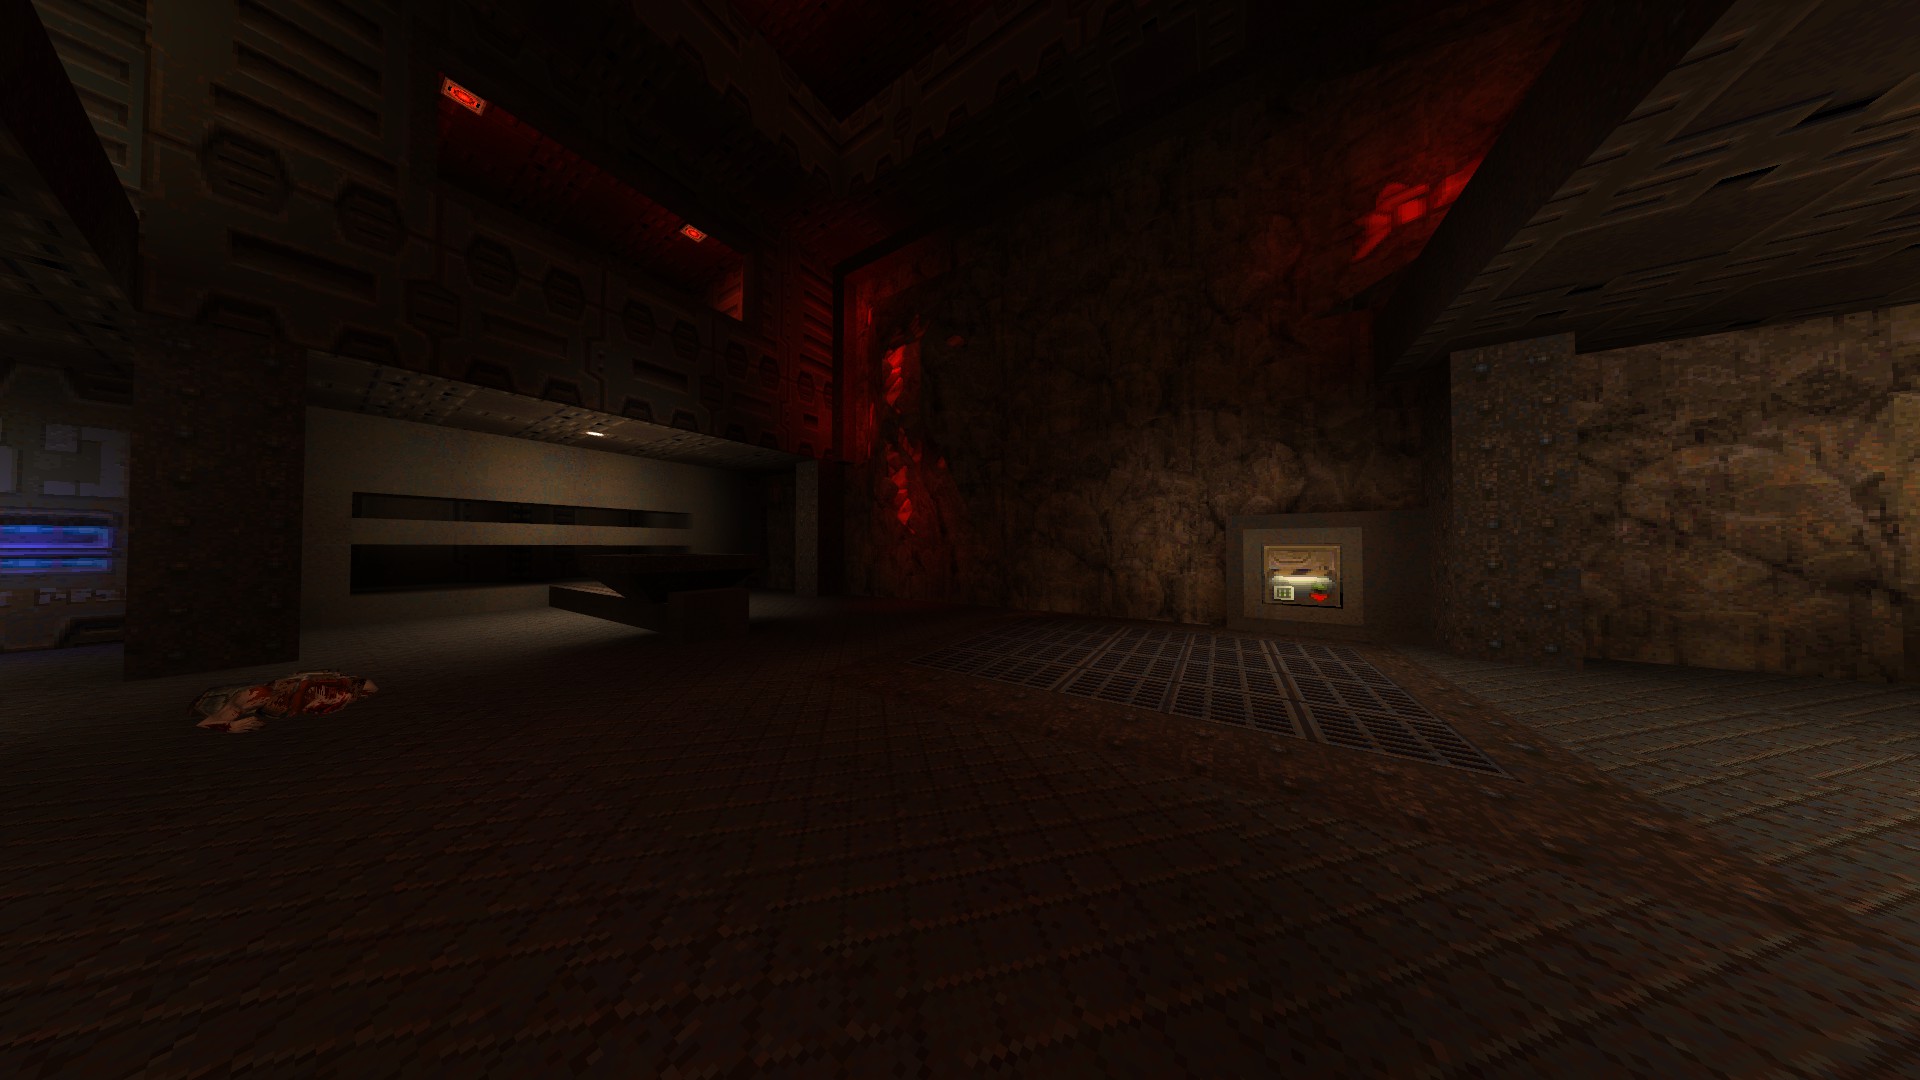
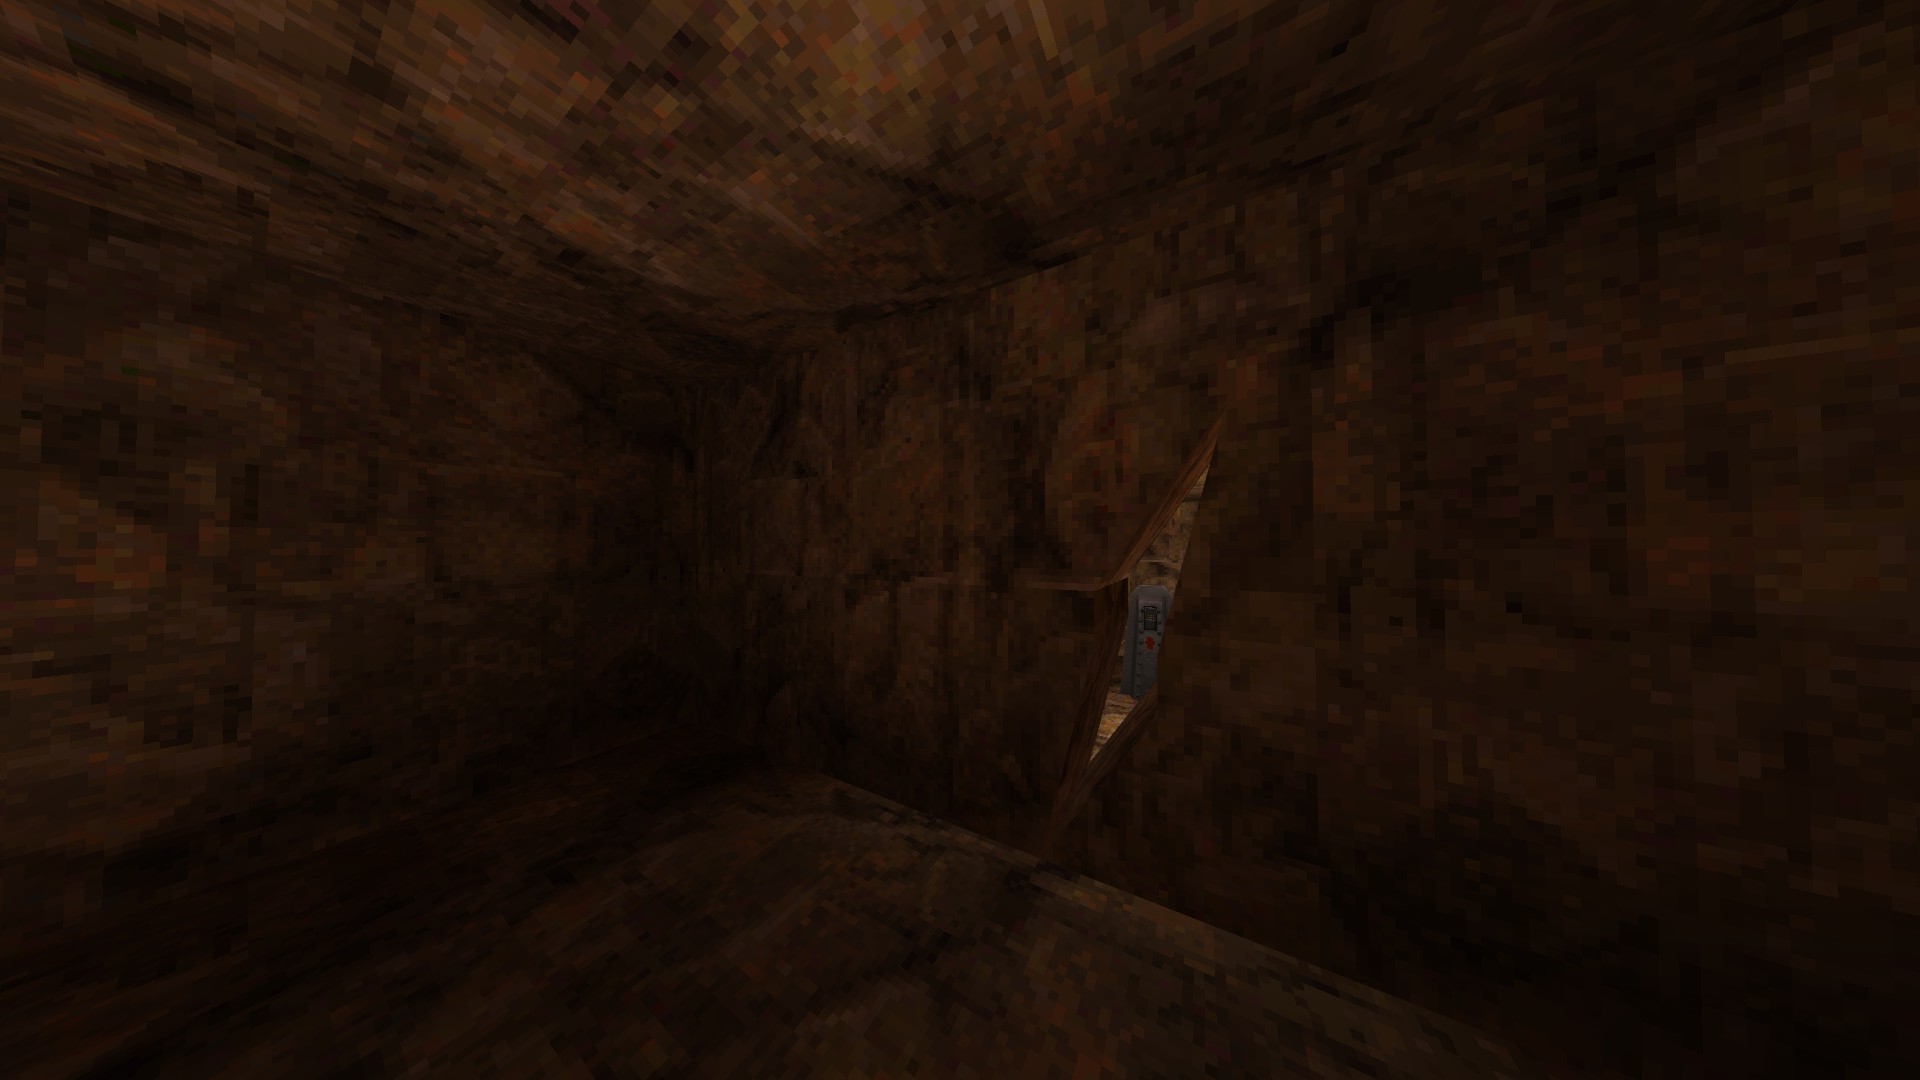
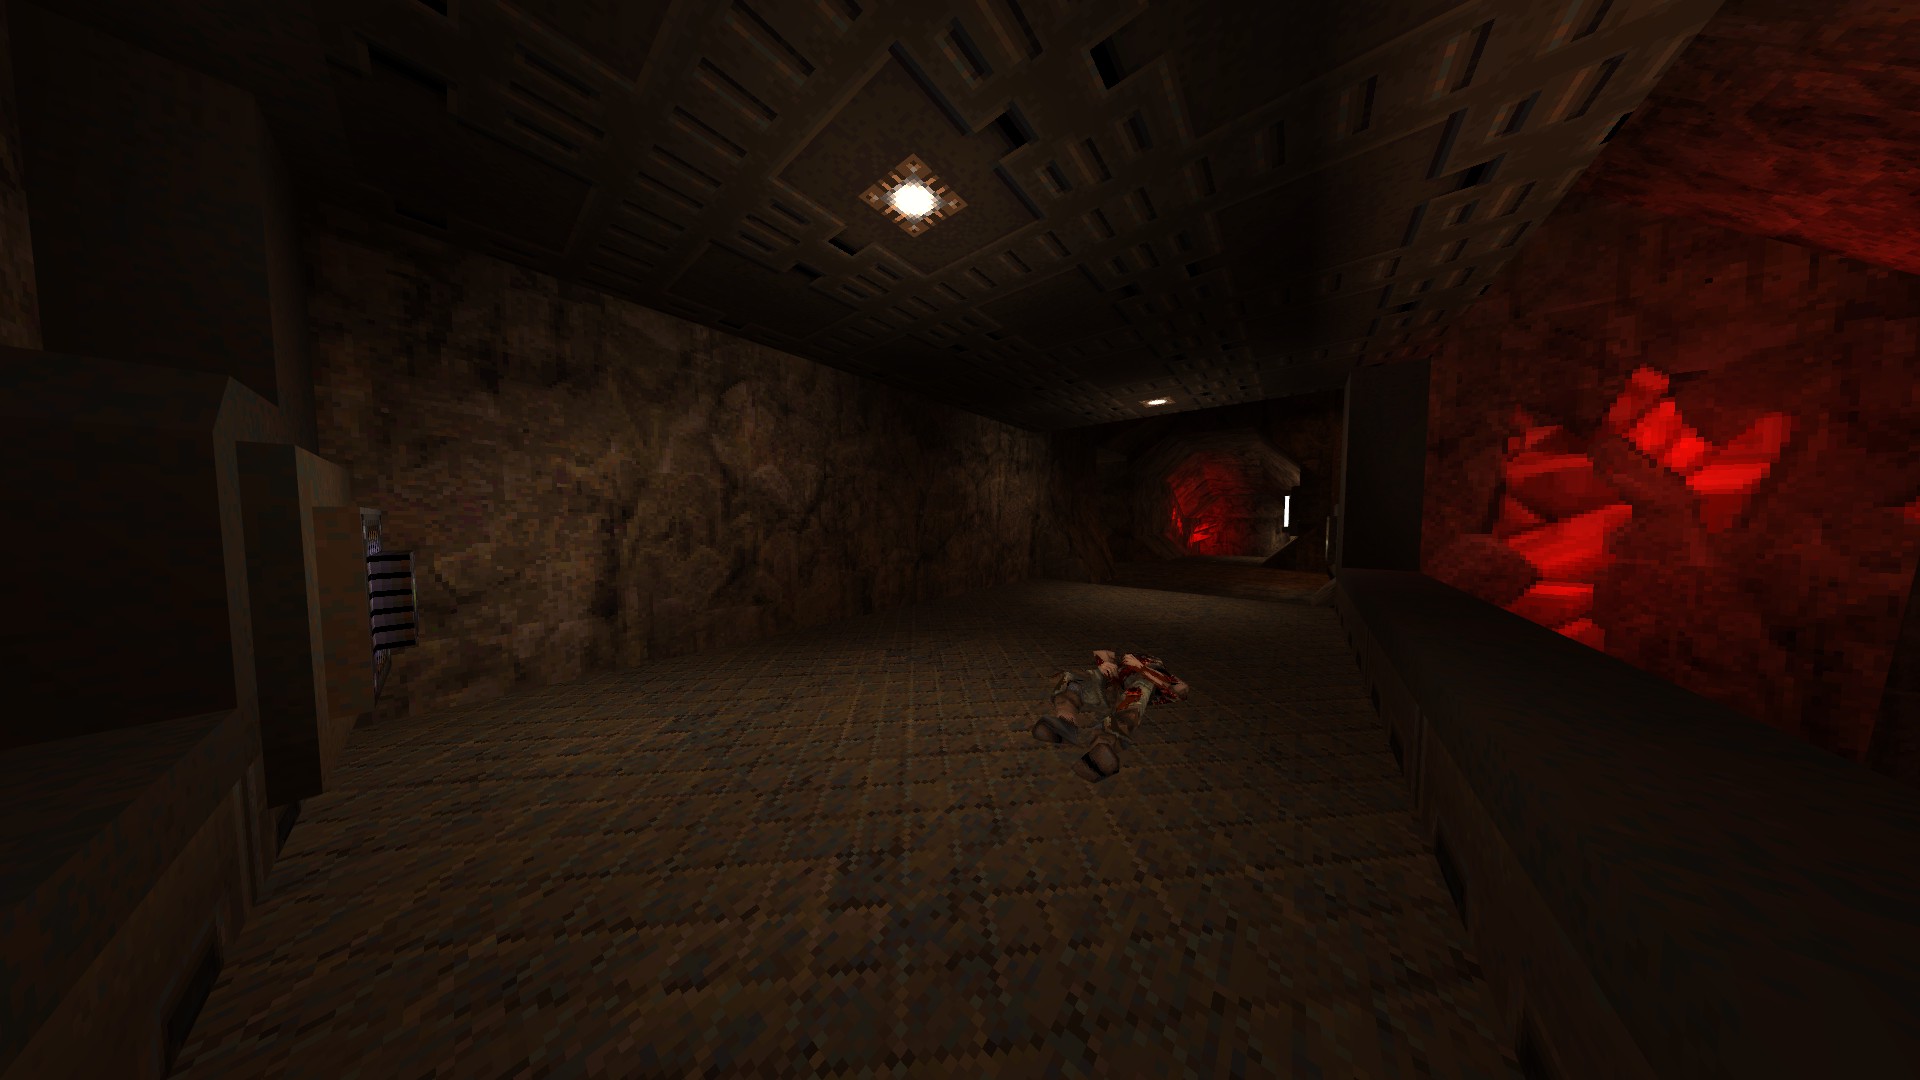
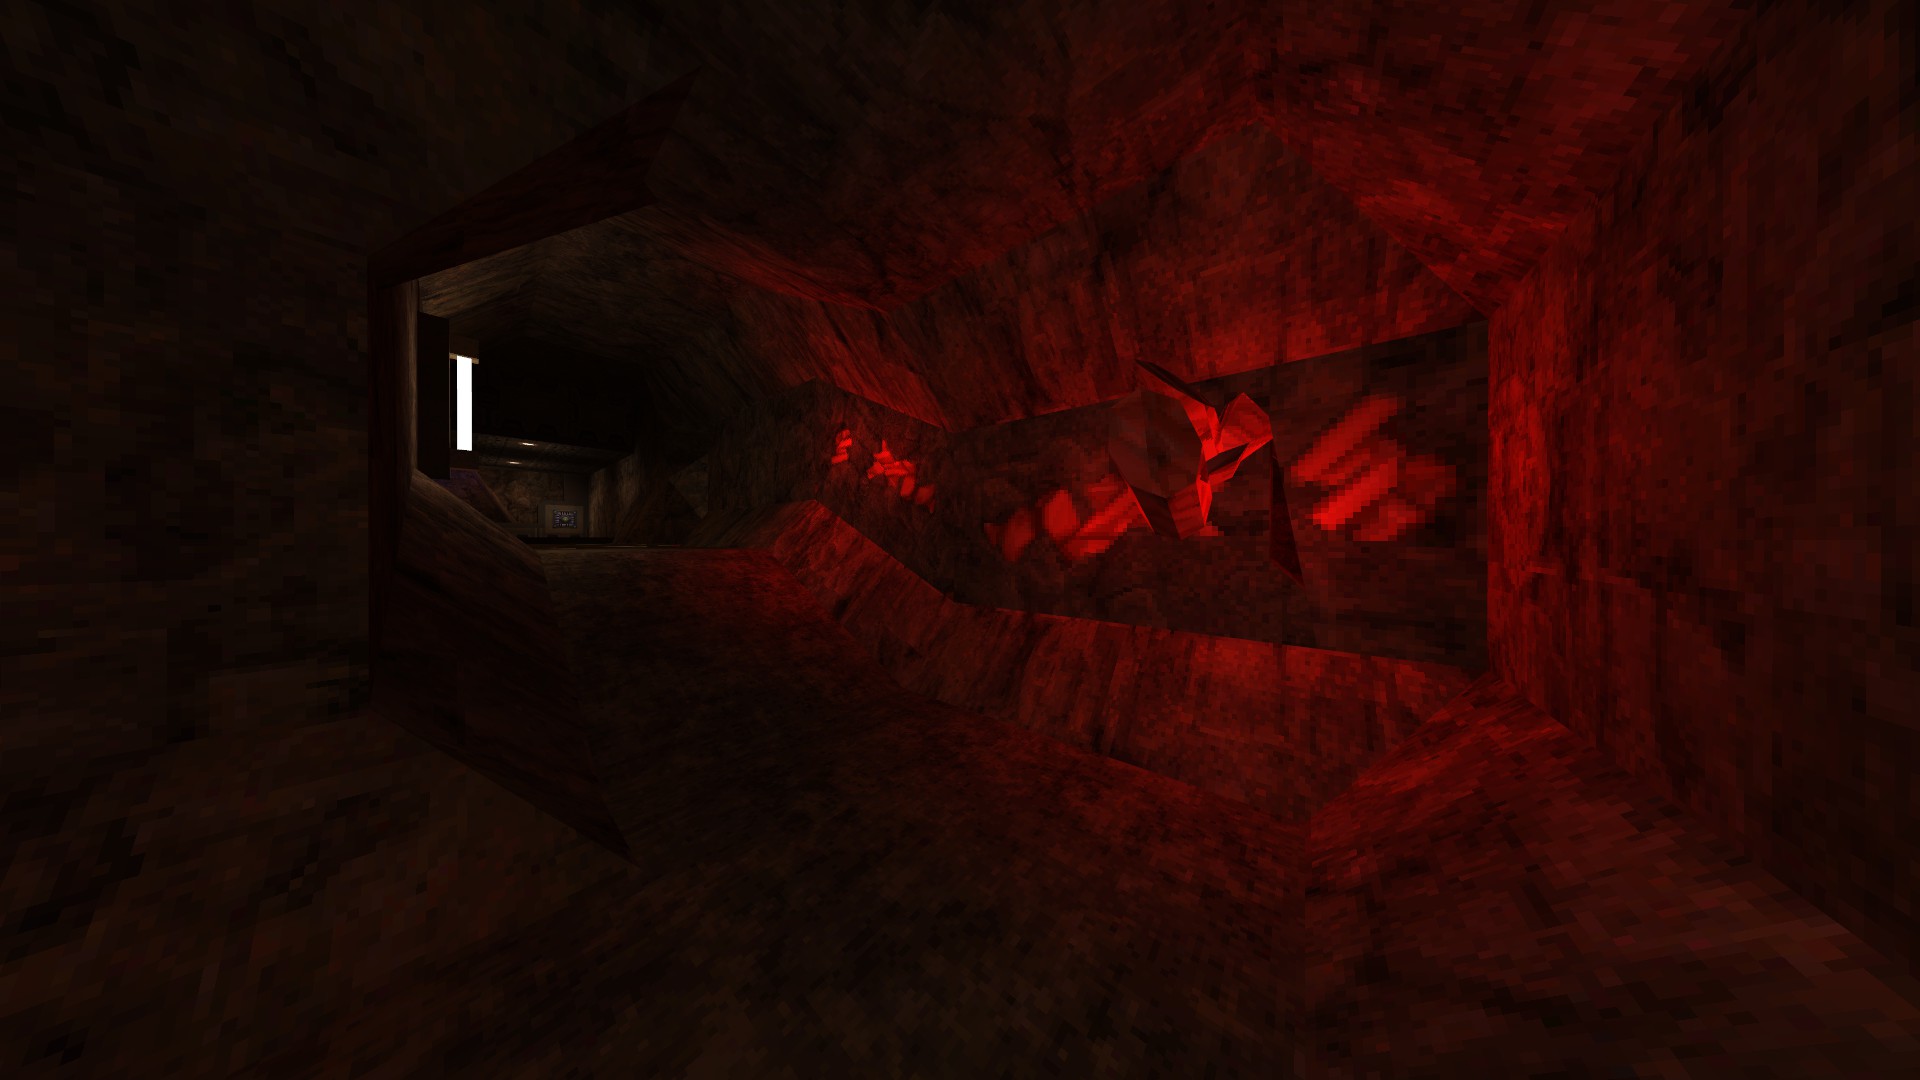
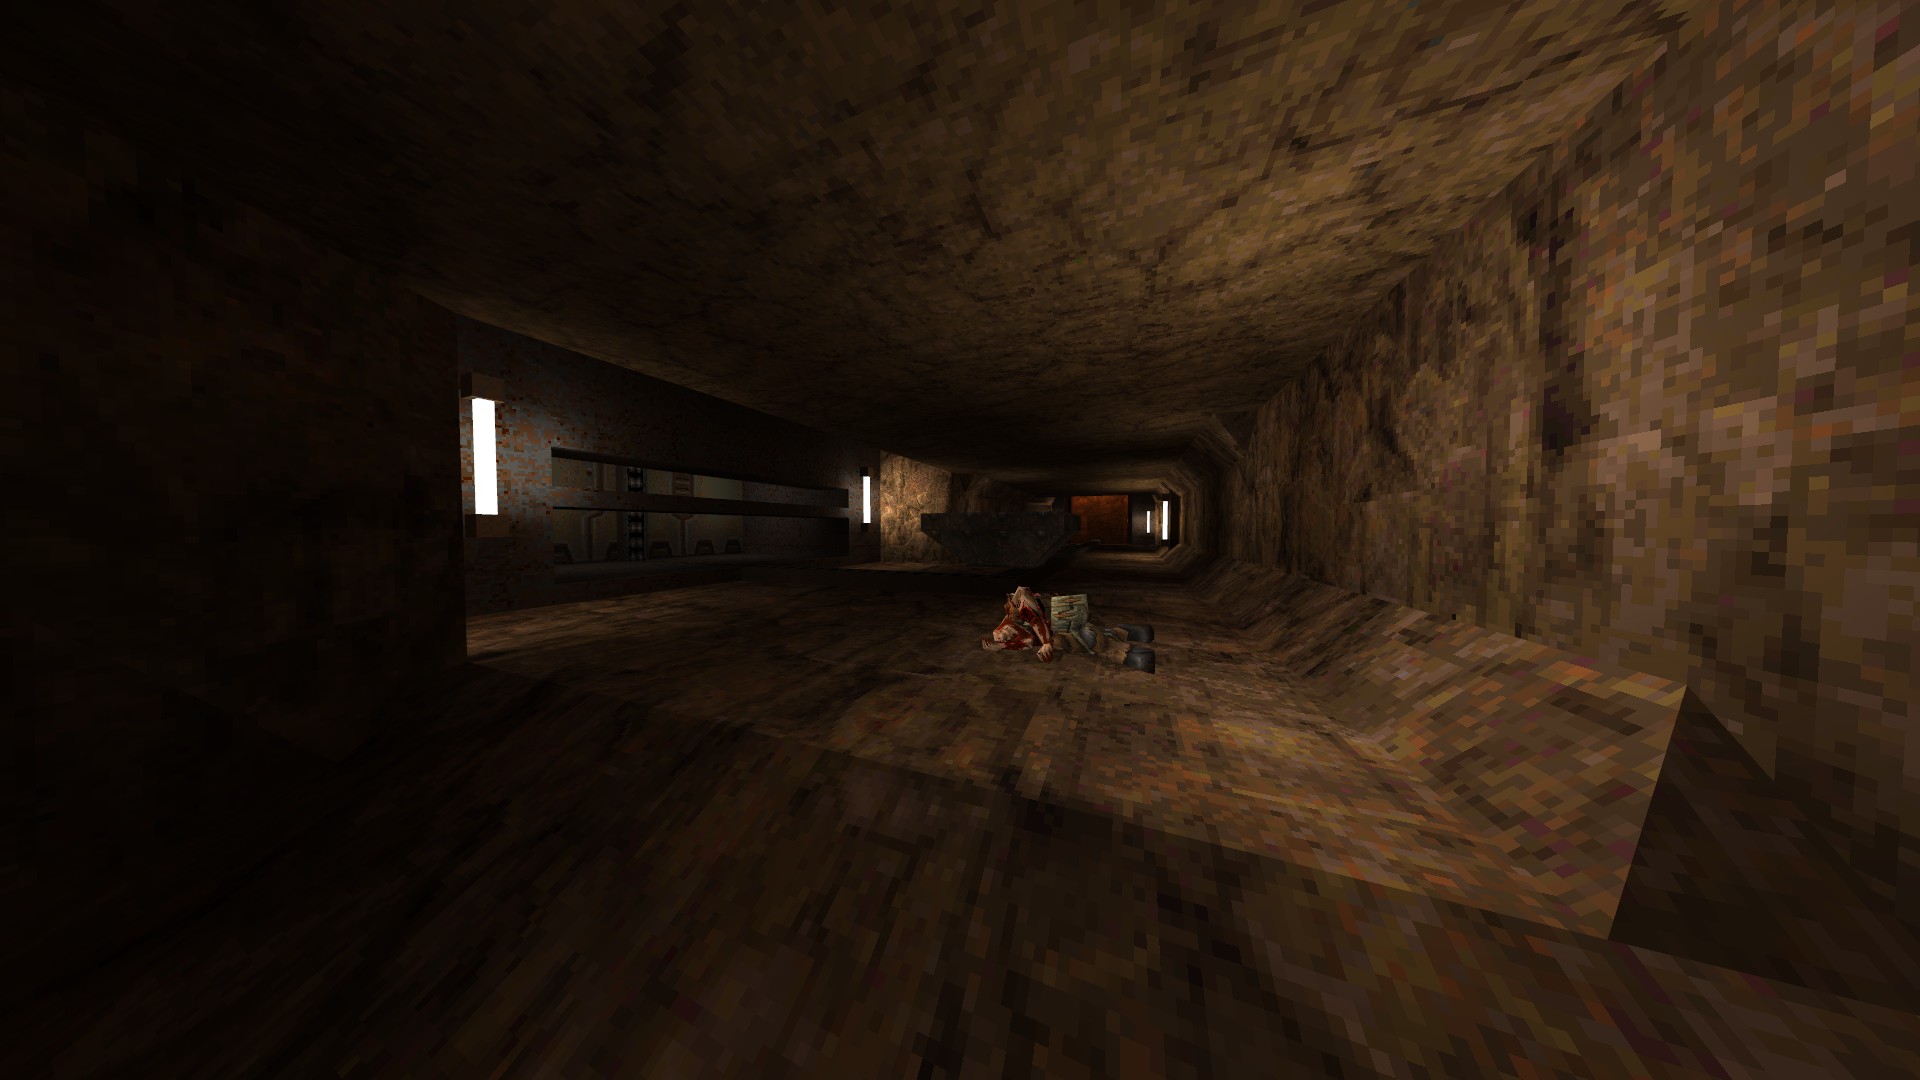
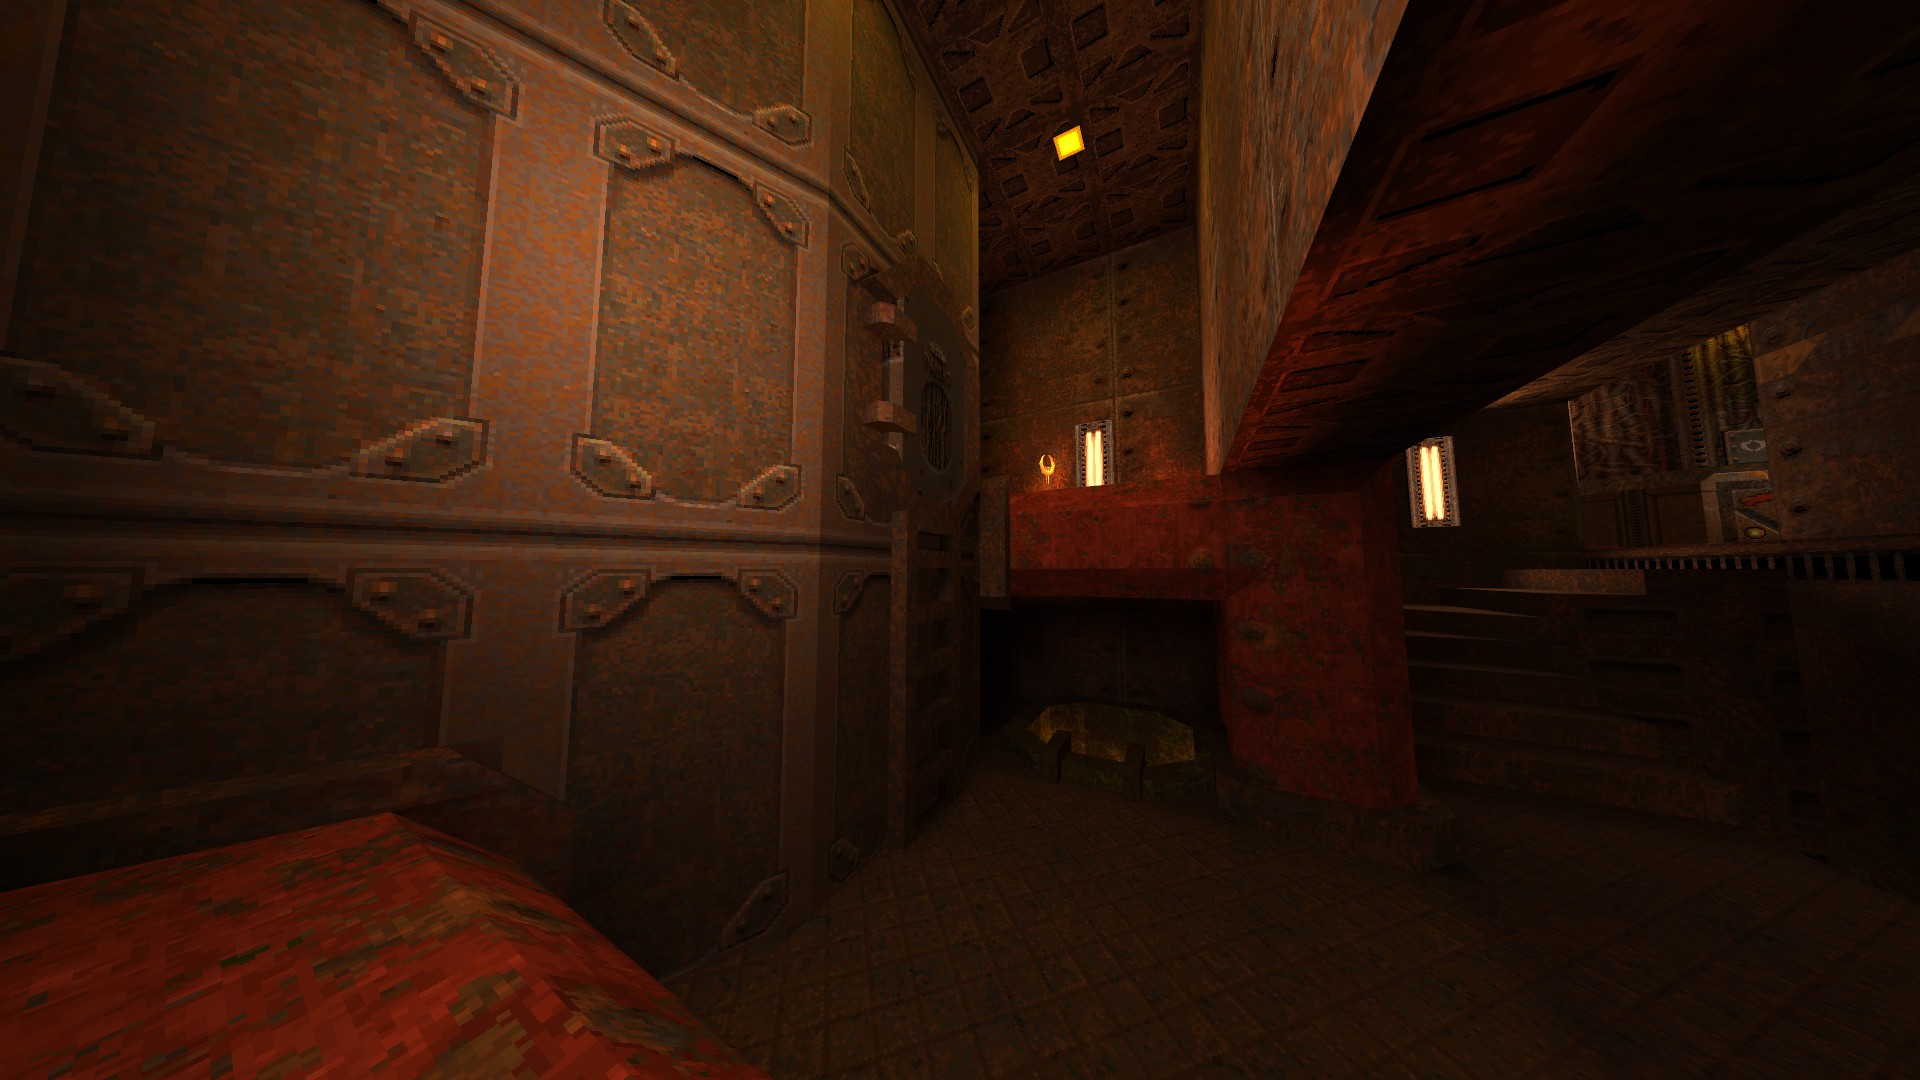
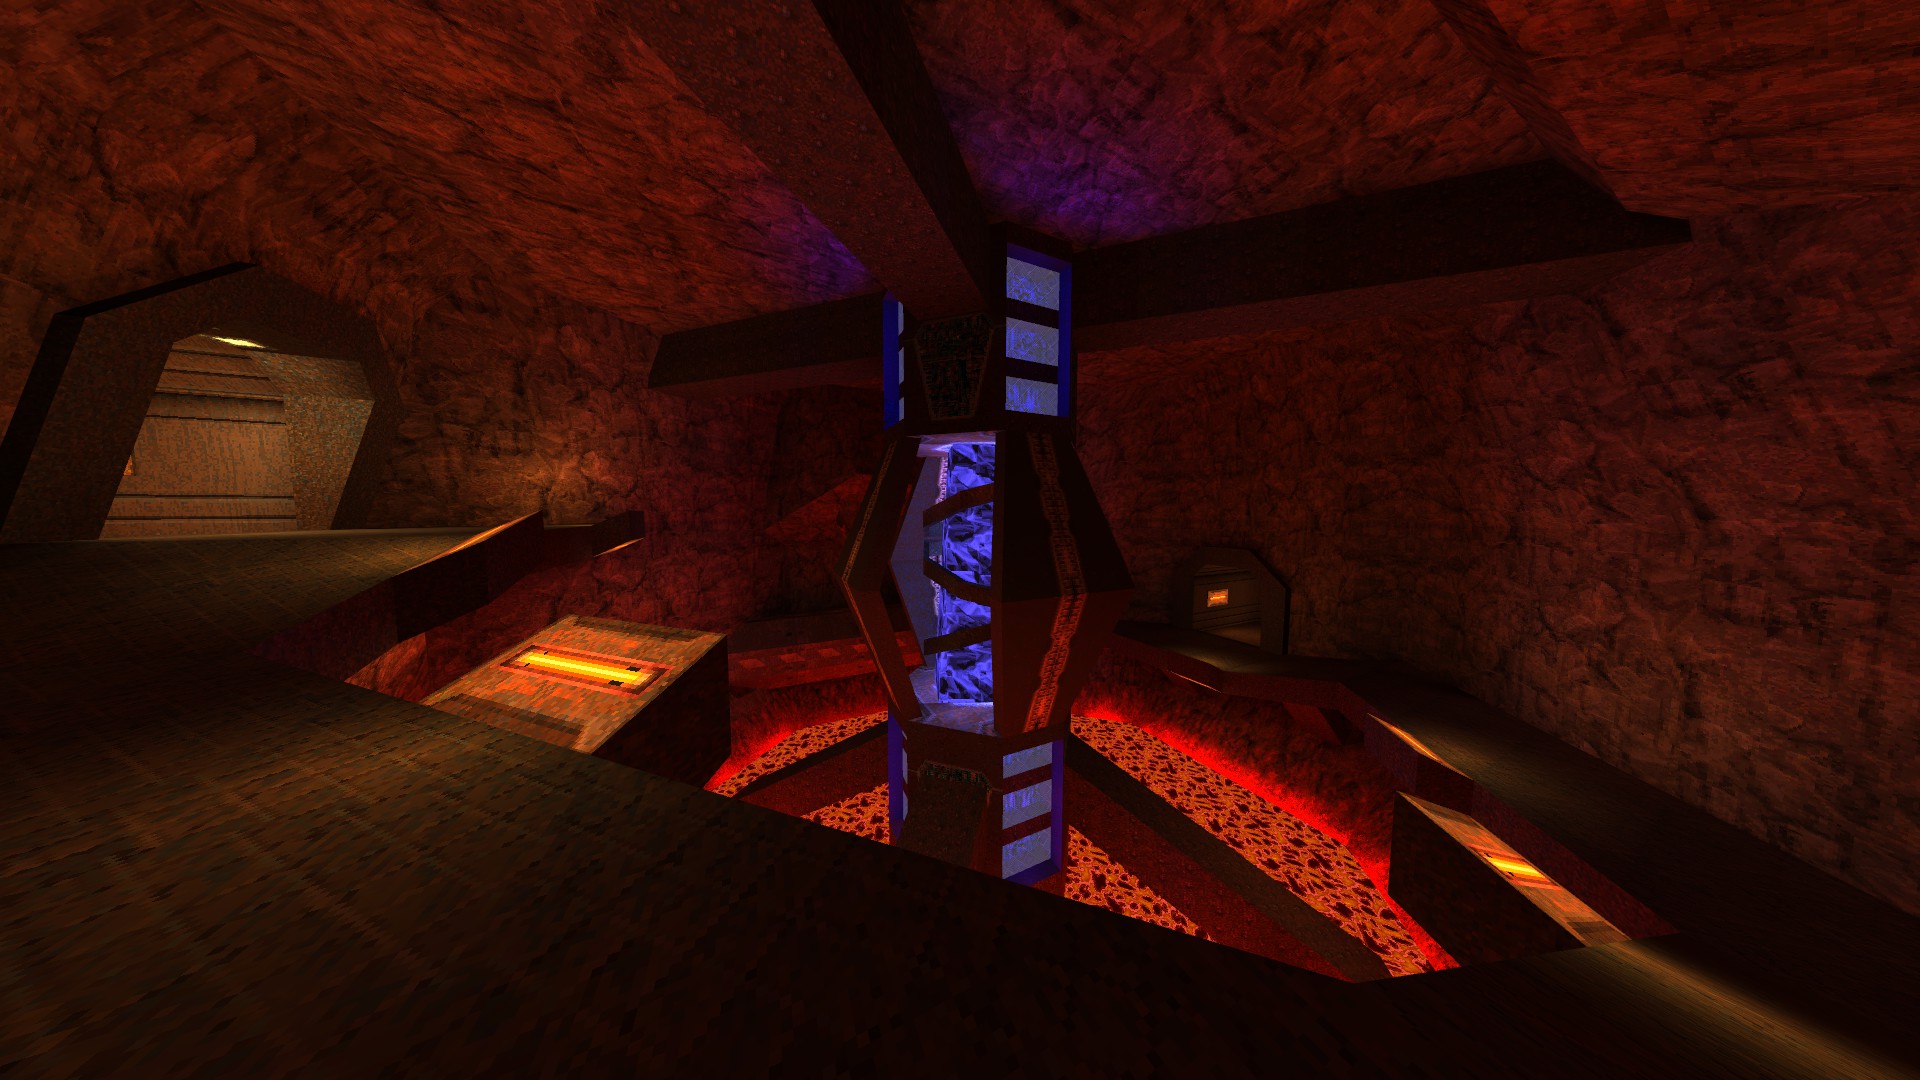
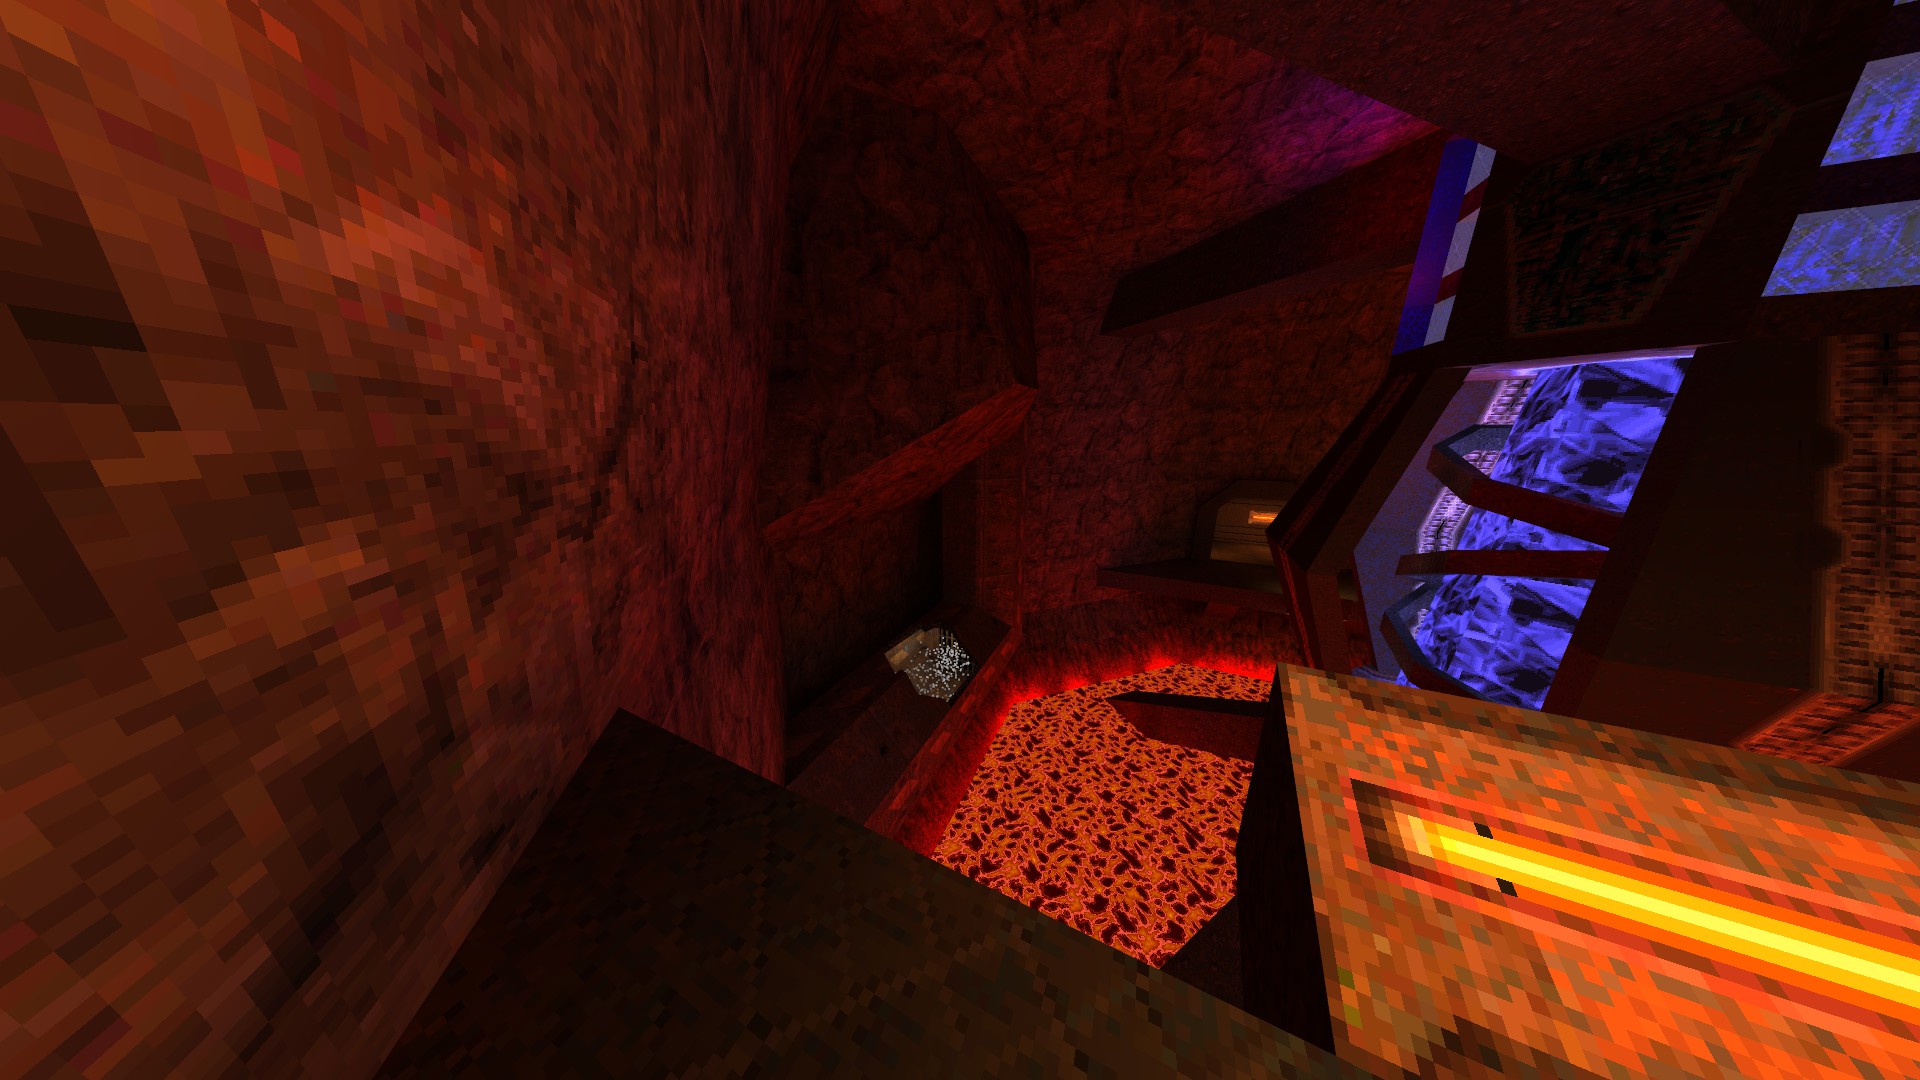
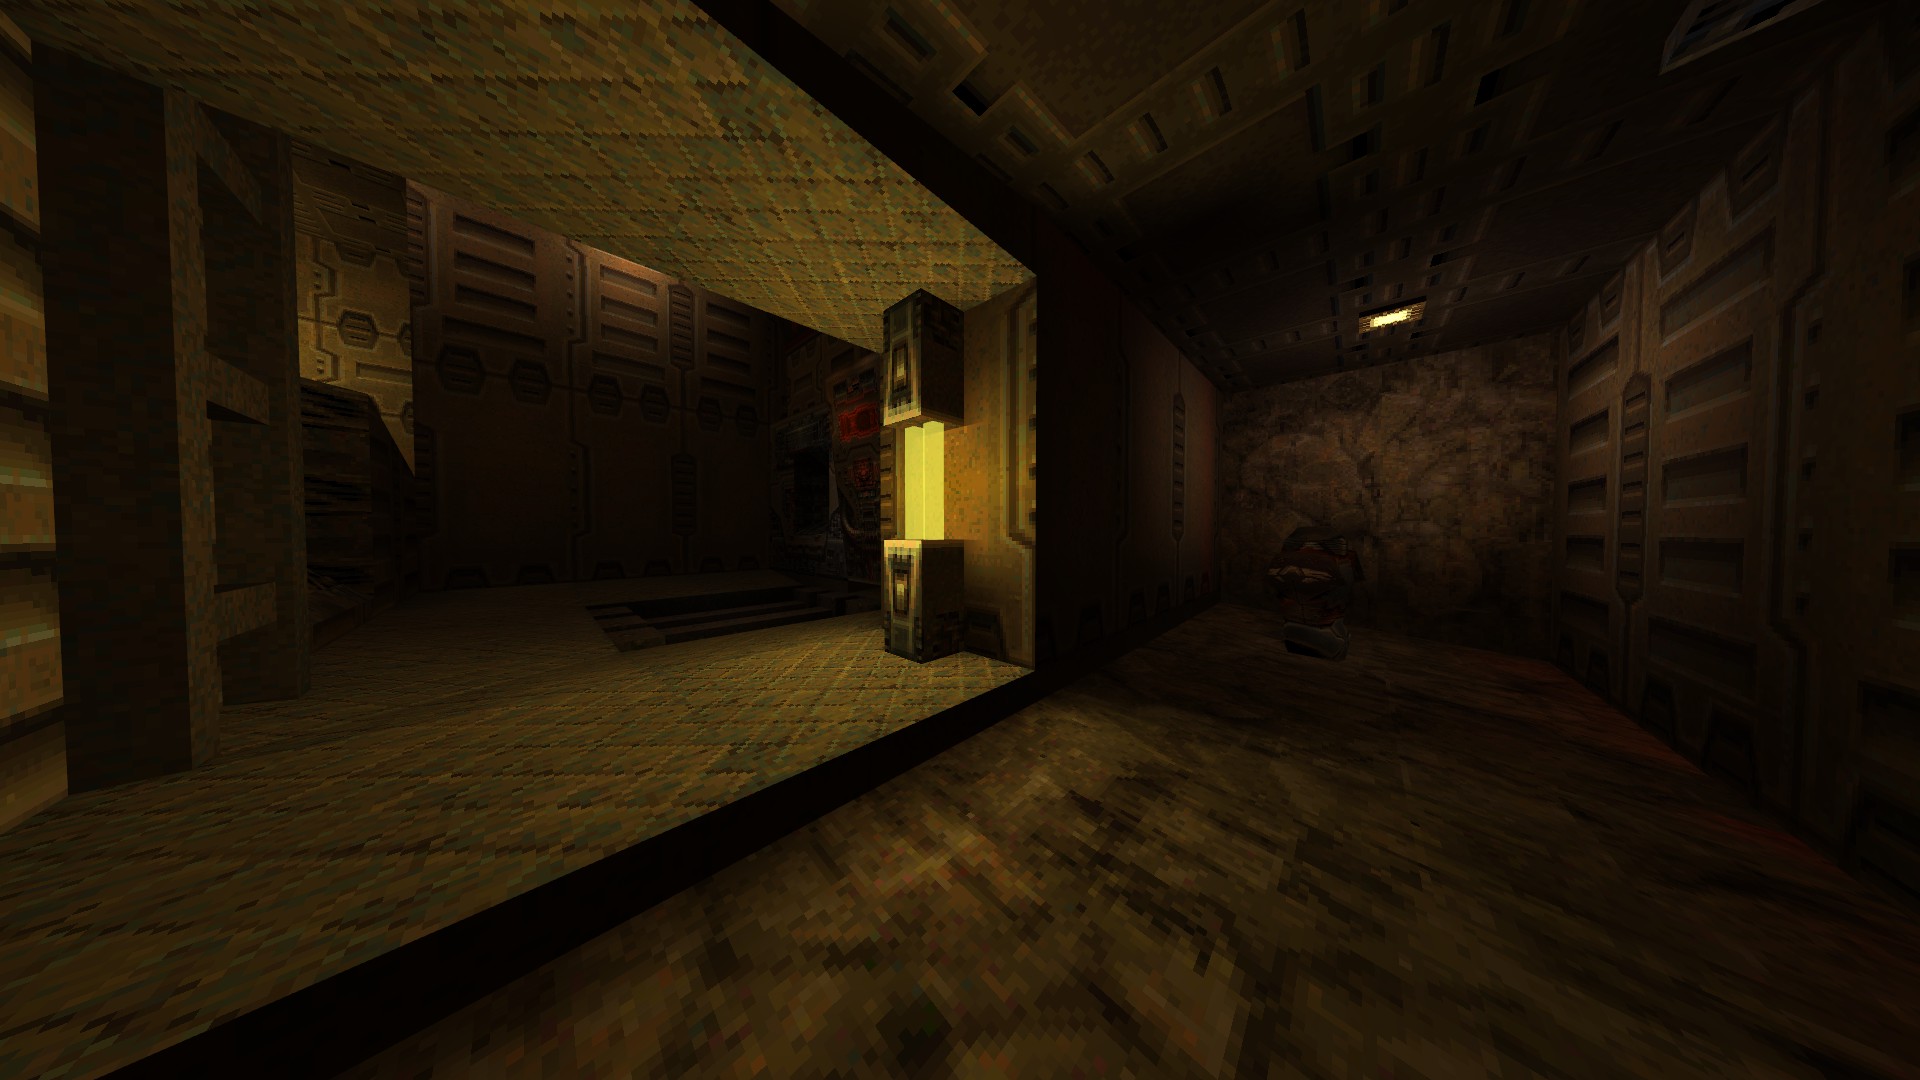
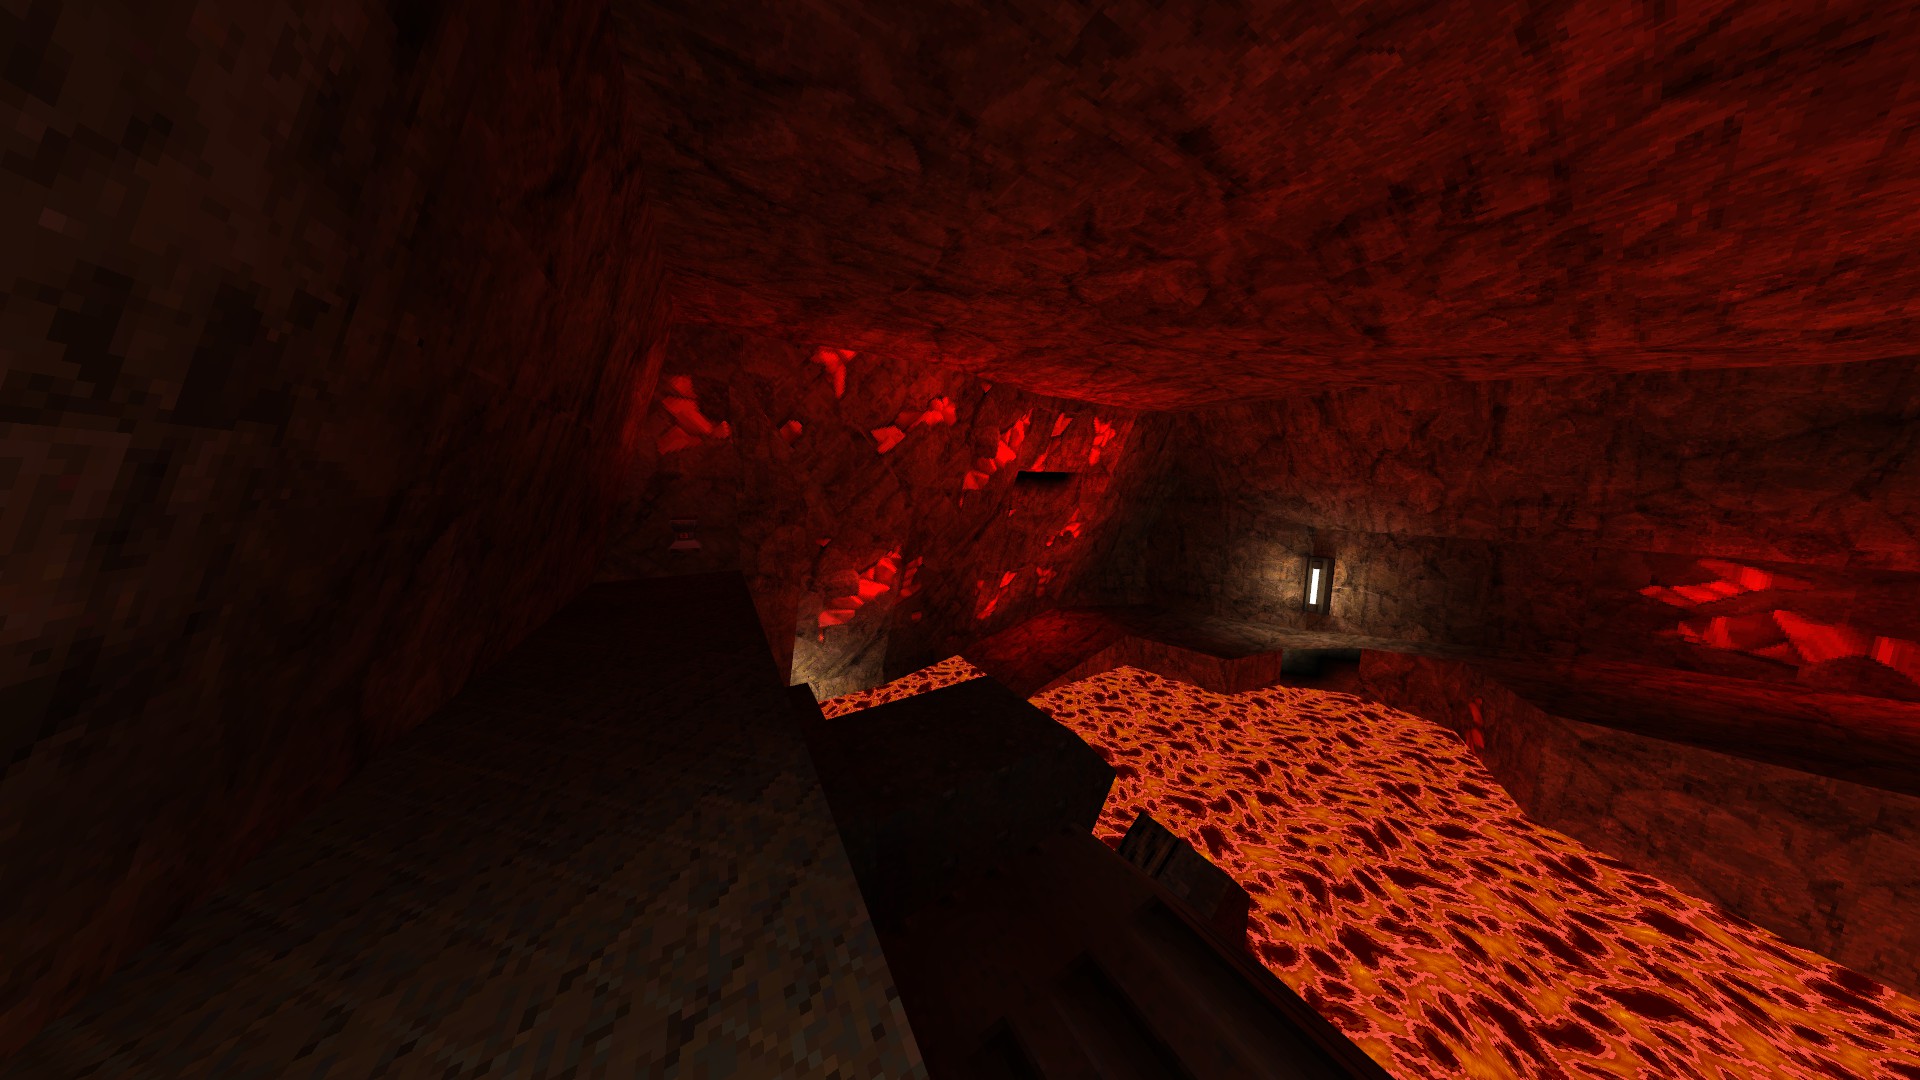
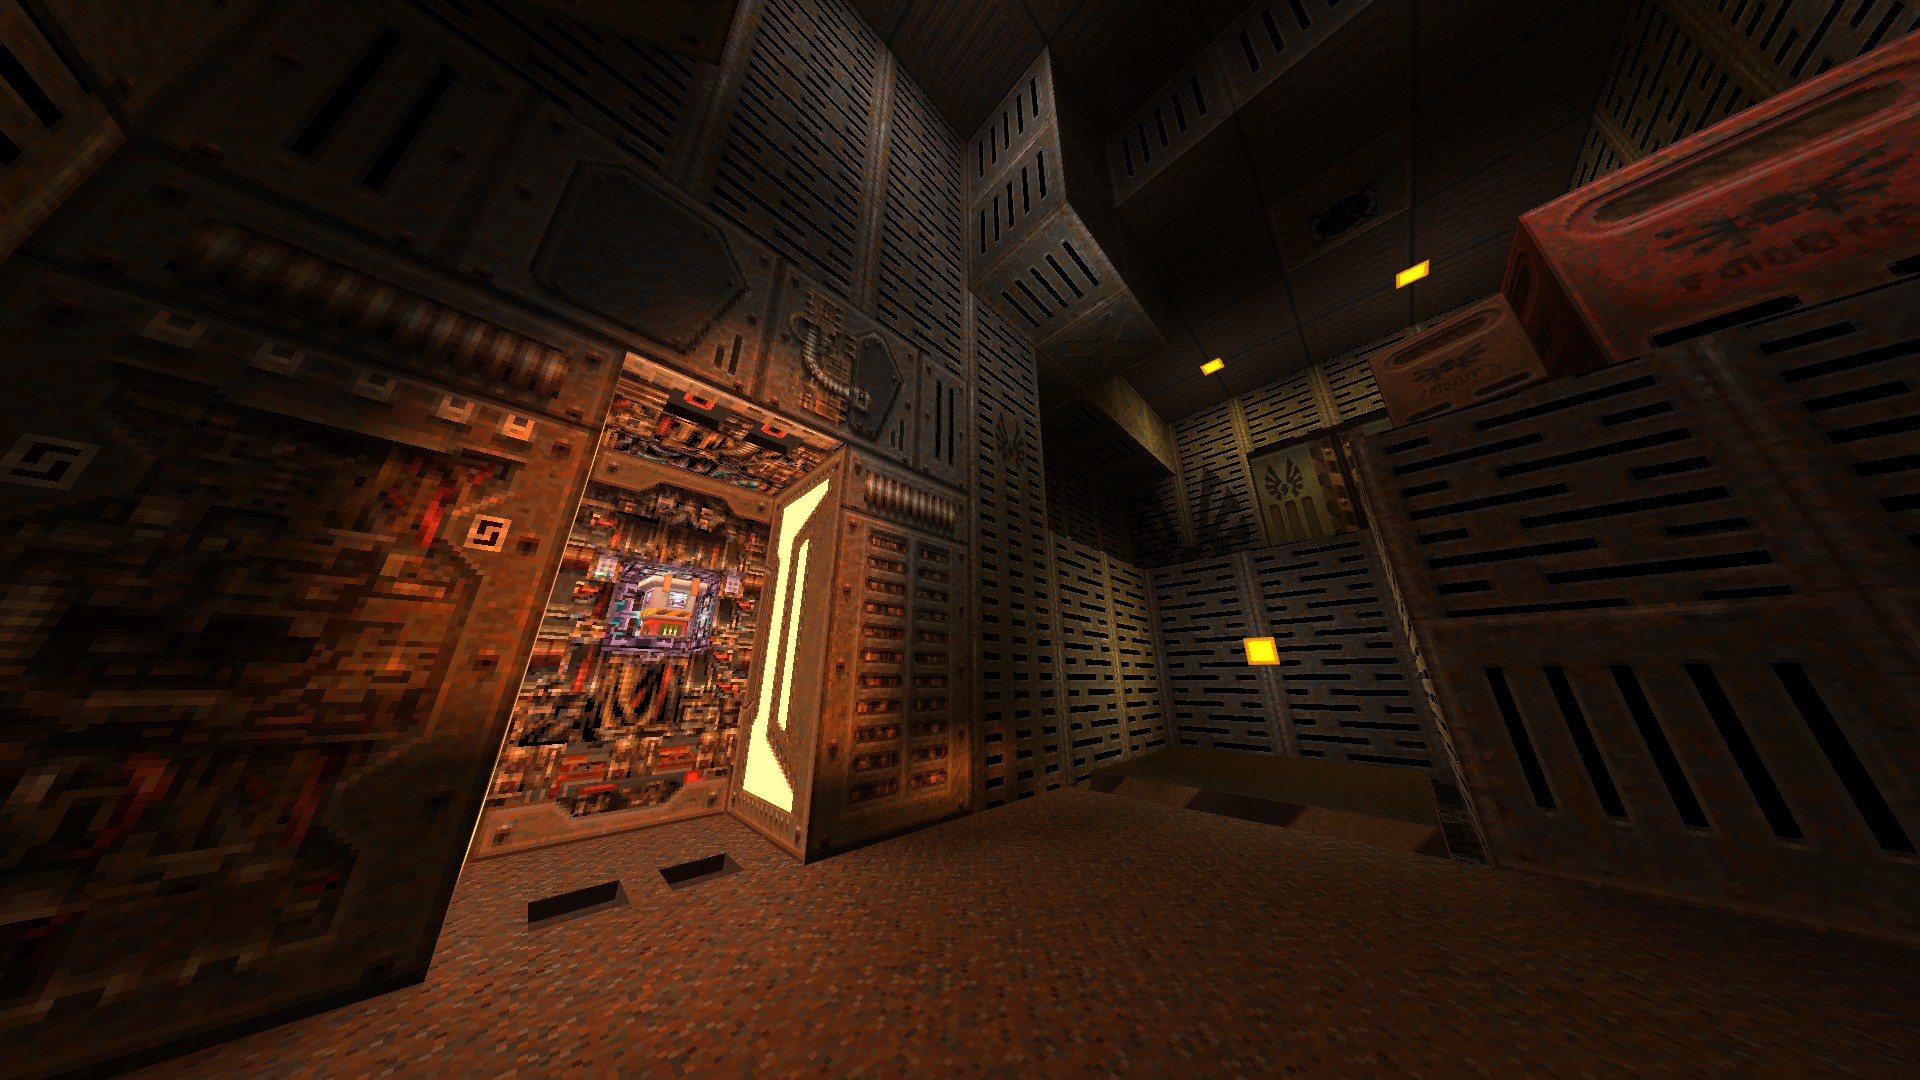
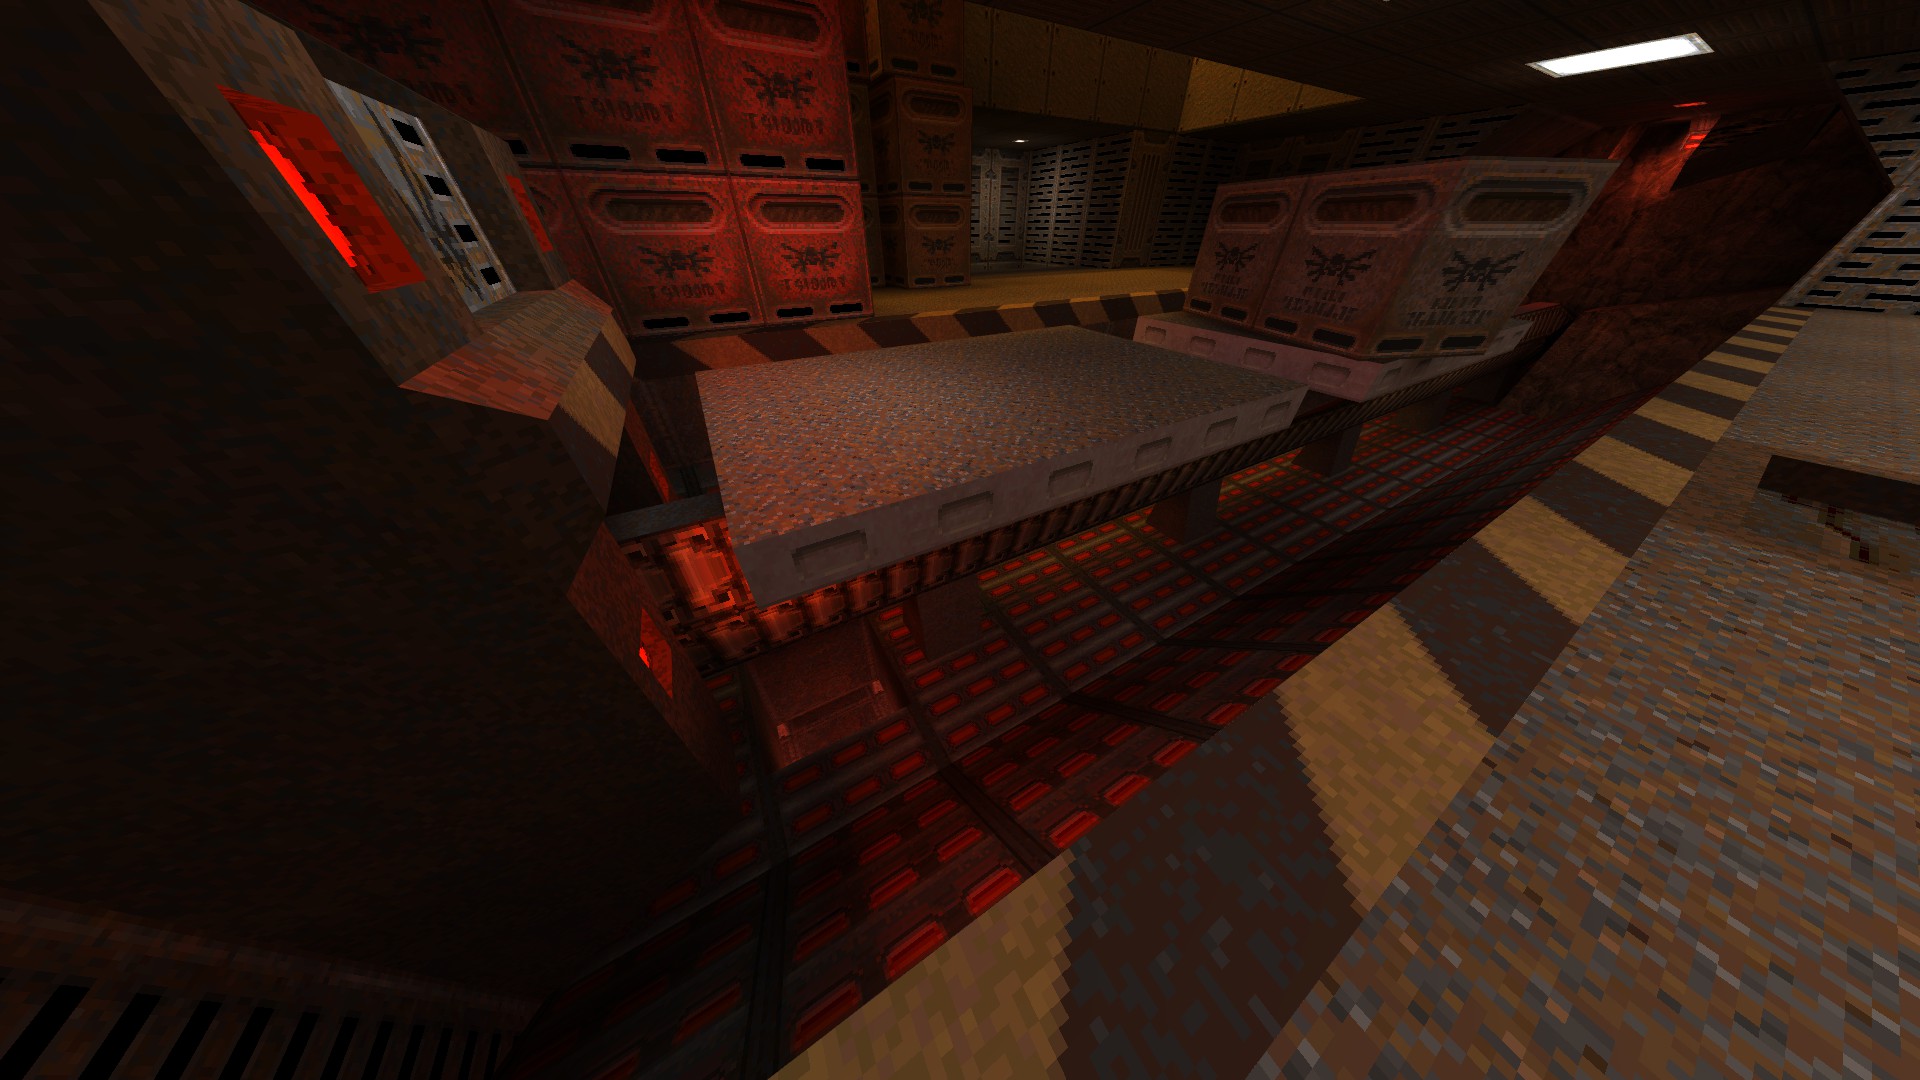
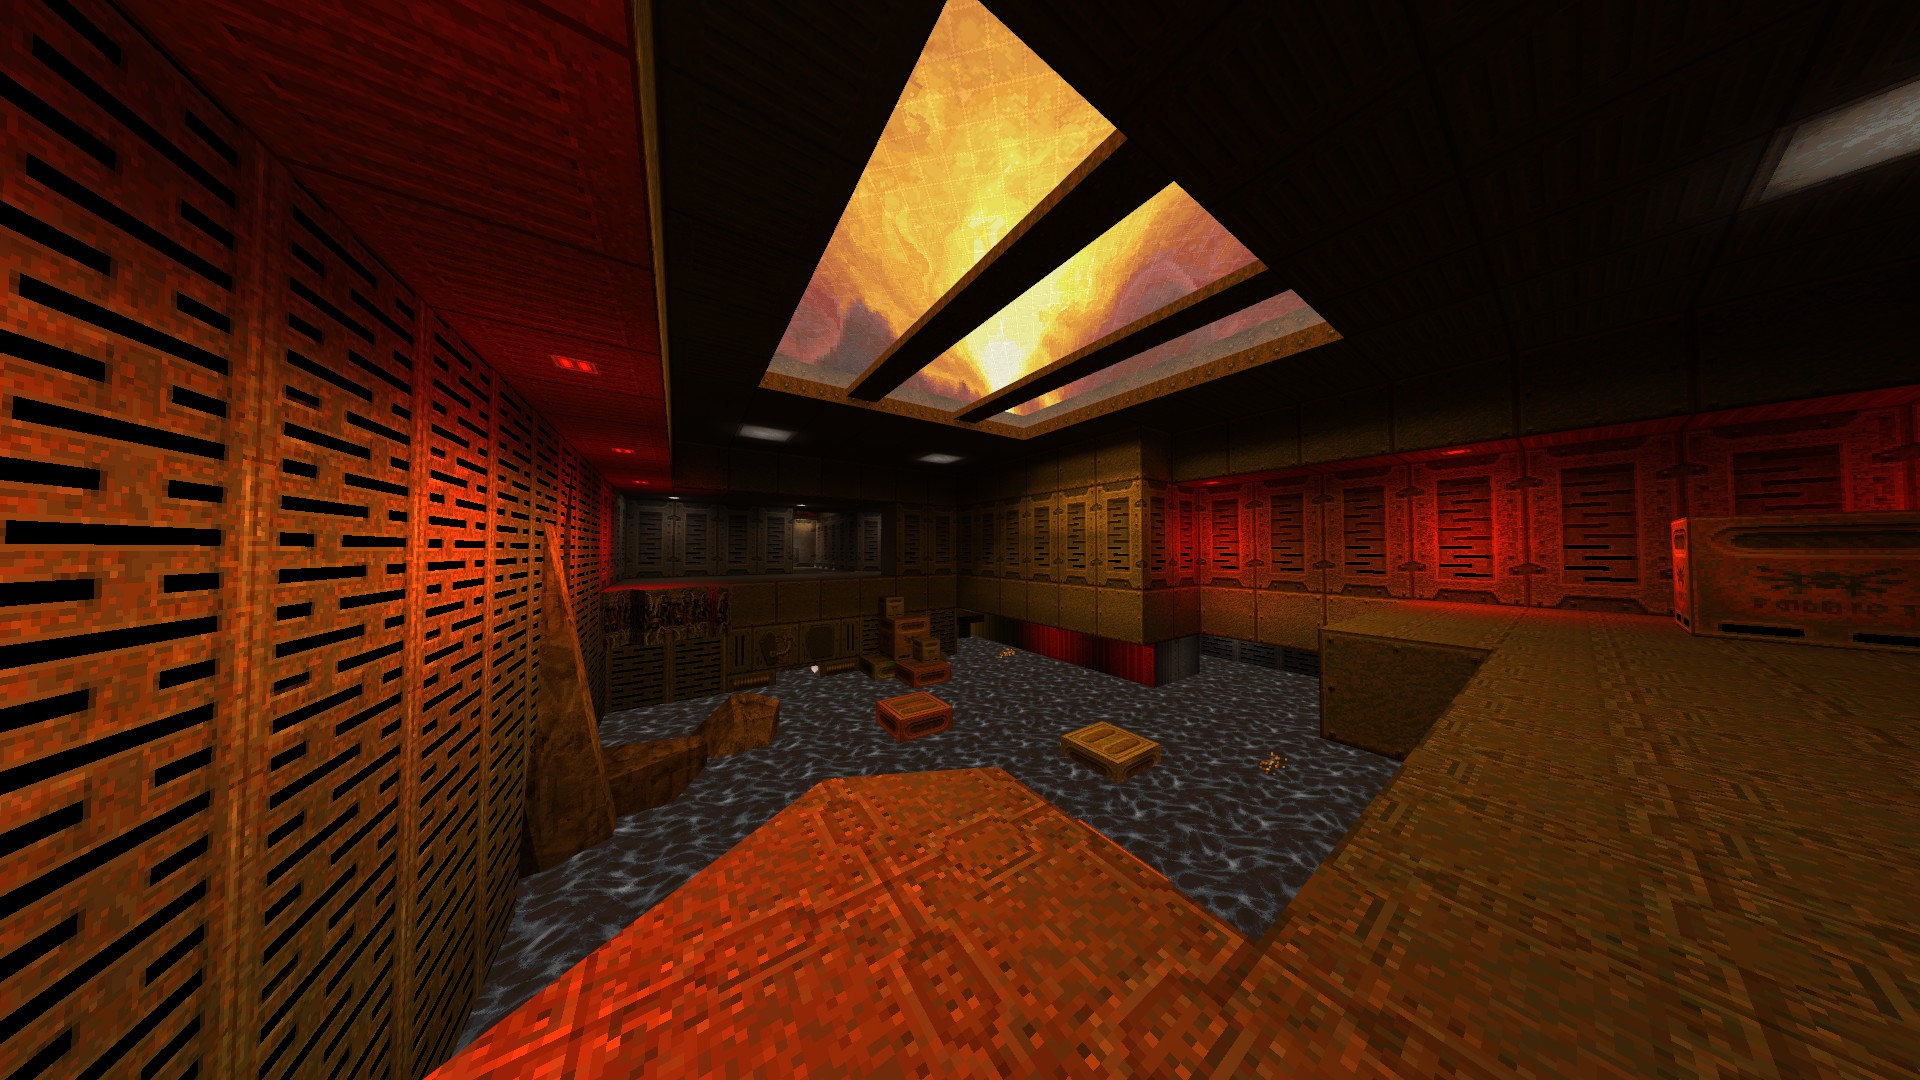
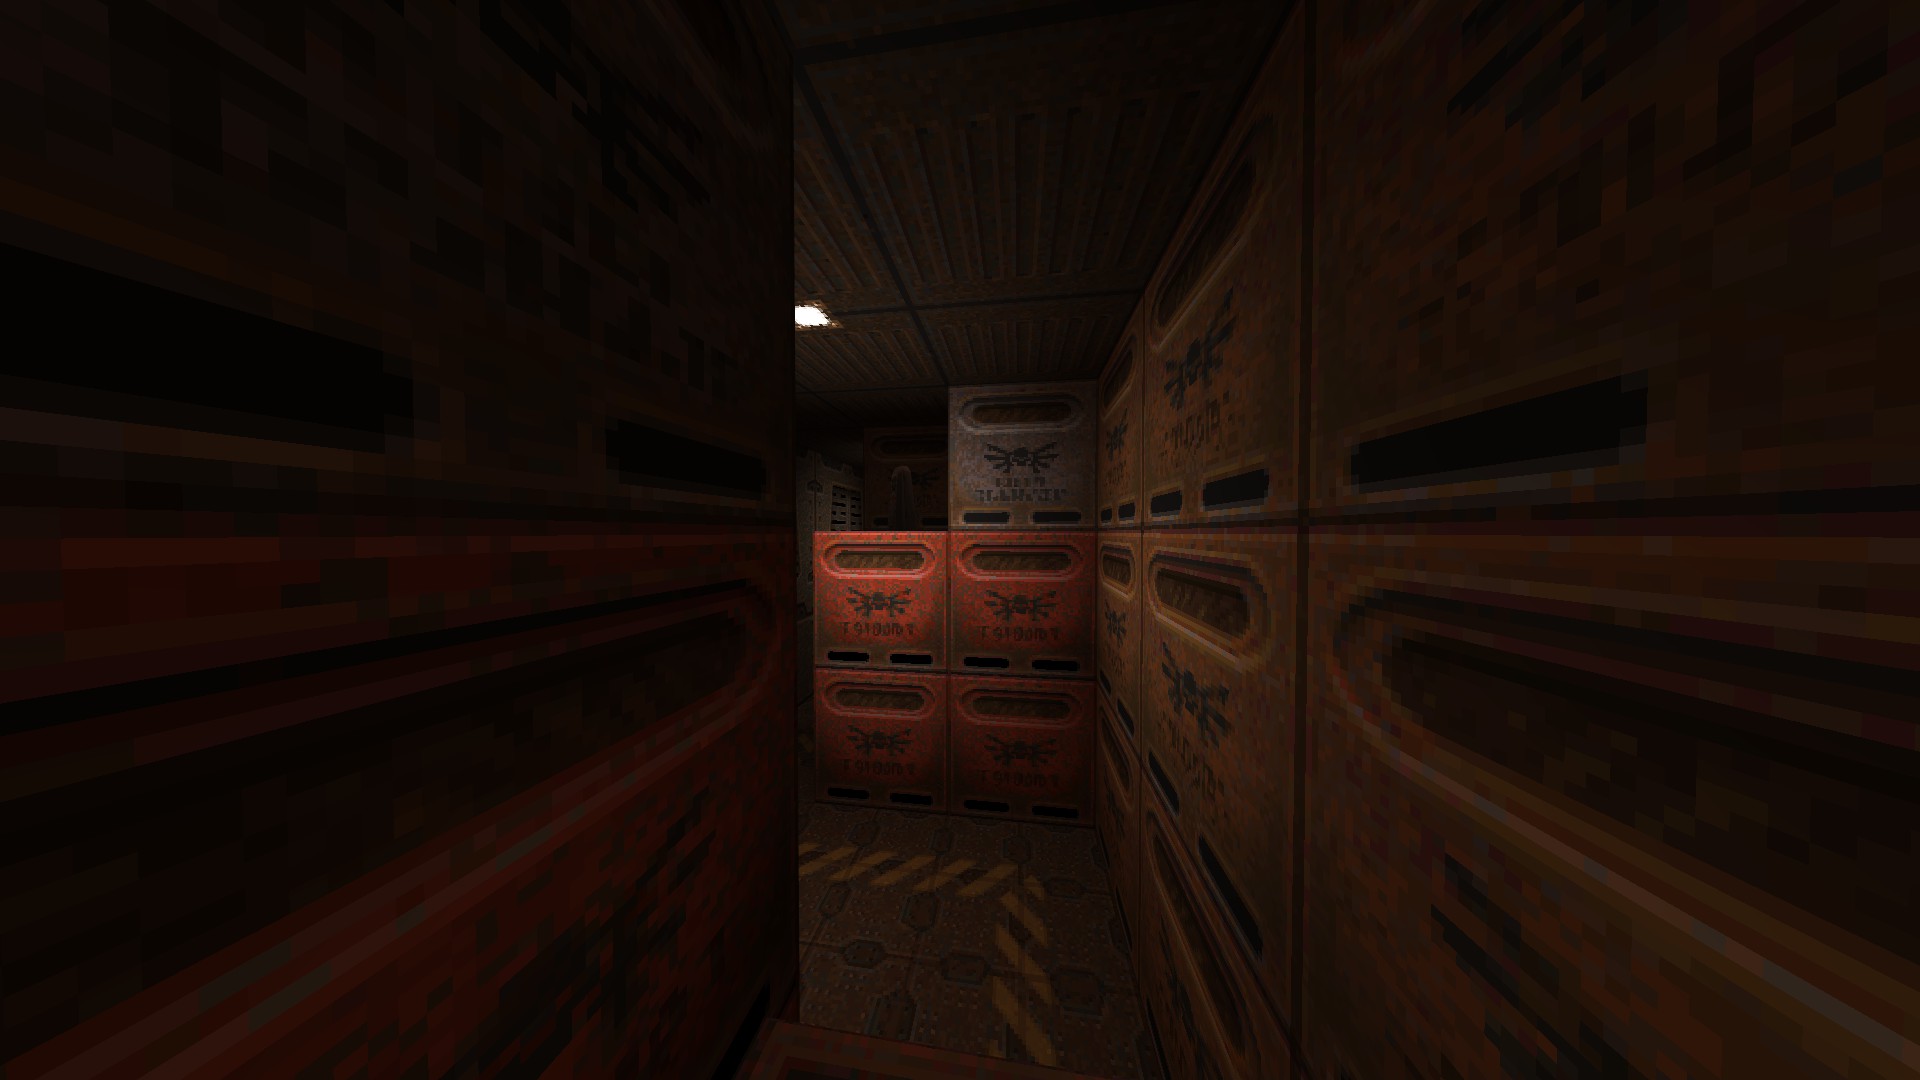
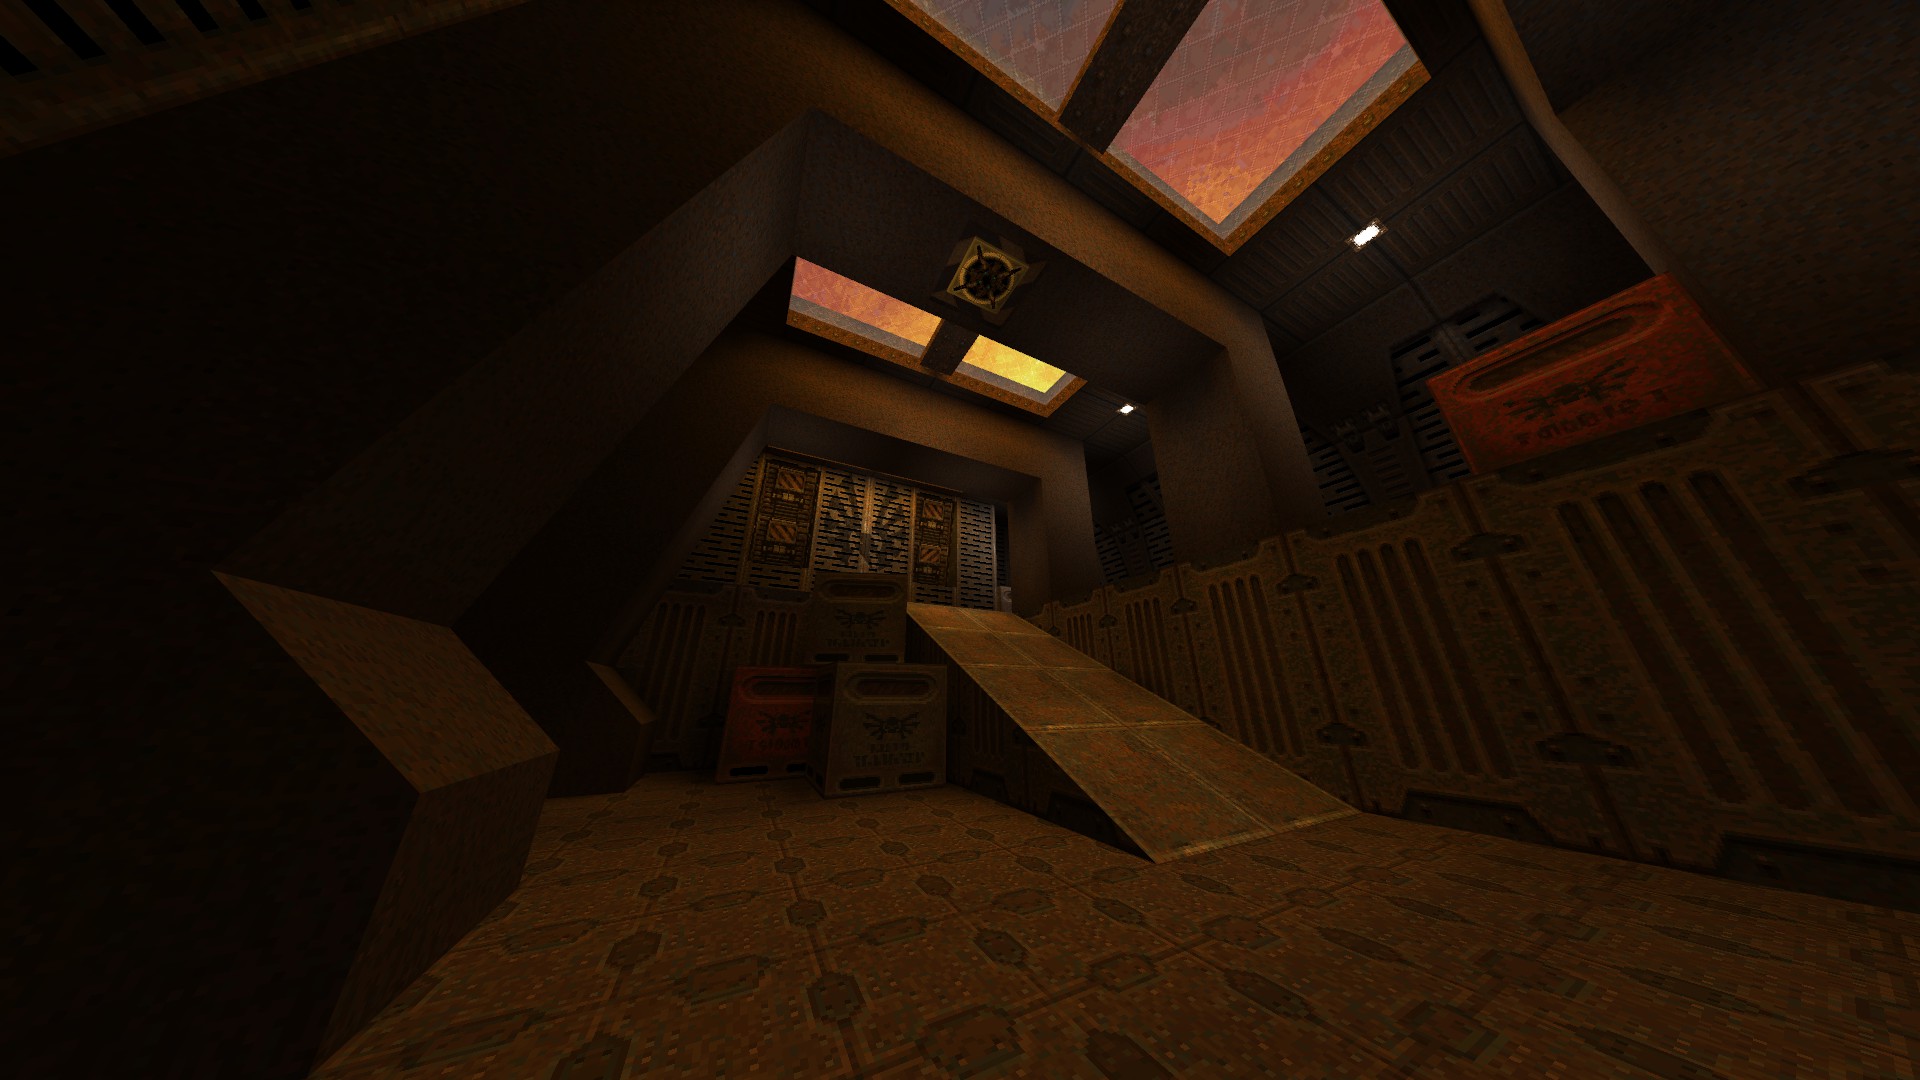
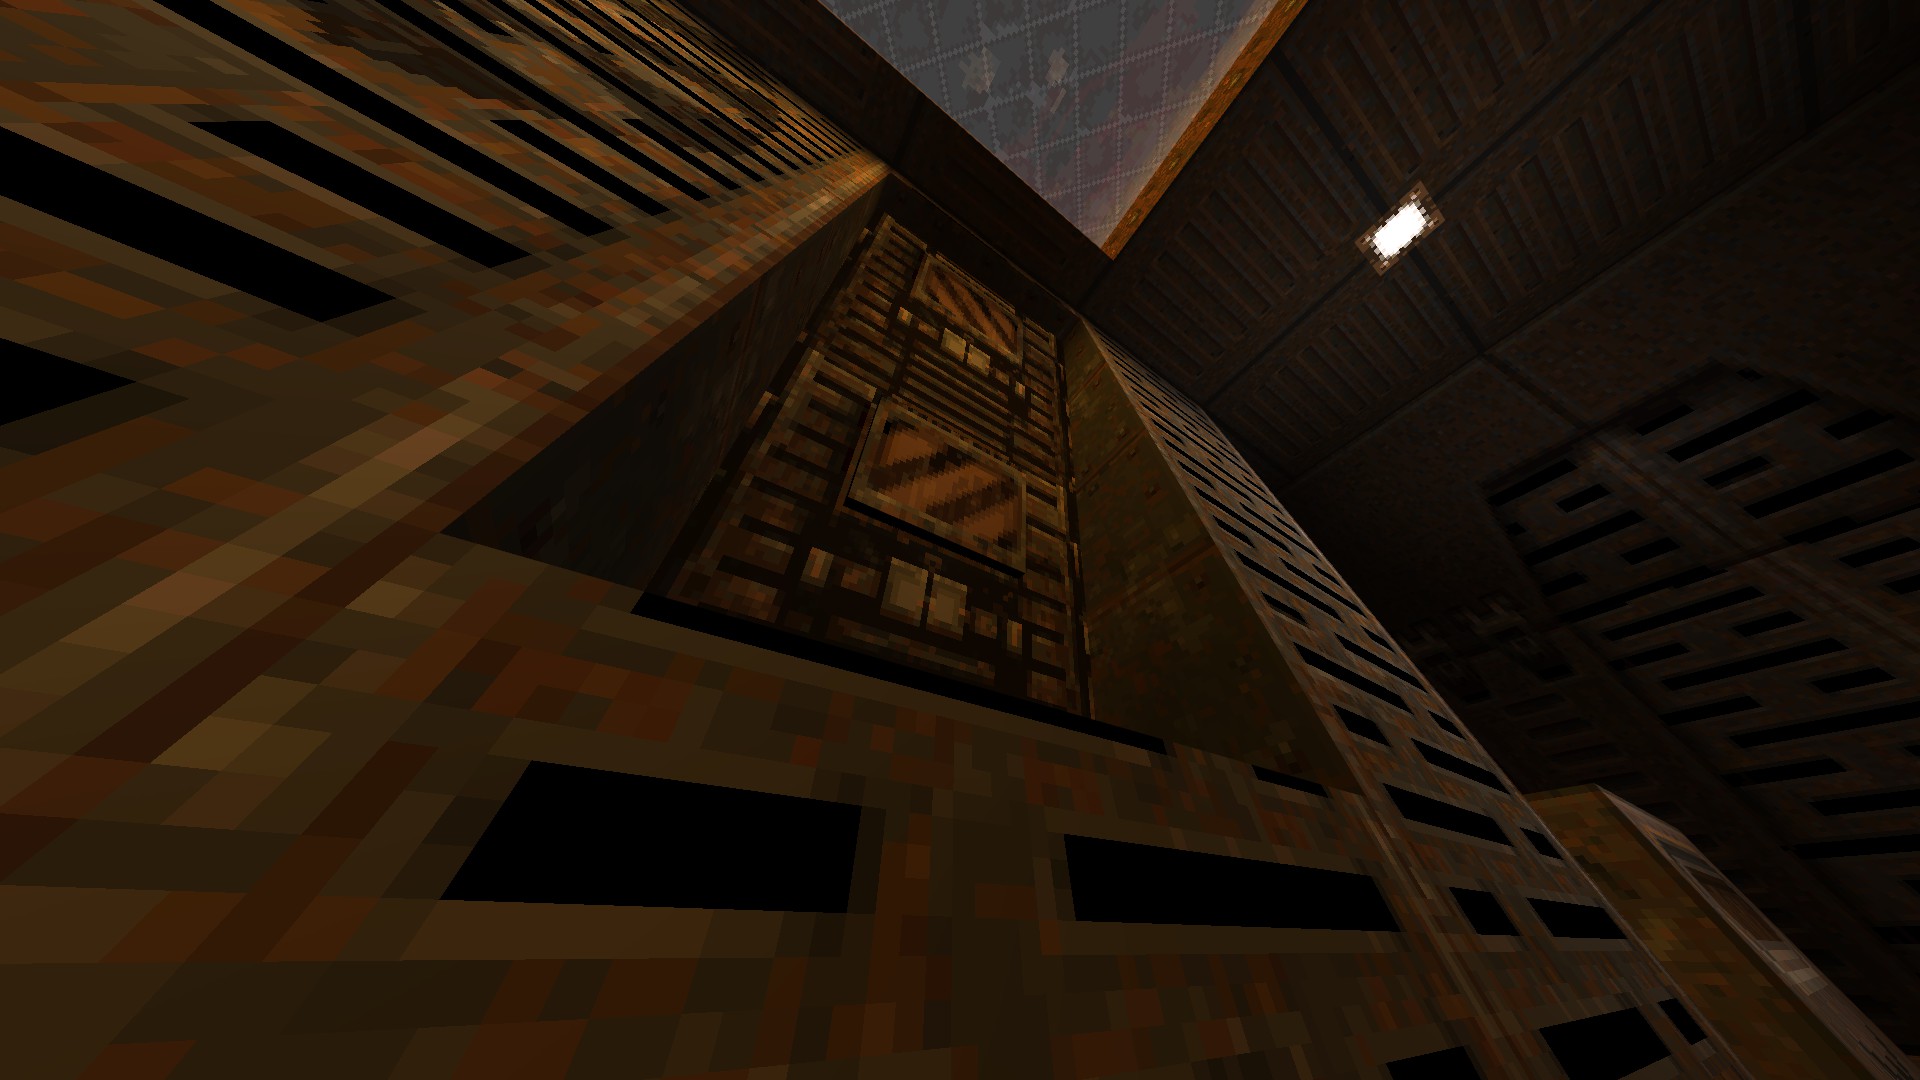
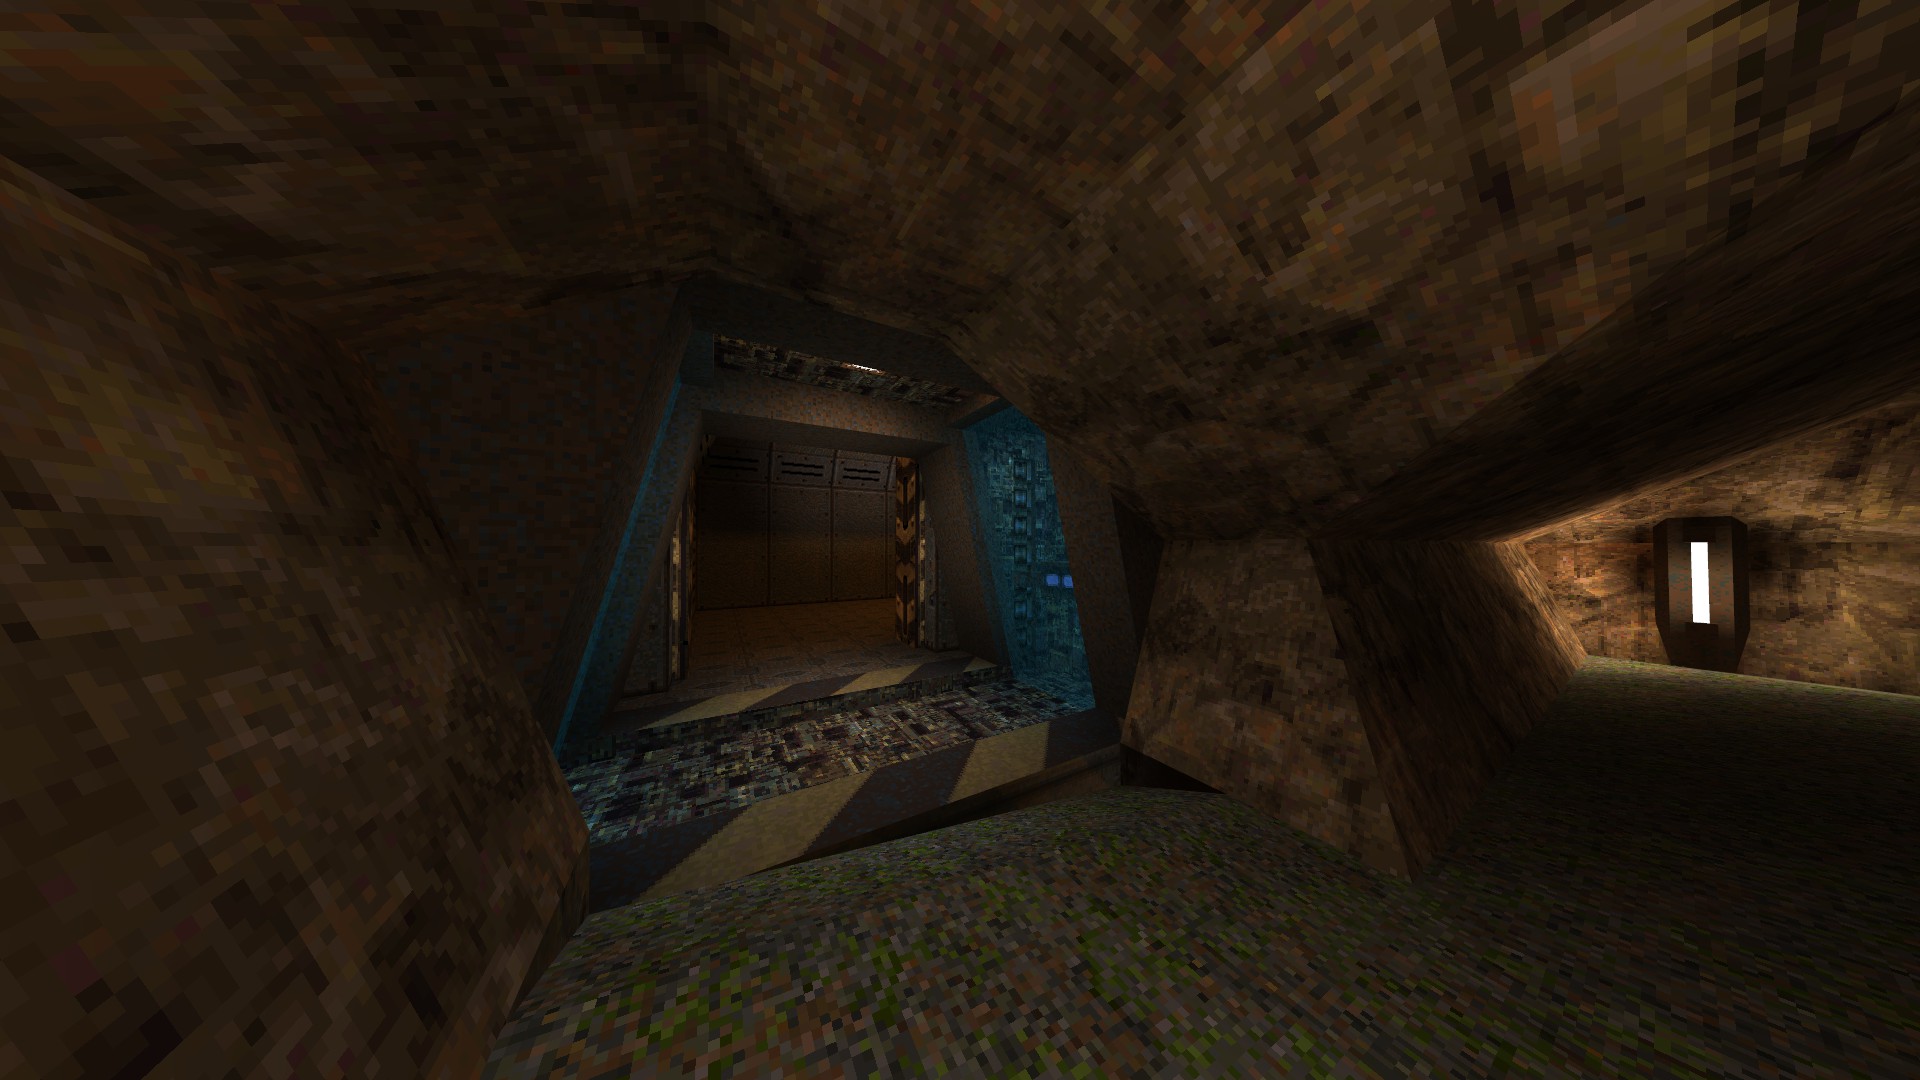
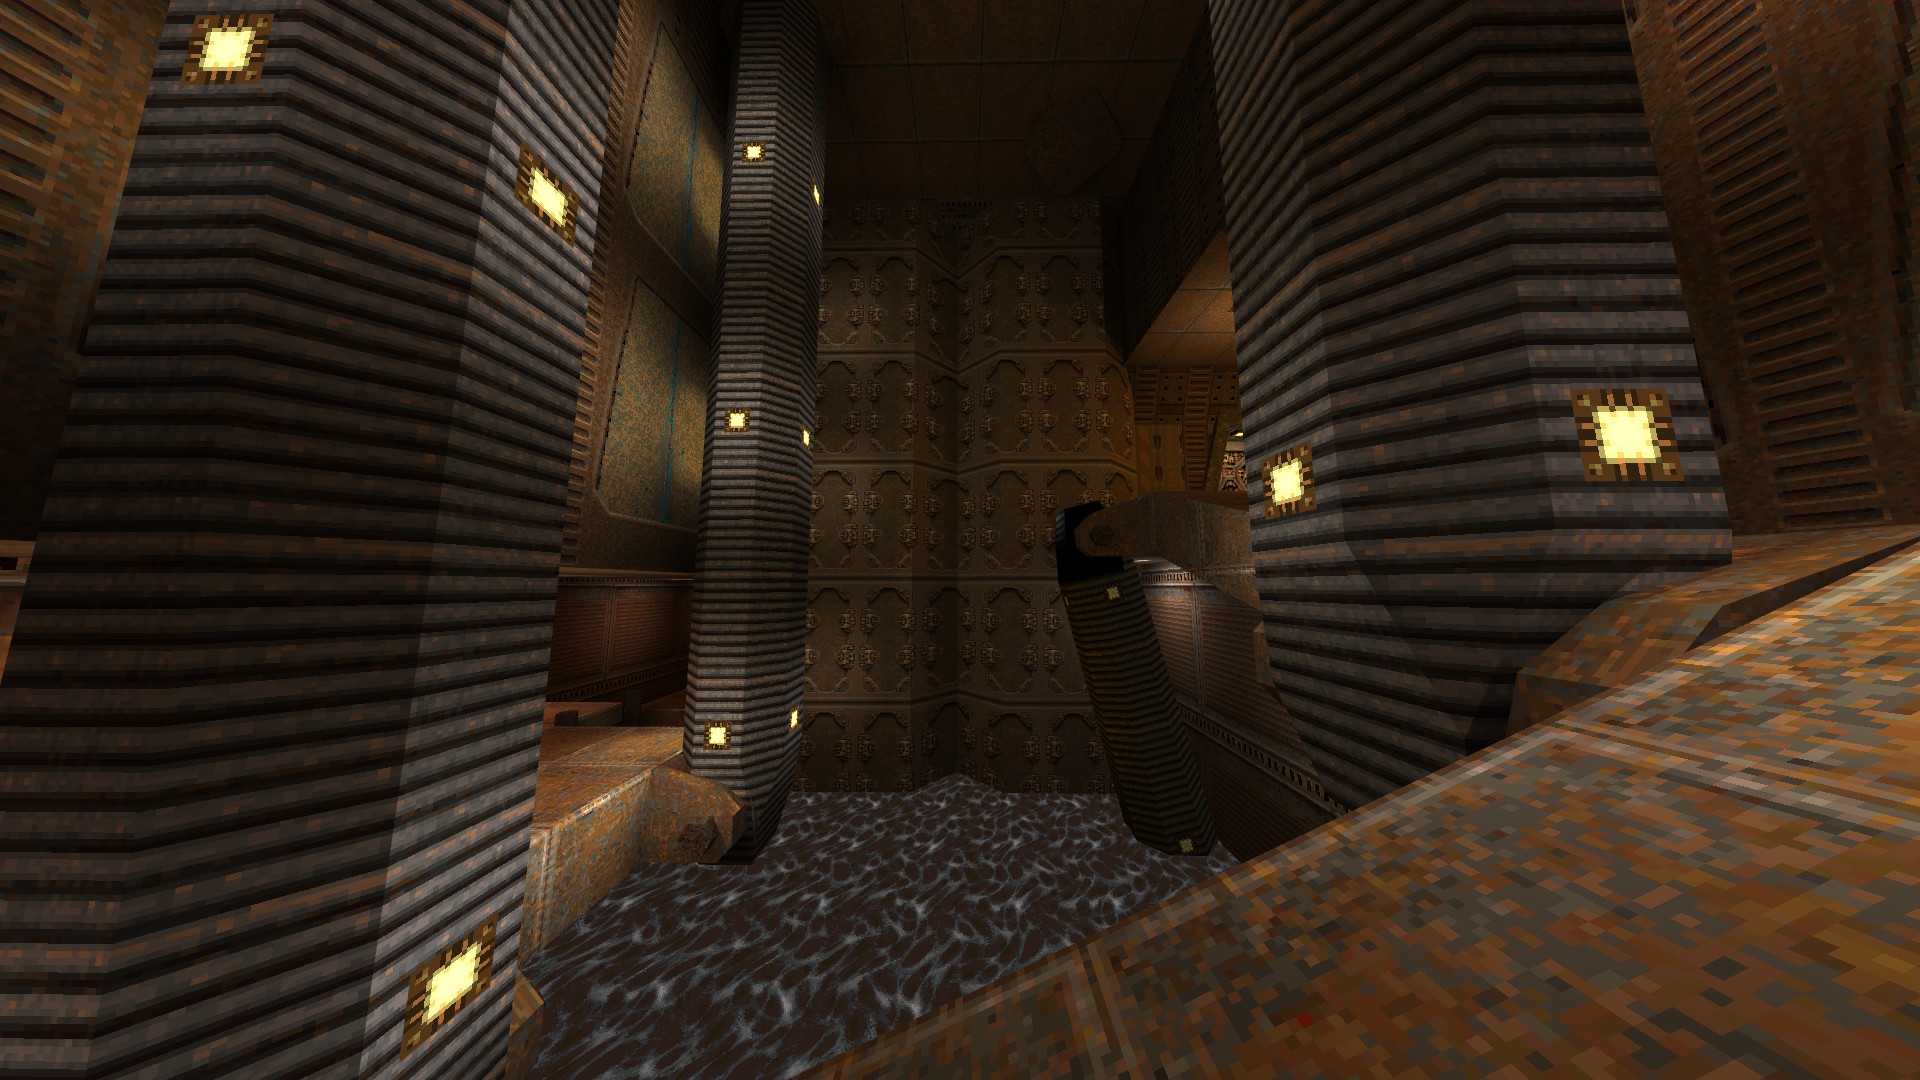
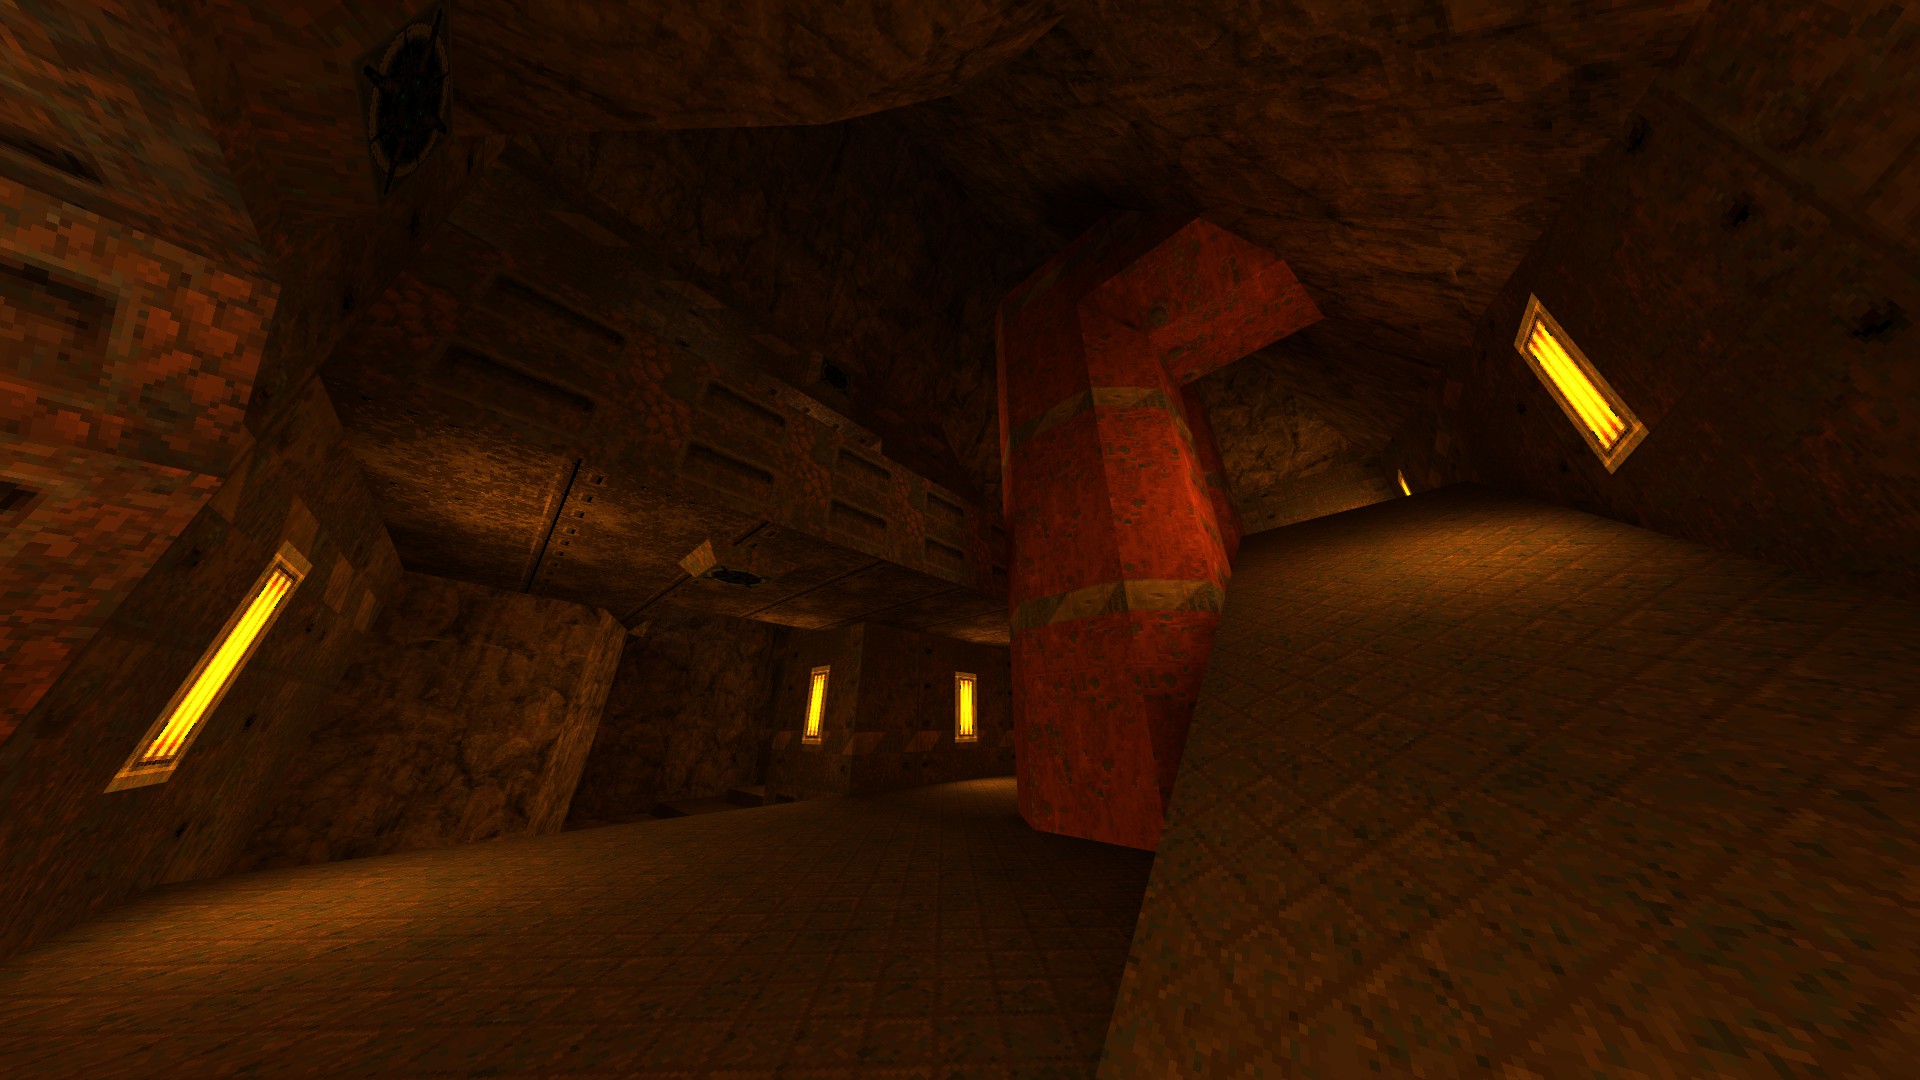
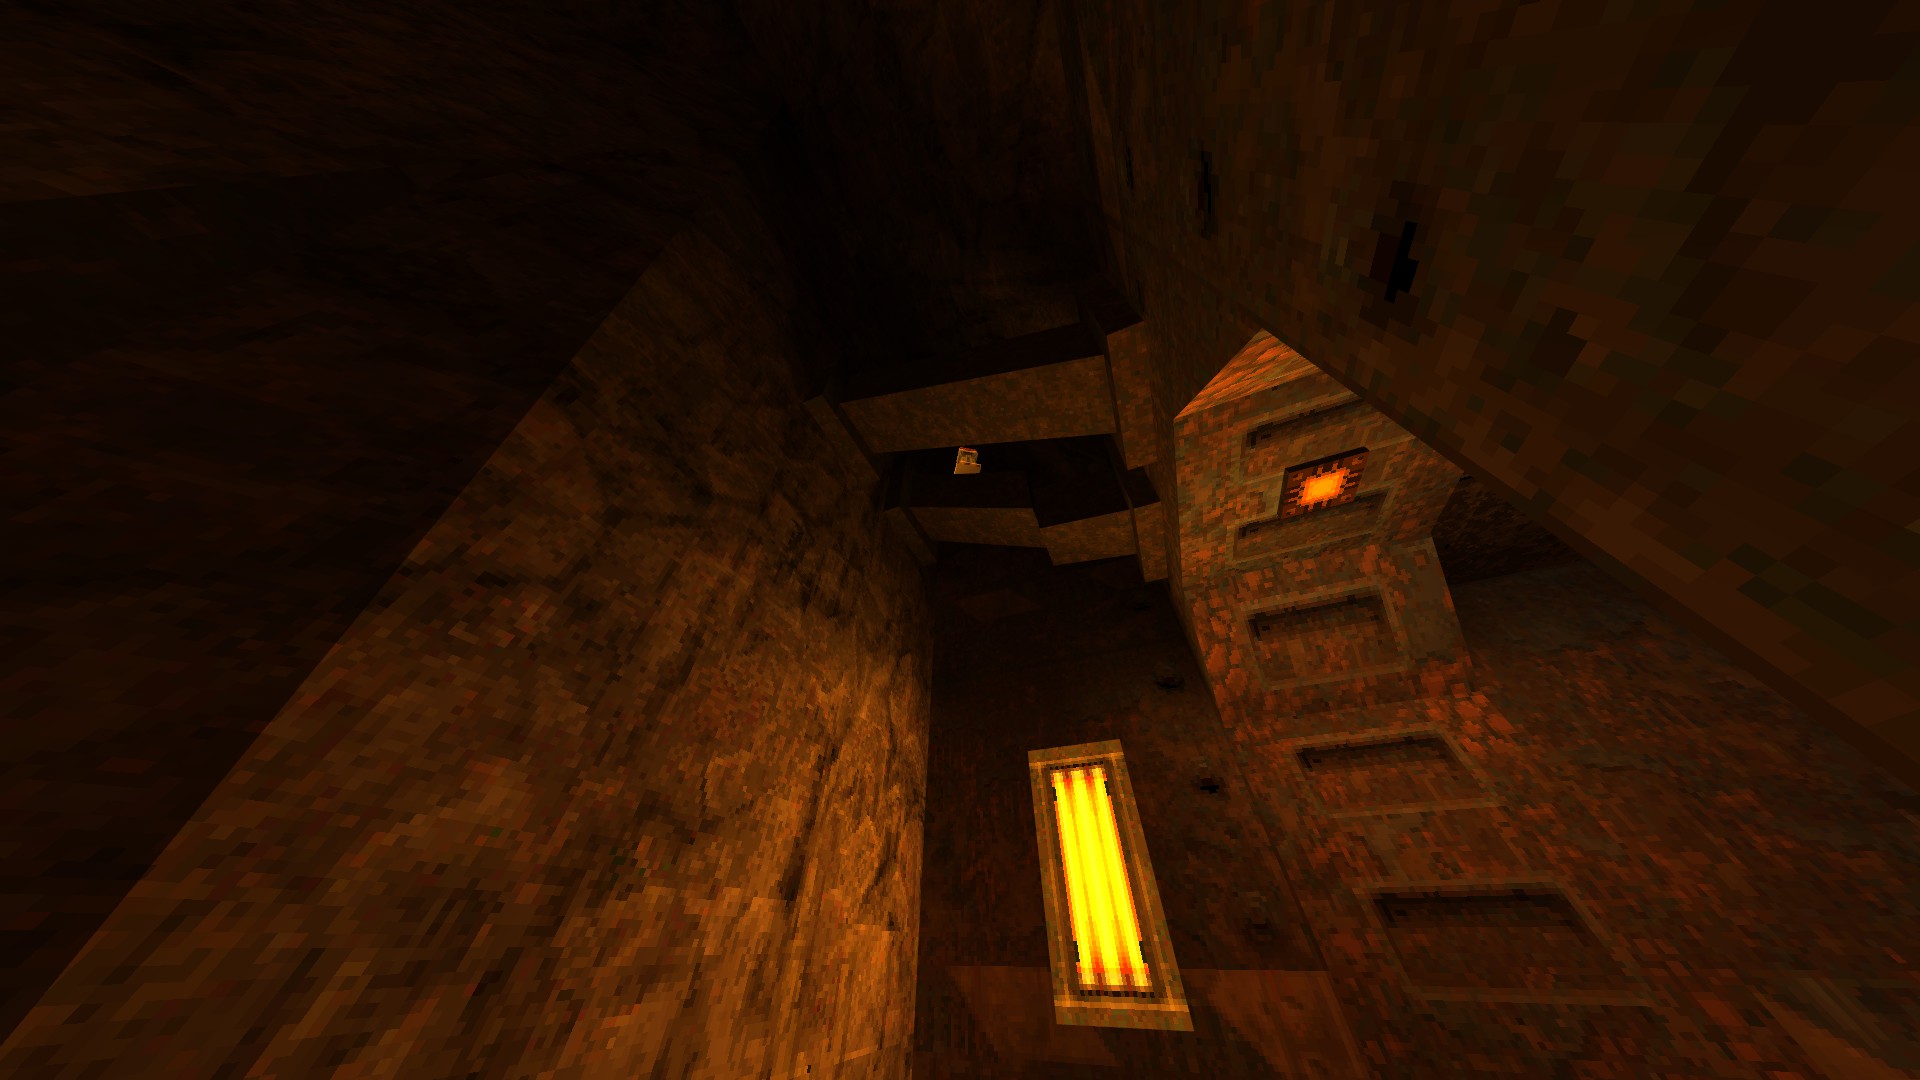
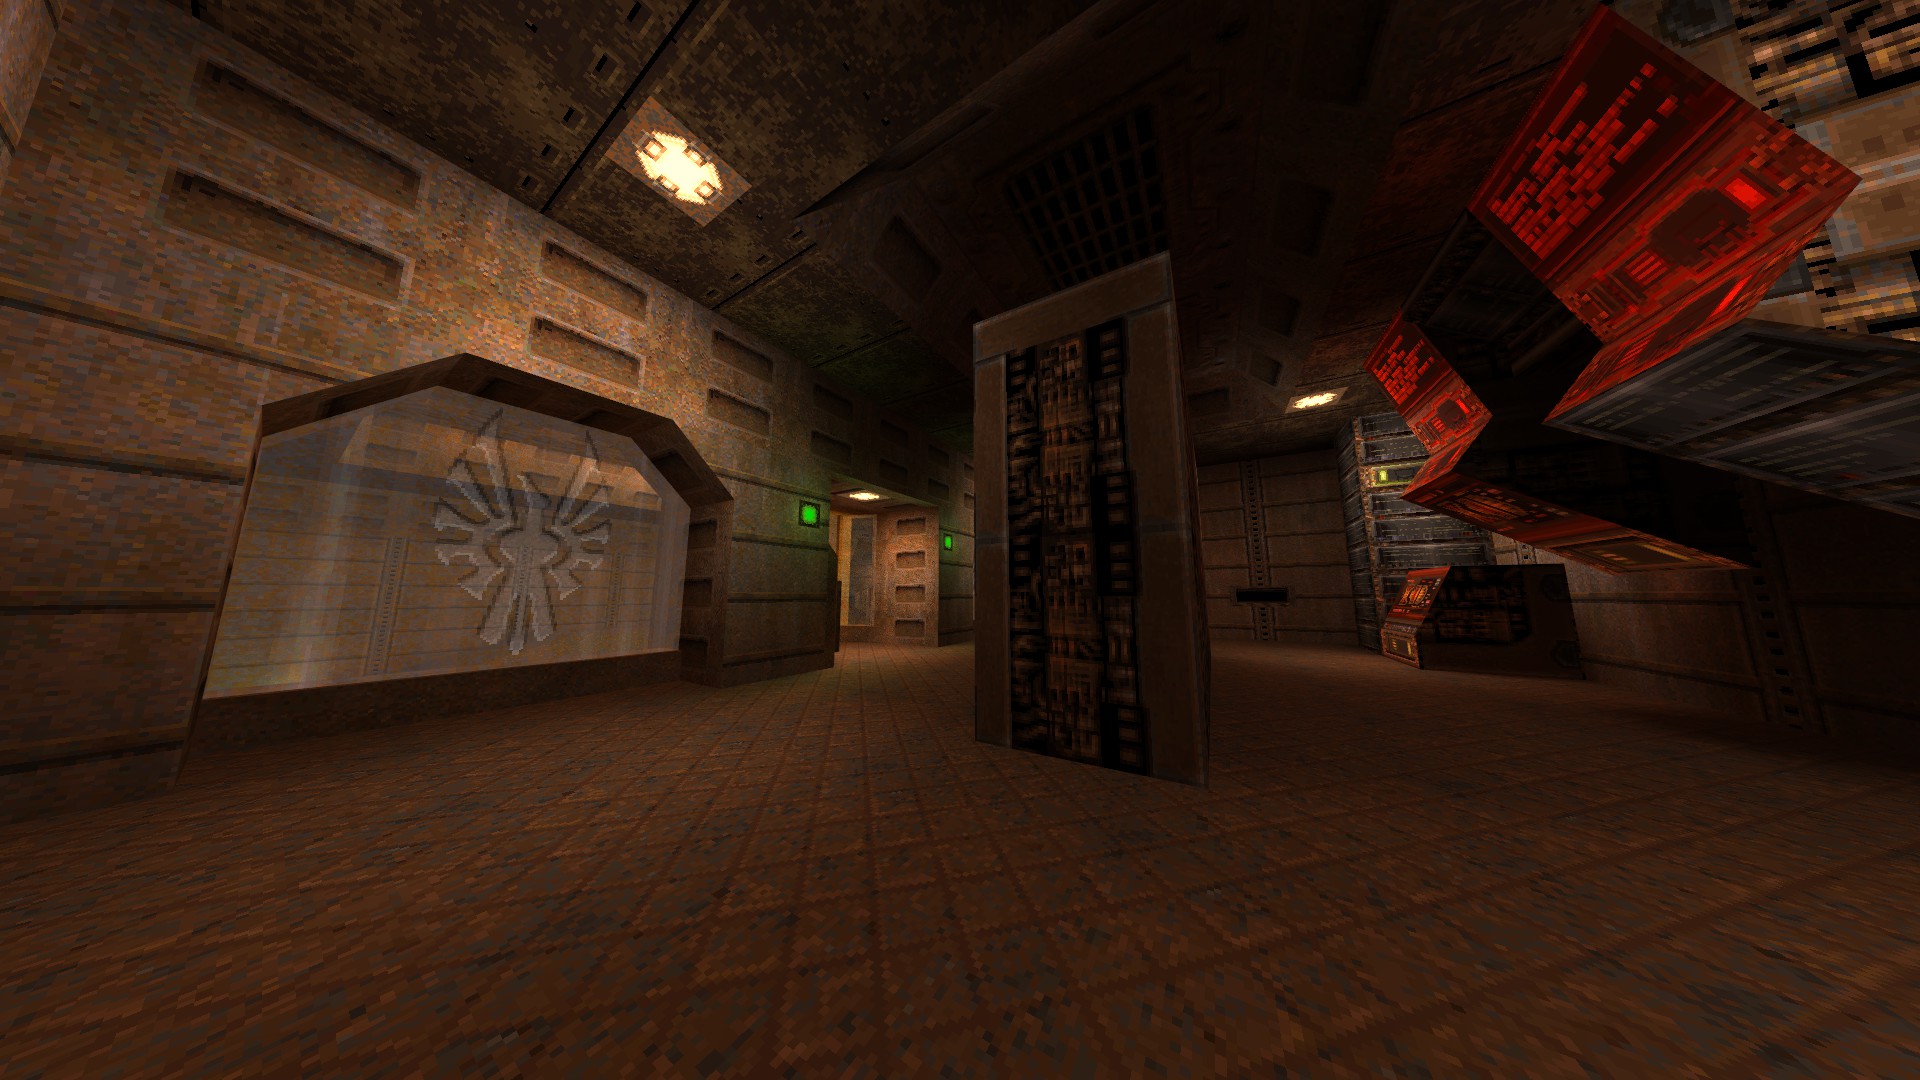
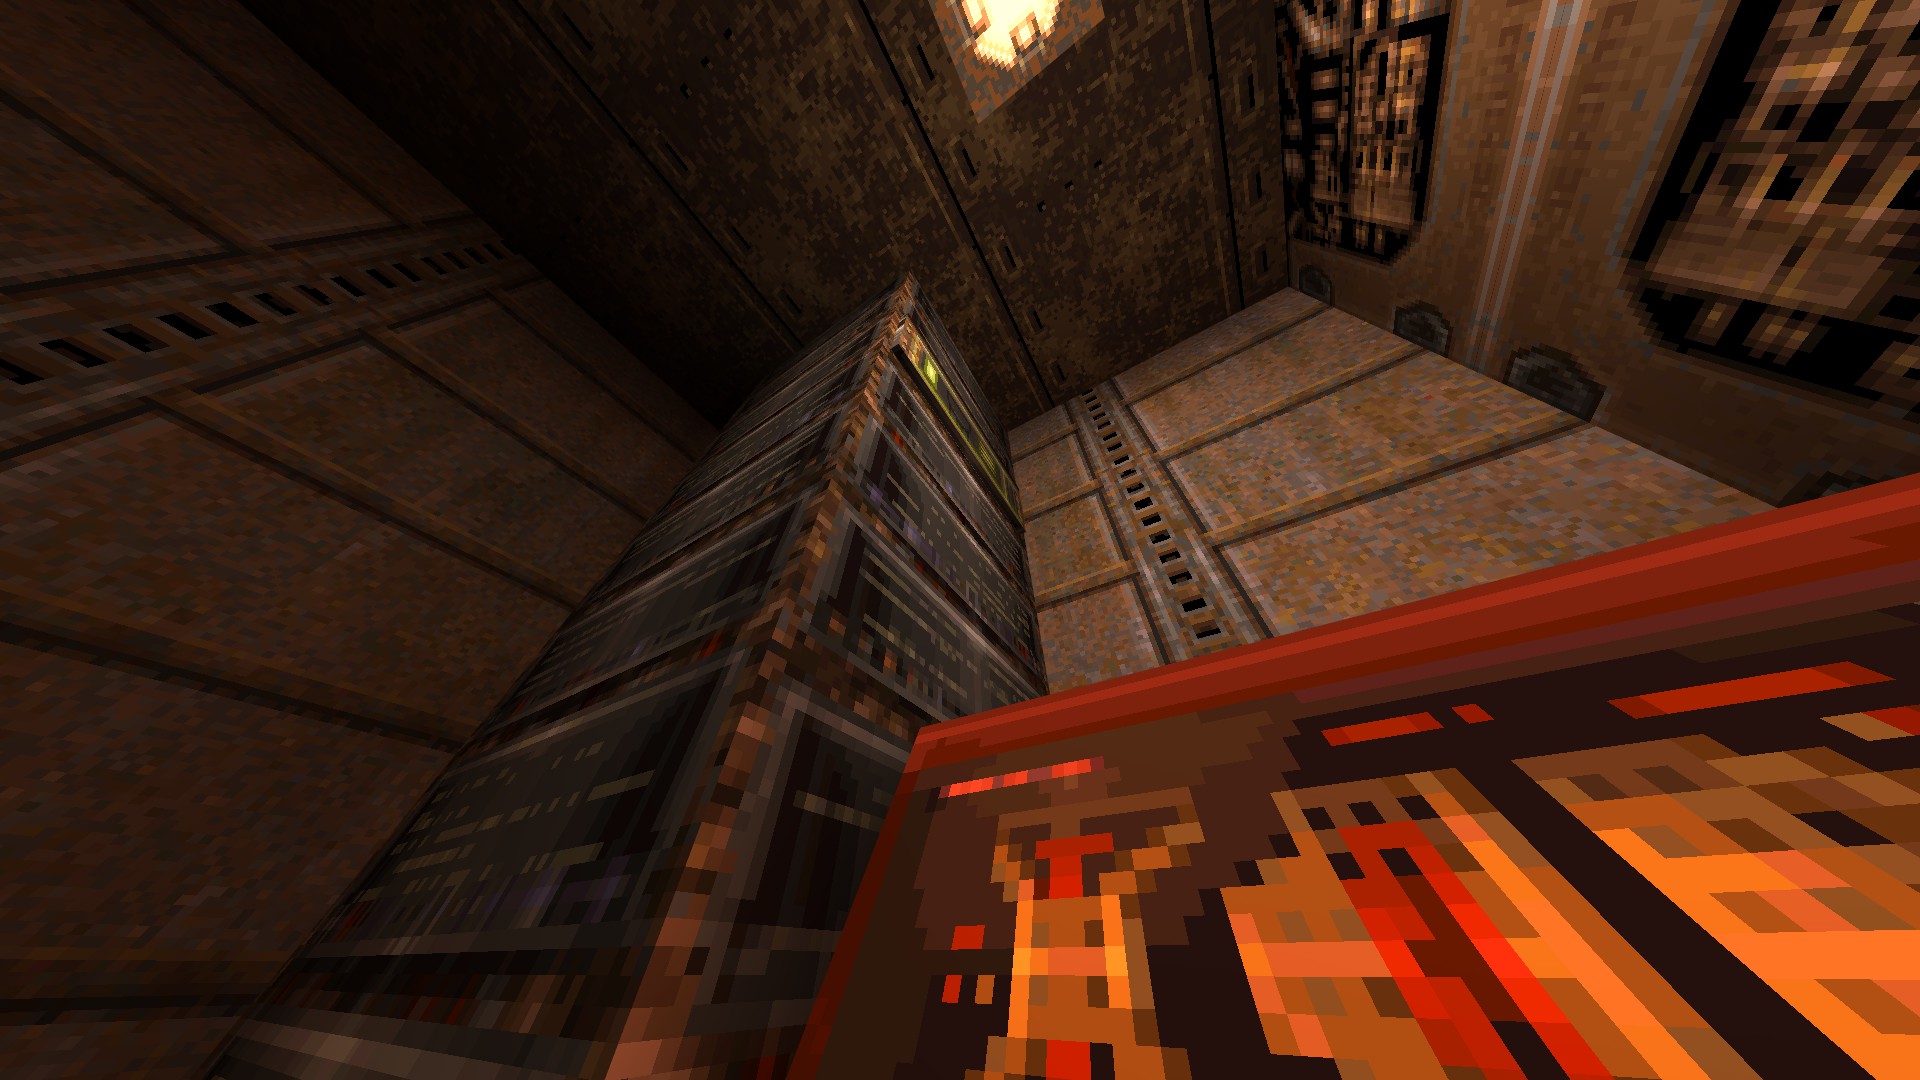
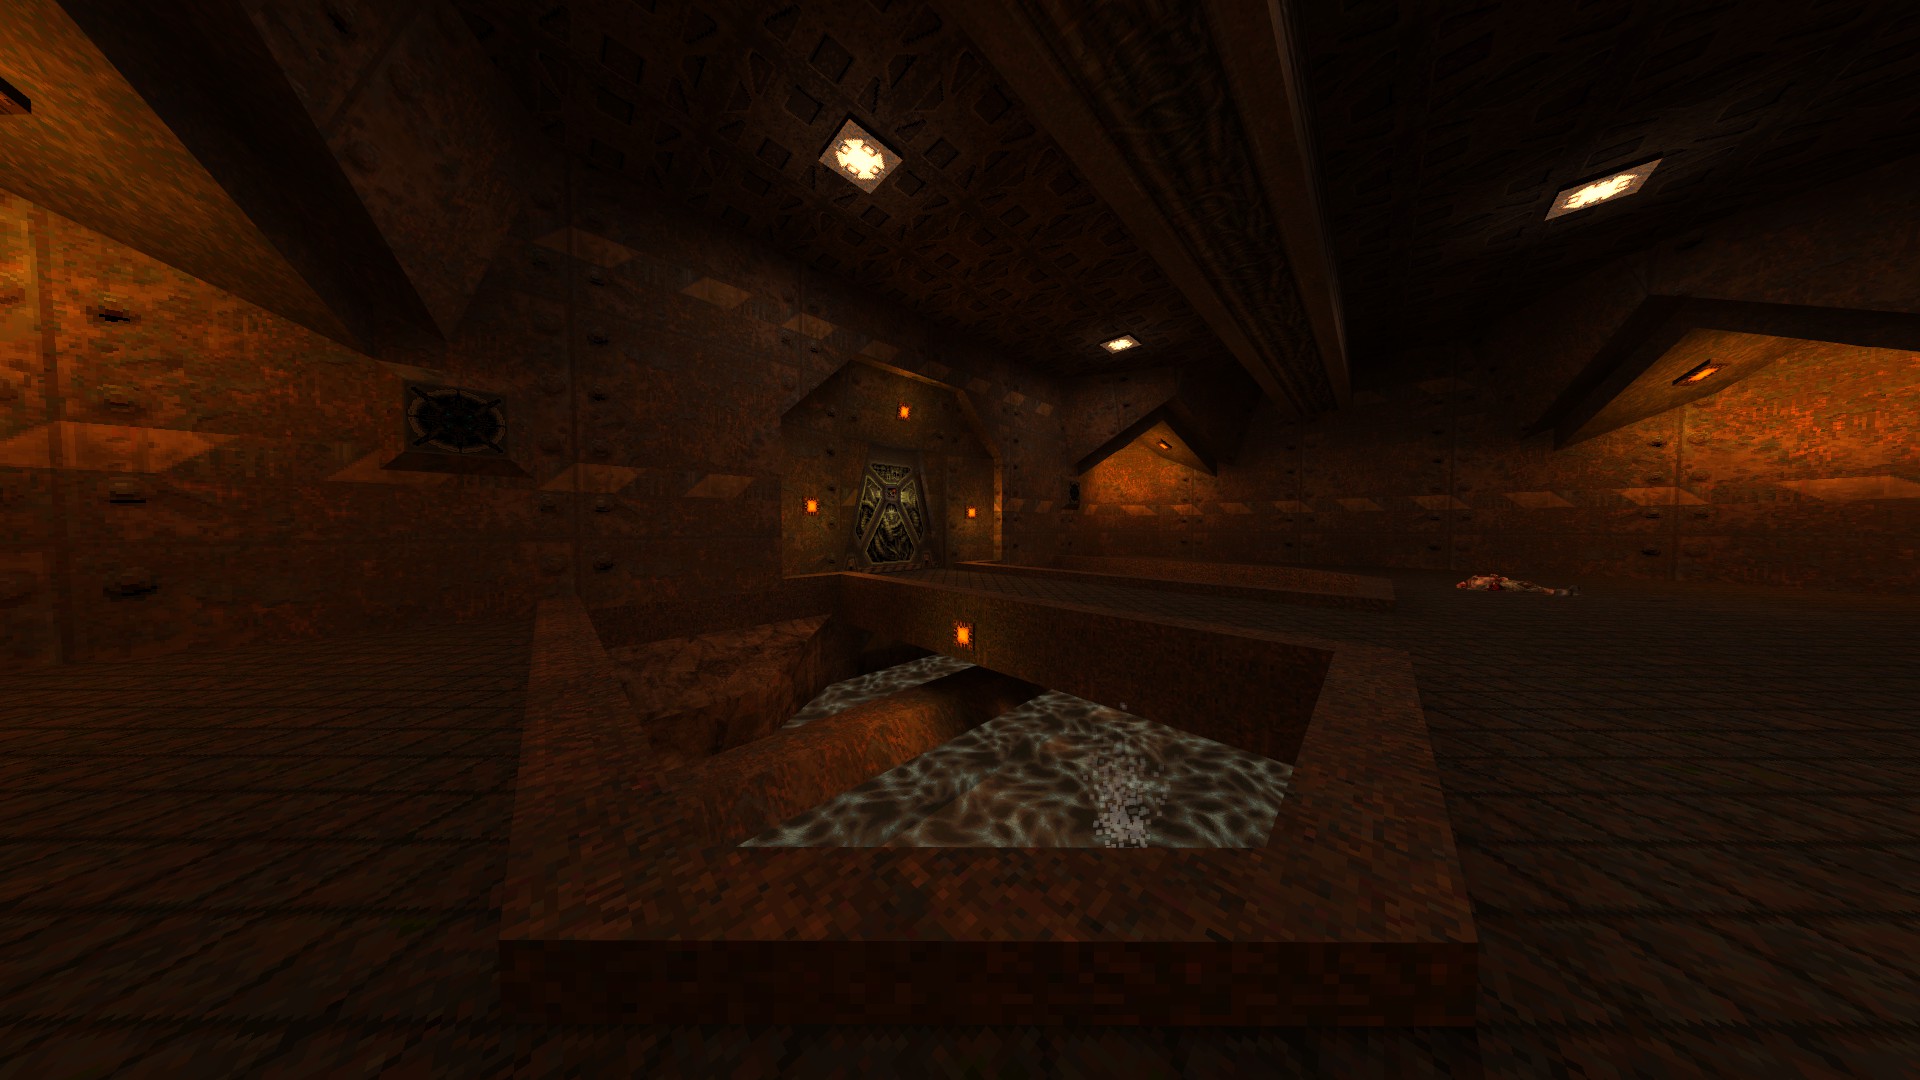
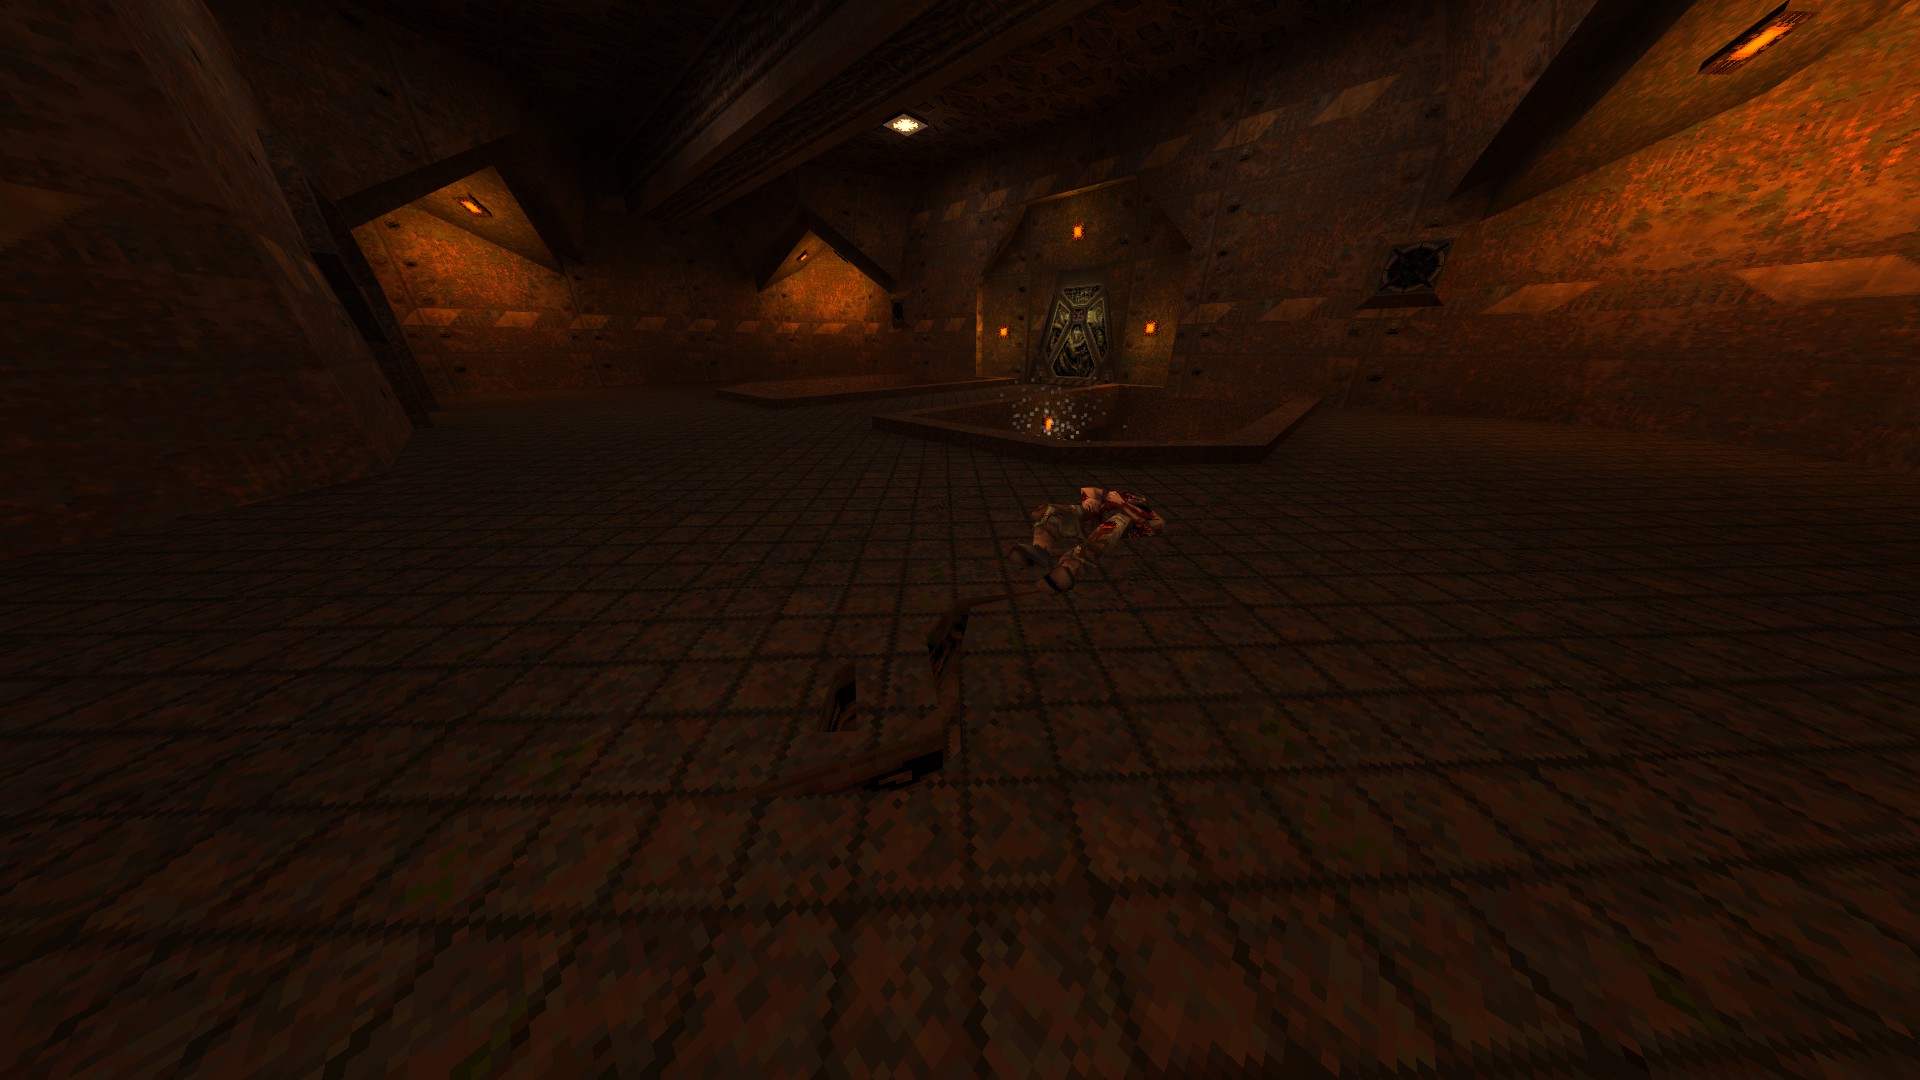
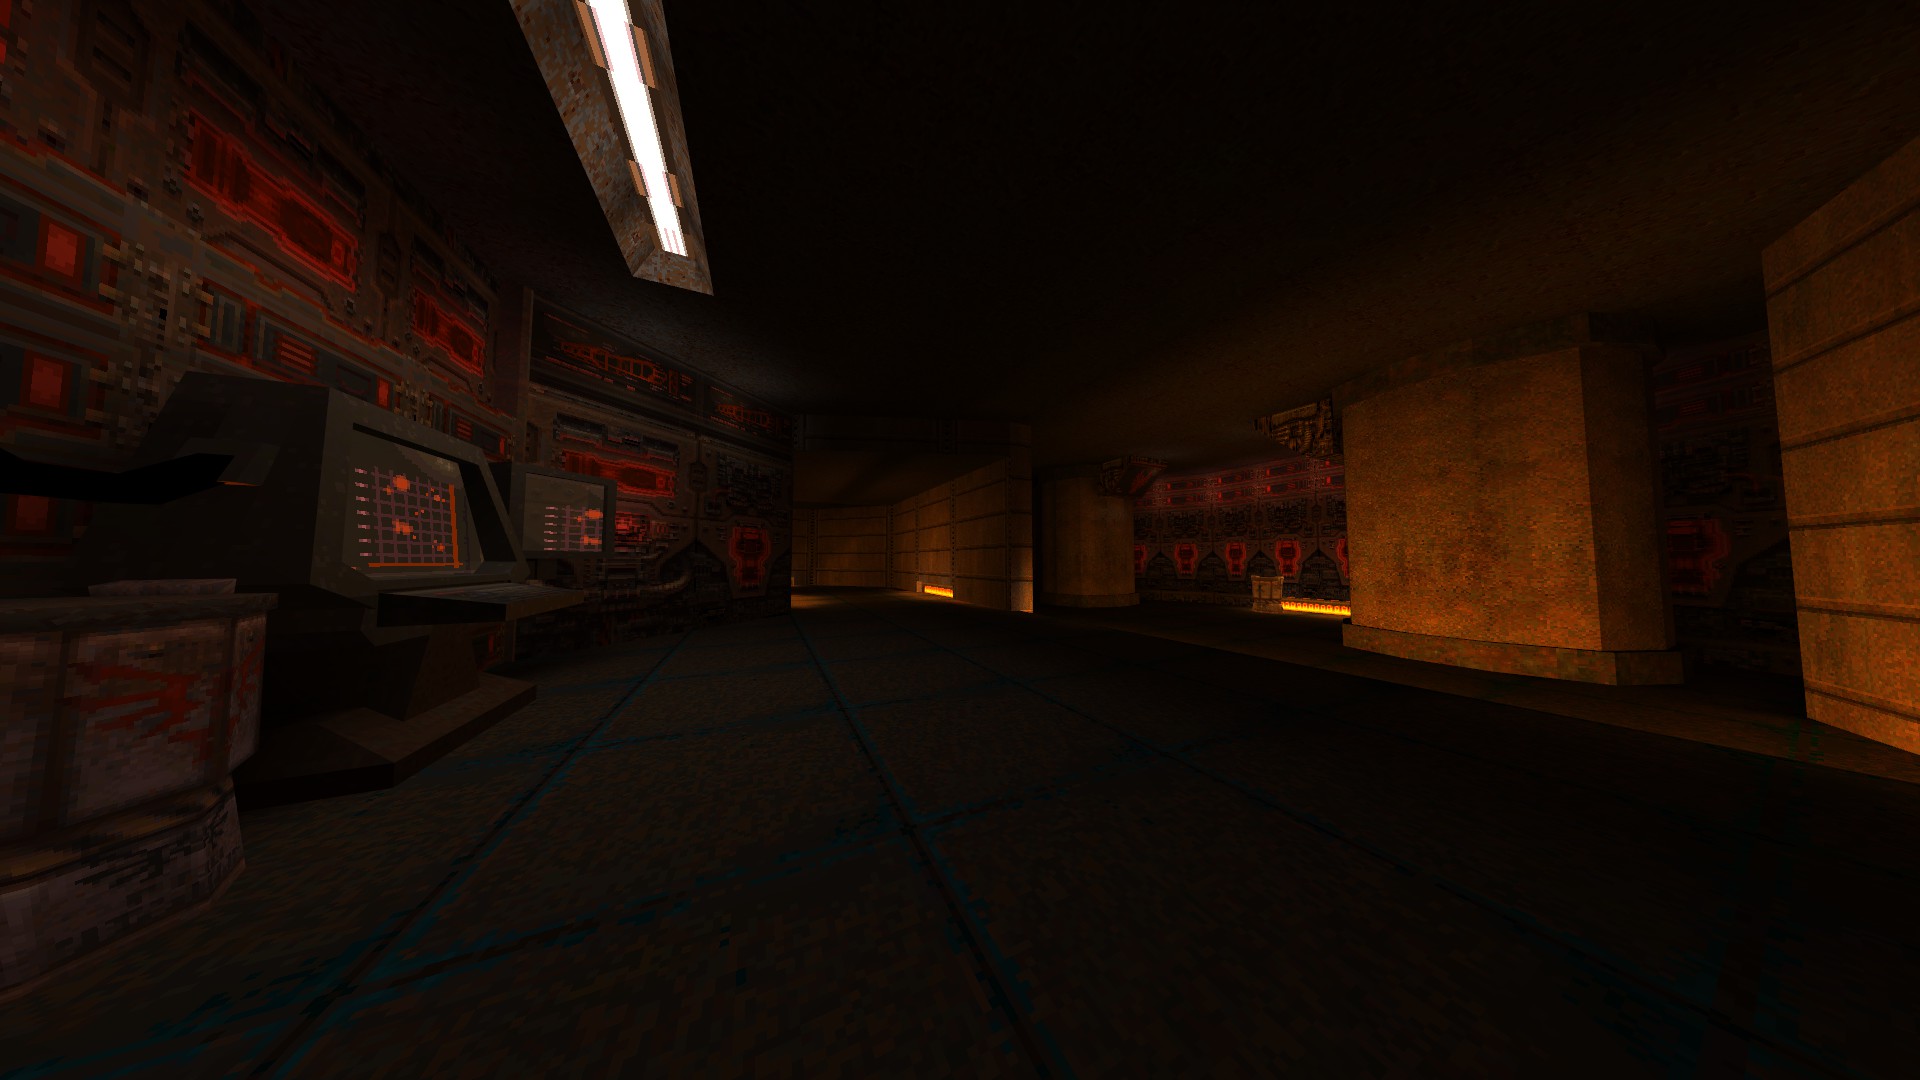
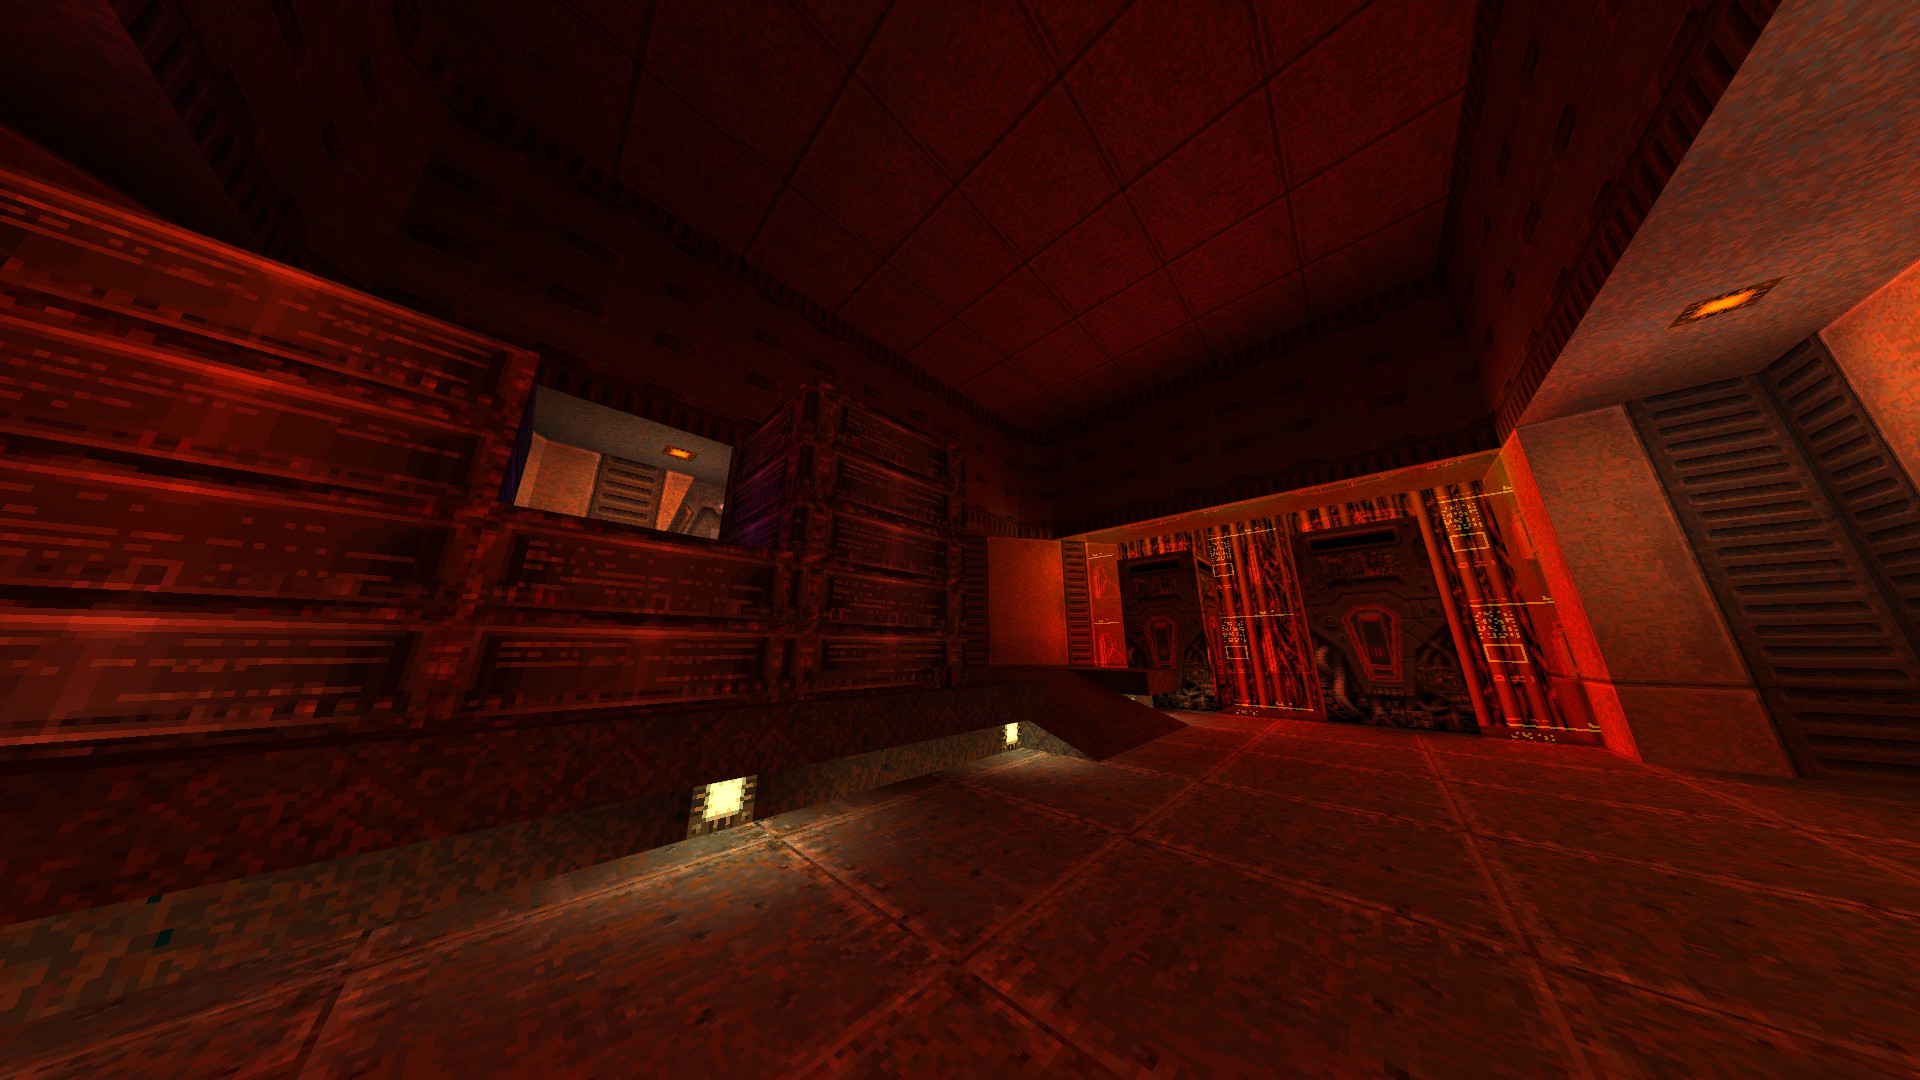
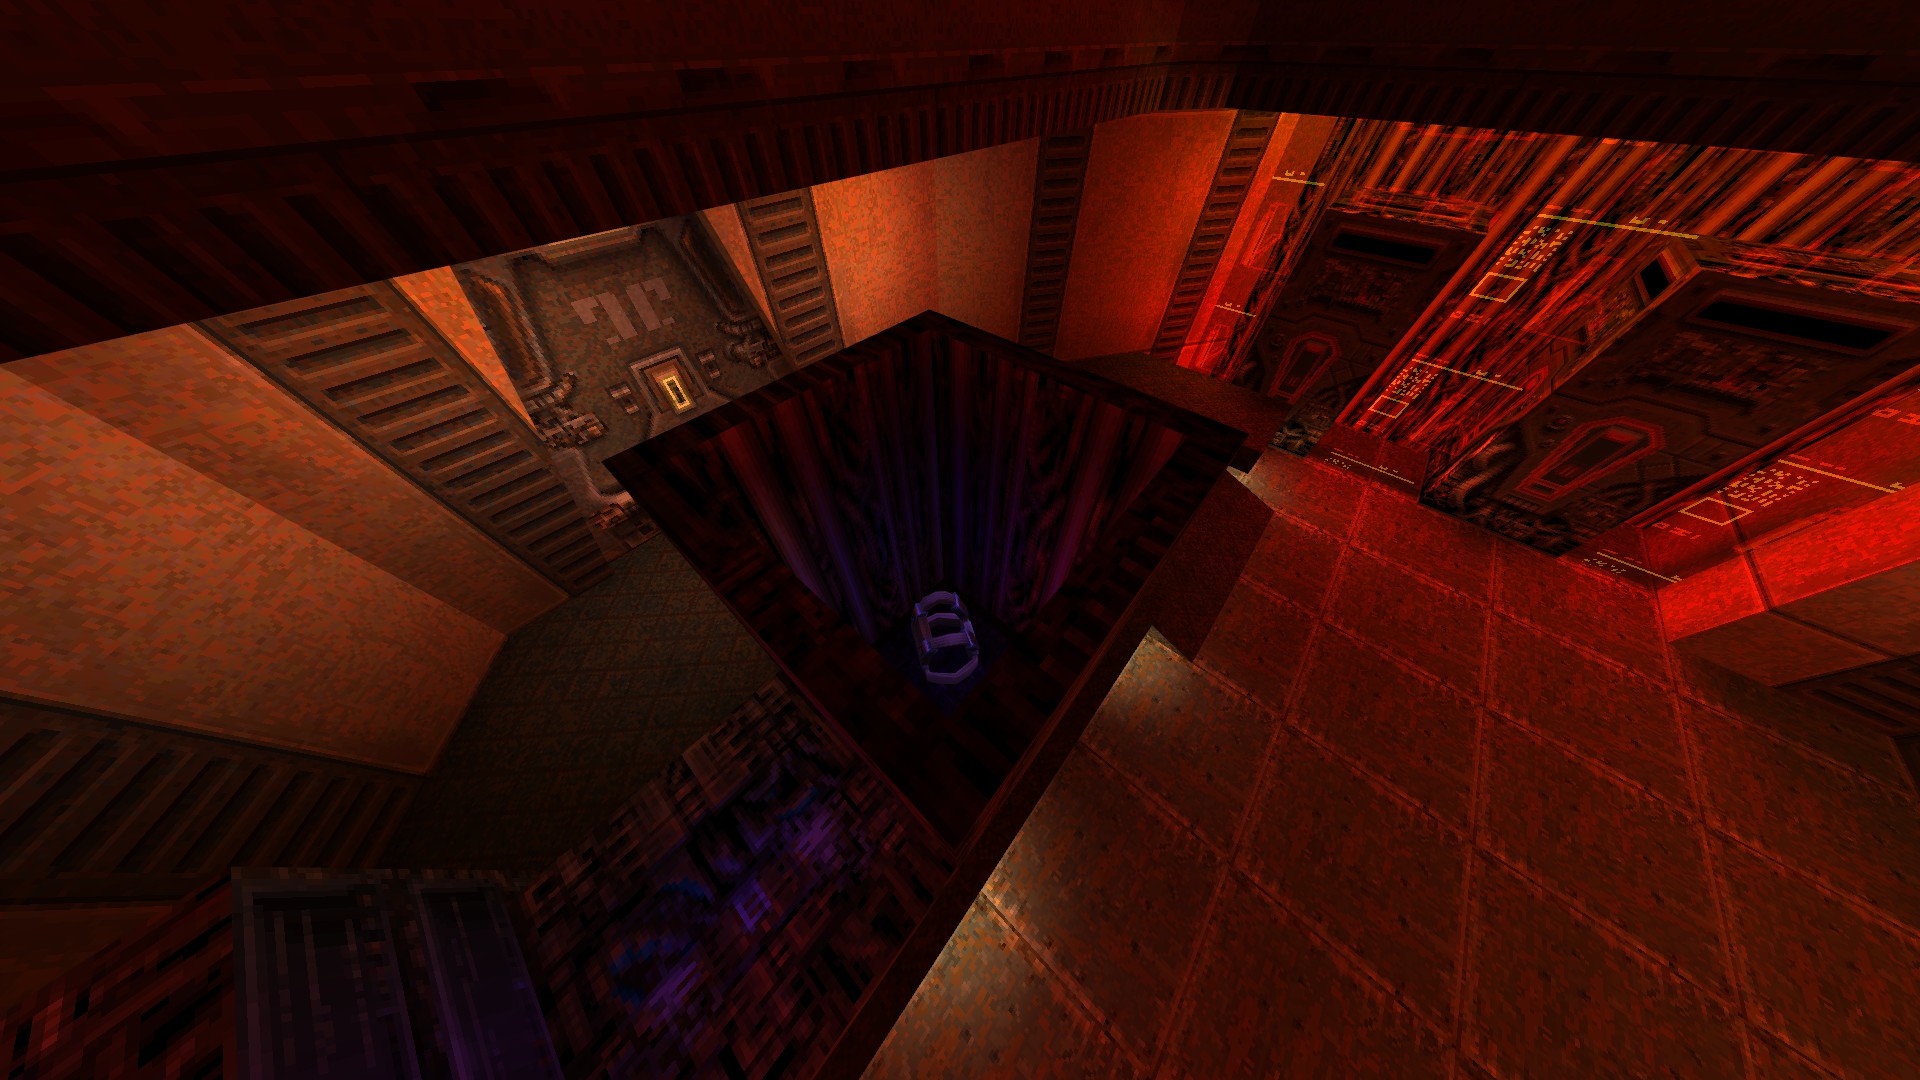
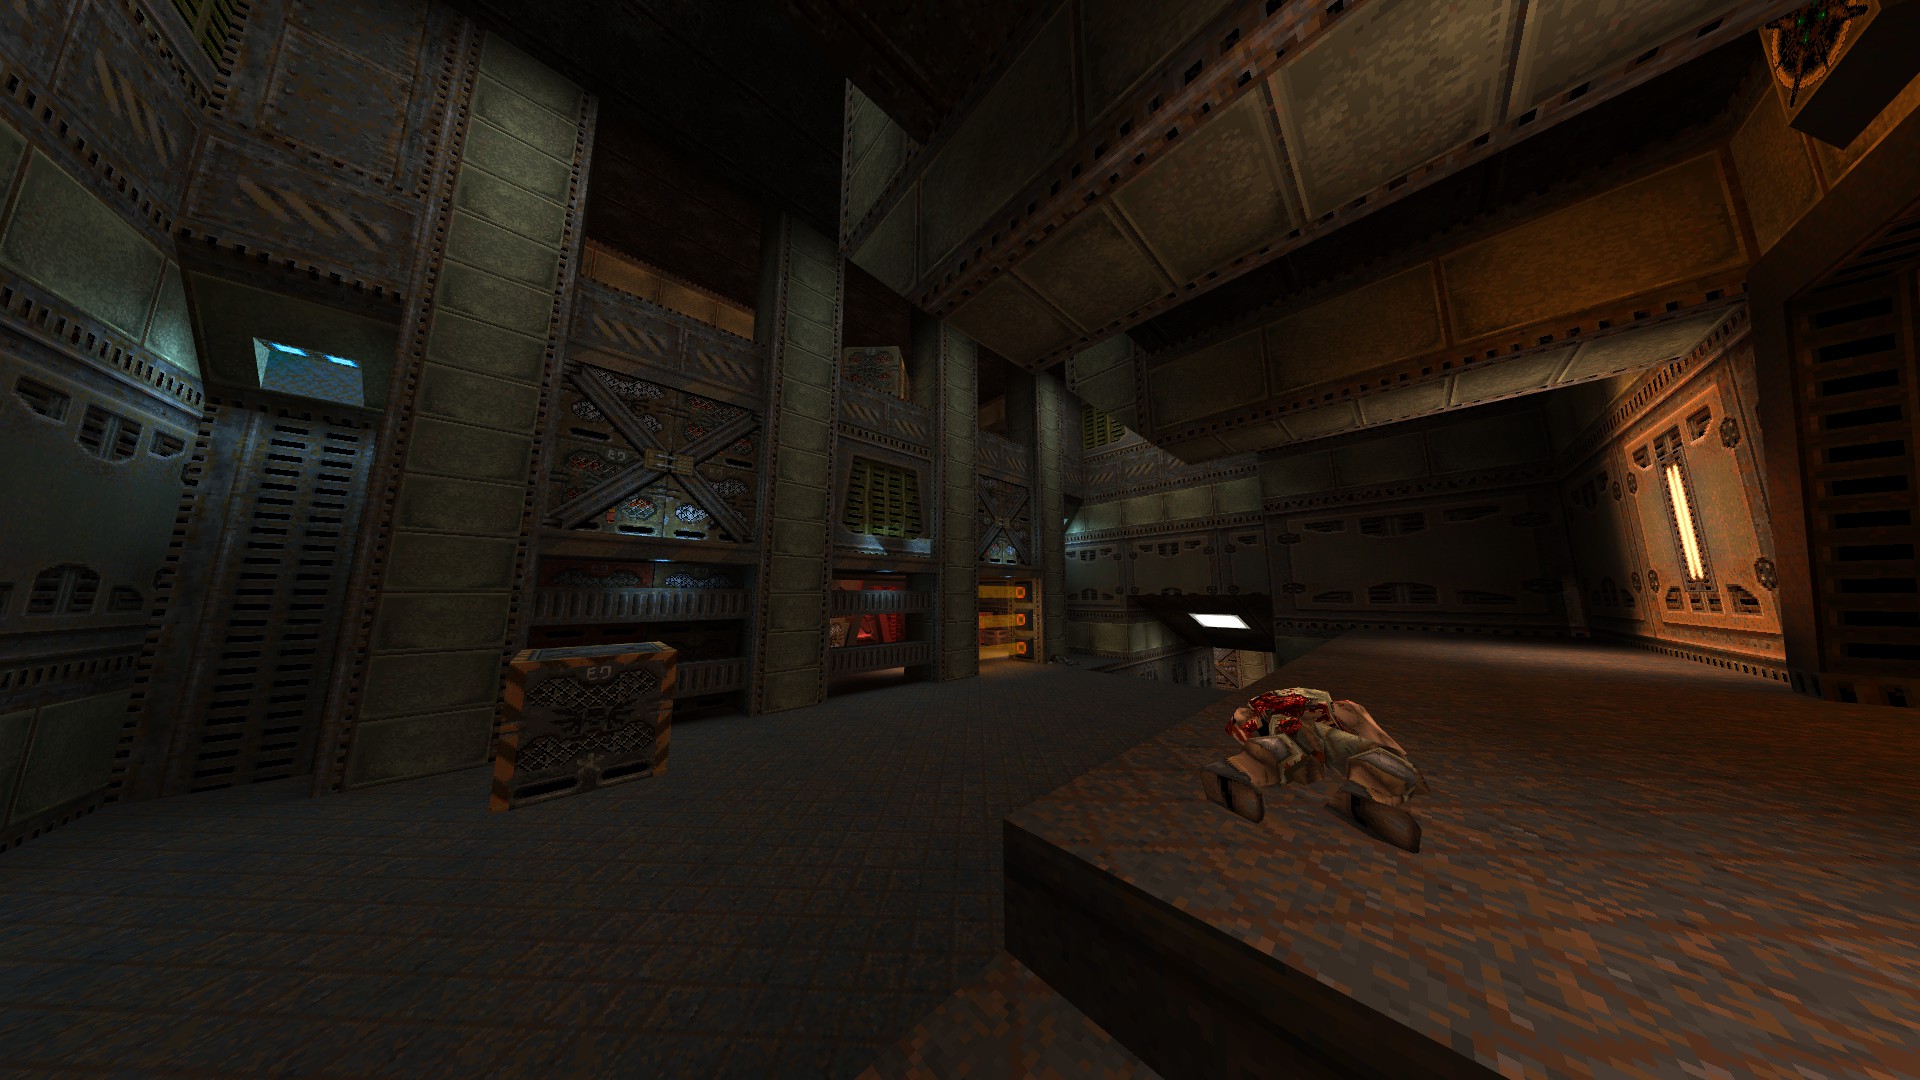
Of the two shots provided for the secrets, the first one covers the area it is to be found in while the second one shows a particular detail, which, in most cases, is the trigger itself. Additional tips are deliberately kept short to let the shots speak for themselves.
Unit Select
Although not offered through the in-game menu, it is possible to start playing directly from a later unit with a loadout as seen fit by the developers. This can be done by using the following commands (given in italics):
Base Complex / exec runit2.cfg
Research Hangars / exec runit3.cfg
Munitions Installation / exec runit4.cfg
Widow’s Lair / exec runit5.cfg
Note that the game defaults to Medium difficulty unless it is changed by using the skill variable. To start playing on another dificulty, be sure to type in the appropriate command (given in italics) from the list below before executing the command for the unit.
Easy / skill 0
Medium / skill 1
Hard / skill 2
Nightmare / skill 3
In Quake series of games, difficulty levels differ in the monster count and the amount of damage taken by the player, so Hard difficulty is recommended for the most complete experience. As stated in the foreword though, mind that Ground Zero is notorious for its unfair encounters so (even if you are accustomed to Hard) you may want to start on Medium difficulty in case it is your first-run through the pack. Nightmare (also known as Hard+, as displayed in the status / objectives subscreen) difficulty, which was originally hidden and is otherwise the same as Hard difficulty, remains a matter of preference as it requires a different approach to the gameplay due to its highly reducing the pain states of the monsters as well as its making them quicker on the trigger.
It is already pretty well-known that the game, as in most of the classic shooters, allows loading of the levels directly by typing in their filenames alongside the map command. Still, since doing so does not grant the player any type of equipment (other than Blaster) nor any key items which may be required for progression, the filenames for the levels are purposely left out of this guide.
Unit 1: Tectonic Stabilizer
This unit consists of 4 levels that contain a total of 13 secrets.
—
LOWER MINES
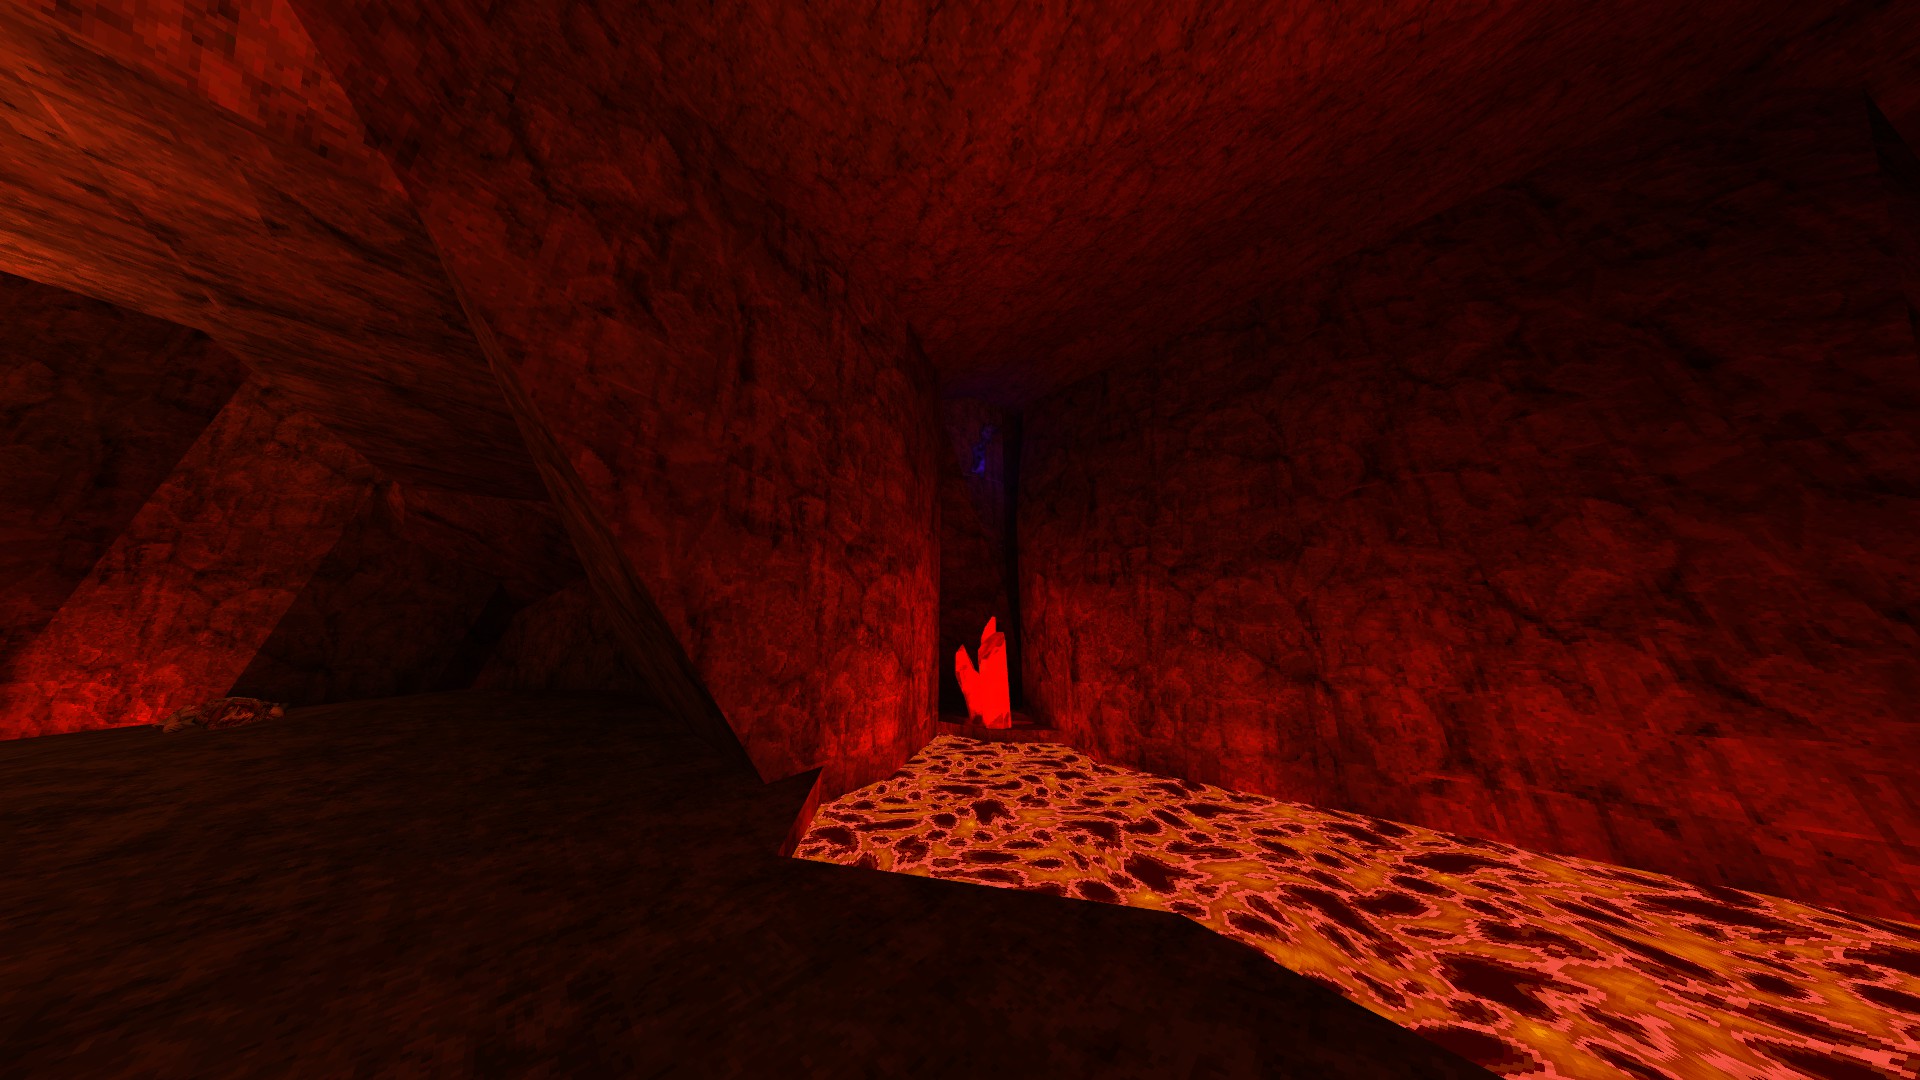
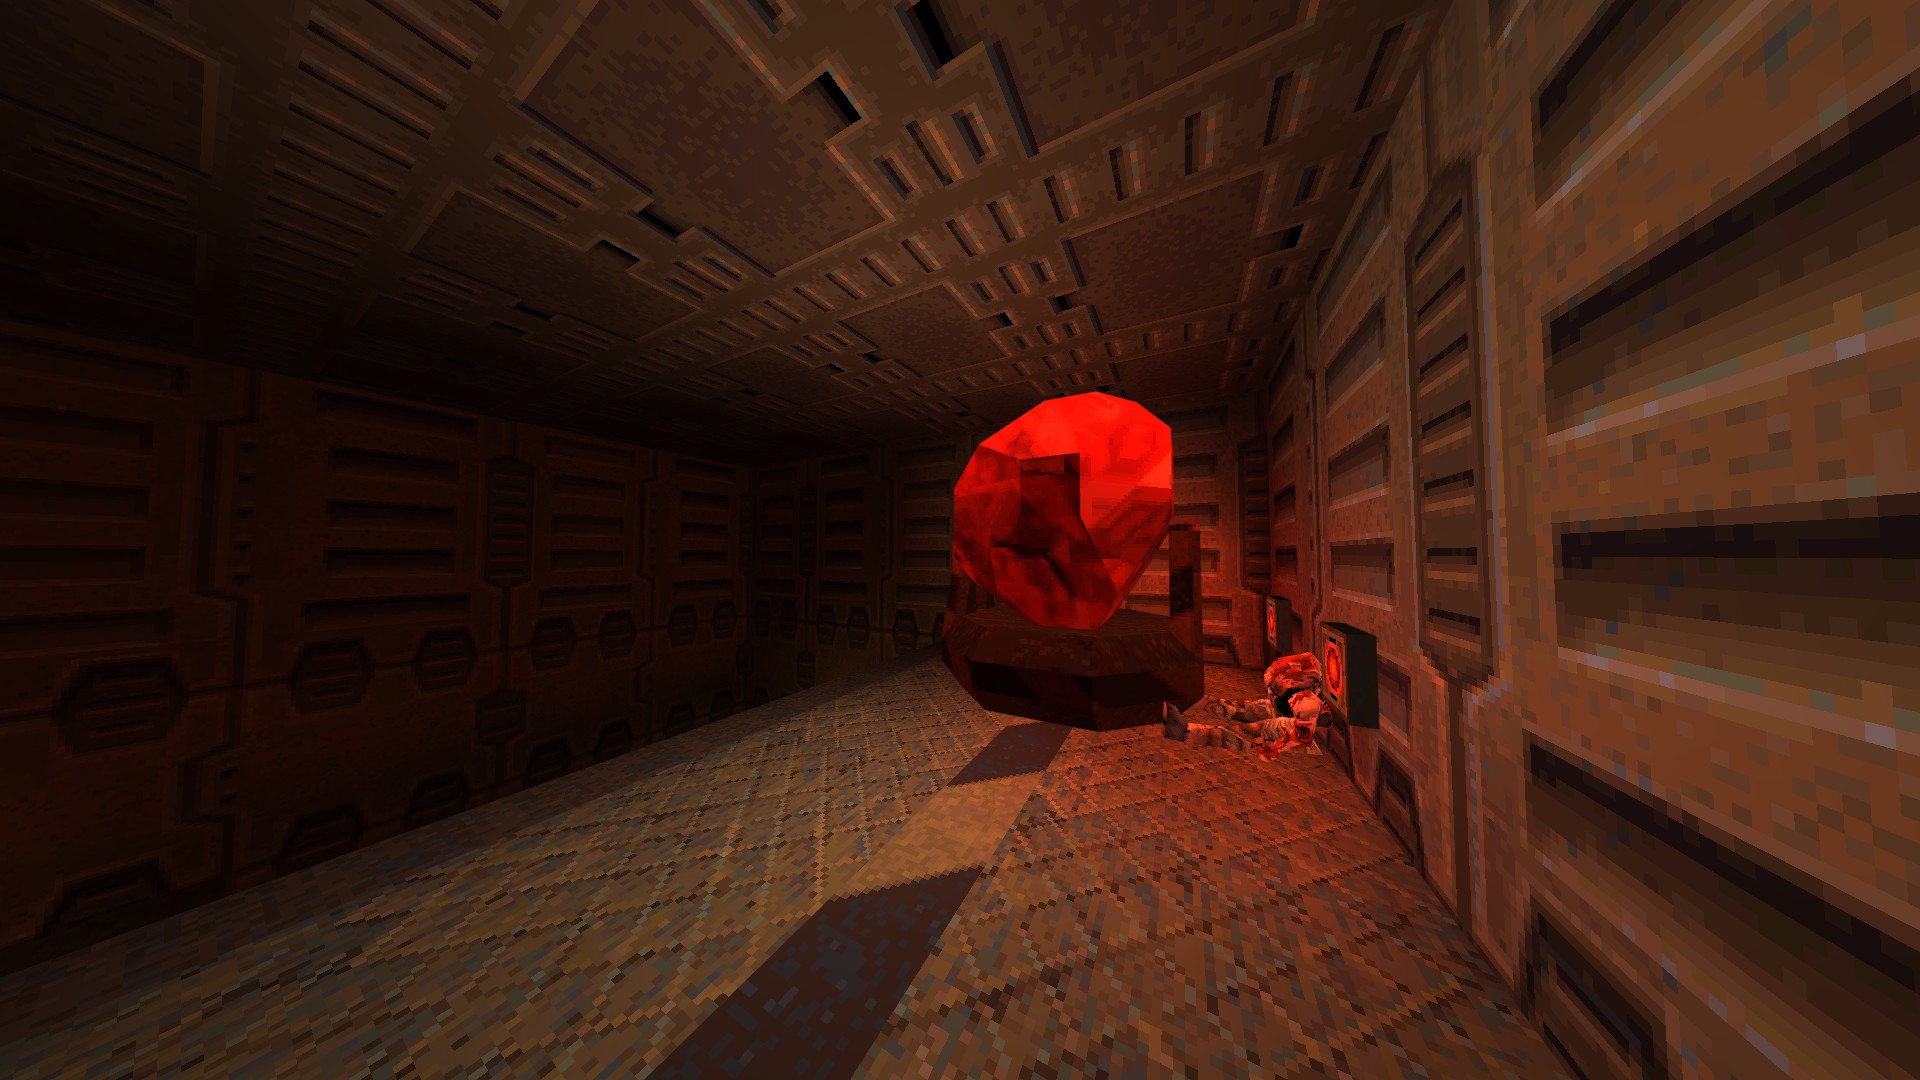
1/5 – Right at the beginning of the level, shoot the ore crystal to reach a hidden item.
2/5 – Activate the mover and shoot the ore on it once it reaches its destination.
3/5 – Activate the cart track and get on one of the carts to reach higher ground.
4/5 – Shoot the cracked floor underneath the gear to reveal a hidden item.
5/5 – Activate the crane and shoot the explosive crate once it reaches its destination.
—
THAELITE MINES
1/4 – Shoot the cracked part of the rock in the alcove to the right while riding the elevator down.
2/4 – Shoot the ore crystal found in the corner of the tunnel to reveal a hidden item.
3/4 – Follow the cart track in reverse and jump down to reach a hidden area.
4/4 – Shoot the button located on the side of the pillar to reveal a hidden compartment.
—
TECTONIC STABILIZER
1/4 – Shoot the button located behind the pipe to open up a hidden compartment.
2/4 – After destroying the nodes wall, open the coolant tank by using the nearby console.
3/4 – Look for a semi-hidden item on the pipe next to the secondary coolant tank entrance.
4/4 – Instead of running for the exit after disabling the pumps, return to the generator room and wait for a chunk of rock to fall down onto the pipe below. Jump across and drop down into the newly-formed hole to access the secret level.
—
MINE ENGINEERING (Secret Level)
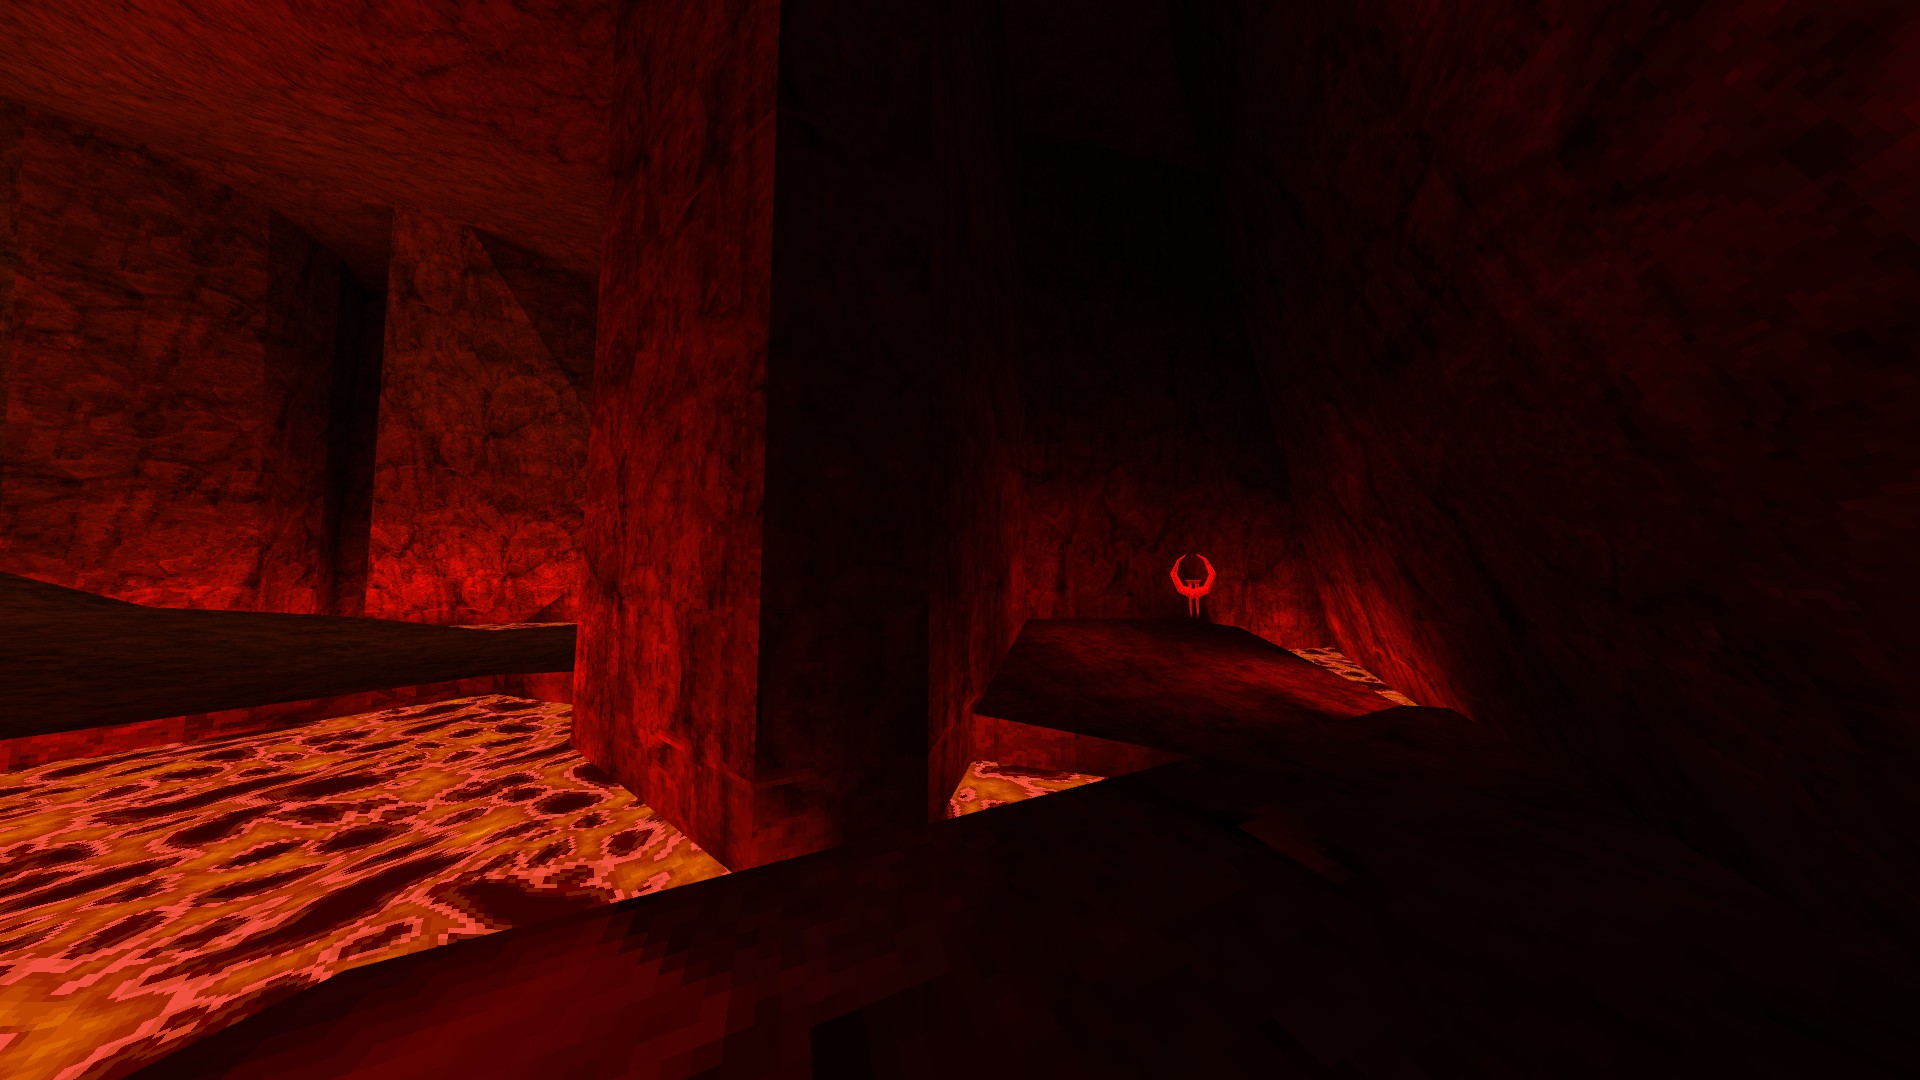
This level has no secrets. However, two items of note, the suit of body armor in the initial area and the shot of adrenaline in the next one are missable due to the rising lava.
Unit 2: Base Complex
This unit consists of 4 levels that contain a total of 11 secrets.
—
EASTERN WAREHOUSE
1/4 – After disabling the track by removing the power core, check underneath the cargo cart.
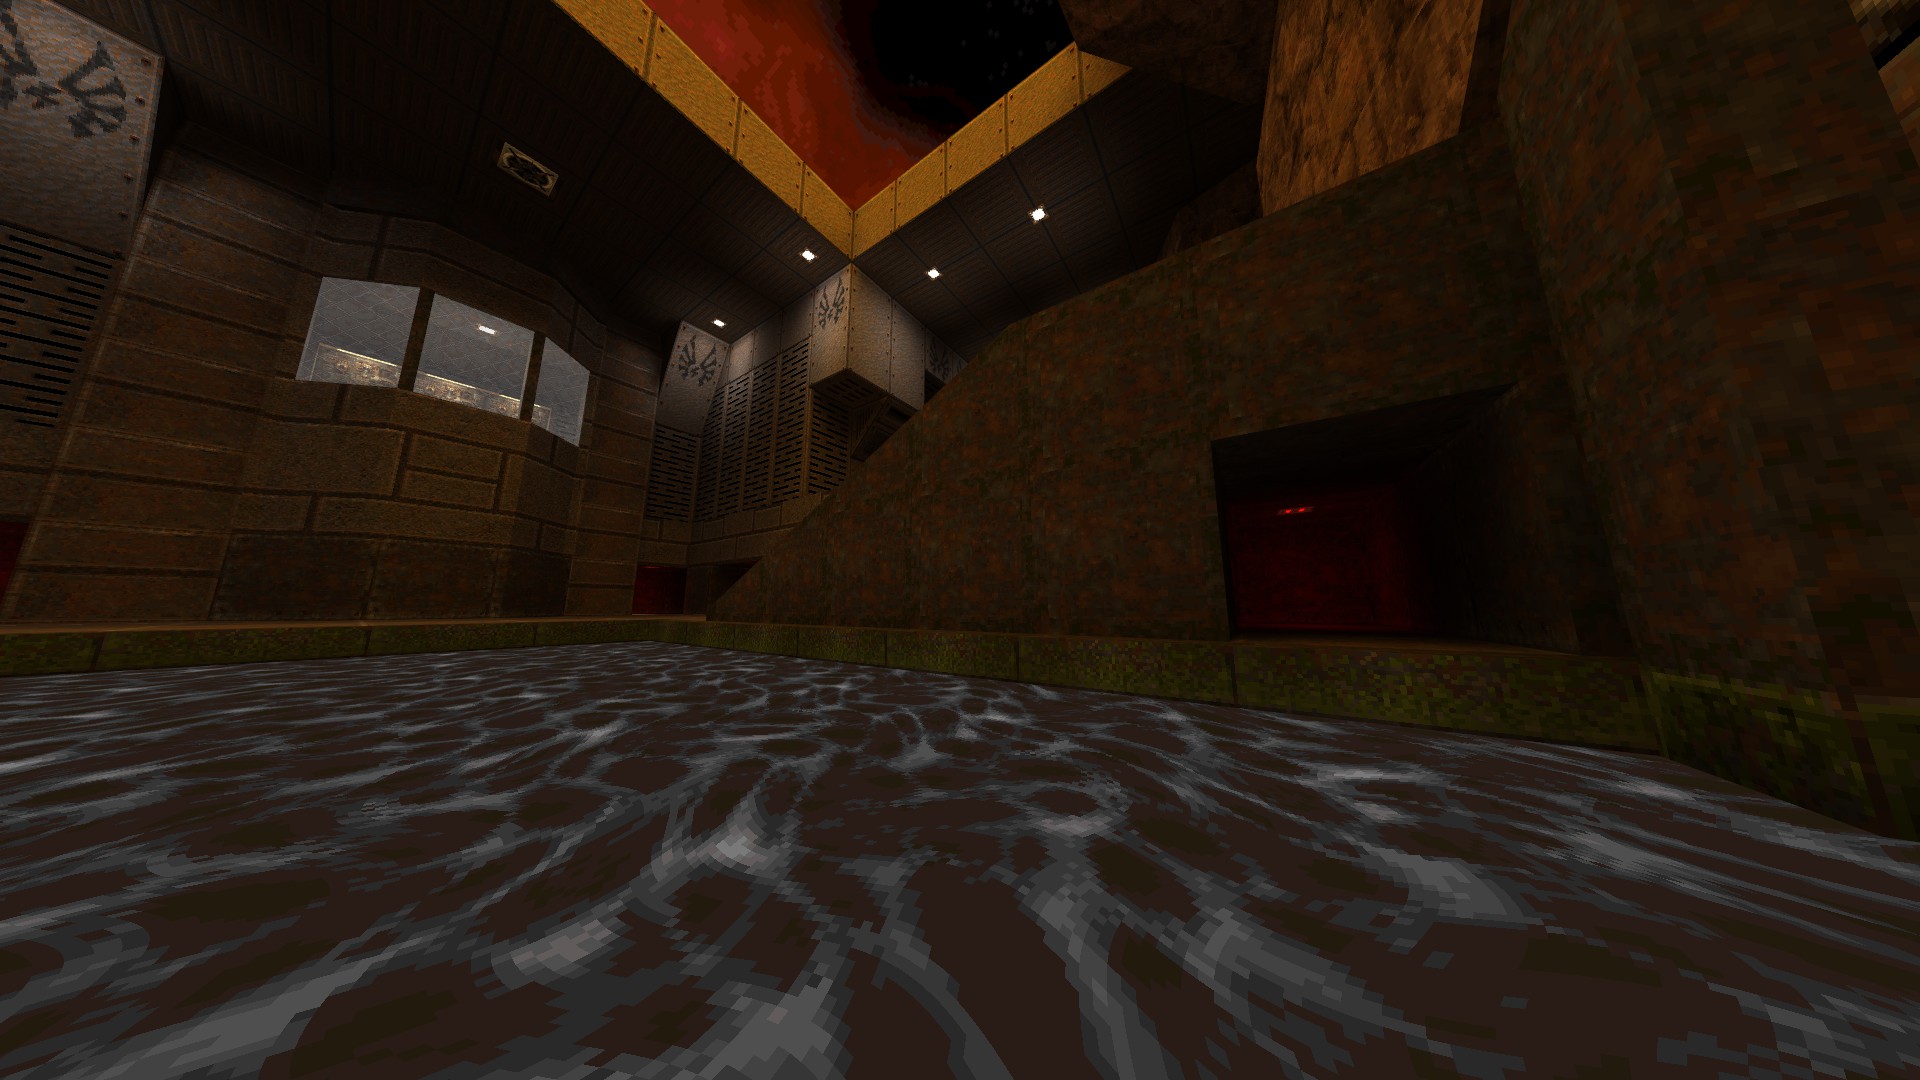
2/4 – After nullifying the electric current, dive into the water and look for a hidden item.
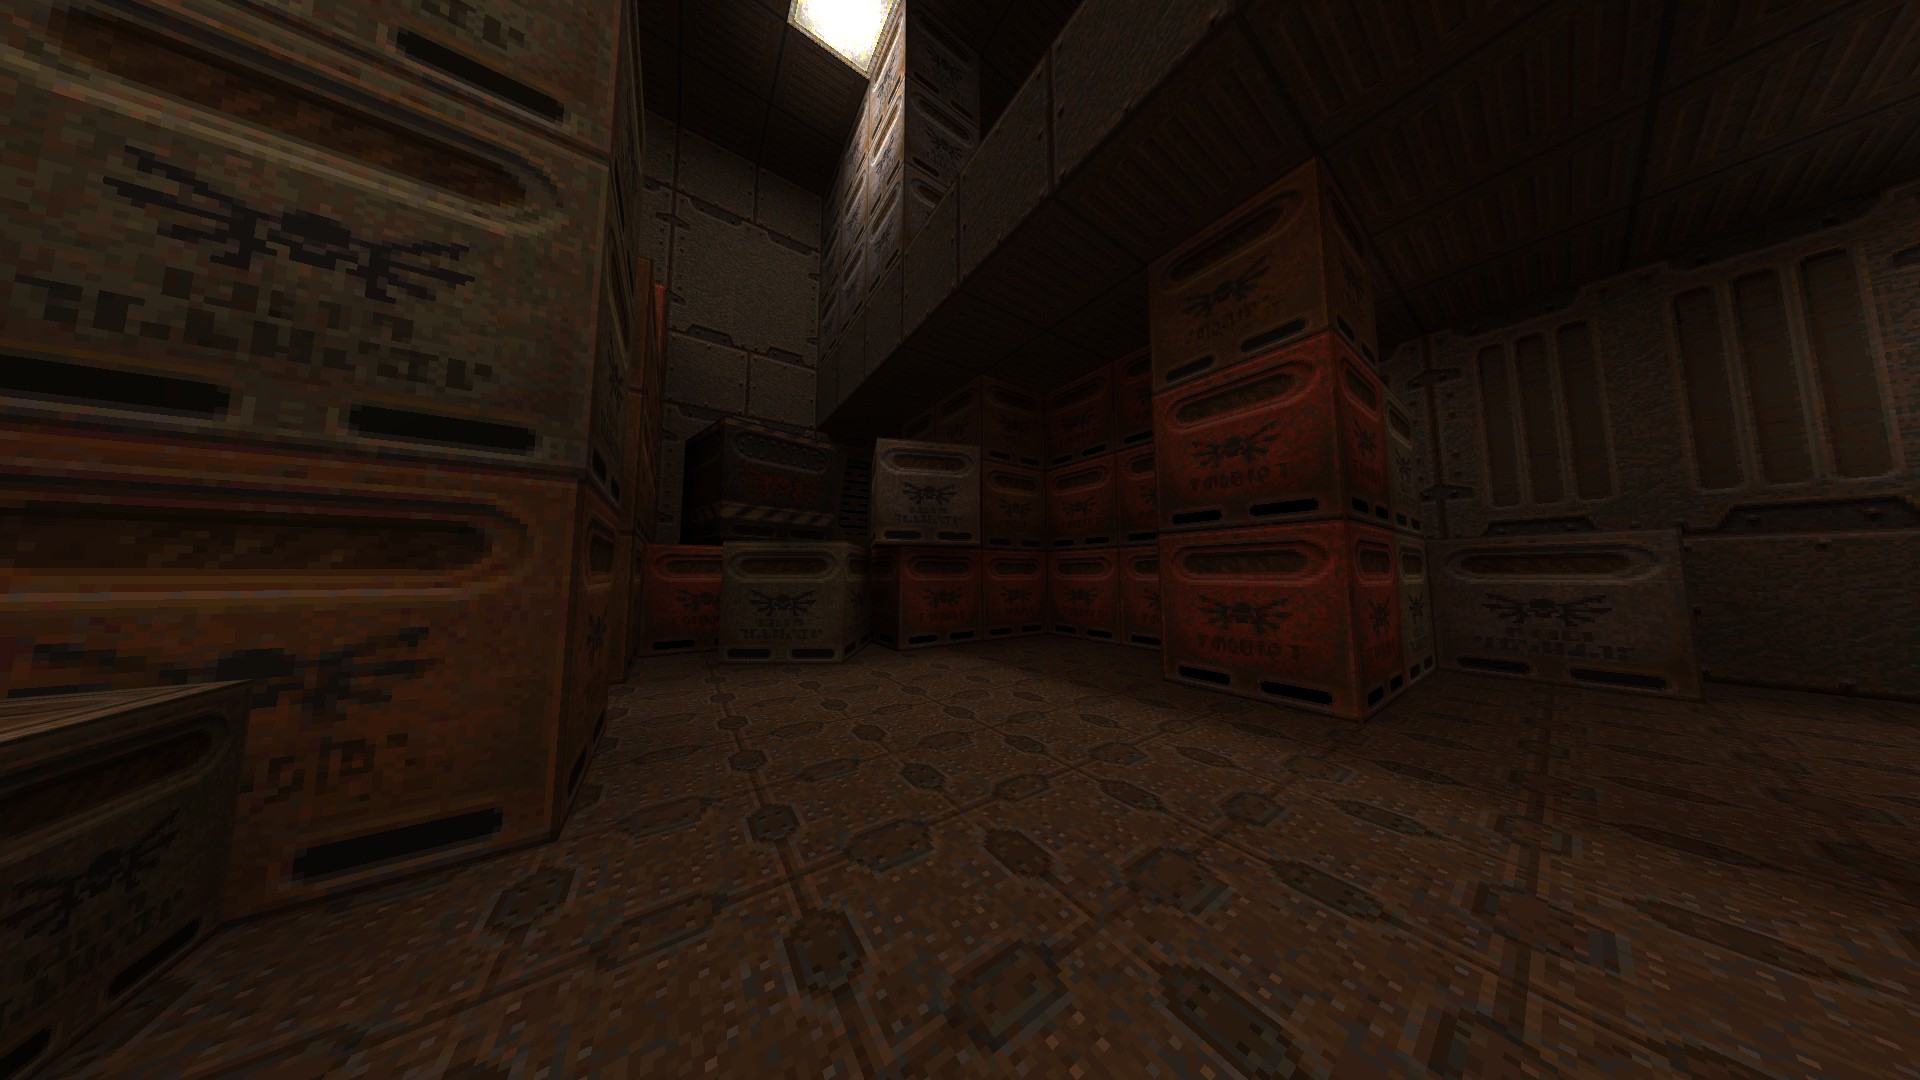
3/4 – After obtaining the red key, reach the newly-opened compartment by way of crates.
4/4 – Look for a semi-hidden passage under the slope in the area leading to the exit.
—
WATERFRONT STORAGE
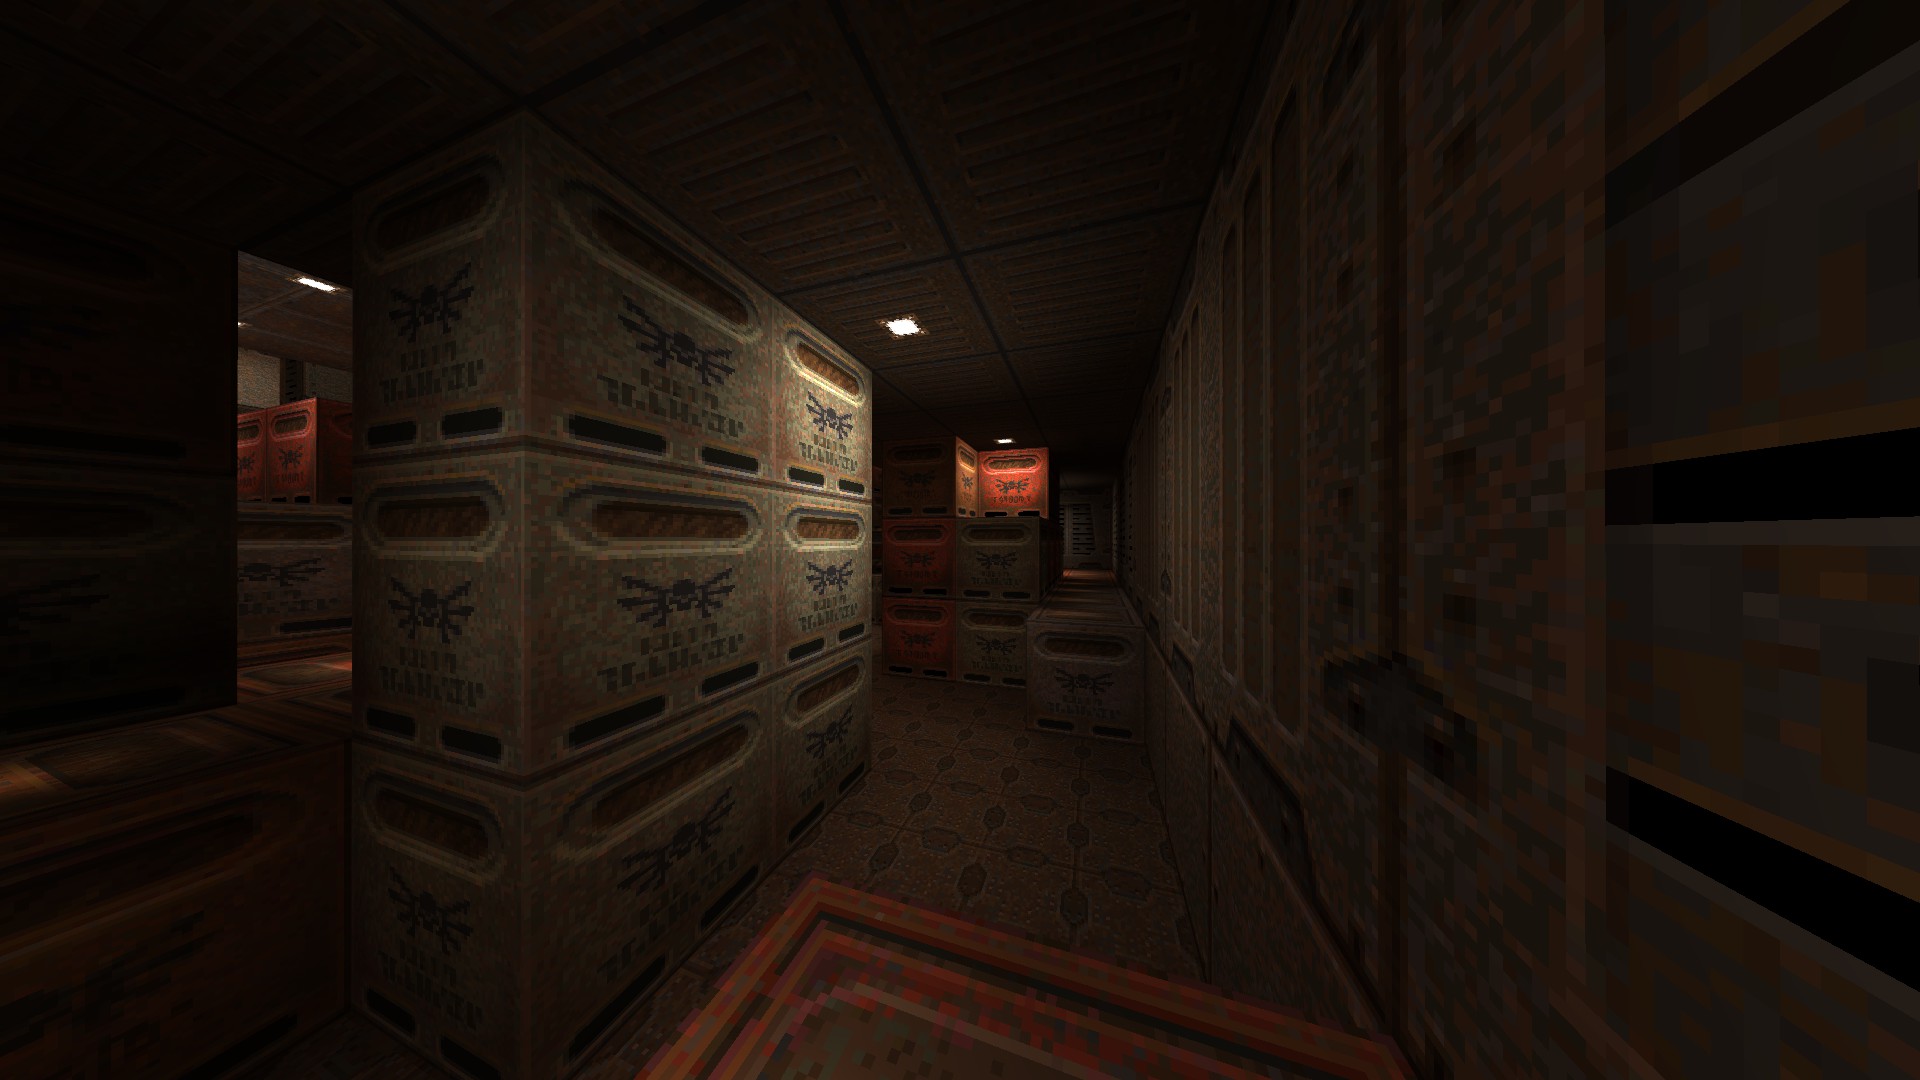
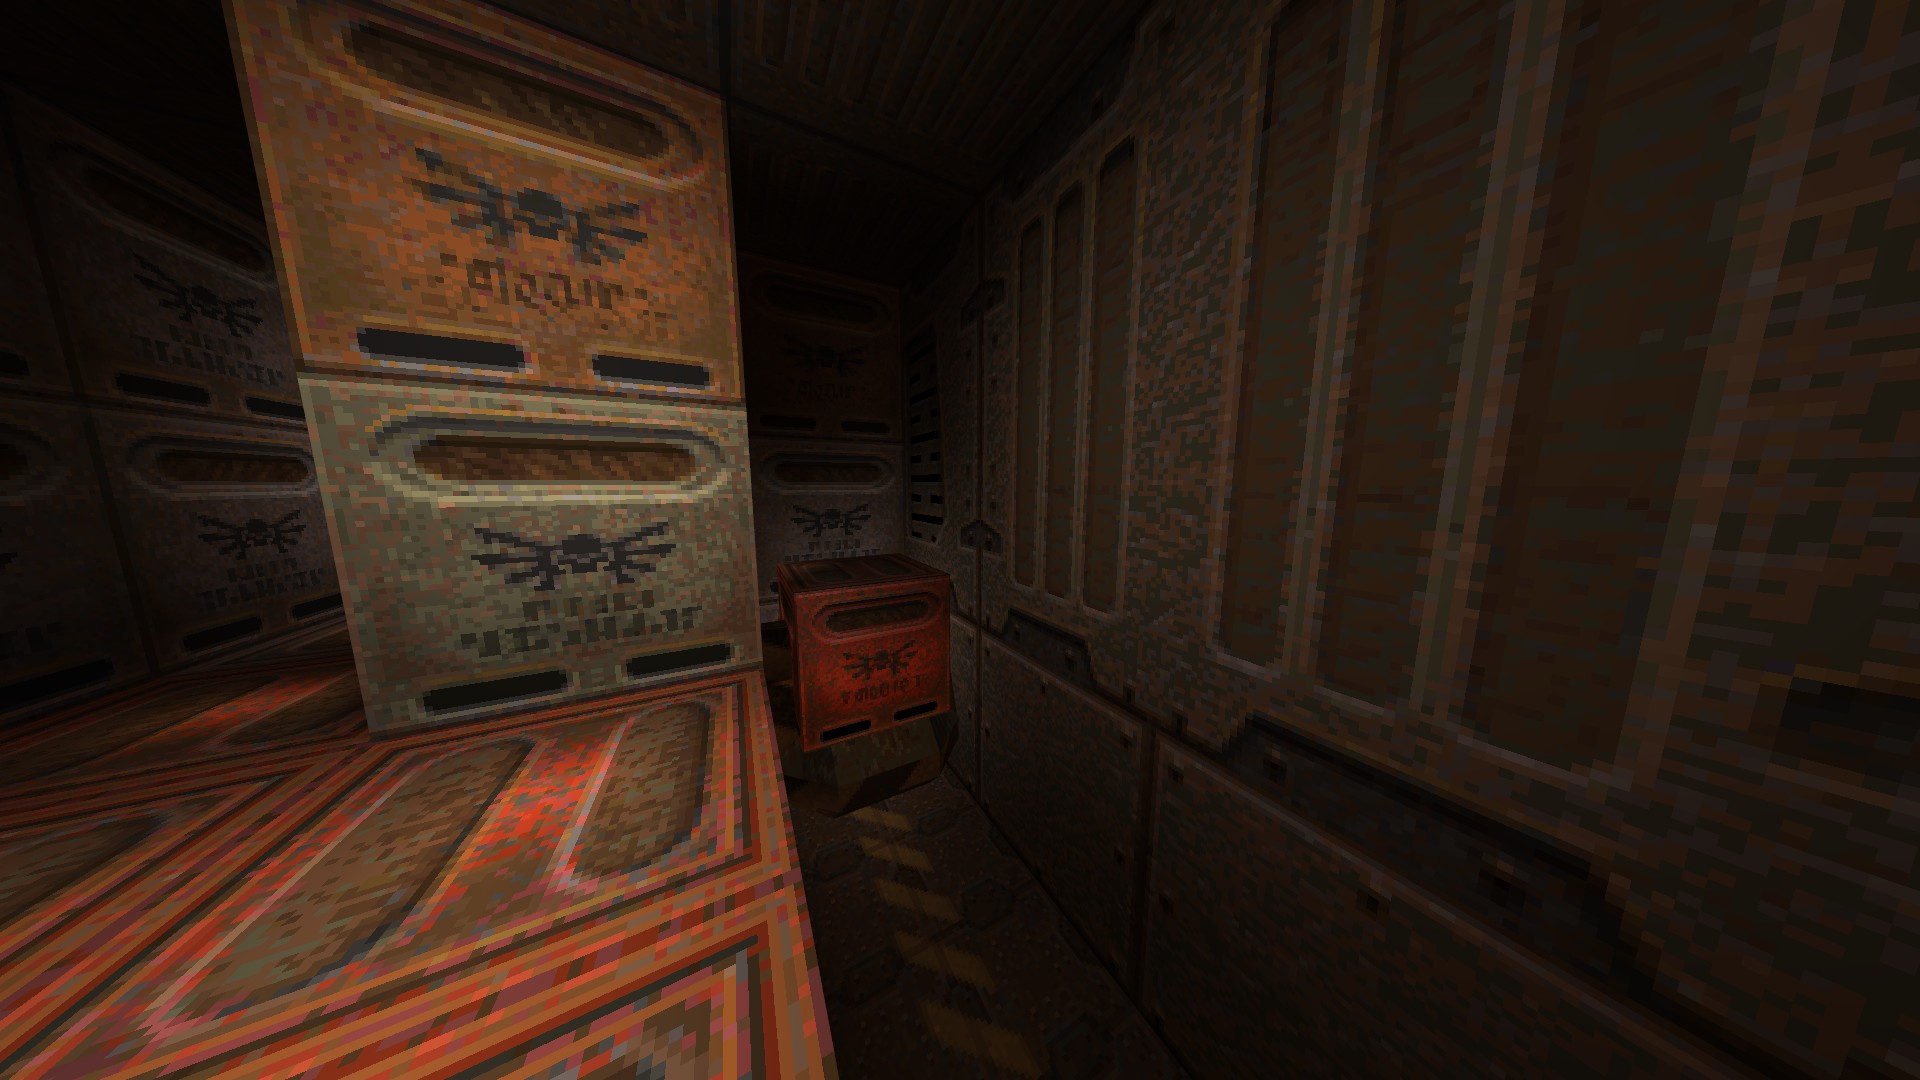
1/4 – Make your way to the area behind the explosive crate via the crates nearby.
2/4 – Drop down and jump onto the mover once it is activated to reach an item further on.
(Needs to be done in a single try since the mover does not return to its starting position.)
3/4 – Shoot the panel that slightly juts out to reveal a hidden compartment.
Follow your objectives to Logistics Complex and return to Waterfront Storage.
4/4 – After using commander’s head, shoot the panel in the corner to reveal a hidden item.
—
TACTICAL COMMAND
1/2 – Shoot the button near the ceiling upon leaving the shuttle to reveal another hidden item.
—
LOGISTICS COMPLEX (Continued)
1/1 – Shoot the button located on the side of the terminal to reveal a hidden item.
—
TACTICAL COMMAND (Continued)
2/2 – Dive into the water and shoot the cracked wall to reveal yet another hidden item.
Unit 3: Research Hangars
This unit consists of 4 levels that contain a total of 9 secrets.
—
RESEARCH HANGAR
1/2 – Shoot the button on the ceiling next to the pillar and dive into the water to find two items.
—
WASTE PROCESSING
1/2 – Look for a broken beam above the door and shoot it to get the item residing on top.
2/2 – Push the green-coloured panel on the side of the server to reveal a hidden item.
—
WASTE DISPOSAL
1/2 – Right at the entrance, dive into the water and check the other side of the pipe.
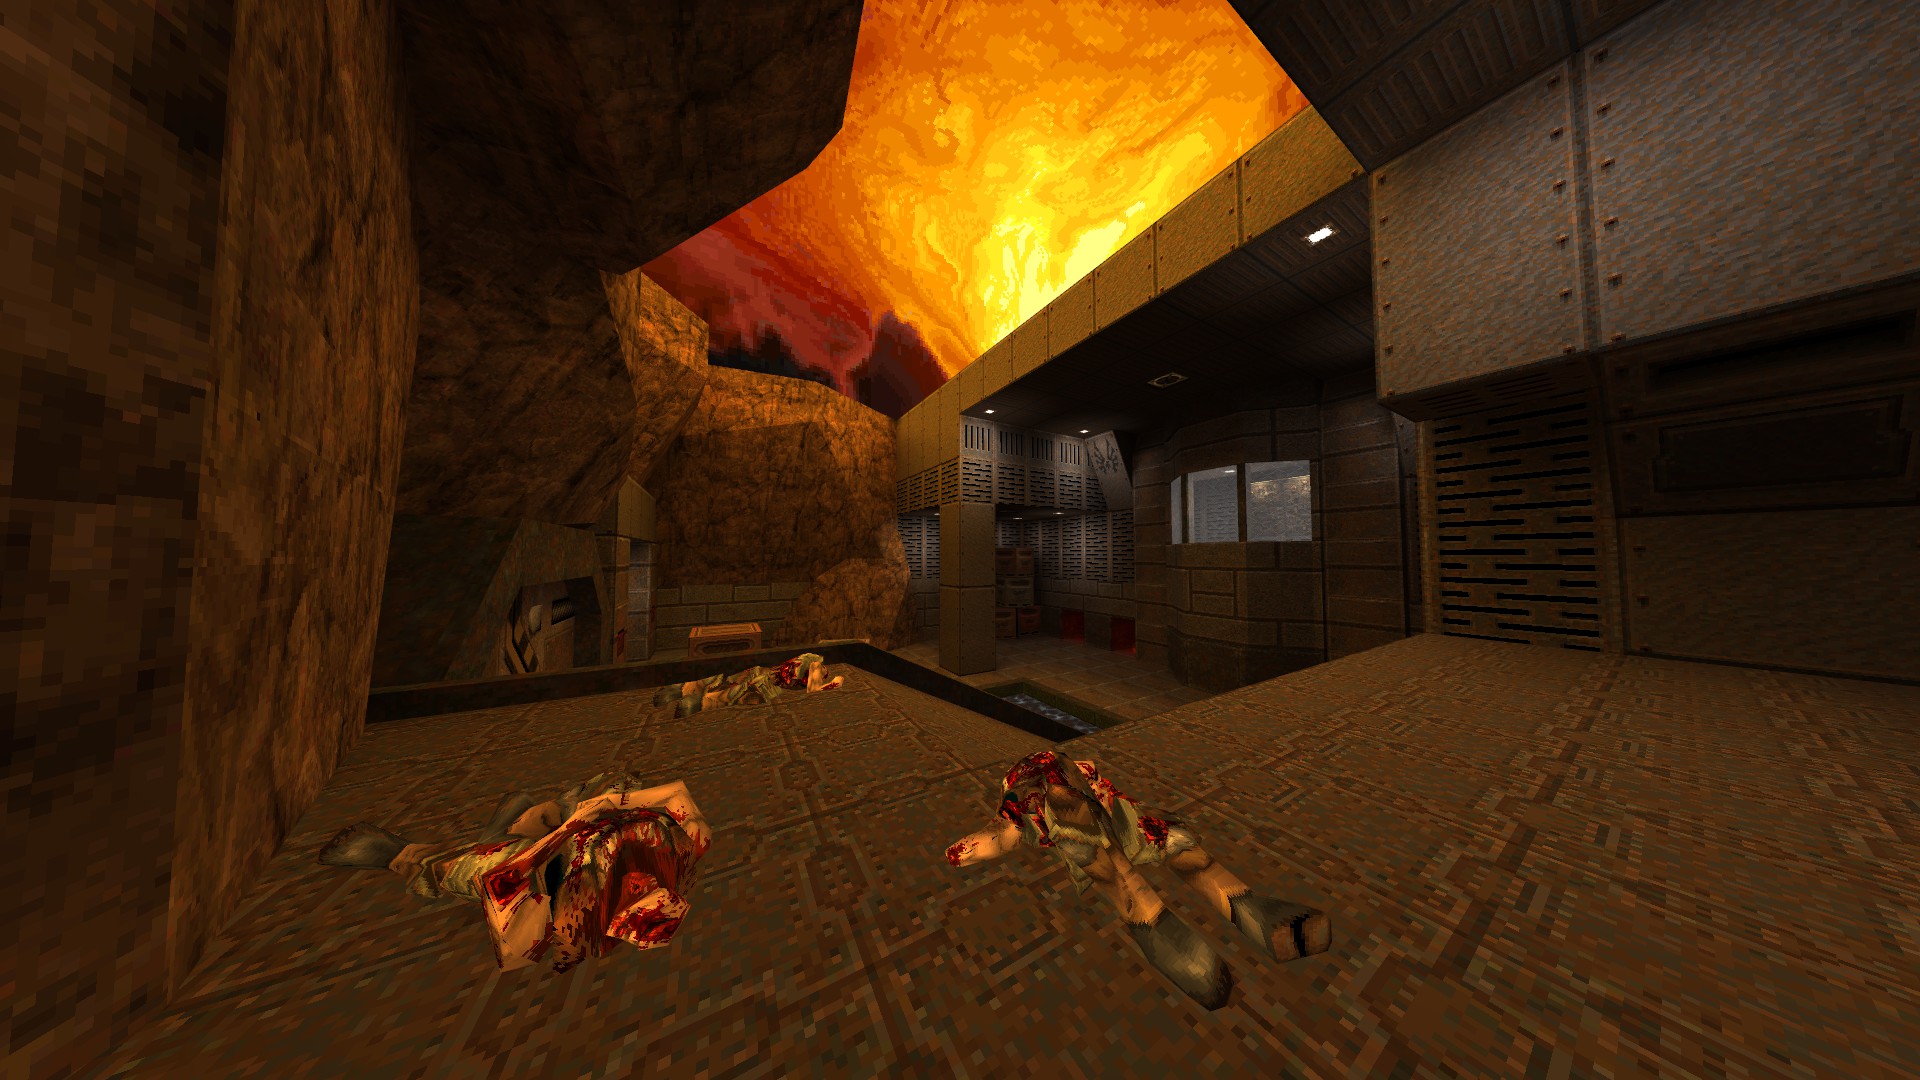
2/2 – Still at the entrance, shoot the cracked floor near the dead marine to reach another item.
—
MAINTENANCE HANGARS
1/3 – Shoot the panel (shown already shot) and reach the item using the explosive barrel nearby.
Follow your objectives to Waste Disposal and return to Maintenance Hangars.
2/3 – Get the suit, shoot the hidden button, wait for the third container in line and dive into it.
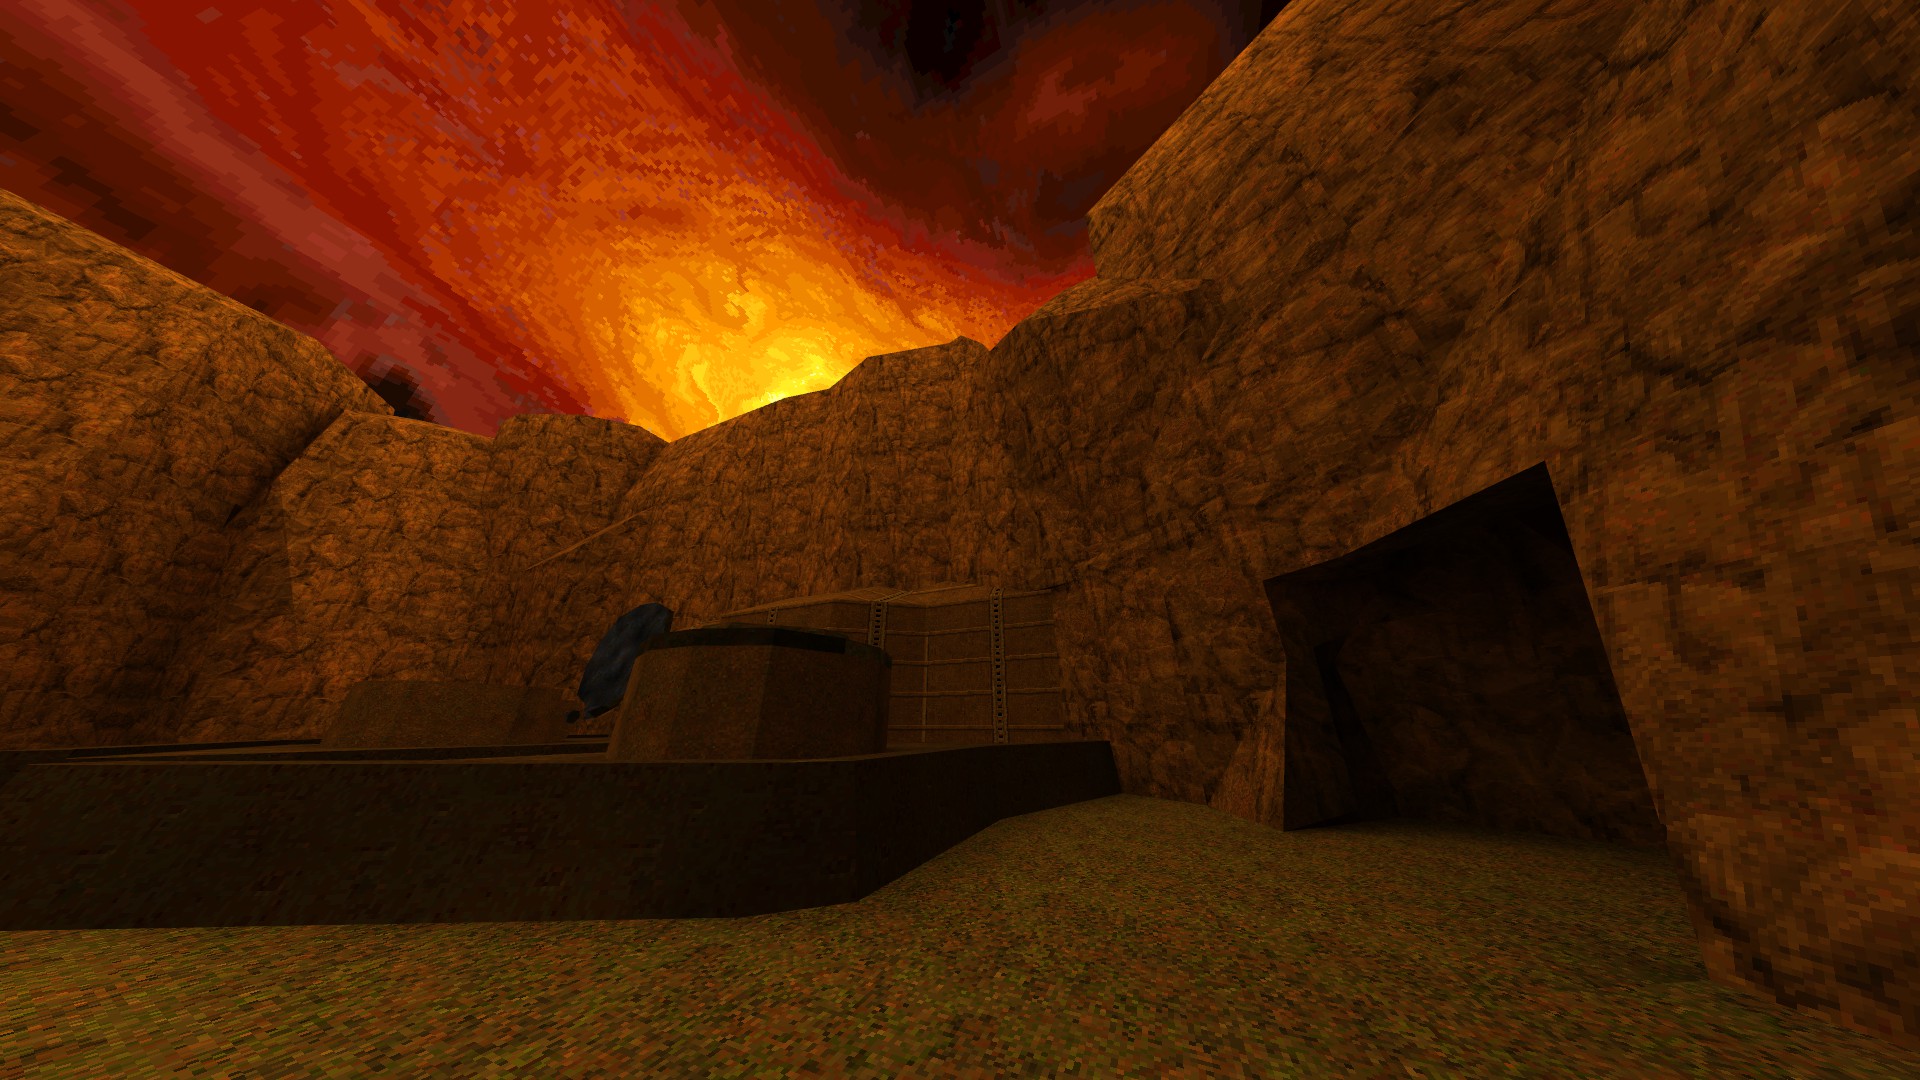
3/3 – While outdoors, find the damageable part of the rock (shown already destroyed), shoot it to reveal a hidden area and also receive a message from the developers.
—
RESEARCH HANGAR (Continued)
2/2 – Shoot the top part of the tallest server in the room to reveal another hidden item.
Unit 4: Munitions Installation
This unit consists of 2 levels that contain a total of 4 secrets.
—
MUNITIONS PLANT
1/2 – Shoot the cracked panel above and the button behind it to reveal a hidden item.
—
AMMO DEPOT
Easter Egg
Look above at the entrance hall to find a grate on the ceiling and shoot it as long as it takes to receive a message from the developers. Shoot the newly-revelead button as much as needed to receive one more message from the developers. Mind that this process takes a lot of ammo.
1/2 – Activate the bio-maintenance chamber and enter the pod in the previous room.
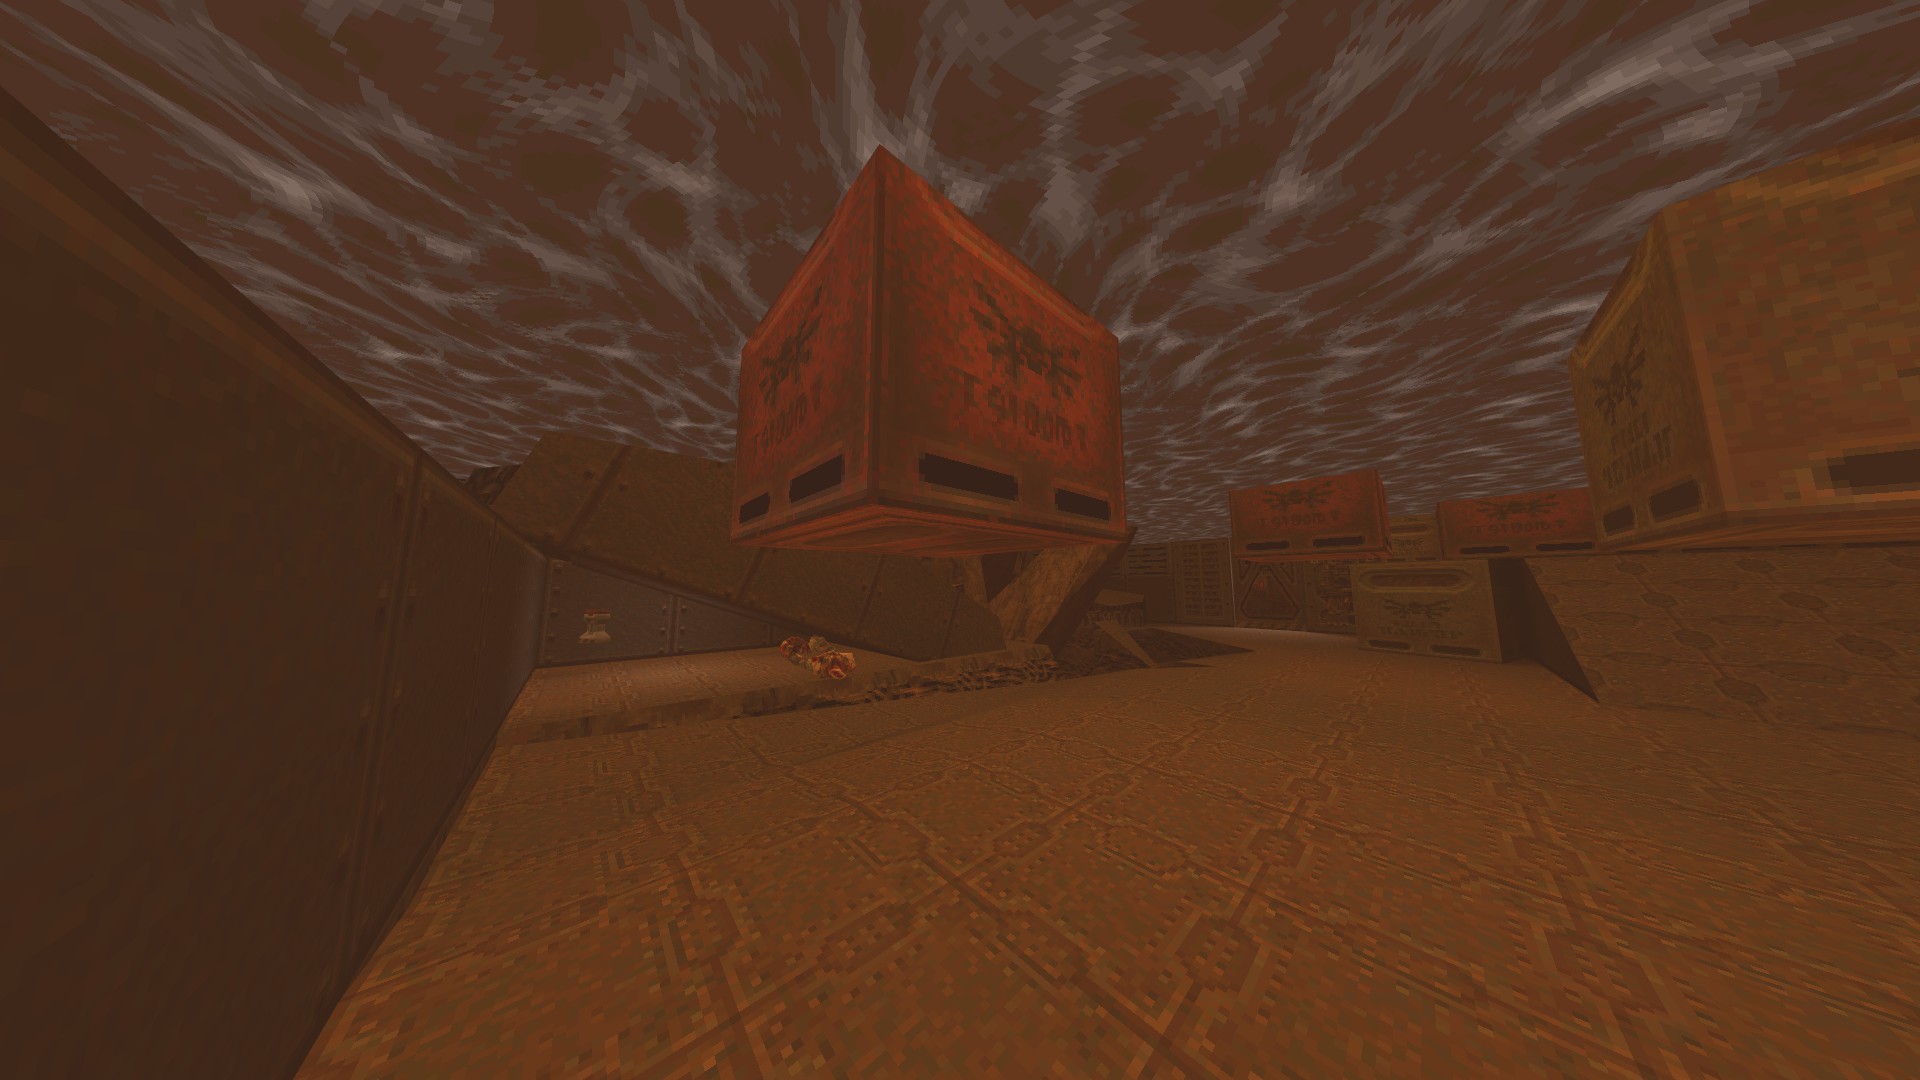
2/2 – Shoot the bottom of the crate hanging from the beam to get a hidden item.
—
MUNITIONS PLANT (Continued)
2/2 – Shoot the slightly indented wall in the gondola room to reveal a hidden compartment.
Unit 5: Widow’s Lair
This unit consists of a single level that does not contain any secrets.
—
WIDOW’S LAIR
This level has no secrets.
By erc
Hope you enjoy the post for Quake II: Ground Zero Ground Zero: Visual Guide to Secrets, If you think we should update the post or something is wrong please let us know via comment and we will fix it how fast as possible! Thank you and have a great day!

Leave a Reply