Having troubles with the first few missions on Mercenary? We have solutions.
Buy yourself some of the prototype planes first though.
Introducing the Mercenary diffuculty
So, you’ve found out the last hidden achievement is completing the game on Mercenary difficulty, huh? Well, it’s not Ace Combat at all, where increasing the difficulty just increases the health pools of your enemies while reducing your own, no, there’s no damage scaling.
Mercenary difficulty just makes your life hell… at first.
Project Wingman customizes enemy spawns in order to manipulate the mission’s difficulty, so they feel much (and, sometimes, totally) different on different difficulties.
Take mission 2, for example. It’s just an easy air combat mission on Normal. It features three railgun cruisers on Mercenary.
On the good side, no damage scaling, you still go down from 4-5 missile hits in any plane.
On the bad side, you get no respawns in this game. Like in older Ace Combat releases, you start the whole mission over.
Playthrough suggestions
So my first suggestion is to stay concentrated while also being ready to replay missions. Remember, if you’re a good arcade pilot, you’ll only go down if you make tactical mistakes or with random hits. Once you fix your tactics, the mission will proceed smoothly. Stay aware of the accidental point-blank missile hits, or head-on hits, or AA/CIWS hits – this is what I call random damage. Accept it, it’s usually minimized just by flying carefully and cold-blooded.
My second suggestion is more obvious – complete the campaign on at least Medium first. I’ve played almost every Ace Combat game and completed Project Wingman on Medium. I mean, I’m now at least partially aware of what is awaiting me on every next flight. I also have SP-34R and lots of funds to quickly buy Chimera at the moment I restart the campaign. Don’t try to be a hero and use regular planes – isn’t worth your nerves.
I’m suggesting you loadouts that are either recommended or necessary. “Any” means any plane and/or loadout you’d like, but it must be a high-spec one of course. Consider it “get yourself a comfortable multirole plane with flexible weaponry”. I’ve used Chimera for this role, just because it is a prototype plane, but, for example, F/S-15 is a versatile plane too, exceeding her by stats.
PW-MK.1 is an extremely good choice for any of the missions, thanks to its agility and having both a multi-target missile weapon and a railgun, with a bonus built-in heavy machinegun. If you can buy it – then buy it. Remember to bank 90 degrees when flying low, as there are nails firing both upwards and downwards, the latter will simply crash into the ground otherwise. Nails aren’t as strong as regular missiles though, and depending on the amount of lock-ons you’ll have less missiles striking each target, keep it in mind.
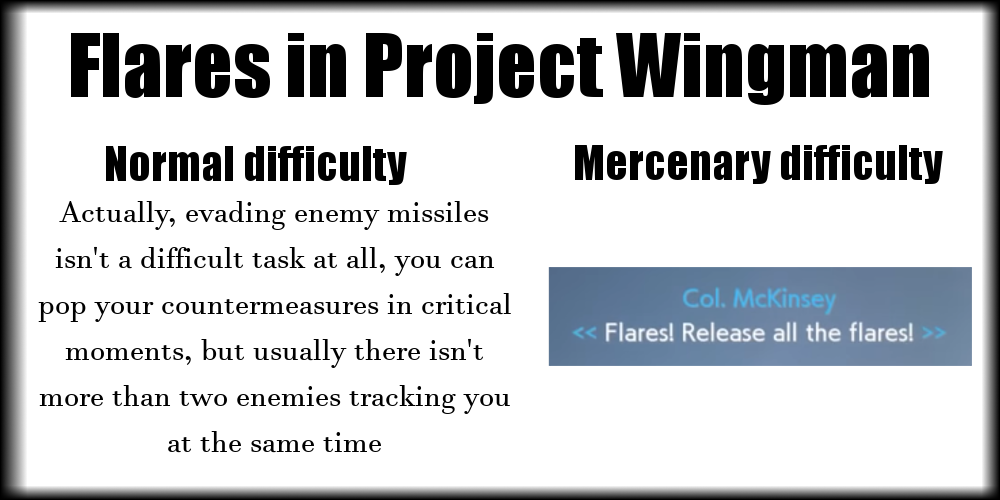
FLR or AOA? Well…
AOA is fun and it’s very much possible to run it in further missions. However, flares are your key to survivability when you are surrounded – and, oh boy, you’re gonna get surrounded sometimes, no matter how skilled you are. While AOA allows to finish enemies off faster when in skilled hands, it won’t help if you’re dead because of the missiles flying from everywhere. On Mercenary, I wouldn’t trade overall survivability for an improvement in maneuverability.
Finally, it’s not a walkthrough. Project Wingman is kind of a procedural arcade shooter. It generates enemies and you take them down. I’m just suggesting how you can deal with the generated enemies appropriately.
For the sake of “fun”, I’ll also add my own death counts to every mission I’ve died on. This should give you an understanding on which missions require specific tactics to be completed, even if you’re a skilled player in general. As long as you follow a good tactic on this difficulty, you should be fine.
Of course, spoilers ahead, duh.
A difficult start
Mission 1:
Suggested loadout: Any
On Mercenary difficulty you’ll encounter two military ships launching volleys of missiles, these are your top priority.
Do fast passes over the island, since there are lots of AA guns that’ll consistently s*rip you of your health – bit by bit.
Additionally, a large hostile squadron will appear after the ground attack, I suggest bringing MLAAs to reduce their numbers before you engage in a furball. Pop your flares while performing attacks on your targets, since you’ll probably be reducing your maneuvering.
As soon as you take the squadron down and destroy the cordium boom-thingie, the mission’s over.
Mission 2:
Suggested loadout: SP-34R
An air combat-only mission, expect advanced MiG-31s and multiple air cruisers with railguns, that’s why you’re bringing your own. Try to aim directly at the cruiser’s body in order to one-hit-kill it, not destroy its single module. A single precise shot can take down an airship, so fire from up close – 2500 meters will suffice. Use HGPs for the peskiest of enemies.
The best tactic is to draw the planes away from the cruisers to minimize the amount of missiles you’ll constantly be evading.
Mission 3:
Suggested loadout: Any
Same tactic as in mission 1, but with more ground targets, including many railgun emplacements. Try to snipe incoming planes from afar with MLAAs and your own railgun if you have one.
Mission 4:
Suggested loadout: Any, 2x MLAG, 1x MLAA
Death count: 2
Perhaps, the first mission that teaches you to clear the skies of regular planes before going for the main targets. Don’t be hasty with the first stage – the second is more violent.
Your tactic must be to snipe ground targets from afar with MLAGs, wasting over 60 of them in the first stage is normal. There are lots of SAMs, including those on the landships, so pop your flares on cooldown. Don’t ever stay above the battlefield for too long or you’ll easily get overwhelmed with incomings.
Eliminate all ground targets but the landships in the first stage, then destroy those with fast passes using standard missiles.
Don’t waste your MLAAs on the helicopters in the second stage, target the airships and bombers. Second stage landships are optional targets, so you’re free to ignore them as soon as you destroy all ground emplacements.
Prioritize drawing fighters away and finishing them one by one as quickly as possible. Then finish the airships – again, one by one. Sweep out the remaining targets.
P.S. It was suggested ASMs work well against airships and tanks. Because of the latter, they are a viable option in this mission. However, their ammo count count is low and you’re trading your MLAGs or MLAAs for them, either halving not only your MLAG capacity but also their volley size or losing any multi-lock air-to-air capabilities. Is the latter okay is your personal choice, but I suggest not to bring ASMs just because of the airships in the future – not only there’s too many, it simply isn’t worth it.
Mission 5:
Suggested loadout: SP-34R
A pretty easy air-to-air mission. You only get several cruisers in the last stage, just keep taking down fighters one by one, don’t forget to snipe distant planes whenever possible. It’s hard to get overwhelmed here.
In the last stage prioritize the fighters, then take down lone airships, finalize with attacking the rest. You’ll probably see how your allies can take down cruisers too – god bless the allied AI in this game.
Mission 6:
Suggested loadout: Any, 2x MLAA, 1x MLAG
Death count: 1
As soon as you ignore the first non-priority fighters in this mission, you sign your death wish. I kid you not, railgun shots everywhere, three cruisers in the air and over twenty fighters on your six.
Avoid it by destroying railgun emplacements on sight with MLAGs, taking down squadrons from afar with MLAAs and ignoring the cruisers that don’t currently interfere. Always keep track of the map – if there’s a green arrow, some time later it will appear on your butt, spamming missiles at you until you’re done.
Carefully destroy the extractors by flying parallel to the entrances and launching a missile as soon as the line of sight is clear, then quickly rush away to evade the AA artillery. Take down the remaining cruisers, don’t forget about your large stock of MLAAs.
As soon as the last priority target is down, head north and fire the afterburner to escape from Crimson. Flying lower to the ground increases your speed, at 1600-1700 km/h they won’t be able to catch up.
The difficulty settles down
Mission 7:
Suggested loadout: Any, 2x MLAG, 1x MLAA
Take down aircraft groups one by one, use MLAA for long-range sniping. Don’t stay too close for too long near the ships, since they are basically mobile AA platforms with dangerous SAMs – you wouldn’t want extra missiles on your six during a dogfight.
Rendezvous with Eminent Domain. No airships this time, just a lot of regular ships. A lot of aircraft will appear, both prioritized and non-prioritized. Clear the skies by taking them down one by one, they won’t overwhelm you like in mission 4.
As soon as you’re done with the planes, keep spamming your remaining MLAGs at the ships. Carriers can launch aircraft (duh), so, unlike with other vessels, rush to destroy the carrier itself after you’re done with its modules.
After the last ship is destroyed, head south-west to intercept the cruise missiles. This part is no different from a Normal difficulty mission, just don’t get lost in the clouds, switch to the 1st-person view to keep aware of your plane’s orientation if you do.
Nothing too special will meet you in this mission, actually.
Mission 8:
Suggested loadout: SP-34R
It’s like mission 2, but easier, simply put. Less planes, more transport planes, just don’t shoot down a civilian. A plenty of room for railgun sniping. Easy.
Interceptors will arrive as the last stage, housing pretty maneuverable fighters and airships. Gun down the planes, railgun down the cruisers. That’s it, no surprises.
Mission 9:
Suggested loadout: Any, 2x MLAG, 1x MLAA
Mission is easy for most of its duration… if you don’t catch missiles. You can engage any aircraft in this area no problem, remember to pop flares to avoid long-range SAMs. Snipe priority ground targets from afar with MLAGs, same goes for any hostile aircraft – use your MLAA.
The mission’s pretty easy until you go for the airships and a hive of enemy fighters comes in. Rush to take down air battleships’ modules before the furball starts, also try not to dogfight in the vicinity of L-SAMs.
I’ve personally finished this mission with 0 hull health left due to some unforeseen IR-guided consequences ramming my six.
Mission 10:
Suggested loadout: Any
An even easier mission, spam your MLAGs and MLAAs on sight. During the last stage s*rip the airships down of their defences with MLAAs, prioritize railguns on the ground. Like, seriously, the mission is very easy.
Mission 11:
Suggested loadout: SP-34R
Nothing special really. Use your railgun in close quarters, it’s a guaranteed kill for any non-priority plane. Abuse your built-in gun to take down the Crimsons as they arrive. Again, 5 kills are required for them to retreat.
Mission 12:
Suggested loadout: SP-34R
Death count: 1
As you can see from the suggestion, you’re going for the maximized air combat capabilities. But not really for Frost, actually you’re going to have a bad time with its escort – these are F-15 ACTIVEs and they seem to survive two standard missile shots. Them, and Frost constantly gunning me down, totally obliterated my air-to-surface built Chimera.
Use your railgun to destroy hostile ones, make fast passes above the target sites on the rigs.
Best tactic to remove F-15s one by one is using RG in close quarters, they still go down with a single hit. After you’re done with her escort, Frost herself is an easy picking.
Mission 13:
Suggested loadout: Any, 2x MLAA, 1x MLAG
Not much different from the Normal, prioritize those ground targets that are to be prioritized, but what definitely changes is the amount of reinforcements. I’m not talking about the airships, these are easy pickings for your allies and normally can only damage you randomly with CIWS and railguns.
What you should be aware of instead is the aircraft group – Su-37s that’ll quickly overwhelm you with the missile spam, as always. Try to end the bombardment stage while flying near your allies, so you don’t fight alone.
I’ve completed the mission with two MLAGs instead of MLAAs, so it’s up to you. With my build you’ll bomb the port more quickly with 8 missiles launching at once, but you’ll not use about a third of your stock. With the suggested build you’re more prepared for the airships and can try to snipe the 37s from afar more confidently.
No difficulties left
Mission 14:
Suggested loadout: Any
Perhaps the easiest mission in the whole game and especially for the Mercenary difficulty.
Prioritize tanks with your MLAGs as they one-hit-kill them, unlike your standard missiles.
Mission 15:
Suggested loadout: SP-34R
Primarily an air combat mission. Nearly instantly a lot of planes show up and overwhelm you, but this is the only dogfight you’ll participate in, don’t get too nervous. S*rip the enemies one by one with your machine guns and spam your railgun against them and cruisers. No other threats will show up after the furball (if you don’t count the cruise missiles causing another apocalypse, duh).
Mission 16:
Suggested loadout: SP-34R
This mission is basically why you take this plane in the previous one. However, it’s no different from any other difficulties imho. F-15s die from a single point-blank railgun shot each, easily killable with the machine guns too, the only problem is their maneuverability.
As soon as you take down the escort, Frost is an easy kill. Her AI is somewhat lacking and the missiles do 2 damage each. Her plane is just a bullet sponge, harass her with everything you have, especially with your RG.
Mission 17:
Suggested loadout: Any
Mission 14 but with big tonks in the end. Same strategy.
The difference is that you don’t really want to approach the landships because of their AA, your missiles track their modules worse than regular ground targets and your gun reticle doesn’t account for the tank’s speed. Other than that, I can say your allies are very strong in this mission, I don’t think any of the enemy railguns there were killed by me.
Mission 18:
Suggested loadout: SP-34R
Every dogfight is easier with a railgun.
Sweep out the fighters as quickly as possible, so the only targets left are 28s and ground emplacements.
Upon finishing the pre-phase, the Crimson team shows up. It might be me, but they are much more trigger-happy on Mercenary, though their gun damage is not a big deal.
Every railgun hit is a 50% off the enemy plane, then just finish them with your secondary guns. Don’t switch to any other machine guns, they are no use compared to your “brrrt” ones.
Don’t forget to screenshot Diplomat’s “Shut up! Nobody asked!” for a funny reaction pic.
Shoot down the eight and it’s over.
Mission 19:
Suggested loadout: Any
Another CAS mission, this time – in open seas.
Your allies are very strong now, the last, third phase will complete itself, no jokes.
Be careful with the fighters in the second phase though, prioritize non-priorities over priorities – they shoot the same missiles but take two missile hits to be killed, not three.
Mission 20:
Suggested loadout: SP-34R
I said your allies were strong previously? This mission completes itself. You just get the 34R for the next mission. Don’t be shy, spam your machine gun constantly, the ammunition will be replenished. The naval ships have guns shooting at you, but your have your own too.
Mission 21:
Suggested loadout: SP-34R
Four additional planes appear on Mercenary, each goes down with a single railgun shot. These are obviously your priority targets, as their missiles are standard ones, dealing relatively heavy damage.
Kingu Kurimuzon Crimson King is the only threat now.
First phase – micro-missile spam. They deal light damage and can easily be evaded. Spam your railgun and machine gun at the boss, this is your one and only tactic in this battle.
Second phase – railgun. It’s difficult to get shot with the railgun directly, but be careful when making an attack run on the enemy – you might fly through the beams and receive light yet cumulative damage.
Third phase – bubbles. Lucky for us, since one of the updates they are now gray at first and don’t instantly start dealing damage… basically nullifying them as a threat, in my opinion.
Fourth phase – all the same but with desperate quotes and more orange. Mmm, I like orange.
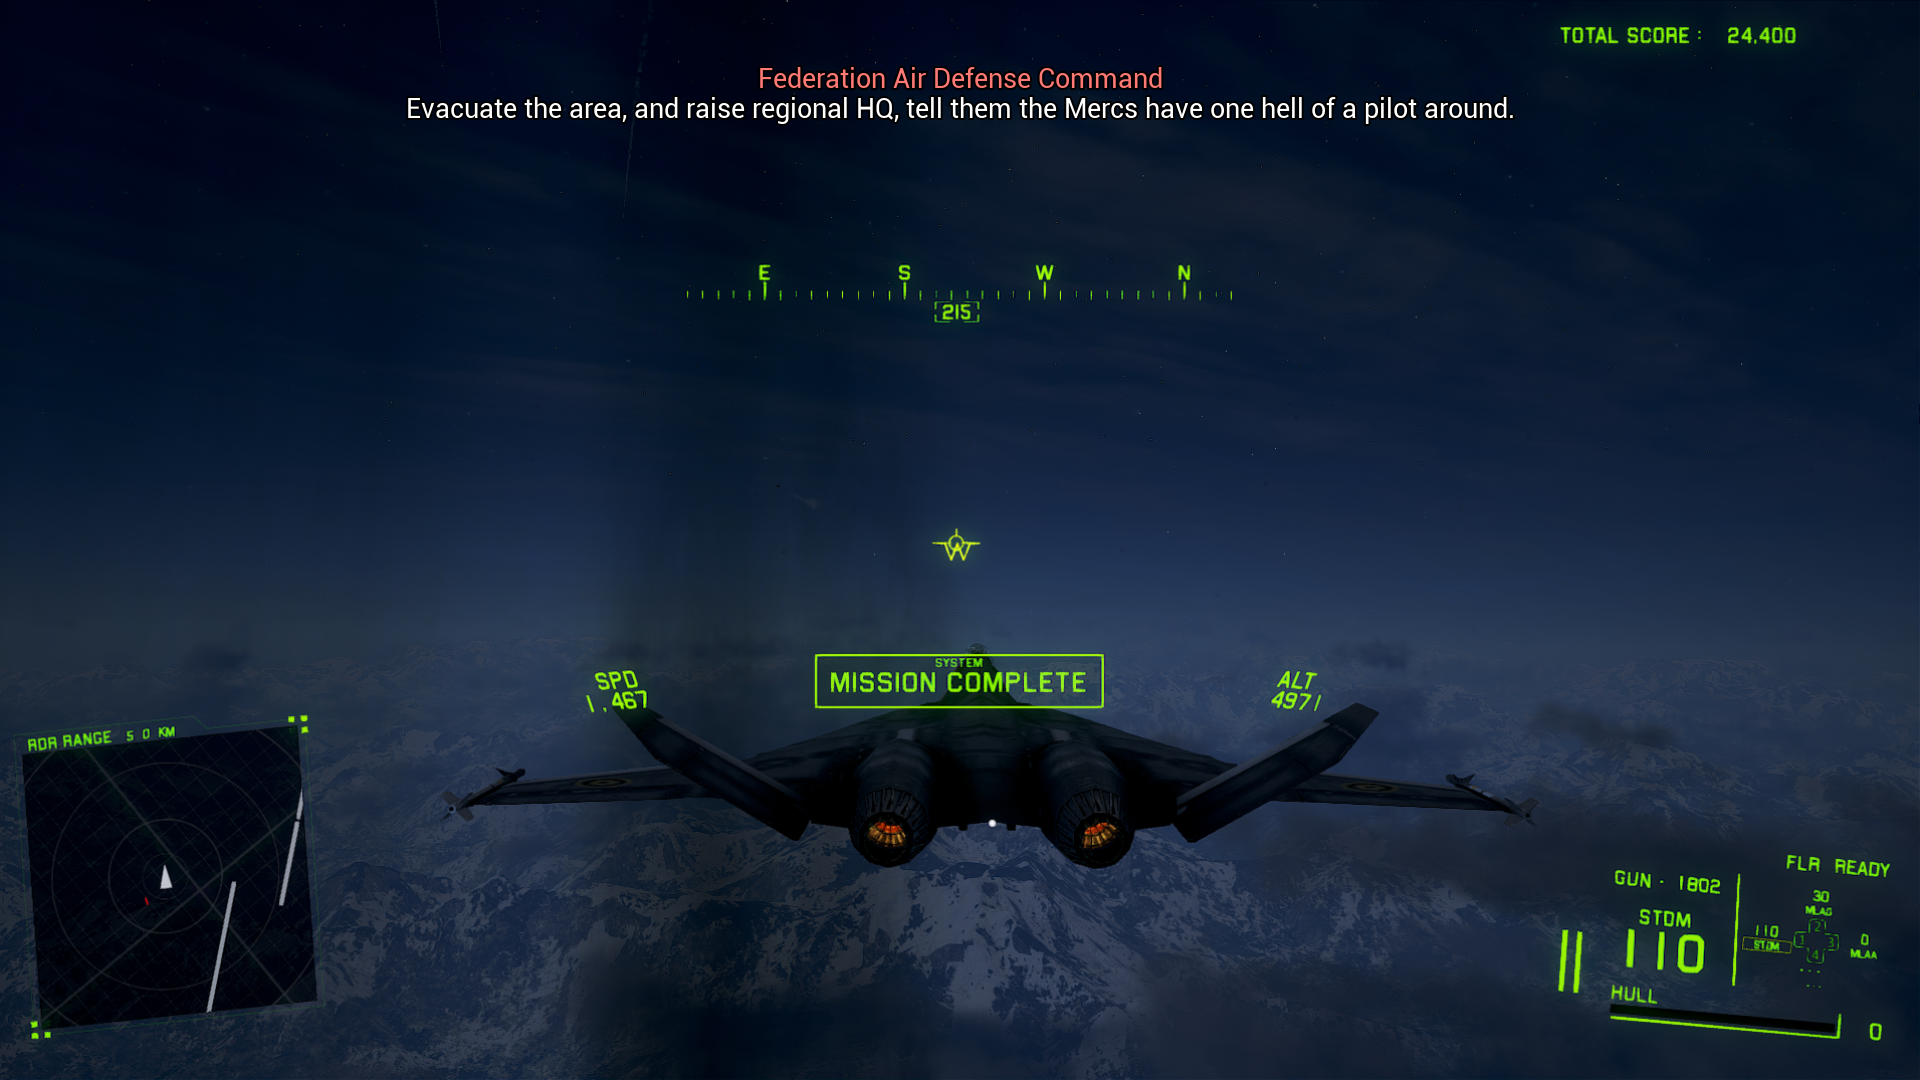
Once Crimson 1 is done, it’s done. You’ve completed your Mercenary playthrough.
In conclusion
First few missions gave a strong impression the whole run will be hell.
As you can see, the last missions don’t even receive any difficulty gains. So it was quite boring for me to finish this guide – it’s like you don’t really need it for any mission beyond 12. Anyways, it just turned out to be “it’s easy with the prototype planes”.
It’s almost like after the few first missions the devs decided it was too much. Nah, I thought we were just getting started.
“I don’t like this! We’ve all been blue balled.”
Just kidding, I like the game, a lot, I’ve had my enjoyment in both difficult first missions and exciting latter ones. Project Wingman is fun both ways.
Thanks for reading and possibly following this “guide”, I hope someone gains something from it at least for the difficult missions. Also I’m not a native English speaker, sorry for the possible grammar inconveniences.
It took me two weeks to understand SP-34R might just simply mean SPEAR. Heh.
This is all for Project Wingman Mercenary Missions Tips hope you enjoy the post. If you believe we forget or we should update the post please let us know via comment, we will try our best to fix how fast is possible! Have a great day!

Leave a Reply