In this guide I’ll be going over all the units Britain has and their perks, army compositions, the tactics for each army composition and the type of playstyle you should go for as Britain on each map. Fair warning I’m new to making guides things may be missing or just not 100% great information I’m just working off of what I know and have been told. Also apologies for Maps and tactics being split into 2 sections I accidentally hit the word limit and had to continue it in another section. Thank you for understand and for taking a look.
Introduction
I’m not gonna sugarcoat it Britain is a hard nation to play you will almost always be outnumbered. As a British player your gonna wanna play more defensively oriented. Britain is not a new player friendly nation you should really only play it if you’ve had some experience with Fire & Maneuver before. Although your always outnumbered as Britain it doesn’t mean you’re outmatched, Britain has some of the best infantry in the game all doing an extra point of damage to enemies. That’s what makes them such an elite and well rounded nation in the first place. Britain also has solid cavalry and artillery to support your infantry in a fight and if played right can lead to triumphant and total victory.
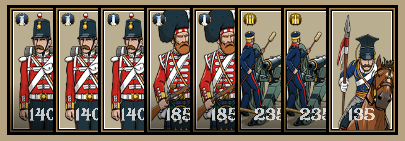
In this picture you see the British army roster and the weapons that can be equipped to each unit. But for now I will move on to each unit along with some facts and need to know knowledge about them.
Infantry
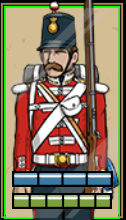
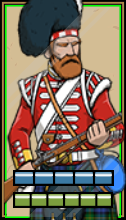
Line Infantry
- Starts with Rifling perk by default
- Has Range Drill perk
- Costs $140
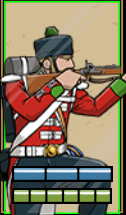
Light Infantry
- Starts with Rifling perk by default
- Has Disciplined Range and skirmishing perks
- Costs $190
- Has 2 movement by default
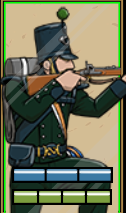
Rifles
- Starts with Rifling perk by default
- Has Range Drill and Skirmishing and Rugged perks
- Costs $180
- Has 2 movement by default
Highlanders
- Starts with Rifling perk by default
- Has Range Drill and Melee Drill perks
- Costs $185
- Very good in defensive melee’s or 2v1 melee’s
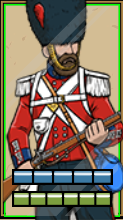
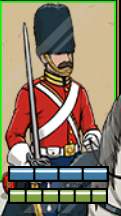
Foot Guards
- Starts with Rifling perk by default
- Has Range Drill, Shock and Efficiency perks
- Costs $195
- Very good offensive melee
Cavalry
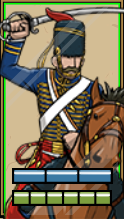
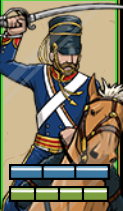
Hussars
- Can move 3 tiles
- Has no perks
- Costs $115
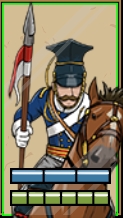
Lancers
- Can move 3 tiles
- Has the shock perk
- Costs $135
- Good in offensive charges
Light Dragoons
- Can move 3 tiles
- Has skirmisher perk
- Costs $130
- Good unit to keep enemy cohesion down
Dragoons
- Can move 2 tiles
- Has no perks
- Costs $90
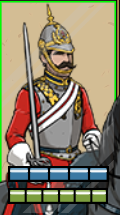
Dragoon Guards
- Can move 2 tiles
- Has melee drill perk
- Costs $135
- Good in 2v1 melee’s
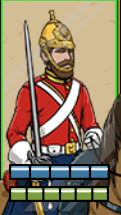
Life Guards
- Can move 2 tiles
- Has shock and melee drill perks
- Costs $155
- Good in 2v1 melee’s or defence
Artillery
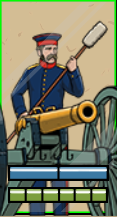
6lb Field Artillery
- Can only move 1 tile
- Has Cumbersome and Anti-Personnel perks
- Costs $130
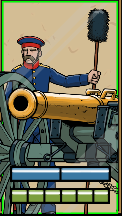
9lb Field Artillery
- Can only move 1 tile
- Has Cumbersome and Anti-Personnel perks
- Costs $170
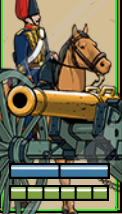
9lb Horse Artillery
- Can move 2 tiles
- Has Cumbersome and Anti-Personnel perks
- Costs $195
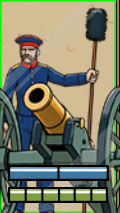
12lb Field Howitzer
- Can only move 1 tile
- Has Cumbersome and Indirect Fire perks
- Costs $210
- Good to shoot enemies behind blockages
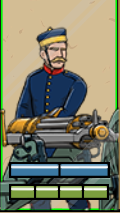
Gatling Gun
- Can only move 1 tile
- Has Cumbersome, Anti-Personnel and Breach-Loading perks
- Costs $100
- Only good in close range
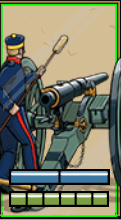
12lb Armstrong Gun
- Can only move 1 tile
- Has Cumbersome and Breach-Loading perks
- Costs $235
- Good if combined with another artillery piece, cavalry or infantry
Army compositions and tactics
Army Comp 1
Game Settings: $2000, 20 units, 8 orders
- 4x Line Infantry
- 2x Foot Guards equipped with breach-loaders
- 2x Rifles
- 2x 12lb Armstong Gun
- 2x Hussars
Army Playstyle: Mixed.
How to use the army: During a battle you should attempt to put your Foot Guards on a hill so they can have the +1 range bonus. If you don’t have any hills on the map or the enemy got the only useful one, another thing you can do is go into attack column and keep out maneuvering the enemy and constantly flank attacking them at close range. When using cavalry you can either defend your own artillery or move it into forward positions to attack enemy artillery or light infantry. Rifles should be used as harassing forces, by this I mean move them into trees or near rough terrain so you can fire and retreat without enemy units catching up or keep them near soft cover areas. Line infantry should be used as a main line that you use as an anchor to launch attacks from, meaning you keep them in mostly the same area and only attack if necessary. Finally the Armstrong guns should be put on a hill ideally but if you cant try and keep them in between your lines leaving gaps so they can shoot at enemy flanking units or enemy main lines and artillery.
Army Comp 2
Game Settings: $1500, 16 units, 8 orders
- 3x Line Infantry
- 2x Highlanders
- 2x 12lb Armstong Gun
- 1x Lancer
Army Playstyle: Defensive.
How to use army: During a battle you should attempt to put your men on hills giving priority to one artillery and one infantry unit. Like stated in the playstyle this is a defensive army you don’t have breach-loaders so your job is to stick back and fire at the enemy. If the enemy gets too close then firing and retreating is the plan you should go for until you get back to a defensible position. Otherwise do whatever you think would be best in your given situation.
Maps and tactics
Desert Fun
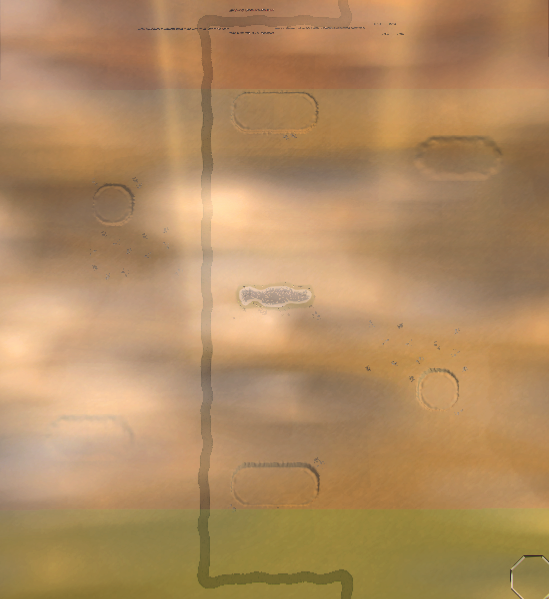
Where to deploy as host: In this view the green is where the host will deploy and the red is the non host. On this map deploying on the road and towards the left is ideal as you can put artillery on the close by hill quickly along with infantry to anchor the artillery’s flanks.
Where to deploy as non host: As non host you should deploy towards the left if you want to secure the hill close by to you. If you for some reason want to go on the offensive you can deploy on the road.
Tactics as host: On the host side you want to hold the hill close to you and depending on army comp you can launch small cavalry attacks or move forward guards into range fire then pull them back so they don’t get shot by enemy units. preferably you should keep your cavalry on the road and use it as a boost so you can kill easily chargeable units such as enemy lights, units in open order formation and enemy artillery.
Tactics as non host: Not being on the host side on this map is definitely not ideal but its still doable you just have to put more care and thought into your movements. What you should do is put all my units on the left and take the hill closest to you if you want to play defensively and essentially follow the same things said above. But if you for some reason want to play offensively or have more units than your enemy id do a careful push up the road trying not to overextend your line while pushing your enemies back and off their hill.
Hornbach Valley
Where to deploy as host: In this view the green is where the host will deploy and red is the non host. What I usually do is put cavalry on the forward deployment zone on the left. Any other units I have are deployed on the right, put artillery as far up on the road as possible and infantry behind it.
Where to deploy as non host: On this side I’d do the exact same thing I did for the host side.
Tactics as host: What I usually do is use the cavalry on the forward deployment zone on the left and charge directly for enemy artillery with that. After that when I get artillery on the hill I point it diagonally at the opposite hill. I would then put one infantry unit on the hill if you bring breach-loaders I suggest putting them on the hill to increase the range on them. Any other infantry is what I put in forests to anchor flanks.
Tactics as non host: On this side I’d also follow the same plan as the host side.
Antietam
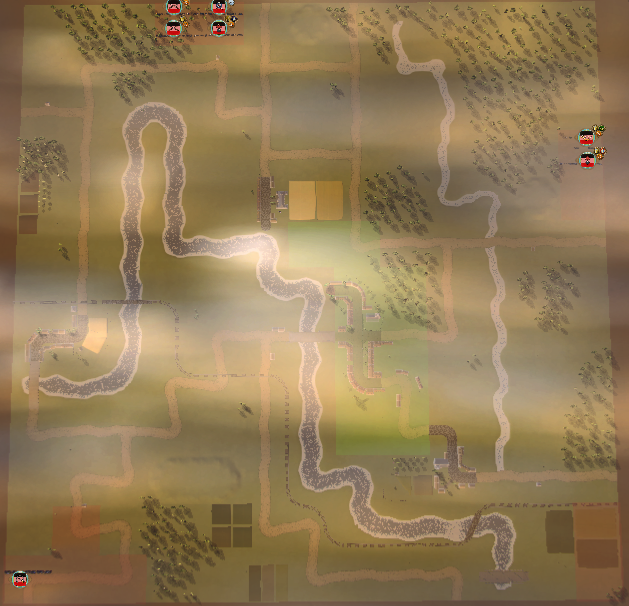
Where to deploy as host: In this view the green is where the host will deploy and red is the non host. On this map being on the host side is not ideal as you almost need to split forces to defend from a possible push from across the river. What you should do is try and stack as many units as you can on the tiles next to and on the hill. and deploy a cavalry unit on the far forward square. any units not yet deployed, yet I doubt there would be should be placed as close to your middle units as possible.
Where to deploy as non host: Attacking on this map is also not a good idea since as Britain you want troop conservation not charging the enemy especially if they have a hill. where and how you should deploy your men is either everyone on the river tiles which is not a good idea since you congest your entire force and give enemy artillery a great shooting ground. or place all your units in the forest area which is what you should do just a side not for when you deploy your units try stacking 2 units on one tile and having the frontline unit be in open order so you can negate enemy artillery damage. if anything all you should deploy across the river is cavalry that has the rugged perk.
Tactics as host: first priority is having your artillery on the hill which you should’ve done during the deployment phase. Second priority is charging your cavalry forward into vulnerable enemy infantry or enemy artillery obviously prioritising enemy artillery units over infantry units. From there shoot enemy units coming towards you. While this is happening have your infantry stay behind the hill so they cant be shot by enemy artillery and don’t bring out your infantry until the enemy infantry gets 1 tile out of range (should be 3 tiles away from your cannons on hill). Once this happens pull your cannons back with first order then move infantry on to the hill and shoot with them on your next orders, any remaining infantry you have should be either watching your back from the river or flanking enemy units in front of you.
Tactics as non host: On this side your kind of forced to attack I will only go over attacking from the open ground not attacking across the river as the river is a very bad point that you shouldn’t be deploying in as Britain all you should have there is cavalry. Best thing to have attacking here is indirect artillery so that you can hold back and fire over cover meaning you can hit enemy units behind their hill and on their hill from relative safety. next thing you do is same thing you always do with cavalry go for enemy artillery or infantry prioritising artillery. after that move forward your units with the frontline unit in open order and reserve line in line so that you can move forward taking less damage. once you get close utilising your range is very important since you can stay back in the forests and hit enemy units on and near the hill if pointing diagonally. That’s really it just stay out of range and fire from covered positions and force the enemy to attack you by sticking back.
Maps and tactics continued
Sedan
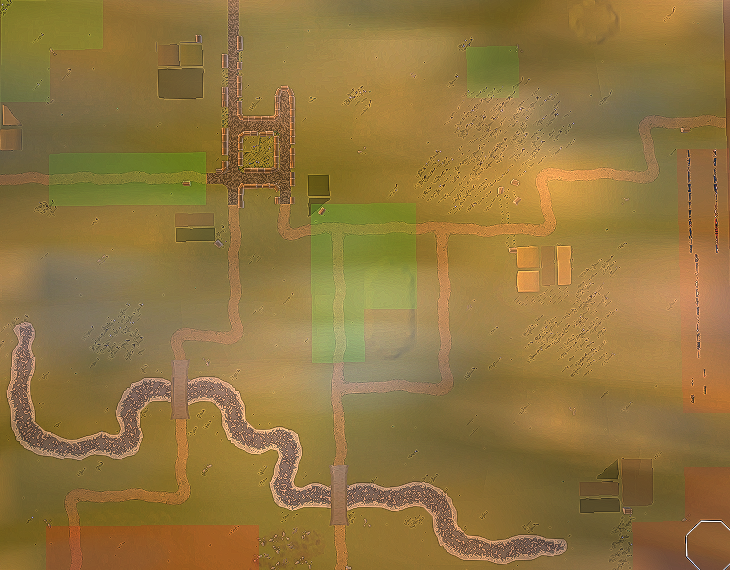
Where to deploy as host: In this view the green is where the host will deploy and red is the non host. There’s only one area you can deploy its just a matter of where you put what. place artillery facing towards the enemy hills facing diagonally for more range. infantry should be put inside the town to get the soft cover negating damage by 1.
Where to deploy as non host: what you should do is keep all your units next to eachother as you see in the picture in the bottom left is the best place to deploy as you can place artillery on the hill and shoot at the town id suggest Armstrong guns or howitzers. Then place infantry behind that.
Tactics as host: best thing to do is even tough your Britain is to attack the enemy high ground and attempt to push them off it what you should do is send up a cavalry unit or 2 to keep them occupied while you push up infantry and artillery within range to kill the enemy infantry and artillery.
Tactics as non host: Best thing to do is to just fire at the enemy with artillery from far range. force them to attempt to push you off the high ground while shooting at them the whole time. when they try pushing use your infantry to pick away at enemy cohesion while artillery does company damage.
Winter Arena
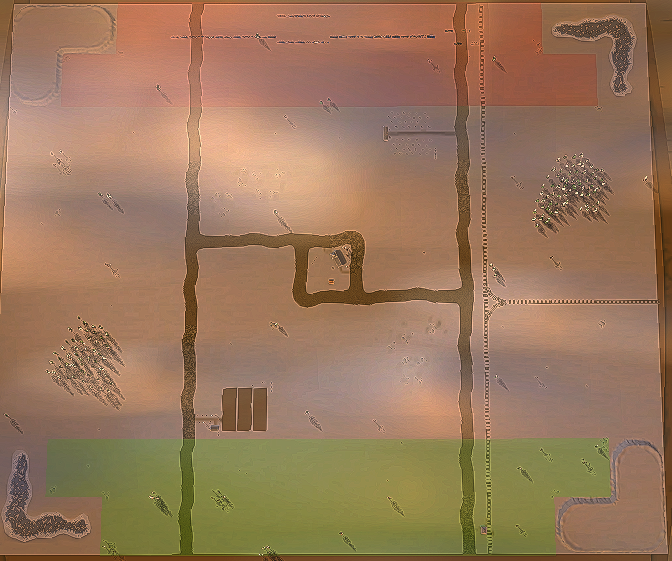
Where to deploy as host: In this view the green is where the host will deploy and red is the non host. When deploying you should try to stay on the roads personally Id deploy on the left side with cavalry on either flank on roads.
Where to deploy as non host: as the non host Id also prefer deploying on the left as there a forest and fences for soft cover as well. also placing cavalry on roads, on both flanks.
Tactics as host: since there are no hills on this map the best kind of artillery to bring are howitzers since they can stay behind your infantry and still hit enemy units while being relatively safe from enemy infantry and artillery and you should try to utilize any soft cover and terrain you can. so what i would do is push a unit into the fenced area as an anchor to the line and move everything else either to the right or left of that unit so that it anchors my flank. and use cavalry as you want.
Tactics as non host: What you should do as non host is essentially the same thing you do as the host except you can use forests instead of just the fenced area as soft cover. Yet again use cavalry as you’d like to.
Conclusion
I hope this at least helps you get a better idea on how to play Britain on certain maps and if you’ve never played Britain I hope it encouraged you to give it a try for at least one game. I know a lot of it might sound like rambling incoherently but like I said this is my first ever guide so cut me some slack. Thank you for reading and leave comments with any suggestions you have. Bye.
Here we come to an end for Fire & Maneuver All British Units and Perks hope you enjoy it. If you think we forget something to include or we should make an update to the post let us know via comment, and we will fix it asap! Thanks and have a great day!
- Check All Fire & Maneuver Posts List




Leave a Reply