BEFORE YOU START READING
This is a spooky minigame and as we all know, not knowing is the best type of scary.
For the best experience, please don’t refer to this guide as soon as you get stuck.
Try your best to find your way and solve puzzles.
Only refer to this guide when you’ve found yourself stuck for over 10 minutes.
I don’t want your fun to be spoiled with walkthroughs.
Introduction
This is a small walkthrough for The House of Unrest part of the game.
I will only be giving the bare minimum amount of information needed at any moment.
So I will exclude things like notes or interactable objects that are close but not yet useful, until they actually are.
Before I start, I’d like to ask that if you happen to find this guide useful, please give it a thumbs up!
NO SAVING
This level does not contain any method of saving, so quitting the game half-way means losing all progress in this level. The whole level must be finished in one sitting so make sure you have 20-45 minutes of free time.
Controls
For the PC Controls:
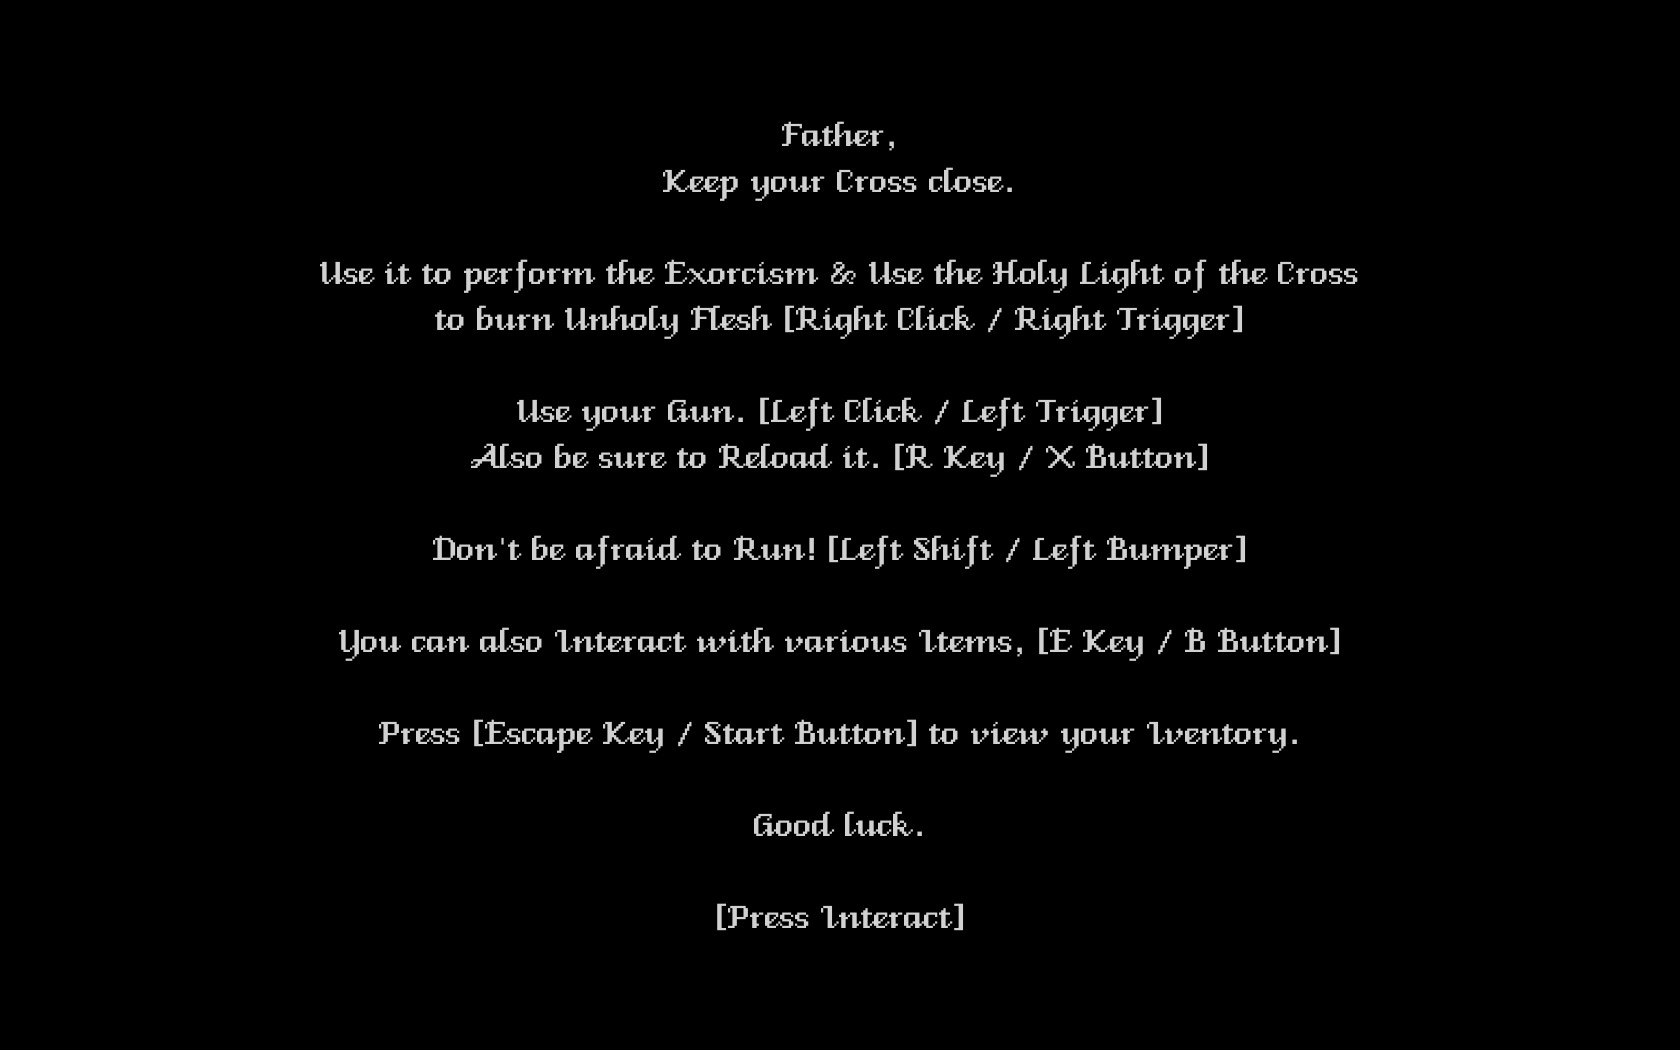
W,A,S,D for walking.
Holding Shift lets you run.
Interact with objects/doors/pickup items with E.
Left Click to fire weapon.
Right Click to use Cross.
Reload with R.
Mechanics
You have unlimited ammo and can use your cross as much as you like.
Your Cross will let you remove chunks of unholy flesh. Hold Right click and your crosshair on the target to disintegrate it.
Your Cross also acts as a flashlight. Holding it up will provide you with much needed light in the dark areas.
Walkthrough
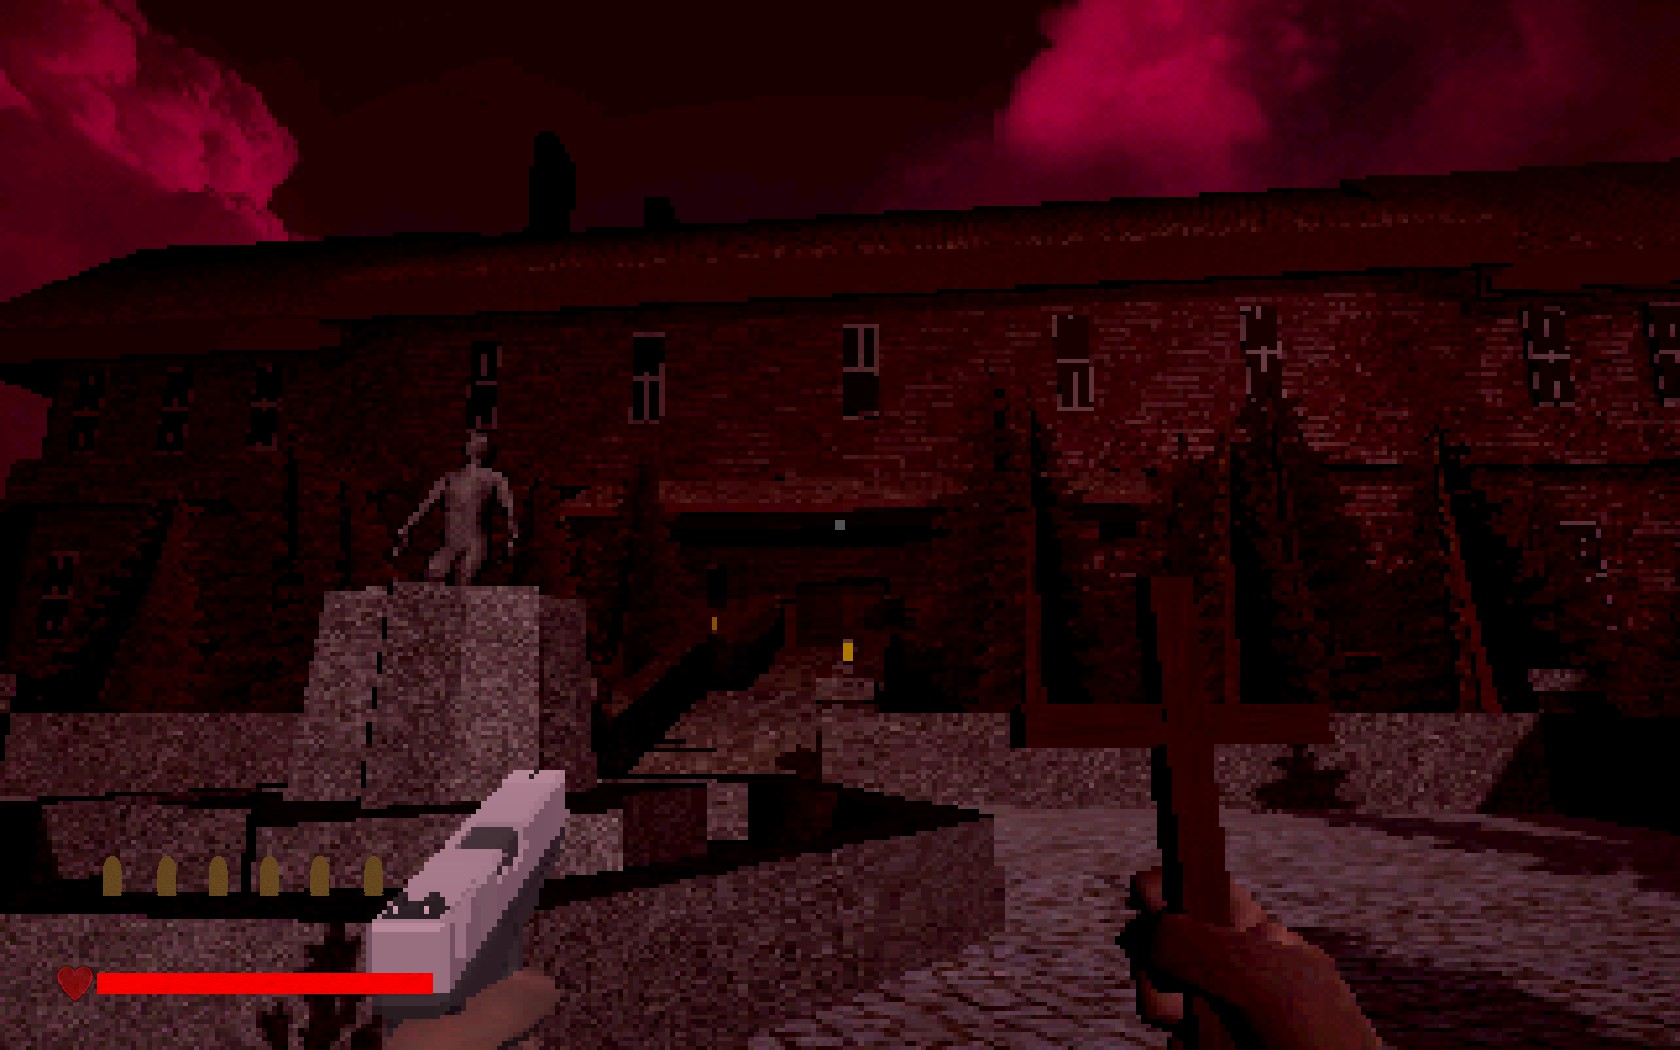
Walk up the stairs and into the mansion.
Once inside, talk to the priest by the stairs. He’ll fill you in on the situation.
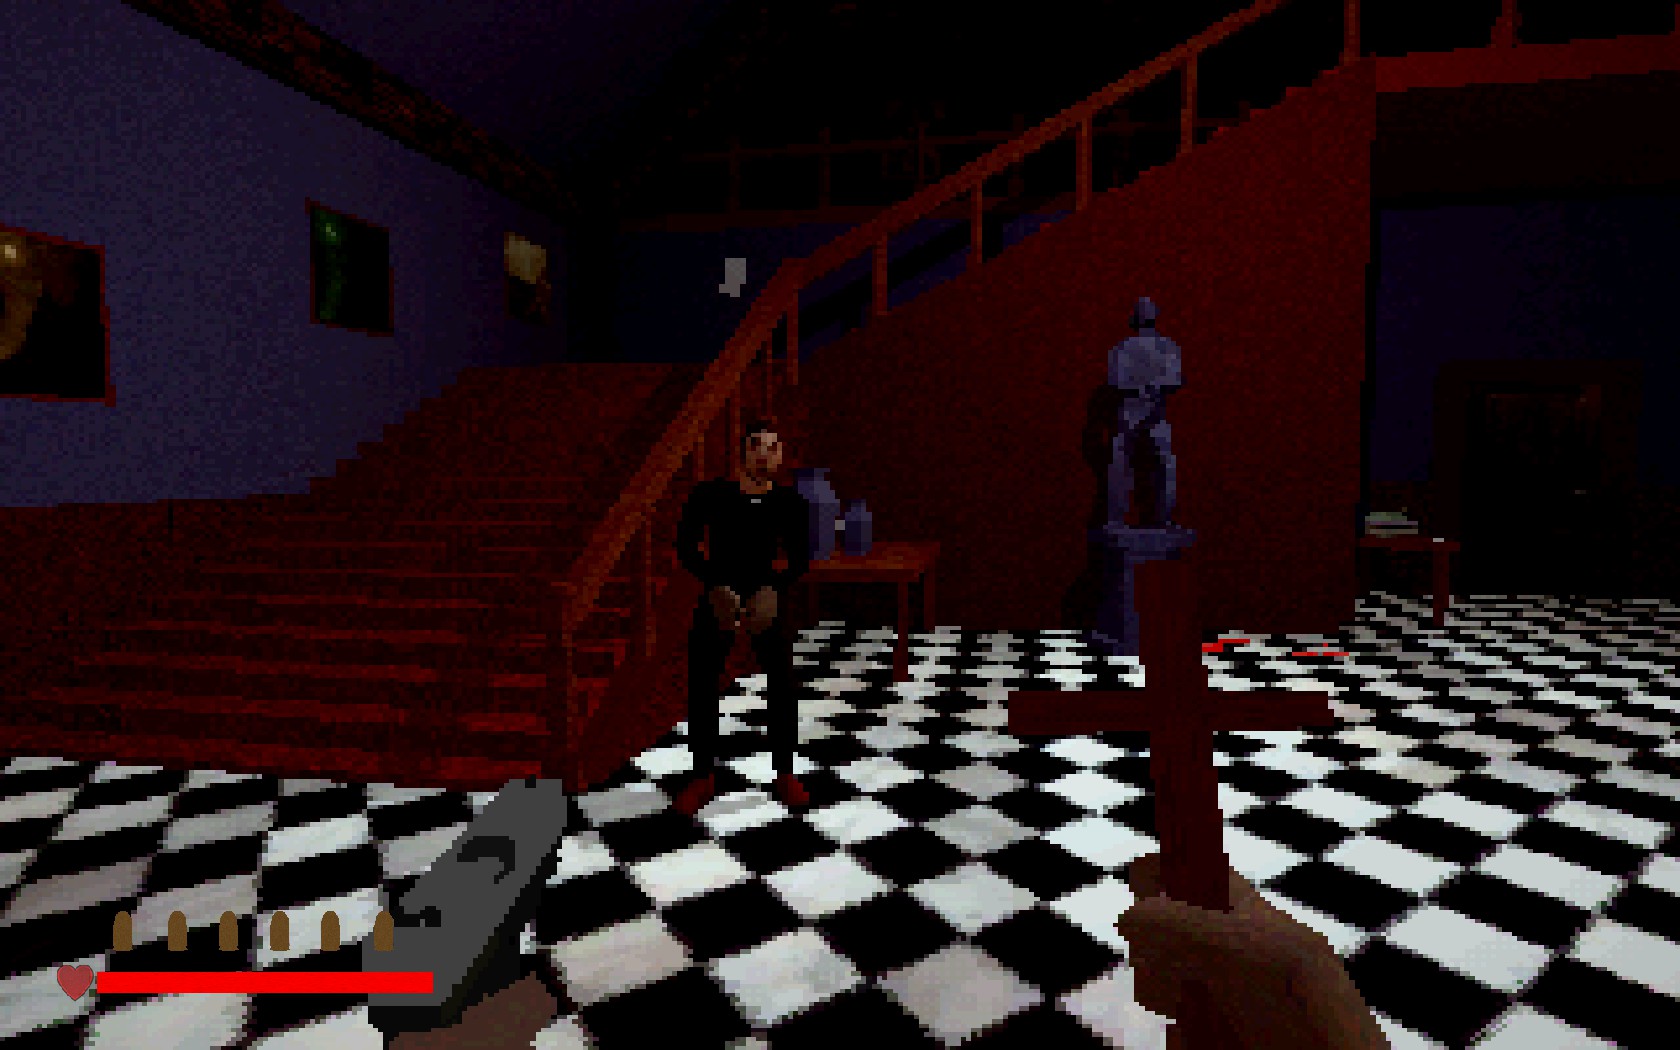
No need to explore the house. Whatever you can find now, you can find and do afterwards with even more areas to explore.
Walk up the stairs. On your right will be the possessed priest’s room.
Enter the room.
On the table will be a piece of paper, also known as a Note.
Notes provide hints and also a backstory to what has happened. Move close to it and press E to read it.
Now, stand in-front of the bed so you get the “Perform Exorcism” option, then hold your Right Click button until it is done.
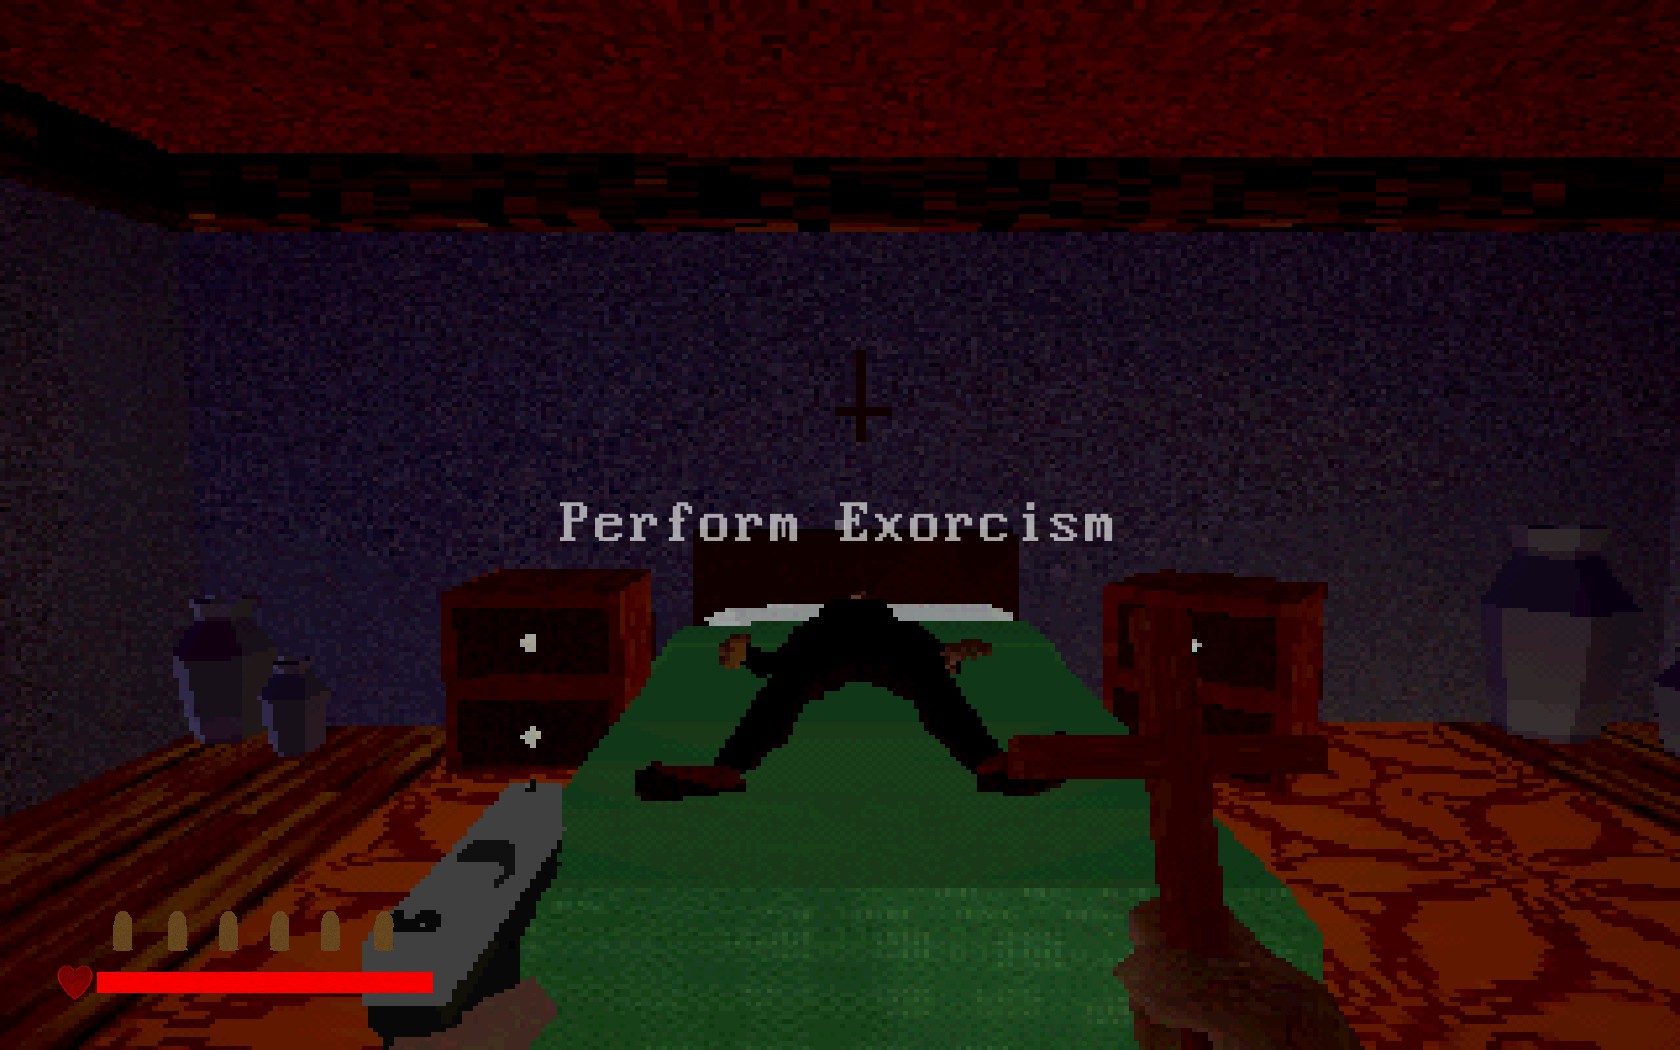
The priest is free…but the demon is now loose and inside the house.
Walk outside the room and you’ll see what this means.
The chunks of meat grown on the walls is side effect of the demon being loose.
You can remove these chunks with your Cross! Aim at them and hold Right Click until it burns away.
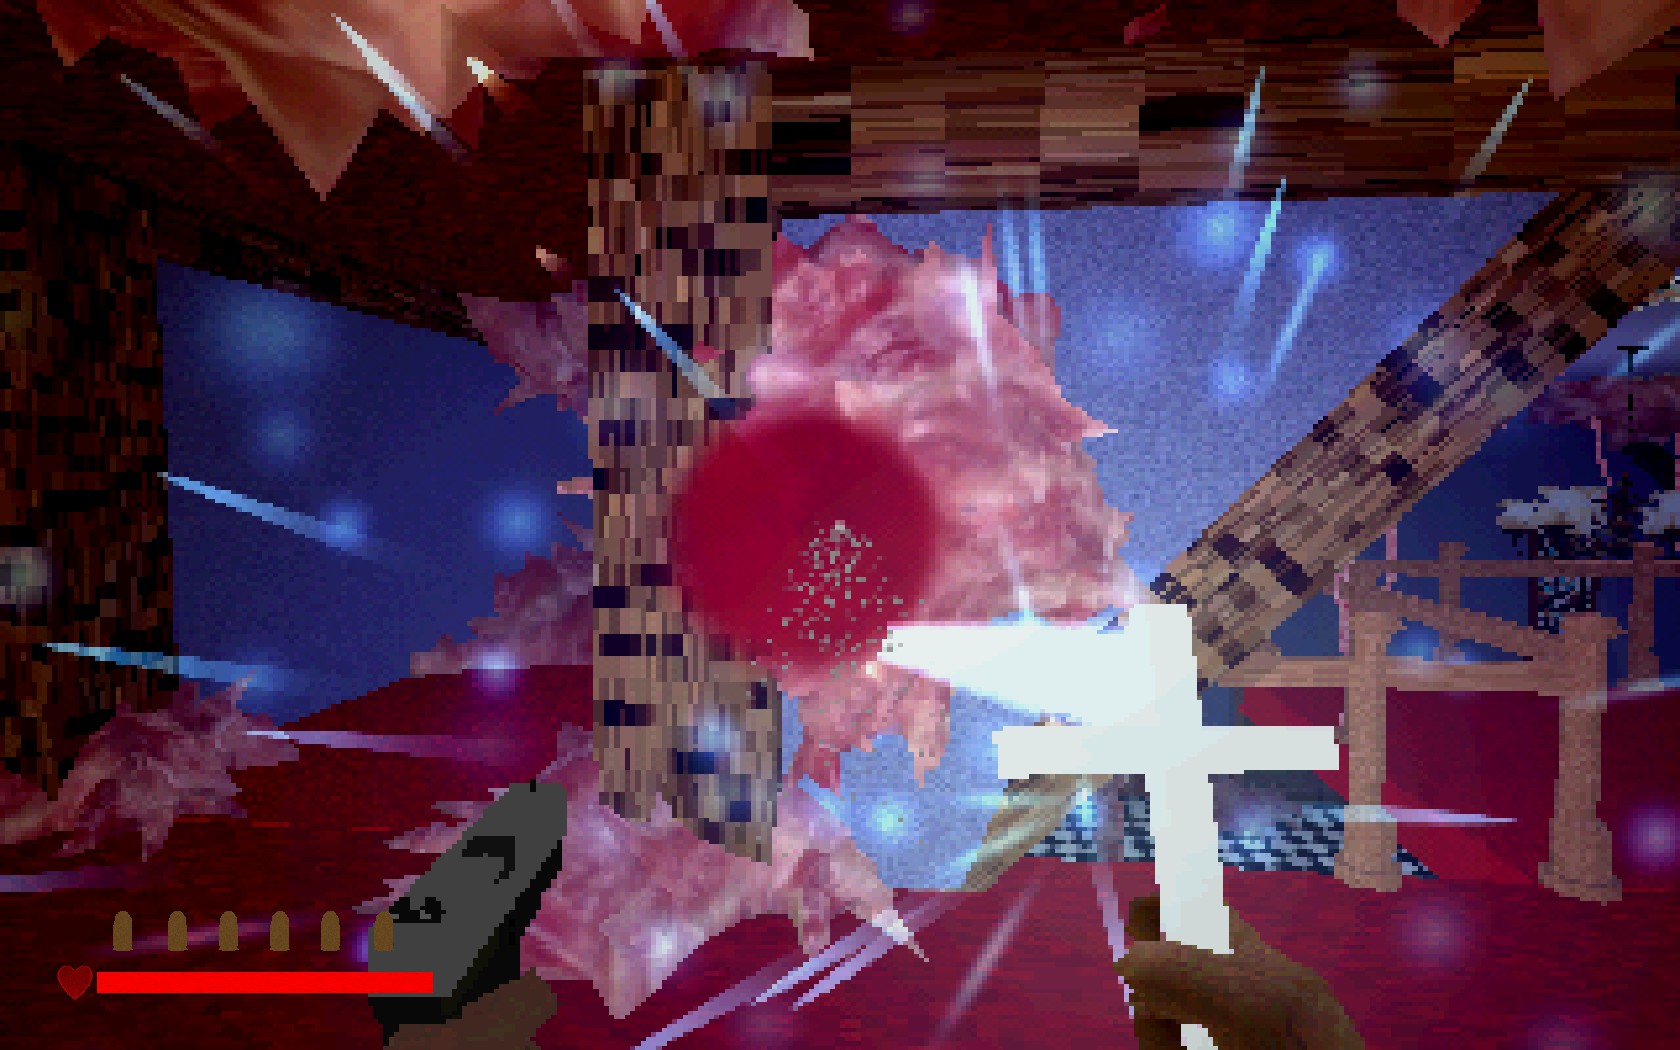
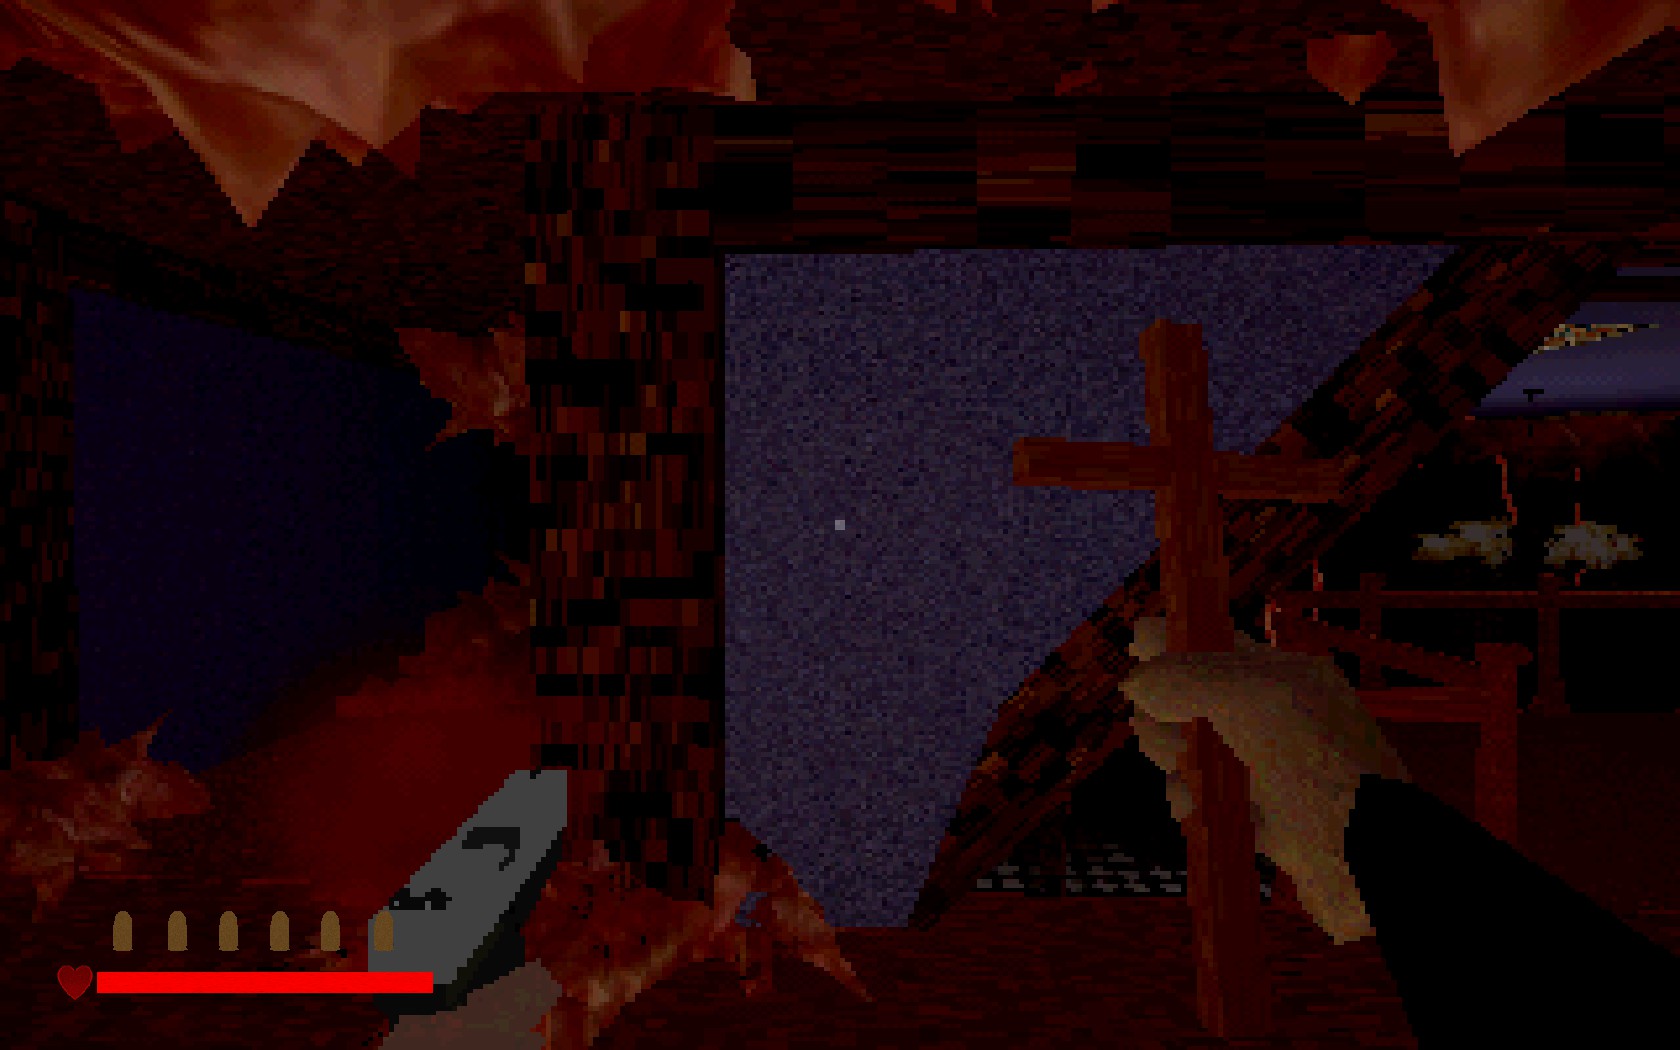
There’s no need to destroy every one of them you see. Only the ones blocking your path.
On your left will be a big chunk of meat. Destroy it and move towards the door at the end.
Open the door.
Inside you will find the preparations. Your objective is to capture the Demon, by aqquiring 3 rare crystals and placing them in this room. Time to go find them.
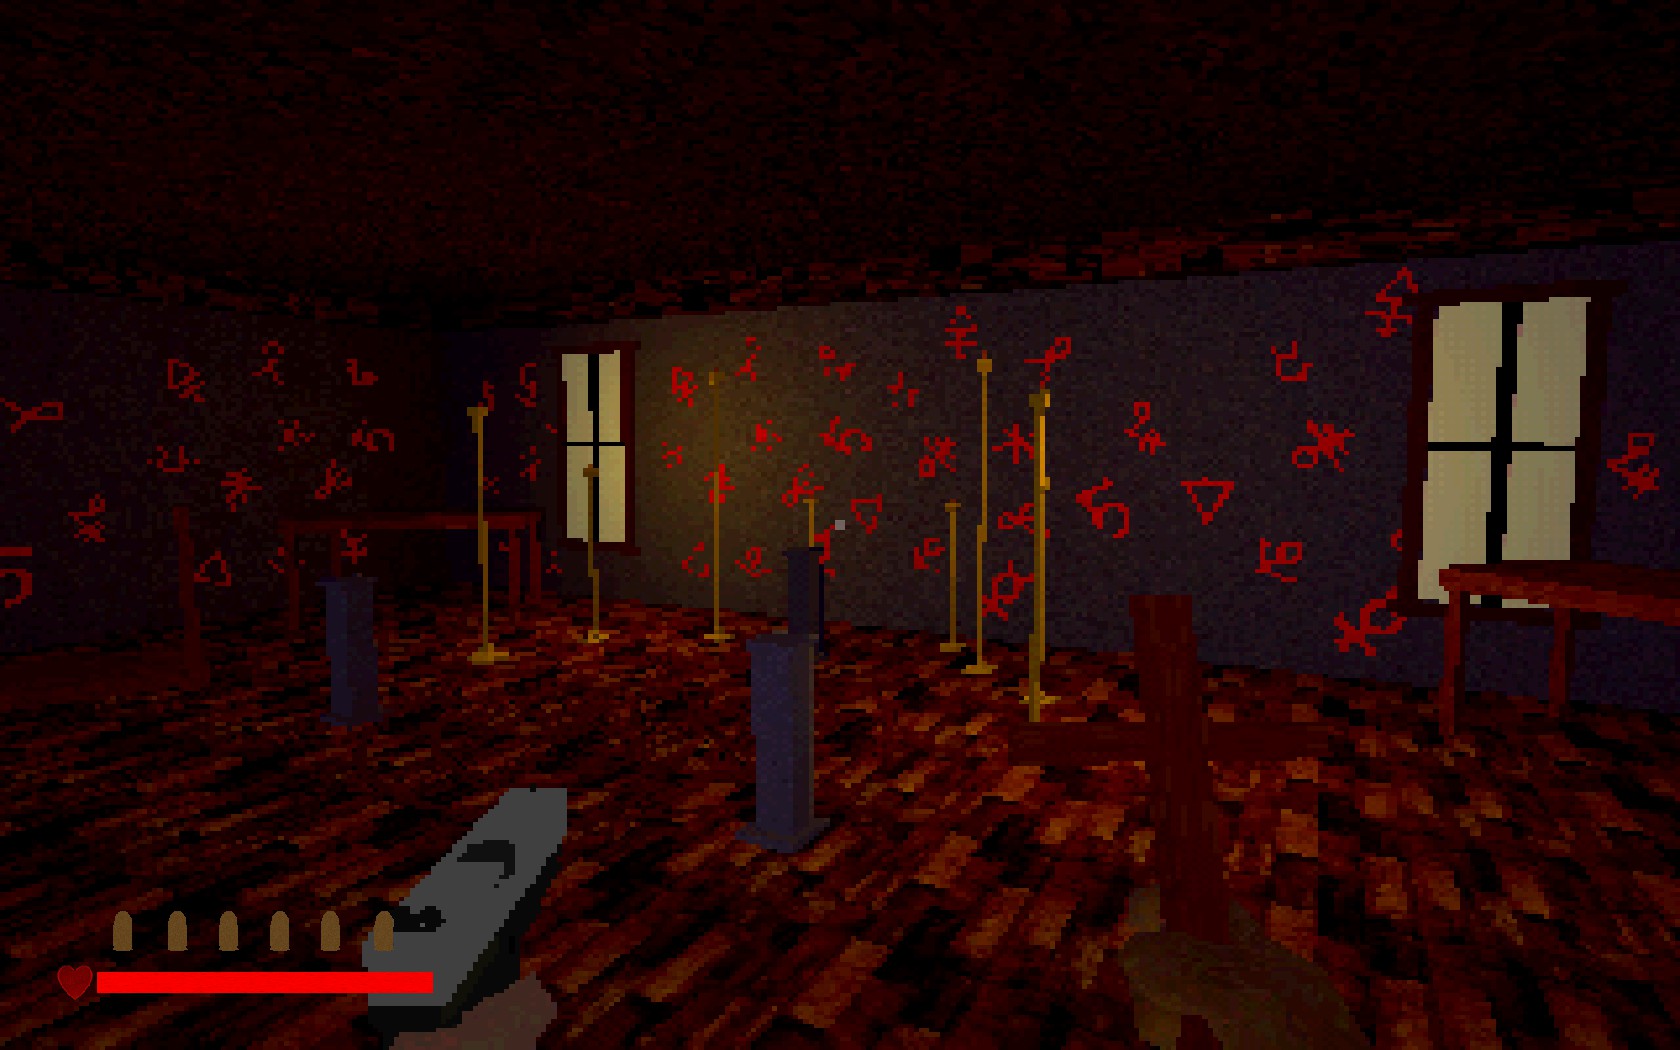
First the Green Crystal
Walk out the door and to the other side of the hallway. You will find a door on your right. Open it and go inside.
On your left is a statue. Praying to the statue (with E) will refill your health. Come and pray at it when ever you’re low on health.
On the table in-front of you will be a golden key.
The key is for the “Statue” room.
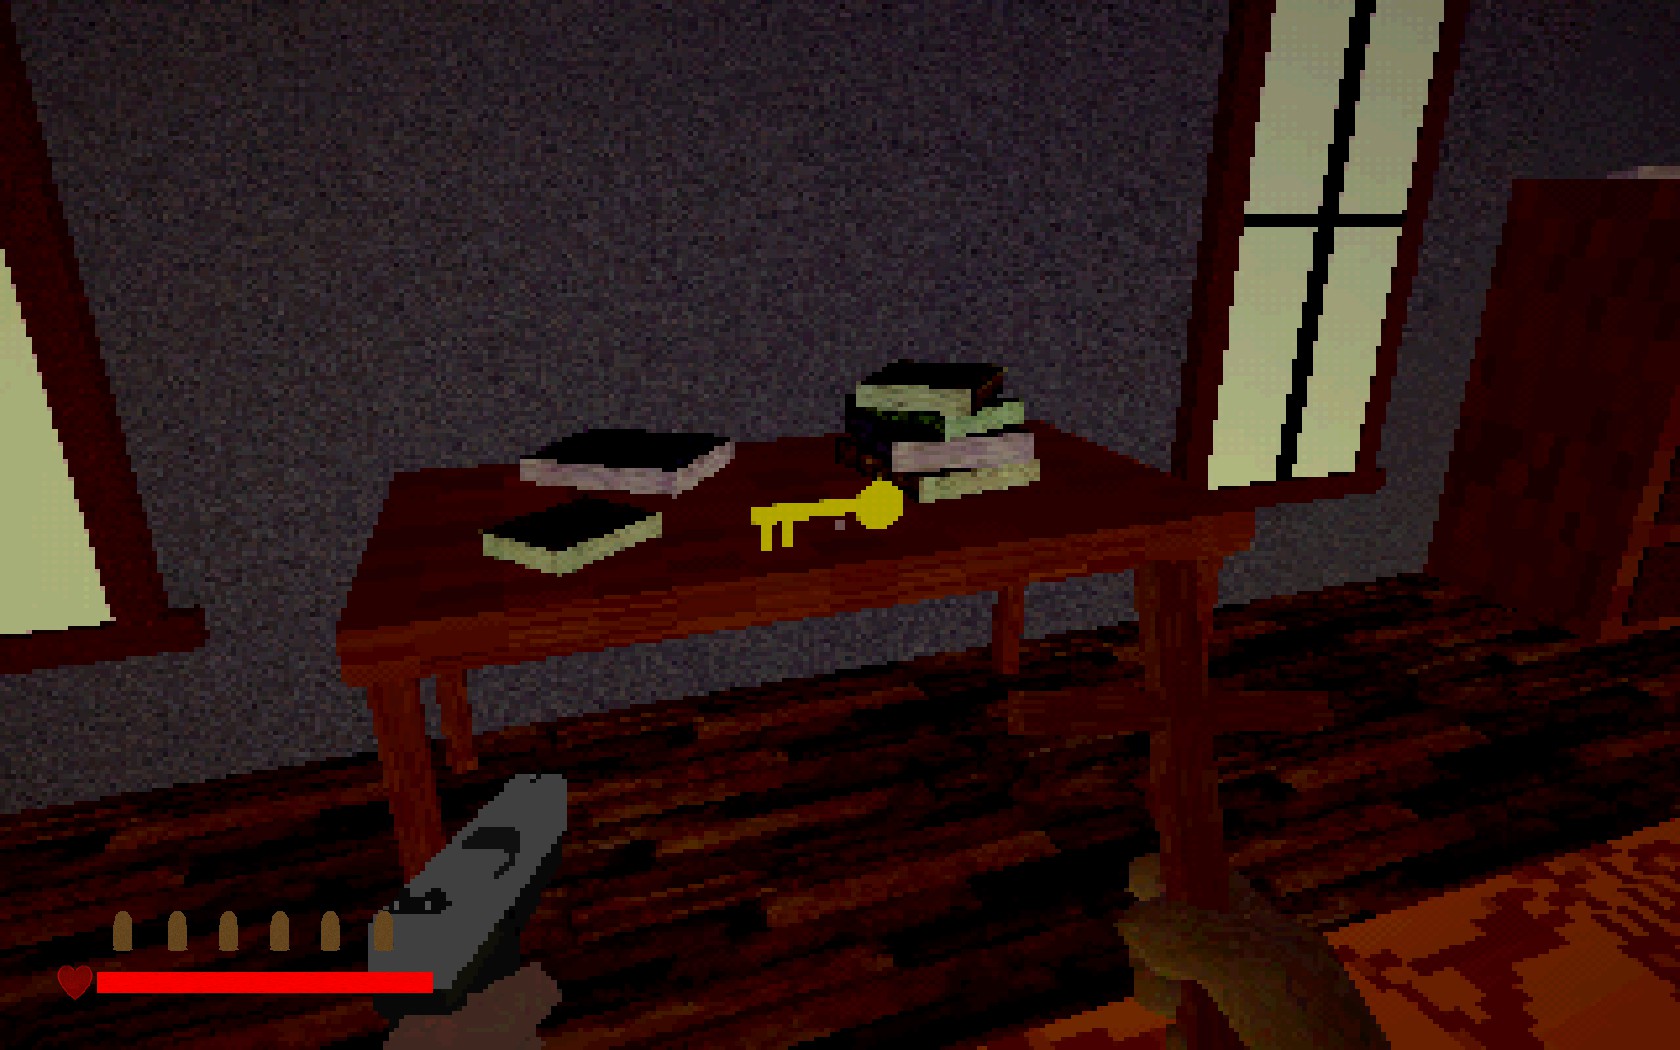
Go back to the right side of the hallway (where the priest’s room was), and go right.
On your left will be the Statue Room. Here you will find 2 spots to place 2 small statues. You must find and returnthem.
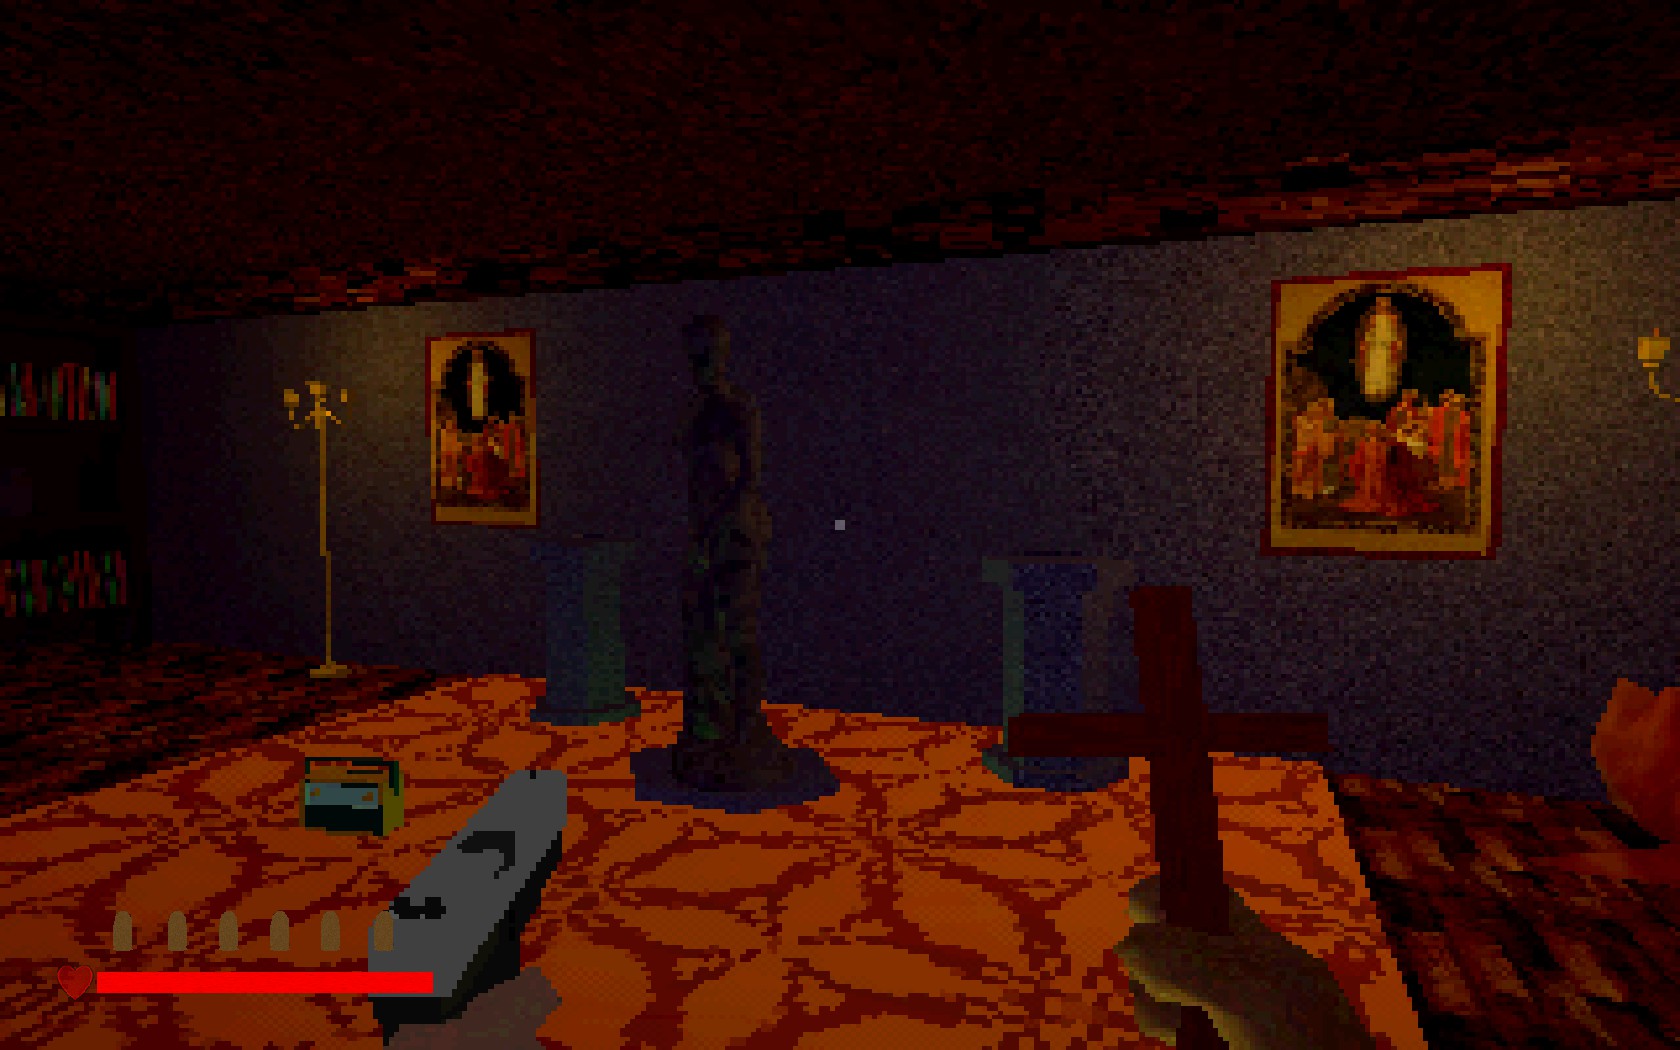
Time to go get them.
Go back to the Golden Statue room.
On your left (in-front of the head statue) will be another hallway. Make your way to the end of the hallway
Here you will find one of the statues.
Now Go downstairs.
Once downstairs, walk to the right room (the chimney room). On your right will be an enemy!
Burn the meat and make your way to the next room.
On your left will be a small room.
Go inside and collect the second small statue.
Go back to the Statue Room.
Place the statues on the places.
This will activate the bigger Statue and make it rise, revealing the Green Crystal under it.
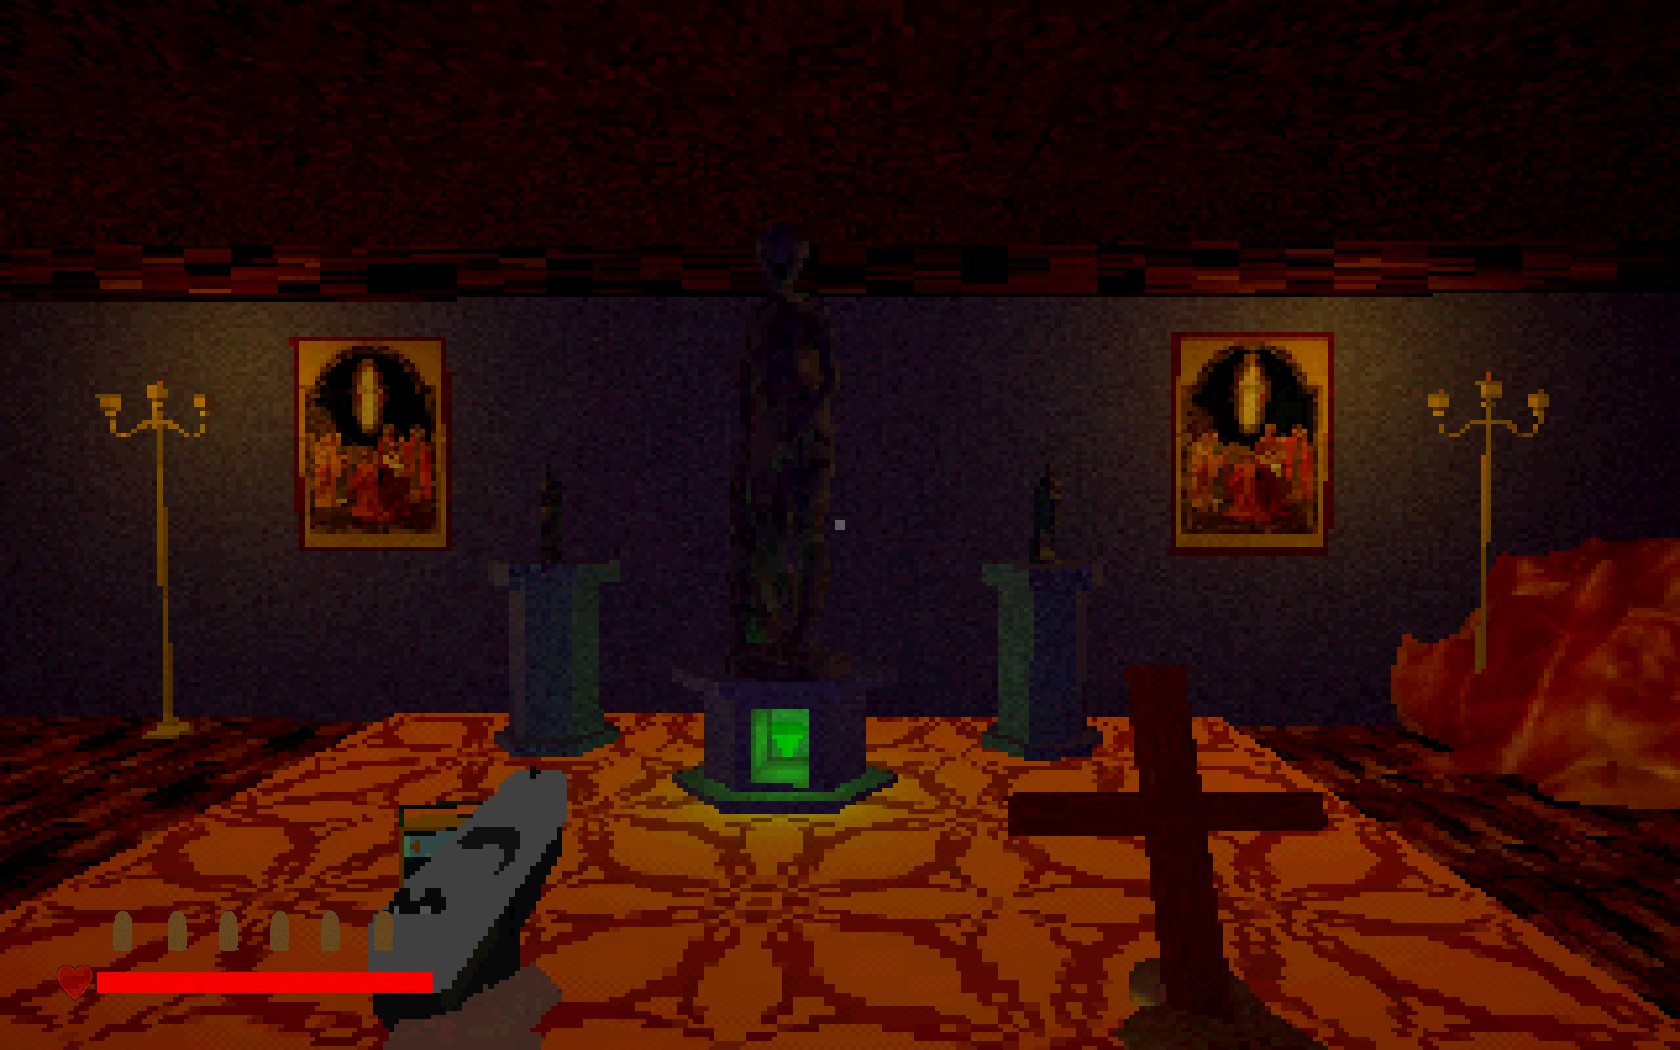
Collect it and head downstairs again.
Time for the Purple Crystal.
Downstairs should be a big statue of a man, with red scars on the floor beneath the statue.
Move the statue. This will reveal the Library Key.
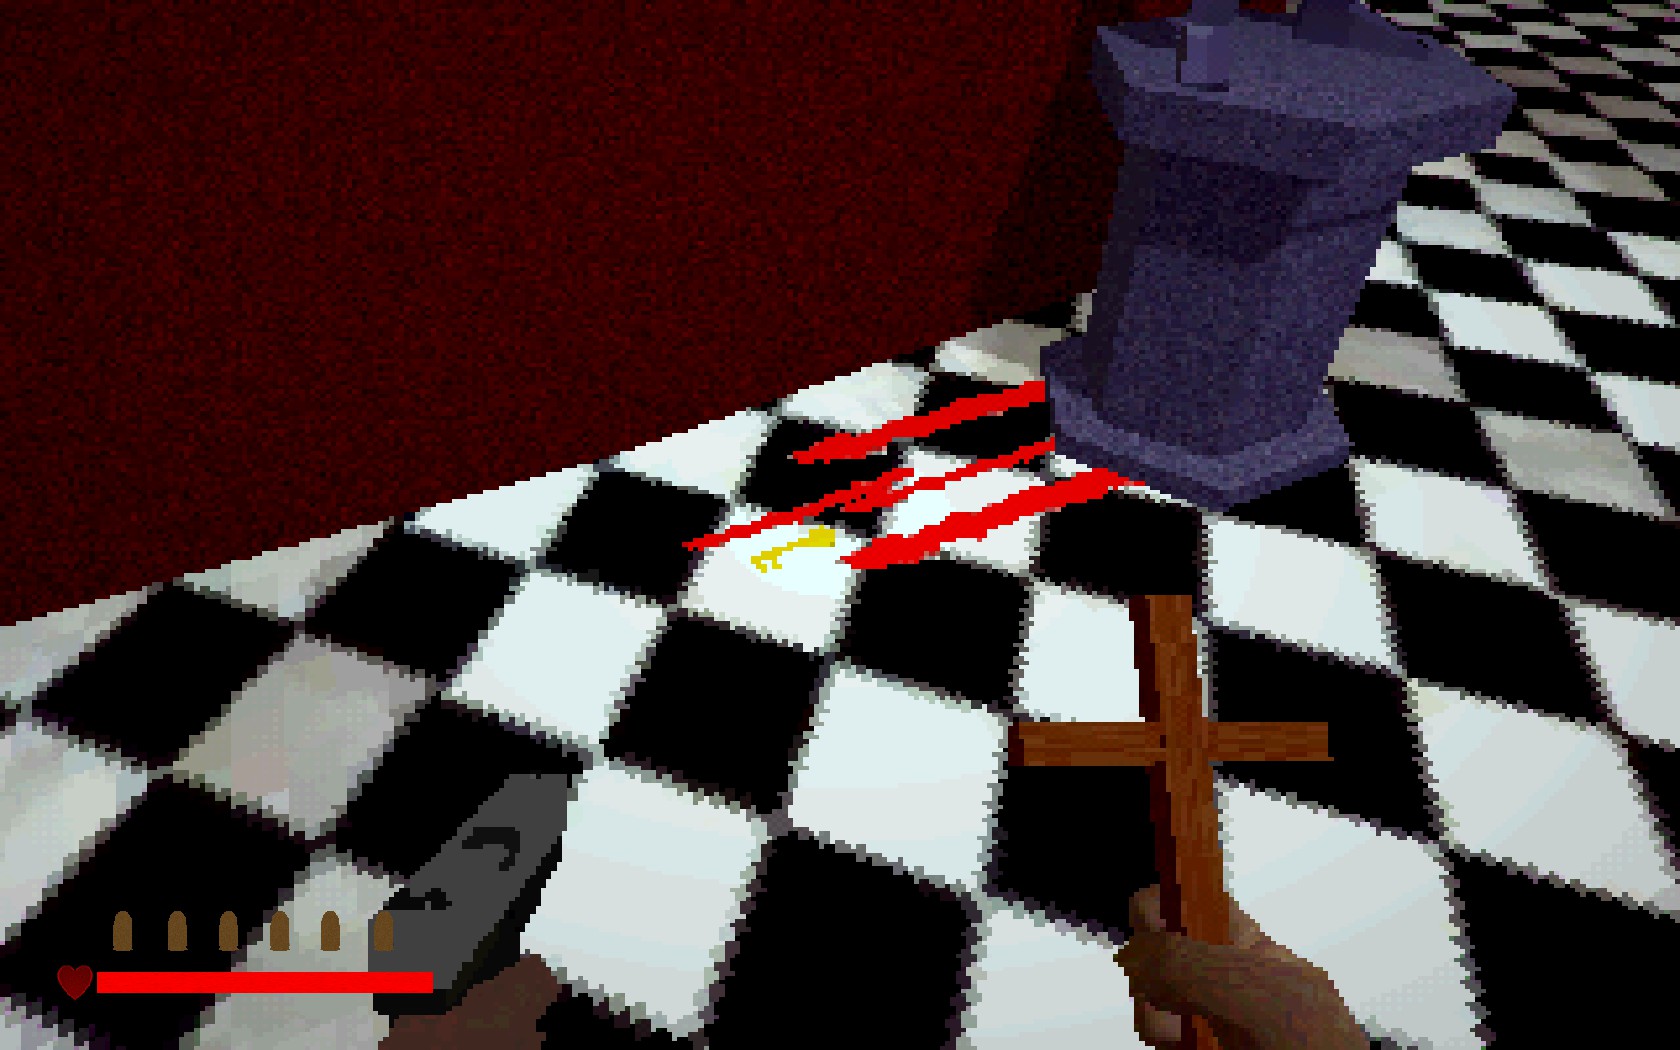
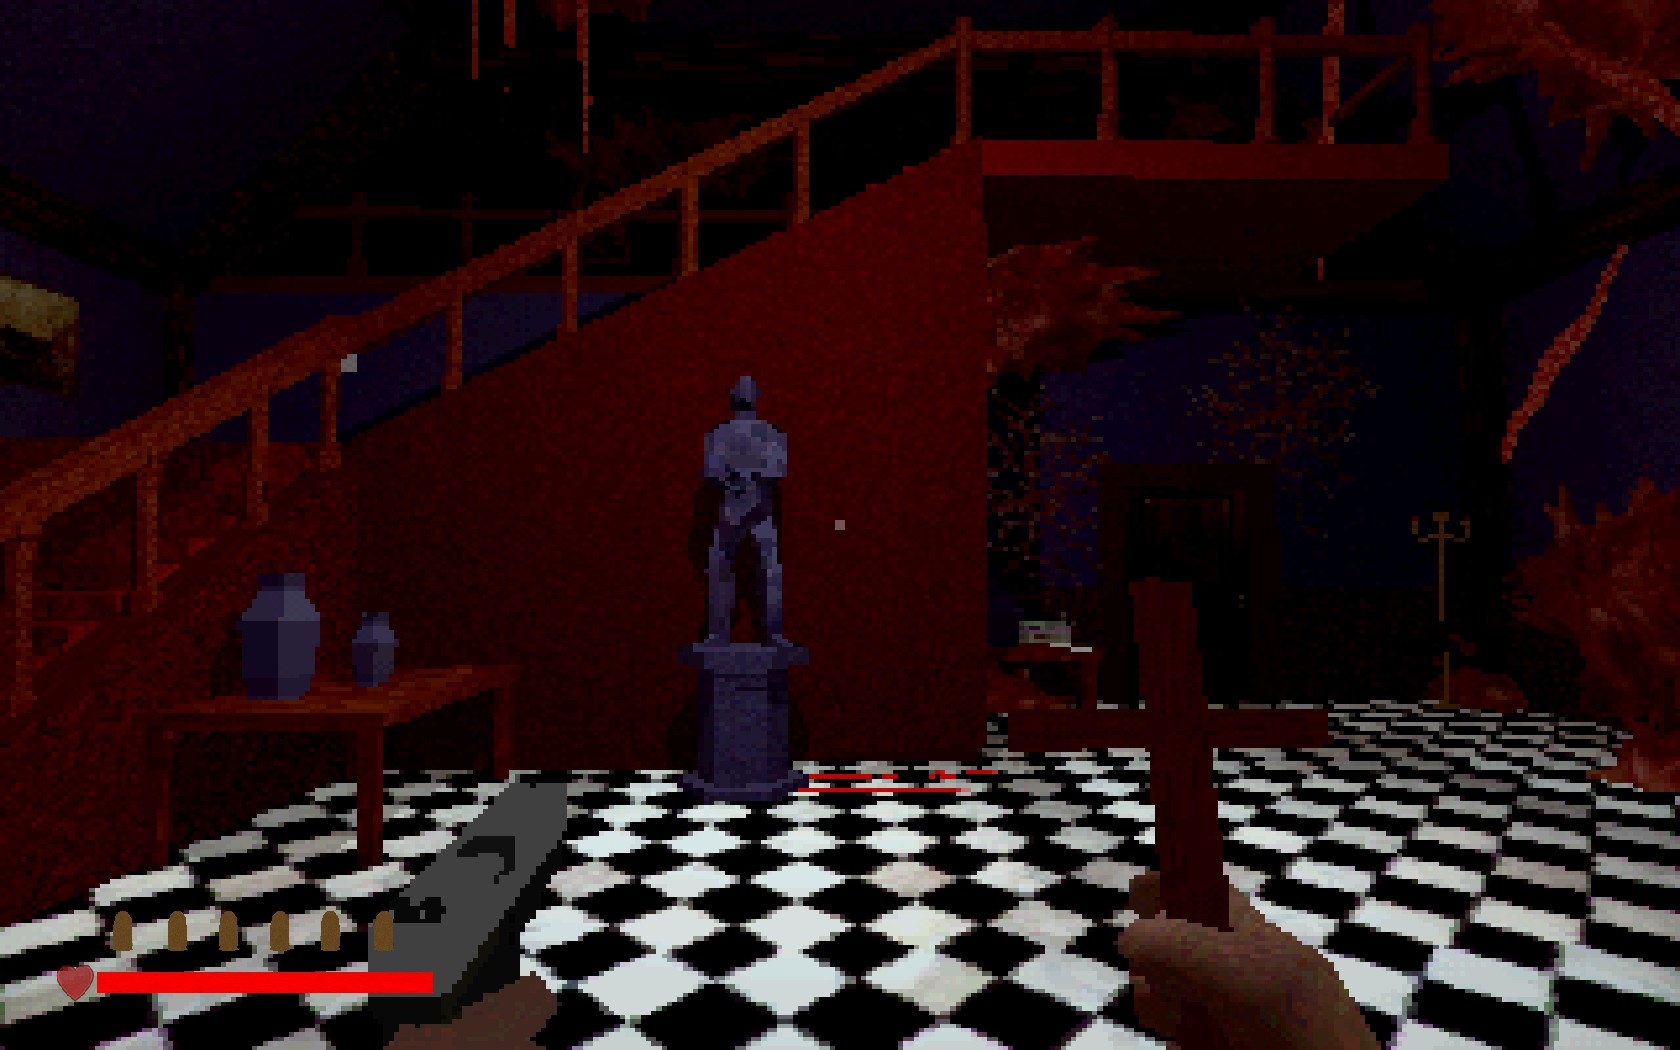
Pick it up, go upstairs, then to the left, then left again (same path the small statue was in).
On your right will be the Library Door.
Open it. There will be a shovel in the middle. Pick it up and head back downstairs.
Again, go into the Chimney room (right). The enter the next room, and then the hallway on the right.
Once inside the hallway, on your left will lead to a door to outside.
Go outside.
On the left will be a pool…which the water has become…acidic.
Inside the pool, on the statue’s hand will be the Purple Crystal.
On the left will be 2 gears. They are the mechanism for the pools Drainage System.
It is missing the 3rd gear. Time to find it.
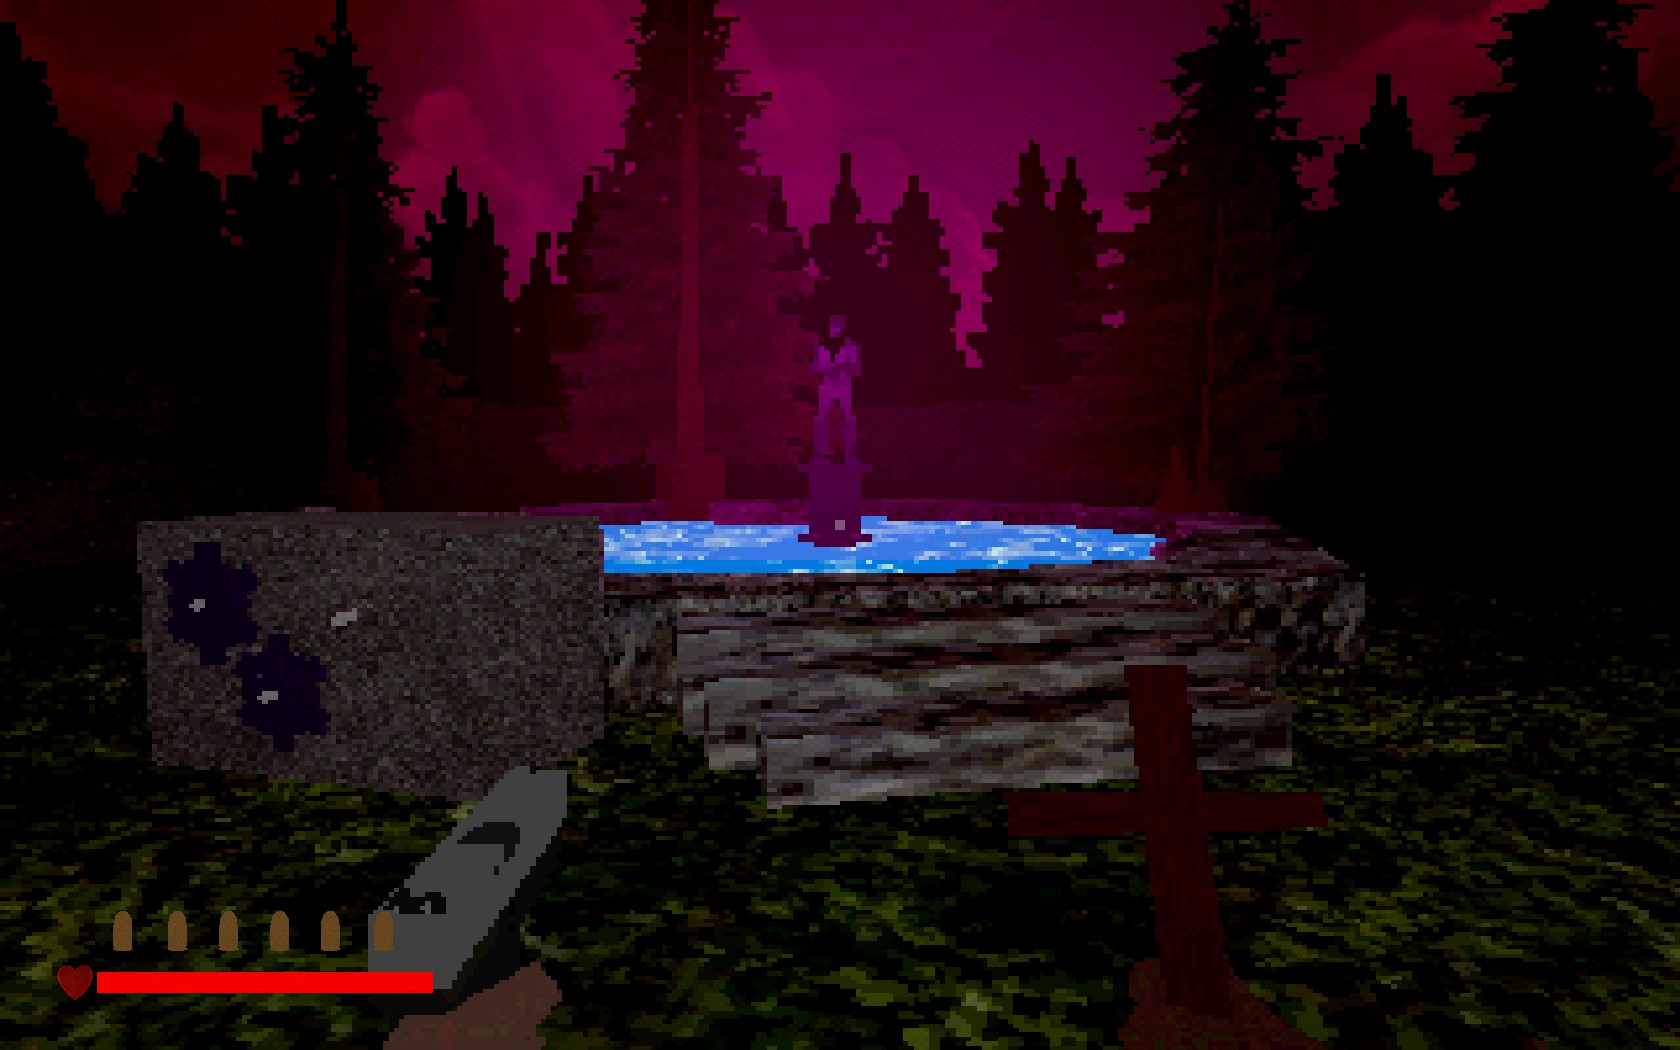
Go right, into the cemetery. At the end, on the left side there will be a grave that is lit up.
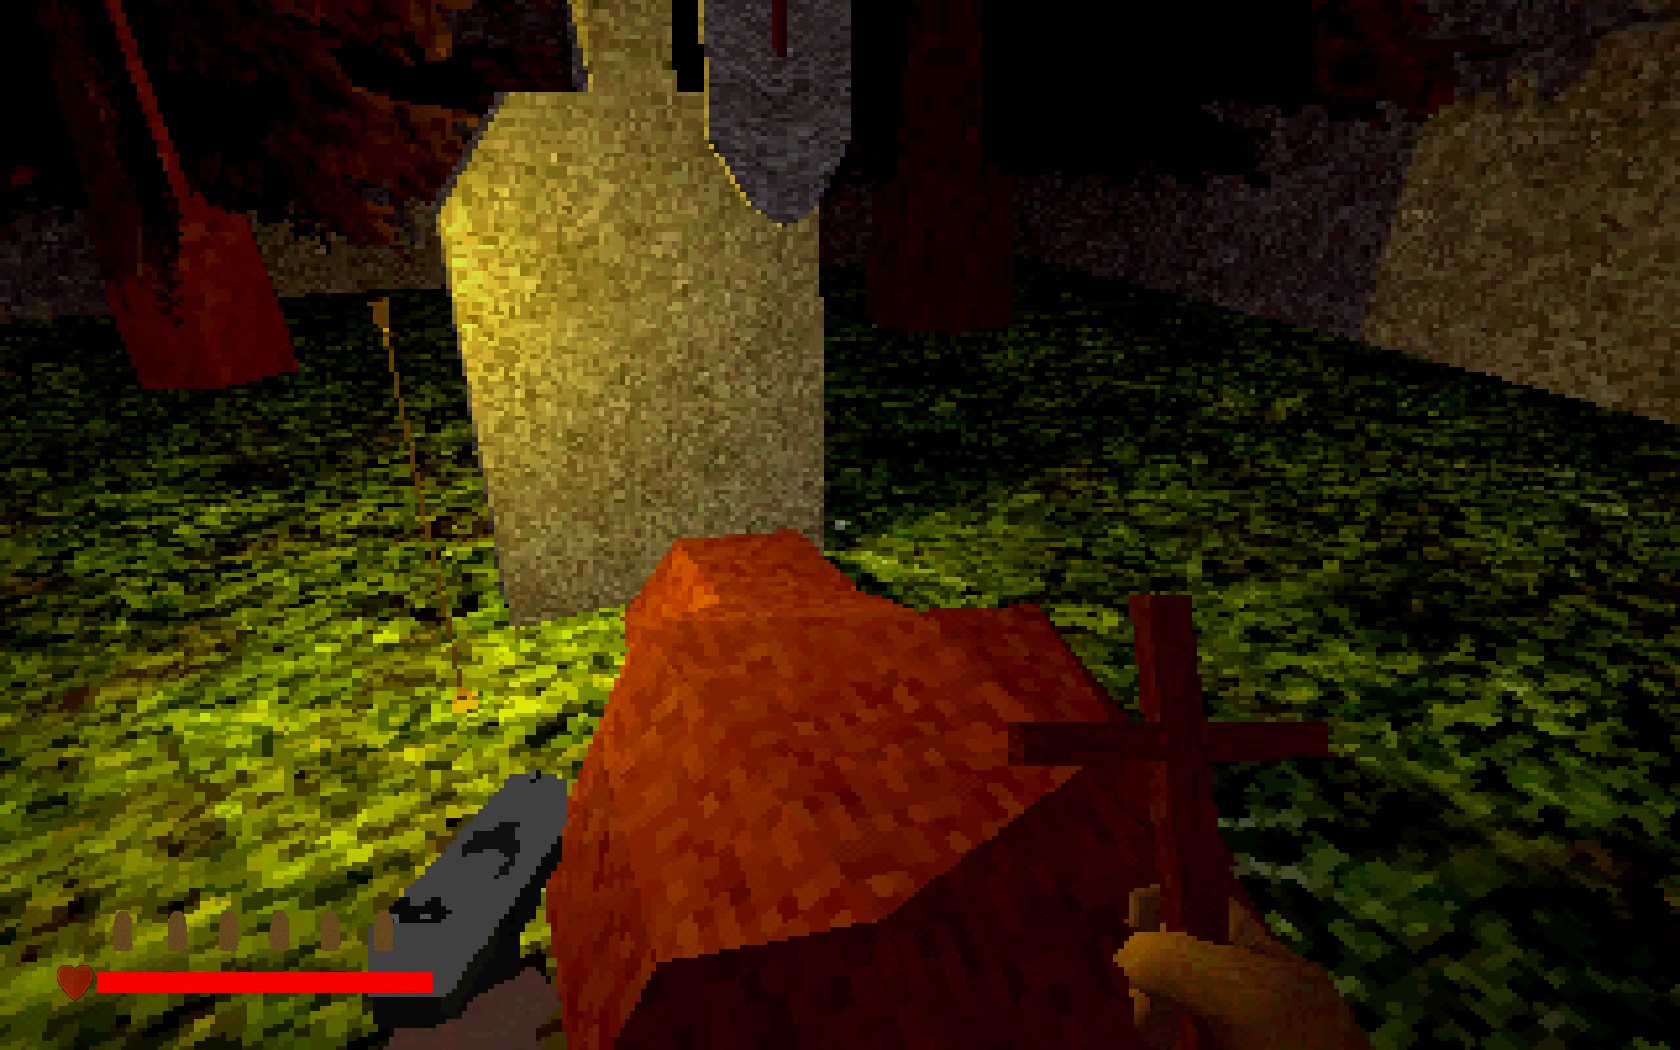
The dirt on this grave is loose.
Dig it up with the Shovel.
Here’s our 3rd gear!
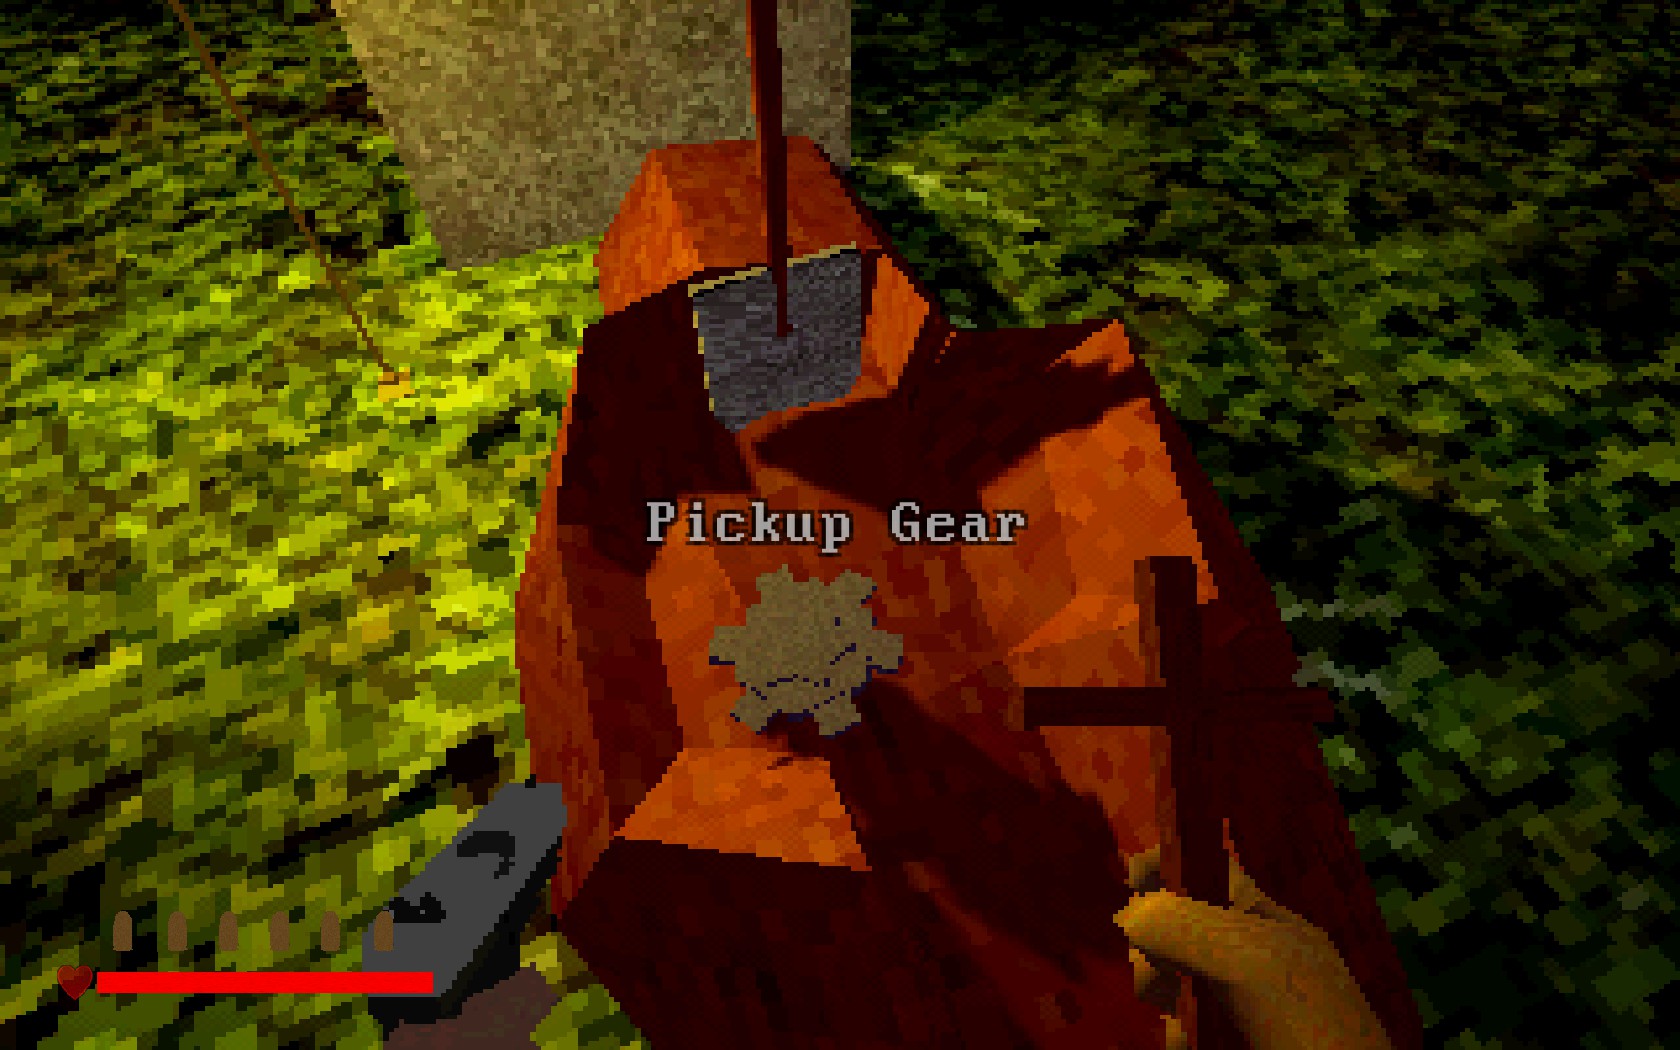
Head back to the pool.
Put the 3rd gear into the system.
Now take your prize, the Purple Crystal.
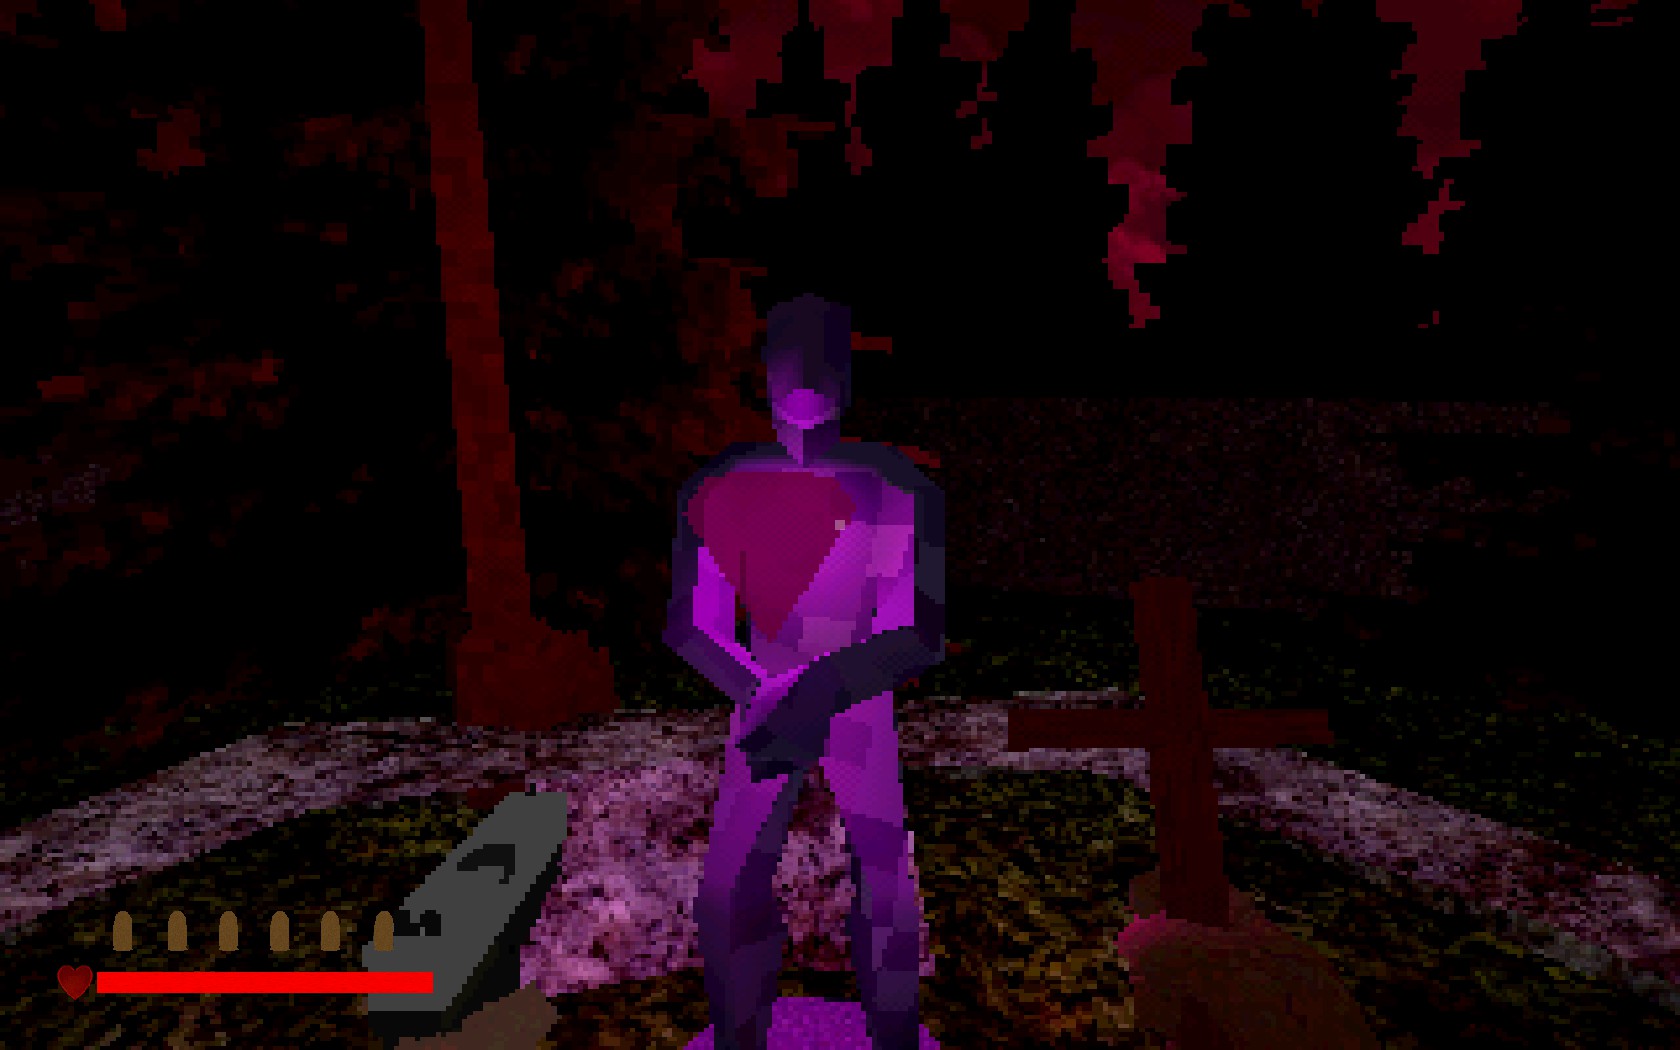
Final Crystal, Red
Head back inside and go left.
Take another left into the kitchen, where you will find a note on the right.
Well, I didn’t lie.
Nothing else useful in the kitchen.
Go out and to the left will be a small room with a painting on the wall.
Move it to find the Strange Key.
This key is for the Strange Lockbox upstairs.
Go out the room and on the left, cut from the Dining Room in the the Mansion Entrance.
Yes I hate that Radio too.
Go up the stairs and to left. Make your way to the end of the hallway.
Open the Strange Box with the key we just found.
Matches? We need them for the Chimney.
Head to the Chimney room and light up the chimney.
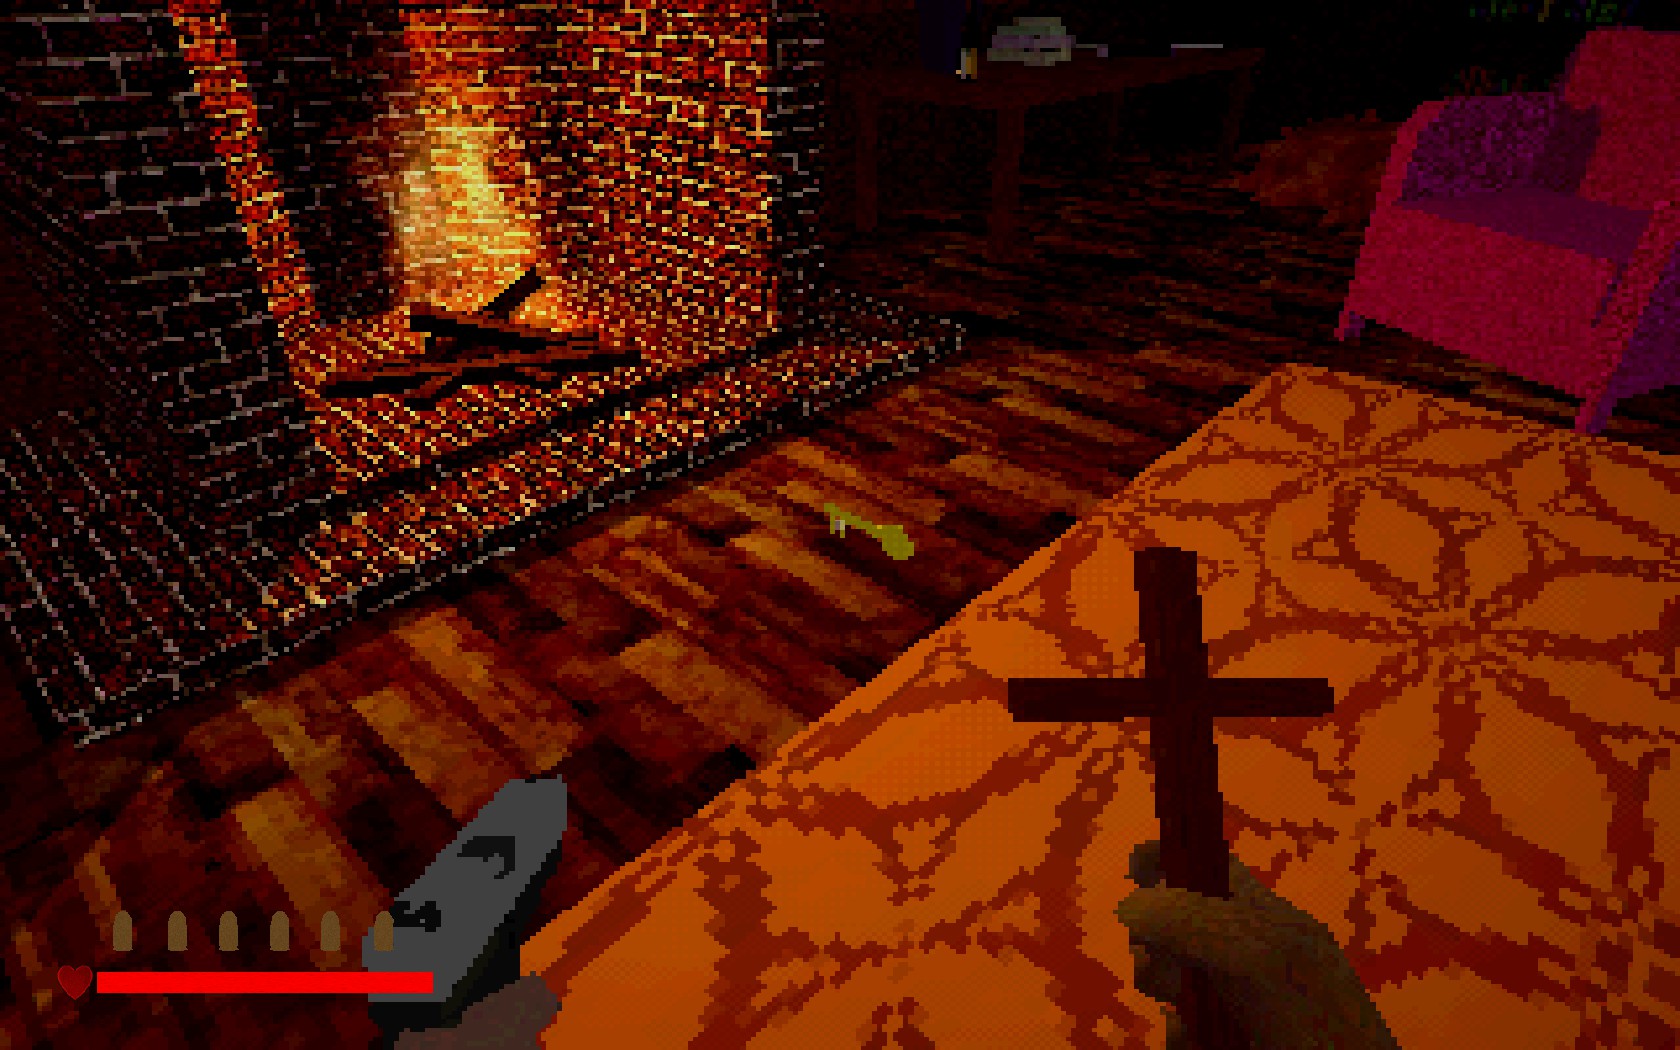
Pick up the Basement key, head outside the room.
On the left side, past the stairs will be the Basement door.
Head downstairs and make your way to the end of the basement.
There you will find the Red Crystal.
Time to Finish This
Head back up, and up the stairs again, to the Crystal Room.
Place the crystals down and handle the rest.
I can’t take you any further. Good luck!
End
Hope you had fun.
I hope you didn’t need to use this guide much, but if you did I hope it helped you unstuck yourself.
If you found this guide useful, give it a thumbs up!
If not, then give a thumbs down and explain in the comments what the issue was.
Now go enjoy the other minigames. Good luck!
Lore (Spoilers)
This section will give a comprehensive explanation of what happened here.
DON’T READ THIS if you haven’t finished the game. Finish the game, then come back to this to see if you missed anything.
This house (mansion) has always been the home to the best priest in town. Passing down from one priest to another, with a groundskeeper of its own.
One who leaves his dirty tools around the house, and keeps moving one of the statues around.
The possessed priest is the current owner of the house. He ha attempted something against the Lord’s liking. The priest had tried to extend his life, if possible to immortality, by a ritual.
This ritual caused an ancient Demon to come into this world and haunt the house.
The demon is now within this house, and he doesn’t want to leave.
His presence can be felt.
Strange molds are coming out of the walls. Little tendrils, stretching…
The priest and the groundskeeper try to snip and clean them wherever they see them, but they keep growing back.
The pool’s water has become…acidic. It can be drained, but a gear from the mechanism is missing.
The basement…it doesn’t feel right. Noises come from down there…inhuman voices.
The priest sends down the groundskeeper to the basement to check it out.
He has not returned. A foul stench comes from the basement. Fearing the worst, the priest locks the door to the basement.
This is it. The Demon is inside this house. And he will soon do unspeakable things.
The priest thinks to himself, how to stop it?
He decides that a ritual, using a Protective Circle and 3 Rare Alchemy Crystals created by witches is the only way to capture and destroy the demon.
But the priest cannot perform this ritual right away. He doesn’t have the strength, and the demon will know.
The only thing to do is to let the Demon possess him, so that his possession could distract the demon and give time to other Priests to arrive and help.
To possess a Servant of God. An offer the Demon cannot refuse.
He takes the bait, and the priest is possessed. The other priest locks him inside his room and calls priests all around for help.
You are the best of them, sent by the Bishop. The rest? Well, you just lived through it!
This is all for Dread X Collection: The Hunt House of Unrest Walkthrough hope you enjoy the post. If you believe we forget or we should update the post please let us know via comment, we will try our best to fix how fast is possible! Have a great day!

Leave a Reply