A 100% guide to help you keep track of every achievement. Videos/Photos/Descriptions for all rings, Estus Shards, Undead Bone Shards, Coal, Umbral Ashes, and more. This is more of a checklist than a step-by-step walkthrough that contains many spoilers. This guide will continue to be updated, so feedback and critique are welcome!
Achievement Overview
Important Note: All achievements must be completed on one character which requires NG+2 and three separate endings. If not already obvious: there are several spoilers due to detailed quest and achievement requirements.
Achievement List
| Achievement | Description | Video or Additional Notes |
|---|---|---|
| Enkindle | Light a bonfire | “Cemetery of Ash” Bonfire right before the first boss, Iudex Gundyr or any other bonfire. |
| Embrace the Flame | Become embered | Restoring your embered state: happens when defeating a boss or using an ember. |
| Covenant: Warrior of Sunlight | First found in Undead Settlement; Sunlight tokens offered at the Sunlight Altar – [youtu.be] in Lothric Castle. | Video Location – [youtu.be] |
| Covenant: Way of Blue | Obtained by Emma in Cathedral of High Wall of Lothric Across from Vort | Also provides “Small Lothric Banner” to proceed to the Undead Settlement. |
| Covenant: Mound-Makers | BEFORE killing the Curse-Rotted Greatwood | Video Location – [youtu.be] |
| Covenant: Blue Sentinels | Given by Horace the Hushed at Halfway Fortress bonfire in Road of Sacrifices. | Video Location – [youtu.be] |
| Covenant: Watchdogs of Farron | Pray to the “Old Wolf of Farron” in Farron Keep | Video Location – [youtu.be] |
| Covenant: Rosaria’s Fingers | Located in the Cathedral of the Deep. Make sure to not offer any pale tongues during Sirris’ quest. | Video Location – [youtu.be] |
| Covenant: Aldrich Faithful | In Anor Londo found behind an illusory wall down a ladder with 2 Sulyvahn Beasts | Video Location – [youtu.be] |
| Covenant: Blade of the Darkmoon | Enter by giving the Dreamchaser Ashes – [youtu.be] to the Shrine Handmaiden and learning the Darkmoon Loyalty gesture from Sirris. Covenant location off an invisible platform in Anor Londo. | Video Location – [youtu.be] |
| Iudex Gundyr | Boss in Cemetery of Ash (before Firelink Shrine) | “Tutorial area” – Three achievements can be completed here naturally |
| Vort of the Boreal Valley | Boss at the High Wall of Lothric | Remember to grab the banner from Emma. Frostbite and Physical attacks. |
| Curse-Rotted Greatwood | Boss in Undead Settlement. Drops the Transposing Kiln needed to trade items with Ludleth in Firelink. | Weak to fire -focus on the “egg” growth weak spots. Mob enemies weak to alluring skulls. |
| Crystal Sage | Boss in Road of Sacrifices before Cathedral of the Deep | Parryable. Uses several magic spells. 2nd phase: focus on one with purple aura as the blue auras are clones. |
| Deacons of the Deep | Boss in Cathedral of the Deep that drops the “Small Doll” key item, allowing you to enter Central Irithyll. | Focus on ones with a red aura. Weak to alluring skulls. |
| Lords of Cinder: Abysss Watchers | Boss in Farron Keep after extinguishing 3 flames | Weak to back stabs. Make sure to save Yoel before this boss if doing his quest. |
| High Lord Wolnir | Boss in Catacombs of Carthus right after the bridge | Bracelets are his weak spot. Dark and physical attacks. |
| Old Demon King | Boss in Smoldering Lake near the Abandoned Tomb Bonfire. | Mini Boss (Carthus Sandworm – [youtu.be] ) before boss. |
| Pontiff Sulyvahn | Boss in Irithyll of the Boreal Valley | Parryable in both phases |
| Lord of Cinder: Aldrich, Devourer of Gods | Boss in Anor Londo | Weak to Vow of Silence |
| Lord of Cinder: Yhorm | Boss in Profaned Capital | Weak against “Storm Ruler” sword found by his throne. |
| Dancer of the Boreal Valley | Boss at High Wall of Lothric in Emma’s Cathedral | Triggered after defeating last Lord of Cinder & placing Basin of Vows. |
| Dragonslayer Armour | Boss in Lothric Castle | Weak to Pale Pine Resin or Magic Weapon. |
| Lord of Cinder: Lothric, Younger Prince | Boss at the top of the Grand Archives after defeating all other Lords of Cinder. | Grants access to the Soul of Cinder boss fight. |
| Oceiros, the Consumed King | Boss in Consumed King’s Garden | Accessible after Dancer of the Boreal Valley. |
| Champion Gundyr | Boss found in Untended Graves | Area after Oceiros behind an illusory wall. |
| Ancient Wyvern | Boss in Archdragon Peak. Weak spot is a plunging attack to the head. | Video Location – [youtu.be] |
| The Nameless King | Boss in Archdragon Peak next to Great Belfry Bonfire. | Wyvern’s head can be riposted in phase 1. Lightning and Physical attacks in phase 2. |
| Untended Graves | Access this area after the Oceiros boss fight past an illusionary wall | Video Location – [youtu.be] |
| Archdragon Peak | Use the “Path of the Dragon – [youtu.be] ” outside of Irithyll Dungeon. Gesture found after Oceiros. | Video Location – [youtu.be] |
| Supreme Weapon Reinforcement | Reinforce a weapon to +10 = Max level for typical weapons. Unique/soul-transposed weapons (+5) will not work for this achievement. | Refer to Supreme Weapon Reinforcement Section |
| Master of Infusion | Perform all types of infusion | Refer to Master of Infusion Section |
| Ultimate Bonfire | Reinforce Bonfire to highest level | Upgrade the Firelink Shrine Bonfire with 10 found Bone Shards: Refer to Undead Bone Shard Locations Section |
| Ultimate Estus | Reinforce Estus to highest level | Reinforce Estus with 11 found Estus Shards: Refer to Estus Shard Locations |
| Master of Sorceries | Acquire all Sorceries | Refer to Master of Sorcery Section |
| Master of Pyromancies | Acquire all Pyromancies | Refer to Master of Pyromancy Section |
| Master of Miracles | Acquire all Miracles | Refer to Master of Miracles Section |
| Master of Rings | Acquire all Rings (Requires NG+2) | Refer to Master of Rings Sections |
| Master of Expression | Learn all Gestures | Refer to Master of Gestures Section |
| To Link the First Flame | Reach “To Link the First Flame” ending | Refer to Endings Section |
| The End of Fire | Reach “The End of Fire” ending | Refer to Endings Section |
| The Usurpation of Fire | Reach “The Usurpation of Fire” ending | Refer to Endings Section |
| The Dark Soul | Complete All Achievements | Congratulations! |
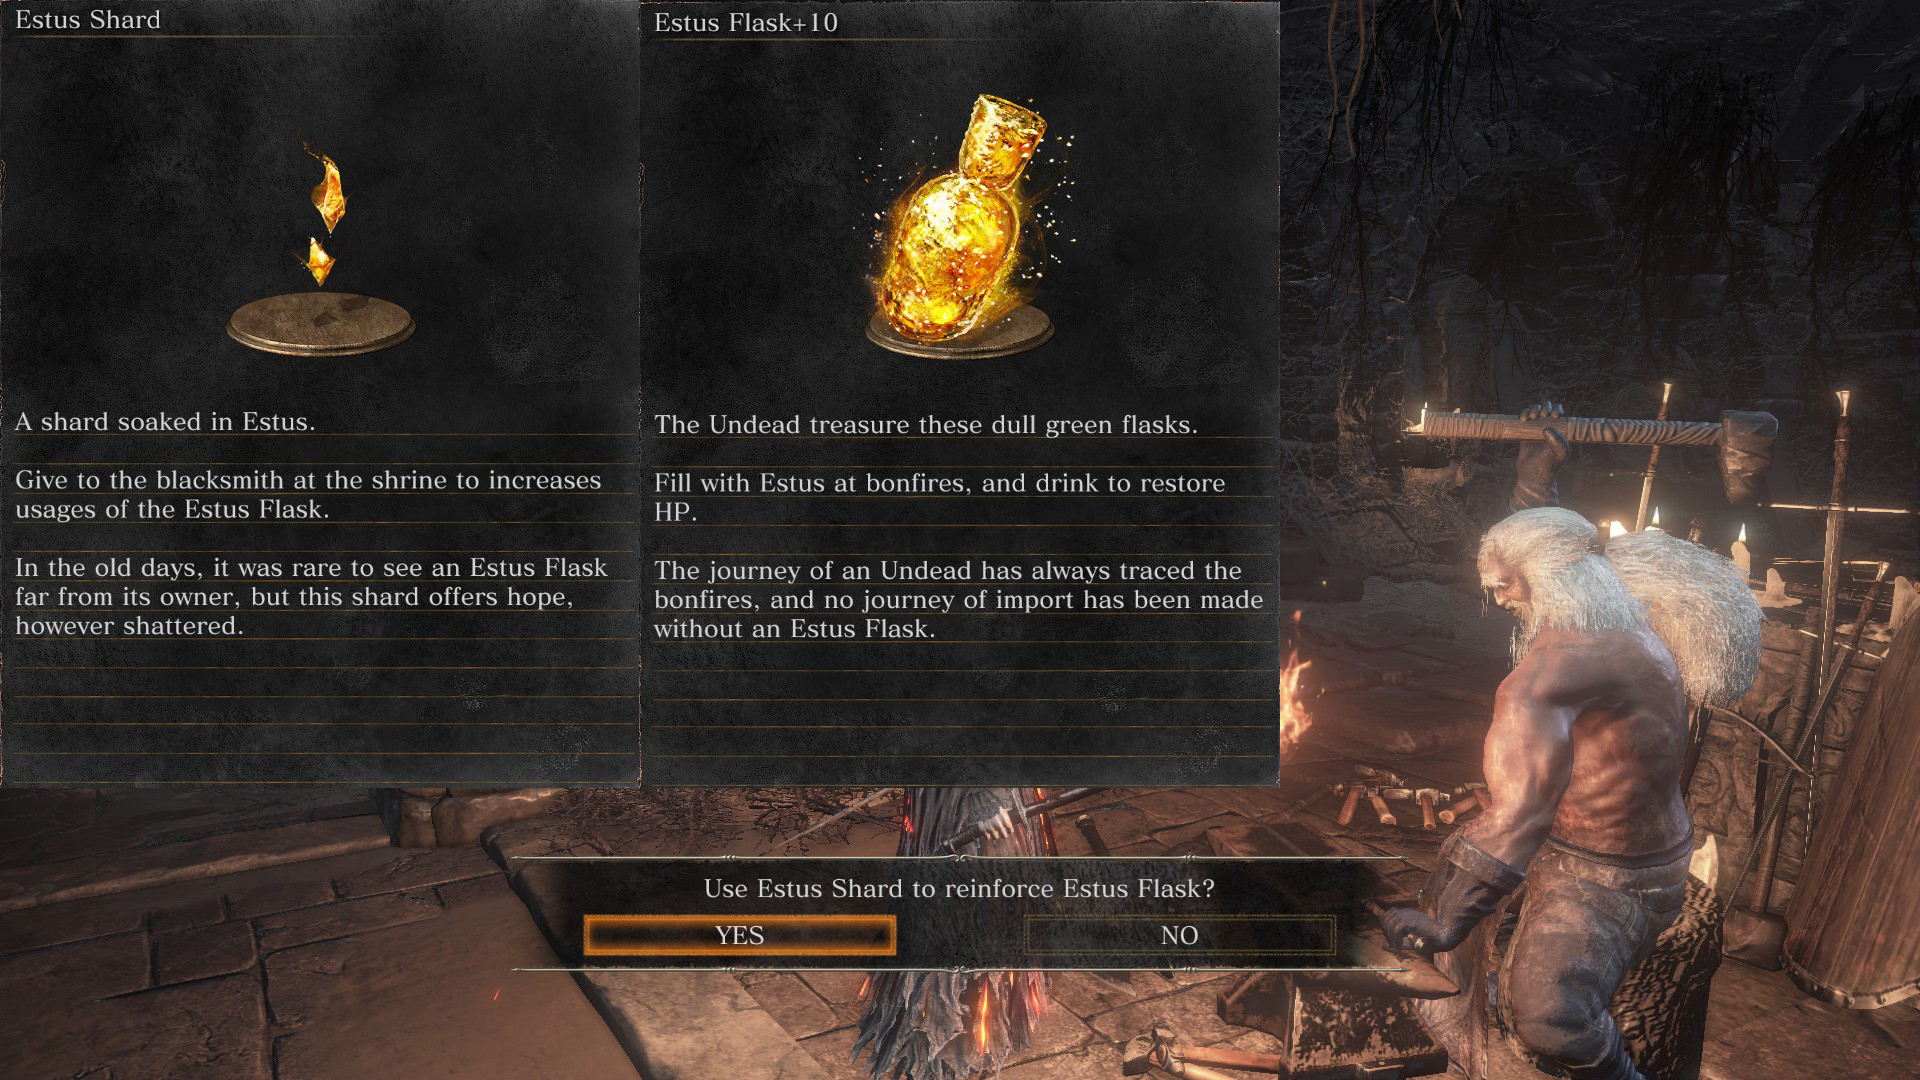
Estus Shard Locations
|
 |
Firelink Shrine
| Access the Firelink Shrine Roof and walk carefully onto the rafters where Picklepee’s nest is located – the Estus Shard is left of the nest. You can either use the “Tree Jump Skip” method or purchase the Tower Key from the Shrine Handmaiden for 20k souls. (Video Location – [youtu.be] ) | 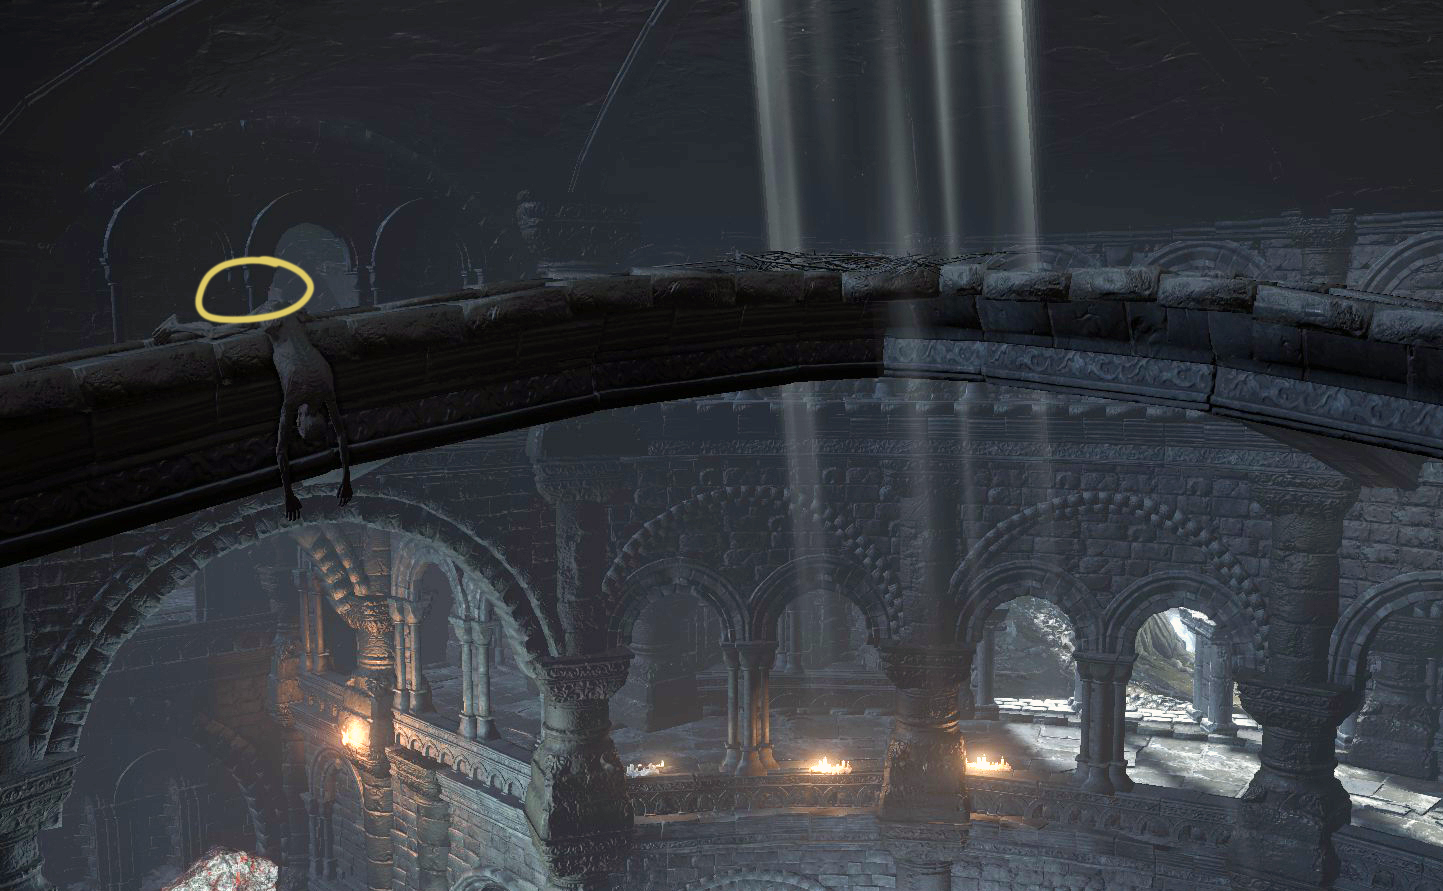 |
High Wall of Lothric
| From the Tower on the Wall Bonfire: make your way to the second floor and outside past the Pus of Man enemy, climb down the ladder and go past the room/hall with the Lothric Knight and jump-scare hollow. In the next room, you’ll find an estus shard on-top of an anvil along with a Cell Key – [youtu.be] to unlock Greirat’s cell. (Video Location – [youtu.be] ) | 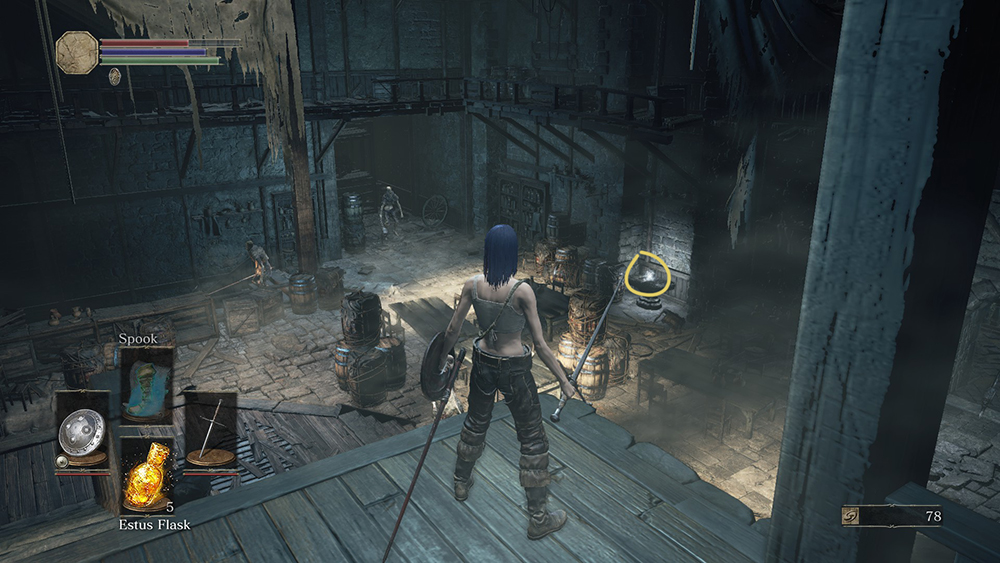 |
Undead Settlement
| From Undead Settlement Bonfire: Outside of the first house (near Loretta’s Bone) and directly in front of the Cathedral Evangelist’s bonfire with worshiping Peasant Hollows. (Video Location – [youtu.be] ) | 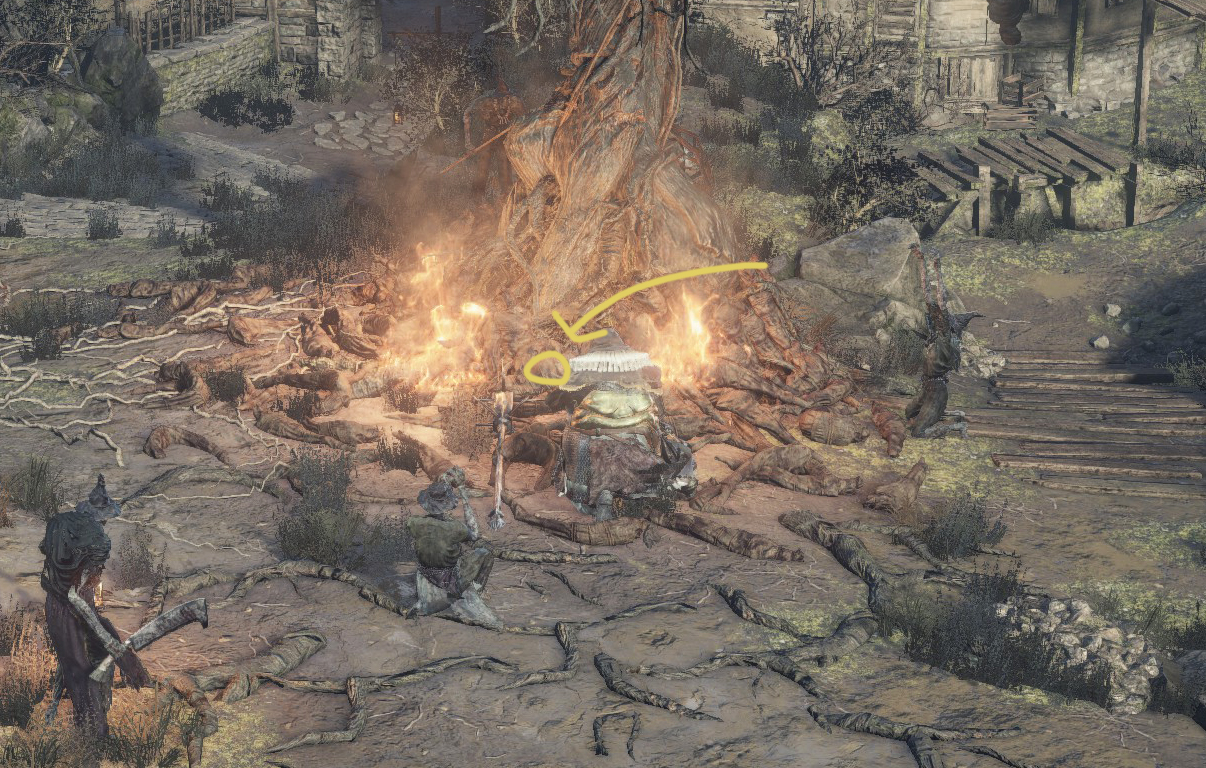 |
Crucifixion Woods
| From the Crucifixion Woods Bonfire: Head left towards an area with dogs leading to what looks like a dead end near a Red-Eyed Lycanthrope. Drop off the small ledge and the Estus Shard will be behind you. (Video Location – [youtu.be] ) | 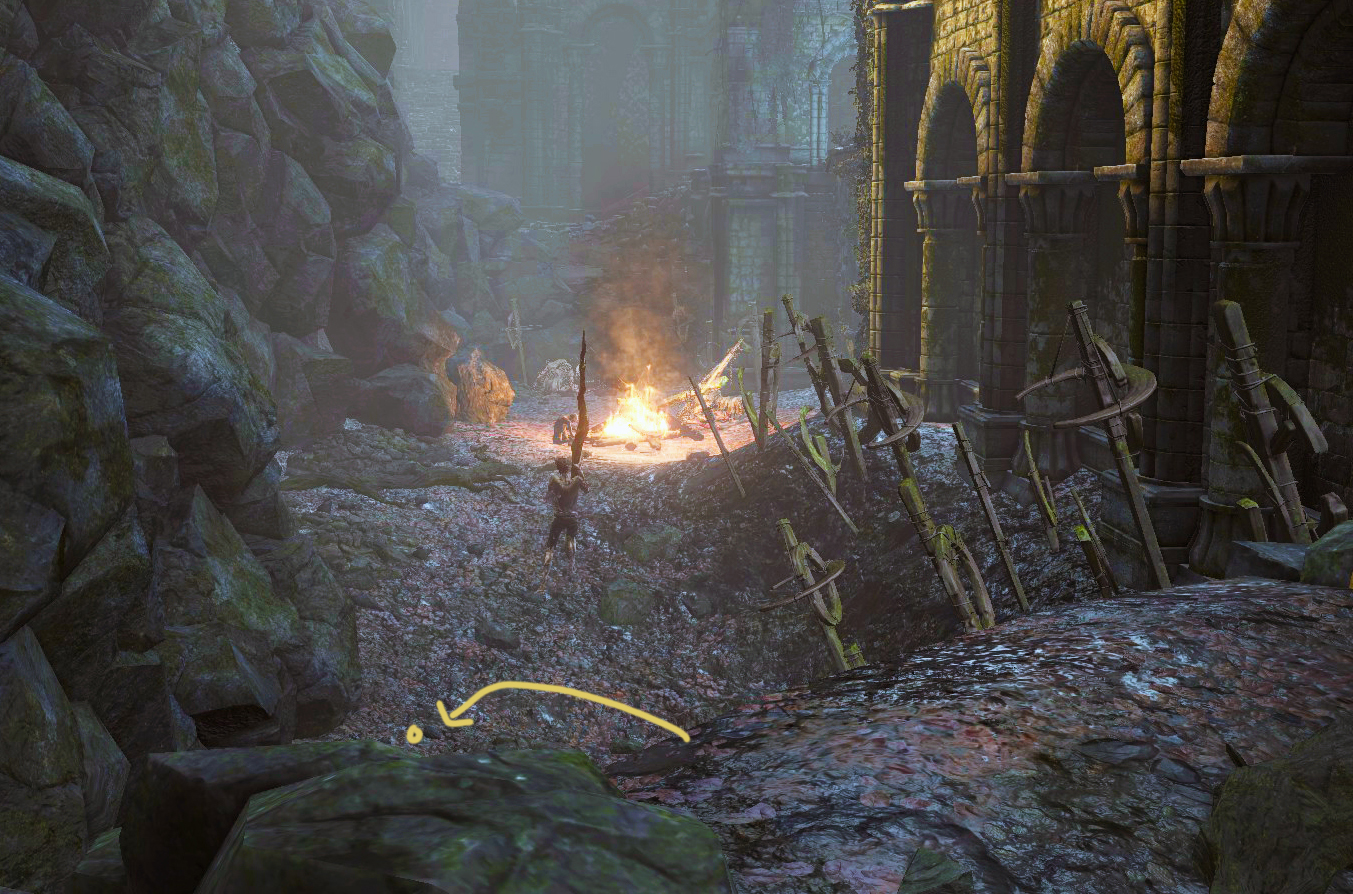 |
Farron Keep
From the Farron Keep Bonfire: Head slightly straight and left under the broken bridge to find an Estus Shard near a Rotten Slug enemy. ( |
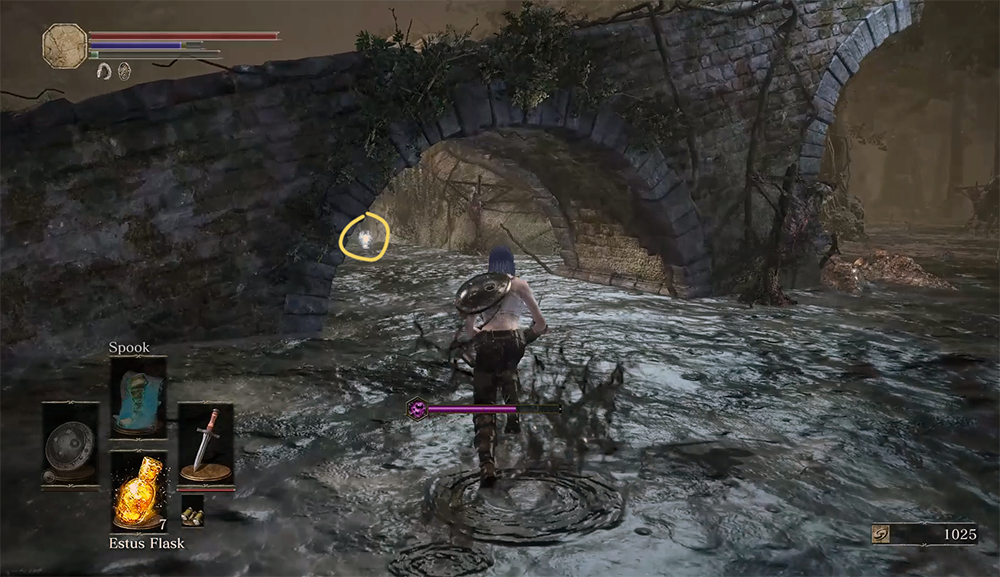 |
Cathedral of the Deep
| From the Cleansing Chapel bonfire: Take a right out the main doors and you’ll find hollows kneeling/praying in front of an obelisk with the Estus Shard in front of them. This is nearby the well for Siegward’s quest. Be aware of two self-immolating hollows that will try to sneak attack you. (Video Location – [youtu.be] ) | 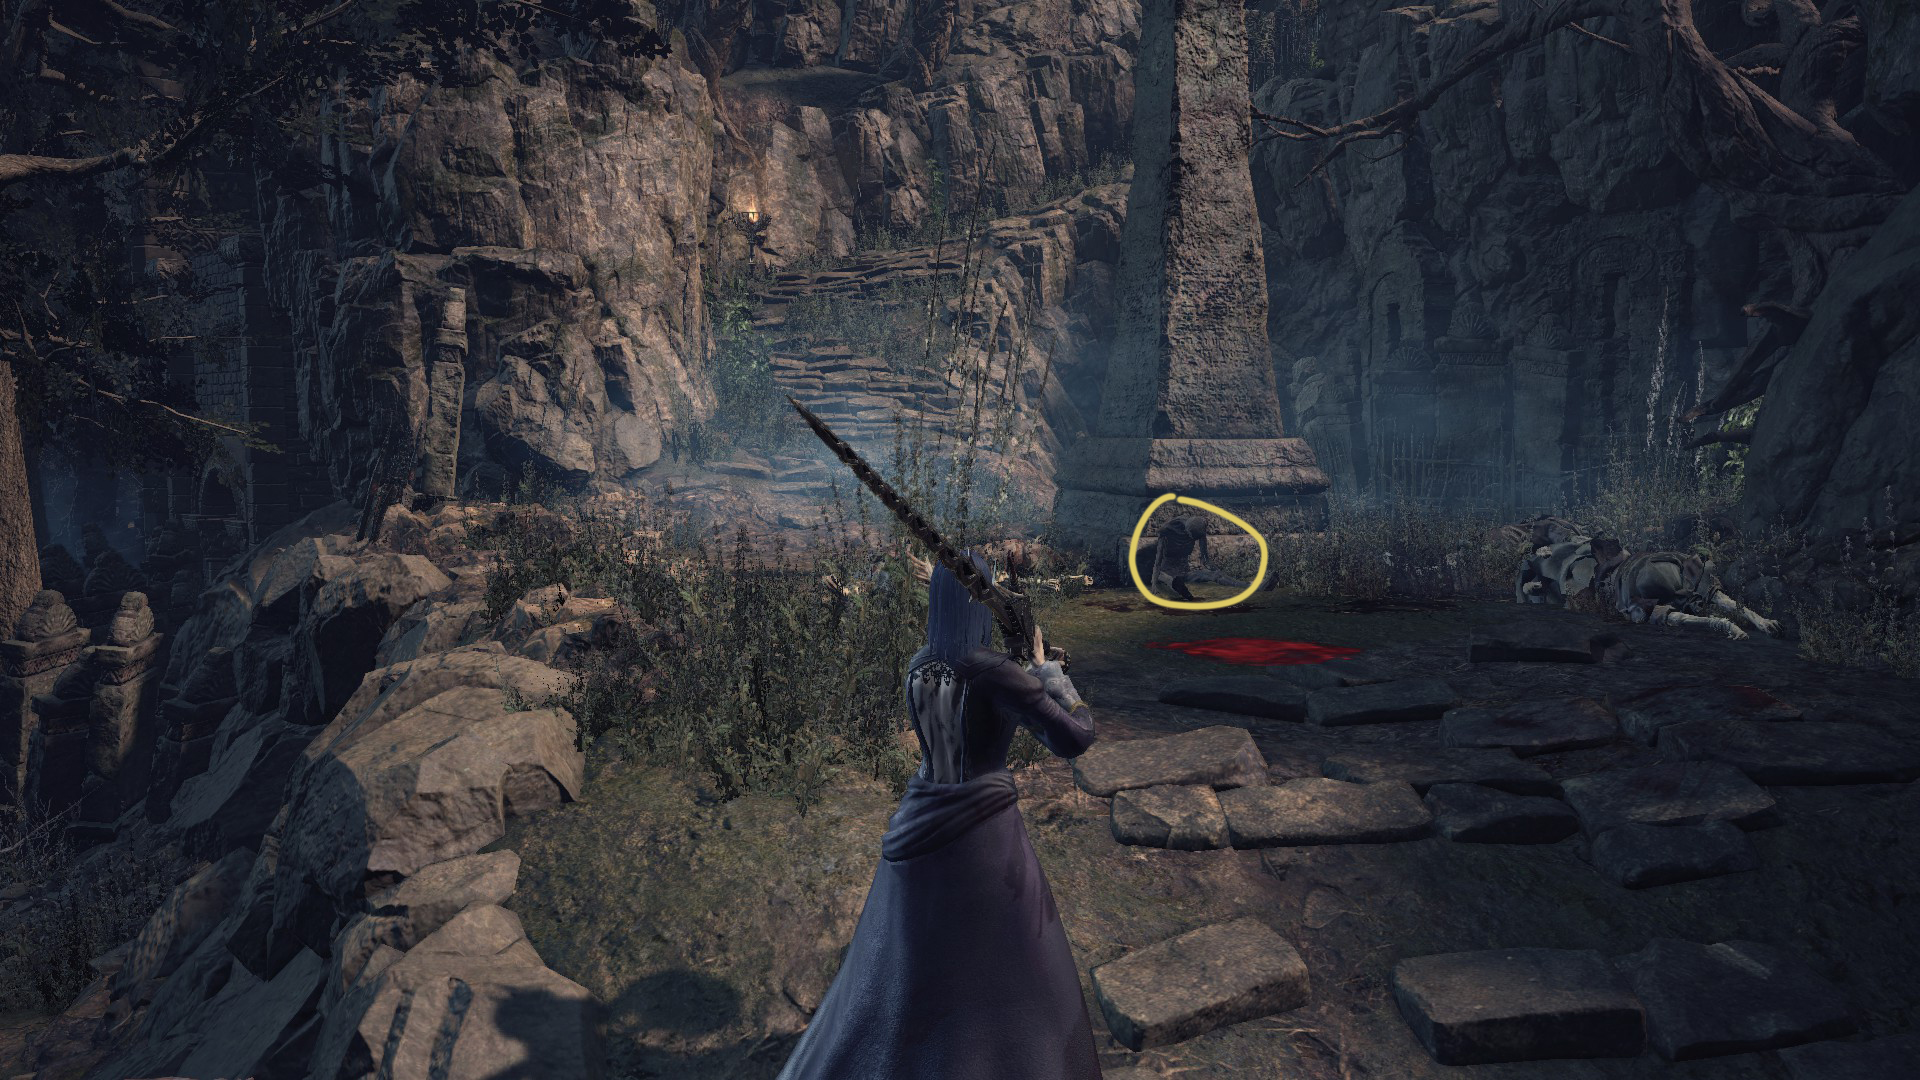 |
Smouldering Lake
| From the Old King’s Antechamber Bonfire: look for an illusory wall and enter the corridor full of “Smouldering Rotten Flesh” enemies that will drop from the ceiling. The Estus Shard will be at the end of the corridor. Be careful of the hole in the floor right beside it. Also recommended to bait out the enemies on the ceiling first. (Video Location – [youtu.be] ) | 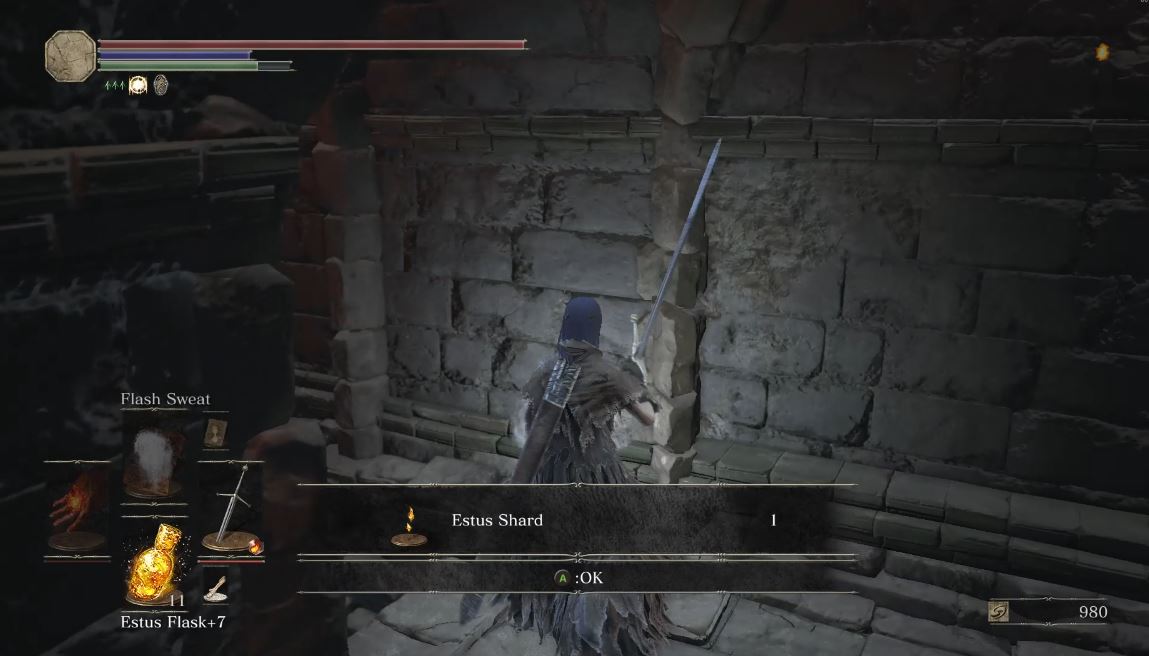 |
Irithyll Dungeon
| From the Irithyll Dungeon Bonfire, take a right down the first hall with Jailers, straight, and drop down off the ledge. Go outside towards jailers guarding a doorway with a Mimic Chest with the Estus Shard. You can use an Undead Hunter Charm to put the mimic to sleep and grab the item without fighting it. (Video Location – [youtu.be] ) | 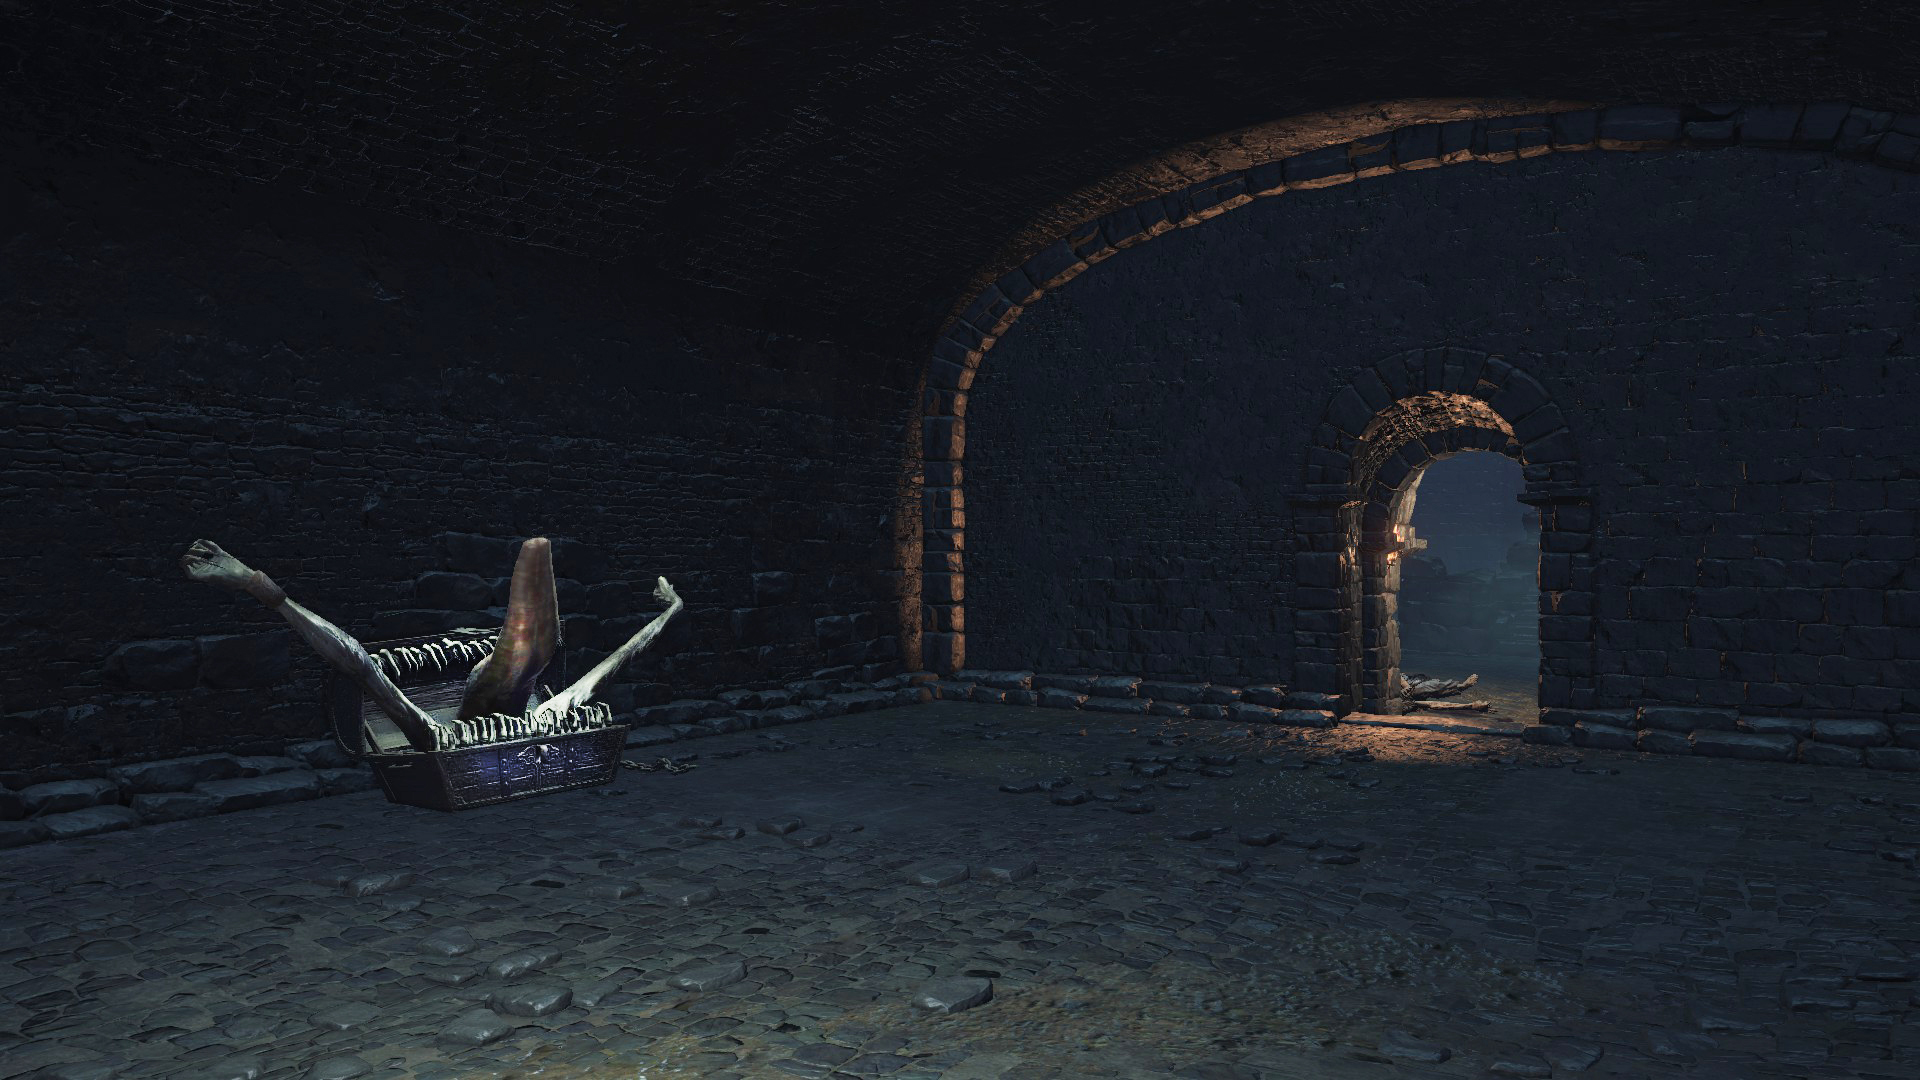 |
Anor Londo
| From the Anor Londo Bonfire: In the room right before the Aldrich boss fight, in a chest against the left wall / beside the stairs. Without the main door shortcut open, you can enter through the left gate, past the corpse of the Giant Blacksmith from original Anor Londo (Remember to pick up the Giant’s Coal), and up the stairs: the chest will be down the next flight of stairs past the fire casting deacon enemies and against the wall underneath you. Be aware of the “Deep Accursed” mini-boss (drops Aldrich’s Ruby Ring when defeated) that drops near the shortcut lever for the main doors. (Video Location – [youtu.be] ) | 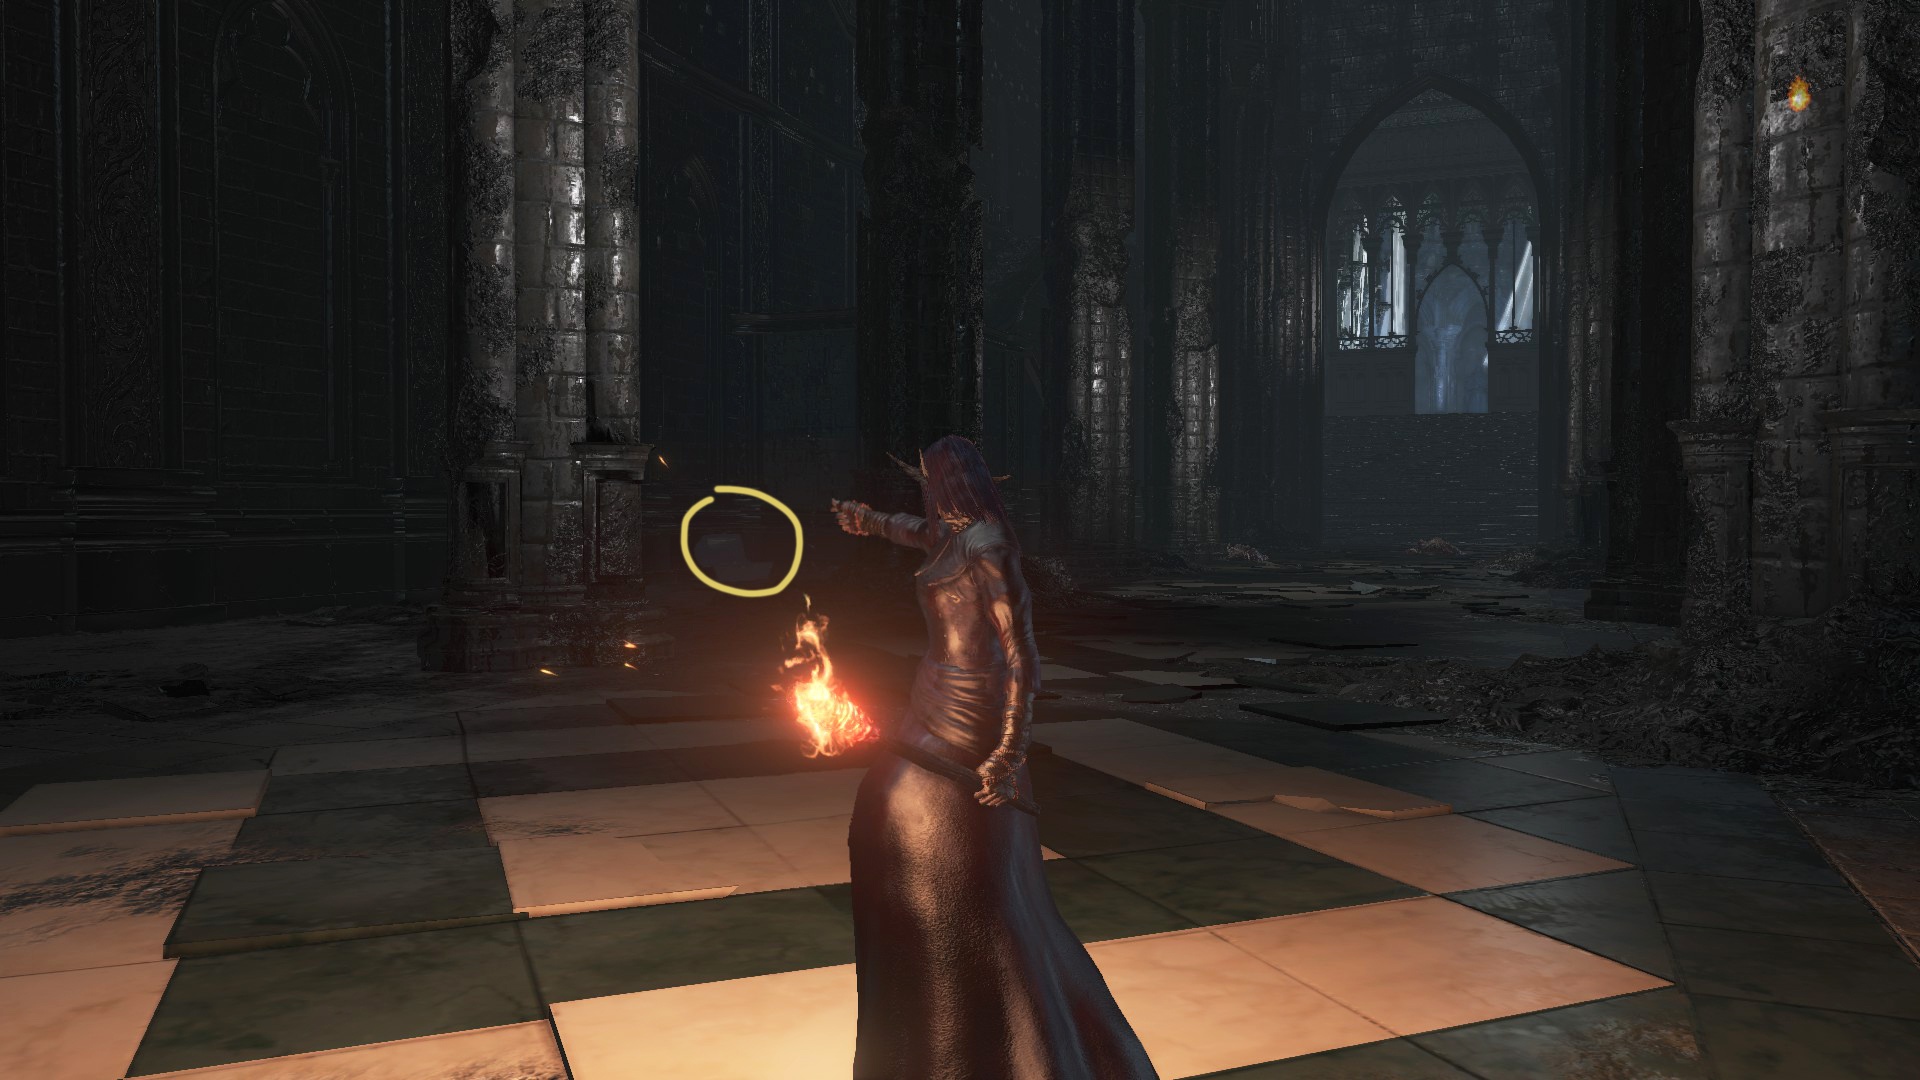 |
Grand Archives
| From the Grand Archives Bonfire: (if the elevator shortcut is open for the outside area): Take the elevator and go up the stairs to the left (away from the 3 hostile NPCs). Go onto the roof near the Winged Knights and the Estus Shard will be located at the end of a railing. (Video Location – [youtu.be] ) | 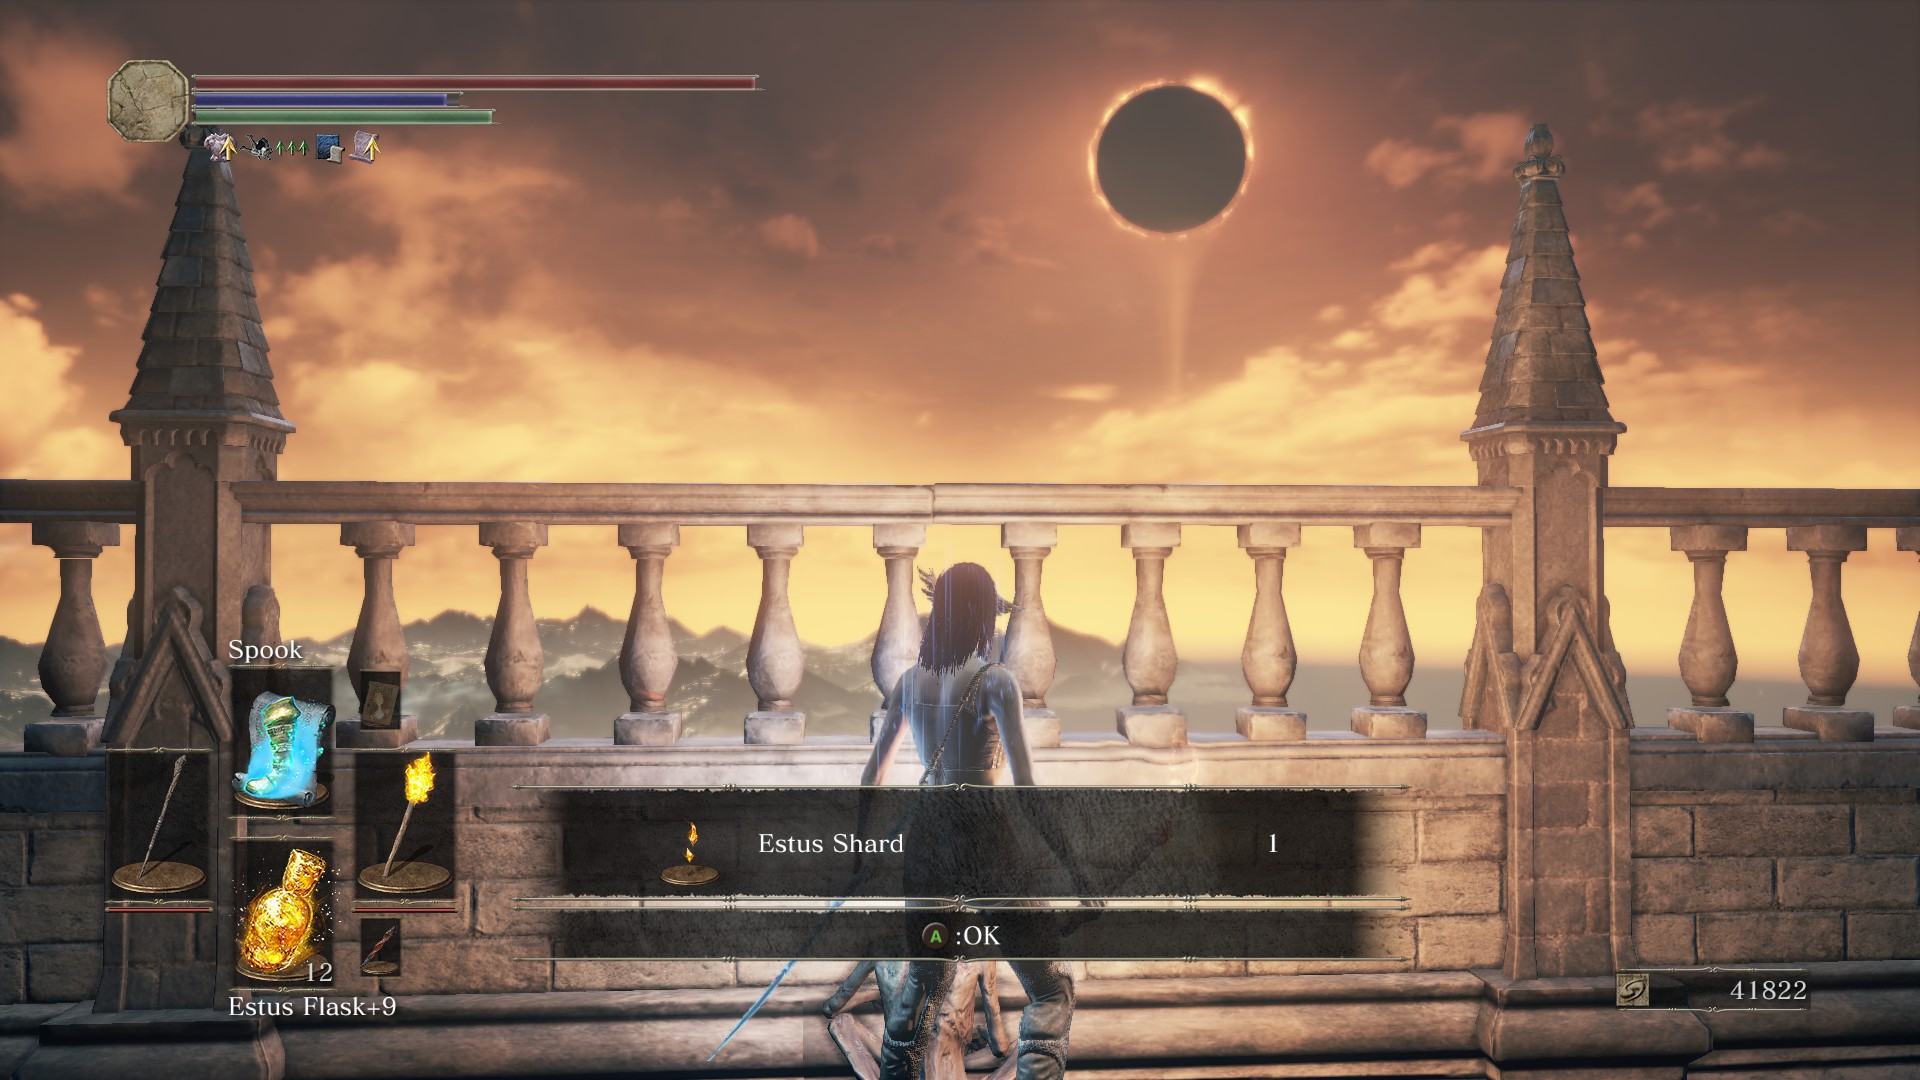 |
Consumed King’s Garden
| From the Dancer of the Boreal Valley Bonfire: Head up the ladder and to the left to enter the Consumed King’s Garden area – take the elevator guarded by the Cathedral Knight and roll off half way. The Estus Shard will be on the right side on a corpse. (Video Location – [youtu.be] ) | 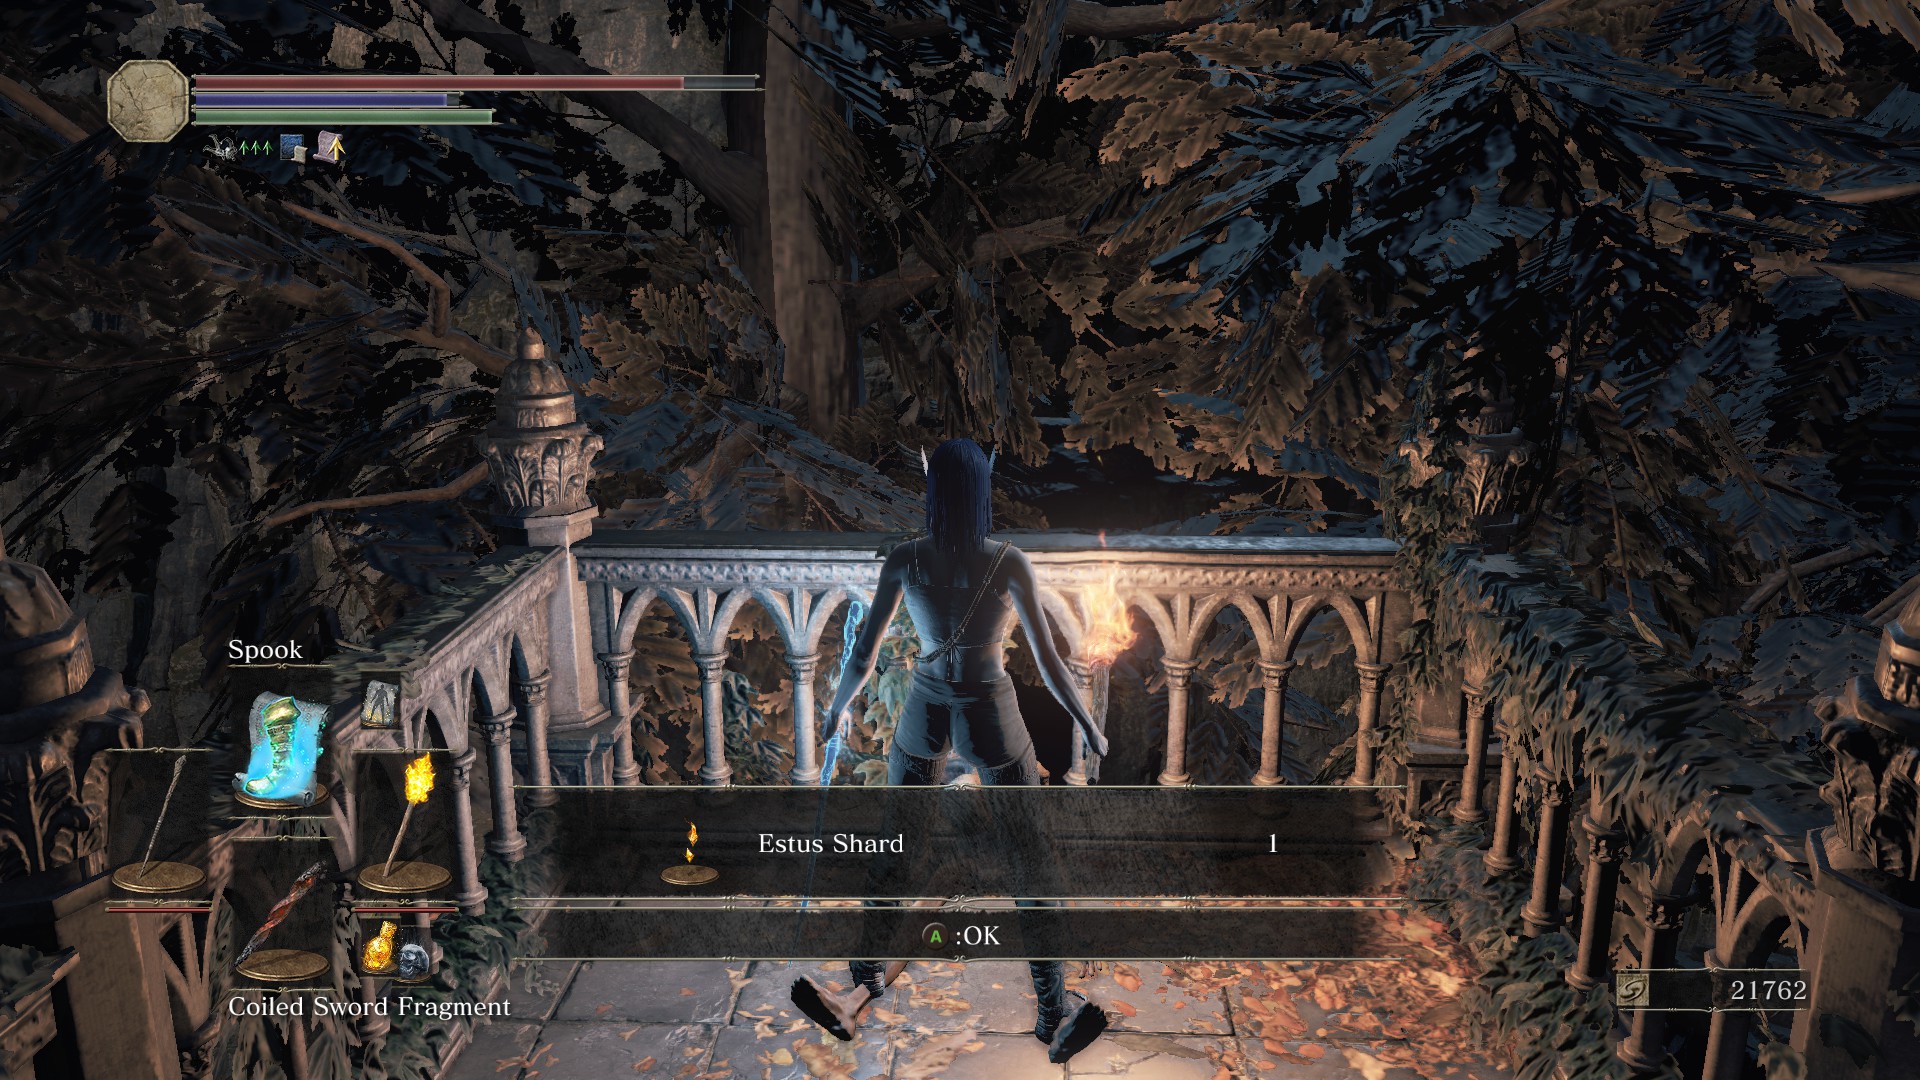 |
Undead Bone Shard Locations
|
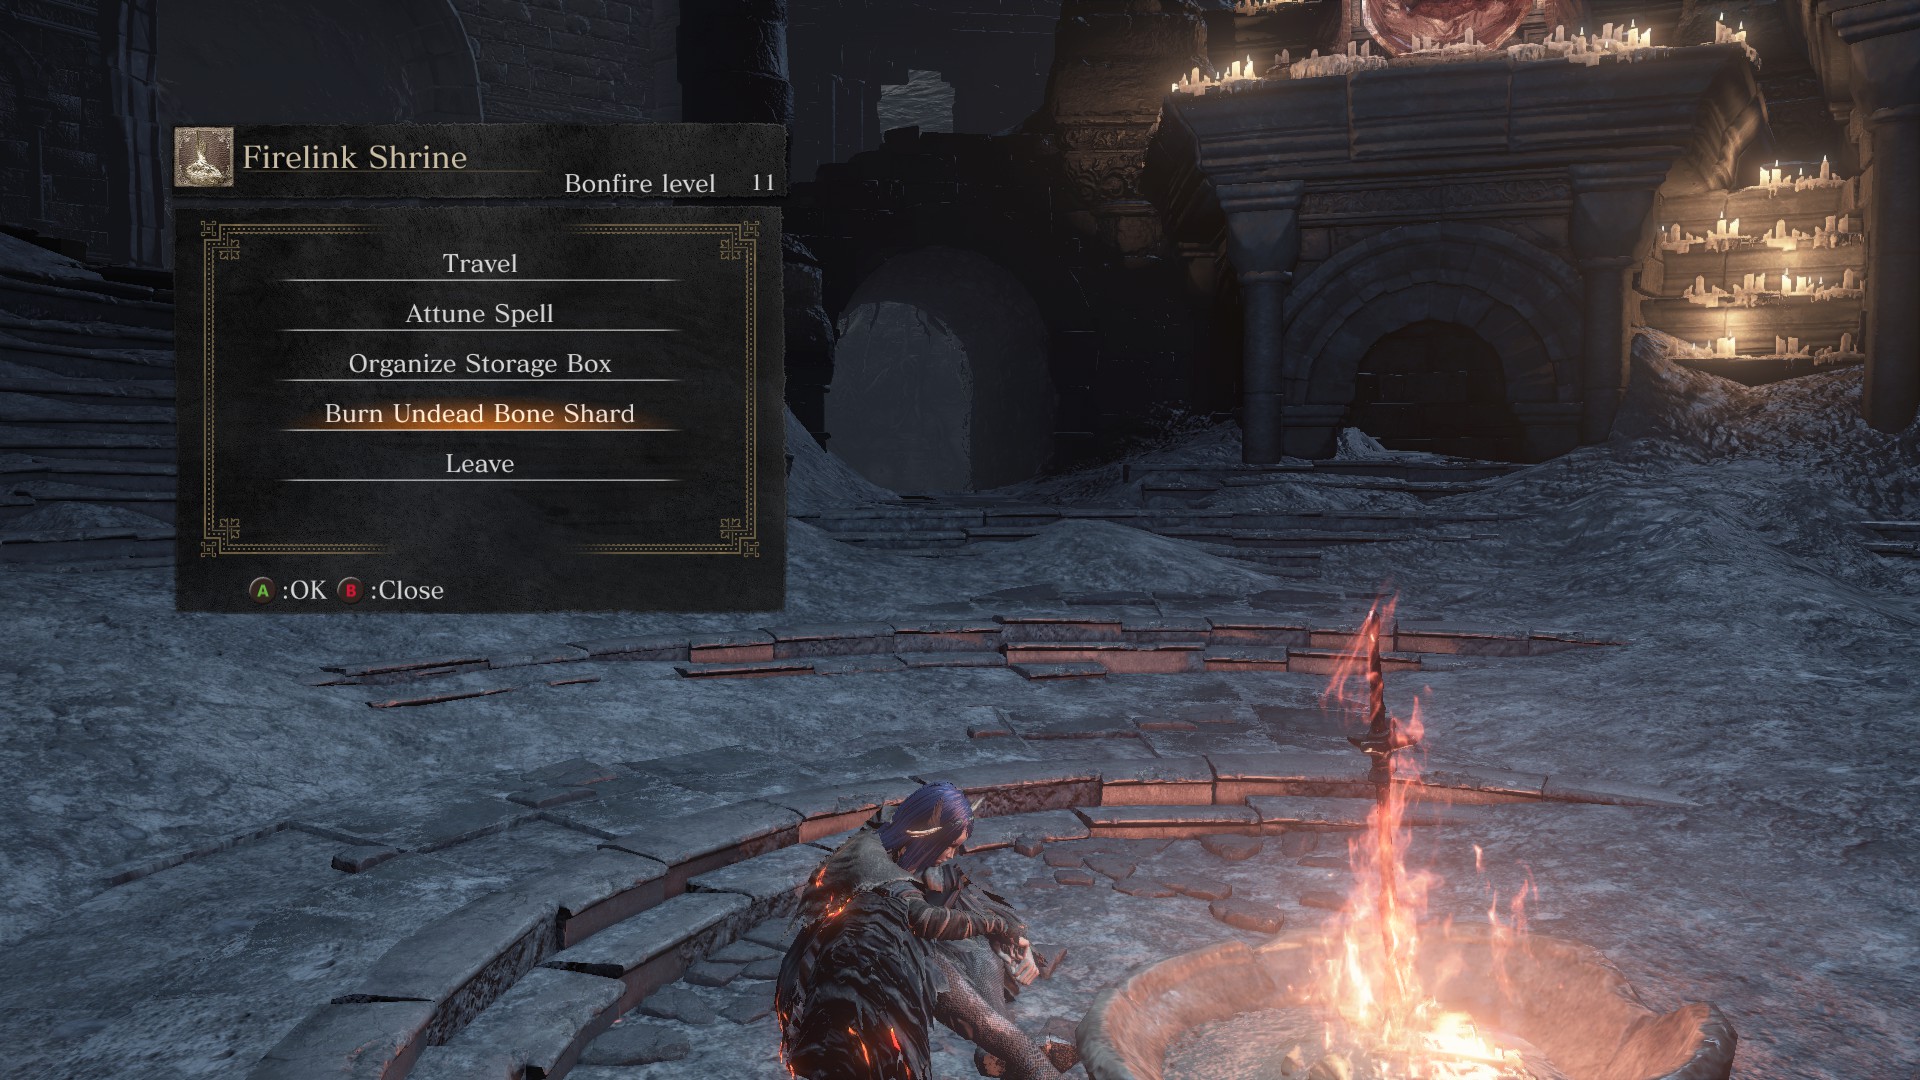 |
Undead Settlement
| Starting from the Dilapidated Bridge Bonfire, go towards the bridge where the Giant is shooting projectiles surrounded by peasant hollows. There is a platform with items you can jump to that will have the item. To make peace with the giant – [youtu.be] , you will find him up the elevator in the same location you first find Siegward and near Eygon of Carim. Take it all the way up and talk to him and pick to “Make Peace”. If your starting item is as the white birch branch, he will automatically be friendly to you. (Video Location – [youtu.be] ) | 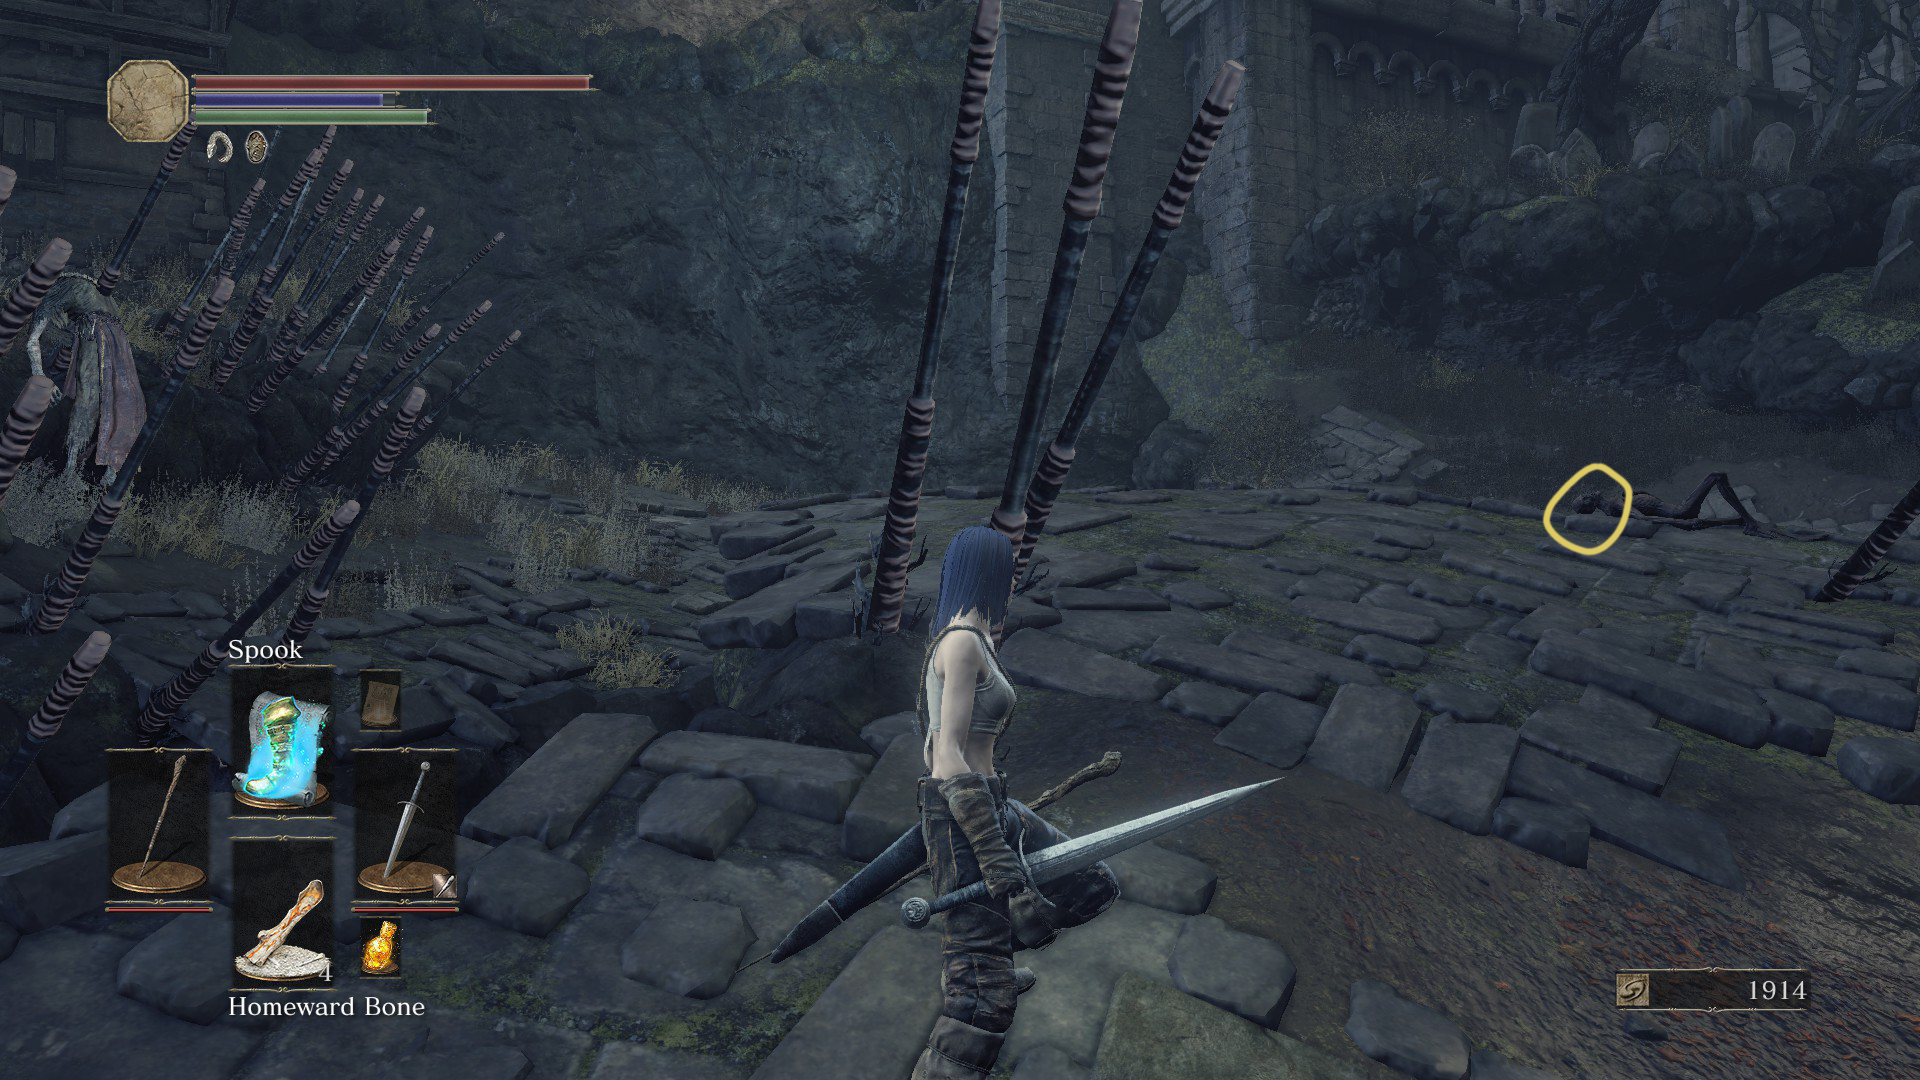 |
Farron Keep
| Near the Keep Ruins bonfire before the path towards the Abyss Watchers – A structure full of slugs are surrounding an Undead Bone Shard (Heysel’s summon sign – [youtu.be] is also located here if you are following her quest). (Video Location – [youtu.be] ) | 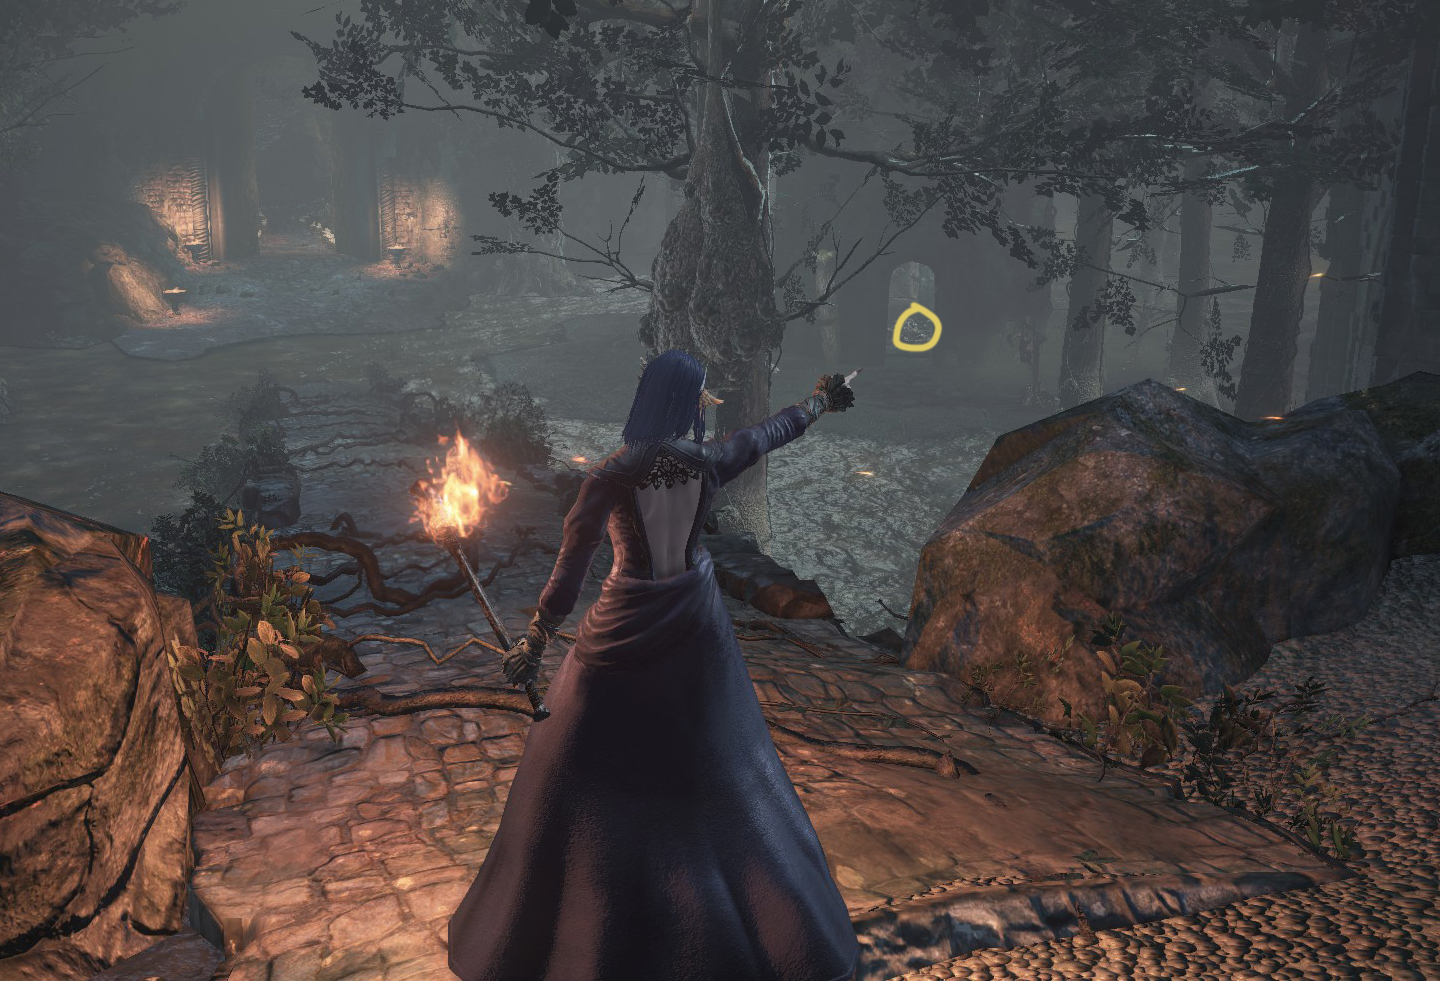 |
Cathedral of the Deep
| Note: It is recommended to carry a torch in this area due to the infested corpses. Starting from Cleansing Chapel Bonfire, pass through the corpse graveyard, over the bridge, and into another graveyard guarded by a Grave Warden and projectiles. If you have made peace with the giant – [youtu.be] , he will protect you here. The Bone Shard will be located left of the White Birch Tree on a grave hanging slightly off the ledge.(Video Location – [youtu.be] ) | 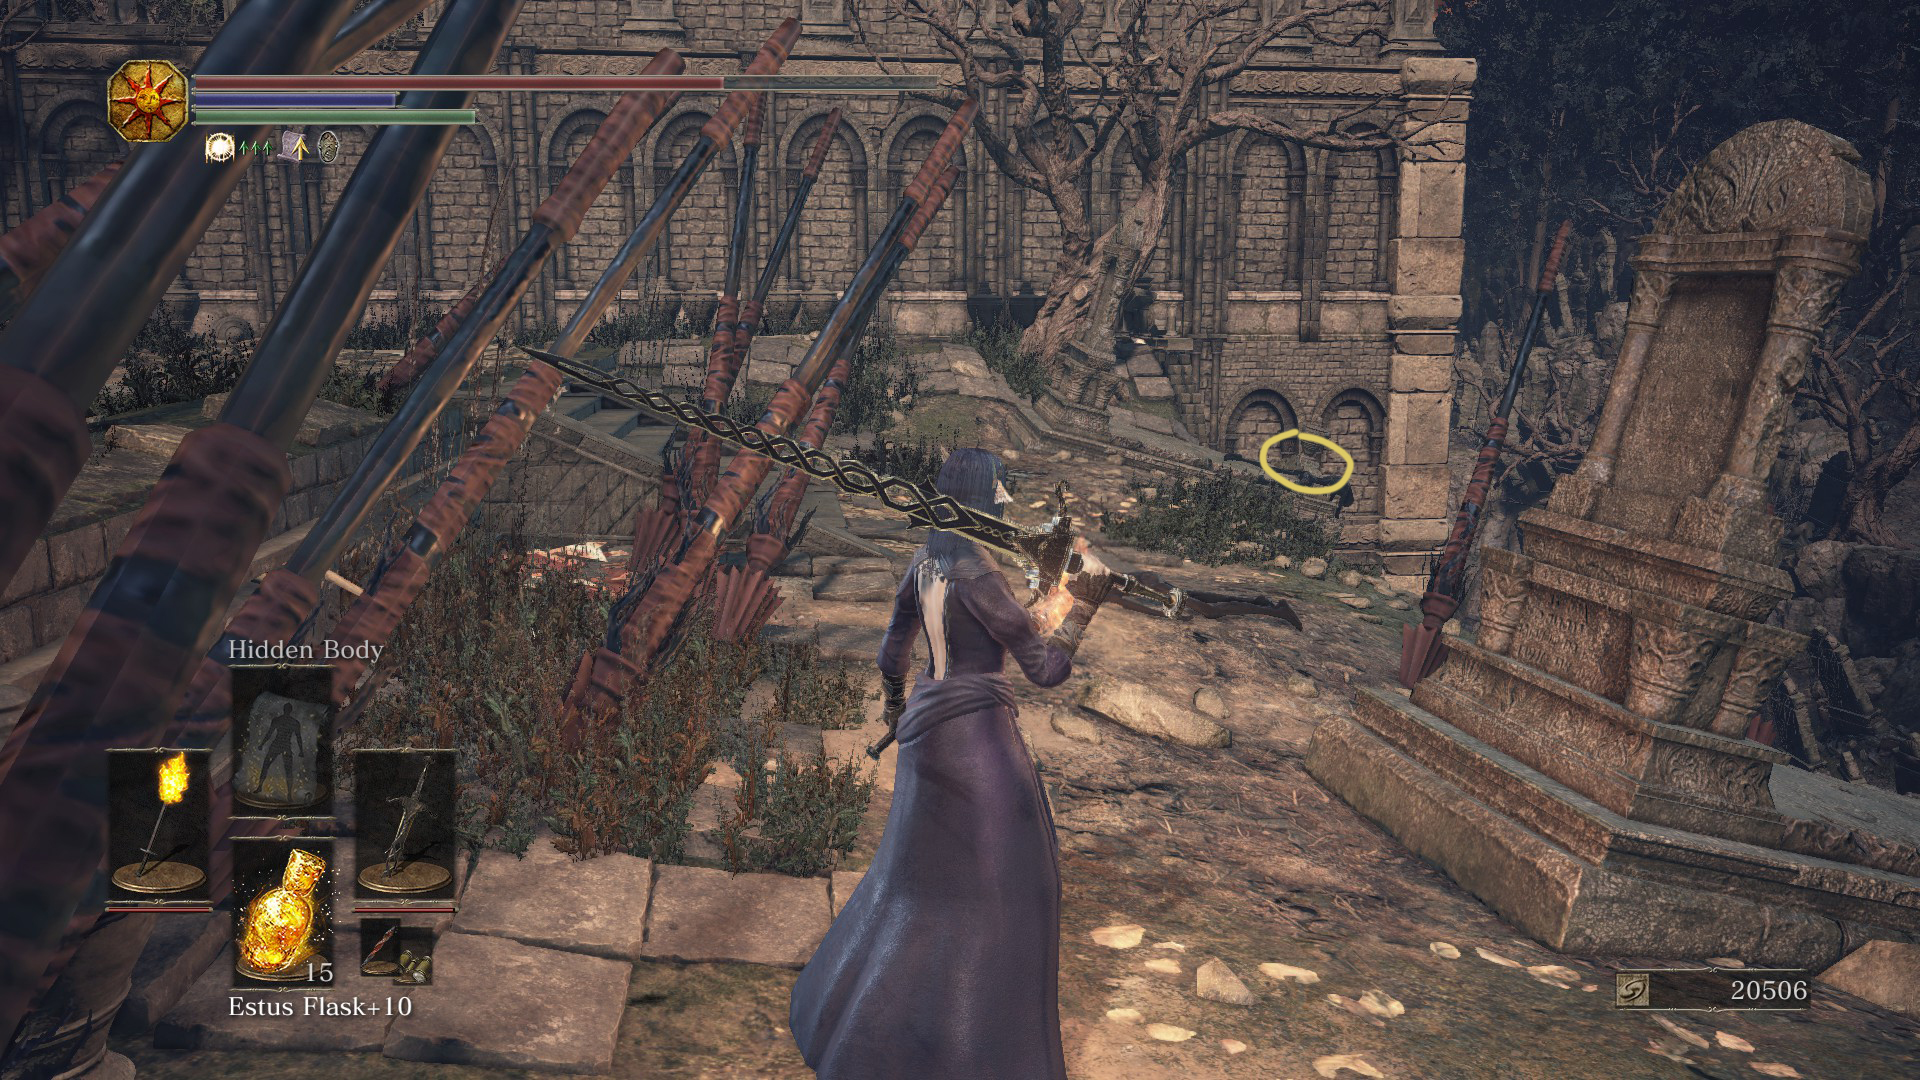 |
Catacombs of Carthus
| Starting from the Abyss Watchers Bonfire, go down the stairs with the rolling skeleton ball and find a skeleton with a hat in the immediate right corner. When killed, the skeleton ball will spawn the Bone Shard at the end of the barred hallway. (Video Location – [youtu.be] ) | 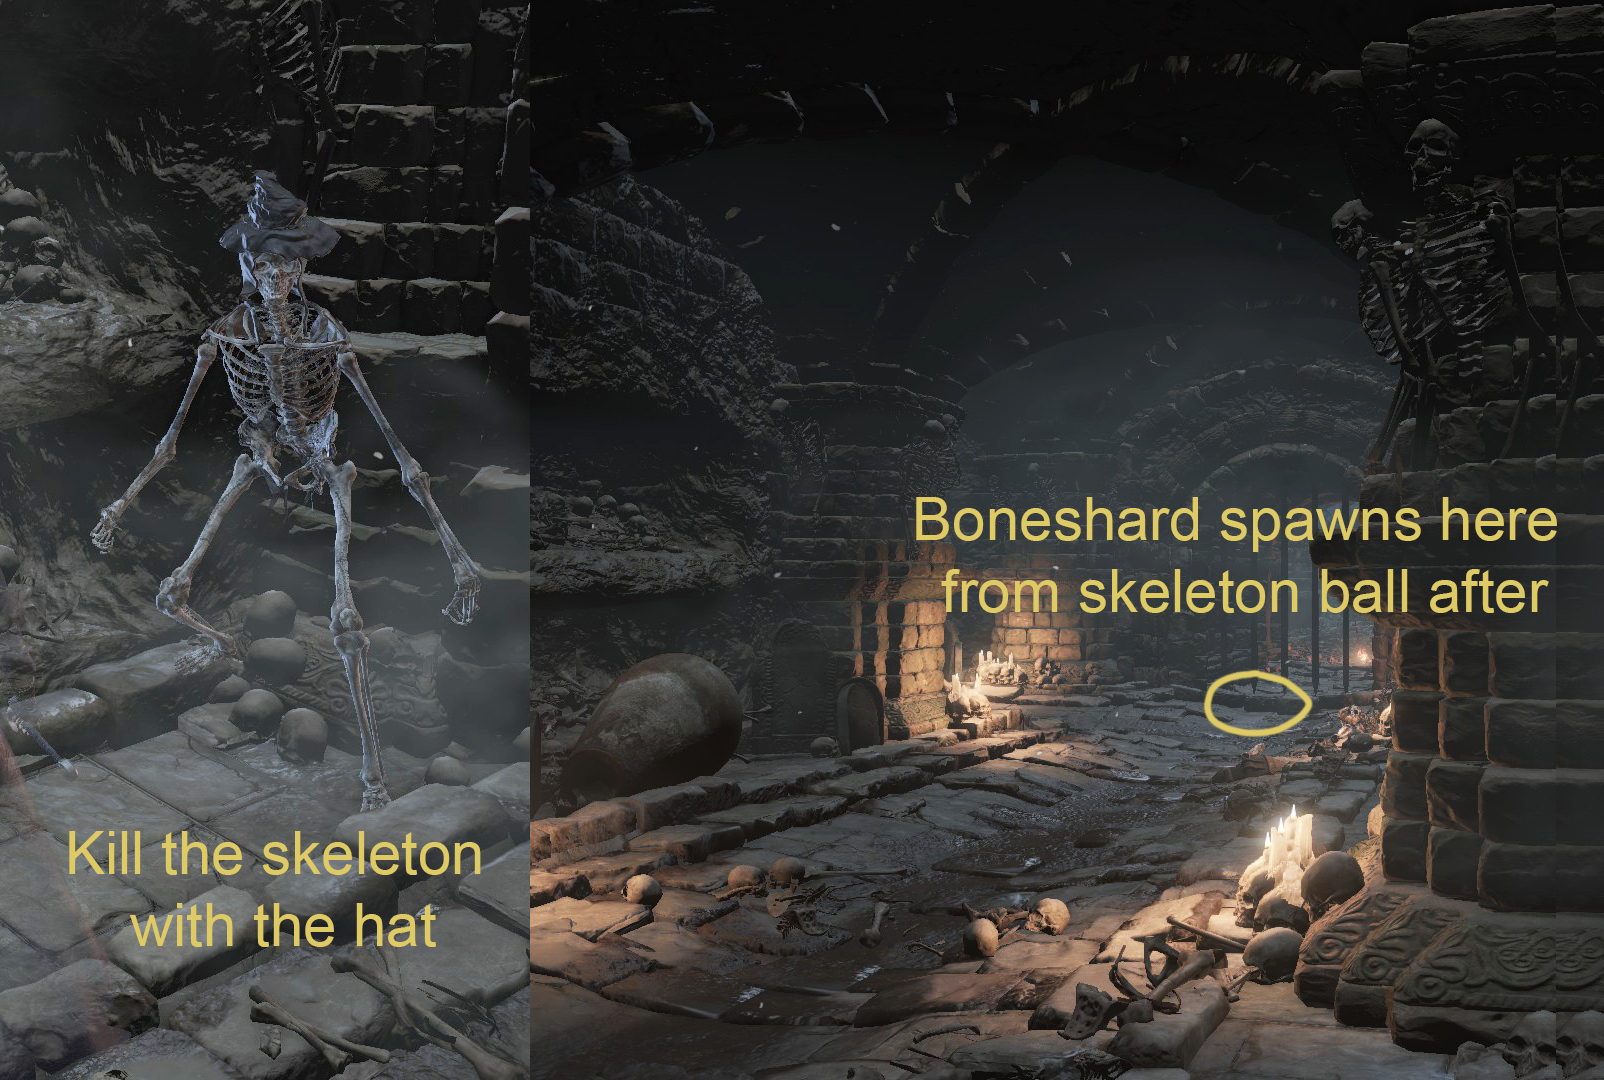 |
Smouldering Lake
| Dropped from miniboss “Carthus Sandworm – [youtu.be] “, who also drops a needed miracle “Lightning Stake”. You can either turn off the ballista – [youtu.be] , or use the terrain slightly behind for protection. The projectiles will also damage the sandworm.(Video Location – [youtu.be] ) | 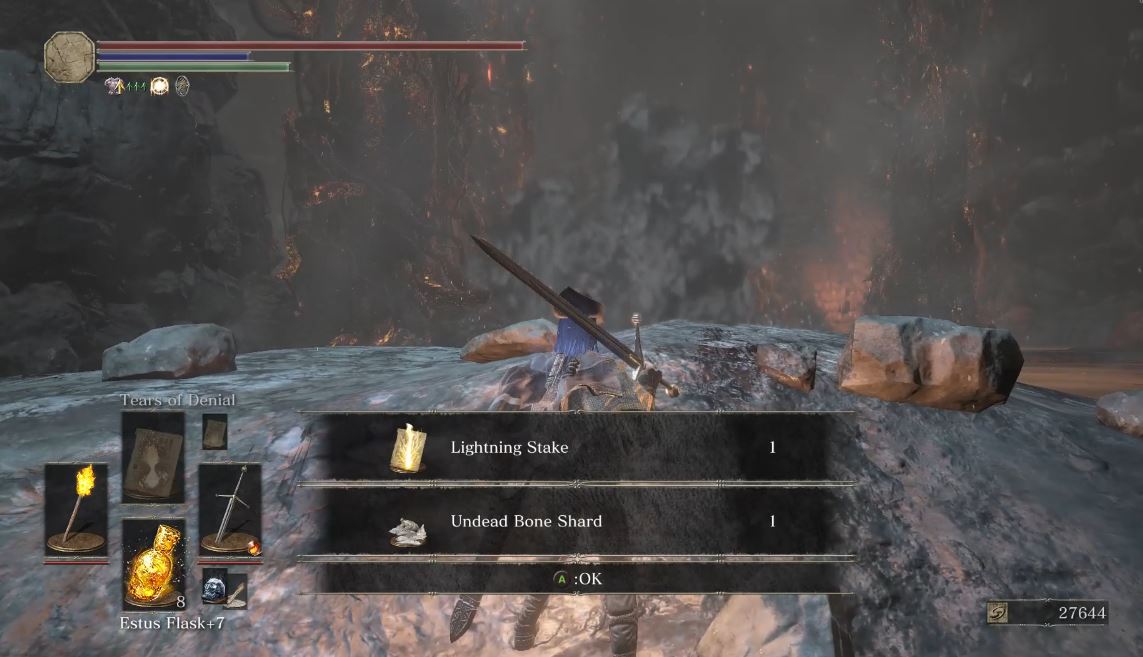 |
Smouldering Lake
| Starting from the Demon Ruins Bonfire, enter the room with demons and fireballs: towards the end and left of this room is an Undead Bone Shard. Be careful of the “Smoldering Rotten Flesh” enemy on the ceiling who will try to drop on your head.(Video Location – [youtu.be] ) | 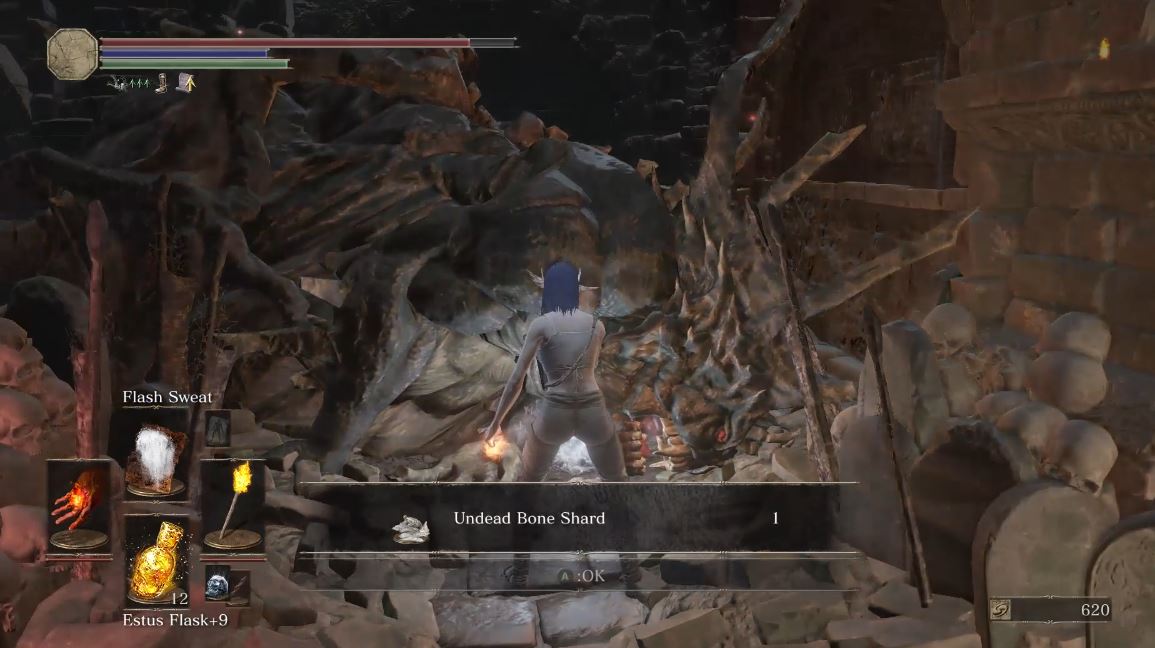 |
Irithyll Of the Boreal Valley
| From the Church of Yorshka Bonfire, head to the outside graveyard with invisible enemies. The Bone Shard will be behind the gravestone to the far right guarded by a red-eyed Corvian. Be aware that this is an NPC invasion spot for Creighton the Wanderer if you are following the Sirris questline.(Video Location – [youtu.be] ) | 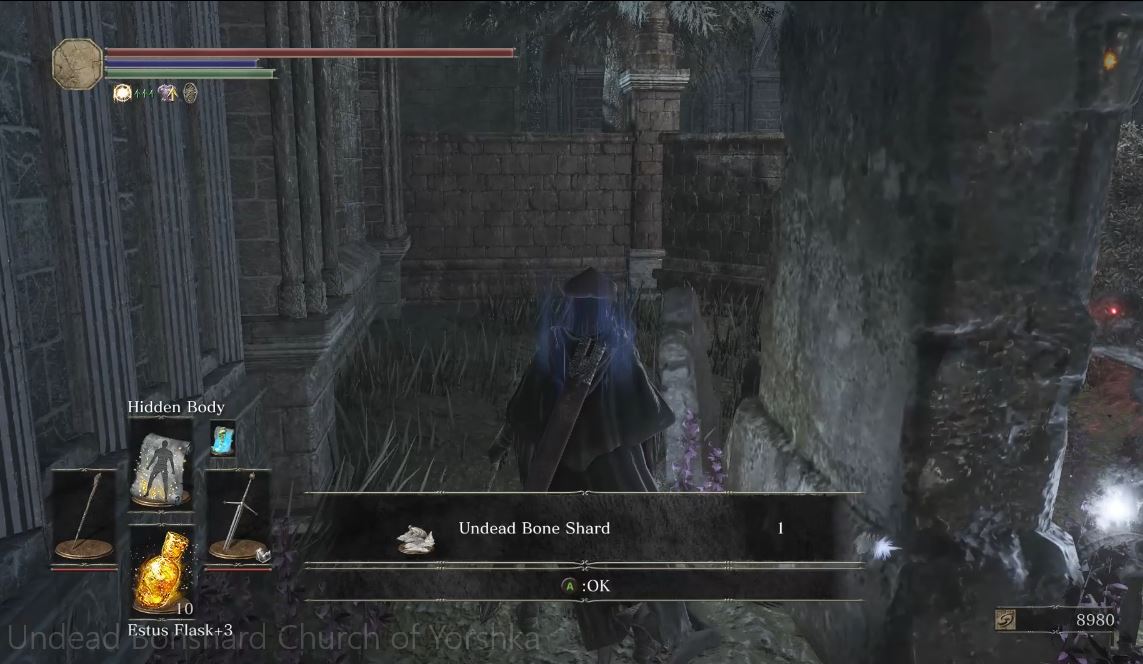 |
Profaned Capital
| When reaching the Profaned Capital Bonfire after Irithyll Dungeon, the Bone Shard and the “Stretch Out” gesture will be on a corpse (Likely Laddersmith Gilligan). (Video Location – [youtu.be] ) | 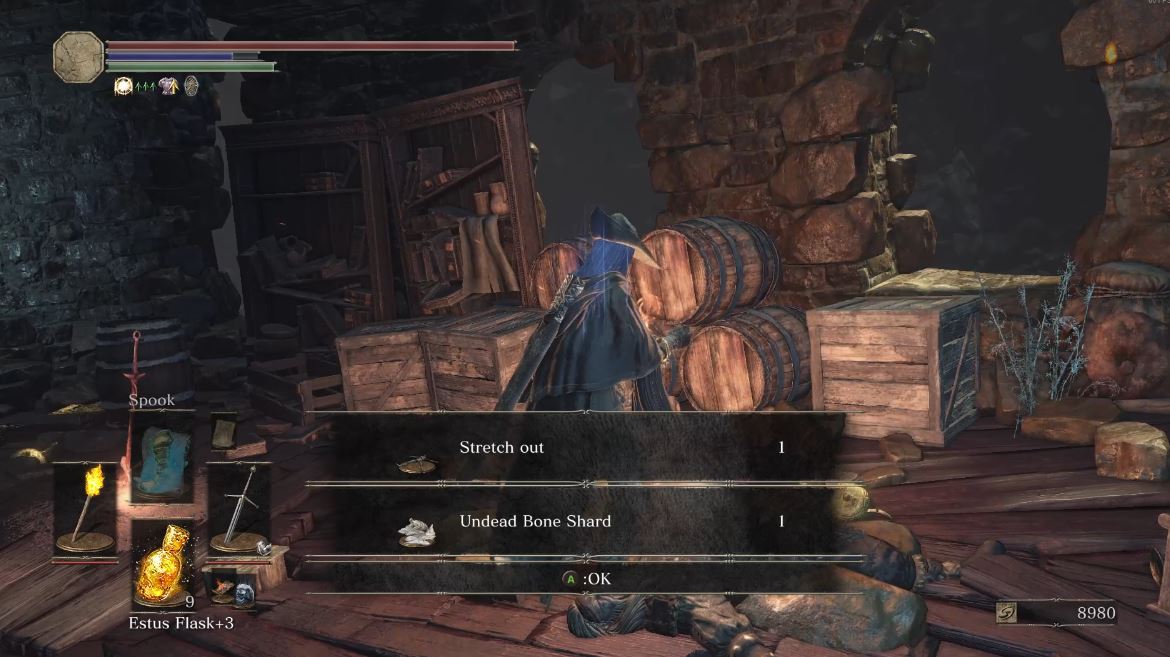 |
Lothric Castle
| From the Dragon Barracks Bonfire of Lothric Castle, drop off the edge of the bridge before the two dragons. The Bone Shard will be located underneath and on a corpse. (Video Location – [youtu.be] ) | 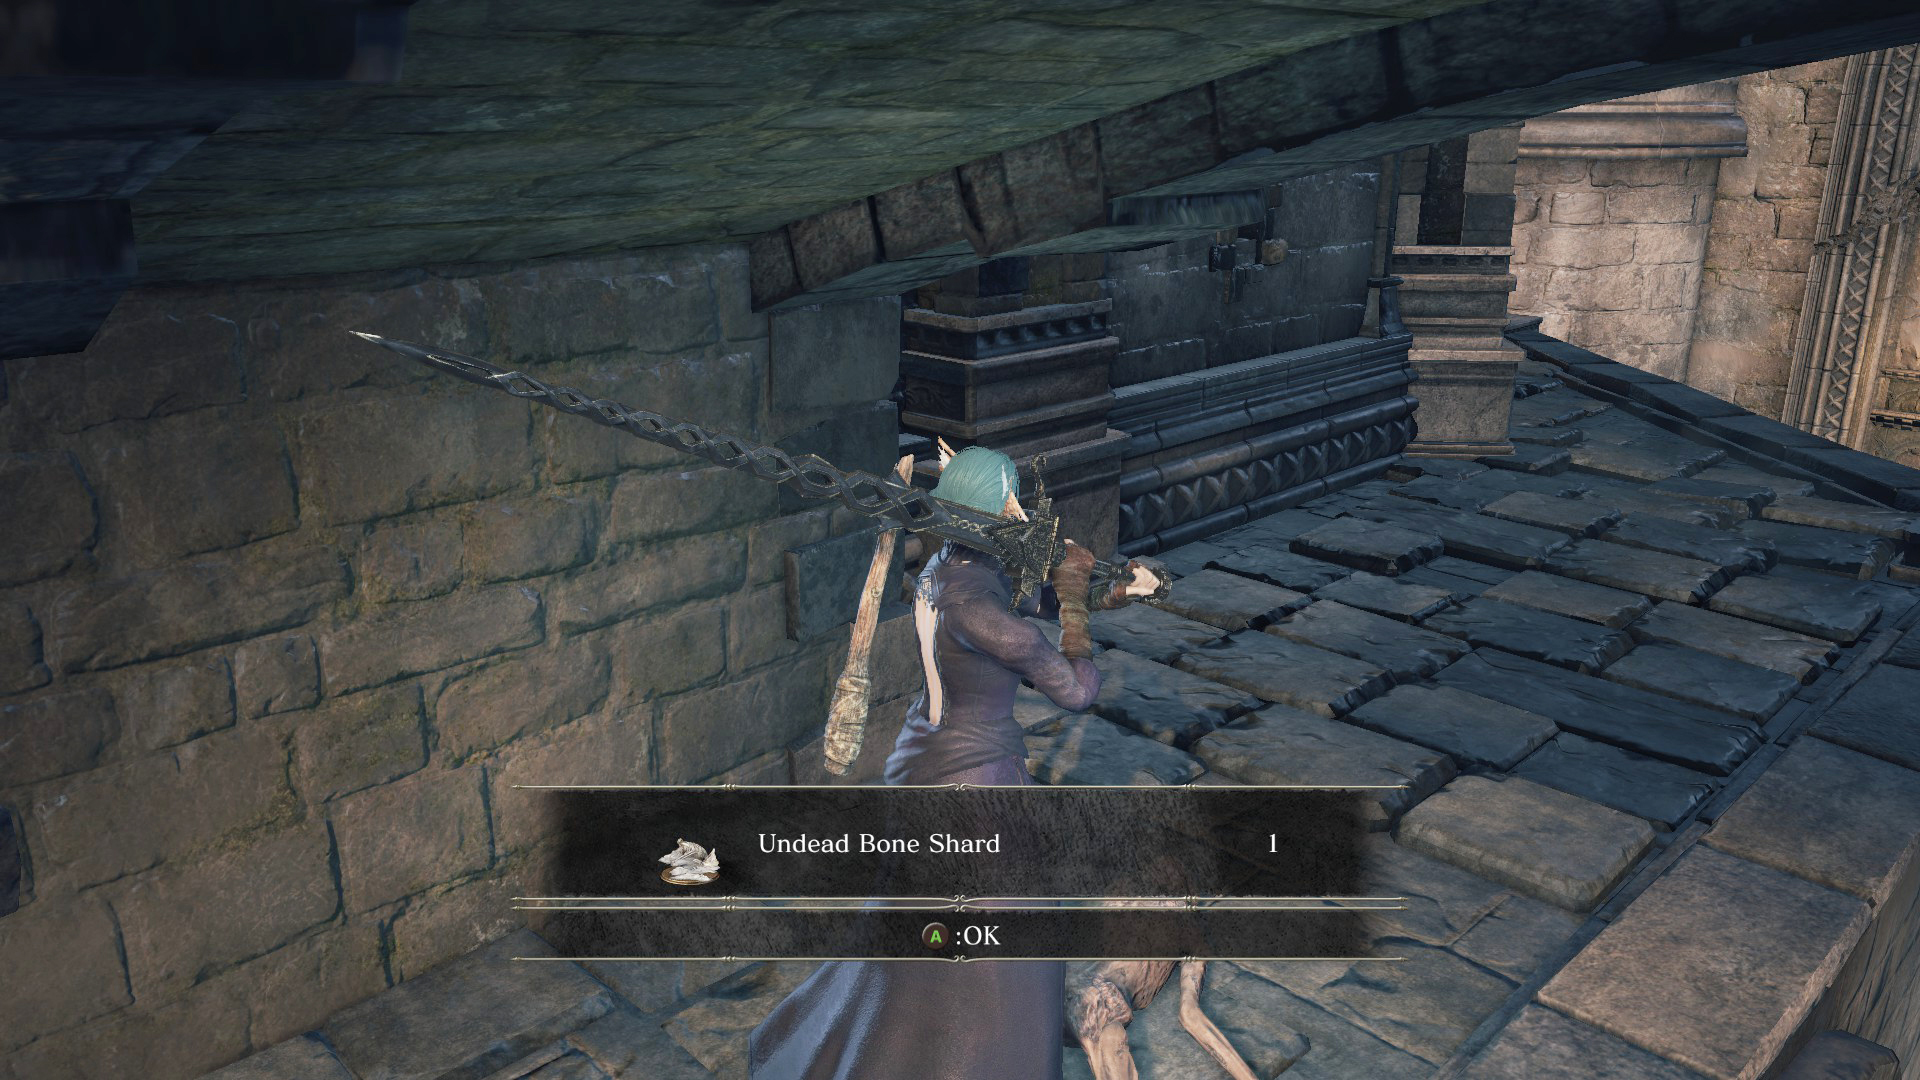 |
Grand Archives
| Starting from the Grand Archives Bonfire, go up the first elevator shortcut you open inside of the building. Go past the scholars and thralls until you reach outside roof. Head upwards past a gargoyle and continue left past another gargoyle. Eventually, you will roll off the edge of the roof back inside the building where you’ll find a corpse in a chair with the Bone Shard and a ladder shortcut nearby. (Video Location – [youtu.be] ) | 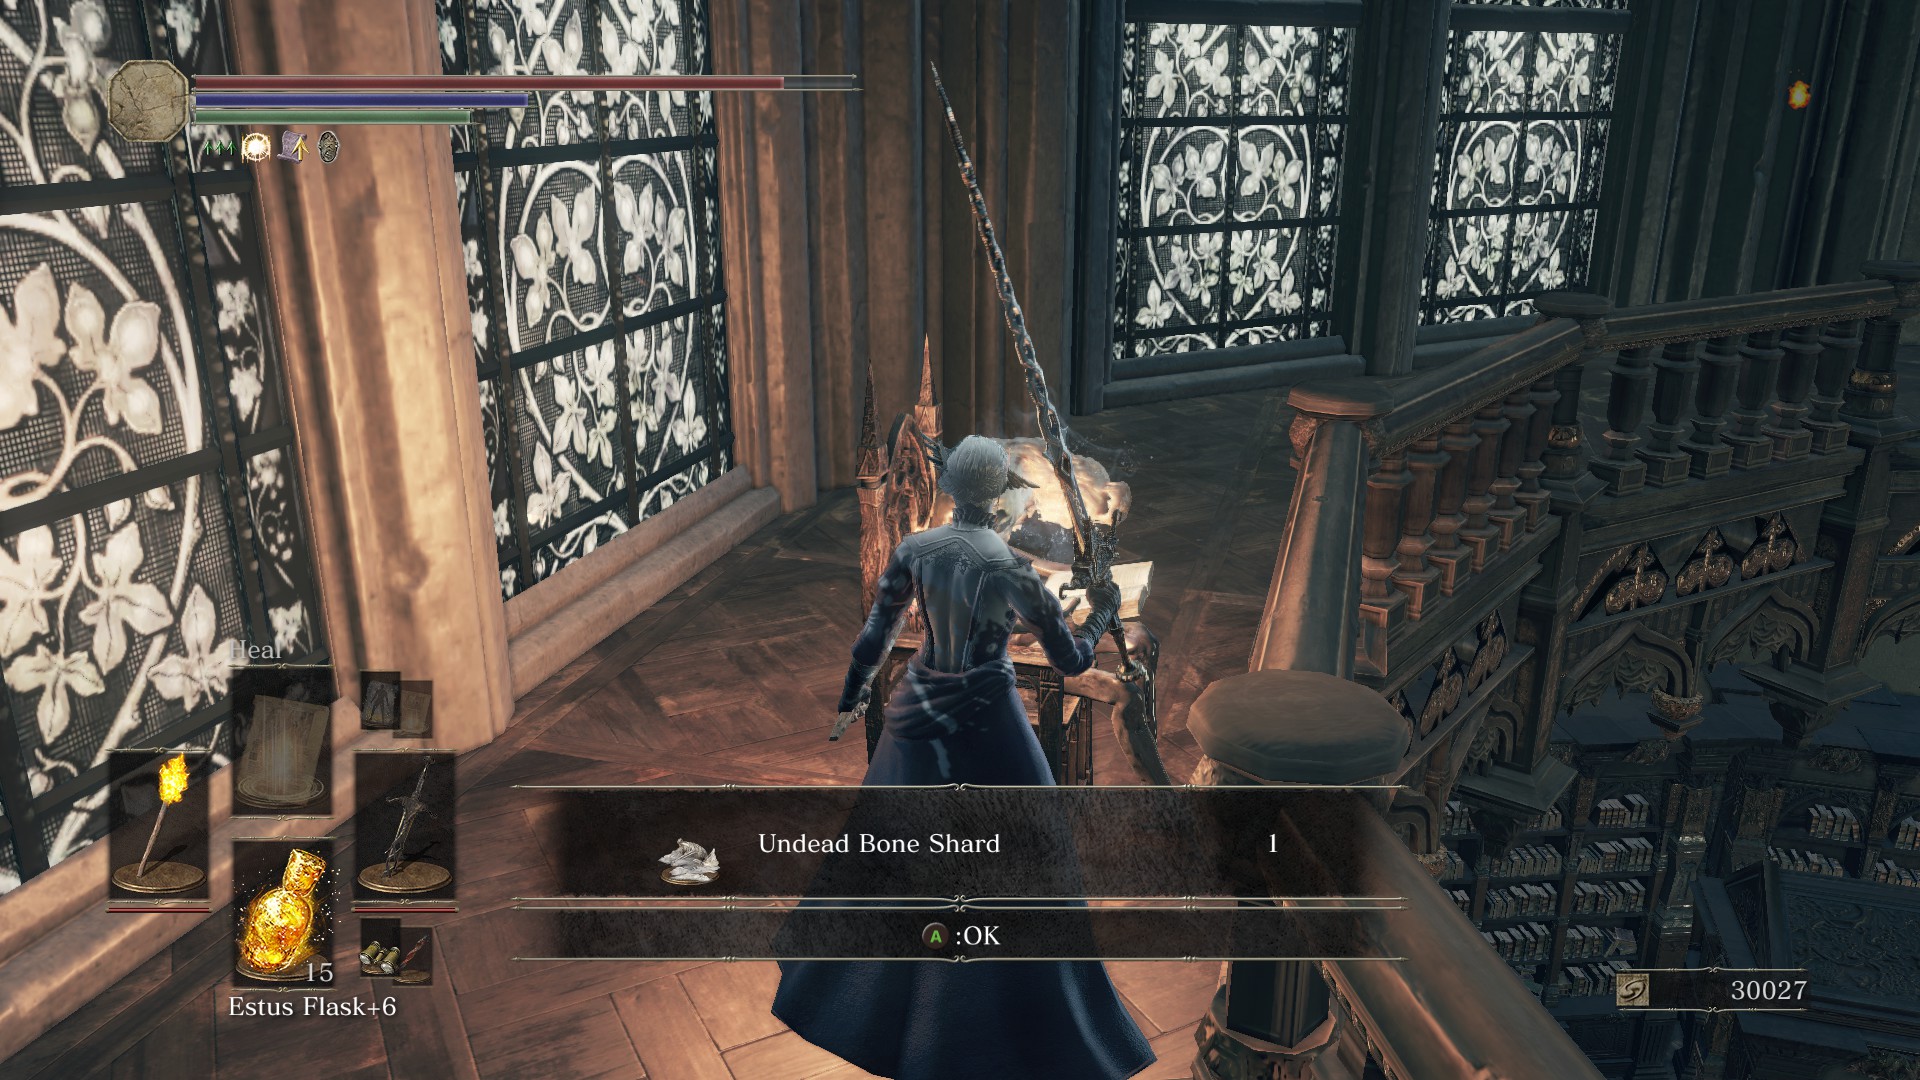 |
Master of Infusion: Coal and Gem Locations
|
 |
Farron Coal
| Infusion Types: Heavy, Sharp, and Poison | Crucifixion Woods guarded by a Black Knight. (Video Location – [youtu.be] ) | 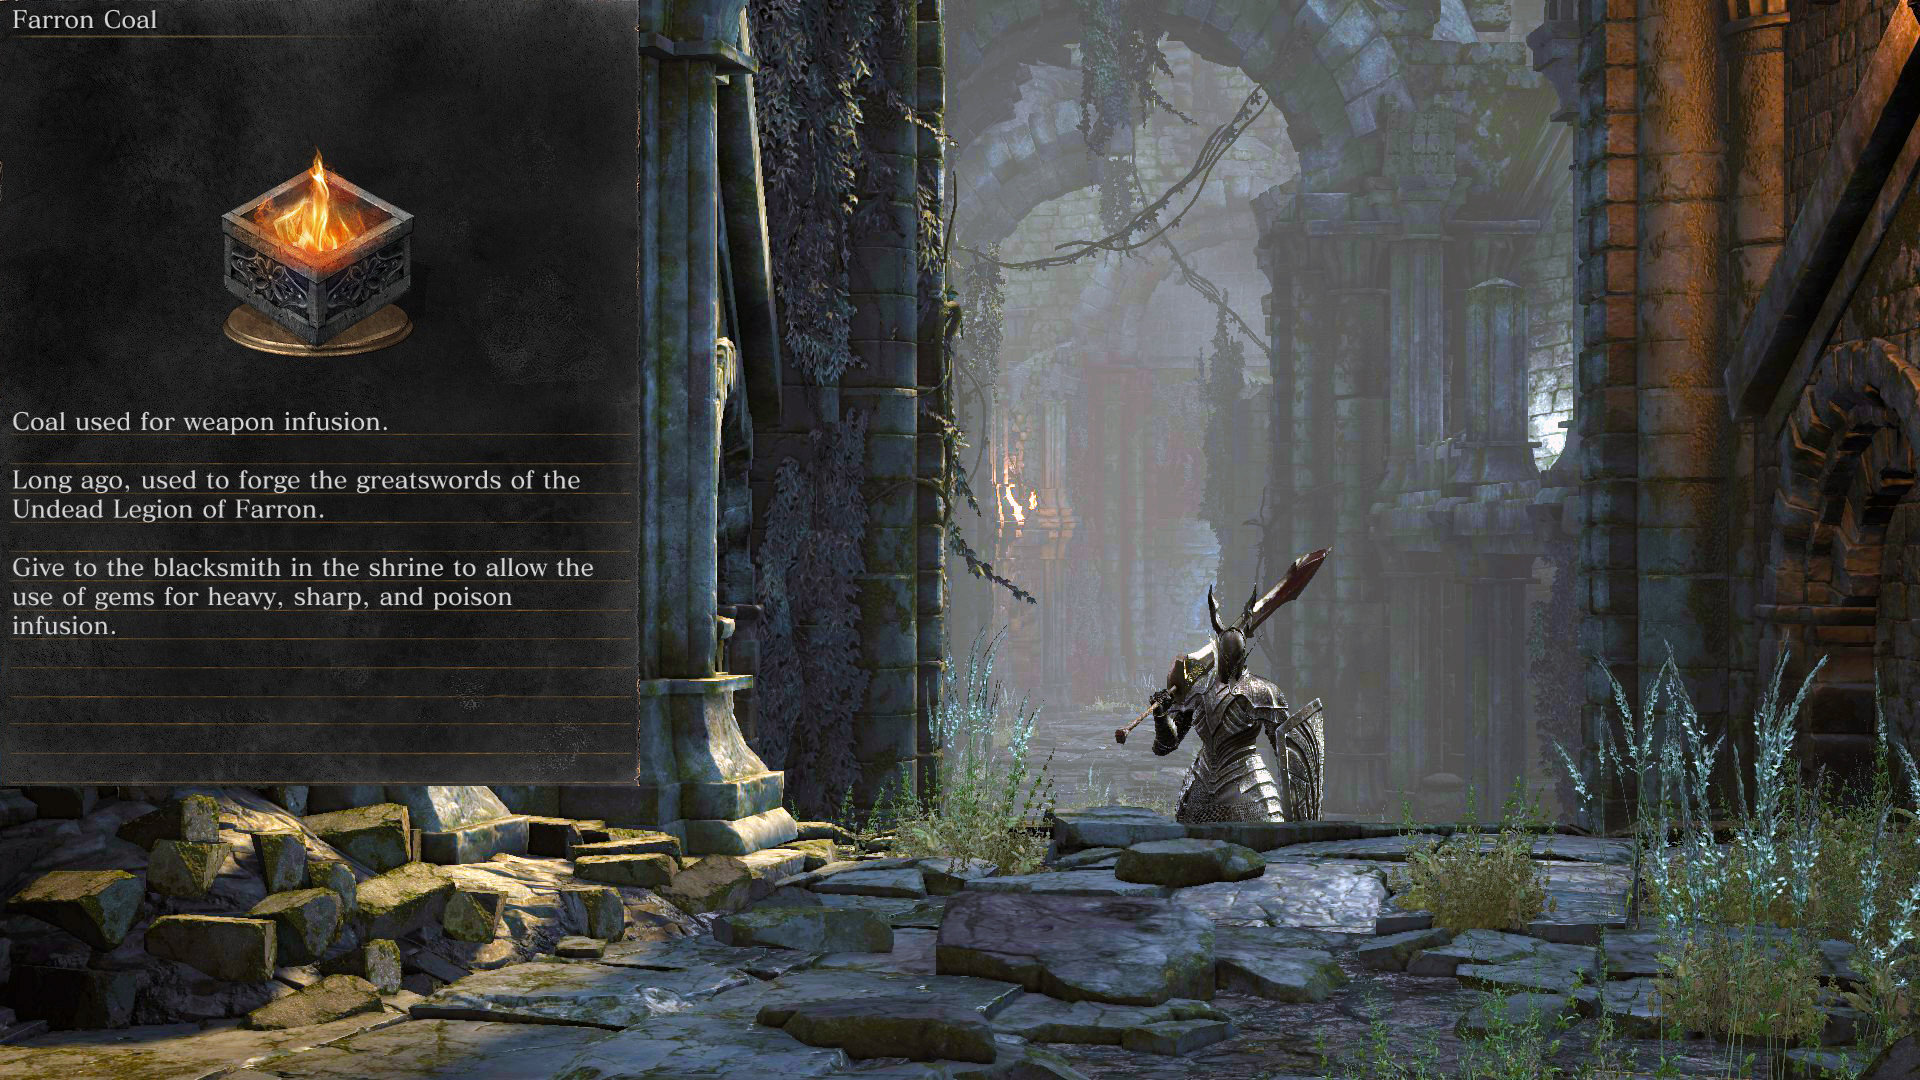 |
| Heavy | Guaranteed from Hawkwood when speaking to him after defeating Crystal Sage or Curse-Rotted Greatwood. Crystal Lizard locations: Undead Settlement – [youtu.be] and Farron Keep – [youtu.be] . | 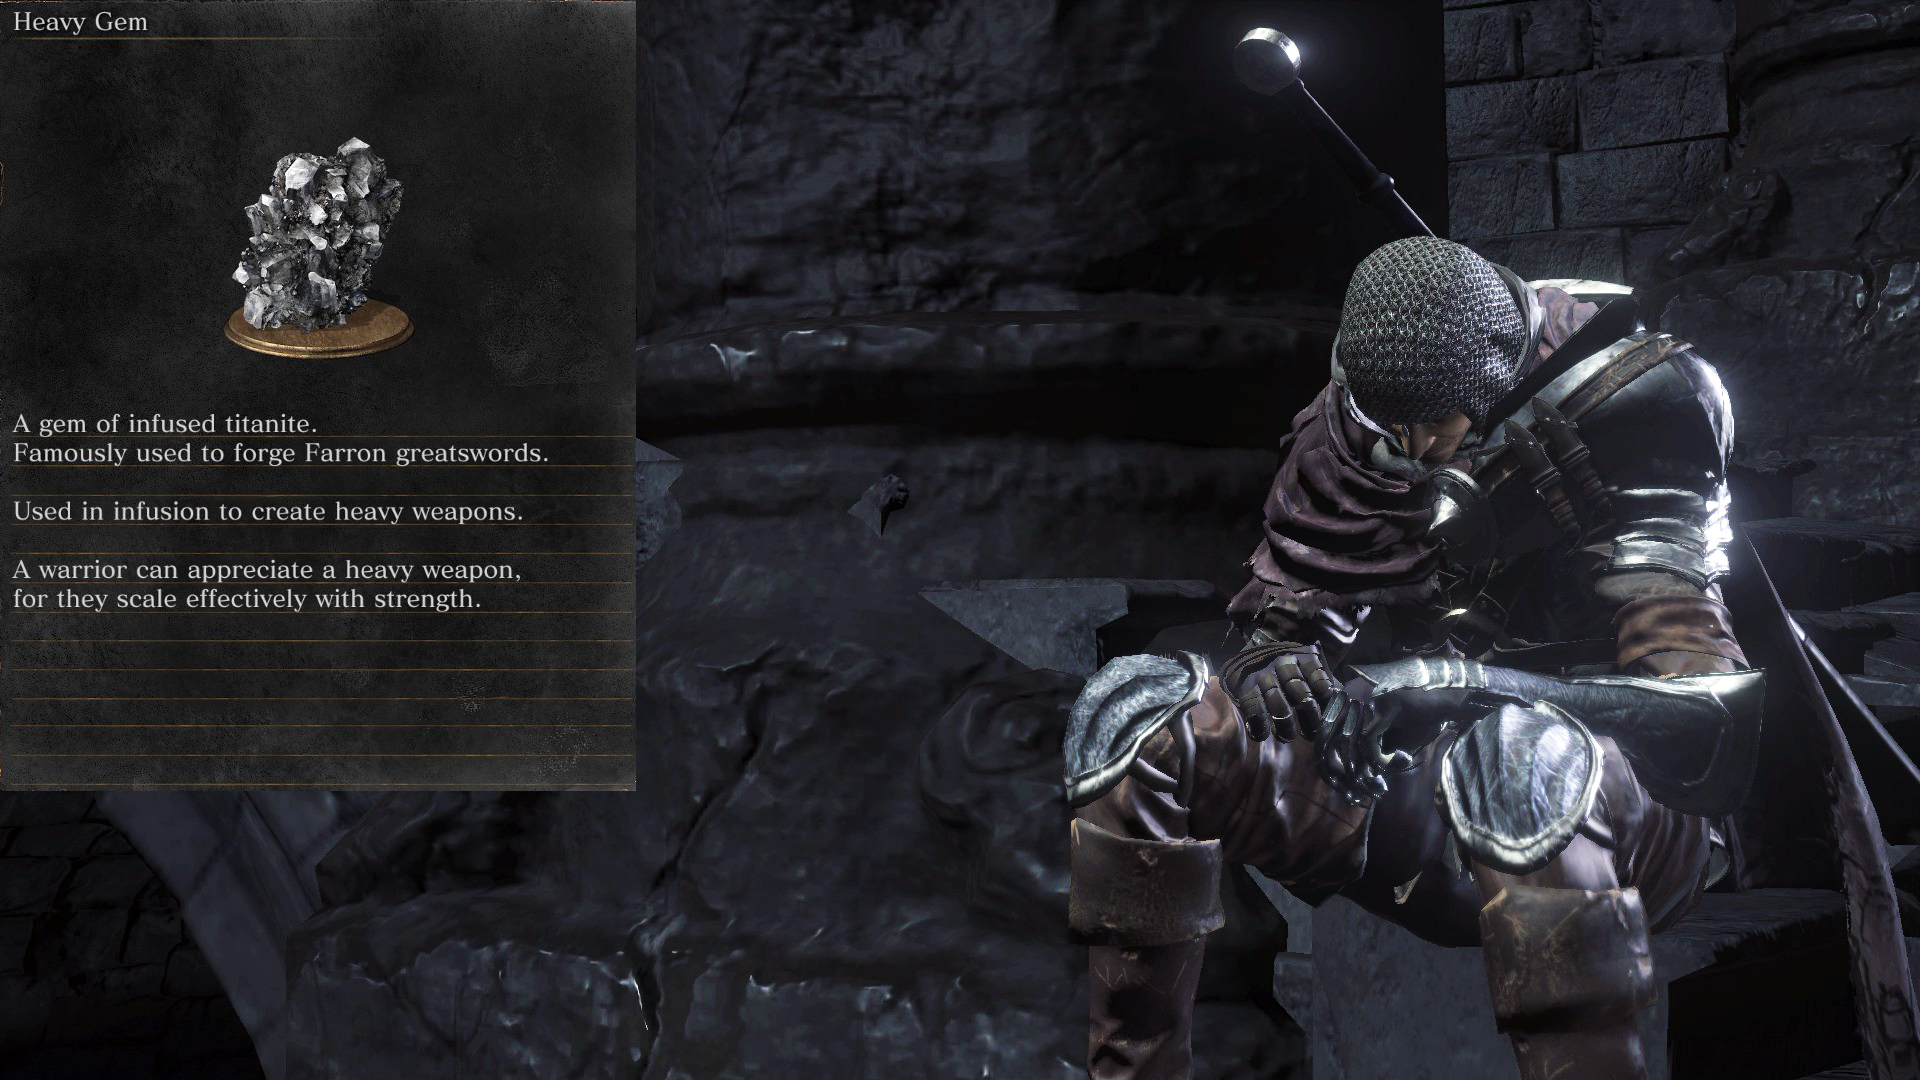 |
| Sharp | Early twinkling tininite drop in the Undead Settlement by the Dilapidated Bridge Bonfire. (Video Location – [youtu.be] ) | 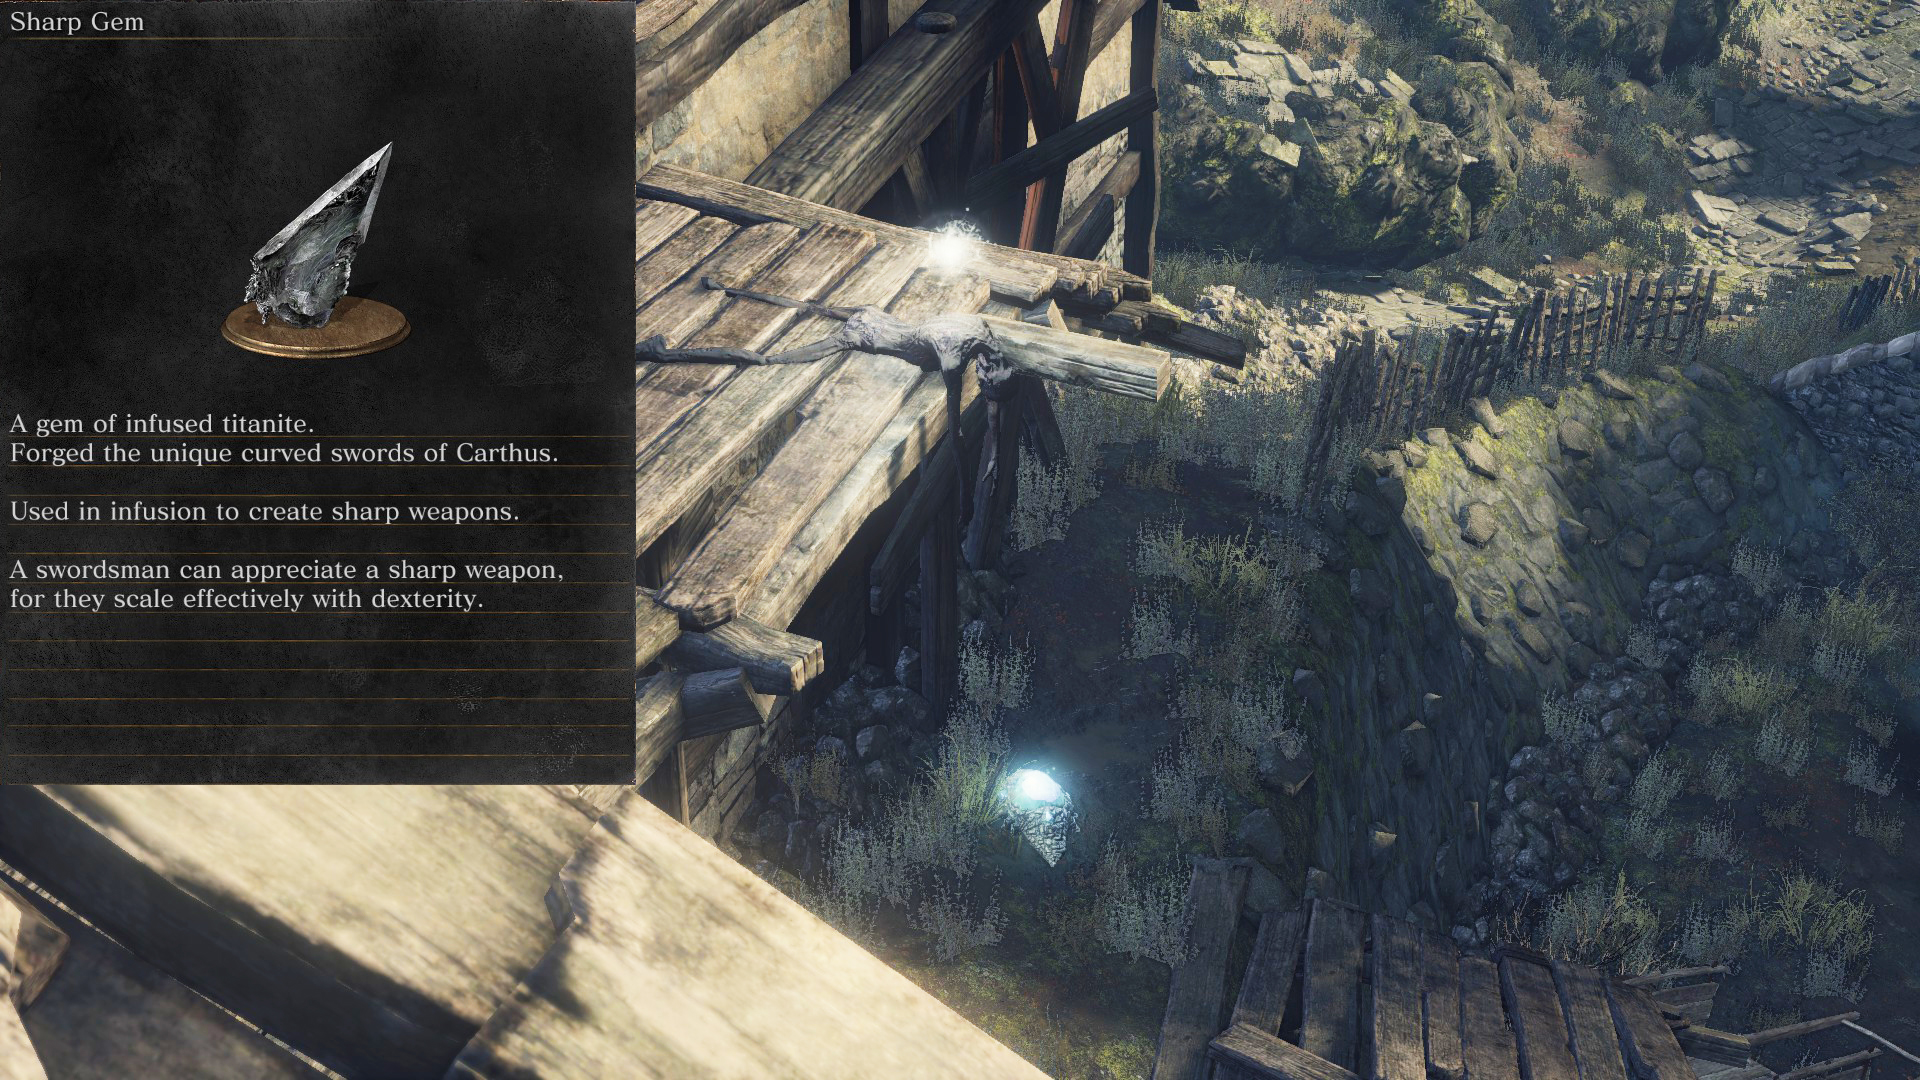 |
| Poison | Item guarded by 3 Elder Ghrus close to the Keep Ruins Bonfire. (Video Location – [youtu.be] ) and one located in the toxic area of Profaned Capital. (Video Location – [youtu.be] ) | 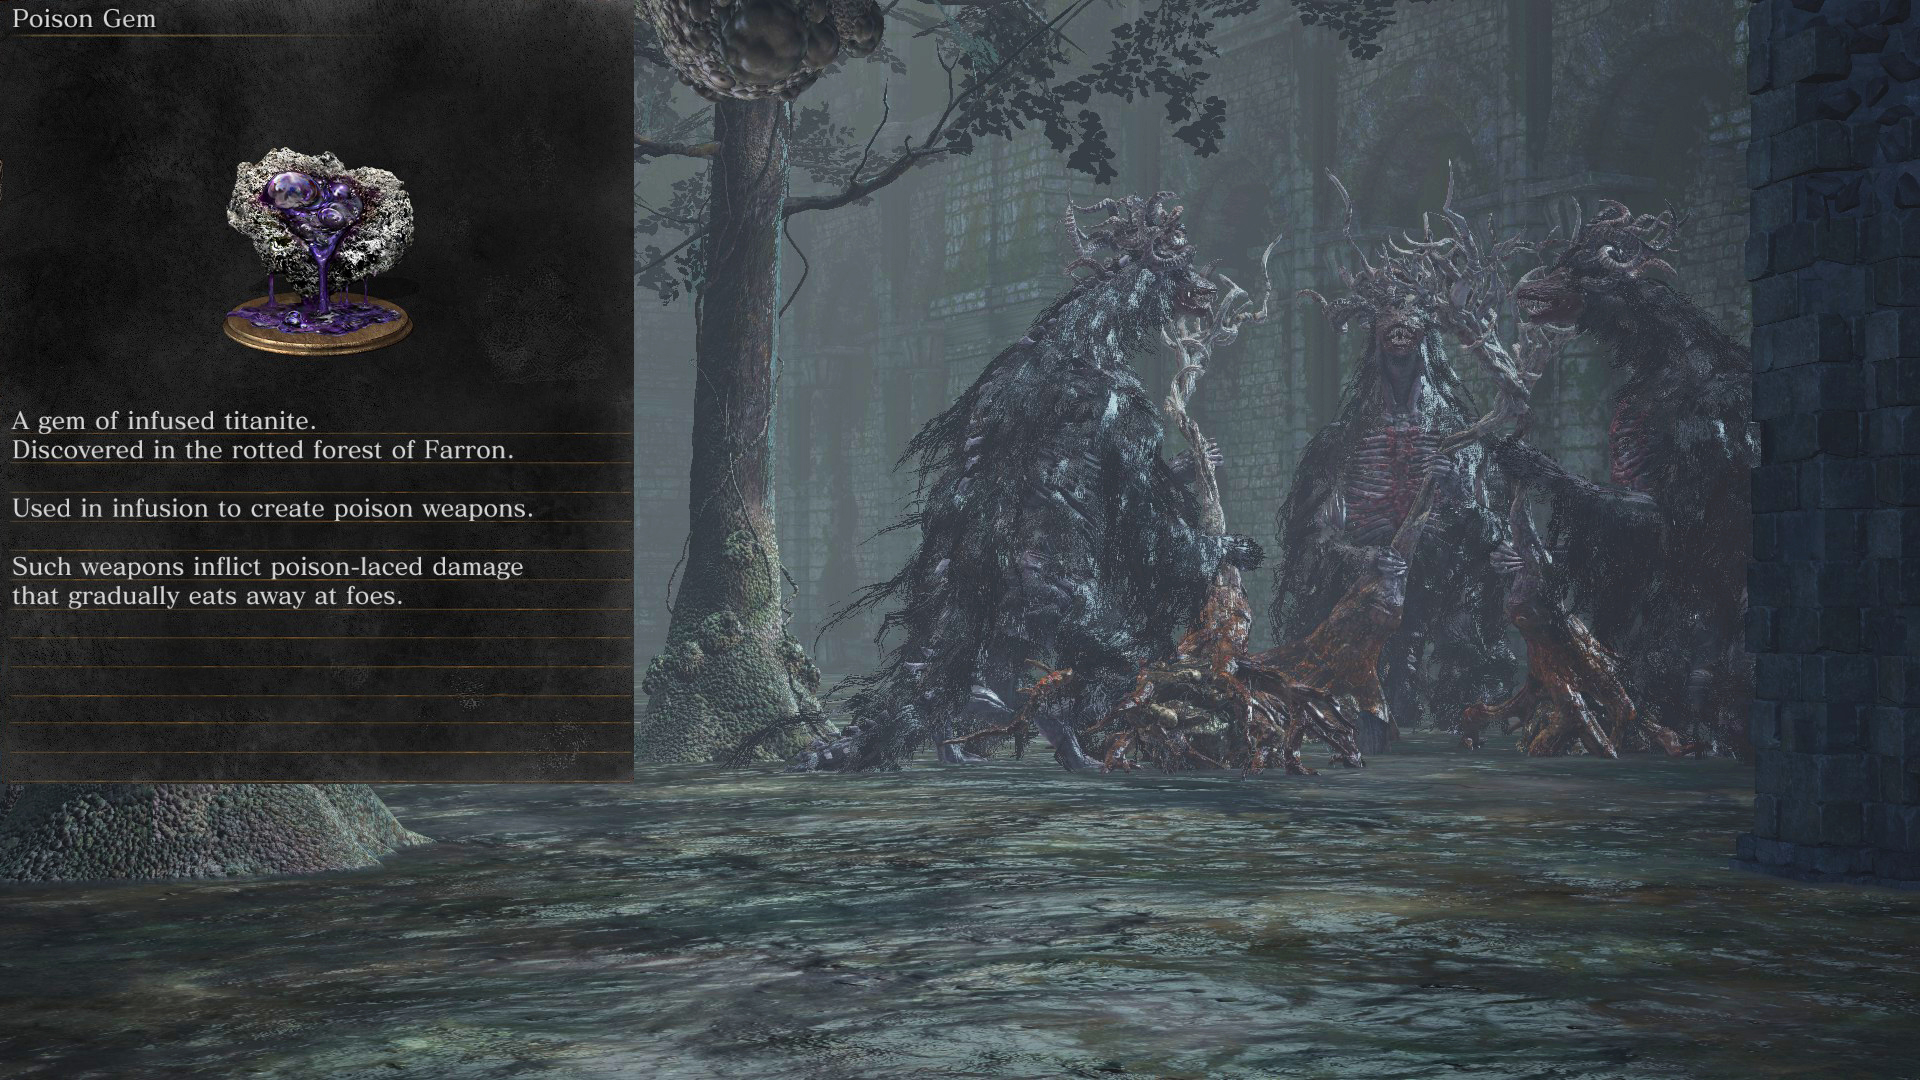 |
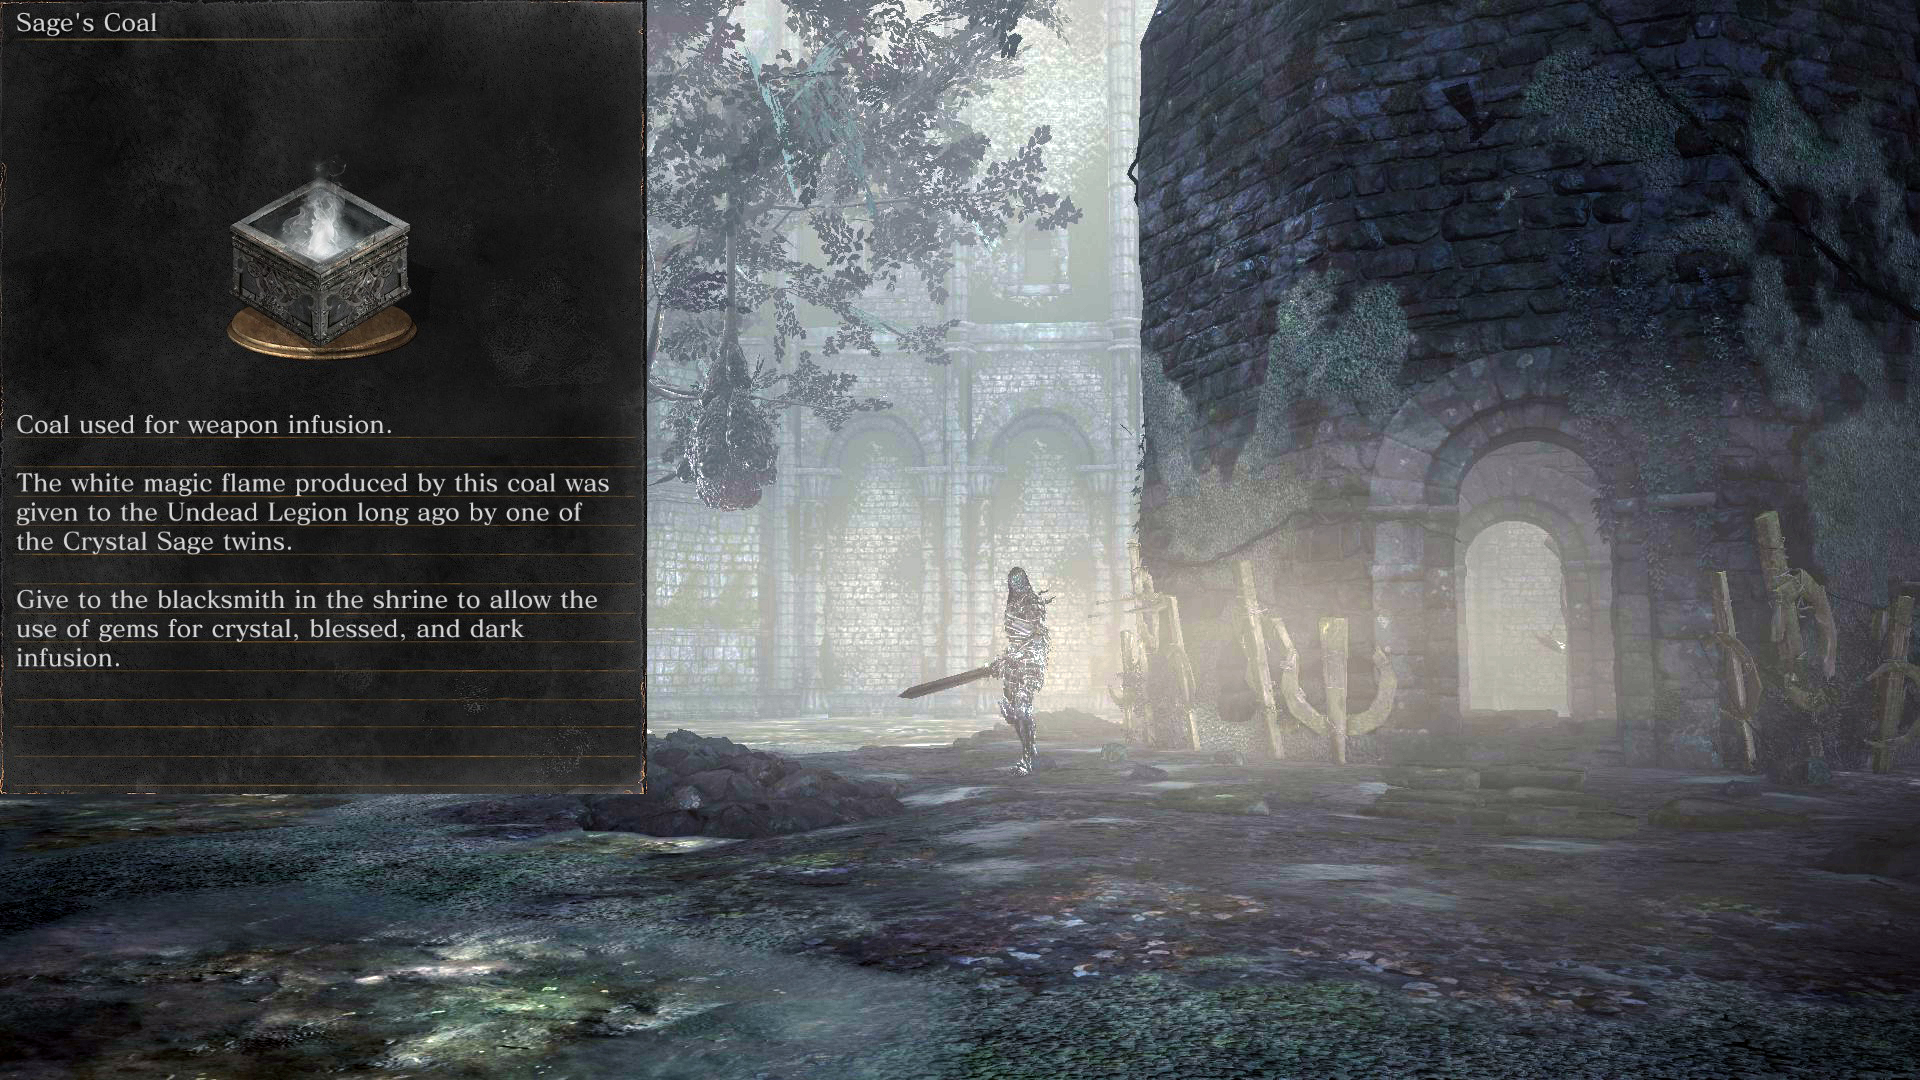
Sage’s Coal
| Infusion Types: Blessed, Crystal, and Deep | From the Farron Keep bonfire, head left under the broken bridges to a building guarded by a Dark Wraith. The coal will be on a corpse inside the building. (Video Location – [youtu.be] ) |
 |
| Blessed | Starting from the Cleansing Chapel Bonfire and using the elevator towards the rafters, the gem will be on an edge guarded by a Cathedral Knight.(Video Location – [youtu.be] ) | 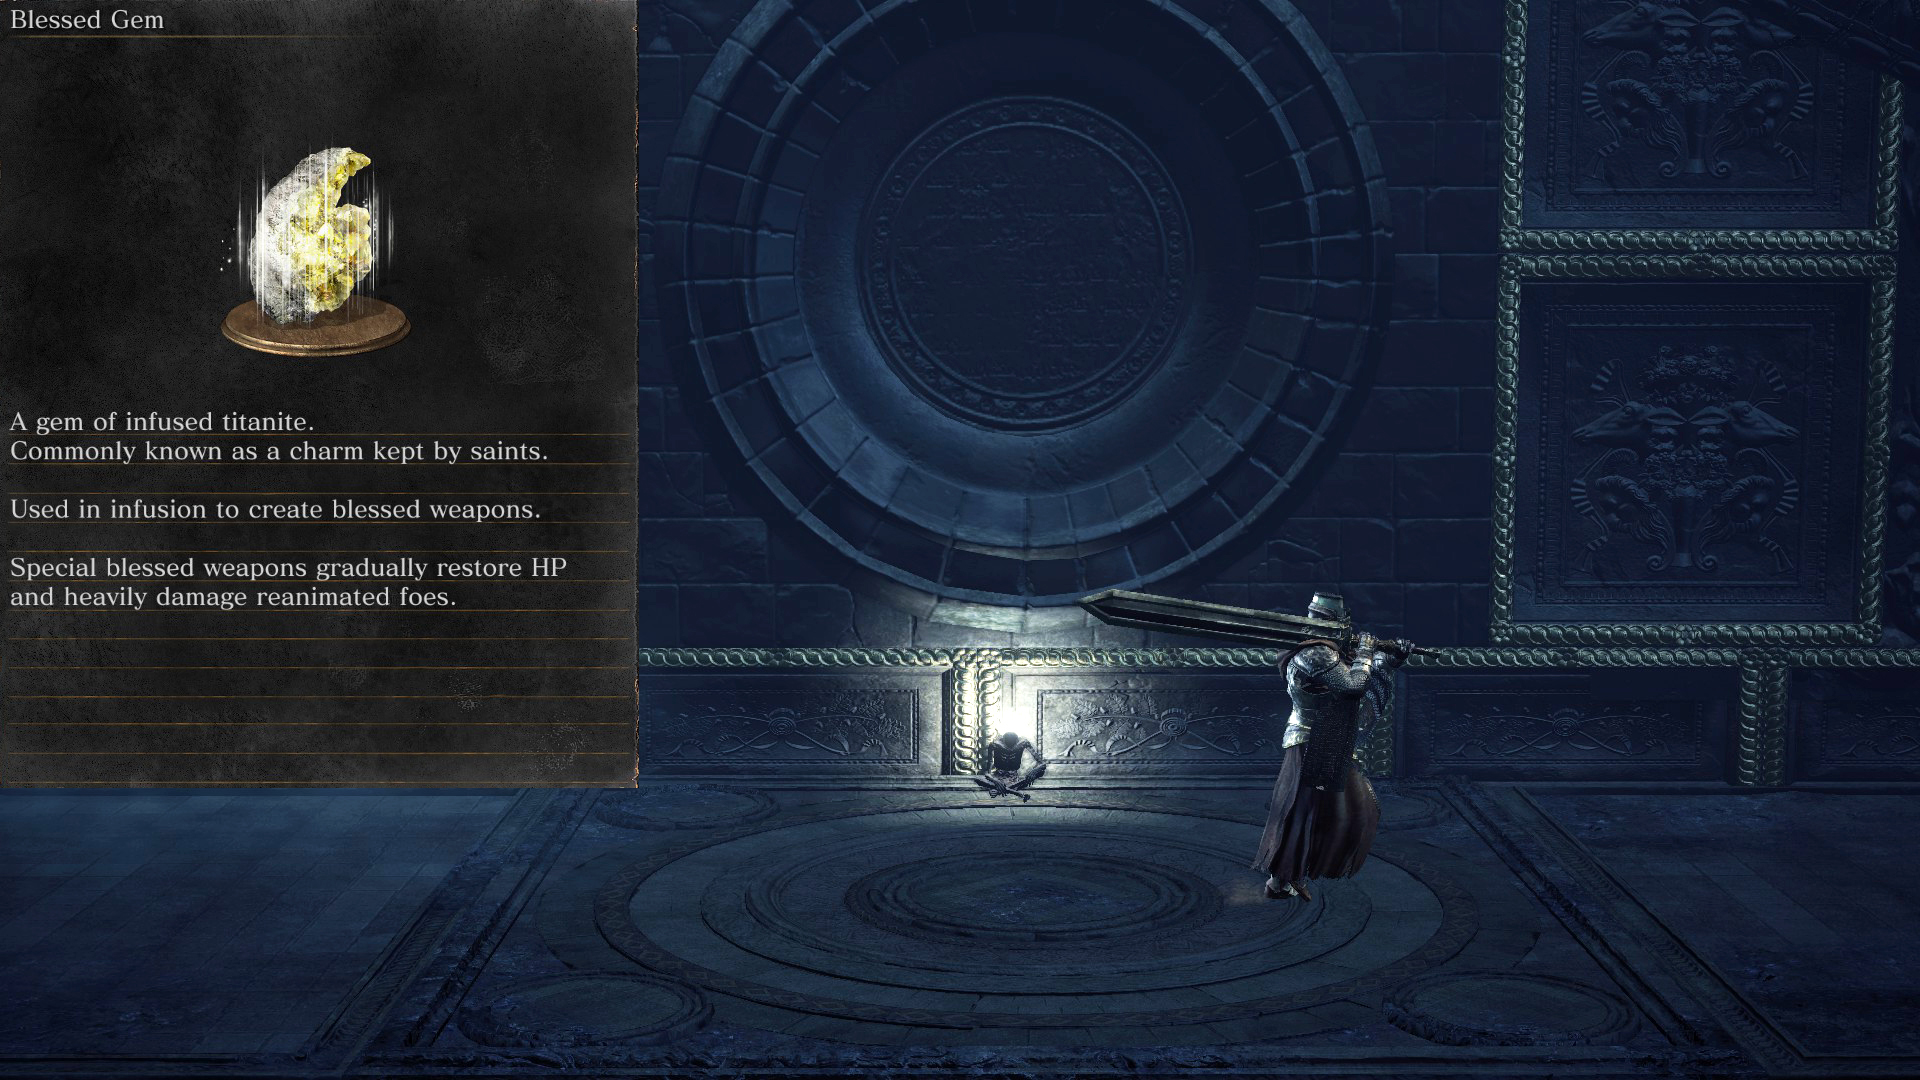 |
| Crystal | Crystal Lizard drop before the Crystal Sage boss fight, near Crucifixion Woods Bonfire and first Crystal Lizard in the Grand Archives. (Video Location – [youtu.be] ) | 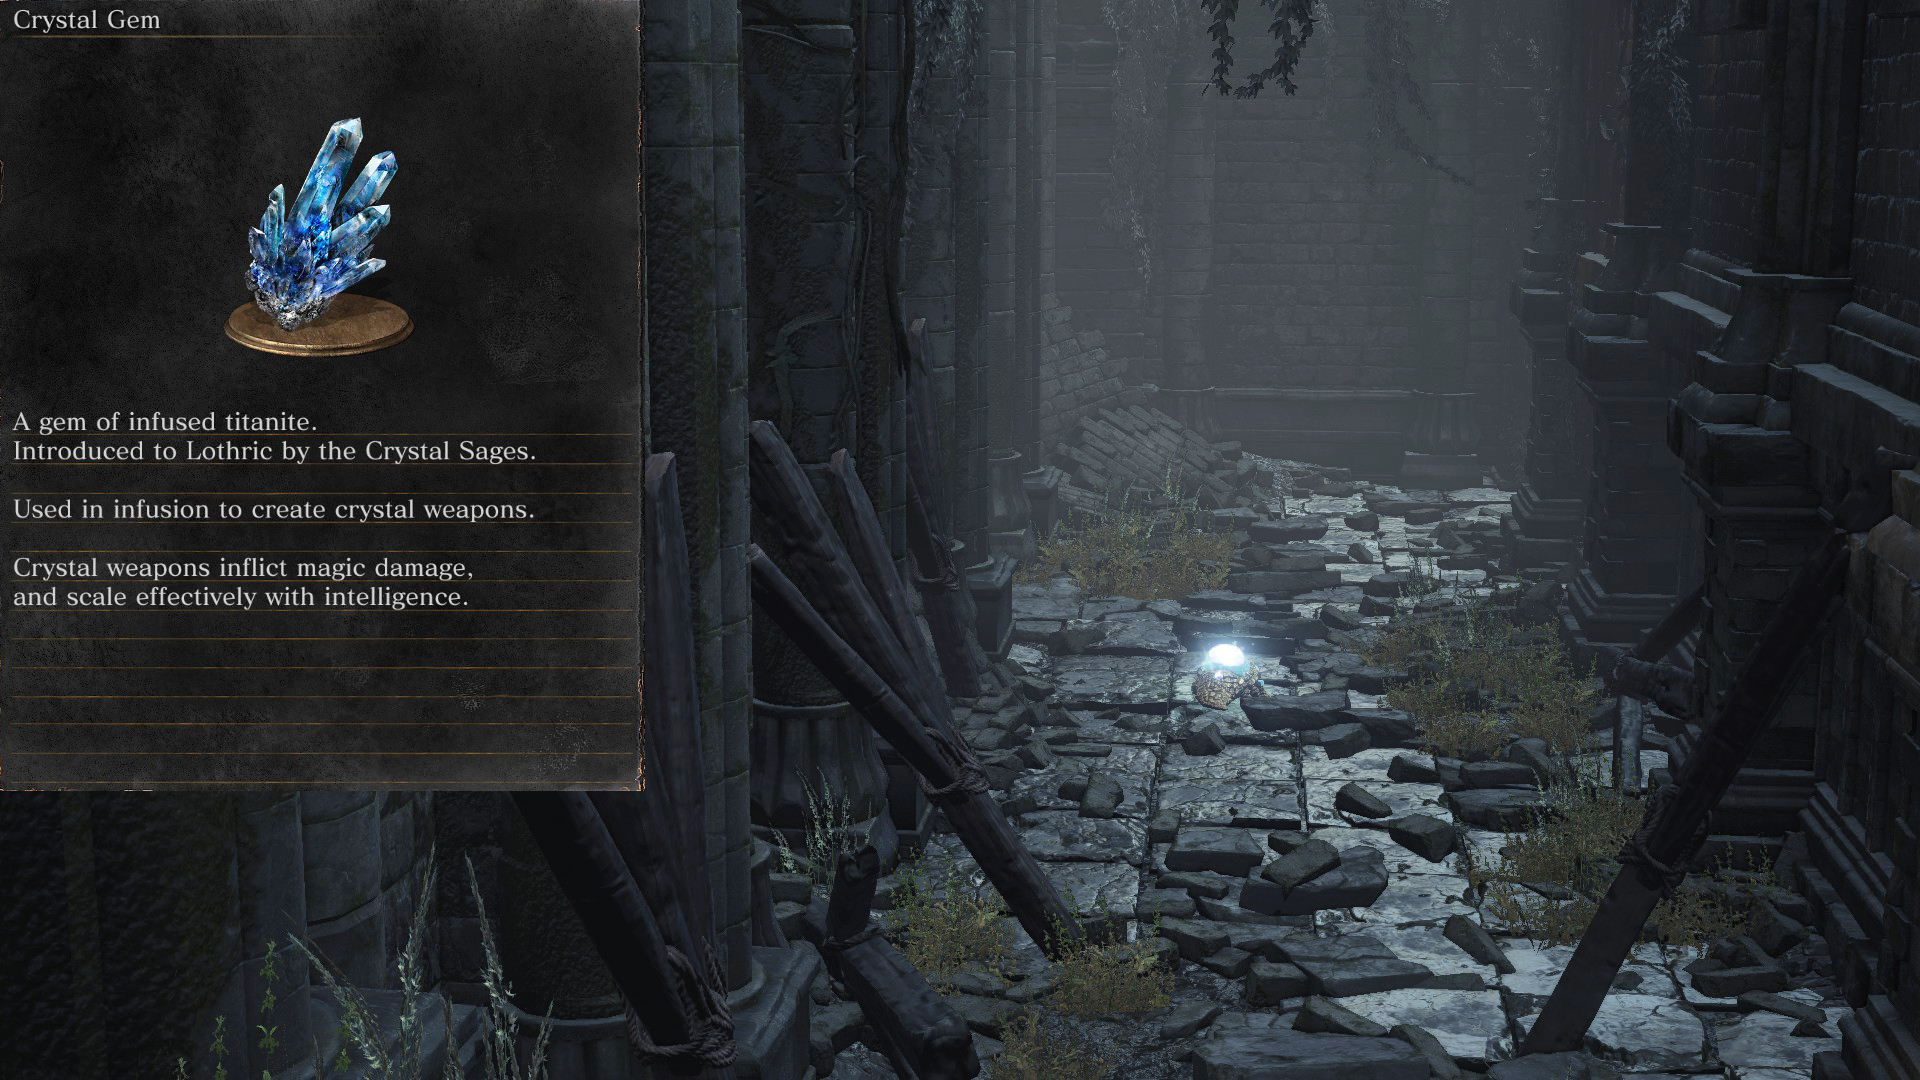 |
| Deep | In the Cathedral of the Deep in front of a Cathedral Evangelist and can farmed from Deacon enemies. (Video Location – [youtu.be] ) | 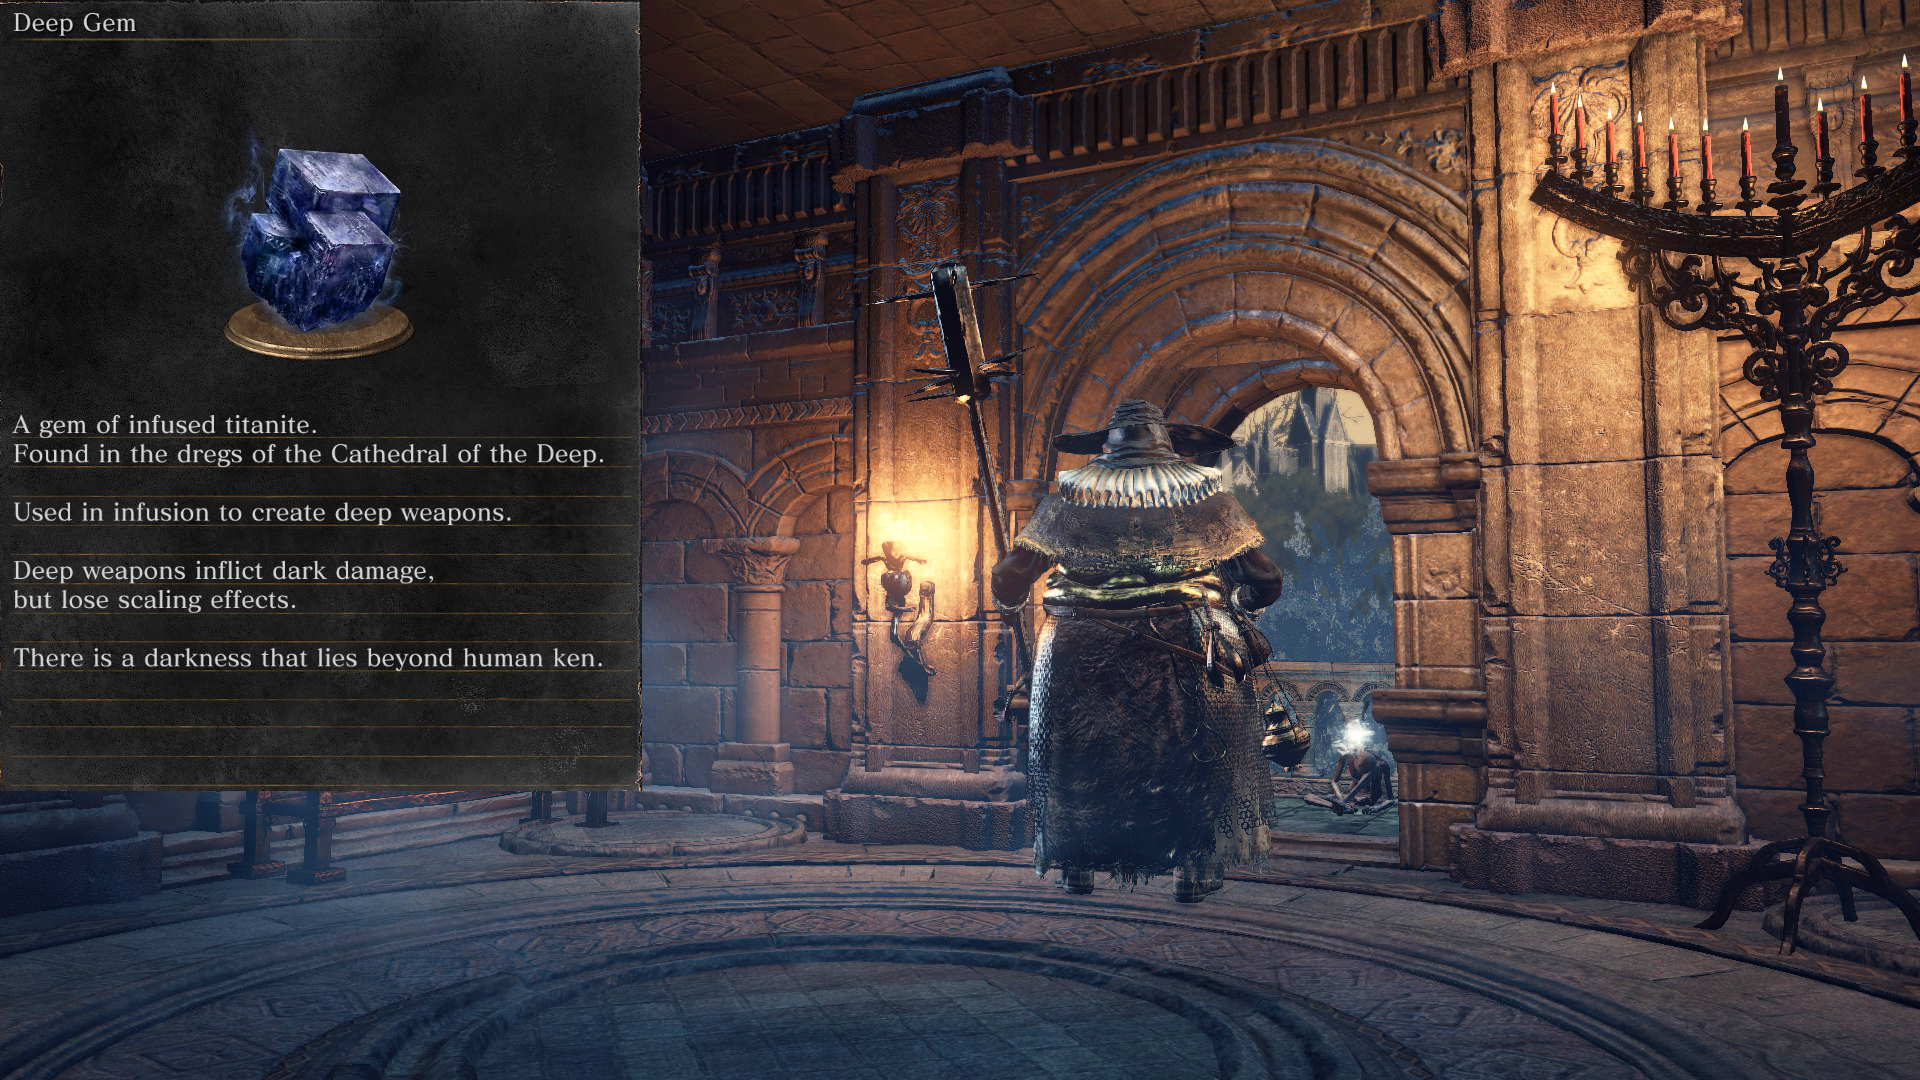 |
Giant’s Coal
| Infusion Types: Simple, Lightning, and Chaos | Located in Anor Londo – from the bonfire, head up the stairs past the Silver Knights, take a left, and enter a door where the Giant Blacksmith is found from DS1 (RIP) (Video Location – [youtu.be] ) | 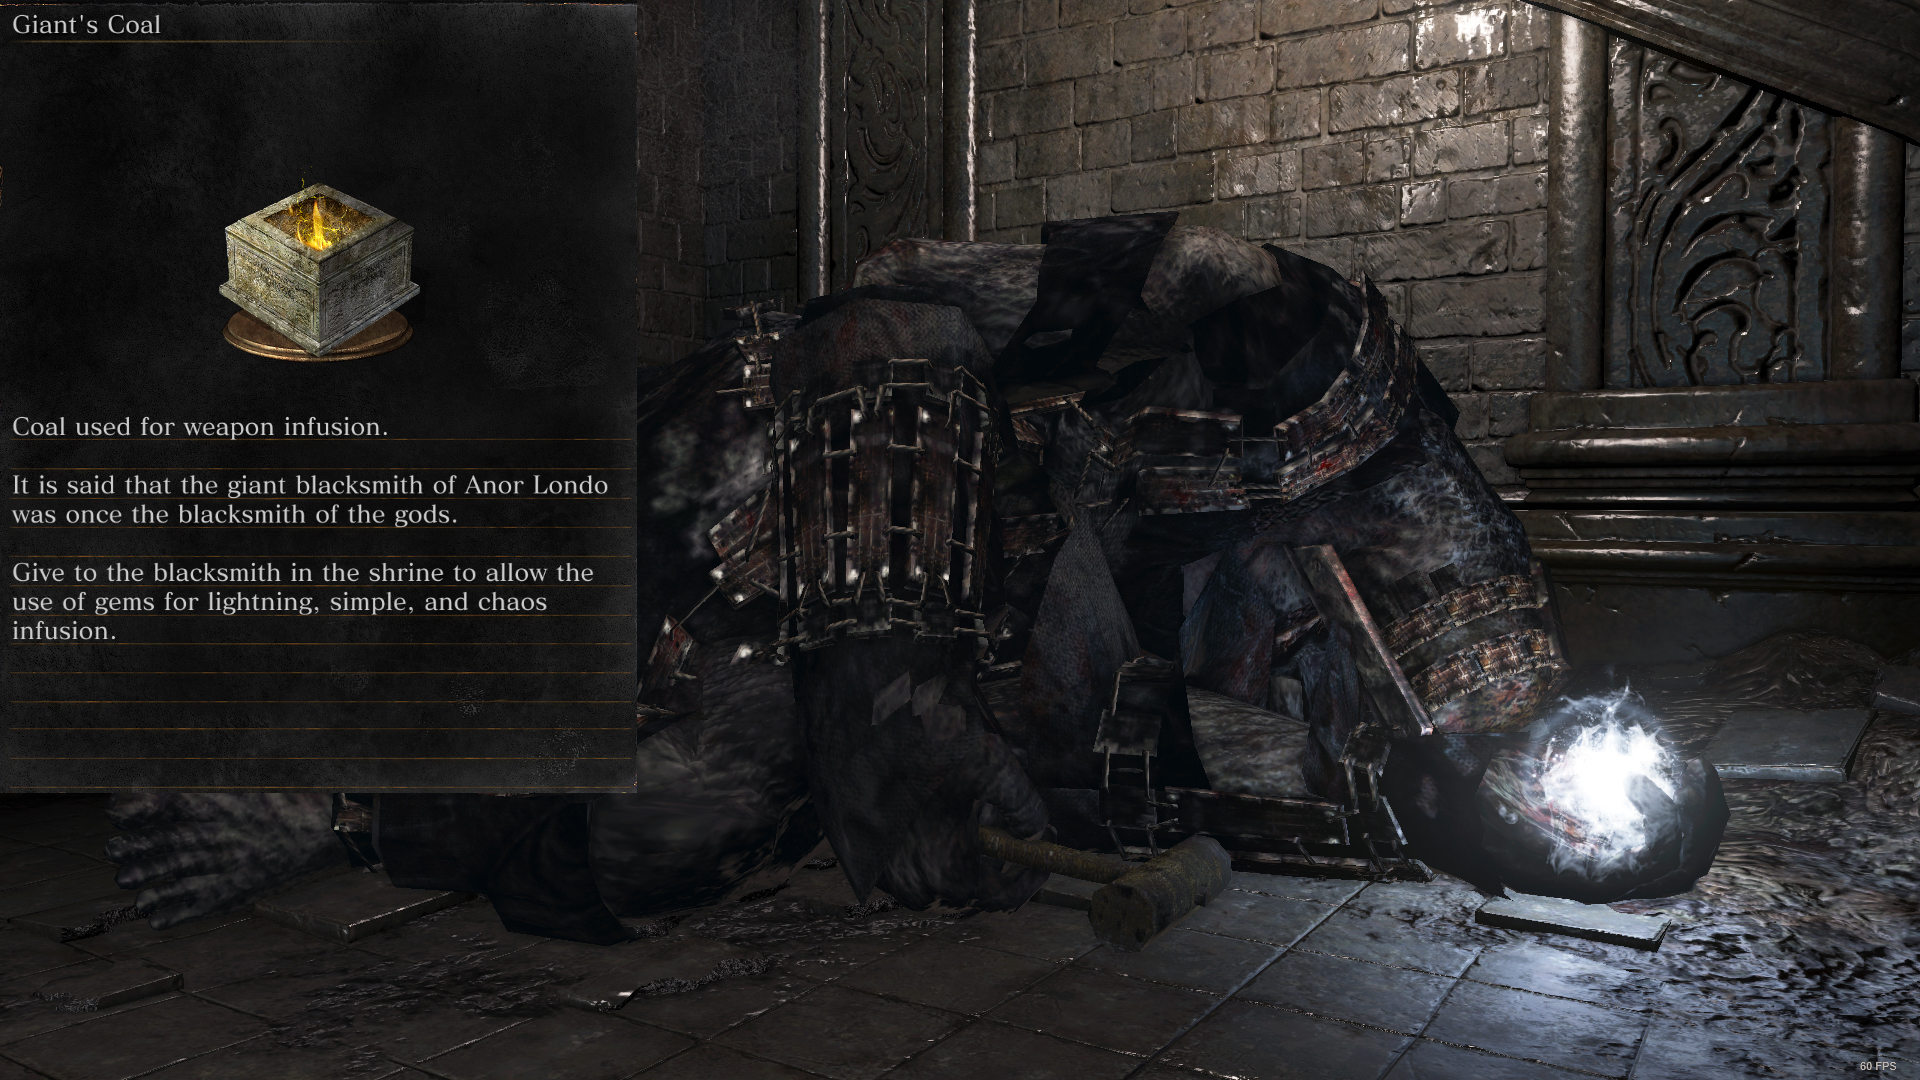 |
| Simple | Crystal Lizard drop above the Pontiff Sulyvahn Bonfire (Video Location – [youtu.be] ). | 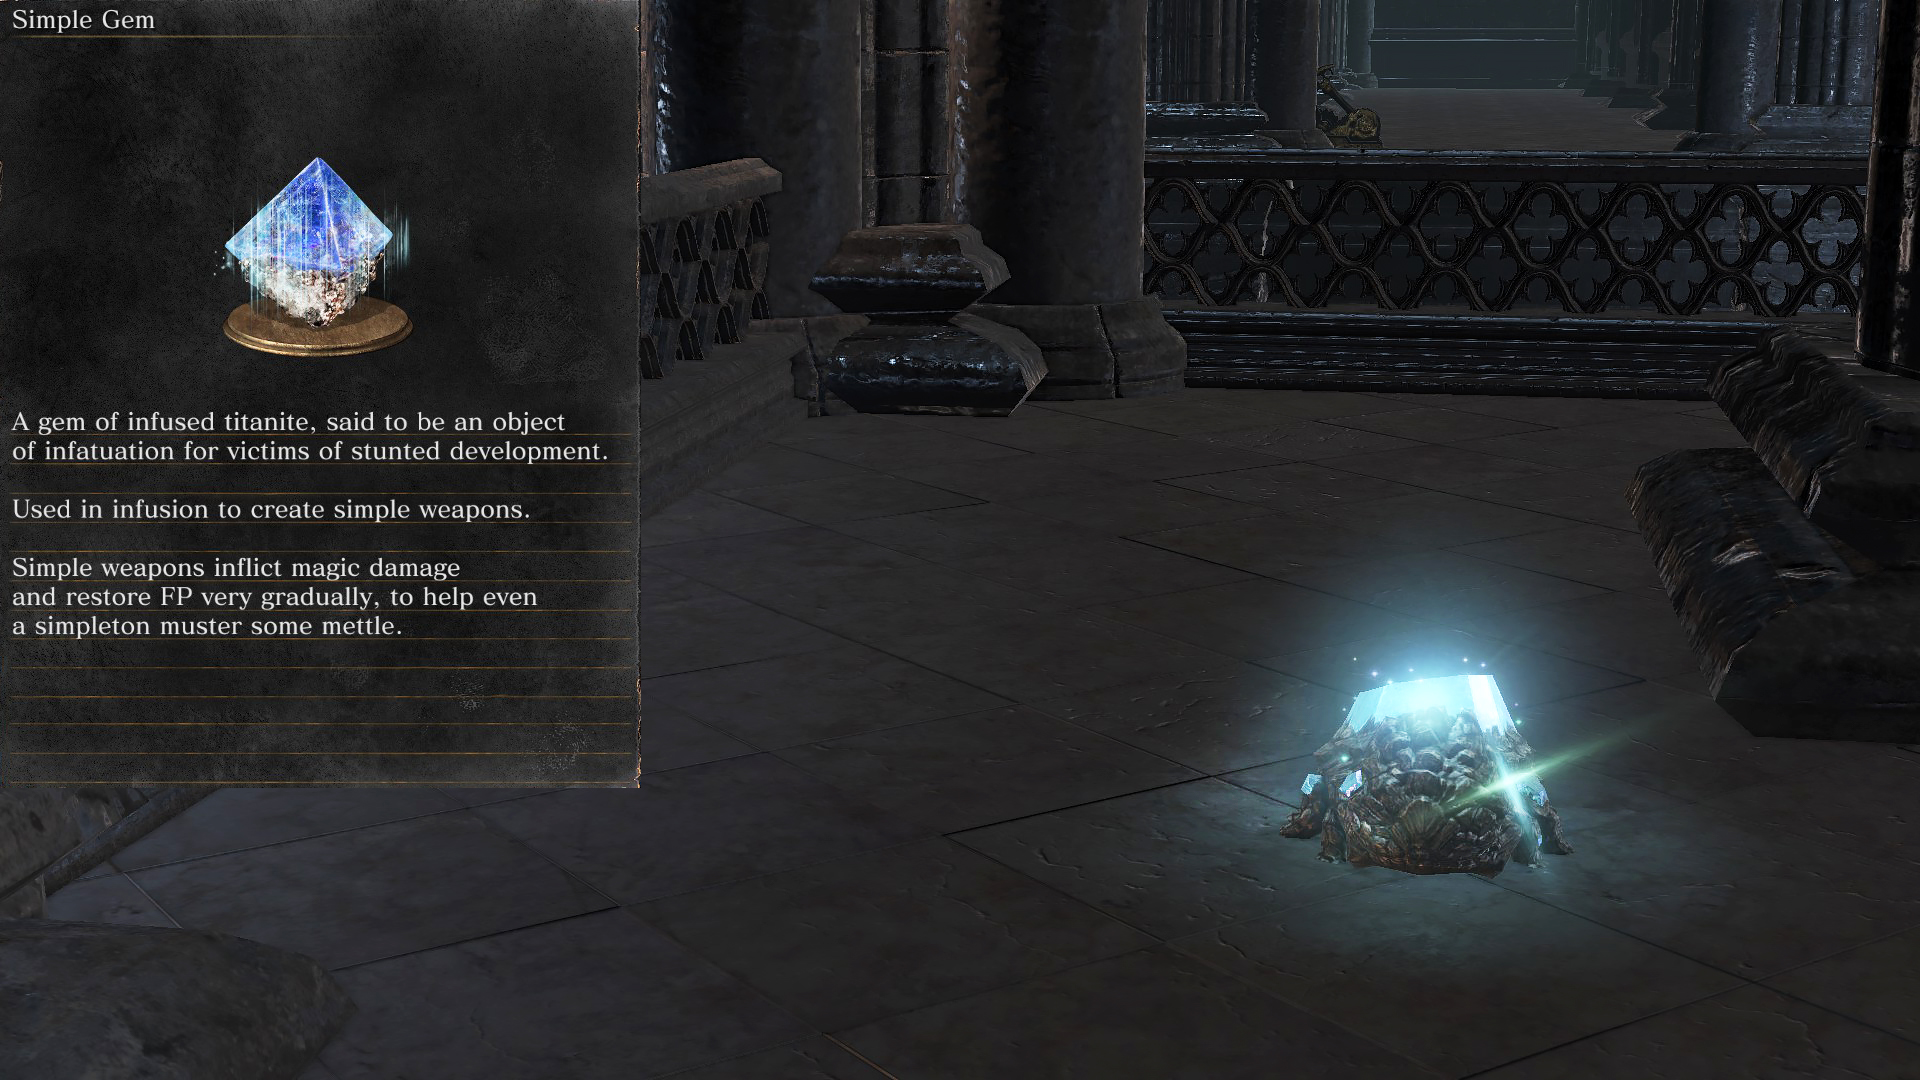 |
| Lightning | Near Pontiff Sulyvahn boss door on a corpse. (Video Location – [youtu.be] ) and on an overlook at Archdragon Peak: (Video Location – [youtu.be] ). | 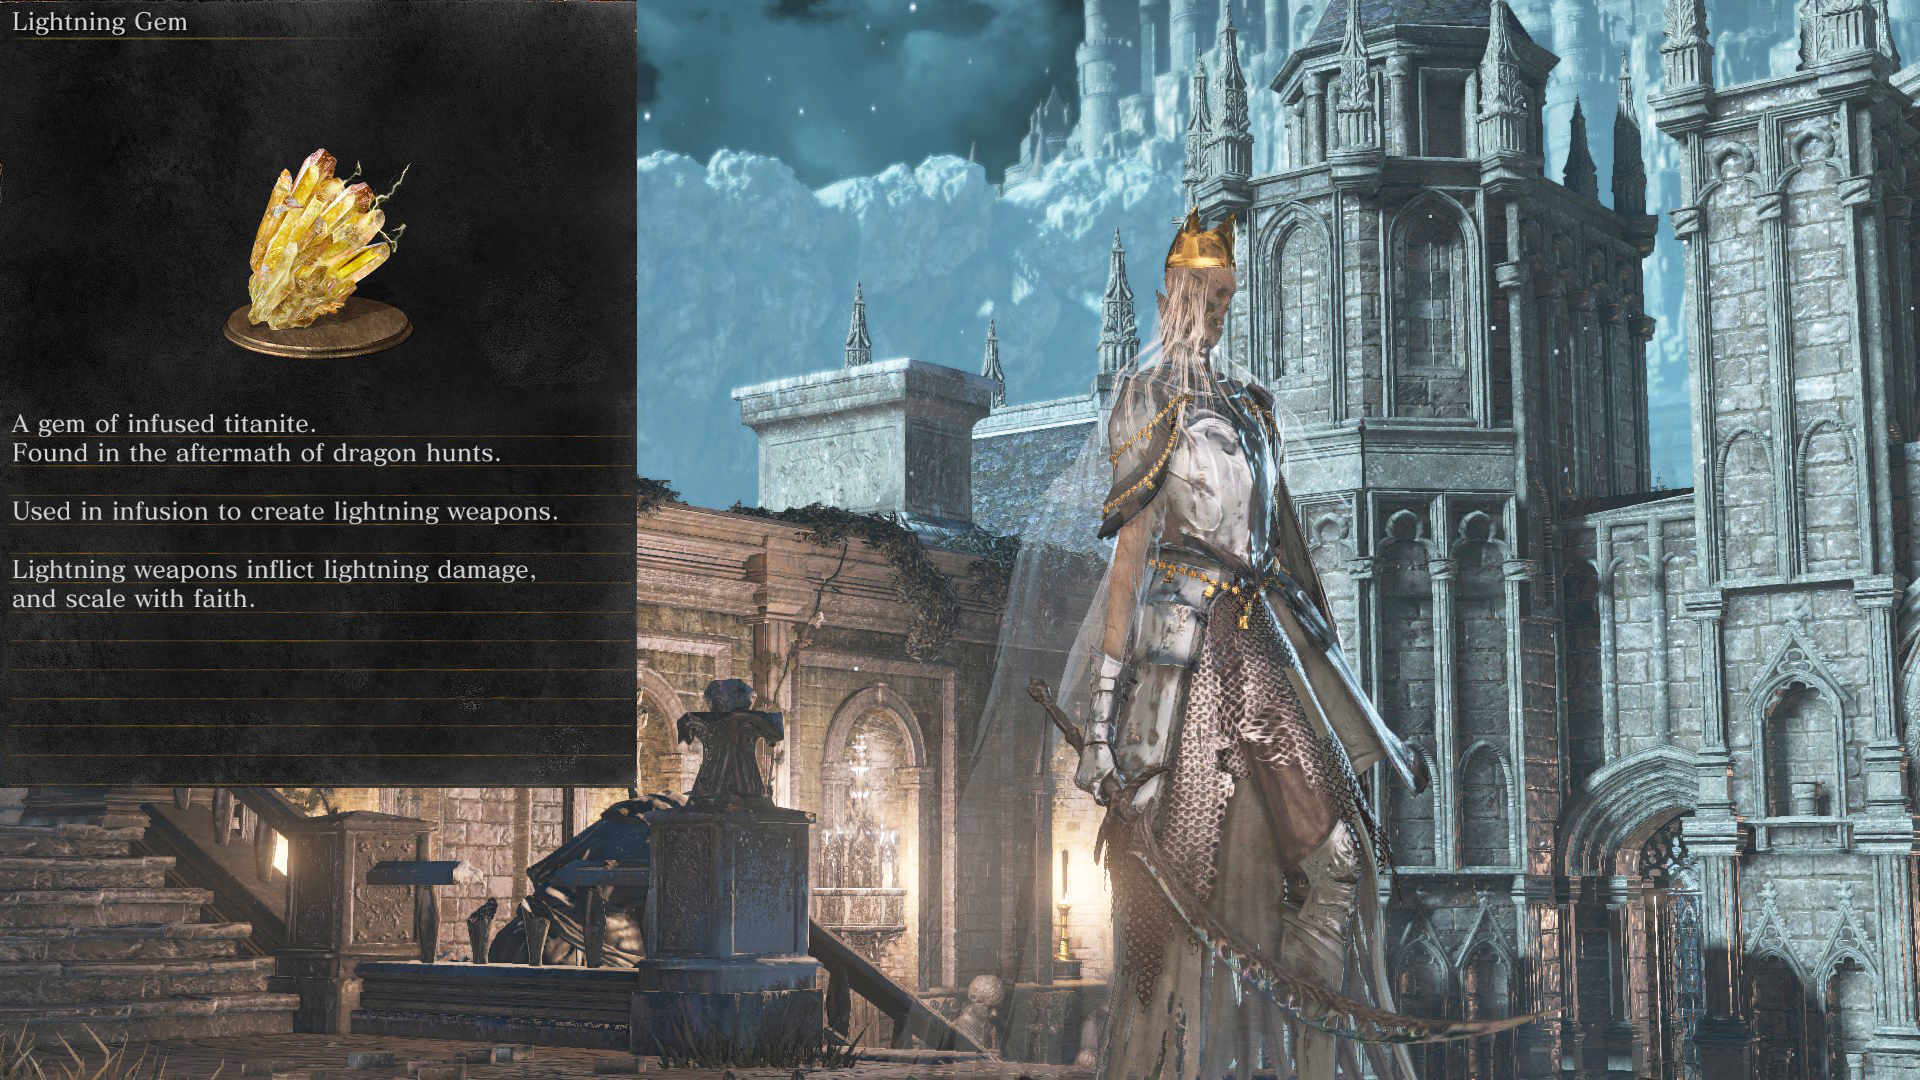 |
| Chaos | Starting from the Demon Ruins Bonfire head to the Smouldering Lake. You can turn off the ballista – [youtu.be] if needed. The gem will be located in the back guarded by giant crabs (Video Location – [youtu.be] ) and another from a crystal lizard (Video Location – [youtu.be] ). | 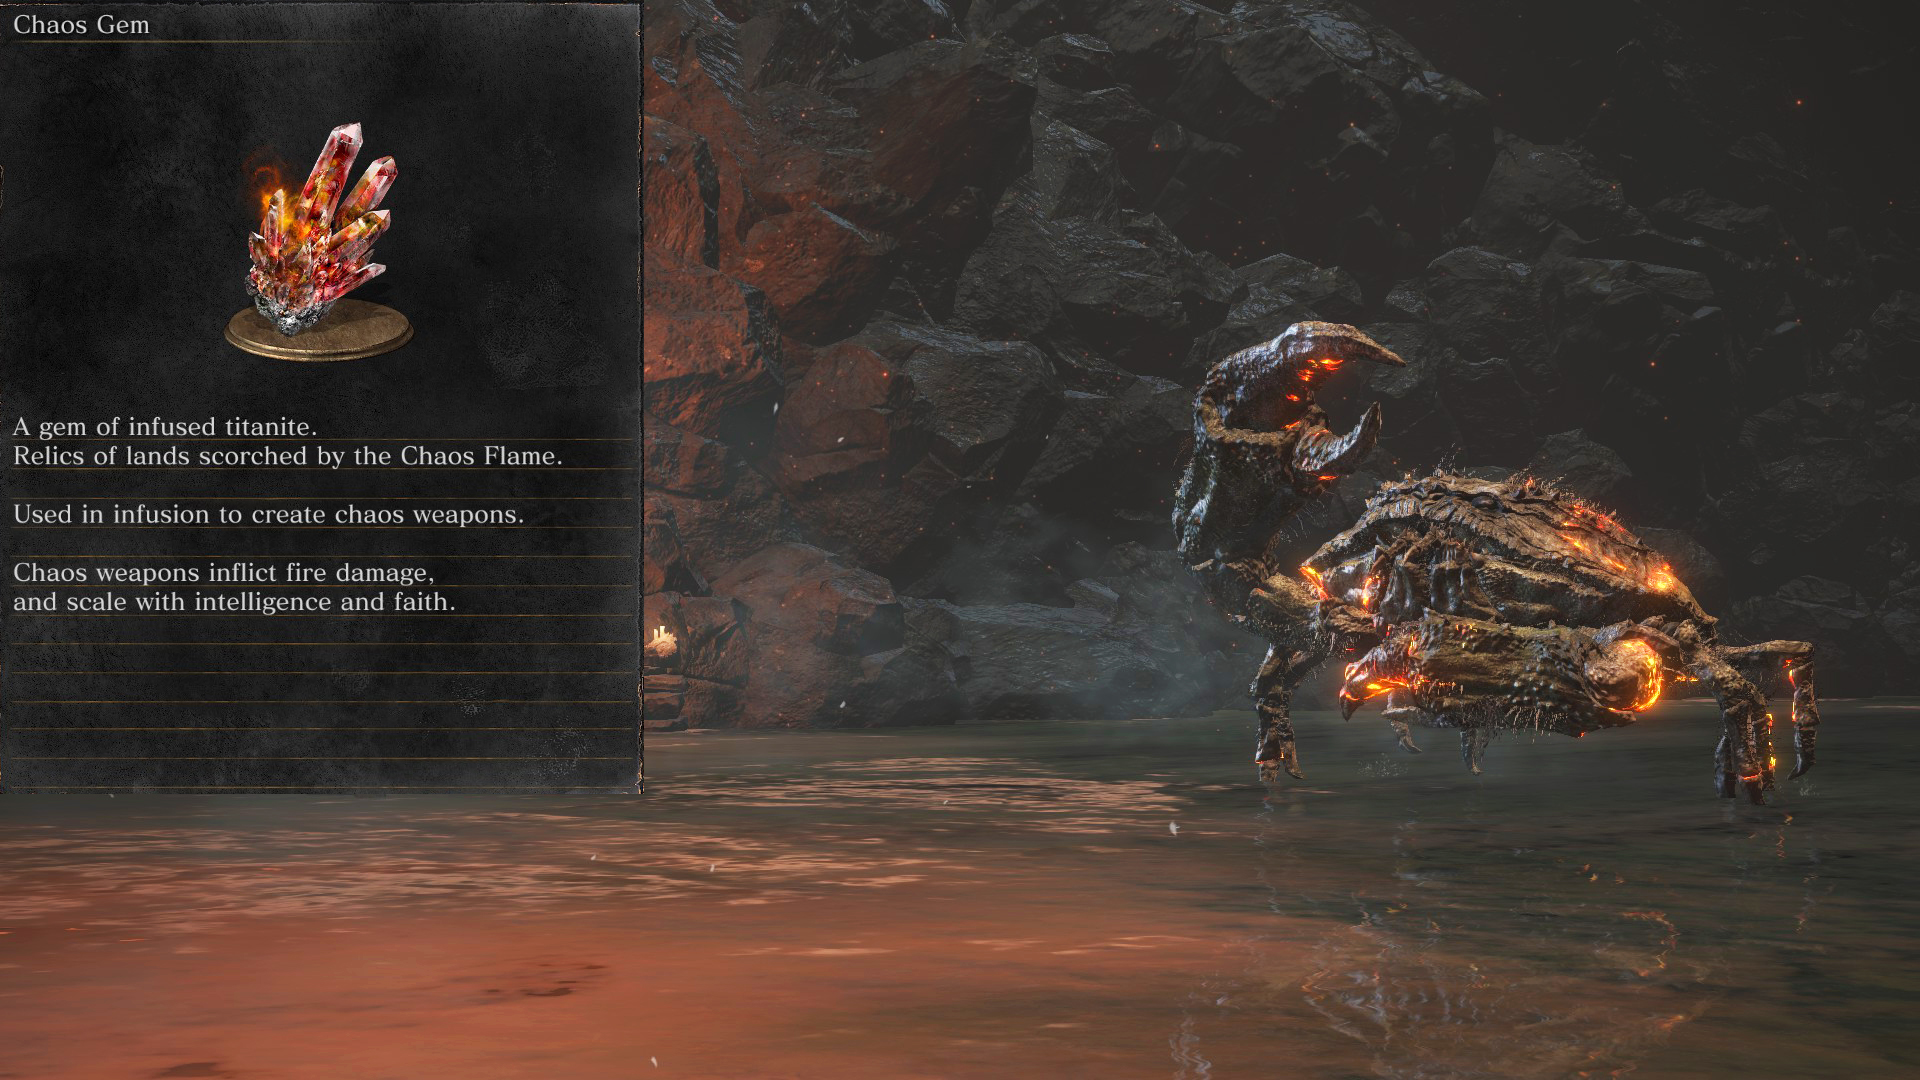 |
Profaned Coal
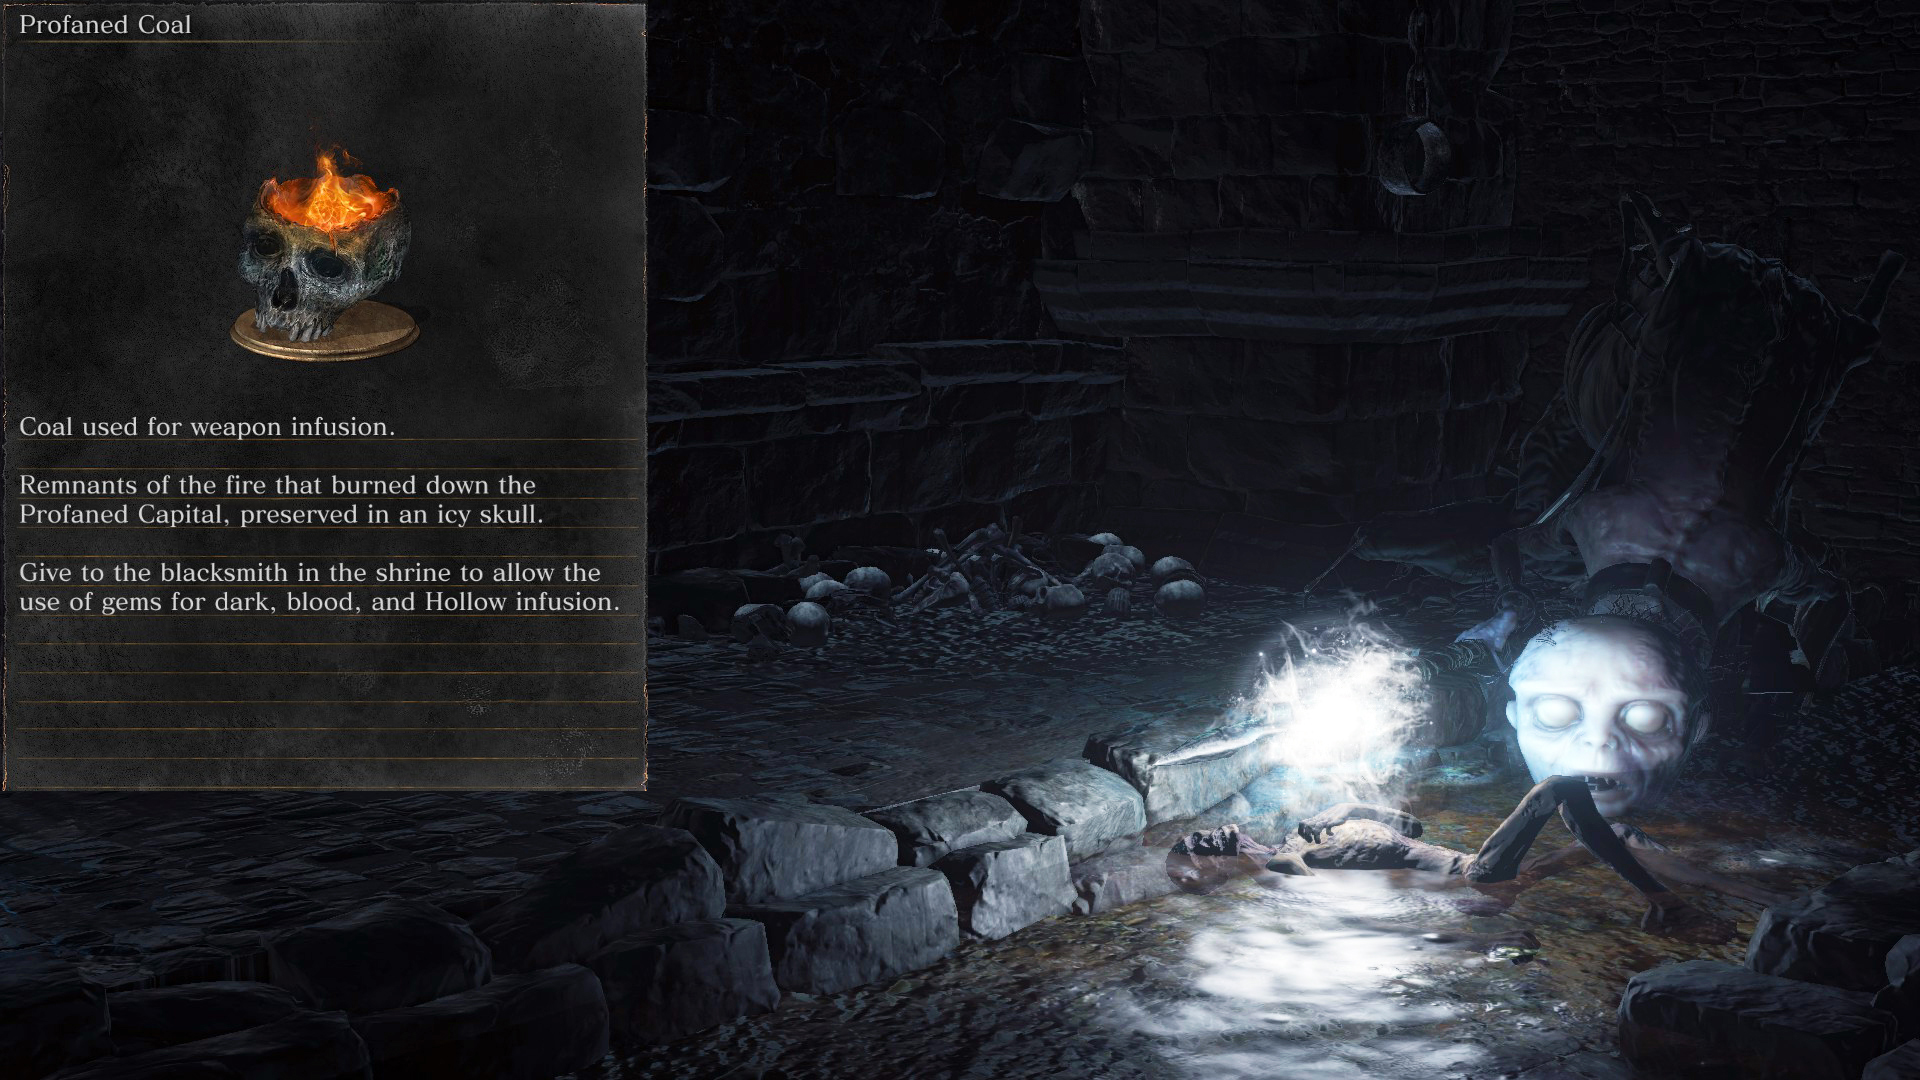
| Infusion Types: Dark, Hollow, and Blood | From the Irithyll Dungeon Bonfire, take the elevator shortcut – [youtu.be] if it’s open, pass the giant, go up the ladder, drop down to the roof, enter the sewers and pass the rats, then enter the room full of Jailers. The coal will be in the first cell on the left side guarded by Wretch enemies. (Video Location – [youtu.be] ) |
 |
| Dark | Found in the Consumed Kings Garden. Starting from the Dancer Bonfire, climb the ladder, take a sharp left, then take the elevator guarded by a Cathedral Knight all the way down. The gem will be past the first Pus of Man and towards another Pus of Man circling stairs. (Video Location – [youtu.be] ) | 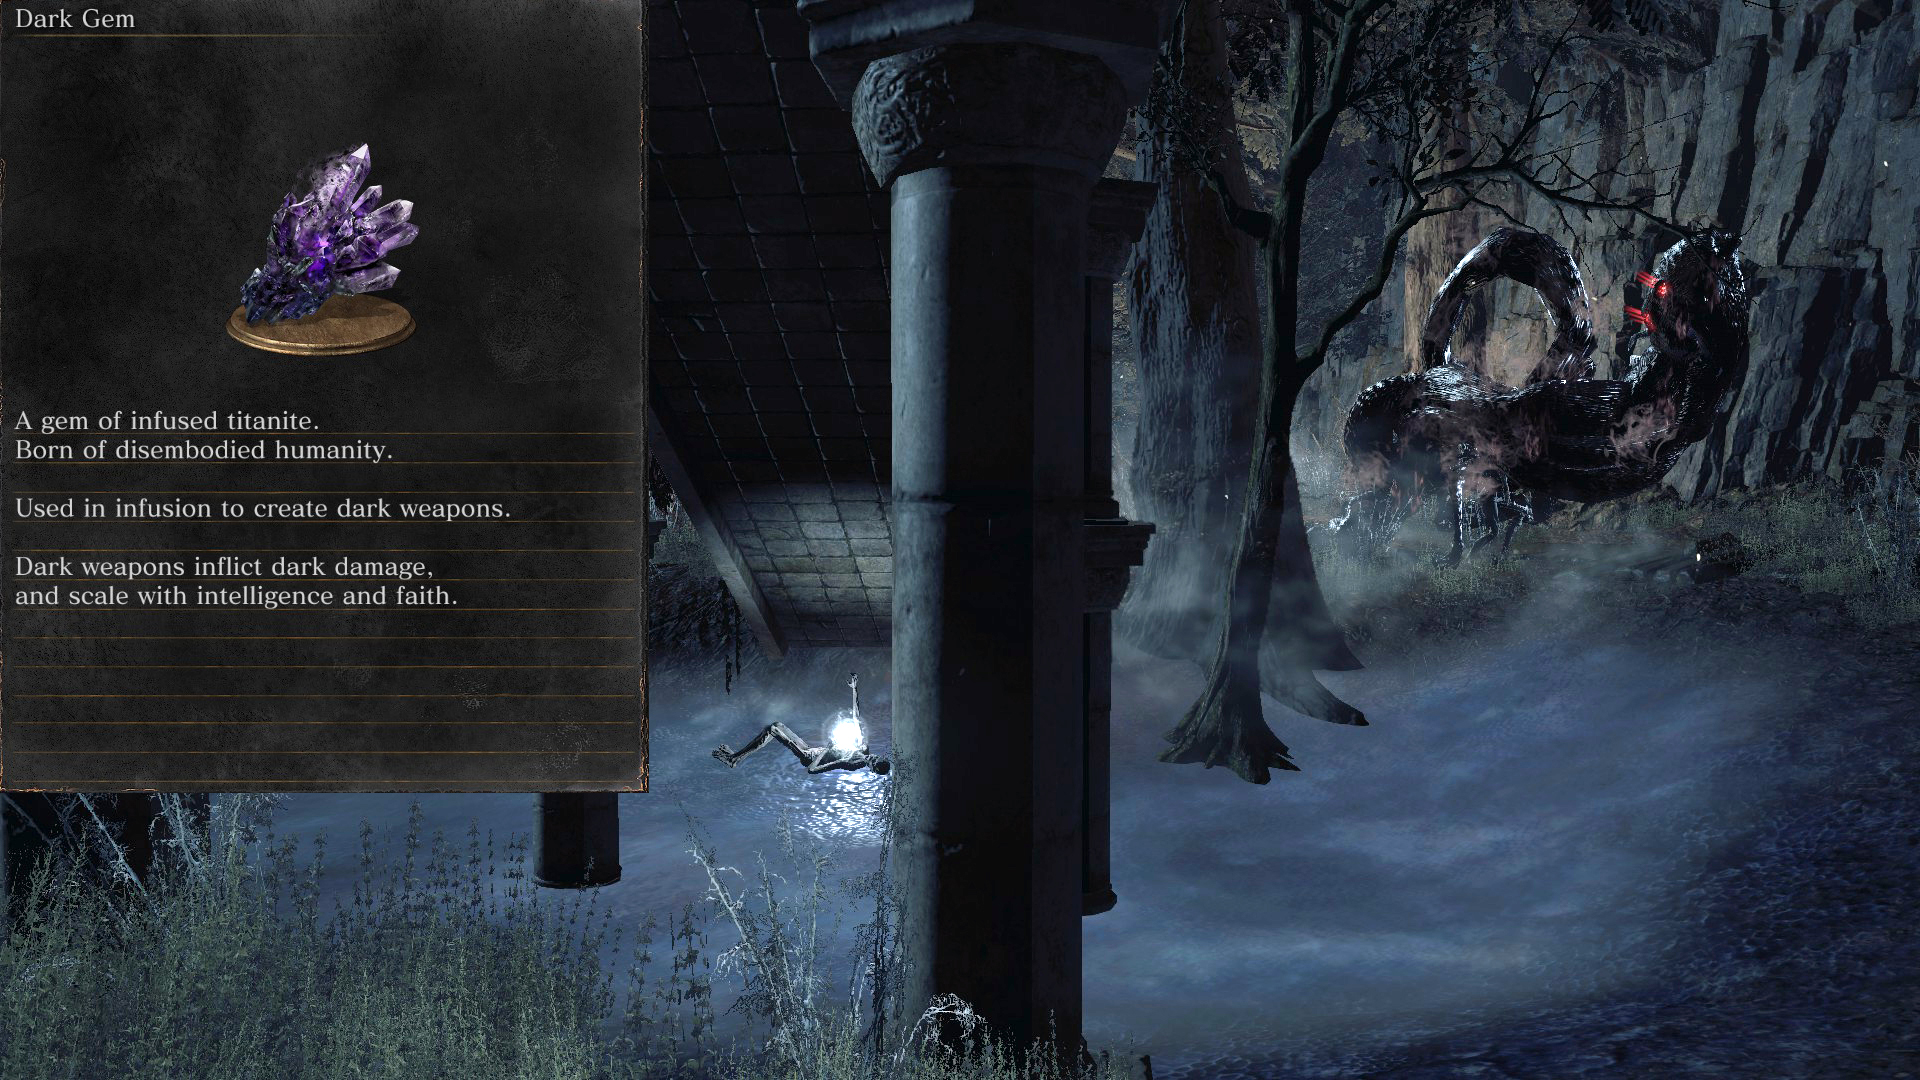 |
| Hollow | From the Farron Keep Perimeter Bonfire, go in the opposite direction of the Abyss Watchers boss door near one Ghru and enter a hole in the wall to the right. Drop down a ledge and you’ll find the gem. (Video Location – [youtu.be] ) Another can be found on the Grand Archives roof. (Video Location – [youtu.be] ) | 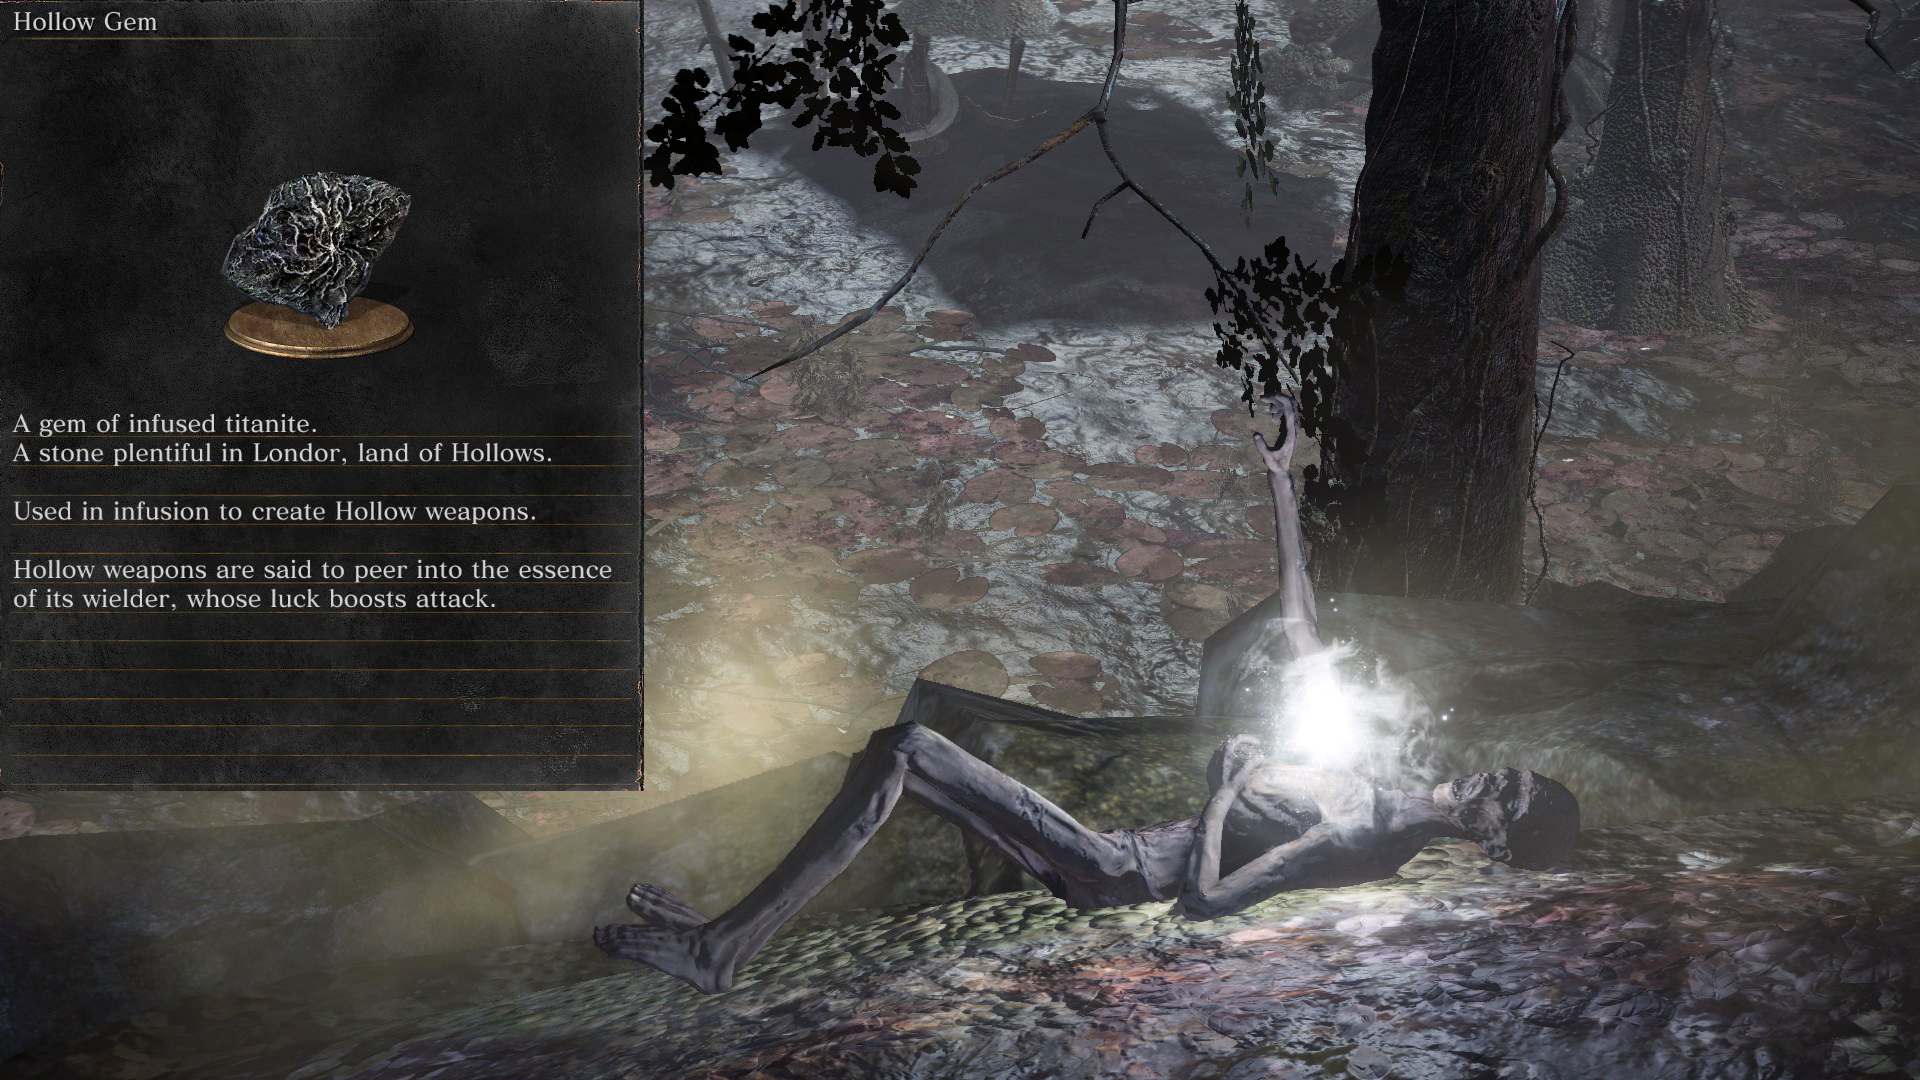 |
| Blood | Found from the Church of Yorshka Bonfire headed towards the gravestones, take a left, then go past the dark room, down another flight of stairs, then make a right. The gem will be by a tree at the end by several invisible enemies. (Video Location – [youtu.be] ) | 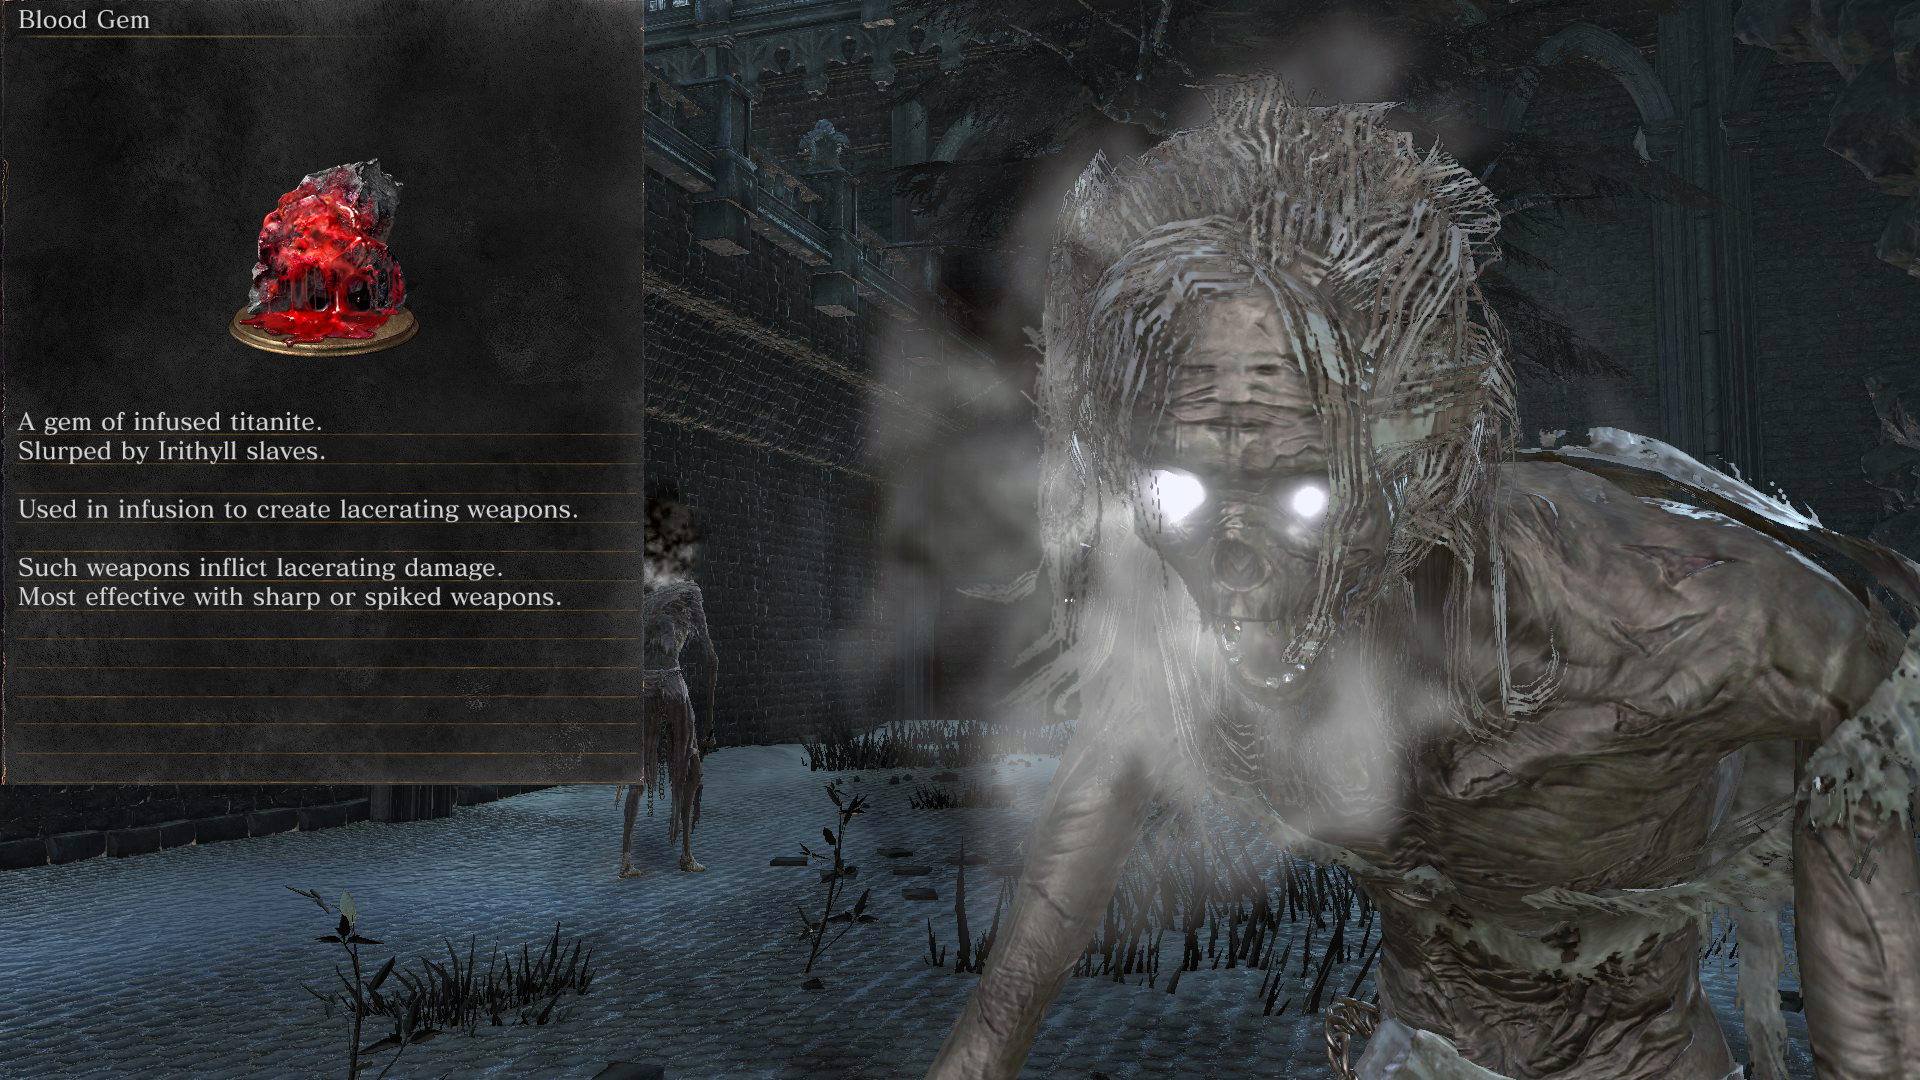 |
Non-Coal Gems
(Infusion Types: Fire Gem, Raw Gem, Refined Gem, Shriving Stone)
| Fire | Starter Gift or a drop from the Fire Demon you fight with Siegward in the Undead Settlement. (Video Location – [youtu.be] ) | 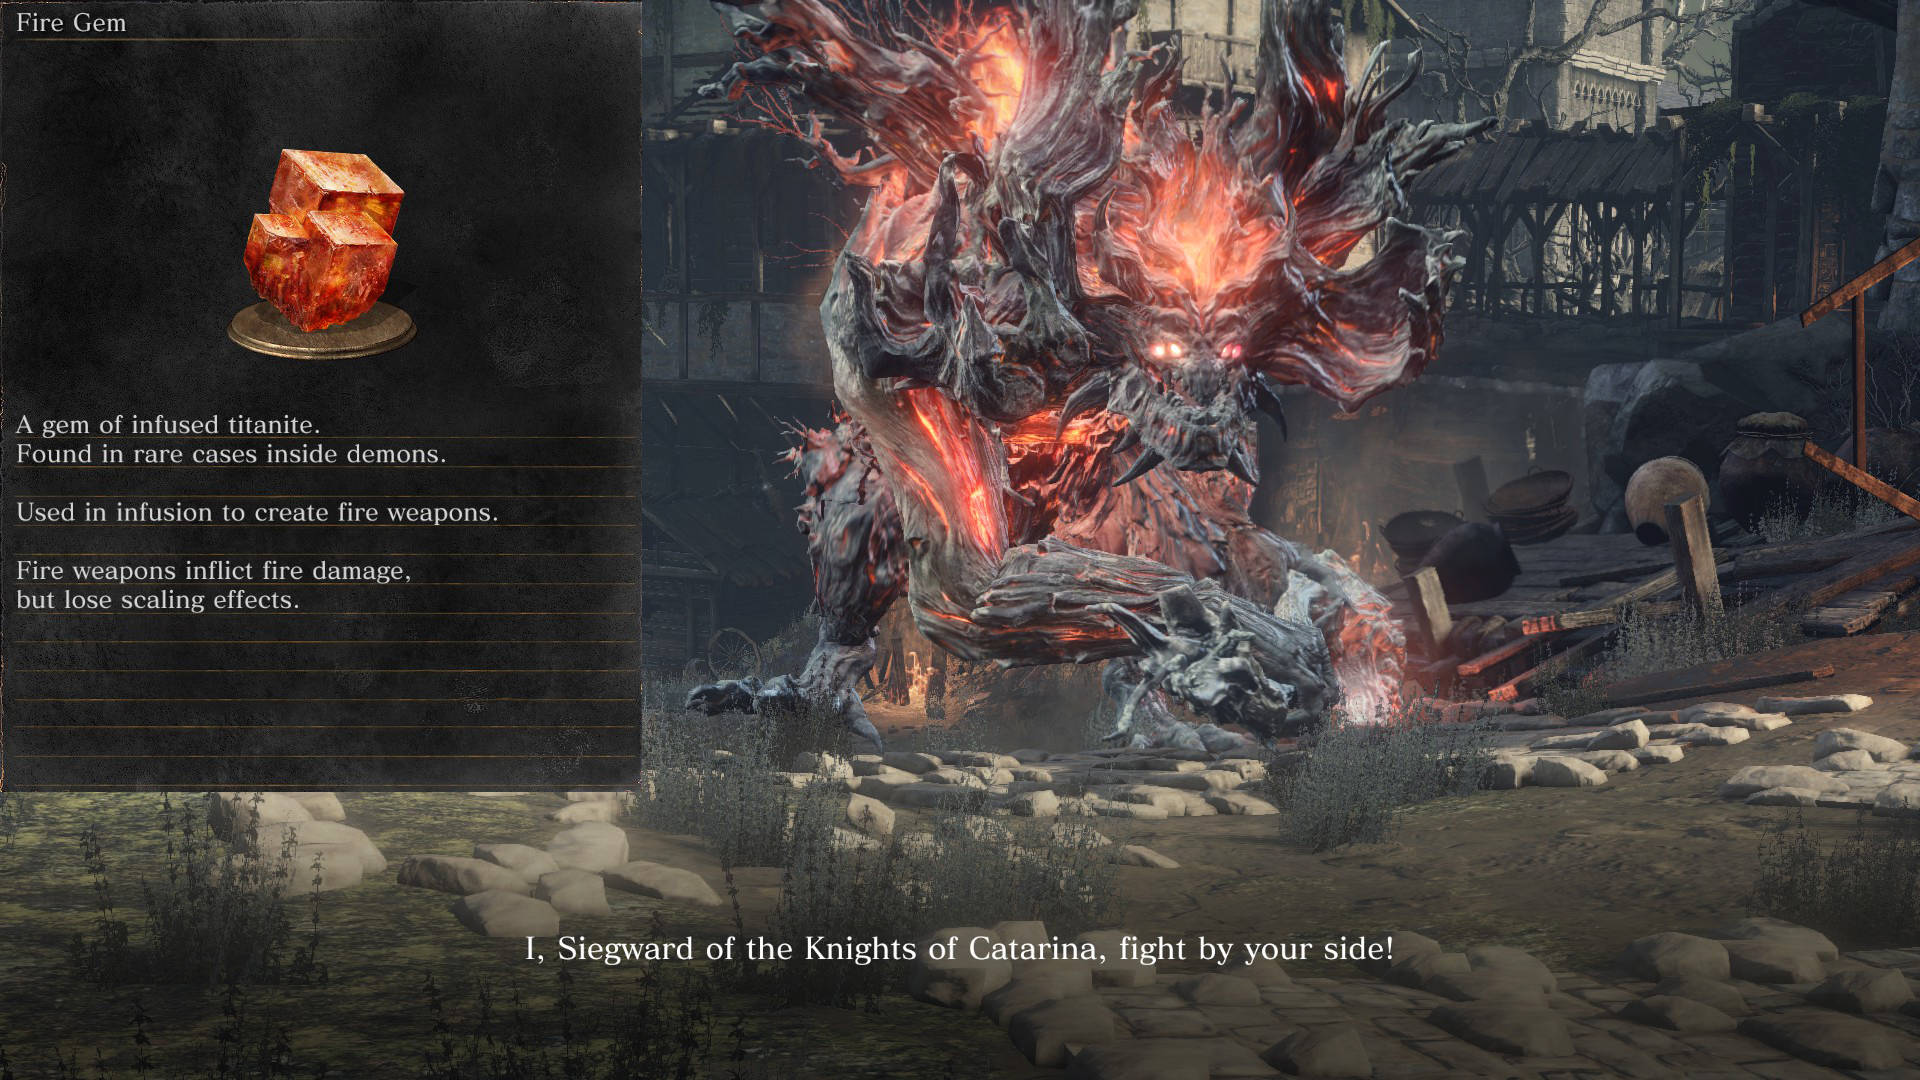 |
| Raw | Found early game in the High Wall of Lothric from a crystal lizard past the Pus of Man on a roof. (Video Location – [youtu.be] ) | 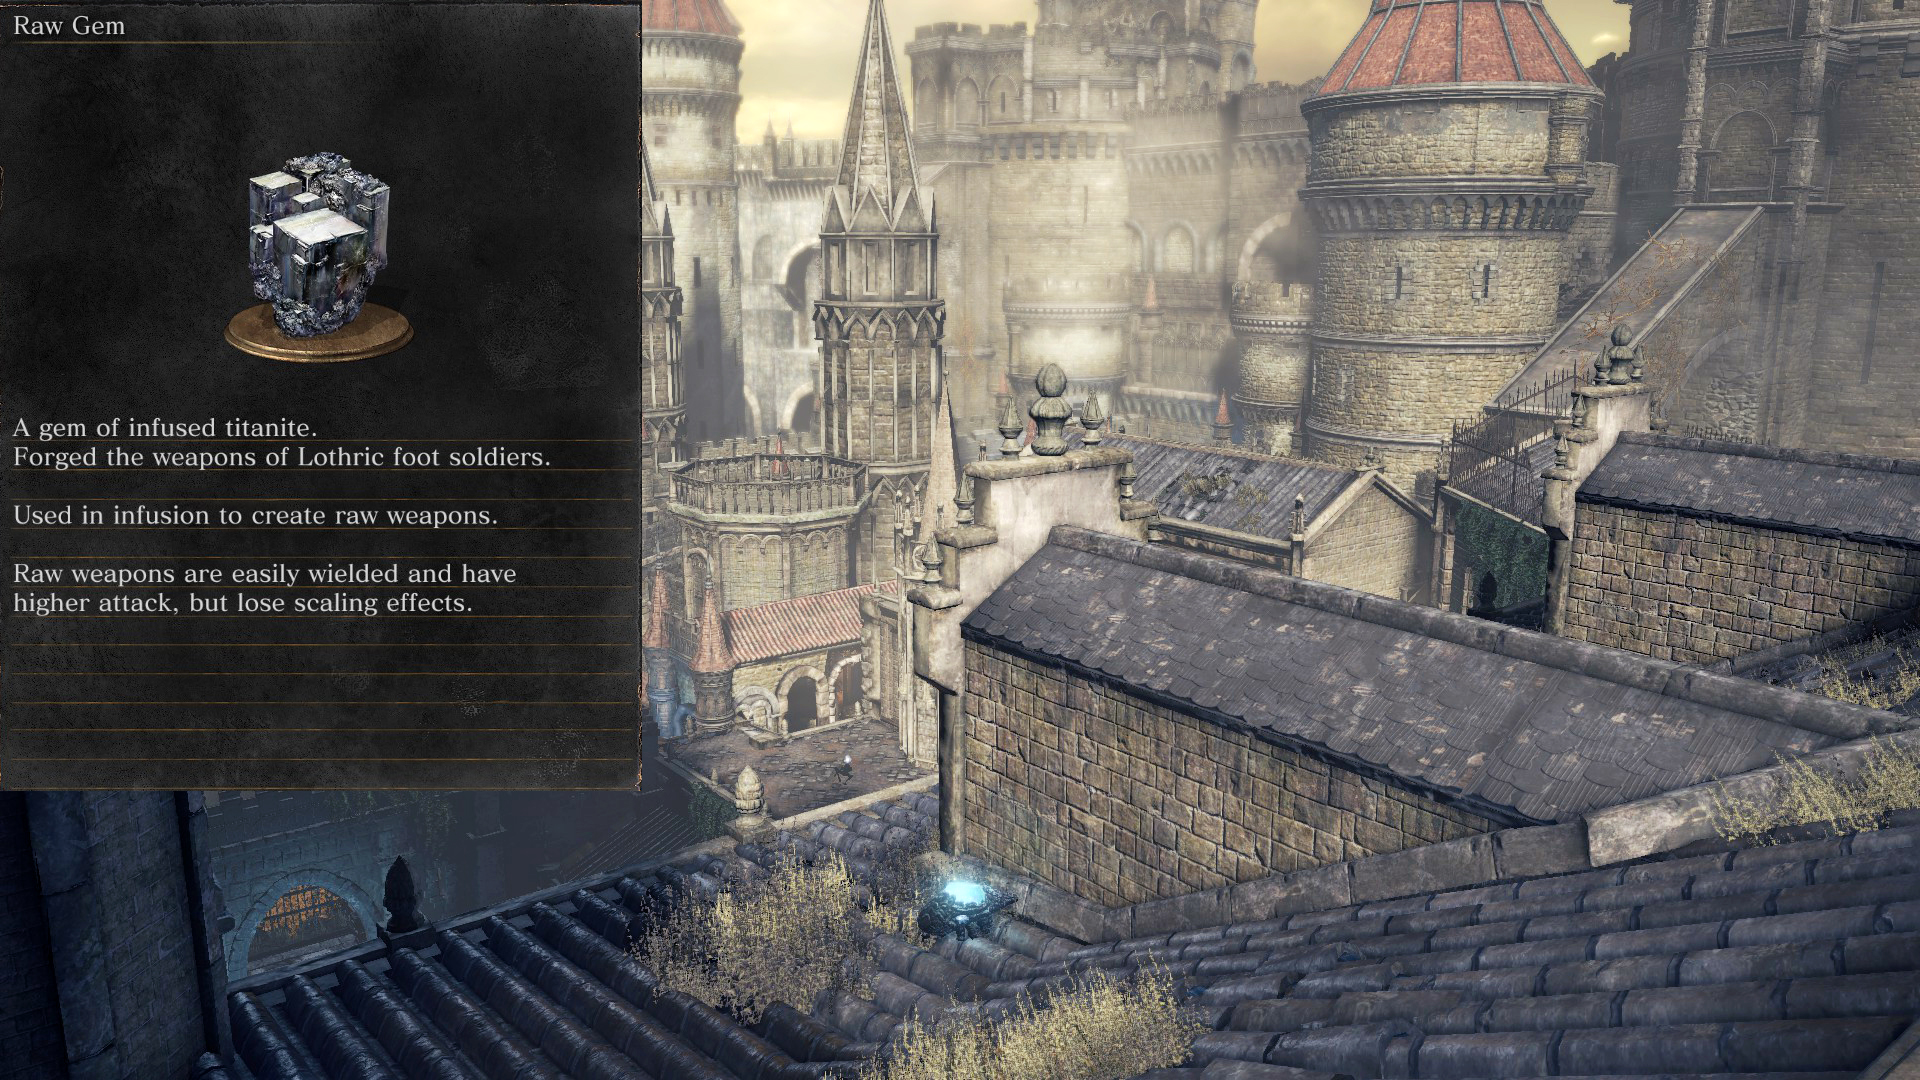 |
| Refined | One guaranteed drop from the Red-eyed Blue Knight. Found in a corner beside the Cathedral across from the Vort of the Boreal Valley boss fight. (Video Location – [youtu.be] ) and a crystal lizard in the Grand Archives. (Video Location – [youtu.be] ) | 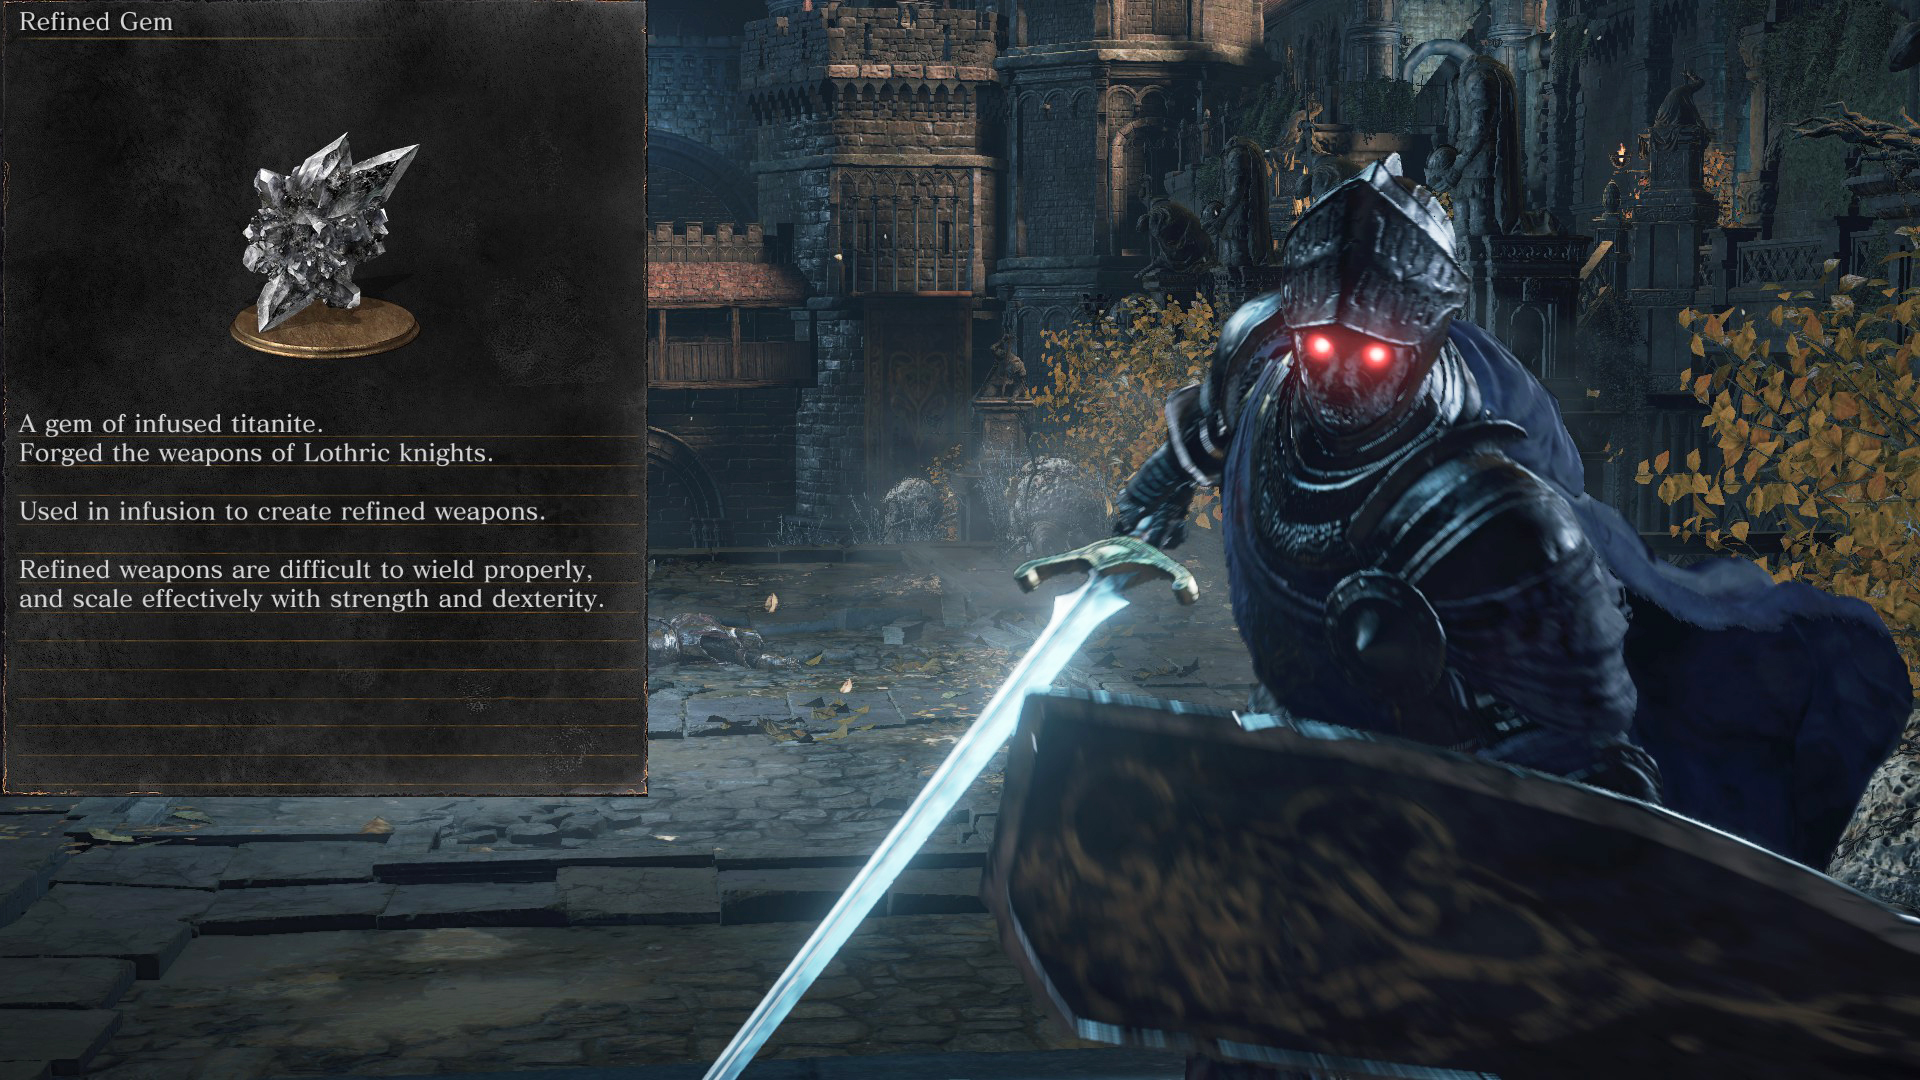 |
| Shriving | Reverses an Infusion – Frequent drop from Corvian Storytellers next to the Halfway Fortress bonfire in Crucifixion Woods. Item drop close to the Road of Sacrifices Bonfire. Note that this is not necessary for the achievement but is worth mentioning if you want to remove an infusion. (Video Location – [youtu.be] ). Can also be farmed from the enemies guarding this gem. | 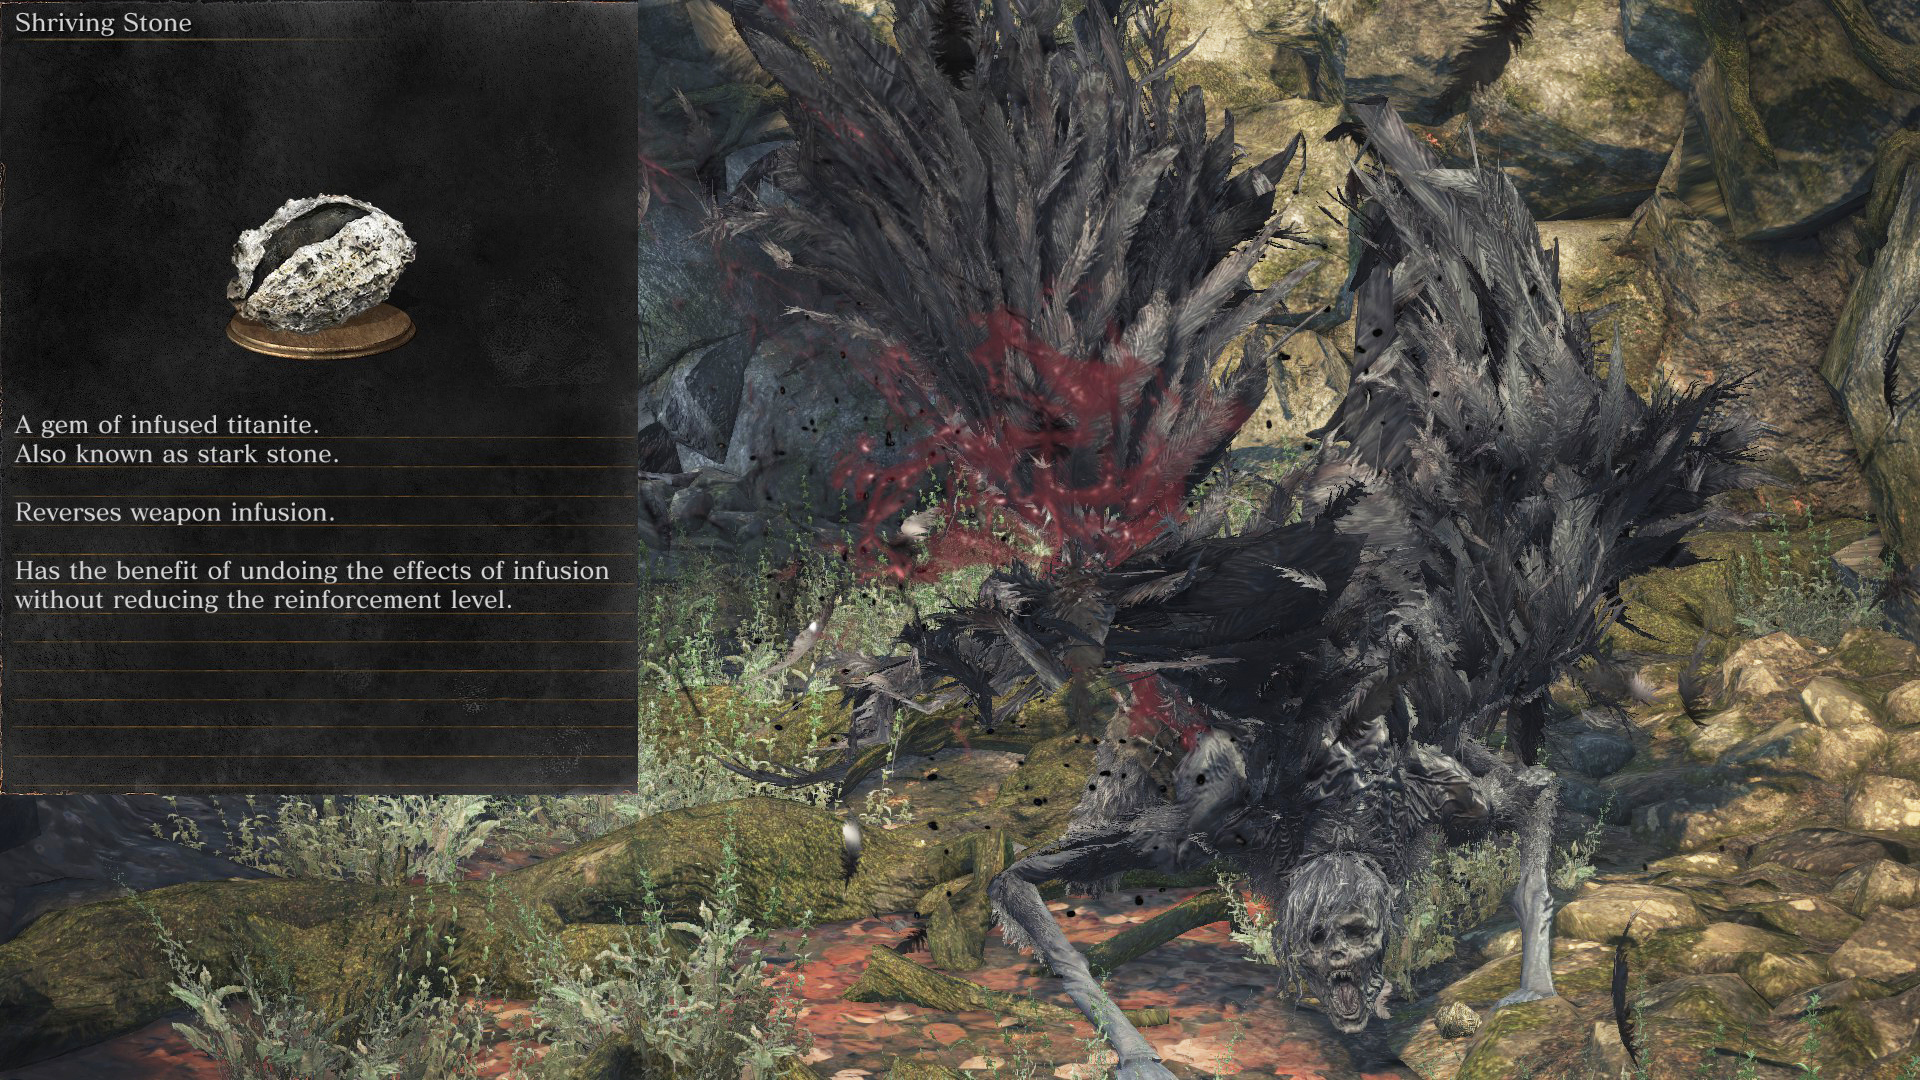 |
Supreme Weapon Reinforcement
|
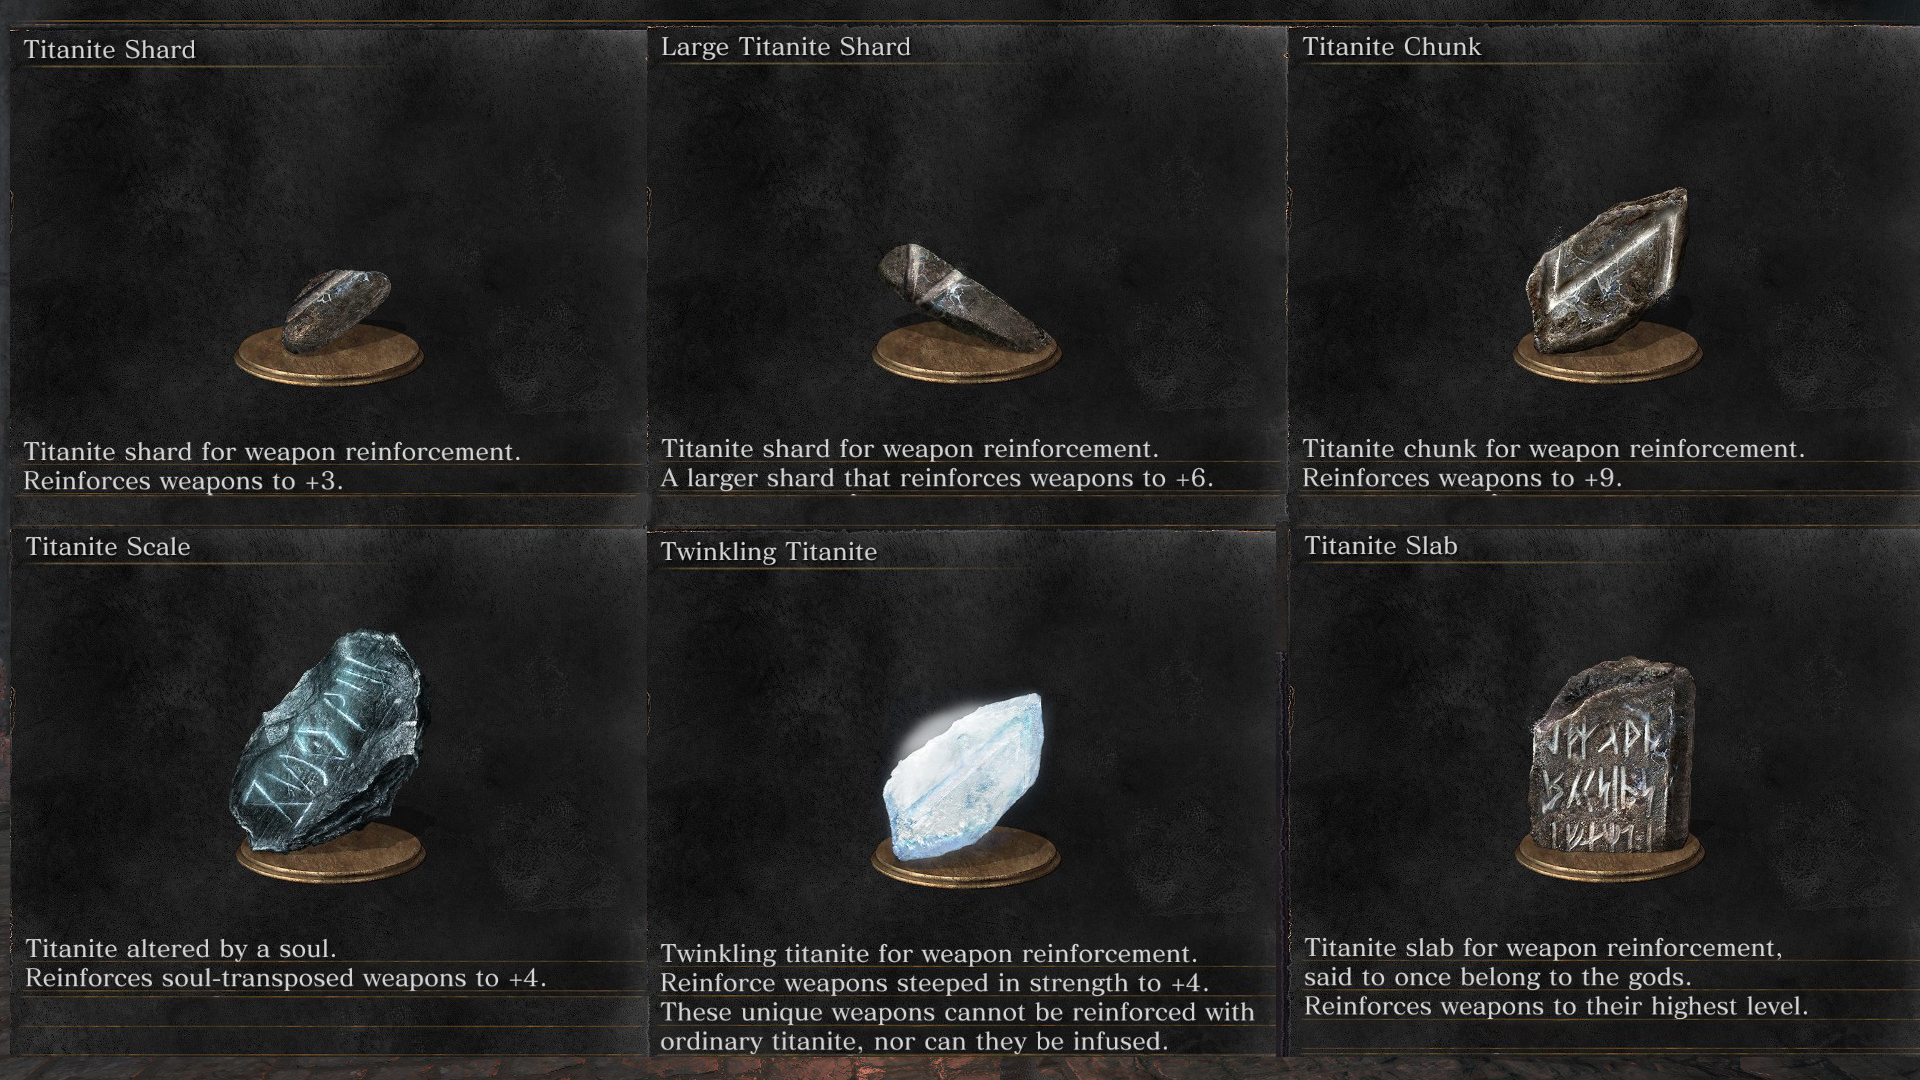 |
Typical Weapon Reinforcement (+10):
Titanite Shards
Can be purchased from the Dreamchaser Ashes – [youtu.be] .
| Upgrade Amount | Supplies Needed |
| +1 | 2 |
| +2 | 4 |
| +3 | 6 |
Large Titanite Shards
Can be purchased from the Easterner’s Ashes – [youtu.be]
| Upgrade Amount | Supplies Needed |
| +4 | 2 |
| +5 | 4 |
| +6 | 6 |
Titanite Chunks
Can be purchased by the Dragon Chaser’s Ashes – [youtu.be]
| Upgrade Amount | Supplies Needed |
| +7 | 2 |
| +8 | 4 |
| +9 | 6 |
Titanite Slabs for +10 (Main Game)
1) Saving Siegward in the Profaned Capital (Video Location – [youtu.be] )
2) Under the Elevator in Lothric Castle (Video Location – [youtu.be] )
3) Trade the Coiled Sword Fragment with Pickle Pee (found in Dark Firelink in Untended Graves – [youtu.be] ).
4) Archdragon Peak near Havel (Video Location – [youtu.be] )
5) After Beating the Nameless King (Video Location – [youtu.be] )
6) One purchasable from the Shrine Handmaiden (30K) after all Lords of Cinder.
Non-Achievement Related Upgrades and Materials:
Unique and Soul-Transposed Reinforcement (+5)
NOTE: As previously mentioned, any +5 max weapon (special or boss weapons), will not be counted towards the “Supreme Weapon Reinforcement” Achievement and can also not be infused. So, this will simply show you how to upgrade those weapons if you are interested and have extra resources on hand.
Twinkling Titanite
Can be purchased with the Dragon Chaser’s Ashes – [youtu.be]
| Upgrade Amount | Supplies Needed |
| +1 | 1 |
| +2 | 2 |
| +3 | 4 |
| +4 | 8 |
Titanite Scale
Can be purchased with the Dragon Chaser’s Ashes – [youtu.be] .
(Weapons with this upgrade path require the Transposing Kiln (drop from the Curse-Rotted Greatwood) to use with Ludleth to exchange boss souls).
| Upgrade Amount | Supplies Needed |
| +1 | 1 |
| +2 | 2 |
| +3 | 4 |
| +4 | 8 |
Master of Expression (Gestures)
| Gesture | How to Acquire |
|---|---|
| Point Forward | Default (Already Have) |
| Point Up | Default (Already Have) |
| Point Down | Default (Already Have) |
| Wave | Default (Already Have) |
| Bow | Default (Already Have) |
| Jump for Joy | Default (Already Have) |
| Joy | Default (Already Have) |
| Hurrah! | Given by Blacksmith Andre in Firelink Shrine the first time you talk |
| Rest | Given by Hawkwood in Firelink Shrine the first time you talk |
| Beckon | Given by Yoel of Londor once relocated to Firelink Shrine |
| Dignified Bow | Yuria of Londor upon arrival of Firelink Shrine after rescuing Yoel – [youtu.be] and accepting his “Draw Out True Strength” quest |
| Call Over | Gift from Picklepee – [youtu.be] when dropping a Homeward Bone |
| Welcome | Saving Cornyx – [youtu.be] in the Undead Settlement |
| Prayer | Touch Irina of Carim – [youtu.be] and save her from the cell in the Undead Settlement |
| Curl Up | After Saving Greirat – [youtu.be] and giving him Loretta’s Bone – [youtu.be] in Firelink Shrine |
| Silent Ally | After Orbeck is relocated – [youtu.be] to Firelink Shrine and you purchase multiple spells |
| Applause | Leonhard quest after killing a dark wraith in High Wall of Lothric dungeon – Need to be given the “Lift Chamber Key” after lighting the Cliff Underside Bonfire and having one Pale Tongue covenant item in your inventory: will be at Firelink Shrine again. |
| Toast | Given by Siegward after the Fire Demon encounter |
| Rejoice | Give Sieigward his armor – [youtu.be] in the well in Cathedral of the Deep by purchasing it from Patches. |
| Sleep | Given by Siegward – [youtu.be] after the Fire Demon fight when exhausting his dialogue, but if missed, you can also receive at Irithyll Kitchen by the Fireplace and Estus Soup. |
| Patches Squat | Exhaust Patches dialogue in Firelink Shrine when he becomes a merchant. |
| Prostration | Get locked inside the Firelink Shrine tower – [youtu.be] by Patches and say “no” when asking for forgiveness. You can still buy the Catarina Set and save Siegward. |
| Duel Bow | Summoning Londor Pale Shade at either Abyss Watchers, Pontiff Sulyvahn, or Soul of Cinder. Will be a hostile invader if not on good terms with Yuria of Londor. |
| By My Sword | Summon Black Hand Gotthard at either Abyss Watchers or Pontiff Sulyvahn. |
| Darkmoon Loyalty | Follow Sirris’ questline – obtained after giving the Shrine Handmaiden the Dreamchaser’s Ashes – [youtu.be] by the Old Wolf of Farron bonfire for the Watchdogs of Farron Covenant. The Ashes will be on a corpse through an illusory wall. |
| Proper Bow | Given by Yellowfinger Heysel after defeating her in 2 invasion locations – [youtu.be] , joining Rosaria’s Covenant, and summoning her – [youtu.be] before the Abyss watchers. Note: this quest will fail Sirris’ quest and should be done on different NG cycles. |
| Legion Etiquette | Pray to Old Wolf Farron of the |
| Praise the Sun | Kneeling at the Sunlight Altar – [youtu.be] in Lothric Castle near Dragonslayer Armour. |
| My Thanks | Obtained after fighting Tsorig – [youtu.be] either when invaded in the Catacombs of Carthus (only if you are embered) or the Smoldering Lake lava area from the Demon Ruins Bonfire. You’ll receive the gesture even if you die but not the Knight Slayer Ring. |
| Quiet Resolve | Anri’s questline when reaching Church of Yorshka in Irithyll of the Boreal Valley |
| Stretch Out | Located at the Profand Capital bonfire – [youtu.be] on the body of most likely Laddersmith Gilligan from DS2. |
| Path of the Dragon | Located after Oceiros – [youtu.be] boss fight; used to travel to https://www.youtube.com/watch?v=TBzu2tntCrY |
Master of Pyromancy
Note: DLC Pyromancy are not required for the achievement and are not listed below.
NPCs Needed: Cornyx – [youtu.be] and Karla – [youtu.be] .
| Tomes | Acquired | Additional Info |
|---|---|---|
| Great Swamp Pyromancy Tome (GSPT) for Cornyx | Crucifixion Woods near a crab close to the 2 hostile NPCs | Video Location – [youtu.be] |
| Carthus Pyromancy Tome (CPT) for Cornyx | Catacombs of Carthus behind illusionary wall | Video Location – [youtu.be] |
| Izalith Pyromancy Tome (IPT) for Cornyx | Smouldering Lake | Video Location – [youtu.be] |
| Quelana Pyromancy Tome (QPT) for Karla | Smouldering Lake behind an illusionary wall | Video Location – [youtu.be] |
| Grave Warden Pyromancy Tome (GWPT) for Karla | Catacombs of Carthus during High Lord of Wolnir boss fight room | Video Location – [youtu.be] |
| Pyromancy | Acquired | Cost |
|---|---|---|
| Fireball | Cornyx | 1k |
| Fire Orb | Cornyx (GWPT) | 3k |
| Bursting Fireball | Cornyx (GWPT) | 5k |
| Great Chaos Fire Orb | Cornyx (IPT) | 10k |
| Chaos Bed Vestiges | Old Demon King Soul | Trade with Ludleth |
| Fire Surge | Cornyx | 1k |
| Fire Whip | Karla (QPT) | 10k |
| Firestorm | Karla (QPT) | 15k |
| Chaos Storm | Cornyx (IPT) | 12k |
| Great Combustion | Cornyx | 3k |
| Sacred Flame | Smouldering Lake near Tsorig | Video Location – [youtu.be] |
| Profaned Flame | Foot of Giant in Irithyll Dungeon by sewer rats. | Video Location – [youtu.be] |
| Poison Mist | Cornyx (GSPT) | 2k |
| Toxic Mist | Smouldering Lake | Video Location – [youtu.be] |
| Acid Surge | Cornyx (CPT) | 6k |
| Flash Sweat | Cornyx | 1500 souls |
| Profuse Sweat | Cornyx (GWPT) | 2k |
| Iron Flesh | Farron Keep Swamp | Video Location – [youtu.be] |
| Power Within | Grand Archives behind hidden bookcase | Video Location – [youtu.be] |
| Carthus Beacon | Cornyx (CPT) | 8k |
| Carthus Flame Arc | Cornyx (CPT) | 10k |
| Warmth | Mound-Makers – [youtu.be] Rank 2 Covenant Reward | 30 Vertebra Shackles: can be obtained by successful invasion with this covenant equipped, being summoned with this covenant equipped, or farming Carthus Gravewarden Skeletons in the Catacombs of Carthus (1-2% drop – Refer to Farming Section) |
| Rapport | Karla (QPT) | 7k |
| Boulder Heave | Soul of Stray Demon – [youtu.be] : a mini-boss above the Old Wolf of Farron Bonfire. Take the elevator up and he will be located up the stairs and towards the back. | Trade with Ludleth |
| Black Flame | Karla (GWPT) | 10k |
| Black Fire Orb | Karla (GWPT) | 10k |
| Black Serpent | Soul of Wolnir | Trade with Ludleth |
Master of Miracles
Note: DLC Miracles are not required for the achievement and are not listed below.
NPCs Needed: Irina of Carim – [youtu.be] and Karla – [youtu.be]
| Tomes | Acquired | Additional Info |
|---|---|---|
| Braille Divine Tome of Carim (BDTofC) for Irina | Road of Sacrifices, underneath walkway heading to bonfire, 2 dogs guarding | Video Location – [youtu.be] |
| Londor Braille Divine Tome (LBDT) (recommend for Karla) | Bought from Yuria for 50 souls | Video Location – [youtu.be] |
| Deep Braille Divine Tome (DBDT) (Also recommended for Karla) | Located in the Cathedral of the Deep from a Mimic – *Can use an Undead Hunter Charm to put it to sleep and loot the mimic without fighting. Note that if you are farming for the Symbol of Avarice , the Undead Hunter’s Charm Method will not work and this is a valuable item to have when farming rare covenant items. | Video Location – [youtu.be] |
| Braille Divine Tome of Lothric (BDTofL) for Irina | Found in Lothric Castle near Pus of Man / before Dragonslayer Armour | Video Location – [youtu.be] |
| Miracle | Acquired | Cost |
|---|---|---|
| Heal Aid | Purchased from Shrine Handmaiden | 500 souls |
| Heal | Irina of Carim | 1k souls |
| Med Heal | Irina of Carim (Need: BDTofC) | 3500 souls |
| Great Heal | Corpse in Irithyll of Boreal Valley | Video Location – [youtu.be] |
| Soothing Sunlight | Soul of Dancer | Trade with Ludleth NPC |
| Replenishment | Irina of Carim | 1k souls |
| Bountiful Light | Irina of Carim (Need: BDTofL) | 5k |
| Bountiful Sunlight | Soul of Rosaria | Trade with Ludleth NPC |
| Caressing Tears | Irina of Carim | 1.5k souls |
| Tears of Denial | Irina of Carim (Need: BDTofC) | 10k souls |
| Homeward | Irina of Carim | 3k souls |
| Seek Guidance | Corpse in Cathedral of the Deep | Video Location – [youtu.be] |
| Sacred Oath | Rank 1 in Warriors of Sunlight | 10 Sunlight Medals given to the Sunlight Altar – [youtu.be] : Acquired by defeating bosses in other player’s worlds with this covenant equipped, invading with the covenant equipped, receiving help from a summon from this covenant, and farmed from Lothric Knights (2% drop, refer to Farming Section) |
| Force | Irina of Carim (Need: BDTofC) | 1k souls |
| Emit Force | Siegward of Catarina (3rd encounter) – Irithyll of Boreal Valley Kitchen | Video Location – [youtu.be] |
| Wrath of the Gods | Roof of Profaned Capital: on a corpse when dropping from an open door frame. | Video Location – [youtu.be] |
| Lightning Spear | Near Old Wolf Farron bonfire, up elevator and near dead Wyvern | (Video Location – [youtu.be] ) |
| Great Lightning Spear | Rank 2 in Warriors of Sunlight | 30 Sunlight Medals (Refer to Farming Section) |
| Sunlight Spear | Soul of Cinder | Trade with Ludleth NPC |
| Lightning Stake | Dropped from Mini-boss “Carthus Sandworm” (also drops an Undead Boneshard). Use the terrain to your advantage to take cover from the ballista. | Video Location – [youtu.be] |
| Lightning Storm | Soul of Nameless King | Trade with Ludleth NPC |
| Divine PIllars of Light | Grand Archives on the roof near the Winged Knights – Drop into a hole onto a bird’s nest | Video Location – [youtu.be] |
| Blessed Weapon | Irina of Carim (Need: BDTofL) | 8k Souls |
| Lightning Blade | Irithyll Dungeon near Archdragon Peak statues | Video Location – [youtu.be] |
| Darkmoon Blade | Blades of the Darkmoon, Covenant Rank 2 | 30 Proof of Concord Kept (Refer to Farming Section) |
| Magic Barrier | Irina of Carim (Need: BDTofL) | 5k |
| Great Magic Barrier | Archdragon Peak near Havel | Video Location – [youtu.be] |
| Dark Blade | Karla (Need: LBDT) | 10k |
| Vow of Silence | Karla (Need: LBDT) | 15k |
| Dead Again | Karla (Need: LBDT) | 5k |
| Atonement | Near Farron Keep Perimeter | Video Location – [youtu.be] |
| Deep Protection | Karla (Need: DBDT) | 4k |
| Gnaw | Karla (Need: DBDT) | 2k |
| Dorhy’s Gnawing | Drop by a Cathedral Evangelist behind invisible stairs in Irithyll of the Boreal Valley | Video Location – [youtu.be] |
| Lifehunt Scythe | Soul of Aldrich | Trade with Ludleth NPC |
Master of Sorcery
Note: DLC Sorceries are not required for the achievement and are not listed below.
NPCs Needed: Orbeck – [youtu.be] mostly, but a few can be bought by Yoel or Yuria – [youtu.be] :
Note: You need a base stat of 10 INT for Orbreck to relocate to Firelink and It is not recommended to kill Orbeck by request of Yuria. This will only limit your sorceries available for the achievement until the next NG cycle.
| Scrolls | Acquired | Additional Info |
|---|---|---|
| Sage’s Scroll for Orbeck | Farron Keep | Video Location – [youtu.be] |
| Golden Scroll for Orbeck | Farron Keep | Video Location – [youtu.be] |
| Logan’s Scroll for Orbeck | Profaned Capital | Video Location – [youtu.be] |
| Crystal Scroll for Orbeck | Dropped by the Crystal Sage in the Grand Archives with three teleport locations. The last teleport location is located on the bridge that leads to the shortcut elevator back to the bonfire. | Video Location – [youtu.be] |
| Spell | Acquired | Cost |
|---|---|---|
| Soul Arrow | Yoel, Yuria, Or Orbeck | 1k |
| Great Soul Arrow | Orbeck | 3k |
| Heavy Soul Arrow | Yoel, Yuria, or Orbeck | 2k |
| Great Heavy Soul Arrow | Orbeck | 4k |
| Farron Dart | Orbeck | 500 |
| Great Farron Dart | Orbeck (Sage’s Scroll) | 2k |
| Farron Hail | Orbeck (Sage’s Scroll) | 5k |
| Homing Soulmass | Orbeck (Logan’s Scroll) | 6k |
| Homing Crystal Soulmass | Orbeck (Crystal Scroll) | 10k |
| Crystal Hail | Soul of a Crystal Sage | Trade with Ludleth NPC |
| Soul Spear | Orbeck (Logan’s Scroll) | 5k |
| Crystal Soul Spear | Orbeck (Crystal Scroll) | 15k |
| White Dragon Breath | Soul of Oceiros | Trade with Ludleth NPC |
| Soul Stream | Grand Archives, Boreal Knight Room | Video Location – [youtu.be] |
| Soul Greatsword | Yoel, Yuria, or Orbeck | 5k |
| Farron Flashsword | Orbeck | 3k |
| Magic Weapon | Yoel, Yuria, or Orbeck | 4.5k or 3k depending on NPC |
| Great Magic Weapon | Farron Keep Perimeter item drop near crystal lizard and shortcut | Video Location – [youtu.be] |
| Crystal Magic Weapon | Orbeck (Crystal Scroll) | 10k |
| Magic Shield | Orbeck | 3k |
| Great Magic Shield | Irithyll Dungeon | Video Location – [youtu.be] |
| Spook | Orbeck | 2k |
| Aural Decoy | Orbeck | 2k |
| Pestilent Mist | Orbeck (give one scroll) | 1k |
| Cast Light | Orbeck (Golden Scroll) | 1k |
| Repair | Orbeck (Golden Scroll) | 2k |
| Hidden Weapon | Orbeck (Golden Scroll) | 1.5k souls |
| Hidden Body | Orbeck (Golden Scroll) | 3k |
| Chameleon | Anri of Astora Quest or Entering the Darkmoon Tomb undernearth the Anor Londo Bonfire (Note: The Pilgrim can also be found at the Church of Yorshka bonfire in a corner of statues depending on your quest progression). | Video Location – [youtu.be] , Video Location 2 – [youtu.be] |
| Twisted Wall of Light | Orbeck (Golden Scroll) | 6k |
| Deep Soul | Deacons of the Deep Soul | Trade with Ludleth NPC |
| Great Deep Soul | Rank 1 in Aldrich Faithful | 10 Human Dregs, Can be acquired by successful invasion with covenant equipped or farming Deacon enemies (1-2% drop increased by Covetous Gold Serpent Ring, Crystal Sage Rapier, Gold or Rusted Coins (Sold by Patches), Symbol of Avarice: Mimic Drop). |
| Affinity | Karla | 15k |
| Dark Edge | Karla | 8k |
Master of Rings, Pt 1
Note: Some rings require multiple collections and continuing to NG+2 (Life Ring +3 is also found on NG+2). This is also necessary for the three separate endings. Make sure to collect each base ring before continuing to a NG cycle. Some rings have higher versions in the DLC, but these are not needed for the achievement and therefore will not be covered.
“Base” rings are any found in your first playthrough, for clarification.
Videos for +1 (NG+1), +2 (NG+2) and Life Ring +3 (Also found on NG+2) show the location only as my character with all rings is on another NG cycle.
Covetous Silver Serpent Ring: Base, +1, +2
| Base | Firelink Shrine Roof (Near Pickle Pee nest) behind an illusory wall and in a chest: (Video Location – [youtu.be] ) | 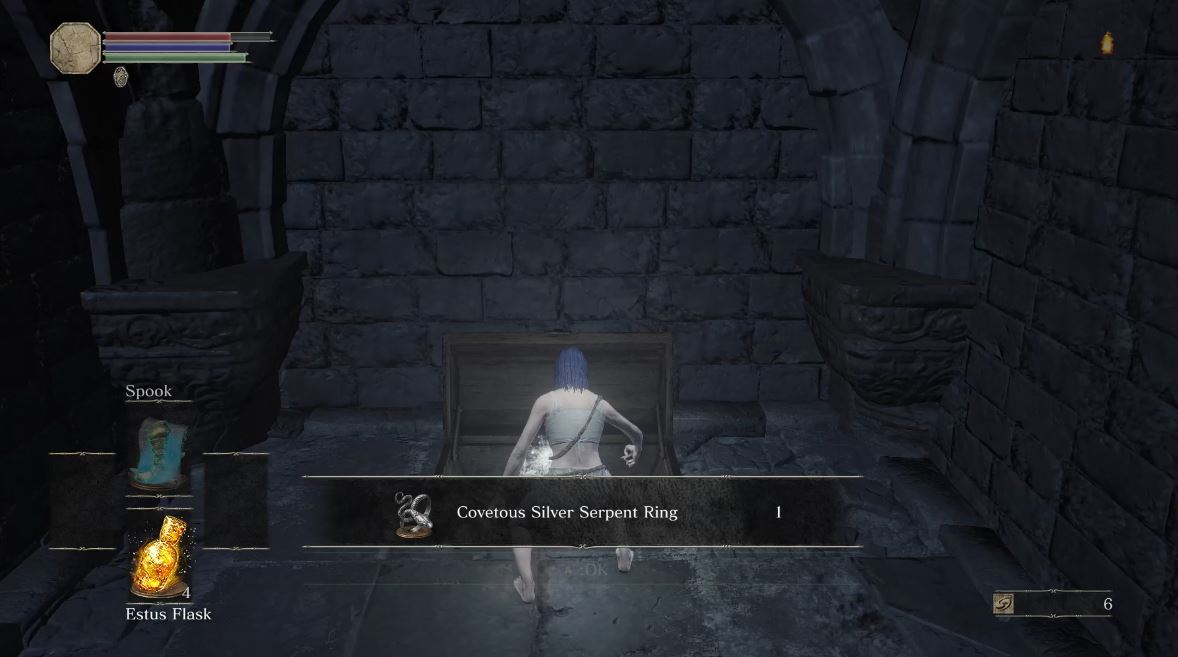 |
| +1 | Elevator shortcut in Irithyll Dungeon | Video Location – [youtu.be] |
| +2 | Undead Settlement near Siegward and the Fire Demon on the roof | Video Location – [youtu.be] |
Silvercat Ring
| Base | Gifted from Sirris of the Sunless Realm when doing her quest. Important Note: Don’t do Heysel’s quest or offer Rosaria a pale tongue at any point or it will fail Sirris’ quest. | 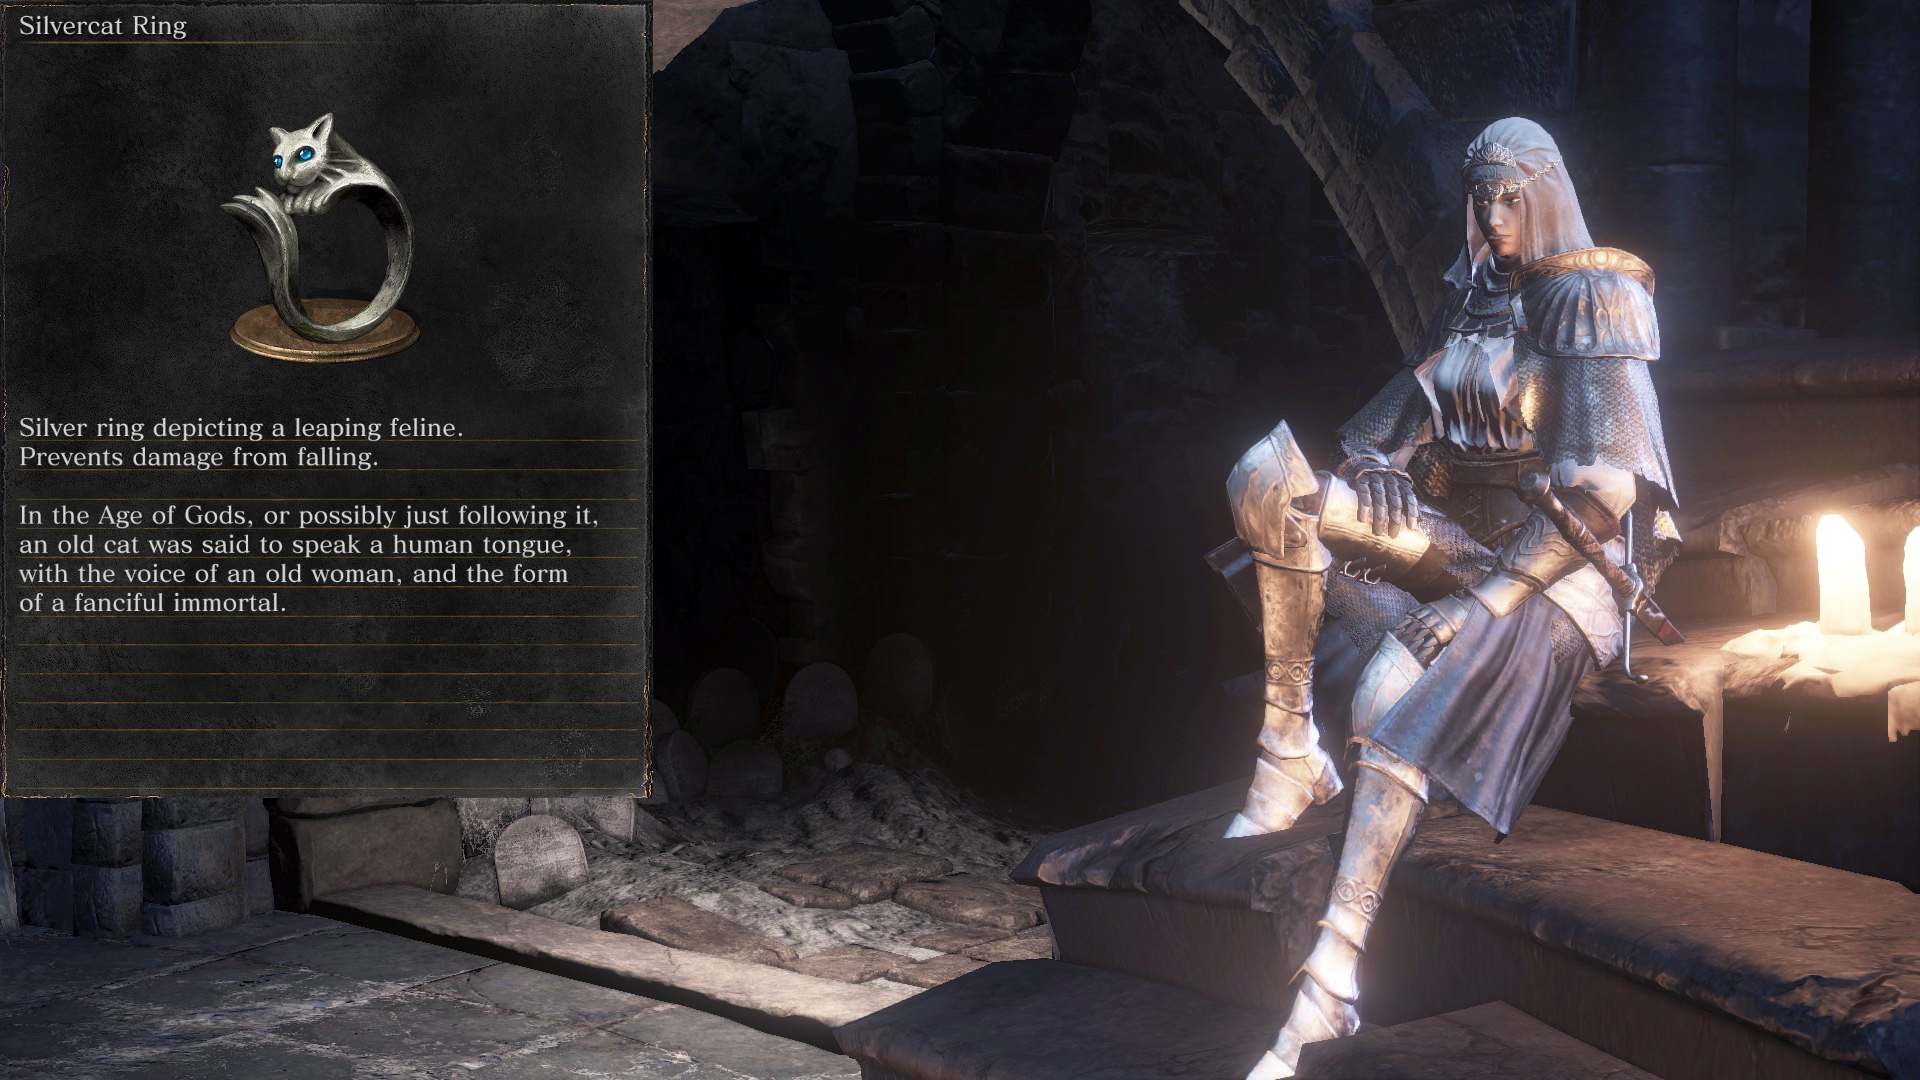 |
Chloranthy Ring: Base, +1, +2
| Base | Location of the Siegward and the Fire Demon Area at the bottom of a tower: (Video Location – [youtu.be] ) | 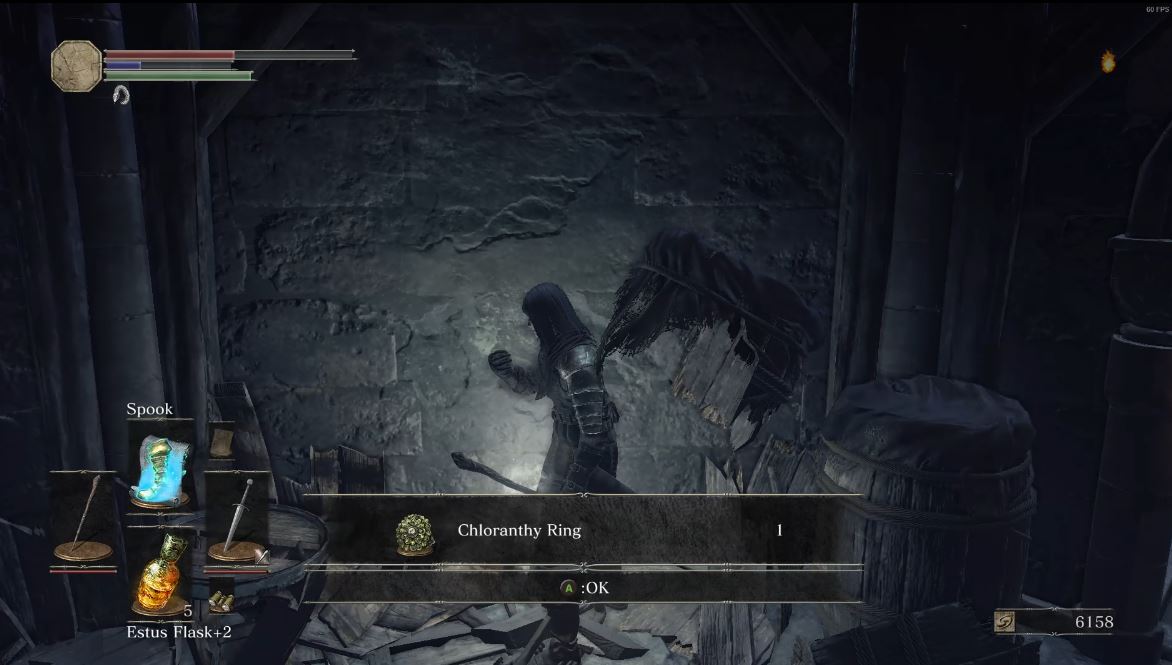 |
| +1 | Behind an altar in front of the lower ledge of the Pontiff boss fight. | Video Location – [youtu.be] |
| +2 | Road of Sacrifices off a ledge near a Corvian Storyteller | Video Location – [youtu.be] |
Calamity Ring
| Base | Do the “Path of the Dragon” gesture in front of the altar next to the Dragon-Kin Mausoleum bonfire: (Video Location – [youtu.be] ) | 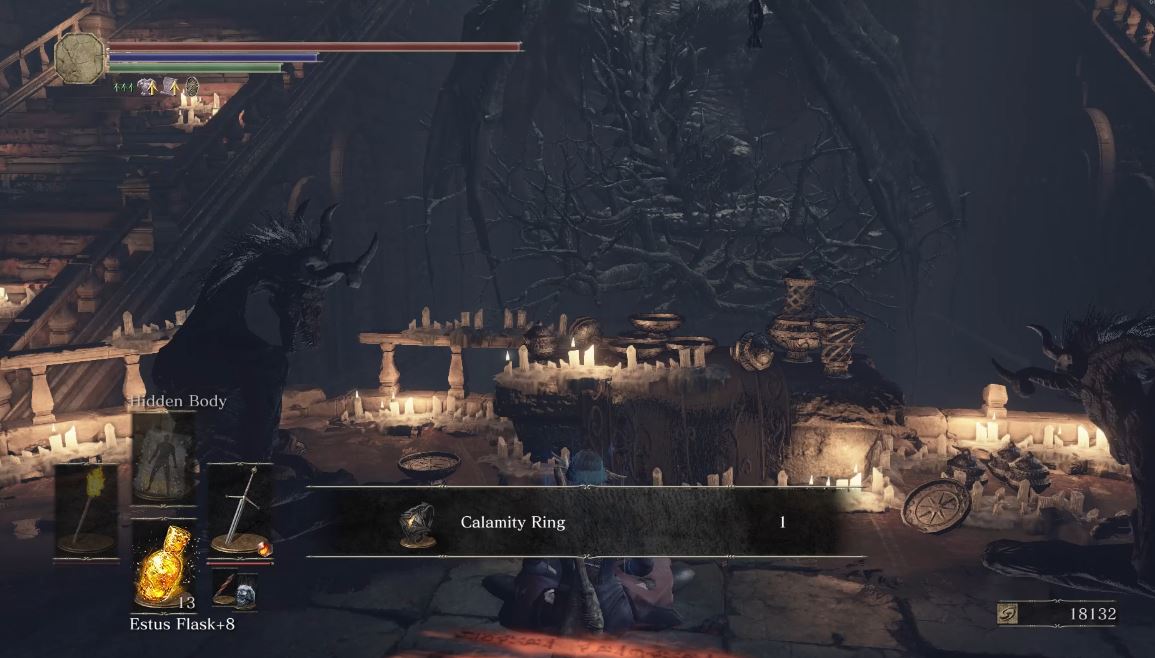 |
Ring of Steel Protection: Base, +1, +2
| Base | In the Ancient Wyvern boss area close to the Archdragon Peak bonfire, down the right stairs and around the ledge: (Video Location – [youtu.be] ) | 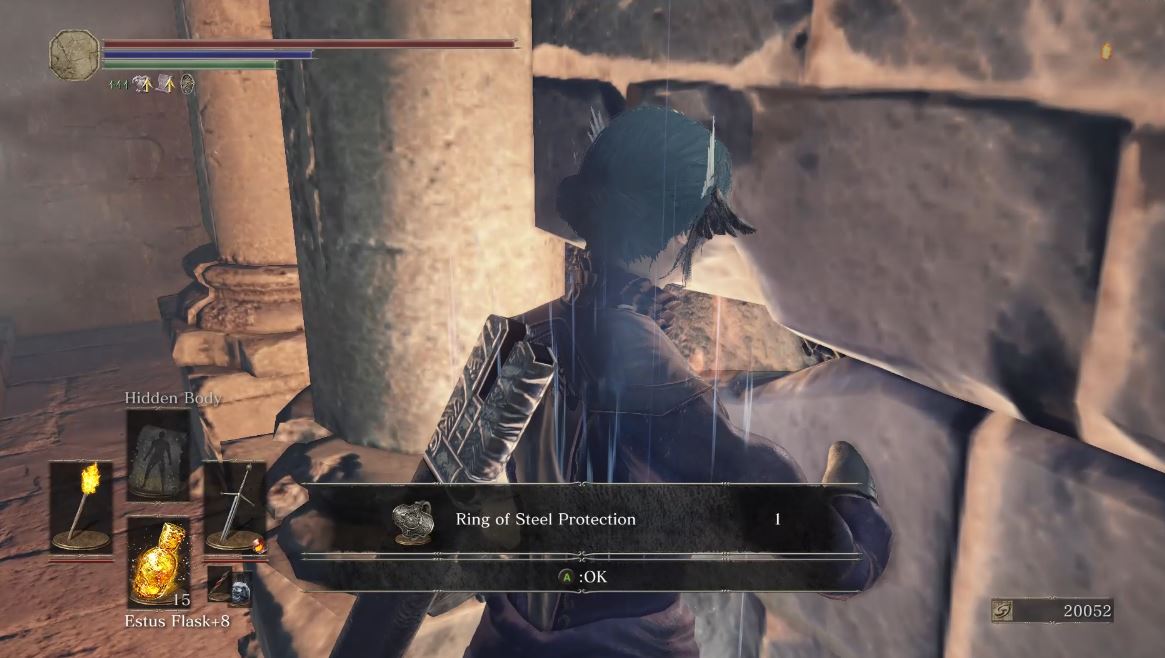 |
| +1 | Untended Graves in the dark version of Firelink Shrine by the tower. | Video Location – [youtu.be] |
| +2 | Catacombs of Carthus from Abyss Watchers Bonfire -cross bridge halfway and drop onto a pillar on left side. | Video Location – [youtu.be] |
Morne’s Ring
| Base | Found off a ledge near Halfway Fortress Bonfire by Braille Divine Tome of Carim: (Video Location – [youtu.be] ) | 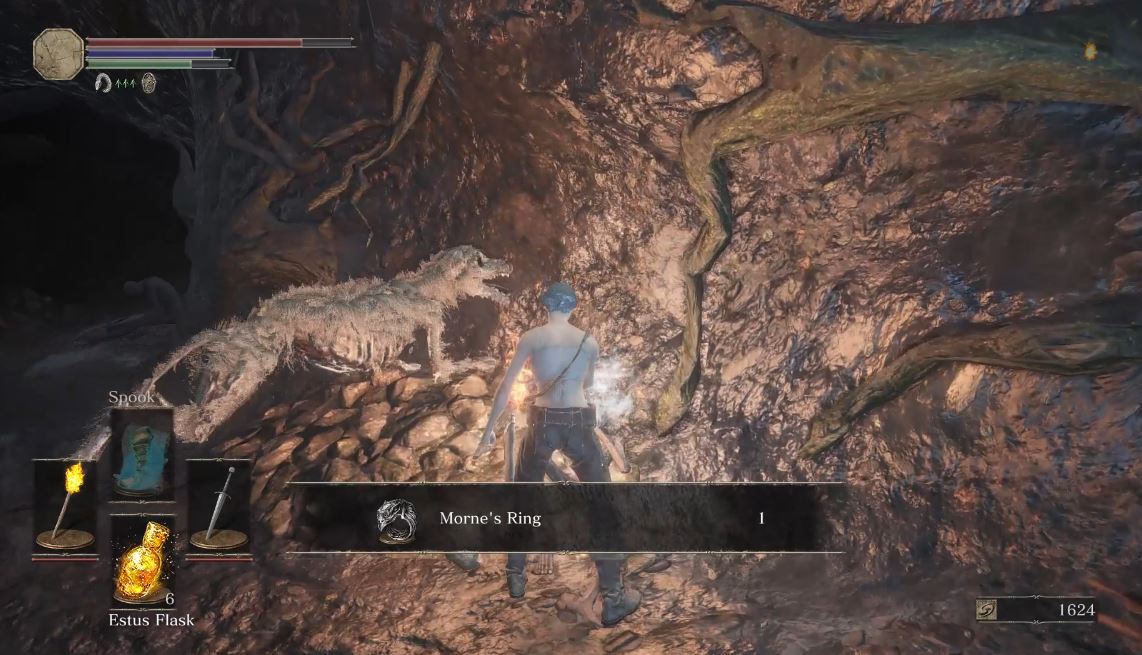 |
Flynn’s Ring: Base
| Base | On the roof by Siegward’s first location with the Fire Demon: (Video Location – [youtu.be] ) | 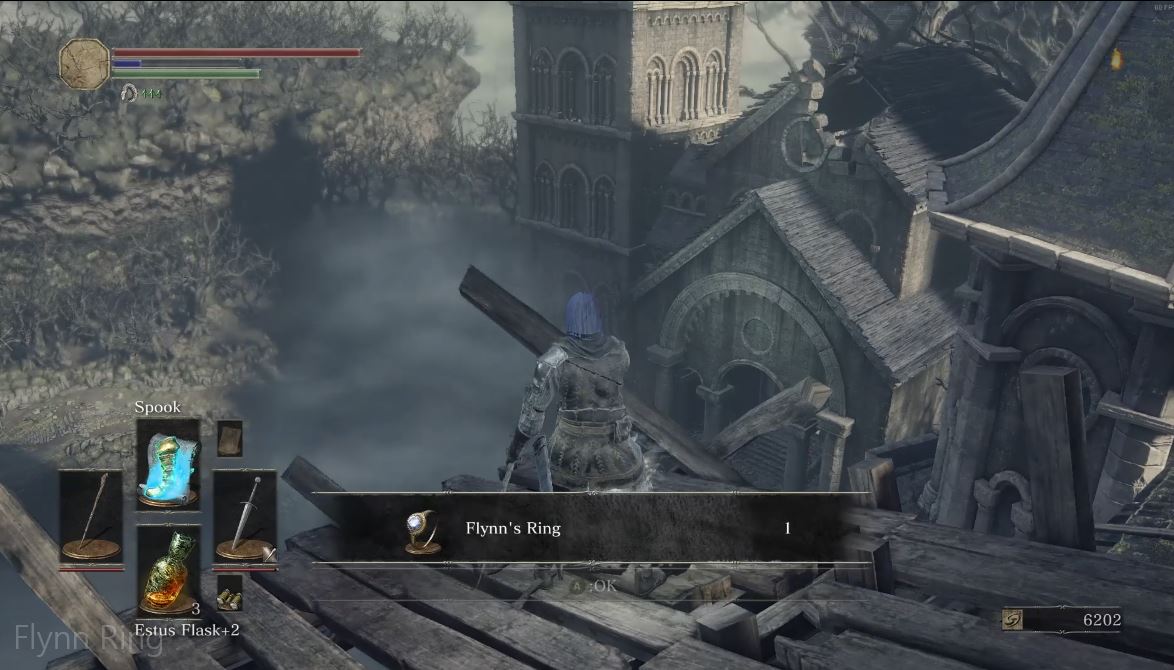 |
Sage Ring: Base, +1, +2
| Base | Small door frame in water near Crucifixion Woods bonfire guarded by a Red-Eyed “Lycanthrope” enemy: (Video Location – [youtu.be] ) |  |
| +1 | Grand Archives on the roof near Winged Knights and dropping into a bird nest and down rafters. | Video Location – [youtu.be] |
| +2 | Consumed Kings Garden, Left side half way down the elevator: jump to broken stairs. | Video Location – [youtu.be] |
Great Swamp Ring
| Base | Great Swamp Ring – Dropped from a crab in Cruxificion Woods near Heysel invasion that guards the Great Swamp Pyromancy Tome: (Video Location – [youtu.be] ) | 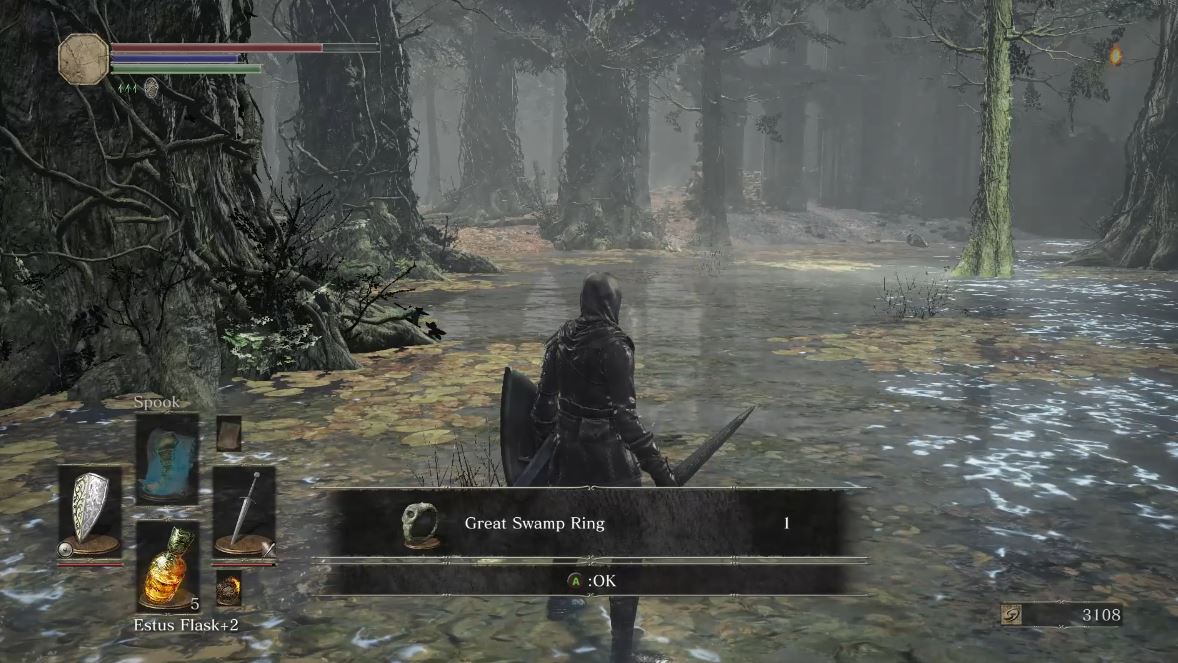 |
Leo RIng
| Base | Chest in a row of three above kitchen in Irithyll of Boreal Valley past Silver Knights: (Video Location – [youtu.be] ) | 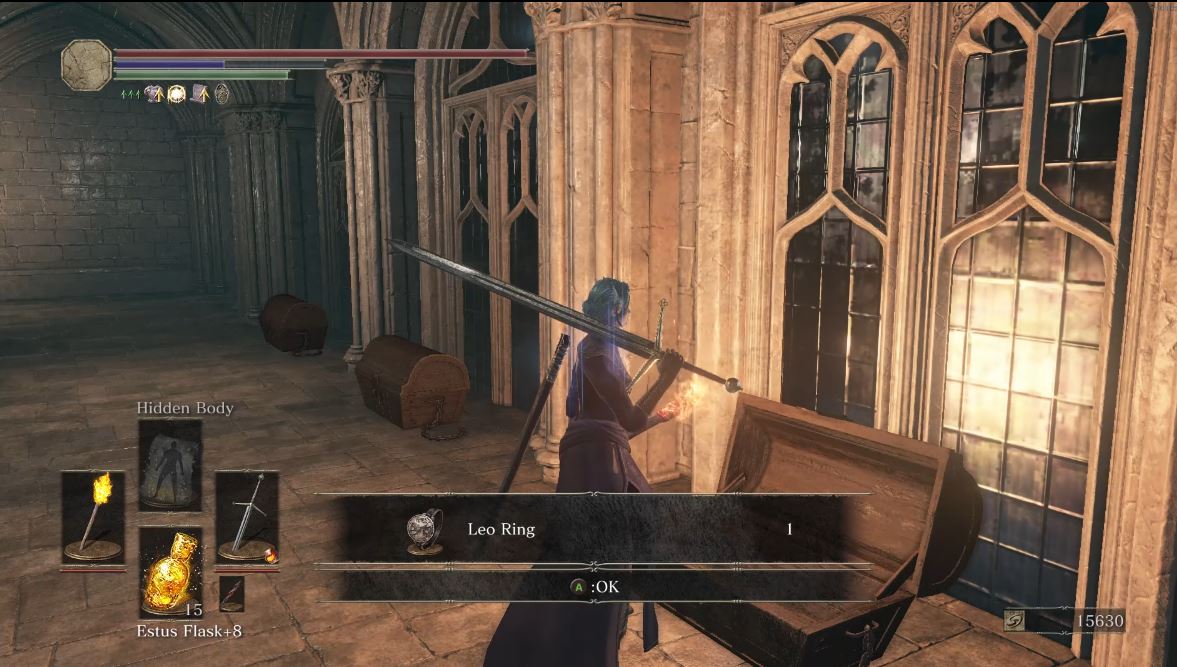 |
Blue Tearstone Ring
| Base | Given by Greirat of the Undead Settlement in the High Wall of Lothric under the Tower on the High Wall bonfire: (Video Location – [youtu.be] ). | 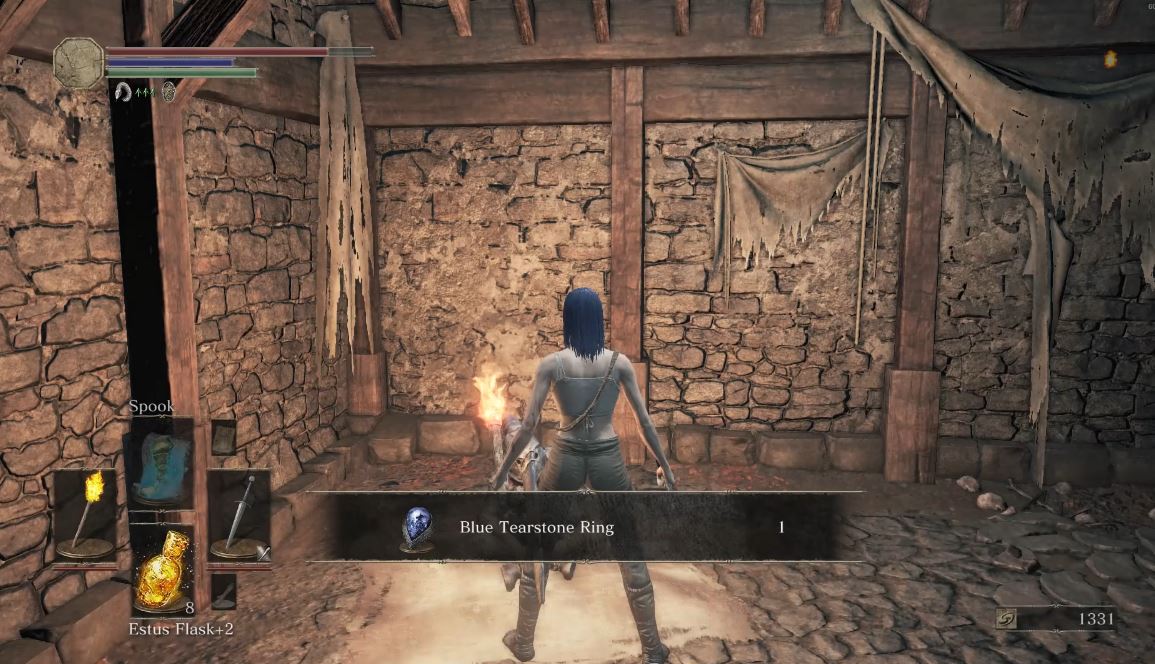 |
Aldrich’s Ruby
| Base | Enemy drop from “The Deep Accursed” mini-boss in Anor Londo before Aldrich fight: (Video Location – [youtu.be] ) | 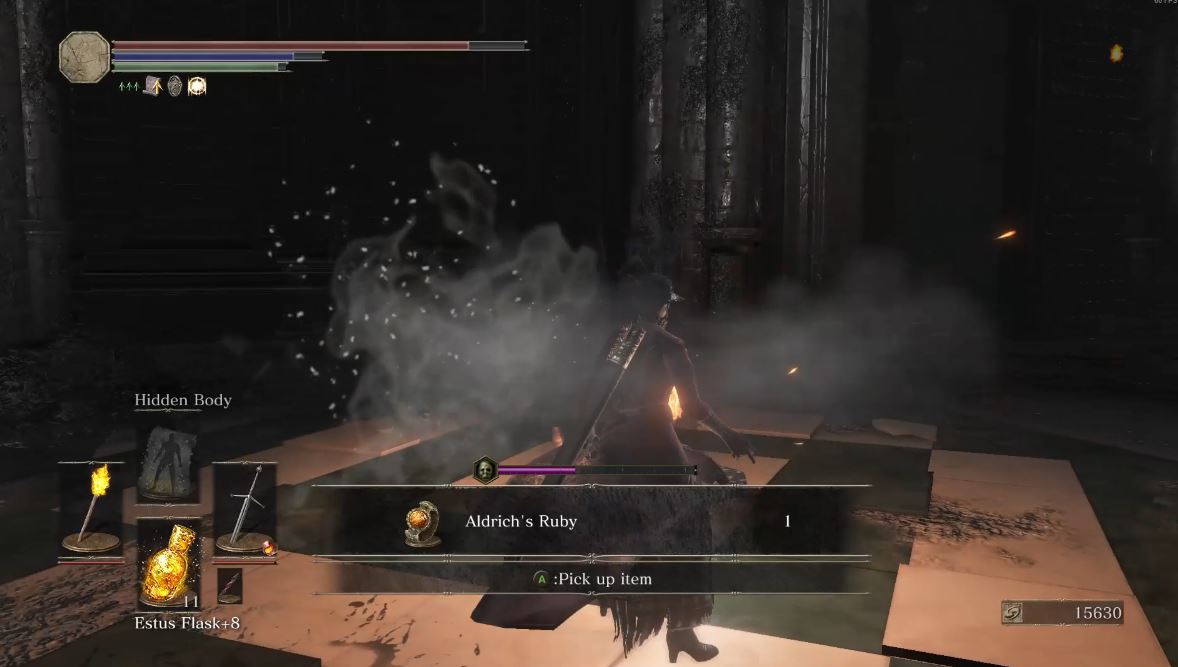 |
Aldrich’s Sapphire
| Base | Enemy drop from the “The Deep Accursed” mini-boss in Cathedral of the Deep, past the Giant Slave, downstairs: (Video Location – [youtu.be] ) | 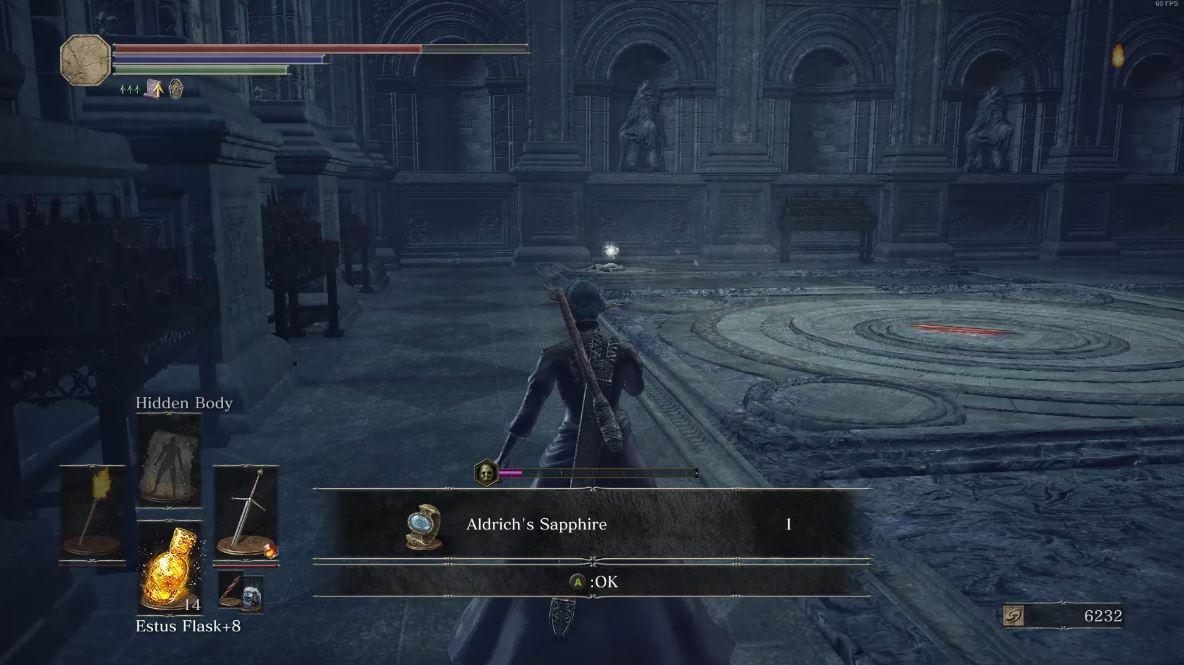 |
Magic Clutch Ring
| Base | Behind Illusory wall near a mob of Pontiff Knights: (Video Location – [youtu.be] ) | 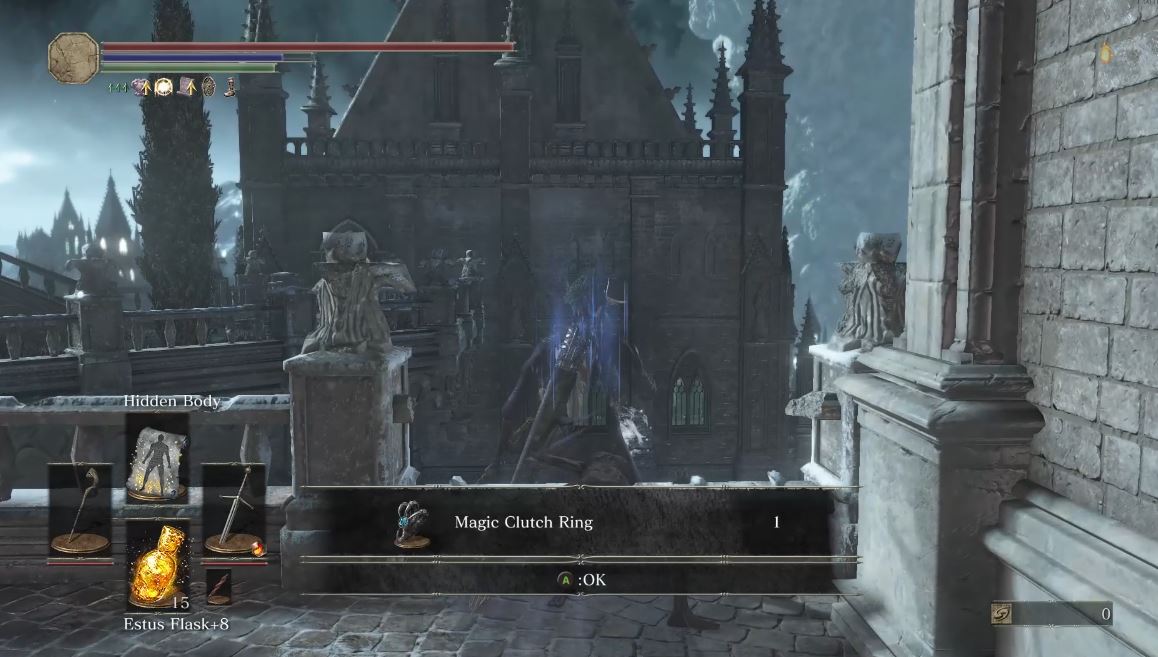 |
Lingering Dragoncrest Ring: Base, +1, +2
| Base | Dropped from a giant crab nearest to the left of the Keep Ruins bonfire by a White Birch Tree. Make friends with the giant – [youtu.be] for help: (Video Location – [youtu.be] ) | 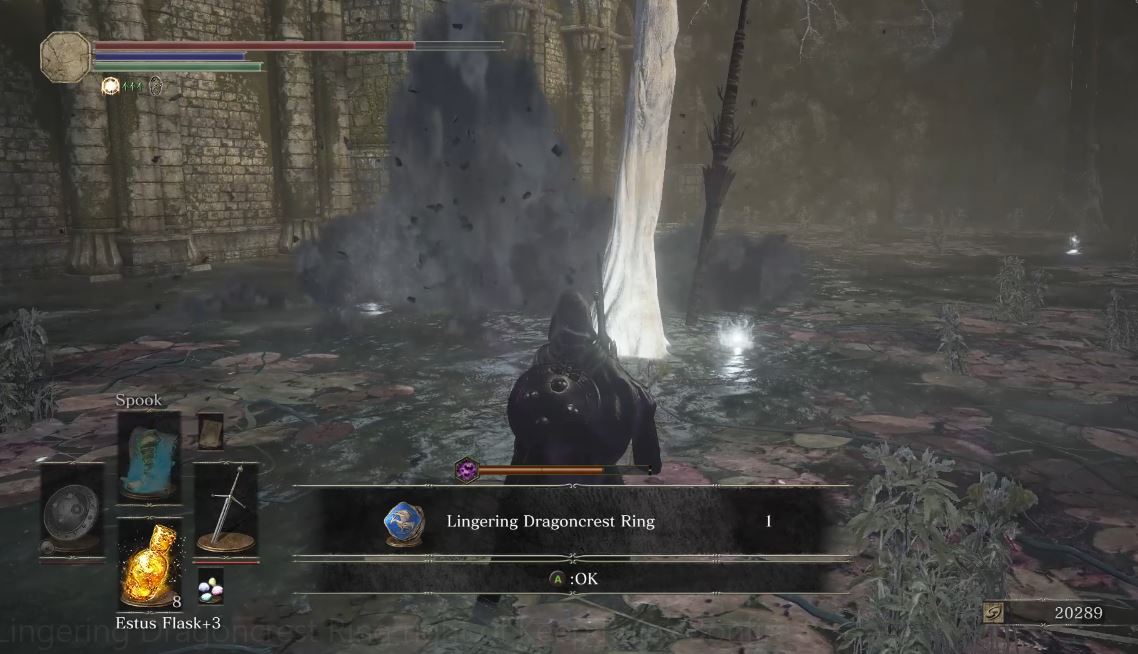 |
| +1 | Crucifixion Woods by bonfire on a tree by one of the Giant Crabs. | Video Location – [youtu.be] |
| +2 | Grand Archives Roof near Winged Knights inside an alcove. | Video Location – [youtu.be] |
Lightning Clutch Ring
| Base | Archdragon Peak bonfire before the Ancient Wyvern boss fight area to the left: (Video Location – [youtu.be] ) | 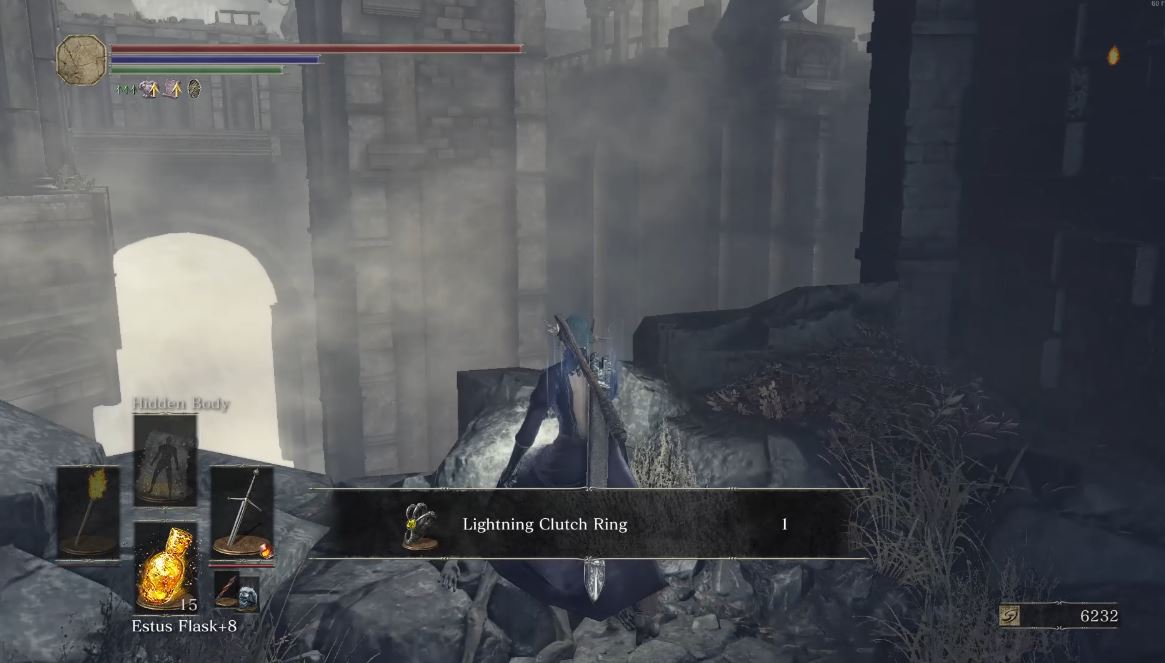 |
Master of Rings, Pt. 2
Bloodbite Ring: Base, +1
| Base | Dropped from a rat in the sewers of the Undead Settlement, close to Dilpitated Bridge bonfire: (Video Location – [youtu.be] ) | 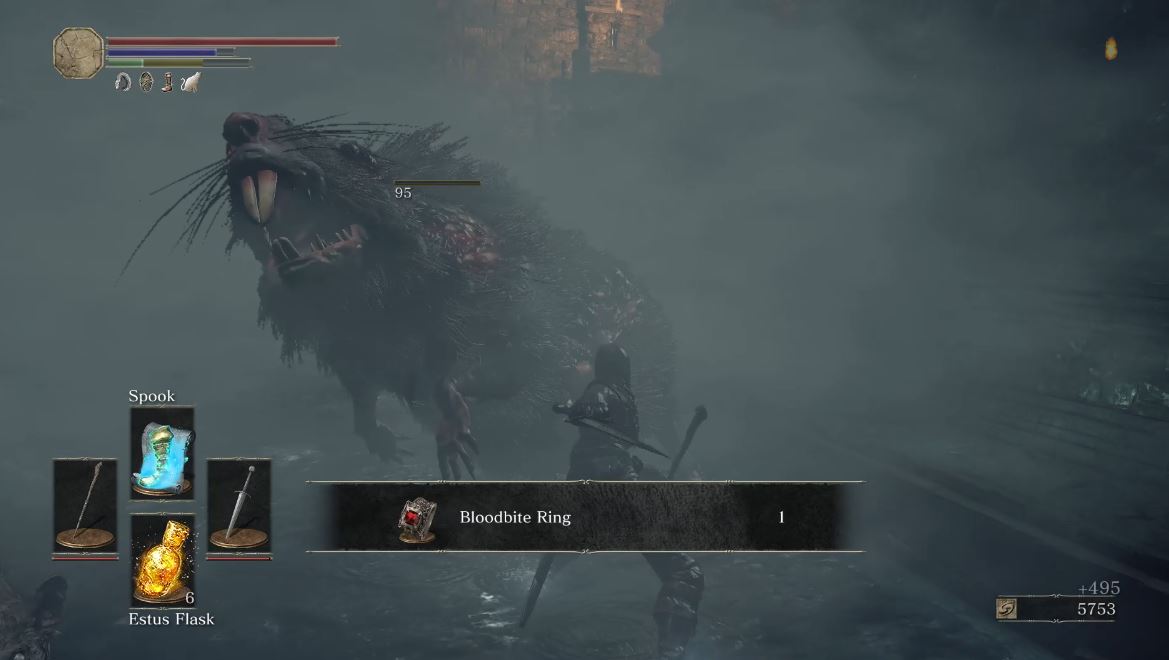 |
| +1 | Next to the ballista in Smouldering Lake. Start from Demon Ruins Bonfire and follow the video. | Video Location – [youtu.be] |
Lloyd’s Sword Ring
| Base | Corpse on ledge by Giant Slave on the upper level in the Cathedral of Deep: (Video Location – [youtu.be] ) | 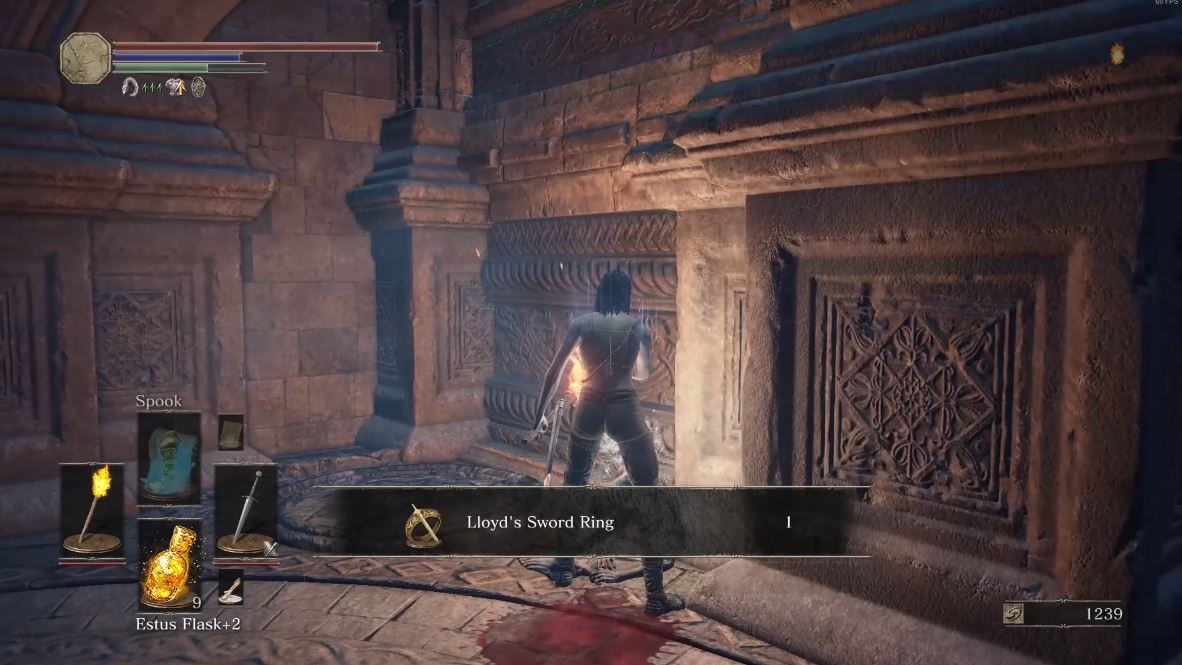 |
Dusk Crown Ring
| Base | Last cell to the left in Irithyll Dungeon past the sewer rats and next to Xanthous Ashes: (Video Location – [youtu.be] ) *AUDIO WARNING* – In-game jump scare scream when picked up. | 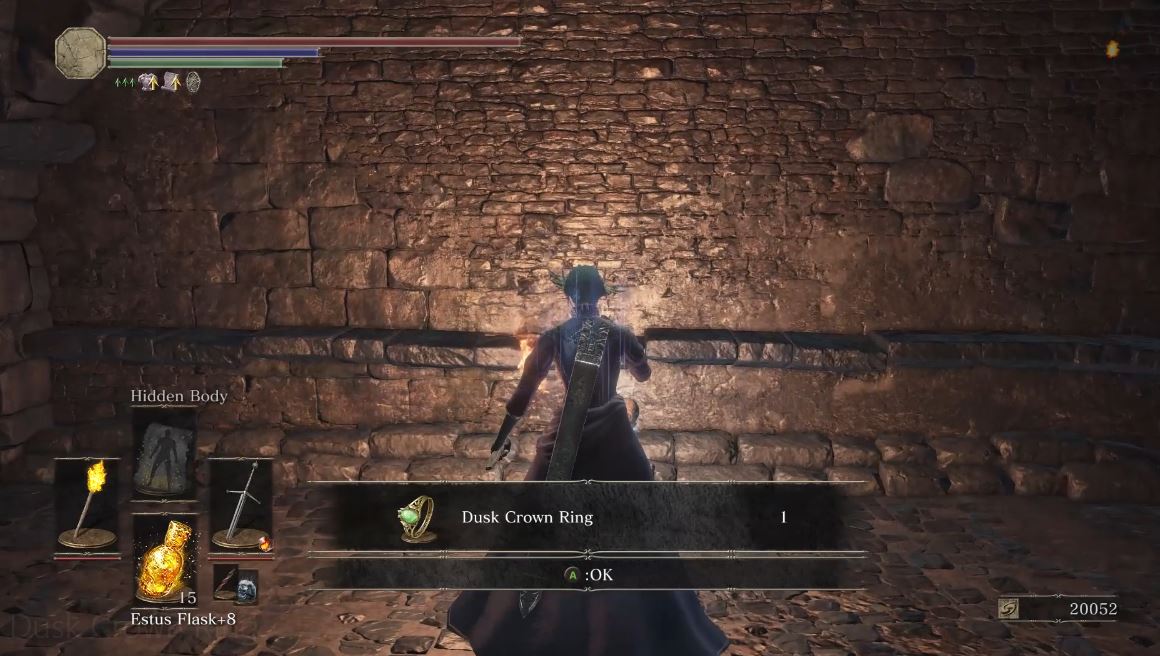 |
Reversal Ring
| Base | Found under the Anor Londo Bonfire in the Darkmoon Tomb, end of corridor in a chest to right: (Video Location – [youtu.be] ) | 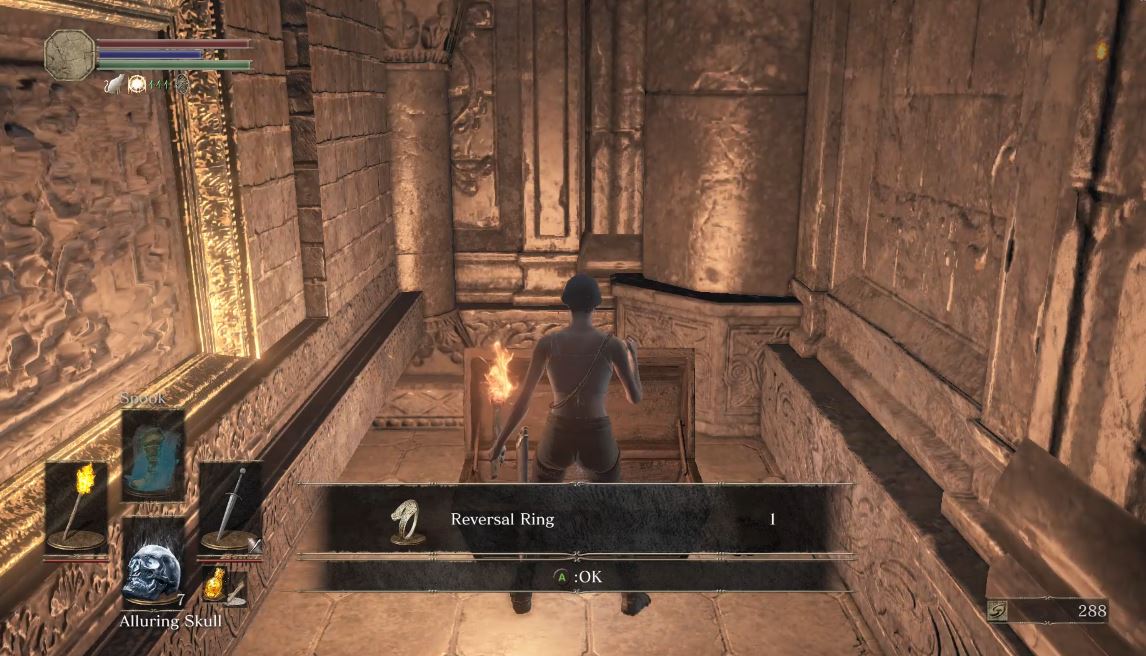 |
Ring of the Evil Eye: Base, +1, +2
| Base | Given by Anri when speaking in the Catacombs after fighting Horace. Speaking with Anri before Horace can end Anri’s quest prematurely.(Video Location – [youtu.be] ) | 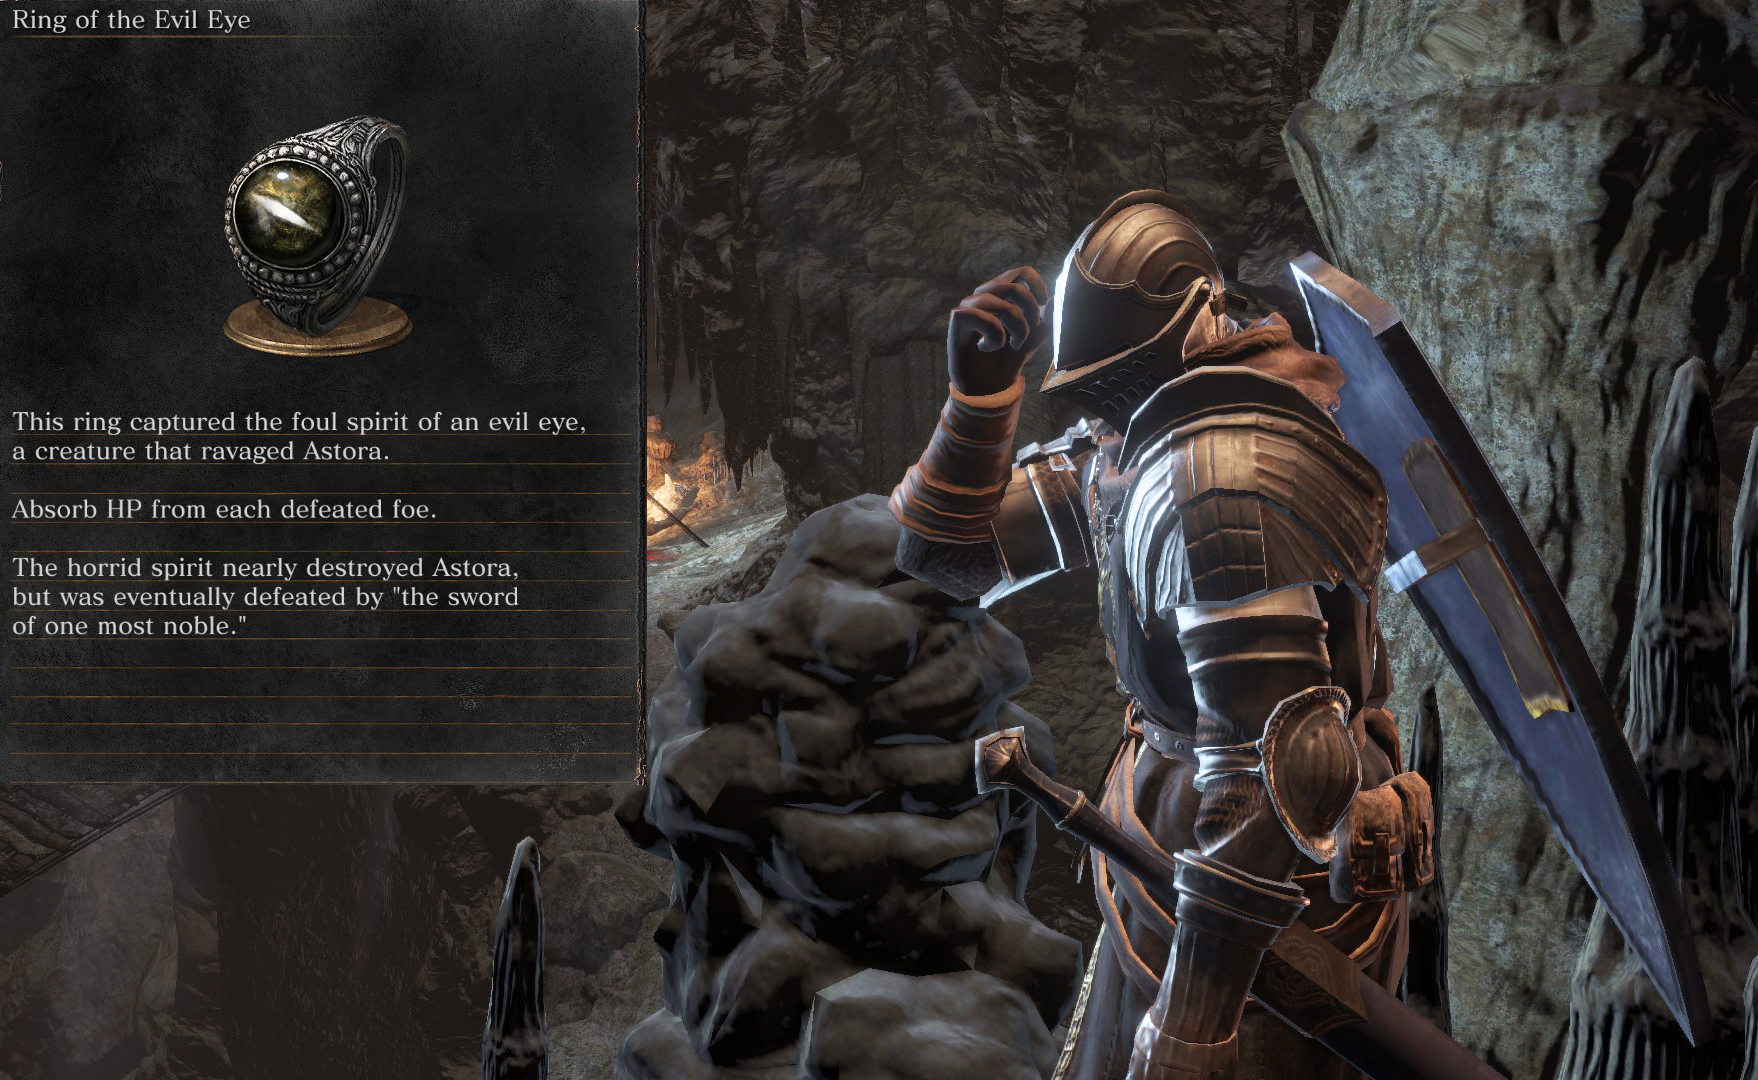 |
| +1 | Behind Altar in front of Deacons of the Deep boss room | Video Location – [youtu.be] |
| +2 | High Wall of Lothric, under Tower of the Wall bonfire. In same room with the key to save Greirat. | Video Location – [youtu.be] |
Deep Ring
| Base | Dropped by a Red-Eyed Fire Casting Enemy in Cathedral of the Deep near the rafters (Video Location – [youtu.be] ) | 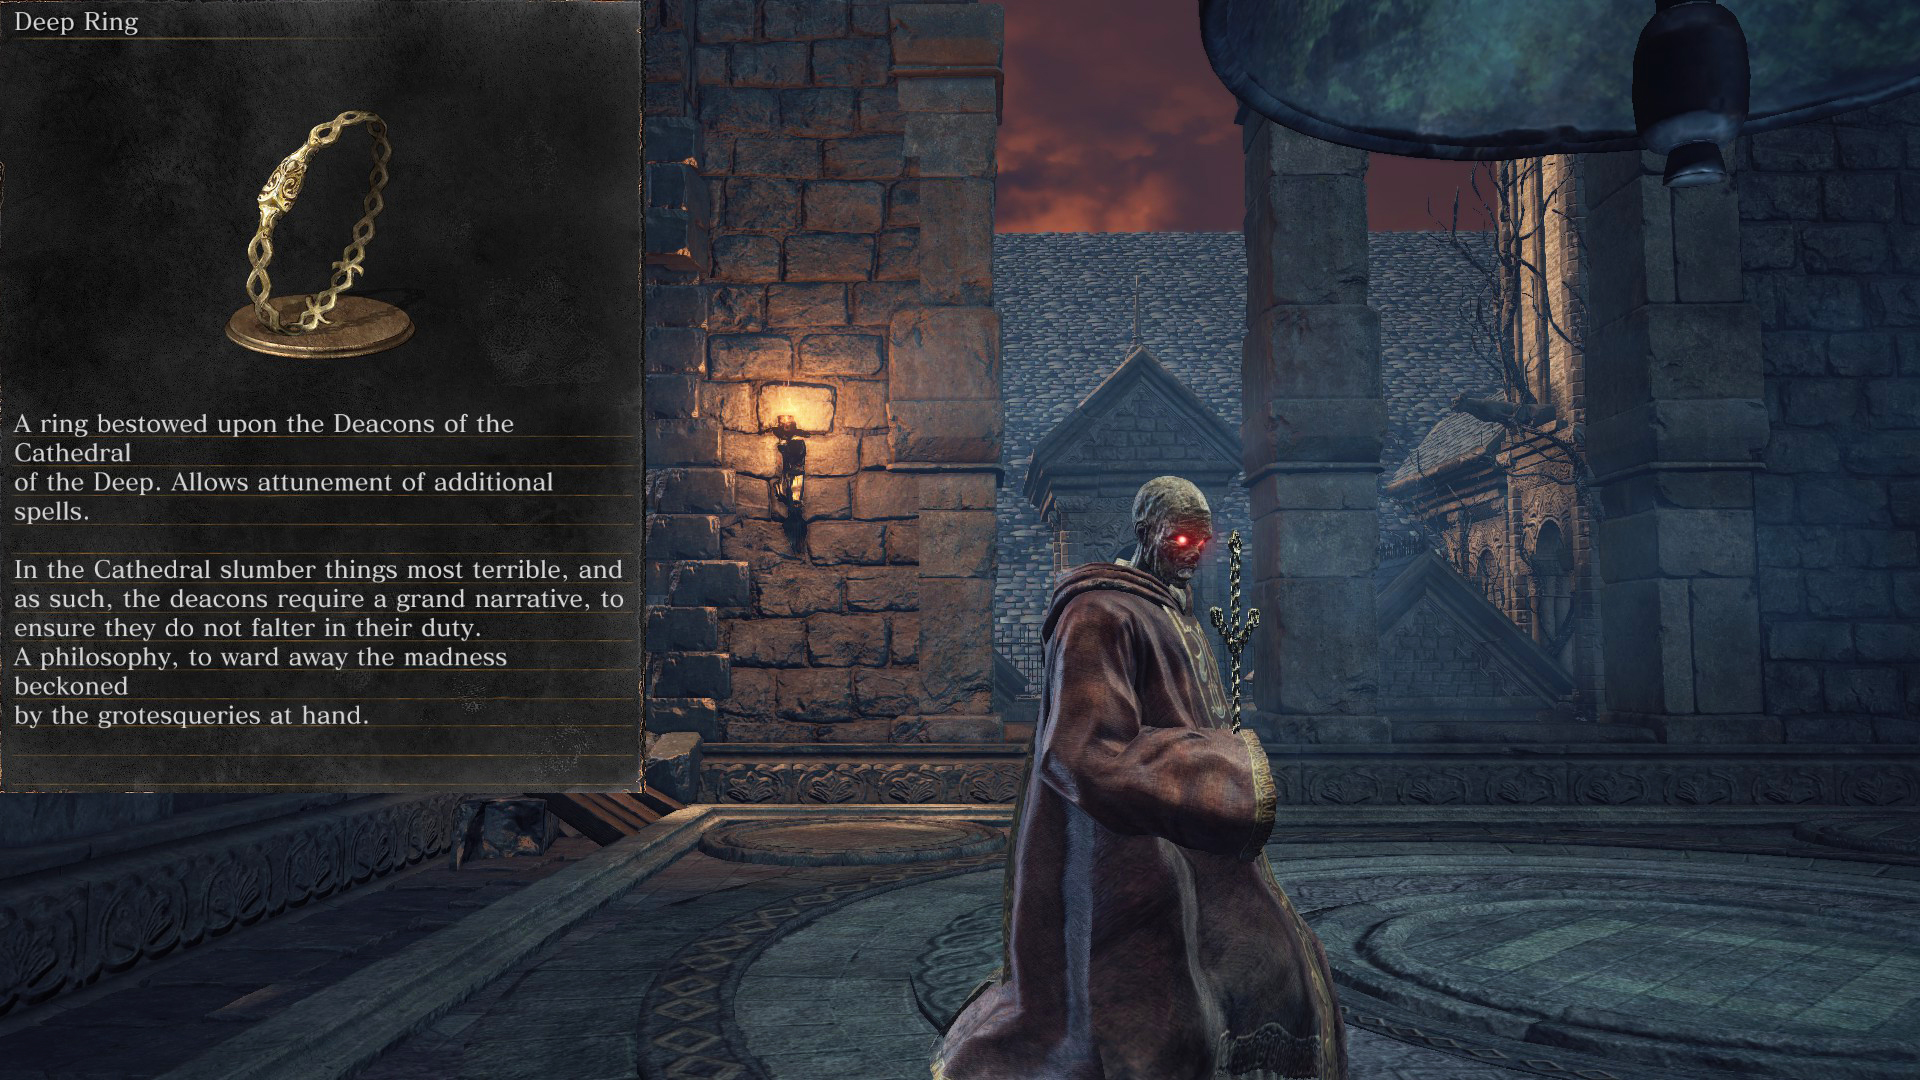 |
Dark Clutch Ring
| Base | Located in the Irithyll Dungeon Sewers past the rats in a Mimic, be careful of the toxic basilisks. You can use an Undead Hunter Charm to put the mimic to sleep and not fight it. (Video Location – [youtu.be] ) | 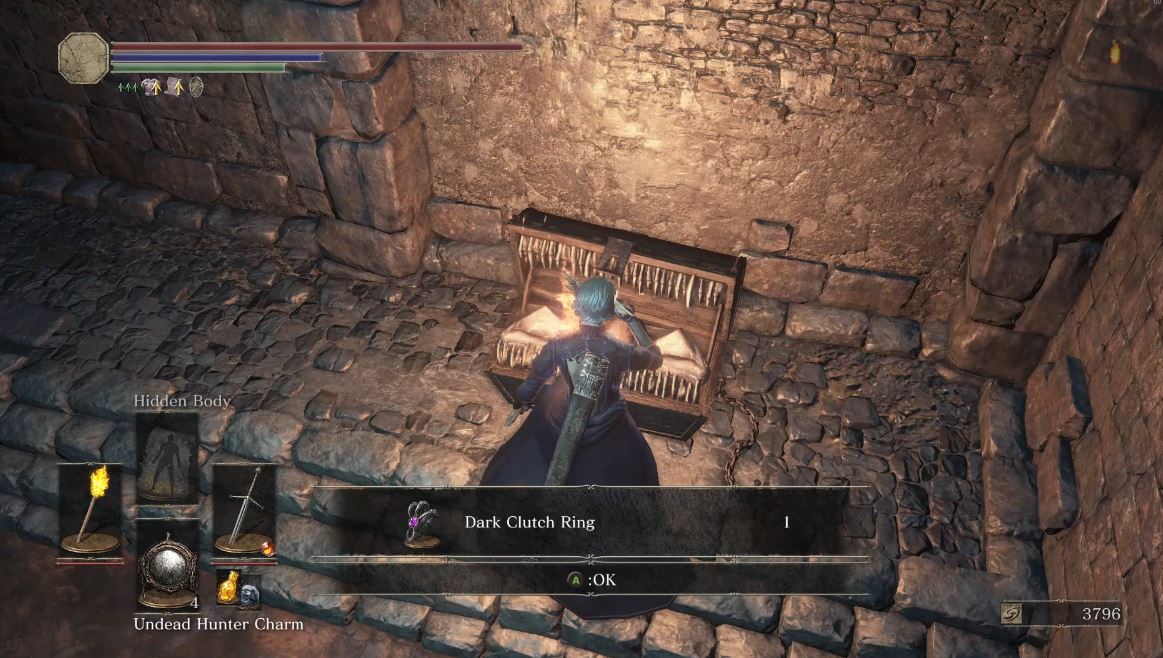 |
Dark Stoneplate Ring: Base, +1, +2
| Base | In Anor Londo, left out the Pontiff Sulyvahn Bonfire room and in a room with invisible enemies before the Giant Slaves: (Video Location – [youtu.be] ) | 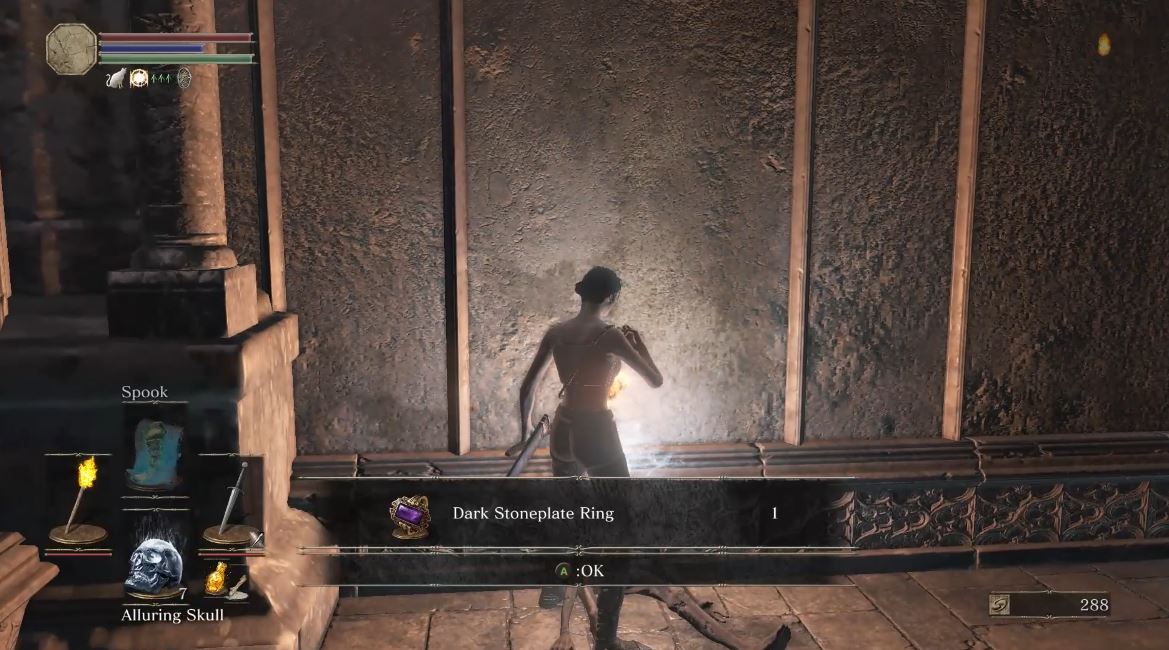 |
| +1 | Lothric Castle, near Dragonslayer Armour – drop down a level. | Video Location – [youtu.be] |
| +2 | Farron Keep by Keep Ruins Bonfire. | Video Location – [youtu.be] |
Knight Slayer Ring
| Base | Dropped when defeating Tsorig in the Smouldering Lake near Demon Ruins bonfire. He also gives “My Thanks” gesture.(Video Location – [youtu.be] ) | 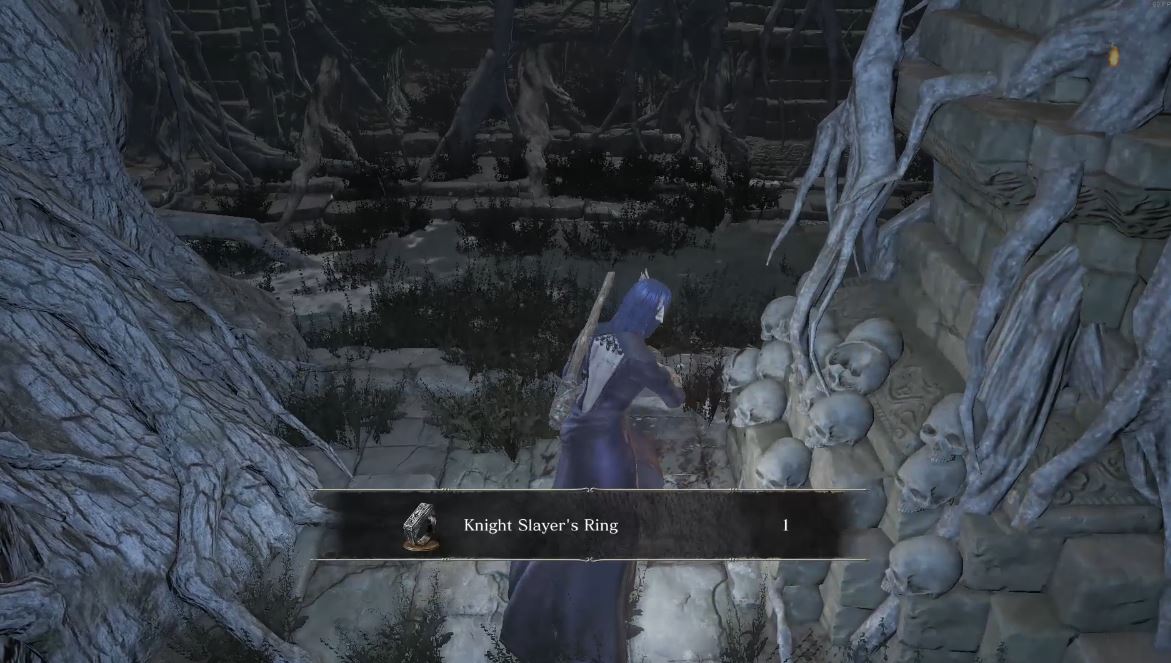 |
Estus Ring
| Base | Found in the tower behind Firelink, requires Tower Key sold by Shrine Handmaiden (20k) (Video Location – [youtu.be] ) | 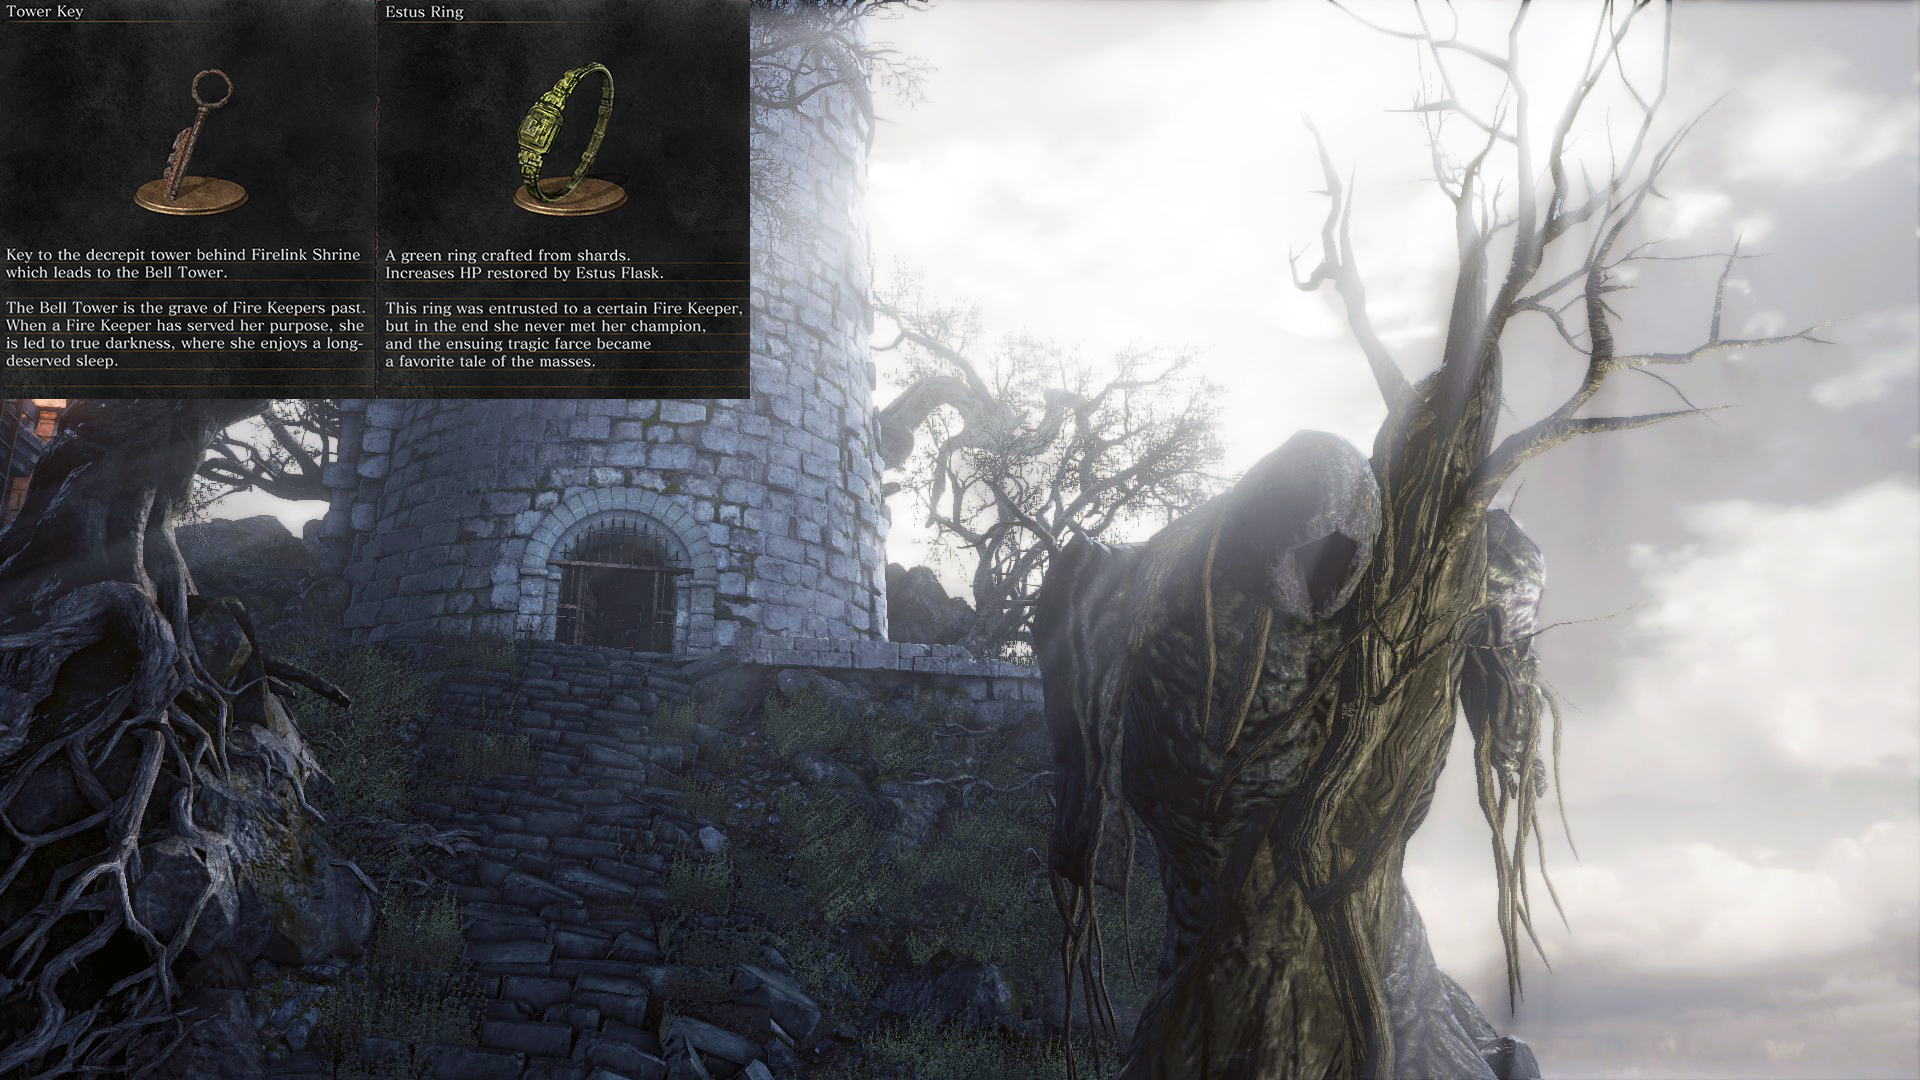 |
Ring of Favor: Base, +1, +2
| Base | Found in Anor Londo past the Pontiff Sulyvahn Boss Fight: the room will be guarded by two aggro NPCs – pass or defeat them. Break an illusory wall on the left, go down a ladder – there are 2 Sulyvahn beasts you can bait to fight one at a time. The one on the right will drop the ring.(Video Location – [youtu.be] ) | 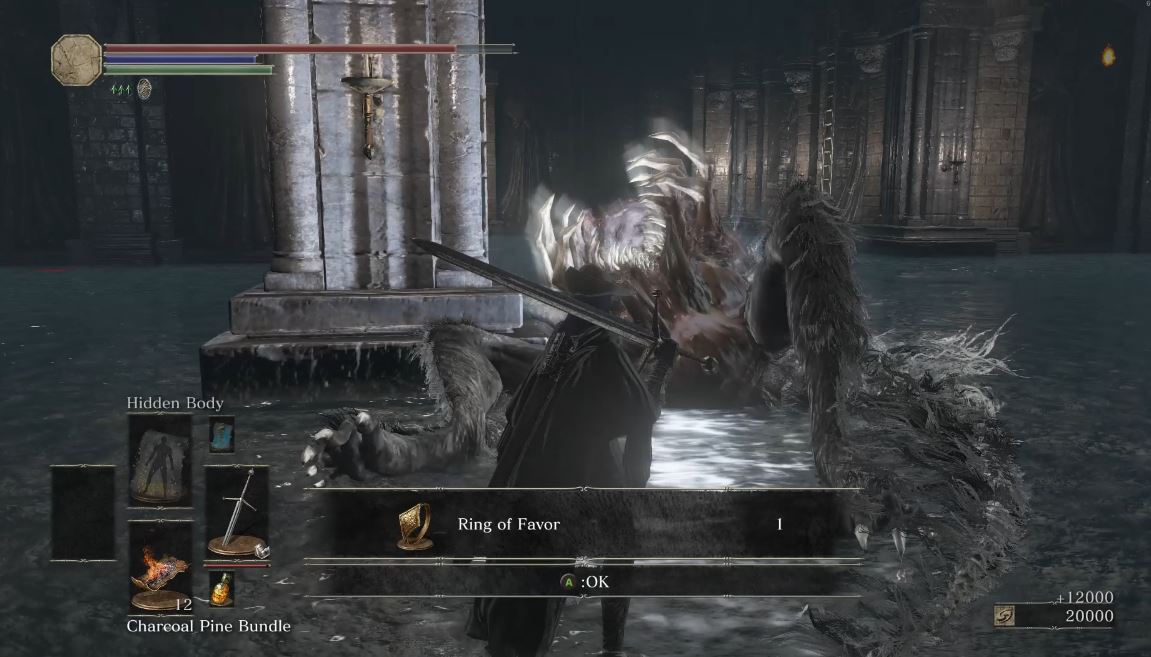 |
| +1 | Irithyll of the Boreal Valley, above Pontiff Sulyvahn Bonfire. | Video Location – [youtu.be] |
| +2 | Cathedral of the Deep, taking the second elevator shortcut near the way towards Rosaria’s Fingers. | Video Location – [youtu.be] |
Carthus Milkring
| Base | Catacombs of Carthus, from the Abyss Watchers Bonfire – pass the Skeleton ball and go right towards the skeletons and breakable dark magic pots. (Video Location – [youtu.be] ) | 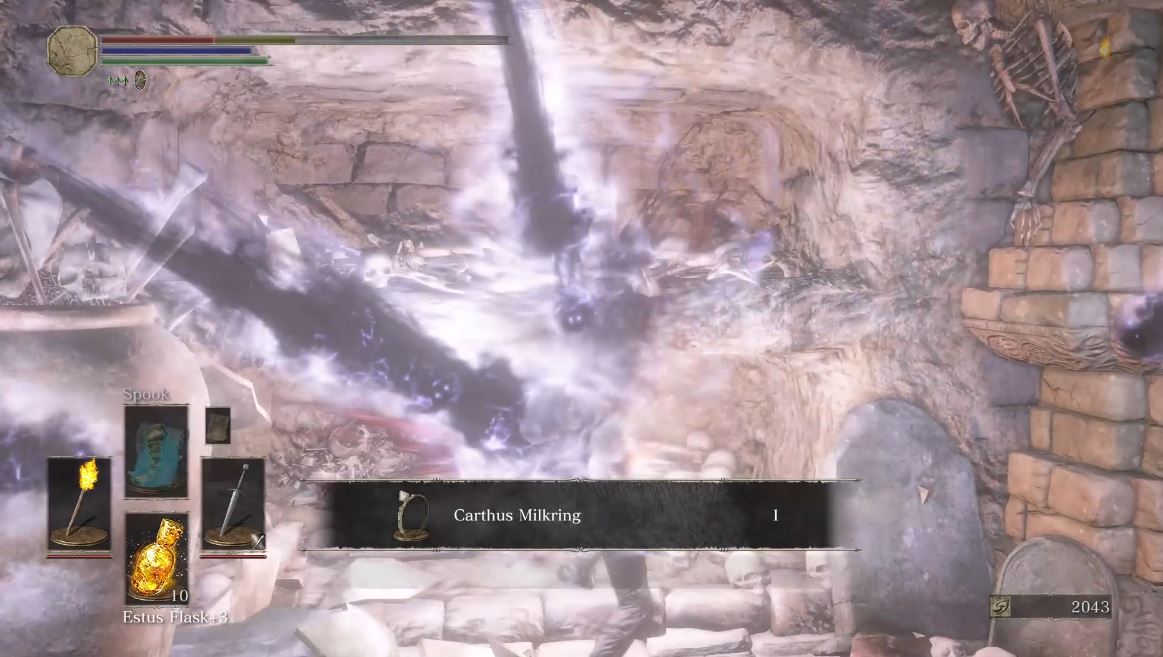 |
Carthus Bloodring
| Base | From the Catacombs of Carthus Bonfire, head towards the Wheel Skeleton enemies in the rat sewer area (wait for skeleton ball to pass) and head down a corridor full of “Writhing Rotten Flesh” on the ceiling – be careful of them trying to fall on your head. Ring at the end of the corridor. (Video Location – [youtu.be] ) | 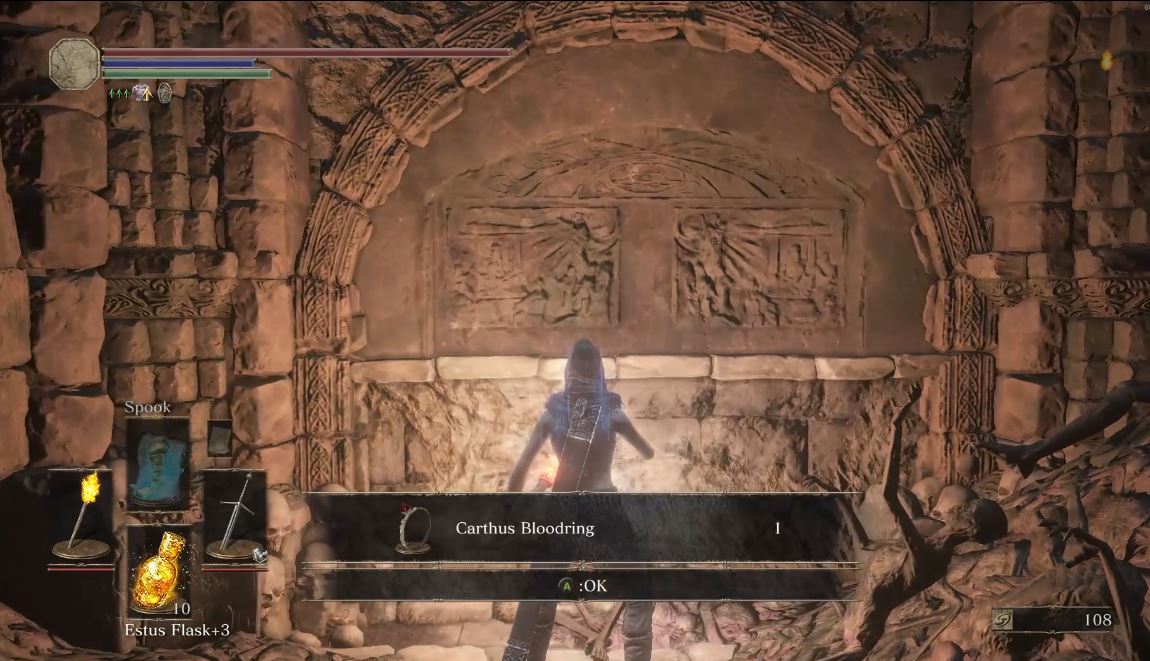 |
Pontiff’s Right Eye
| Base | Dropped from a Sulyvahn Beast that will appear on the bridge your first time in Irithyll of the Boreal Valley. | 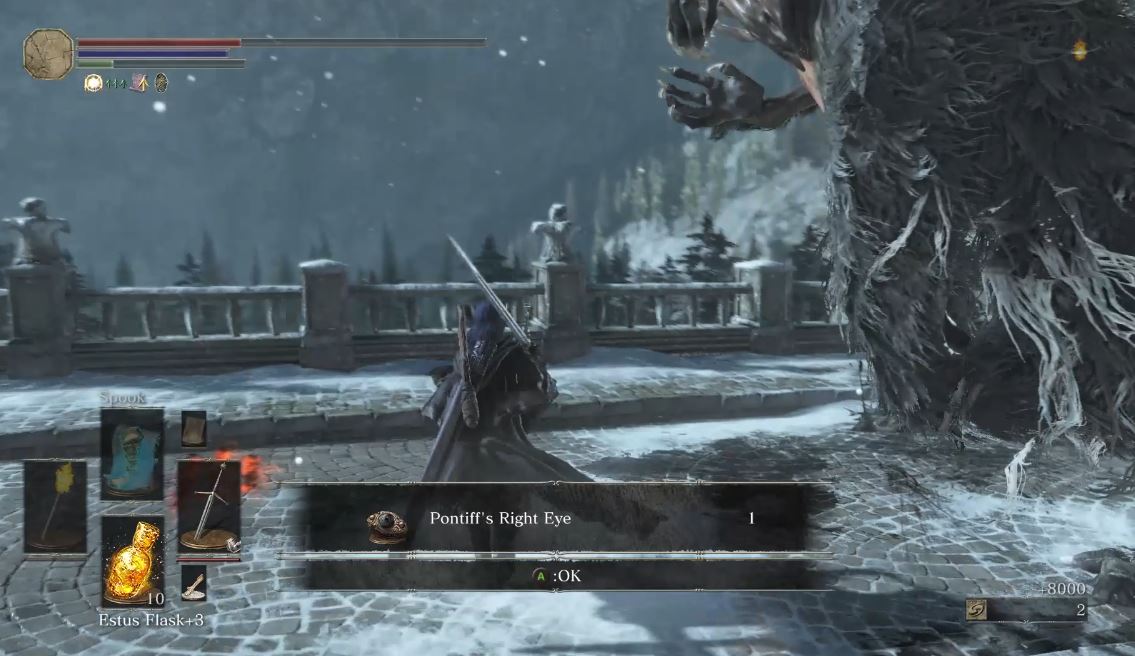 |
Ring of the Sun’s First Born
| Base | Irithyll of the Boreal Valley, in front of Pontiff Sulyvahn boss door, down a ledge: (Video Location – [youtu.be] ) | 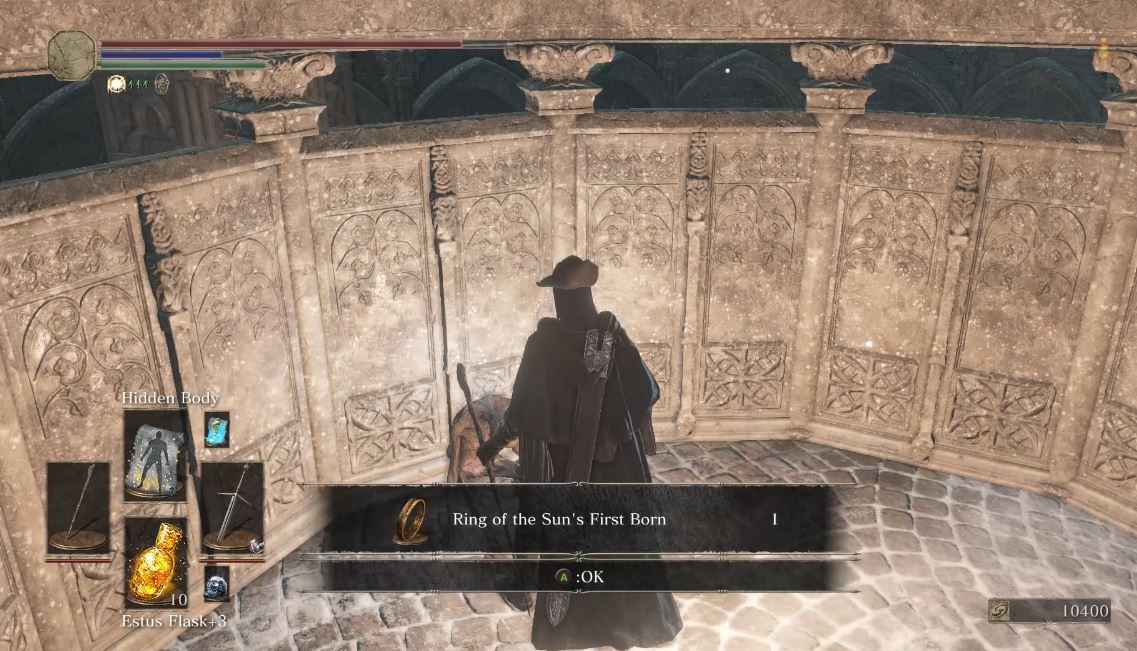 |
Poisonbite Ring: Base, +1
| Base | Near a Ravenous Crystal Lizard in the Cathedral of the Deep – inside a room with a parasite Corpse-Grub enemy. (Video Location – [youtu.be] ) | 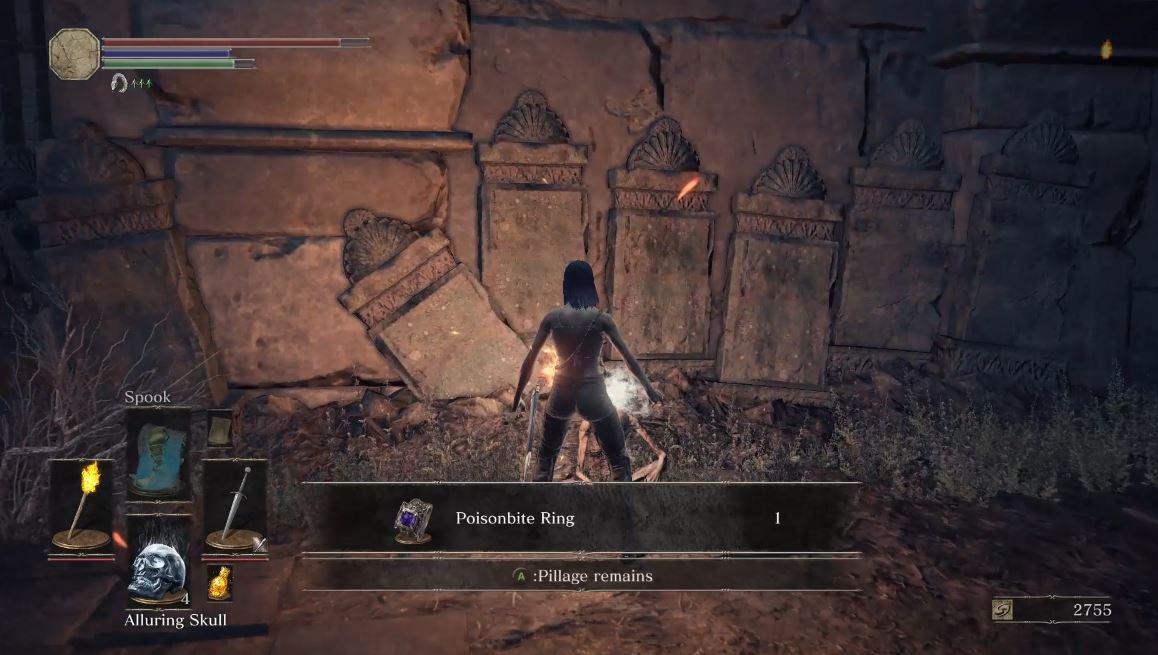 |
| +1 | Undead Settlement from Dilapitated Bridge Bonfire, past the hollows and spears from the Giant, turn left and beside a well. | Video Location – [youtu.be] |
Red Tearstone Ring
| Base | In Lothric Castle to the right of the Dragonslayer Armour boss fight and outside on a balcony: (Video Location – [youtu.be] ) | 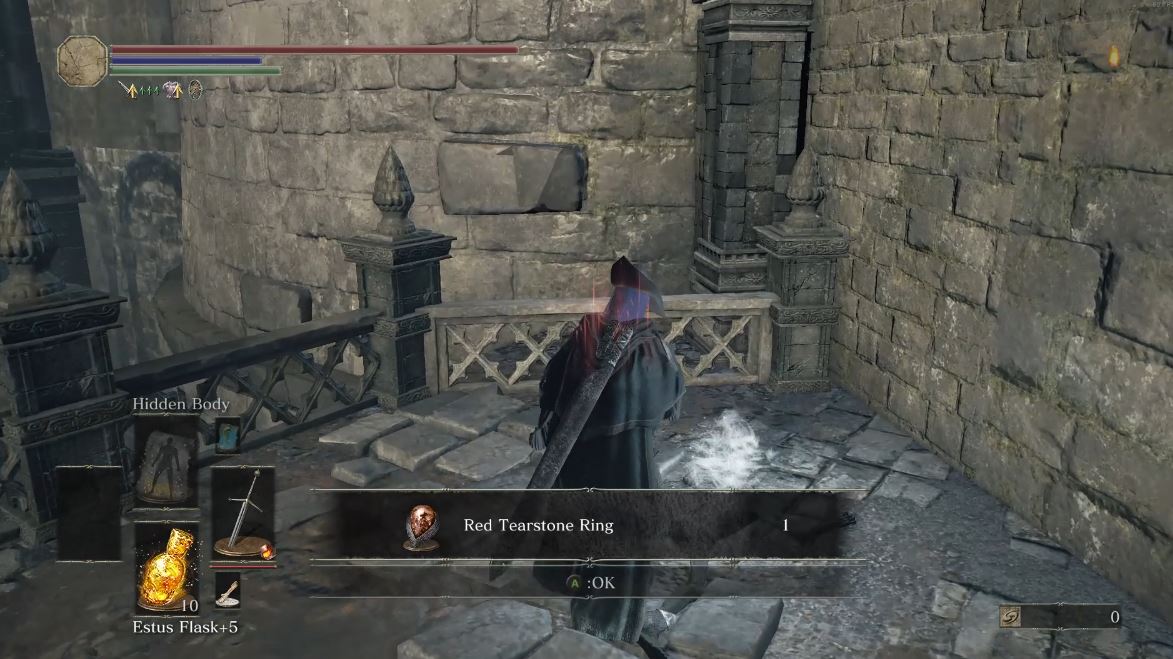 |
Farron Ring
| Base | Given by Hawkwood after defeating the Abyss Watchers. | 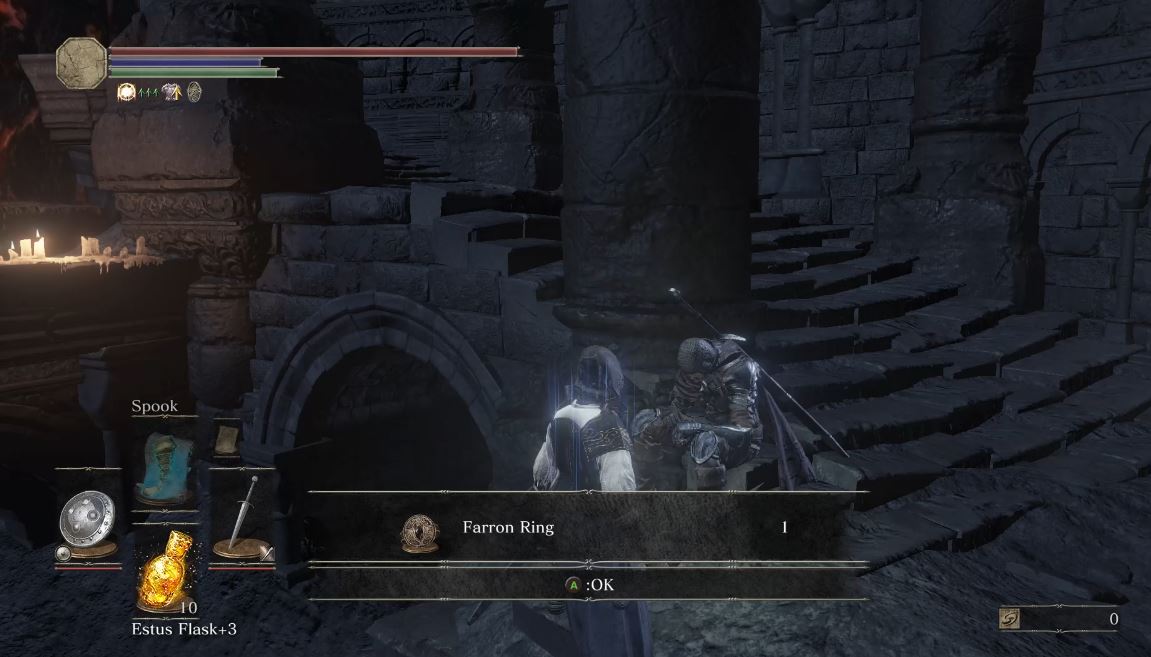 |
Young Dragon Ring
| Base | Gifted by Orbeck of Vinheim in Firelink Shrine when given multiple scrolls and purchasing spells. | 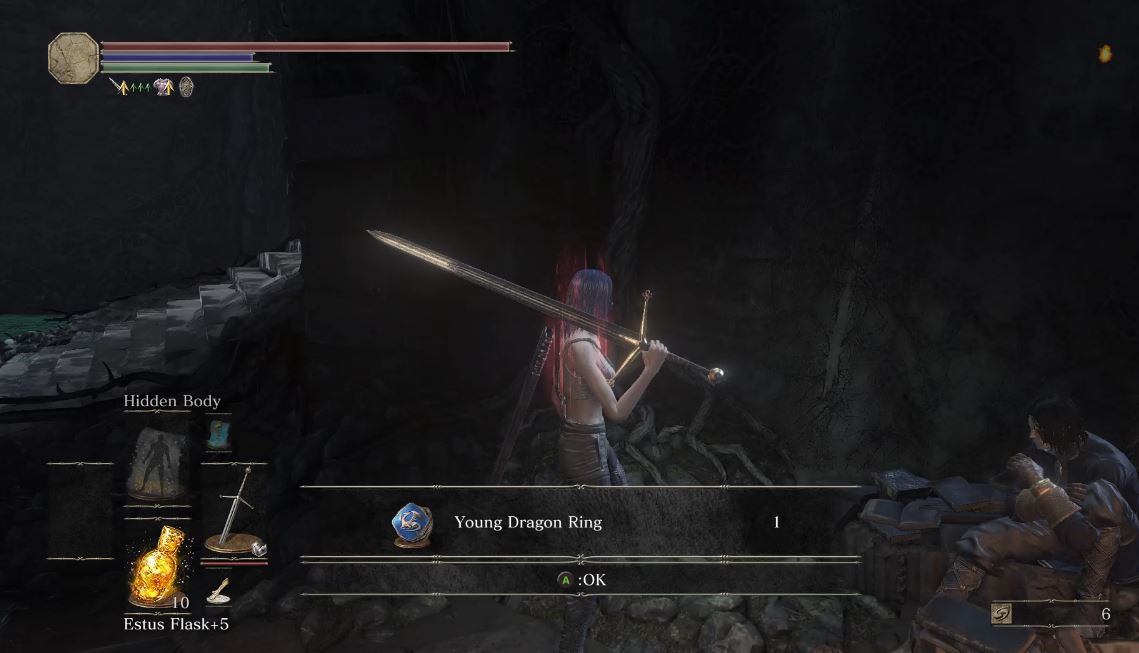 |
Master of Rings, Pt. 3
Flame Stoneplate Ring: Base, +1, +2
| Base | Undead Settlement near Hollow Manservant with cage: (Video Location – [youtu.be] ) | 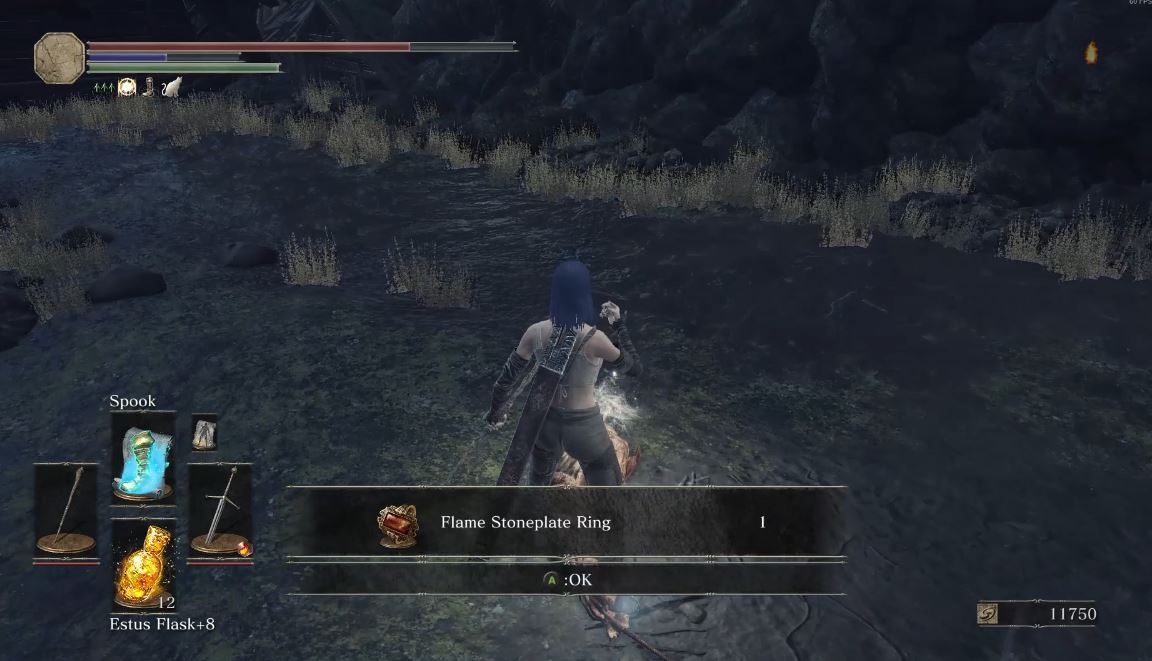 |
| +1 | Profaned Capital Toxic area on roof and down one level in alcove. | Video Location – [youtu.be] |
| +2 | In Smouldering Lake from the Demon Ruins past an illusory wall with a Black Knight fighting a Ghru. | Video Location – [youtu.be] |
Thunder Stoneplate Ring: Base, +1, +2
| Base | Archdragon Peak: (Video Location – [youtu.be] ) | 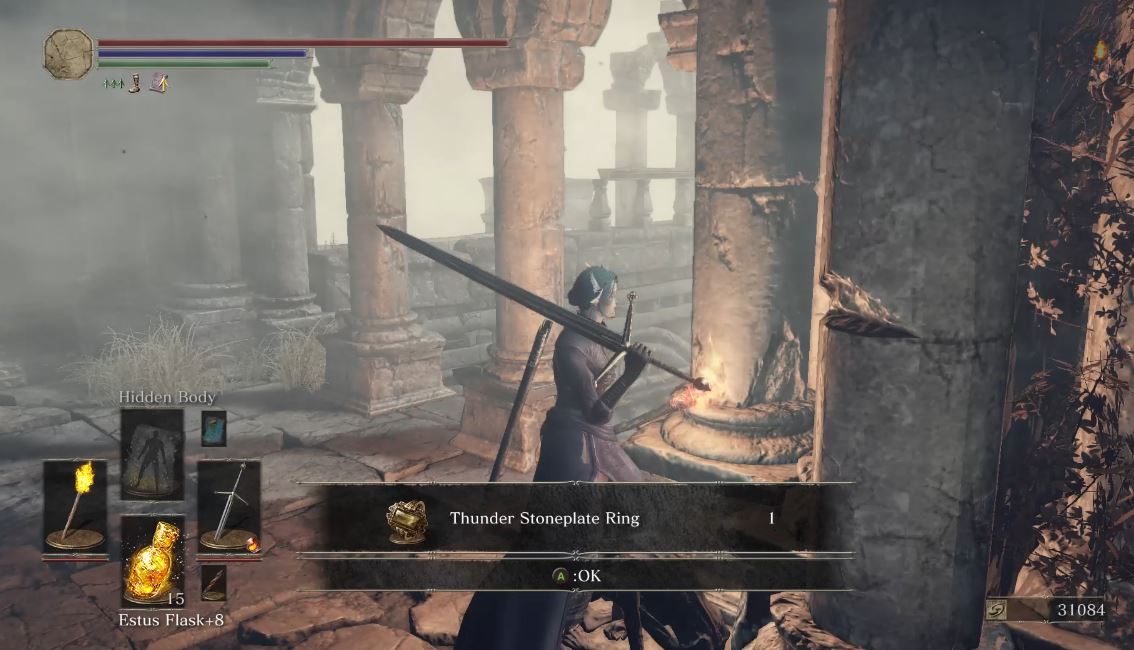 |
| +1 | Catacombs of Carthus near the skeletons and pots that do dark damage. | Video Location – [youtu.be] |
| +2 | Lothric Castle on the ledge when dropping off a balcony near Dragonslayer Armour. | Video Location – [youtu.be] |
Ashen Estus Ring
| Base | Untended Graves near the bonfire and behind a group of Corvian enemies to the first left: (Video Location – [youtu.be] ) | 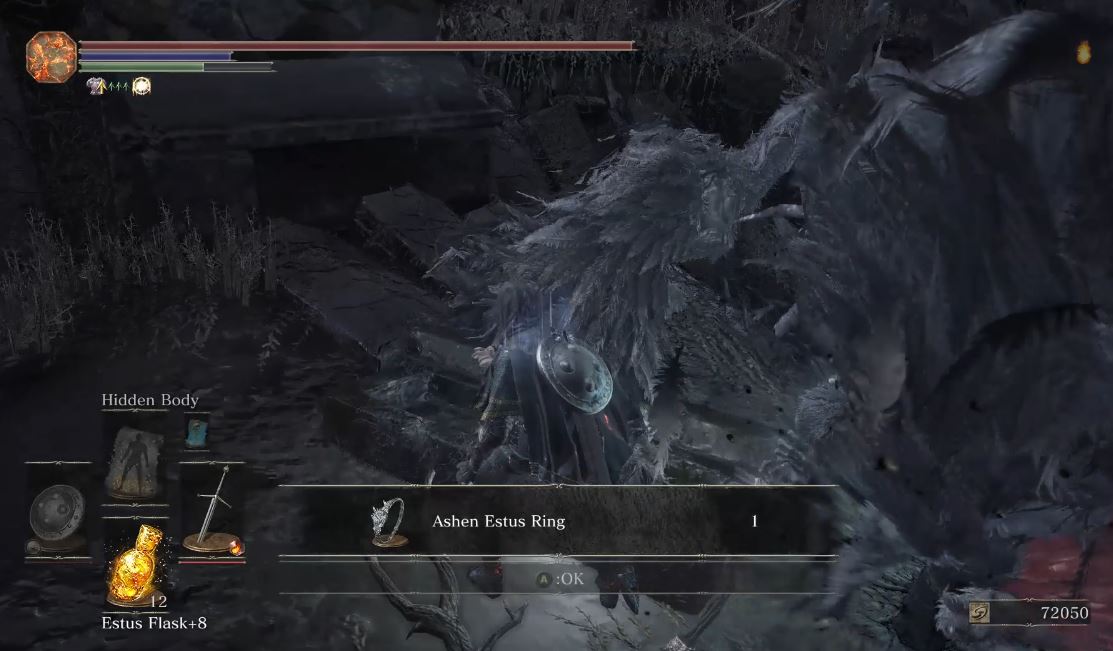 |
Witch’s Ring
| Base | Catacombs of Carthus near the Abandoned Tomb Bonfire or the cut bridge ladder from High Lord Wolnir: (Video Location – [youtu.be] ) | 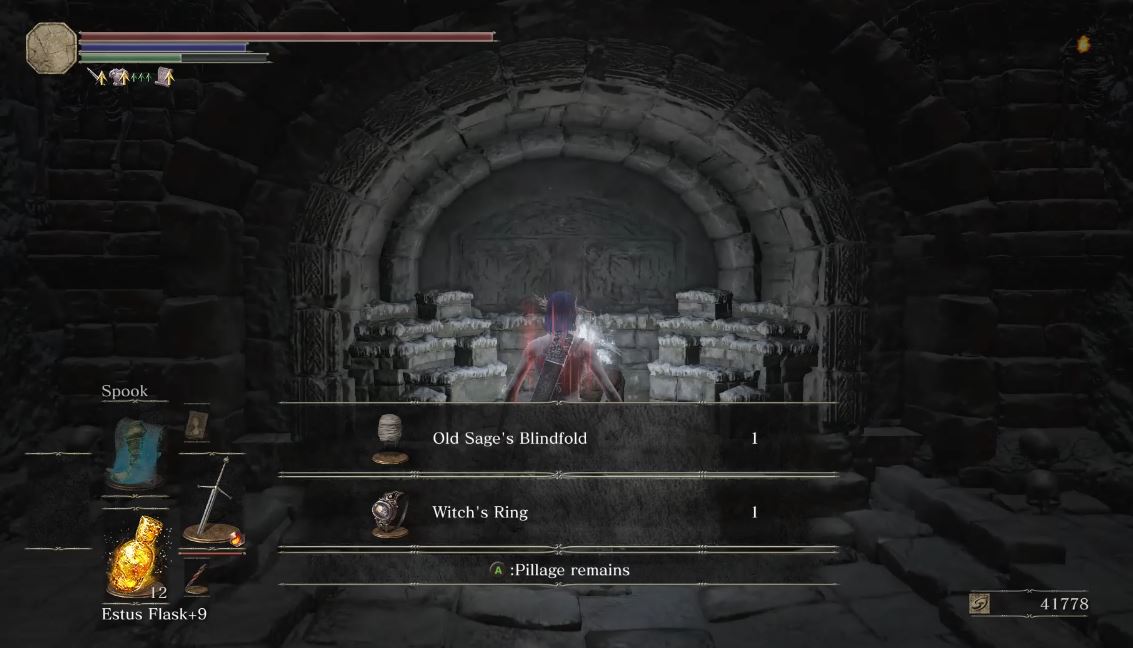 |
Slumbering Dragoncrest Ring
| Base | Gifted by Orbeck of Vinheim in Firelink Shrine when given multiple scrolls and purchasing spells. | 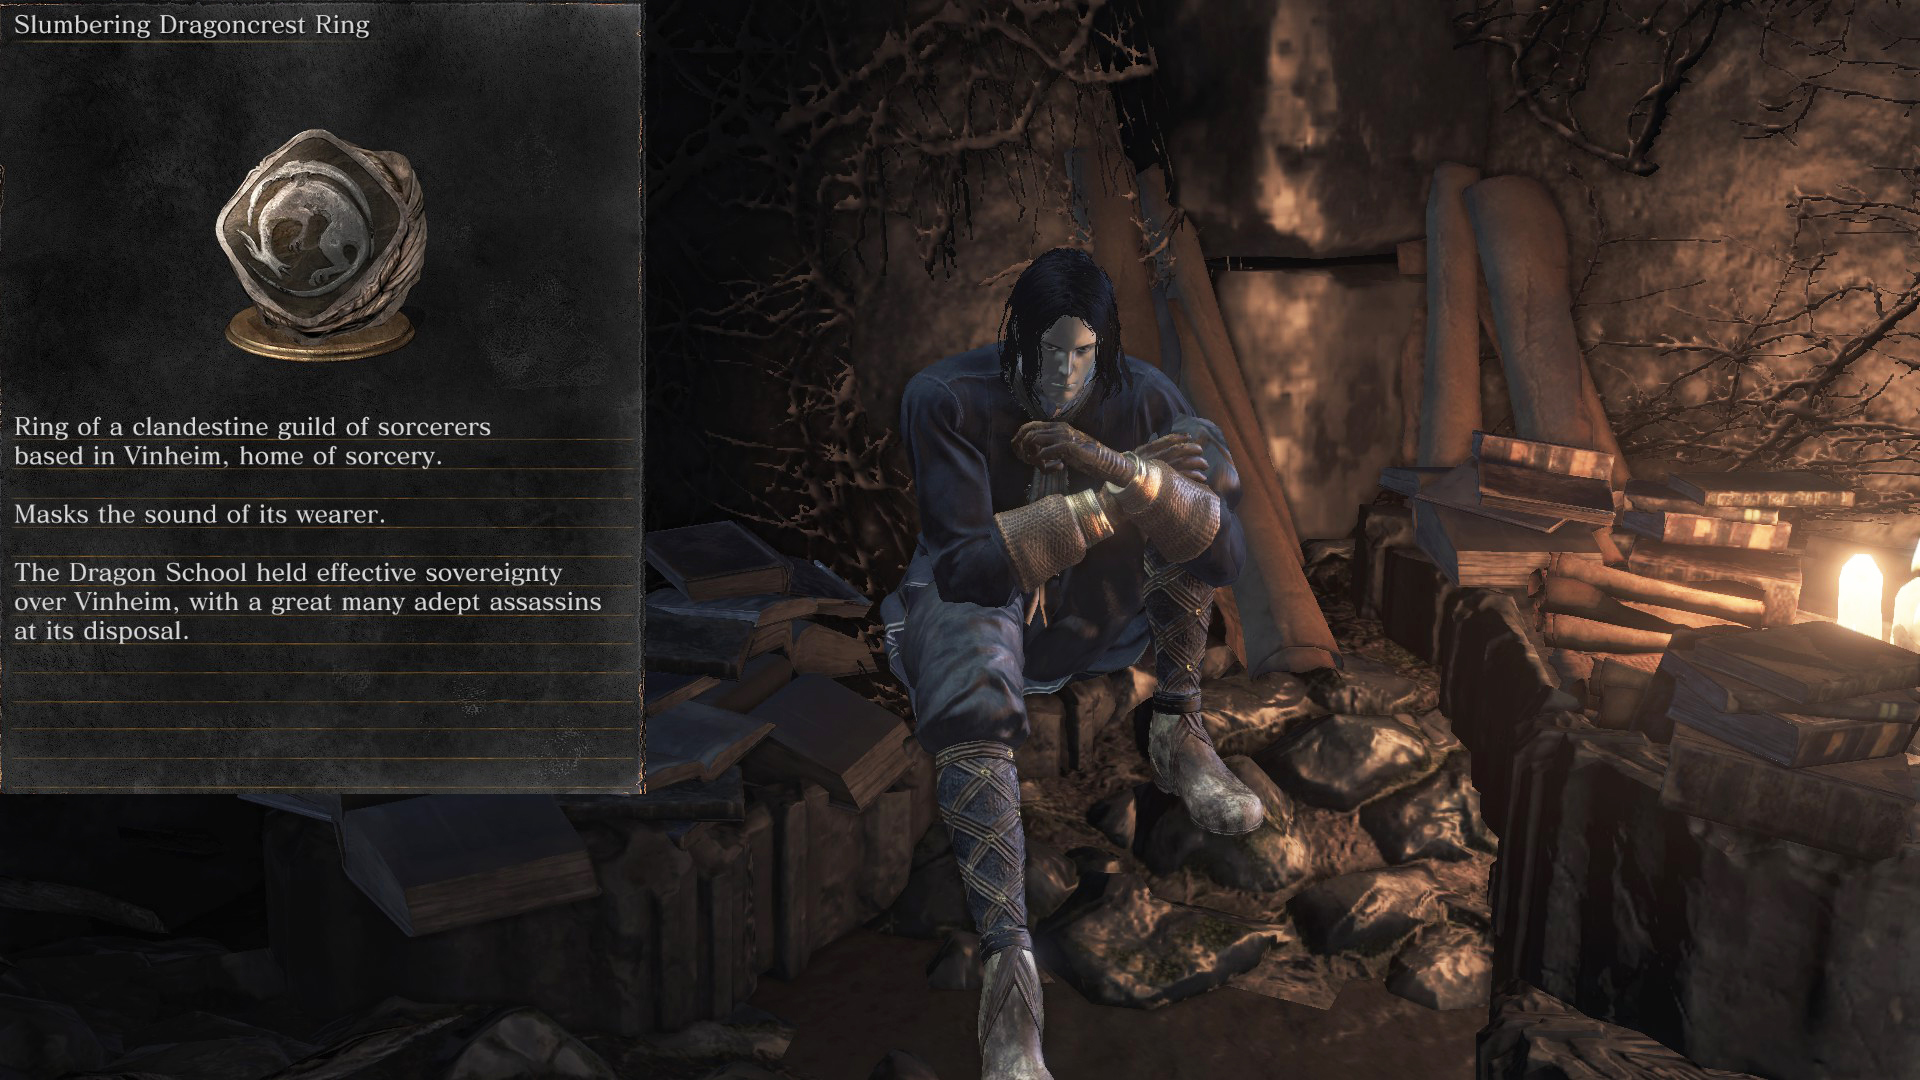 |
Magic Stoneplate Ring: Base, +1, +2
| Base | Dropped by the Cathedral Knight guarding the Oceiros boss door in Consumed Kings Garden: (Video Location – [youtu.be] ) | 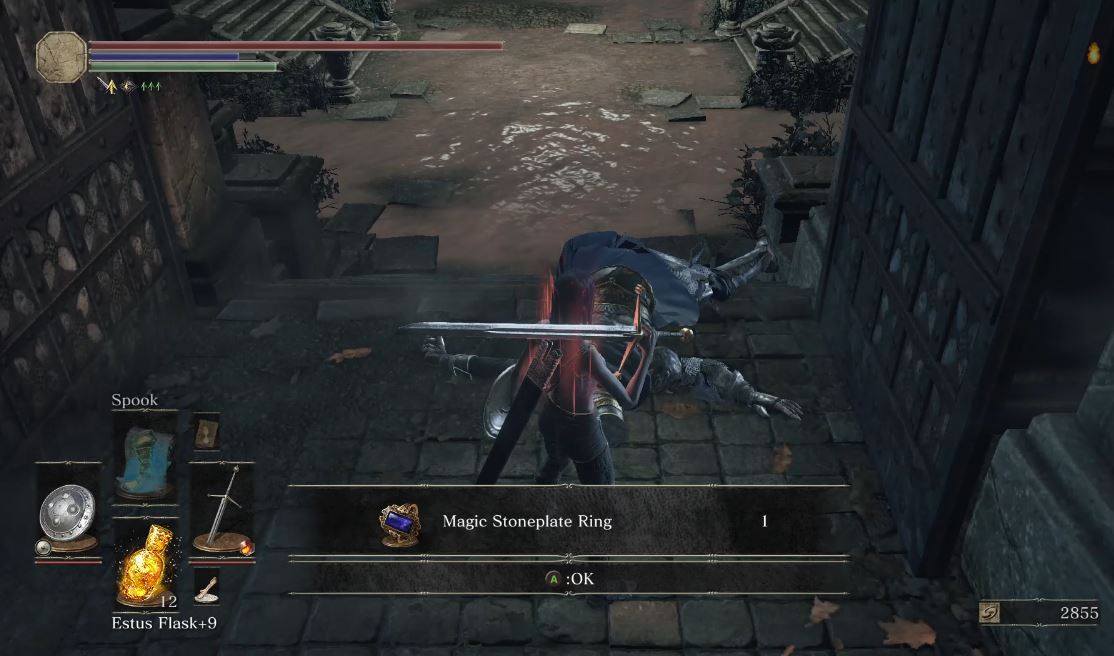 |
| +1 | RIght of the Farron Keep Bonfire on a tree near curse basilisks. | Video Location – [youtu.be] |
| +2 | Near Profaned Capital Bonfire, down ladder, and the end of broken stairs. | Video Location – [youtu.be] |
Dragonscale Ring
| Base | Halfway down the shortcut elevator in Consumed Kings Garden – unlocked before the boss area.(Video Location – [youtu.be] ) | 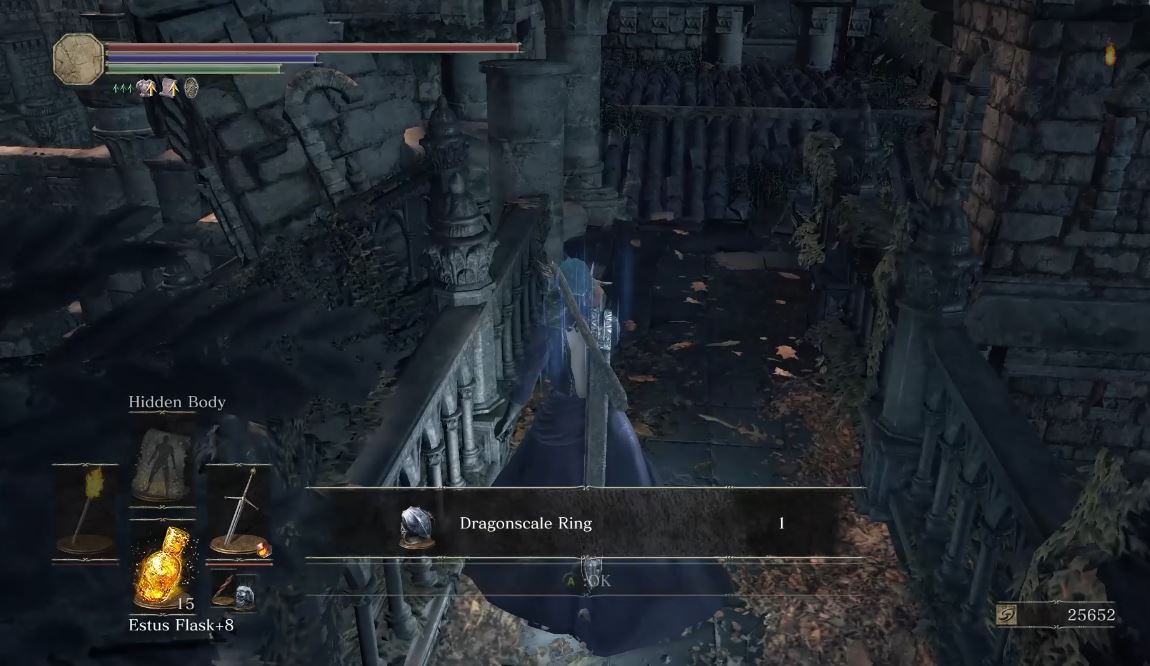 |
Hunter’s Ring
| Base | On the very top of the Grand Archives Roof from the elevator shortcut near Winged Knights: (Video Location – [youtu.be] ) | 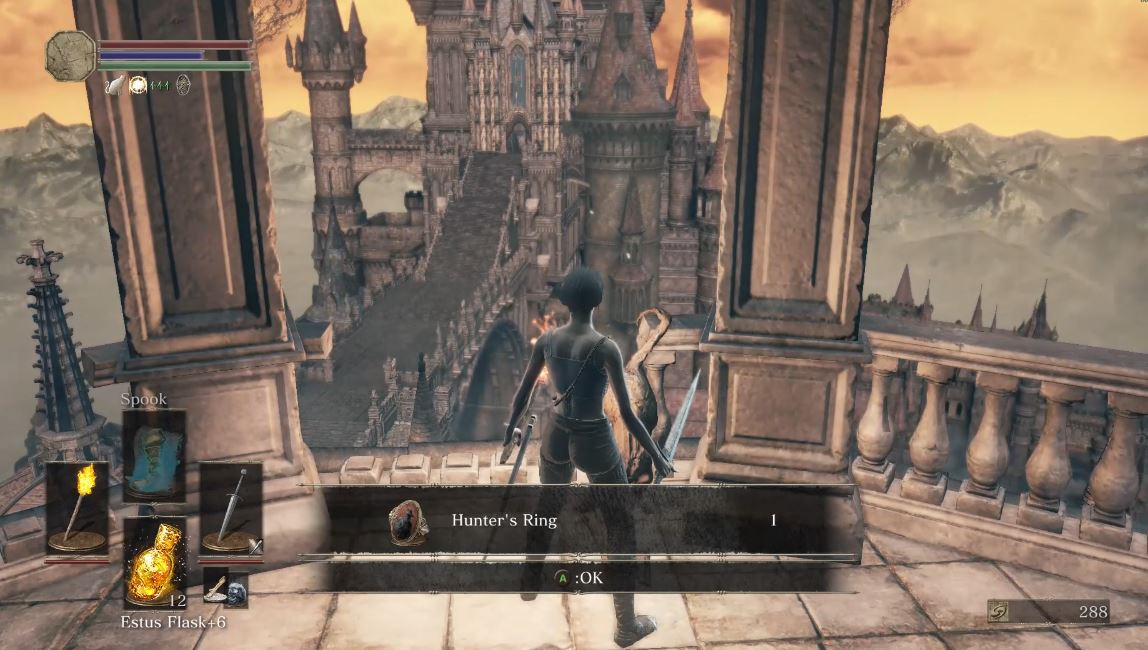 |
Cursebite Ring
| Base | In the toxic area of the Profaned Capital (Video Location – [youtu.be] ) | 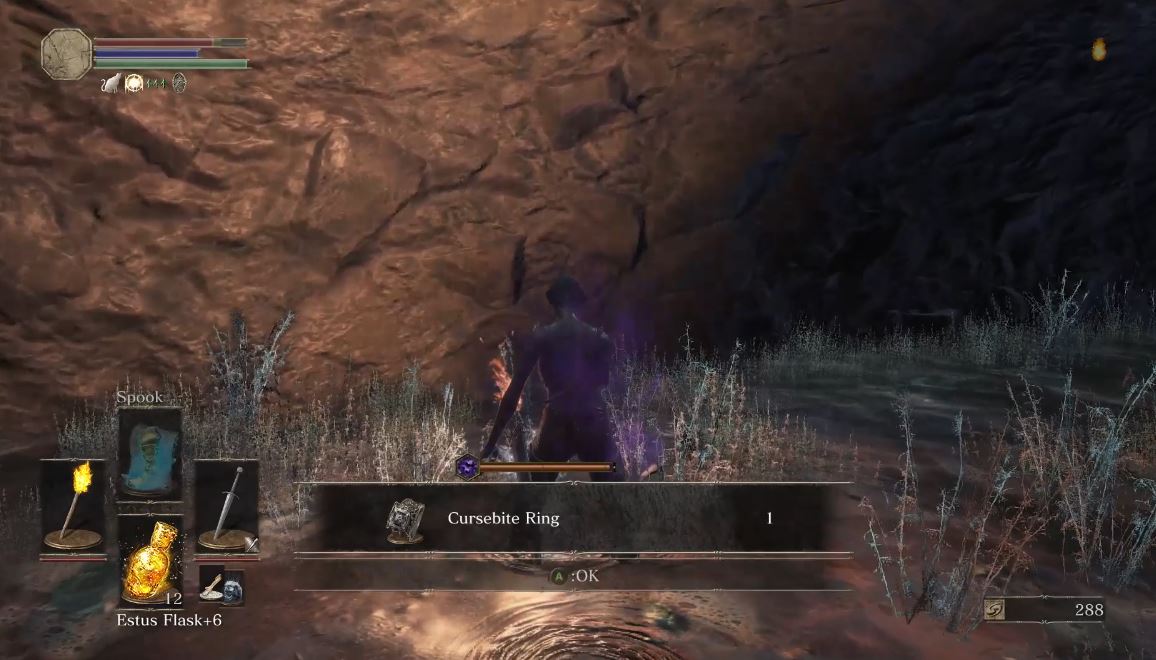 |
Hornet Ring
| Base | Untended Graves towards dark Firelink Shrine, past two Black Knights outside. (Video Location – [youtu.be] ) | 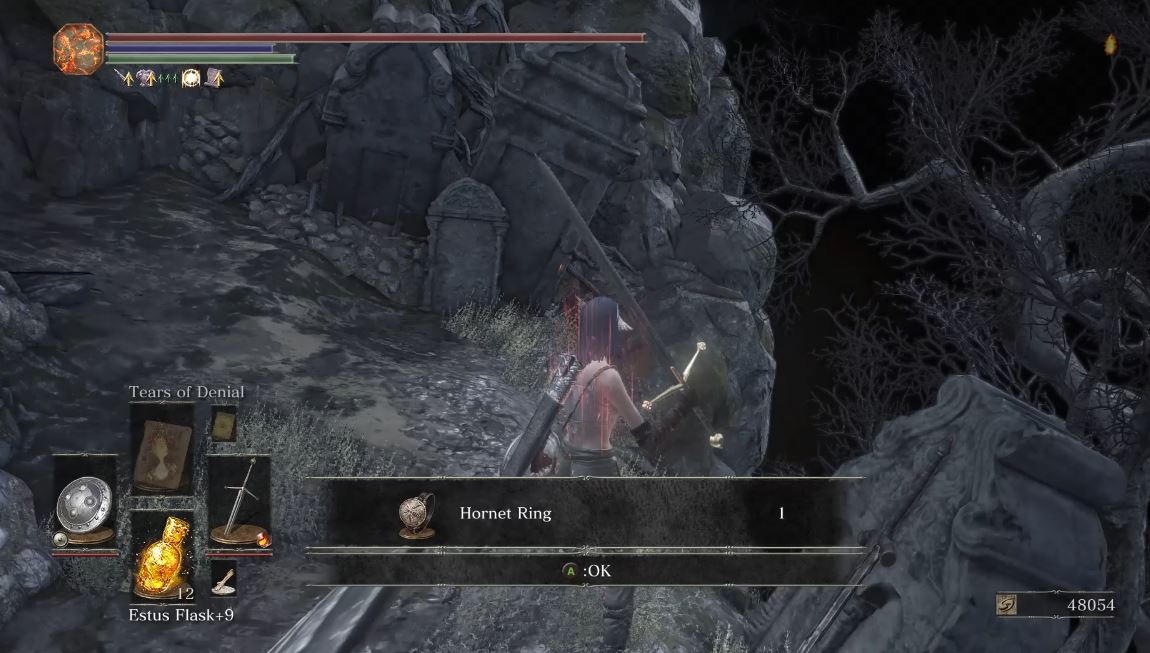 |
Hawk Ring
| Base | Dropped from the Giant when he passes (Video Location – [youtu.be] ) | 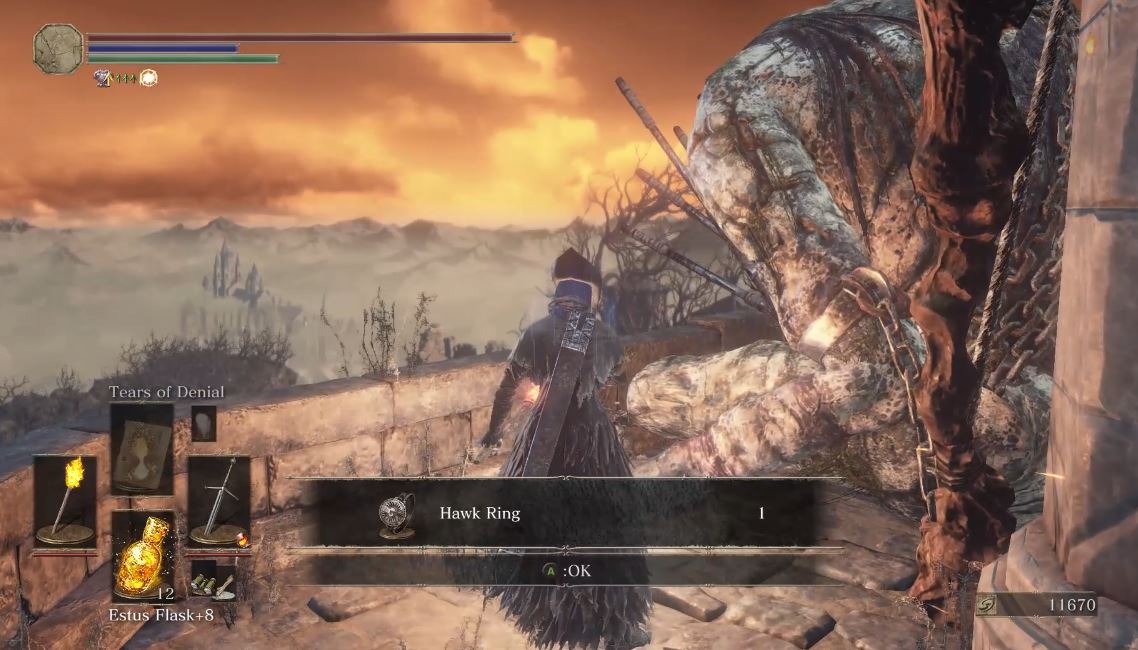 |
Fire Clutch Ring
| Base | Undead Settlement by Cliff Underside Bonfire (Video Location – [youtu.be] ) | 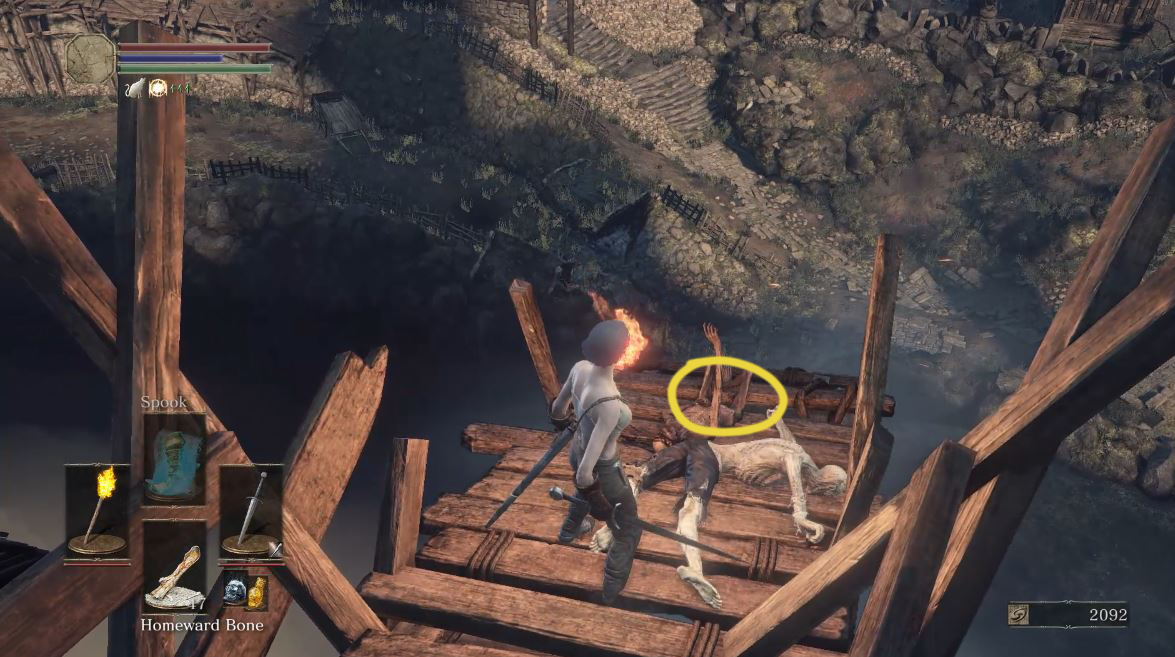 |
Skull Ring
| Base | Dropped by Ludleth after all cinders have been placed on their thrones or after killing Soul of Cinder. | 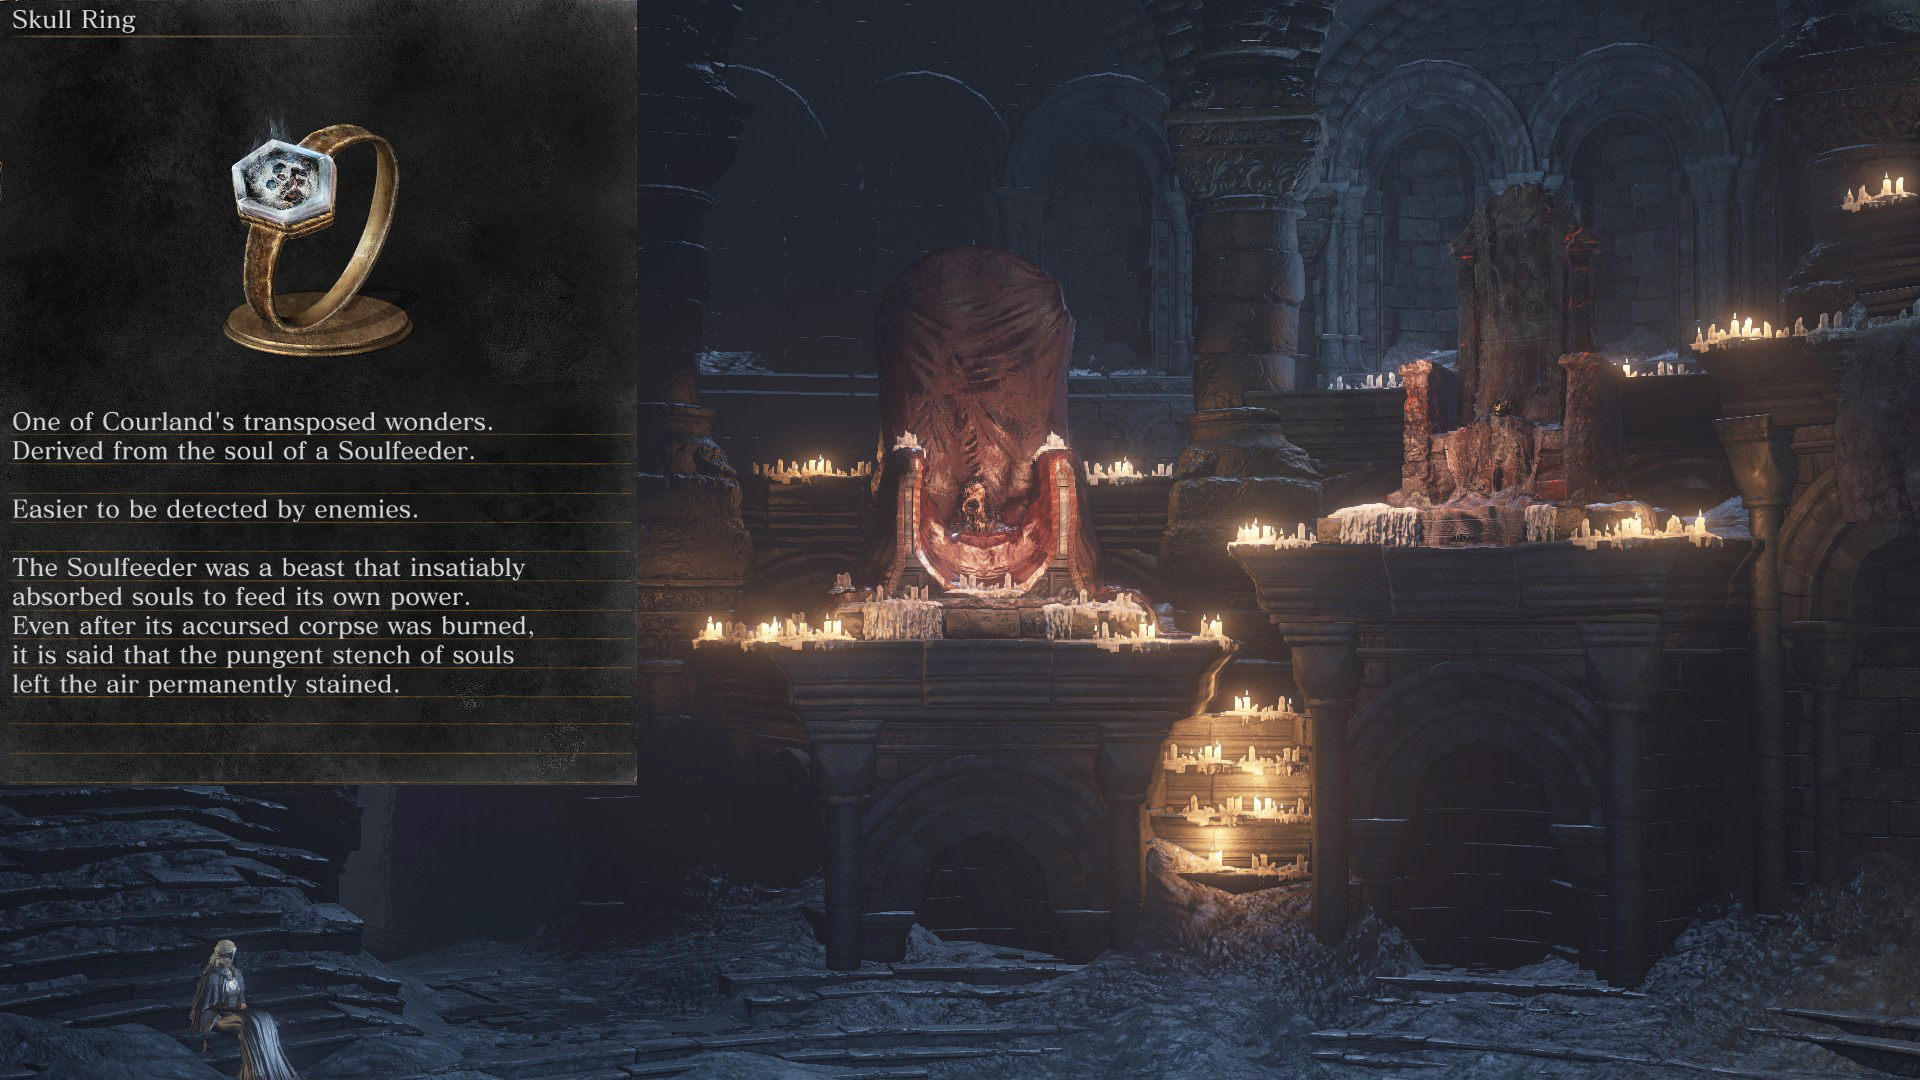 |
Scholar Ring
| Base | Grand Archives, past a hidden wall revealed by a lever. Take elevator shortcut and down the stairs across the bridge: (Video Location – [youtu.be] ) | 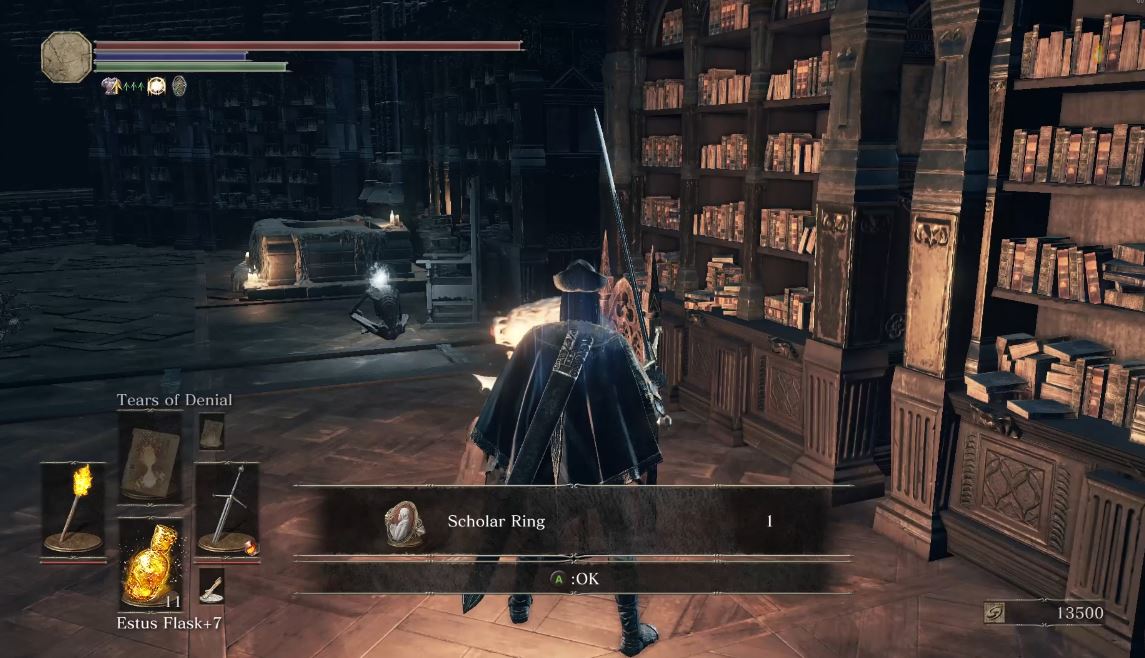 |
Bellowing Dragoncrest Ring
| Base | Irithyll Dungeon, need the Jailbreaker Key – [youtu.be] to open shortcut (Video Location – [youtu.be] ) | 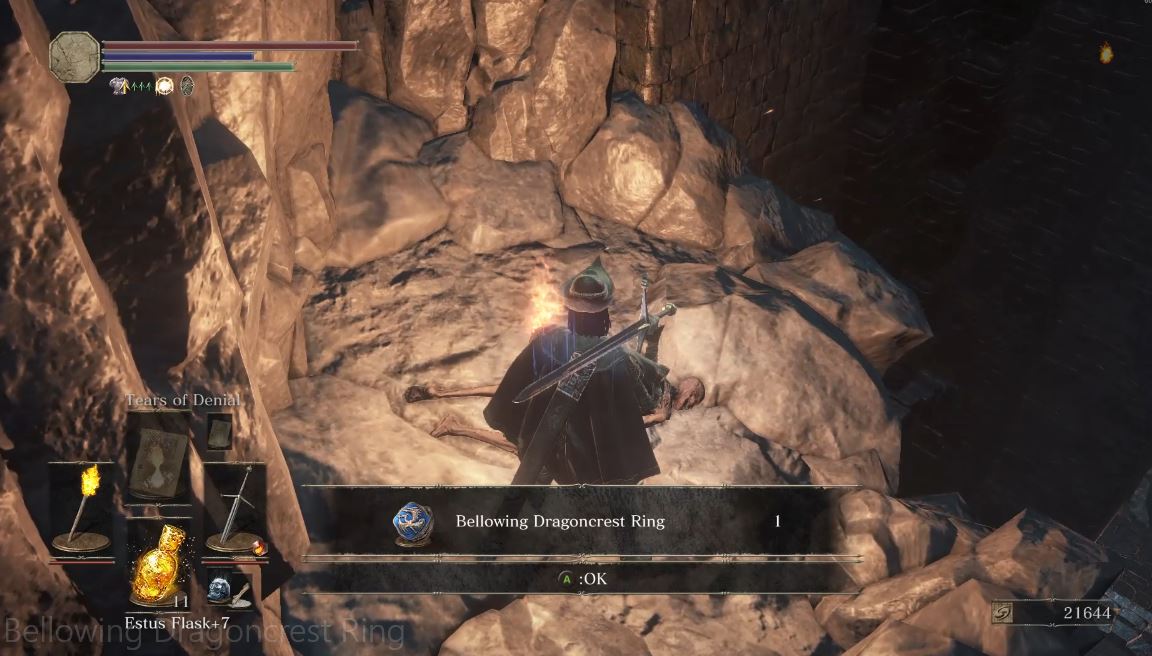 |
Fleshbite Ring, Base, +1
| Base | Grand Archrives, after opening the first elevator shortcut, take the stairs up, go past the scholar enemies and turn right by a bookshelf with Cursed Hands: (Video Location – [youtu.be] ) | 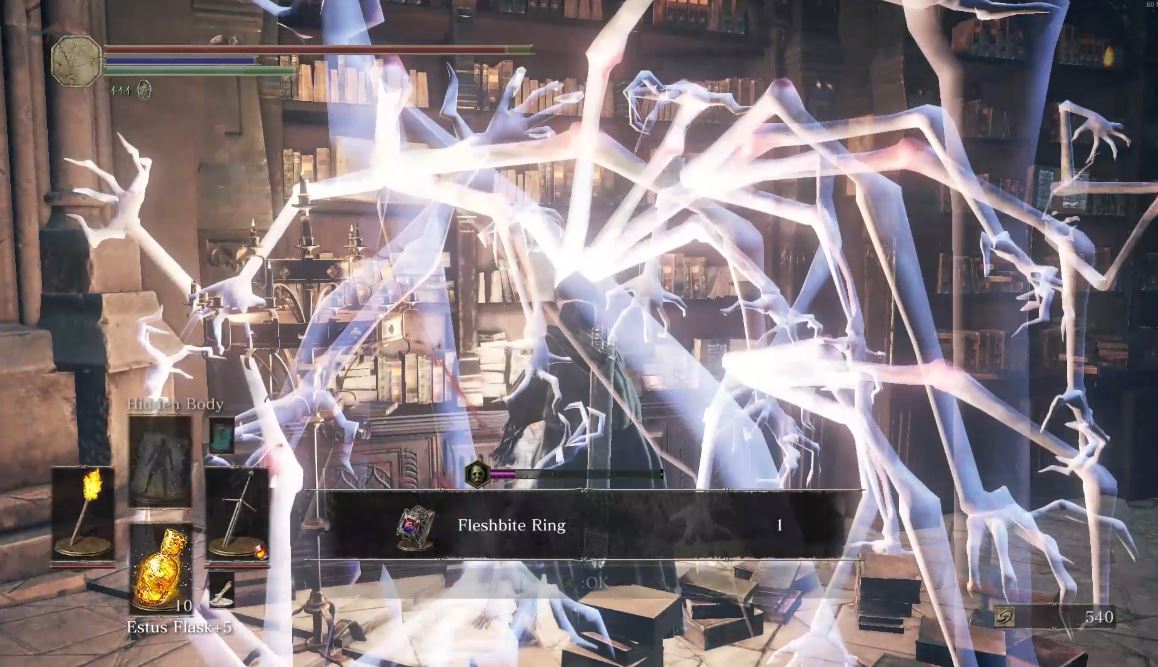 |
| +1 | High Wall of Lothric under Tower of the Wall Bonfire past Pus of Man – make a jump to the next roof. | Video Location – [youtu.be] |
Knight’s Ring
| Base | Up the ladder and on the roof towards the archers and down the ladder – by Dragonslayer Armour boss. (Video Location – [youtu.be] ) | 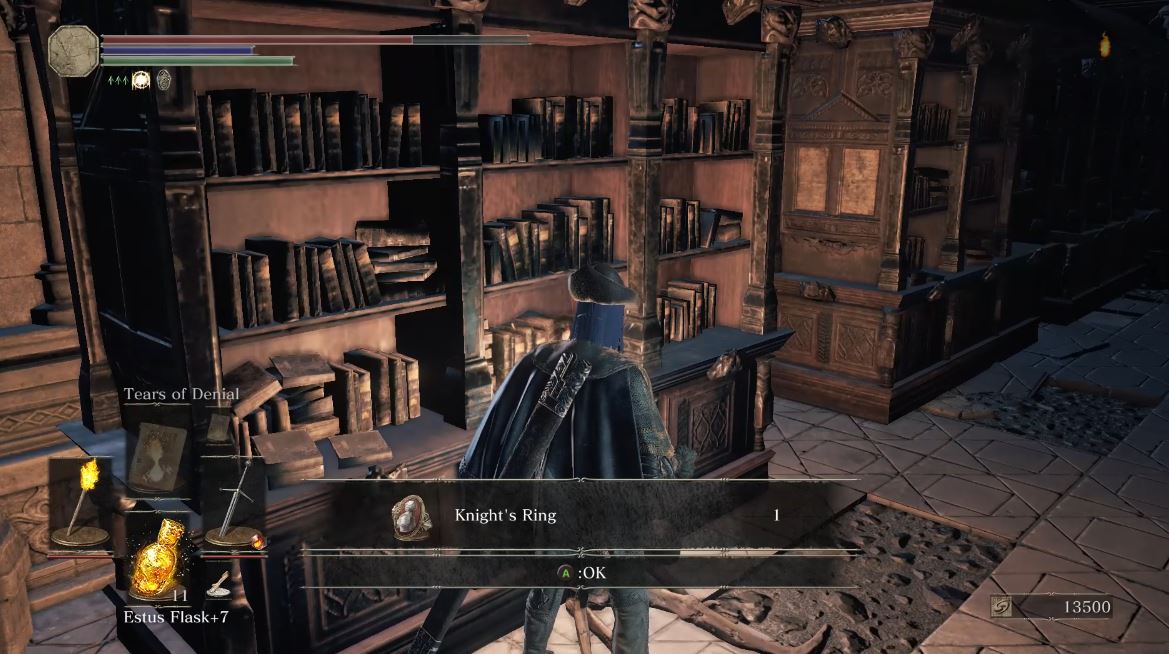 |
Covetous Gold Serpent Ring: Base, +1, +2
| Base | In the Profaned Capital toxic area in Siegward’s cell. The “Old Cell Key – [youtu.be] ” is needed: (Video Location – [youtu.be] ) | 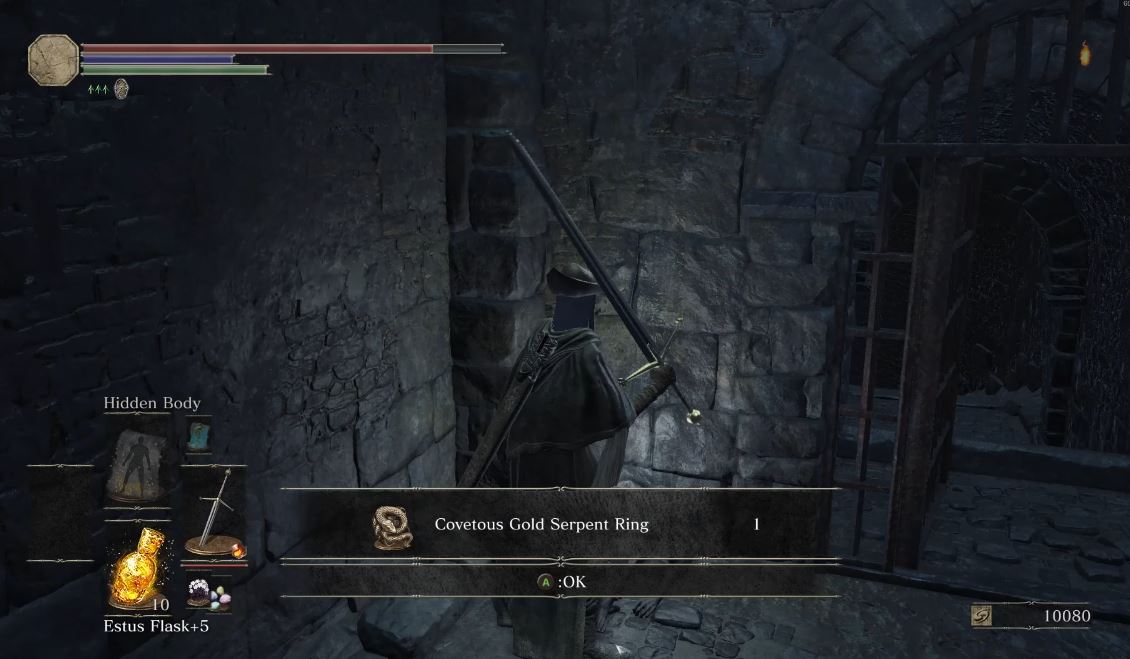 |
| +1 | Irithyll of the Boreal Valley | Video Location – [youtu.be] |
| +2 | Archdragon Peak: Bonfire after defeating the Nameless King located on the right past the second bell on the stairs. | Video Location – [youtu.be] |
Speckled Stoneplate Ring: Base, +1
| Base | Smouldering Lake behind a brick wall that needs to be broken by the ballista: (Video Location – [youtu.be] ) | 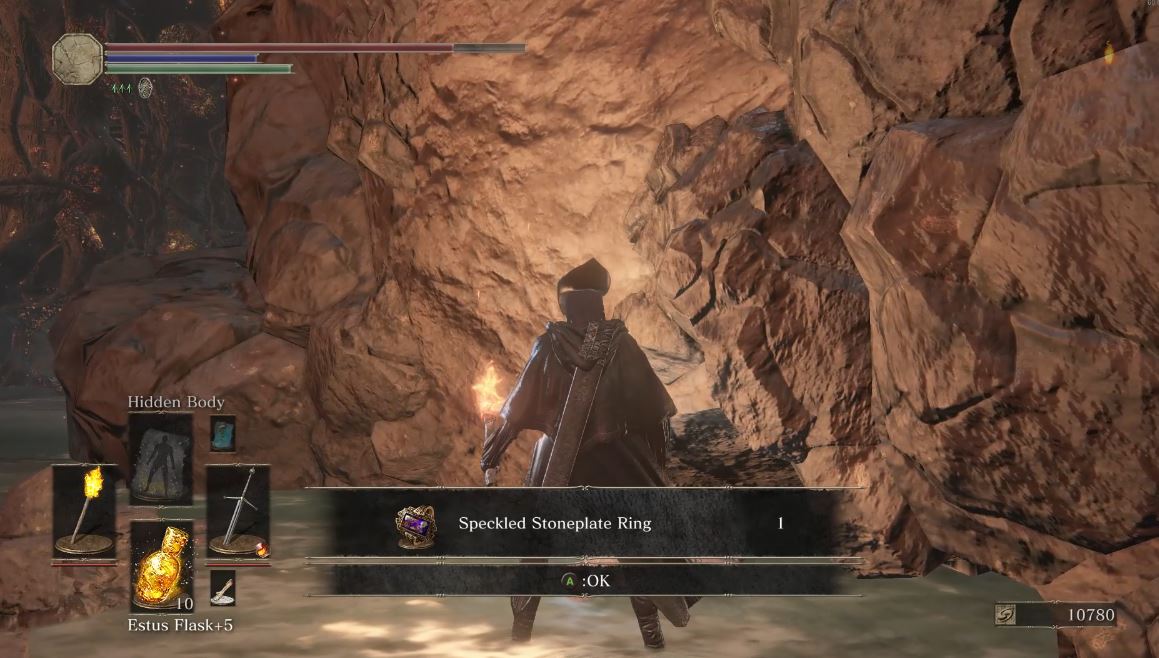 |
| +1 | Cemetery of Ash near the Ravenous Crystal Lizard on a set of graves. | Video Location – [youtu.be] |
Sun Princess Ring: Base
| Base | Above the Aldrich bonfire in Gwynevere’s old chamber. Also the location for invading Leonhard. (Video Location – [youtu.be] ) | 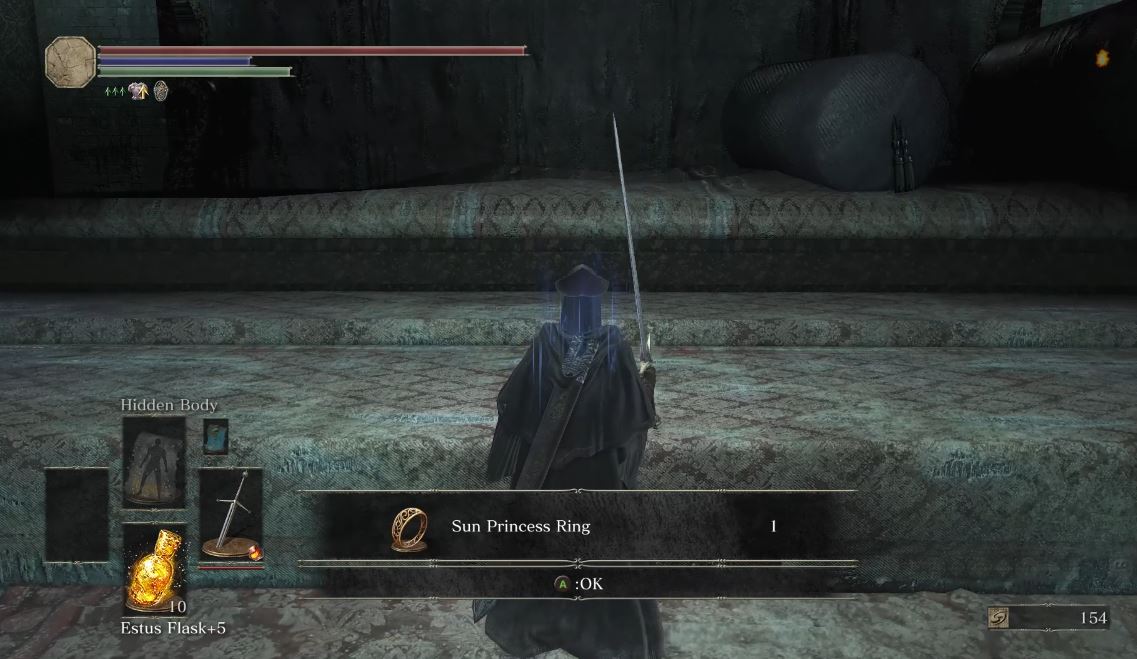 |
Master of Rings, Pt. 4 : Bought or Traded
Purchased (Base Rings Only)
Priestess Ring
| Base | Sold by the Shrine Handmaiden in Dark Firelink (1k Souls) of Untended Graves past the Champion Gundyr Bonfire. | 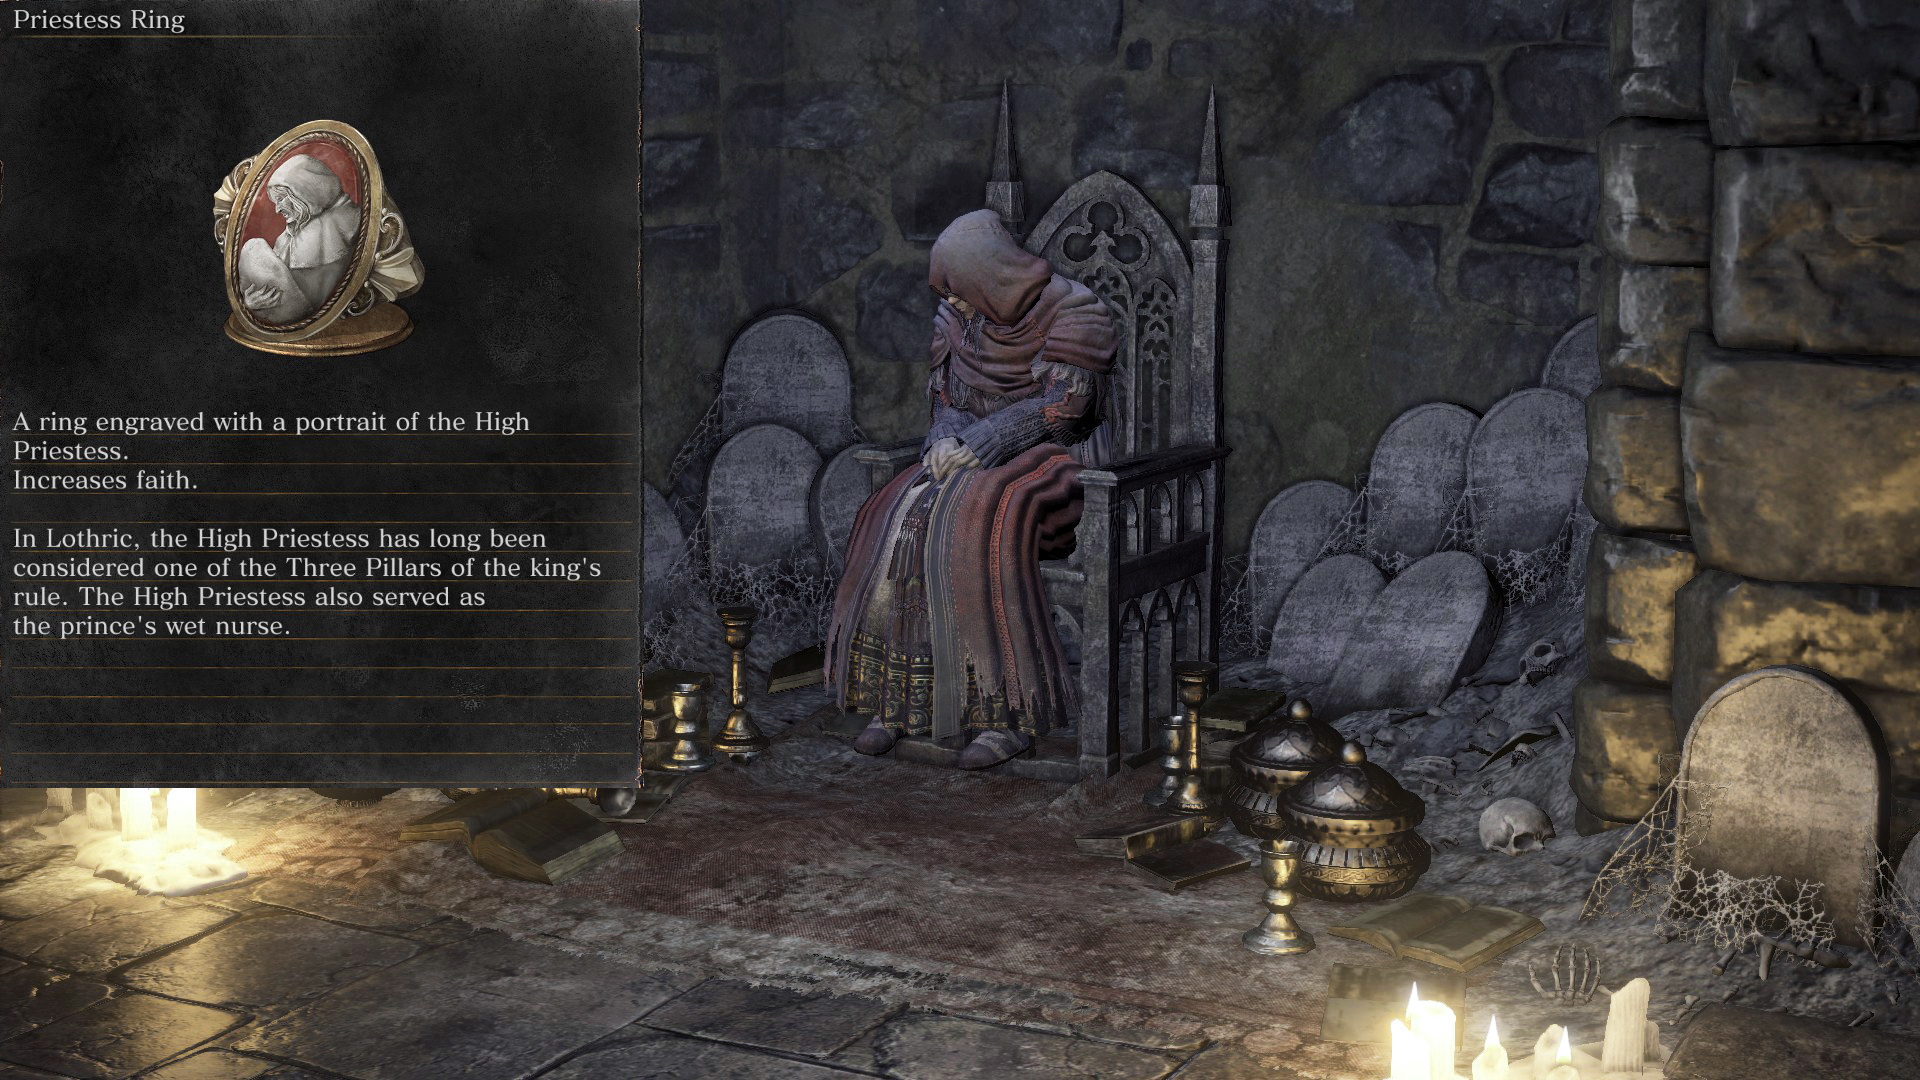 |
Life Ring
| Base | Shrine Handmaiden at Firelink Shrine (1.5k Souls) when given the Dreamchaser Ashes or chosen as a Burial Gift at the start of the game: (Video Location – [youtu.be] ) | 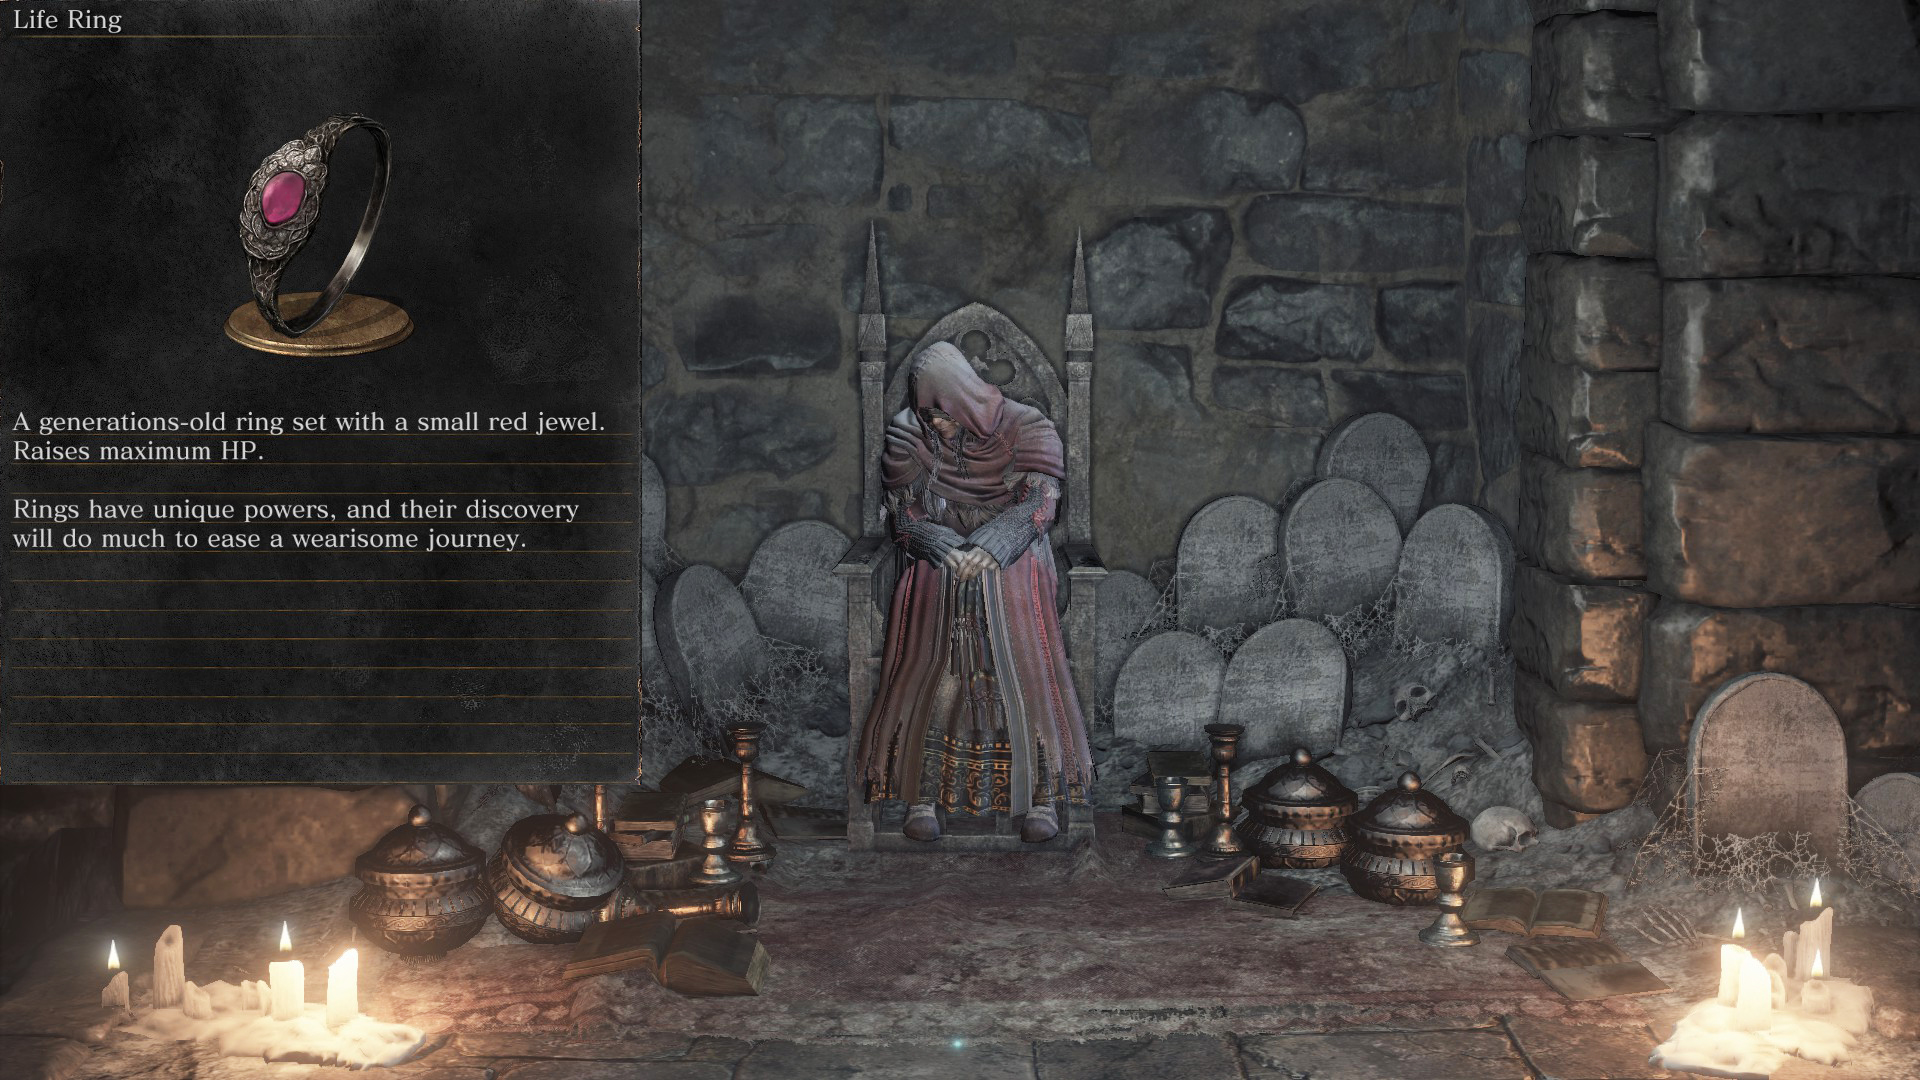 |
| +1 | Undead Settlement | Video Location – [youtu.be] |
| +2 | Lothric Castle | Video Location – [youtu.be] | +3 | Untended Graves | Video Location – [youtu.be] |
Horsehoof
| Base | Sold by Patches at Firelink (500 souls). His appearance can be triggered if not found in Cathedral of the Deep by entering the tower behind Firelink with the Tower Key sold for 20k souls: (Video Location – [youtu.be] ) | 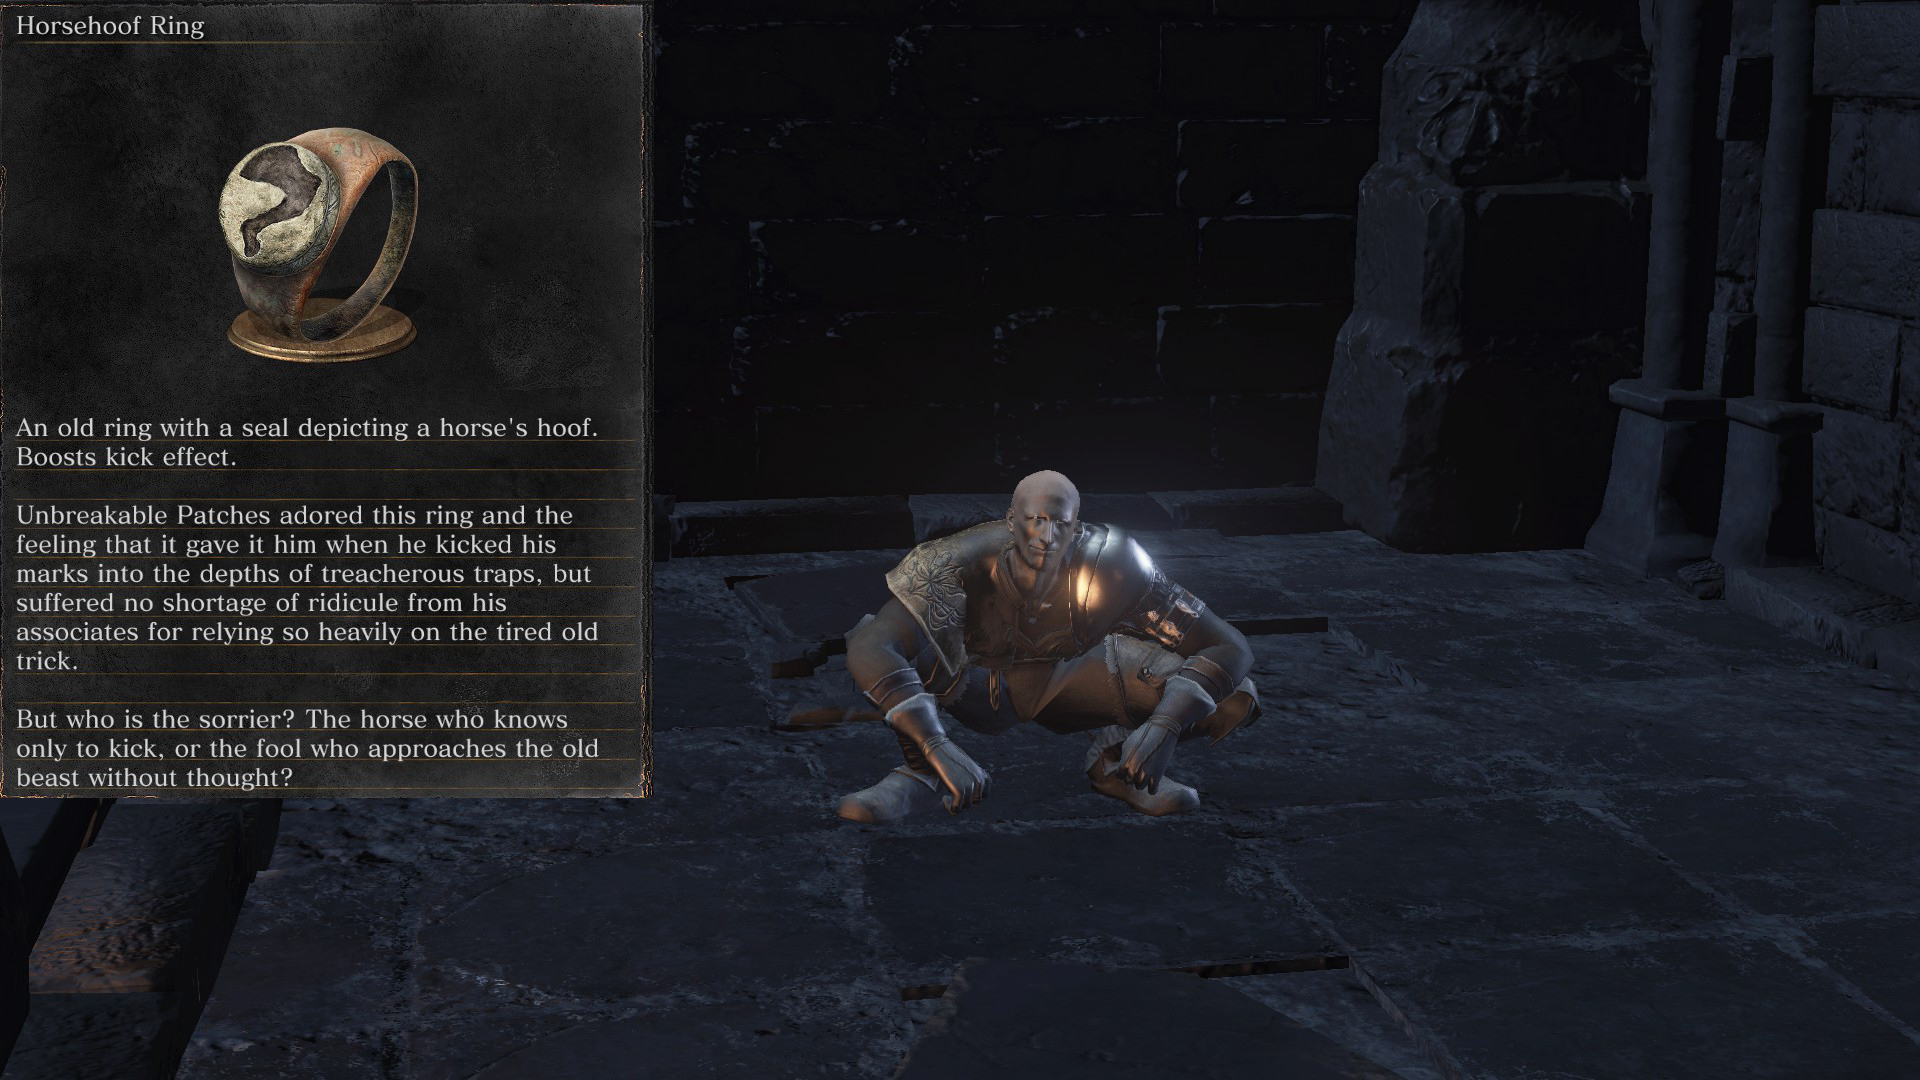 |
Saint’s Ring
| Base | Sold By Irina of Carim (300 souls), first found in the Undead Settlement with the “Grave Key” or the Spook/Silvercat method:(Video Location – [youtu.be] ) | 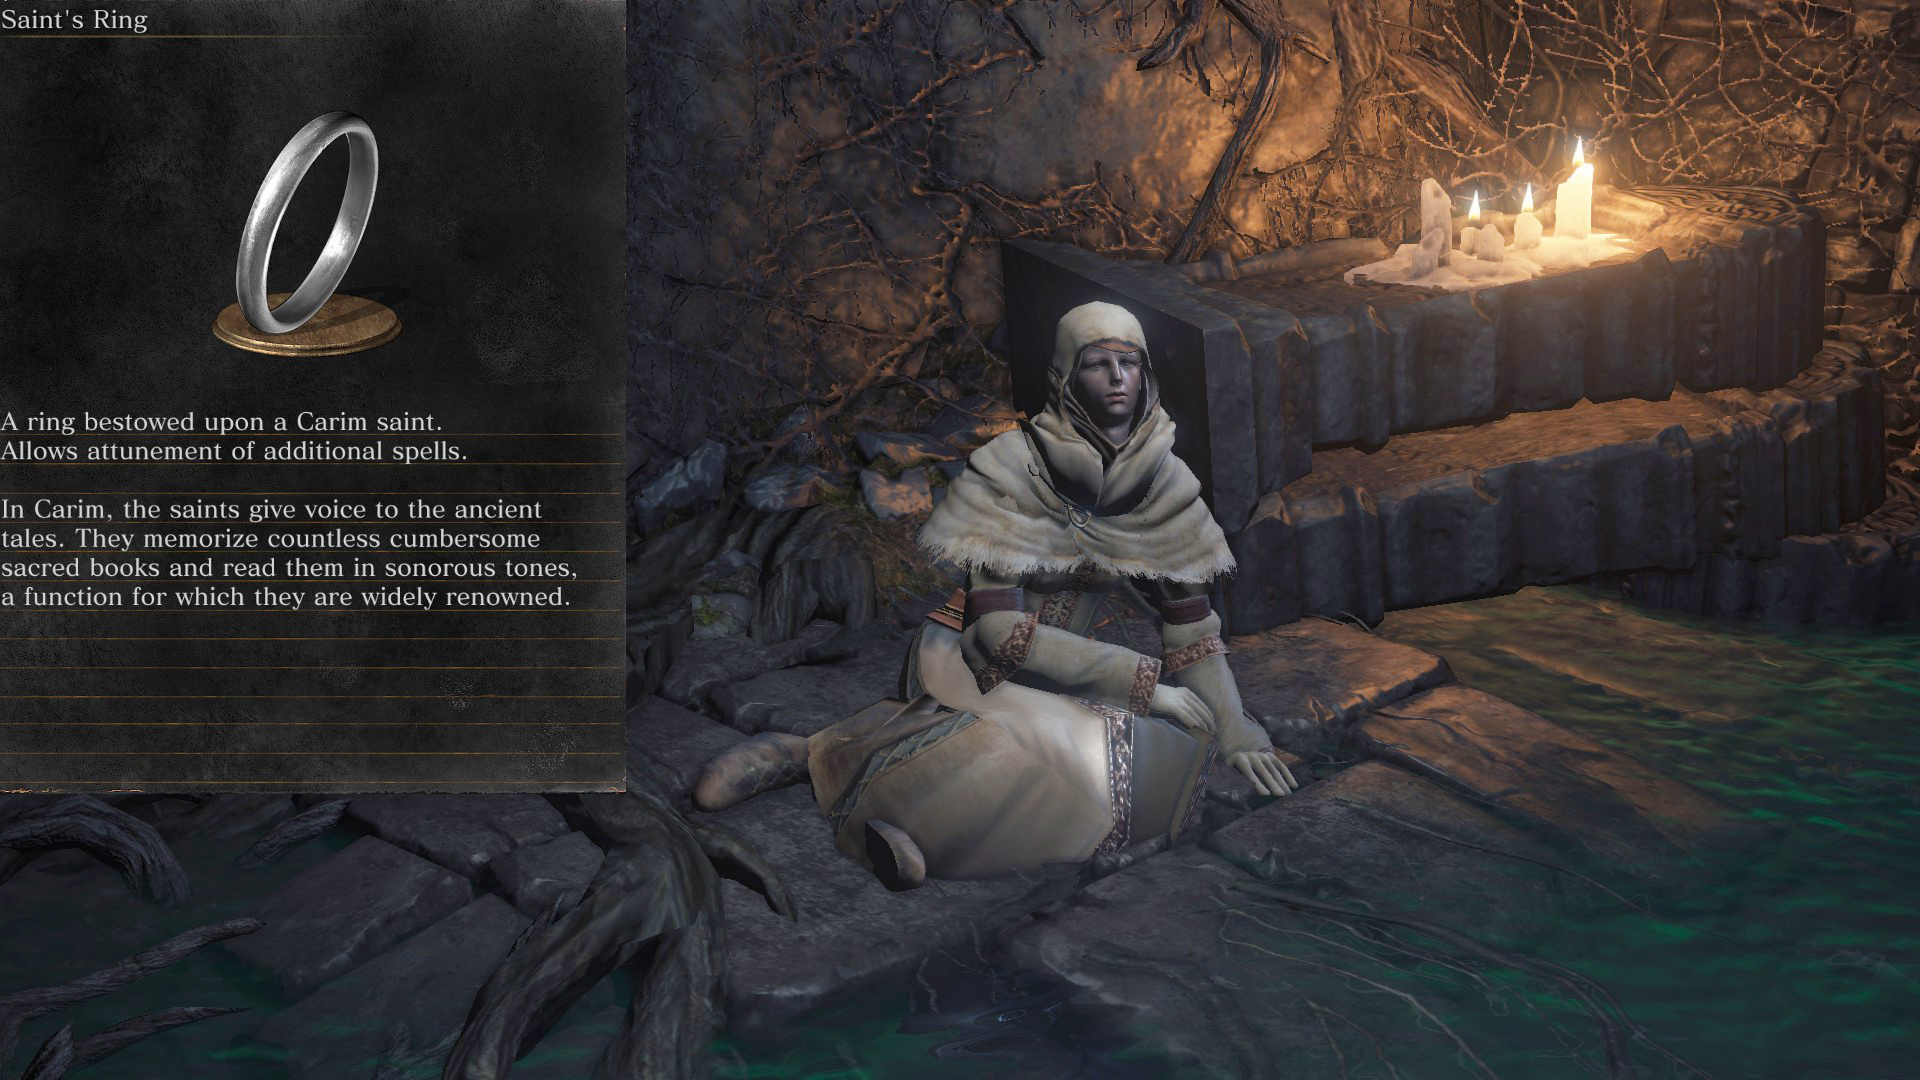 |
Wood Grain Ring: Base, +1, +2
| Base | Sold by Shrine Handmaiden from Easterner’s Ashes (3k Souls): (Video Location – [youtu.be] ) | 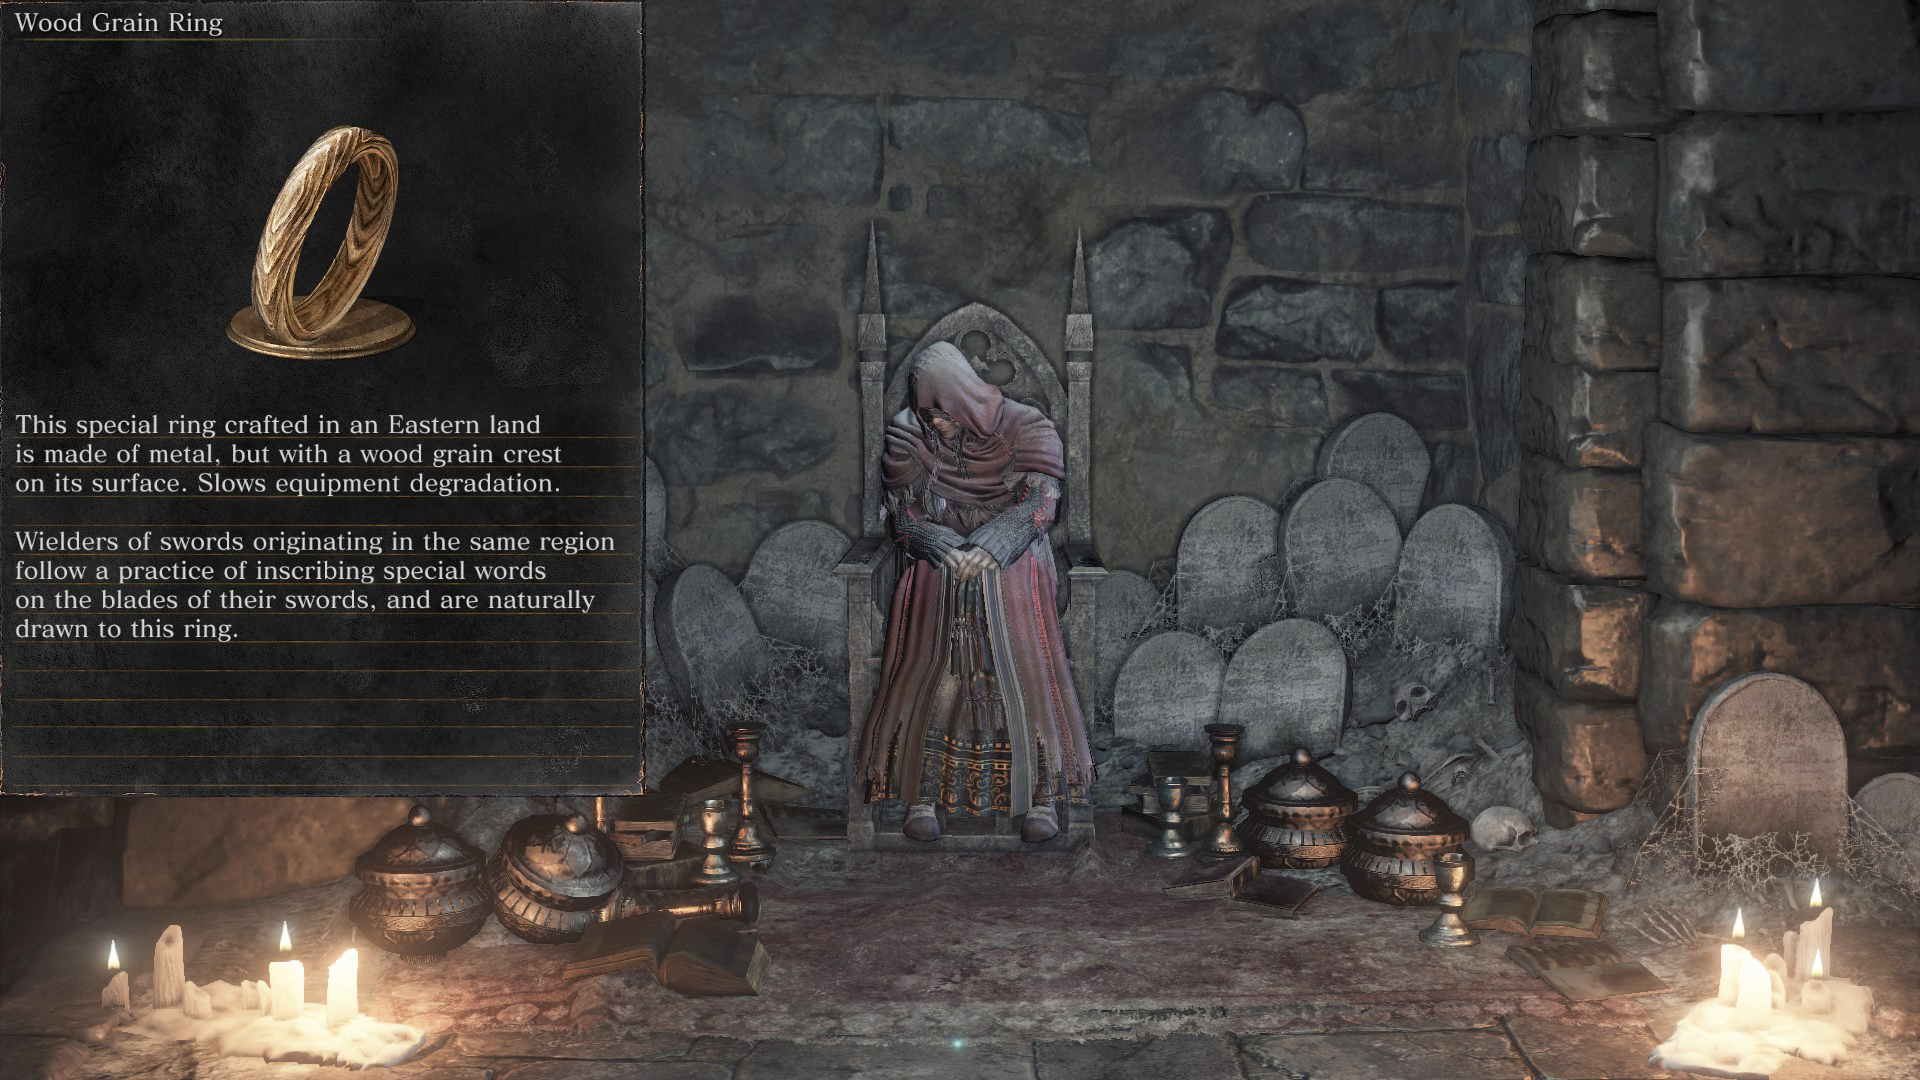 |
| +1 | Consumed Kings Garden, down the elevator pass the Cathedral Knight to the bottom with toxic icy ground – found behind the elevator. | Video Location – [youtu.be] |
| +2 | Irithyll of the Boreal Valley from the Distant Manor Bonfire – go past the Sewer Centipedes, Kitchen (where you meet Siegward), and Silver Knights – make a right from the door. Found in a corner. | Video Location – [youtu.be] |
Lloyd’s Shield Ring
| Base | Sold by Shrine Handmaiden when given Paladin’s Ashes (2.5k Souls): (Video Location – [youtu.be] ) | 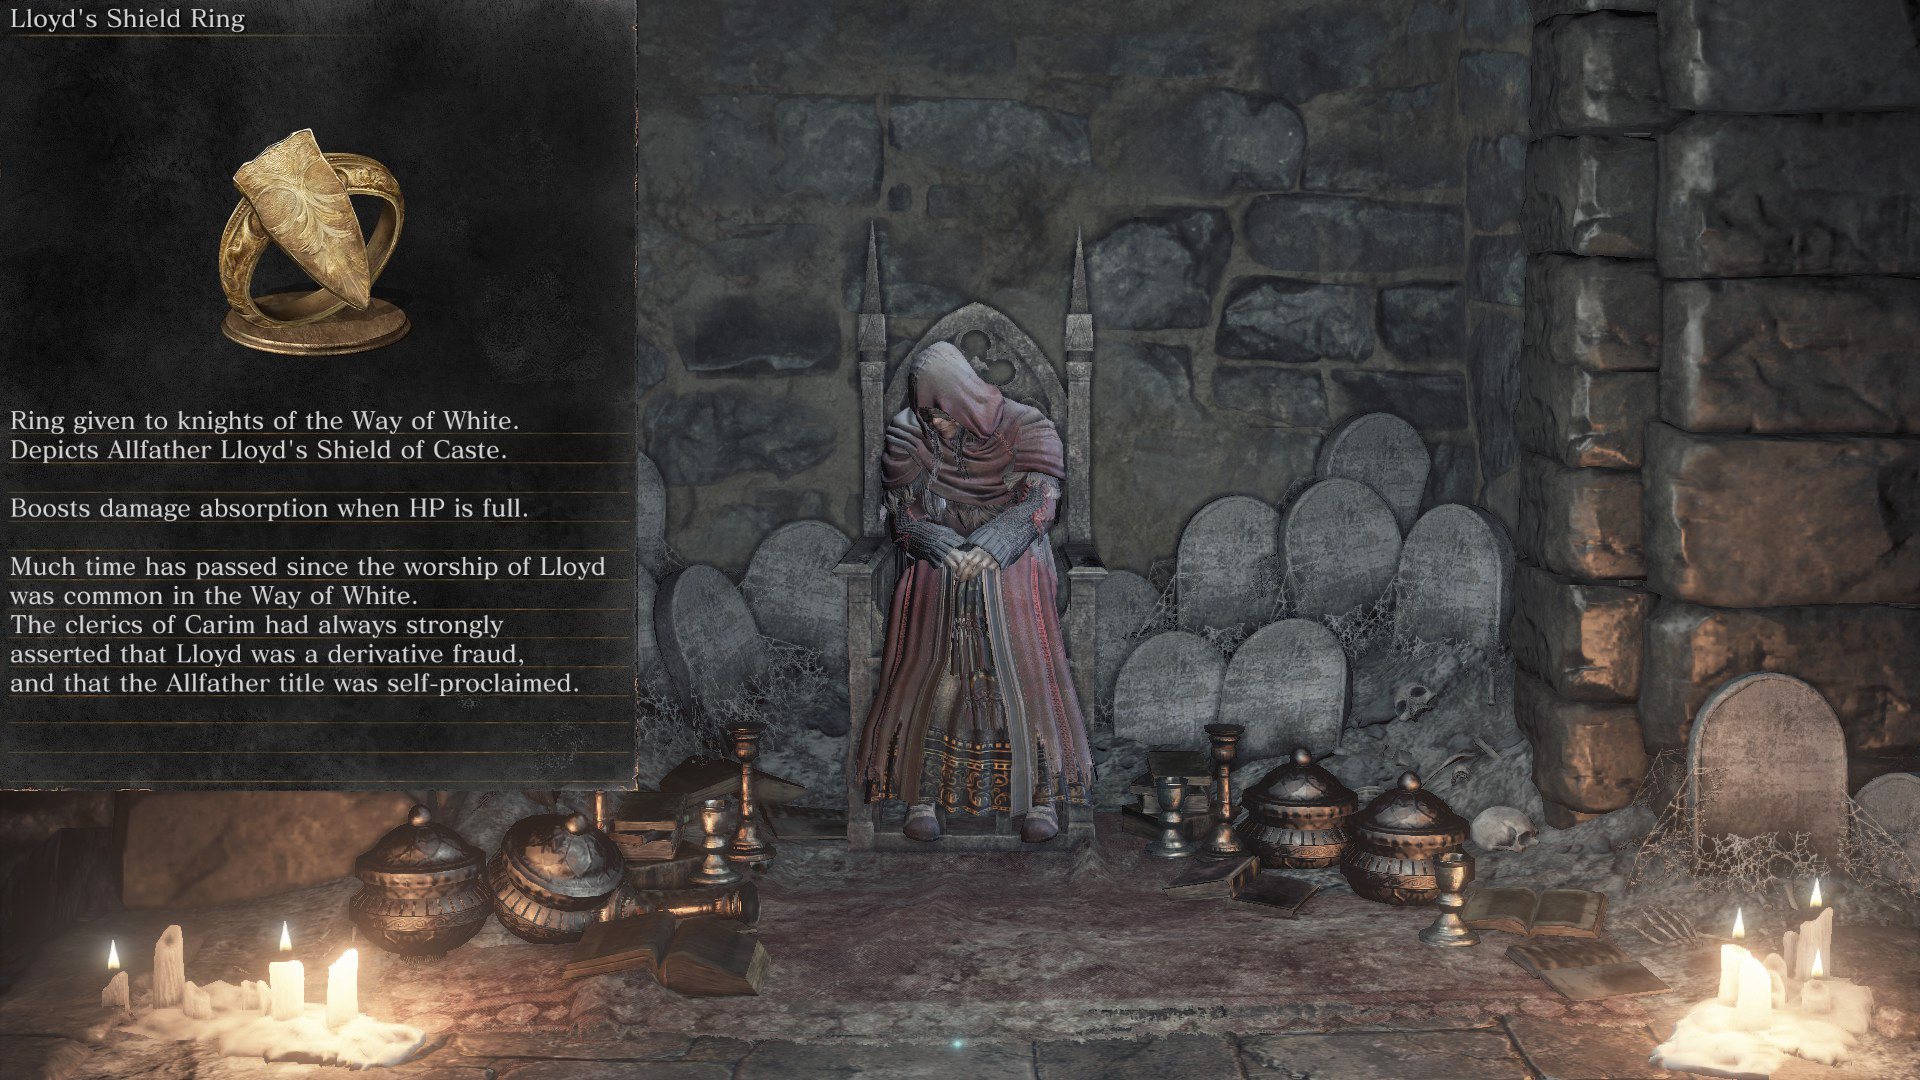 |
Untrue Dark Ring
| Base | Sold by Yuria for 5k souls when she becomes a merchant at Firelink & completing all of Yoel’s “Draw Out True Strength” levels for the Dark Sigil: (Video Location – [youtu.be] ) |  |
Untrue White Ring
| Base | Sold by Yuria for 5k souls when she becomes a merchant at Firelink & completing all of Yoel’s “Draw Out True Strength” levels for the Dark Sigil: (Video Location – [youtu.be] ) | 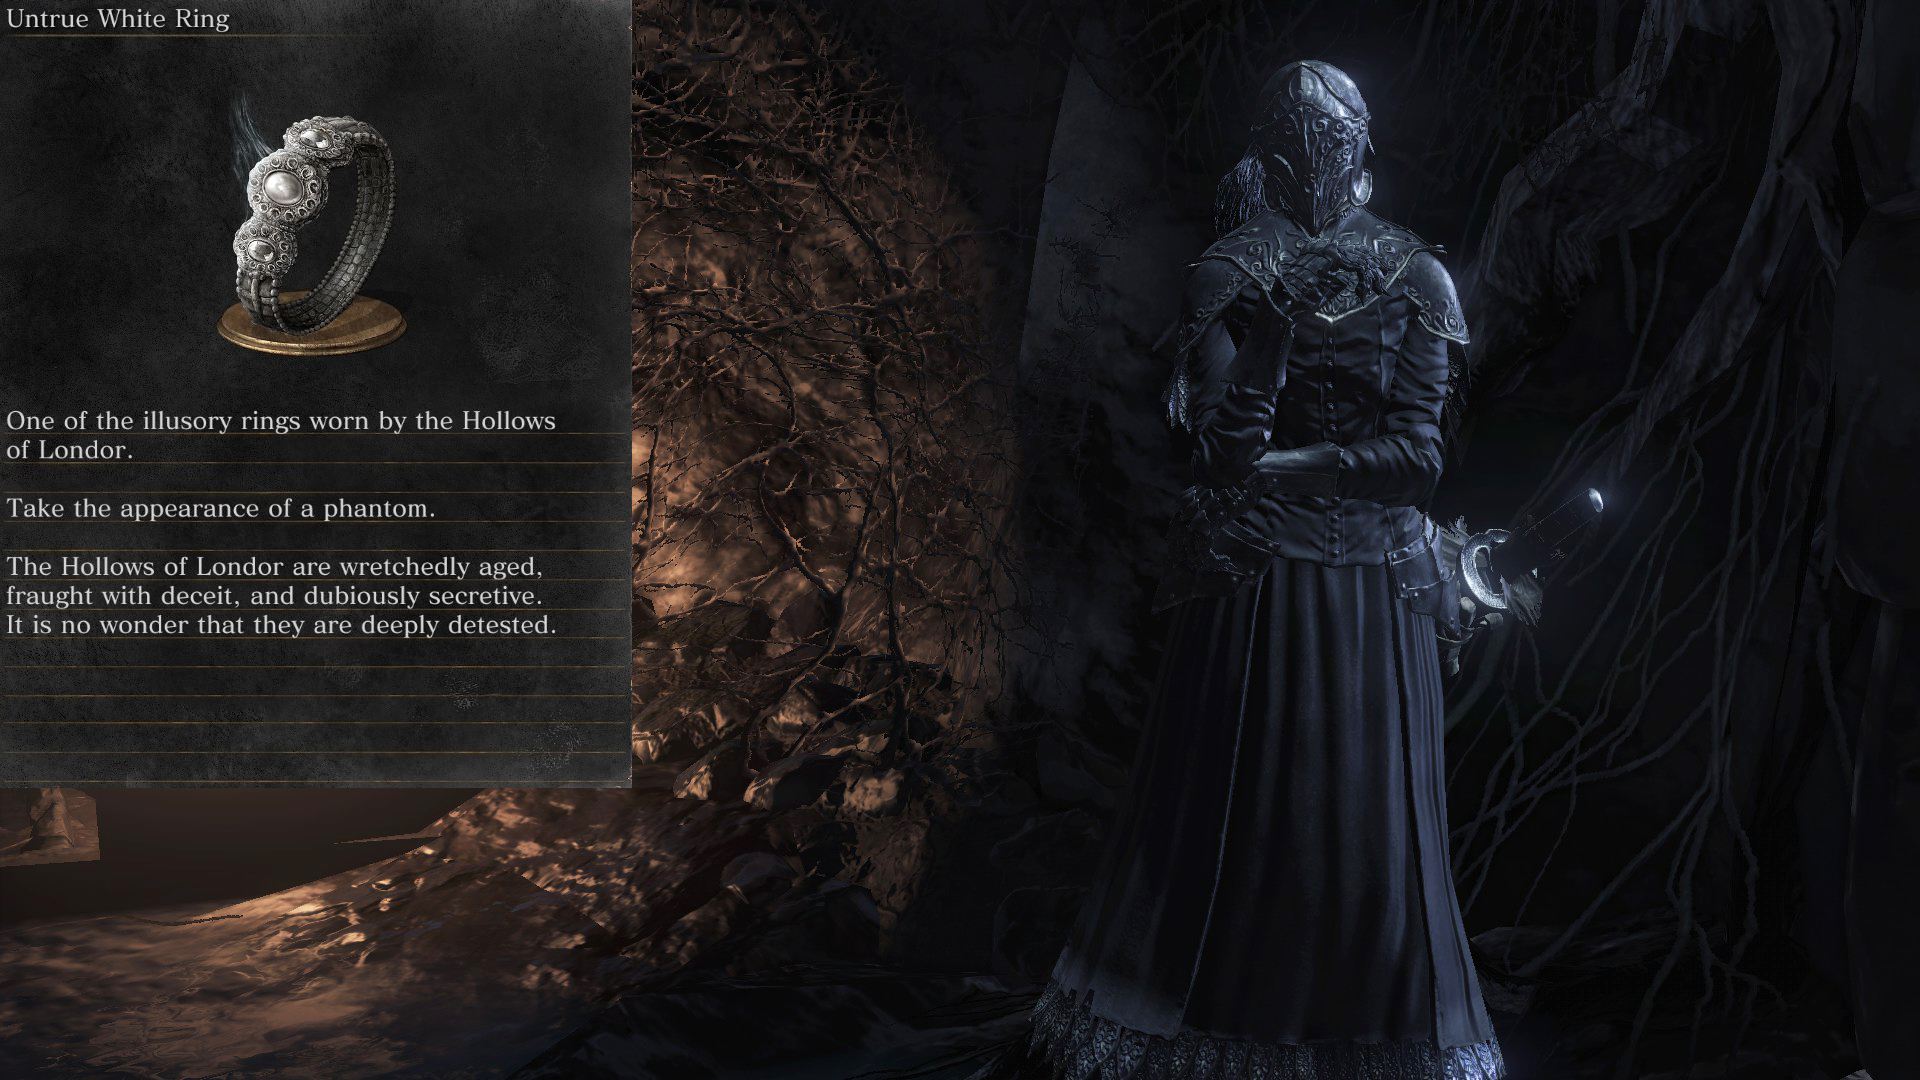 |
Ring of Sacrifice
| Base | Sold by Yuria for 5k souls or the Shrine Handmaiden when given the Hollow’s Ashes – [youtu.be] or Yuria’s Ashes. Also from Picklepee when trading Loretta’s Bone, but not recommended due to Greirat’s quest) Note: You only need one of the rings for the achievement. | 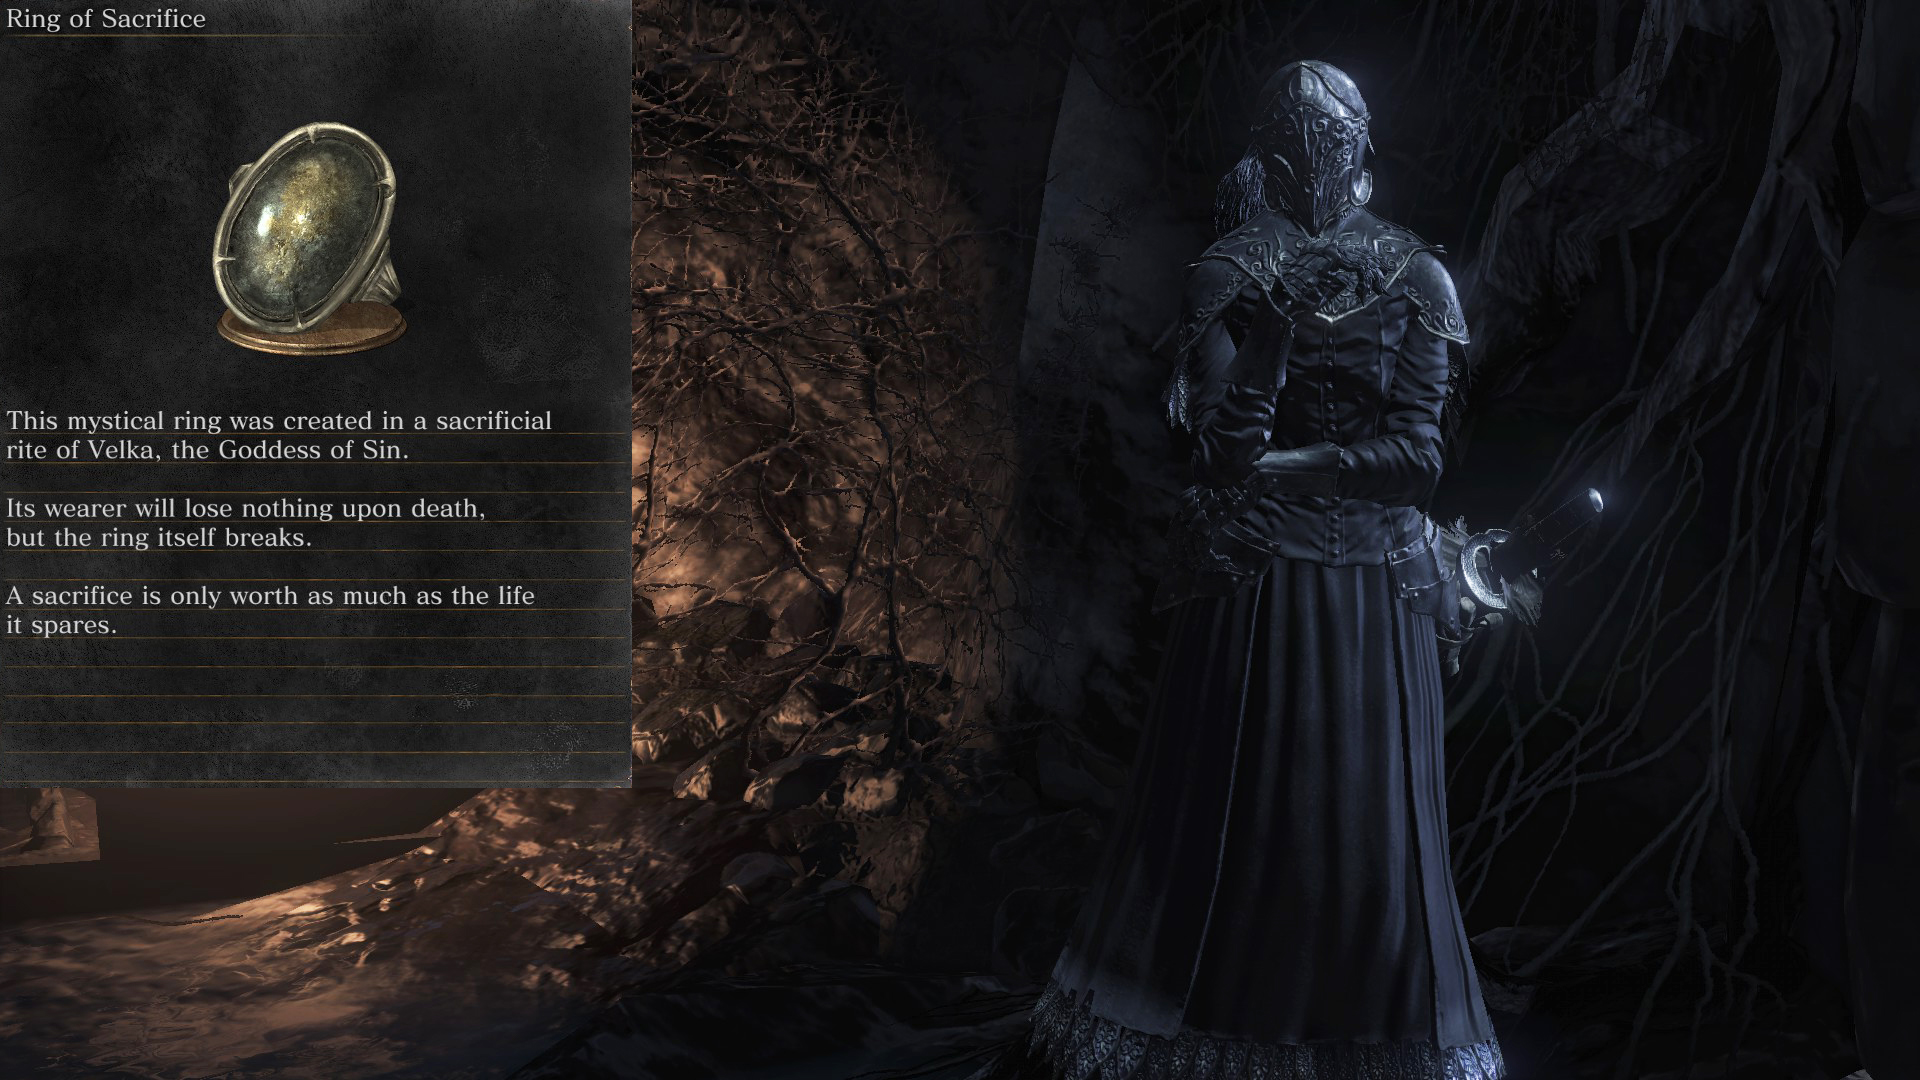 |
| High Wall of Lothric | Past a flame archer and on a roof you can jump to underneath a Winged Knight | Video Location – [youtu.be] |
| Irithyll of the Boreal Valley | Close to Church of Yorshka Bonfire in the water | Video Location – [youtu.be] |
| Consumed King’s Garden | Down the first elevator in the toxic area and to the very right. | Video Location – [youtu.be] |
Covenant Rewards
Darkmoon Ring
| Base | Blades of the Darkmoon Covenant Rank 1 Reward with 10 Proof of Concords Kept: (Video Location – [youtu.be] ) |  |
Wolf Ring, Base, +1, +2
| Base | Watchdogs of Farron Covenant Reward rank 2 reward with30 Wolf’s Blood Swordsgrass: (Video Location – [youtu.be] ) | 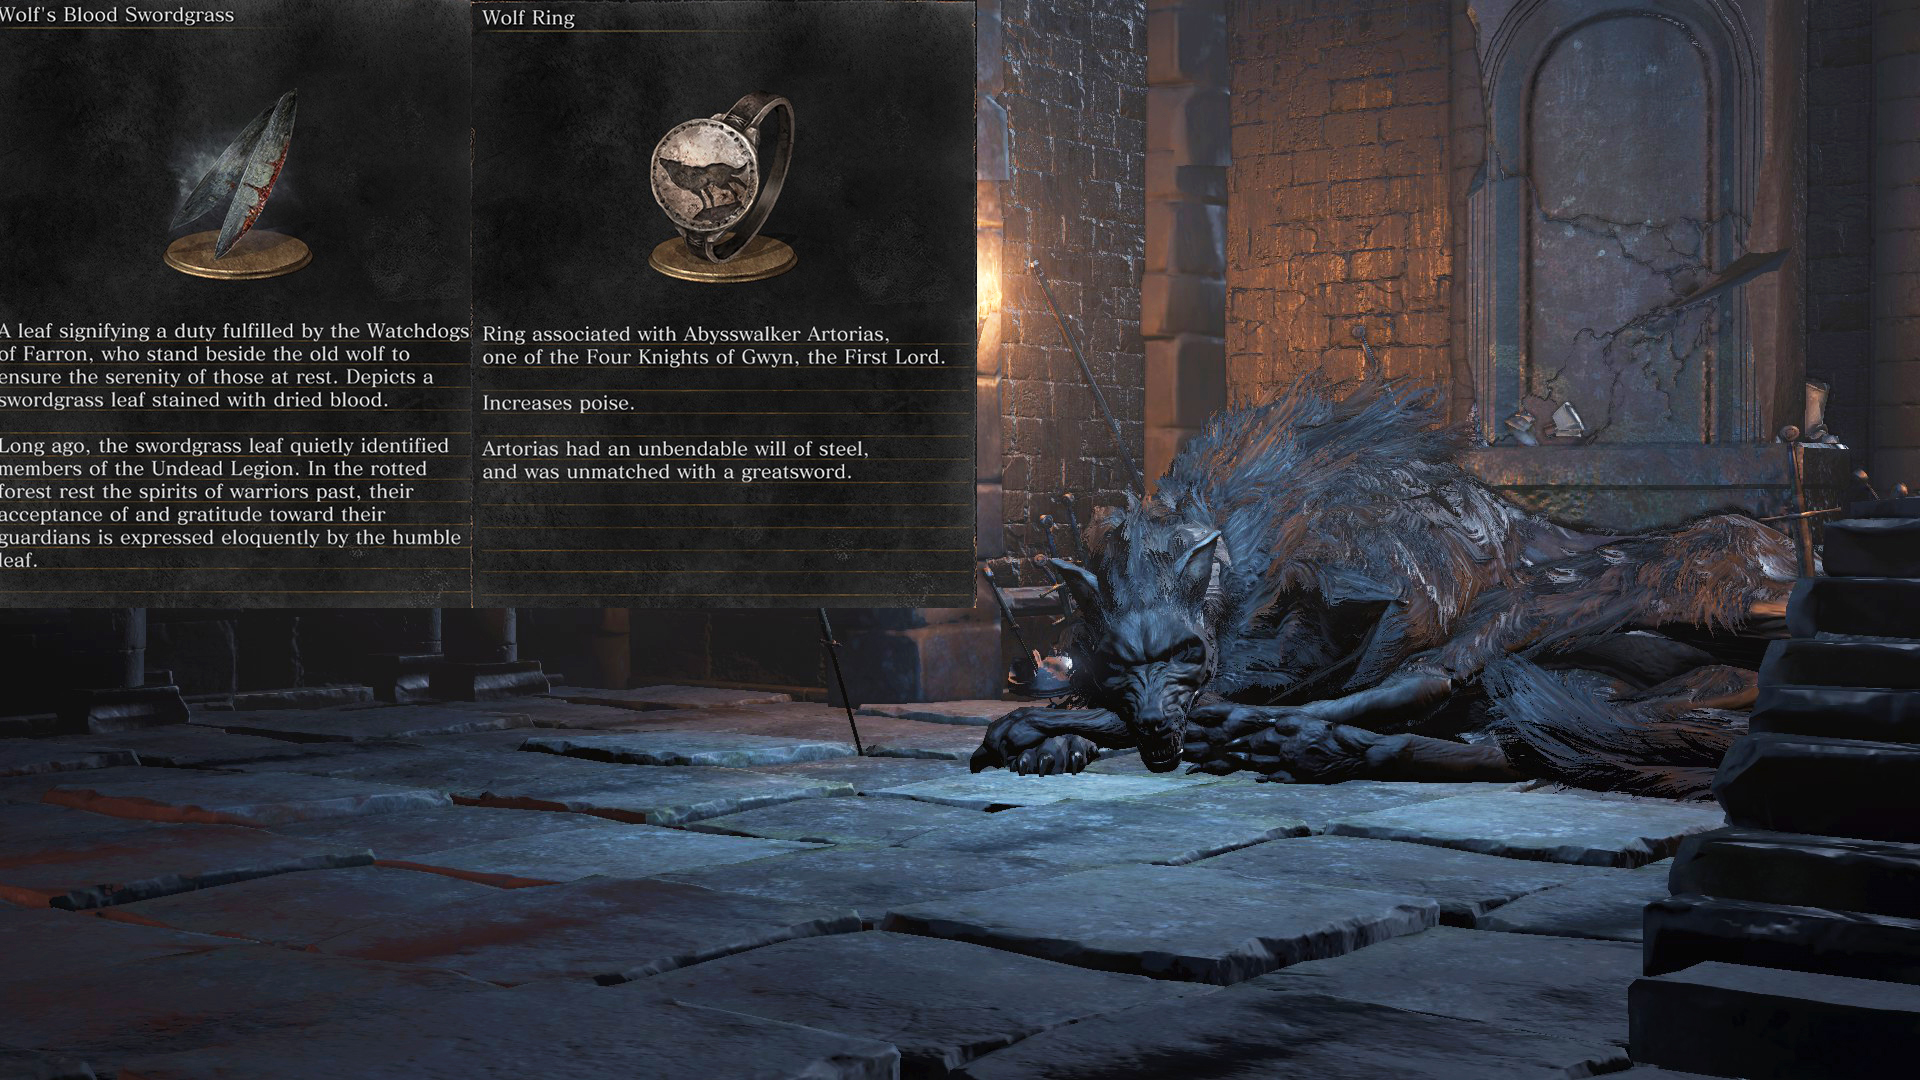 |
| +1 | Farron Keep beside Keep Ruins Bonfire. | Video Location – [youtu.be] |
| +2 | Cemetery of Ash after boss doors of Iudex Gundyr directly to the left before FIrelink. | Video Location – [youtu.be] |
Obscuring Ring
| Base | Rosaria’s Fingers Rank 1 Covenant Reward from 10 Pale Tongues. Make sure to not do this during Sirris’ quest: (Video Location – [youtu.be] ) | 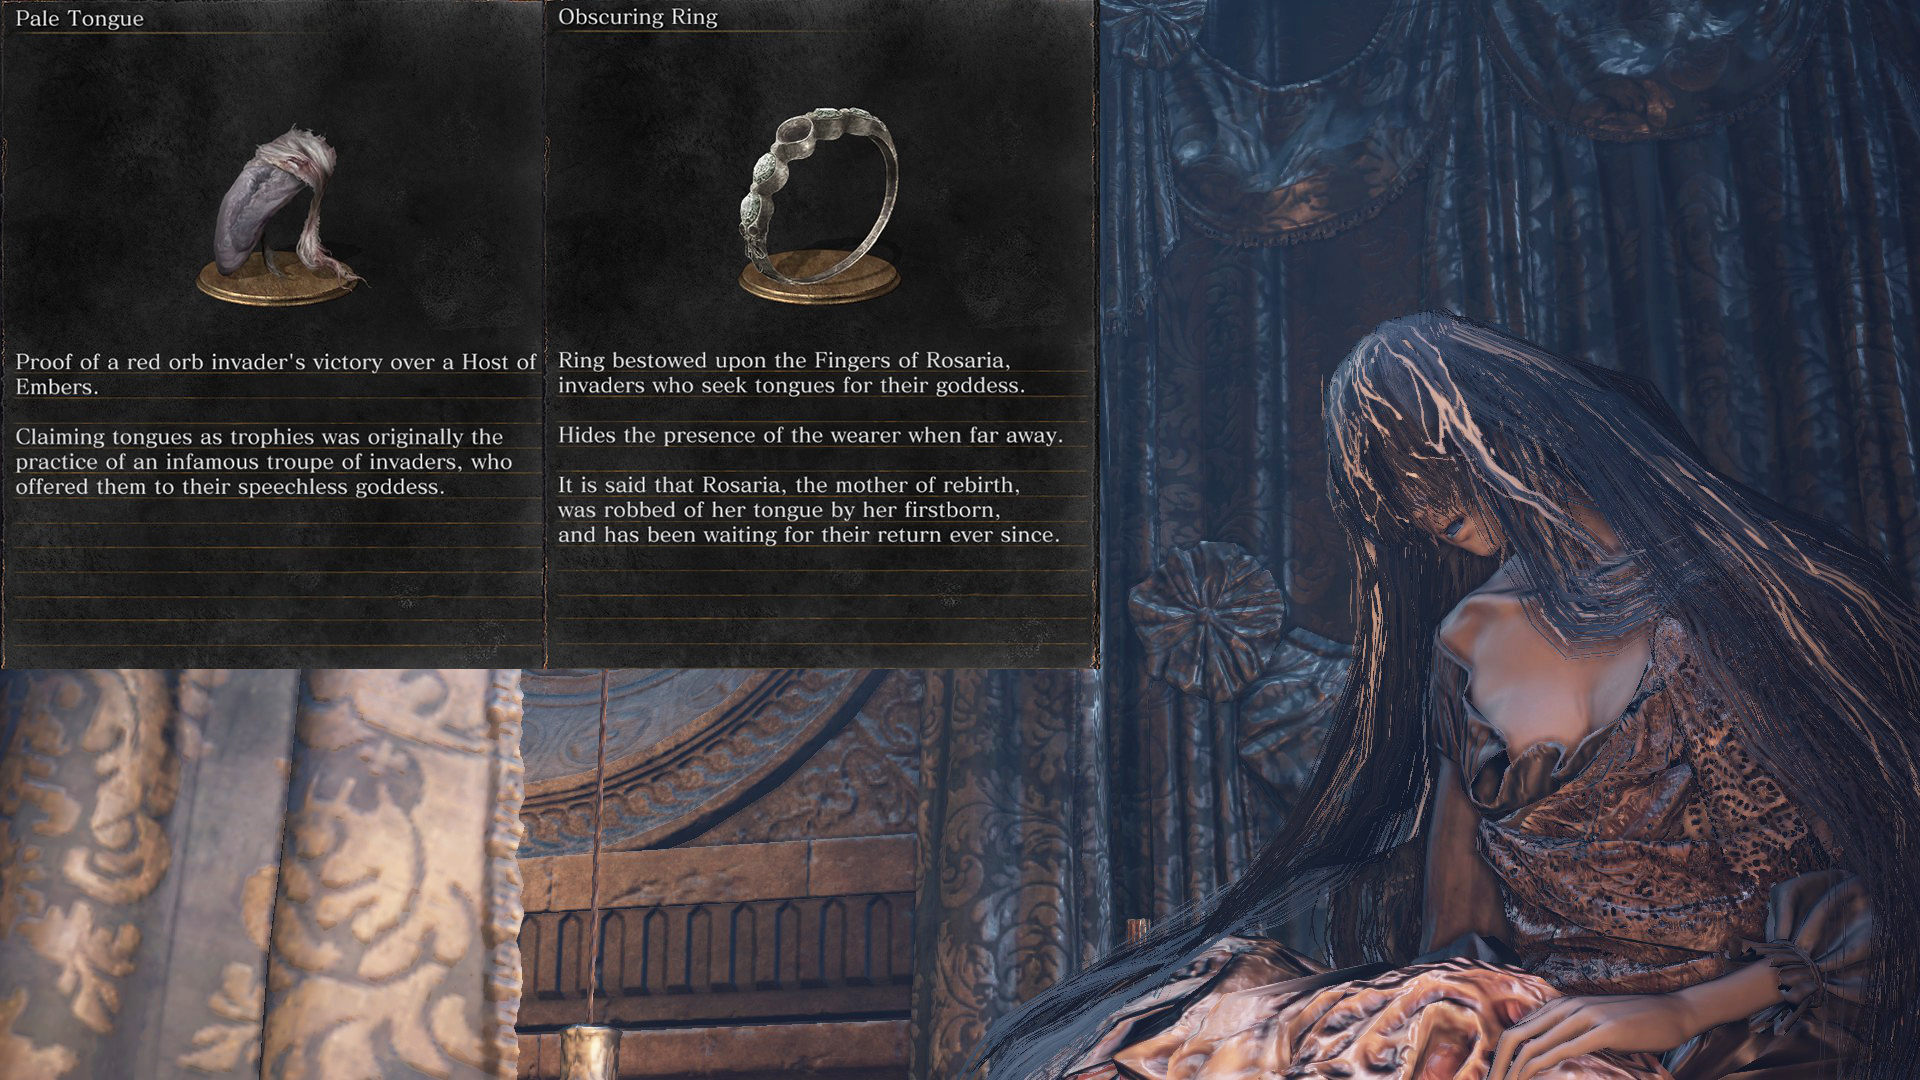 |
Soul Transpositions
Note that all Trades with Ludleth will require the Transposing Kiln: dropped when defeating the Curse-Rotten Greatwood. Make sure to join the Mound-Makers Covenant – [youtu.be] first for the achievement.
Havel’s Ring: Base, +1, +2
| Base | Base: Defeat Stray Demon from the Old Wolf of Farron Bonfire and trade his soul with Ludleth: (Video Location – [youtu.be] ) | 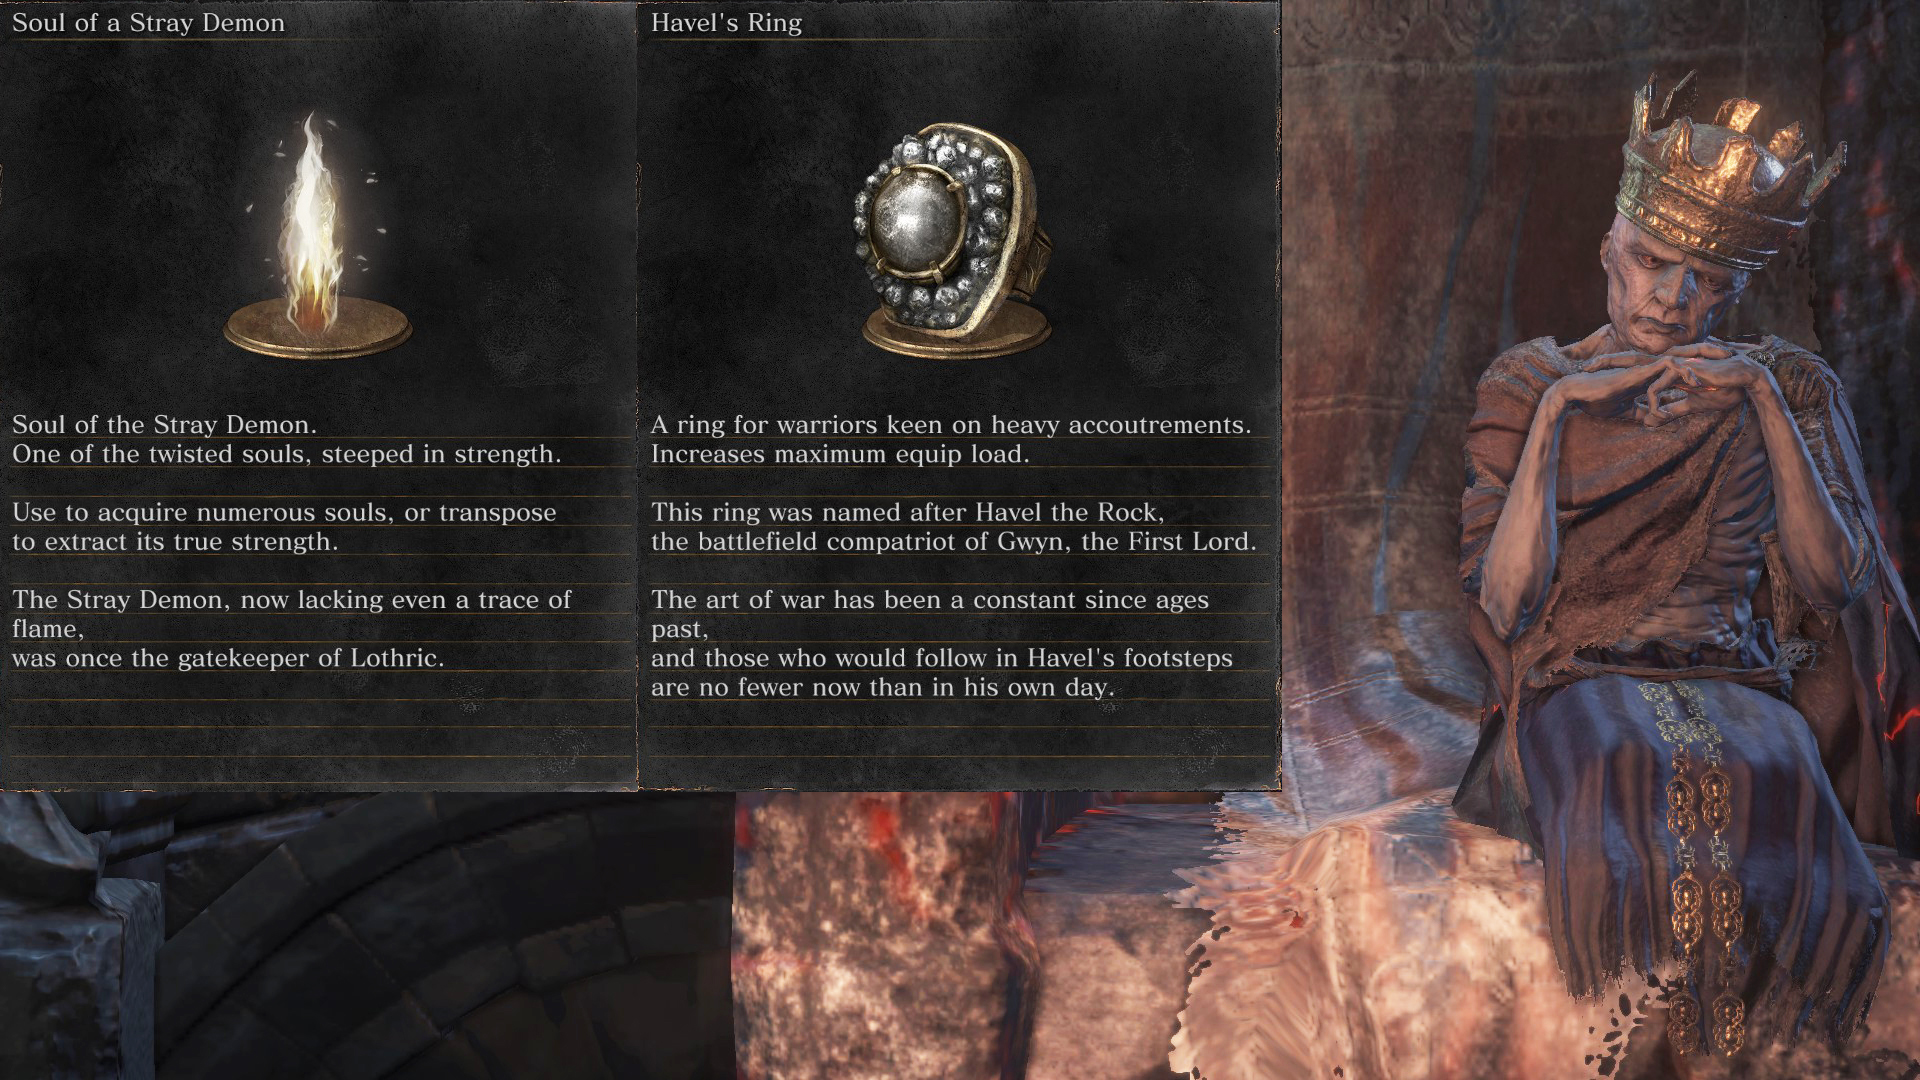 |
| +1 | Archdragon Peak | Video Location – [youtu.be] |
| +2 | Anor Londo Prison Tower Bonfire | Video Location – [youtu.be] |
Pontiff’s Left Eye
| Base | Trade Vort of the Boreal Valley’s Soul with Ludleth | 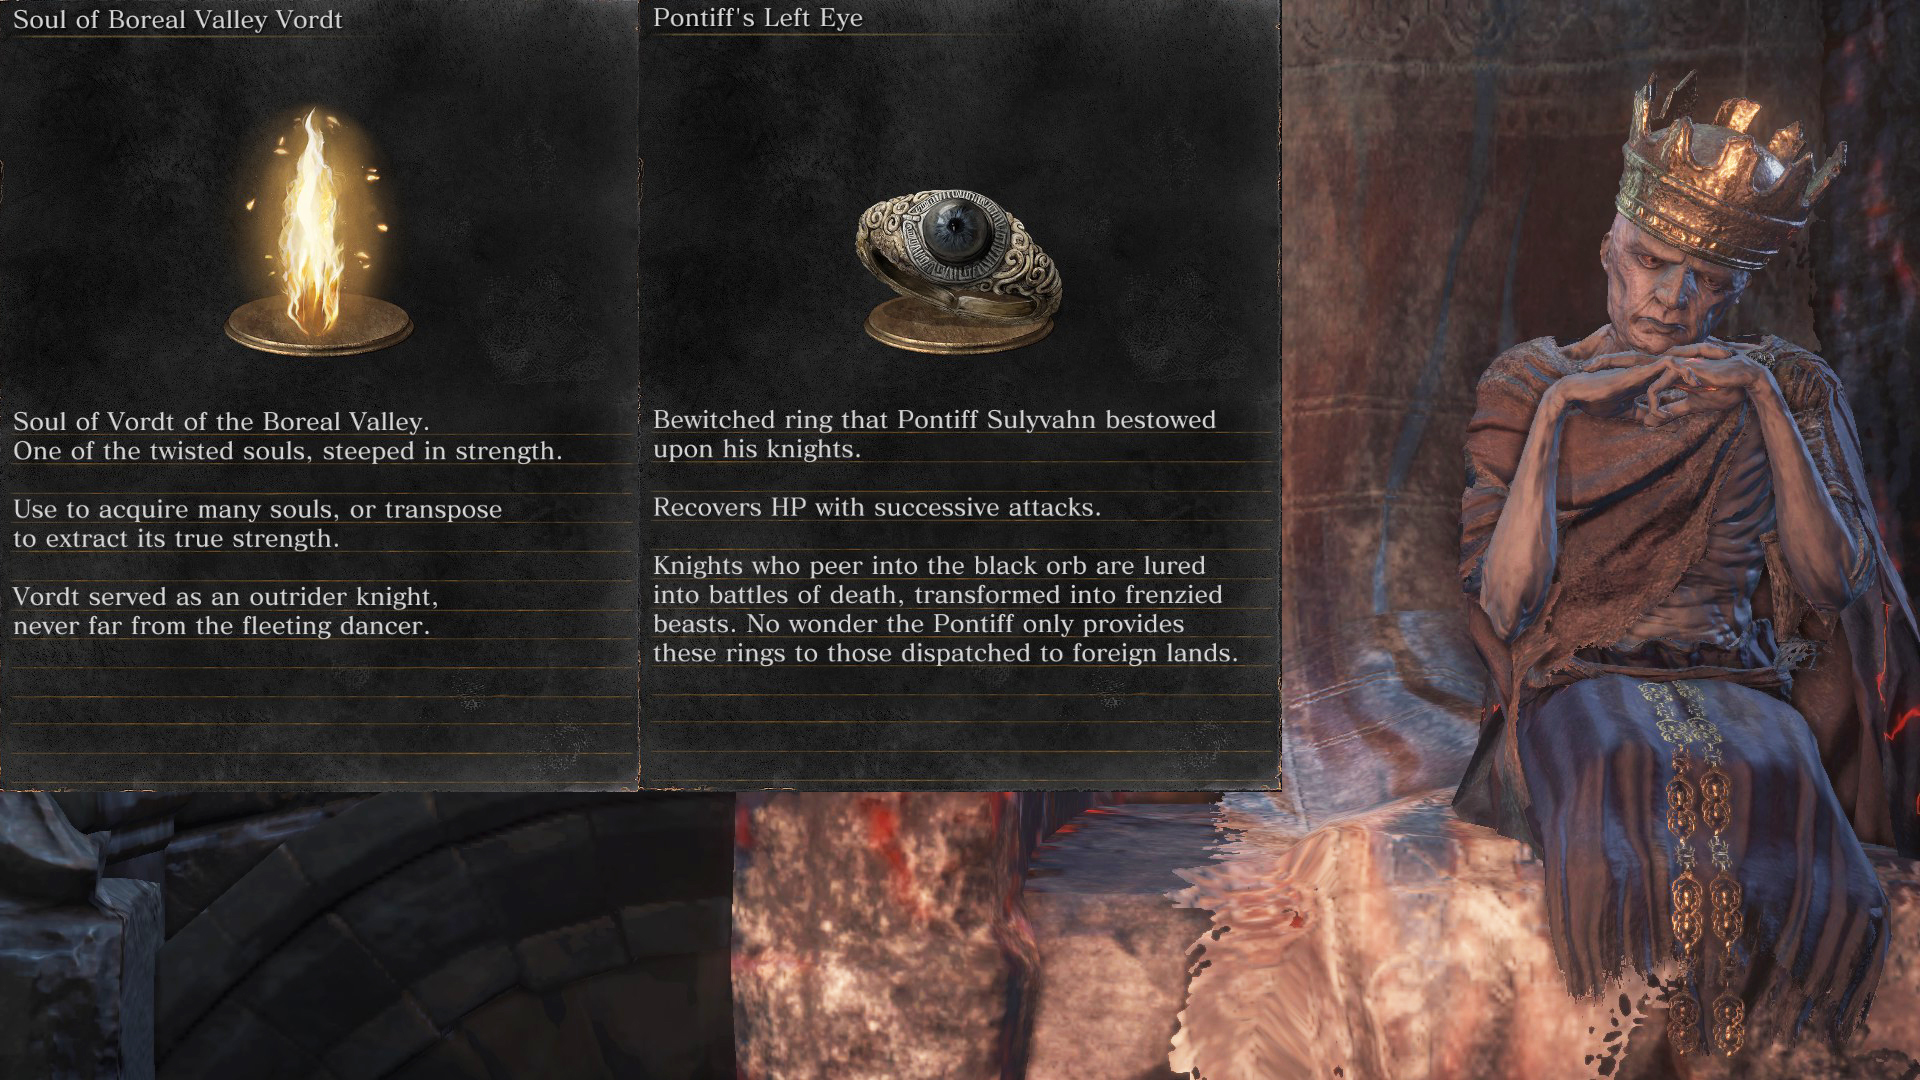 |
Prisoner’s Chain
| Base | Trade Champion Gundyr’s Soul from Untended Graves – [youtu.be] with Ludleth | 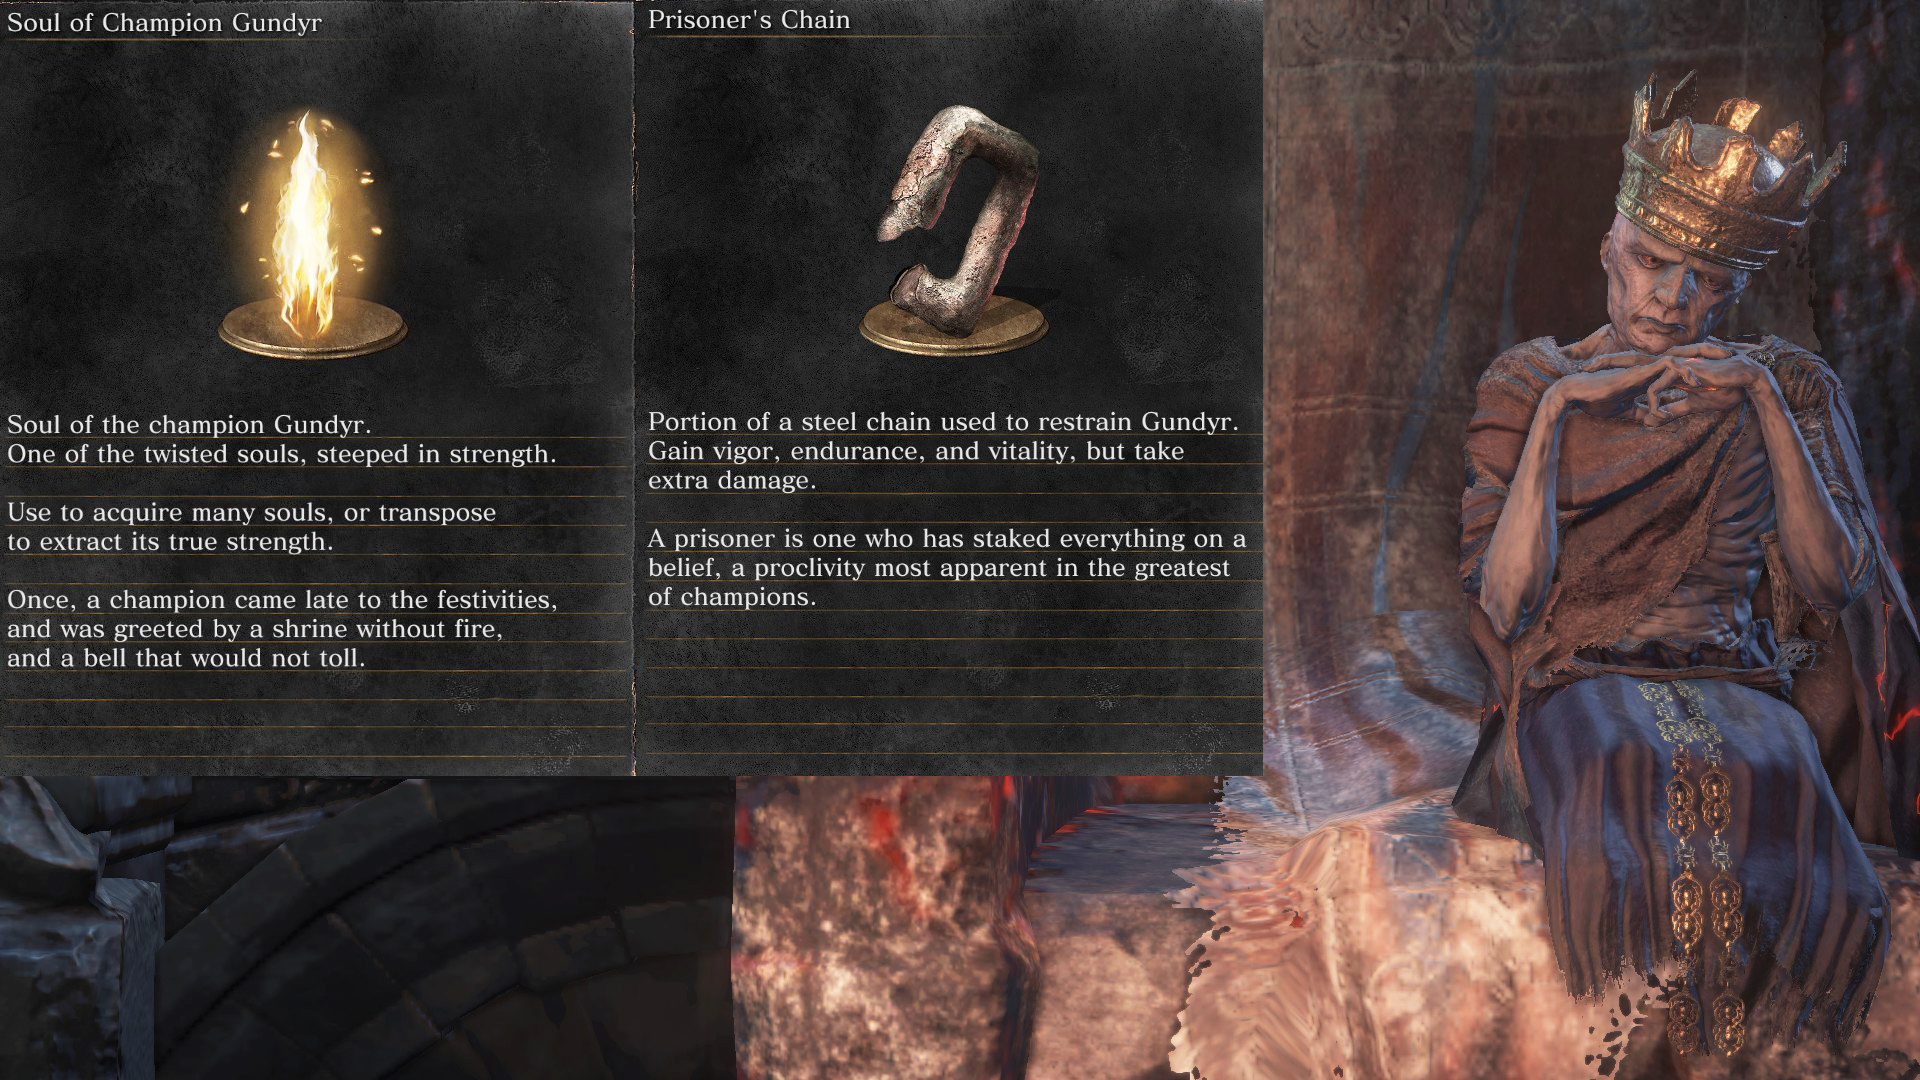 |
Needed NPCs / Saving and Quest lines Pt. 1
Important Note: All NPCs can be accidentally hit or aggroed. If this happens unintentionally, ask for absolution at the Statue of Velka – [youtu.be] in the Undead Settlement sewers. Accessible by purchasing the “Grave Key” (1500 souls) from the Shrine Handmaiden after giving her Mortician’s Ashes.
NPCS are listed mostly in order of how early you’ll be able to encounter them. Note that many NPC quests can fail other NPC quests or cannot be done in the same NG cycle, so follow them carefully.
1. Firekeeper: Firelink Shrine; Needed for “The End of Fire” ending (See Endings Section).
2. Shrine Handmaiden : Firelink Shrine; Needed for Life Ring (Also a burial gift), Lloyd’s Shield Ring, Wood Grain Ring, and the “Tower Key” for Siegward / Patches questline. Umbral Ashes are brought to her.
3. Andre: Firelink Shrine; Needed for “Hurrah!” gesture, “Master of Infusion” and “Supreme Weapon Reinforcement” achievement. He also allots and upgrades your Estus and Ashen Estus Flasks.
4. Hawkwood: Firelink Shrine; Needed for “Rest” gesture
5. Pickle Pee: Firelink Shrine Roof; Needed for “Call Over” gesture – [youtu.be] (trade with homeward bone). Get early access to Pickle Pee and the Silver Serpent Ring without purchasing the Tower Key (20k souls) by using the tree jump method.
6.Ludleth of Courland: Firelink Shrine; Needed for several boss soul transpositions for sorceries/miracles/pyromancies, Rosaria’s Soul transposition, Prisoner’s Chain Ring, Havel’s Ring, Pontiff’s Left Eye Ring, and the Skull Ring after Soul of Cinder. The Transposing Kiln is necessary in order to perform soul transpositions with Ludleth, which is given after defeating the Curse-Rotted Greatwood. Note that you should join the Mound-Makers Covenant before defeating this boss.
7. Greirat: Trapped in a cell at the High Wall of Lothric. Needs to be saved to return to Firelink. Needed for Blue Tearstone ring and “Curl up” gesture
- First location he can be saved: in a locked cell at the High wall of Lothric – [youtu.be] underneath the “Tower on the Wall” bonfire after obtaining the “Cell Key – [youtu.be] “. You will automatically be given the Blue Tearstone Ring when saving him, but later given “permission” to keep it when progressing his quest.
- Bring him Loretta’s Bone – [youtu.be] as asked, and receive the “Curl Up” gesture and allows you to keep the Blue Tearstone Ring.
- He will ask to leave Firelink to find you supplies three times. Allow him to do so with caution as he can die before his quest is over: Make sure you saved Siegward from the well or trigger Patches arrival at Firelink and inform him of Greirat’s outing BEFORE entering Irithyll of the Boreal Valley. (See Siegward NPC information on how to follow this).
- On his third trip (Lothric Castle), he unfortunately cannot be saved. If you allow him to explore, his ashes will be found on the roof of the Grand Archives and can be given to the Shrine Handmaiden.
8. Yoel of Londor: Needed for “Beckon” gesture and starting the “Usurpation of Fire” ending (Note: this is the most complicated ending and is easy to mess up with other NPC questlines). From “Foot of the High Wall” Bonfire, proceed down the stairs and go the opposite way of the gate opening. You will find him among a group of deceased Pilgrims. Accept his services and he will return to Firelink. You will need to agree to “Draw out True Strength” 5 times for Yuria to spawn at Firelink. Keep in mind this will hollow your character, which isn’t a huge deal, but if you spend hours in character creation – make sure to buy purging stones or the Untrue Dark Ring from Yuria as curing the Dark Sigil will end her questline. (Video Location – [youtu.be] )
9. Yuria of Londor: Needed for “Dignified Bow” Gesture, the “Usurpation of Fire” ending, Anri’s questline, the Untrue Dark Ring, Untrue White Ring, and Ring of Sacrifice (though the Ring of Sacrifice can also be found other places). Is first met at Firelink when you progress with Yoel’s questline. Refer to the Endings Section for explanation of steps for “Usurpation of Fire” ending.
10. Ringfinger Leonhard: Needed for “Applause” gesture and Rosaria’s Soul.
Note: Offering a Pale Tongue or joining Rosaria’s Fingers can anger Sirris and fail her quest. Do this step after acquiring the Silvercat Ring.
- First appears at Firelink Shrine after finding “Tower on the Wall” bonfire in High Wall of Lothric or from defeating Vort of the Boreal Valley and gifts the player Cracked Red Eye Orbs (Not necessary to use to progress the quest).
- While having at least one pale tongue in your inventory (do not offer this to Rosaria yet) and either discovered the “Cliff Underside” bonfire in the Undead Settlement or Defeating the Curse-Rotted Greatwood (this boss is not recommended yet if you haven’t joined The Mound-Makers Covenant – [youtu.be] and received that achievement), he will give the player the “Lift Chamber Key” to fight a dark wraith in a locked dungeon underneath the “Tower of the Wall” bonfire in the High Wall of Lothric.
- After defeating the wraith, Leonhard will reward the player with the “Applause” Gesture (needed) and a permanent Red Eye Orb.
- Proceed from here with caution as this will end Sirris’ quest (finish hers first)
Join Rosaria’s Covenant and offer a pale tongue to deepen devotion to the covenant, reload the area and Leonard will be in this location. Exhaust his dialogue. - The Black Eye Orb will now be required to invade Leonhard in Gwynevere’s old bedchamber (above the Aldrich boss fight). This item can be found in Rosaria’s bedchamber once you made it to the Profaned Capital.
- Successfully invading and defeating Leonhard will reward you with Rosaria’s Soul (needed item to exchange with Ludleth – you can still use any of Rosaria’s previous services without her soul).
11. Holy Knight Hodrick: Leader of the Mound-Makers Covenant – [youtu.be] and needed to complete Sirris’ questline for the Silvercat Ring. Is first met when you are invaded by him in the Undead Settlement and can be summoned as a Mound-Maker in the Crucifixion Woods. Note that he is not a friendly summon but he does take damage from the enemies in your world, including Heysel when she invades.
12. Irina of Carim: Needed for several miracles, Saint’s Ring, and “Prayer” gesture. First found in a cell in the Undead Settlement. (Video Location – [youtu.be] )
- Can be rescued from an underground cell in the Undead Settlement by either giving the Mortician’s Ashes – [youtu.be] to the Shrine Handmaiden and buying the “Grave Key” (Door you’ll find locked to the right of the Dilapidated Bridge Bonfire with sewer rats, skeletons, and the Statue of Velka)
- Second option to rescue her is dropping down the side of the bridge (patrolled by Cathedral Evangelists, dogs, Peasant Hollows, and Hollow Manservants). If the spell “Spook” is available to you, this will negate the fall damage.
- Once you find her cell you will learn the “Prayer” gesture and she will return to Firelink Shrine.
- Purchase Miracles and the Saint’s Ring from her by providing her with the Braille Divine Tome of Carim – [youtu.be] and Braille Divine Tome of Lothric – [youtu.be] . (The Londor Braille Divine Tome and Deep Braille Divine Tome’s are recommended for Karla).
Needed NPCs / Saving and Quest lines Pt. 2
13. Siegward of Catarina: Needed for “Rejoice”, “Toast”, “Sleep” gestures, “Emit Force” miracle, and access to the Covetous Gold Serpent Ring near the end of his quest.
- First found in the Undead Settlement by the elevator – [youtu.be] near the entrance to Road of Sacrifices -close to NPC Eygon of Carim. Exhaust his dialogue causing him to move to the next area. Next trigger the elevator down for another platform to appear: ride the elevator up and roll off on a ledge about halfway, speak with him again, then help him defeat the Fire Demon (you must trigger the fight). He will reward you with the “Toast” and “Sleep” gesture along with a Siegbrau. (Video Location – [youtu.be] )
- Next Area: trapped in a well in the Cathedral of the Deep (“Cleansing Chapel” closest bonfire). To save him, you must encounter Patches who has stolen the Catarina Set. To trigger his appearance, open the first elevator shortcut – [youtu.be] and proceed to the bottom floor past both giants. It is recommended to kill them since Patches will attempt to trap you with them, they do not respawn, and they drop large titanite shards. Note that if you are embered in this area (lower level) you will be invaded by Longfinger Kirk. You’ll find the elevator shortcut – [youtu.be] that leads to the main Cathedral of the Deep doors up the stairs from the second giant and beside the church pews near a Cathedral Knight. Across from the elevator, a room leading to a bridge towards Rosaria’s Bedchamber – [youtu.be] will trigger Patches cutsene halfway across. Be aware that you cannot access Rosaria’s Fingers this direction. To progress Siegward’s quest, walk over the bridge to have Patches trap you with the with the giant (unless you killed them). You can then retrieve Siegward’s stolen Catarina Set to throw to him in the well. (If this scene does not trigger or you took a separate path – you can force Patches appearance by proceeding to the next step.
- Purchase the Tower Key (20k Souls needed) and a homeward bone (if you do not already have) from the Shrine Handmaiden in Firelink and use this for the tower door outside the shrine. Climb the tower (Where you can find a Firekeeper’s Soul) and use the elevator back down: this triggers Patches to lock you inside. Either use a homeward bone or descend carefully down the tower and Patches will relocate to Firelink Shrine as a merchant. (Video Location – [youtu.be] )
- Purchase the Catarina Set from Patches (18k souls total) and give them to Siegward by interacting with the well by the “Cleansing Chapel” bonfire in the Cathedral of the Deep. He will reward you with the “Rejoice” gesture. (Video Location – [youtu.be] )
- Meet him next in Irithyll of the Boreal Valley located in a kitchen / fireplace room above the sewer / water area full of spiders. Note: In order to progress his story, do not enter the Irithyll Dungeon area yet. Here he will reward you with another Siegbrau and the “Emit Force” miracle. (Video Location – [youtu.be] )
- Save Siegward from a cell in Irithyll Dungeon / Profaned Capital by finding the “Old Cell Key” in the sewer of rats. He will be located adjacent to a hole in a building on the roof of the Profaned Capital toxic area (where you find Logan’s Scroll – [youtu.be] and a hostile NPC) – closest to the “Profaned Capital” bonfire. Jump through the hole and unlock his cell door. The Covetous Gold Serpent Ring is located in his cell and he also rewards you with a Titanite Slab. (Video Location – [youtu.be] )
- Proceed to the boss fight (Yhorm the Giant) and Siegward will accompany you. After defeating him, this will complete his quest as you’ve helped him keep his promise. His armor and his Storm Ruler will be item drops when the area is reloaded.
14. Cornyx of the Great Swamp: Needed for several Pyromancies, Flame Stoneplate Ring, and “Welcome” Gesture. First found in a cage in the Undead Settlement (Video Location – [youtu.be] )
15.Orbeck of Vinheim: Needed for several Sorceries and Young Dragon Ring, Slumbering Dragoncrest Ring, (After you give him 2 scrolls) and “Silent Ally” Gesture. First found near the Crystal Sage boss fight in a side room. A base stat of 10 INT is needed for him to agree to relocate to Firelink Shrine. (Video Location – [youtu.be] )
16. Anri and Horace – Needed for the Blue Sentinels Covenant, “Quiet Resolve” Gesture, “The Dark Soul” ending (see Endings Section), and Ring of the Evil Eye. First seen at the Road of Sacrifices: Halfway Fortress bonfire, then Firelink, the Catacombs, Irithyll of the Boreal Valley, and Anor Londo if the quest is completed correctly. (Video Location – [youtu.be] )
17. Sirris of the Sunless Realms – Needed for Silvercat Ring, “Darkmoon Loyalty” Gesture. Note that offering Rosaria a pale tongue to deepen covenant devotion at any point will anger Sirris and end her quest.
- Will show up naturally at Firelink Shrine after you speak with Anri and Horace in the Road of Sacrifices at the Halfway Fortress Bonfire. (exhaust dialouge)
- Give the Shrine Handmaiden the Dreamchaser’s Ashes for her to reappear and recieve the “Darkmoon Loyaly” gesture. The ashes are by the Watchdogs of Farron Covenant found directly across from the Old Wolf of Farron on a corpse through an illusory wall. (Video Location – [youtu.be] )
- Her summon sign will appear on the same bridge where you fight the Sulyvahn Beast when entering Irithyll of the Boreal Valley. Defeat him and reload the area to help her kill Creighton the Wanderer. She will reward you with the Silvercat ring at Firelink Shrine.
- (Non-related to achievements but to continue her quest:) Her summon sign will appear outside of the Curse Rotted Greatwood boss arena. Help her with this fight against Holy Knight Hodrick. His armor will then be found outside of Firelink Shrine.
- She can be summoned to the Twin Princes fight and eventually her armor and talisman are available for purchase.
18. Yellow Finger Heysel – Hostile Invader that can be a summon for the “Proper Bow” gesture once killed twice. Note that following her questline will fail Sirris’ quest line, so it is recommended to do these on separate NG cycles.
- First Invasion: Crucifixion Woods near 2 hostile NPCs and a large crab (Video Location – [youtu.be] )
- Second Invasion: Farron Keep near toxic frogs and one of the three flames to extinguish. (Video Location – [youtu.be] )
- After defeating her in both invasions, Join Rosaria’s Covenant and offer a pale tongue. She will then be found as a summon around the Keep Ruins bonfire before the Abyss Watchers. Summon Heysel for the “Proper Bow” gesture. (Video Location – [youtu.be] )
19. Rosaria – Needed for Covenant, Obscuring Ring (10 Pale Tongue offerings), and her soul for a trade with Ludleth (Follow Leonhard’s quest for her soul). First found in the Cathedral of the Deep (Video Location – [youtu.be] ). Pale tongues can be acquired by invading other players with her covenant equipped or farmed from Darkwraiths (5% drop increased by using Covetous Gold Serpent Ring, Crystal Sage Rapier, and Symbol of Avarice: rare drop from mimics).
Needed NPCs / Saving and Quest lines Pt. 3
20. Patches: Needed for “Squat” and “Prostration” gestures, Horsehoof Ring, and to progress Siegward’s quest. First found in the Cathedral of the Deep or when you enter the Tower behind Firelink Shrine bought by the Tower Key from the Shrine Handmaiden. His appearance will depend on your story progression. (Video Location – [youtu.be] )
20. Londor Pale Shade – Needed for “Duel Bow” Gesture (from summoning him). Is a hostile NPC unless you are on good terms with Yuria. Can be summoned as an ally for the Abyss Watchers, Pontiff Sulyvahn, and Soul of Cinder fights to get the gesture.
21. Karla: Needed for Dark Miracles and Pyromancies. Found in a cell in Irithyll Dungeon by several jailers. The Jailer’s Key Ring (Video Location – [youtu.be] ) is needed to unlock her cell and bring her back to Firelink. (Video Location – [youtu.be] )
22. Tsorig: (Hostile NPC and can be summoned once killed) Needed for “My Thanks” Gesture and Knight Slayer Ring. Can be found in Smouldering Lake past the bonfire by the Old Demon King Boss. Despite the outcome of the fight; you will still receive the gesture. (Video Location – [youtu.be] )
Endings (3 NG total on one character)
Note that each ending (and all the achievements for that matter) needs to be done on one character, so you’ll need to complete NG+ cycles for the other endings. This also contains major spoilers that are necessary to cover for all achievements.
To Link the First Flame
After you have defeated all Lords of Cinder the Twin Princes bosses and offered the cinders to each throne where Ludleth is sitting, interact with the bonfire in Firelink Shrine to be warped to the Kiln of the First Flame. (This part is a requirement for all endings). After defeating the last base game boss, Soul of Cinder, interact with the bonfire and you’ll receive this ending.
The End of Fire
Follow the same steps as the the first ending with these additional steps:
- Visit the Untended Graves – an optional area after Oceiros, the Consumed King’s boss area and behind an illusory wall.
- Defeat Champion Gundyr, proceed to Dark Firelink – [youtu.be] , and acquire the item “Eyes of a Firekeeper – [youtu.be] ” behind an illusory wall where Irina of Carim would usually be in the normal Firelink Shrine.
- Go back to the original Firelink Shrine and give this item to the Firekeeper by interacting with her and exhausting her dialogue.
- After defeating the Soul of Cinder, the Firekeeper’s summon sign will be located near the bonfire. Make sure to summon the Firekeeper for this ending and not interact with the bonfire.
Usurpation of Fire
Note: this ending is the most complicated ending and requires the progression of Yoel, Yuria, Anri, and Horace’s quest lines in a particular order. Make sure other NPC quest lines do not conflict with this. Always exhaust all dialogue and make backup saves if necessary.
- After defeating Vort of the Boreal Valley and are transferred to the Foot of the High Wall bonfire of the Undead Settlement; Find the NPC Yoel of Londor who is located underneath the bonfire area: head down the stairs and head away from the enemies, pass the cart (be careful of two dogs hiding there) and you’ll find Yoel towards the right. Accept his services and bring him back to Firelink. (Video Location – [youtu.be] ) Note: it is recommended to find Yoel as early as possible because he will be found dead if you don’t interact with him before the Abyss Watchers fight.
- Once Yoel is in Firelink, accept his offer to “Draw Out Your True Strength” which grants you a “free” level each time you die with the consequence of being branded with 5 Dark Sigils. The fastest way to progress this is to jump off a cliff several times and speak with him after the required amount for each level (level=death count:1=0, 2=2, 3=5, 4=12, 5=15 total). Yoel will die after your last level, but so long as it’s completed before you fight the Abyss Watchers, this is just the natural progression of the quest. Make sure to NEVER heal your Dark Sigil as this will fail the quest and Yuria will not appear at Firelink. Note: the Dark Sigil causes your character to be hollow, which only affects appearance and luck stats. If you spend hours in character creation, make sure to buy some purging stones from Yuria. This won’t heal the Dark Sigil but will maintain your human appearance. Your hollowing stat will max out at 99 and affects the character’s Luck (there are hollow/luck/bleed builds created out of this but we won’t get into that in this guide).
- At this point Yuria of Londor should be at Firelink (reload area if not). Speak with Yuria and exhaust her dialogue. She refers to you as the Lord of Hollows and becomes a merchant for you.
- Next find Anri of Astora and Horace the Hushed after going down the elevator in the Undead Settlement and making your way through the Road of Sacrifices. They will be located at the Halfway Fortress bonfire, (Video Location – [youtu.be] ) then exhaust both of their dialogue. Note that Anri will either be a male or female character depending on your own character choice, so I’ll only be referring to them as Anri to avoid confusion. Also, Horace will give you a Covenant “Blue Sentinels” that is needed for achievements.
- After exhausting Anri’s dialogue and defeating the Deacons of the Deep in Cathedral of the Deep – Anri and Horace should relocate to Firelink Shrine. Talk to Anri here and again exhaust all dialogue.
- After defeating the Abyss Watchers, enter the Catacombs of Carthus to speak with Anri again. Follow this Video Location – [youtu.be] for directions. Anri asks if you have seen Horace, answer “no”.
- Anri’s second location in the Catacombs of Carthus is near the wooden bridge where skeletons spawn and chase you before the Wolnir fight – keep to the right path instead of crossing the bridge and Anri will be standing at the end. Again answer “no” when asked about finding Horace. (Video Location – [youtu.be] )
- Next you need to kill Horace in the Smouldering Lake. If you are directly where Anri’s second location is, you can drop down to the ledge below you, cut the bridge, climb down, and make your way to the Abandoned Tomb bonfire and into the Smouldering Lake. Use the trees for cover from the ballista then enter an opening towards your right to kill Horace who has gone hollow. (Video Location – [youtu.be] )
- When you return to Anri and reveal information about the Smouldering Lake, you’ll be given the Ring of the Evil Eye. Anri will eventually relocate to the Church of Yorshka after making a grave for Horace. Make sure to only interact with Anri about the Smouldering Lake after Horace has been killed.
- After defeating High Lord Wolnir, head to Irithyll ot the Boreal Valley (also double check that both Siegward and Greirat’s quests are aligned appropriately if you are doing them on the same cycle to avoid failing any of them). Reach the Church of Yorshka and exhaust Anri’s dialouge to receive the “Quiet Resolve” gesture. (Video Location – [youtu.be] )
- Fight Pontiff Sulyvahn and return to Firelink to speak to Yuria. Exhaust her dialogue. She will say your spouse awaits you in the Temple of the Darkmoon (located in Anor Londo). Try reloading if she does not say this.
- Proceed to Anor Londo to the Darkmoon Tomb. From the bonfire of Anor Londo, you’ll need to rotate the lever once and head down the staircase and proceed straight. (Video Location – [youtu.be] )
- From here continue forward in Gwyndolin’s old boss arena and speak to a pilgrim NPC, similar looking to Yoel, who gives you a sword. You will need to use this sword to perform the “wedding ceremony” and receive 3 additional Dark Sigils, giving you a total of 8.
- Return to Firelink and speak with Yuria and exhaust her dialogue. Place all cinders on their thrones, warp to the Kiln of the First Flame, defeat the Soul of Cinder, then interact with the bonfire for the ending.
- Optional: Yuria can be summoned for this fight. Additionally, her armor and ashes are available afterward.
Umbral Ash Locations (For Shrine Handmaiden)
Note that there is not an Achievement for collecting all Ashes but some are relevant for progressing certain parts of questlines and/or the items sold are generally helpful. Some ashes can also be obtained by killing NPCs, which I will not be including as they will sell their items on their own.
Morticians Ashes
| Located in the Undead Settlement. Starting from the Dilapitated Bridge bonfire, head towards the bridge where the giant is firing projectiles and instead of entering the hut to go towards the Curse-Rotted Greatwood – make a left towards a small hut (you’ll find the Cleric Armor set and the Blue Shield here) and continue past this until you find the Ashes by a tree. Be careful of the invader Holy Knight Hodrick, a Hollow Manservant, several Peasant Hollows, and a thrall in that area. Make sure to make friends with the giant – [youtu.be] to make this easier. (Video Location – [youtu.be] ) | 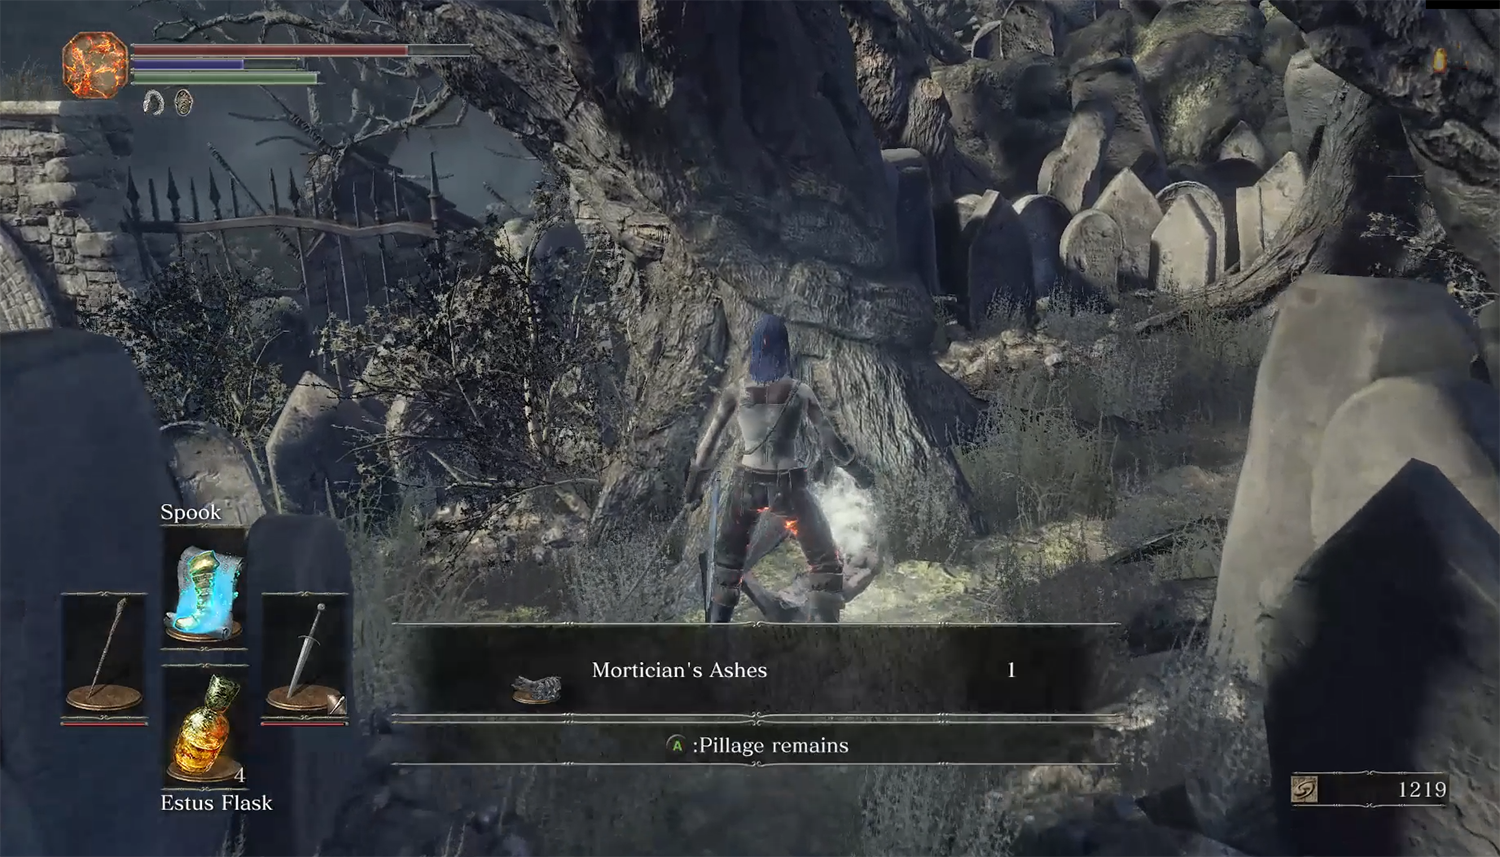 |
Dreamchaser’s Ashes
Items: Life Ring, Hidden Blessing x1, Green Blossom, Titianite Shards, Black Bug Pellet, Gold Pine Bundle x6, Gold Pine Resin x3, Rotten Pine Resin, Composite Bow, Feather Arrows
| Found near the Watchdogs of Farron covenant and the Old Wolf of Farron bonfire on a corpse behind an illusory wall. This area can be found in Farron Keep up a ladder guarded by a group of silme enemies. These ashes also progress part of the Sirris’ questline and gifts you her gesture. (Video Location – [youtu.be] ) | 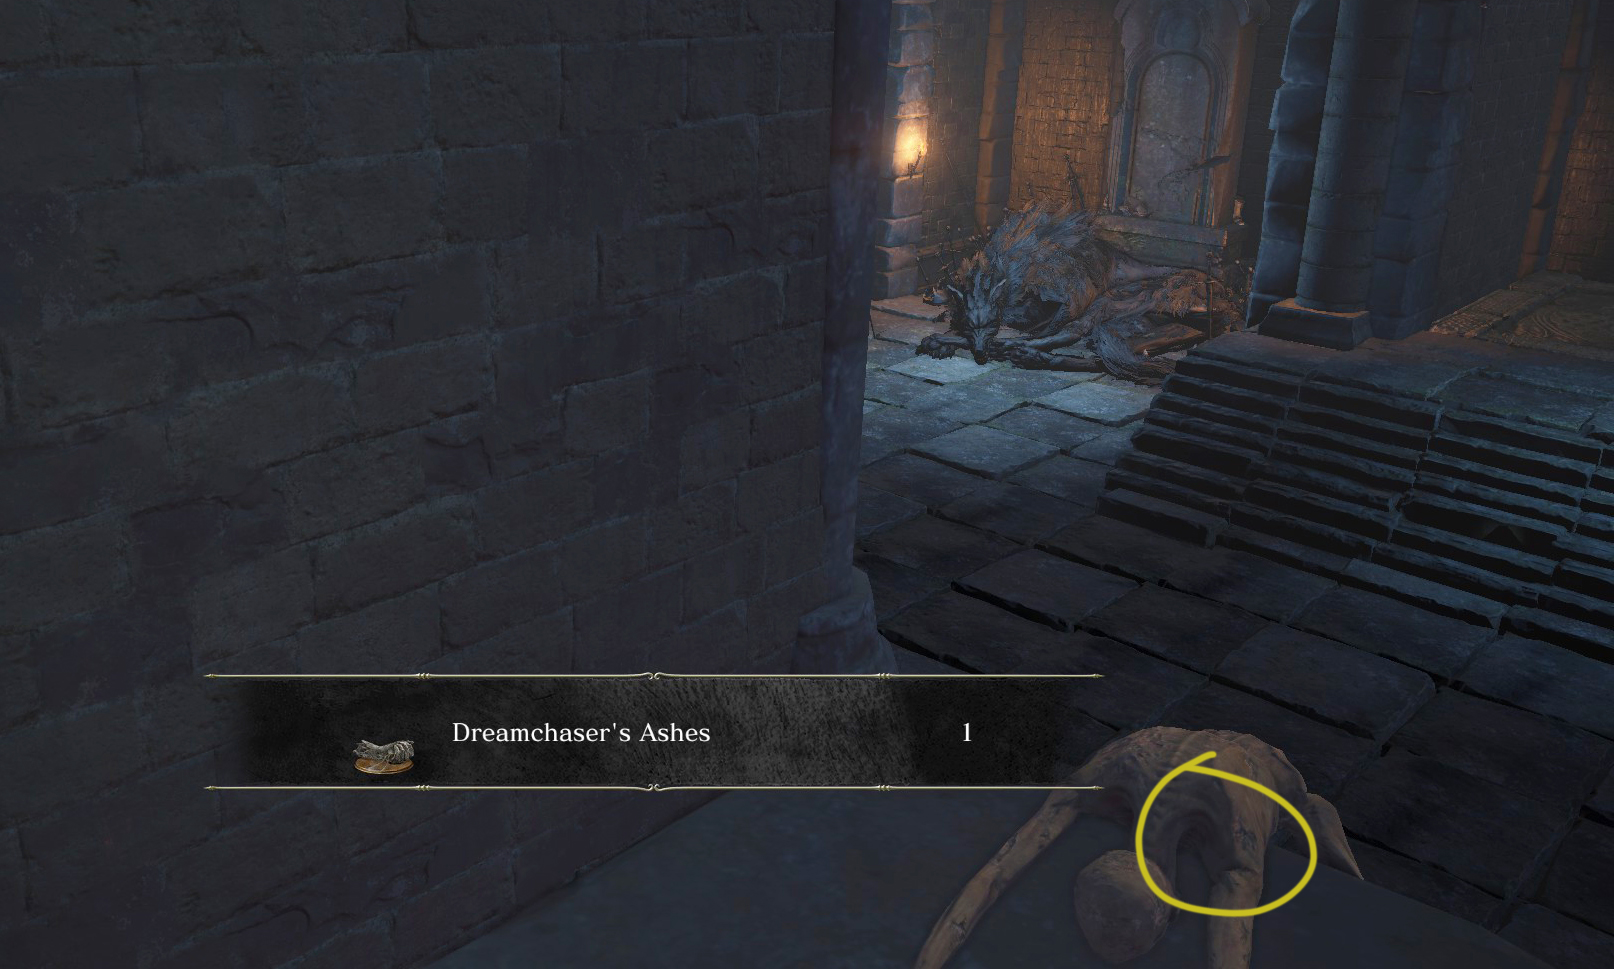 |
Paladin’s Ashes
Items: Lloyd’s Shield Ring, Undead Hunter Charm (Good for putting mimics to sleep and stopping estus usage in pvp), Duel Charm, Canvas Talisman, Morning Star, Crescent Axe
| Starting from the Cathedral of the Deep bonfire after the Crystal Sage boss fight, take a sharp left before the stairs and they are located behind a hostile NPC. Also be aware of another hostile NPC up the stairs. (Video Location – [youtu.be] ) | 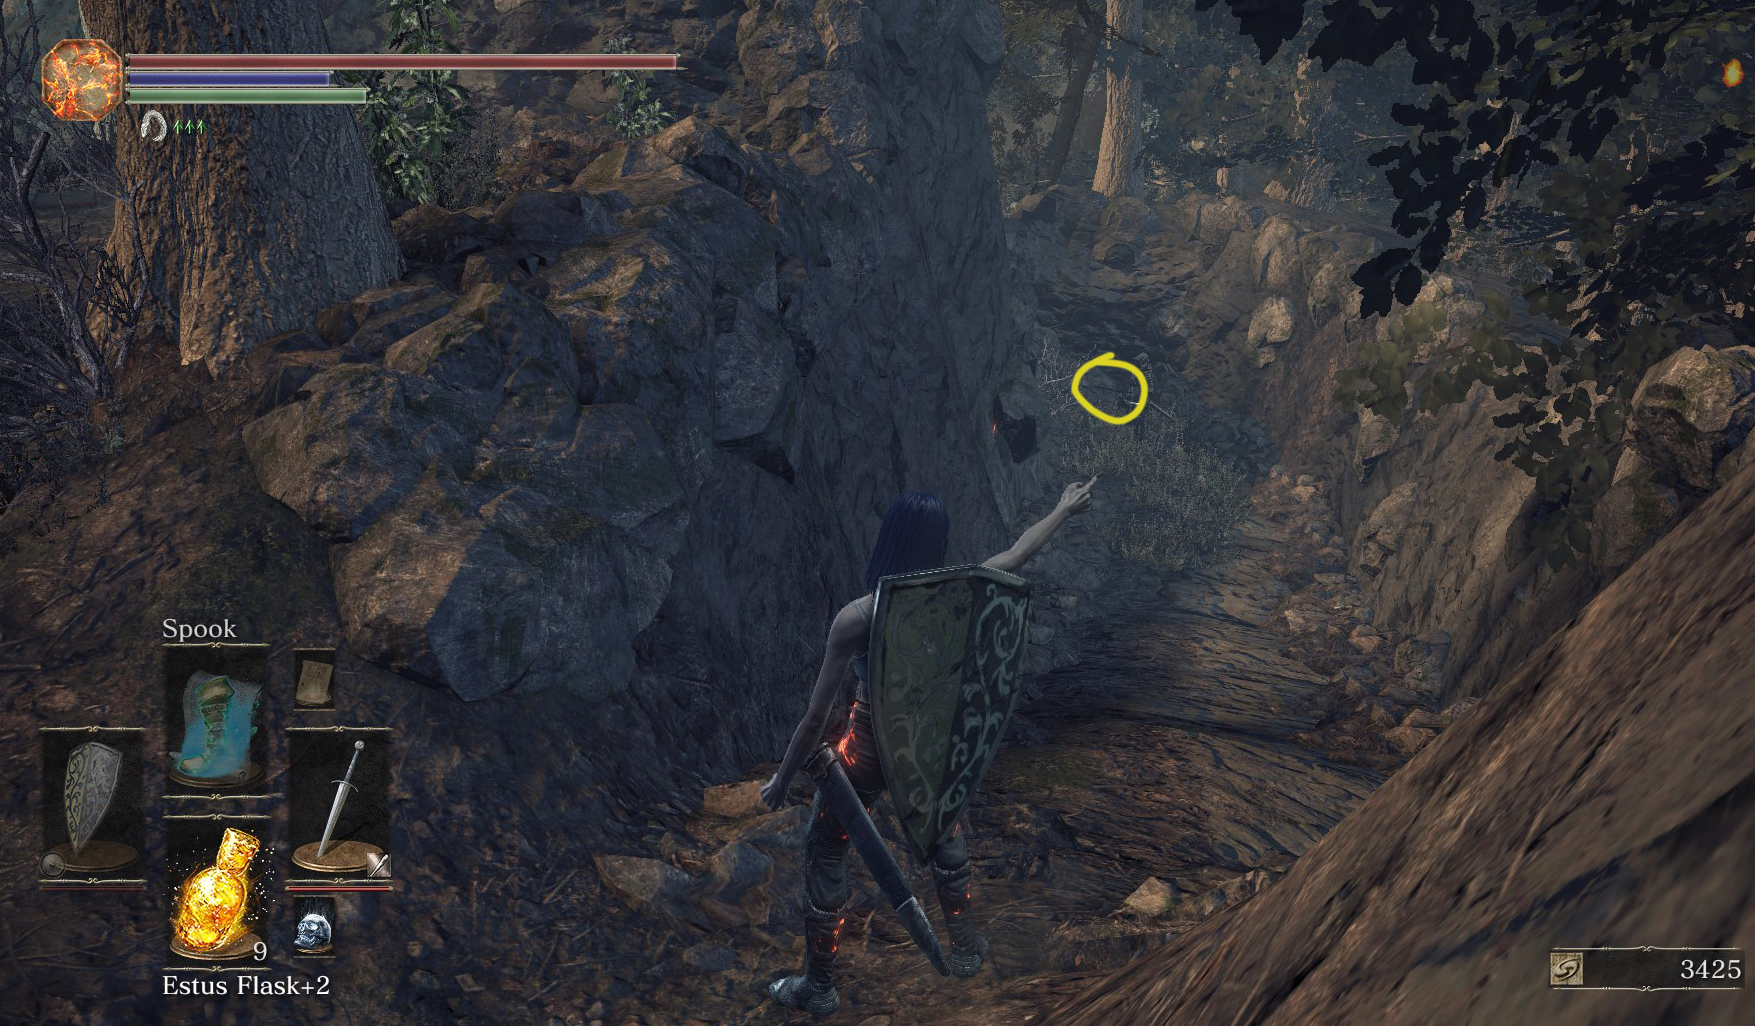 |
Grave Warden’s Ashes
Items: Kukri knives, Titanite Shards, Yellow Bug Pellet, 3 Embers
| Starting from the Catacombs of Carthus bonfire, take a left after the skeleton ball passes and and enter the sewer area. Go to the door straight ahead of you and up 2 flights of stairs, then turn around and the ashes will be at the back of the room against the wall. (Video Location – [youtu.be] ) | 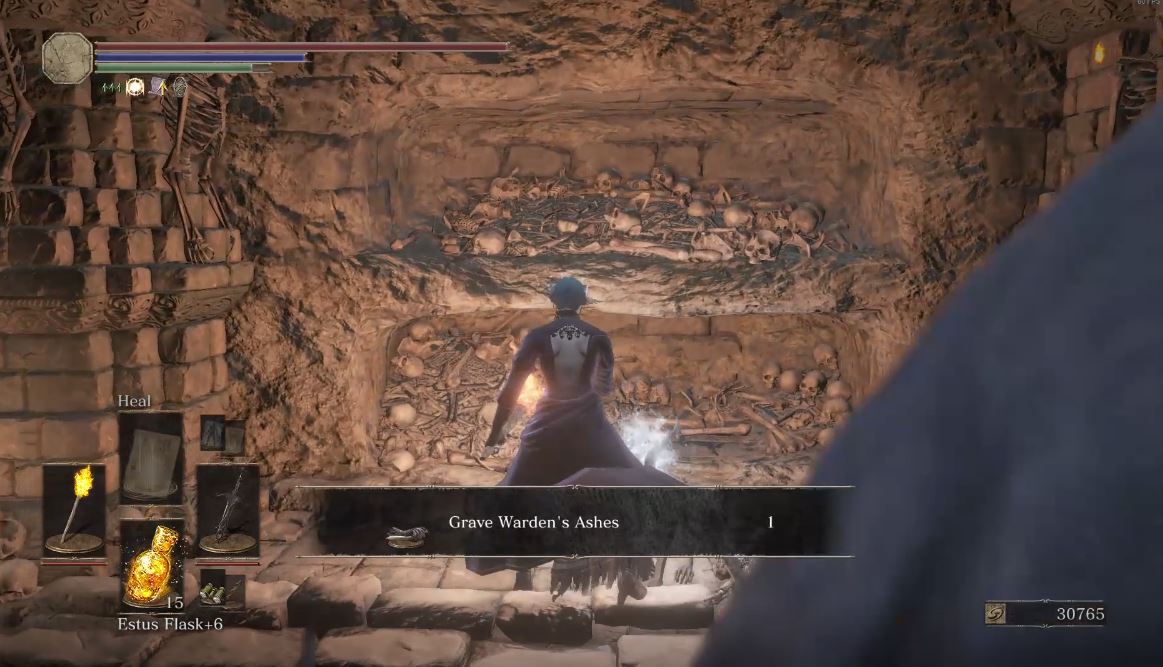 |
Excrement-Covered Ashes
Items: Blooming Purple Moss Clump, Dung Pie, Blue Bug Pellet
| Starting from the Distant Manor bonfire, enter the sewer area under Irithyll of the Boreal Valley. Be careful of several Sewer Centipede enemies. You’ll find the ashes in a small door shaped frame across from the steps leading into the kitchen area. If the Distant Manor bonfire isn’t available to you, you can also access this area starting from the Church of Yorshka bonfire and going straight out the entrance with graves, go down the stairs, pass the dark room, go down another flight of stairs, and go through the water until you reach this sewer to your left.(Video Location – [youtu.be] ) | 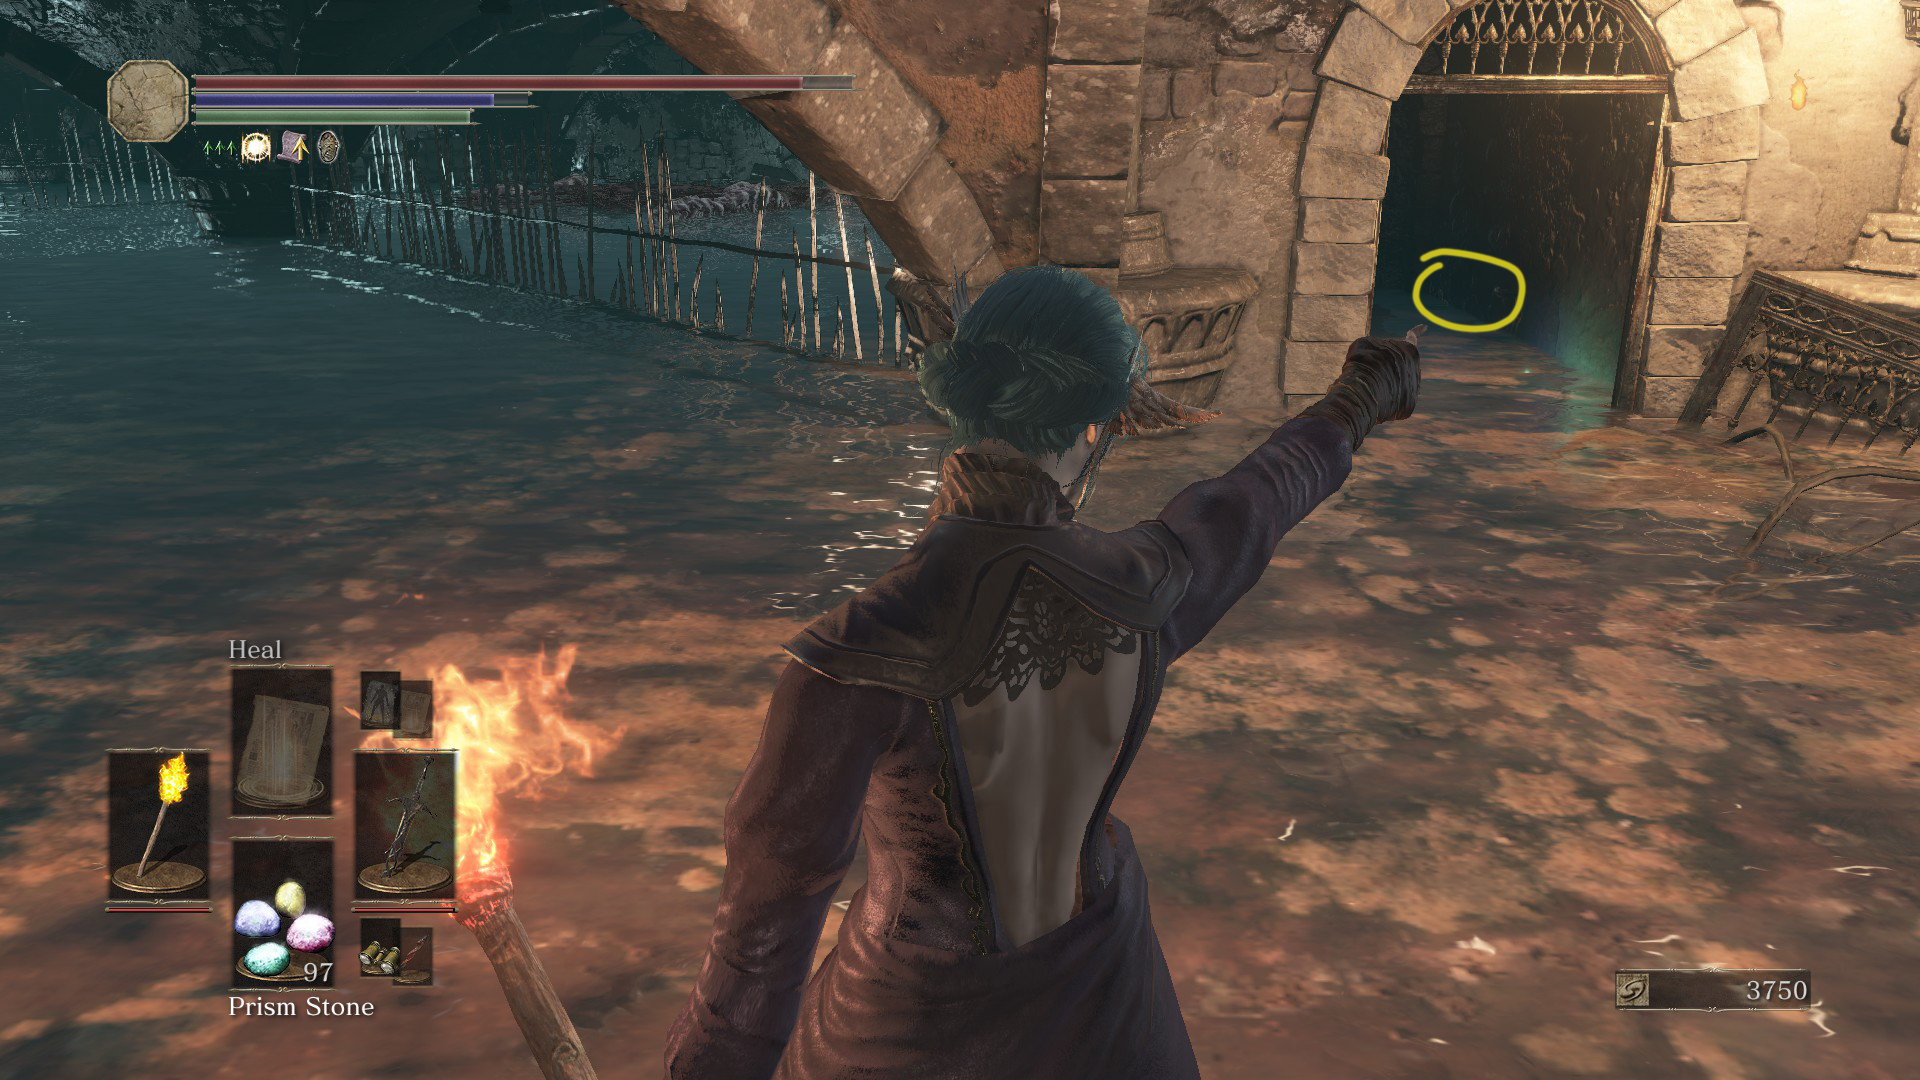 |
Xanthous Ashes
Items: Xanthous Armor Set, Gold Pine Bundle, Gold Pine Resin, Young White Branch
| From the Irithyll Dungeon bonfire with the elevator shortcut – proceed past the giant, up the ladder, and drop down on the bridge into the sewers. Pass more rats (alluring skulls work well here) and enter the room with jailers. The ashes will be located in the last cell on the left. (Video Location – [youtu.be] ) | 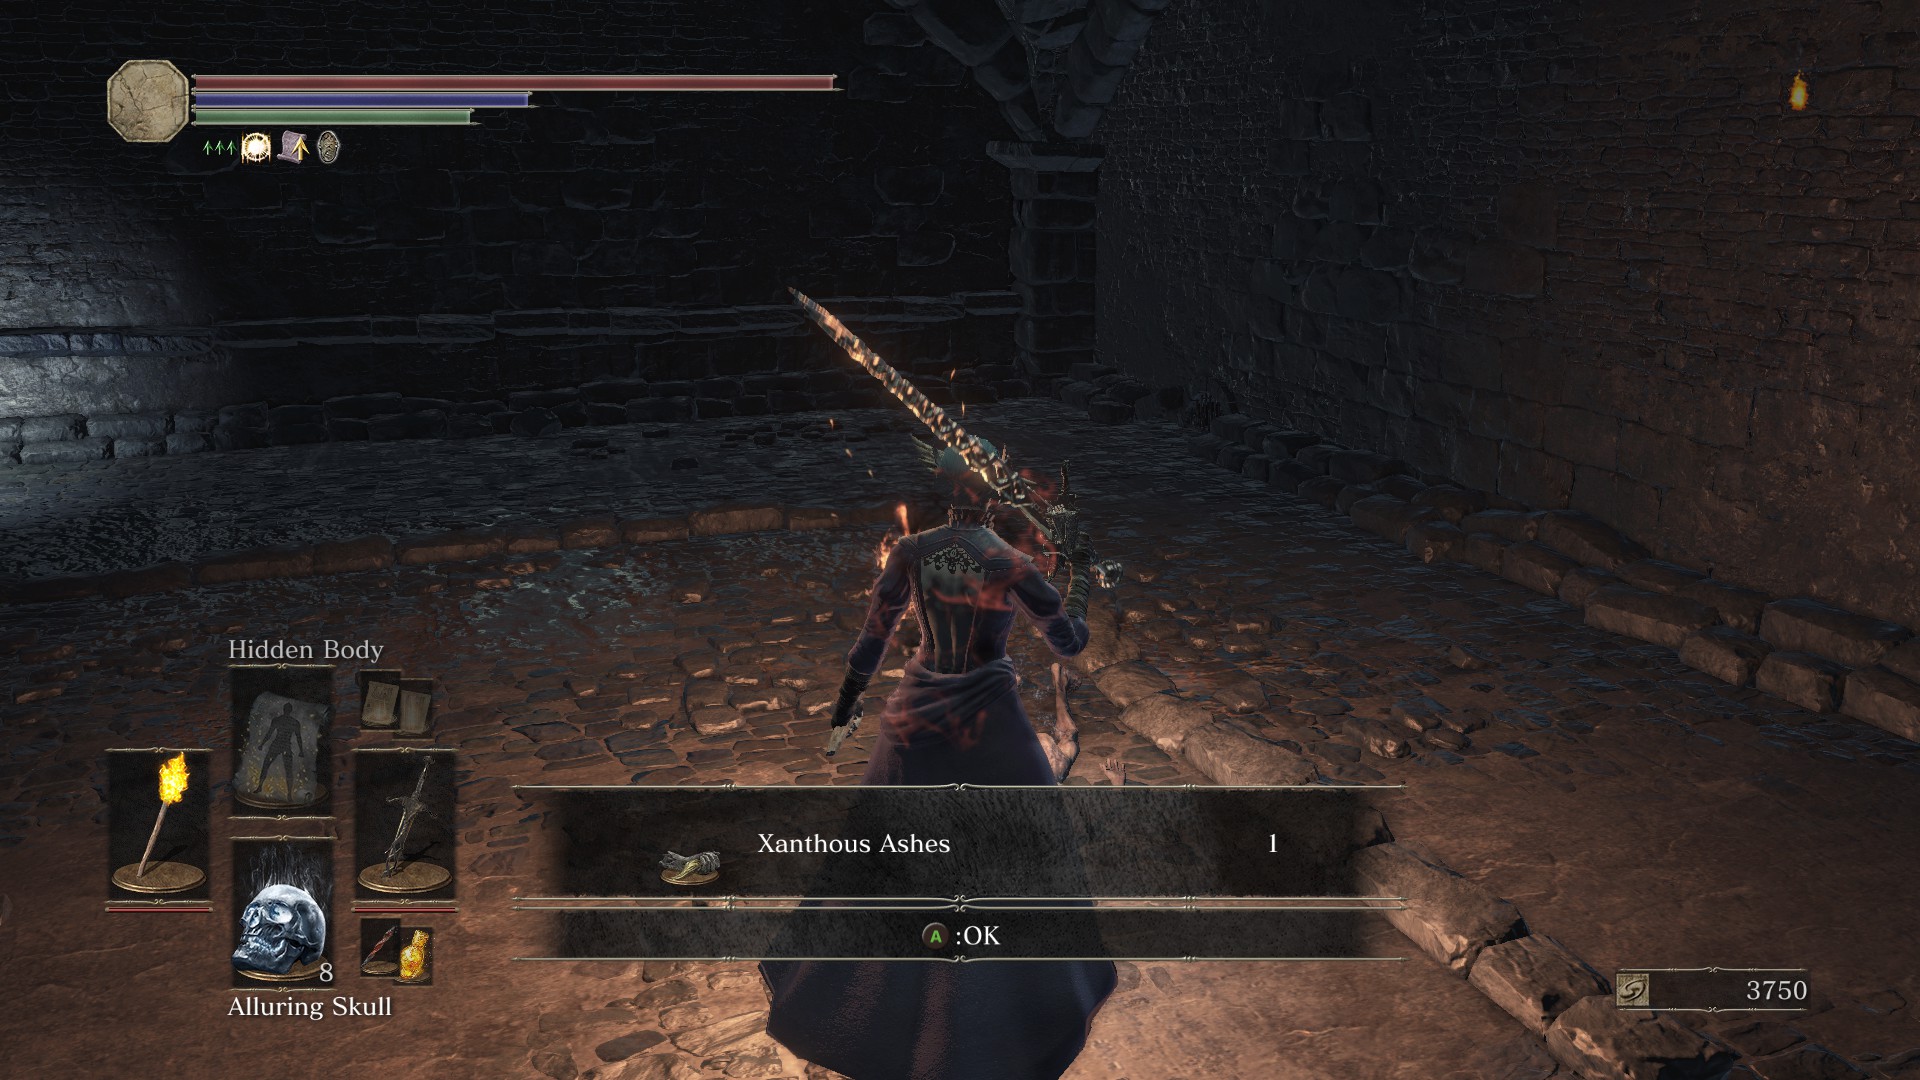 |
Prisoner Chief’s Ashes
Items: Karla’s Armor, Pale Pine Resin, Rime Blue Moss Clump
| Starting from the Profaned Capital bonfire, go down the ladder and head left past the gargoyle. Make your first left, first right, then straight and jump off into the toxic swamp area and up the ladder. Go around the roof and up the stairs. At the end of the corridor will be the Jailer’s Key needed for the ashes. Use a homeward bone and warp to the Irithyll Dungeon bonfire – make the first right and drop off the ledge near the end. You’ll find a locked door you can now open. (Video Location – [youtu.be] ) | 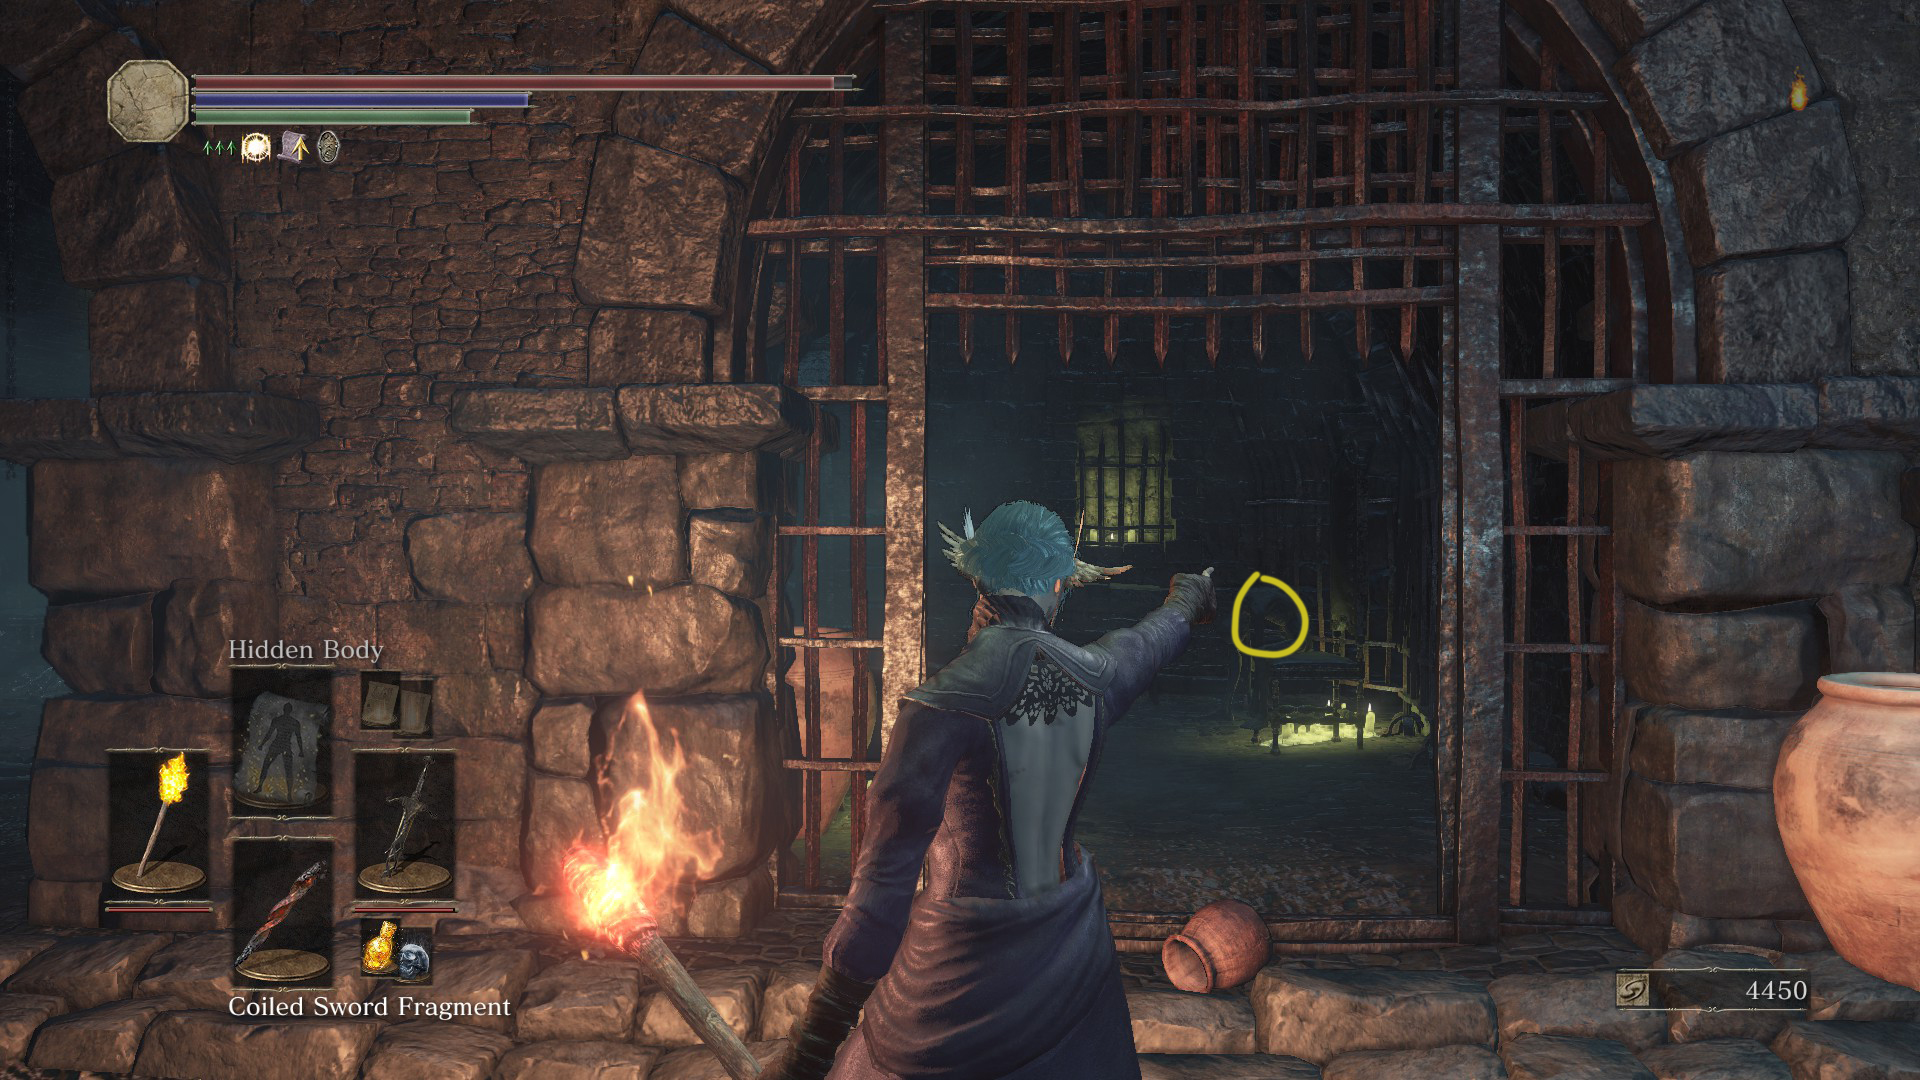 |
Easterner’s Ashes
Items: Large Titanite Shards, Eastern Armor Set, Eastern Shield, Washing Pole, Dark Arrows, Onislayer Greatarrows
| Starting from the Pontiff Sulyvahn Bonfire, pass the field with giants and go up the stairs in the building (has two aggro NPCs the first time you visit). Go up the rafters on the very right side and drop off the ledge where you see a corpse for the ashes. Be careful of the Silver Knight archers.(Video Location – [youtu.be] ) | 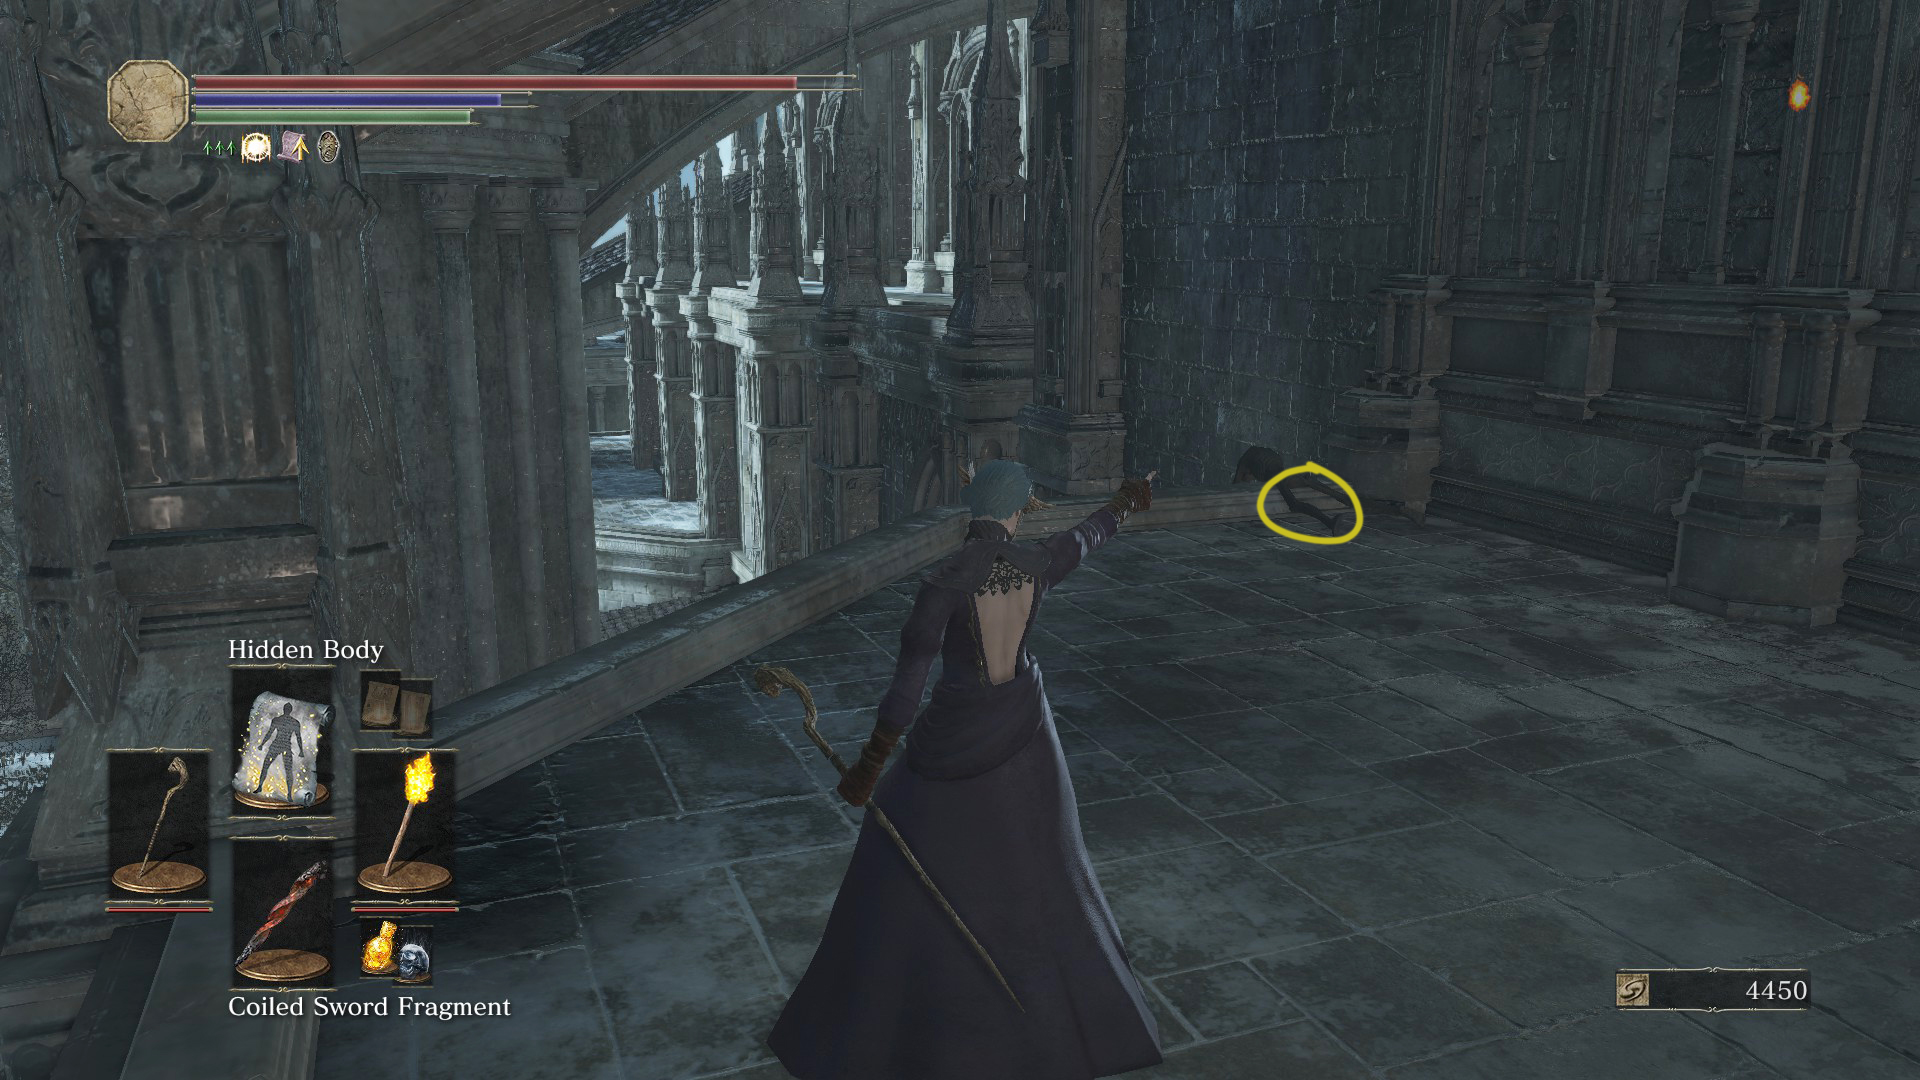 |
Dragon Chaser’s Ashes
Items: Twinkling Titanite, Titanite Chunks, Titanite Scale, 6 Embers
| Starting from Grand Belfry bonfire in Archdragon Peak : head towards the Man Serpent enemies. The ash will be towards the far left on a ledge by a rock lizard enemy who might try to push you off, so be careful around them.(Video Location – [youtu.be] ) | 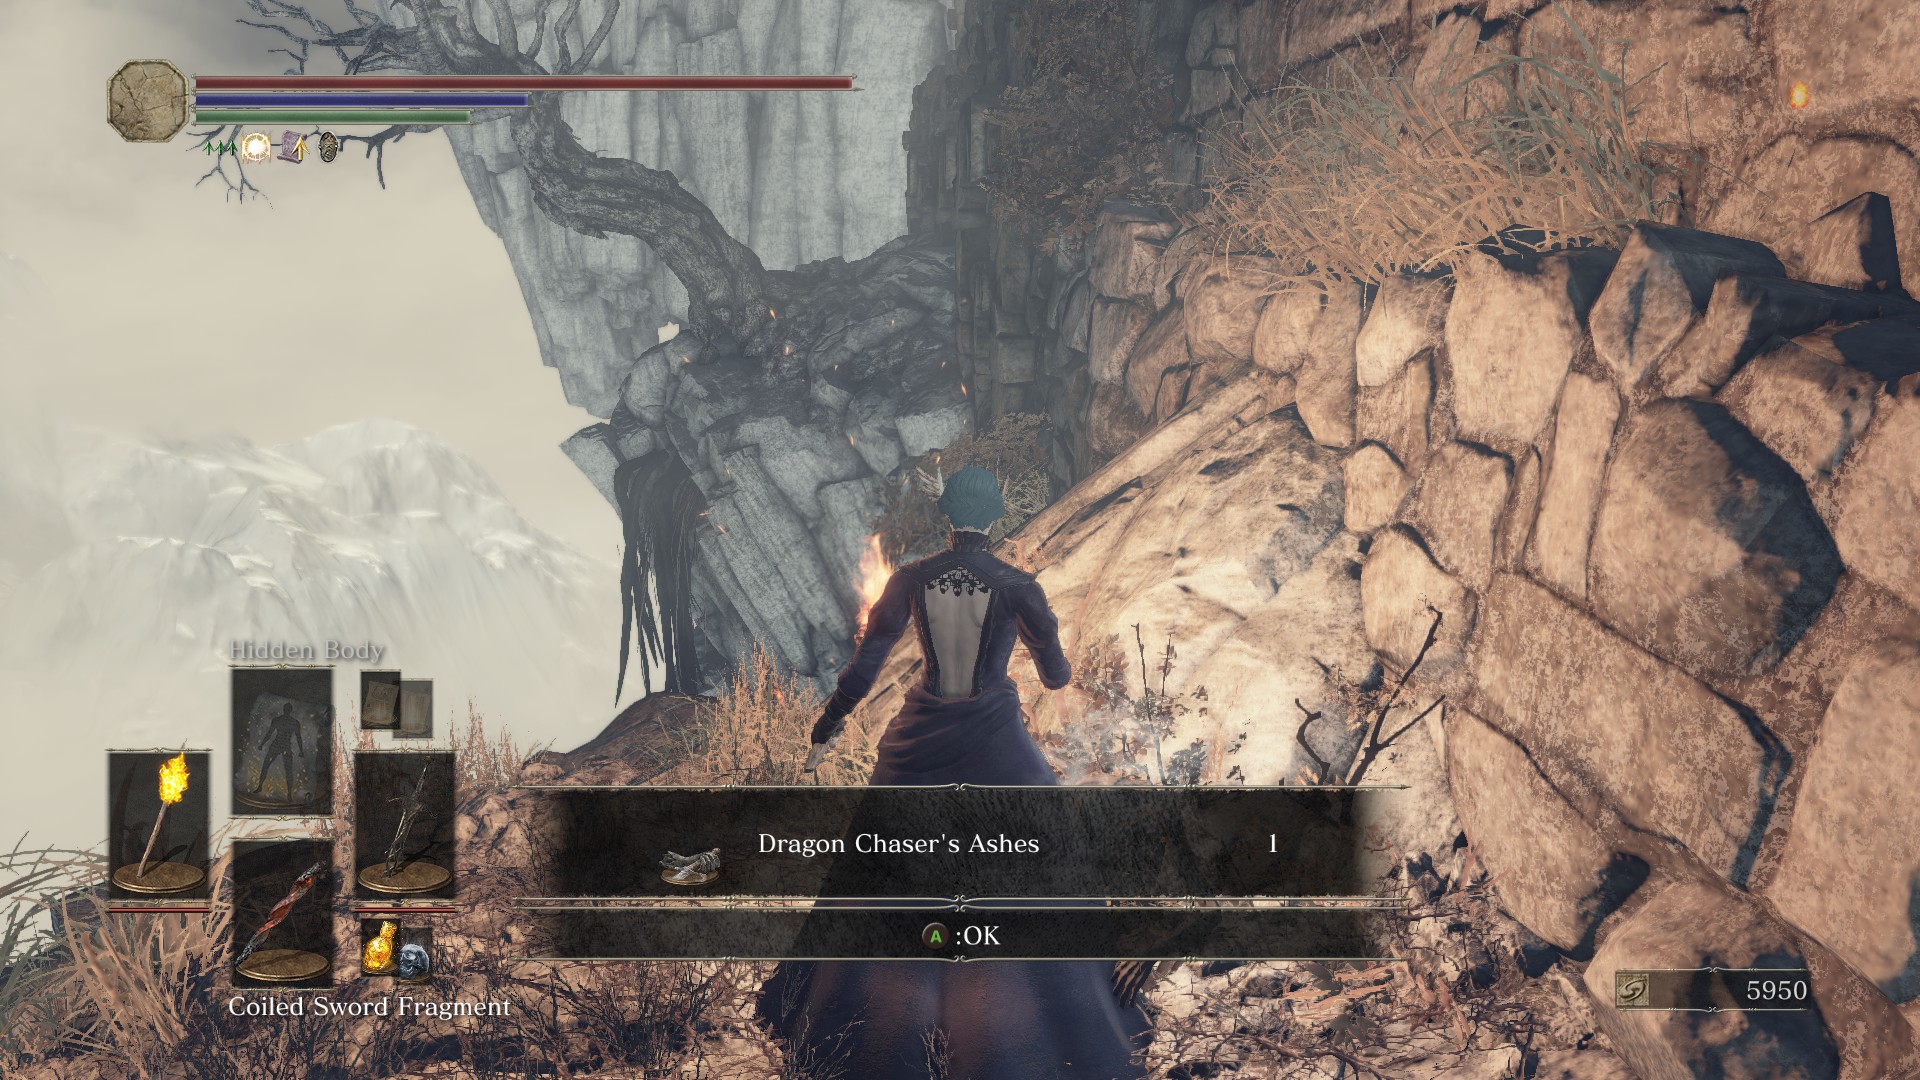 |
Farming Techniques
There are several covenant rewards that require either PVP or PVE (combination or your choice) and certain items that can help speed up this process.
Items to Boost Discovery Rate, PVE Farming:
- Covetous Gold Serpent Ring (+3 = +115 discovery boost): if the Ringed City DLC is available and open to you, the +3 Ring is highly recommended and can be found on your first playthrough.
- Crystal Sage Rapier (+50 discovery boost): Trade the Soul of the Crystal Sage with Ludleth of Courland. You can also duel wield two Crystal Sage Rapier’s if you are on NG+, though you’d have to use that weapon for the kill. Getting an enemy low and switching to the rapier for the last hit can also work but overall might be a time waster depending on your build.
- Symbol of Avarice (+100 discovery boost): rare helm dropped from fighting mimics with the cost of slow HP drain. This can be negated or minimized with the Sun Princess Ring and/or Regen Miracles like Replenishment. Using an Undead Hunter Charm to put a Mimic to sleep will NOT drop the Symbol of Avarice.
- Rusted Gold Coins (+100 discovery boost for 60s): Dropped from Jailer enemies in the Profaned Capital outside Yhorm the Giant’s boss room at a very low rate.
- Rusted Coins (+50 discovery boost for 60s) : Sold by Patches (Both coins do not stack together)
- Hollowing + Luck can determine greater discovery boost; also increased if you are holding a hollow infused weapon or reallocate your points higher in luck. This is helpful for items extremely difficult and lengthy to grind.
Items for Co-op and PVP Farming:
Invasions: require using a Red Eye Orb (Gifted by Leonhard when following his quest) or Cracked Red Eye Orbs that are single-use items (dropped by Darkwraiths and initially gifted by Leonhard in Firelink Shrine.)
Co-op and Duels: Being Summoned Requires the White Sign Soapstone for co-op (500 souls from the Shrine Handmaiden) and the Red Sign Soapstone for duels (Dropped by a docile “man-grub” when killed outside of Rosaria’s Chamber). You must be embered in order to summon and to be invaded. You do not need to be embered to invade or use either soapstone sign.
Dried Fingers:Allows for additional phantoms: both friendly and phantoms. (2k souls from the Shrine Handmaiden)
Covenant Item Farming:
Rosaria’s Fingers – [youtu.be] : Pale Tongues
10 for the Obscuring Ring
| PVE | Farming Darkwraiths have a ~5% chance of dropping Pale Tongues. An easy farming location is the Farron Keep Perimeter Bonfire before the Abyss Watchers where they automatically fight with Ghru enemies. This can be a double farming area if you need Wolf’s Blood Swordgrass. |  |
| PVP | Invading a world with a Cracked Red Eye Orb or using the Red Sign Soapstone to be summoned as a dark phantom and defeating the host of embers. | 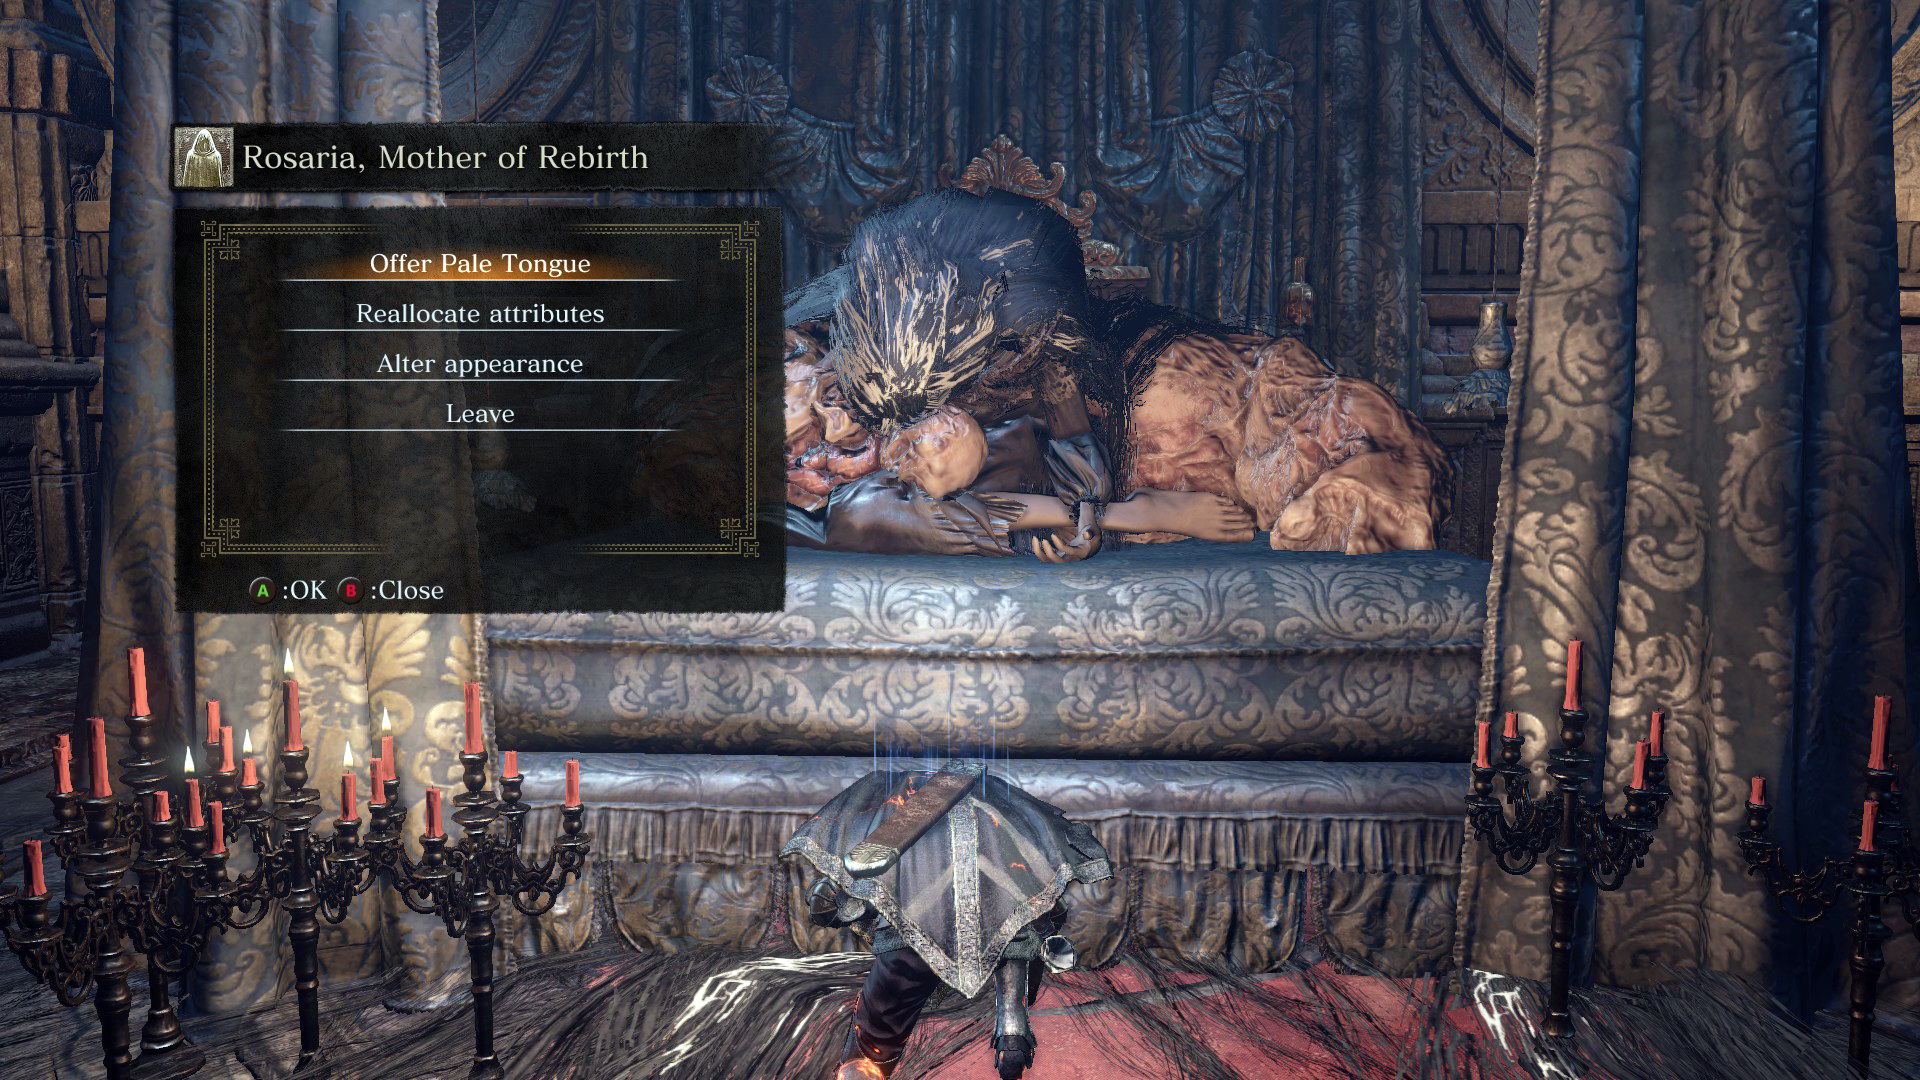 |
Mound-Makers – [youtu.be] : Vertebra Shackles
30 for Warmth Pyromancy
| PVE | Farming Red-Eyed Grave Warden enemies have a ~<1% drop rate. A good location is at the Catacombs of Carthus Bonfire near the skeleton ball – two of these enemies will be near the bonfire. | 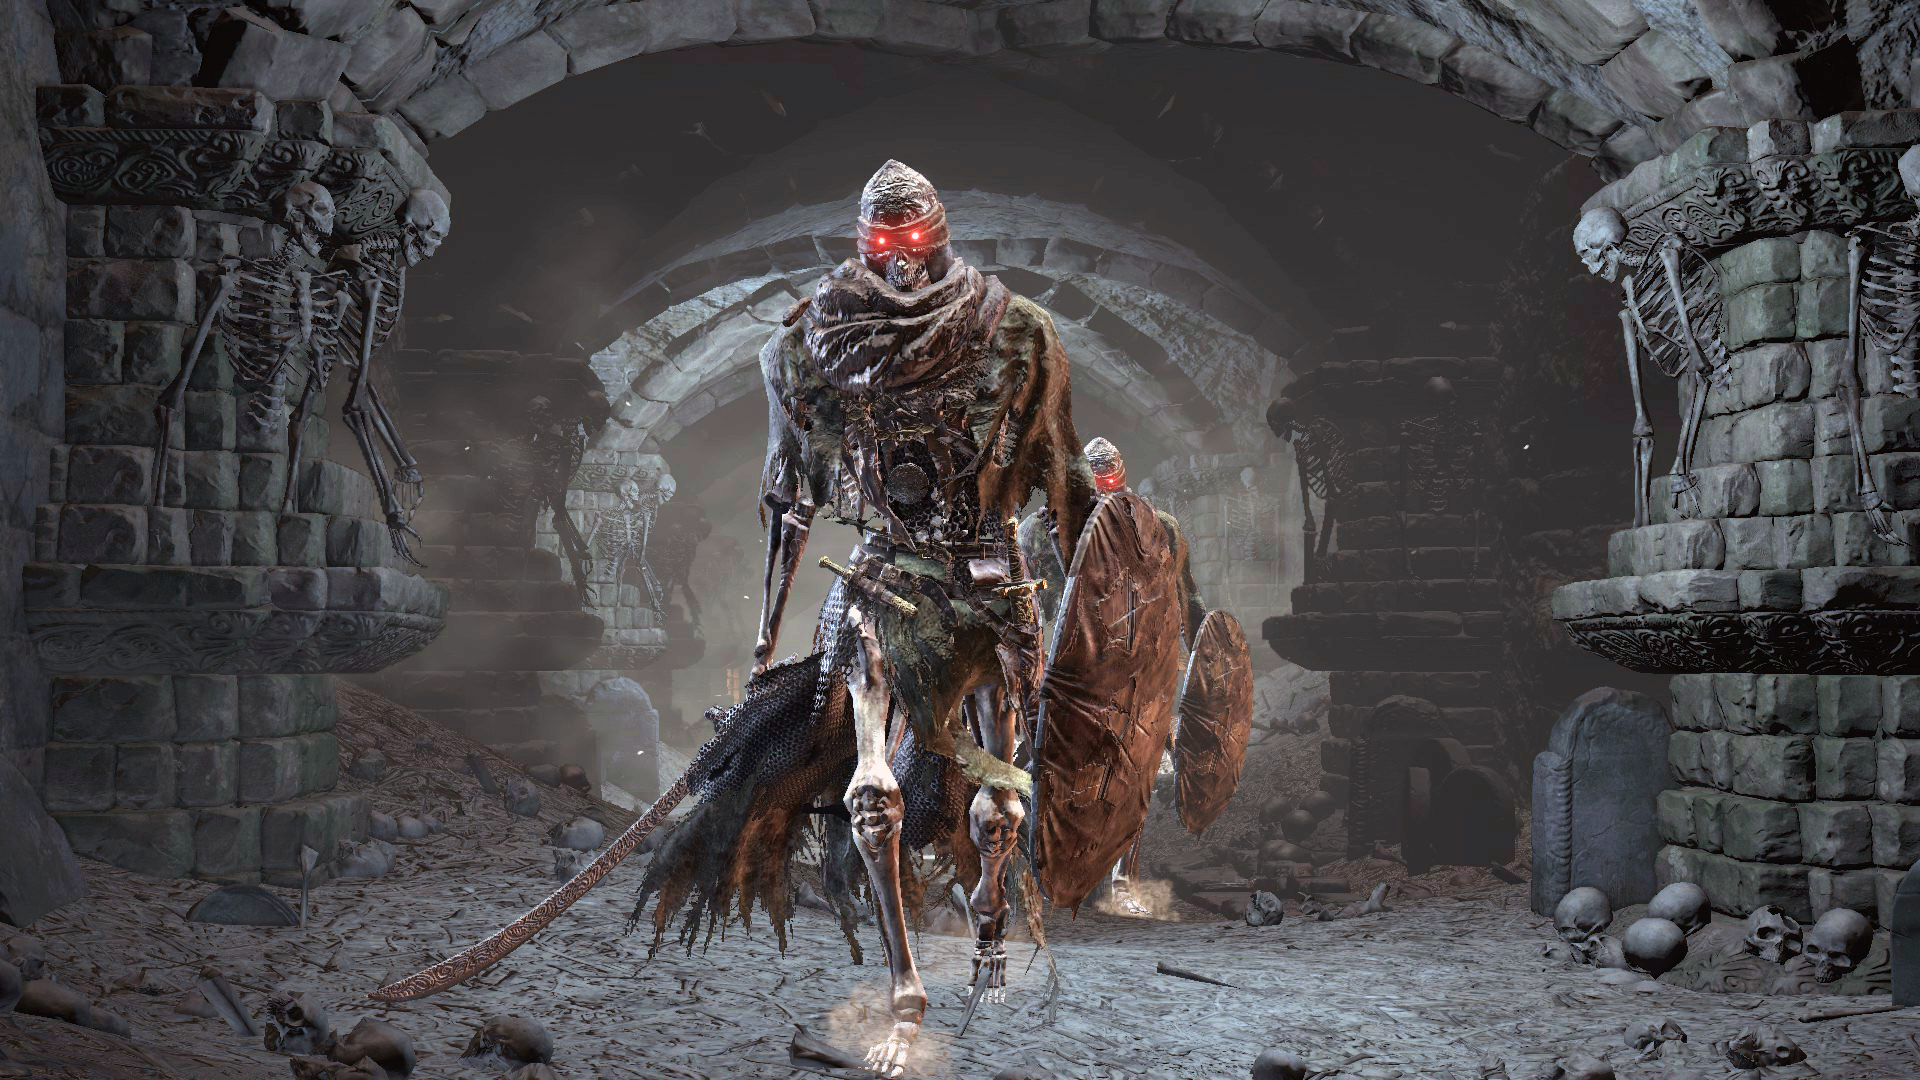 |
| PVP | Invading or using the Red Sign Soapstone to be summoned as a mad phantom and defeating the host of embers. Defeating a Mound-Maker invader (including ones summoned) will also grant you a Vertebra Shackle; thus making the fastest farming method through summoning a friend with the covenant also equipped. | 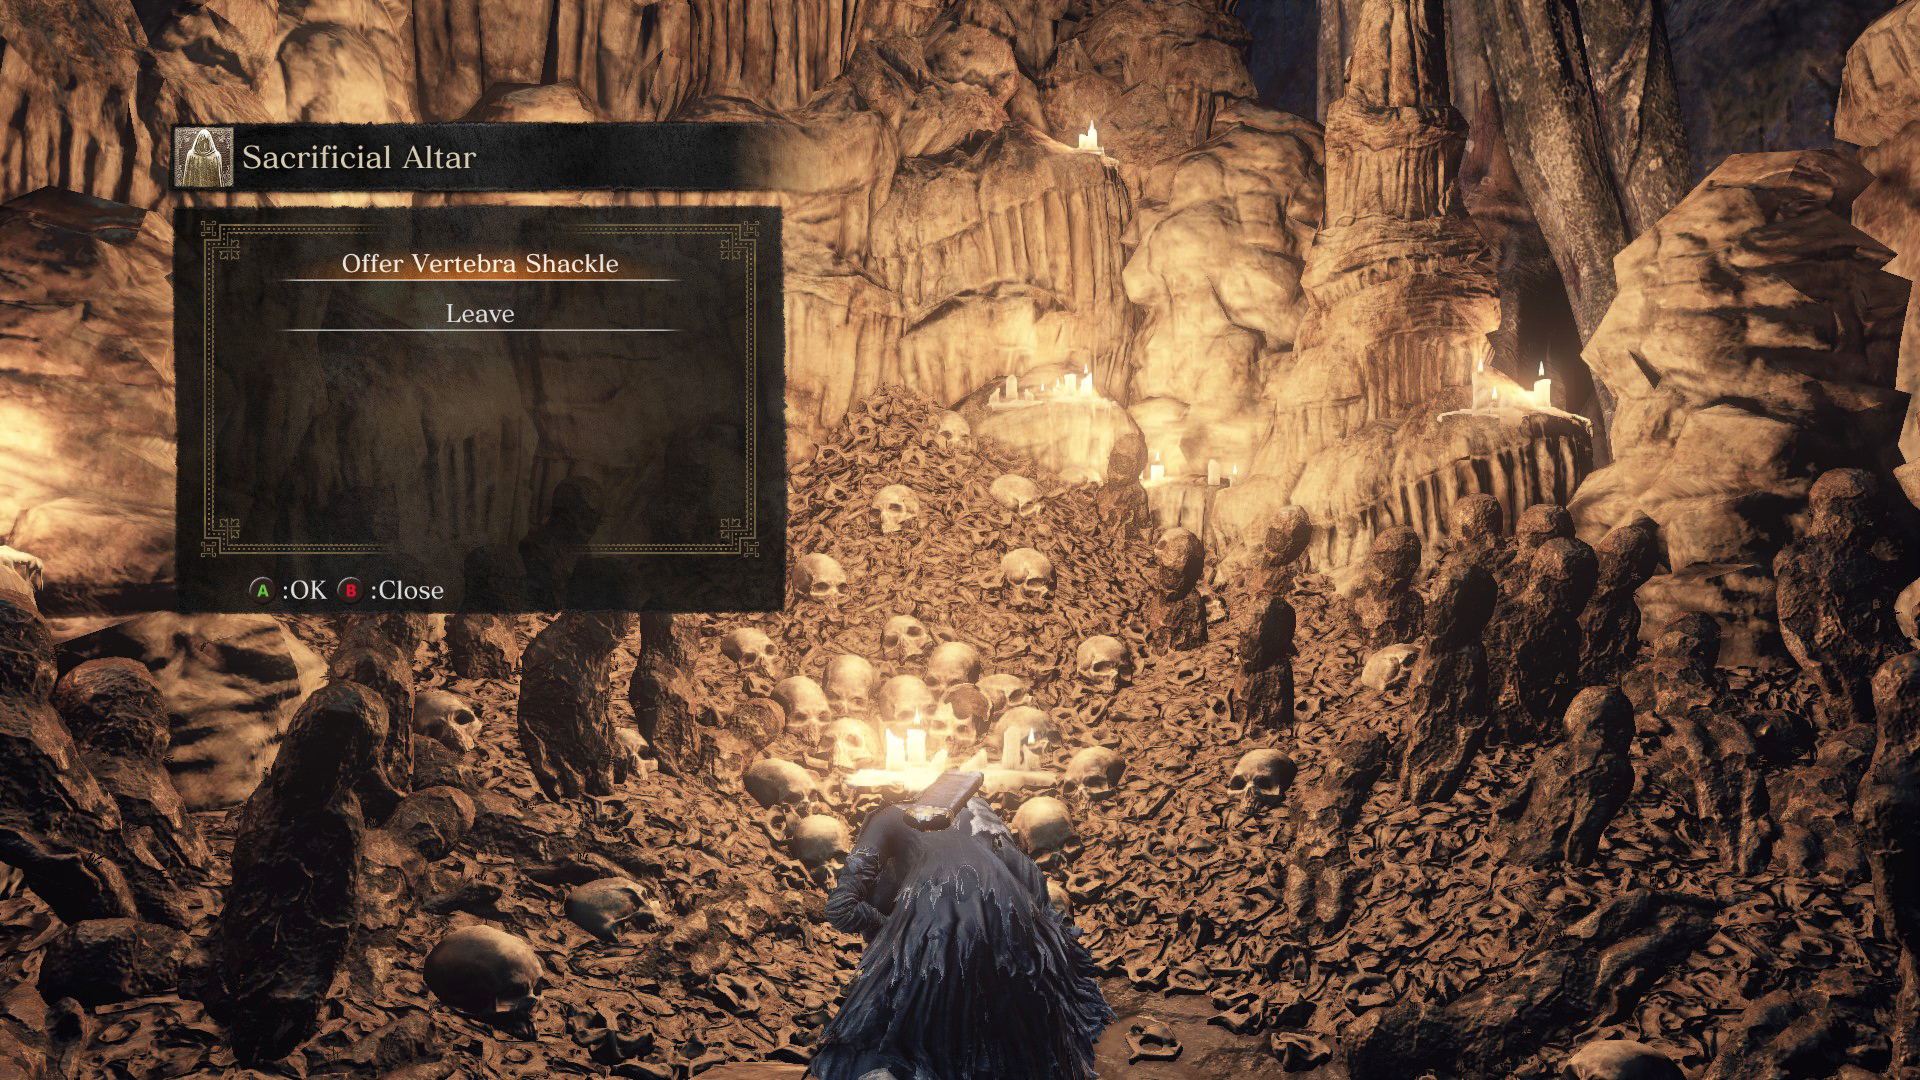 |
Blades of the Darkmoon – [youtu.be] : Proof of Concord Kept
10 for Darkmoon Ring & 30 for the Darkmoon Blade Miracle
| PVE | Farming Silver Knights have a ~1% chance for a Proof of Concord Kept drop. A good farming spot is the Anor Londo Bonfire while the Covenant is equipped for possible summoning. |  |
| PVP | Equip the Blades of the Darkmoon Covenant while you are farming. If you are summoned and anyone defeats the invader in the host of ember’s world, you will be granted a Proof of the Concord Kept. Keep in mind that at higher levels, farming silver knights will have a faster drop rate due to potential slow summoning. The Blue Sentinels Covenant is also an option for lower level farming. | 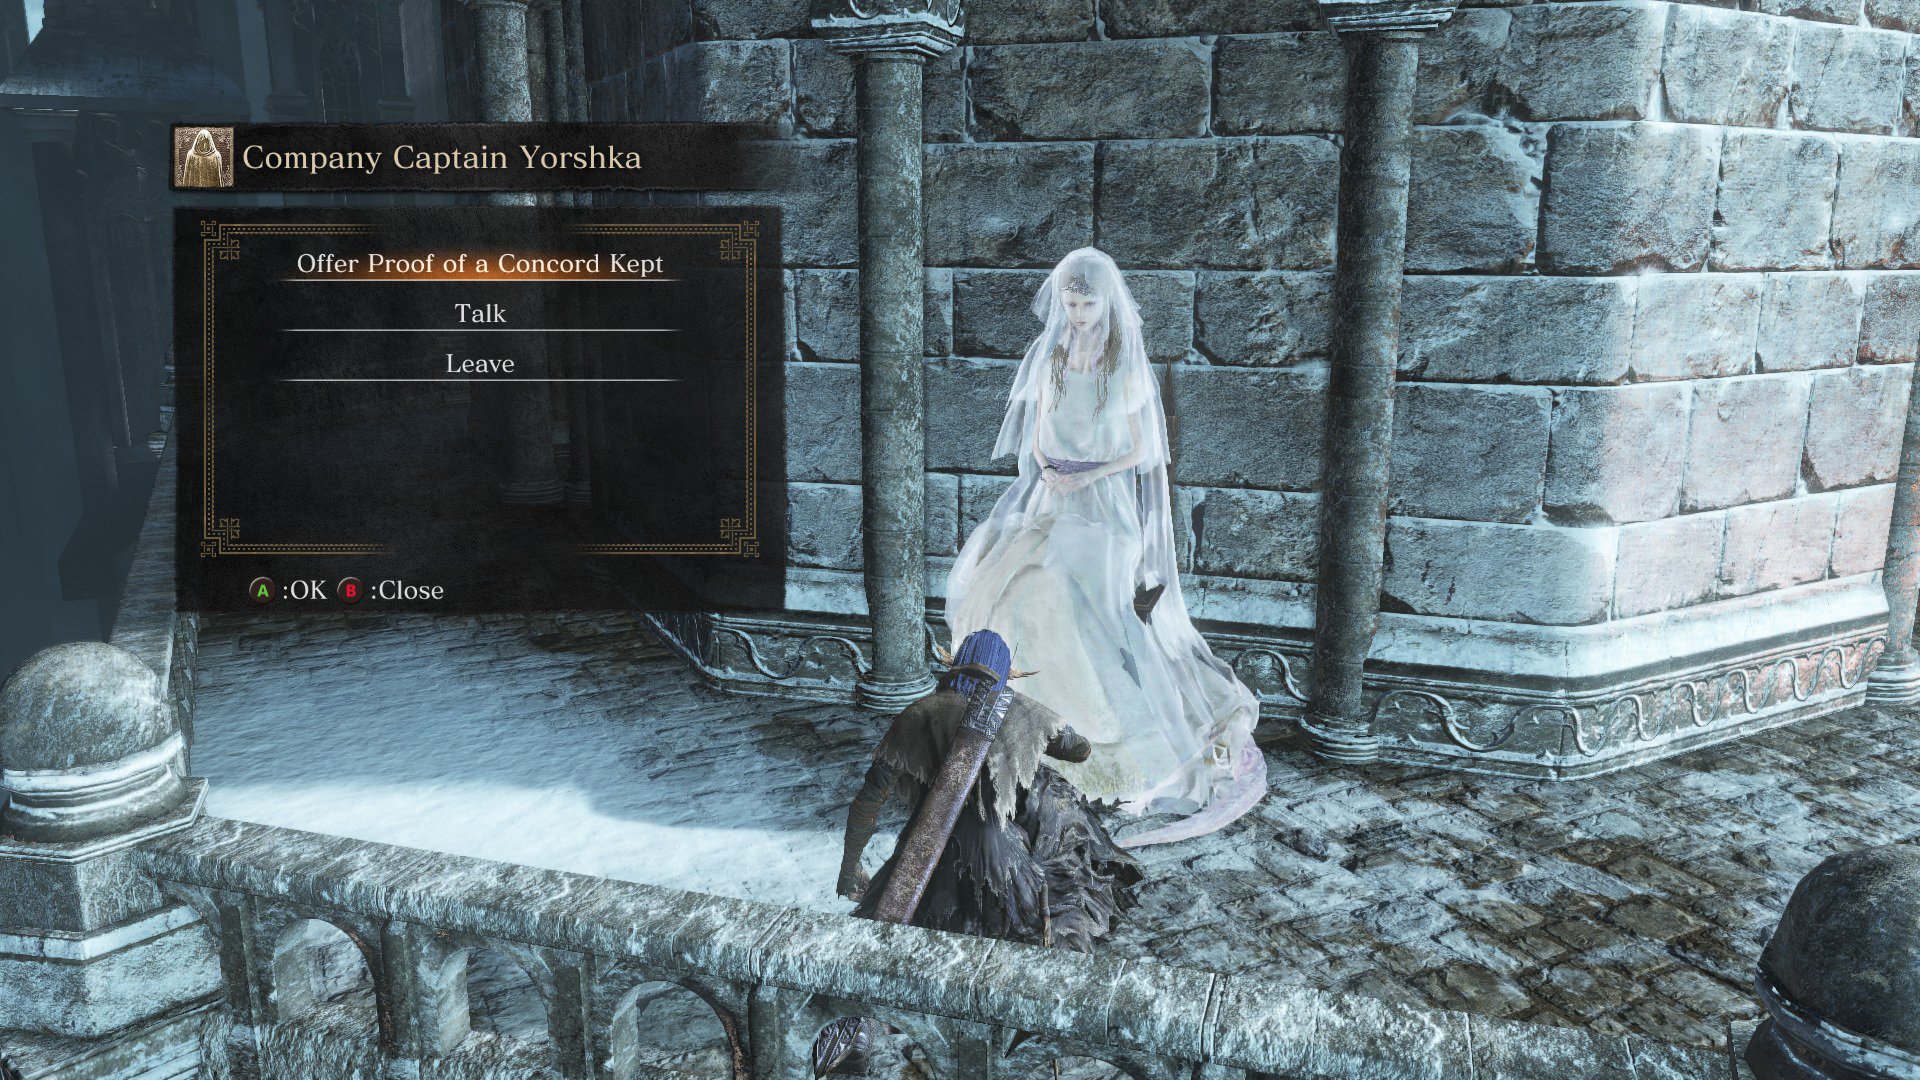 |
Aldrich Faithful – [youtu.be] : Human Dregs
10 for Great Deep Soul Sorcery
| PVE | “Devout of the Deep” Deacon enemies have a ~1.5% drop rate. A good farming spot are the three located outside of Aldrich’s boss door if that bonfire is accessible to you or the ones outside of Pontiff Sulyvahn’s boss area. |  |
| PVP | With the covenant equipped, you will be automatically summoned to those trespassing Anor Londo (~SL60+). | 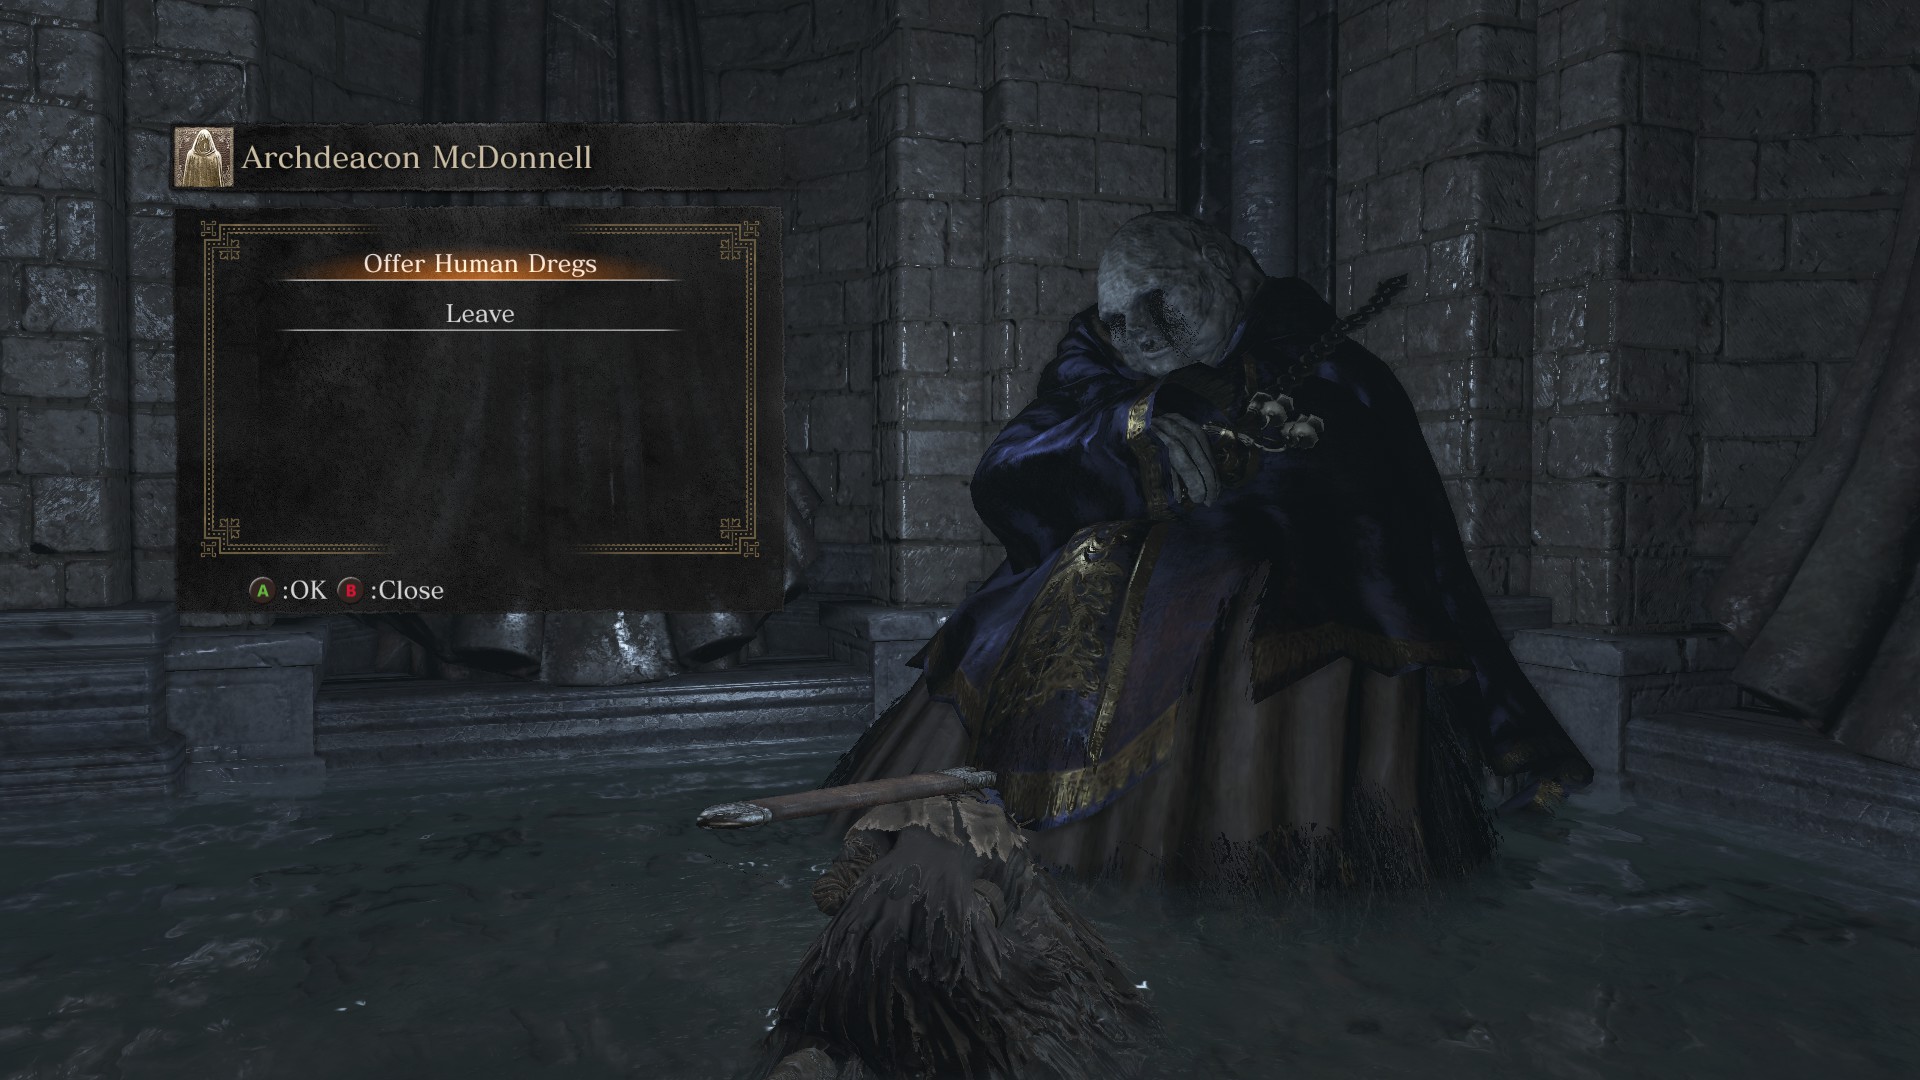 |
Warrior of Sunlight – [youtu.be] : Sunlight Medals
10 for Sacred Oath Miracle & 30 for Great Lightning Spear Miracle
| PVE | Using the White Sign Soapstone, be summoned to help defeat bosses for a Sunlight Medal as a Warrior of Sunlight. You’ll receive an extra Sunlight Medal if the other player has the covenant equipped. Farming Lothric Knights in Lothric Castle (not at High Wall) have a ~7% drop rate. A good farming spot for them is at the Lothric Castle Bonfire. |  |
| PVP | Invading a world with a Cracked Red Eye Orb or Red Sign Soapstone while having the Warrior of Sunlight Covenant equipped will reward you with a Sunlight Medal when you defeat the host of embers. | 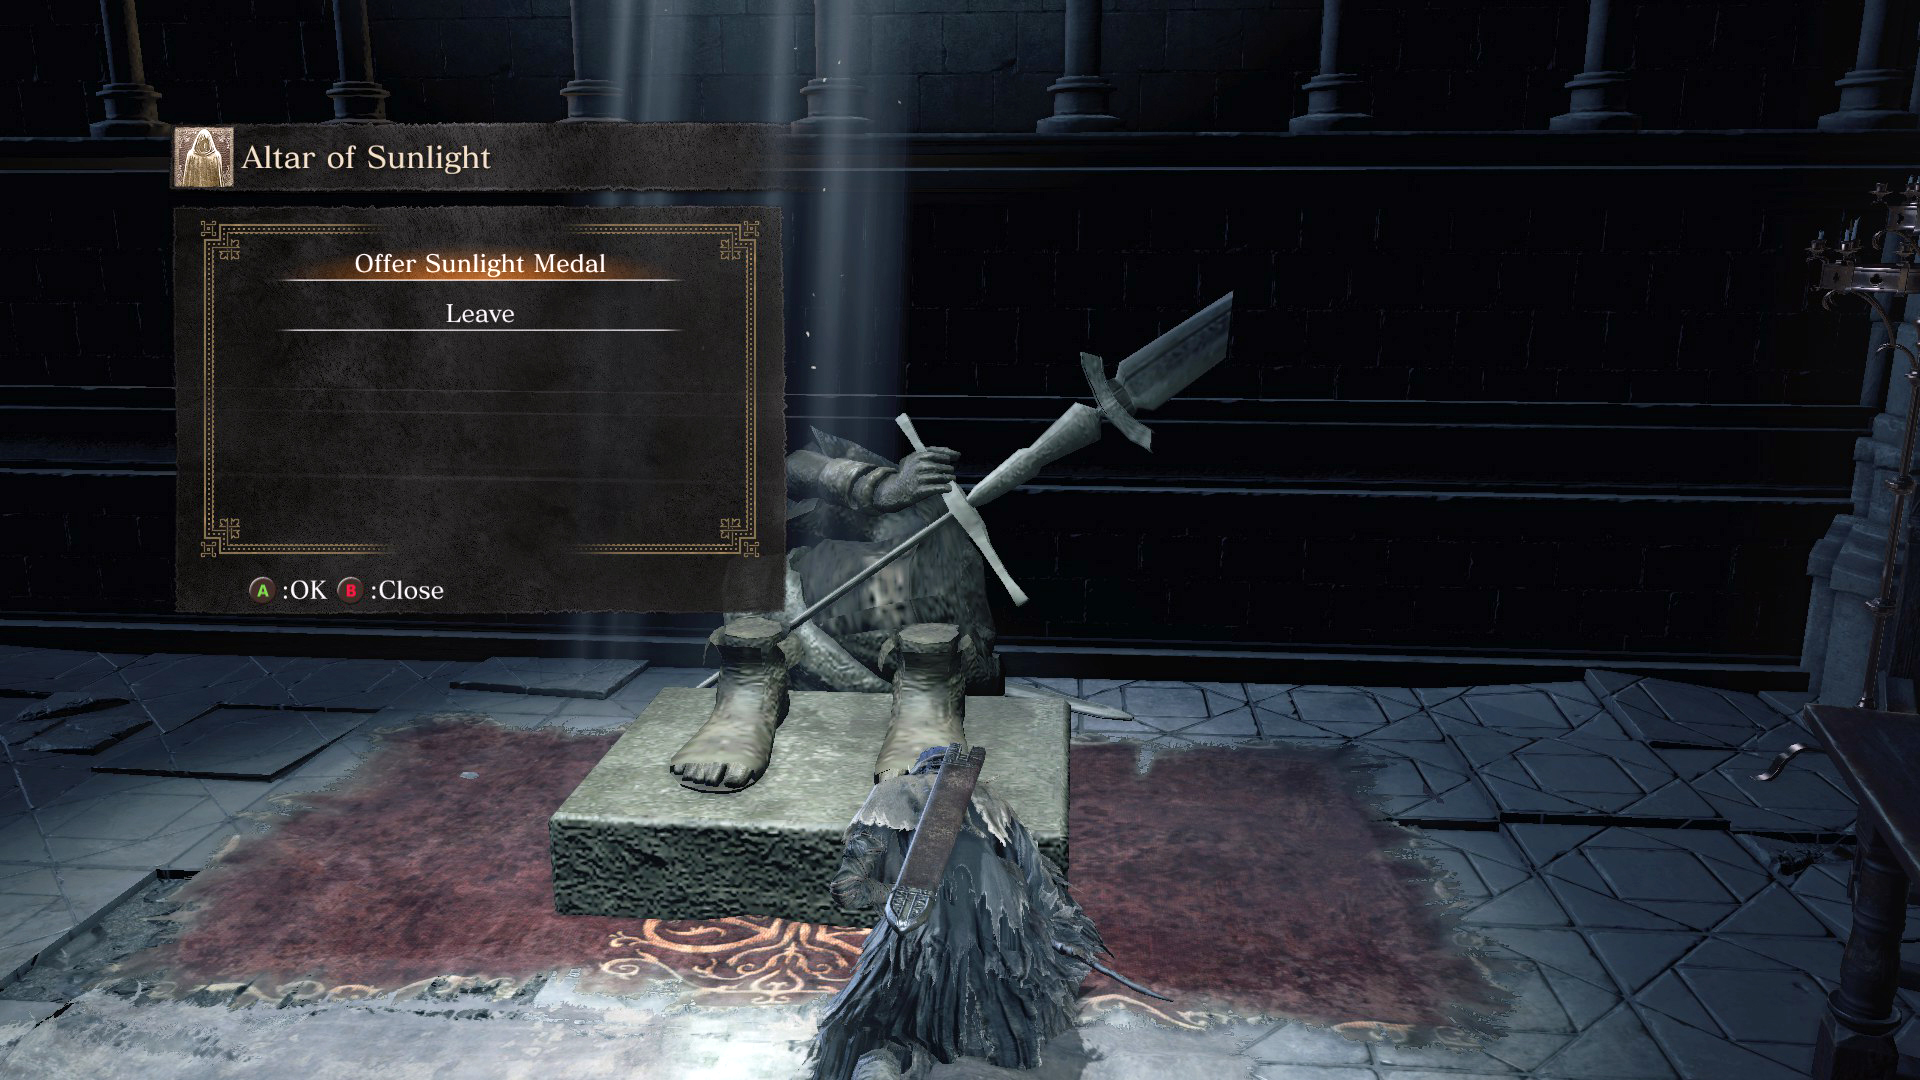 |
Watchdogs of Farron – [youtu.be] : Wolf’s Blood Swordgrass
30 for Wolf Ring
| PVE | Ghrus have ~1% drop rate for Wolf’s Blood Swordgrass. The Farron Keep Ruins Bonfire is a fast 3 Ghru farming area or the Farron Keep Perimeter Bonfire where the Darkwraiths and Ghrus automatically fight on their own. (Also good for Pale Tongue drops) |  |
| PVP | With the covenant equipped, you’ll automatically be summoned to areas in Farron Keep and the Crucifixion Woods to anyone trespassing the Old Wolf of Farron. You can have the covenant equipped while you are farming to reduce the summon wait. Note that this is a lower level area for invasions (~SL20-40 with a +2-+4 weapon upgrade), so keep that in mind if you decide to farm this route. | 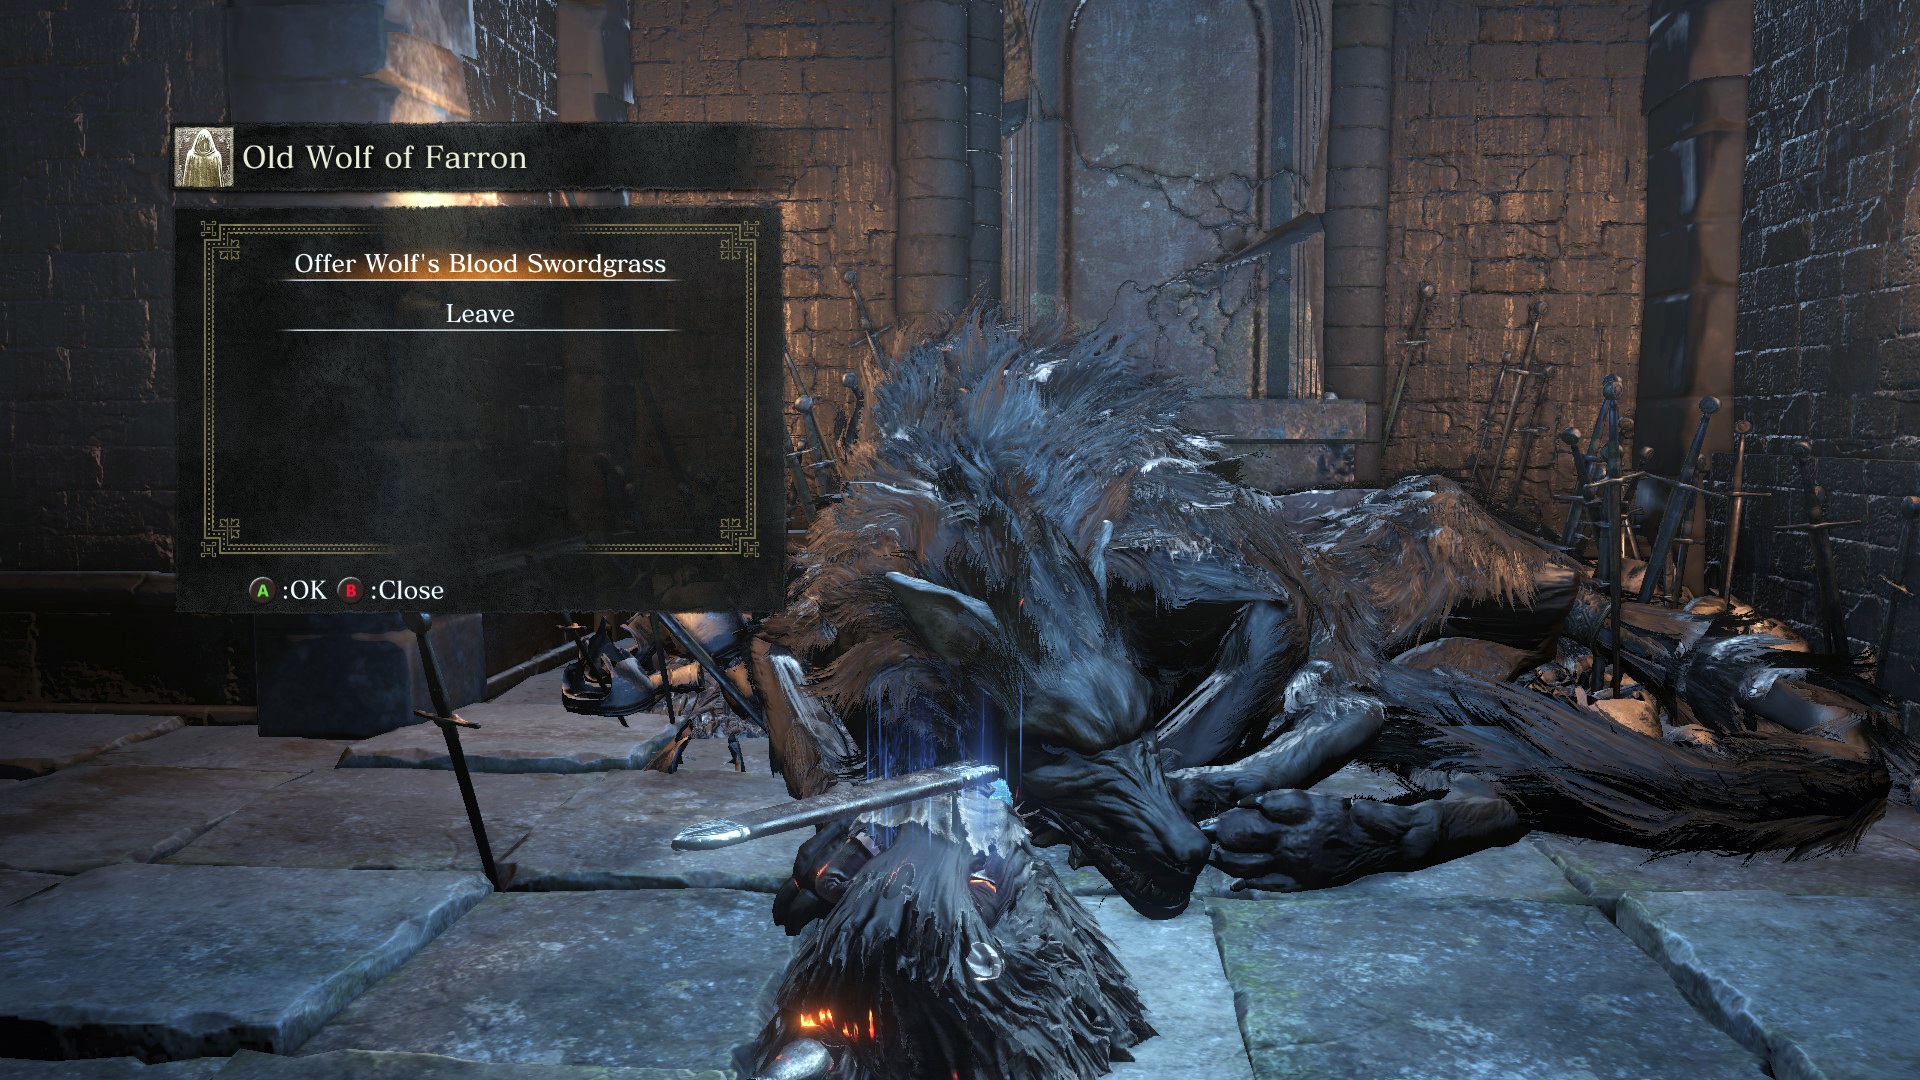 |
Shortcuts and Keys
This is not by any means every shortcut and key but just ones frequently mentioned in the guide and can be a helpful on-hand reference. If any directions are unclear or missing, feel free to let me know so I can provide additional videos/sources.
Firelink Shrine:
High Wall of Lothric:
- Elevator Shortcut – [youtu.be]
- Cell Key – [youtu.be]
- Greirat’s Cell – [youtu.be]
- Lift Chamber Locked Door Location – [youtu.be]
Undead Settlement:
Cathedral of the Deep:
- Shortcut 1 – [youtu.be]
- Shortcut 2 – [youtu.be]
- Shortcut 3 – [youtu.be]
- Ladder Shortcut – [youtu.be]
- Rosaria’s Fingers Covenant Shortcut – [youtu.be]
Catacombs of Carthus:
Irithyll of the Boreal Valley:
Anor Londo:
Irithyll Dungeon:
- Elevator Shortcut – [youtu.be]
- Jailer’s Key Ring – [youtu.be]
- Old Cell Key: Saving Siegward – [youtu.be]
- Jailbreaker Key and Shortcut – [youtu.be]
Consumed King’s Garden:
Lothric Castle:
Grand Archives:
- Shortcut 1 – [youtu.be]
- Shortcut 2 – [youtu.be]
- Twin Princes Shortcut and Titanite Slab – [youtu.be]
Hidden Locations:
- Untended Graves and Dark Firelink – [youtu.be]
- Archdragon Peak – [youtu.be]
- Path of the Dragon Gesture – [youtu.be]
Here we come to an end for DARK SOULS™ III Complete Achievements Overview & Walkthrough hope you enjoy it. If you think we forget something to include or we should make an update to the post let us know via comment, and we will fix it asap! Thanks and have a great day!
- Check All DARK SOULS™ III Posts List


Leave a Reply