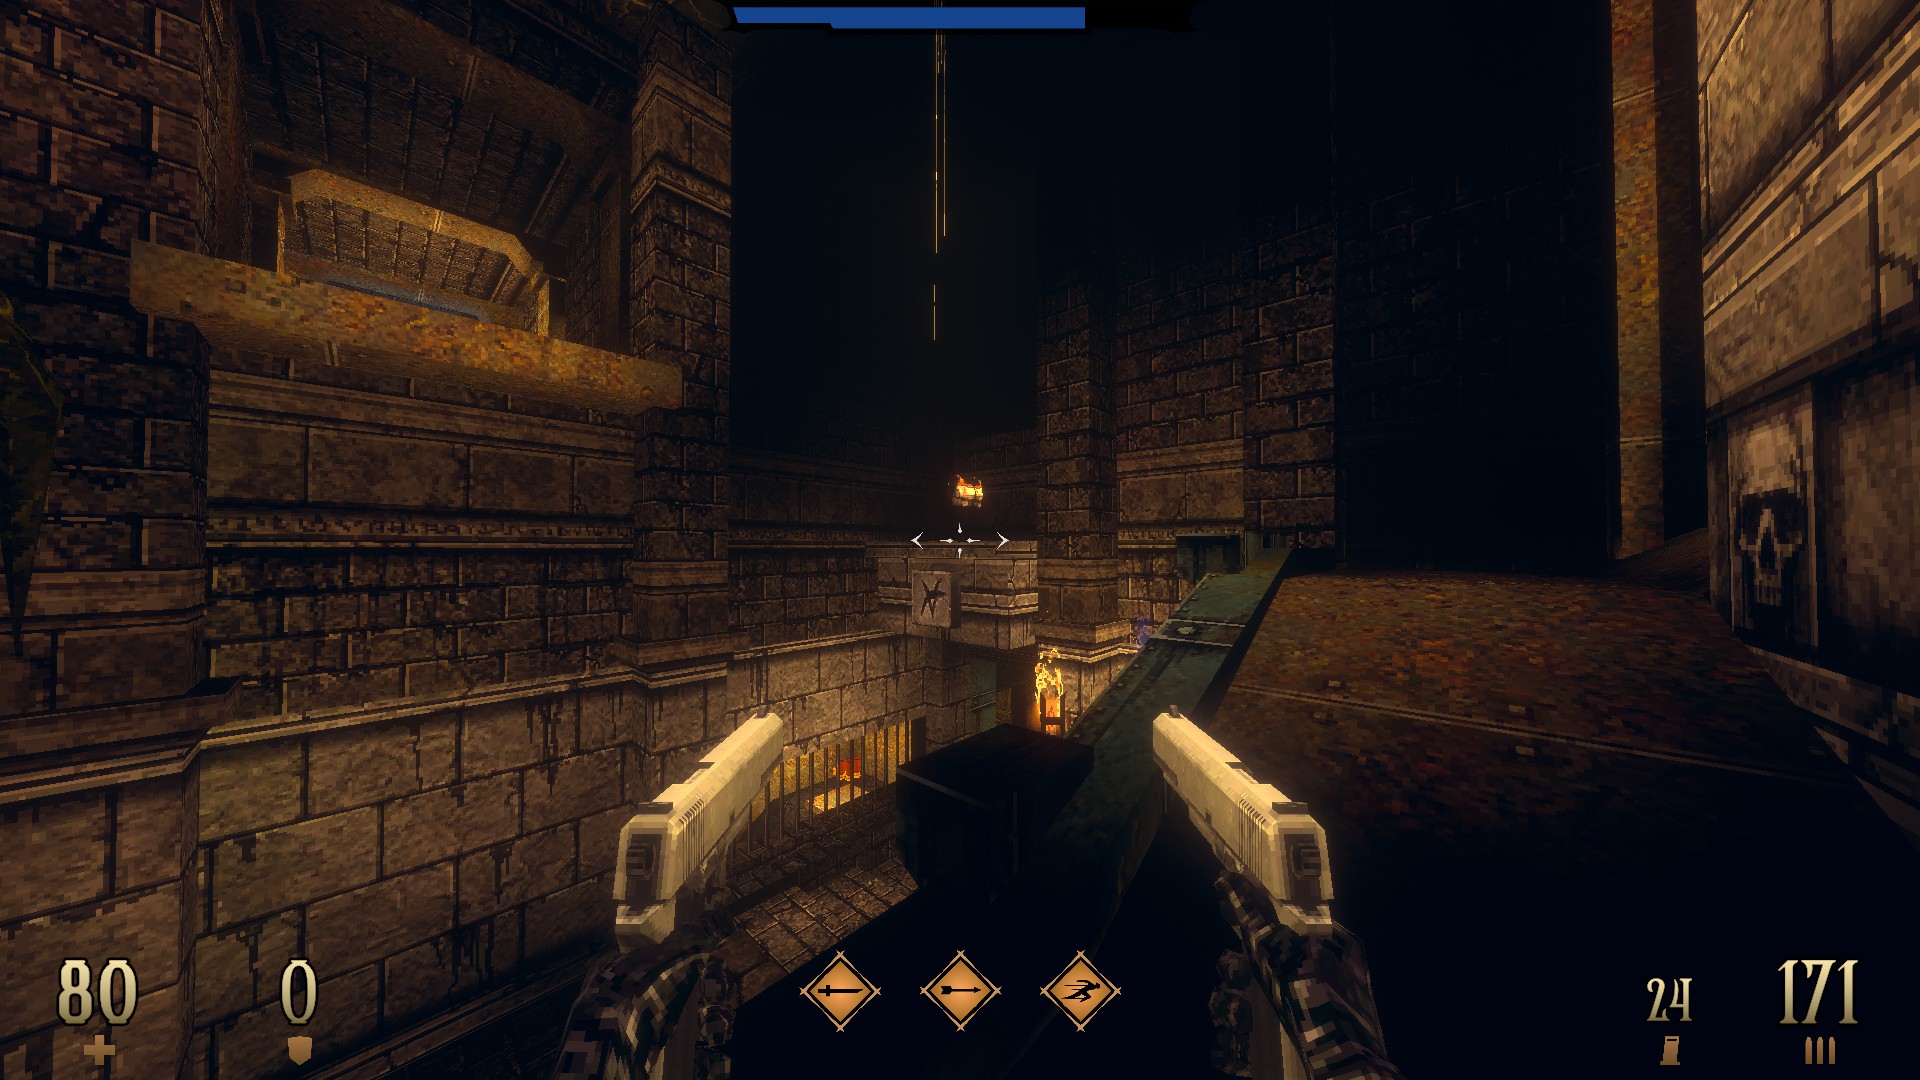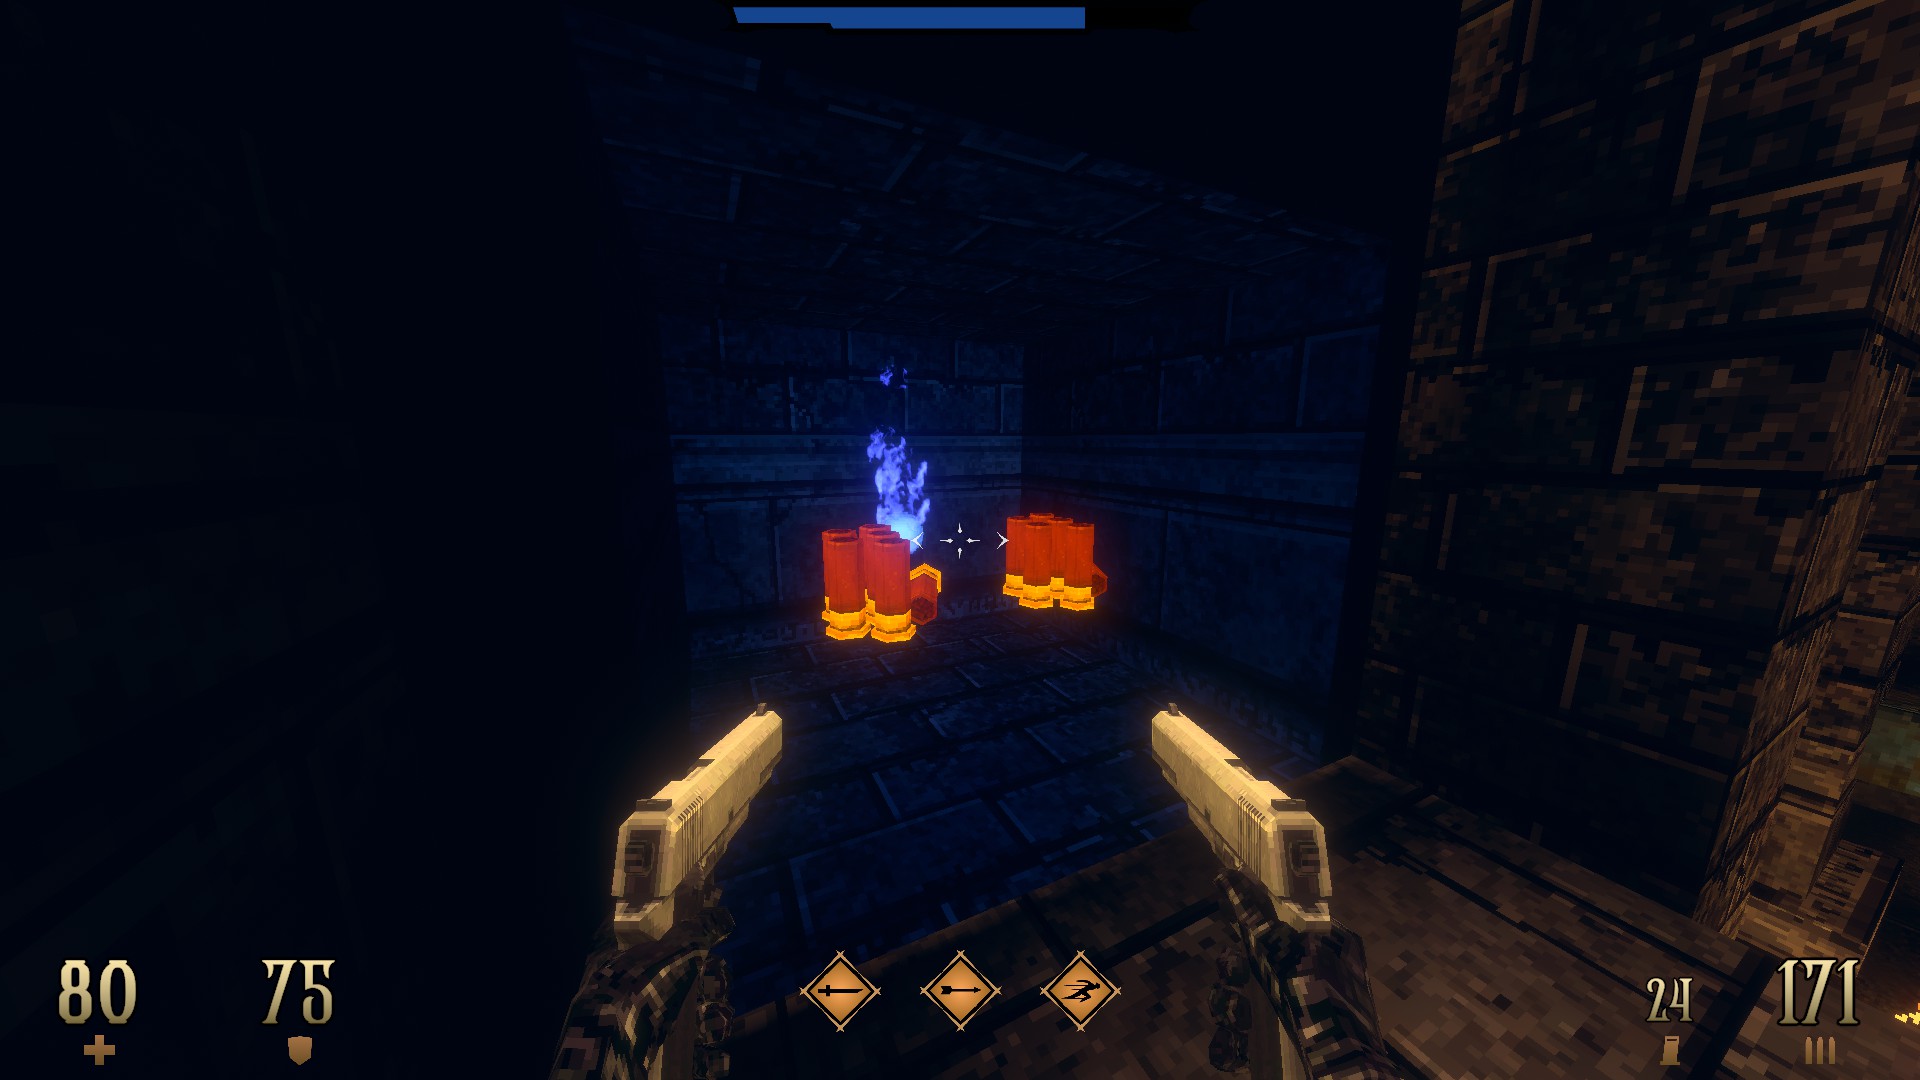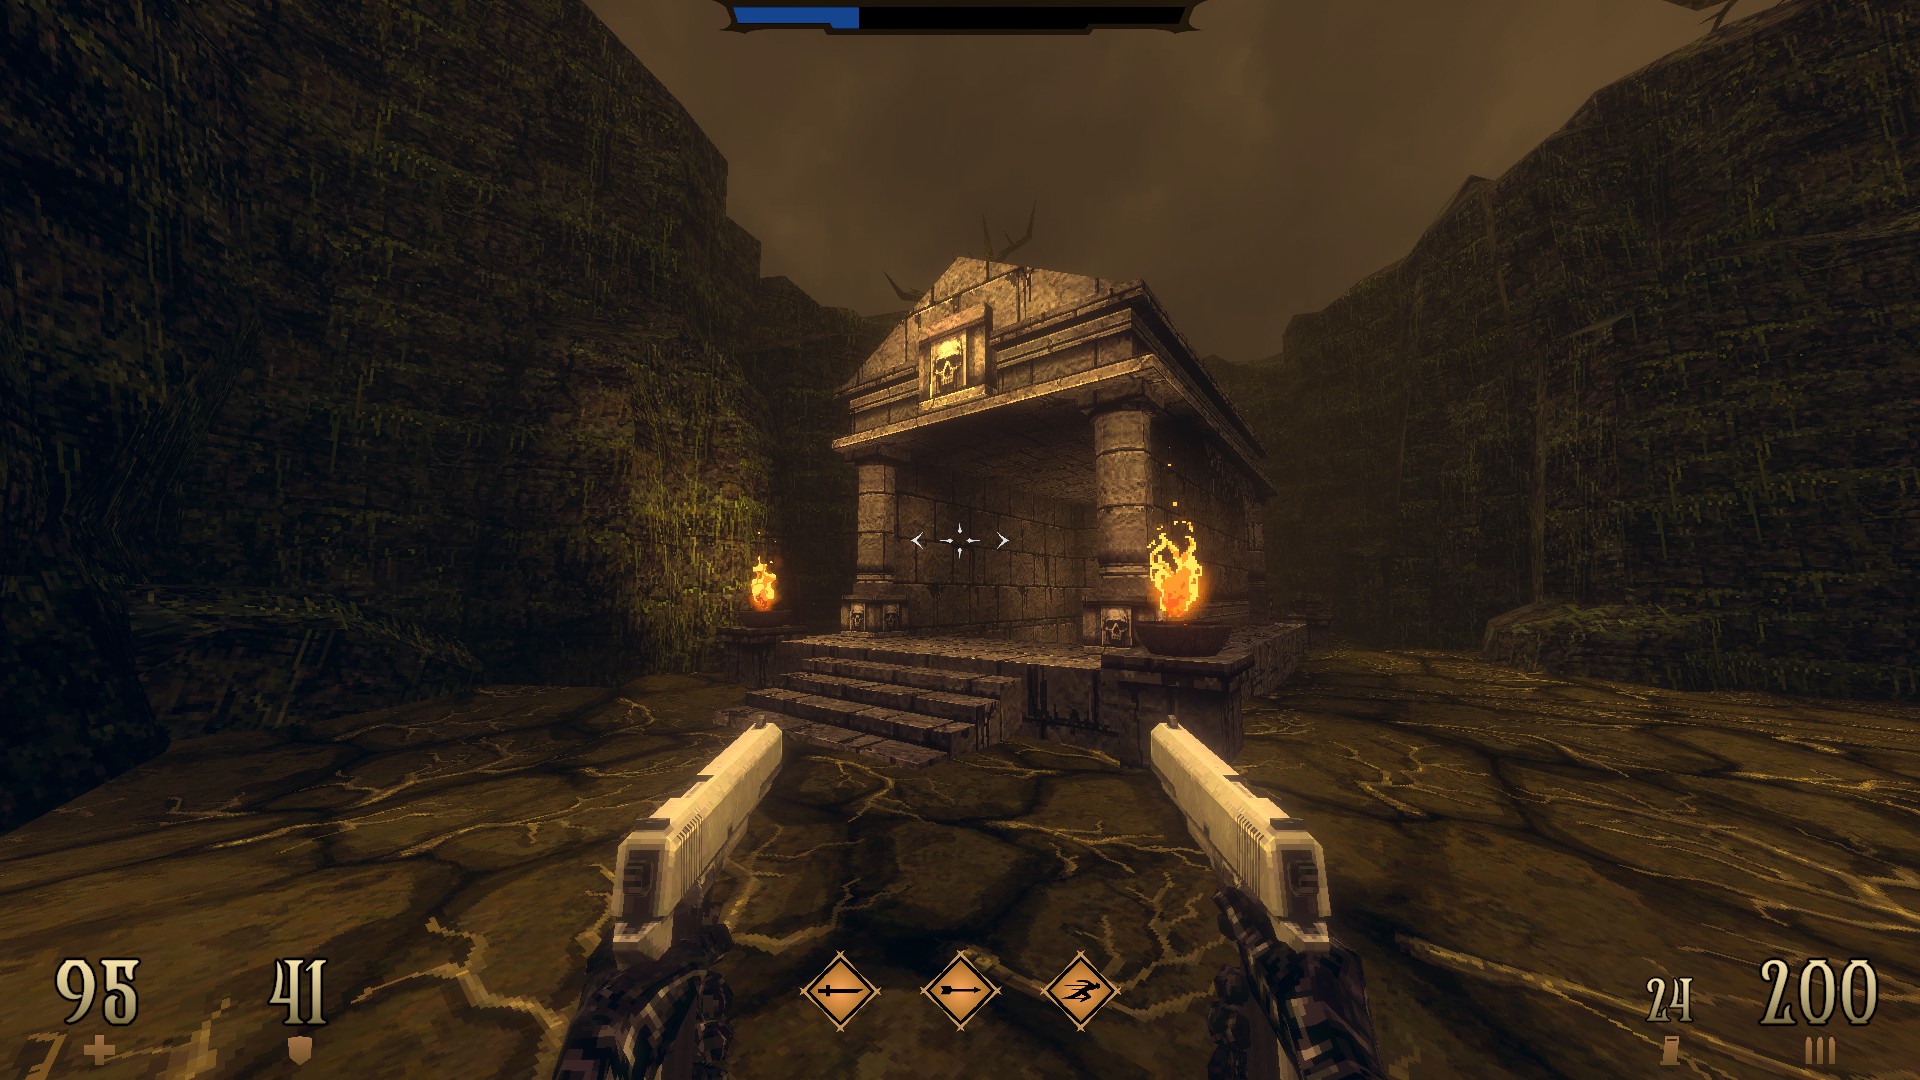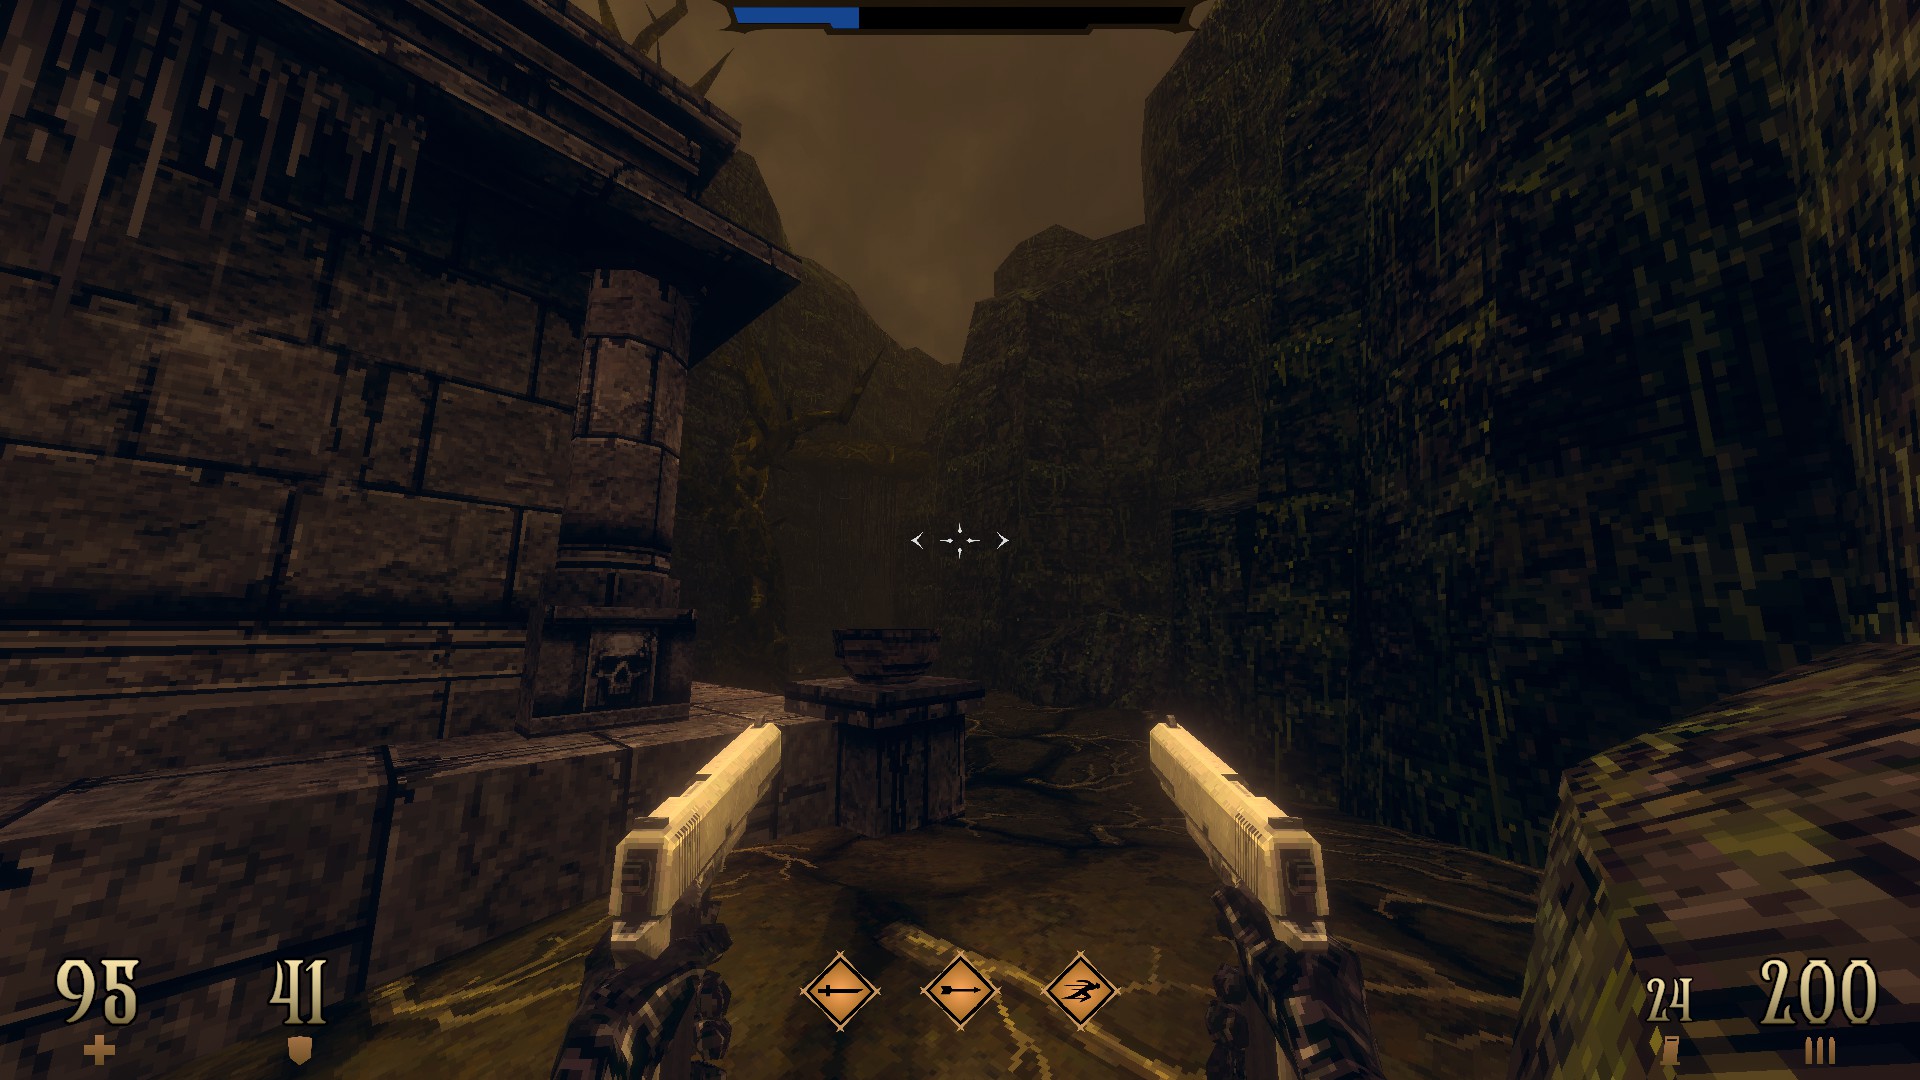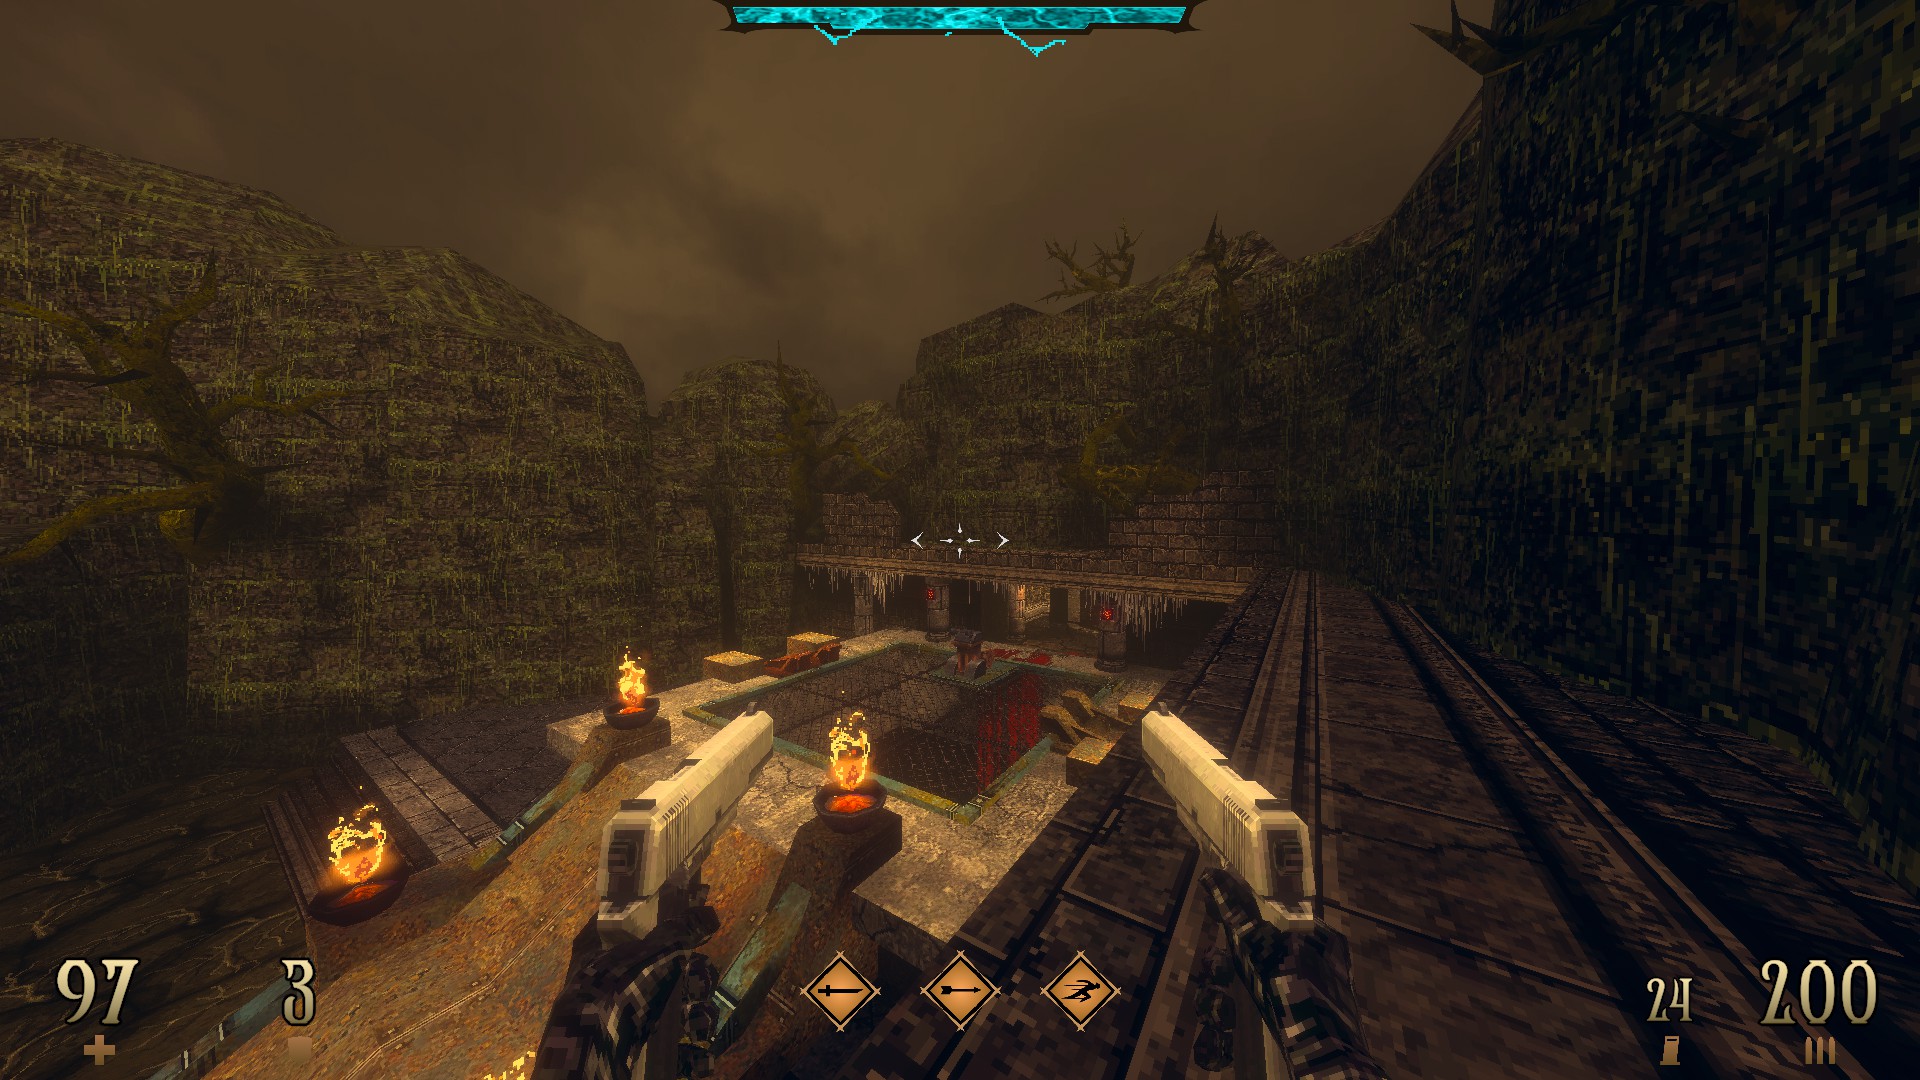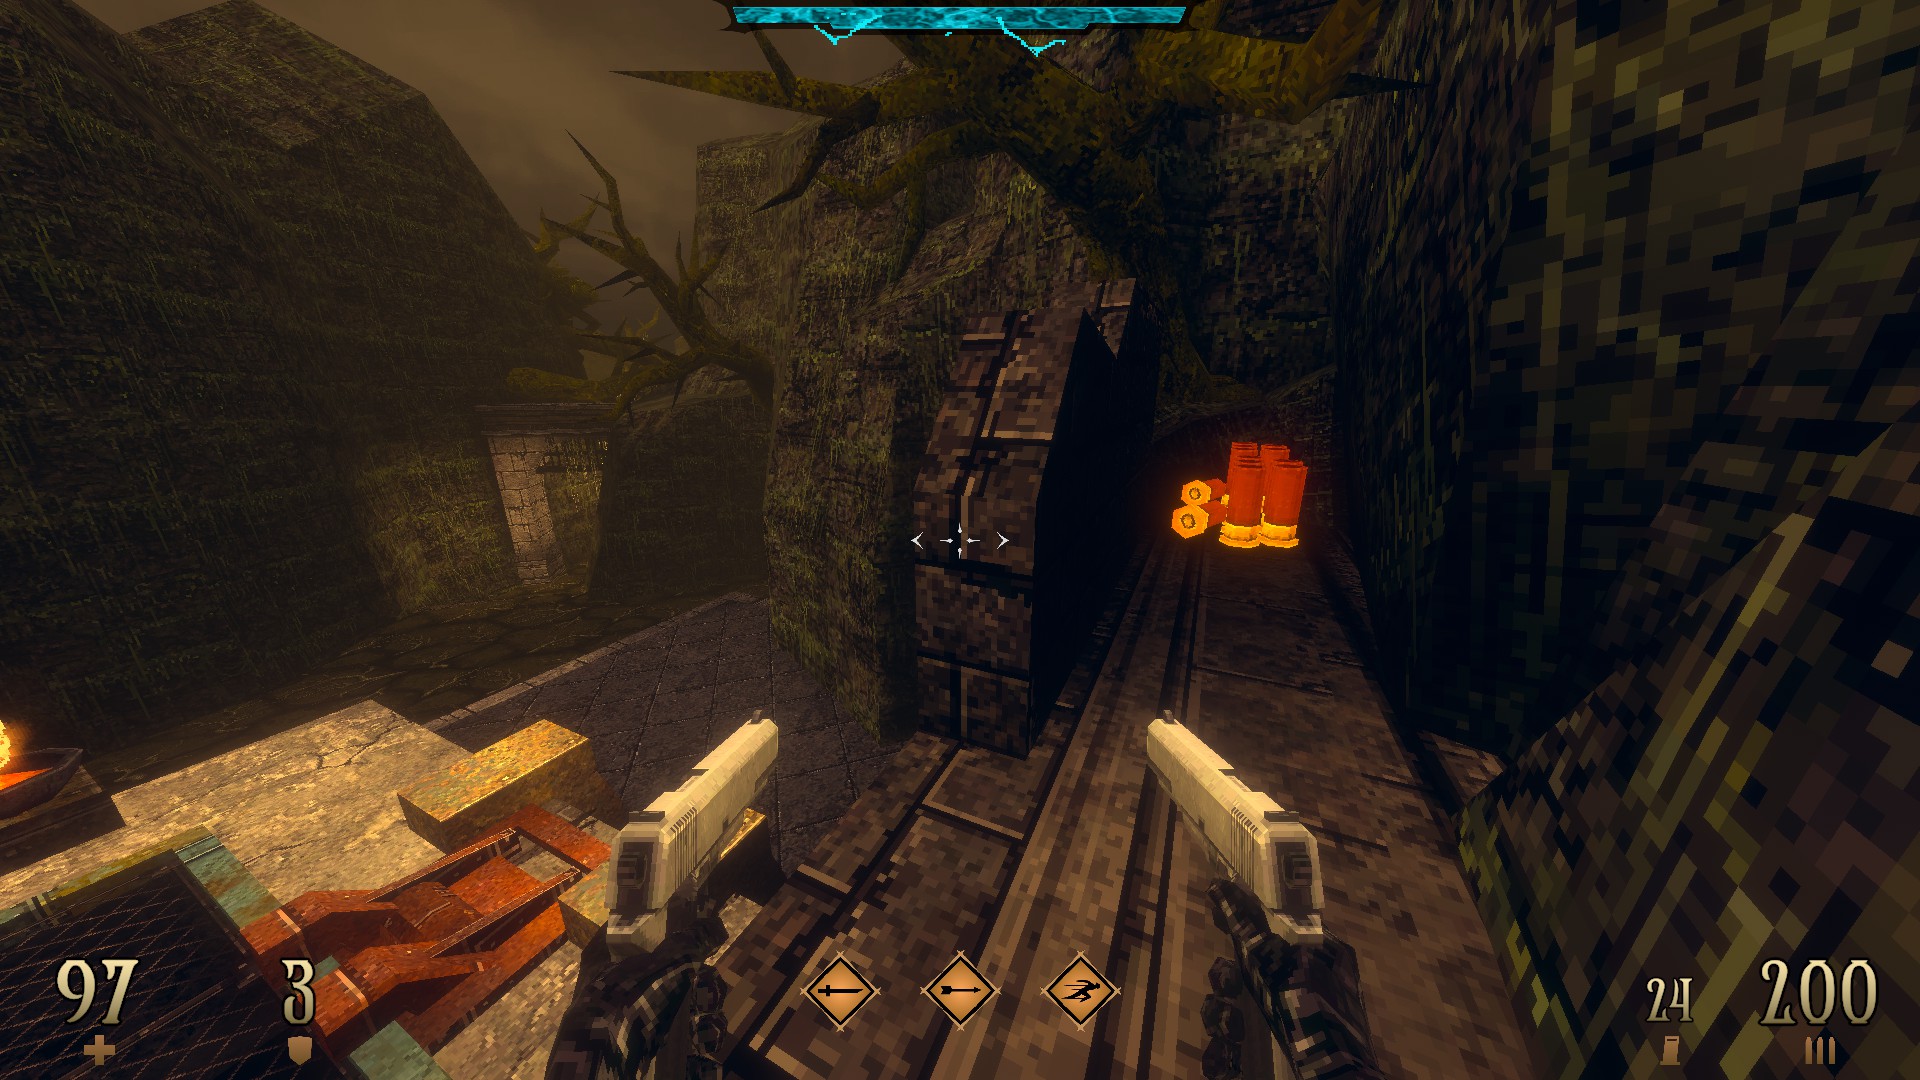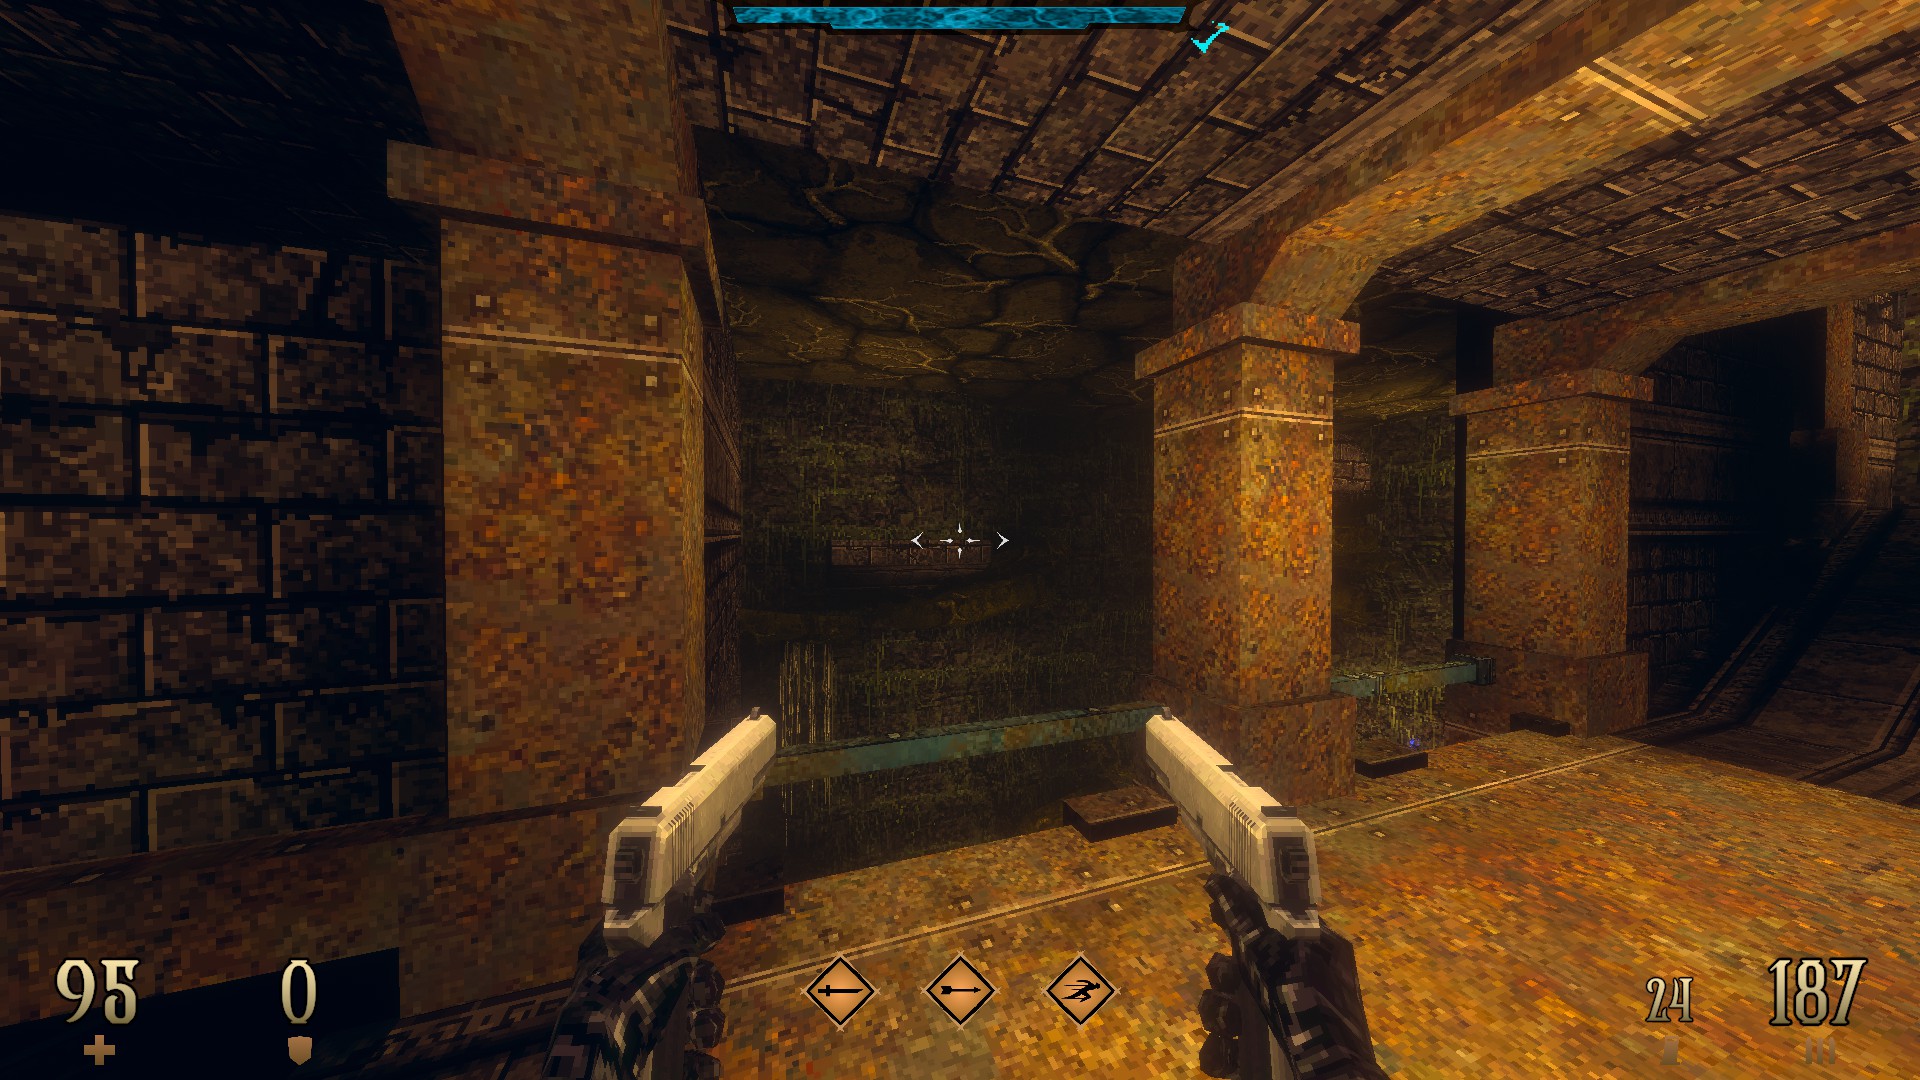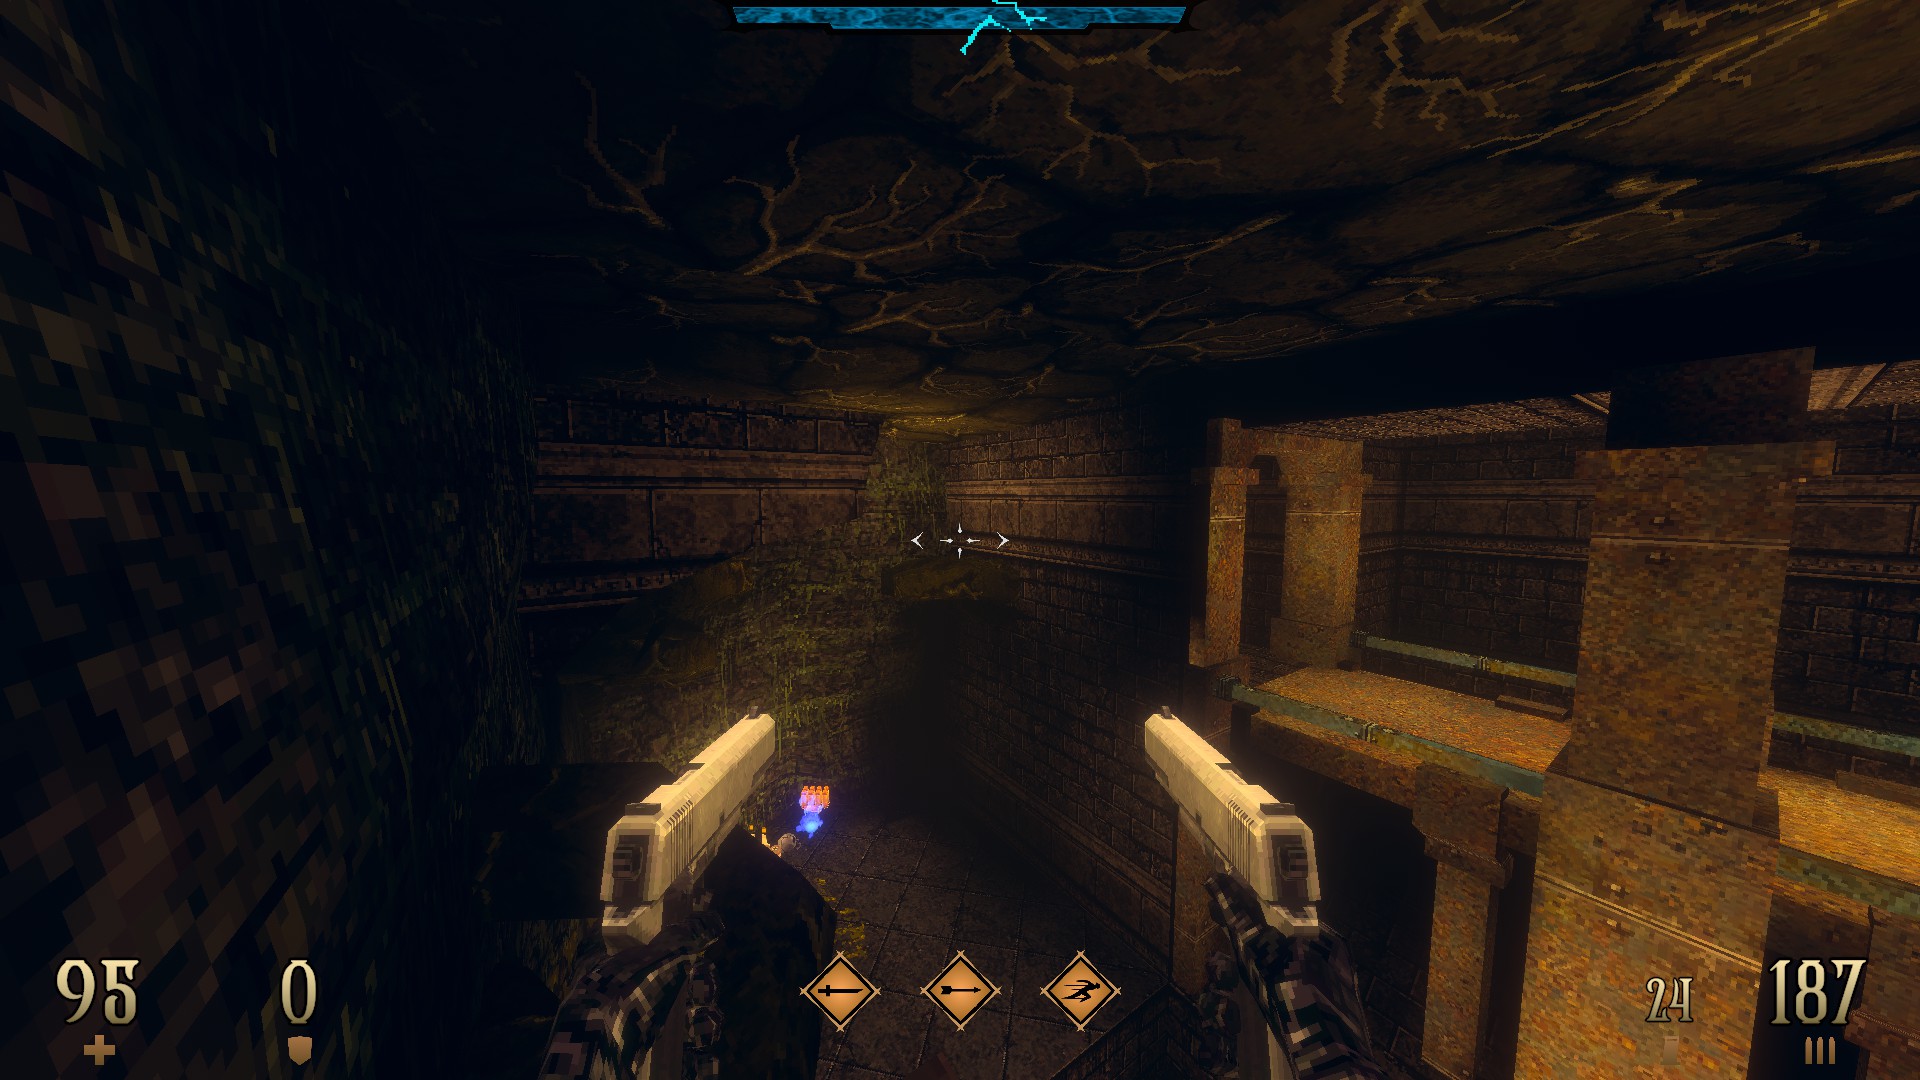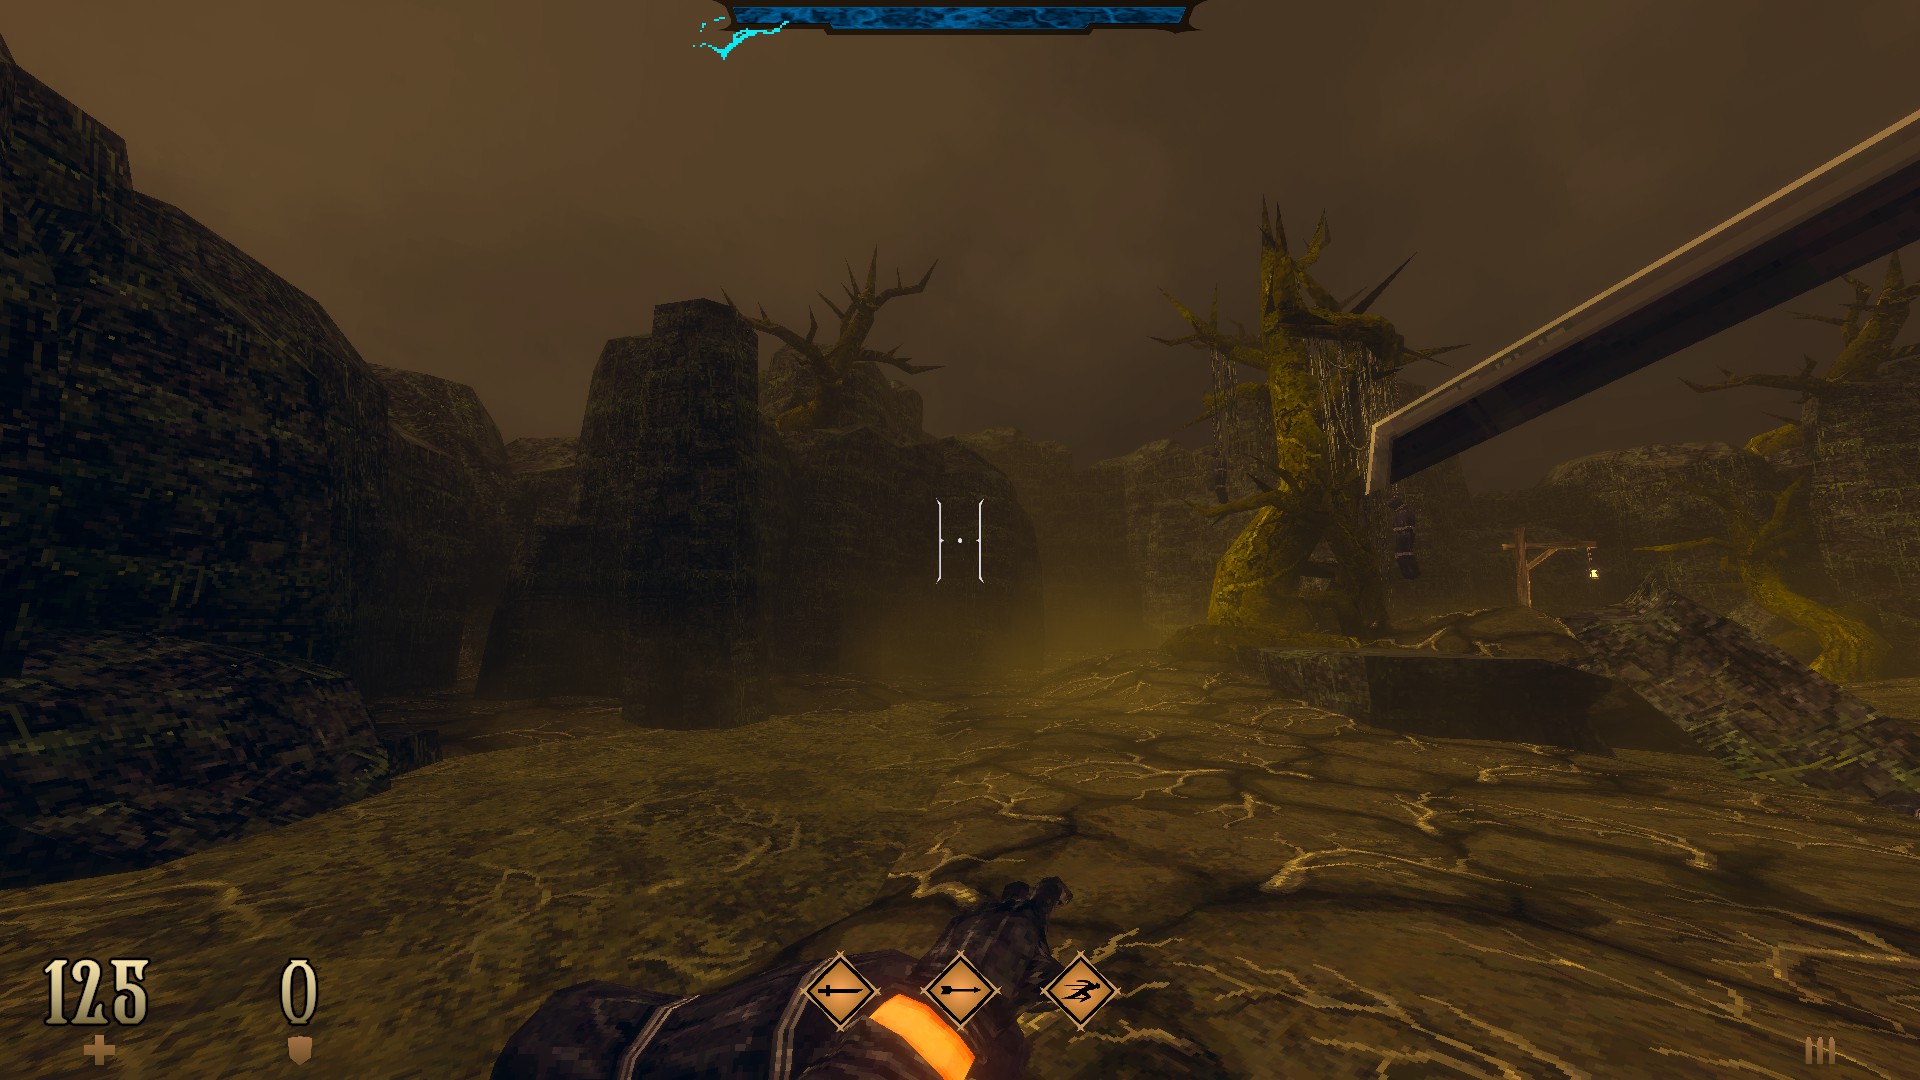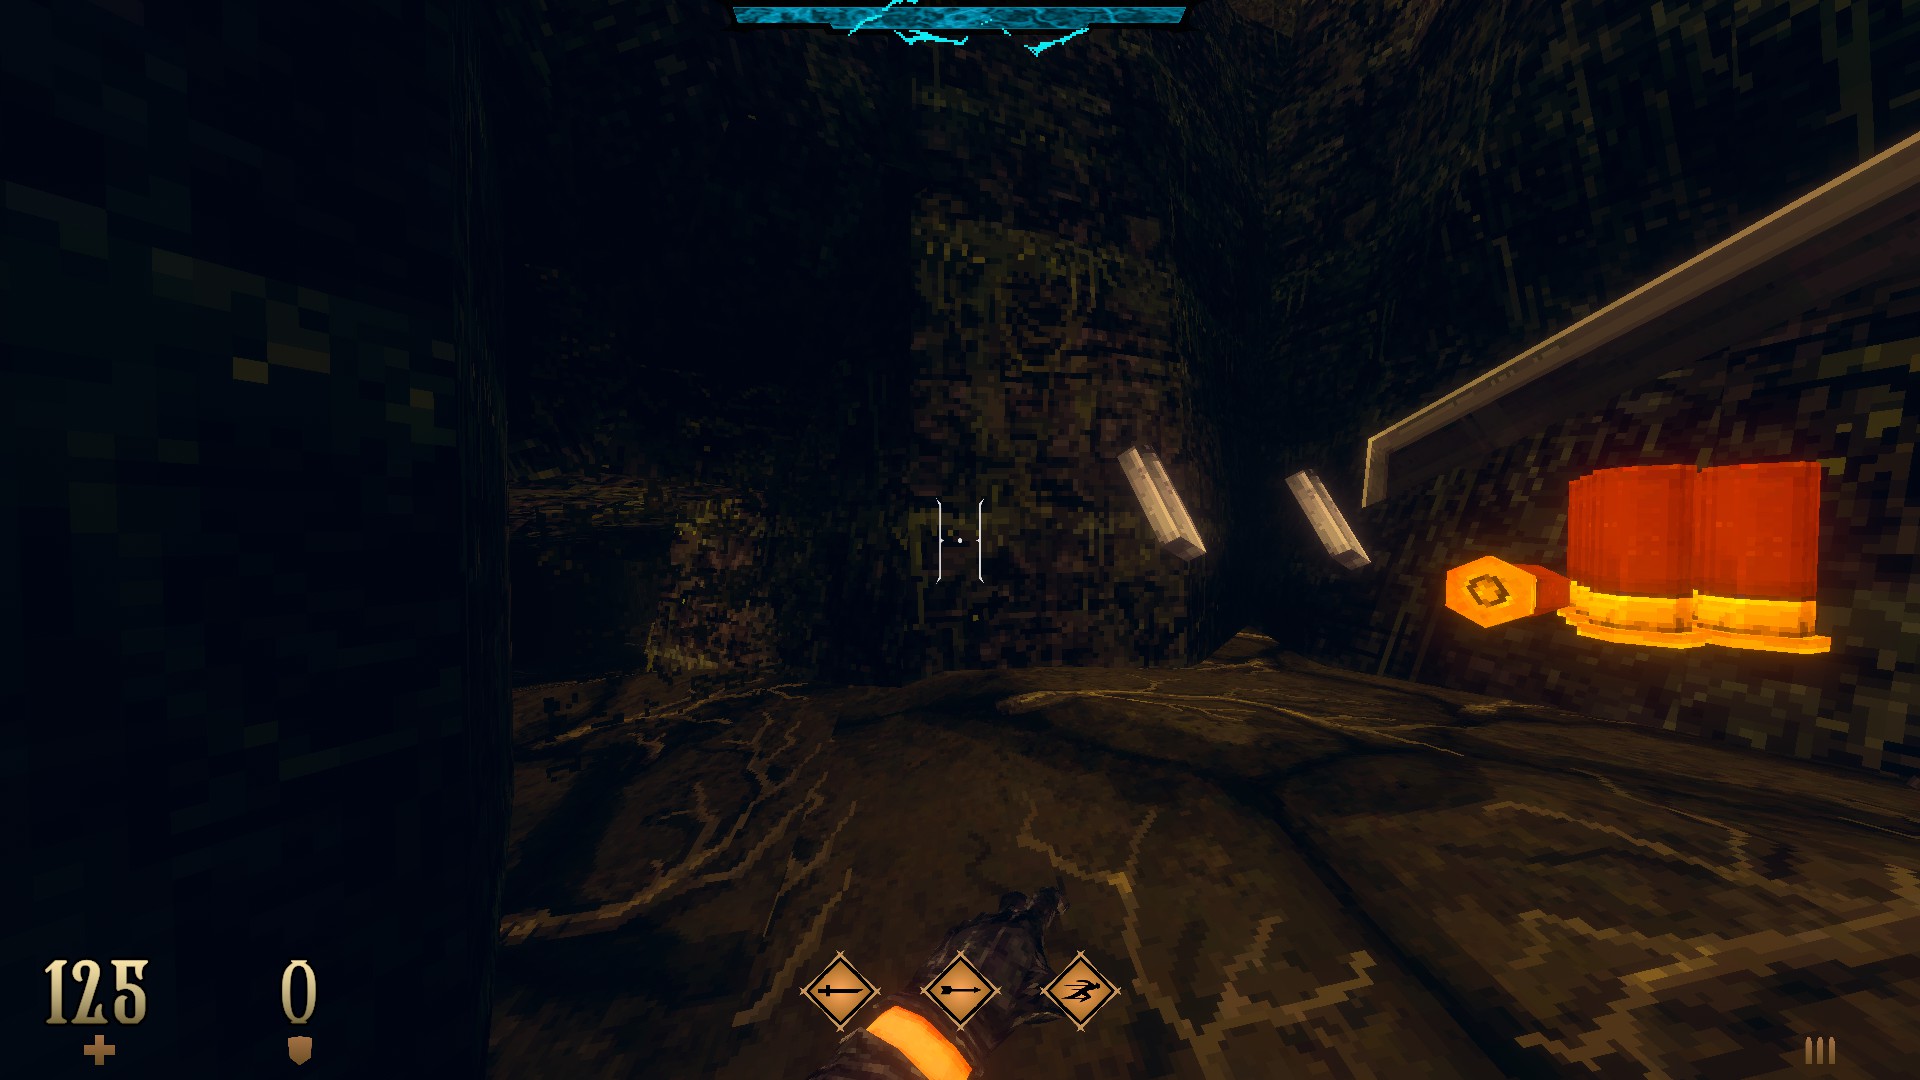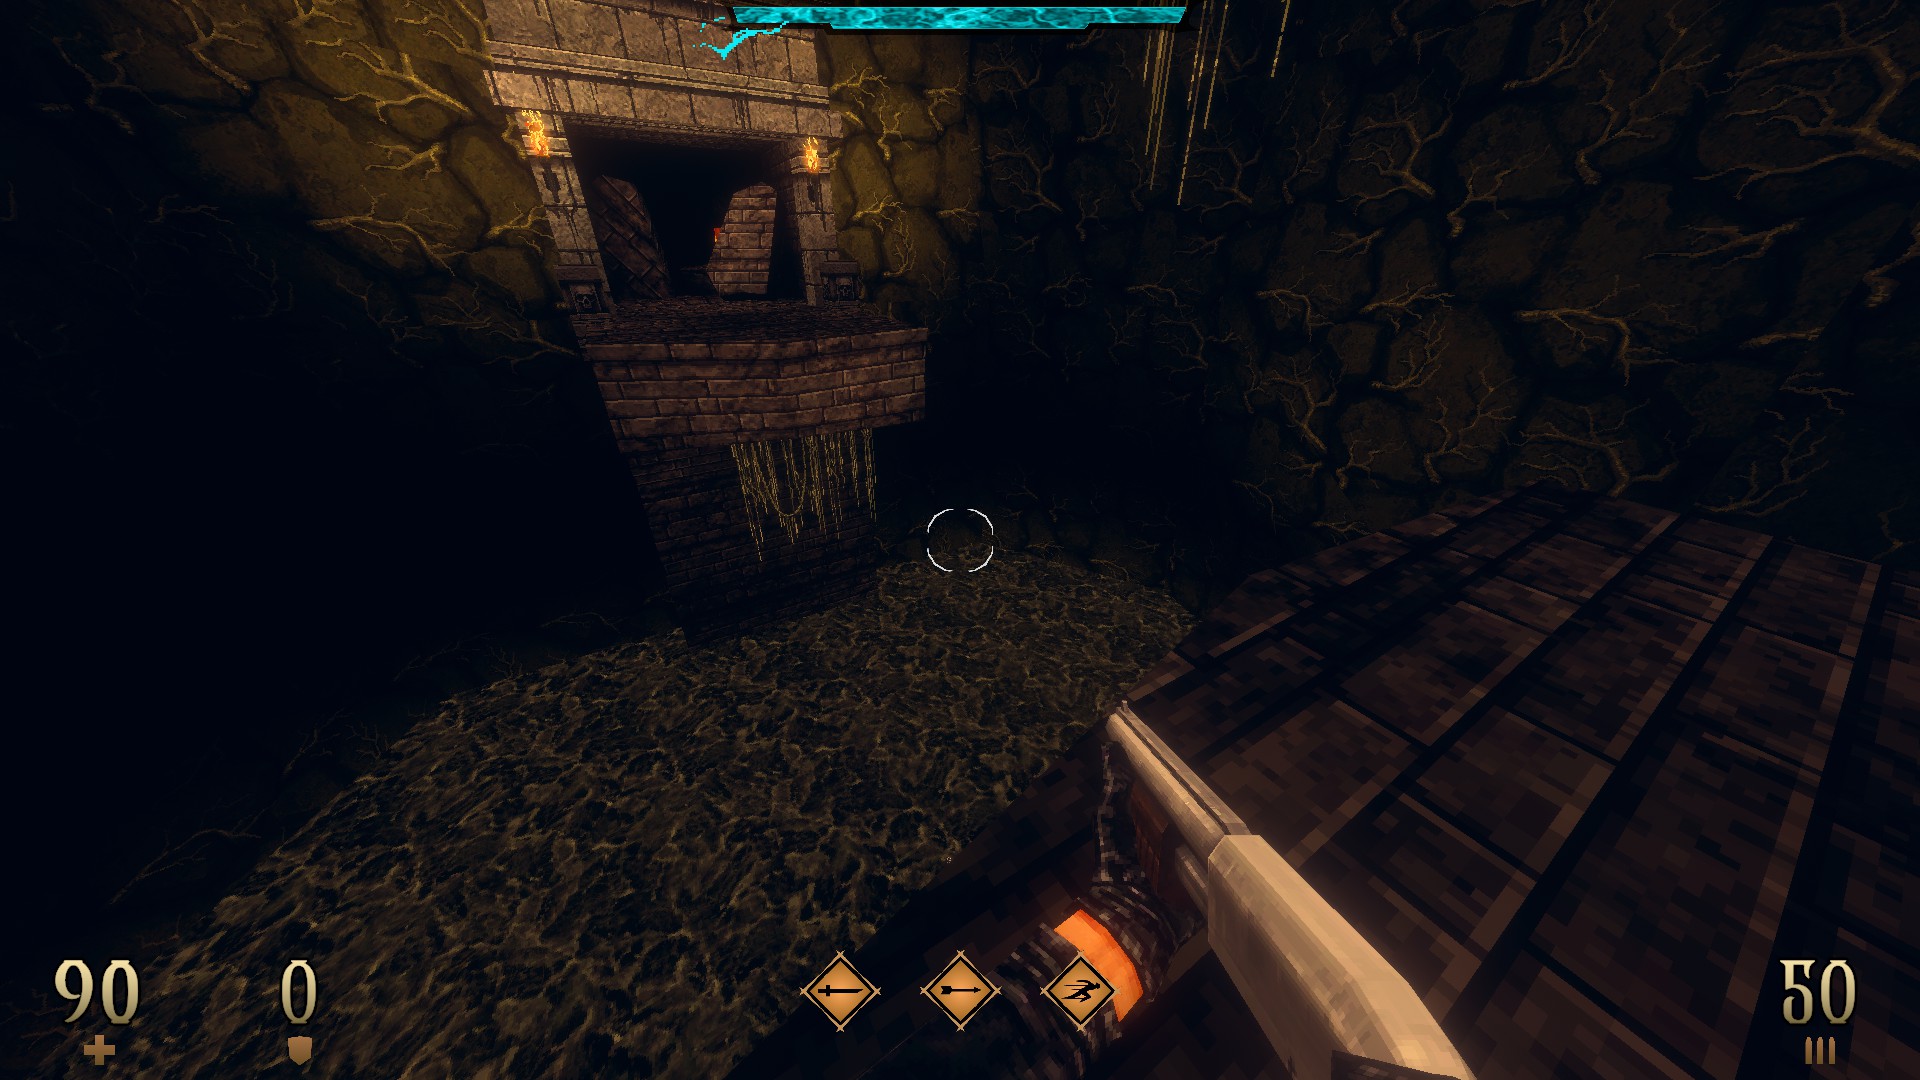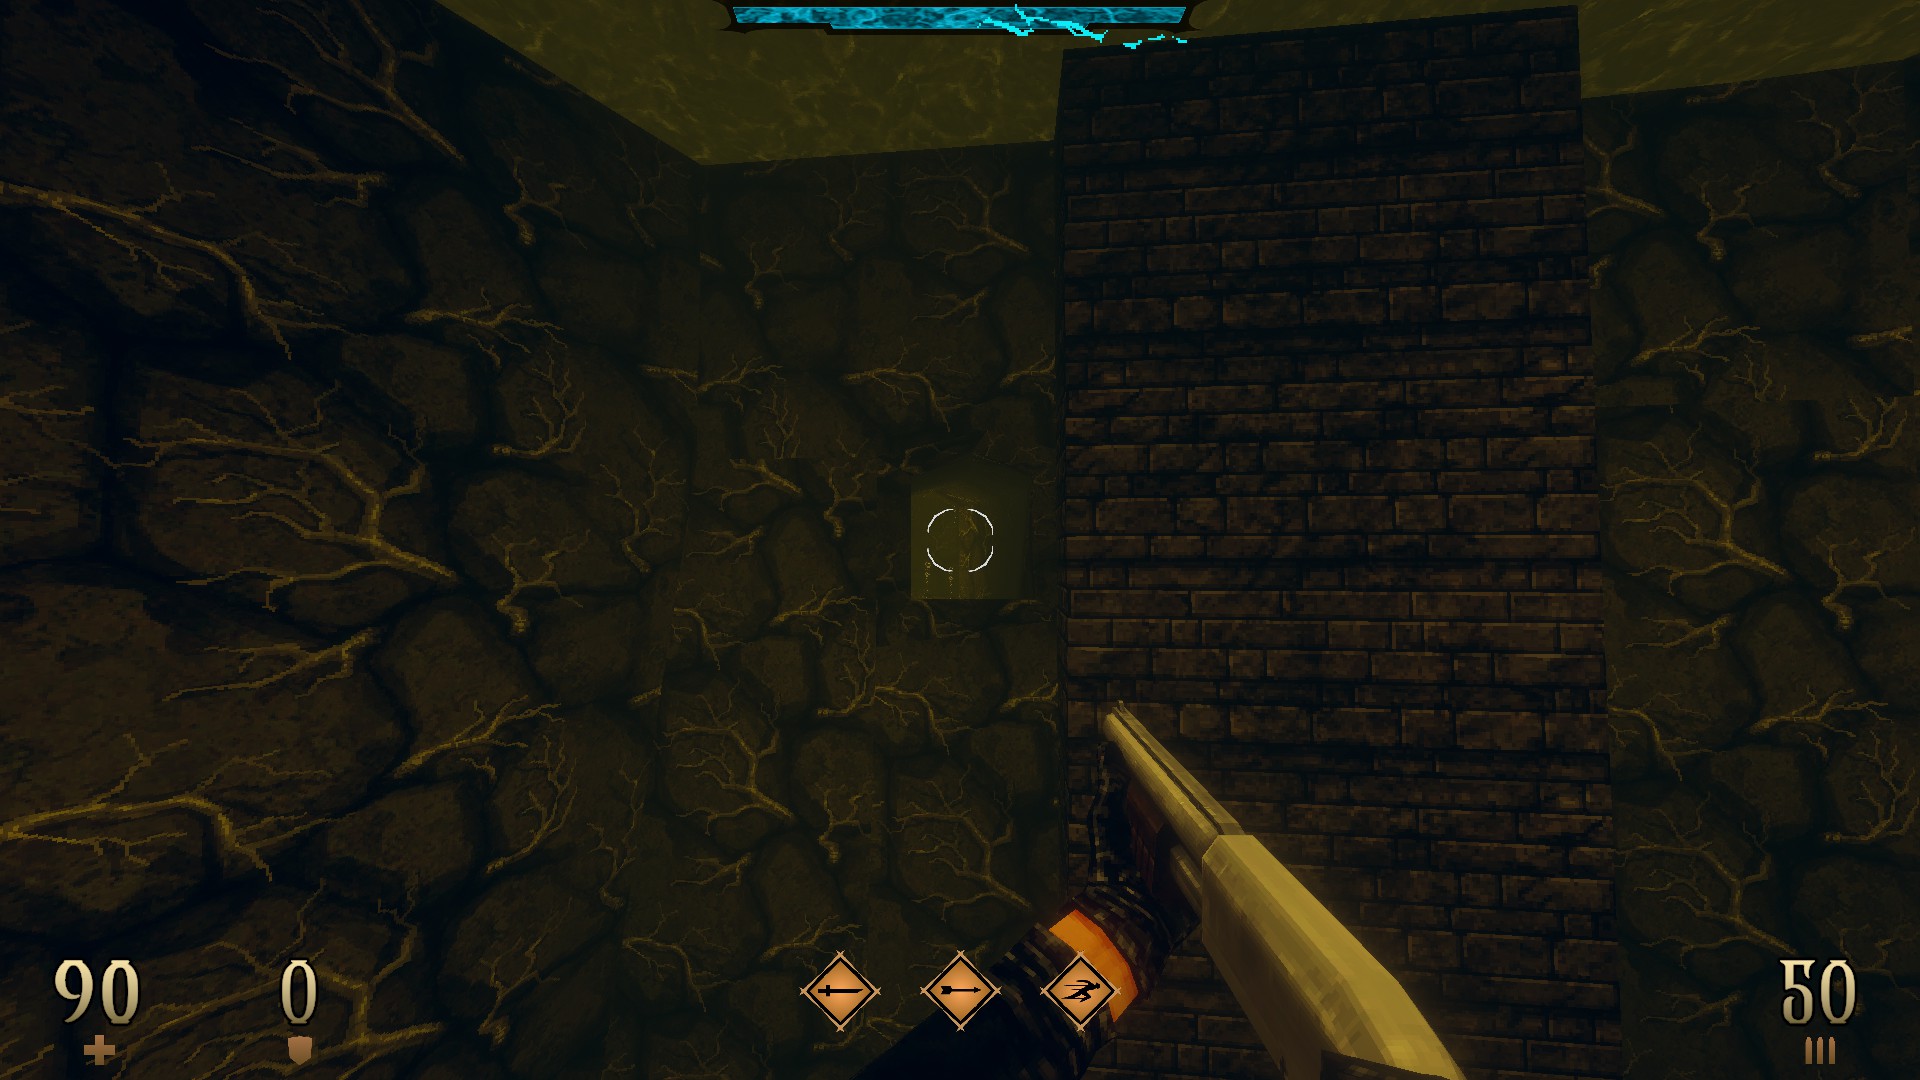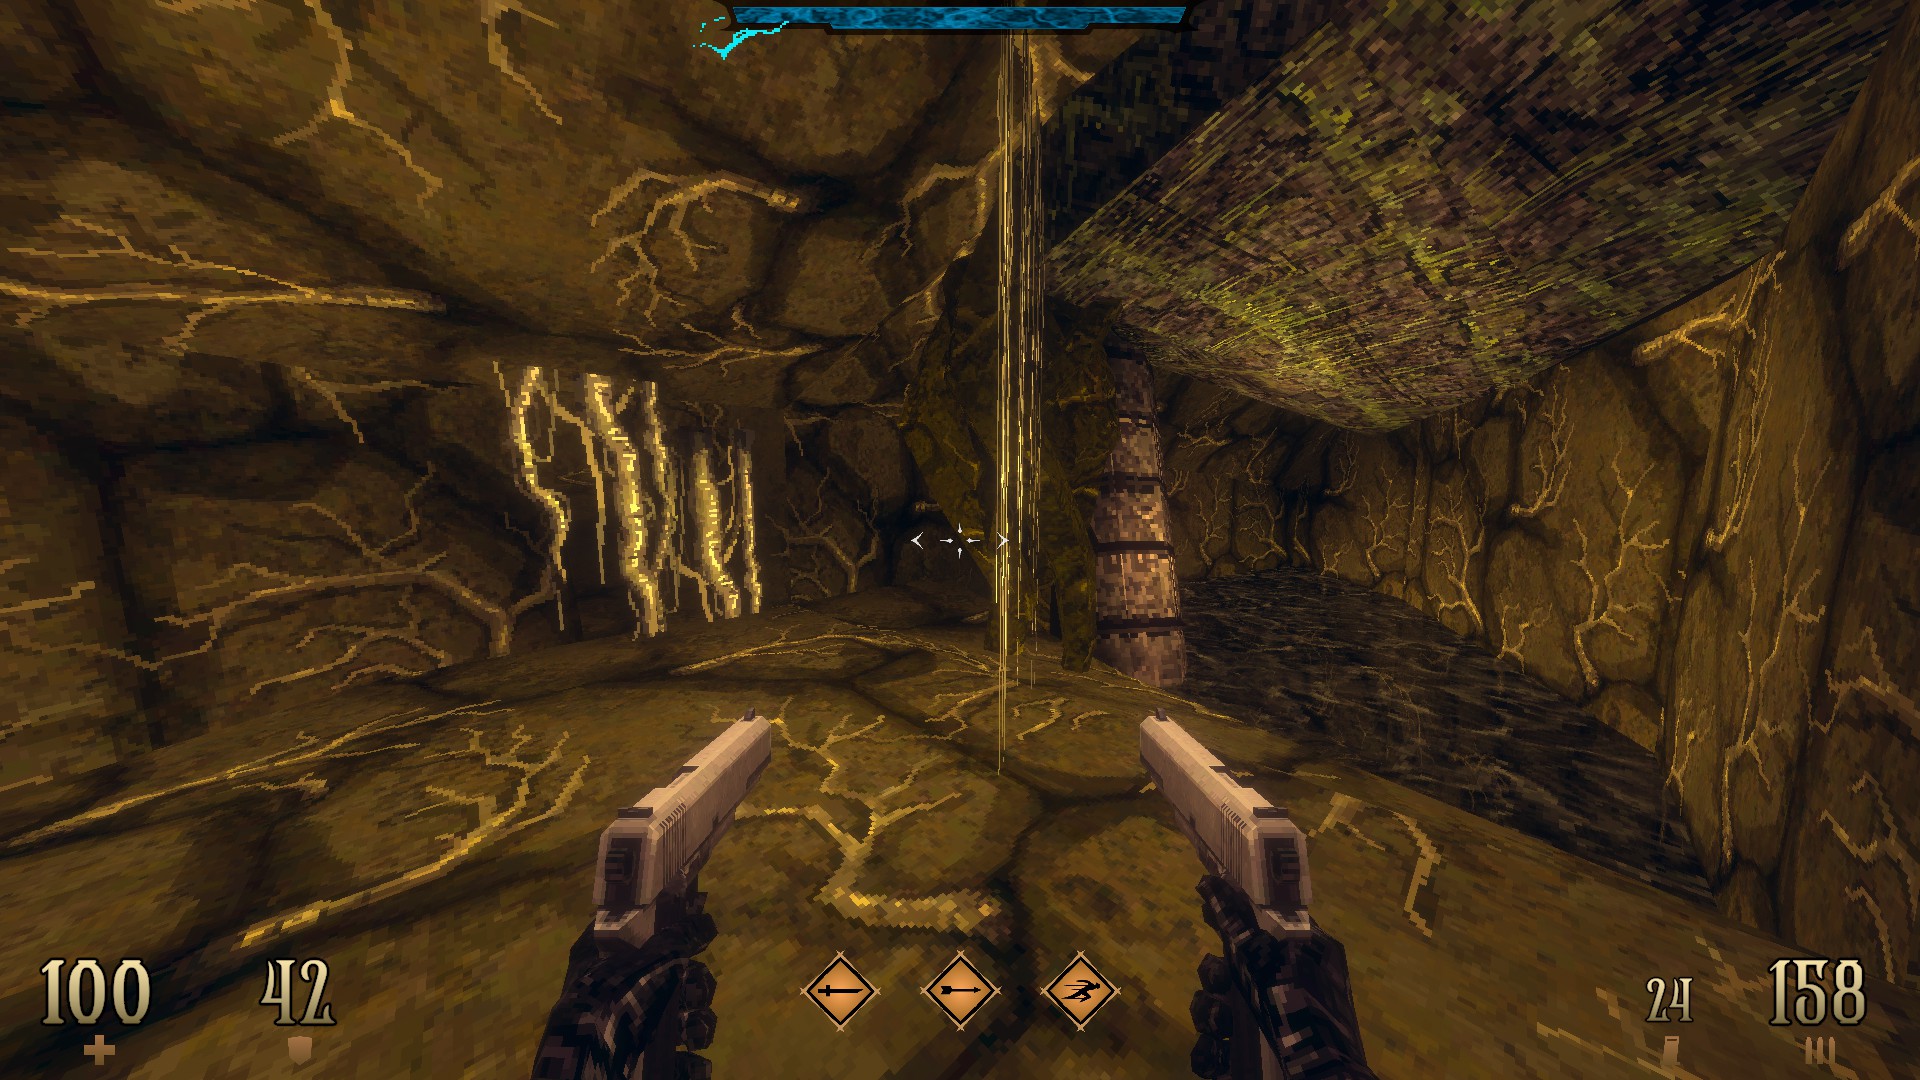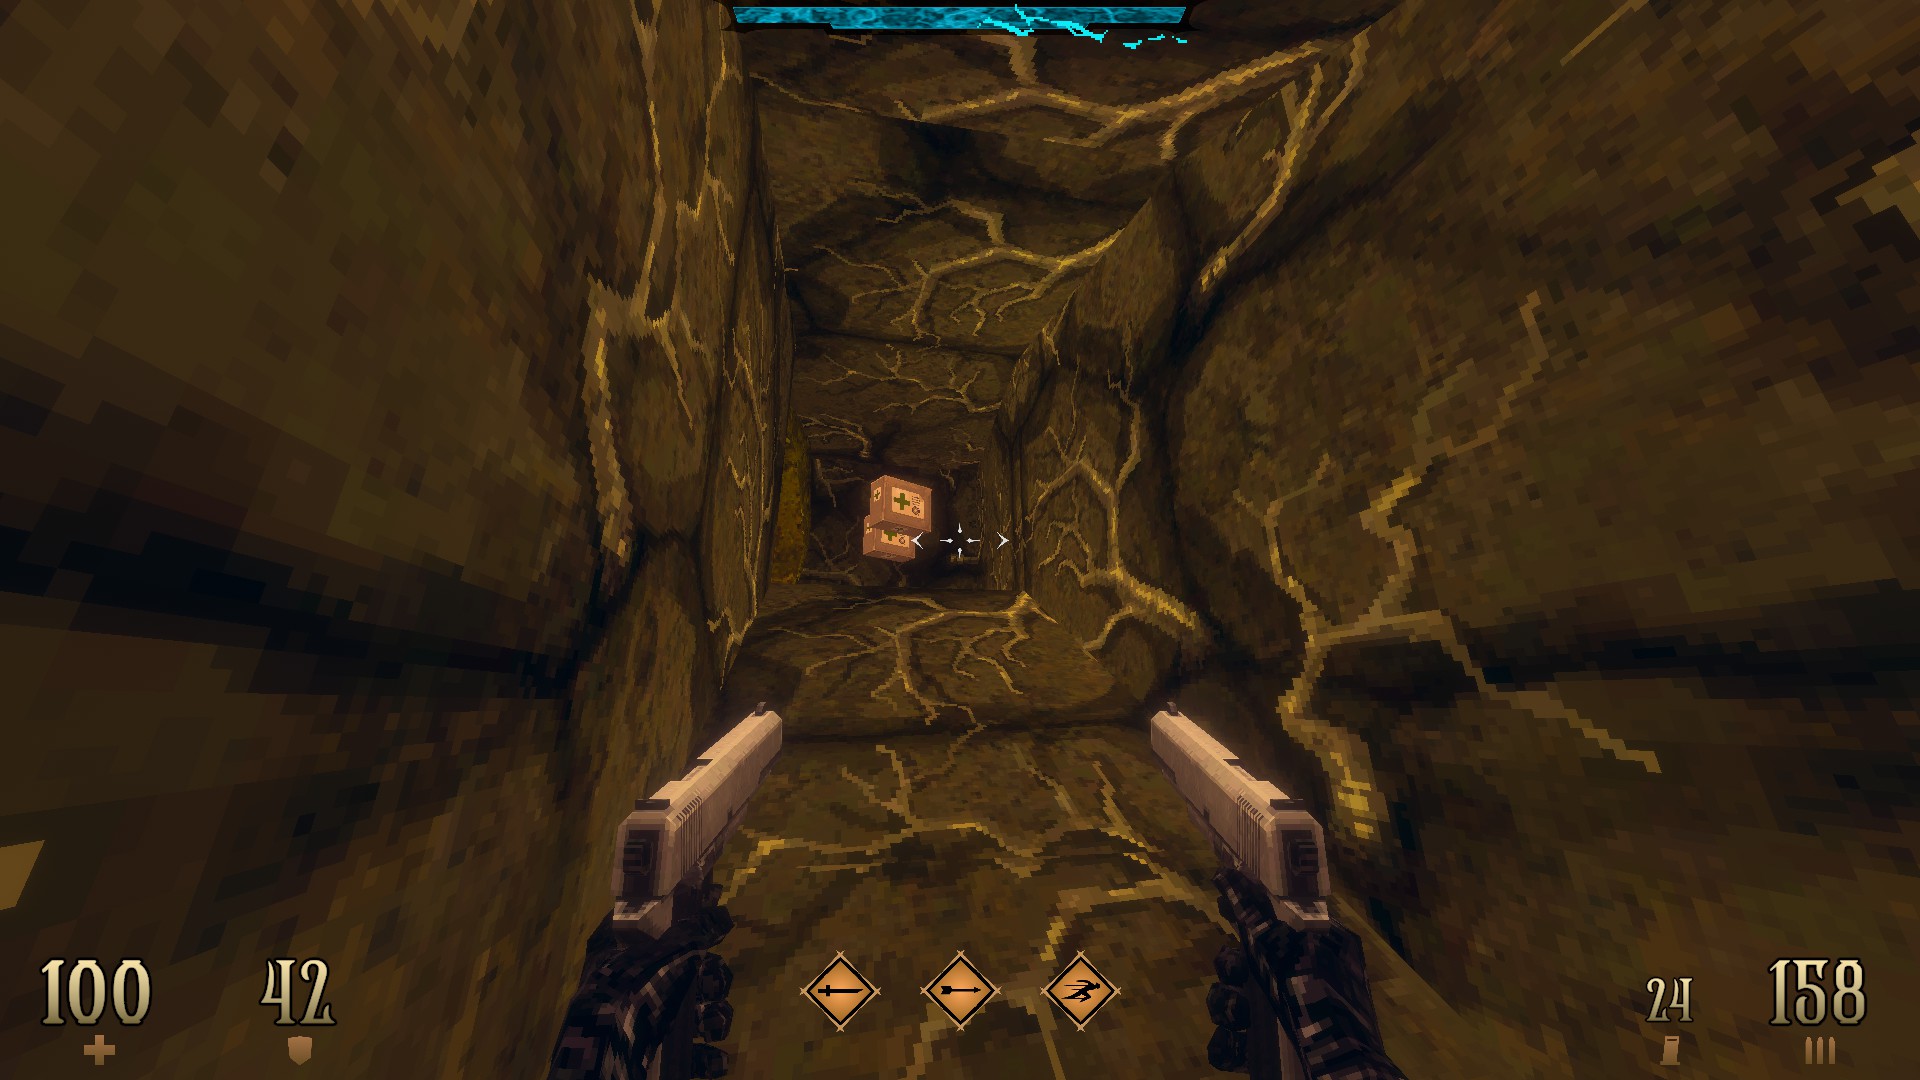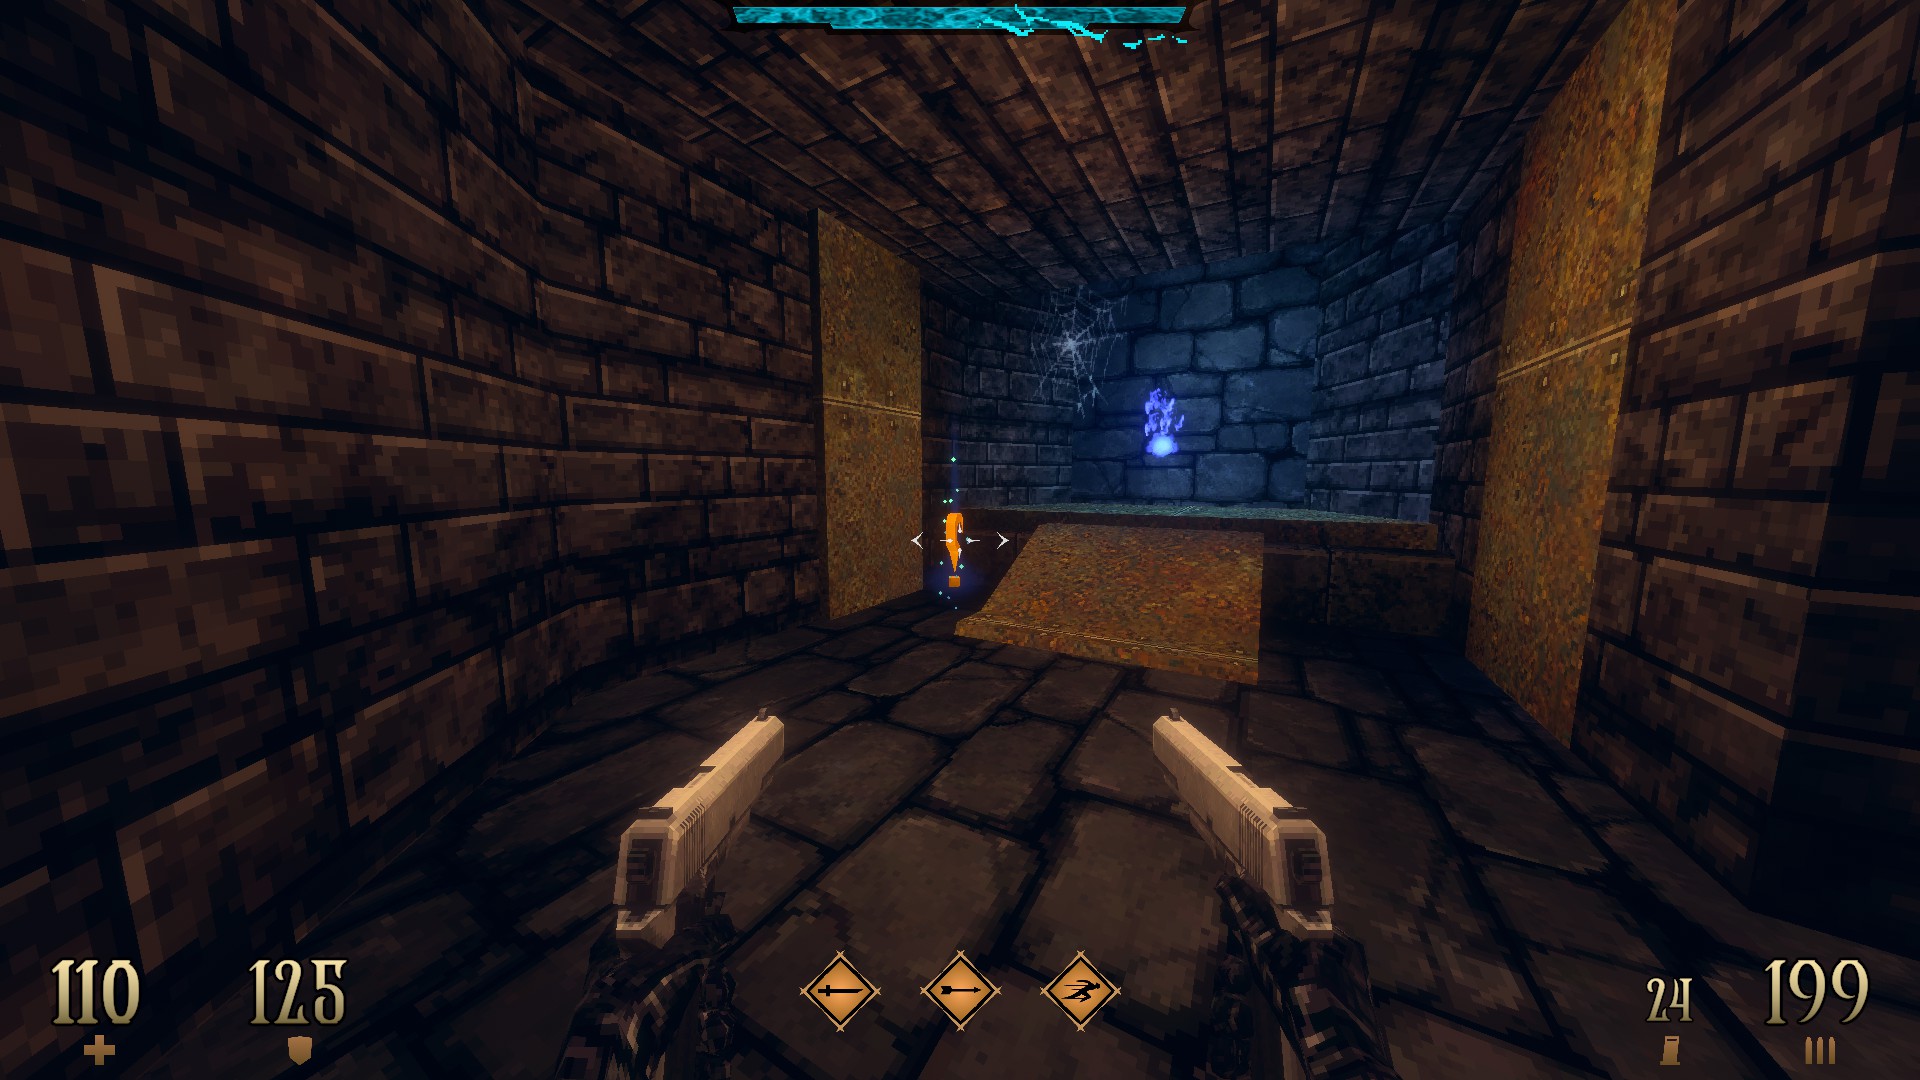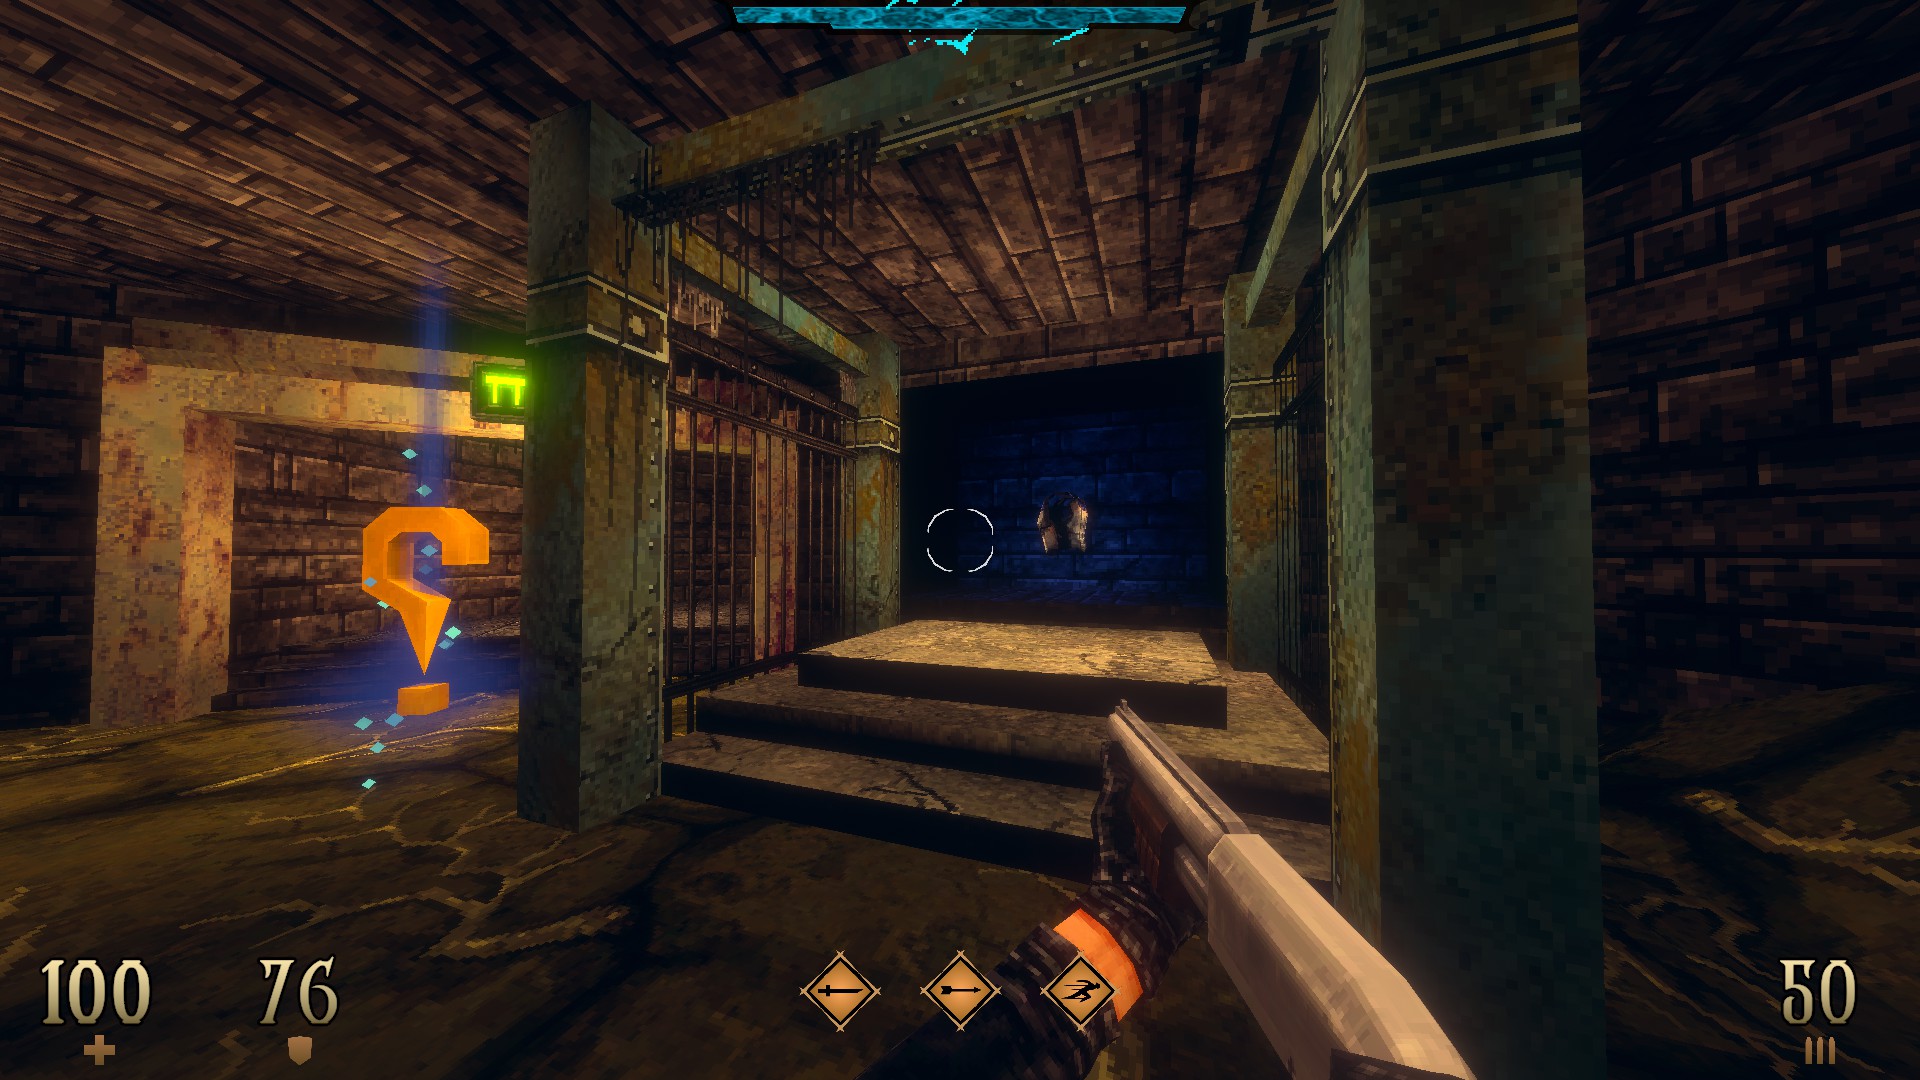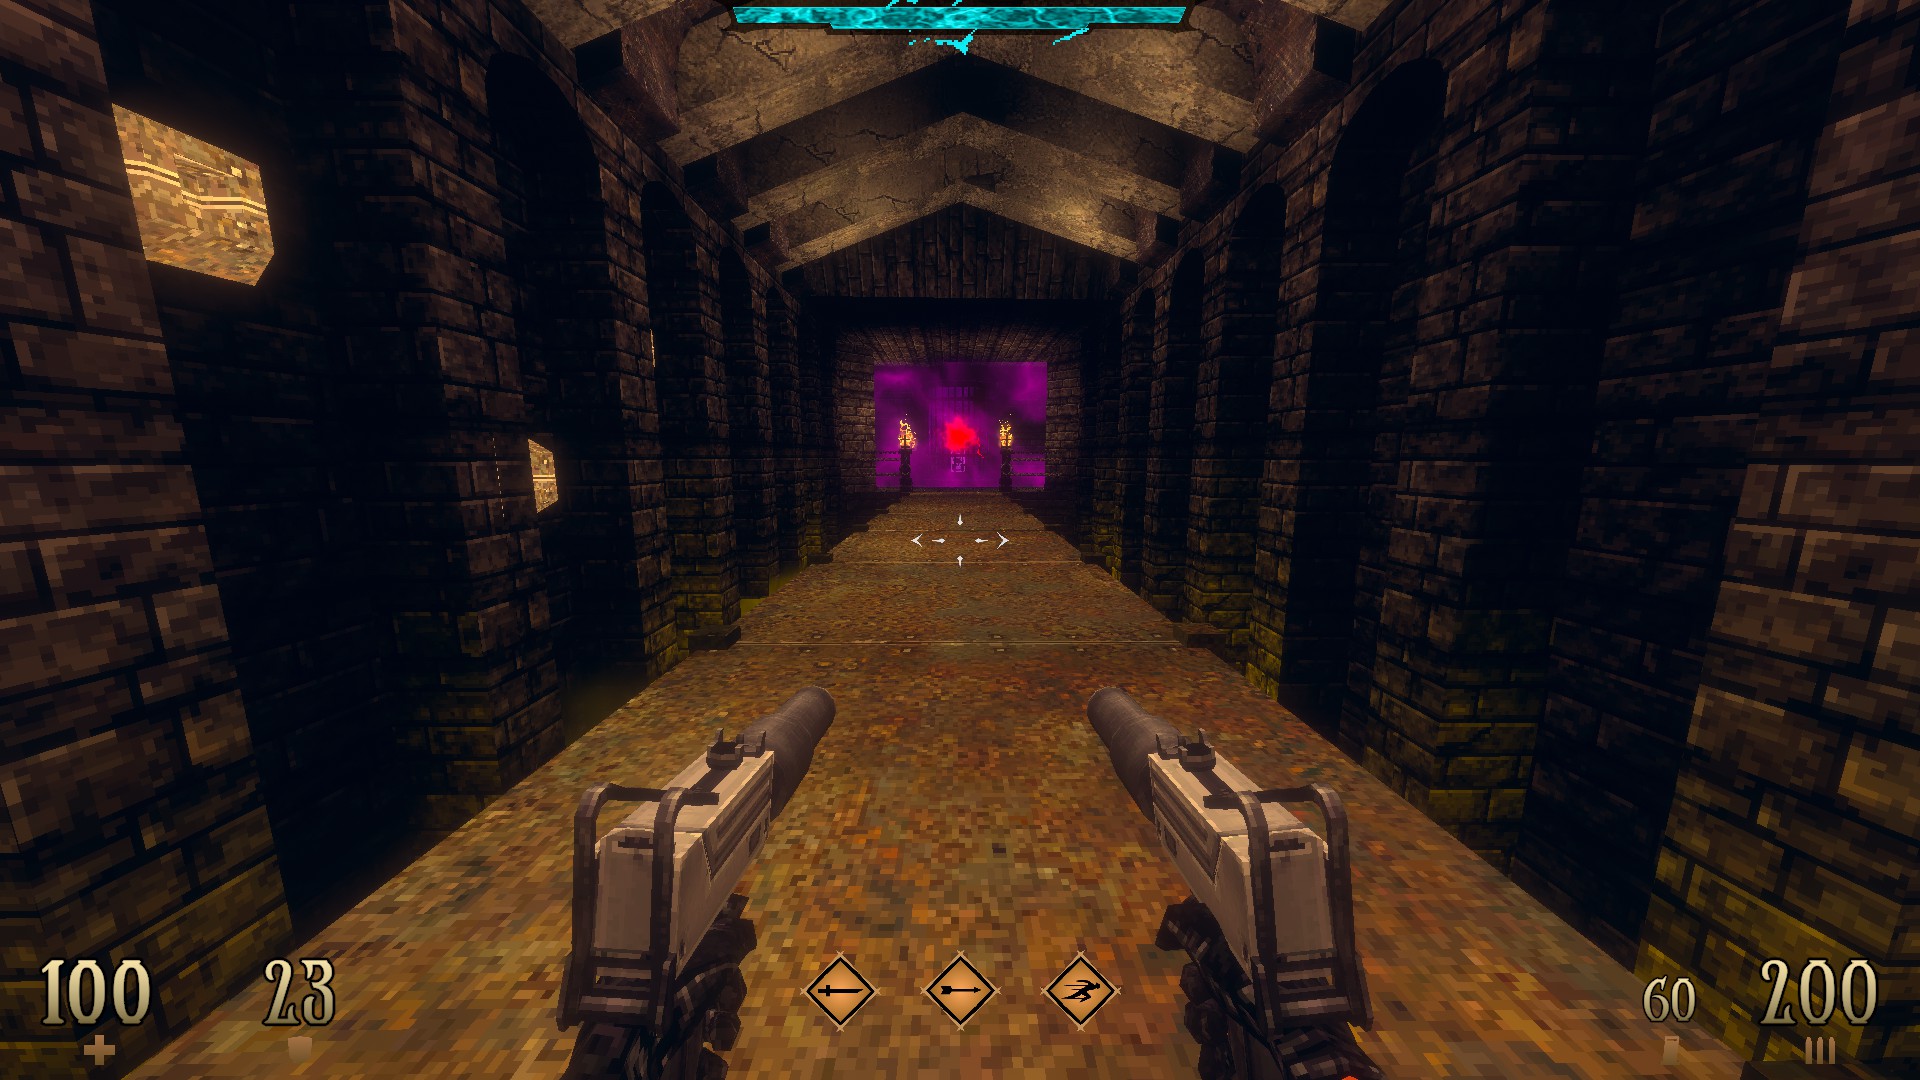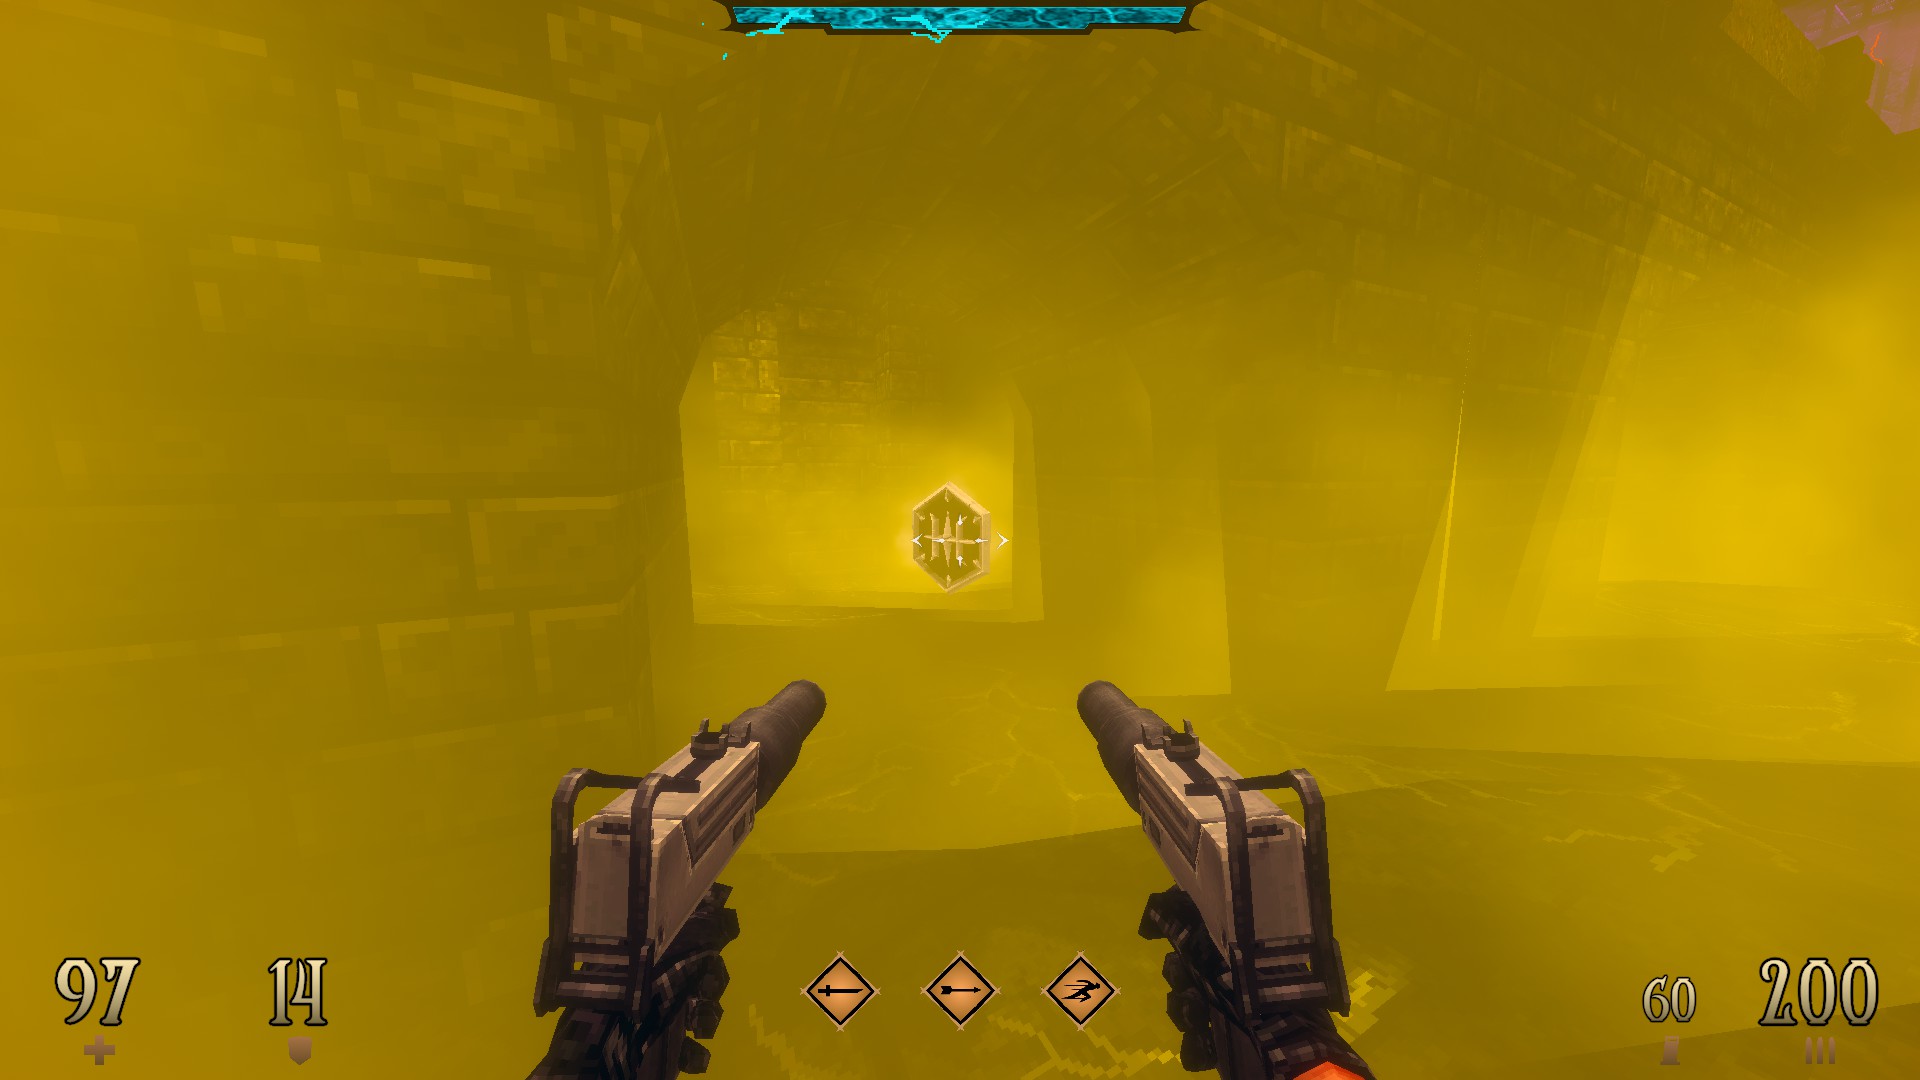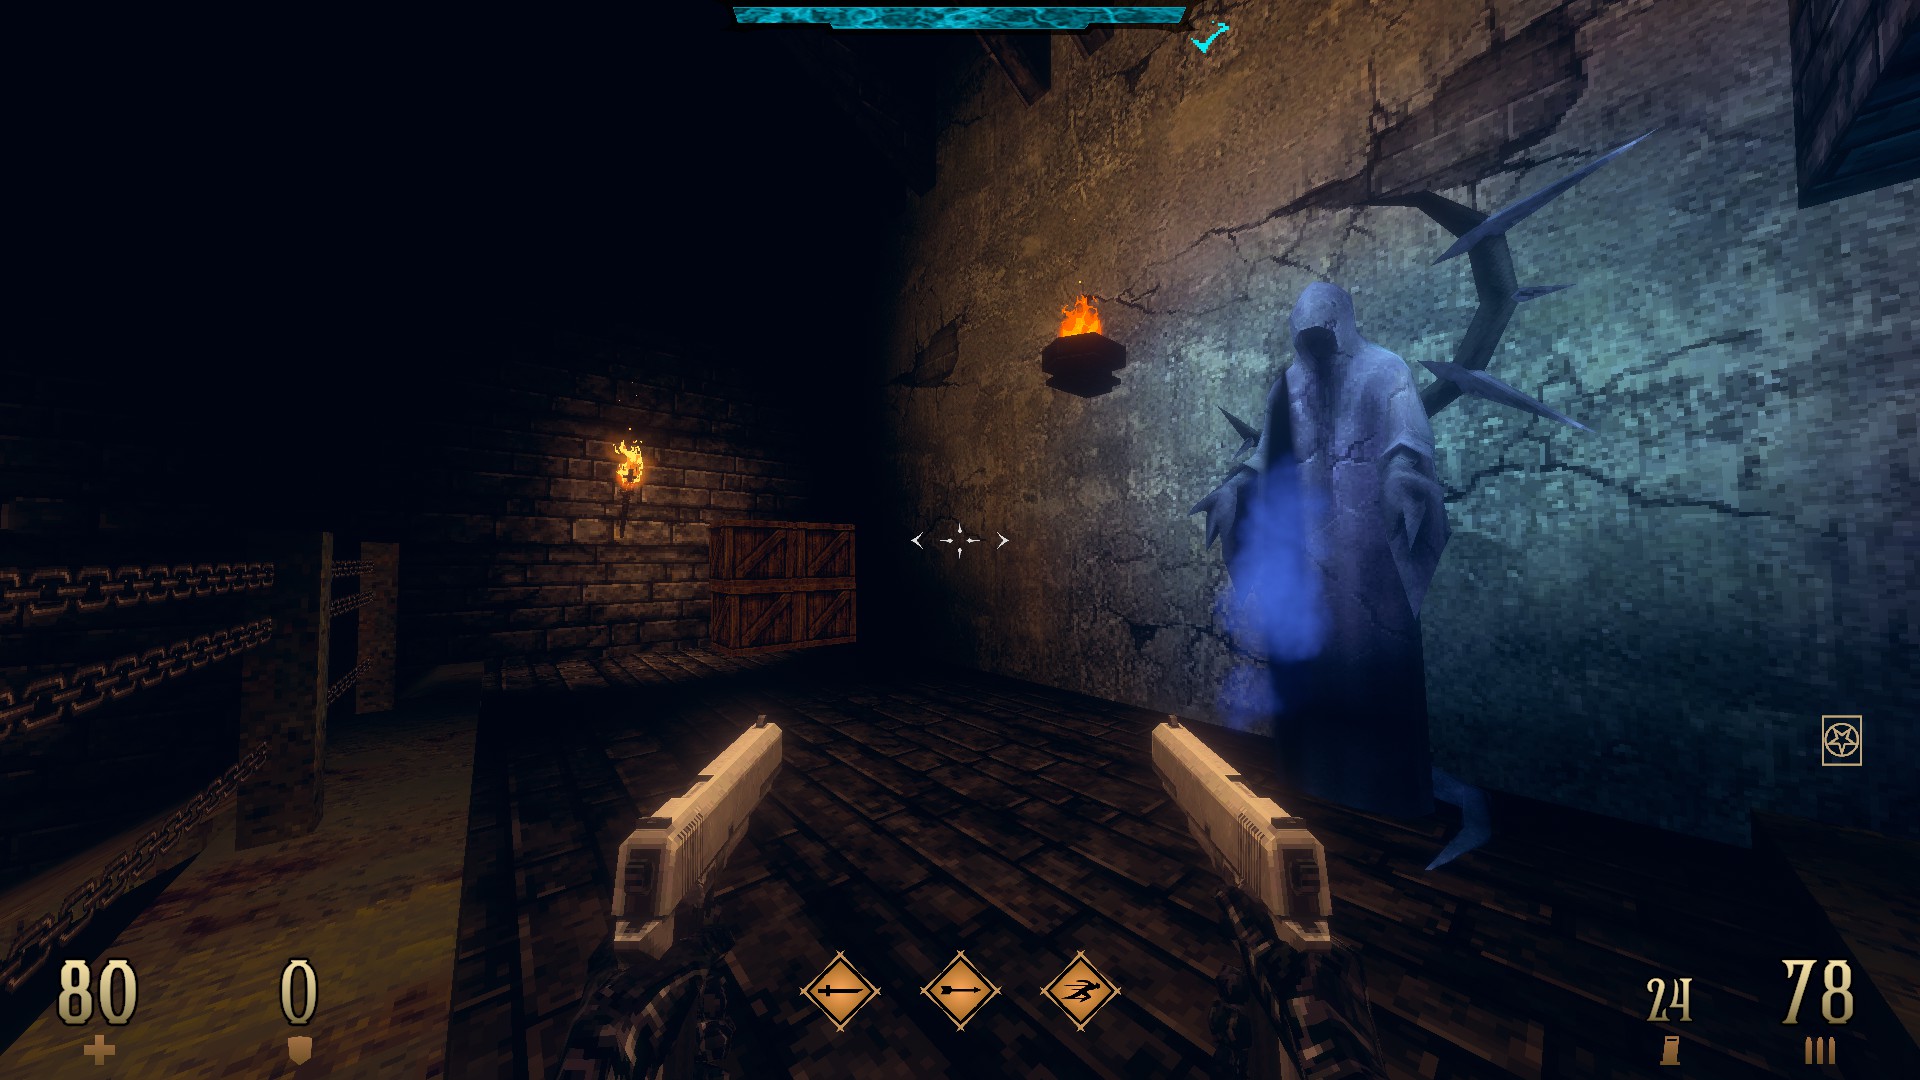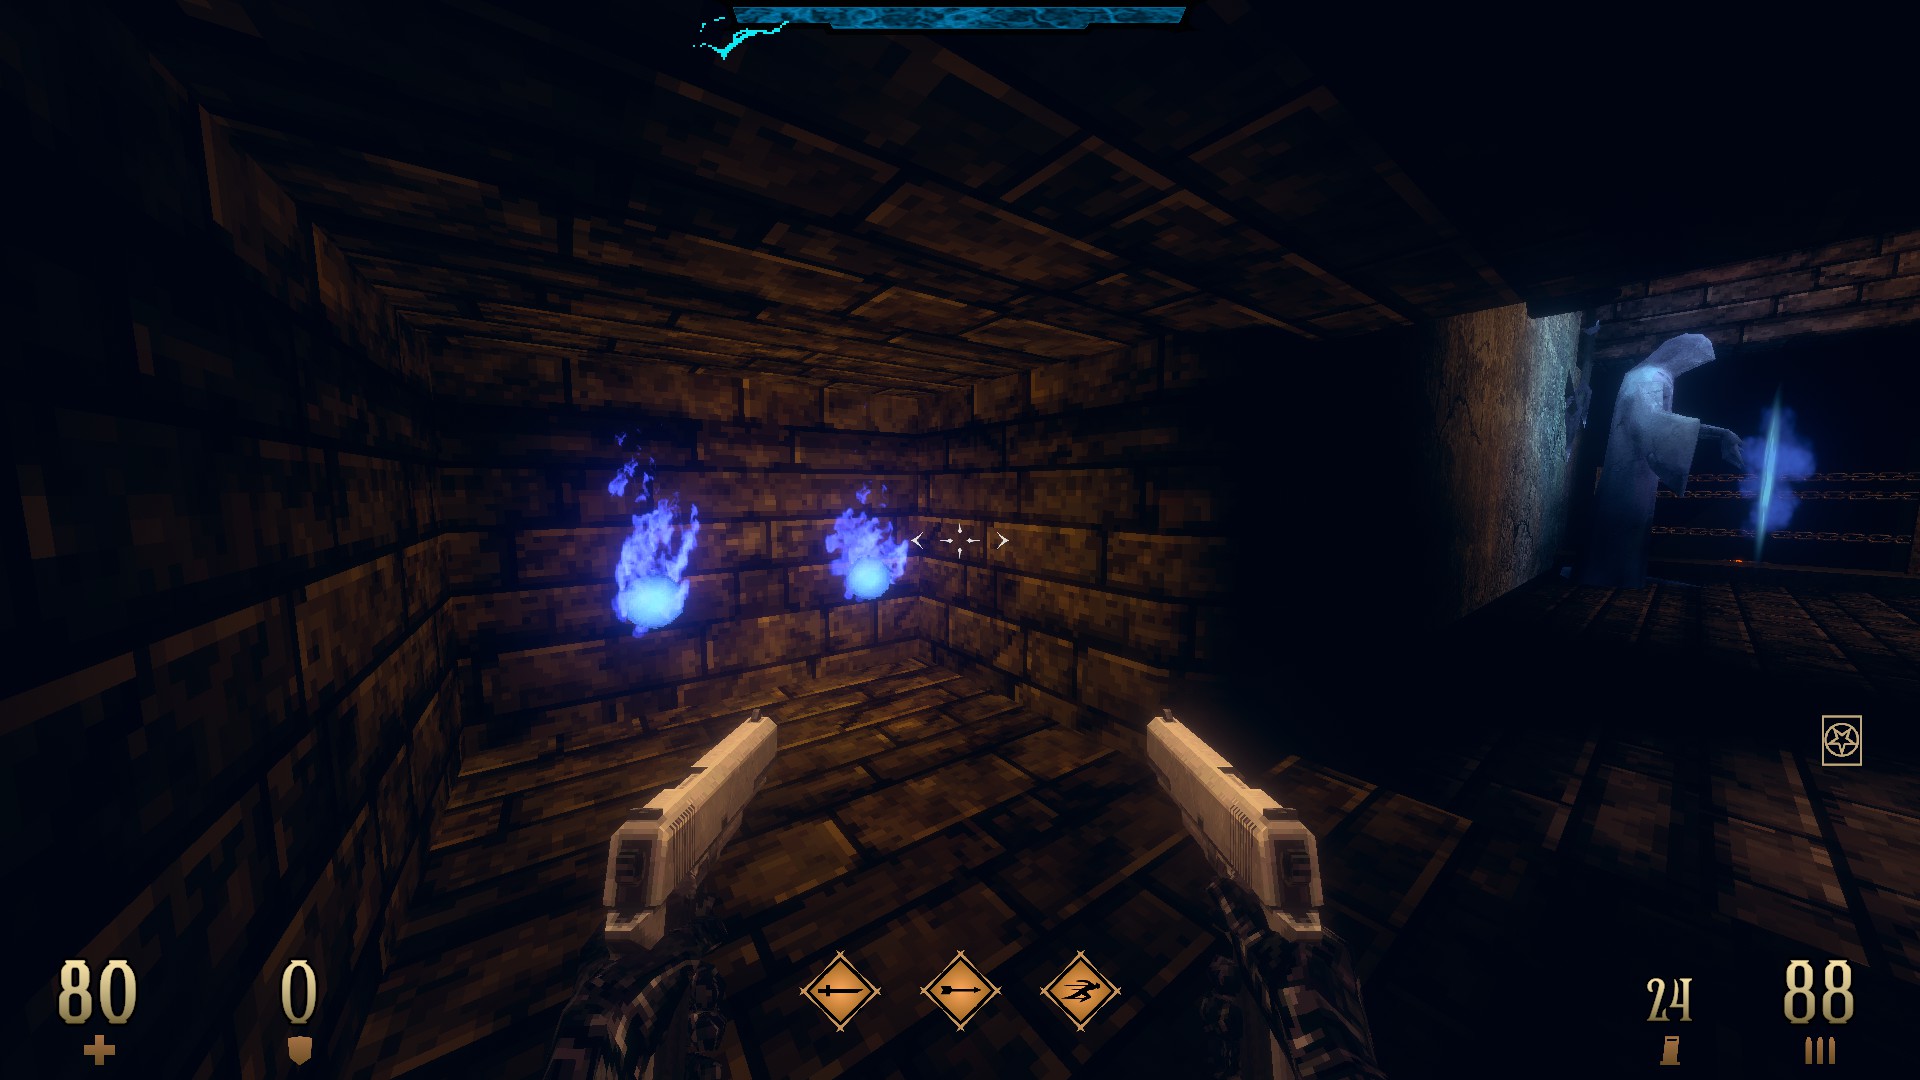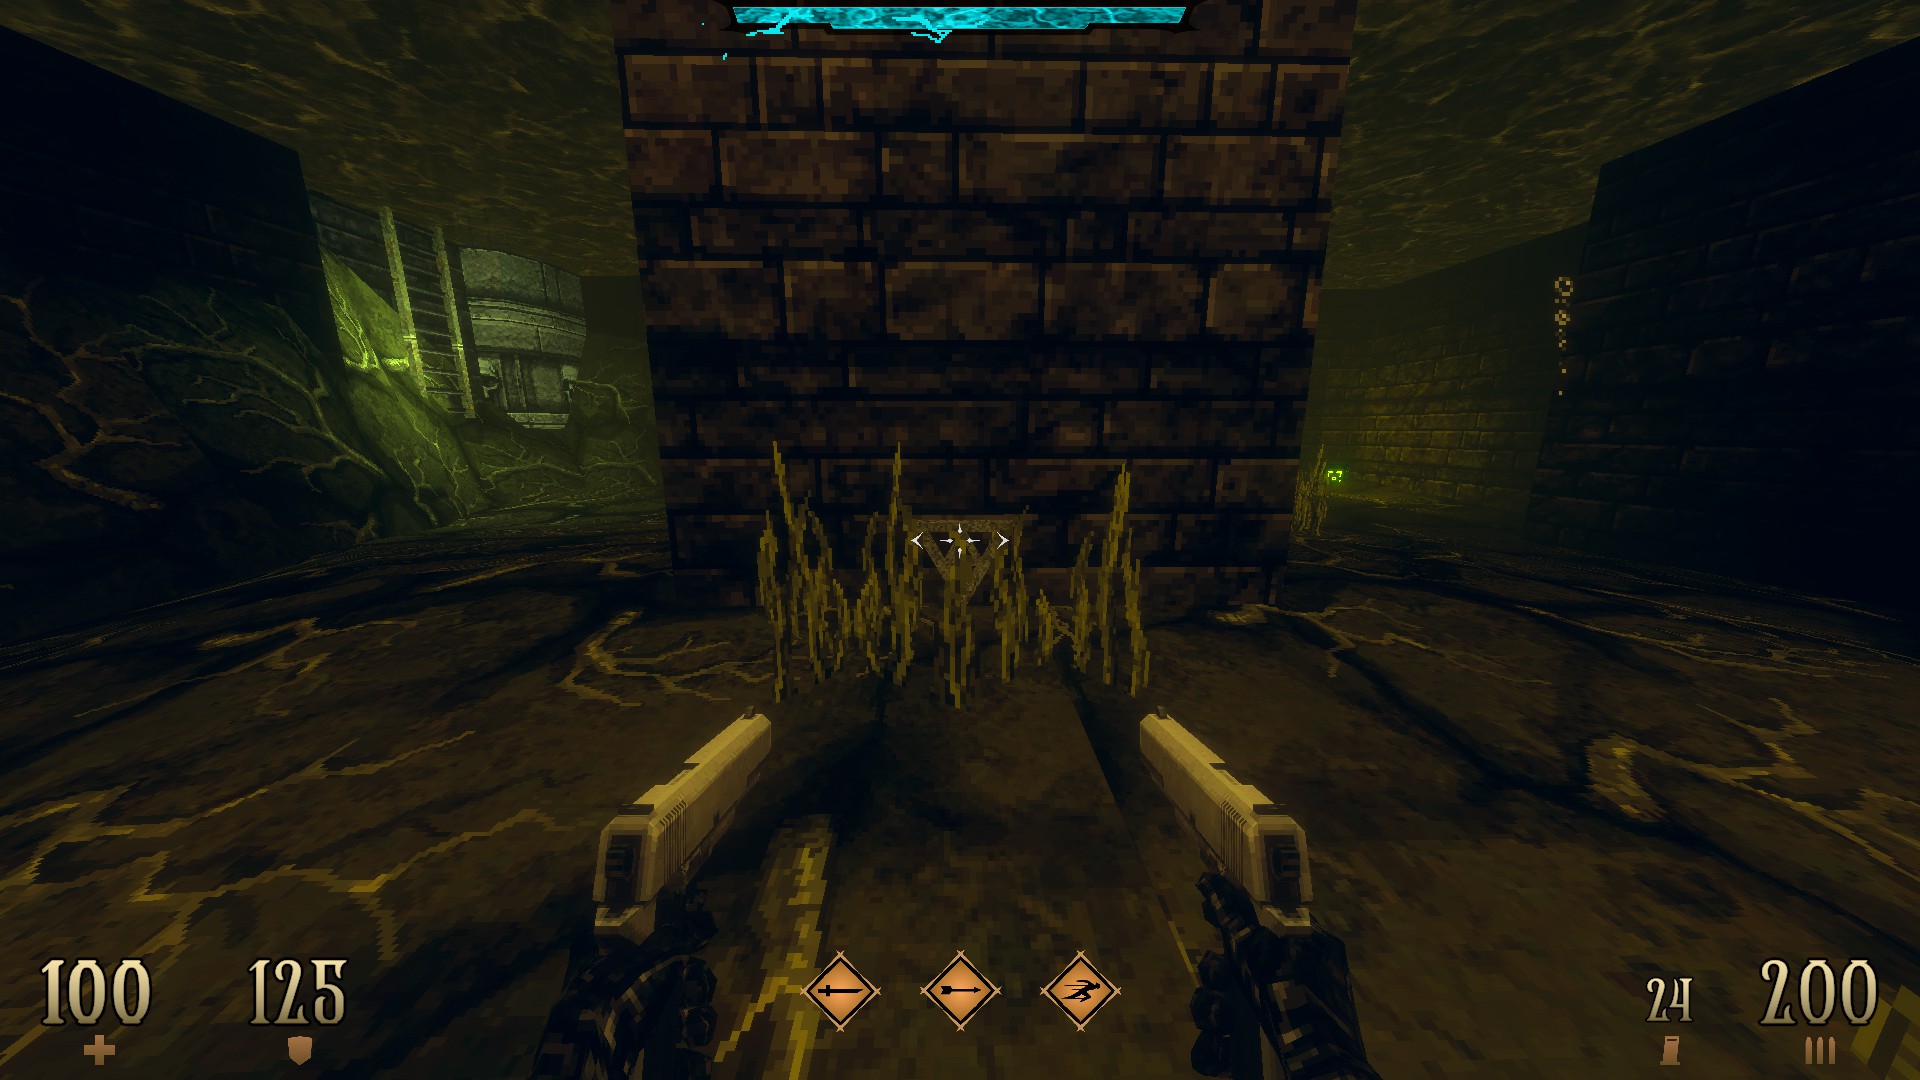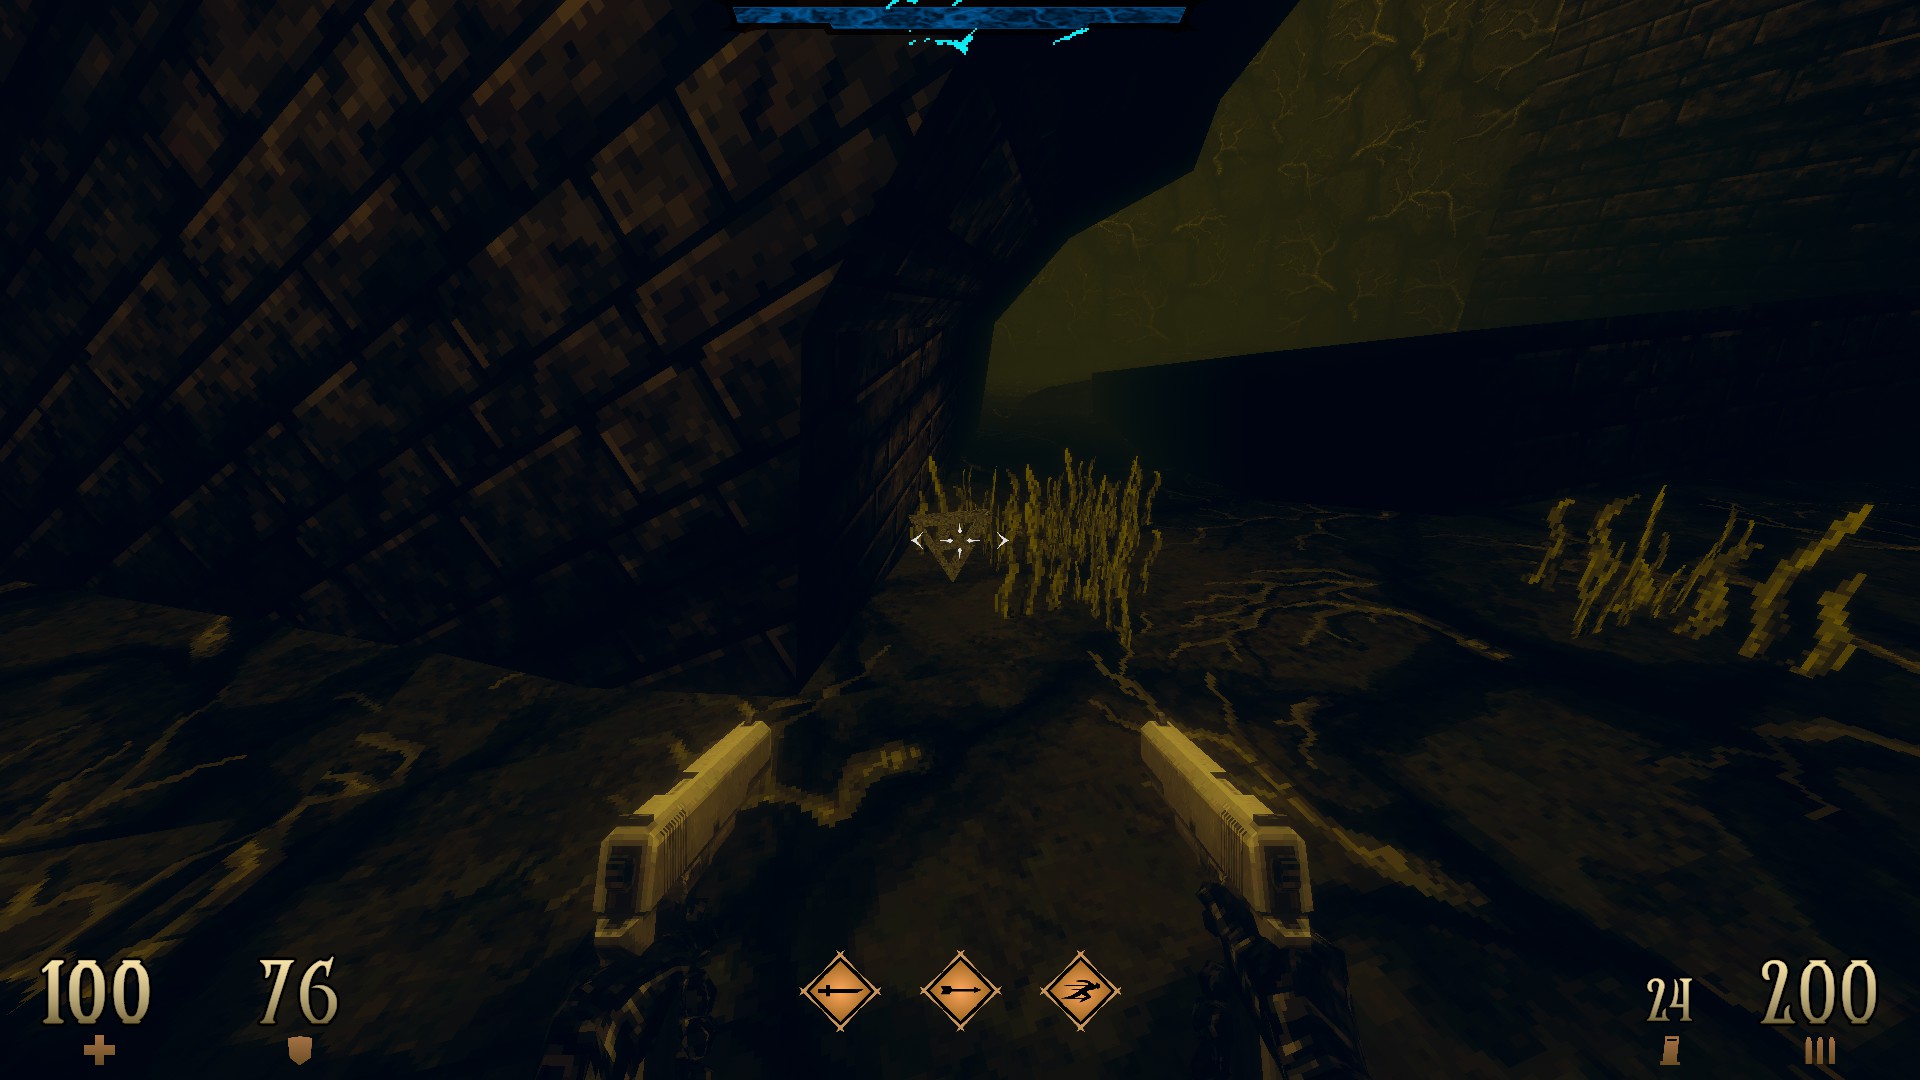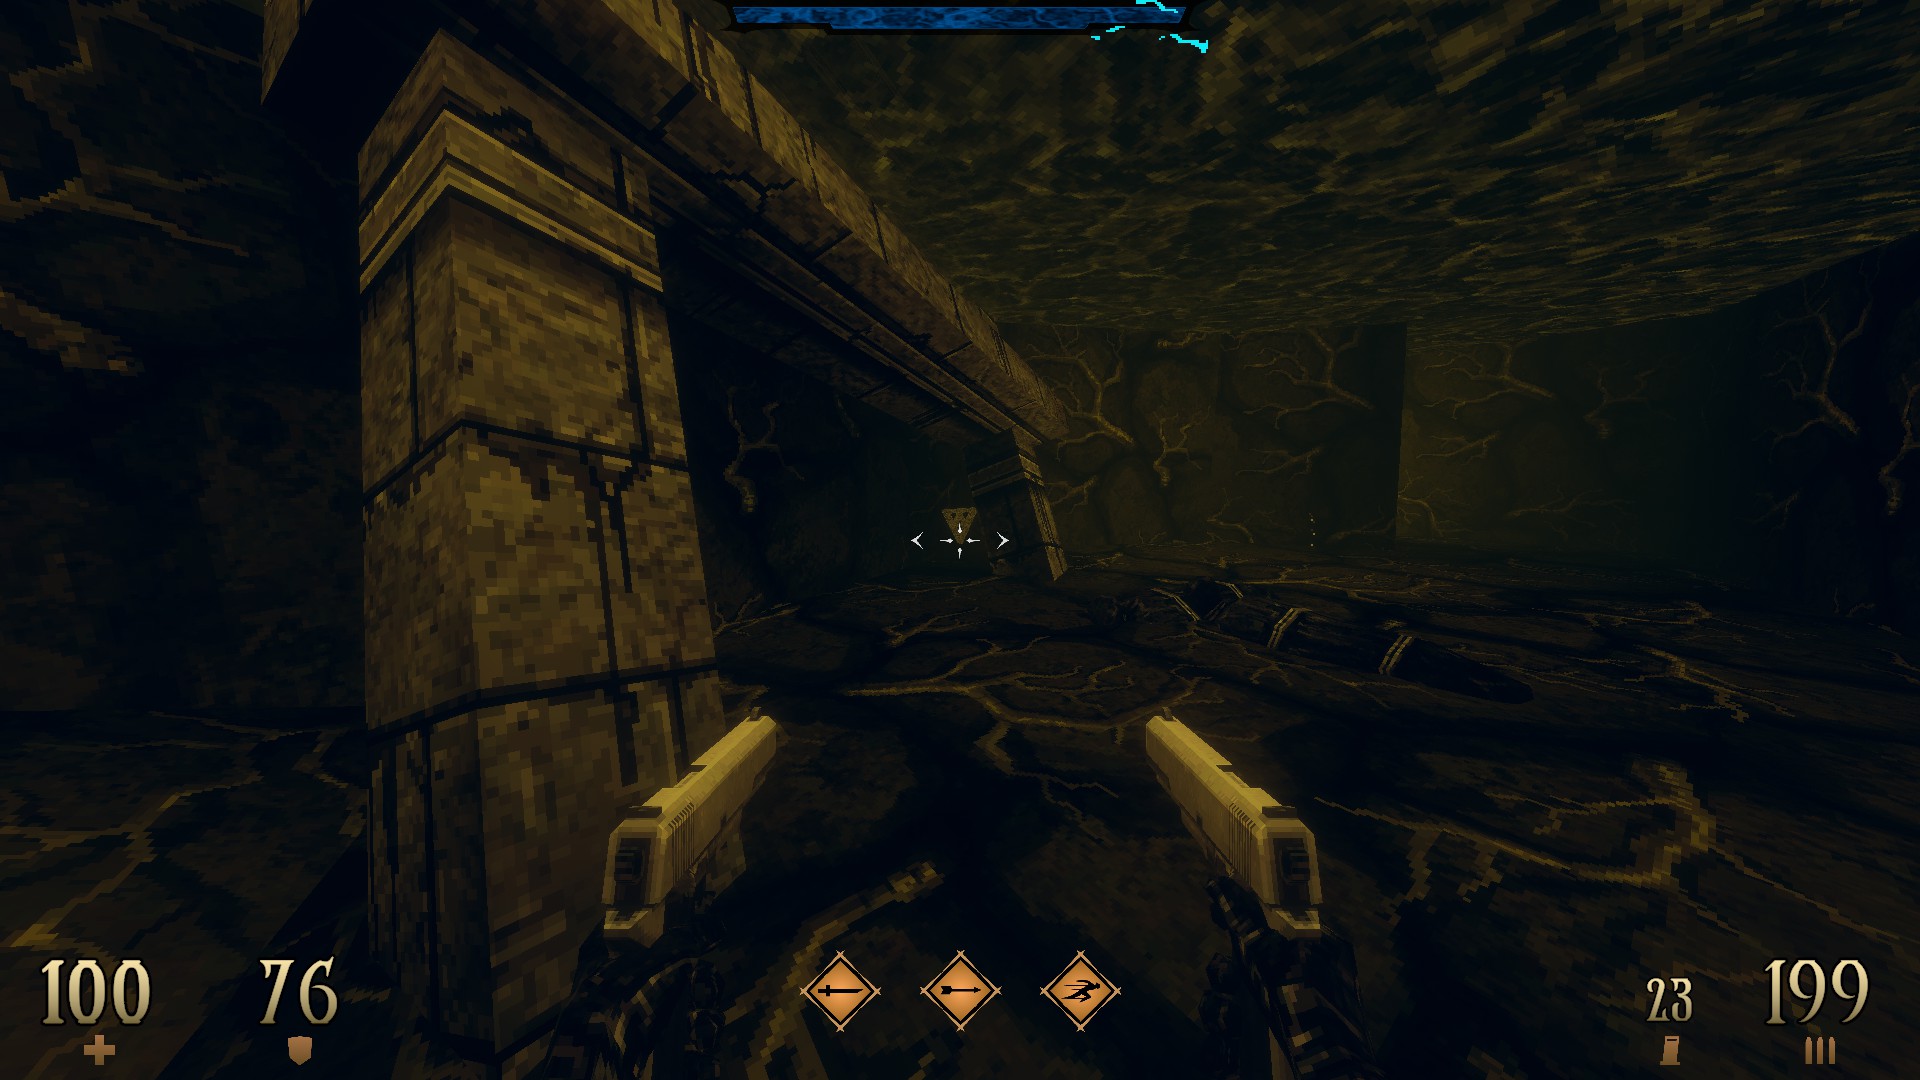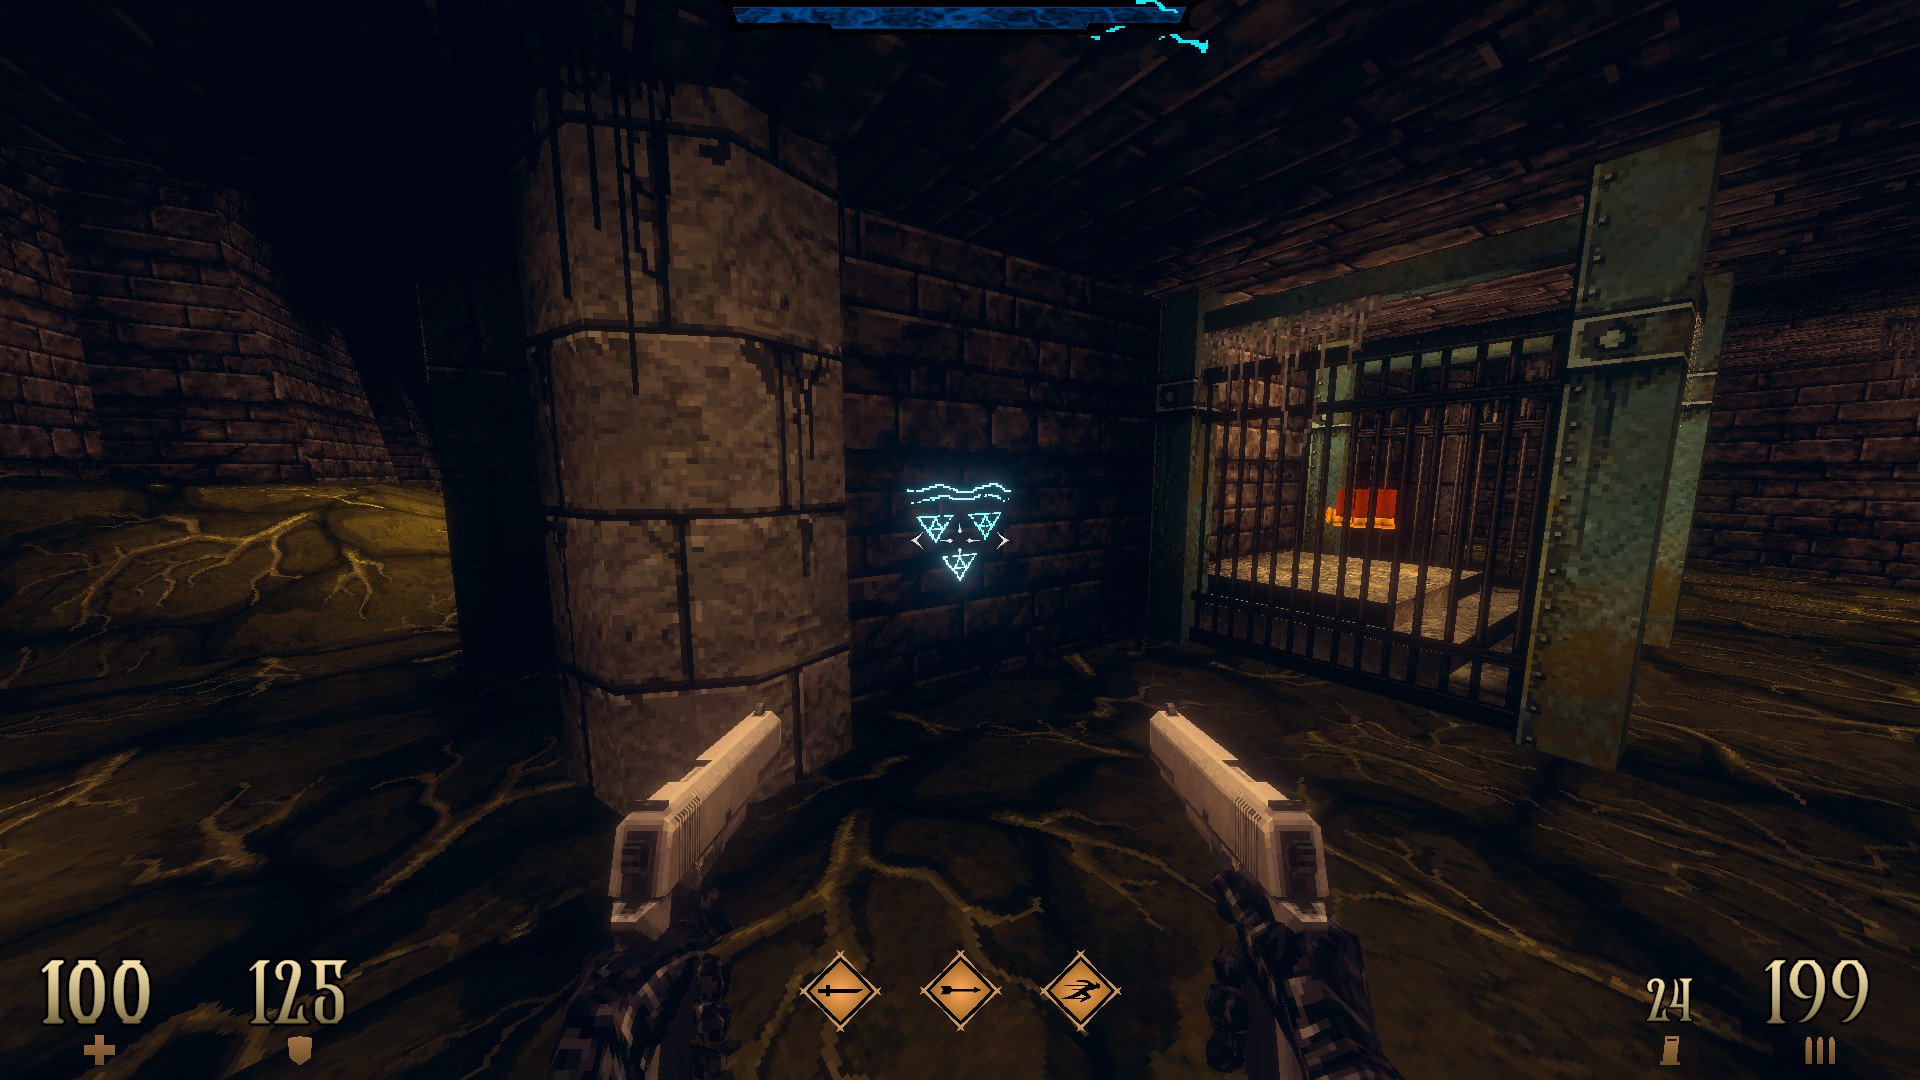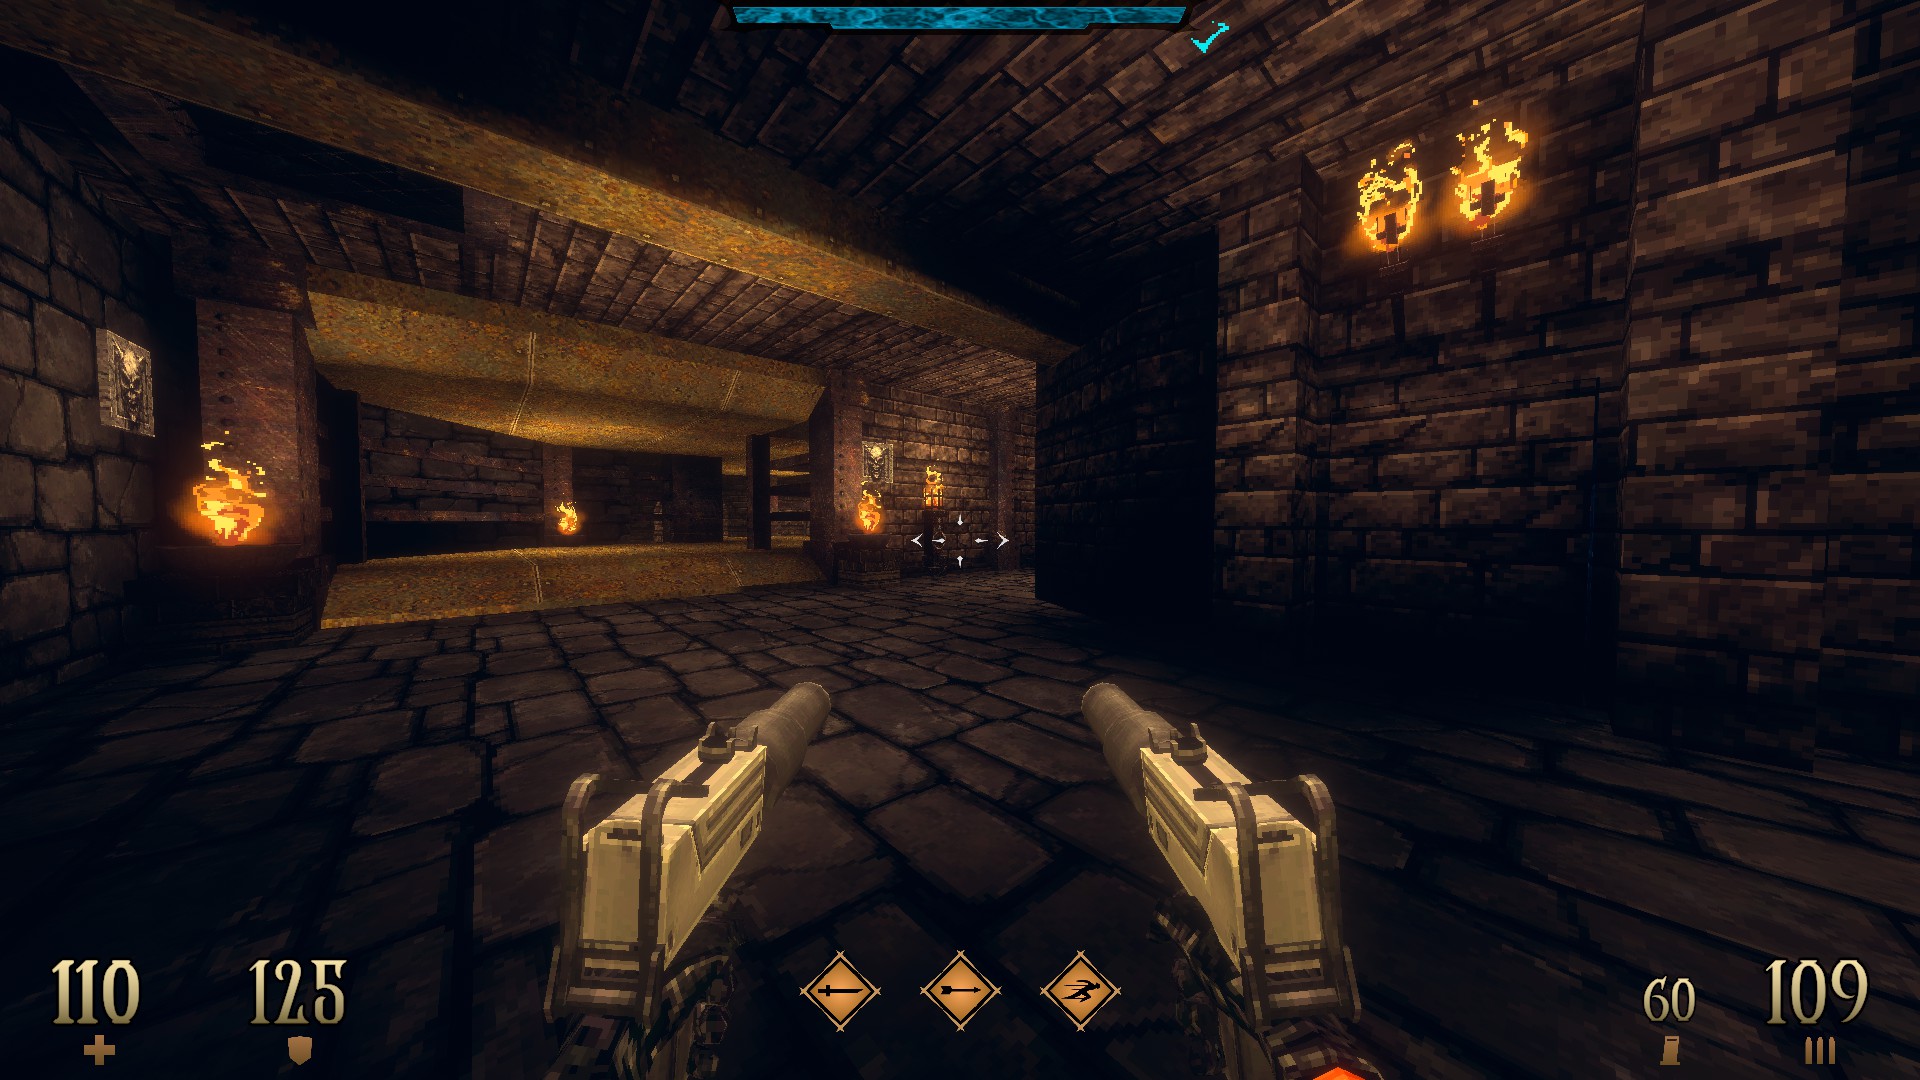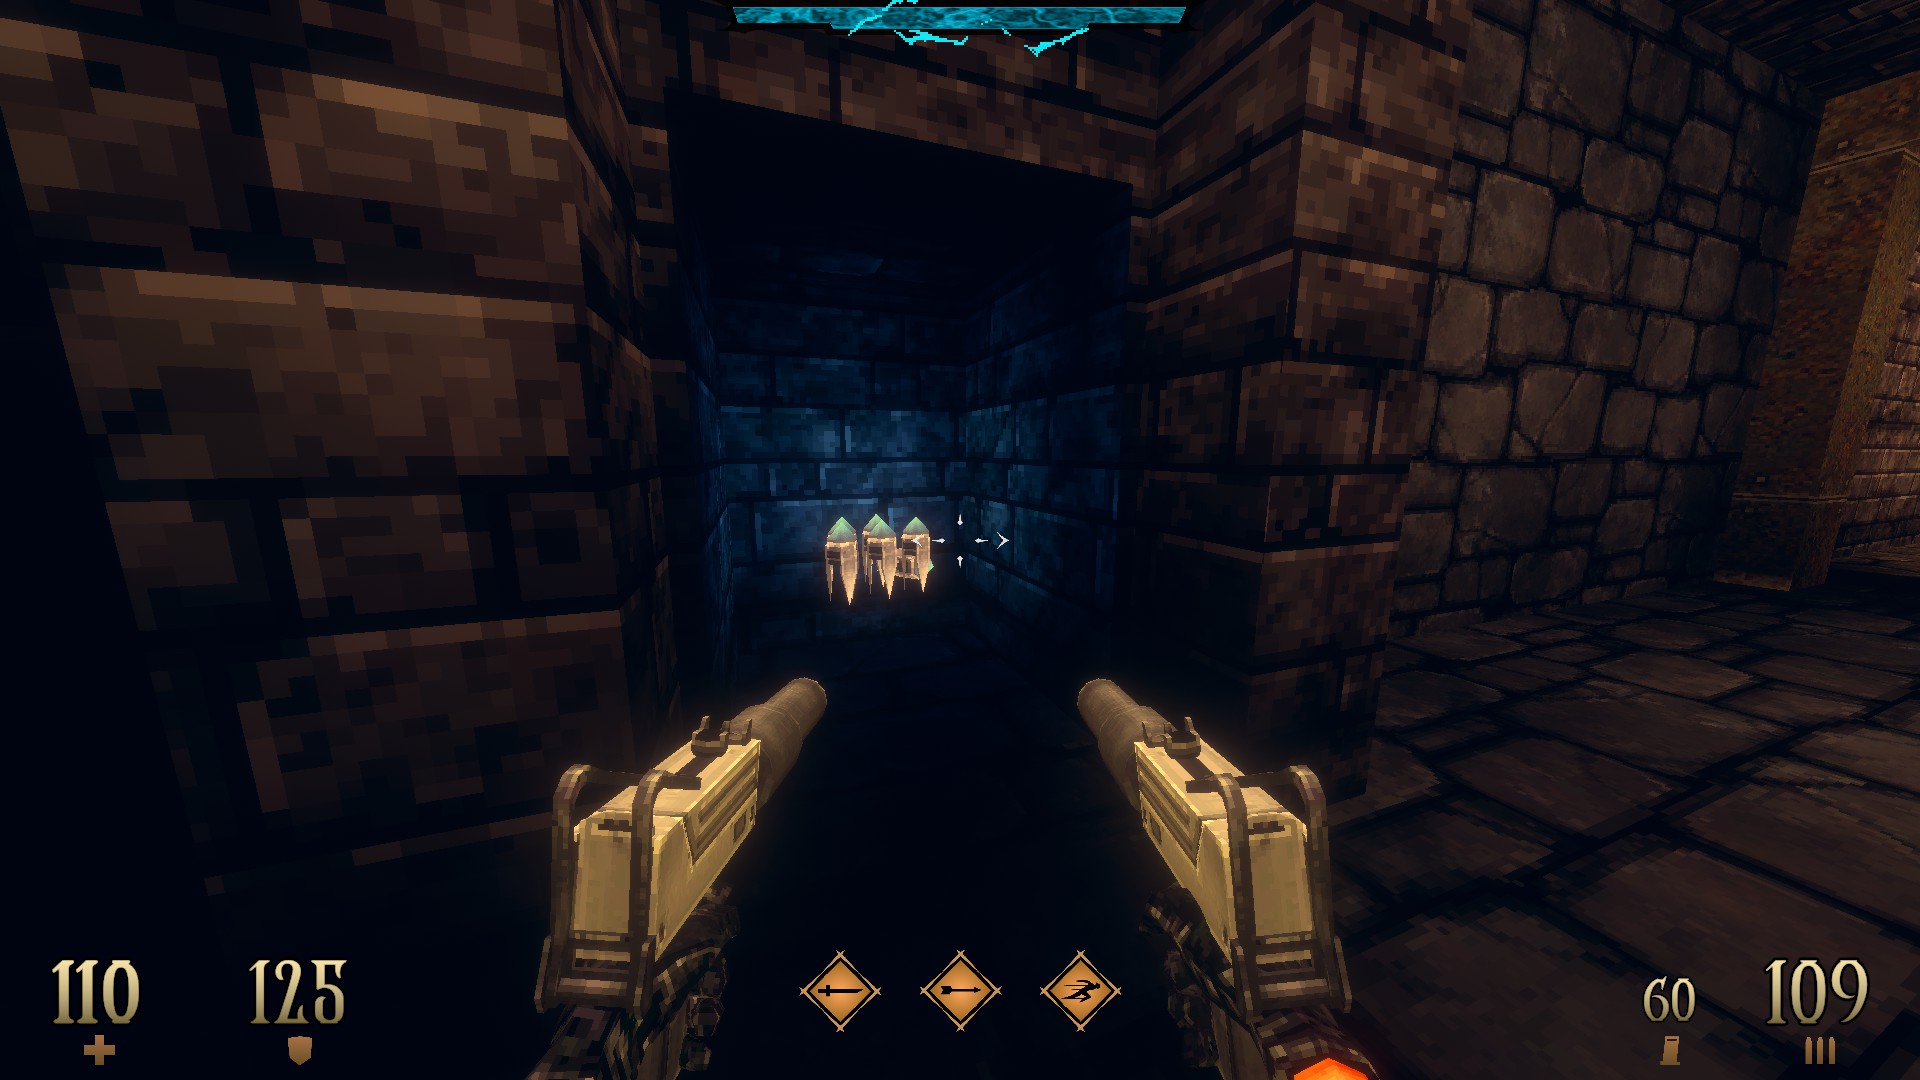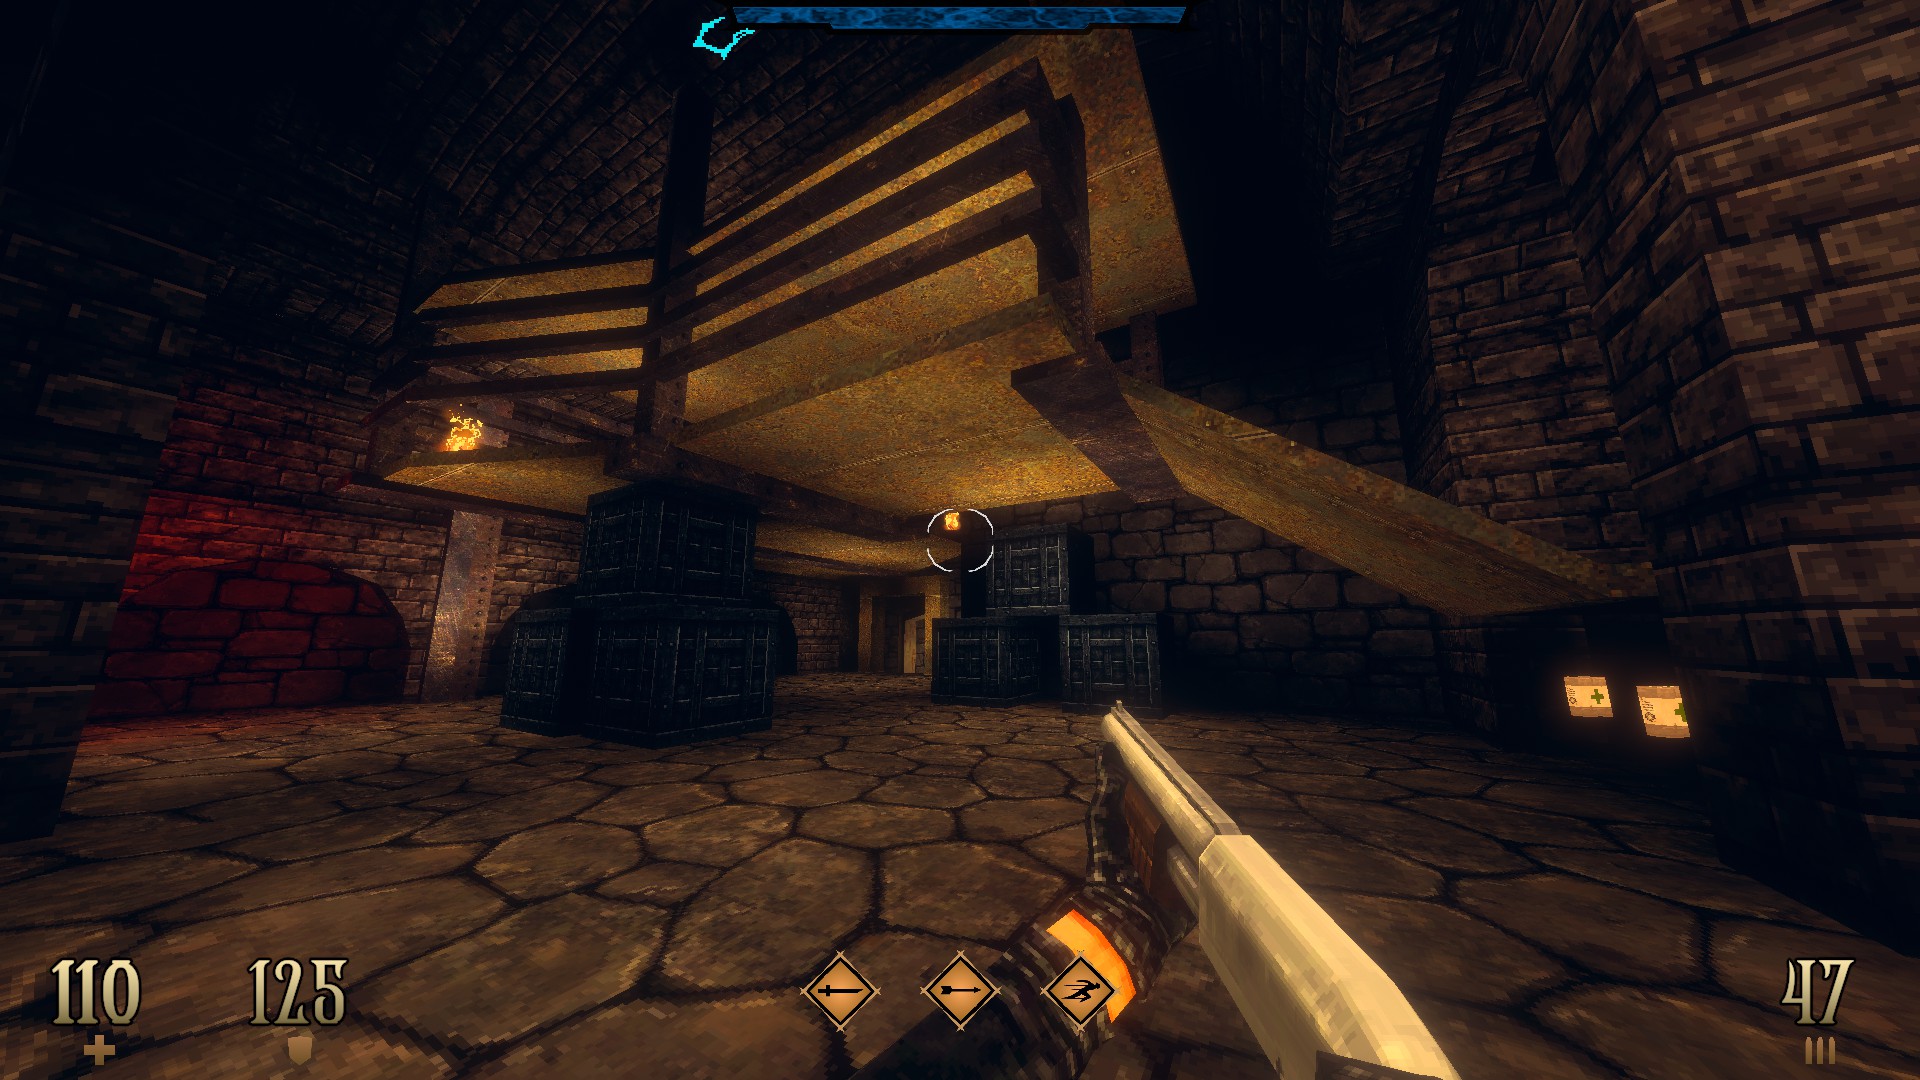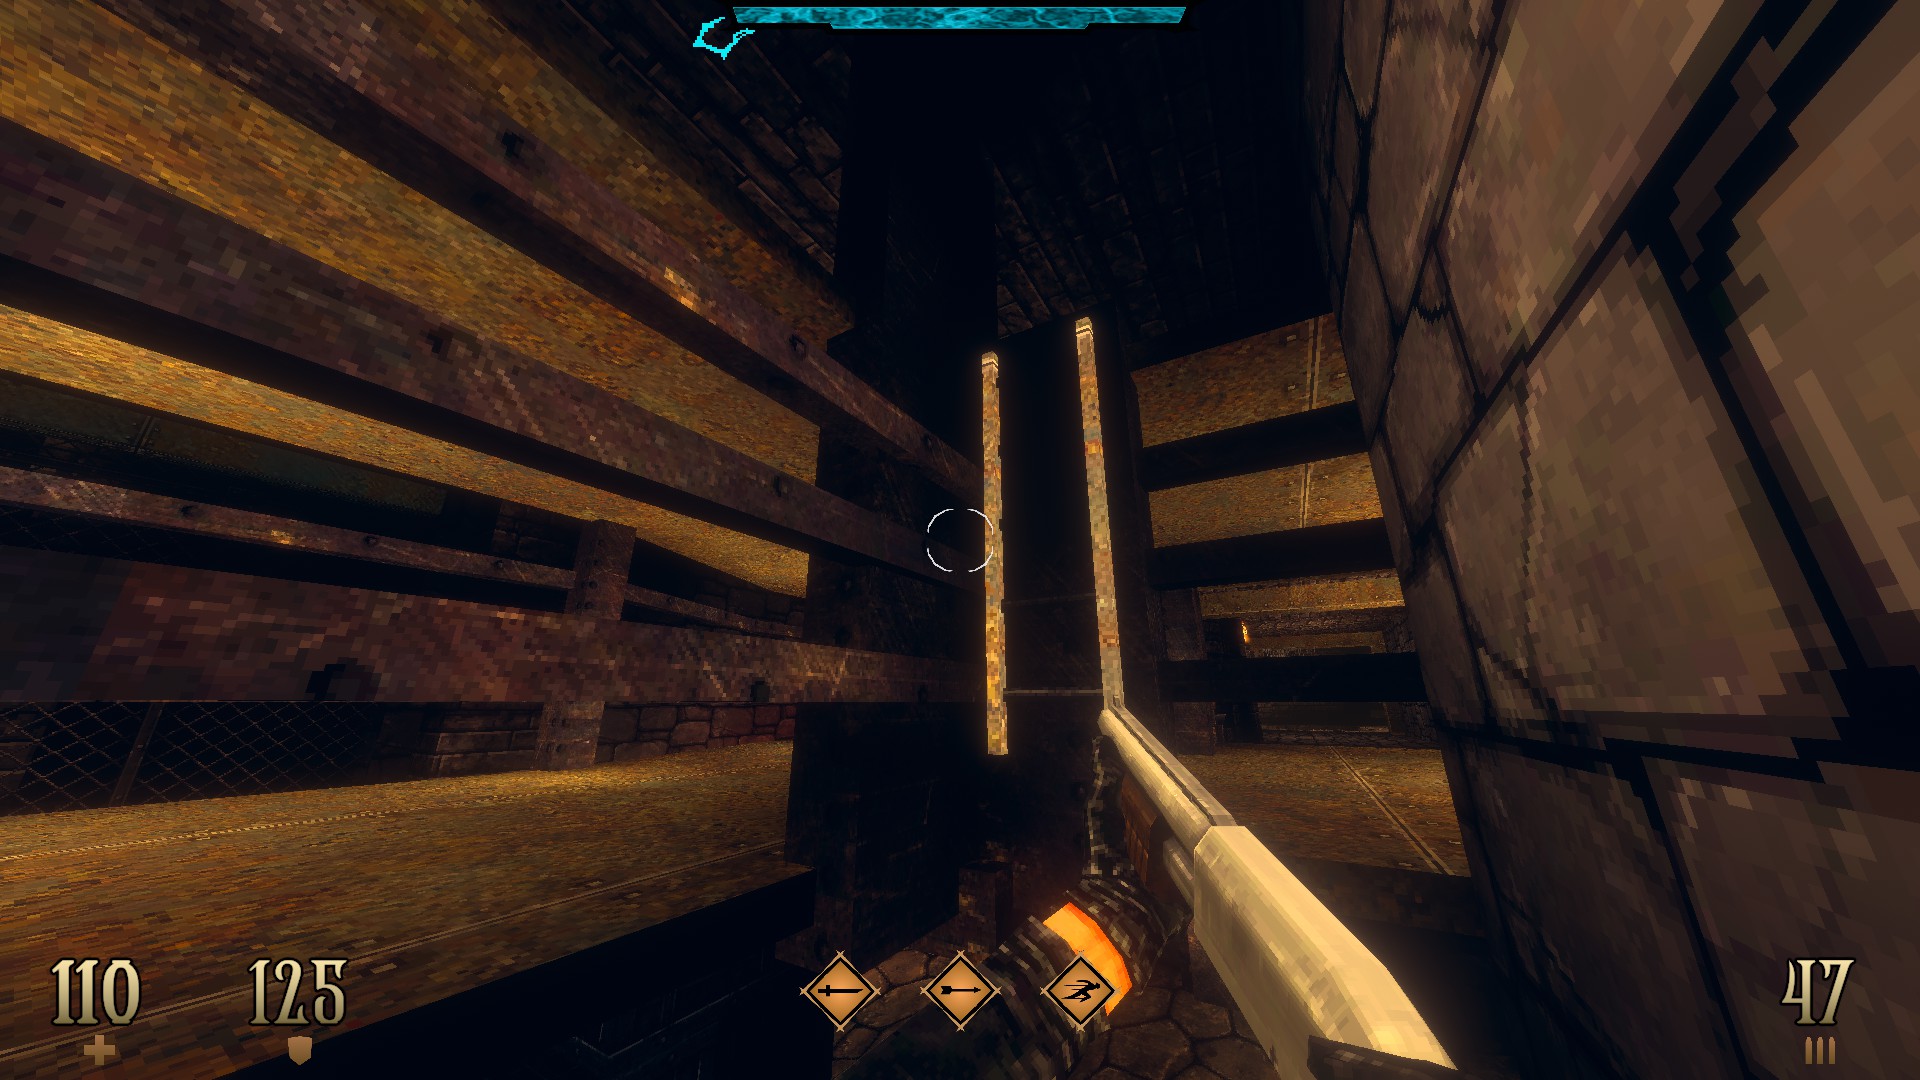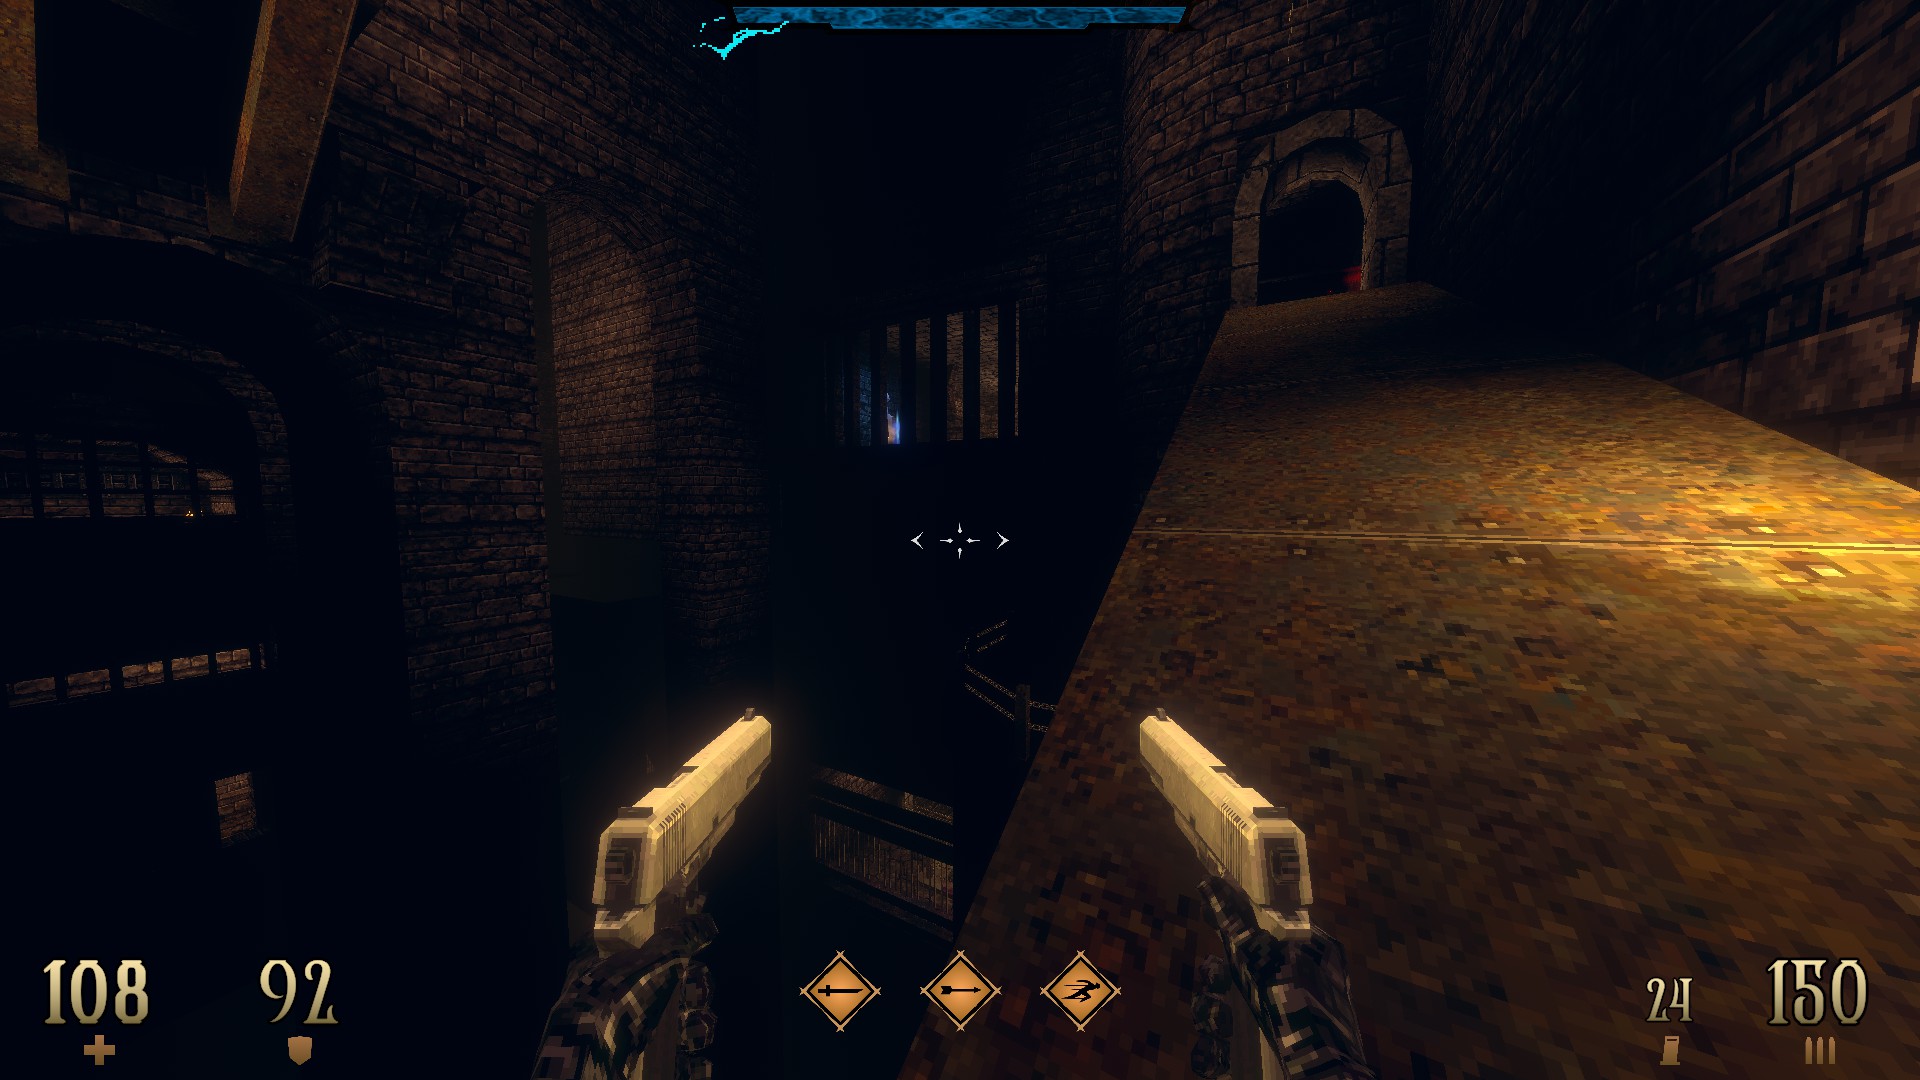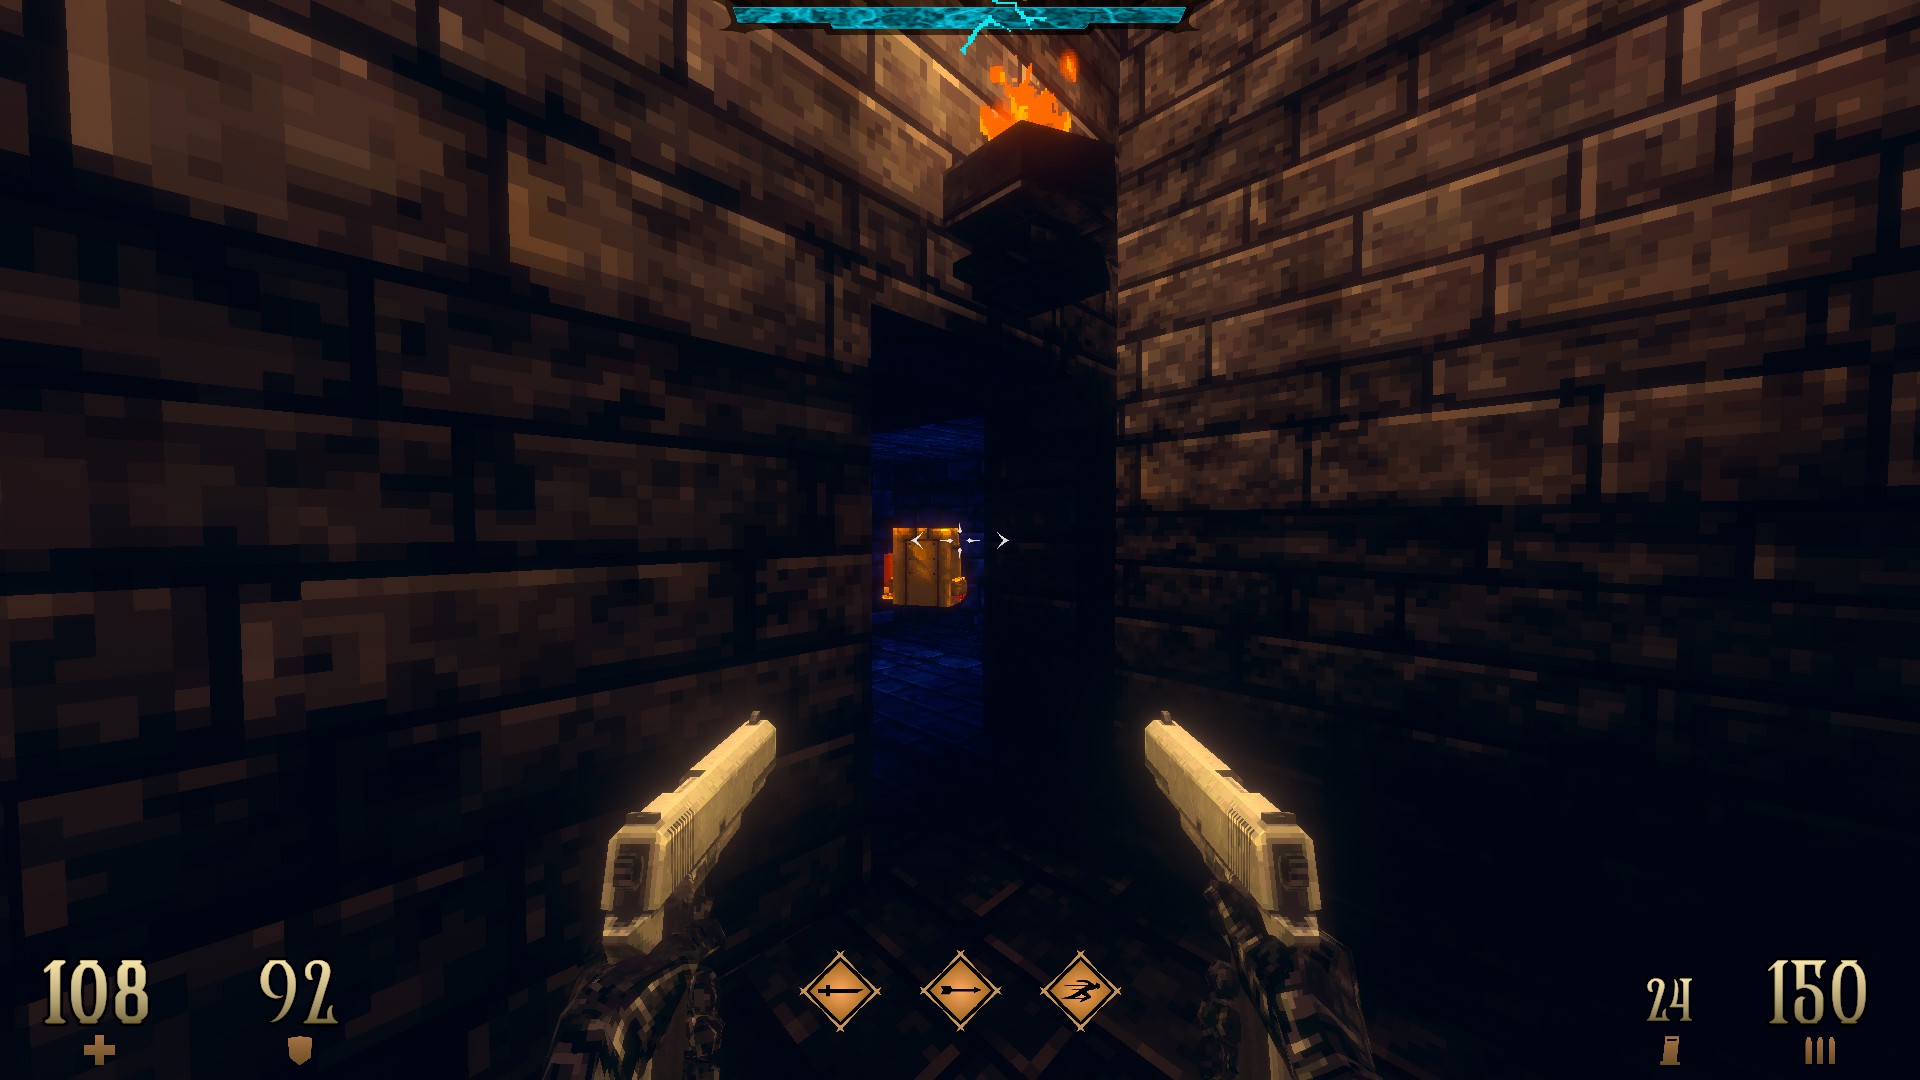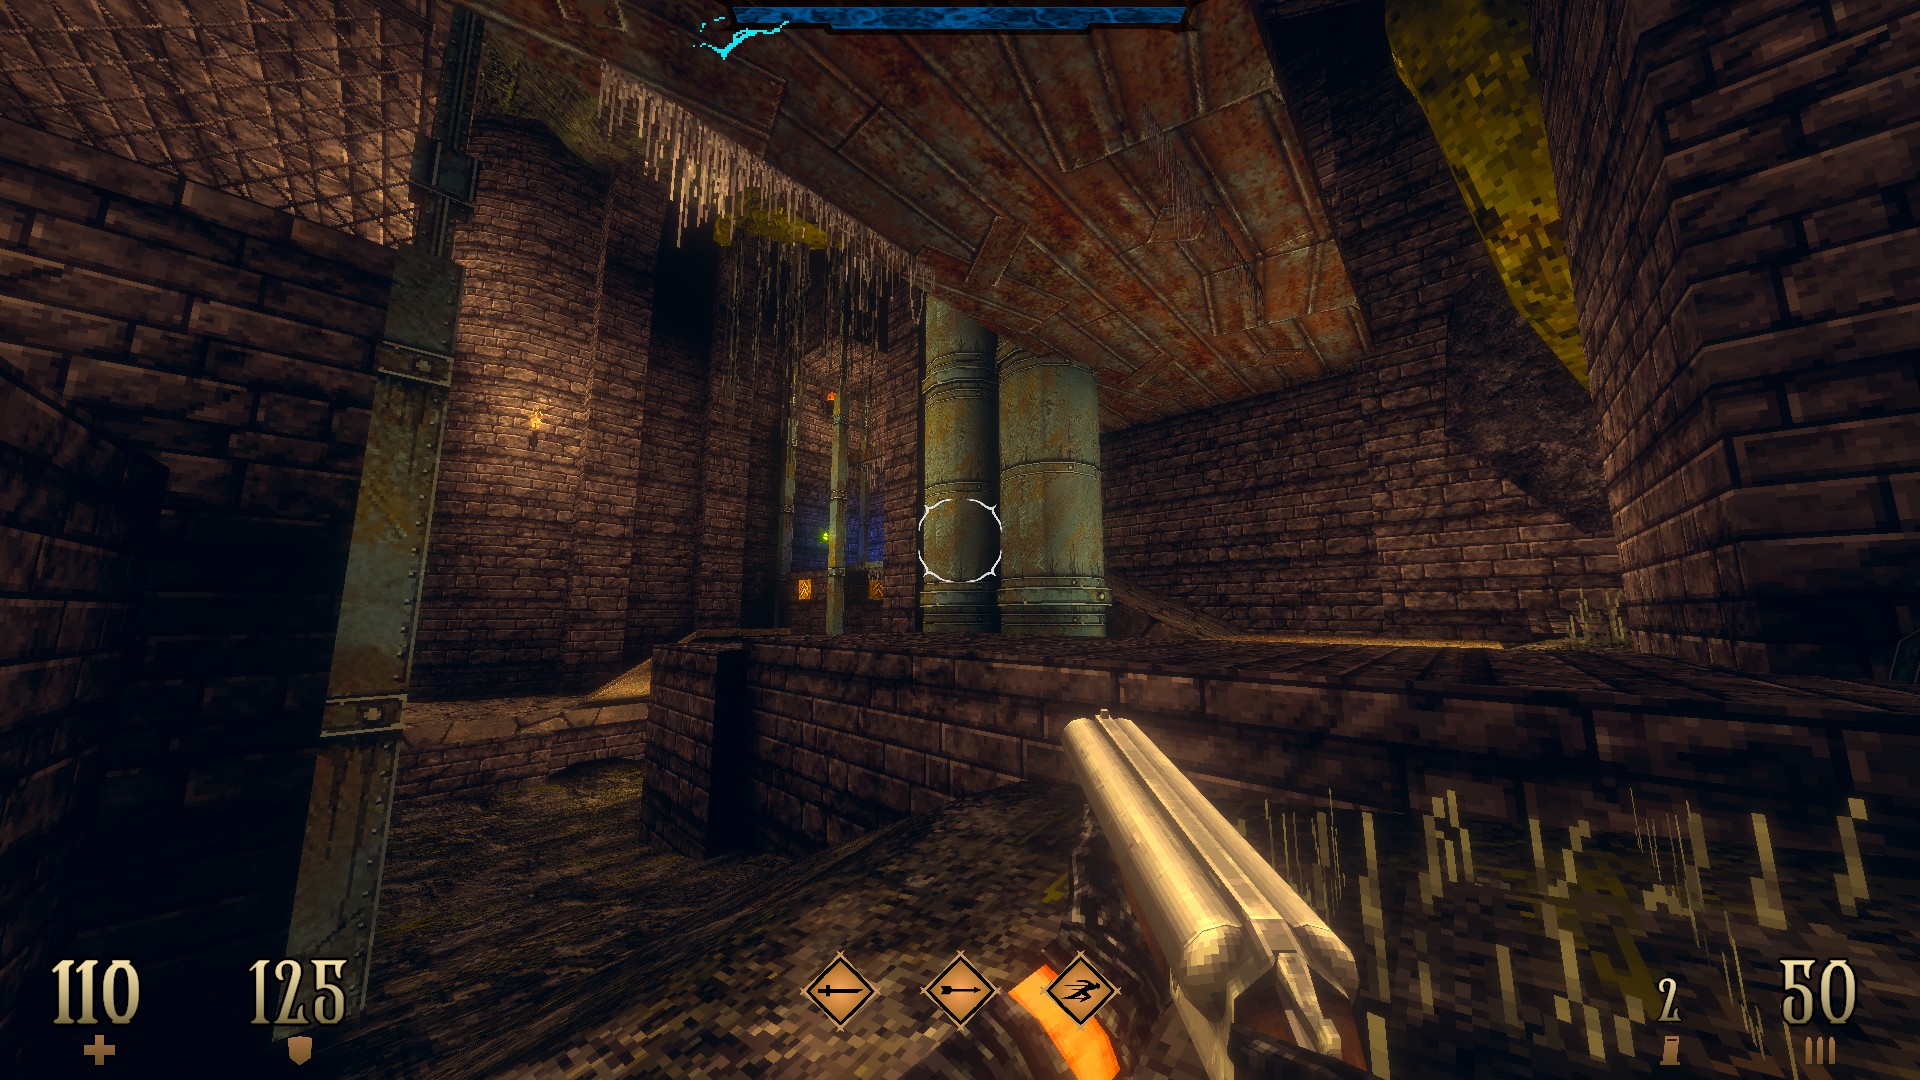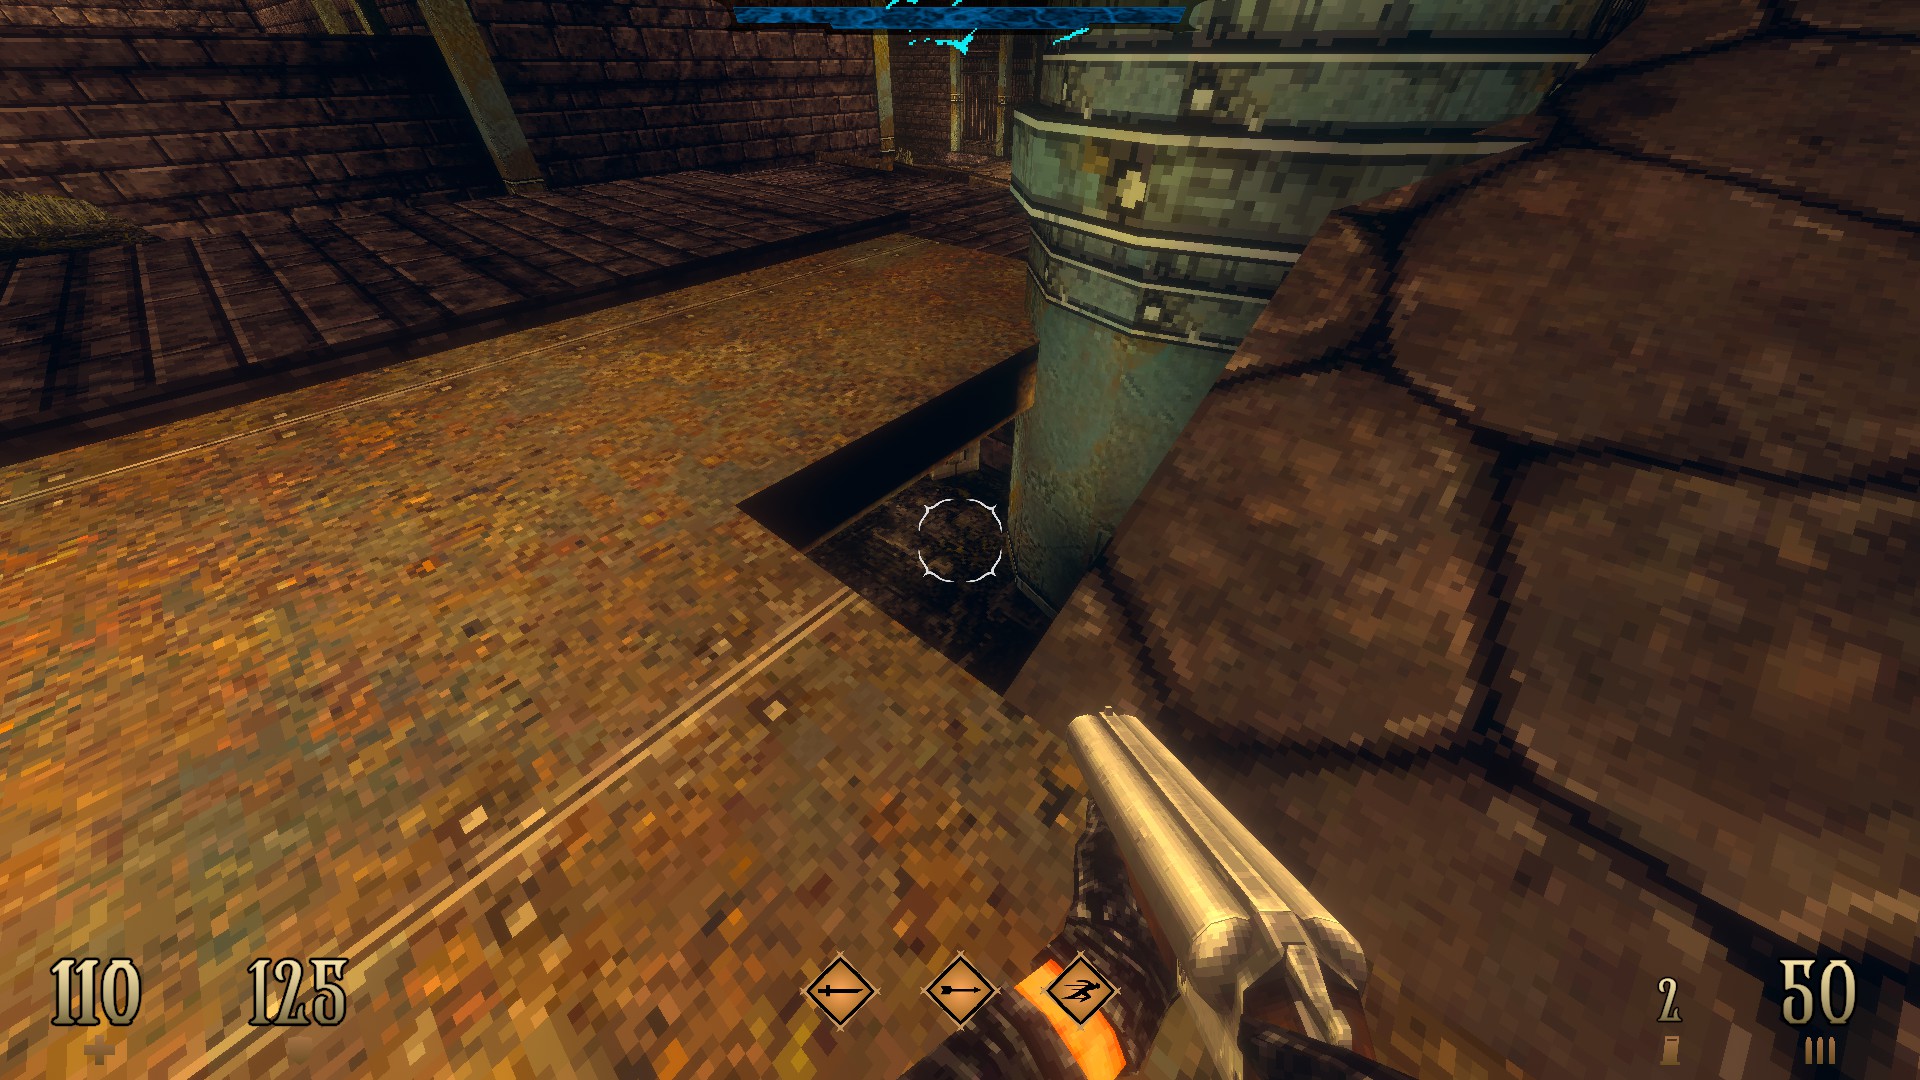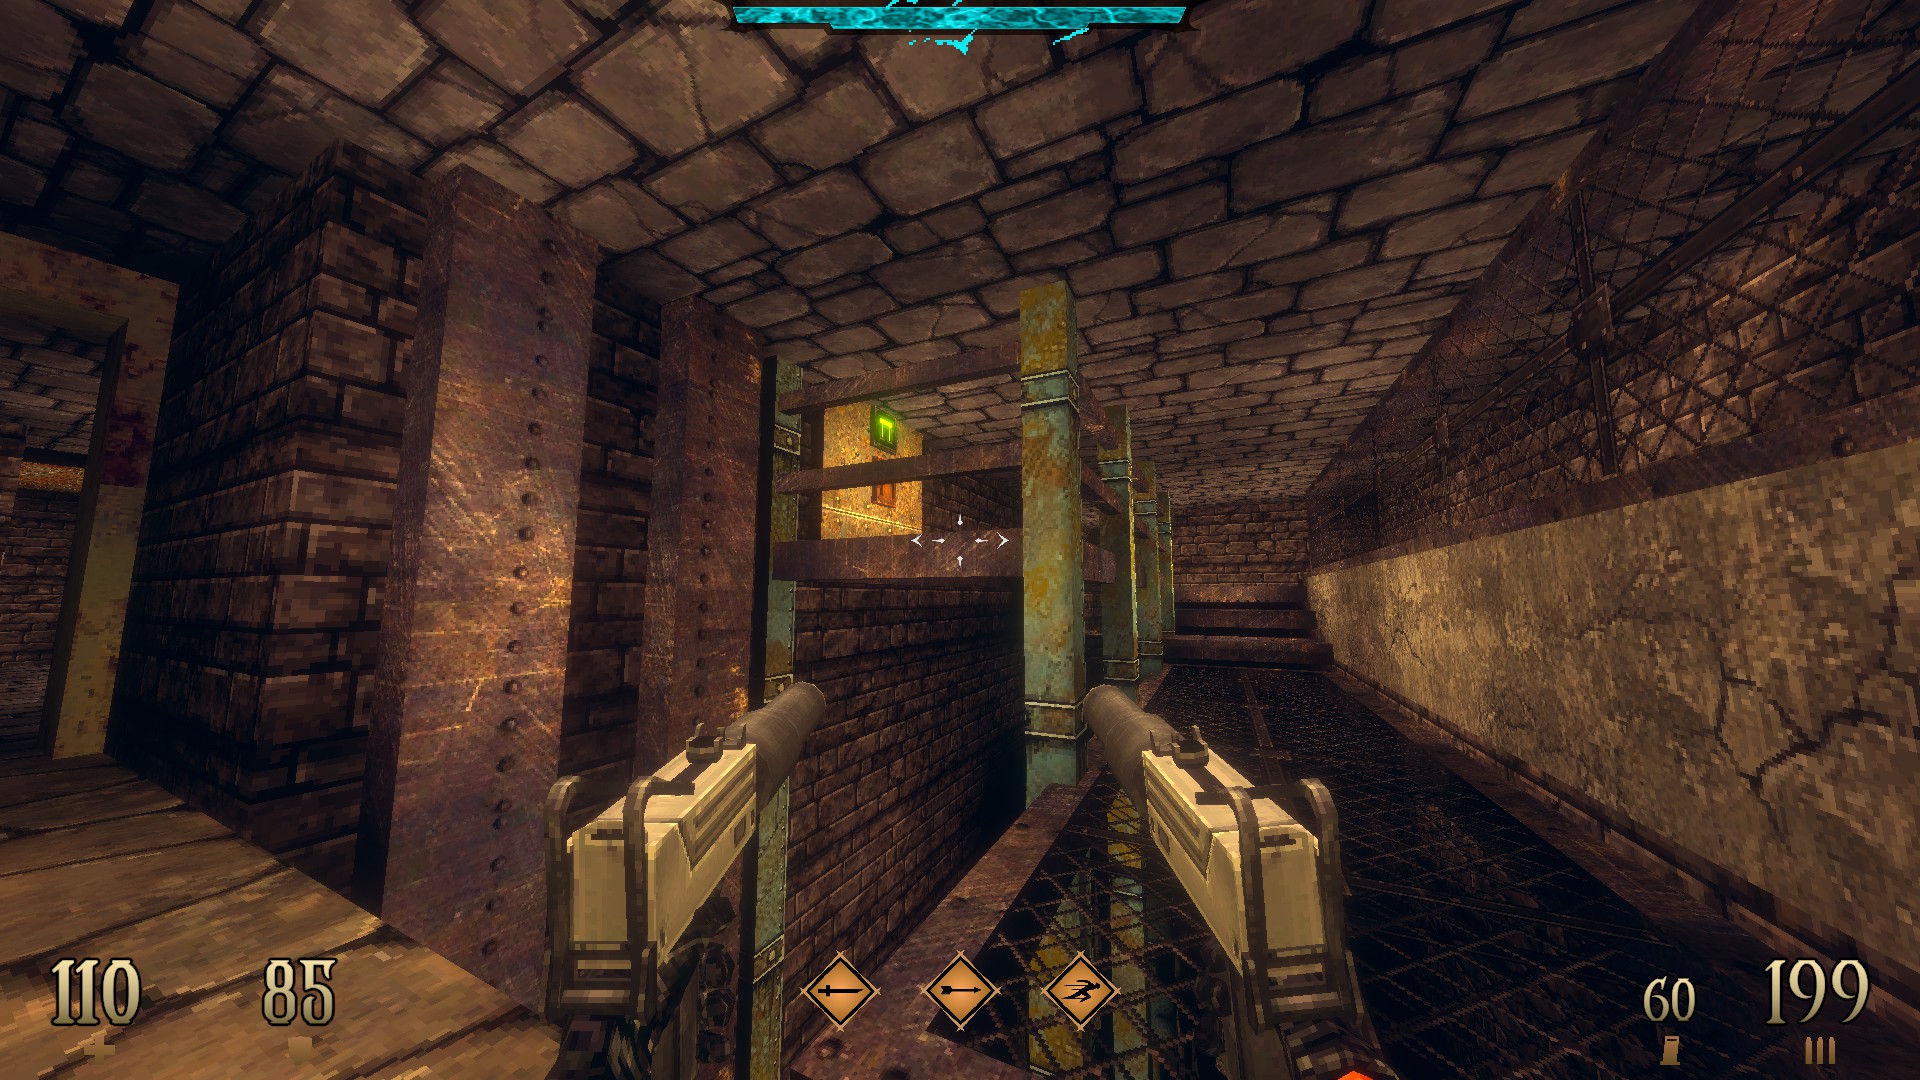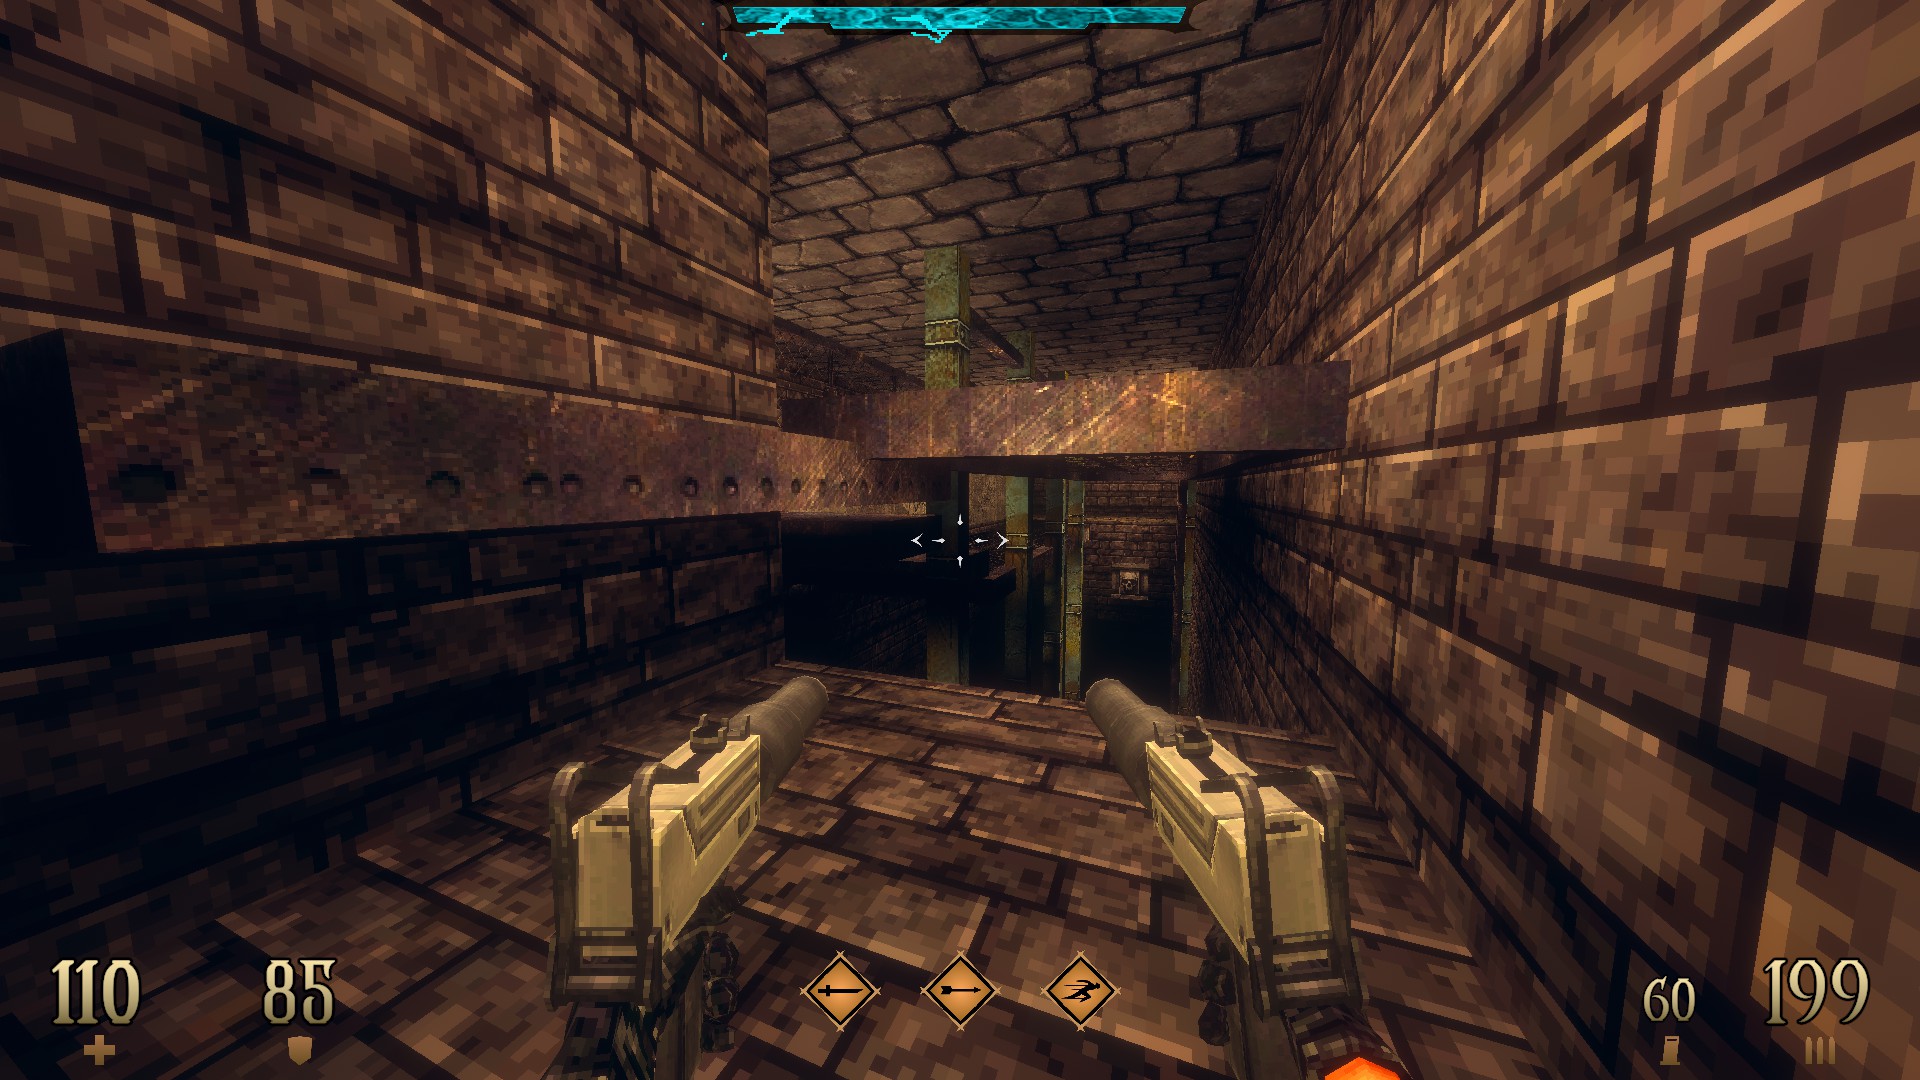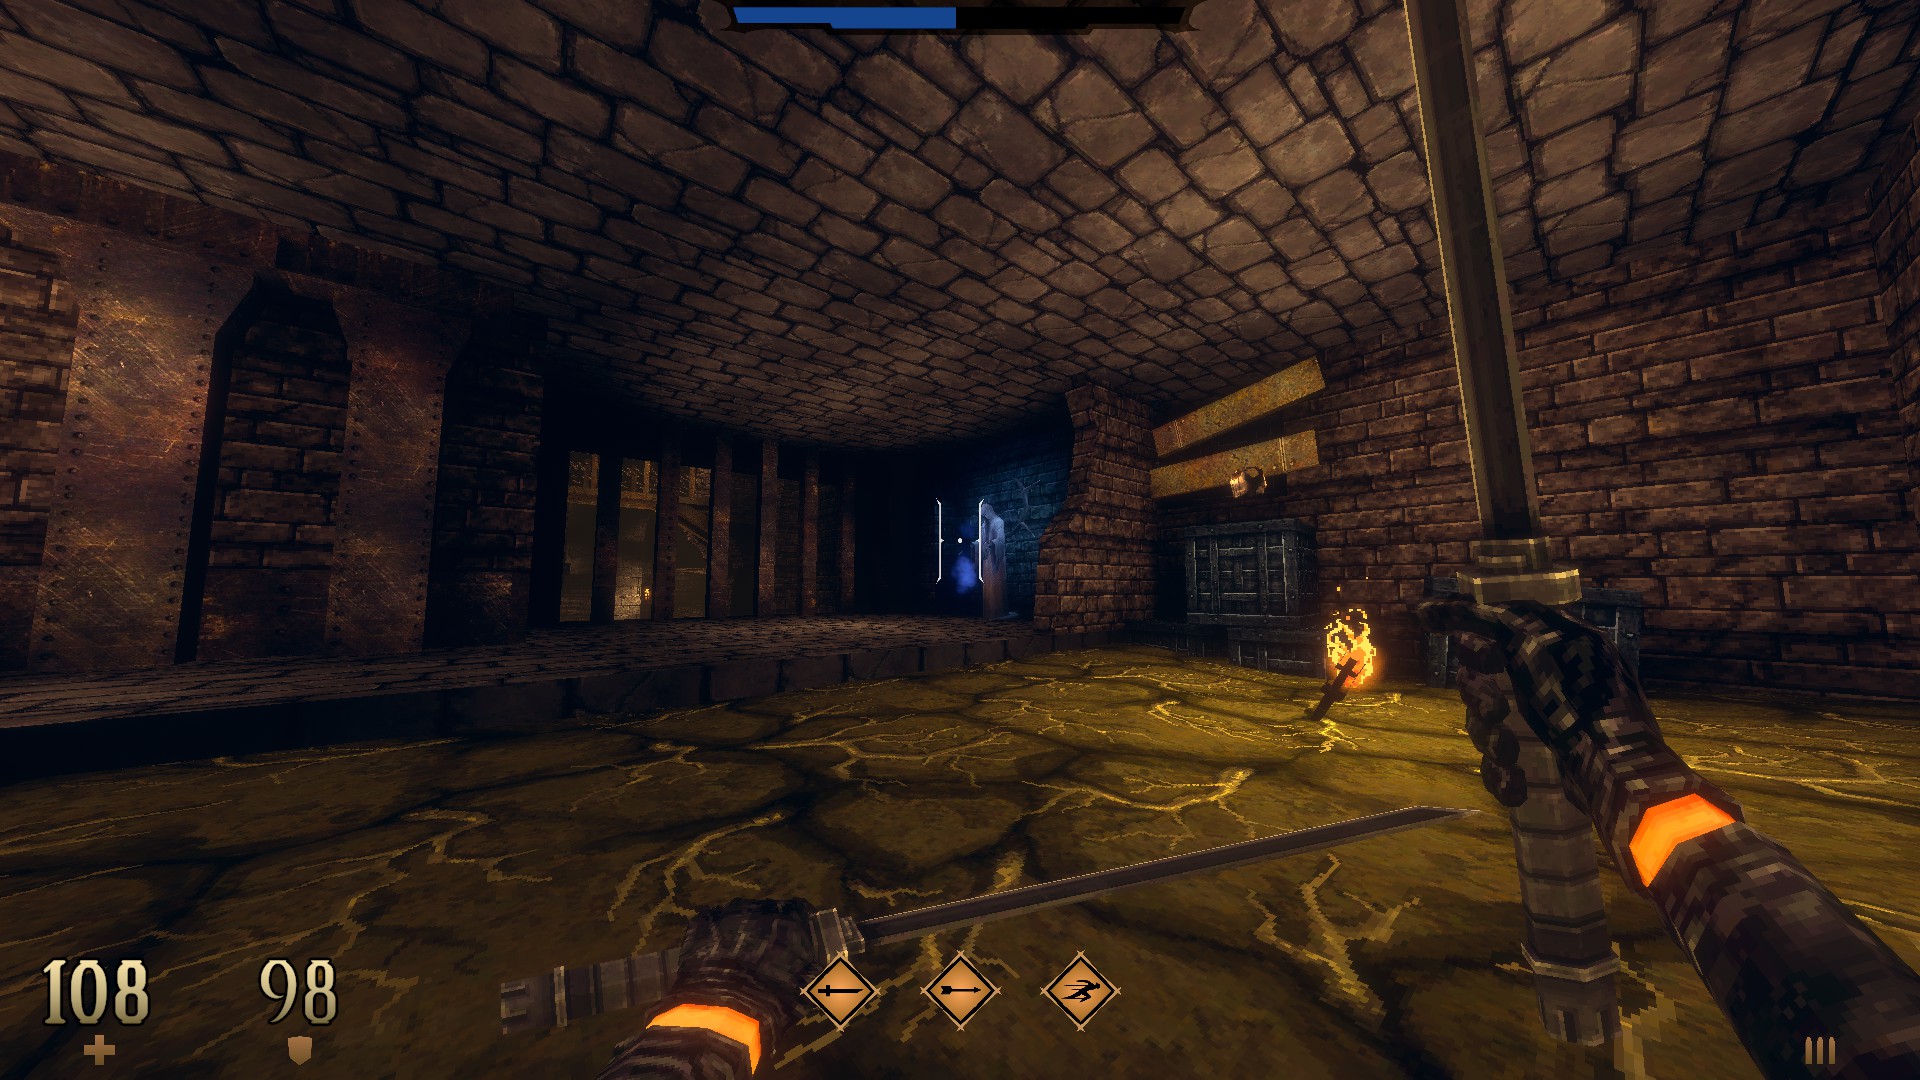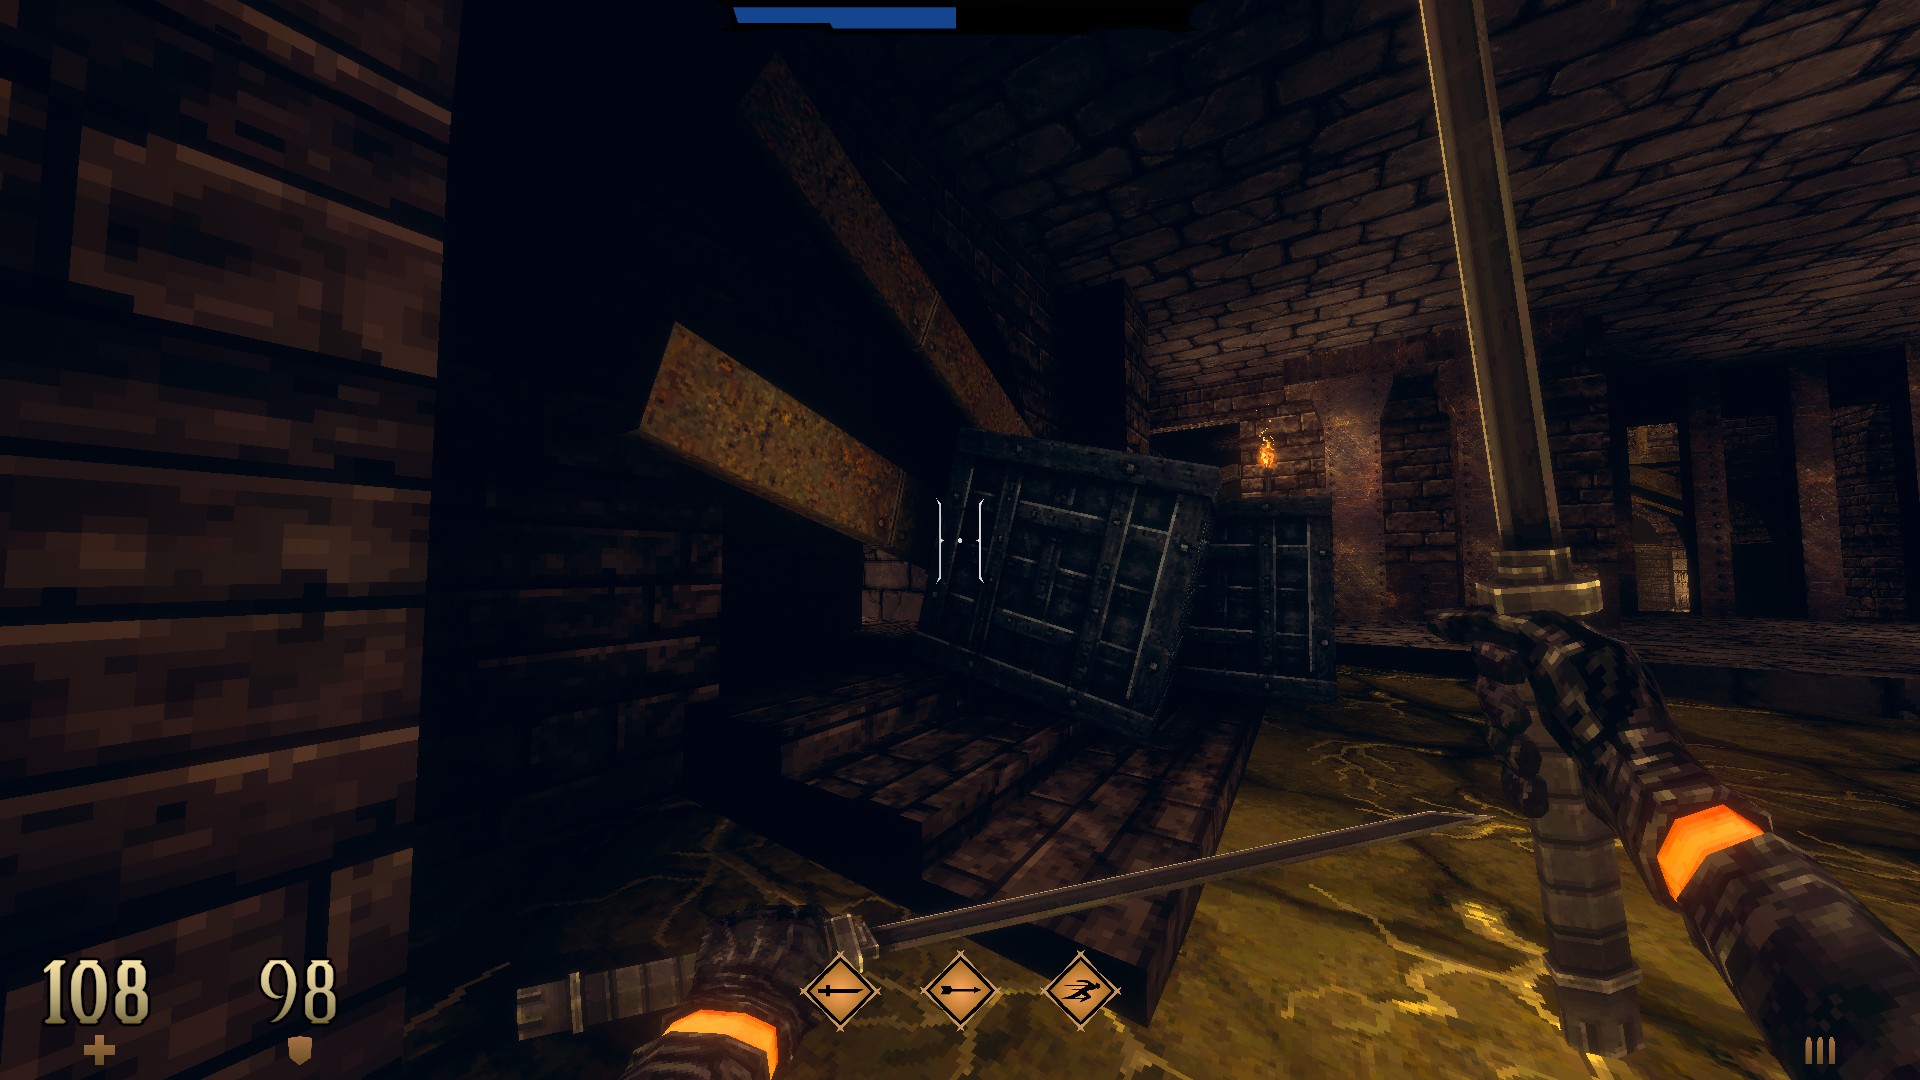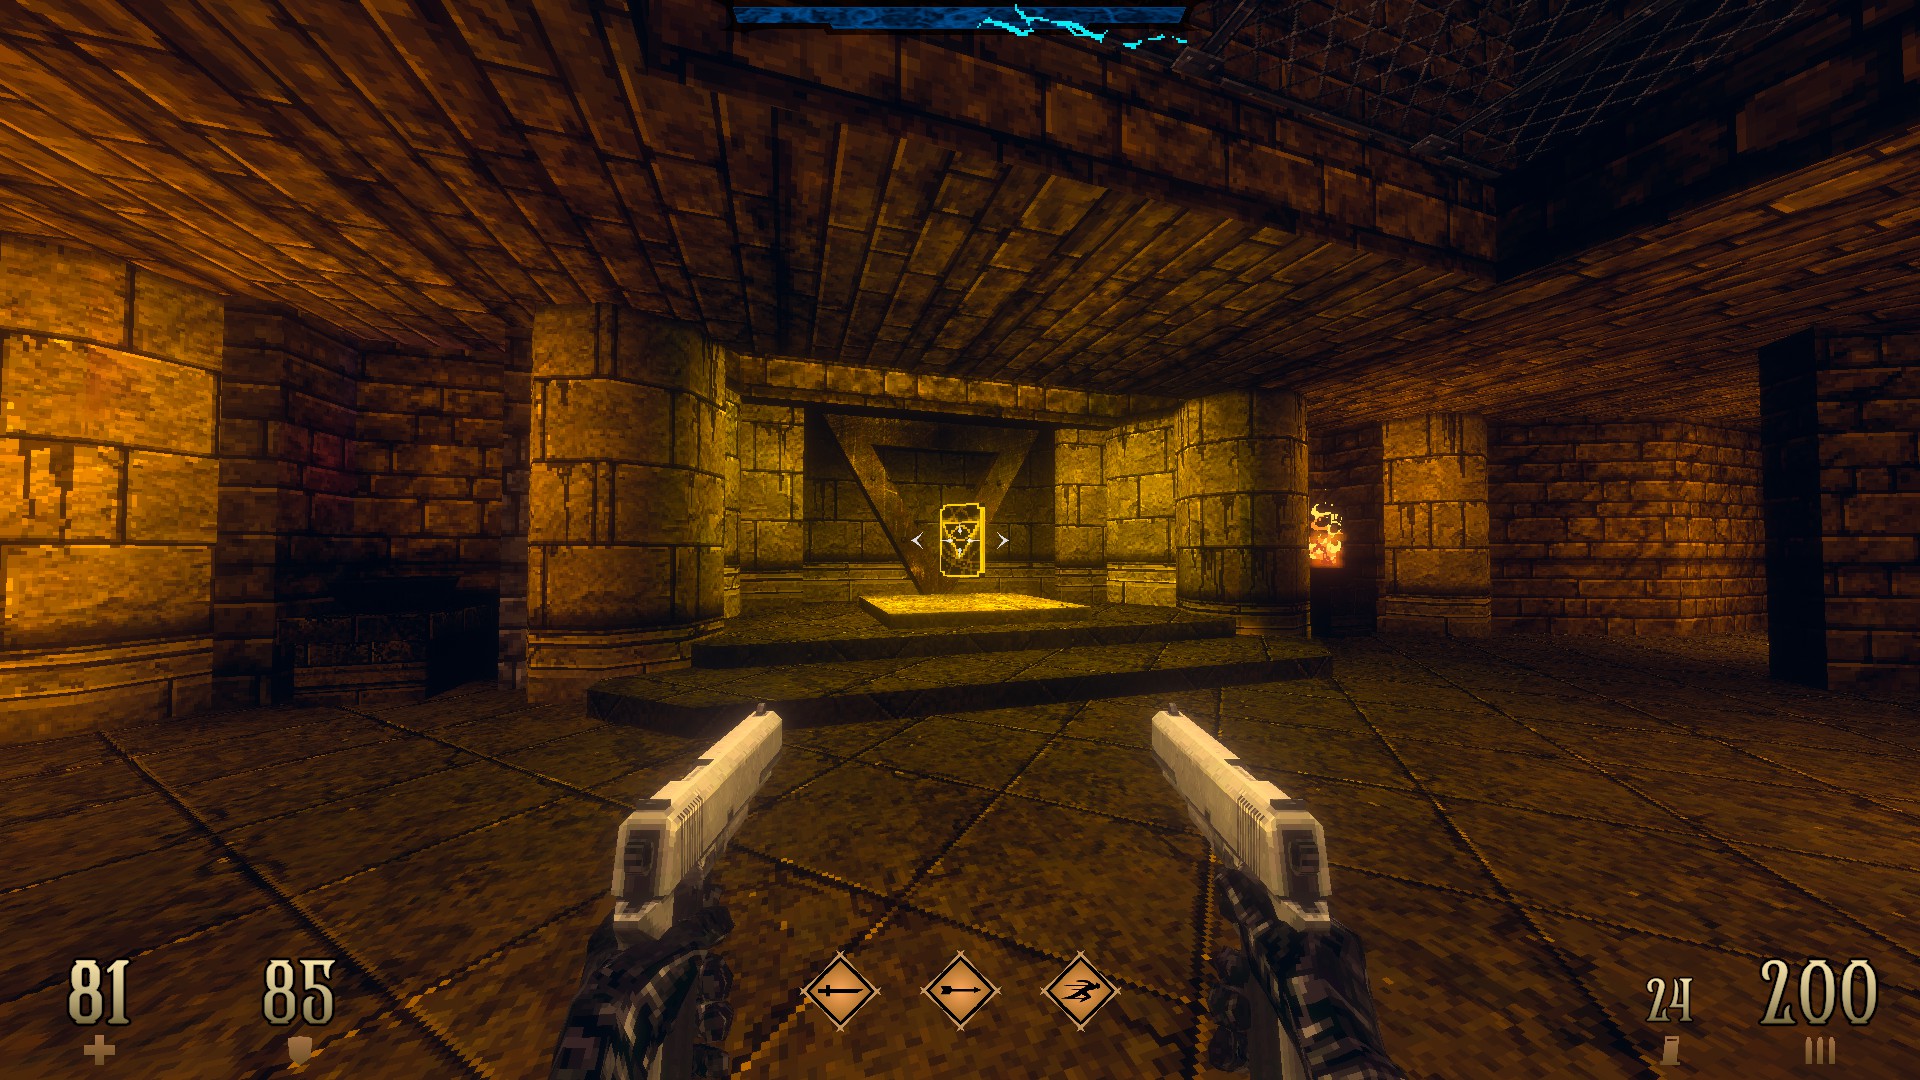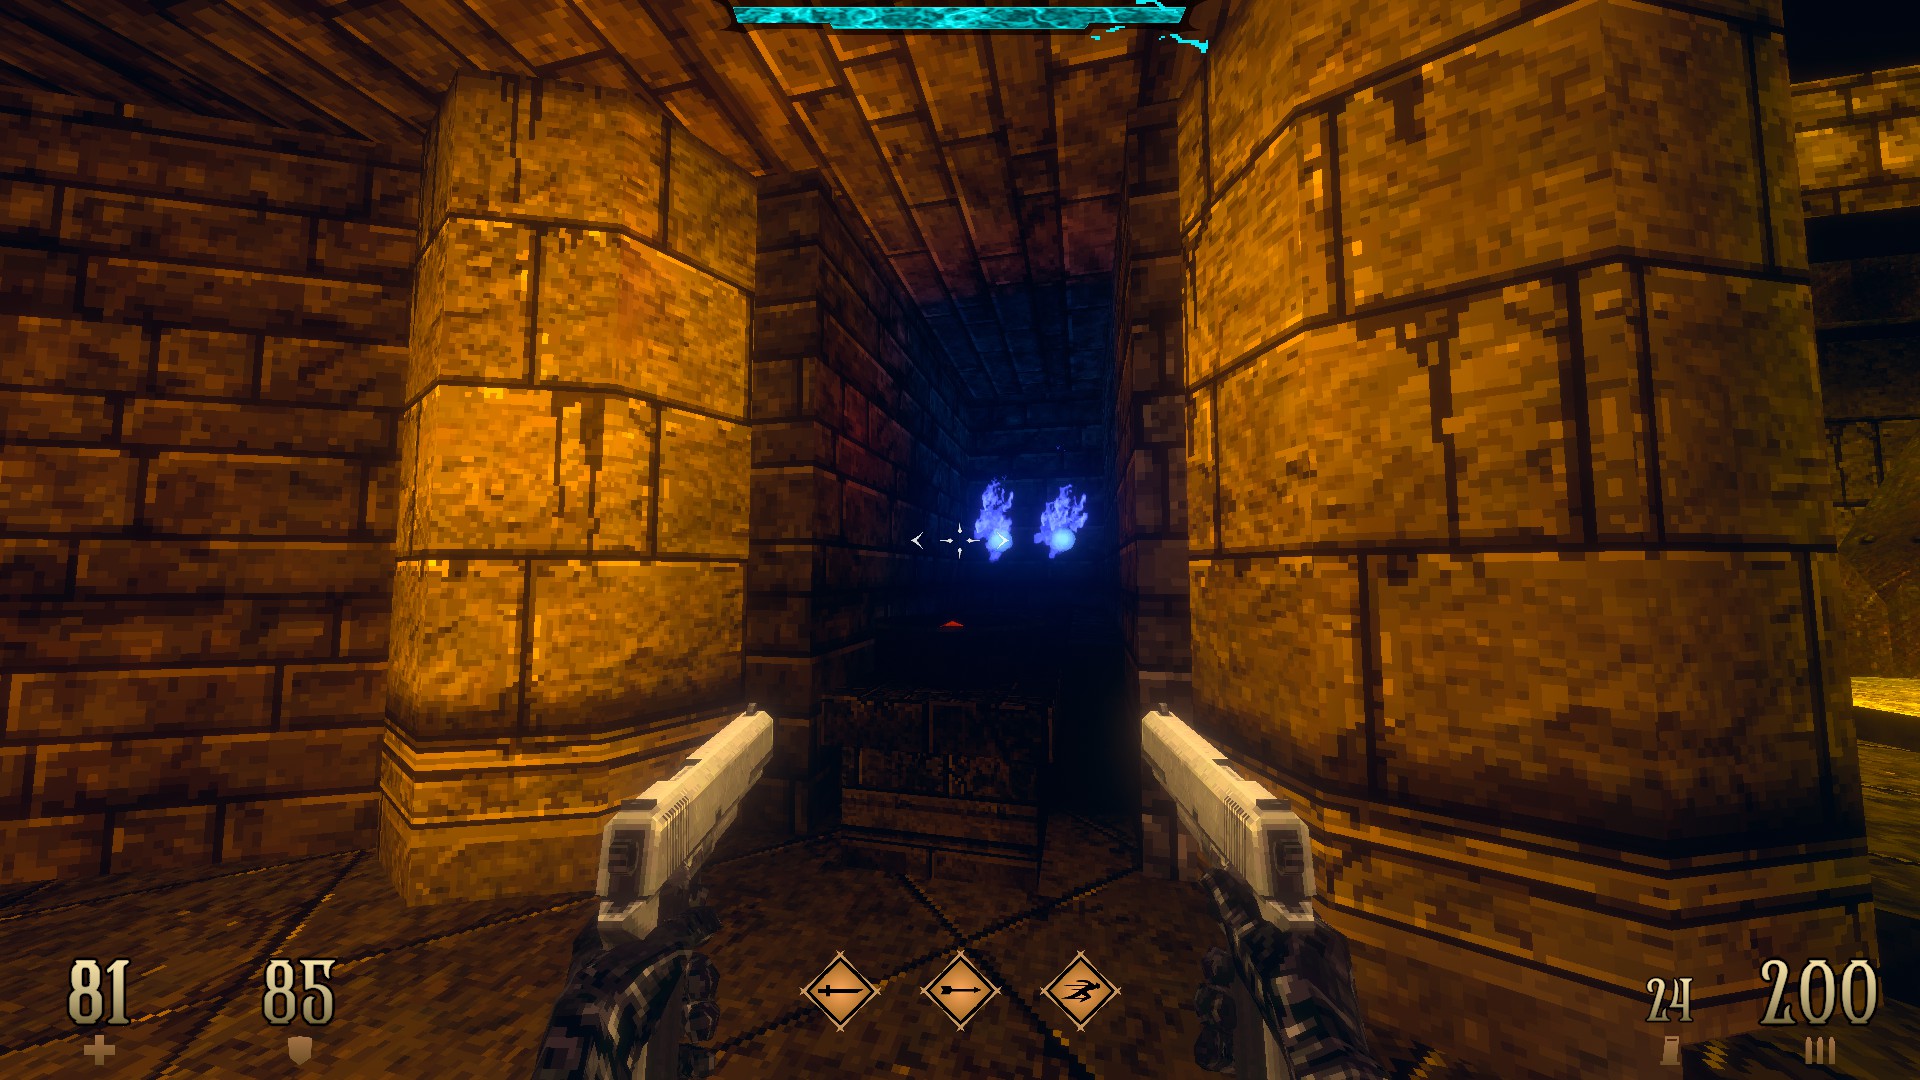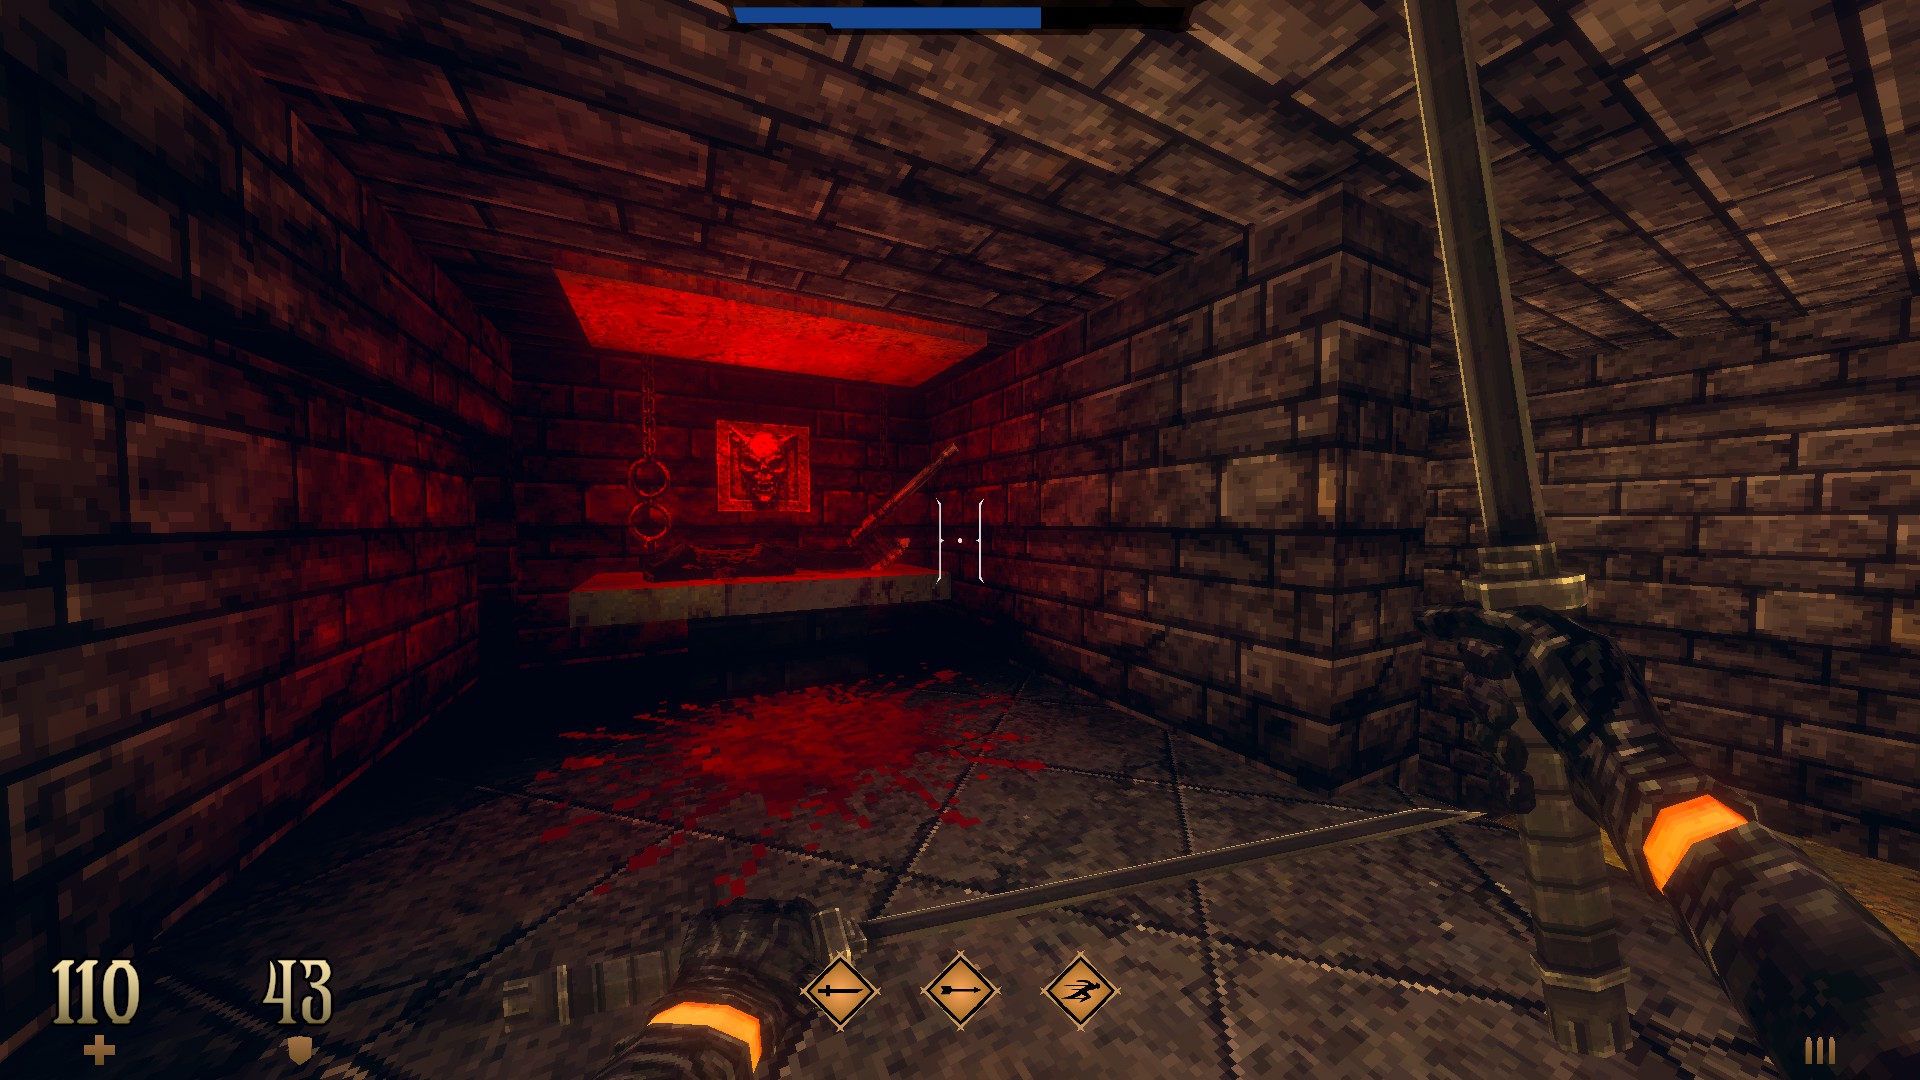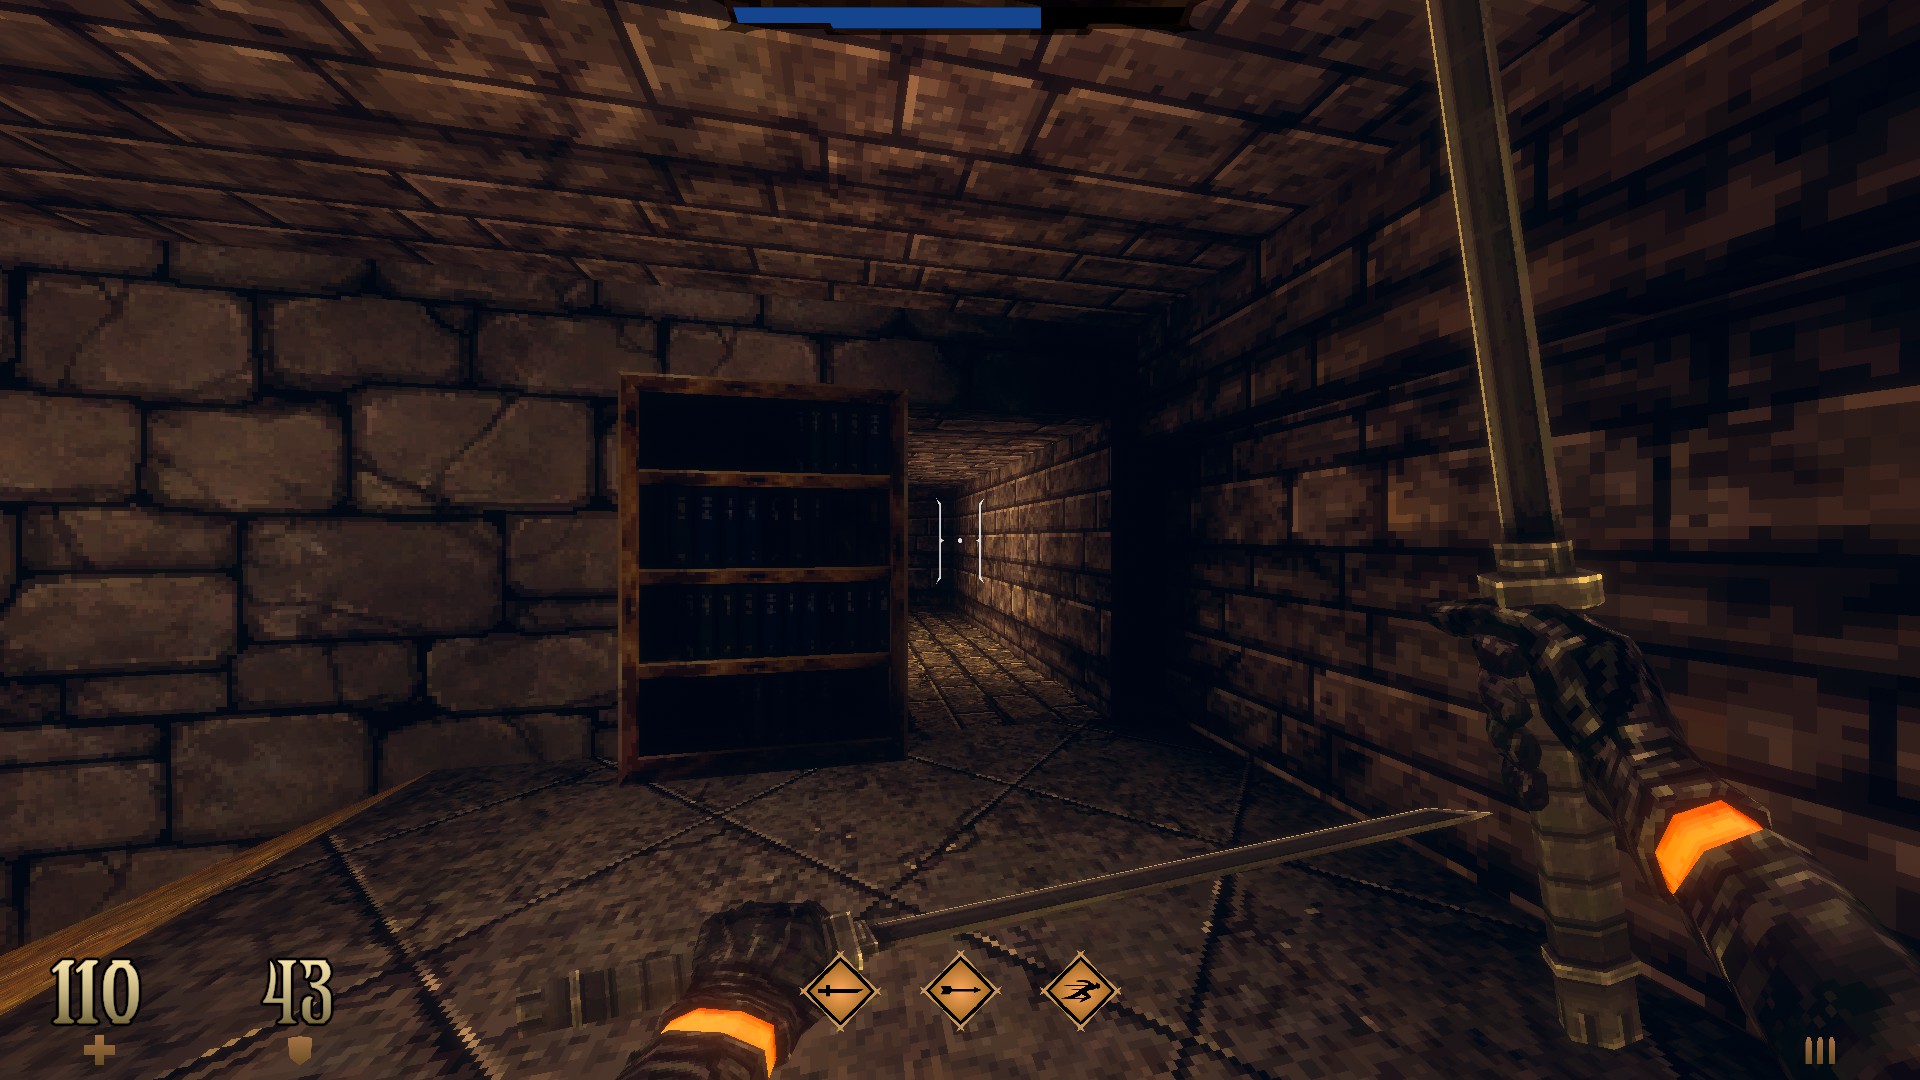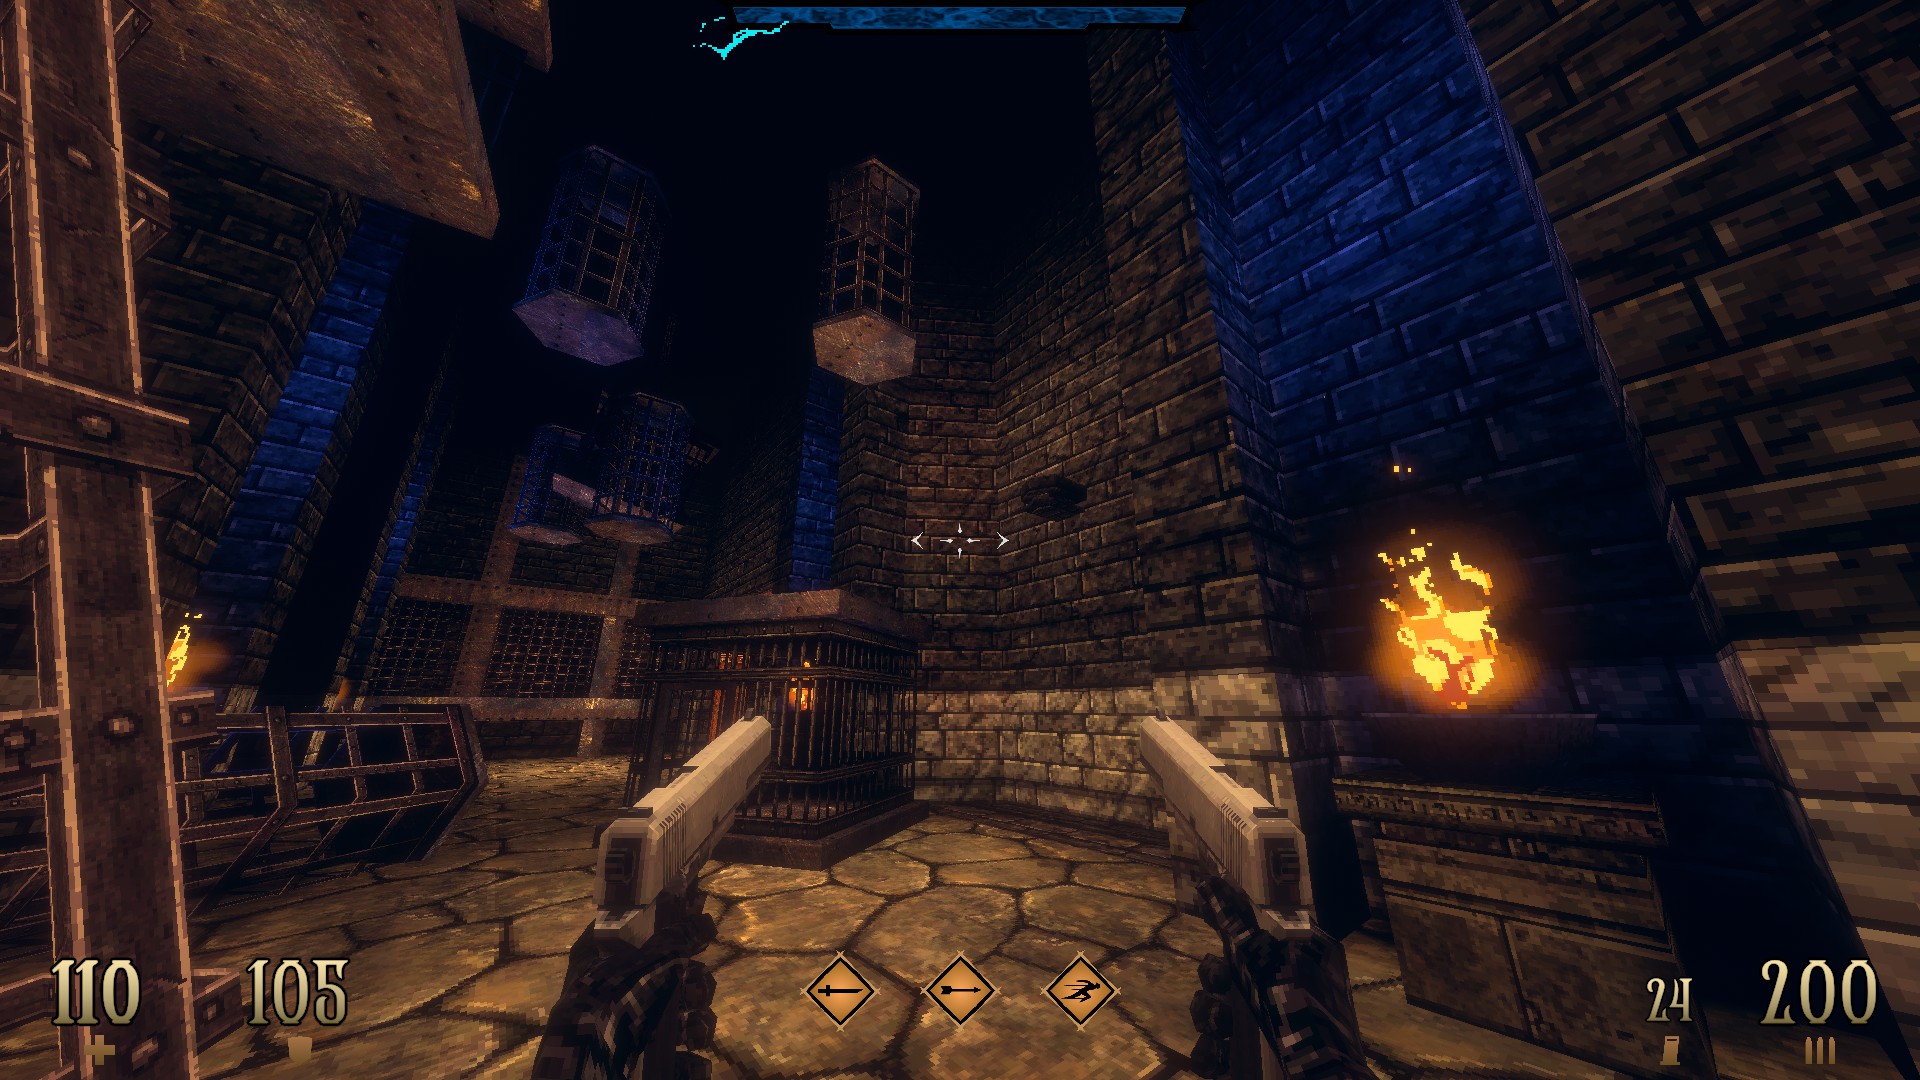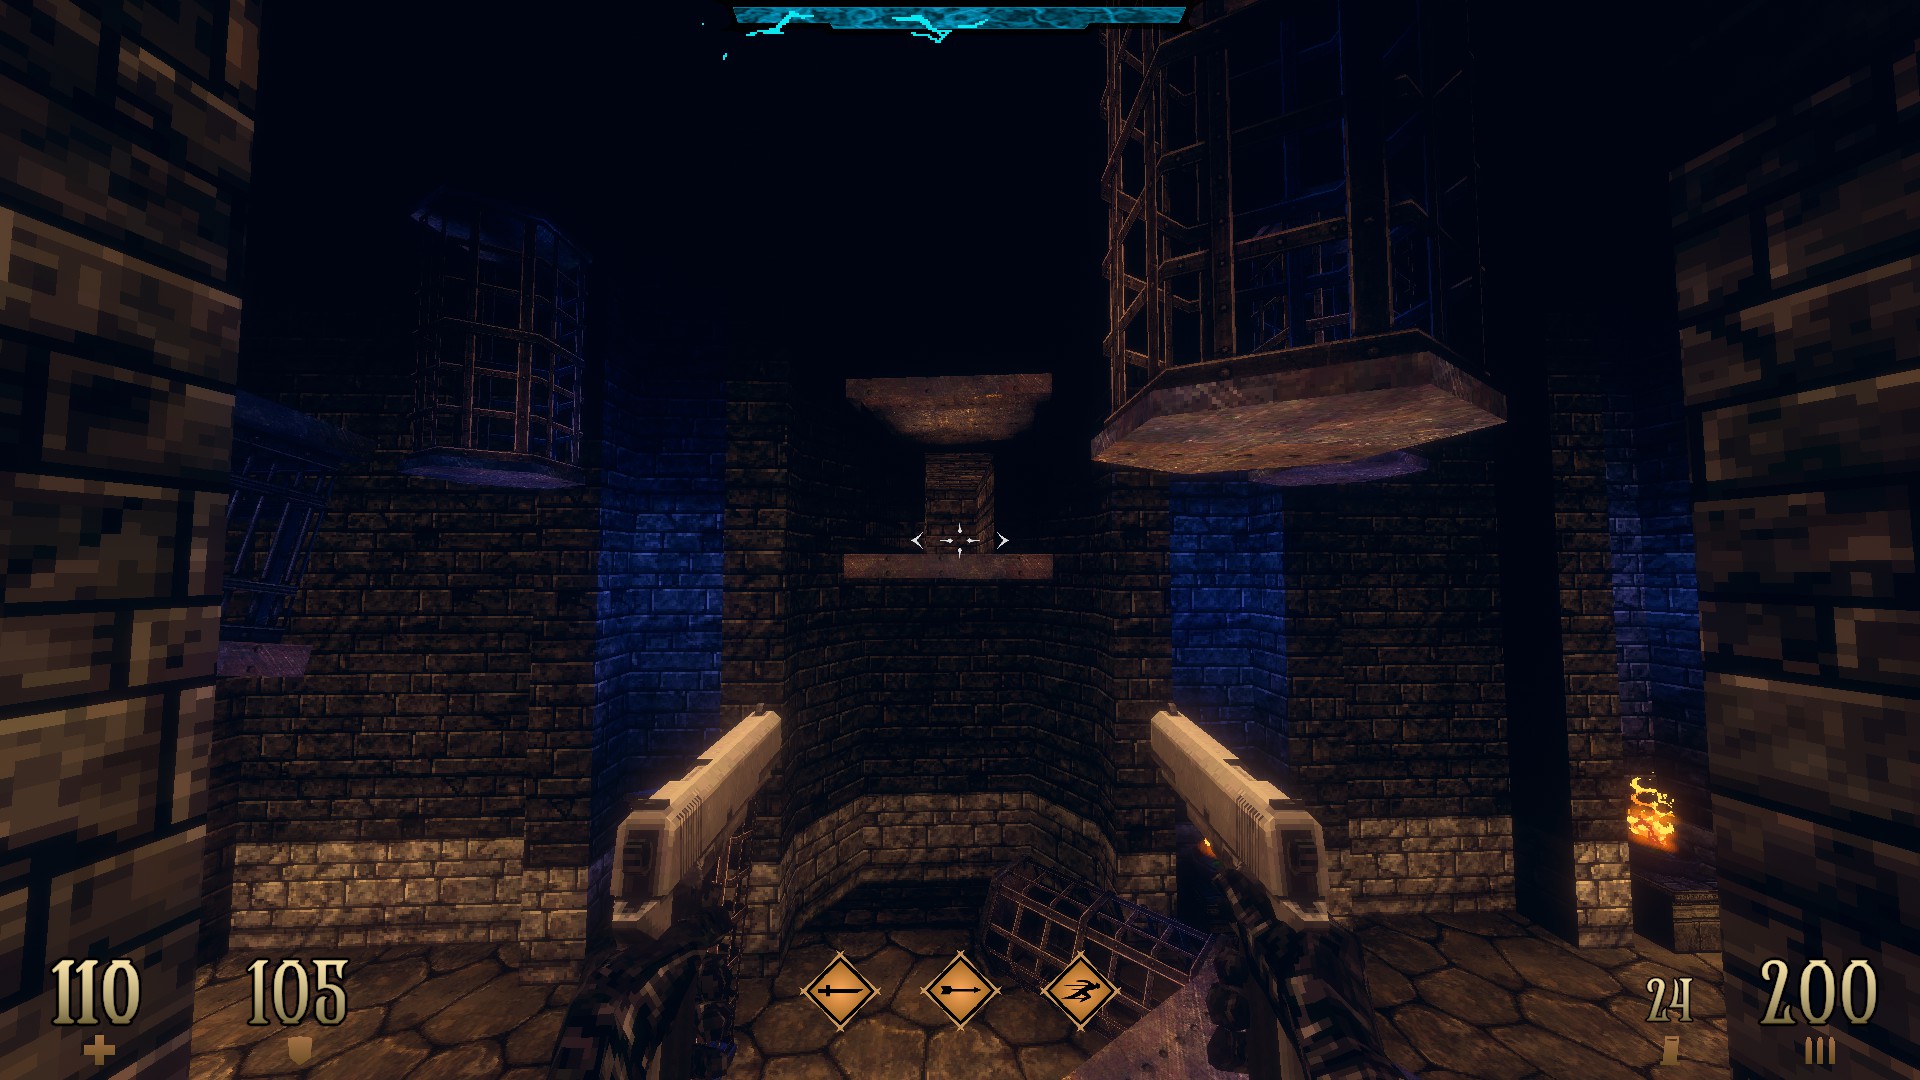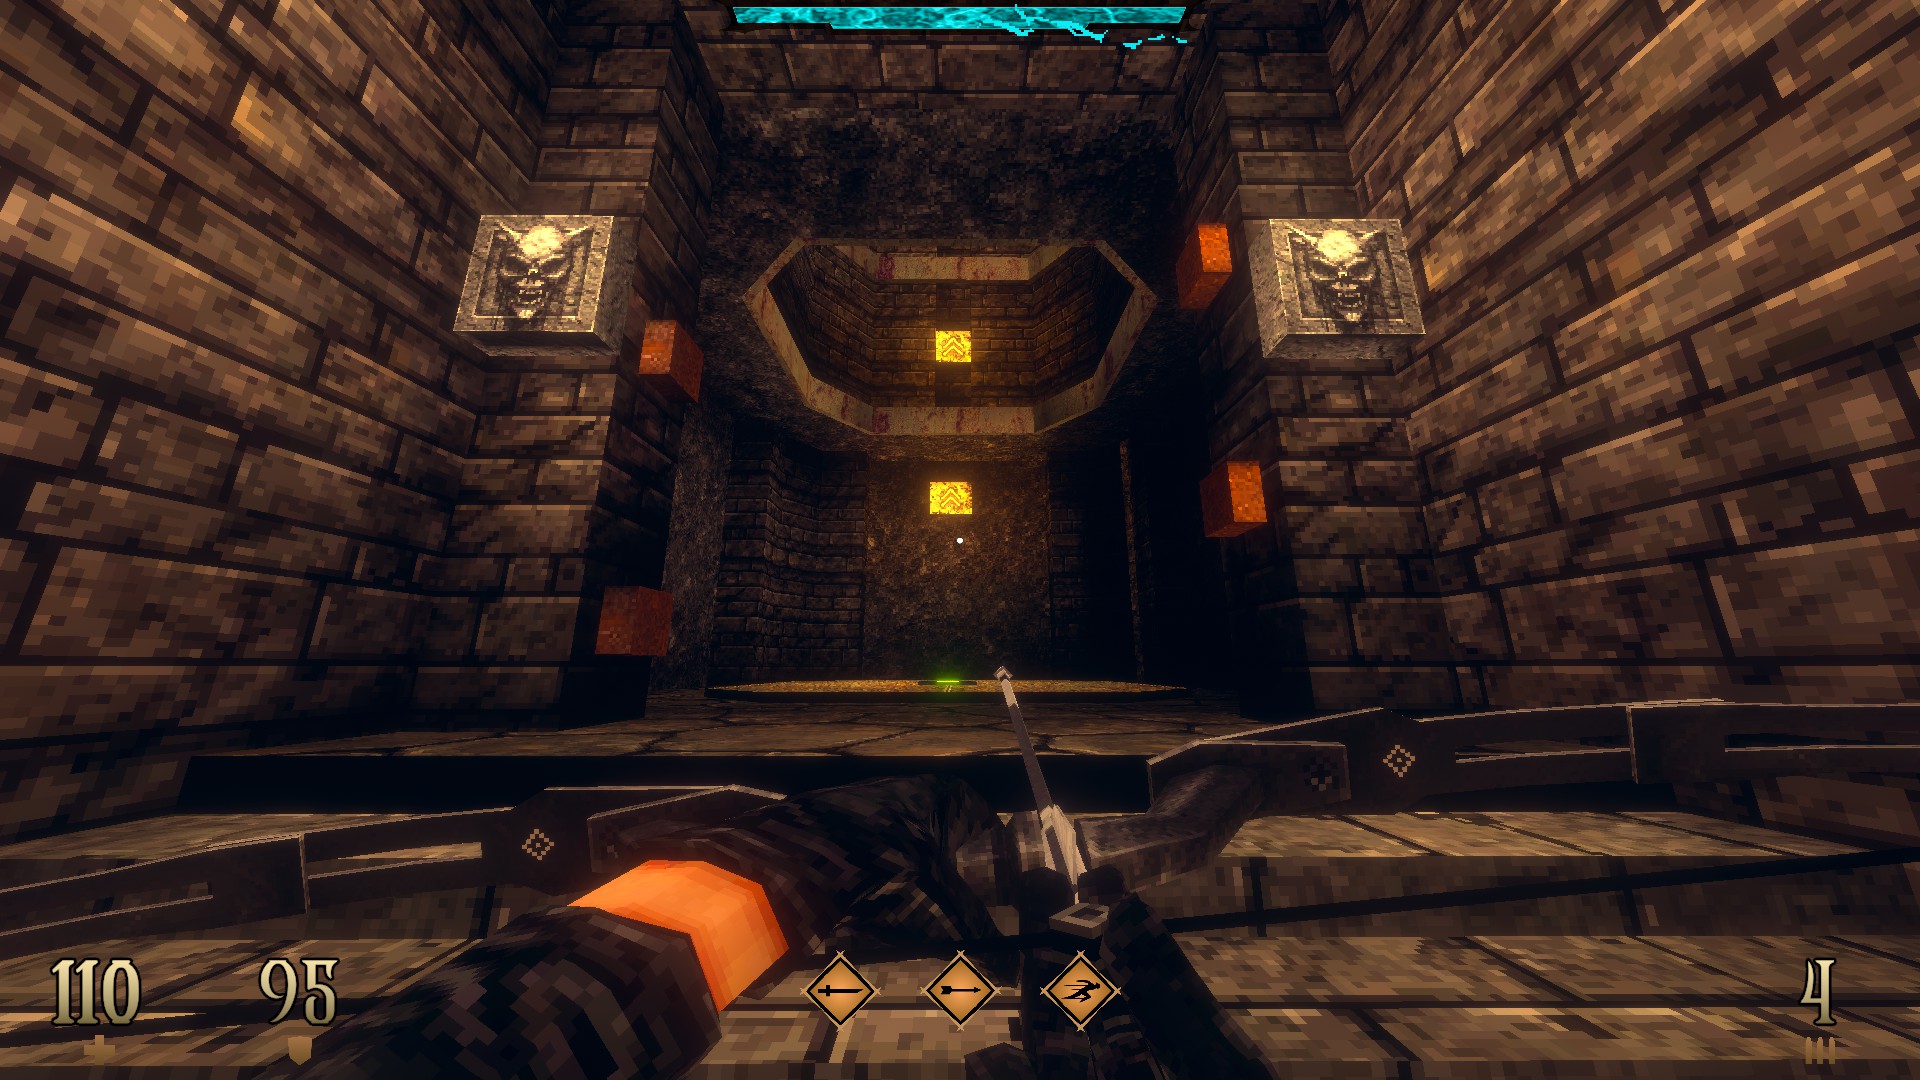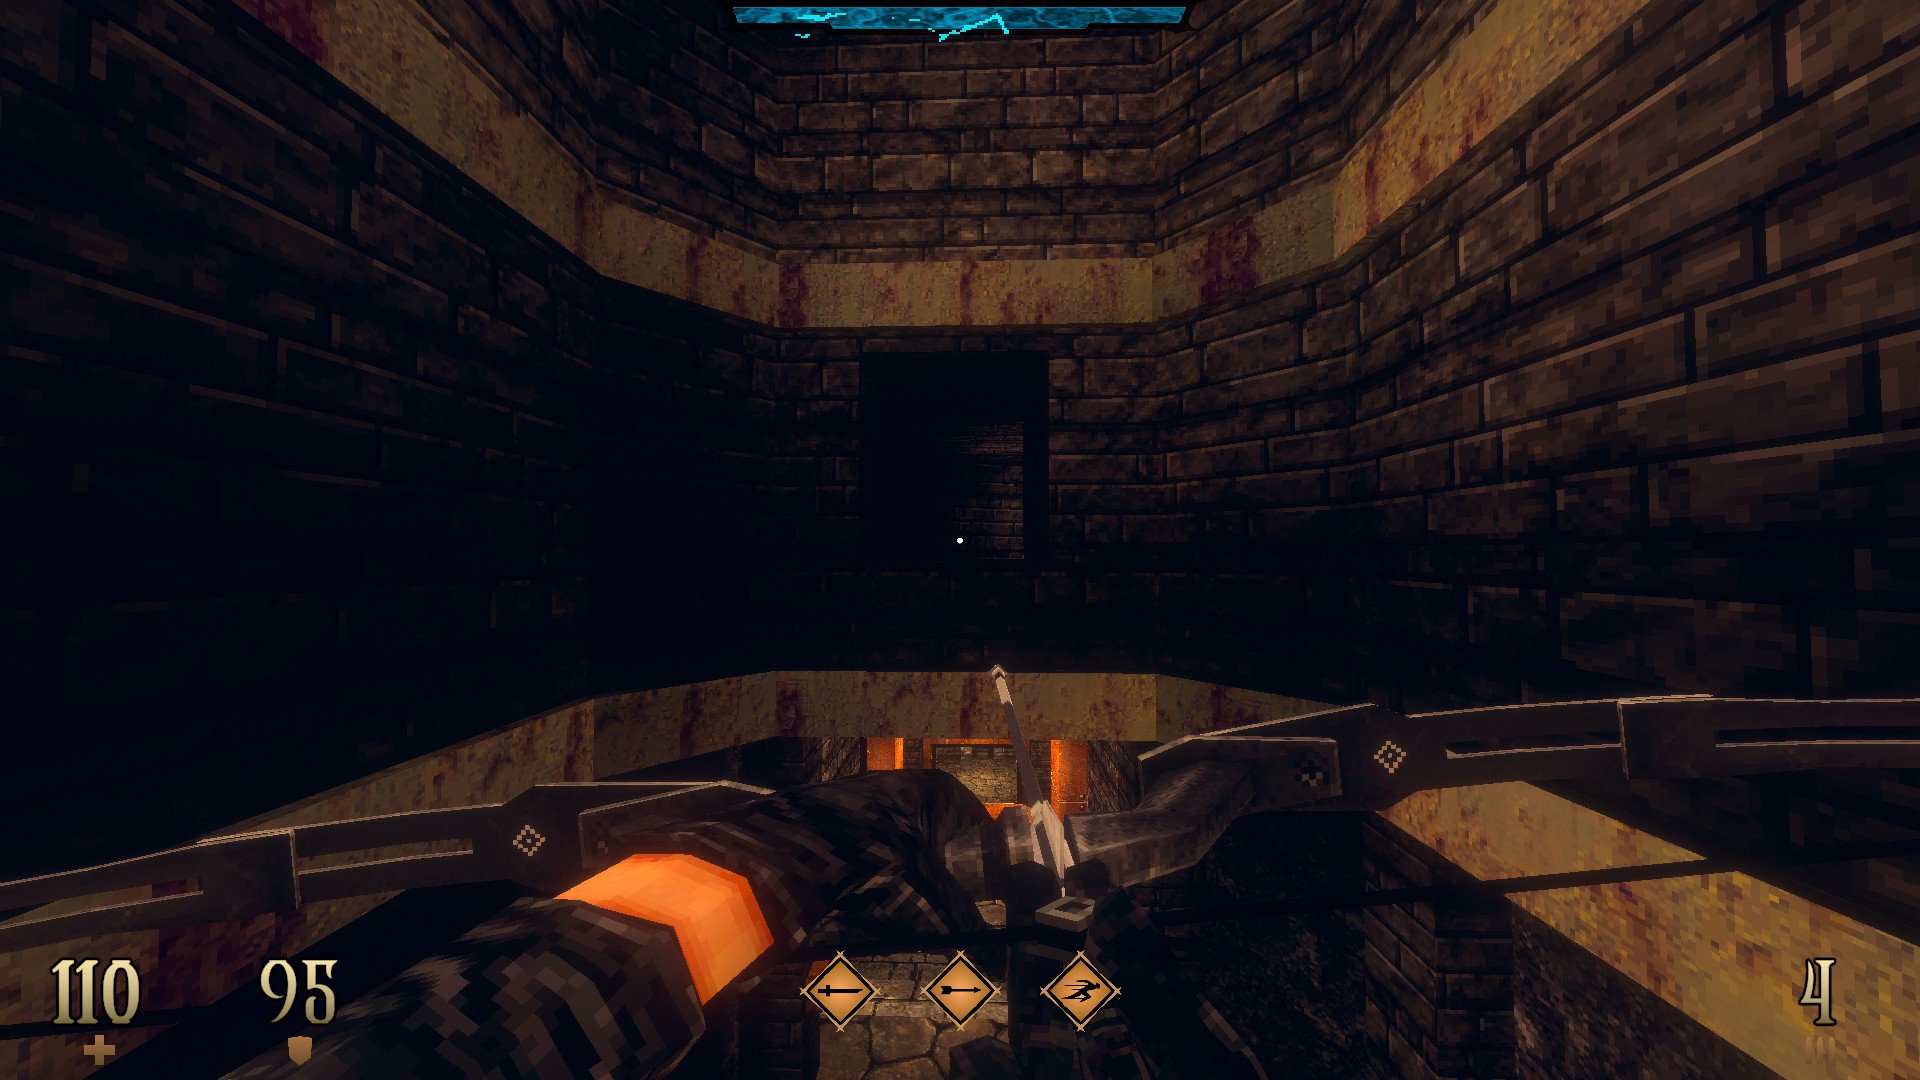
Dread Templar Walkthrough Guide – All Secrets on Episode 1

Dread Templar Walkthrough Guide – All Secrets on Episode 1 1 - steamsplay.com

Screenshot assisted guide for locating all the secrets in the first episode.
Tutorial

This level contains only a single (unmarked) secret.

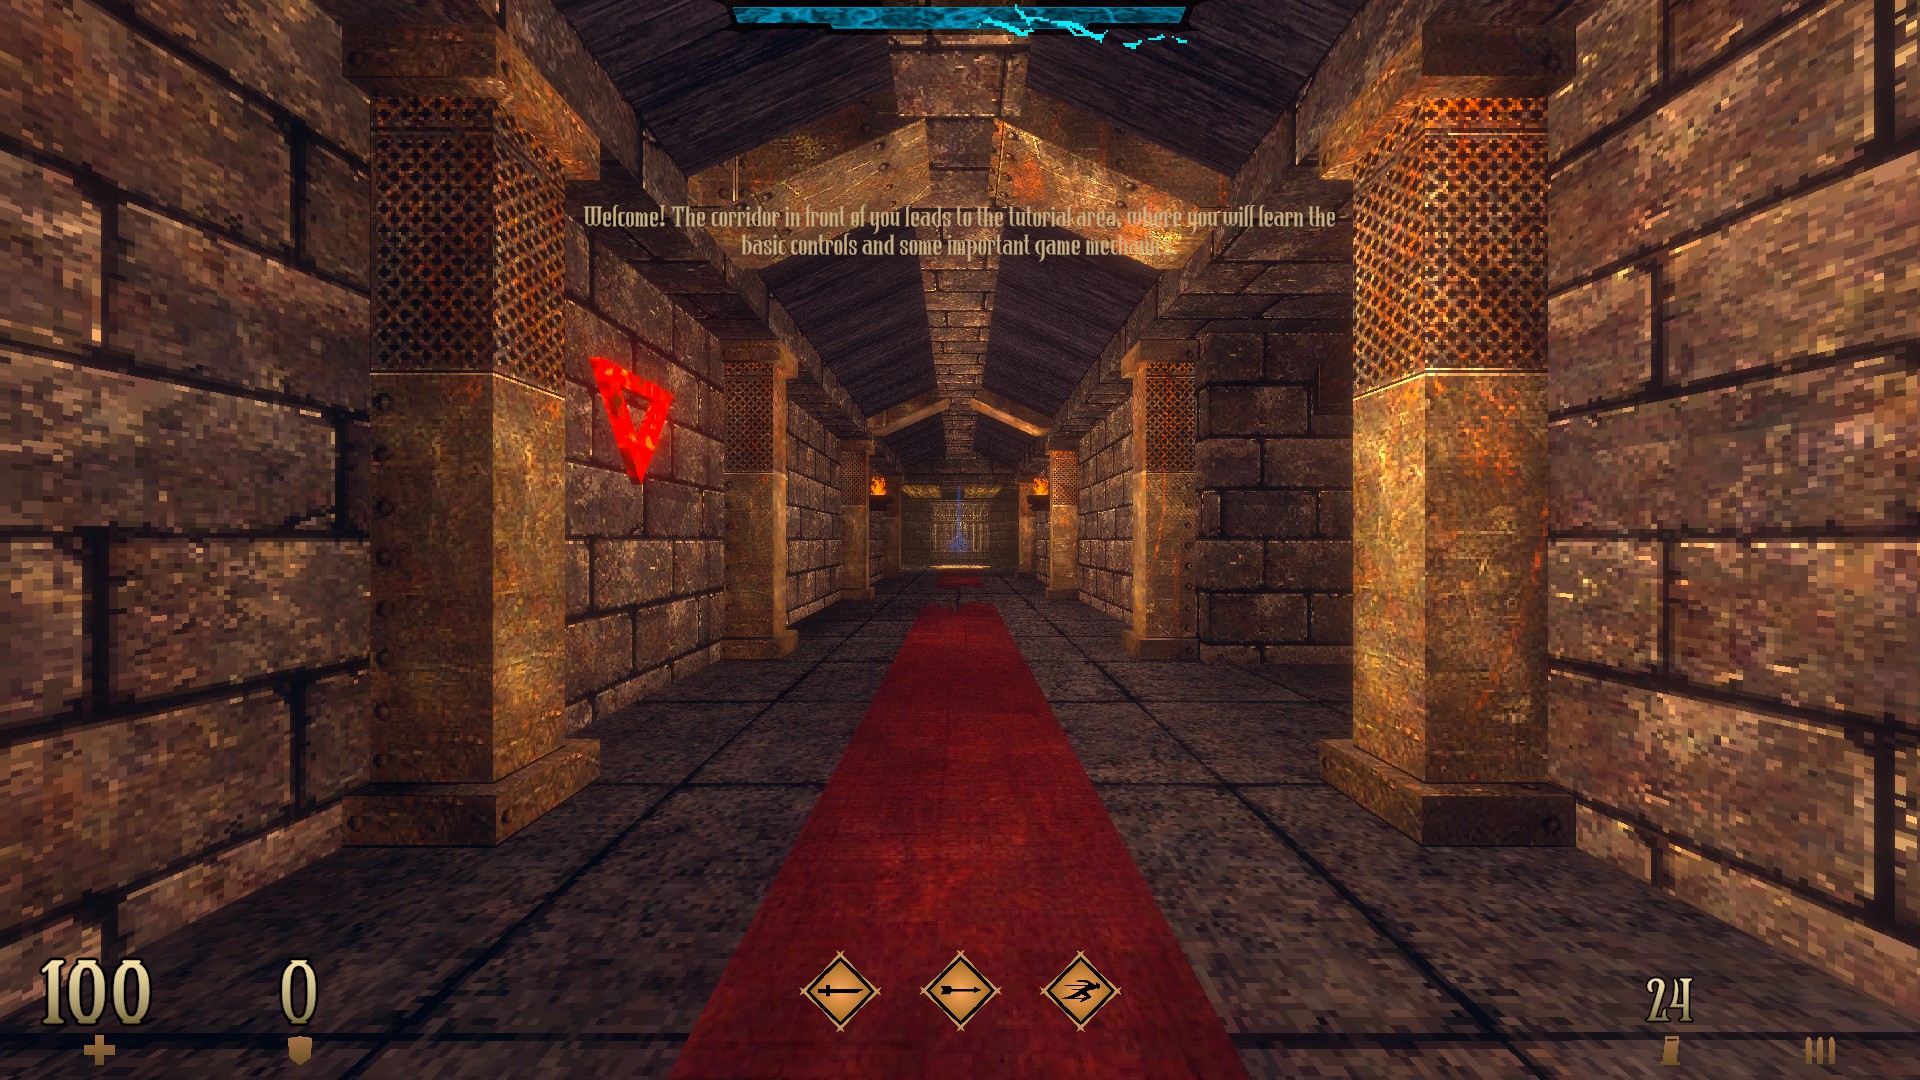
Dread Templar Walkthrough Guide - All Secrets on Episode 1 - Tutorial - 0EFBAC9

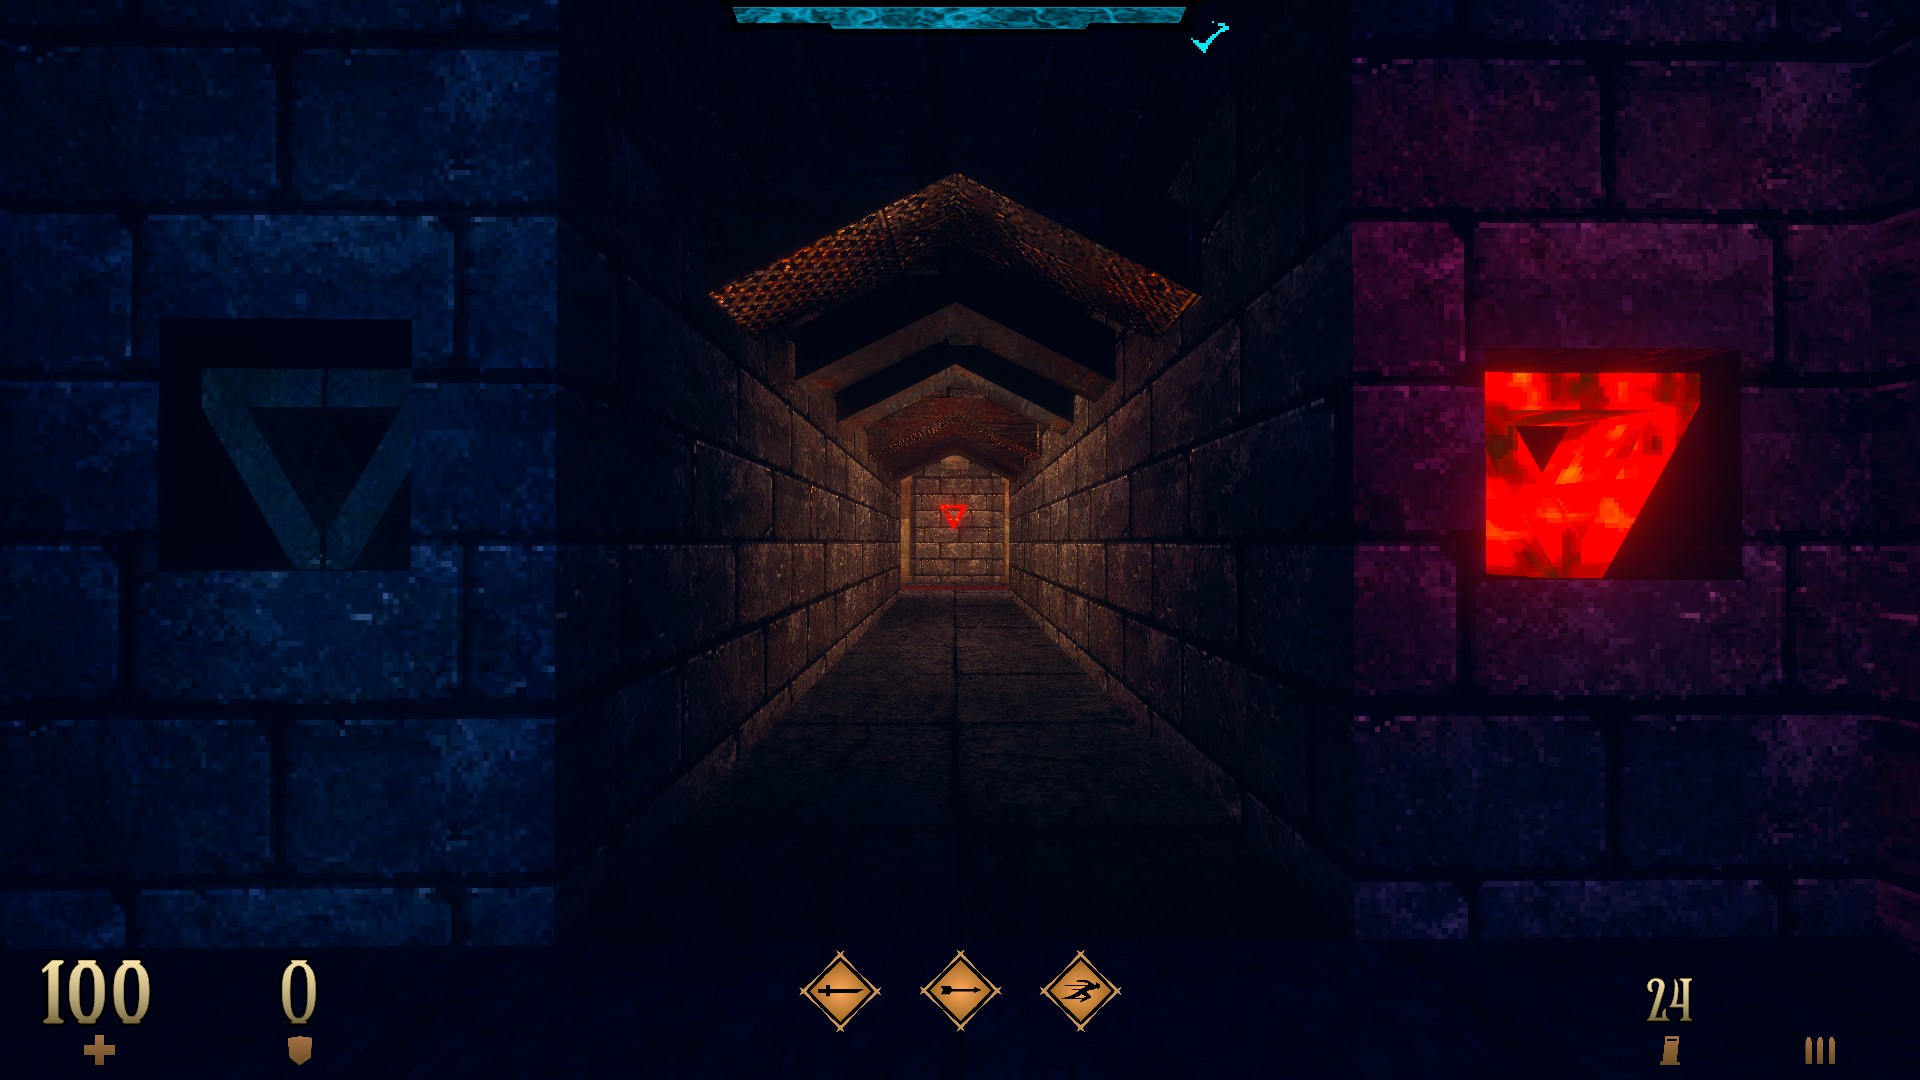
Dread Templar Walkthrough Guide - All Secrets on Episode 1 - Tutorial - F51CD85

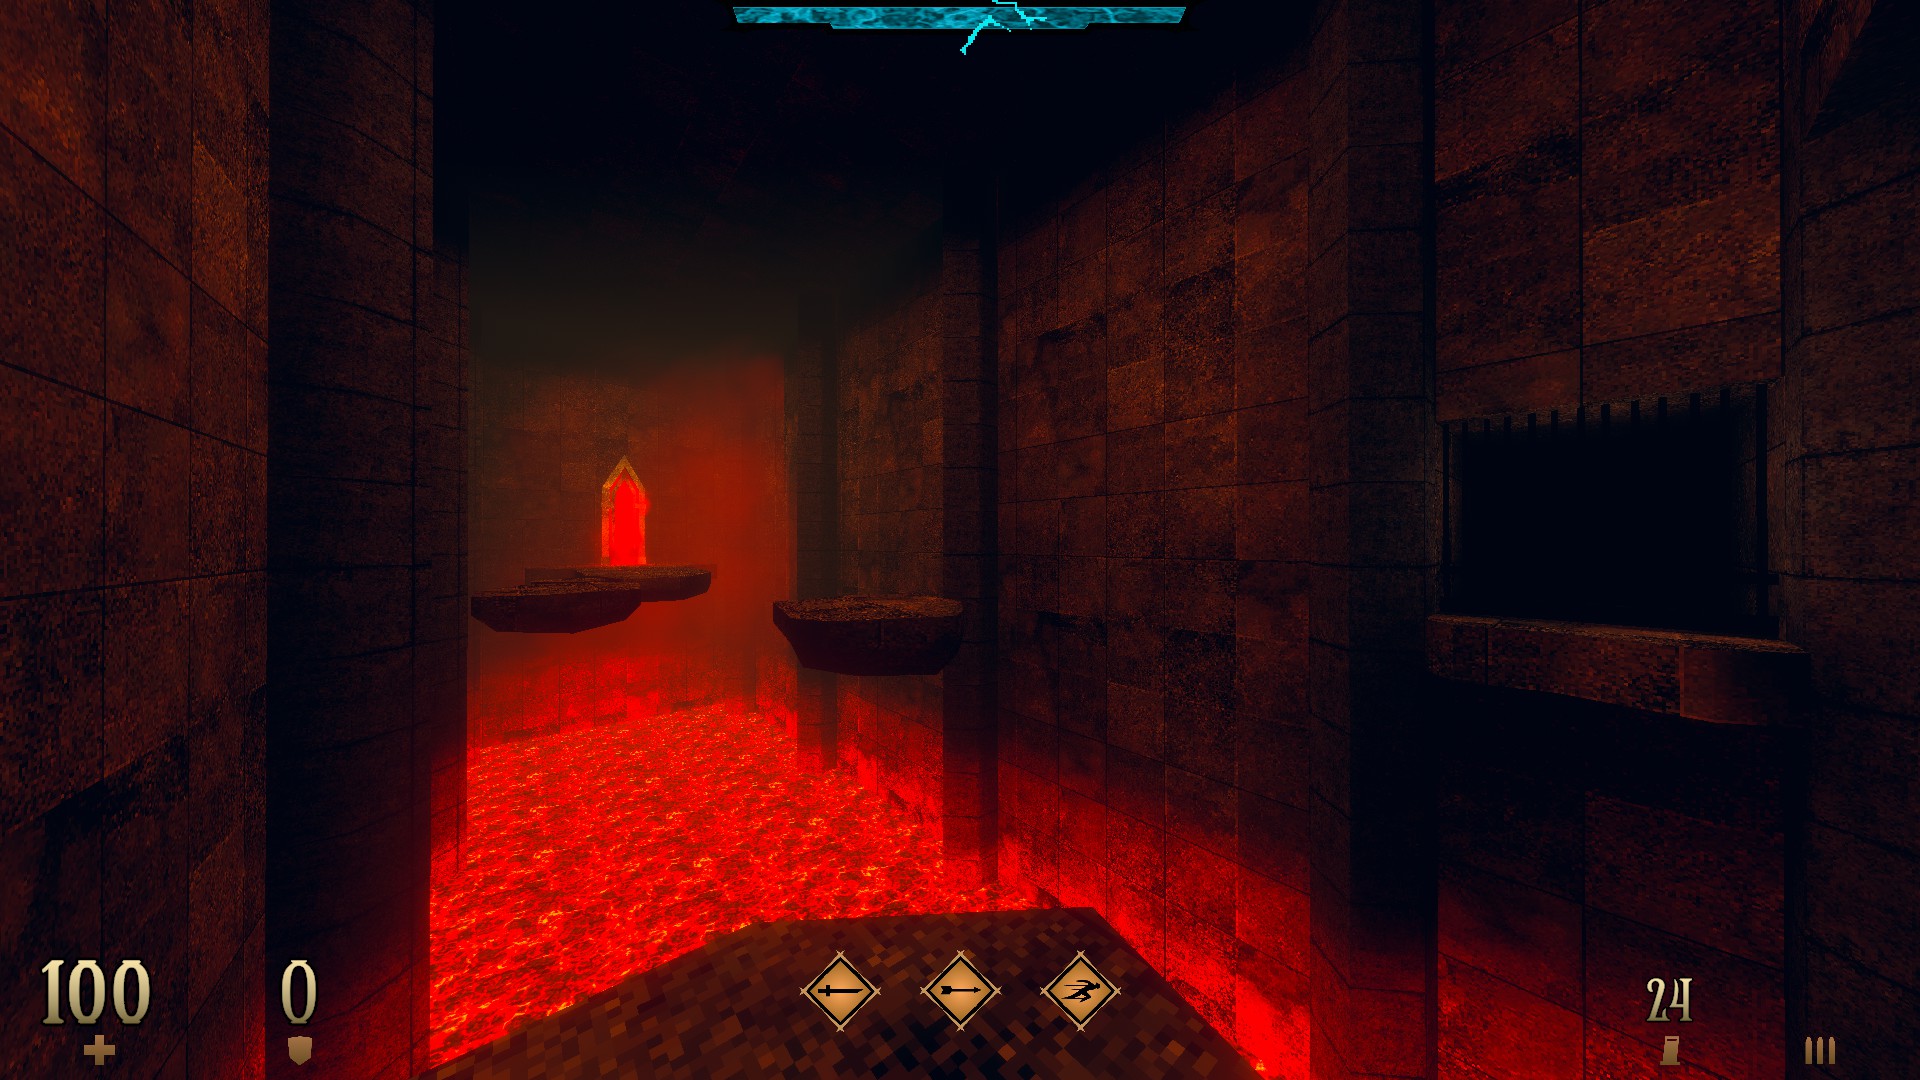
Dread Templar Walkthrough Guide - All Secrets on Episode 1 - Tutorial - 79450C9

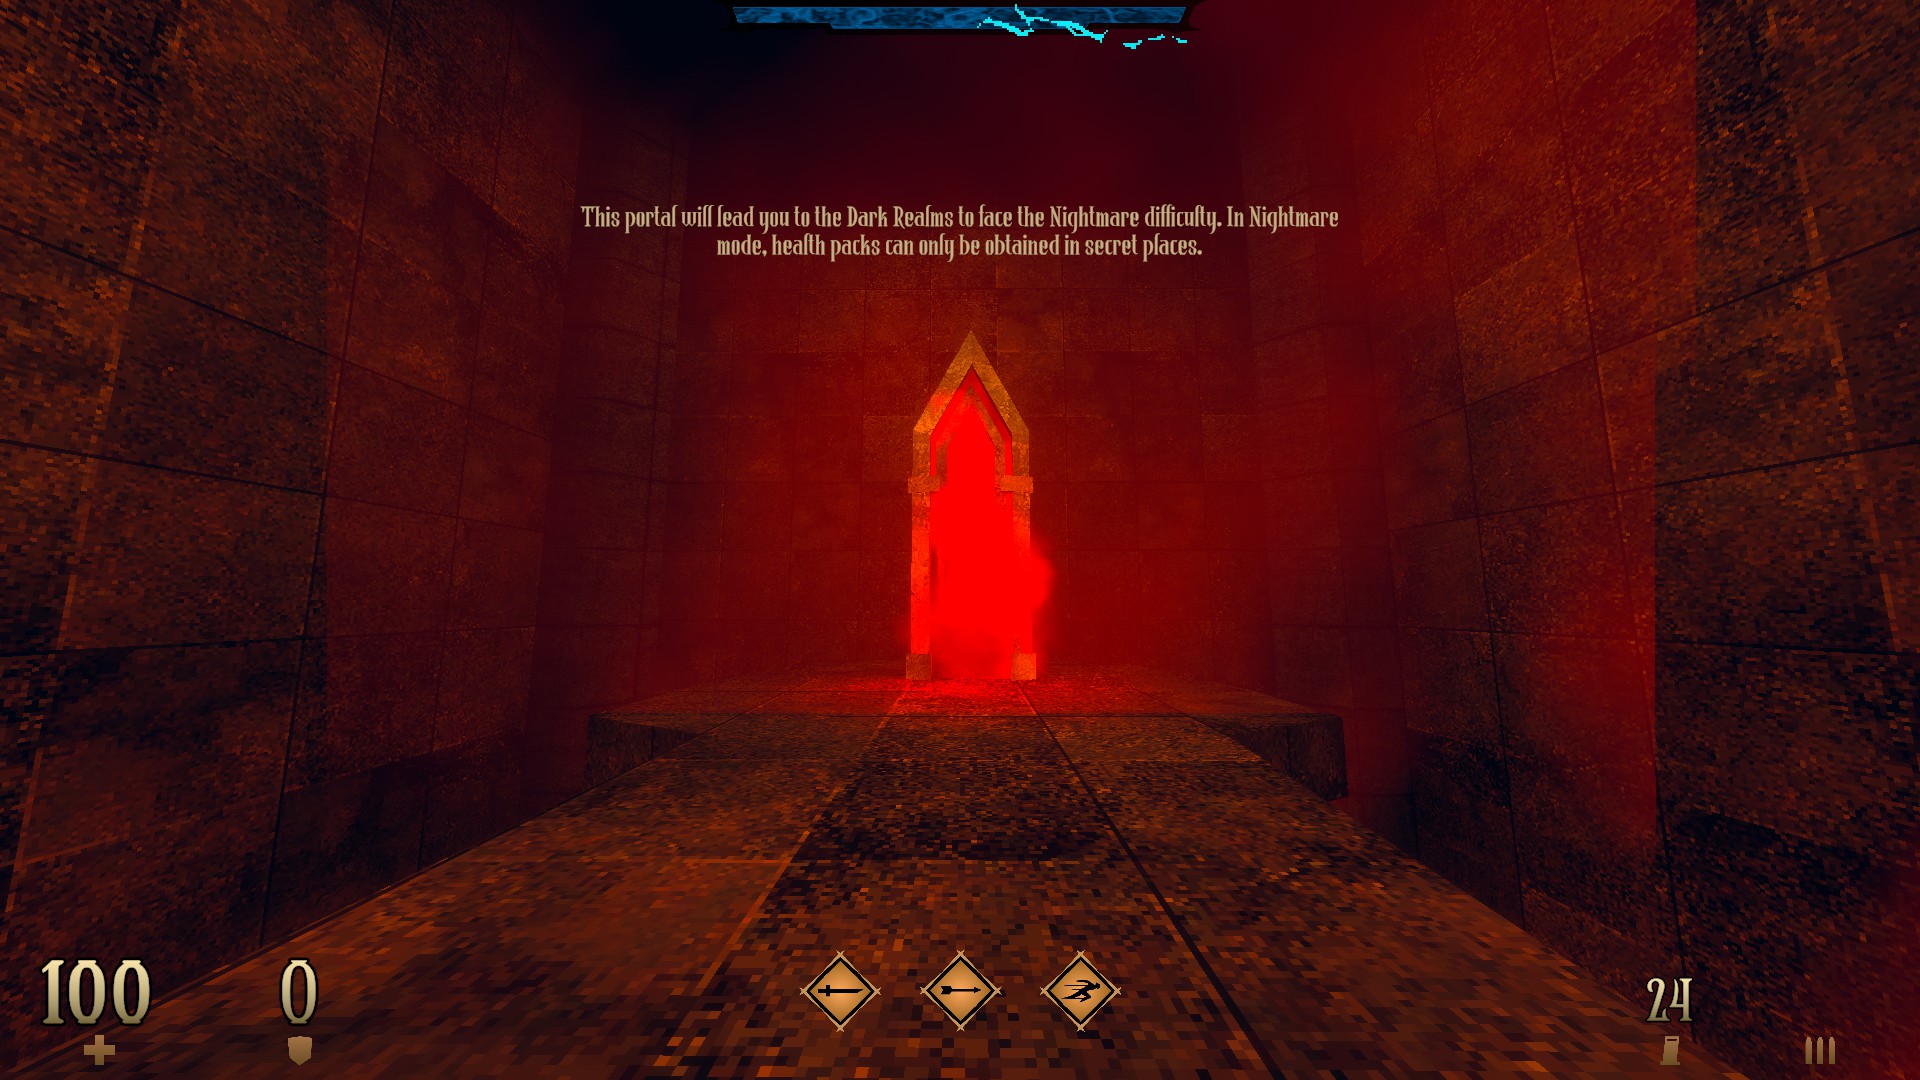
Dread Templar Walkthrough Guide - All Secrets on Episode 1 - Tutorial - C6915BD

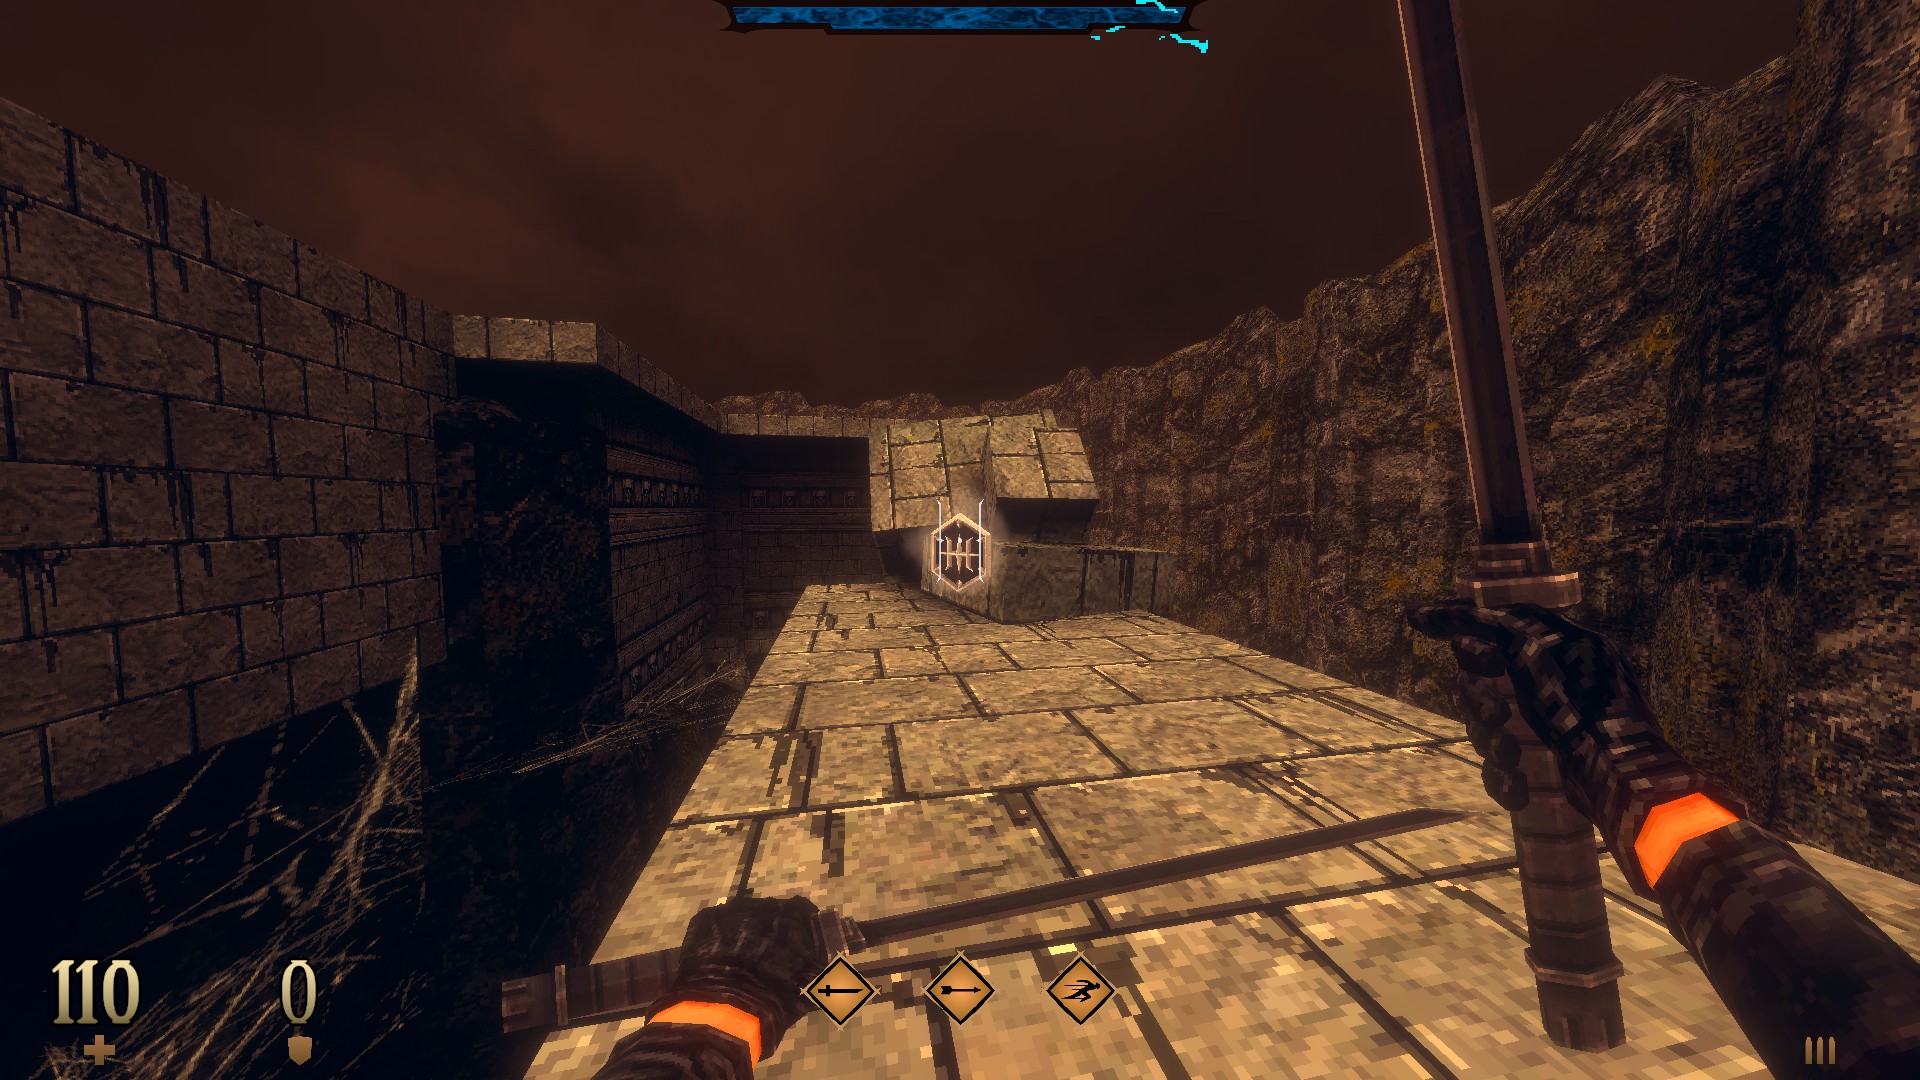
1/1 – Turn right and open the gate that leads to campaign proper. Instead of stepping into the portal, turn back and use the glowing emblem on the right side. Go through the newly-opened door and dash your way to the portal at the end to access Nightmare difficulty.
E1M1: The Beginning

IMPORTANT: Your emblems and character setup are kept separately from your game progression for the difficulty level you are playing on. This means that you can return to completed levels via level selection, grab the emblems and the blood gems you missed on your first run and return to your saved game to have an expanded selection for that matter. Throughout the guide, emblems and blood gems are mentioned in brackets in the descriptions of the secrets they are found in.
This level contains 7 secrets and a super secret.

Dread Templar Walkthrough Guide - All Secrets on Episode 1 - E1M1: The Beginning - 4C63B18

Dread Templar Walkthrough Guide - All Secrets on Episode 1 - E1M1: The Beginning - D75F304

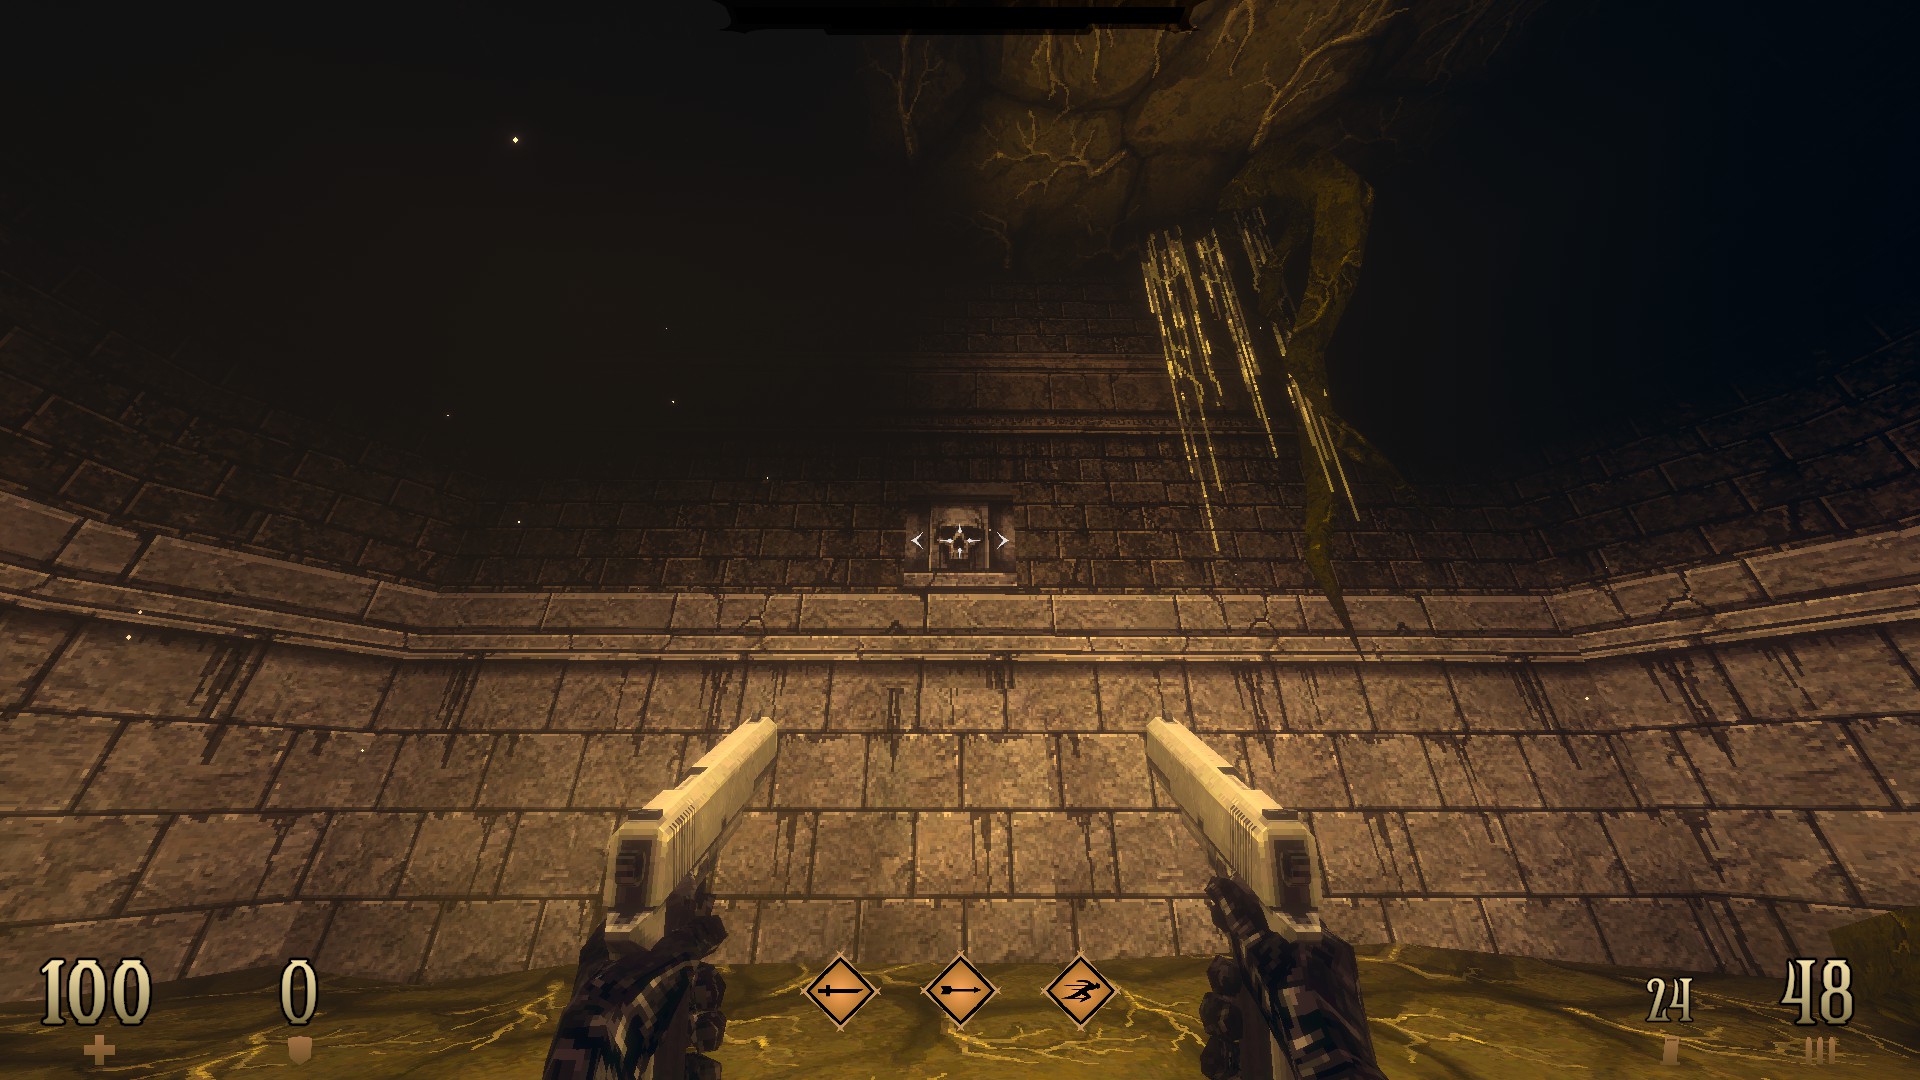
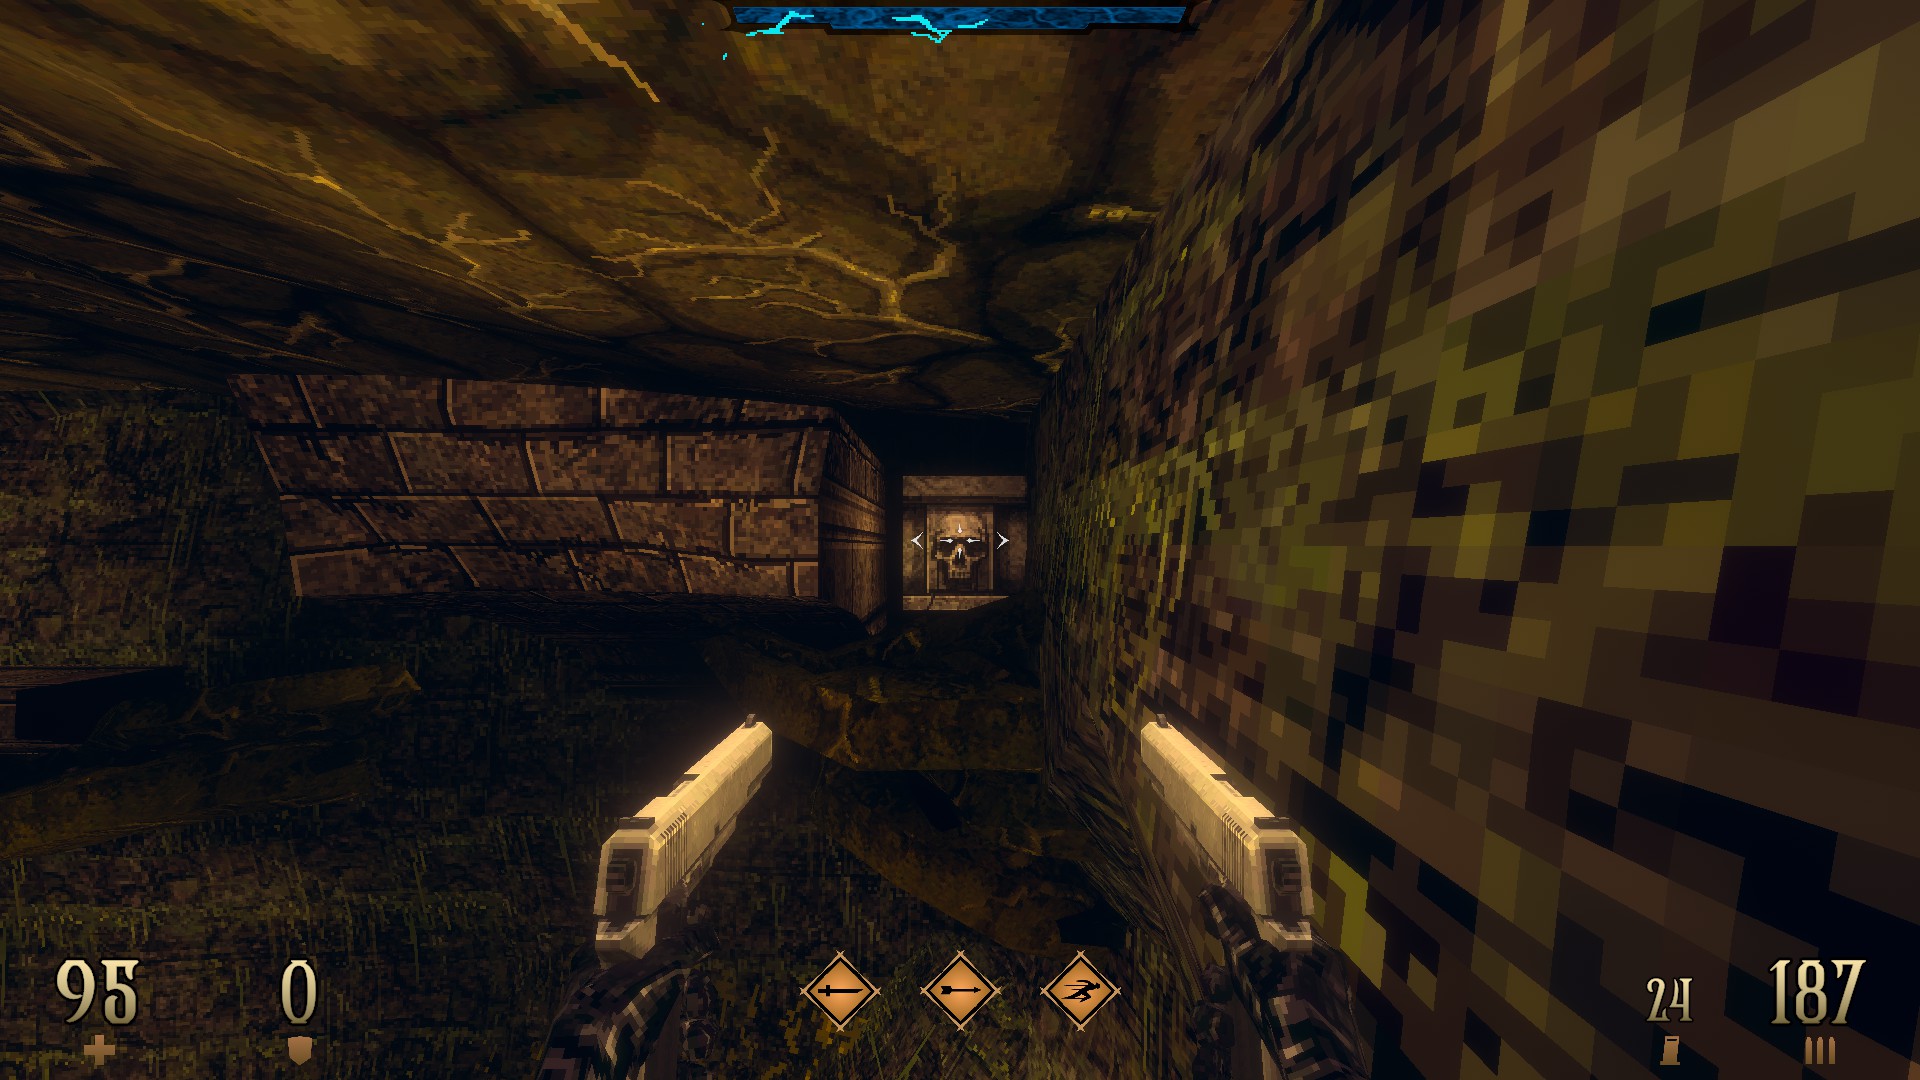
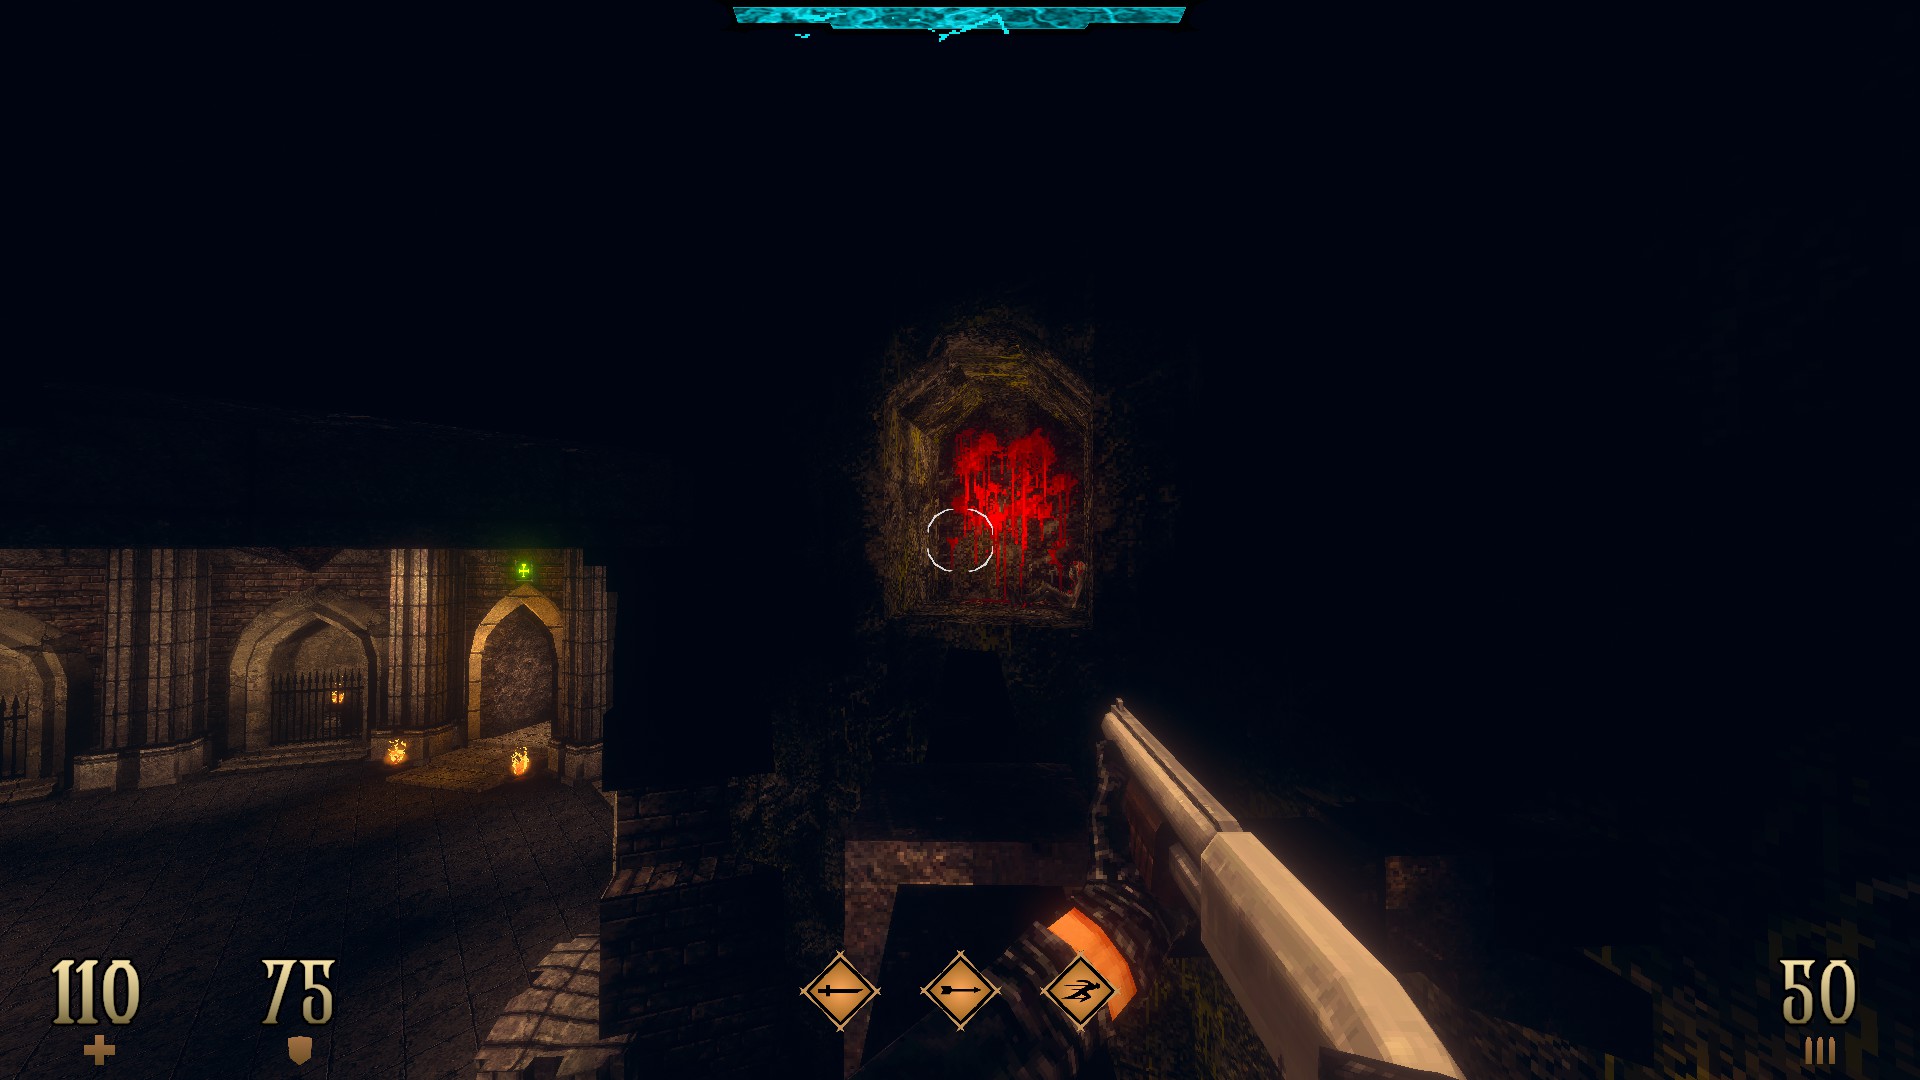
1/7 – Turn around at the beginning and shoot the skull plate to reveal a hidden compartment.

Dread Templar Walkthrough Guide - All Secrets on Episode 1 - E1M1: The Beginning - D200F23

Dread Templar Walkthrough Guide - All Secrets on Episode 1 - E1M1: The Beginning - 53455BE

2/7 – Break the crates under the stairs and crawl in to find a hidden compartment.

Dread Templar Walkthrough Guide - All Secrets on Episode 1 - E1M1: The Beginning - 1B8F8A7

Dread Templar Walkthrough Guide - All Secrets on Episode 1 - E1M1: The Beginning - 327DFD3

Dread Templar Walkthrough Guide - All Secrets on Episode 1 - E1M1: The Beginning - 3374EFA

Dread Templar Walkthrough Guide - All Secrets on Episode 1 - E1M1: The Beginning - B3C0E07

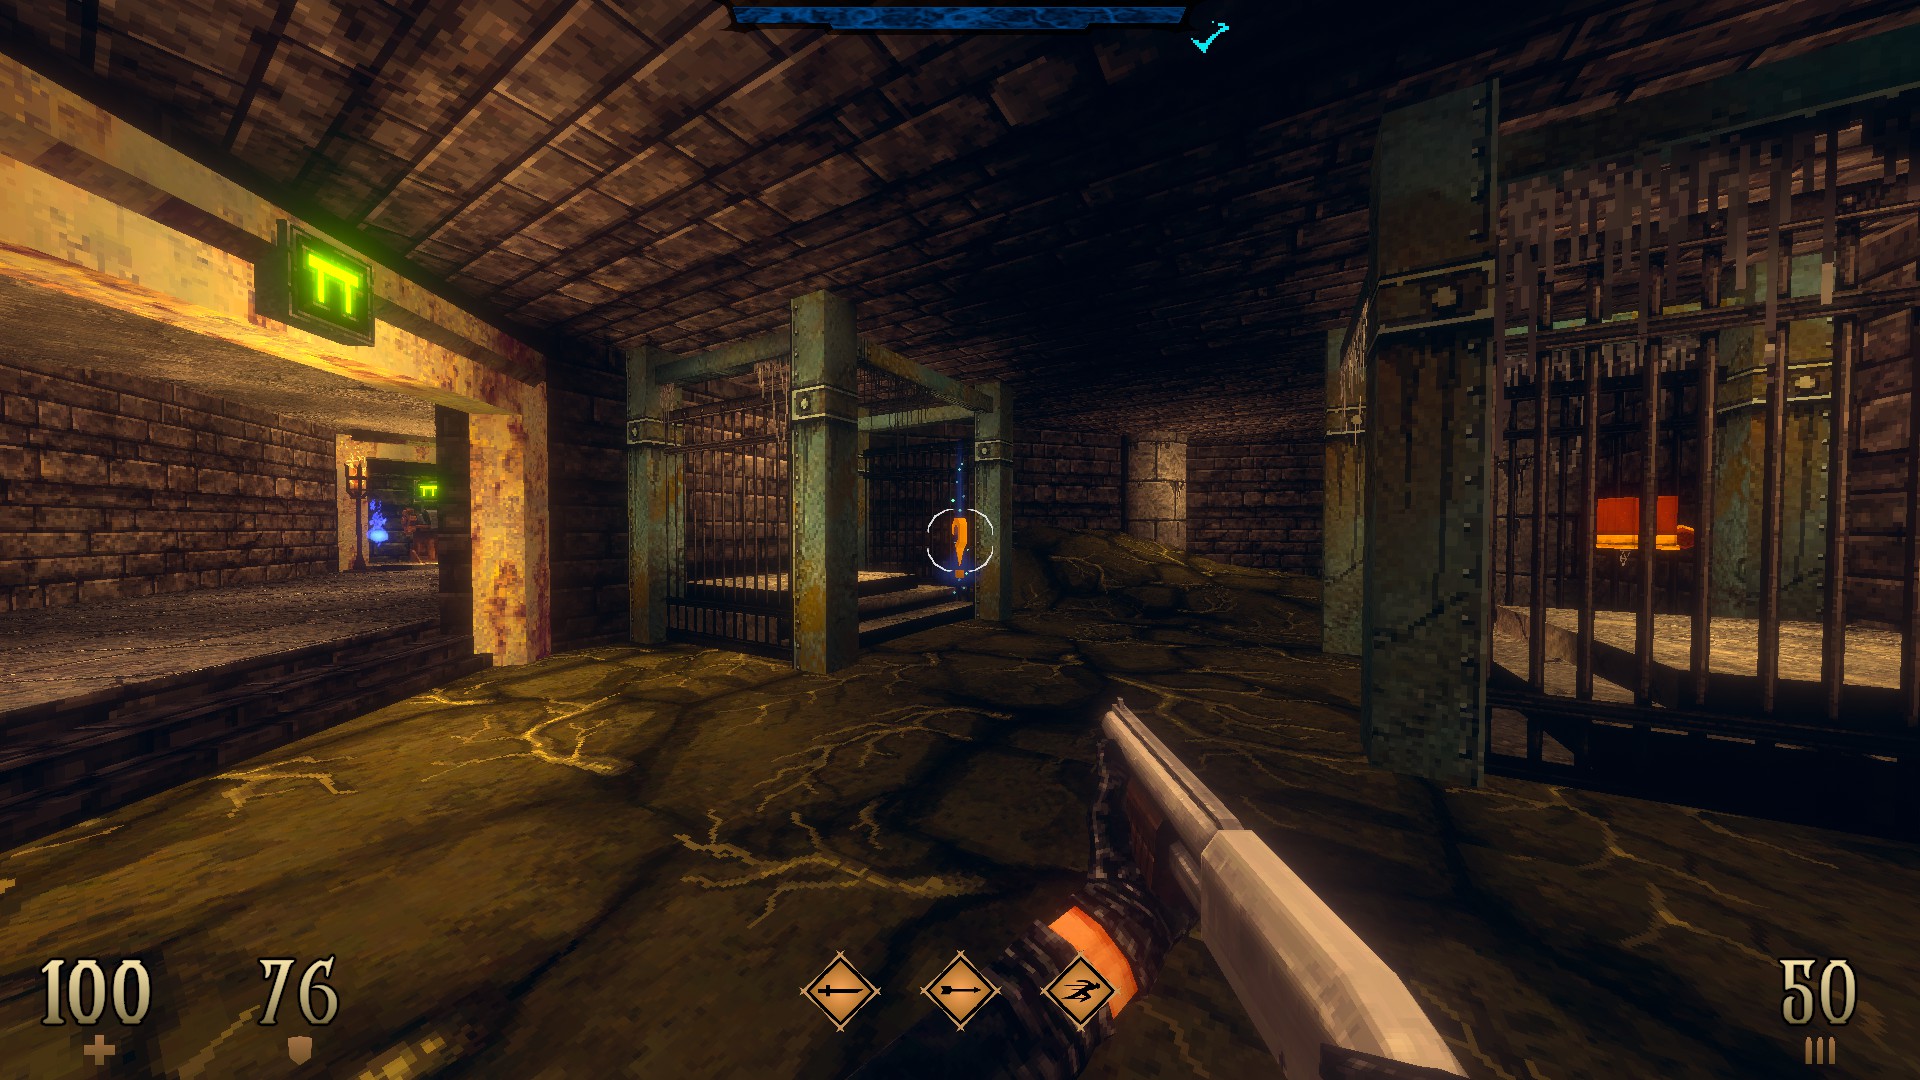
3/7 – Break the crates and use the unlit torch behind to open up the locked compartment in the same room. Move alongside the fence to reach it.

Dread Templar Walkthrough Guide - All Secrets on Episode 1 - E1M1: The Beginning - 4ECE201

Dread Templar Walkthrough Guide - All Secrets on Episode 1 - E1M1: The Beginning - 3EB6B50

4/7 – Get the armor and use the wall behind it to reveal a hidden compartment.

Dread Templar Walkthrough Guide - All Secrets on Episode 1 - E1M1: The Beginning - 92BFB38

Dread Templar Walkthrough Guide - All Secrets on Episode 1 - E1M1: The Beginning - 4643B8E

Dread Templar Walkthrough Guide - All Secrets on Episode 1 - E1M1: The Beginning - EEA02AC

Dread Templar Walkthrough Guide - All Secrets on Episode 1 - E1M1: The Beginning - CB92793

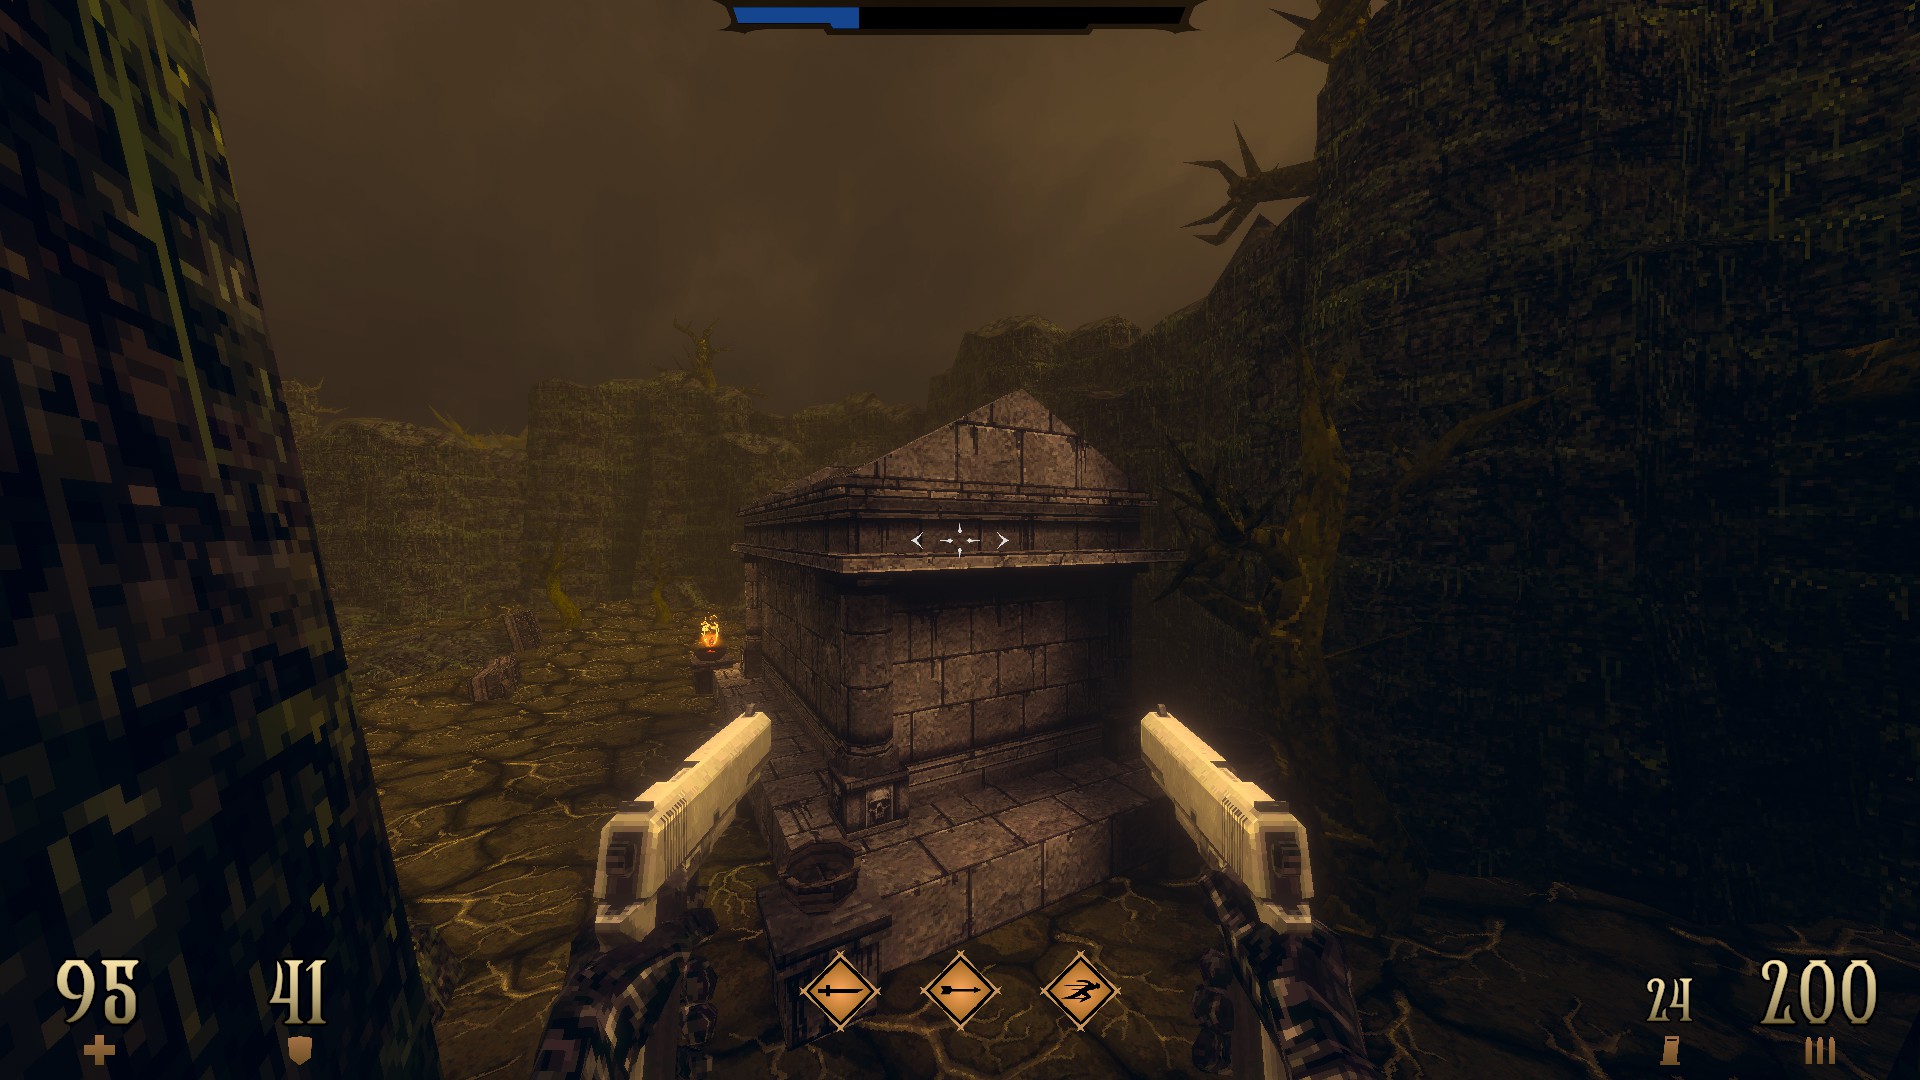
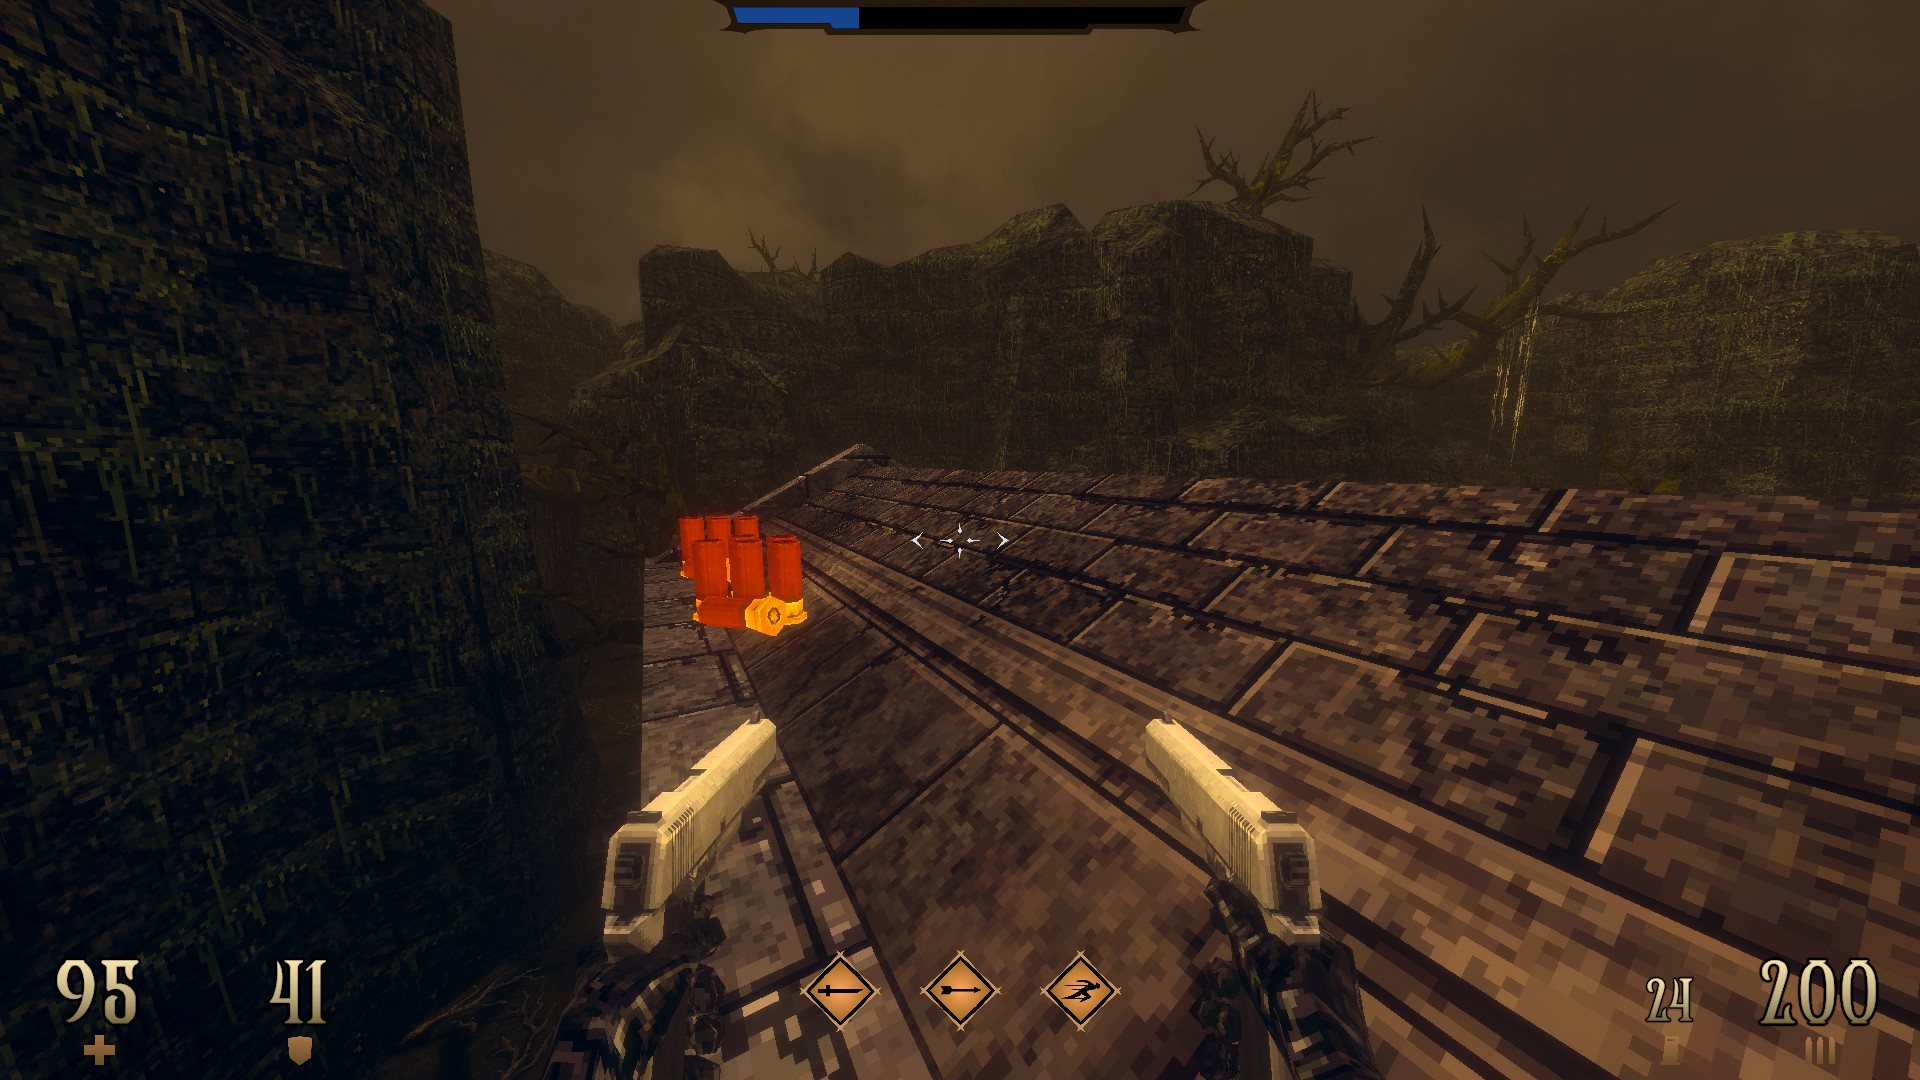
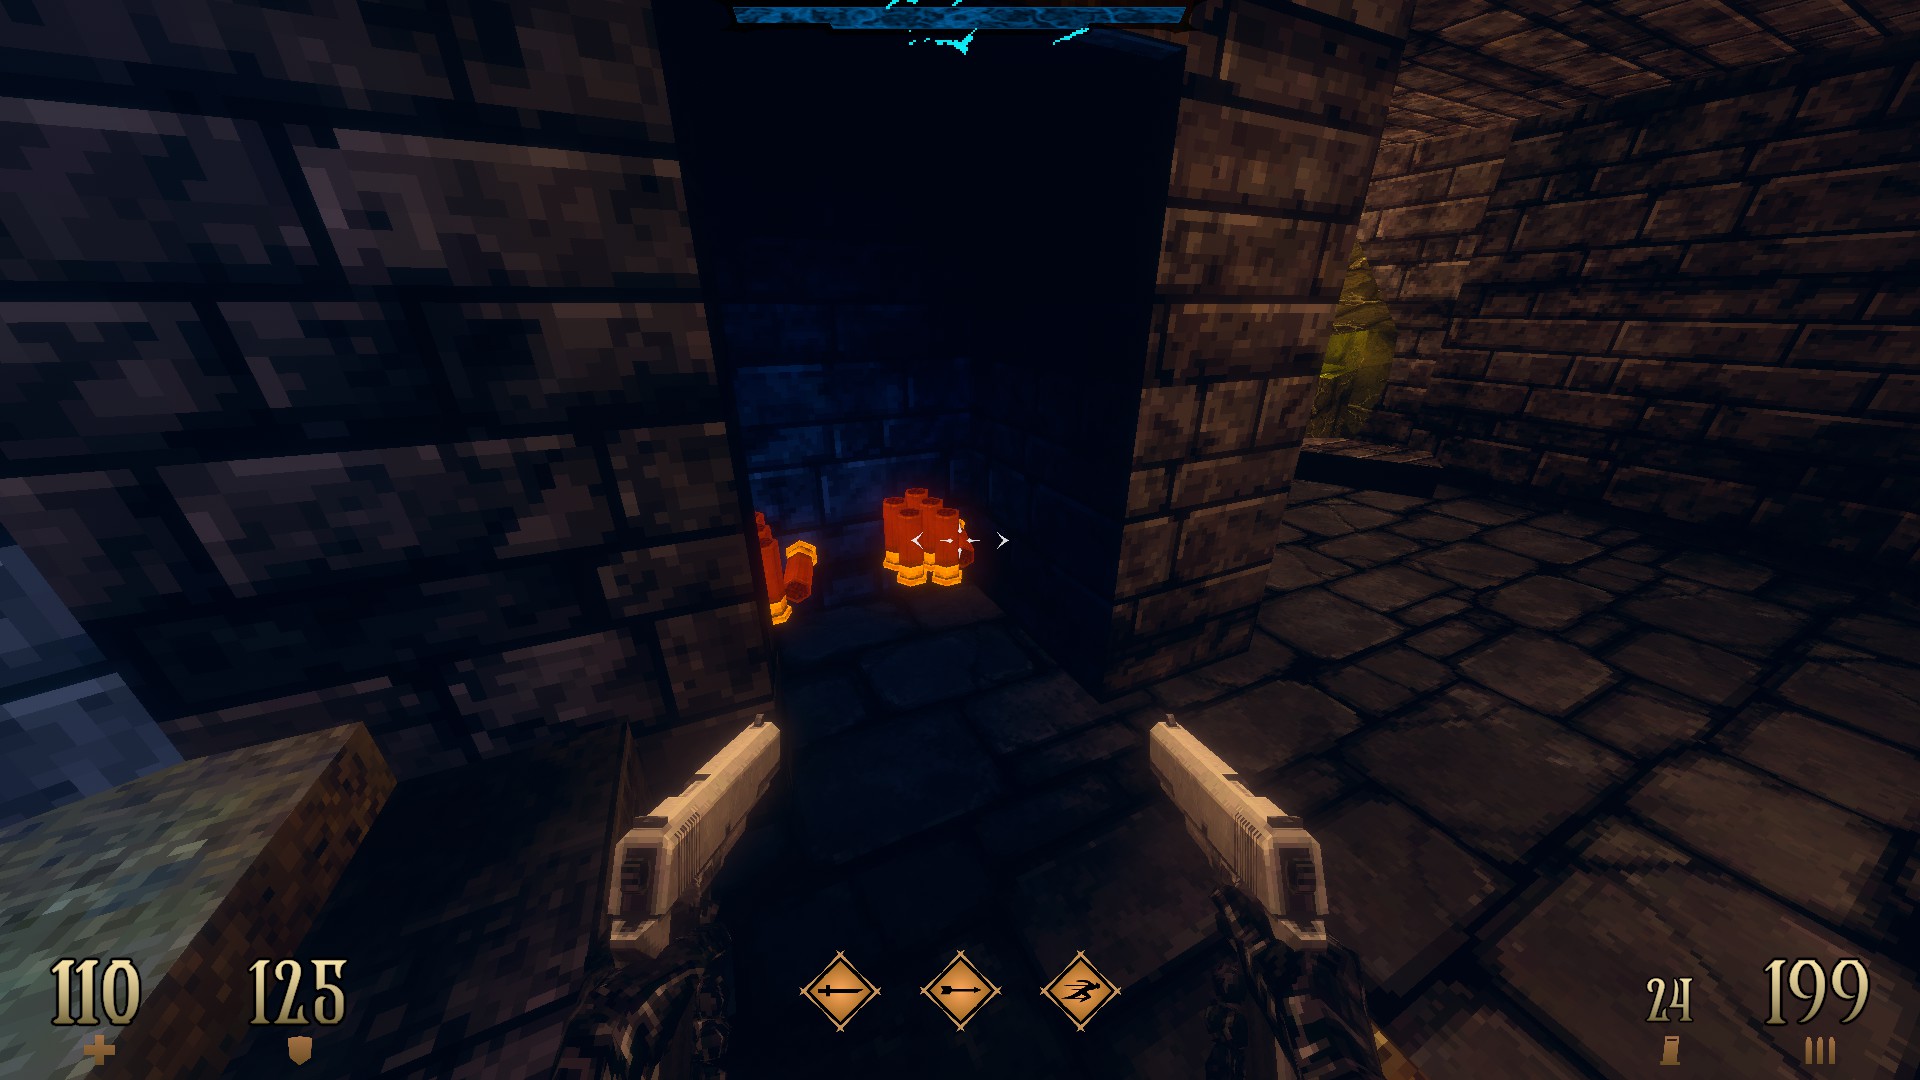
5/7 – Dash your way to the top of the crypt you come out of to find hidden ammo.

Dread Templar Walkthrough Guide - All Secrets on Episode 1 - E1M1: The Beginning - 3F6AA53

Dread Templar Walkthrough Guide - All Secrets on Episode 1 - E1M1: The Beginning - 7BF6038

Dread Templar Walkthrough Guide - All Secrets on Episode 1 - E1M1: The Beginning - 872E969

Dread Templar Walkthrough Guide - All Secrets on Episode 1 - E1M1: The Beginning - 542282F

6/7 – Dash your way up to the broken wall above the elevator to find hidden ammo.

Dread Templar Walkthrough Guide - All Secrets on Episode 1 - E1M1: The Beginning - 15C0B35

Dread Templar Walkthrough Guide - All Secrets on Episode 1 - E1M1: The Beginning - E32886F

Dread Templar Walkthrough Guide - All Secrets on Episode 1 - E1M1: The Beginning - B6F7493

Dread Templar Walkthrough Guide - All Secrets on Episode 1 - E1M1: The Beginning - 1E7F404

7/7 – Dash your way from the bridge to the part that juts out in the corner. Shoot the skull plate to open up a hidden section right below. (Shotgun Rush)

Dread Templar Walkthrough Guide - All Secrets on Episode 1 - E1M1: The Beginning - 259FD55

Dread Templar Walkthrough Guide - All Secrets on Episode 1 - E1M1: The Beginning - FB5DDA8

Dread Templar Walkthrough Guide - All Secrets on Episode 1 - E1M1: The Beginning - A46583E

Dread Templar Walkthrough Guide - All Secrets on Episode 1 - E1M1: The Beginning - 4391192

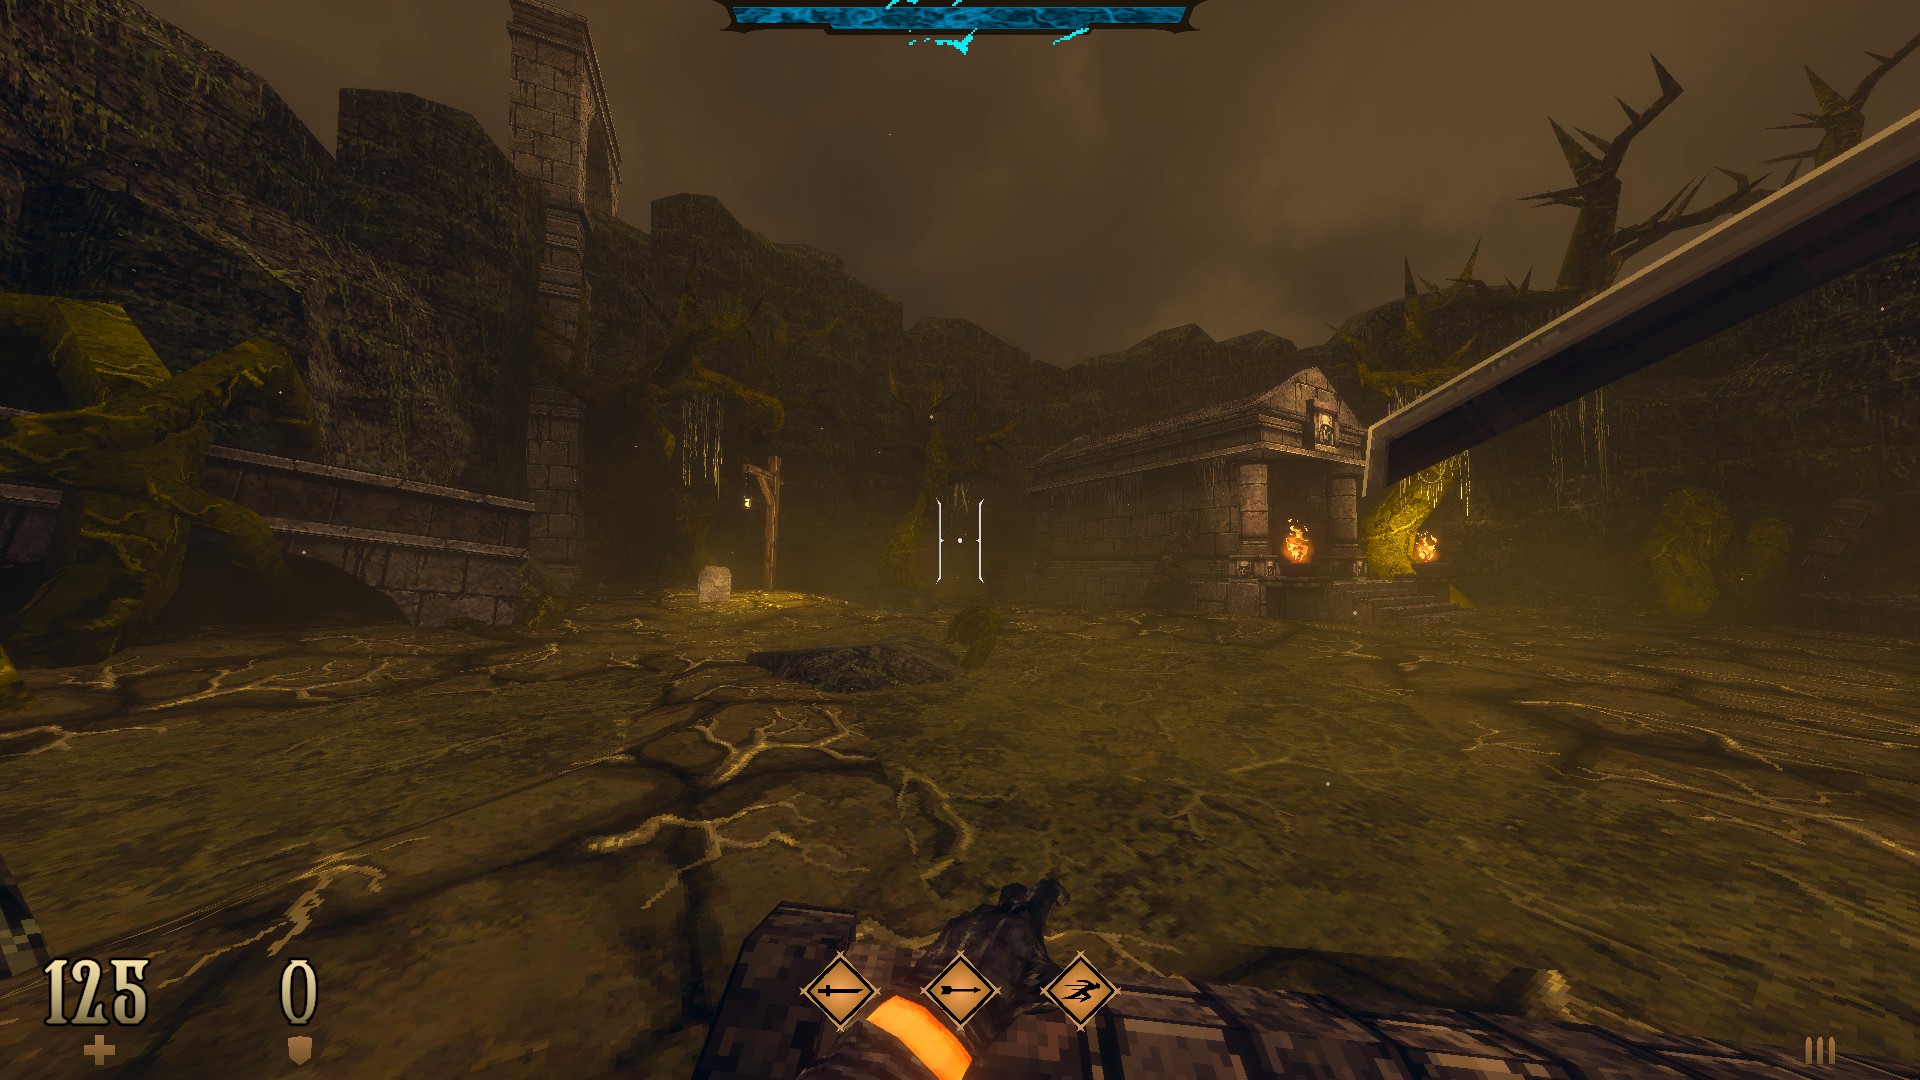
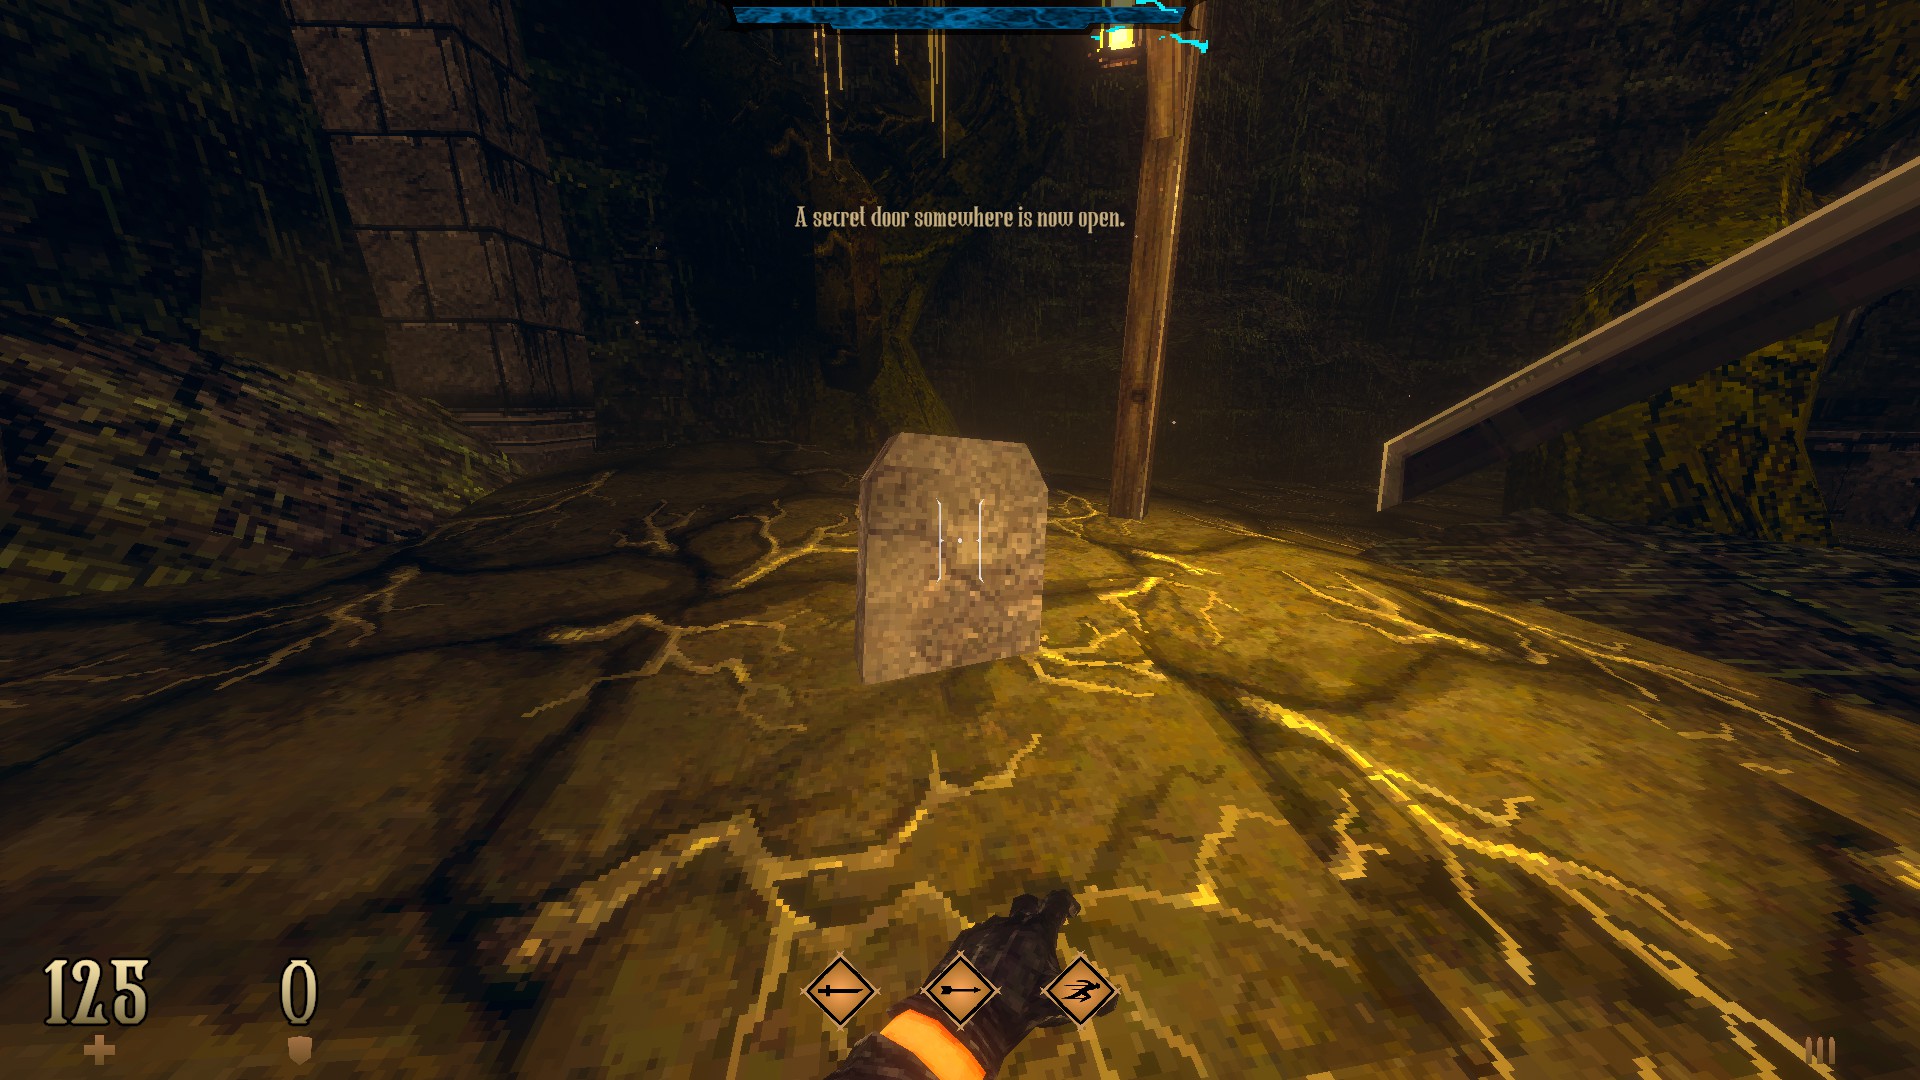
SUPER SECRET – There is a lonely grave near the entrance of the second crypt that reads ‘R.I.P.’ on approach. Stand in front of it till the on-screen message in question changes to ‘A secret door somewhere is now open’. Return to the previous area with a gallows tree at the centre and check the opening on the left for a passage you can crawl through to reach the previously hidden area behind. (Blood Gem)

E1M2: The Prison – Part 1

This level contains 8 secrets and a super secret.

Dread Templar Walkthrough Guide - All Secrets on Episode 1 - E1M2: The Prison - Part 1 - 738A91F

Dread Templar Walkthrough Guide - All Secrets on Episode 1 - E1M2: The Prison - Part 1 - 349EEA5

1/8 – Dive into the water and look for an opening to swim through to reach a hidden section.

Dread Templar Walkthrough Guide - All Secrets on Episode 1 - E1M2: The Prison - Part 1 - 0F7DB82

Dread Templar Walkthrough Guide - All Secrets on Episode 1 - E1M2: The Prison - Part 1 - 87D9001

2/8 – In the side area, look for an opening hidden by the plants and crawl through it to reach hidden health packs.

Dread Templar Walkthrough Guide - All Secrets on Episode 1 - E1M2: The Prison - Part 1 - 3B9A6E6

Dread Templar Walkthrough Guide - All Secrets on Episode 1 - E1M2: The Prison - Part 1 - B714631

3/8 – Use the wall panel to the right of BTE tutorial to reveal hidden ammo.

Dread Templar Walkthrough Guide - All Secrets on Episode 1 - E1M2: The Prison - Part 1 - AB79F24

Dread Templar Walkthrough Guide - All Secrets on Episode 1 - E1M2: The Prison - Part 1 - 2239F03

4/8 – Use the wall behind the SSG pedestal to reveal a hidden armor.

Dread Templar Walkthrough Guide - All Secrets on Episode 1 - E1M2: The Prison - Part 1 - 461A294

Dread Templar Walkthrough Guide - All Secrets on Episode 1 - E1M2: The Prison - Part 1 - 1F71EA6

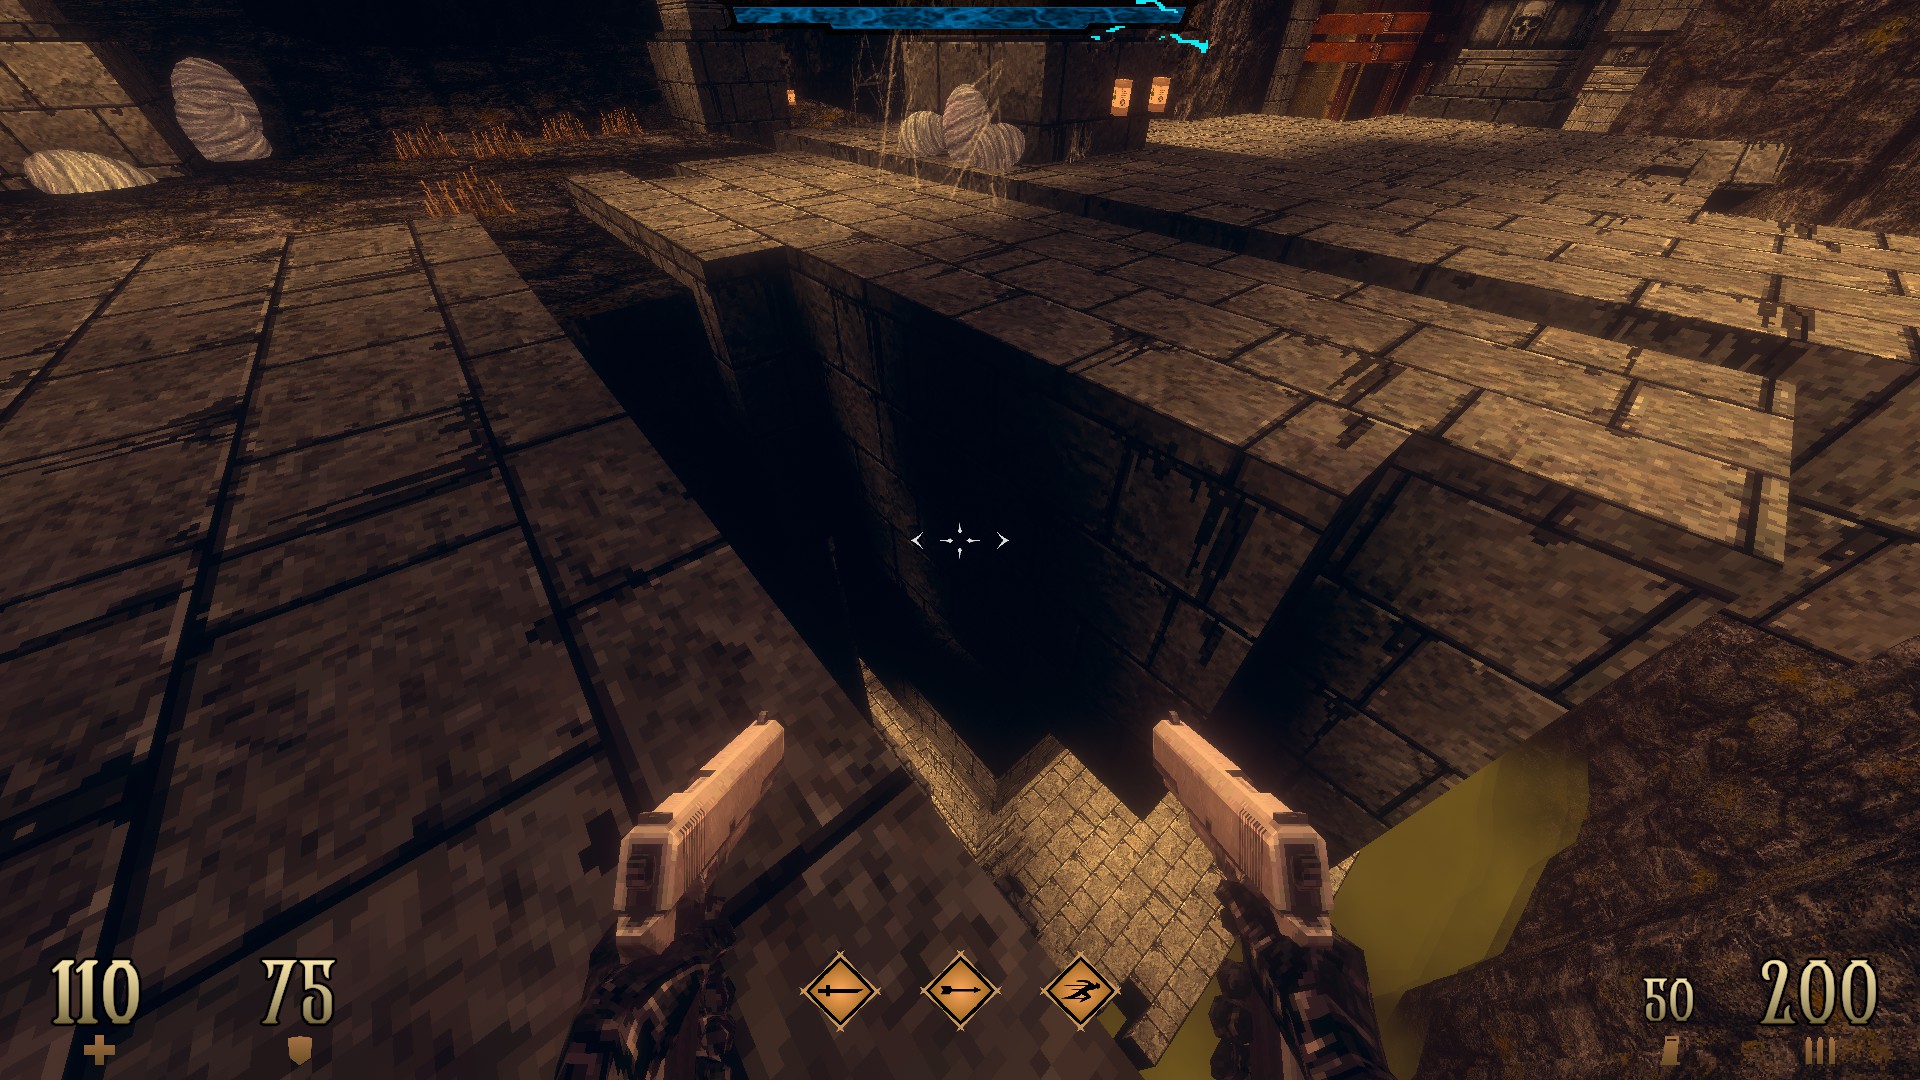
5/8 – Drop down to the area under the bridge to find a hidden emblem. (Templar Rush)

Dread Templar Walkthrough Guide - All Secrets on Episode 1 - E1M2: The Prison - Part 1 - FD89407

Dread Templar Walkthrough Guide - All Secrets on Episode 1 - E1M2: The Prison - Part 1 - 987C993

6/8 – Break the crates and use the wall behind them to reveal a hidden compartment.

Dread Templar Walkthrough Guide - All Secrets on Episode 1 - E1M2: The Prison - Part 1 - 5BB6F68

Dread Templar Walkthrough Guide - All Secrets on Episode 1 - E1M2: The Prison - Part 1 - DC2BC05

7/8 – Use the unlit torch to reveal a ladder that leads to a hidden section. (Black Bow Focus)

Dread Templar Walkthrough Guide - All Secrets on Episode 1 - E1M2: The Prison - Part 1 - DE5FB92

Dread Templar Walkthrough Guide - All Secrets on Episode 1 - E1M2: The Prison - Part 1 - C676939

8/8 – Dash your way to the out of reach armor.

Dread Templar Walkthrough Guide - All Secrets on Episode 1 - E1M2: The Prison - Part 1 - 4A429C6

Dread Templar Walkthrough Guide - All Secrets on Episode 1 - E1M2: The Prison - Part 1 - 86704F9

Dread Templar Walkthrough Guide - All Secrets on Episode 1 - E1M2: The Prison - Part 1 - F608095

Dread Templar Walkthrough Guide - All Secrets on Episode 1 - E1M2: The Prison - Part 1 - 9064230

SUPER SECRET – First, shoot the three semi-hidden emblems all located underwater. The first one is next to the central pillar of the three-way bridge, the second one is under the sunken arch found next to the first secret and the last one is in the tunnel leading to the side area entrance. After shooting the emblems, return to the SSG pedestal and use the glowing symbol on the wall to get teleported to a hidden area. (The Archer -G- and a Blood Gem)

E1M3: The Prison – Part 2

This level contains 10 secrets and a super secret.

Dread Templar Walkthrough Guide - All Secrets on Episode 1 - E1M3: The Prison - Part 2 - 3DC13A9

Dread Templar Walkthrough Guide - All Secrets on Episode 1 - E1M3: The Prison - Part 2 - 0AB35A3

1/10 – Use the wall below the duo of torches to reveal hidden ammo.

Dread Templar Walkthrough Guide - All Secrets on Episode 1 - E1M3: The Prison - Part 2 - A4DC13B

Dread Templar Walkthrough Guide - All Secrets on Episode 1 - E1M3: The Prison - Part 2 - 2A0B785

2/10 – Jump on top of the crates next to the wall to reach a ladder that leads to hidden items.

Dread Templar Walkthrough Guide - All Secrets on Episode 1 - E1M3: The Prison - Part 2 - 26B0874

Dread Templar Walkthrough Guide - All Secrets on Episode 1 - E1M3: The Prison - Part 2 - 455E0DE

3/10 – Use the unlit torch in the middle and then the bloody wall next to the doorway to reveal a hidden compartment. (Katana Mutilate II)

Dread Templar Walkthrough Guide - All Secrets on Episode 1 - E1M3: The Prison - Part 2 - 065AB64

Dread Templar Walkthrough Guide - All Secrets on Episode 1 - E1M3: The Prison - Part 2 - ECAB82C

4/10 – Crawl into the open drainage pipe to find hidden items.

Dread Templar Walkthrough Guide - All Secrets on Episode 1 - E1M3: The Prison - Part 2 - 13AE11F

Dread Templar Walkthrough Guide - All Secrets on Episode 1 - E1M3: The Prison - Part 2 - BDE0CC3

5/10 – Drop down to the ledge below the walkway to find a hidden compartment.

Dread Templar Walkthrough Guide - All Secrets on Episode 1 - E1M3: The Prison - Part 2 - 658081C

Dread Templar Walkthrough Guide - All Secrets on Episode 1 - E1M3: The Prison - Part 2 - A9B023B

6/10 – In the side area, look for an opening near the two pipes in the middle and drop down into it to find hidden items.

Dread Templar Walkthrough Guide - All Secrets on Episode 1 - E1M3: The Prison - Part 2 - A90A8FD

Dread Templar Walkthrough Guide - All Secrets on Episode 1 - E1M3: The Prison - Part 2 - 968A5B5

7/10 – Still in the side area, shoot the skull emblem below the walkway to open the door to the fenced section in the same room.

Dread Templar Walkthrough Guide - All Secrets on Episode 1 - E1M3: The Prison - Part 2 - 1A45C1E

Dread Templar Walkthrough Guide - All Secrets on Episode 1 - E1M3: The Prison - Part 2 - 862FDE4

8/10 – In the room next to the side area entrance, crawl into the opening behind the crates to find a hidden item.

Dread Templar Walkthrough Guide - All Secrets on Episode 1 - E1M3: The Prison - Part 2 - 6A42071

Dread Templar Walkthrough Guide - All Secrets on Episode 1 - E1M3: The Prison - Part 2 - A4EA54B

9/10 – Use to wall behind the unlit torch next to the yellow key pedestal to reveal another hidden compartment.

Dread Templar Walkthrough Guide - All Secrets on Episode 1 - E1M3: The Prison - Part 2 - 97566E8

Dread Templar Walkthrough Guide - All Secrets on Episode 1 - E1M3: The Prison - Part 2 - 53B7ACE

10/10 – Shoot the demon emblem to reveal a hidden room behind the nearby bookcase.

Dread Templar Walkthrough Guide - All Secrets on Episode 1 - E1M3: The Prison - Part 2 - F5FD472

Dread Templar Walkthrough Guide - All Secrets on Episode 1 - E1M3: The Prison - Part 2 - 7FCADA8

Dread Templar Walkthrough Guide - All Secrets on Episode 1 - E1M3: The Prison - Part 2 - 68CE240

Dread Templar Walkthrough Guide - All Secrets on Episode 1 - E1M3: The Prison - Part 2 - 751AF29

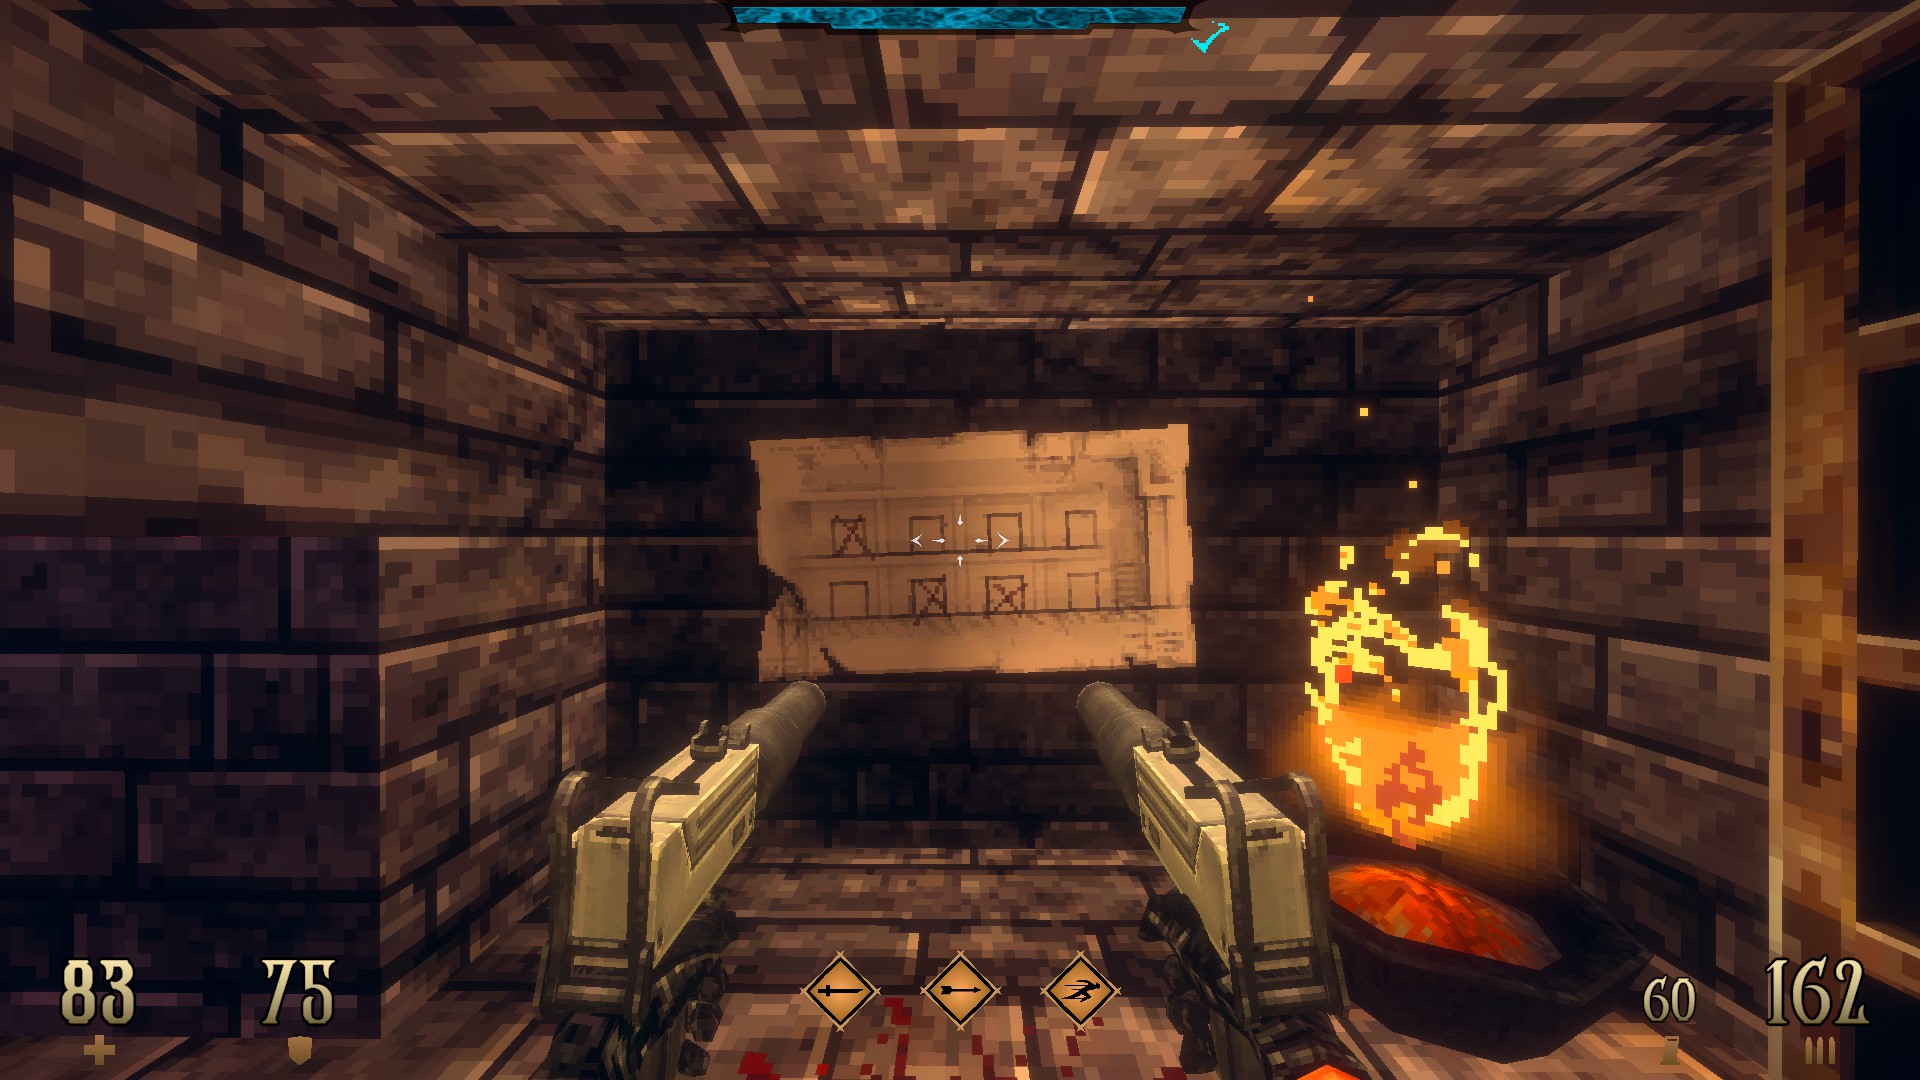
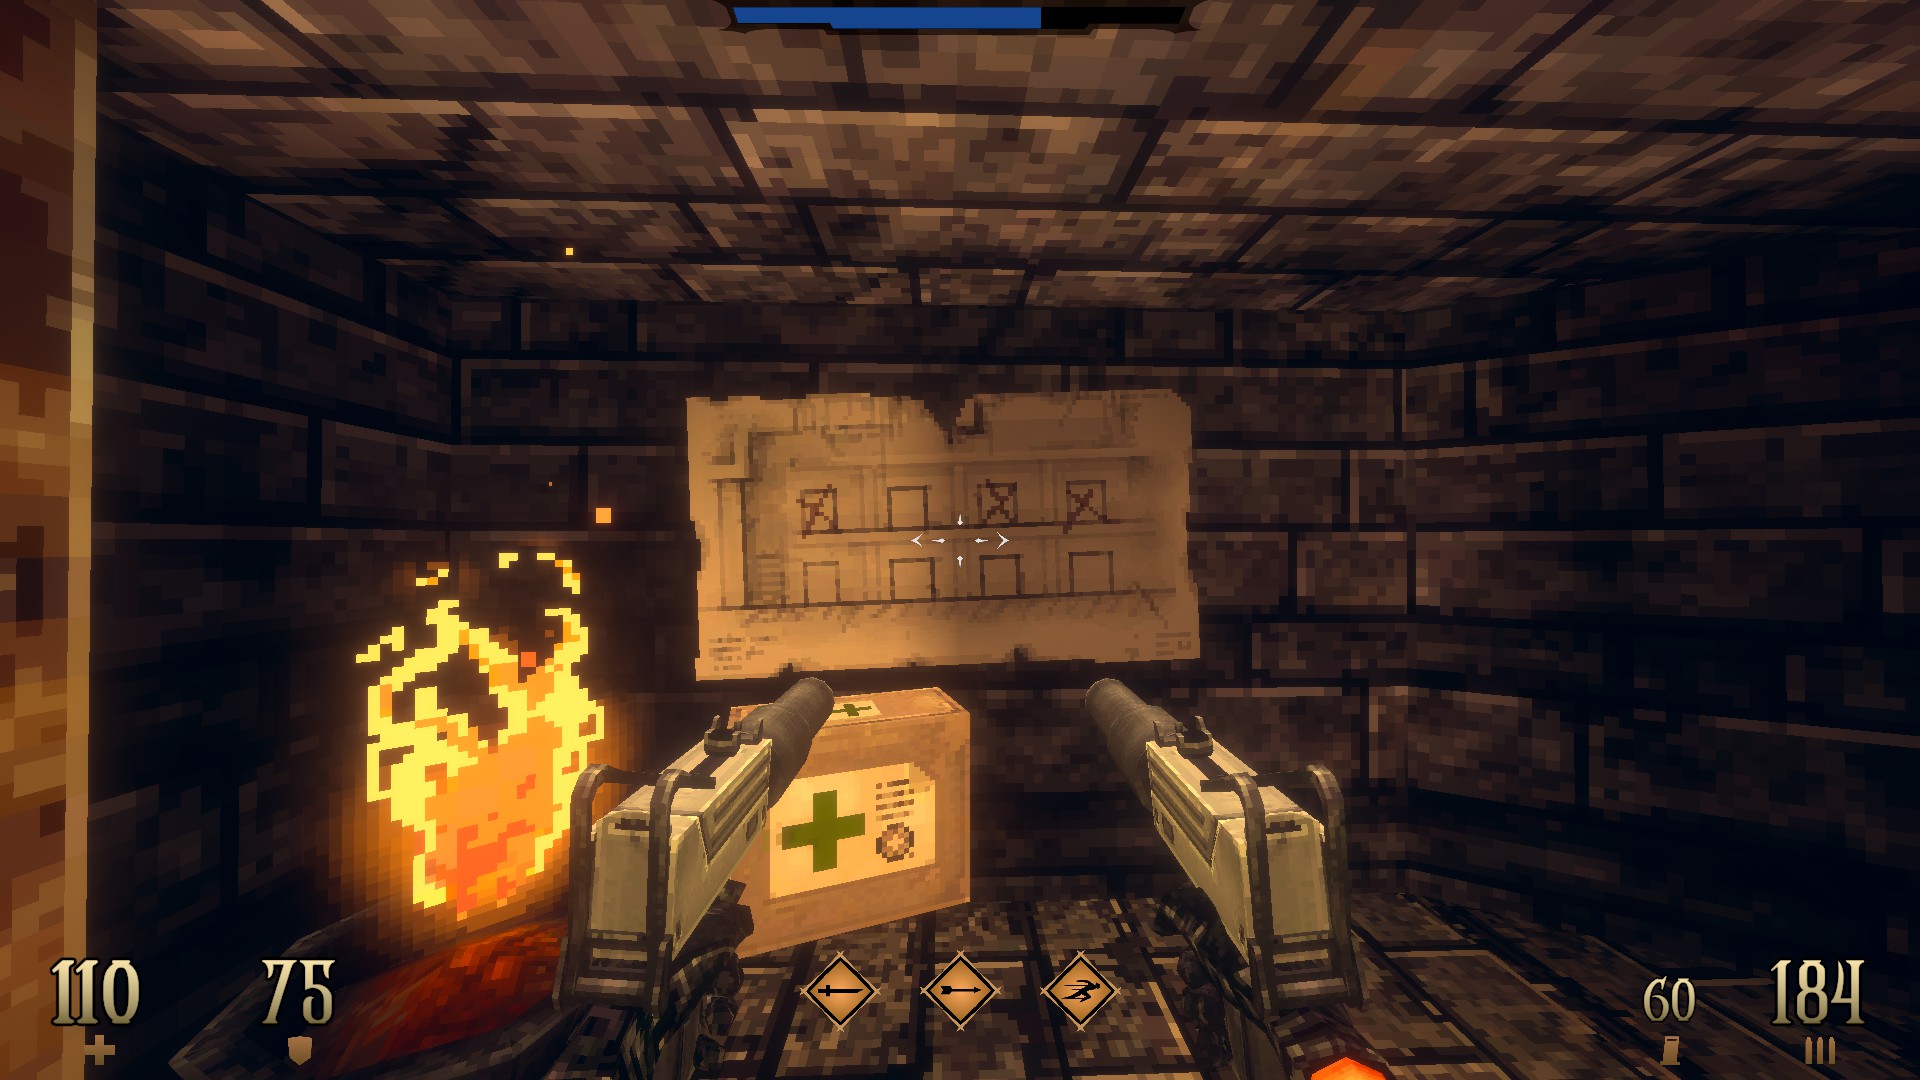
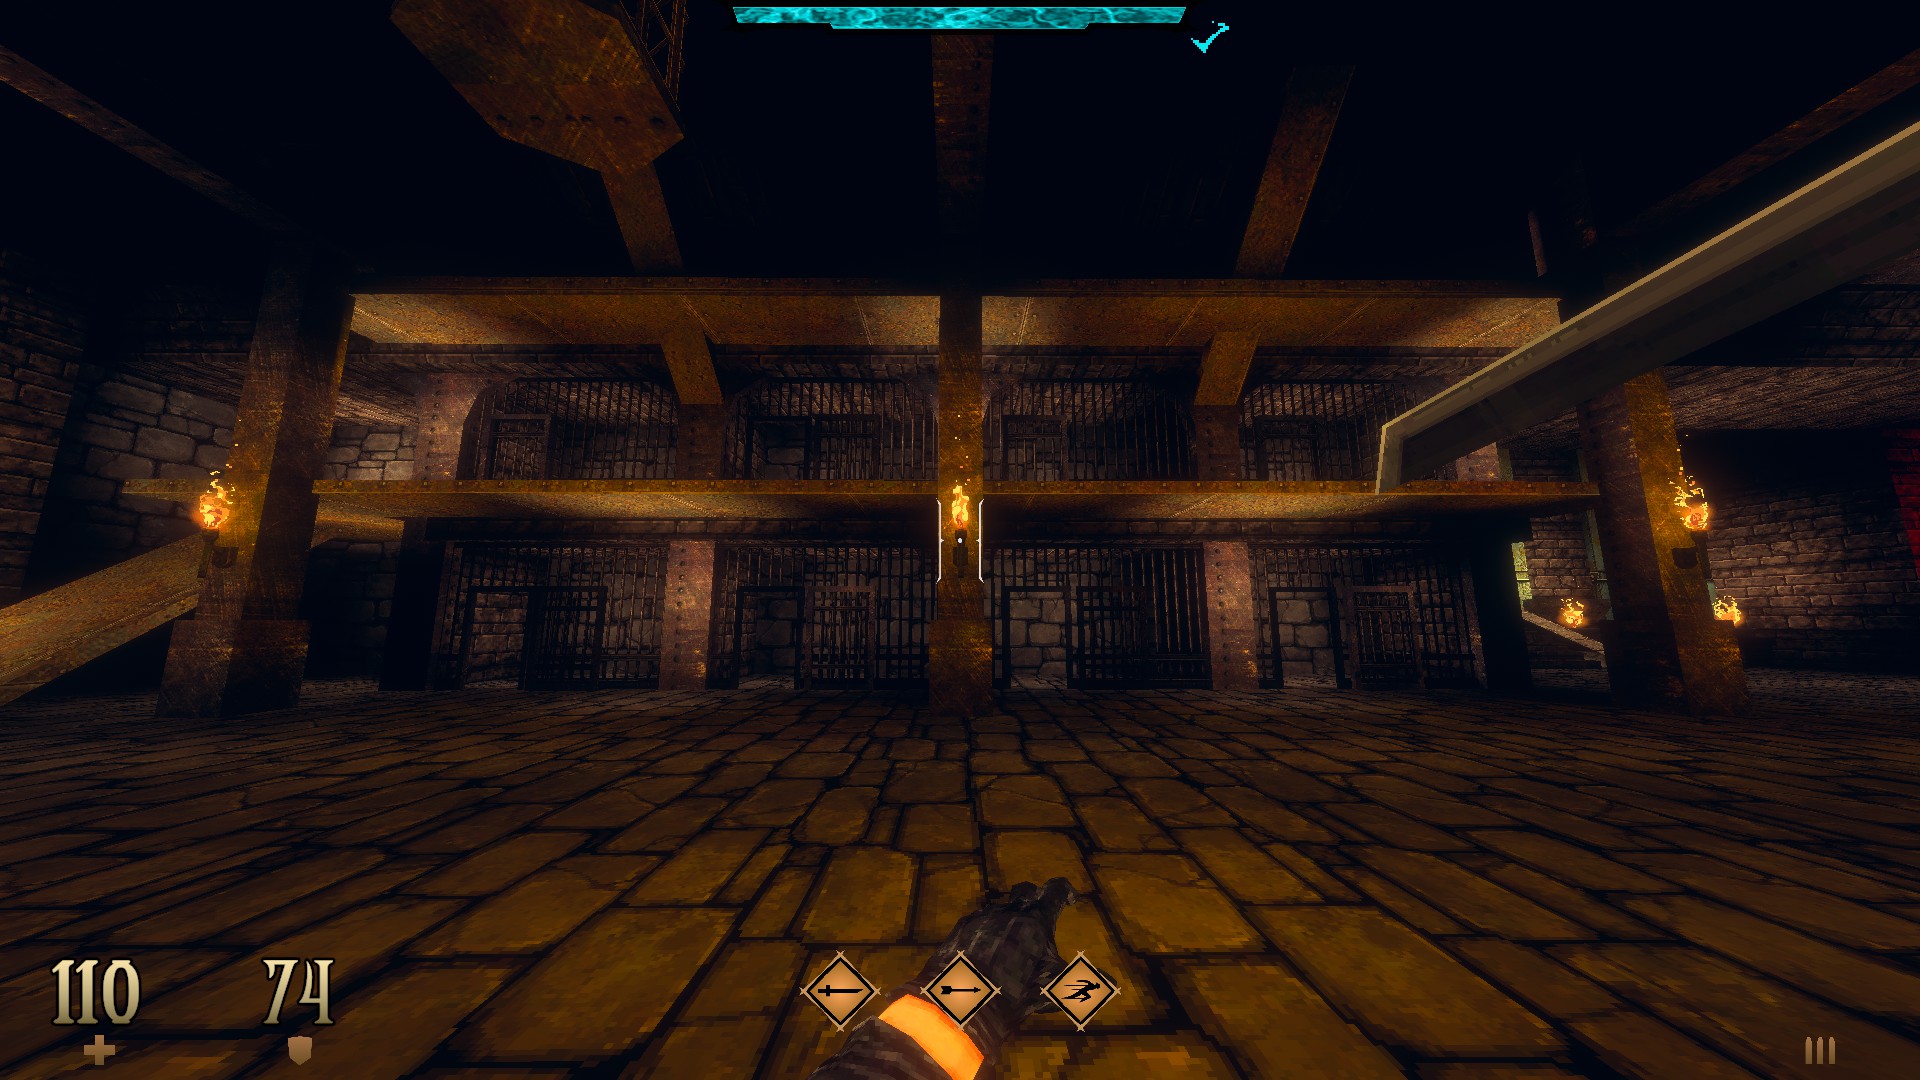
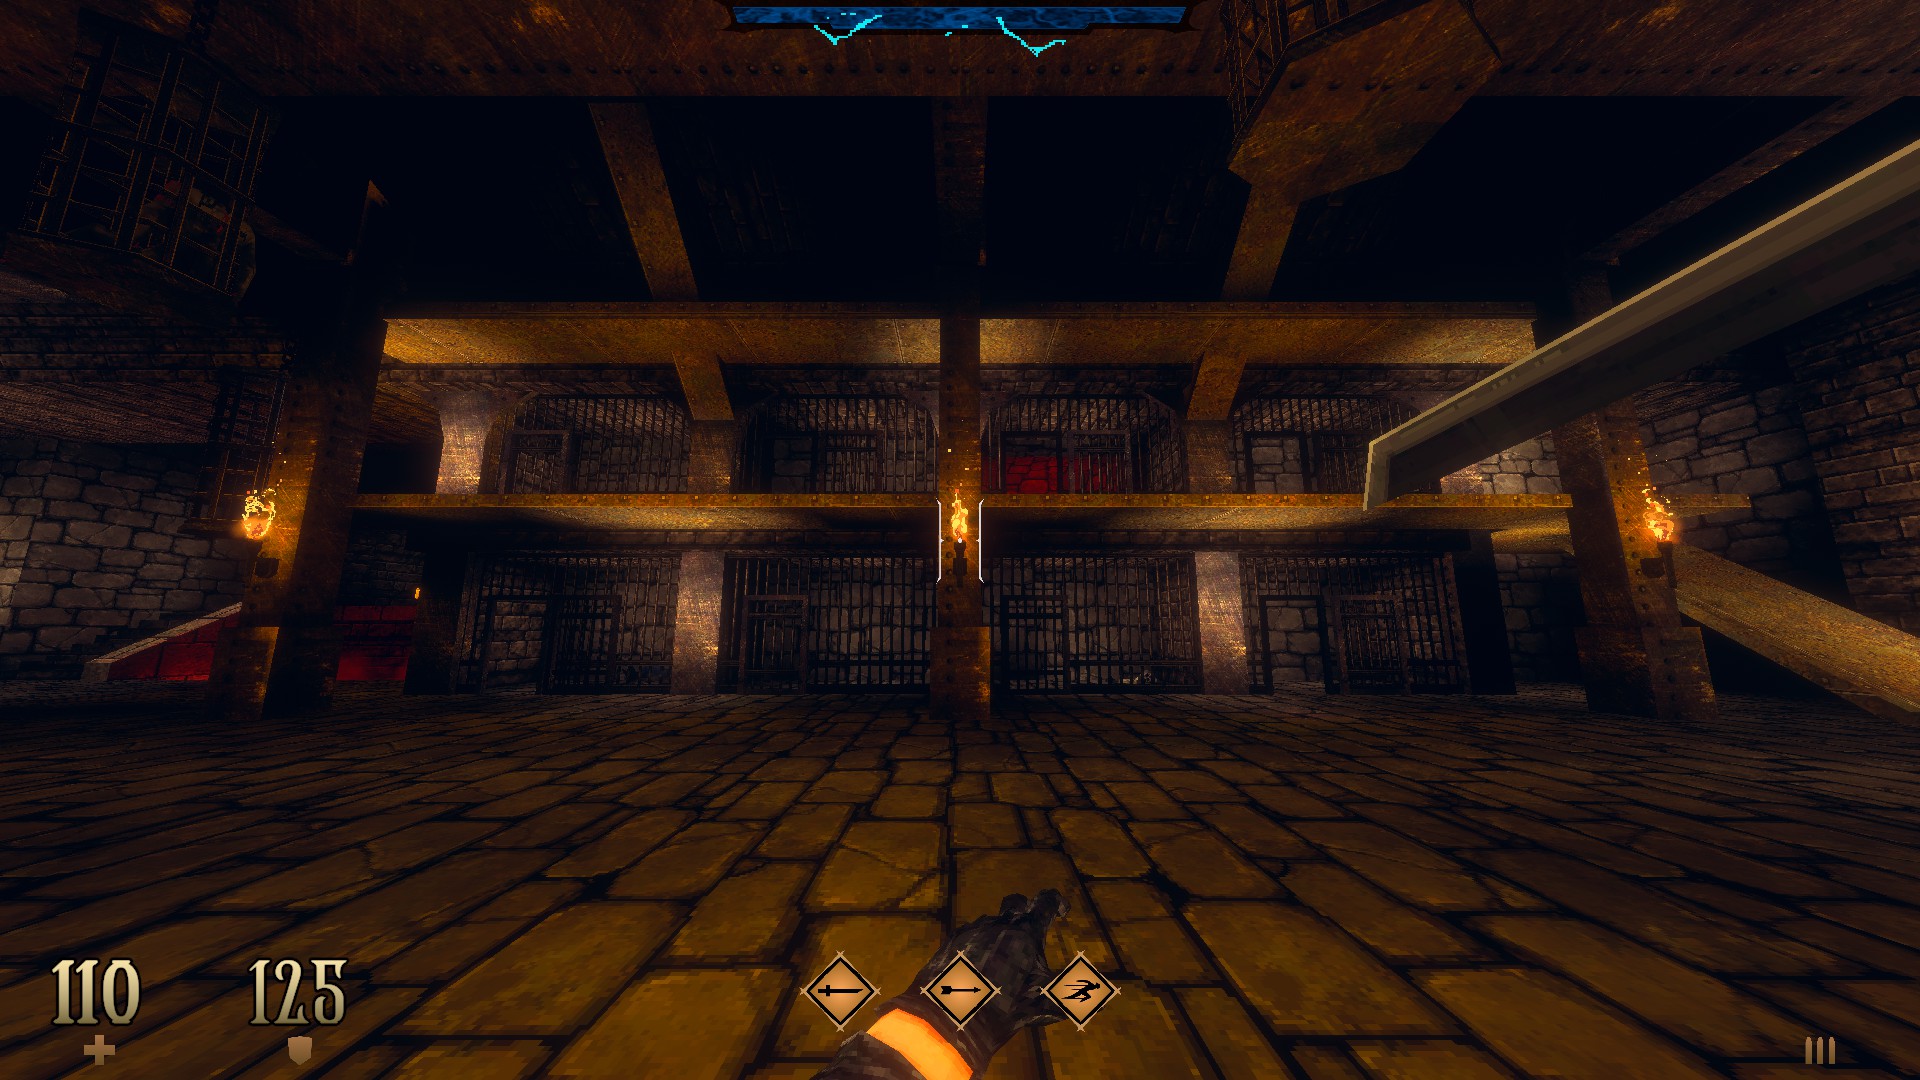
SUPER SECRET – Arrange the cell doors near the end according to the two blueprints found throughout the level to reveal a hidden teleporter in one of them that leads to an out of reach area. (Lightning Spear -G-) (Also unlocks the achievement ‘Grandma’s Attic’.)

E1M4: Back Below the Surface

This level contains 9 secrets and a super secret.

Dread Templar Walkthrough Guide - All Secrets on Episode 1 - E1M4: Back Below the Surface - 8F2E6A4

Dread Templar Walkthrough Guide - All Secrets on Episode 1 - E1M4: Back Below the Surface - EA1F504

1/9 – At the beginning, dash your way up to the opening above to find hidden items.

Dread Templar Walkthrough Guide - All Secrets on Episode 1 - E1M4: Back Below the Surface - F711D1F

Dread Templar Walkthrough Guide - All Secrets on Episode 1 - E1M4: Back Below the Surface - 5BCA6AB

2/9 – Look for an opening to your back as the elevator goes up to find a hidden compartment.

Dread Templar Walkthrough Guide - All Secrets on Episode 1 - E1M4: Back Below the Surface - 82216BE

Dread Templar Walkthrough Guide - All Secrets on Episode 1 - E1M4: Back Below the Surface - 19EF0EF

3/9 – Use the brick wall at the end to access out of reach items.

Dread Templar Walkthrough Guide - All Secrets on Episode 1 - E1M4: Back Below the Surface - 2888134

Dread Templar Walkthrough Guide - All Secrets on Episode 1 - E1M4: Back Below the Surface - 4895D58

4/9 – Jump on top of the crates and make your way to the out of reach armor.

Dread Templar Walkthrough Guide - All Secrets on Episode 1 - E1M4: Back Below the Surface - 3EAD52F

Dread Templar Walkthrough Guide - All Secrets on Episode 1 - E1M4: Back Below the Surface - 102B445

5/9 – At the beginning of the side area, drop down to the ledge below to find hidden items.

Dread Templar Walkthrough Guide - All Secrets on Episode 1 - E1M4: Back Below the Surface - E4831B2

Dread Templar Walkthrough Guide - All Secrets on Episode 1 - E1M4: Back Below the Surface - 156B523

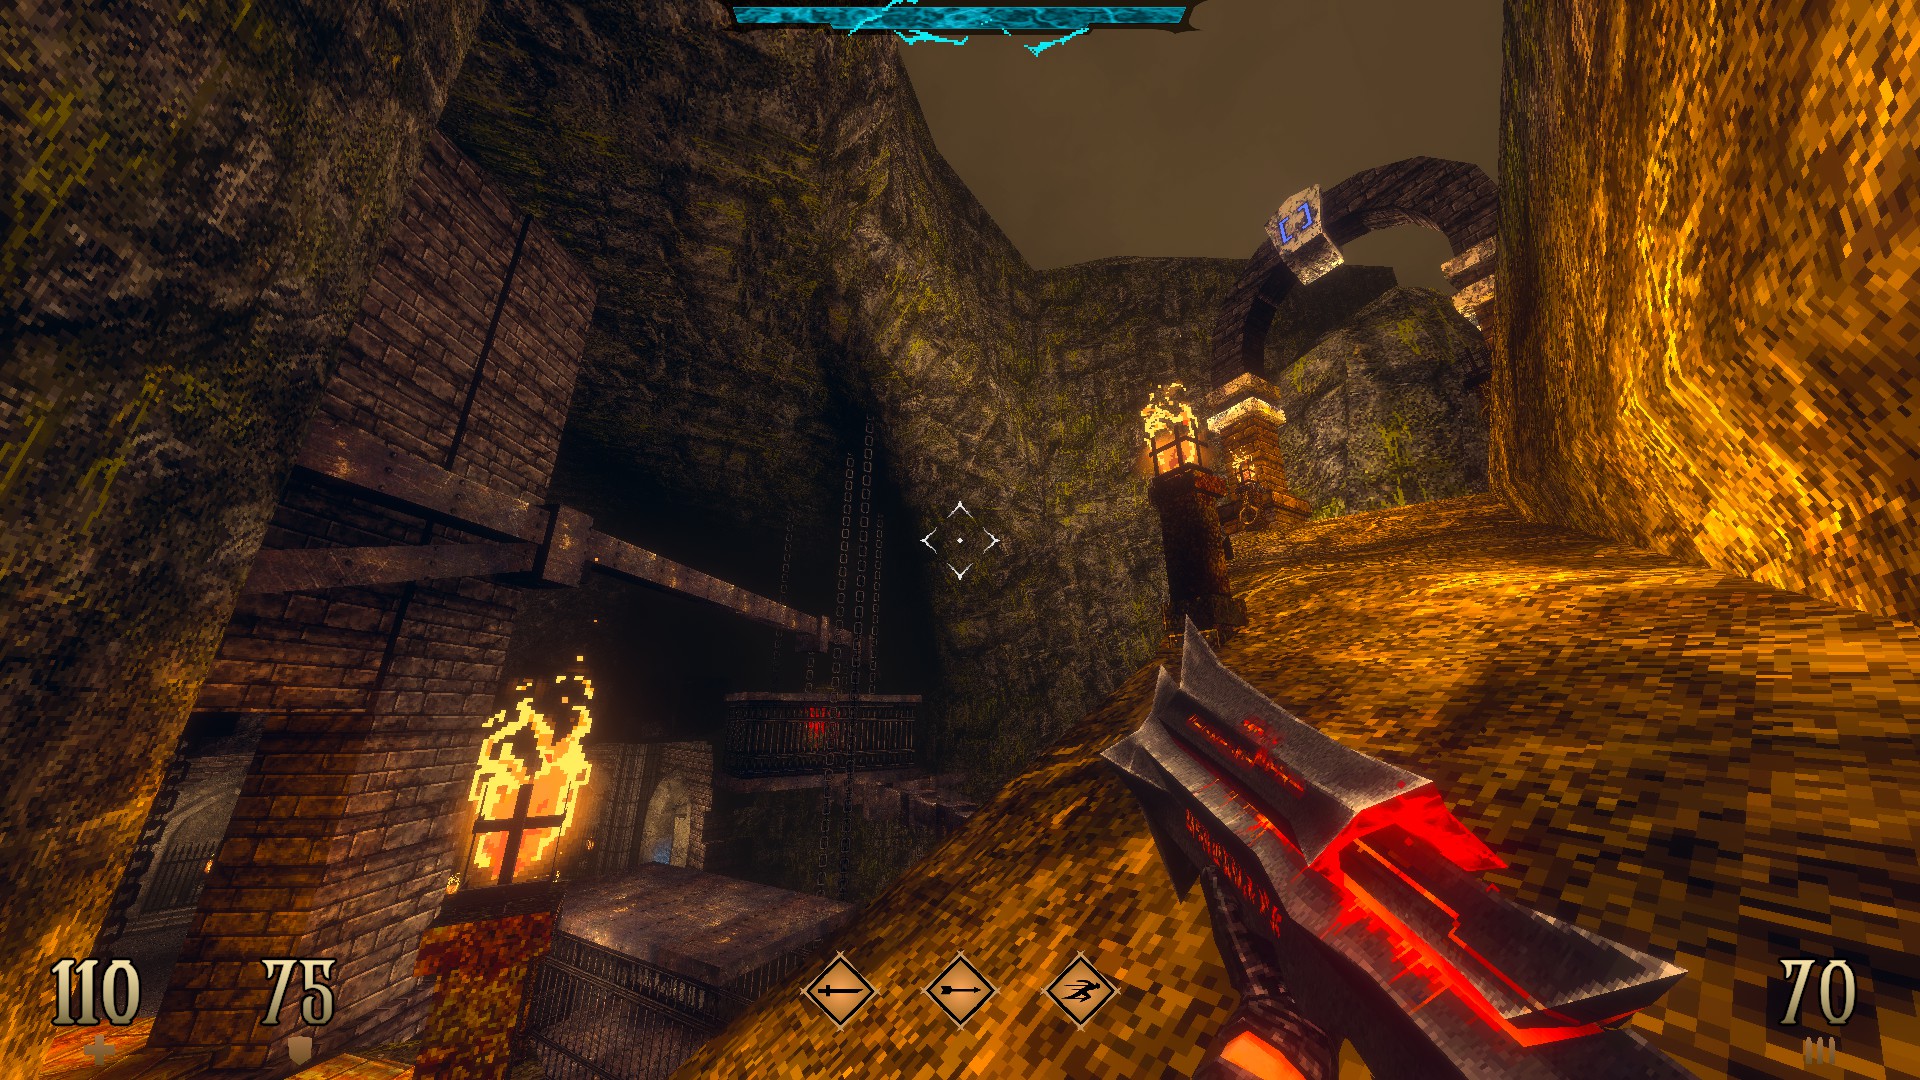
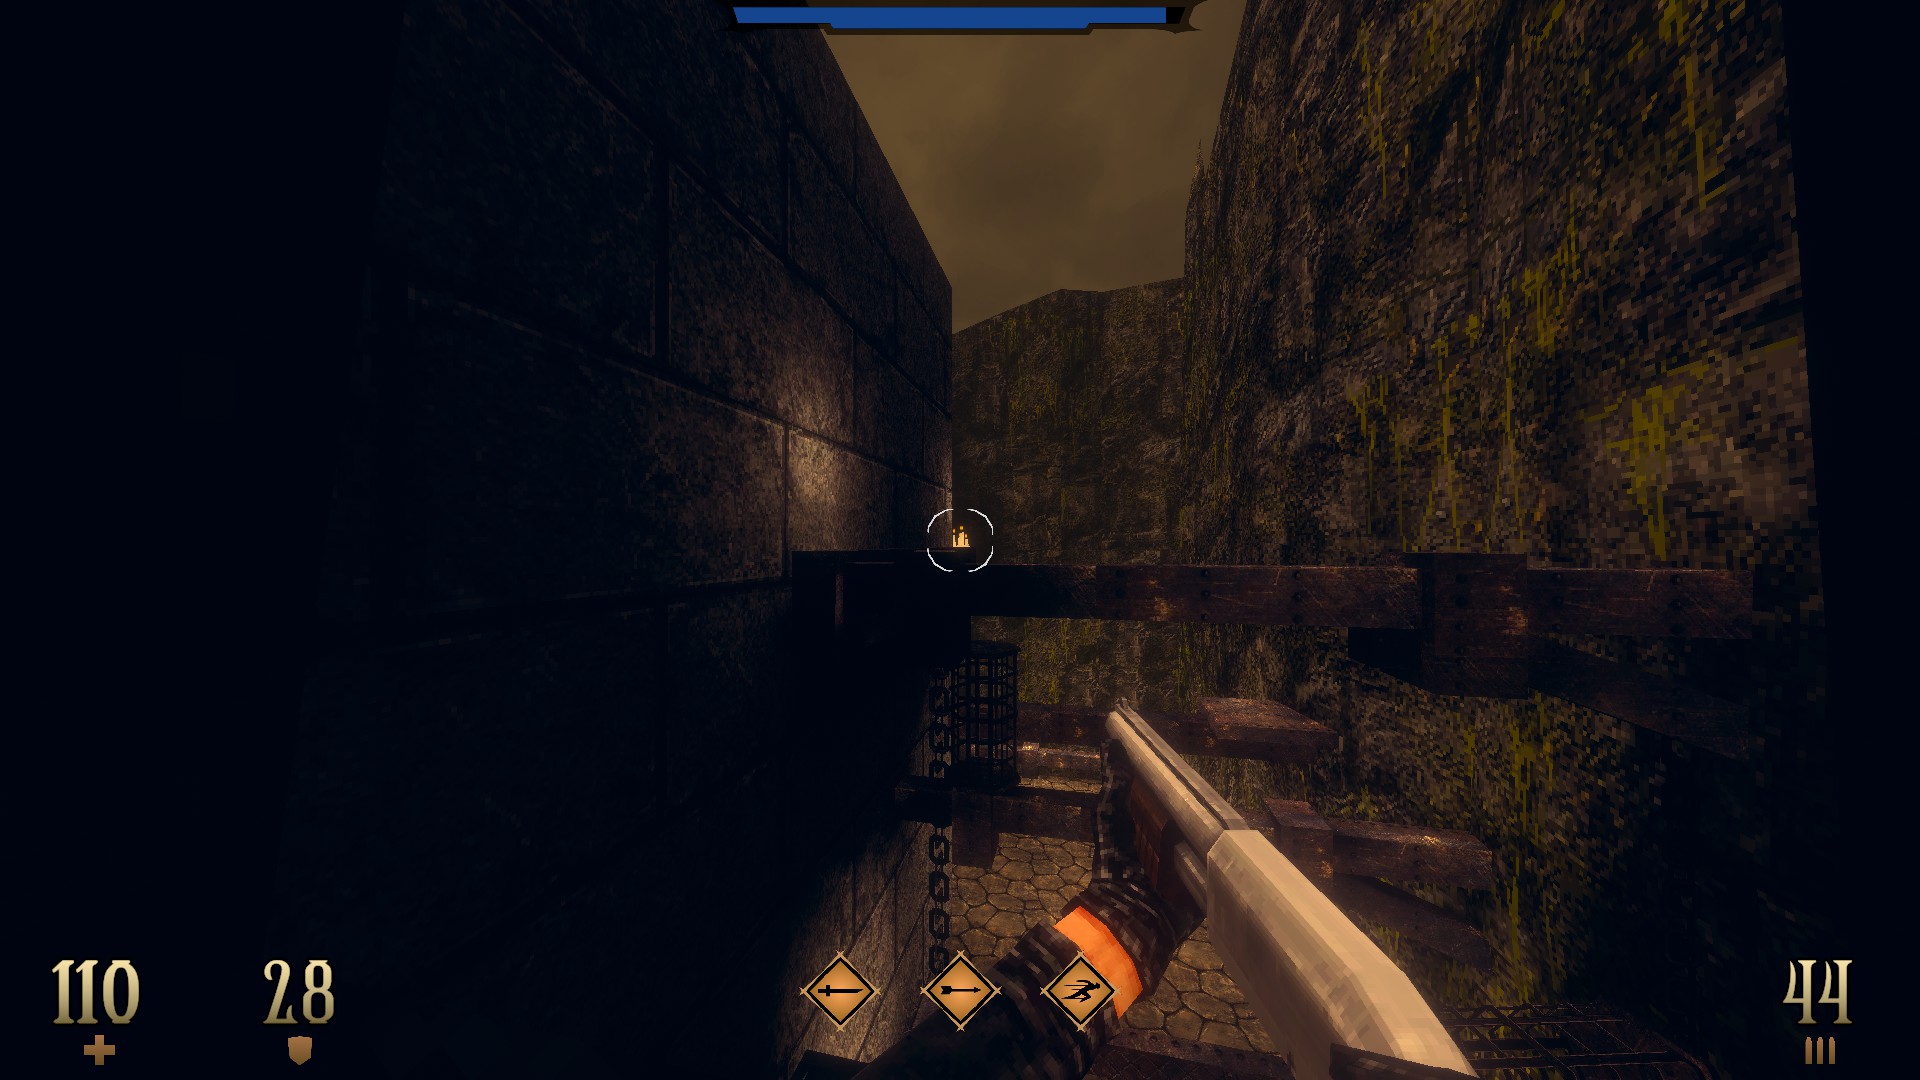
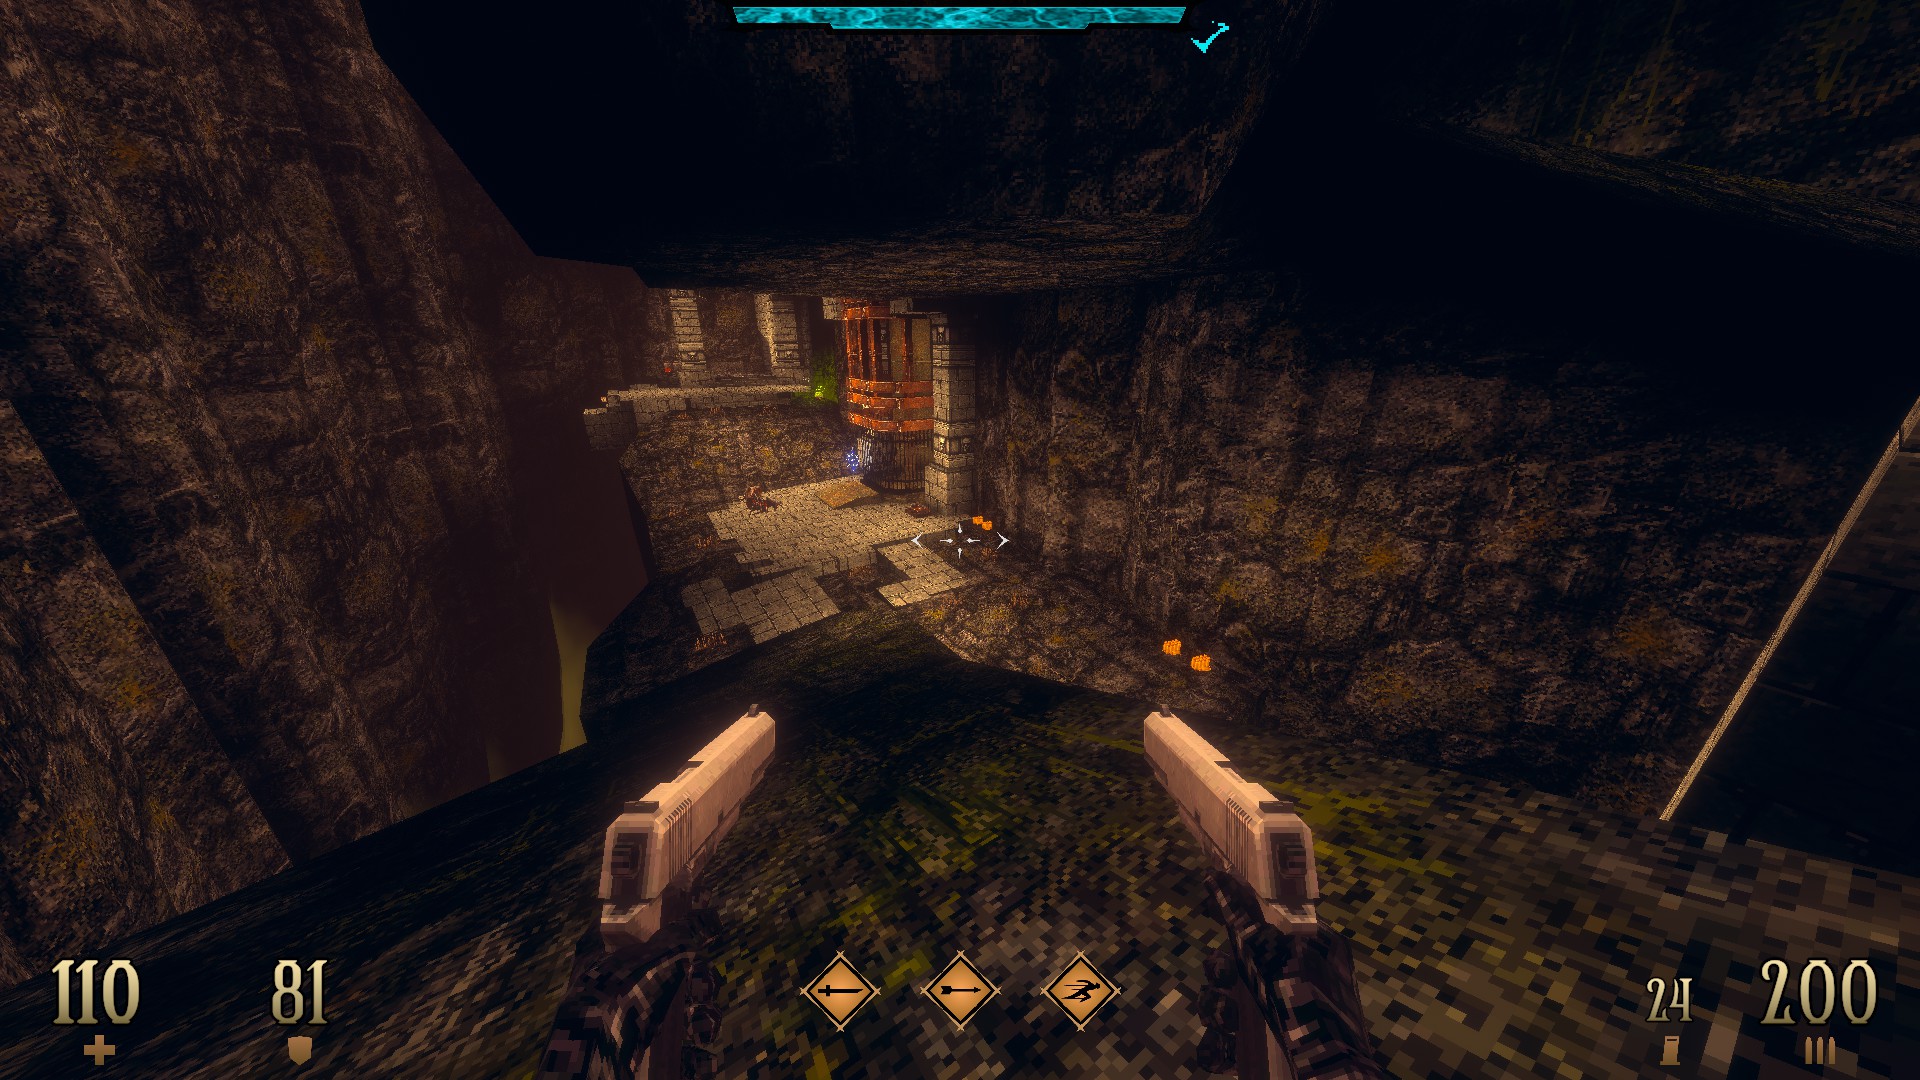
6/9 – Still in the side area, dash across and make your way along to ledge to reach the emblem at the end of the path. (Pistol Slaughter II)

Dread Templar Walkthrough Guide - All Secrets on Episode 1 - E1M4: Back Below the Surface - 619070E

Dread Templar Walkthrough Guide - All Secrets on Episode 1 - E1M4: Back Below the Surface - 7E0D945

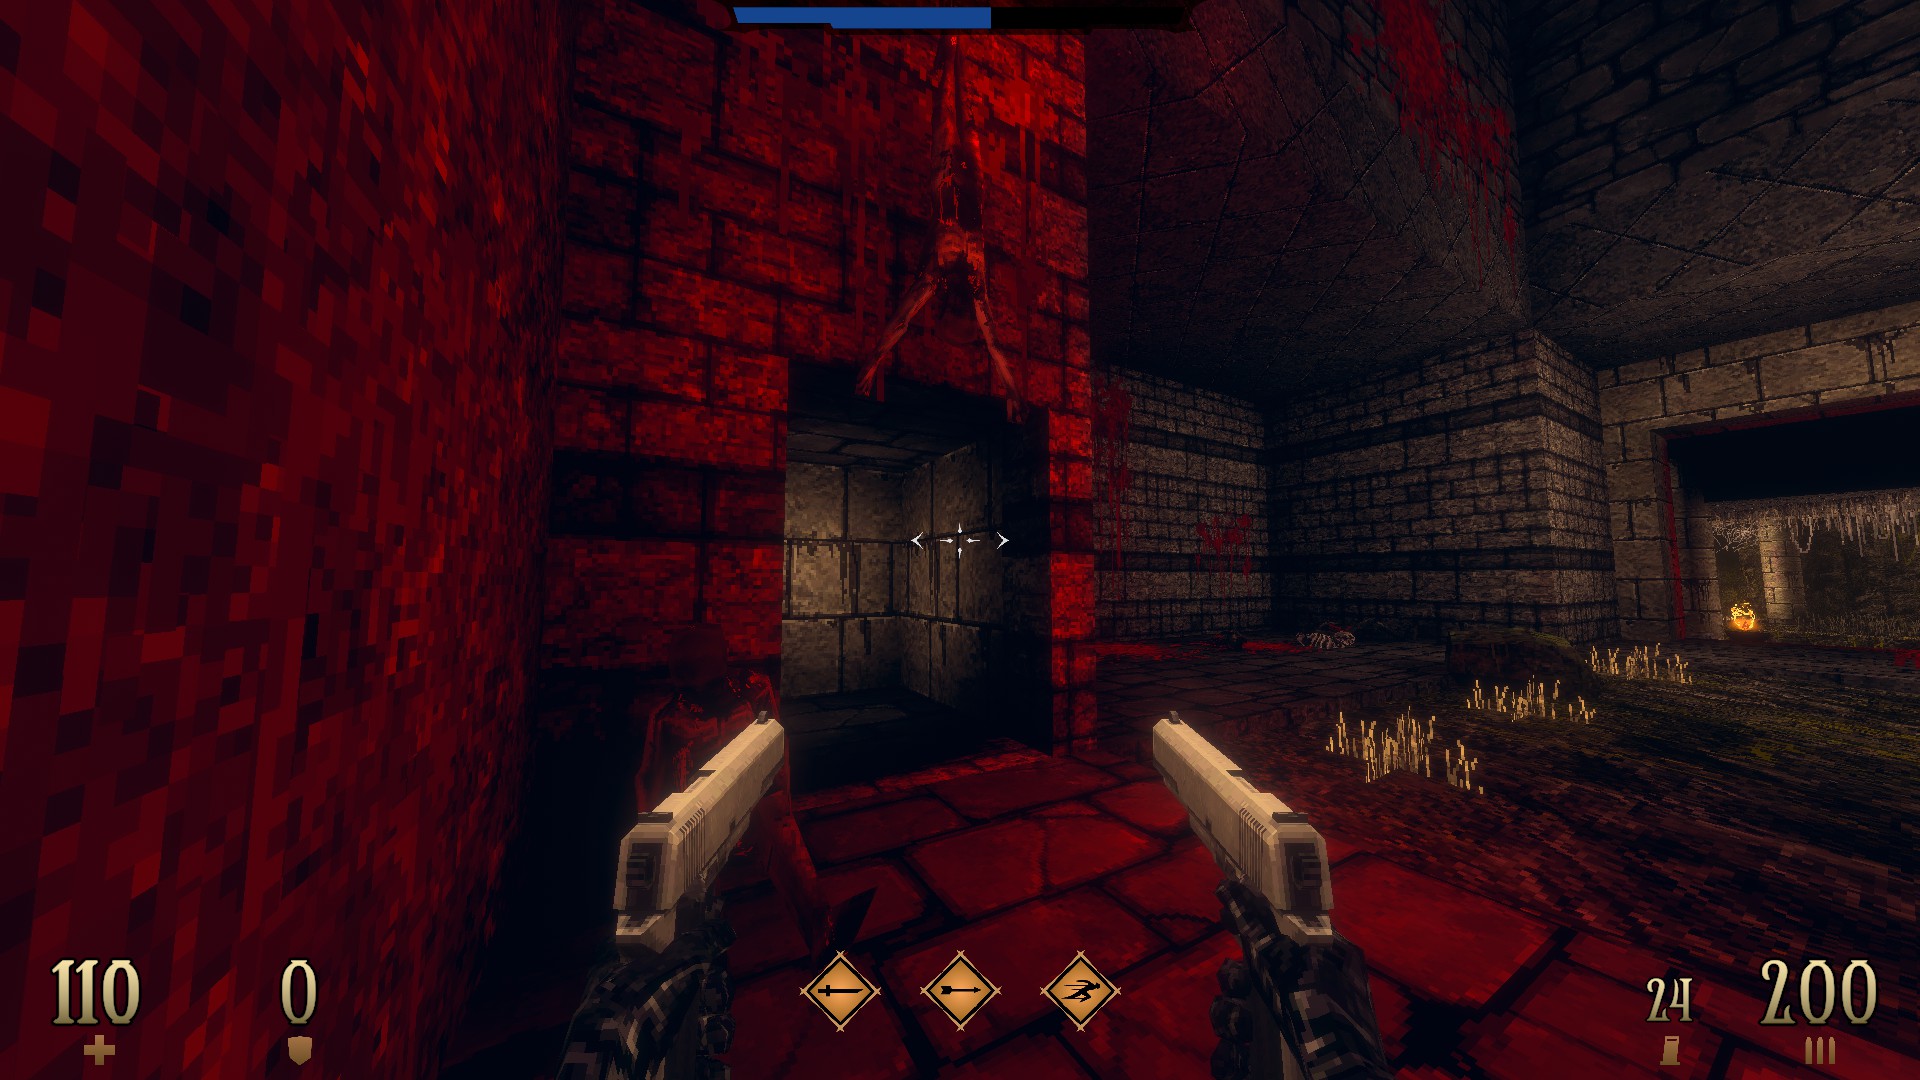
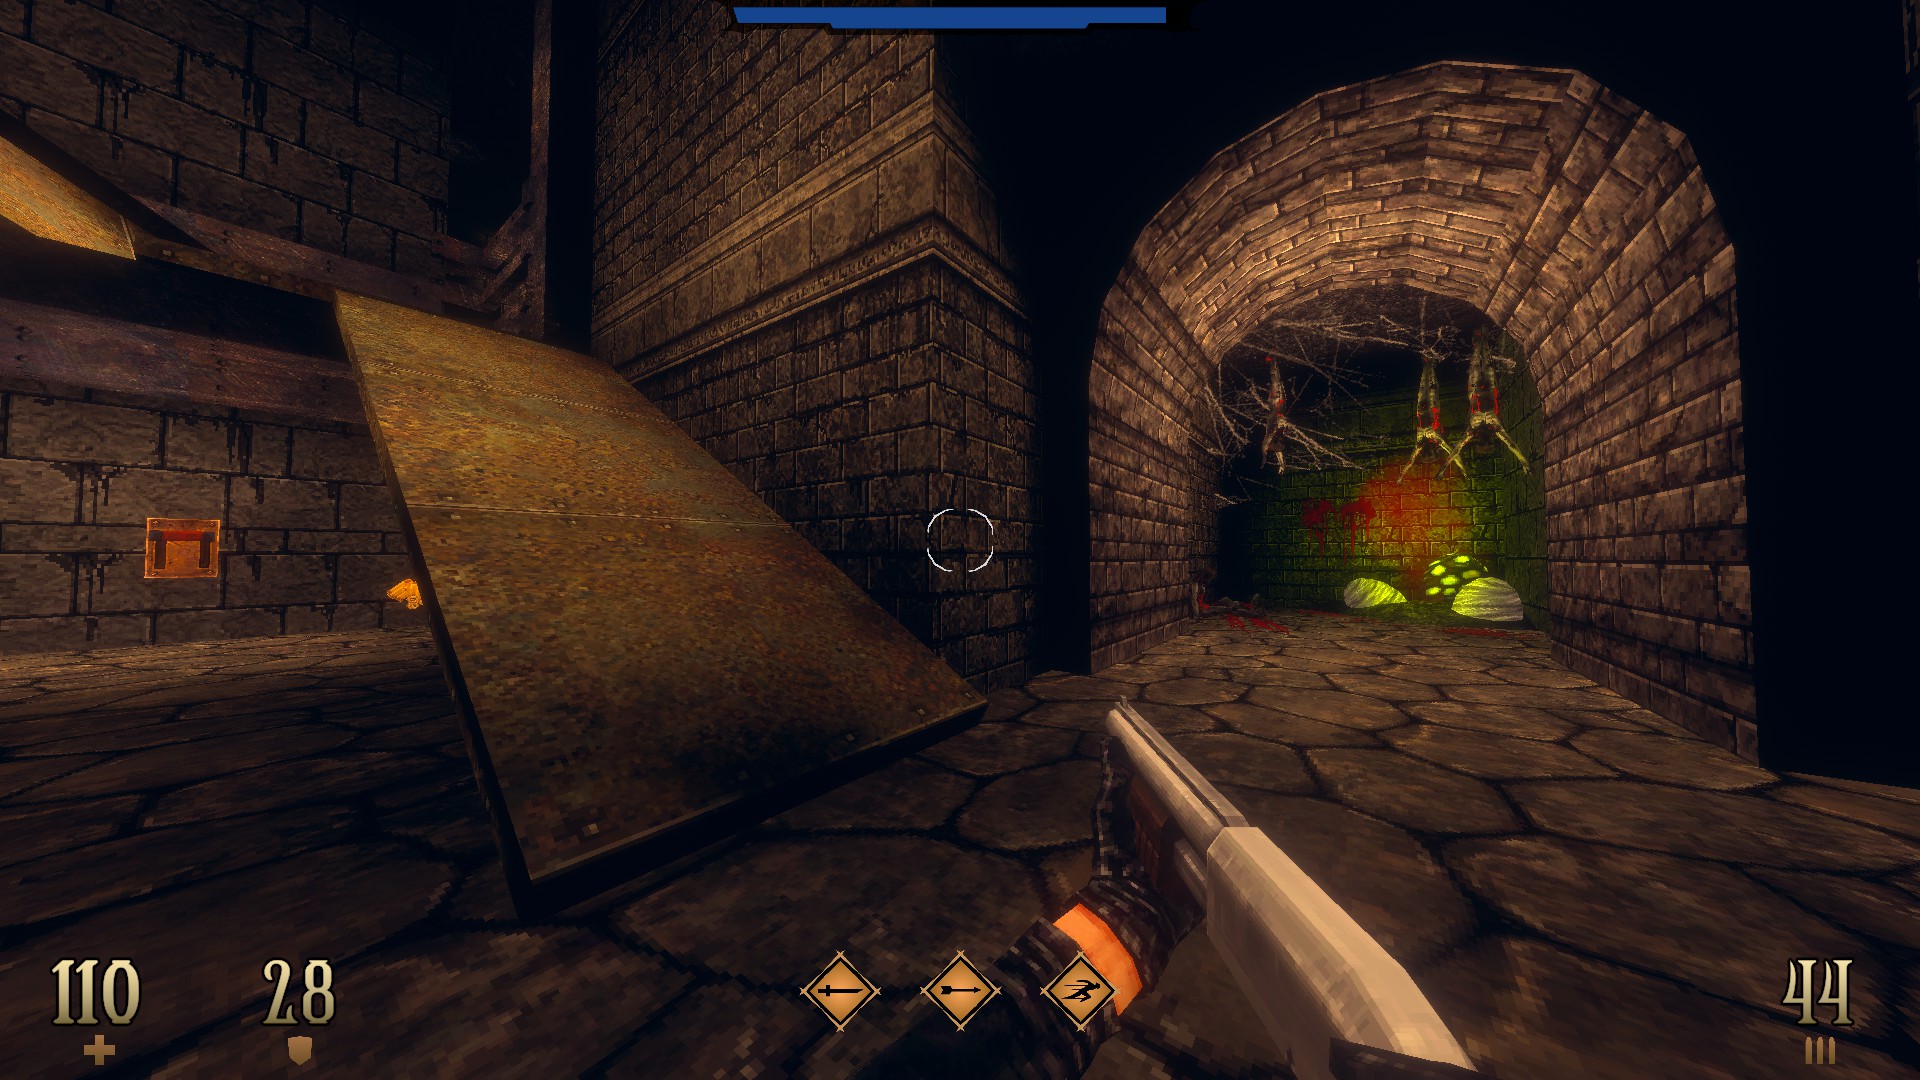
7/9 – Still in the side area, use to wall below the upside-down corpse to reveal a hidden room.

Dread Templar Walkthrough Guide - All Secrets on Episode 1 - E1M4: Back Below the Surface - 02E9155

Dread Templar Walkthrough Guide - All Secrets on Episode 1 - E1M4: Back Below the Surface - 786D3F3

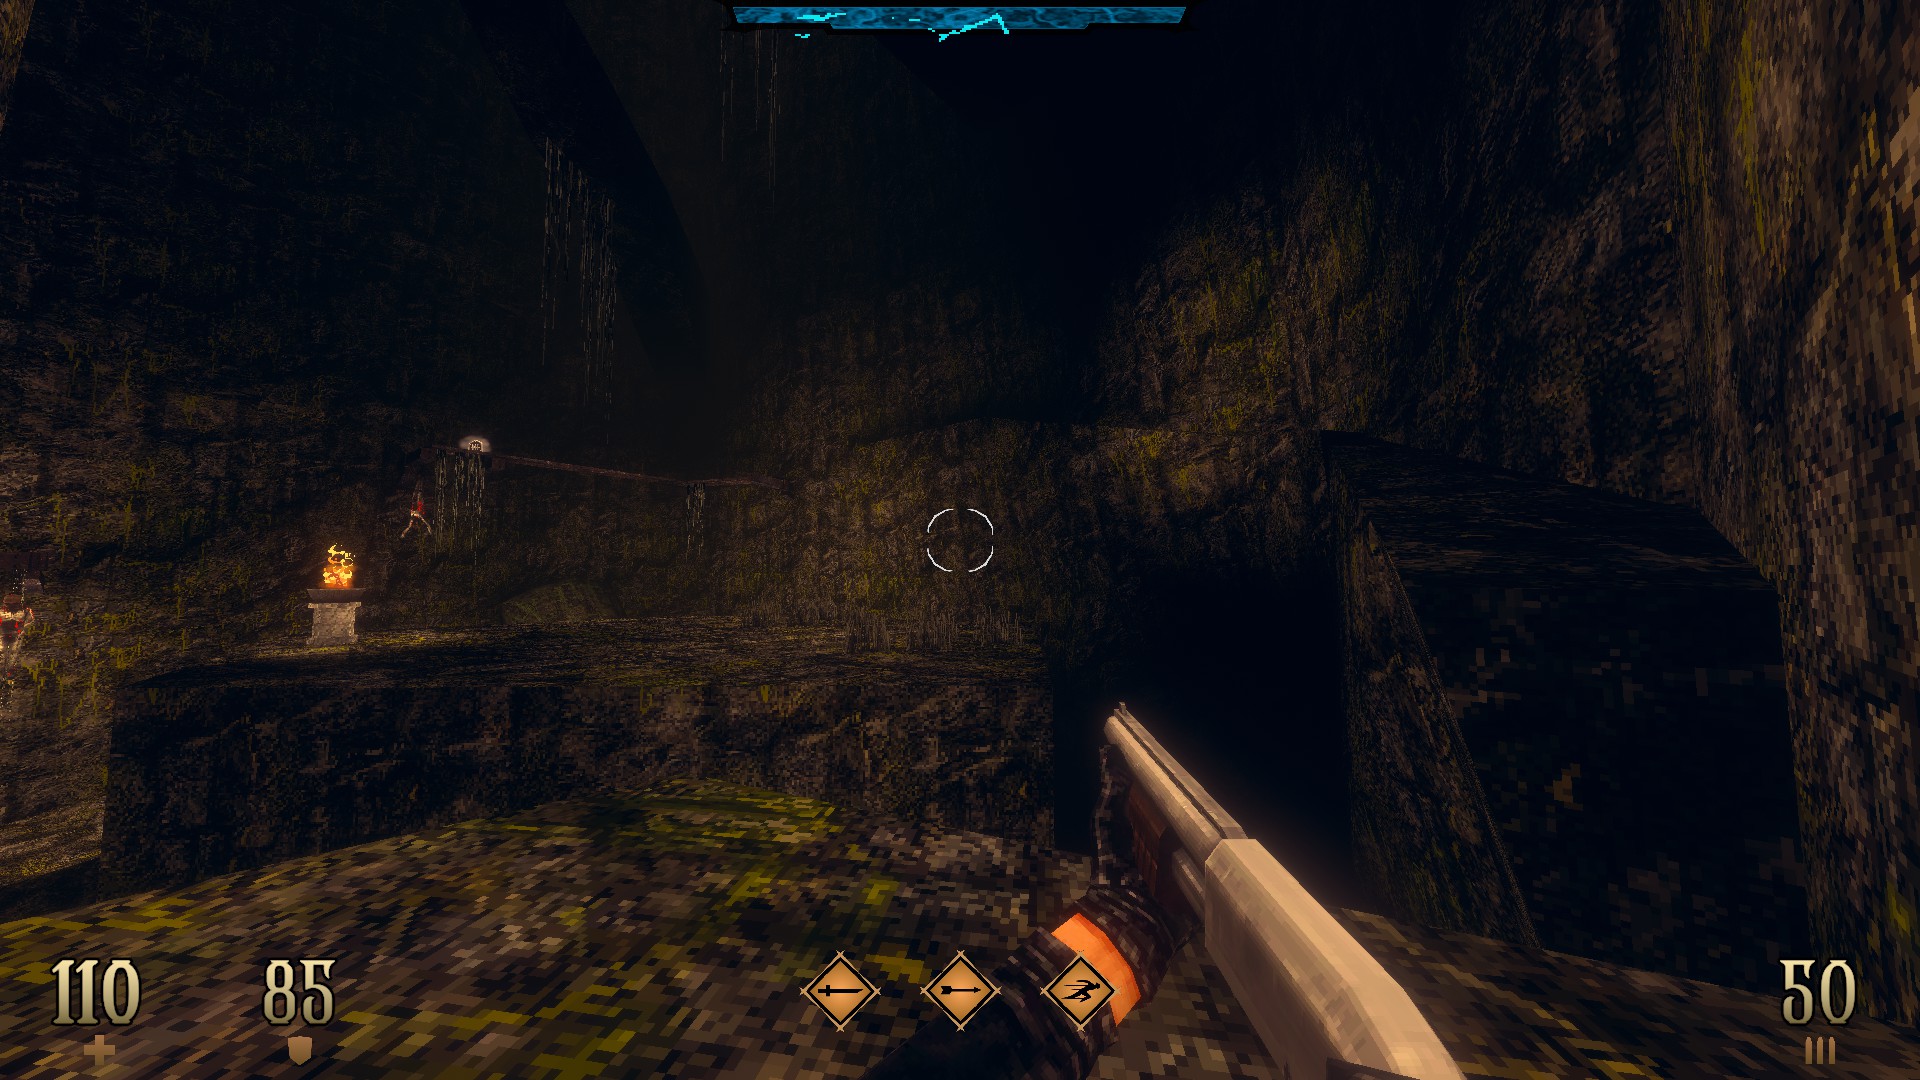
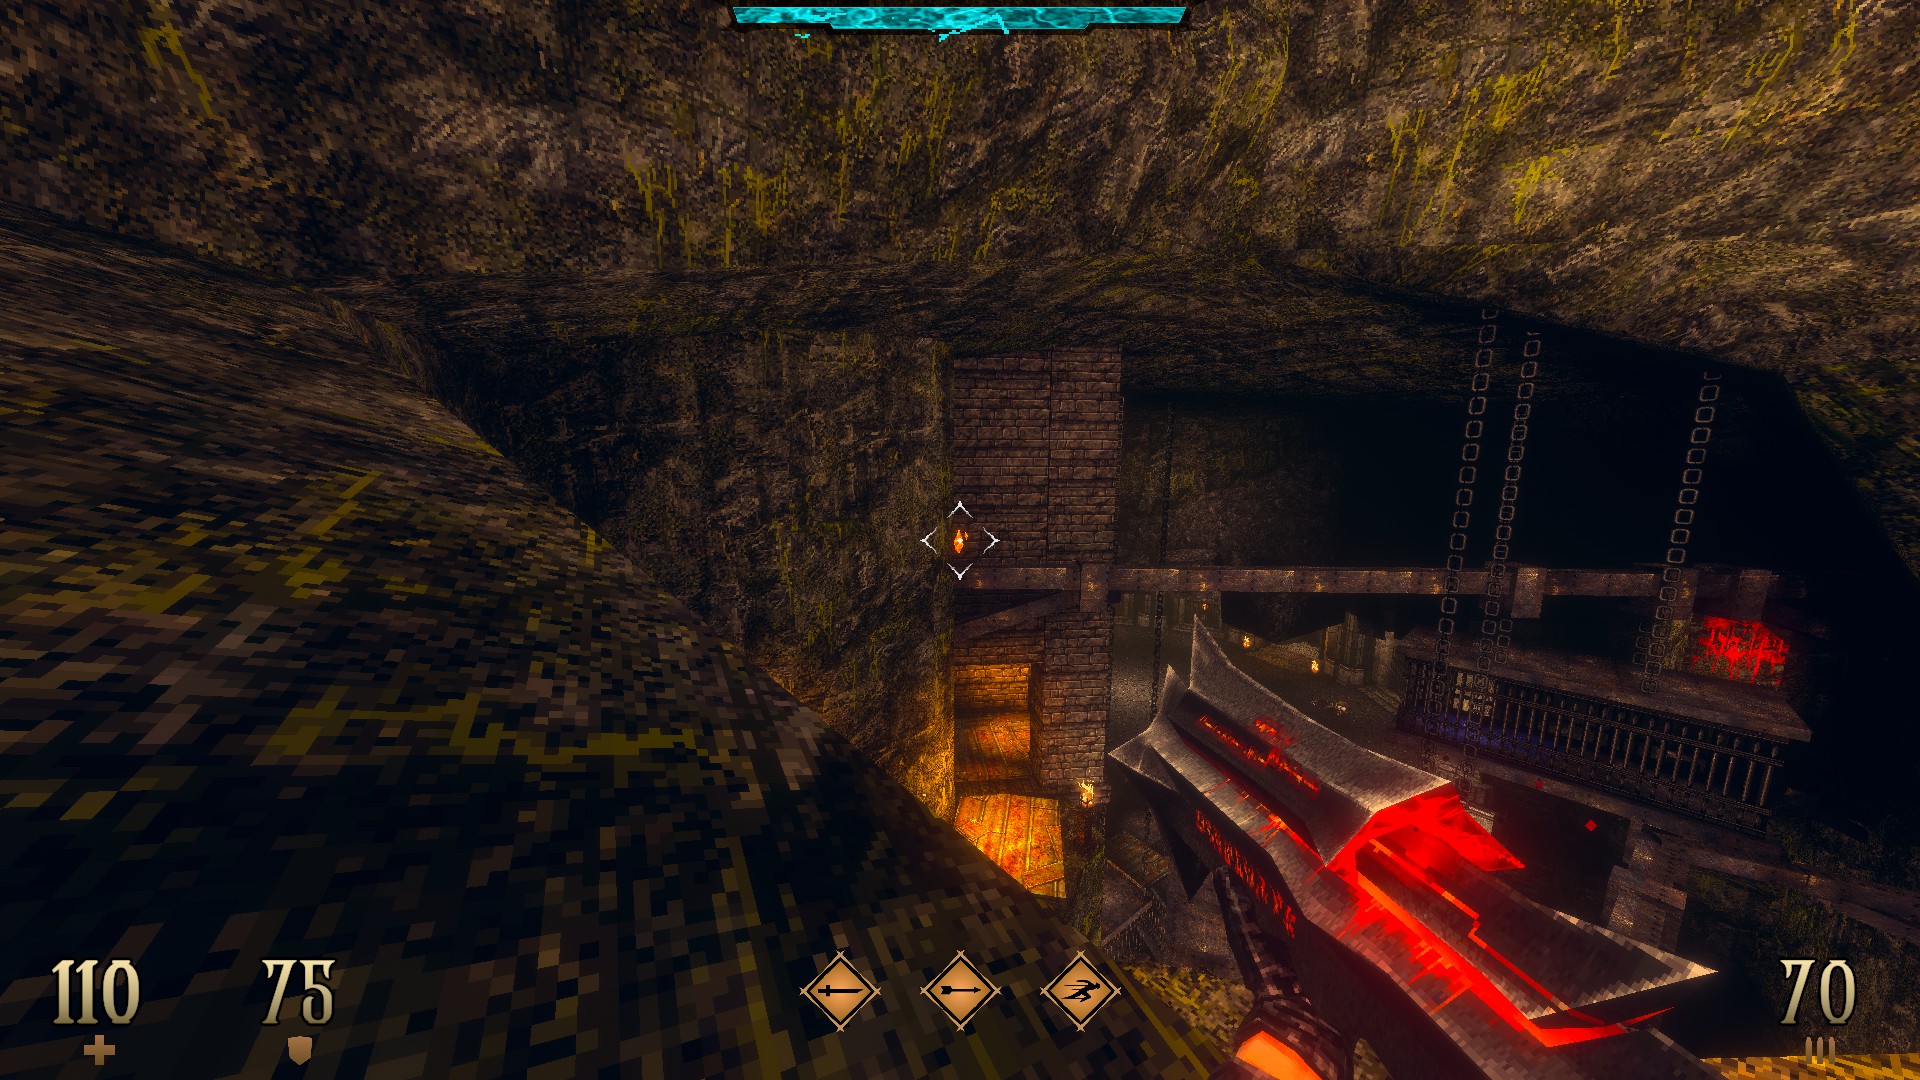
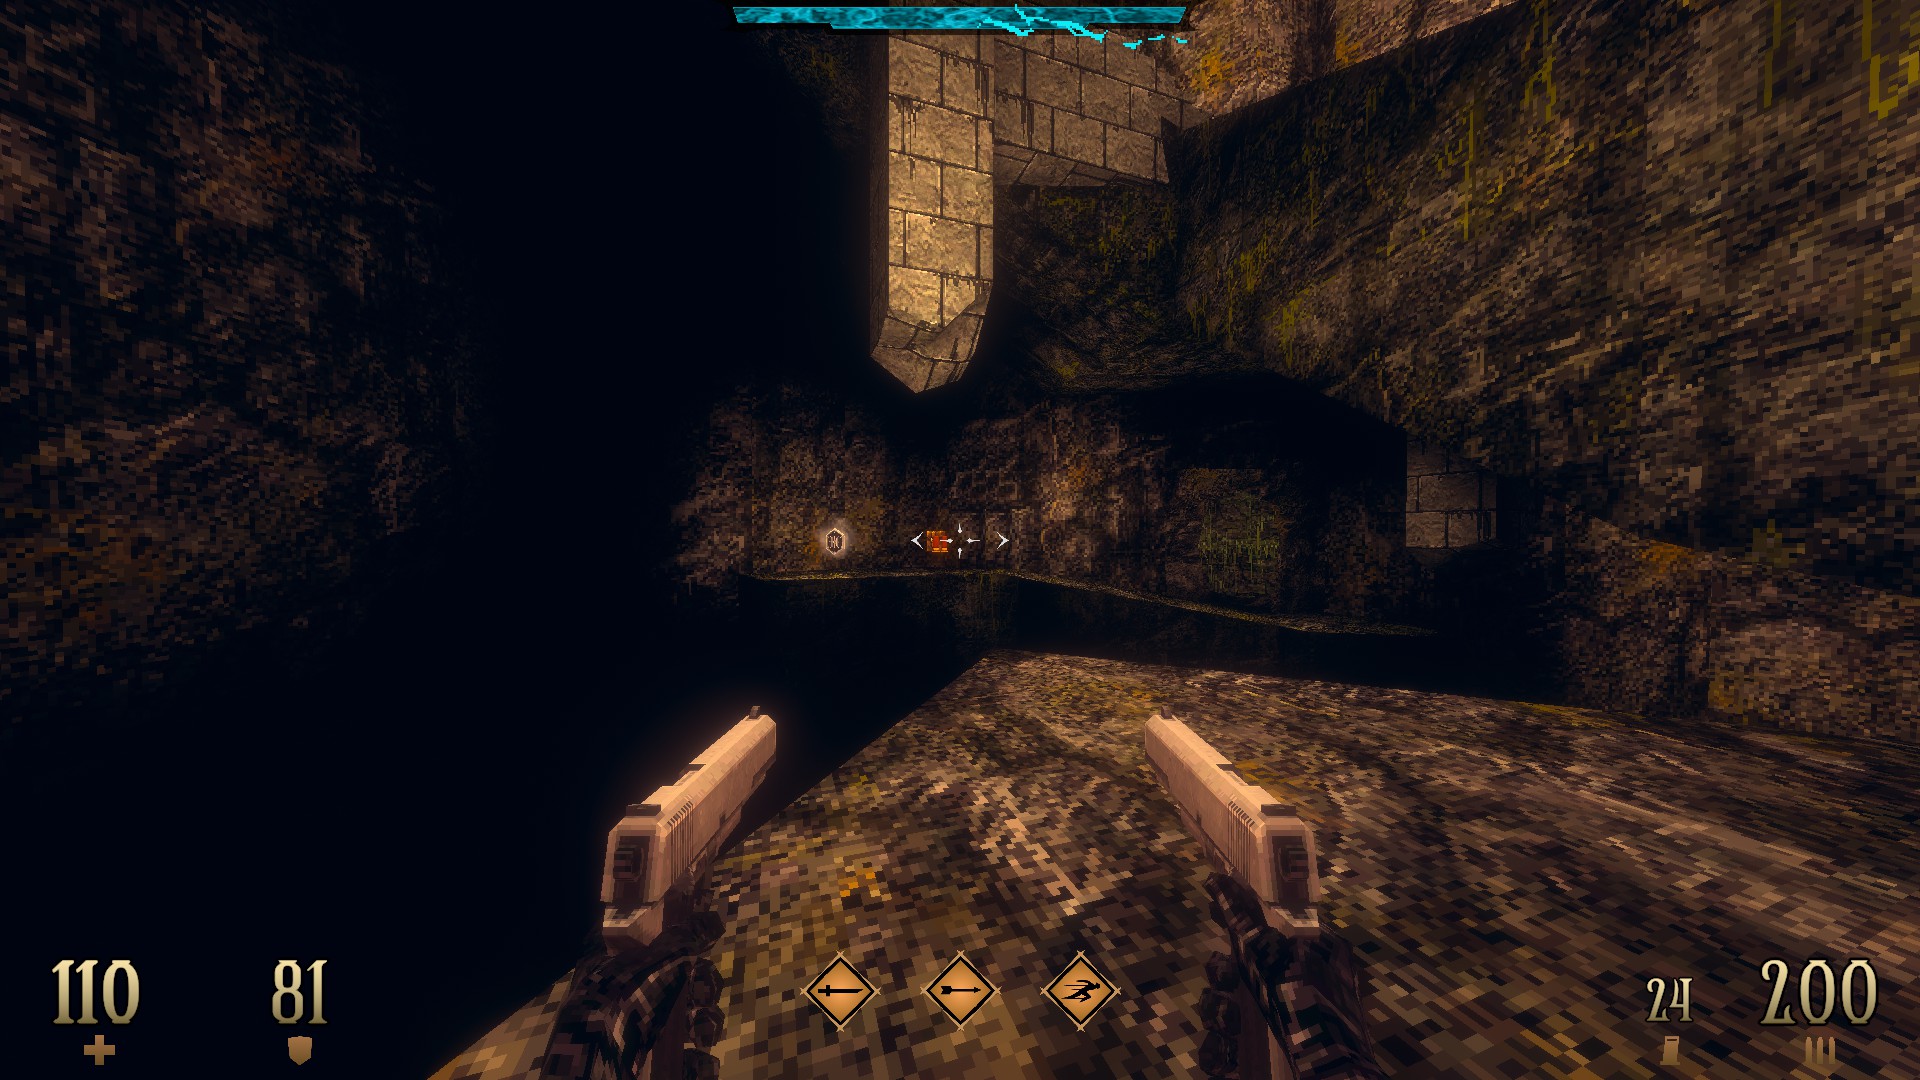
8/9 – Jump from the ledge and dash in the air to reach the ammo that resides on the beam.

Dread Templar Walkthrough Guide - All Secrets on Episode 1 - E1M4: Back Below the Surface - 0835897

Dread Templar Walkthrough Guide - All Secrets on Episode 1 - E1M4: Back Below the Surface - 786D3F3

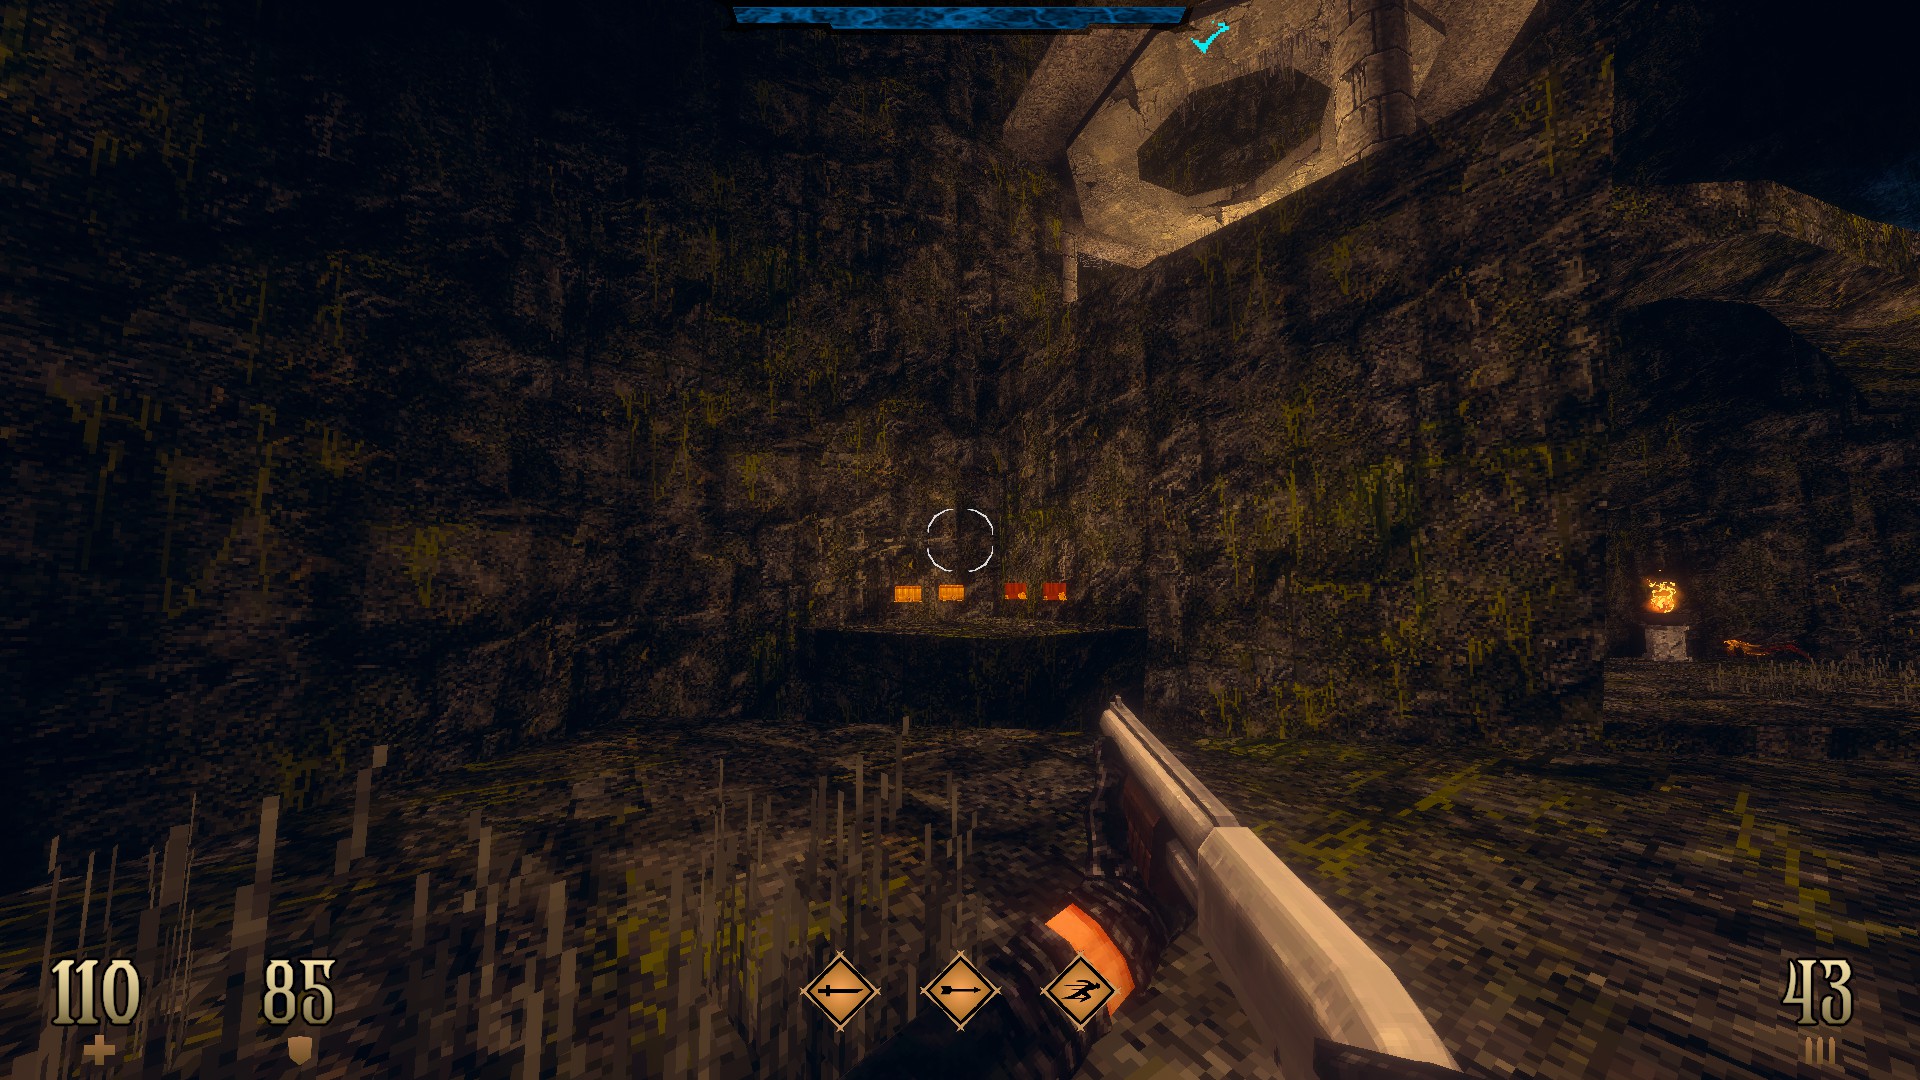
9/9 – Following on from the previous secret, follow the beam to the other end and dash across to reach the ammo that resides on the rocks.

Dread Templar Walkthrough Guide - All Secrets on Episode 1 - E1M4: Back Below the Surface - 009E3D4

Dread Templar Walkthrough Guide - All Secrets on Episode 1 - E1M4: Back Below the Surface - 0C950D9

Dread Templar Walkthrough Guide - All Secrets on Episode 1 - E1M4: Back Below the Surface - AD44324

Dread Templar Walkthrough Guide - All Secrets on Episode 1 - E1M4: Back Below the Surface - 743B978

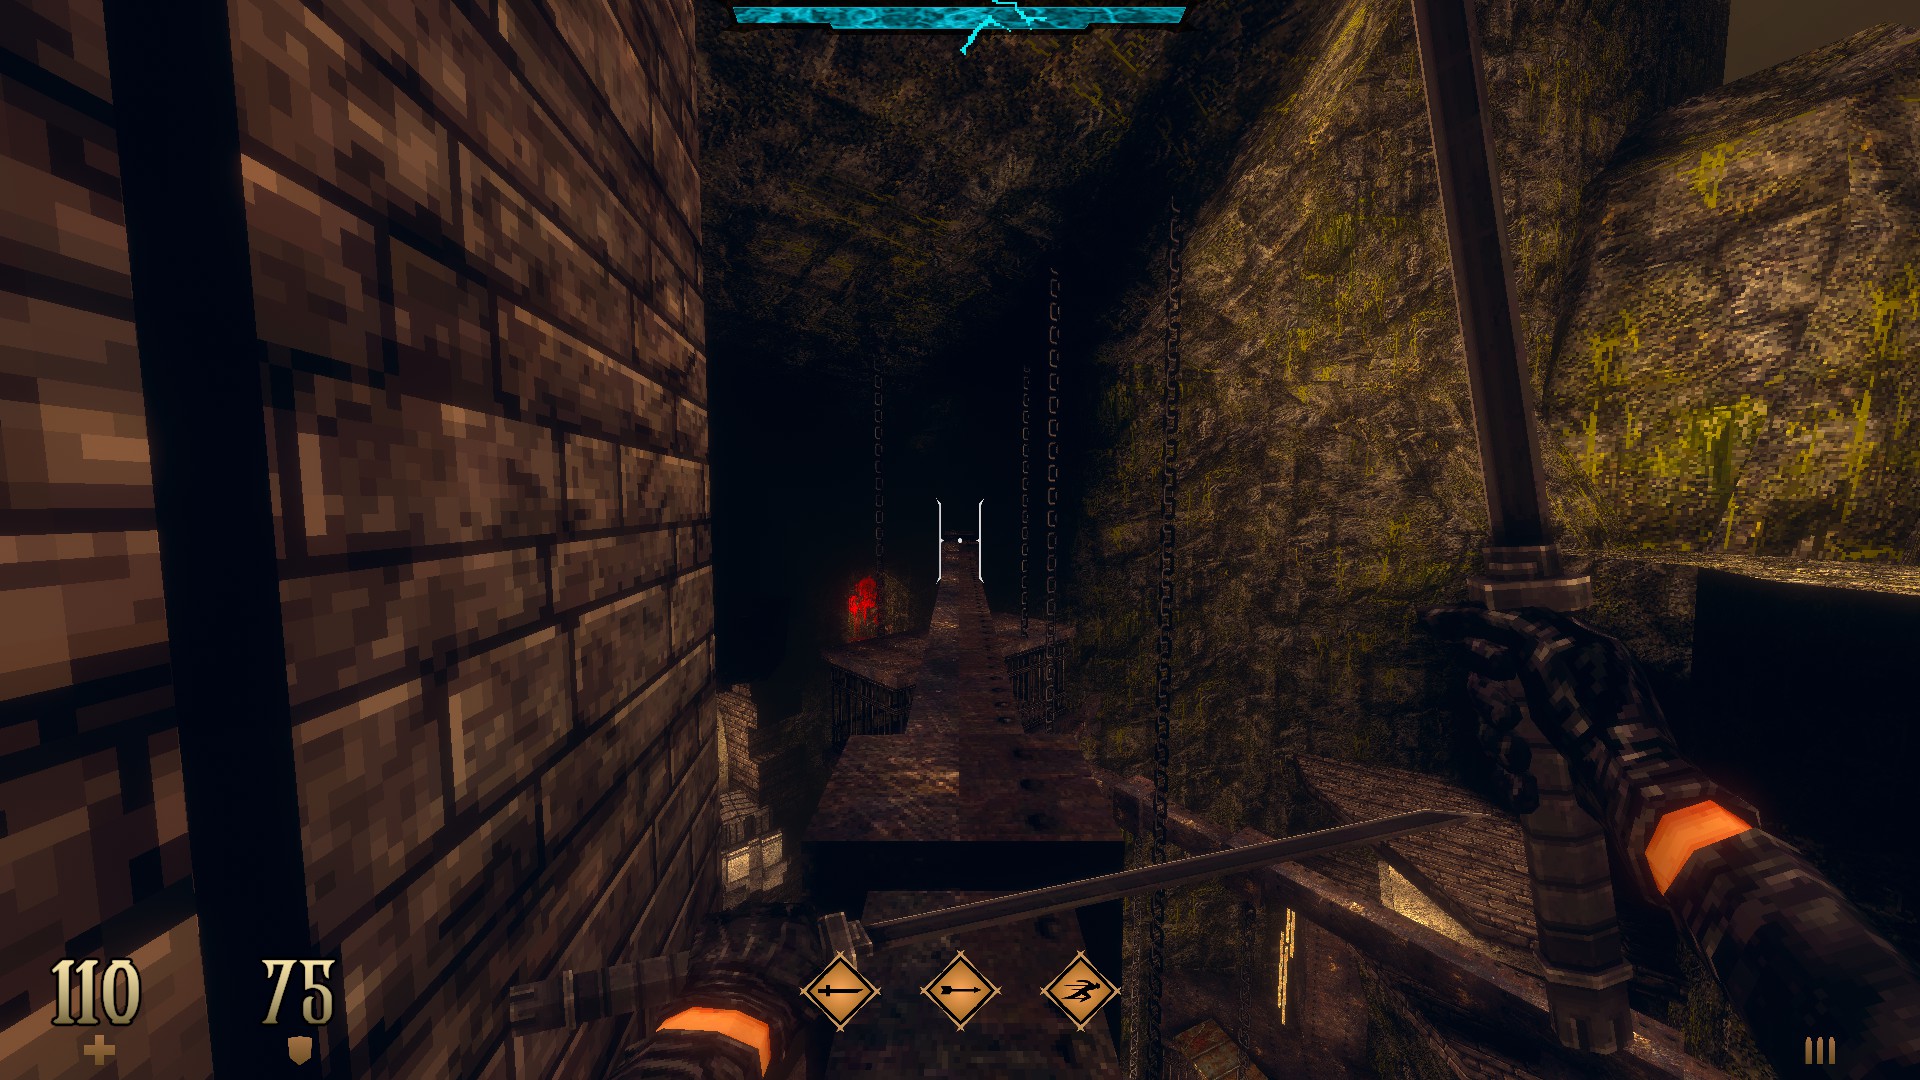
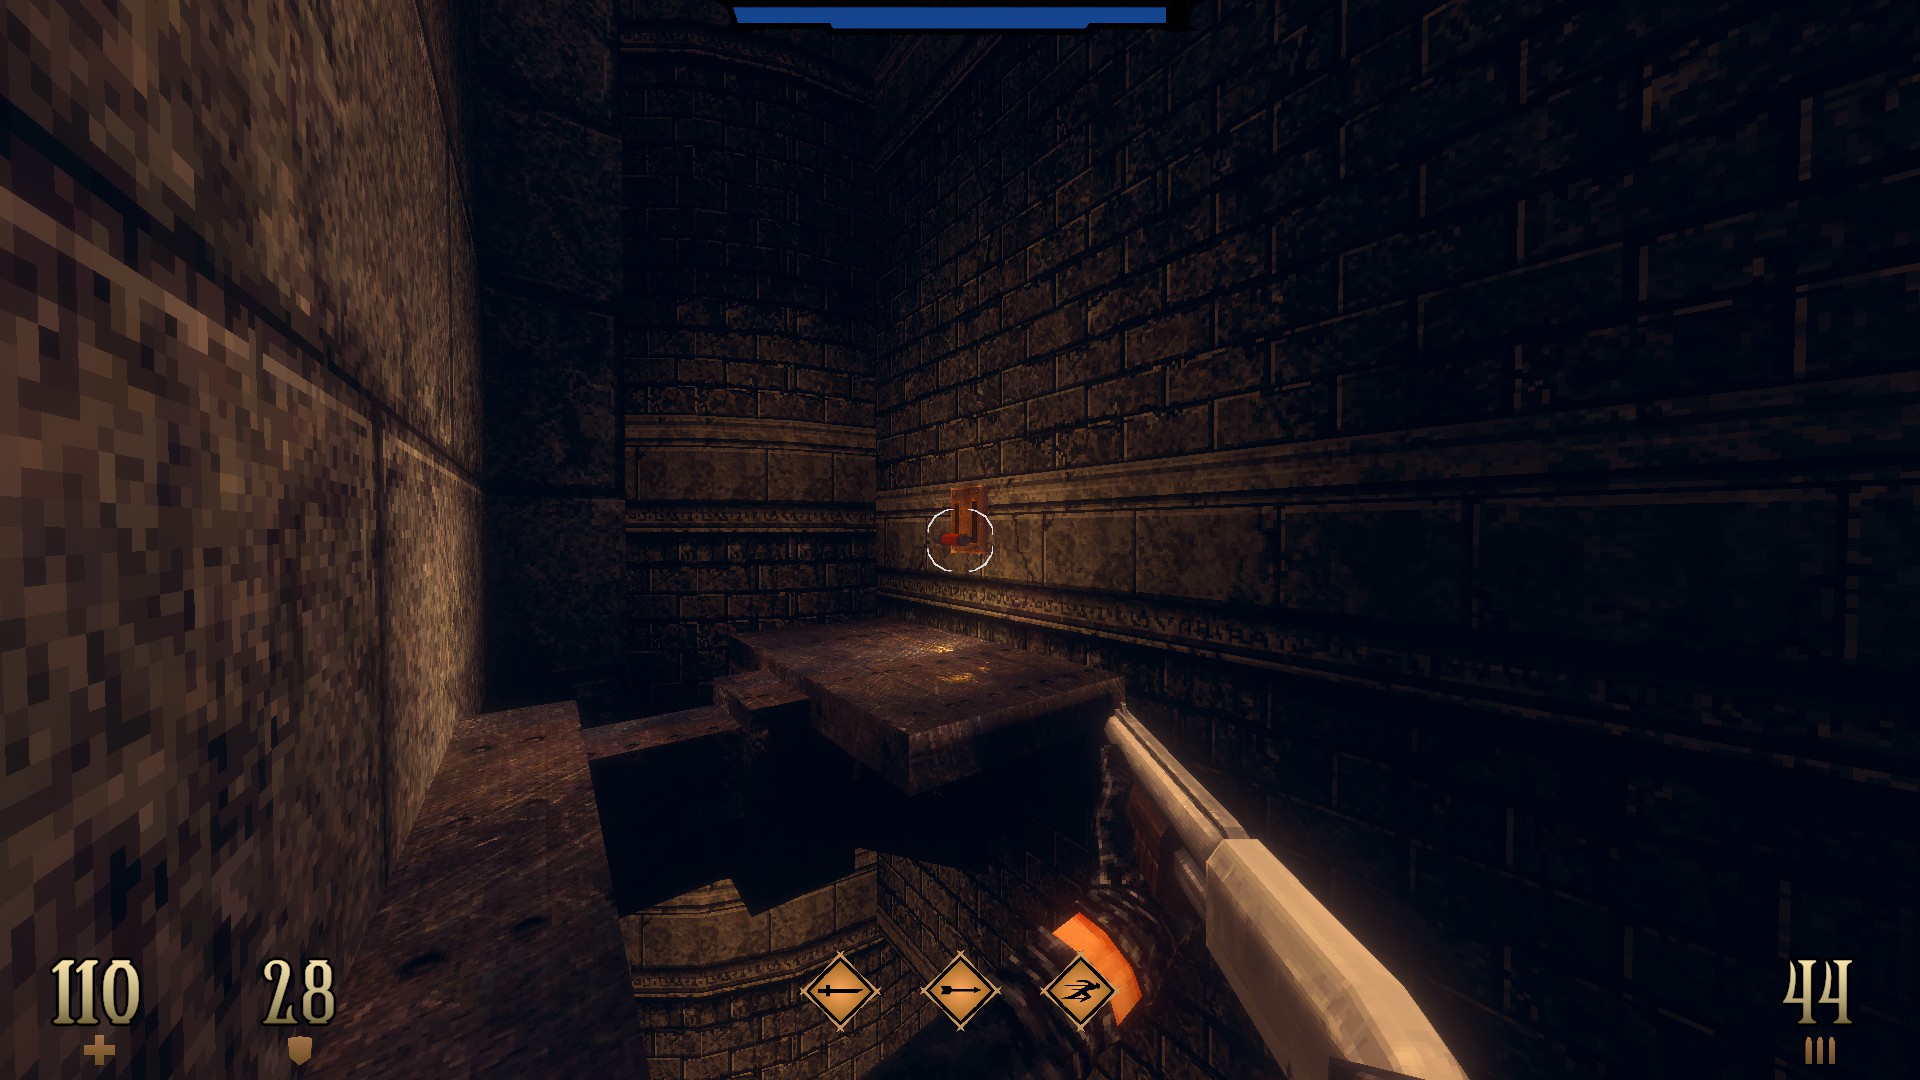
SUPER SECRET – Use the bloody wall at the end of the hall to reveal another way outside. Dash across to the top of the beam and continue towards the candles on the corner. Turn the corner to find a switch on the other side. Use the switch, return to the main cavern and make your way to the bloody wall near the eighth secret which should be open at this point. Note that the secret door closes after a certain while, so you need to hurry back there to access the hidden room behind. (Explosion Trap -G- and a Blood Gem)

E1M5: The Lair

This level contains 3 secrets.

Dread Templar Walkthrough Guide - All Secrets on Episode 1 - E1M5: The Lair - 3ED37F9

Dread Templar Walkthrough Guide - All Secrets on Episode 1 - E1M5: The Lair - D88DC68

1/3 – Dash across and use the moss-covered part of the rock to the right of the emblem in the open to reveal a hidden area. (Templar Hourglass II)

Dread Templar Walkthrough Guide - All Secrets on Episode 1 - E1M5: The Lair - C807B43

Dread Templar Walkthrough Guide - All Secrets on Episode 1 - E1M5: The Lair - 47E0DC6

2/3 – Drop down from the upper floor and dash forward in the air to reach a hidden ledge that houses some ammo alongside Léon’s – [imdb.com] personal belongings.

Dread Templar Walkthrough Guide - All Secrets on Episode 1 - E1M5: The Lair - 0E1BB01

Dread Templar Walkthrough Guide - All Secrets on Episode 1 - E1M5: The Lair - 395295B

3/3 – After the boss battle, turn around and take the other way out of the arena. Cross the destroyed pillar to find a hidden emblem. (Inferno Rocket Expansion)
 

Written by erc

Hope you enjoy the post for Dread Templar Walkthrough Guide – All Secrets on Episode 1, If you think we should update the post or something is wrong please let us know via comment and we will fix it how fast as possible! Thank you and have a great day!


Be the first to comment

Leave a Reply

Your email address will not be published.


*