
The comprehensive 4 step guide to solving that one puzzle that some of you struggle with in Tikal
Spoiler warning
Don’t read this!
This is a guide on how to beat a puzzle in a puzzle game.
Obviously, there are spoilers.
If you don’t want to be spoiled. Why are you looking at a walkthrough guide? Go play the game! 😉
If however you are stuck and actually looking for an easy way to solve the puzzle, then read on.
Puzzle Basics
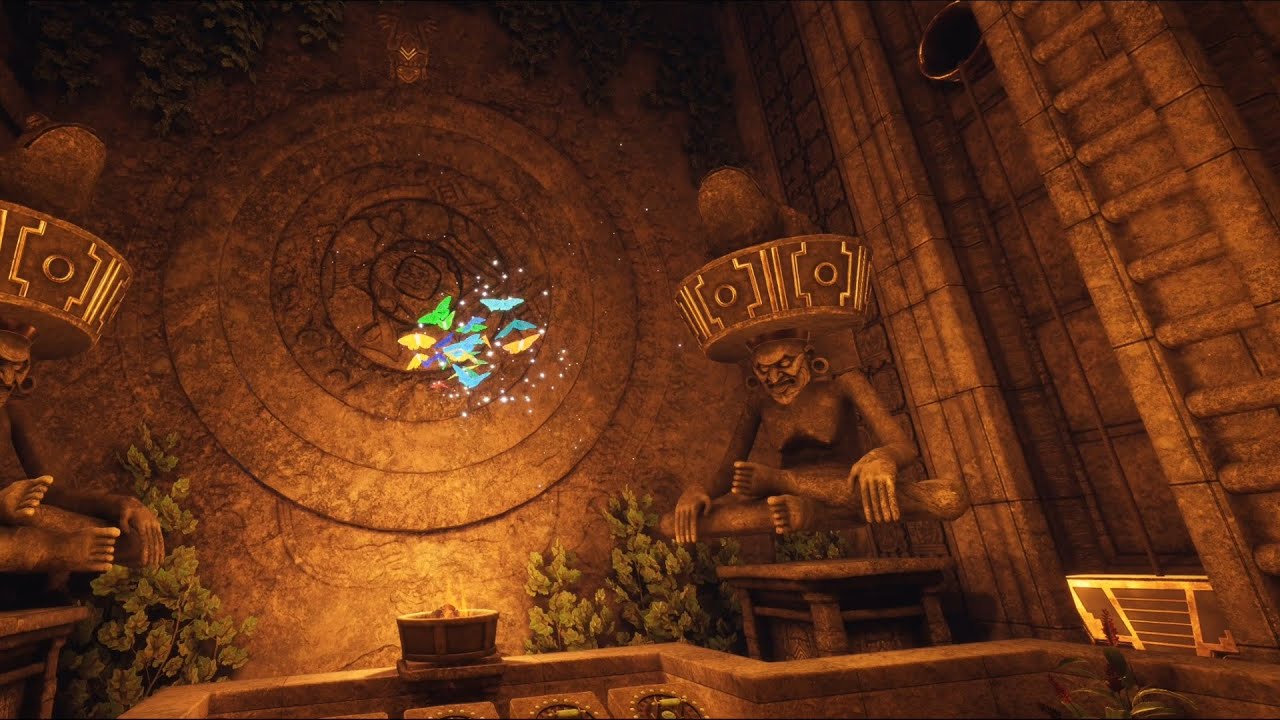
This puzzle is a ring position puzzle, like the one you will have encountered earlier.
The trick to this one, is that the relationship between the controls and the dials, is not linear. and the dials are not bound to each other sequentially, as in the earlier puzzle.
Instead, each control is paired with two rings.
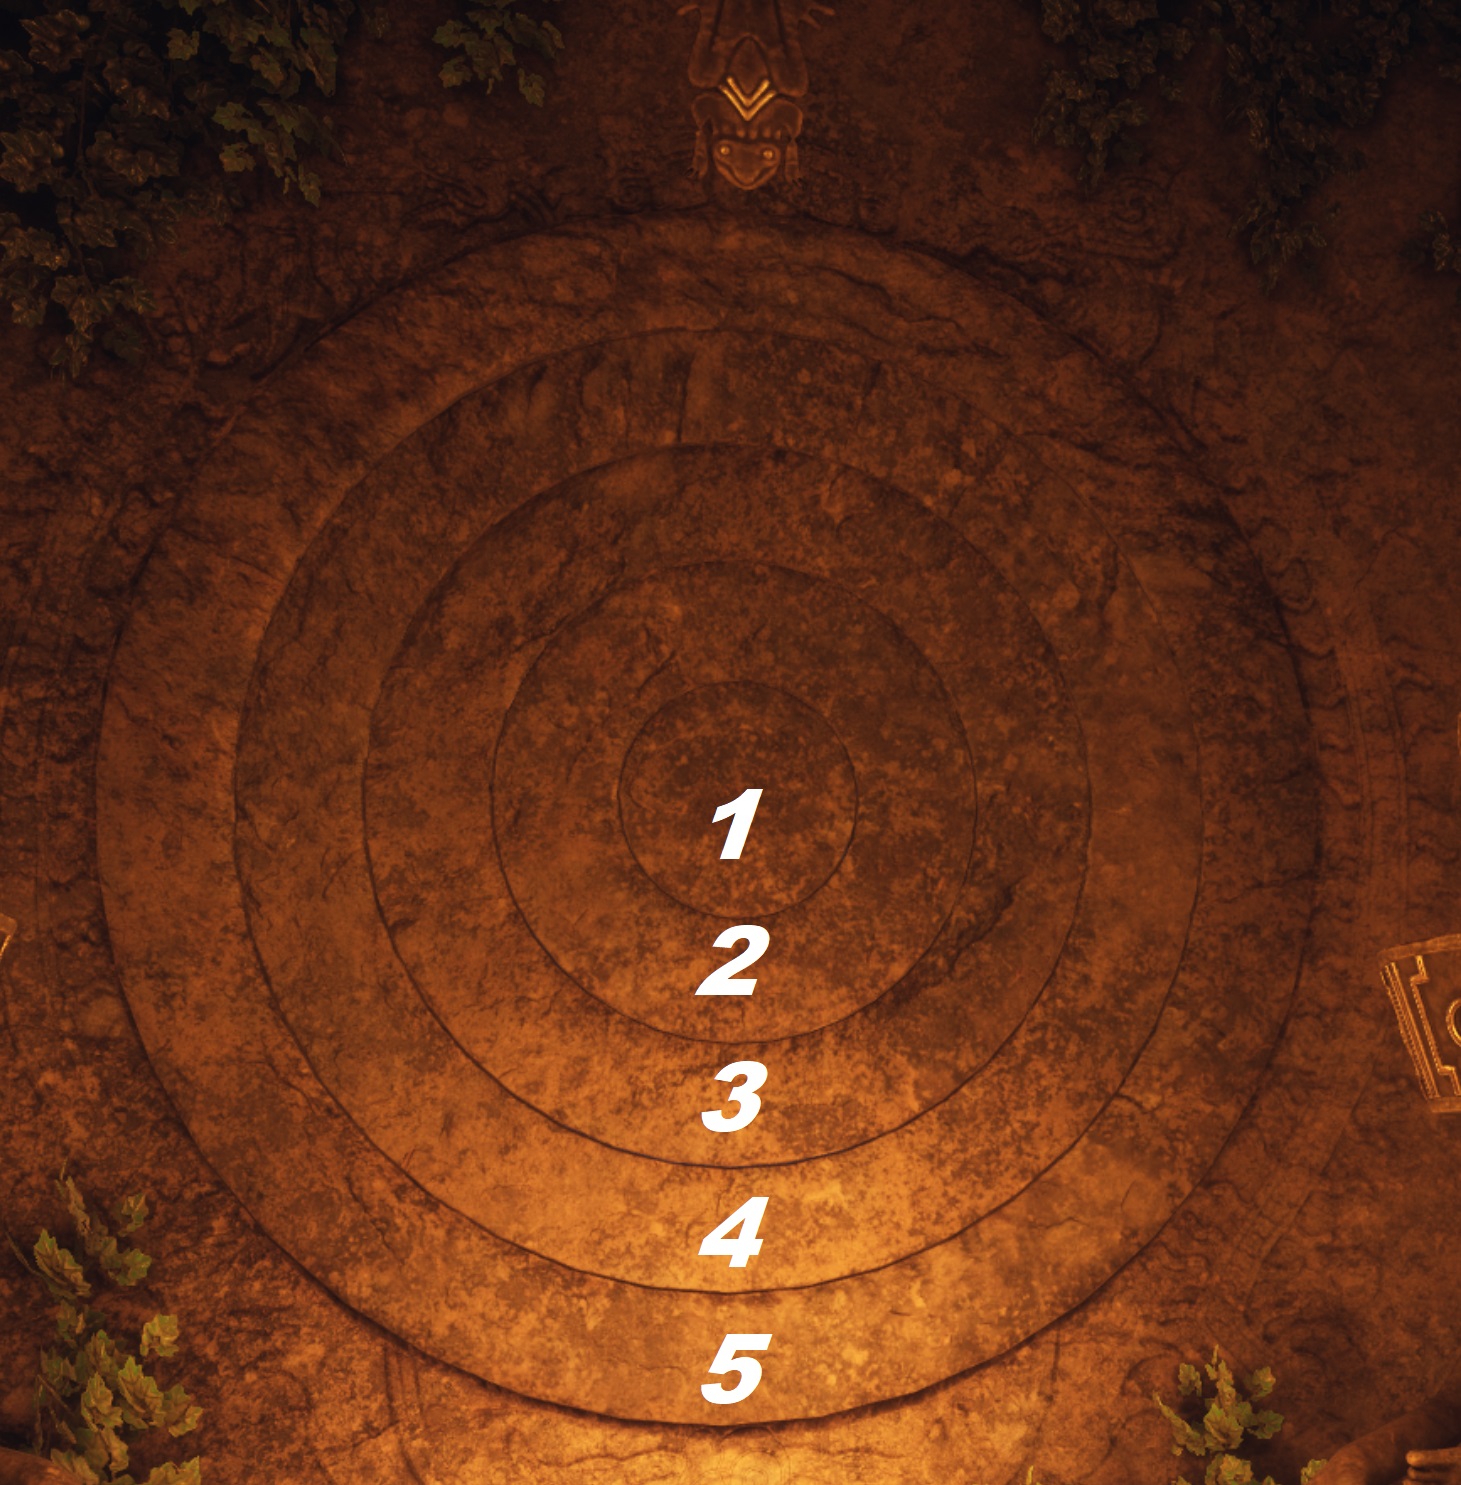
This pairing is as follows. Rings numbered from the inside out, controls from left to right:
Control 1: – Disks 2 and 4
Control 2: – Disks 3 and 5
Control 3: – Disks 1 and 4
Control 4: – Disks 2 and 5
Each time you play, the puzzle is randomised. The exact configuration will be different each time, but the method to reach the solution is the same.
The one step. Four times.
#1:
Pick a dial that belongs to only one control. This control needs to be rotated until that dial is in the correct place. There is only one valid position for this dial, and we can find it directly.
For this guide, I decided to start with the central dial (#1) and rotated control #3.
Note how #1 (the face in the centre is now upright.
#2:
This time, I pick dial #3, and rotate control #2 to align it with the solution.
#3
Oh no, we’re out of unique control to dial mappings!
Except we’re not. Controls 2 and 3 are now “locked” into the solution.
Control 1 and Control 4 share one dial in common, and each have a dial linked with a “locked” control. We can treat that as a dial that only has one control.
So we pick one. I chose control #1 to rotate dial 4 into position.
#4
And now, we are left with one control and two dials, which line up with each other.
We just have to line these up with the image, and the puzzle is solved.
And you’re done.
Complete. Finito.
Bear in mind the approach of isolating one part of the problem, setting that in place, and then using that (in this case, the control being “locked” into a known, correct state) to reduce the problem space of the rest of the puzzle.
That approach will take you far, in this game, and other puzzles, game or otherwise.
Video guide.
I include here, with no commentary, a short video of completing the puzzle:
Here we come to an end for Wanderer Tikal Puzzle Solution Guide hope you enjoy it. If you think we forget something to include or we should make an update to the post let us know via comment, and we will fix it asap! Thanks and have a great day!
- Check All Wanderer Posts List










Leave a Reply