
The final map took me so long to complete that I don't know much about it. This WIP guide contains everything I had to do to complete that map.
Guide Overview
This is my first ever steam guide. If people request it, I may add more details or format it better. I did this because I haven’t seen much information on it, which is extremely complicated and long as SRPGs are concerned. My blind run took me 7.5 hours, with resets to save people taking). This article will cover the strategies I used as well as all the data that I was able to find while playing through the map. Most of the data is stored in memory. Please let me know if you have any questions.
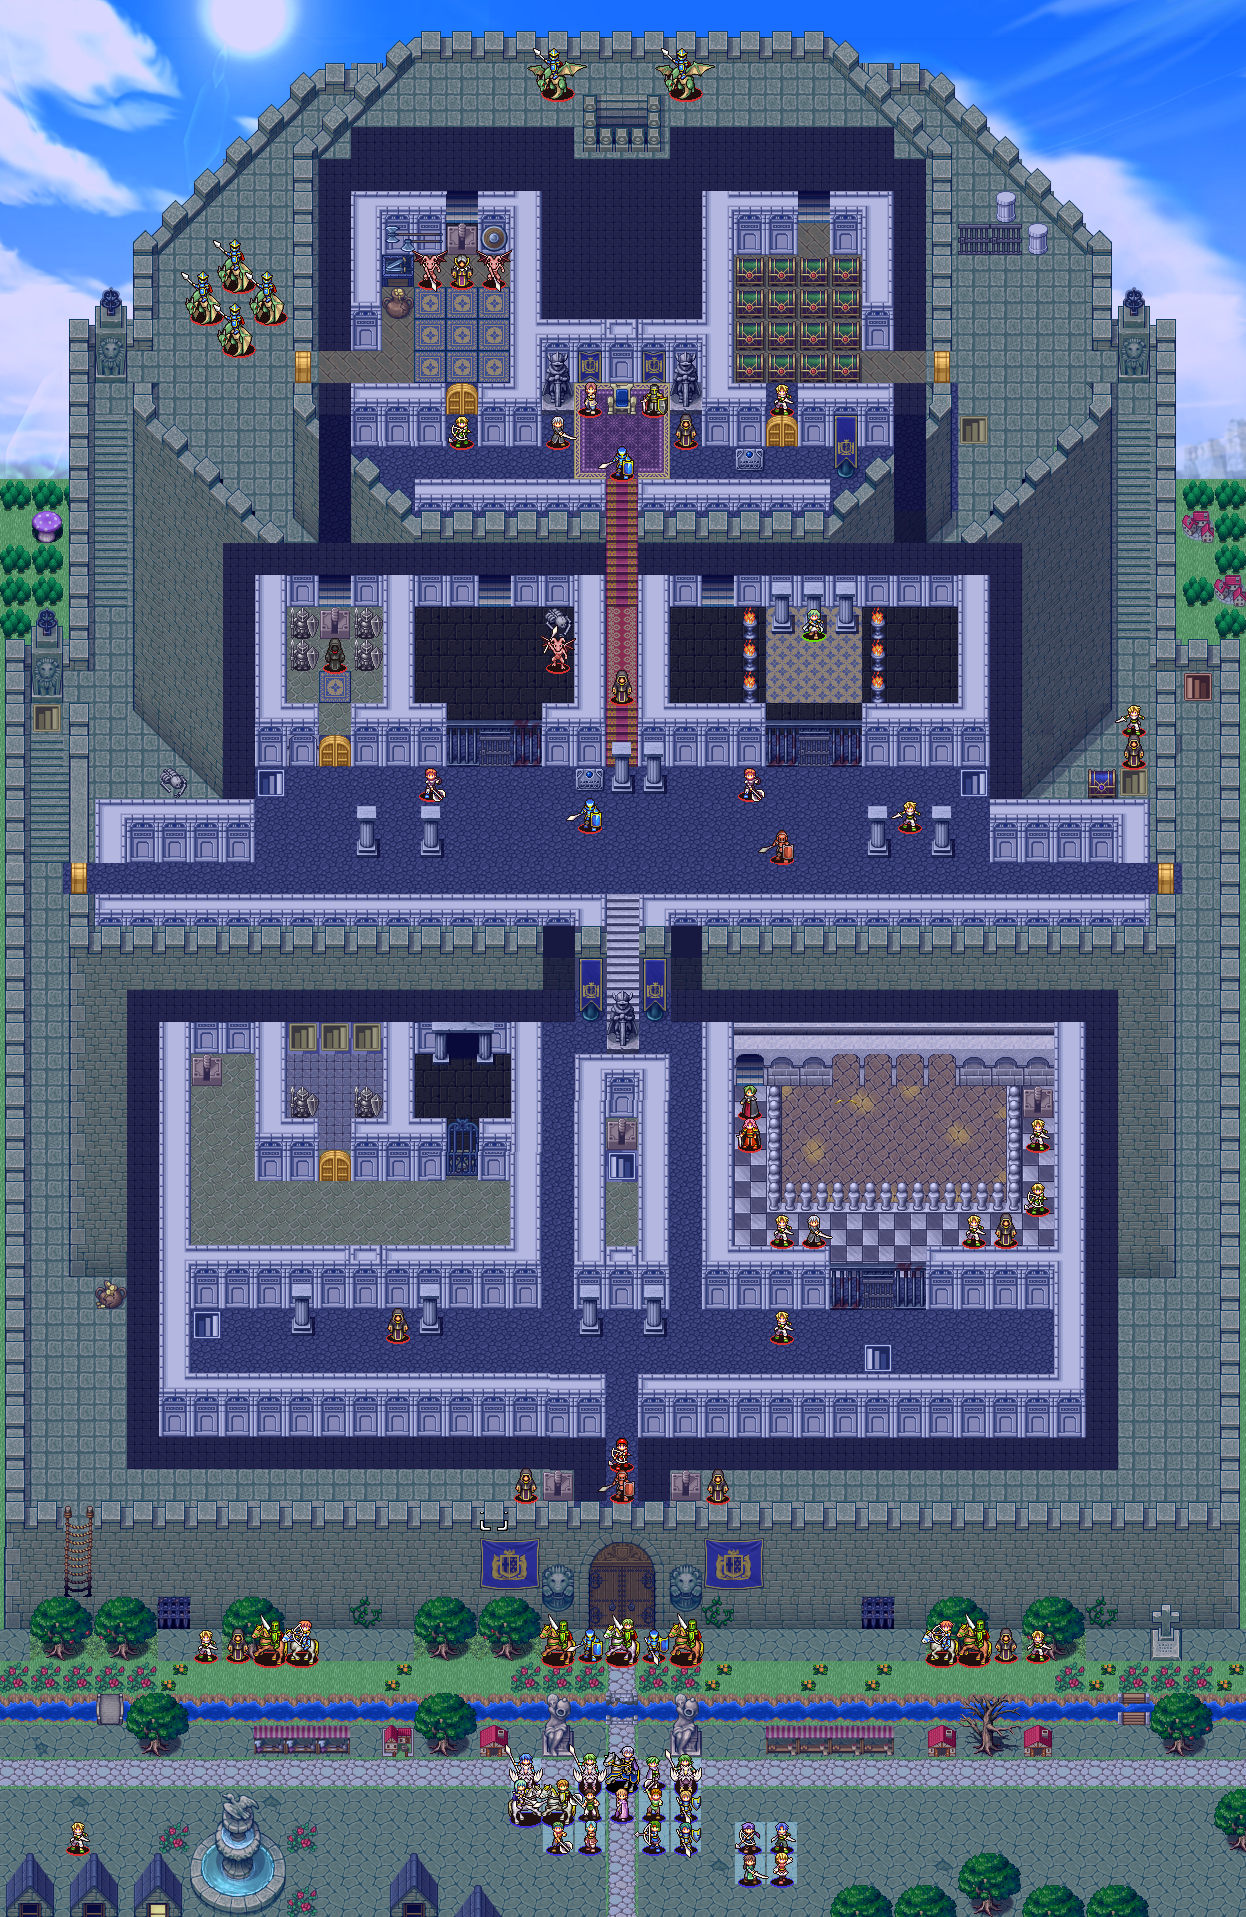
The following image is a compilation if screenshots I took to generate the full map during the preparations phase:
The map changes with time as certain turns occur. Most of the information in this guide was written from memory. I do not know how many turns it takes for enemy reinforcements and when they will appear. I also don't know what triggers them or what enemy items.
Map Details
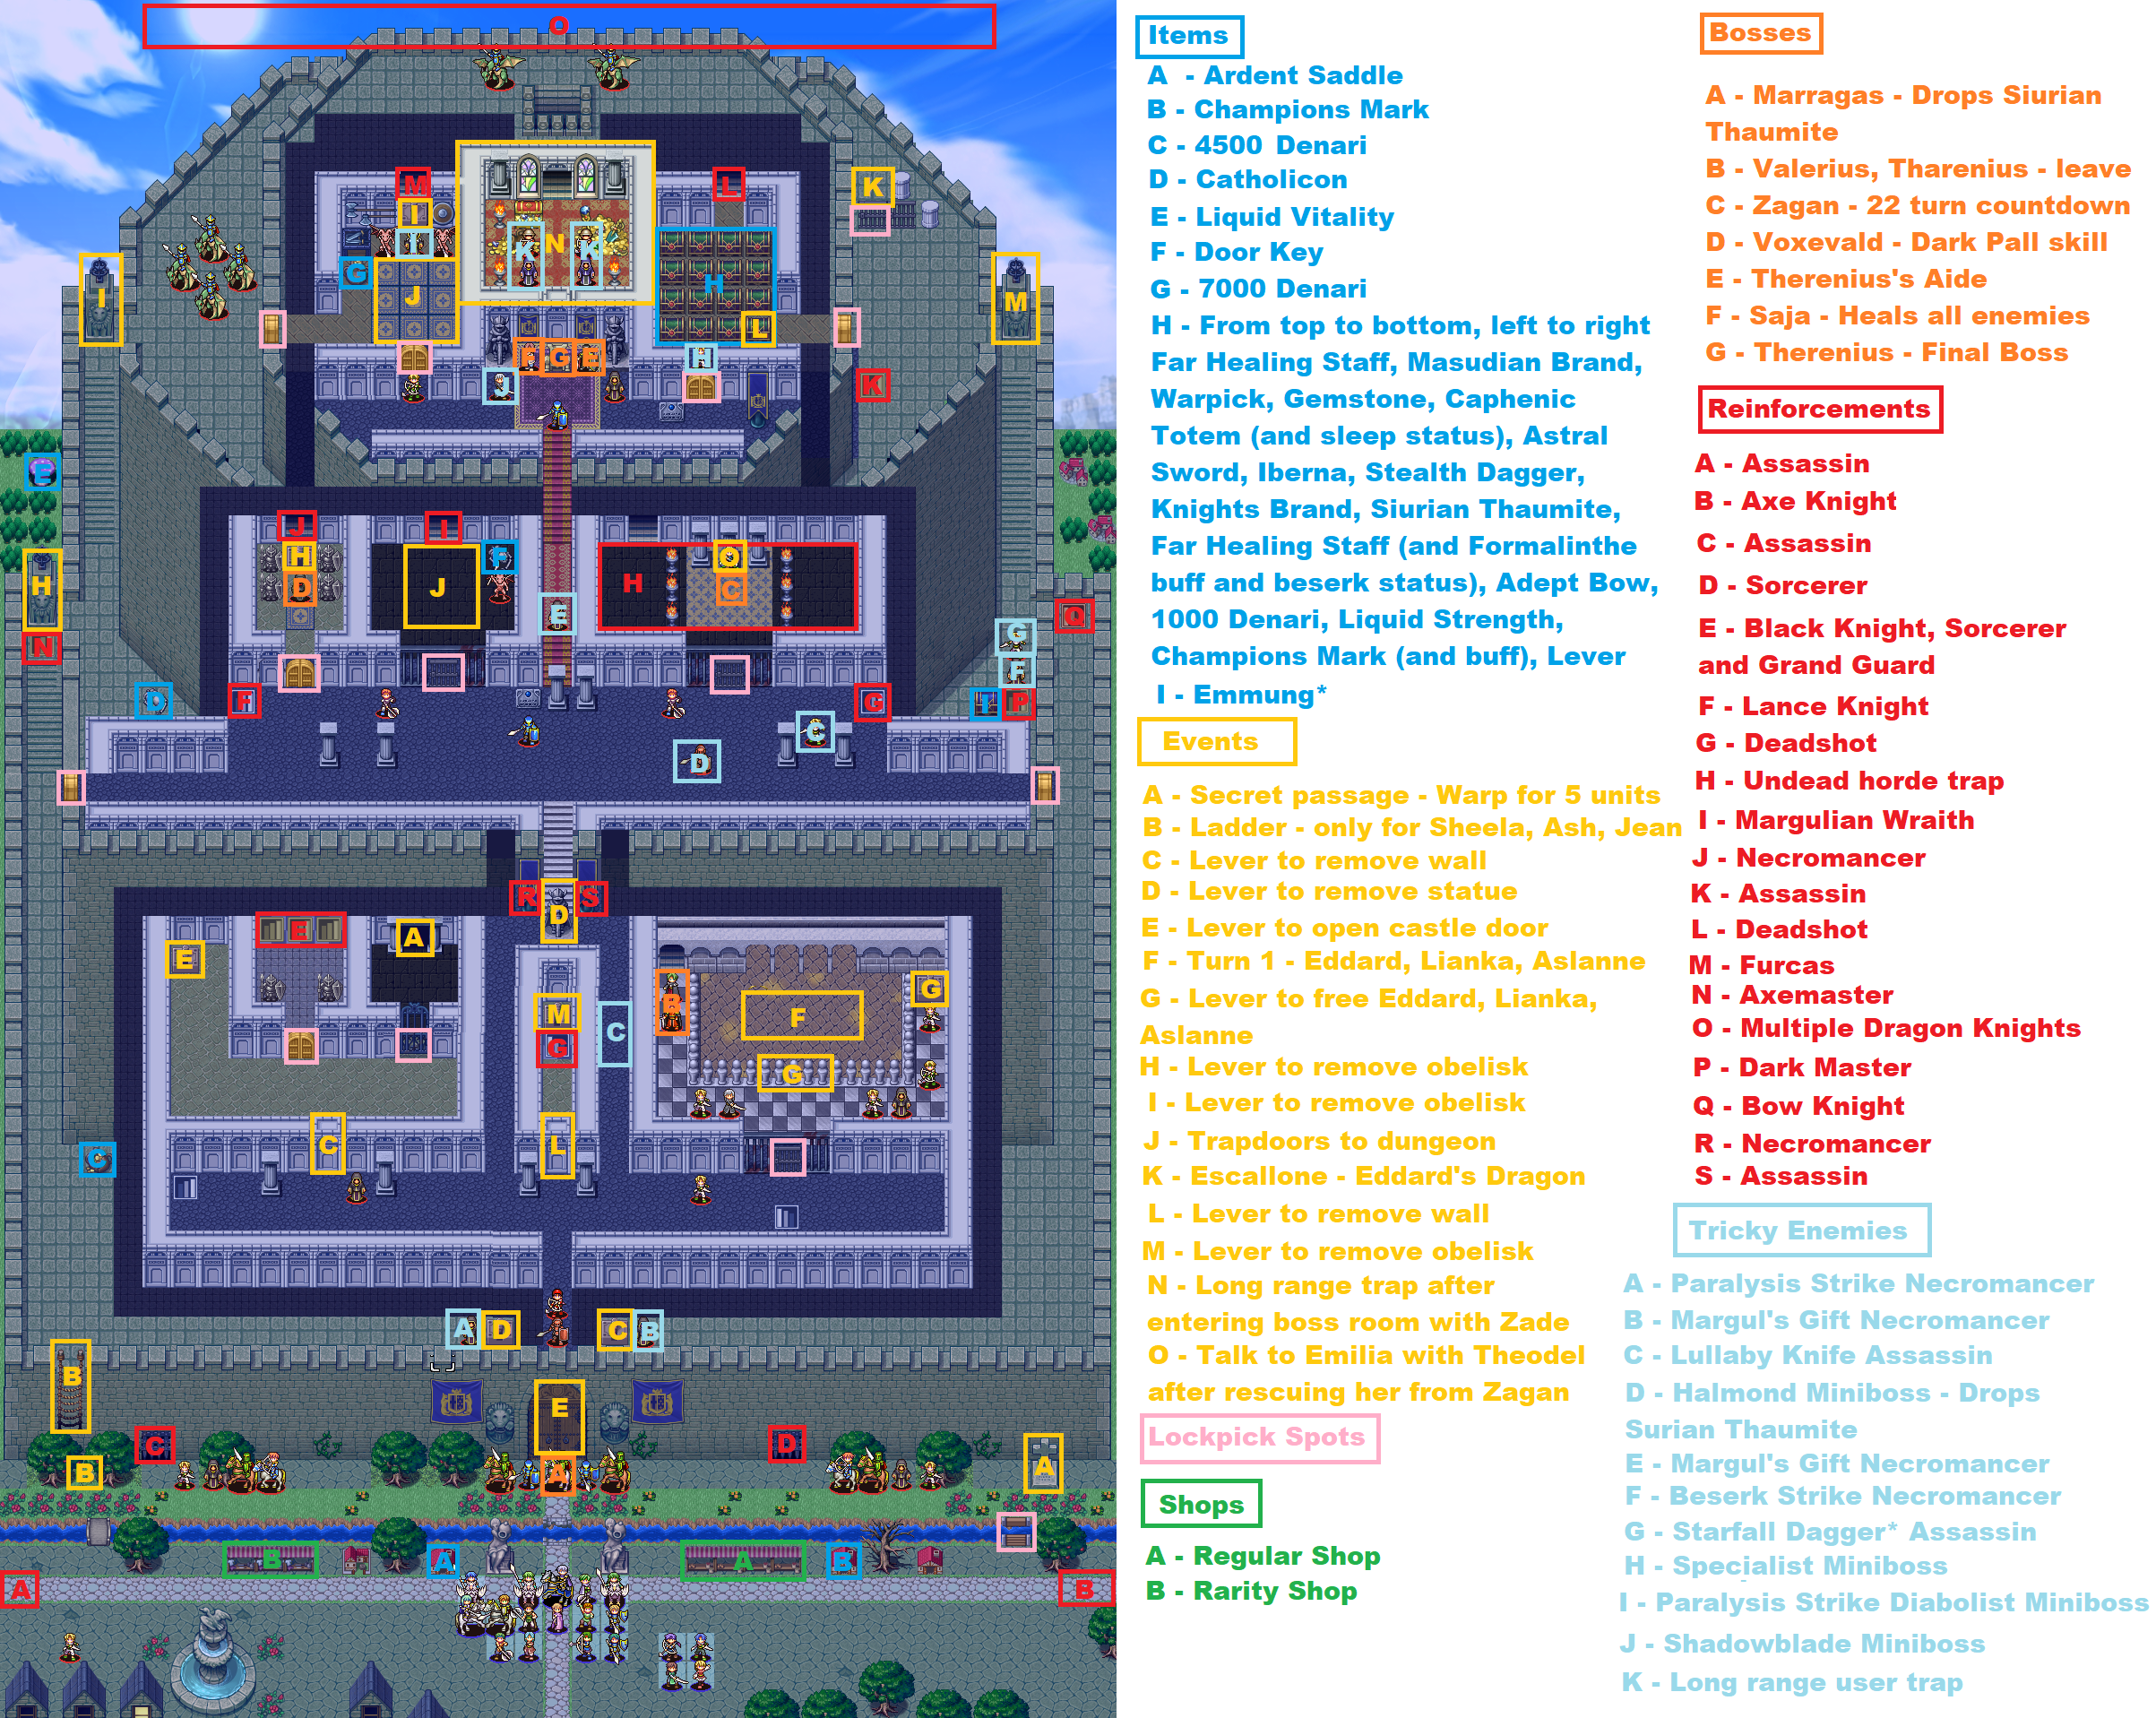
This section will explain all of the tricks and important things to remember when you are creating this map. The following (image, which I created in MS Paint), contains a list of all secrets and important facts about this map.
Items
The first list will include items that are not visible on the map.
-
The house to your left gives you a free Ardent Sled so make sure you grab it.
-
The house to the right gives you a free Champion Mark, so be sure to grab it.
-
The castle's gold pile is worth 4500 Denari. It can be picked up with a flier, Jean, Ash or Sheela. You can return it at the end of this map if you find it difficult to obtain due to the reinforcements to the left.
-
The skeleton on left has a full-healing Catholicon. Worth a visit with one of your cavalry.
-
To get a Liquid Vitality, the mushroom requires a flier. I don't think this is worth it. Your fliers should be on your right side, dealing with the Berserk mage, and getting Zade’s ultimate weapon early.
-
The key to the door of the dungeon is found in the skeleton. It is very useful and useful for this map.
-
The trap room contains 7000 Denari. It is a great place to find the lever that will allow Zade into the final boss zone. (unless he was promoted to speedrun strategies).
-
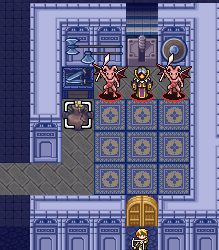
The treasure room has a lot of stuff. You can only open 5 chests. After you have opened your fifth treasure, all the others will be available. This will be explained row by row, from left-to-right. Some chests can cause status effects. I was unable to identify the effect but I did notice a few.
Far Healing Staff Masudian Brand Warpick Gemstone Caphenic Totem(also puts your thief in sleep) Astral Sword Tome of Iberna Stealth Dagger Knights Brand Siurian Thaumite Far Healing Staff (; Beserk status and Formalinthestat buff on your Thief) Able Bow 1000 Denari Liquid Strength Champions Mark (and a temporary buff on your Thief) Lever to remove walls in the middle of the map
I recommend taking the Adept Bow (Caphenic Totem), Astral Sword, Astral Sword, and Tome of Iberna. If Emmung* has been obtained with a flier, I recommend you take the Siurian Thuumite or Gemstone first. If you do not own one, you can get Chest Keys from the rarity store. You will have to open a lever chest. -
The chest at the top of the castle's right stairway contains Emmung*. This is Zade's ultimate weapon. It will be difficult to get a chest key if you don’t have your fliers.
Events
Next I will list any notable events that could occur on the map.
-
The secret passage within the Gravestone will allow up 5 units to teleport in a matter of turns into a section that contains the lever that opens the main door. They disappear for about 2-3 turns after using the passage. Cezar must be part of this group in order to open the secret tunnel exit contraption. Each unit must enter the tunnel in the same direction. Examining the gravestone will show which unit did it their turn back. Don't worry.
-
This one is annoying. The ladder works only for Jean, Ash, Sheela. This is apparent in one of the houses. If you didn’t level up any of them like I did, then this ladder will only be useful for enemy Axemasters trying to get down to you. If you did level them, they can help with the left-side of the map and flip off the switch to remove the statue. Good luck with this map's beginning if you didn’t level up the three flyers or the three of these fliers.
- The lever at the right side of the castle's entrance unlocks the secret passageway so that your 5-unit strike team can enter.
- The lever to the left of the entrance takes the statue out. This allows you to access the second half of map and inner hallway. This is, in my opinion, the most difficult part.
- The lever in secret passage room opens the doors so that the rest your army can enter the castle.
-
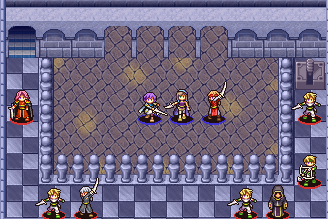
Turn 1: Eddard and Lianka spawn in arena. They will have to fight waves upon waves of enemies about every 4 or 5 turns. Aslanne cannot be killed by them as it will result in a game over. As they love to chase her, Lianka has plenty of uses for her personal gun.
- Eddard and Lianka are released from the arena by turning the lever. If you open the doors to the arena or castle, Therenius will exit the arena.
- The lever behind Voxevald takes out the first obelisk to the left of the castle. To allow your Cavalry access the rest of castle, you must remove both. They cannot enter the central hallway.
- The lever behind a diabolist removes a second obelisk from the left side. Again, this is necessary to allow Cavalry to access the entire map.
- If you end your turn on any of these tiles, you will fall down to the below dungeon which continually spawns an margulian wraith with a 1HP left if you hit tome. The door to the Dungeon will close every turn if it is opened. Avoid the nine tiles. I believe that the left side of the house is safer.
-
Eddard's Dragon is located in the top-right section of the map. Eddard will change to Dragon Knight if you speak to him.
- The lever to unlock the wall in central castle, beside the continually spawning archer is found in the bottom right chest. This is unnecessary if you have an flier with a key to the chest.
- The lever located in the middle of the castle will remove the obelisk from the top-right section of the map. This gives you access the chest containing Zade’s ultimate weapon Emmung*. This is optional if you received it with a flier.
-
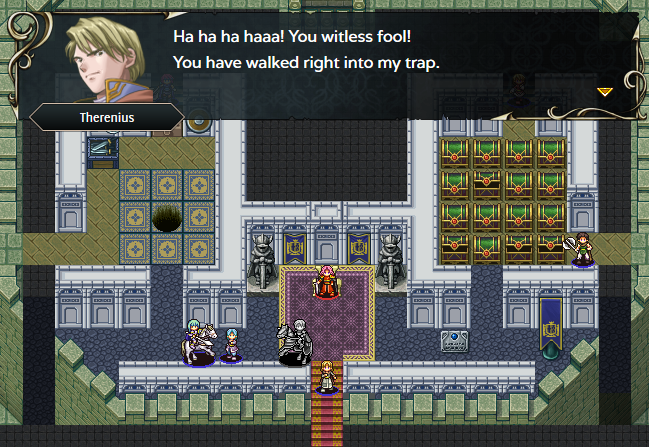
Therenius will make fun of you when you enter the boss' room with Zade. Although it is annoying, they are not much of a threat.
- Talk to Emilia and Theodel about it, and she'll go. You will need to rescue Emilia from Zagan before she passes 33 turns (, which is relatively easy.
-
Cyltan and the party arrive at around turn 10 or trigger the secret passage. The map is changing from night-to-day and you now have the whole army to use.
Shops
Next, I'll list every shop that is notable on the map.
The Rarity shops are on the left side. The right side of map contains shops selling every weapon that you can buy.
I will post a listing of screenshots of all shops from left to right. Ignore the price inconsistency as I visited some shops with Ma'aya and only realized that she had reduced the prices by 1/3 because her skill.
| Caldra | Neffyre | Vorthes | Raecryst | Folgore | Thalavin | Chimnir |
| Door Key | Chest Key | Tisane | Catholicon | Buttress Cake | Bellflower Leaf | Siurian Thaumite |
| Healing Staff | High Healing Staff | Far Healing Staff | Holy Vestments | Champions Mark | Empyrean Wings | Argent Saddle |
| Altium Sword | Dreamblade | Knights Brand | Greatsword | Divine Sword | Fleuret | Wargoddess' Sword |
| Needle Spear | Phalanx Lance | Wind Spear | Cavalry Lance | Pilum +2 | Stun Pilum | Heavy Pilum |
| Longbow | Composite Bow | Repeater Bow | Archbow | Flame Bow | Swift Bow | Arbalest +1 |
| Altium Axe | Warpick | Mythril Axe | Scissor Axe | Flame Axe | Hatchet | Use an Axe for Expertise |
Bosses
Next, I'll list all the bosses found on this map.
-
Marragas: Drops the Siurian Thaumite. He uses a Bhuj, which hits hard and multiple time. I used Zayid to defeat him on turn 1.
- Valerius and Therenius are visible in the arena but will leave before you enter.
-
Zagan – after 11 turns, he spawns. He whips Emilia multiplely throughout the chapter to inflict 1 damage. It is an optional story goal to rescue him with Theodel. She has 22 HP, so you will lose this optional objective after 22 turns after Zagan spawns.
-
Voxevald has the Dark Pall Skill which buffs all on the map. To remove the buff, get rid him as soon as possible. If you don’t finish him in one full attack, he seems to disappear.
-
Therenius's Aide-He is quite obnoxious with his powerful defense system and weapon, but can't defend from any range.
-
Saja – Every turn, she fully heals all of the enemies on the map.
-
Therenius – Final boss and actually pretty weak. Emmung* is his only option to hurt him.
Reinforcements
Next, I'll list all the reinforcement points on this map. If anyone knows the exact triggers, or turns these spawn at, let me know and I'll update the guide.
- At the beginning of the map, you will see an Assassin spawnpoint. It is on the left side. This spawnpoint is extremely annoying as they continue to spawn until they reach 60. Many of these assassins can be evasive, and they come with first-blood skill. You need someone who is able to block the spawn of an enemy or one round against an extremely difficult opponent.
- Axe Knight Spawning Point is located on right side of road at the beginning. These enemies cannot be blocked, but you can easily eliminate them with a Cavalry League. Athol cannot move or avoid them so you need someone to guard this area.
- Some assassins are seen coming out of the castle wall's left side. There are only a few that spawn so I think they are tied either to a turn count, or until you hit one the levers.
- Some sorecerers appear to be coming out of the gate at the right side the castle wall. They spawn in small numbers, so I believe they are tied either to a turn count (or until you hit one).
-
From these stairs in the secret passageroom, three obnoxious enemies (grand guard, black Knight, and sorcerer) spawn. You can use a ranged unit of your party to defeat the sorcerer and then permanently block it with another unit. The two reinforcements will stop that unit from being attacked by moving to and within the door. It is the easiest way of dealing with this group.
- In the left staircase of the central hallway, you'll find Lance knights with Cavalry Lances. They can be very irritating for Troy, Merida and Zade and make it difficult for them to survive the hallway. I recommend entering this section after you have saved.
- Deadshots with flame bows and poison bows spawn on the right staircase in the central hallway. This makes this section extremely annoying and the hardest. Another one with a scorpion spawns continuously from the middle of this map.
-
You can trigger a number of skeleton enemies by opening the door to the room where Zagan is present. They are equipped with a variety of dangerous weapons. One of them can drop you to 1HP. You should have a strong group of people ready to enter the room and help you.
- In the dungeon, a margulian witch constantly spawns. It can drop you to 1HP. Although you can ignore the room, if you land on the trap floor later, you could lose your unit.
-
The statue room is home to a necromancer that has a long range weapon. I had Cyltan continue to take out reinforcements and then move out of the room. He is protected with a lot of Elden Armors, which can't die and hit hard. Cyltan is not something you want to block, so I used it.
- Assassins will continue to spawn from the upper right staircase, and will eventually move down the castle. They are invisible and will continue throwing assassins at the staircase. If you don't, you could get caught unawares while moving through the map.
- The treasure room is full of deadshot archers. Block it once you reach it.
- In the trap room, large furcas continue to spawn. Block it to stop them spawning.
- Axemasters continue to spawn on the left side and can be taken down the ladder to pursue Athol. Block them.
- The top of the map is home to Dragon Knights. These Dragon Knights are not strong but can be difficult to deal. Eddard, Dune and Sheela are great for dealing with the various spawns that appear once you reach top.
- Dark Masters are found near the Emmung* Chest. It doesn't matter if you get it with a flier, like I mentioned earlier. They are useless because they can't go anywhere.
- Mounted archers keep spawning off the rightmost step. I blocked it with one my fliers.
- This is why the image is last. A necromancer and an assassin pair will keep appearing from the walls when you pass through the middle section of the castle. It is annoying but very easy to fix.
- A group of 4 enemies is spawned every few turns in the arena, but it's not shown on the image. They love to chase Lianka. The spawns can be stopped by releasing everyone from the arena. The spawns get more difficult the longer you keep the chapter going.
Tricky Enemies
Let's talk about the tricky enemies that this map has to offer.
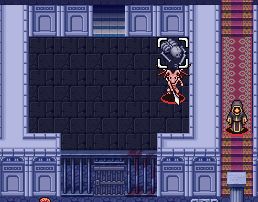
- The paralysis strike necromancer guarding left lever is really annoying.
- The margul’s gift necromancer guarding the right lever is less irritating as he can only go after your fliers because only they can reach this side early on.
- You should be careful as there are many invisible Lullaby Knife assassins who have the First Blood skill on this map.
-
Halmond – Halmond is a miniboss that drops the Siurian Thaumite. I should have placed him in the boss section honesty, but forgot about him. Zade with Edelstein*, Emmung* or Accorte can make short work out of him.
- You must deal with the margul’s gift necromancer in king’s hall as soon as possible so you have access to healers for armor knights and mages in here.
-
You can get rid of the annoying berserk-strike necromancer at the top of the map by using the fliers.
-
It is easy to get rid the starfall knife thief fighter located at the top of the map from within the reach of the flier. He would be dangerous otherwise.
-
You don't have need to worry about this specialist in the treasure chamber. He may be a boss, but he is also a joke.
-
The trap room with paralysis strike has the Diabolist miniboss, but it's not too difficult. The trap floors in this room are the real problem.
-
The Shadowblade enemy in boss room has an extremely dangerous cutlass. To take him out, Haldyn was my friend.
- While the trap section users at long range can be annoying, they are a necessary part of the game.
- Although it is not shown in the image, the armored knight behind the main entrance and deadshot between the levers are extremely dangerous for your fliers. After hitting the lever, fliers can't turn back. It is best not to use the fliers to touch any levers. Jean, Sheela or Ash could be the best to deal with Slayne the armored knight. If they don't open, you might need to wait for the main entrance to open before you deal with them.
Map Progression
To help you understand how to use the map and which units were used for each part, I have provided a breakdown. The following image illustrates the progression.
- To begin, head to the right side and join your 4-5 top fighters and Cezar. Merida and Haldyn, Theodel, and Cezar were my favorites. To allow everyone to enter, you must first go through the gravestone. Blocking the door at the reinforcements is a good idea. They will not be an issue for the rest. Personally, I blocked the door with Haldyn, then Jamulan replaced him later.
- To turn the left switch on, you will need to use Ash, Jean, or Sheela. I didn't have any of the 3 leveled so I went along with my flyers. This will remove your blockade statue. You can then use them for stopping reinforcements of Axemasters or Gargoyles that keep appearing on the left side.
- You will need your fliers to flip a switch to the right and free the 4-5 top fighters from the secret passageway room. You can then continue onward and attempt to eliminate the Berserk maze. To make it simple, I upgraded my mobility to Yaeri (by adding a full Double Pilum) and Doyenne). To avoid Berserk, save scum by saving 5 turns. Also, you should take out Starfall Dagger* thief. Another great idea is to have one flier buy a key to the chest (. Once the chest is opened, send it immediately to stockpile). It contains Zade’s ultimate weapon.
- Athol's guards move them into the area to stop the Assassins and Axe Knights at every turn. These are annoying reinforcements that you must deal with constantly on the map.
- For the rest of Cyltan's team, when they arrive (at turn 10, I think). Once your 4-5 best fighters have opened the castle door, head towards). Next, go to the arena to free Eddard. After that, have everyone gather in the hallway to tackle section 2.
- RNG deaths are very likely to occur in the central hallway. After saving, I recommend that you enter it with your best units. After clearing the central corridor, you can use your thieves and open the doors to destroy all enemies in each cell. I used Zade to push the lever in my death room with invincible Elder Armors. Block every reinforcement spot in this hallway using your weaker units to make it less frustrating.
- Your cavalry must not go to the boss, they must travel the long distance. Your best non-cavalry units should be guided through the corridor to the trap room or the treasure room. Open the path for cavalry to make their way around the castle to the boss room. Now, let Zade enter the room with his ultimate weapon. Zade should not have any problem picking off his boss.
Softlock warning
In this chapter, you can softlock your game. I softlocked myself the first attempt at this map, but I also rotated saves and created a backup save at every map's start to prevent me from losing much progress.
Softlock is possible:
- Only one turn will allow you to enter the secret passage to the gravestone. If you entered it without Zade or someone with the Lockpick skills, or didn't have any units to enter, then congratulations, you are now unbeatable. You will need to start your entire playthrough again. You should always have backups in games such as this.
- If you don't have Yaeri Rubina Ma'aya Ash Jean or Sheela before this map, it is impossible to beat this level. There are two statues on the castle walls that can be removed from the statue.
- If you do not have the fliers Eddard Rubina Ma'aya and Yaeri, or have not opened any treasure chests in the treasure rooms except the one in the bottom right, you will not be able to get Emmung*. This means that Emmung* can't be beat as Therenius is unable to take damage.
- Although there are likely to be some other situations in which you can softlock yourself, those would be much more obvious. You might have Zade fall asleep from a sleeping mage in a dangerous corridor, or you ignored protecting Athol. Or you left Aslanne in the arena with Eddard or Lianka for too many hours and the enemies keep getting worse.
Hope you enjoy the post for Vestaria Saga I: War of the Scions Full Map Walkthrough – Chapter 20, If you think we should update the post or something is wrong please let us know via comment and we will fix it how fast as possible! Thank you and have a great day!
- Check All Vestaria Saga I: War of the Scions Posts List









Leave a Reply