Hail warrior! Welcome to my Valheim Portal Guide, to aid in exploration and resource gathering. This strategy works for solo and co-op play, helps ease the process of mining ore, and recovers gear quickly in case of character death. Best of all, it sets up a fast travel infrastructure that remains useful for the entire game!
Note: This guide contains spoilers for newer players! Proceed at your own risk.
What You’ll Need to Start
Early in the game, after defeating the first boss Eikthyr, you will gain access to mining copper ore and tin ore in the Black Forest. Before Eikthyr, you will have probably stayed in the same Meadows biome as your spawn point, and may have begun building an expanded wooden base.
- Antler Pickaxe.
- Wood, for building and coal.
- Greydwarf eyes. You should have plenty of these by now.
- Surtling cores. You need 20 to make your first smelter and coal furnace, and should find plenty more in burial chambers once you start exploring the Black Forest.
- Fire arrows. You will encounter trolls, by accident and on purpose. The safest way to defend against trolls at this stage is to kite them with fire arrows while dodging their powerful attacks. Carry a full stack whenever you enter the Black Forest.
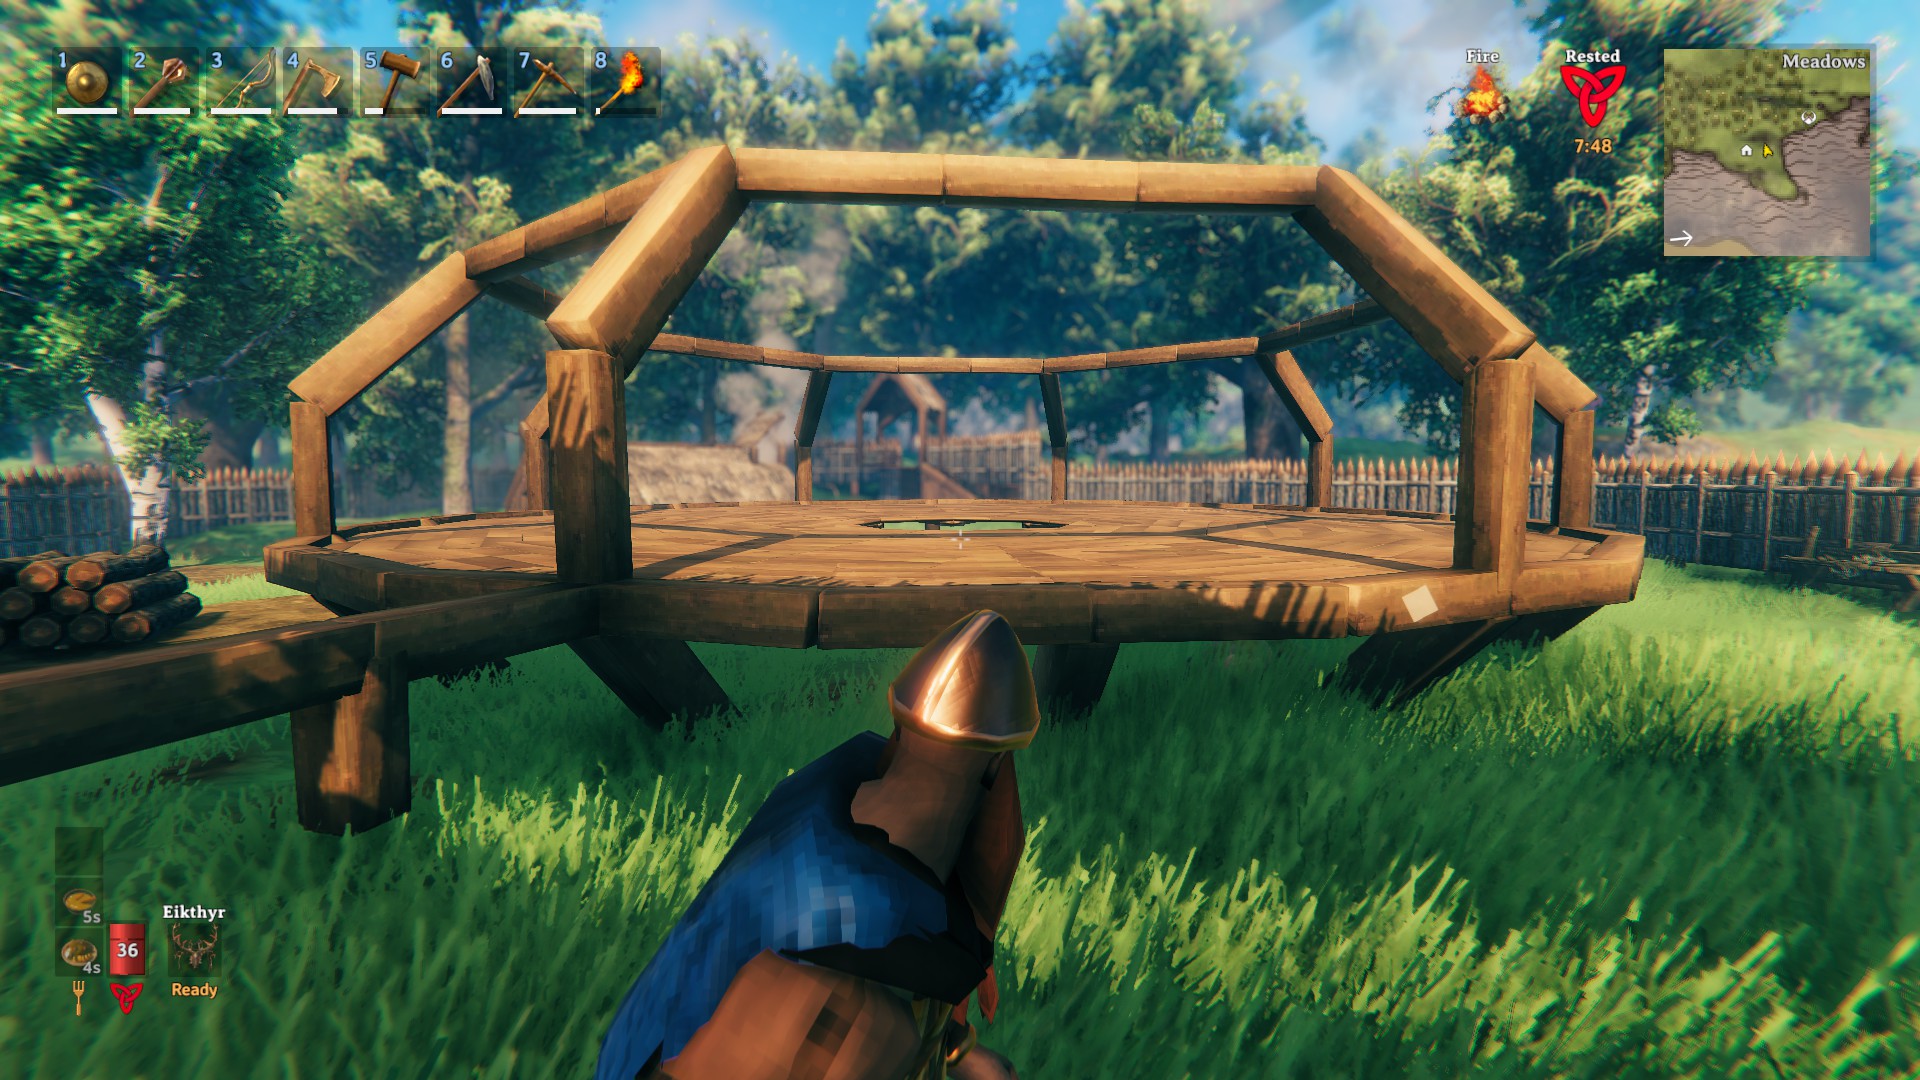
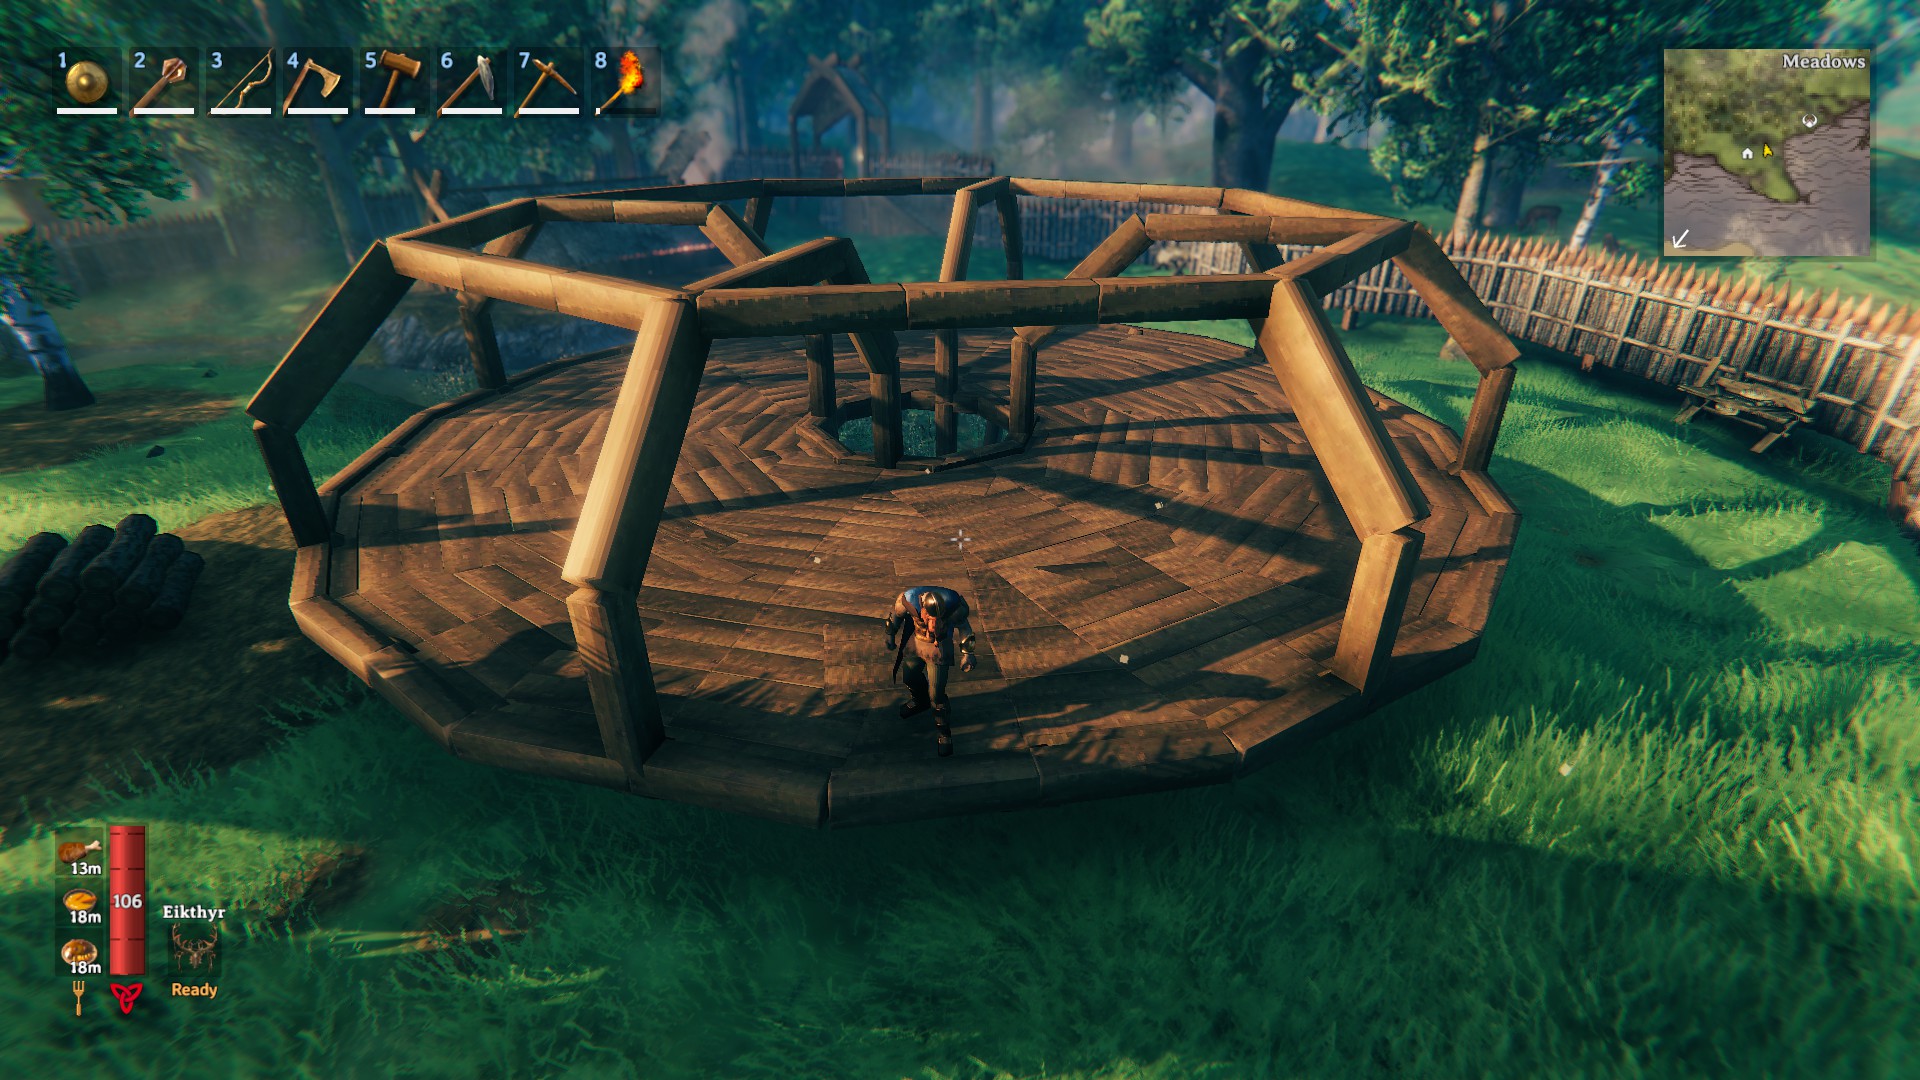
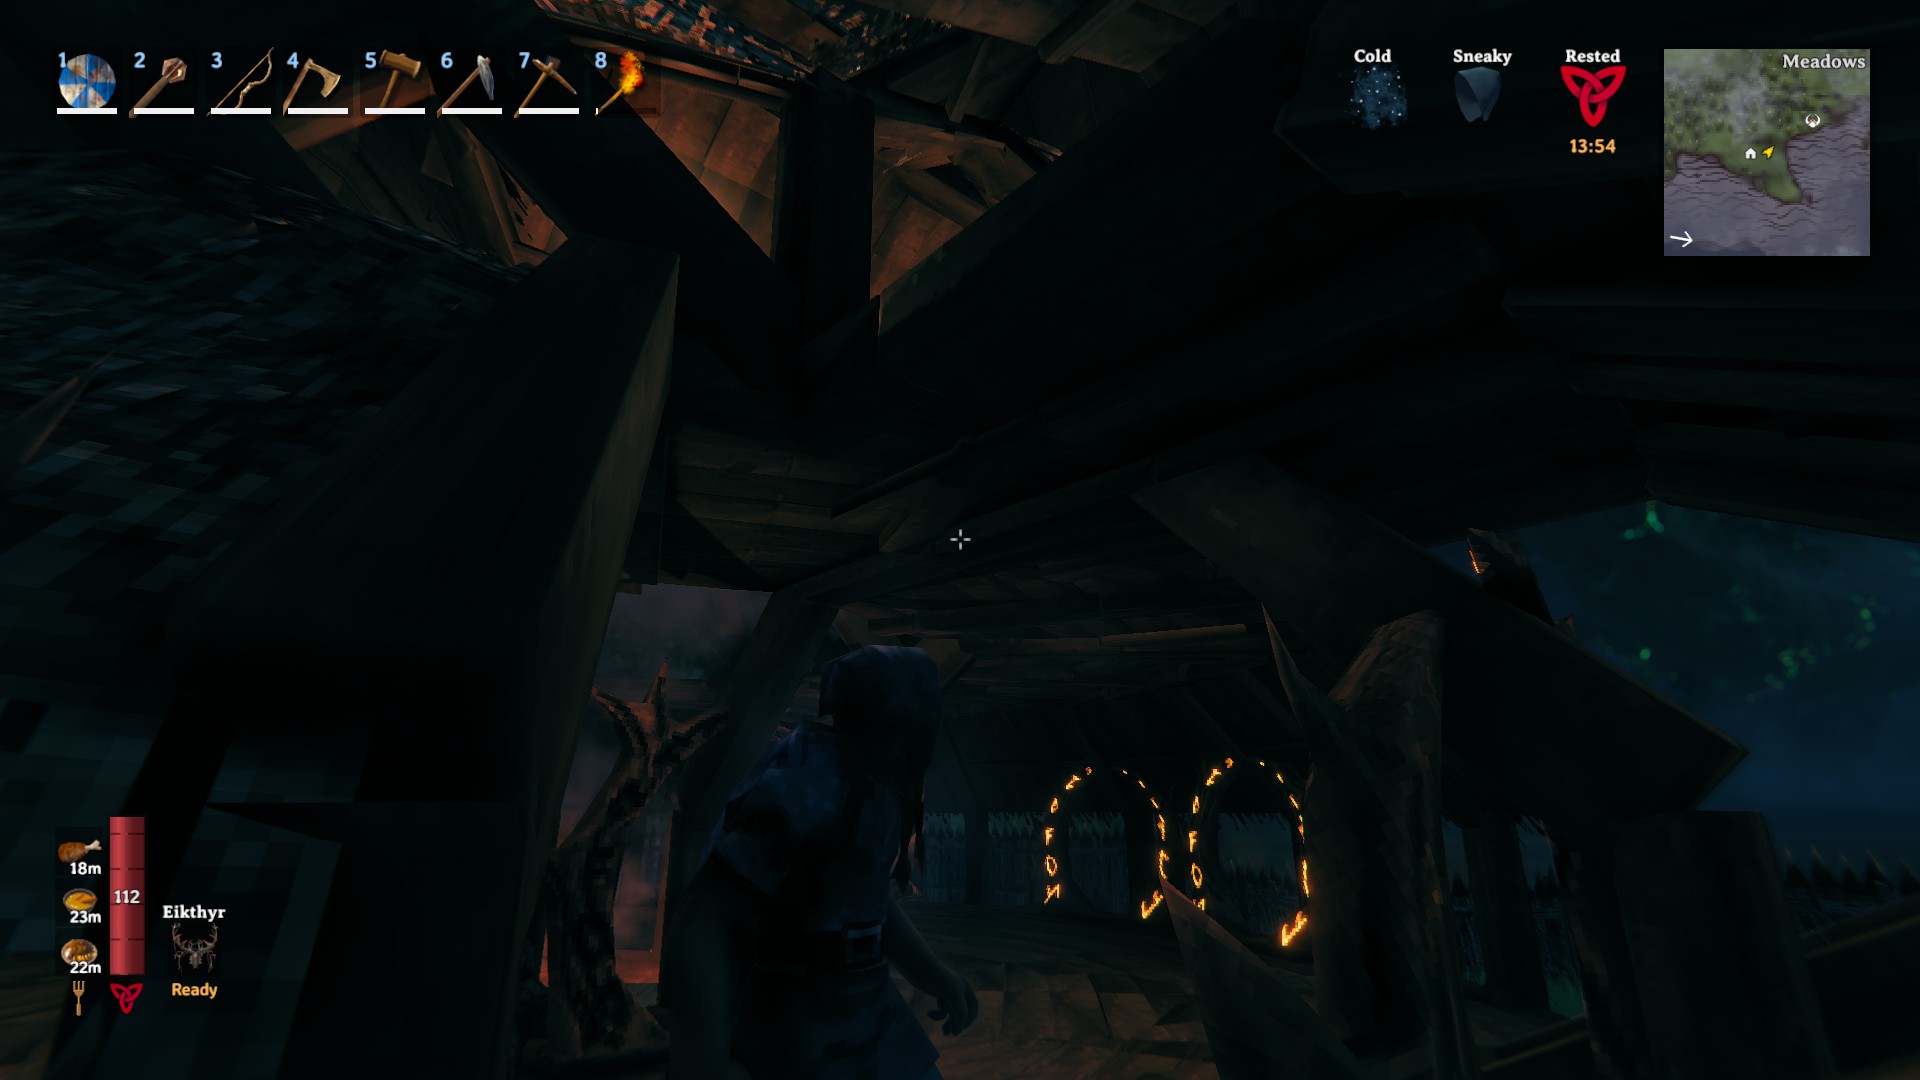
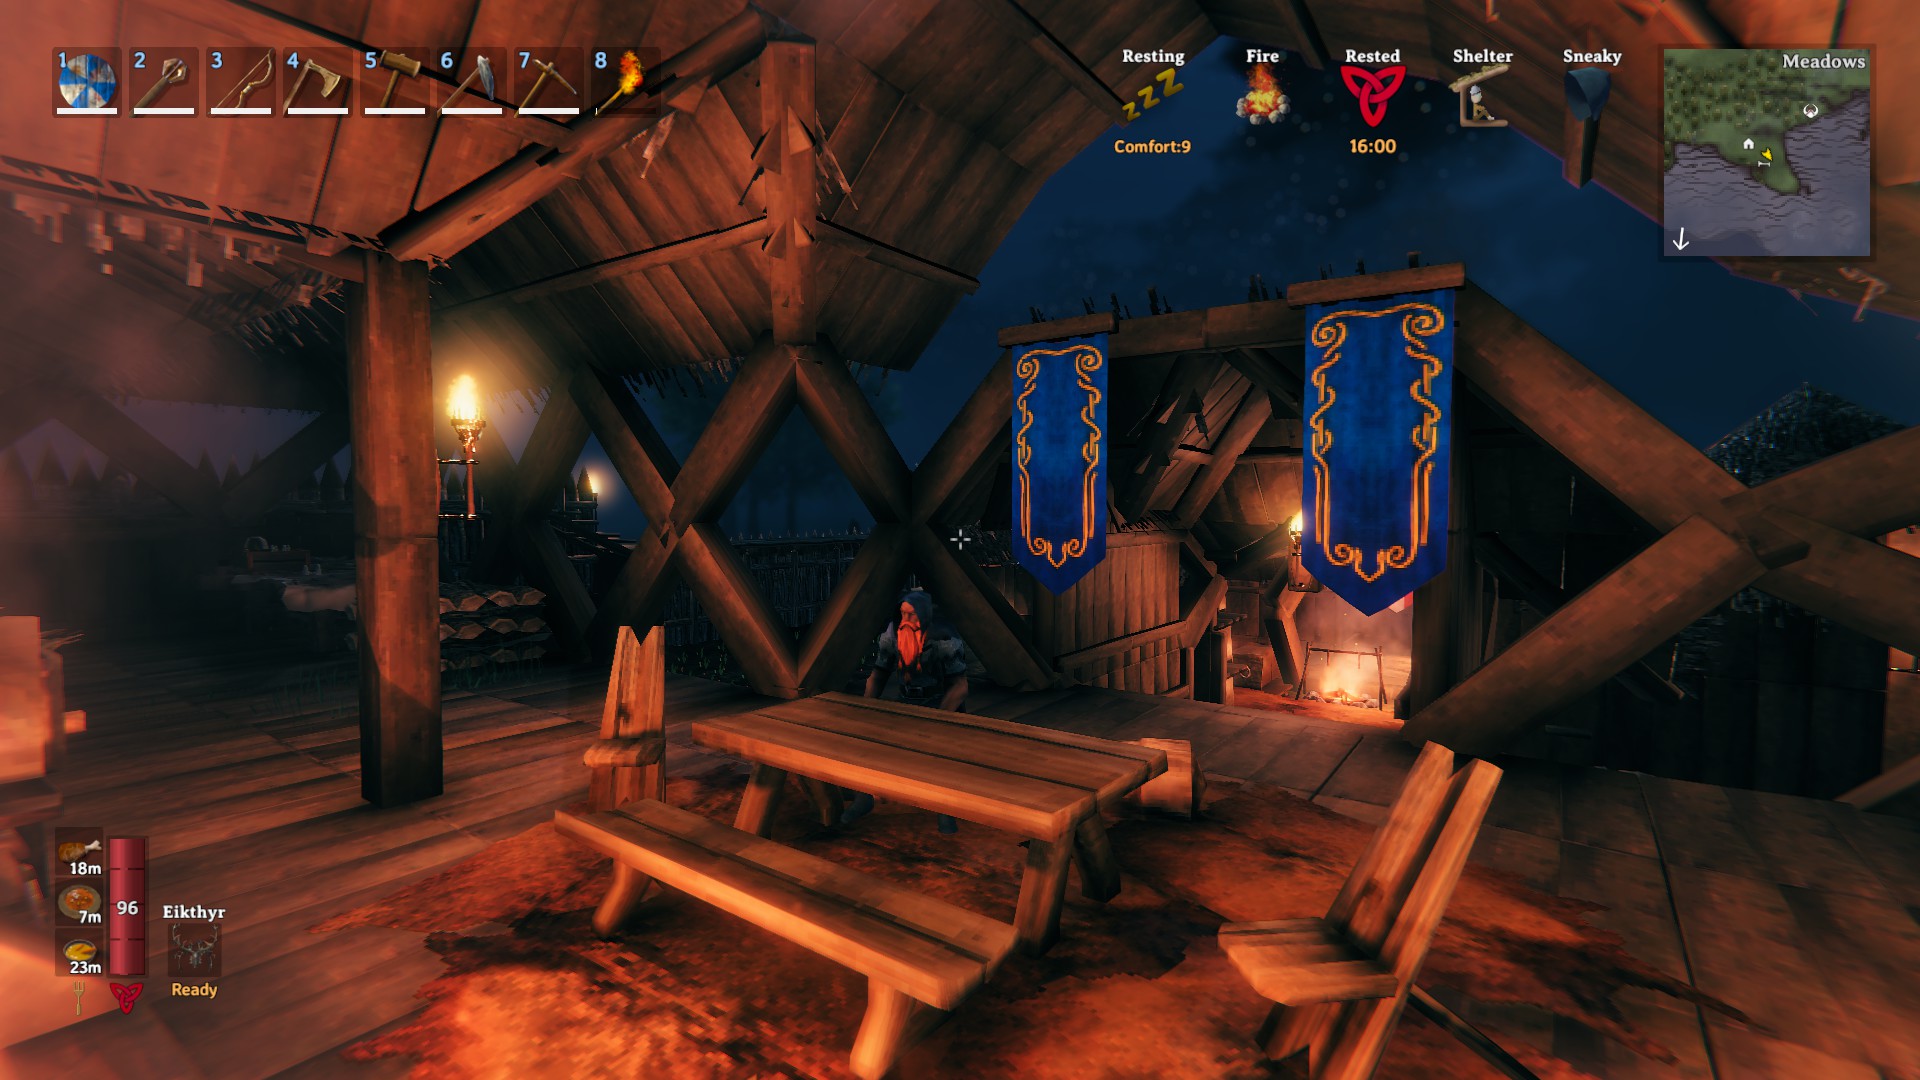
Preview: a portal room worthy of the gods … under construction.
Tip: You’ll need an almost endless supply of wood. Once you have the cultivator, cultivate as many trees from beech seeds as you can. Once you have the bronze axe, some oak trees drop acorns; use them to grow and harvest fine woodnear your base.
Preparation
To make a portal, you need fine wood.
To get fine wood, you need a bronze axe.
To make a bronze axe, you need … bronze!
- – Hugin
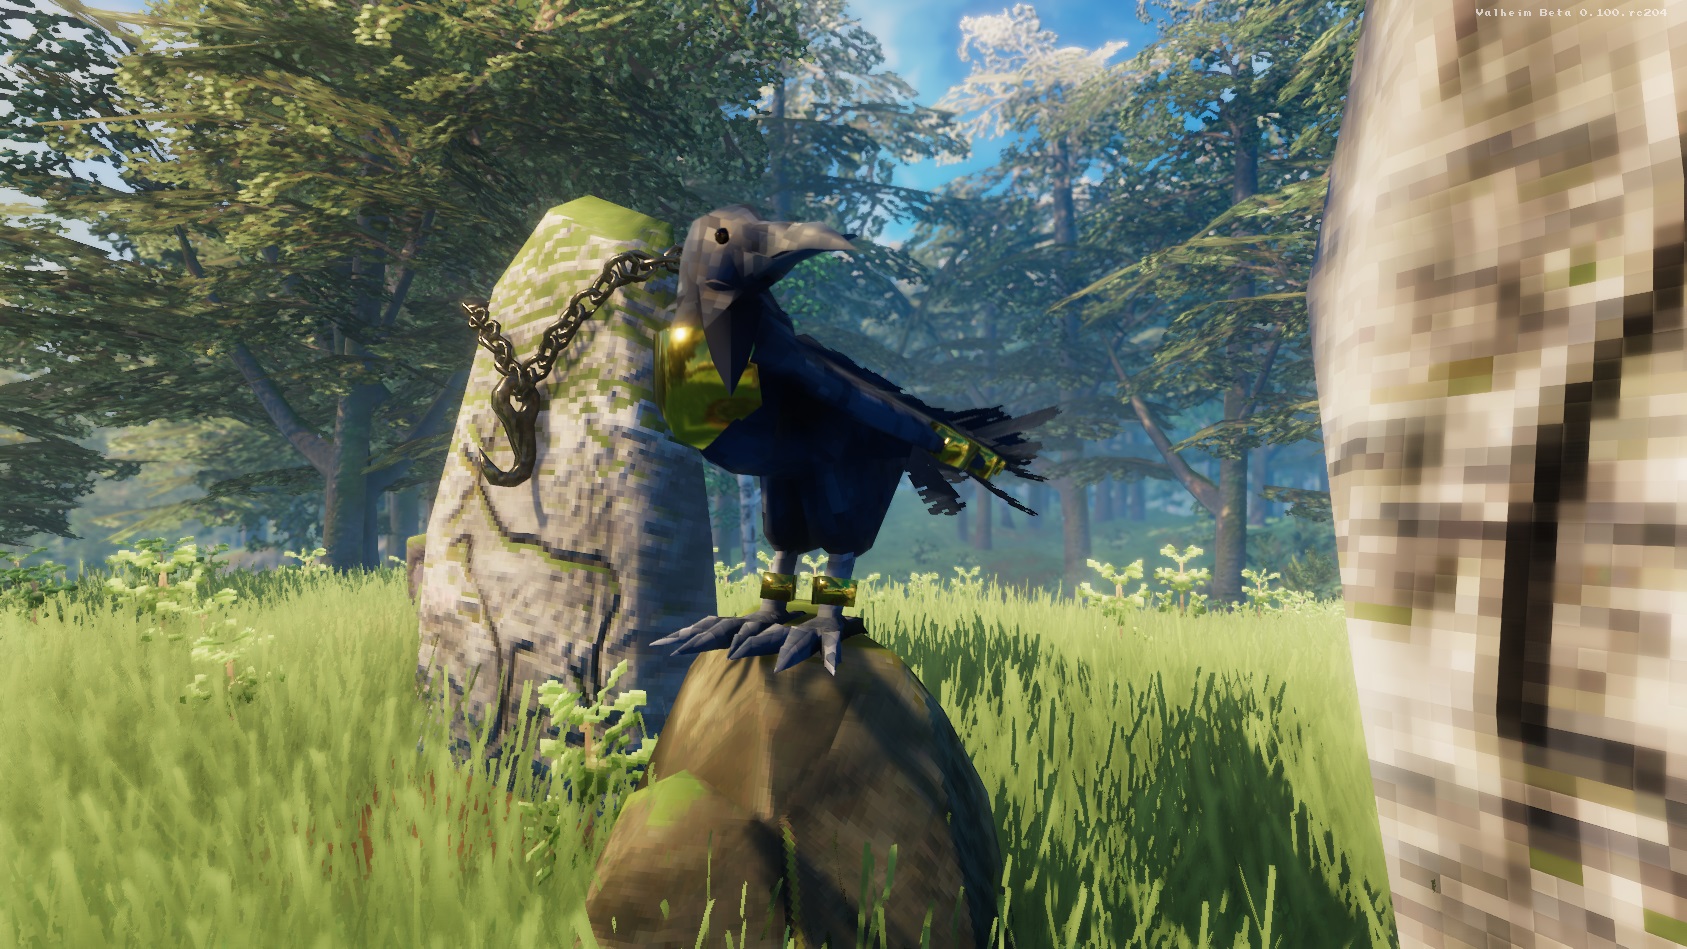
Hugin didn’t really say that. Hugin is my thoughts.
Your First Mining Expedition
Fully upgrade your stone axe and antler pickaxe; this saves time on repairs. Blunt weapons are useful for skeletons in the Black Forest, so get that old clubout of storage, and upgrade it fully. Put some wood in the coal furnace, and let it burn while you’re away.
Tip:Before leaving home base, always repair your gear and empty your inventory except the essentials. Making this a habit saves lots of time in the long run!
Safe Outposts
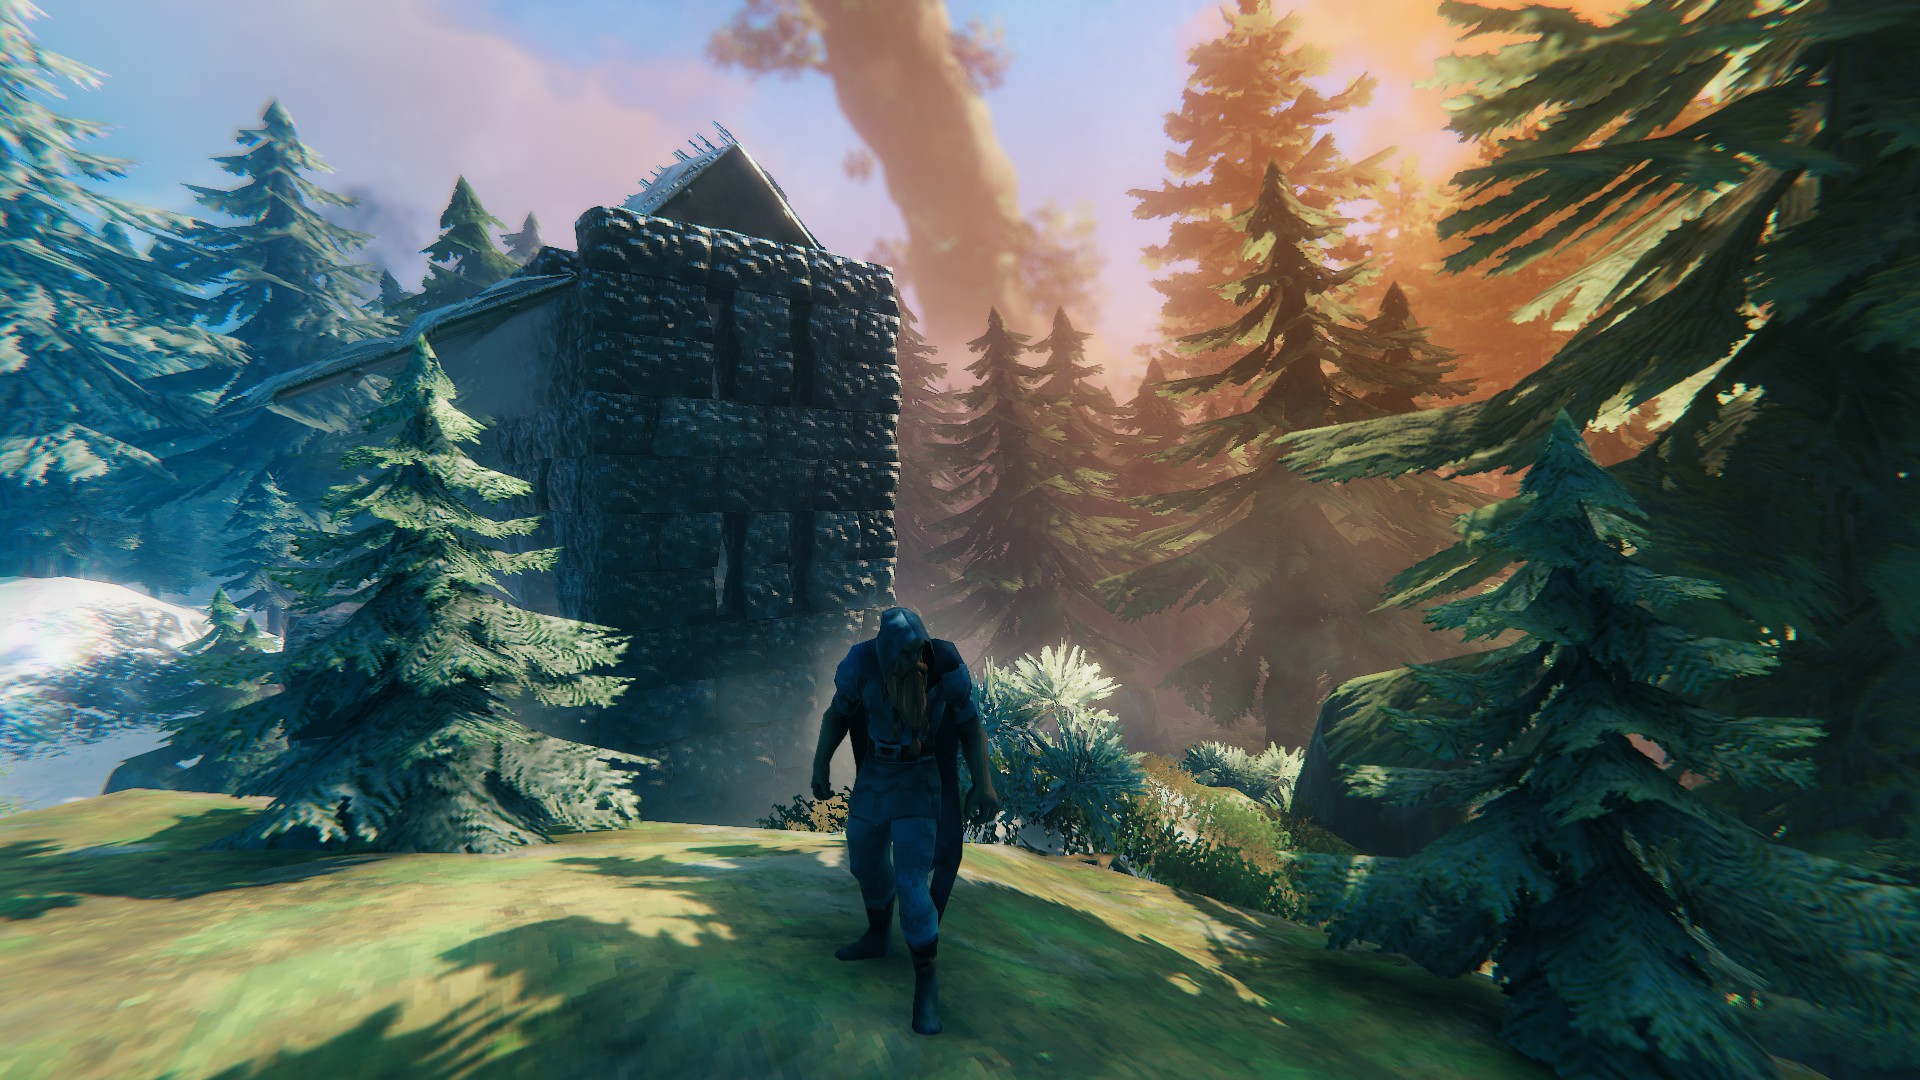
It’s a good idea to place your remote portals in places where they won’t be easily destroyed by trolls. Find a stone tower in the Black Forest. It should be near water and at least one copper deposit. Ideally, it should also have at least two intact floors, solid walls, and should be as close to your base and its Meadows biome as possible. Secure your outpost with a workbench, fire, bed, chest, and patch up roof, walls & door as necessary.
A good first outpost in the Black Forest.
From your outpost, mine a copper deposit and some tin deposits, and bring home as much as you can carry, remembering the 2:1 ratio.
Tip: Mine during the day. The Black Forest is very dangerous at night for a new character in early bronze age.
The One Who Smelt It…
Build a coal furnace and smelterwith your first supply of surtling cores. I think you automatically get 20 somehow after defeating Eikthyr. The rest, for now, come from burial chambers in the Black Forest.
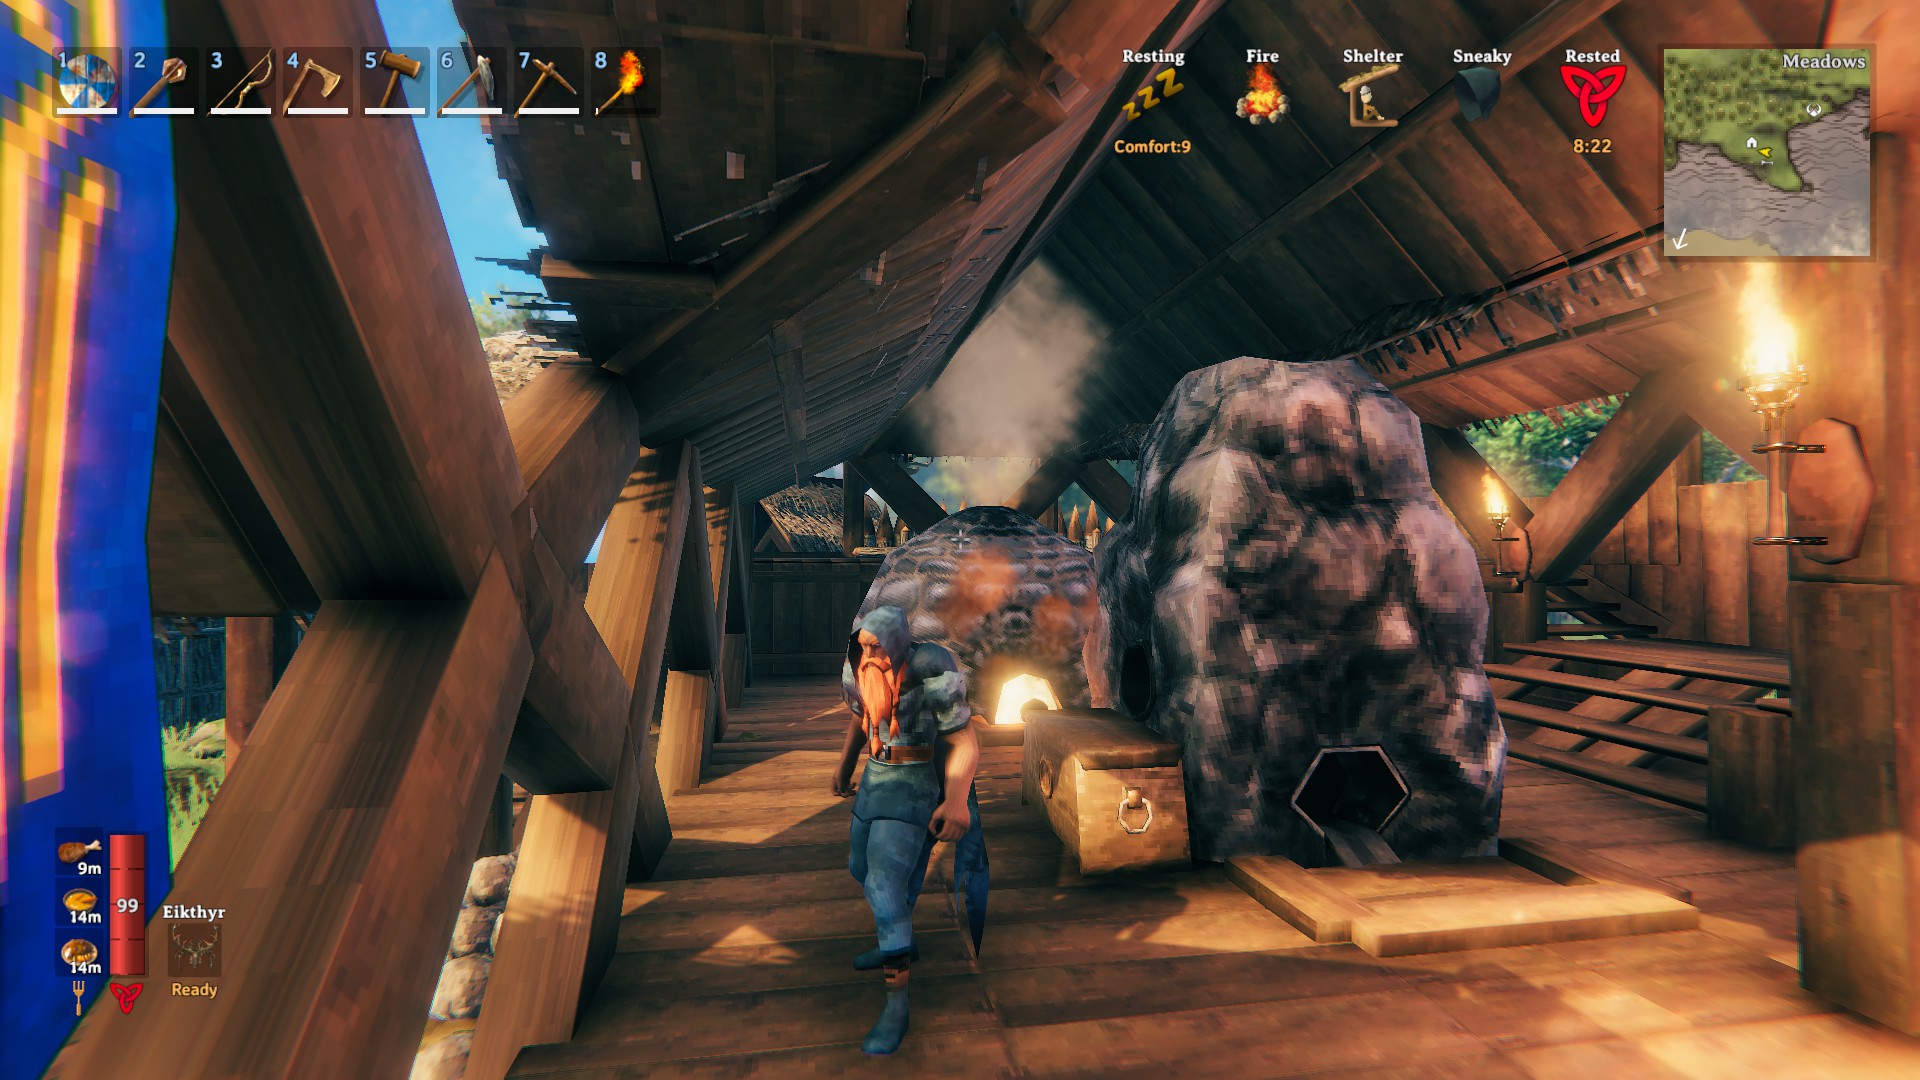
Smelter room. Don’t worry, the wood is fireproof.
Smelt the copper ore, and build a forge, which costs 6 copper, and a few other easily available resources. This marks one of the first big milestones in your game!
Welcome to the Bronze Age!
Now that you have a forge, and once you have smelted your first haul of copper and tin, you can forge ahead and start crafting bronze items! Make bronze nails, and put 10 bronze nails in your inventory for a cart. With any remaining bronze, craft a bronze mace, bronze axe, bronze pickaxe, and cultivator, probably in this order.
With your bronze axe you can now cut birch, oak, and pine trees for fine wood and core wood. Remember to make and upgrade a finewood bow as soon as possible too!
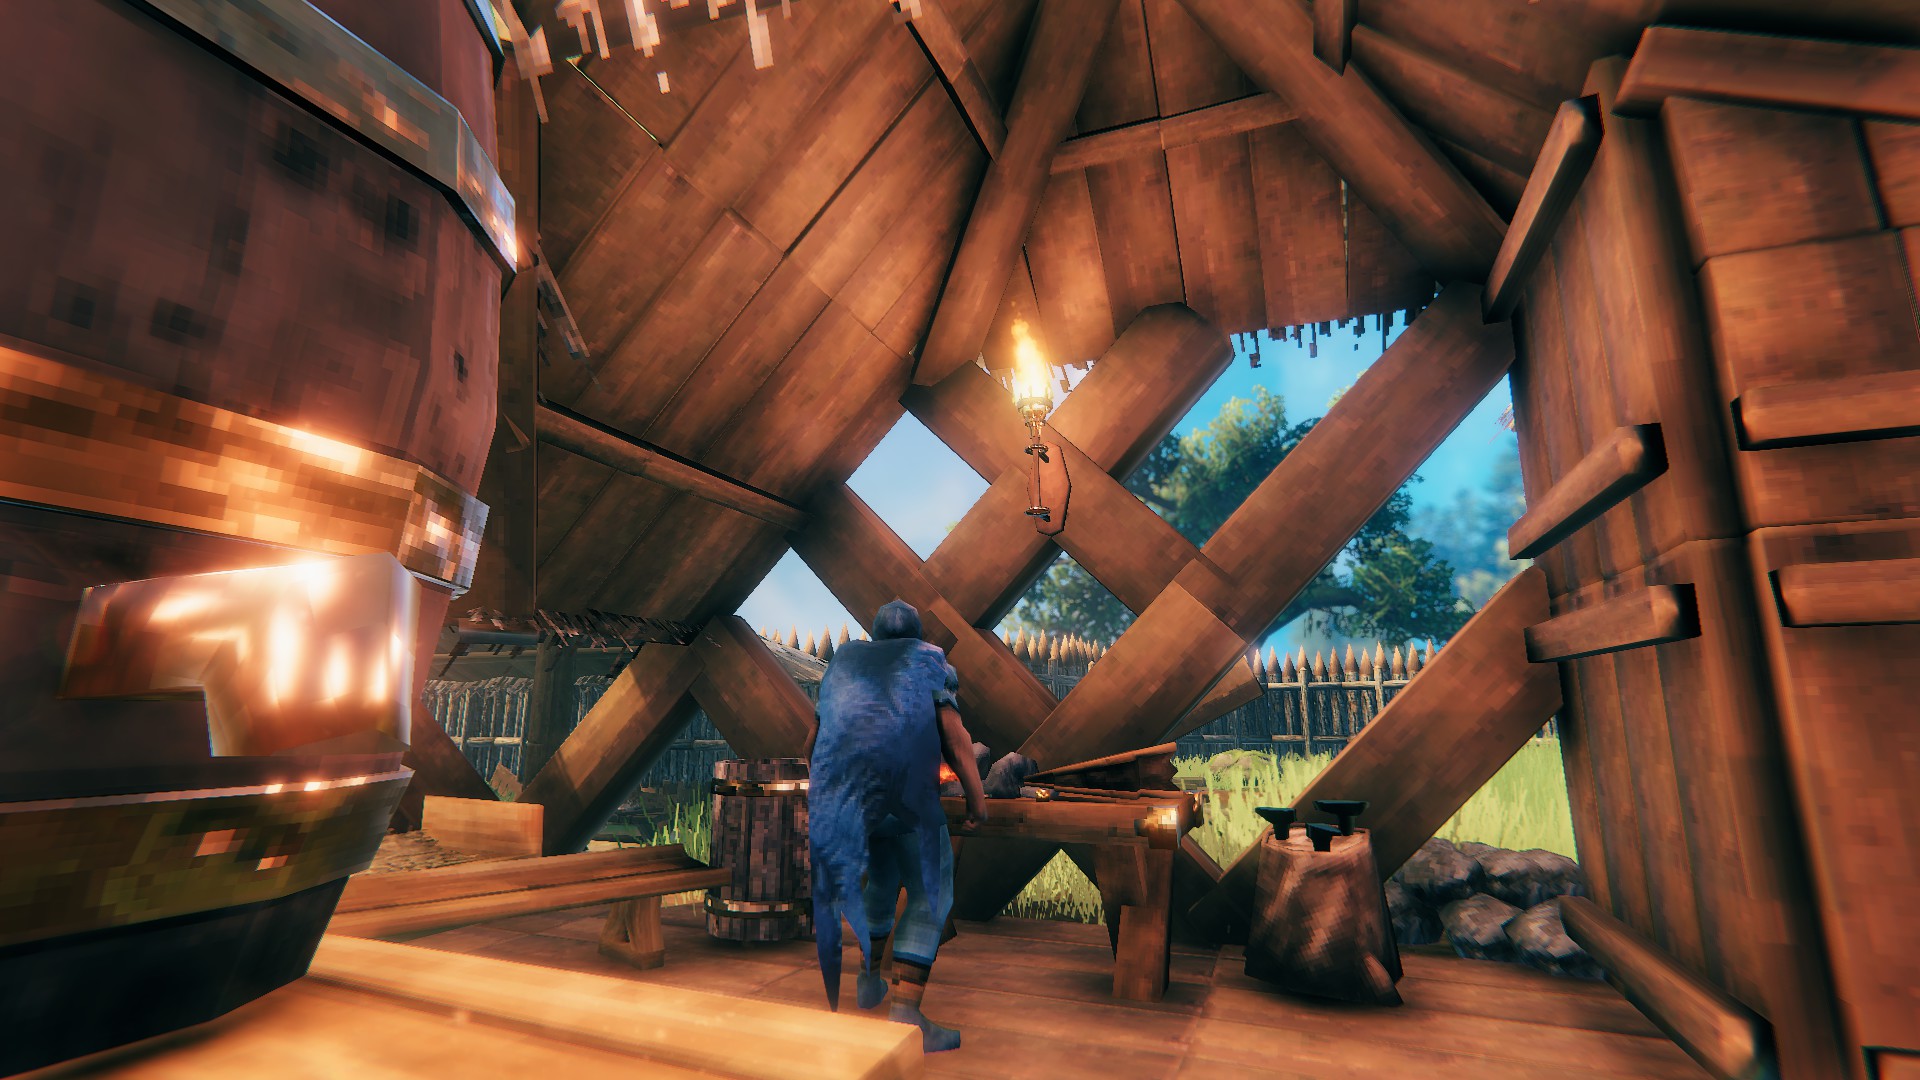
A forge with a view.
You can transport the empty cart easily by chopping it with your axe and putting the ingredients in your inventory. Set up the cart near a copper deposit, and start filling it up. Keep all the stone too, as you will soon need lots of stone for building. One bronze requires 2 copper and 1 tin, so track how much of each resource you have while mining.
Tip: if a troll attacks you while mining copper, thank Odin and let the troll help you smash up your copper deposit while you dodge!
Cart Run, No Fun
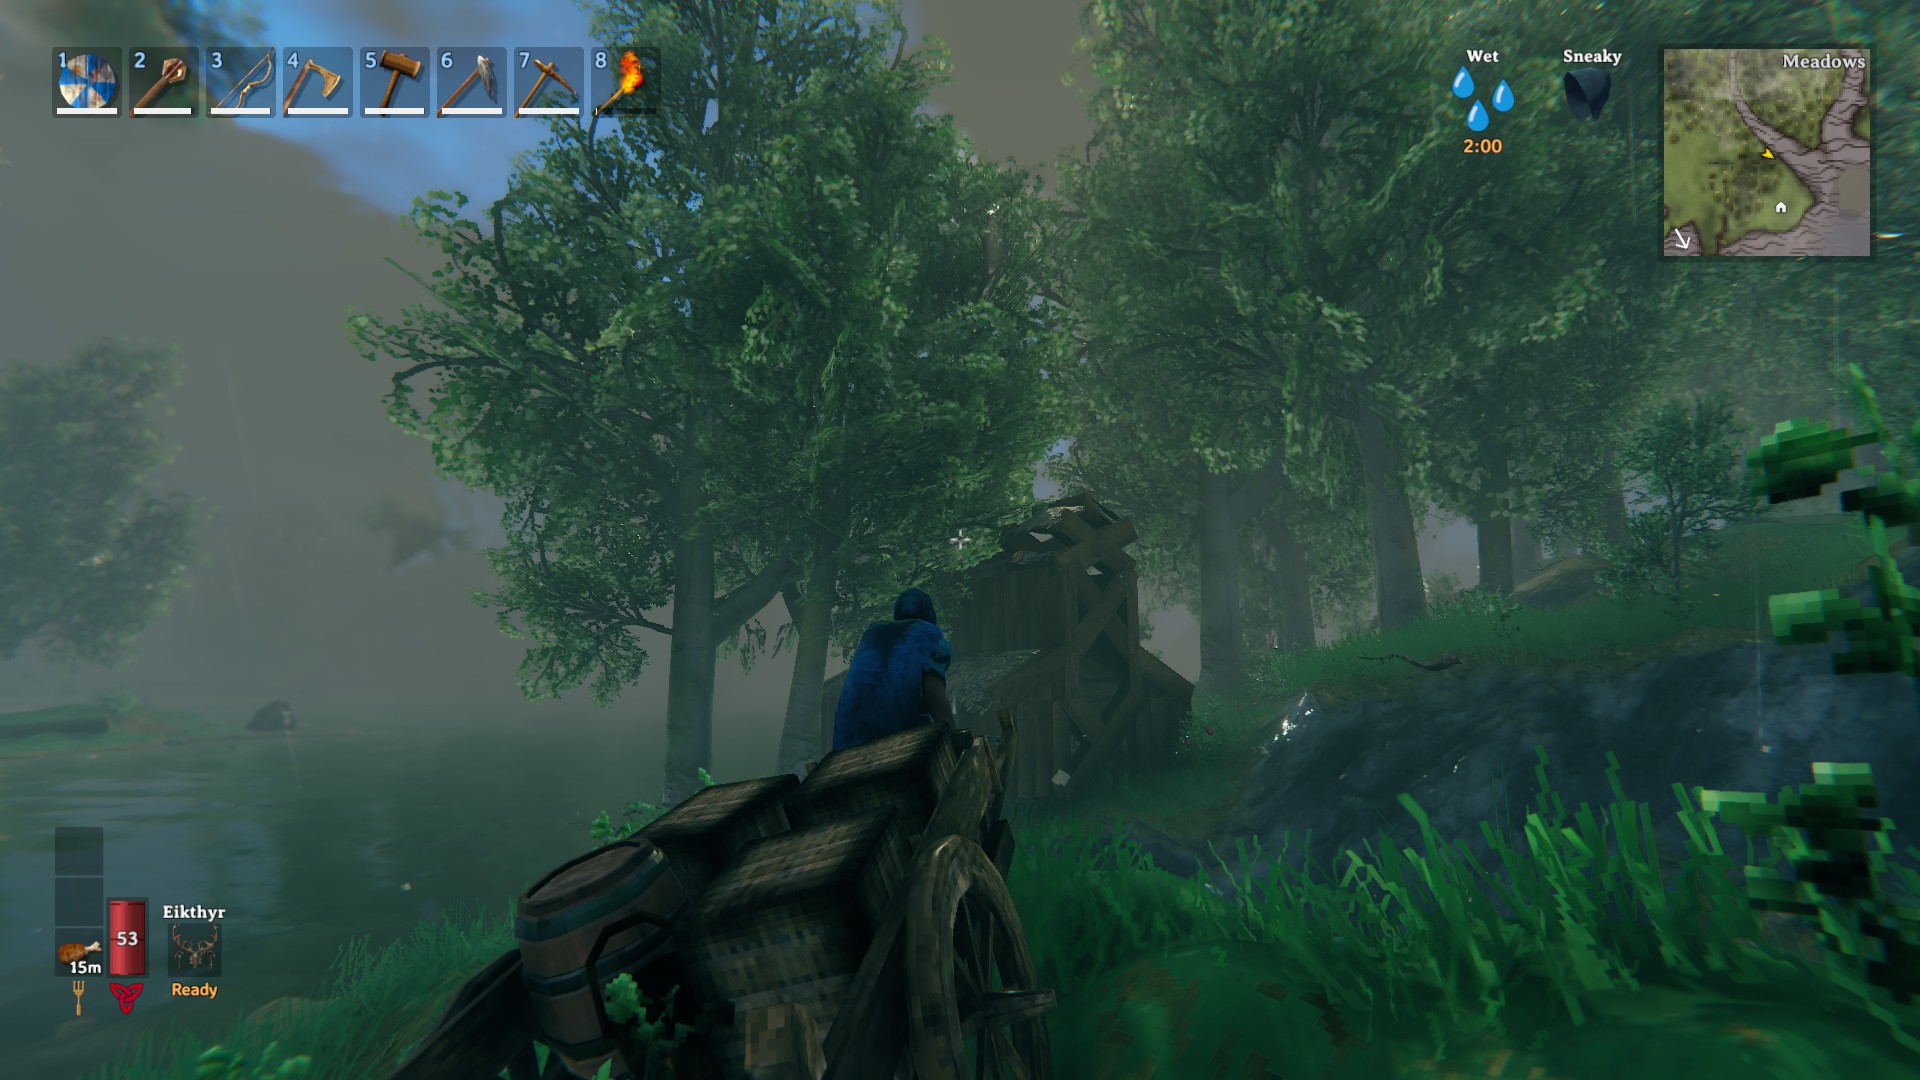
Lug your cart back to home base. Your cart will get stuck often, and you may have to chop bushes, break stones, fight mobs, swim across rivers, and spend the night in a temporary shelter. After doing this once or twice you won’t want to do it again, which is probably why you’re reading this guide. 😉
Take the long way home.
As soon as you have enough bronze, upgrade your mace, axe, pickaxe, and cultivator to max quality. The bronze mace and fire arrows are your best main weapons in the Black Forest. I don’t remember the full cost, but it should require about 60 copper and 30 tin total to get these items to quality 3. In the meantime, use the best and most upgraded tools & weapons you can.
Portal Setup
Teleportation is fancy. Why not build a fancy room for it?
- – Hugin
Now Comes the Fun Part!
Most burial chambers will drop 6-10 surtling cores. These can be used to make portalsand wards. Looting one burial chamber should give you enough surtling cores to build at least 3 portals.
I like to make a dedicated portal room to use as a hub for fast travel from my main base. Teleportation is a special, godlike power, so my character treats it as such. Plus, it looks cool.
Nothing says “magic portal room” like weird architecture.
Basic Portal Strategy
The basic travel setup is to create more portals than you need in your home base. You can then create remote portals as needed while scouting or gathering, and teleport non-ore items back home for quick resource farming and inventory management.
Portal Strategy in Detail
Create a set of portals. Start with 2 in your home base. One portal will always remain untitled, for exploration and emergency. Give the other a simple name related to your first resource outpost. I use North 1, East 1, North 2, etc. For example, if your outpost is to the north, create a portal in your main base called North 1.
Tip: If you are optimistic or using map cheats, make a portal in your base called Traderor Merchant too, and you can easily teleport home once you’ve established contact with the merchant. 😉
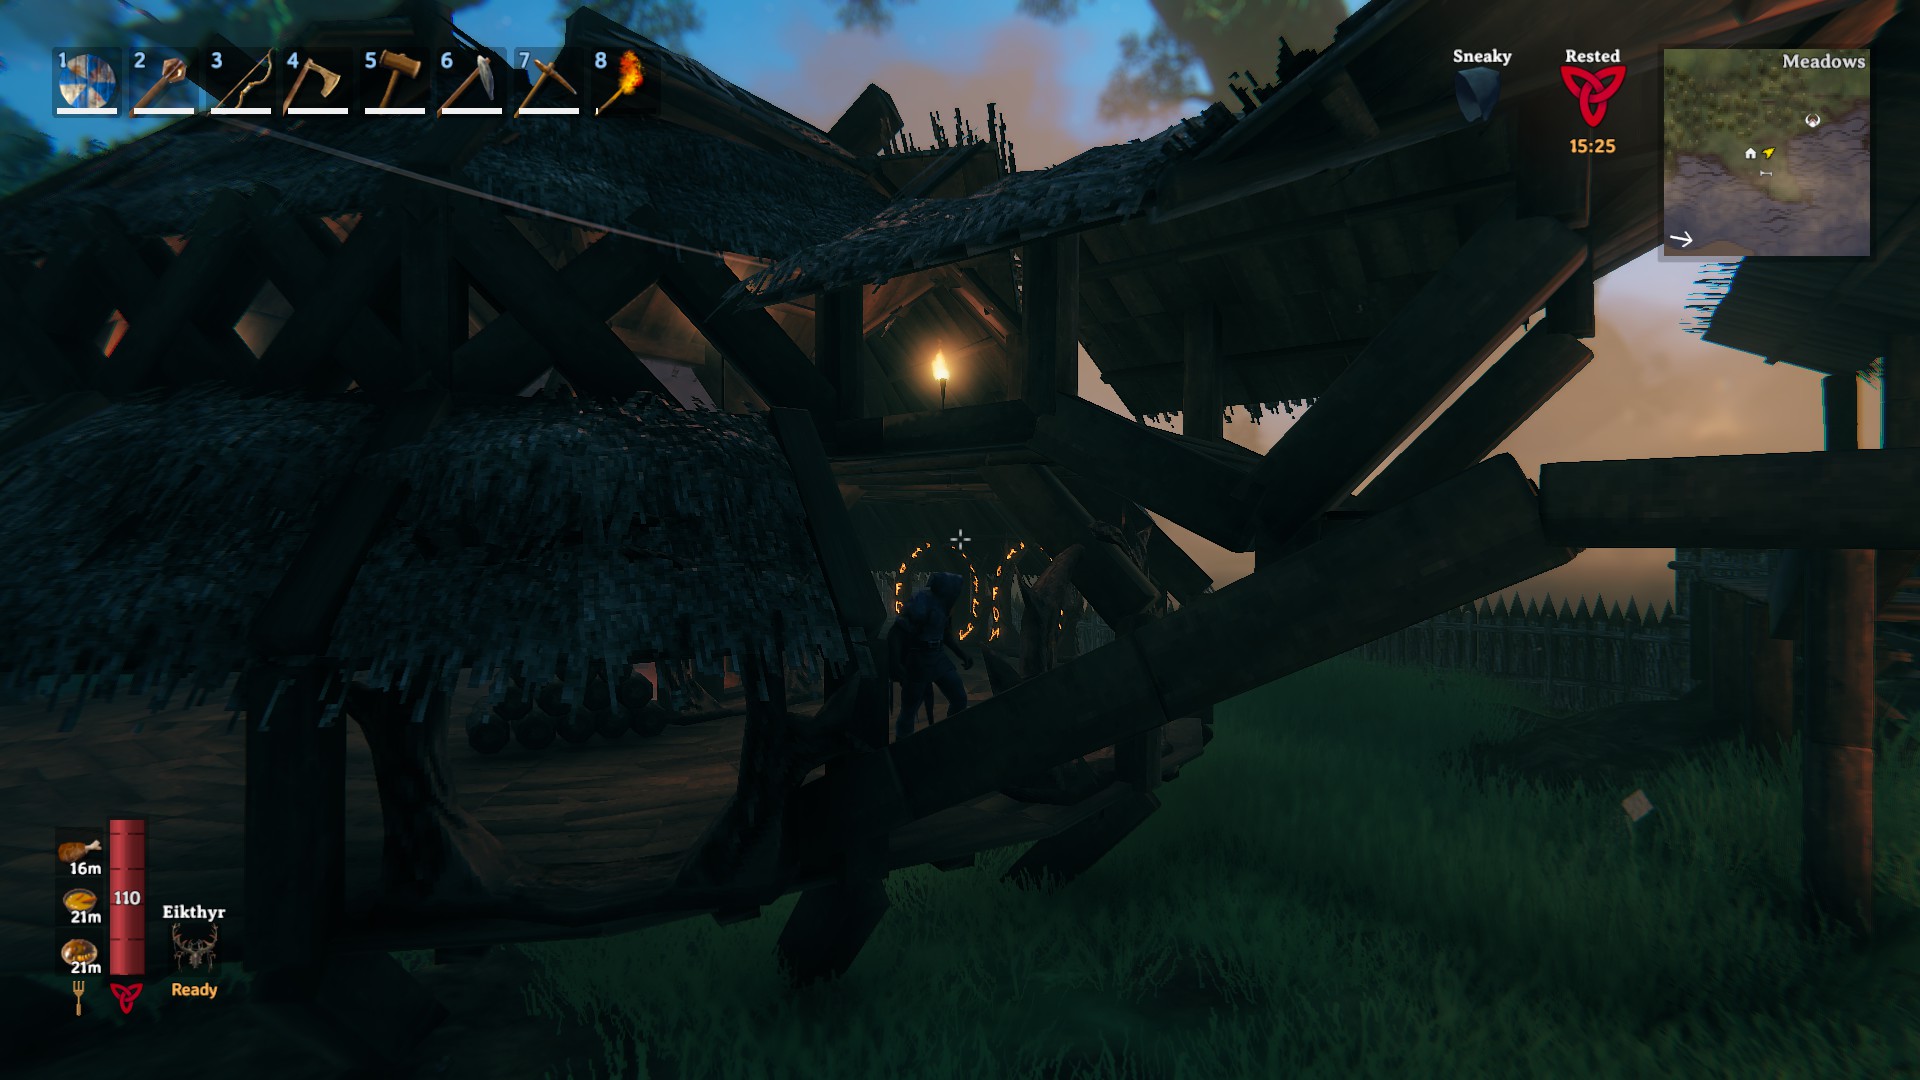
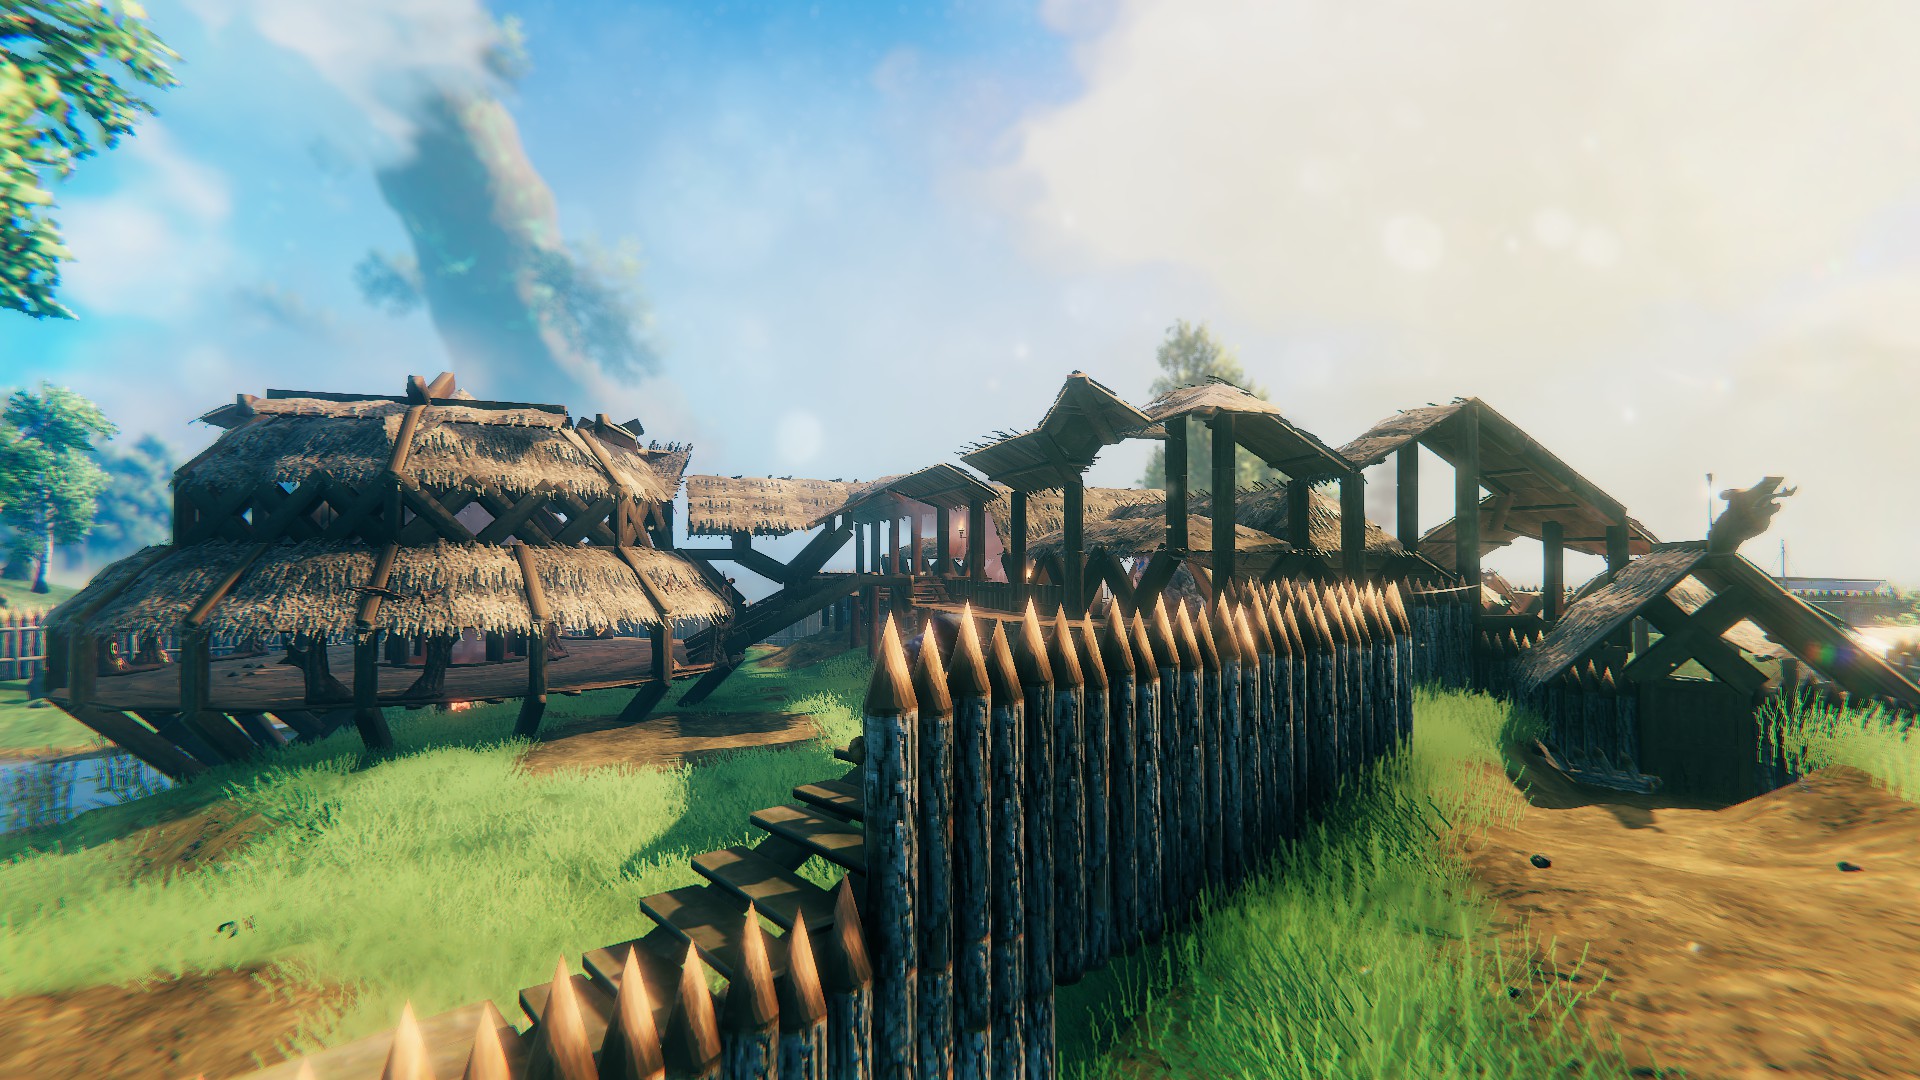
A portal room, with plenty of room to grow. Yes, I know my building style is unconventional.
Go for the Bronze
Now that you have a designated place for your transportation hub, it’s time to get bronze!
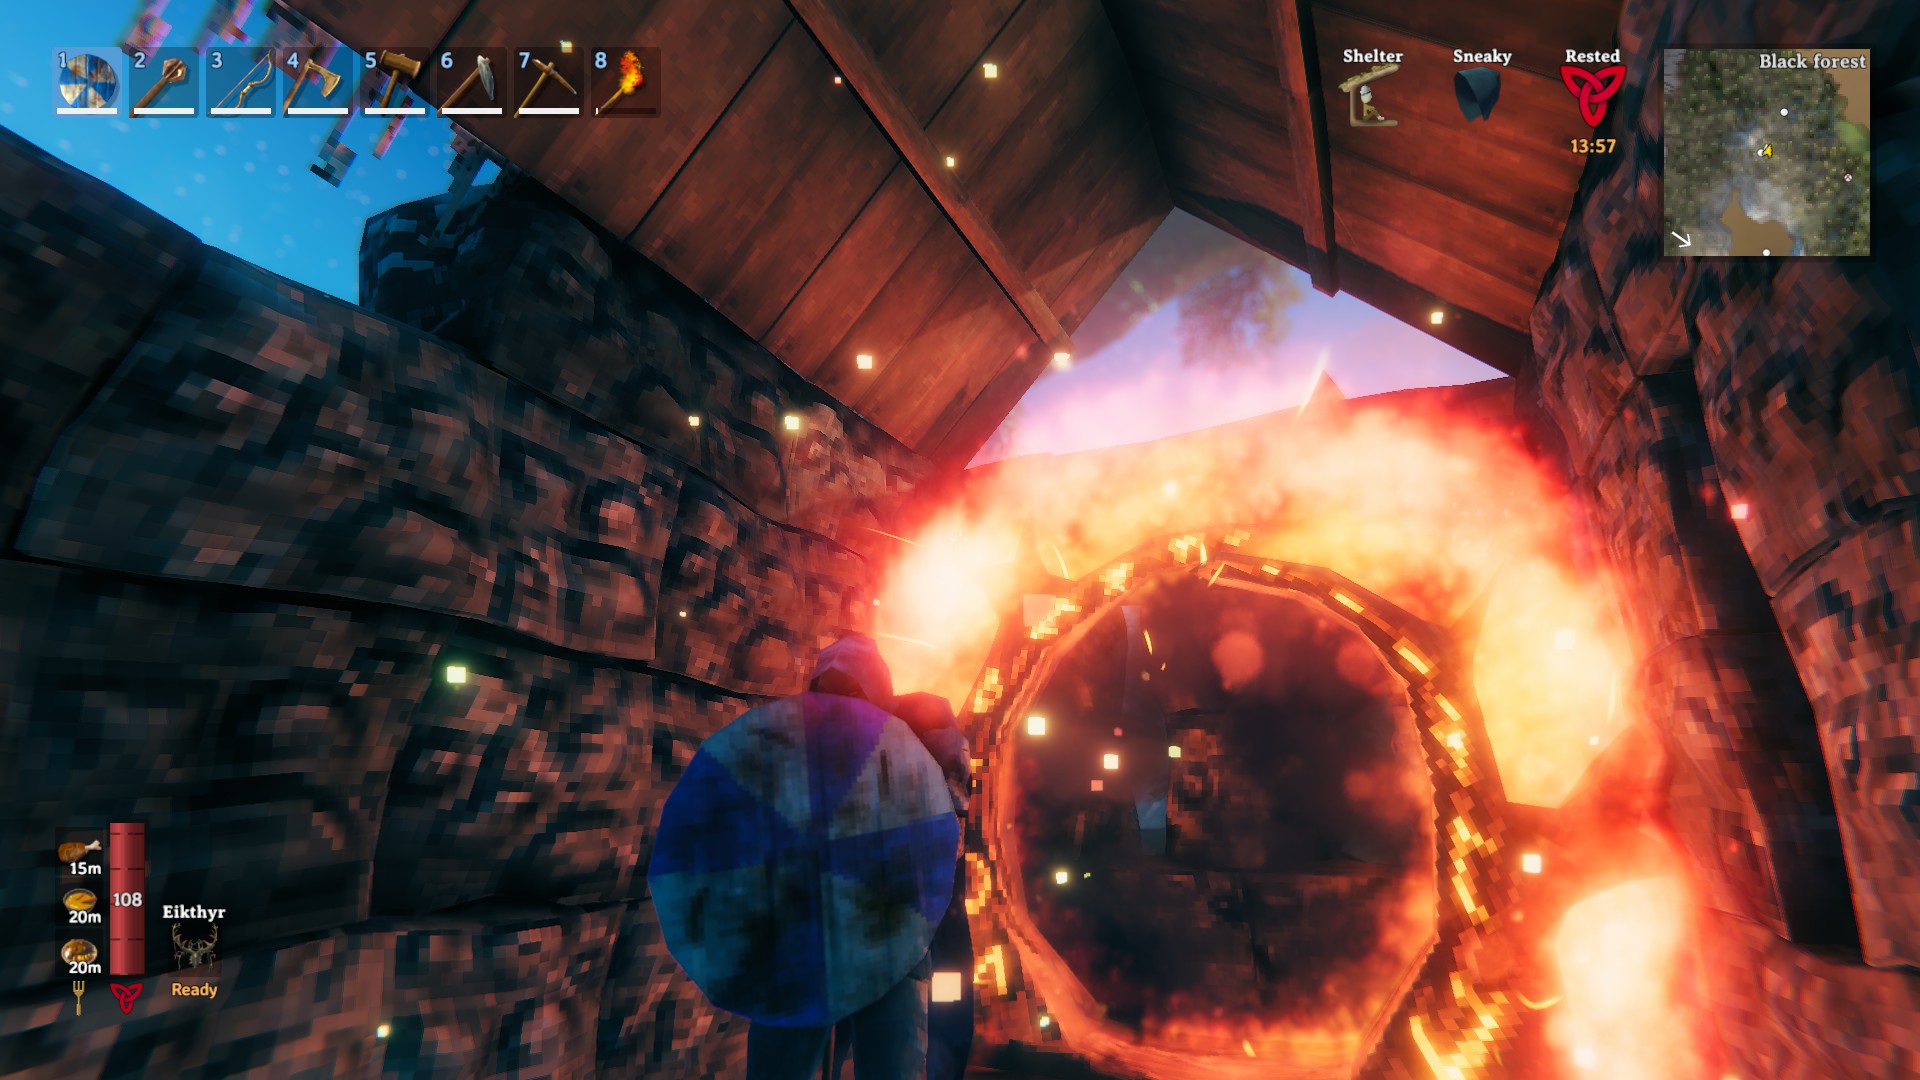
Black Forest 3-story walkup, portal on the top floor.
Up and Running
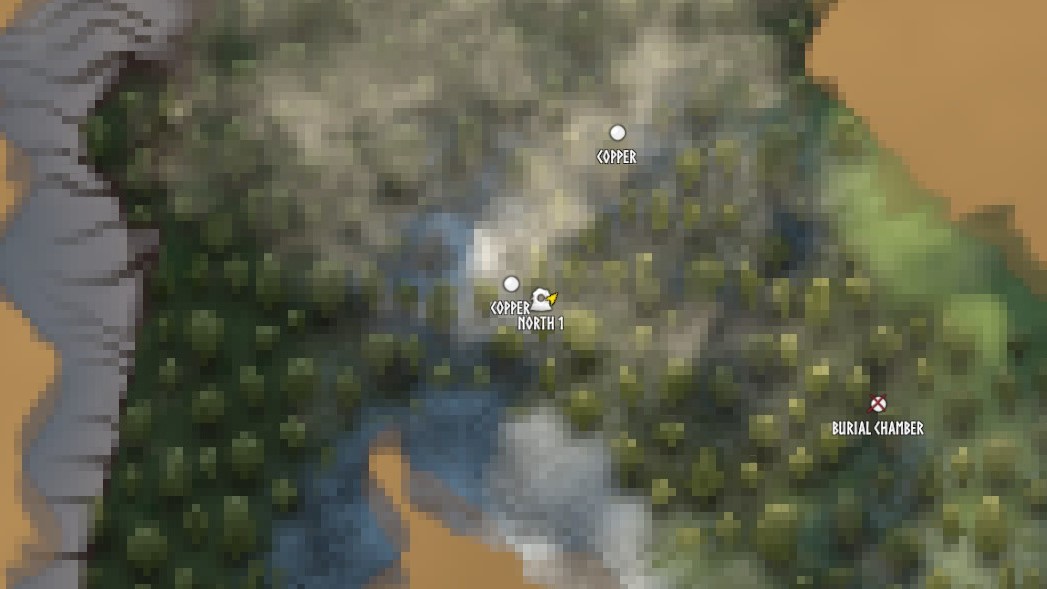
In the morning, from your home base, pack a cart in your inventory (10 bronze nails, 20 wood) along with portal ingredients (2 surtling cores, 10 greydwarf eyes, 20 fine wood), and head to your outpost. Once there, build and name a portal. (In the example above, you would name this portal North 1.) Make a map marker with the portal icon, named the same as your portal name.
Keep track of those fancy portals.
Now you have easy transport to and from your new resource outpost! You also have an easy way to reclaim your gear if you die, even if you forget to set a new spawn point.
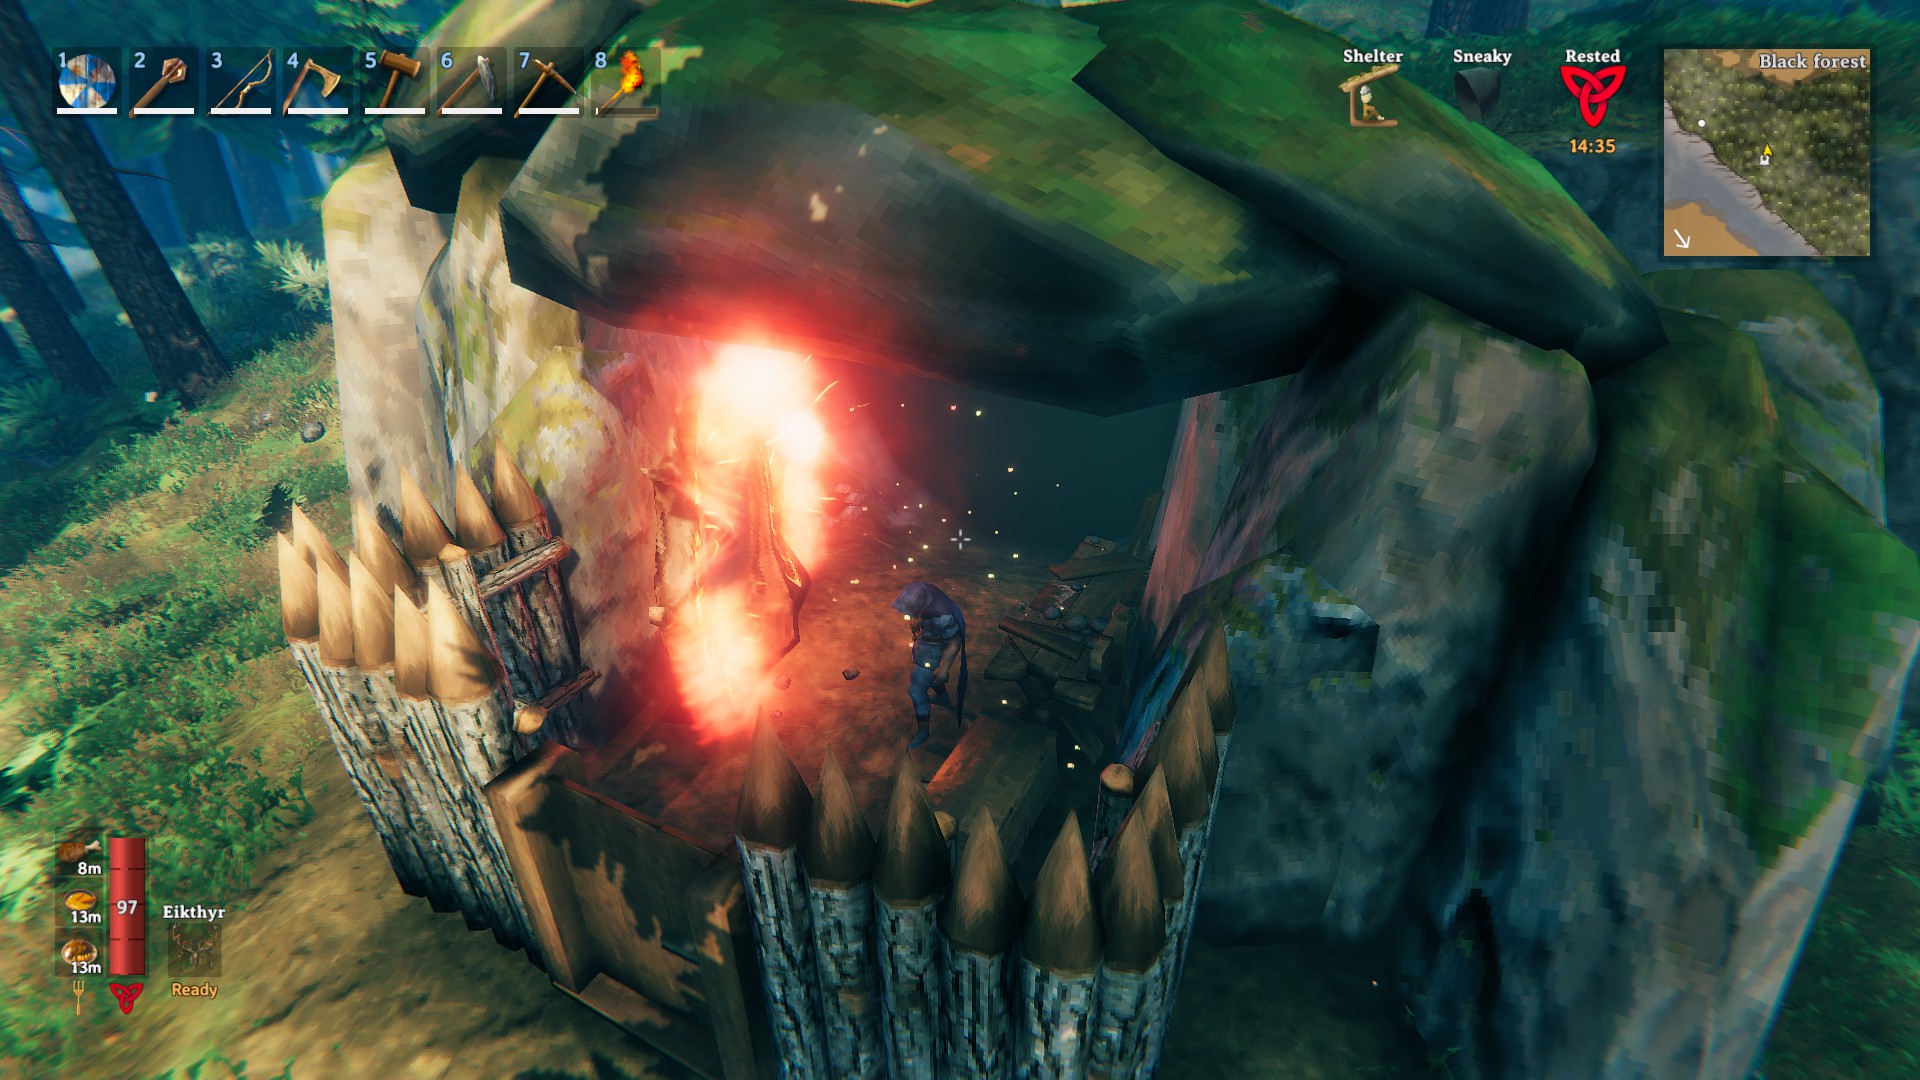
Tip: Troll caves, once cleared, make great outposts for this technique. The overhang naturally shelters you from the weather, a quick fence & door protects you, and there’s plenty of room for a fire, bed, portal, and a chest or two.
Troll Caves make quick and easy outposts.
Next, mine nearby copper and tin ores, and hit every burial chamber and troll cave you can find. In this process you will gather other resources like stone, wood, food, resin, greydwarf eyes, troll hides, feathers, bones, surtling cores, and treasure. As your inventory fills up, store copper and tin ores in your cart or chest, and portal everything else back to home base.
Tip: Always make a fire and/or workbench near your copper deposit, to help reduce enemy spawns. Mining is loud, and attracts nearby enemies.
Once you have mined all the nearby copper and tin, cart it back to your base. This should be the last time you need to use a cart long-distance in this way.
No carts in Valhalla.
Upgrade Your Transport System
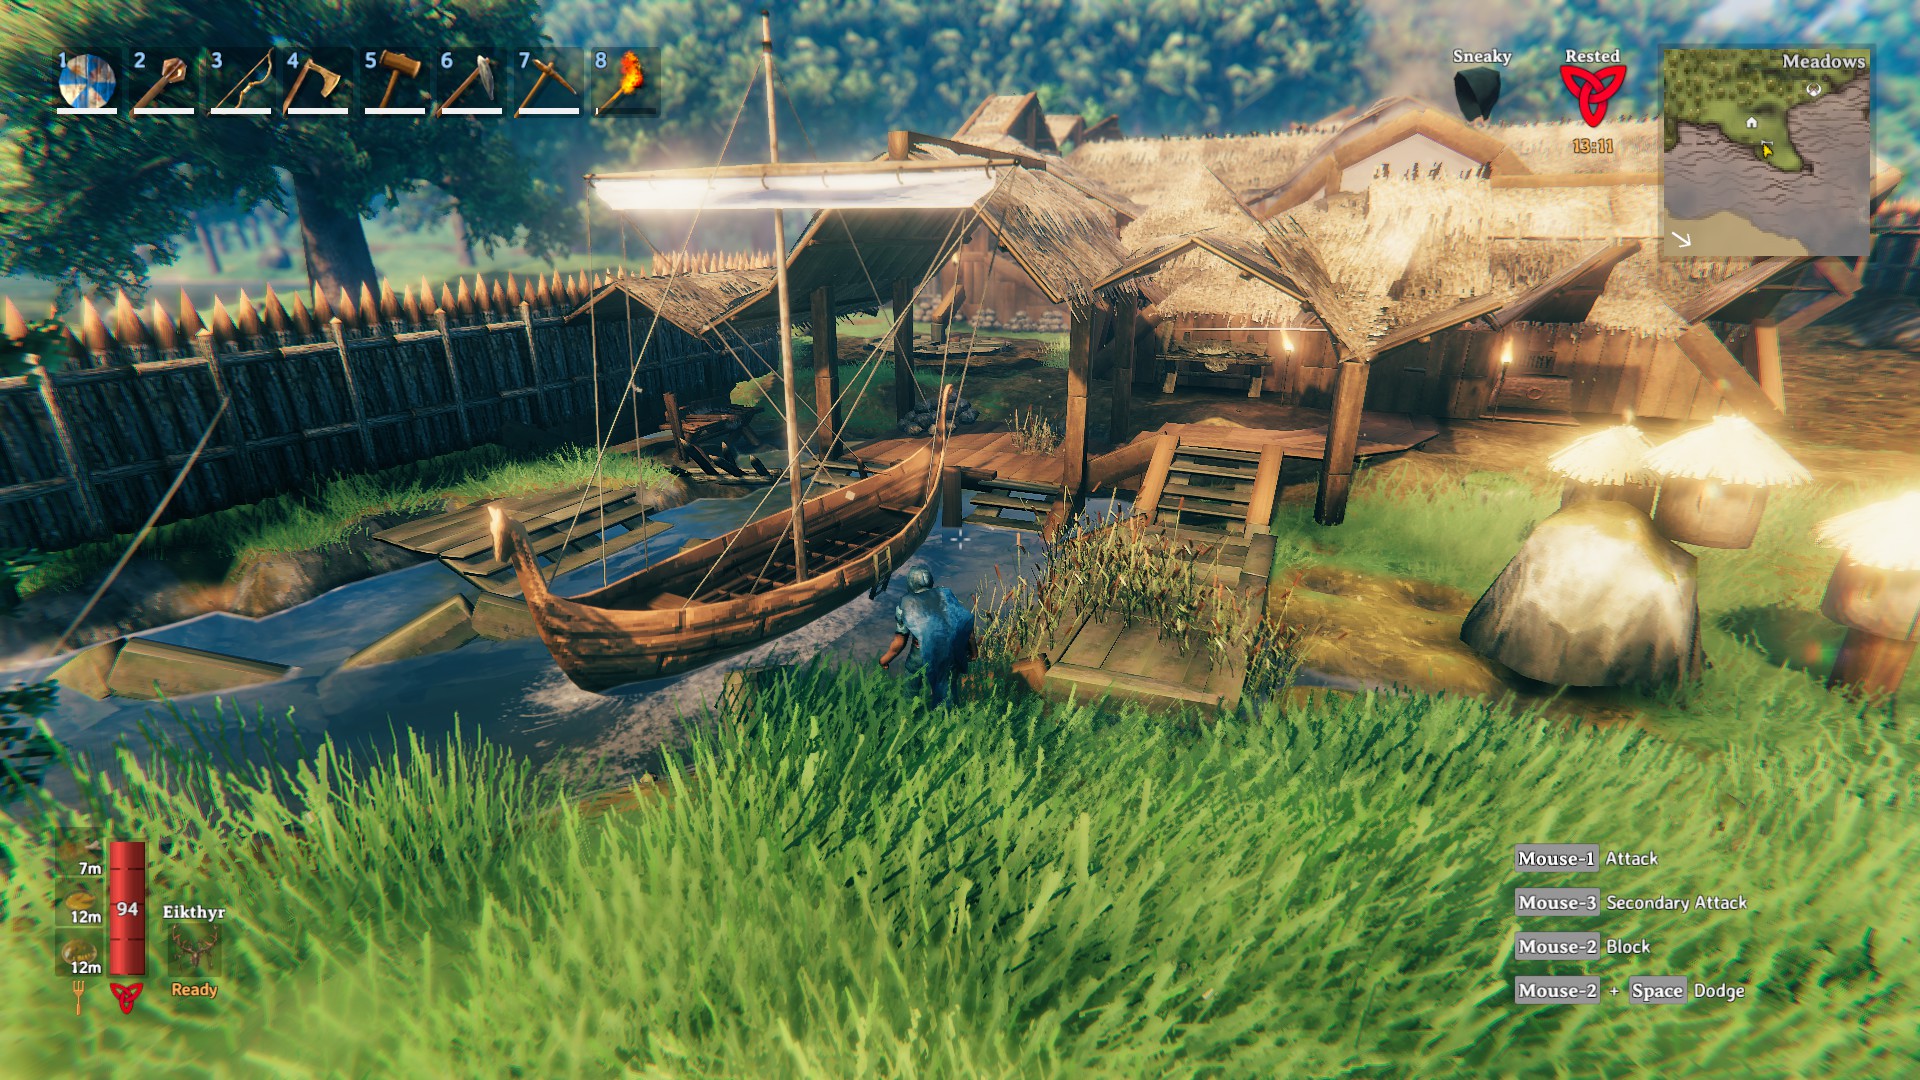
Now it’s time to build a karve and set sail! This requires 80 bronze nails (4 bronze), 10 Deer Hide, 30 Fine Wood, and 20 Resin, which you should easily have by now. The karve is your new cart, and is a much easier way to transport ore, although it only has 4 cargo spaces.
Karve: more fun than a cart & a raft combined.
You should have enough bronze by now to upgrade your bronze tools & weapons, and maybe make a cauldron, a few sconces, and a bronze buckler. The cauldron is a good idea, because it gives access to higher quality food.
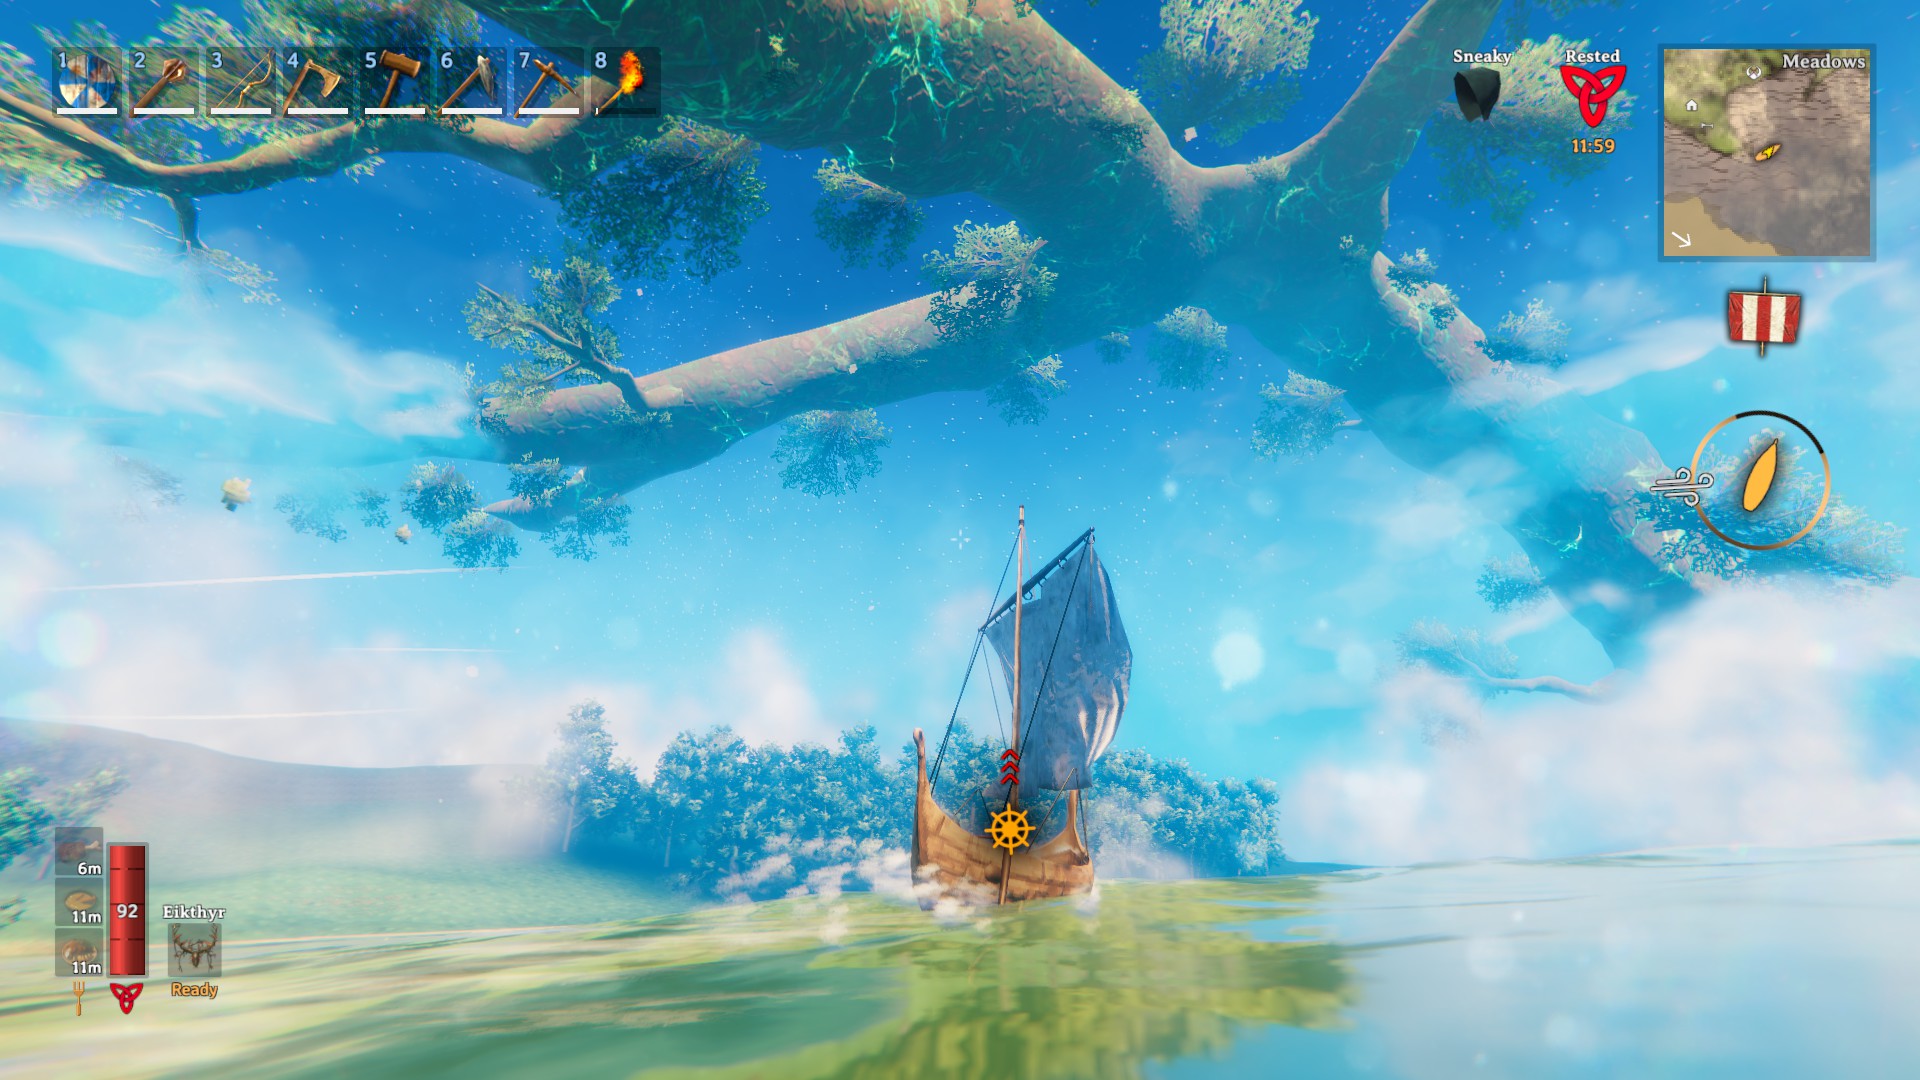
As you explore by ship, make map notes of any points of interest (towers, villages, burial chambers, troll caves, copper, cool spots for future bases, etc. Keep a safe distance as you pass Swamp and Plains biomes, as you may not yet survive attacks from these more powerful enemies.
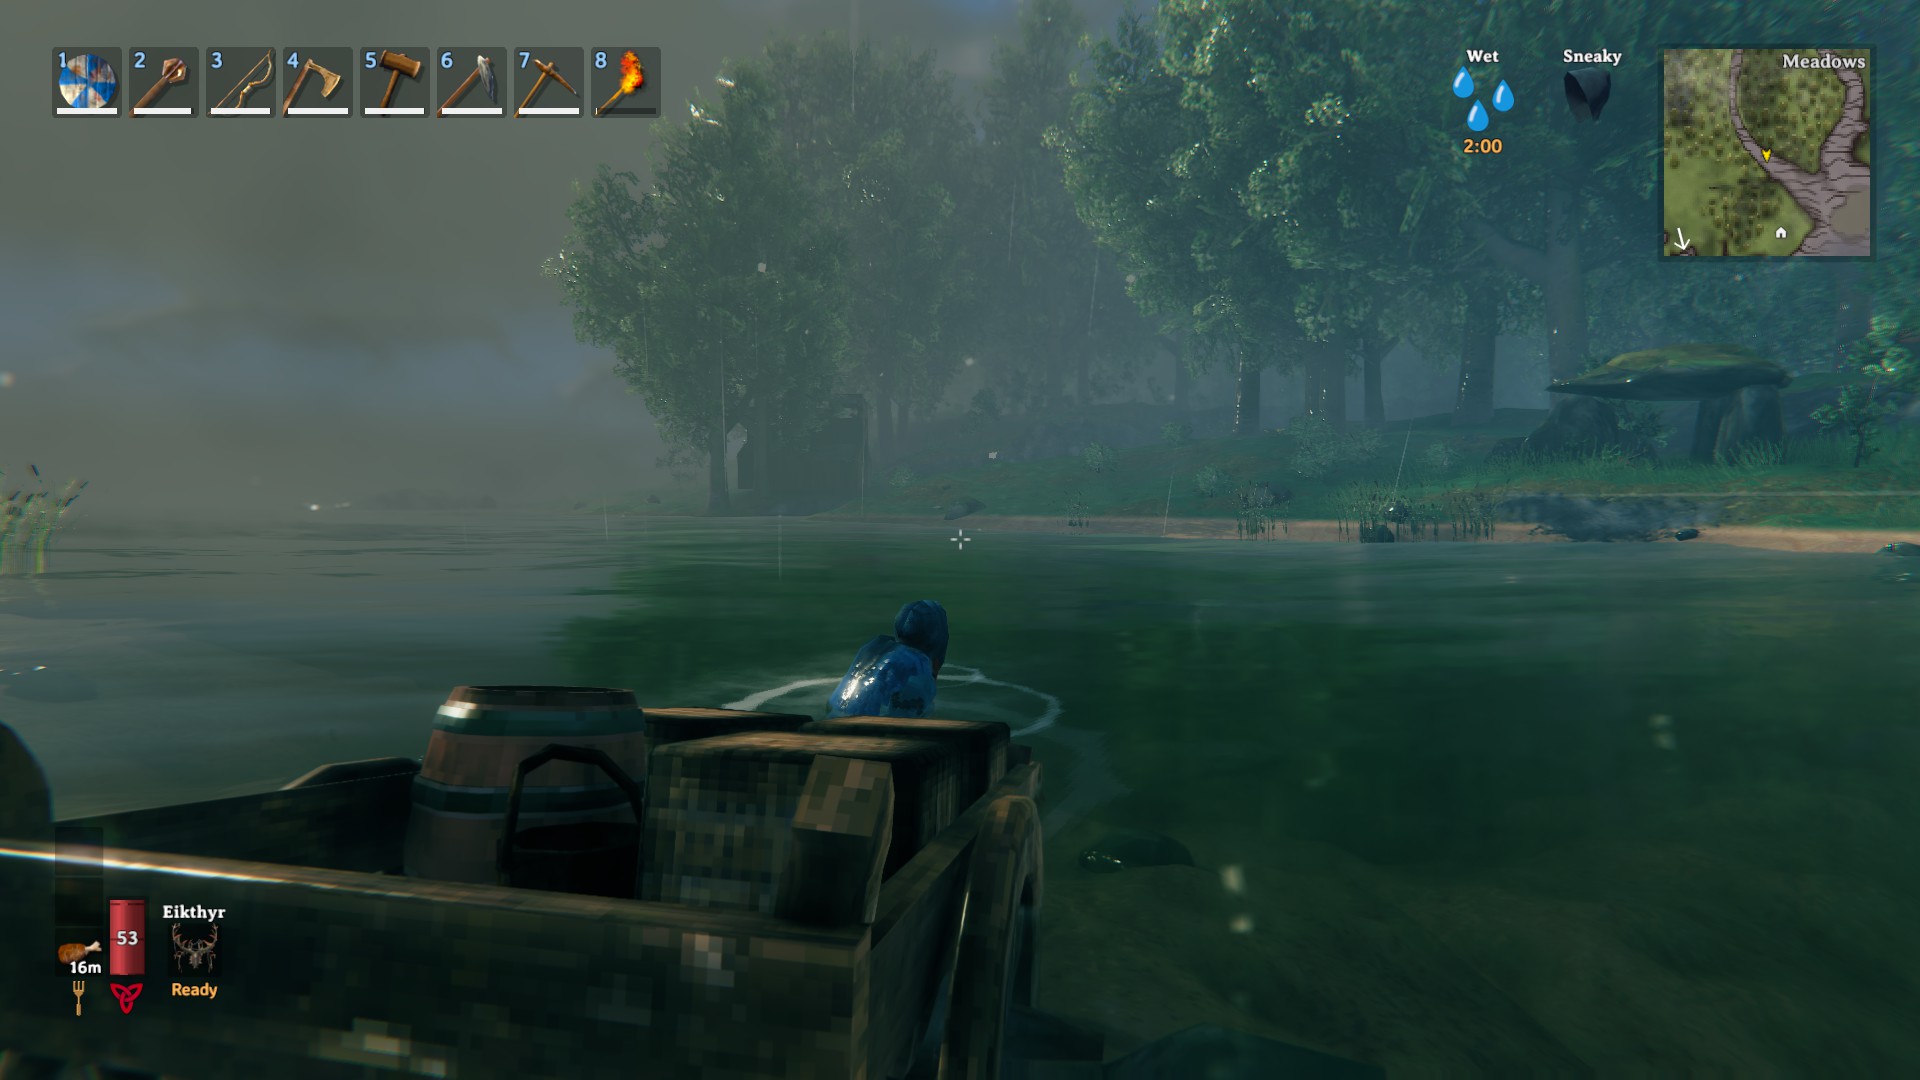
Not all days at sea are this … dry.
To Valhalla and Beyond – Hub & Portal Management
I eat random seeds.
- – Hugin
Explore and Expand
From here, repeat the basic portal strategy to suit your exploration or resource needs. This depends a lot on your world seed and play style, and may change depending on what stage of the game you’re in.
Remember the untitled portal we made at the beginning? That’s your exploration portal, so it always remains untitled. Again, this gives you an always-available emergeny portal to home base from wherever you are, as long as you carry (or can gather) the materials to make a paired untitled remote portal.
To make a new portal route, first create a portal in your home base. For example, if you want to explore an area to the east, make a new portal called East 1, head east, secure an outpost, and name your new remote portal East 1.
TFW you don’t have to farm bronze. Ever. Again.
Modifying the Portal System
The final piece of this strategy involves managing and organizing your portals. This includes moving, renaming, or removing an existing named portal, and renaming your untitiled portal.
Moving an existing named portal
Moving a portal is simple, but can be dangerous. You might want to do this to move a portal to a better or more permanent location. To move an existing named portal, follow these steps:
- 1. Set your spawn point on your bed at the old location.
- 2. Scout the location for your new portal, and set up a protected safehouse there.
- 3. Move and name your portal. Update your map markers.
- 4. (Optional.) Portal home and reset your spawn point.
Renaming an existing named portal pair
Renaming a portal pair can be done easily, and without the need to travel on foot:
- 1. Create a new portal with the new desired name.
- 2. Use your old portal to teleport to the remote location.
- 3. Rename the remote portal to the new name.
- 4. Teleport home to the new portal, and free up the name of the old portal there.
Removing a portal
As the game progresses, you may want to free up some portals and move them to an entirely different biome or region of the world. The tricky thing is that once you have removed a portal, you’ll need more conventional transpo to get home. This may be more trouble than it’s worth. That said, the best time to remove portals is when passing through in a ship.
Renaming your untitled portal
You may use your untitledemergency portal for a while, for resource gathering or exploring, but if it becomes a permanent location, you should unpair the untitled portal in your home base. Here are the steps:
- 1. Decide on a name and create a portal with this name at your home base (for example “South 1”).
- 2. Teleport from home to your untitled portal
- 3. Rename your untitled portal “South 1” (example).
With this strategy, you still have access to teleport home from this renamed portal, and now your untitled home portal is once again unpaired for emergency use!
The End
Walk with the gods!
- – Hugin
I hope you have enjoyed my portal guide.
Hope you enjoy the post for Valheim Full Walkthrough – Portal Guide – Basic Information Overview, If you think we should update the post or something is wrong please let us know via comment and we will fix it how fast as possible! Thank you and have a great day!
- Check All Valheim Posts List


Leave a Reply