
Start
Do you wish instead of looking at youtube videos you could discover secrets semi yourself?
Yes me too but there was no guide that gave slight hints. So i was like “Sure i have nothing better to do.”
THERE ARE NO BLUE ORBS IN THIS GUIDE
How would you be able to make a blue orb guide i wonder…
— Prelude
0-1: Into The Fire
Challenge: Get 5 kills with a single glass panel
1 – Should be really simple to get 5 kills with a single glass panel.
2 – Explosions can break glass panels
3 – You might need to return to this challenge later if the only thing you have is your normal gun
Solution – Use your shotgun’s core explosion on either the third or the fourth room to drop the filth into the sawblades/void
0-2 The Meatgrinder
The challenge: Beat the Secret Encounter
1 – Go to the place where the Swordsmachine killed the three Strays and go into the door where he came from
2 – There is a blue skull stand in the middle of that room
3 – It seems that you can shoot the vent right next to the door that the blue skull is supposed to open
4 – At the end of the tunnel that the vent leads you to you can shoot the vent on top of you to get out
Solution – Go to the room where the Swordsmachine kills the three Strays, then go into the room where he came from. Shoot the vent next to the closed garage door looking thing. Then slide through it. Slide until the end of the tunnel where you can shoot the 2 vents on top of you.
The Secret Level:
1 – There’s something about the room after the first forced encounter/arena
2 – It seems that the vent has dropped from the ceiling
3 – Slam jumping gives you more height.
4 – After taking the blue skull, go into the place where Swordsmachine kills three strays. Then go into the room where he came from
5 – Put the skull on the pedestal
Solution – After the first forced encounter/arena jump up into the ceiling where there is a vent on the ground by slam jumping. Take the skull and go to where Swordsmachine kills three strays. Then go into the room where he came from. Put the skull on the stand and go down. Have fun…
0-3: Double Down
The challenge: Kill Only One Enemy
1 – Look up on the first room
2 – You can break the glass up there
3 – Slam jumping again after slam jumping gives you more height, you also have 3 walljumps
4 – Enter the door that is higher. I had a problem where i forgot the boss fight was on that door.
Solution – In the first room, without killing anybody use your shotgun’s core eject to break the glass on the ceiling. Then slam jump up to the ceiling and use your walljumps to get to the top.Ignore the two Strays that spawn and enter the door that leads to the Swordsmachine fight. Since the only kill you get will be Swordsmachine you will complete the challenge
0-4: A One Machine Army
Challenge: Slide uninterrupted for 17 seconds
1 – You should really be able to see what you need to do here, it’s quite easy
2 – You can backtrack. This level doesn’t lock any doors.
3 – Be careful not to explode the glass at the last room
Solution – Clear all the rooms, go back to the entrance, then hold slide. That’s it…
0-5: Cerberus
Challenge: Don’t Inflict Fatal Damage To Any Enemy
1- FATAL damage specifically
2 – Cerberus explosions damage themselves. A good tip for cyber grind as well.
3 – FATAL DAMAGE IS NOT ALL DAMAGE
Solution – Get them to 1 health then let them kill themselves… Should be easy. Try not to die.
— Layer 1 : Limbo
This guide also contains the steps to get the slab revolver, Anything that is a secret encounter leads to the button you need for the revolver
1-1: Heart Of The Sunrise
Both the secret level and the challenge:
1 – You will need marksman revolver for this
2 – Such a peaceful place, I wonder if i can bring myself luck somehow.
3 – That fountain looks so wonderful. I wonder…
Solution – Throw a coin into the fountain. It will lead to the secret level. If you do it fast enough then you get the challenge too.
Secret/Button:
1 – It’s at the final room of the level.
2 – Look up.
3 – Glass is fragile.
4 – Slam jump.
Solution– At the final room of the level, shoot a core eject to the ceiling. Slam jump up and press the button.
1-2: The Burning World
Challenge: Do Not Pick Up Any Skulls
1 – You need the something you get later for this challenge, Something related to electricity.
2 – Look around in the room where you pick up the blue skull
3 – Under the stairs in the dark
4 – It seems that there’s some kind of coil here. What would happen if i gave it the power it needs
Solution – You need the Railcannon for this challenge. Go where you need to pick up the blue skull. Go under the stairs into the dark and shoot the coil with your railcannon. This should open the plate under you which leads to the almost end of the level
Secret Encounter/Button:
1 – It’s almost at the end, if you did the challenge then it’s around where the plate dropped you. The room before the exit door
2 – It seems that there’s a door in this place that leads to lava? What could its purpose be?
3 – There’s a breakable spot in the lava place
4 – Left side of the lava room.
5 – The room you enter also has another breakable spot
6 – It’s at the end of the room, to the left. It’s quite dark but a explosive should do the trick, Get ready for the hardest boss.
7 – That’s not the only thing, go back out.
8 – The part where you killed the second rodent should be open now, Inside is the button II
Solution – Go the the room before the end, then go into the lava room. Shoot a explosive to the left of the room. A hole should be opened up left of the stairs. Jump into it. There is another breakable wall at the end. Shoot an explosive there too. Go in and kill the easy boss. Then go back out and kill the harder boss. The place next to the second boss should be open and the button II is yours.
1-3 : Halls Of Sacred Remains
The Challenge: Beat The Secret Encounter/Button
1 – Split color doors only require ONE SKULL
2 – Require is not what we’re going for, in fact we’re seeking hardship
3 – Get both skulls and put them on both stands, Something should open up.
Fight tips – You need to kill them both at the same time. A shotgun parry does a huge amount of damage and stuns them. This fight is hard for even me after i finished everything and perfected everything. So you just gotta keep trying.
Solution – Put both skulls at the first split skull door, the window to the left should open up. Win the boss fight and press the button at the end. You do both the challenge and get one step closer to the slab revolver
1-4 Clair De Lune
Challenge:Don’t Pick Up Any Skulls
1 – If you start the boss fight it will be more clear to you what you have to do.
2 – What he does, you can do
3 – Something about a window.
4 – WINDOWS ARE FRAGILE ˡᶦⁿᵘˣ
Solution – SHOOT THE WINDOW WHERE YOU NEED TO PUT THE SKULL.
The slab revolver:
If you got all 3 buttons, go to the left room. And press the final button to get your prize
You can also put a skull on the skeleton on the middle…
— Layer 2: Lust
2-1: Bridgeburner
Challenge: Don’t Open Any Normal Doors
1 – Huh it seems like the first room has a door in it. There should be some kind of breakable that lets me out of here.
2 – The breakable wall is next to the ramp that leads to the place where the door is.
3 – The easiest way of getting out of there is doing a damage boost after a dash jump with the Pump Charge shotgun. (Overcharge the shotgun)
4 – Get to the other checkpoint and do the same thing you did before around the giant tower.
5 – If you want you can look at a speedrun for this level. They almost also do the same thing.
Except they probably do the ultra boost
Solution – Break the breakable wall next to the ramp and do a dash jump and while on the air double jump by using the Pump Charge shotgun’s overcharge. Get to the checkpoint and do the same again around the tower.
2-2: Death At 20,000 Volts
Challenge: Beat the level in under 60 seconds.
Solution – There aren’t really any hints i can give here. Learn the locations of the power boxes. Shoot them fast. Get to the end. You don’t need to kill anyone in this level. Just shoot the power boxes and get to the end as fast as you can
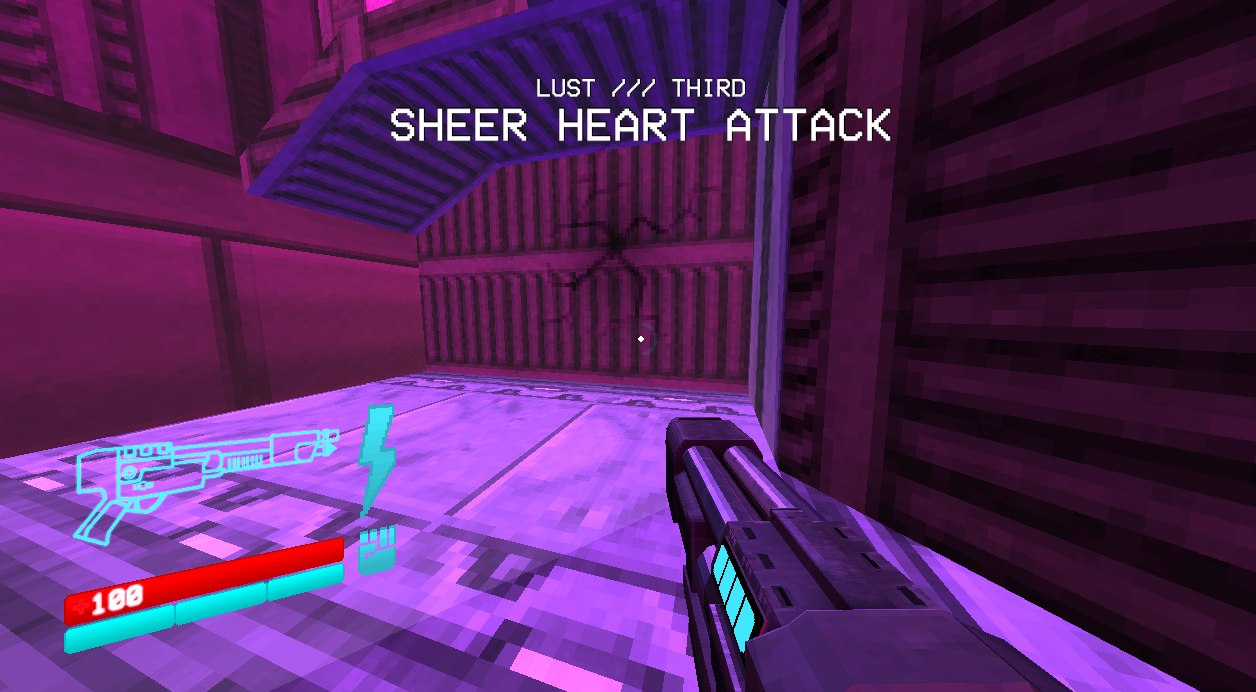
2-3: Sheer Heart Attack
This level will literally give you a heart attack because it’s so hard to get this level’s secret.
You need to do the same steps to get both the secret level and the challenge so i’ll put both the steps here.
Also these aren’t really hints but where they relatively are.
You might need to look at a youtube guide for this one because it’s quite hard to describe in text and images
1 – I’m just going to show you which rooms the boxes are hidden in with pictures. Because there isn’t much i can do here
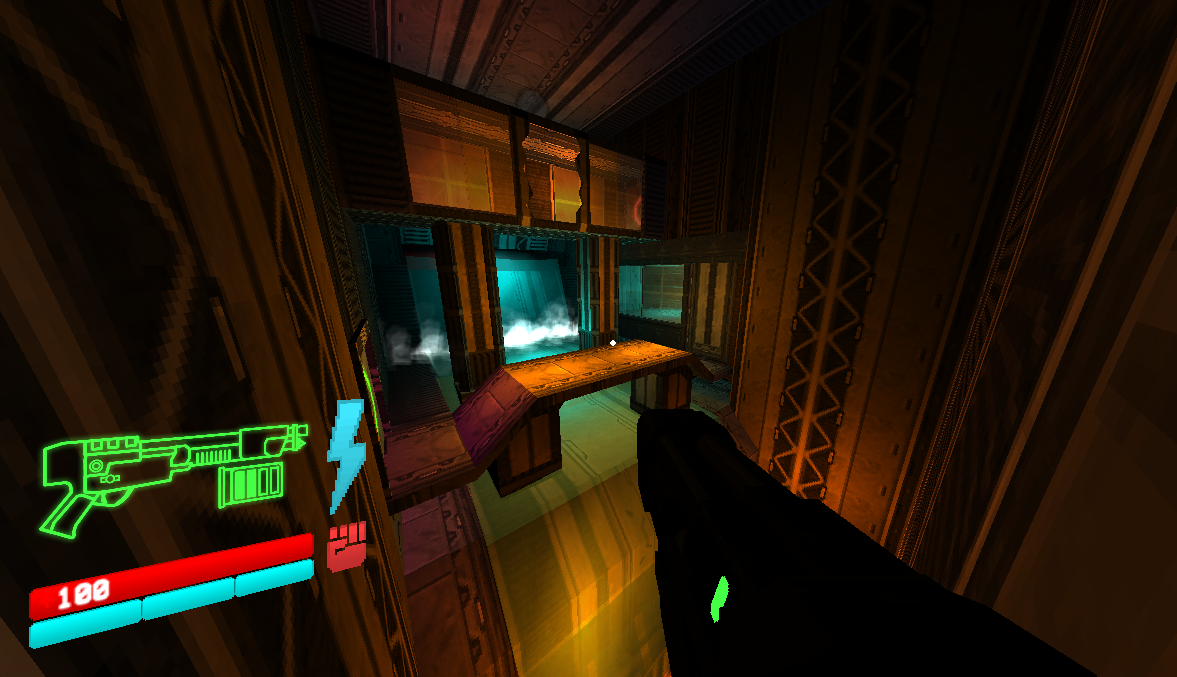
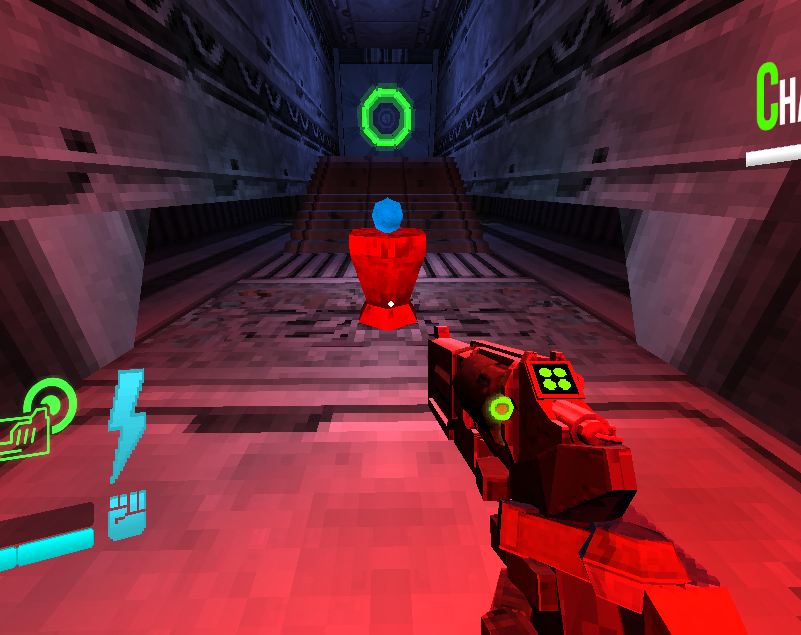
2 – One in this room
3 – One here
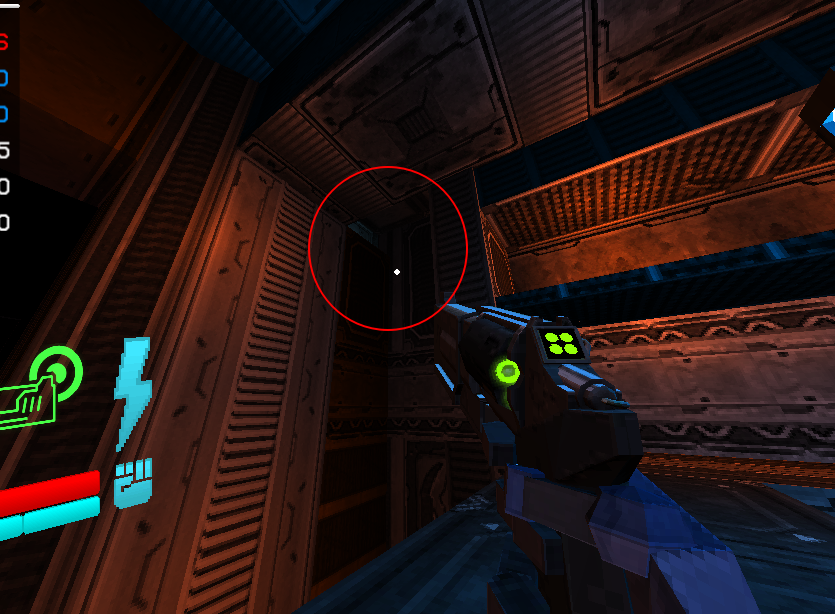
4 – This is the breakable door you need to go trough if you want to do the challenge (Not touching water)
5 – This is the last one’s place
6 – This is the place of the secret after the water is gone
7 – For the touch no water challenge you just need to get the water drained so you don’t have to go through the waterfall at the end.
2-4: Court Of King Midas
Challenge – Parry A Punch:
1 – Can you guess what you have to do?
2 – The blue hand works for this.
3 – There is no way that you aren’t looking at this just to see what i wrote, you just parry his punch
Solution – PARRY THAT PUNCH, V1 STRONK, MIDAS WEAK
— Layer 3: Gluttony
3-1: Belly Of The Beast
Challenge: Kill a Mindflayer With Acid
1 – The places where Mindflayers spawn are the first arena and the last room
2 – Both the first arena and the last room have enough acid to get a Mindflayer to teleport inside
3 – The first arena’s secret passage under the bone bridge is the best place for this.
4 – The secret passage’s red orb might help you survive the acid.
Solution – Go to the first arena and kill every enemy except the Mindflayer. Then go to the secret red orb passage under the bone bridge and get the red orb. Damage the mindflayer enough so the acid can kill it. You can check if you did the challenge by pressing tab. It also might take a few tries
Prime sanctum…
1 – As this is a prime sanctum you need to have perfected every level in the first act.
2 – Inside the place where there are a lot of stairs.
3 – A stair that is not on the main road.
4 – From the entrance, go forward and the instead of turning right, look left.
Solution – Go to the Stairways arena the one with lots of stairs. Then from the entrance go forward until you reach the end. Don’t go up towards the right, look left instead. Jump on the platform that is the lowest and right in front of you. Follow the path after that.
3-2: In The Flesh
Challenge: Drop Gabriel In A Pit
1 – Get to gabriel… quite obvious.
2 – Huh, it seems that gabriel is affected by gravity if you get him to his second phase.
3 – The outer corners of the arena IS the pit.
4 – So if i keep walljumping at the edge of the arena, and lower his health so that the first phase ends just as he’s flying at the edge…
Solution – Delete Gabriel’s existence by standing at the edge of the arena while his health is low (On the first phase) and then shoot him so that he goes to his second phase. While he’s stunned he will fall into the edge of the arena which is the pit. He is enraged after that so be careful.
— Layer 4: Greed
4-1: Slaves To Power
Challenge: Don’t Activate Any Enemies
1 – There are no invisible walls in this level.
2 – Flying is pretty much the only viable option here.
3 – Damage boosting is pretty much the only way you can do this challenge.
4 – Looking at a speedrun of this level is viable if you want to learn how to use slam storage and the ultra boost.
5 – Otherwise what you have to do is use one overcharged Pump Charge and one core eject explosion to get to where you need to.
6 – Obviously there’s a breakable floor at top of the final building.
7 – It’s on the edge of the higher part of that building.
Solution – If you’re doing this the non speedrun way then you need to…
Overcharge your Pump Charge shotgun, Dash jump to the left of the entrance then explode your overcharged Pump Charge shotgun while looking down.
Once you’re up there you need to jump onto the other building. You don’t have enough health for another overcharged pump charge so you have to use your Core Eject shotgun to rocket jump your way to the second building.
Use the path on the second building to jump to the third building. There is a breakable spot just on the edge of the third building’s higher part. Once you break it and go in you’re done.
Or just learn to slam storage/ultra boost that works too
4-2: God Dam n The Sun
Challenge: Kill The Insurrectionist In Under 10 Seconds
1 – Two ways of doing this one.
2 – The easier way would be using an instant kill of sorts… Something like a void…
3 – There is a glass floor that goes down to void on the red skull arena…
4 – After spawning the Insurrectionist go stand on the glass as fast as you can… It will jump at you and die instantly.
1 – Two ways of doing this one.
2 – The harder way would be to increase your firepower…
3 – Something like more hands maybe…
4 – You can stack dual wielding… It even increases all of their length
5 – You also don’t have to use the dual wield powerups when you go into an arena.
6/Solution – Before spawning the Insurrectiowhatever get all the dual wield powerups in the map. Then spawn him and blast him in the face with whatever you have. That being 12 hands.
Secret Level:
THE SECRET LEVEL IS NOT IN THE GAME YET
1 – Doing this would be easier after completing everything in the level.
2 – Looking back from the exit door… Those pillars on the right look mighty suspicious…
3 – So if i climb on those pillars it leads to a walkway in the side of the wall…
4 – Press the button at the end of the walkway.
5 – The door that opened is before the blue and red skull arenas. Lower to the ground.
6 – Backtrack to where they introduced stalkers, it’s around there.
7 – From the perspective of the entrance it’s towards the right of that place.
8 – Inside is a moon trophy thing… I think i remember there being a gray colored pedestal on top of the middle building. I bet i have to put this moon there.
9 – Once it’s night time go behind the entrance and keep going back… You should eventually find it.
Solution – From the exit jump on the pillars at the right and follow the walkway it leads you trough. Press the button and go back to where the game introduces stalkers (Sand capsule guys)
The hidden door is towards the red skull arena side. But to the left of the stairs from the stalker introduction area.
Get the moon skull thingy from there and go back to the jump plate next to the exit. If you slam on the jump plate you go higher so do that to go on top of the middle building.
Put the moon skull on the plate on top of the building. Backtrack towards the entrance, When you get to the entrance keep going back. You’ll see the secret after that…
I also would like to thank steam for not letting me put the level’s name in normally.
4-3: A Shot In The Dark
Challenge: Don’t Pick Up The Torch
1 – Explosions are a source of fire
2 – You can light the other torches without the torch by using any explosive.
3 – The railgun emits a small amount of light if you use it.
4 – Instead of the torch you have to put something else…
5 – If you found the secret encounter you should know what to put instead of a torch.
6 – The next room after the arena with the 4 torches has a breakable wall to the left.
7 – After lighting another torch inside the hidden area, go towards the dark and break the wall that is boarded up.
8 – One of the tombs has a skull. If you want it you can get the secret encounter here too. But the purpose of this is that we replace this with the torch for the final room.
Solution – You can light torches on fire with explosives, so that’s pretty much all you need to know until at some point you will need a skull to replace the torch we have. If you know where it is go to the secret encounter room. Otherwise…
Go to the room after the arena with 4 torches, break the breakable wall to the left. Go forward a little bit and light another torch on fire with another explosive and go to the opposite side of the light. There should be a boarded up breakable wall. One of the coffins has a blue skull, take it. After that you’re pretty much done.
Also it’s a fake out… Don’t just alt f4 because you saw that.
Secret encounter
1 – If you did the challenge, you already should know where it is. The difference is that you have to put the skull on the pedestal instead.
2 – If you don’t know where it is then the next room after the arena with the 4 torches has a breakable wall to the left.
3 – After lighting another torch inside the hidden area, go towards the dark and break the wall that is boarded up.
4 – The tombs have skulls… Yes you are gonna put the skull on the pedestal right there…
Solution – Go to the room after the arena with 4 torches, break the breakable wall to the left. Go forward a little bit and light another torch on fire with another explosive and go to the opposite side of the light. There should be a boarded up breakable wall. One of the coffins has a blue skull, take it and put it on the pedestal.
4-4 Clair De Soleil.
Challenge: Reach The Boss Gate In Under 18 Seconds.
Double tapping tab helps with this challenge
1 – You need to finish this level to be able to do this challenge.
2 – It seems that you need a shorter route.
3 – Also slamming on jump pads is faster than just jumping on them.
4 – There seems to be a jammed door to the right… If only i could grab that skull from here…
5 – Oh wait, i’m a time traveler. I have whiplash/grappling hook.
6 – Whiplash can pick up skulls from a distance.
7 – After that is just going fast. Shouldn’t be too difficult. As with speed challenges, you can look at a speedrun for this too.
Solution – So two tips.
Tip 1 : Slamming on jump pads make you go up faster.
Tip 2 : Use whiplash from the jammed door to take the blue skull to open it.
Not much else to it.
The end
Do give feedback at the comments below.
Like really.
Well except sheer heart attack. I really can’t bother with sheer heart attack.
And yes i will update this guide as long as i can. Hopefully until the full game is released.
This is all for ULTRAKILL All Secrets and Challenges Guide hope you enjoy the post. If you believe we forget or we should update the post please let us know via comment, we will try our best to fix how fast is possible! Have a great day!
- Check All ULTRAKILL Posts List


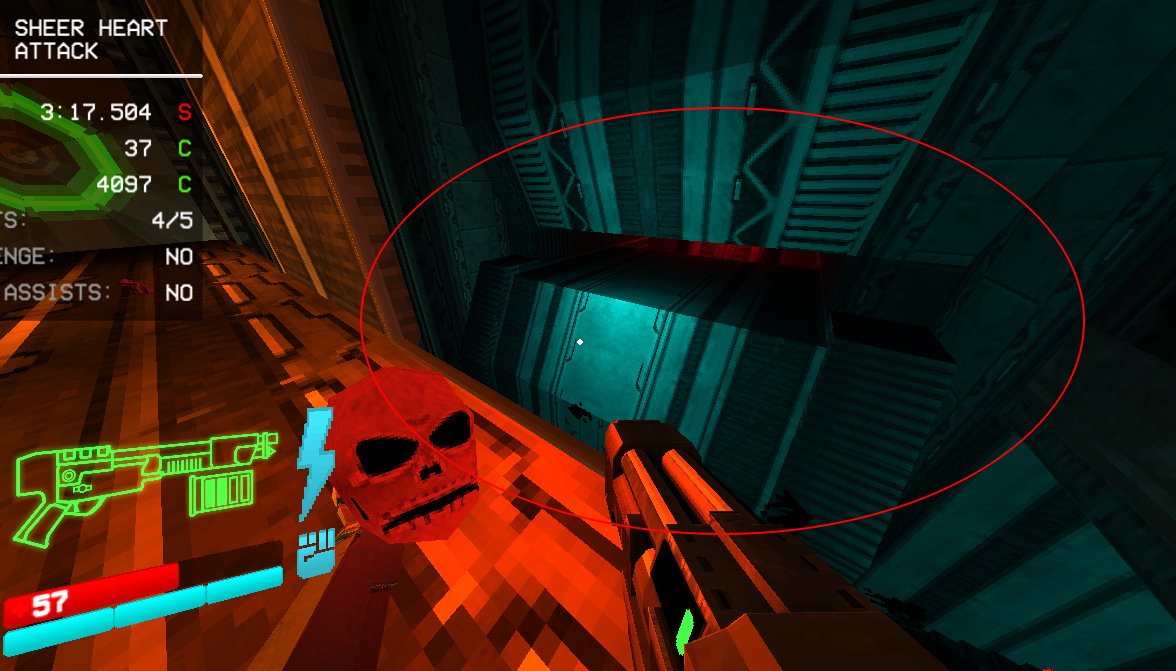
Hey about the room. It is probably common knowledge but if you enter the room with the blue skull in 4-4 Clair De Soleil but if you use the railcannon on the water in the room it should open up a unfinished secret level
fantastic guide
lol thx bro