
Phalanx
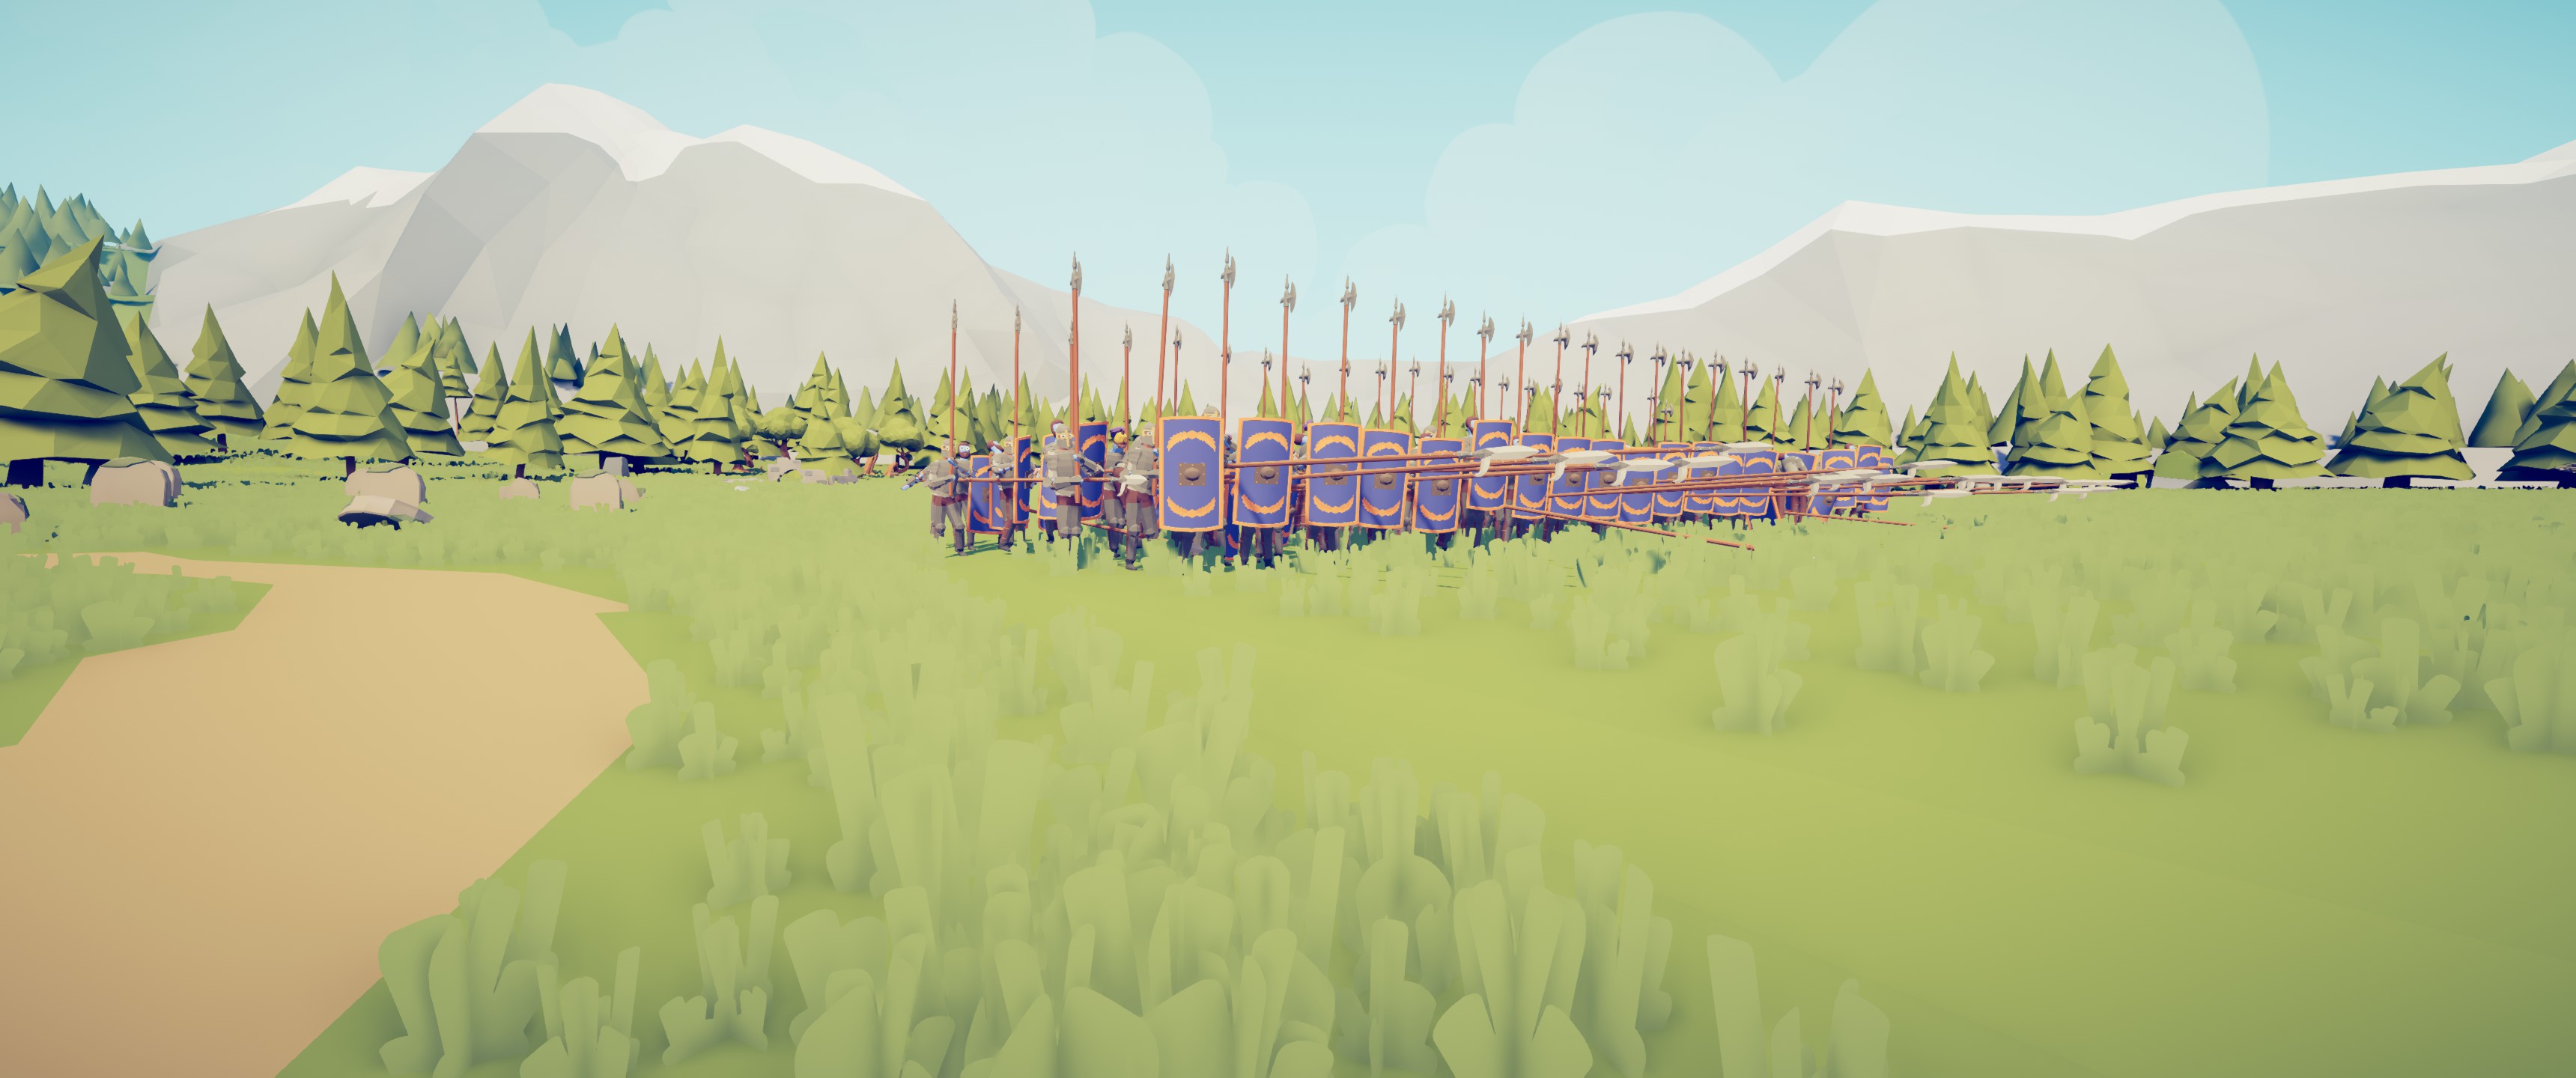
The Phalanx is a formation of infantry in 8 layers mostly armed with spears and shields, used to push enemies back or to eliminate them easier.
It is quite a simple formation, you just need to have the right units.
Layer 1: Shield
All you need is a simple shield row to make a good layer, put around 10-40 as your first layer. This is used to block any incoming projectiles from hitting someone.
Layer 2: Halberd
This layer only contains a halberd, it adds to the looks of the formation, and makes it stronger. Do the same by adding 10-40. (if for some reason you cant place the same amount of halberd’s as you did with shield bearers, just stick with it.)
Layer 3: Shield
Once again, use another shield layer, it is used to block any melee weaponry if the first layer of shields are gone.
Layer 4: Pike
For the last layer, you will want to use a pike. It is a big and strong spear that is great for these formations. (I recommend going into the UC and making your own pike unit with the weapon, ‘Pike’, not ‘Pike – Drop’.)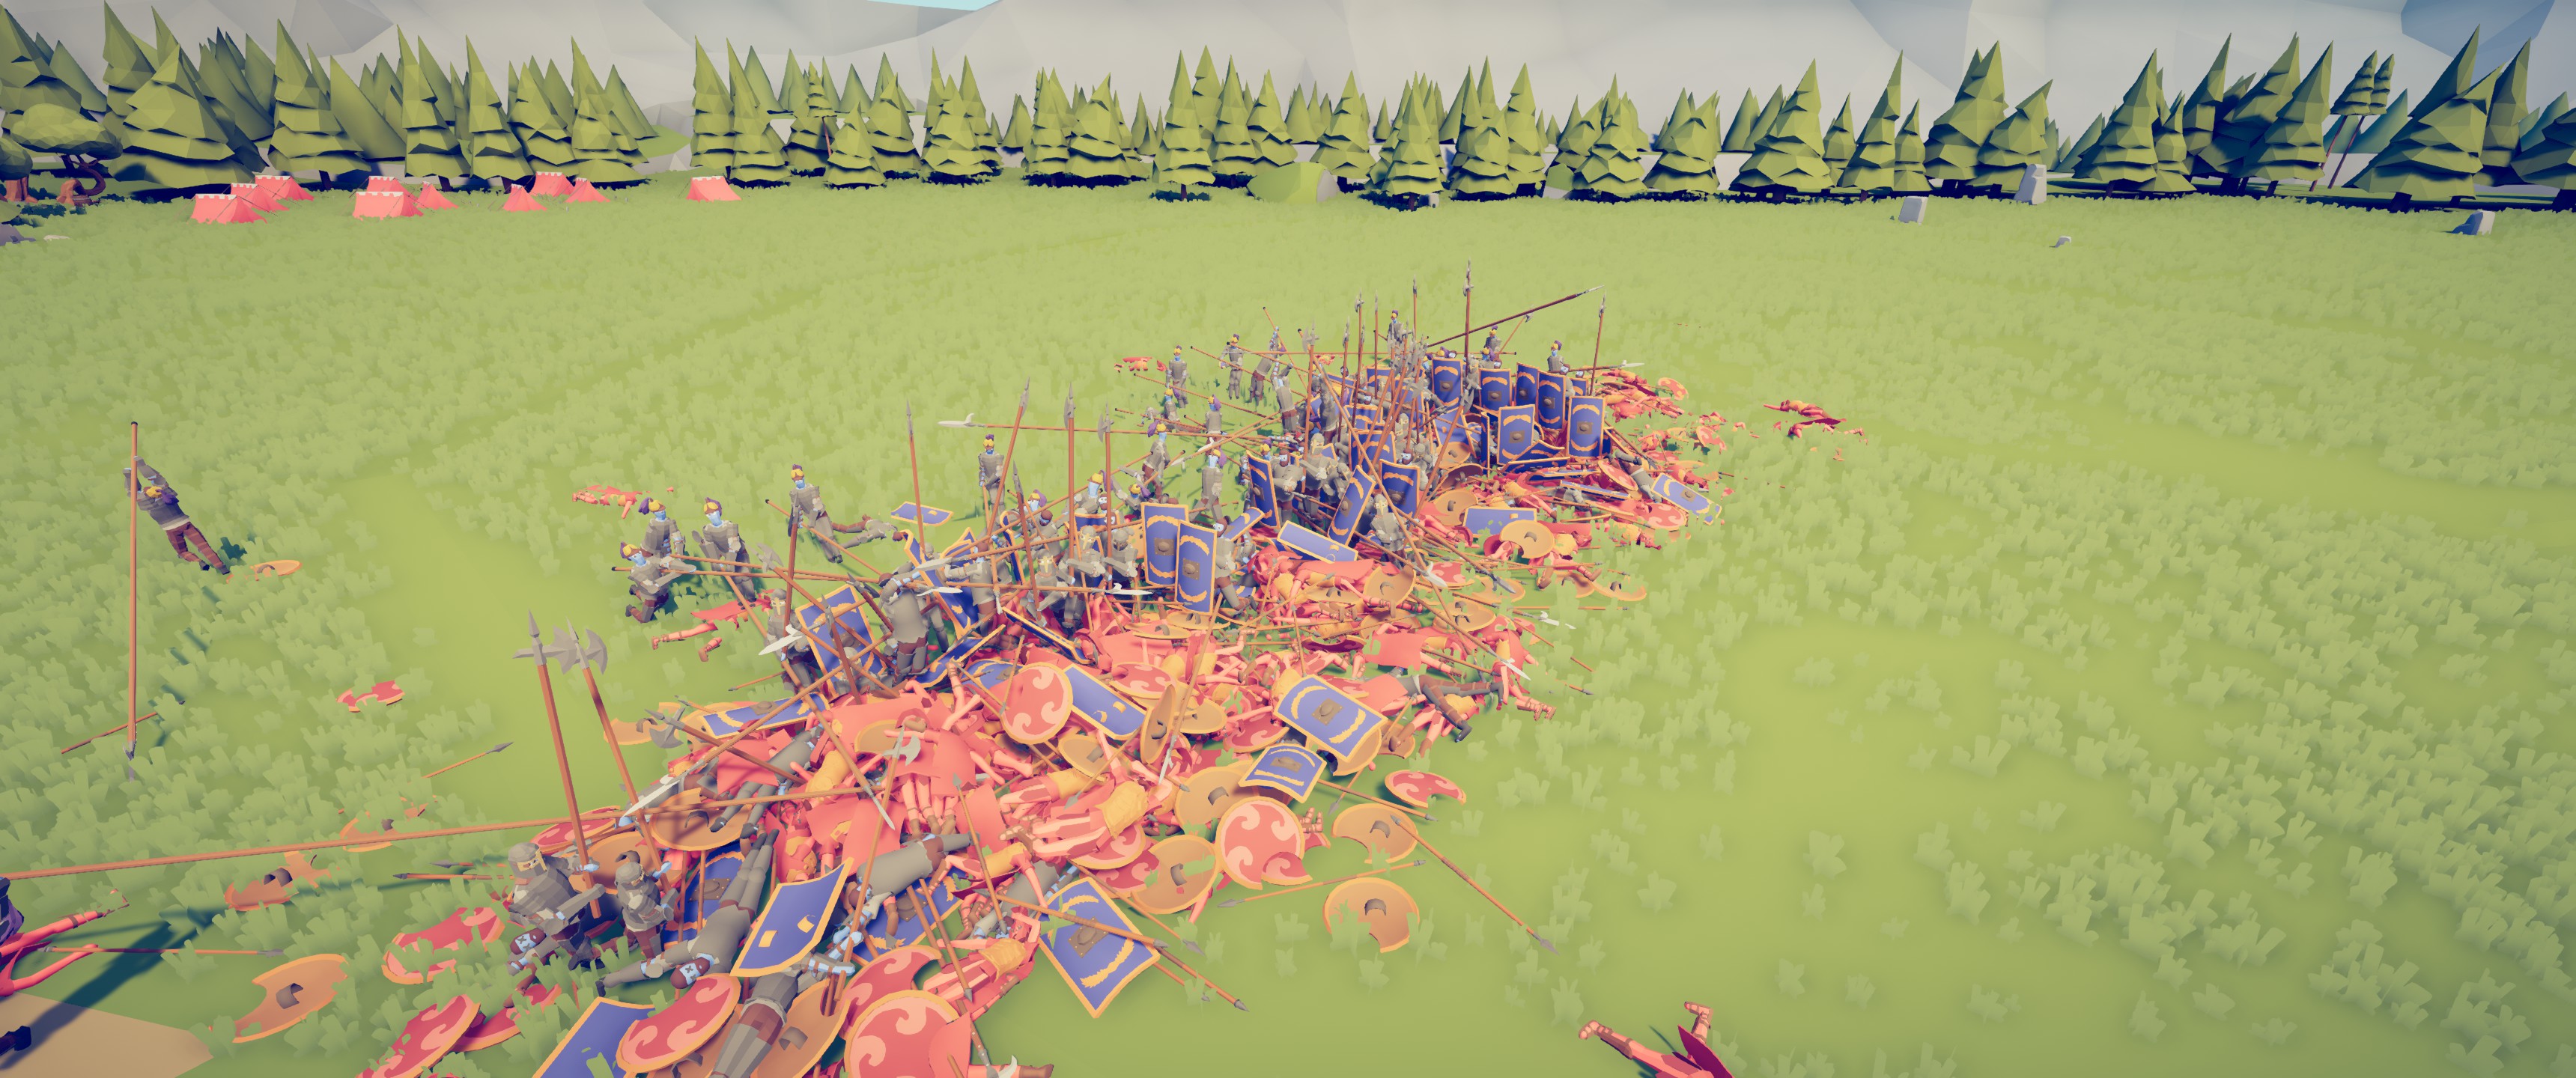
Aftermath of 160 Phalanx units facing 160 Hoplites, around 50-70 Phalanx units survived.
Close-Range Archery
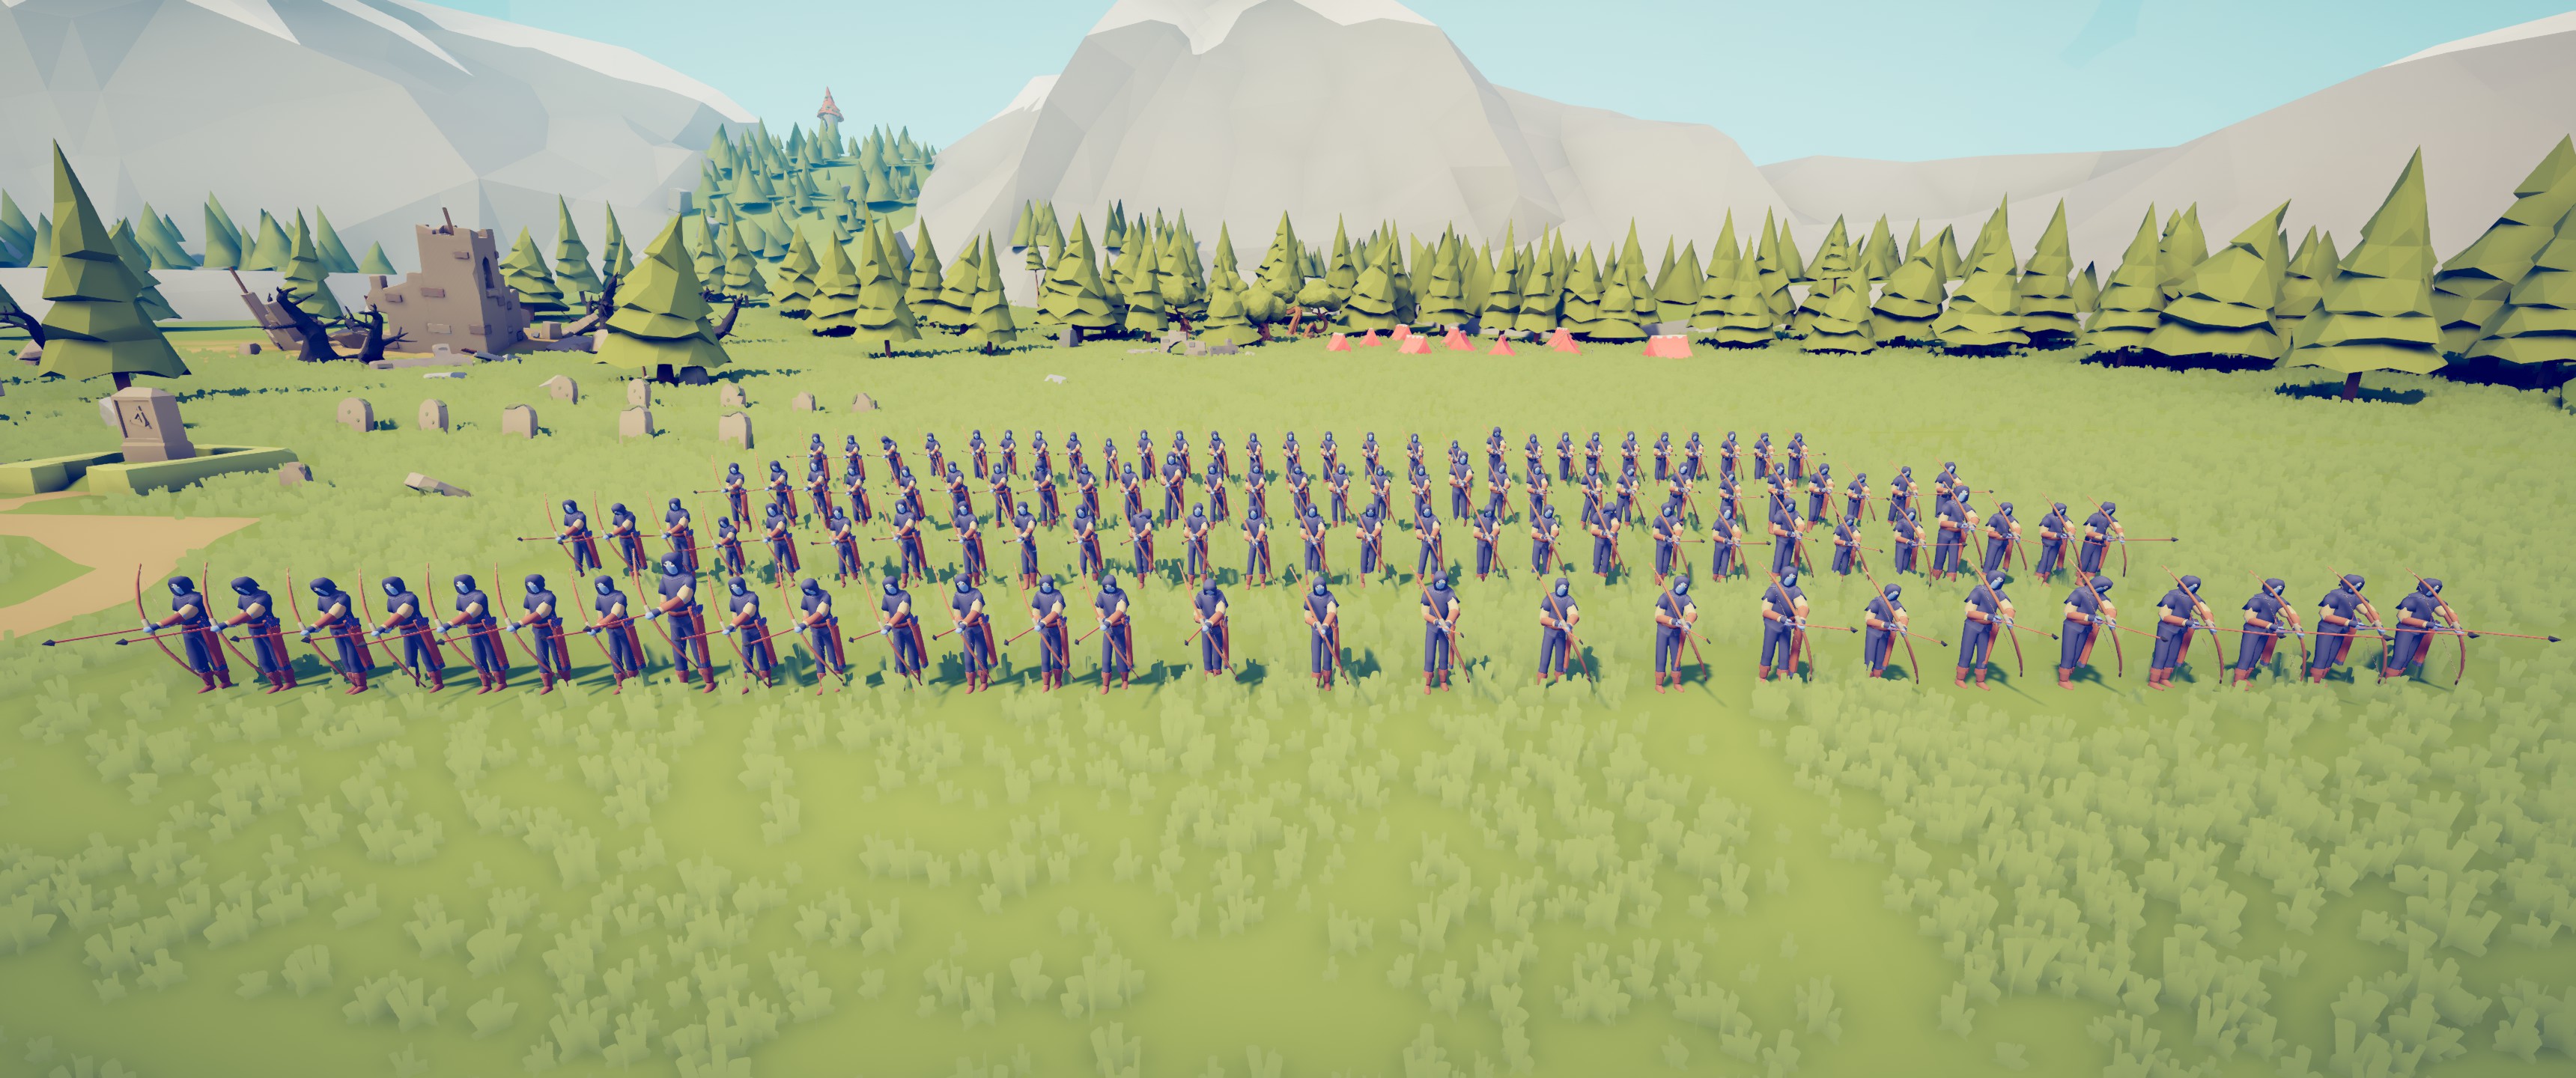
Caption: 112 Archers divided in 4 rows of 28
Archery is one of the most used tactics in battles, they would originally put the archers in the back so they could shoot from far-range, but since this is a totally accurate game, they can only shoot at close-range. Archery was used to attack the infantry or cavalry on the enemies side. They were best known to fire-on-command considering it is the most effective.
It really is one of the most simple tactics ever. Just place a big row of archers, and have them at close range.
The way it works is that all the archers fire around the same time, and it makes it overwhelming for the enemy because if they fire at the same time, more are going down as they are reloading.
Aftermath of 112 Musketeers versus 112 Archers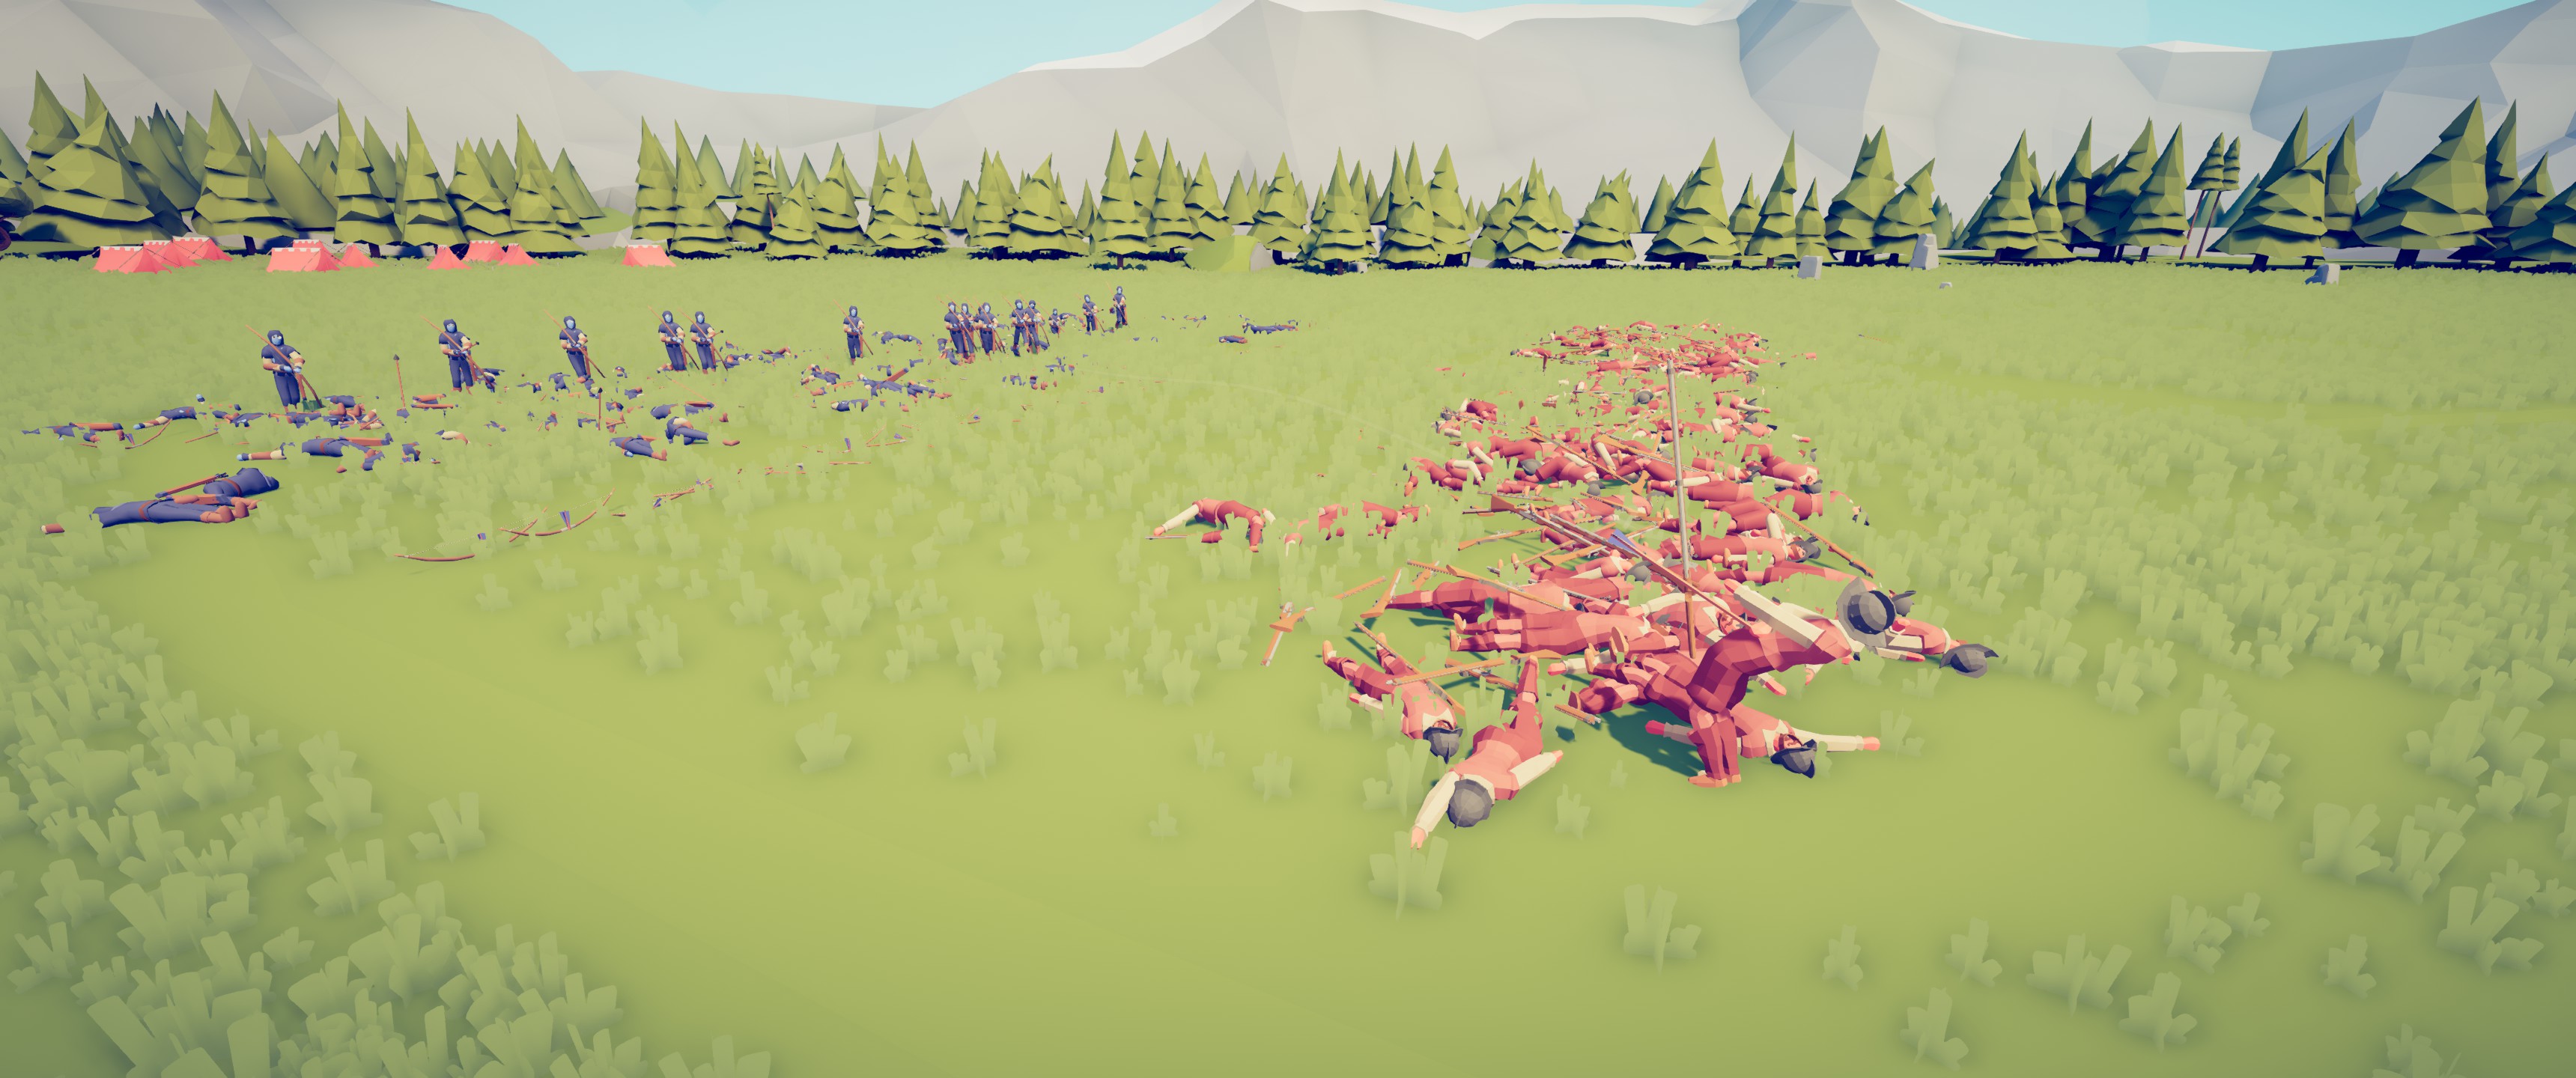
(muskets would fire and demolish the first row, but archers can draw their arrows faster than the muskets reloading)
Fire-Distractions
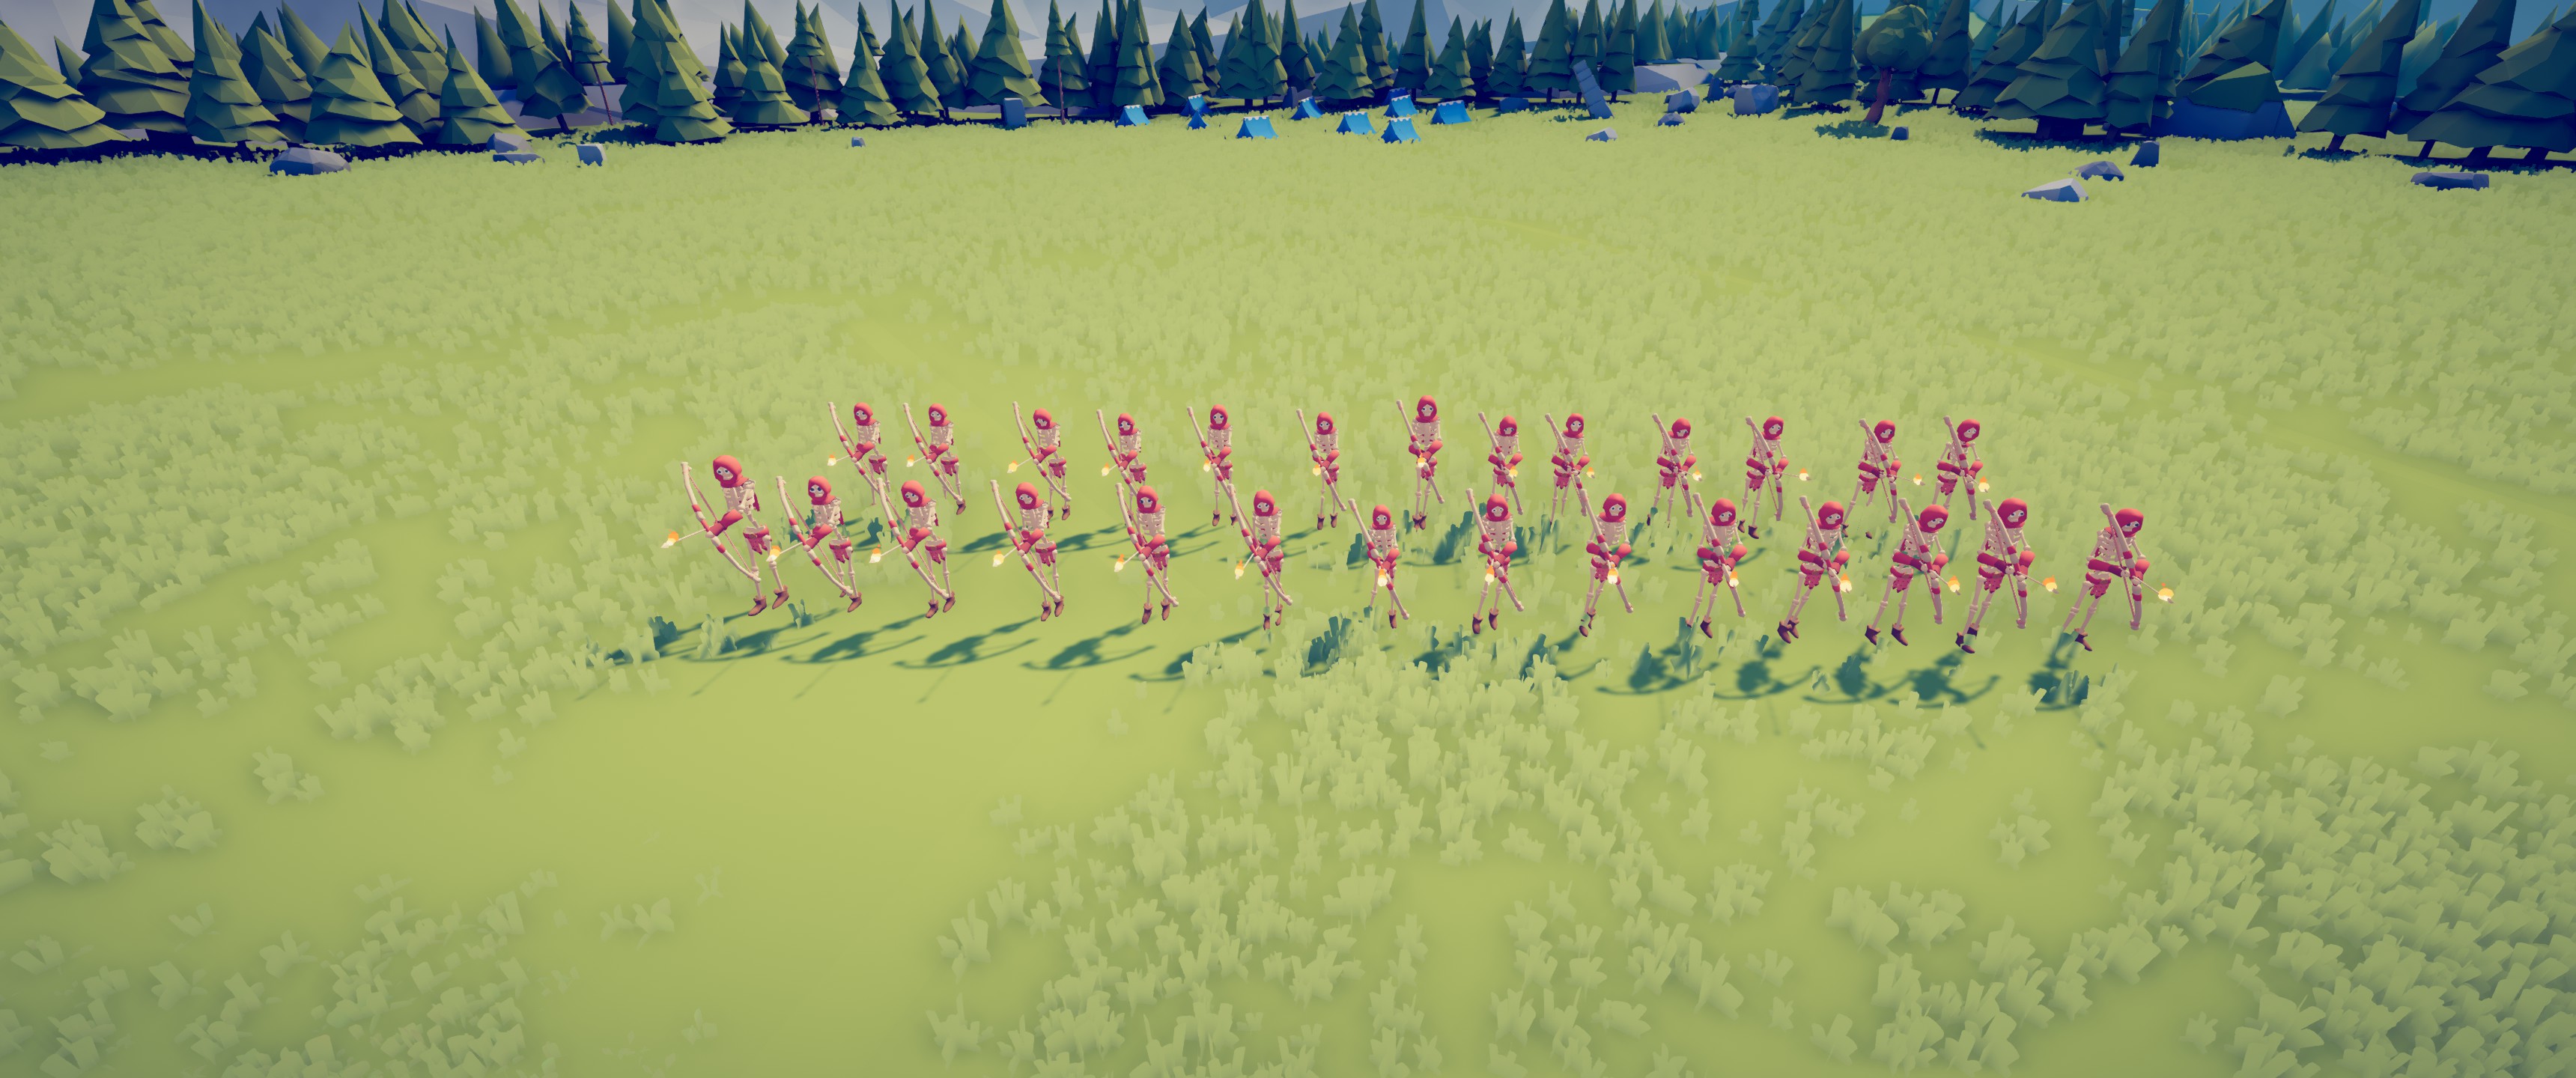
2. Skeleton Archers
Fire is a great way to break a formation, or easily kill enemies. This is another simple formation of just maybe 2 rows of 20 fire archers, it will only cost about 7000 as your budget (possibly more).
It is quite simple, place some skeleton archers a bit far from the army, and the enemy will start immediately burning and splitting up due to the casualties.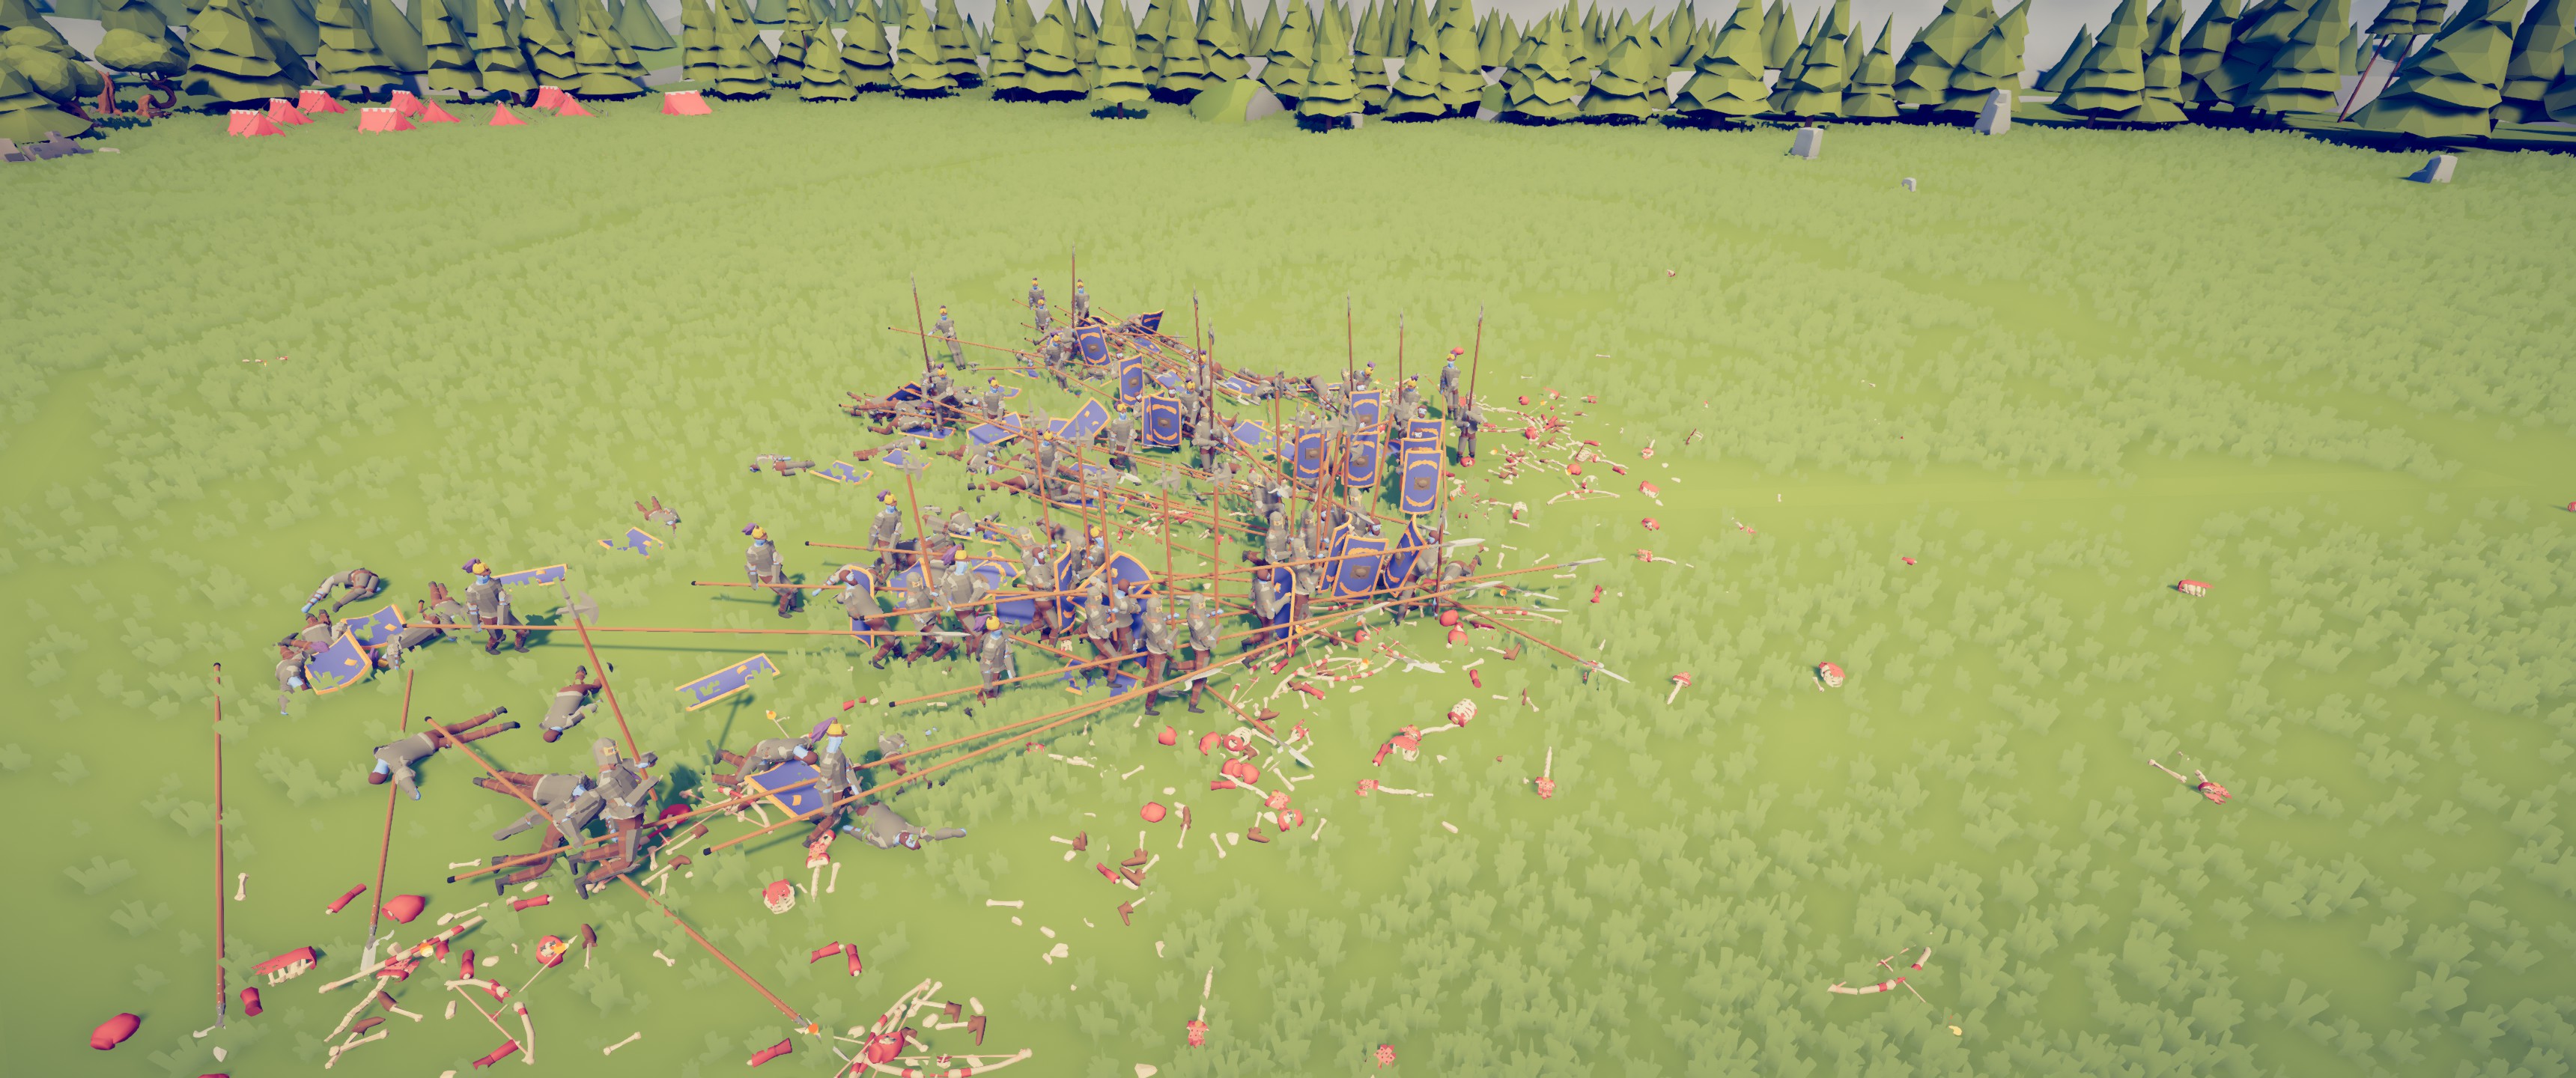
Almost the whole enemy army is destroyed, if you want, you can place a reinforcement unit really far from where the main battle is going on so you can easily take them down.
Before: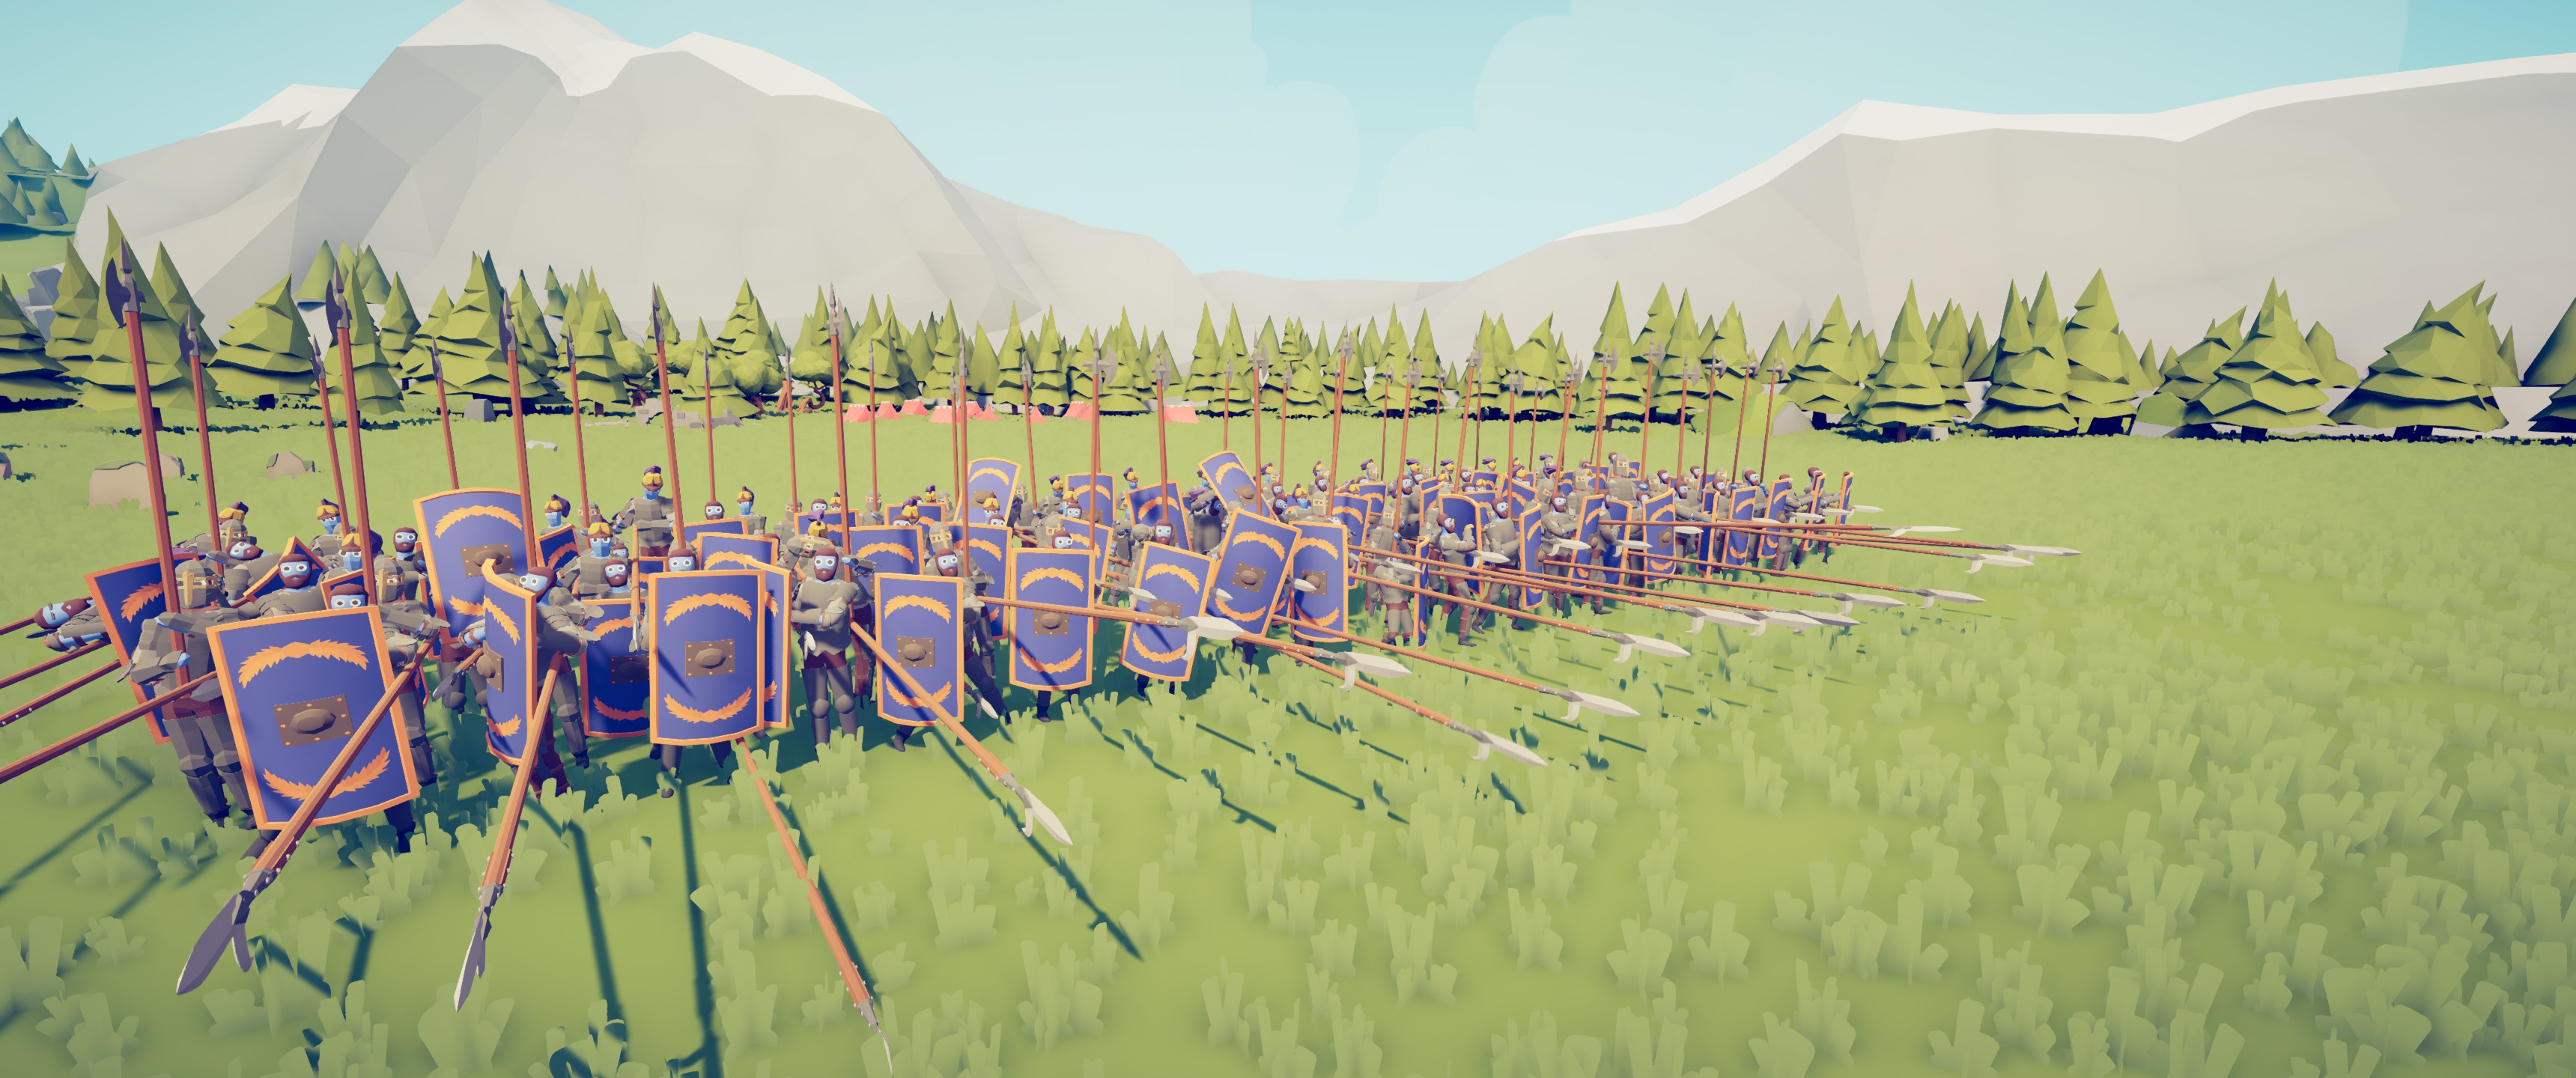
After: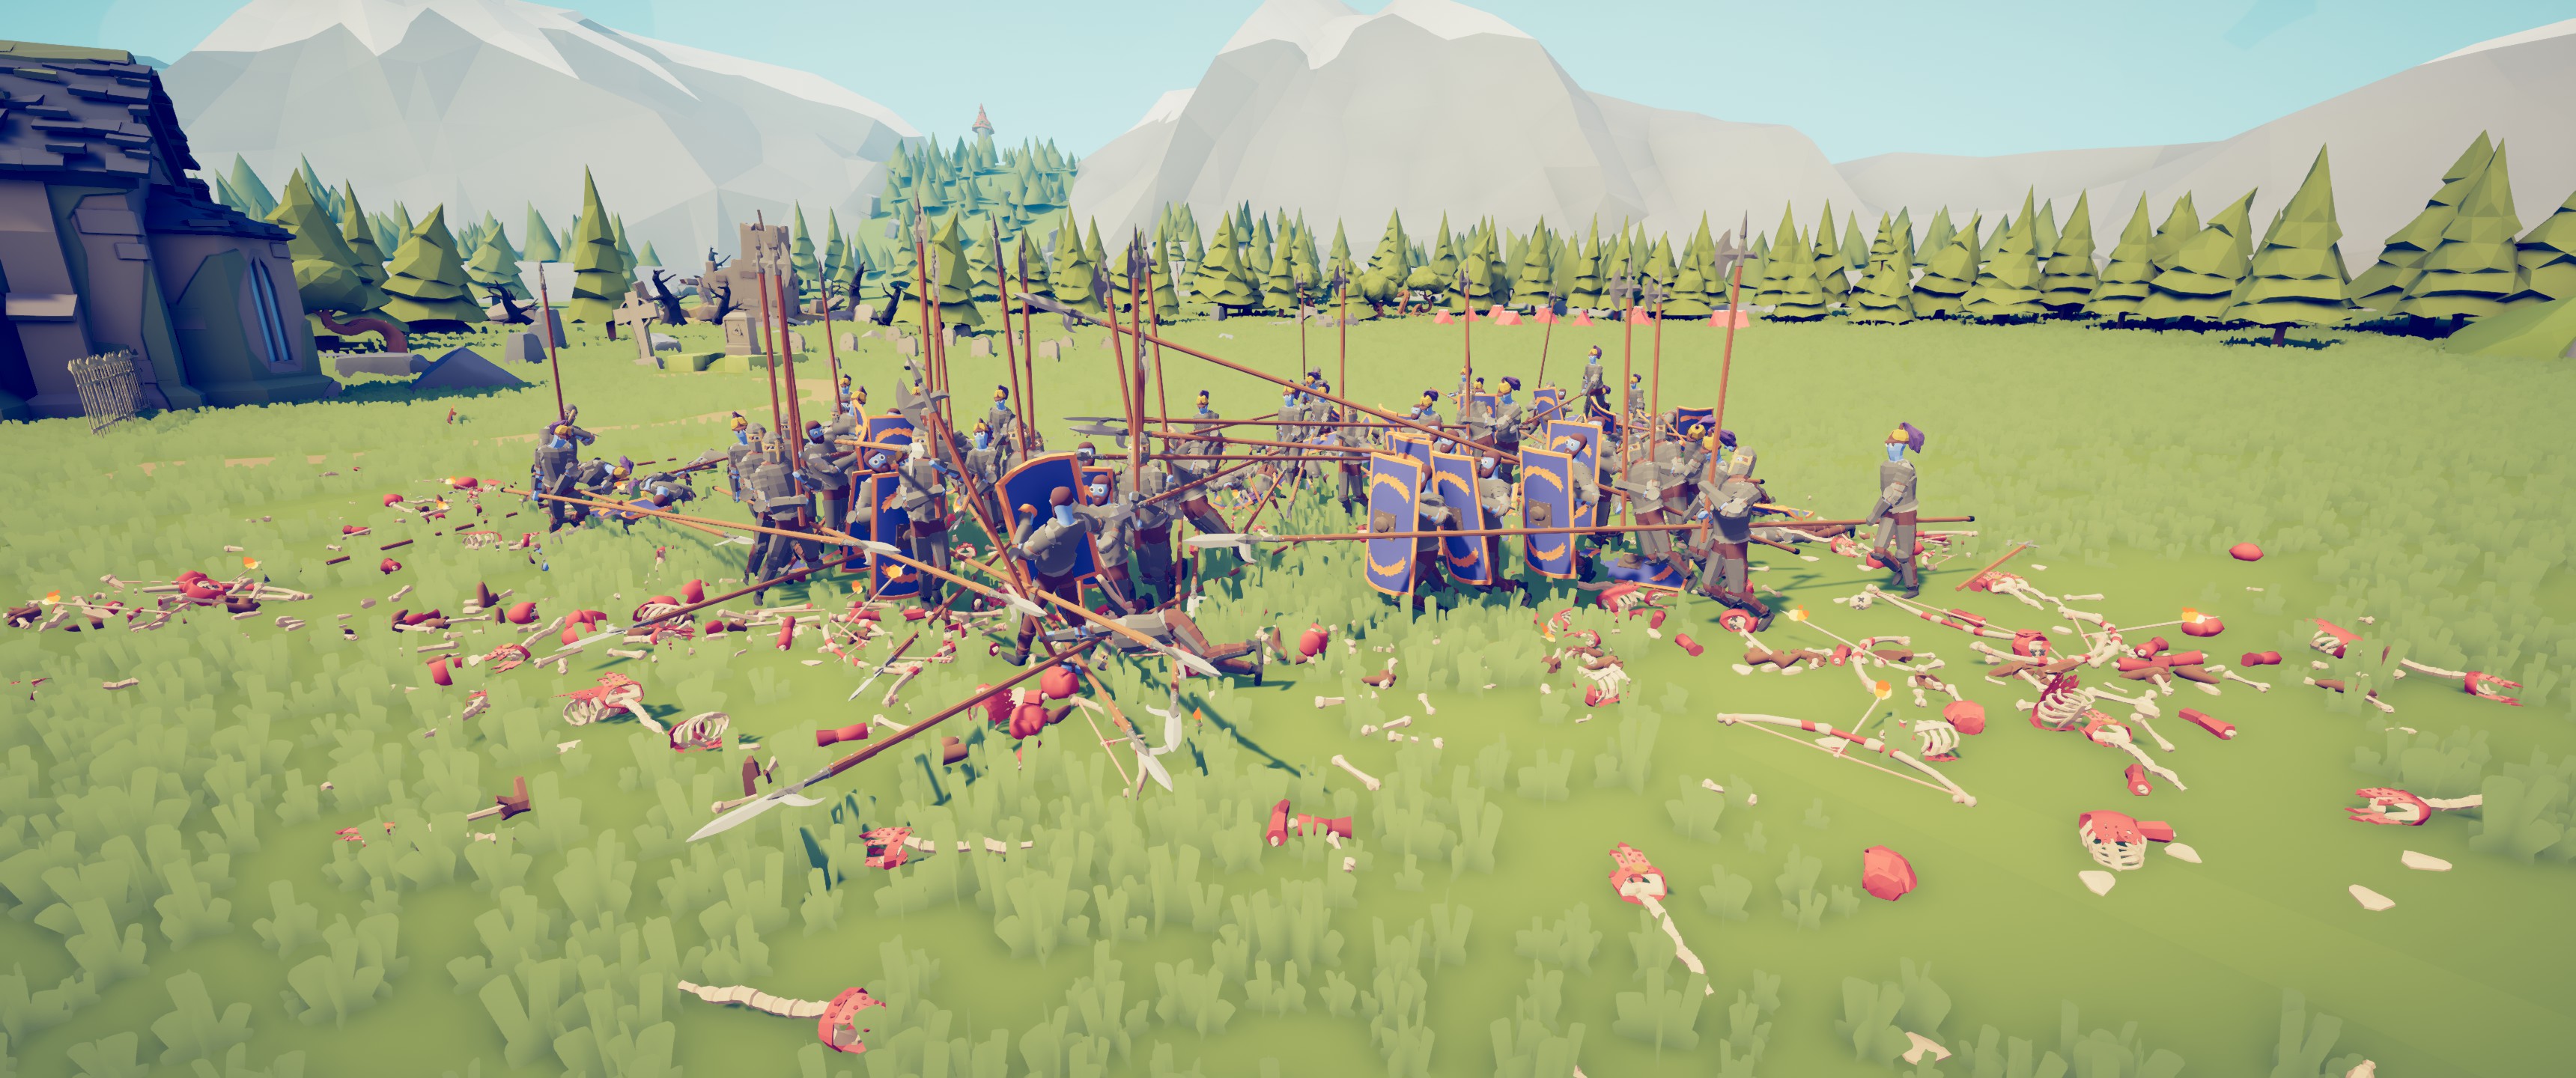
Maniple Formation
A Maniple Formation is a subdivision of the Roman army containing about 120 men.
This was used to fight against big armies, there are three divisions in this formation, Hastati: Inexperienced and young footmen. Principes: Older and a bit experienced footmen. Triarii: Very experienced and old.
Instead of making these units into the UC, you can just use some from the game. Make the Hastati become Squires, Principes become Hoplites, and Triarii become, Brawlers.
The Squires would be in the very front, the Hoplites would be behind them, and the Brawlers would be in the back.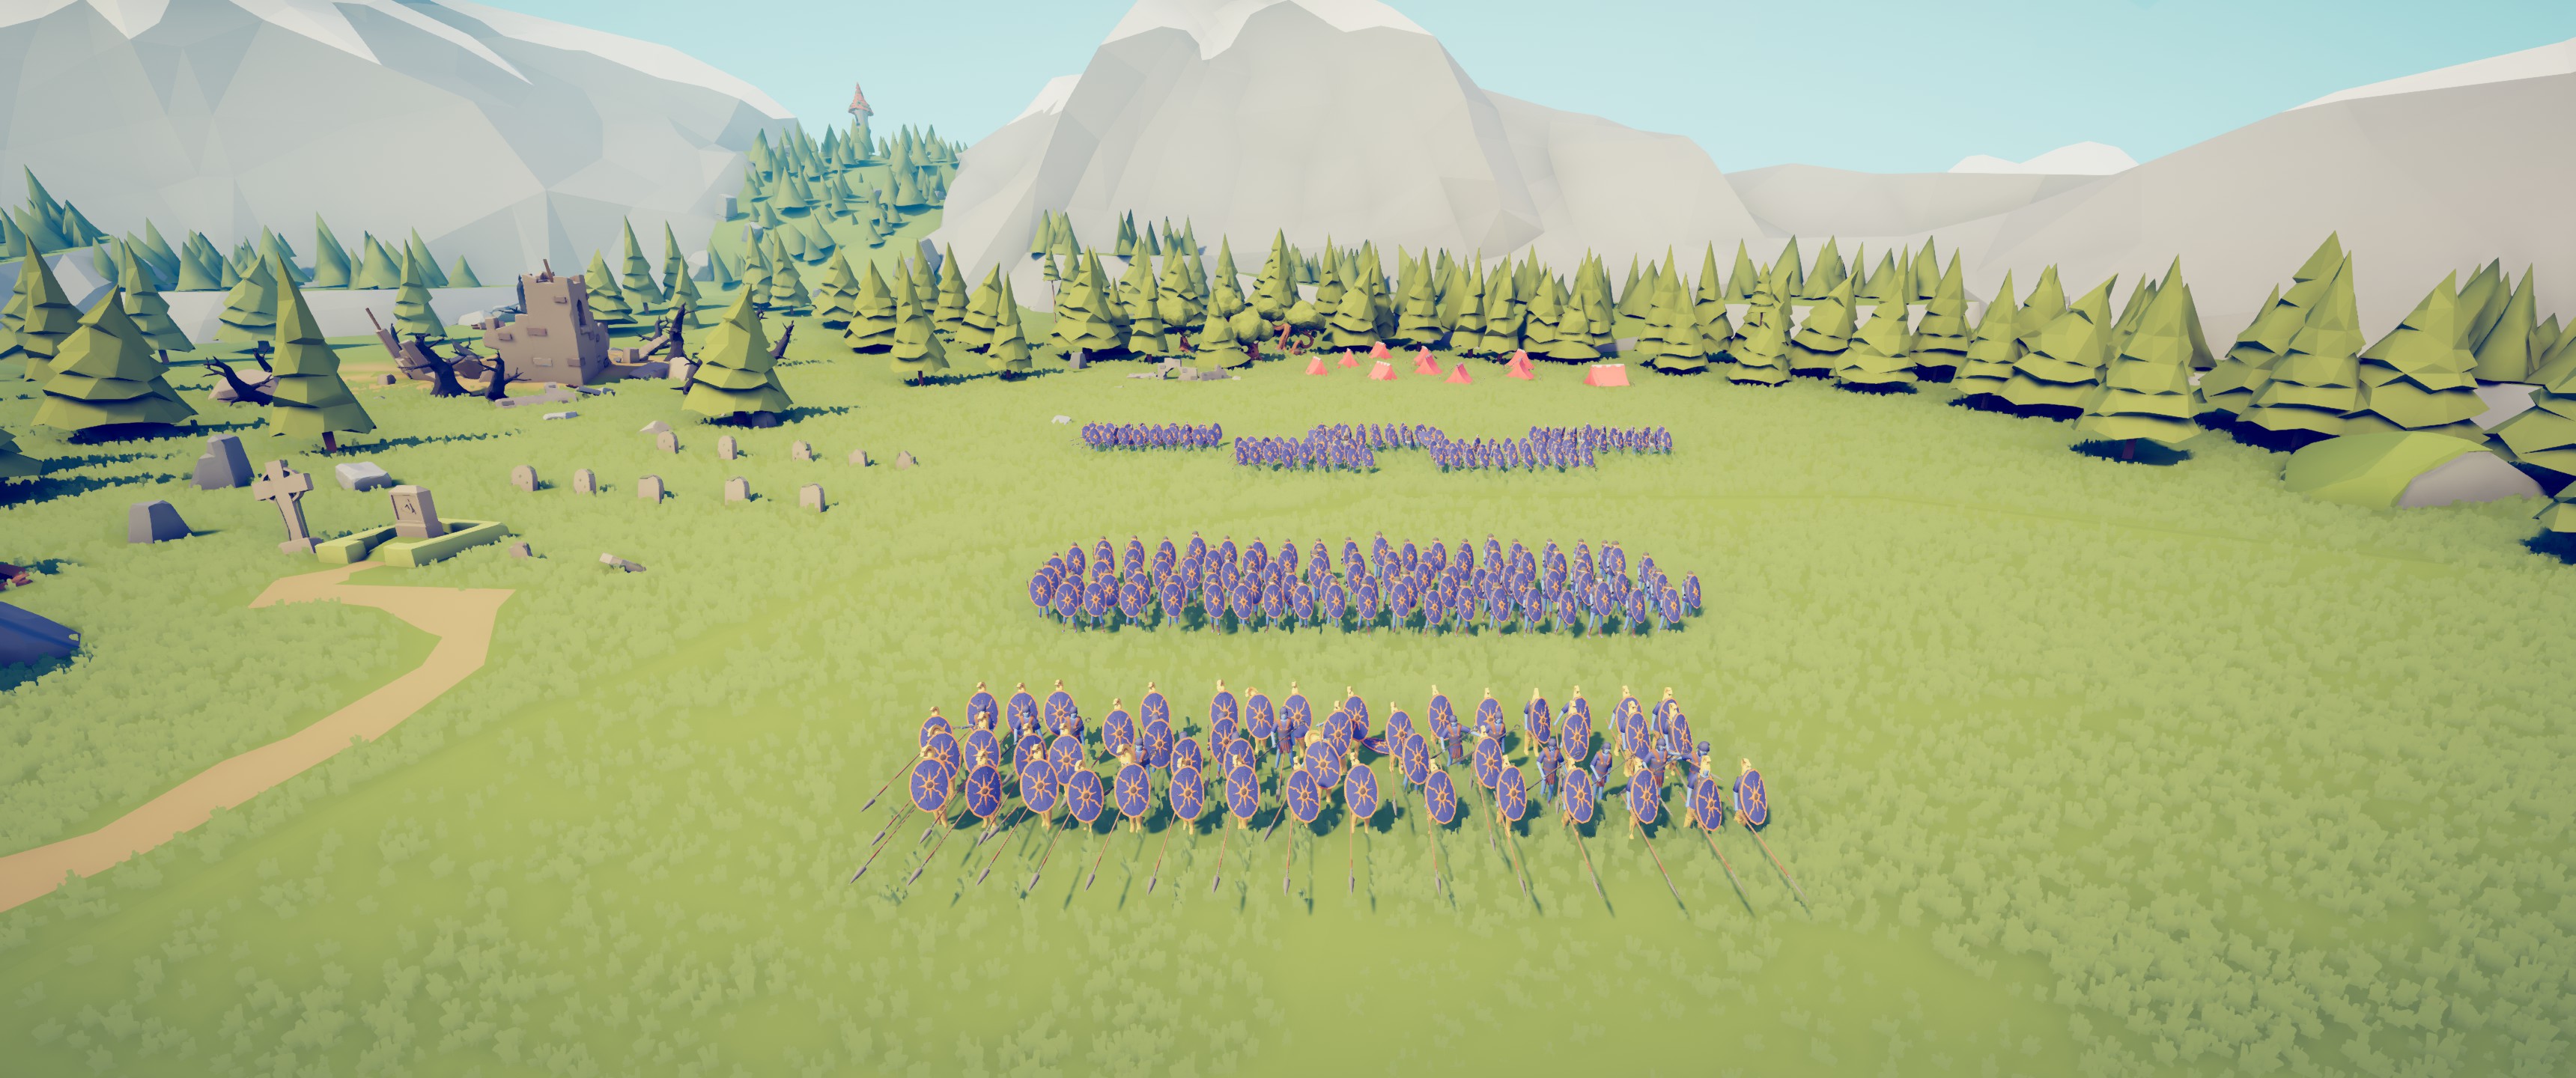
(UC OR) Landfall units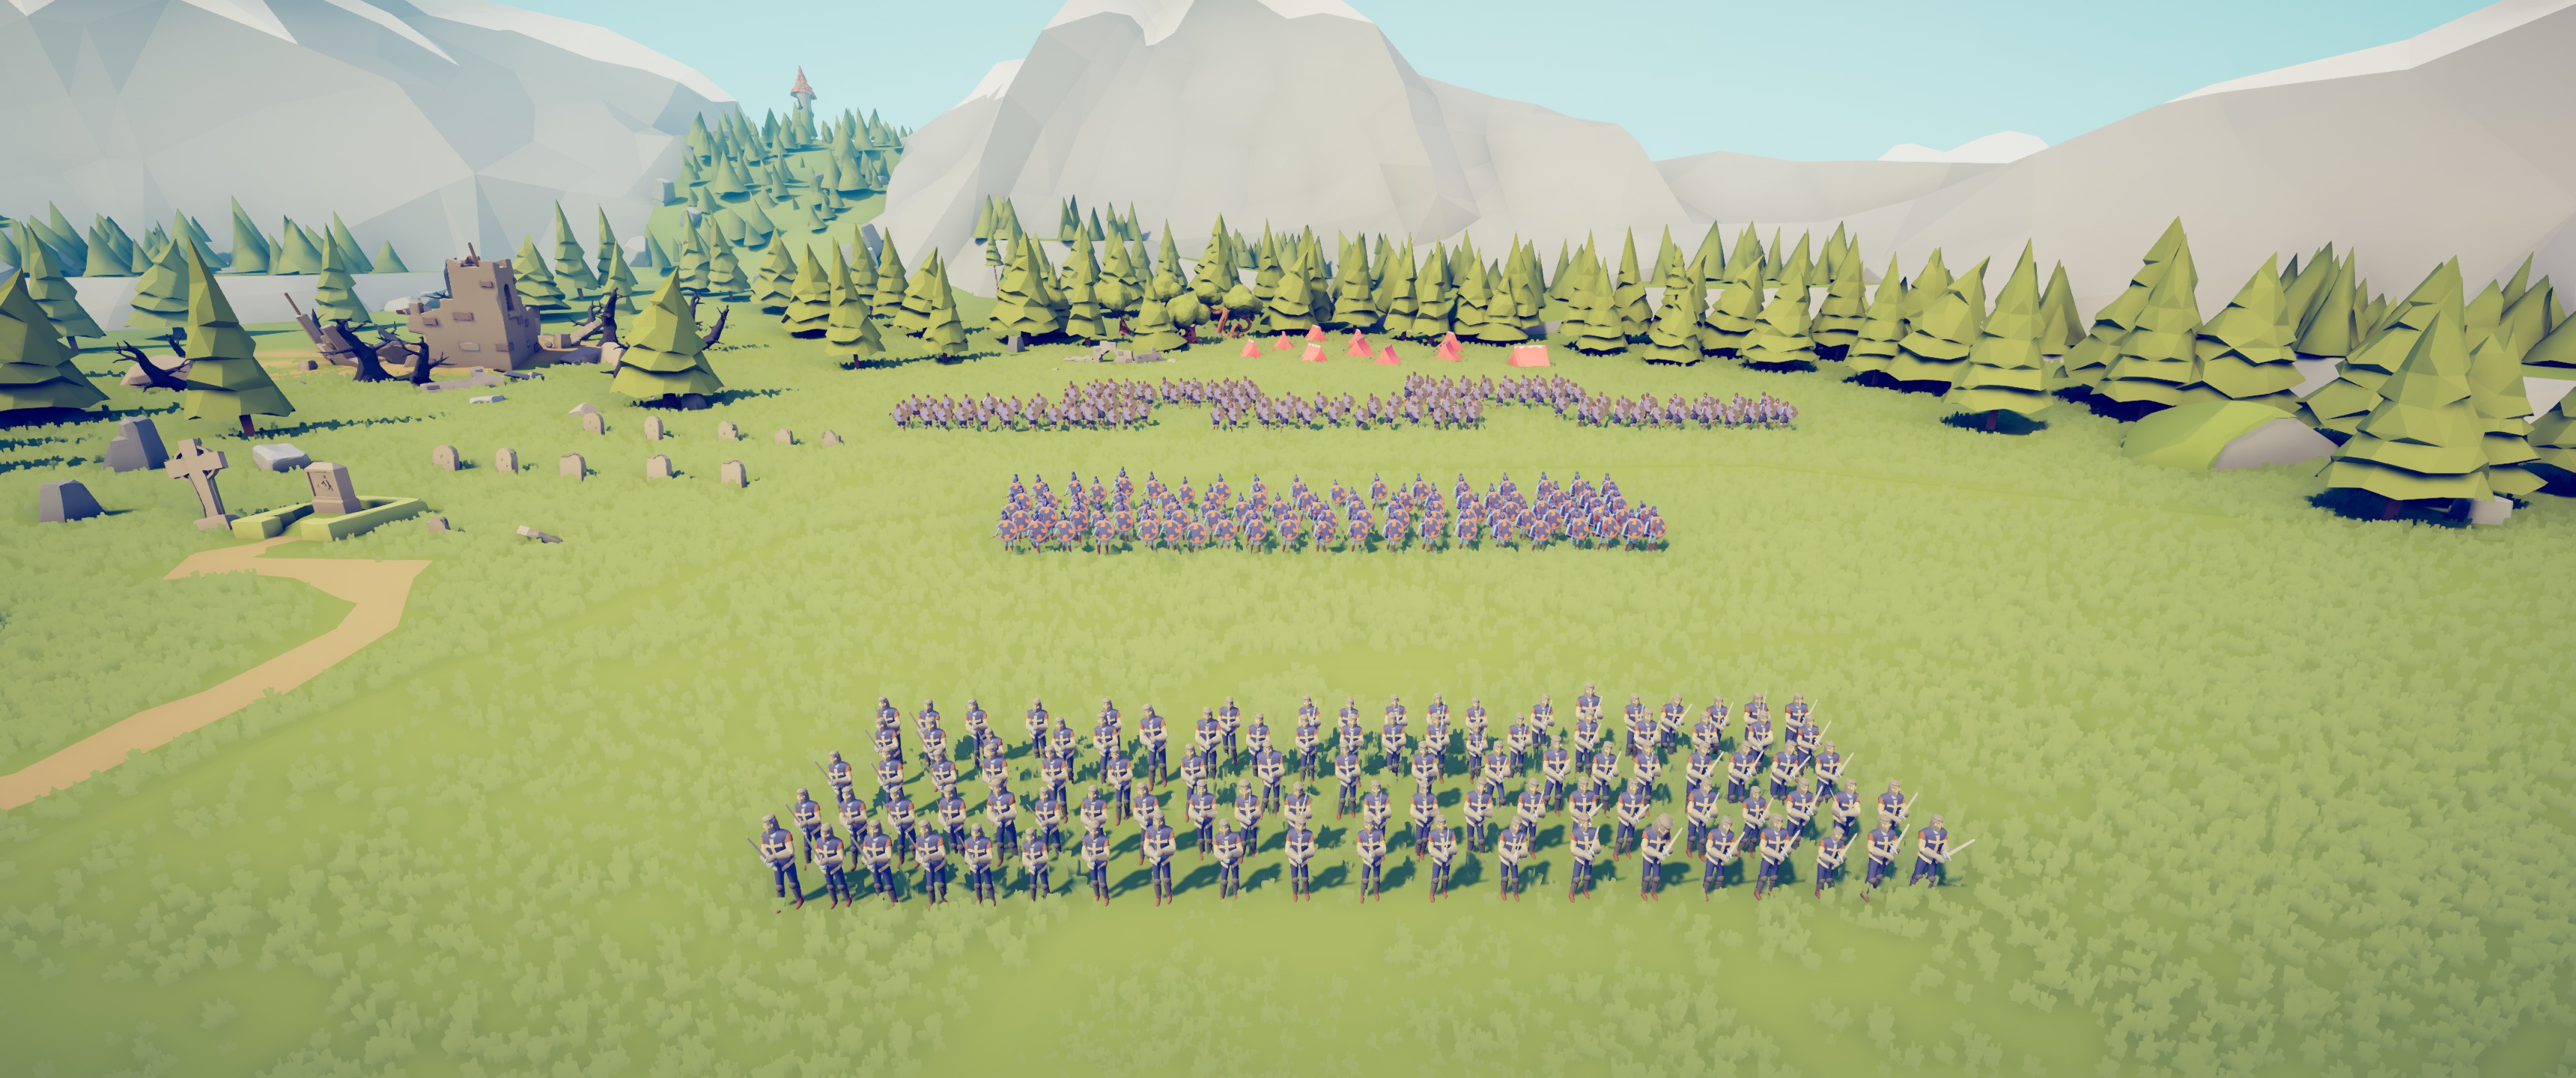
Over 200 Maniple units win a battle against over 200 Phalanx footmen.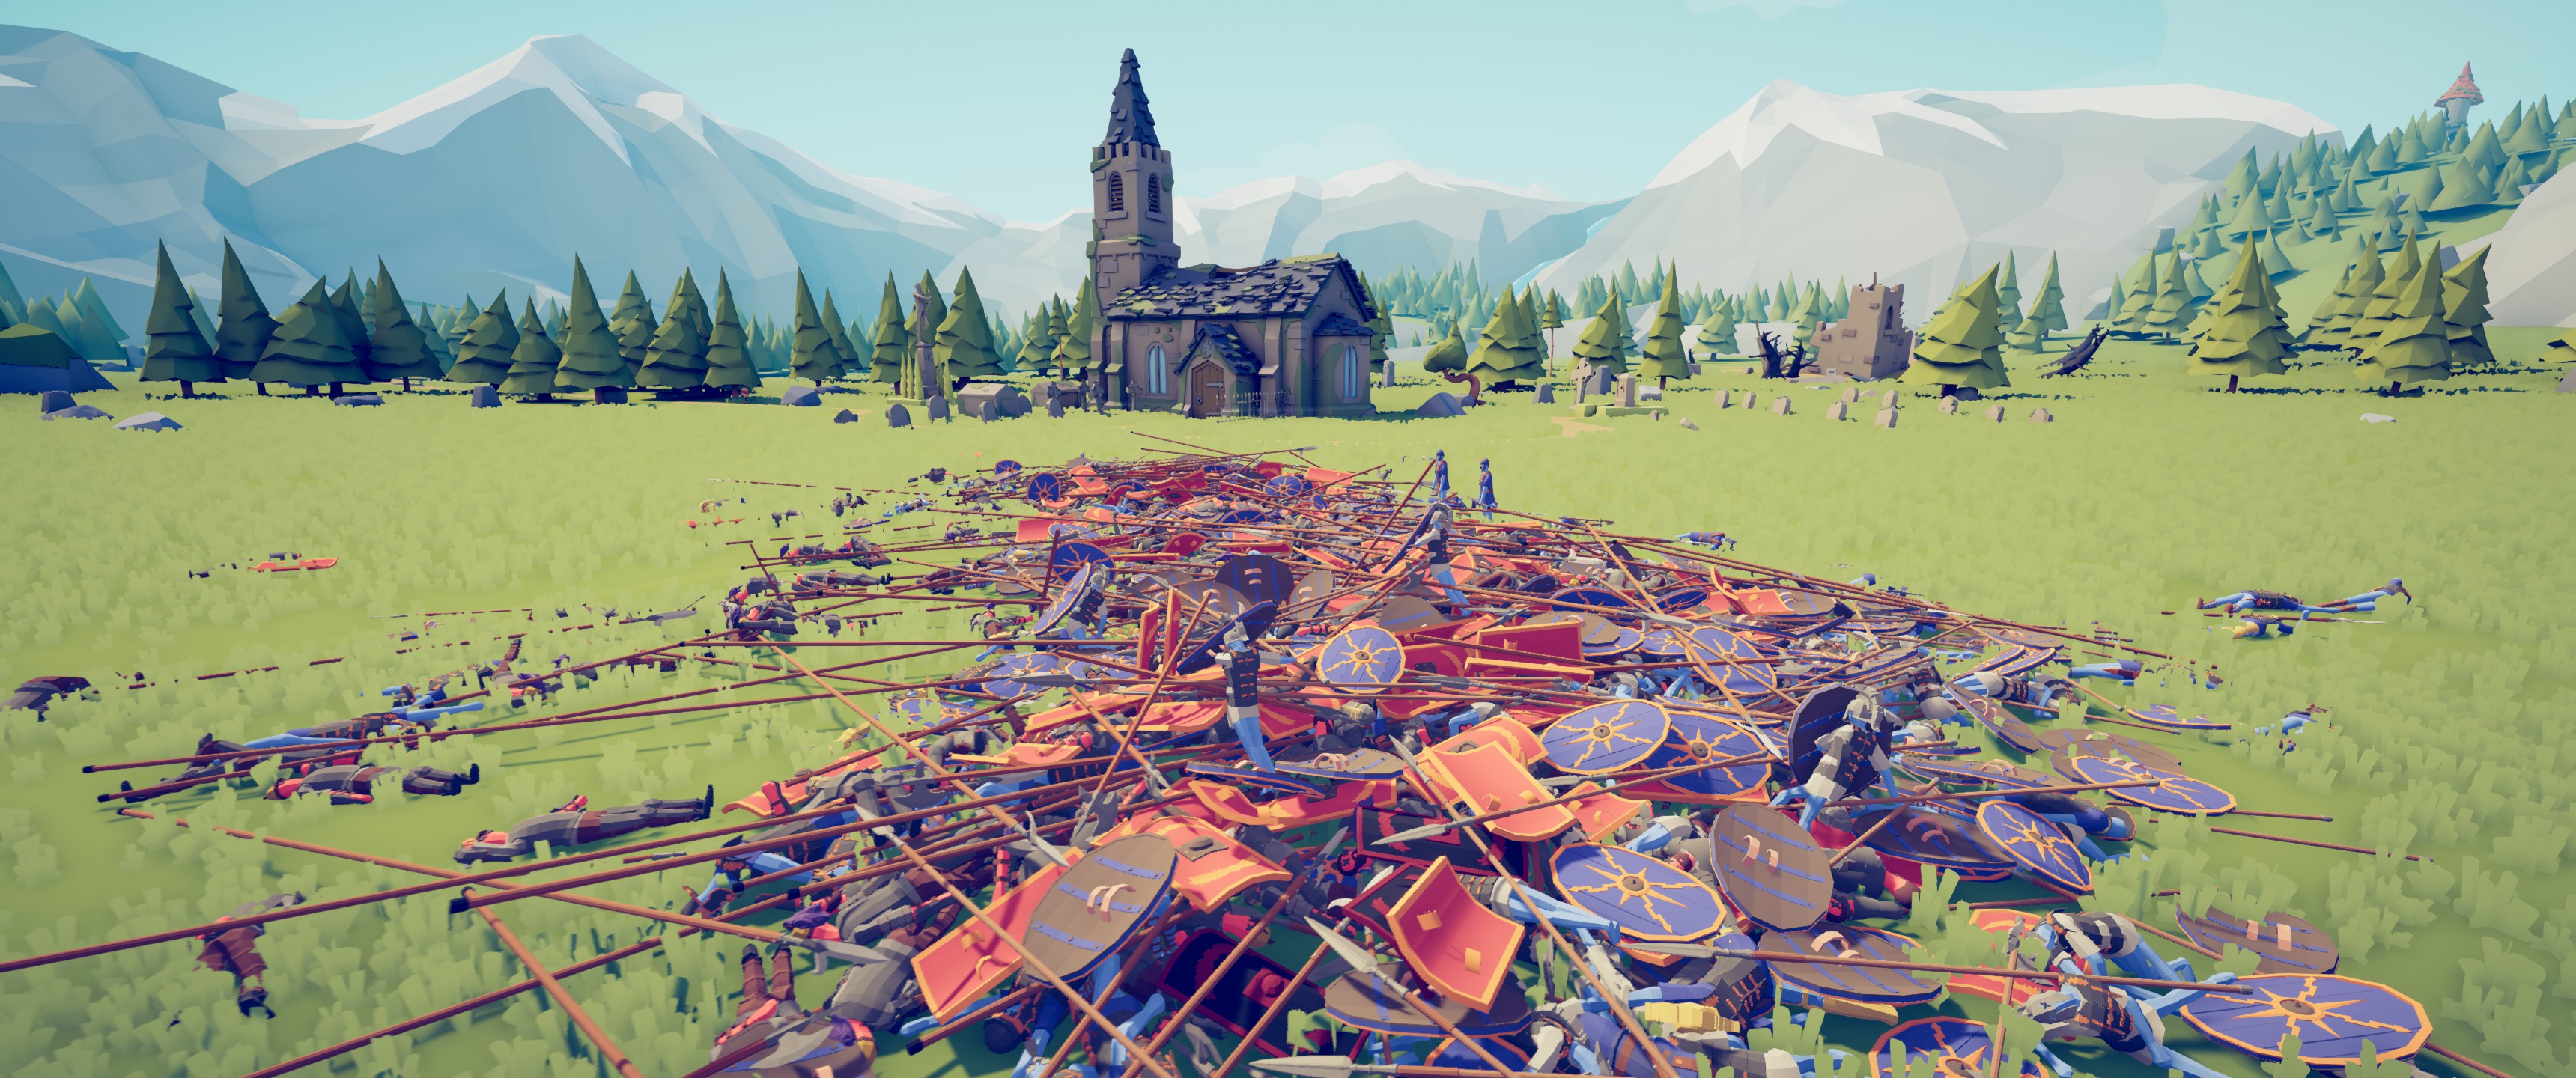
Cavalry
Cavalry is a major thing in historical battles, if the enemy has cavalry, you have to have cavalry.
Instead of having your cavalry look like this in a battle: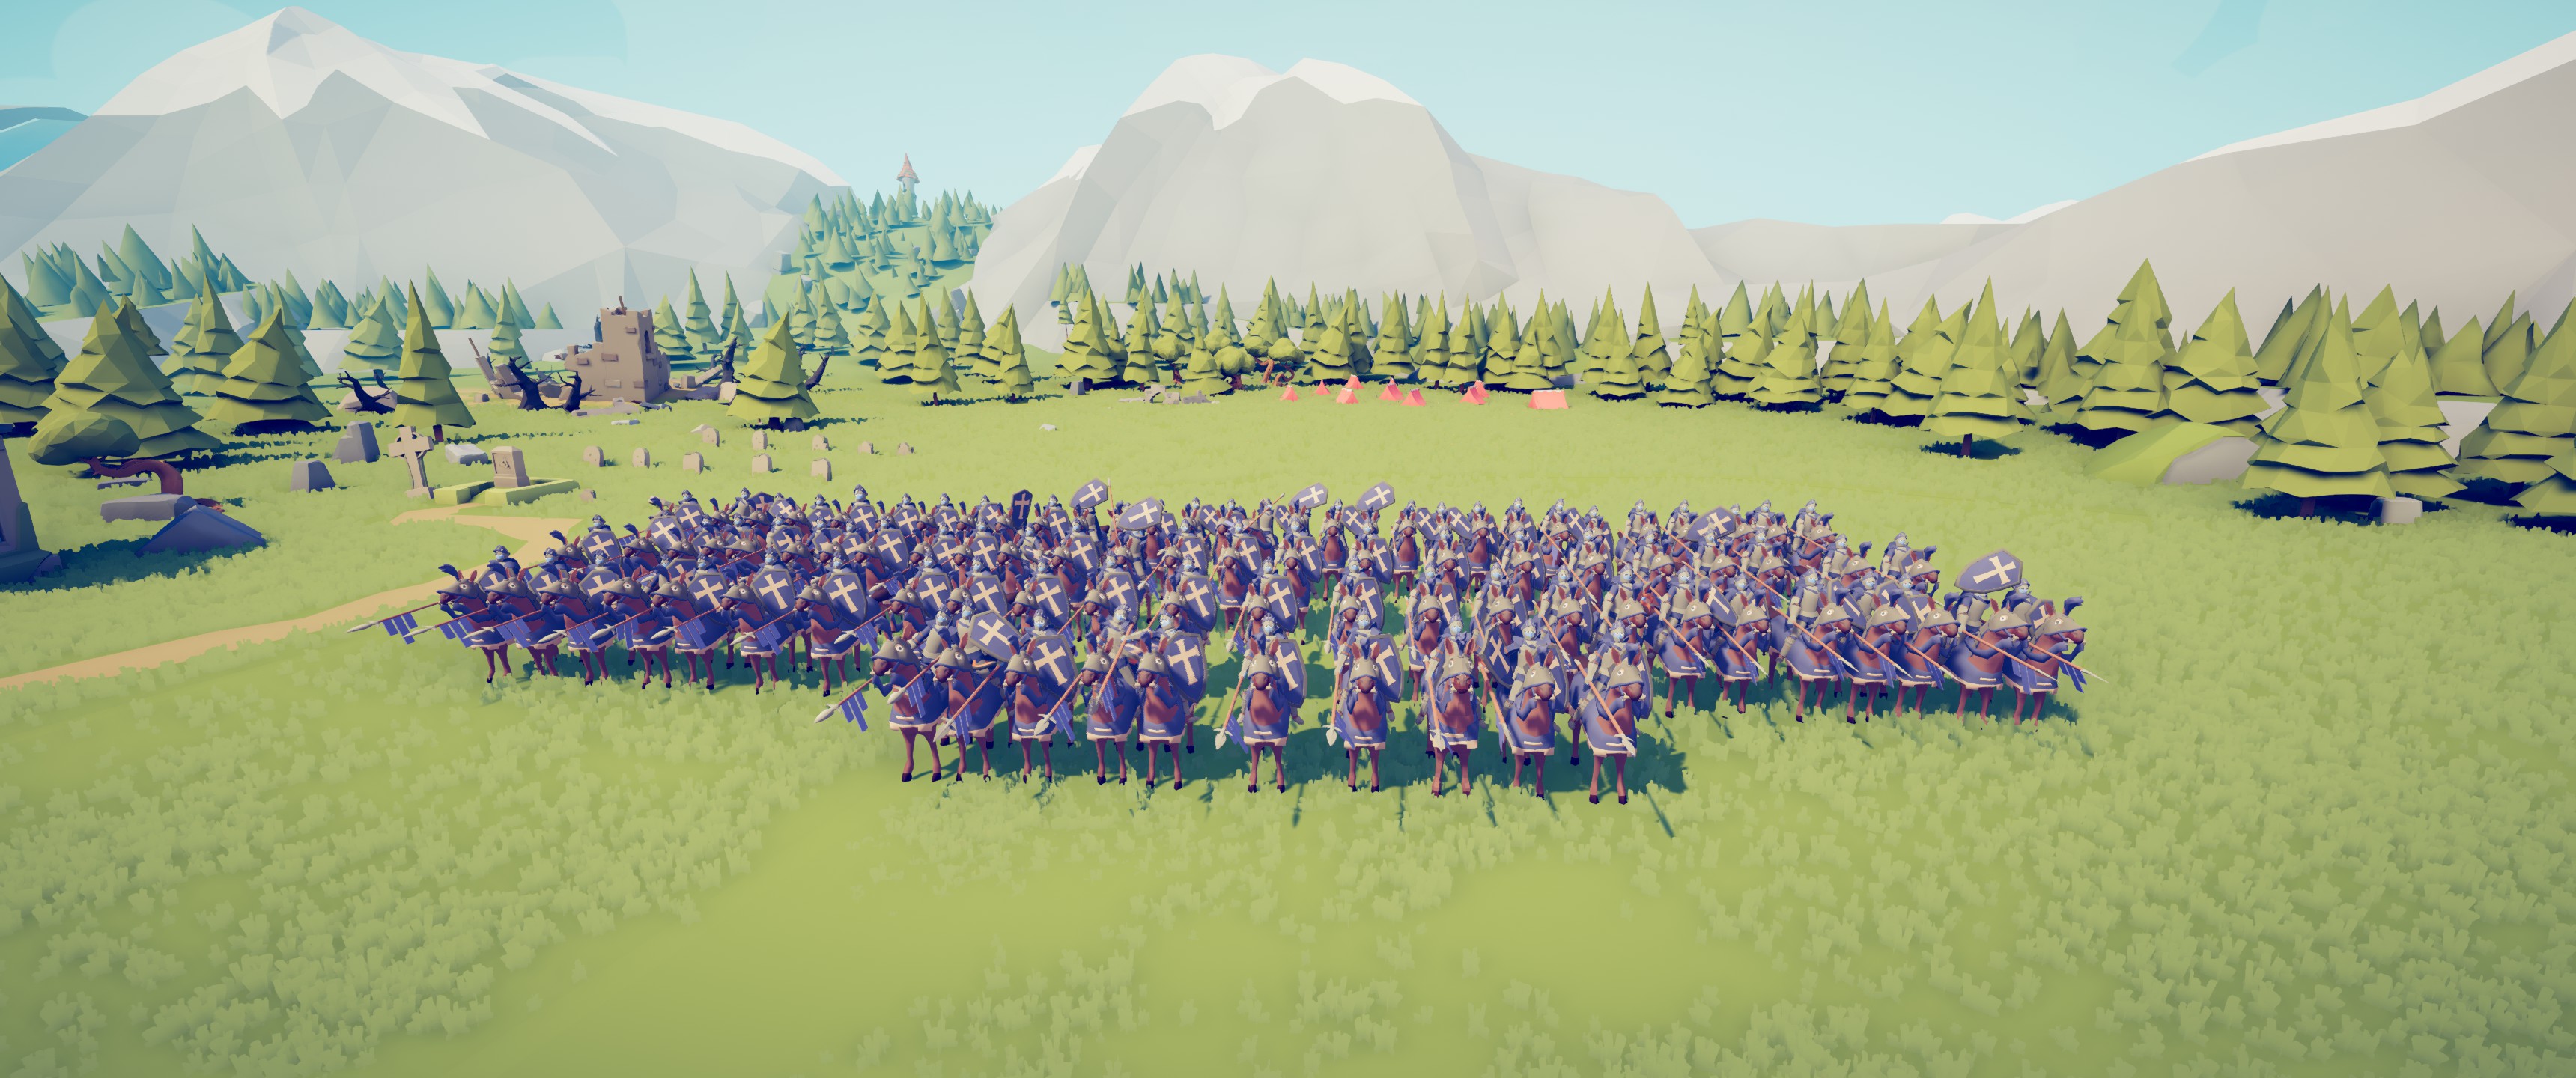
Make it look like this: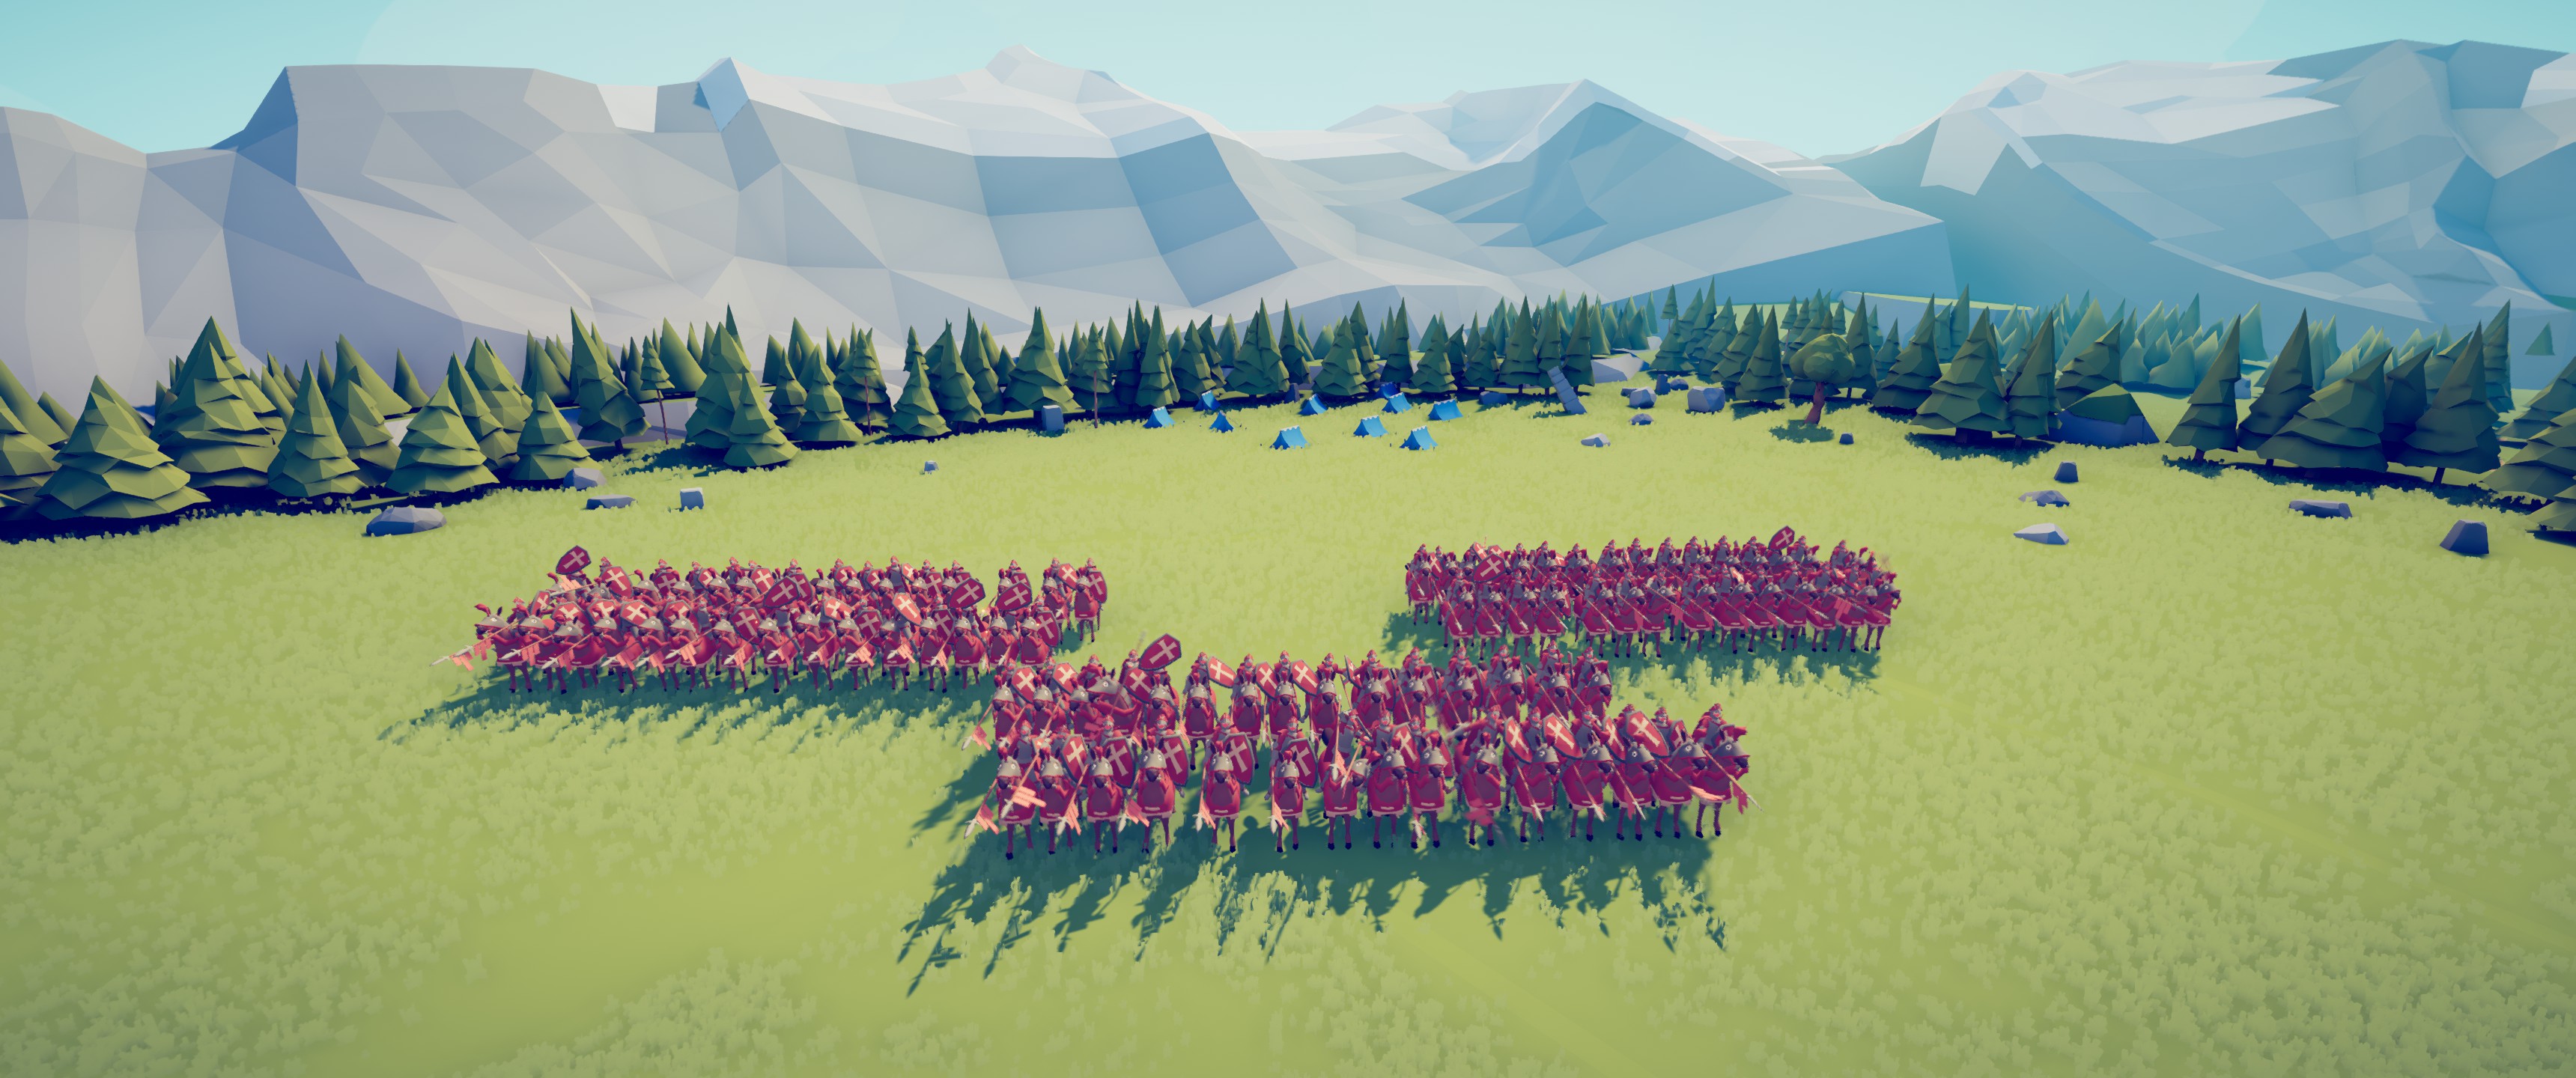
The reason why you want it to look like this, is because you’ll notice that if you have your cavalry in that position, they will surround the enemy cavalry, it is really effective and will definitely help you win.
Here is an example of why it needs to be like that so at the end of the battle, you’ll win with a lot of cavalry left. 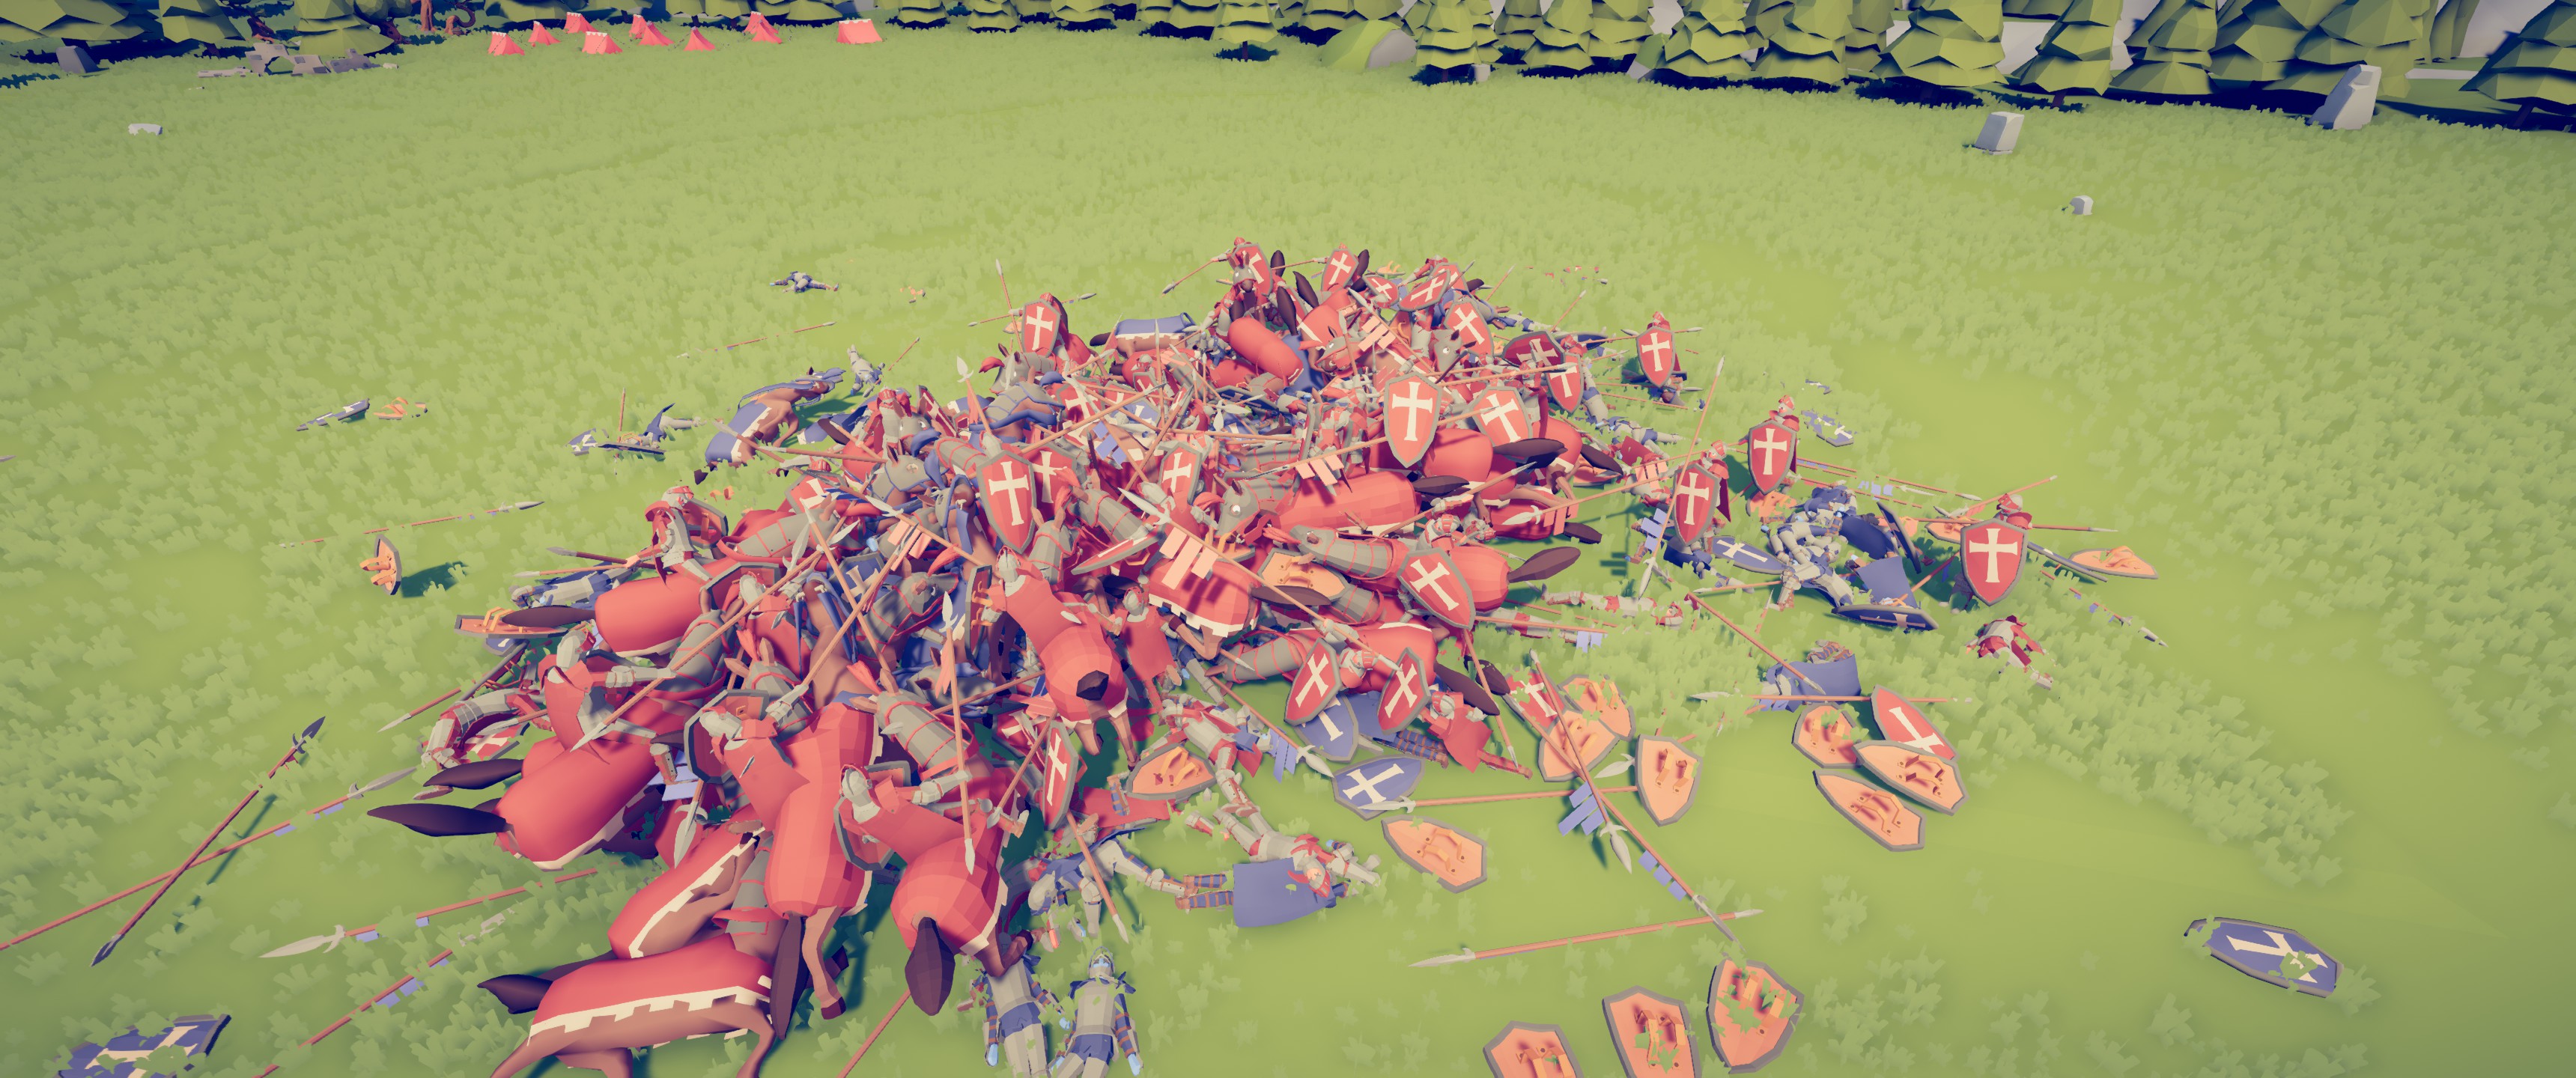
Here we come to an end for Totally Accurate Battle Formation Guide for TABS hope you enjoy it. If you think we forget something to include or we should make an update to the post let us know via comment, and we will fix it asap! Thanks and have a great day!
- Check All Totally Accurate Battle Simulator Posts List


Leave a Reply