Requirements
Some photo editor (that handles transparency)
Some sound editor (that can export as wav)
drive.google.com – https://drive.google.com/drive/folders/11p-y4XDtnZTiMn67sujBSnbkYqYnWNJS?usp=sharing
forums.terraria.org – https://forums.terraria.org/index.php?threads/localization-packer-unpack-and-repack-terraria-translation-files.61972/
Terraria (obviously)
Step 1: The Original Files
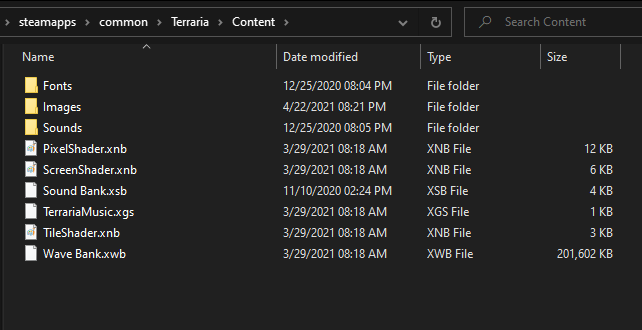
Open up Terraria’s files and navigate to the content folder.

In the content folder, there will be sounds and images.
XNB files you want in the images folder go into the XNB to PNG converter
XNB files you want in the sounds folder go into the XNB Sound Converter
Make sure to first move the XNBs you want to a new folder outside of the terraria folder, otherwise you’re gonna have PNGs in your terraria directory.
Drag those XNBs into their respective converters.
You now have terraria’s assets.
Step 2: Editing
Now that you have the files, open up your photo editing app/audio editing app and edit the files to what you want them to be.
Once you have your version of the files, drag the WAVs into the WAV to XNB converter. You do not need to convert PNGs back, they work in their standard PNG format.
Converter files

Step 3: Putting it all together
You’ll need a few files for this.
First, a “pack.json”.
pack.json contains the information about your resource pack (name, author, etc)
Here’s what it should look like.
Put that file into a new folder, that folder will be the folder for your resource pack.
In that same folder, create a new one called “Content”.
In the Content folder, create an “Images” folder if you have images and a “Sounds” folder if you have sounds.
Put all your images into the Images folder and all sound XNBs into the Sounds folder.
Now you just need an icon. Create a 512×512 icon that will represent your resource pack.
Place it in the resource pack folder.
Step 4: The Working Resource Pack
Place your resource pack folder into C:\Users\username\Documents\My Games\Terraria\ResourcePacks.
Boot up Terraria.
Enable your resource pack in the workshop section.
Test it out, make sure it works.
Once you’re ready to put it on the workshop, hit the publish resource pack button in the workshop menu for terraria.
You now have a resource pack of your own.
A sample of what a working resource pack should look like. (Using my LISA Mags resource pack)
Optional: Localization
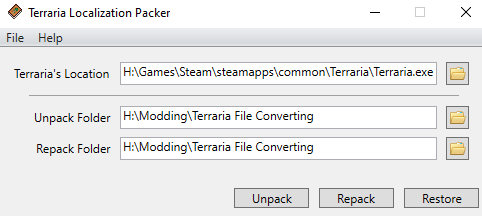
If you want to change text in game, use the Localization Unpacker tool to get the localization files.
In the app itself, select where your terraria EXE is and select where the unpacked files will go.
Click the unpack button.

Once you have the localization files, open the one you want to edit.
Edit anything in it
Save it and name it “en-US.json”.
(If the file has another word before .json, put it there too (example: en-US.item.json))
Put it in the content folder of your resource pack in a folder called “Localization”.
Now you have custom text for stuff in game.
Hope you enjoy the post for Terraria A Guide to Resource Packs, If you think we should update the post or something is wrong please let us know via comment and we will fix it how fast as possible! Thank you and have a great day!
- Check All Terraria Posts List


Leave a Reply