Shantae Risky’s Revenge is a really good game, and the Steam community has shown it through it’s guides… unfortunately, when it comes to 100% completion, the ones available are missing some things… Here we have a new guide that will go through a bit of everything!
Story items I
Here we have all the items referring to the story. Just random stuff like coffee, a rotten egg or a puppy; but also things like transformation dances and their upgrades (mentioning needed items, but skipping keys unless they’re unique).
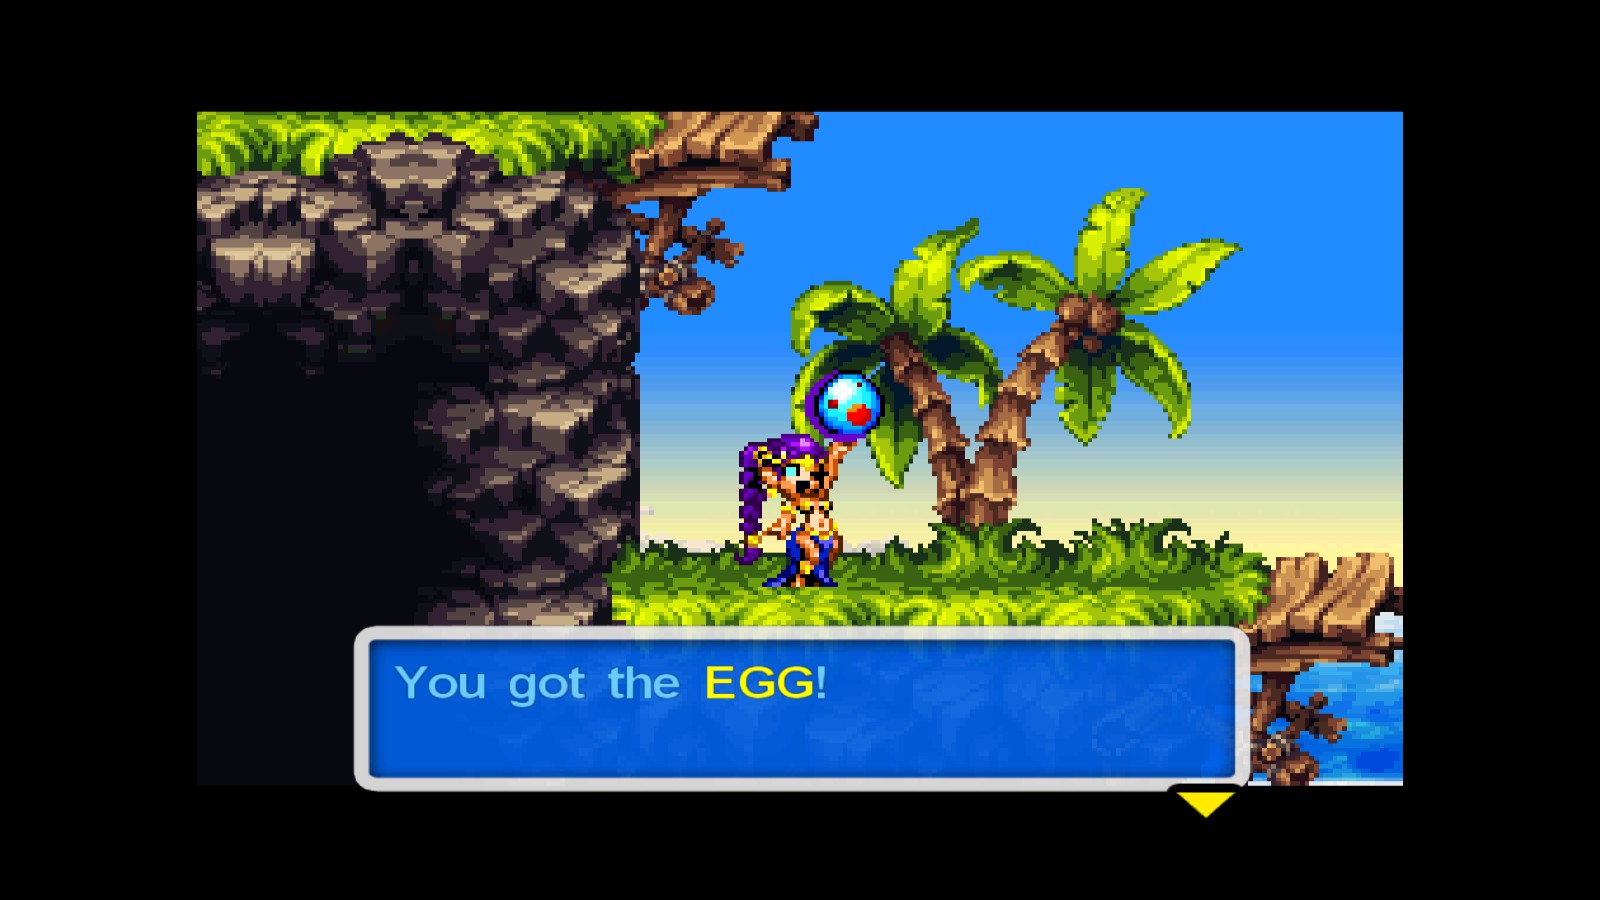
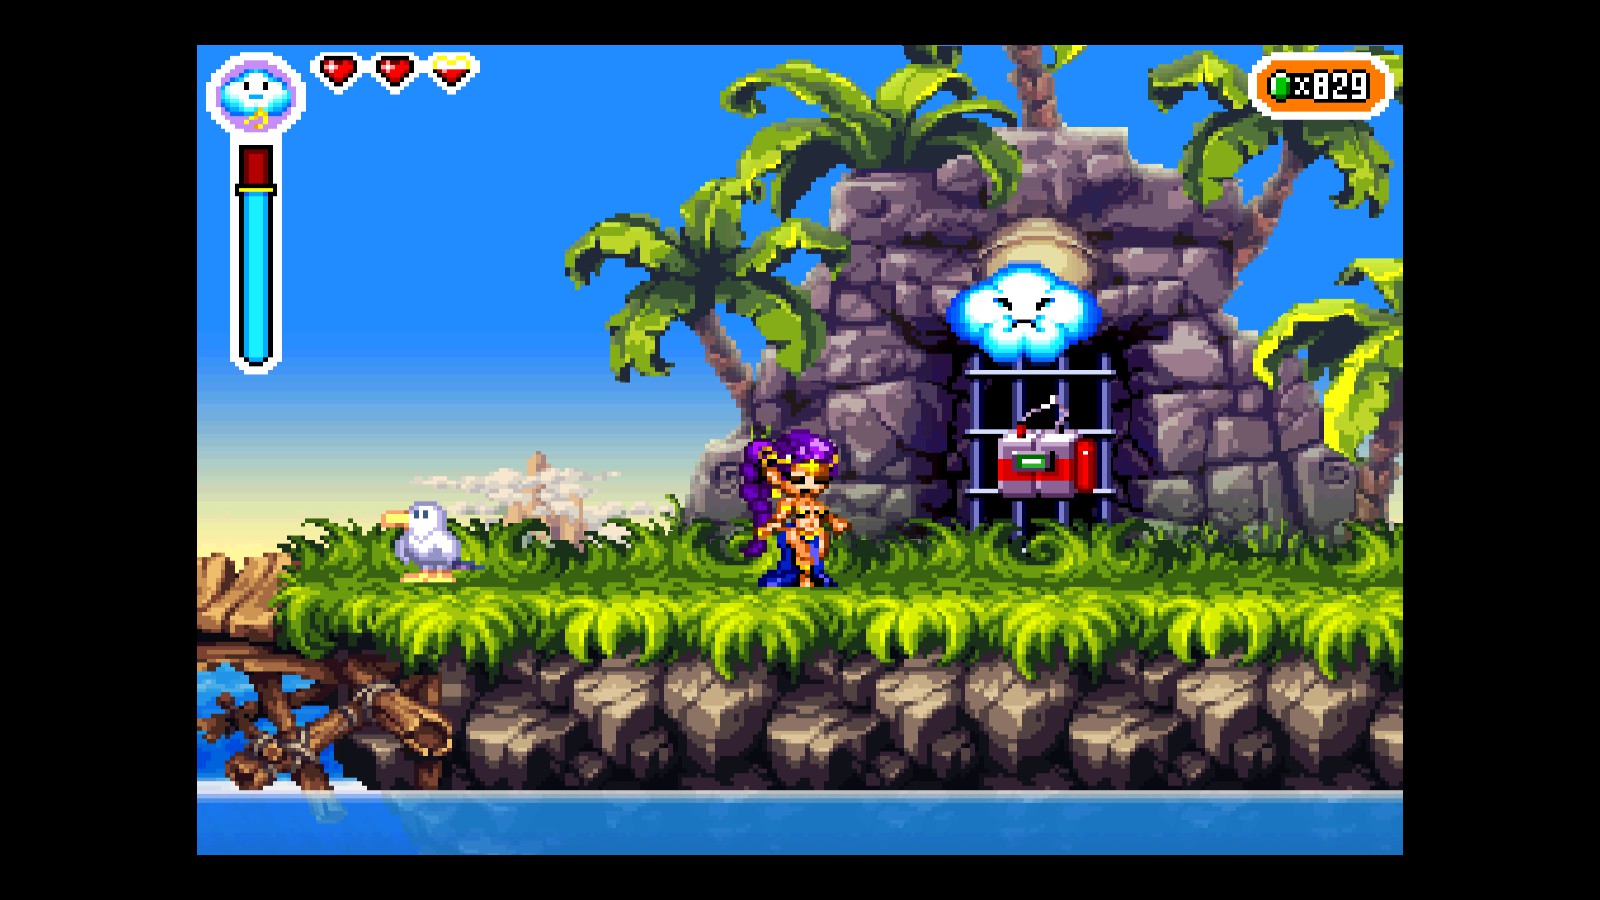
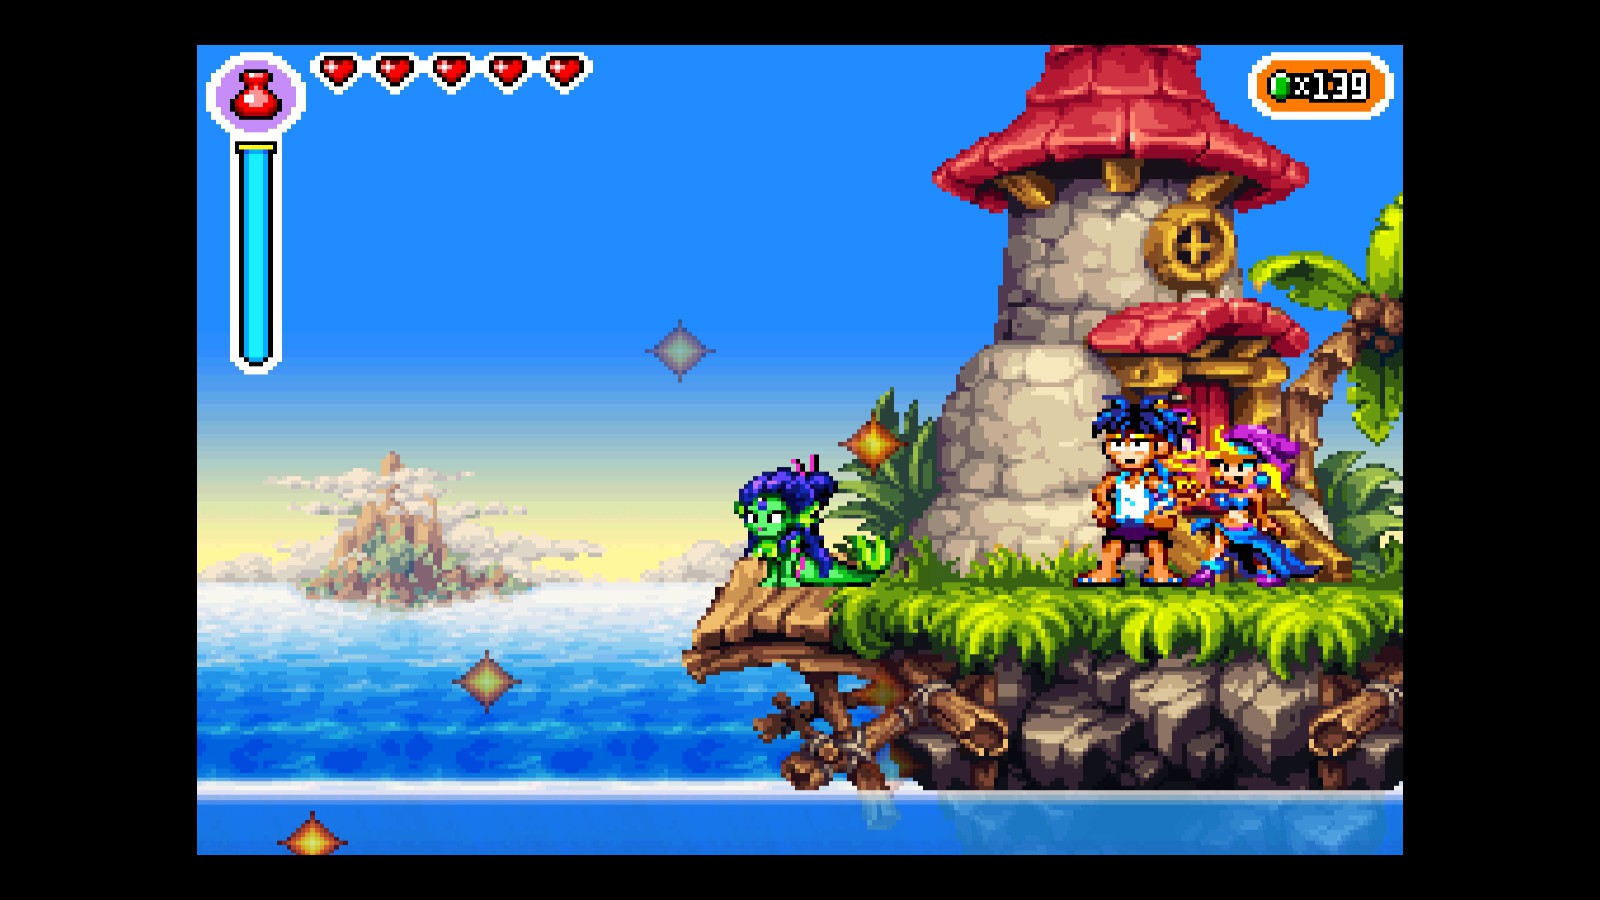
- EGG: Pretty straight forward, would be weird if you got stuck here. Just go behind the Lighthouse, and after a bit of swimming and platforming you should see it:
- PUPPY: A cute little dogo Rotty Tops got somewhere. You can find it all the way to the right, entering the Forest from the left entrance from Scuttle Town:
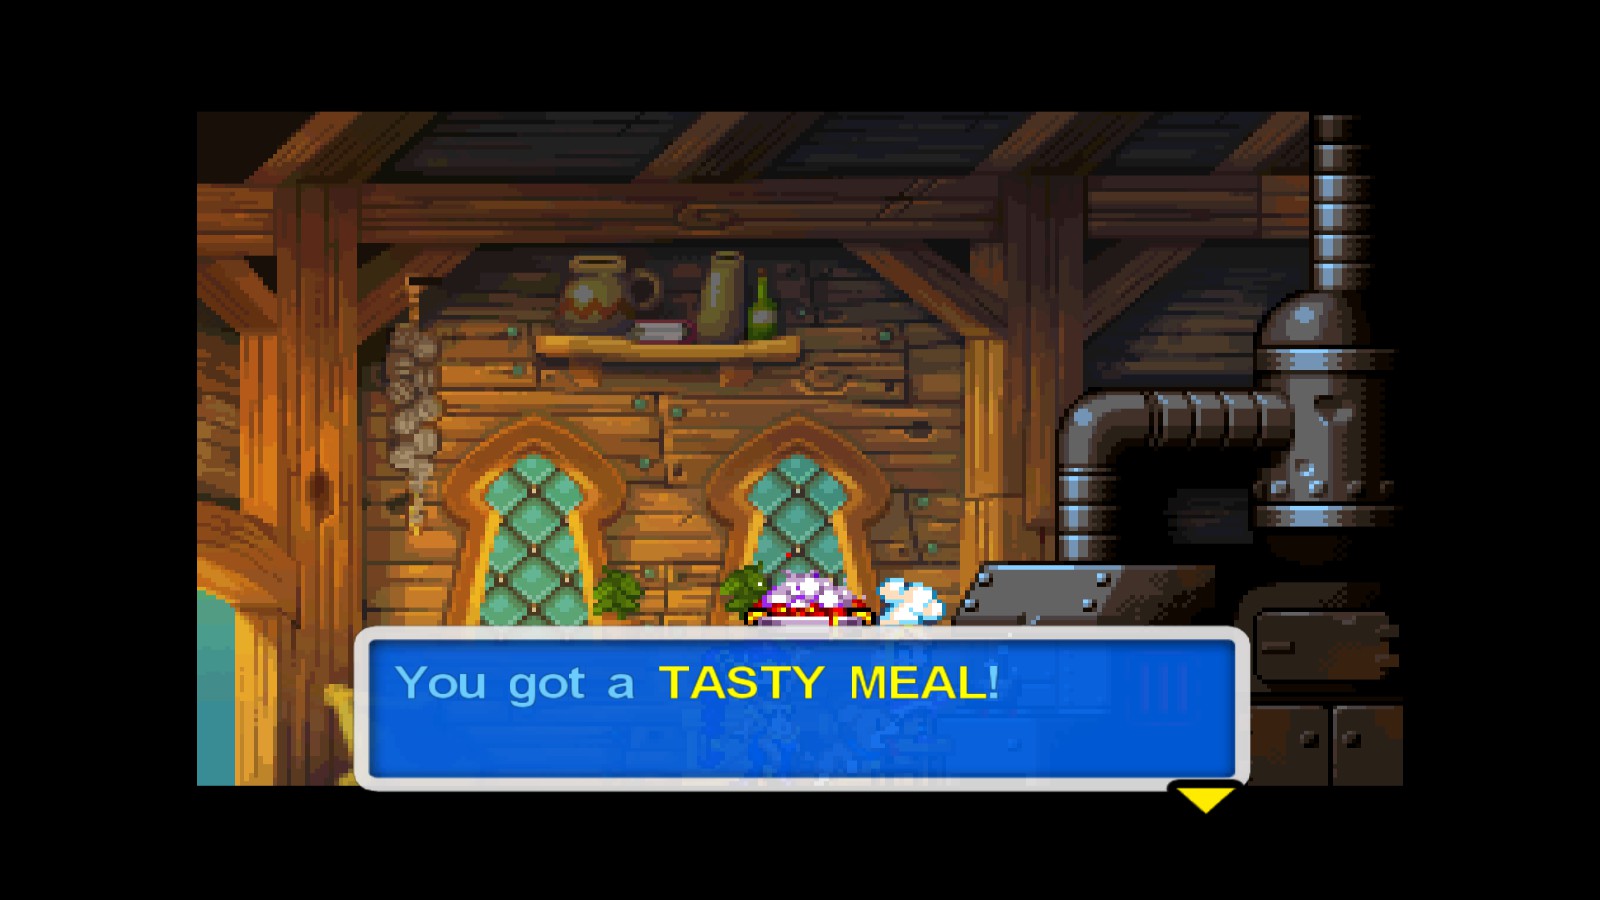
- TASTY MEAL: It is required to get into the Squid Baron’s Liar (which you’ll find in your way to this item). Just keep going right on the forest as much as you can until you get to the house of the owner, who will give you the food:
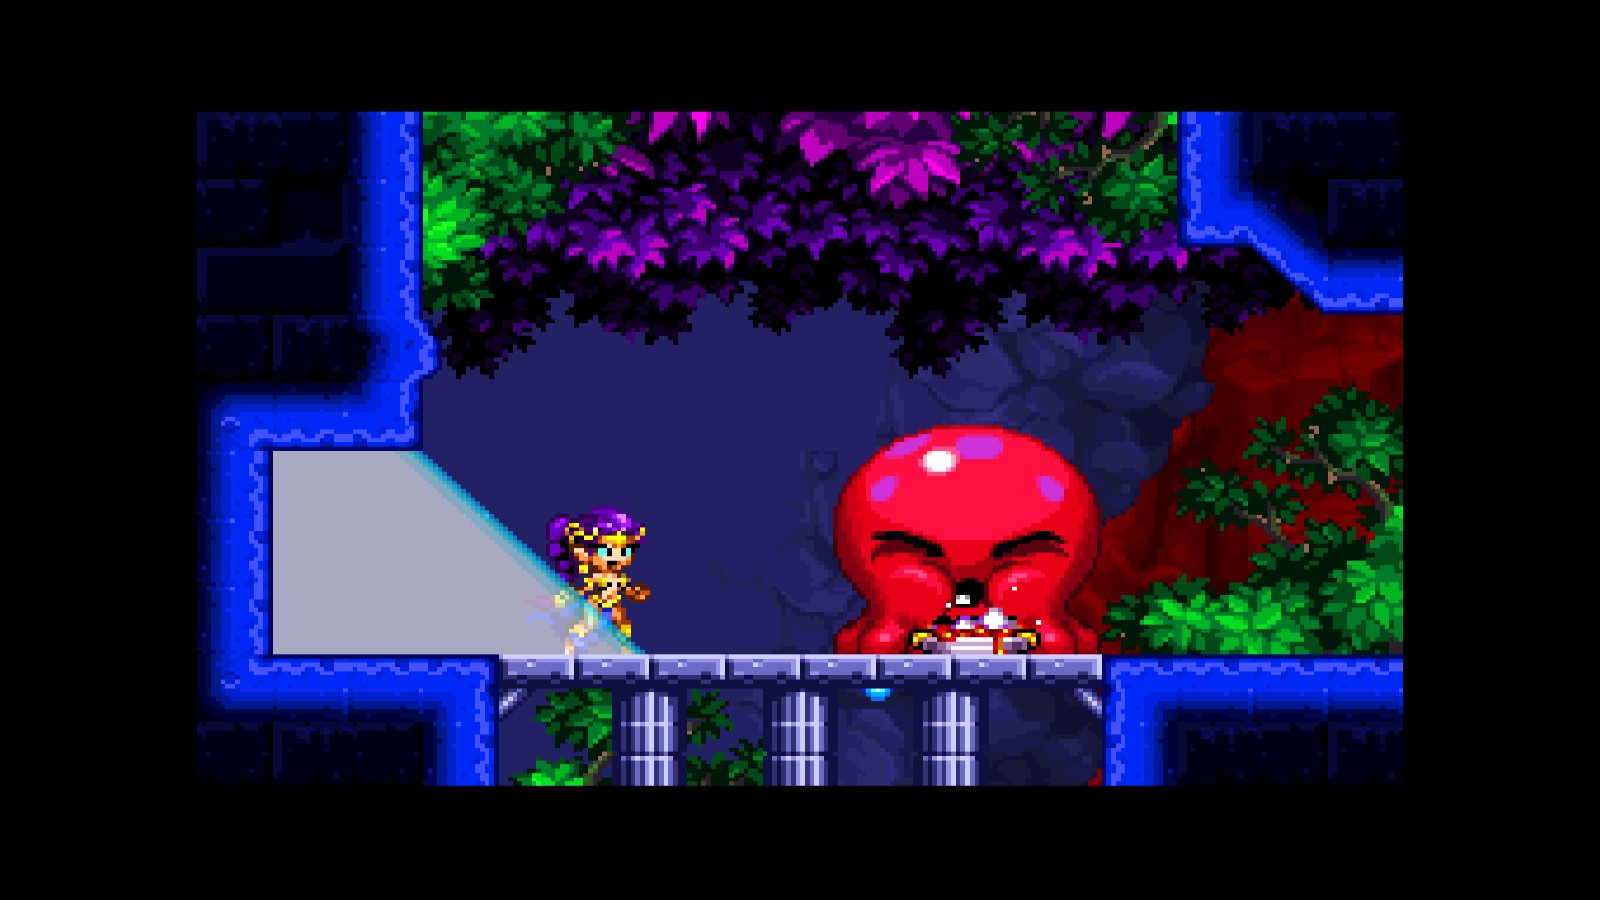
And give it to the Squid in their liar
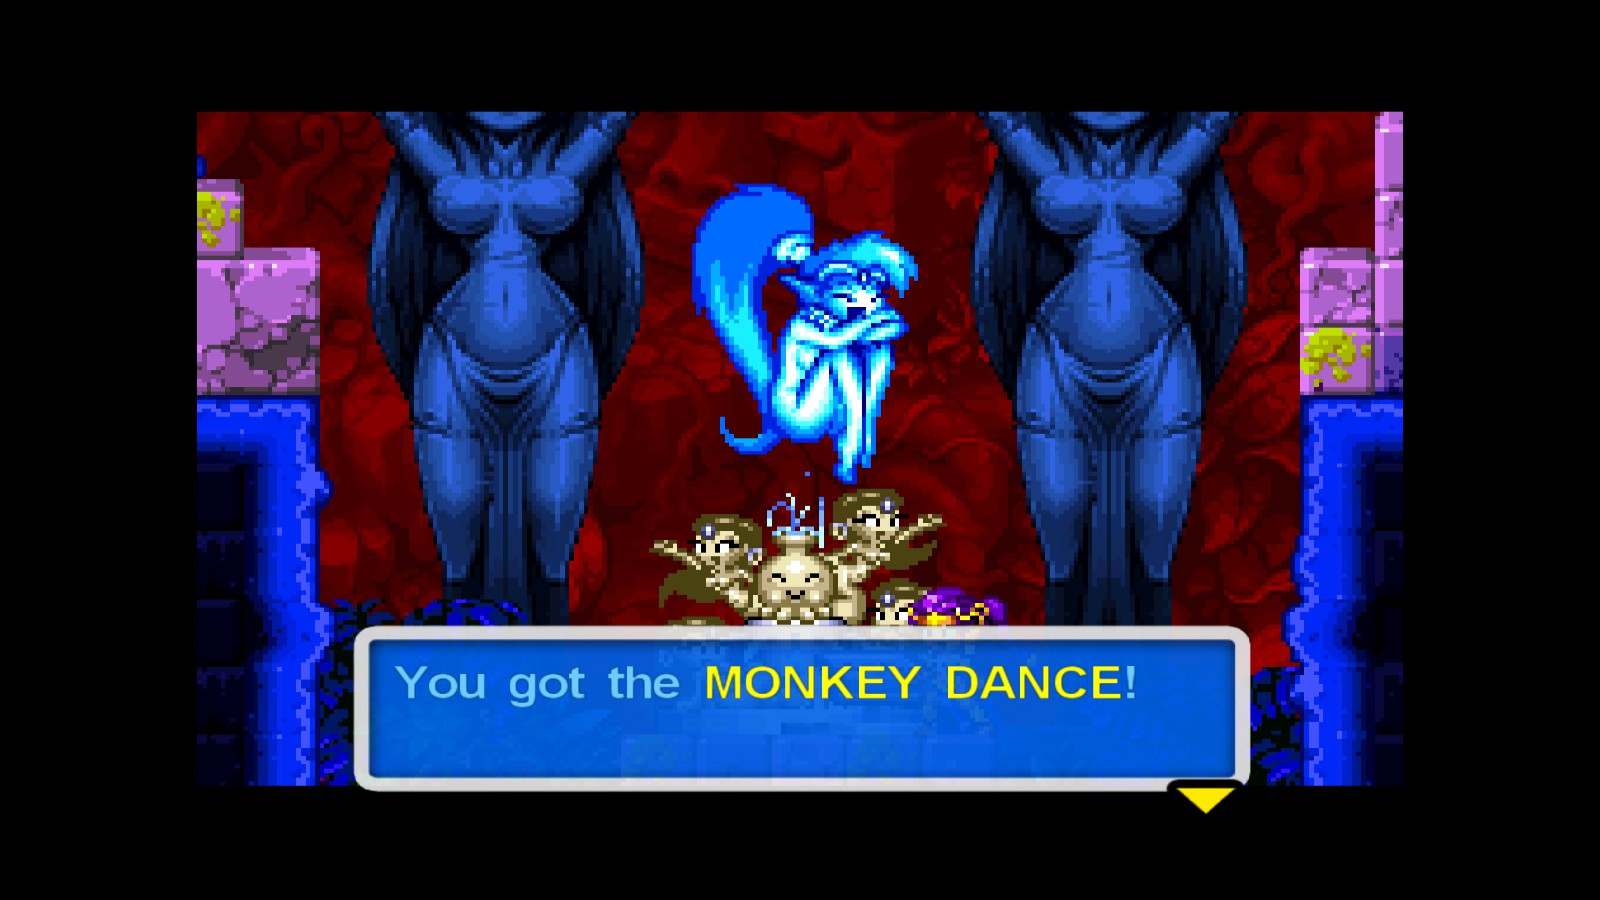
- MONKEY DANCE: You’ll obtain it as you naturally progress through this dungeon
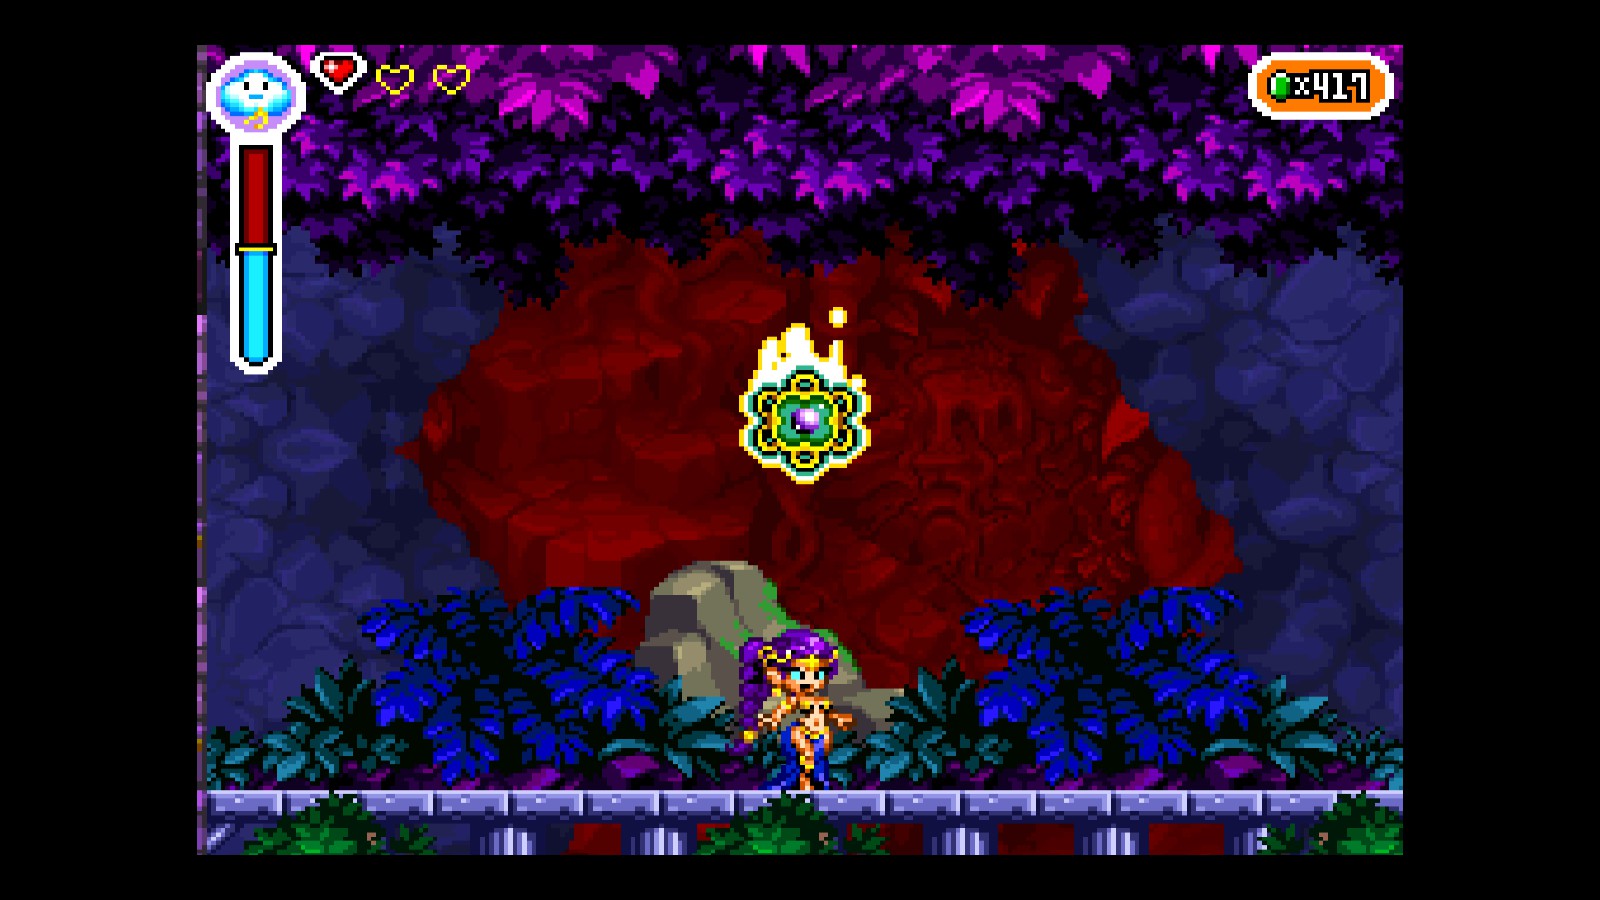
- MAGIC SEAL: Obtained after beating the boss of the dungeon.
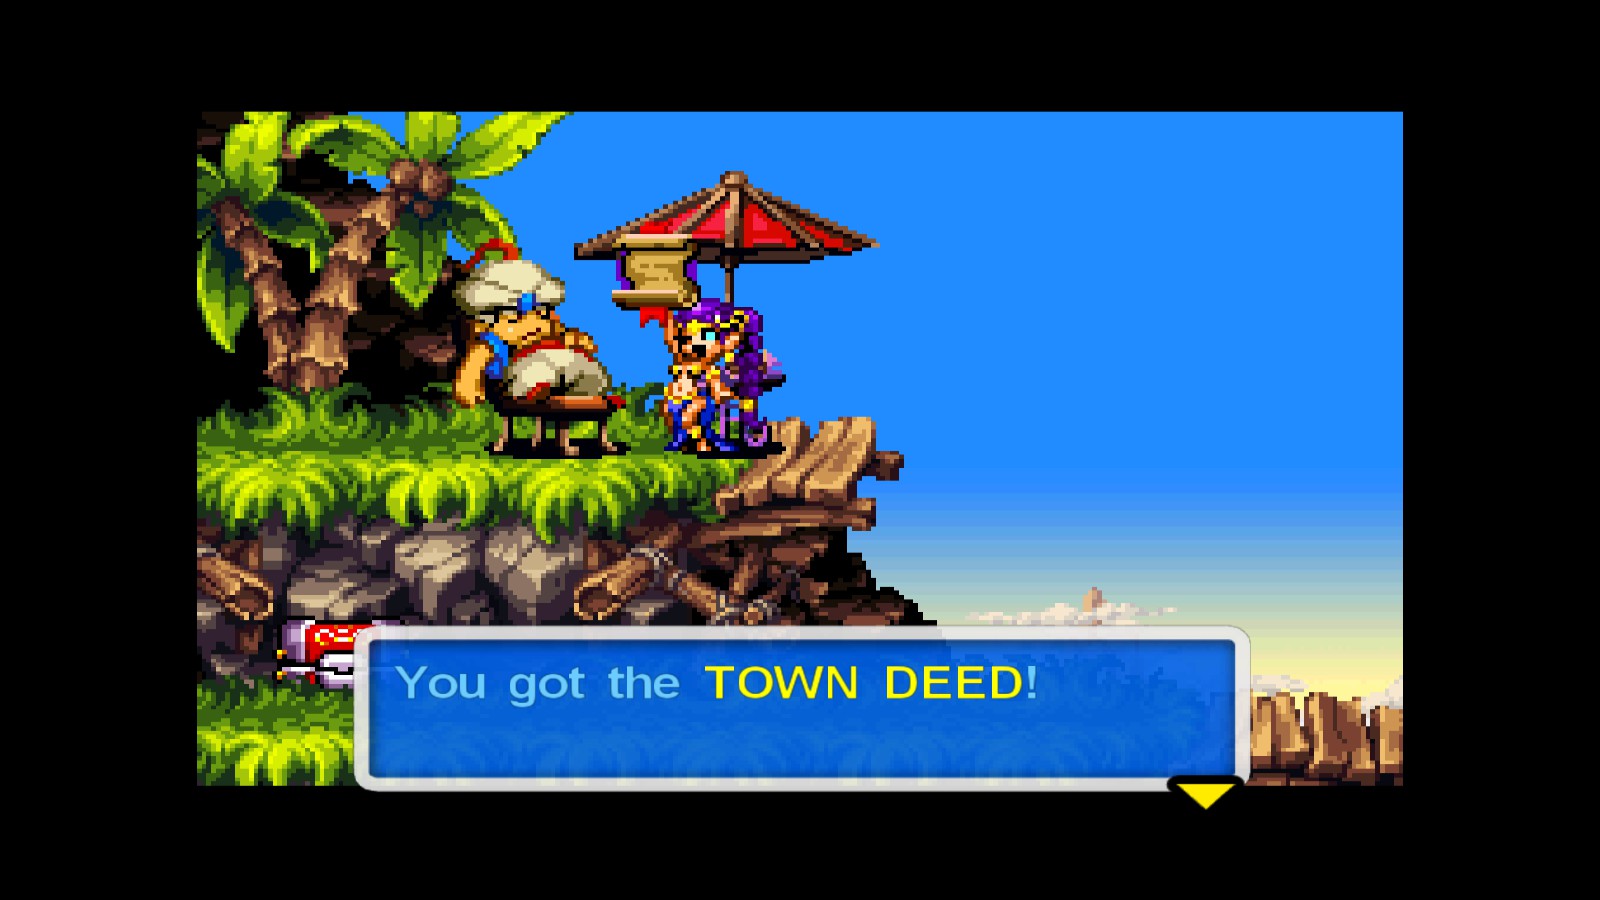
- TOWN DEED: Now, we’re gonna need to head to Polyp Bay (behind the lighthouse), and do a platforming section thanks to the Monkey Dance. We go all the way to the left until we find the mayor, who will give us this item:
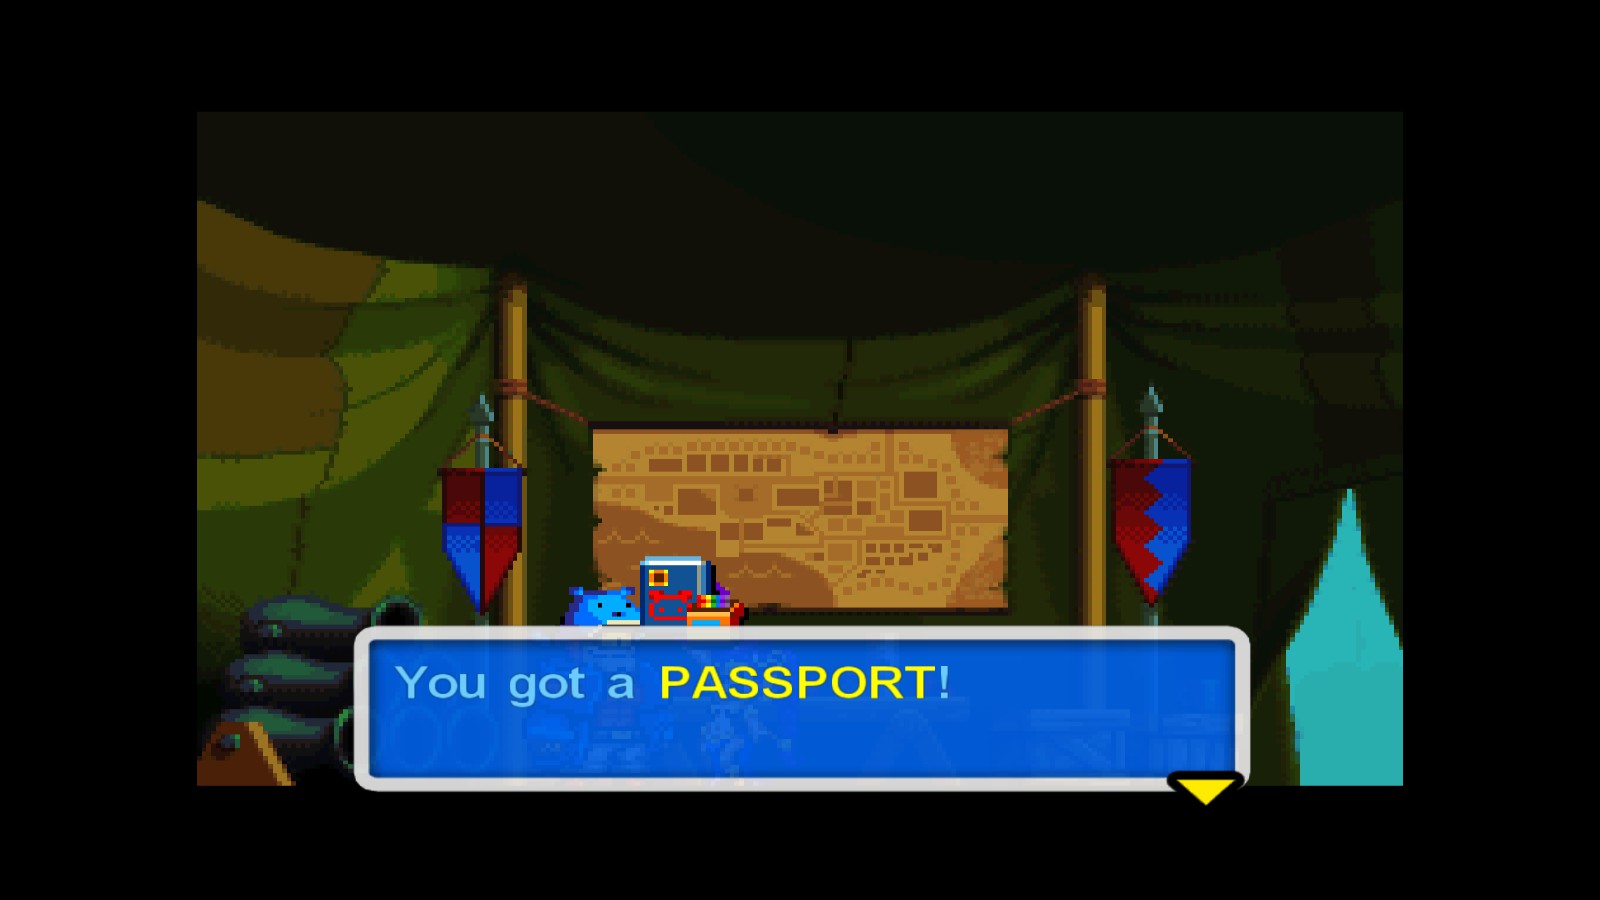
- PASSPORT: We go across the Pumpking Patch and the Baron Desert to exchange the Town Deed for the Passport. With this item, we’ll be able to access the Battle Tower, where the next Magic Seal is located.
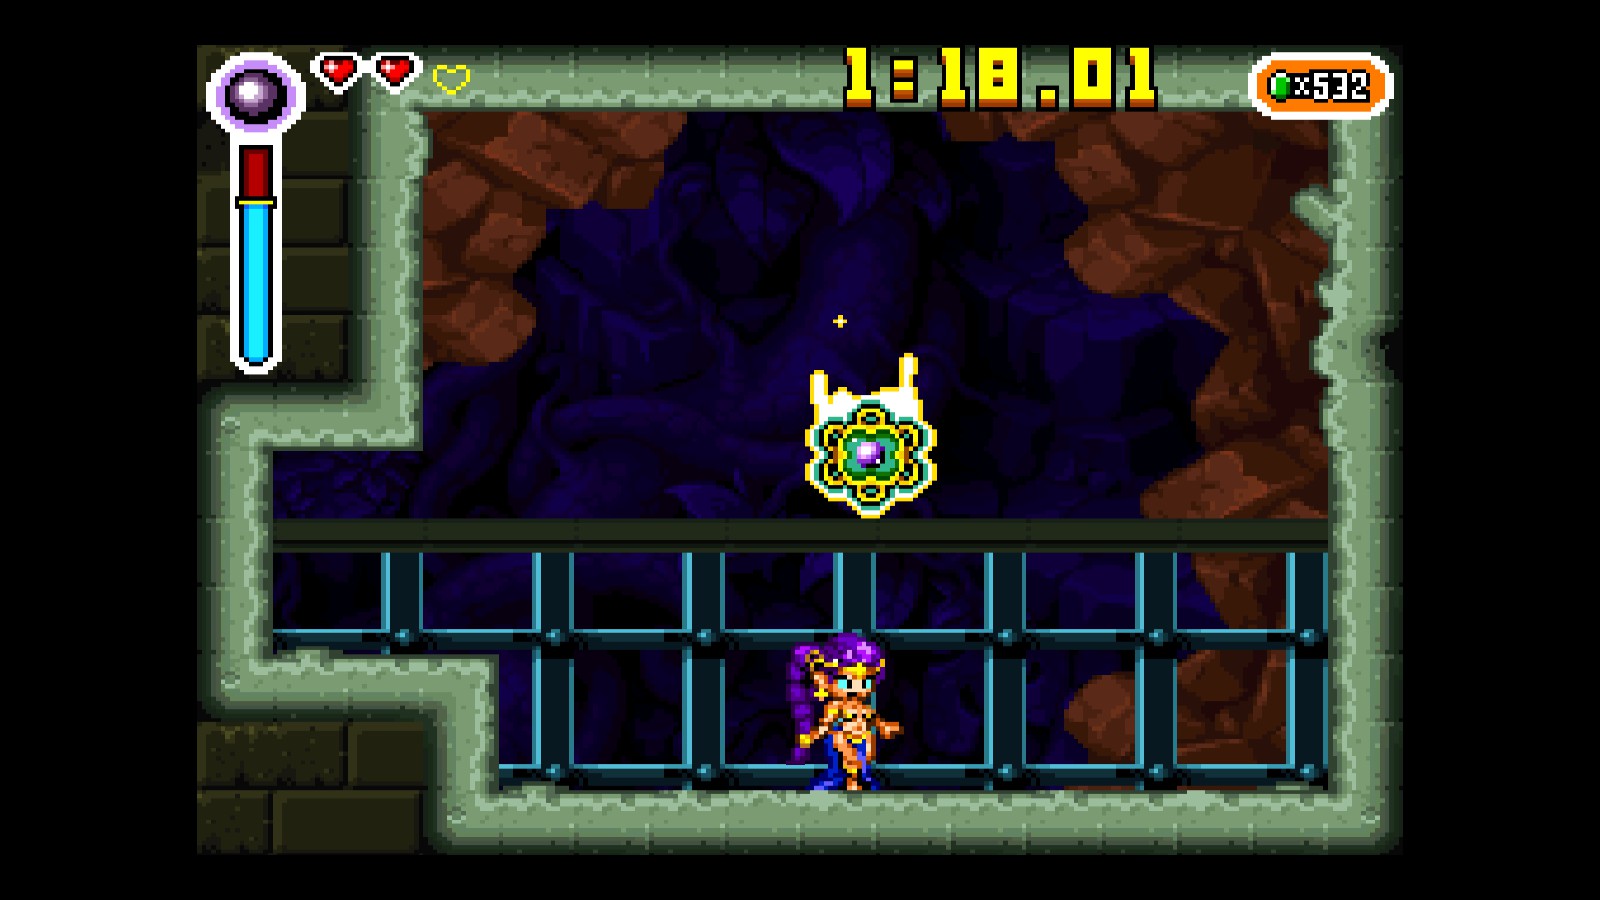
- MAGIC SEAL: Second Magic seal, obtained after beating the Battle Tower:
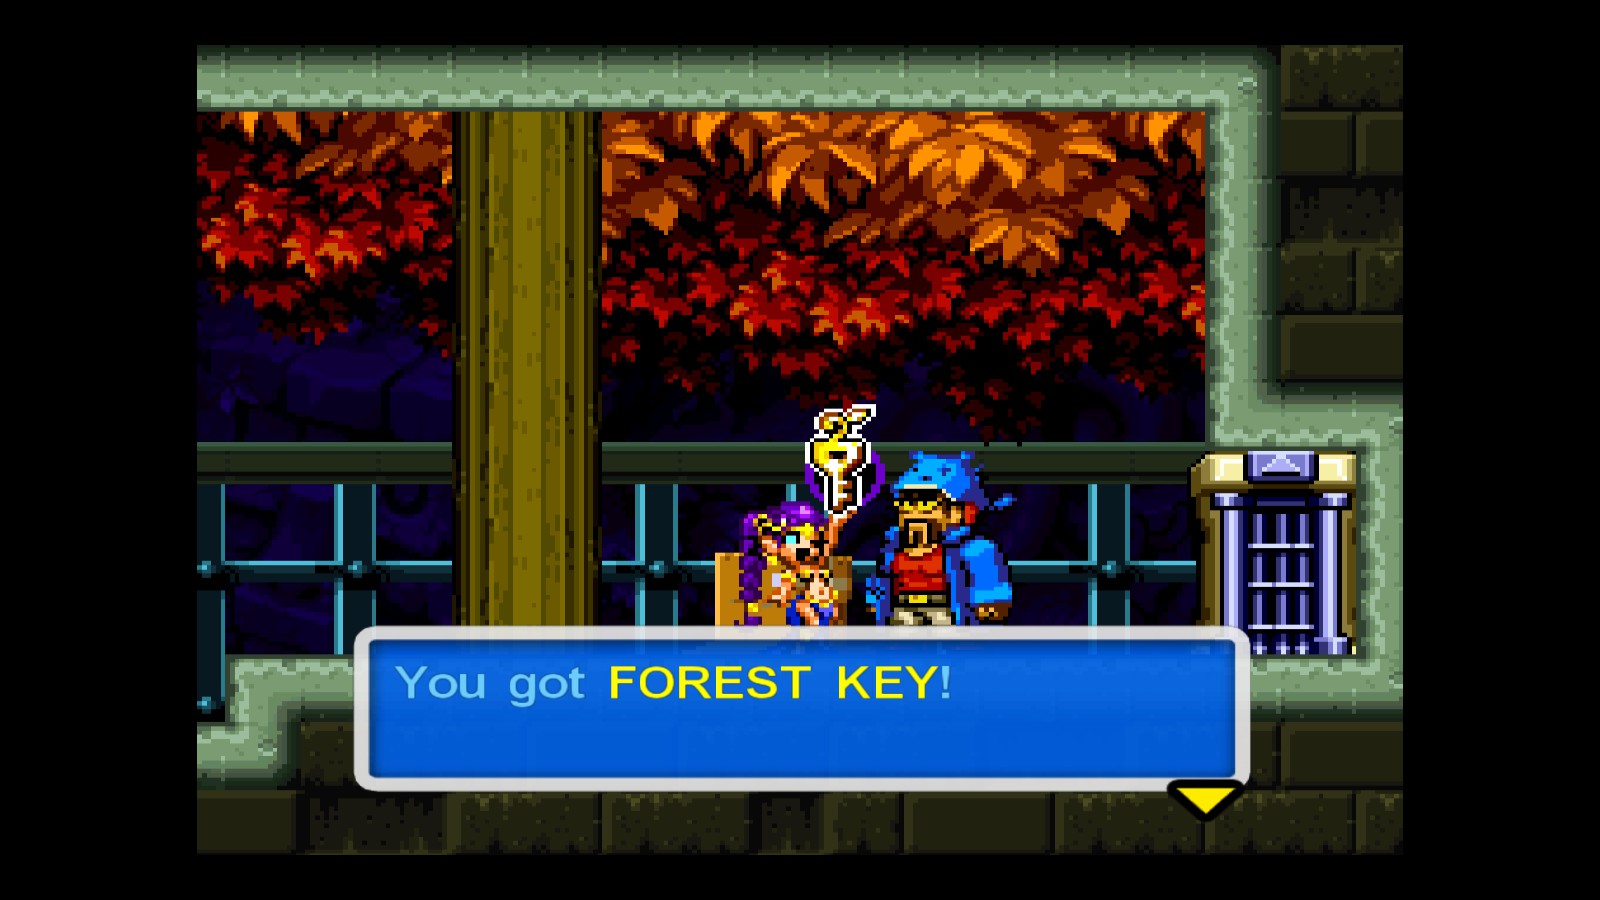
- FOREST KEY: Another item given to you right after the Battle Tower:
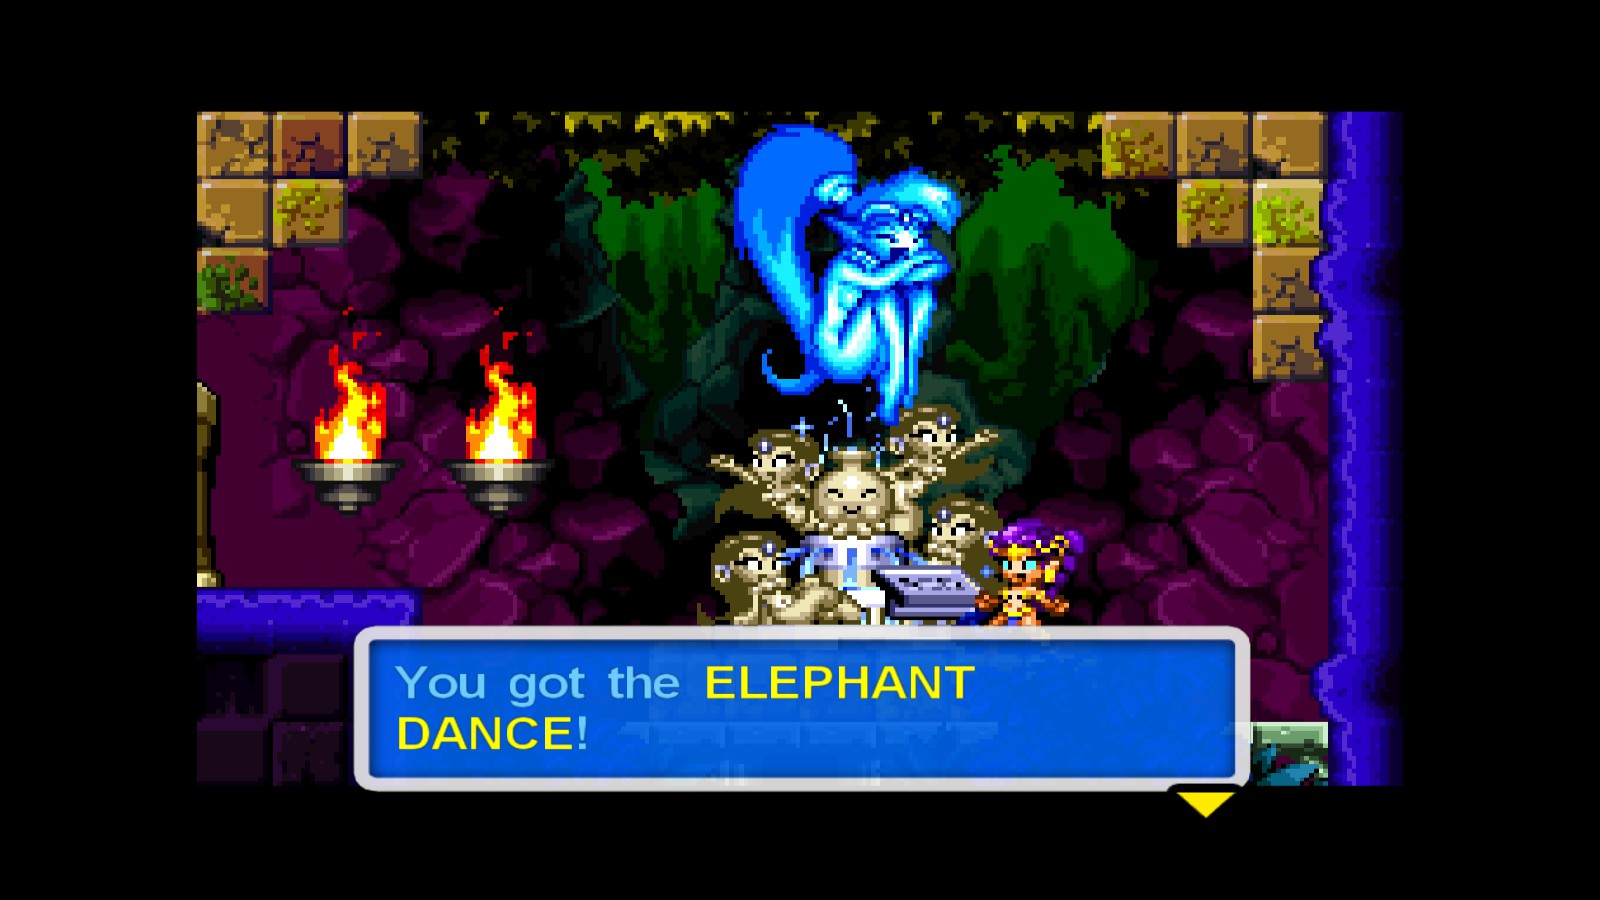
- ELEPHANT DANCE: We go back to Tangle Forest, and take the very first cave entrance to the right from Scuttle Ammo Town. There, we use the Forest Key to obtain the Elephant Dance:
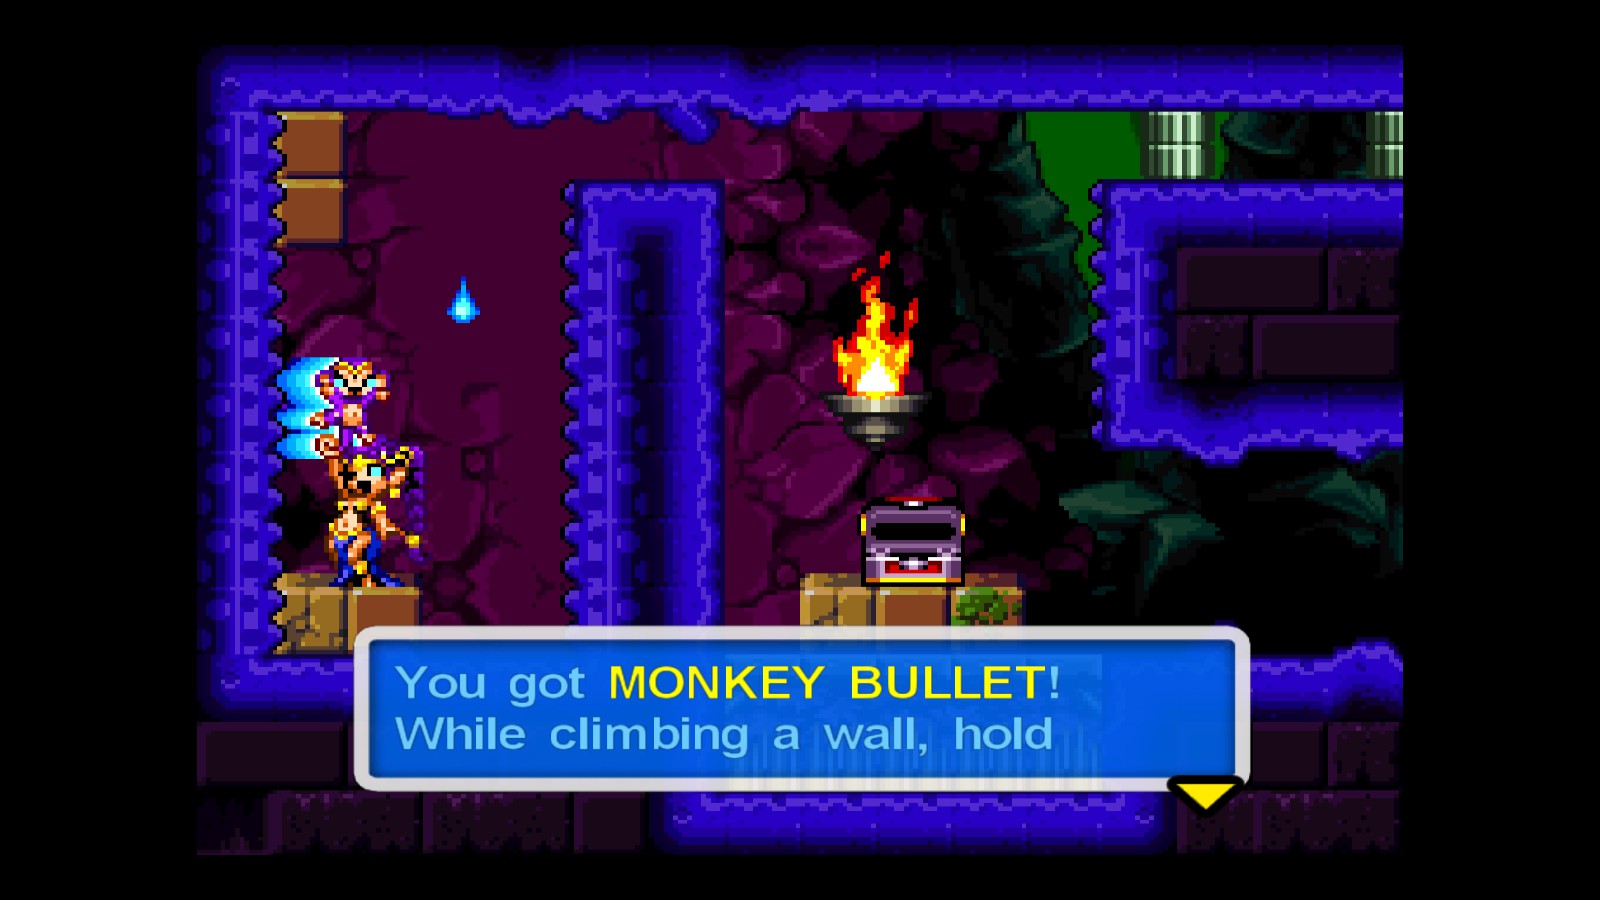
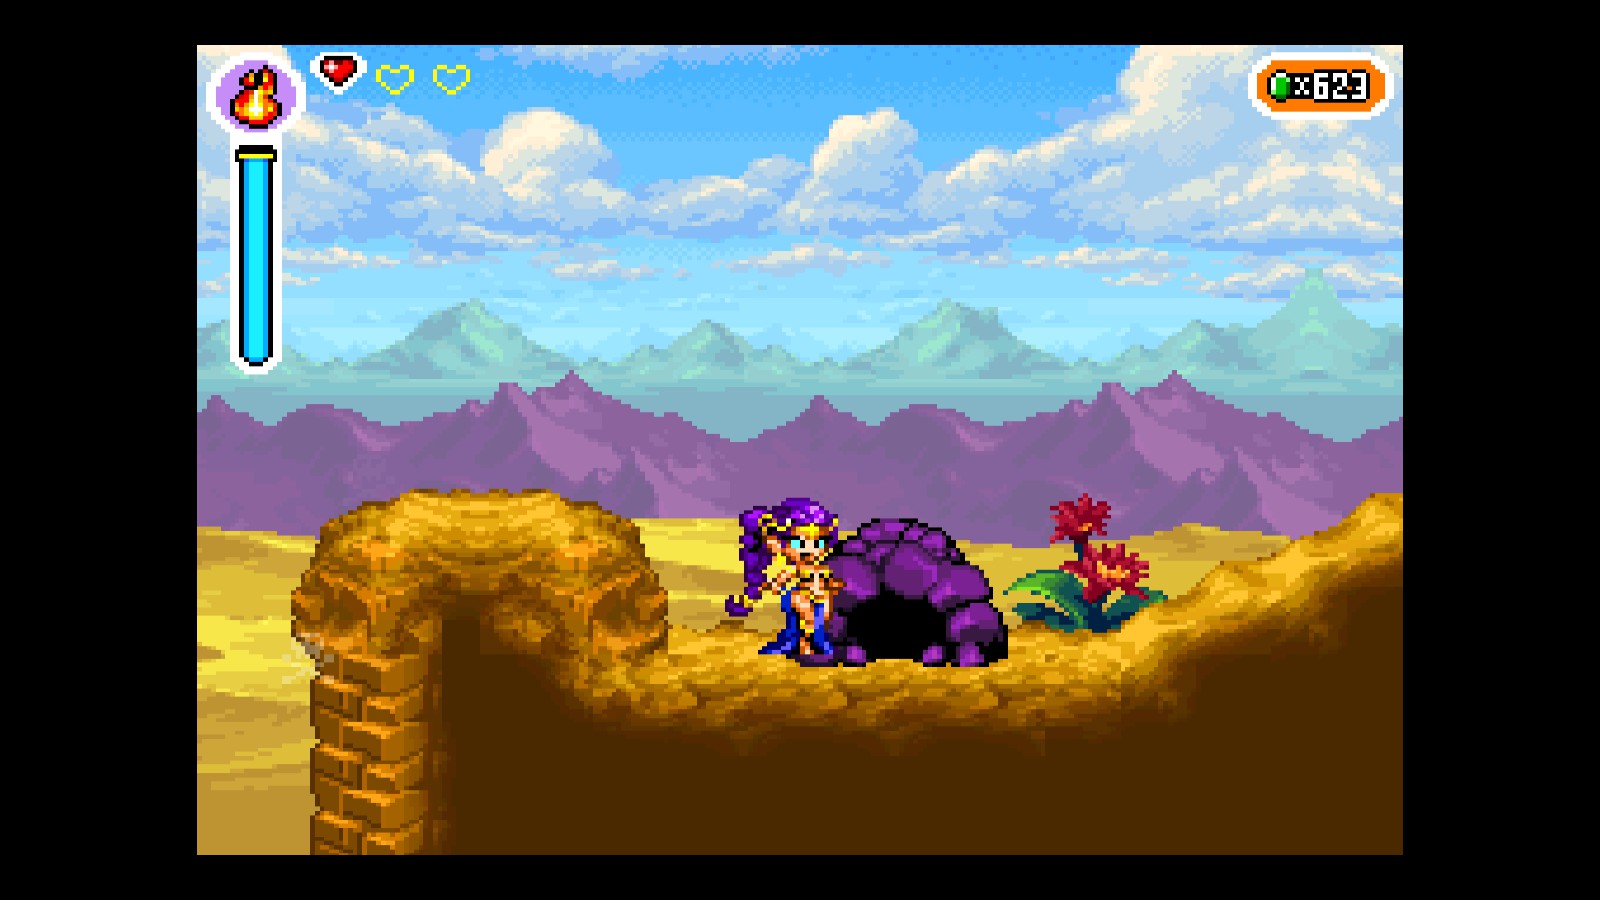
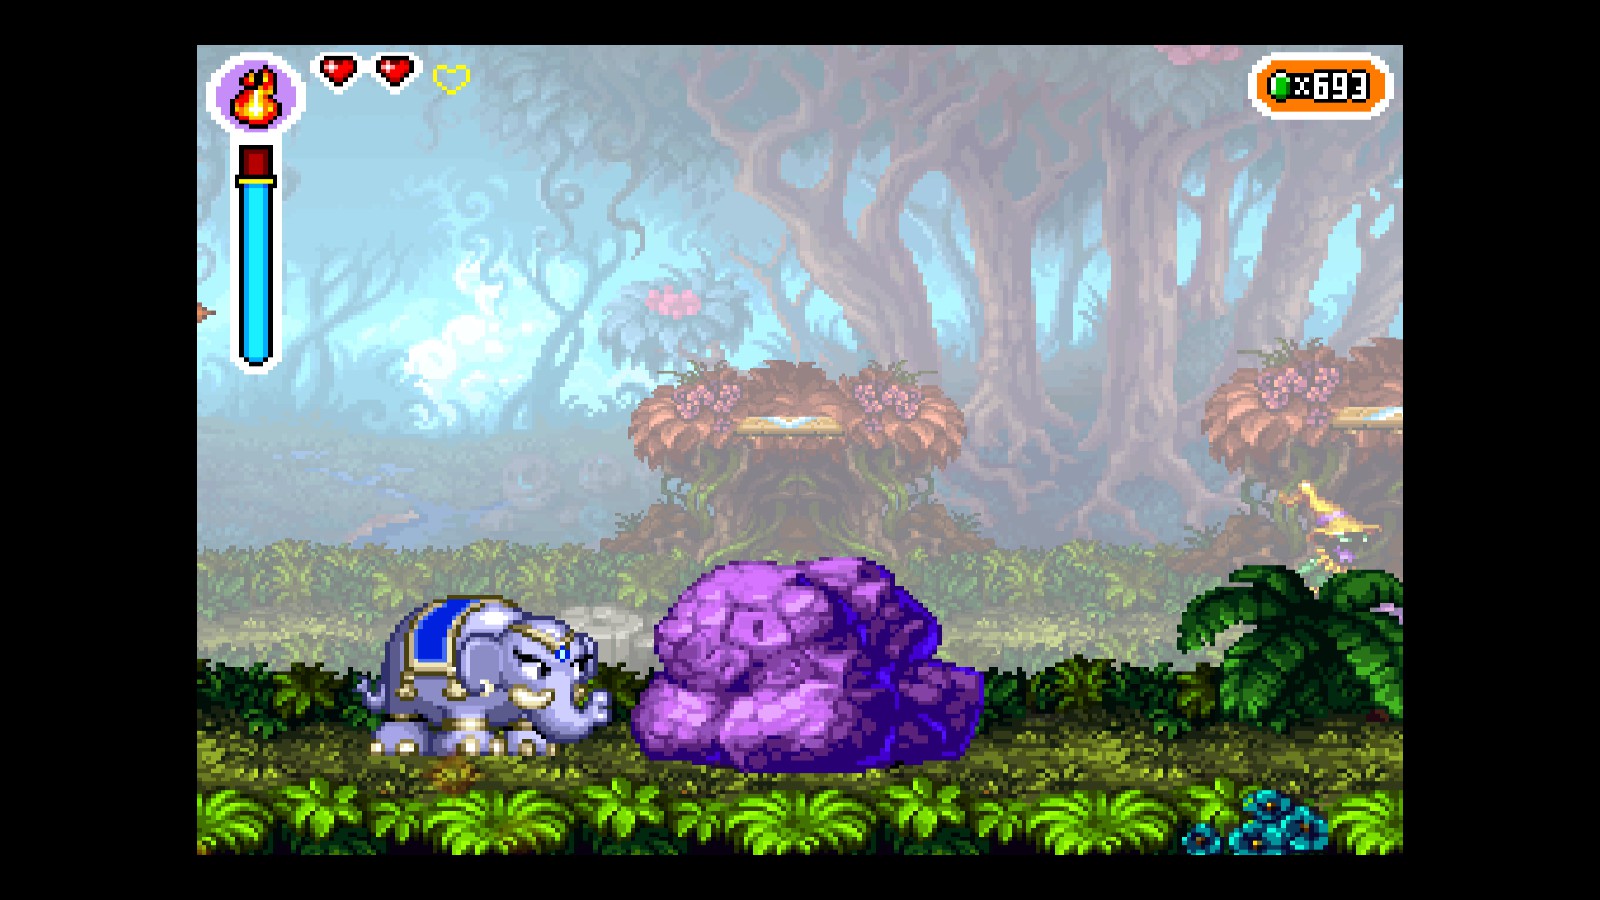
- MONKEY BULLET: Before looking for the items for the Coffee Quest, we’re gonna need the dance upgrades, starting with the Monkey Bullet. It’s located in a little cave in the desert, hidden by a rock that you’ll have to break with the Elephant Dance (you will also need, at least, the Fireball). The fastest way to reach it is by using the warp to the Baron Desert:
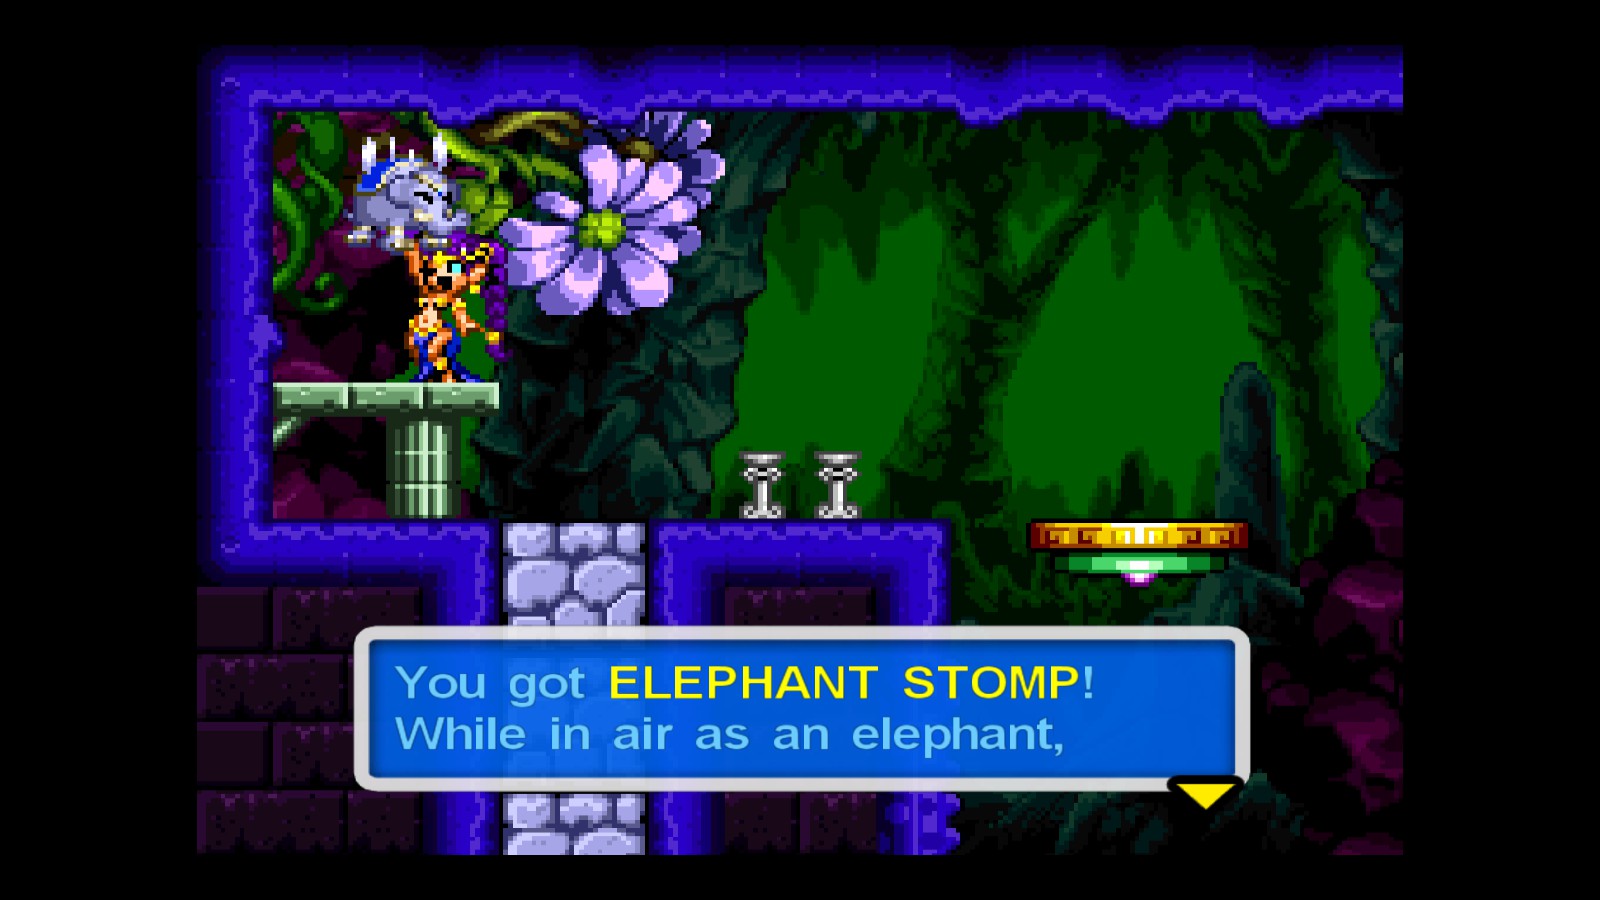
- ELEPHANT STOMP: There are many directions you can take to reach this upgrade. One of the is from the Battle Tower Cave, but we’ll use the Pumpking Field Warp as a reference. We go to the left until we reach the first cave we should go through to continue the level:
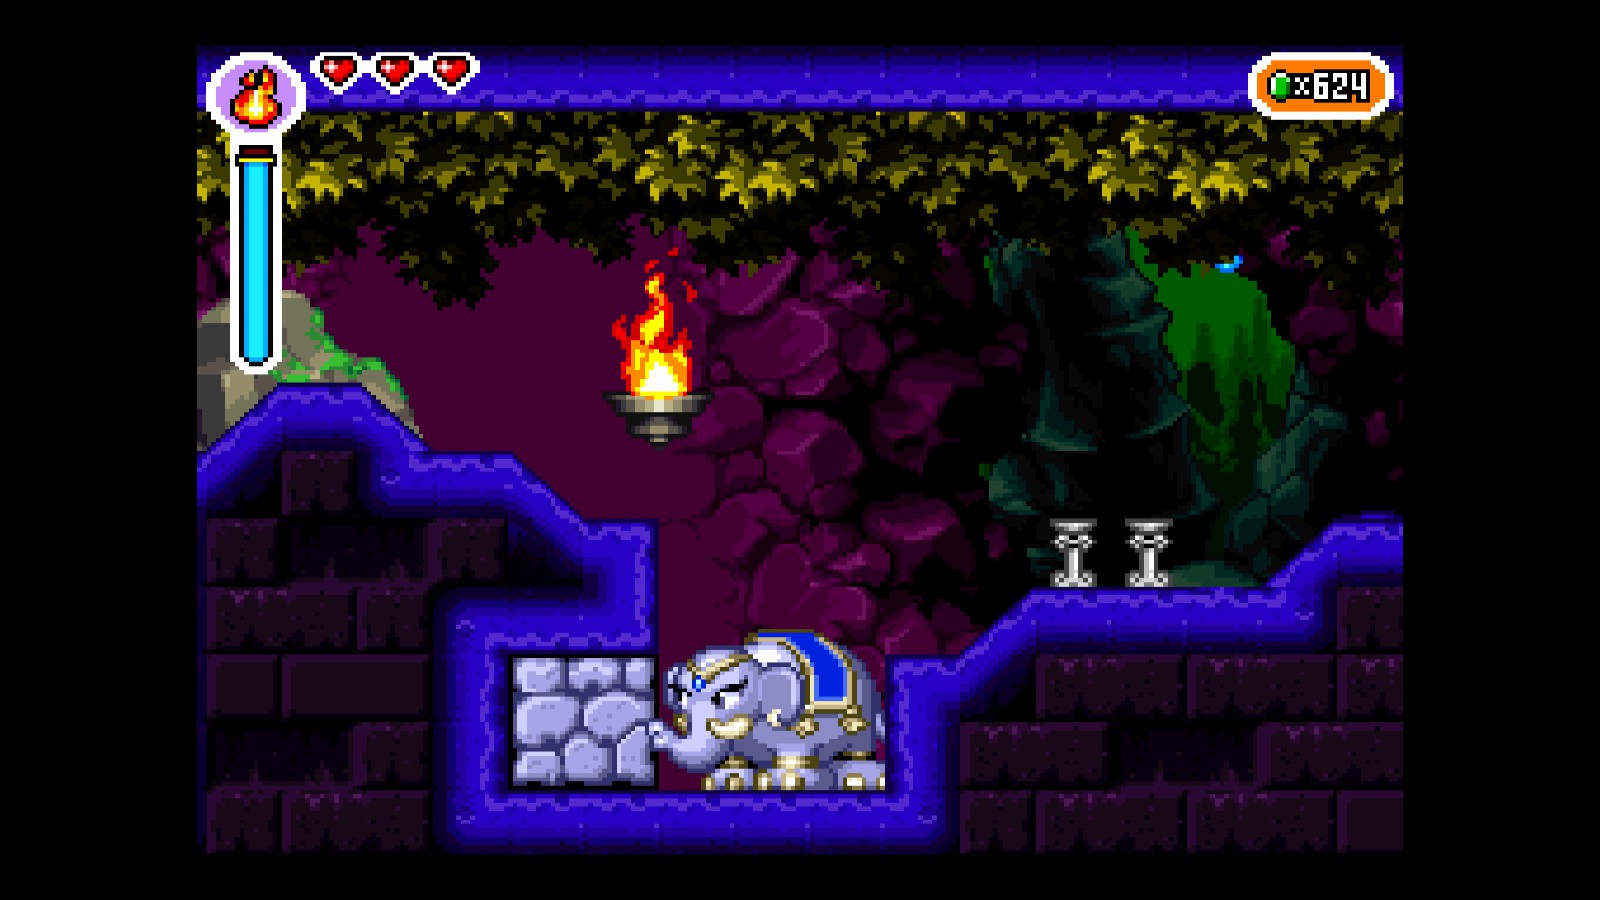
Now we take the lower path using the Elephant Dance:
Once here, we go to the cave hidden behind a rock, we do the platforming challenge, and finally reach the Elephant Stomp:
Story items II
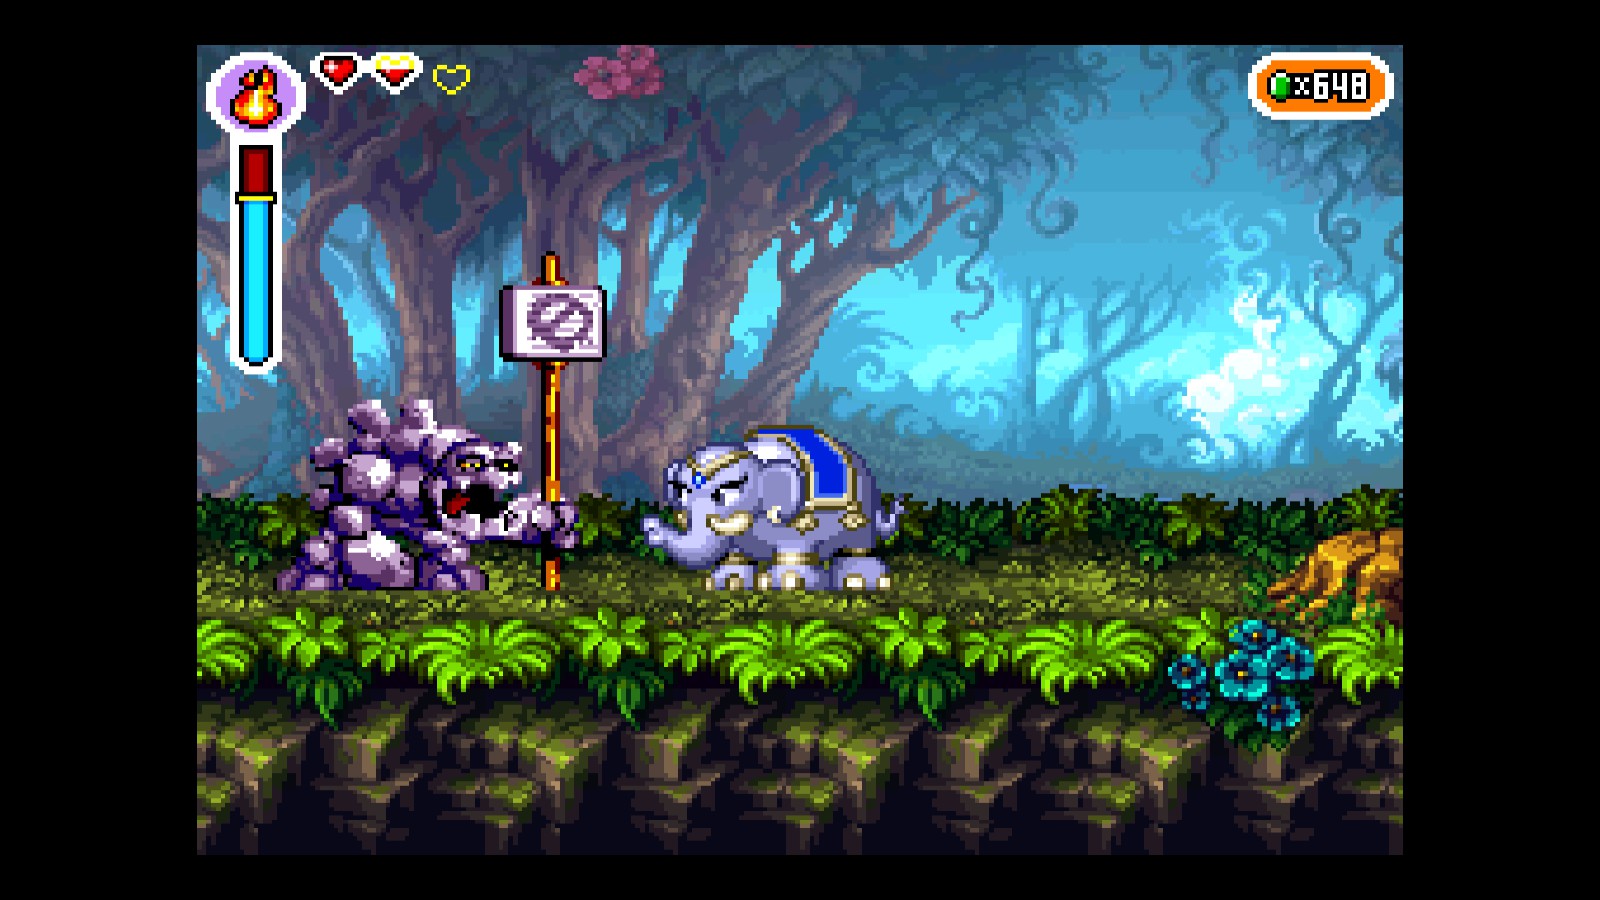
- COFFEE MACHINE: Time to go back to the Forest, where two items related to the Coffee Quest are located. The first one, the broken Coffee Machine, is obtained by going to the left from the Squid Baron’s Tower, where we’ll find this fella. Kill him:
Now we go all the way to the left, and there we have it: The Broken Coffee Machine
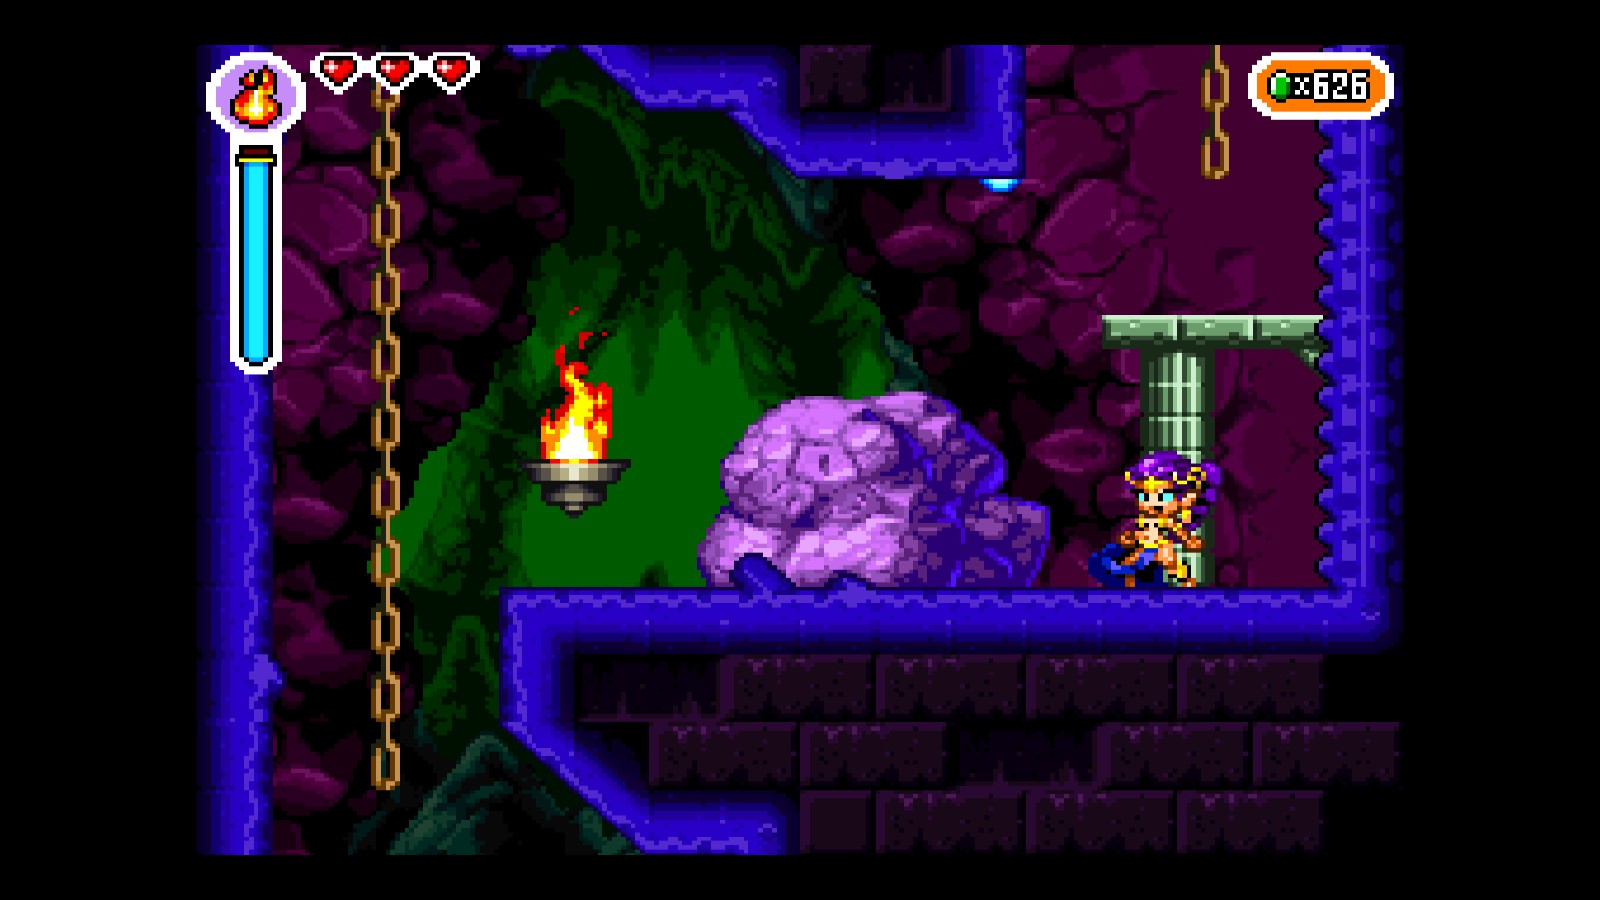
- COFFEE BEANS: Taking the tower as a reference again, we go right this time, and break the first purple rock we see:
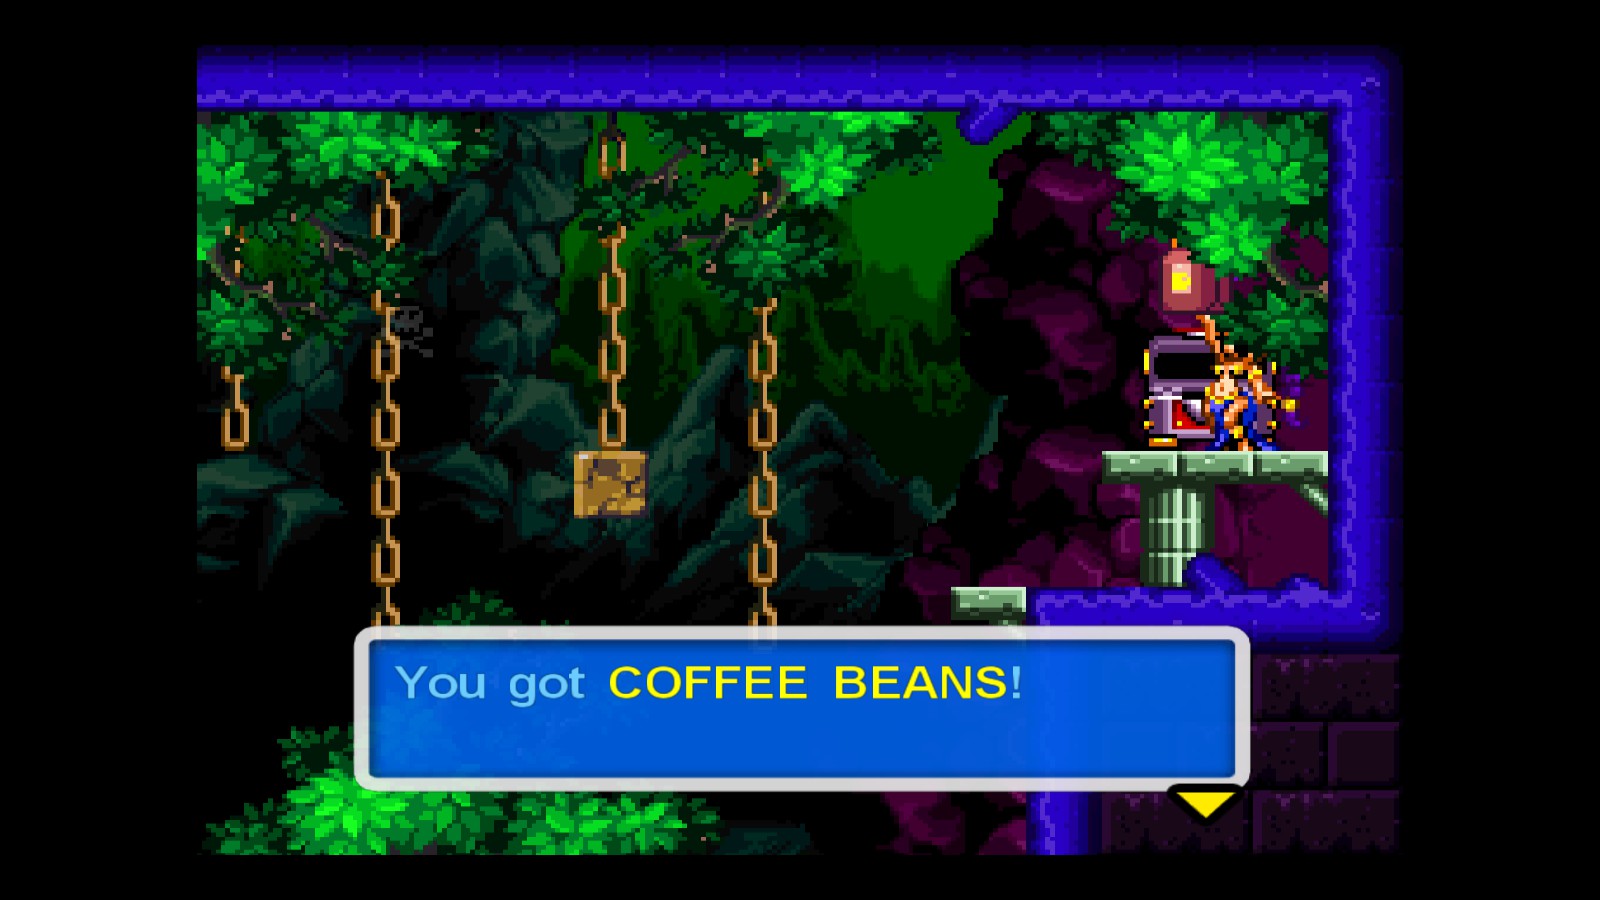
We go across an obstacle course, and at the end, the Coffee Beans will be waiting for us:
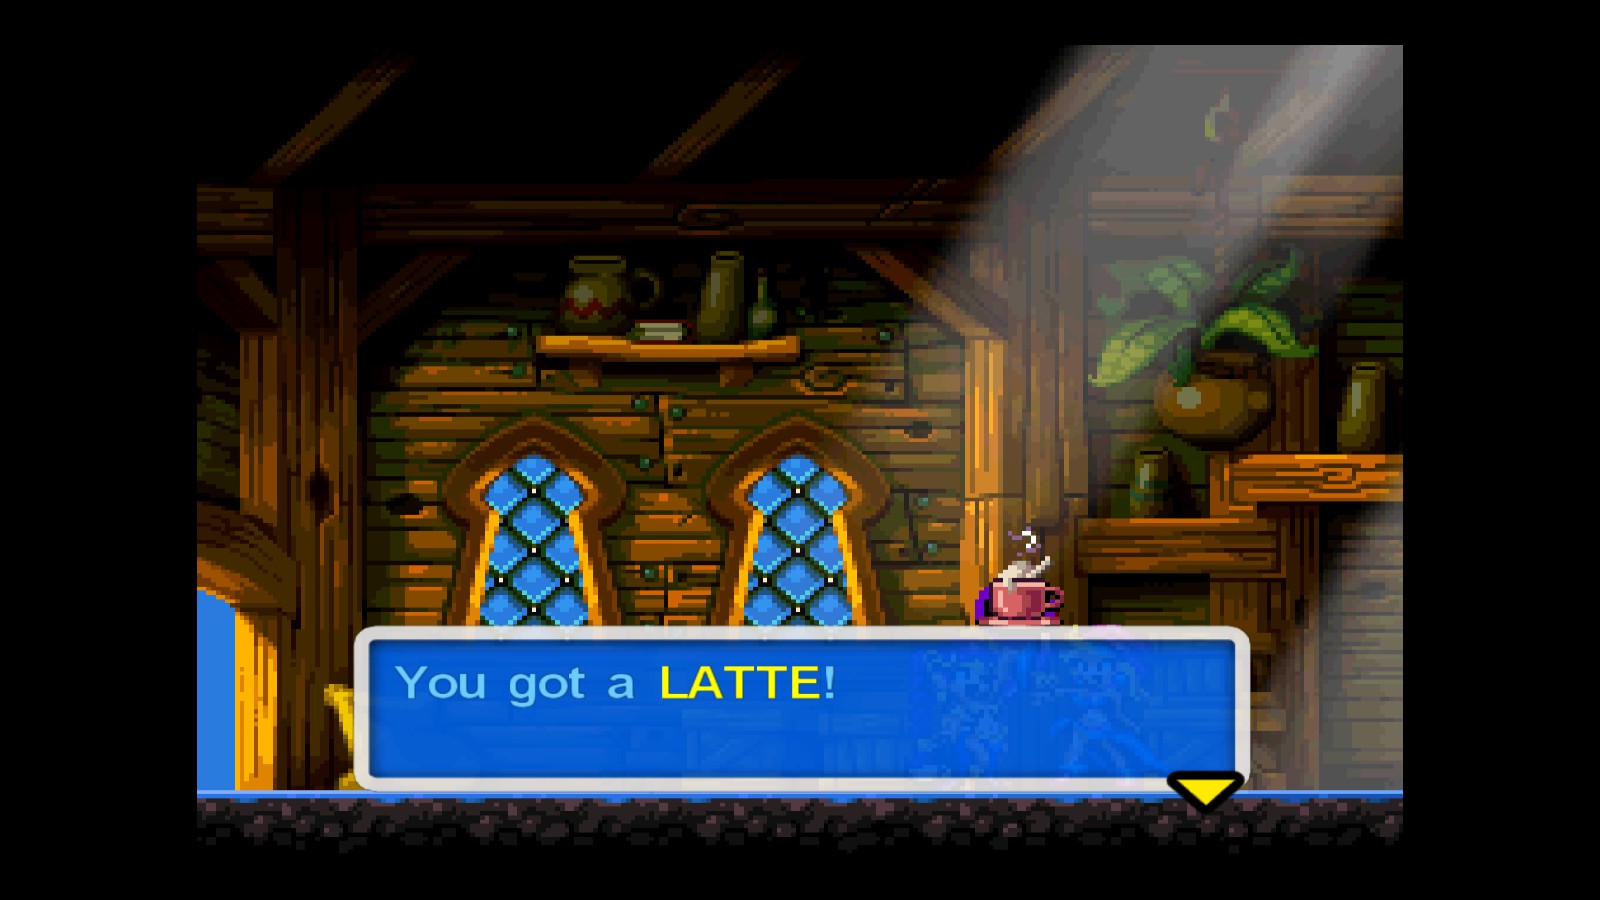
- LATTE: We go back to Sky’s home in Scuttle Ammo Town, who, not only will fix the Coffee Machine, but also give us the Rotten Egg and prepare the Coffee for us (how gentle):
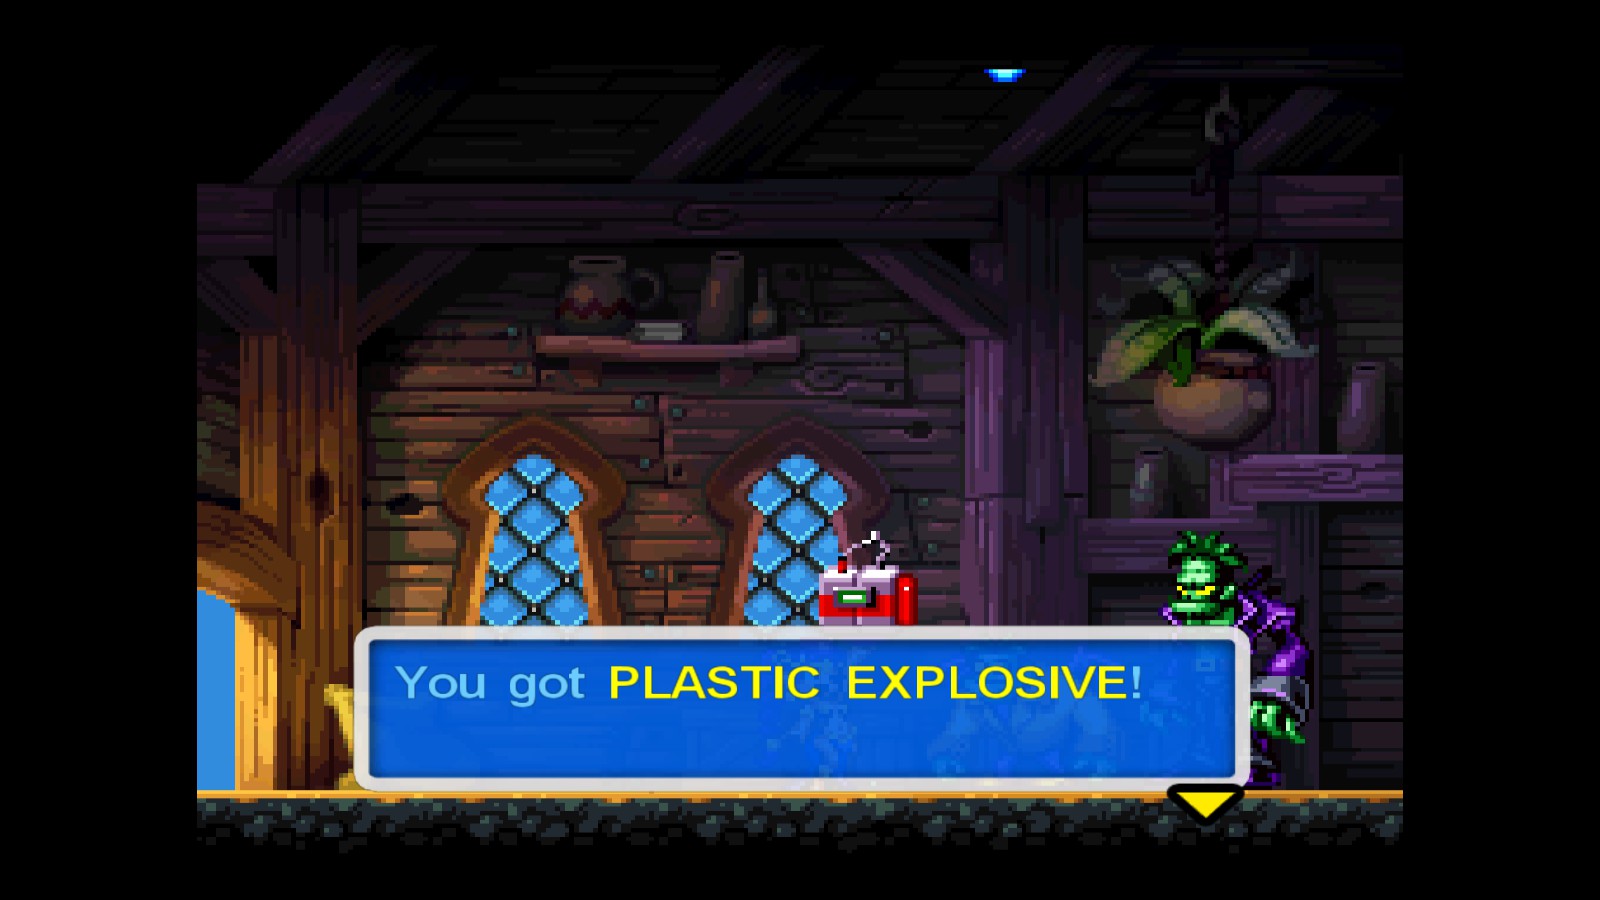
- PLASTIC EXPLOSIVE:From the Town, we head to the very end of the Mermaid Cliffs, were we will change the Latte for our key to the Hypno Baron’s Liar:
…
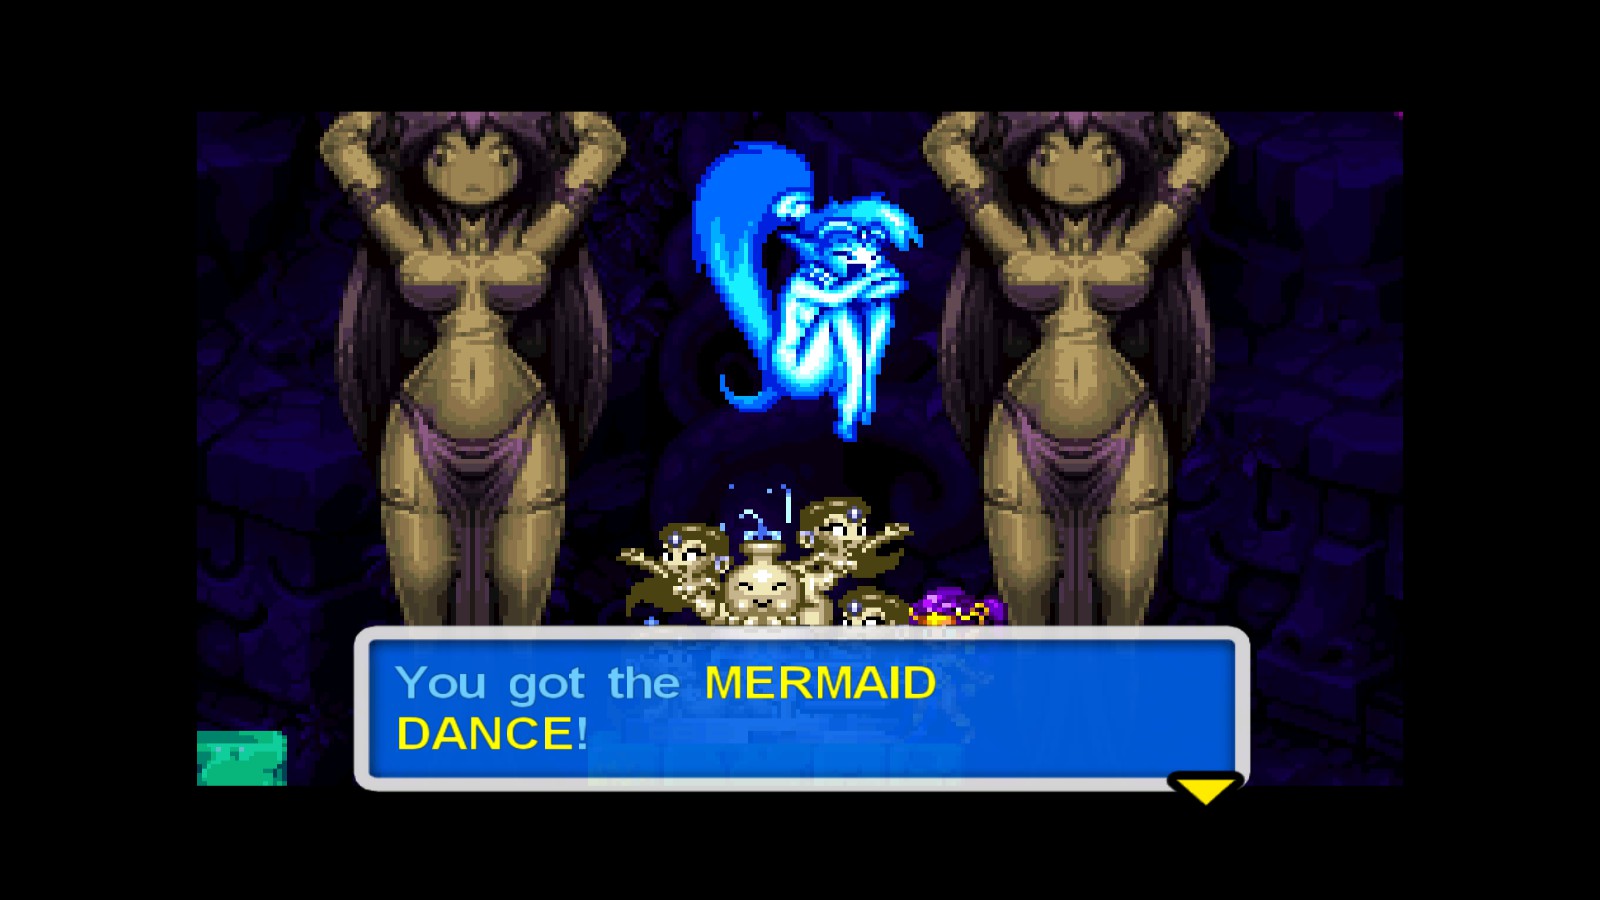
- MERMAID DANCE: Obtained as you progress through the dungeon:
(in case you’re getting impatient, if you’re in this room, you’re really close!)
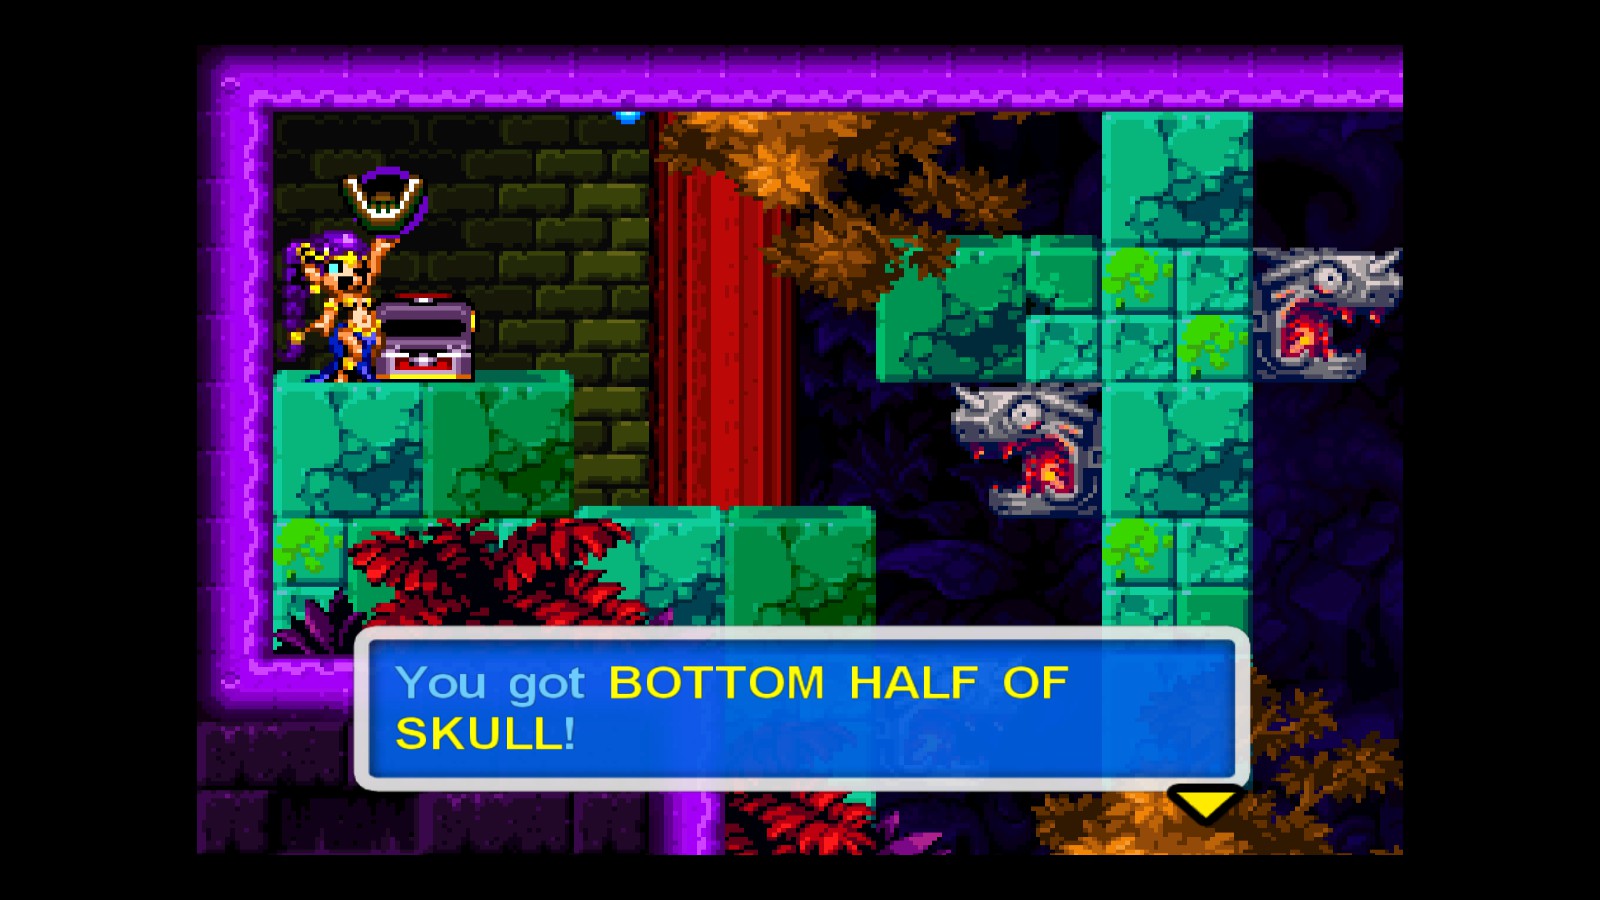
- BOTTOM HALF OF THE SKULL KEY: “Open your eyes when you’re diving in the pool”:
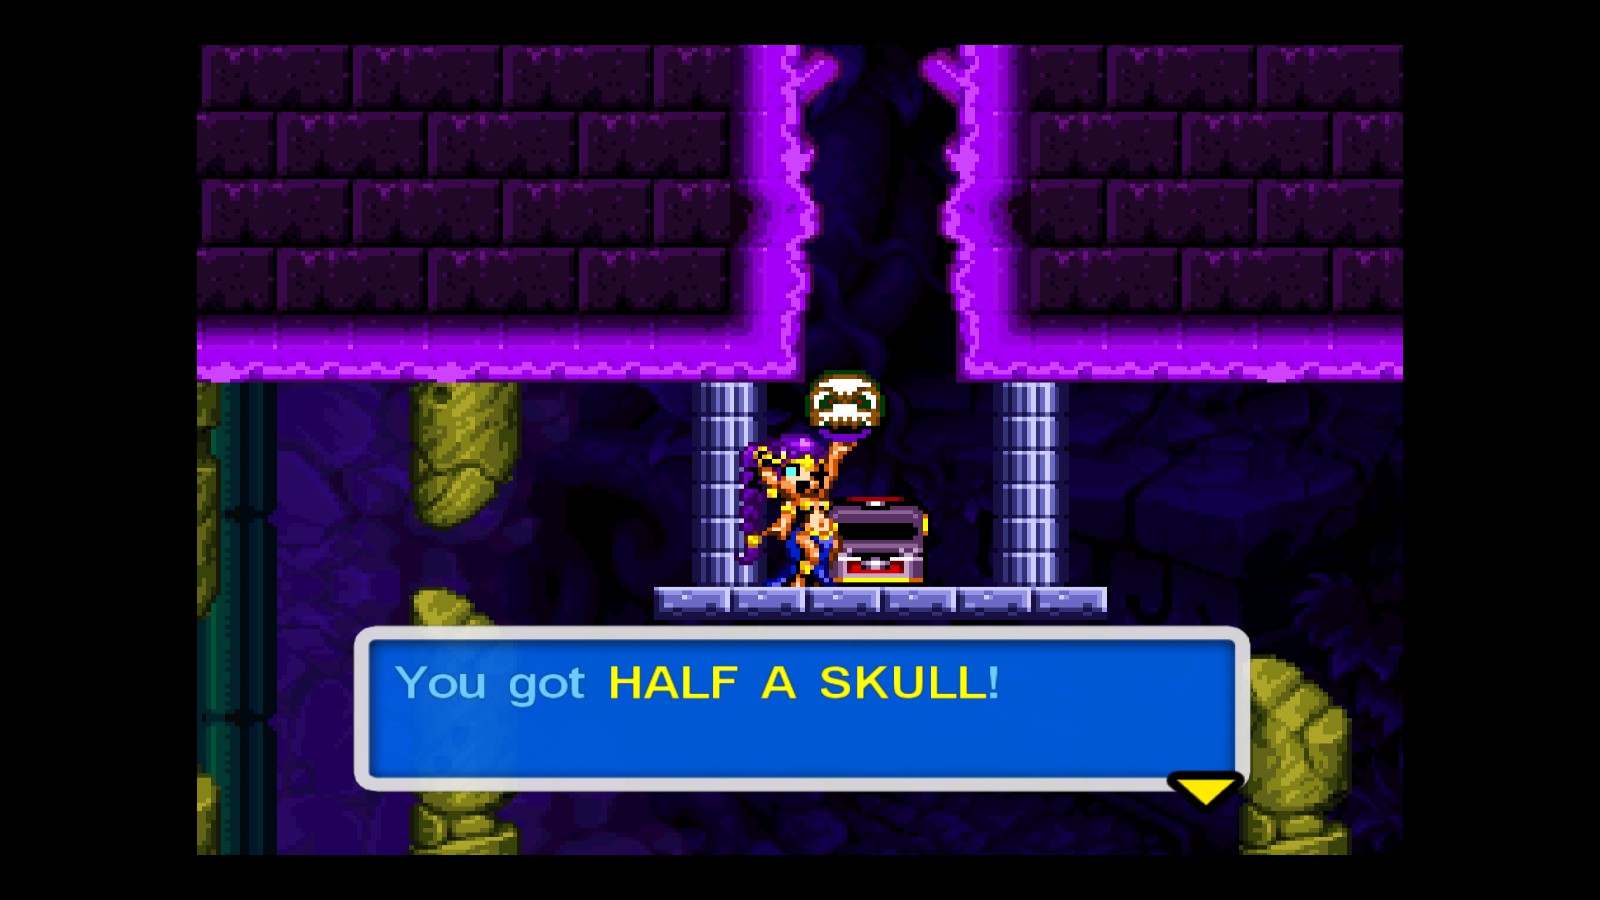
- UPPER HALF OF THE SKULL KEY: “Look to the left after entering the Dungeon”:
- MAGIC SEAL: Earned after beating the boss of the dungeon
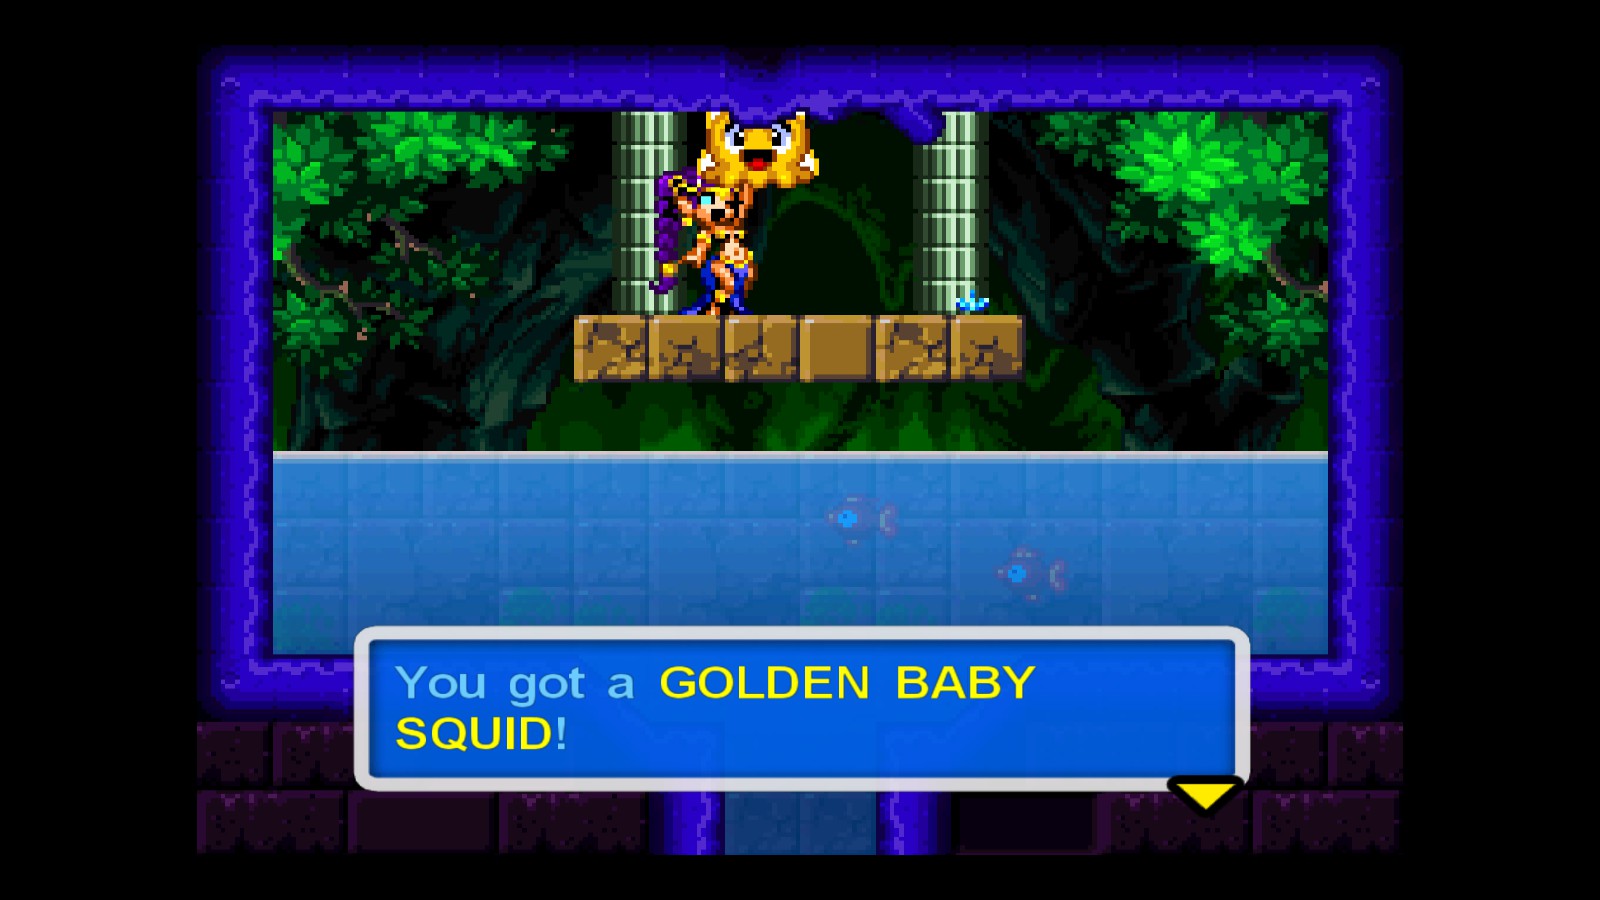
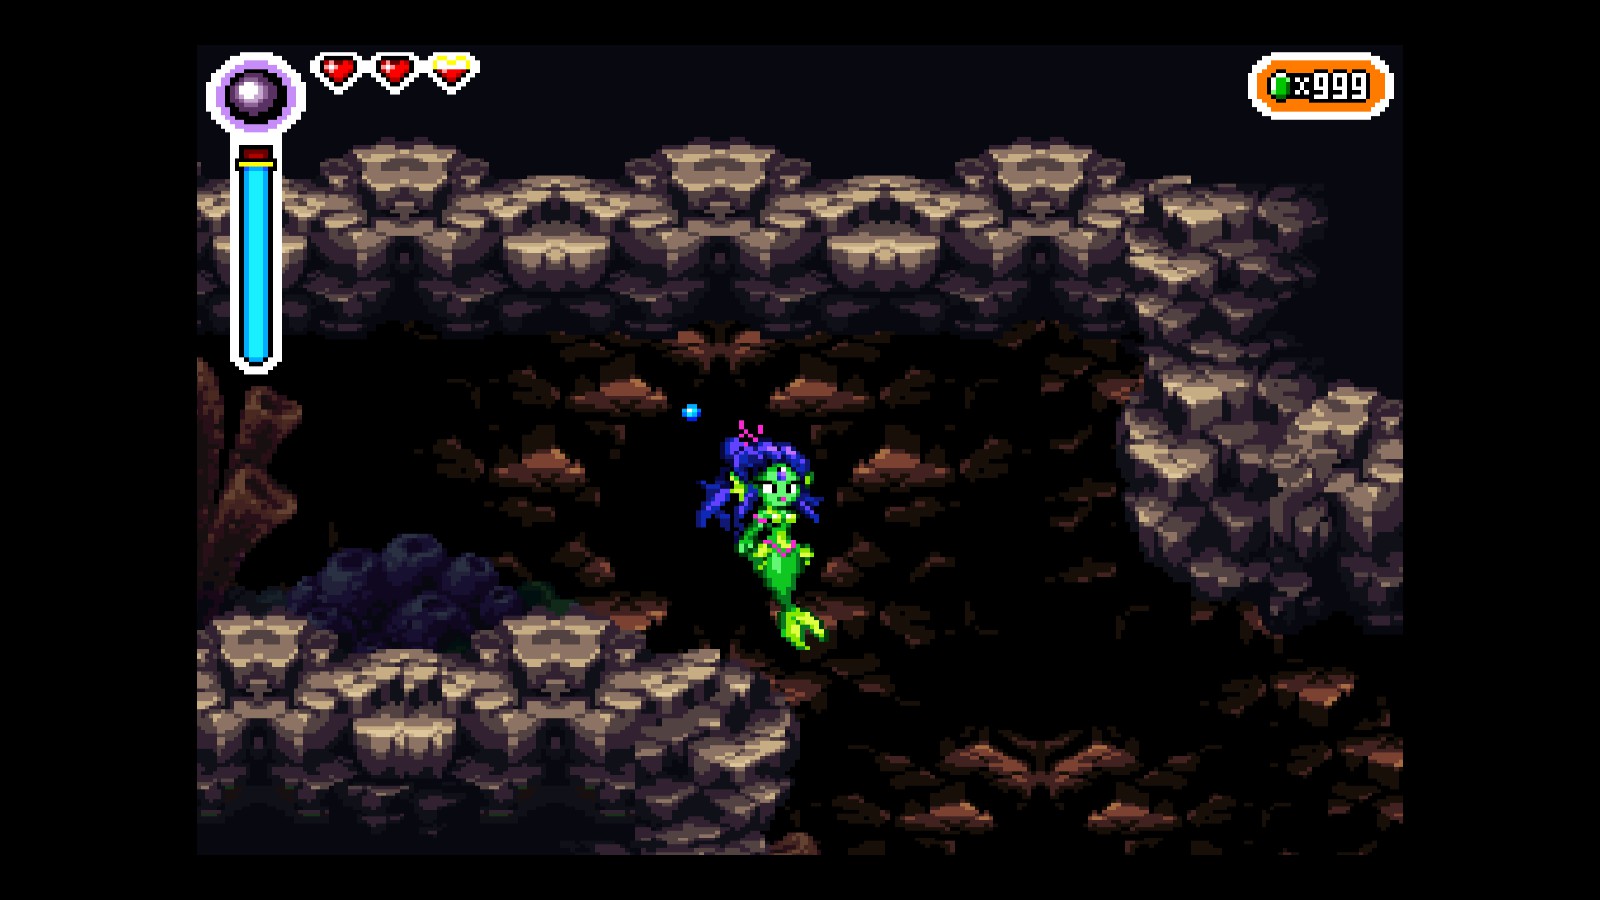
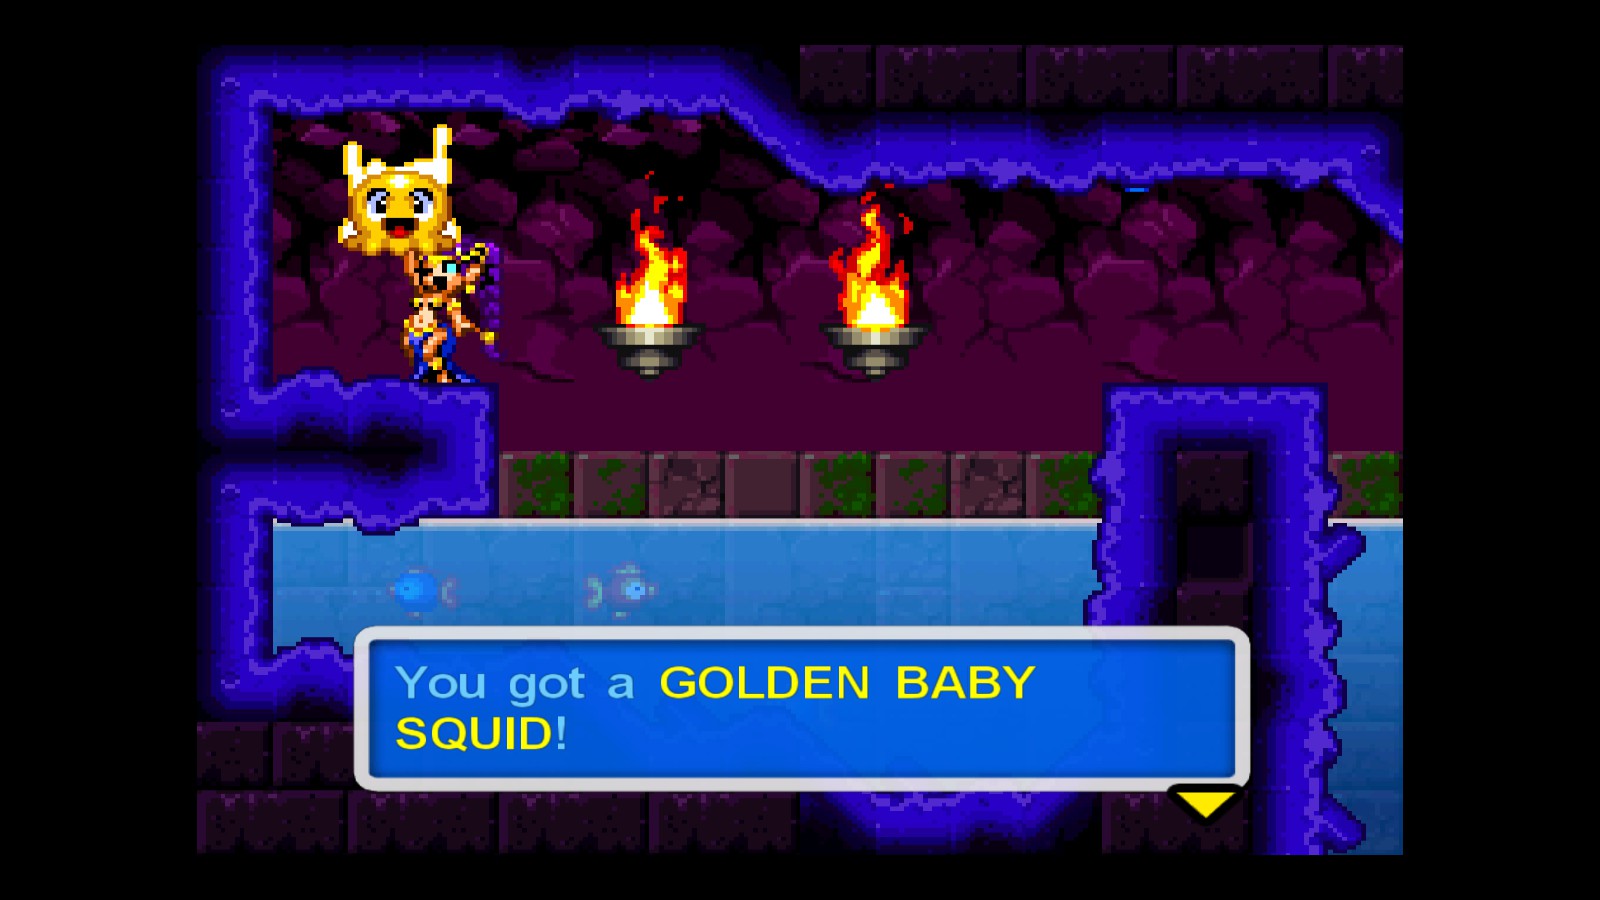
- GOLDEN BABY SQUID: We’ll have to go all the way to the left from the lighthouse (or use the warp and go one screen to the right). Now we dive in hugging the wall of the left, and once we’re at the bottom, we get into an entrance under a huge rock:
And there it is!
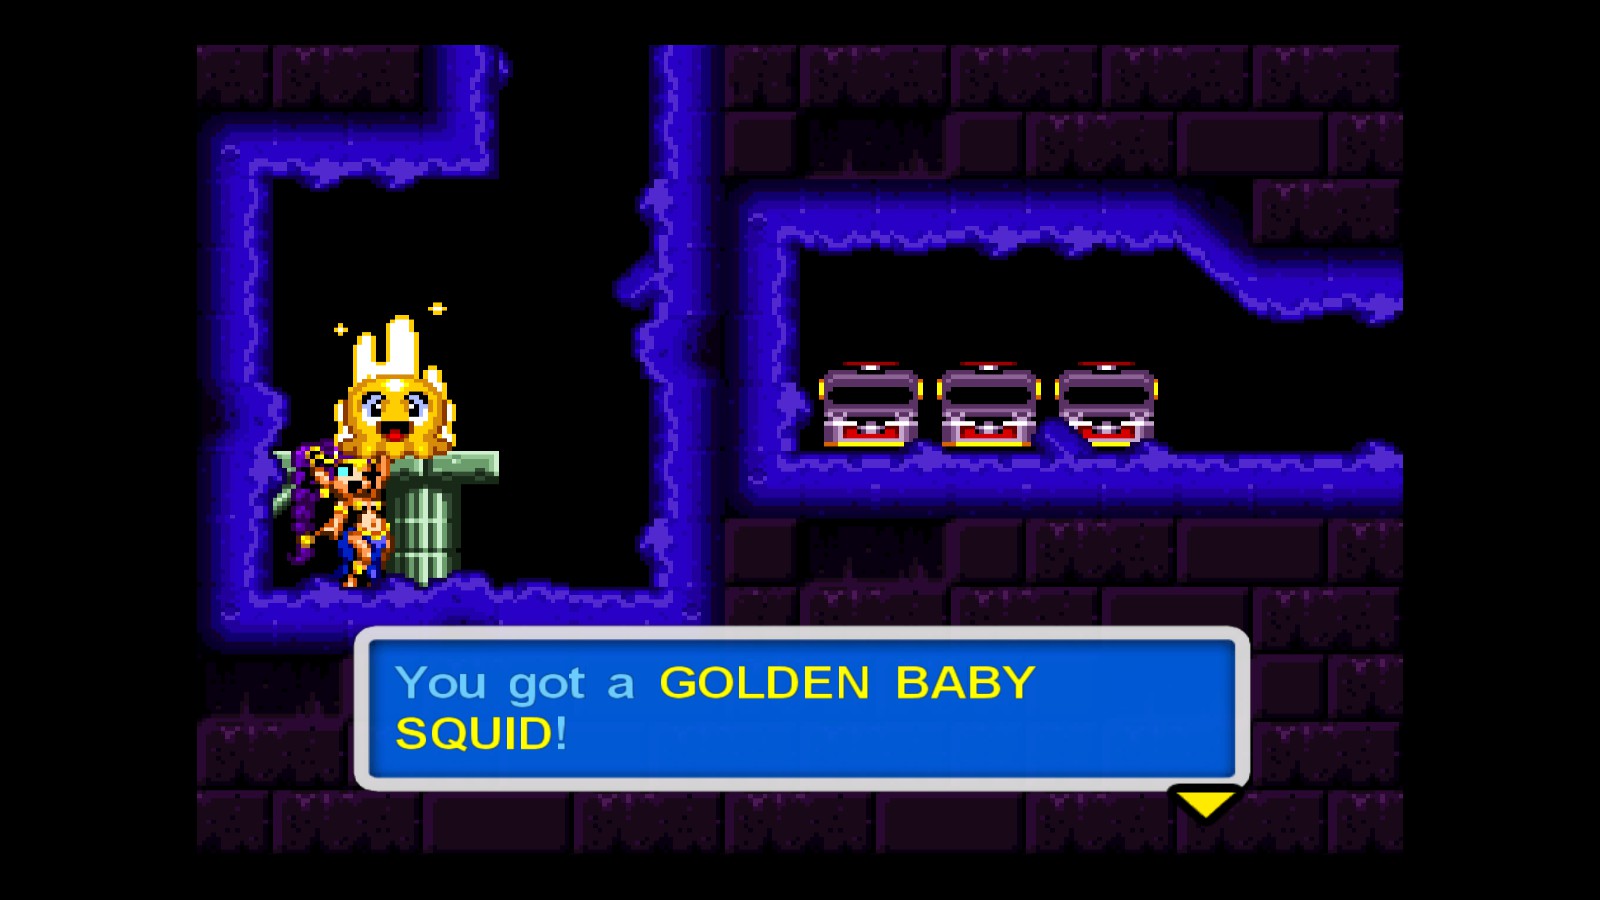
- GOLDEN BABY SQUID: As we leave Scuttle Ammo Town an get to the Mermaid Cliffs, we dive into the water as soon as possible and hug the wall nearest to the left while going down. You’ll have to take a couple of secret passages to get to the cave where the baby is:
- GOLDEN BABY SQUID: We go all the way to the right of the Mermaid Cliffs, and dive to the bottom of the beach floor. Then, we just go to the left and enter the cave where the last baby squid is located:
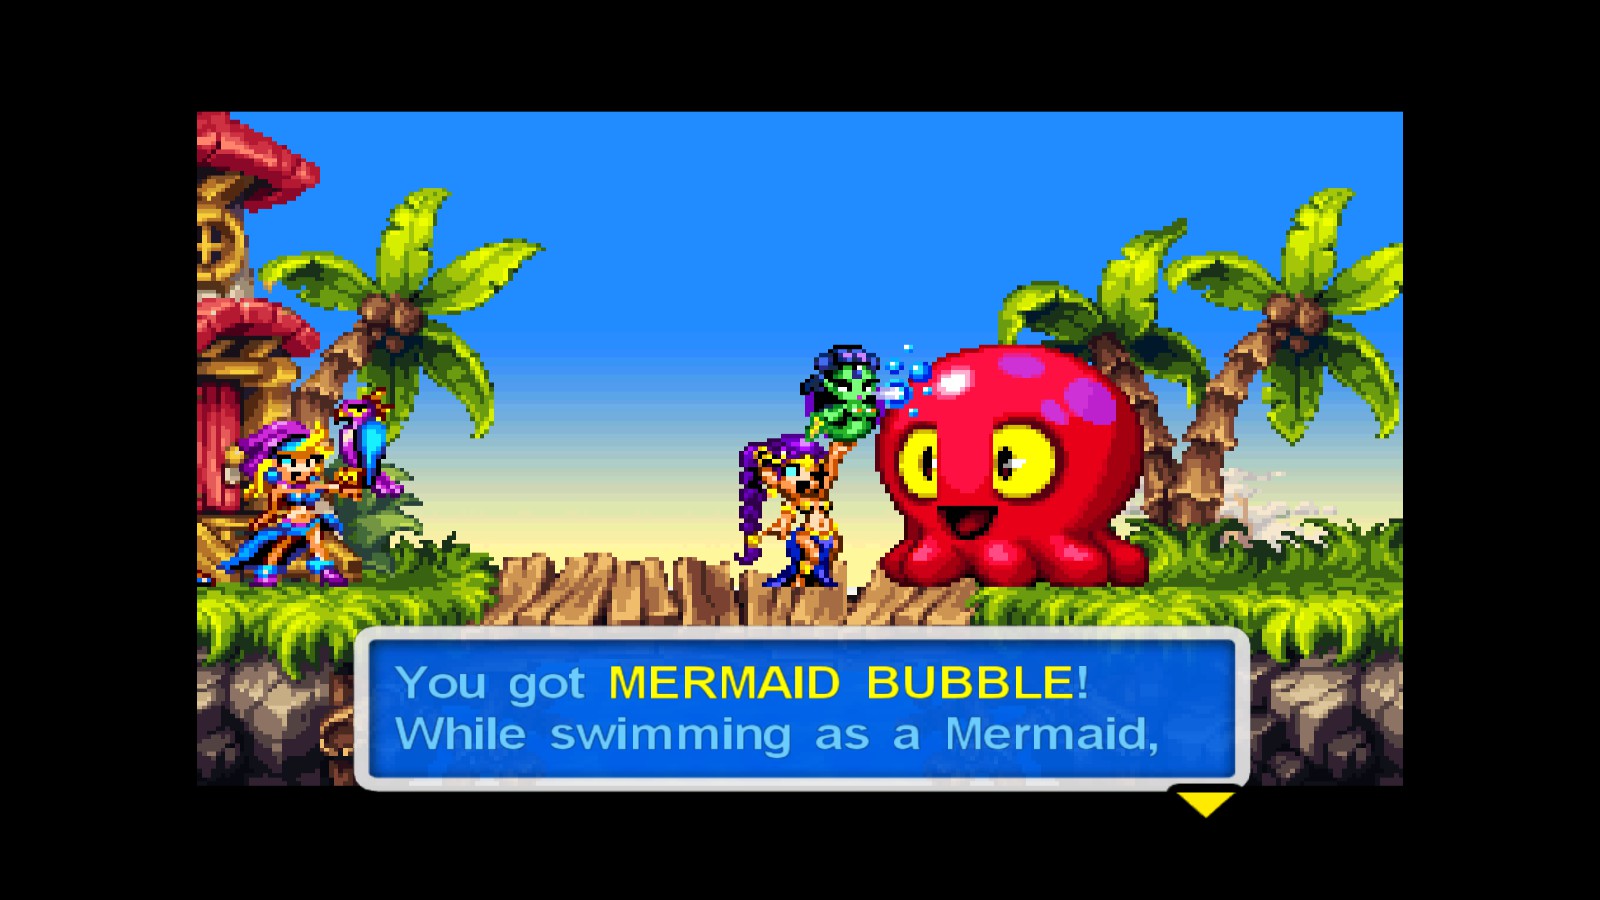
- MERMAID BUBBLES: Just go back to the lighthouse with the squid babies and give them to their parent.
And that should be it for Story Items, now it’s time to go after the other collectables!
Heart Holders
Lilac Field
- Required: Monkey Dance
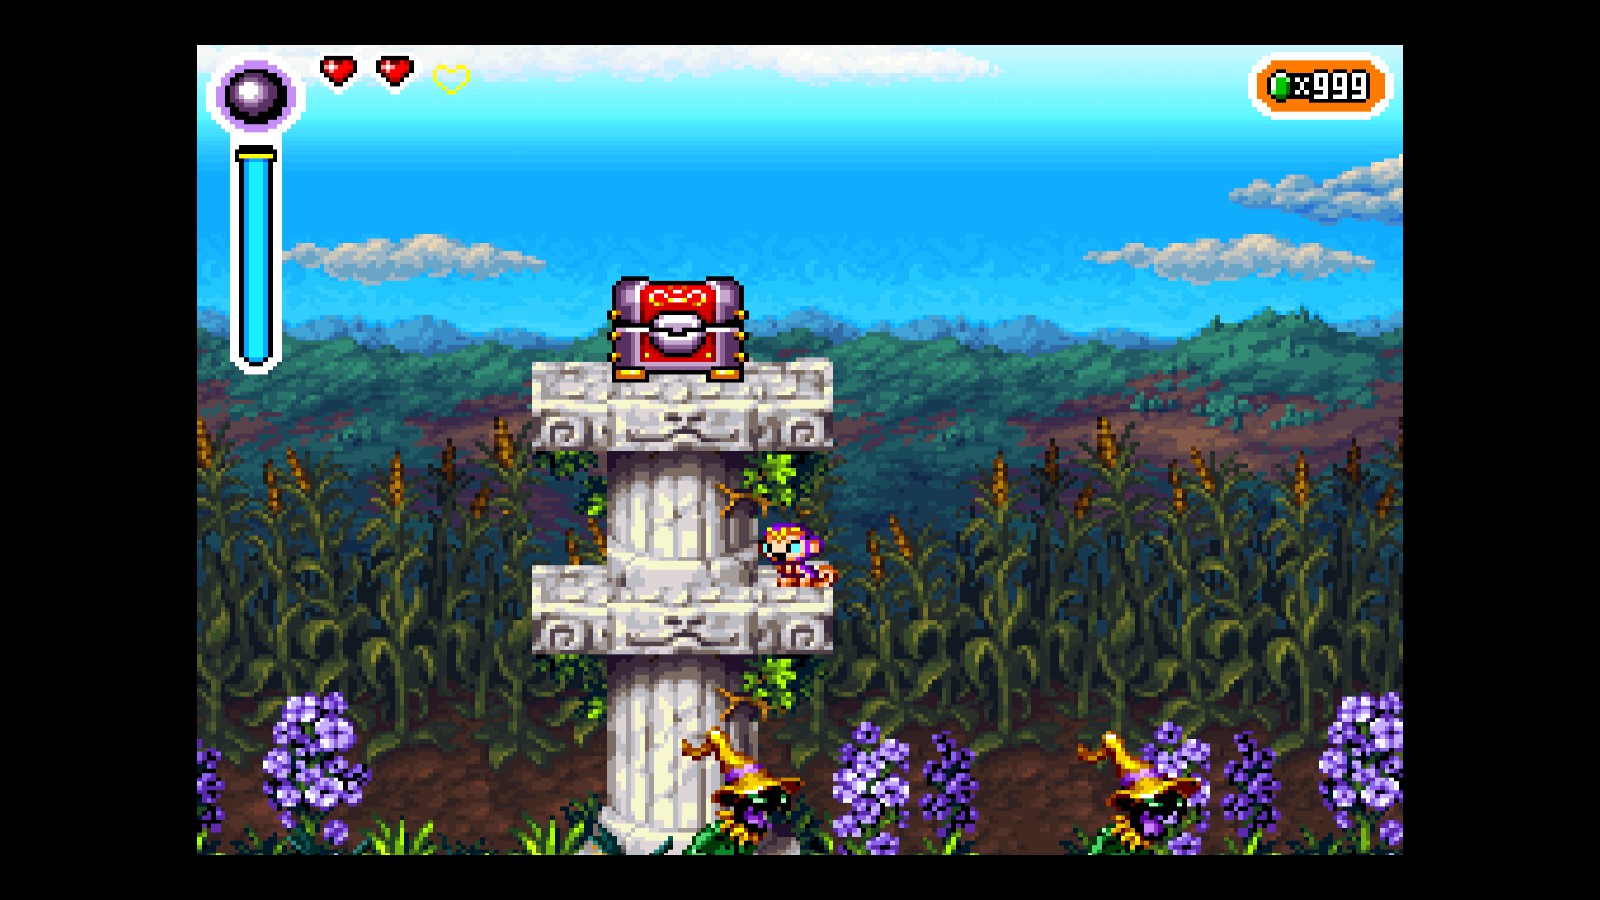
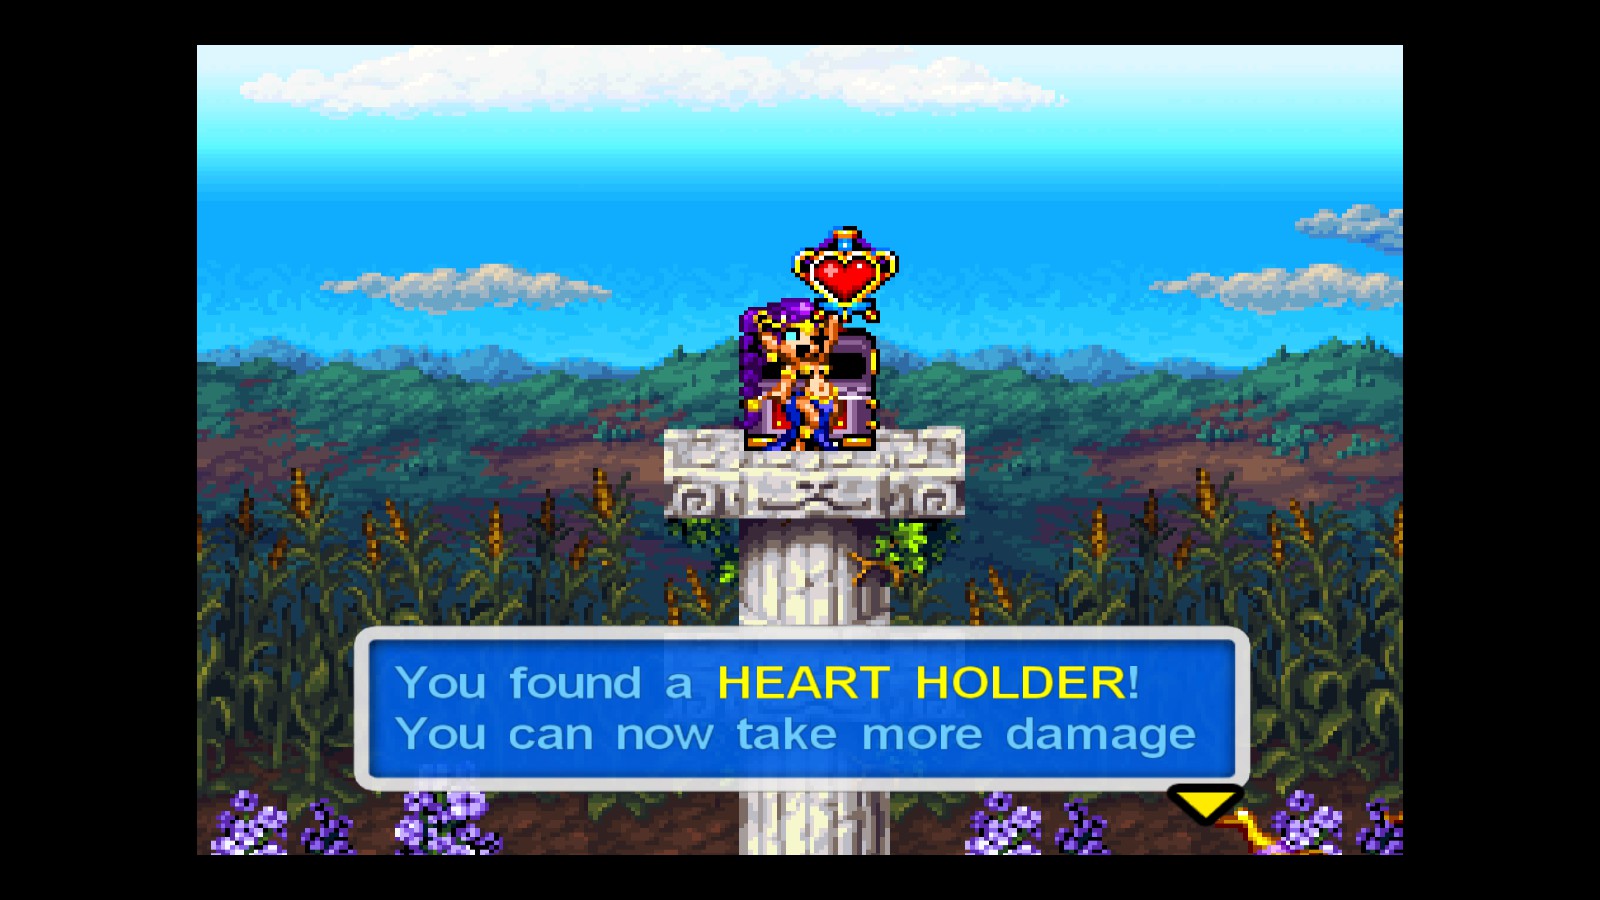
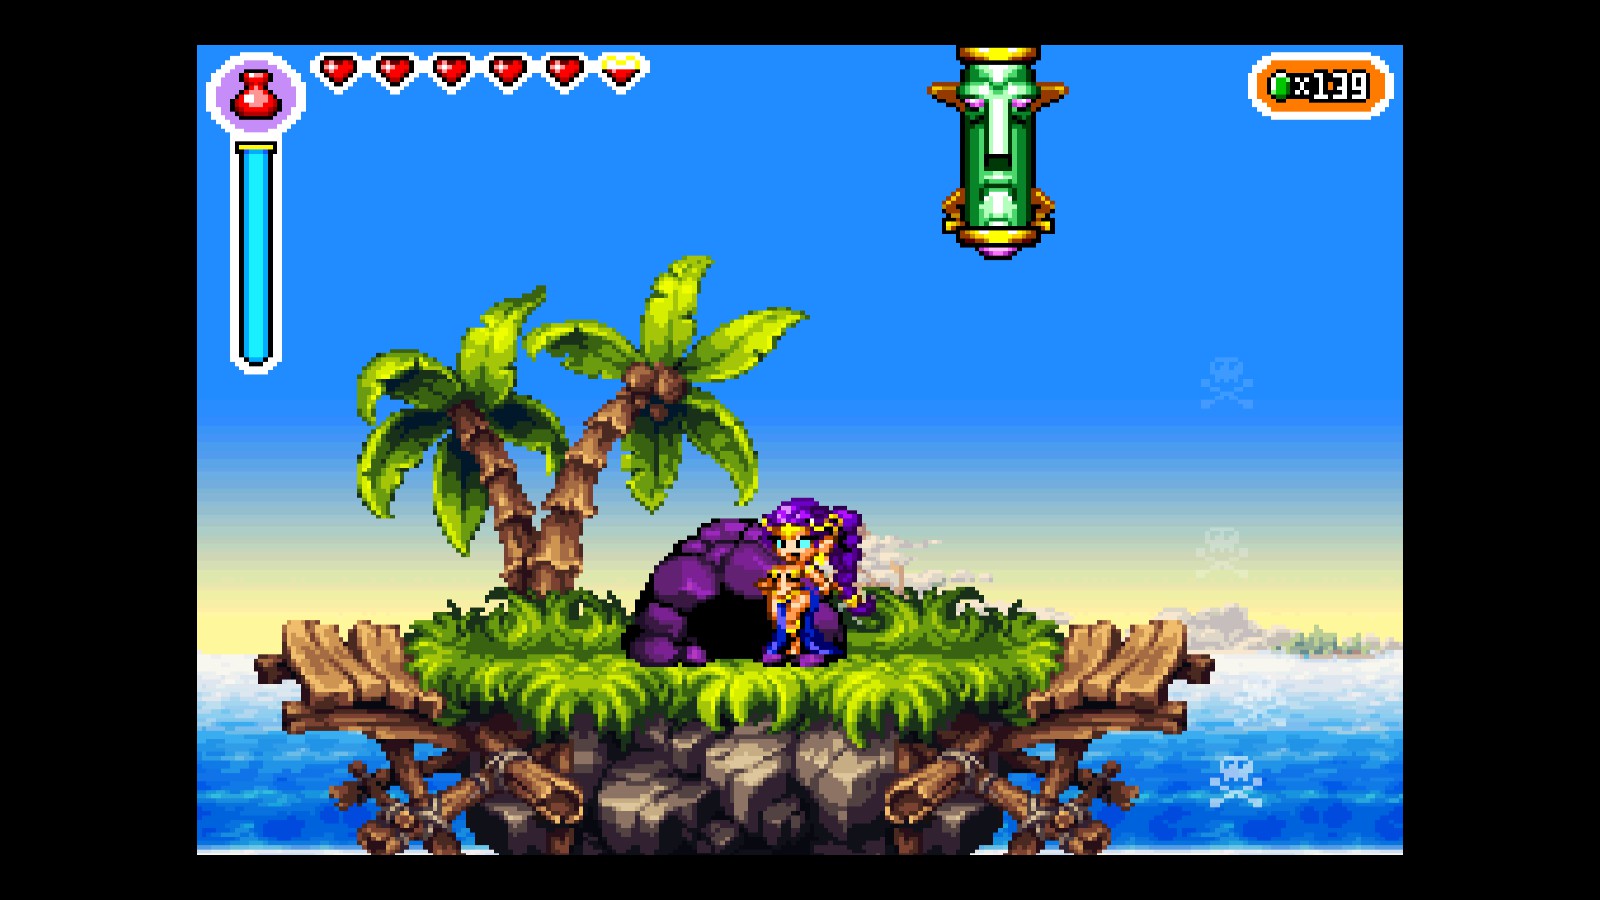
As we leave the town, we can see a chest out of our reach:
Tangle Forest
- Required: Elephant Dance + Monkey Dance
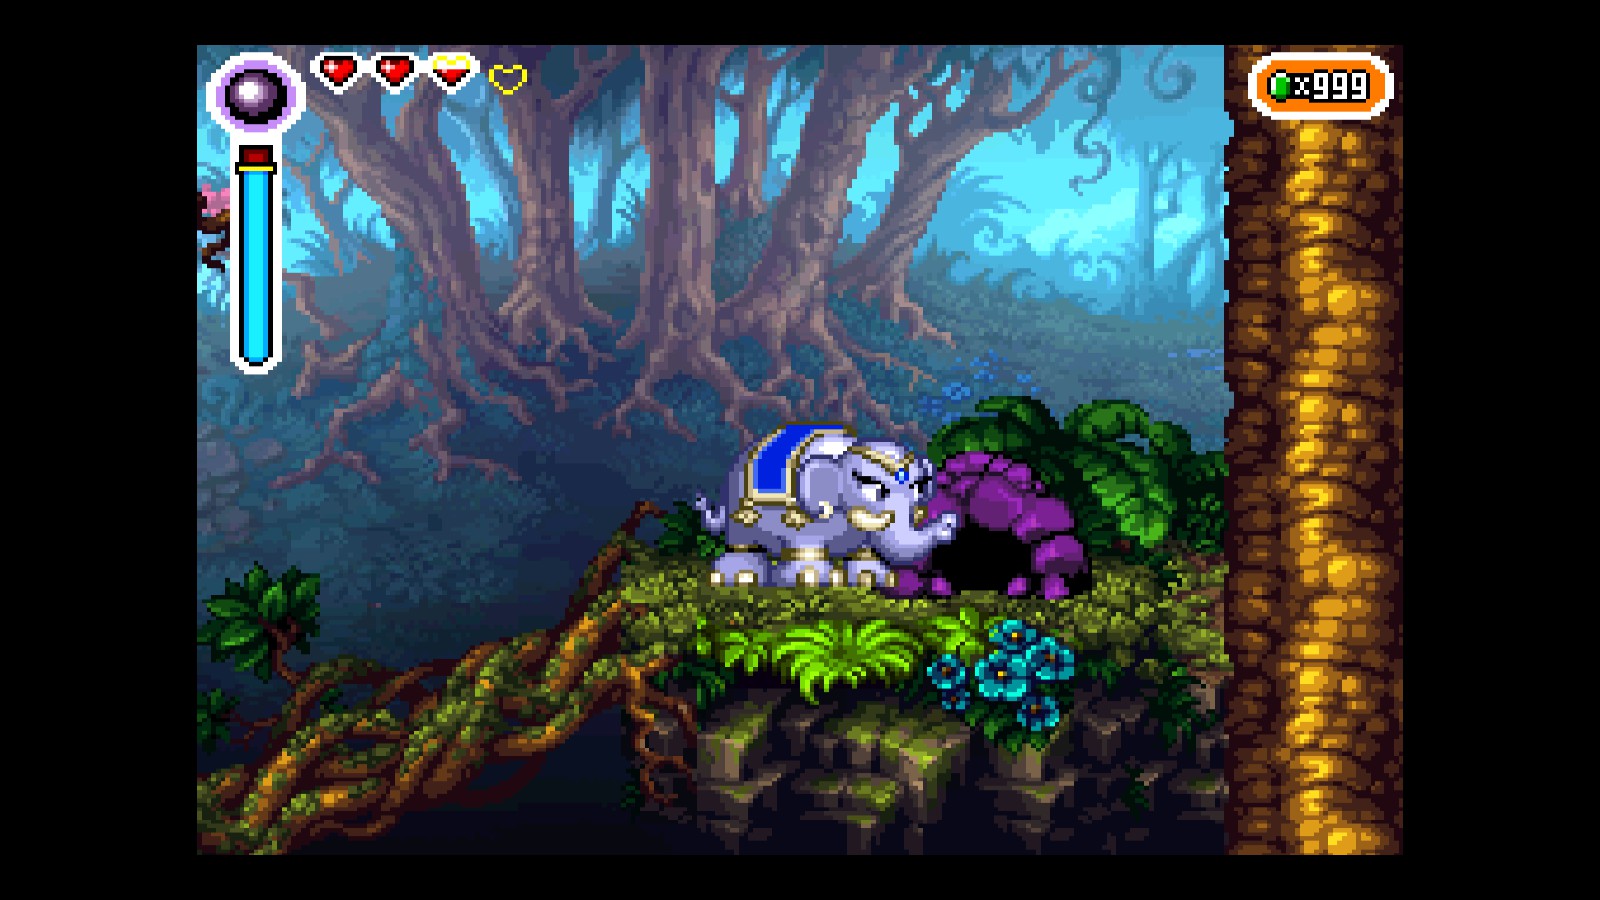
We go to the location in the map an break the rock blocking the cave entrance
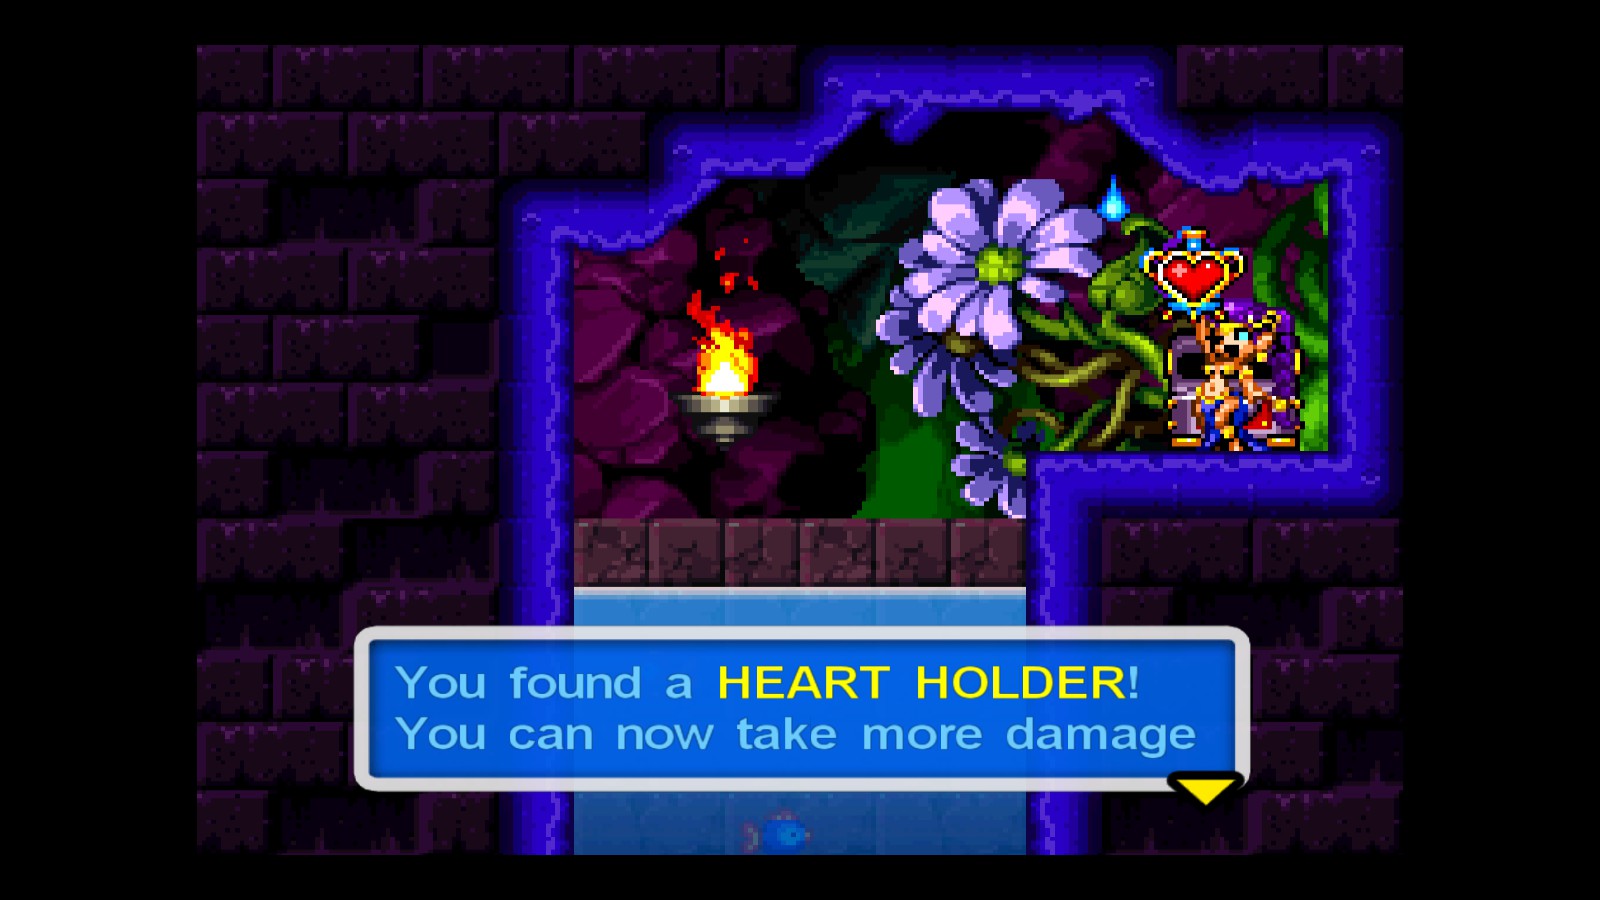
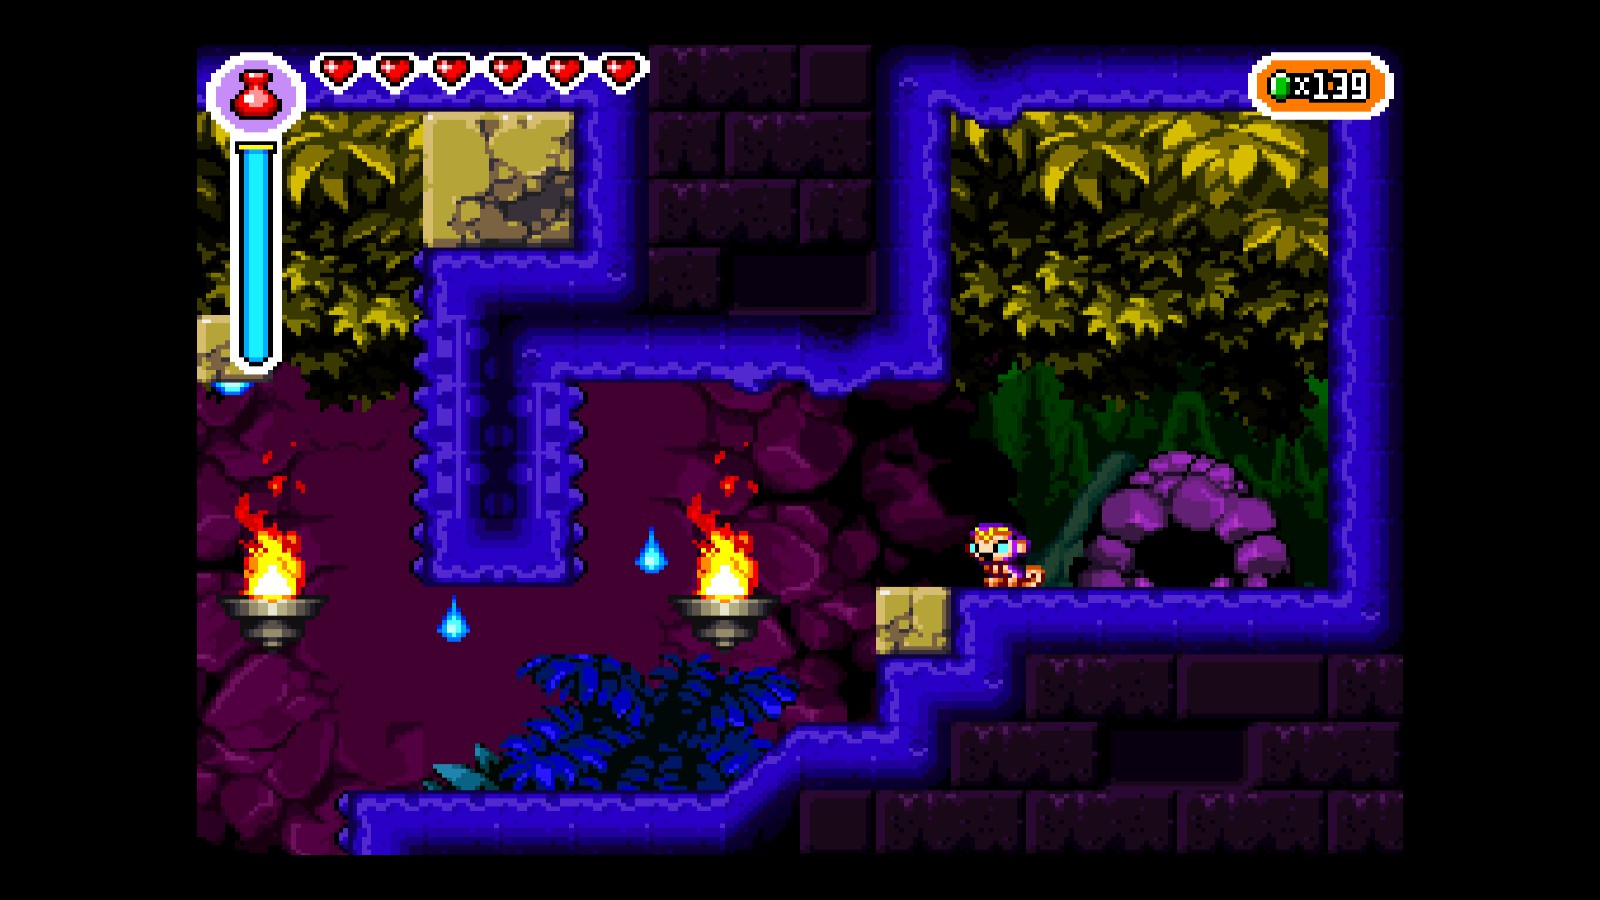
We beat the enemies, use the monkey dance to reach the higher floor, and there we go!
Polyp Bay
- Required: Mermaid Dance
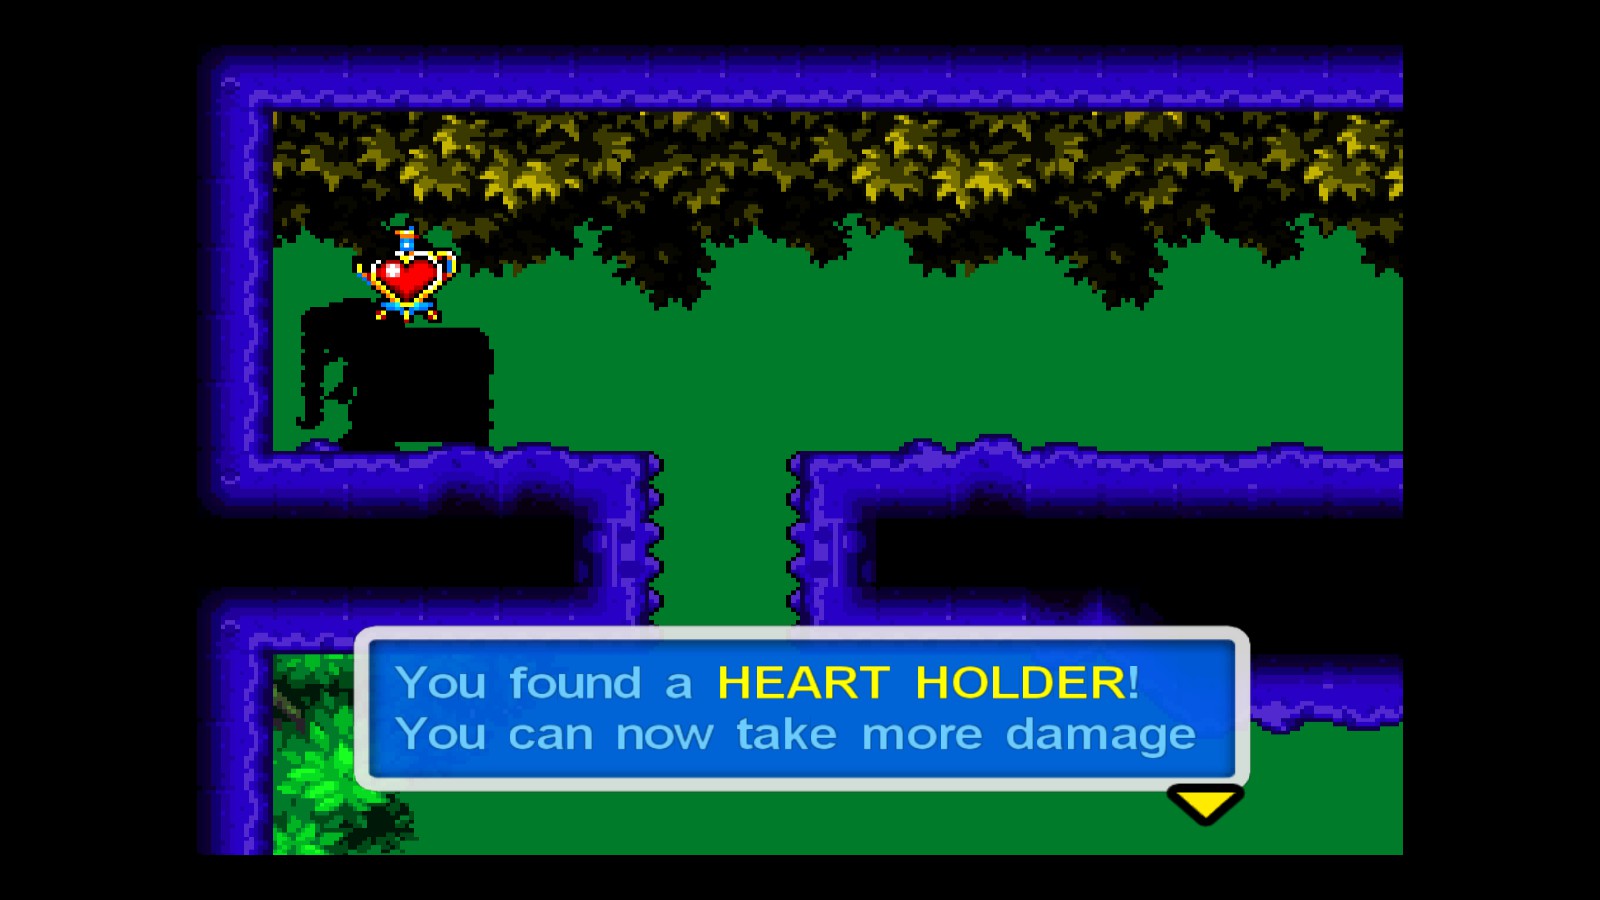
Just dive under the lighthouse until you get to an entrance on the right
Continue and you’ll be done!
Magic Jams I
Lilac Field
- Required: Monkey Dance + Dash
We go from the lighthouse to the left into the next area, and enter the first cave:
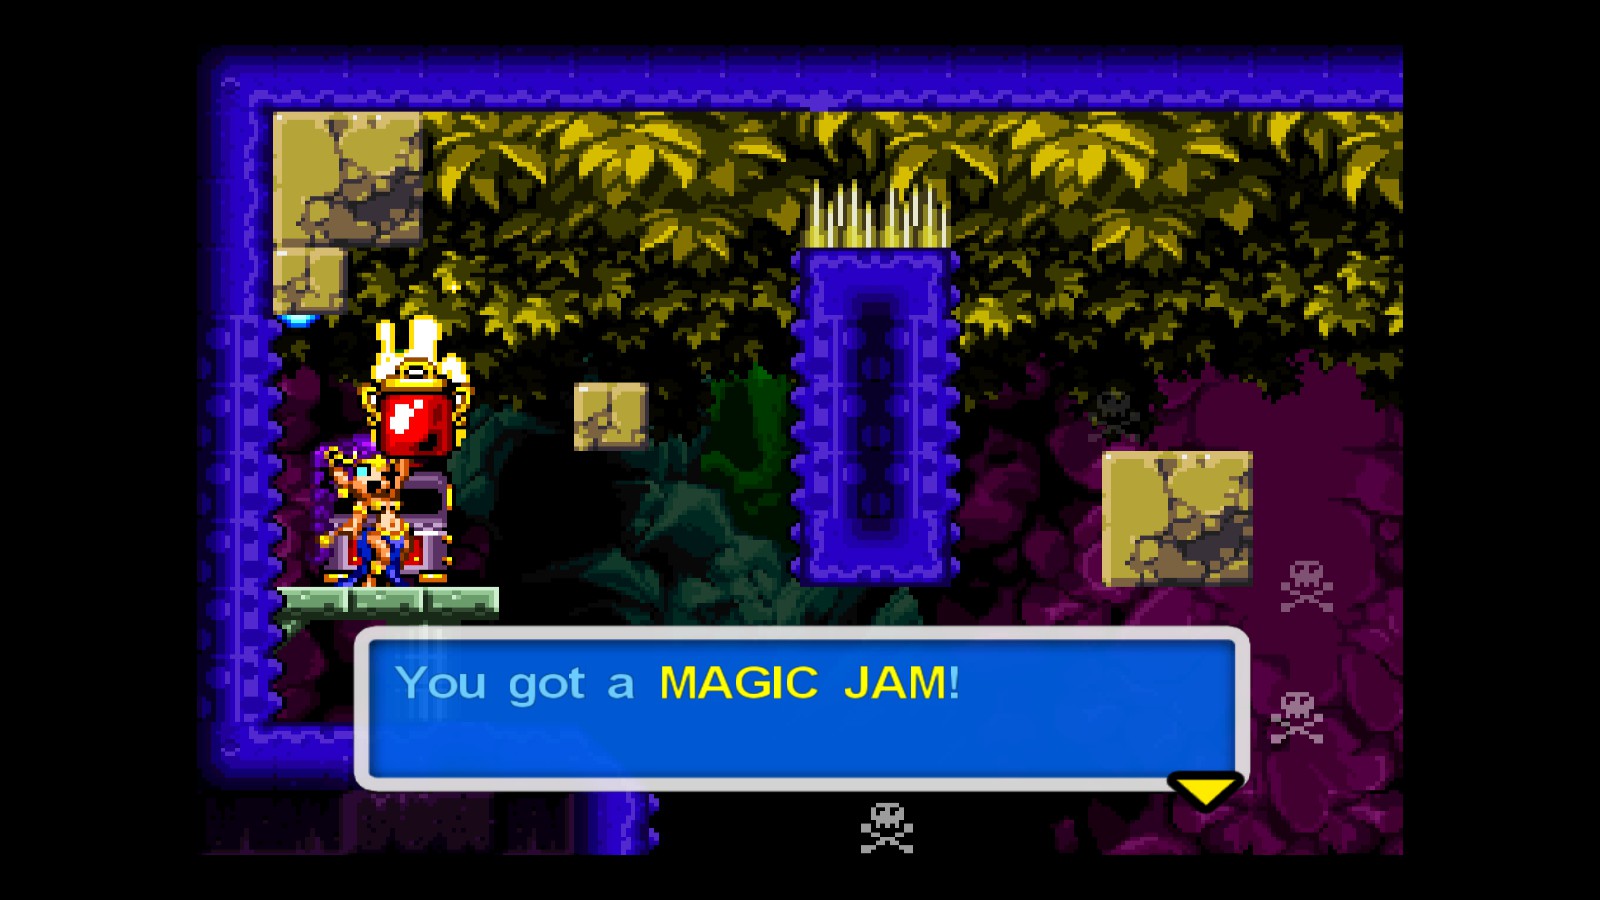
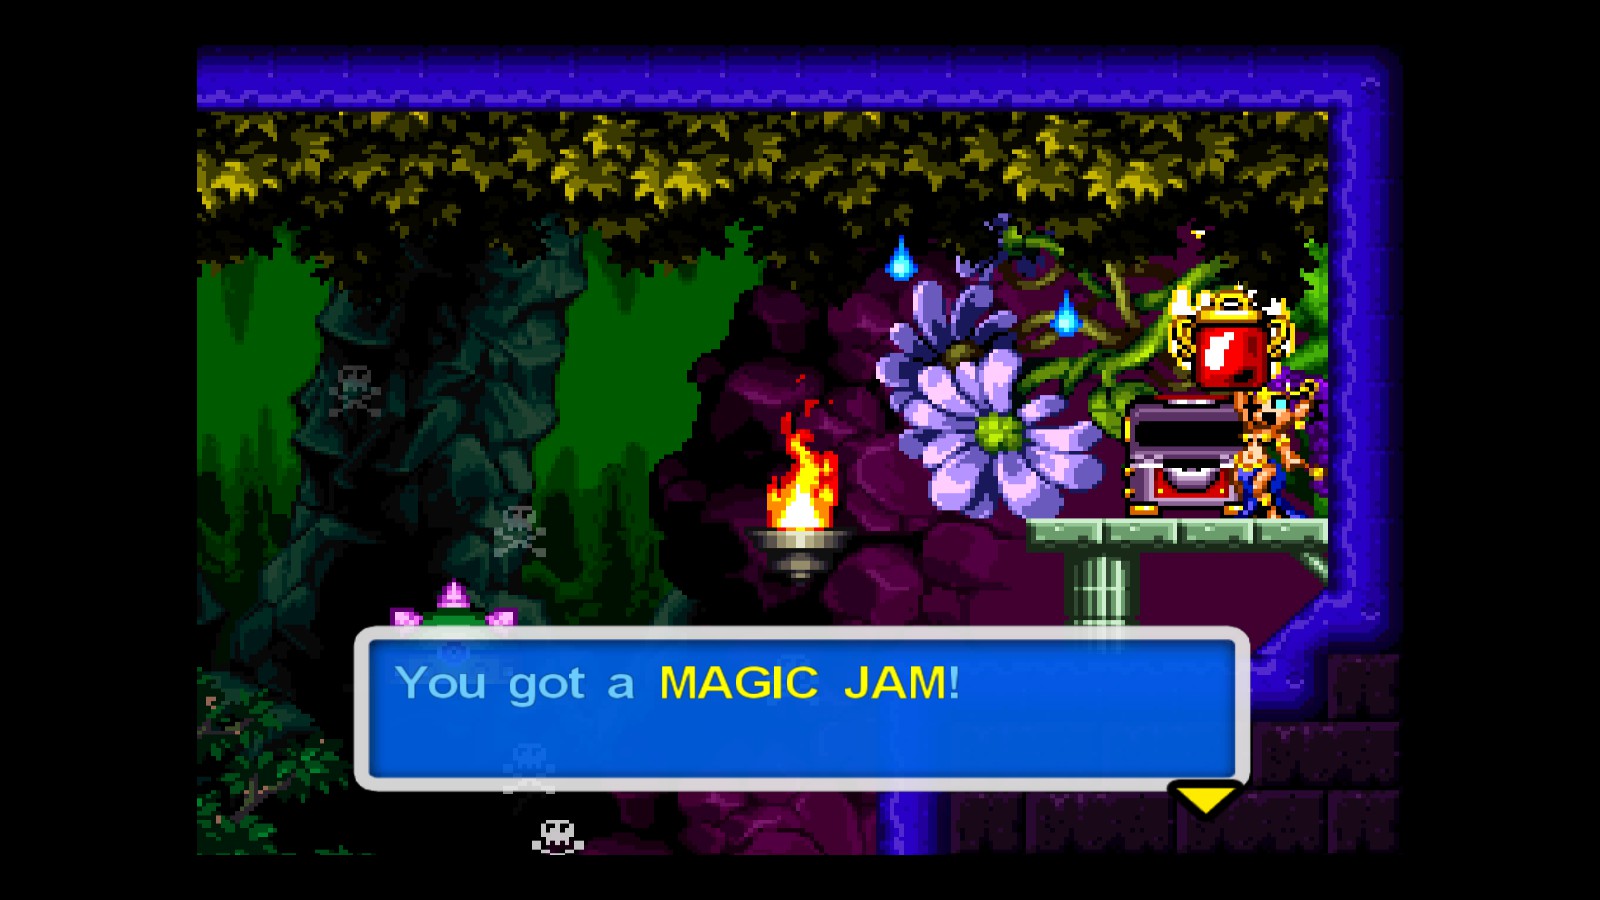
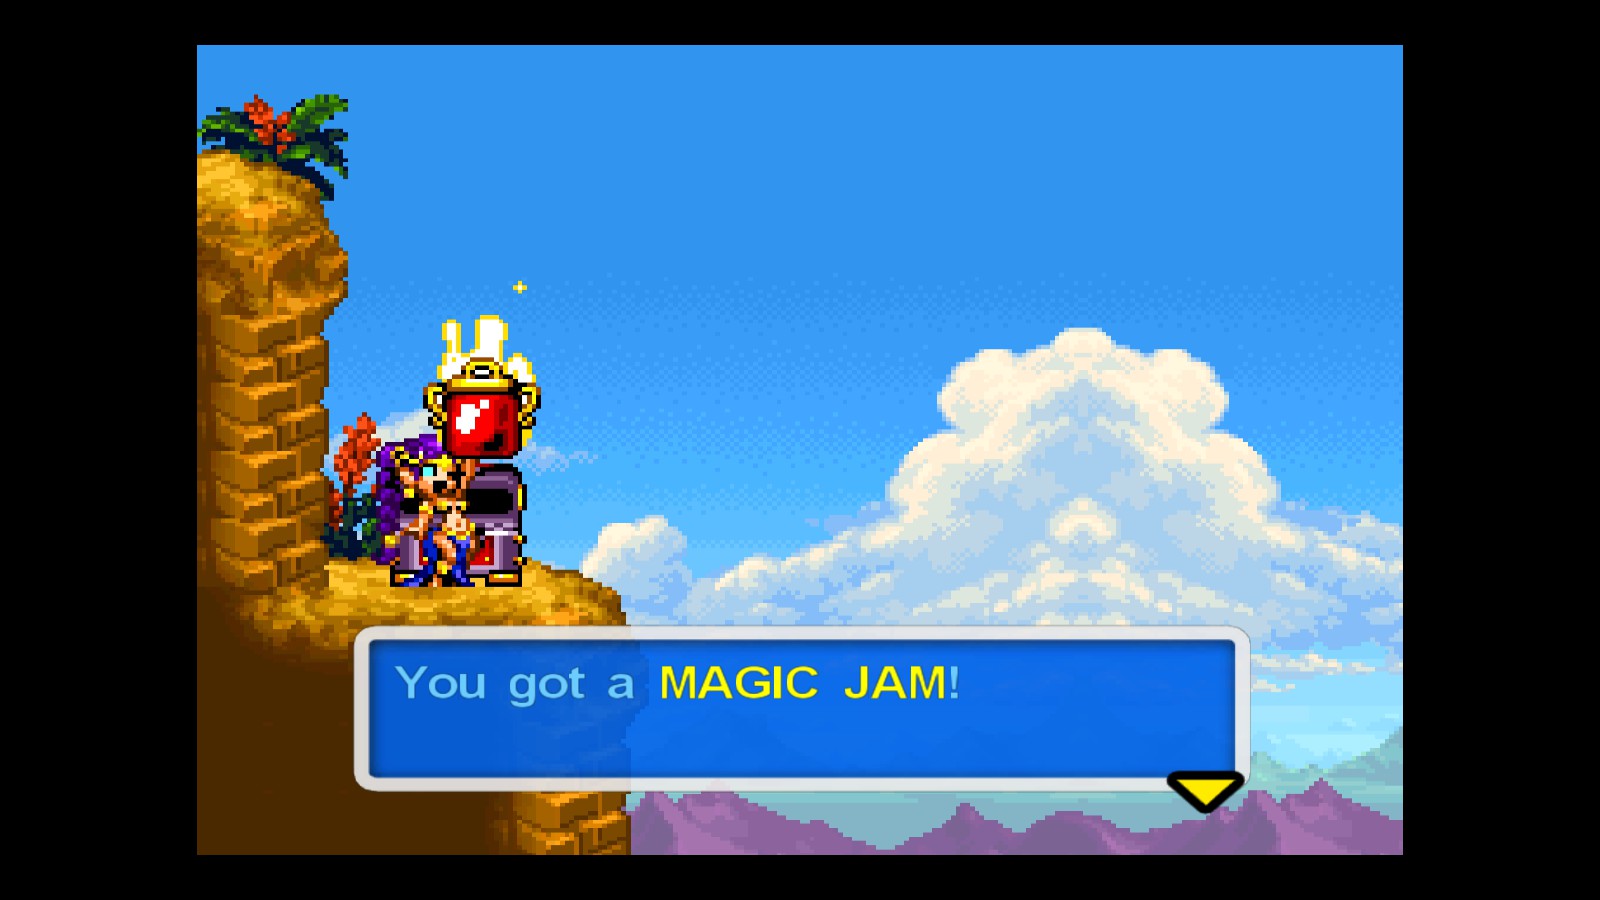
We do one of the toughest obstacle courses in the game, and our next Magic Jam will be our reward!
- Required: Monkey Dance (story related basically)
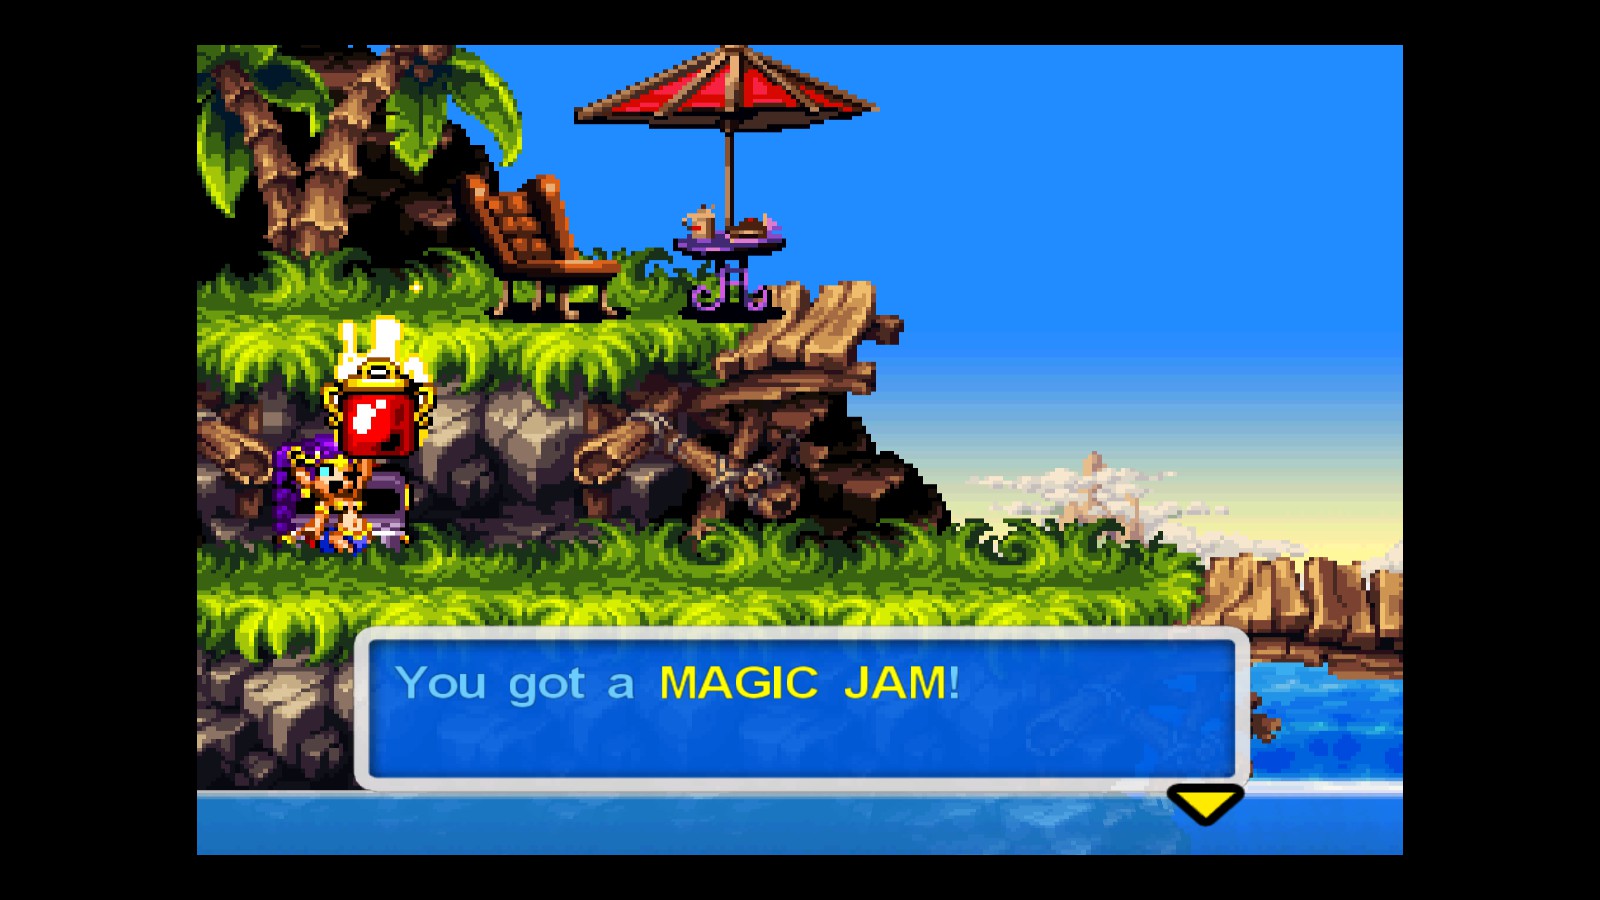
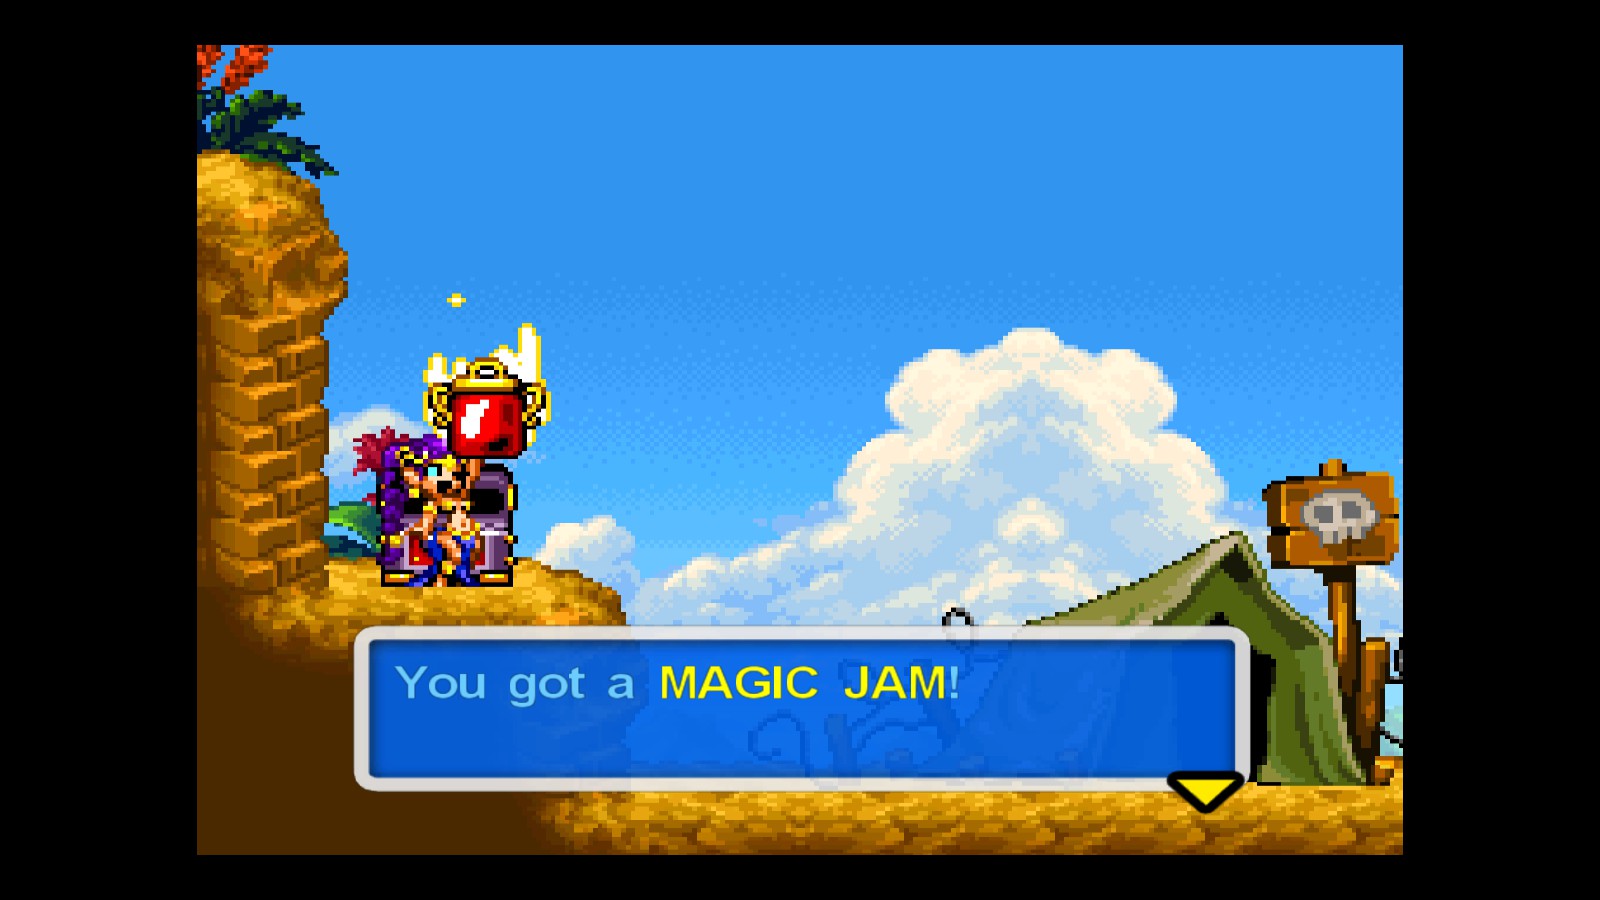
Just go to where the former Mayor was located:
Magic Jams II
Pumpkin Fields
- Required: –
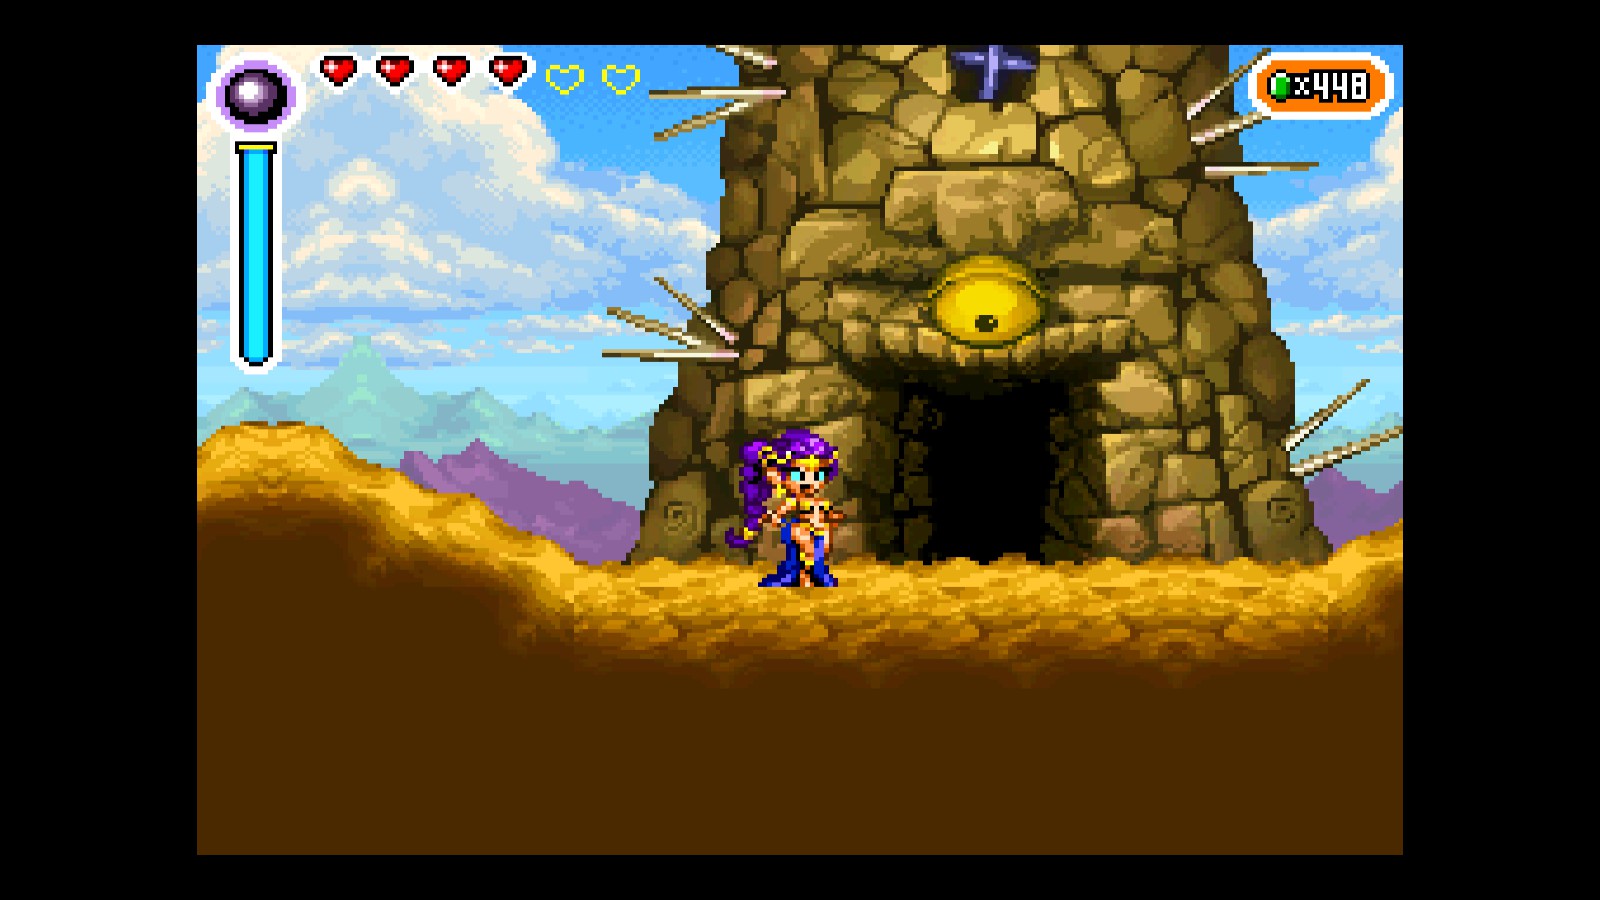
Go forward until you find a cave. That’s it.
Baron Desert
- Required: Elephant Dance + Splitfire
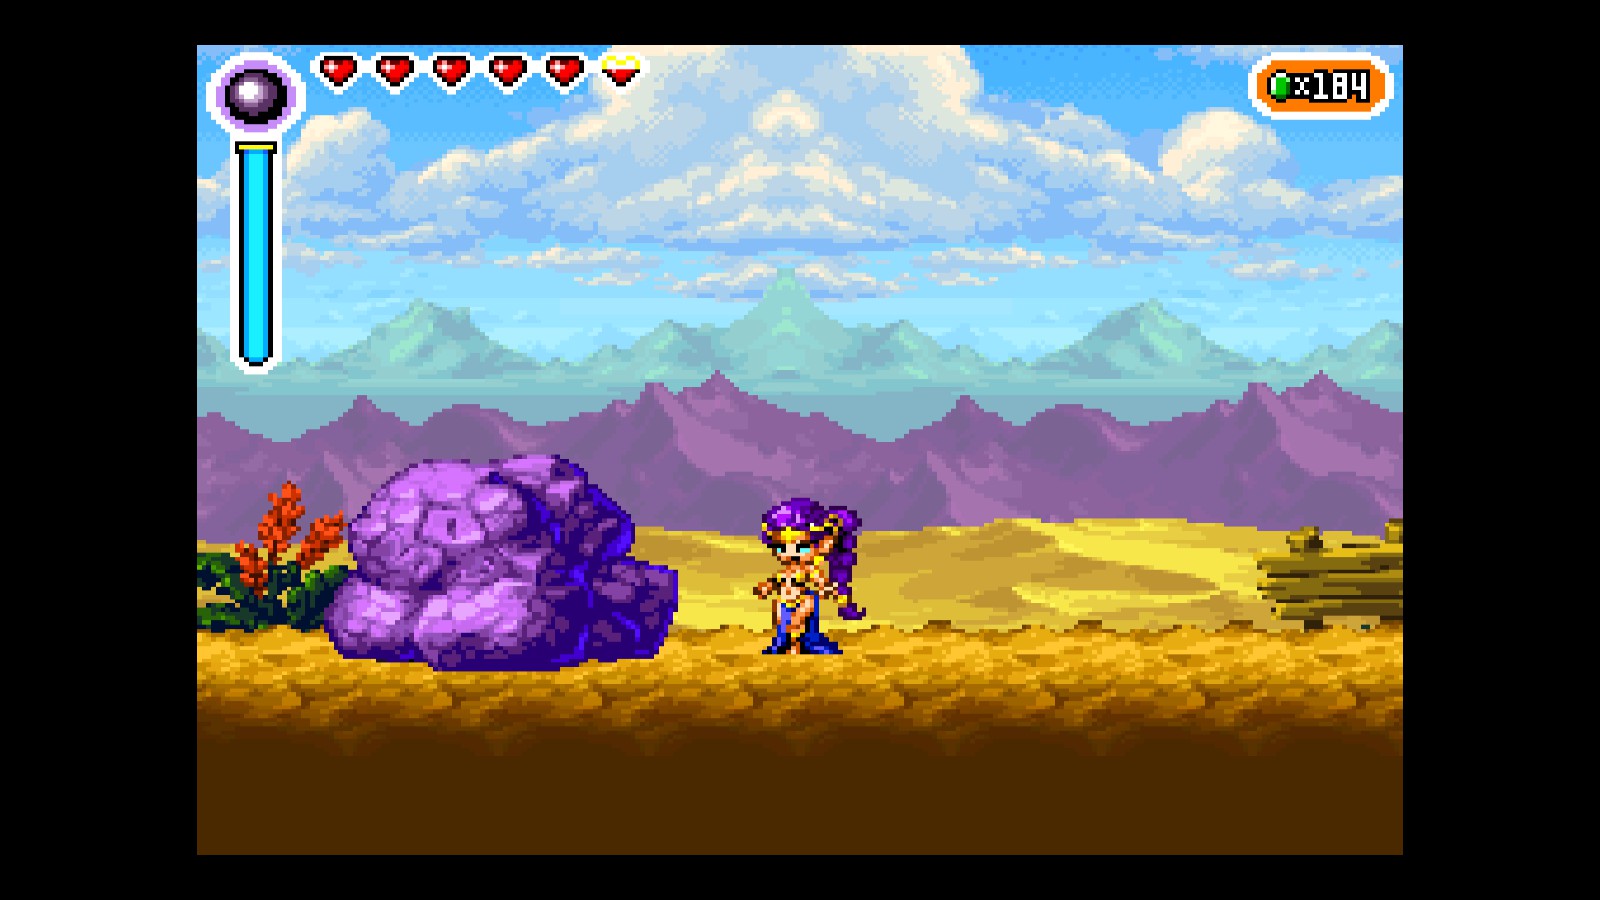
As we enter the desert, we’ll find a purple rock. Break it, go through it, and done.
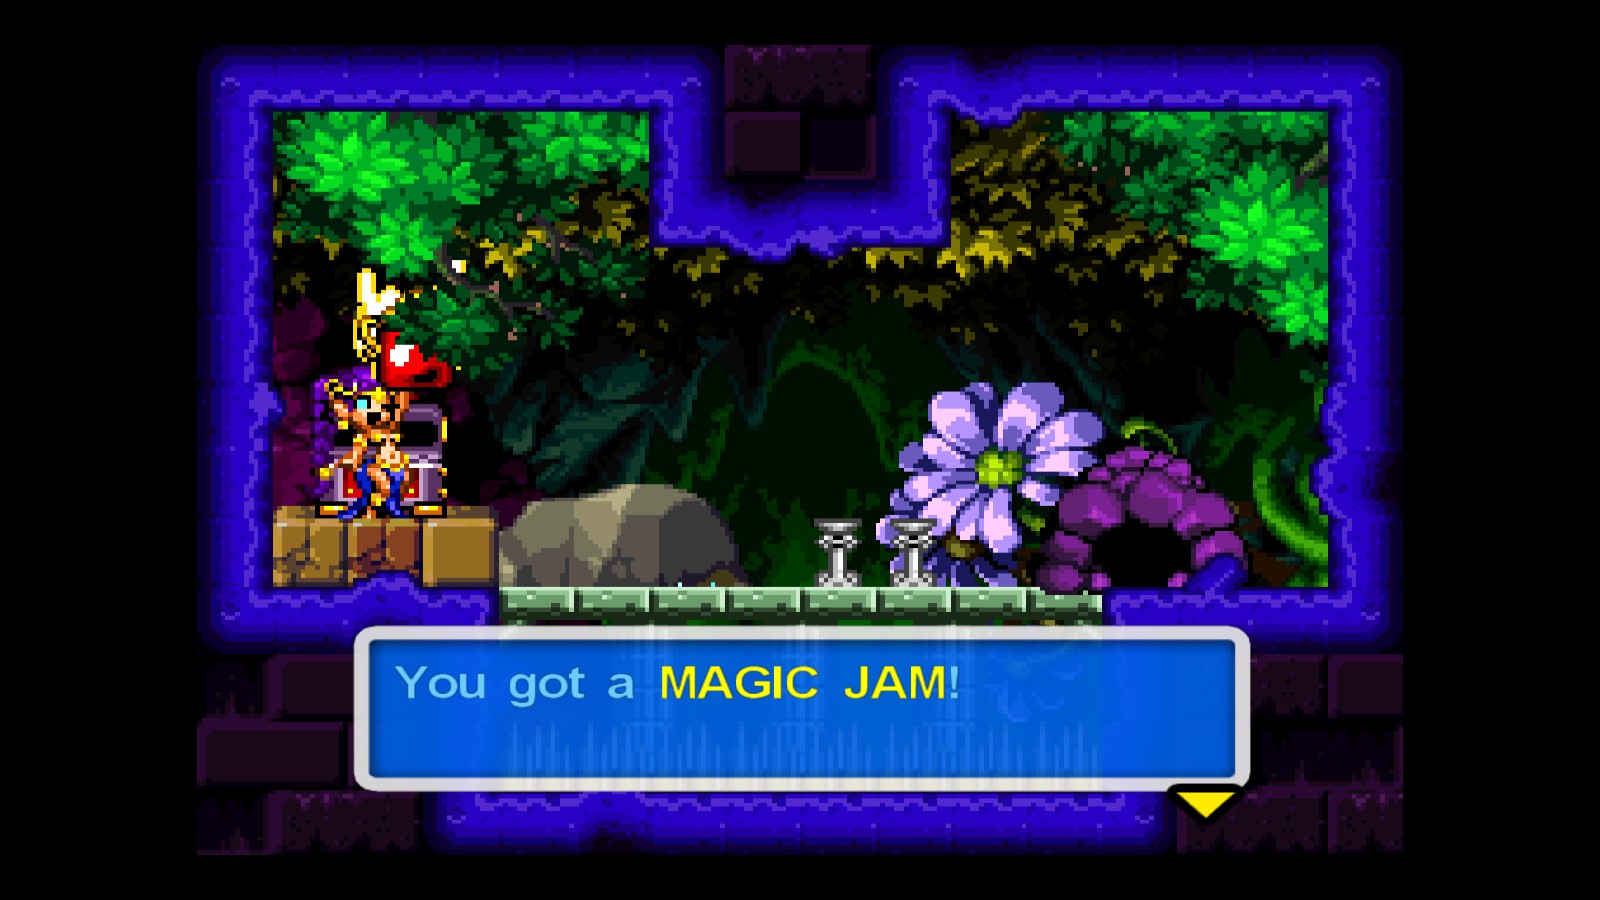
- Required: Monkey Dance + Dash
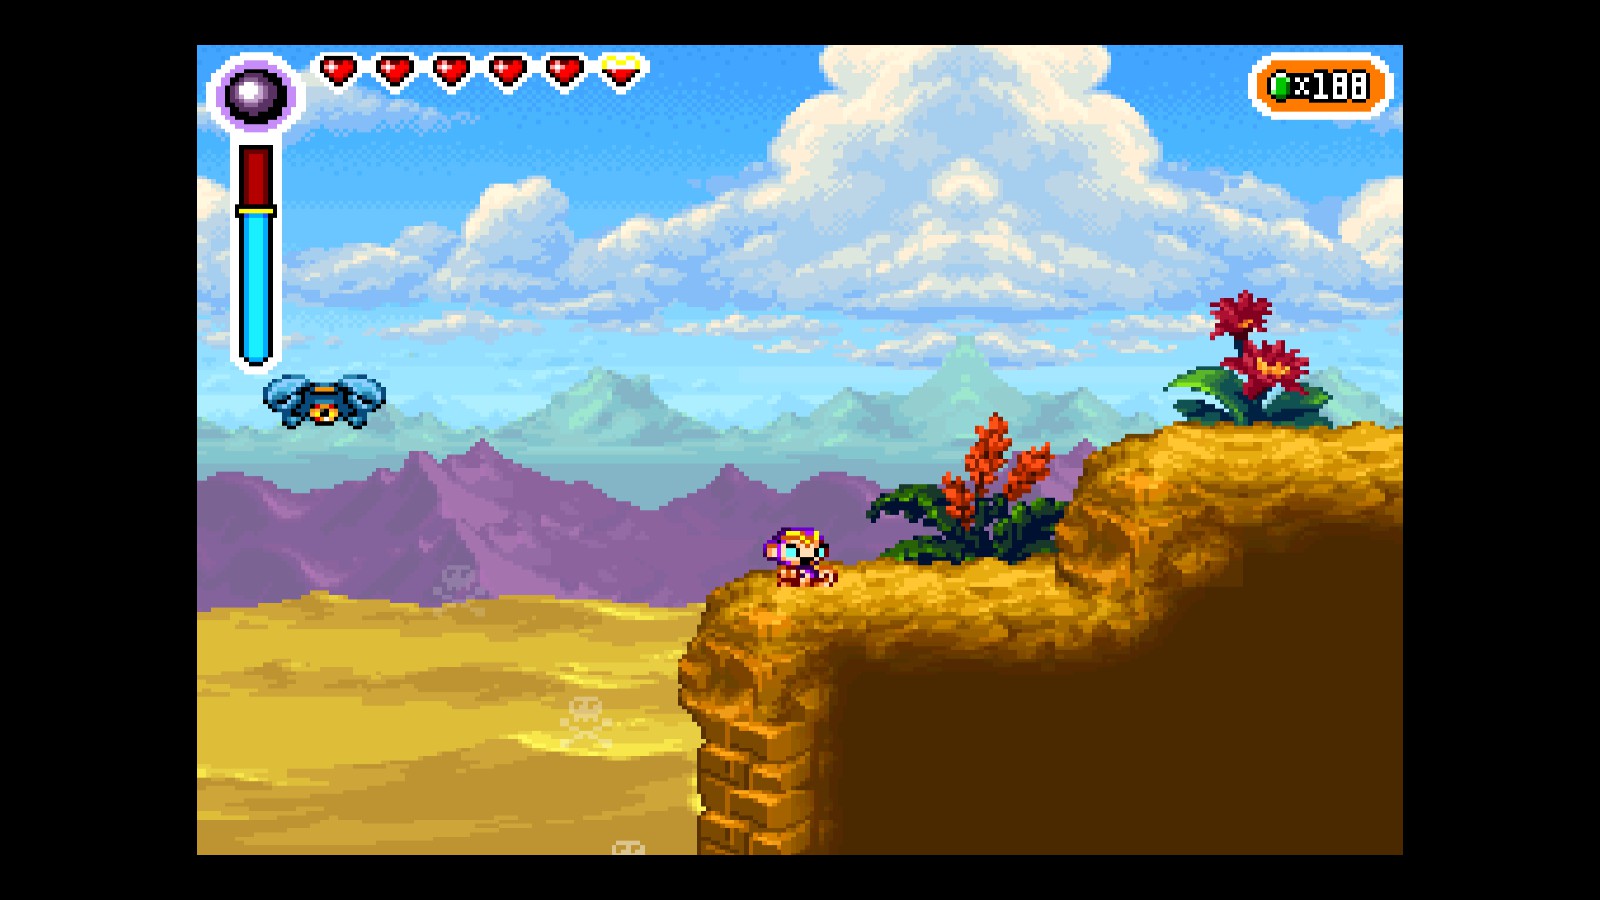
Continue in the same area, and go all the way to the left (using the monkey dash if needed) until you get to the very end of the zone:
- Required: –
Go back to the Baron Ammo’s Camping site (take the cave we just passed and then the exit closer to the left).
- Required: –
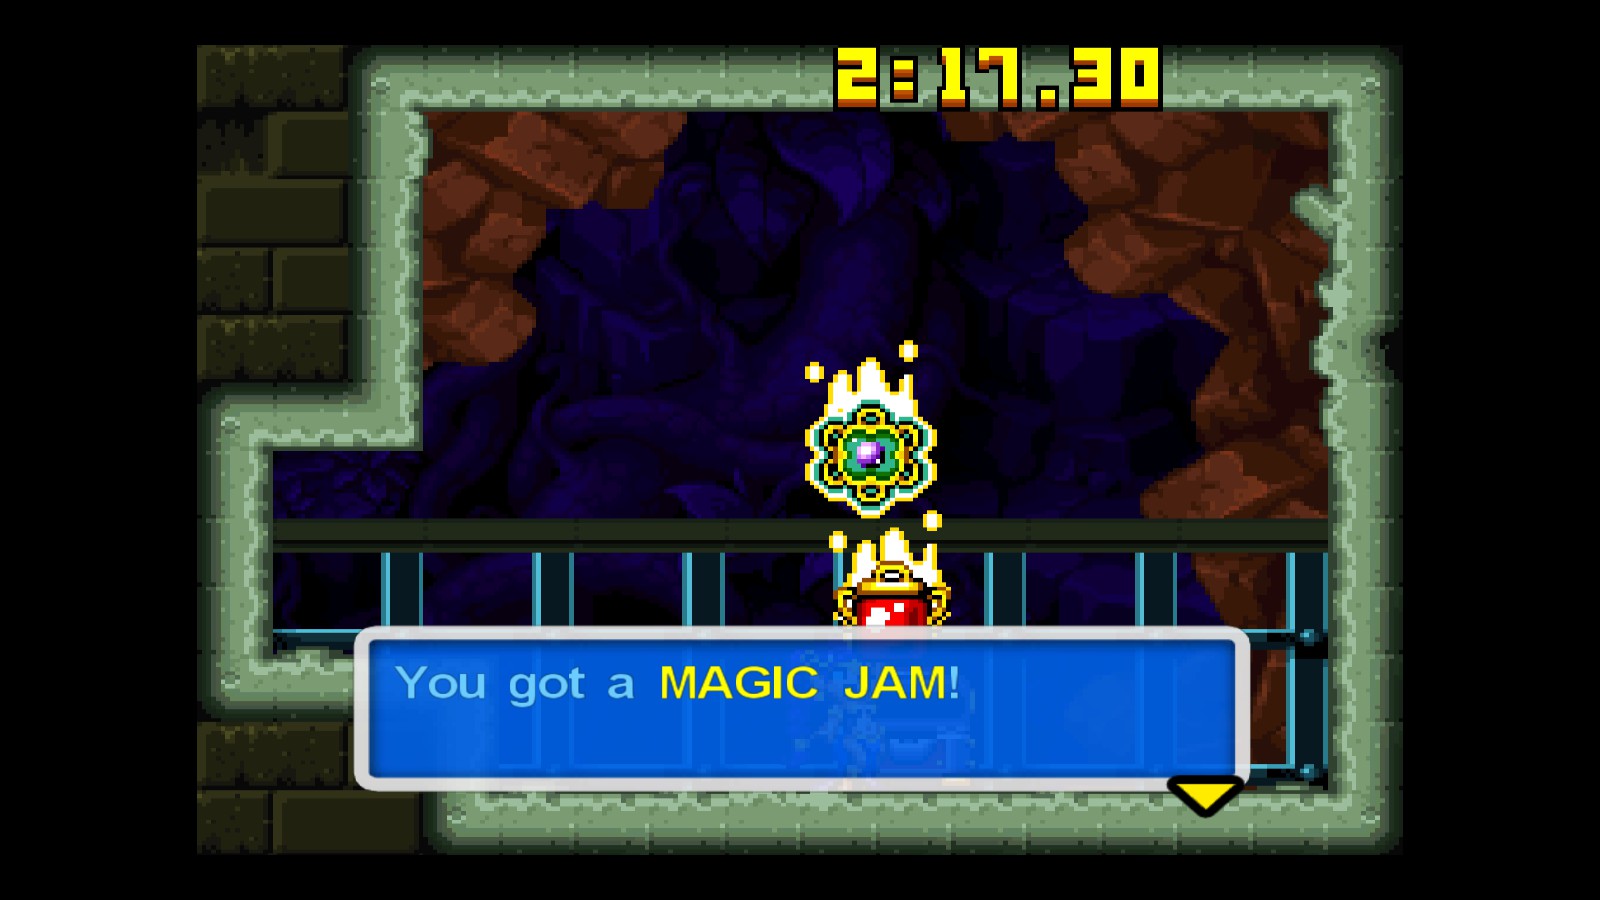
Beat the Battle Tower once again! (to get there from the last point, go back to the last cave and go to the right all the time).
Hypno Baron’s Liar
- Required: –
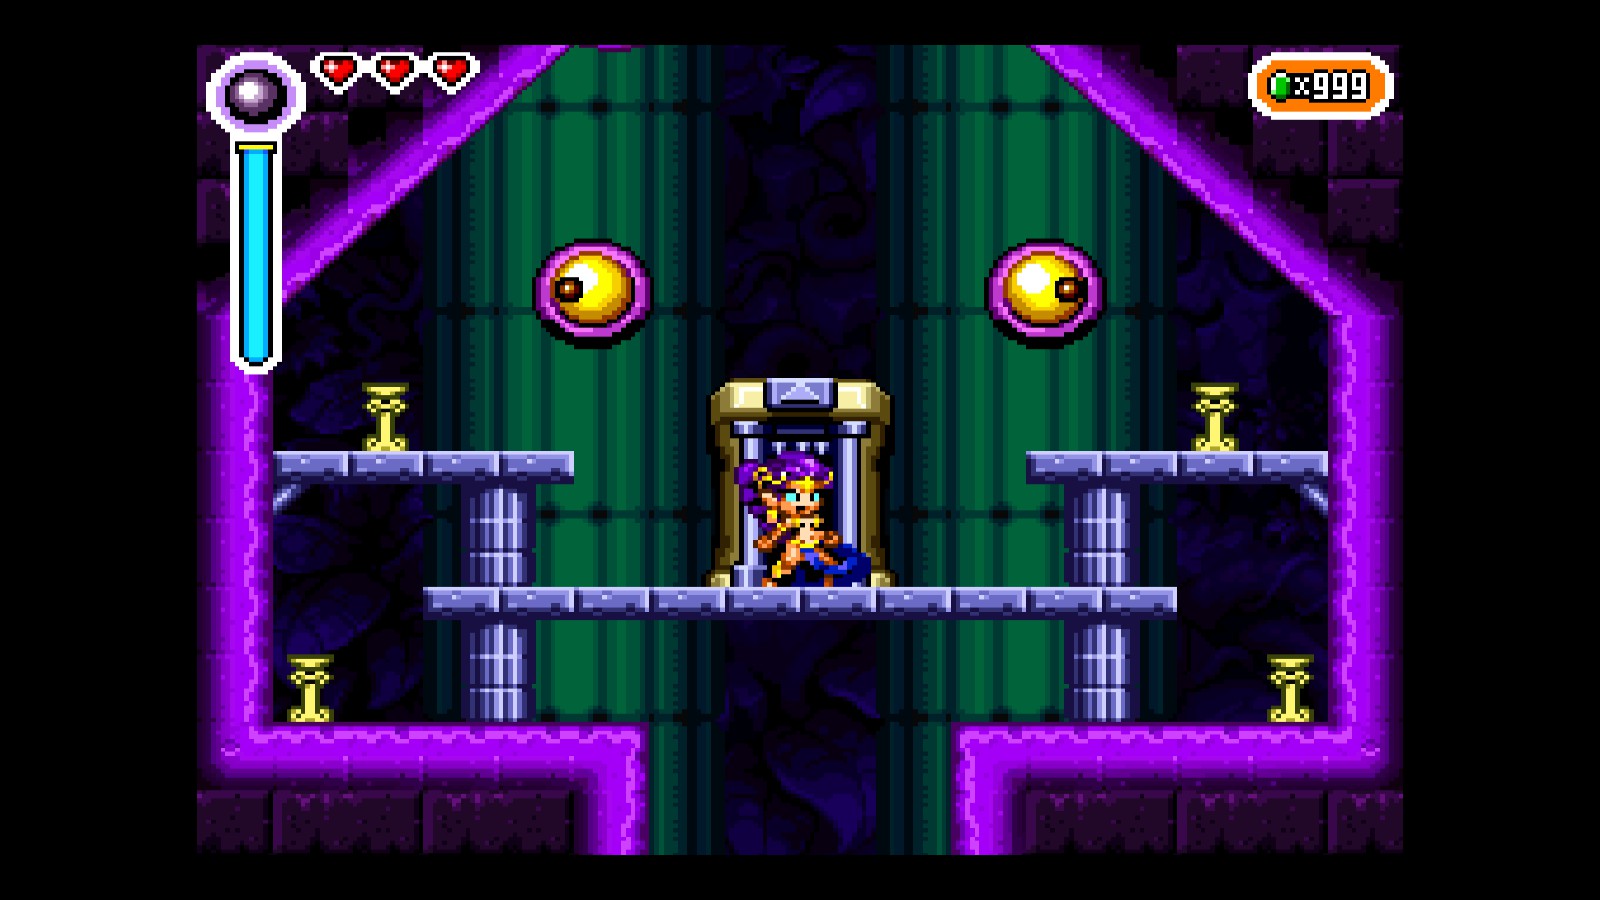
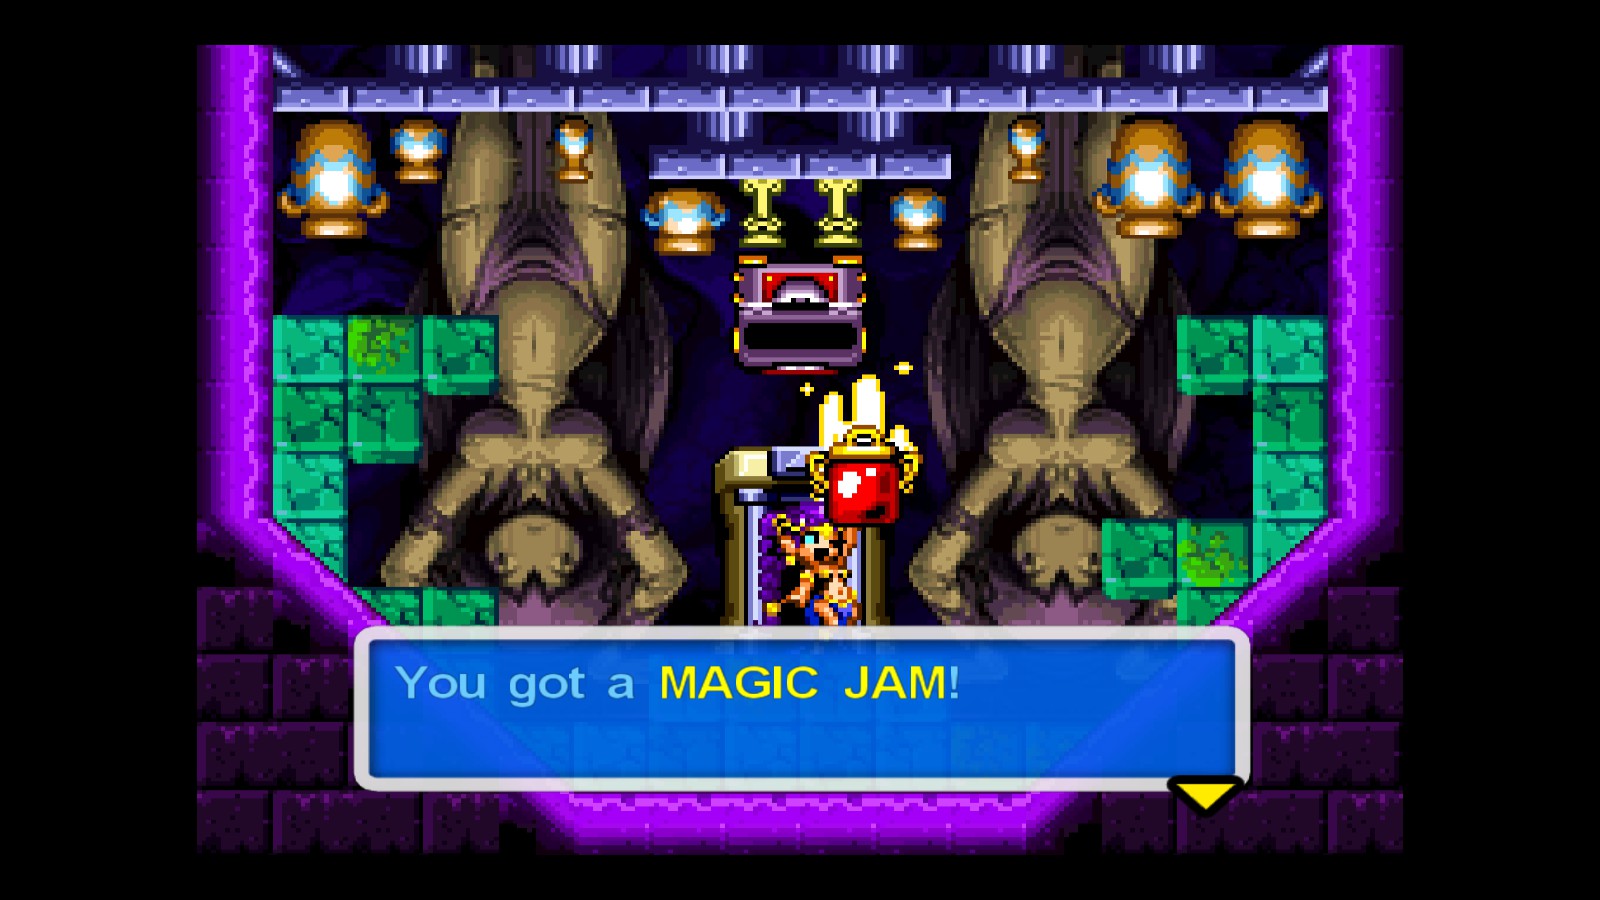
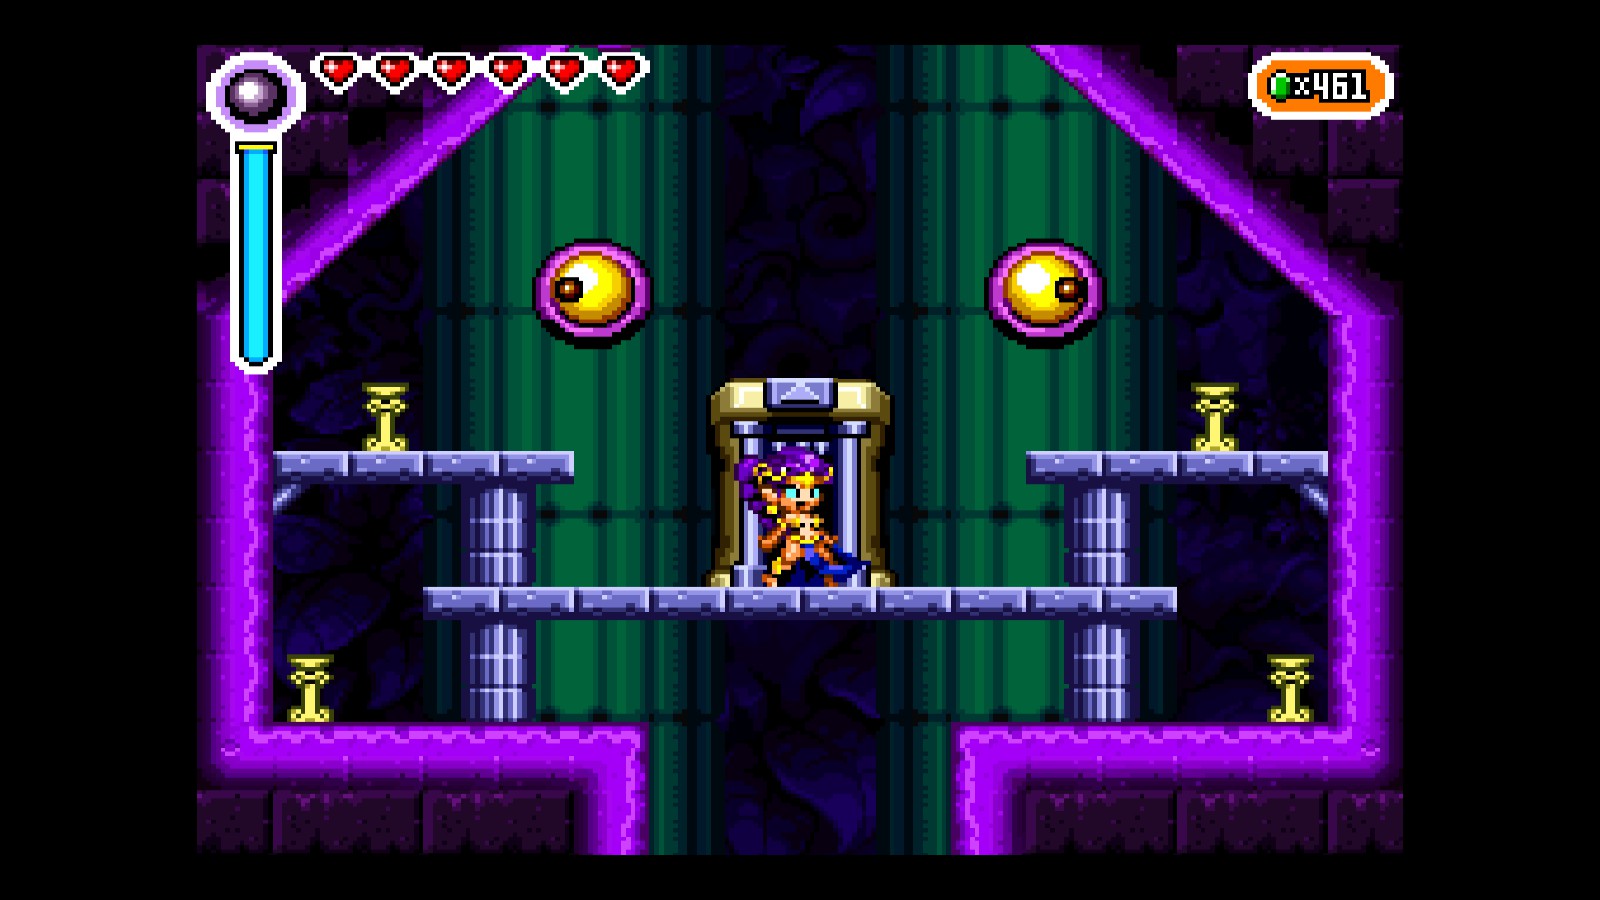
Remember: First eye looks, up; of the next one keep your right eye open to enter the door on the left
If you followed my advice, you’ll get to this room eventually:
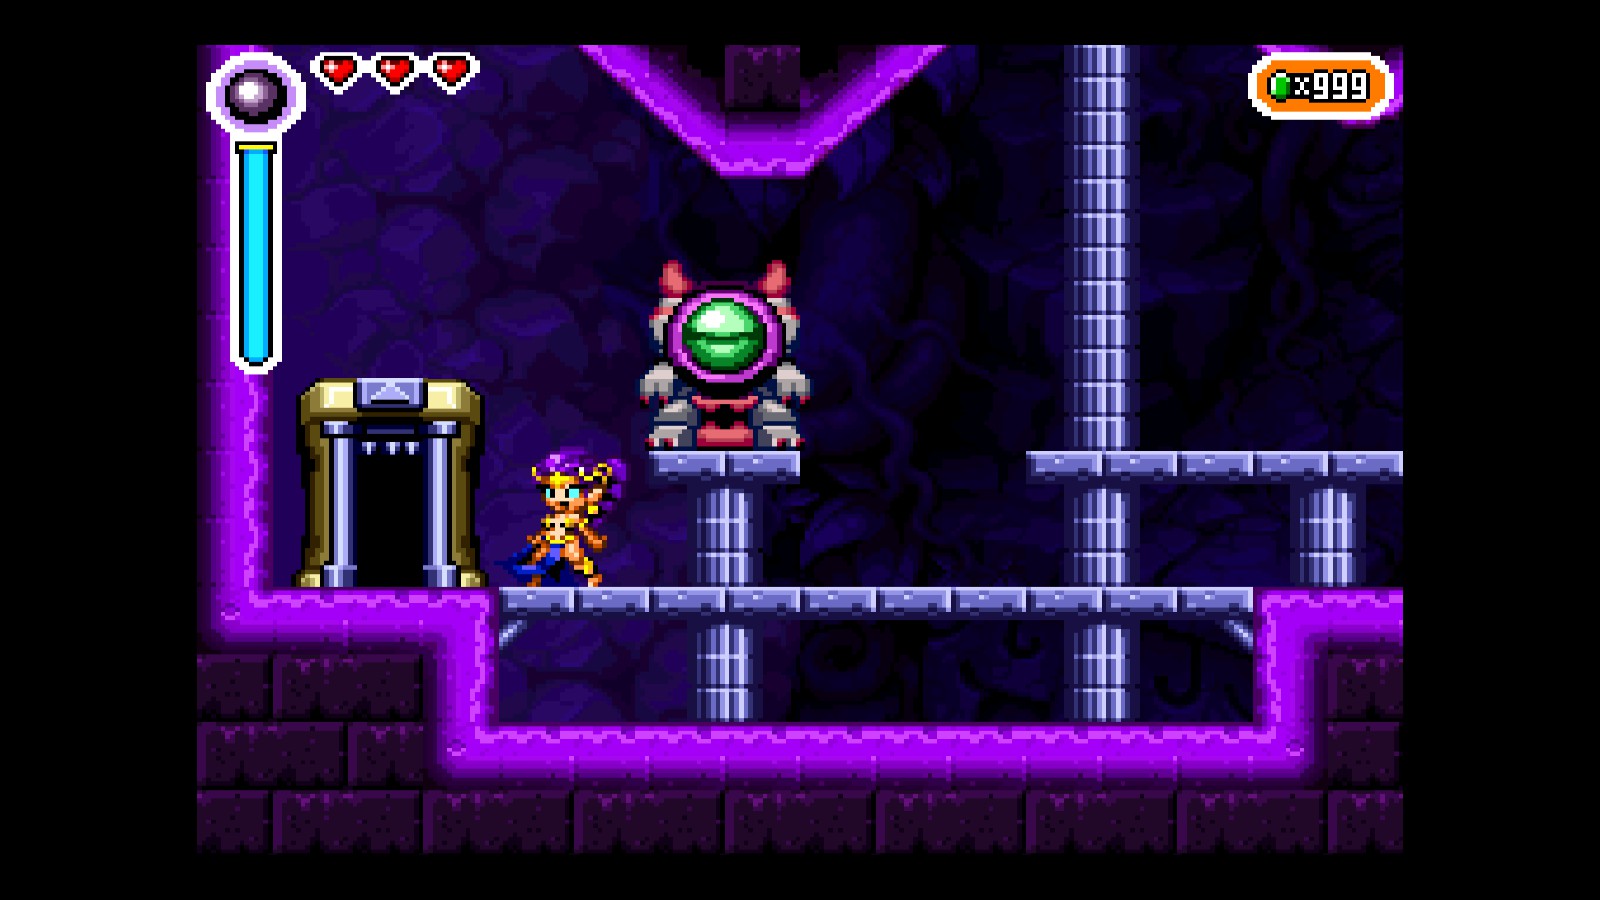
Go through (Y’know, keep your eyes on the eyes…)
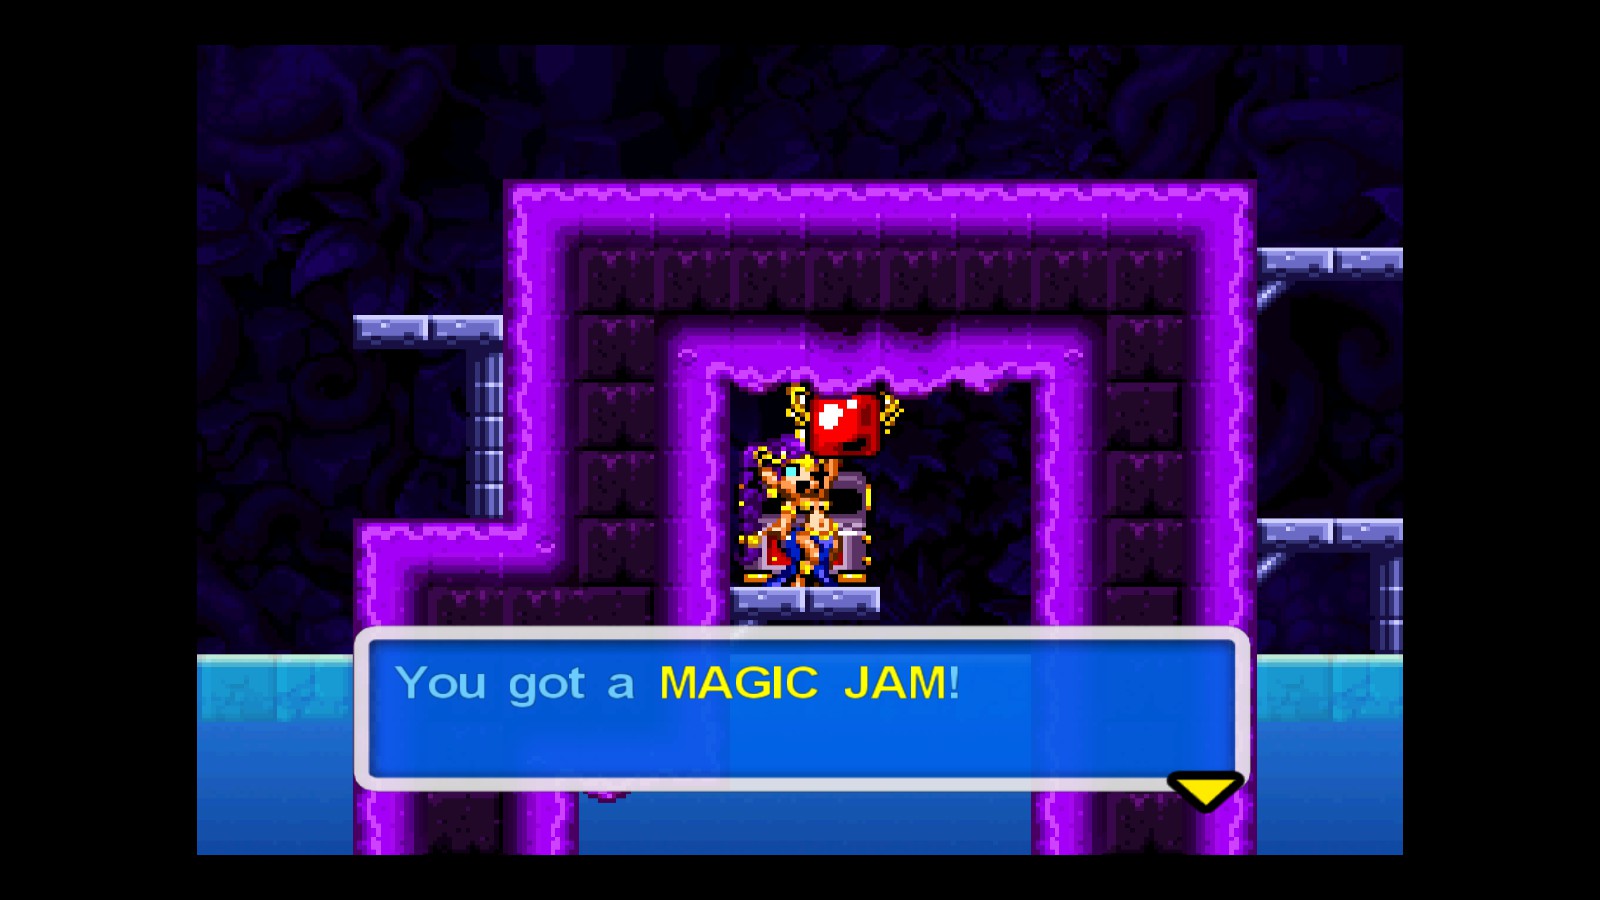
- Required: Mermaid Dance + Bubbles
Go back into the room
Once you arrive at the place where you got the Mermaid Dance, explore a tiny bit the waters.
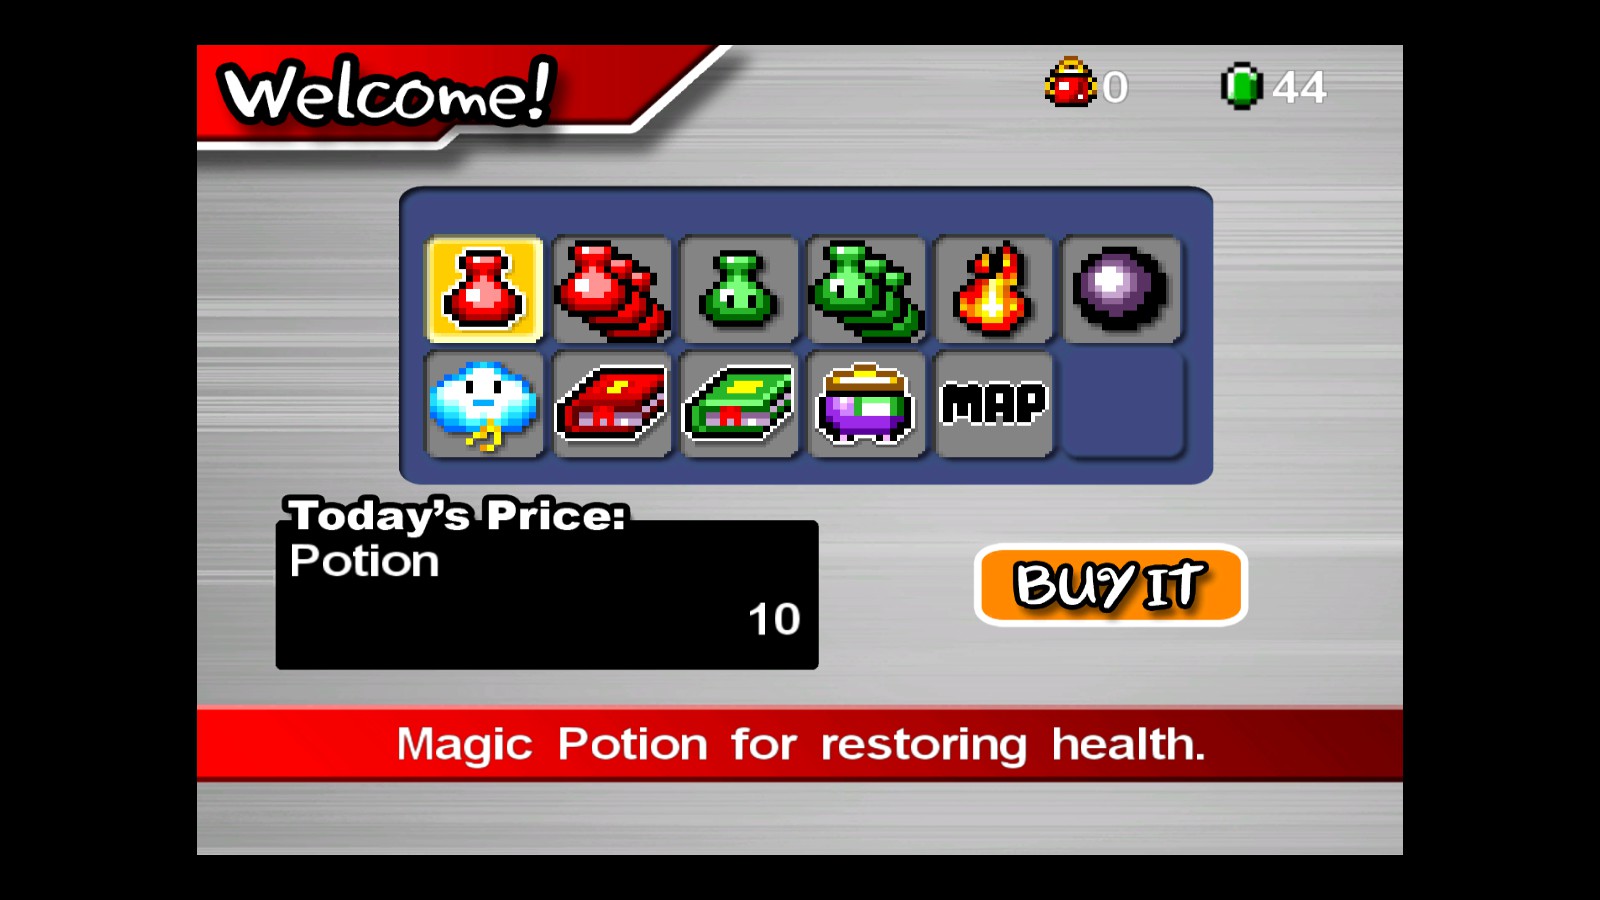
Shop
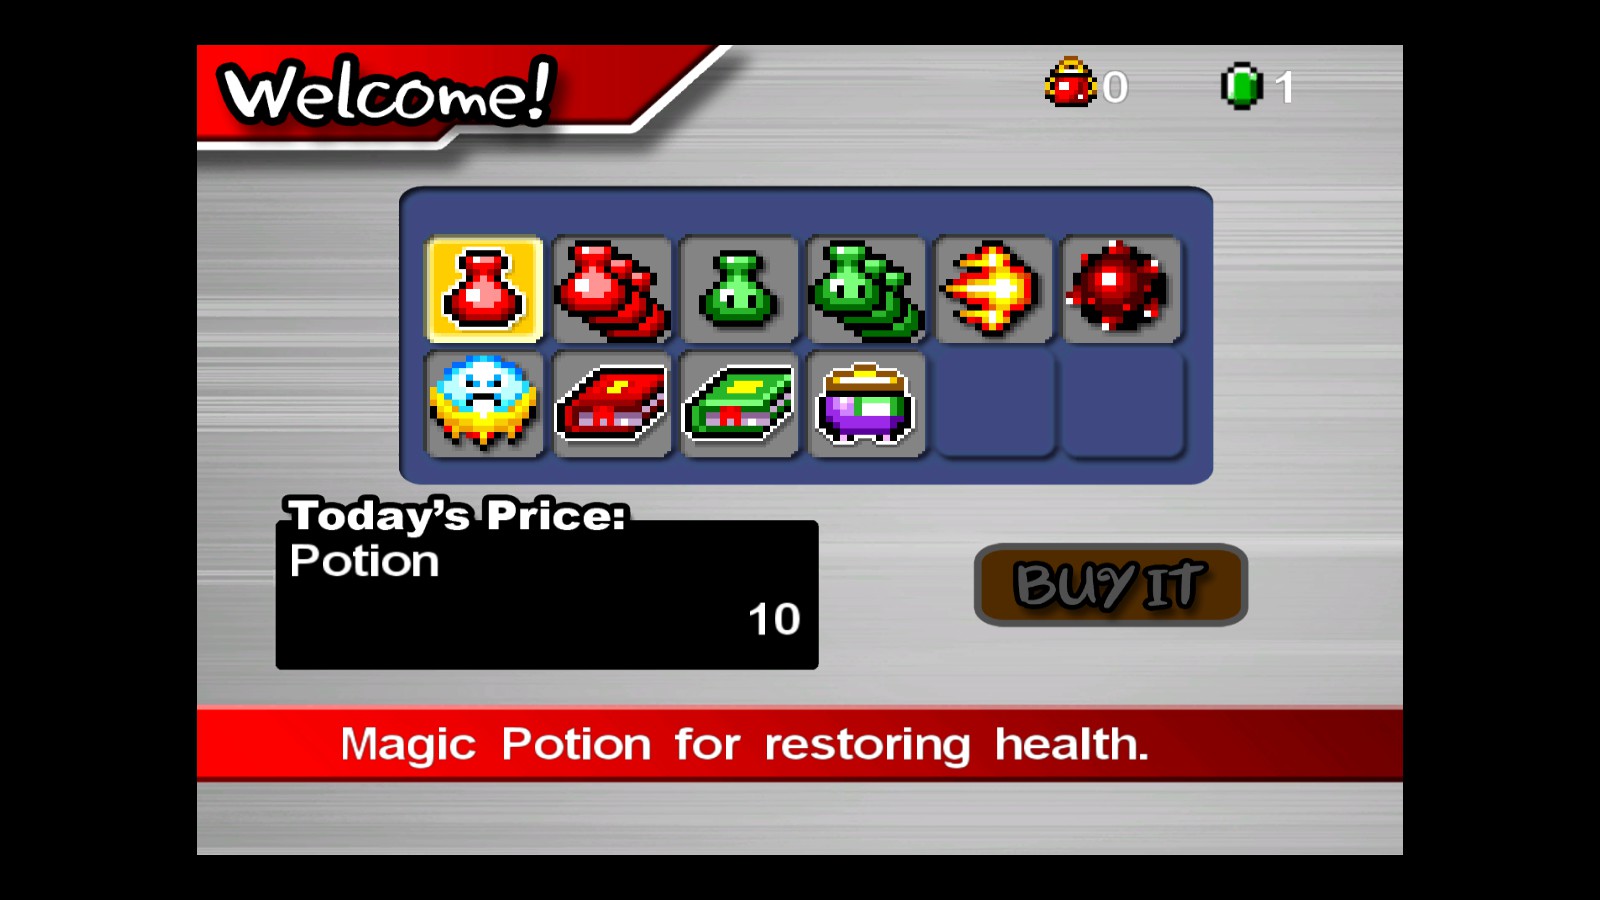
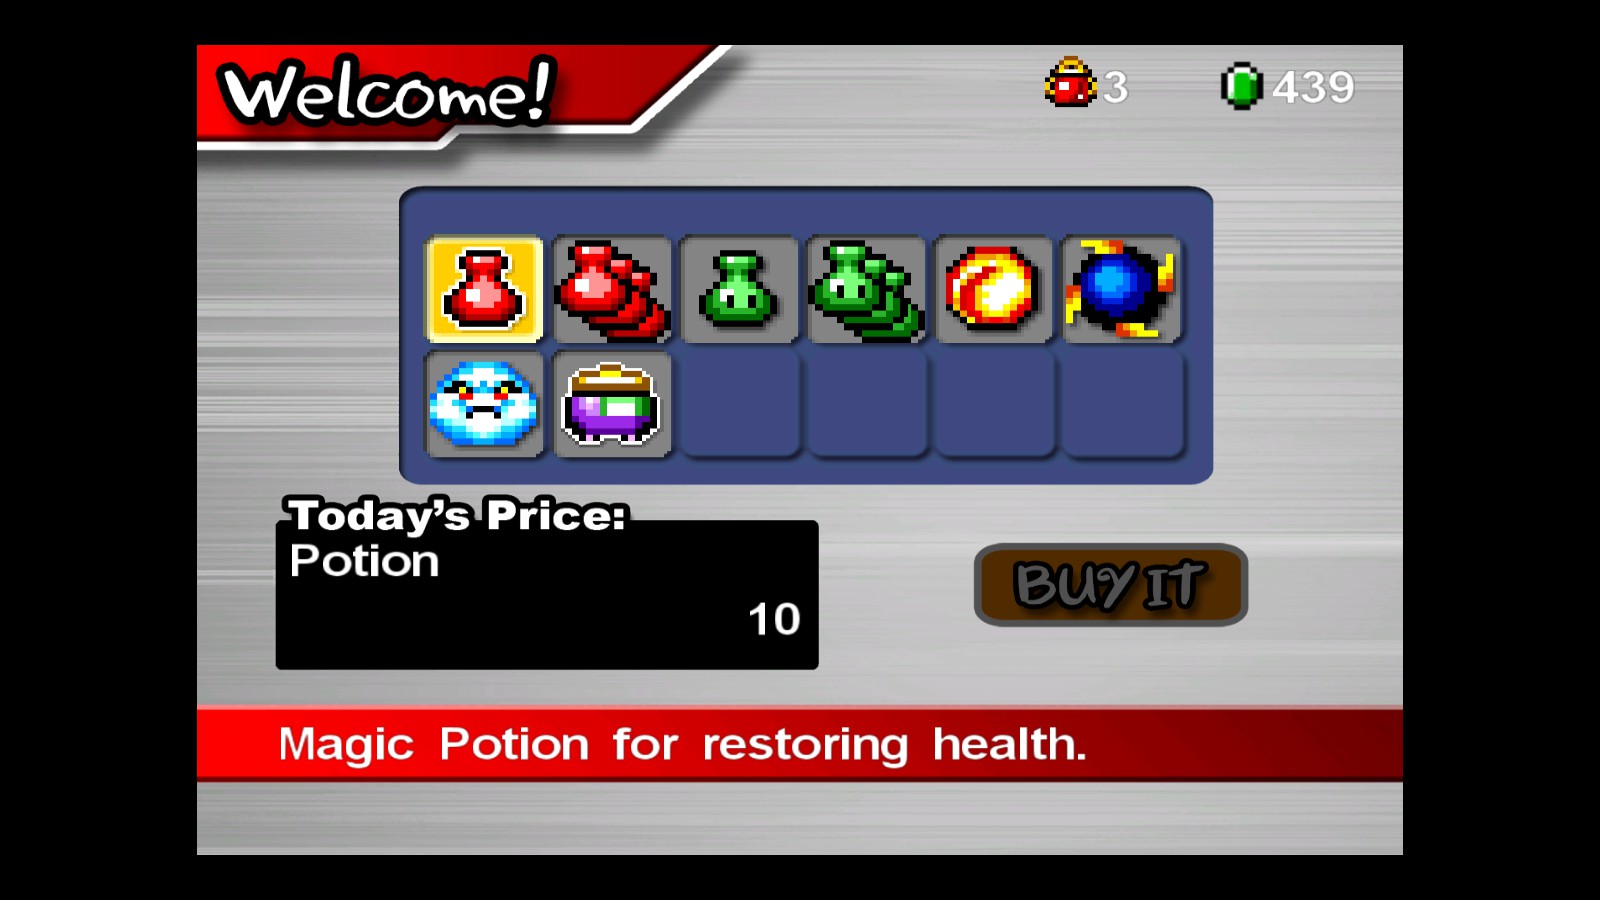
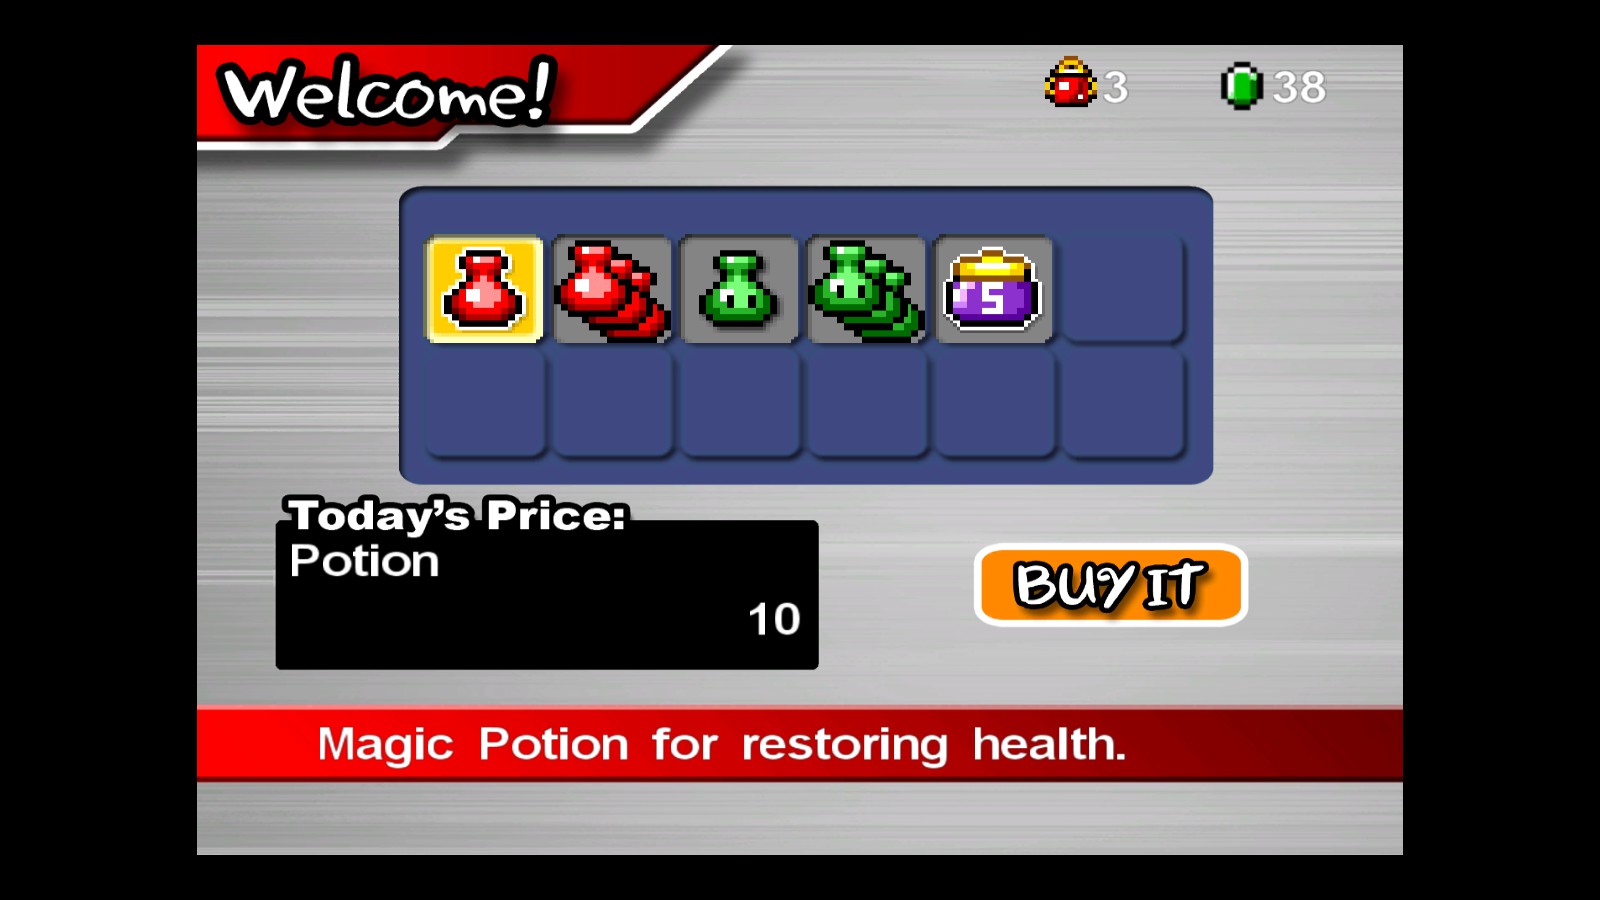
There are multiple items on the store. More than the ones initially available, so we’ll organise them by waves, showing all of them (except potions), and the total cost of everything together:
First Wave
Here we have the first wave of items on the shop, with items that exclusively require regular currency:
| Picture | Name | Description | Cost |
|---|---|---|---|
 |
Fireball | Use fireballs to BBQ your enemies! | 40 |
 |
Pike Ball | Spin a deadly PIKE BALL around your bad self. | 50 |
 |
Storm Puff | An unwieldy cloud with an electric personality. | 50 |
 |
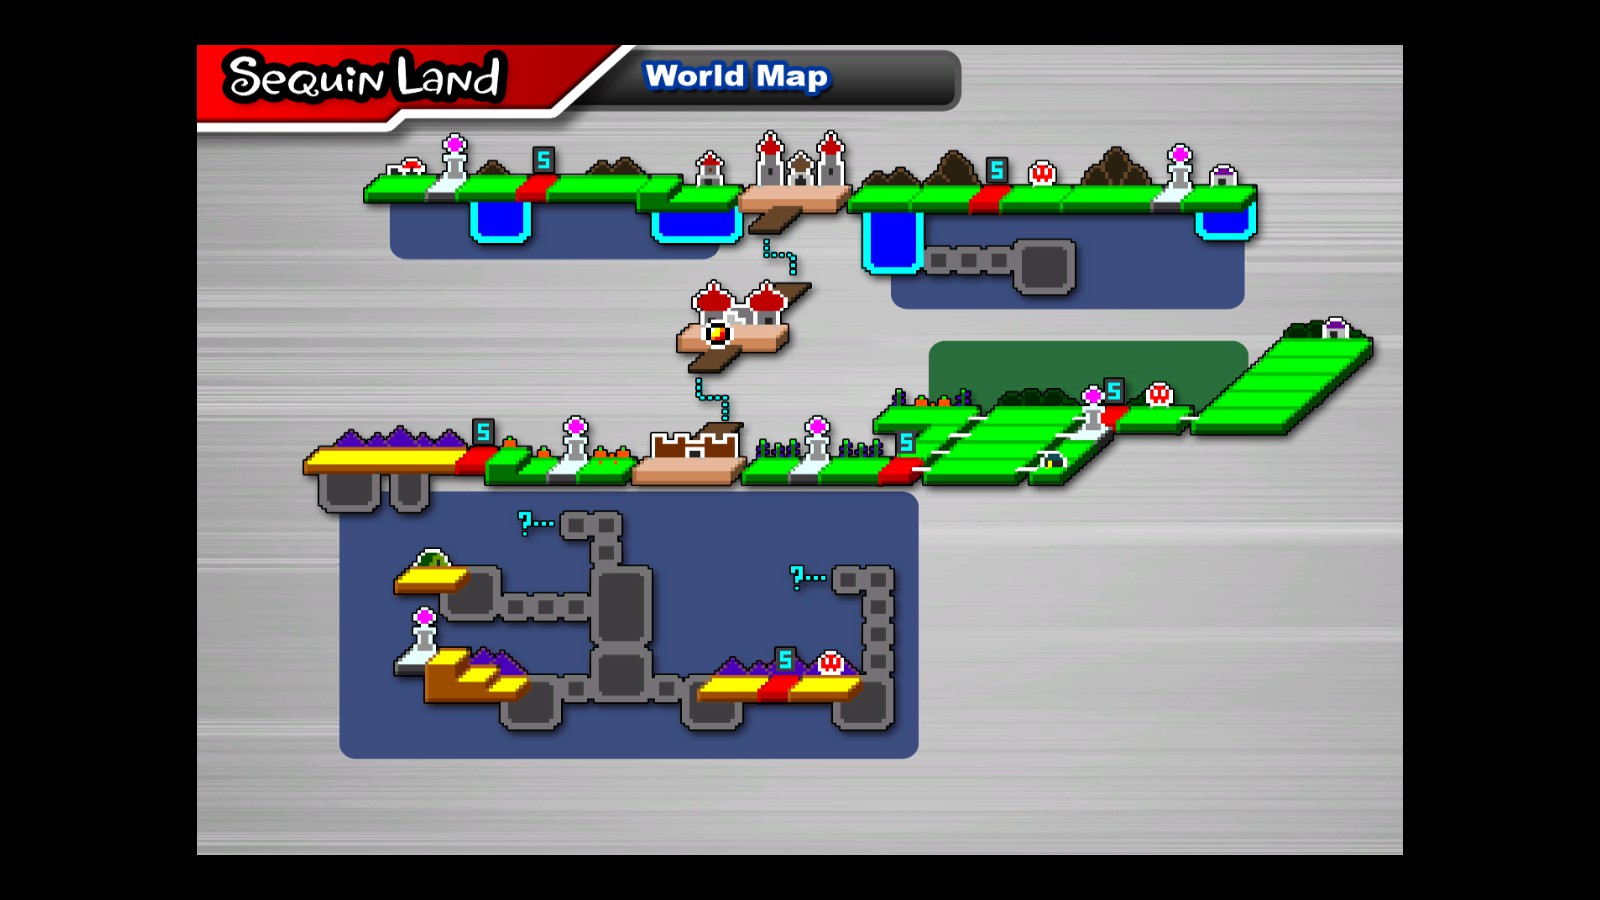
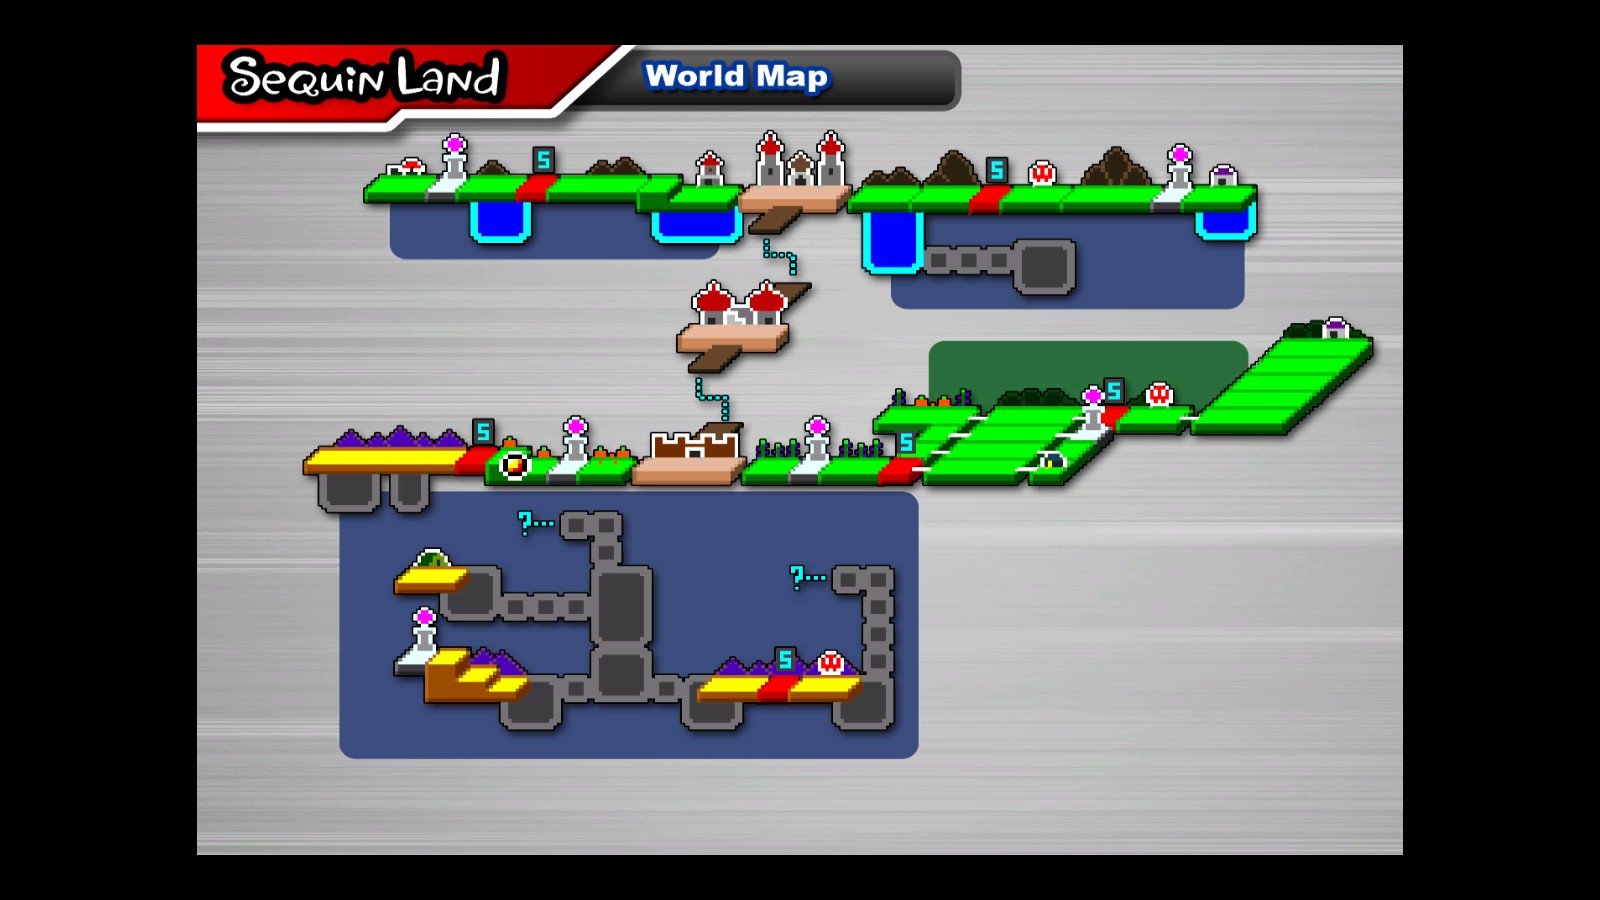
Sequin Land Map | The official map of Sequin Land. | 20 |
Second wave
The second wave of items consists of products that require you gems and also a single Magic Jam:
| Picture | Name | Description | Cost |
|---|---|---|---|
 |
Splitfire | Three fireballs at the same time! | 50 |
 |
Super Pike Ball | Two deadly orbs of destruction! | 150 |
 |
Crush Puff | Misty exterior hides explosive passion. | 125 |
 |
Attract Magic | Attracts dropped items like a magnet. | 100 |
 |
Magic Fill | Your Magic Meter refills automatically. | 150 |
Third Wave
The third wave of items consists of products that require you gems and also two Magic Jams:
| Picture | Name | Description | Cost |
|---|---|---|---|
 |
Flamethrower | Kids love it! | 300 |
 |
Mega Pike Ball | Three spheres of ultimate suffering | 300 |
 |
Mega Puff | Persistent damage with maximum range | 250 |
Special Wave: Cremes
Just to get the last items of the shop, cremes allow you to attack faster:
| Picture | Name | Description | Cost |
|---|---|---|---|
 |
Silky Creme | Repairs split ends for faster whipping | 200 |
 |
Super Silky Creme | Smooths and shapes for max hair power! | 300 |
The End
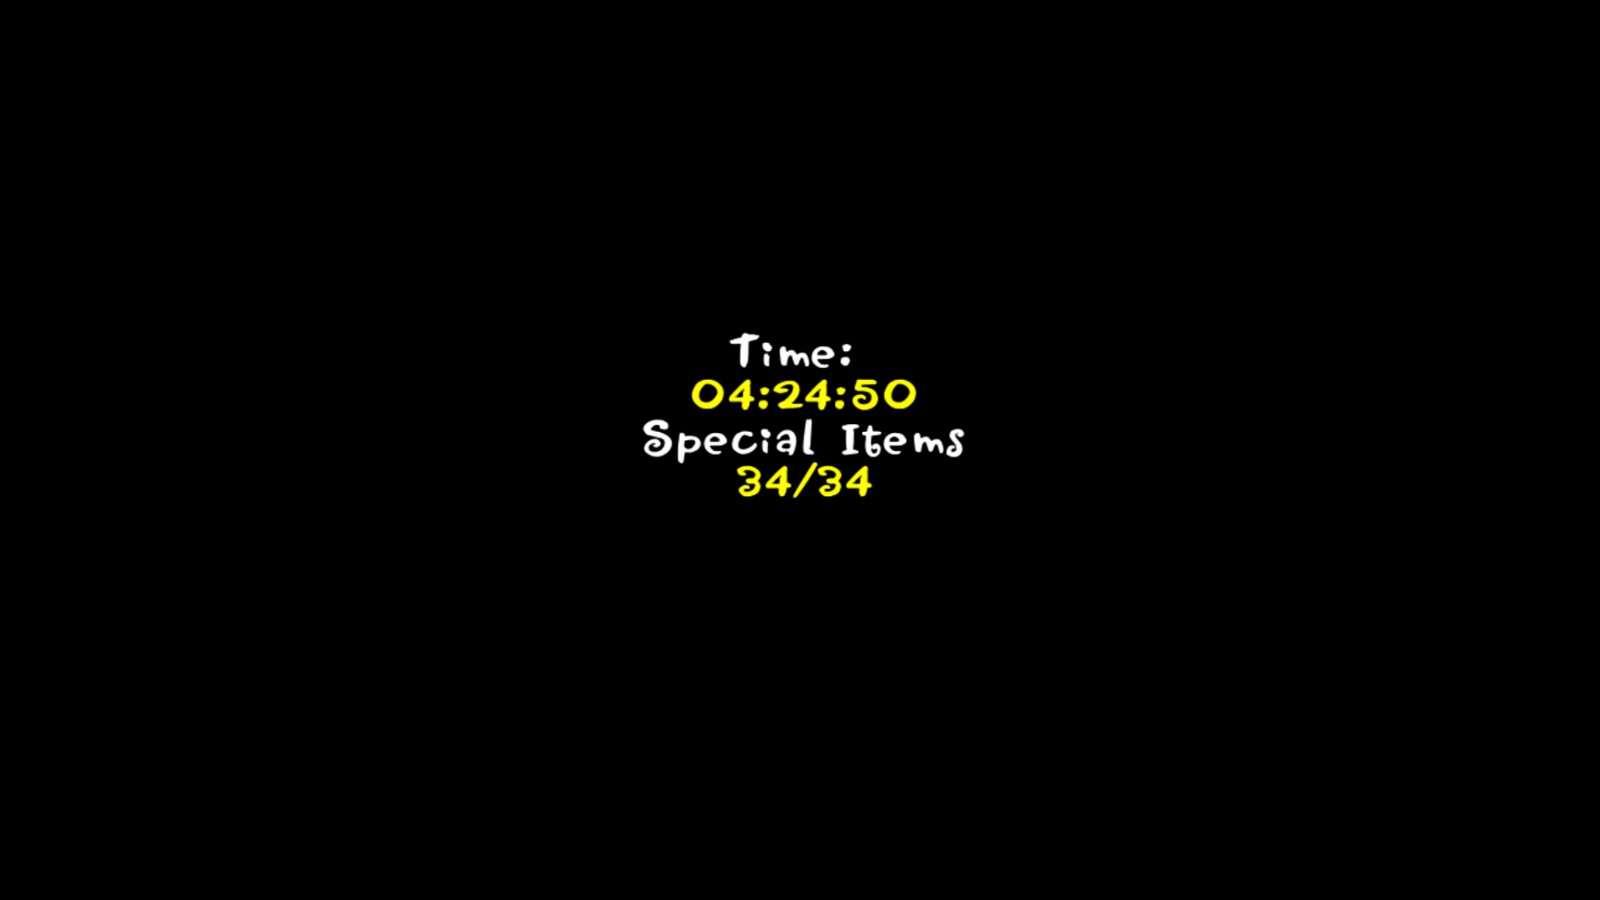
If I’m not mistaken (which I shouldn’t since I’ve gone through the entire game to be sure), these are all the items in the game. I want to thanks once again to the other guides I used as a reference. The reason why I made this one is because while playing by myself, I realised that there were a couple of items missing.
I don’t know if the item location changes depending on the gamemode. If there’s any error you may notice, from locations to typos, please let me know!
Thanks for reading this guide!!
Hope you enjoy the post for Shantae: Risky’s Revenge – Director’s Cut Complete Gameplay Tutorial + Achievements, If you think we should update the post or something is wrong please let us know via comment and we will fix it how fast as possible! Thank you and have a great day!
- Check All Shantae: Risky's Revenge - Director's Cut Posts List





























Leave a Reply