Maps
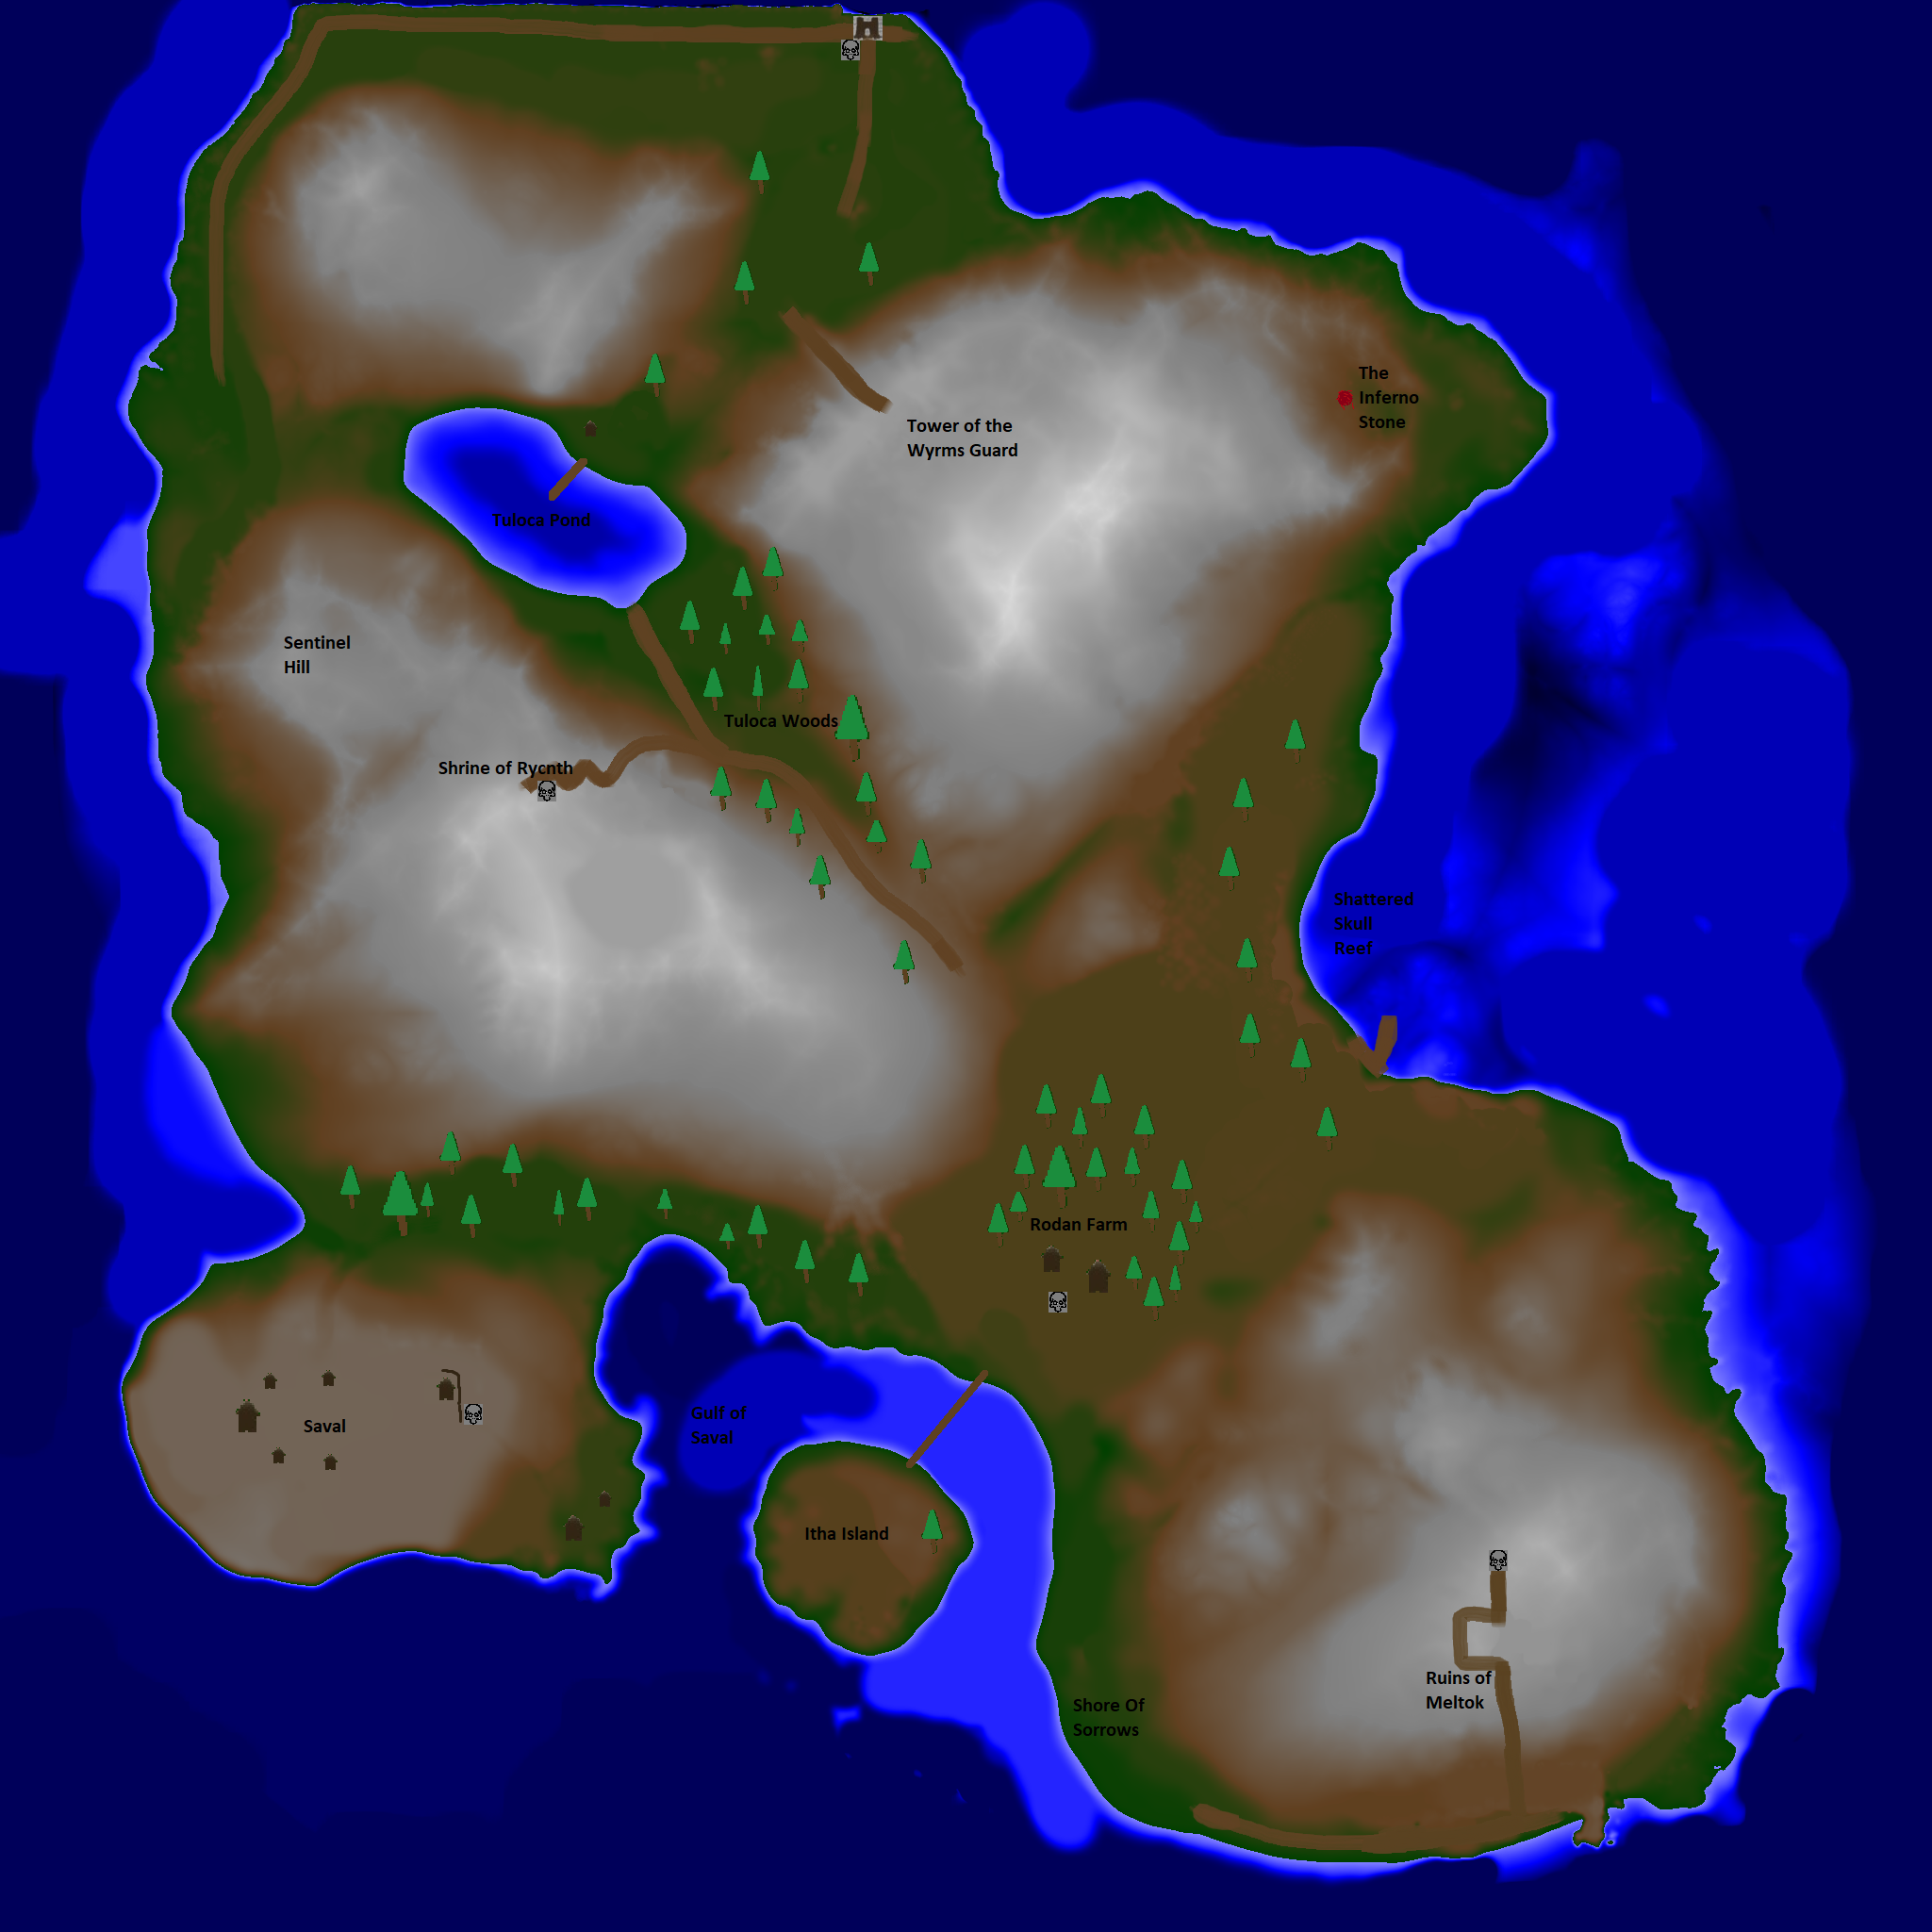
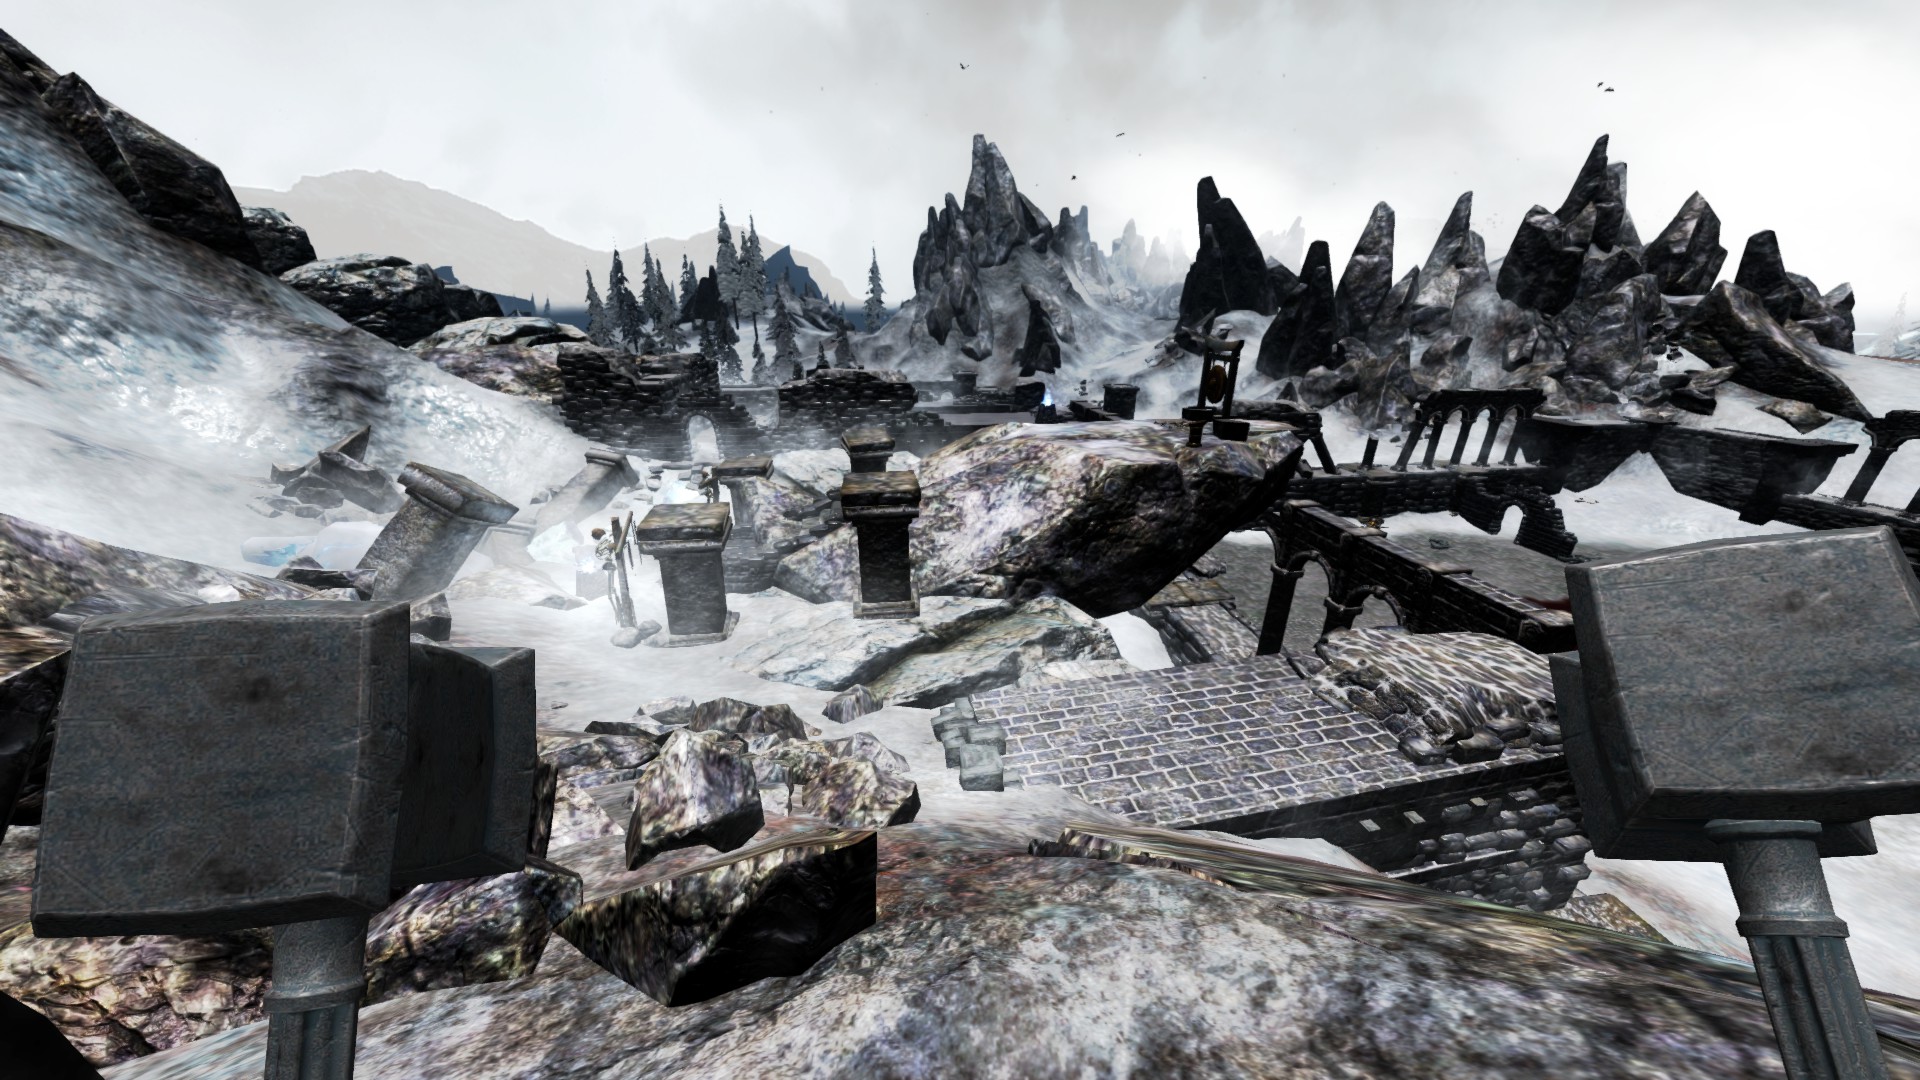
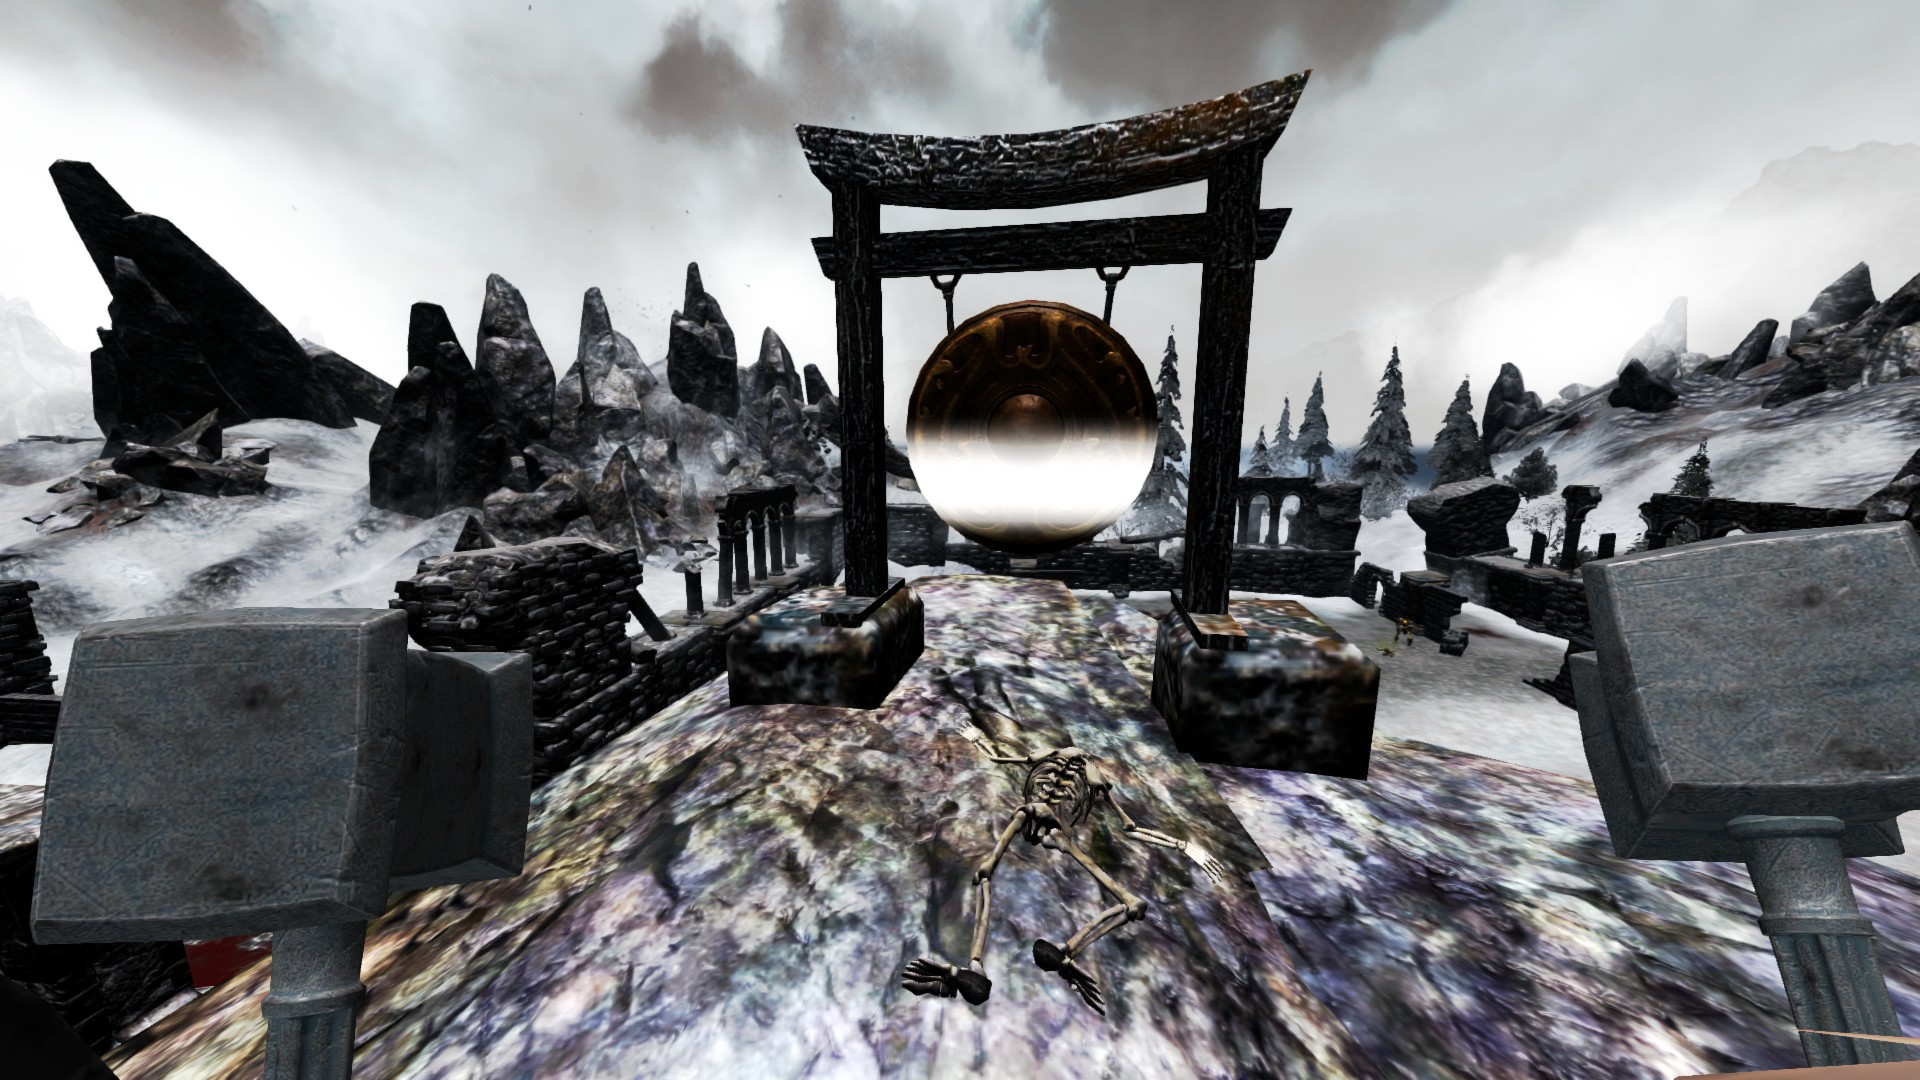
Snowmere
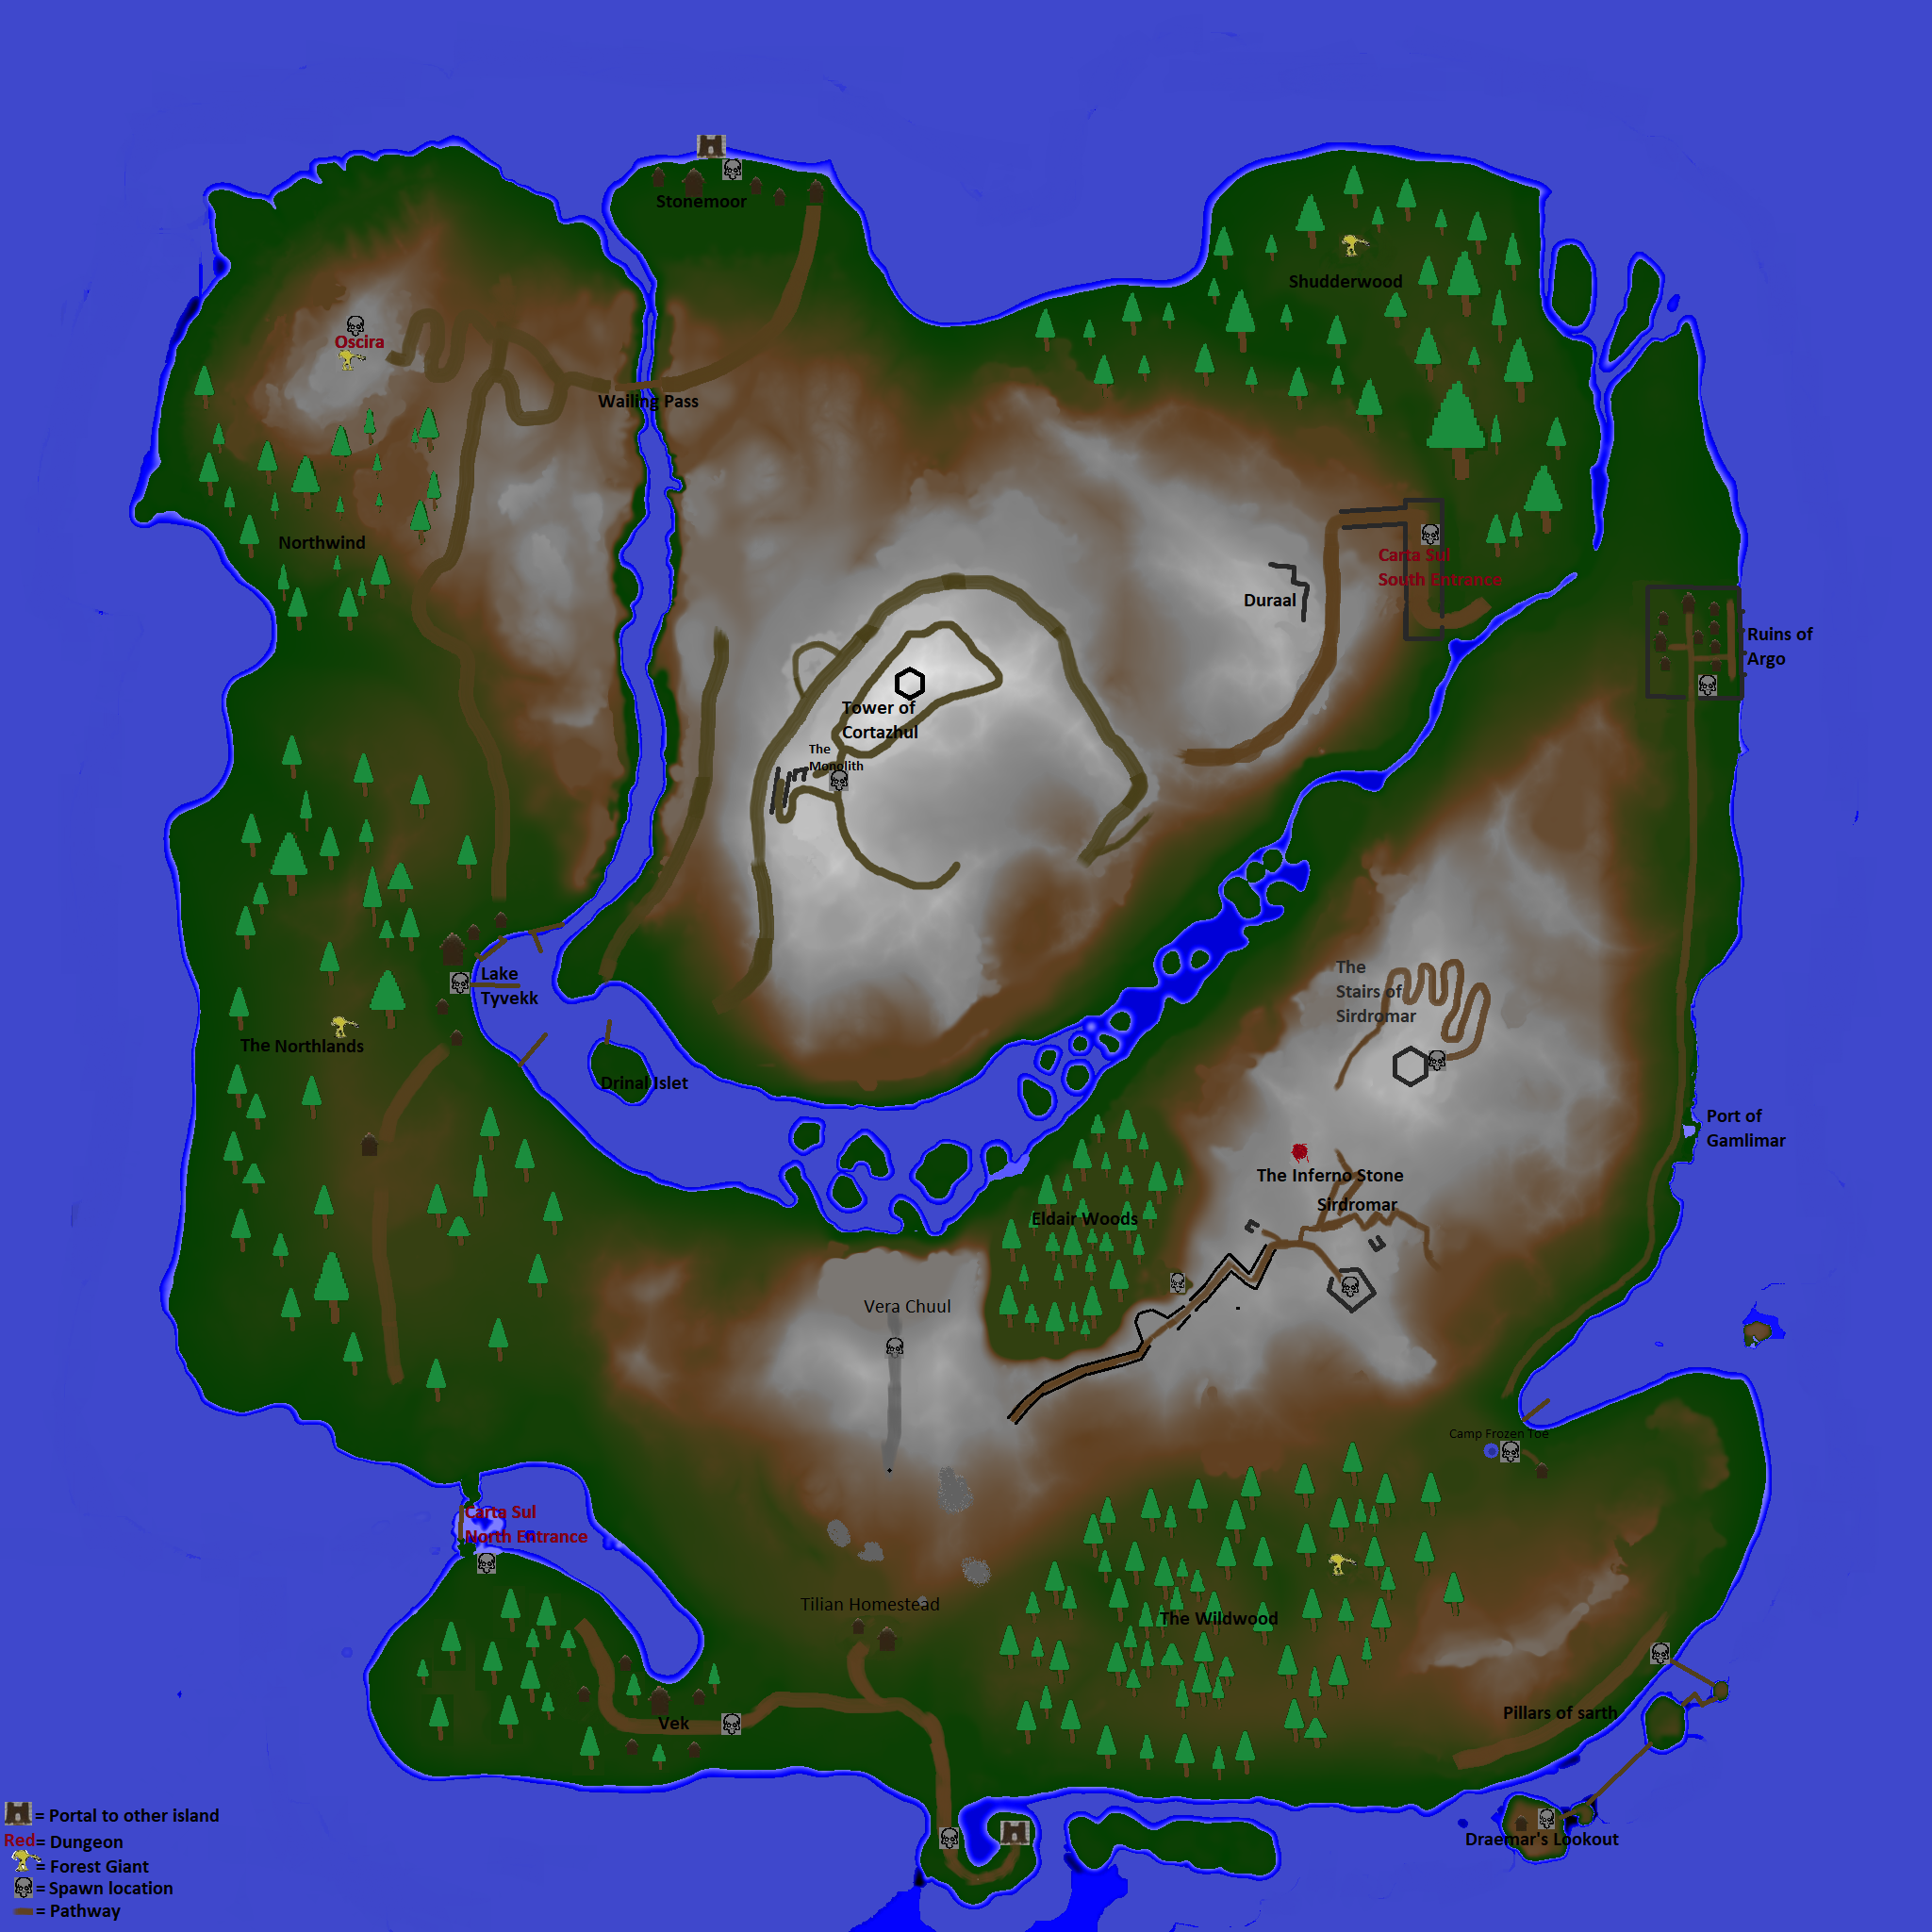
Freydalyn
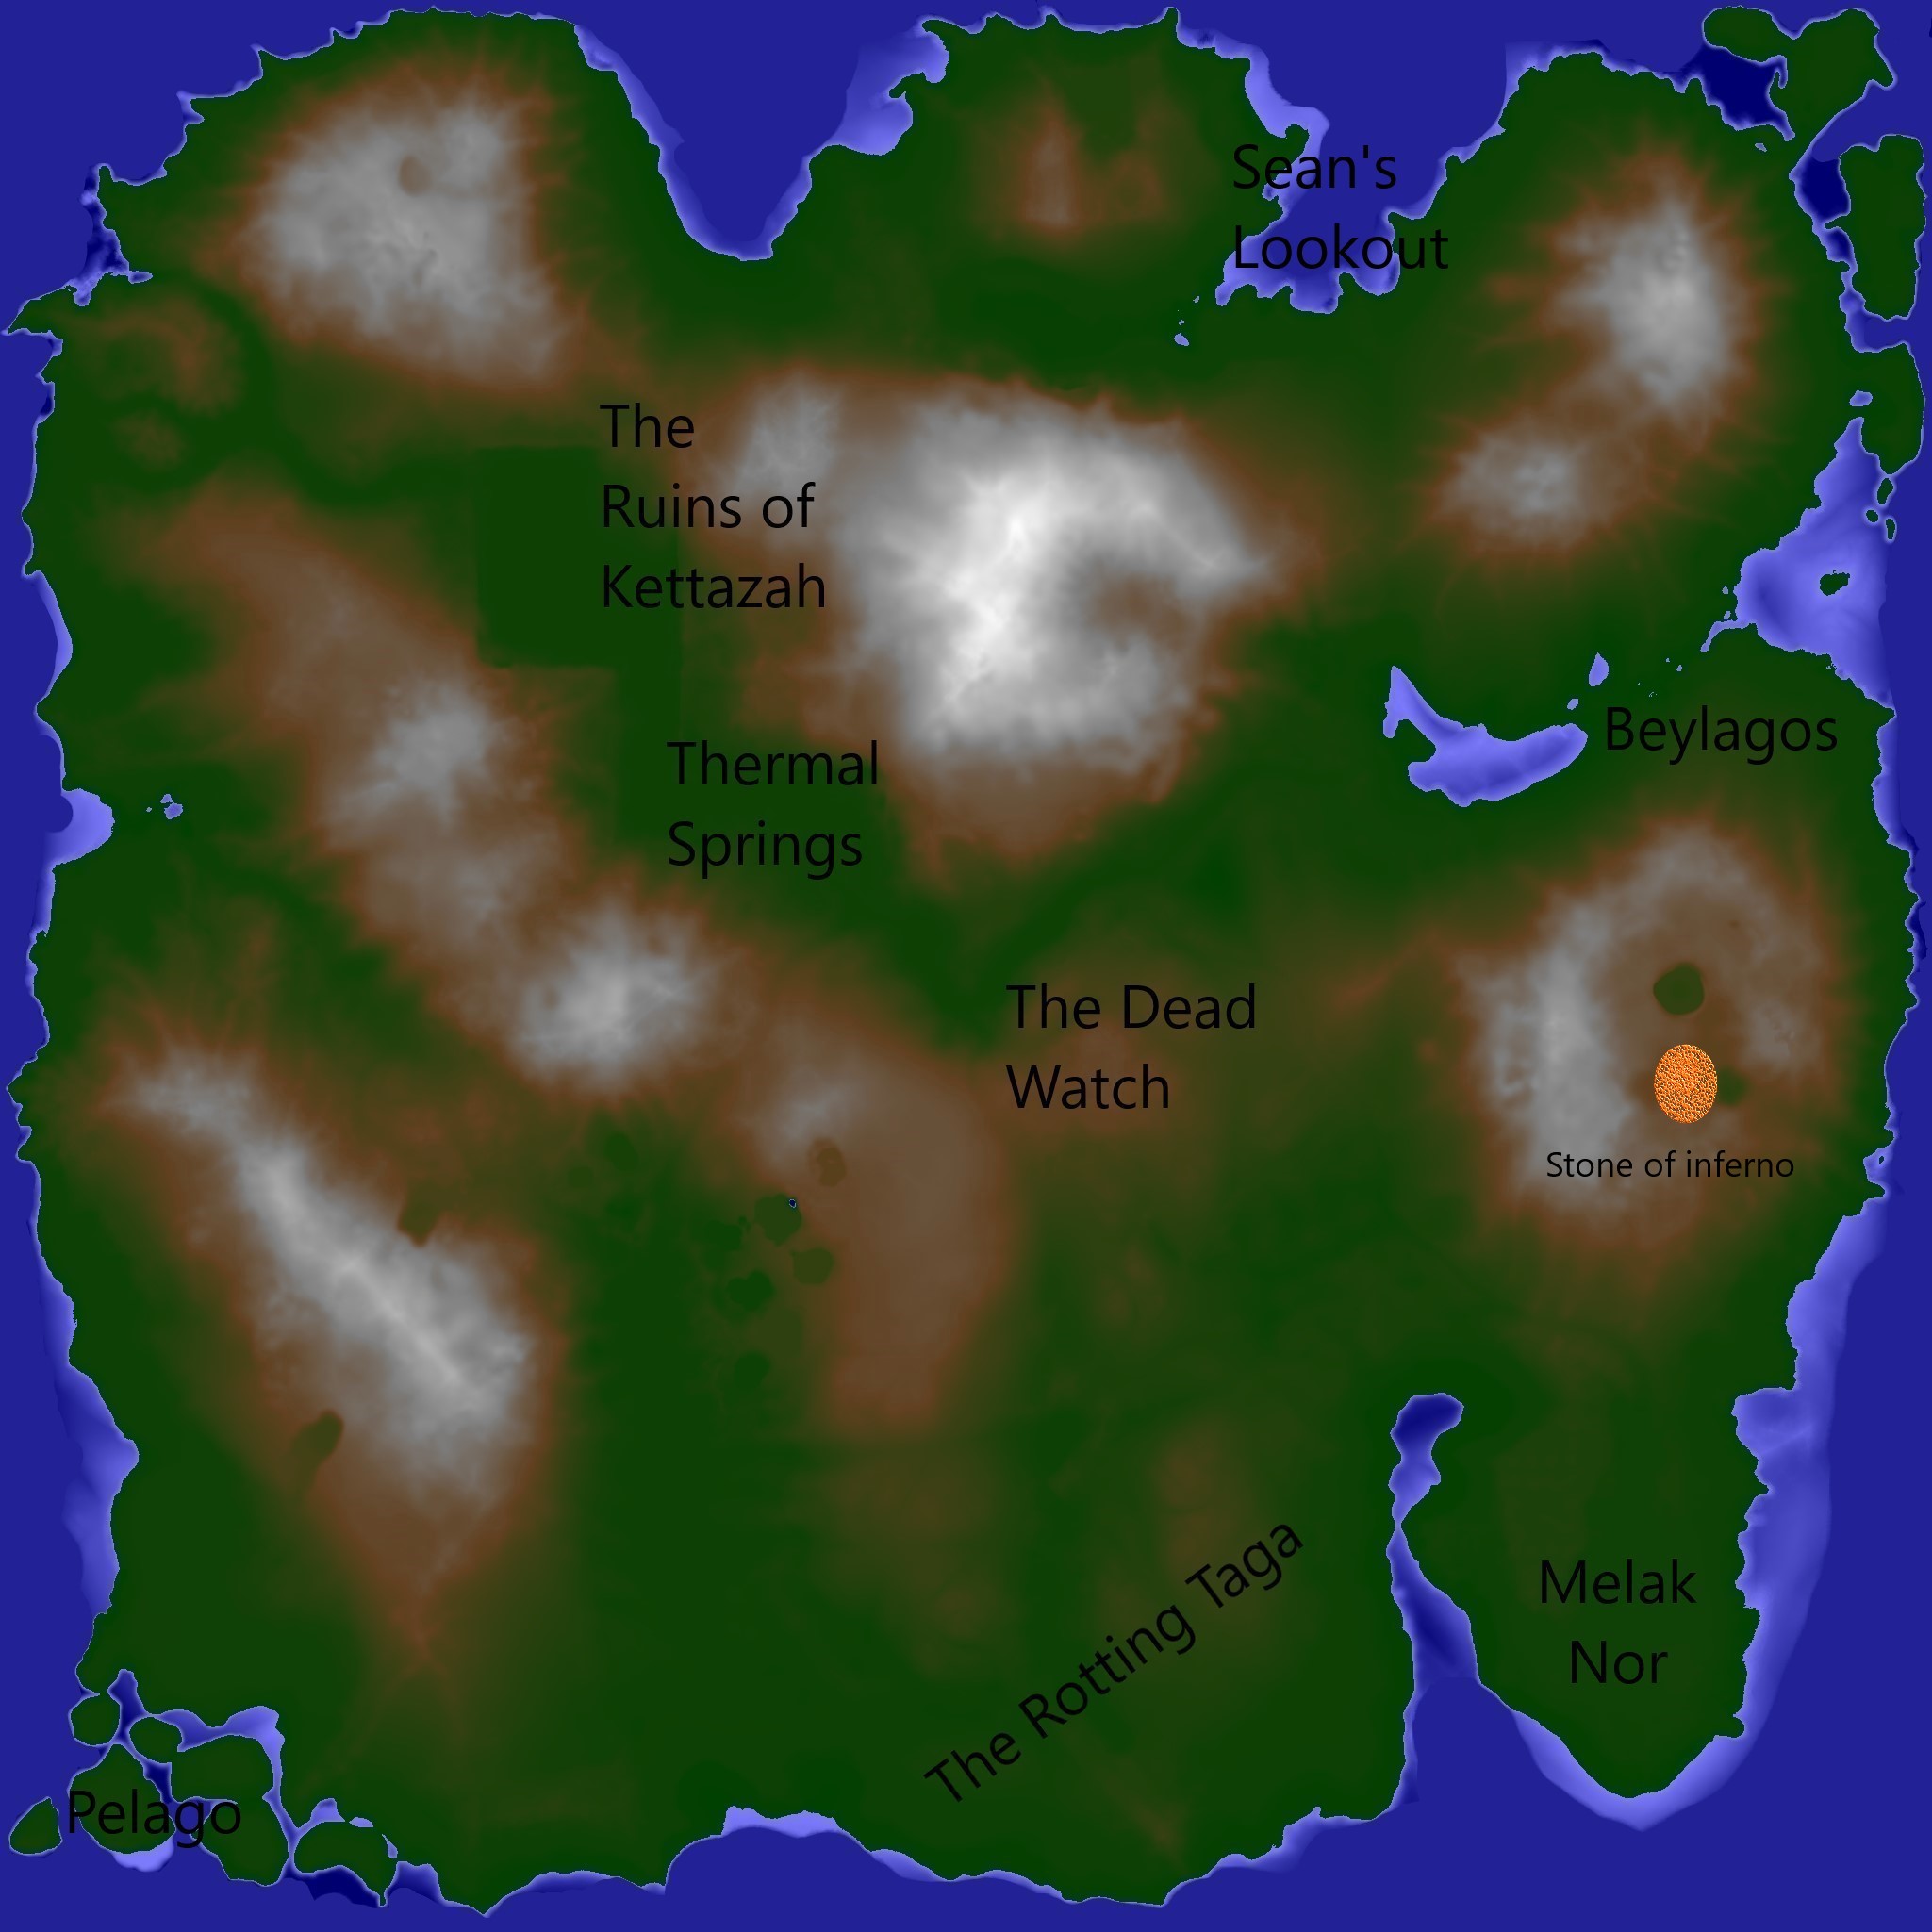
Jorgumgar
Introduction, Settings, & Tips
Introduction
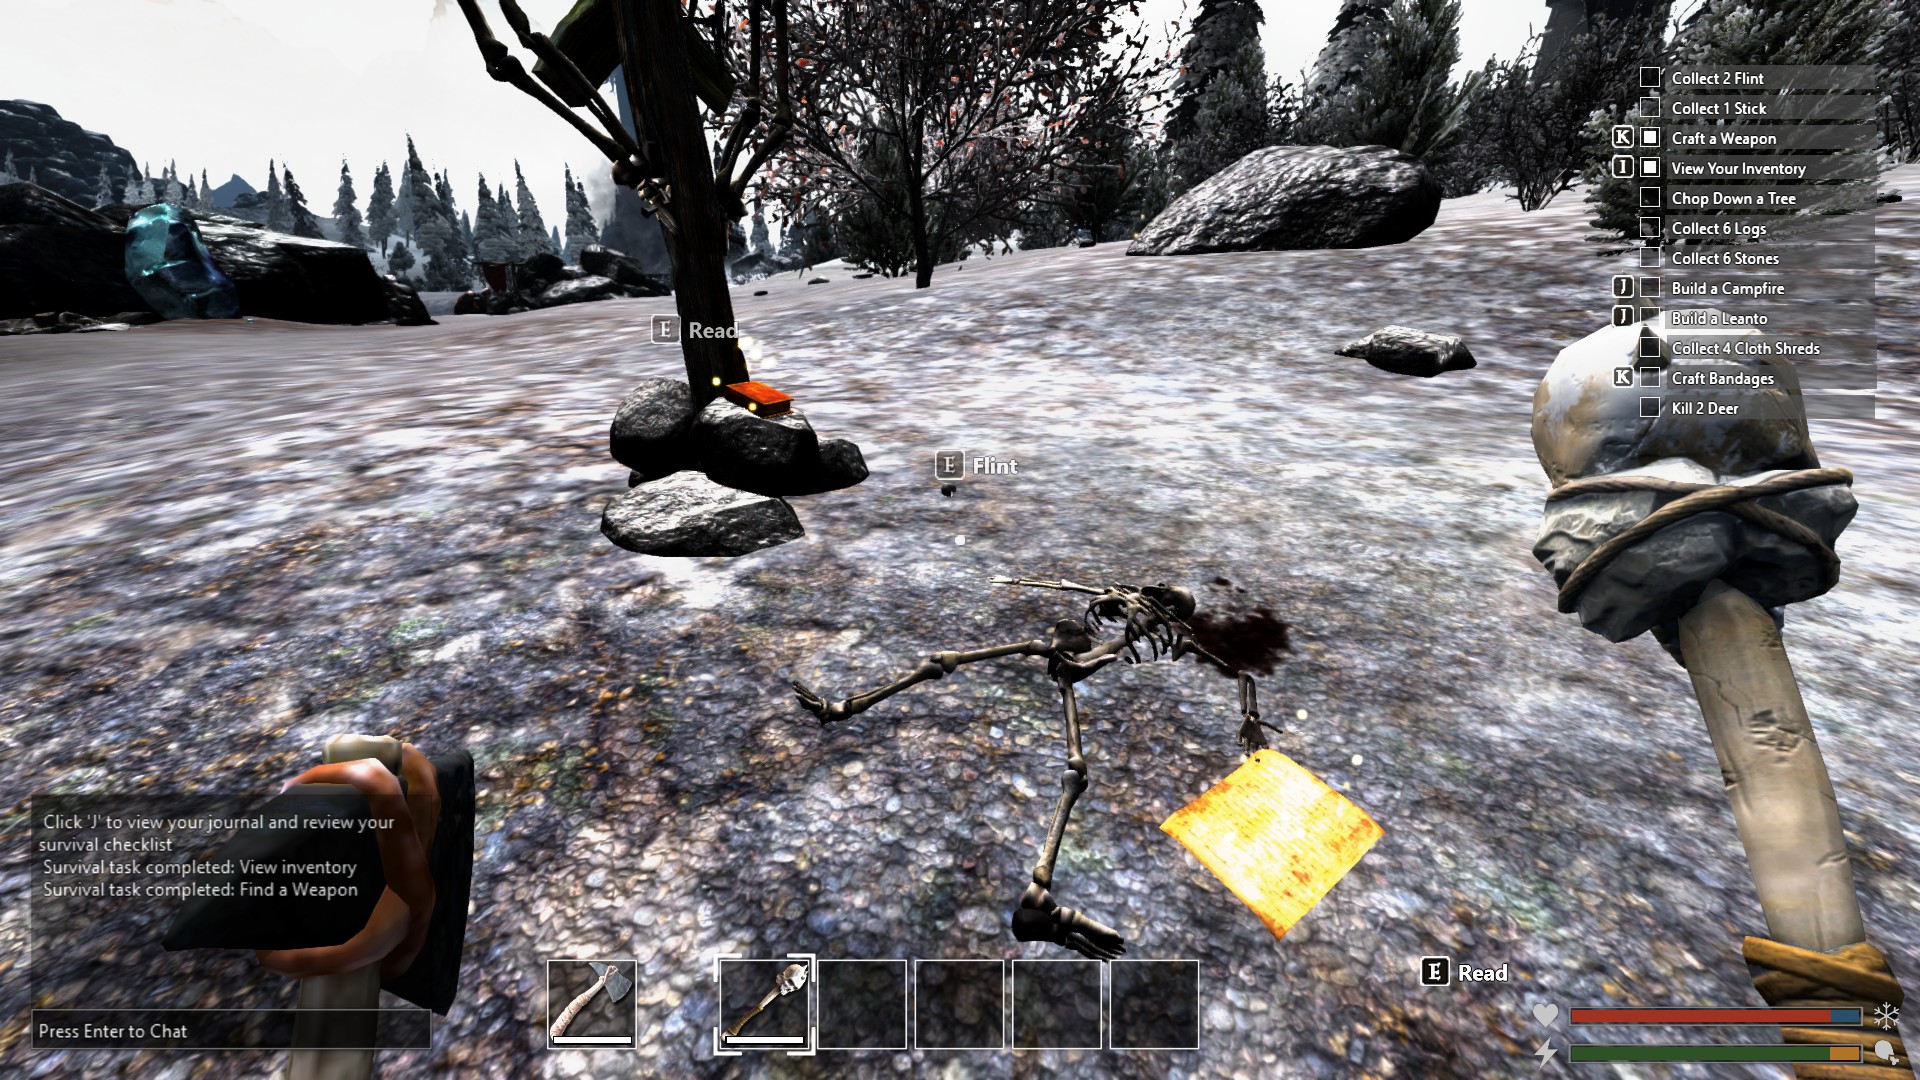
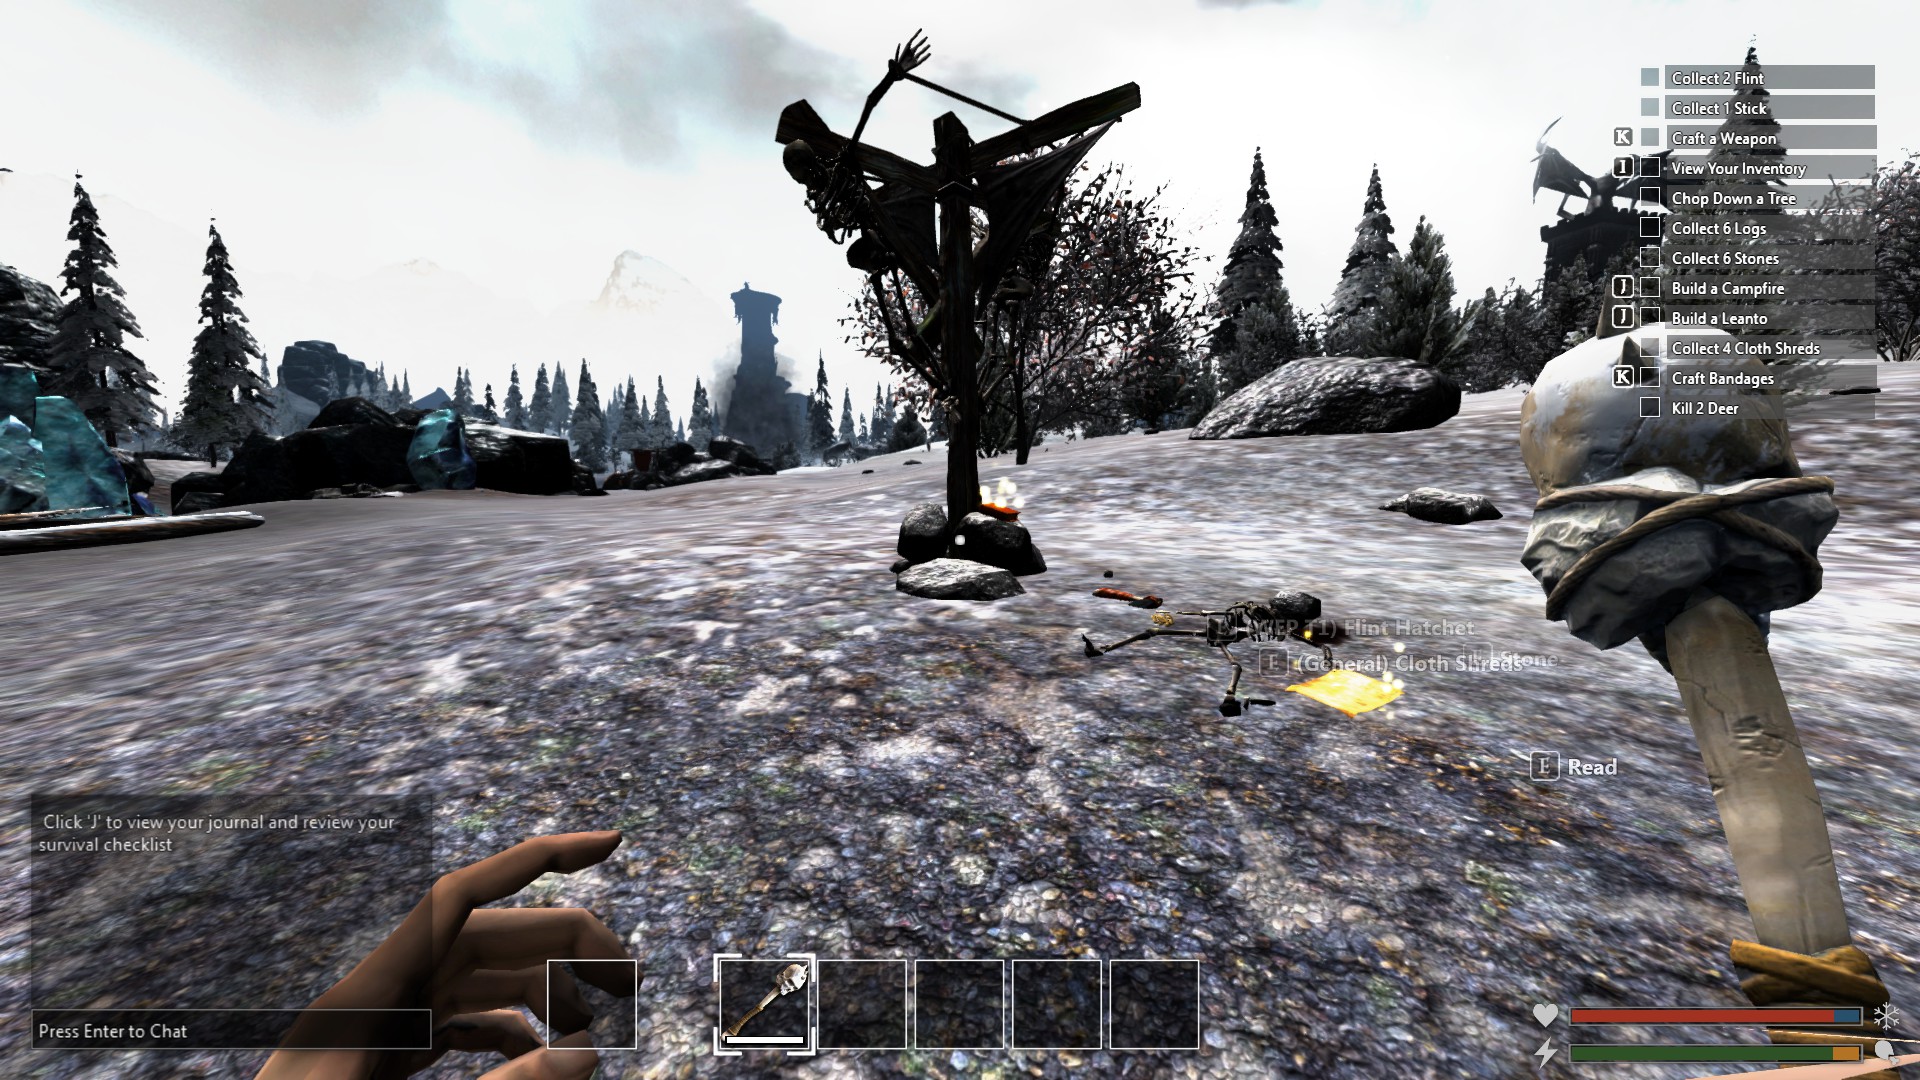
- Top right corner there will be list of tasks to complete, this will help get you going in the game.
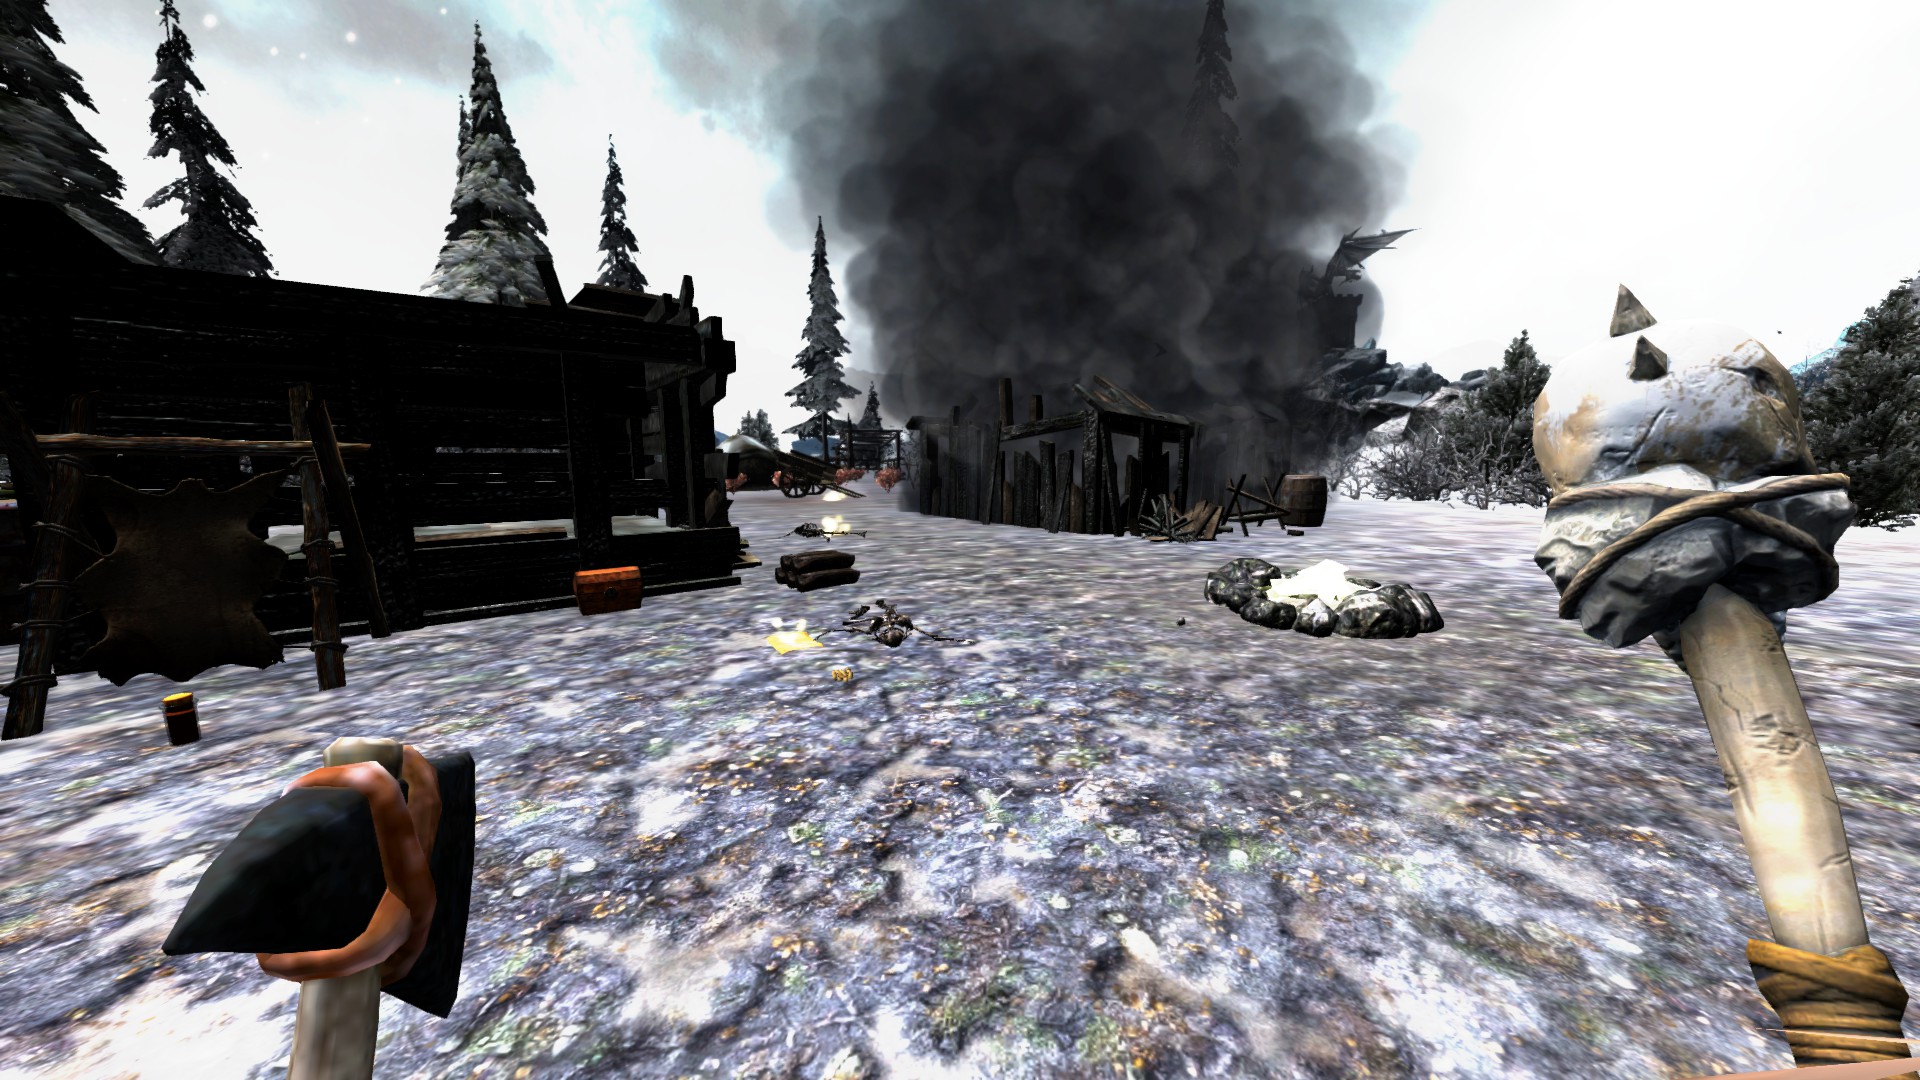
- The farm has a pre-built campfire, house, and lento that can be used to complete some of the tasks while saving resources.
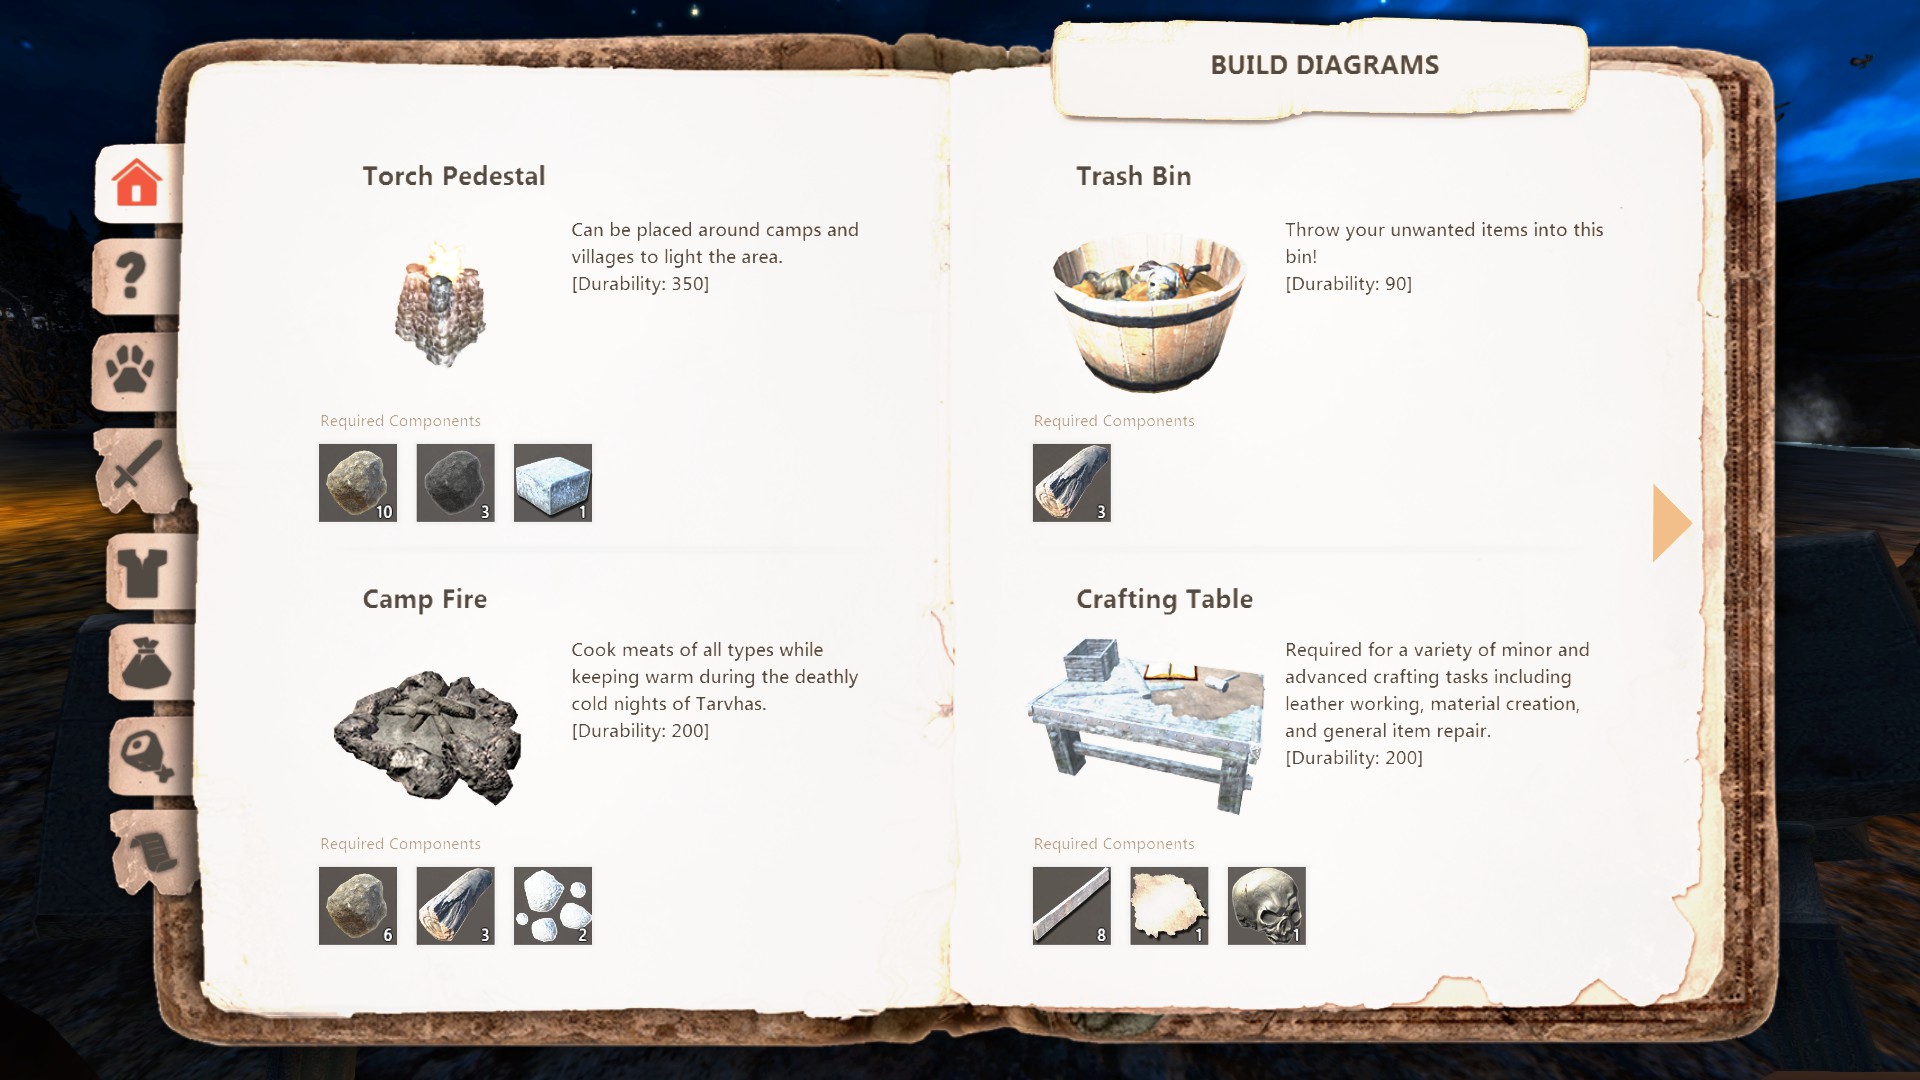
- Press J on keyboard to open a journal. This will be bring up a book up items in the game, along with a description, and how to craft them. I would spend a few minutes going through the journal to get familiar with how things work in this game.
- Rodan Farm, where the smoke is when you first start, its a good starting point, and best place to build a house on the island.
- There is a hatchet on the ground when first starting out.
Health and Stamina
- Disease and poison can be cured with potions or you can wait after some time. Prevents you from sprinting and prevents stamina from regenerating.
- Bleeding, need bandages to stop bleeding, prevents health from regenerating.
- Top bar in the bottom right corner is your health and how warm or cold you are.
- Heal up and stay warm by eating food, using bandages, and using potions.
- Campfires, fireplace inside a house, or using a torch and starting a tree on fire will keep you warm.
- Bottom bar in the bottom right corner is your stamina and hunger.
- Regenerate stamina by eating food, drinking water, and using potions.
- Walking instead of running will slowly regenerate stamina.
Settings
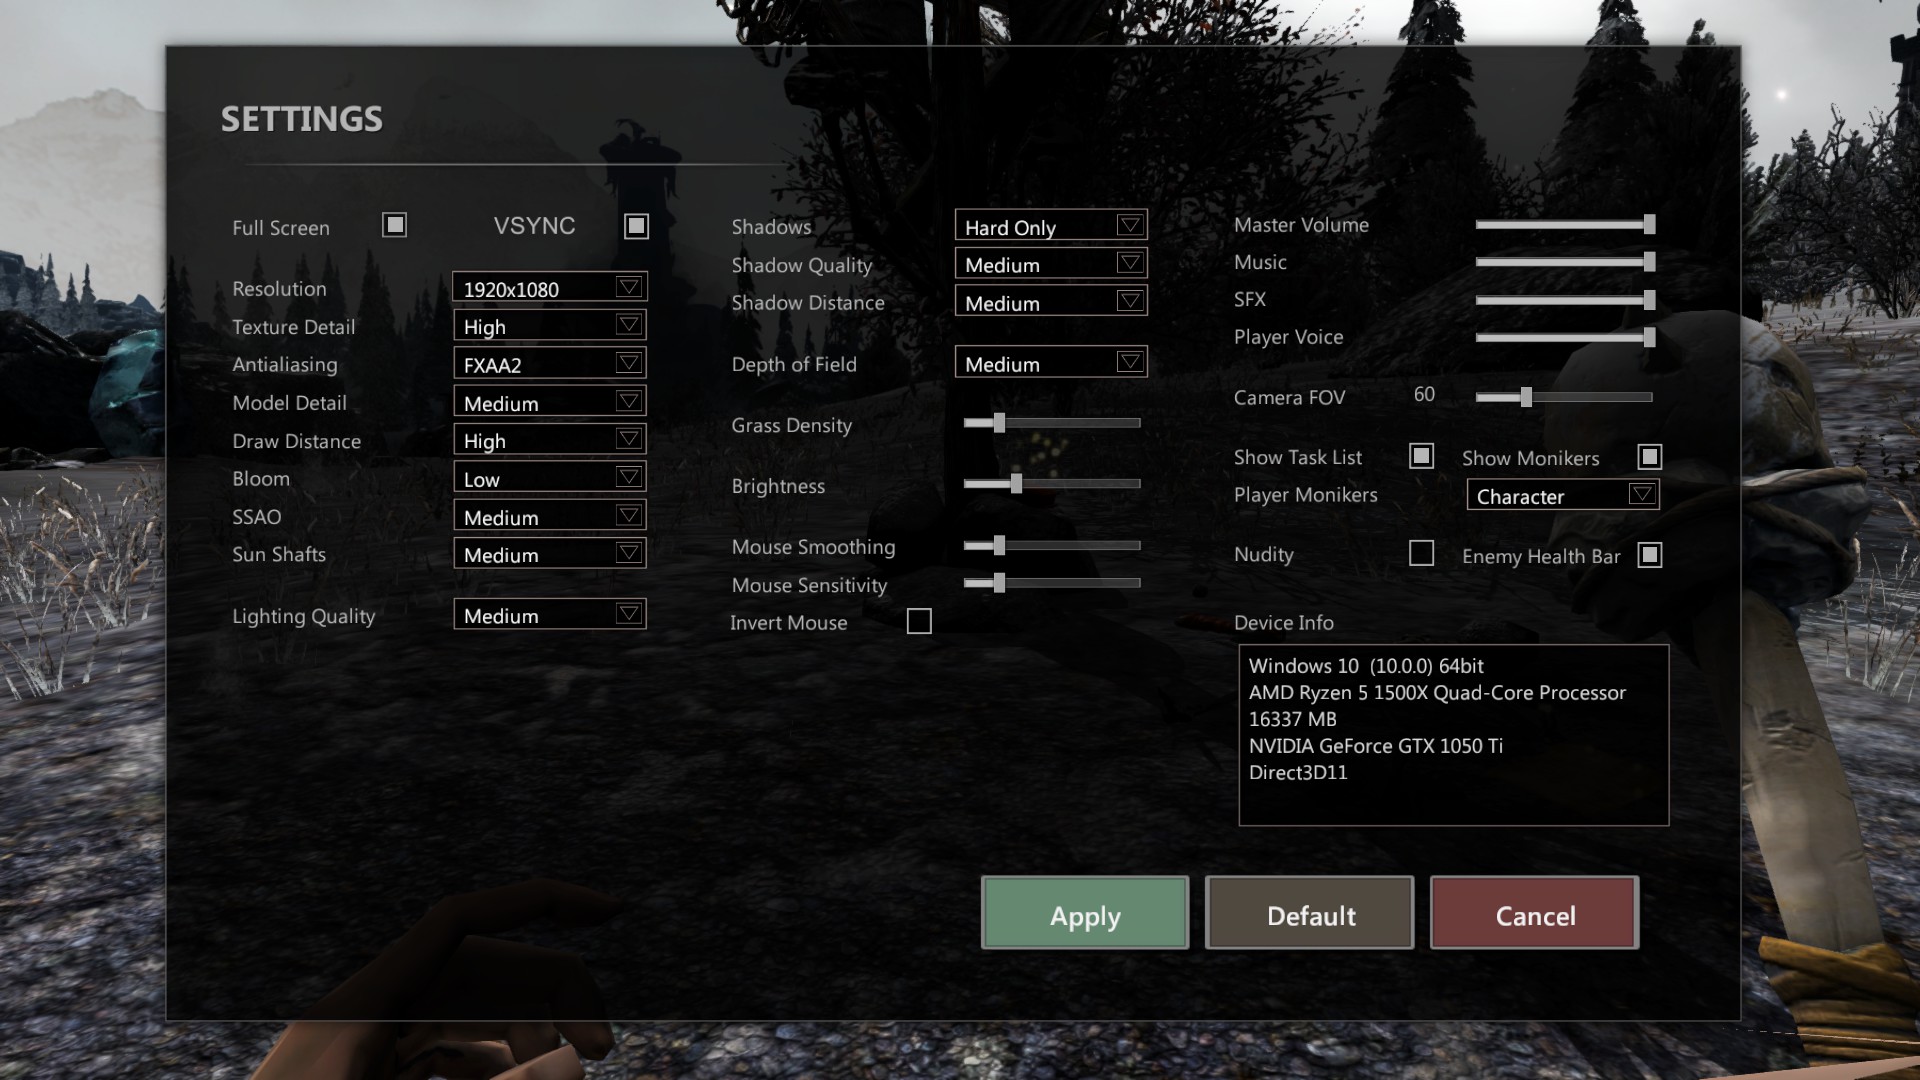
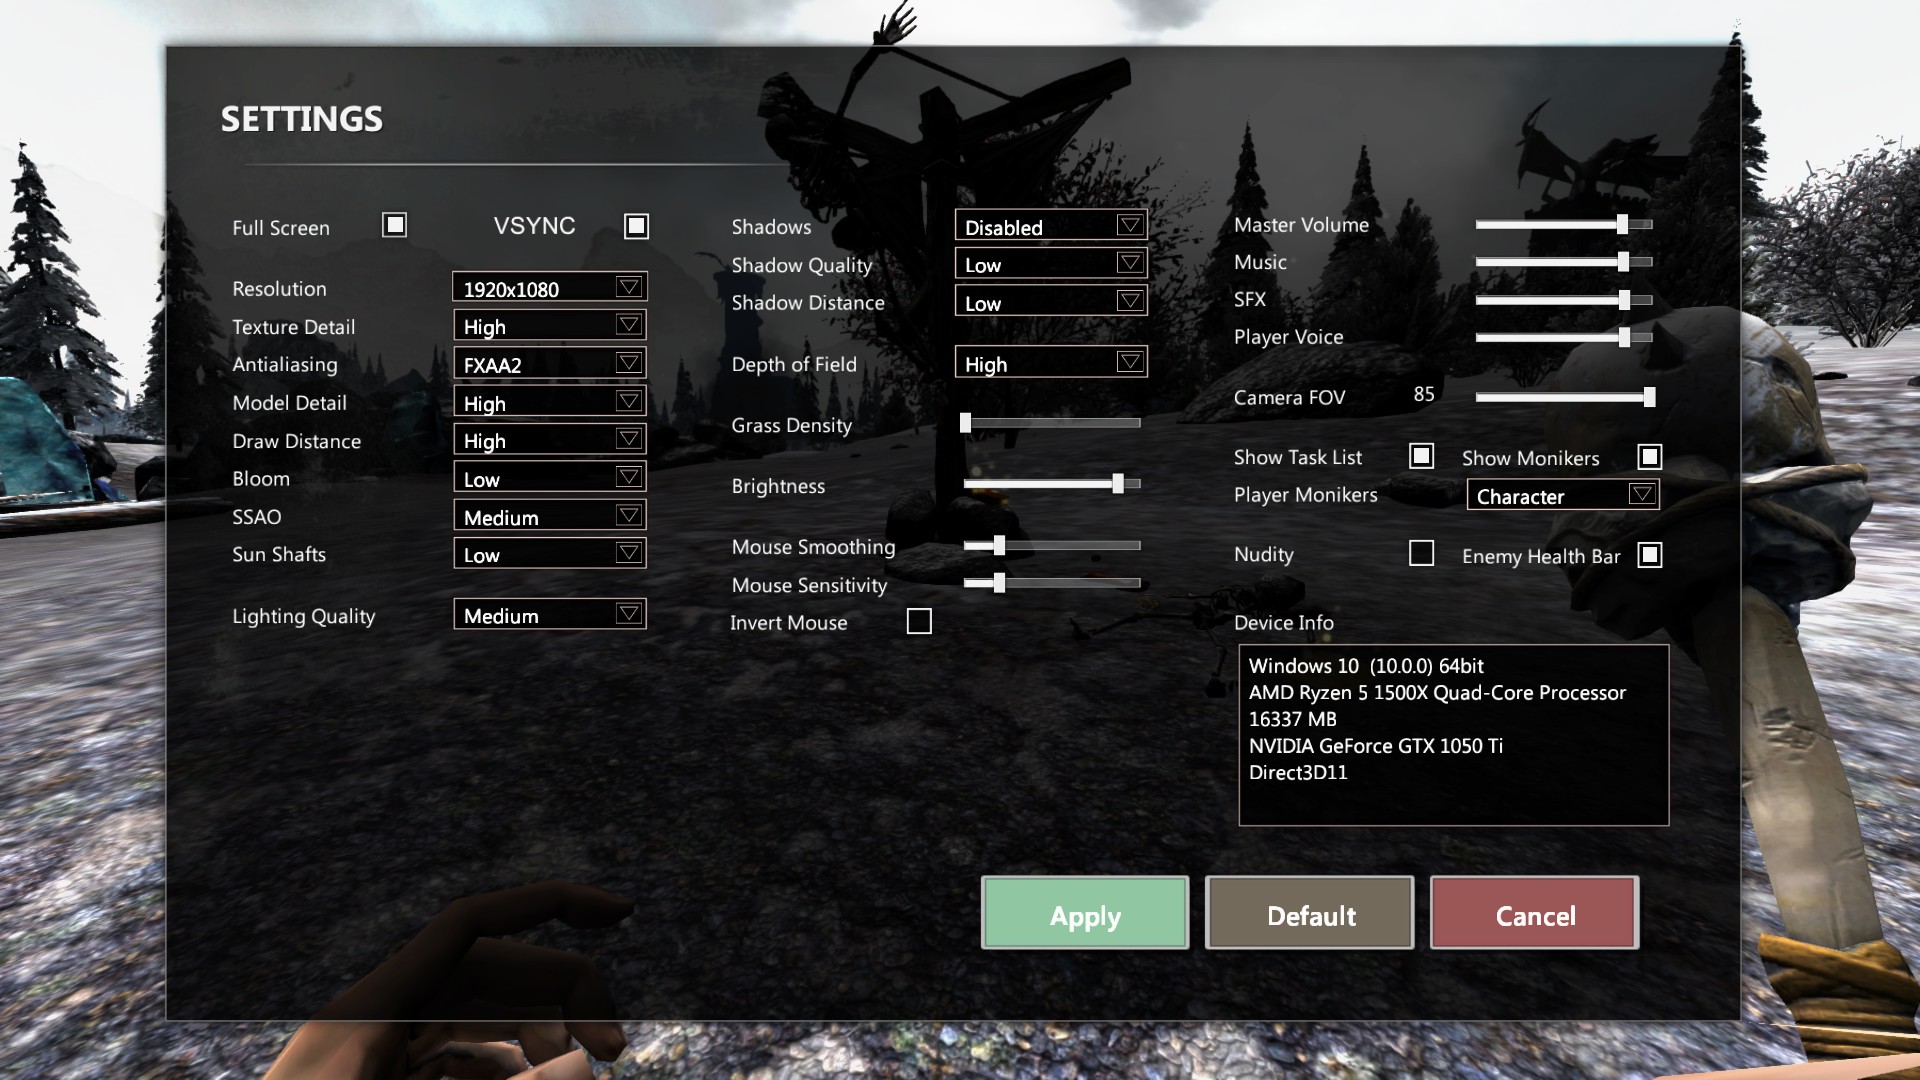
- I highly recommend adjusting your settings before doing anything else.
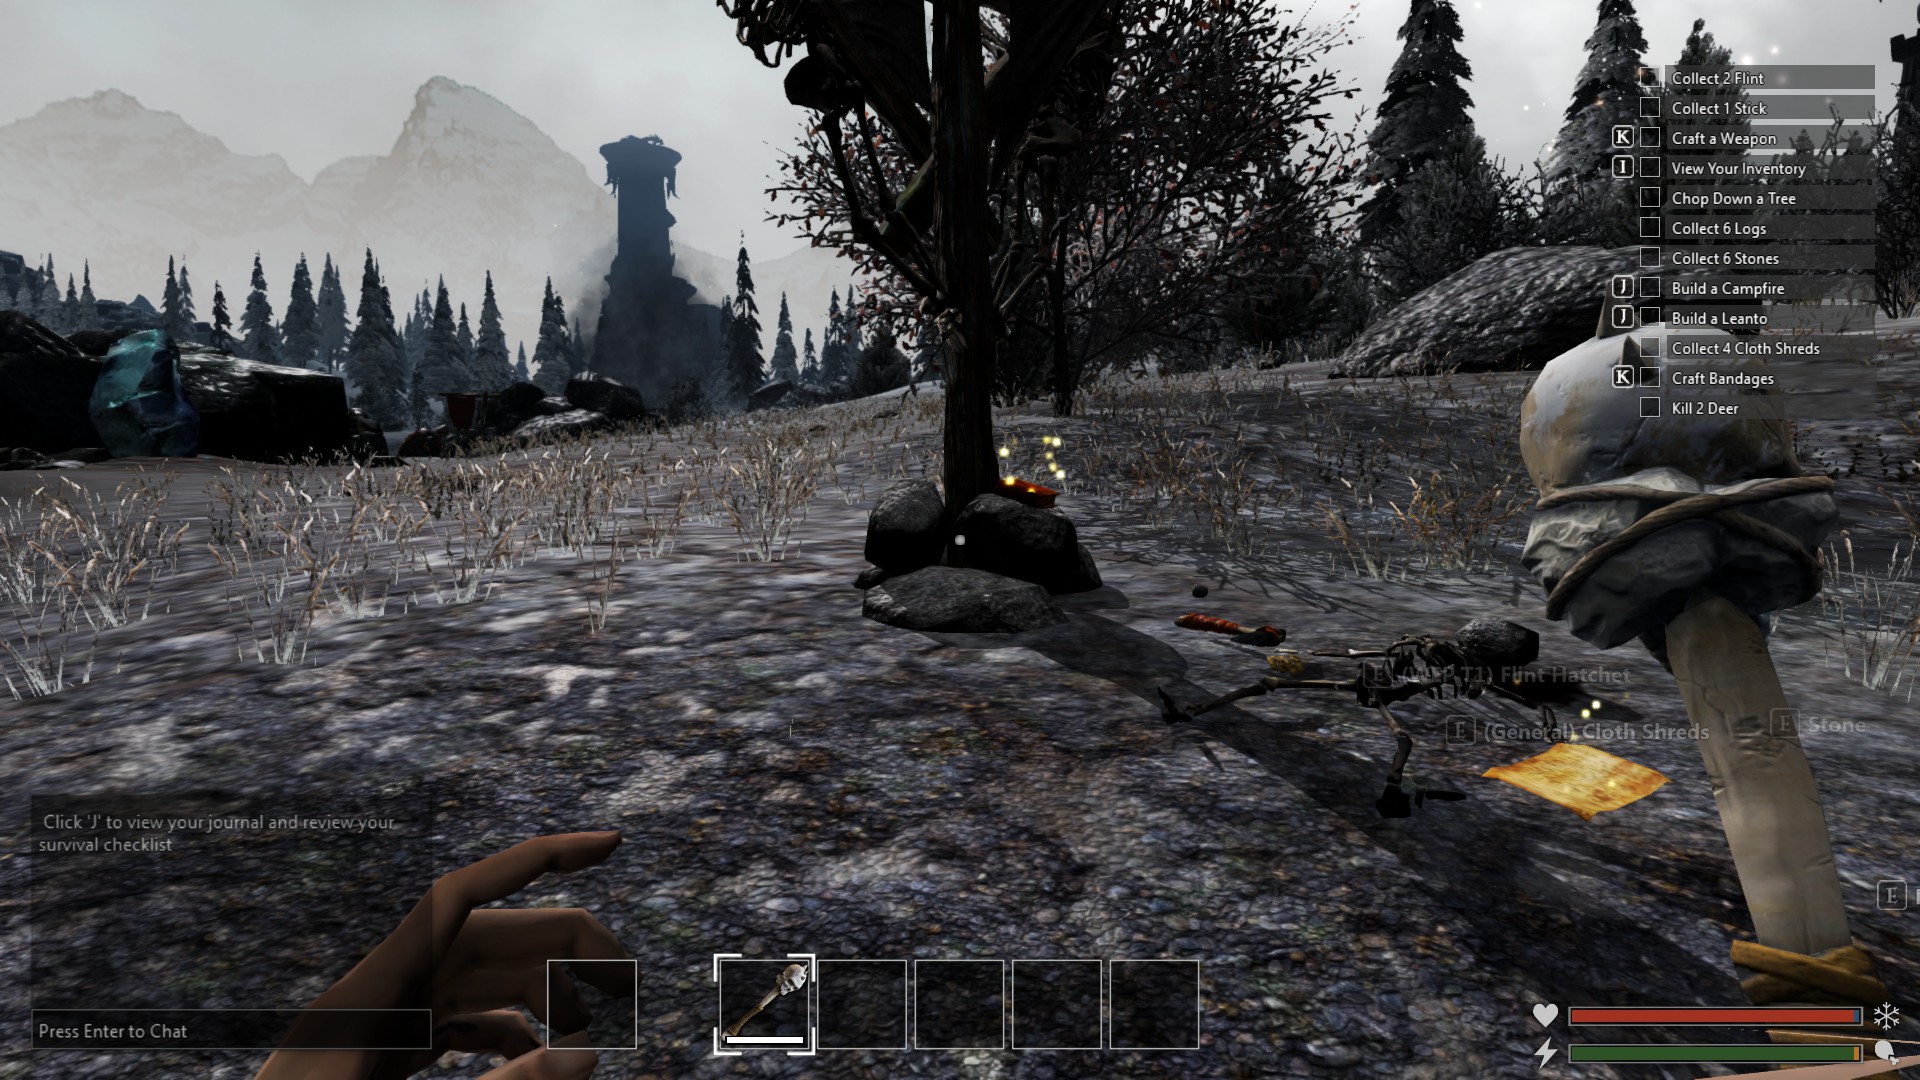
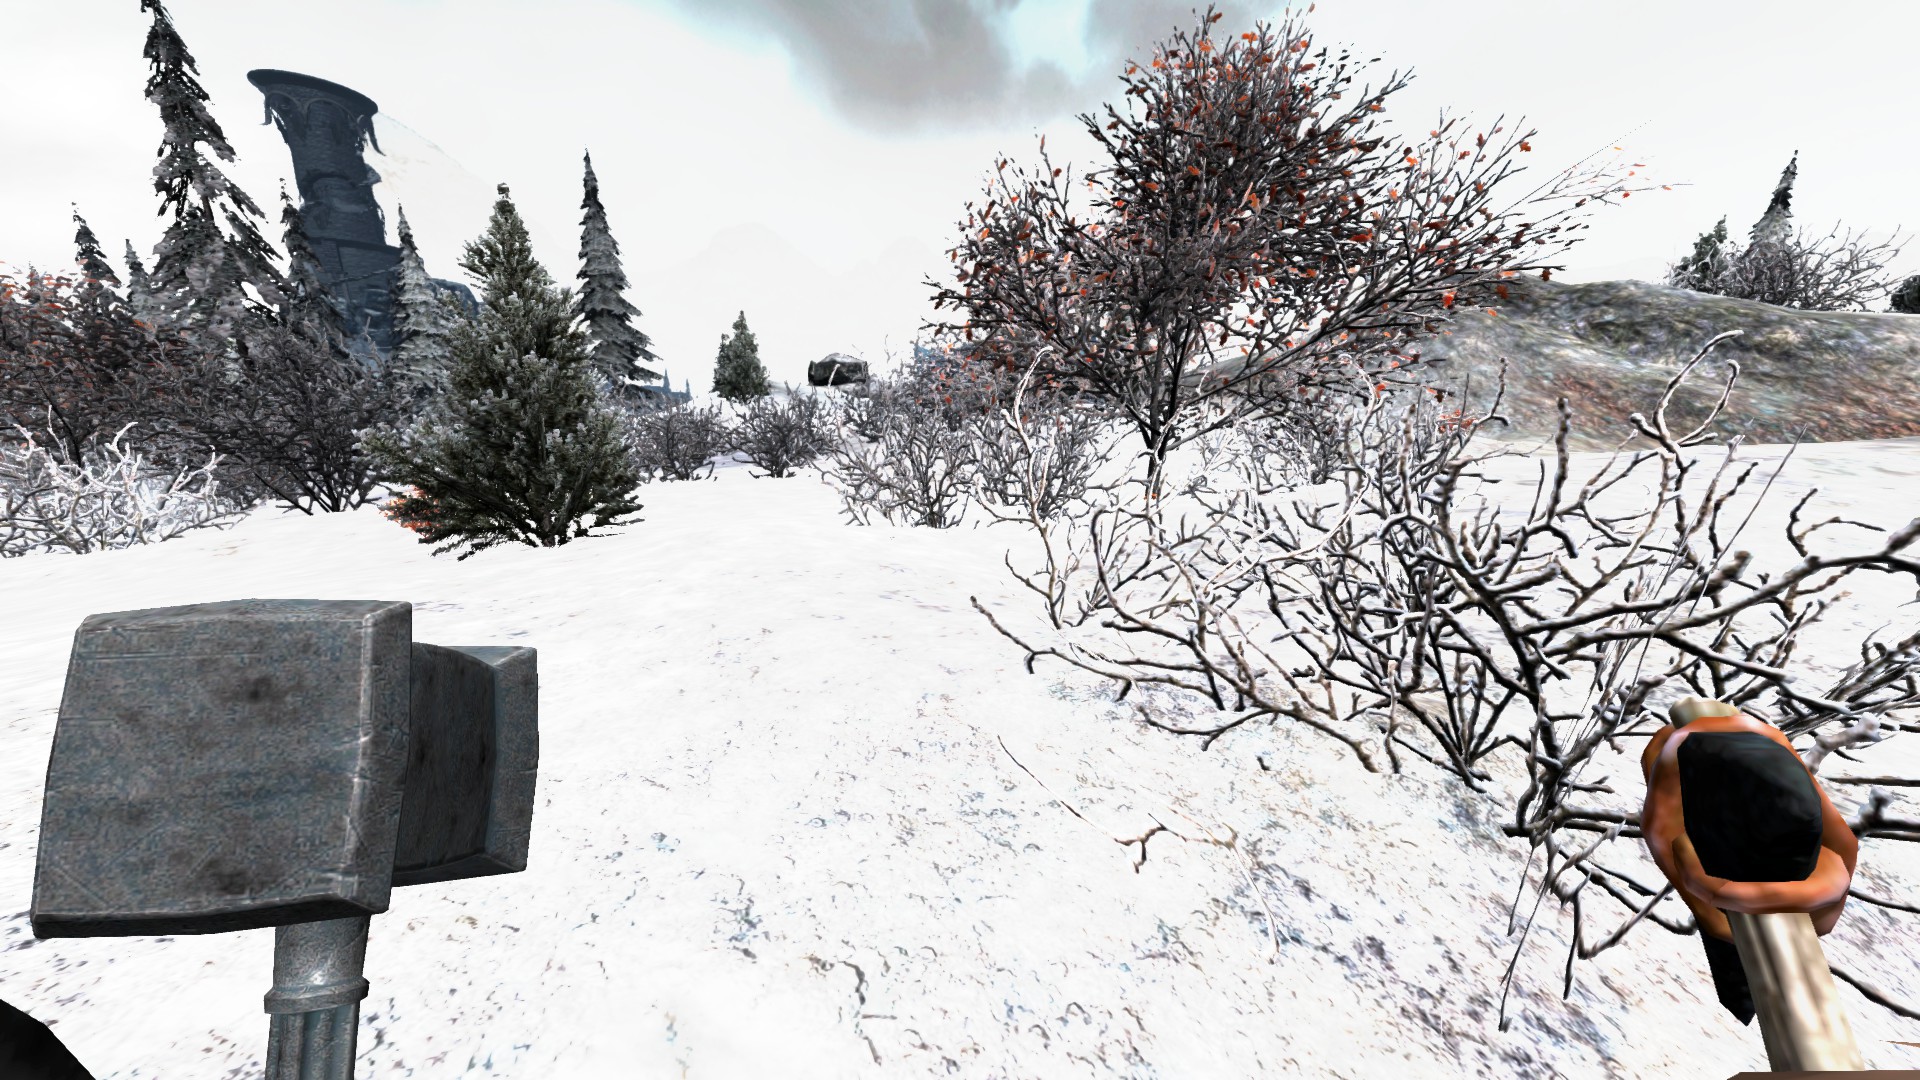
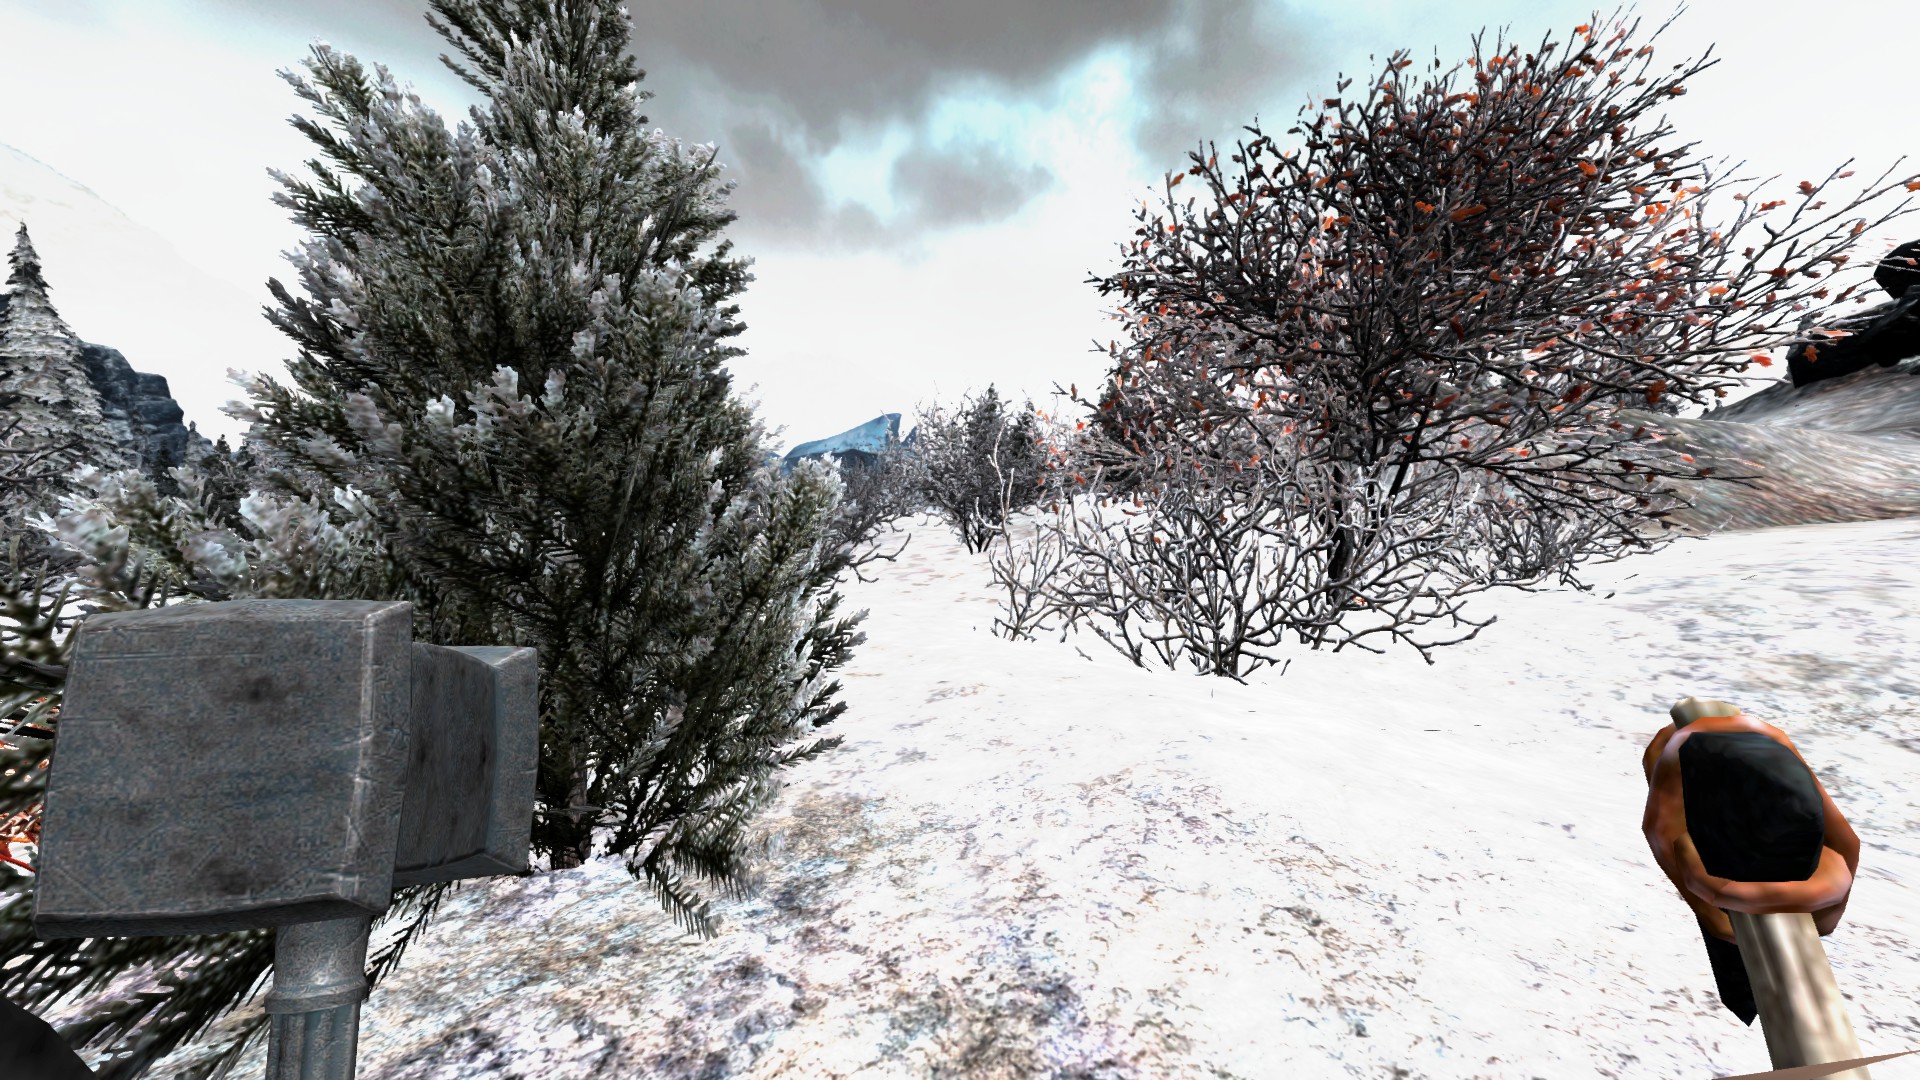
- Turn grass off, it will make seeing things a lot easier.
- Turn field of vision way up.
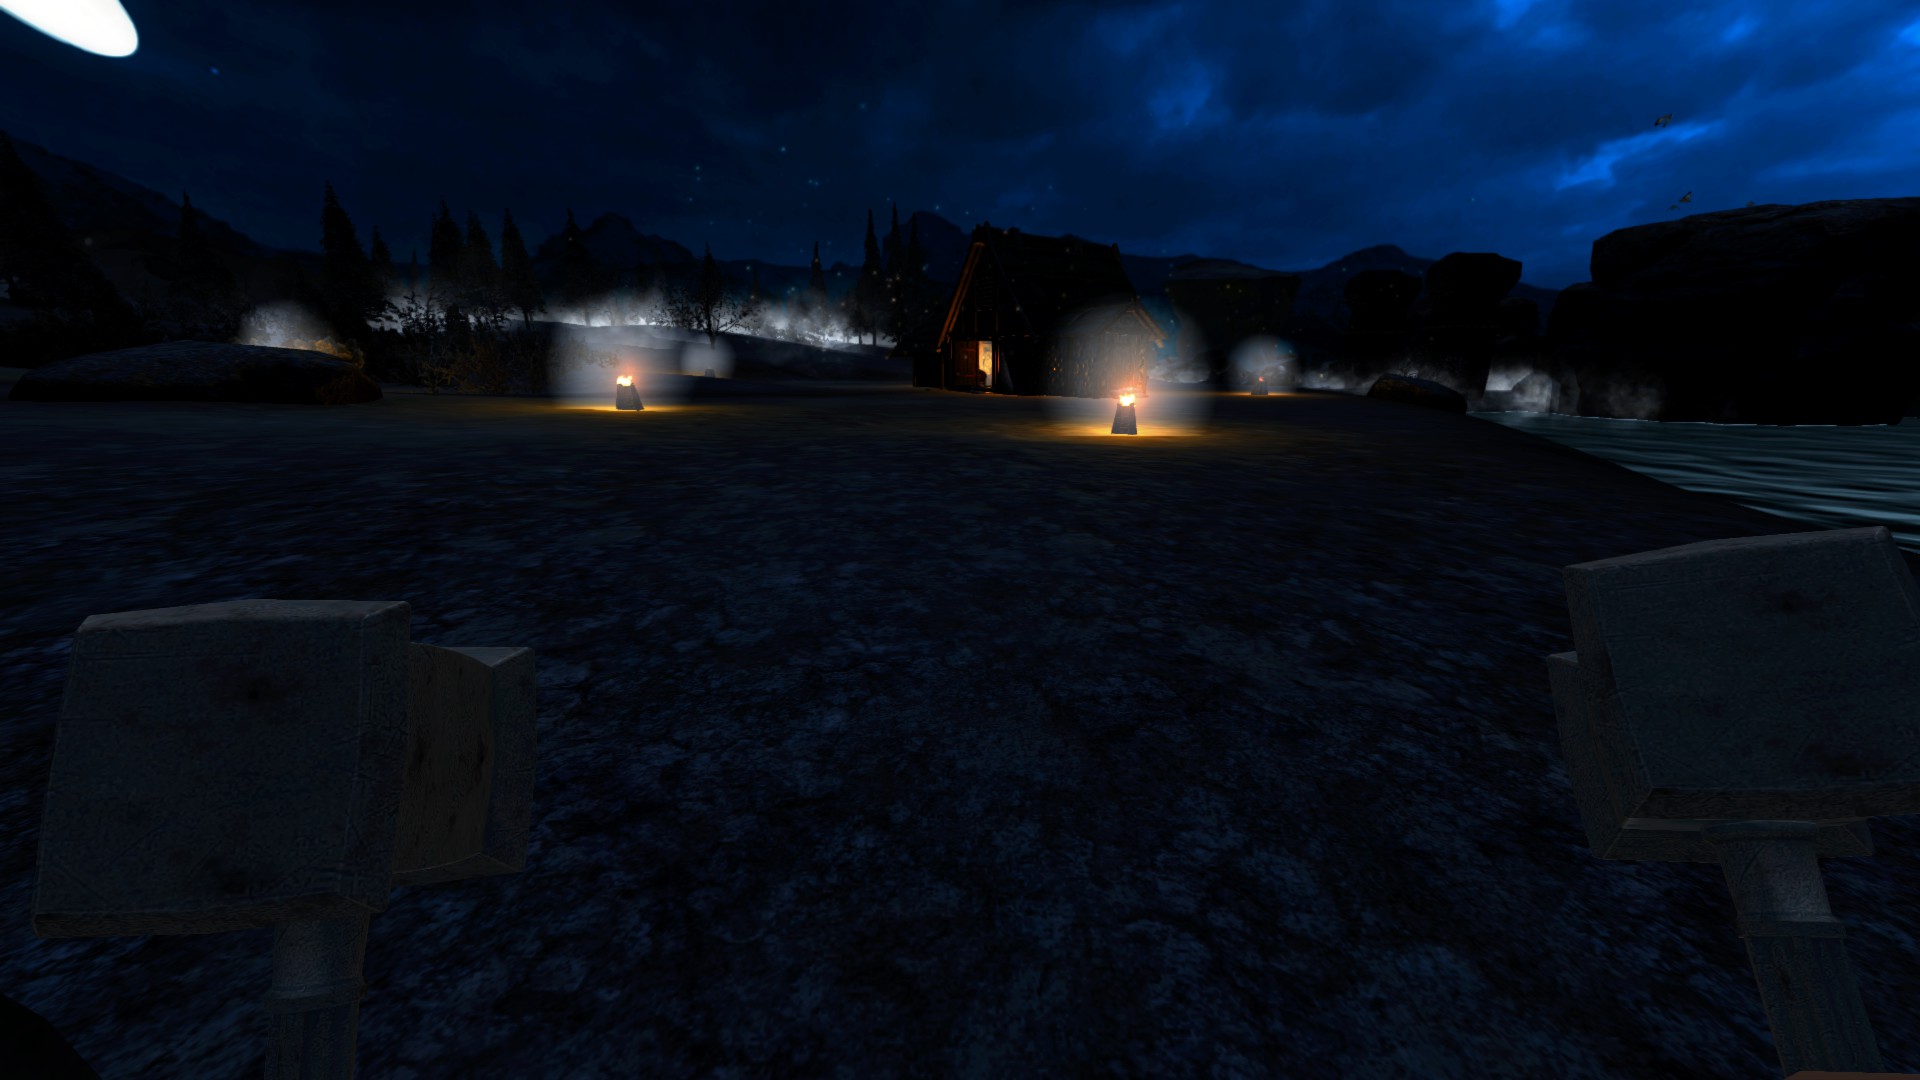
- Turn brightness up during the night or in dark places basically gives you night vision.
- Adjust settings to your preference.
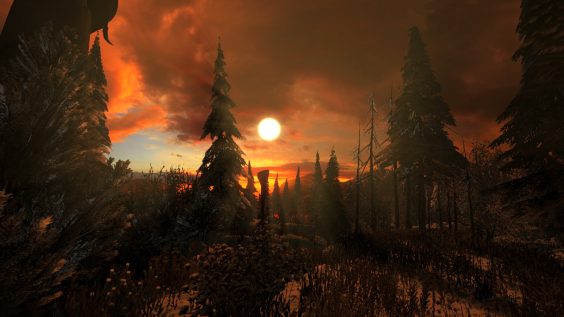
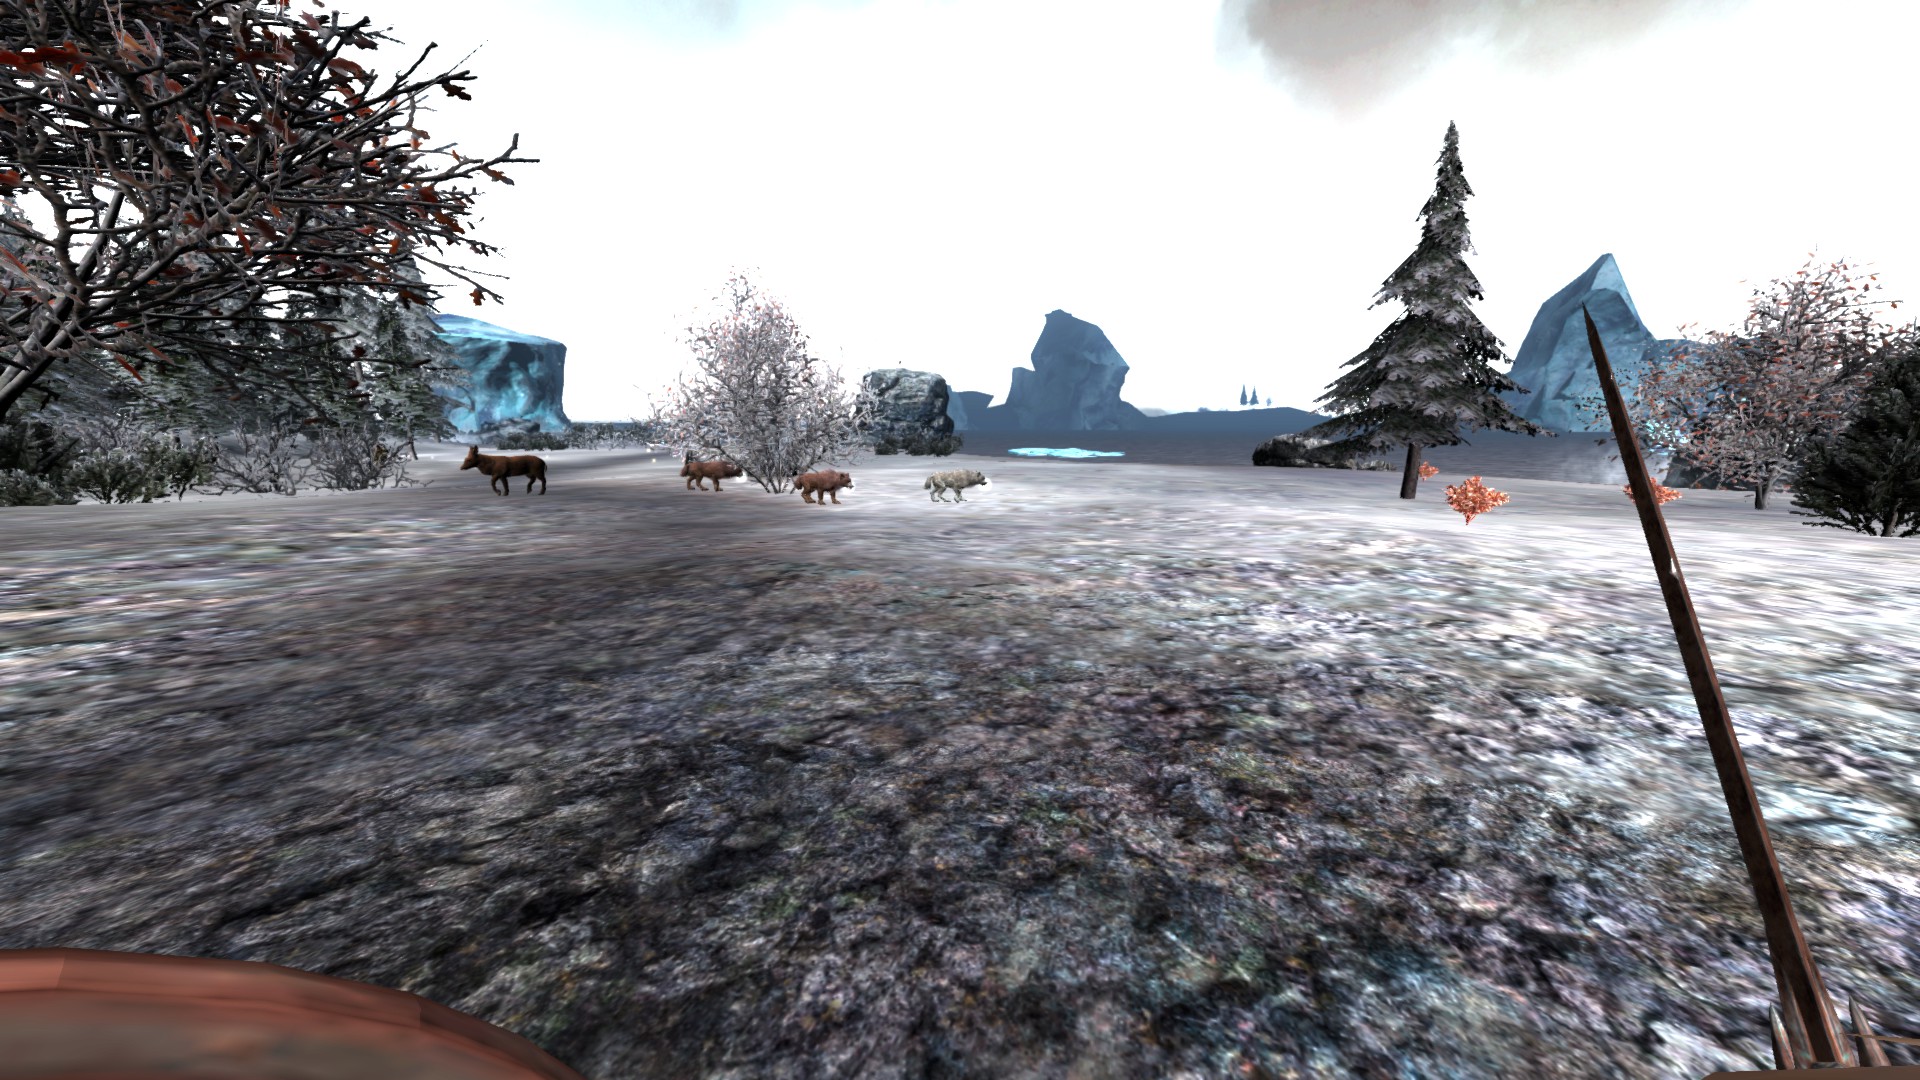
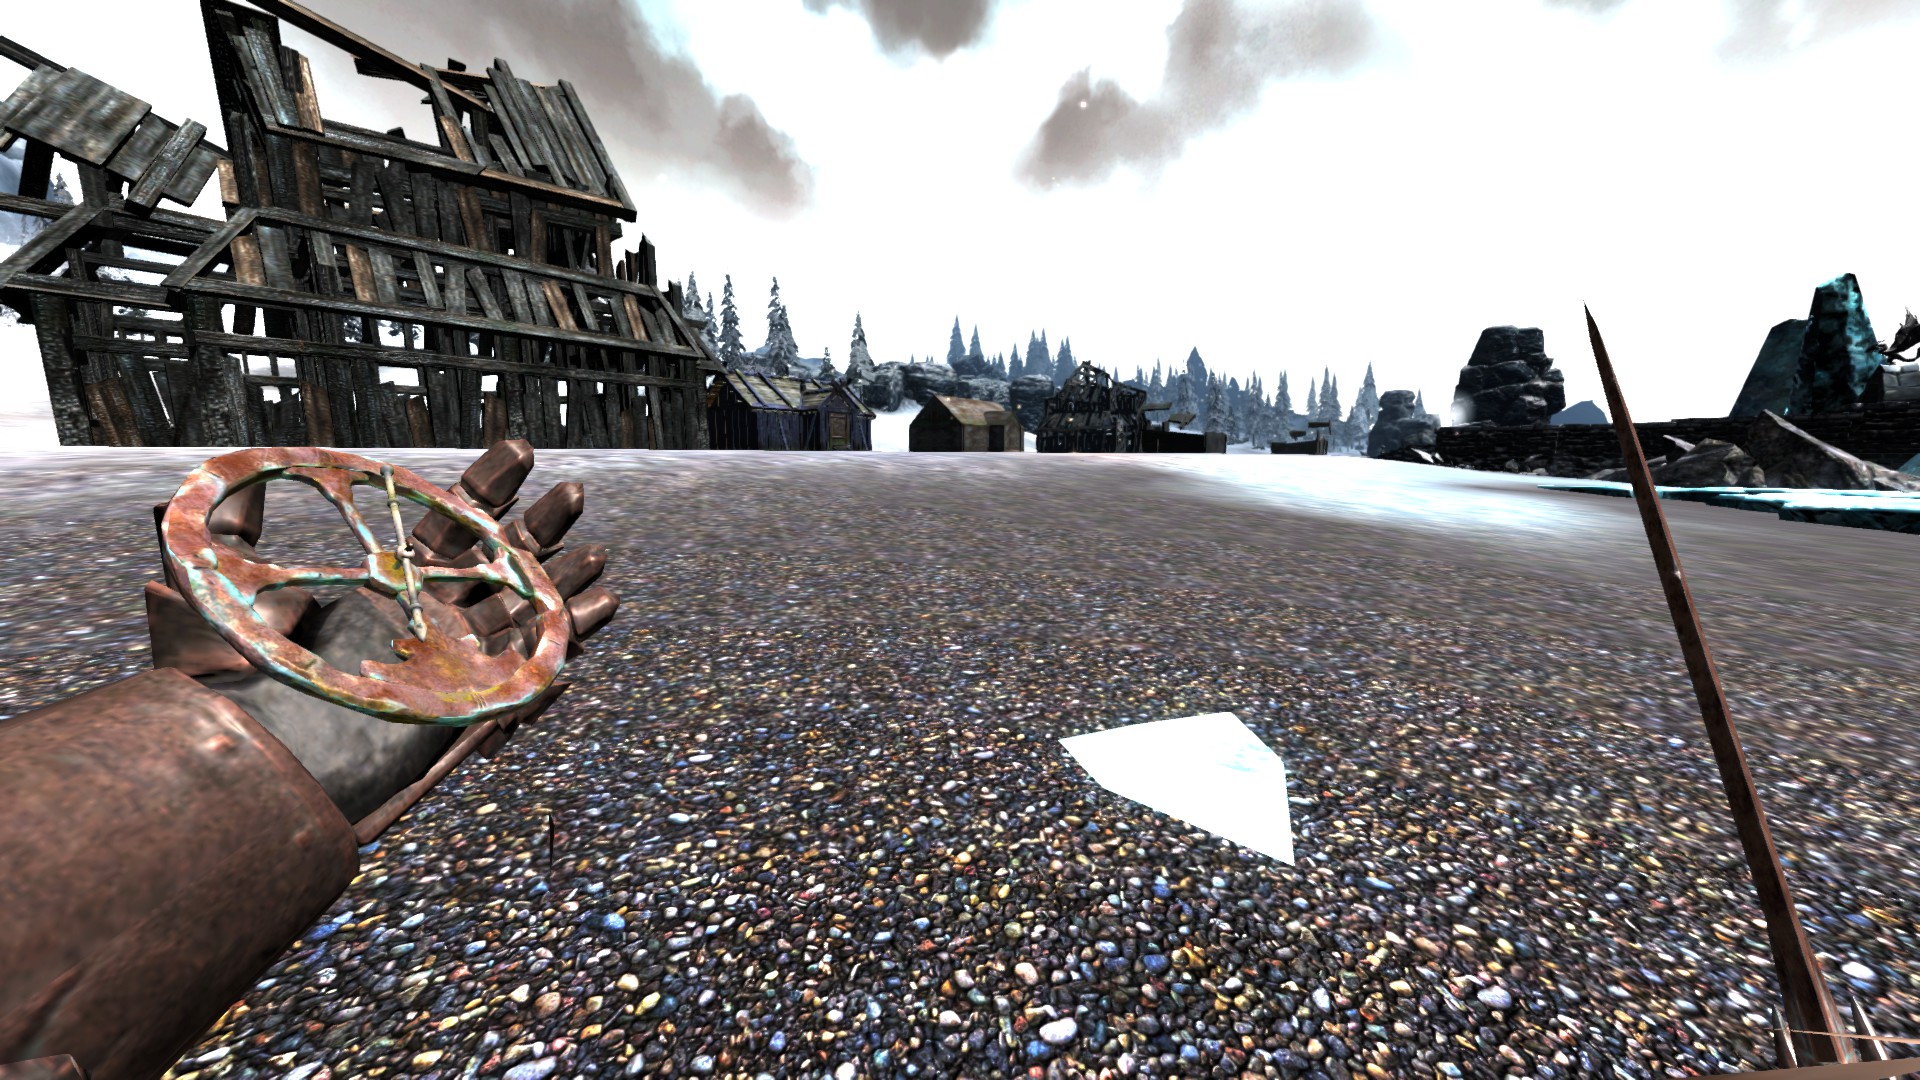
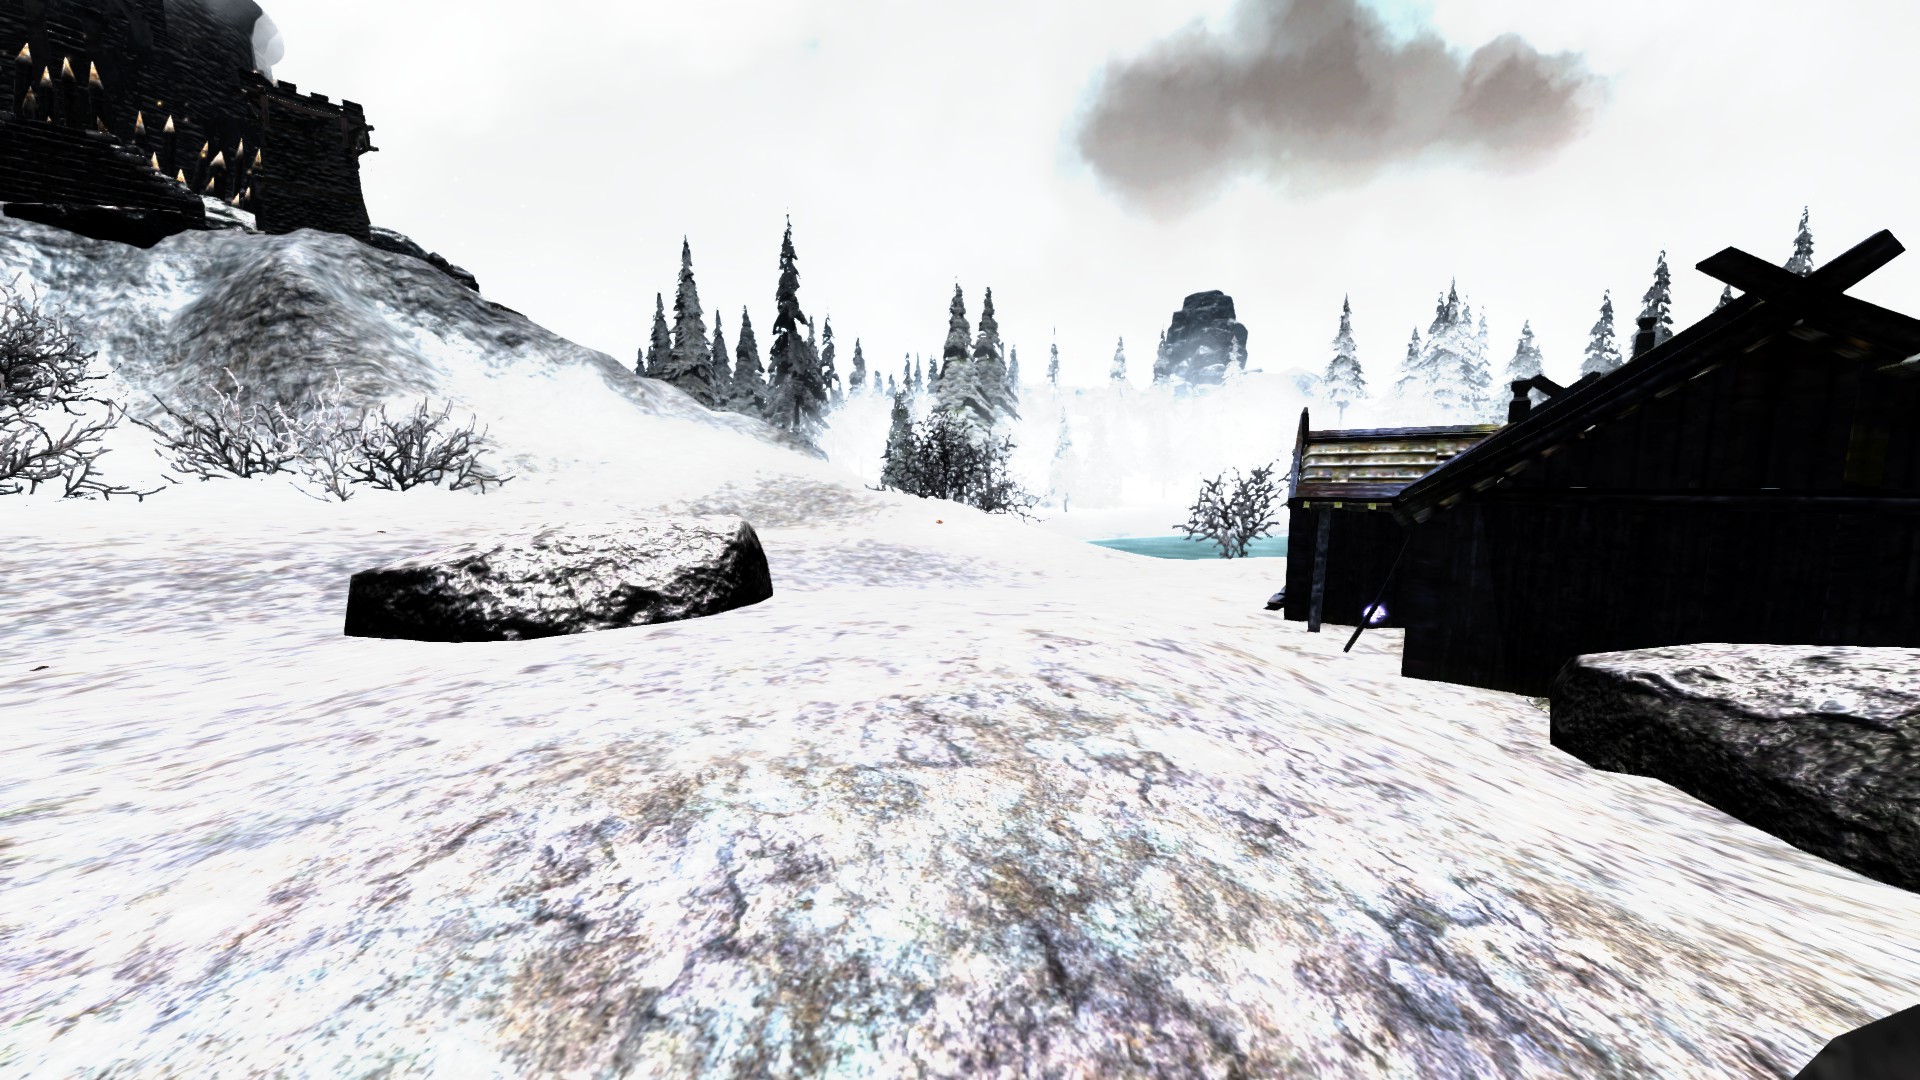
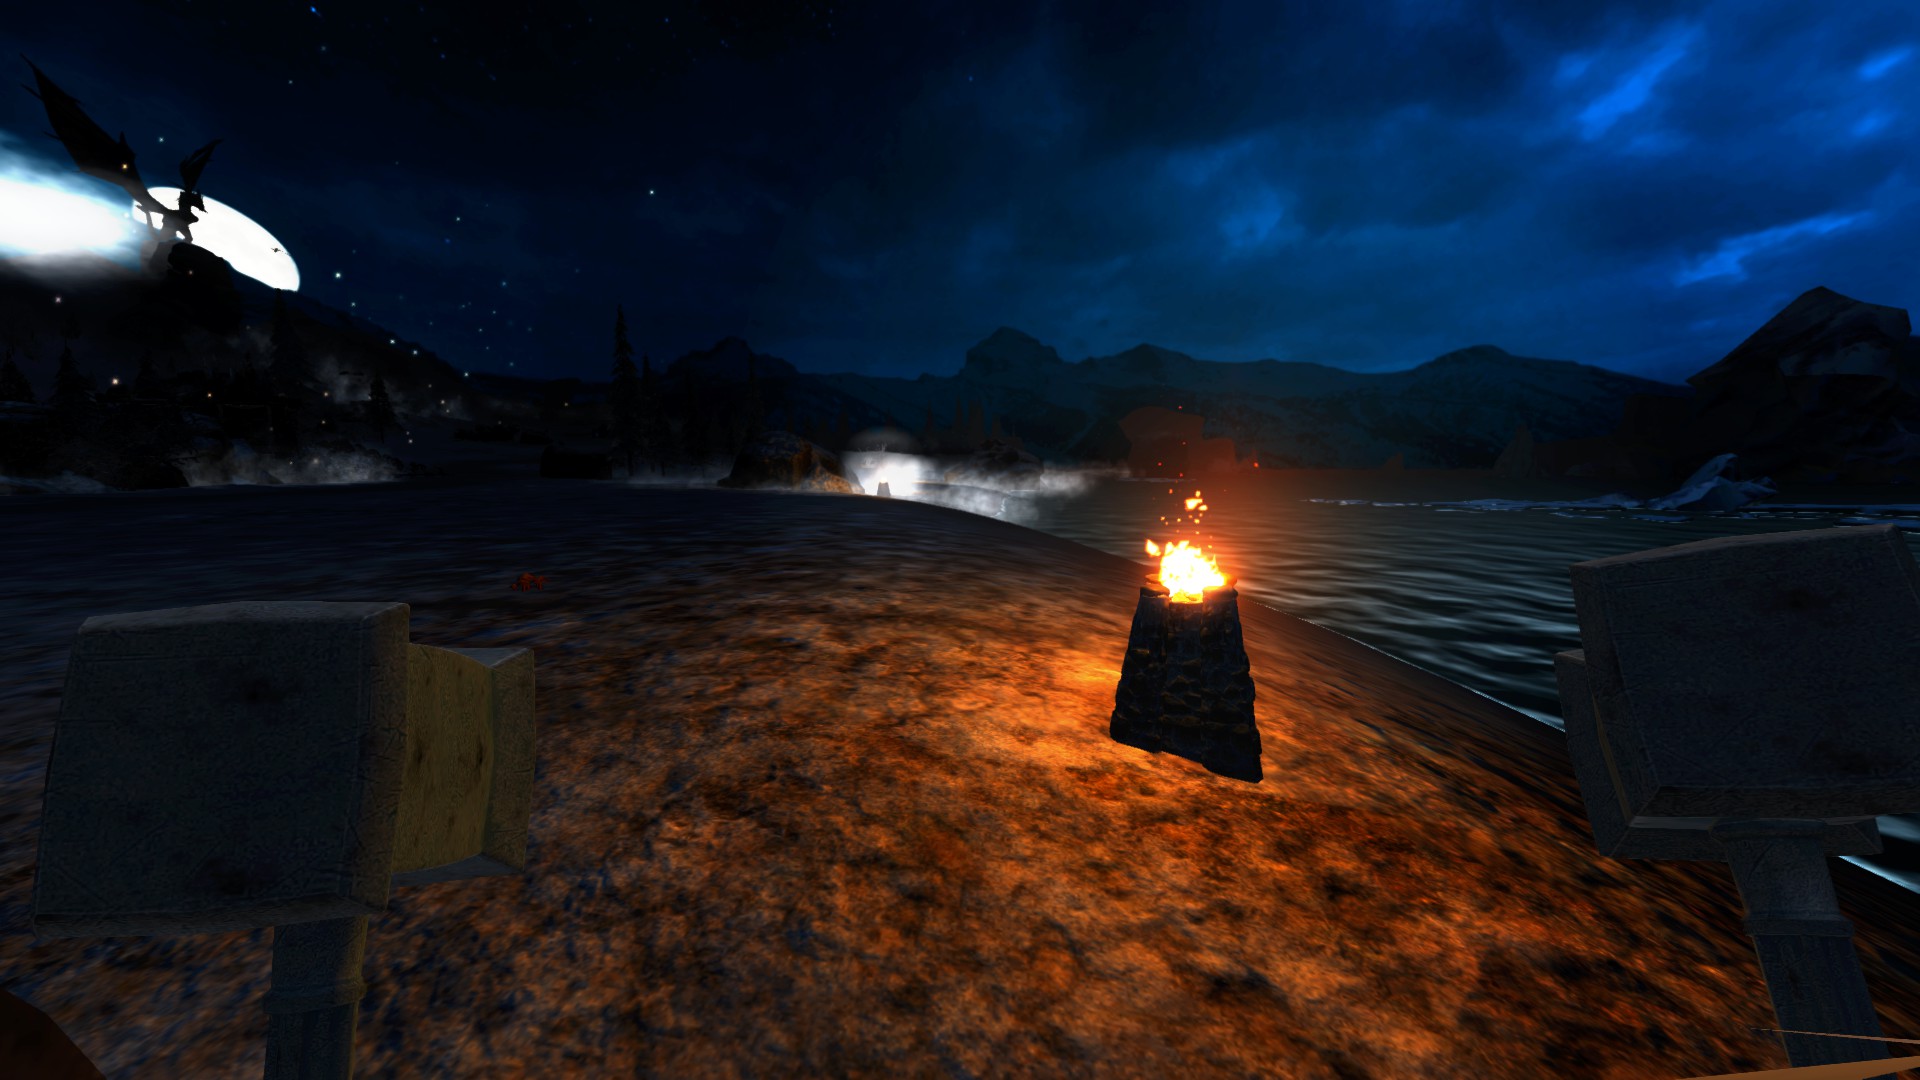
Default vs. Adjusted Settings
Hoard Everything
- Its better to hoard everything and keep it even if you don’t think you will need it.
- I would have multiple chests, 1 for ores, 1 for wood and building items, 1 for heals, 1 for misc. items, 1 for animal skins/hide/leather, and 1 for armor and weapons.
- The organization and placing chests in this game is far from being user-friendly, so good luck with that.
Some General Tips
- You can also dual wield which speeds up time when farming and fighting. Just hold hold LMB and RMB to attack without stopping.
- From my experience and playstyle, dual-weilding is better than carrying a shield. A shield isn’t really worth it as the animation between blocking and attacking is slow and clunky. I recommend having a mix-n-match of swords, maces, hammers, hatchets outs. This can make farming and fighting easier.
- Press shift on an item then click it to split the stack. This way you can take what you need or be able to have a few smaller stacks instead of 1 big stack.
- Left clicking on items in your inventory bag will place it inside the chest which is faster and easier than dragging and holding. When dragging and holding make sure its in the white box otherwise it will drop onto the ground.
- click on items in the chest to move it over to your inventory without holding and dragging.
Fighting and Fleeing
- When fighting, just hold down LMB and RMB while pressing A or D on the keyboard. Making a circle motion around the enemies allow you to attack continuous while having the chance to dodge attacks from enemies.
- Stand on rocks and nodes or entering buildings even if they’re not completely built. Enemies don’t climb or enter buildings. Unlikely, but just be careful with long ranged attacks such as trolls, giants, and grinfels as they still may be able to hit you.
- If you’re being chased by a strong enemy, just quit to main menu, and load back in. This basically resets the area and you should no longer be under attack.
Day & Night Cycles
- Daytime – approximately 30-35 minutes
- Nighttime – approxitately 20 minutes.
- Sunset/Sunrise – approximately 3-5 minutes.
- These times are approximate. Brightness settings may make the game seem darker longer or lighter longer which may throw the approximate times off by a minute or two.
Refresh Rate For In Game Resources
- Nodes re-spawn every in game morning, don’t have the exact time down.
- Animals continue to respawn as long as you keep killing them they will respawn in.
- Trees do not regrow.
Clear out the area around your settlements
- This will give you a greater veiw of the area when leaving for and coming back from adventuring.
- It will also allow you to avoid certain bestairies if you do not feel like fighting or low on health and about to die.
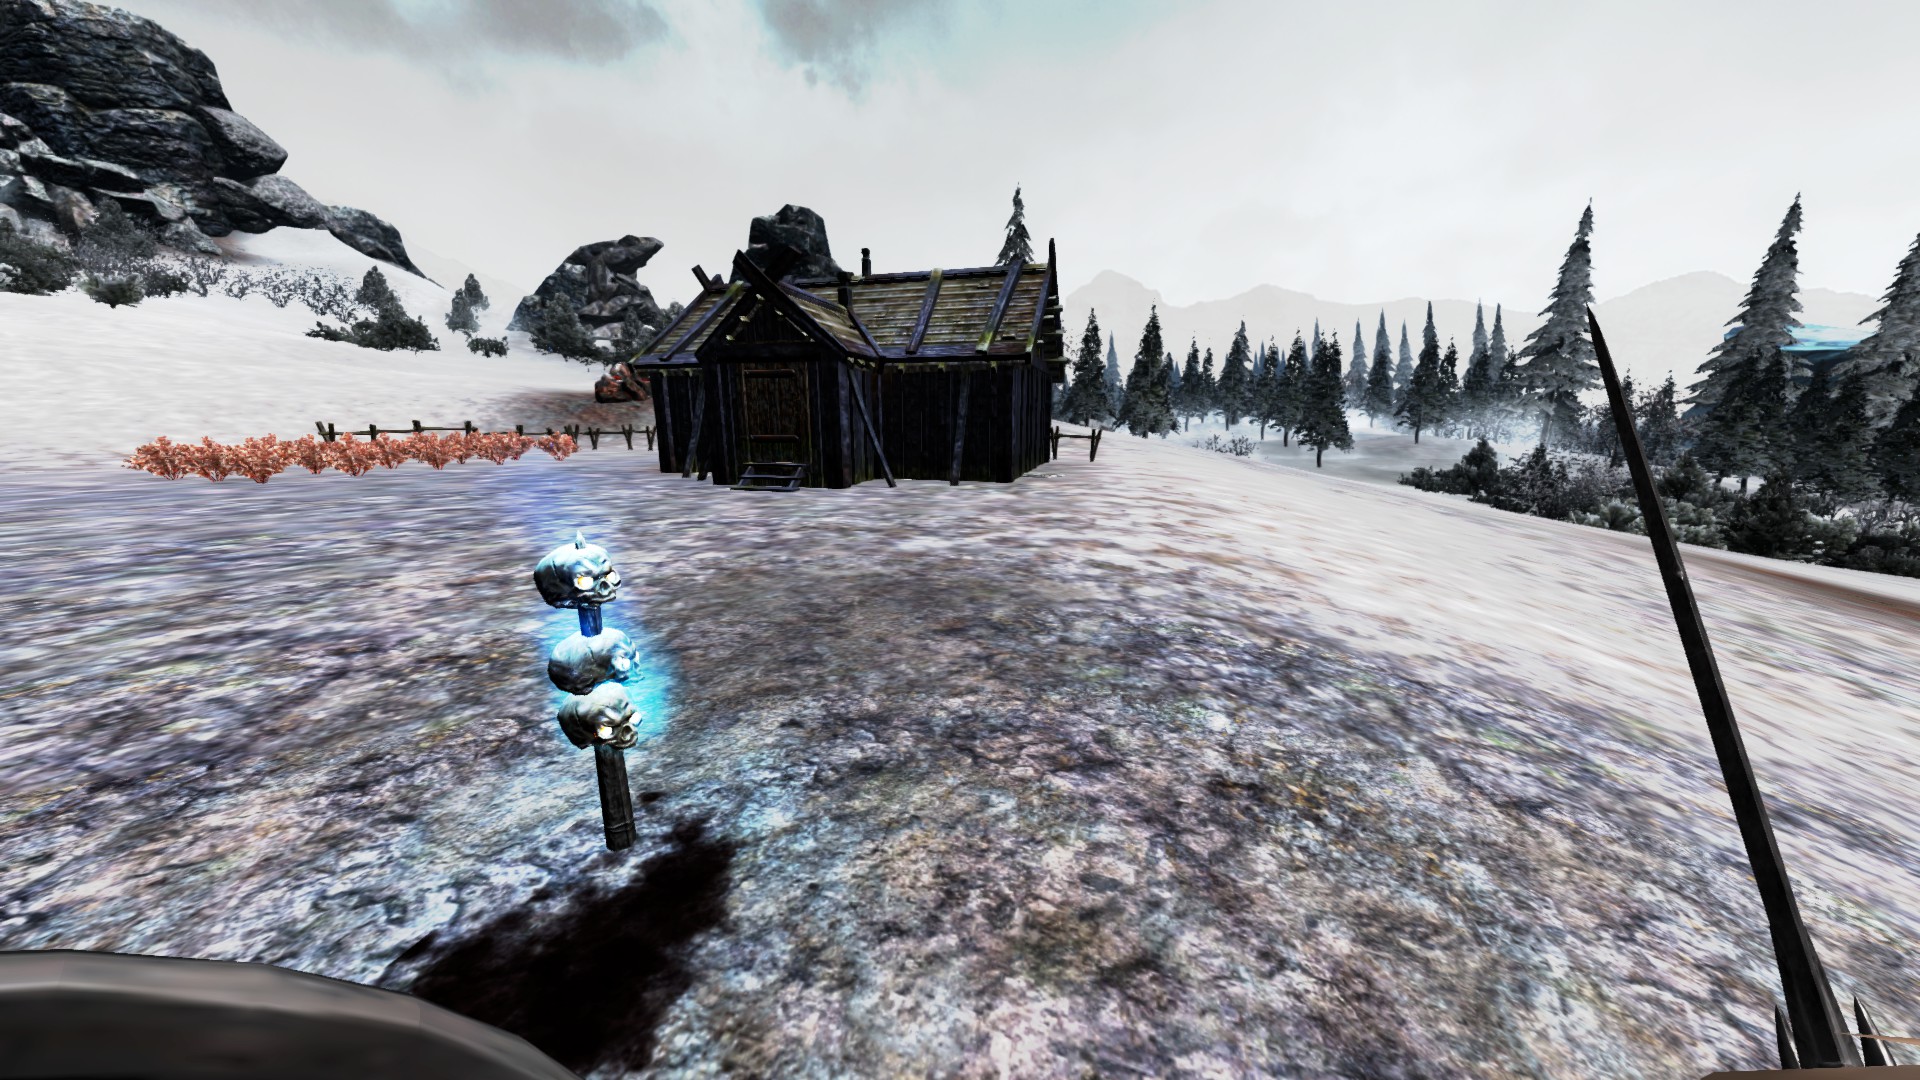
Torch Pedestals
- They are very affordable to make a lot of them quickly.
- Very useful for lighting up the area to make it more visible at night.
- Useful for making paths between towns or certain areas.
- It may not keep you warm, but it burns fire all the time, doesn’t require resources to keep it going.
Utilize Multiple Characters and Worlds
Your character’s can be shared and transferred between multiple worlds.
This section here, for me, is the most important as this can save you a lot of time from farming and running around when you don’t need to. Taking a few minutes to get it all setup up is definitely worth it.
Worlds and their purpose
World 1
- Main world – this world is used for progressing through the game.
World 2+
- Main purpose is to help with farming bosses later which will be explained in a different section. Can also be used to farm ores. You can have as many worlds as you would like to have.
Transport/shared World
- This world is where I build my settlement at Rodan Farm on the first island. This is where I store all my collected resources so its all in one spot that can be shared and utilized by all characters. This way you only have to really build one settlement and don’t really need anymore. This will also save you time from farming wood, stone, and clay, that you may not need to farm.
Characters and their purpose
- I essentially assigned all of my characters different jobs. This will save you time from running across the map and save you from eating food or using bandages and potions that you can save for more dire situations. See examples below.
Main character
- For going on adventure’s, fighting, and discovering new places.
Copper
- Used to farm copper. Run in one direction, collect all the copper you can, then log out of world and into the transport/shared world and put copper into chest. Now just wait for the ray to reset and rinse and repeat.
Iron
- same process and purpose as copper, but farming iron instead.
Silver
- I station this character up in Oscira to farm silver every in game morning cycle. The only nodes for silver and gold I was able to find myself on The 2nd island are located up in Oscira by Grot the frost forest giant. Out of the multiple times I farmed silver there, I have never woke up Grot.
Gold
- Farms gold and silver on the 3rd island. Same purpose and process as the above characters.
Tin & Coal
- Don’t need a special character, just start a new world, farm the nodes, quit, delete world, and load into main world.
The Hunter
- Only need 1 but can have two. The first best area between Rodan Farm and tuloca pond. The second best area is on the second island around Tilian Homestead. I highly recommend using ebon steel arrows and bow for hunting.
Save yourself from farming more than you need to
Ideally you only need to create 1 house/settlement area and this should be on your Transport or Shared world. So this way if your farming and need to make tools, armor, cook food, etc. just quit to main menu and load into the transport/shared world. This way all the resources collected are in one spot and you don’t have to worry about running around trying to find a particular resource.
Disclaimer
When switching between characters and worlds it’s always a good idea to double check spawn points as they will change/reset when switching. I was on the 3rd island, Jormungar, when I died and spawned back on the 1st island, Snowmere, in the first spawn location. So taking 30 seconds to check the spawn points is definitely worth it.
Weapons and Armor
- This is pretty straight forward as majority of the items needed to craft are gathered. There is an exception for the 3 items that took me a bit too figure out. Frost berries, tree nuts, and bark which is needed for crafting tannin and potions.
Frost berries
- Farmed by chopping down the small pine trees.
Tree Nuts
- Farmed by chopping down the small branch, stick looking bushes.
Tree bark
- Will drop when chopping down pretty much any tree type.
Bows and Arrows
- Wooden bows and arrows are not needed, barely do any damage. Take 2-3 shots to kill animals on the 1st island and completely useless on the 2nd island.
- Ebon steel bow and arrows takes 1 shot for game animals and 2-3 shots for hostile animals, but completely useless on the 3rd island.
Best Armor For Each Island
- As you progess from one island to the next you will notice it will get harder not only from island to island, but as you journey across each island individually. You will see a difference as you adventure across each island.
- Listing basic armor off nodes, nothing that requires special items.
- 1st island tin will be more than enough to survive.
- 2nd island, tin will be useless and will need to farm copper nodes and upgrade to copper armor asap. Iron armor will be better off as you get deeper in the island.
- 3rd island, iron armor will be useless. Try to farm silver and upgrade to silver armor asap. As strong as silver armor may be, its still recommended to upgrade to gold armor as you get deeper in the island.
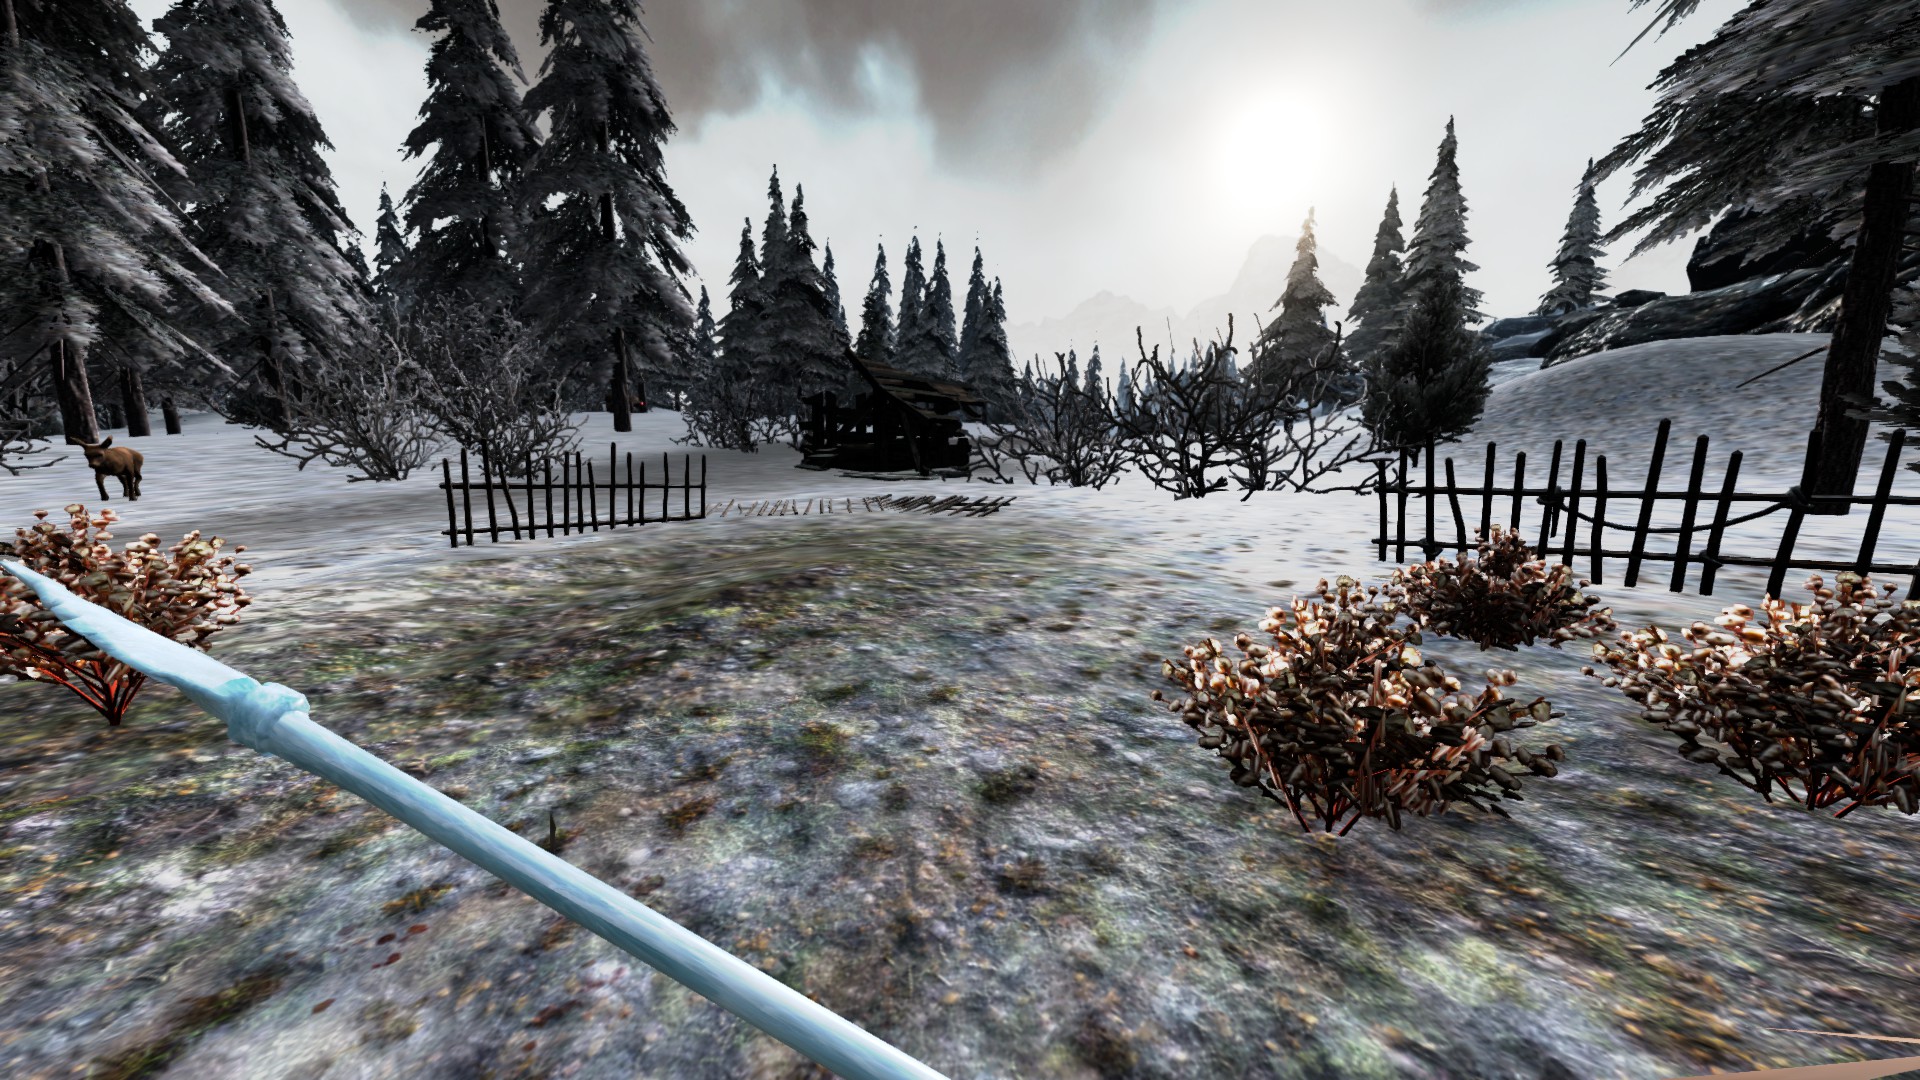
Snowmere
Bestiary
- Game animals. Rabbits, deer, skeletons, baby wolves, and baby boars.
- Field of awareness is small so you can actually get up close or even walk by them.
- Rabbits you can out run.
- Deer you can almost outrun them if you can walk up to them and attack before they get away.
Weapons
- Flint arrows and bows isn’t really worth it. Takes at least 3 arrows to kill anything. IF you shoot animals, they may run away and you will end up chasing them farther than you would like to.
- Melee weapons are more than enough to kill animals as you should be able to sneak up and get close to the animals.
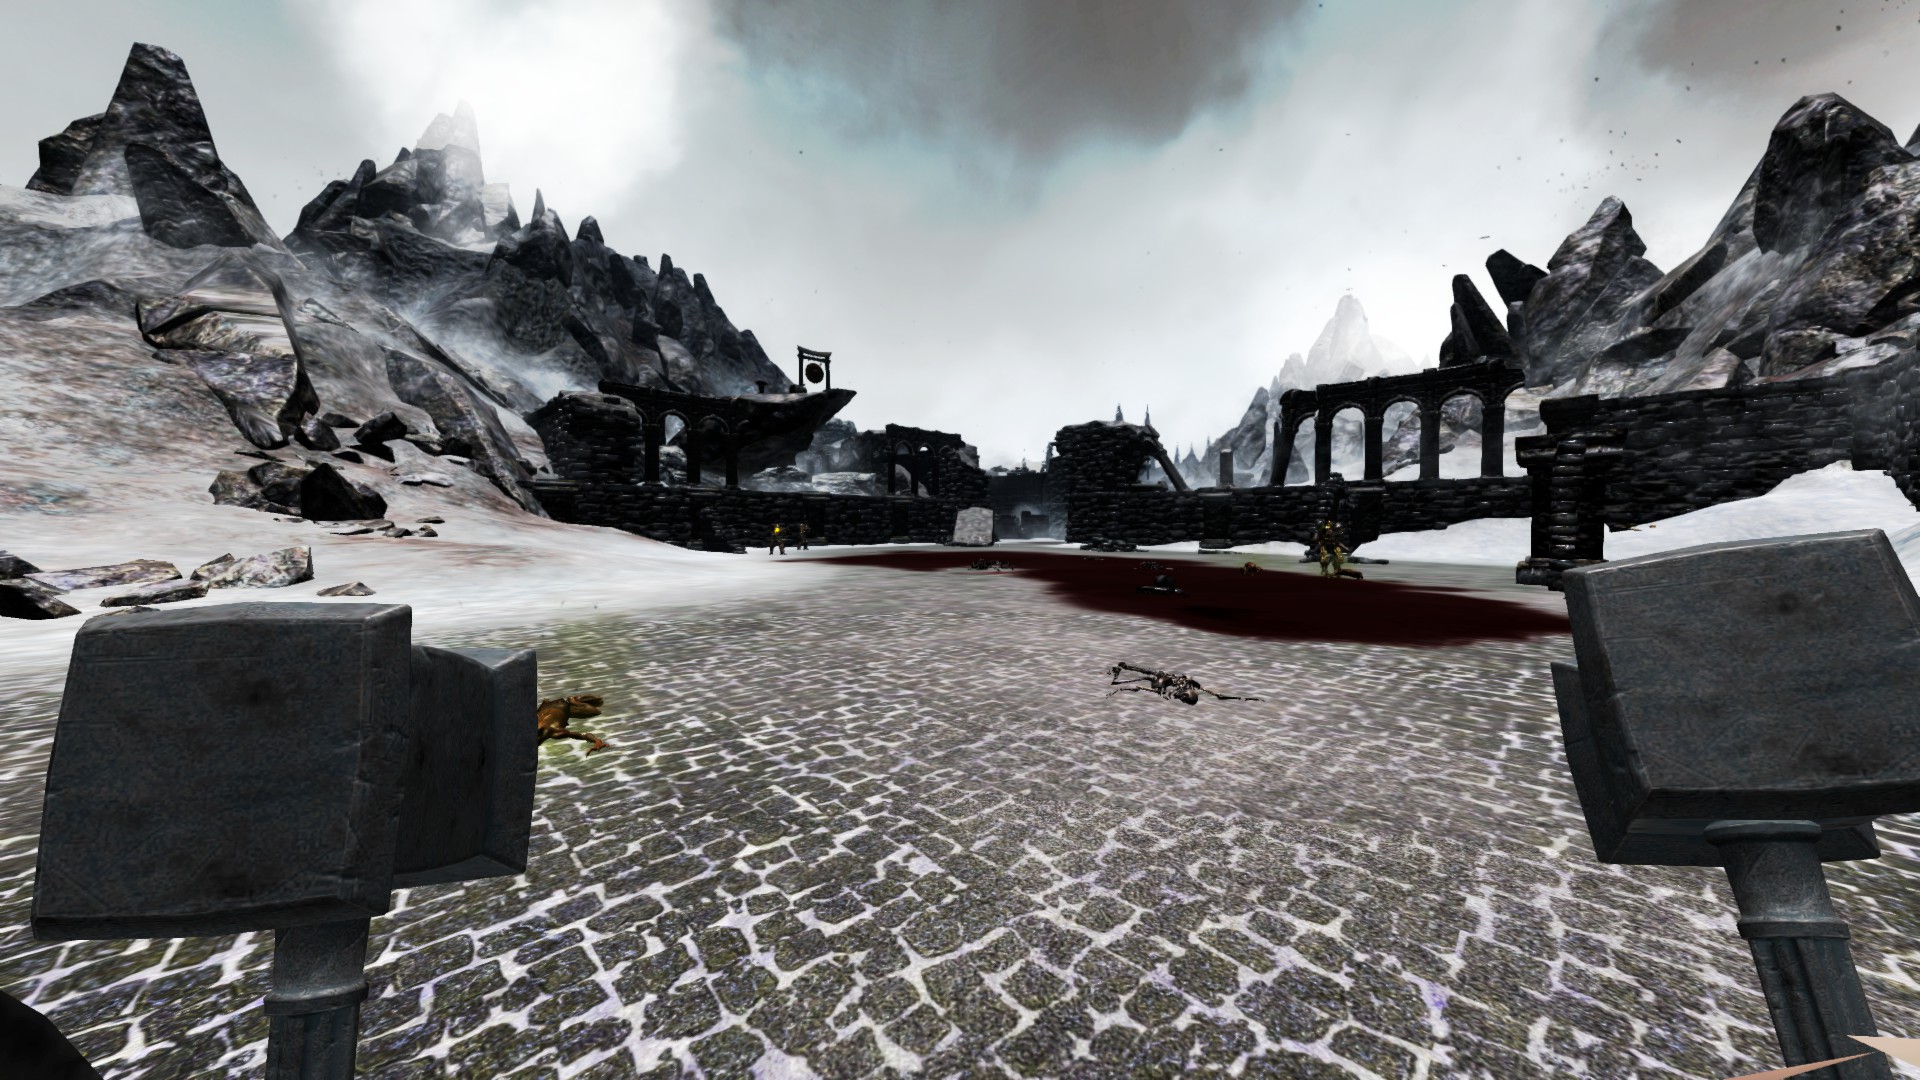
- Hammers are just as good as swords. Hammers are faster when mining, but also do about the same damage as swords and maces. Plus you won’t have to switch between weapons.
Nodes and Ores
- Stone, clay, flint, coal, and tin.
Best places to settle
- Rodan Farm, has shelter, cotton farm, and in the middle of everything you will need.
- The partial house by Tuloca Pond is also a good option since its close to the portal.
How to farm resources on this island
- There is no trick, its actually quite simple.
- Make sure you have at least 2 stone hammers and whetstones to repair them. Need workbench table to make whetstones.
- Don’t wait for the nodes to reset, just quit to main menu, select character, and create a new world.
- Everything your character has is loaded into the new world.
- So even if your on the second or third island, just load up a brand new world to farm as needed.
- Rinse and repeat as many times as you would like to.
Unlocking the 2nd island (Freydalyn)
- So to get to the second island you need to kill 2 bosses which only come out at night.
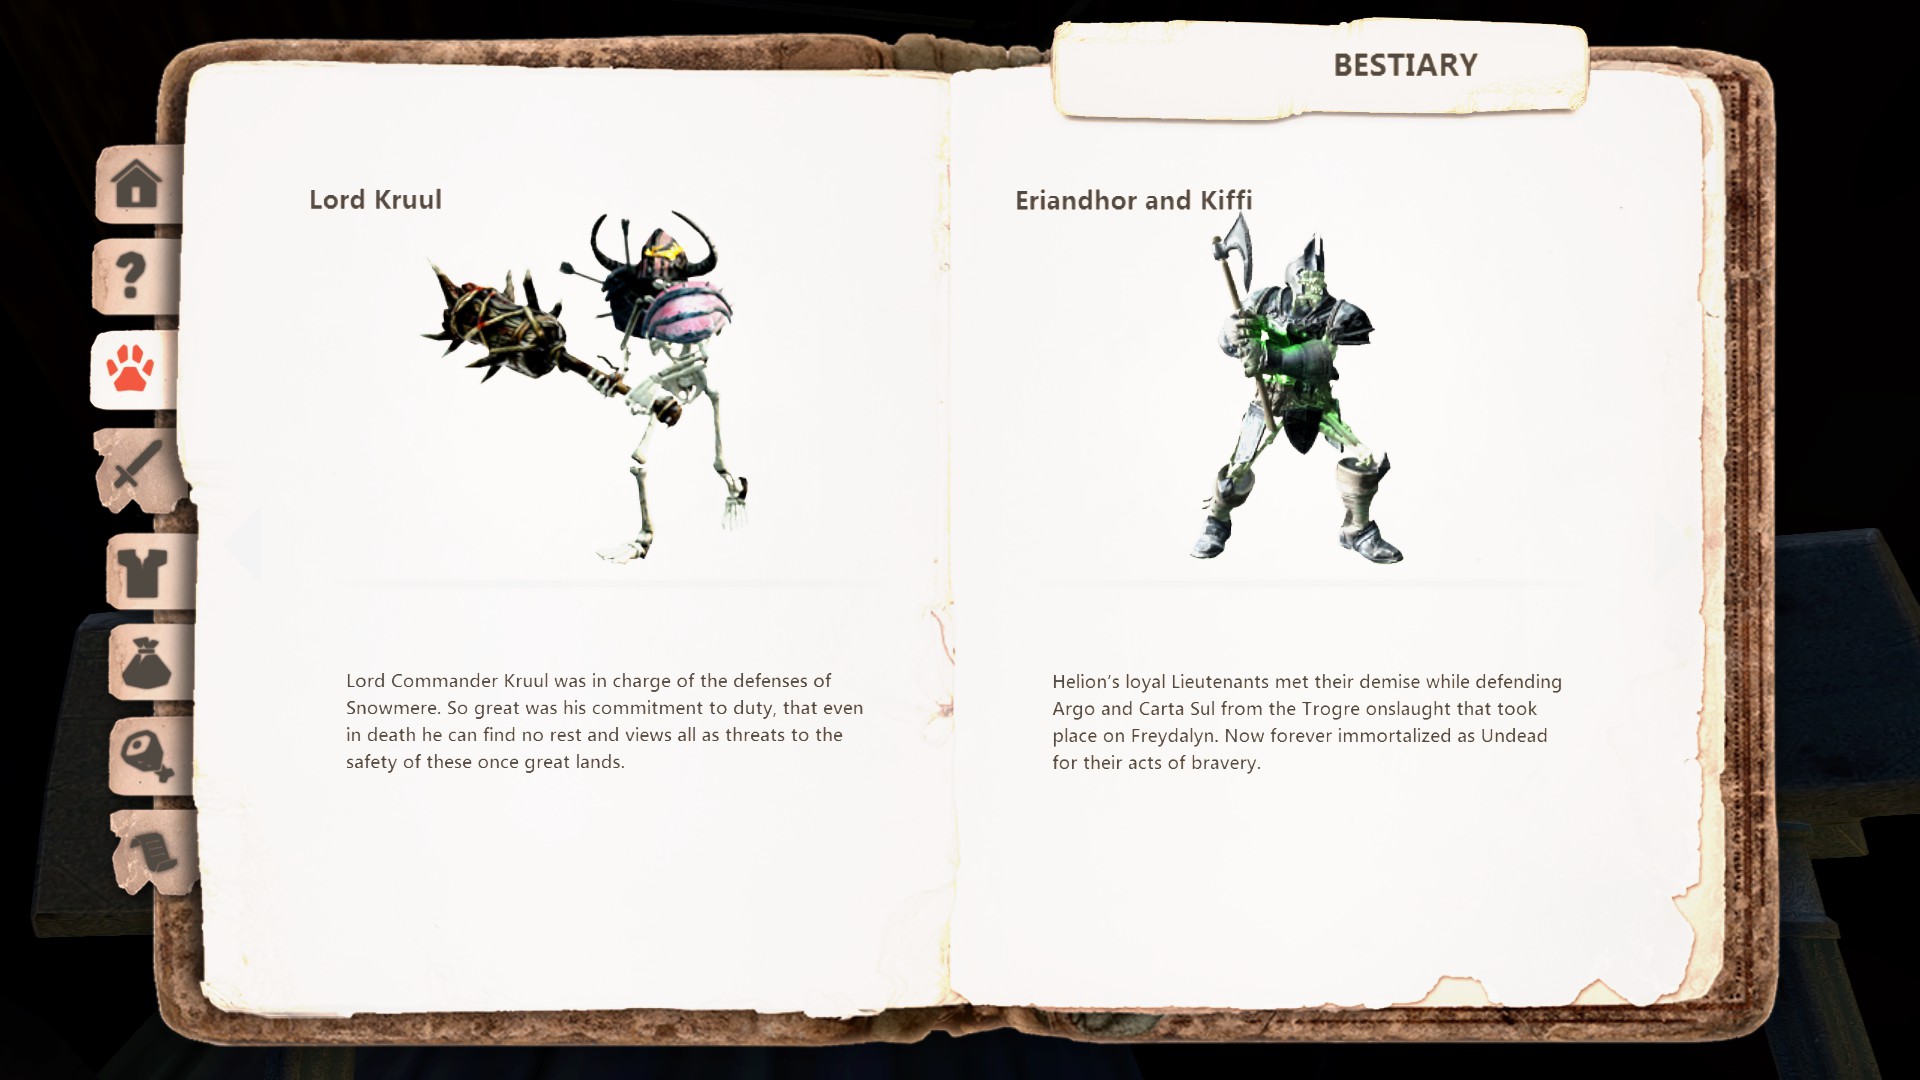
- Lord Kruul who can be found only at night in Saval. A yellow message will appear saying something like “Lord Kruul as arrived”.
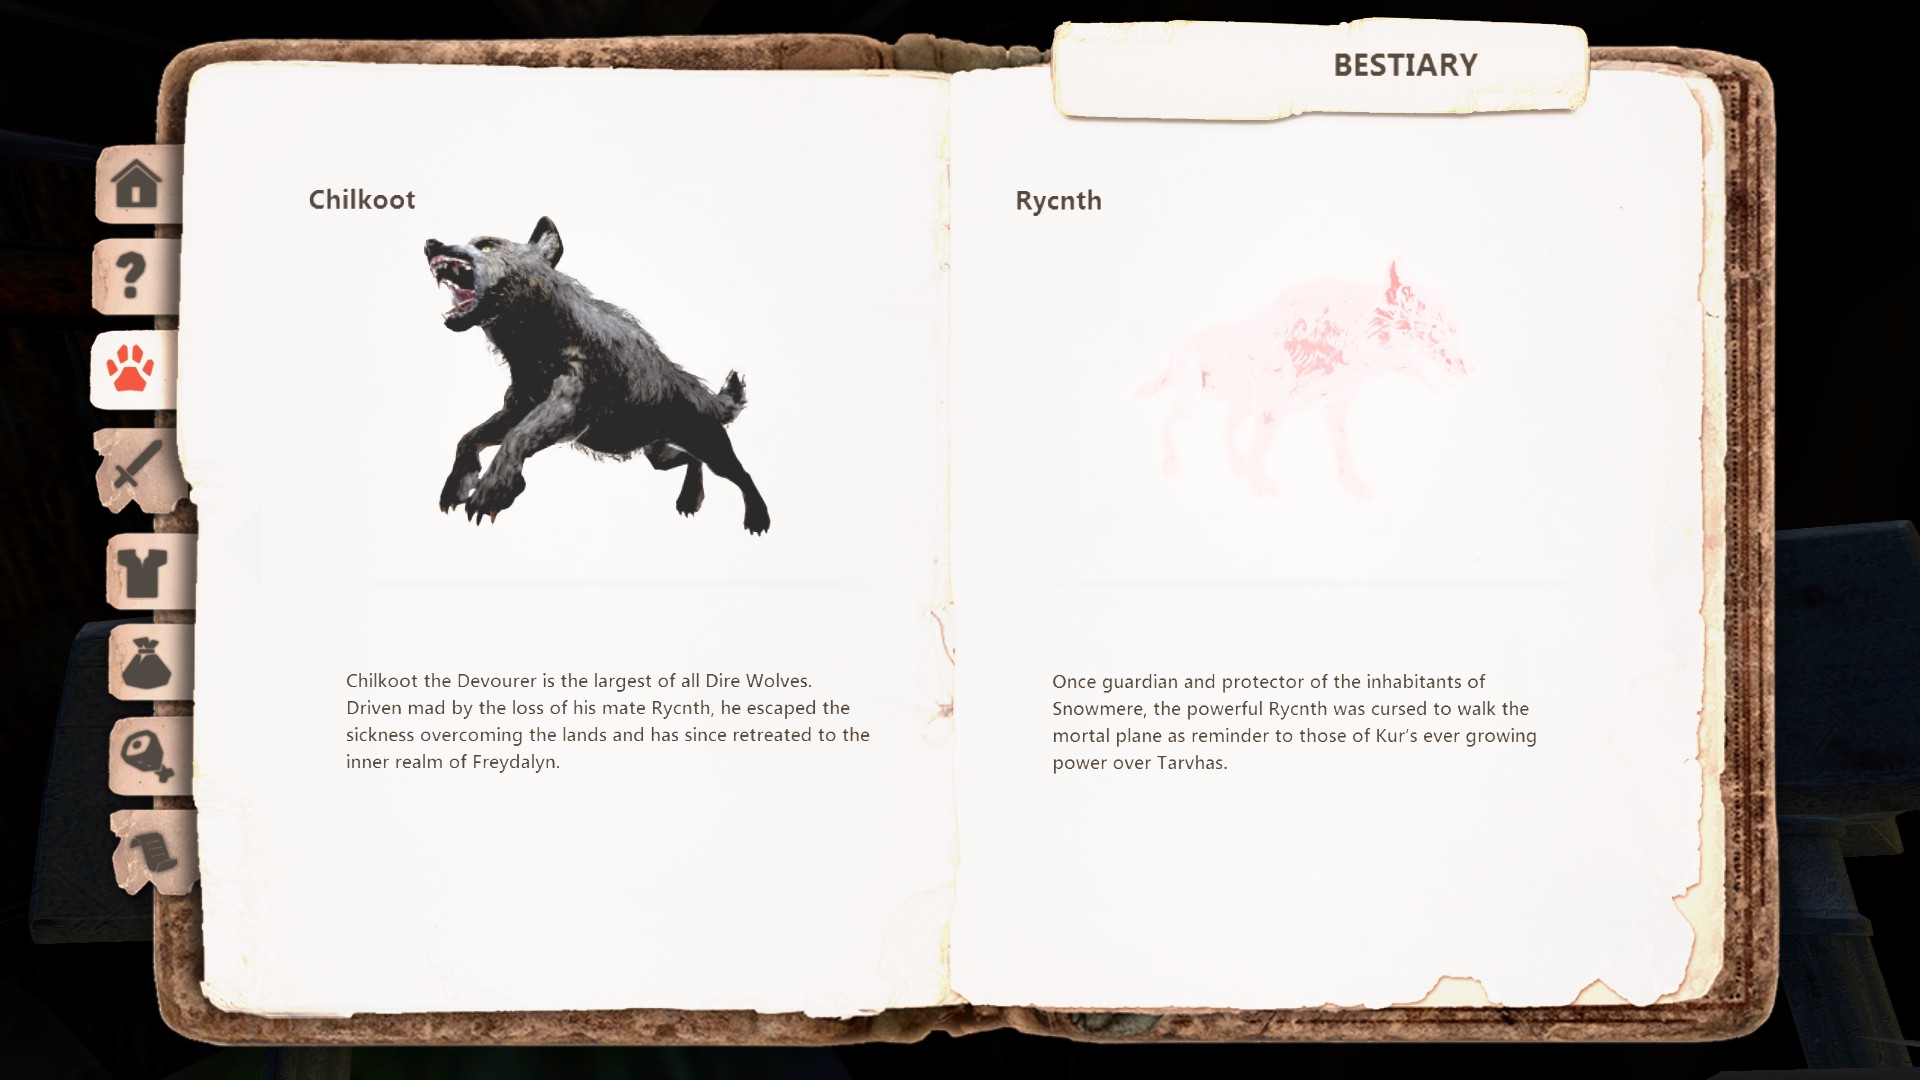
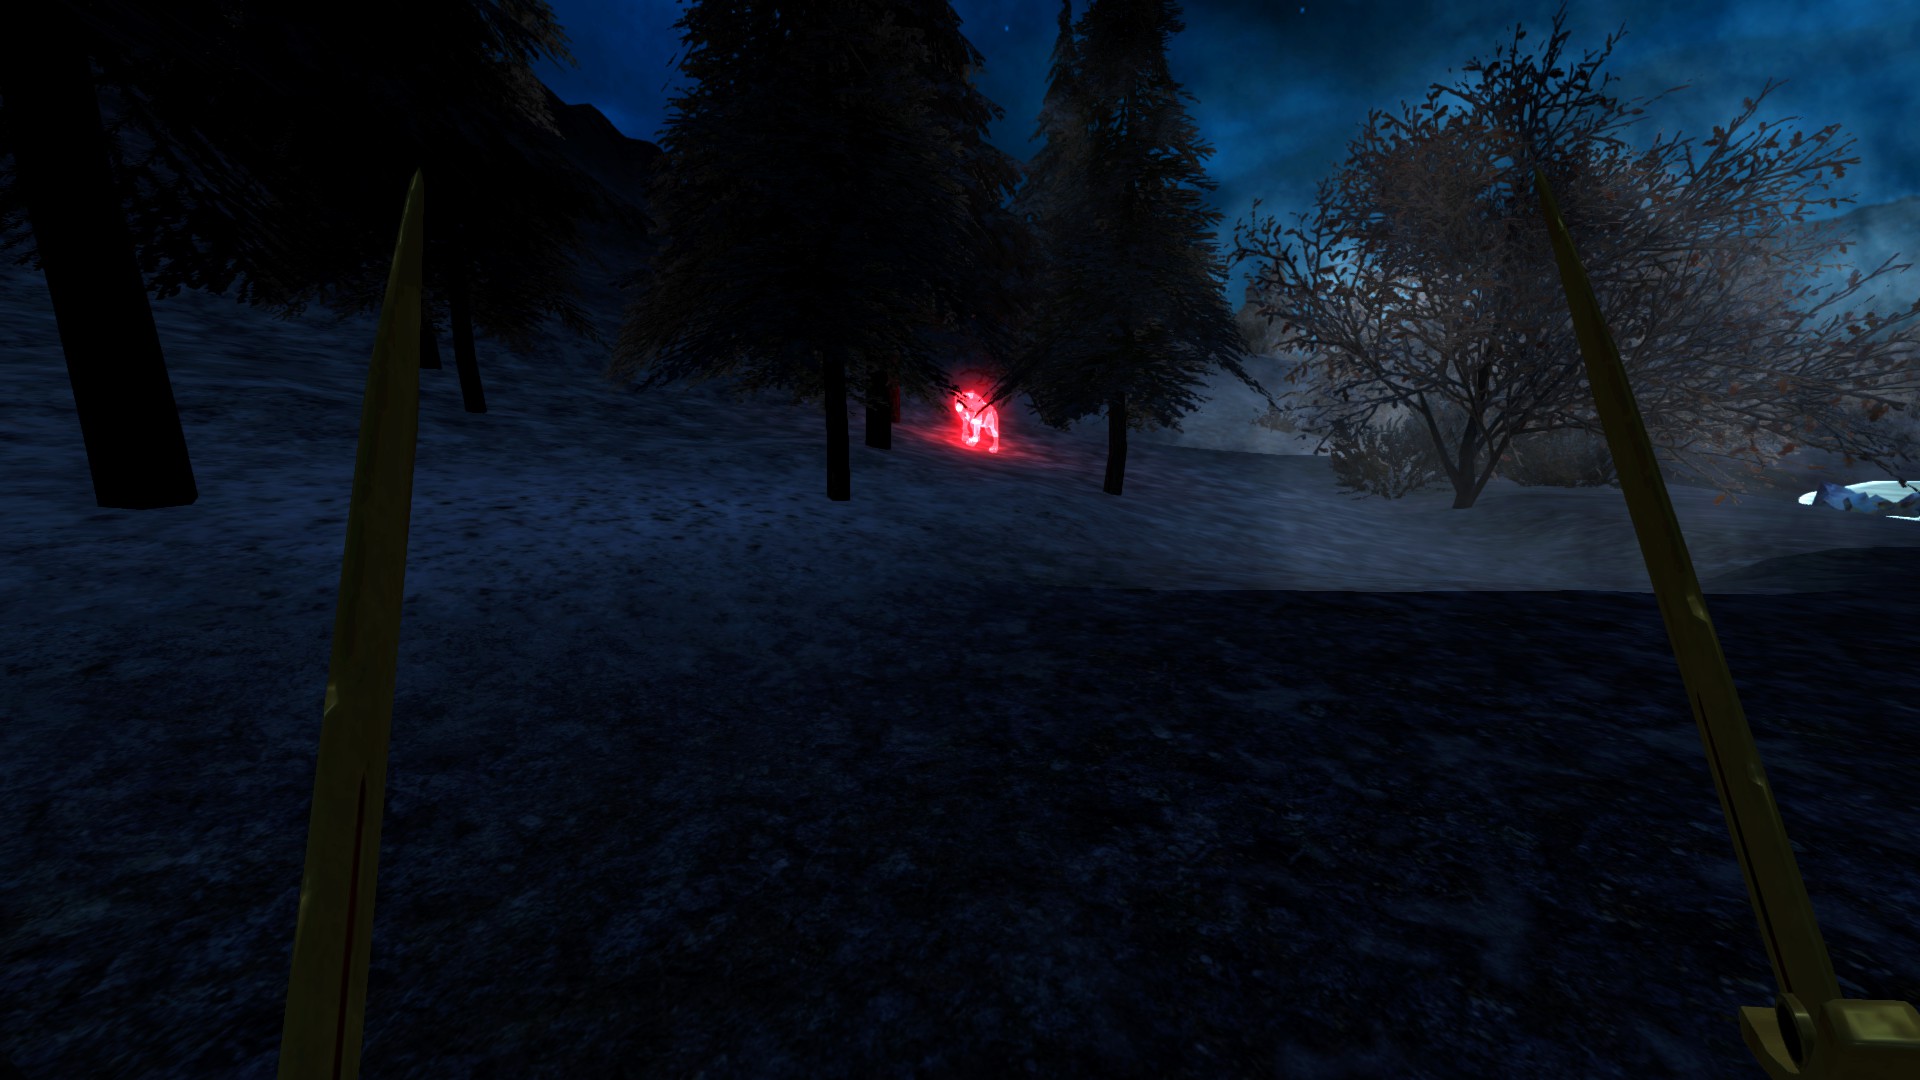
- Rycnth, the red wolf spirit who appears only at night near the lake. You will need spirit armor to survive and defeat the wolf. No special message, you will see a red glowing wolf walking around.
- If neither spawn, just start killing all the bestiaries you see, it usually spawns them in faster.
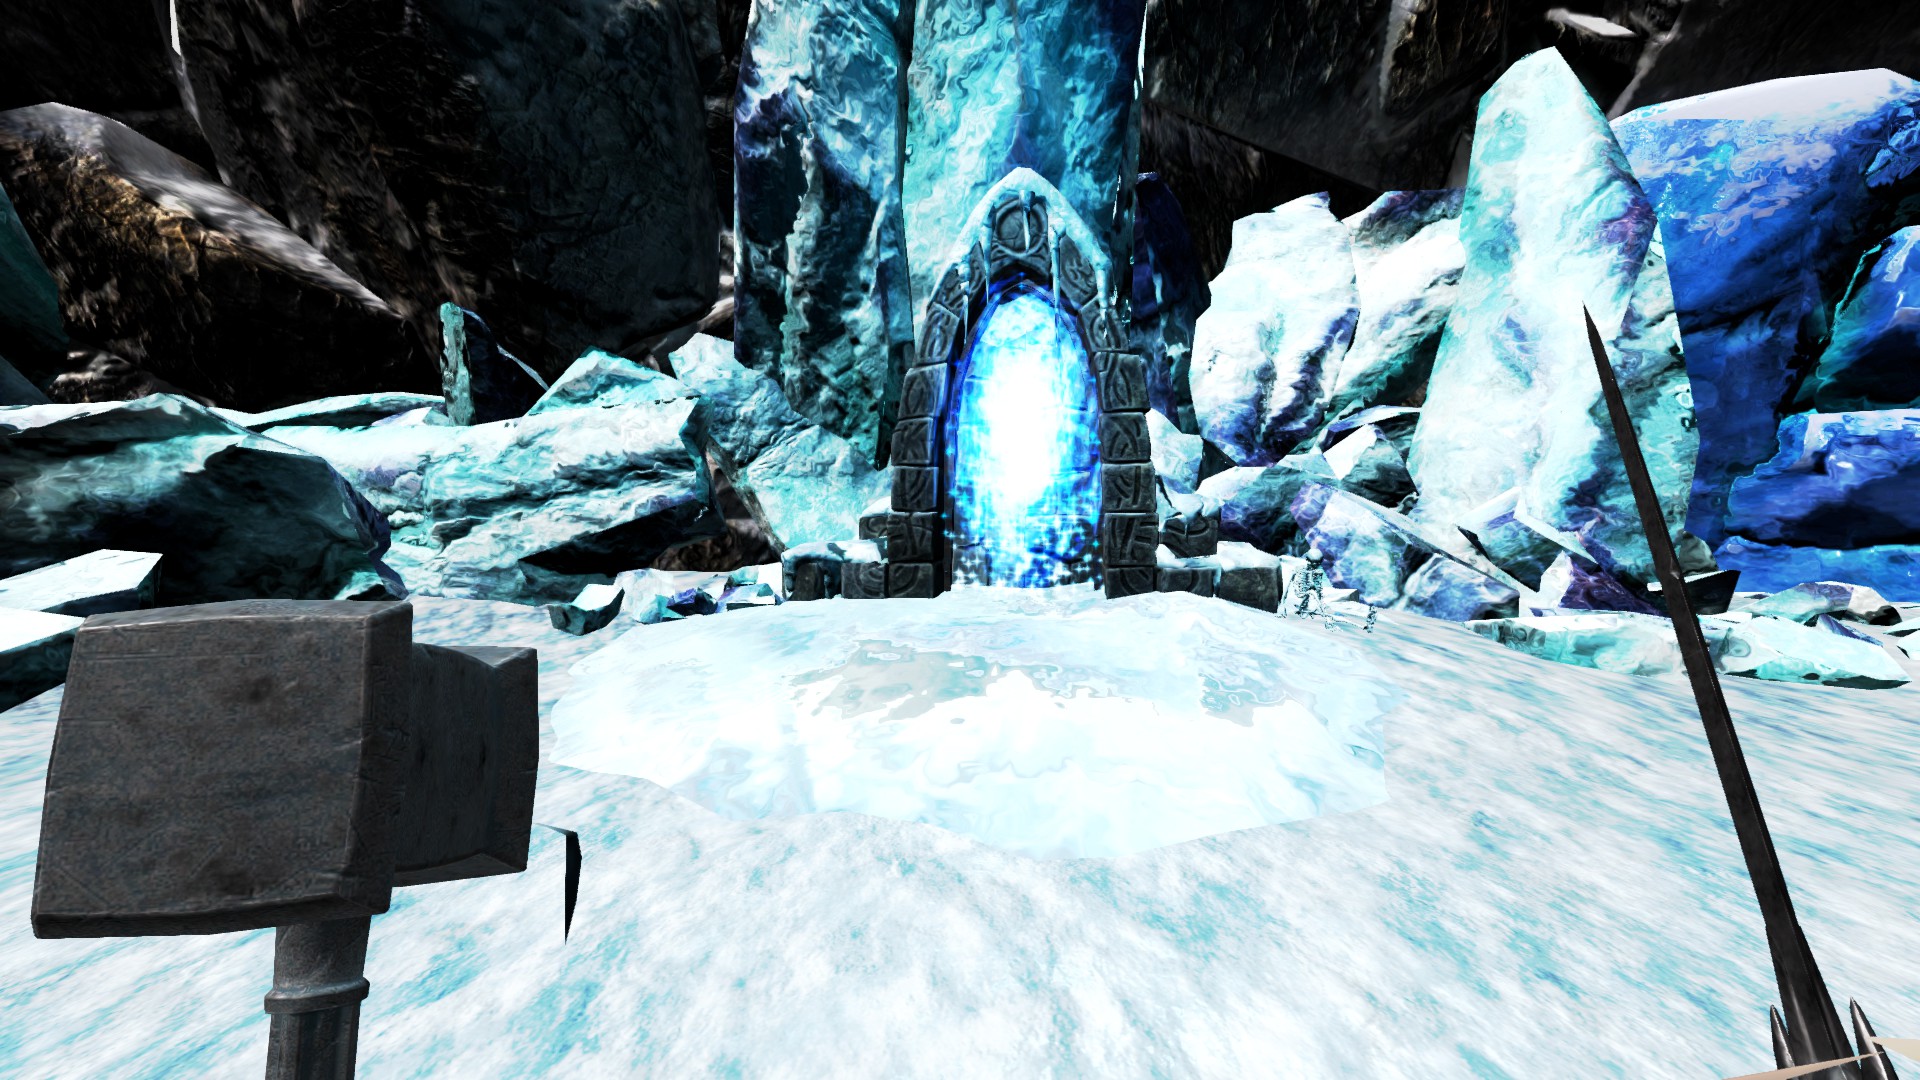
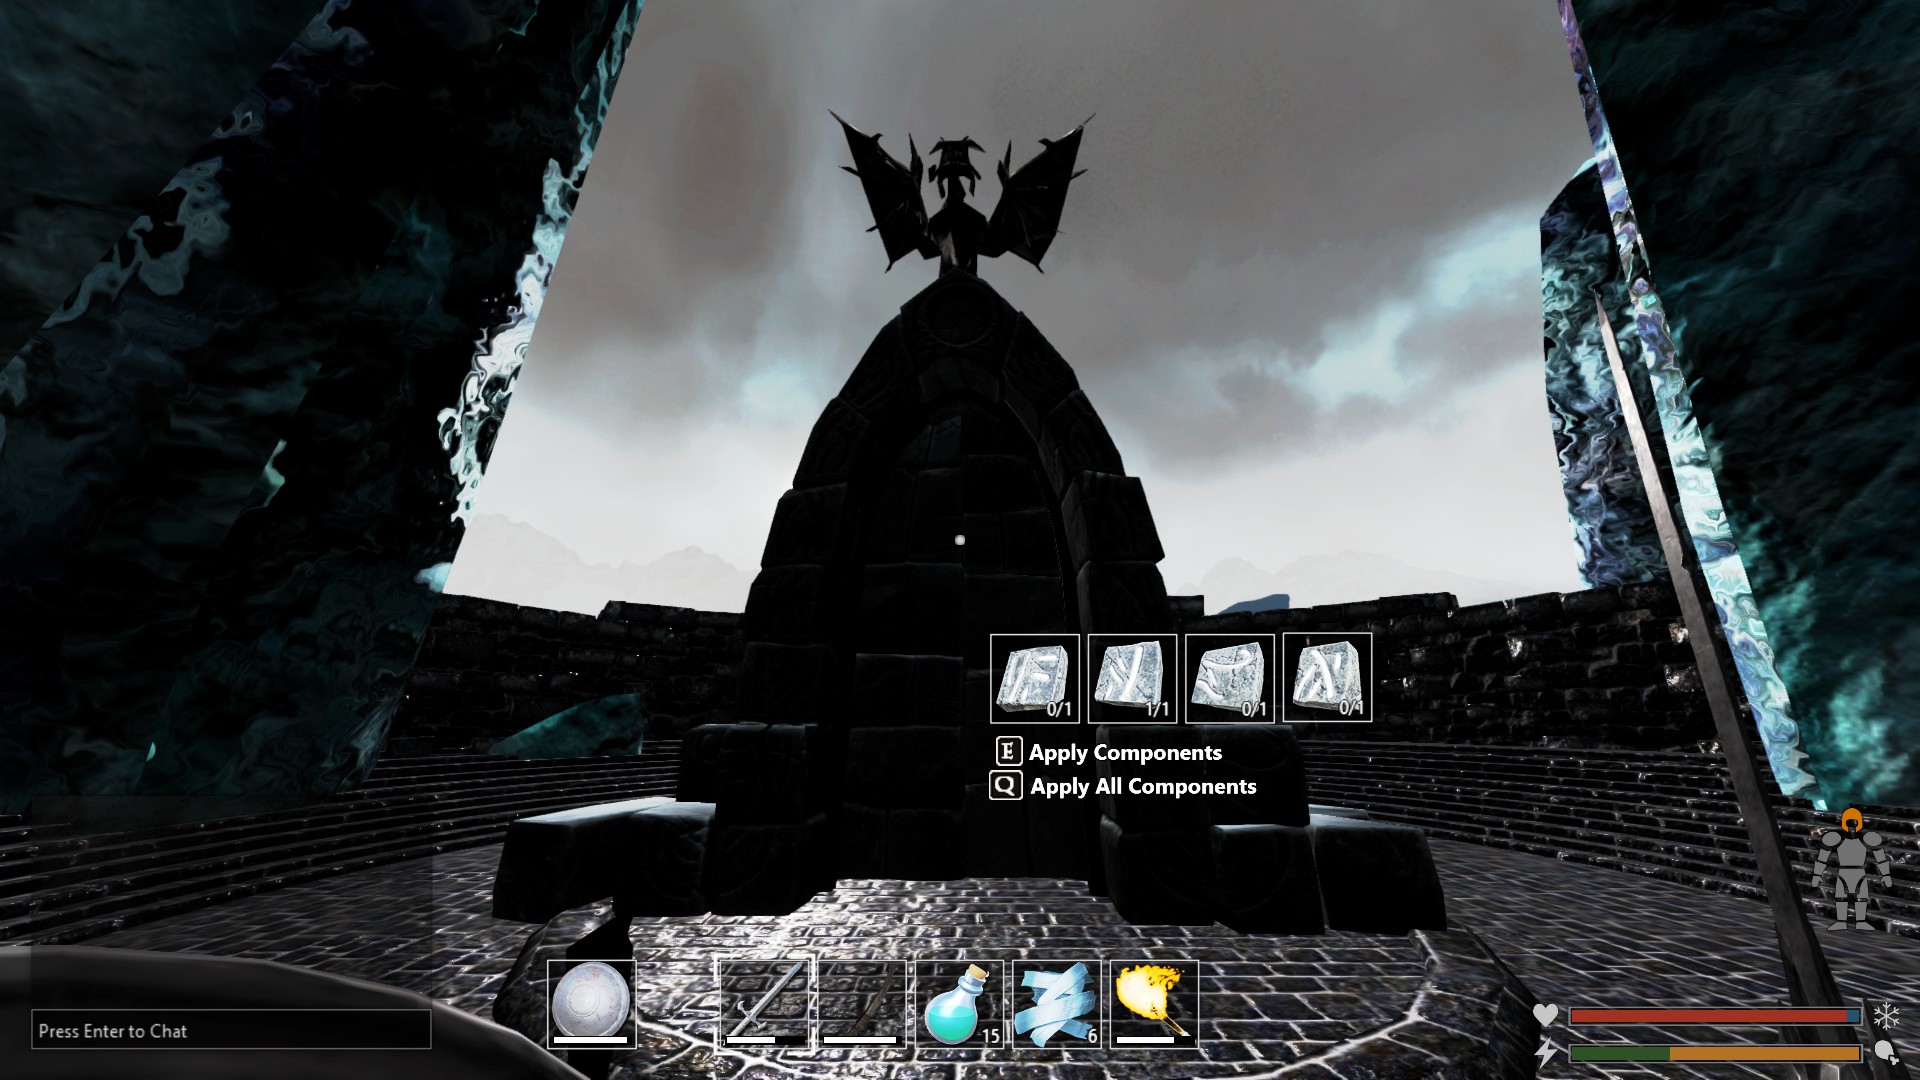
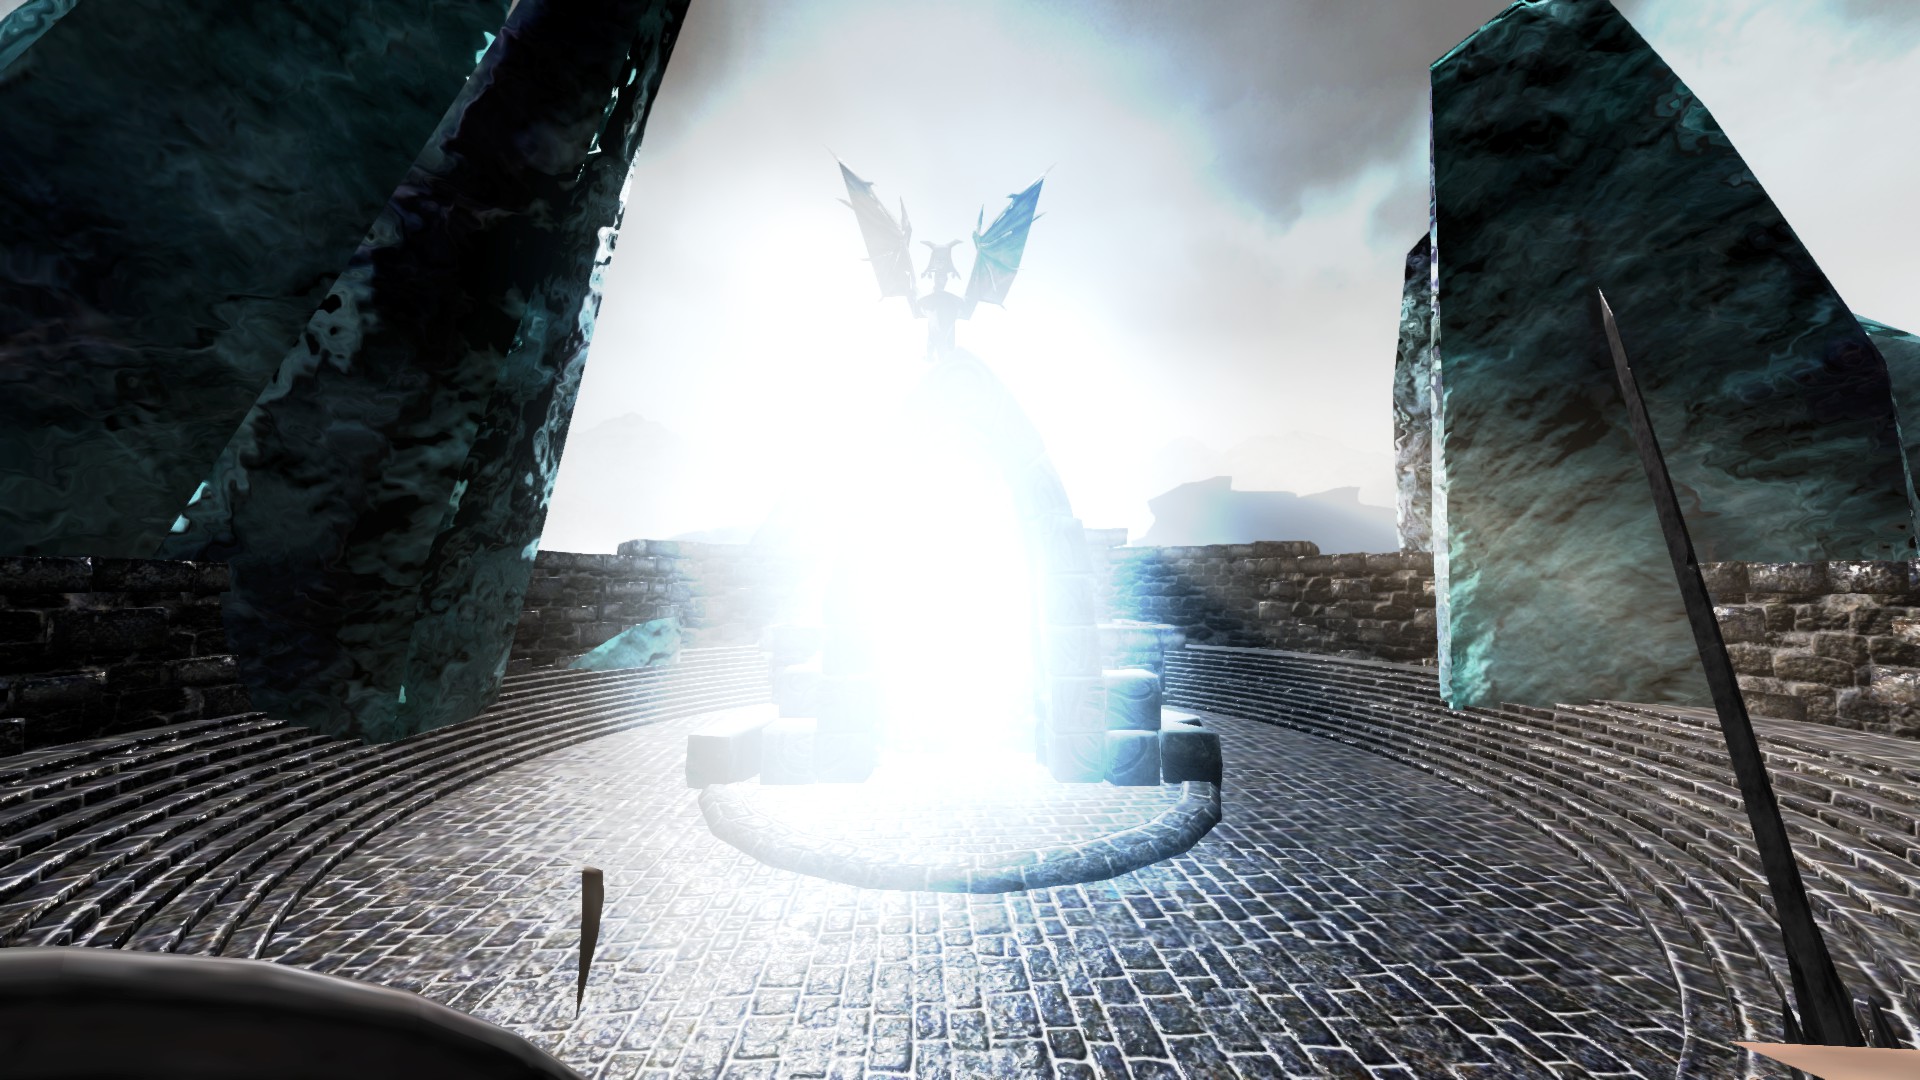
- Once you have killed both of them, you should have picked up two stone tablets, and then place them in the portal.
Freydalyn
Bestiaries
- Rabbits, deer, wild boars, dire wolves, bears (found in mountain areas), e’ks, elementals, plague wolf, kiilot, undead fury, and spirits.
- Threat level increases, animals are more hostile.
- Field of awareness increase greatly, can’t walk past them anymore.
- Will attack when you get near them and will chase you without stopping.
- Will barely survive with tin armor. Upgrading to copper will be first priority.
- Flint arrows and wooden bow are useless, barely do any damage.
- Ebon steel arrows and bow will 1 shot most game animals and 2-3 shots for bigger game animals.
Best place to build
- I built 3 houses on this island and the 2 best places to build are Tilian Homestead and Stonemoor.
- From Tilian Homestead you can go anywhere you want.
- Portal 1 – in Vex takes you to Stonemoor.
- Portal 2 – in Vera Chuul takes you to Ruins of Argo.
- Portal 3 – this portal will take you to Lake of Tvyekk. Its well hidden and easy to miss. Go to the portal that allows you to go between the 2 islands, but don’t enter it. You should see a tall glacier standing up in the middle of the water, just beyond that is the portal.
Gathering Resources
- Animals
- Plenty of wildlife around tilian homestead to provide steady income for food, animal skin, sinews, and hide.
- Nodes
- 2 silver nodes in Oscira, same room as Grot the frost forest giant. I have a seperate character called “silver” who just stays up there just to farm silver every in game day cycle.
- There are at least 16 nodes from the start of the wall bridge on the tilian homestead side and all the way to dragons. I was able to 80+ copper for each run.
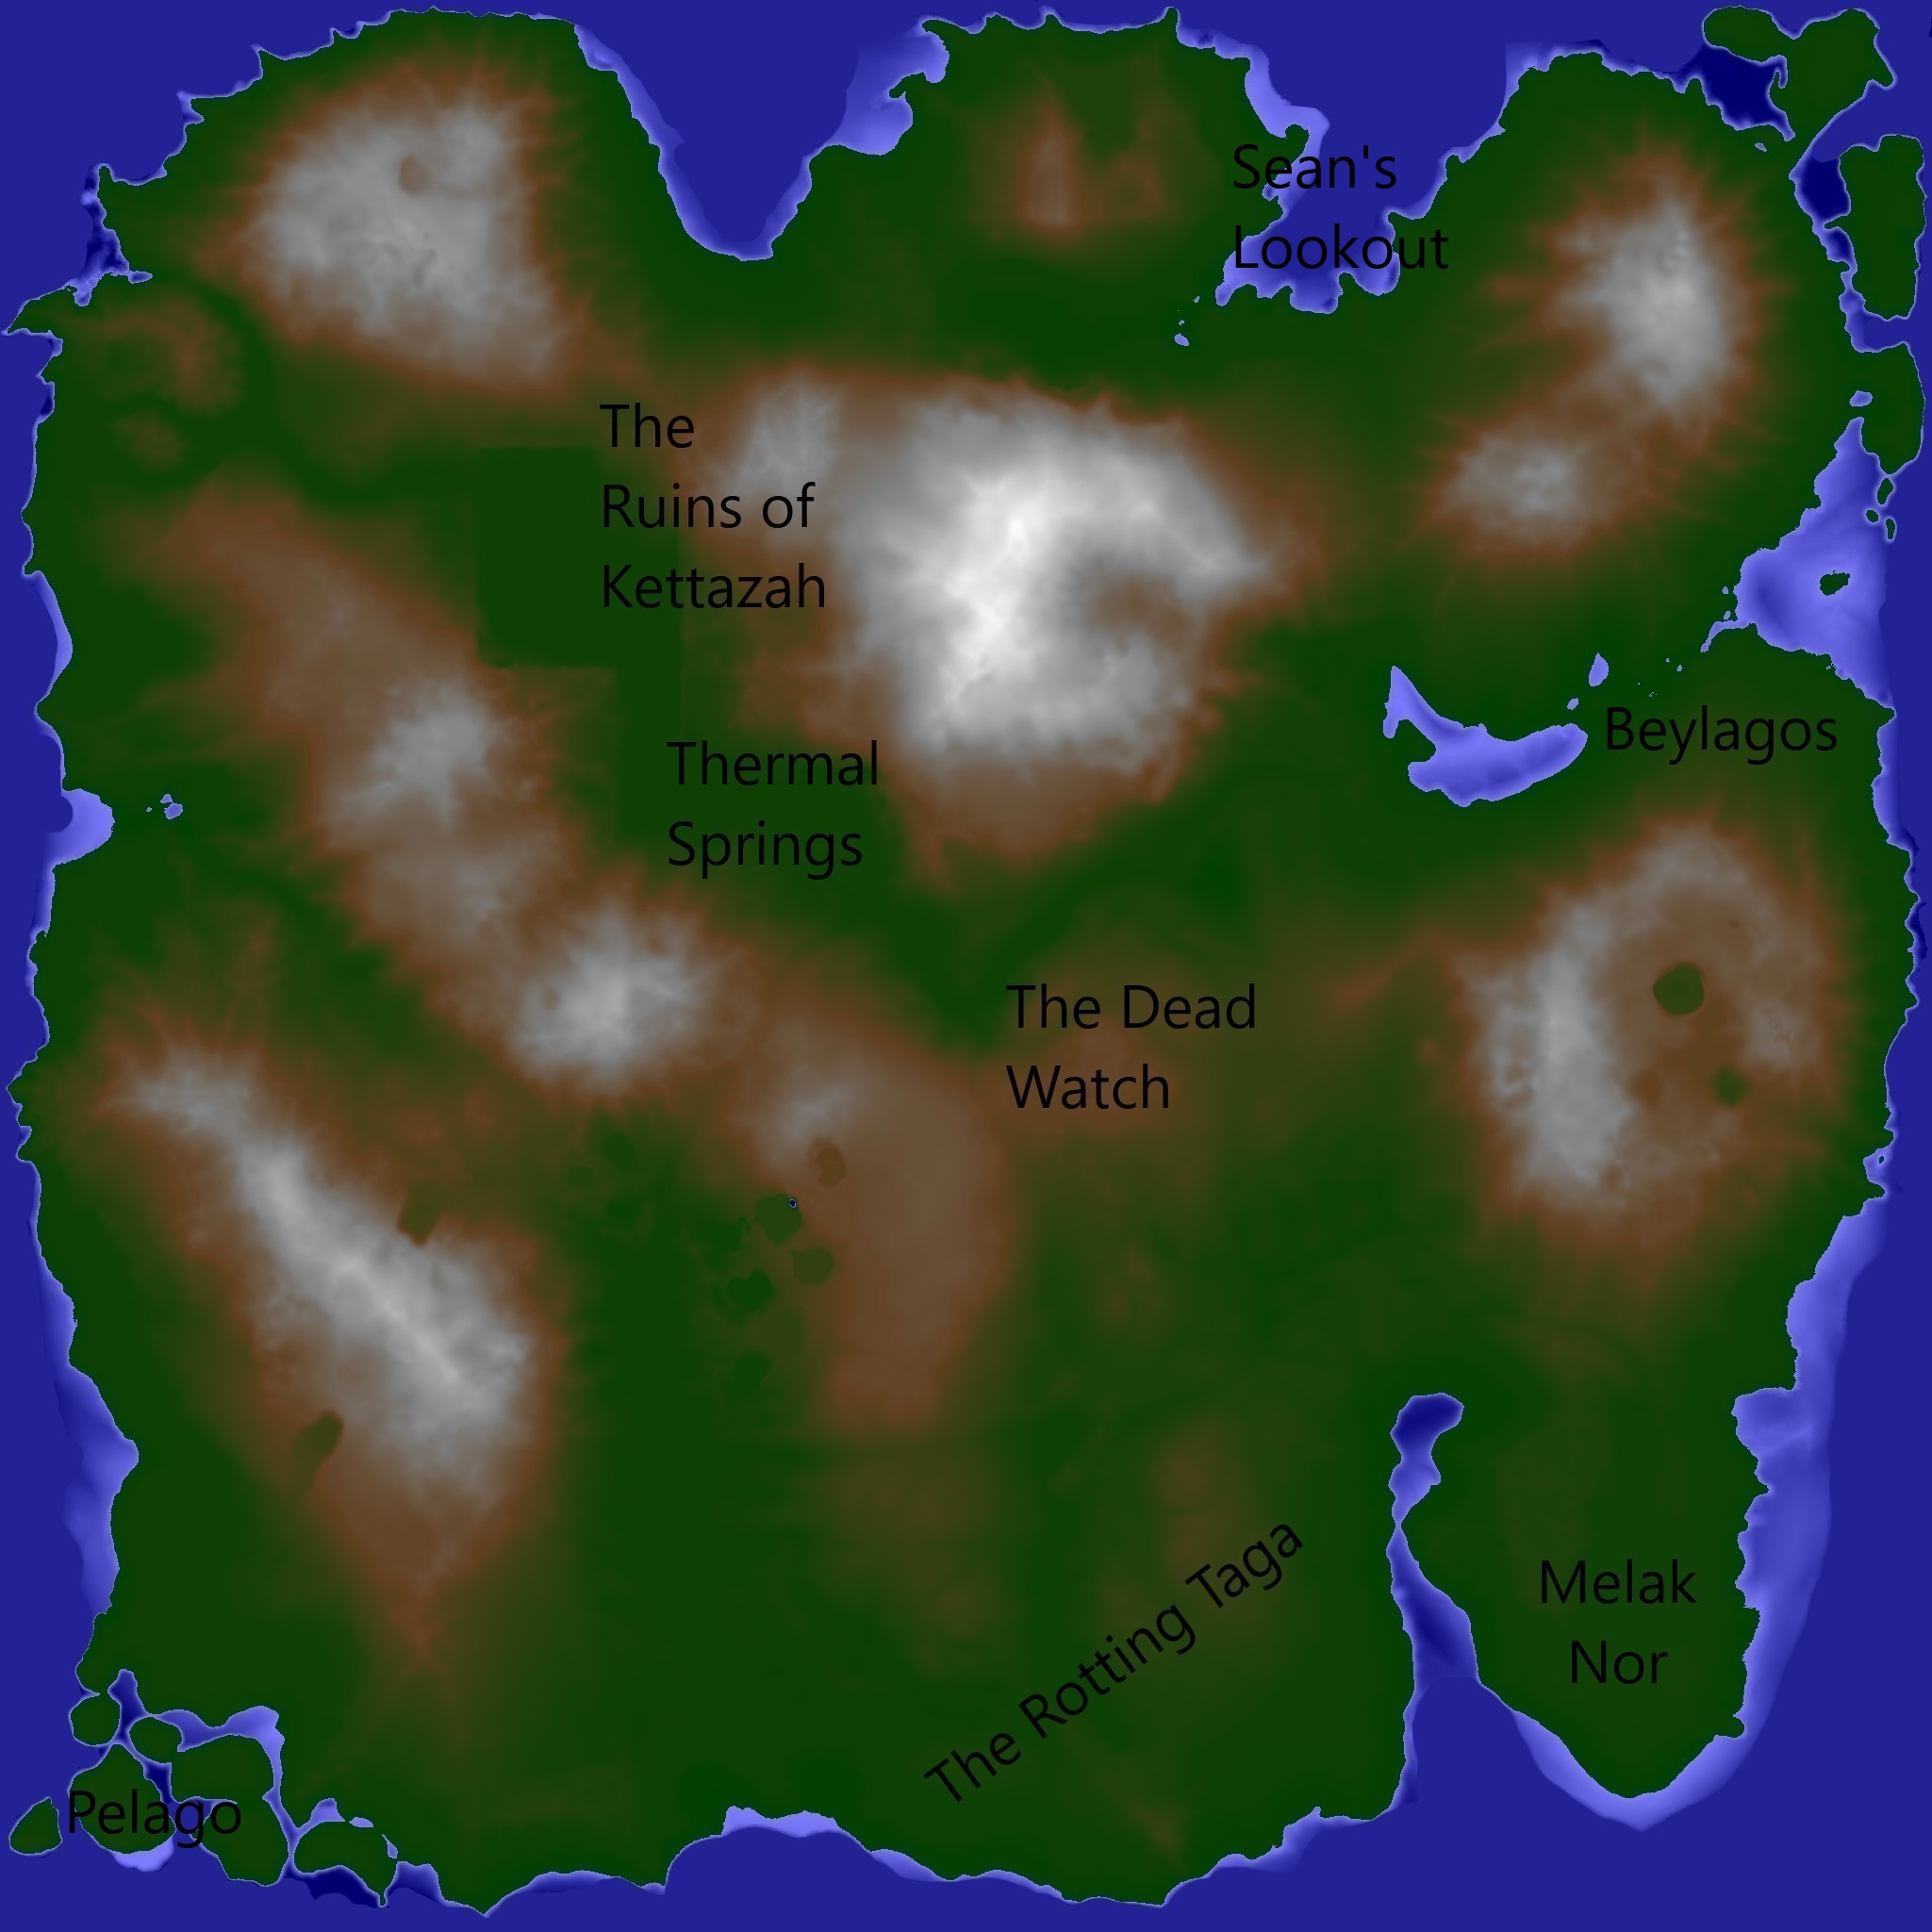
- Iron nodes are in the middle of island around the big mountain between Tilian Homestead and Stonemoor. There is a path shown on the map that you can follow.
- Coal, clay, tin, flint.
Unlocking the 3rd Island (Jorgmungahr) / Forest Giants
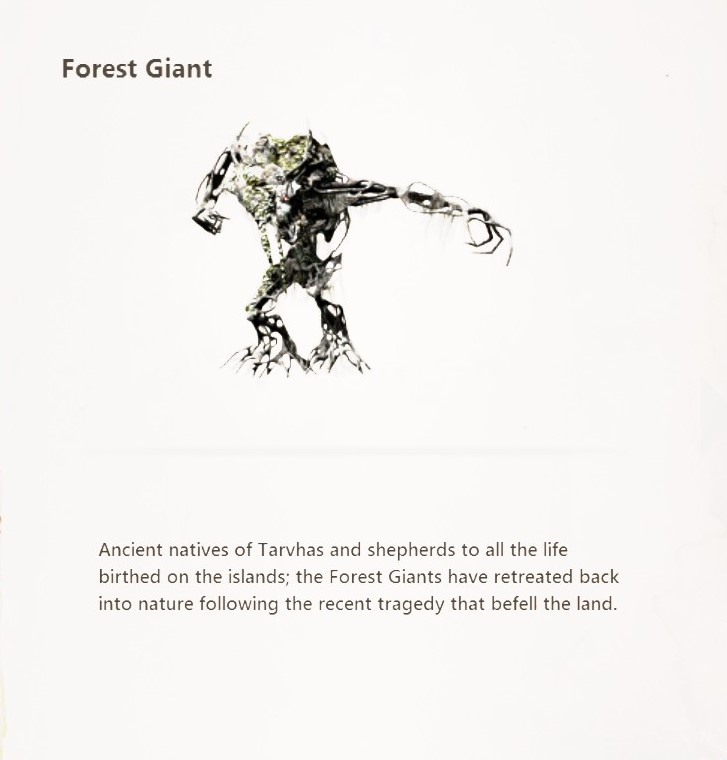
- There are 4 forest giants you need to find and defeat.
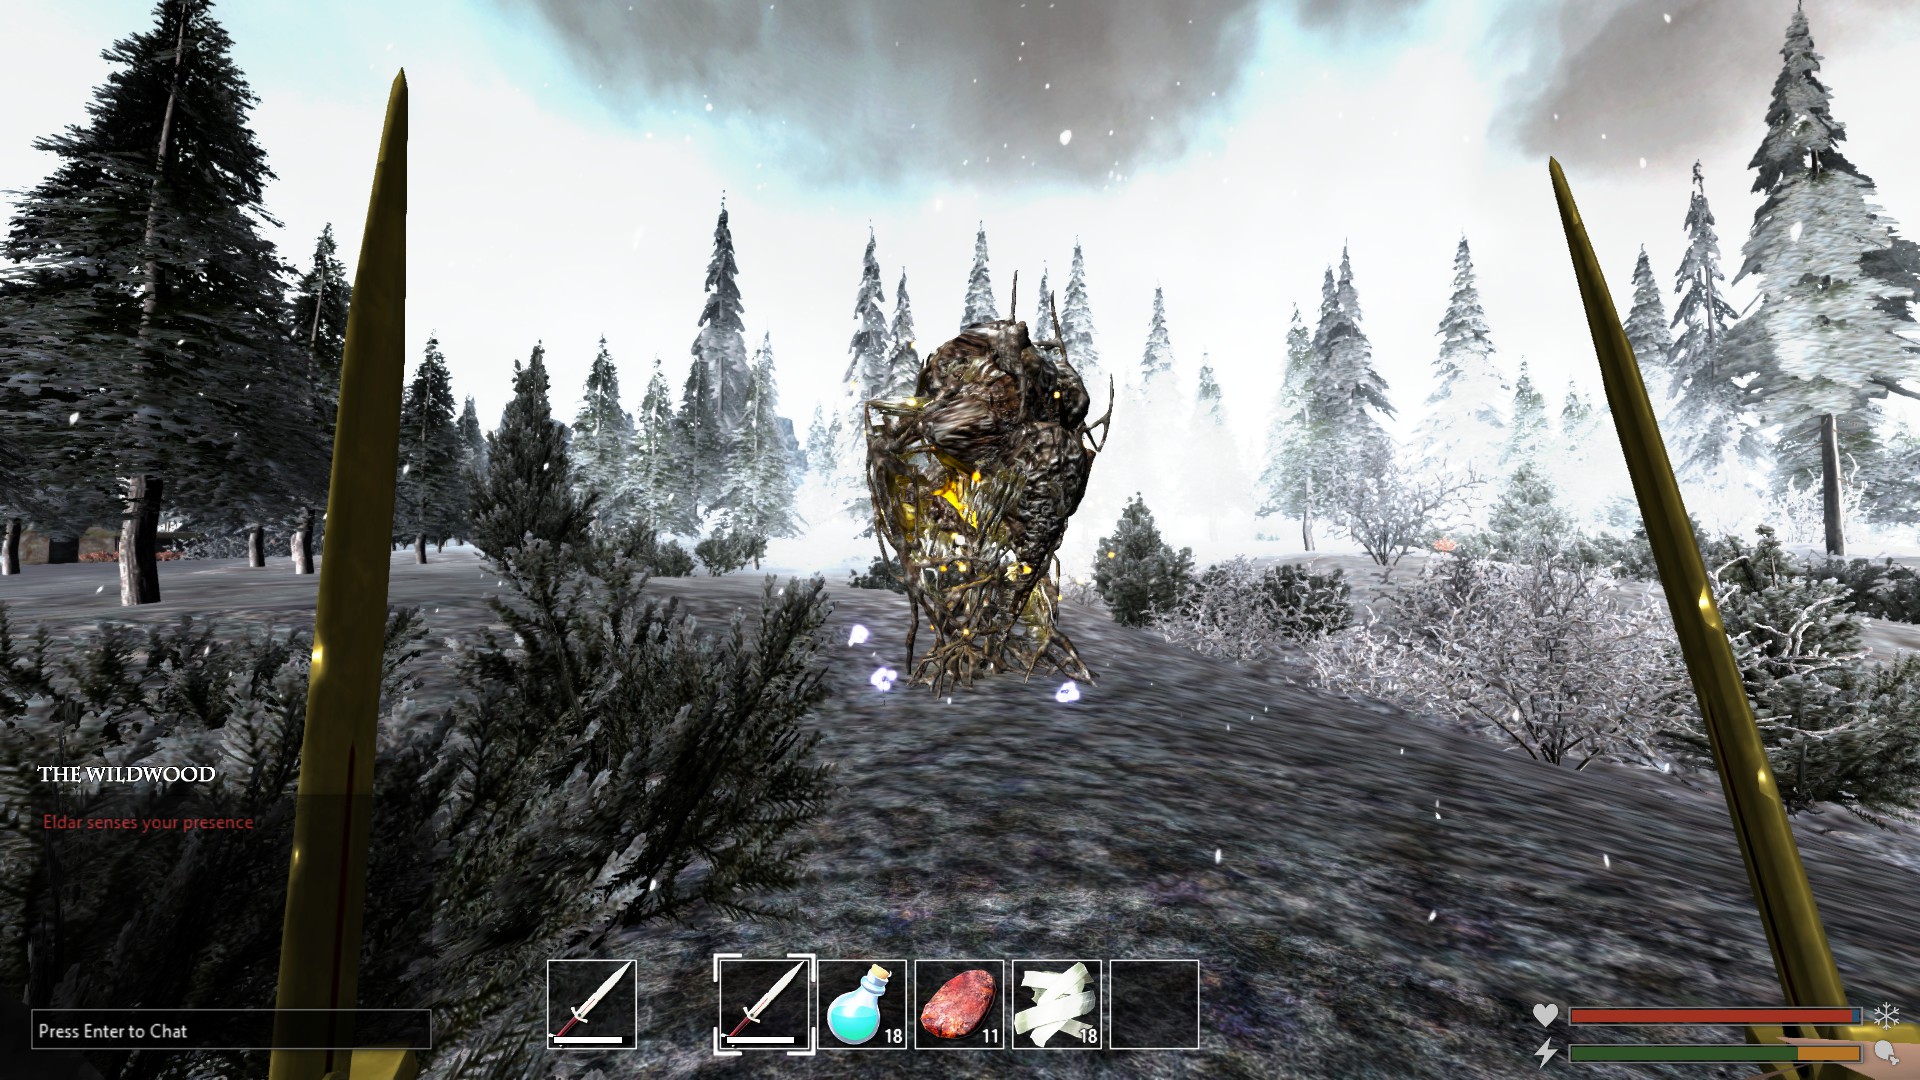
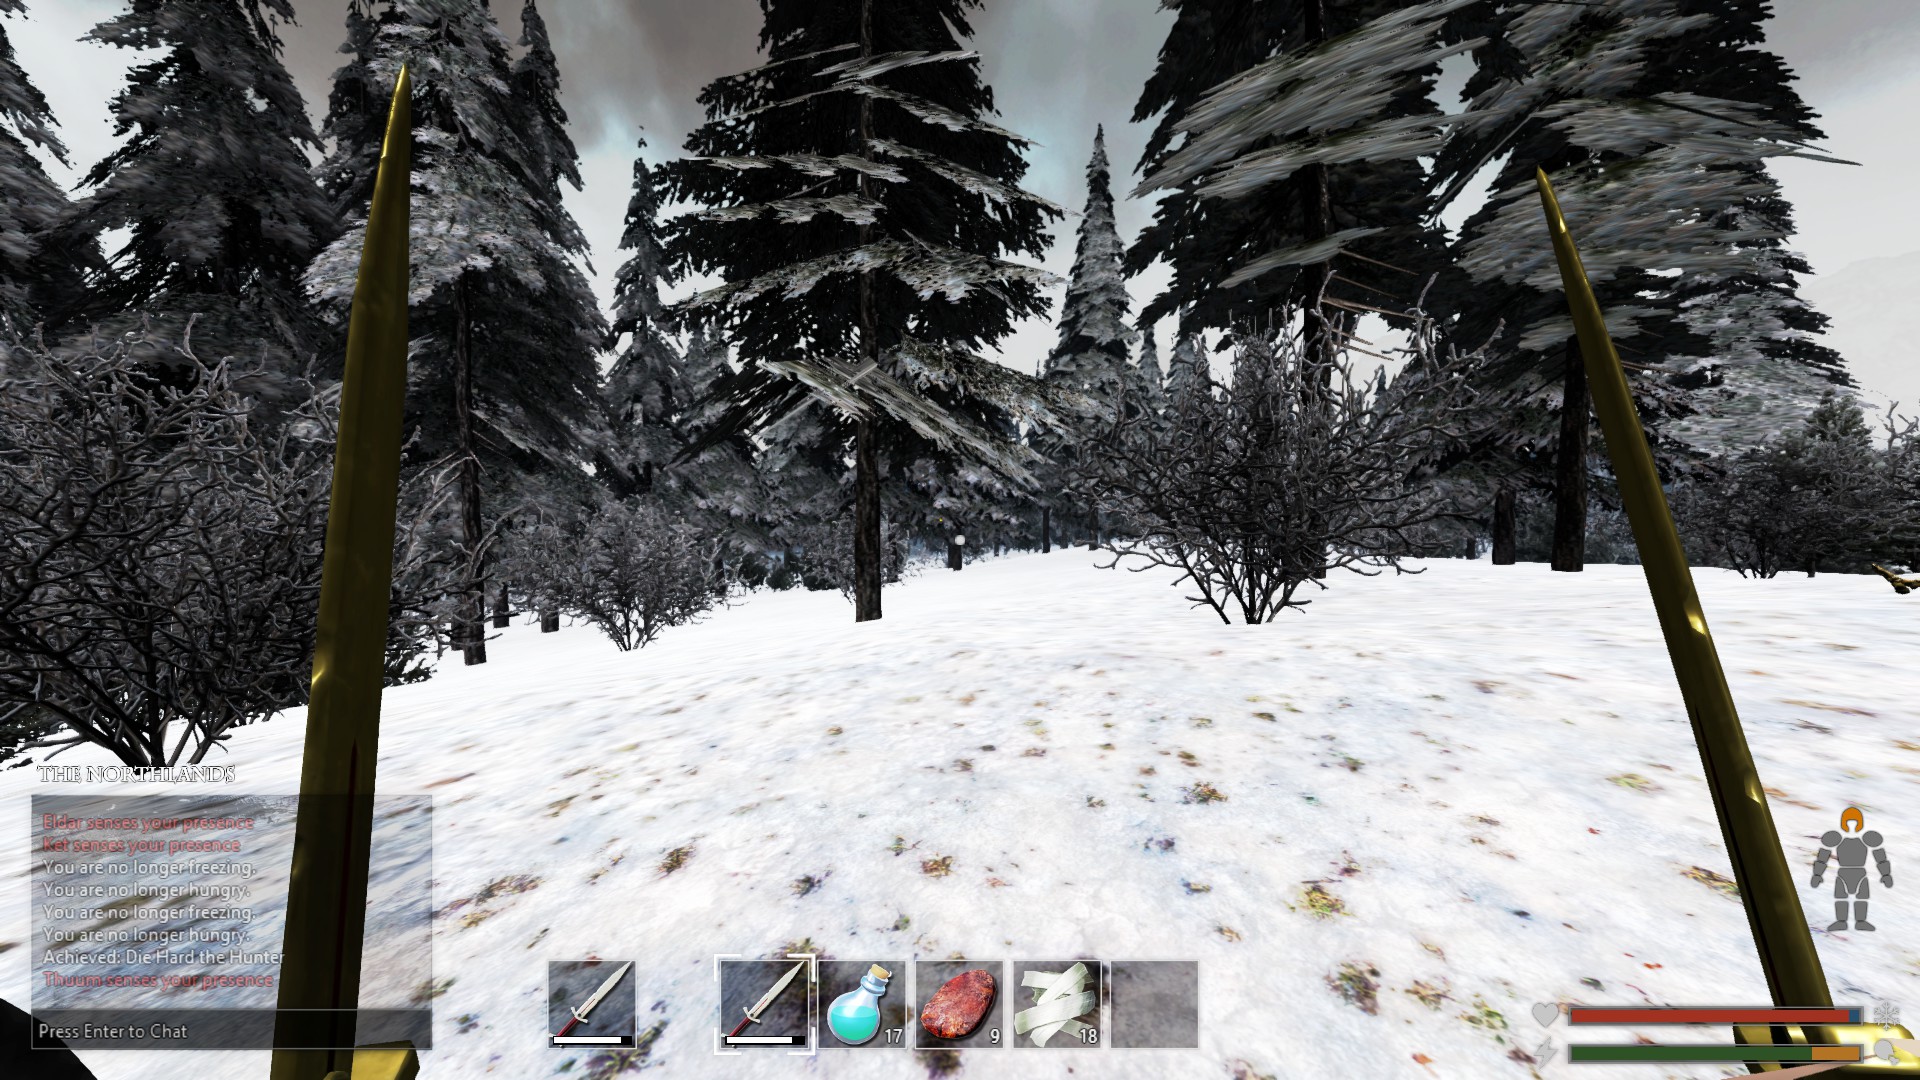
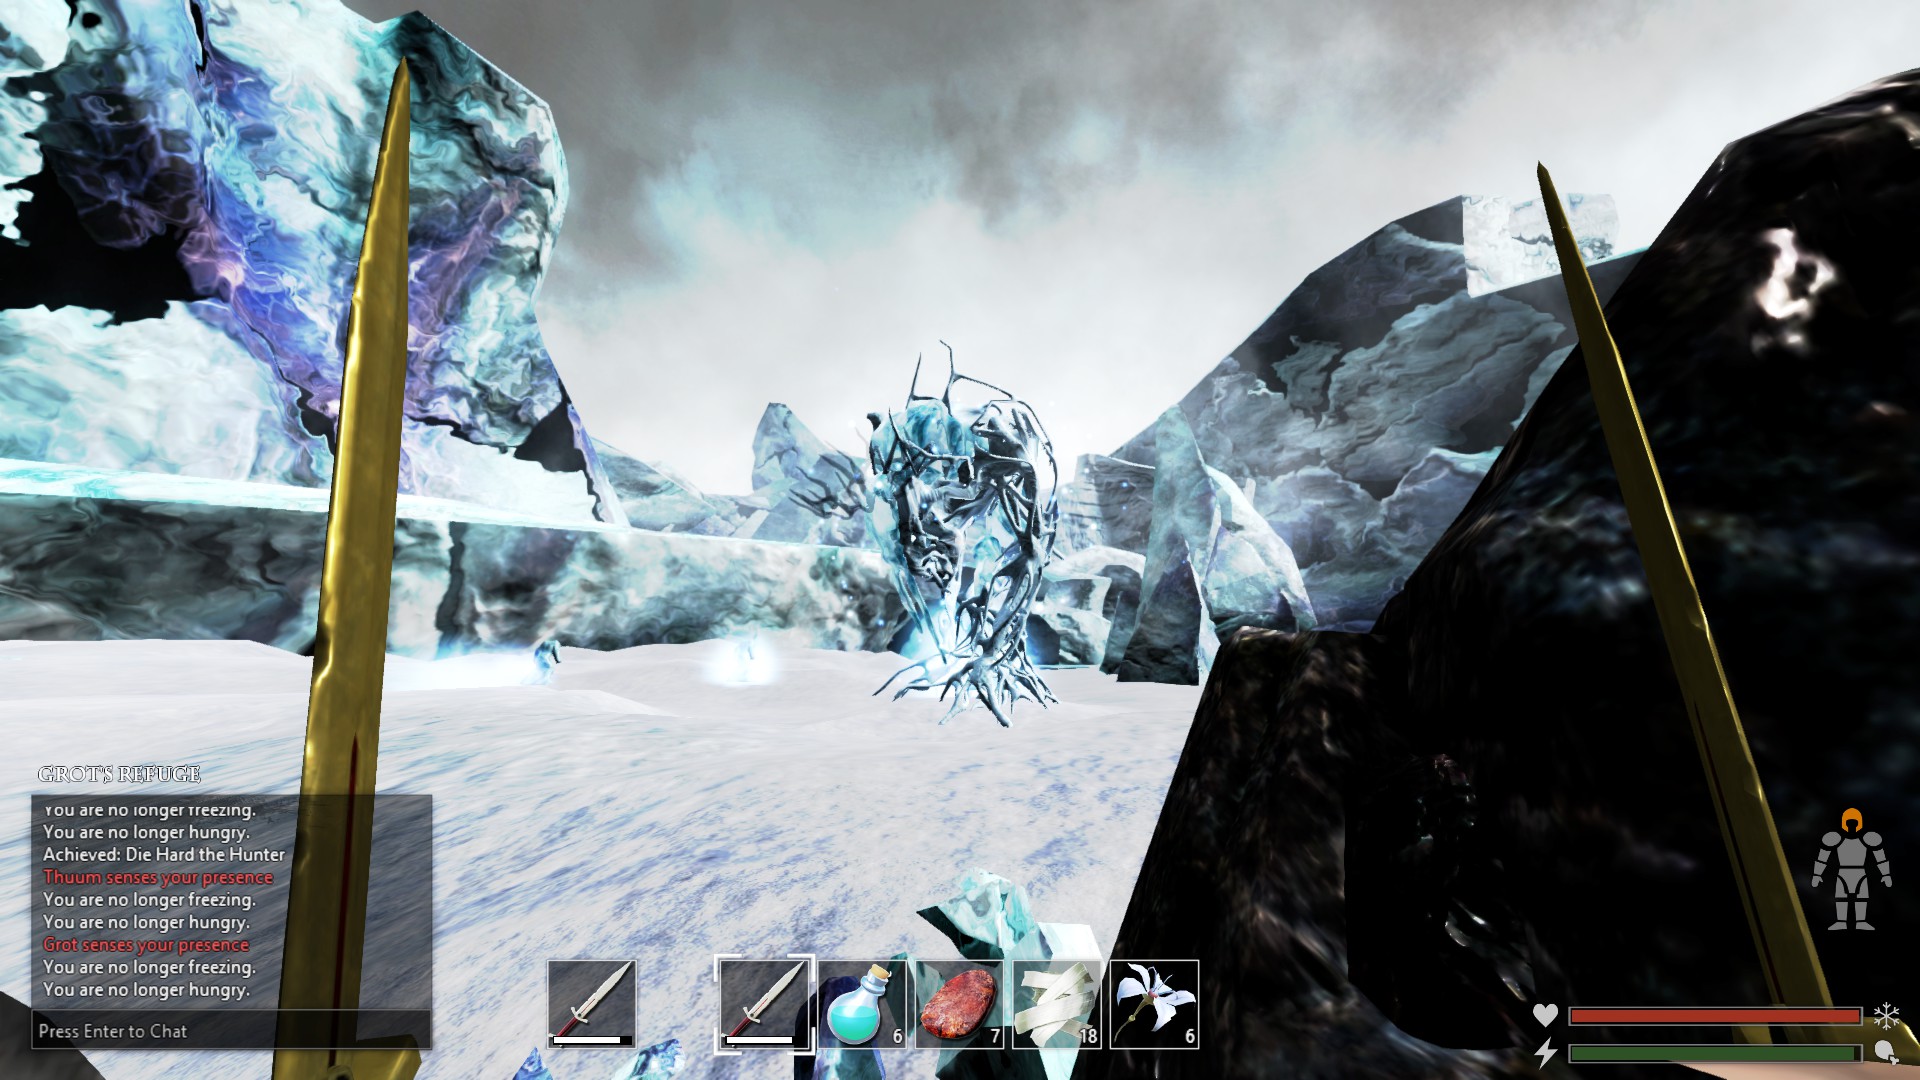
- There will be red message that appears in the chat box that says “xxx sense your presence”. This will notify you that the forest giant is nearby.
- Before fighting, scout the land. Try to use half-built buildings, nodes, stone, trees, etc. to your advantage.
- When fighting giants, try to lure them to a spawn point. That way if you die, their health won’t regenerate. If you die and after re-spawning, if you’re a certain distance away, the giants will reset and when you back will have full health.
- When playing with friends, if a friend dies, just make sure the one that is alive stays alive so the giant doesn’t get reset.
Eldar in Wildwood
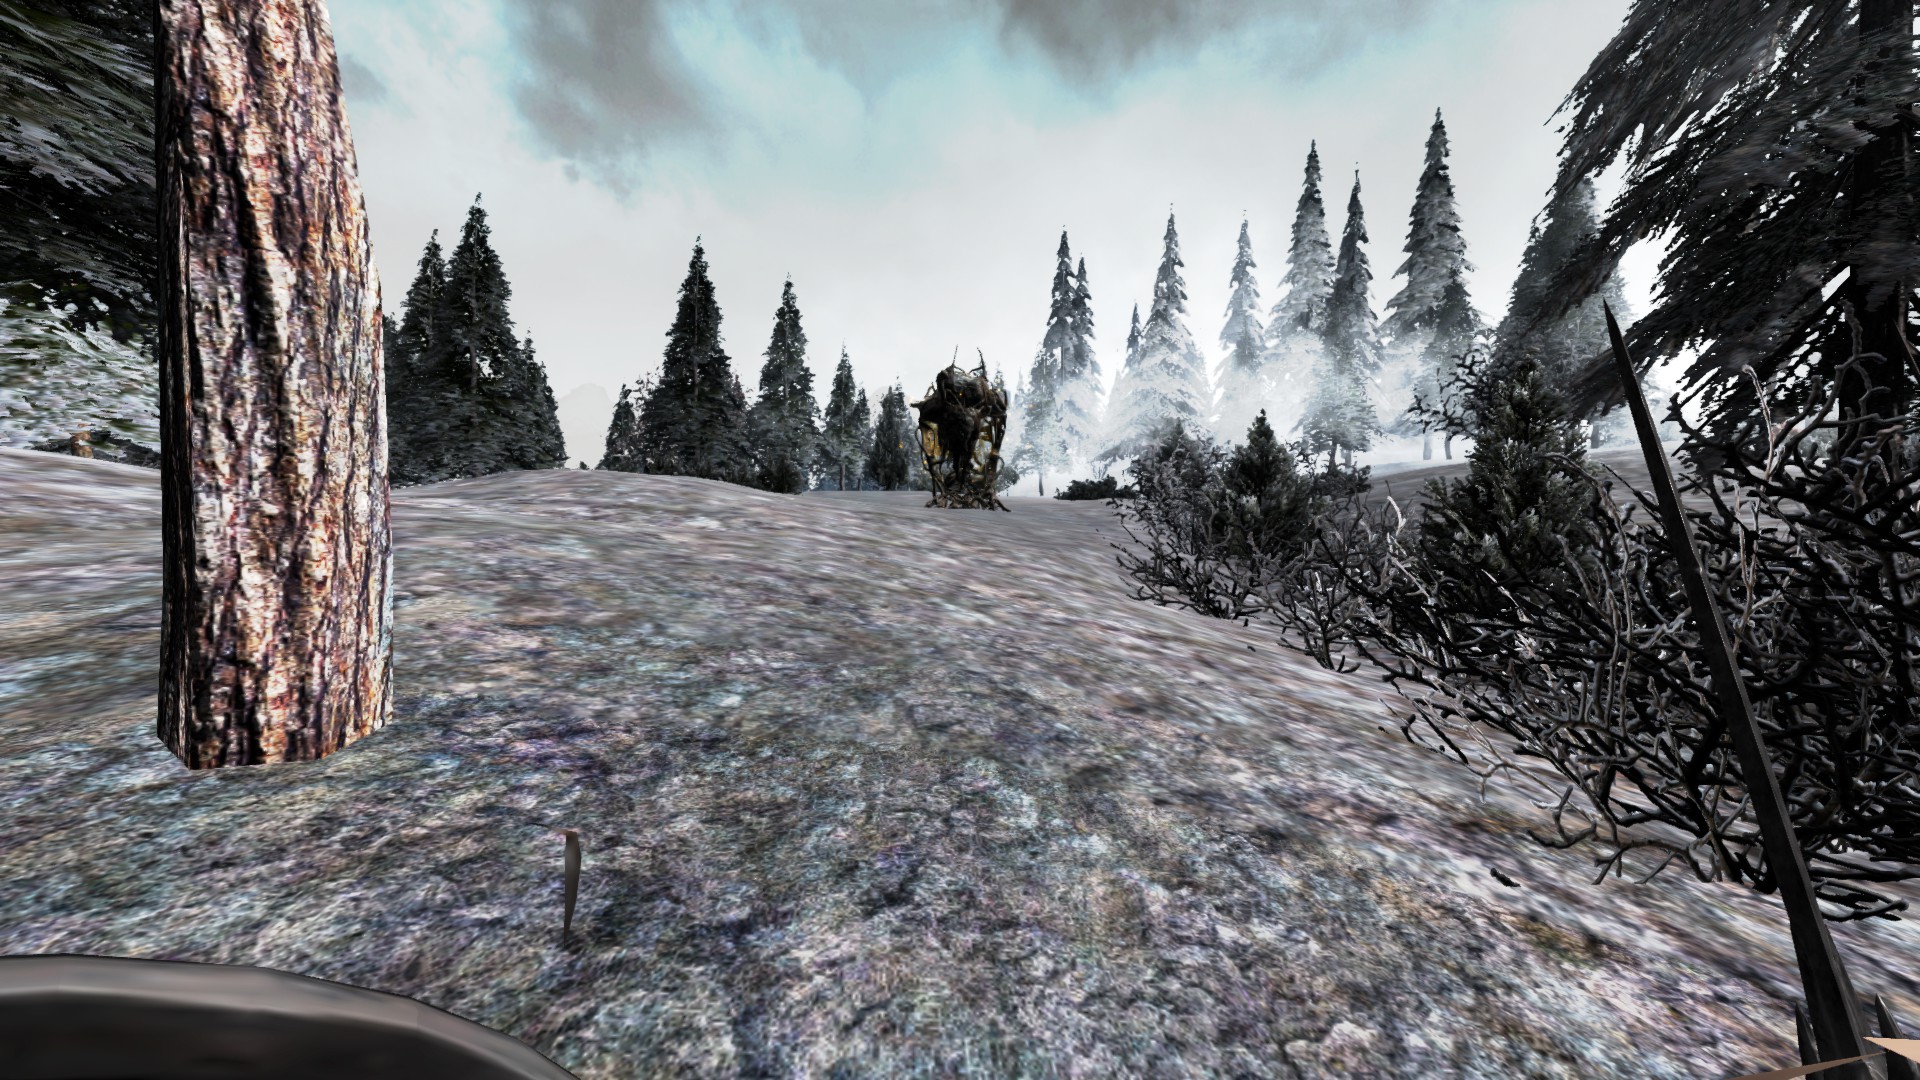
- Has a yellow glow around its mid section.
Basic, easiest one, just bring heals and water or ghuuls fang for stamina. Just continue to make circles around the giant until it is defeat.
Ket in Shutterwood
- Same thing as the first 1, except it can poison you.
- Has a green glow around its mid section.
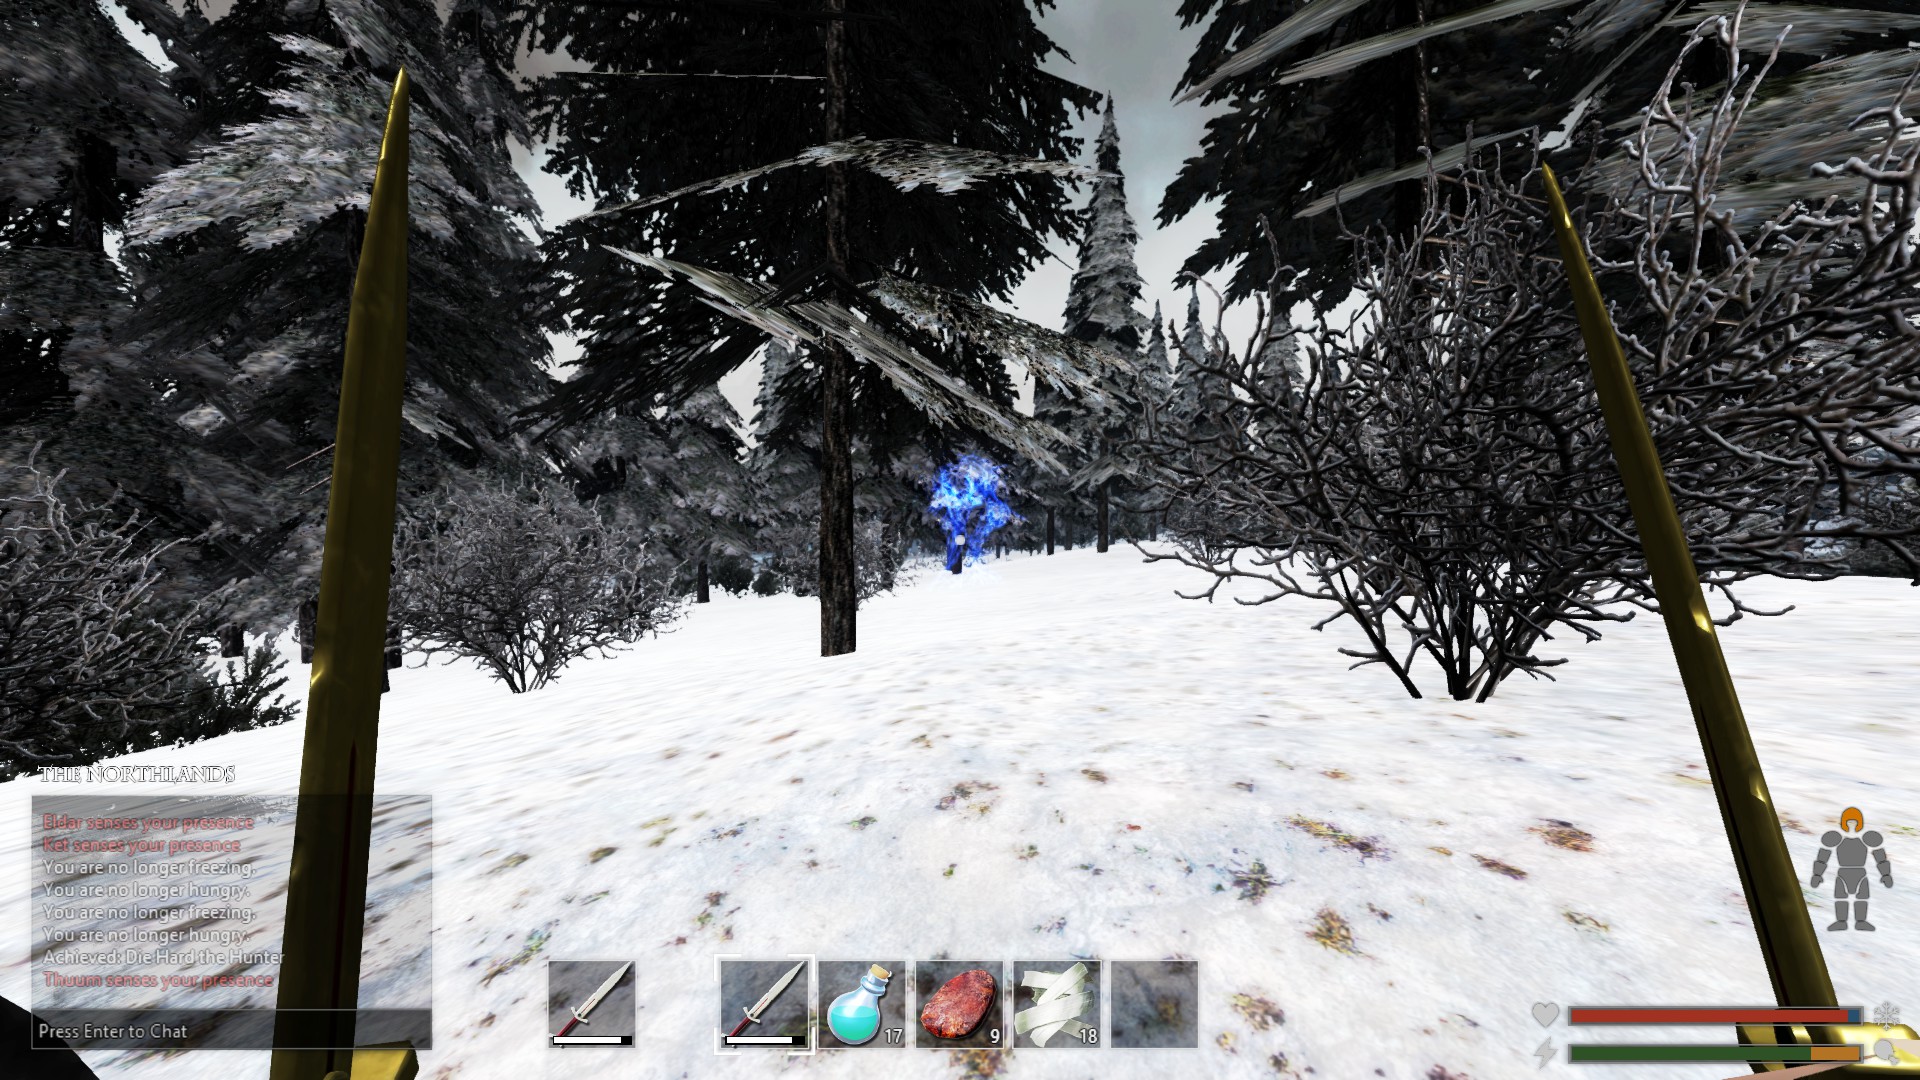
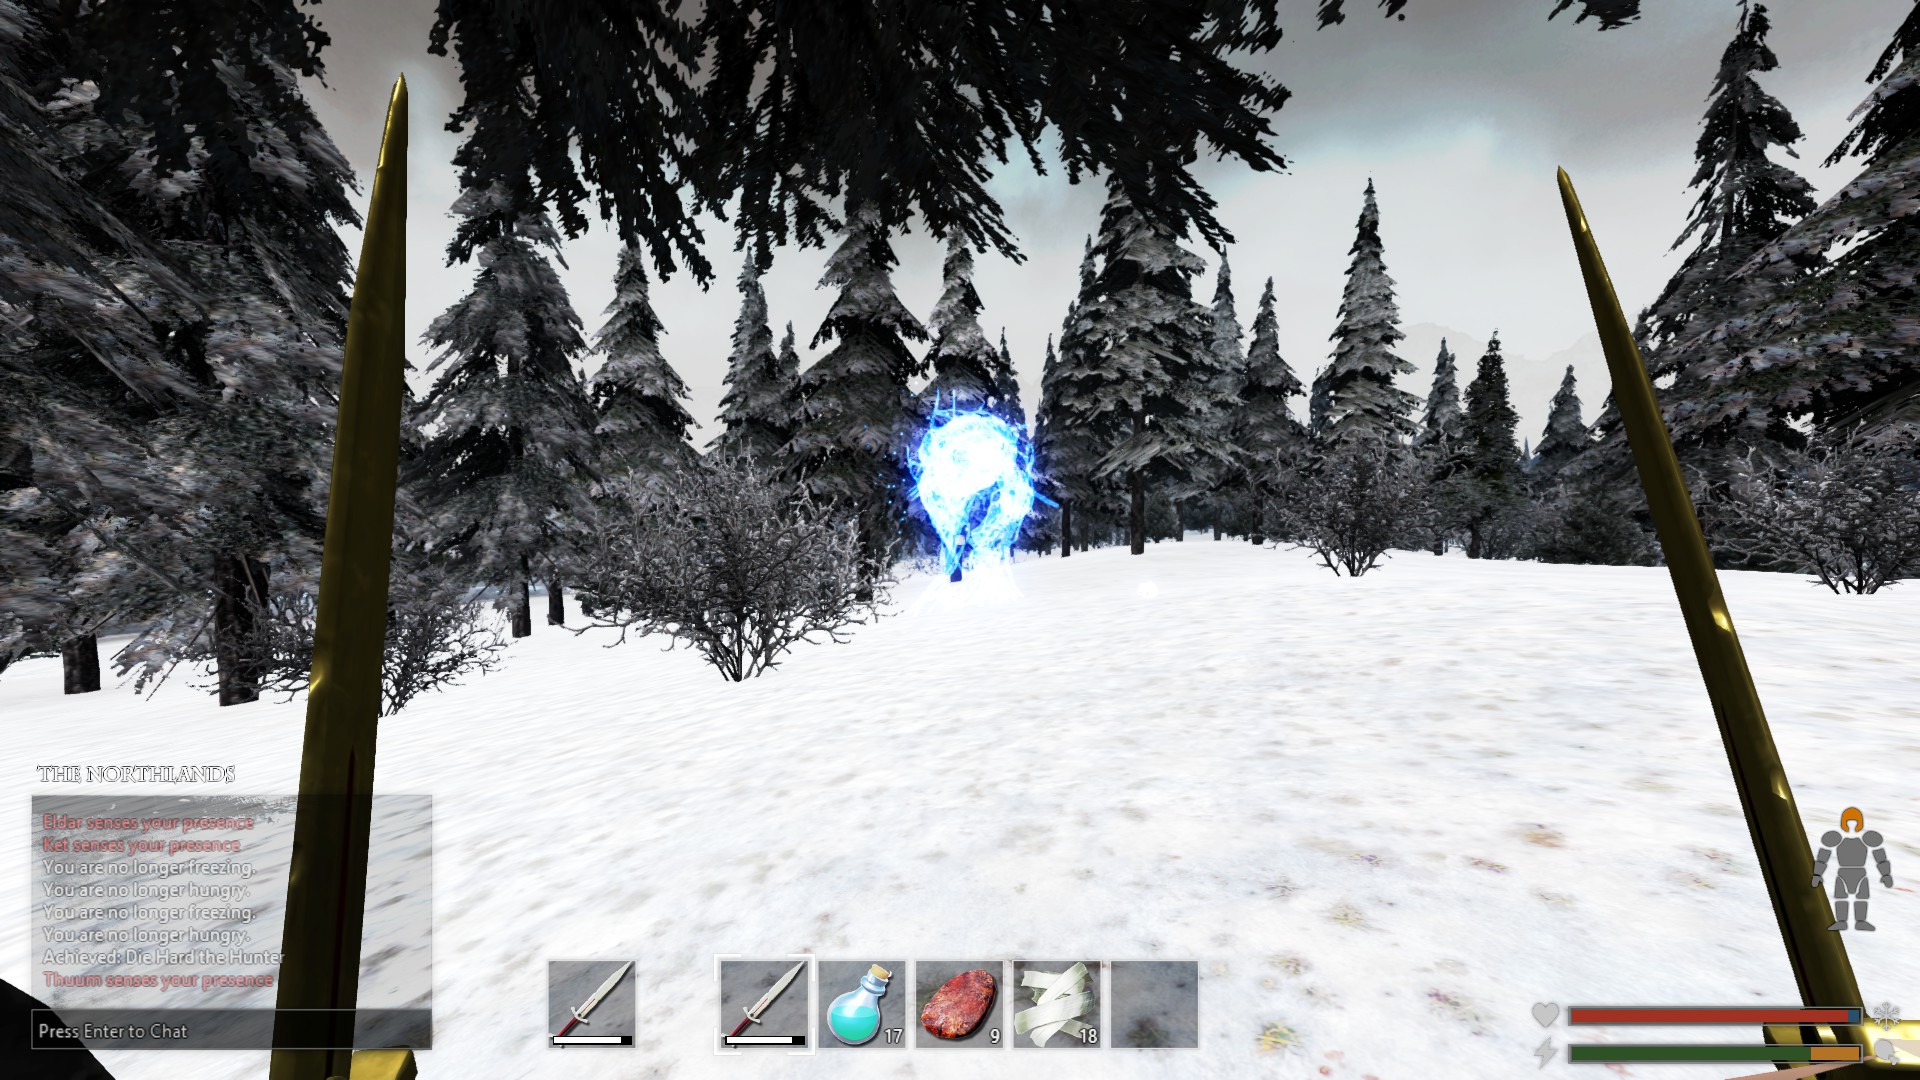
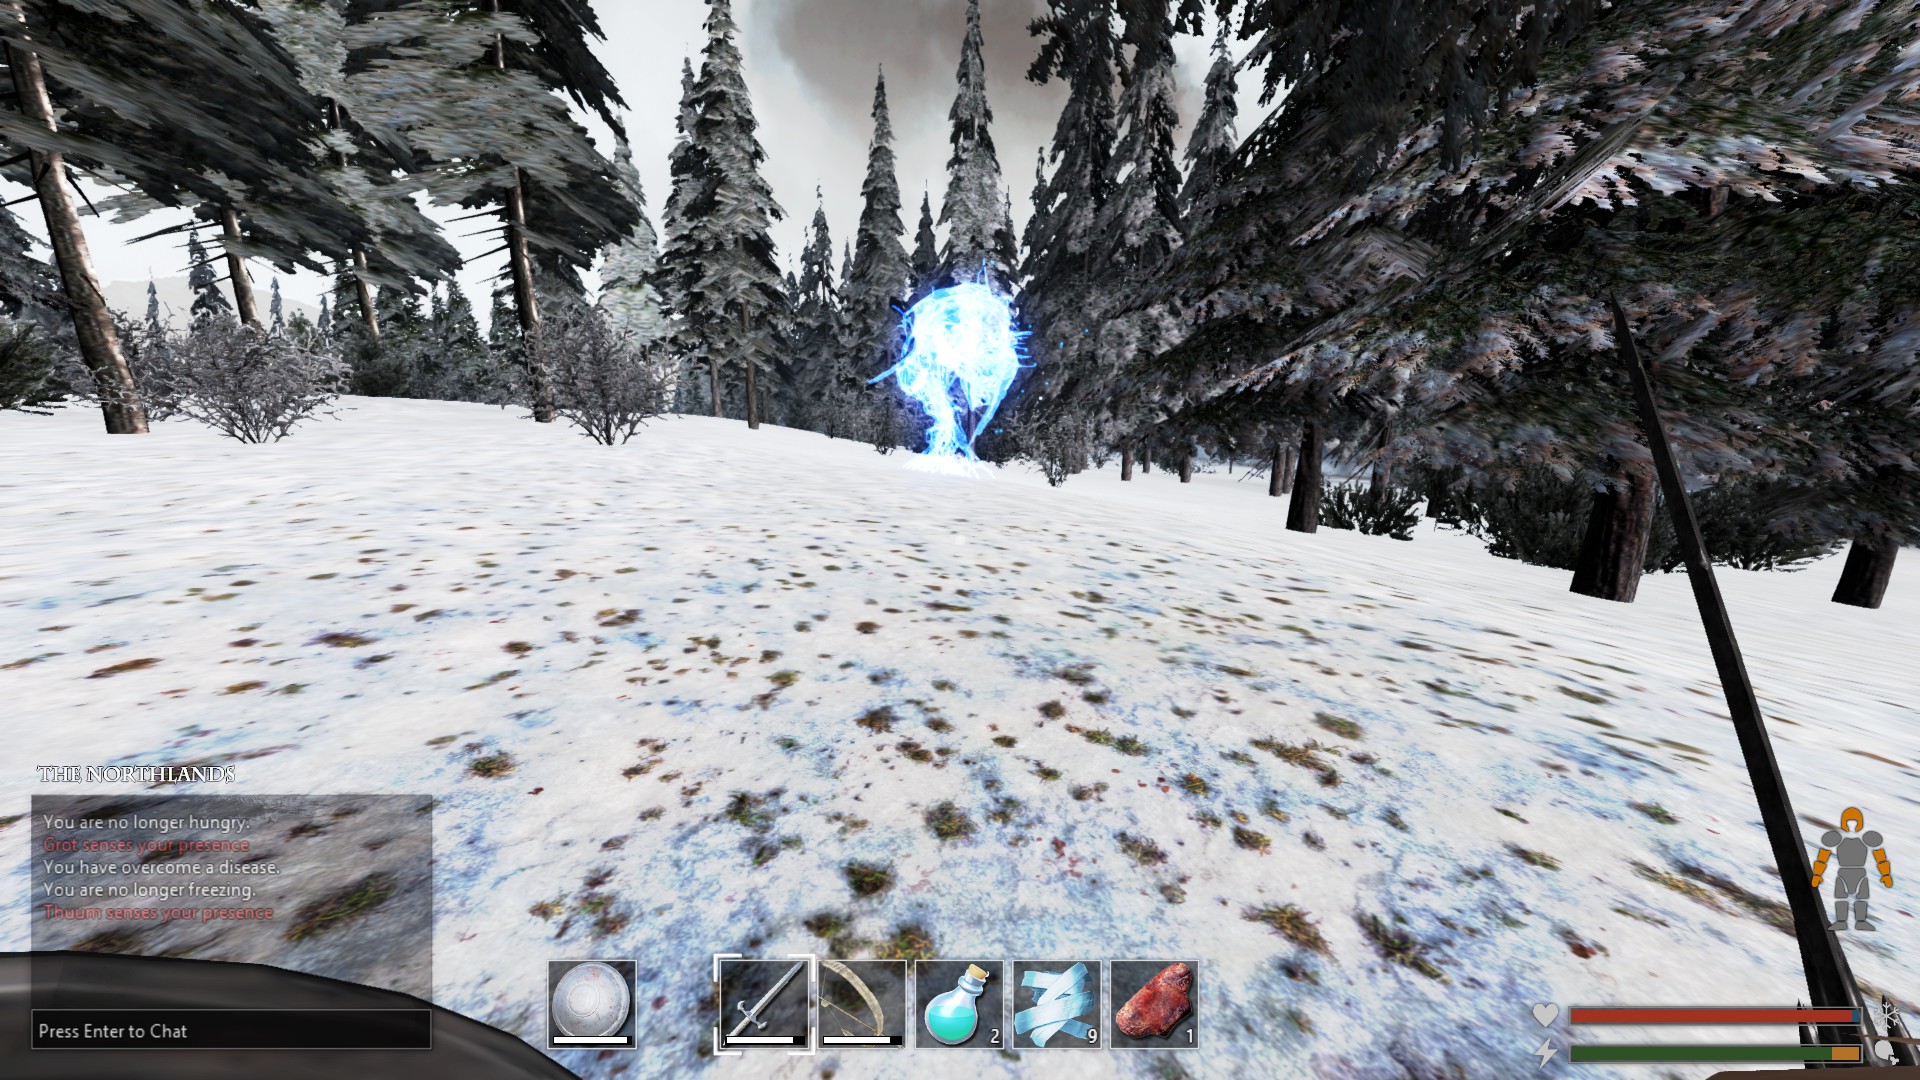
Thuum in Northlands
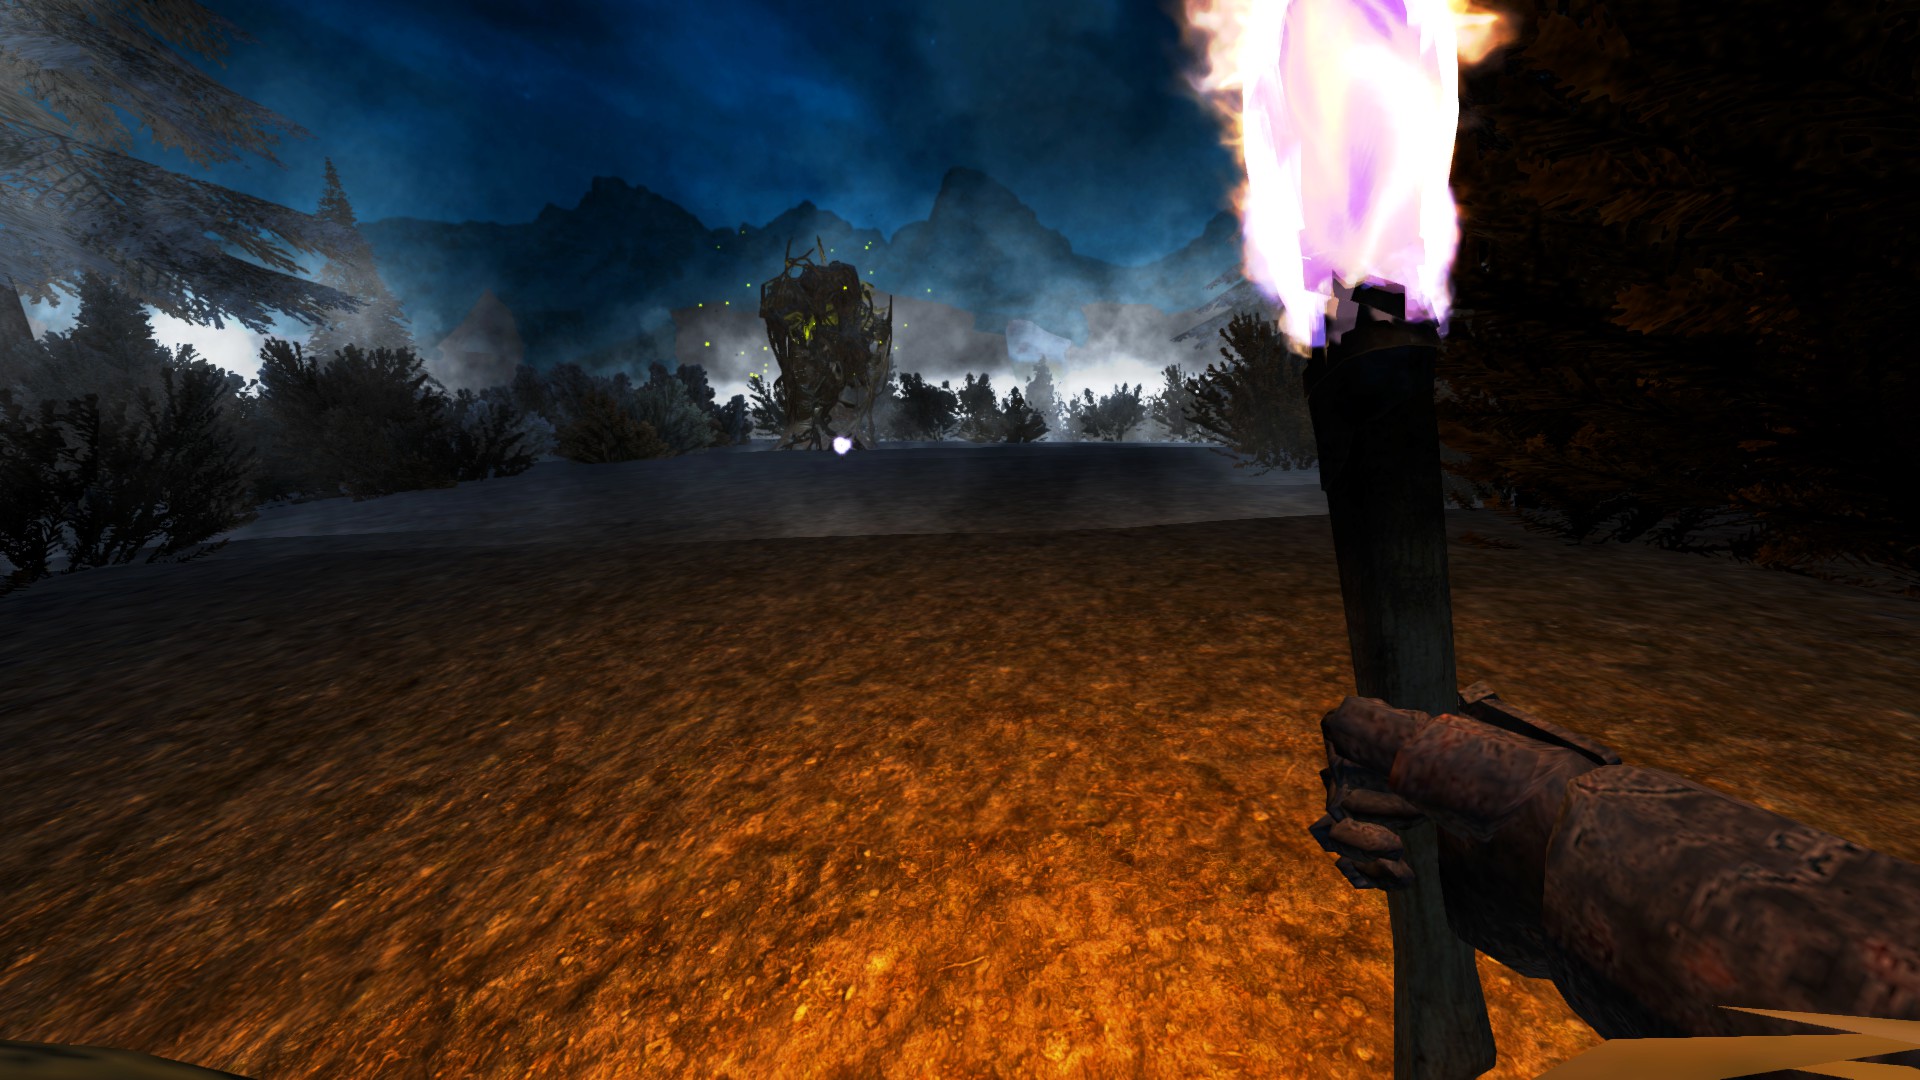
- Will be invincible. The closer you get the more blue will it appear. Will have a blue light around its mid section.
- Tougher, has a longer reach, recommend having spirit armor. Though it is possible without spirit armor. My friend and I defeated this giant with steel armor and weapons.
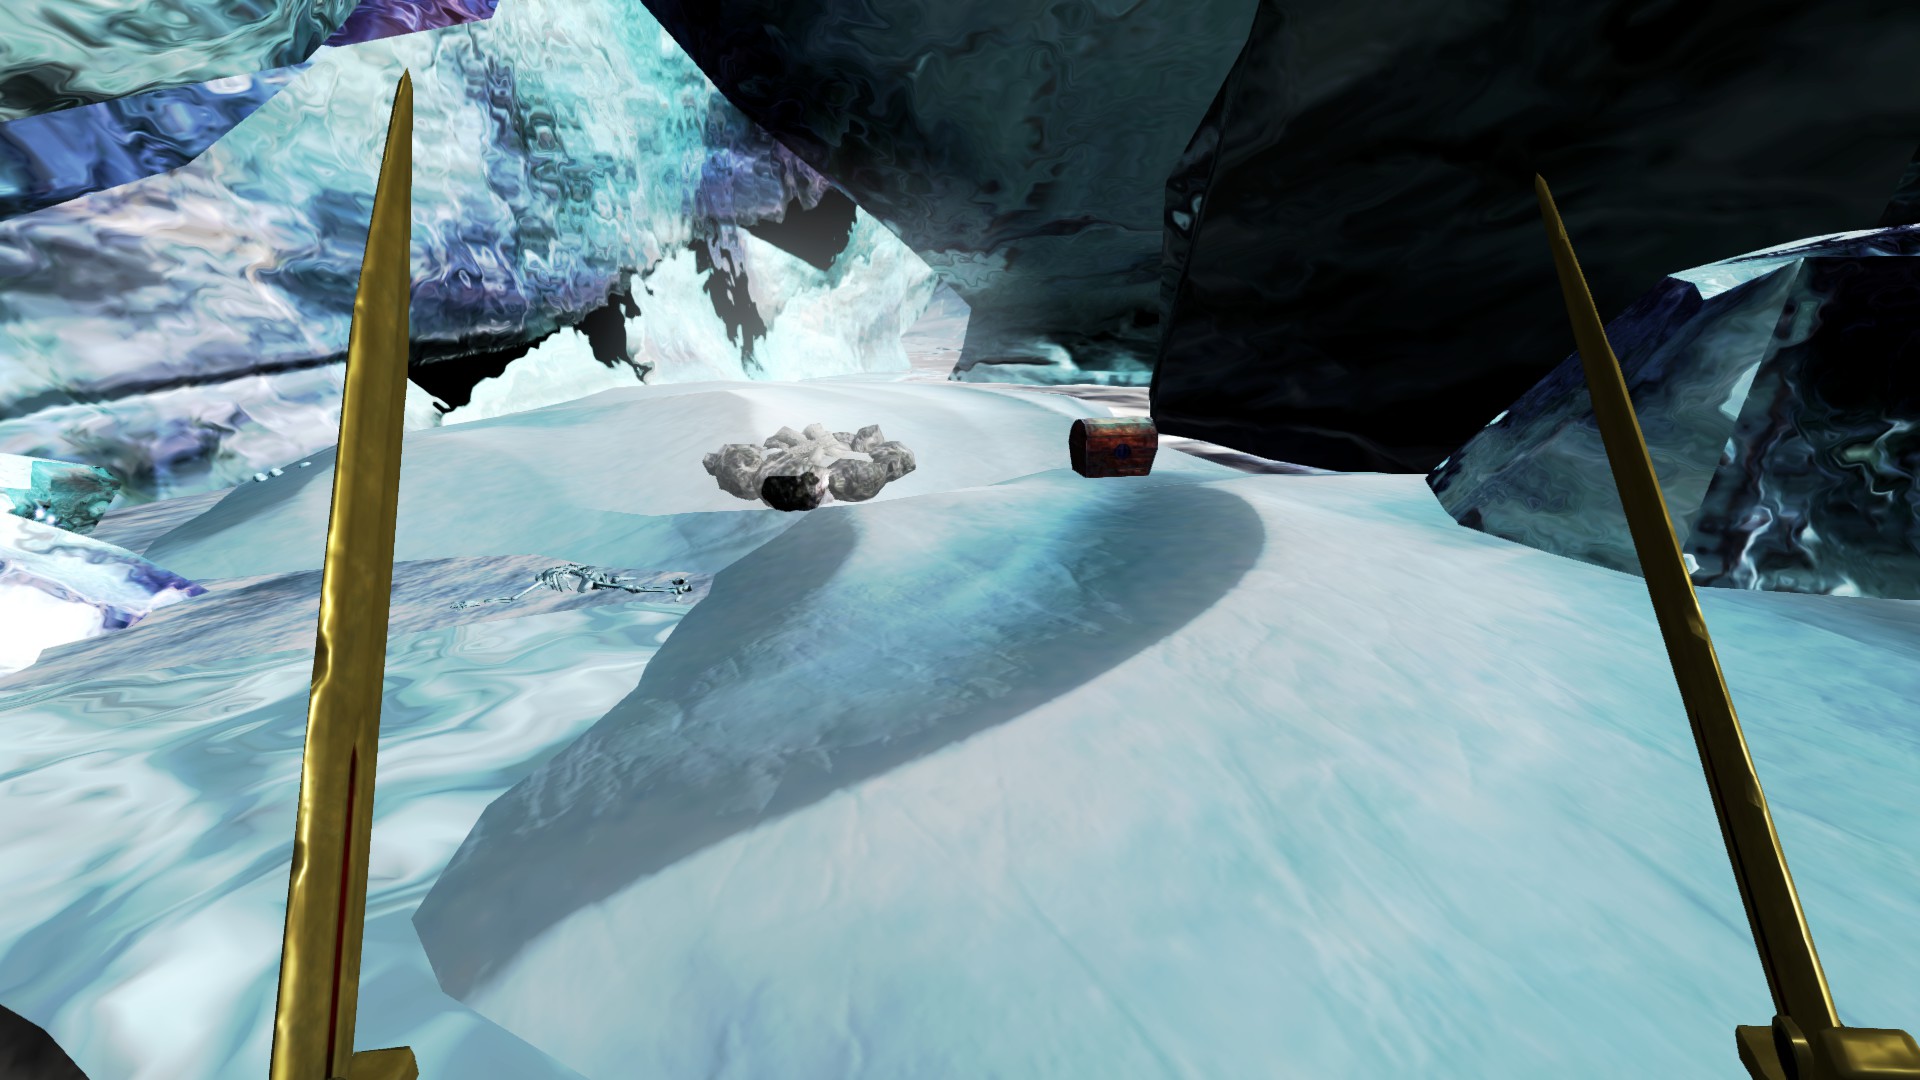
Grot in Oscira
- The toughest giant in my opinion.
- Recommend setting up a small camp (workbench, smelter, cauldron, etc.) in case you have to craft and make things.
- Bring plenty of wood and flint along with a wooden chest. You should be able to set and place a fire and chest for storage inside the first portal main entrance. This way you can quickly warm up and health if needed.
- Don’t forget to click on the re-spawn marker so if you die you don’t have to run all the way back.
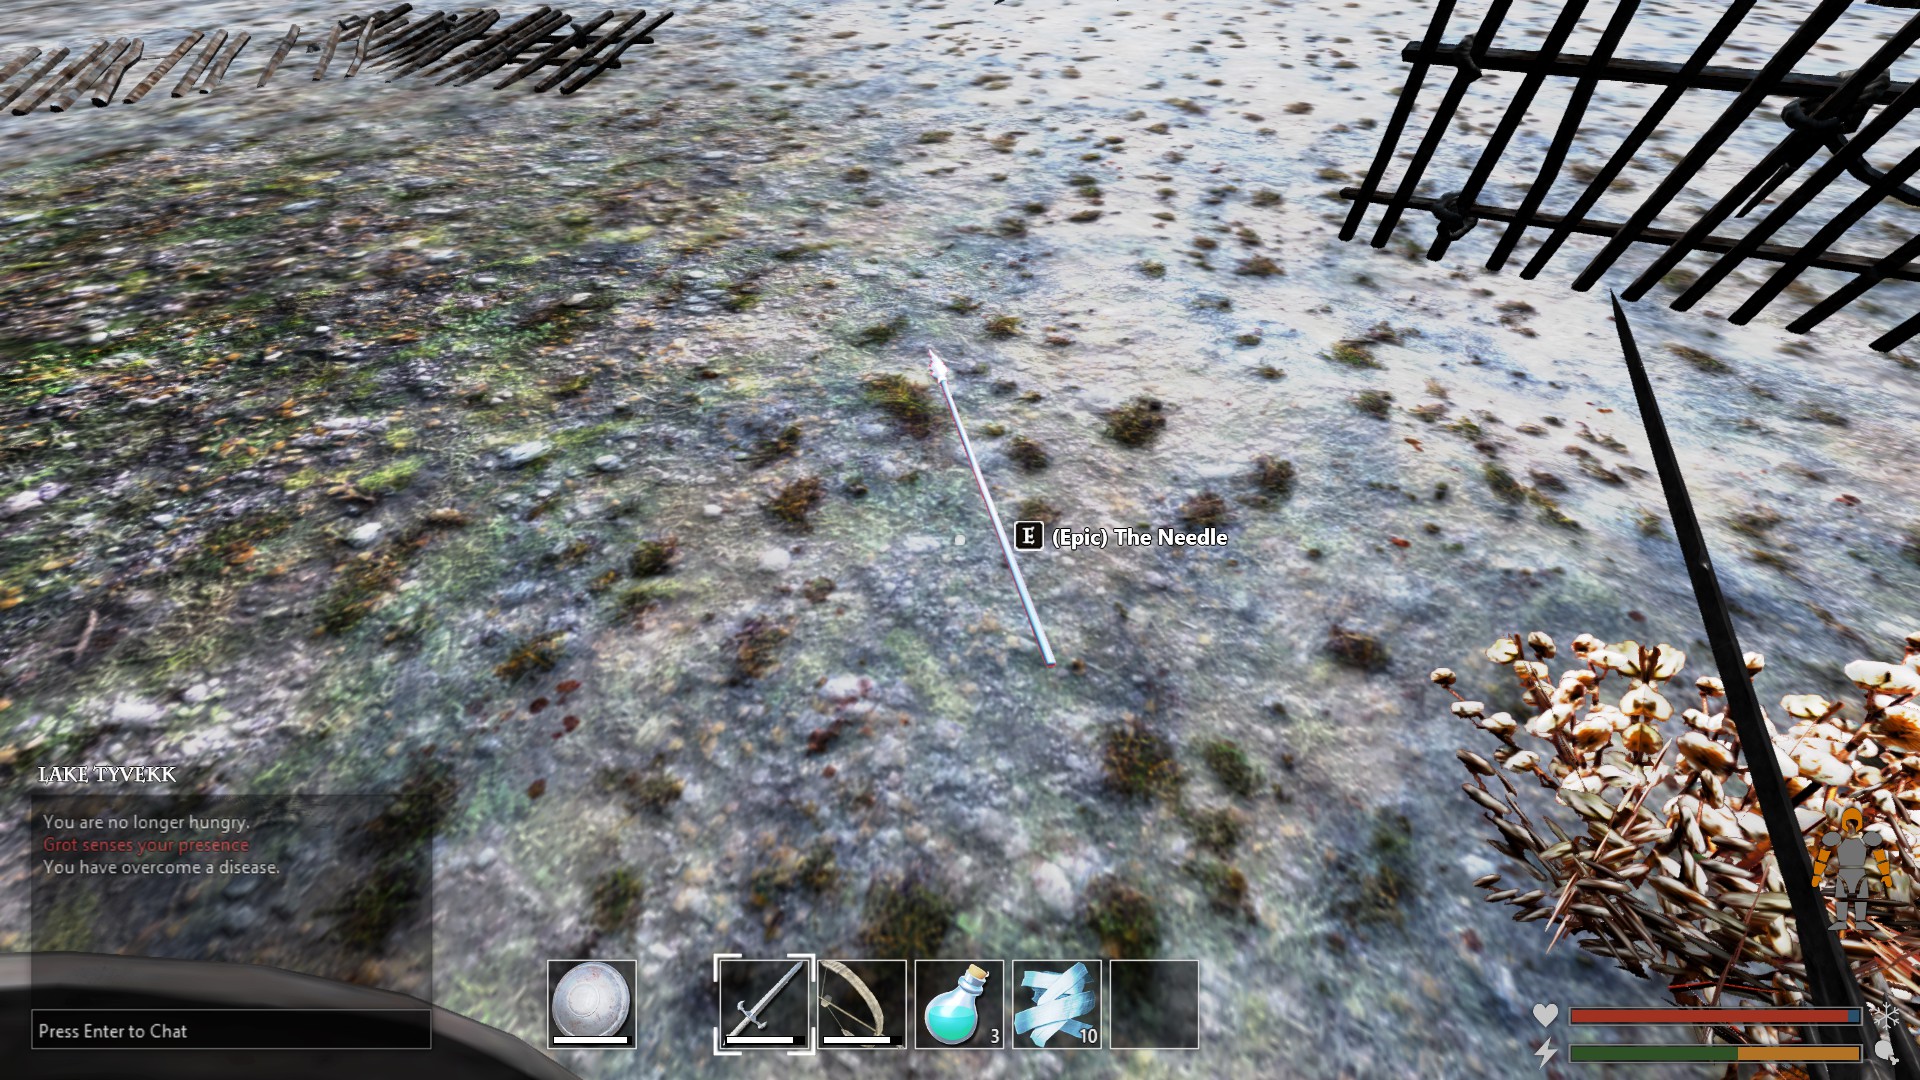
The Needle
- Haven’t used it as I discovered it after beating Grot.
- Supposedly it make Oscira easier.
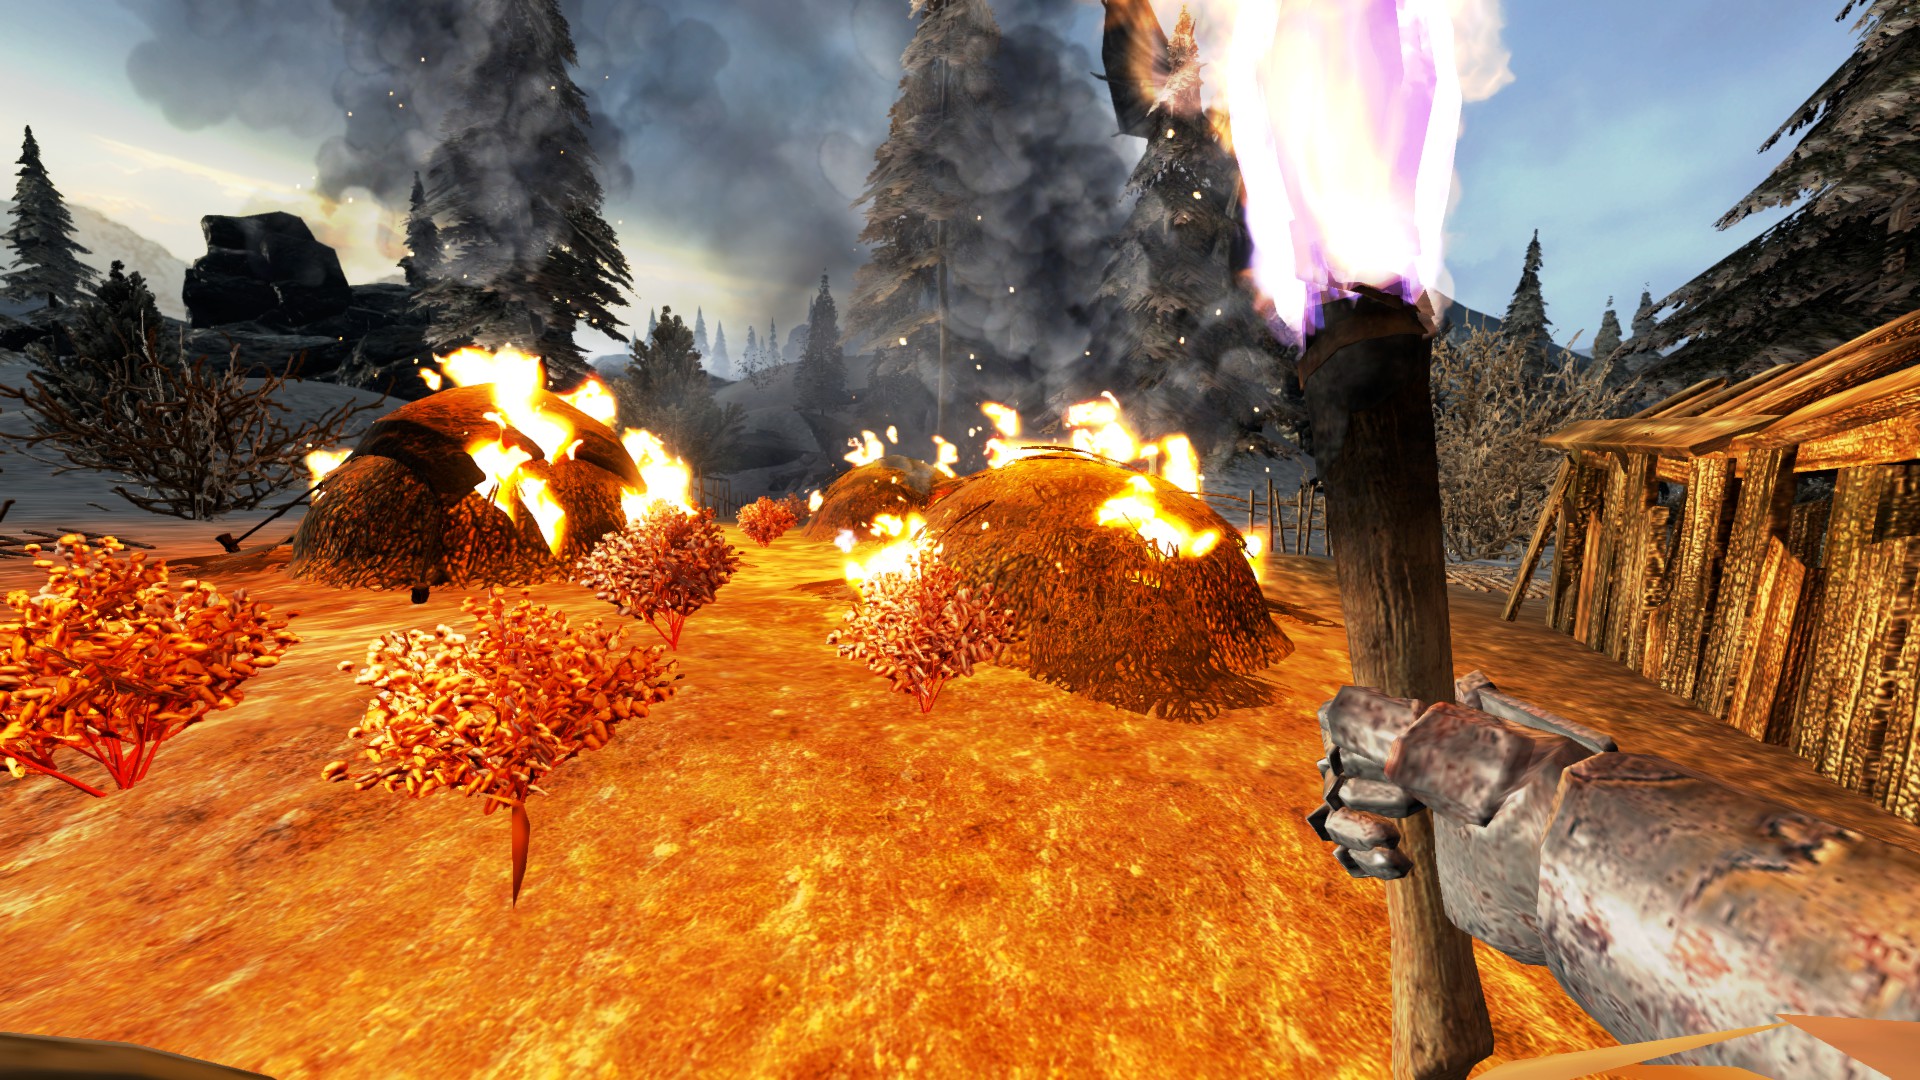
- Found in Lake Tyvekk, last house at the end with the cotton farm and 2 hay bales.
- Burn the hay bales and it should drop.
The Portal in Stonemoor
Jorgmungahr
Bestiaries
- Survival of the fittest. Boss type, no more game animals.
- Field of awareness is a lot greater than the first 2 islands.
- Ebon steel armor is a must if you just want to survive. You may be able to enter this island with silver armor if you were able to farm enough silver on island 2.
- Have a lot of heals ready. Food, frost bandages, water, and babo potions.
- Keep stamina as full as possible to run away, or just quit and load back up if you need to.
- Don’t even bother with bow and arrows, hardly does any damage.
Best place to build
- Right near the portal since thats where most of the gold and silver is.
- This is also where Grinfels and wolf spirits spawn which makes for easy farming.
Nodes and Ores
- Mainly gold and silver.
- Found up and around the mountain and hill tops.
- Should be able to find and farm 8 or 9 silver nodes and 8 or 9 gold nodes.
- very few coal, iron, tin, clay, and flint.
Farming Grinfels and wolf spirits.
- Grinfel hearts have a 10% chance of dropping.
- Wolf spirits come out at night and have a 33-50% chance of dropping a wolf spirit soul.
- Recommend having at least full set silver armor and weapons before farming.
- If they’re not re-spawning, just kill everything you see as It tends to re-spawn them in more often.
Wolfsbane and Achievements
All of the achievements are pretty straight forward in this game so I won’t cover them all.
Task Master
- The list you see in the top right corner when you first begin. Complete that list and this achievement will unlock with some others as you work the list.
They Mostly Come at Night… Mostly
Kill 10 undead furies
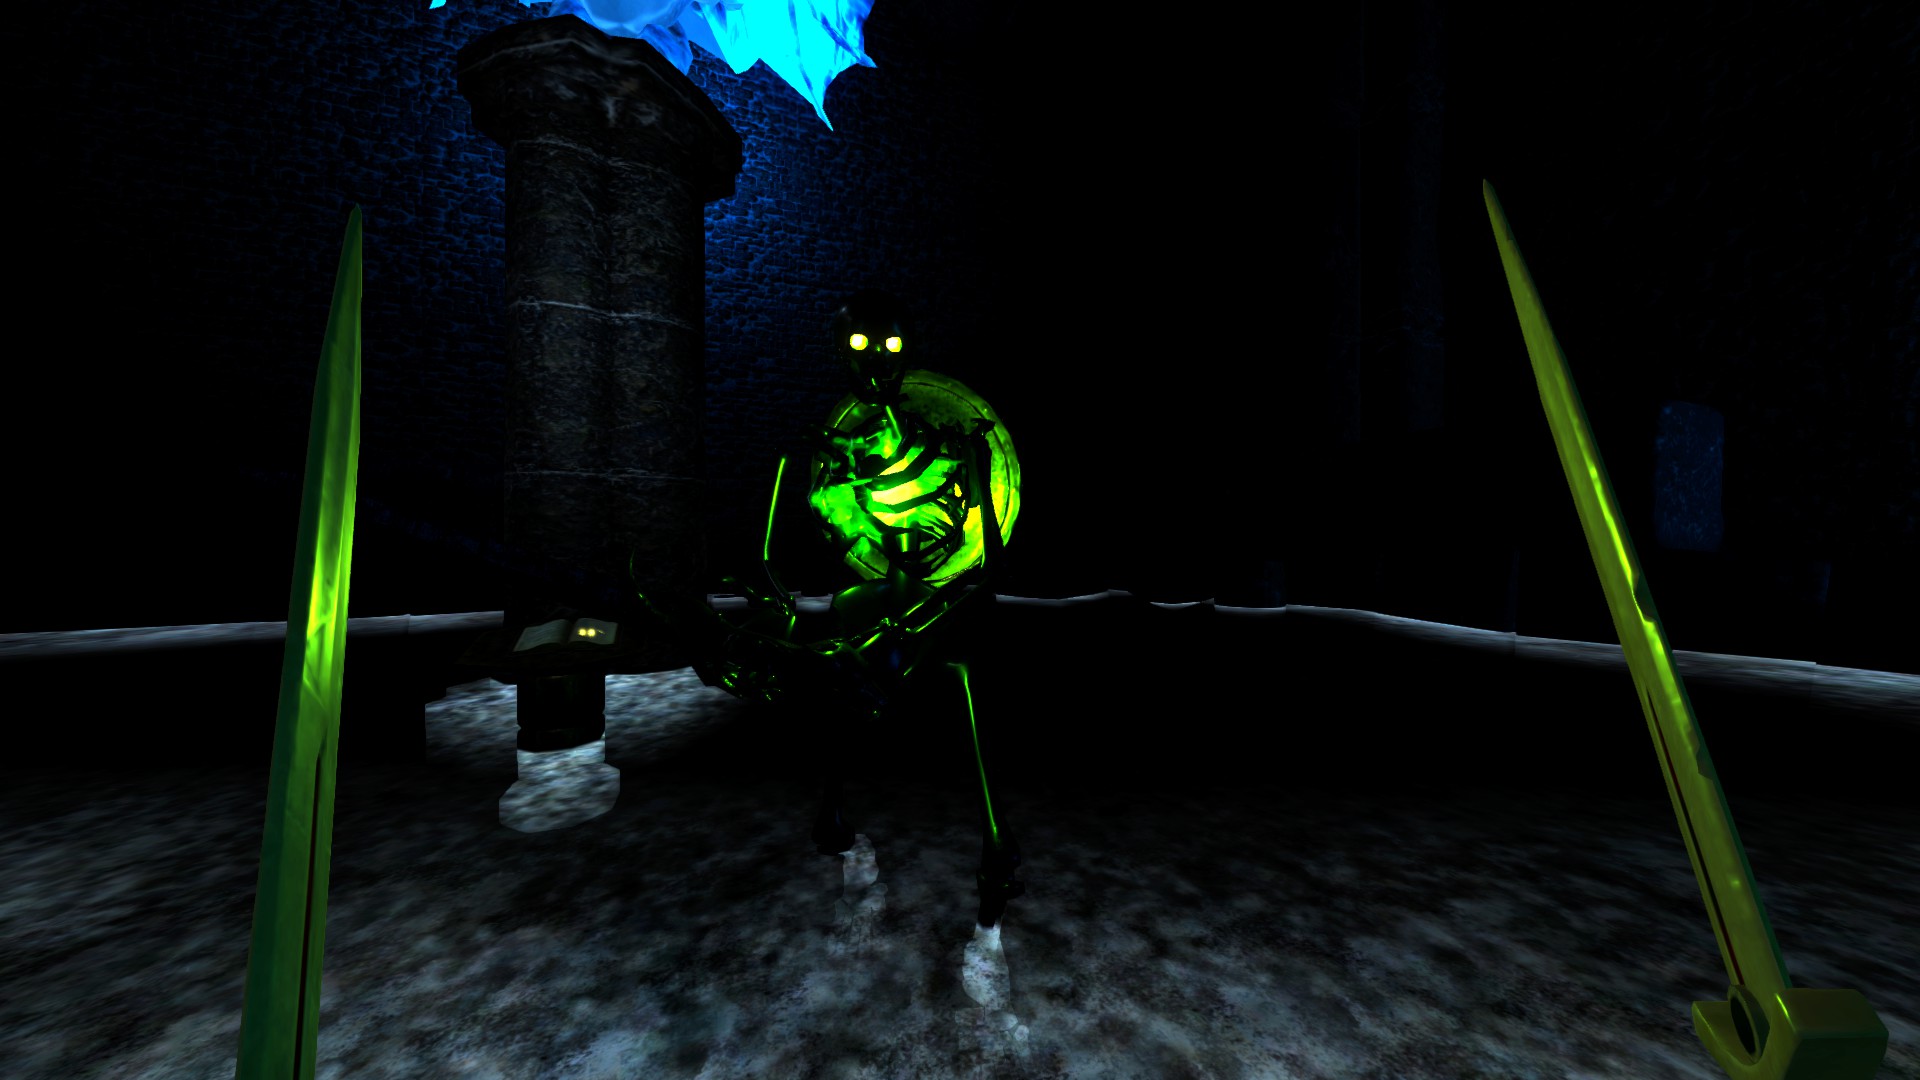
- Knight skeleton. Has armor and usually a 2 handed weapon, sometimes a shield and 1 handed weapon.
- Reg glowing presence around its body and its eyes.
- 3 best locations to find them.
- Around and inside Carta Sul on the 2nd island.
- Inside the town of Stonemoor.
- 3rd island, around the open land by the portal.
Wolfsbane
- This one is defintely not straight forward.
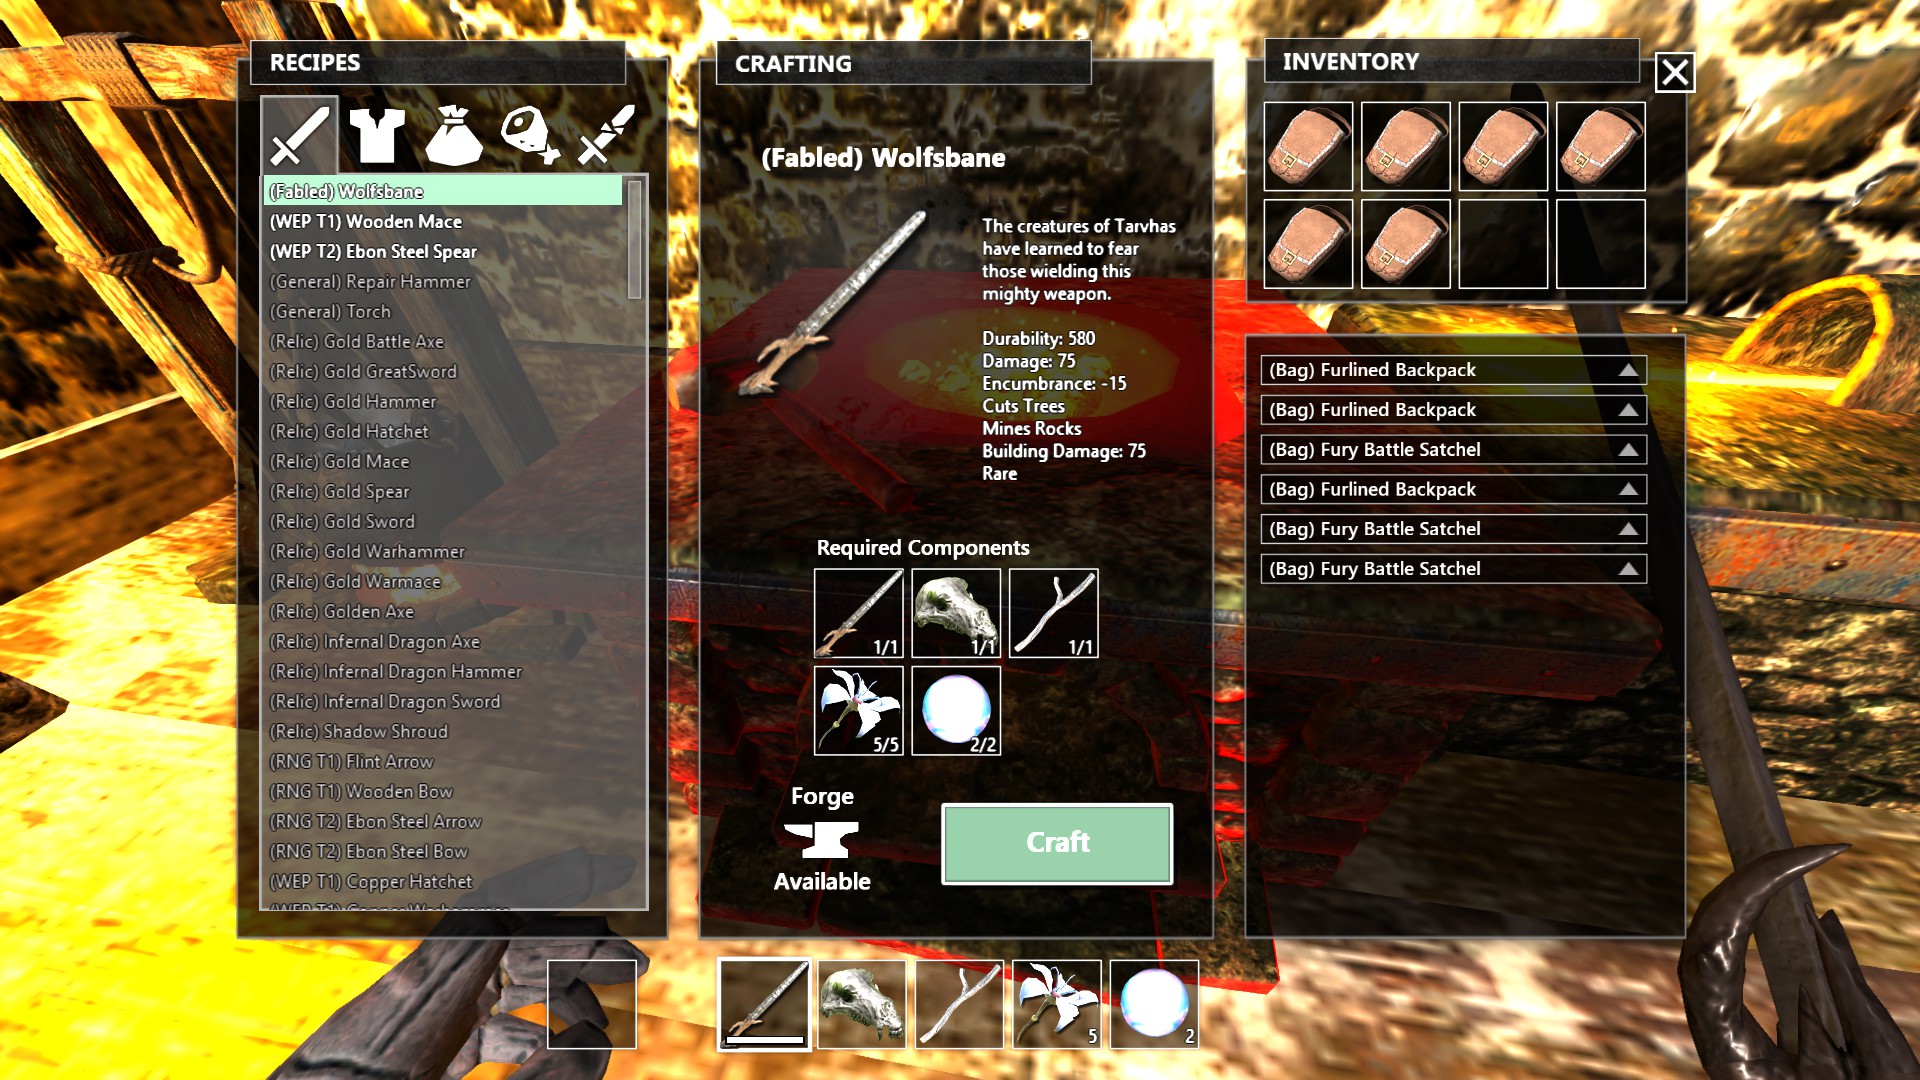
- This requires you to collect 3 special unique items that drop from bosses on the 2nd island, Freydalyn. The items are random which means you may need to farm each boss multiple times before you get it.
- (relic) corrupted wolfsbane.
- You get this one by killing Yingol in Carta Sul.
- Now this is the most diffiuclt as Yingol spawn rates are very inconsistent. You may need to create multiple worlds. I had to kill Yingol 3-4 times before I got the corrupted wolfsbane.
- World 1 for me only spawned Kiffi and Helion.
- World 2 for me only spawned Yingol, but not the other two.
- Clearing out the cave by fighting can help spawn in the bosses faster.
- Yingol will be the one with a green glowing light around its body.
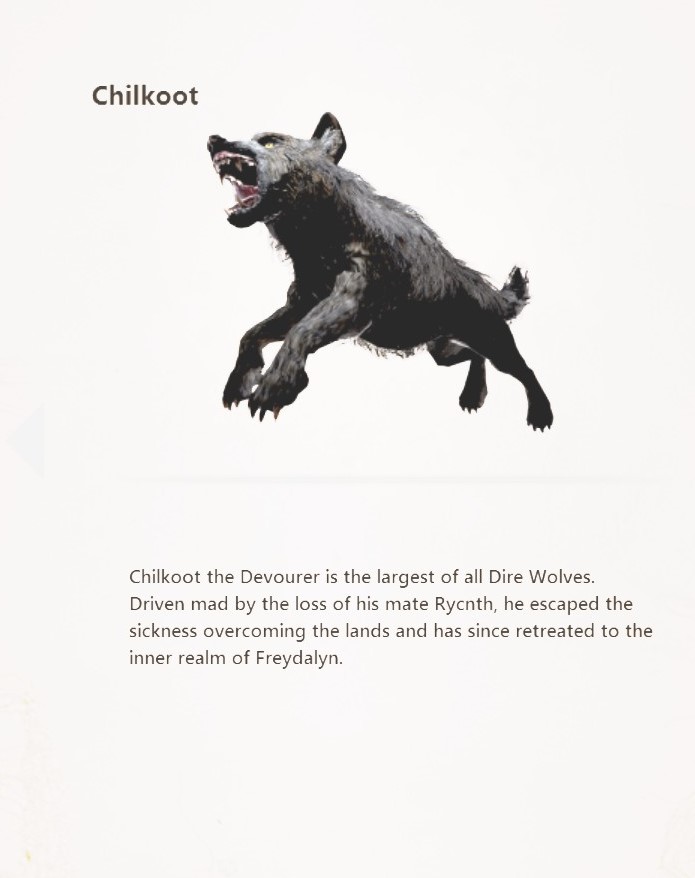
- Skull of Chilkoot.
- This is actually pretty easy as all you really need to do is go to the Eldair Woods and wait.
- A message will pop up if Chilkoot is near.
- Slighty bigger than dire wolves, but a lot stronger.
- Killing everything you see may help spawn in Chilkoot quicker.
- Enchanted Branch.
- This is dropped by killing forest giants.
- Shouldn’t really be a problem. My friend and I killed 8 forest giants together for the achievement and we ended up wit 6 enchanted branchs. So the drop rates is pretty high.
- Once you have the 3 unique items, go to your storage area, grab the remaining items, which you should have already. You need to go to a regular forge. A dragon forge is unable to craft the wolfsbane for some reason, well at least I couldn’t with mine.
Fighting The Dragon Kur
- I haven’t fought the dragon yet.
- Need 1 piece of Everwood which is a random drop from forest giants.
- With 1 piece in your inventory go to the Ruins of Kettazah on the 3rd island.
- Walk into or press E on the keyboard, only do it once, and it will summon the dragon.
By
- Check All Savage Lands Posts List


Leave a Reply