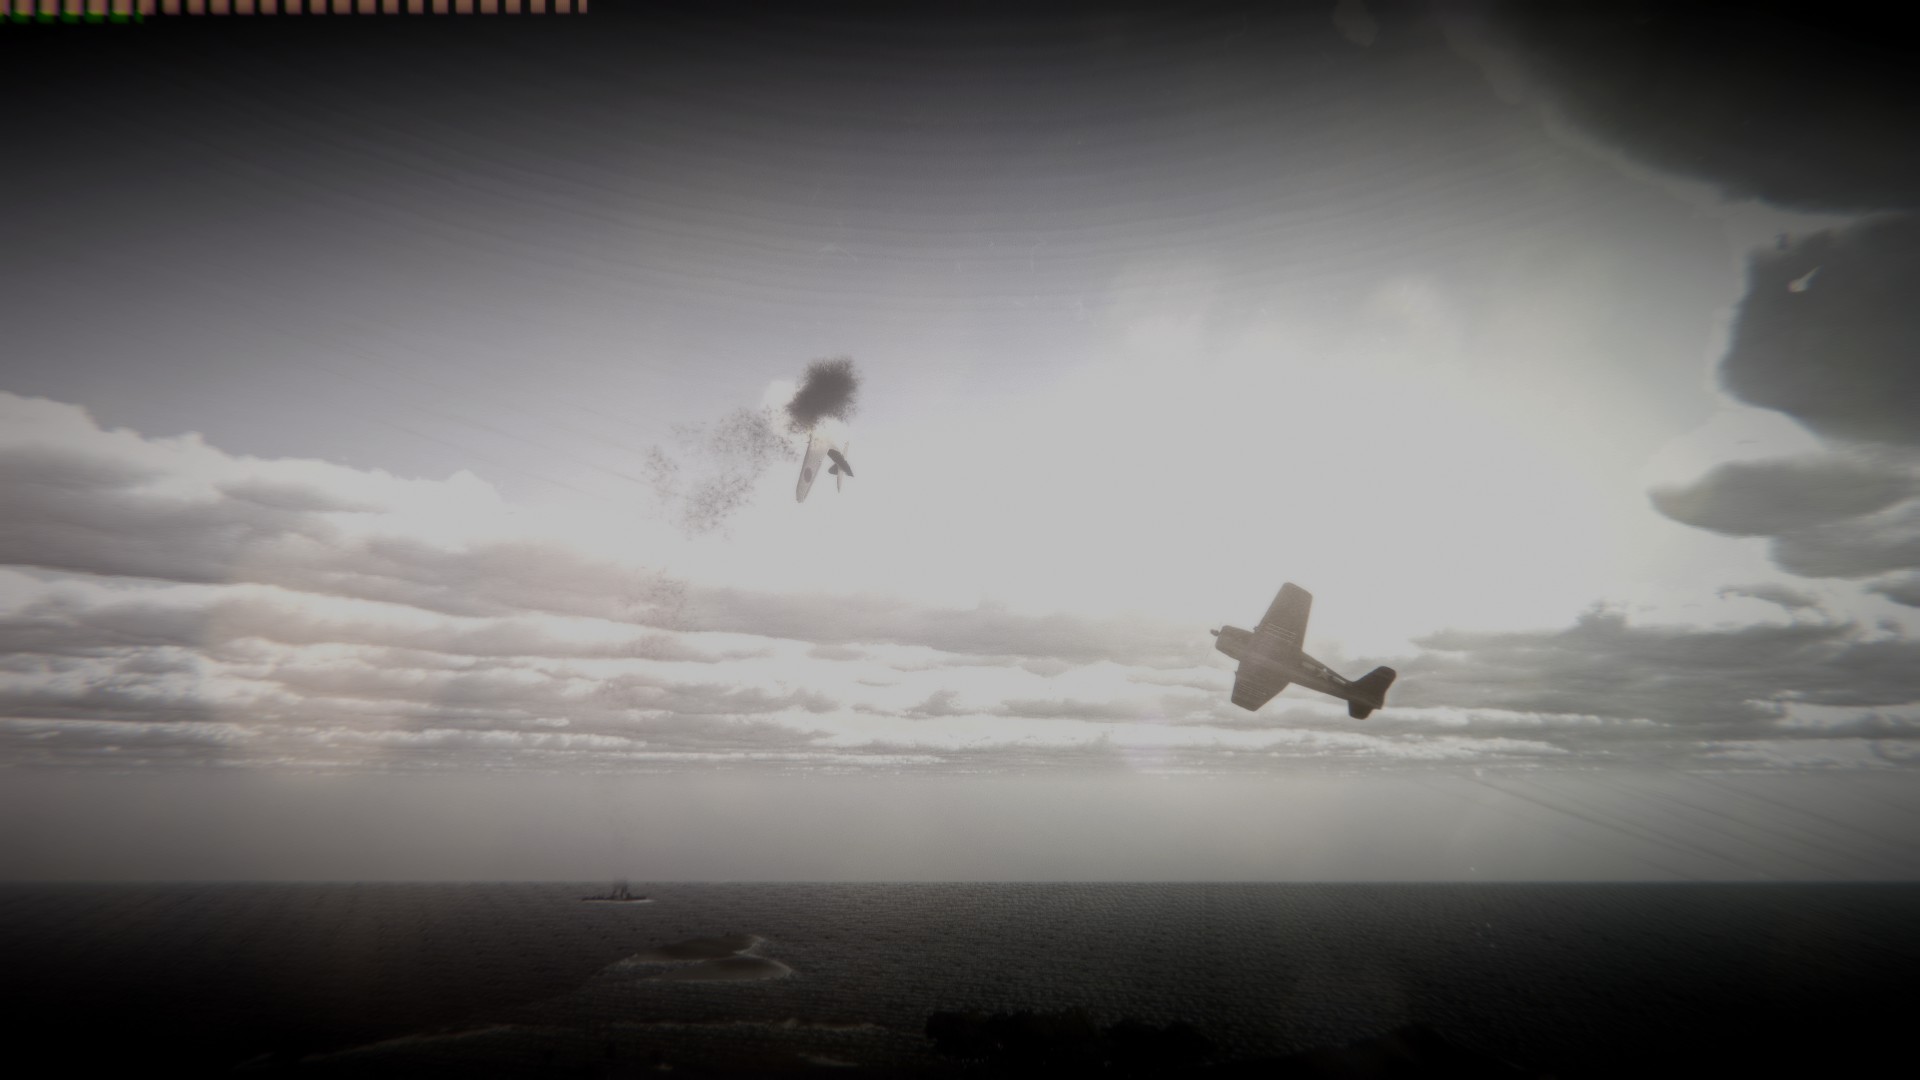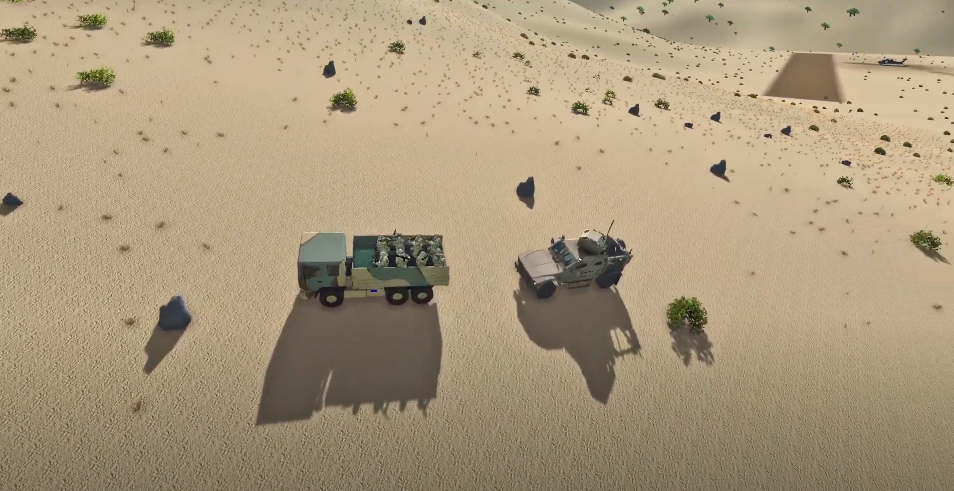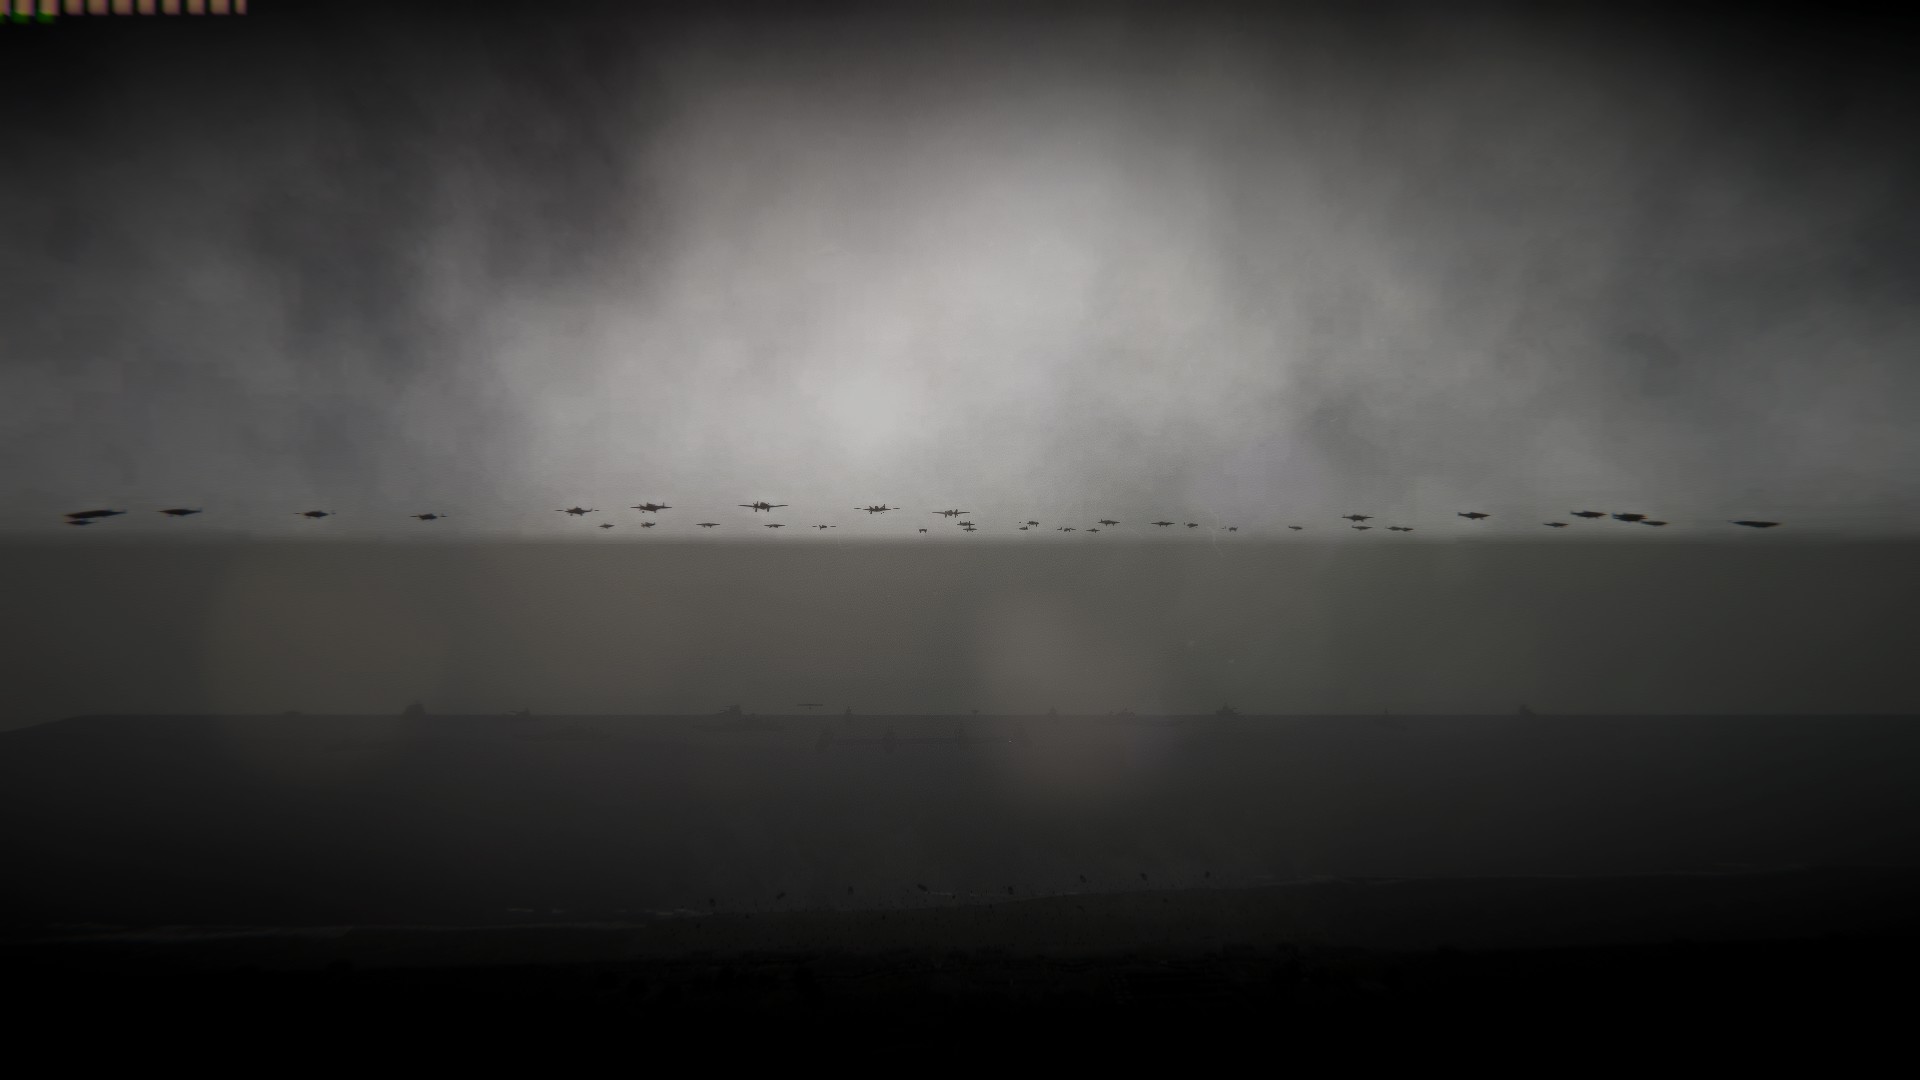
This guide will show players how to install C0dePr0xy’s Reshade Preset.
This tutorial should help with other presets too! 🙂
I hope this tutorial is helpful.
*REQUIREMENTS*
*REQUIREMENTS*
1. Reshade: https://reshade.me/
2. Legal copy of Ravenfield
3. A decent computer
*Reshade Installation Instructions*
1. Download Reshade from the provided official link.
2. Open the downloaded executable file.
3. Press “Click here to select a game and manage its ReShade installation” button.
4. Press “Browse…” button.
5. Go to “G:\SteamLibrary\steamapps\common\Ravenfield” or “C:\Program Files (x86)\Steam\steamapps\common\Ravenfield”
6. Click “Ravenfield.exe” once.
7. Press “Select”.
8. Check all of the Reshade shaders.
9. Press “Ok”.
Now you wait until all of the shaders are installed! 🙂
When you get a message saying that your reshade installation is successful, you may now close that window safely. 🙂
C0dePr0xy’s Reshade Preset v1.0 (Official)
1. Download the reshade preset here: https://drive.google.com/file/d/1c9AesNpkqDZGDvyC-JyRypHLDpfBJiyE/view.
2. Put the ini file in your main Ravenfield directory.
C0dePr0xy’s Reshade Preset v1.1 (Official) (Update)
This Reshade Preset is an update to the older Official Reshade Preset that I made! 🙂
Download “.zip” file here: https://drive.google.com/file/d/1FtljpXwYbZc-fuecmMfL1wQT17vWy_zY/view
Place both presets (.ini) in the main Ravenfield Directory.
(Main) Default Directory: C:\Program Files (x86)\Steam\steamapps\common\Ravenfield.
(Alternate) External Directory: E:\SteamLibrary\steamapps\common\Ravenfield.
C0dePr0xy’s Official Gritty Ravenfield Reshade Preset (Alternate) (Official)
If you want a more gritty feel in Ravenfield, then look no further because I got just what you need.
First you need to download the “.zip” file here: https://drive.google.com/file/d/1FqxmticsQi5JwAz5Dwej8i3e8dZQwVUX/view
When you have downloaded the “.zip” file, you should open the file and see two “.ini” files. These “.ini” files are two versions of the same preset.
Drag both preset files into your main Ravenfield directory which should be located in: “C:\Program Files (x86)\Steam\steamapps\common\Ravenfield” or if you installed your game on another hard drive: “E:\SteamLibrary\steamapps\common\Ravenfield”.
Now, when you launch your game, press the “home” key on your keyboard and load the presets you just added to your game.
It is highly recommended that you load either of the presets after you load into a map.
In Game
Here are instructions for when you are in-game:
1. Press the “Home” key on your keyboard.
2. The tutorial for reshade is optional so press “Skip”.
3. Go to the top where “ReShadePreset.ini” is and click on it once.
4. Scroll until you see “C0dePr0xy’s Official Reshade Preset 1.0.ini” then press the “Apply” button.
CONGRATULATIONS, you have now installed Reshade and the provided preset!! 😀
Showcase(s)

Credit: C0dePr0xy

Credit: C0dePr0xy

Credit: CobraStriker19

Credit: CobraStriker19

Credit: C0dePr0xy
Screenshots
Credit: CobraStriker19
Credit: CobraStriker19
Credit: CobraStriker19
This is all for Ravenfield How to install C0dePr0xy’s Reshade Preset. hope you enjoy the post. If you believe we forget or we should update the post please let us know via comment, we will try our best to fix how fast is possible! Have a great day!
- Check All Ravenfield Posts List


Leave a Reply