Screenshot assisted guide for locating all the secrets in MG’s 2016 episode.
Start: Entrance
This level contains only a single (unmarked) secret.
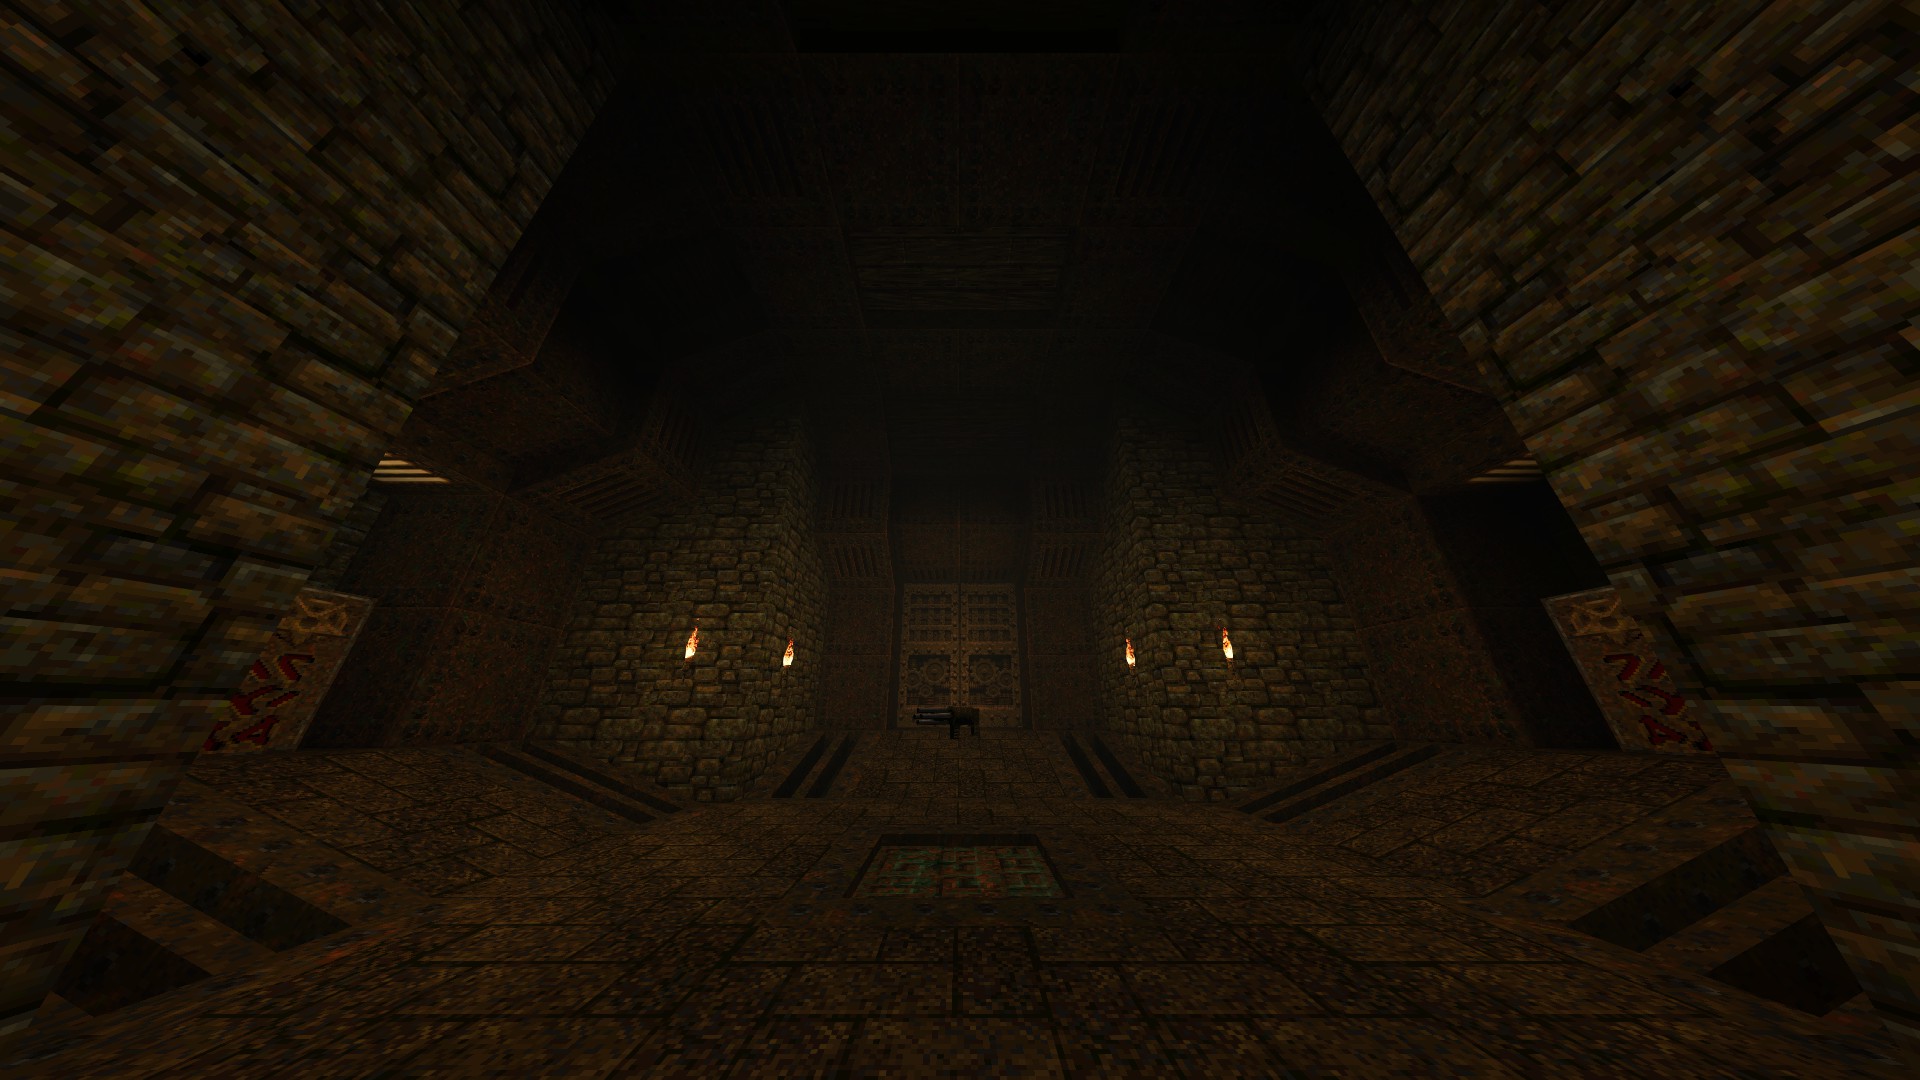
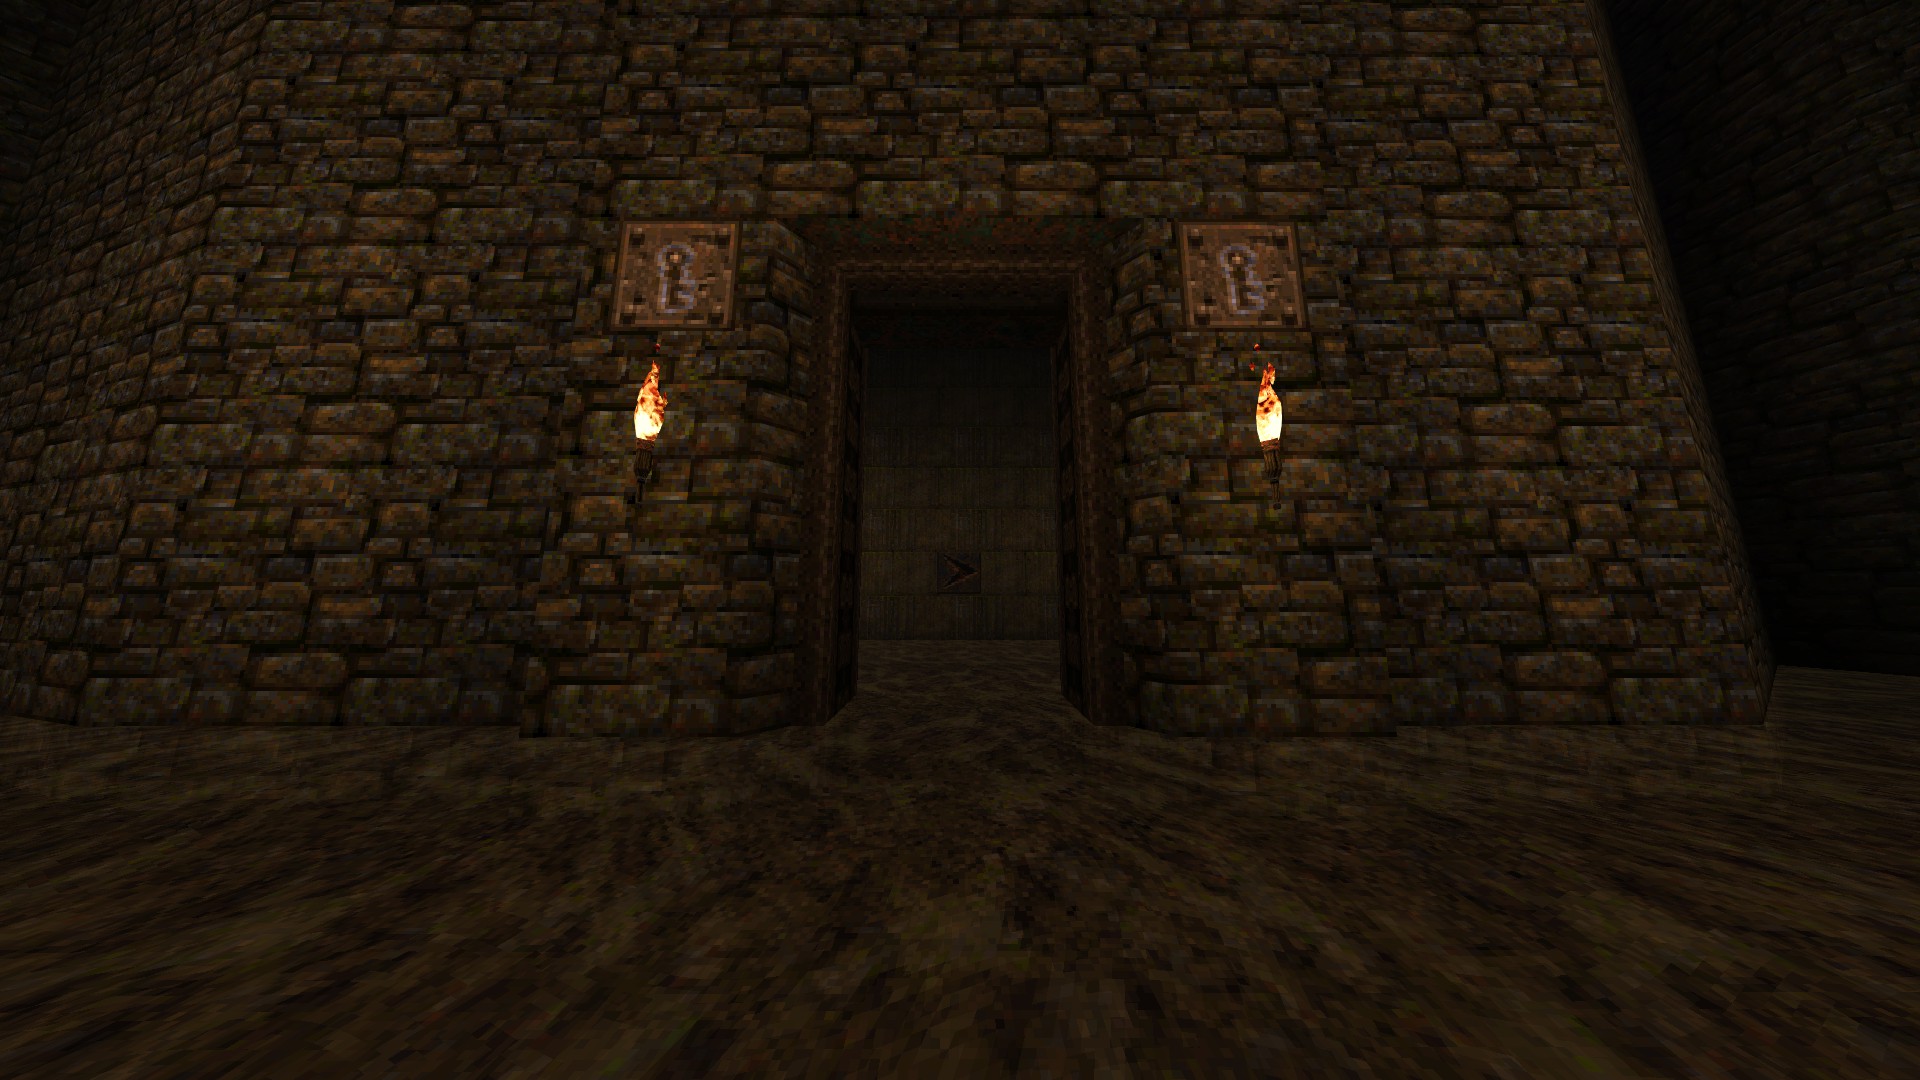
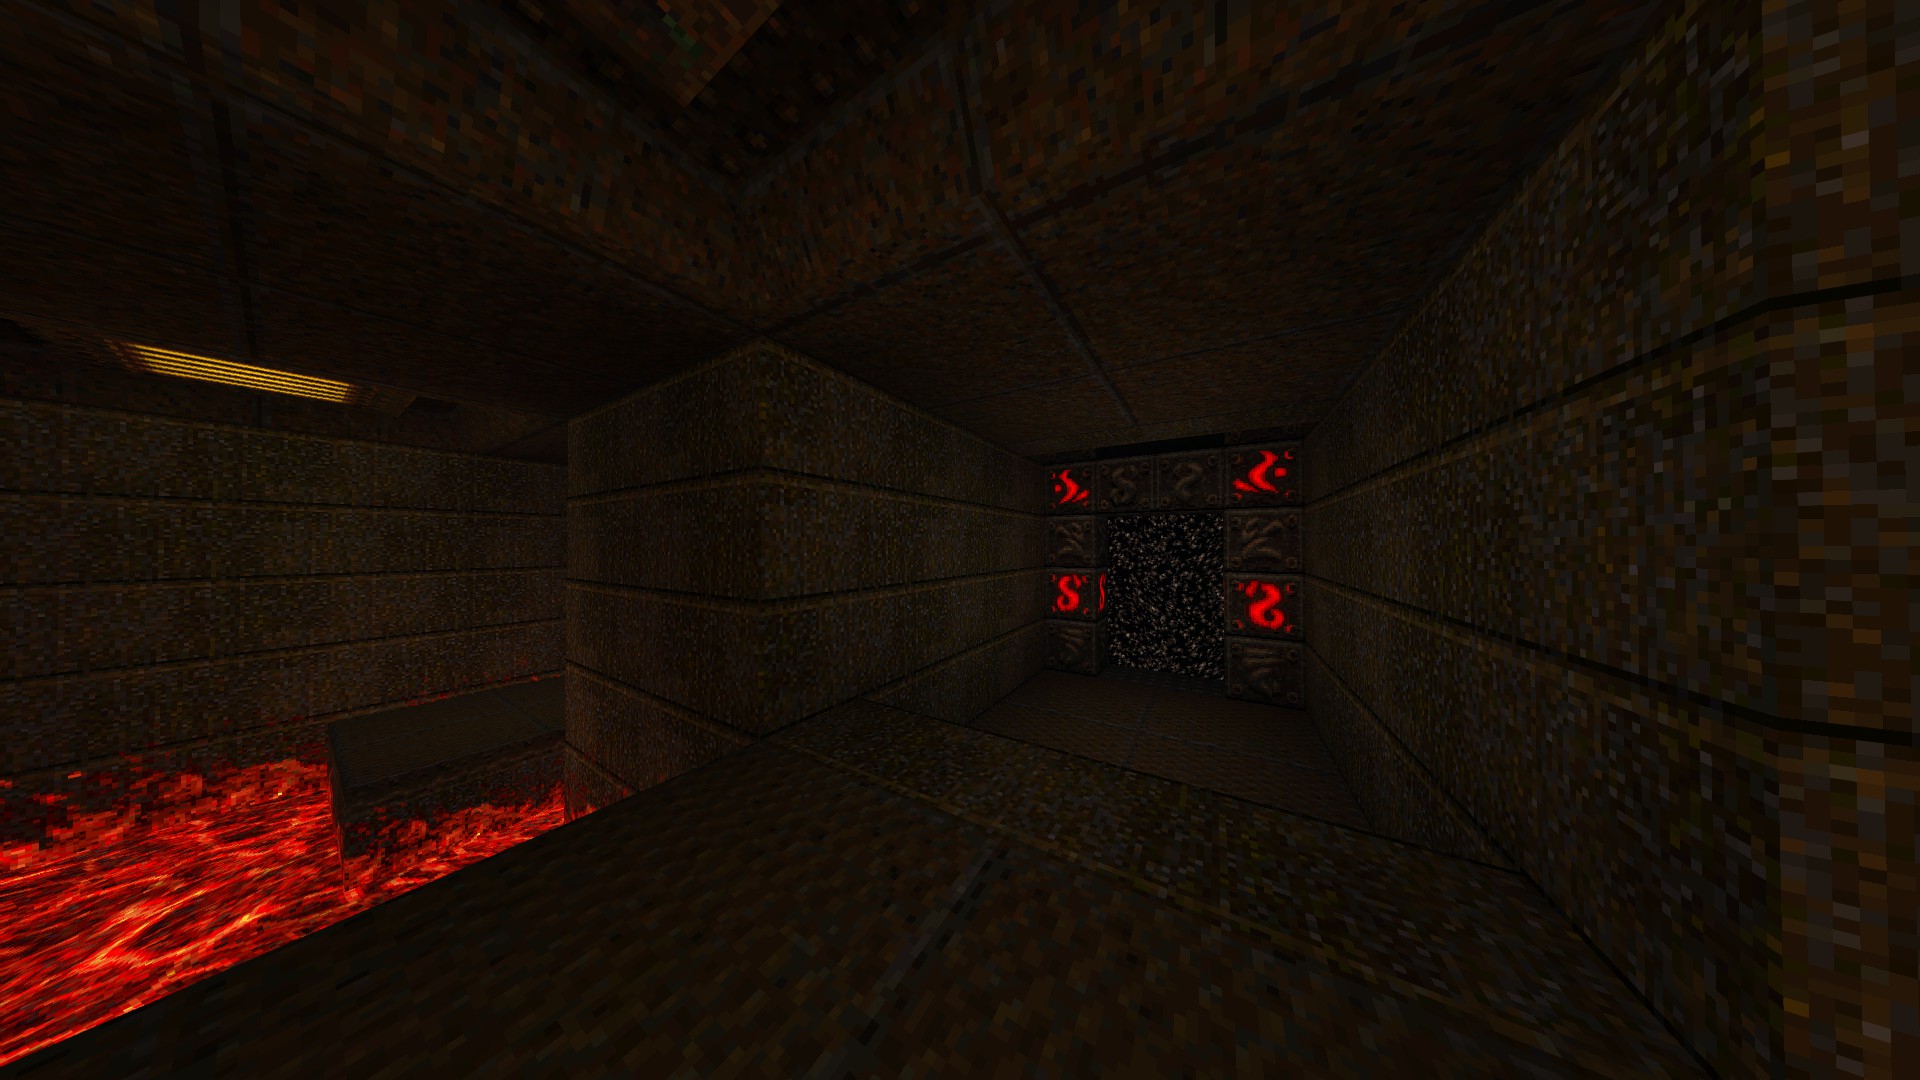
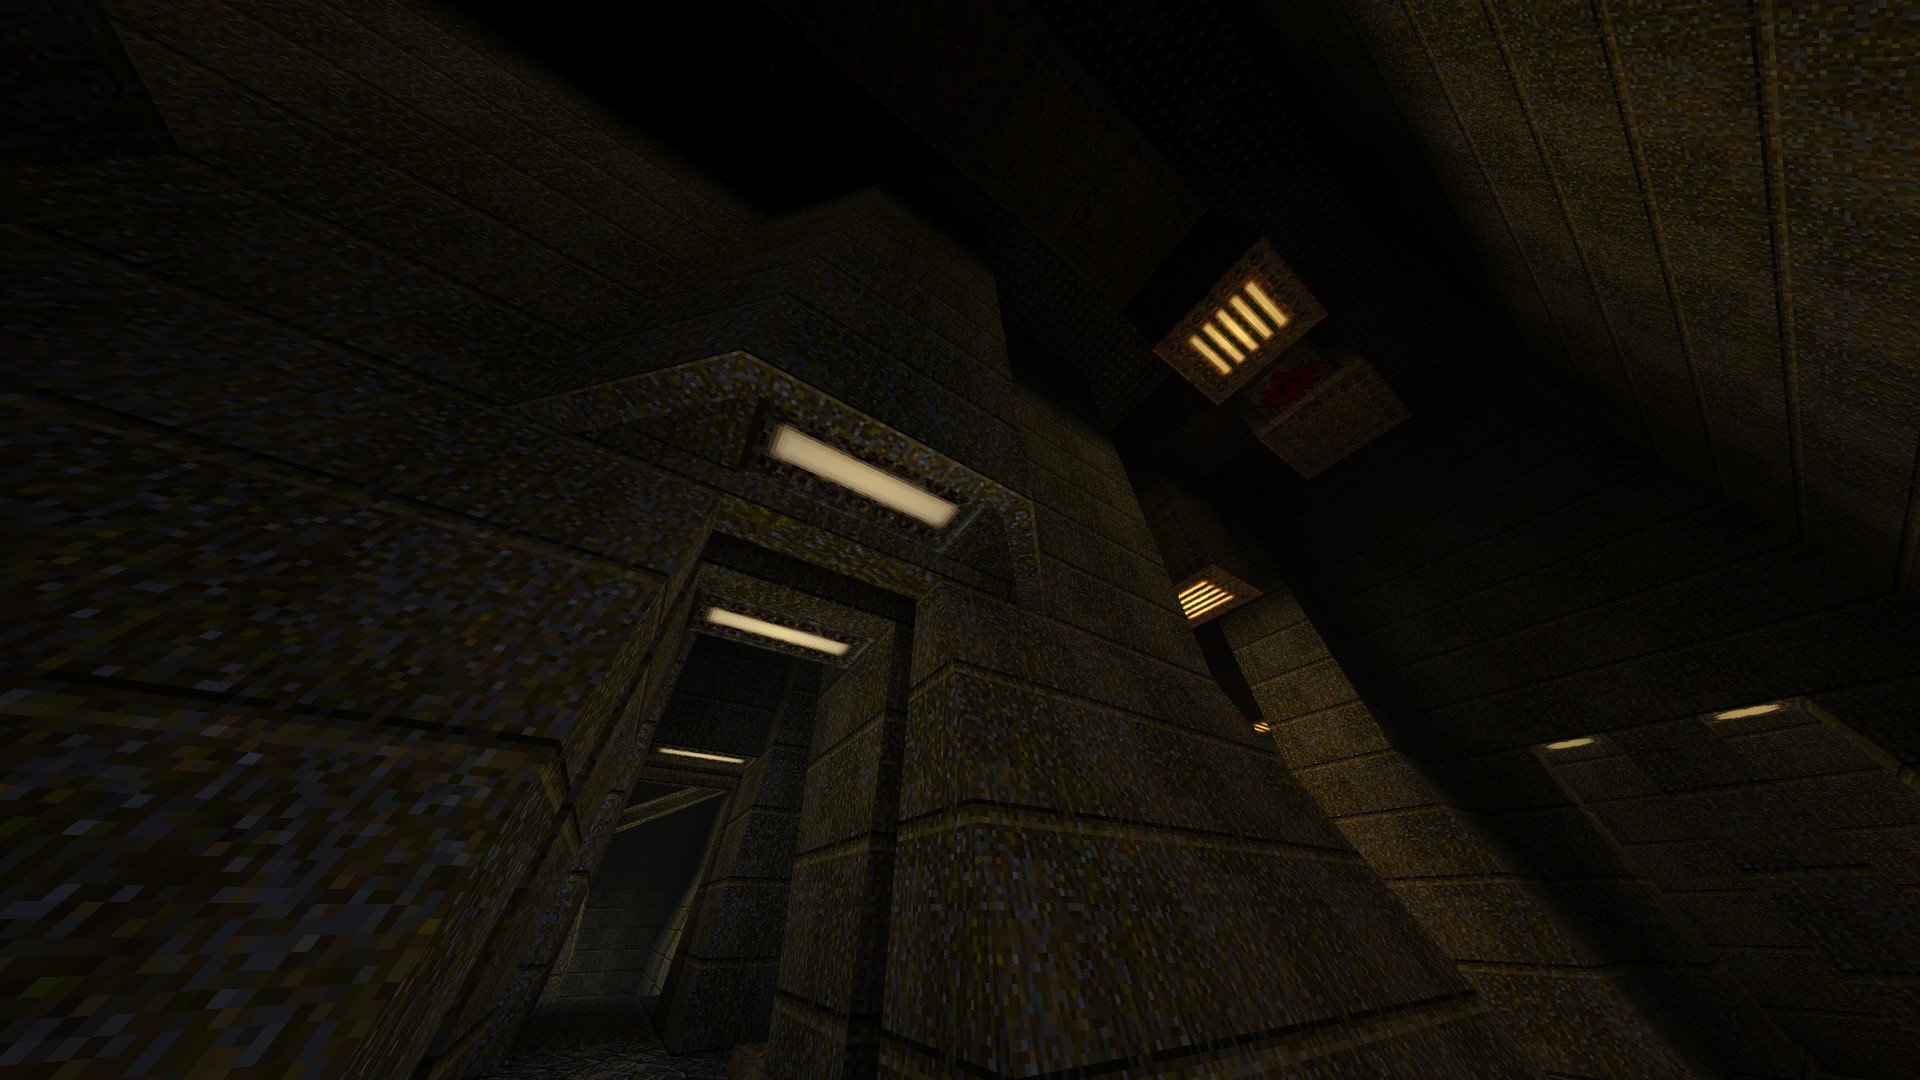
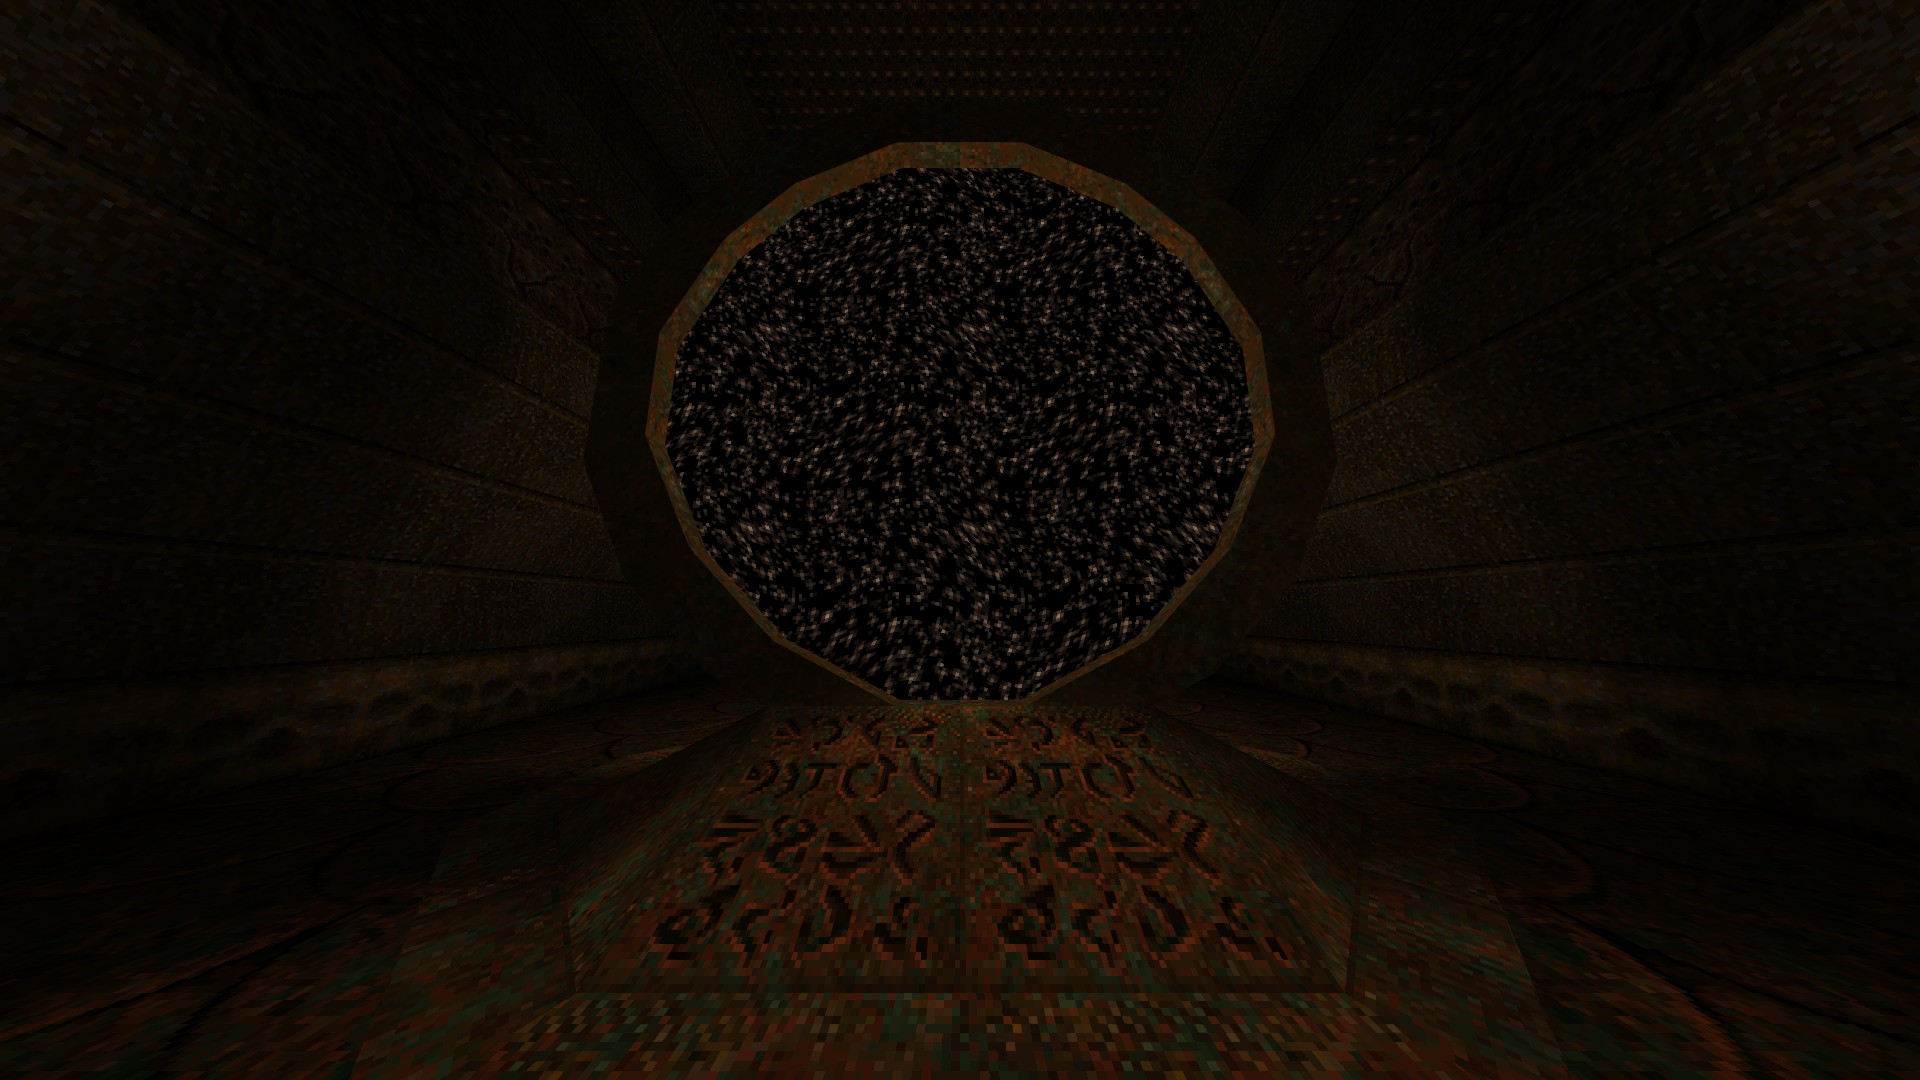
1/1 – As per Quake fashion, Dimension of the Past has a start map of his own where you select the difficulty level you like to play on by going through the appropriate portal. Likewise, the highest difficulty level, Nightmare (which, in its modernized form, is Hard with 50 HP cap), is reached via an out of sight one. To access Nightmare difficulty, first go through any of the portals that leads to the three easier difficulty levels. Instead of stepping unto the slipgate that takes you to the campaign proper, check behind it to find an opening and follow it around the corner to find the related portal.
Episode 5: Part One
This section of the guide covers the first three levels that contain a total of 16 secrets.
—
E5M1: THE MILITARY BASE
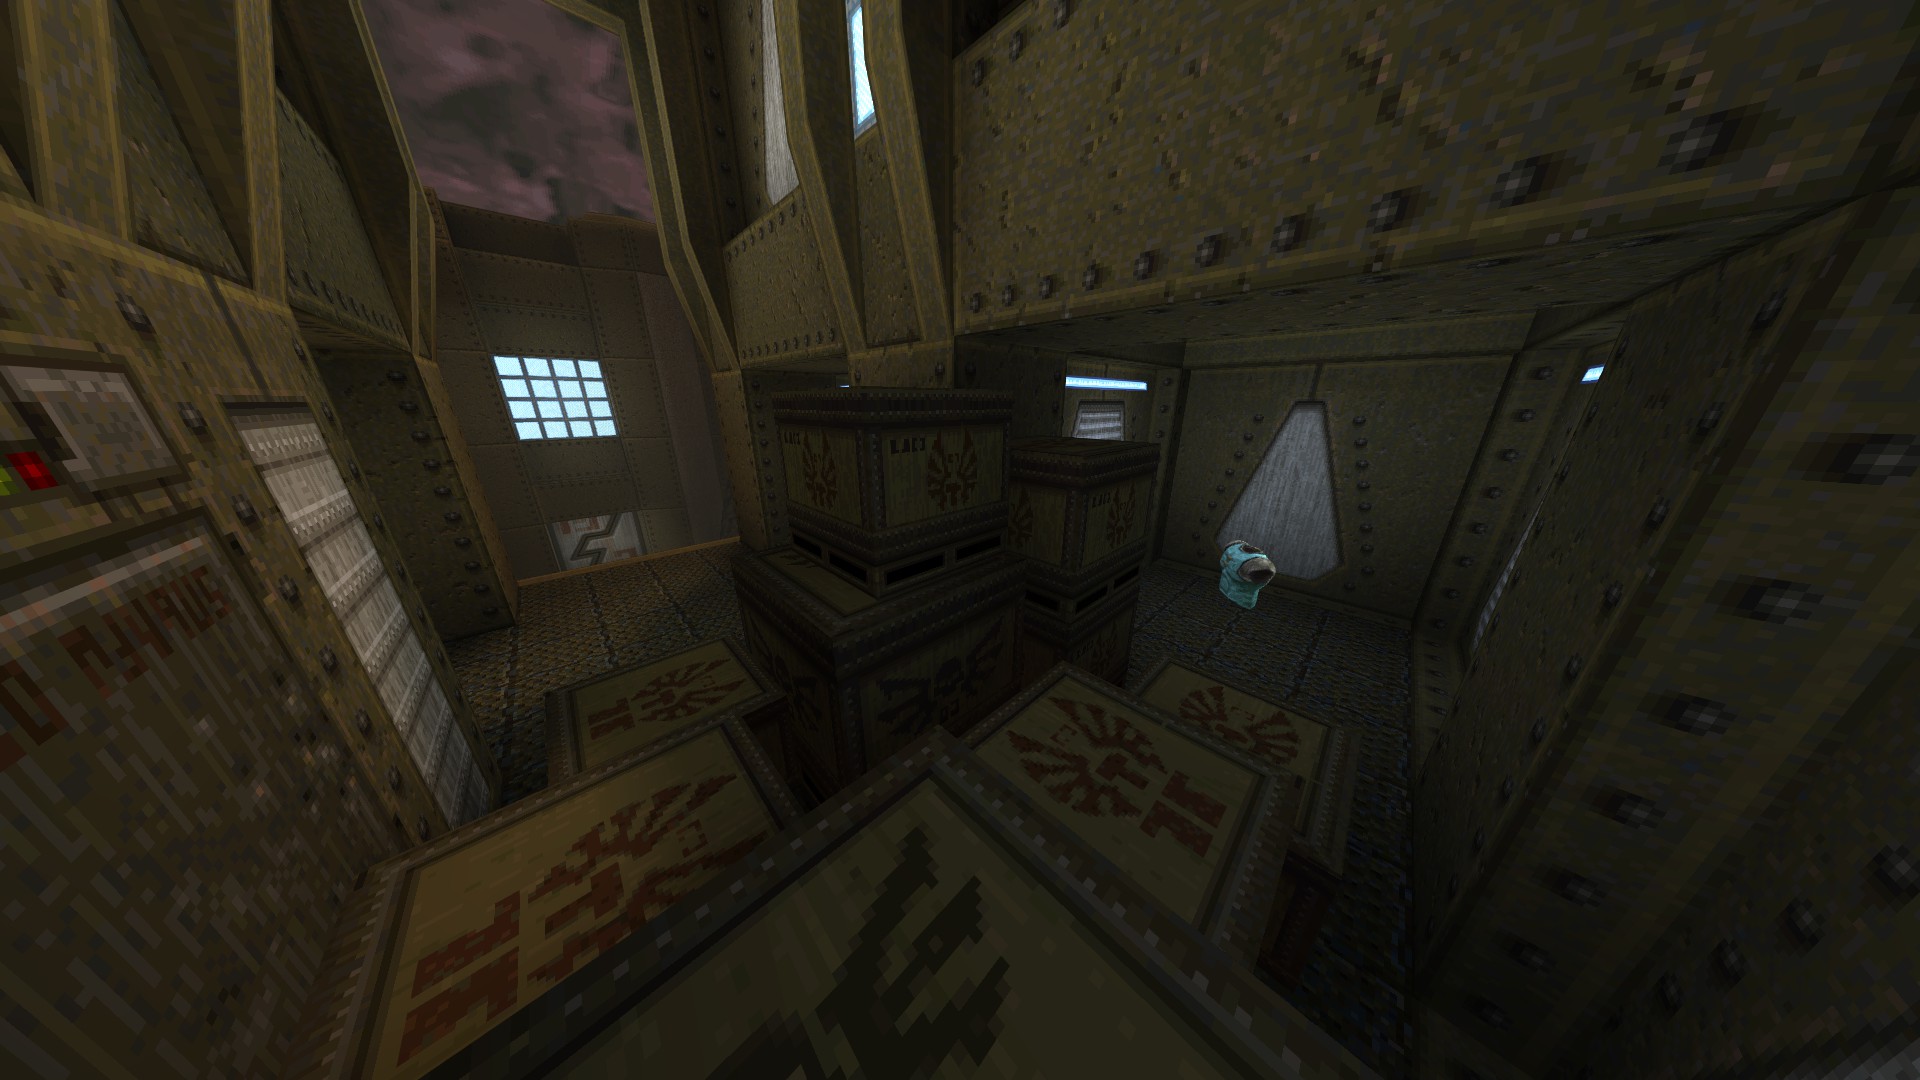
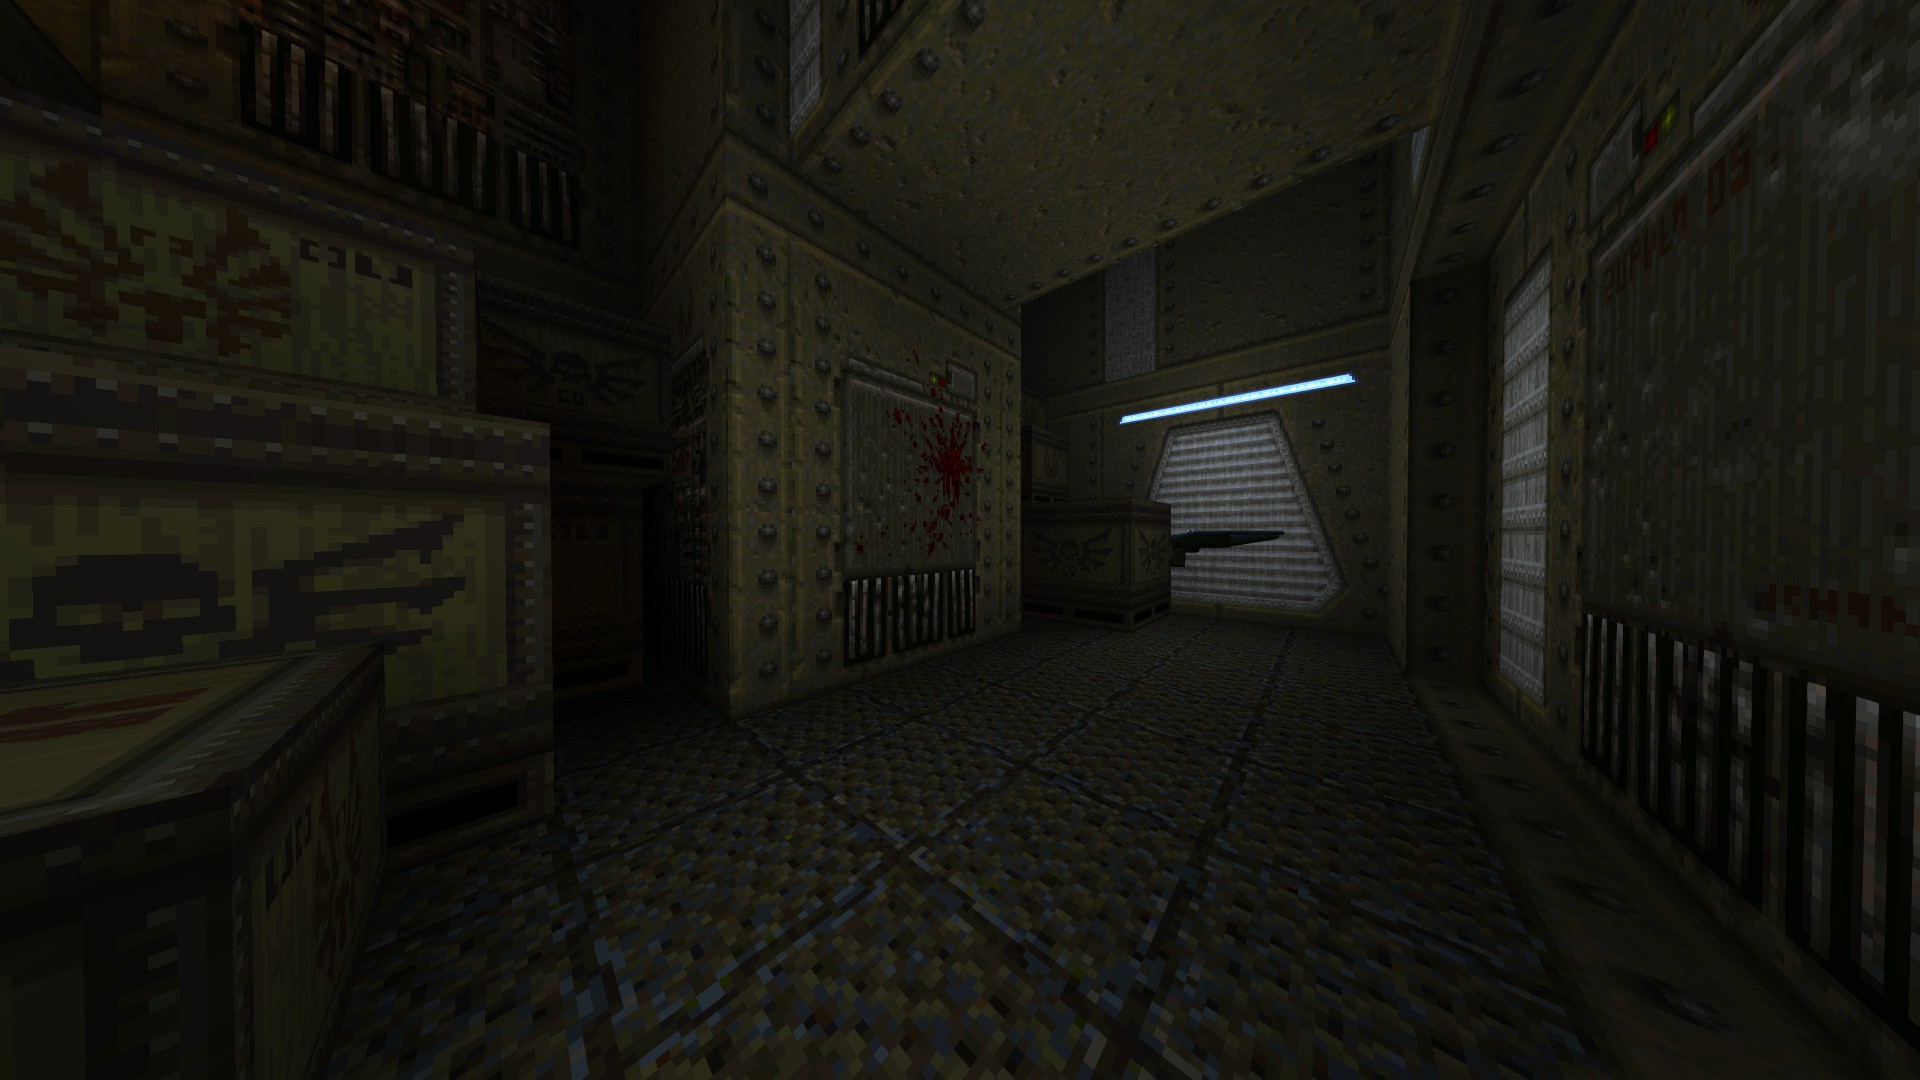
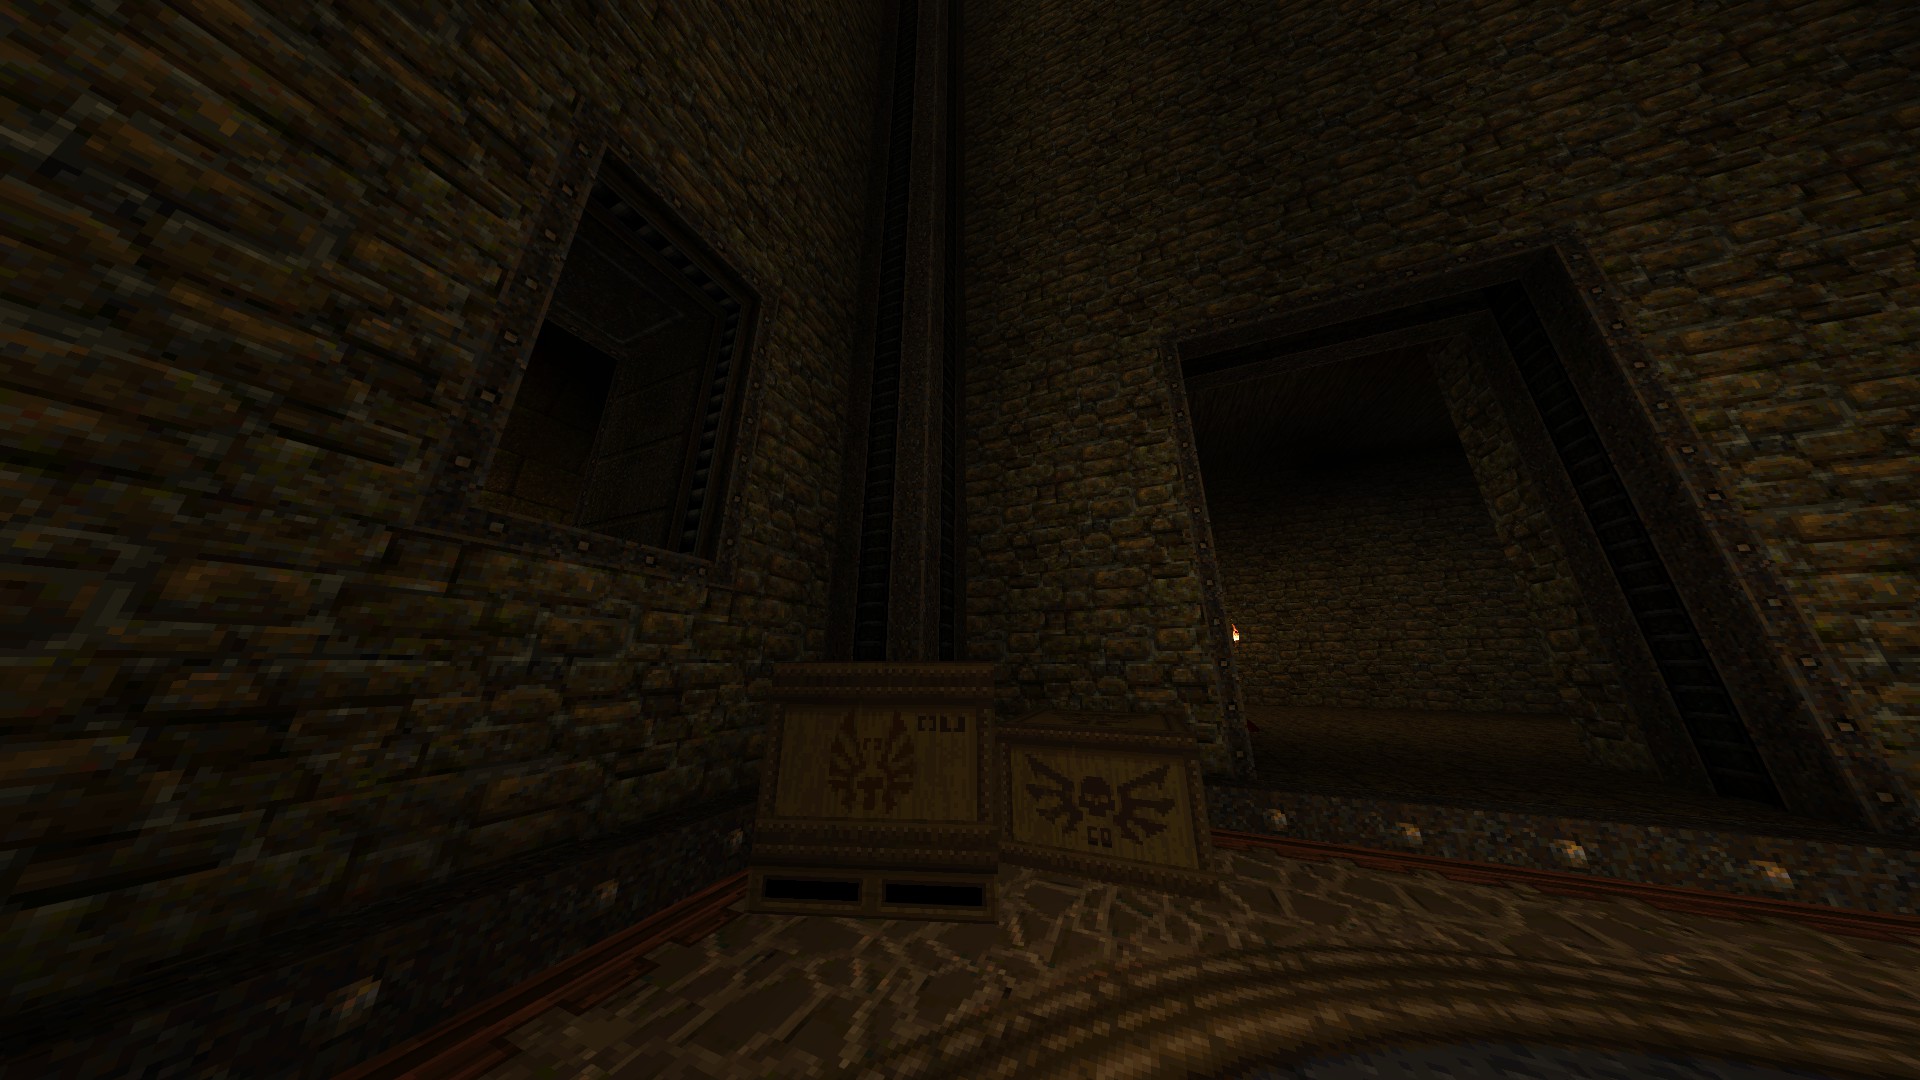
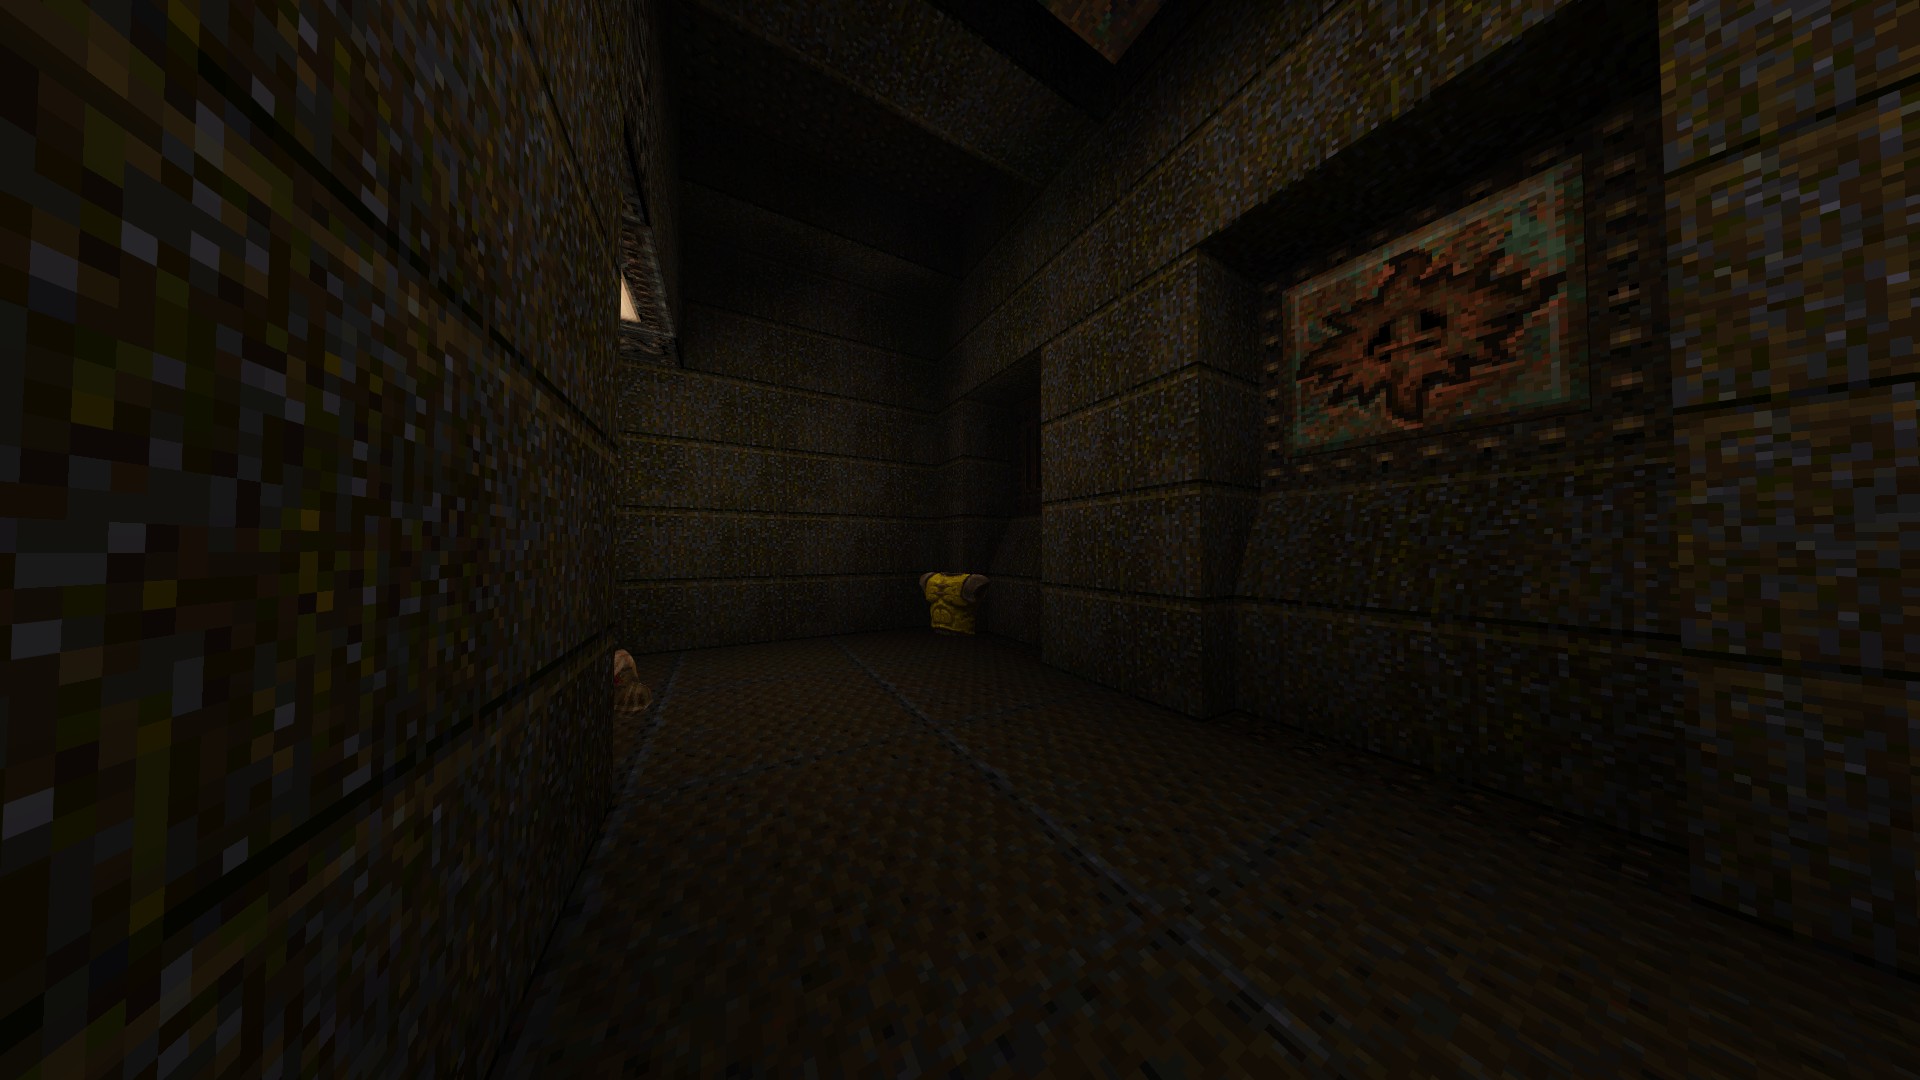
1/6 – Before riding the initial elevator down, check behind the crates to find an armor.
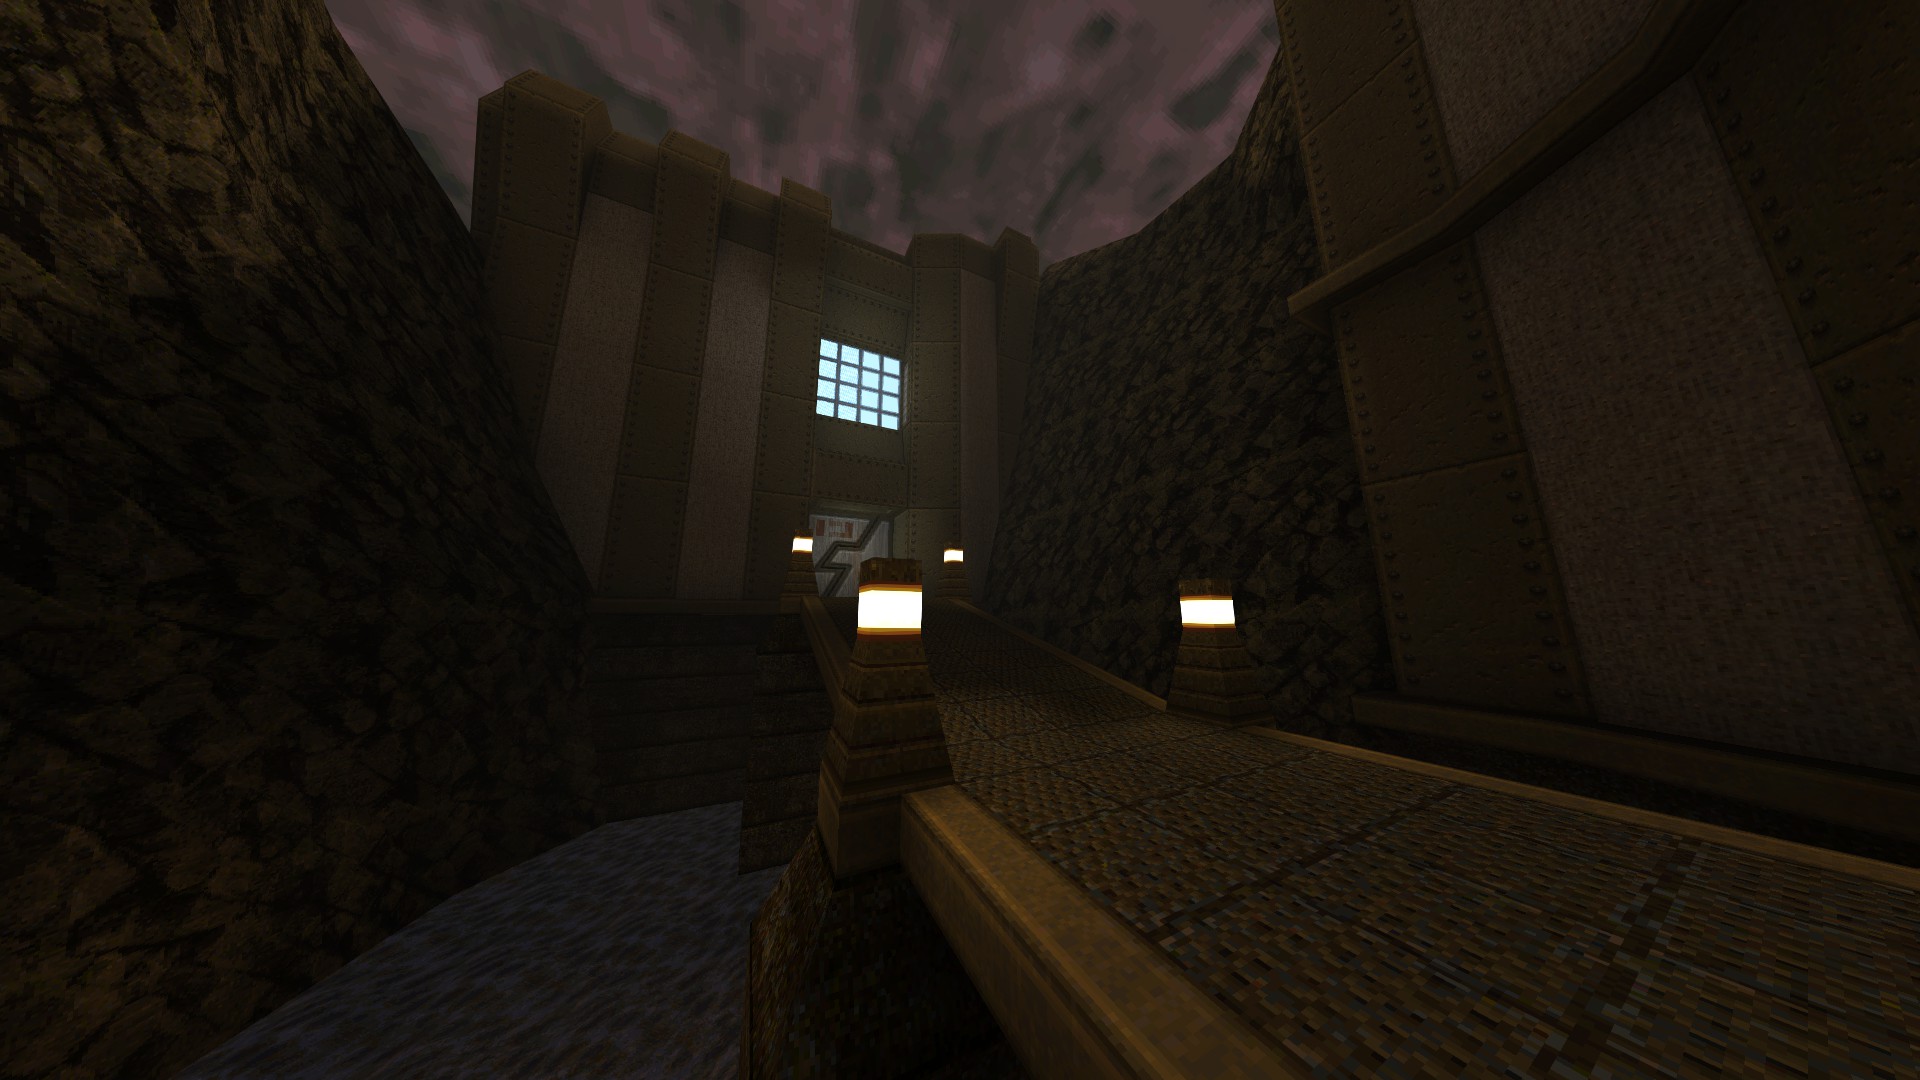
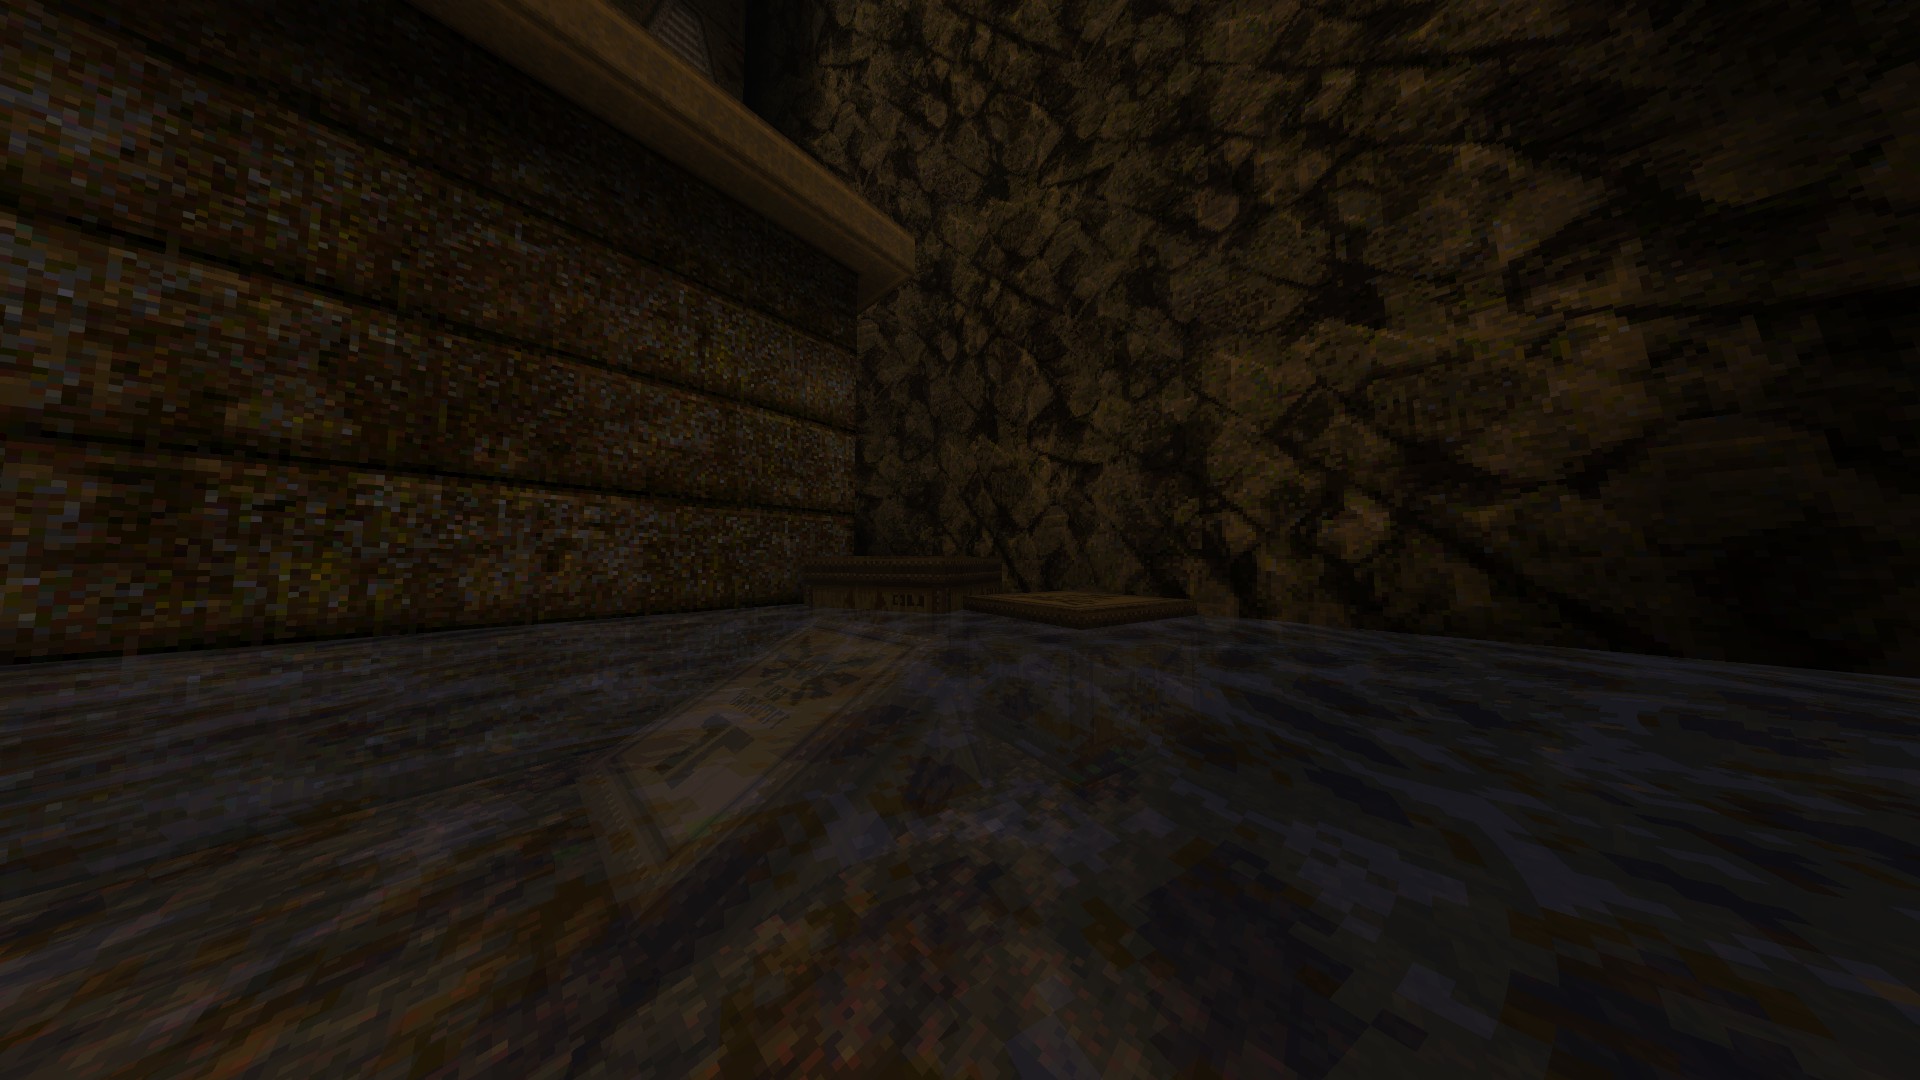
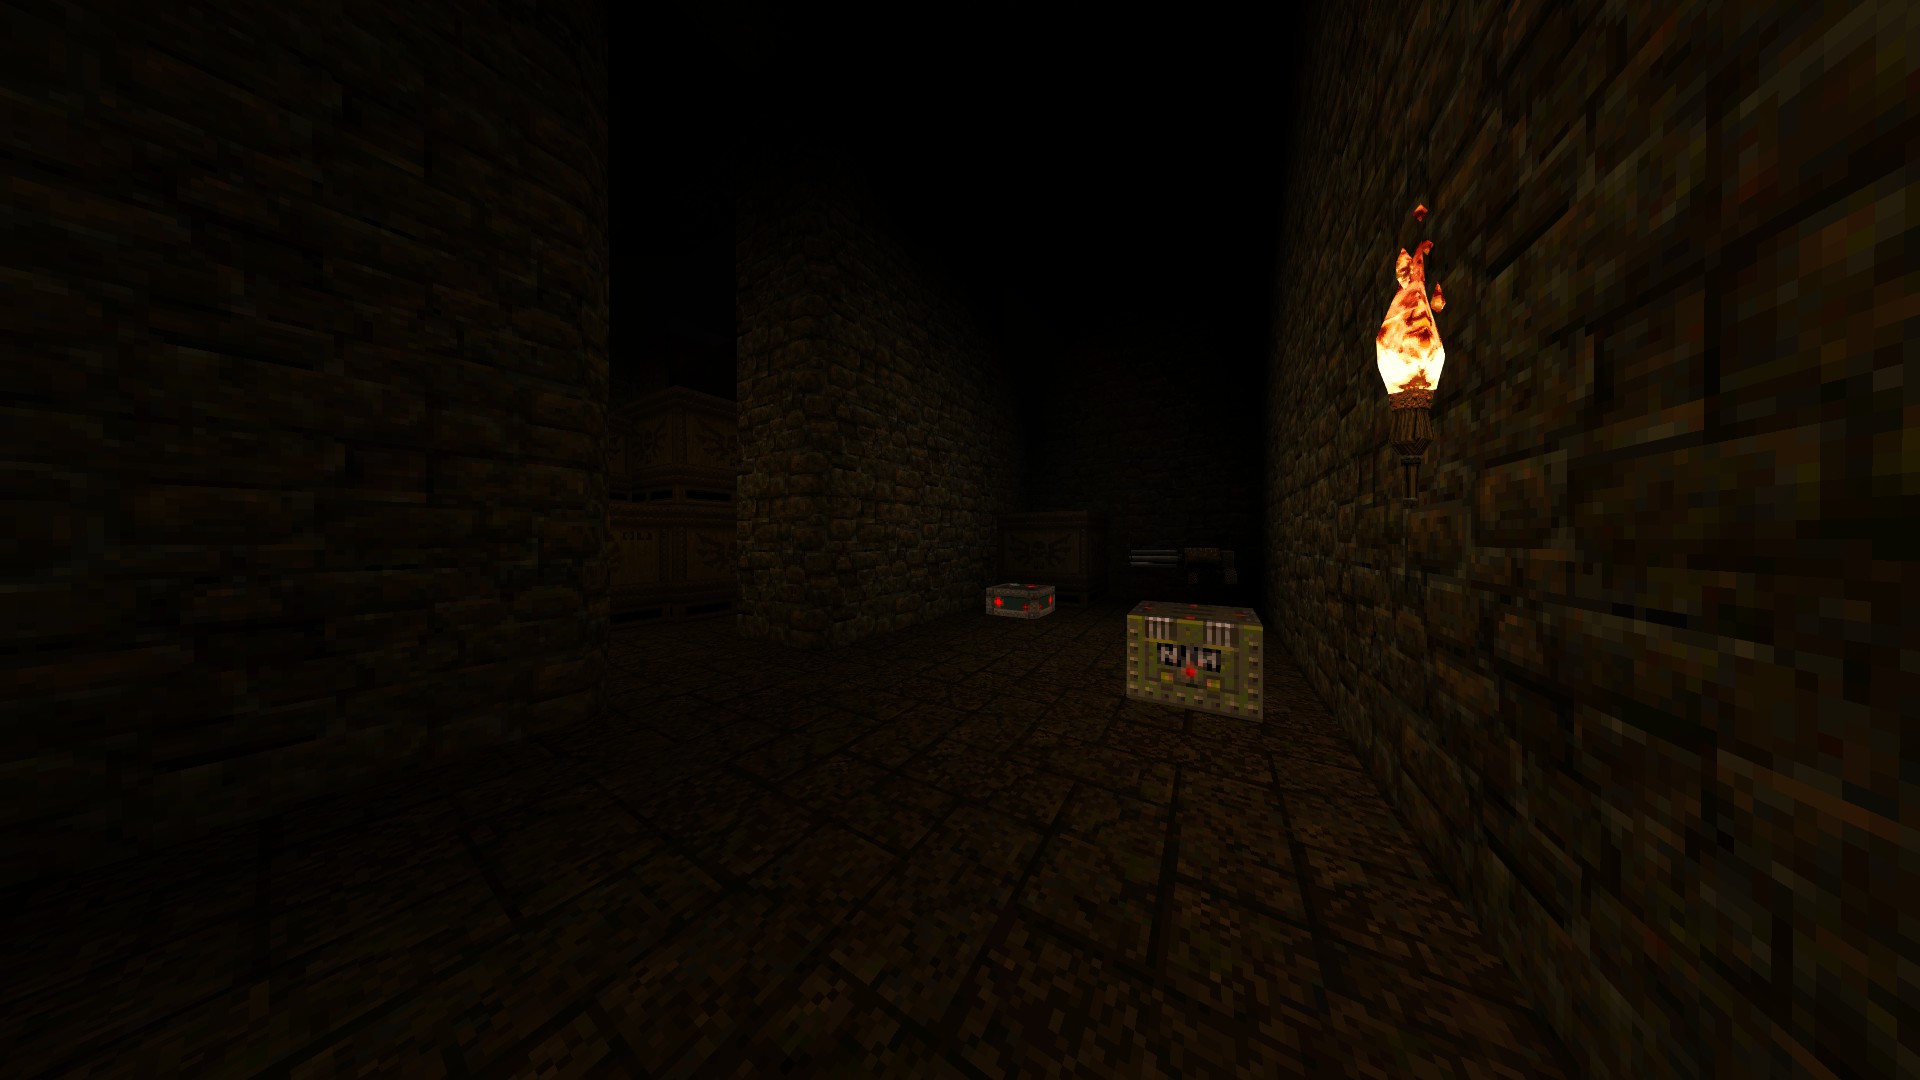
2/6 – Jump down into the water as you pass the bridge and check behind the crates in the corner to find hidden ammo.
3/6 – Following from the previous secret, go through the opening under the bridge to find a hidden weapon.
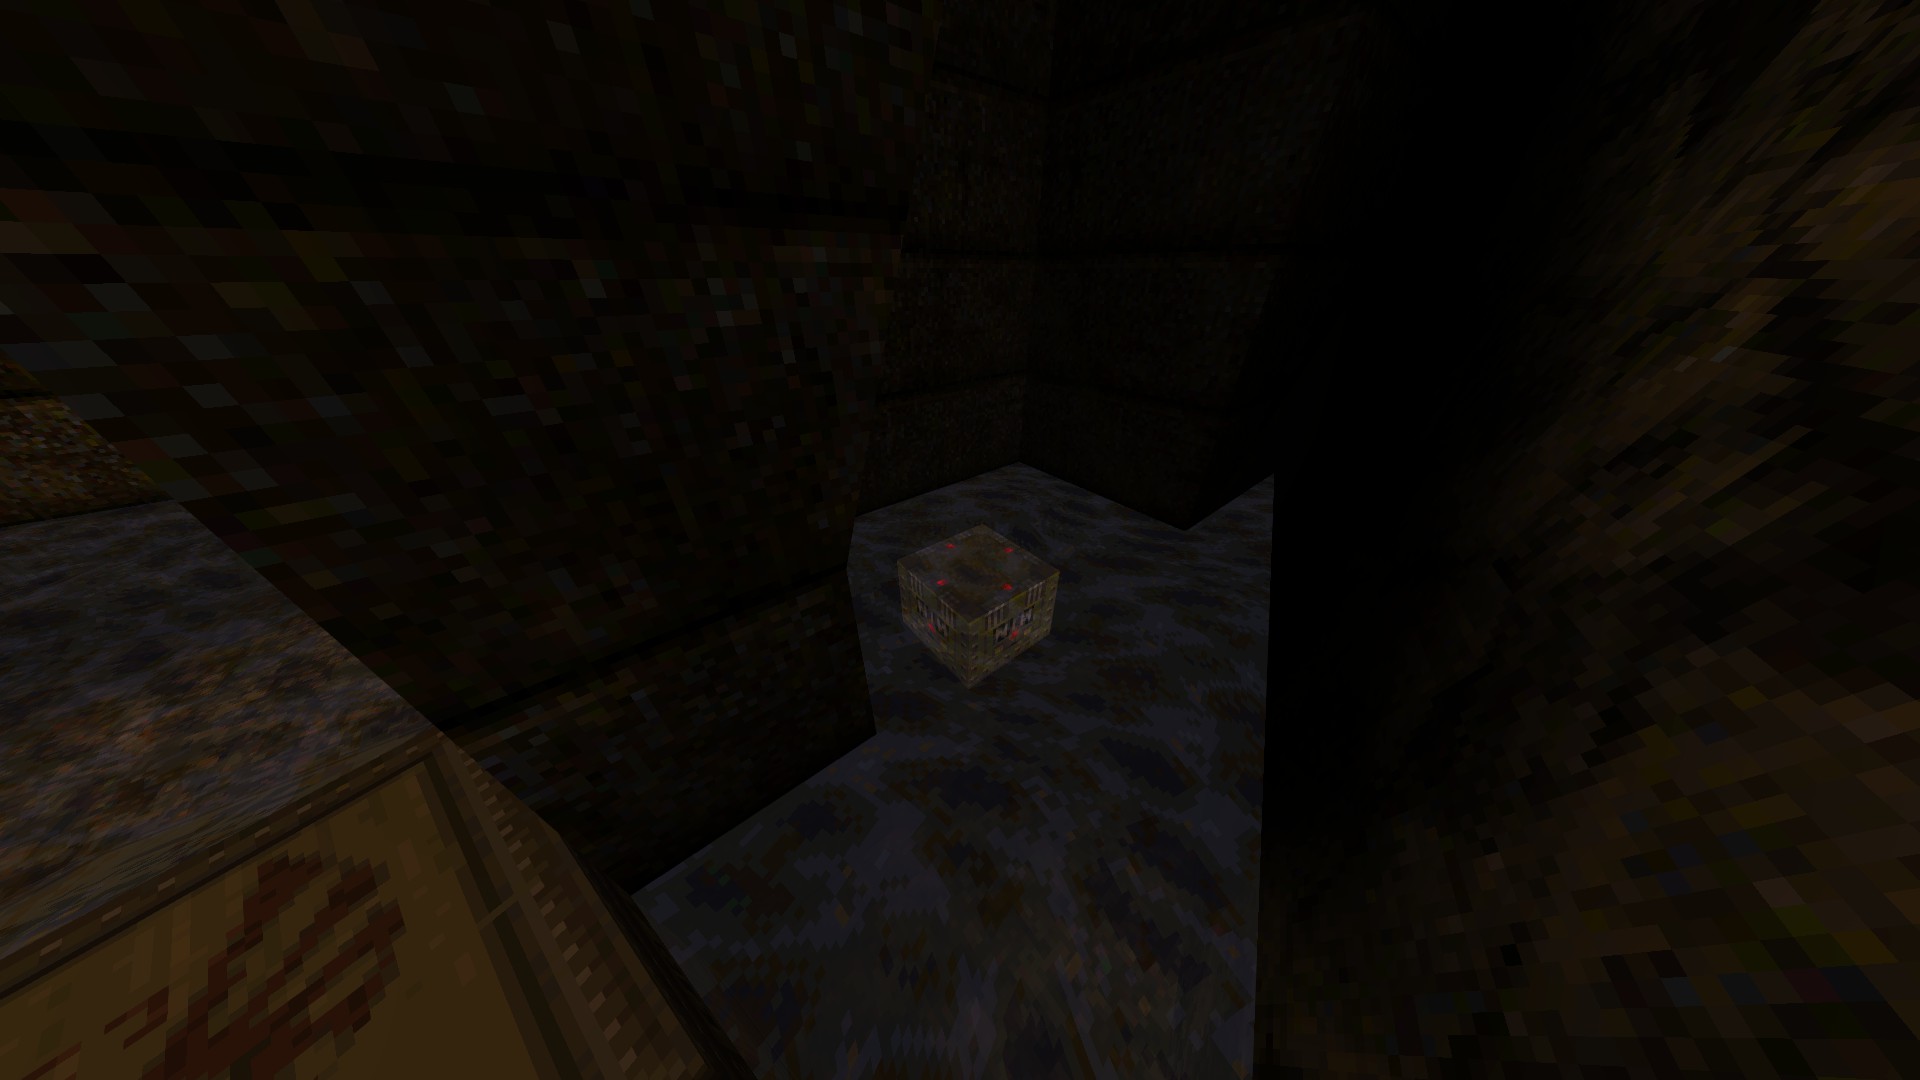
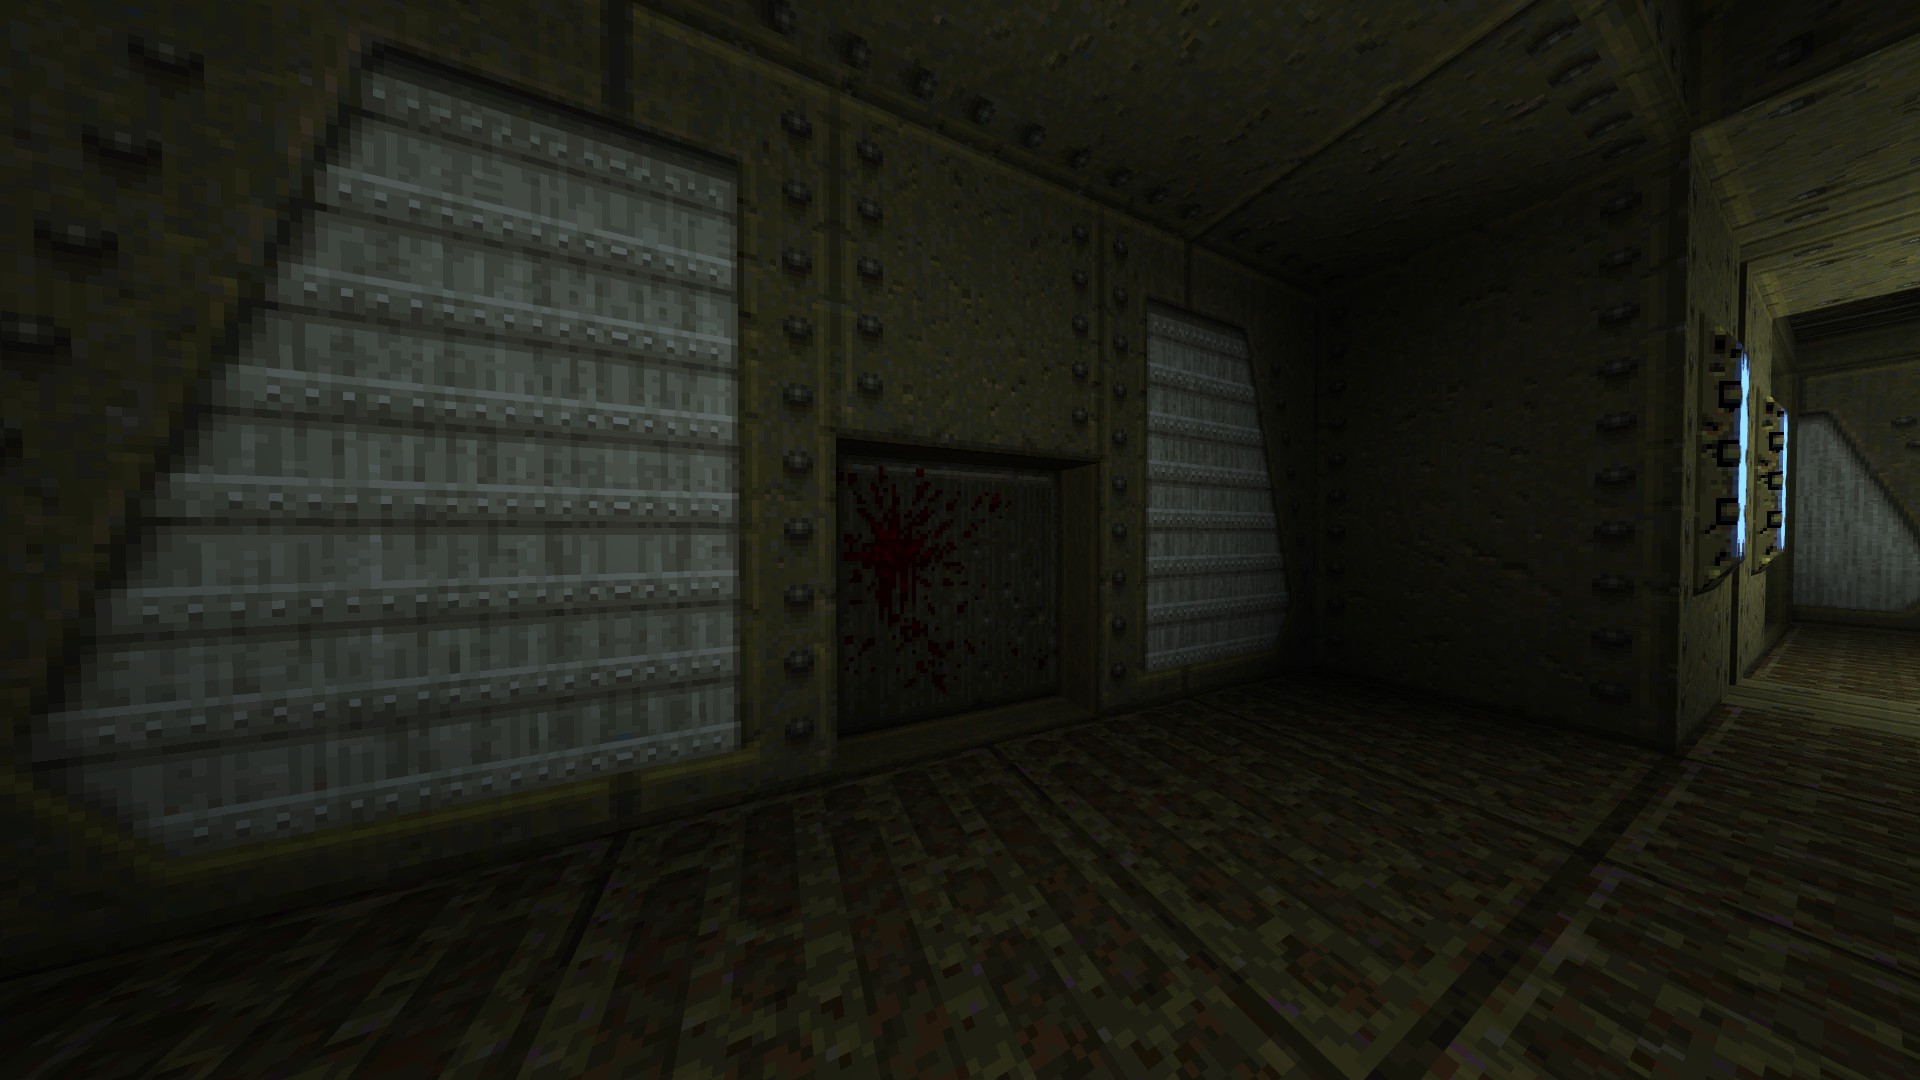
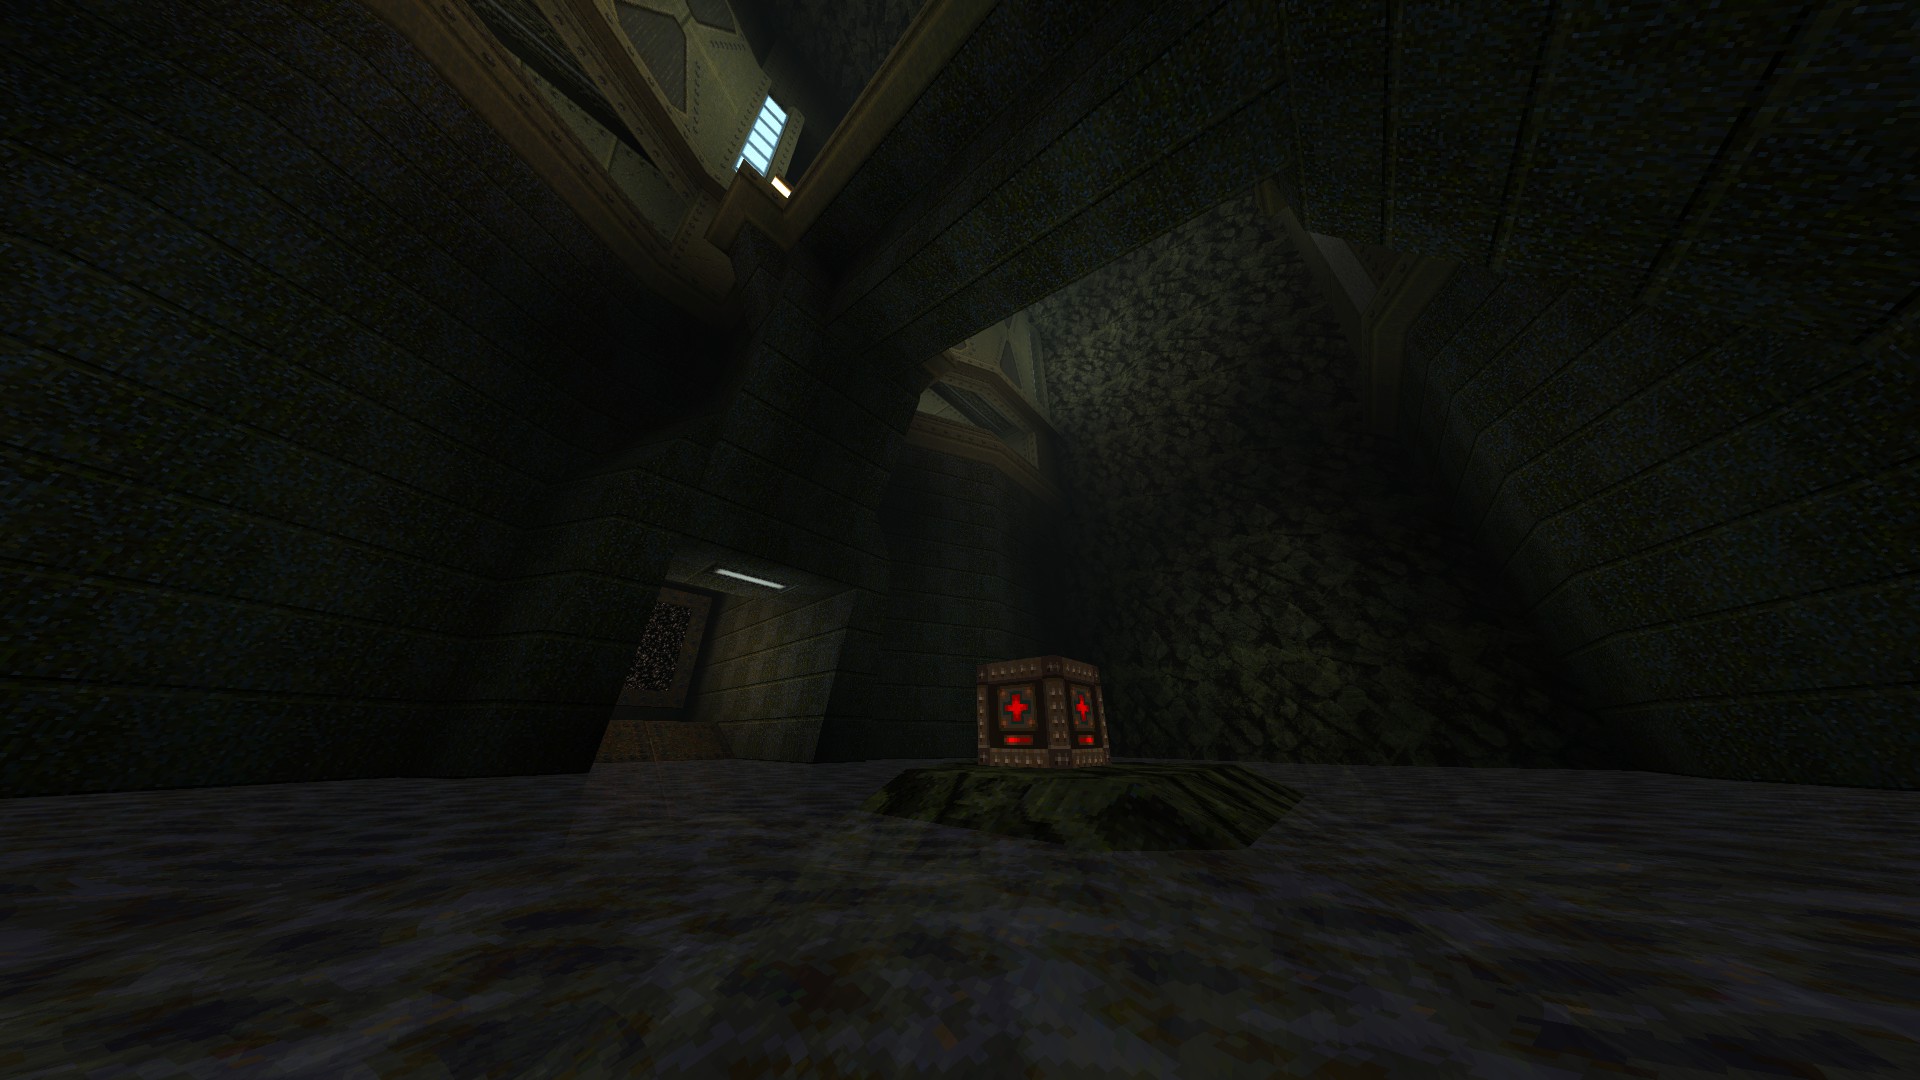
4/6 – After you lower down the bridge, jump down into the slime and hit the bloody panel to access a hidden teleporter that leads you to a megahealth.
5/6 – After taking the the silver key door, look for an opening on your path and follow it to find a hidden weapon.
6/6 – After clearing out the two-storied room full of grunts, take the right path to reach the biosuit lying out in the open, get it and dive into the slime to find an armor as well as a few goodies.
—
E5M2: THE POWER SUPPLY
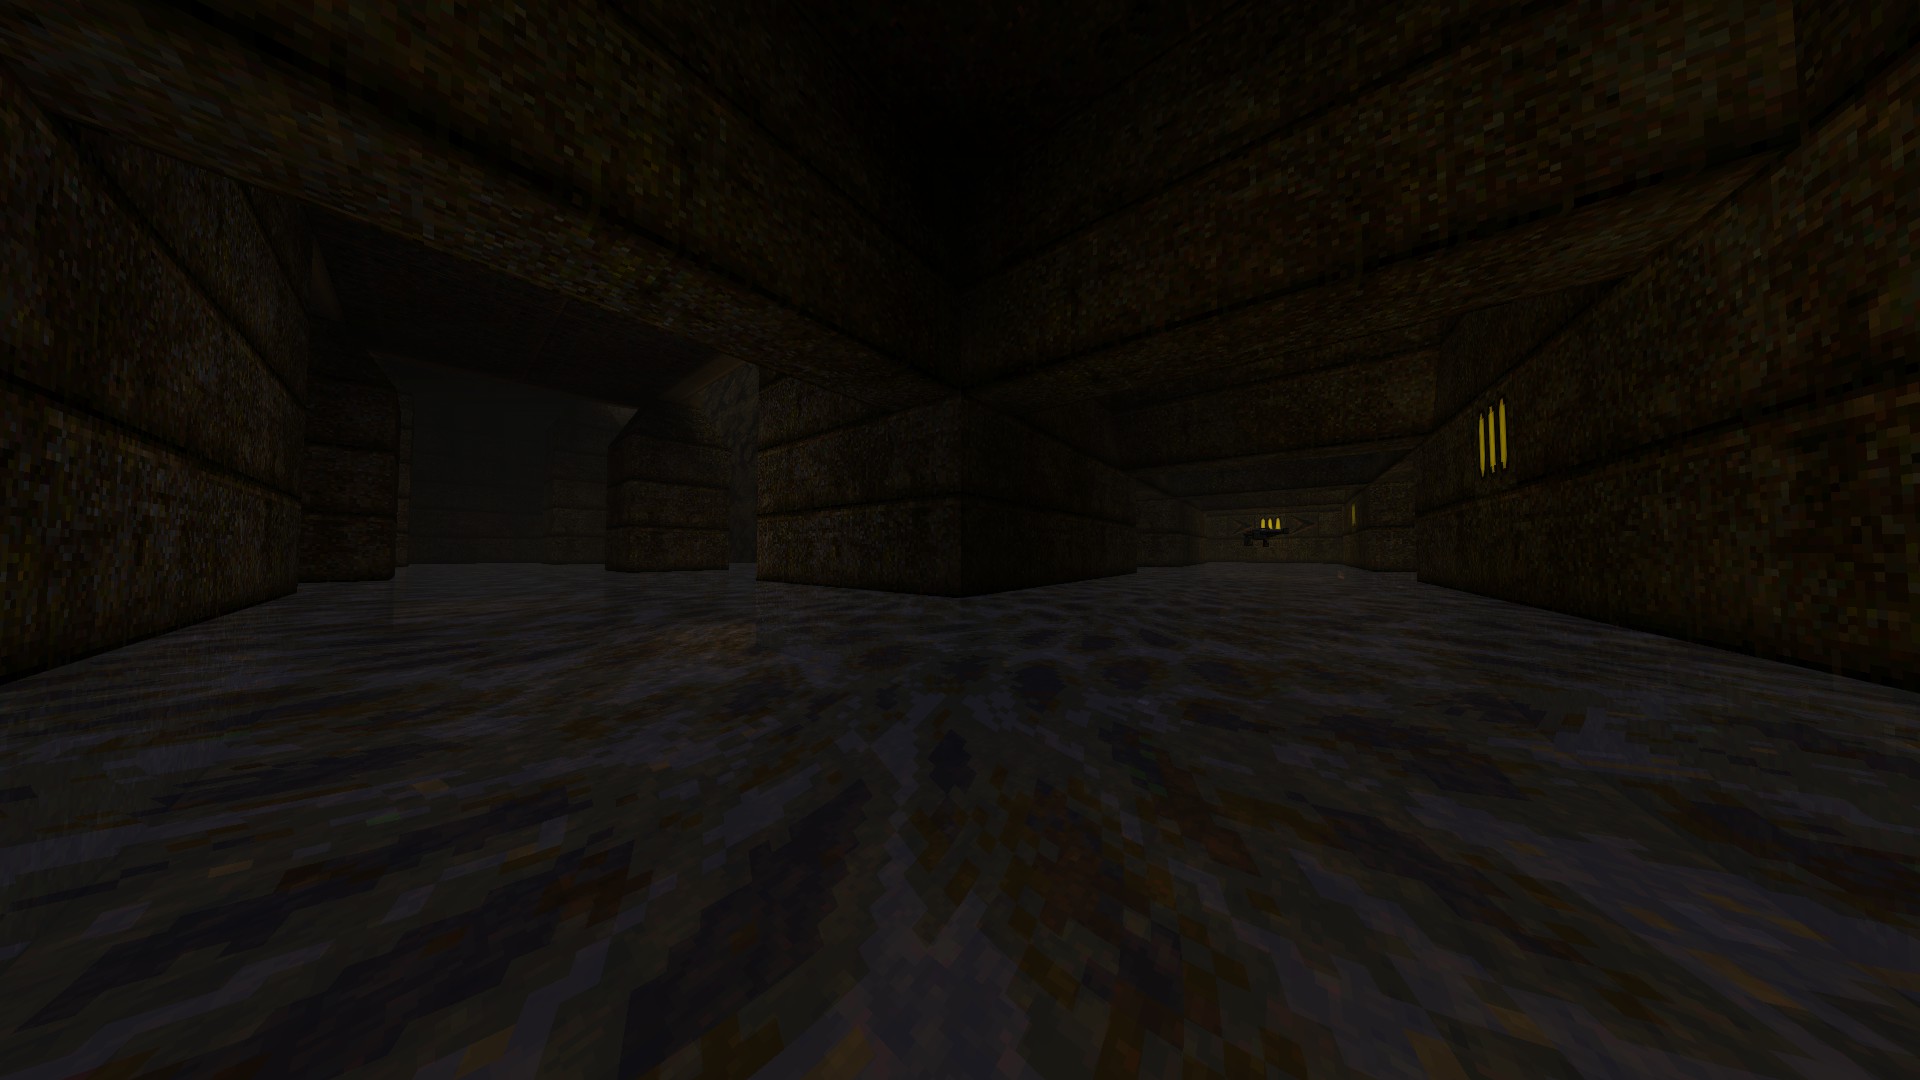
1/5 – At the start, drop down into the water and look for an out of sight room below the stairs that contains a weapon and some goodies.
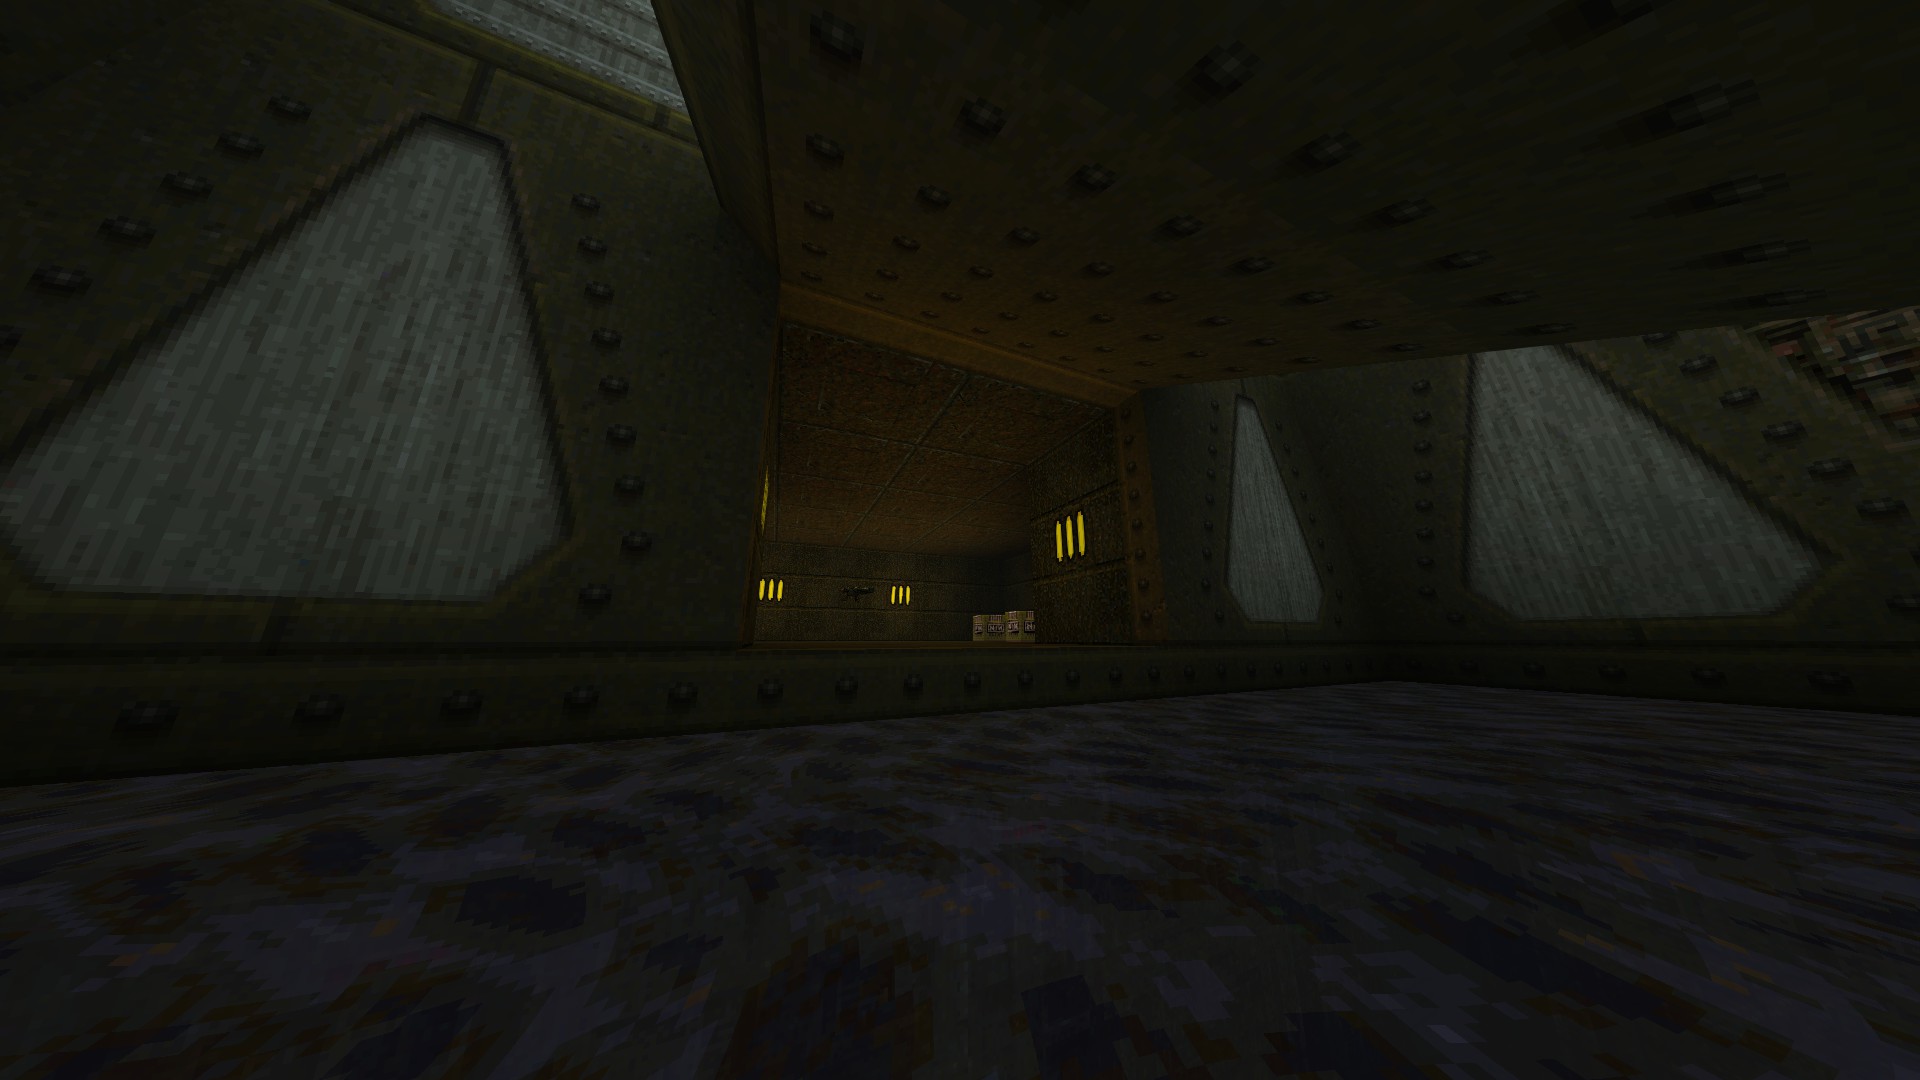
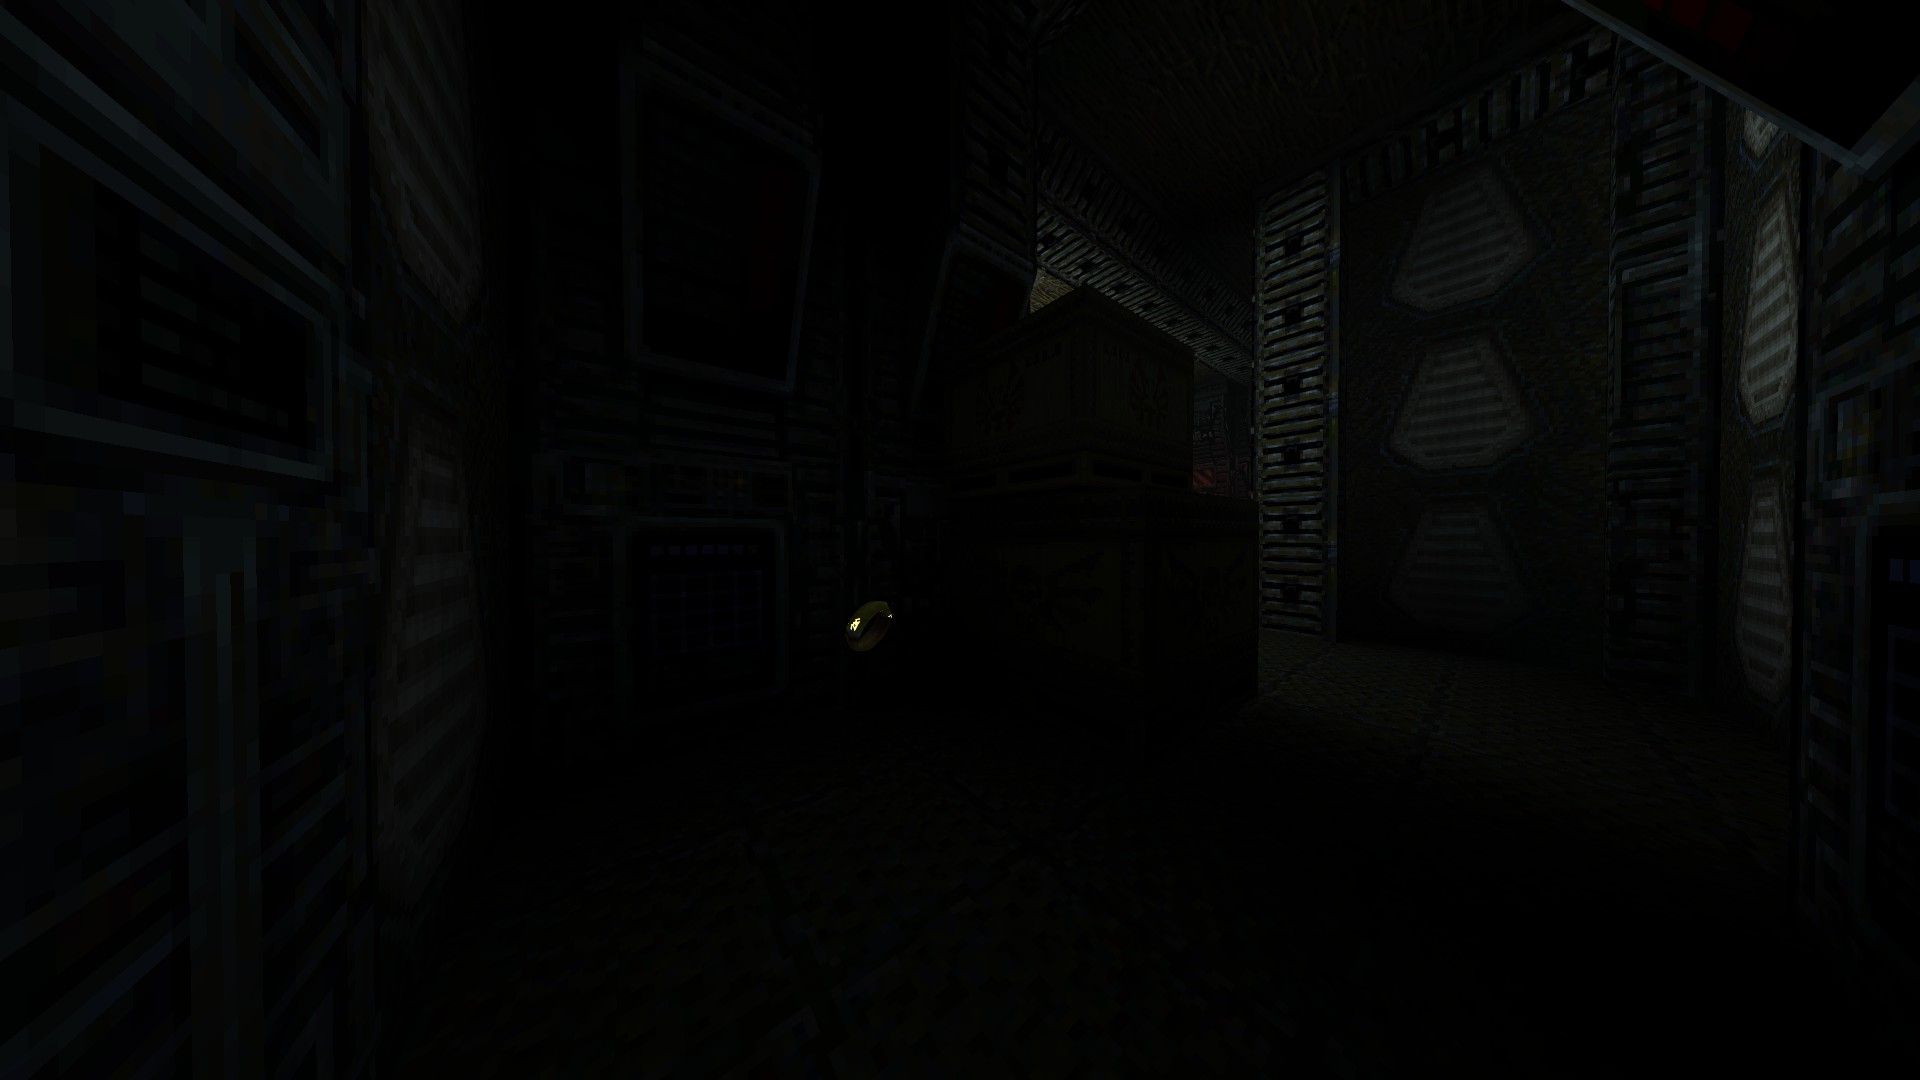
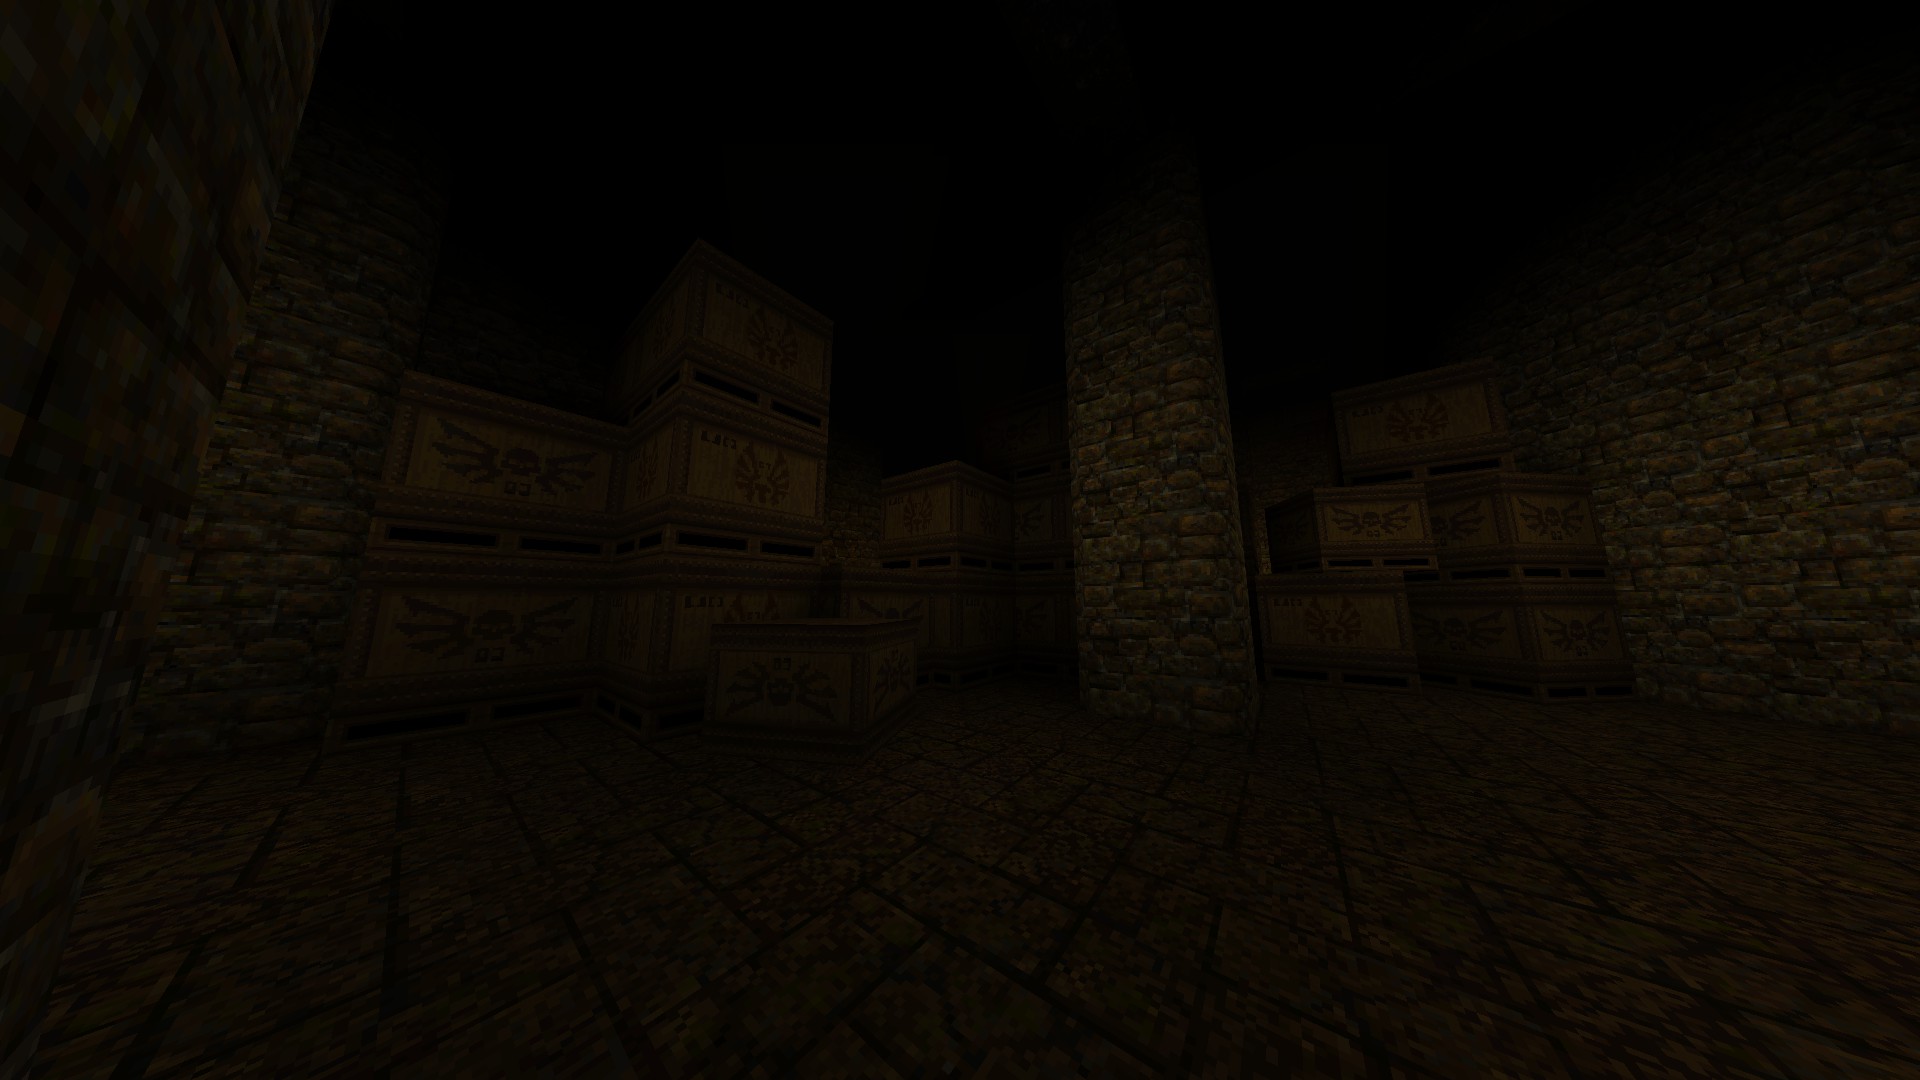
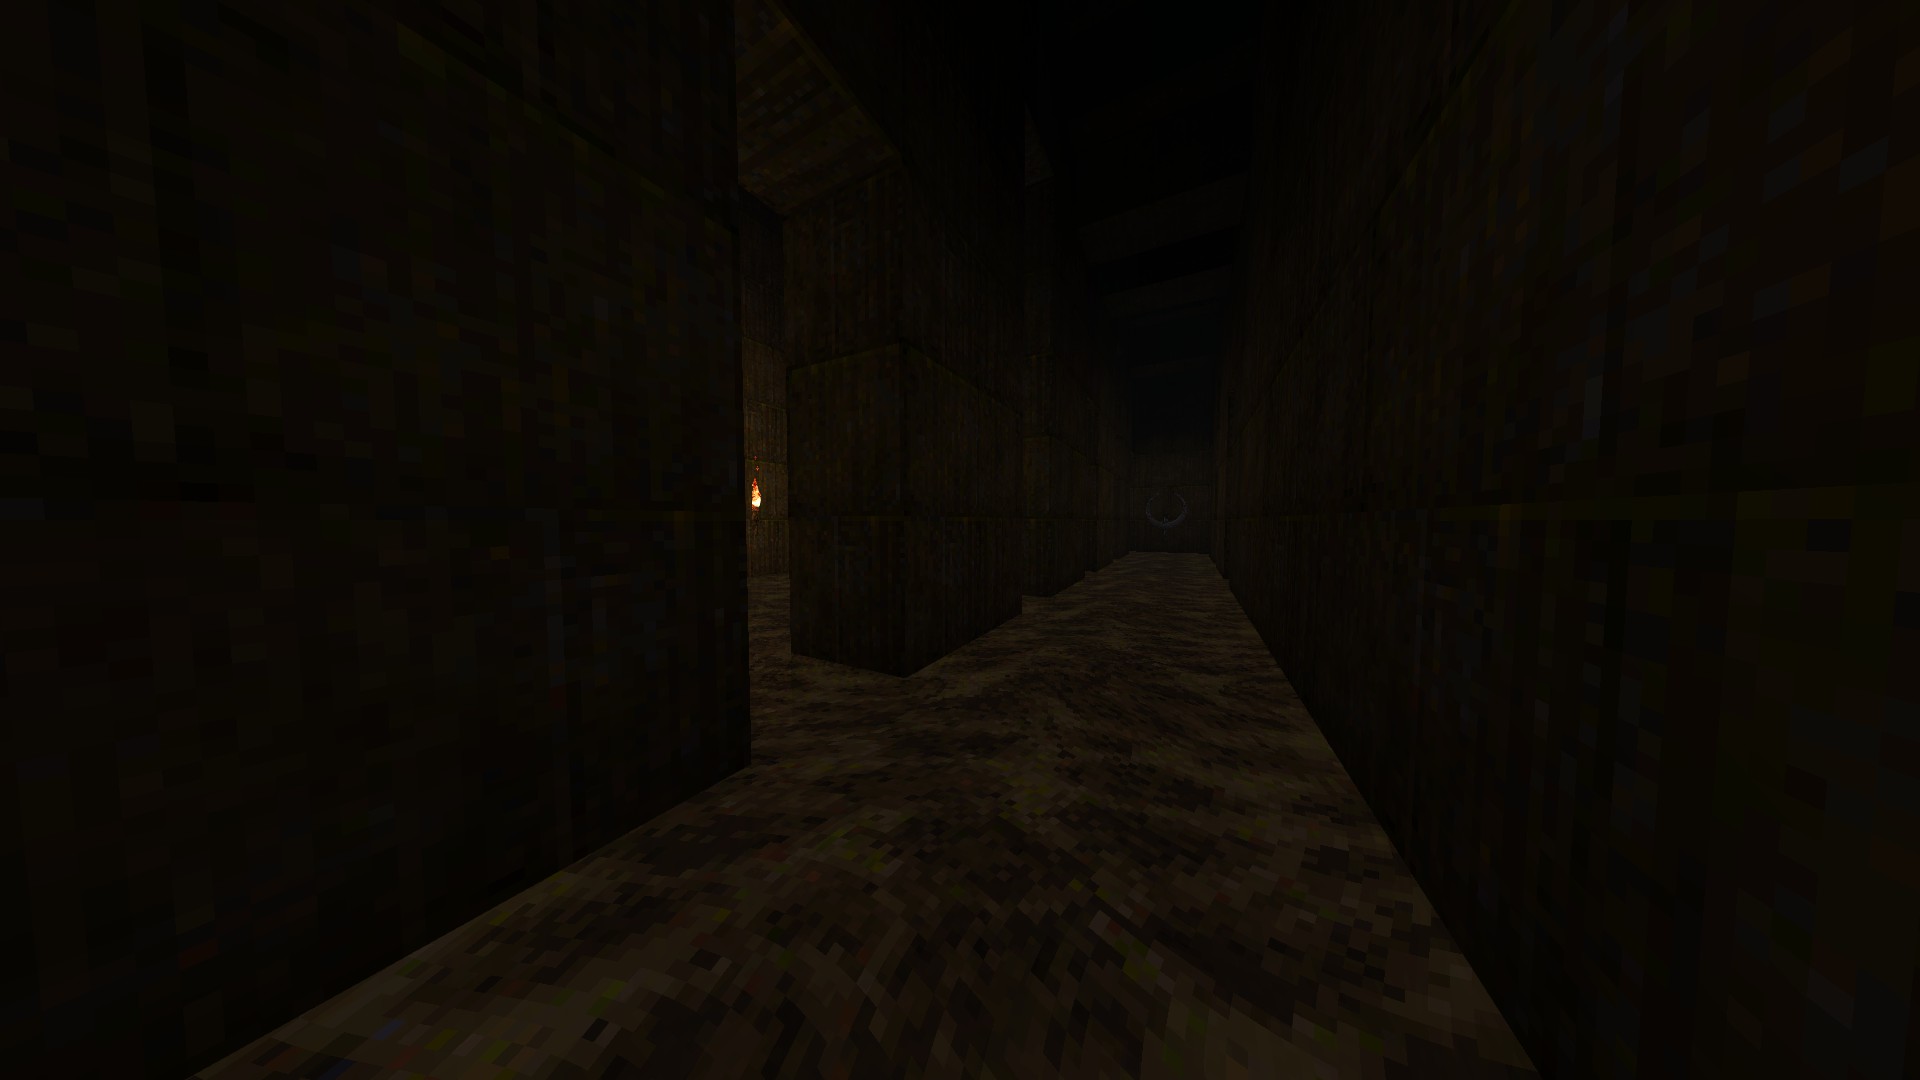
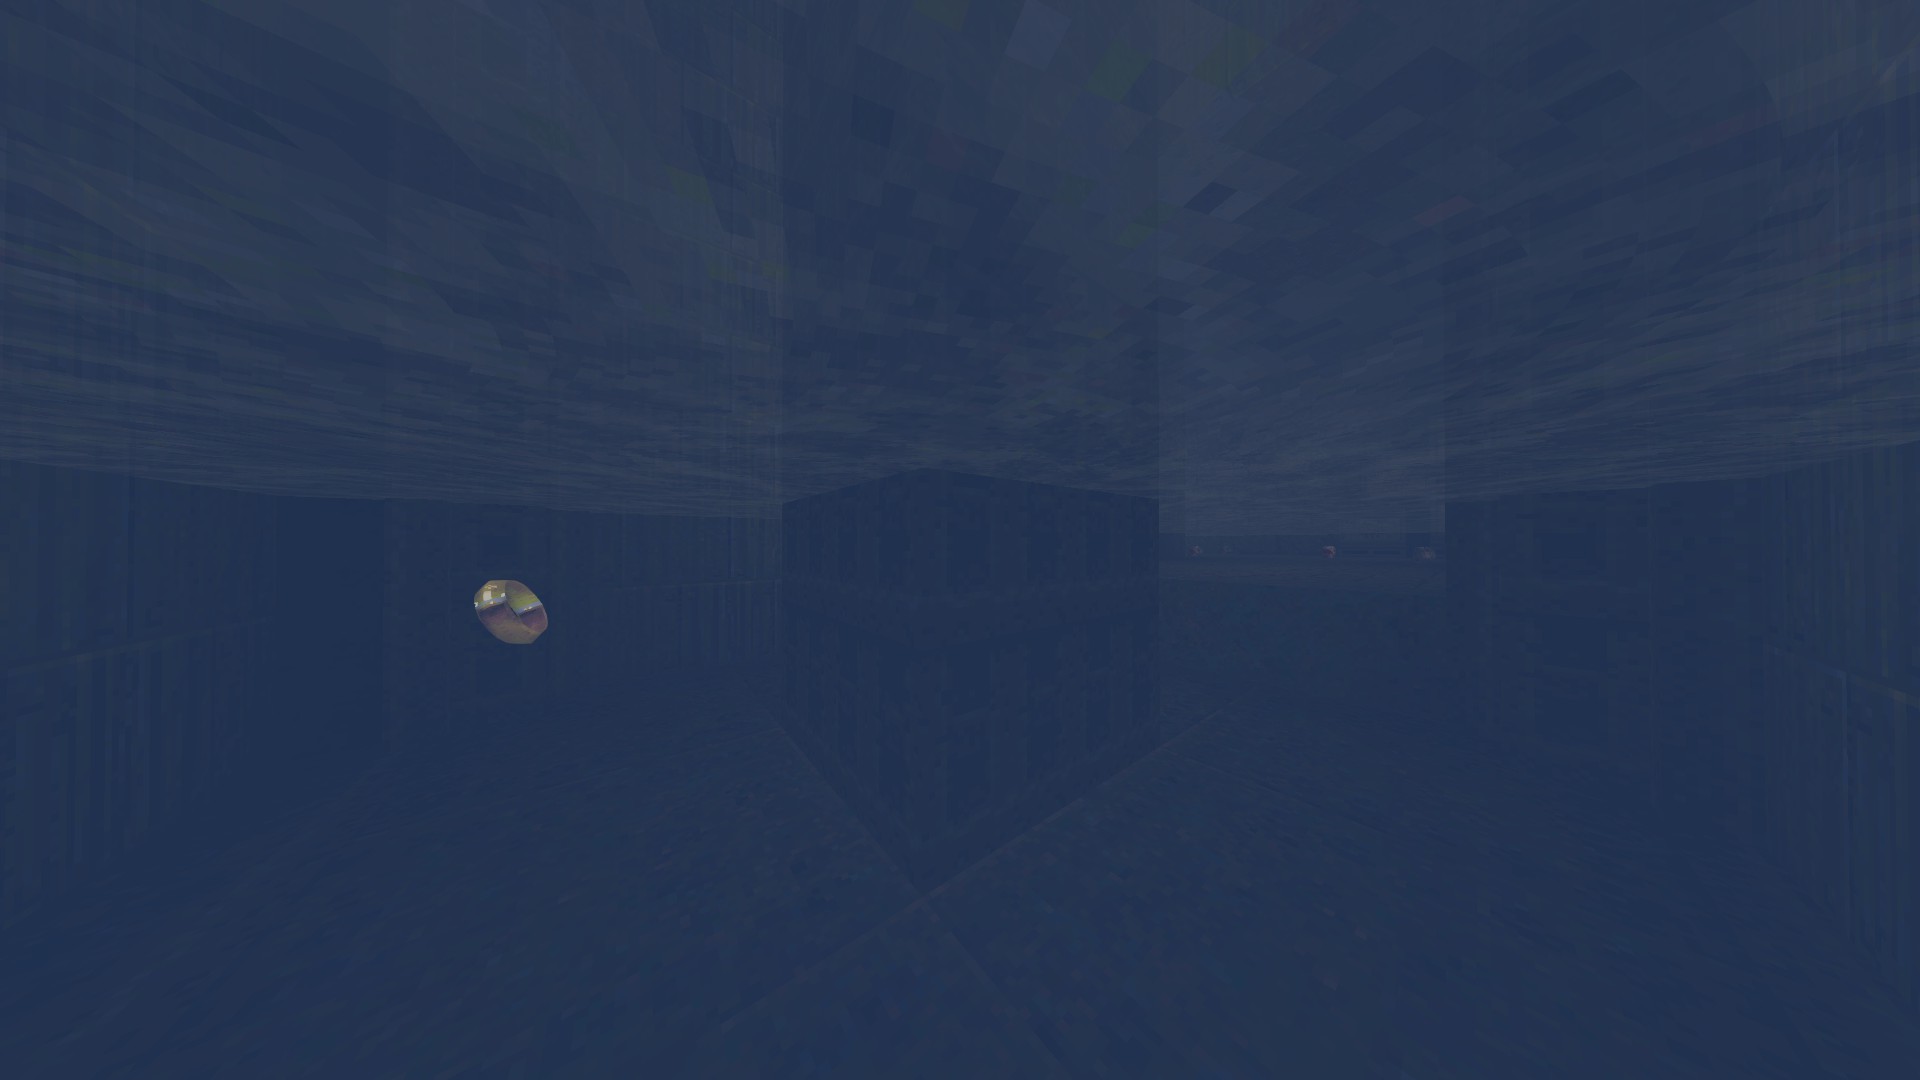
2/5 – After taking a dive, hitting left and resurfacing at an initially dark area, check behind the crates to your left before moving on to find a ring of shadows.
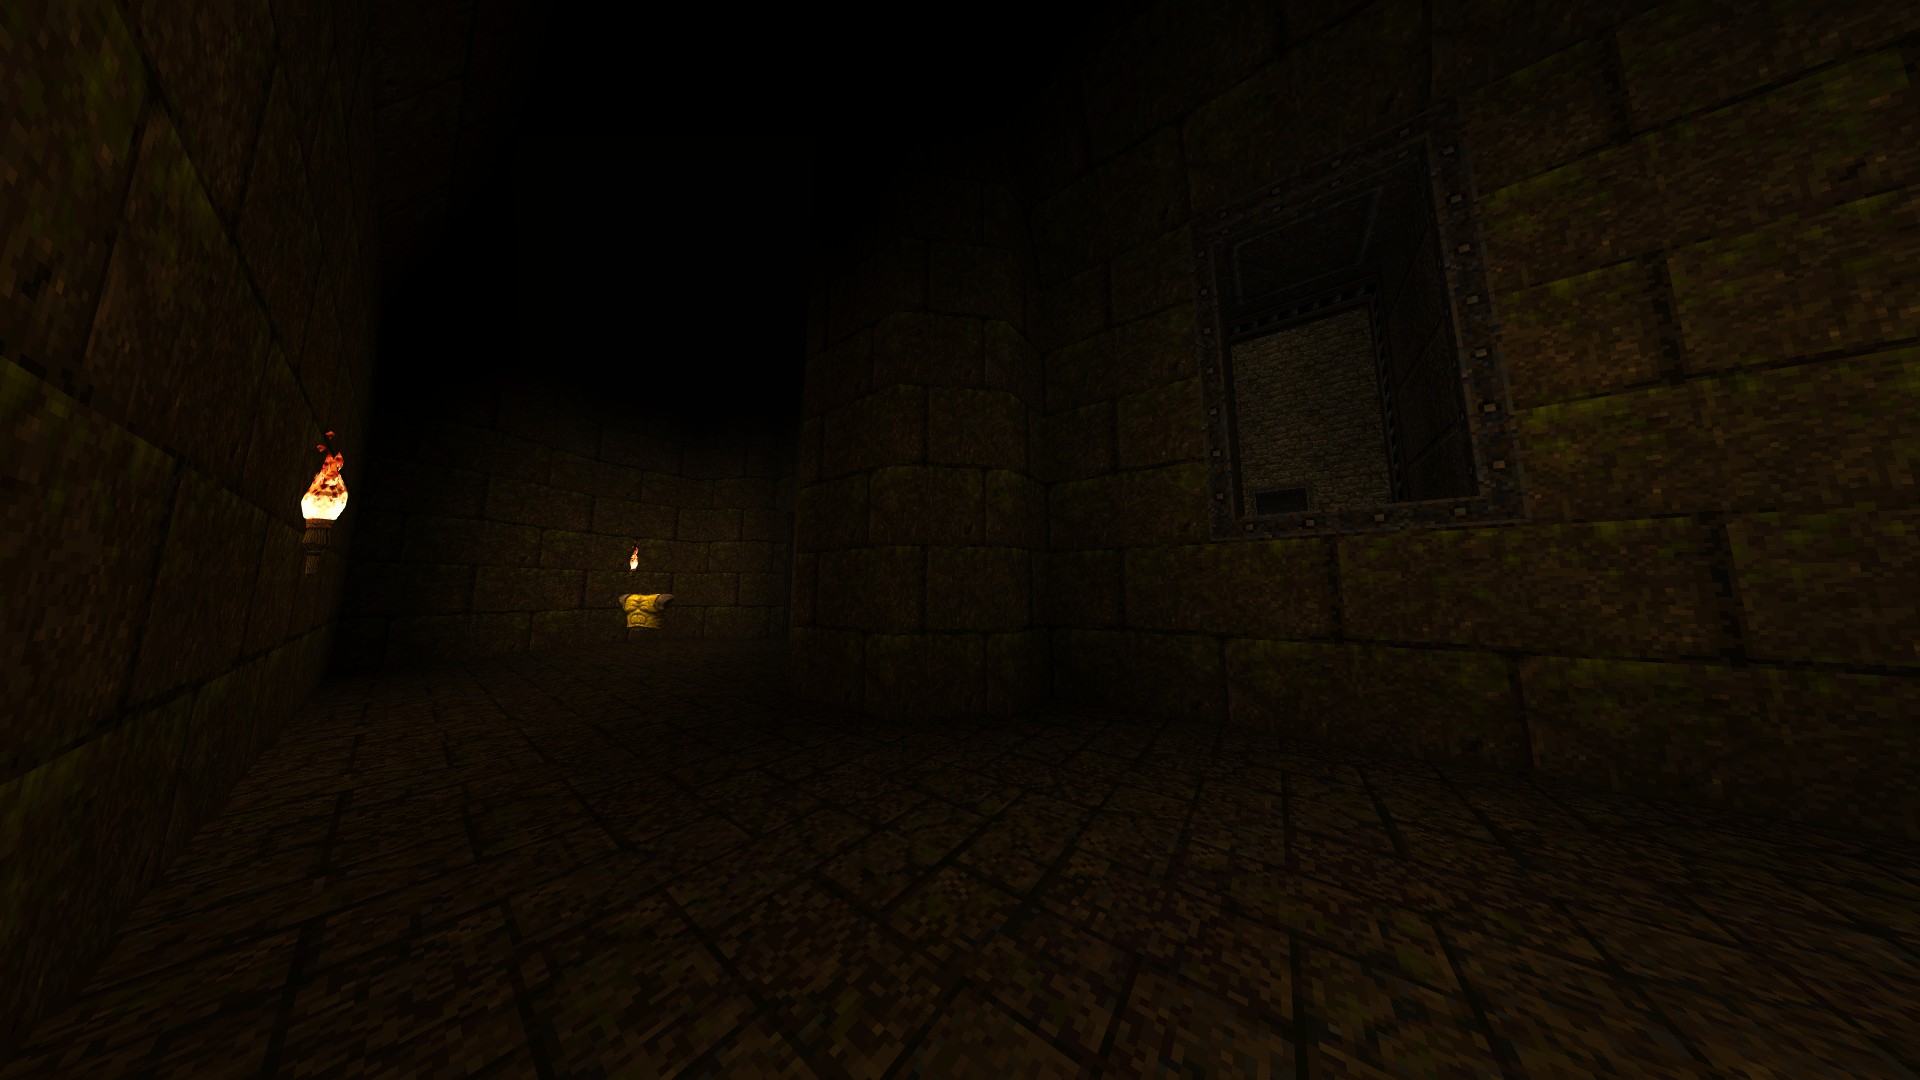
3/5 – In the two-storied room where you battle with lots of enemies, check underneath the non-functional elevator to find an armor.
4/5 – As you return to the main hall after powering up the systems, look for a bloody panel to your right. Hit it and follow the tunnel to reach an armor residing on a ledge.
5/5 – In the area that houses both the gold key and the related door, drop down from the bridge to the cave floor beneath and pick up the megahealth.
—
E5M3: THE DARK DAYS
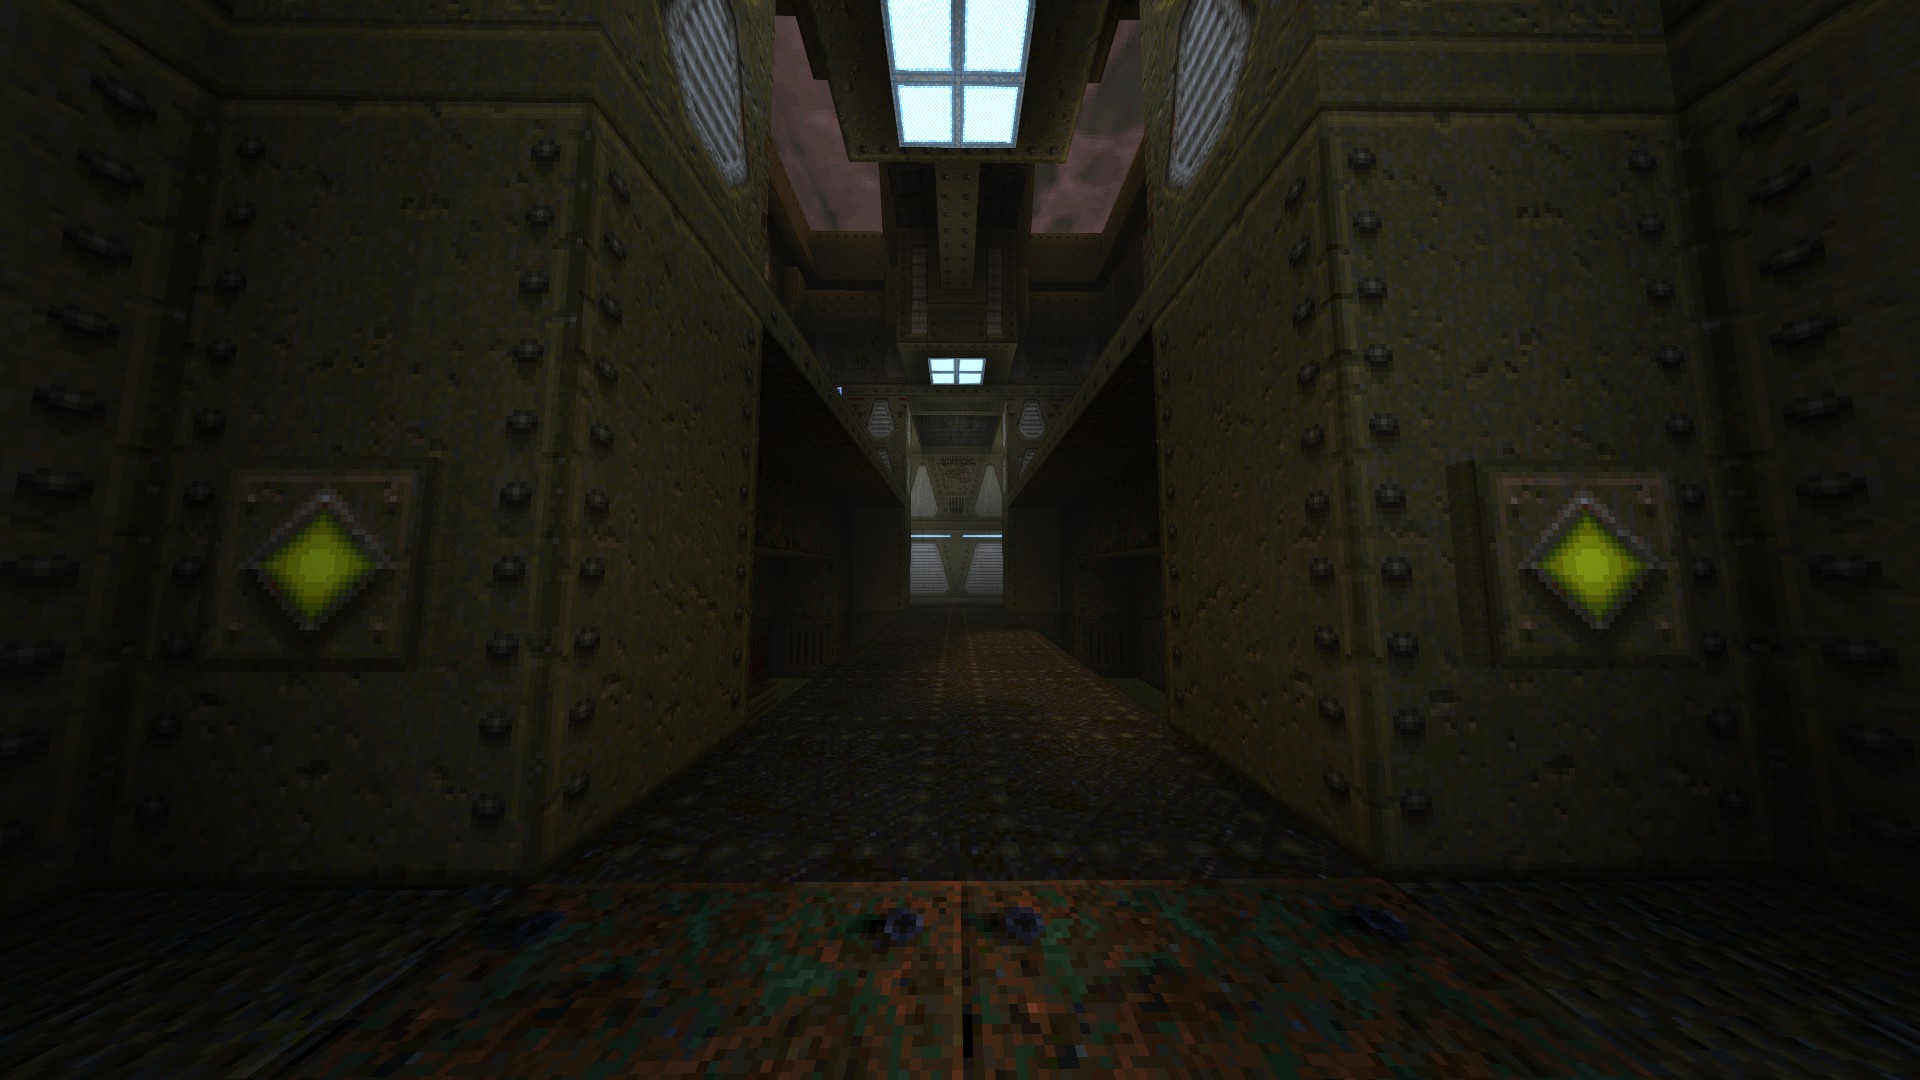
1/5 – There is a locked door at the end of the first corridor you go through. Simply shoot the button located right above it to open it up and find an armor inside.
2/5 – Right after picking up the silver key, go through the opening to the left and follow the beam around to reach an armor residing on the other side.
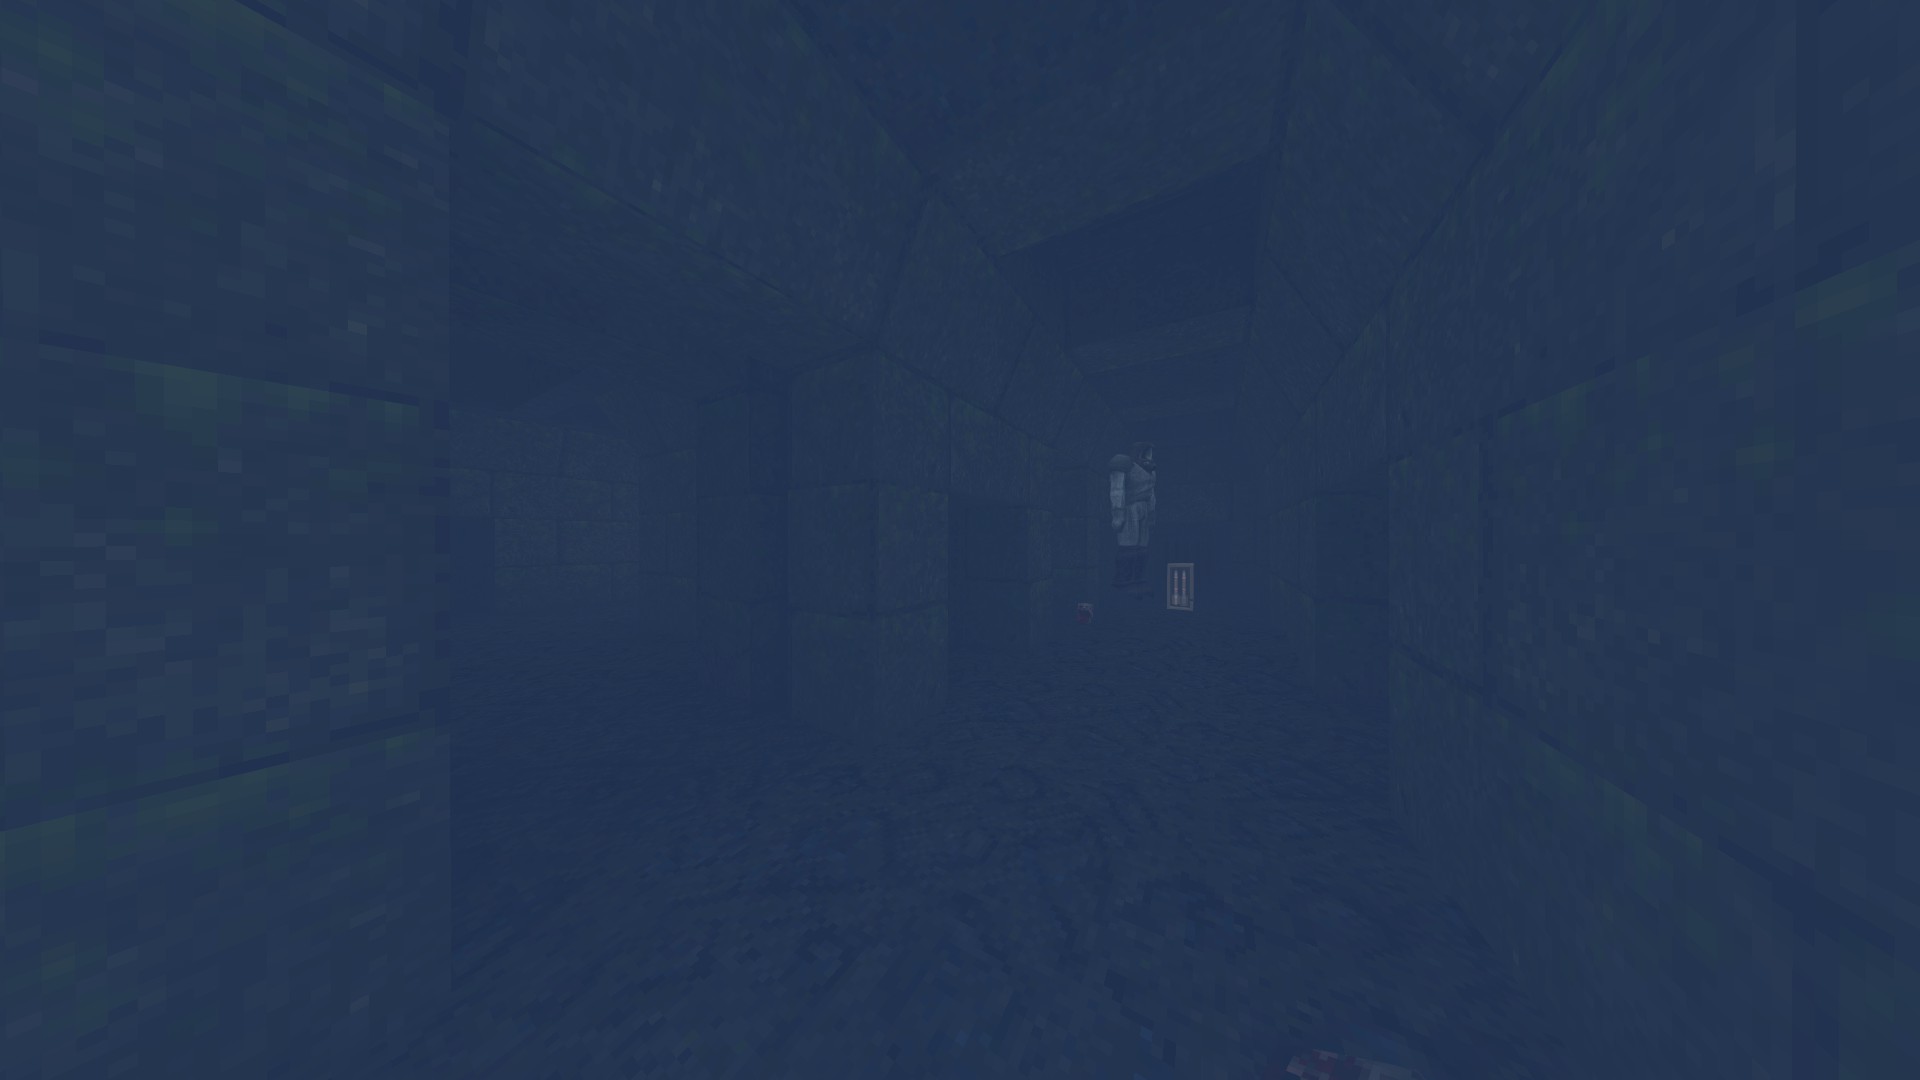
3/5 – As you swim through the zombie infested underwater area behind the second gate, look for an opening on the ceiling through which you can resurface to find a hidden megahealth.
4/5 – In the following area with the crusher, look for a group of mossy bricks next to the pillar-type button and hit them to reach the second floor where you can pick up some ammo and jump over the crusher itself for a safer passage out of the room.
5/5 – There are two semi-hidden buttons to be found within the last part of the level. The first one is on a wall above where you first enter the room and the second one can be seen through the window next to the exit archway. Shoot both of them to open up the hatch in the middle of the room, through which you can access the remaining underwater part of the level with some ammo lying around and return to the cleared areas in case of need. Look for an underwater opening near the hatch and follow it to reach the wind tunnel that leads to the first secret level, The Forgotten Castle.
Episode 5: Part Two
This section of the guide covers the following three levels, including the first secret one, that contain a total of 16 secrets.
—
E5SM1: THE FORGOTTEN CASTLE
1/4 – At the end of the elevator ride, jump on top of the crates in the corner and go through the window to reach a hidden room.
2/4 – Following from the previous secret, jump on top of the crates you come across after the next corner and follow the path through them to reach another hidden room.
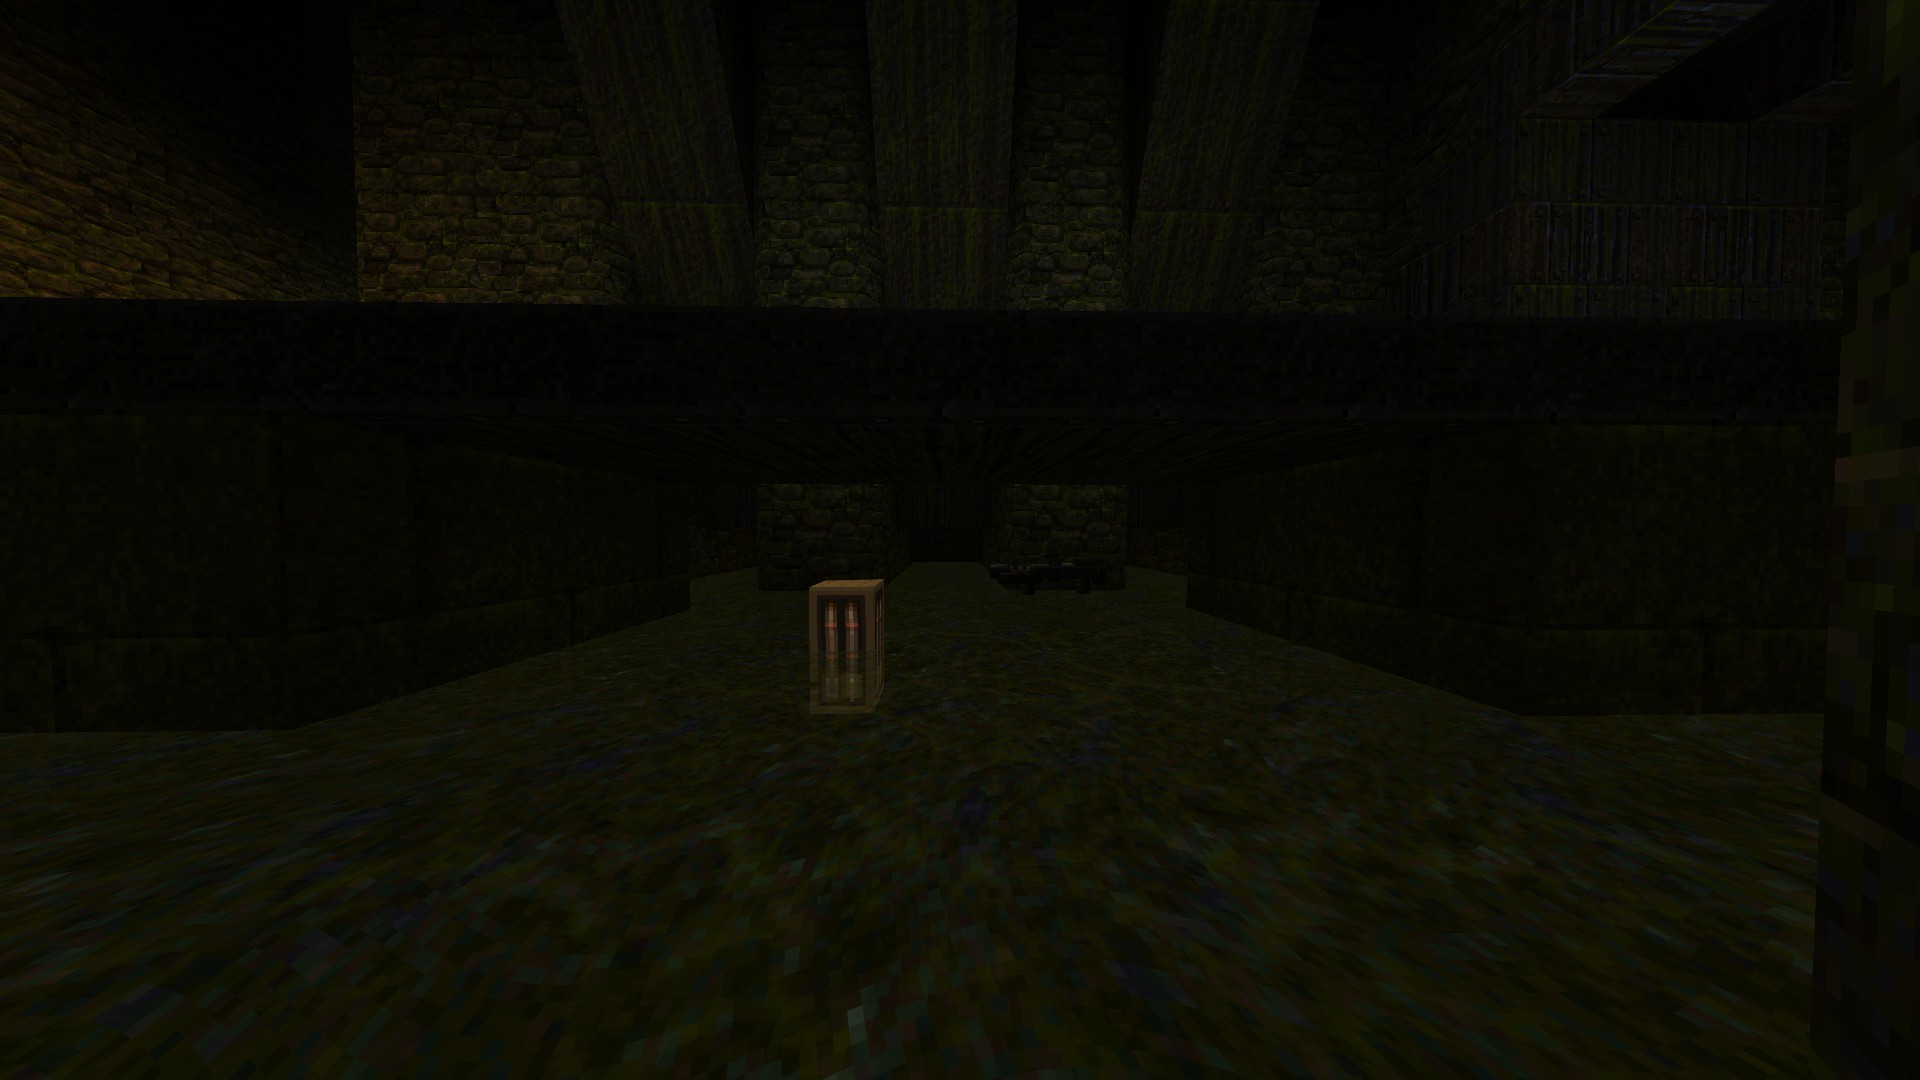
3/4 – As you are crossing the slime pit via the walkway, drop down midway and check underneath to find a grenade launcher and some ammo.
4/4 – Right after picking up the rocket launcher, check behind the crates in the corner to find a set of stairs to help you out in making the jump across to the armor on the other side.
—
E5M4: THE CATACOMBS
1/7 – While traversing through the left path that leads to one of two pillar-type buttons that is needed for progression, get the elevator on your path moving by stepping onto it, step aside without riding it and drop down into the water to find an opening with a megahealth at the end.
2/7 – After dealing with the enemies in the area right after the elevator ride, check the closets where they appear from to find some ammo.
3/7 – While traversing through the right path that leads to the other pillar-type button, get the elevator on your way moving by stepping onto it but instead of riding it, check underneath to find some ammo.
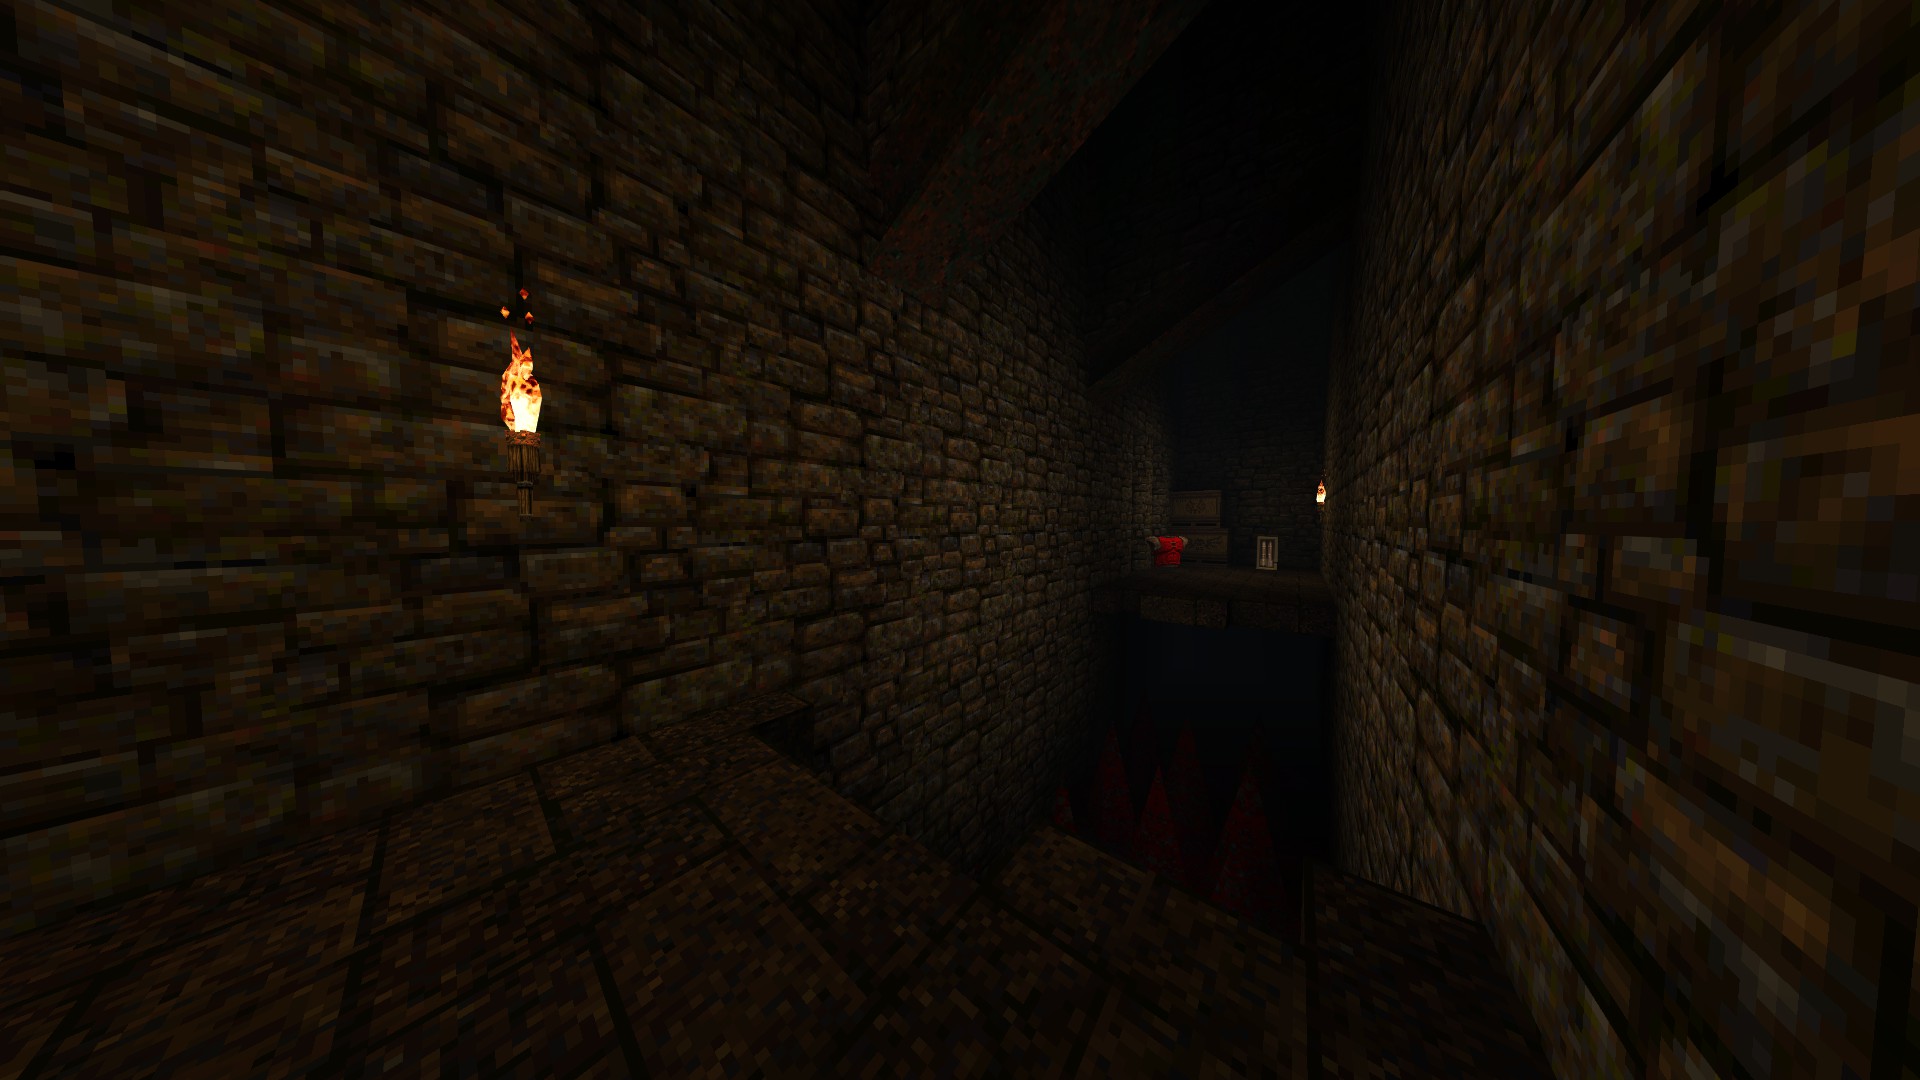
4/7 – In the room with the second pillar-type button, simply jump over the spike pit to reach the armor and the ammo lying on the other side.
5/7 – After opening the silver key door, simply check the alcove on the left before taking the right path to find another armor.
6/7 – Following from the previous secret, look to your left near the end of the U-shaped section to see a button on the wall behind a pillar and shoot it. Return to the bend and look above for another button of the same kind to shoot. After shooting both buttons, the pillar lowers to grant you access to the quad damage residing behind it.
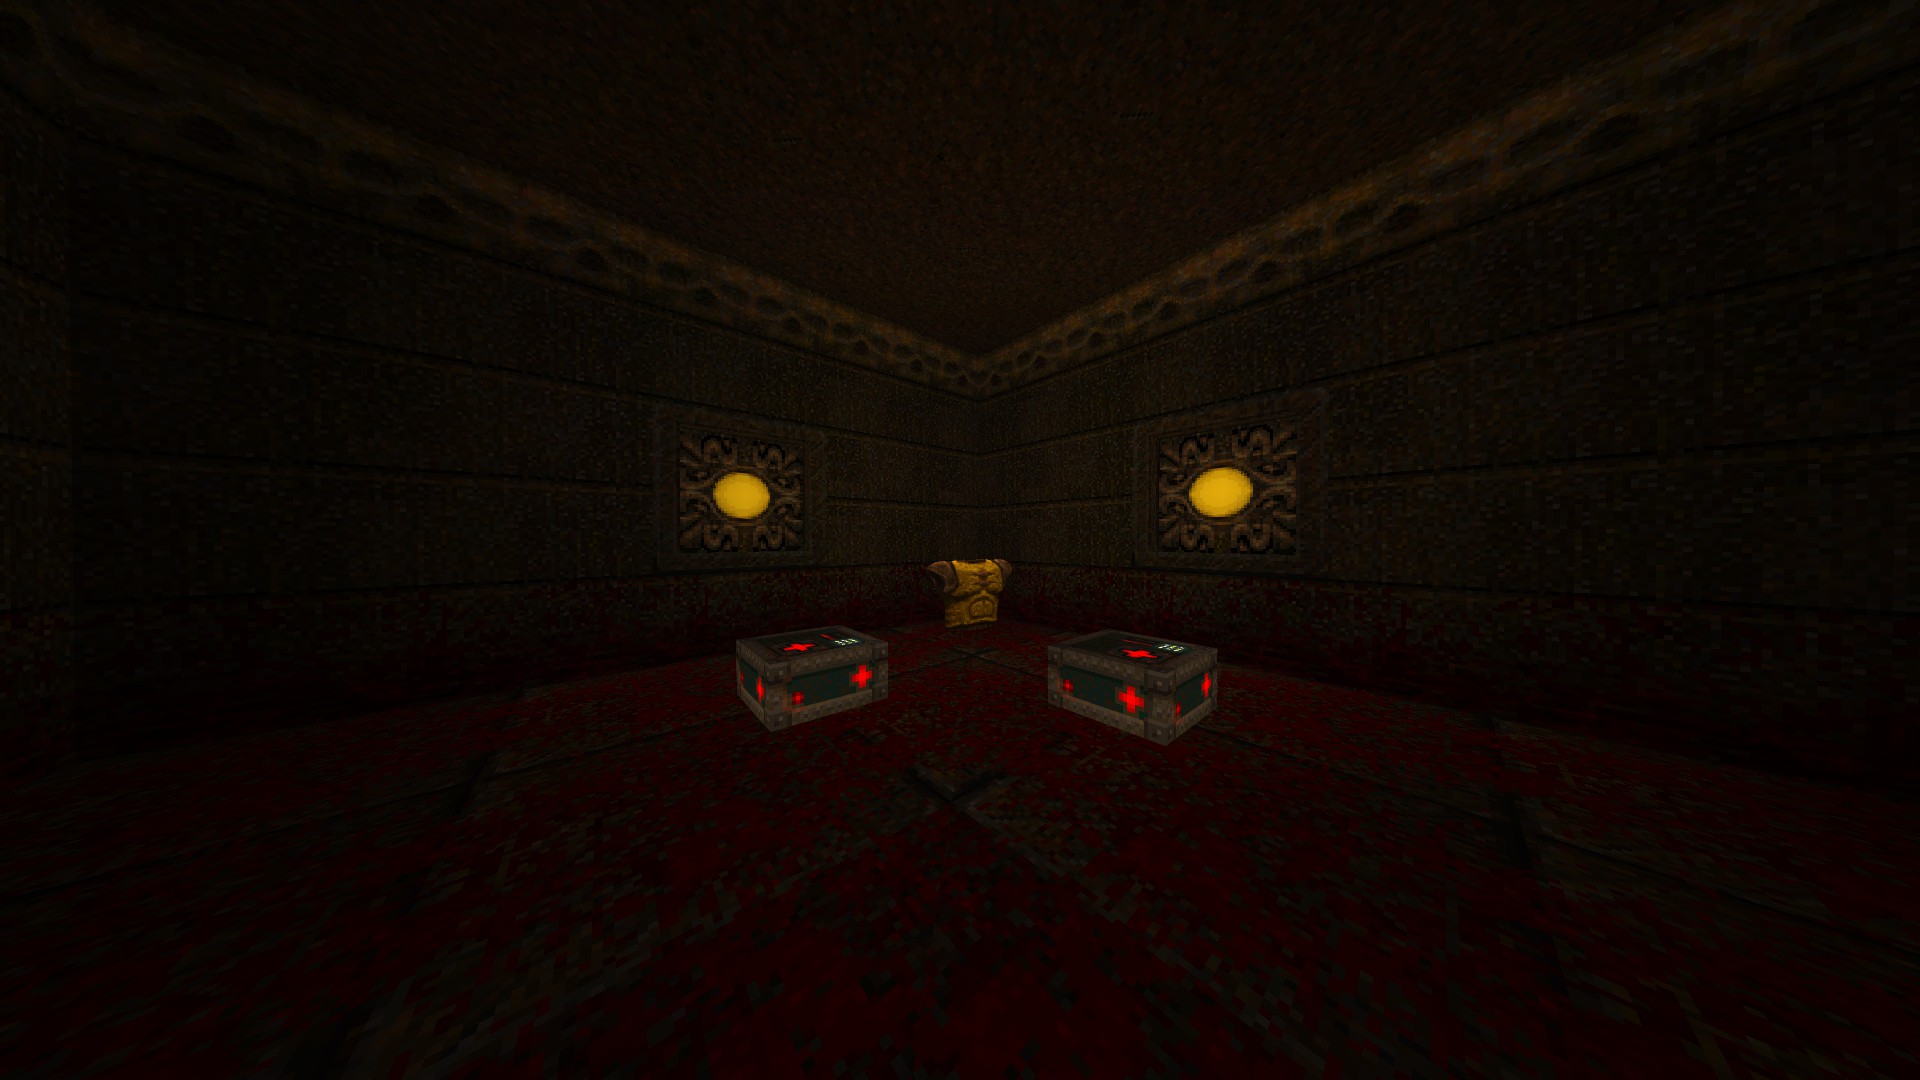
7/7 – After getting dropped down to a trap room, follow the crusher’s path to the other end to come across an alcove to the side with an armor and two health packs lying out in the open.
—
E5M5: THE STRONGHOLD
1/5 – In the initial area, ride the elevator down and send it back up by pressing the button next to it to find a ring of shadows underneath.
2/5 – In the corridor following the previous secret, jump and shoot the button on the wall seen through the opening to open up the door to the adjacent room that contains a megahealth.
3/5 – Search for an alcove to the left of the gold key door in the zombie infested waters and have a look inside to find a quad damage (better picked up right before going through the gold key door though).
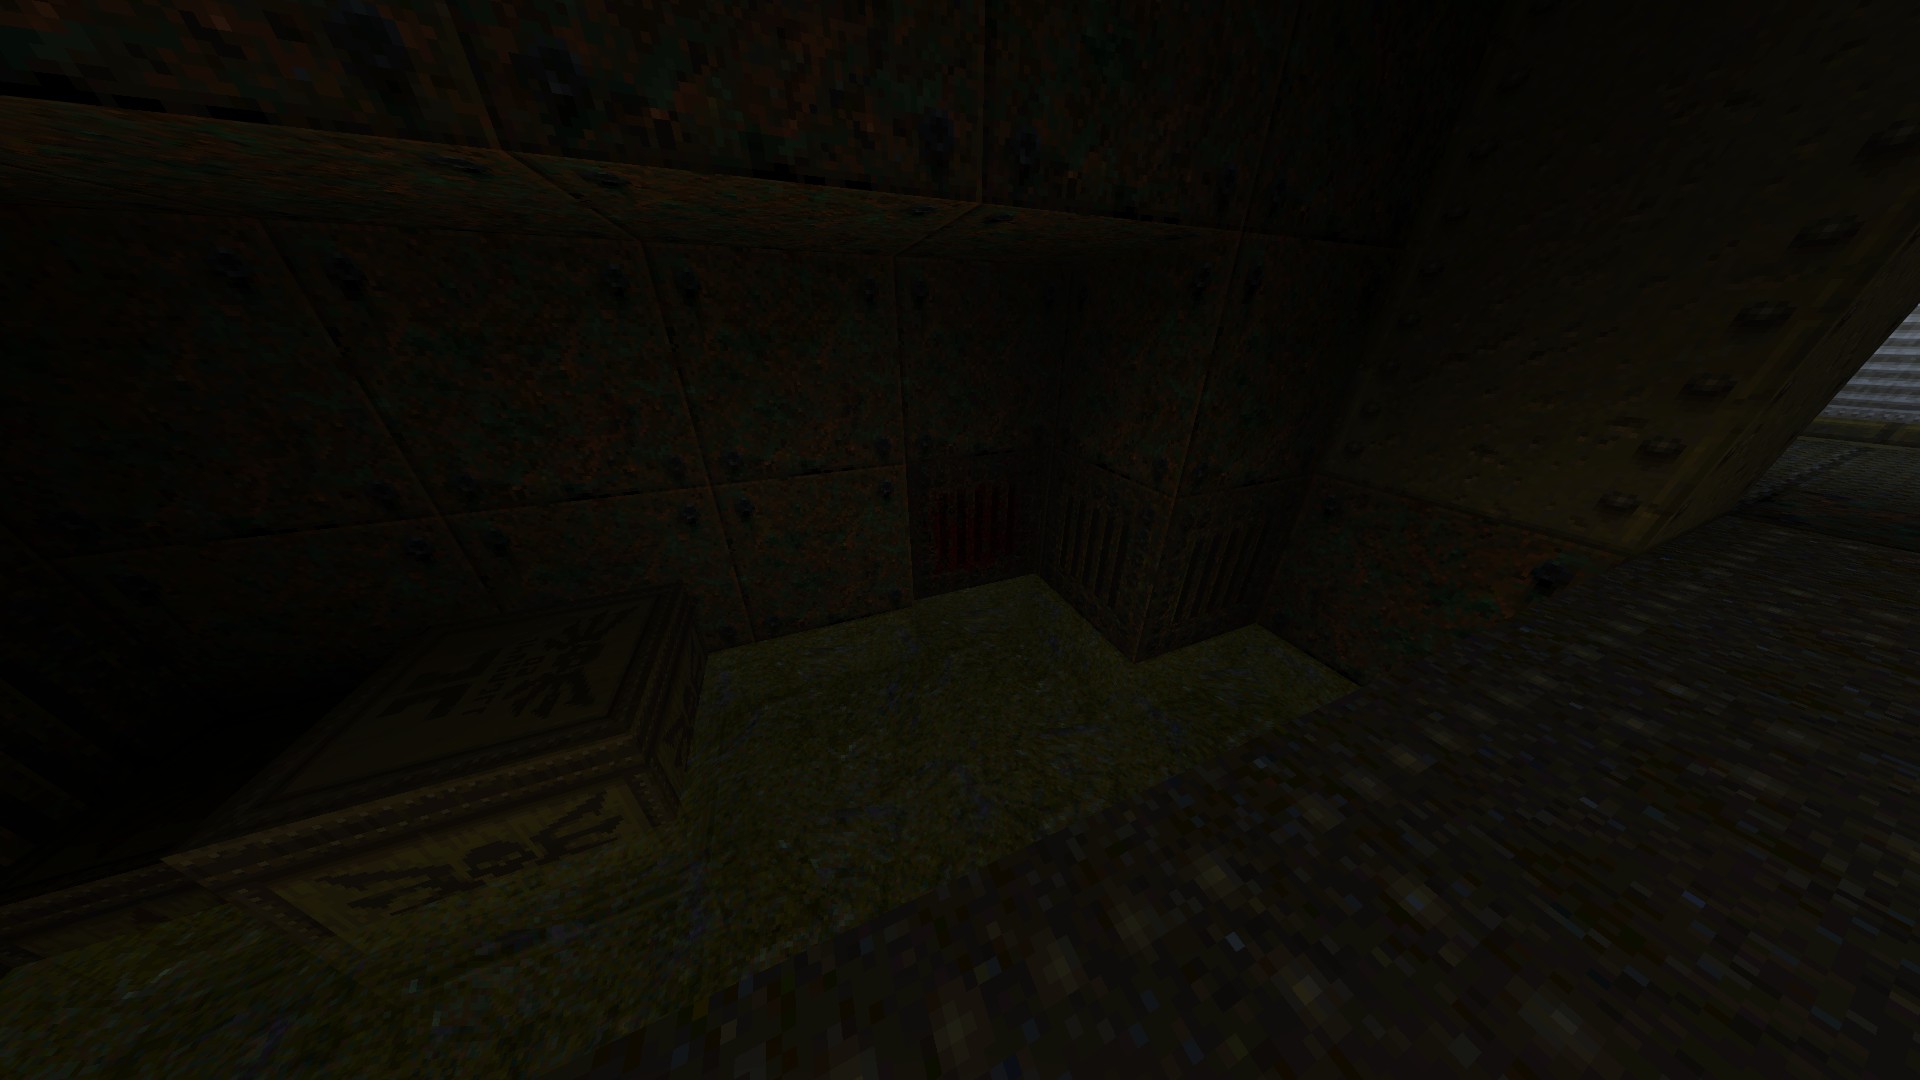
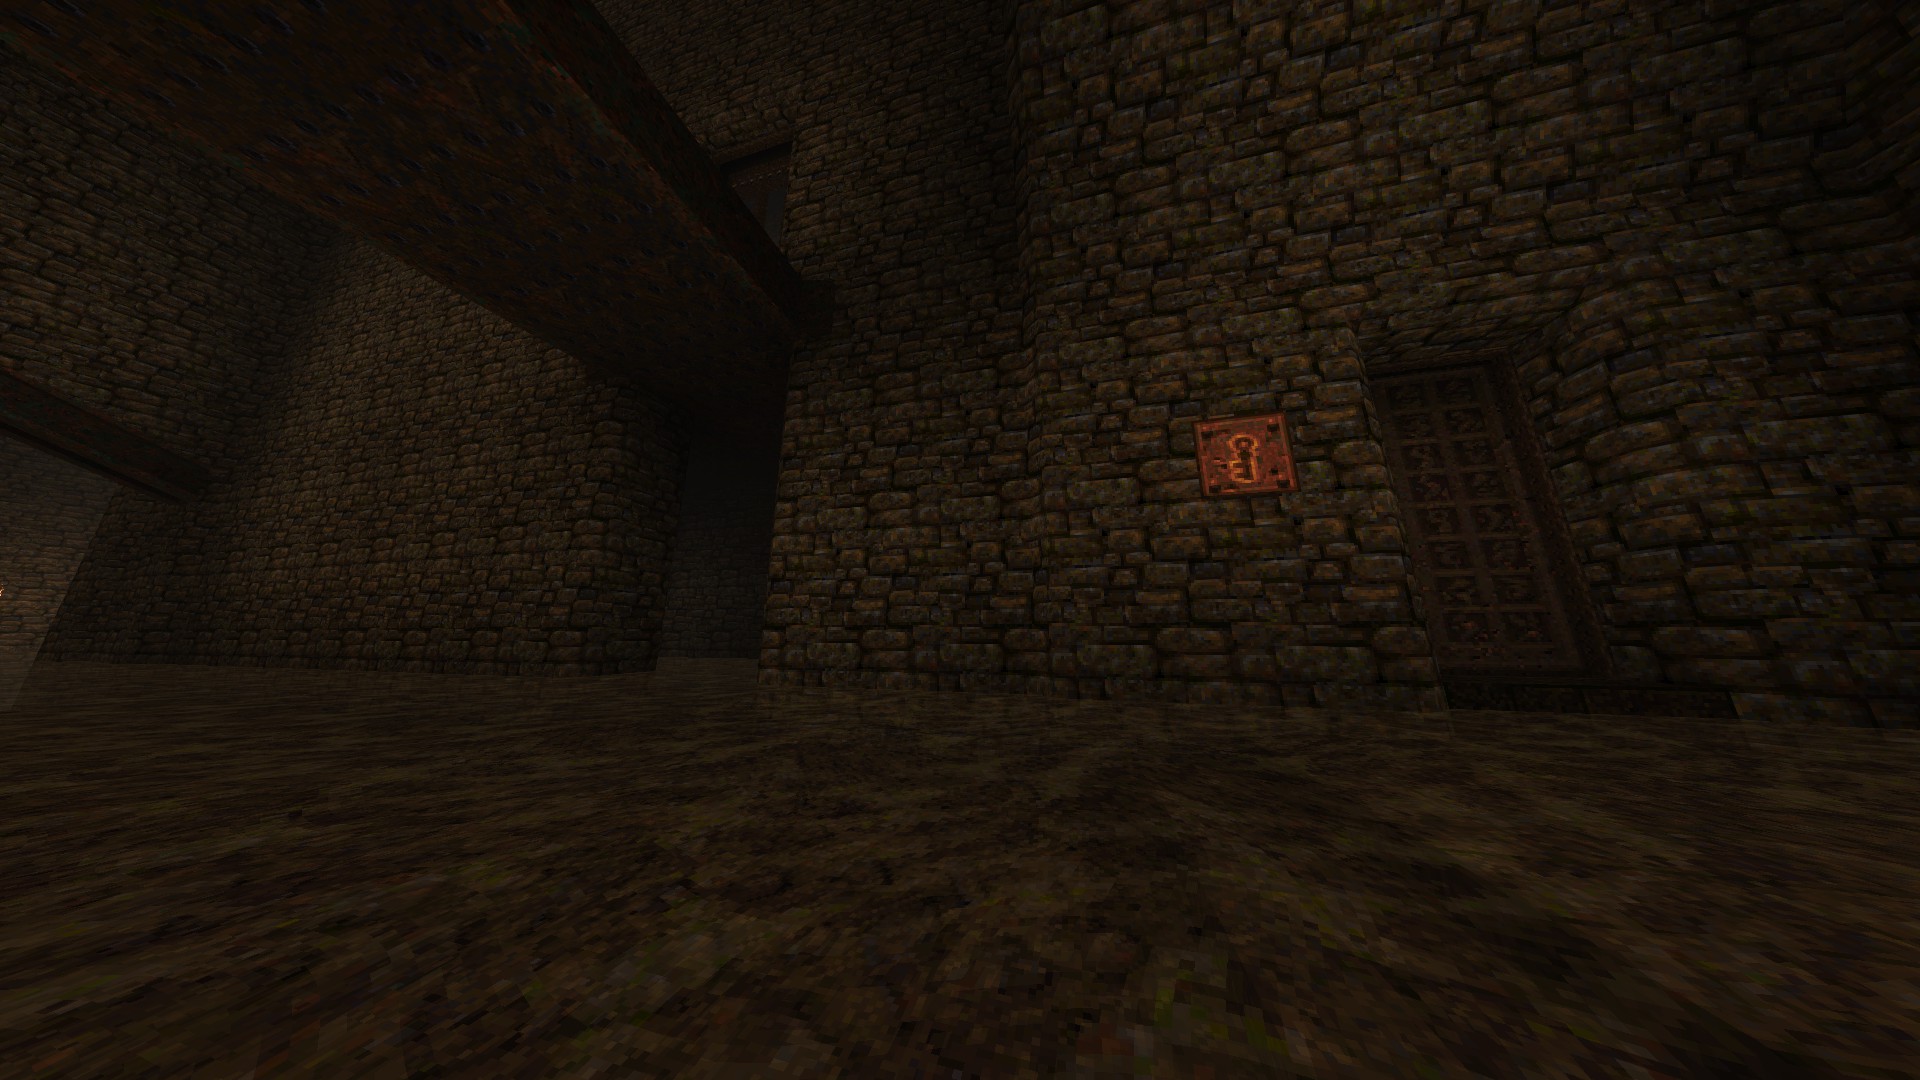
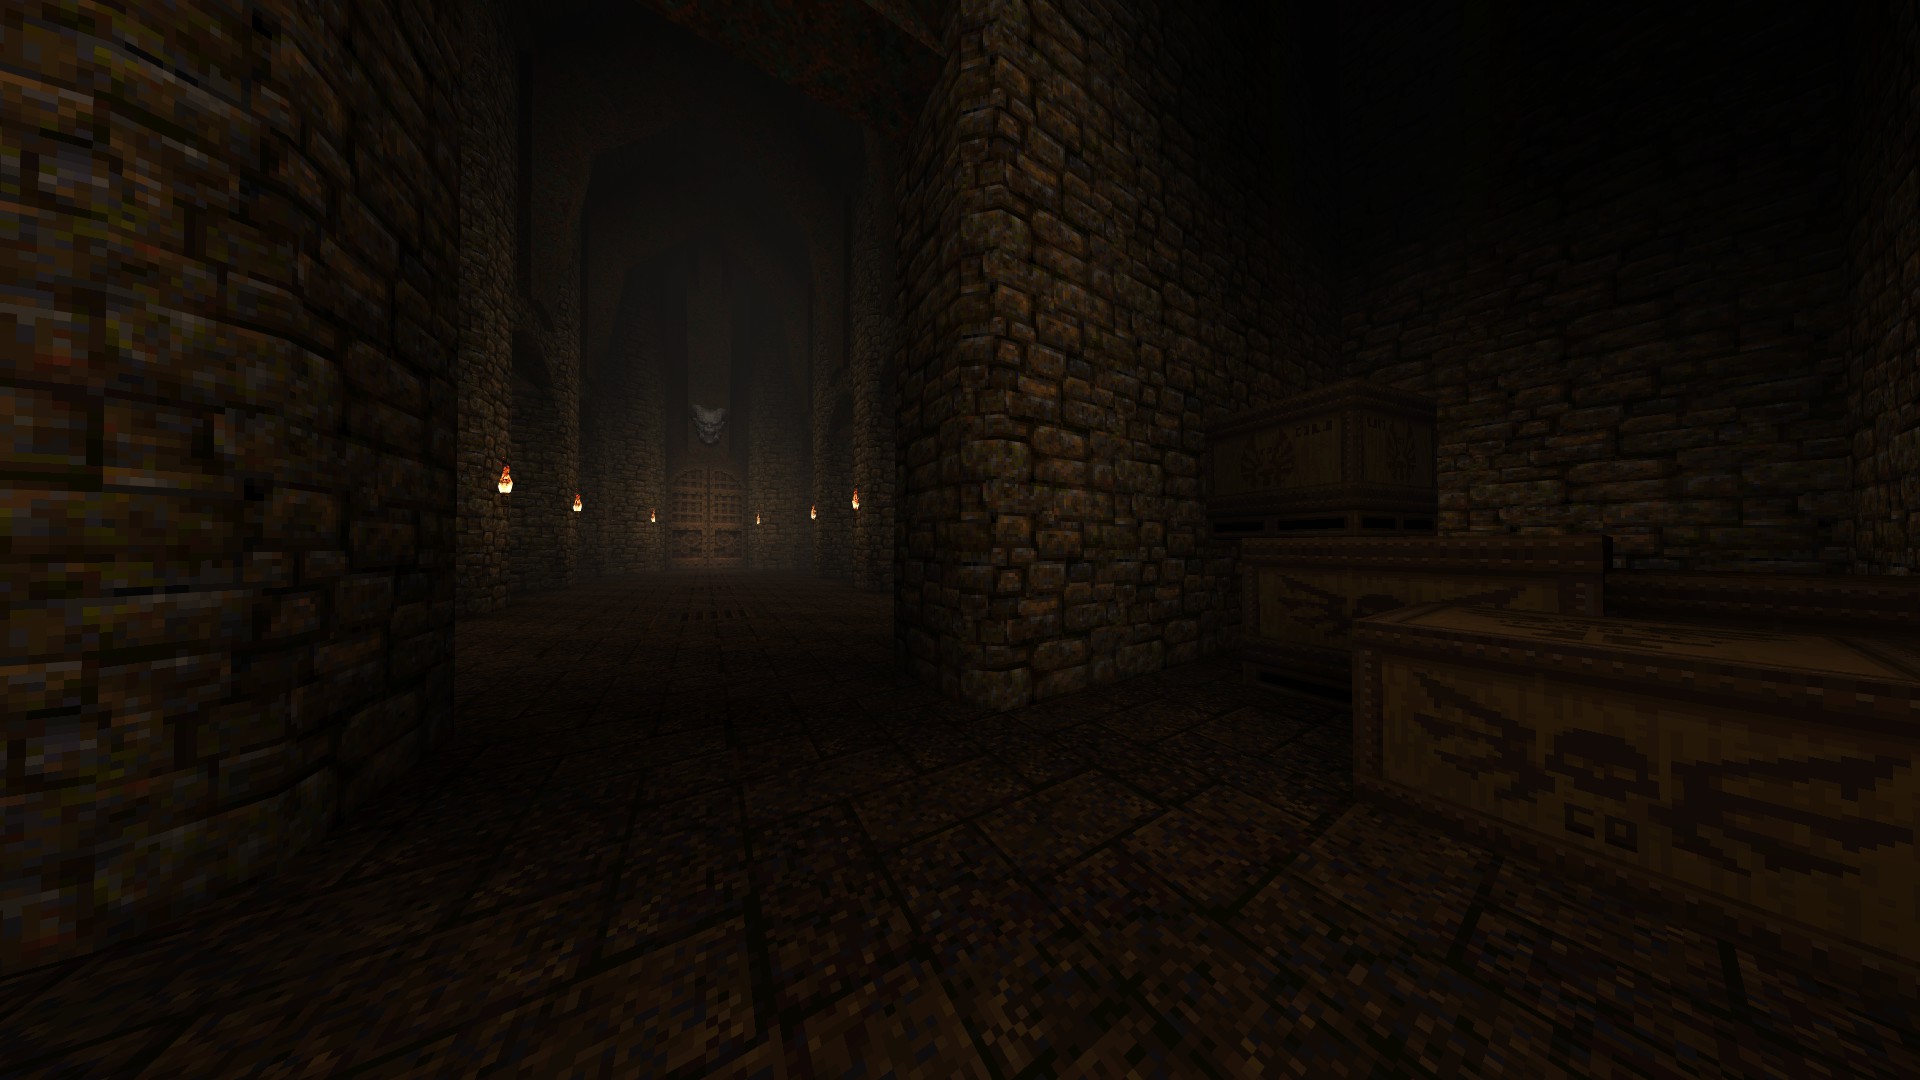
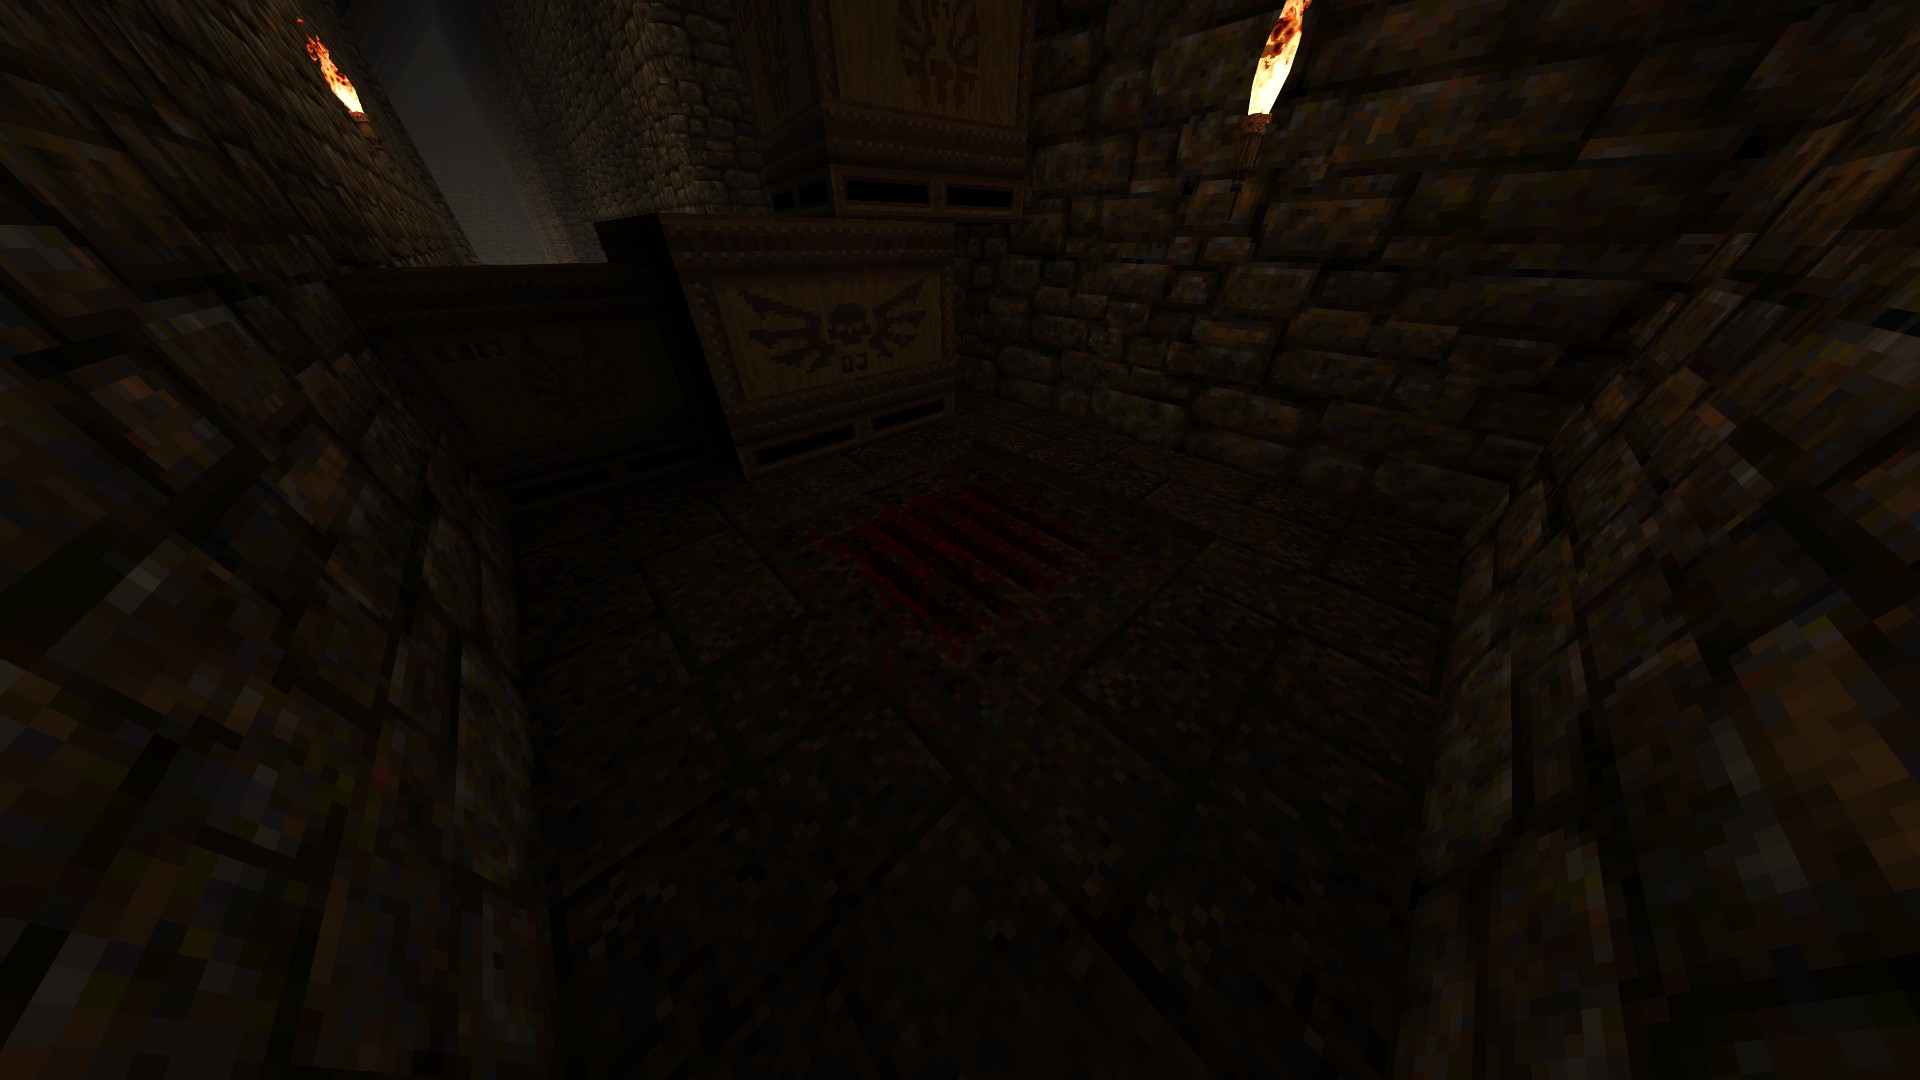
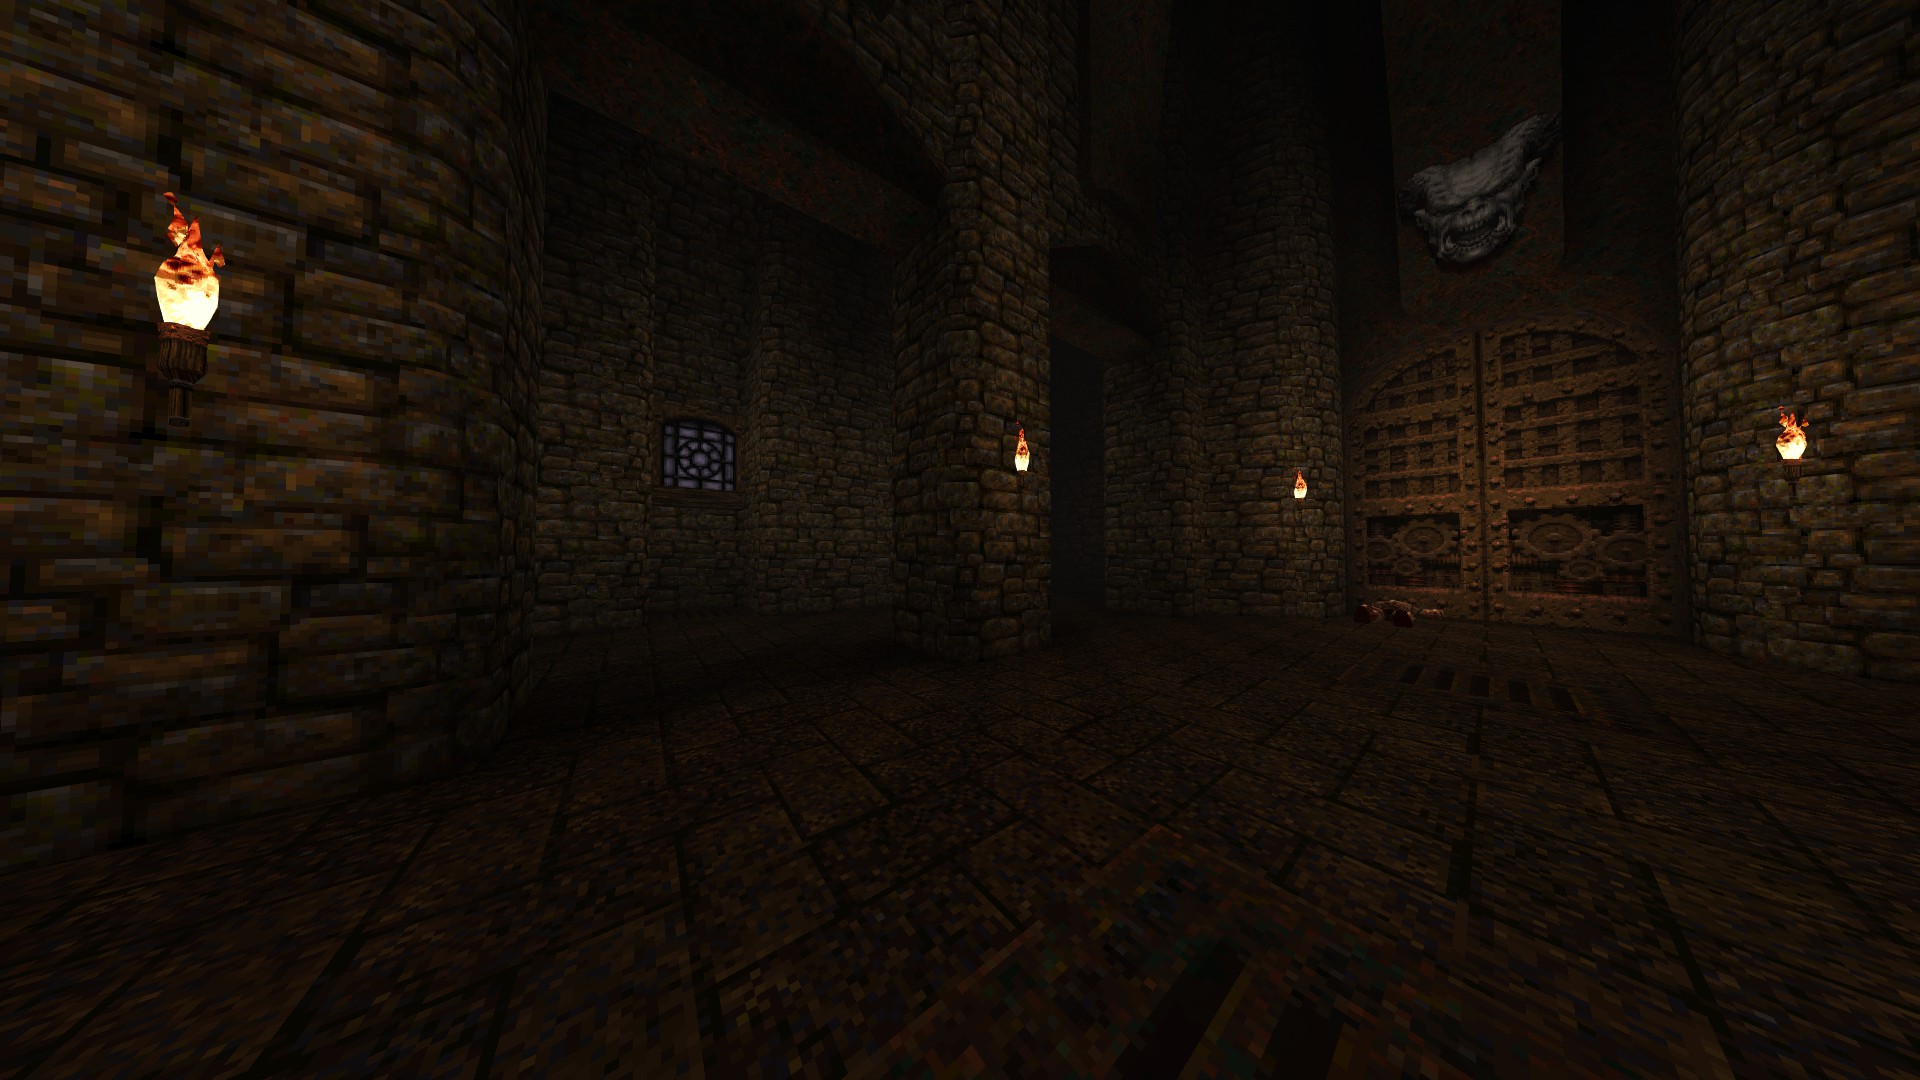
4/5 – Check behind the crates in the corner before the hall where you encounter lots of knights and hit the bloody grating to reveal a tunnel that contains an armor.
5/5 – Following from the previous secret, check the far left corner of the hall to find an opening on the floor and drop down to get the lightning gun.
Episode 5: Part Three
This section of the guide covers the last three levels, including the second secret one, that contain a total of 10 secrets.
—
E5M6: THE UNDERWORLD
1/4 – In the room just after the sewers, shoot the bloody grating on the ceiling to open up a hidden area nearby. Be sure to clean it up completely to have an easier time during the final moments of the level.
2/4 – Right after taking the wind tunnel that takes you to the gold key, turn back for a second and get the quad damage before moving on.
3/4 – After opening the gold key door, shoot the button on the wall seen through the opening to open up the door that lets you into the area in question that contains an armor.
4/4 – In the final area with a moving platform over the lava, instead of jumping into the first portal that comes into view, wait for the platform to turn the next corner where another portal awaits that leads to the second secret level, The House of Doom.
—
E5SM2: THE HOUSE OF DOOM
1/1 – Next to one of the four pillar-type buttons found on the second floor of the hall is a closed door. Simply shoot the button above the button in question to open up the door that leads to the only hidden area in the level with a pentagram of protection at the end.
—
E5M7: THE OTHERWORLD
1/5 – While traversing the underhalls, look for a duo of bloody gratings next to the elevator and hit either one of them to reach a hidden area.
2/5 – After taking the elevator up, look for another bloody grating to your left on the next corridor to find a hidden alcove that contains some ammo.
3/5 – Right after getting the gold key, hit the bloody grating at the right end of the area below to access a lengthy hidden area that also lets you skip past the two crushers in the vicinity.
4/5 – Following from the previous secret, as soon as you drop down into the water, look for an opening to your left before moving any further and swim through that path to reach another hidden area that contains an armor.
5/5 – After raising the gate and getting into the room behind it, look for a button near the ceiling and shoot it to reveal a flight of stairs that leads to the nearby quad damage.
—
Easter Egg
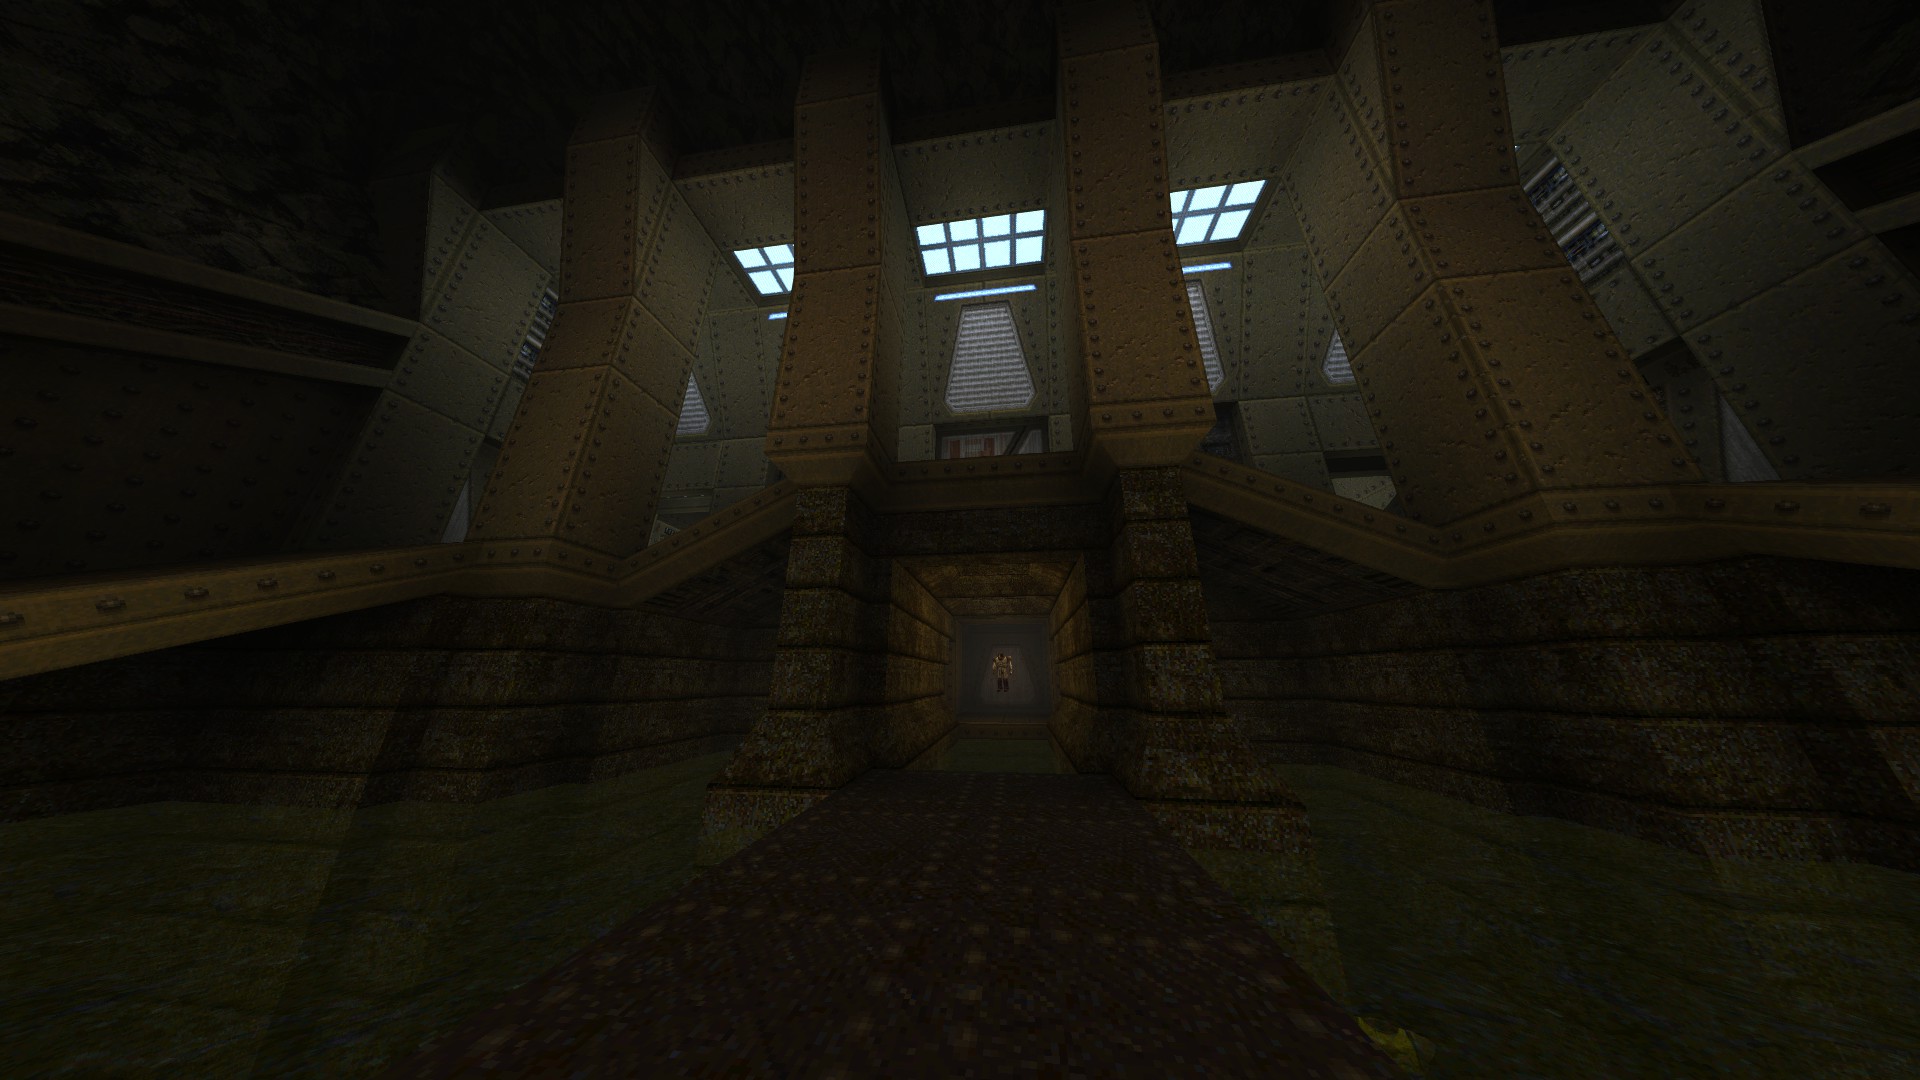
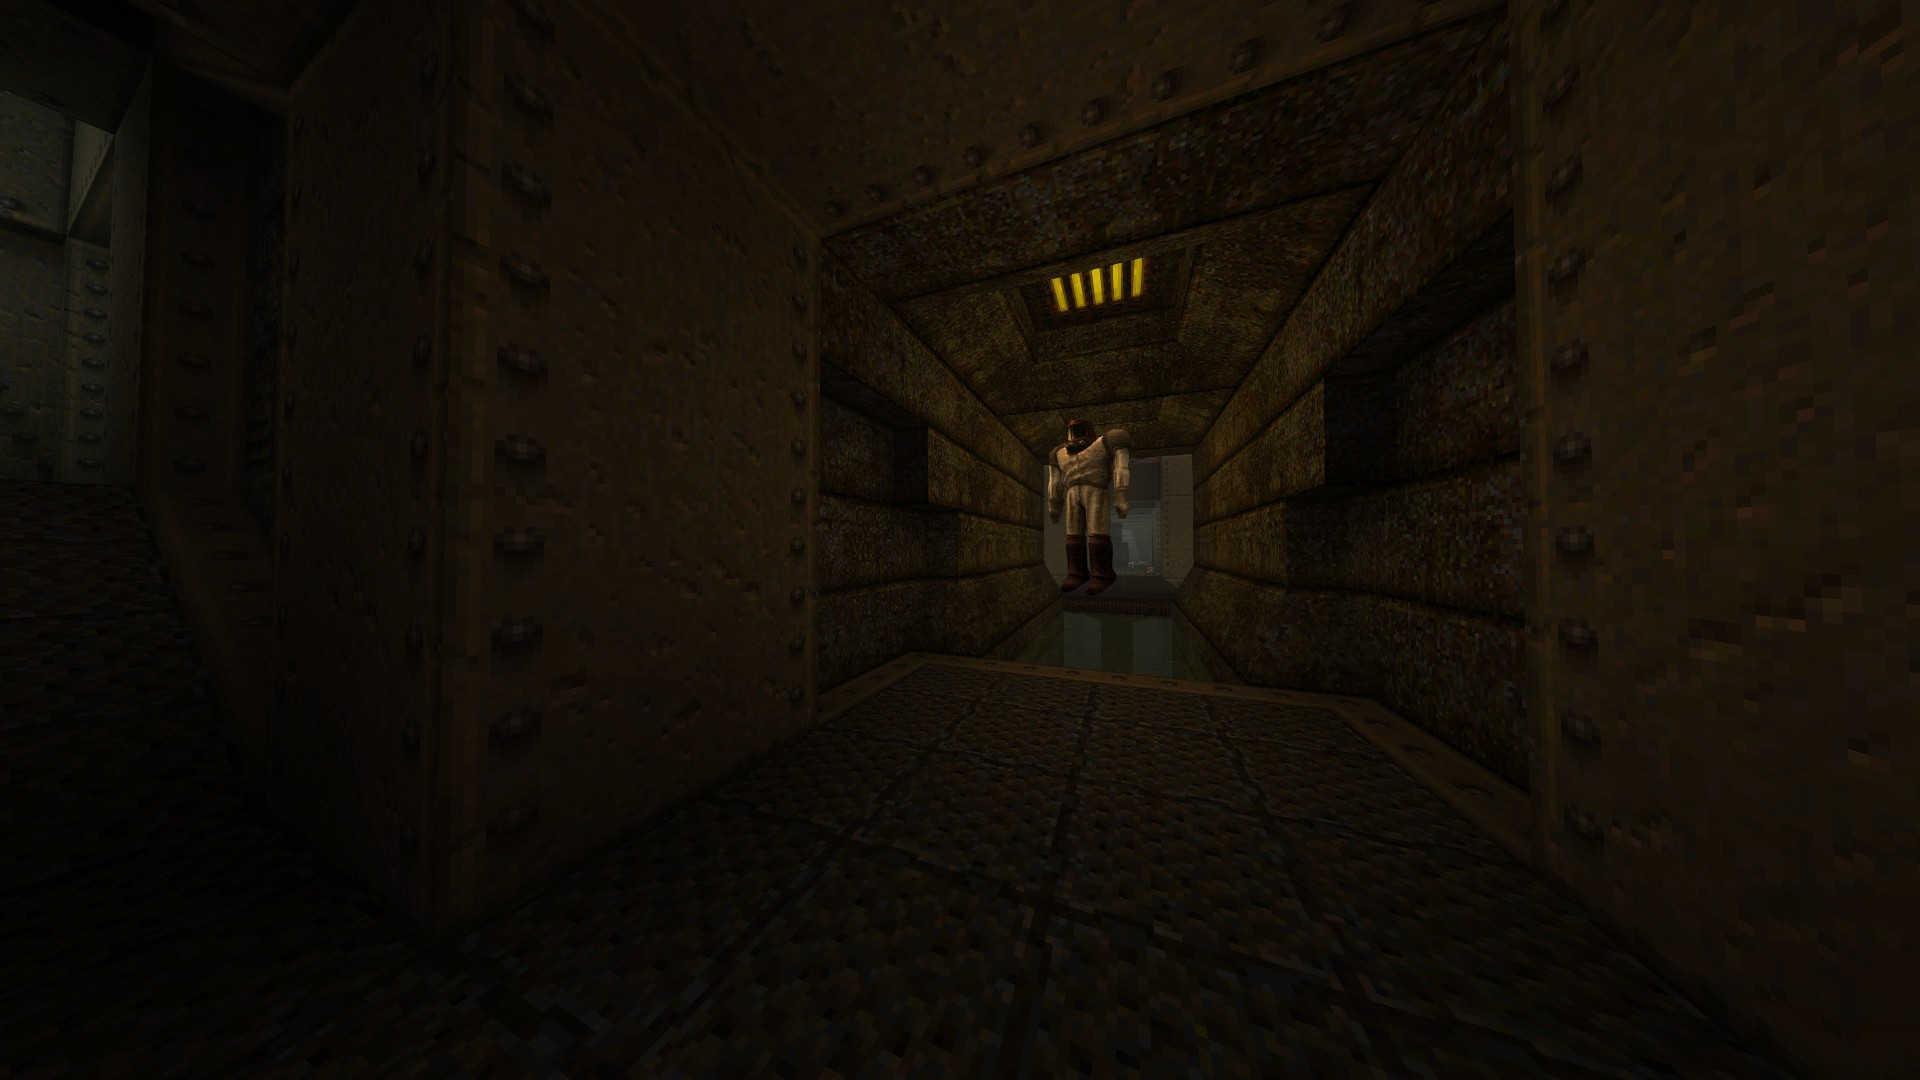
Instead of approaching the exit portal from the front, step into it from the other side. Doing so teleports you back to the starting area but also opens up the floor below for exploration. Get in there and have a look around to come across an old friend.
E5End: The Year Zero
This level contains two secrets.
1/2 – Upon start, swim through the nearby opening and check behind the corner to find an armor.
2/2 – Just before resurfacing, turn around and get the quad damage waiting in the corner behind.
‘You are a true ranger. We salute you.’
This is all for Quake All Secrets Locations Episode Guide hope you enjoy the post. If you believe we forget or we should update the post please let us know via comment, we will try our best to fix how fast is possible! Have a great day!
- Check All Quake Posts List




Leave a Reply