As the title has made clear, this tutorial will take you step-by-step through the entire process of gathering all goods, weapons, armors, files (books, notebooks, maps, etc.), Fluorites, and other gear.
Introduction
When compared to other games, this one is quite short. Assuming you are familiar with all of the hidden items and puzzle answers, you can finish the game in about 2 to 3 hours on average. If you want to gather everything in the game, including achievements and goods, then this guide is for you.
Part 1: Reunion and Separation
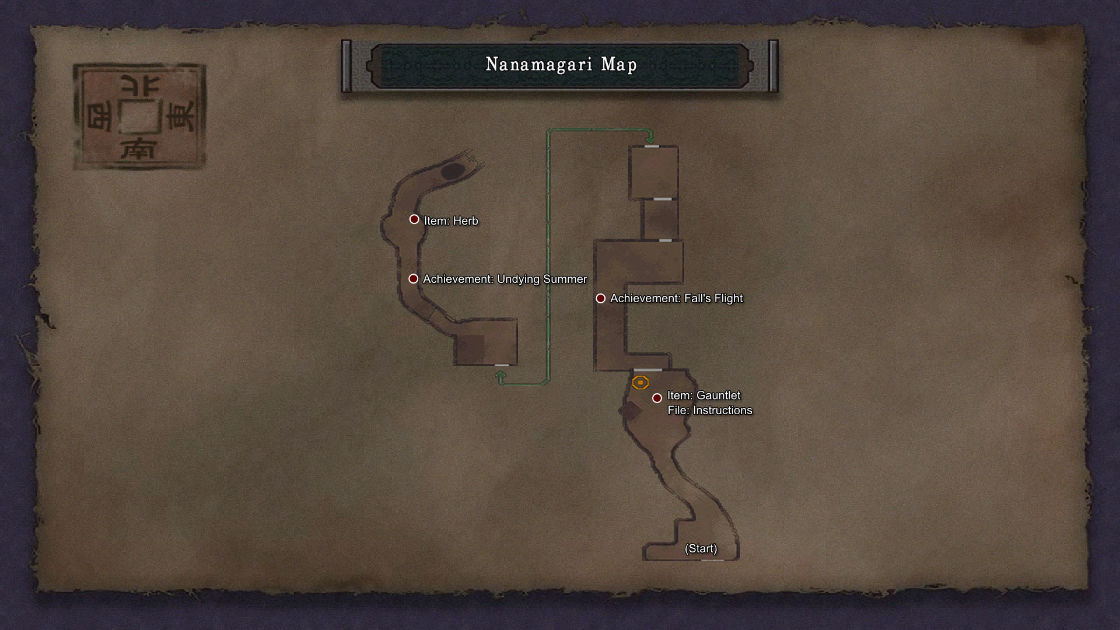
Consult these maps for part 1:
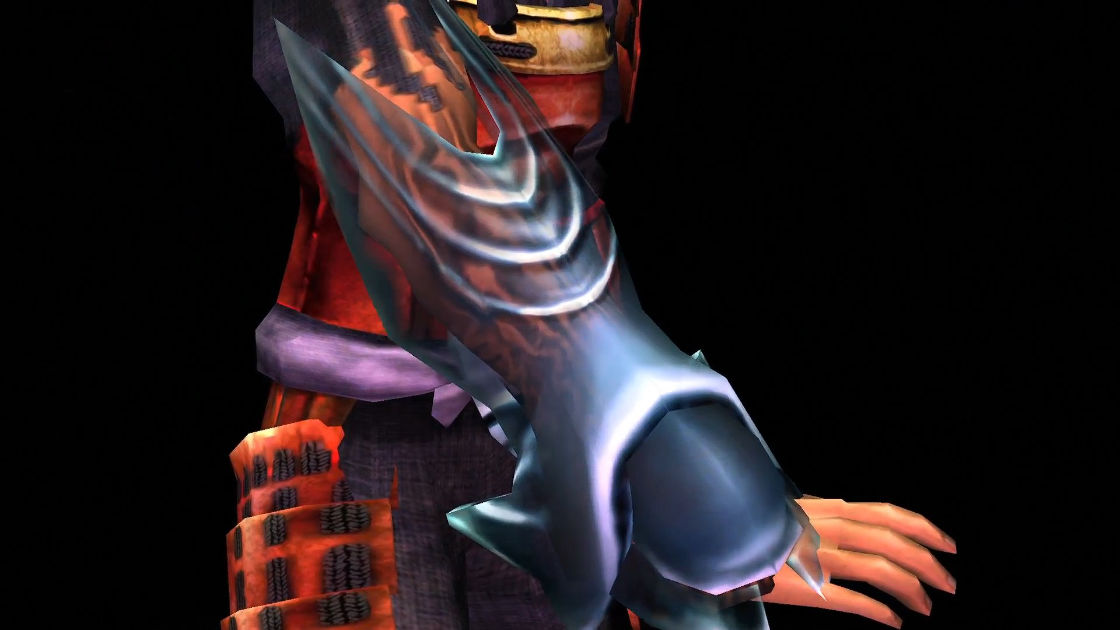
You began the game at a Keep entryway (Nanamagari). You will encounter two Three-Eyes ninjas if you simply follow the soldier’s instructions to head north. Just strike them as hard as you can; you cannot, however, kill them. Watch a cutscene where you rejoin with the princess Yuki after they have fled; you will then be given a gauntlet. Unfortunately, Osric, the ogre king, abducts her.
- Key Item: Gauntlet
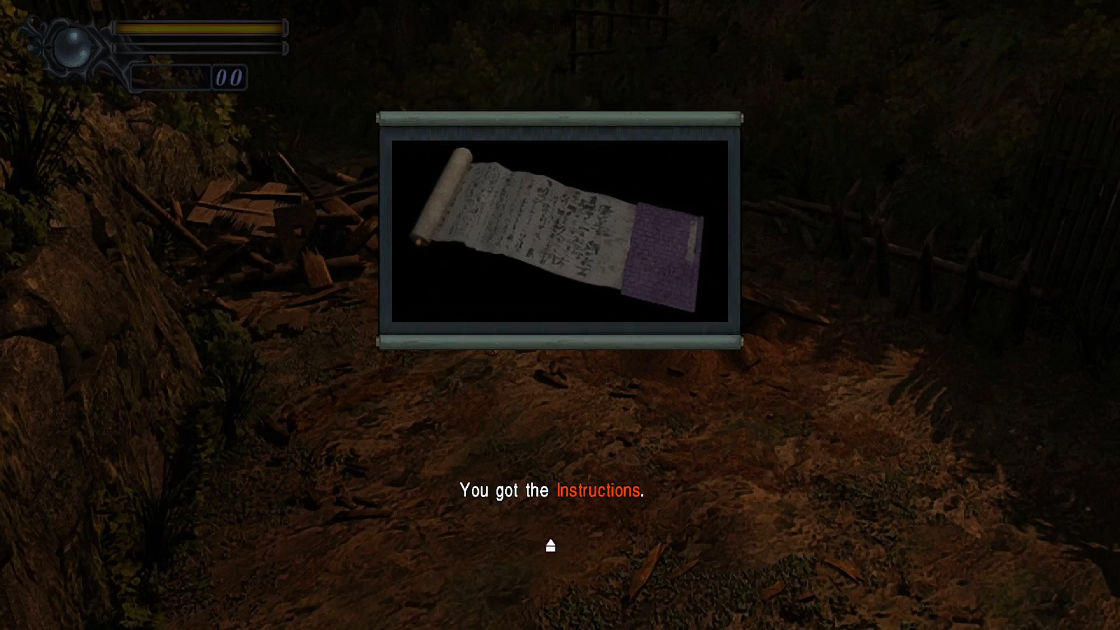
- File: Instructions
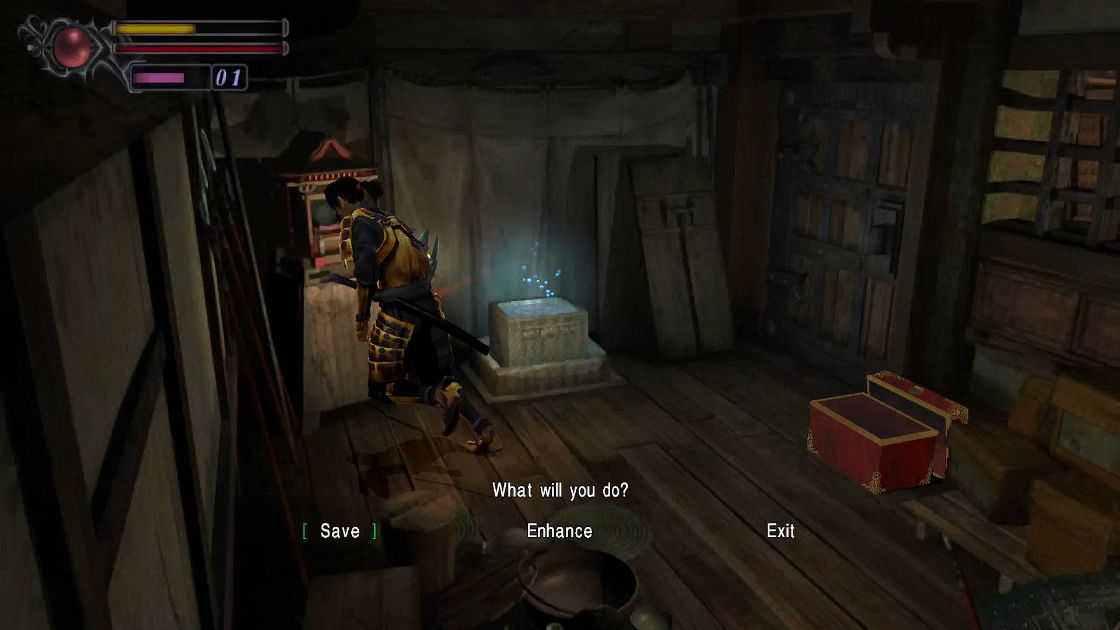
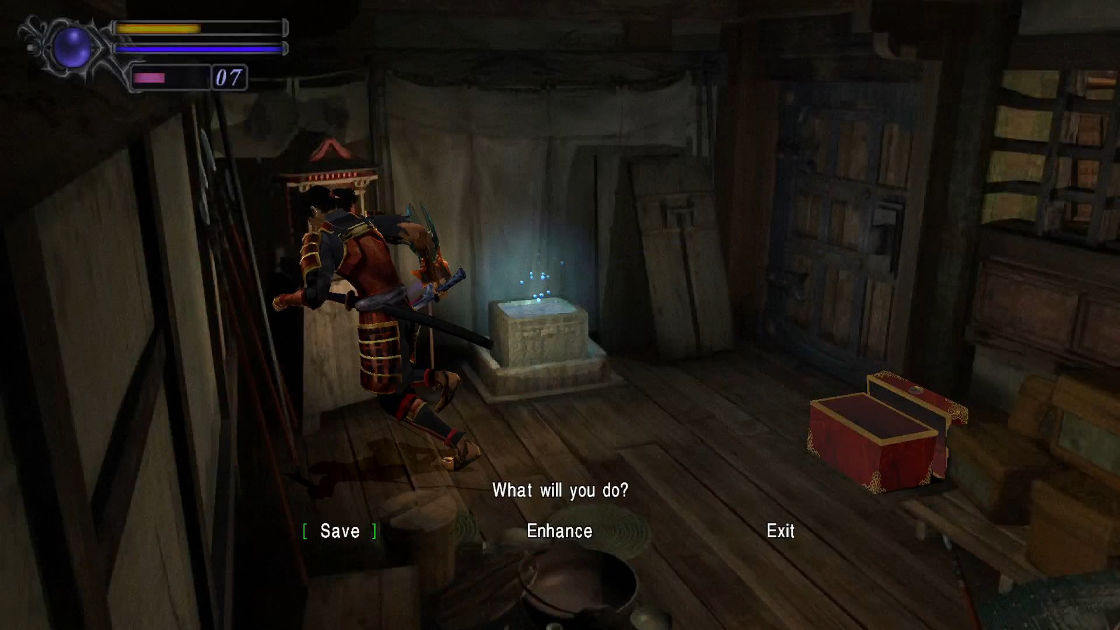
Right next to the door is a Magic Mirror that you can use to upgrade your weapons and other goods and save games.
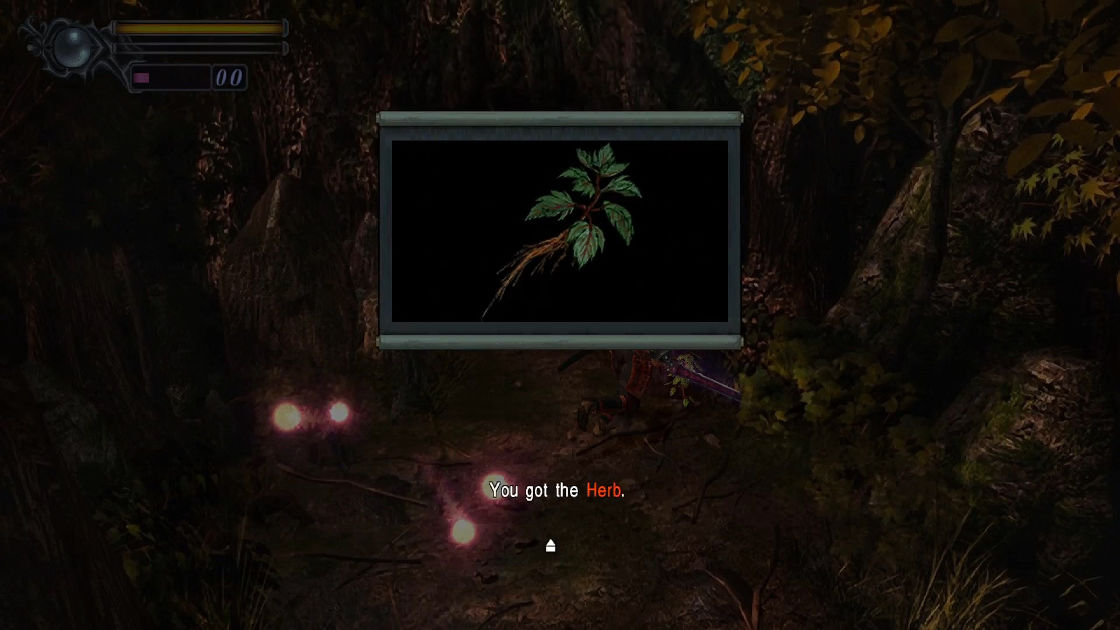
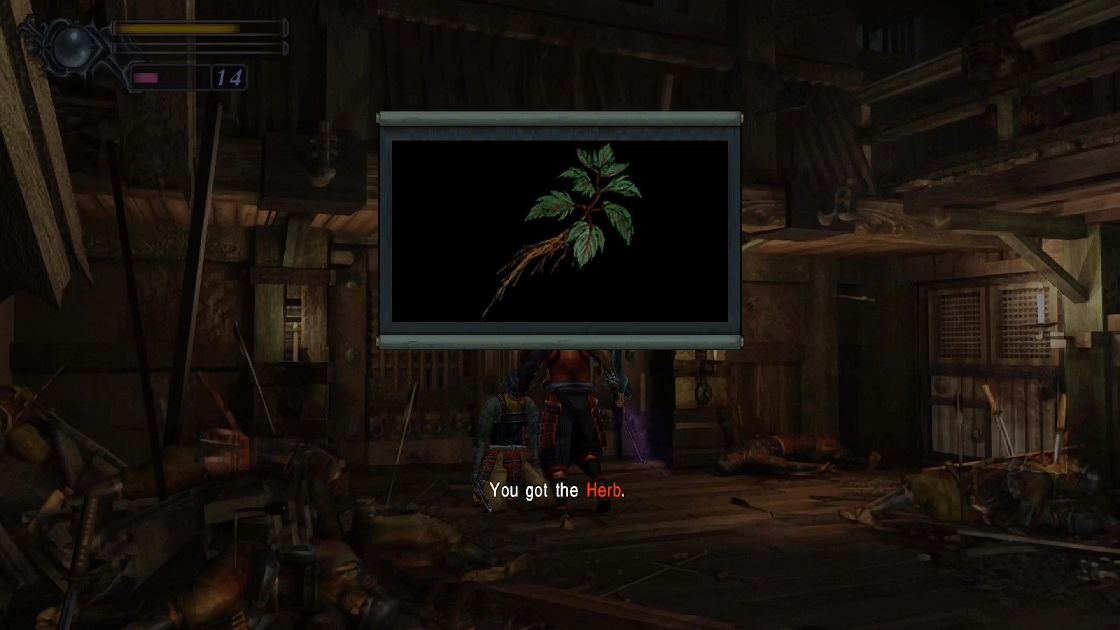
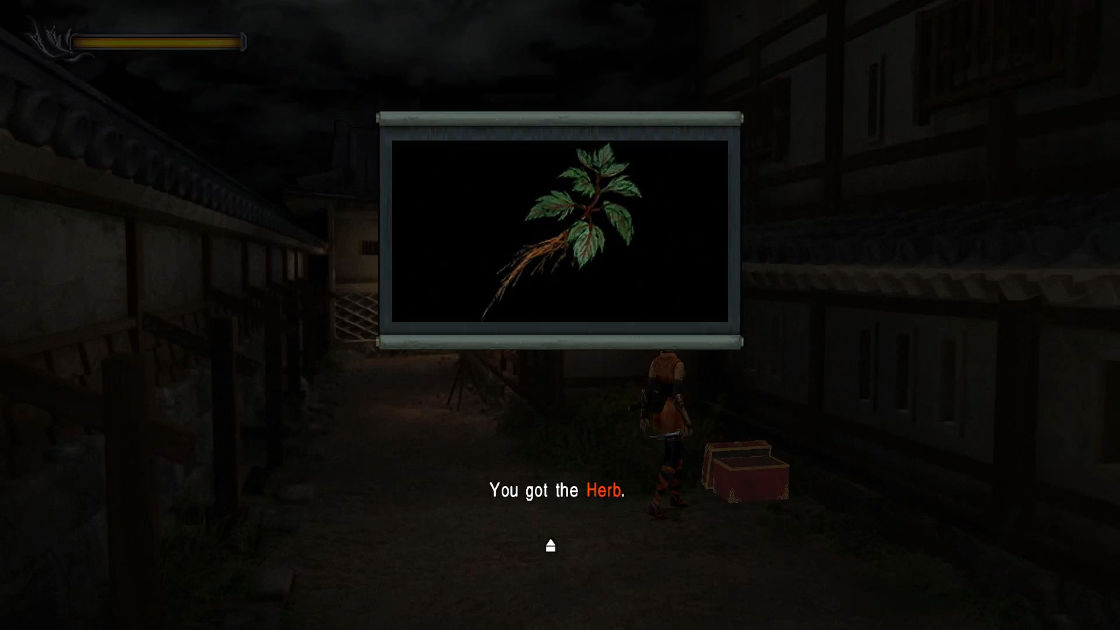
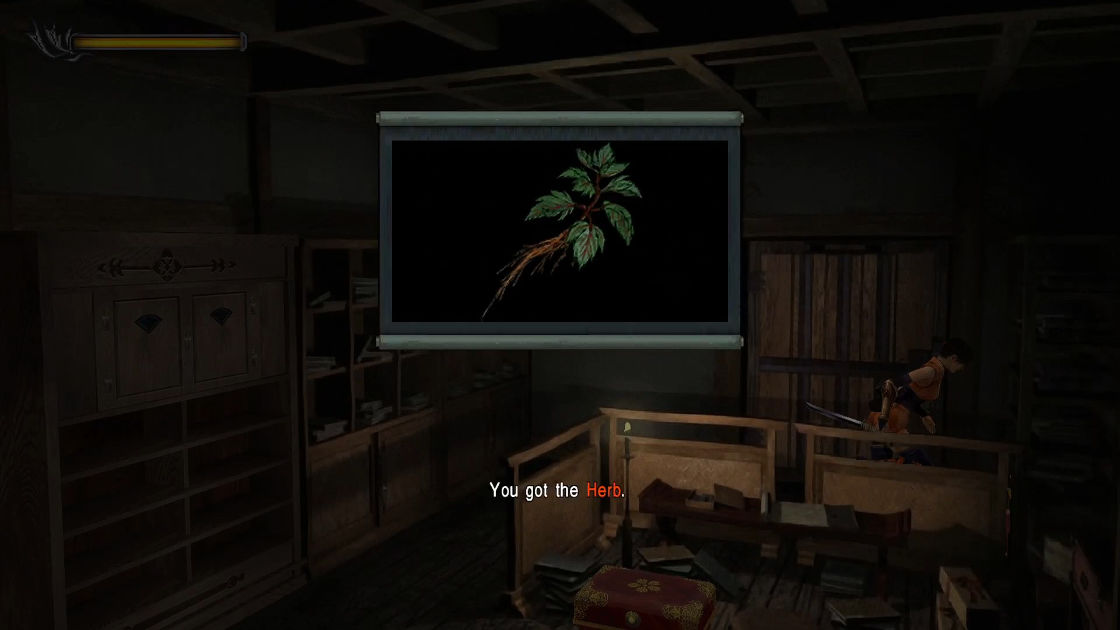
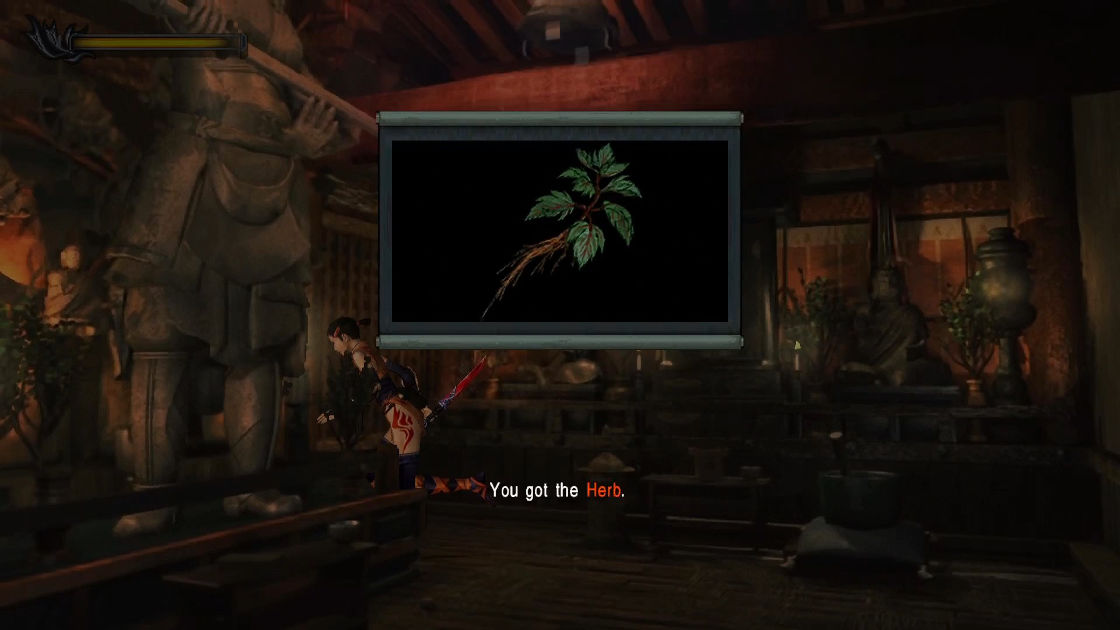
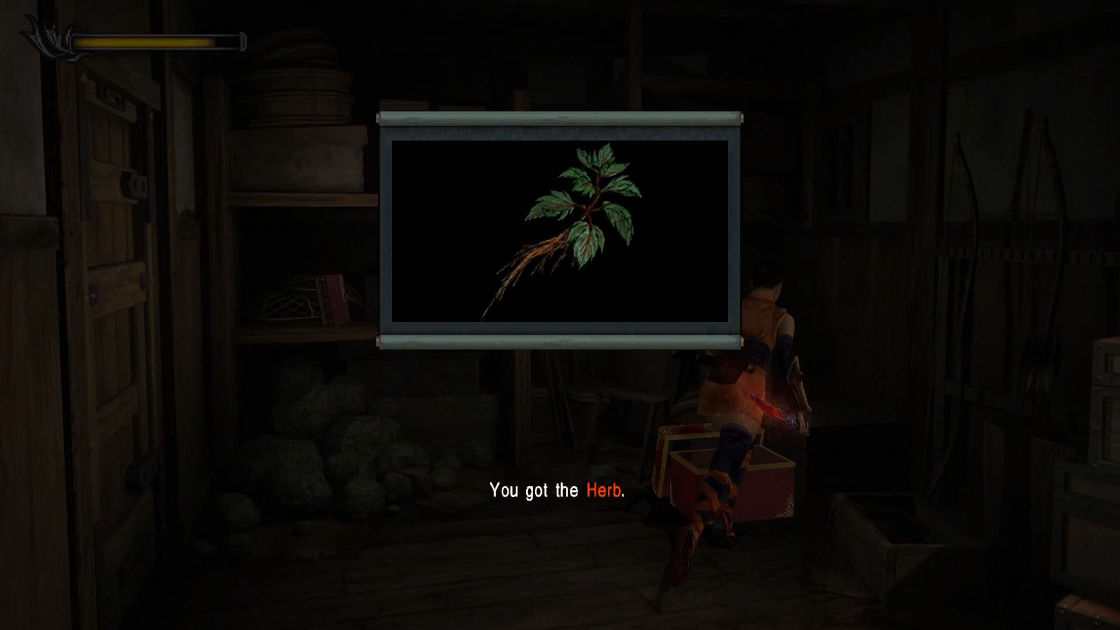
Once you pass a bunch of zombie soldiers, kill them, then enter the room by entering the door and continuing on the road. You’ll have to battle a different group of zombie soldiers inside. To start a cutscene, leave the room. One of the soldiers will point you in the direction of the forest, which is a straight route to the Keep. Kill the Three-Eyes at the entrance to the cave before entering the woodland. Grab Herb off the ground in front of the cave before you enter.
- Item: Herb
Inside, you will find a hole, examine it but don’t jump into it yet if you haven’t completed “Undying Summer” and “Fall’s Flight” achievements. Skip this part if you already obtained the achievements mentioned above.
- Achievement: Fall’s Flight
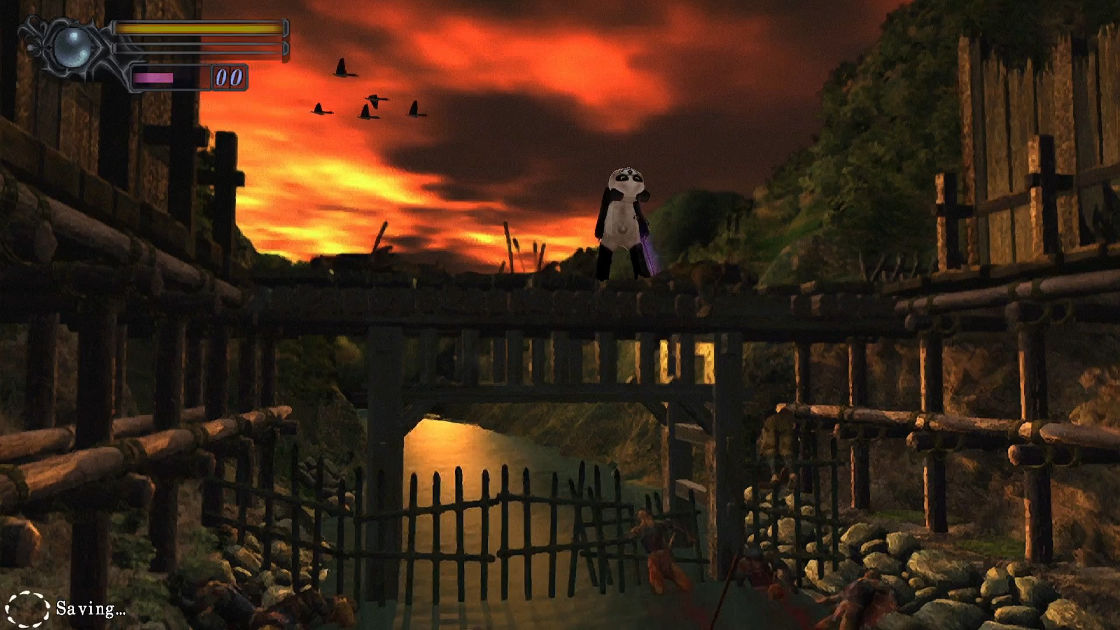
Walk all the way back to the bridge where you first encountered a group of Zombie Soldiers. Stand on middle of the bridge for about 30 seconds to 1 minute, you will see geese flying and an achievement notification will pop up.
- Achievement: Undying Summer
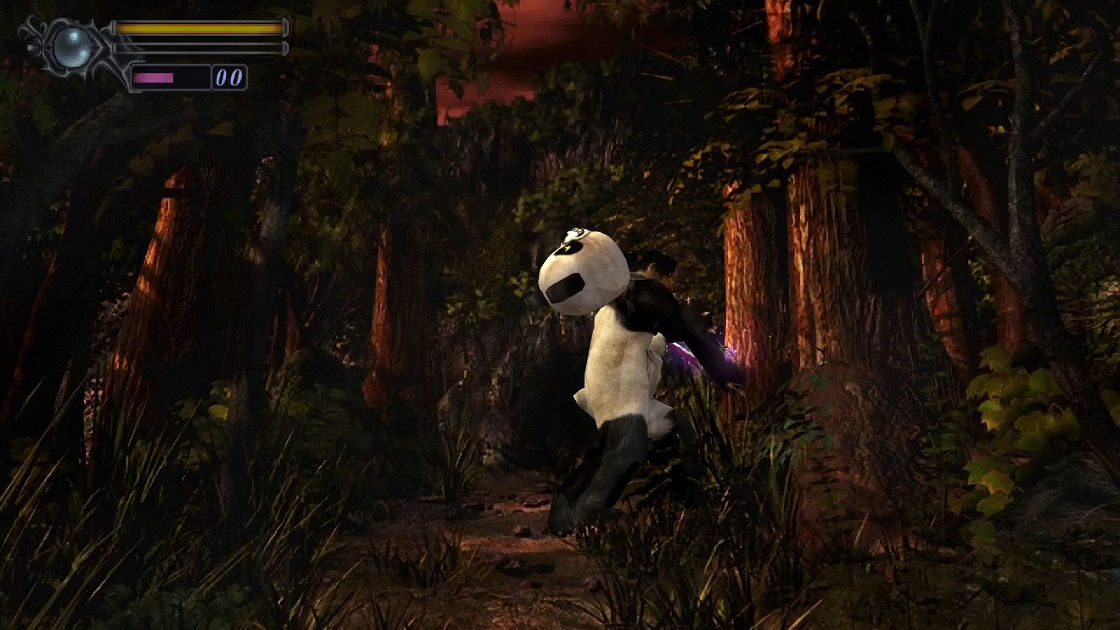
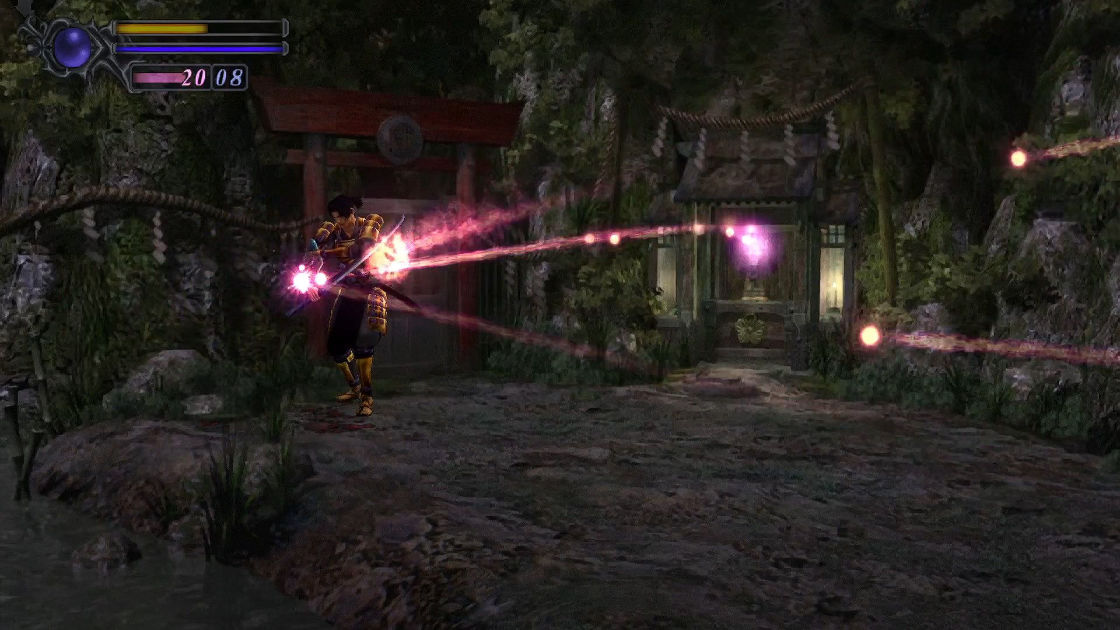
Going back to the forest in the second screen, stand near the 2 big trees on your right and press O to absorb souls for about 30 seconds to 1 minute, you will a beetle crawling up the tree and the achievement will be unlocked.
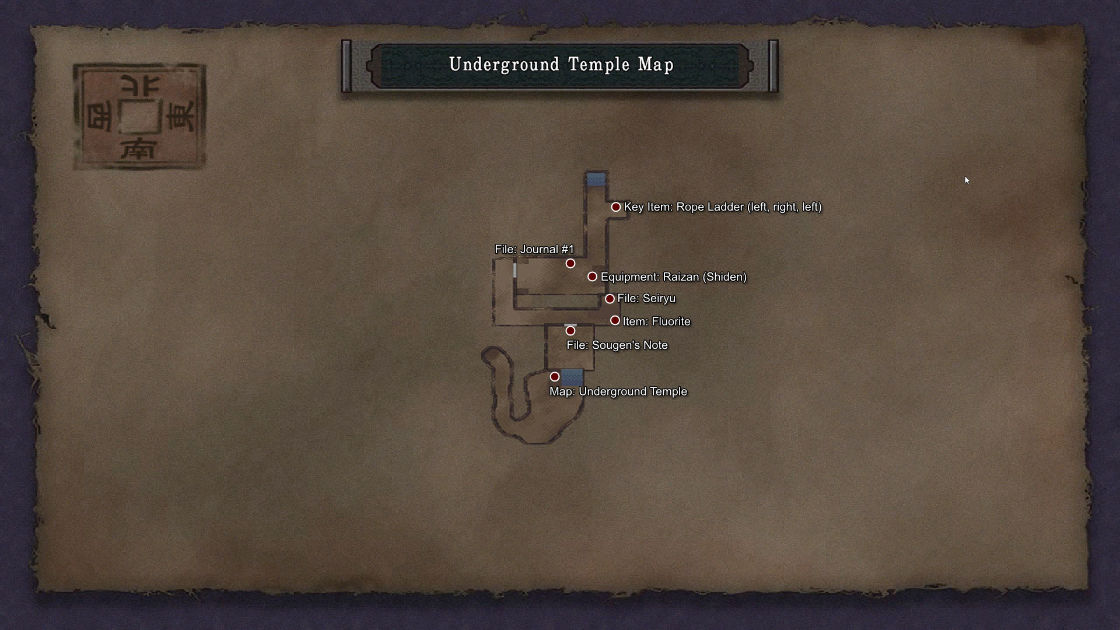
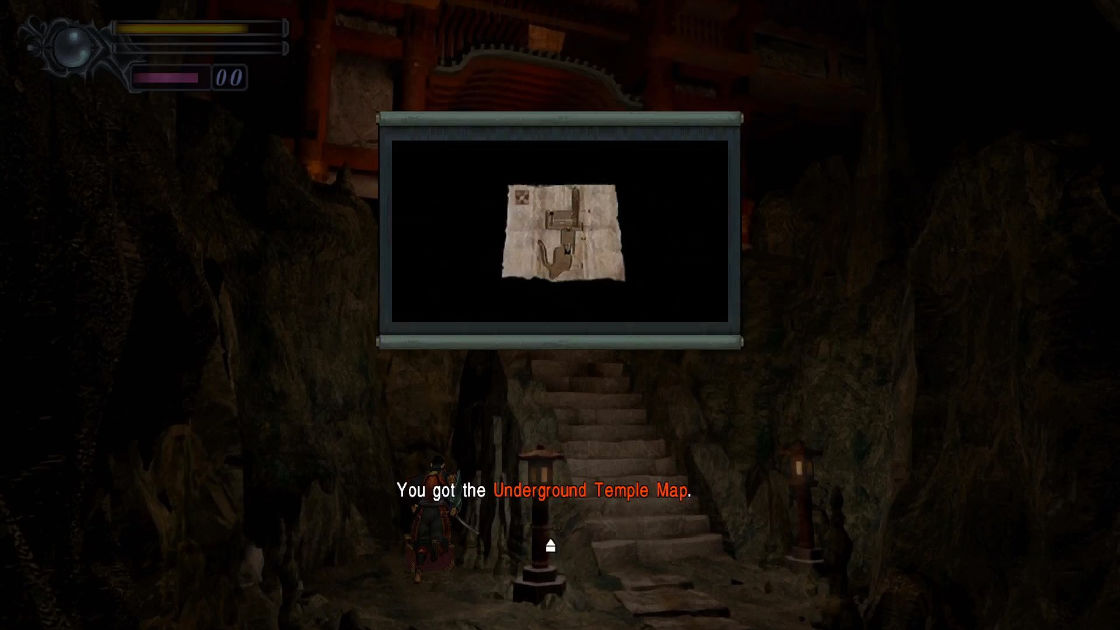
Now enter the cave and jump into the hole. Advance forward, kill some Three-Eyes, then pick up a map from a treasure box near the staircase.
- Map: Underground Temple Map
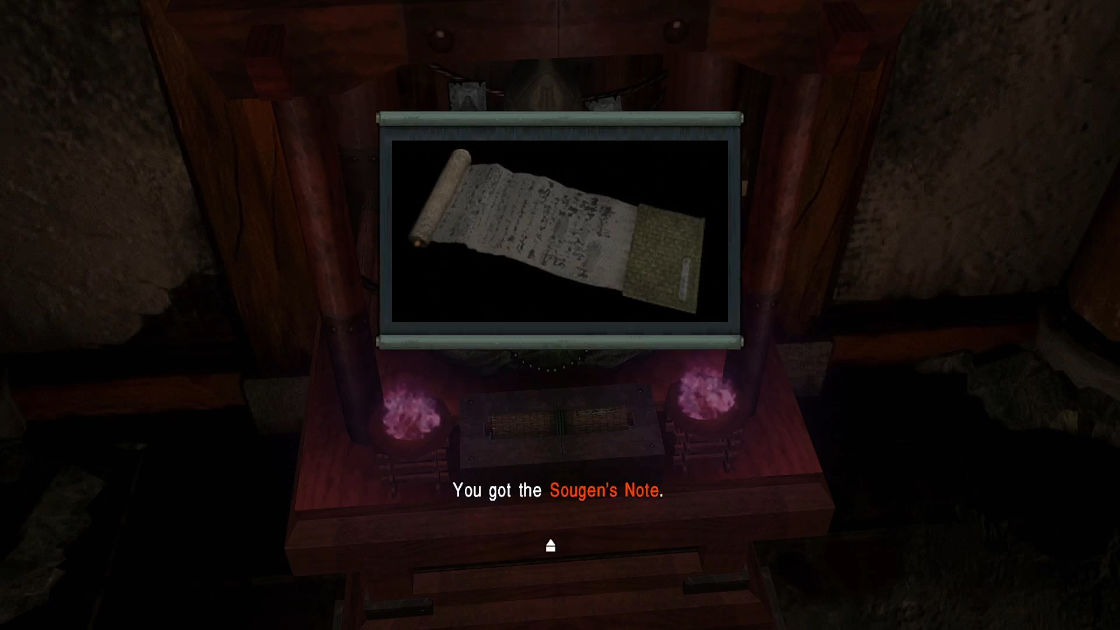
Go upstairs and examine the mummified statue to open the door behind, also you will receive Sougen’s Note automatically.
- File: Sougen’s Note
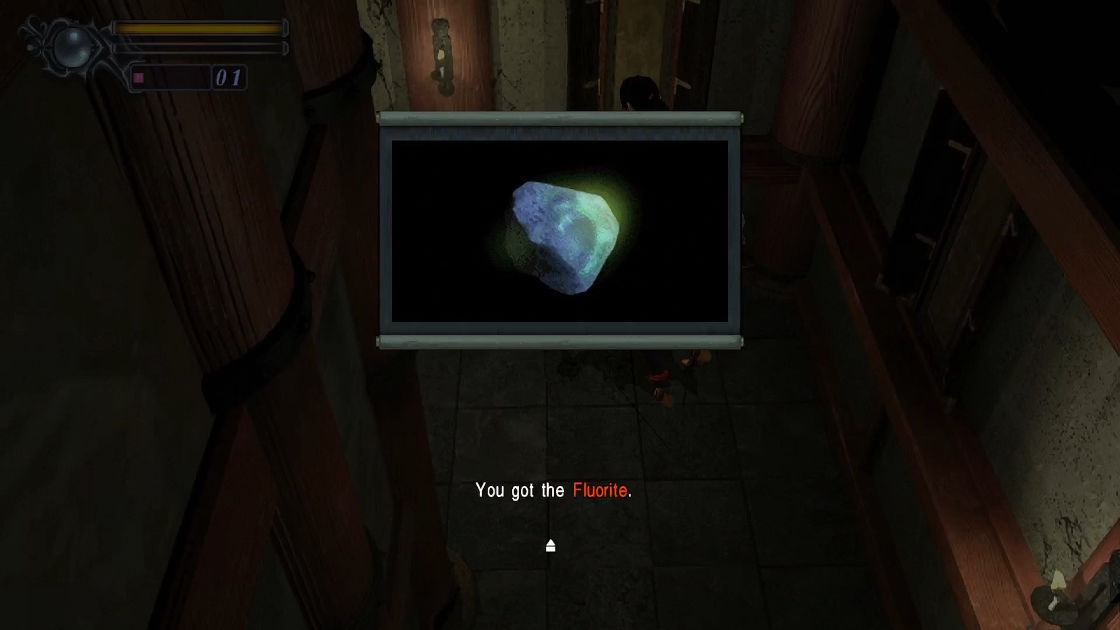
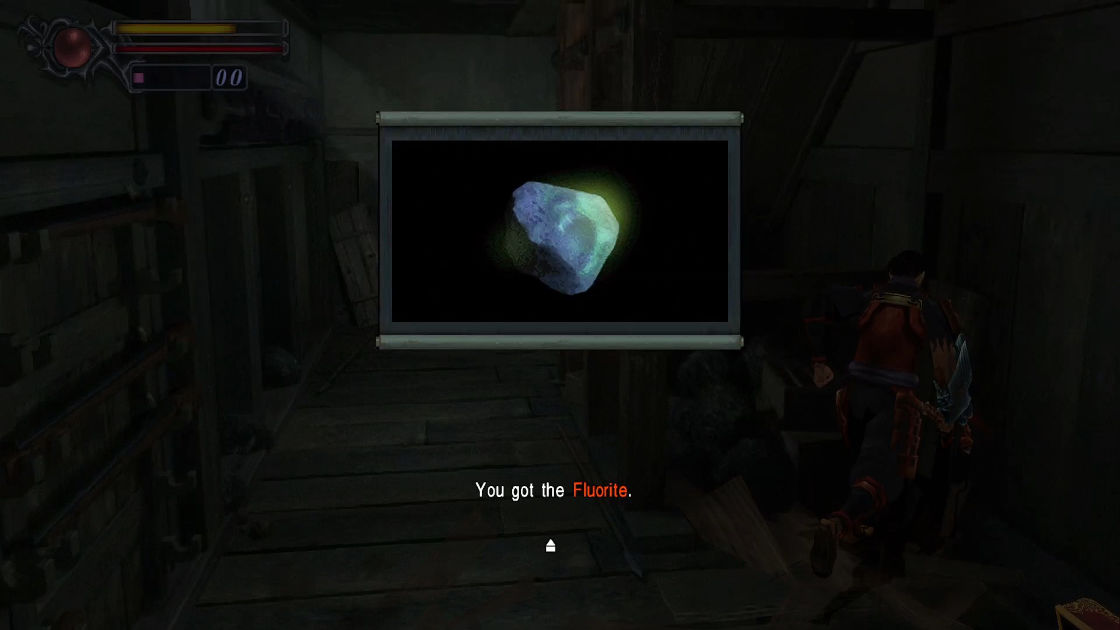
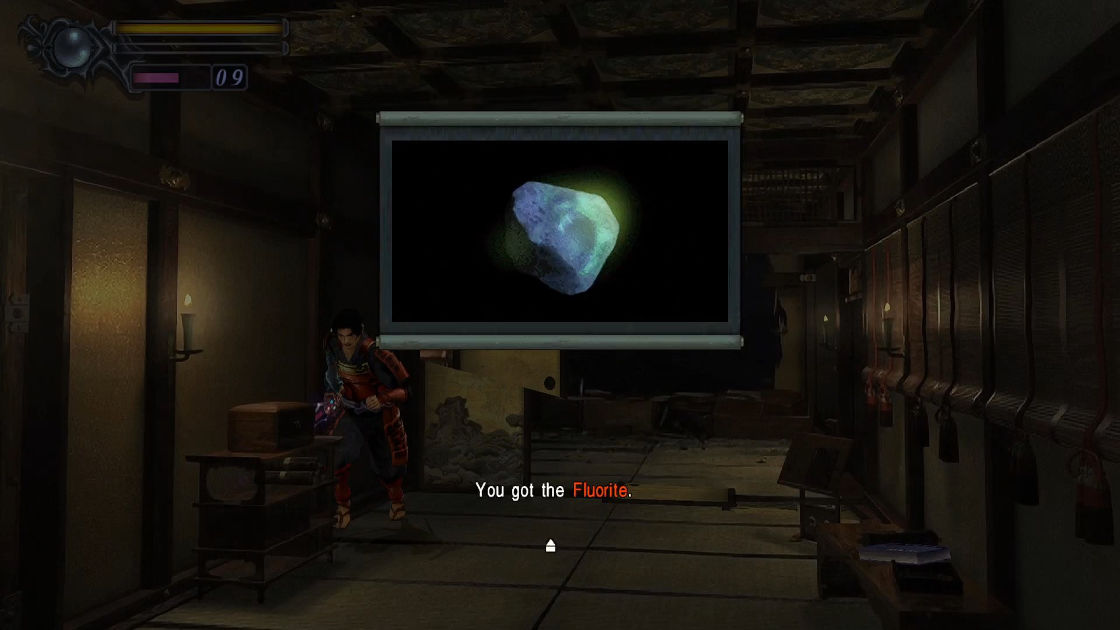
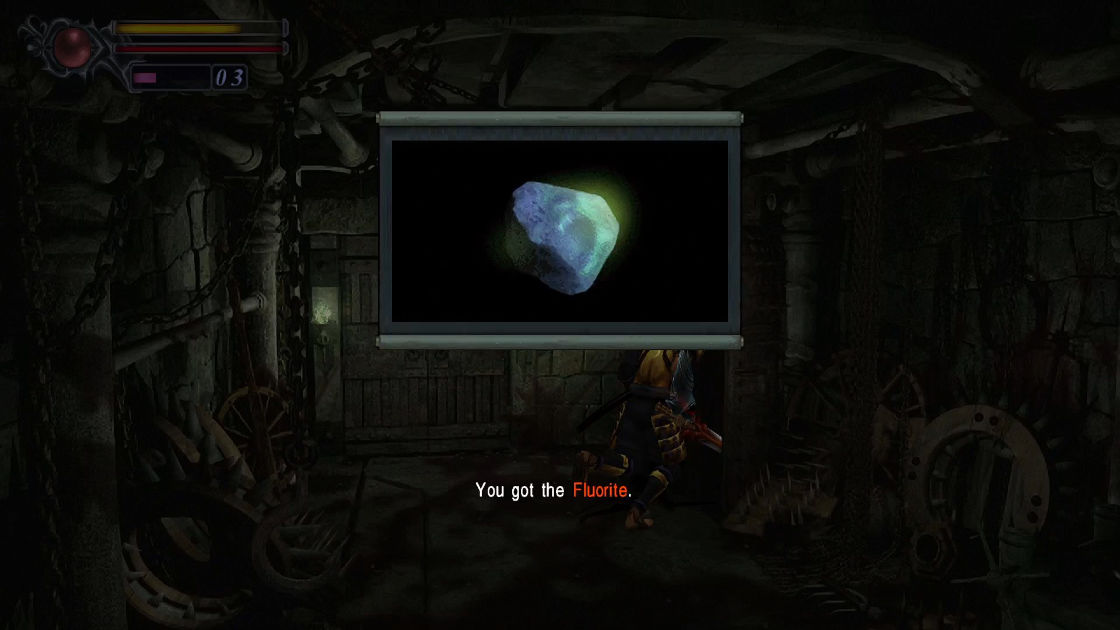
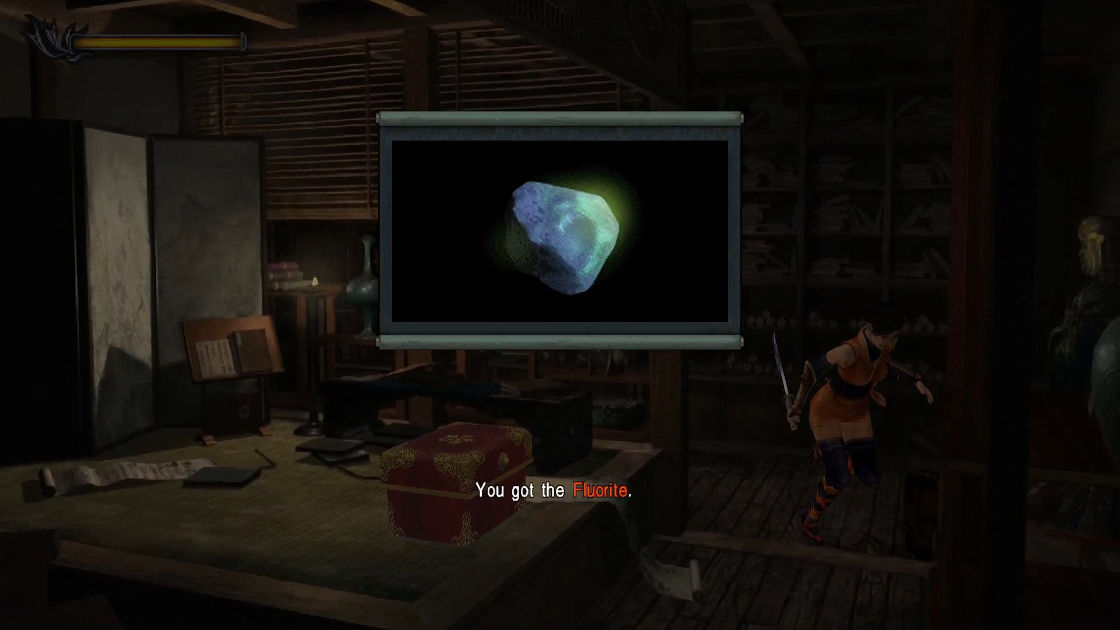
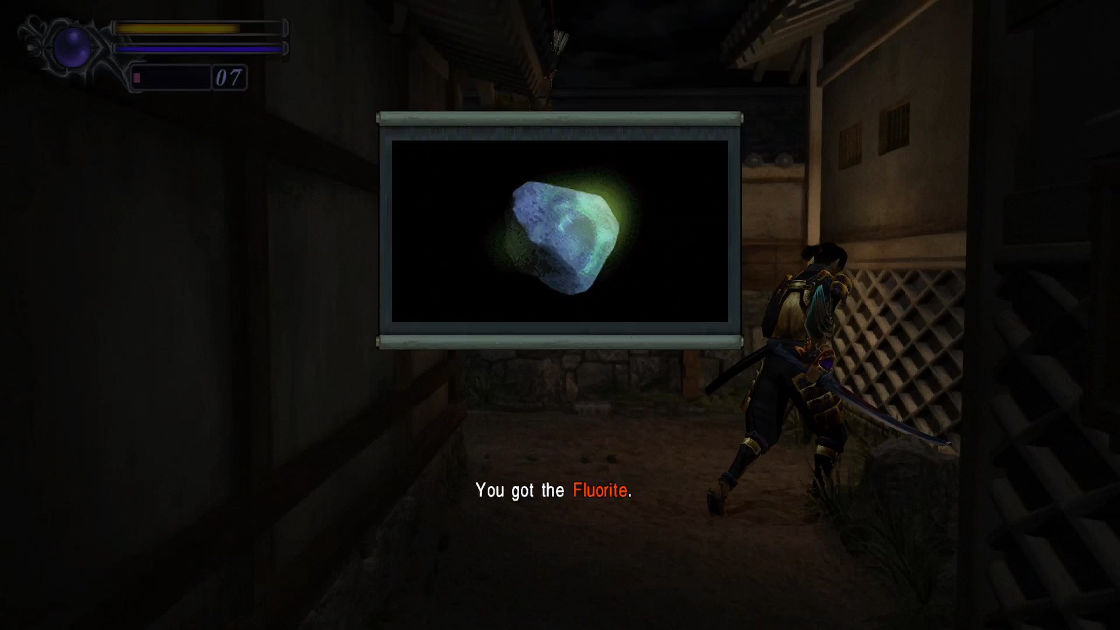
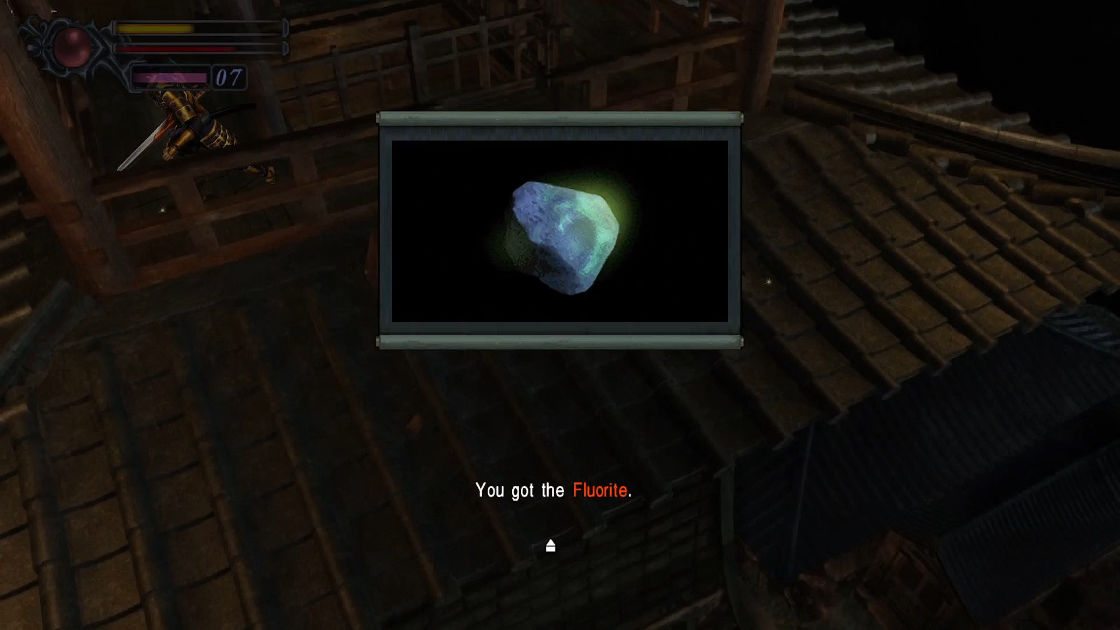
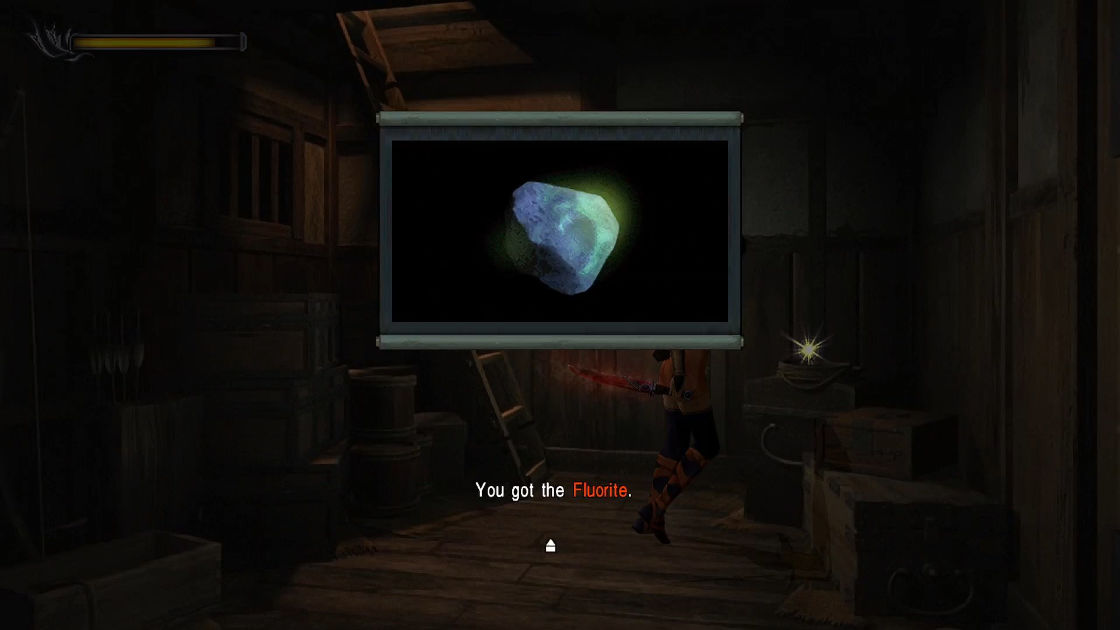
Enter the door you just opened. From Samanosuke’s perspective, turn right to the corner and kill a Zombie Soldier. In this corner screen, you will notice 2 small opened doors on the wall to the north and east. The one to the north contains A Fluorite.
- Item: Fluorite
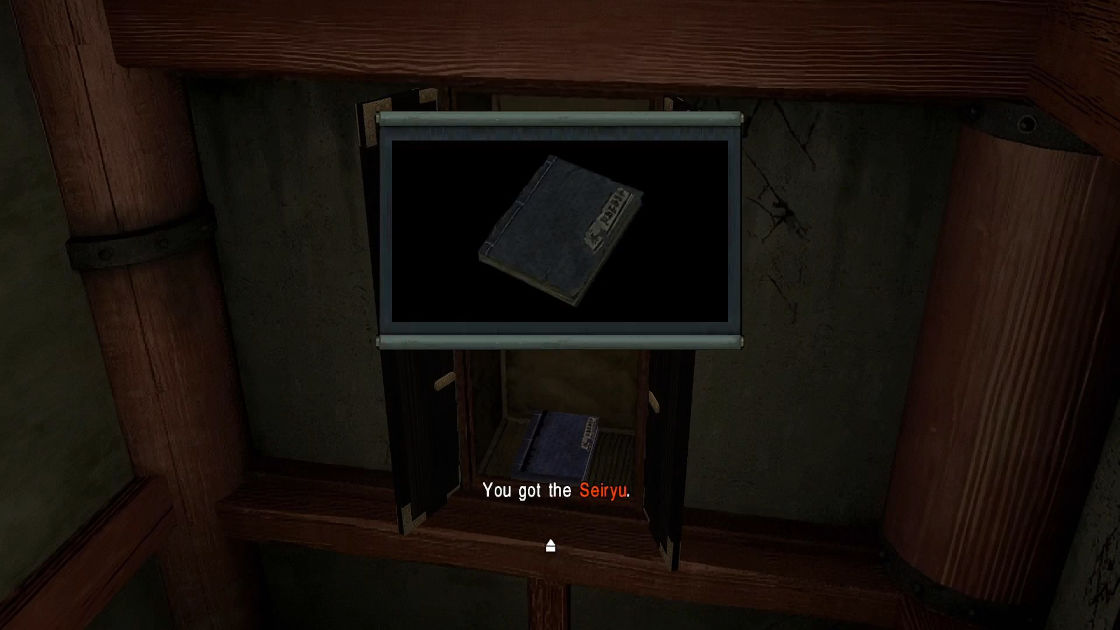
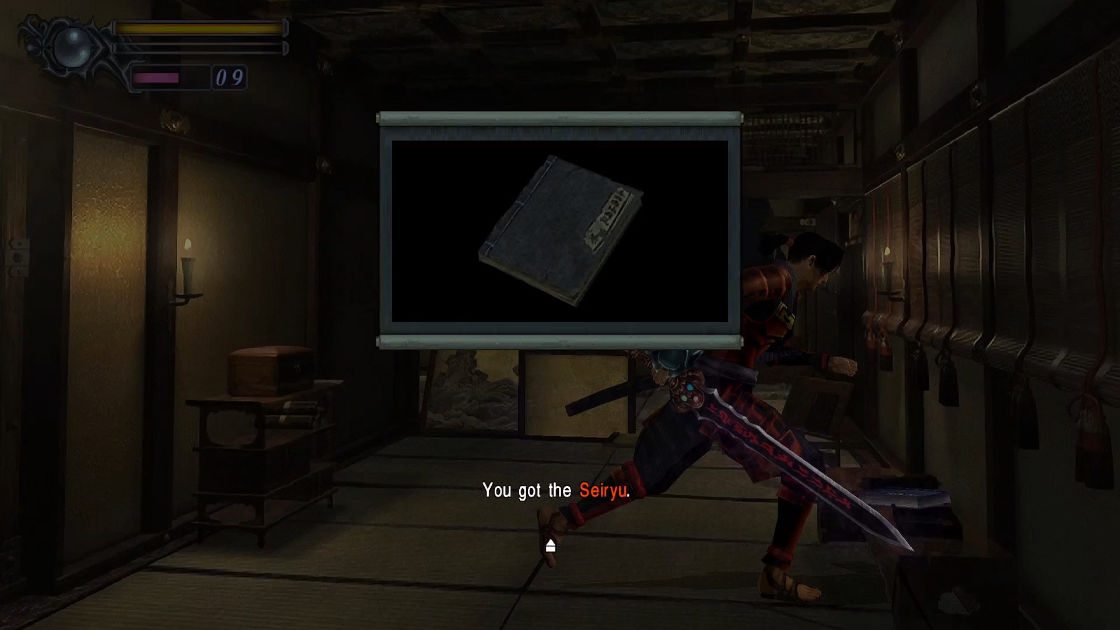
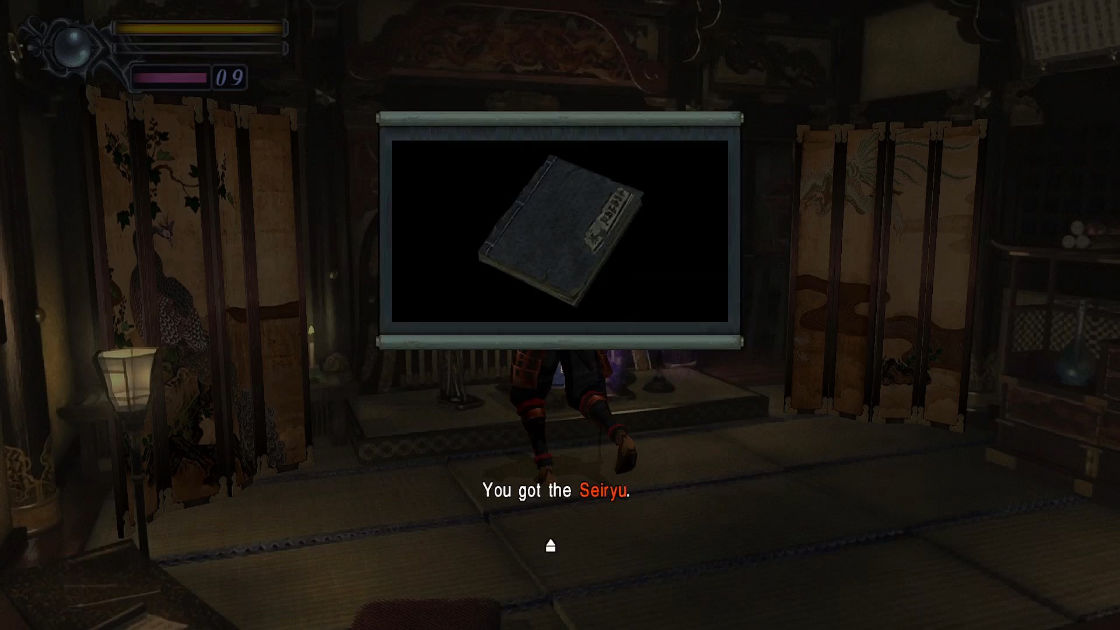
Now turn left you will reach a dead-end with another small door on the wall, it is closed this time so open it to get Seiryu.
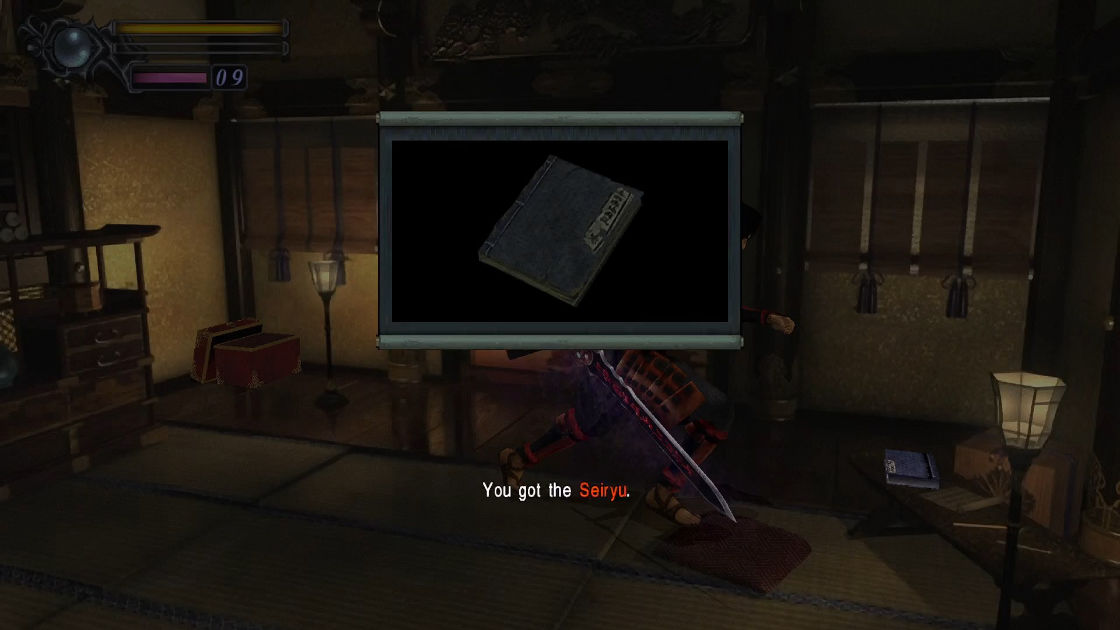
- File: Seiryu
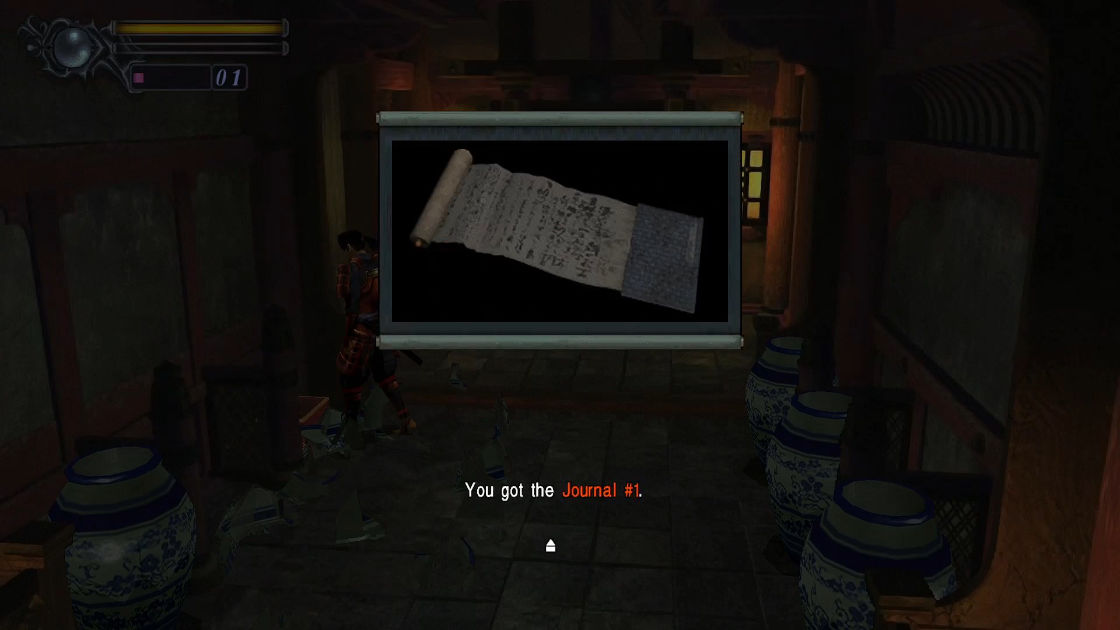
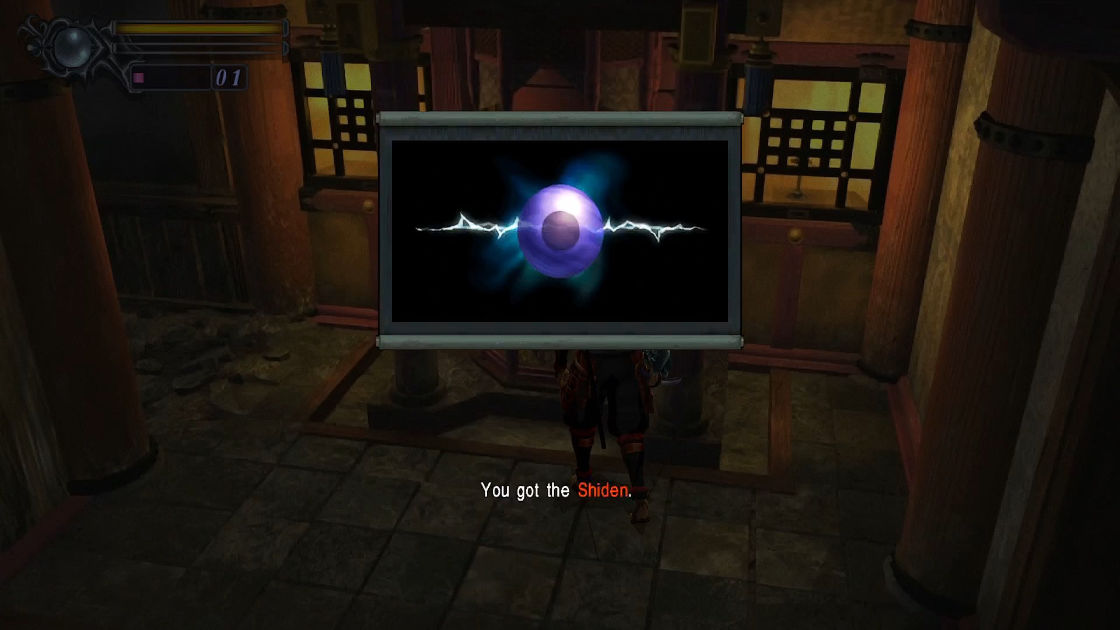
Go to the opposite side, you will find a door, enter it. Inside this room, there are 6 blue jars, destroy the one at the top-left to reveal a treasure box. Next, pick up the Thunder Orb (Shiden) in the middle.
- File: Journal #1
- Equipment: Raizan (Shiden)
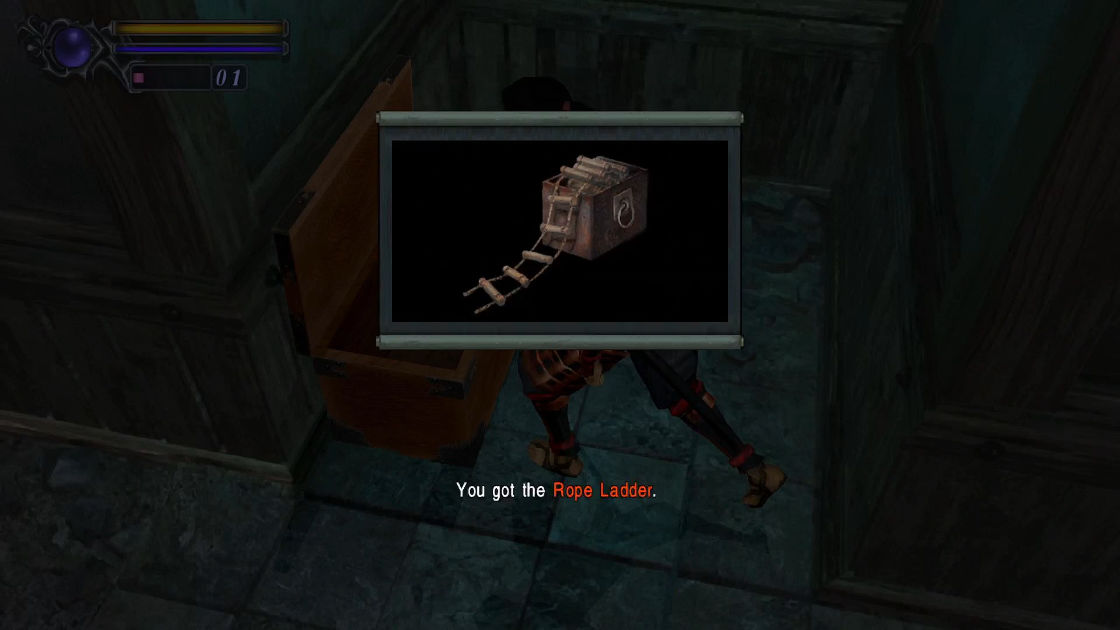
Continue the hallway to your left from where you picked up Thunder Orb, you’ll notice a large trick box.
- Item: Rope Ladder (Solution: left, right, left)
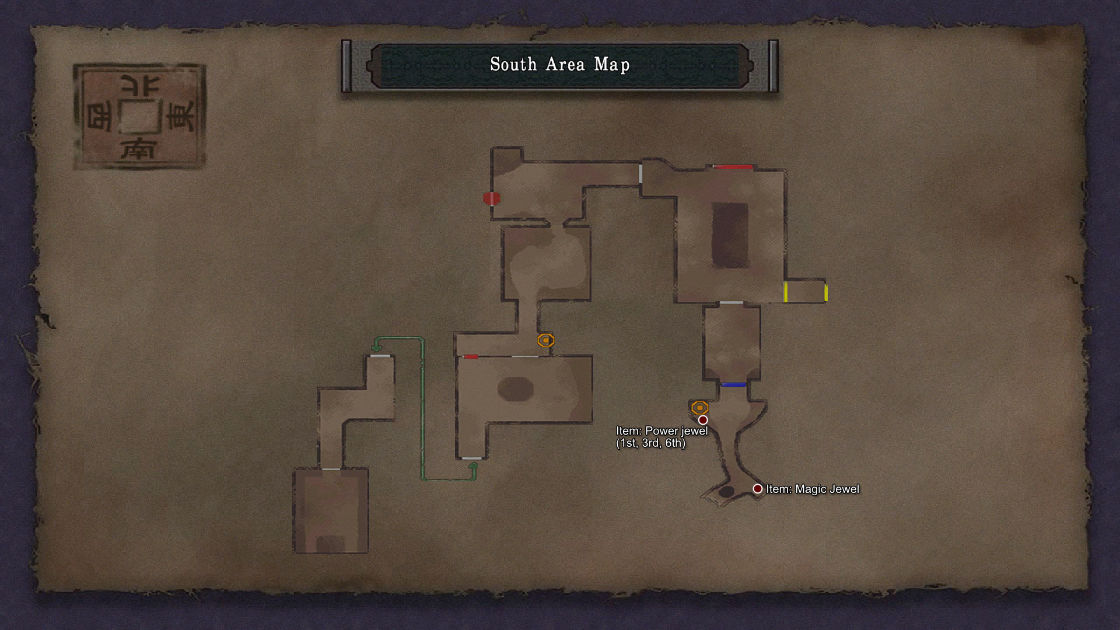
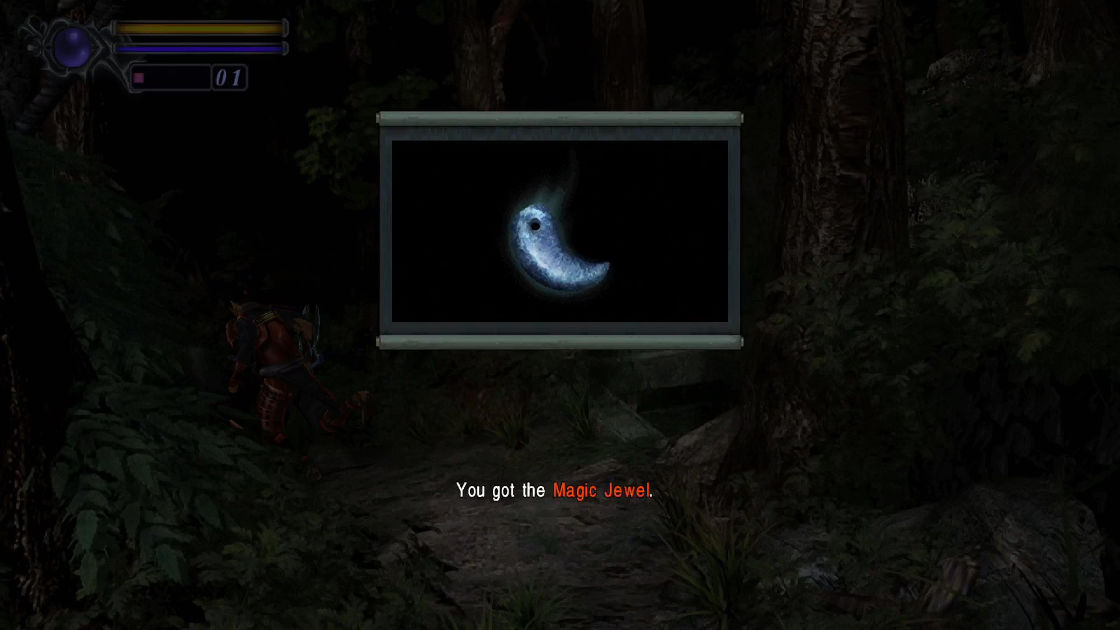
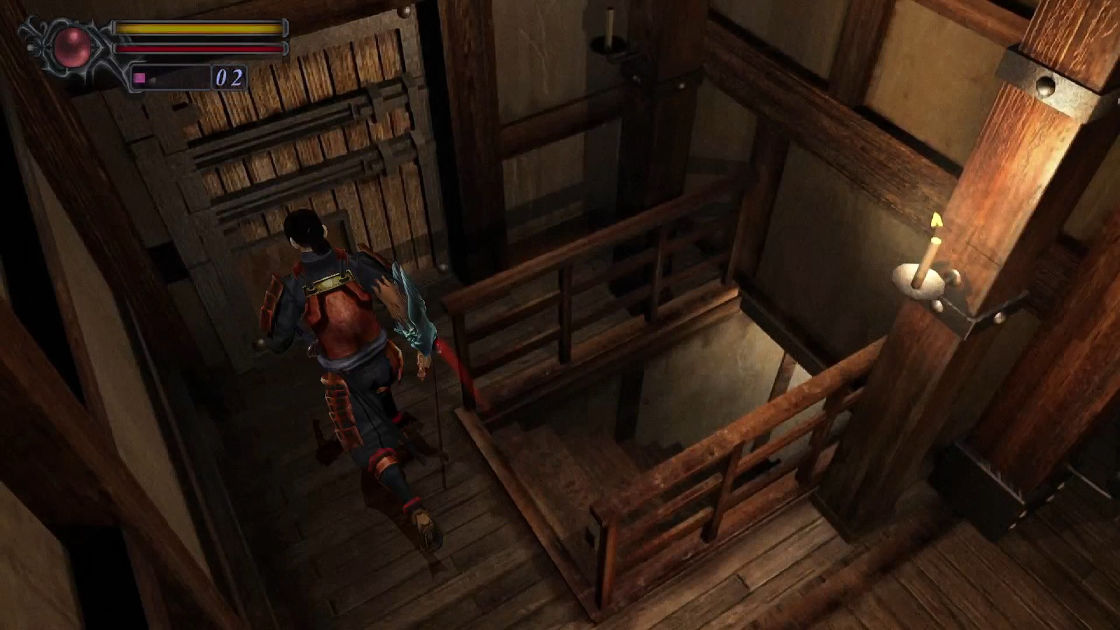
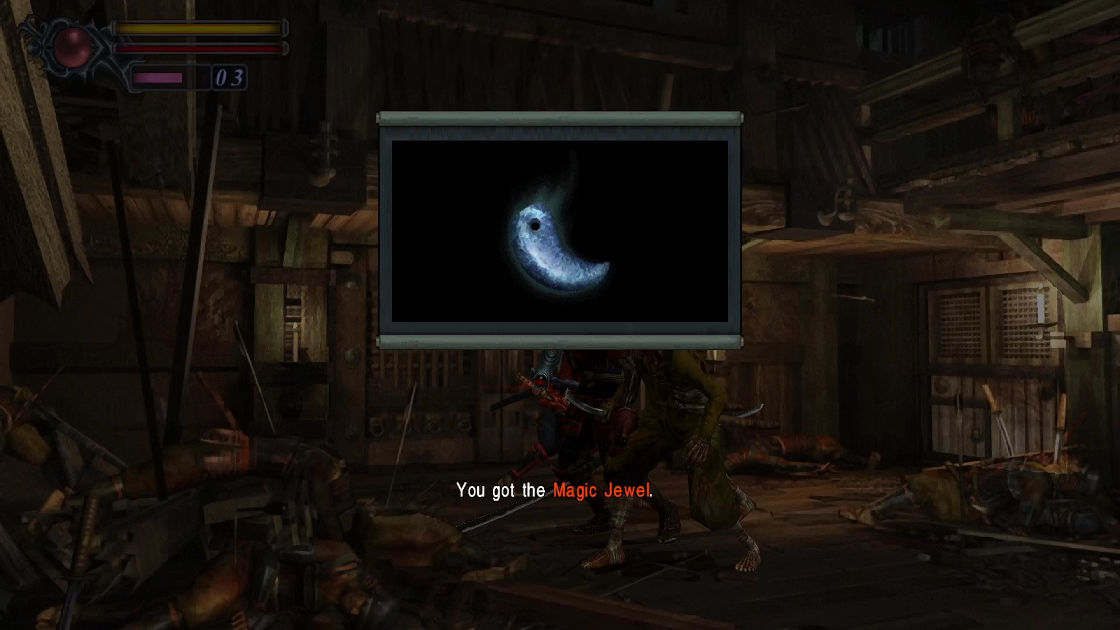
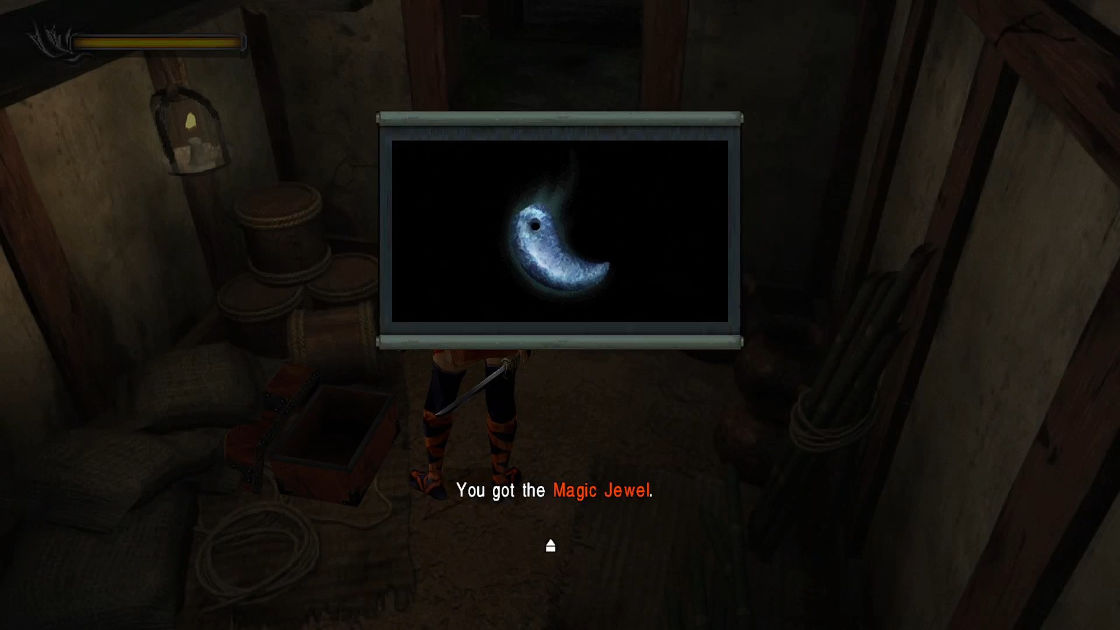
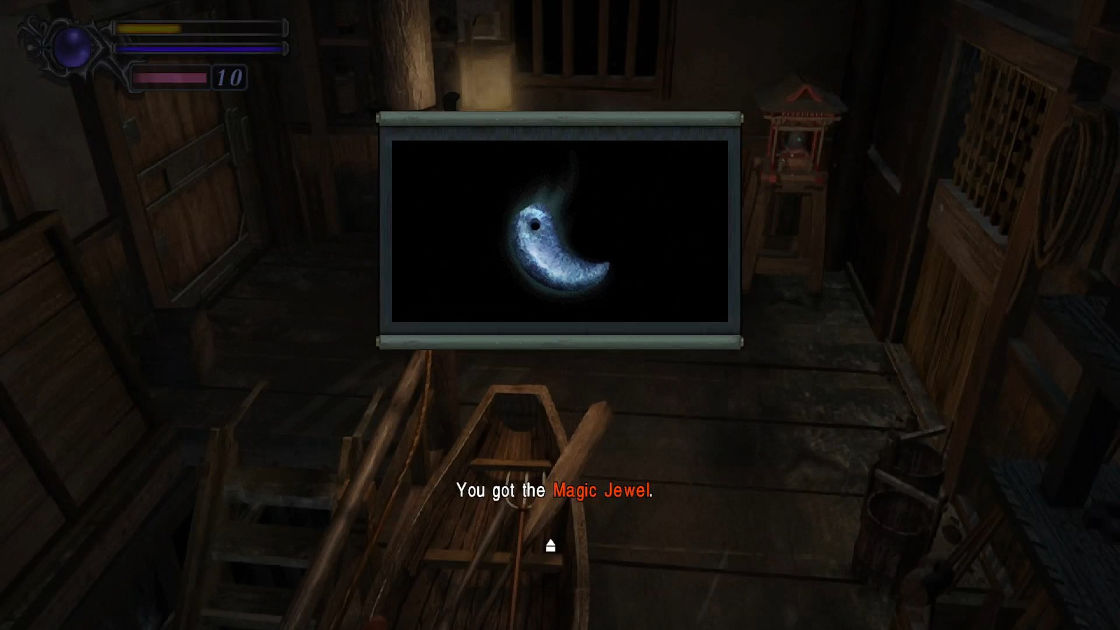
After you get Rope Ladder, continue upstairs. Immediately after you get out of the underground, you should notice a red box in front of Samanosuke. It contains Magic Jewel and you should use it immediately unless you are doing no upgrade achievement.
- Item: Magic Jewel
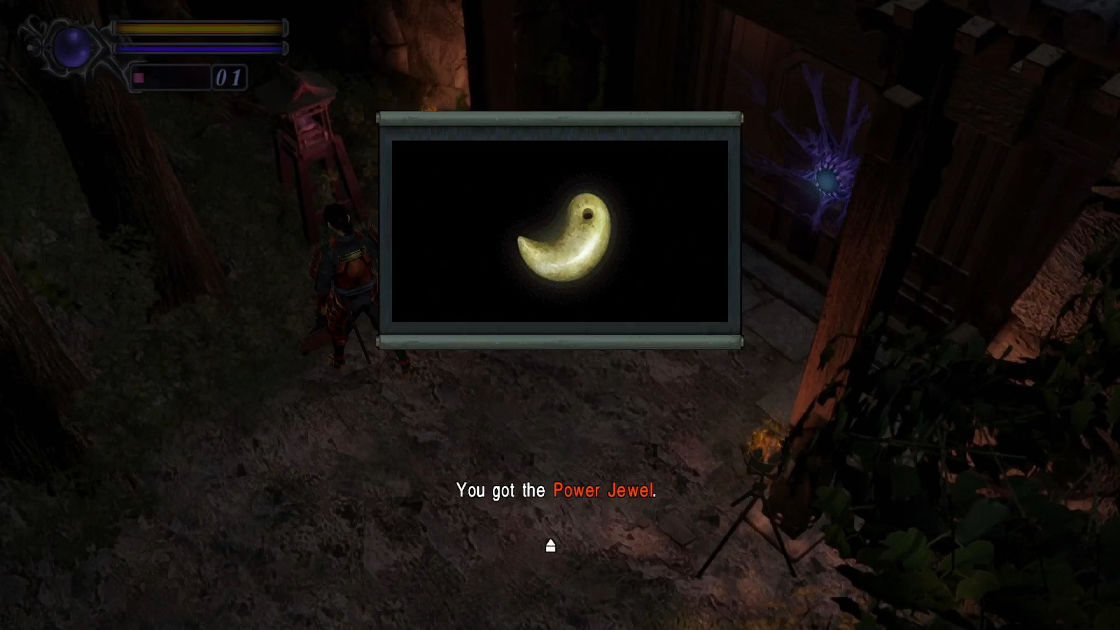
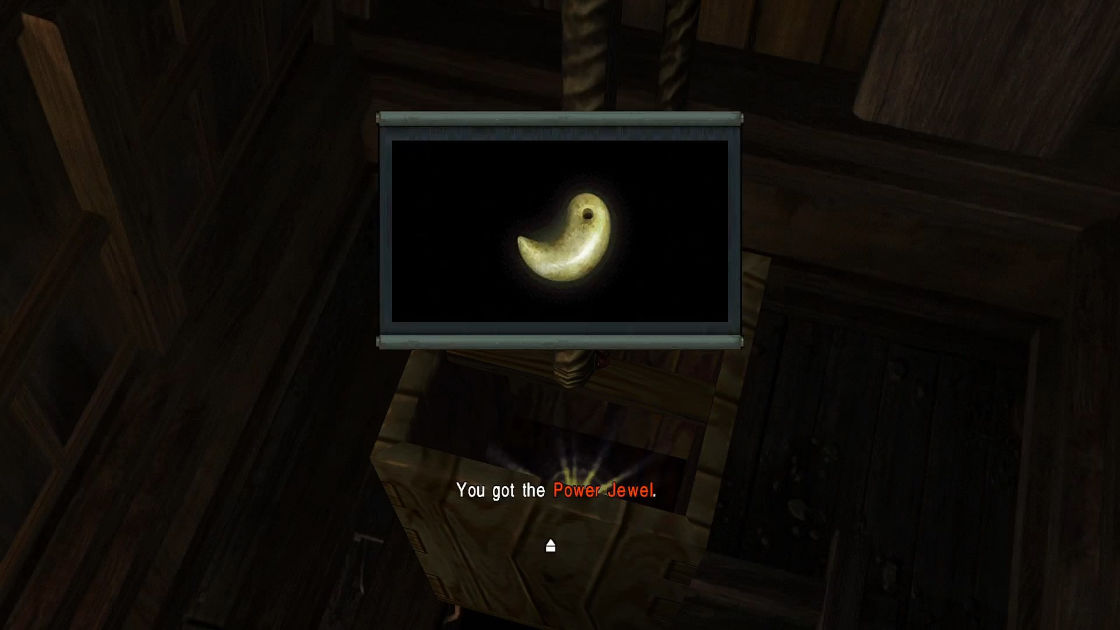
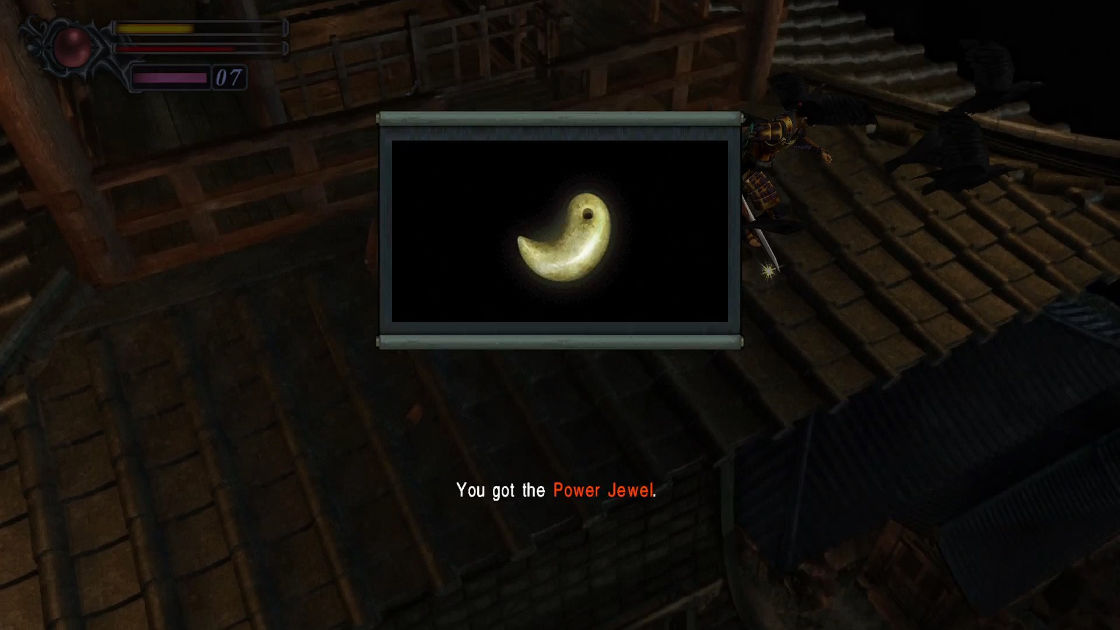
Now follow the path you’ll a puzzle box and Magic Mirror on the left side. The box contains Power Jewel (use it immediately to increase your health bar), then save the game.
- Item: Power jewel (Solution: 1st option, 3rd option, 6th option)
Part 2: The Keep
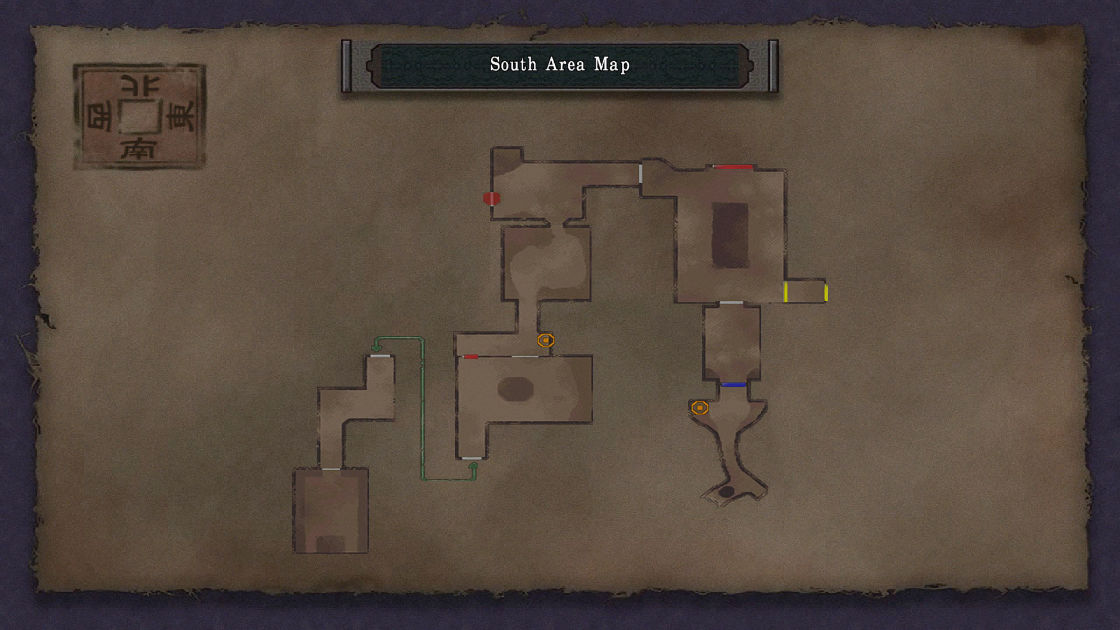
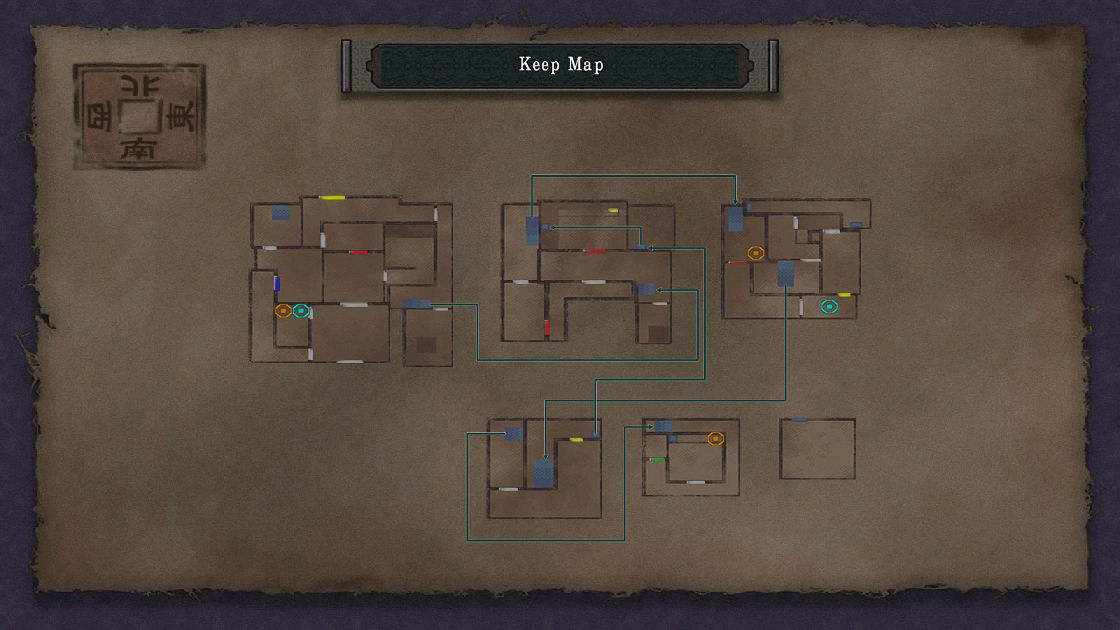
Consult these maps for part 2:
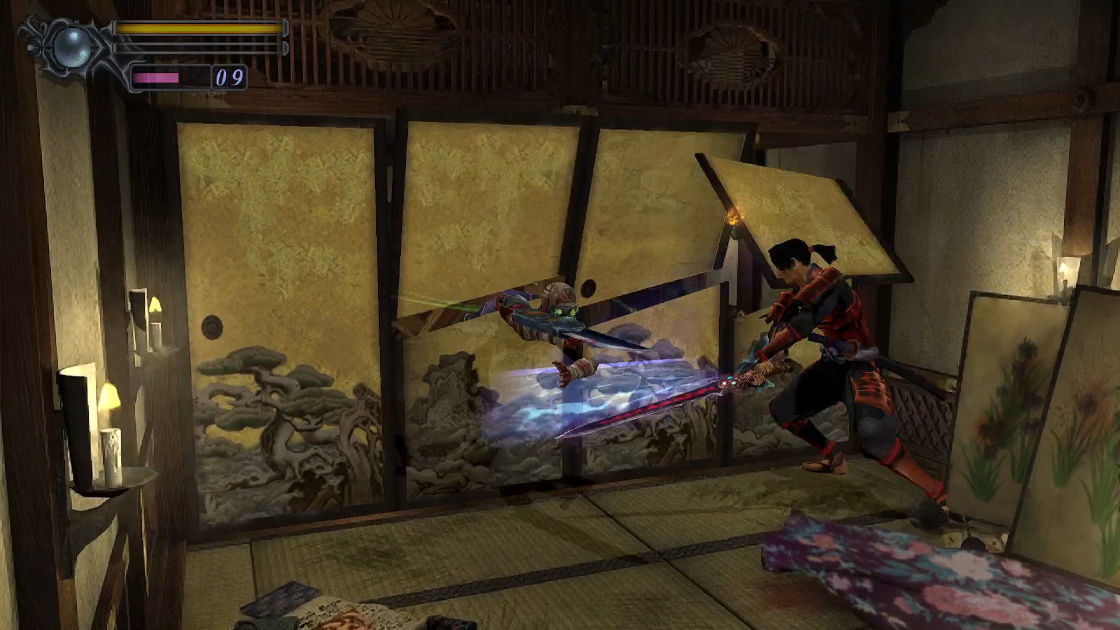
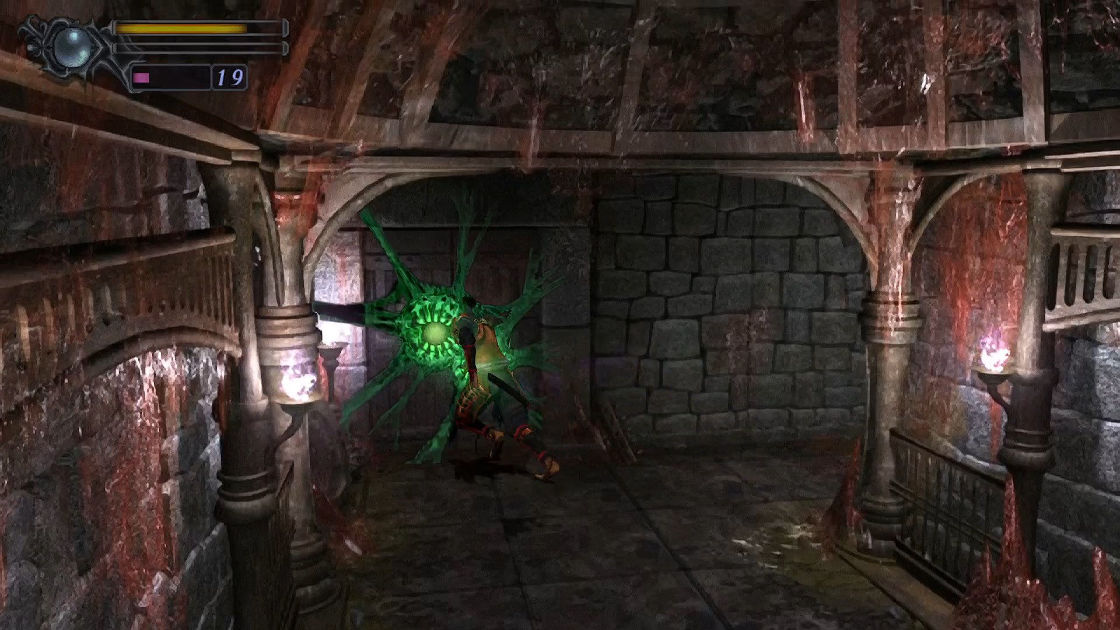
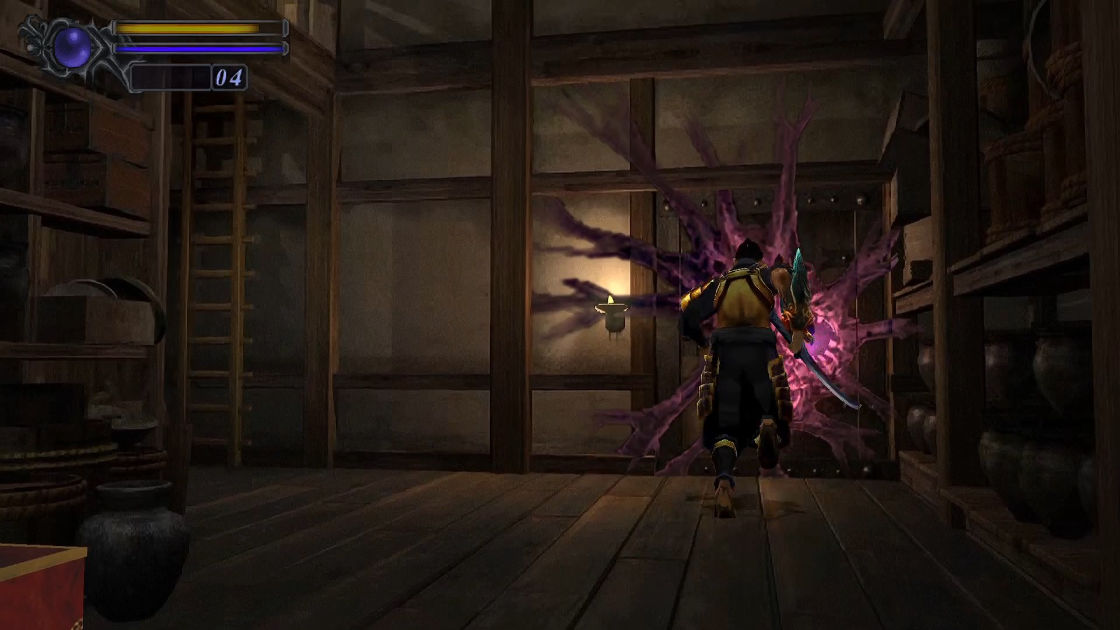
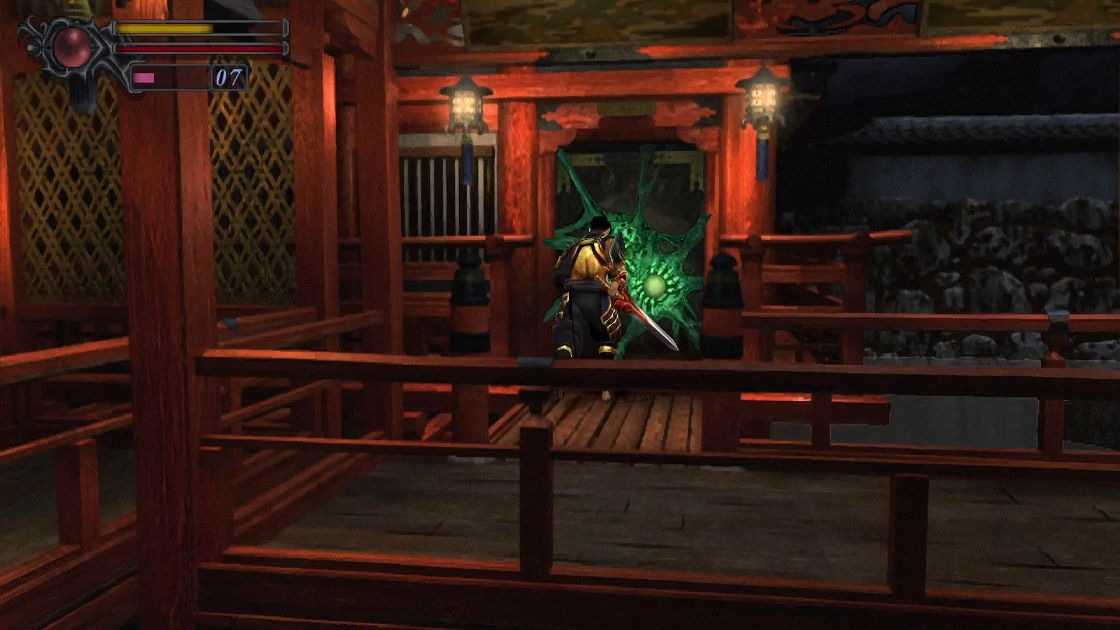
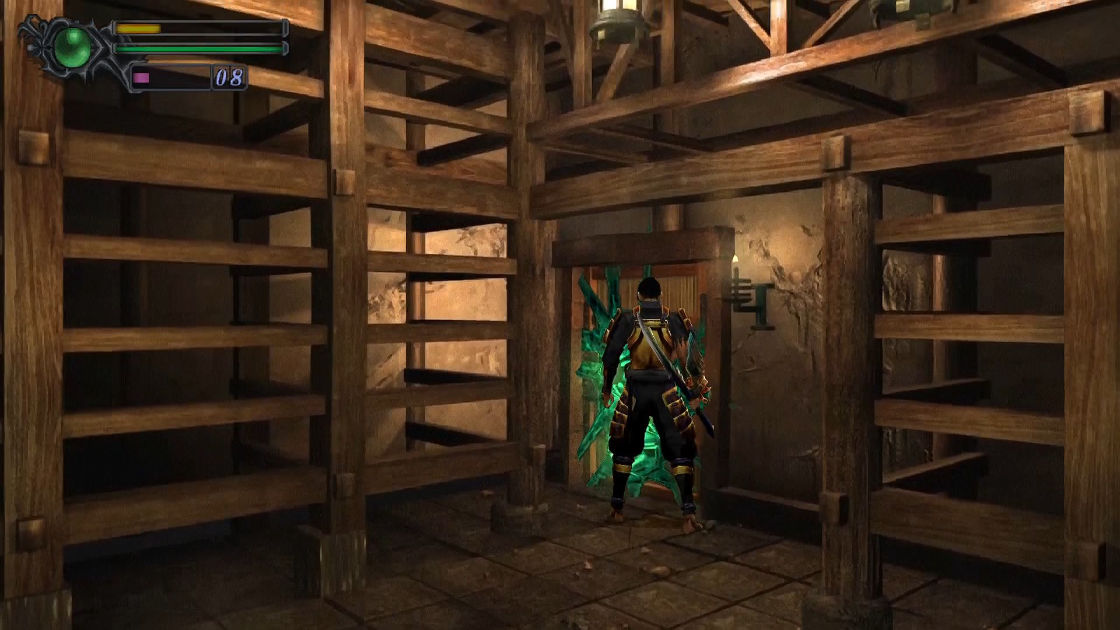
Examine the door with Raizan equipped. You’ll see all those weird slimes sticking to a door throughout the game. They are different in colors and numbers of the crystals. The colors represent the power of orbs (blue = thunder, red = fire, green = wind) and the number crystals represent the level of the orbs 1, 2, and 3. You can level up the orbs using Magic Mirror with red souls that you absorbs when killing monsters (note that the level of orbs and weapons are two different things). What you have to do to unseal it is to equip with a specific weapon depending on their color and met required level.
kill all monsters in this area, then open the box that is half hidden before a standing wood.
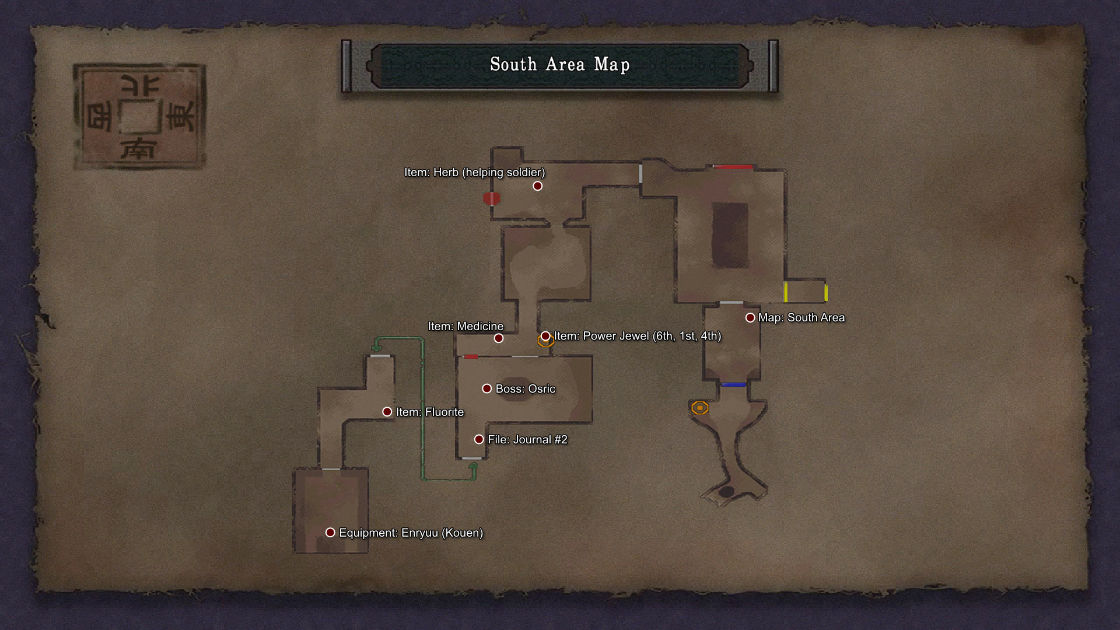
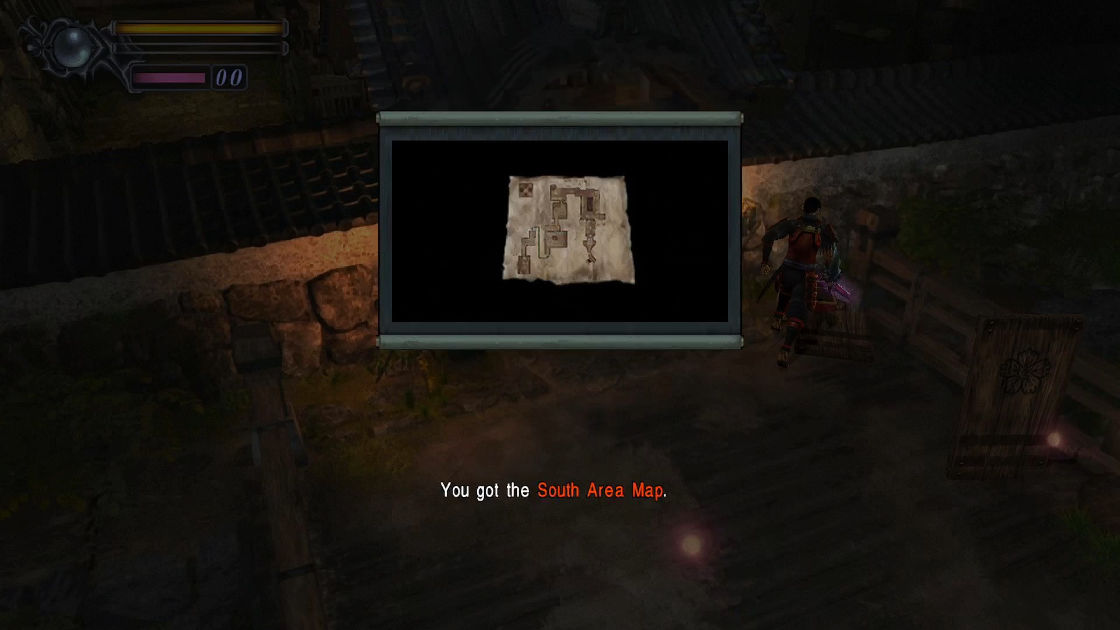
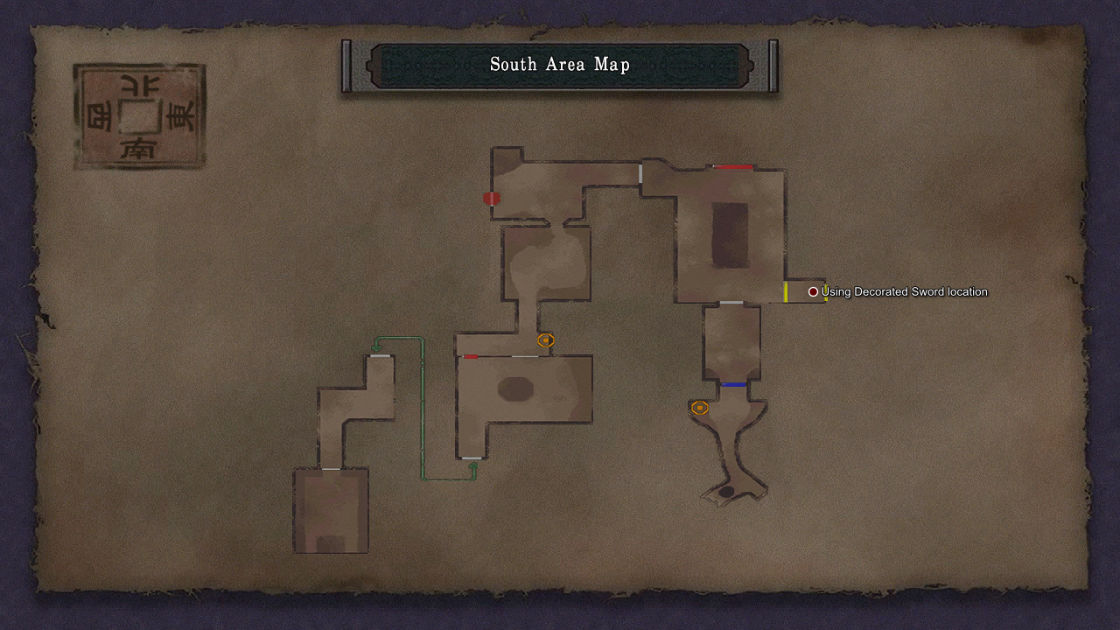
- Map: South Area Map
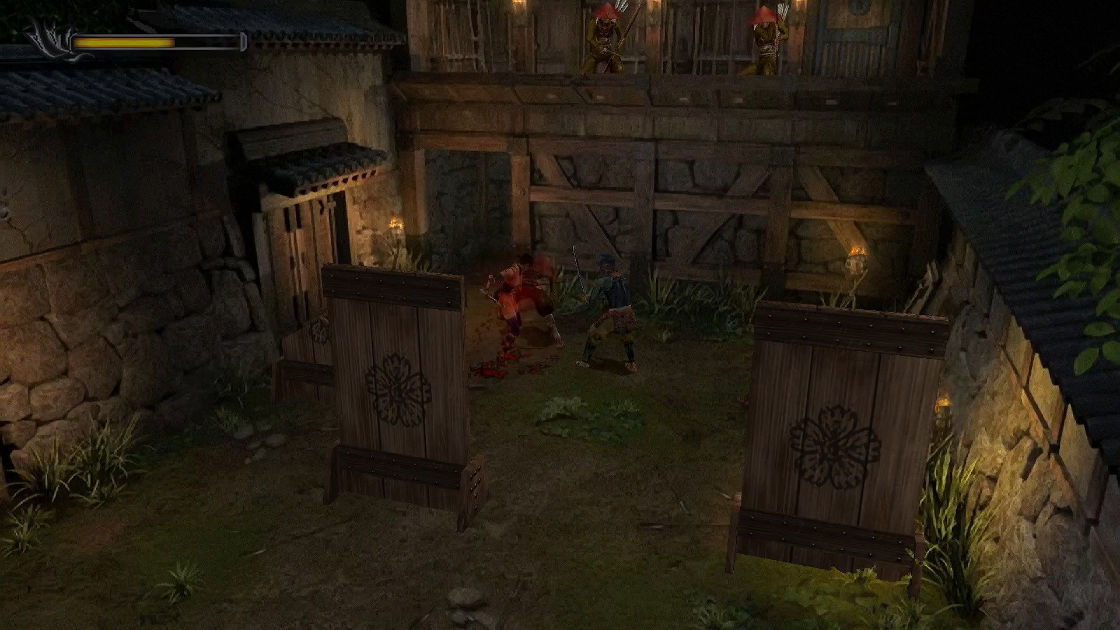
Proceed to the next area. This courtyard has a large platform in the center. From where you appear, turn left and walk a few screens, you will see a giant axe monster with a ghost flying, kill them and enter the door he guarded (I will call it green door). The one in the middle is sealed with level-1 red crystal, so you will need a fire orb first. After you entered the door, immediately rush to save a soldier by killing 3 Zombie Soldiers and he will reward you with an Herb.
- Item: Herb
Ignore the door in front of you for now, do you see a broken wall? walk to it and use Robe Ladder to get down. Keep walking until you see a Magic Mirror and a trick box.
- Item: Power Jewel (Solution: 6th, 1st, 4th)
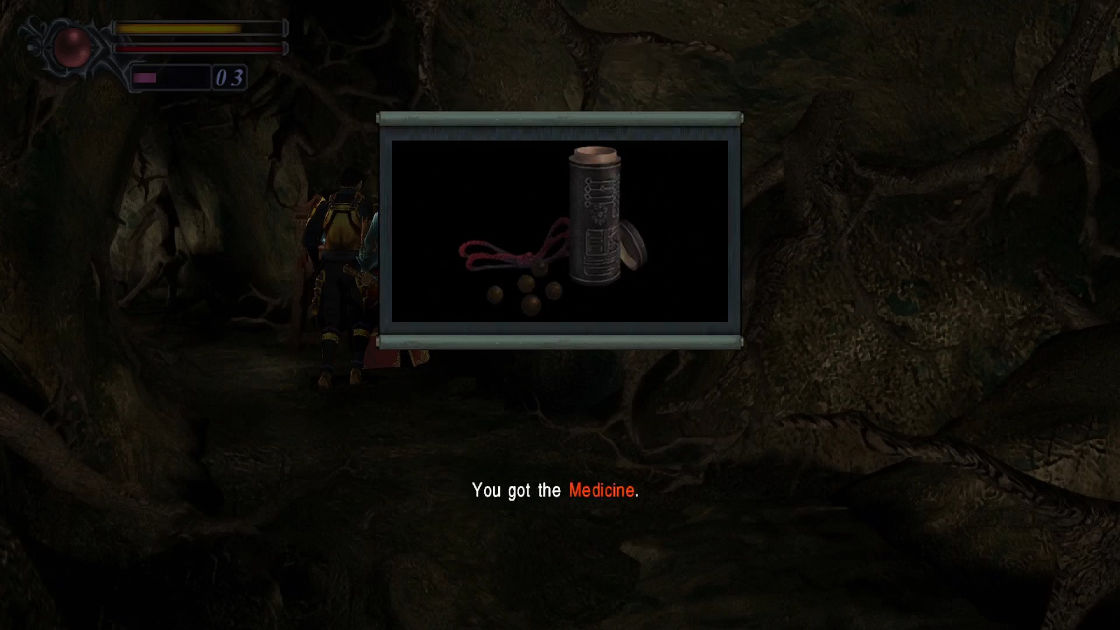
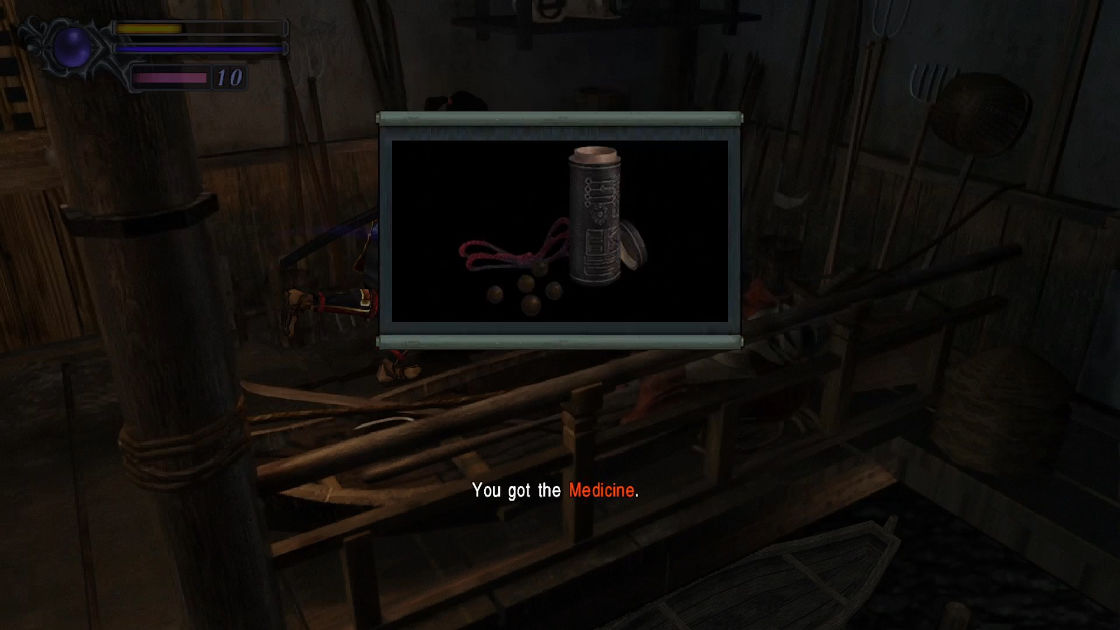
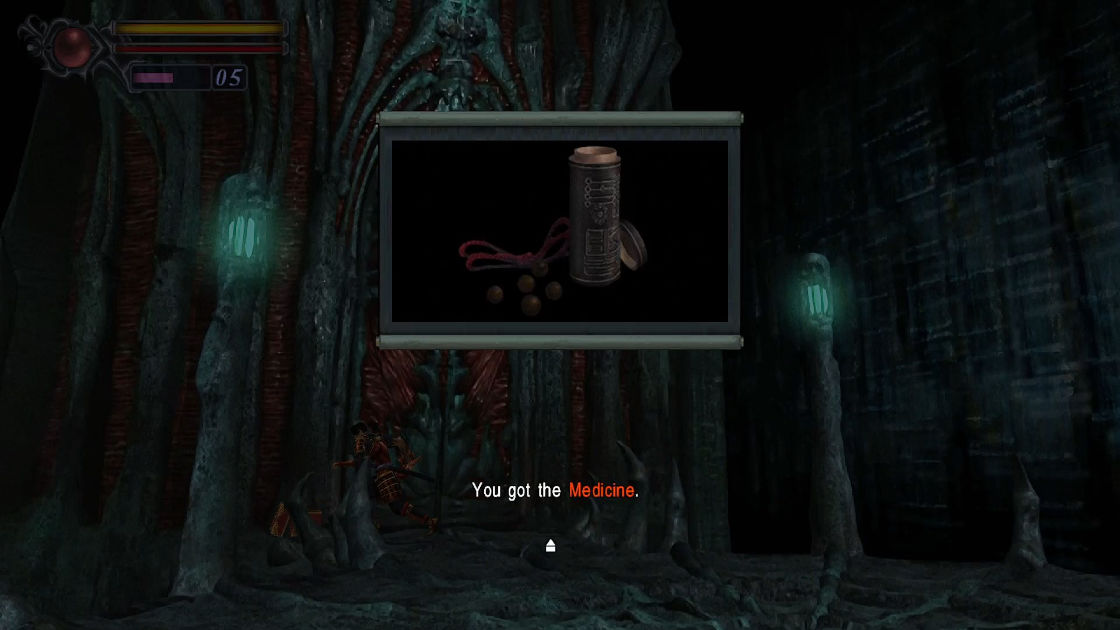
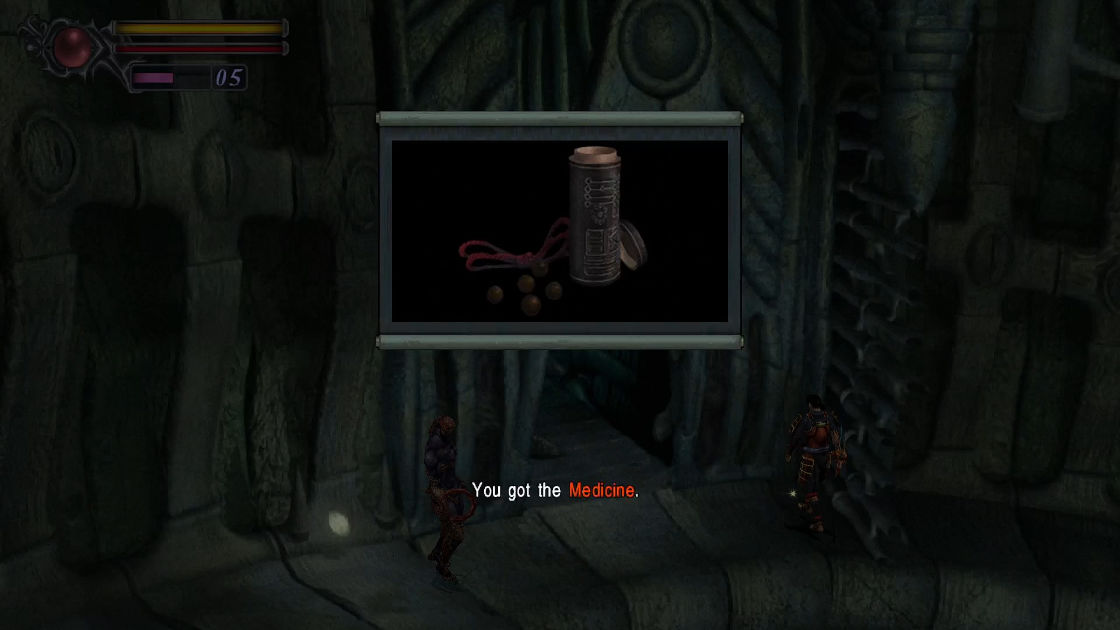
Do not enter the door yet, turn around and you’ll see a huge wooden crate, destroy it to reveal a box containing Medicine.
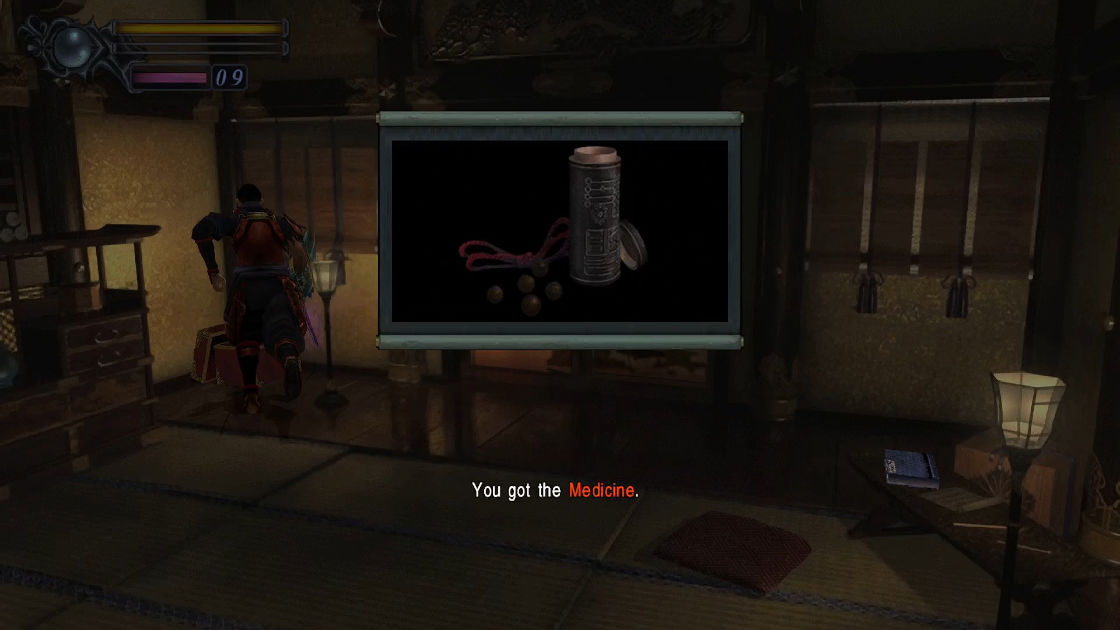
- Item: Medicine
Save the game before you enter.
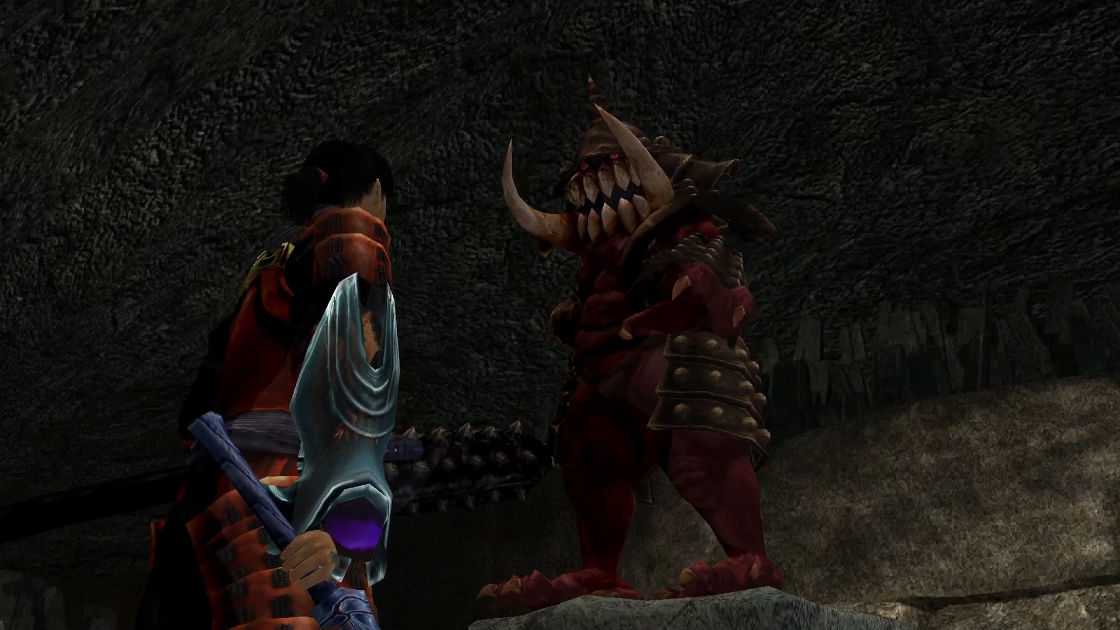
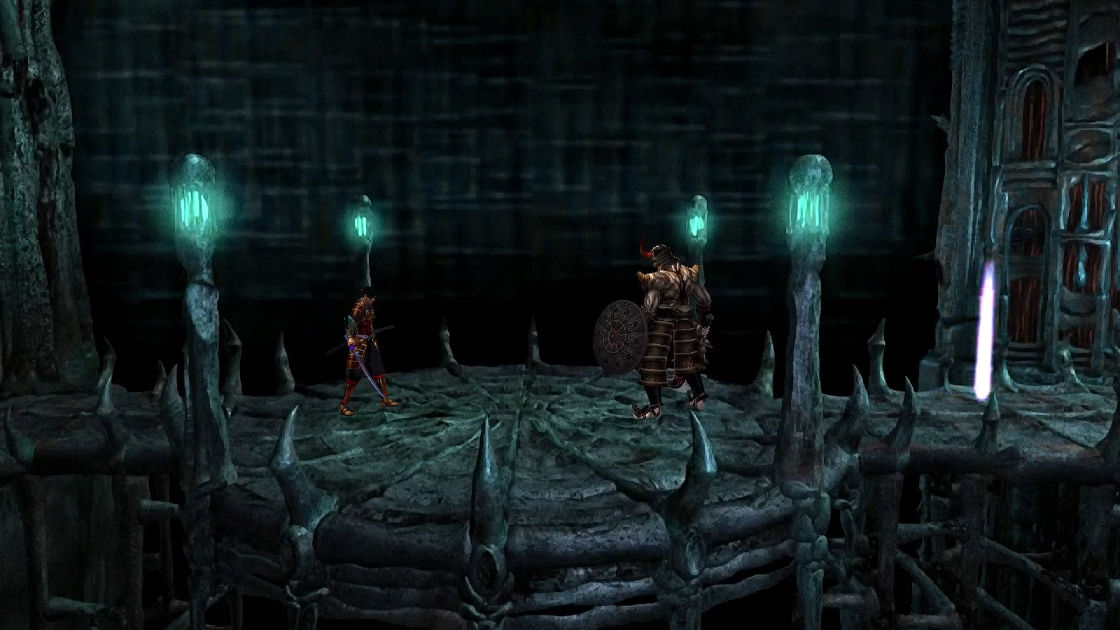
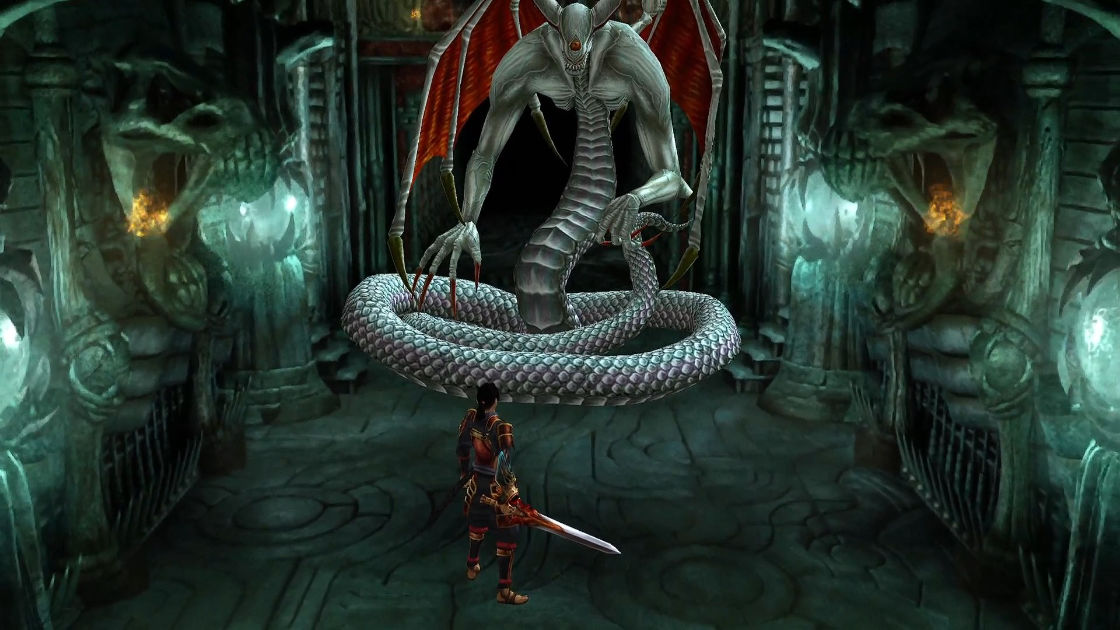
Boss: Osric
He is not very hard to fight, simply walking around and hit him after his last attack. He is slow so you have time to run and hit him.
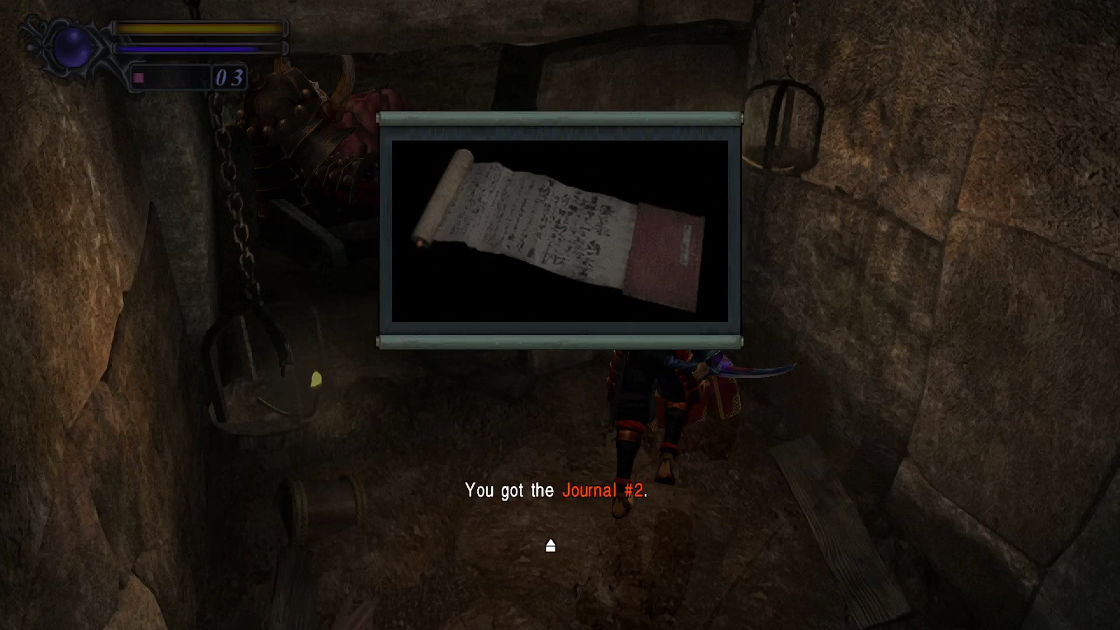
After killing the boss, head into the hallway that have opened when he collapsed, there is a box contains the journal file.
- File: Journal #2
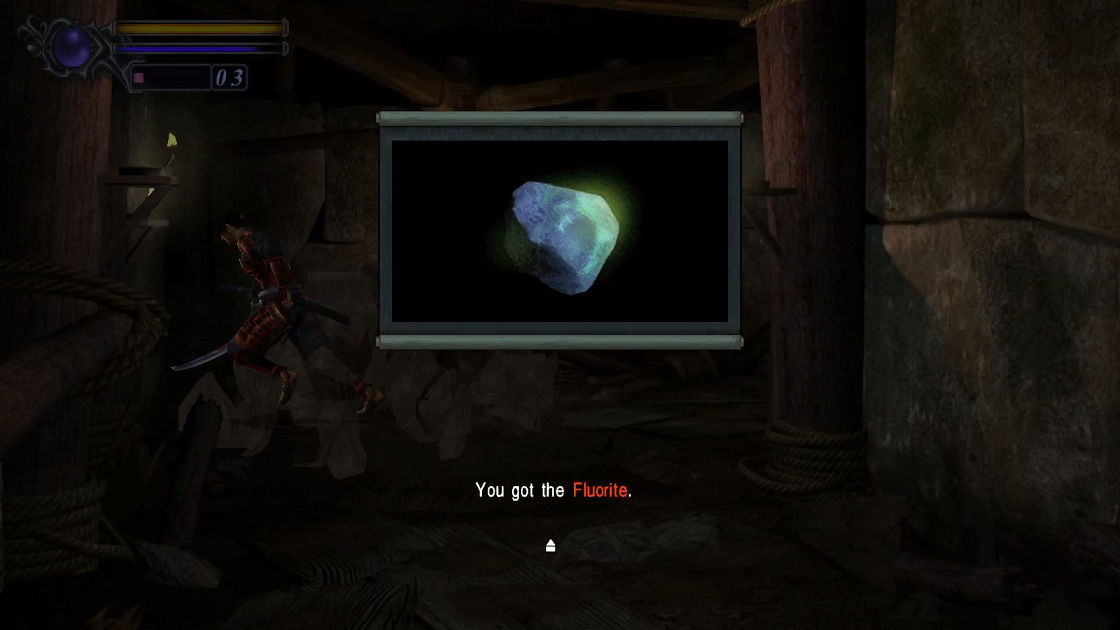
Enter the iron door and walk a few steps you will see 3 jars, destroy them and examine the ground.
- Item: Fluorite
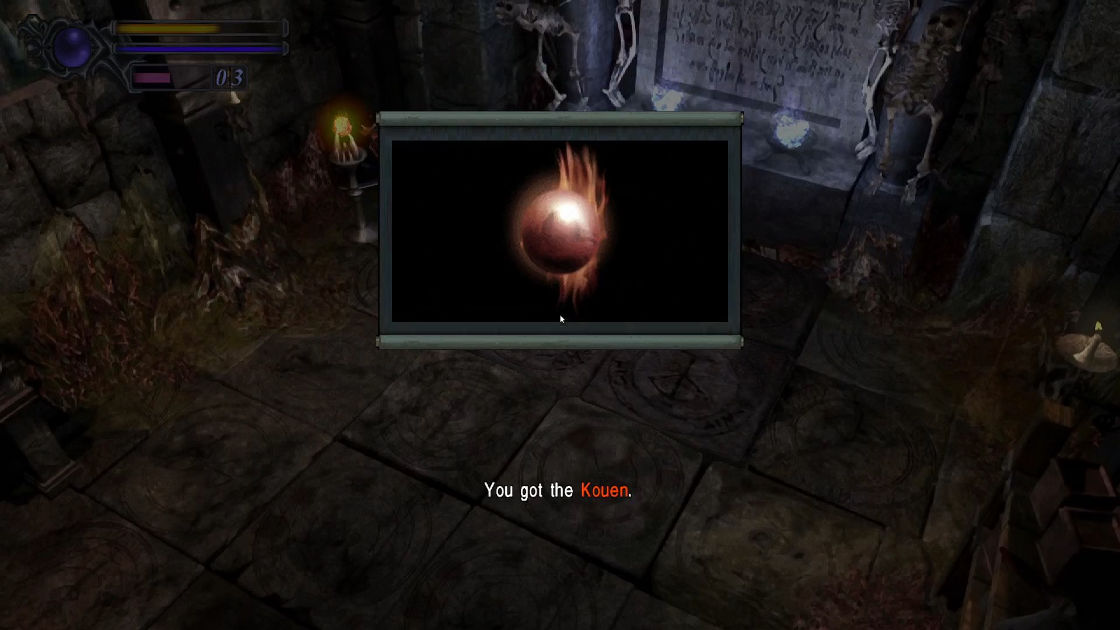
Proceed to the next door, watch a scene, then kill Reynaldo. After that, pick up the fire orb. It will grand you a new weapon Enryuu, the second strongest weapon but it is heavy and slow to wield.
- Equipment: Enryuu (Kouen)
Note: I recommend you prioritize enhancing orbs first in this order because they are required to progress the storyline.
- Fire orb level 2
- Thunder orb level 2
- Wind orb level 2
- Thunder orb level 3
- Wind orb level 3
- Fire orb level 3
Then, you can start enhancing swords, bullets, arrows, and medicines last.
Now backtrack to Osric room, kill a bunch floating ghosts, then exit through the magic sealed door. This time you have to equip Enryuu to open it. Save if needed, then go to the courtyard and enter the main door with Enryuu.
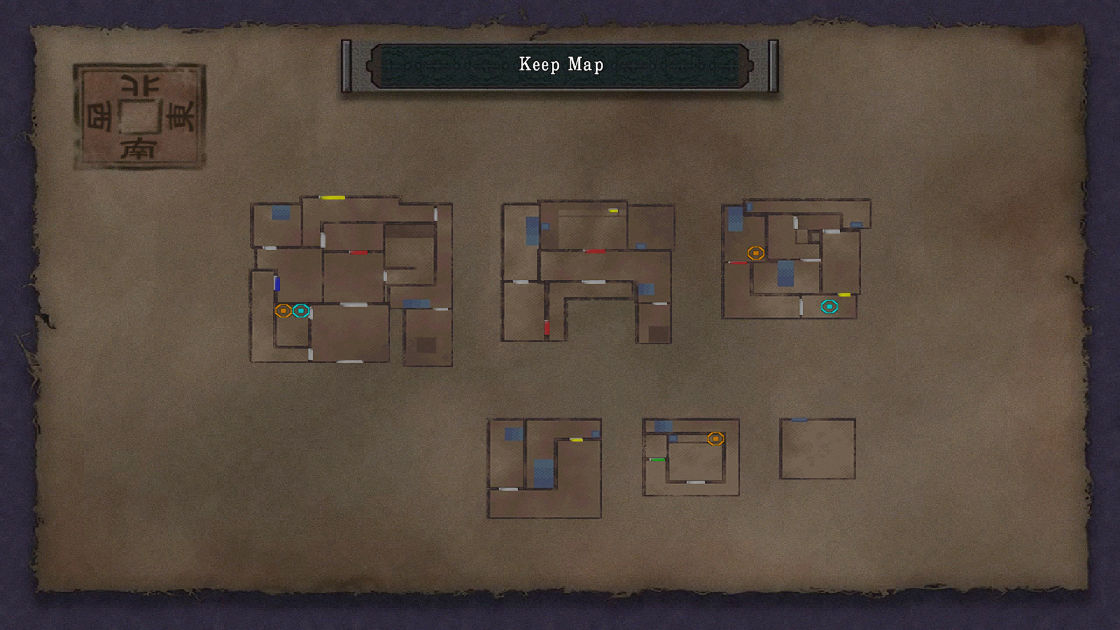
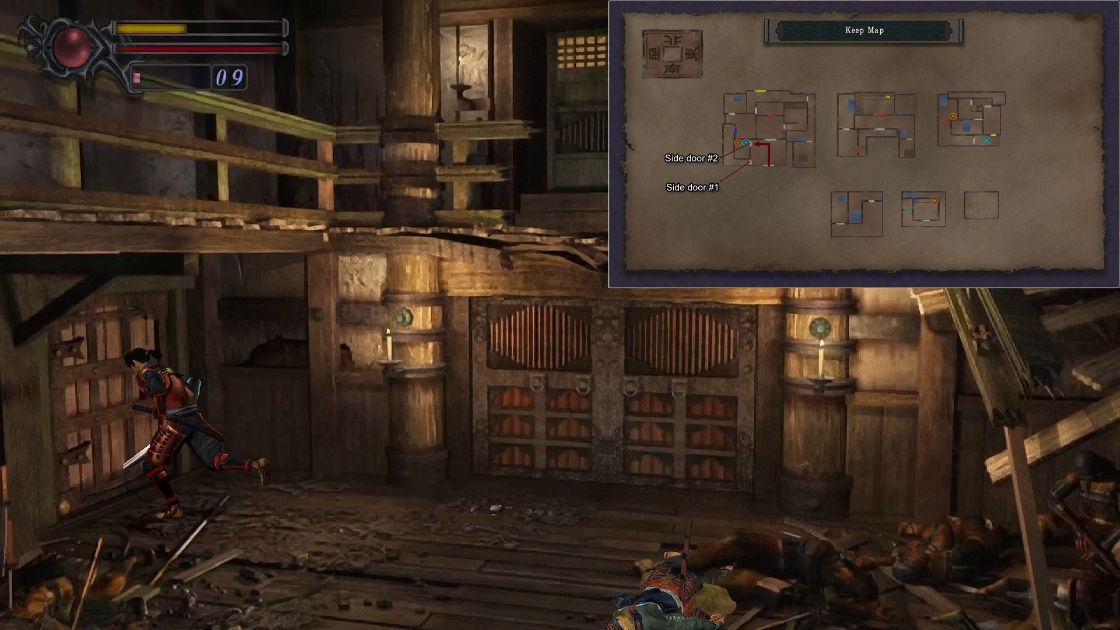
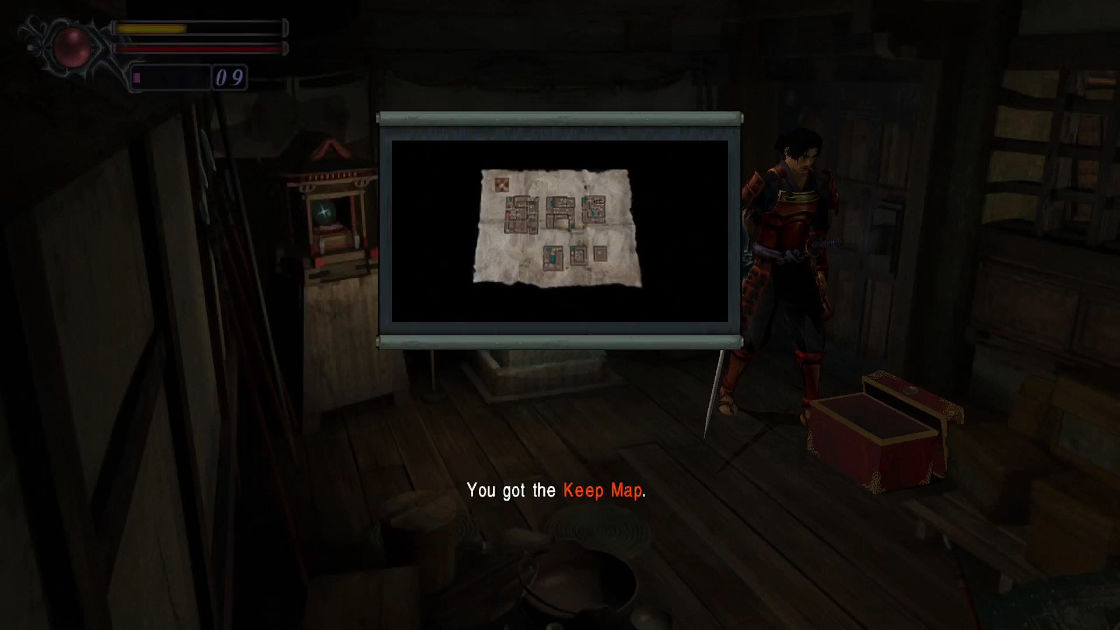
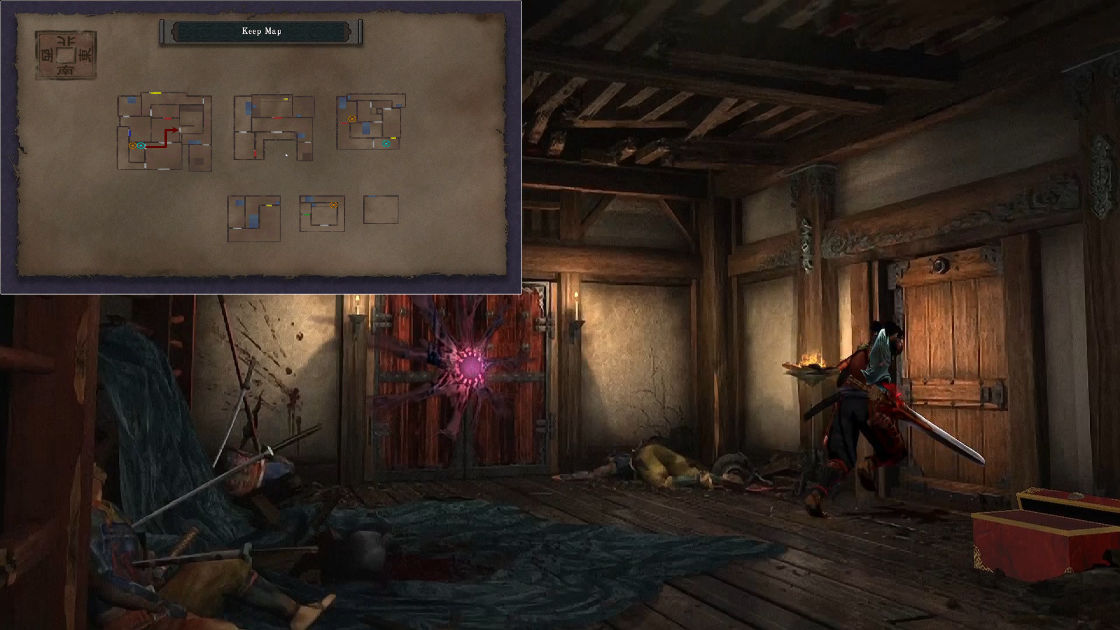
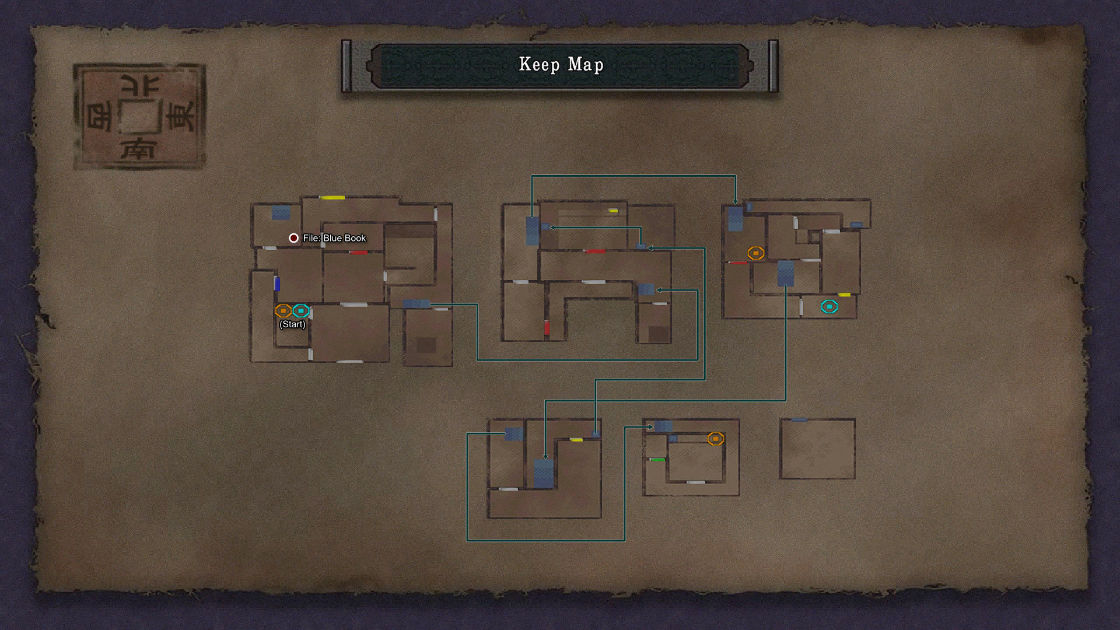
Now you are in the Keep, there are 3 doors in the room, 2 side doors on the left and one main. From your left, enter the second side door you will find a Magic Mirror and a treasure box; you may also find a cocoon man, don’t worry about him.
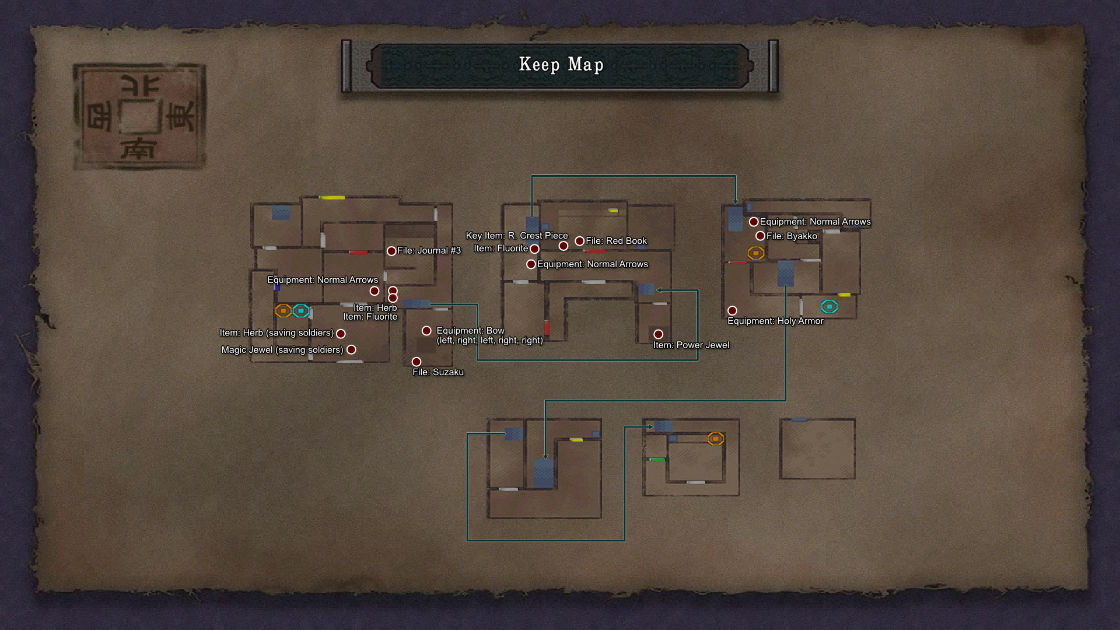
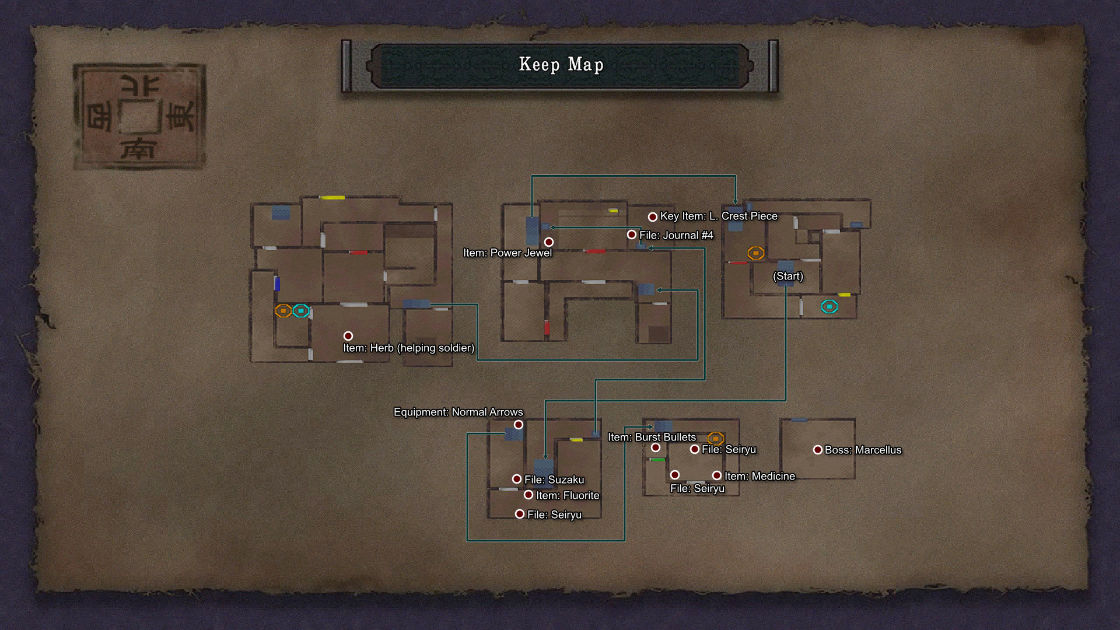
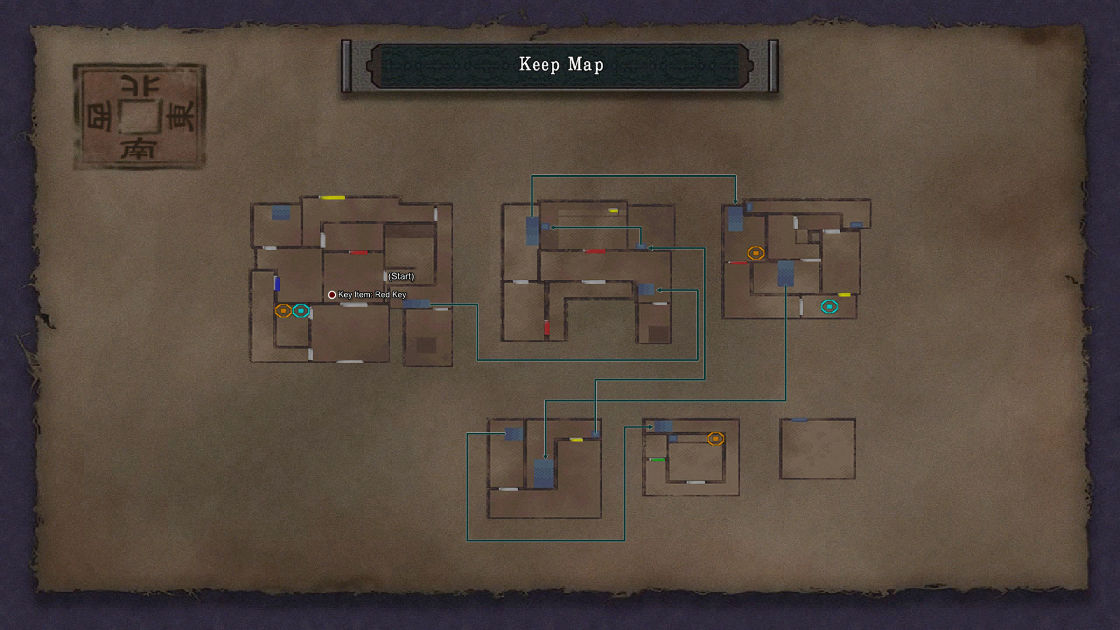
- Map: Keep Map
Part 3: Trap, Trap, Trap!
Consult this map for part 3:
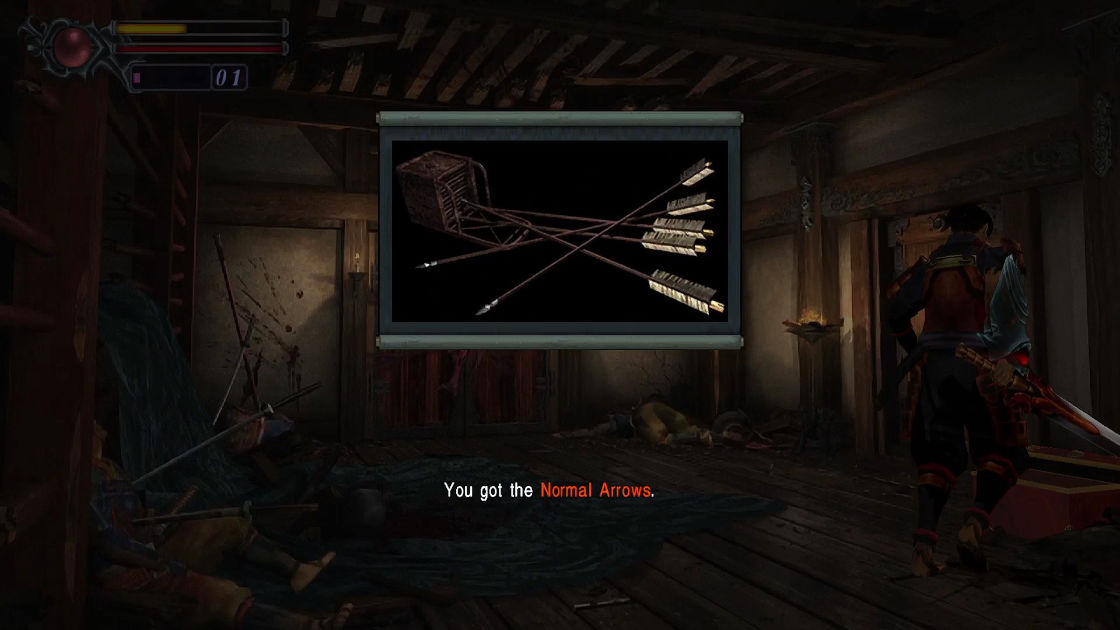
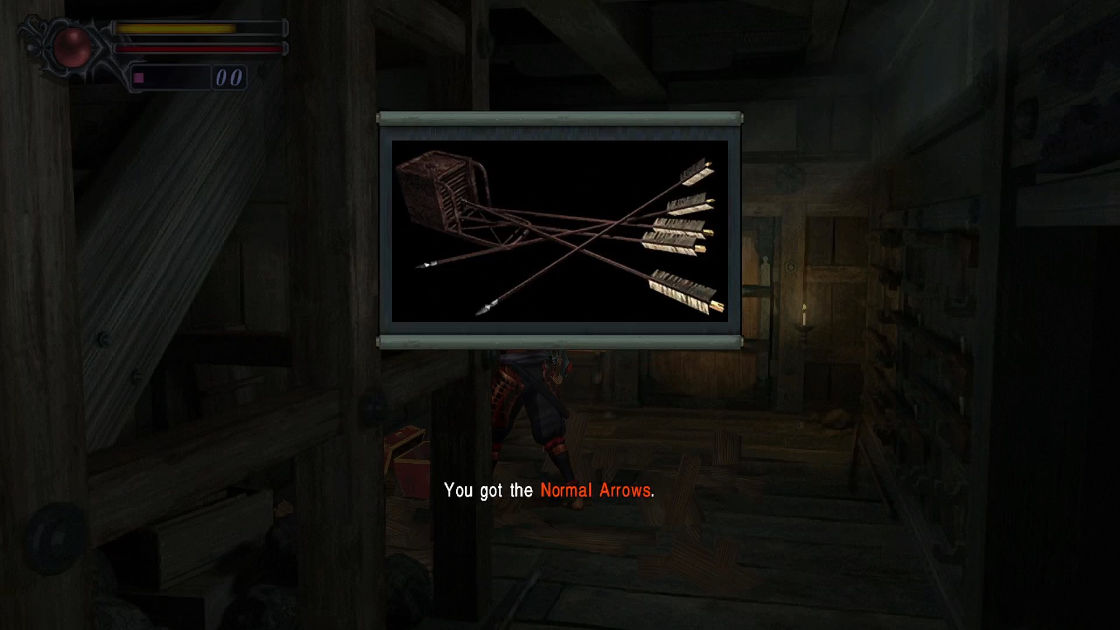
Now exit and enter the main door and watch a cutscene. During the cutscene, you can see a treasure box, so pick up it after it finishes.
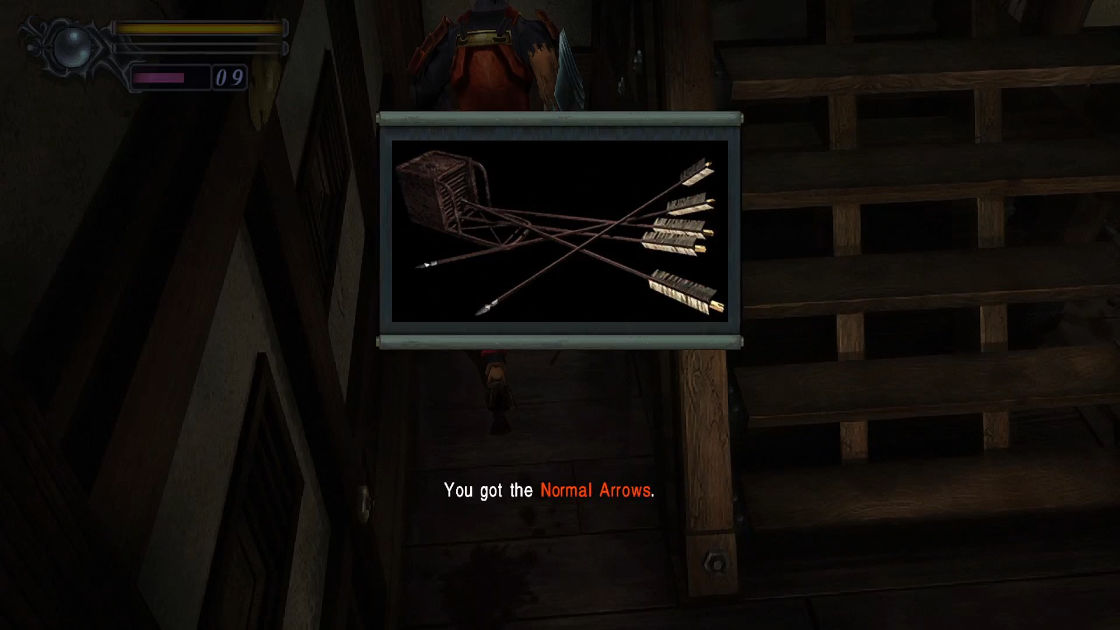
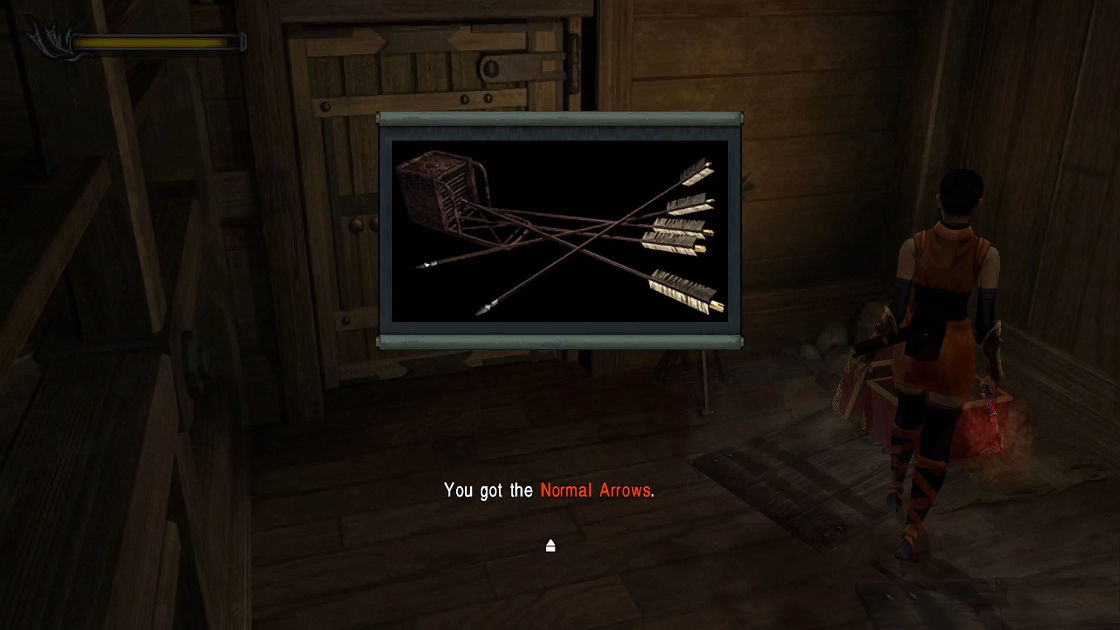
- Equipment: Normal Arrows
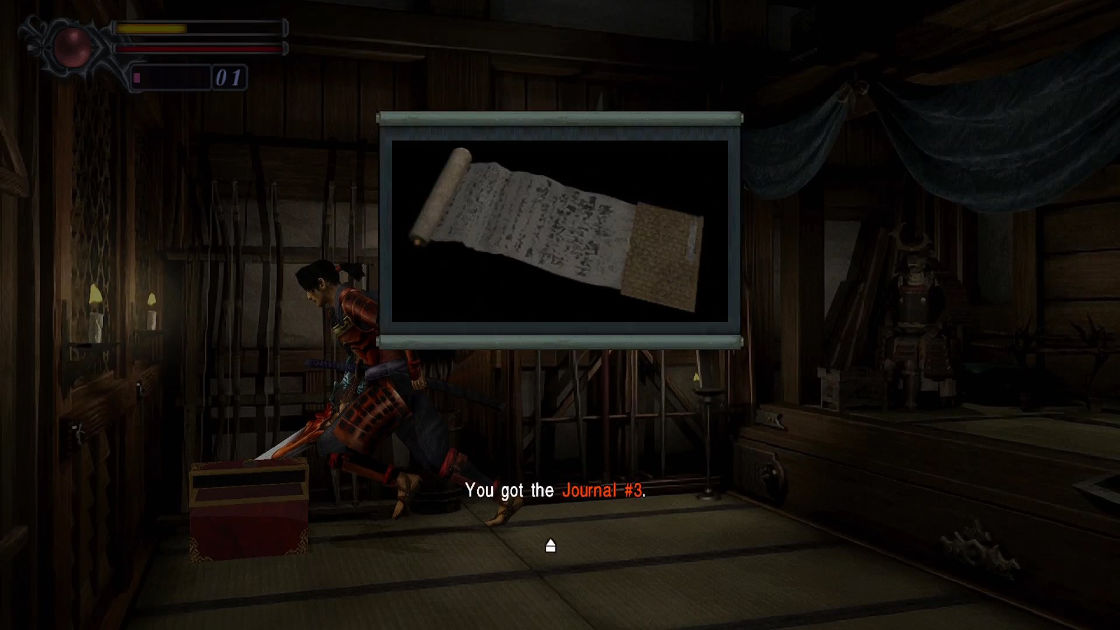
Now that there are 2 more doors, go to the right first (the one without magic seal). Inside is a journal file.
- File: Journal #3
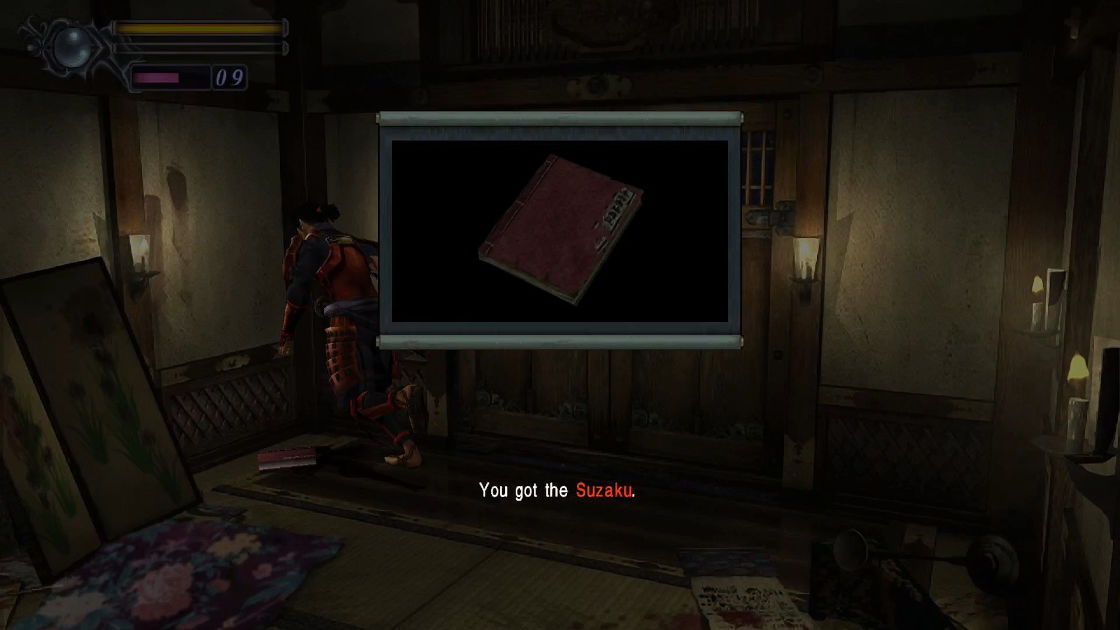
Get out of the room, this time enter the sealed door with Enryuu. Two Three-Eyes will welcome you in this room, so you know what to do. Proceed to the next area. Well, another cutscene with a kid and Kaede. Notice the main sealed by green demon plates? remember it for now. Continue the hallway and enter the wooden door. There are a few Zombie Warriors and a Three-Eyes, finish them. Beneath the staircase is a door leading to a small room. Inside is a big trick box (NOTE: DO NOT randomly attack in this room or you will cut a robe). Do not go outside yet, there is another file on the shelf.
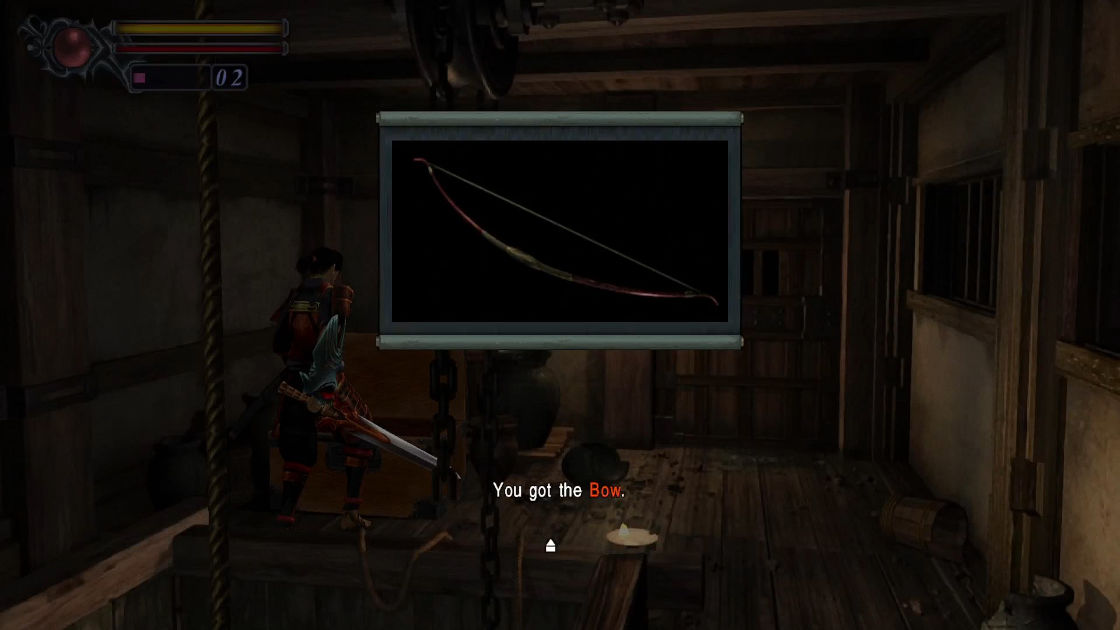
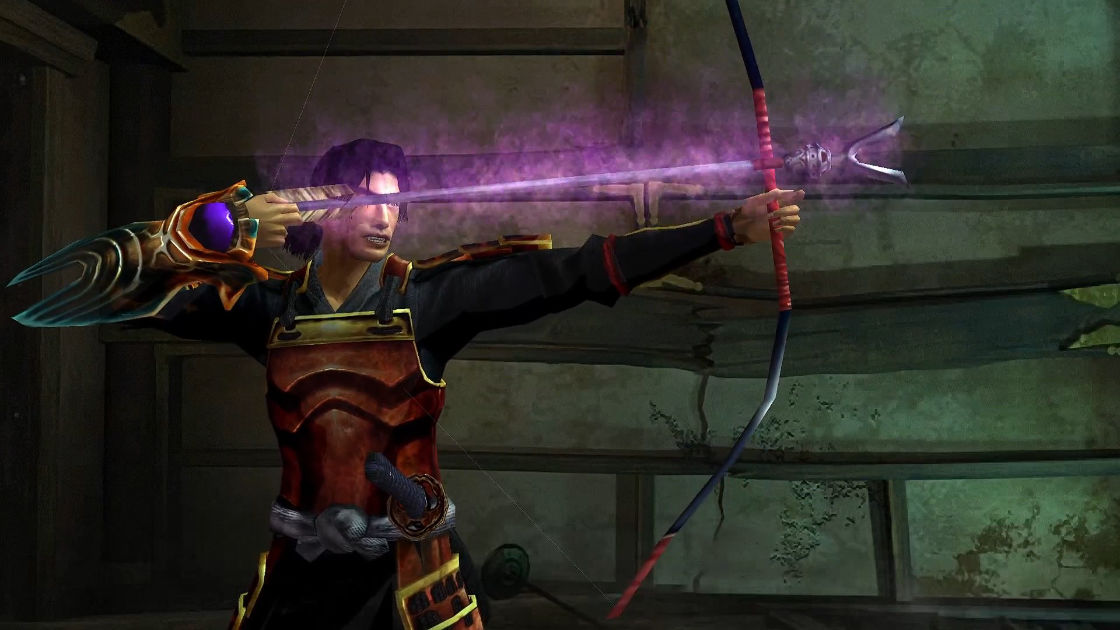
- Equipment: Bow (Solution: left, right, left, right, right)
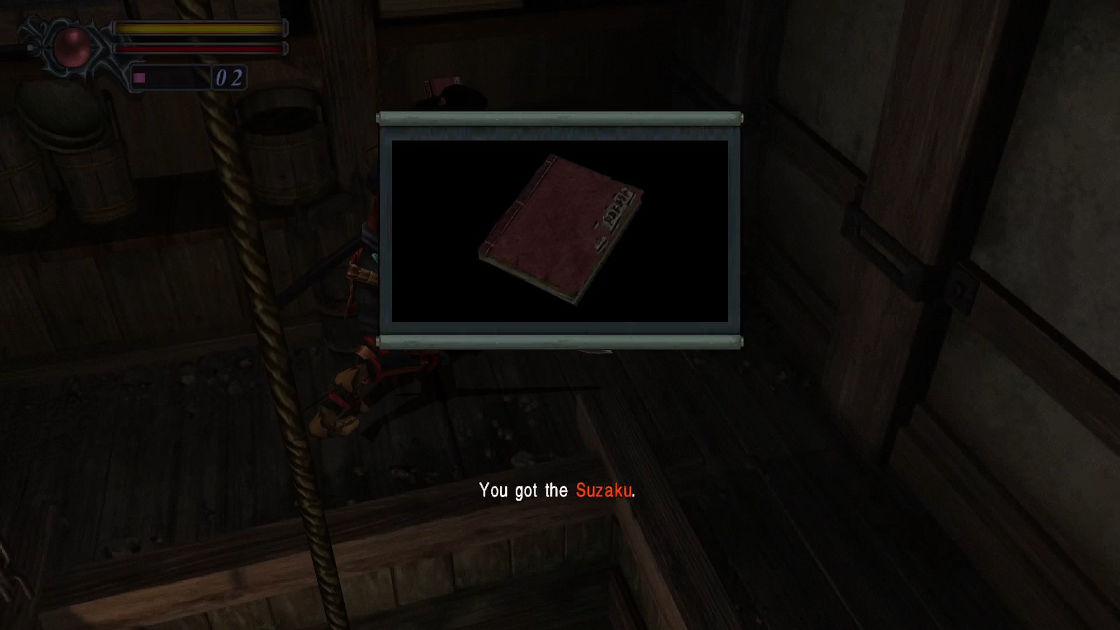
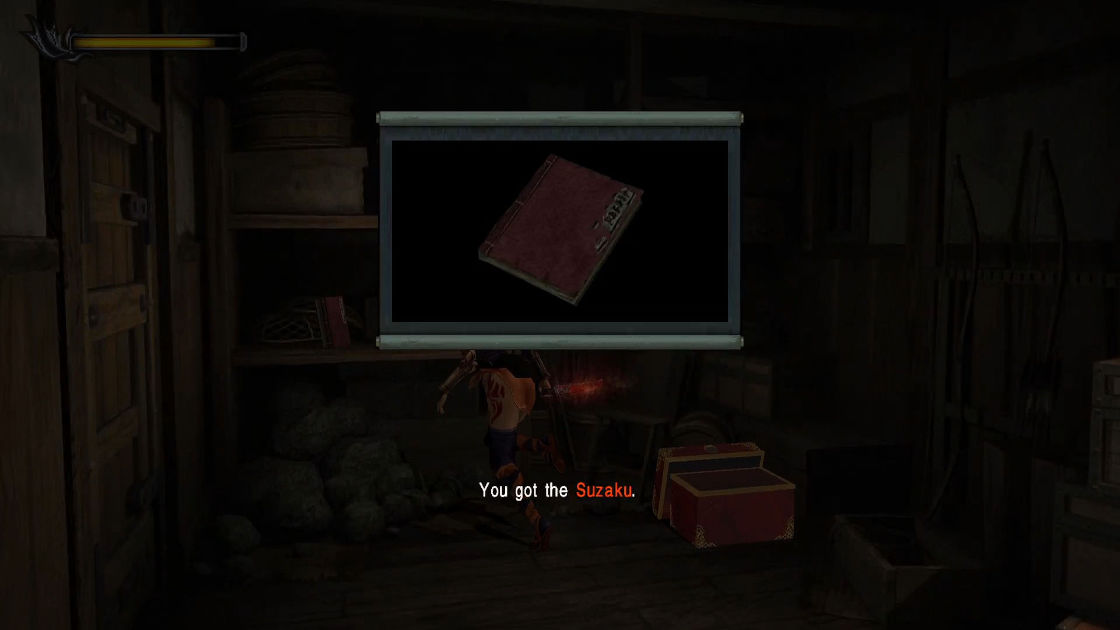
- File: Suzaku
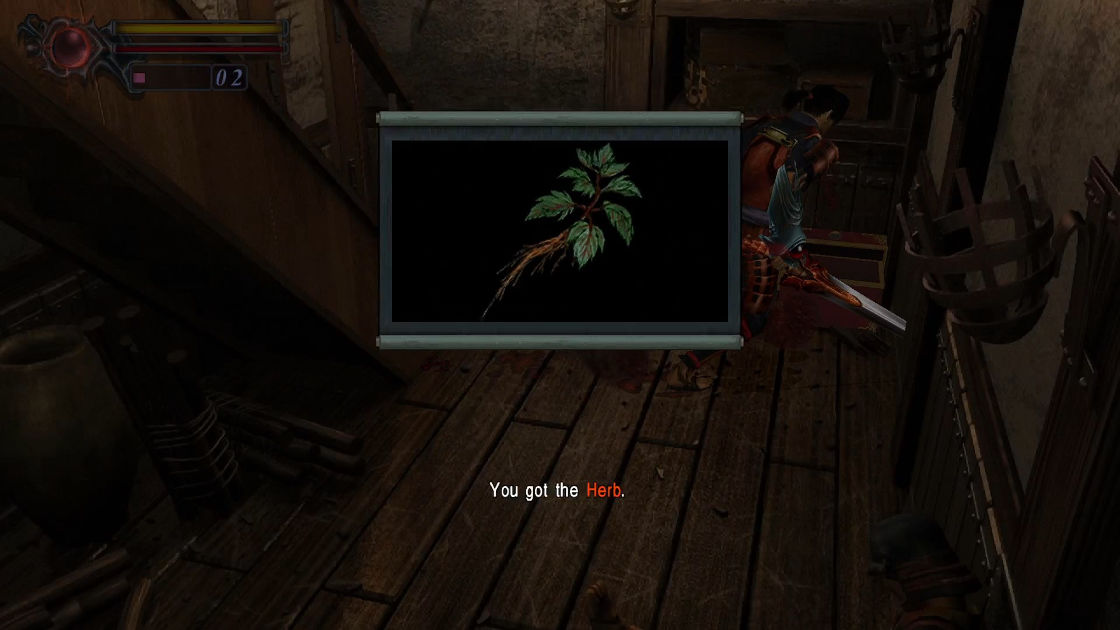
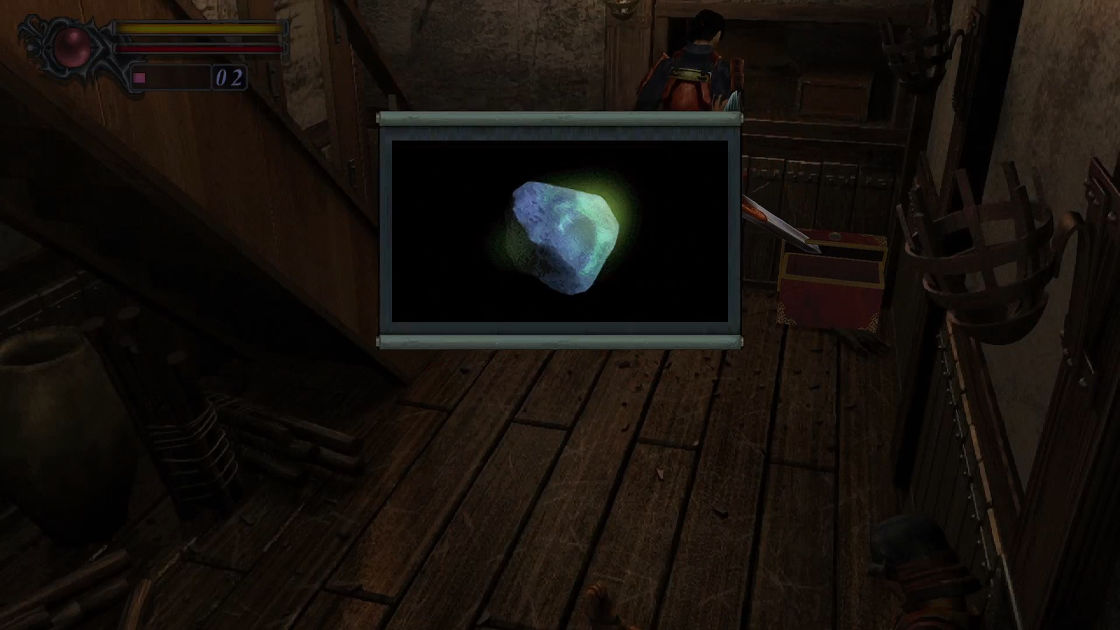
There is nothing else in this room, so get out. Before you go upstairs, check out the treasure box in the corner for Herb. Above the treasure box is another hidden Fluorite.
- Item: Herb
- Item: Fluorite
Now go upstairs and enter the door right next to the staircase. Examine a bucket in the middle of the room for a Power Jewel. Remember I said not to cut the robe downstairs? 😛
- Item: Power Jewel
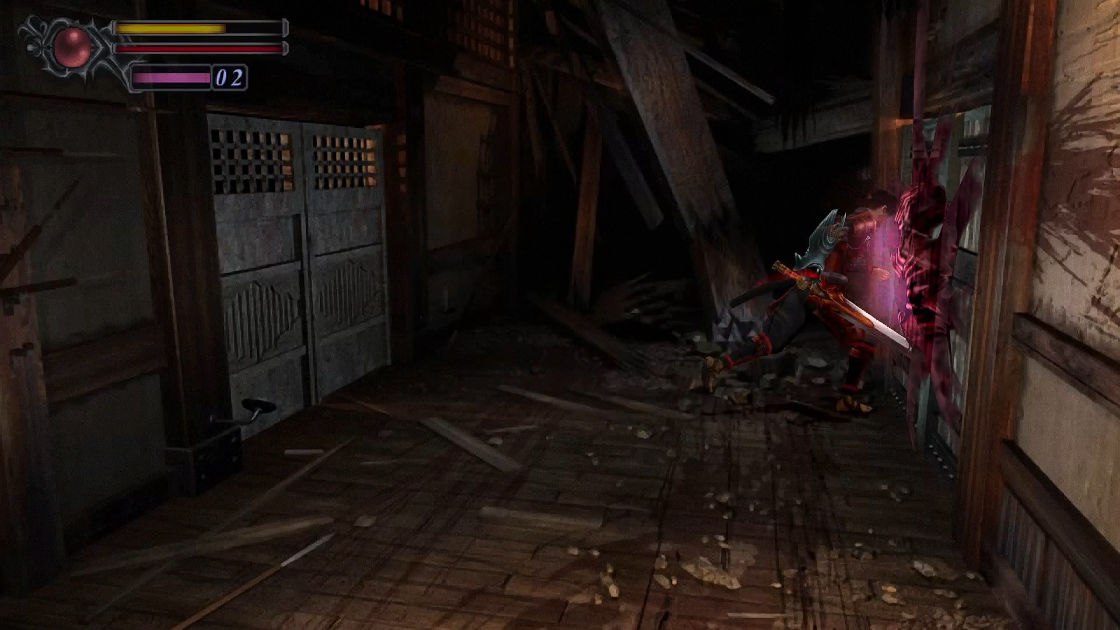
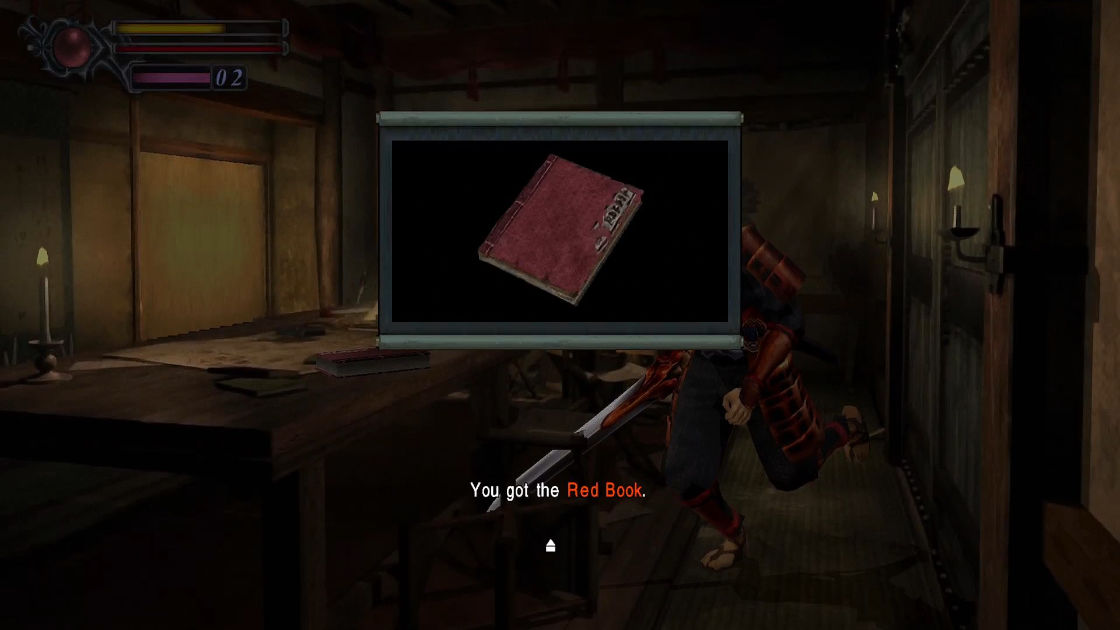
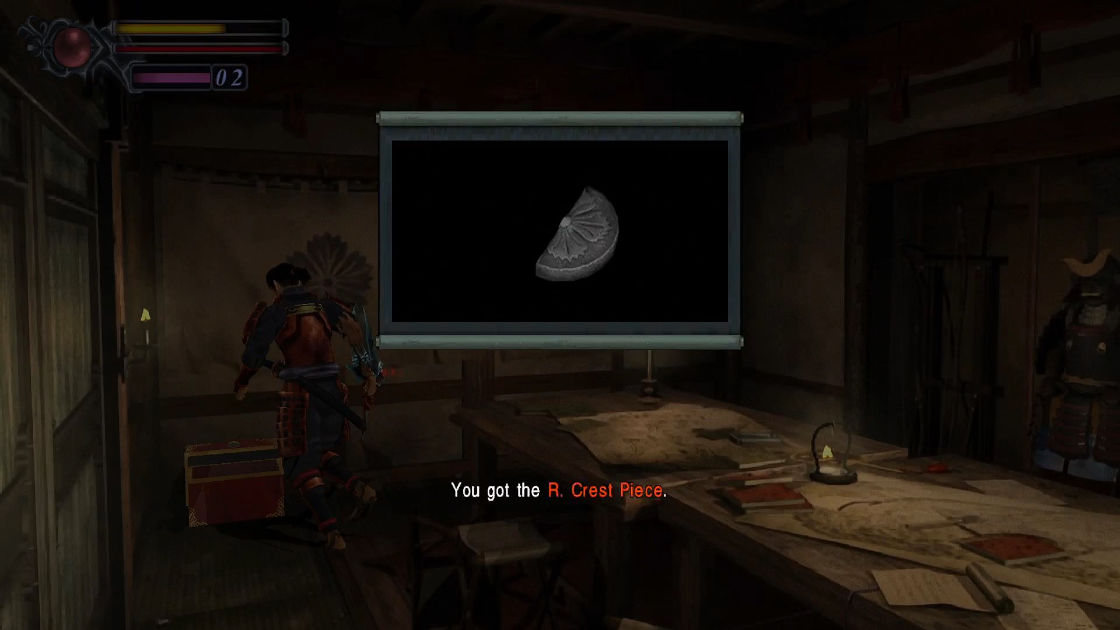
Get out and continue, kill some Three-Eyes. Two doors here, go to the level-2 sealed door first with Enryuu. In the room, open a treasure box for R. Crest Piece and pick up a Red Book on the table.
- File: Red Book
- Key Item: R. Crest Piece
Exit the room.
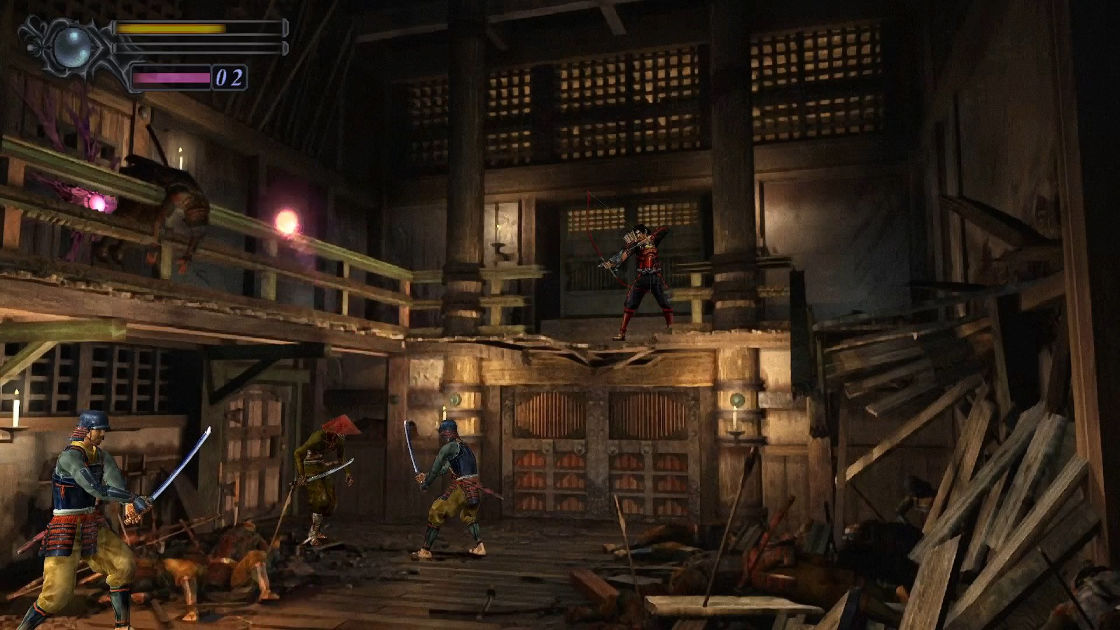
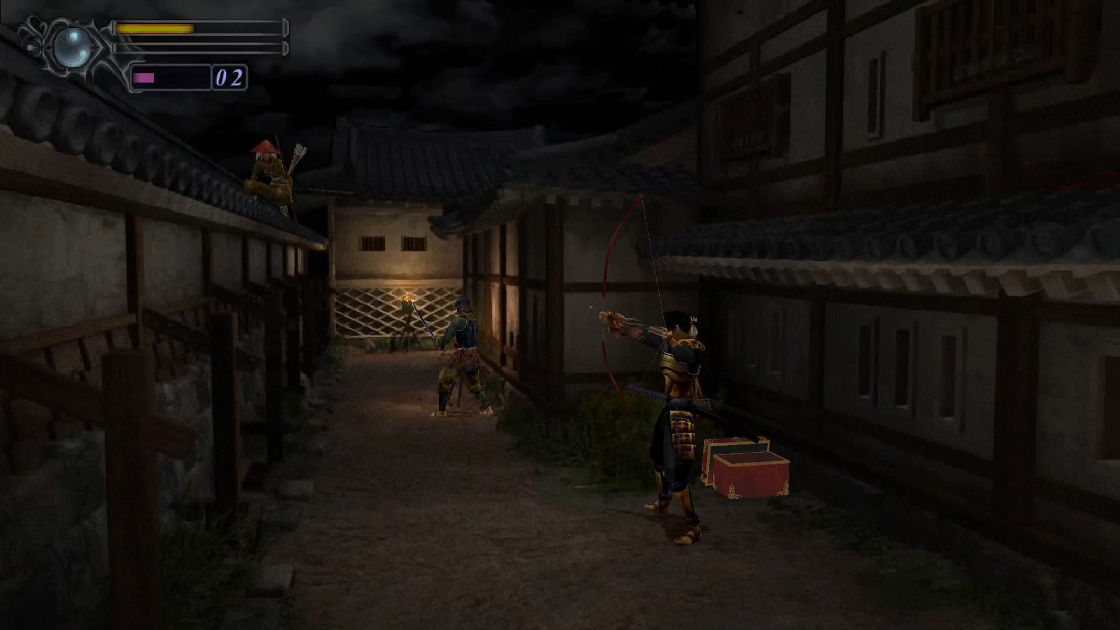
NOTE: Before you enter the double gray door. equip yourself with Bow and Arrows, you will need to help 2 soldiers outside. You only have one a chance to help them because they will disappear if you re-enter. The reward for saving them is an Herb and Magic Jewel. It’s probably safer to go back and save game to avoid missing these items. After saving them, wait until the items appear on the ground, then you have to all the way back to pick them up.
- Item: Herb
- Magic Jewel
Back to the where were, circle a little you will see another level 1 sealed door, open it. Kill all the demons inside, then advance to the next door. You’ll notice an obvious crate, destroy it to reveal a Normal Arrows box. The corner beneath the staircase is another Fluorite.
- Equipment: Normal Arrows
- Item: Fluorite
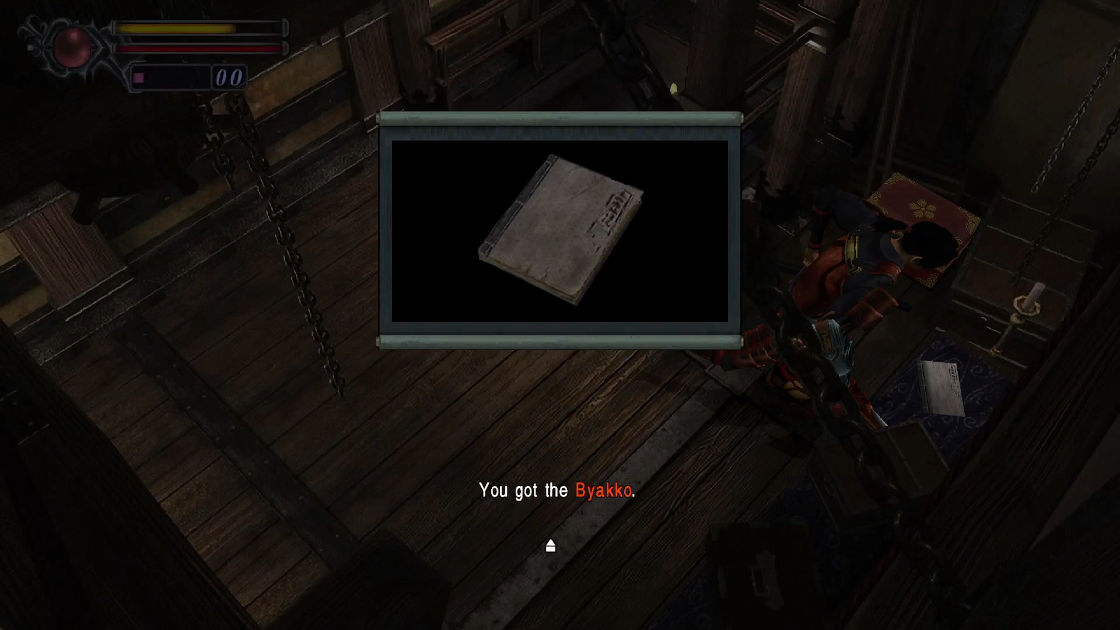
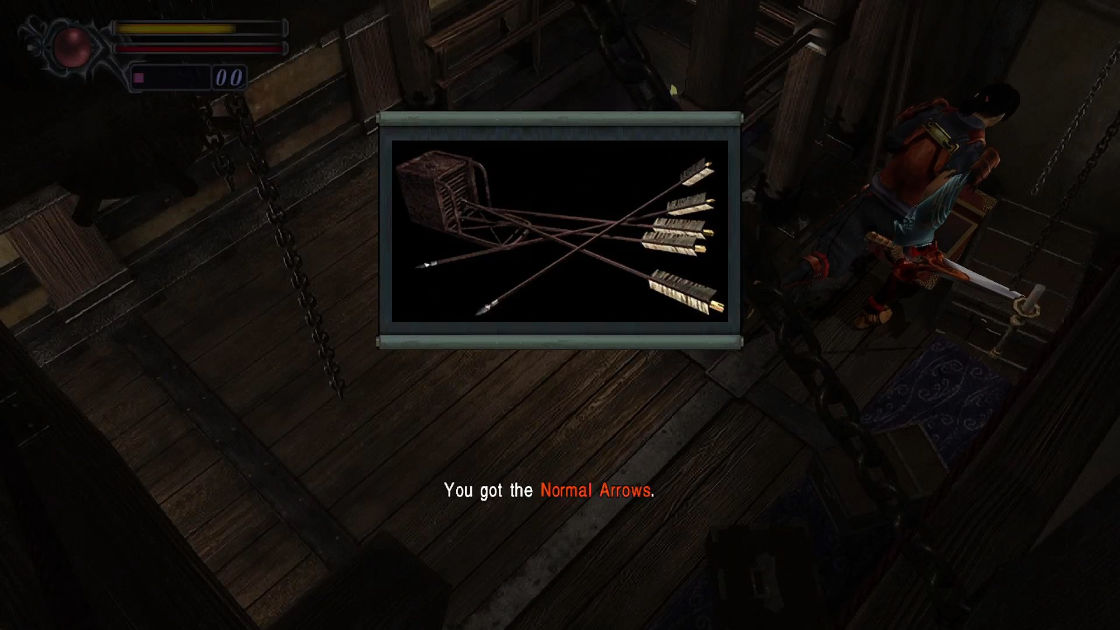
Now head upstairs. This room has a Magic Mirror, a treasure box, a file (right next to the treasure box).
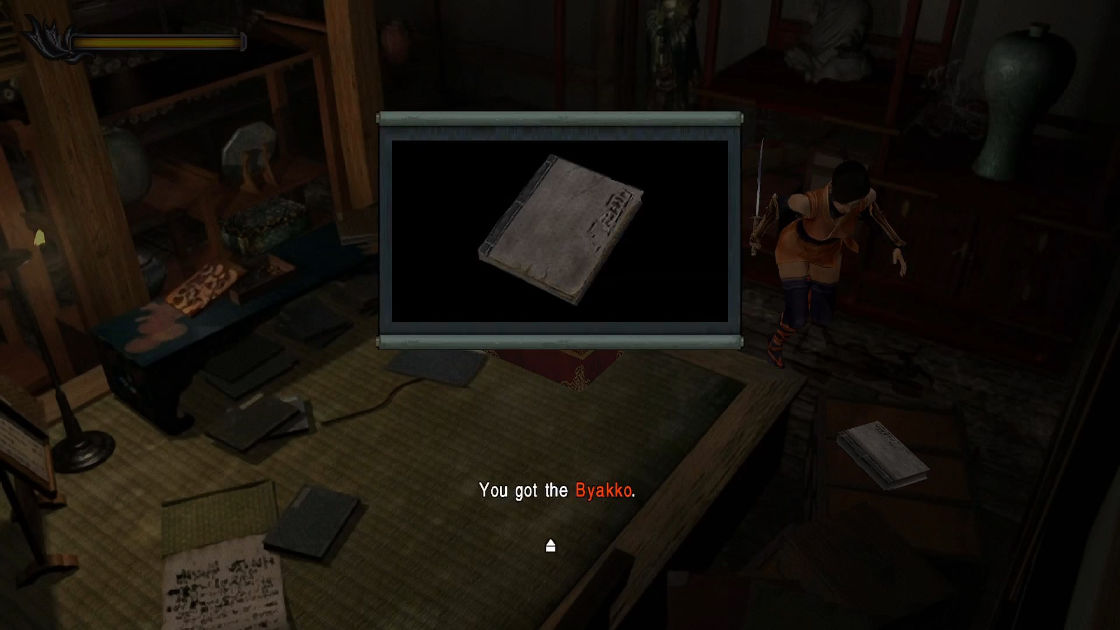
- File: Byakko
- Equipment: Normal Arrows
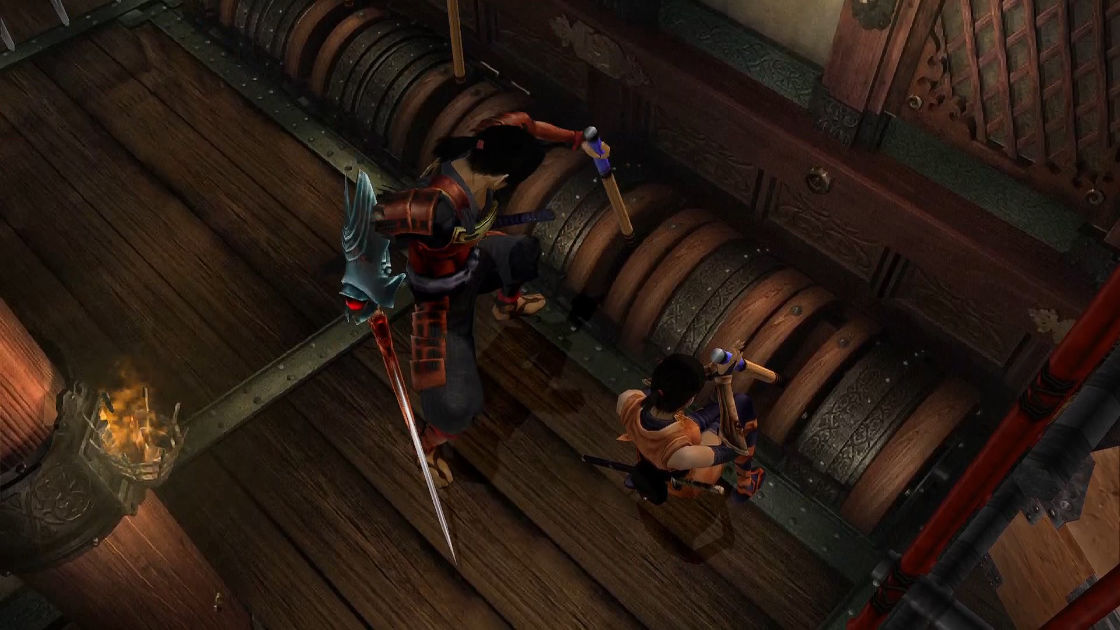
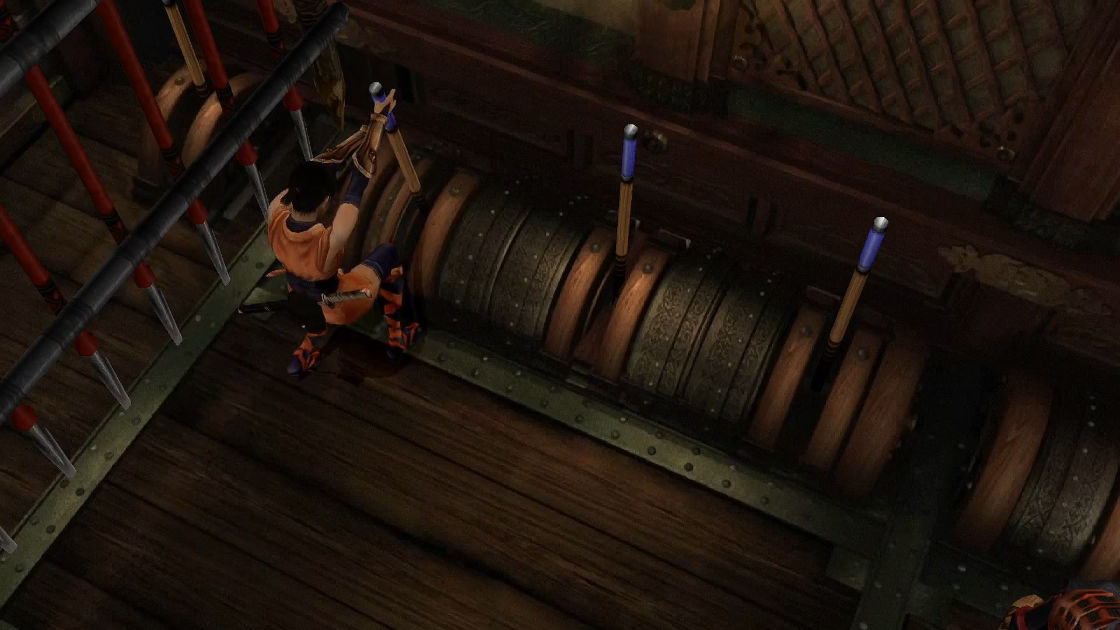
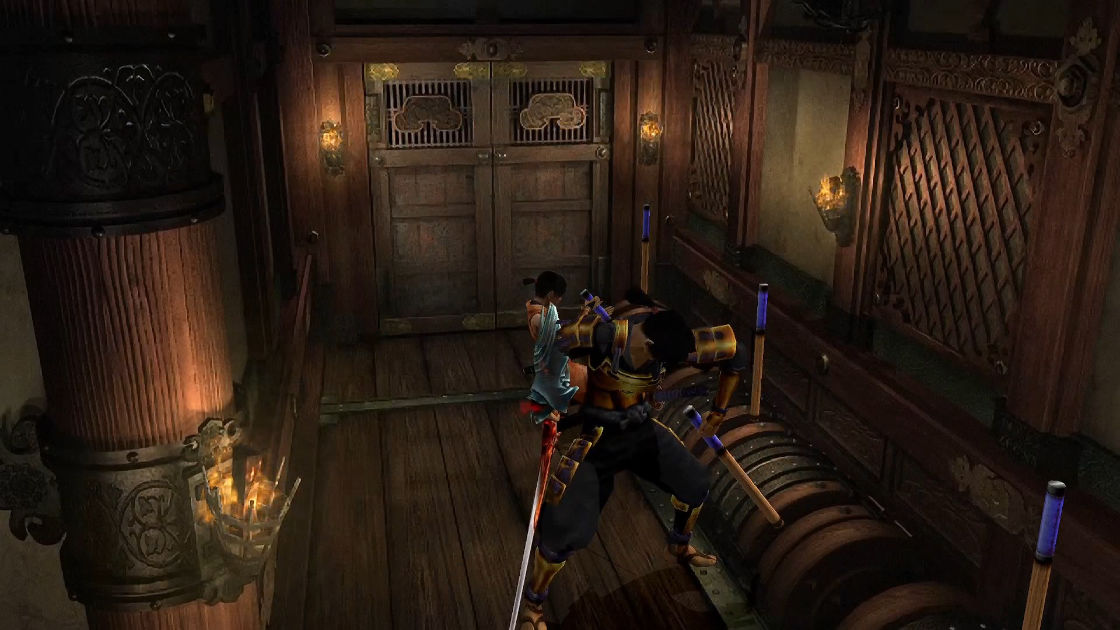
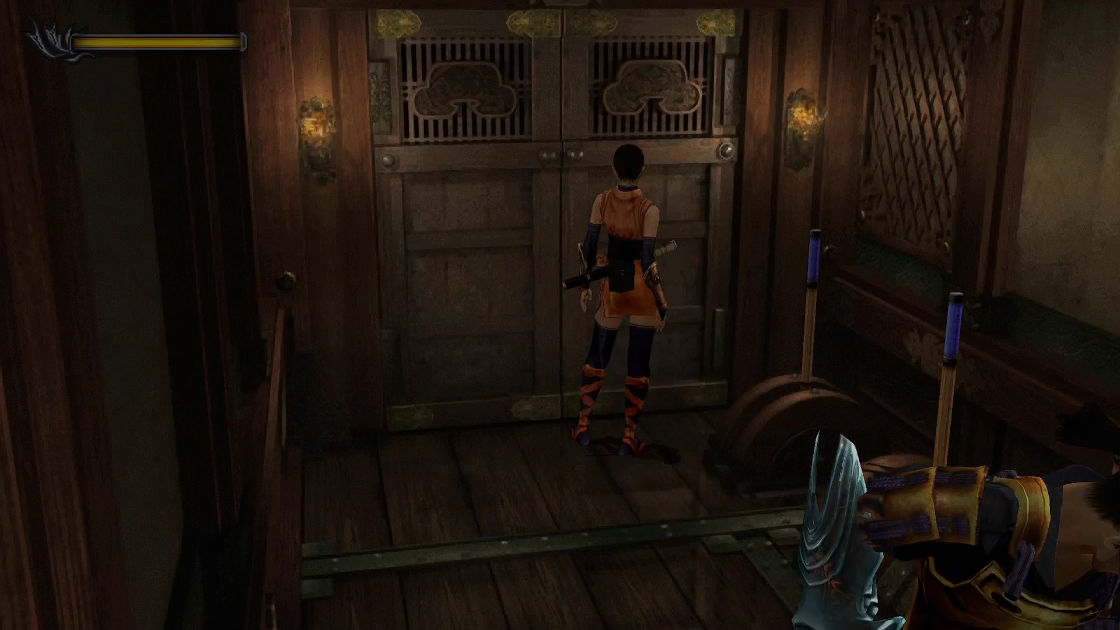
Now enhance your weapons and save you game. Open level-2 sealed door and watch a cutscene. From this area, you will have to solve 4 different traps in order to move forward.
First trap:
- Step 1: there is only one lever, pull it up.
- Step 2: move Kaede to pull the right lever.
- Step 3: move Sam to pull another. It will trigger to open another section.
- Step 4: This section has 3 levers, move Kaede to pull the far left.
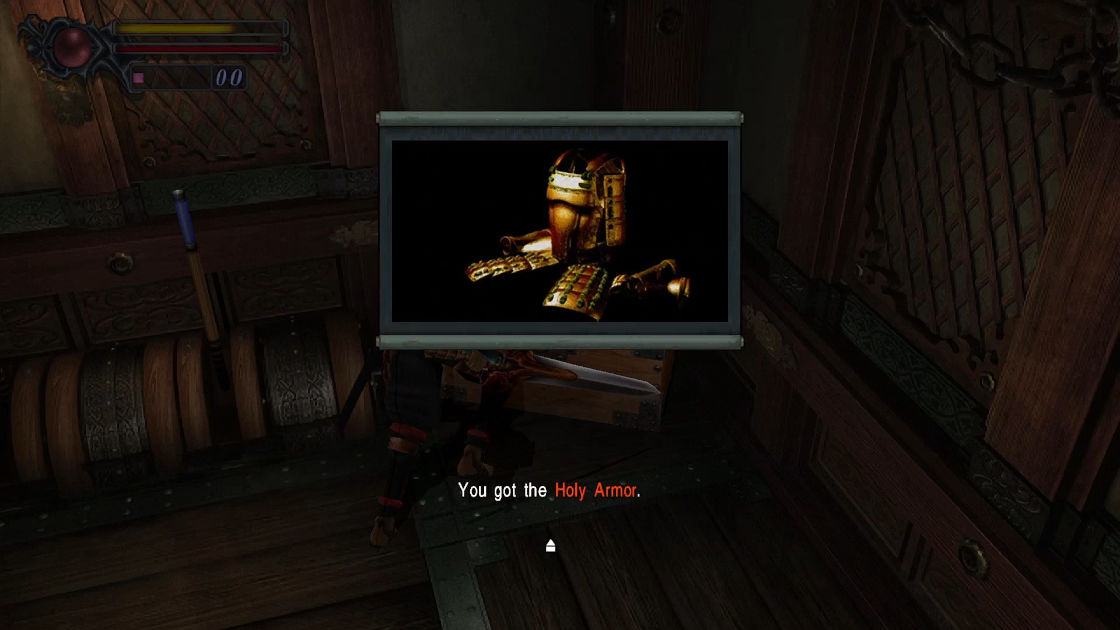
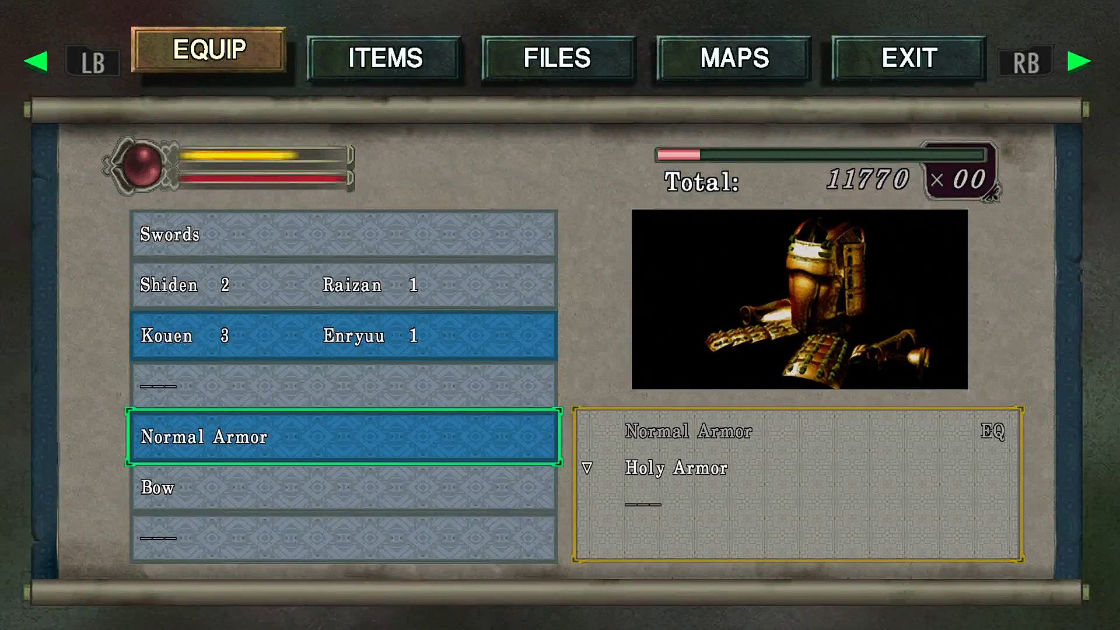
Move Samanosuke to pick up the Holy Armor from the treasure box then equip it immediately.
- Equipment: Holy Armor
- Step 5: Move Samanosuke to pull the right lever (the 3rd one from Kaede).
- Step 6: Enter the door, you don’t have to pull the last one.
Second Trap:
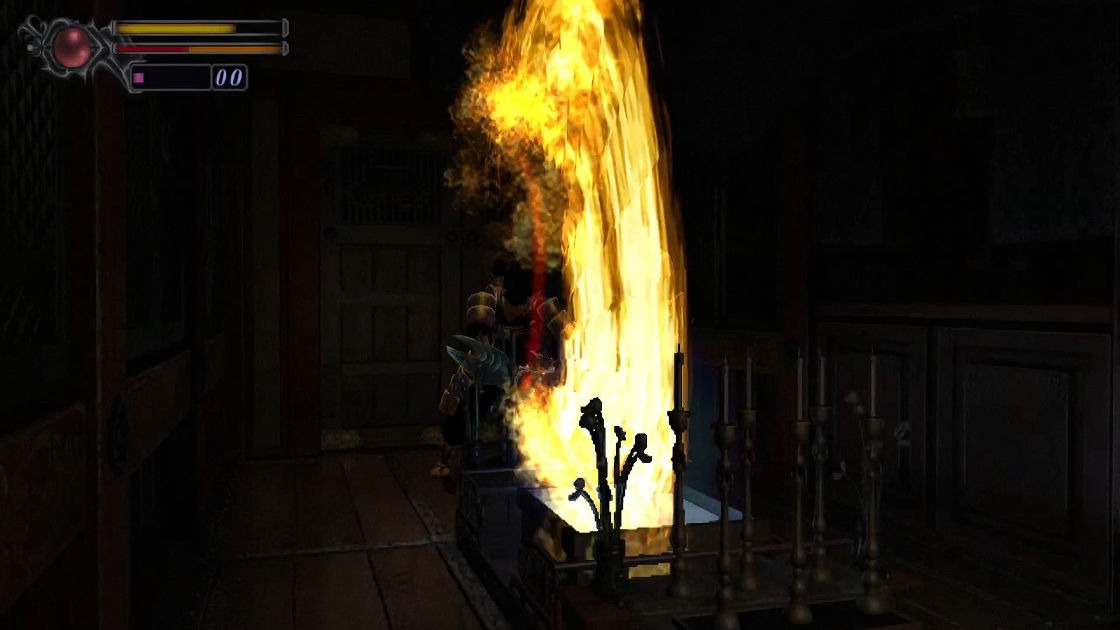
It’s pitch black in this room, so lit all the candle with your fire sword (press triangle button) then advance to next door.
Third Trap:
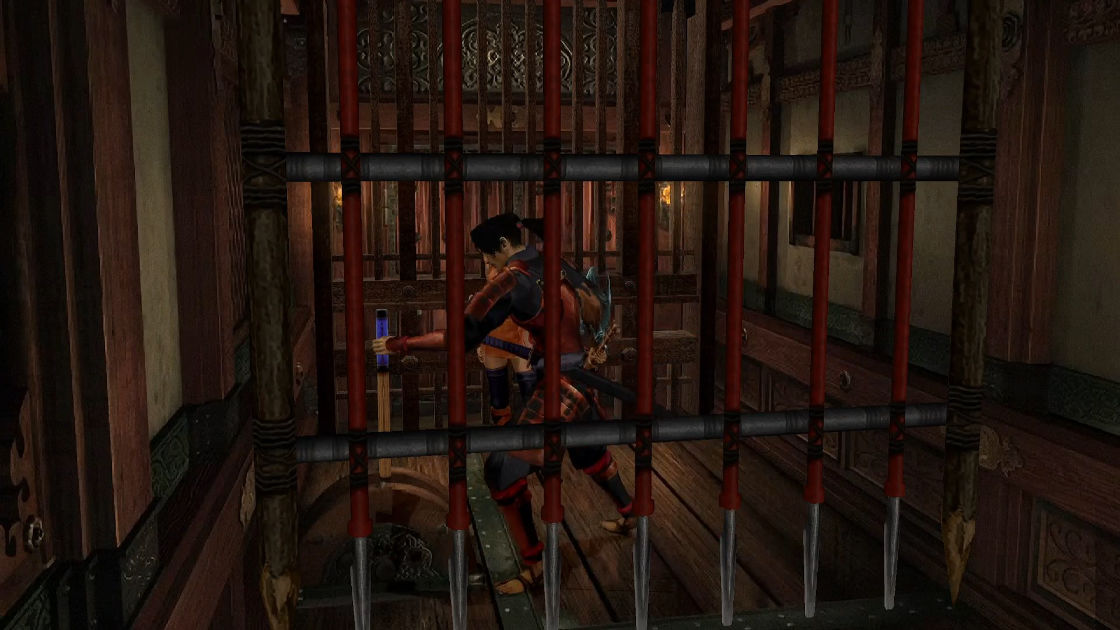
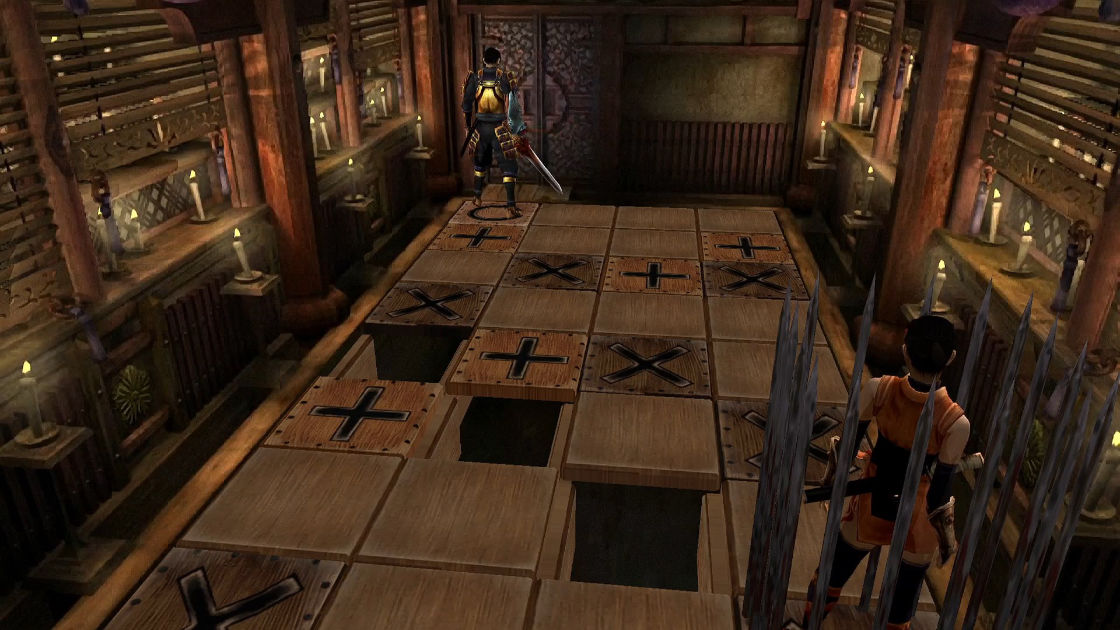
This one is easy too. Since the pattern is random, I won’t be able to help you much, so just be careful to not kill each other or it’s game over. The trick is you don’t have to move both of them to other end. Have Samanosuke move forward and have Kaede stepping on the same 2 tiles. After you reach the circle tile, step on it to disable the trap.
Yey! you made it. But there is another one!!!
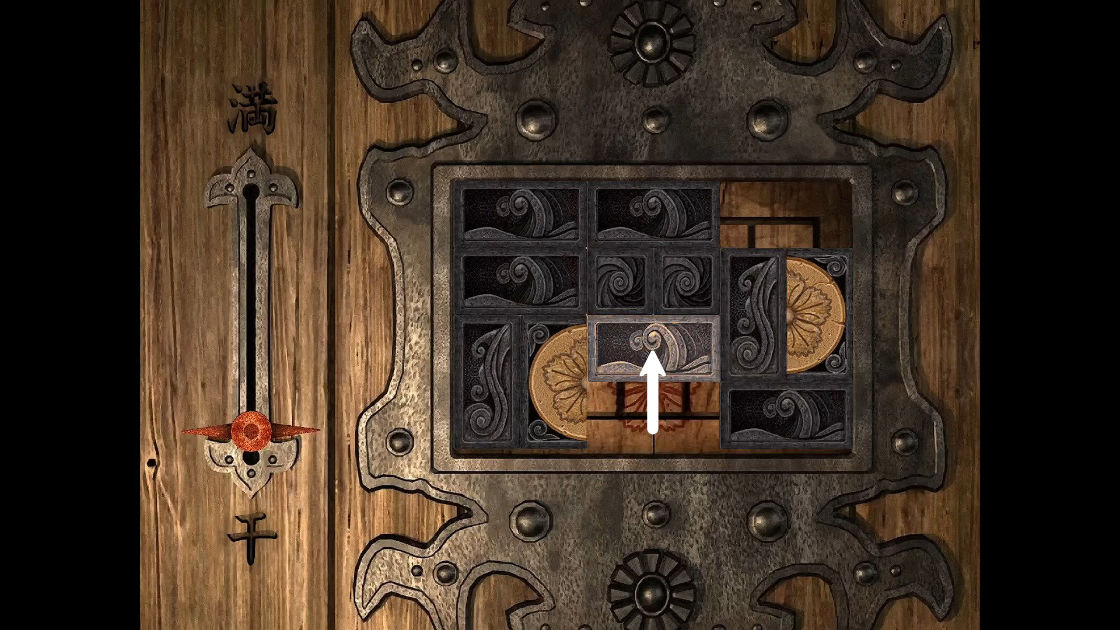
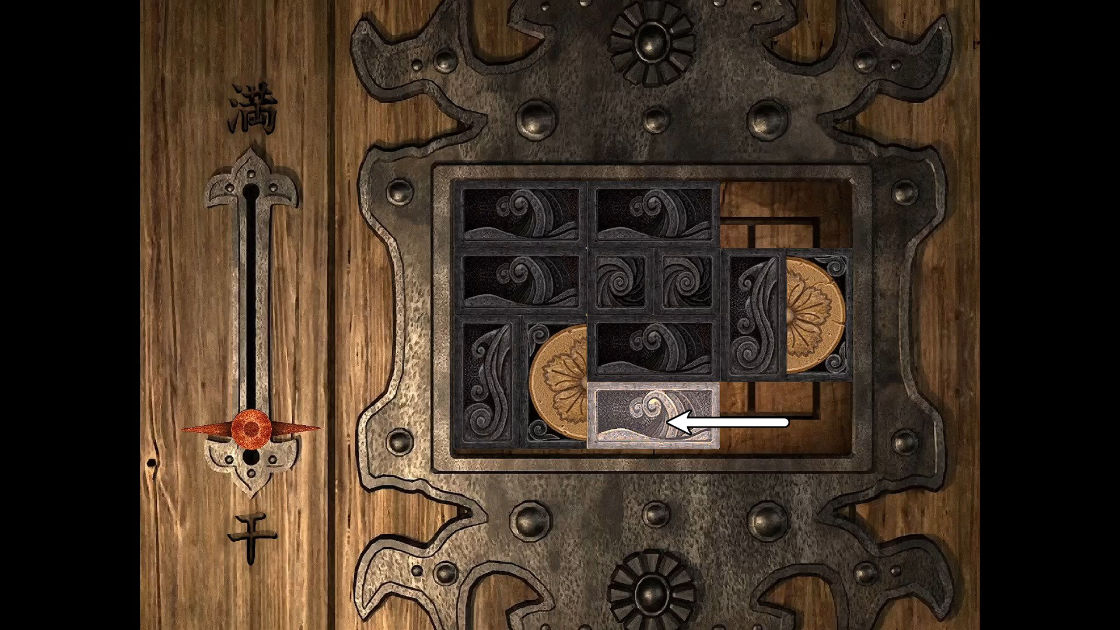
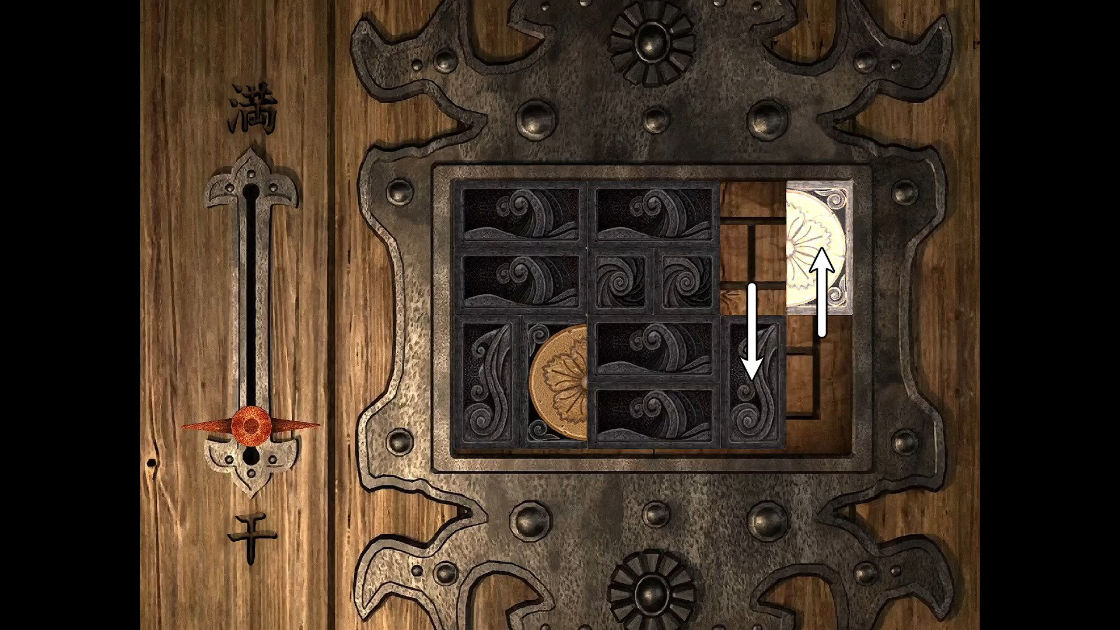
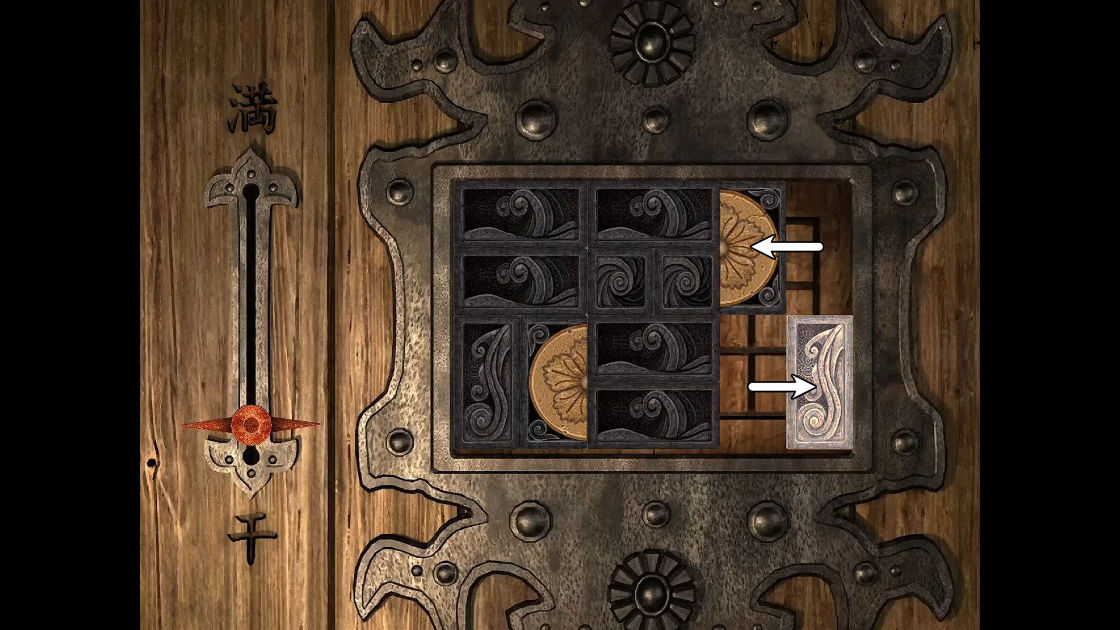
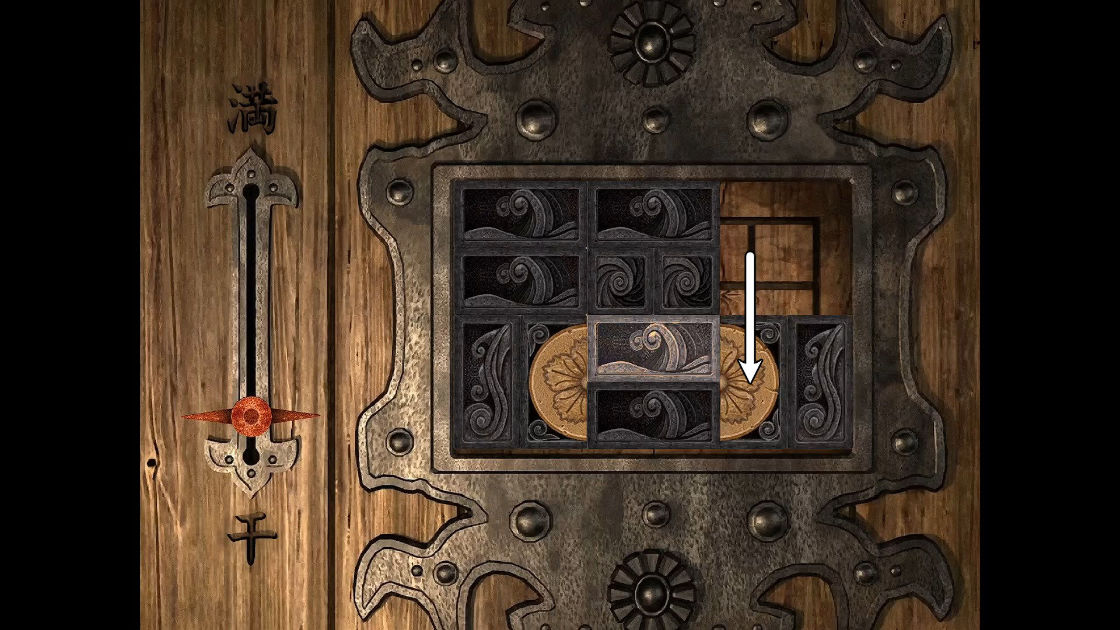
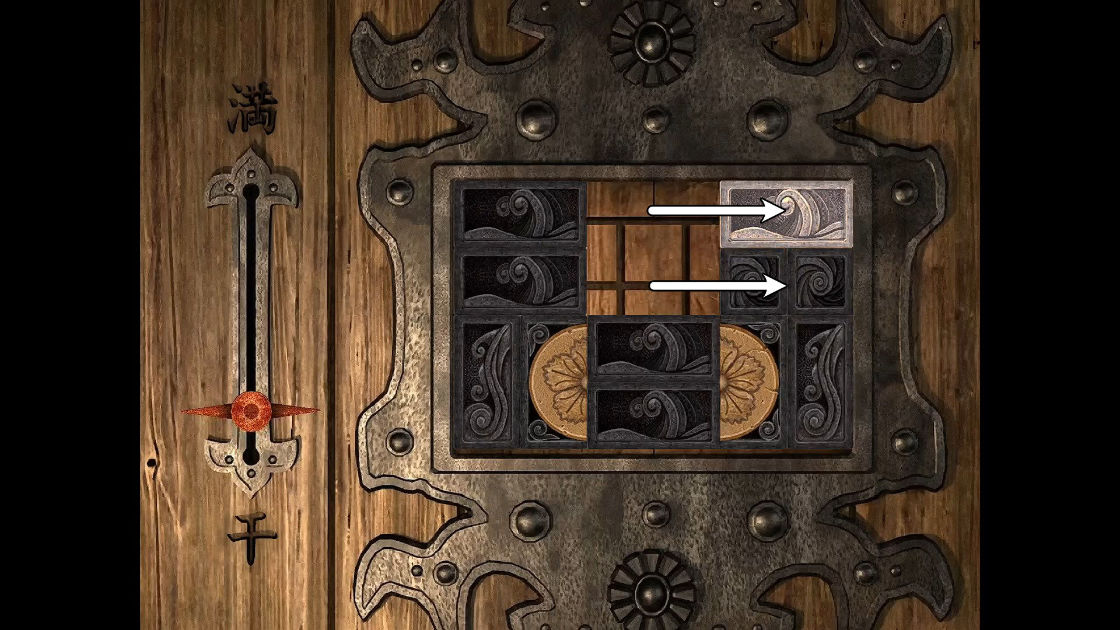
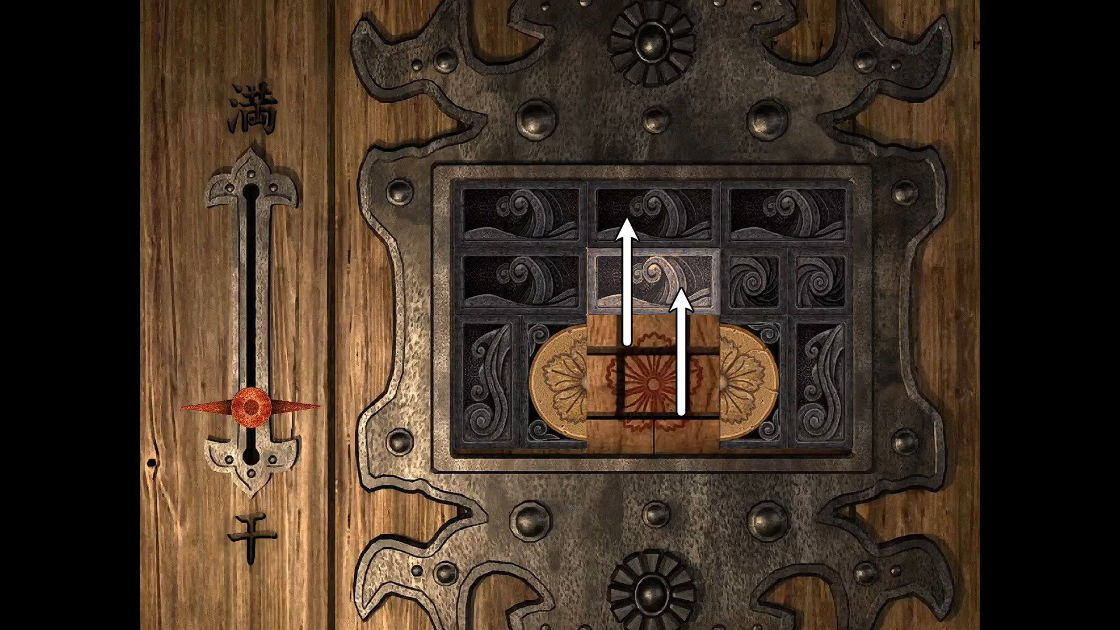
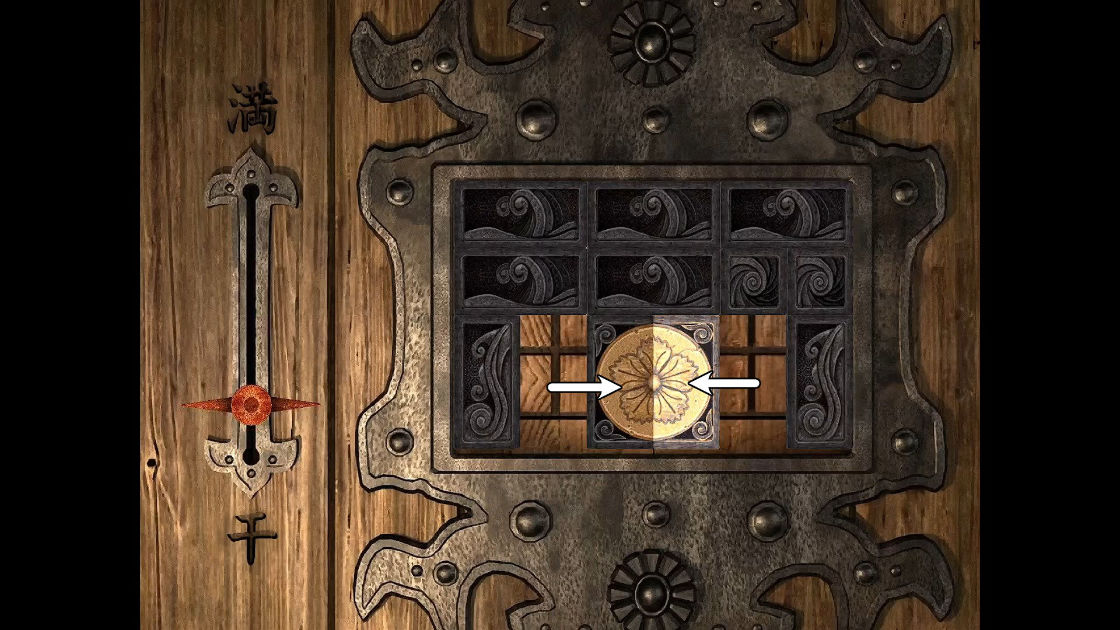
Fourth Trap:
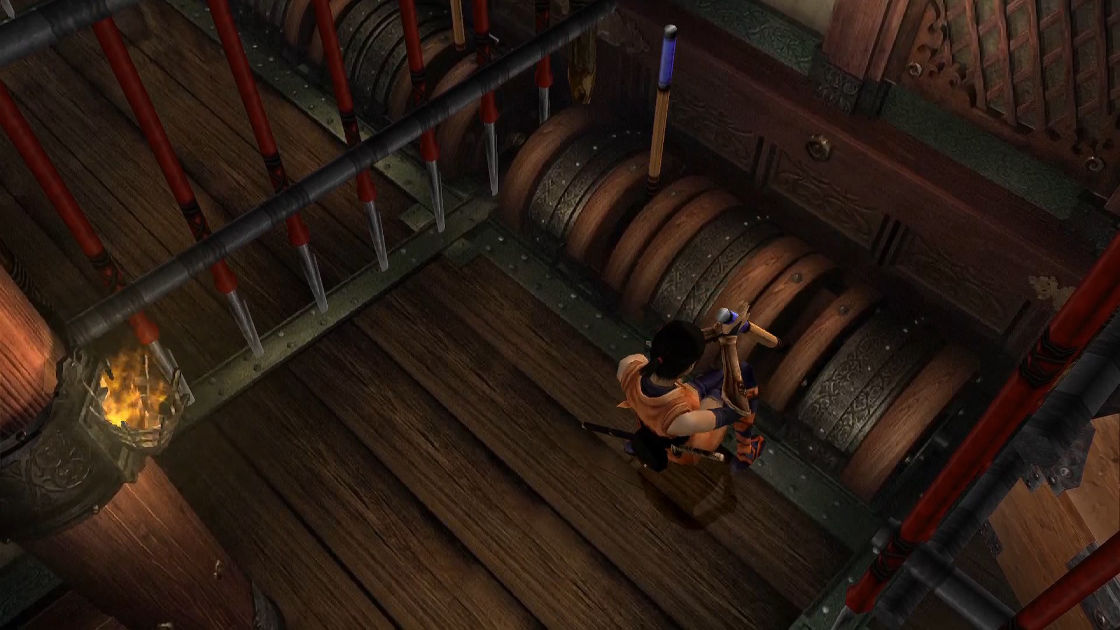
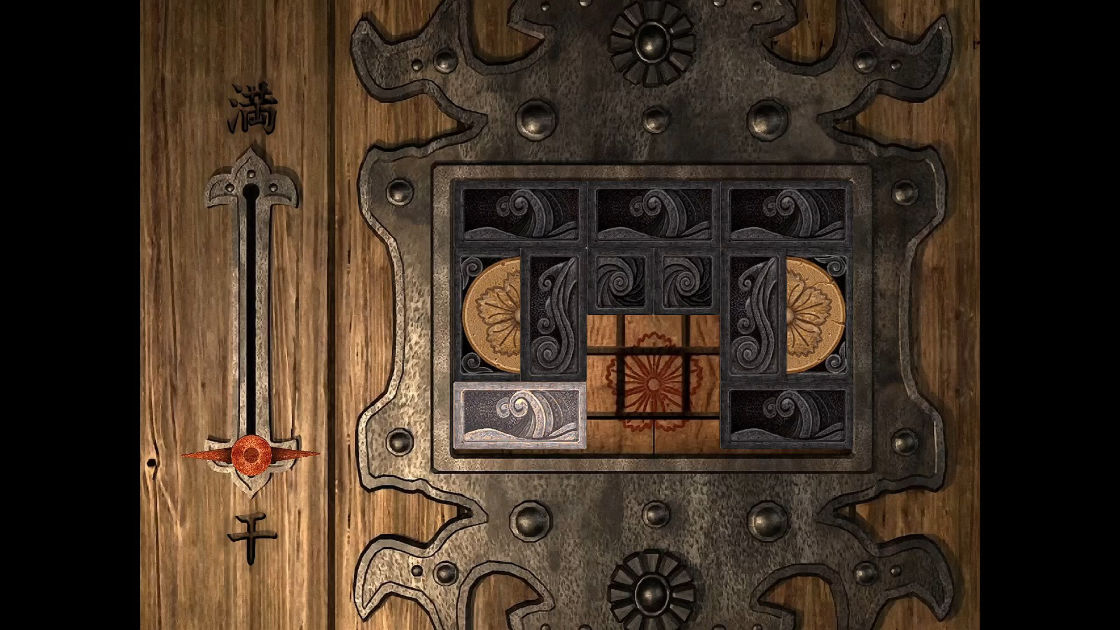
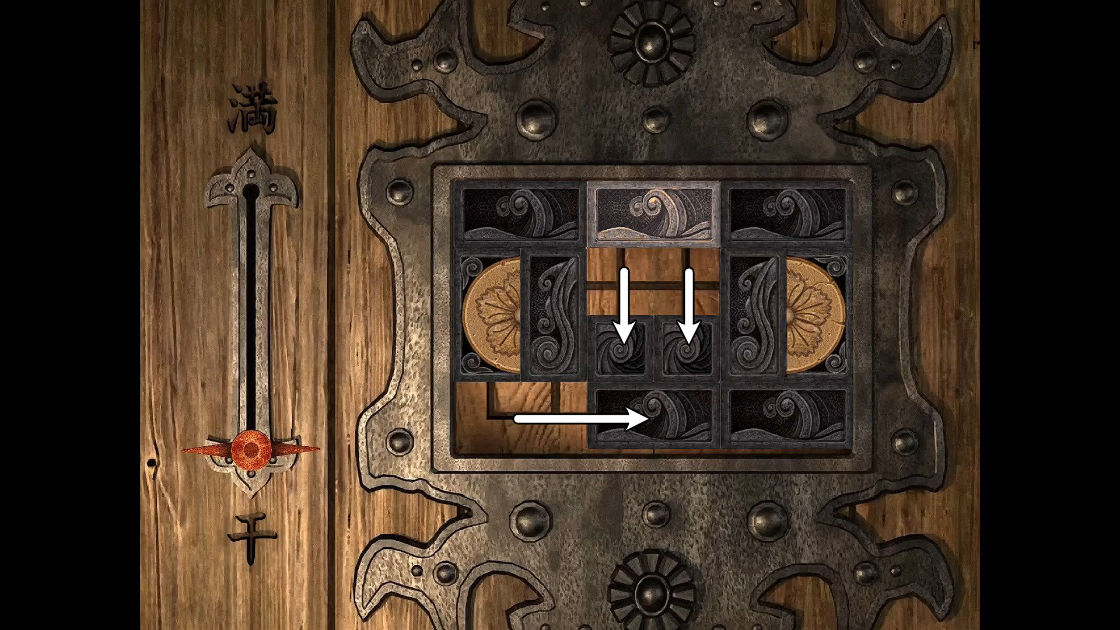
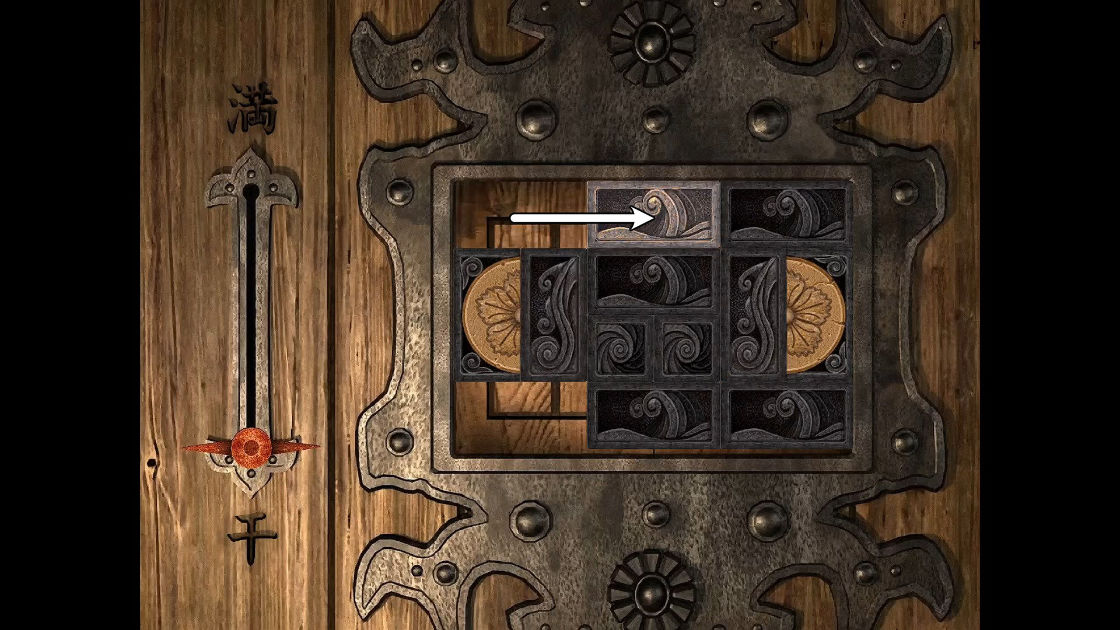
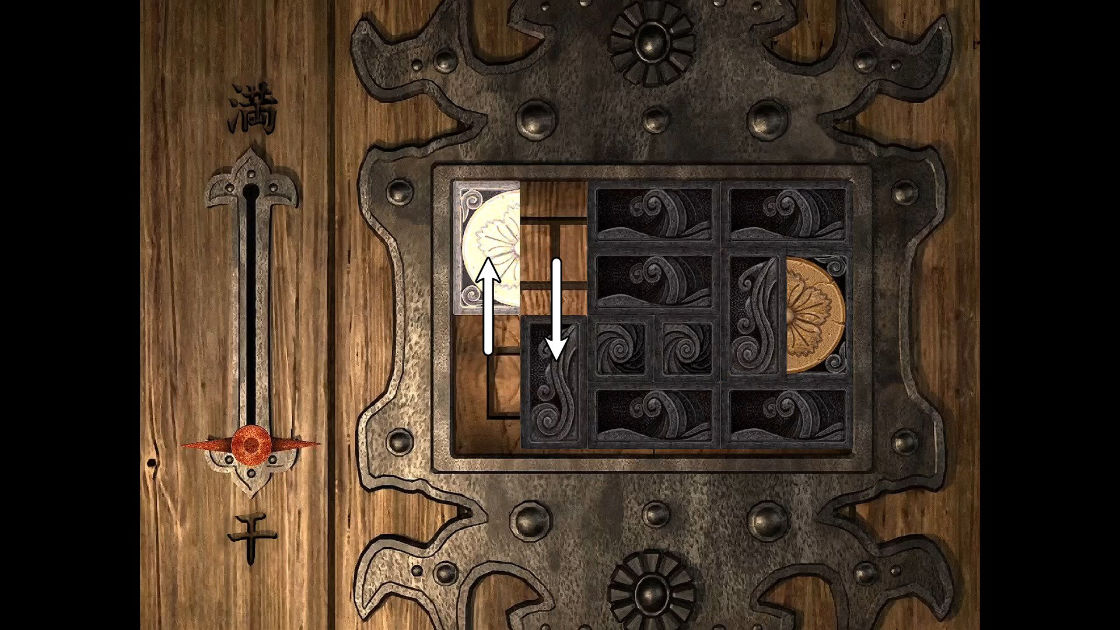
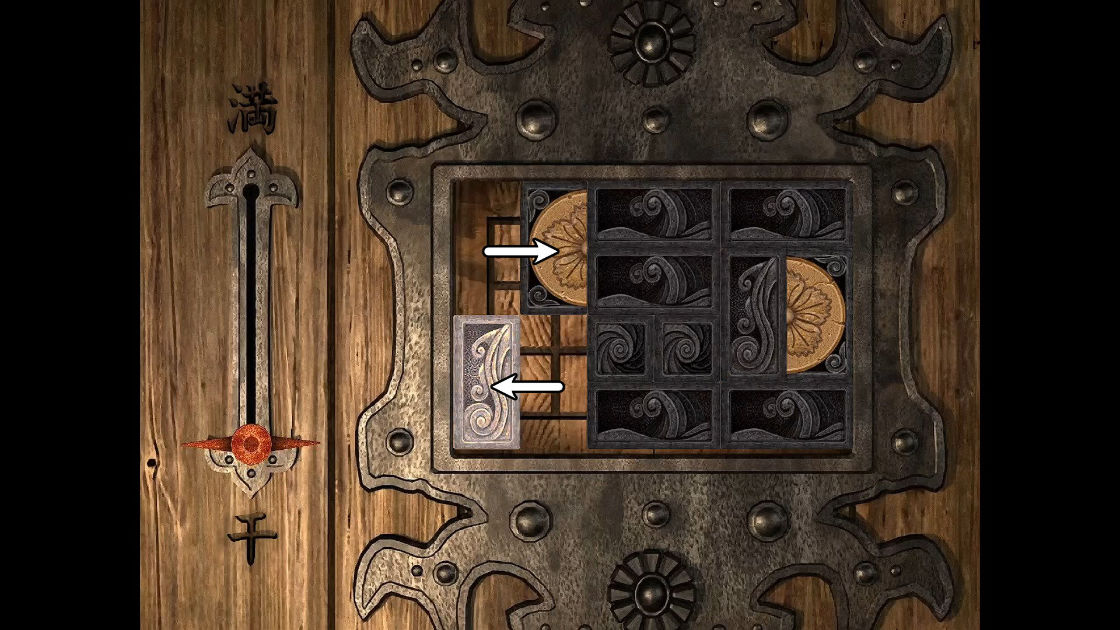
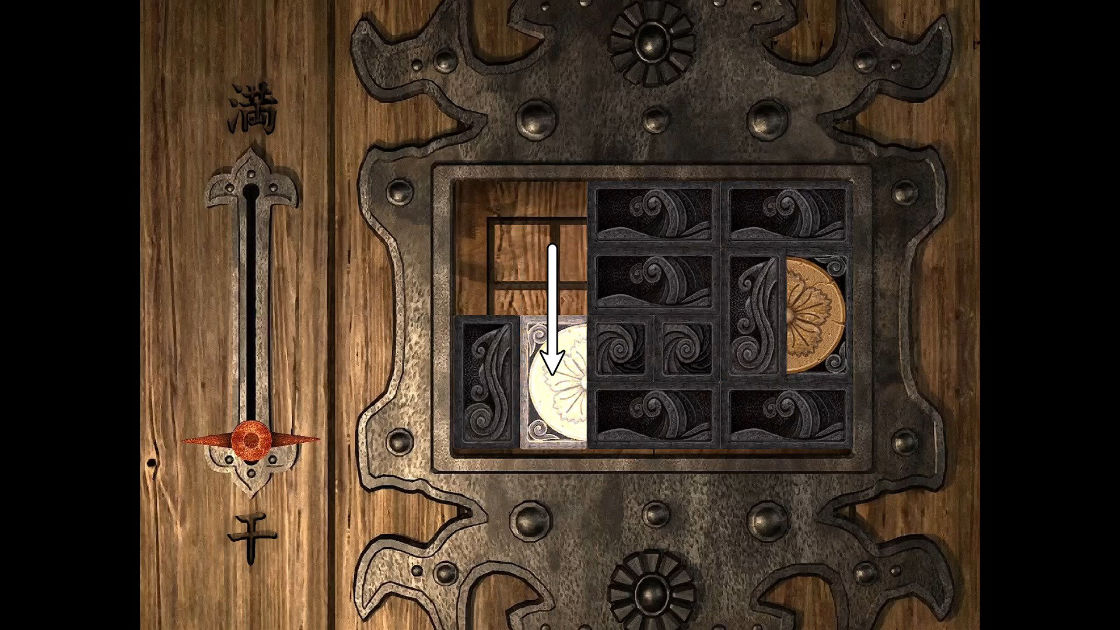
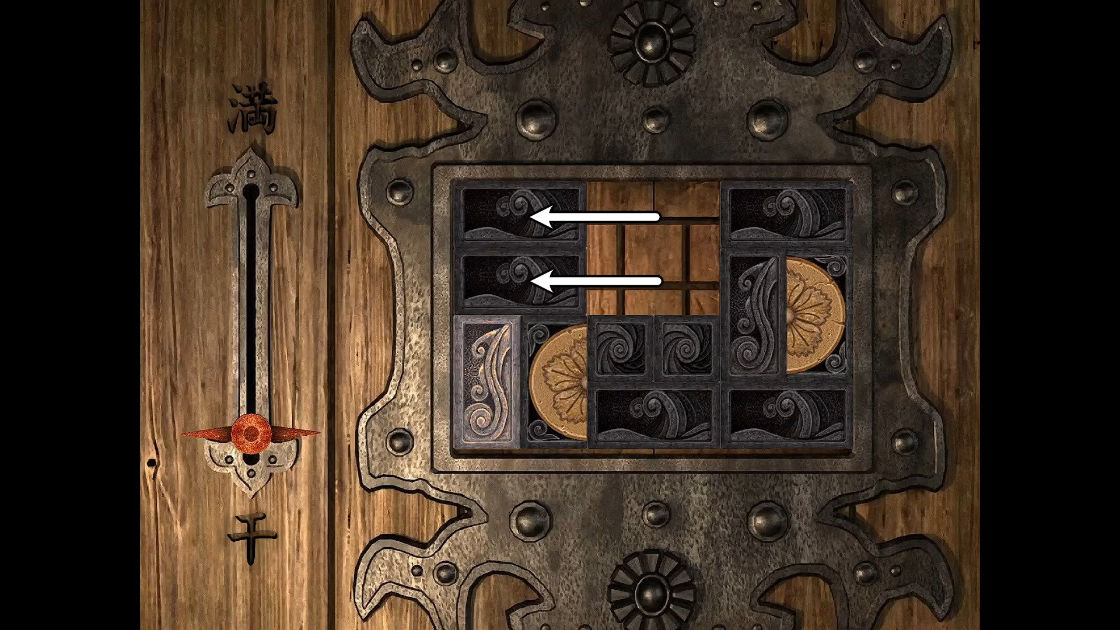
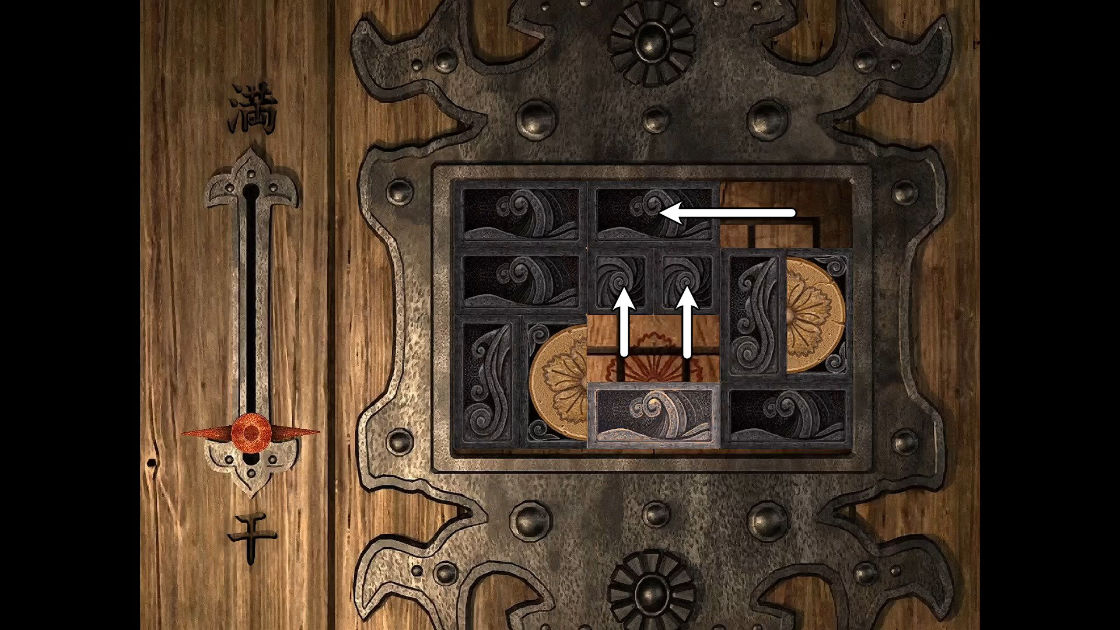
Follow the images below:
Walk 11. Water Trap – Move 15
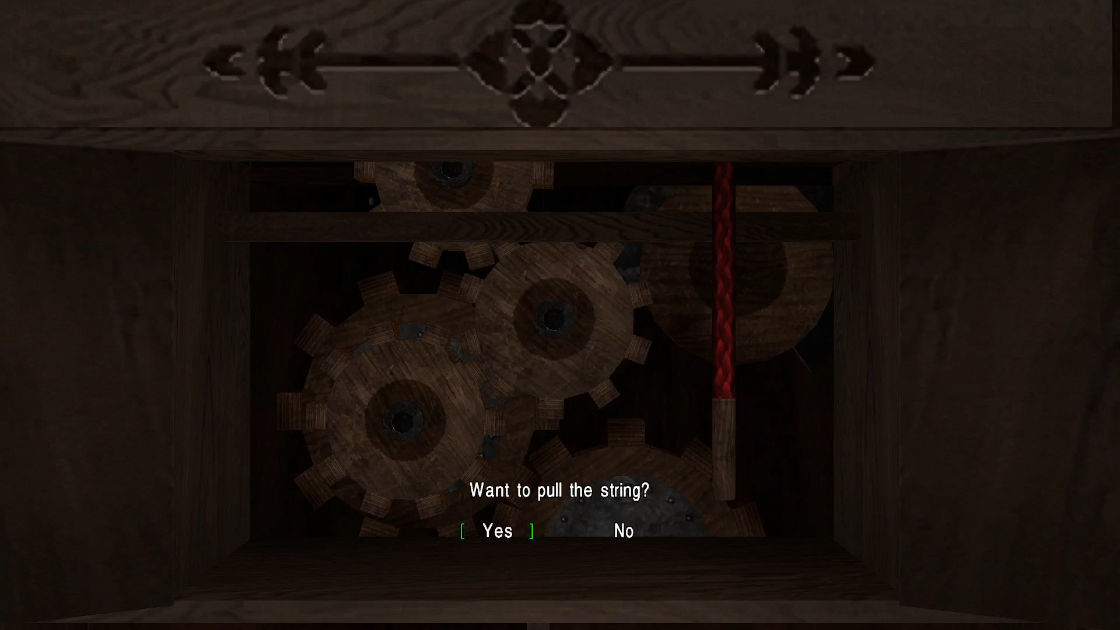
You finally made it. Advance forward to the next door, then another door, you will see an obvious box on the wall with a string, pull it down to disable all traps you just went through. You might want to back to save your game at this point.
Part 4: Rescuing the boy
Consult this map for part 4:
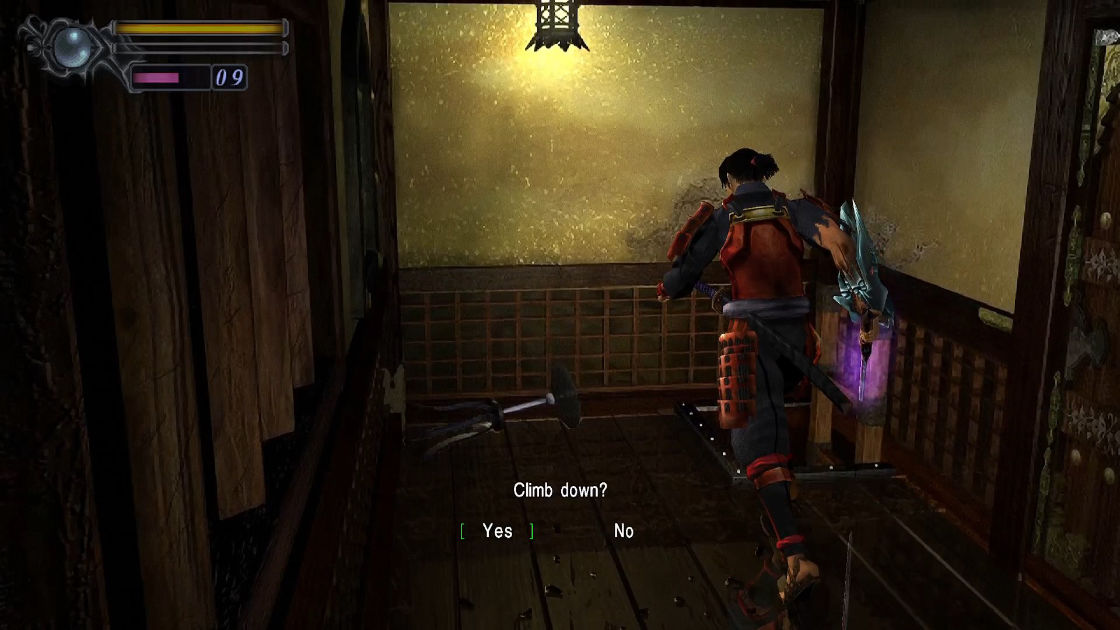
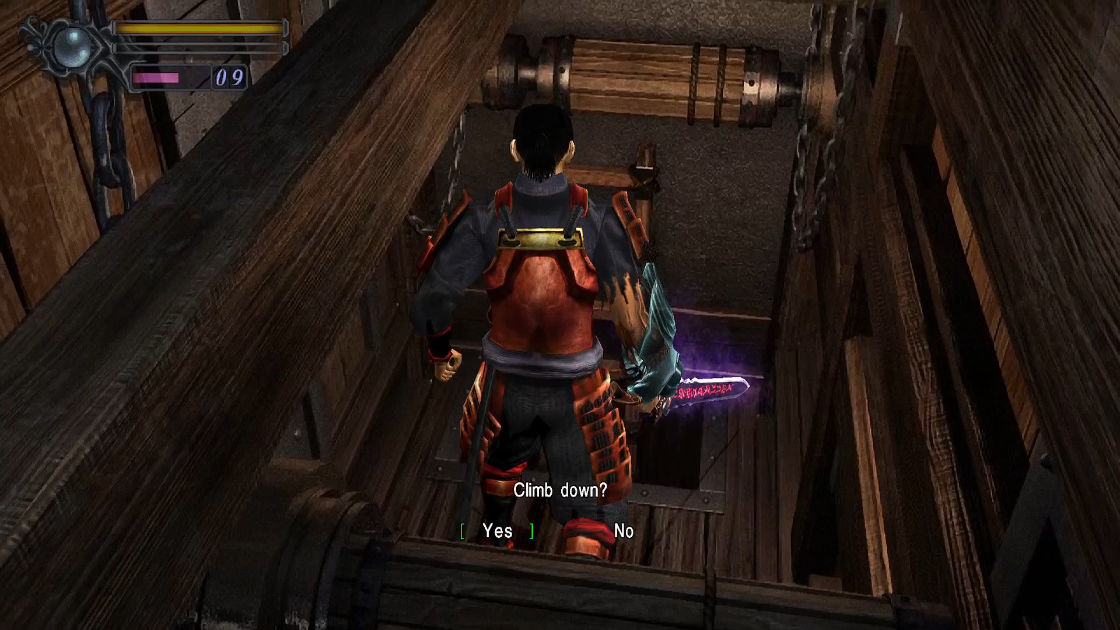
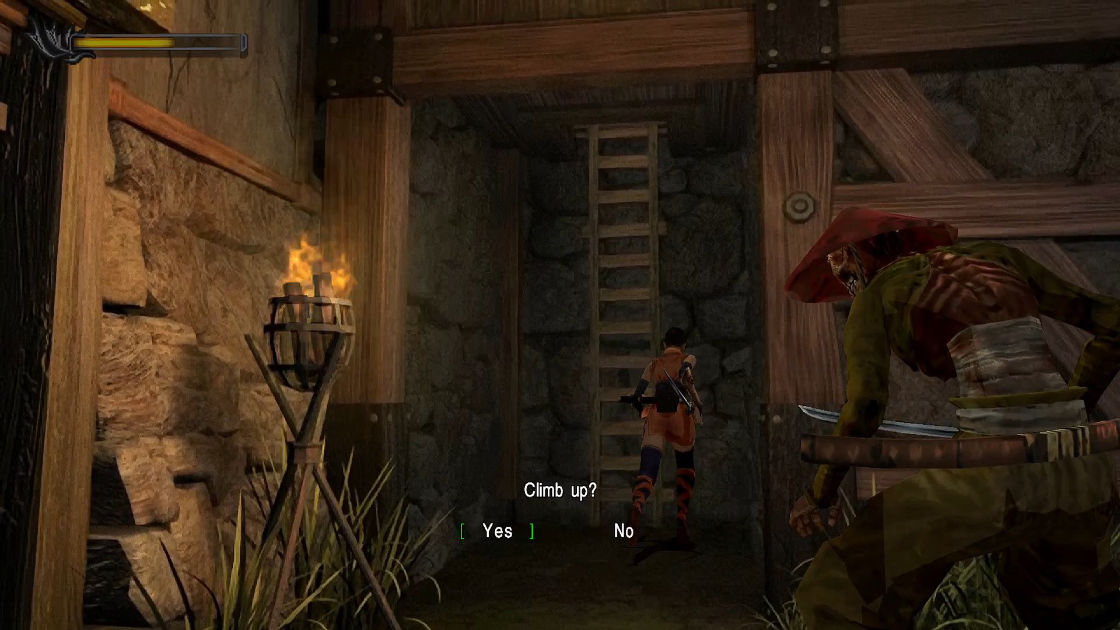
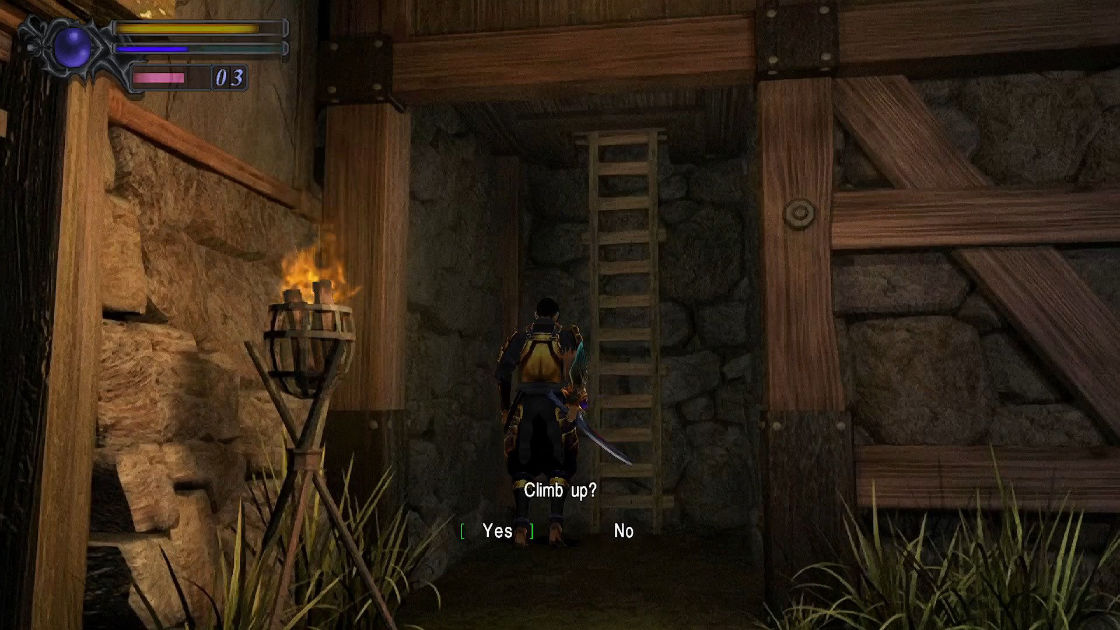
Head upstairs and circling around, you will see a door, you cannot open it right now. There is a ladder at the corner, use it to climb down. When you see a prompt message, don’t go further down yet, circle around again to use another ladder to climb down again. From your point of view, move south (Samanosuke’s right) you will see a treasure box.
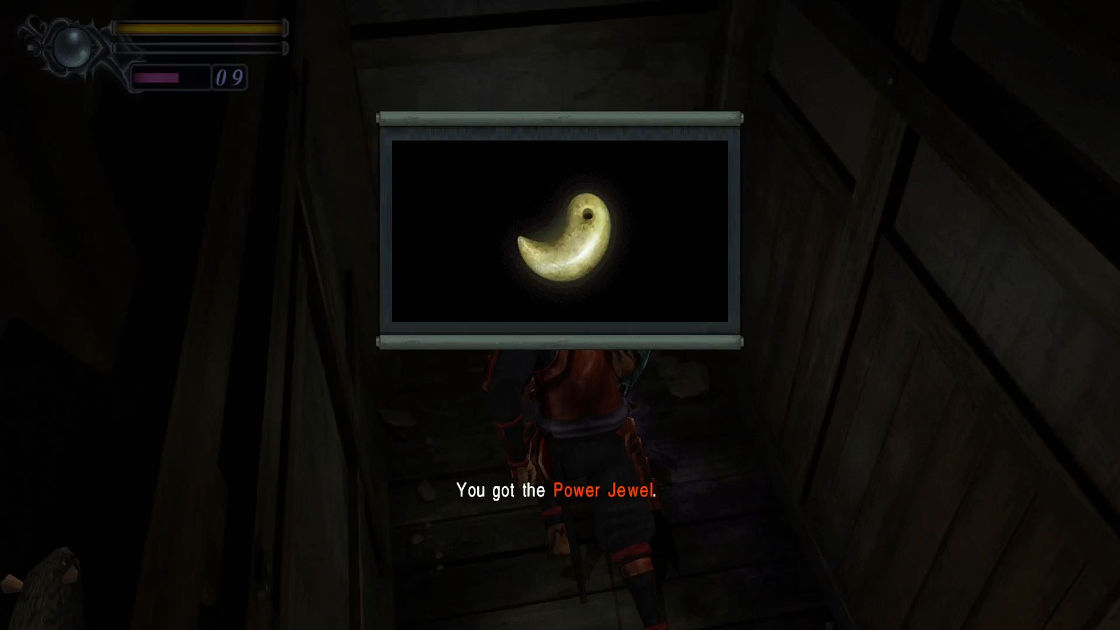
- Item: Power Jewel
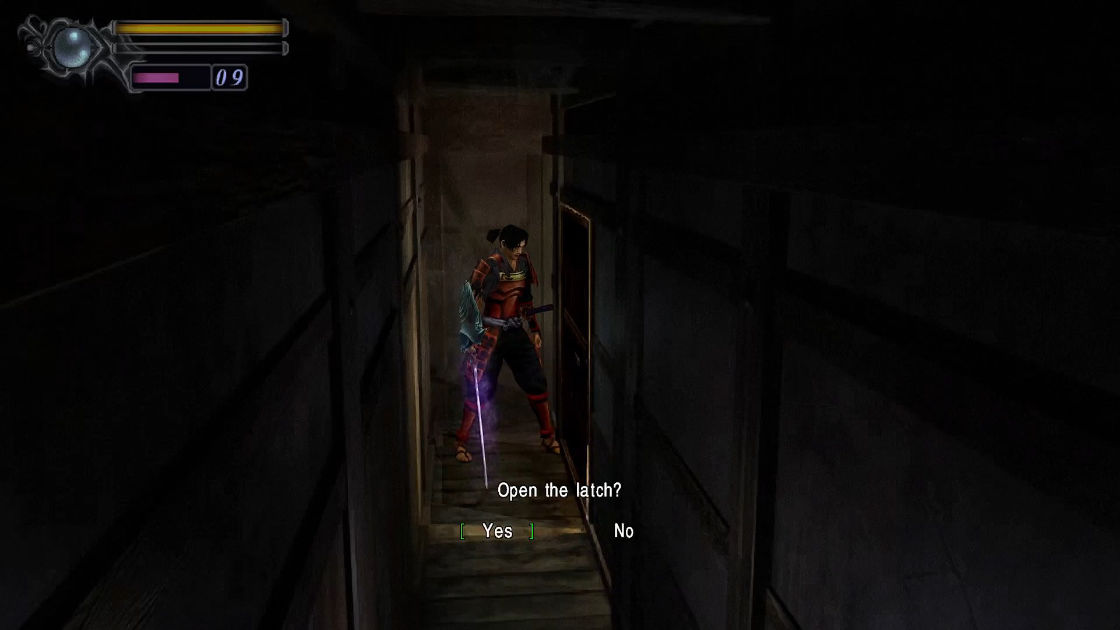
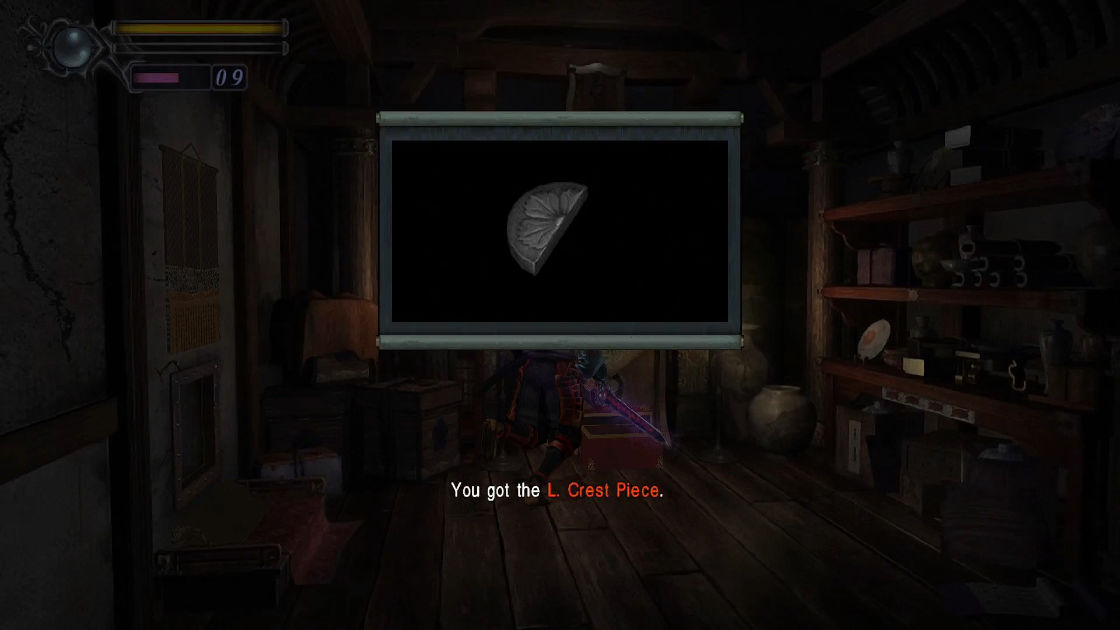
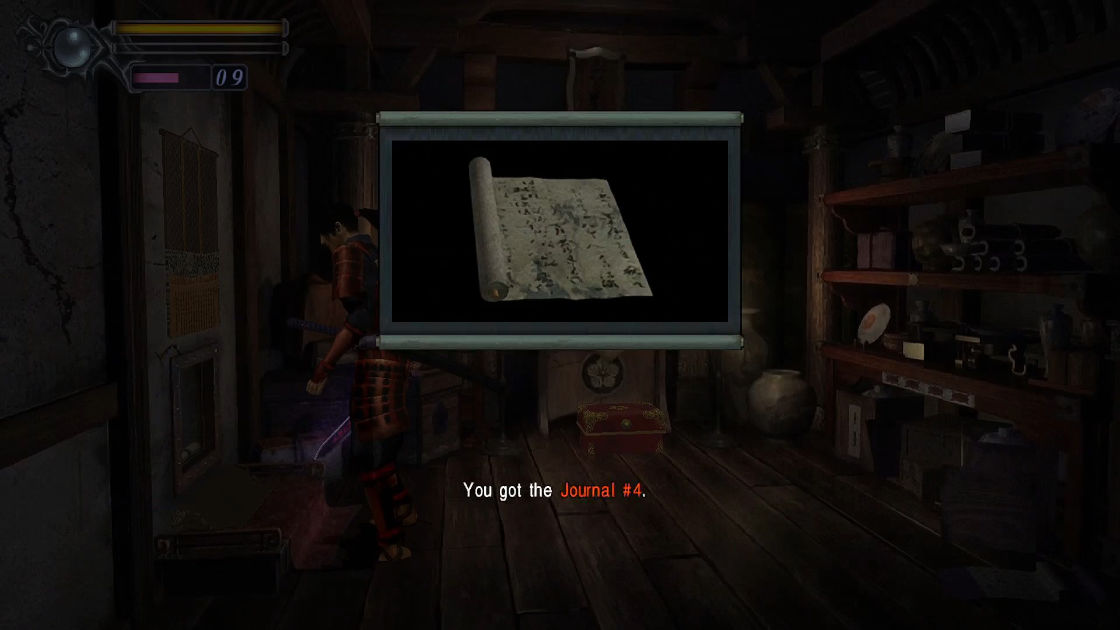
Turn around follow the hallway until you see a door, examine it you’ll be prompted to open a latch, open it. Backtrack to the first ladder where it prompted you “Go up” and “Go Down”, choose “Go Down”. Inside the room is a box with another Crest Piece. There is a hanging paper on the left wall where you can cut through it to reveal a file.
- Key Item: L. Crest Piece
- File: Journal #4
Now climb back all the way up and use the 2 crests to open the locked door. Enjoy another cutscene. After it finish, turn around and a walk to the next screen. Here you will a blue book on the right and a wooden box on the left side, they are Seiryu and a hidden Fluorite.
- Item: Fluorite
- File: Seiryu
Proceed to the next room, you will immediately notice a red book on the floor so pick it up.
- File: Suzaku
Before you walk to the next camera view, there is a Three-Eyes waiting to rush into you. So, you either have to walk close to the wall or ready to block his attack. There is a treasure next to the staircase that you can barely see.
- Equipment: Normal Arrows
Go upstairs you’ll hear the boy screaming. Just keep going and kill those Three-Eyes who block for way, then enter the first door you see. There is a treasure and a blue book, so pick them up.
- Item: Medicine
- File: Seiryu
Walk to the next camera view and cut the 2 screens to reveal a Soul Holder and Magic Mirror, press O to absorb souls. Then pick up another Seiryu.
- File: Seiryu
Use the Magic Mirror to enhance your orbs and weapons and save the game before to go further. Now climb up, watch a cutscene, and enjoy a boss fight.
Boss: Marcellus
The strategy is very simple, Use magic (triangle button), hit, and run. The opening you have is after his attack, you have about 1 second to hit him back.
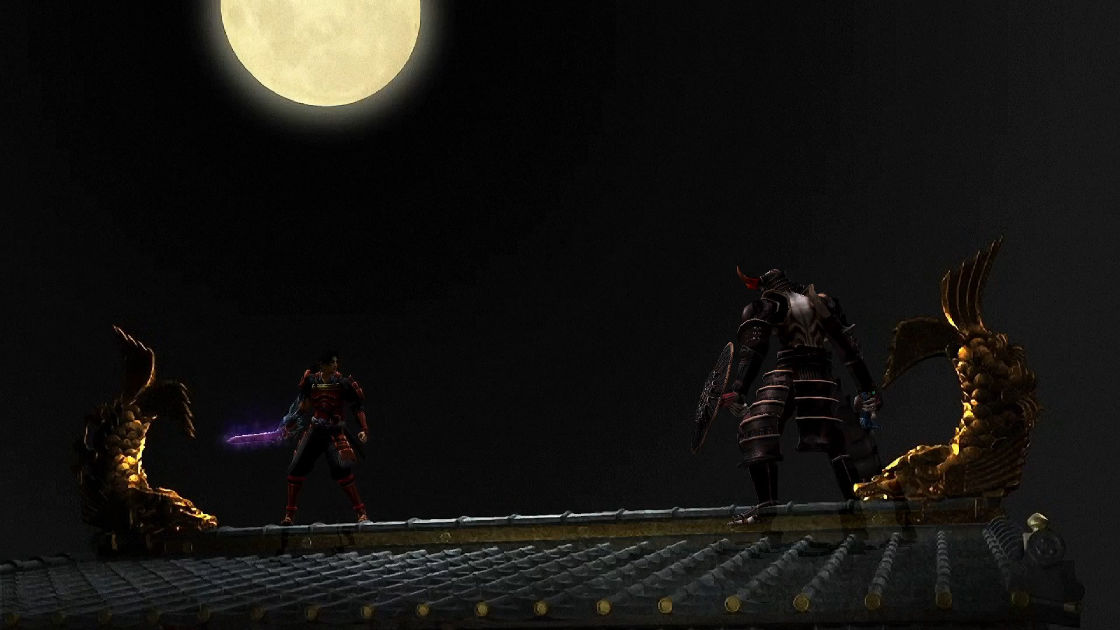
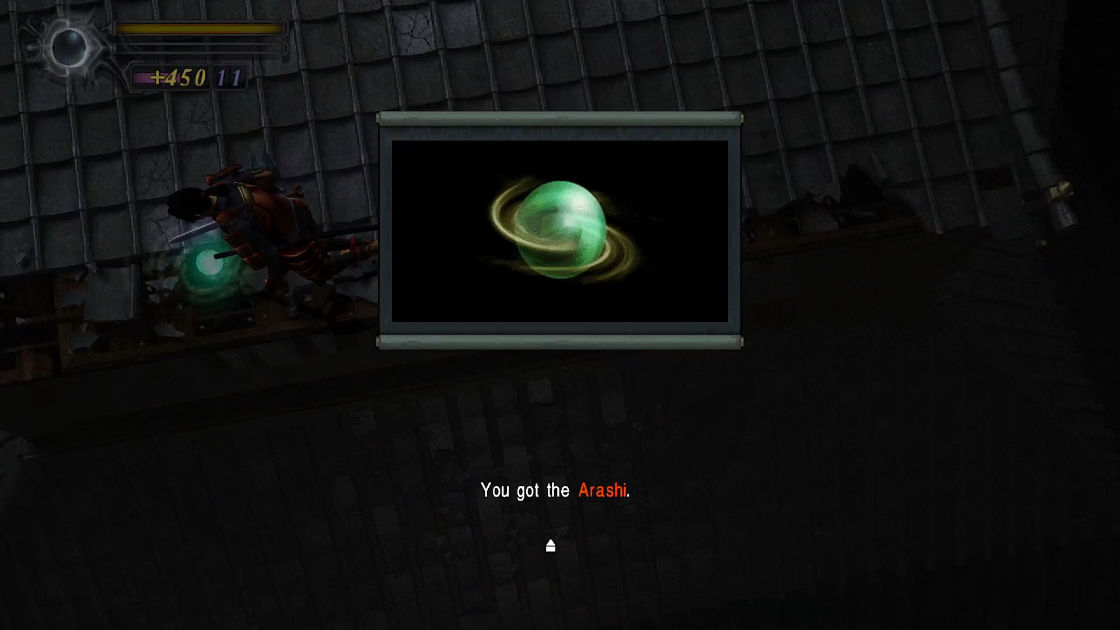
The boss will drop Arashi (wind orb) after you defeated him.
- Equipment: Shippuu (Arashi)
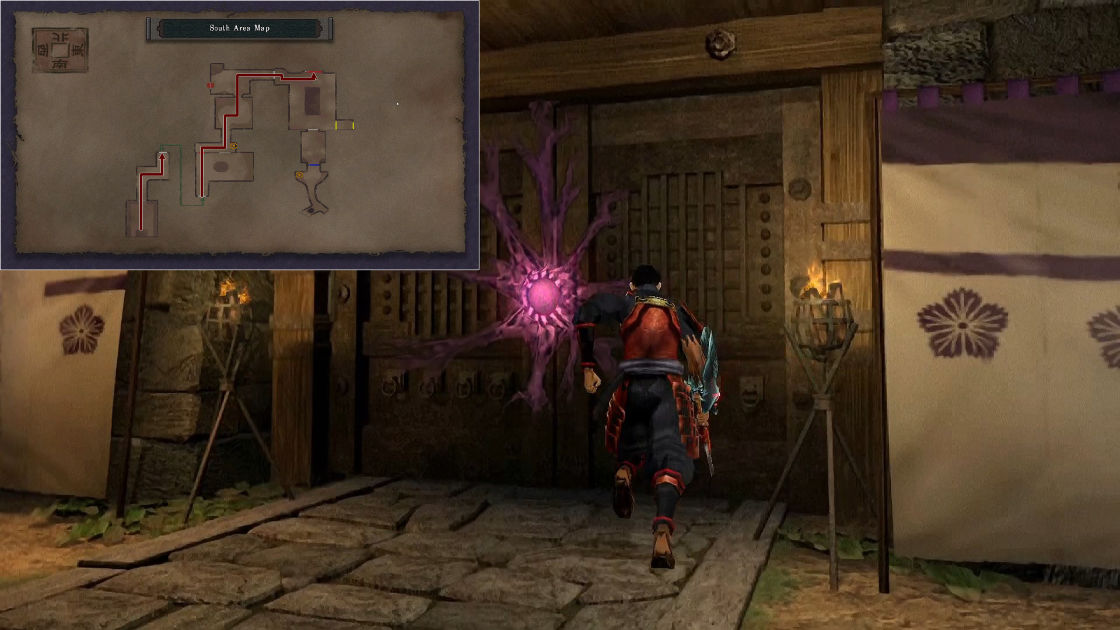
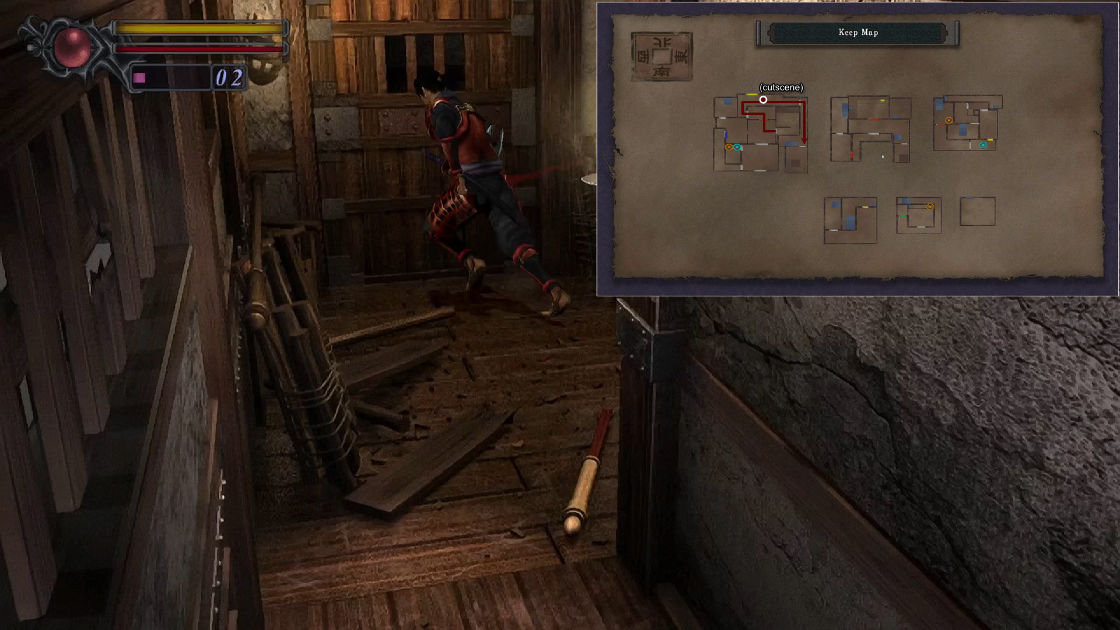
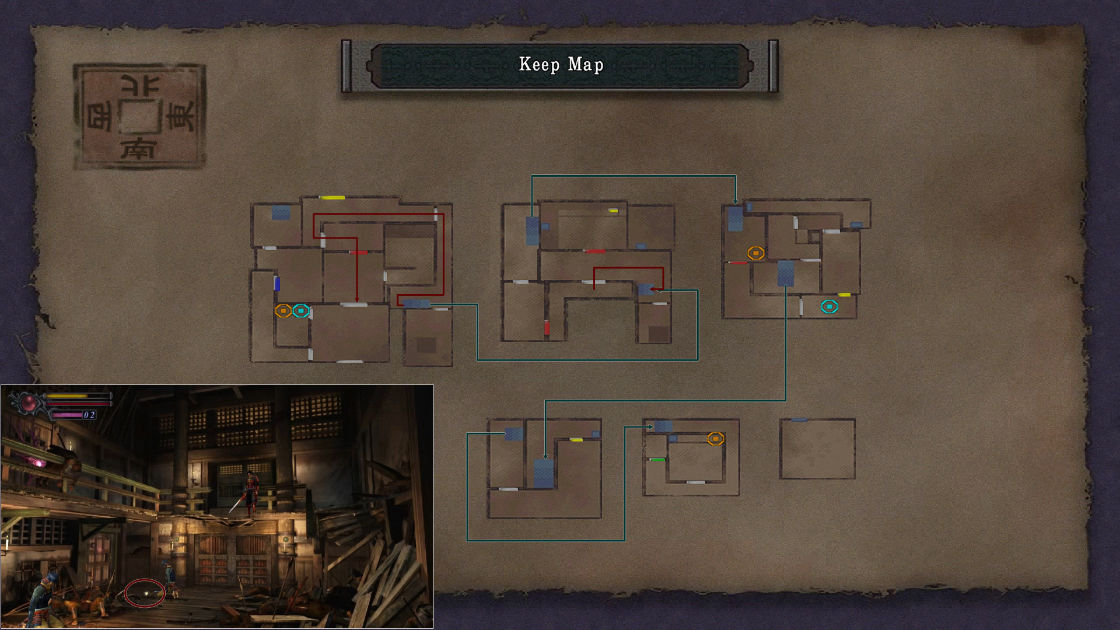
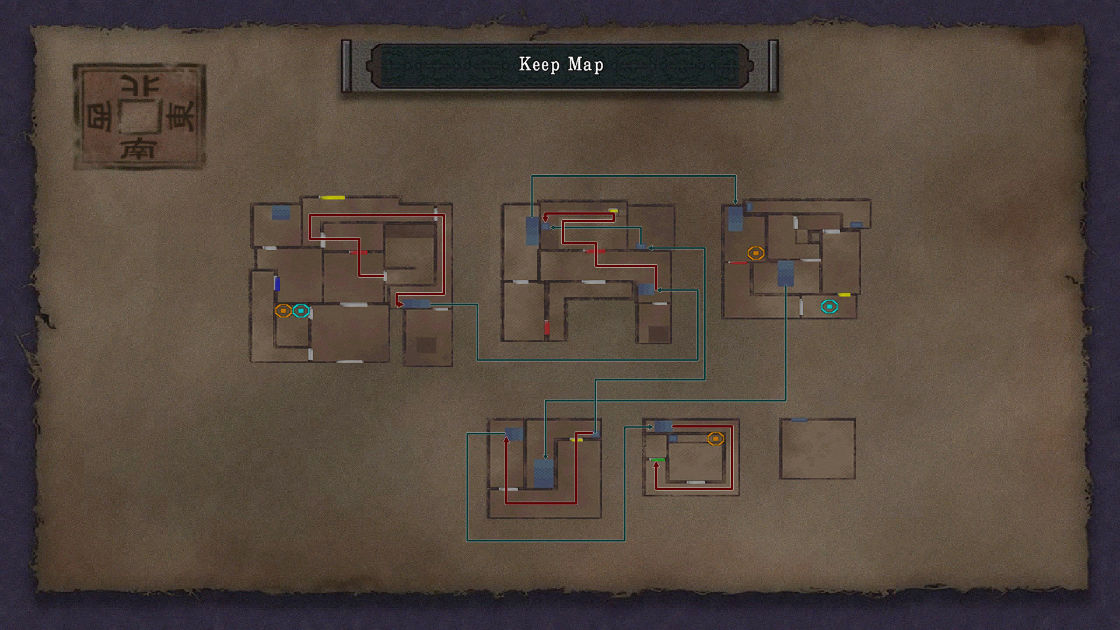
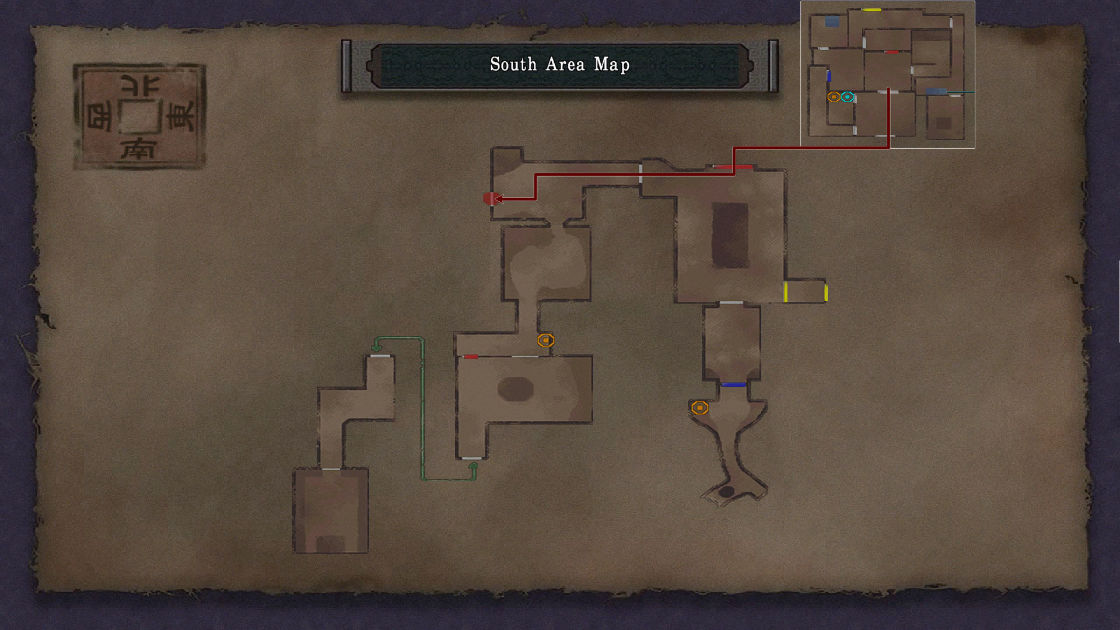
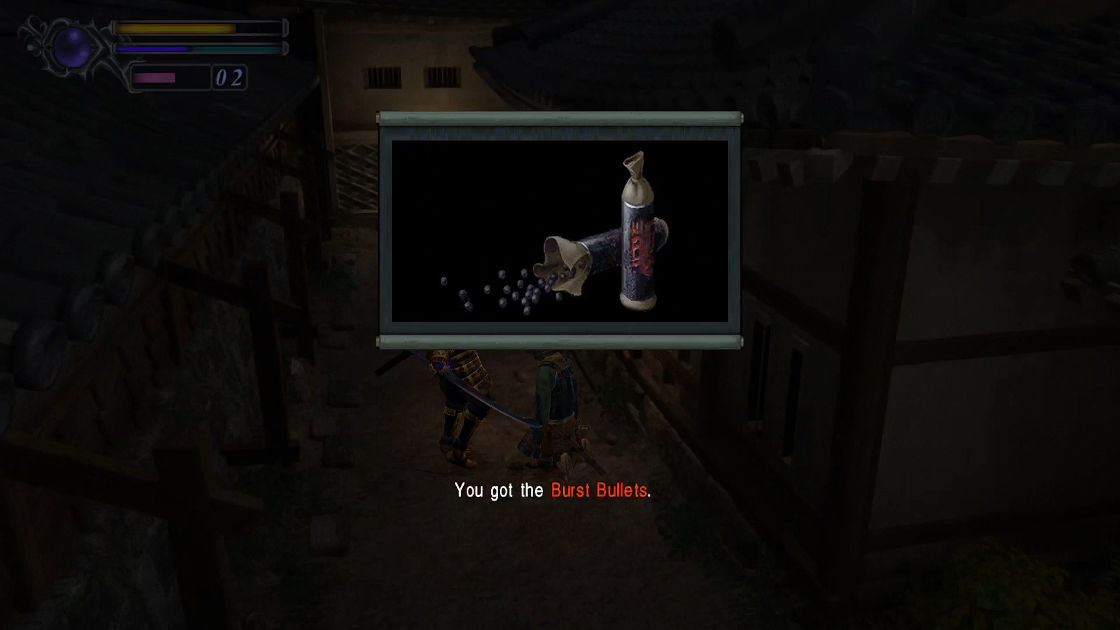
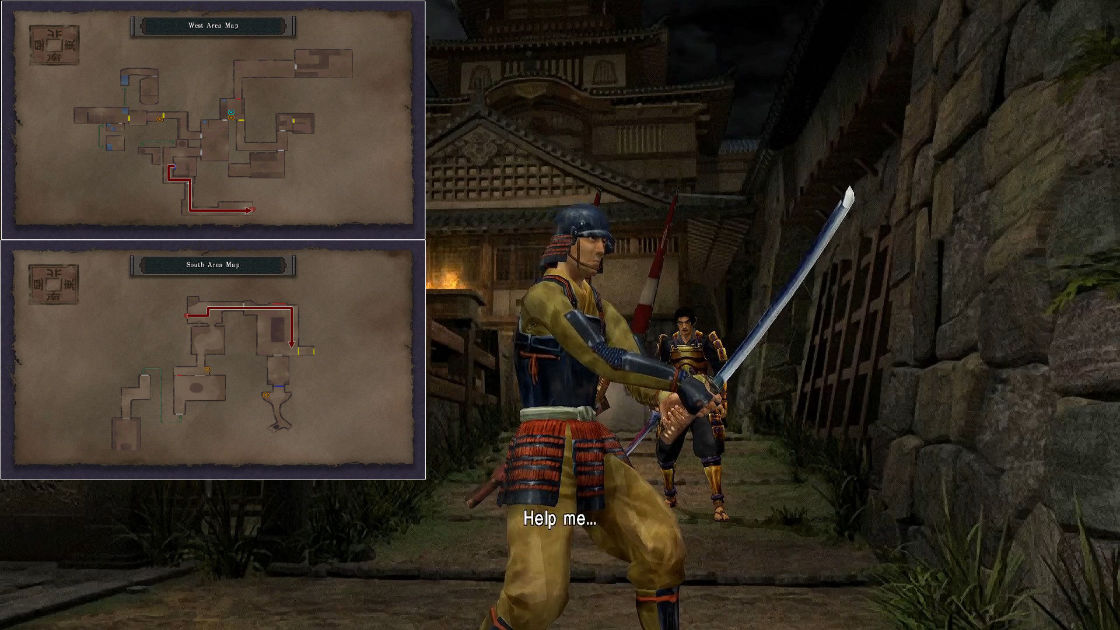
Exit the room and continue further until you see a level 1 sealed door with green crystal, open it with Shippuu. Enjoy a very long cutscene which you cannot skip. You may notice a treasure box inside the room, Unfortunately, you cannot open it during the cutscene. After the cutscene is finished, you are back in room near the Keep. Well, I guess you have to go all the back to the treasure box. Remember the door which unlatched when you climb down a ladder? You can go through that way back. If you still have trouble, use map below and follow the red arrows.
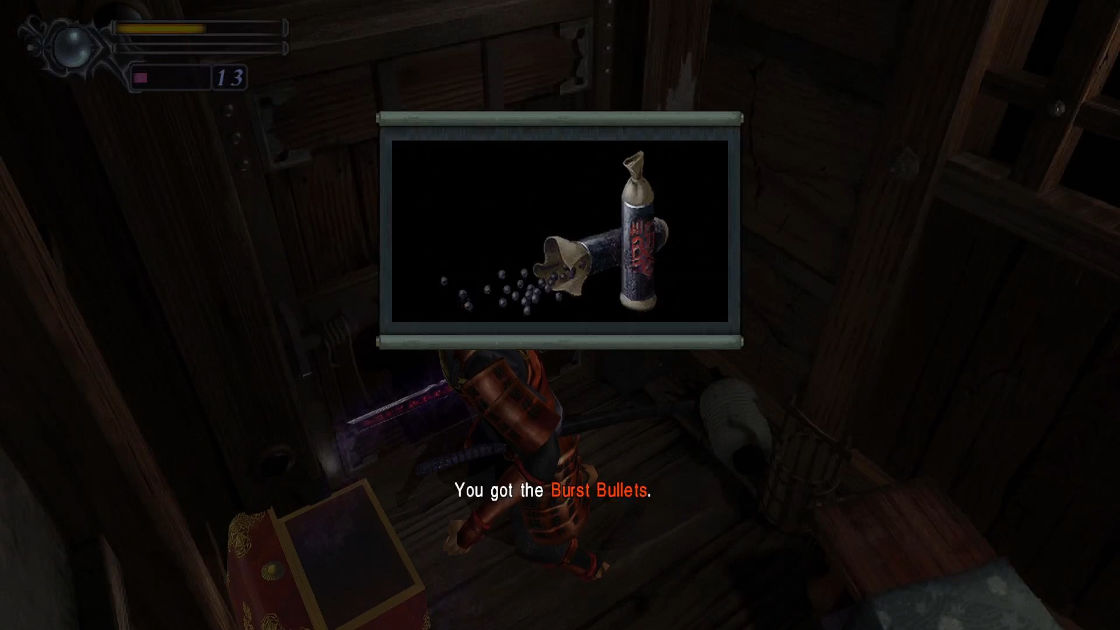
- Item: Burst Bullets
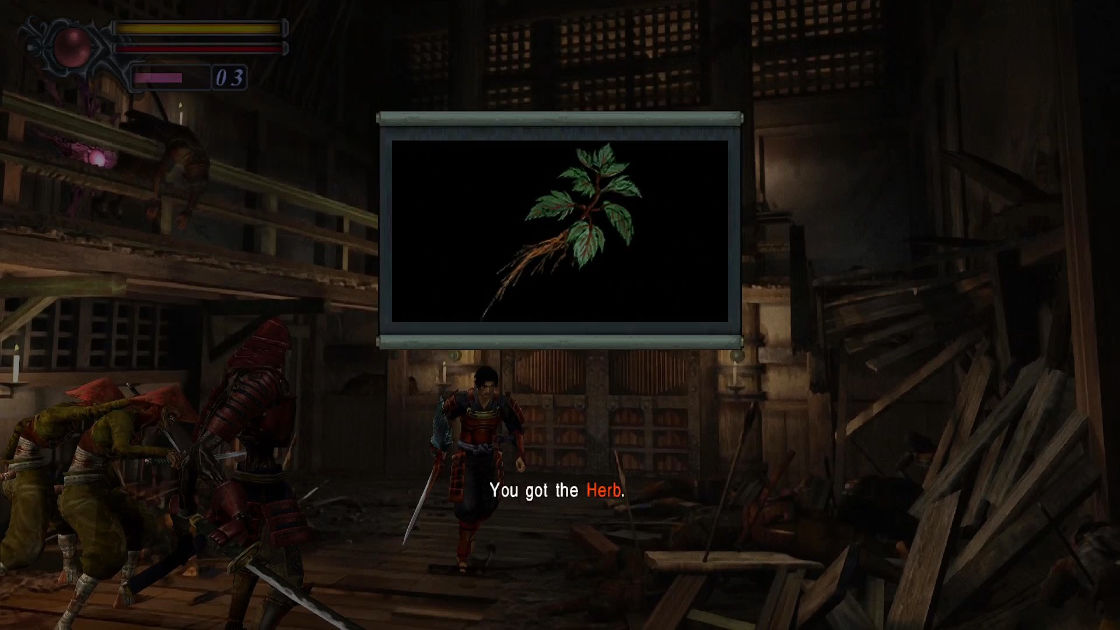
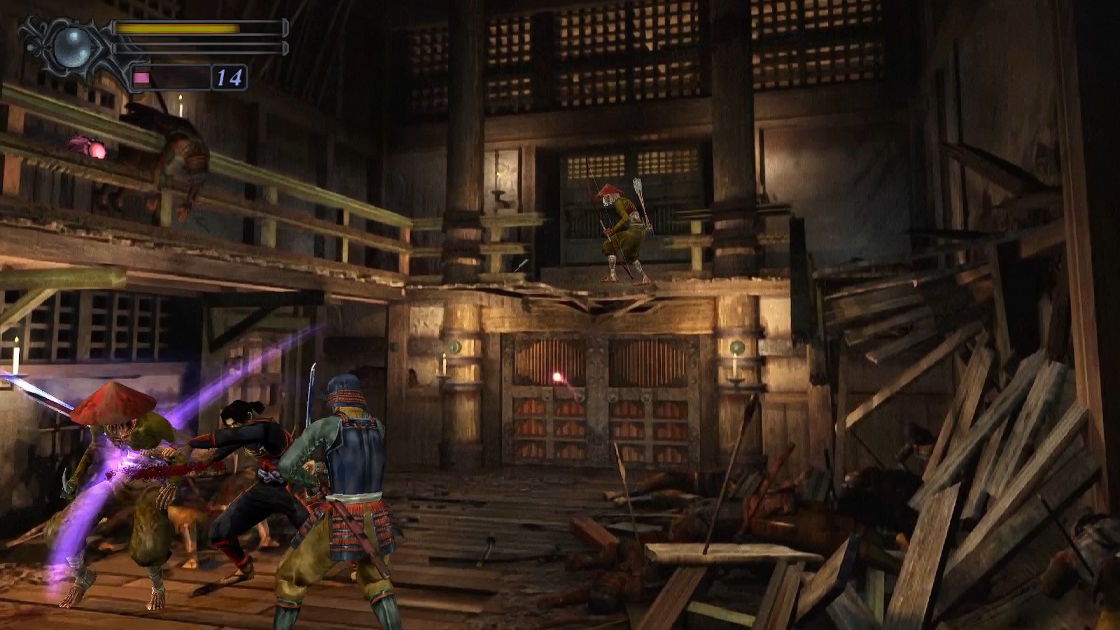
Now go all the way back to the main hall (where you help the 2 soldiers using bow and arrows). This time, you’ll need to help another soldier. He drops Herb.
- Item: Herb
Save your game in the side room if needed and replenish your mana (where the cocoon man stays).
Part 5: Keep Underground
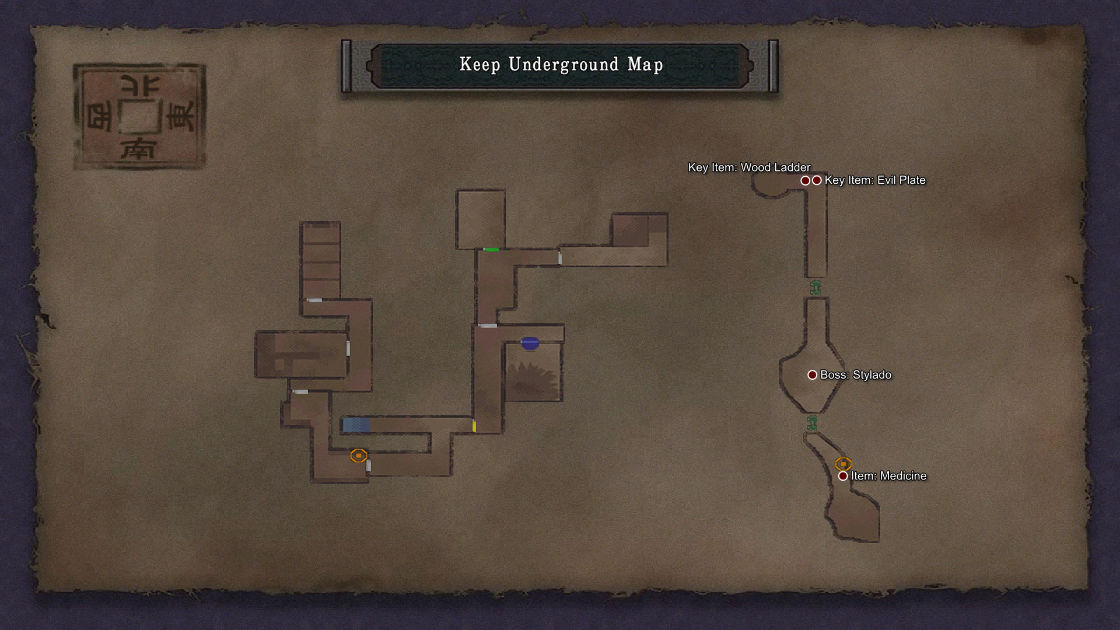
Consult these maps for part 5:
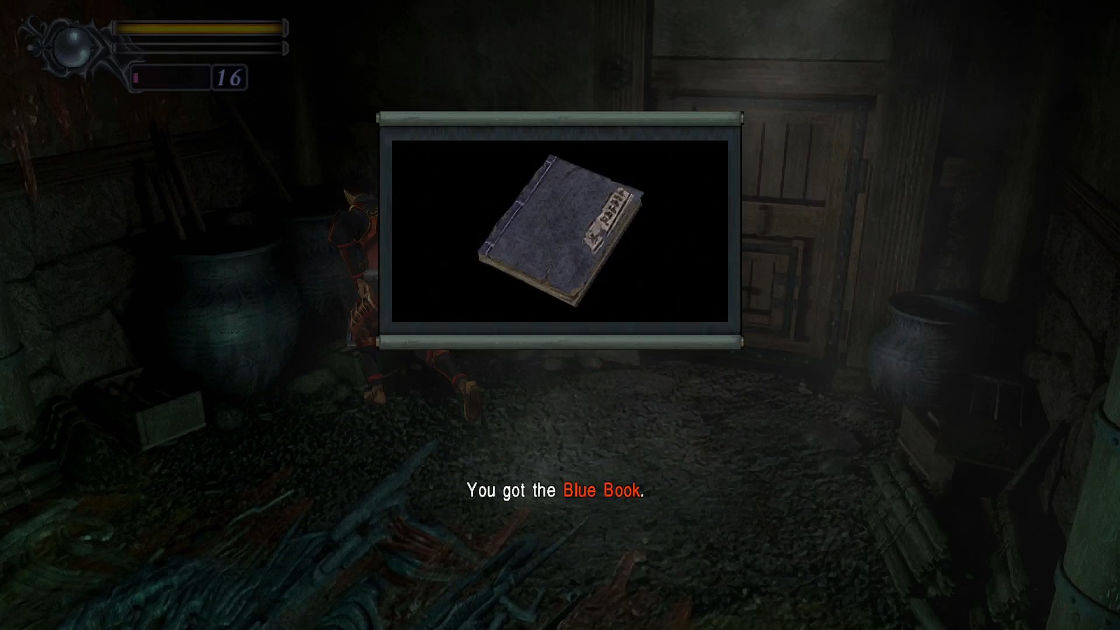
Exit, go to another side room, advance until you see another door sealed with level 2 blue crystal. Equip Raizan to open it. keep walking, kill all monsters who block your path, and enter the next door. To the left of this room is a Blue Book.
- File: Blue Book
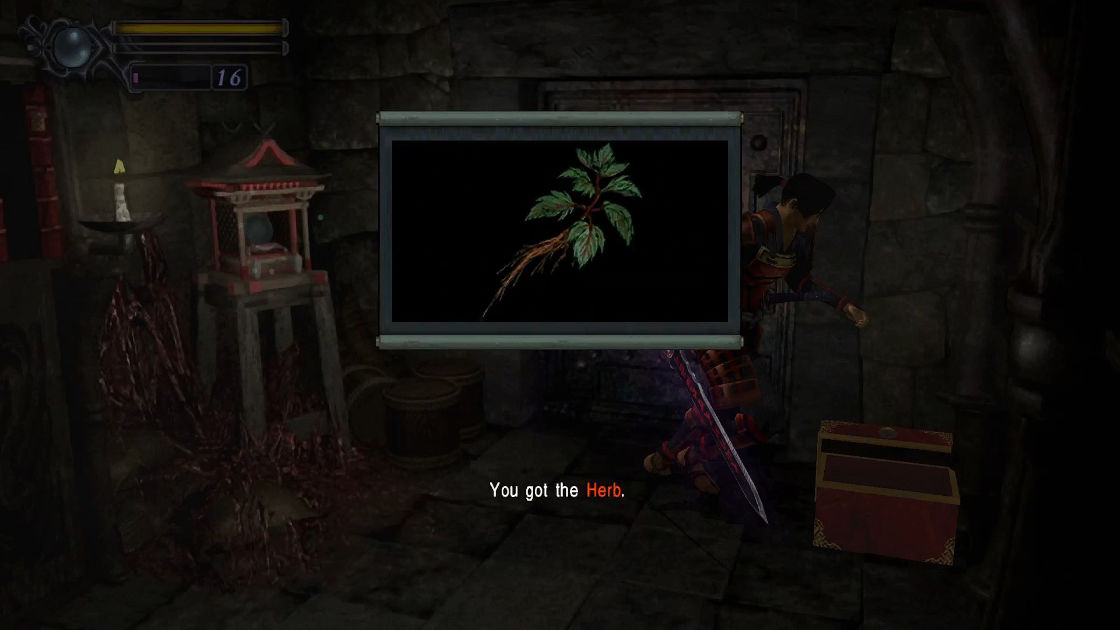
Walk to the next screen, you’ll see 3 elemental orbs. Don’t worry because you already have all the three, all you have to do is equip all 3 weapons, one at a time, to open the path. Go down and keep walking straight, there is a door blocked by spirits so you cannot enter it yet. Turn to the other way and keep walking until you see another door, enter it. You will immediately see a Magic Mirror and a treasure box.
- Item: Herb
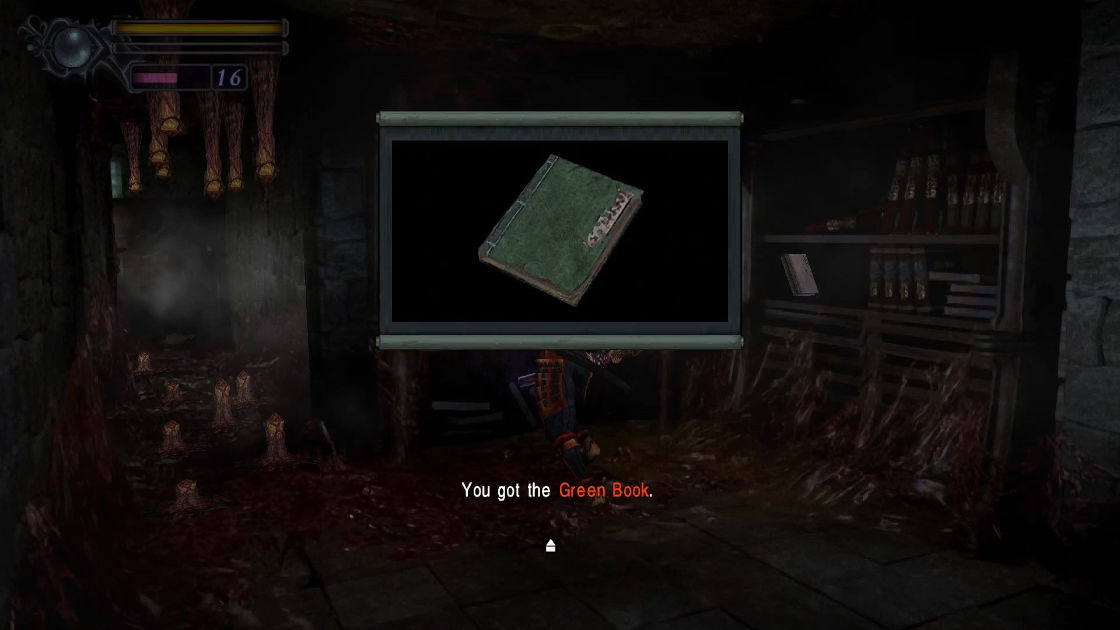
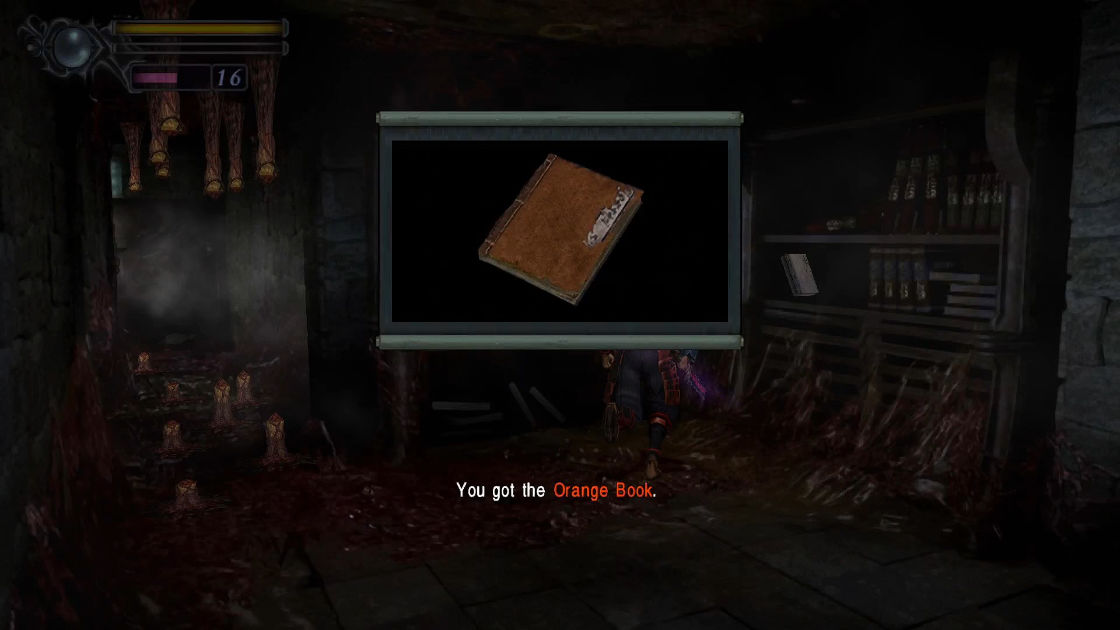
Save your game. Continue until you see some tentacles blocking your path, cut them through` and keep going. You’ll encounter one Renaldo in the next section, kill him. Here, you will see 3 books on the shelves.
- File: Green Book
- File: Orange Book
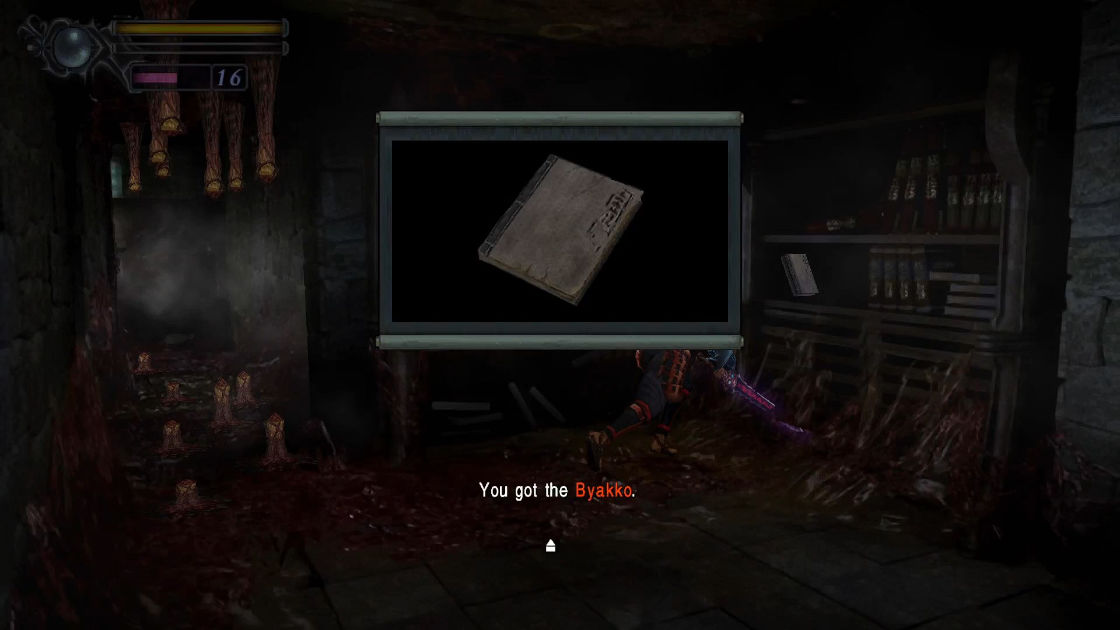
- File: Byakko
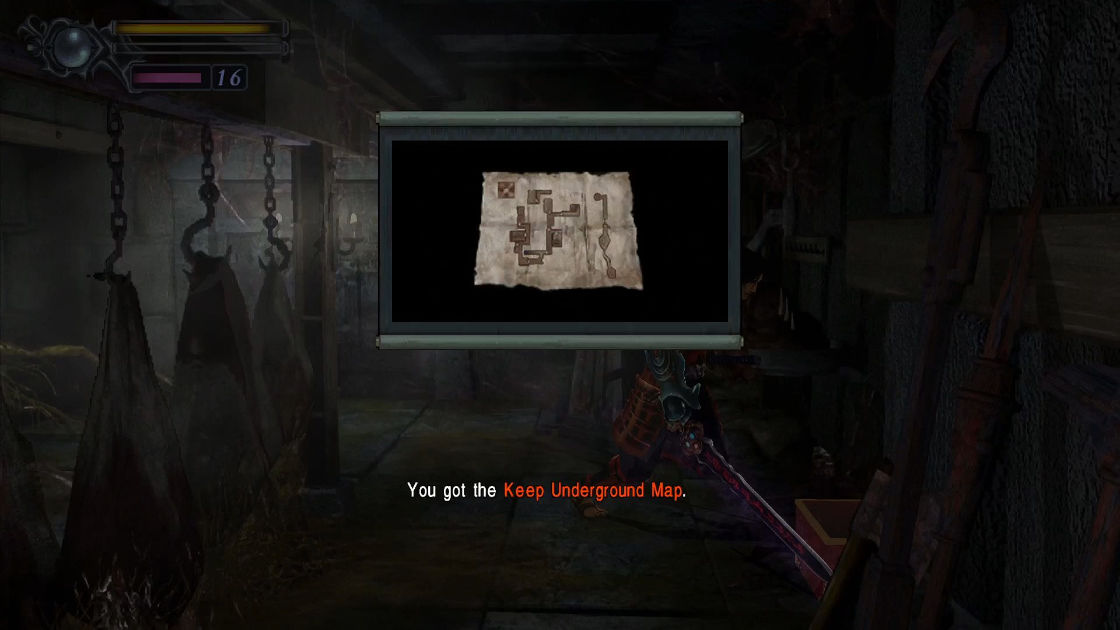
Continue to the next room, kill more Renaldos, and enter the first door (double door). Walk to the right screen (Samanosuke’s left) there is a treasure box.
- Map: Keep Underground Map
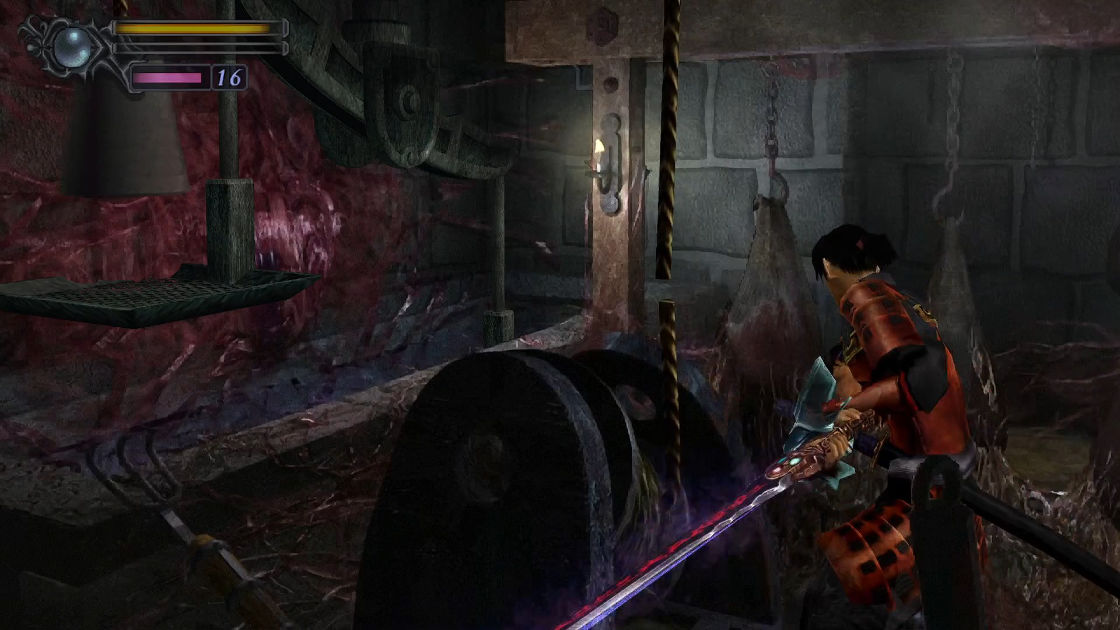
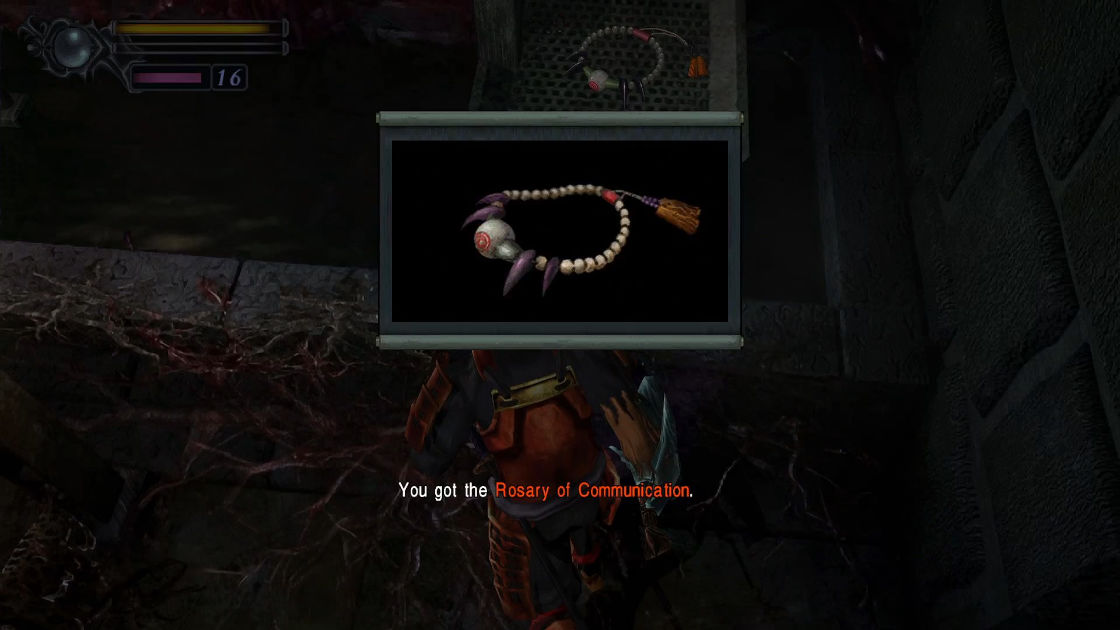
Walk a little further, you will notice a robe, cut it with a basic attack to reveal another key item, but you have to run to the other side to pick it up.
- Key Item: Rosary of Communication
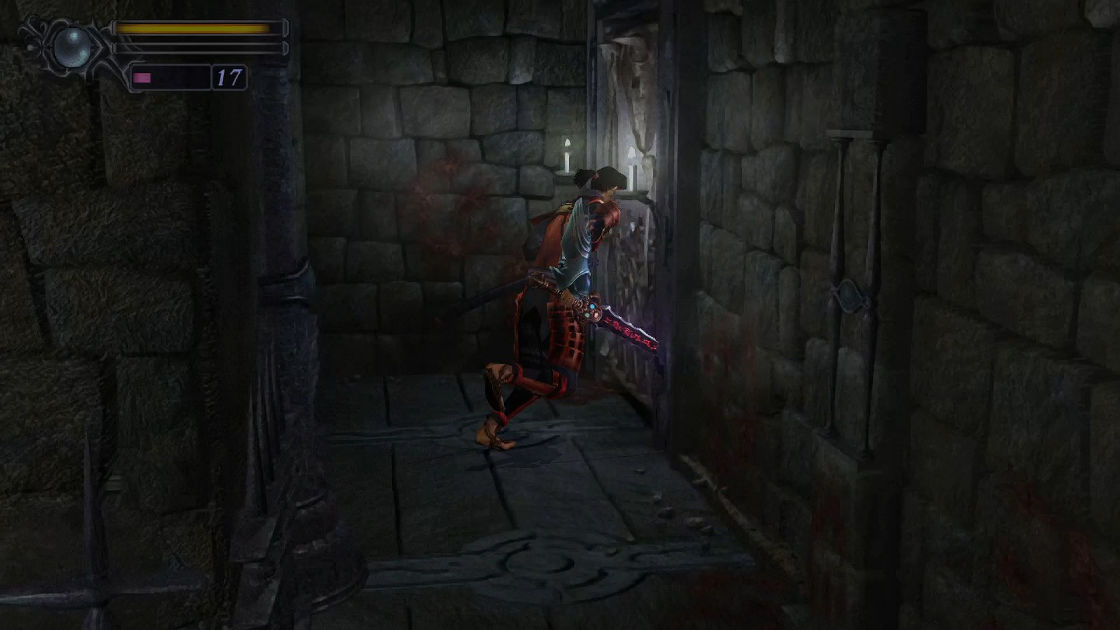
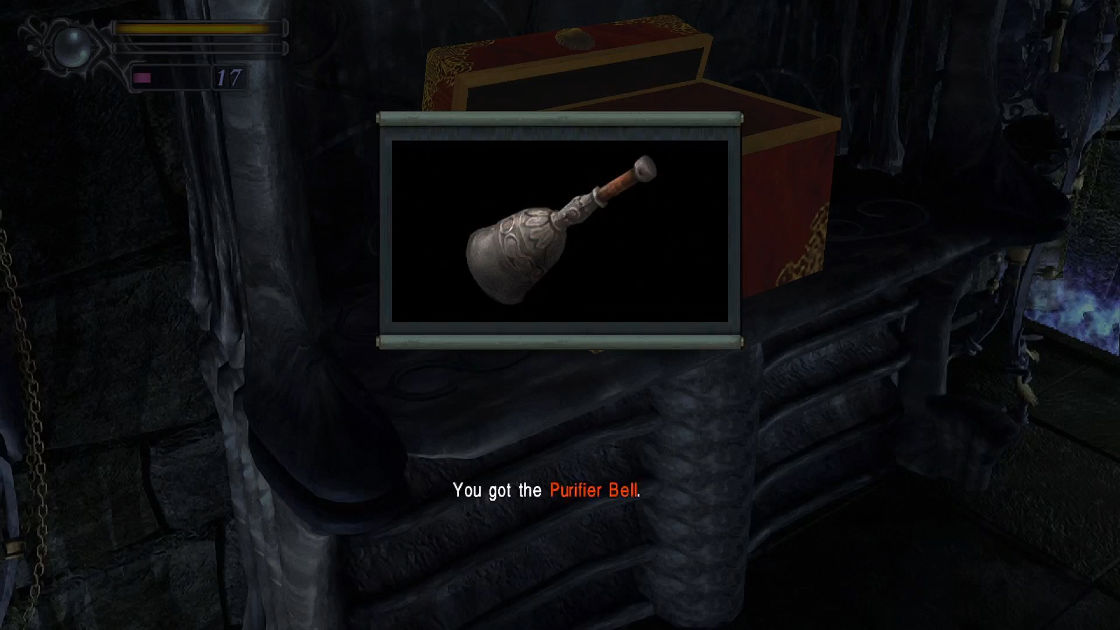
Exit the room and continue to the next door. In this room, there are blue flames on both side of the walls, at the end is a treasure box. Picking it up will trigger another trap.
- Key Item: Purifier Bell
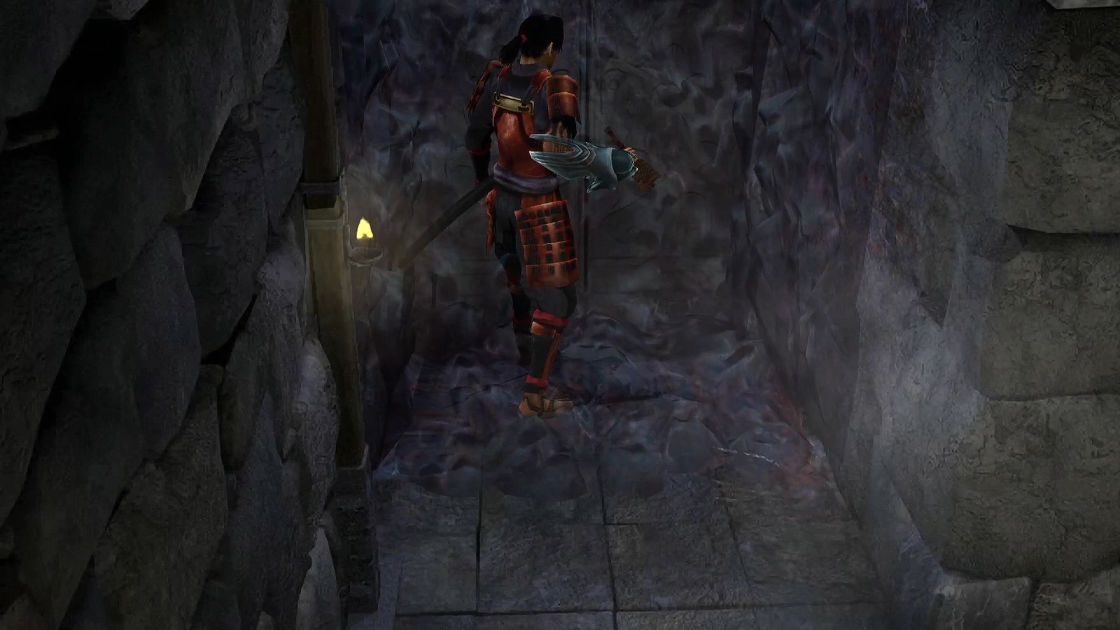
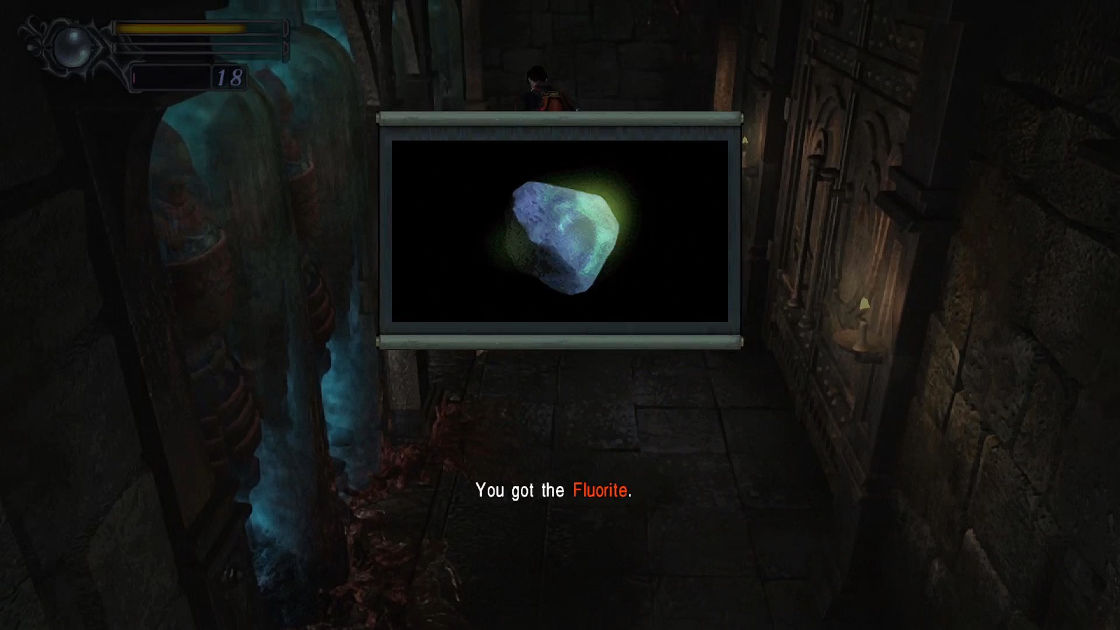
Rotating blades? It’s a straightforward trap. Now that you have the Purifier Bell, you can open the ghostly-guarded prior door. Use the bell and enter while you are in your item menu. Three Samurai who are enclosed in glass boxes may be found in this hallway; you know what to do when they emerge. After killing them, proceed until you reach a dead end, where Fluorite is located in the left corner.
- Item: Fluorite
Turn around and enter the first door you see (at the L corner). Inside has 2 Renaldos, kill them and enter the last door (ignore the green sealed door for now). This is a small room with 2 items.
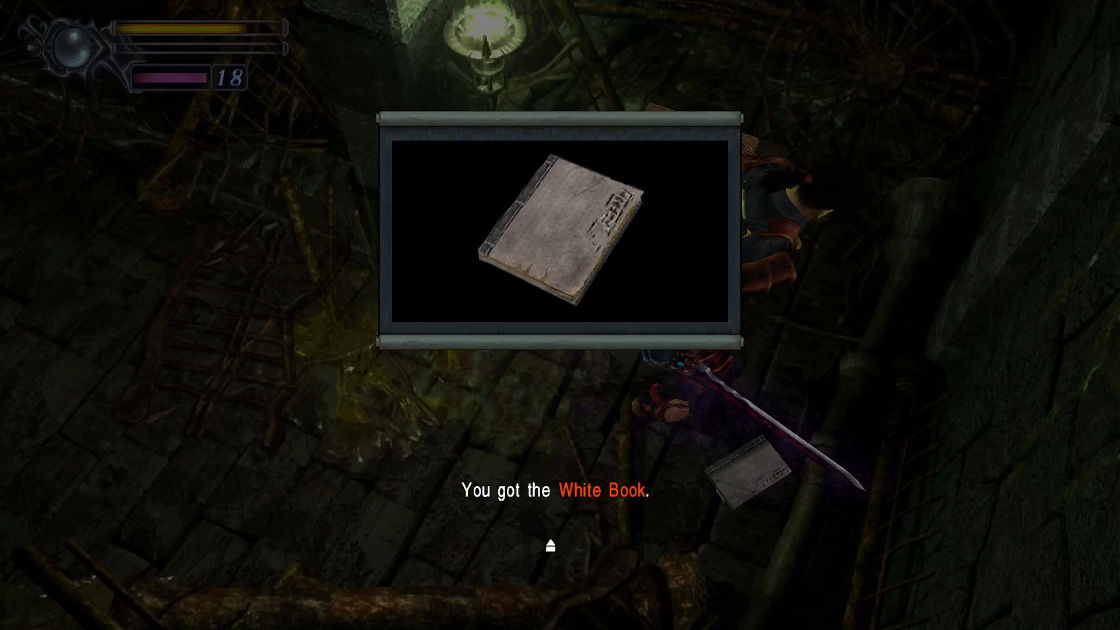
- File: White Book
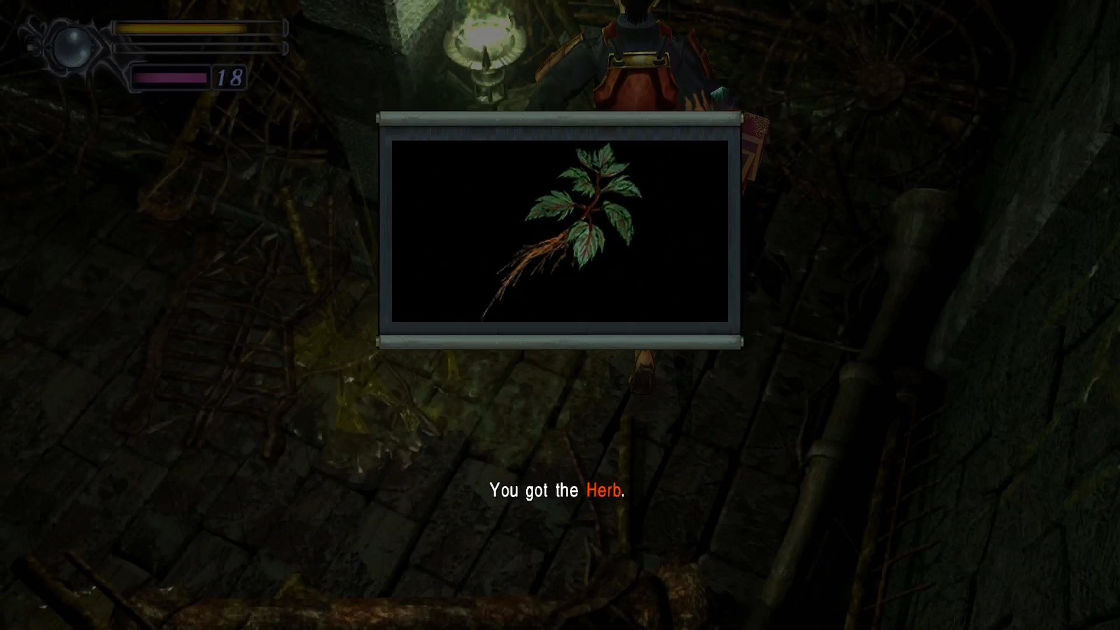
- Item: Herb
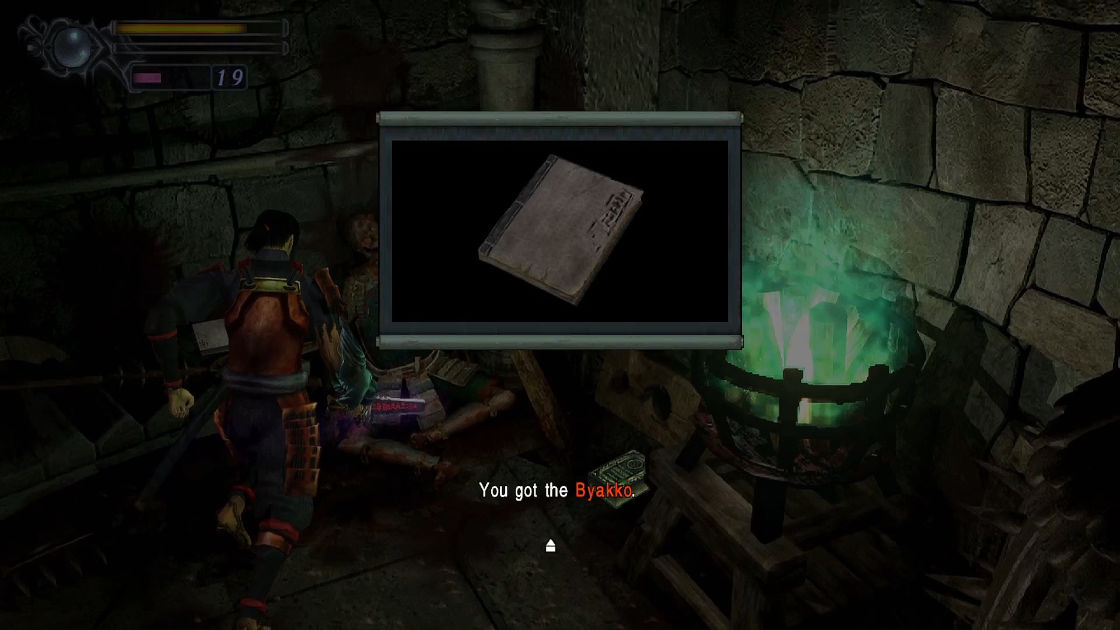
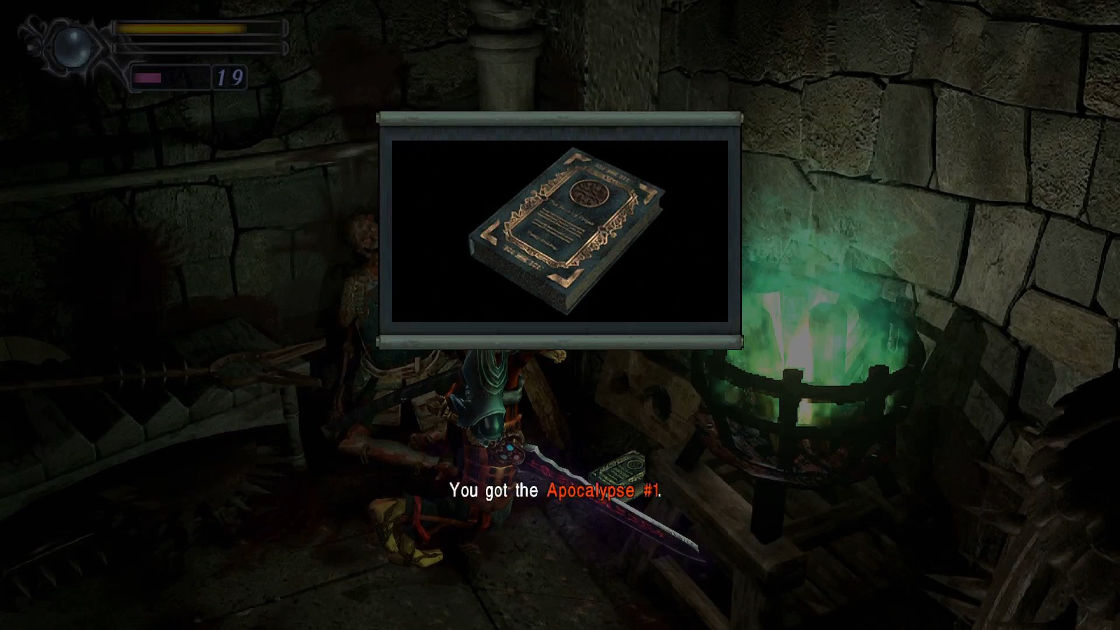
Now go back and open the level-2 sealed door with green crystal. A lot more items in this room but kill the samurai first. You probably notice an iron maiden cage in this room, right? yes, another Fluorite is in it. Walk further, you will see 2 files and a trick box.
- Item: Fluorite
- File: Byakko
- File: Apocalypse #1
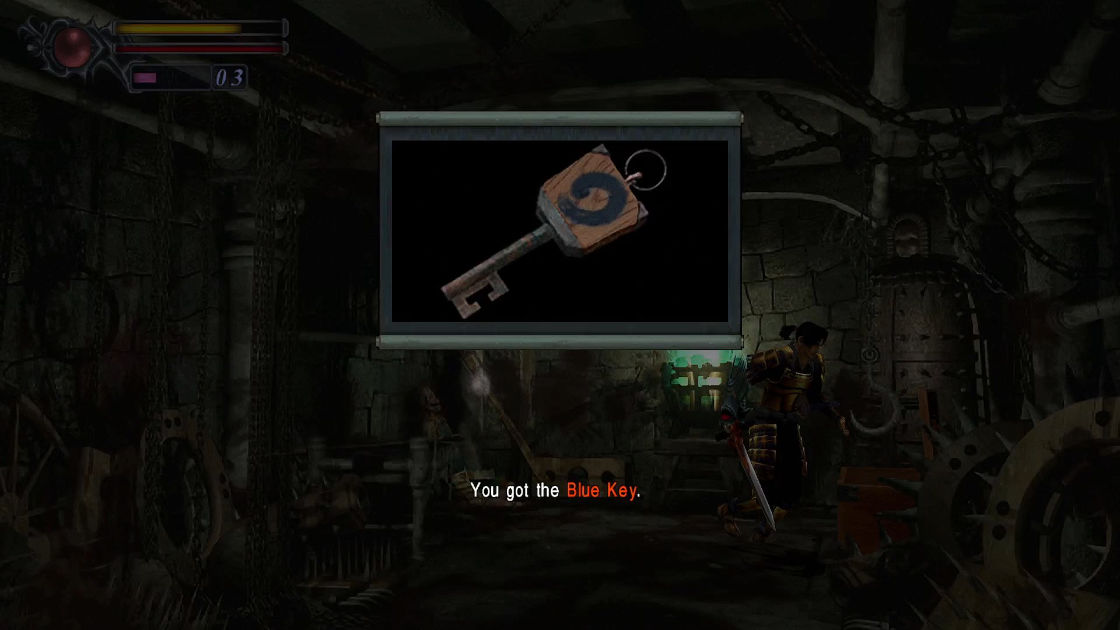
- Key Item: Blue Key (Solution: mid, right, left)
If you have Rosary of Communication, you can speak to the white energy that is hovering above the corpses to learn more about their past. In essence, you can communicate with any spirits who still have soul.
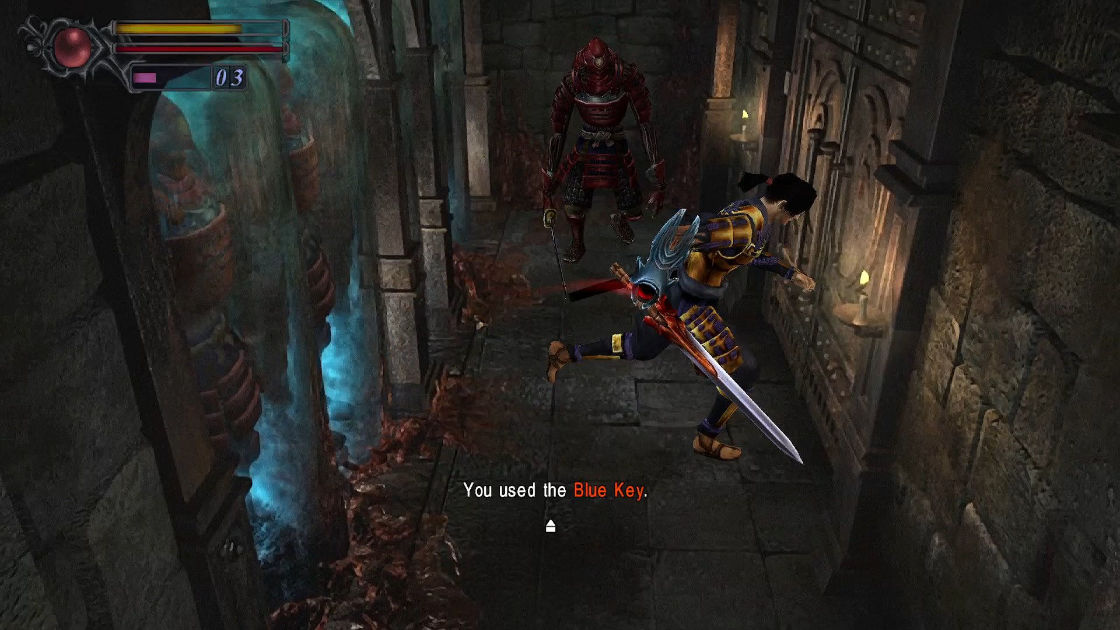
Return to the cul-de-sac corner where you first found the Fluorite, use the Blue Key t
Part 6: Princess Yuki
You are now in control of Kaede.
TIP: Since you don’t have a gauntlet to absorb souls, there is no point in fighting the monsters. You should only run and fight when necessary.
Consult these maps this part 6:
Exit the room and watch another cutscene.
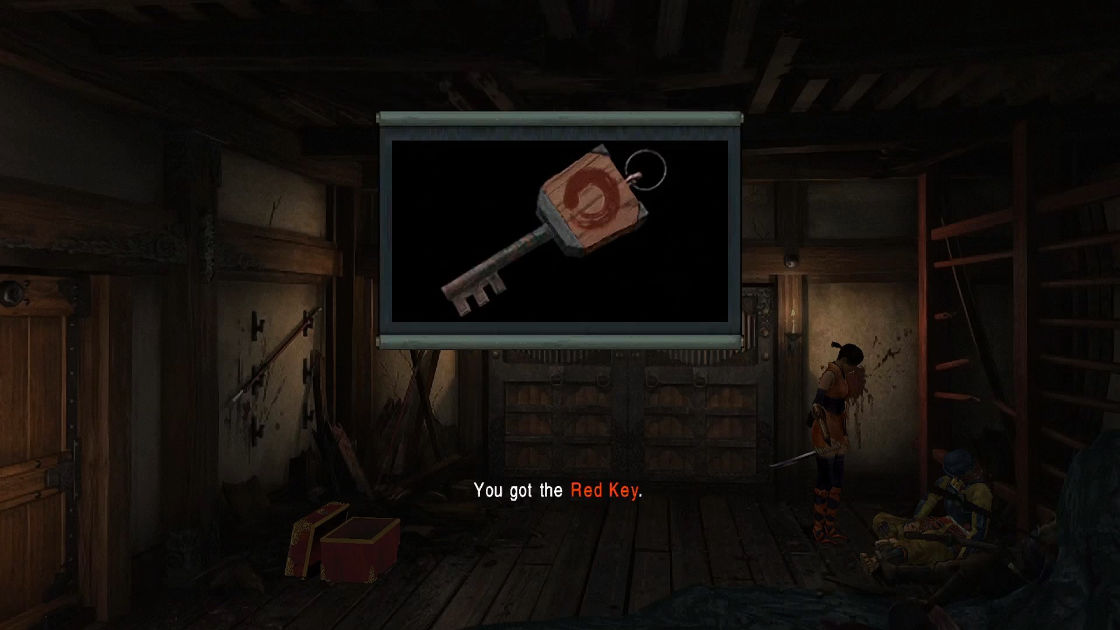
- Key Item: Red Key
Head back outside to courtyard, enter the side door where you used Robe Ladder, open the other door with Red Key you just obtained. Keep running a few steps, you will see a treasure box.
- Item: Herb
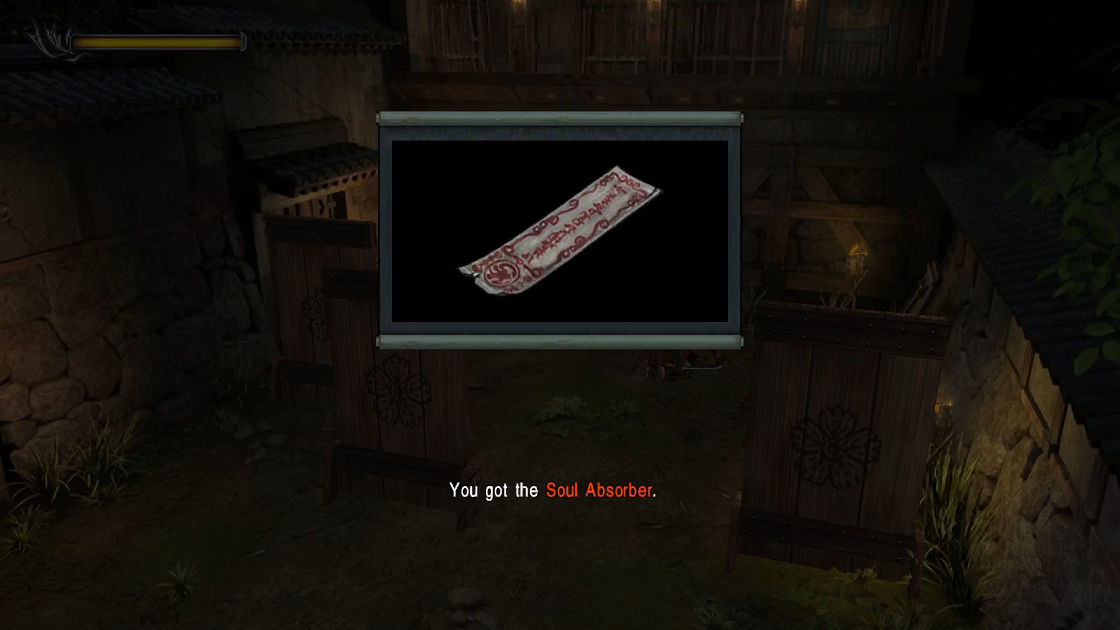
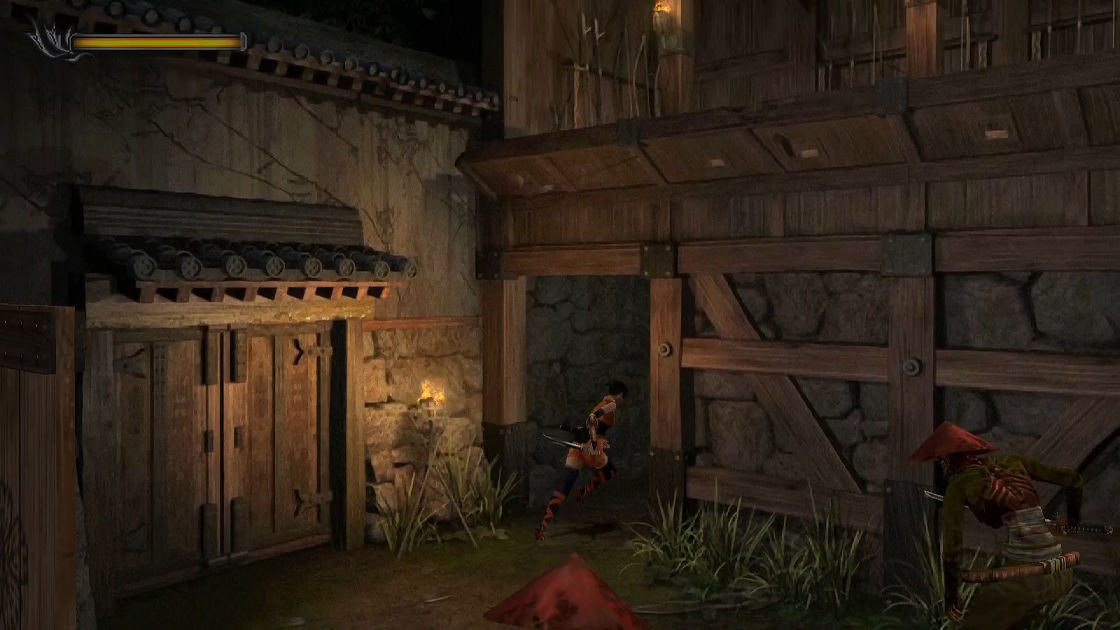
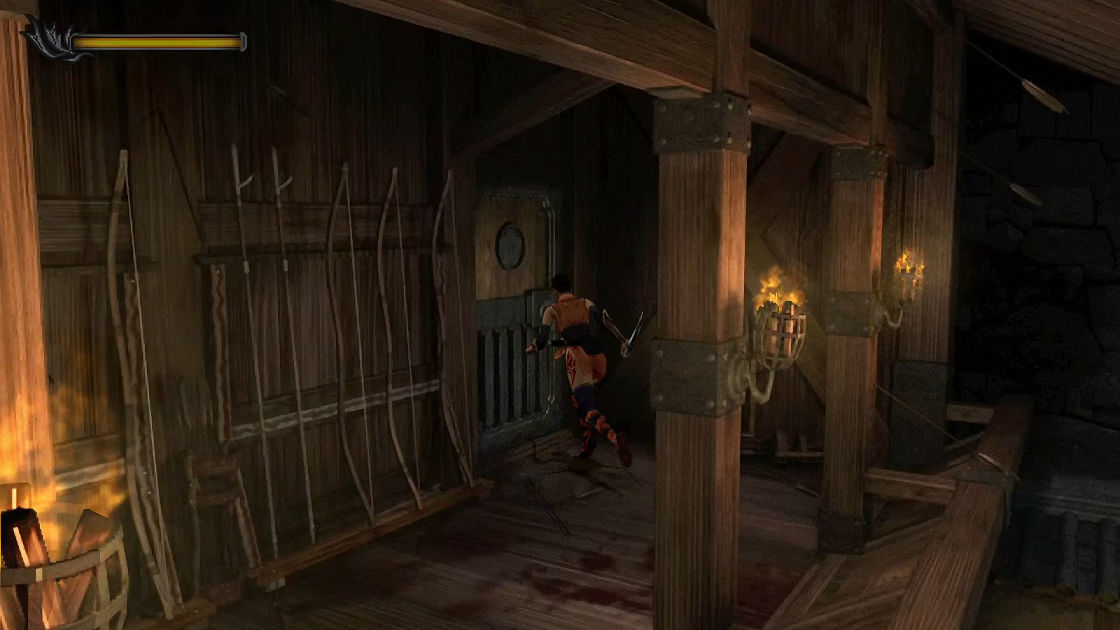
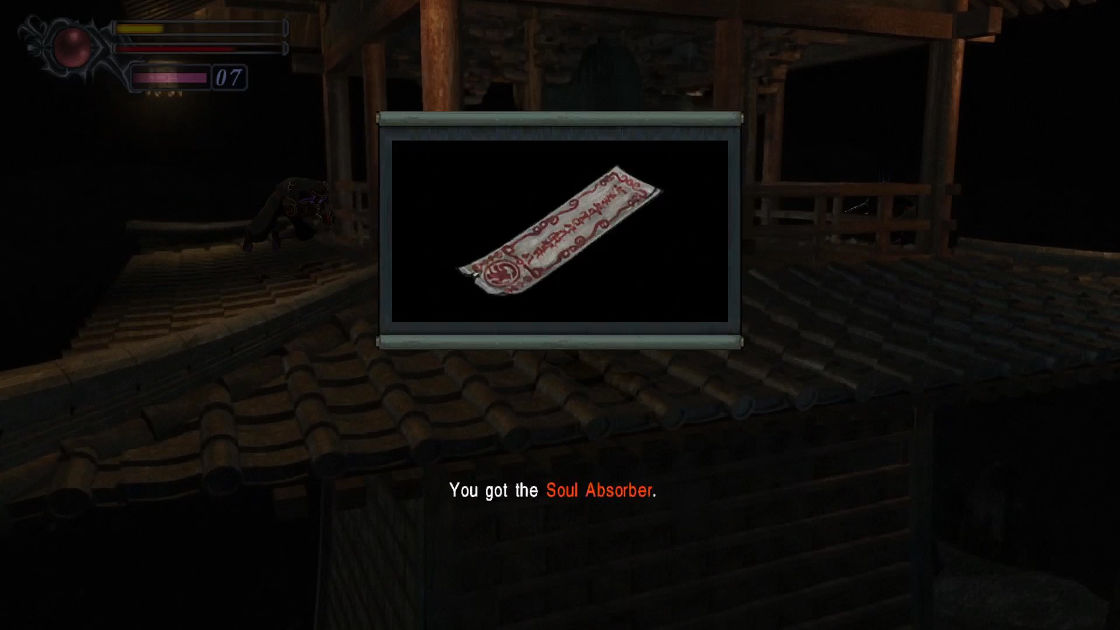
Keep advancing until you reach archery range where you’ll encounter a solder fighting a Zombie Soldier and 2 Zombie Archers. Kill the Zombie Soldier and climb a ladder to kill the other 2 archers. Climb down and talk to the soldier to claim your reward.
- Item: Soul Absorber
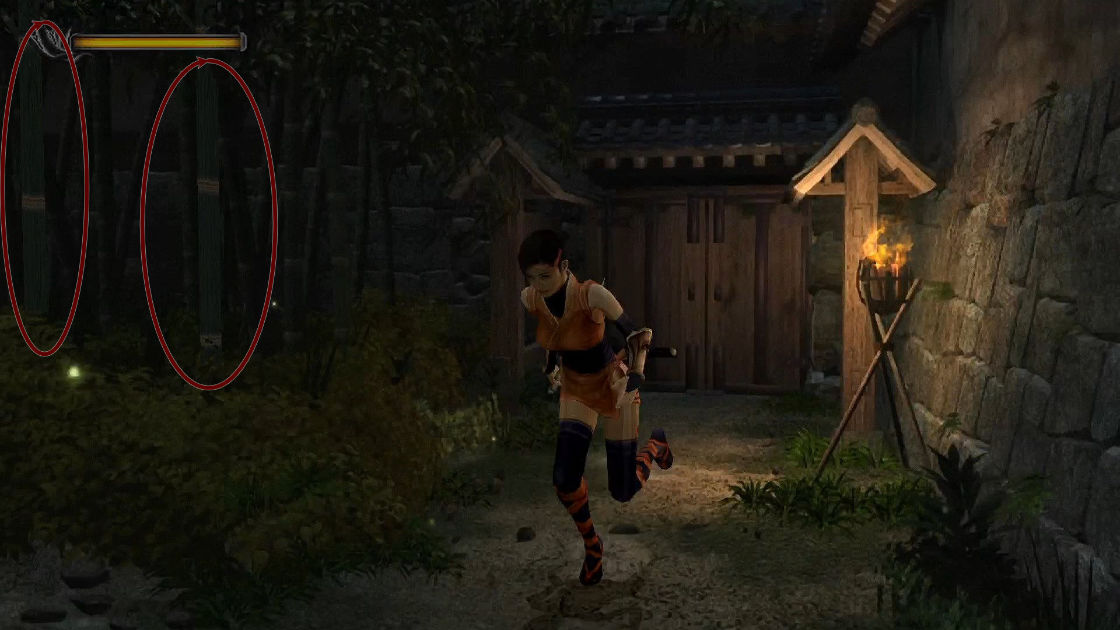
There is another door on the second floor, but don’t go there yet. Instead, use the door before the ladder. There is a secret achievement in this garden.
Achievement: Bamboo-zled
It is very simple, cut a few bamboos in this garden and the achievement will be unlocked.
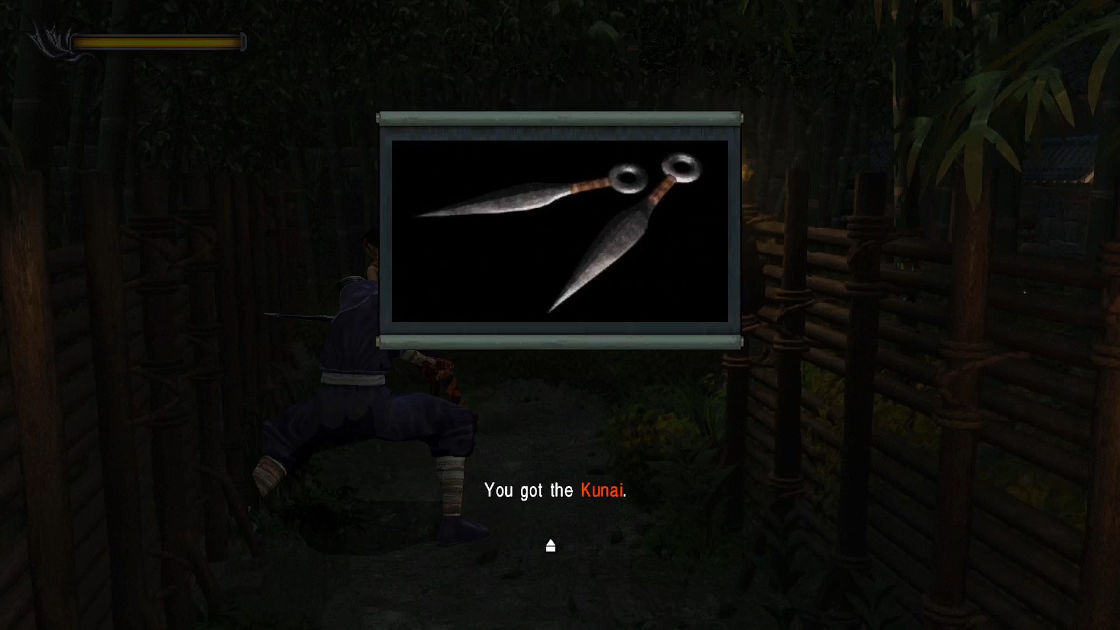
Keep walking 1 or 2 screens, you’ll notice something flickering on the ground.
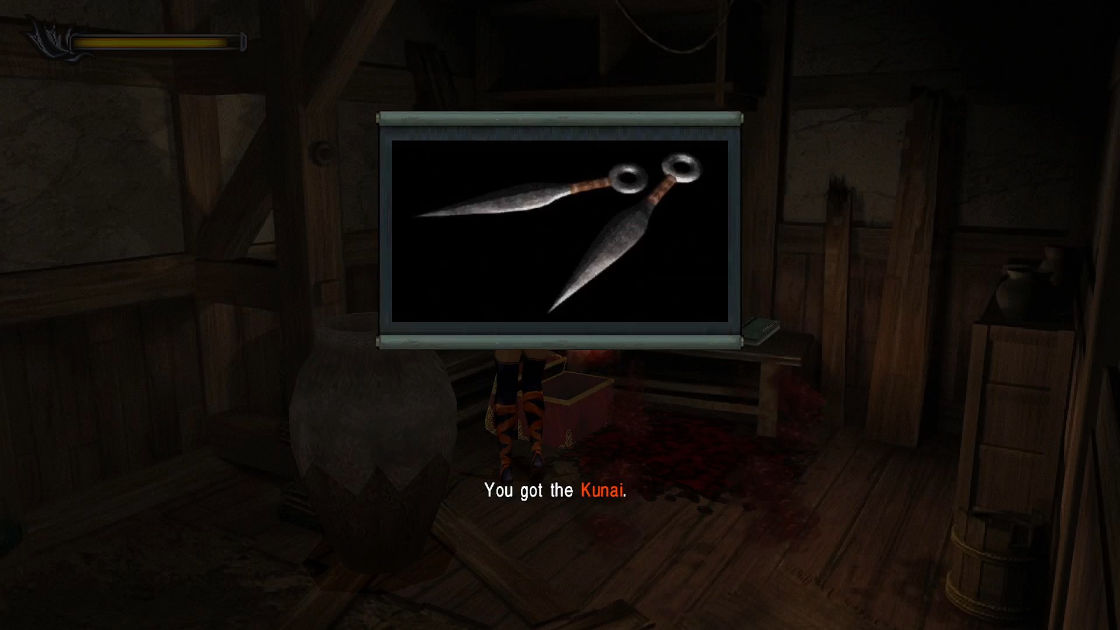
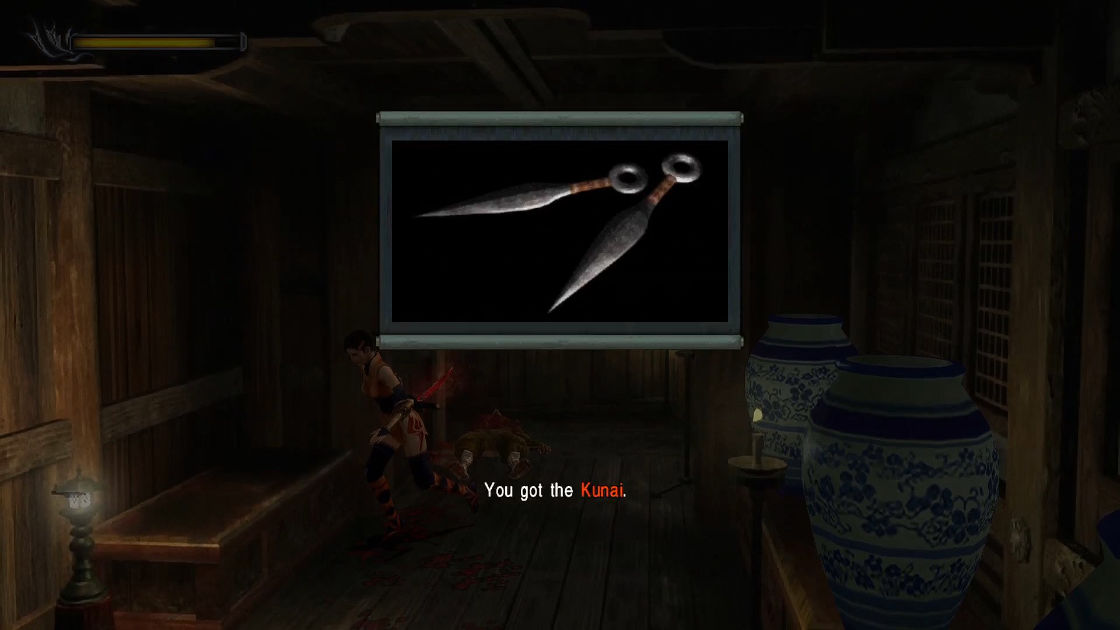
- Equipment: Kunai
Move on to the following room. A Magic Mirror and a puzzle box are both present.
- Item: Magic Jewel (Solution: 5th, 7th, 2nd)
Get outside now because there is a dead soldier and something on the ground there.
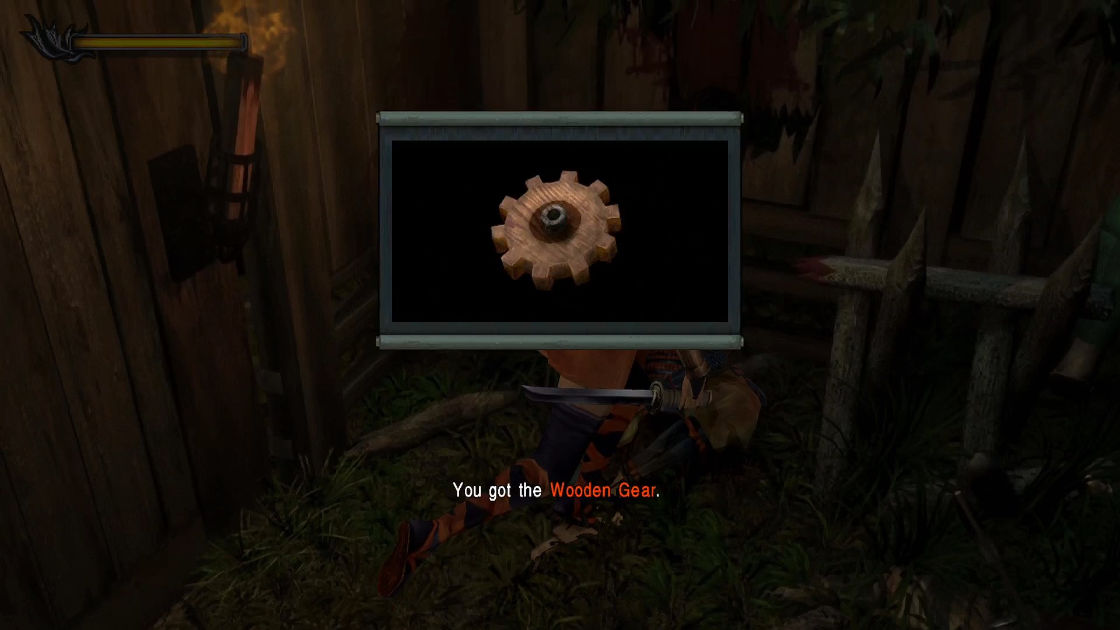
- Key Item: Wooden Gear
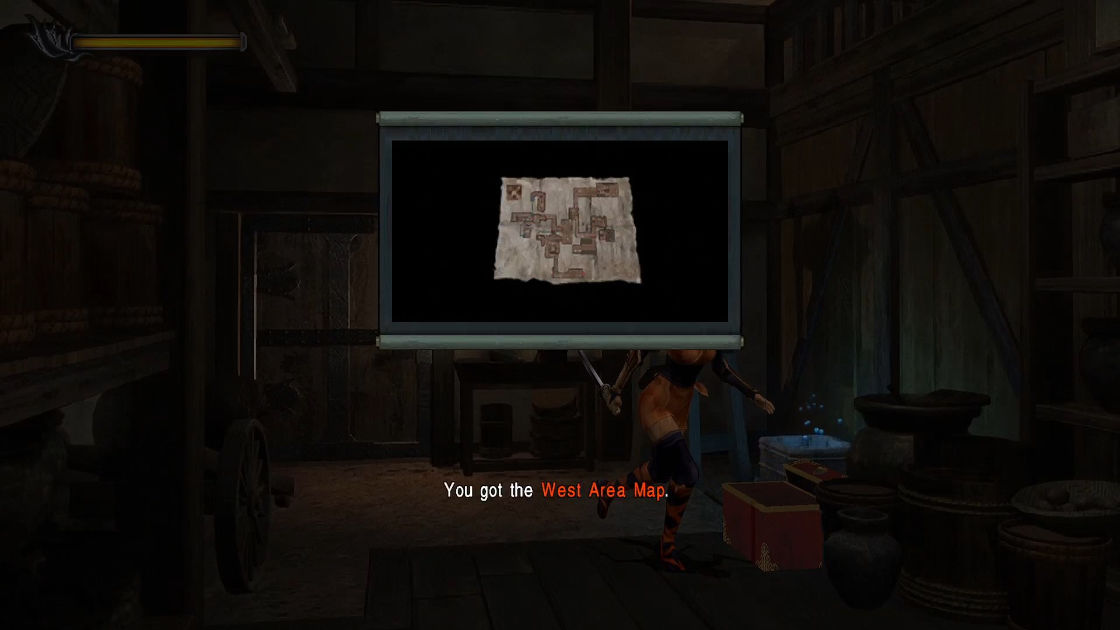
Don’t bother open the next door, it’s locked and require Gold and Silver Plates to unlock. Go back to the archery range, this time climb up the ladder and proceed to the next door. Use the ladder to go down, you’ll see a Magic Mirror and a treasure box.
- Map: West Area Map
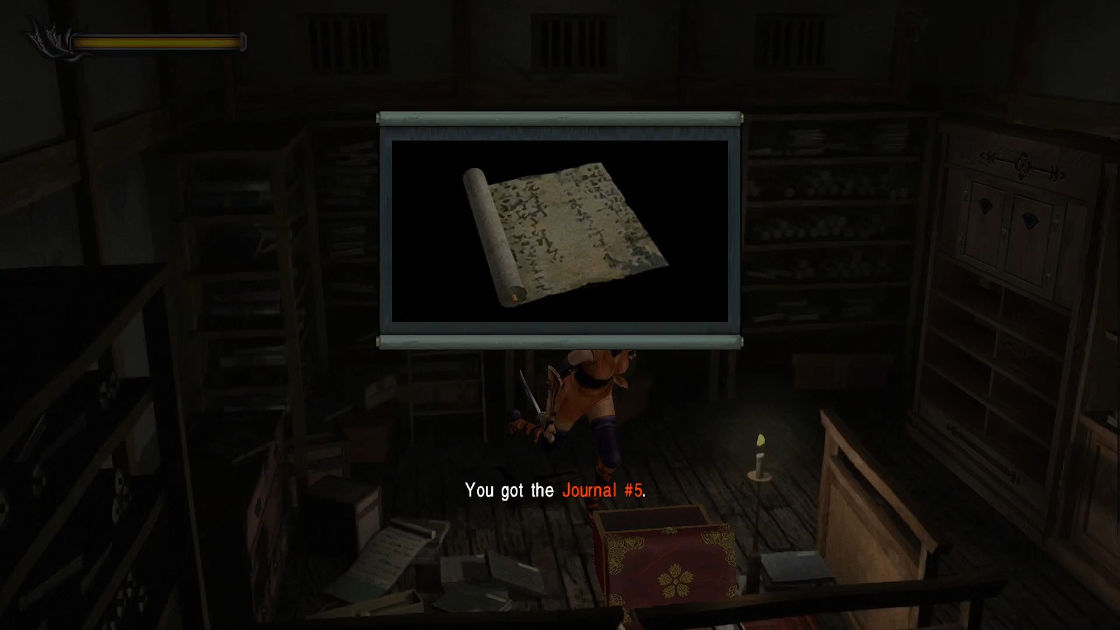
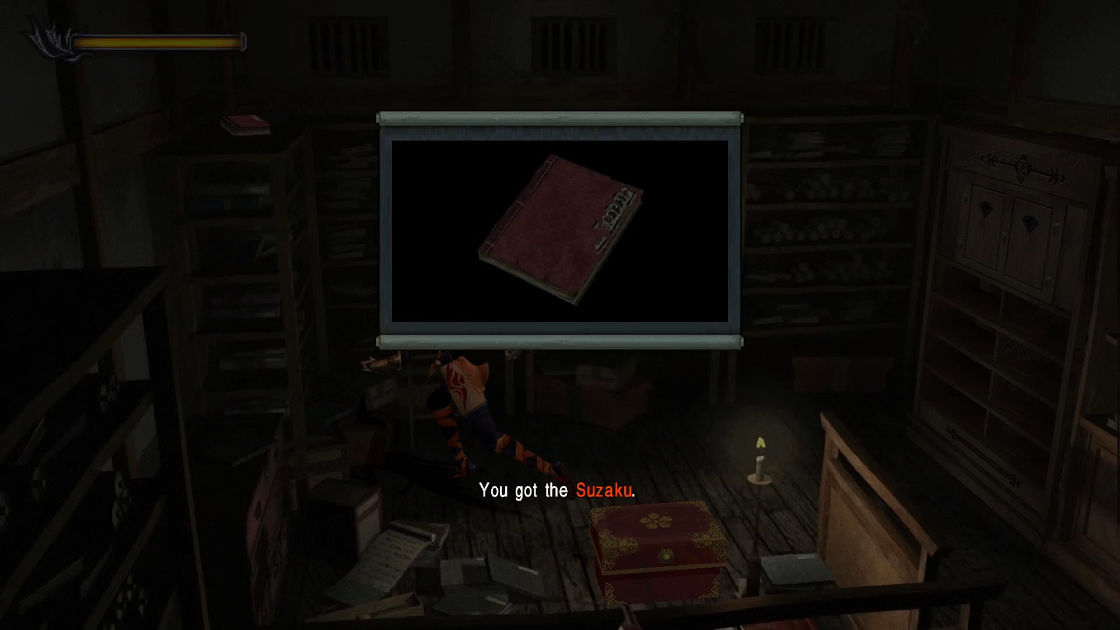
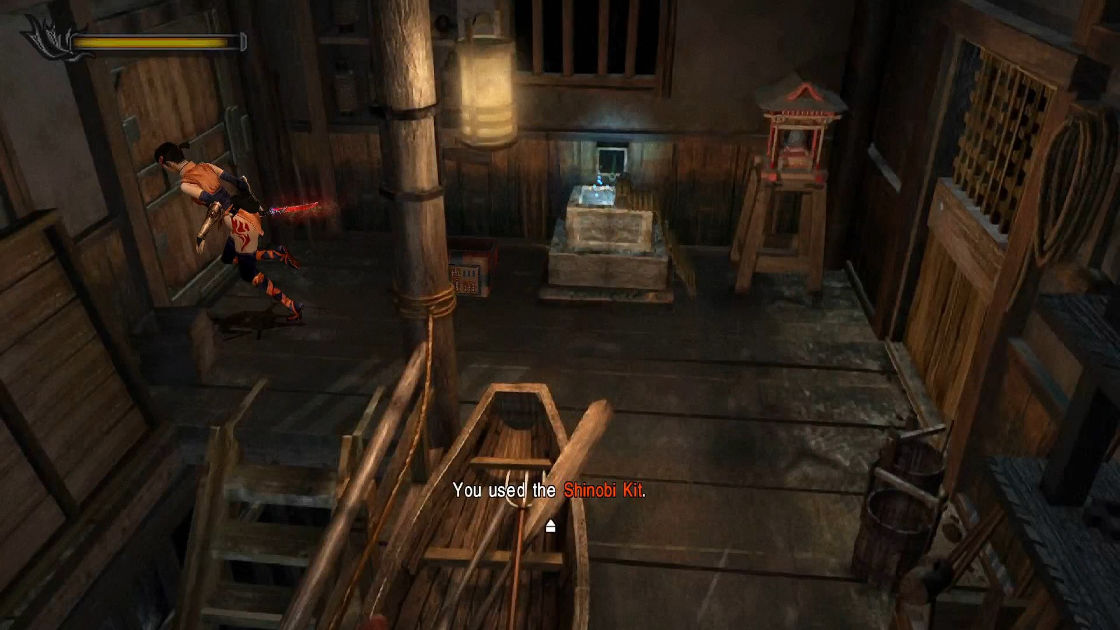
Save your game if needed. Examine the door next to the Magic Mirror, Kaede will automatically use Shinobi Kit to unlock. Keep walking until the dead-end with a door (ignore the first door). Right next to the door is a hidden treasure box, Herb; partially visible from a fence’s gap. In the middle of the room is another treasure box with Journal #5. On top of a shelf is another file.
- Item: Herb
- File: Journal #5
- File: Suzaku
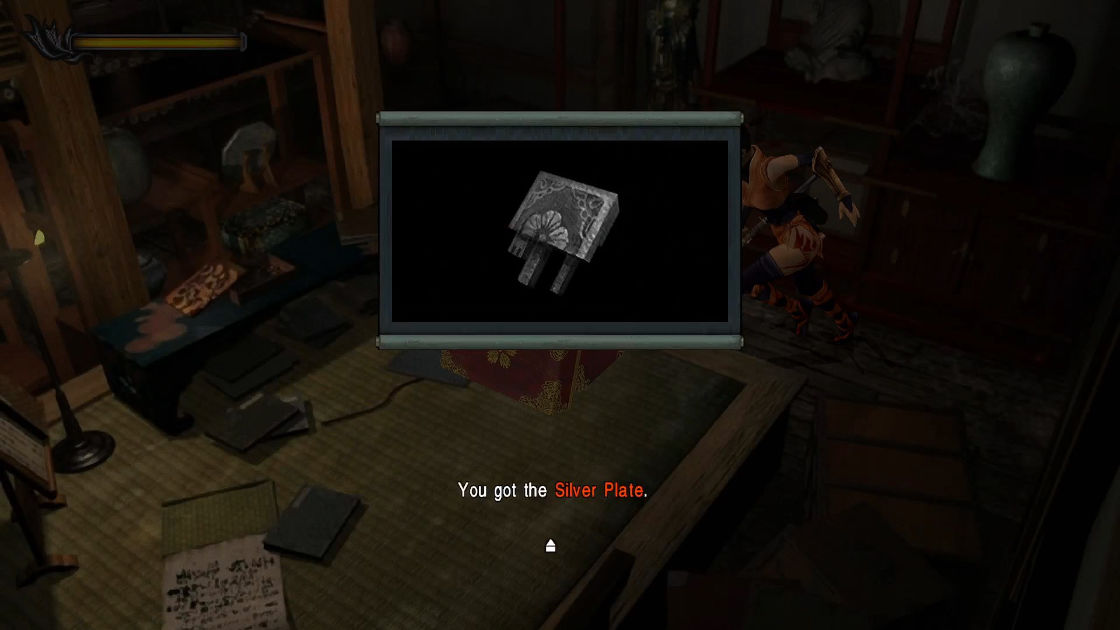
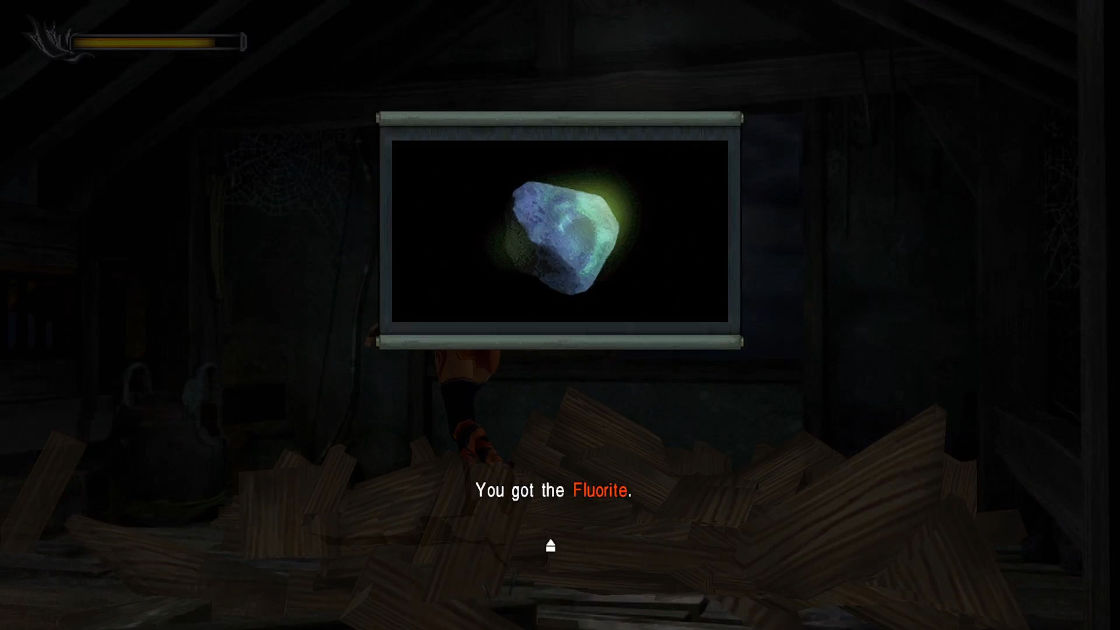
Now examine a cupboard to the right, then use Wooden Gear to activate it. Oh, it’s a secret room with more items. See a standing Buddha statue? It is a Fluorite. Inside the treasure box is the Silver Plate, next to it is a blue book.
- Item: Fluorite
- Key Item: Silver Plate
- File: Byakko
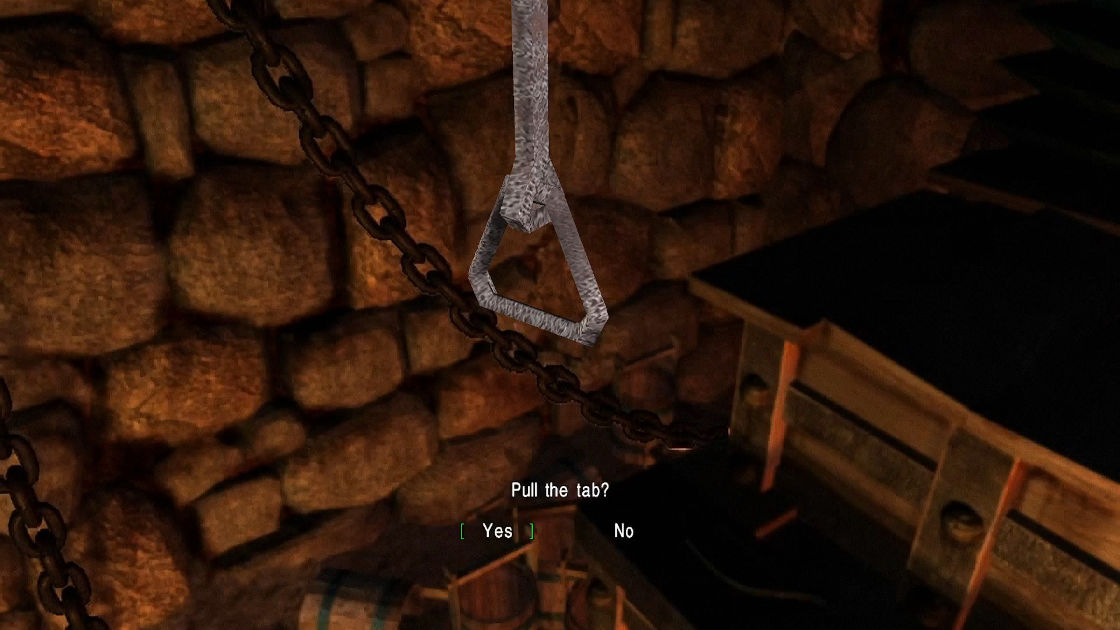
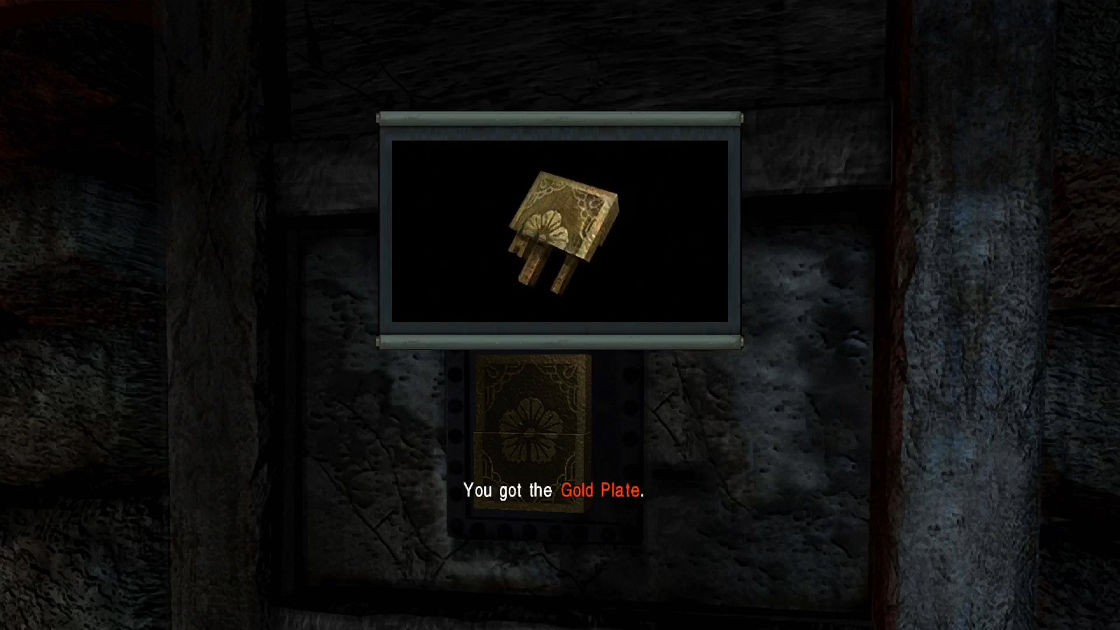
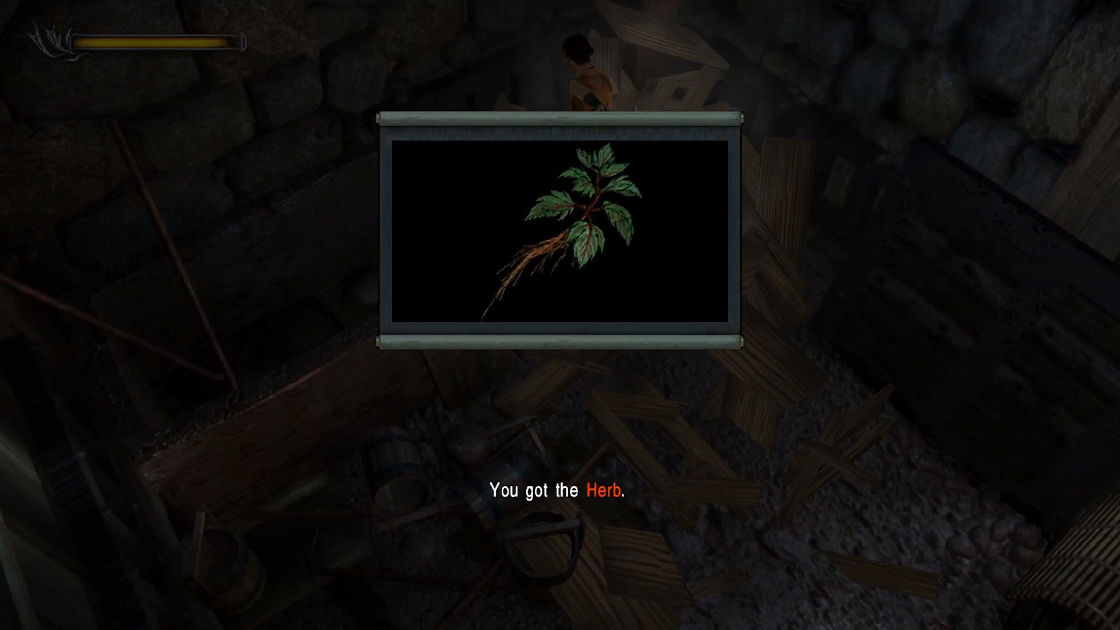
Backtrack to the first door you skipped early, enter it. This room has a furnace that breathes fire in 3 lines, weird right? Now before you go through it, you need to pull down a tab at the left corner of the room to open the other door but it gradually close, so you gotta time it right. Inside this room, the Gold Plate is on the wall. you also notice two crates, destroy them to reveal an Herb on the ground.
- Key Item: Gold Plate
- Item: Herb
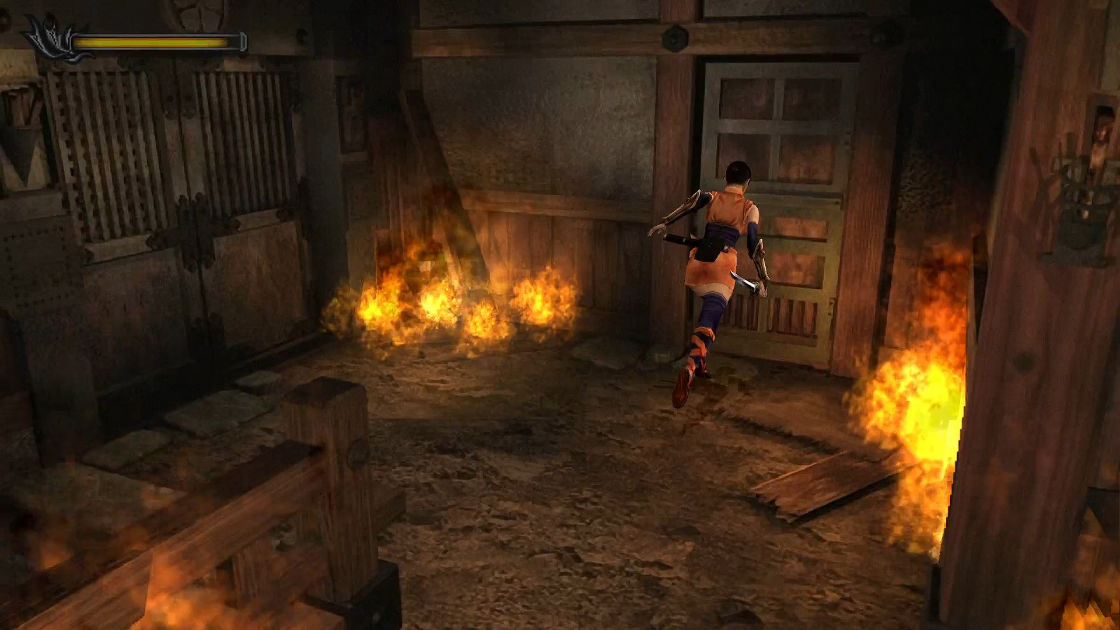
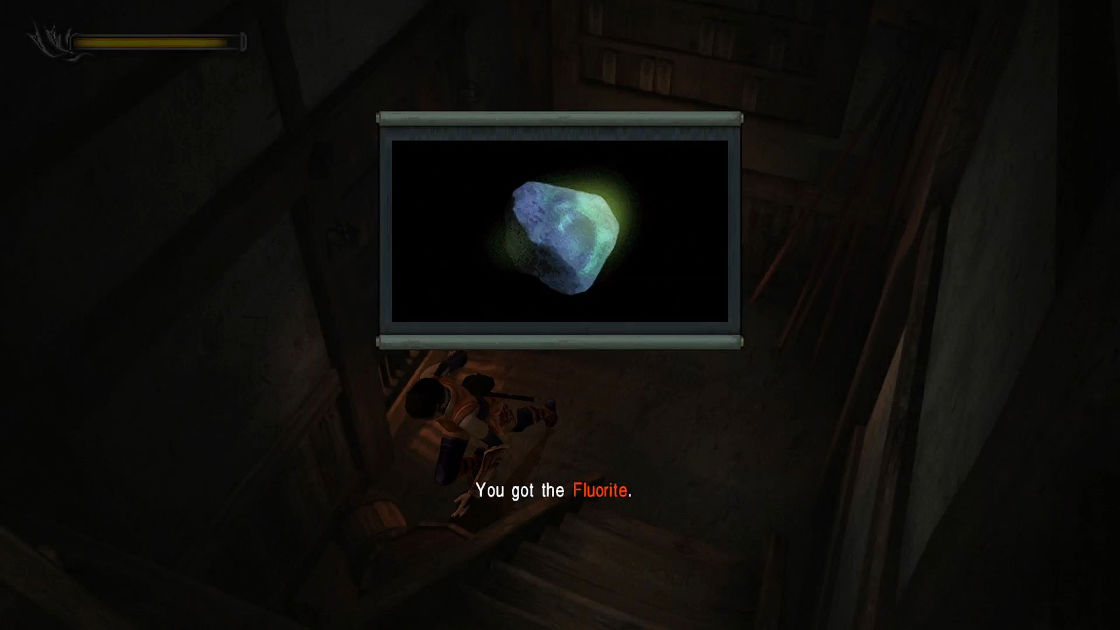
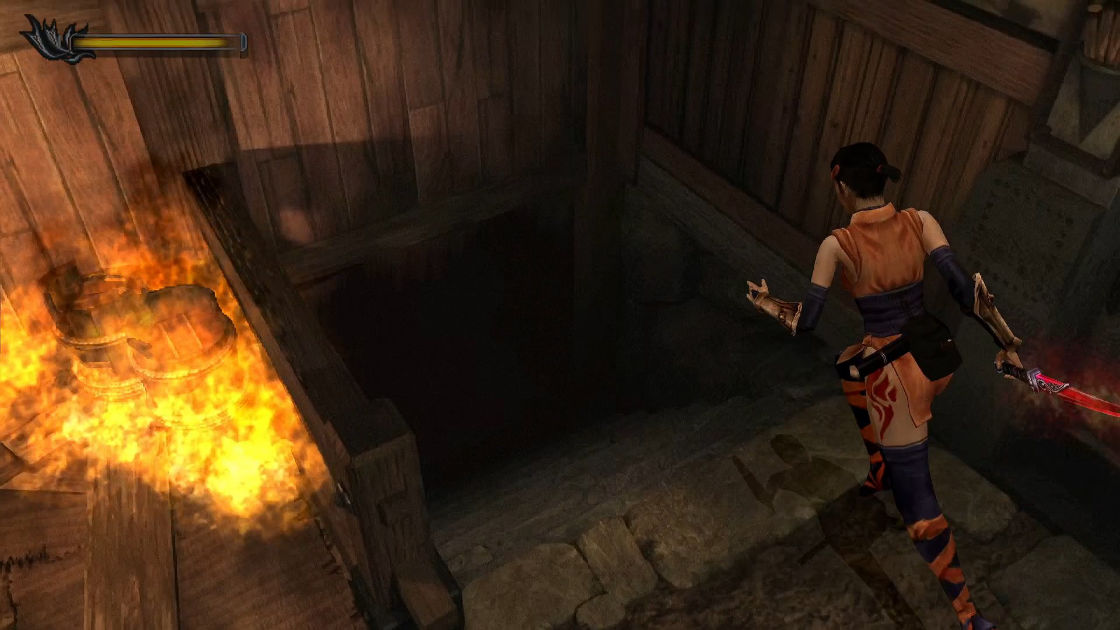
Remember the door in the area with a soldier corpse where you picked up the Wooden Gear? Now go all the way back there and use the Gold and Silver plates to open it. Don’t forget to save. The hallway is on fire and it can hurt you, so you have to walk carefully. From where you stand to left is a staircase, to the right is a door where you need to go next. You will find a staircase in this room with a few barrels and the one next to the staircase is a Fluorite.
- Item: Fluorite
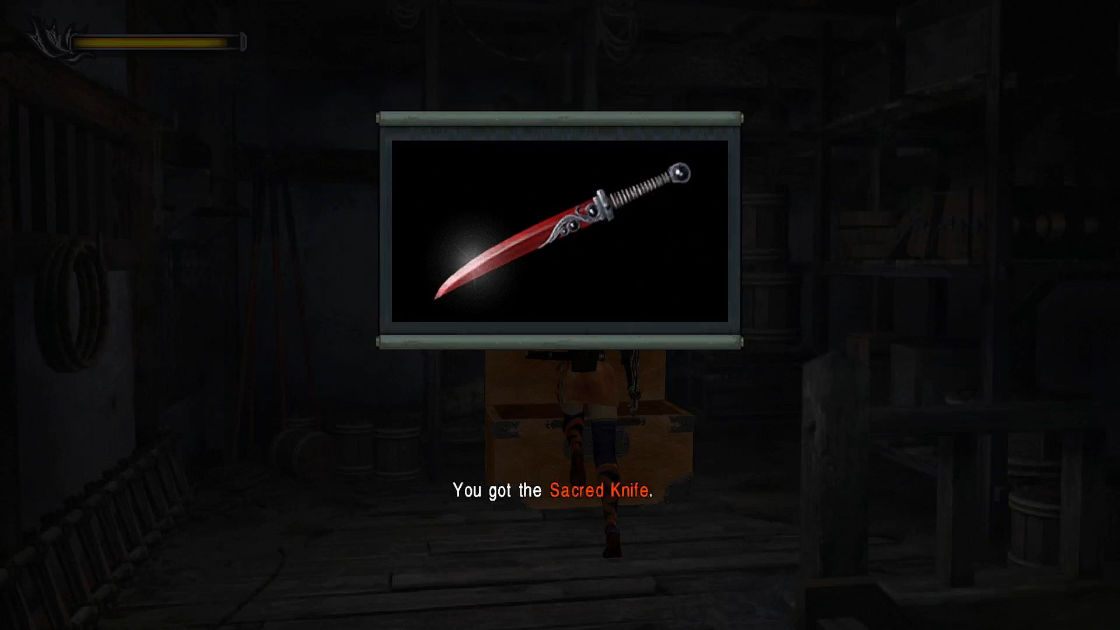
Pick it up and head upstairs to open a chest.
- Equipment: Sacred Knife (Solution: mid, right, right, left, left)
Equip it immediately. There is nothing here so exit to the fire hallway and walk through until you enter another small room full of jars. Break them to reveal a treasure box. Right next to the box is another file.
- Item: Kunai
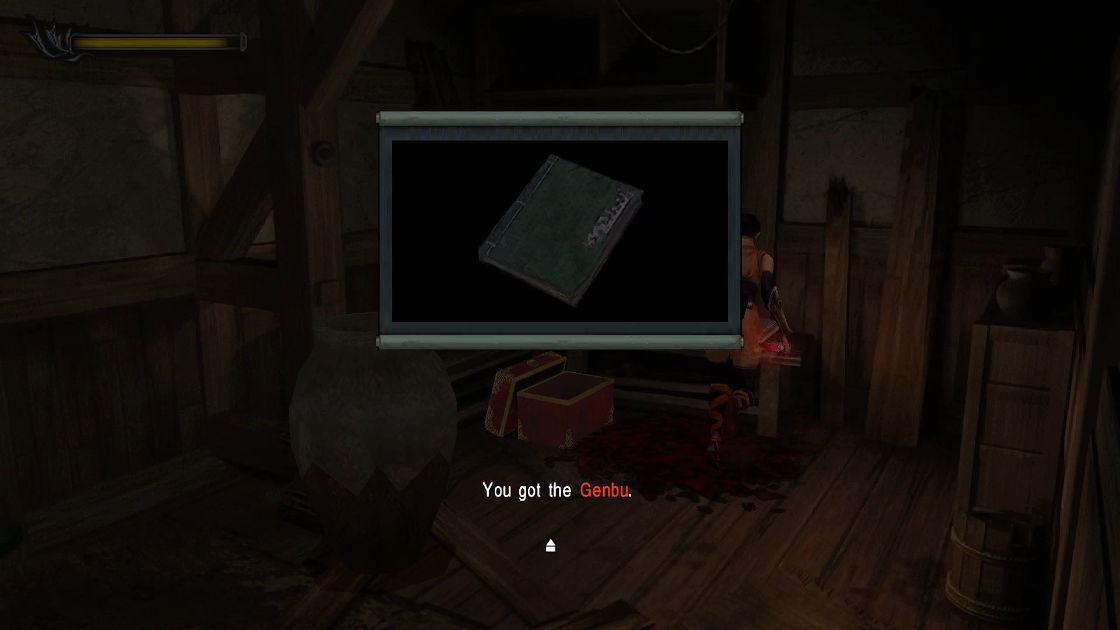
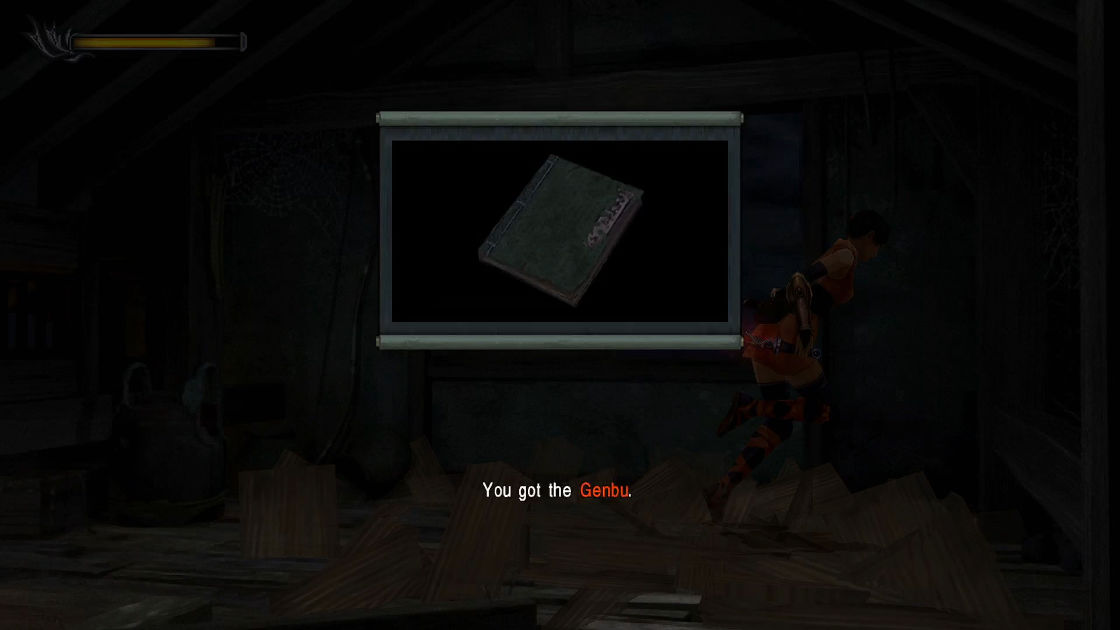
- File: Genbu
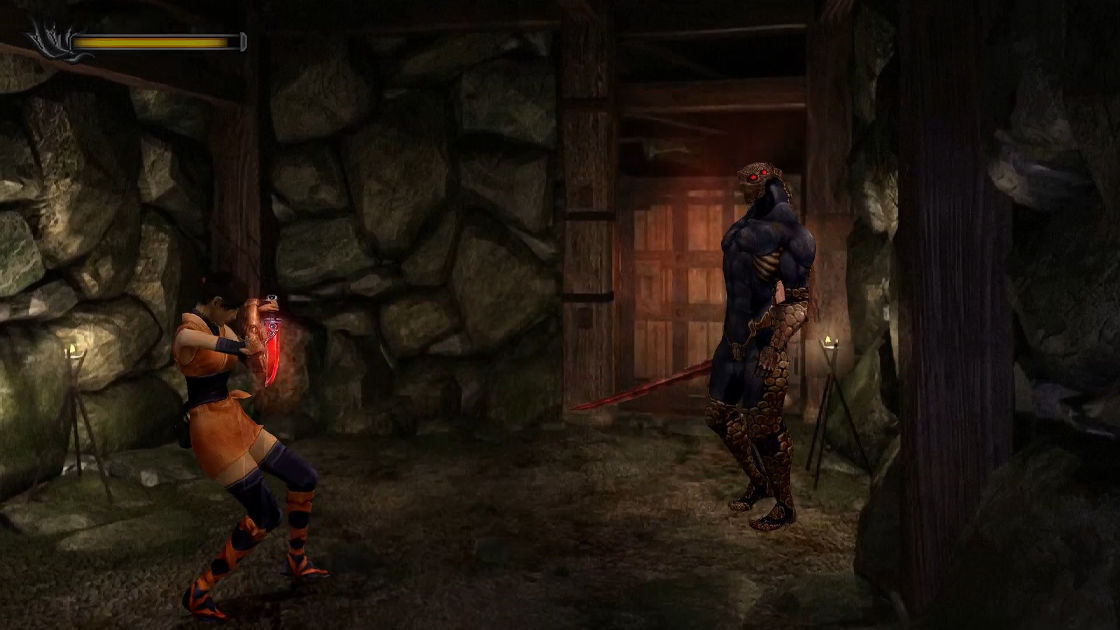
Go back to the start of the hallway, to the left is a staircase. Now before you enter, I suggest you go outside and save your game first because you are going to fight a mini-boss. under the staircase is a prison with the princess Yuki locked inside. Watch a cutscene and fight a mini-boss.
Part 7: Dark Realm
Consult these maps for part 7:
Now you are in control of Samanosuke again. Walk straight, pick up a Medicine, and save your game.
- Item: Medicine
Once everything’s done, keep moving forward. There is a boss waiting for your in the next area, but don’t worry you should be fine killing yourself.
Boss: Stylado (Samanosuke’s clone)
It’s not really though, simply use all the magic on him and he will be dead in no time.
After that, advance to the next section until you see 2 chests.
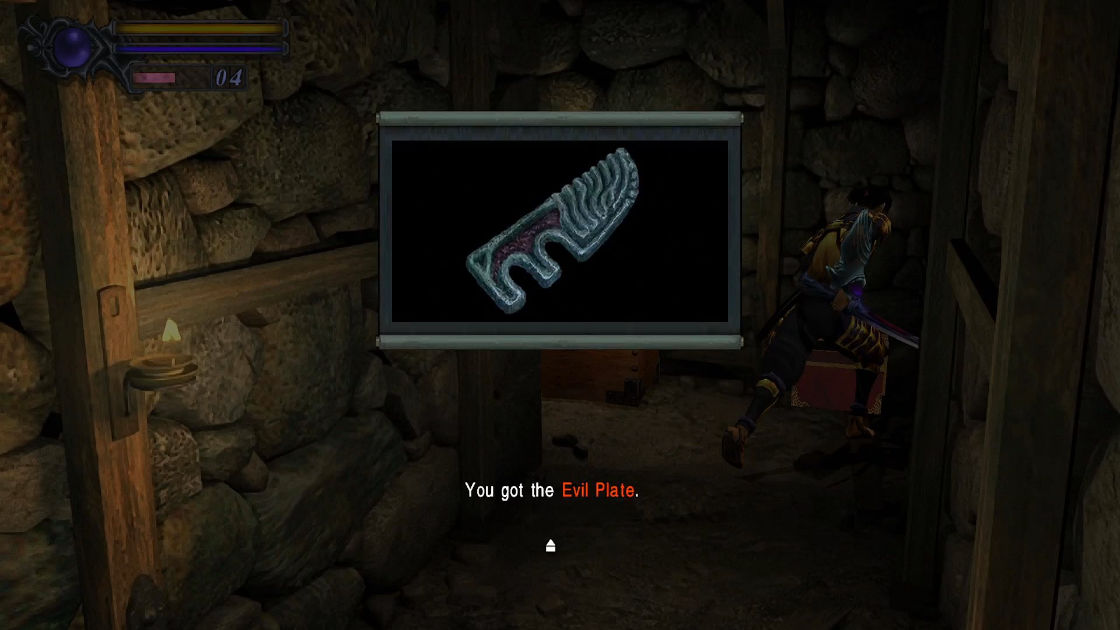
- Key Item: Evil Plate (this is the key to unlock the strange door at the Keep).
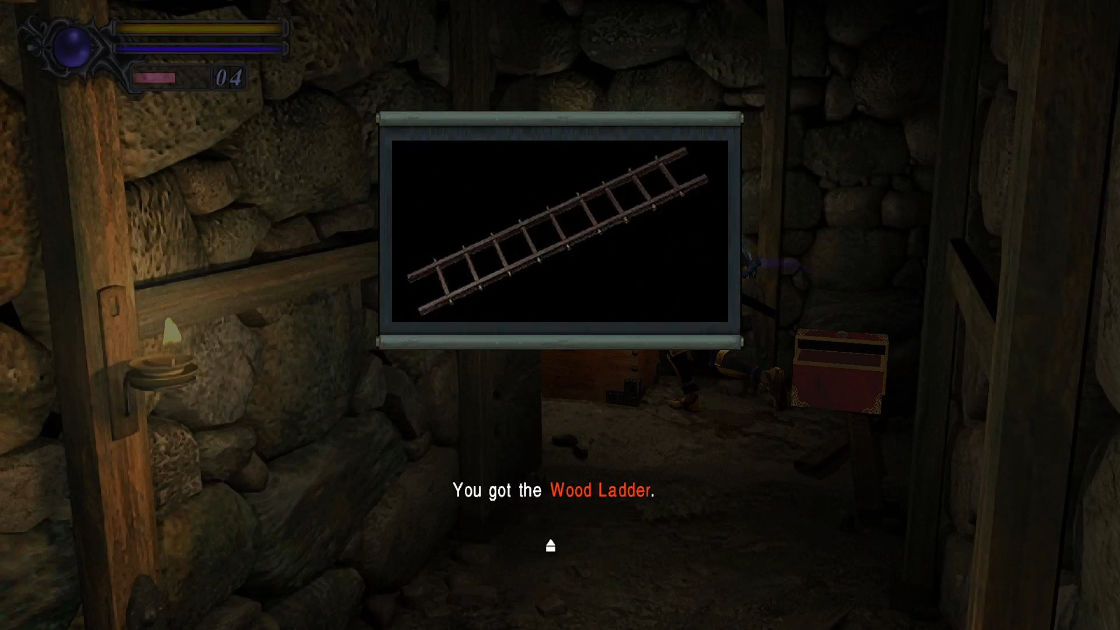
- Key Item: Wood Ladder
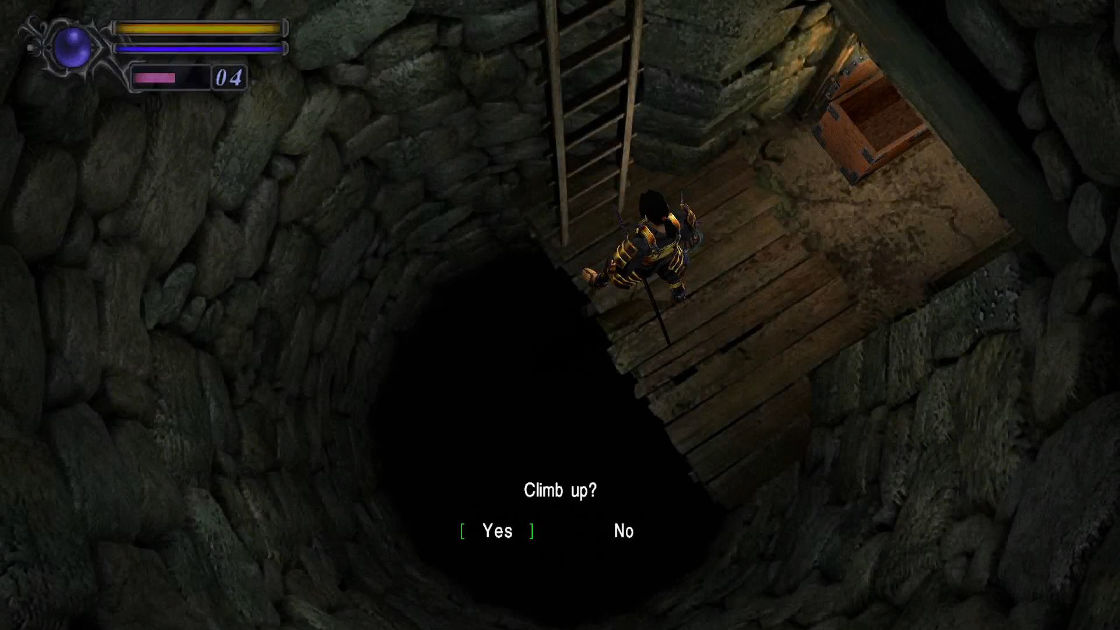
Just turn a little bit left, you’ll reach a dead-end. Now use the wooden ladder you just picked up the chest here, then climb up.
NOTE: if you accidentally cut the robe early in game in the room above. you can still pick up the Power Jewel here.
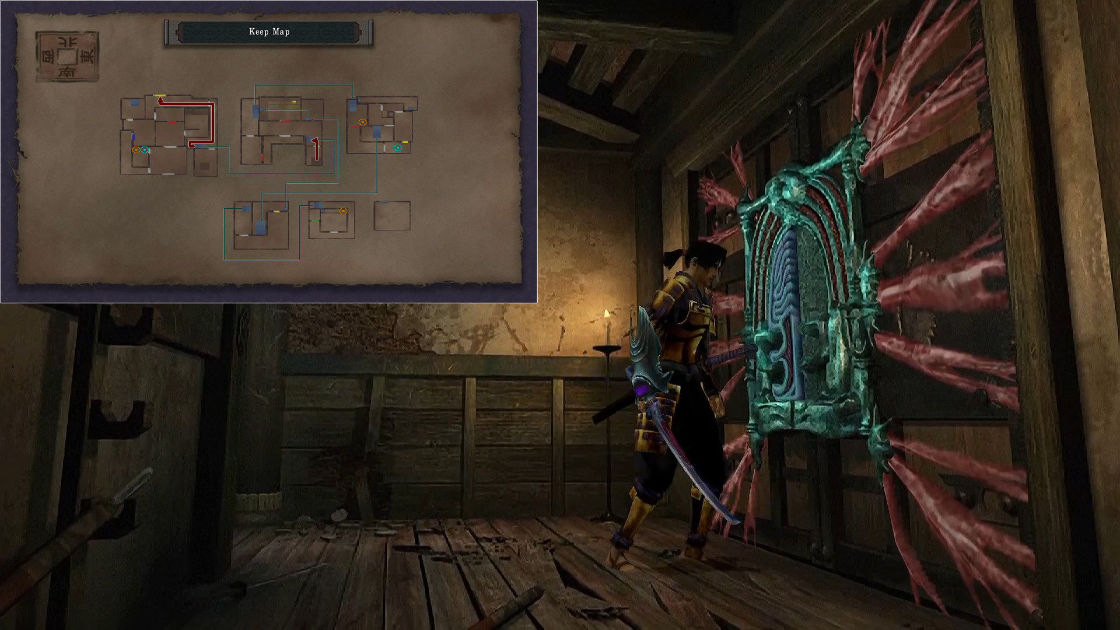
Go to the green sealed room, use Evil Plate to open it. Watch a really cool cutscene (You know in the early 20s this was super cool). As Kaede said, you have to find something to break the seal and get into the Demon World.
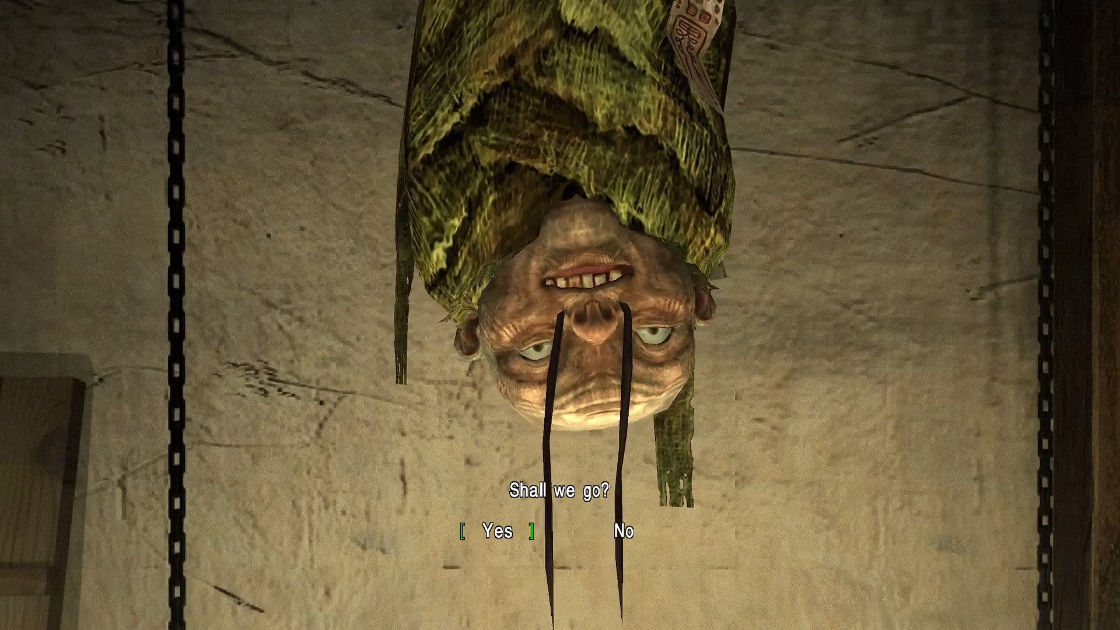
Go back to the Sentry Room; side room #2 of Keep main hall. The moth man will automatically ask you to the Dark Realm but I recommend you choose “No” and save your game first, then re-enter and go to ask the moth man.
Note: you can go to the Dark Realm as many times as you want.
Dark Realm (optional)
This dungeon this optional but the reward is worth the run. Go to a save room with the moth man, save the game and talk to him, he’ll ask you to go to the Dark Realm. There are 20 levels with the following reward (they may be different if you go to the Dark Realm from another moth man; the other one is in a well):
- Fluorite
- Medicine
- Burst Bullet/Soul Absorber
- Fluorite
- Herb
- Talisman
- Herb
- Fluorite
- Herb
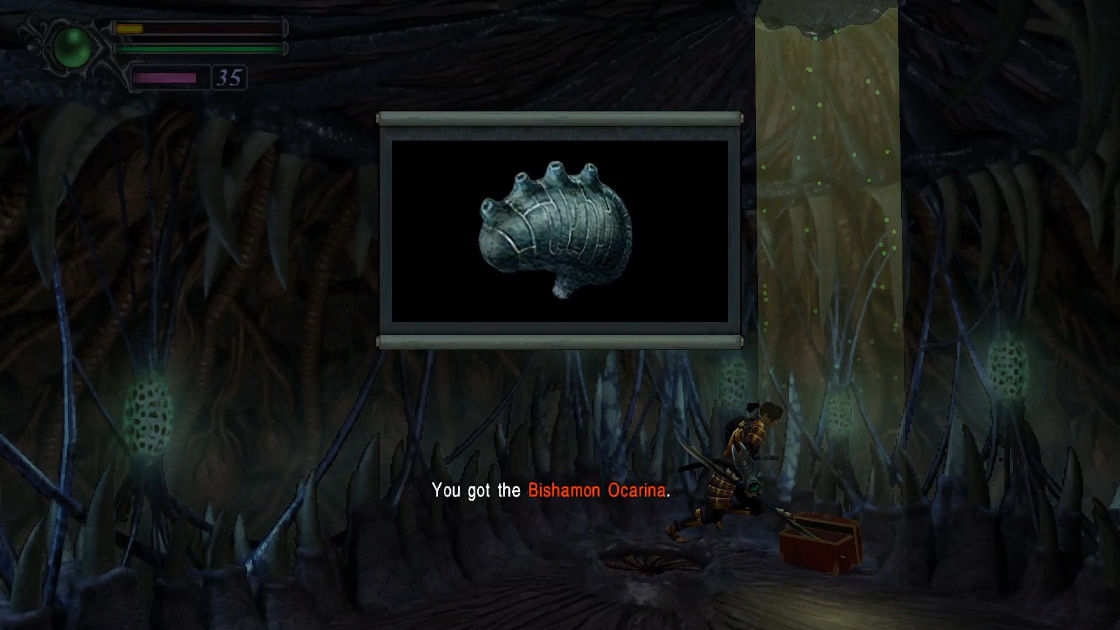
- Bishamon Ocarina (level 20)
The most important items are:
- Key Item: Fluorite (x3)
- Key Item: Bishamon Ocarina (this is the key to unlock Bisahmon Sword)
Part 8: From West to East – 01
Consult these maps for part 8:
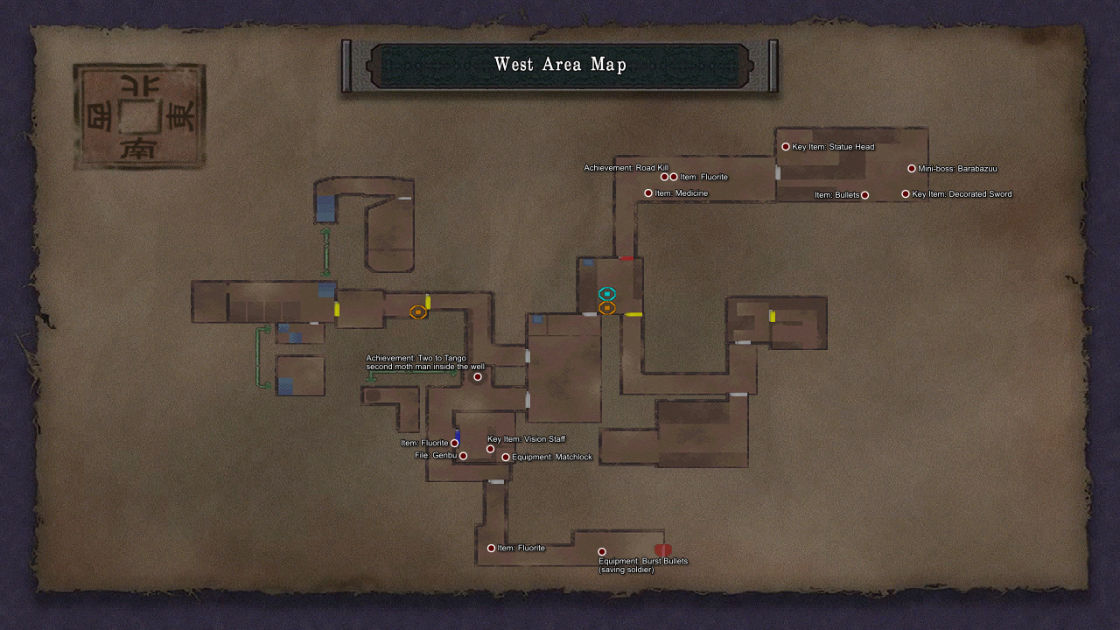
After finished the Dark Realm, head outside to the courtyard of the Keep and go the green door (the area where you played as Kaede).
Again, you need to save the soldier to get an item.
- Equipment: Burst Bullets
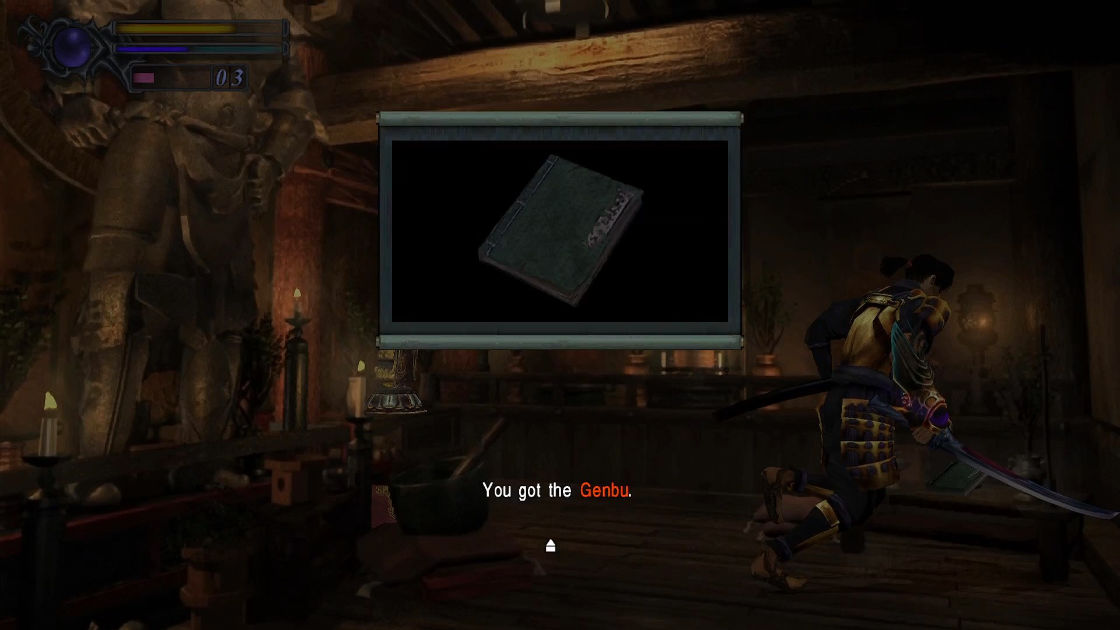
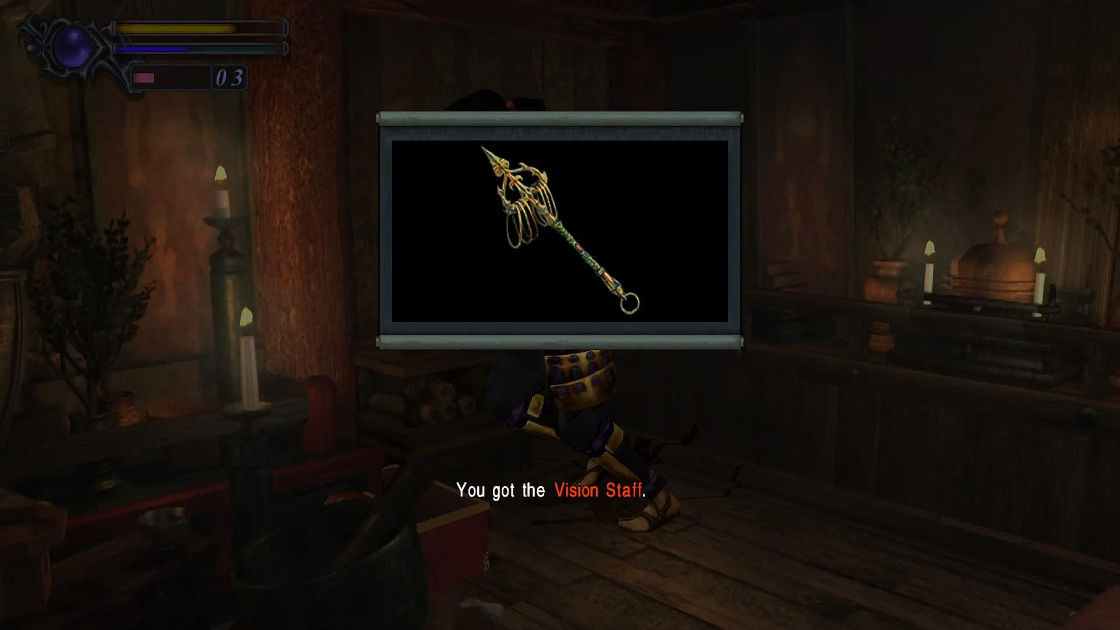
Keep going until you see a door sealed with level-3 blue crystal. Open it with Raizan equipped. As you appear, you’ll notice a soul holder so press O to absorb some free souls. Walk to the next screen to pick up Genbu book. Walk further between the headless statue and the huge statue is another treasure box containing Vision Staff at the corner. This staff grands you an ability to see Fluorites. Remember this room because we’ll come back later.
- File: Genbu
- Key Item: Vision Staff
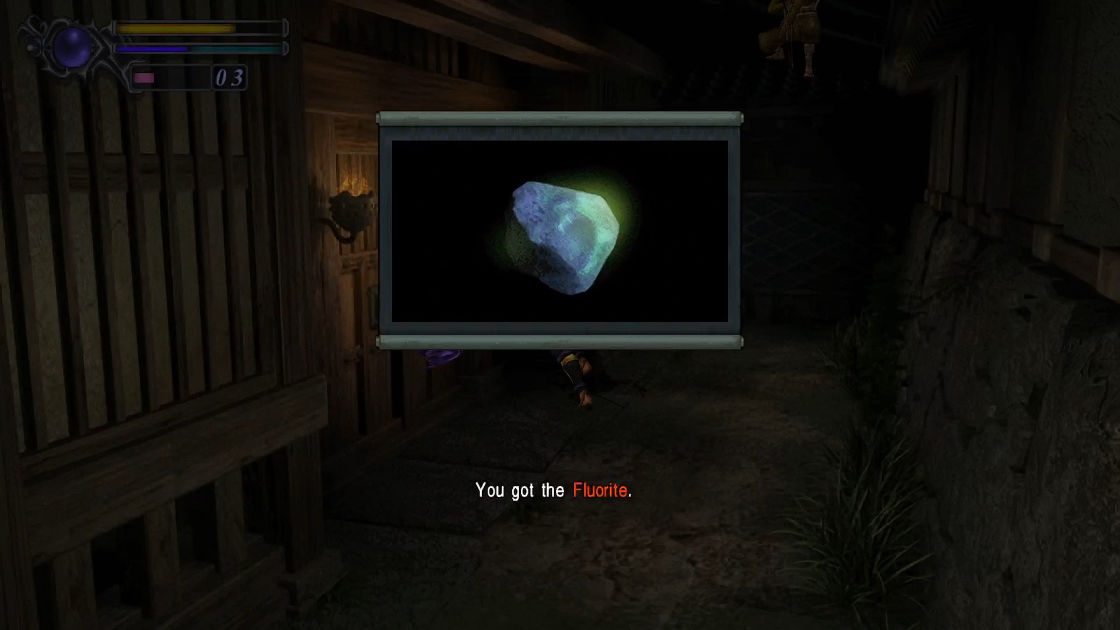
Exit the room, you’ll see a flickering object on the ground.
- Item: Fluorite
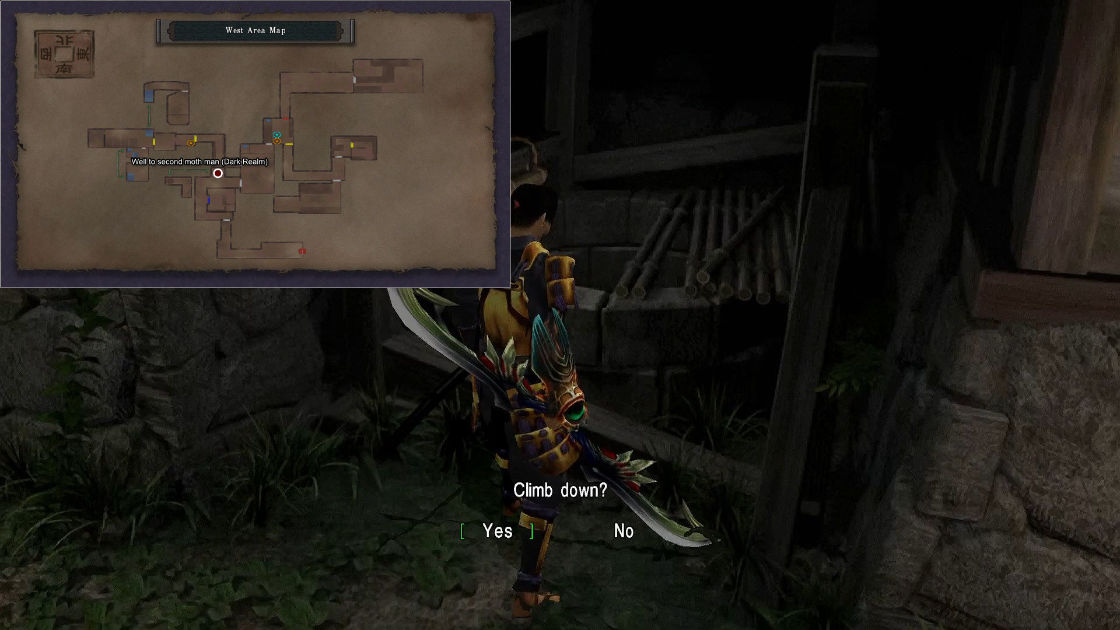
Continue your way to the archery range, you should notice a well on the left a long the way through this passage. Inside is the same old cocoon man who offers you to the Dark Realm. The achievement requires you to talk to him twice (maybe they are twin? IDK), first one is in the Sentry room and second one in this well.
- Achievement: Two to Tango
After you reach Archery Range, climb the ladder and proceed to the next door. absorb blue soul if needed, enhance your weapons and save your game. See the door with 3 level red crystal? open it with Enryuu equipped. Head straight until you see a treasure box.
- Item: Medicine
Achievement: Road Kill
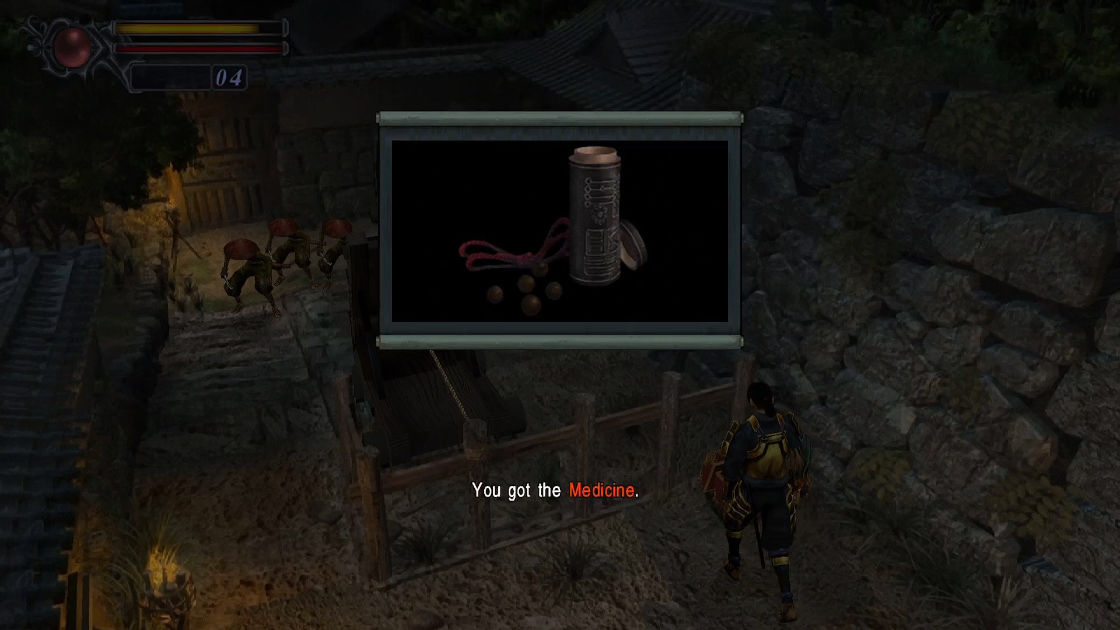
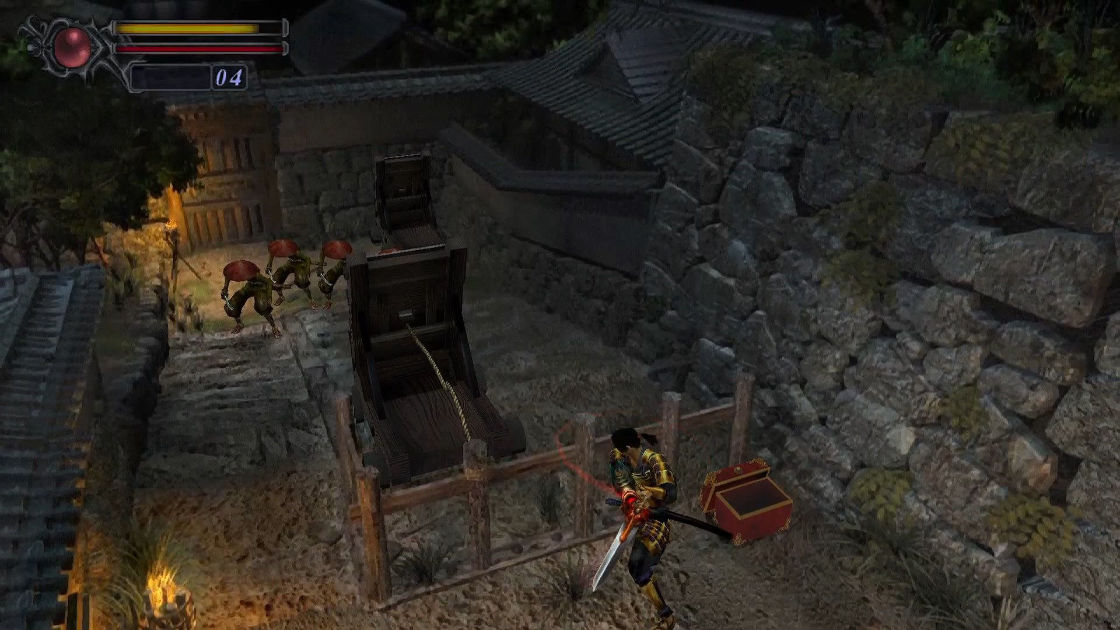
Now cut the rob of the catapult to roll over Zombie Soldiers.
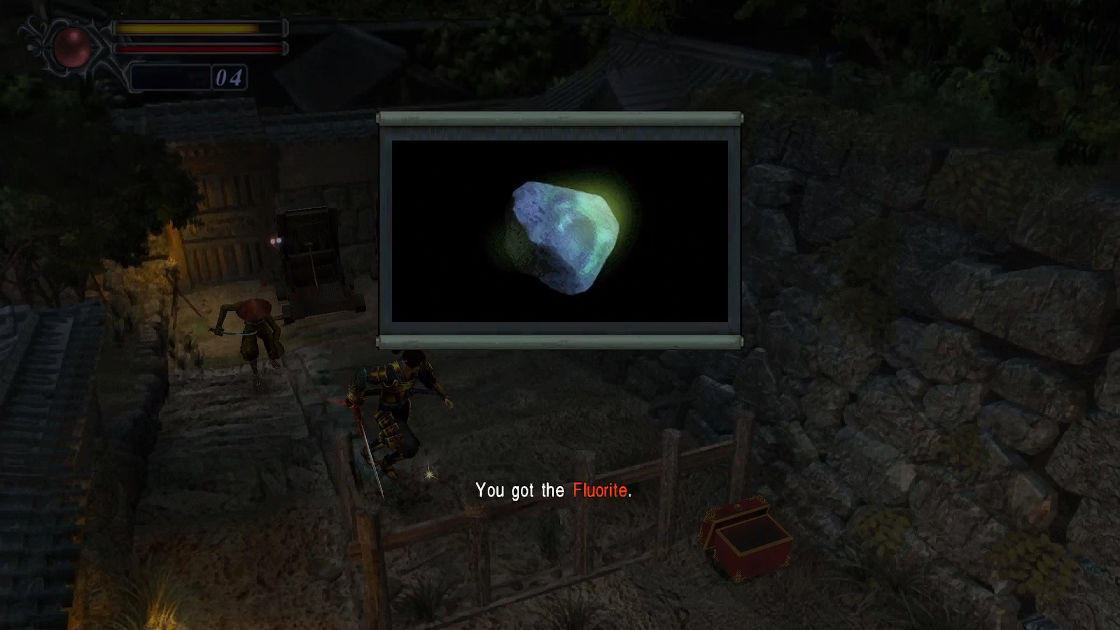
Beneath the catapult is another Fluorite.
- Item: Fluorite
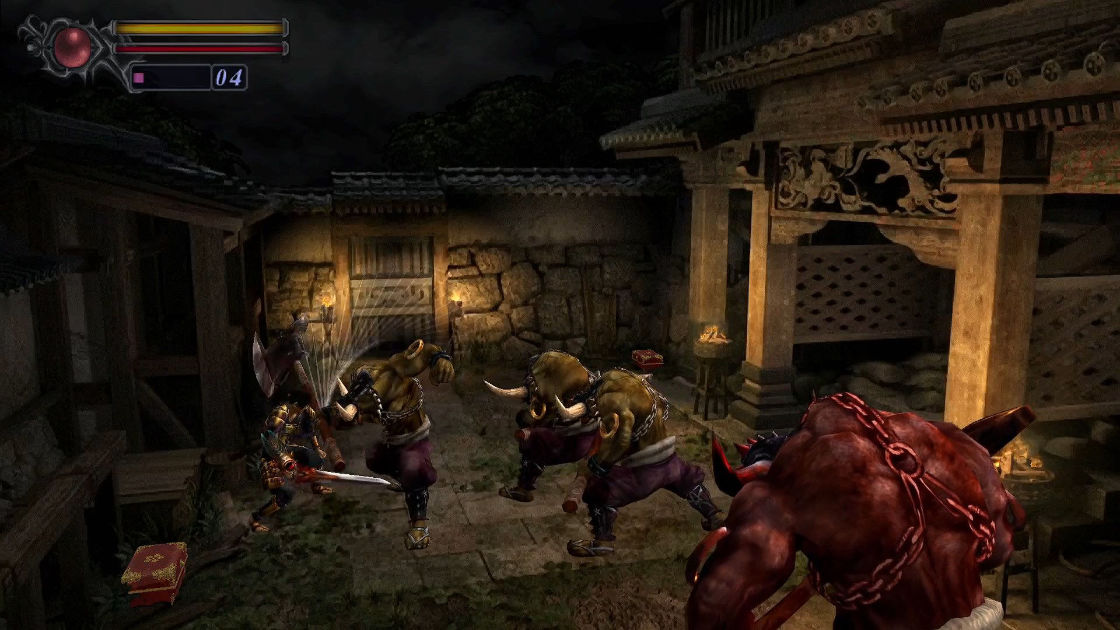
Continue to the next room. There is a giant red ogre (Barabazuu) and 3 of his minions. He is strong, so the best way to finish them is using all your magic. After you defeated the mini-boss, look around for 3 items here.
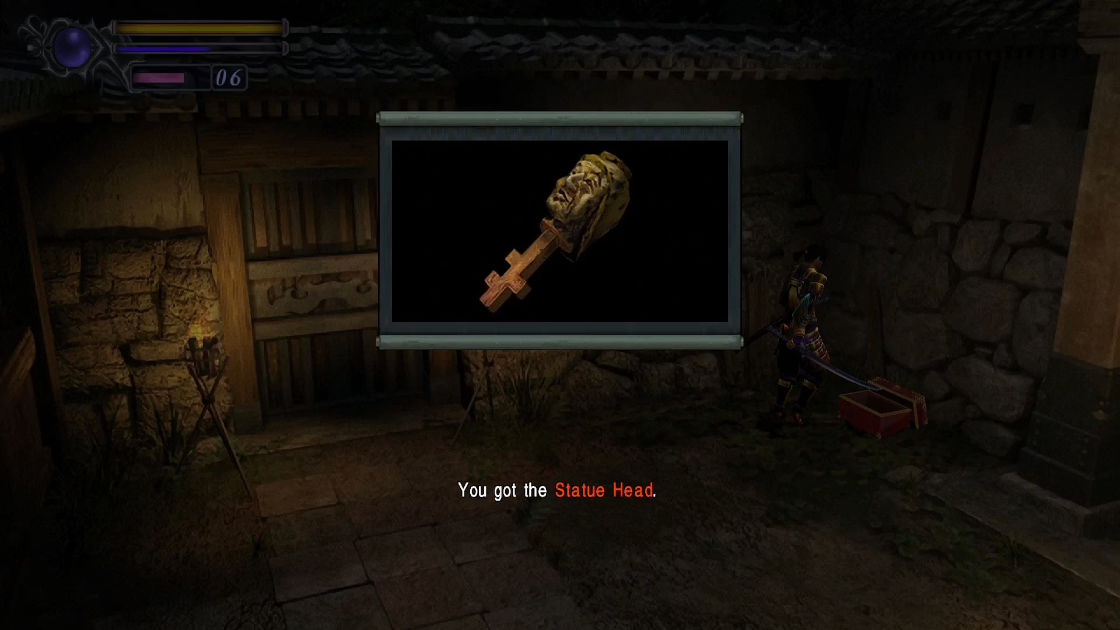
- Key Item: Statue Head (a treasure box in the corner)
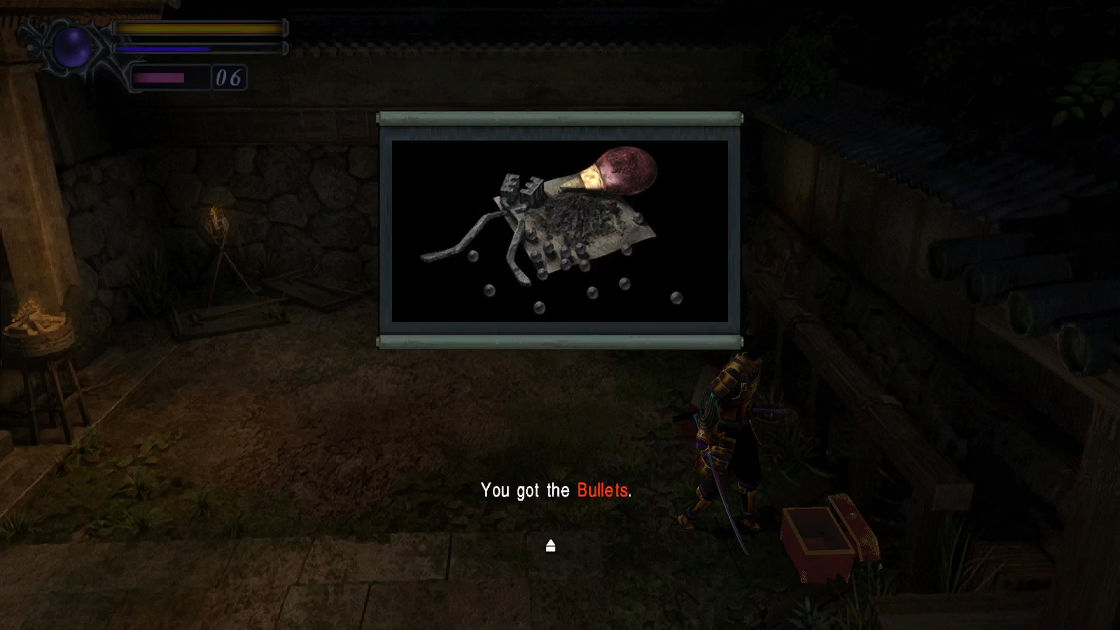
- Item: Bullets (a treasure box in middle of the yard)
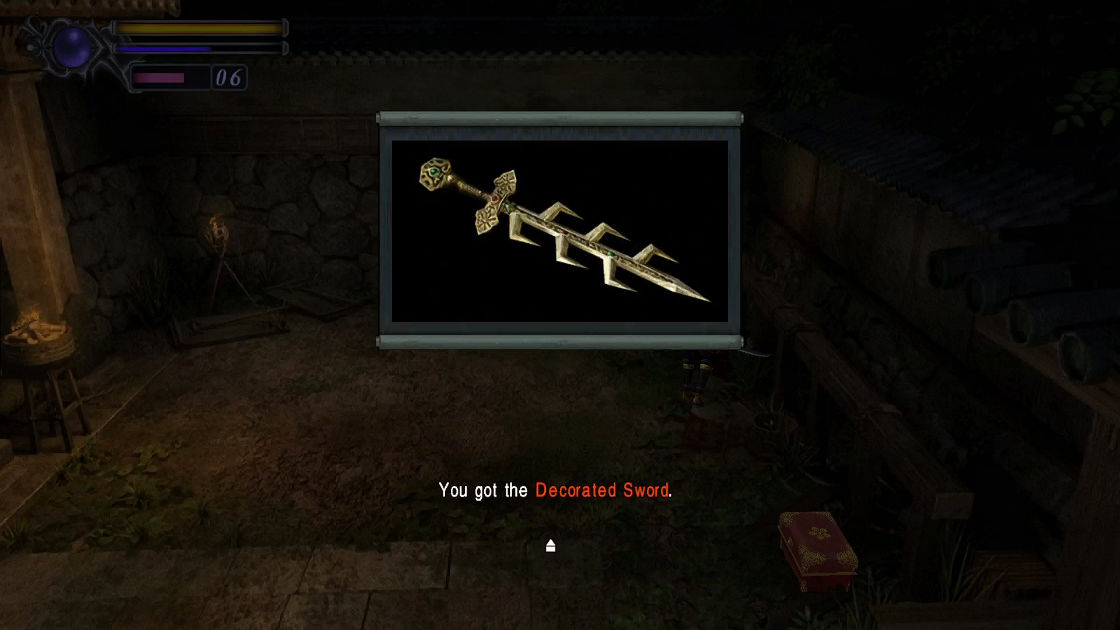
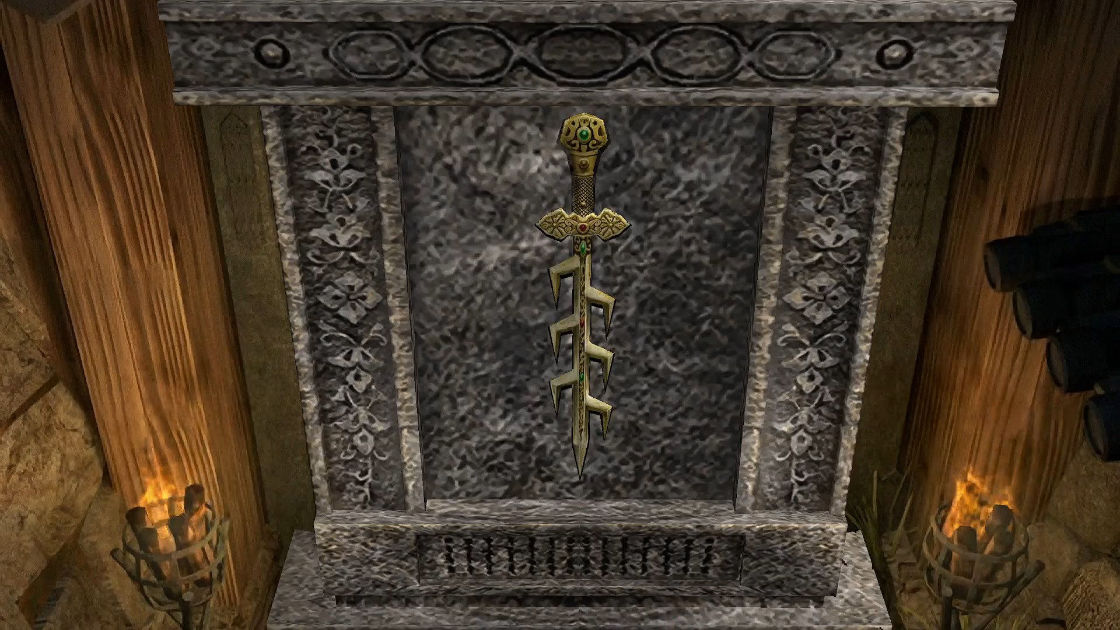
- Key Item: Decorated Sword (It stuck on the ground, pick it up)
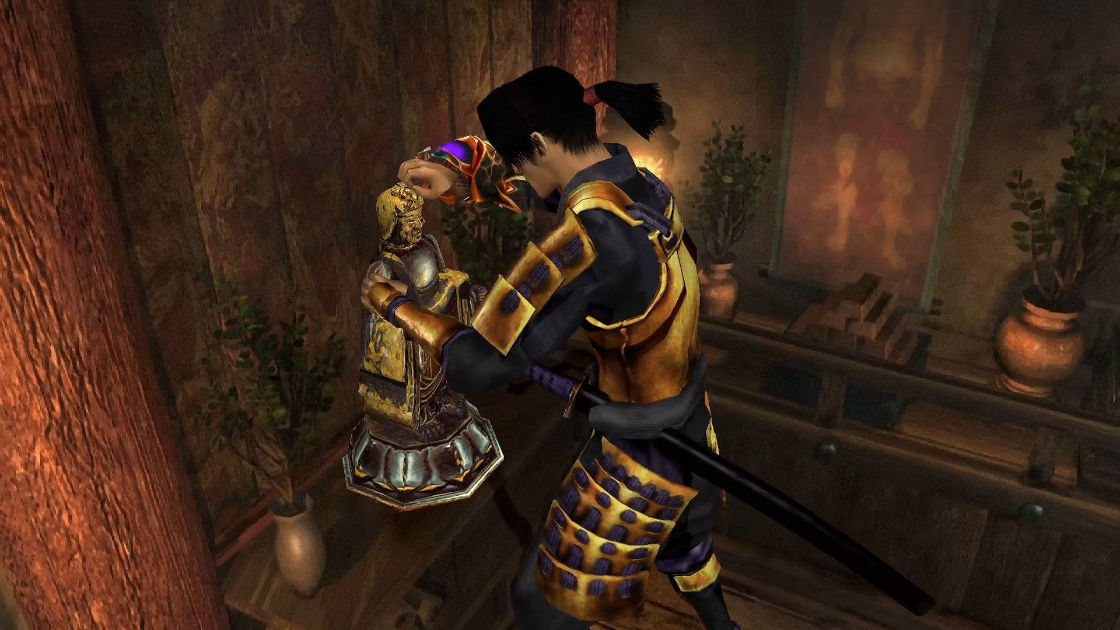
Go back to the room with the missing head statue and use the Statue Head you just picked up early to deactivate the trap door behind the room. Circling around to open a treasure box.
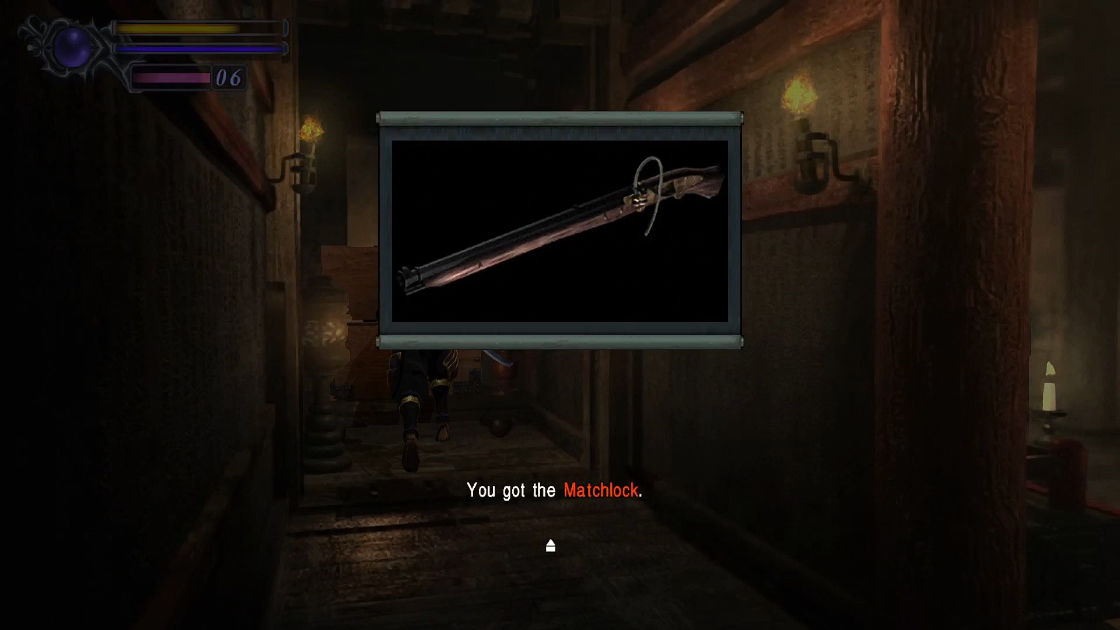
- Equipment: Matchlock
That’s all you need to do in this part of the temple. Go all the way back to the courtyard entrance. Along the way, you will see another Fluorite on the ground.
- Item: Fluorite
When you reach the courtyard, walk around until you see a wooden door, a small scene will automatically triggered. A little inside, you’ll see a Decorated Sword shape on a stone, stand near the stone and use the Decorated Sword on menu to open the pathway to the East Garden.
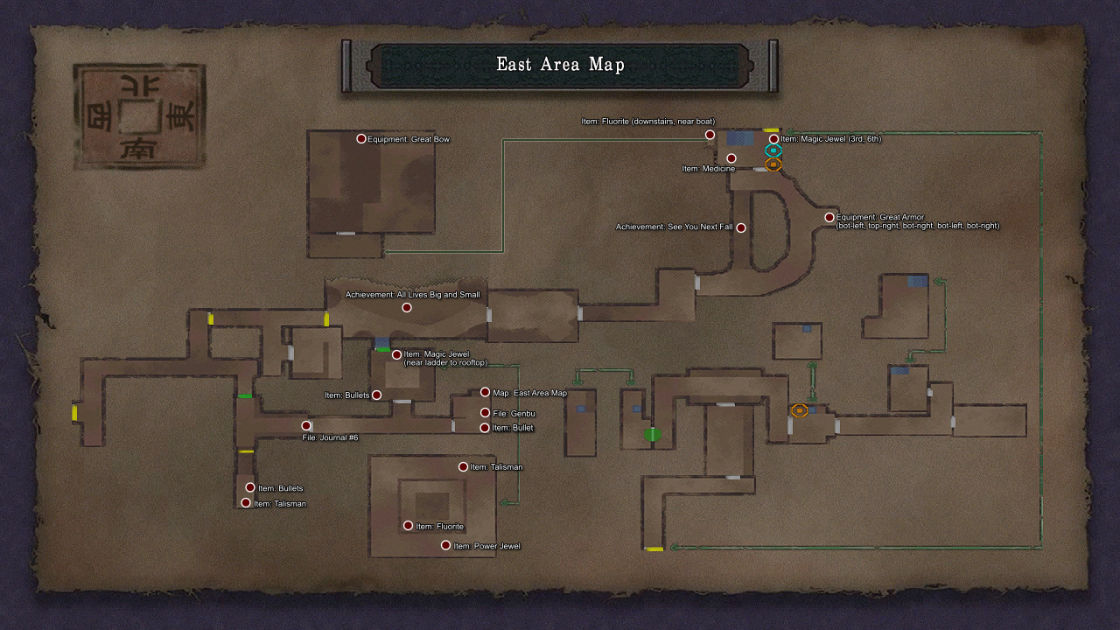
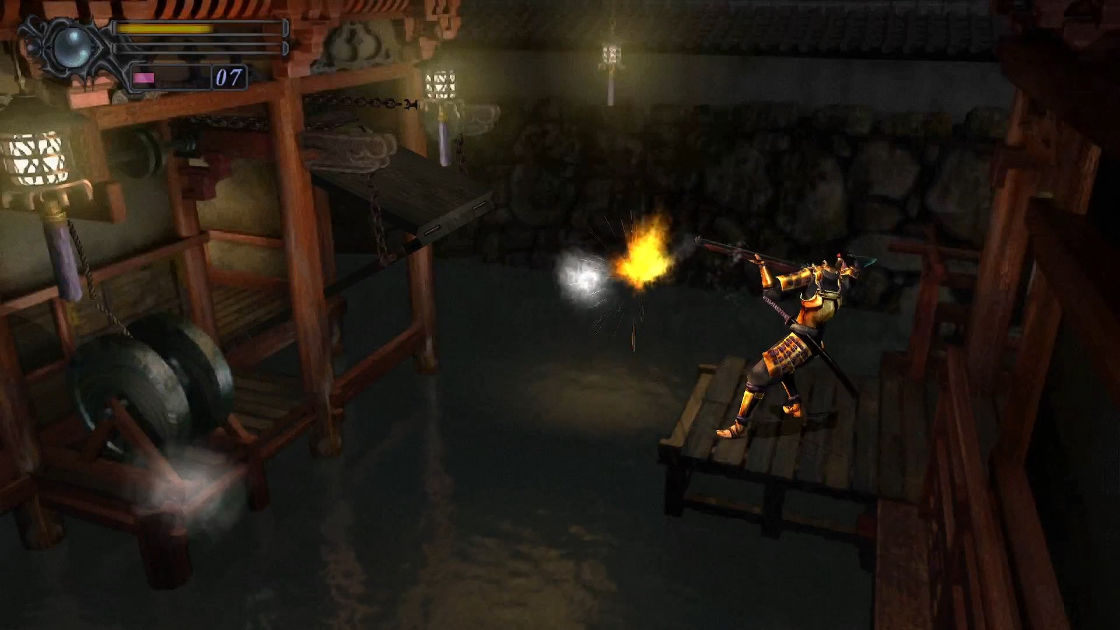
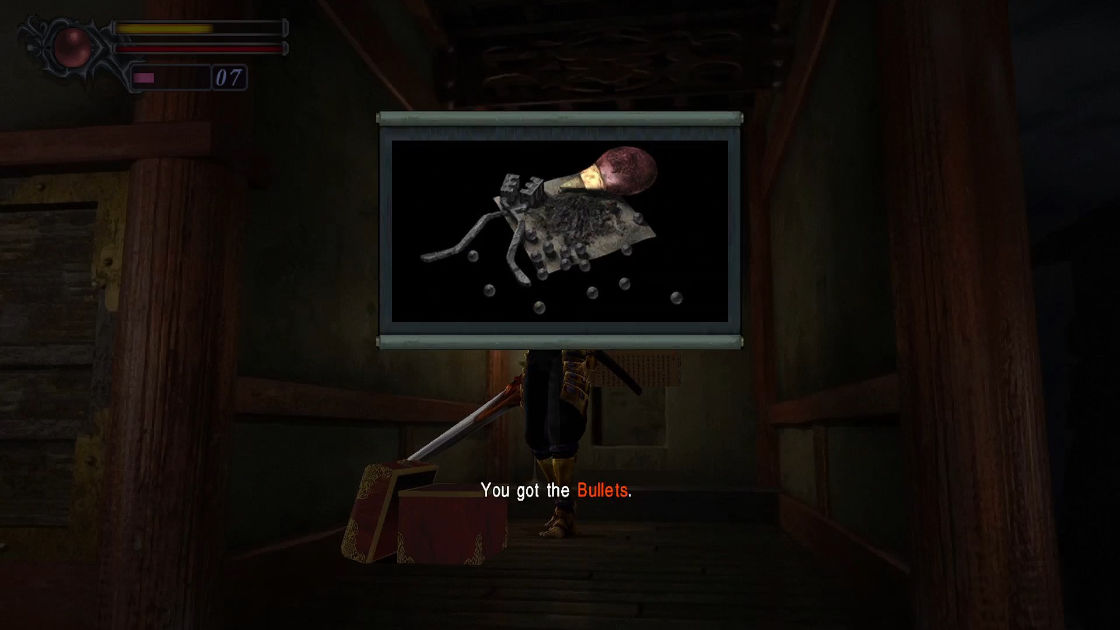
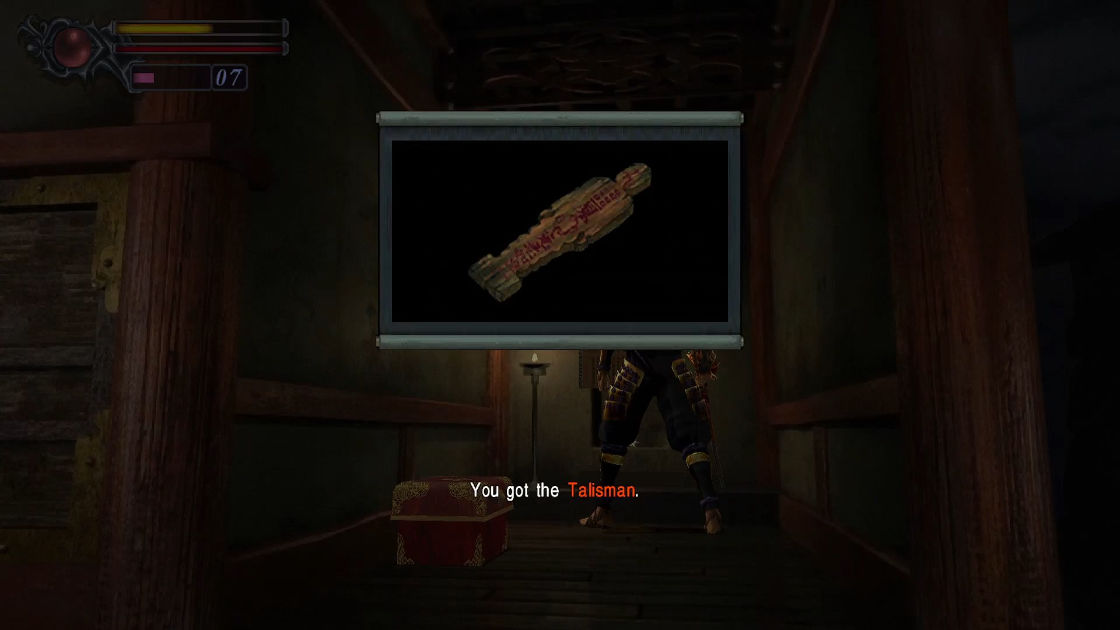
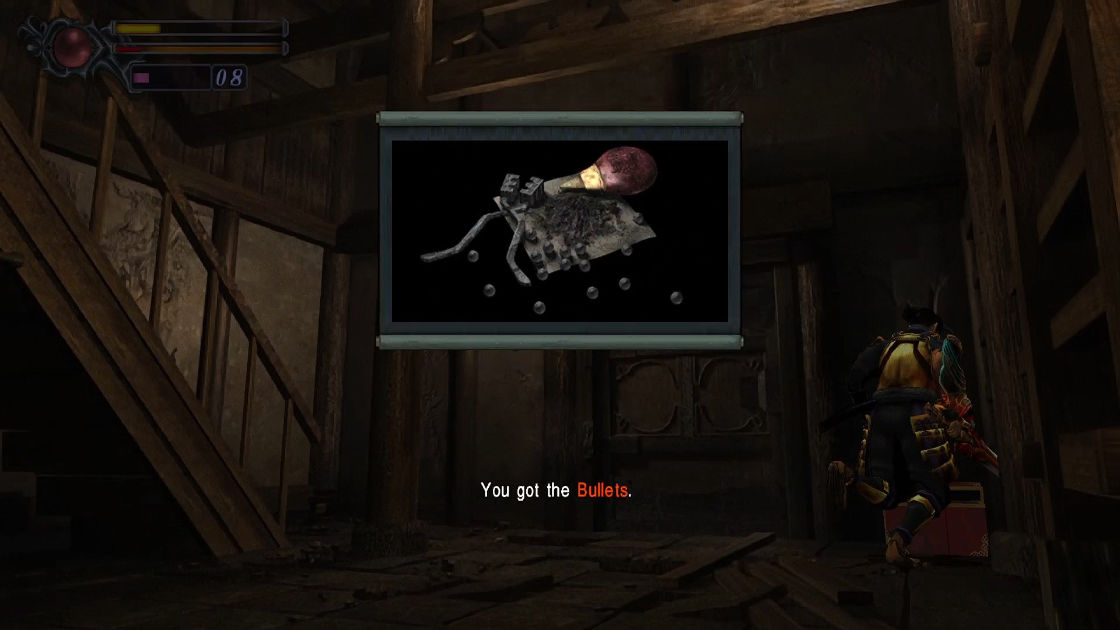
Kill a few Three-Eyes and walk straight (ignore the left turn for now) to open a green sealed door with Shippuu. In this room, go straight to the outside, you’ll see a draw bridge (if you press X, it will tell you that with the right tool, you can lower the bridge). All you have to do is equip your Matchlock you just obtained with Burst Bullets (normal bullet doesn’t work), then shoot the robe on the other side. Cross the bridge to open a treasure box for Bullets. Cut through the paper on the wall to reveal Talisman.
- Item: Bullets
- Item: Talisman
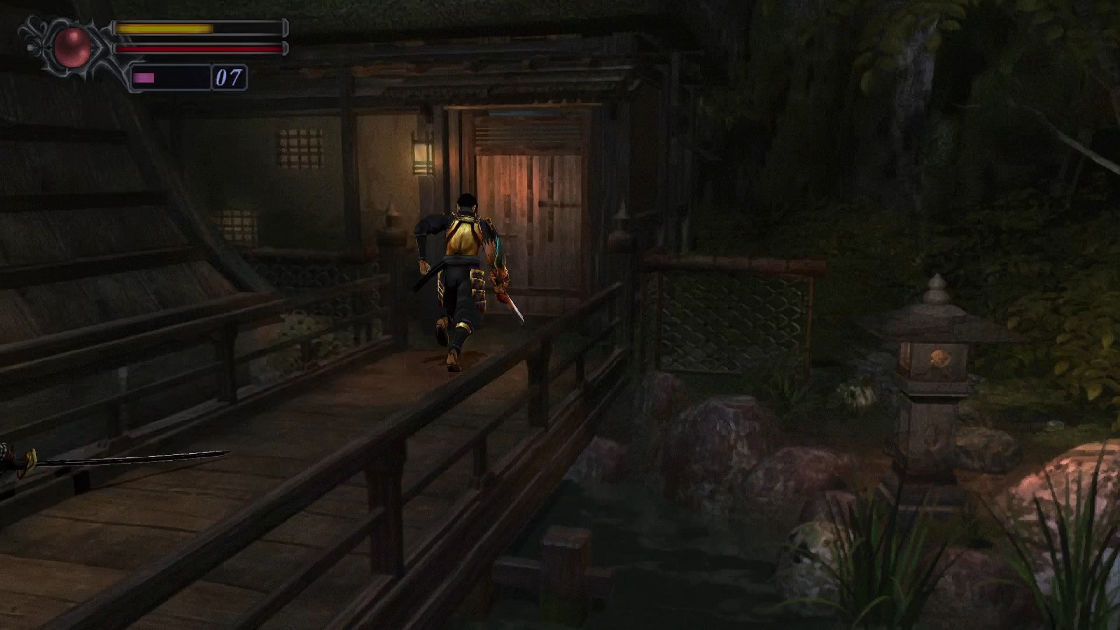
Now turn around, cross the bridge, then turn right. Examine the door to pick up a file.
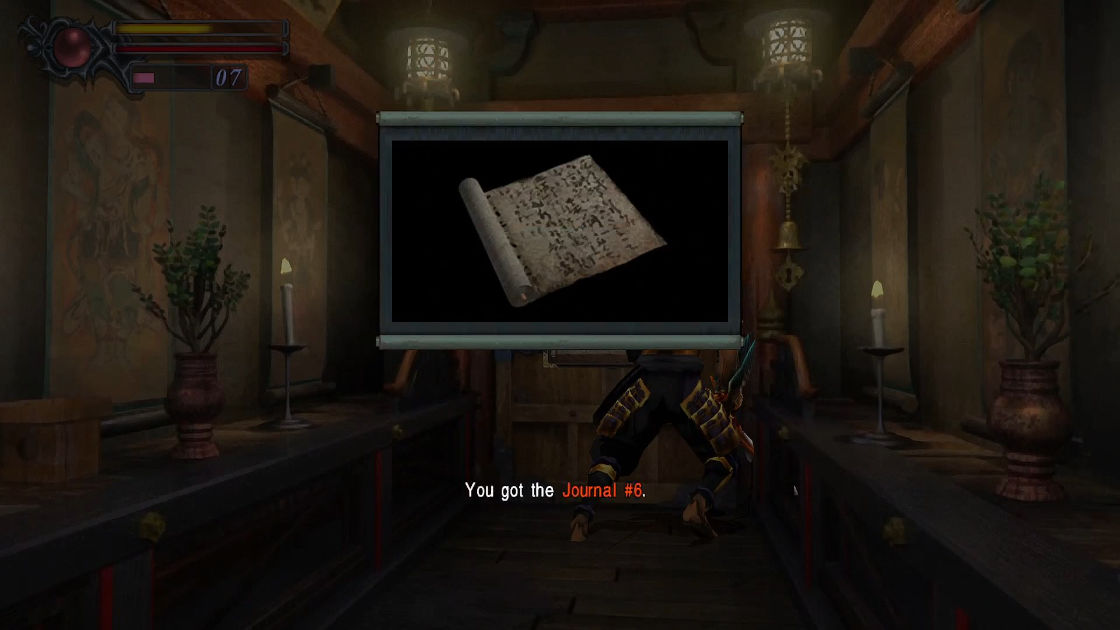
- File: Journal #6
Press X again to enter the door. Go straight pass the first door and enter the second door. There are 3 items here:
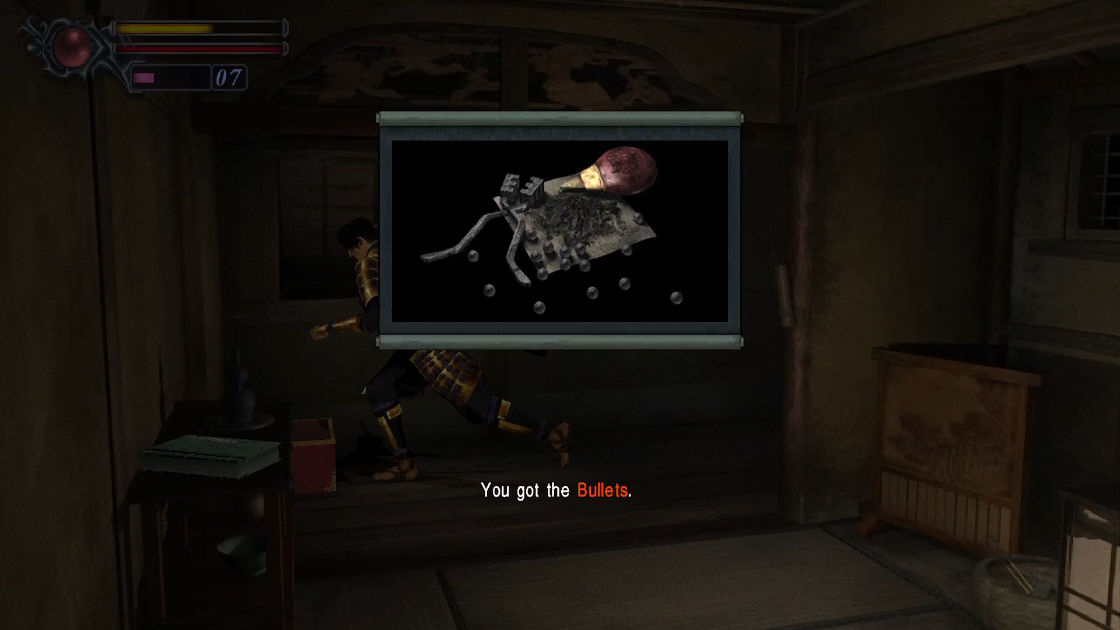
- Item: Bullet (Inside the treasure box)
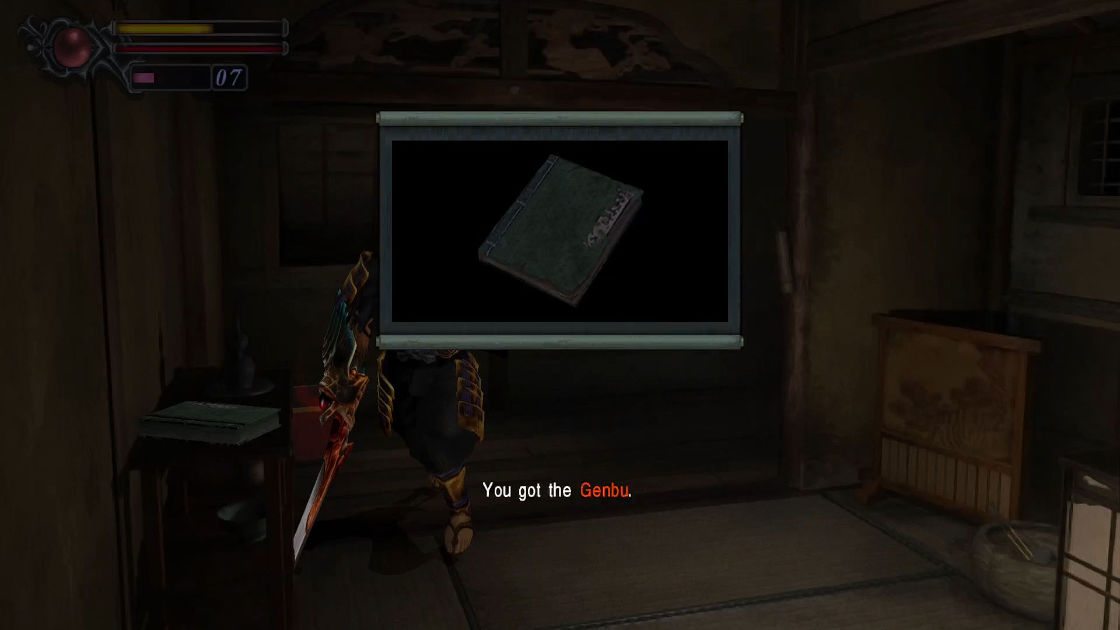
- File: Genbu (on a table)
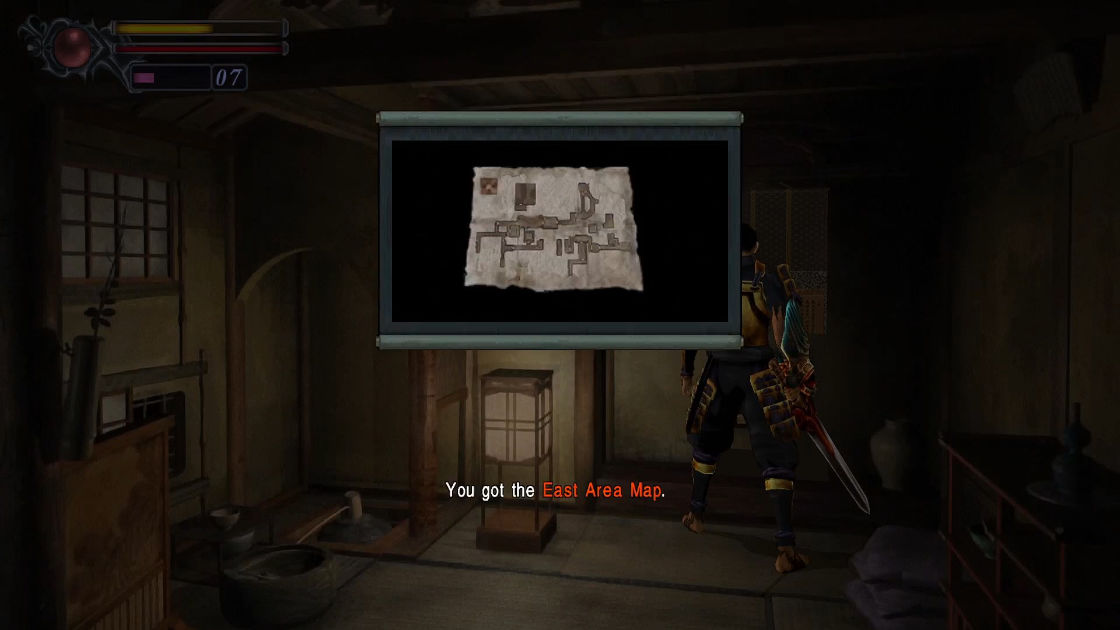
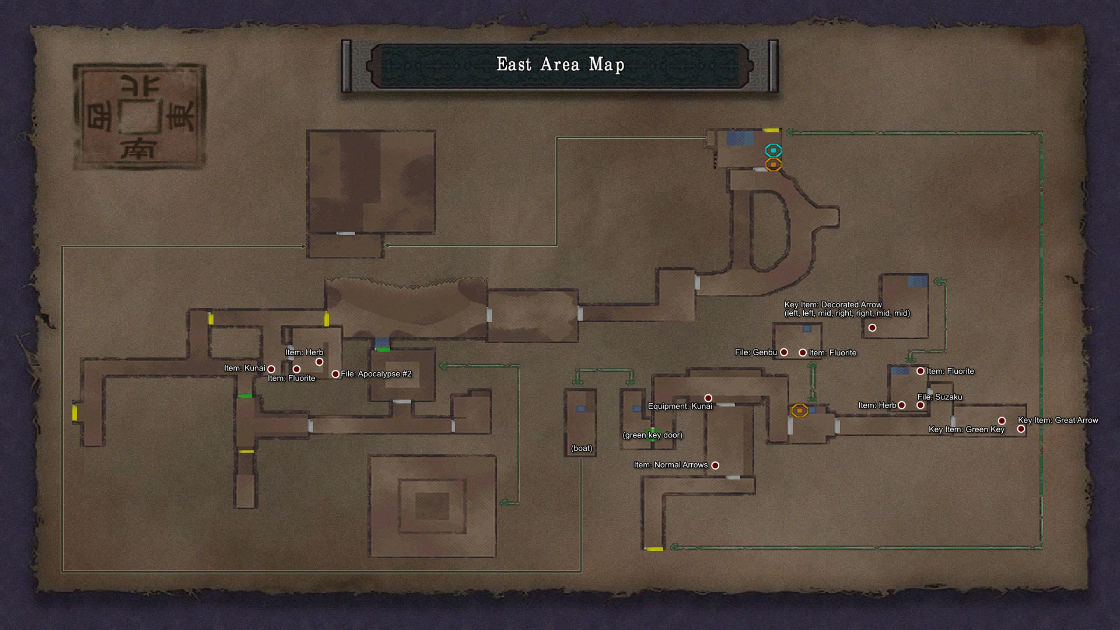
- Map: East Area Map (hidden before another hanging paper)
Go back to the first you just passed and enter. You’ll immediately see a treasure box, open it for Bullets.
- Item: Bullets
Part 8: From West to East – 02
You don’t have to kill the Samurai though, just use the stairs to go up kill every monster blocking your way until you reach a ladder with another treasure box.
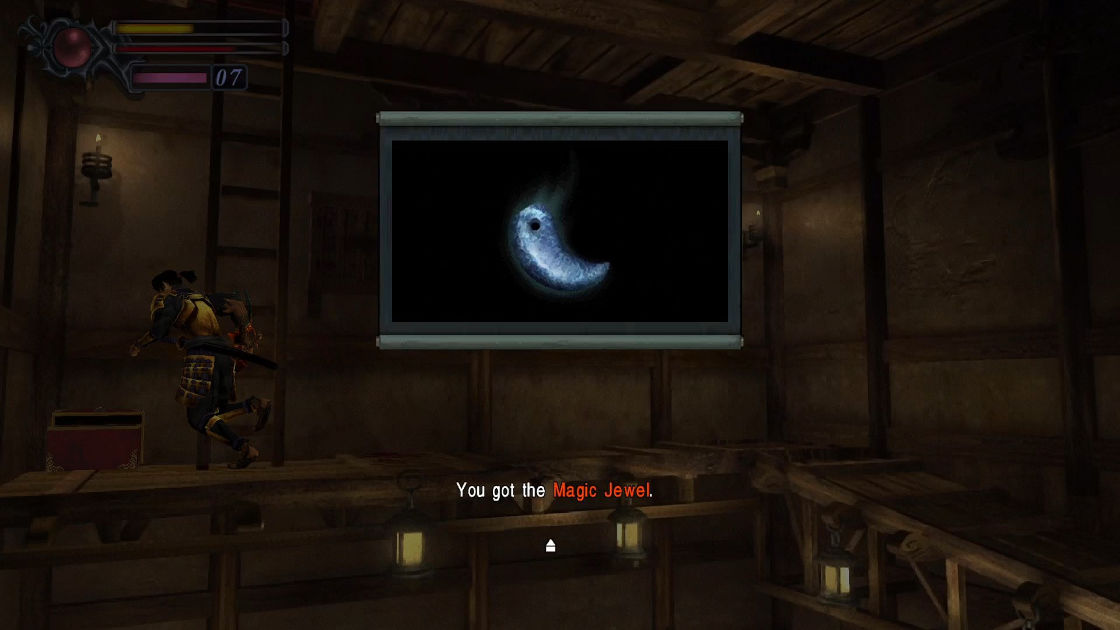
- Item: Magic Jewel
Climb up to the rooftop to find 3 more items.
- Item: Fluorite (inside at a corner)
- Item: Power Jewel (near a corpse outside)
- Item: Talisman (at the opposite side of Power Jewel)
After everything is done, go all the way down where you picked up Bullets, under the staircase is a door sealed with wind crystal level 3. Open it with Shippuu, outside, you’ll immediately welcomed by a Three-Eyes.
Achievement: All Lives Big and Small
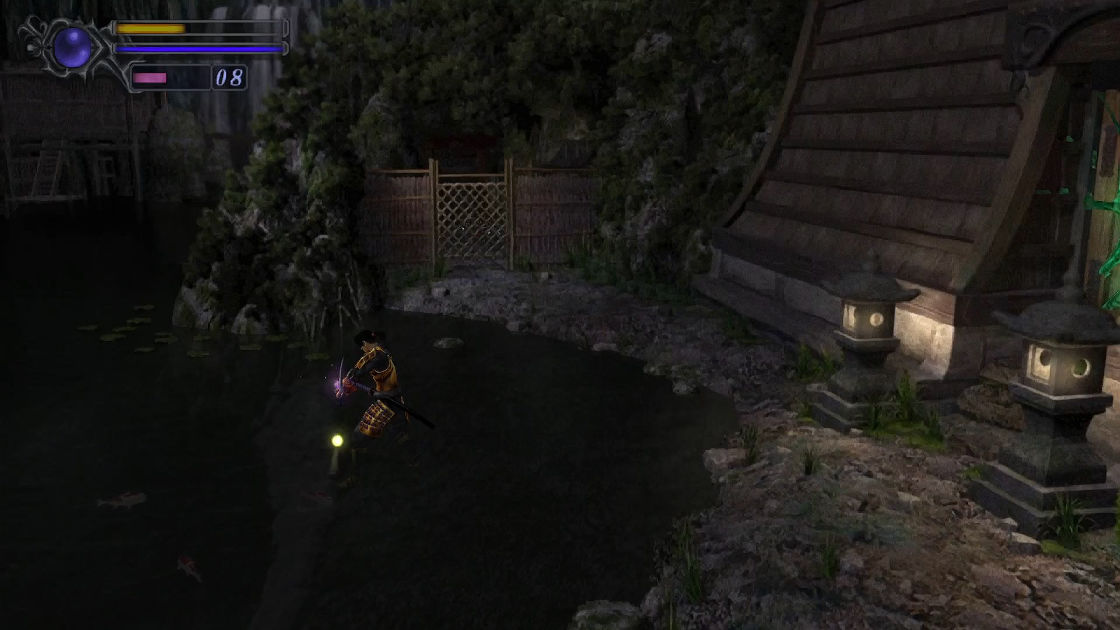
don’t go anywhere yet. Notice 3 fish in the pond? Stand on water and start holding O (absorb soul) even though there is soul, wait up to 1 minute, one of the fish will start emitting a yellow soul.
Head to the next area, kill cloaking demons then absorb some free souls. Continue your journey until you reach a waterfall.
Achievement: See You Next Fall
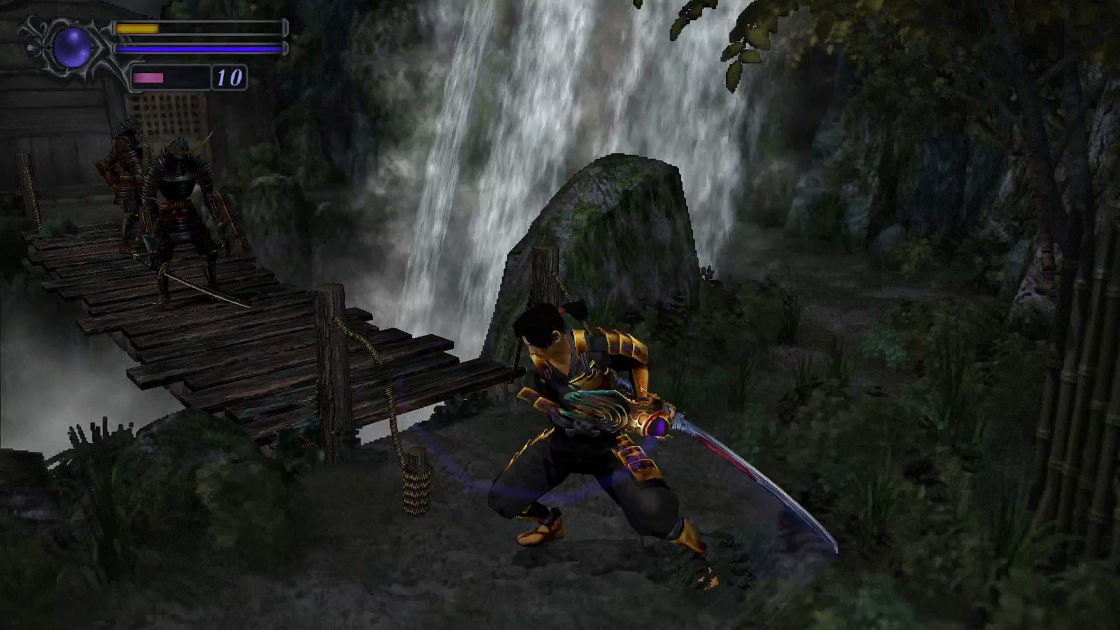
Here you’ll see 2 Samurais (one on the side, another one behind the waterfall), now lure them to the middle of the bridge (the achievement only require one Samurai). After that walk away to any side of the bridge and cut the robe, easy kill right? And don’t forget to absorb their souls.
Now, behind the waterfall is another puzzle box.
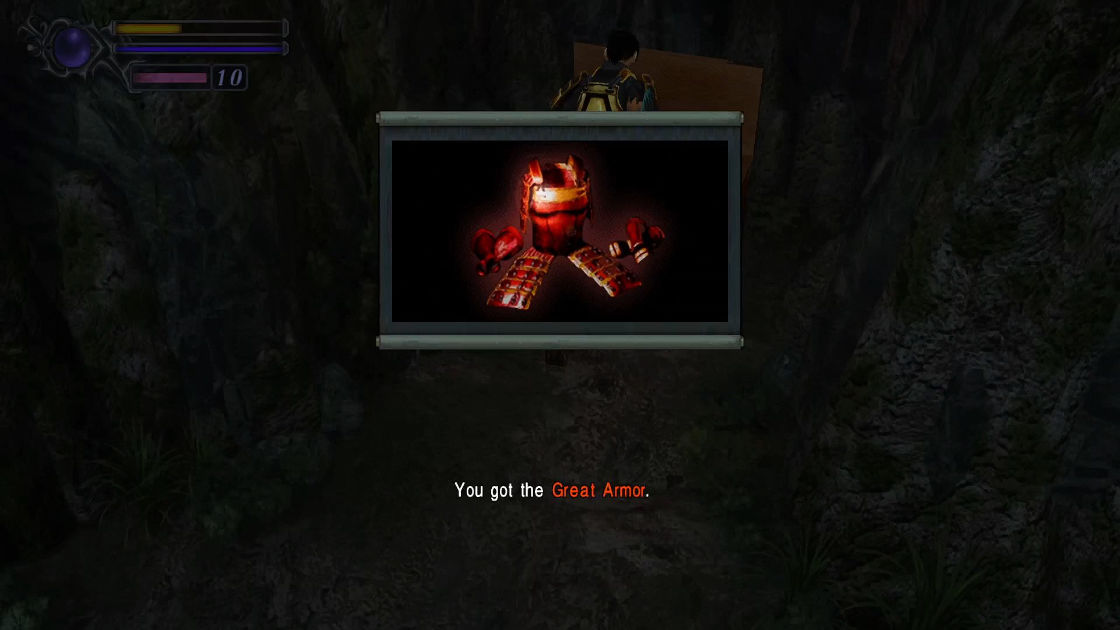
- Equipment: Great Armor (Solution: bottom-left, top-right, bottom-right, bottom-left, bottom-right)
Equip it immediately and proceed to the next door. This room has a Magic Mirror, a puzzle box, and a normal treasure box.
- Item: Magic Jewel (Solution: 3rd, 6th)
- Item: Medicine
Save your game and go downstairs you will see a flickering object, it is a Fluorite.
- Item: Fluorite
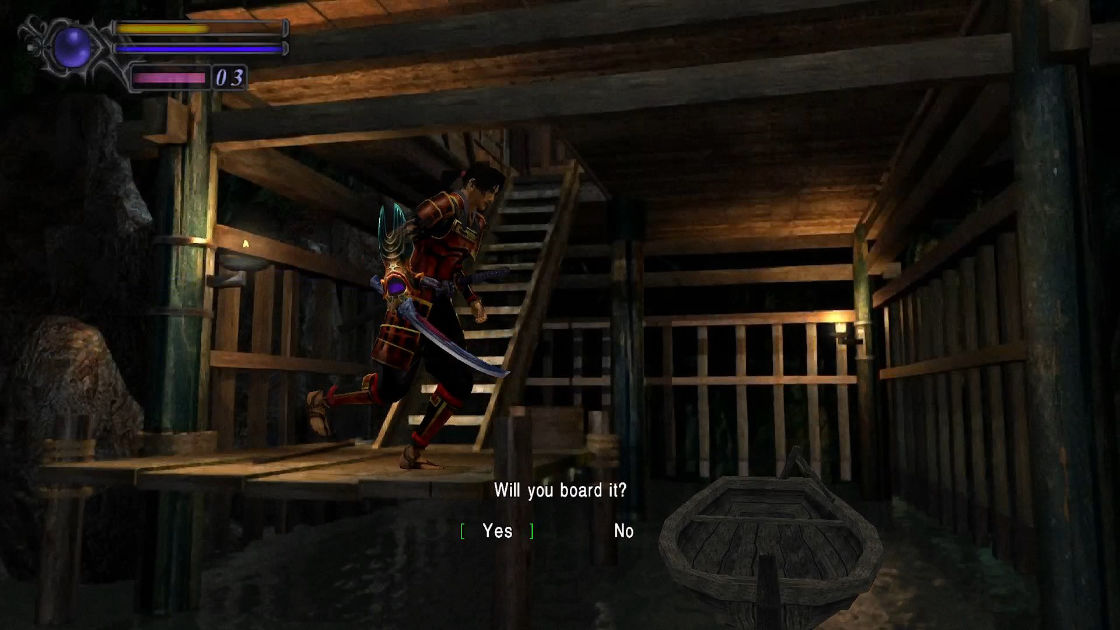
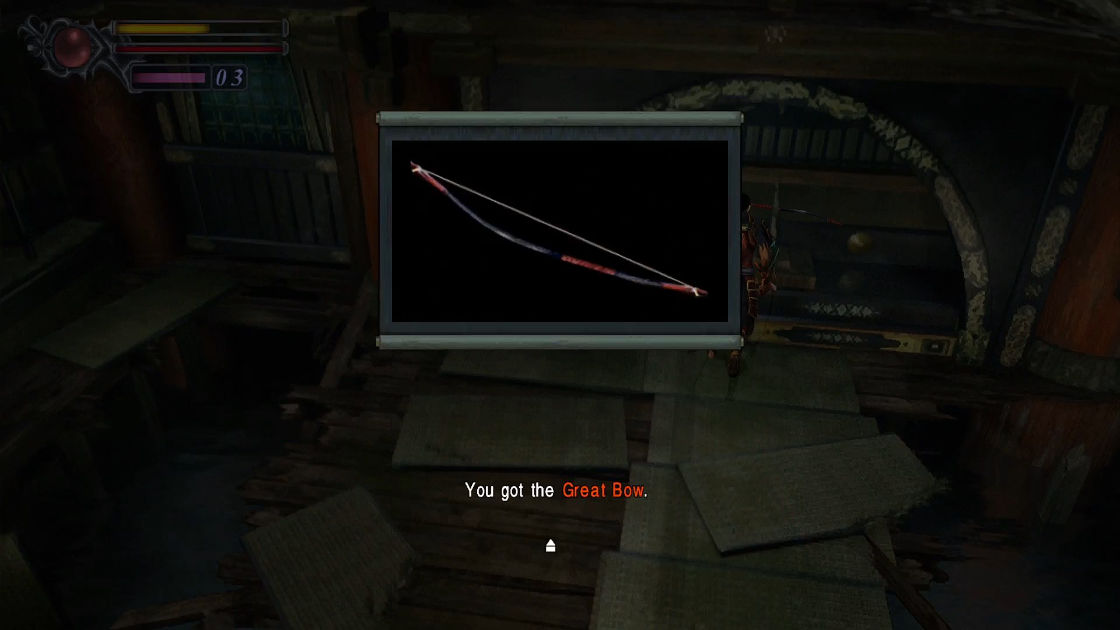
See a boat? board it to go to the other side and enter the room. Walk to the end of the room to pick up Great Bow.
- Key Item: Great Bow
Enjoy a cutscene.
Part 9: A Helpful Partner
Consult this map for part 9:
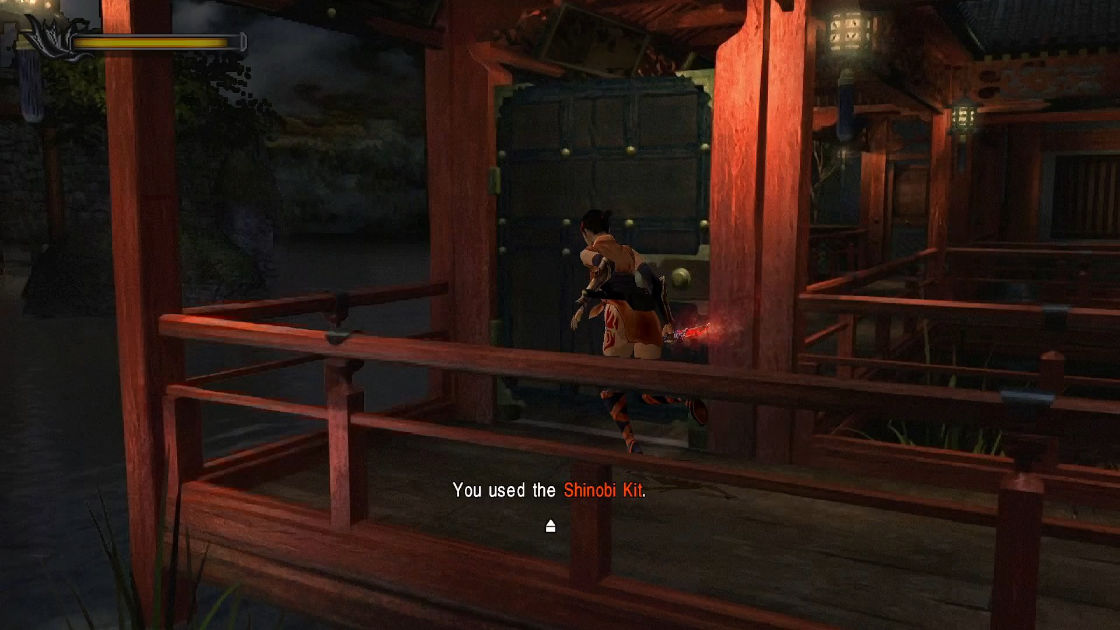
As I mentioned before when playing Kaede, she is not very strong and killing demons doesn’t give you anything. So I suggest you always run and only fight when necessary. Now, walk toward and turn left, use Shinobi Kit to unlock a door. Walk straight then turn right. There is a treasure box hardly visible at the right corner.
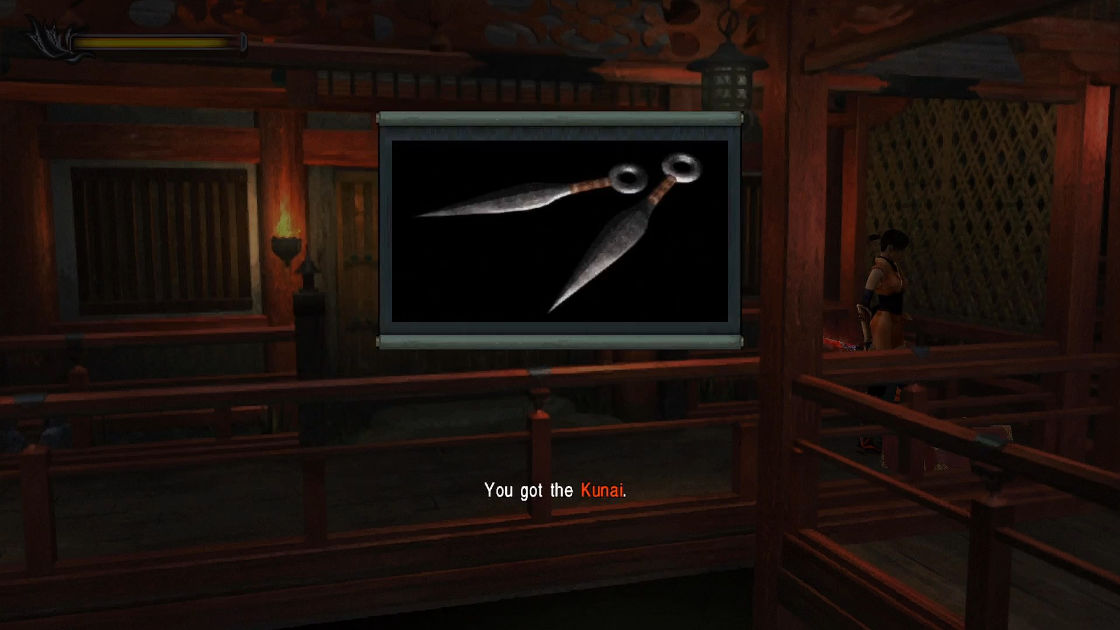
- Item: Kunai
Enter the door, you’ll see an object on the ground.
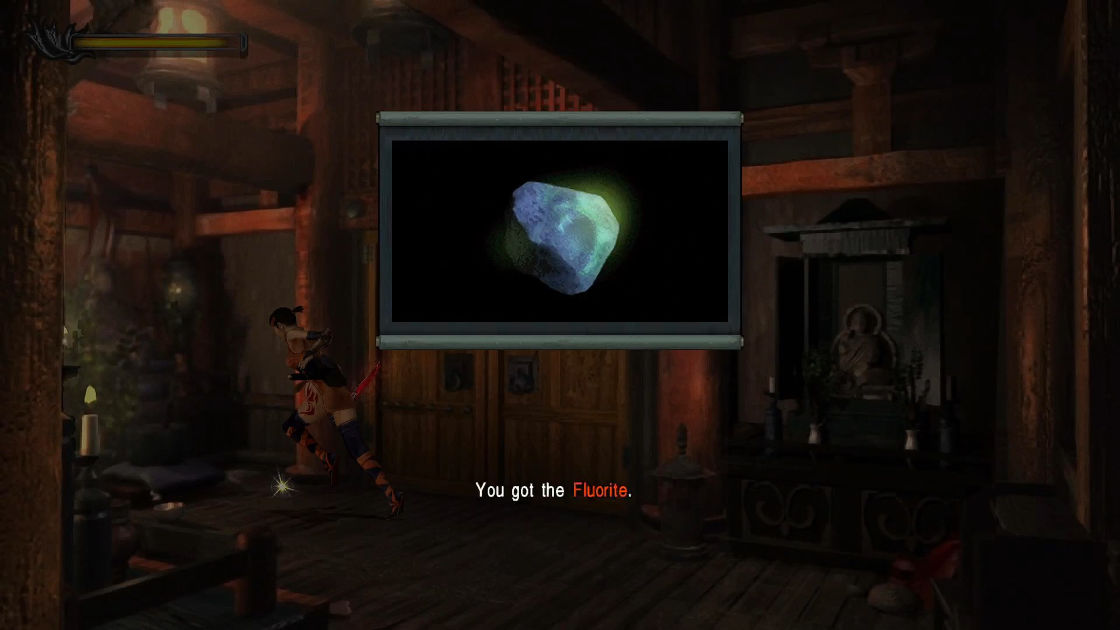
- Item: Fluorite
After pick up Fluorite, keep going left to the next screen you’ll see two Buddha statues, go to the corner of the left Buddha (until your 2 legs are hidden from view) and pick up a hidden Herb there.
- Item: Herb
Now walk around behind the room, destroy some porcelain jars. There is a book at the very end of the narrow path.
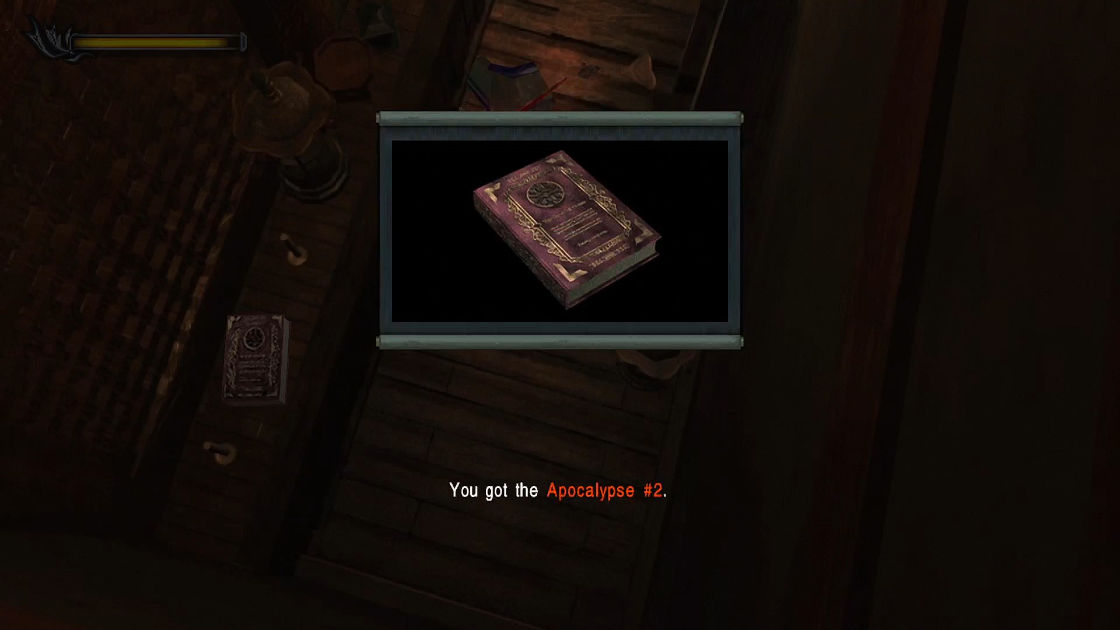
- File: Apocalypse #2
That is all, leave this room and continue to the next section (where you turn right, now continue straight). Keep going to the waterfall, enter the storage room and save your game. Kaede can unlock the left door using Shinobi Kit which Samanosuke previously couldn’t enter. Keep going until you see a door, open it to the next room. You’ll see 2 standing woods blocking a treasure box.
- Item: Normal Arrows
Continue to the next room. As you appear, you’ll see 5 blue porcelain jars, hit the one at the bottom right corner (Kaede’s left) to reveal Kunai.
- Equipment: Kunai
This room has 2 doors left and right from Kaede perspective. Go to the right one first. Inside is a Magic Mirror and a ladder, save your game first then climb up. Destroy some crates blocking your path to reveal a Fluorite and a book.
- Item: Fluorite
- File: Genbu
Go back down and proceed to the next room. As you walk to the next screen, be prepared to block 2 arrows. Kill the two Zombie Archers and turn left (ignore this door for now). Enter the second door. There are 3 items in this room and a ladder.
- File: Suzaku (on a shelf)
- Item: Herb (in a treasure box)
- Item: Fluorite (on an old chest in front of the ladder).
NOTE: at this point, if you already completed the Dark Realm, you should have all 20 Fluorites and all Files.
Climb the ladder, there is one trick box in this room, it is probably the hardest puzzle of this type.
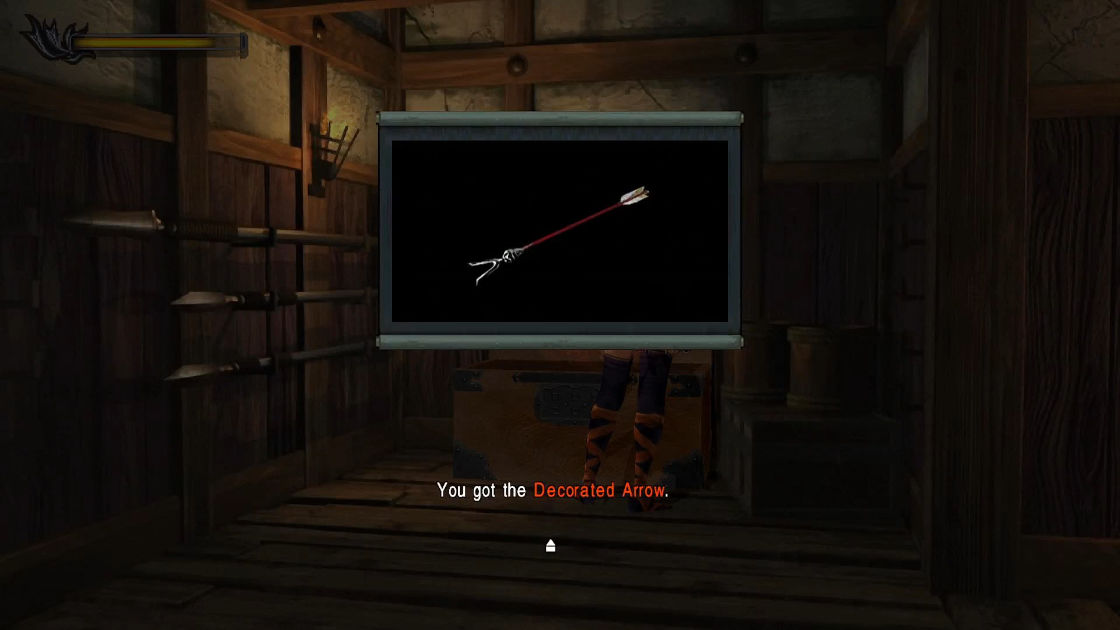
- Key Item: Decorated Arrow (Solution: left, left, mid, right, right, mid, mid)
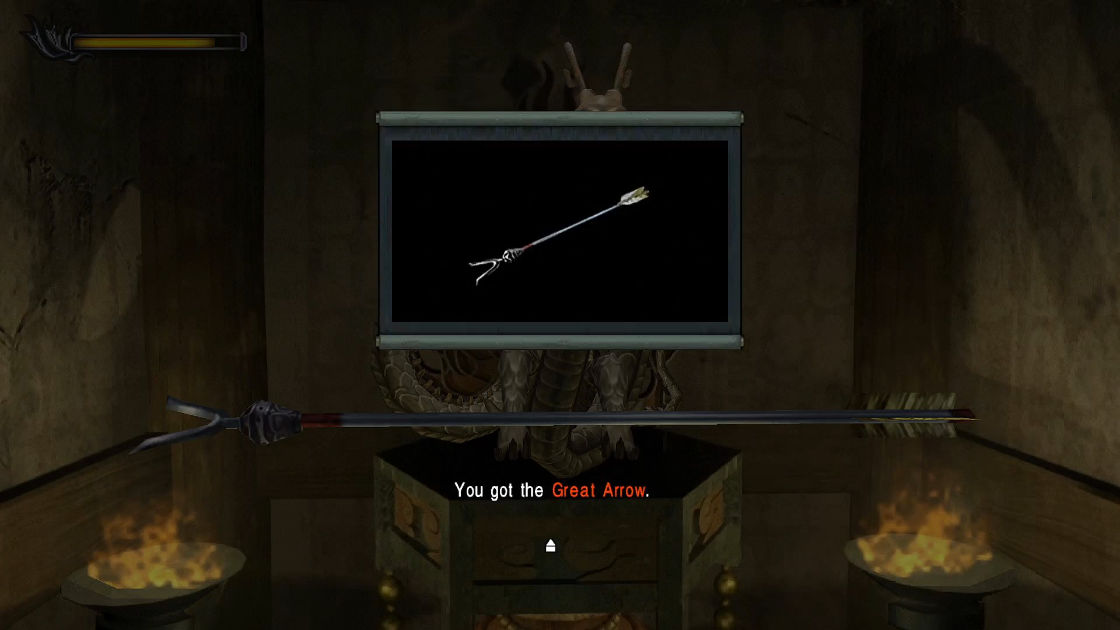
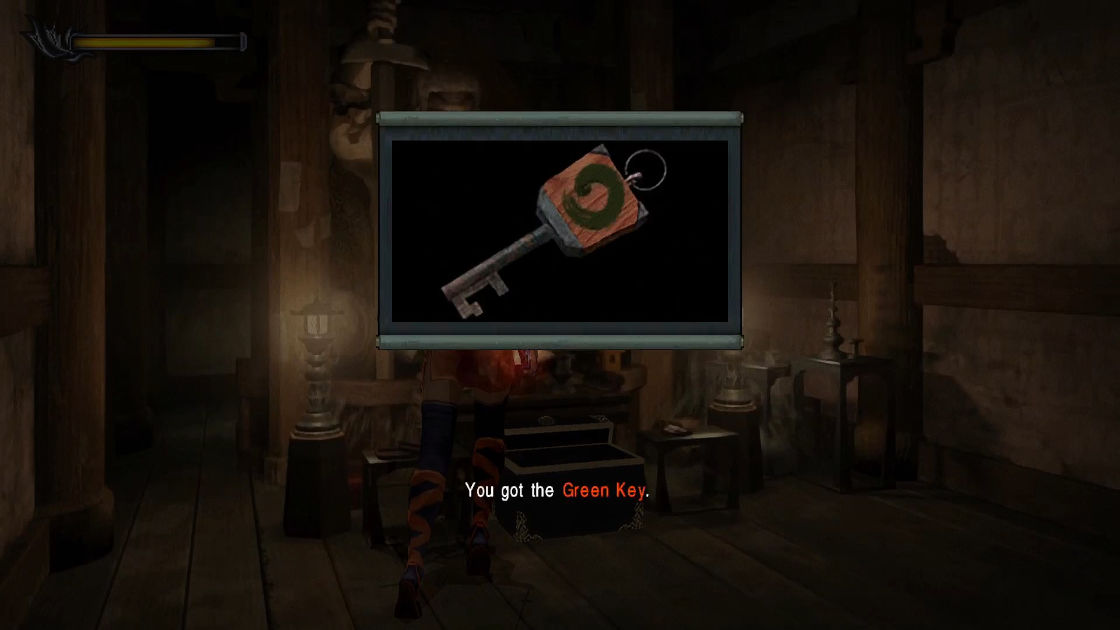
Exit this entire rooms and enter the door you just ignore early. There is only one black treasure box in this room, the problem is you cannot open it yet. Go around behind the room and pick up the Great Arrow. It will trigger a trap so you need something to replace the arrow position. Now go to your menu and select Decorated Arrow. The black treasure box will be unlocked and the door are now opened.
- Key Item: Great Arrow
- Key Item: Green Key (black box)
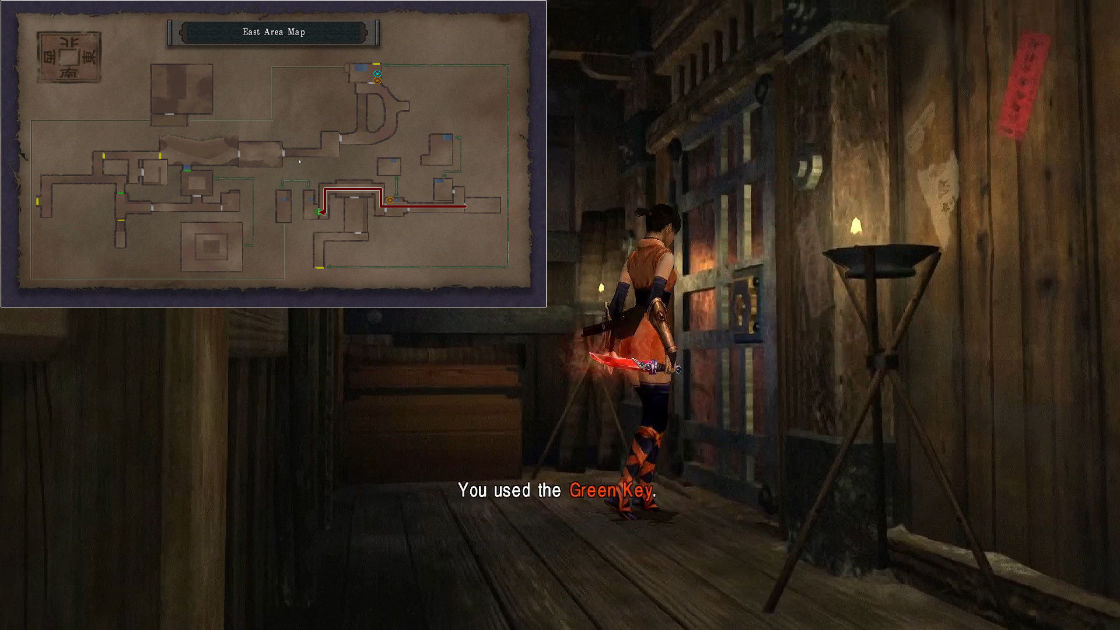
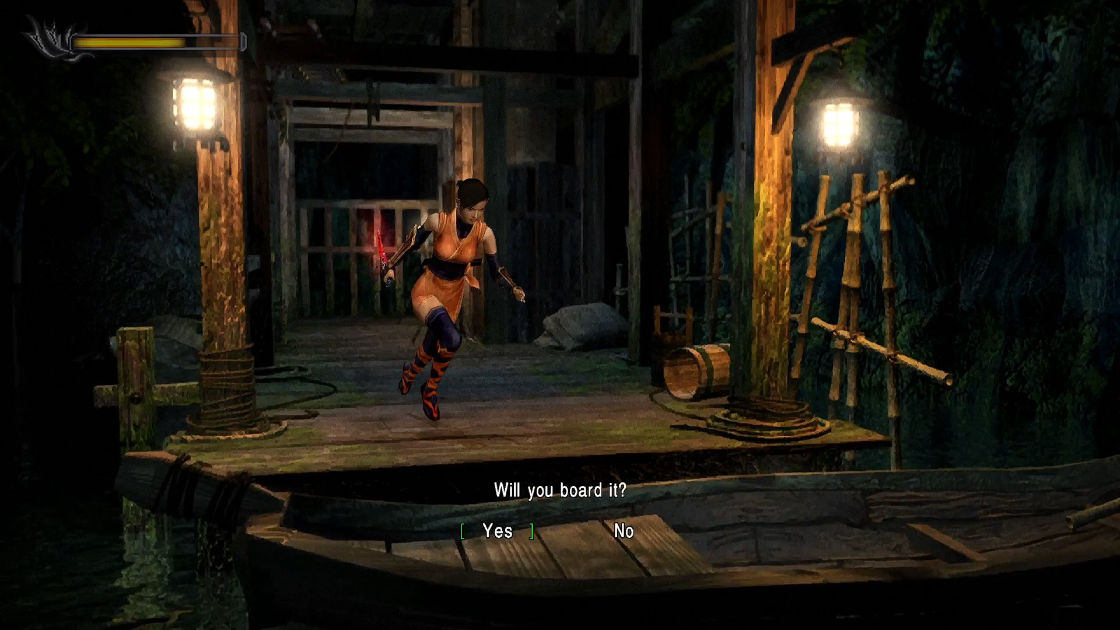
Exit the room, be prepare to block another 2 arrows again. Kill the archers and go all the way back to the room where you picked up Kunai beneath a porcelain. Go to the other door and unlock it with the Green Key. Enter, climb down the ladder, board a boat, enter the door, and watch a scene.
Part 10: Enter Demon World
Consult these maps for part 10:
Back to Samanosuke. You started with a boss fight, good luck.
Boss: Hecuba
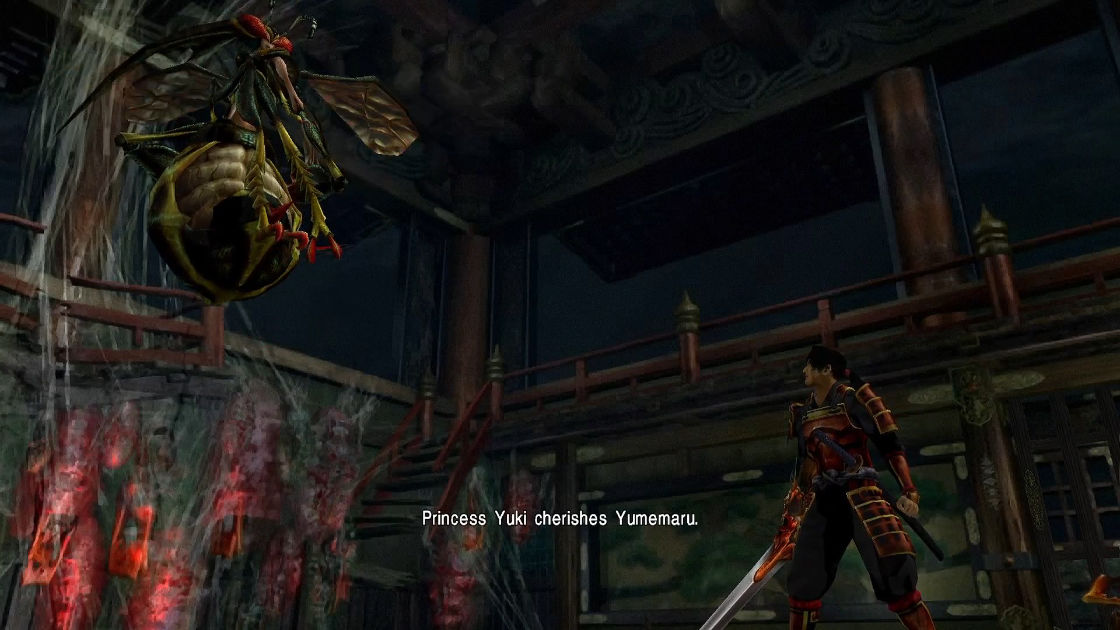
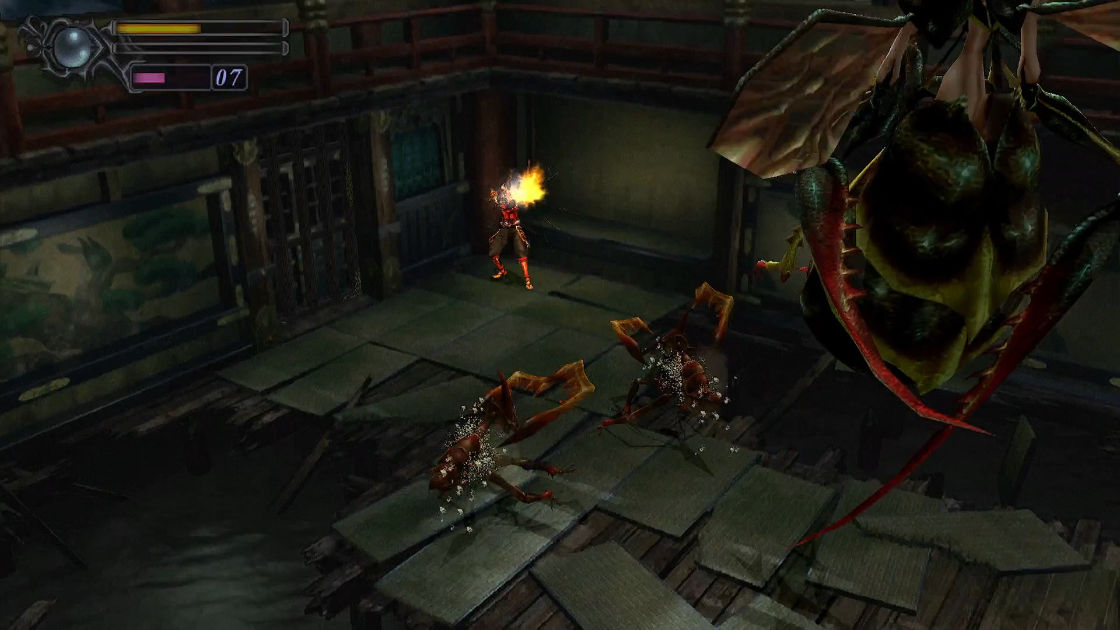
She is not very hard, but the most annoying part about her is her minions. Good news is Hecuba and those insects weak against Shippuu and Matchlock (Burst Bullets will help a lot).
Watch another scene after you defeated her. Again, you back to a safe room. Go to the main hall, where you can find a Magic Mirror inside. Replenish your magic and save your game.
Go back to the room where you used Evil Plate to open. With your Great Bow and Arrow in your possession, you’re now able to destroy the seal blocking your path to the Realm of Evil. Note that once you use the Great Bow, you won’t be able to come out. Now select Great Bow from your menu and watch a cutscene.
Boss: Marcellus
You already fought him once, this time he has 2 phases, the first is the same as the first encounter. The second phase is a little harder. Trust me, I beat this guy with a normal sword without taking any damage.
Pick up a Medicine from a treasure box after you defeated the boss.
- Item: Medicine
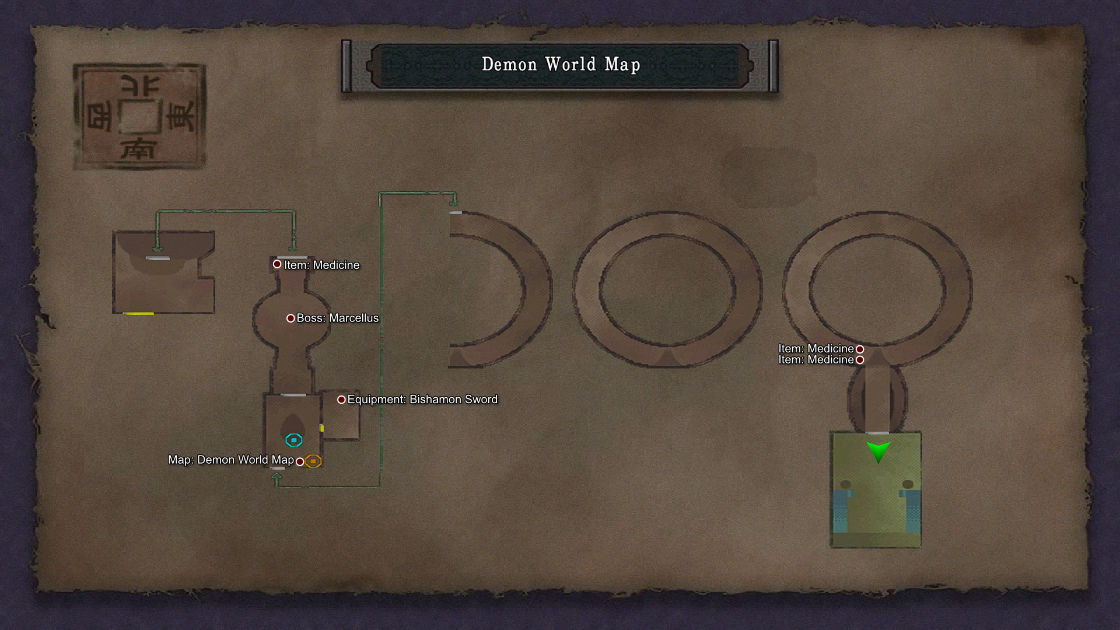
proceed to the next room, there you can replenish your magic and use Magic Mirror to save the game and forget to pick up a map right next to the Magic Mirror. While in this room, you should notice a narrow path blocked by 4 demon fingers? The most powerful weapon resides in there. Go to the menu and select Bishamon Ocarina to open it.
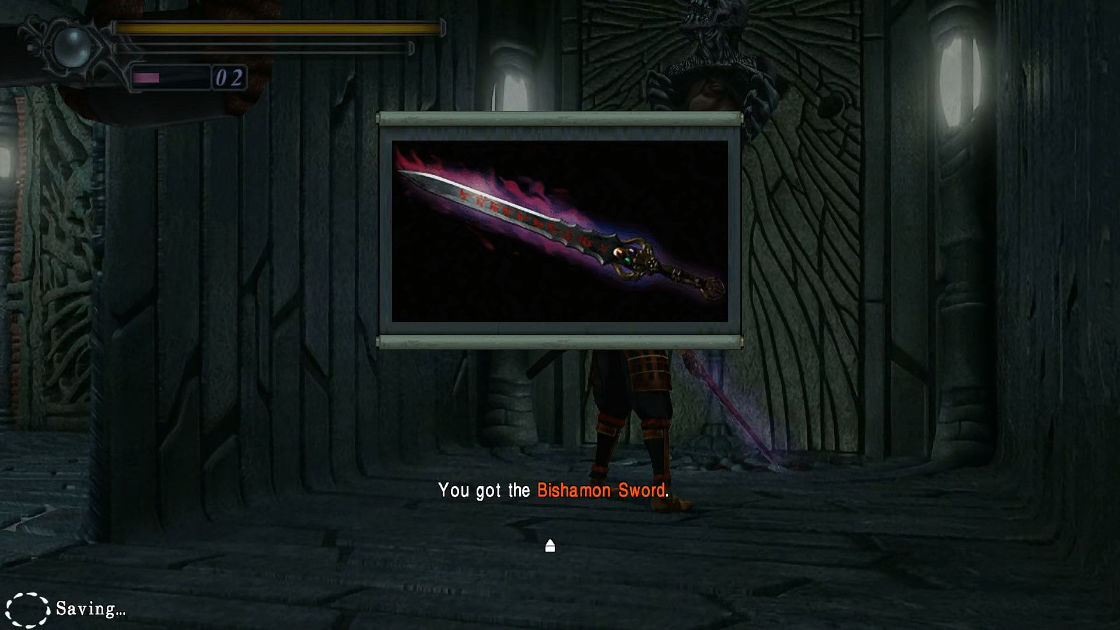
- Equipment: Bishamon Sword
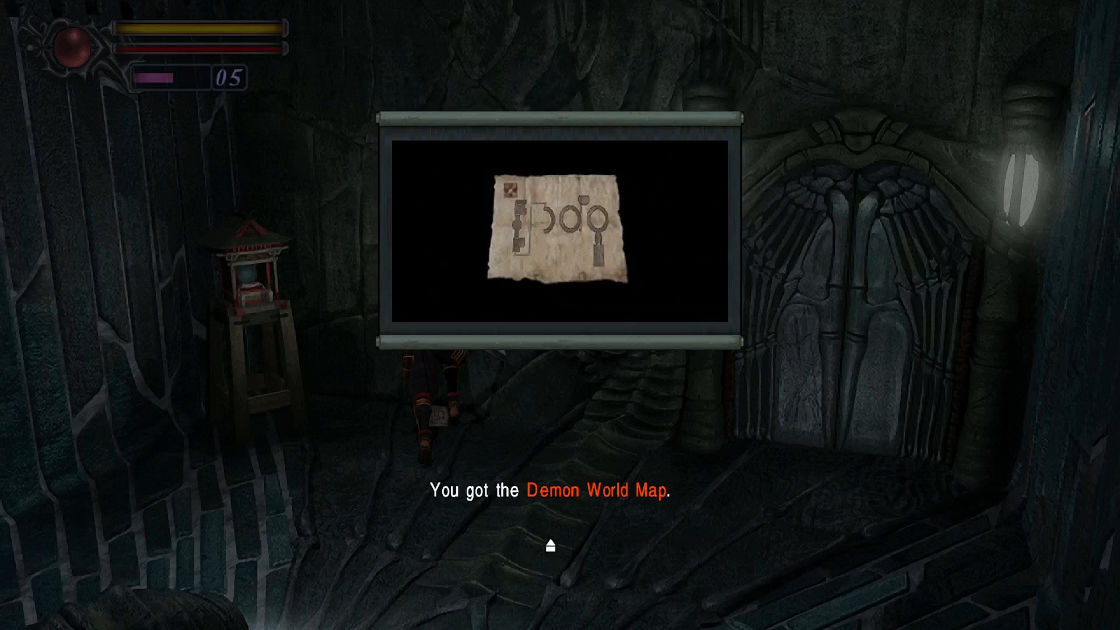
- Map: Demon World Map
Now save your game and advance to the next section. With Bishamon Sword in your possession you literally kill any demon in one hit except bosses. Keep going downward in a spiral direction until you see an exit path. Pick up 2 Medicines at the end.
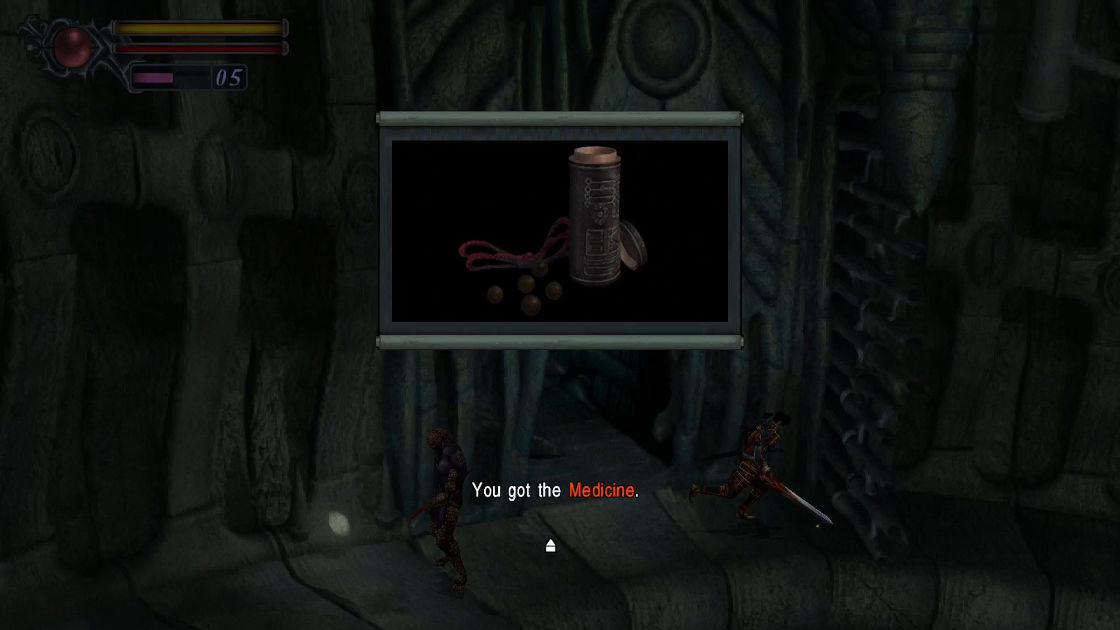
- Item: Medicine (x2)
The next room is the final boss.
Final boss: Fortinbras
Here are all his attacks:
- Punch and slap: can block, can dodge.
- Fire breathing: cannot block, can easily dodge. Simply running left and right.
- Lightning: cannot block, can easily dodge. Watch the lightning shadows dodge them.
- Laser: cannot block, can dodge. It is a little hard since the lasers are fast so make sure you watch the boss animation when he turn his body 90 degree, he will shoot the lasers.
Watch another pretty cool cutscene.
The End!!!
Oni-Spirits (mini-game)
A hidden mini-game is called Oni-Spirits. It will be unlocked if you have collected all 20 Fluorites and finished the game. What then is the prize? Maximum Mode. You start the game in this mode with the Bishamon Sword
There are 12 phases you must get through. In contrast to the typical game where you smash your way through, your only goal in this one is to break a specific number of vases that are assigned to each stage. You don’t need to worry about the game’s description being unclear because I will explain it below. The amount of vases you need to destroy is the only thing you need to be aware of at the bottom of the screen.
At the end of each stage, it will tell you how many vases available and how many vases you have to destroy, for example:
STAGE 1
SPIRITS 28 (total vases in the stage)
VASES 20 (total vases you have to destroy to complete the stage)
After you press Start button, you’ll see a number at the bottom of the screen, for example:
RELEASE 17 (remaining vases you need to complete the stage)
Before you start, I want to point out a few tips for you:
- Your HP will slowly decrease until you pass away or it will end after all of the vases have been destroyed. However, if there are still vases after the “Release” counter reaches zero, you will simply advance to the next stage once your HP is exhausted.
- Monsters destroying vases do not count; you must either do so before the monsters or eliminate them as quickly as you can.
- Pink Souls released after breaking vases are useless, and attempting to absorb them would just waste your time. The spirits of yellow and blue are what important.
- Beware of Stages 6 and 10. If you are not quick enough, you could easily fail one of these stages. The reason is that all of the vases must be destroyed.
To help you know ahead what to expect, I’ll list all stages information below:
| Stage | Spirits | Vases | Items | Note |
|---|---|---|---|---|
| 1 | 28 | 20 | Herb | |
| 2 | 34 | 20 | Raizan (Thunder Sword), Bullets | |
| 3 | 39 | 26 | Matchlock | |
| 4 | 38 | 26 | Bullets, Enryuu (Flame Sword) | |
| 5 | 36 | 28 | Burst Bullets | |
| 6 | 6 | 6 | Herb | Before the Zombie Soldiers arrive, dash forward and use Blame Sword to smash both vases in front of you. |
| 7 | 39 | 32 | Shippuu (Wind Sword) | |
| 8 | 42 | 36 | Burst Bullets, Holy Armor | |
| 9 | 42 | 28 | Burst Bullets | |
| 10 | 6 | 6 | Herb | Quickly use Flame Sword special attack (press Triangle button) to destroy the 2 vases in front of you before the Samurai did. |
| 11 | 39 | 30 | ||
| 12 | 44 | 36 | Quickly use Flame Sword’s special attack to destroy two lines of vases in front of you before the Spike monster did. |
Achievements – 01
Use the gauntlet to ingest the souls of demons. acquire automatically as the game progresses.
Obtain the Shiden. Automatically obtain as game progress.
Obtain the Kouen. Automatically obtain as game progress.

Obtain the Arashi. Automatically obtain as the game progress.
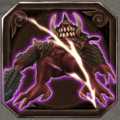
Defeat Osric. Automatically obtain as the game progress.
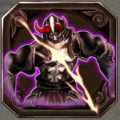
Defeat Marcellus. Automatically obtain as the game progress.
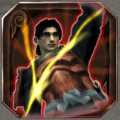
Defeat Stylado. Automatically obtain as the game progress.
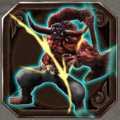
Deafeat Barabazuu. Automatically obtain as the game progress.
Defeat Hecuba. Automatically obtain as the game progress.
Defeat Marcellus’s final form. Automatically obtain as the game progress.
Defeat Fortinbras. Automatically obtain as the game progress.
Solve the crest puzzle. you’ll obtain this automatically if you follow my walkthrough.
Enter the abandoned keep. Automatically obtain as the game progress.
Unseal the path to the Keep Underground. Automatically obtain as the game progress.
Obtain the Sacred Knife. You’ll automatically obtain this if you follow my walkthrough in part 6.
Use the Decorated Sword to enter the East Area. Automatically obtain as the game progress.
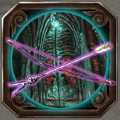
Open the gate to the Demon World. Automatically obtain as the game progress.
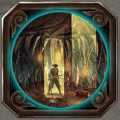
Complete the first half of the Dark Realm. You’ll automatically obtain this if you follow my walkthrough in part 7.
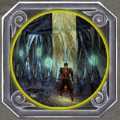
Complete the first half of the Dark Realm. You’ll automatically obtain if you follow my walkthrough in part 7.
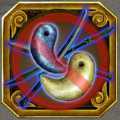
Complete the game in Normal mode without enhancing swords or using Jewels. This is a little hard but doable because you can still use herbs and medicines. Enhancing orbs is allowed.
Complete the game on Ultimate difficulty. This one is pretty easy since you start the game with Bishamon Sword in this mode. All monsters are killed in one or two hits.
Complete the game in Normal mode without using herbs or medicine. This one is not really that hard because you can still heal with yellow souls. To guarantee monsters emit yellow souls, you have to do critical hit.
Complete the game in less than 3 hours. Pretty easy for the second or third run.
Complete the game and get an S rank. Here is the criteria to get S rank:
- Finish the game under 3 hours
- Absorb at least 55,000 red souls (you can see the total of red souls on your menu).
- Kill at least 600 monsters. This one is little bit hard to track since the game only show the number of monsters killed at the end.
If you don’t get S rank at the end, reload your game before you enter the Demon World; You have your save in Sentry Room (if you follow this guide). Talk to the moth man in the Sentry Room and re-enter Dark Realm until you have enough kills and red souls. One trip to the Dark Realm is about 10 to 15 minutes.
Complete all stages of Oni Spirits. You have to collect all Fluorites to unlock Oni Spirits. There 12 levels to this mini-games. Basically, your objective is to kill all monsters and destroy all jars (monsters destroying jars do not count).
Obtain the Vision Staff. This key item is missable, but if you follow my walkthrough in part 8, you should unlock this achievement automatically.
Near, Far, Wherever You Are. Both weapons are missable if you don’t retrieve them. There are only 2 range weapons Bow in part 3 and Matchlock in part 8.
Obtain all armor for Samanosuke. Both armors are missable. You should automatically obtain this trophy if you follow my walkthrough. Holy Armor can be obtained in part 3 and Great Armor in part 8.
Obtain the Bishamon Sword. Again, if you follow my guide, you should unlock this automatically in part 10. To open the gate to Bishamon Sword, you first have to get Bishamon Ocarina in the Dark Realm (part 7).
Collect all files. You should automatically obtain this achievement if you follow this guide.
Achievements – 02
Collect all maps. You should automatically obtain this achievement if you follow this guide.
Collect all Fluorites. You should automatically obtain this achievement if you follow this guide.
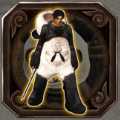
Unlock Samanosuke’s alternate outfit. Just complete the game for the first time and the outfit will be automatically unlocked.
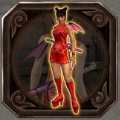
Unlock Kaede’s alternate outfit. You must complete the game with S rank. check out the the S rank achievement.
See achievement: 24. Pro-nimusha
Enhance equipment at a Magic Mirror. Automatically obtain as the game progress.
Enhance the gauntlet to maximum. Your gauntlet has level 3 too. Try to absorb as many red souls as you can until it becomes gold. You can see it’s changing color when open the menu. The best location to farm souls is in the Dark Realm; you can enter the Dark Realm as many times as you want).
Enhance all swords to maximum. The best place to farm souls is in the Dark Realm.
Enhance all orbs to maximum. The best place to farm souls is in the Dark Realm.
Use Power Jewels to increase Vitality to maximum. You should automatically obtain this achievement if you follow this guide.
Use Magic Jewels to increase Magic Power to maximum. You should automatically obtain this achievement if you follow this guide.
Save a soldier under attack by demons. Pretty easy as there are plenty of soldiers throughout the game.
Use a Deadly Strike to kill a demon. Perform a critical hit to kill a monster is not hard, try with Zombie Soldiers. Parry critical hit also count.
Attack a demon with Kaede’s Deadly Strike. Pretty easy, lock to a monster, jump behind it by pressing “forward + square button”, then press “square button” again.
Strike Marcellus’s final form with a Deflect Critical attack. Can easily perform on Marcellus second form. Wait until he rush toward you, press guard + attack button. Not so hard, if you manage to reach the demon world, you should be able to do it.

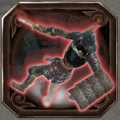
Defeat a demon by dropping it down the waterfall. Your objective is to lure at least 1 Samurai to the middle of the bridge at the waterfall, then cut the rope to destroy the bridge, see part 8 for more detail and pictures.
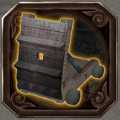
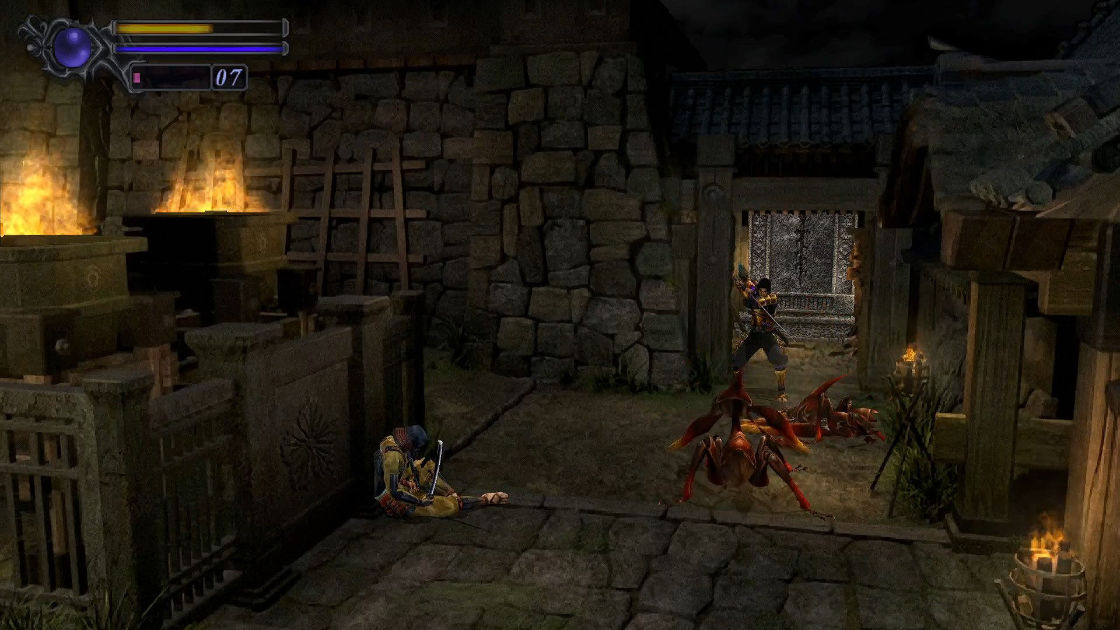
Kill a demon with a battering ram. Pretty easy, in the west area where there is a catapult, cut the rope to roll the catapult over Zombie Soldiers. See part 8 for more details and pictures.
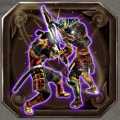
Win a power struggle with a demon. The power struggle only happens with bigger demons. Basically, try to hit them at the same time as they hit you, then press buttons as many times as possible to win the struggle.
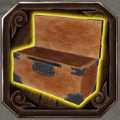
Solve all number puzzles. You should have unlocked this achievement if you follow my walkthrough.
Solve all decoder boxes. You should have unlocked this achievement if you follow my walkthrough.
Obtain the Rosary of Communication. You should automatically obtain this achievement if you follow this guide.
See Part 5: Keep Underground
Spot the flock of wild geese at dusk. You should automatically obtain this achievement if you follow this guide.
See my walkthrough part 1 on how to do it.
Find the beetle on the tree trunk. You should automatically obtain this achievement if you follow this guide.
See my walkthrough part 1 on how to do it.
Absorb souls from koi fish. You should automatically obtain this achievement if you follow this guide.
See my walkthrough part 8 on how to do it.
Cut down bamboo in the bamboo garden. You should automatically obtain this achievement if you follow this guide.
Bamboo garden is located in West Area. you walk through it as Kaede so make sure you cut at least 1 bamboo. See part 6 for more details and pictures.
Speak to the first and second old moth man. First moth man is in Sentry Room (Keep) and second moth man is in a well, west area. You should automatically obtain this achievement if you follow this guide.
See Part 7: Dark Realm for the first moth man and Part 8: From West to East for the second moth.
Collect all Honors (all achievements).
This is all for Onimusha: Warlords Full Walkthrough & Gameplay hope you enjoy the post. If you believe we forget or we should update the post please let us know via comment, we will try our best to fix how fast is possible! Have a great day!
- Check All Onimusha: Warlords Posts List






Leave a Reply