
A tutorial on how to install all of the wires on Satsuma.
Preparation
First of all – These parts need to be installed:
-Battery
-Radiator (doesn’t matter which one)
-Electrics (cables from distributor to the spark plugs)
-Alternator
-Starter
-Dashboard
-Rear Lights
-Fuel Tank
And these need to be uninstalled:
-Front Lights
If you are sure that everything is good, go to the next step.
Engine Bay
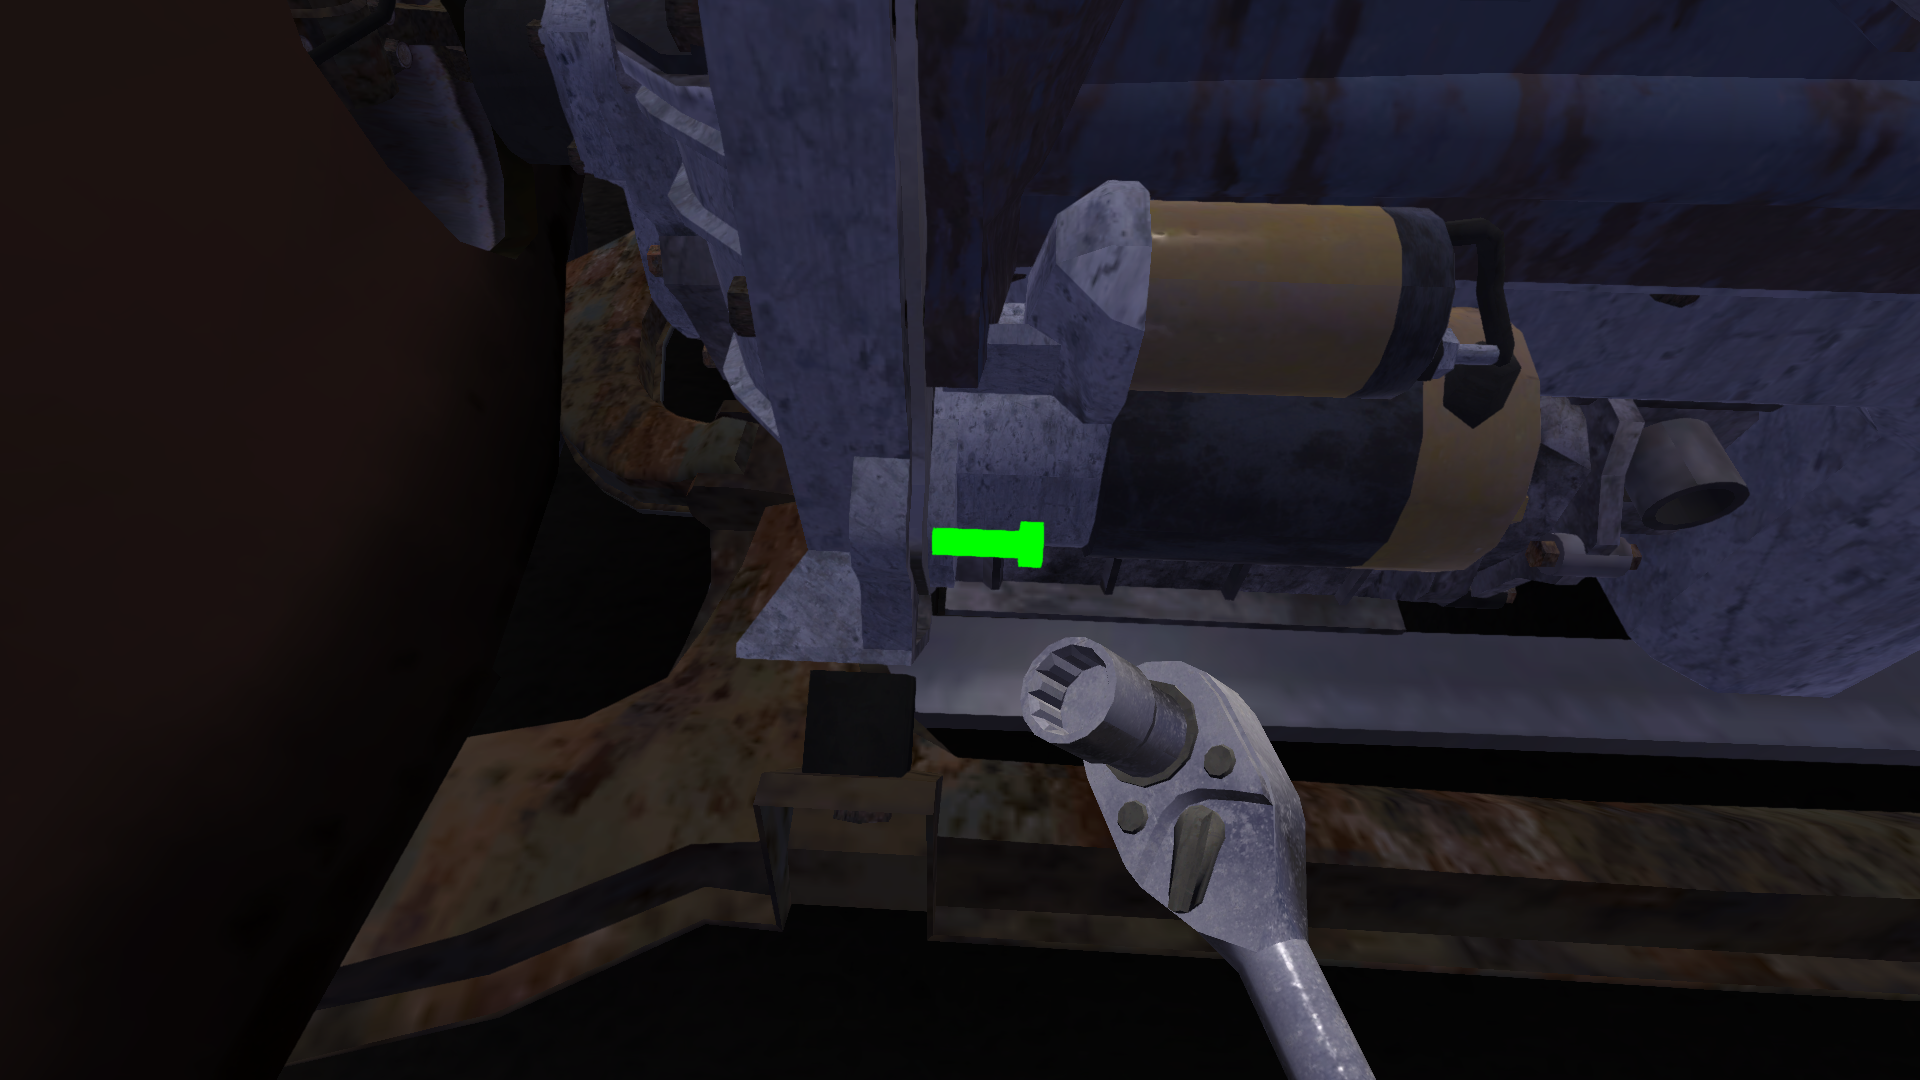
Start of by unscrewing this bolt holding the starter:
Next, drive cables from battery:
Positive Terminal > Starter
Negative Terminal > Starter (Battery Ground Connector)
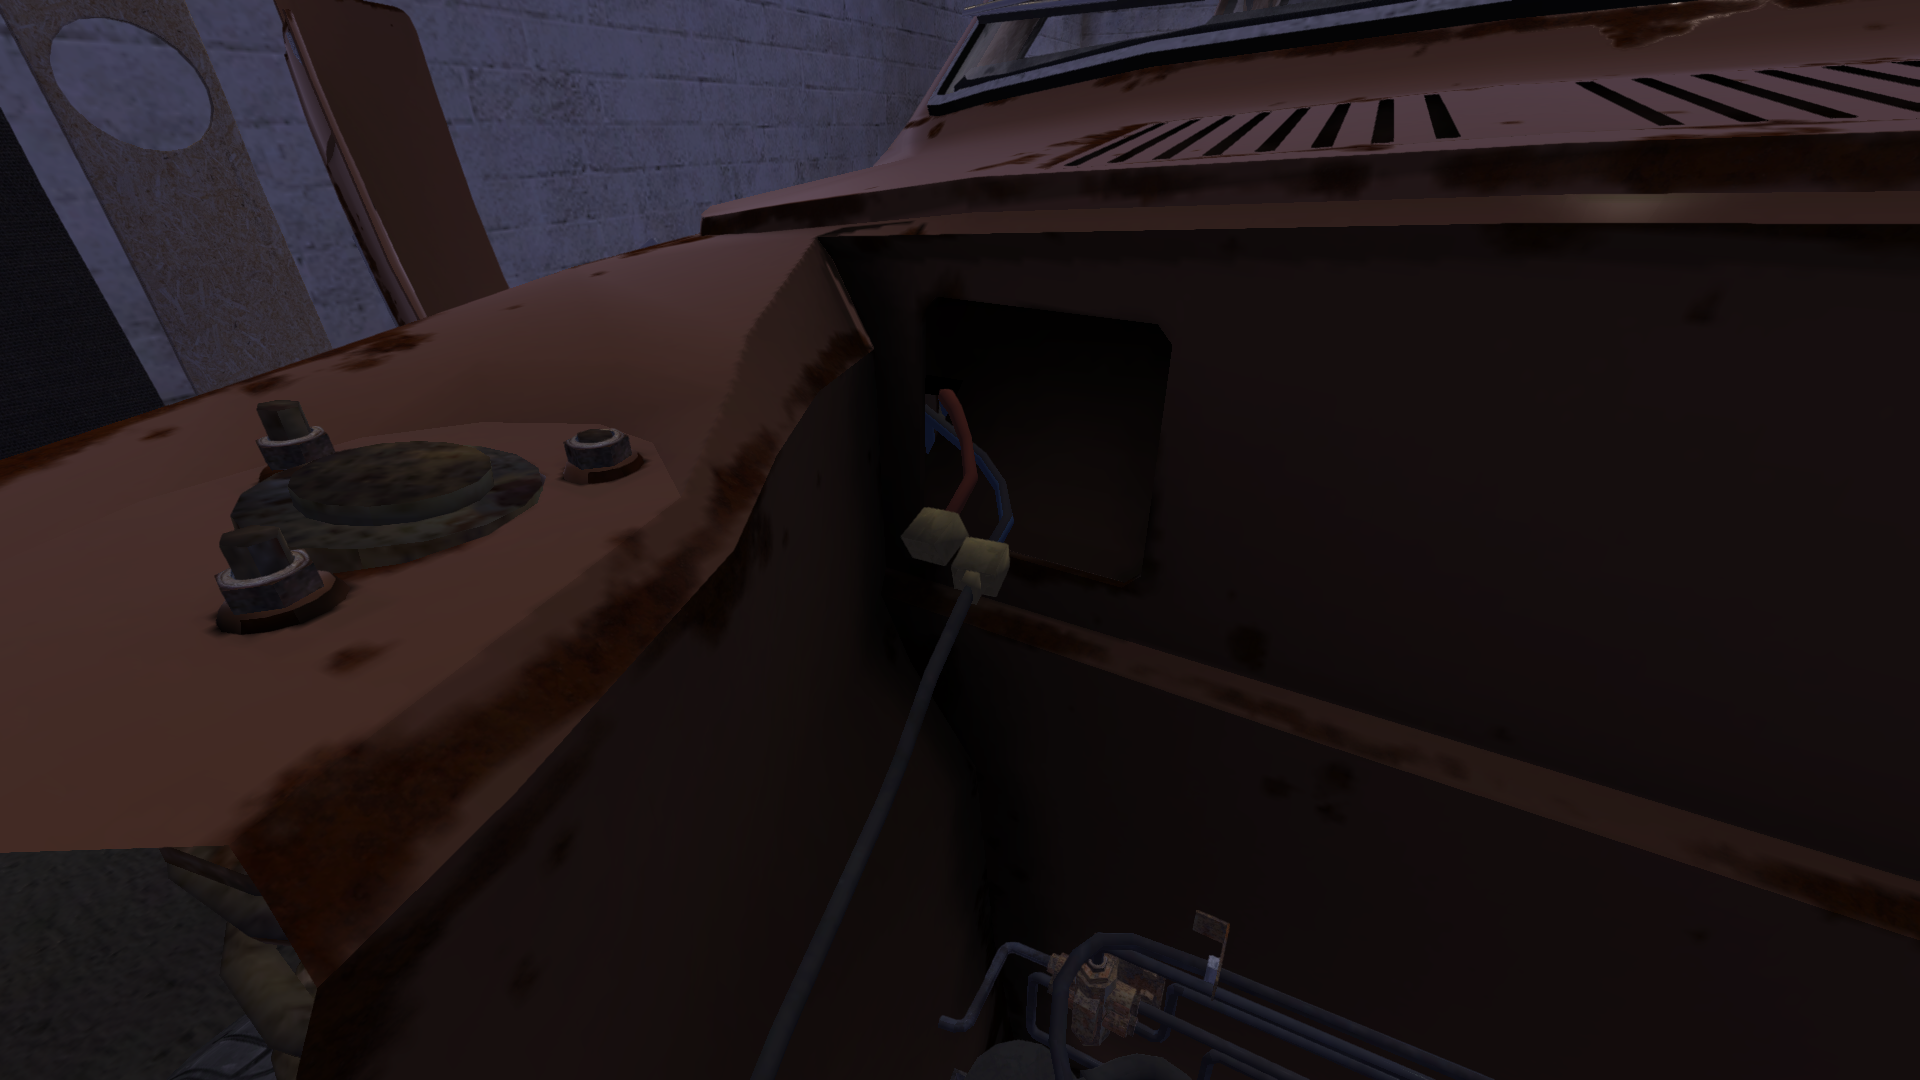
Positive Terminal > Main Harness Connector
(main harness connector)
And that is the end of the battery part.
Next, from Main Harness Connector:
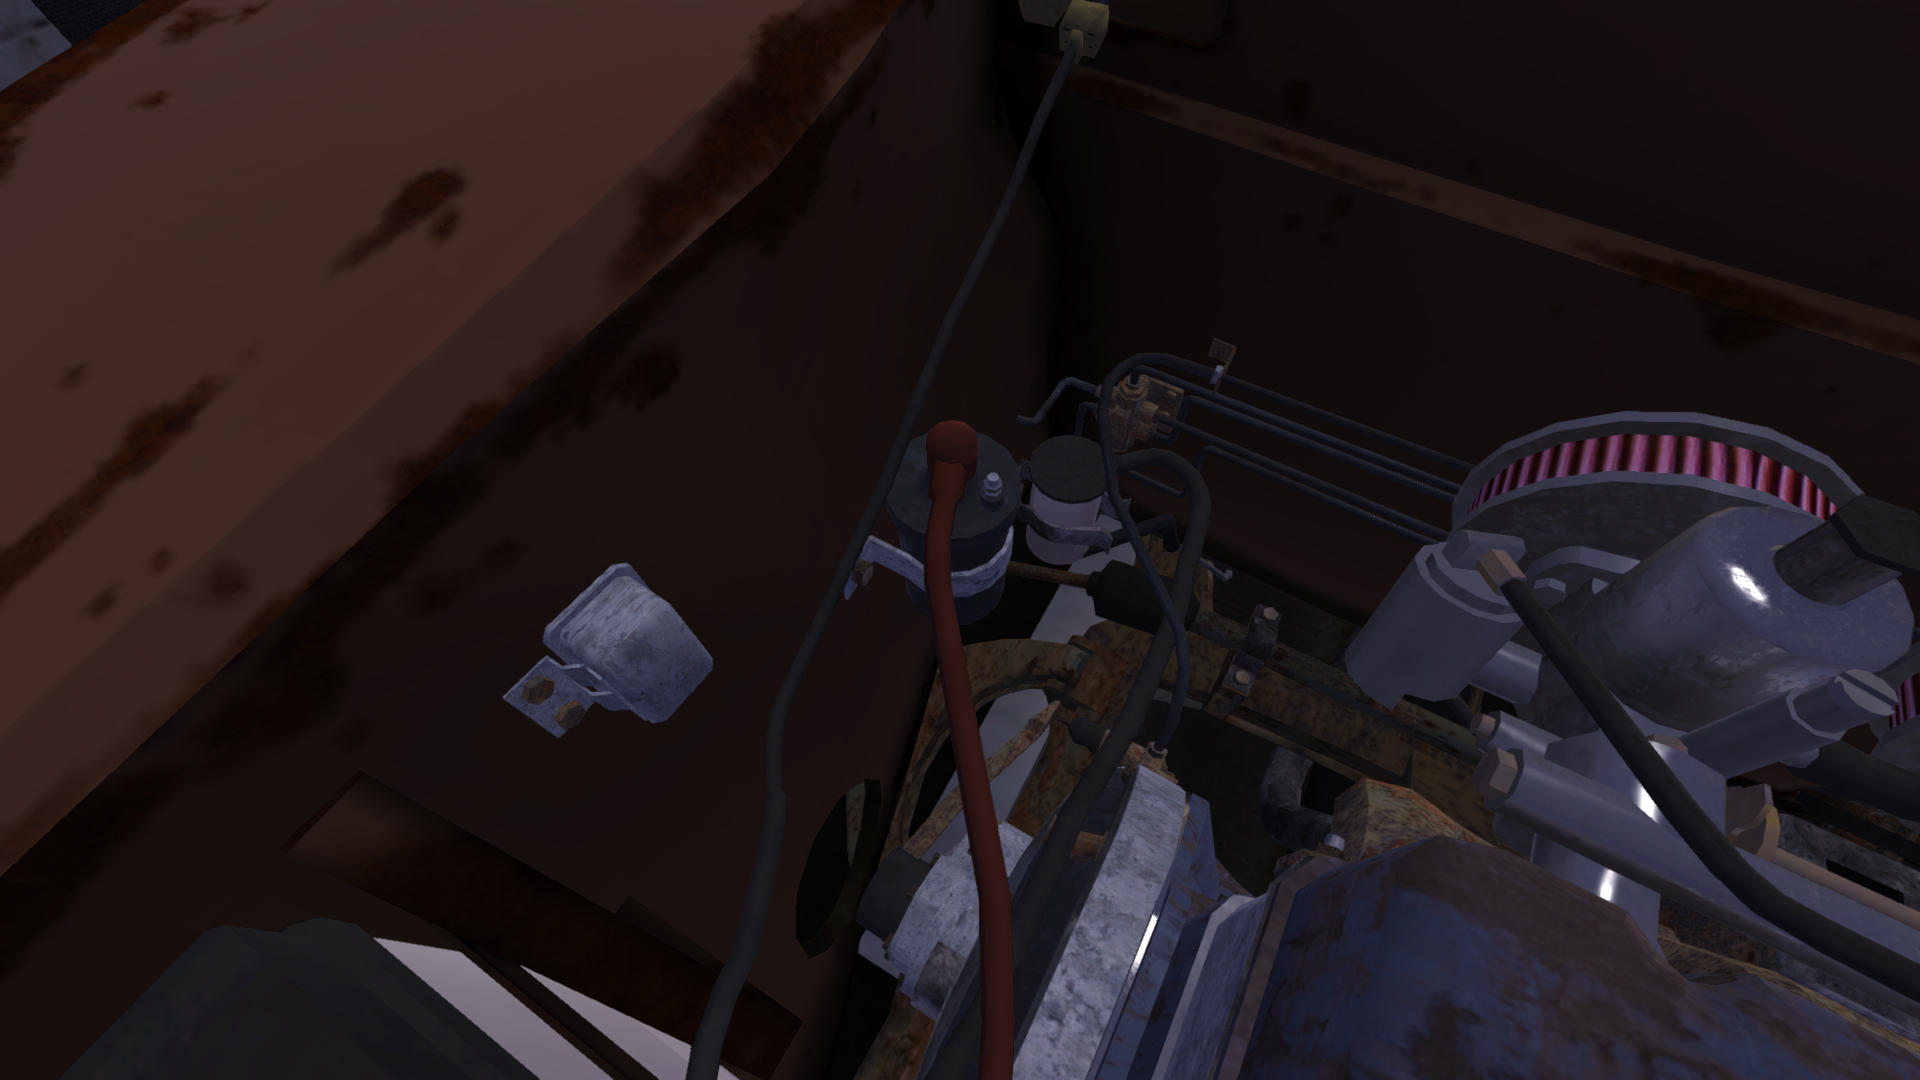
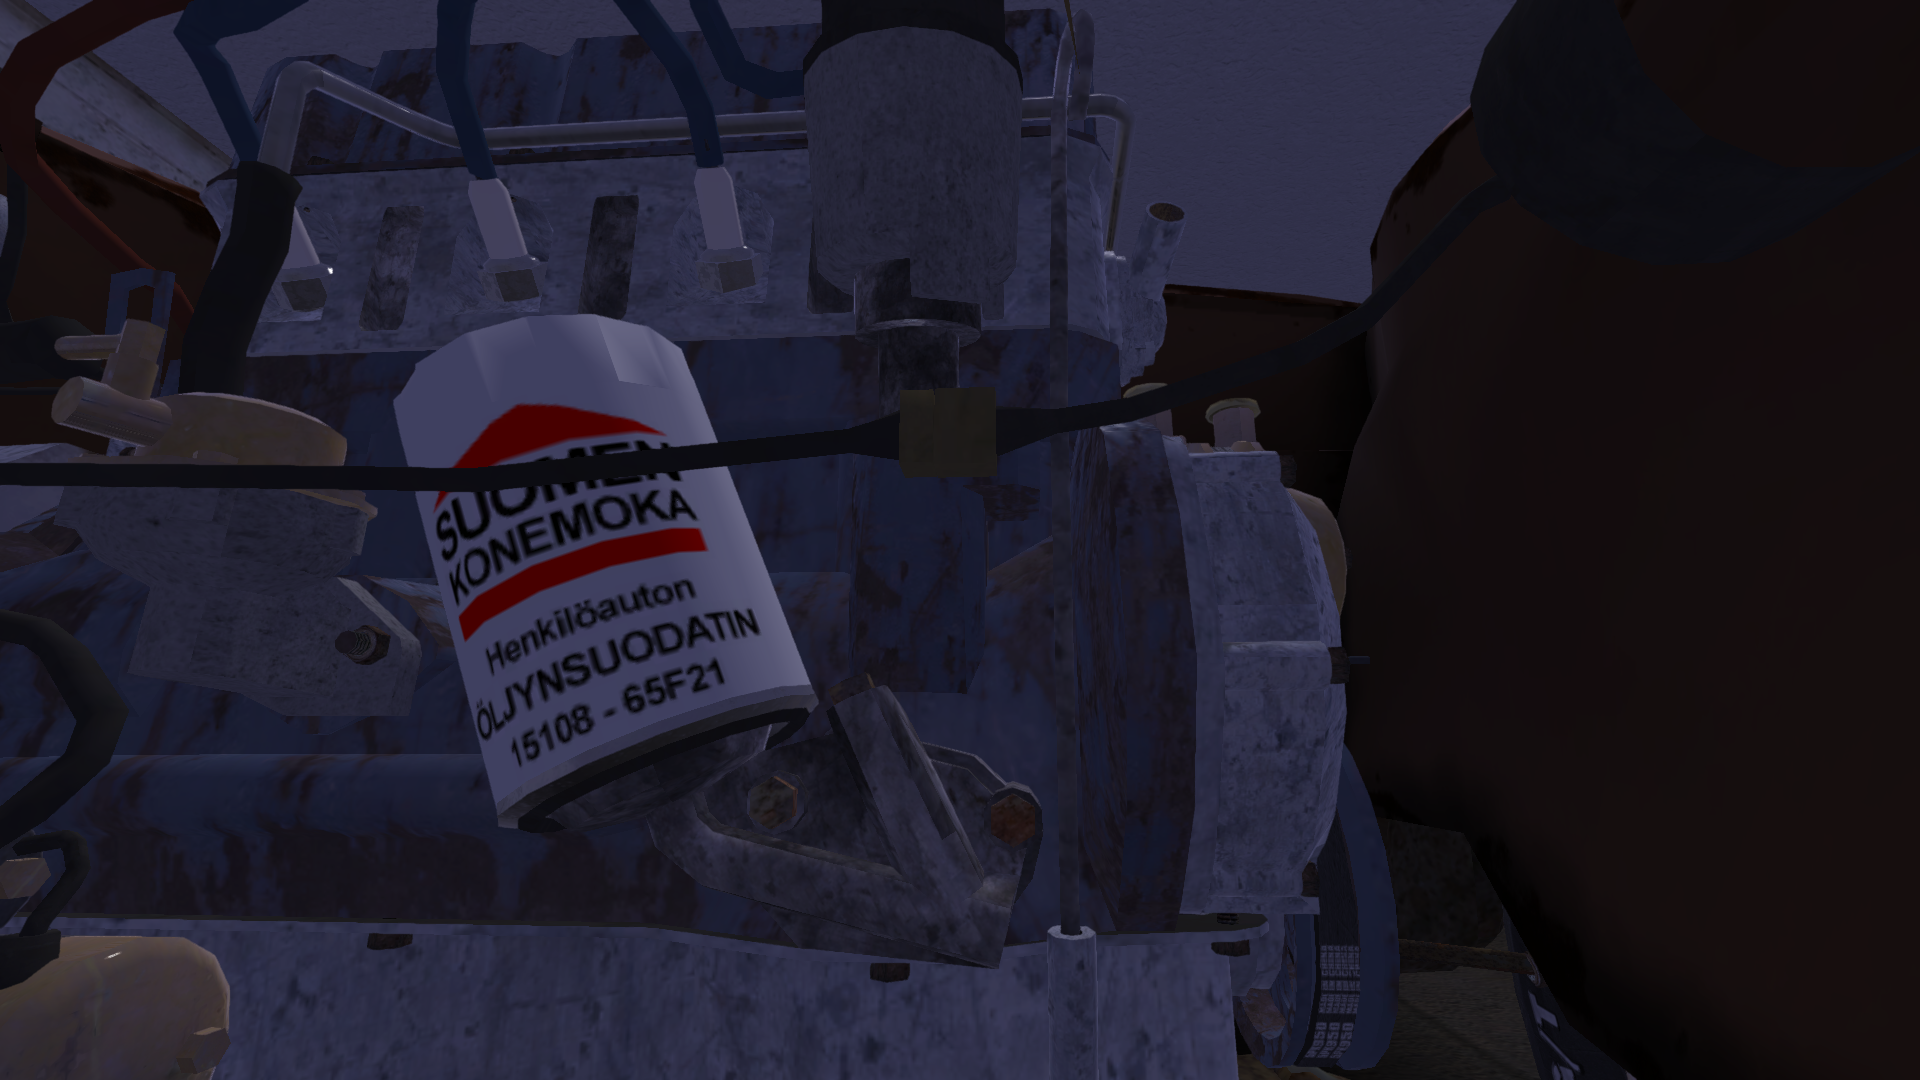
Main Harness Connector > Ignition Coil
(igniton coil)
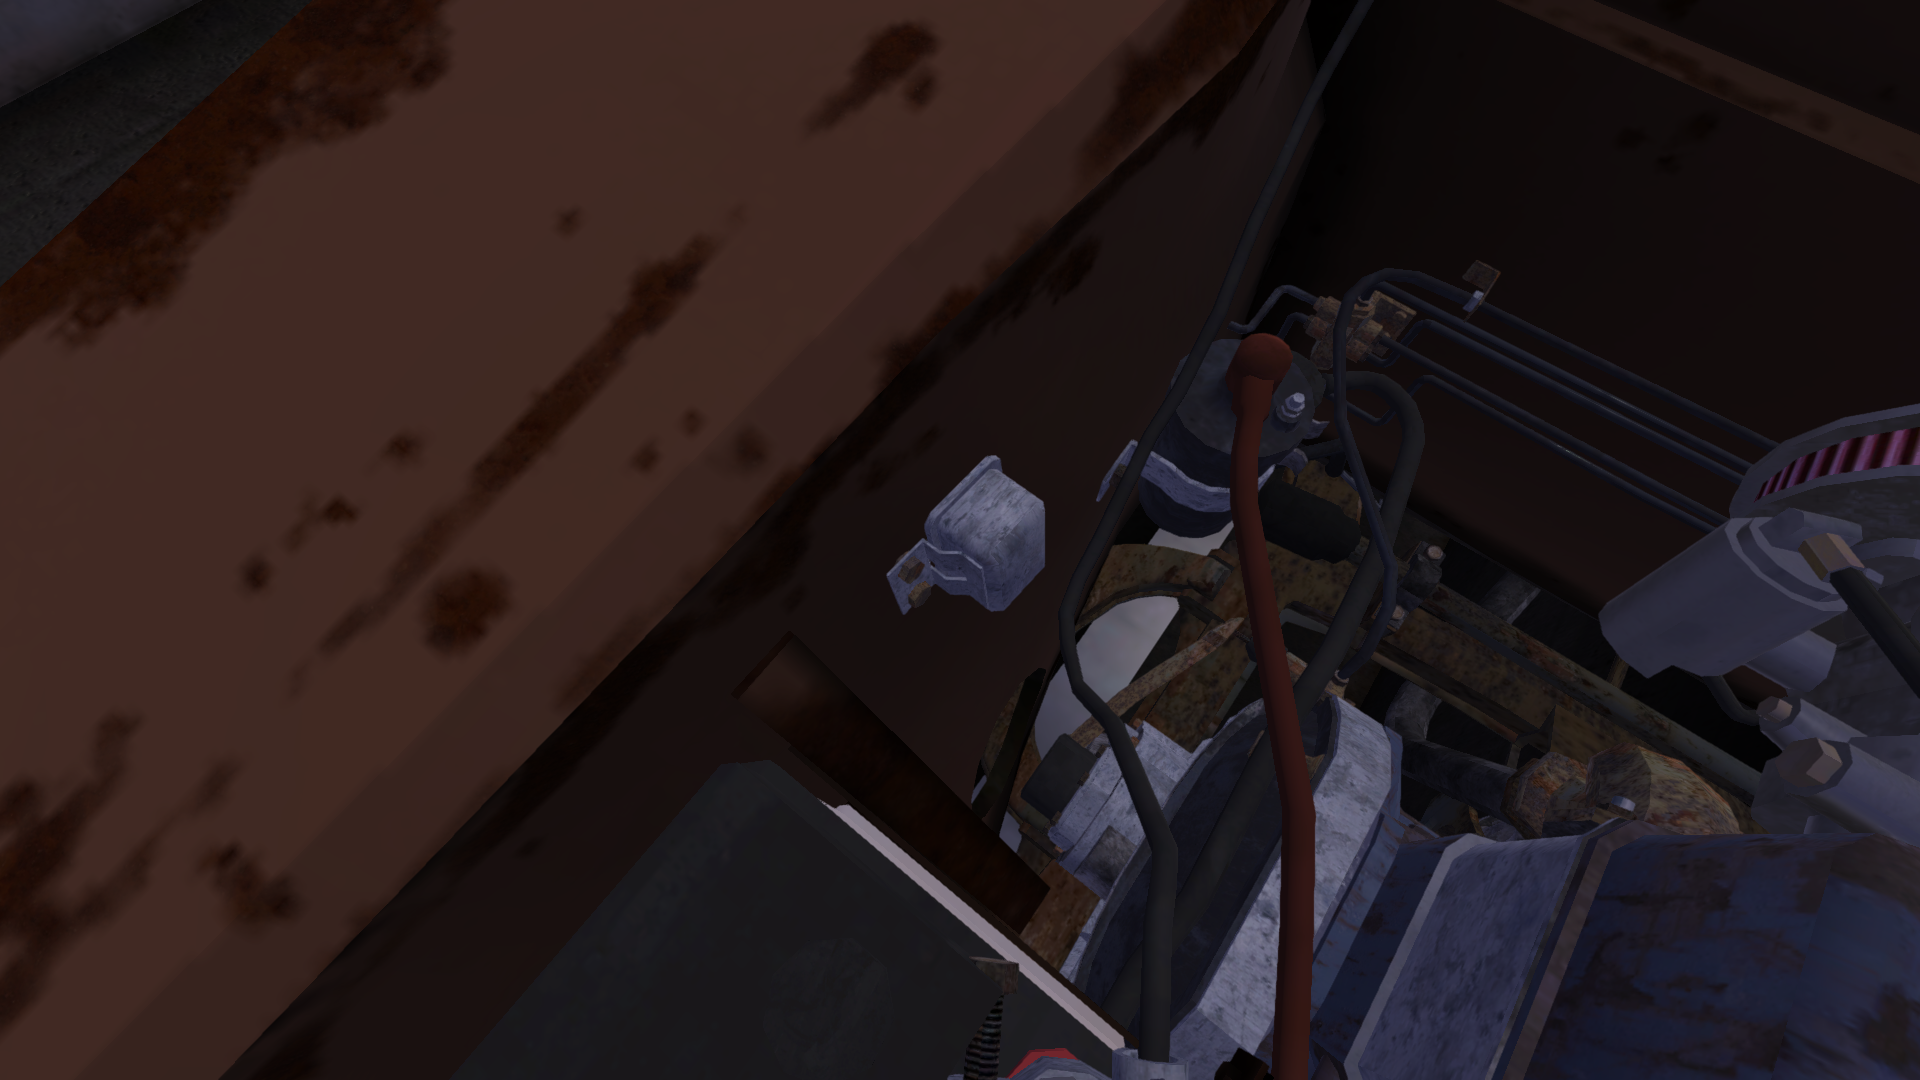
Main Harness Connector > Regulator
(regulator)
Main Harness Connector > Front Lights Connector
(under the battery)
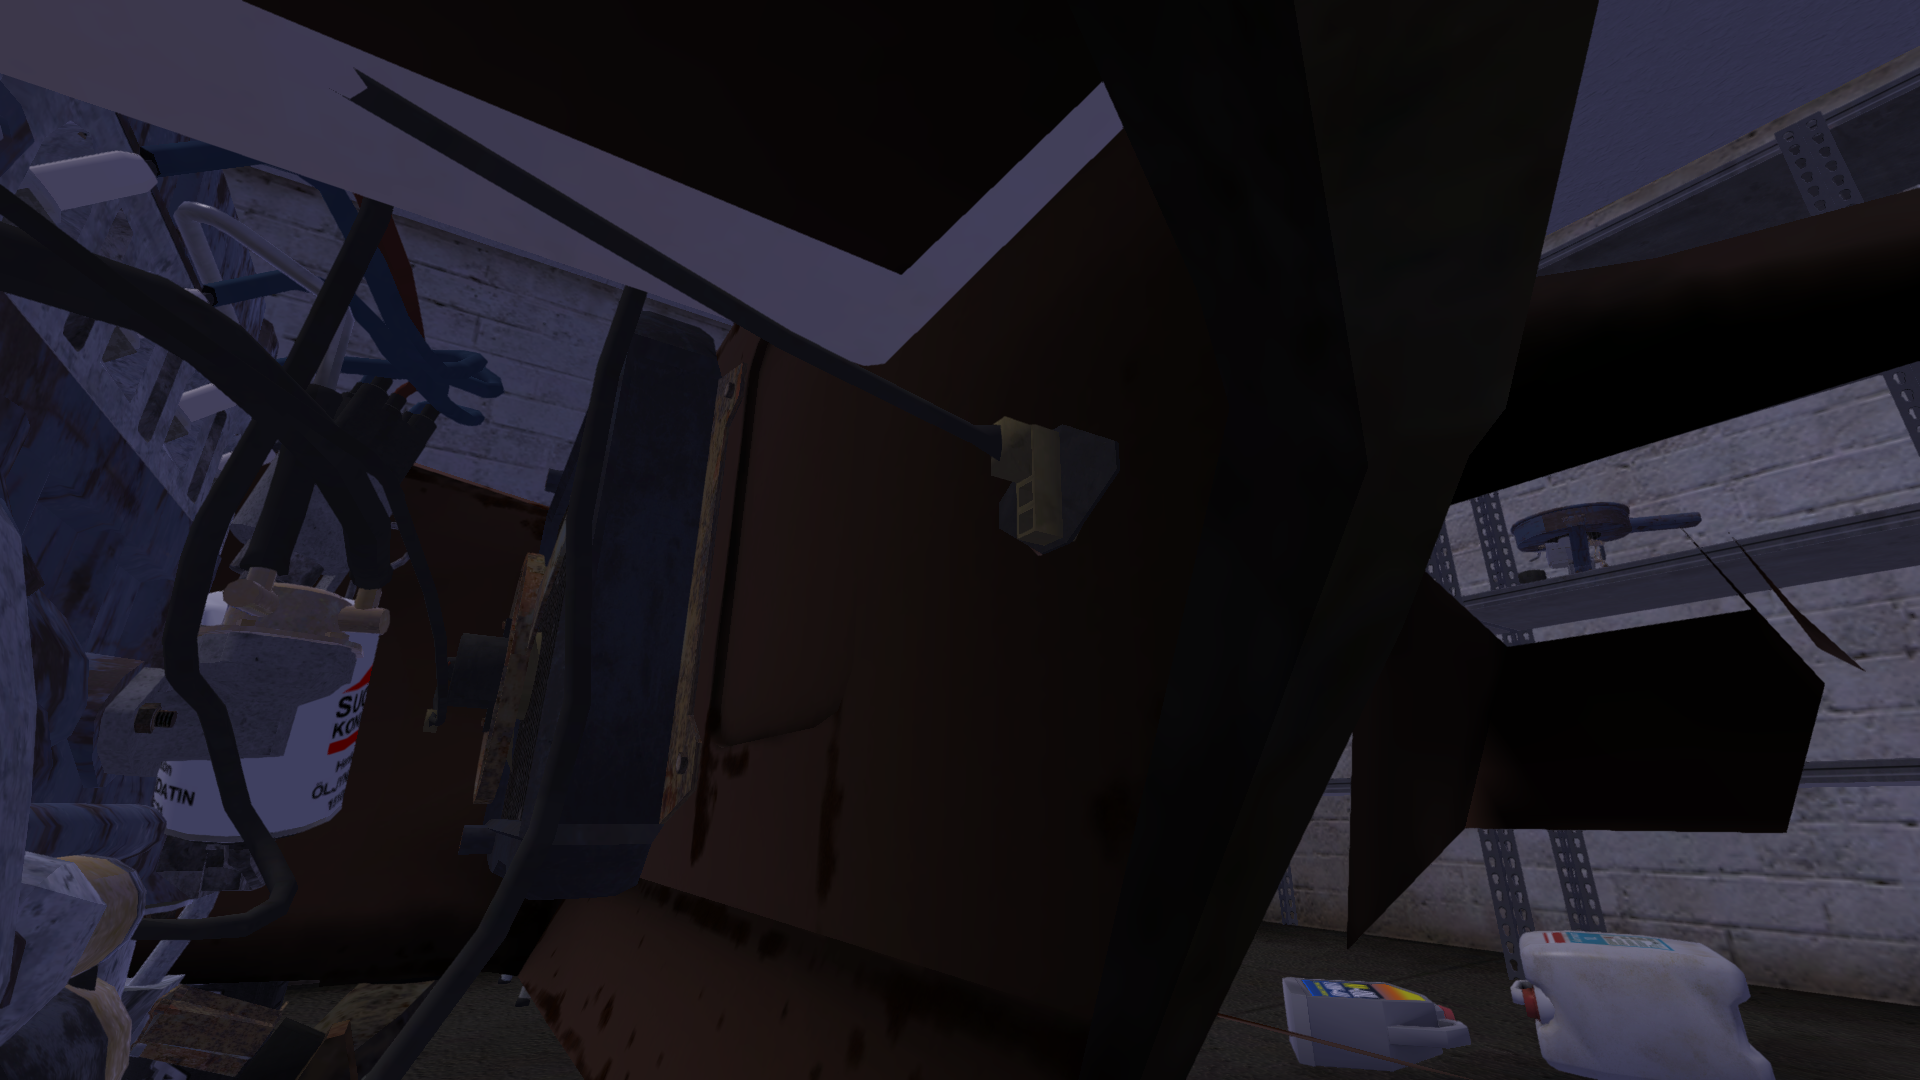
Main Harness Connector > Radiator Fan Connector
(connector is next to the radiator fan)
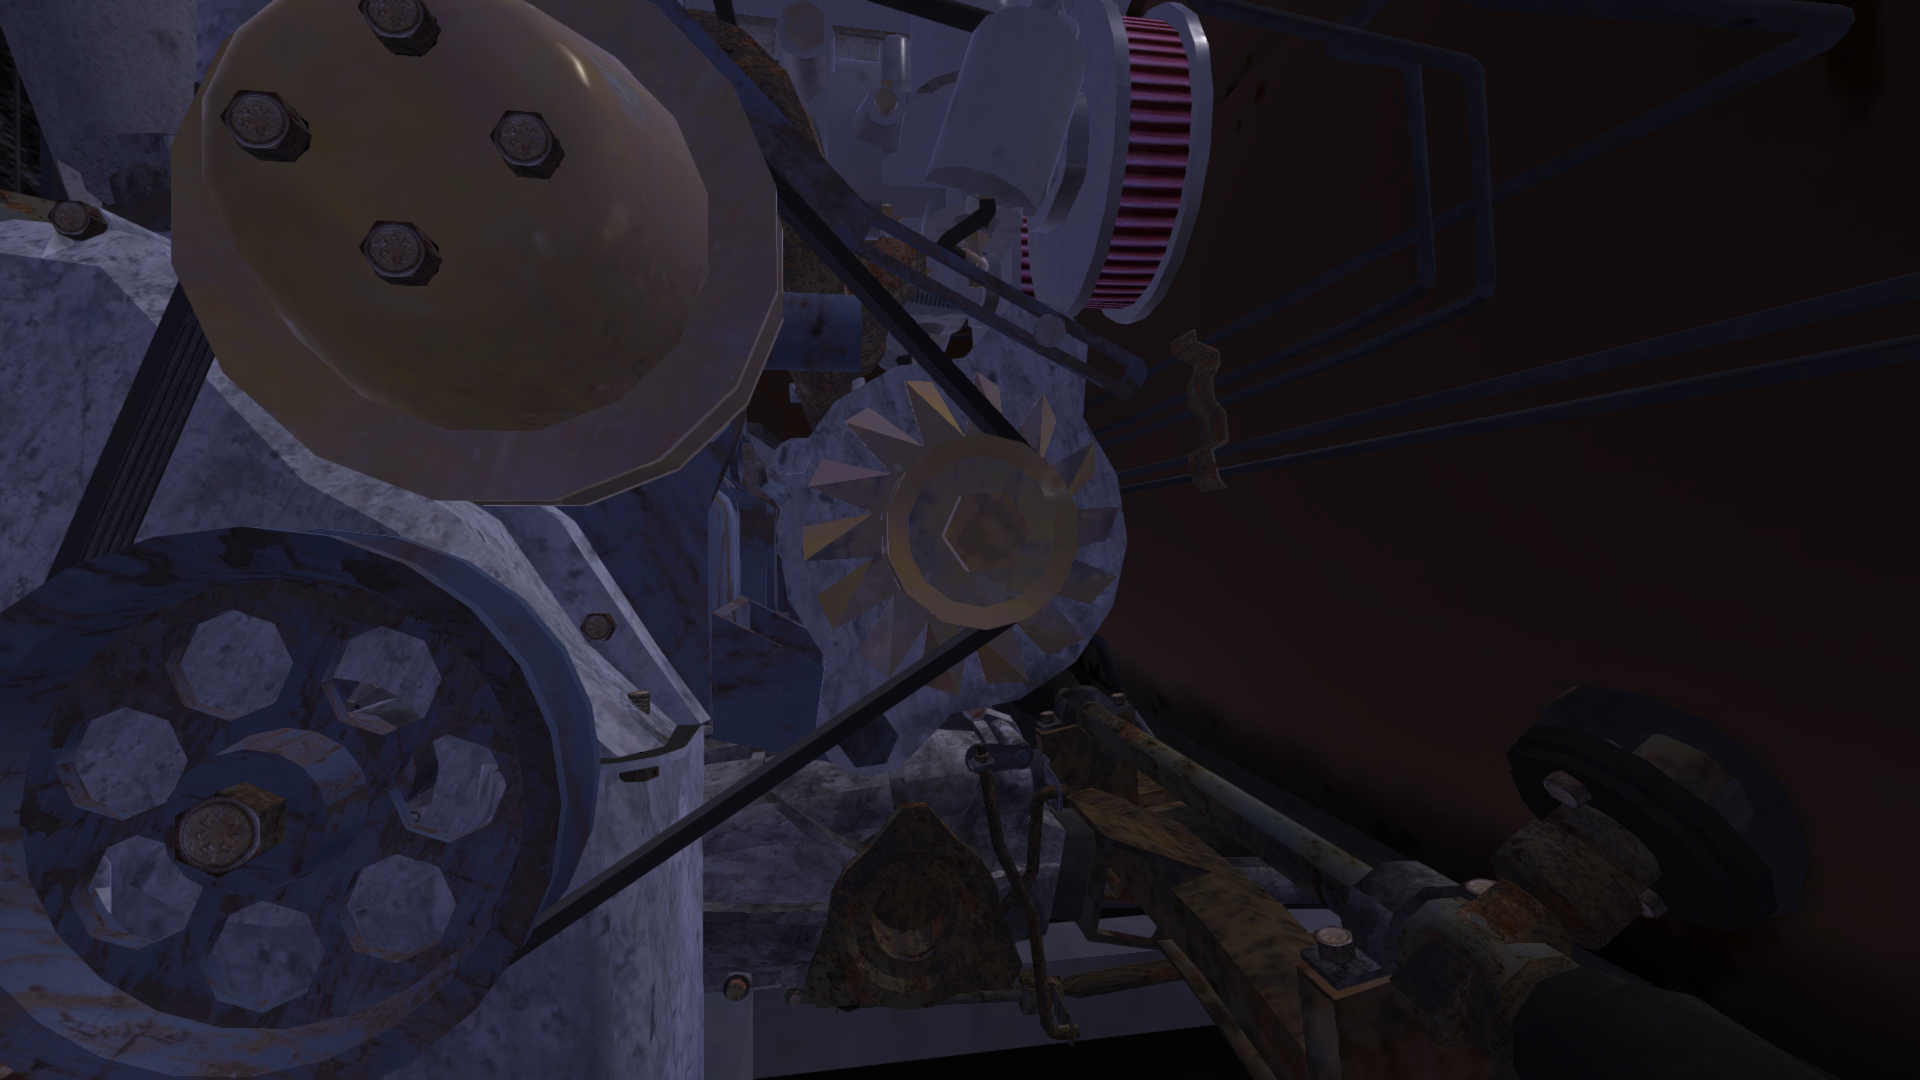
And now from the Regulator, drive a cable to the Alternator
(alternator)
Remove the front lights, and drive a cables from Front Lights Connector:
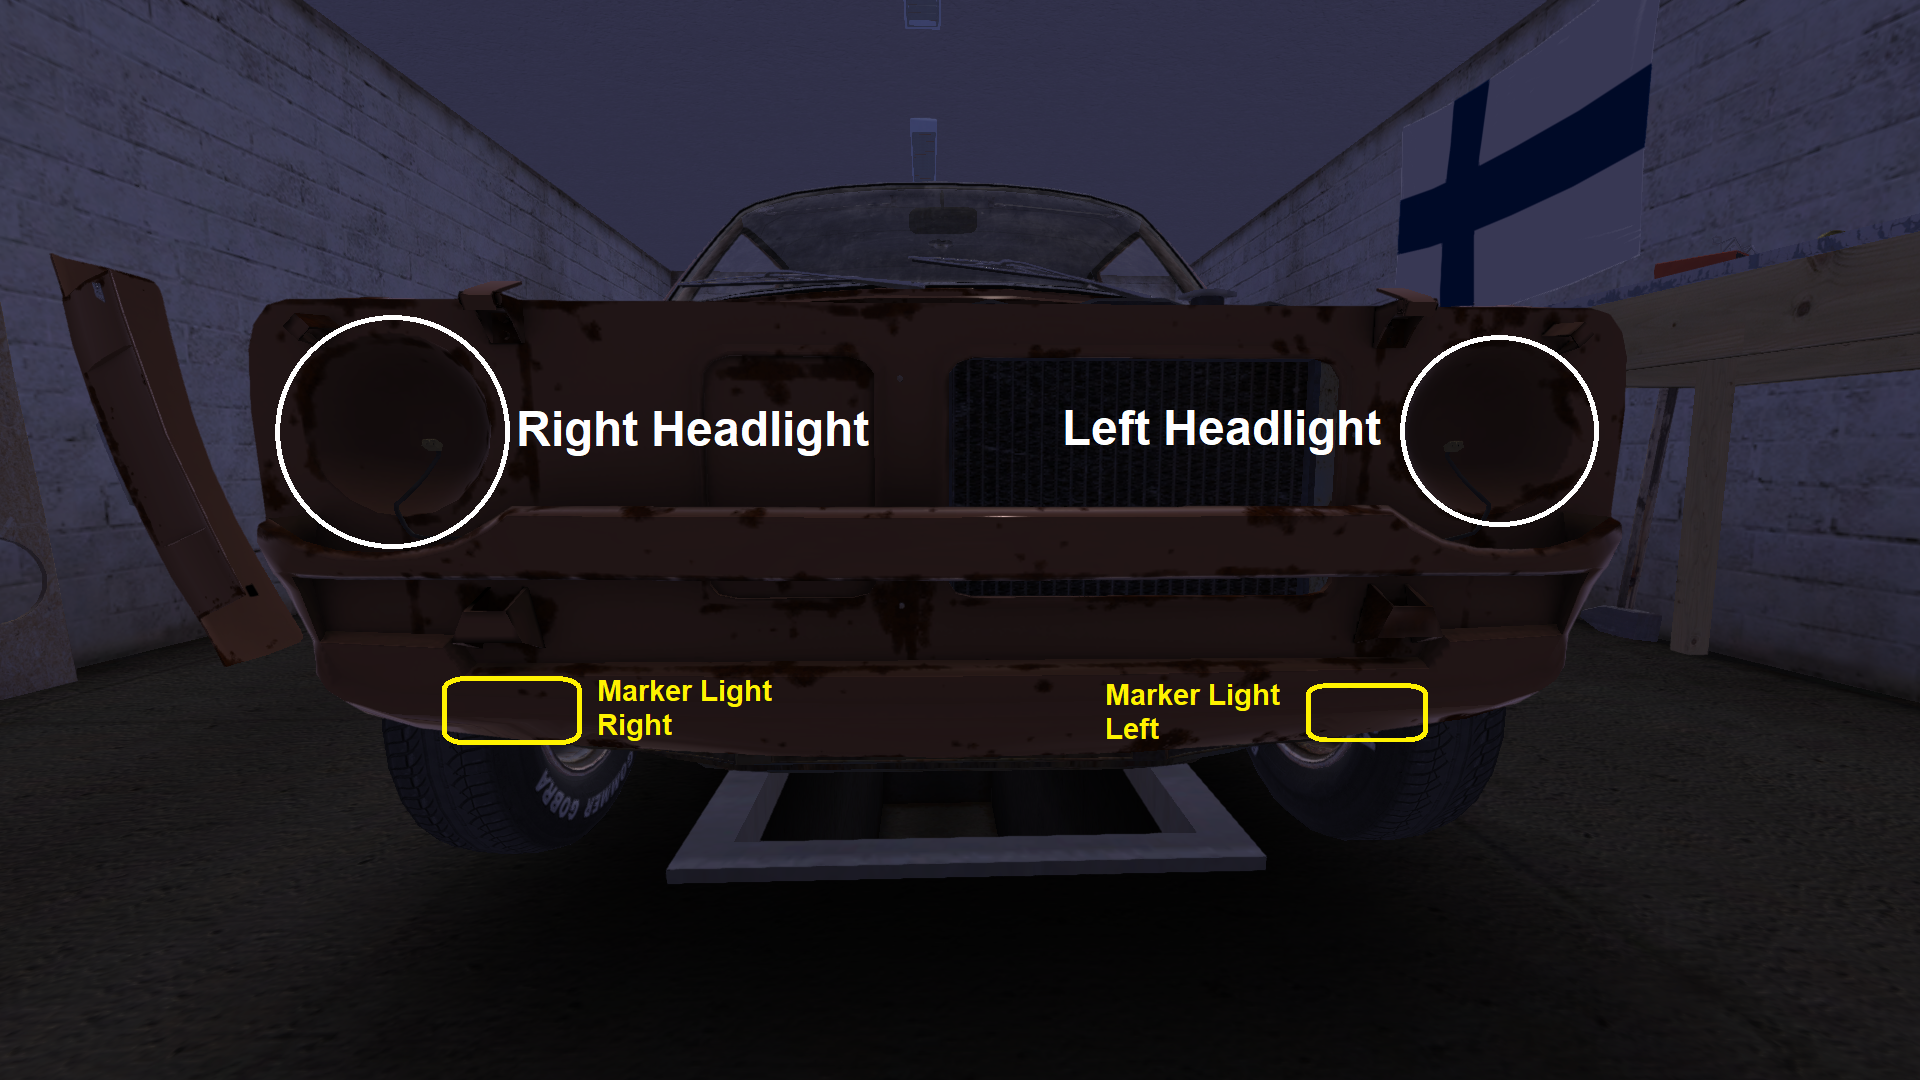
Front Lights Connector > Left Headlight
Front Lights Connector > Right Headlight
and if you have Marker Lights from the Catalog:
Front Lights Connector > Marker Light Left
Front Lights Connector > Marker Light Right
(lights position)
Interior
Start by driving a cable from Main Harness Connector to Fusebox.
(fusebox)
And from fuse box:
Fuse Box > Dash Harness Connector
(the connector)
Fuse Box > Ignition Switch
Fuse Box > Instrument Panel 1 and 2
Fuse Box > Radio Harness
Then, from Dash Harness Connector:
Dash Harness Connector > Wiper Switch
If you have A/F Ratio Gauge, or Extra Gauges also This:
Dash Harness Connector > A/F Ratio Gauge
Dash Harness Connector > Extra Gauges
Sound System:
Radio Harness > Radio
Radio Harness > Amplifier (from catalog, mounted in the trunk)
Amplifier > Speaker Left/Right
Trunk
First, locate the Rear Harness Connector:
Make sure you installed rear lights, and:
Rear Harness Connector > Right Taillight
Rear Harness Connector > Left Taillight
Then drive a cable to the fuel tank/fuel pump:
And that’s it, now you can screw the battery first by screwing the + , and then the ground so you wouldn’t make any sparks and die after all of that. Then if you have all the engine parts, fuel etc. , the satsuma should start.
This is all for My Summer Car How to install all of the wires on Satsuma hope you enjoy the post. If you believe we forget or we should update the post please let us know via comment, we will try our best to fix how fast is possible! Have a great day!
- Check All My Summer Car Posts List


Leave a Reply