
Replace the main menu video with whatever video you wish to use.
Introduction
This guide will show you how to take a normal video and have it replace your main menu video.
To see the end results you can watch this video: https://www.nicovideo.jp/watch/sm39263351 – [nicovideo.jp]
Using a screenshot or gif wouldn’t really showcase much hence the video.
For Linux and macOS users you will not be able to follow most of this guide. However, you can still follow this guide for the installing portion if you download someones .bik/.mp3 files.
As for Windows users, there are going to be multiple tools/programs you will need to be able to do this:
- VLC (https://get.videolan.org/vlc/) – []
Supported by all platforms.
- MPC-HC (https://mpc-hc.org/) – []
Unmaintained and Windows only, but has less issues than VLC.
- MPV (https://mpv.io/installation/) – []
Supported by all platforms, but mostly command line and very basic.
However, it is maintained unlike MPC-HC and has less issues unlike VLC.
Downloading a video
If you already have a video, you can skip this section.
For this example I will asume youtube-dl.exe is in the downloads folder and I will be using this video:
1. Open a command prompt (you can press the windows key and r at the same time and enter cmd)
2. In the command prompt enter:
cd "C:\Users\yourname\Downloads"
3. Find a video you wish to download then copy the url.
4. Then enter:
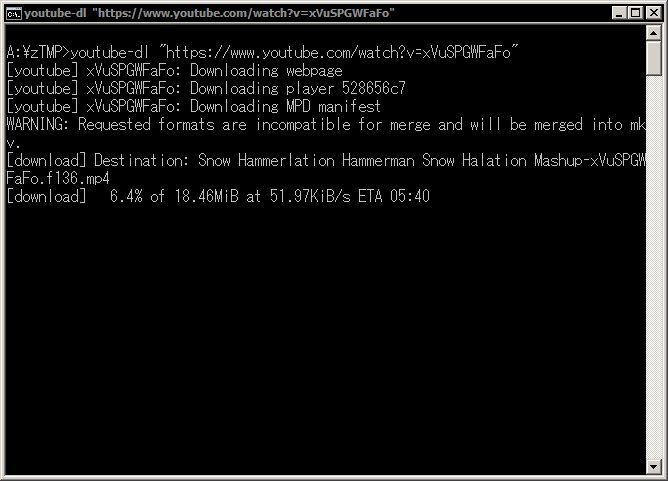
youtube-dl "https://www.youtube.com/watch?v=xVuSPGWFaFo" - []
Then you should see the following:
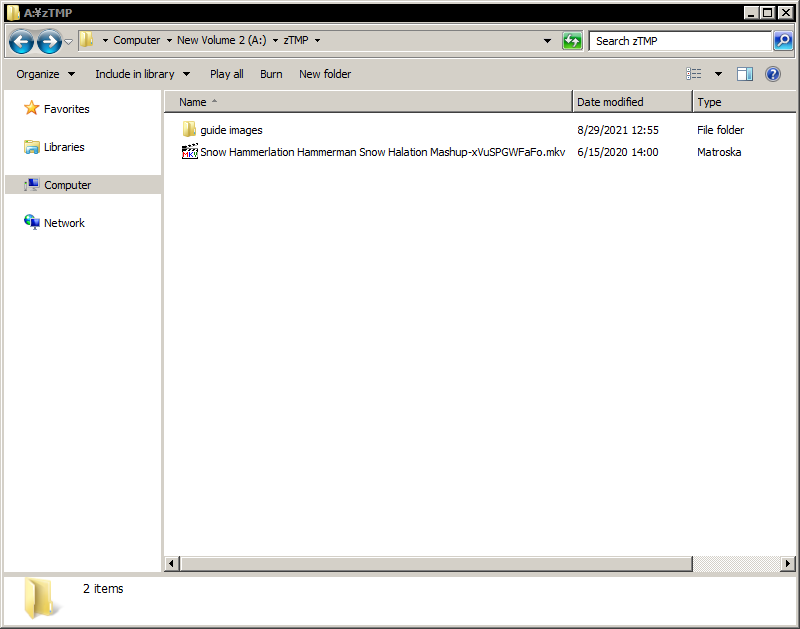
When its finished downloading you should end up with a .mp4 or .mkv video file:
If you are unable to play the video file then you will probably have to install one of the video players mentioned in the introduction.
Encoding the video (part one)
This example also assumes that the RAD Tools are already installed and ffmpeg is extracted to the downloads folder.
1. Copy the video file you wish to use to the ffmpeg-version-build\ffmpeg\bin folder. Then open a command prompt.
Note: I put ffmpeg-version-build because there could be new updates/releases so the version numbers could change. So you have to adjust your commands to what folder name/version you see.
2. Enter:
cd "C:\Users\yourname\Downloads\ffmpeg-version-build\ffmpeg\bin"
ffmpeg -i "video file name.mkv" -an -vcodec wmv2 -q:v 0 output_video.wmv
ffmpeg -i "video file name.mkv" -vn -acodec libmp3lame -ar 44100 -b:a 128k output_audio.mp3
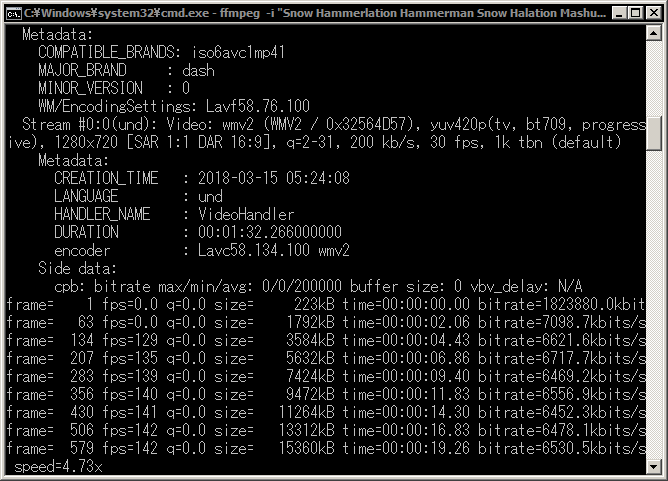
You should see something like this:
Then eventually after running both commands you should see the file output in the folder where you had originally placed the video.
Extra Notes
The reasons for not keeping the audio in the .wmv is that:
1. The RAD Tools fail to open it every time. Even after trying ‘should be’ supported codecs like wmav2, libmp3lame, pcm_s16le, etc.
2. You have more options of handling the audio since it can be loaded as a plain mp3 versus it being handled by the RAD Tools.
So if you think 128k audio is terrible you can change that to 320k for the ffmpeg audio command, however, do not change the audio rate.
If the audio rate is not set to 44100Hz, then the mp3 will either not play at all, not sound correct, or cause static.
As for the video, the quality should match with ‘-q:v 0’ being used. If you really want to use another codec than wmv2 you can run ‘ffmpeg -encoders’ and try another. Just remember that if it isn’t supported by DirectShow, it won’t work.
You can tell if it will work when the RAD Tools loads it and starts processing it.
If you find the audio is either too loud or too quiet you can add:
-filter:a "volume=4dB"
after the ‘-b:a 128k’ part for the audio command.
To increase the volume, just increase the decibel amount by 2.
To decrease the volume, place a negative sign before the number and decrease it by 2.
If you wish to only use a certain part of the video you can add:
-ss 00:02:24 -to 00:02:32
after the ‘ -i “video file name.mkv” ‘ part for both video and audio commands.
Encoding the video (part two)
1. Open up the RAD Video Tools.
If you can’t find it in your start menu just go to the folder: C:\Program Files (x86)\RADVideo
and open radvideo64.exe (or radvideo32.exe if you have a 32bit machine)
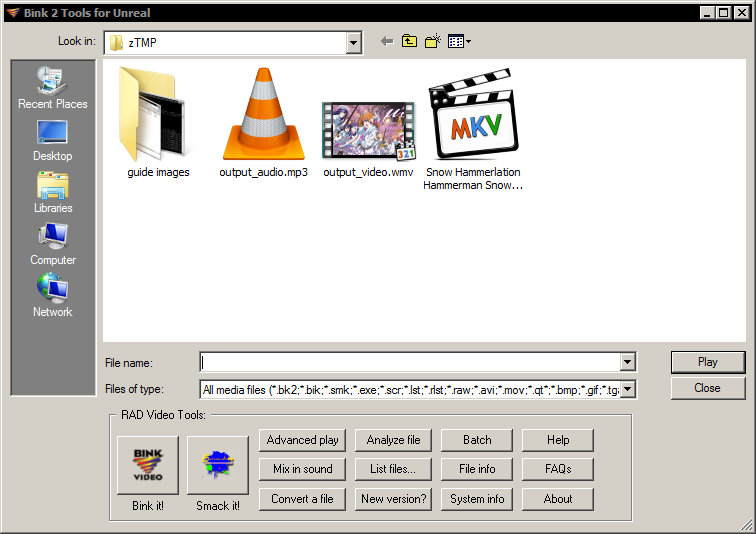
You should see something like this:
2. Continuing the example from earlier, go to your downloads folder and then the ffmpeg-version-build\ffmpeg\bin folder. Select output_video.wmv and click the Bink it! button.
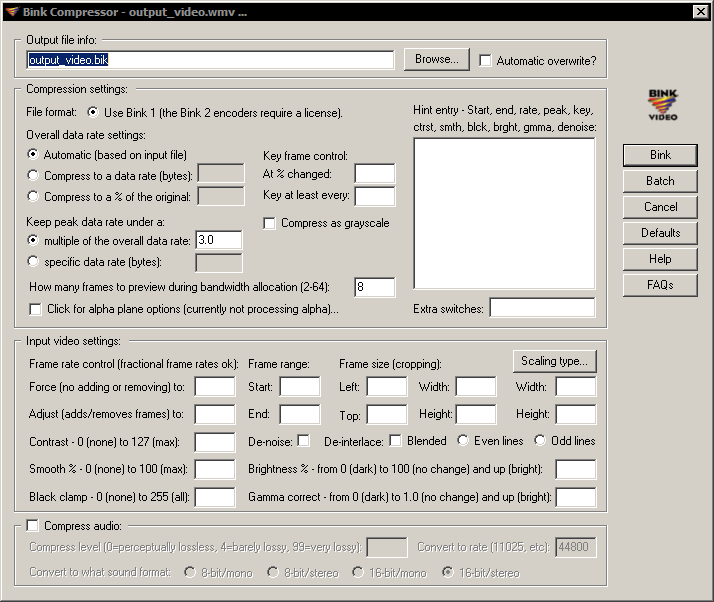
You should now see something like this:
I find the default settings to work well enough. Just be sure that the ‘Compress audio’ section is unchecked. Then click the Bink button.
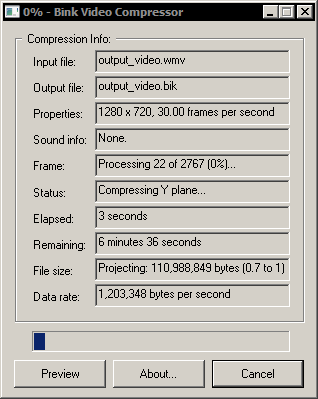
At this point a dialog box should appear showing the status of the encode:
Once it has finished you should be left with output_video.bik and can now start on installing it to your game.
Installing
Left 4 Dead
1a. Go to your Steam library
1b. Right click Left 4 Dead
1c. Click properties
1d. Click browse local files
1e. You should now see a folder of all the game files.
2a. Open the folder called ‘left4dead’
2b. Then open the folder called ‘media’ and rename the file ‘l4d_crashcourse_bg.bik’ to ‘l4d_crashcourse_bg.bik.original’
2c. Then copy your ‘output_video.bik’ file to this folder and rename it to ‘l4d_crashcourse_bg.bik’
3a. Now go back up a directory and go to the sound\ui folder.
3b. Rename ‘gamestartup1.mp3’ to ‘gamestartup1.mp3.original’
3c. Copy your ‘output_audio.mp3’ to this folder and rename it to ‘gamestartup1.mp3’
Left 4 Dead 2
1a. Go to your Steam library
1b. Right click Left 4 Dead 2
1c. Click properties
1d. Click browse local files
1e. You should now see a folder of all the game files.
2a. Open the folder called ‘left4dead2’
2b. Then open the folder called ‘media’. You should see multiple ‘l4d2_background*.bik’ files.
So with Left 4 Dead 2 you can have five different videos. This also means if you just want the same video you are going to have to copy and paste over and over.
2c. Append ‘.original’ to all ‘l4d2_background*.bik’ files.
2d. If you are going to use one video, then copy your ‘output_video.bik’ file to this folder and rename it to one of the ‘l4d2_background*.bik’ files. Then copy and paste it for all the other files.
2e. If you are going to use multiple videos, then copy each ‘output_video.bik’ file you made to this folder and rename it to one of the ‘l4d2_background*.bik’ files. Be sure to keep track of which video you used for which number as this will become important when dealing with the audio.
3a. Now go back up a directory and go to the sound\music\l4d2 folder.
3b. Do the same steps as above except with ‘l4d2_cX_pc.mp3’ (where X is the number of the corresponding video). If you are using the same video then you can just copy and paste over and over, while with people using multiple videos you will have to match them up.
Conclusion
There are some thing I need to mention:
- Validating your game(s) will restore the original version so its best you have a backup of your video mod placed somewhere else
- (L4D2) Main menu music mods will probably override the video’s audio files so be sure to disable those
- (L4D) After leaving a server/game the video’s audio file doesn’t play. This happens even with the default
Hope you enjoy the post for Left 4 Dead How to Replay Original Main Menu Video Tutorial, If you think we should update the post or something is wrong please let us know via comment and we will fix it how fast as possible! Thank you and have a great day!
- Check All Left 4 Dead Posts List


Leave a Reply