Introduction
This guide is meant to explain demolitionist mechanics as well as teach most aspects and techniques of the class. I say most since there might be some things I might leave out accidentally and if so, I would appreciate if you inform me of it and contribute to a more detailed and better guide. Now onto the class introduction.
Now what makes me a good demoman? Well, if I were a bad demoman, I wouldn’t be sitting here, discussing it with you now would I! (ok I’ll stop with the tf2 references)
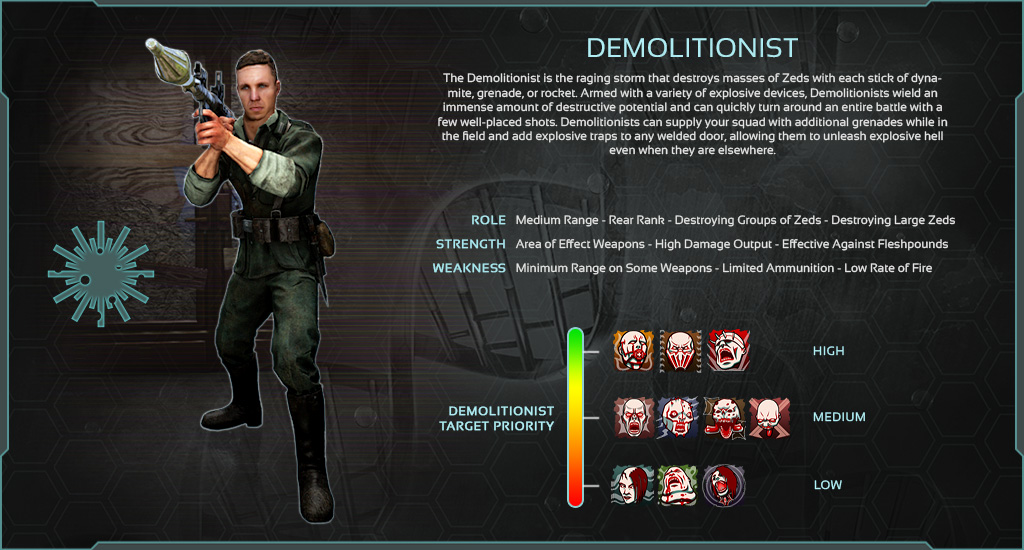
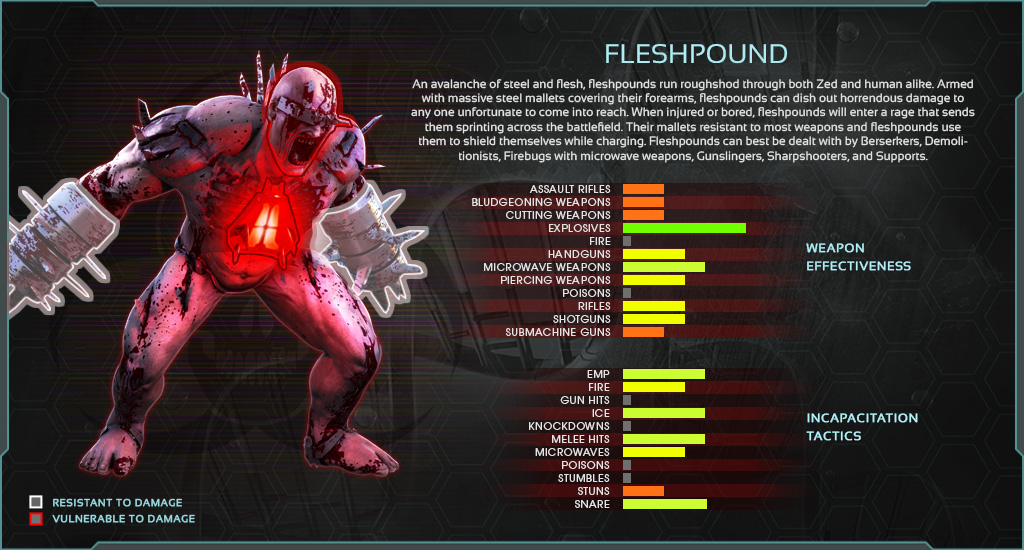
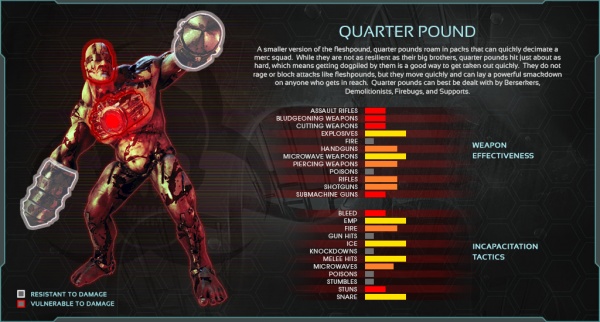
The Demolitonists (demo) in Killing Floor 2 is the class that specializes in explosives. This class or perk excels in dealing with large zeds. In other words, the big boi hunter for the chaotic trio. The demo is the king of bodyshotting fleshpounds and quarterpounds, as well as having a good chance against scrakes with headshots.
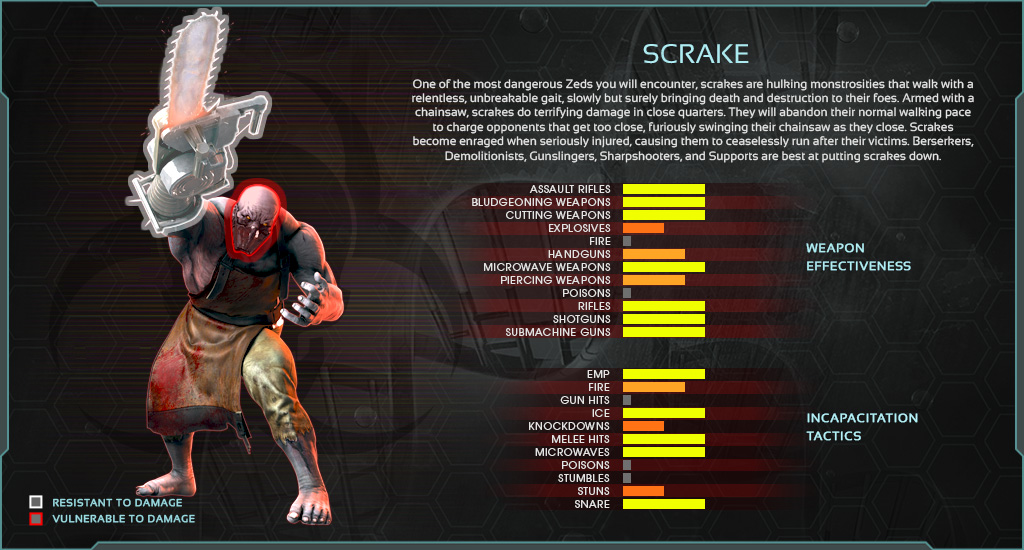
See those 2 clowns? They are your primary targets and should fear you. Below is the third large zed on the list, but he isn’t exactly as easy to handle as demo since he resists explosives, but is vulnerable to impact damage. (the damage all demo weapons do when they connect with a target, think of it as a better version of blunt damage)
The demo is unique in the fact that unlike other classes, he can actually kill the red meanies (pounds) by simply bodyshotting. That said and done, let’s move on to the basics.
Perks Part 1
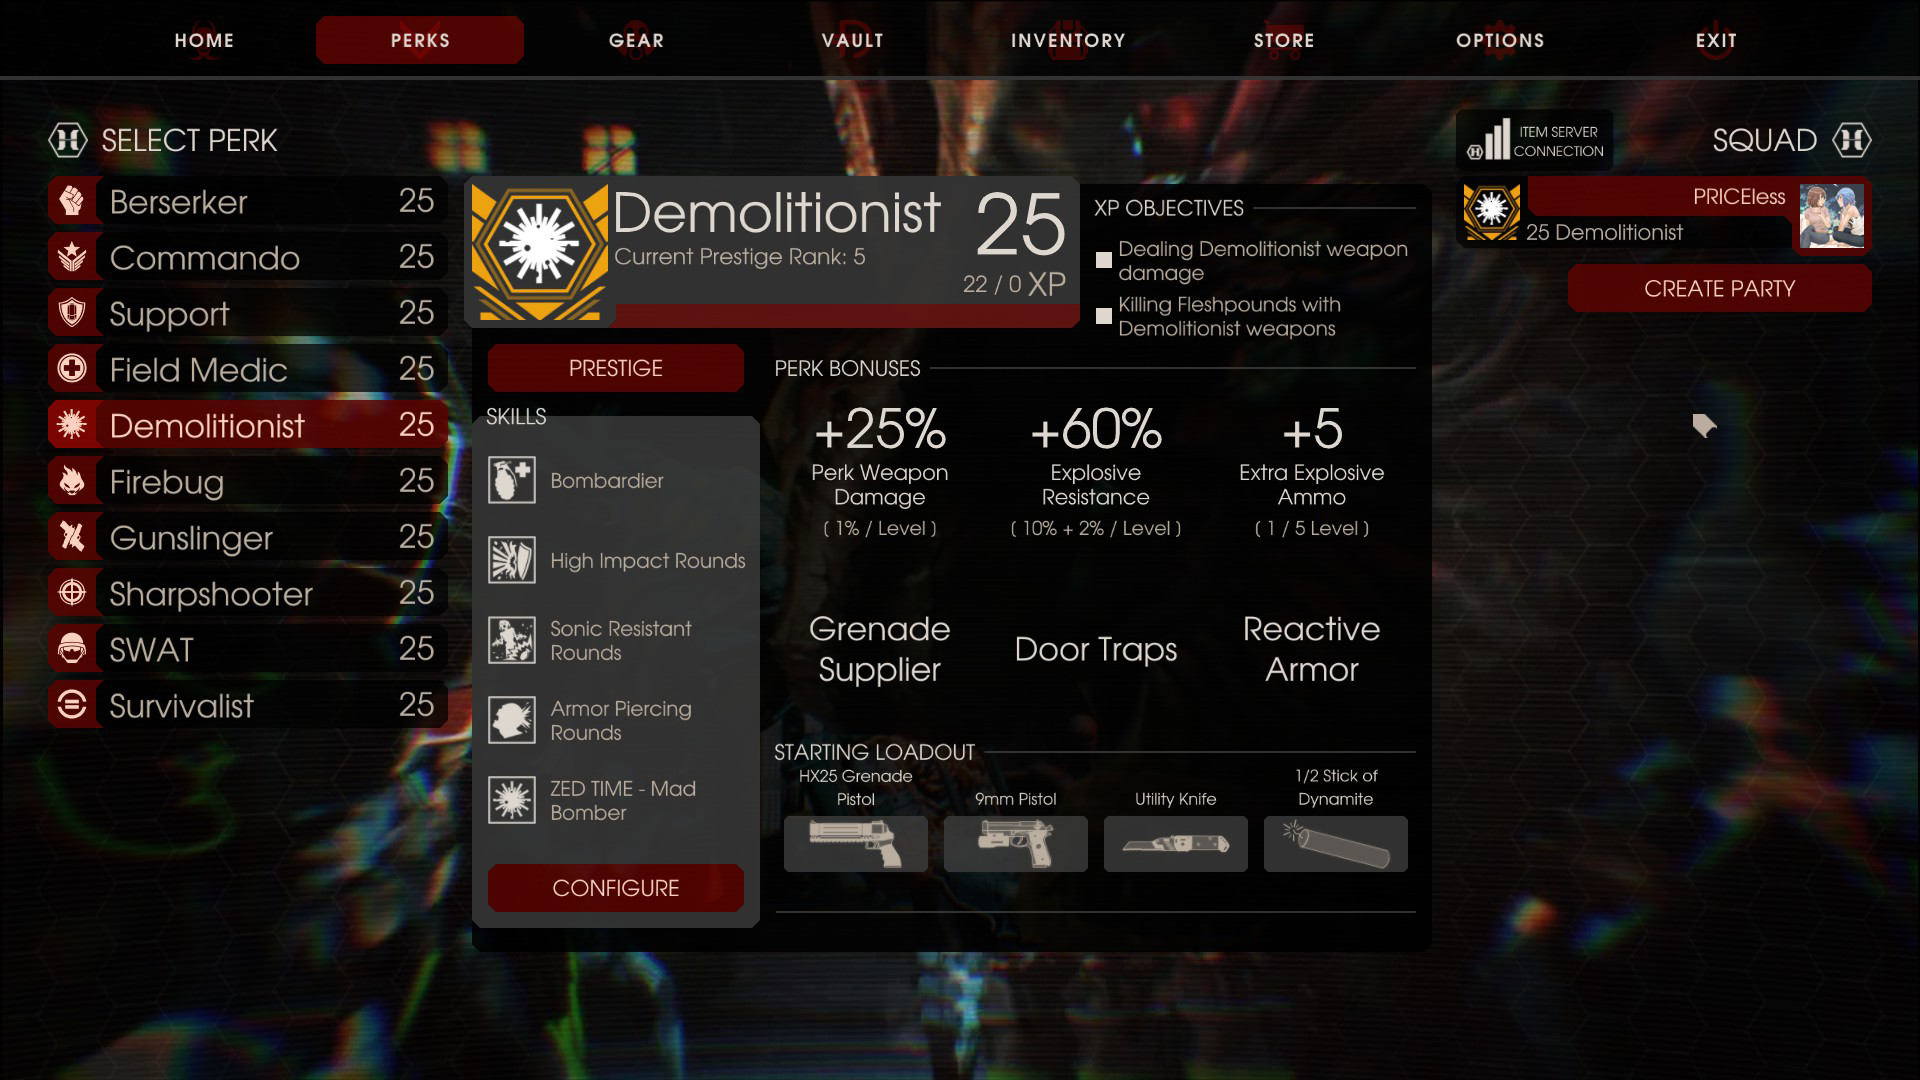
As a demolitionist:
• You get a passive 25% damage boost to all your perk weapon damage. (9mm not included)
• A passive 60% damage reduction to explosives. It’s mostly to prevent you from insta gibbing yourself with self damage, since not a lot of zeds utilize explosives. Only the husks and EDAR bombers do.
• 5 extra rockets/weapon grenades. This does not boost your actual grenade count that you can throw with the grenade key!
• Supply teammates with a grenade every wave. Each team member can get a free grenade from you every wave by simply interacting with you.
• Set up door traps. Doors you weld will be glowing orange instead of the usual blue and will deal massive explosive damage when the zeds break them down. Instantly killing most nearby trash in the process.
• You get Reactive Armor. What this means, is that once you take damage that would otherwise kill you outright, you will instead be put to 5 health and explode, killing all nearby trash zeds and dealing damage to larges. Only triggers once per wave.
Perks Part 2
Skill Selection
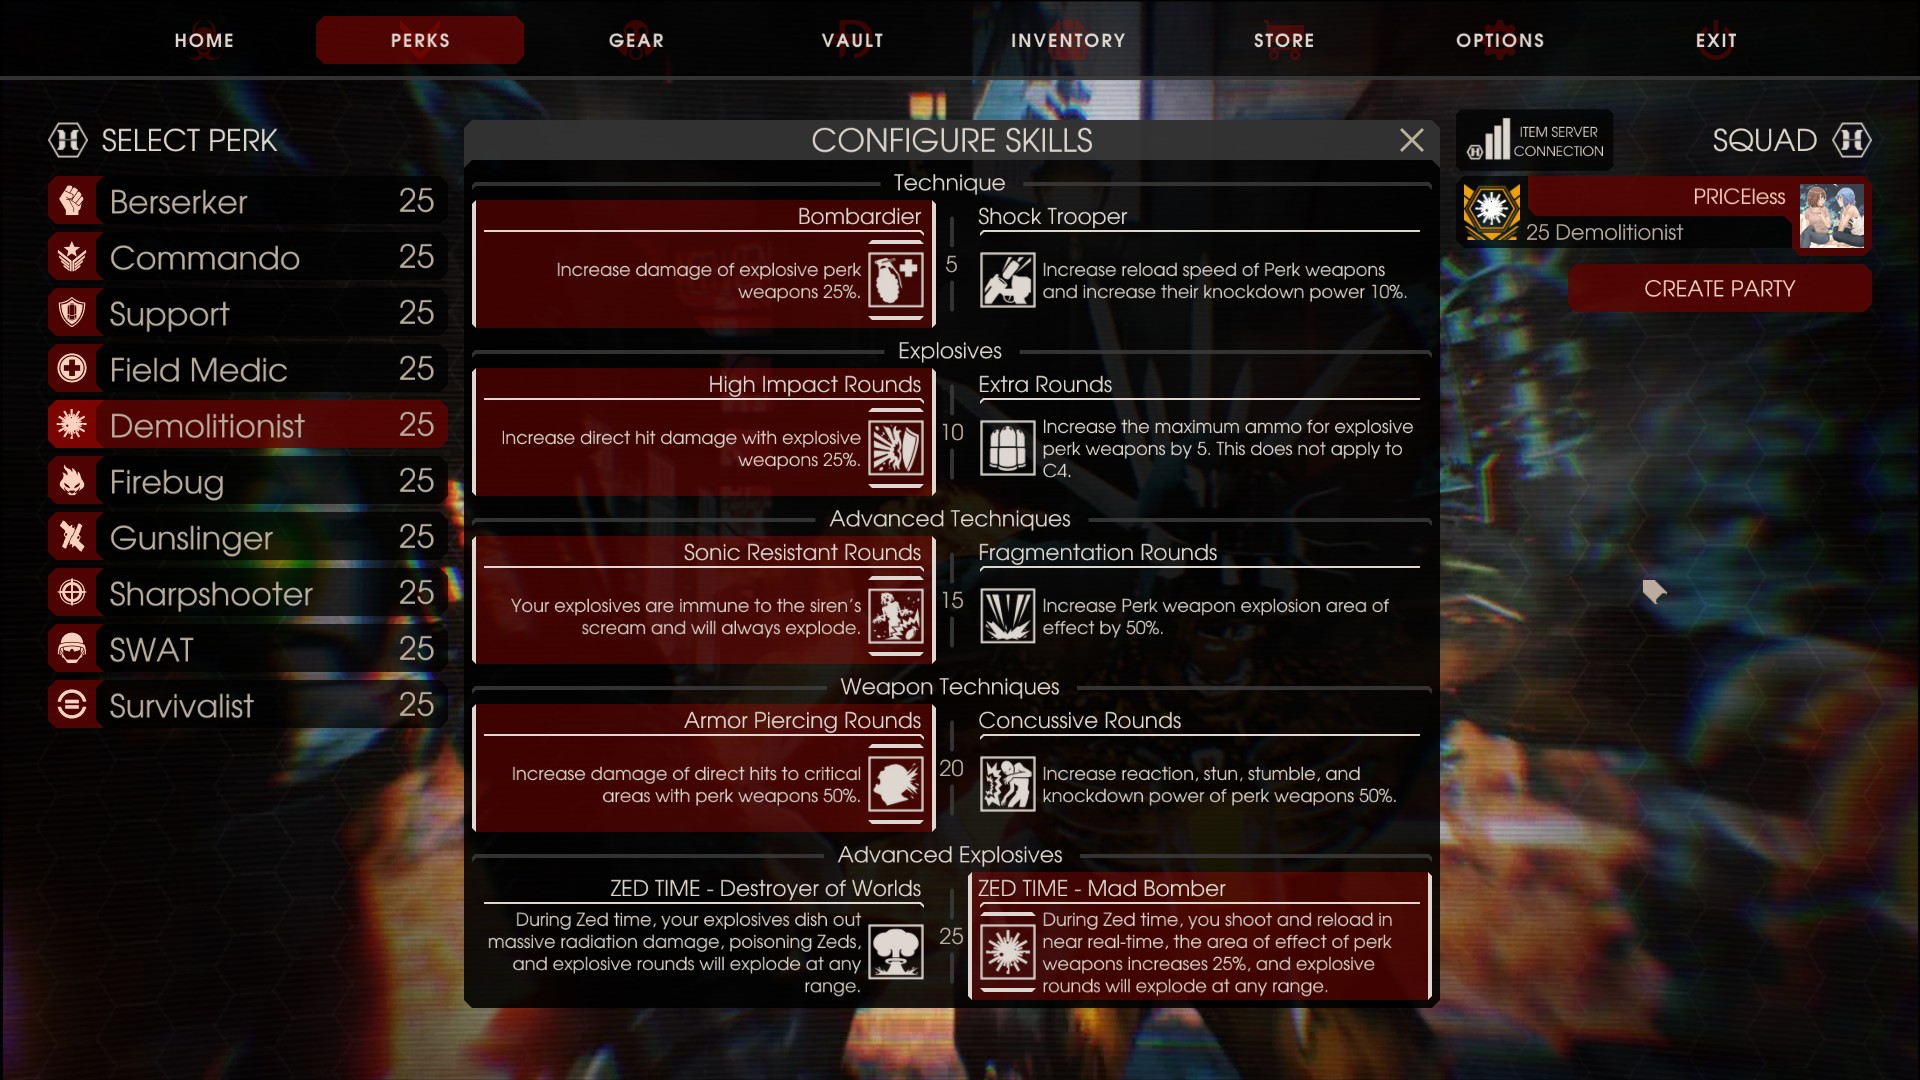
Demolitionists have a few skill selections. But really, it’s just an illusion. The right side skills are extremely situational and usually not worth it, with the exception of mad bomber. I’ll explain to the best of my ability about each skill’s use and application.
Tier 1
Bombardier
• This skill grants you a 25% damage bonus to any on perk explosives. Yes that is right, m16 bullets don’t benefit from this one, but the underslung grenades do. As long as it deals explosive damage, it benefits from this. (Blunderbuss is the exception, idk what the devs were smoking when they left m16 out, but I’d like some).
Shock Trooper
• Increases reload speed for on perk weapons, speed varies from gun to gun. Also increases knockdown power by 10% which doesn’t mean much. Average reload speed increase is around 20%.
Final Verdict: Bombardier over shock trooper. This is because it allows you to hit certain damage breakpoints which you would otherwise be forced to reload if you had taken shock trooper. A shot less is better than 20% faster reload. So unless you are exclusively using m16 bullets, bombardier is the better choice.
Tier 2
High Impact Rounds
• Increases direct hit of explosive on perk damage by 25%. Again, does not affect m16 bullets (Why TWI why) but effects blunderbuss shrapnel. Another damage boost needed to hit certain breakpoints.
Extra Rounds
• Gives 5 extra weapon grenades/rockets. Handy when you think about it, but there is a trick to getting both the extra ammo and the damage boost from high impact rounds. I’ll explain it in the advanced tactics section. Does not affect c4!
Final Verdict: Considering we can get both skills at once, choice is clear, High Impact Rounds is the way to go.
Tier 3
Sonic Resistant Rounds
• Sonic restant rounds makes it so sirens don’t destroy your explosives with their screams leading to an otherwise wasted shot. Almost a must pick if you want to be on the safe side and not waste ammo.
Fragmentation Rounds
• Fragmentation rounds make it so you have 50% bigger explosive radius. This does not change explosive falloff though, So zeds in the new boosted explosive radius still take less damage than what they are supposed to, but hey, some damage is better than none right?
Final Verdict: An actual sound choice here, Fragmentation rounds are usually better for wave 1-2 on long games, since sirens can’t spawn in yet, so sonic resistant rounds are useless. Past that though, sonic resistant rounds usually give more mileage. A siren deleting an otherwise crucial shot is bad news.
Tier 4
Armor Piercing Rounds
• Increases damage dealt to critical areas such as the head by 50%. This is extremely crucial for hitting breakpoints. Do note that explosive damage only affects body health. Zeds have two separate hp. Body hp and head hp. While head hp affects body hp, the same cannot be said the other way around. So what this means, is that this skill only affects impact damage and bullets. This does not affect explosives (even if the fp chest core takes 10% extra damage). This skill is crucial in dealing with scrakes as a demo. As for pounds, worry not, they all take 50% extra damage from explosives regardless of armor piercing rounds or not.
Concussive Rounds
• Increase incap powers of explosive weapons by 50%, useless as whatever incaps that are needed can be achieved without it anyway
Final Verdict: Armor Piercing Rounds everytime, since concussive rounds is not only useless but overkill
Tier 5
Destroyer of Worlds
• During zed time, increases damage of explosive perk weapons by 50% as well as allowing them to create nukes at the point of impact. Nukes clouds deal 20 damage every 1s and lasts for 8s. Also applies an extra DoT that deals 20 damage every 0.3s for 5s. As an added bonus, explosives detonate at any range guaranteeing nukes. Destroyer of worlds also removes c4 damage penalty timer. resulting in full c4 damage regardless of the time difference in between detonations.
Mad Bomber
• During zed time, allows you to fire and reload in real time. This is usually the better option if there is a good commando in the team to extend zed time to the best possible limit. As an added bonus, your explosives detonate at any range.
Final verdict: Destroyer of Worlds if you don’t have a commando in the team, and Mad bomber if you have a commando that knows what he is doing.
Weapons Part 1
============
UTILITY KNIFE
============
(Sry, gonna have to copy paste from my medic guide here as it’s the exact same thing lmao).
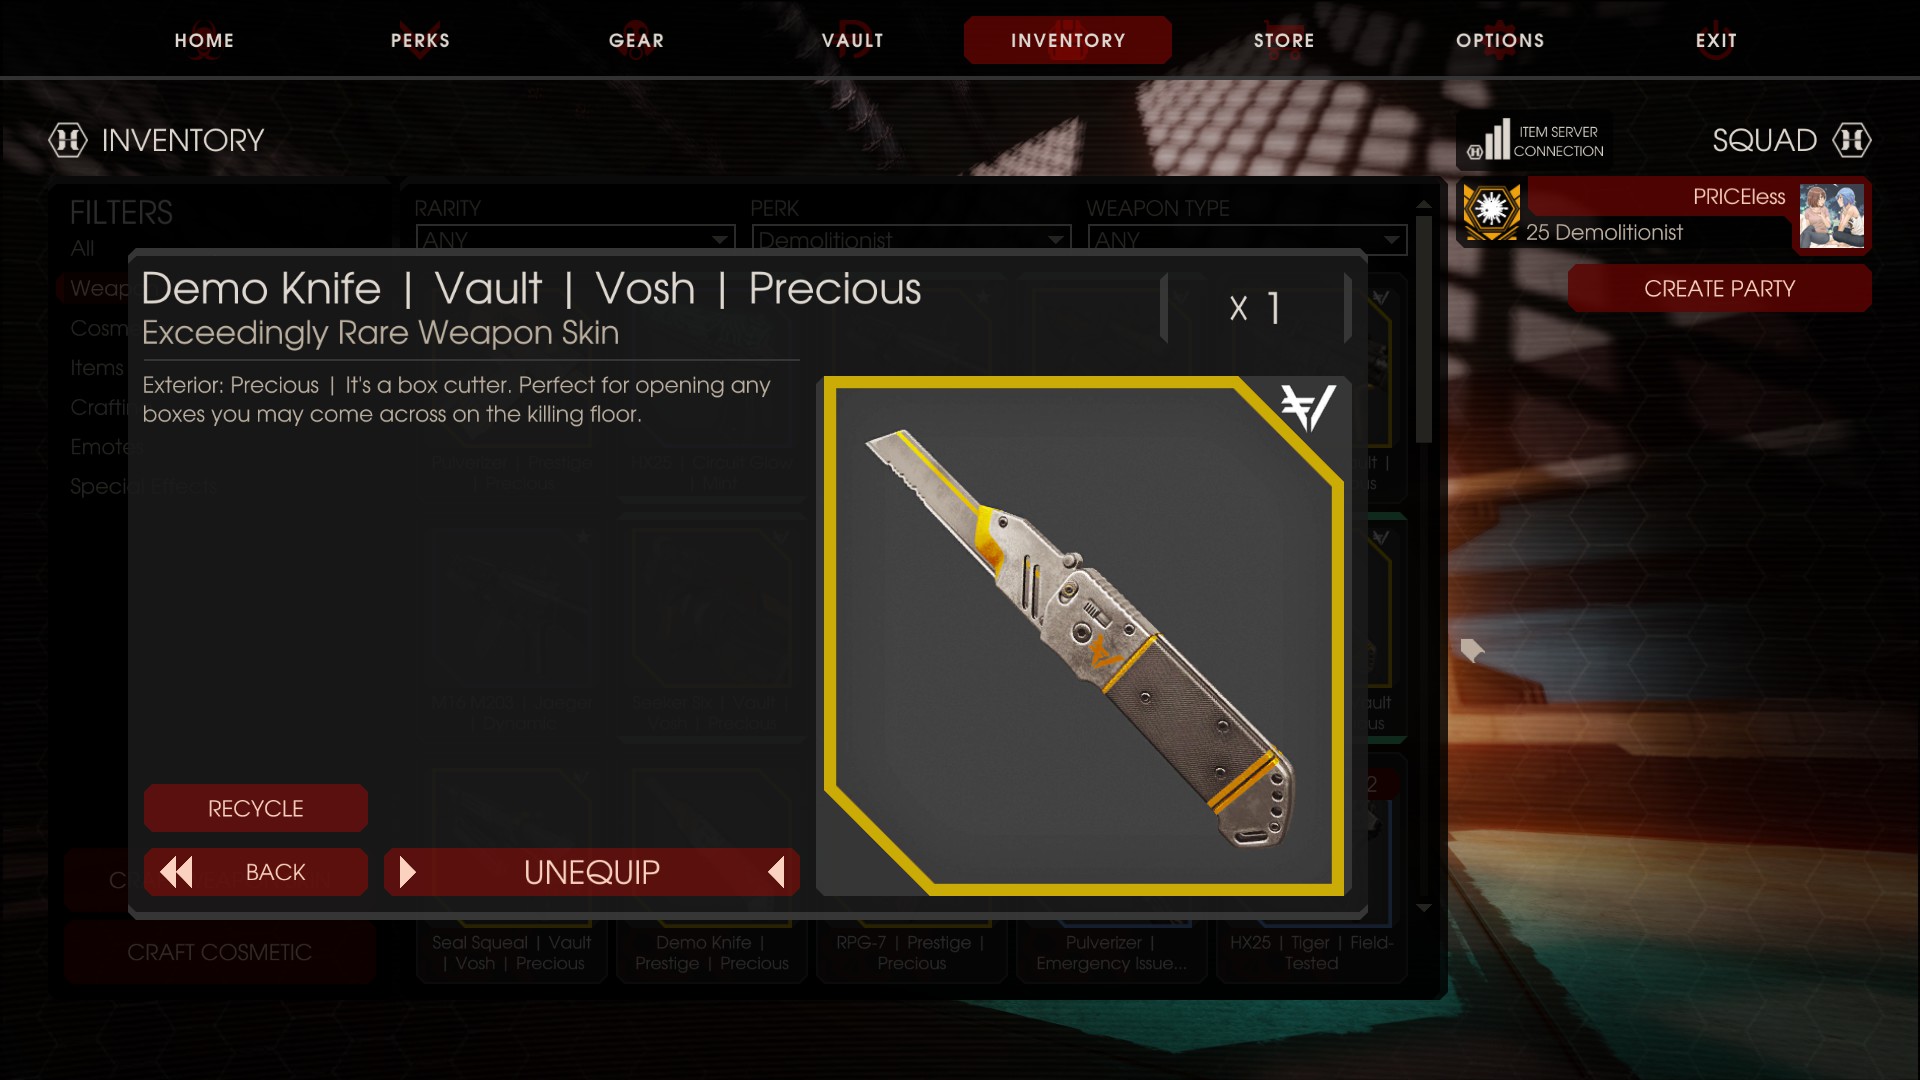
The utility knife is the demo’s version of the knife. It has only ever two uses, and that is to ECO on wave 1 only! and to parry a fleshpound’s rage attacks for 20% damage reduction and to gain some distance from it.
=====
HX-25
=====
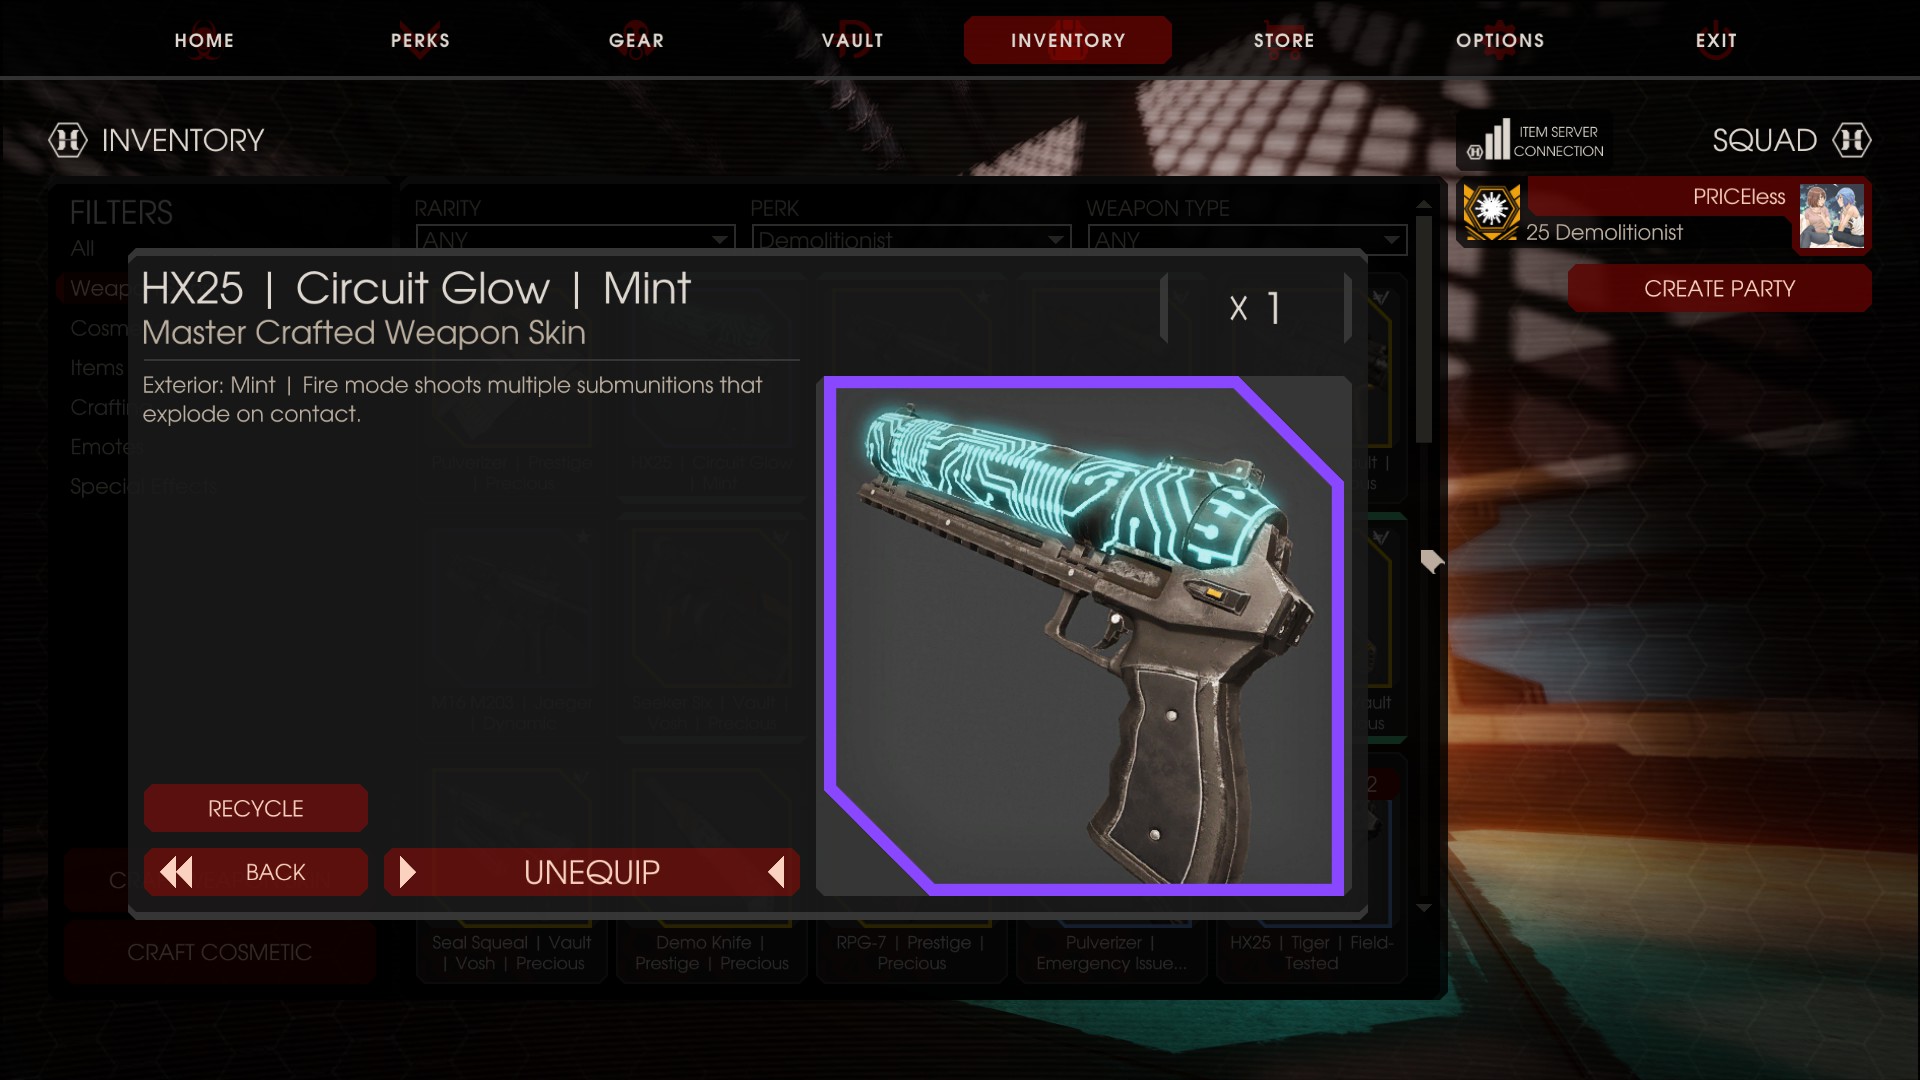
The demo’s starting weapon. Ngl, this thing is kinda a*s on the harder difficutlies since rioters counter it. Anyway on lower difficulties, it’s a good starter but starts to fall off on the higher ones.
• Magsize of 1, with 17 spare ammo on start.
• Shoots pellets that explode on contact. Does no self damage. Good for close quarter engagements.
• Pellets deal 10 impact damage and explode for 30 damage. 7 pellets total per shot
• Pellets have 150 explosion radius unit and have 1 falloff exponent.
• At max rank, this gun can kill gorefiends and sirens in 1 shot.
Gun is best used as a sidearm ASAP past wave 1, as it really falls off in potential in the later waves. That being said, if you are memeing, a maxed out HX25 can kill a fleshpound in 6p HOE with a double dynamite combo:
Weapons Part 2
=======================
M79 GRENADE LAUNCHER
=======================
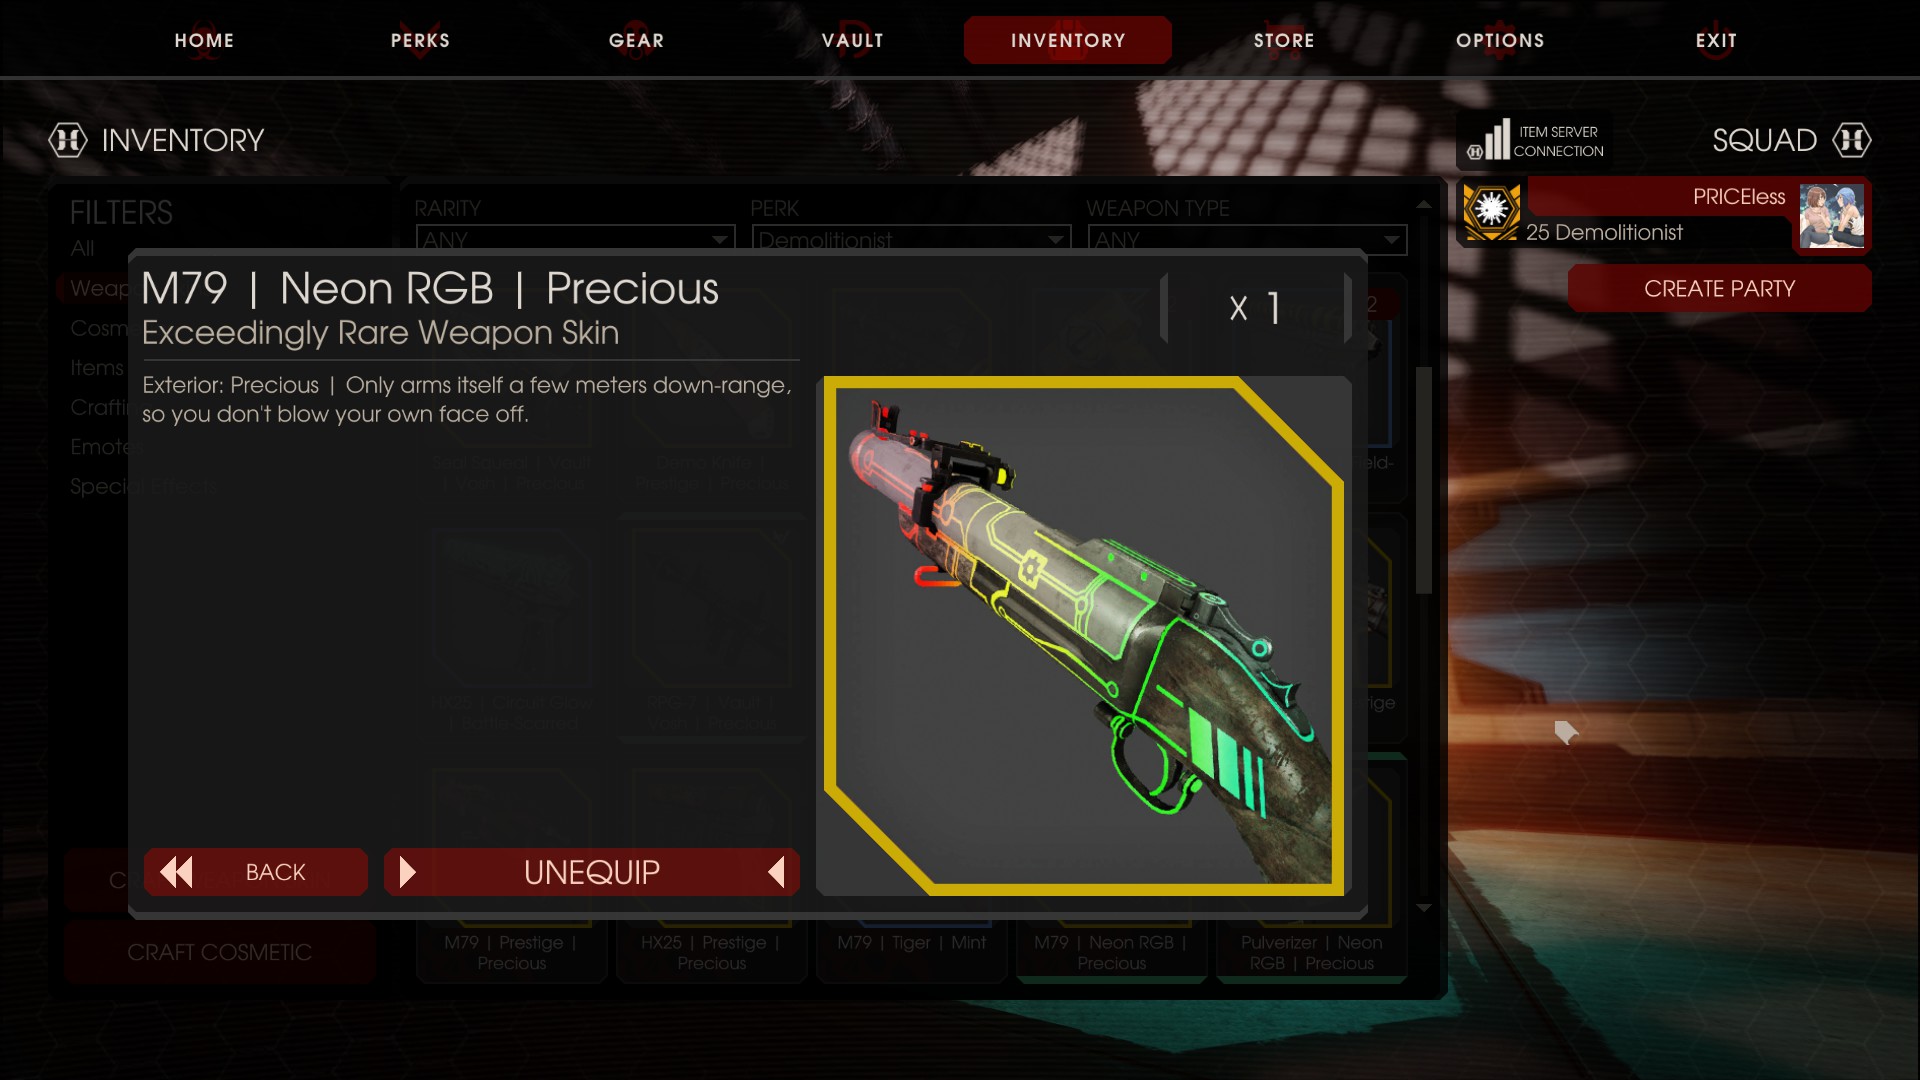
The m79, a decent tier 2 gun to be carried by a demo. Usually the gun to buy if you want to contribute to the team past wave 1.
• 1 magsize. 26 max spare ammo (31 for lvl25 demo)
• 6 weight, light enough to be carried with a tier 4 rpg. 650$
• Grenades deal 150 impact damage and deal 225 explosive damage.
• Has an explosive radius of 850 units and 2 falloff exponent
• Kills bloats in 2 hits, and rioters in 3. However a headshot would kill them instantly assuming you run the skills i suggested.
• Arming distance of 3.87m
The m79 is the only t2 gun that can be used against trash zeds, and as such it does the job damn well. It is the best spammable lightweight demo weapon for mid-long range. However it does suffer at close ranges due to a minimum arming distance. Be wary of stalkers and crawlers sneaking up on you!
If you are messing around, a tier 5 m79 can dispatch larges with the aid of dynamite:
===
C4
===
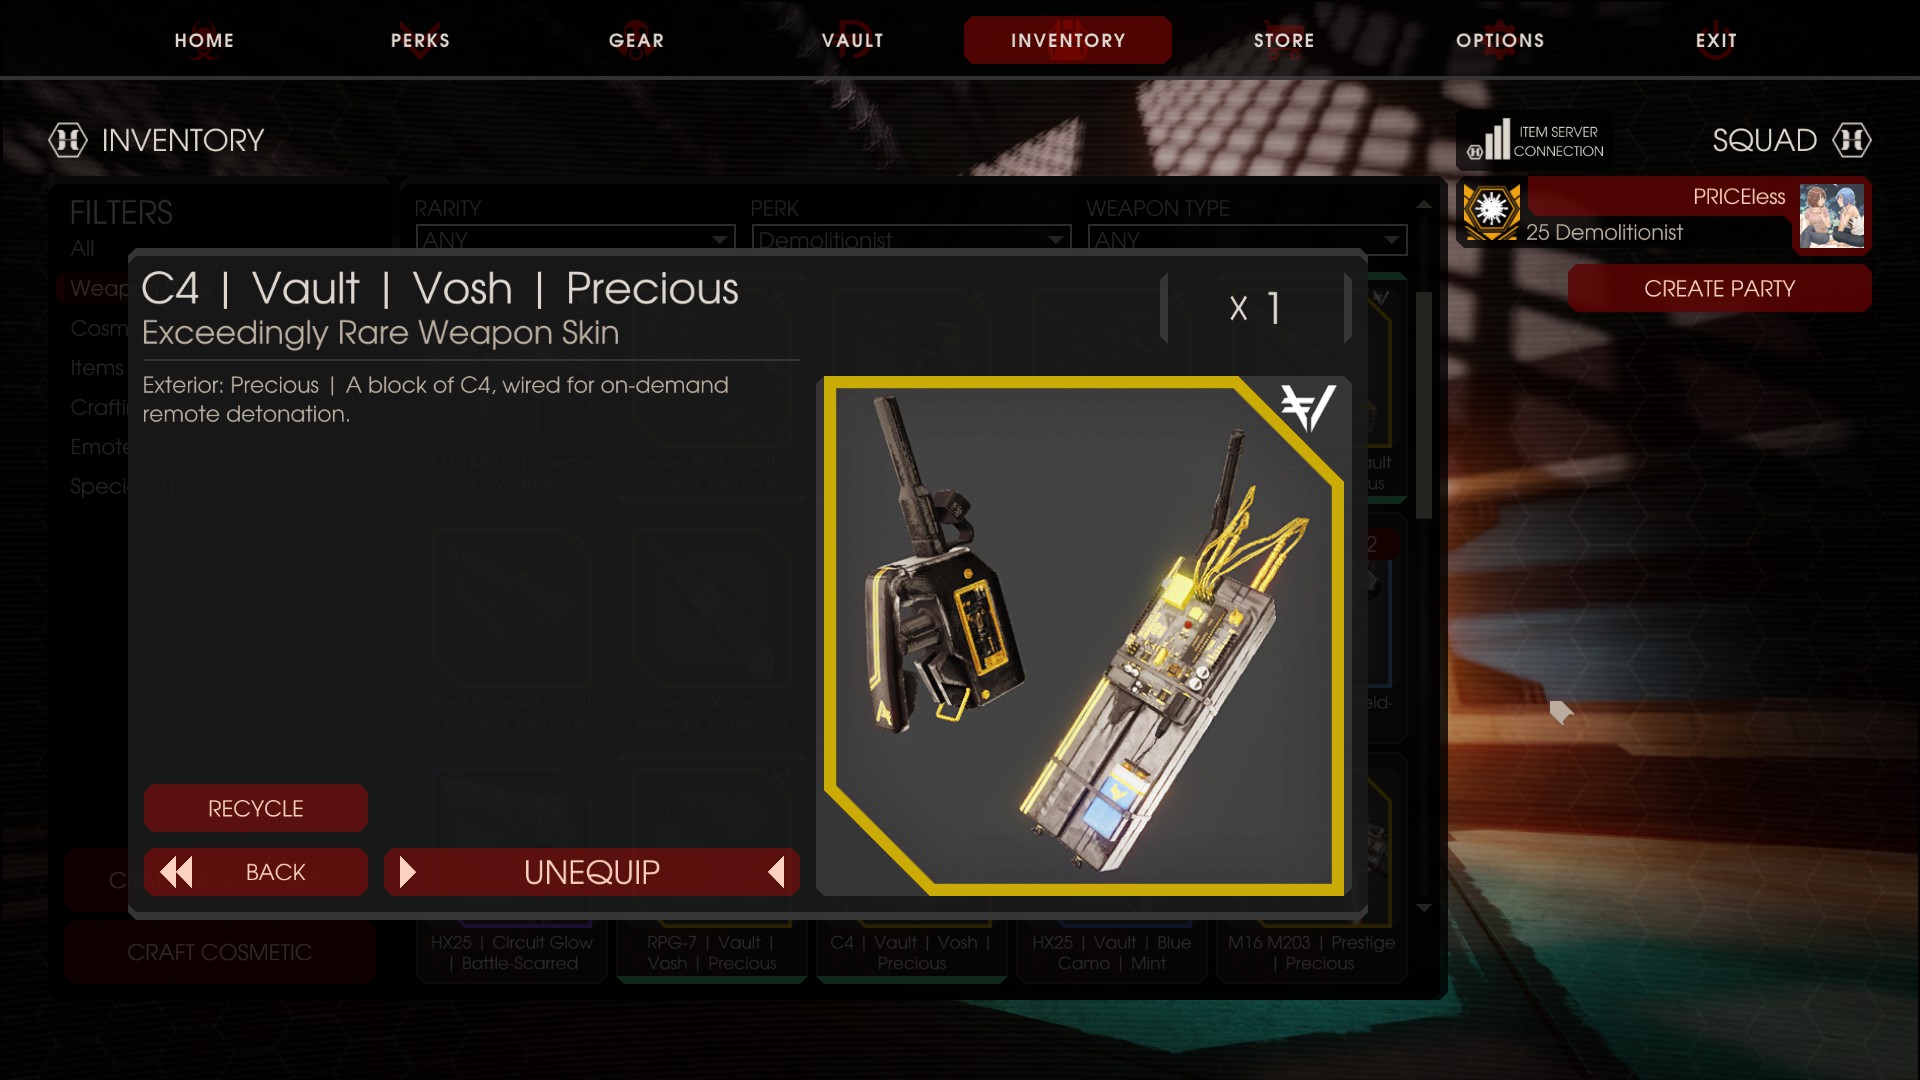
The C4 is your best utility tool and large zed killer. However it does come with a few of its own shortcomings.
• Bottomless mag size, 3 max ammo total (8 for lvl 25 demo)
• 3 weight, Lightweight enough to enable combos
• C4 brick does 1 impact damage (lul). Explosion does 820 damage.
• Explosion has 400 unit radius with 2 falloff exponent.
• If a zed receives C4 damage within 3s of the previous one, it will take 75% less C4 damage. This stacks multiplicatively, so it gets extremely diminishing returns. Destroyer of worlds removes this penalty during zed time.
• Max of 24 C4s at any given time on the map, if limit is exceeded the oldest will detonate.
C4 is the best combo enabler for demo, I will demonstrate it in the advanced tactics section. For now it’s one of the META loadouts for big zed hunting. C4 2 shots QP without zed time and 2 shots FP during zed time with Destroyer of Worlds.
Weapons Part 3
============
SEAL SQUEAL
============
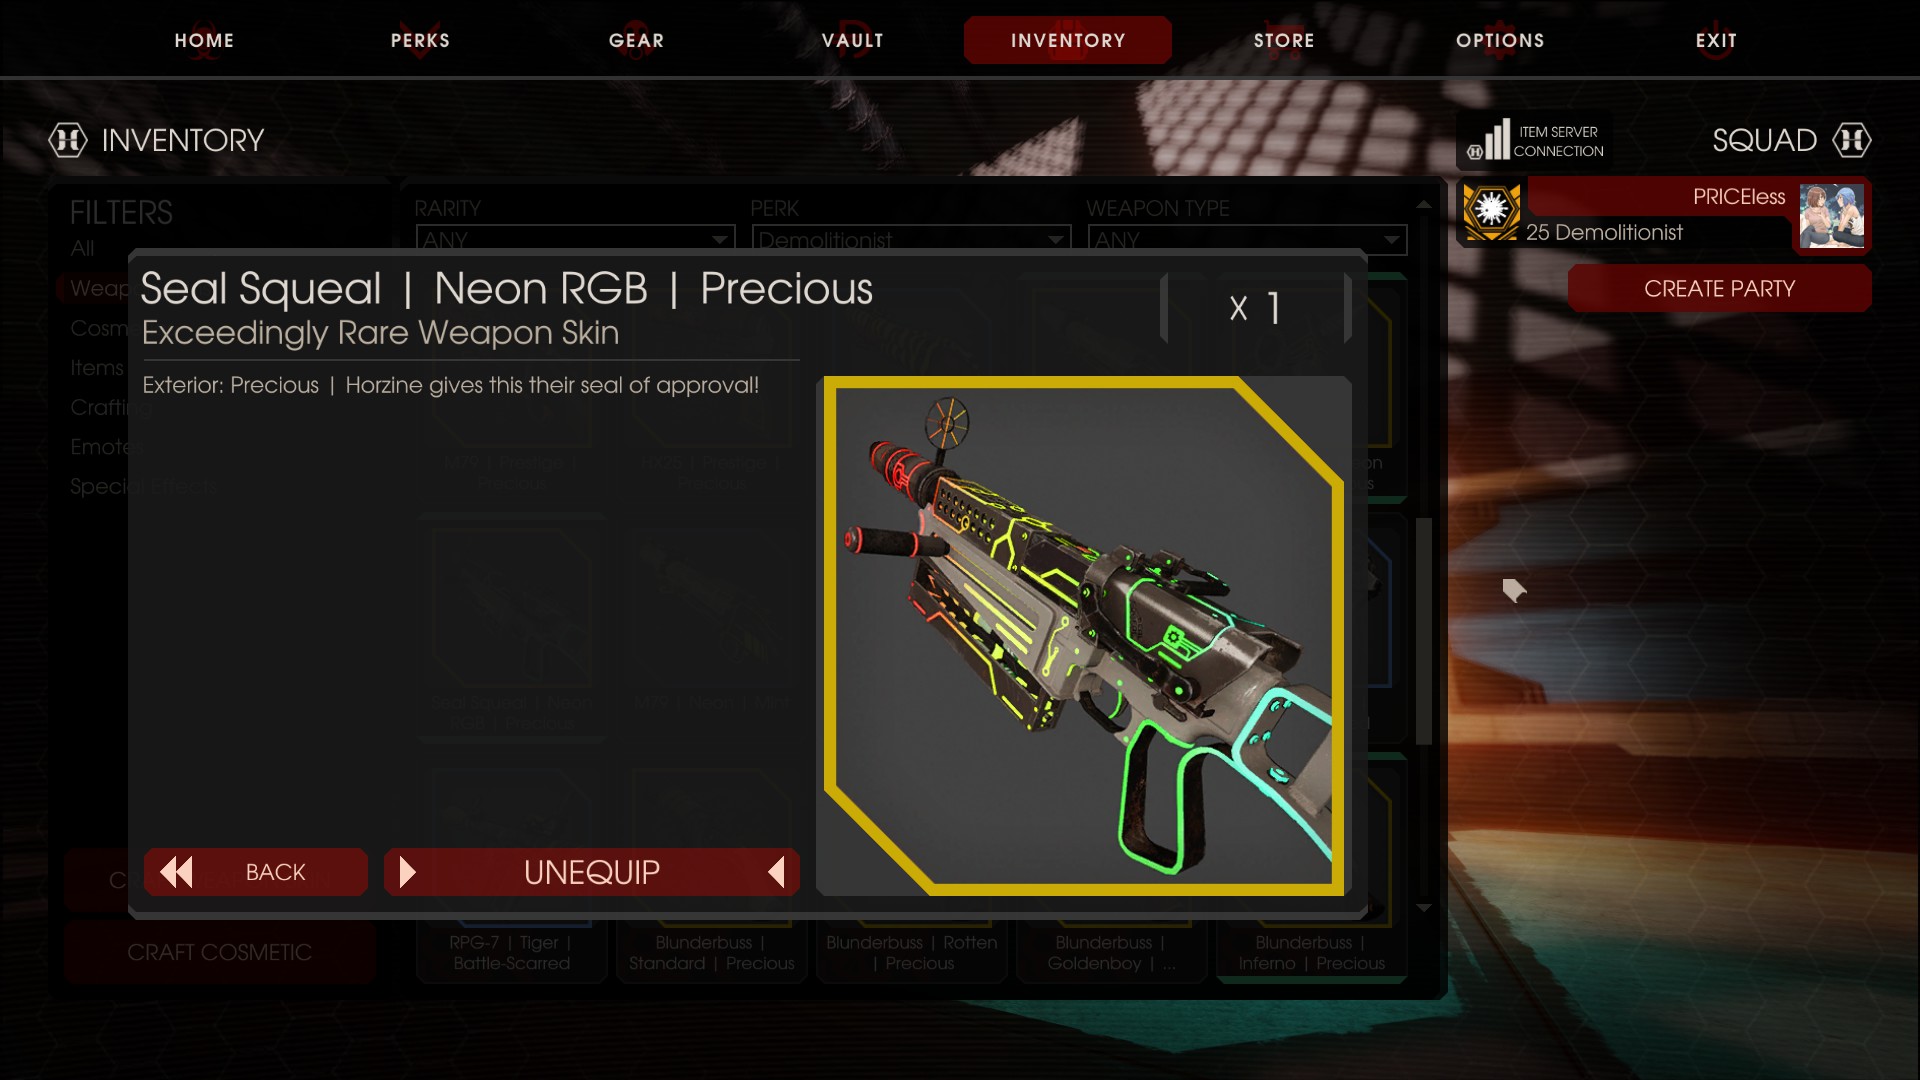
The seal squeal is fires harpoons with it’s primary fire and detonates them remotely with the alt fire. A rather fun demo weapon to use. It was buffed awhile back so that it’s actually usable now instead of being garbage tier.
• 5 magsize, 30 max spare ammo (35 with lvl25 demo)
• Harpoons deal 125 impact damage (yes, less than m79). Explosions deal 250 damage with a radius of 600 units and 1 falloff exponent. Harpoons can detonate at any range, and deals self damage, so be careful!.
• Harpoons automatically explode after 4 seconds.
• High ragdoll force, so zeds killed by the harpoon will get yeeted.
• Fires at 120 RPM
• T4 seal squeal can decap scrake in 5 shots. T5 seal squeal can decap a scrake in 4 shots and fleshpound in 5.
The seal squeal is a weapon with an identity crisis for demo. It’s not that good at dealing with trash, it’s not that good at dealing with larges. That being said, it is semi decent at handling both. Low ammo pool means it struggles a wee bit with trash zeds and it needs to be upgraded to deal with larges. So really think of it as a t4 weapon and upgrade it if you do plan to use it.
=================
HRG KABOOMSTICK
=================
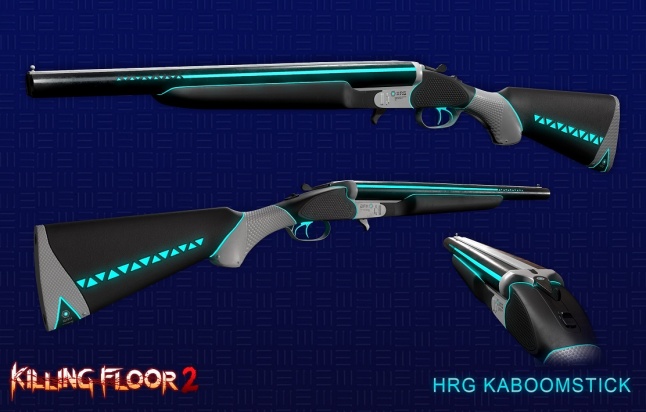
The kaboomstick, a favourite of many a demo, due to its ease of use and general practicality. It’s an explosive shotgun, what’s not to love?. Alt fire shoots both barrels at once.
• 2 magsize. 46 max spare ammo (51 for lvl25 demo, yea doesn’t make sense, but the weapon was added late into the dev cycle)
• 6 weight, can pair with a large zed killing weapon.
• 8 pellets per shot. Each pellet does 15 impact damage and also does 38 explosion damage for a total of 415 damage per shot.
• Explosions have a radius of 200 units and 1 falloff exponent
• Explosions detonate at any range, but doesn’t damage the player like the HX25. Perfect for close quarter encounters.
• Fires at 240 rpm
• Kills all trash zeds in 1 shot. Bloats, husks, and rioters take 2 shots point blank, or 1 alt fire.
• Kills Quarterpounds in 4 shots, or 2 alt fires. When upgraded once to tier 4, it can kill fleshpound in 6 shots, or 3 alt fires. Without upgrades, it needs to help of dynamite to kill a fleshpound.
• TERRIBLE against SCRAKES due to the majority of it’s damage being explosive, and since scrakes resist explosive, and require head damage, put 2 + 2 together. Do not use against scrakes!!
In conclusion, the best t3 gun that demo has, deals with almost everything (except scrakes) in a very good manner. Downside is ammo pool and range, but hey, can’t have everything. 9/10.
=========
M16 M203
=========
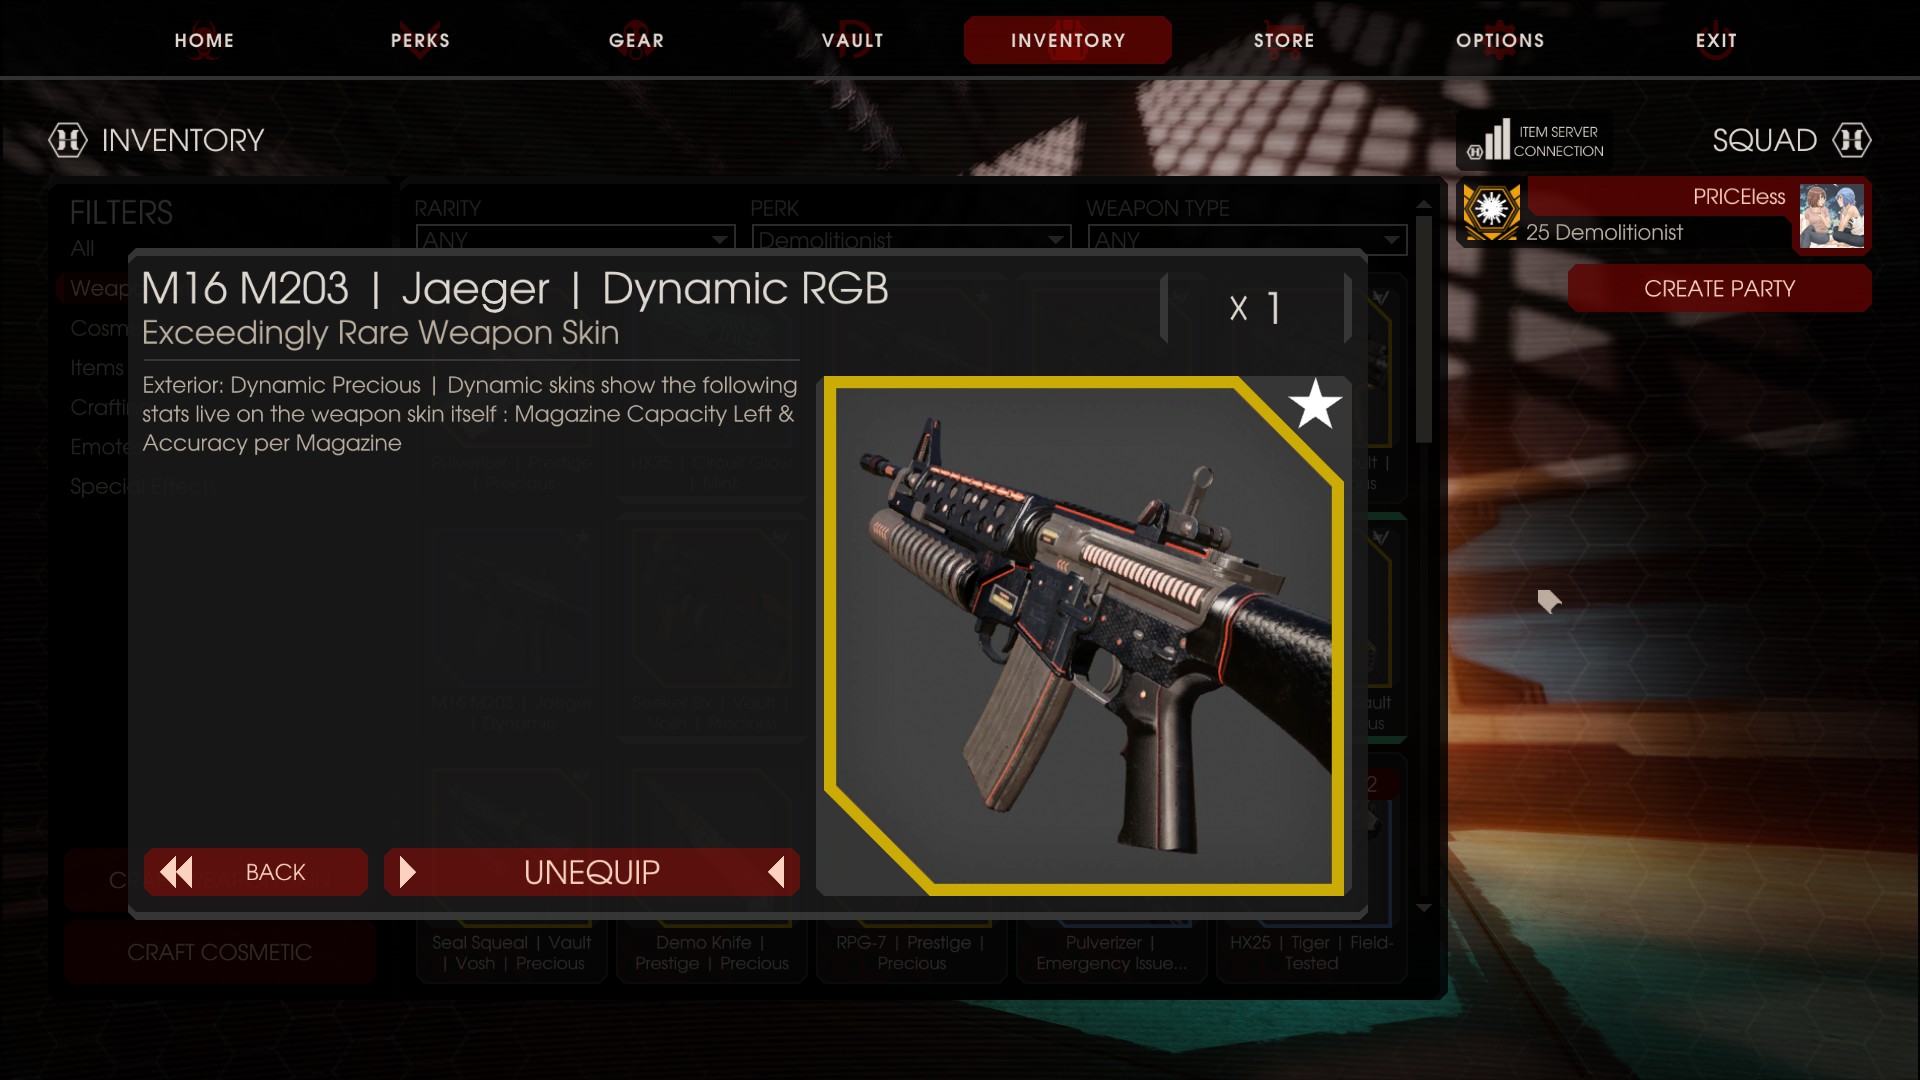
The m16 m203 is the demo’s all rounded generalist weapon, effective at all ranges. The m203 grenades also deal the highest impact damage of any grenade in the game. This was the original self defense gun for the demo, and it shows as the devs decided to not let its ballistic bullets be affected by any of demo’s skills thus keeping it in check in the early days when power creep wasn’t rampant.
• 30 bullets in the mag. Underslung M203 has 1 mag size. 270 max spare ammo, 14 for grenades. (19 for lvl25 demos)
• 6 weight, can pair with a large zed killing weapon.
• Bullets deal 33 damage per shot. Underslung M203 nades deal 230 impact damage, and 230 explosive damage, for a total of 460 damage per nade.
• Explosions have 500 unit radius and 1 falloff exponent
• Bullets fire at 669 RPM (why so arbitrary? who knows)
• Underslung m203 nade kills all trash except rioters in 1 shot if it’s a direct impact, bodyshot or headshot. Rioters require 2, or 1 if it’s a headshot.
• Upgraded m16 m203 can deal with larges, though it requires to be upgraded to tier 5 to efficiently kill them without dynamite. At tier 5, it kills scrakes in 2 m203 duds, and fleshpounds in 2 m203 duds and 5 bullets. At tier 4, it can kill quarterpounds in 2 shots without the help of dynamite.
• Arm distance of 3.87m
Unlike the kaboomstick, the m16 m203 needs the upgrade similar to seal squeal to deal with larges. The upside is that it can deal with scrakes unlike the kaboomstick. At tier 3, it’s a good self defense gun, and upgraded can be a suitable primary.
PULVERIZER
===========
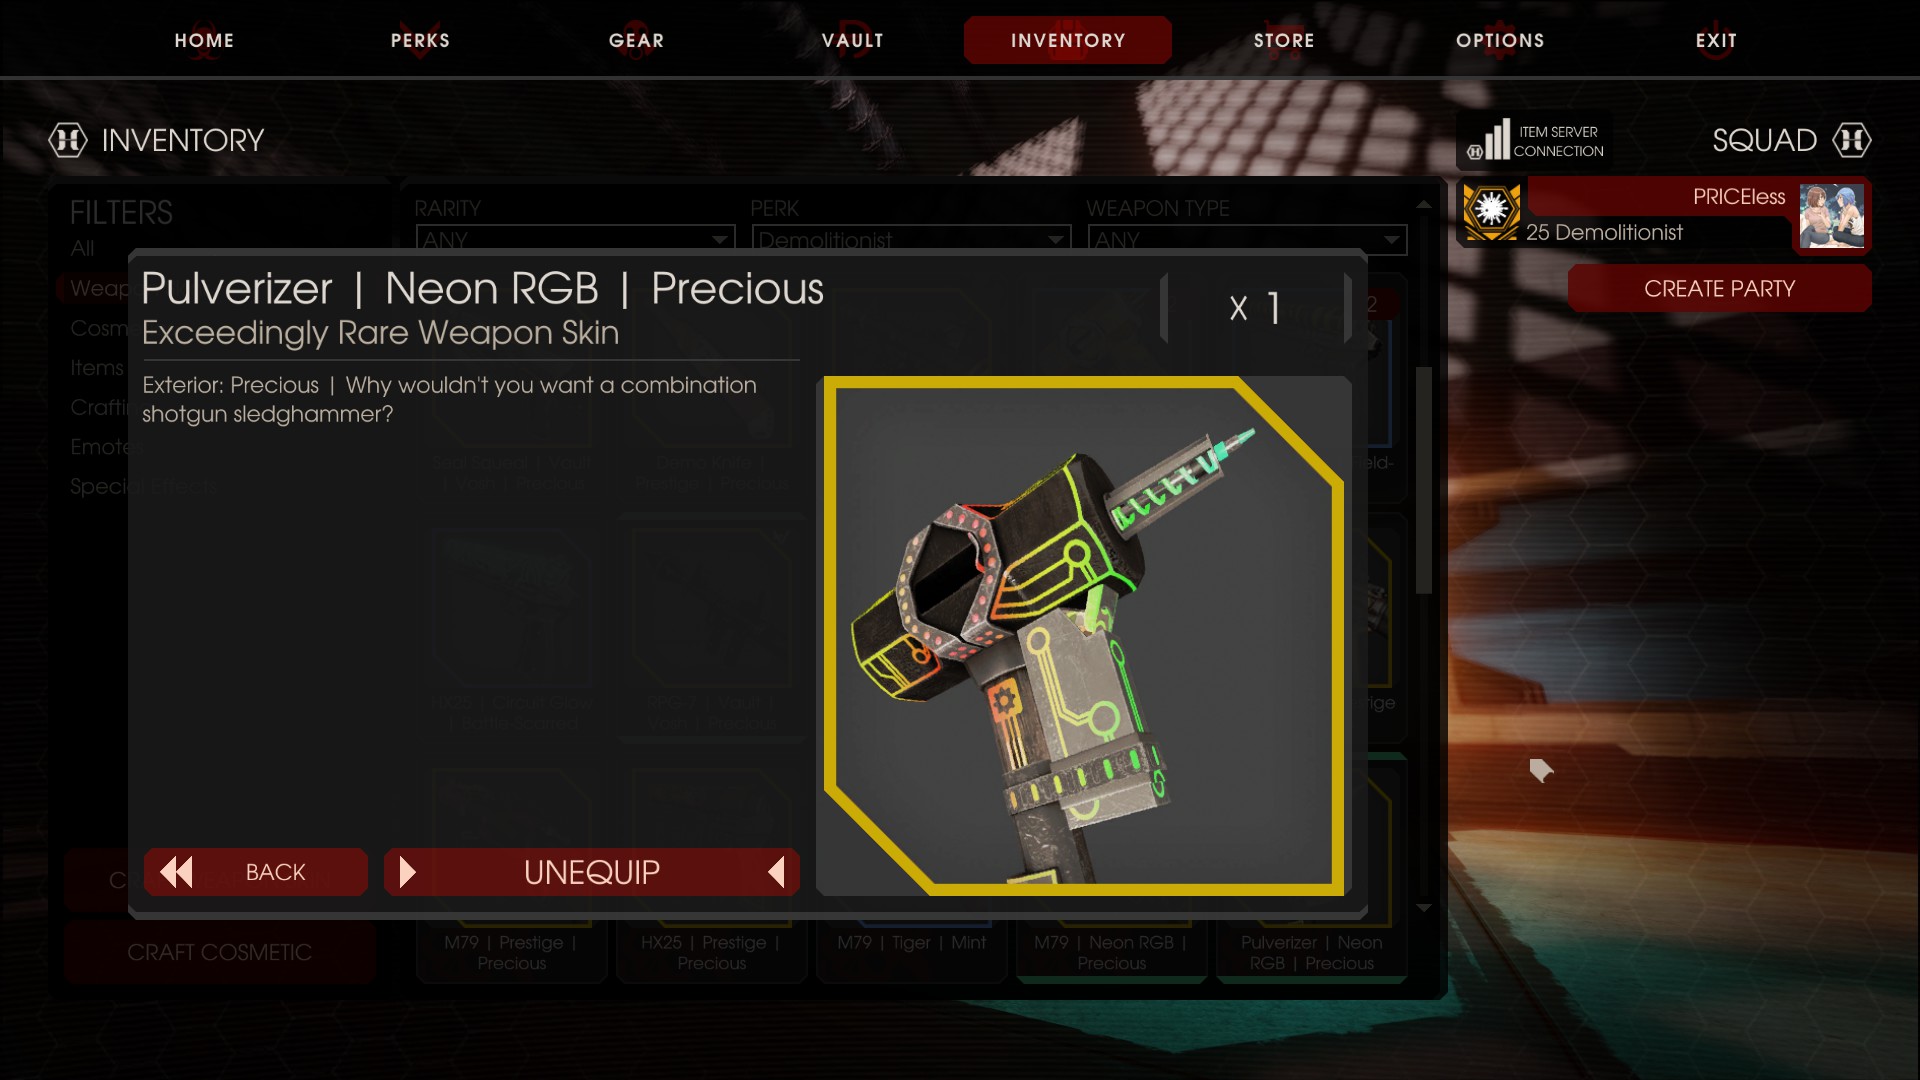
It’s a rocket hammer hammer with tnt attached to it. Demo’s first foreign crossperk, originating from the berserker. Unlike on zerk, this weapon is utter garbage to you as you lack berserker’s bonuses to make it useful.
• 5 TNT charges in the mag. 15 max spare ammo (20 for lvl25 demos)
• 80 max damage for light attacks, 145 max damage for heavy attacks, 68 damage for bash
• Horizontal attacks deal no more than 75% and not less than 50% of the damage value. Vertical attacks always deal 100% of damage value.
• Explosion damage = 238 with a 4m radius and linear falloff. Explosion is directional so aim well, my fellow demos.
• Parry strength of 5 so is able to parry stumble: all small zeds and unraged quarterpounds (qp) and sc attacks. Raged qp attacks can also be parry stumbled.
• High knockdown value so watch out! Don’t spam light attacks unnecessarily on large zeds. It might backfire.
• Parry damage reduction of 60%. Block damage reduction of 50%.
• Reach of 1.7m.
• 6 weight, can pair with a large zed killing weapon.
• Vertical heavy (forward and backward) can pop a rioter helm and kill bloats and husks instantly.
• Needs 3 heavies to kill quarterpounds.
TLDR Bad weapon for the demo. Use this in the lower difficulties if you want, but don’t expect it to hold up in the higher ones. If you do use one there, assume you are planning to take heavy damage and plan a quick funeral around it. MELEE IS BAD for non-zerks!
Weapons Part 4
====
RPG
====
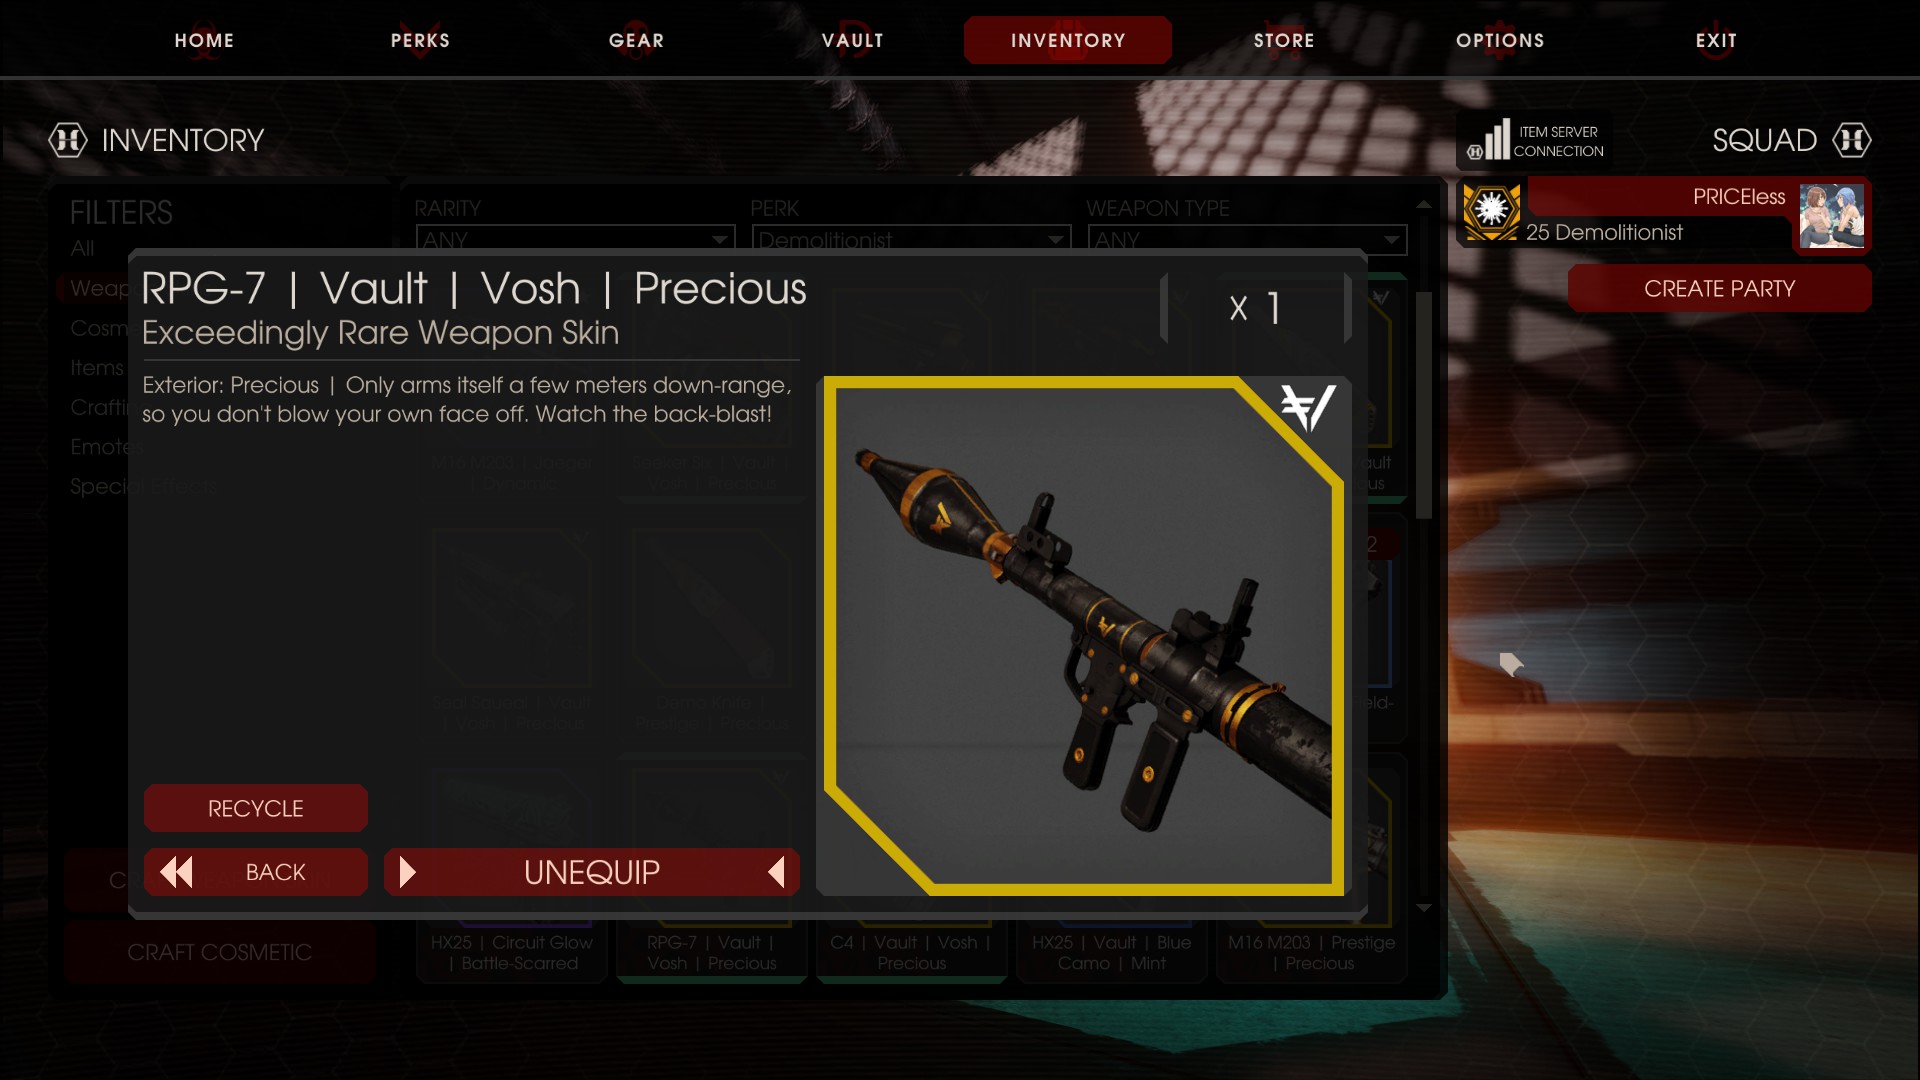
Demo’s best primary large zed killer. Big damage, big boom, big prices. The weapon all larges fear.
Downside is that it costs a lot and weighs a lot.
• 1 magsize. 15 max spare ammo (20 for lvl25 demos)
• 9 weight. 10 weight upgraded. Extremely heavy
• RPG does 150 impact damage and 750 explosive damage
• Explosions have 400 unit radius and have 1 falloff exponent.
• Arming distance of 3.87m
• Has backblast damage, that means any zed right behind you when firing will take damage.
• Backblast has 350 unit radius and deals 150 damage.
• One shots all trash zeds, even rioters(!) to the body. Must run the first 2 left side skills to one shot a rioter.
• Scrakes take 4x damage from the RPG impact damage. (Unique only to this bad boy)
• Needs 3 rockets to kill fleshpounds, and 2 for quarter pounds. Quarter pounds can be comboed with a dynamite to kill them in 1 shot. Upgraded to T5, the RPG can even 1 shot scrakes on the higher difficulties with 6 people in the party. On hard and below, a single rocket will decap a scrake regardless of how many players there are.
The RPG is demo’s best anti large gun, and it shows, at a whopping 10 weight when upgraded to get its full potential, it leaves demo with little means of self defense other than a HX25 or an offperk weapon. 10/10.
To kill a fleshpound safely with this beast, aim at the legs for the 1st shot to trip it. This will give you enough time to unload the other 2 shots safely.
=========
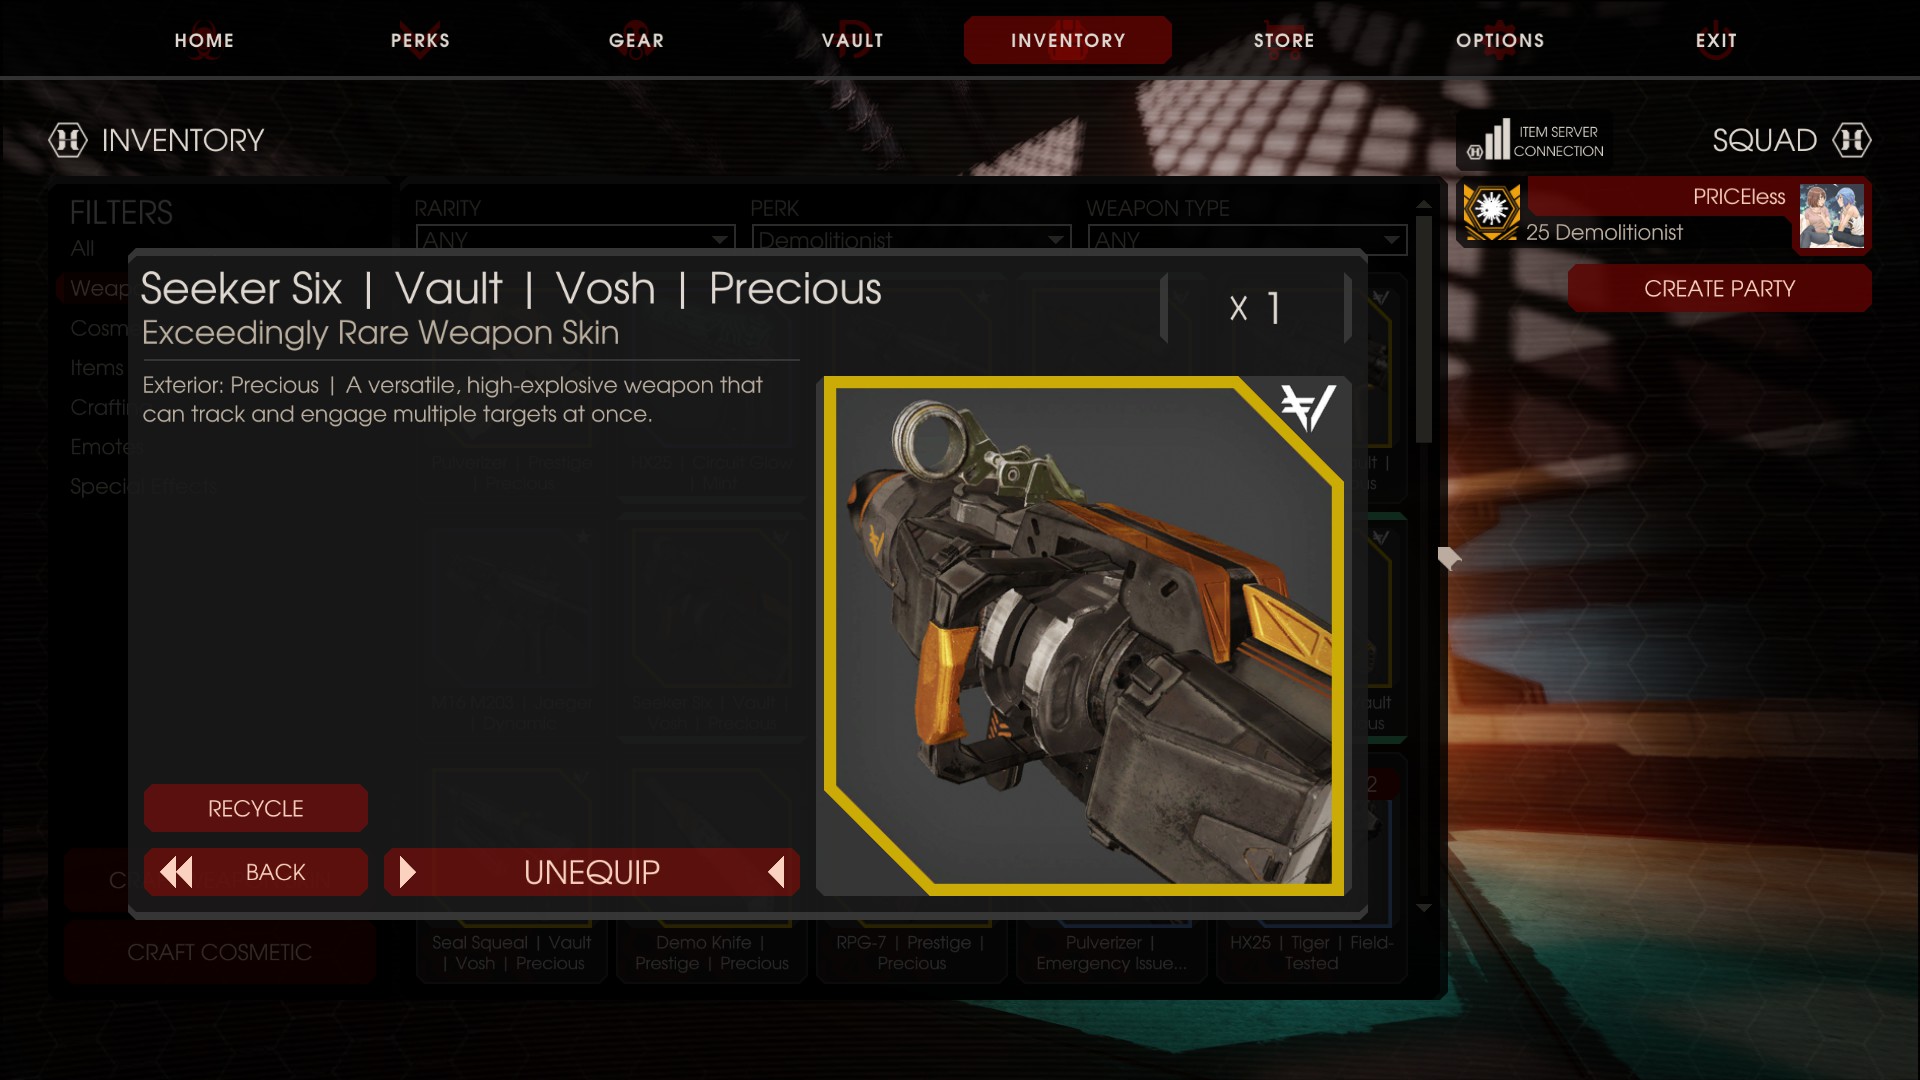
SEEKER 6
=========
The seeker 6 is a mag fed multi missile launcher. Think of it as the seal squeal’s cooler cousin. It trades some large killing potential for a massive increase in trash killing capabilities. It can still deal with larges, just a bit poor in that regard, but not awful.
• 6 missiles in the mag. 84(!) max spare ammo (89 for lvl 25 demos, it ain’t much but it’s something)
• 8 weight. Light enough to be paired with an upgraded self defense weapon turned large killer for a generalist build.
• Missiles deal 125 impact damage and 160 explosive damage.
• Explosions have 350 unit radius and 2 falloff exponent.
• Arming distance of 3.32m
• Kills trash zeds in 1 shot. Bloats and husks in 2. Rioters in 3 (1 shot if to the dome).
• Kills Quarterpounds in 4 shots!!
• Kills Scrakes and Fleshpounds in 6 headshots
• Alt fire toggles between lock-on and non lock-on mode
• Lock-on mode has 0 recoil (yes, you read that right) with 0 downsides. Always stick to this mode!!
• Fires at 171 RPM, Lock on fires at 200 RPM. (mmhmm another reason why lock on is better)
The seeker 6(S6) deals with everything bar SCs and FPs decently. It’s a good trash clearing weapon for demo and can deal with larges in a pinch with the help of dynamite or if you are a god at aiming.
Weapons Part 4 (Continued)
==================
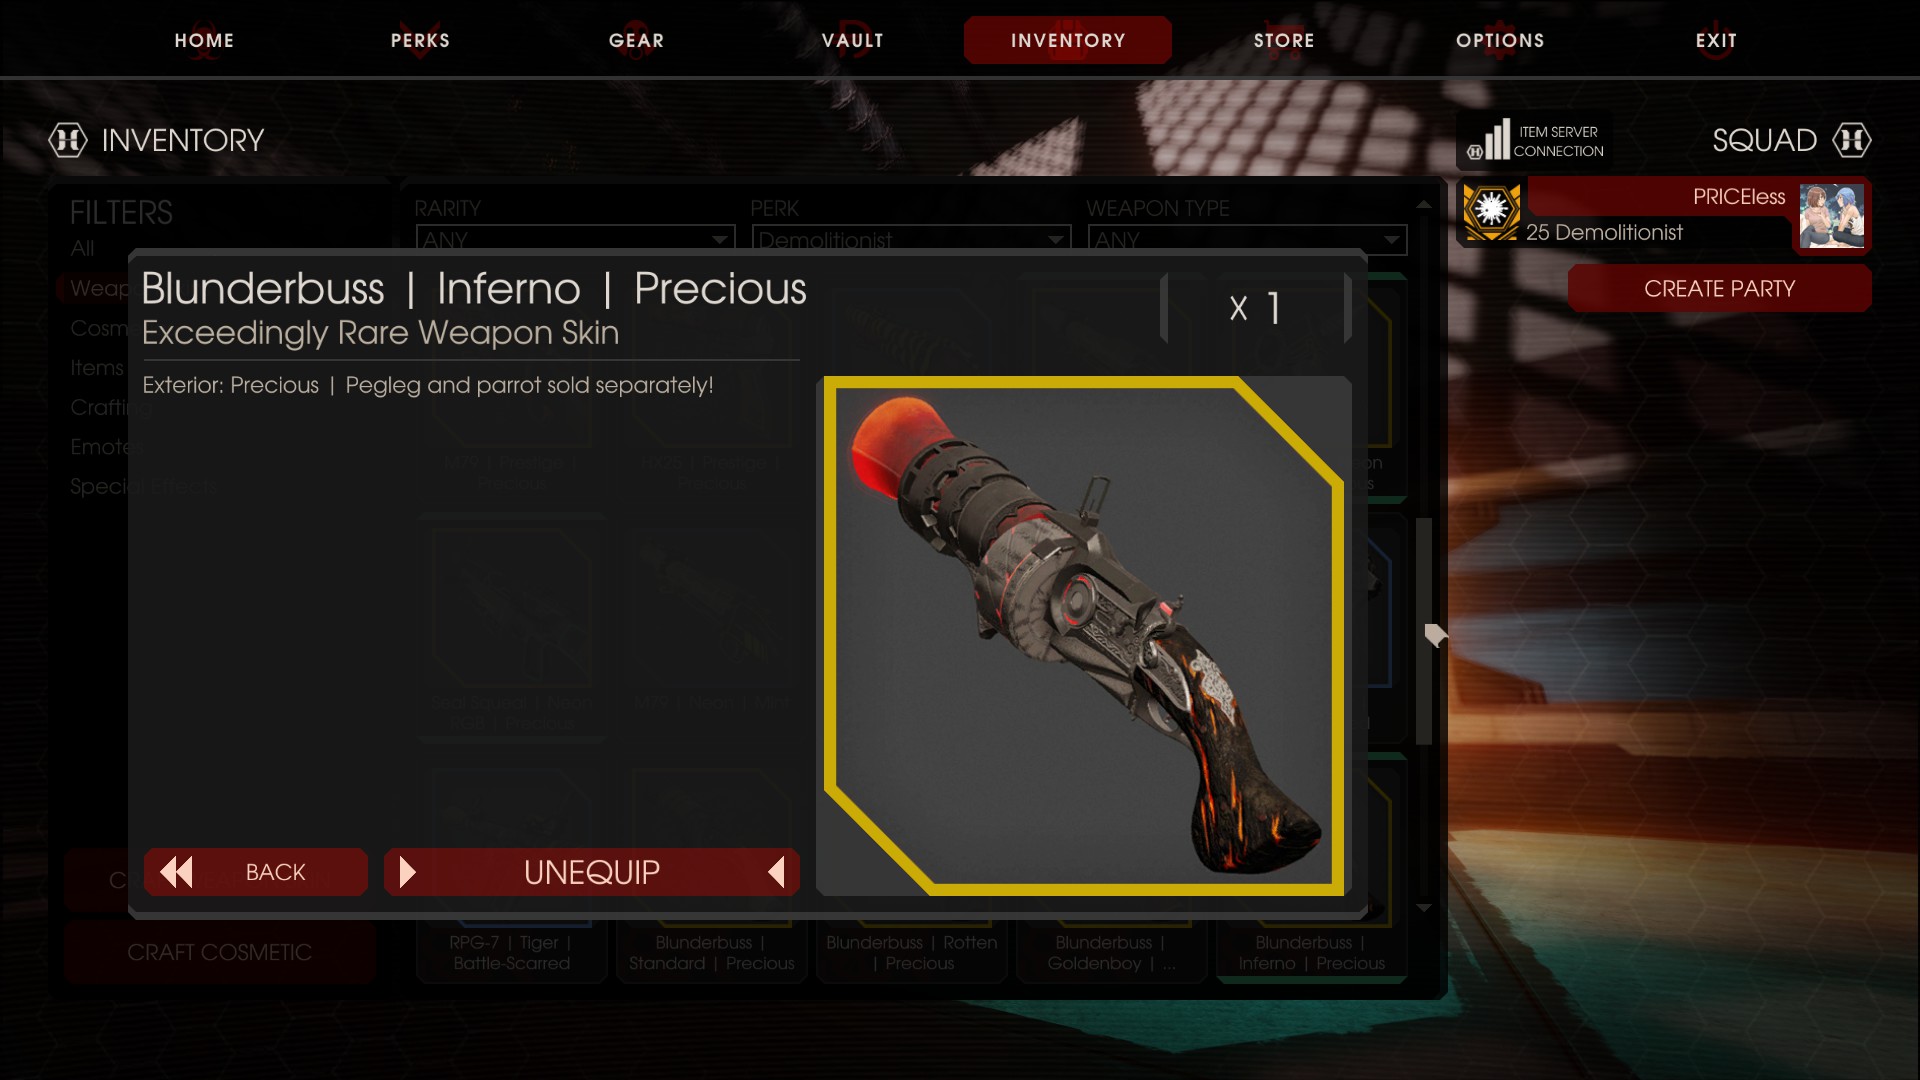
BLUNDERBUSS (DLC)
==================
The blunderbuss was the first dlc for demo. Crossperked with support, it is the best generalist gun for demo at the moment, with an answer to all threats. Primary fire shoots explosive cannonballs. Alt fire shoots shrapnels similar to the nailgun
• 3 magsize. 39 max spare ammo (44 for lvl25 demos)
• Cannonballs deal 300 impact damage, and 250 explosive damage. They are heavily influenced by gravity so aim practice is needed if you wish to score headshots with them.
• Explosions have 750 radius and 2 falloff exponent
• Cannonballs detonate at any range!! Watch out for self damage.
• You can hold down primary fire to delay the cannonball explosions. Handy if you don’t want to blow yourself up.
• Alt fire shrapnels deal 50 damage per shrapnel for a total of 10 shrapnels. Total cumulative damage is 500 per shot.
• Both fire modes fire at 87 RPM
• One shots all trash zeds, except the rioter, which takes 2. Rioter can be killed in 1 cannonball shot to the dome or well place shrapnel shot to the legs.
• Kills quarterpounds in 2 cannonball bodyshots or 2 shrapnel headshots
• Kills scrakes and fleshpounds in 2-3 shrapnel headshots depending on distance
The blunderbuss is a powerhouse that can deal with any threat the demo faces well. However good aim is required if you are to go up against scrakes and fleshpounds, as you usually have no room for error in missing. Amazing for the experienced demo.
Husk Cannon
===========
(yes, I don’t have a skin for this thing)
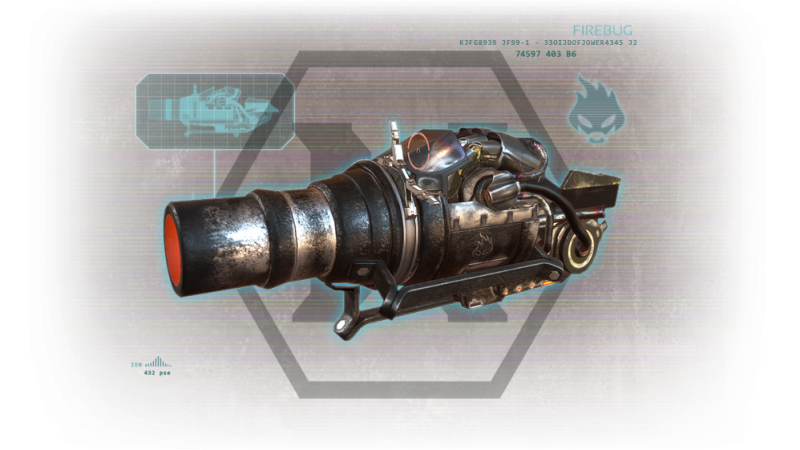
The husk cannon is demo’s 2nd foreign crossperk, originating from firebug. Like the husk enemies, it shoots fireballs at range. It also has a charge mechanic, Charged fireballs deal more damage and have a bigger explosion radius.
• 30 magsize. 150 max spare ammo (155 for lvl25 demo, LMAO)
• 8 weight. Can be carried with an upgraded self defense weapon.
• Fully charged shots use 5 ammo.
• At max charge Husk Cannon does 5x more damage, 2x incap power, and has 4x the explosive radius.
• Takes 1s to fully charge a shot
• Fireball does 40 impact damage and 60 explosive damage. Total of 100 damage per shot. 500 at max charge.
• Explosions have a radius of 100 units and 1 falloff exponent
• At max charge, ground fire is also added to the site of impact which burns zeds walking over it.
• Ground fire has 150 unit radius, does 3 damage every 0.5s and lasts for 4s
• Husks cannon also applies a fire DoT per shot which is 10% of the total damage done which ticks everyh 0.5s for 2.5s. (Total of 6 ticks or 60% extra damage over 2.5s)&nnbsp;
• Fireballs explode at any range, however they deal a miniscule amount of damage to the demo firing it. 6 damage on a fully charged shot point blank at lvl 25.
• One shots all trash, even rioter on a fully charged bodyshot. Rioters will die to the resulting afterburn damage.
• Fires at 150 RPM for uncharged shots.
The Husk Cannon is a primarily a trash clearer for demo. It really struggles to deal with larges. It can kill a scrake in 1 magazine safely but takes a ridiculously long time. Forget about QPs and FPs, they will hit you even with dynamite.
Weapons Part 5
=======================
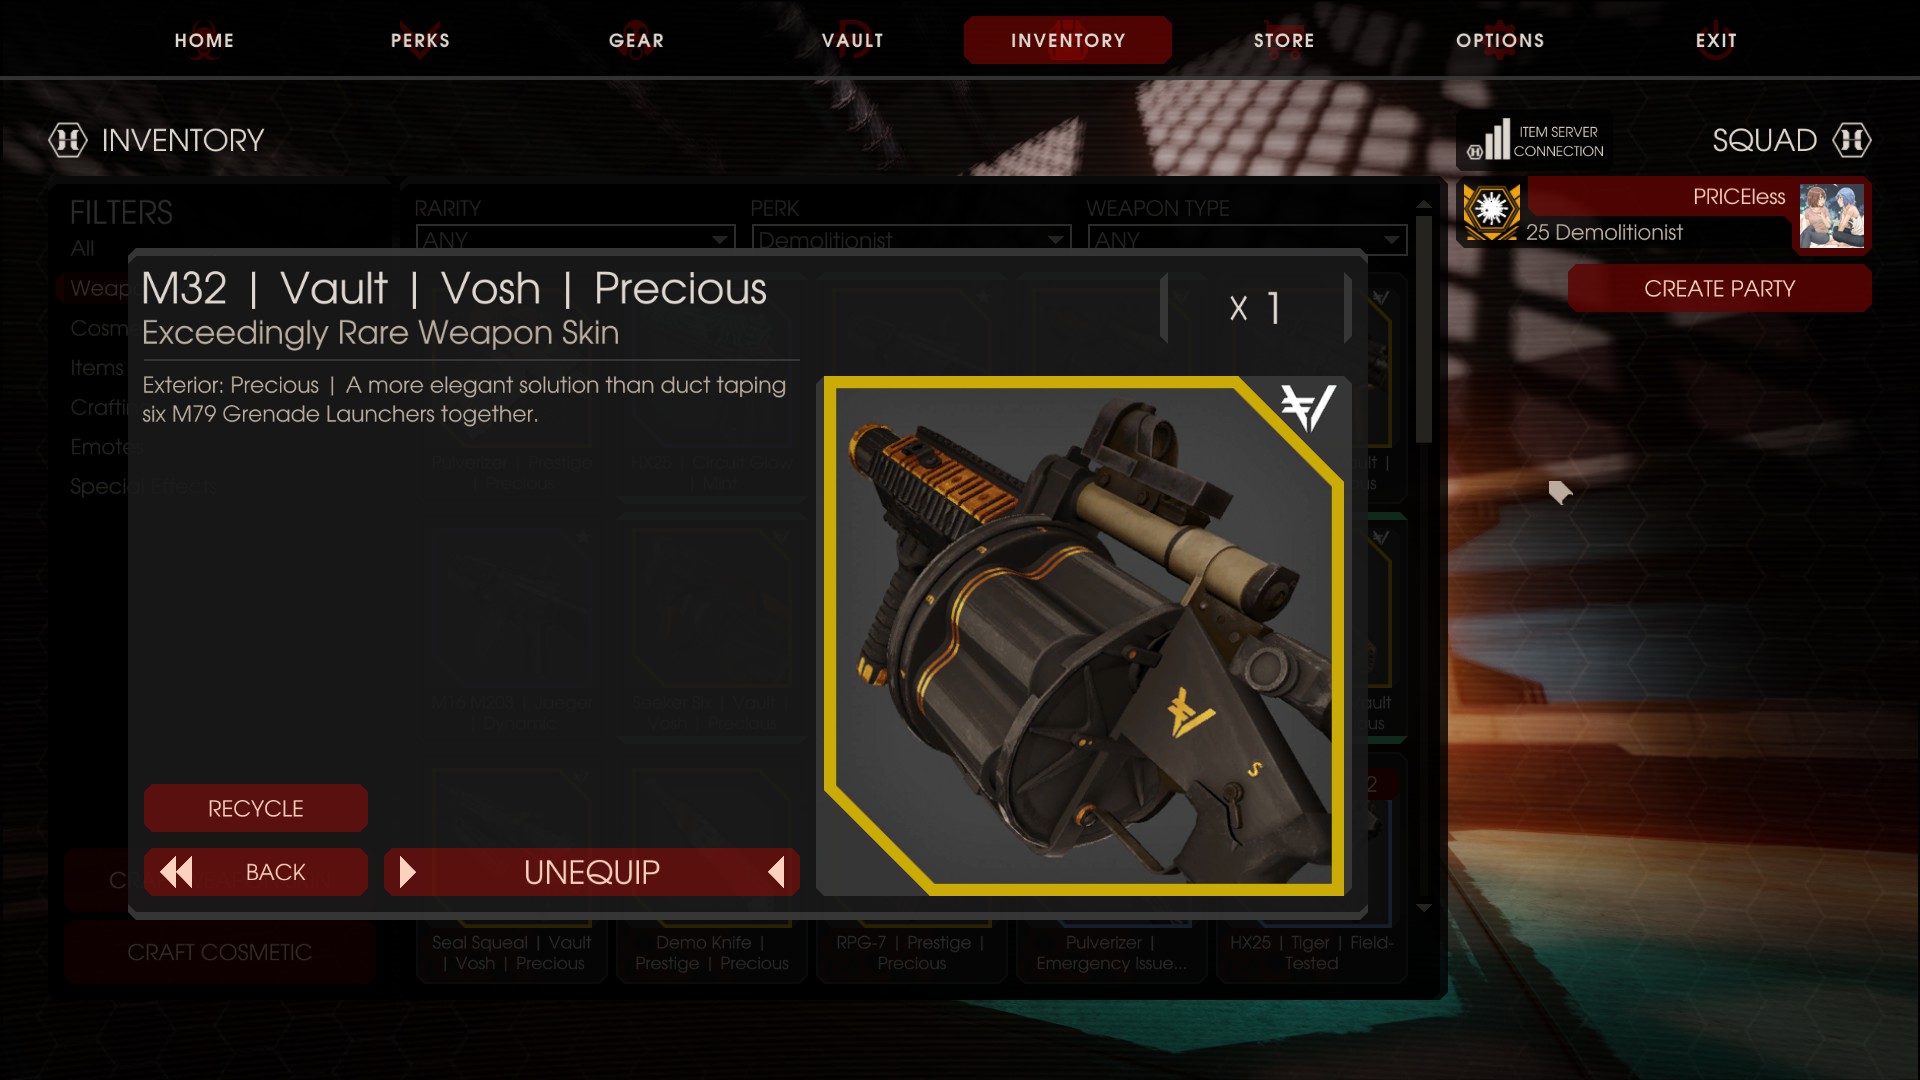
M32 GRENADE LAUNCHER
=======================
Ah the m32, the biggest meme fiesta for demo in kf2. Compared to kf1, this gun is but a shell of its former glory. Expensive, heavy, high recoil, slow reload, and sub par at everything it does. Recommended to not get this gun in any situation, unless you just want to have fun in the lower difficulties.
&nbsnbsp;
• 6 mag size. 36 spare ammo. (41 for lvl25 demos)
• 9 weight!!! This glorified trash killer is as heavy as an rpg, meaning you can only get the bare minimum self defense weapons as a secondary with no real means of dealing with larges.
• Tube reload. Yes, enjoy your 5.5s reload time when you empty this gun. Elite reload only speeds this up by 25% but that also means you really can’t deal with larges and are instead just a worse firebug.
• Grenades deal 150 impact damage and have 225 explosion damage
• Explosions have 850 unit radius and 2 falloff exponent. (yes, it’s literally just 6 m79s duct taped together)
• Just like the m79 only kills bloats, rioters and husks in 1 shot on a headshot. Otherwise 2 shots are needed. 3 for rioters.
• Kills quarterpounds in 3 shots.
• Kills scrakes and fleshpounds in 5 headshots.
• Fires at 240 RPM
• Grenades arm at 3.87m
The m32 is just 6 m79s duct taped together. As such its used mostly for trash groups. If you feel like paying 2000$ for a weapon that clears trash and takes up a large killing weapon slot, go ahead. Though if you just want to focus on trash as demo is like going ballistic as medic and killing enemies instead of healing your teammates, aka not what you are supposed to do. When people see a demo, they expect a demo to be able to kill large zeds.
=================
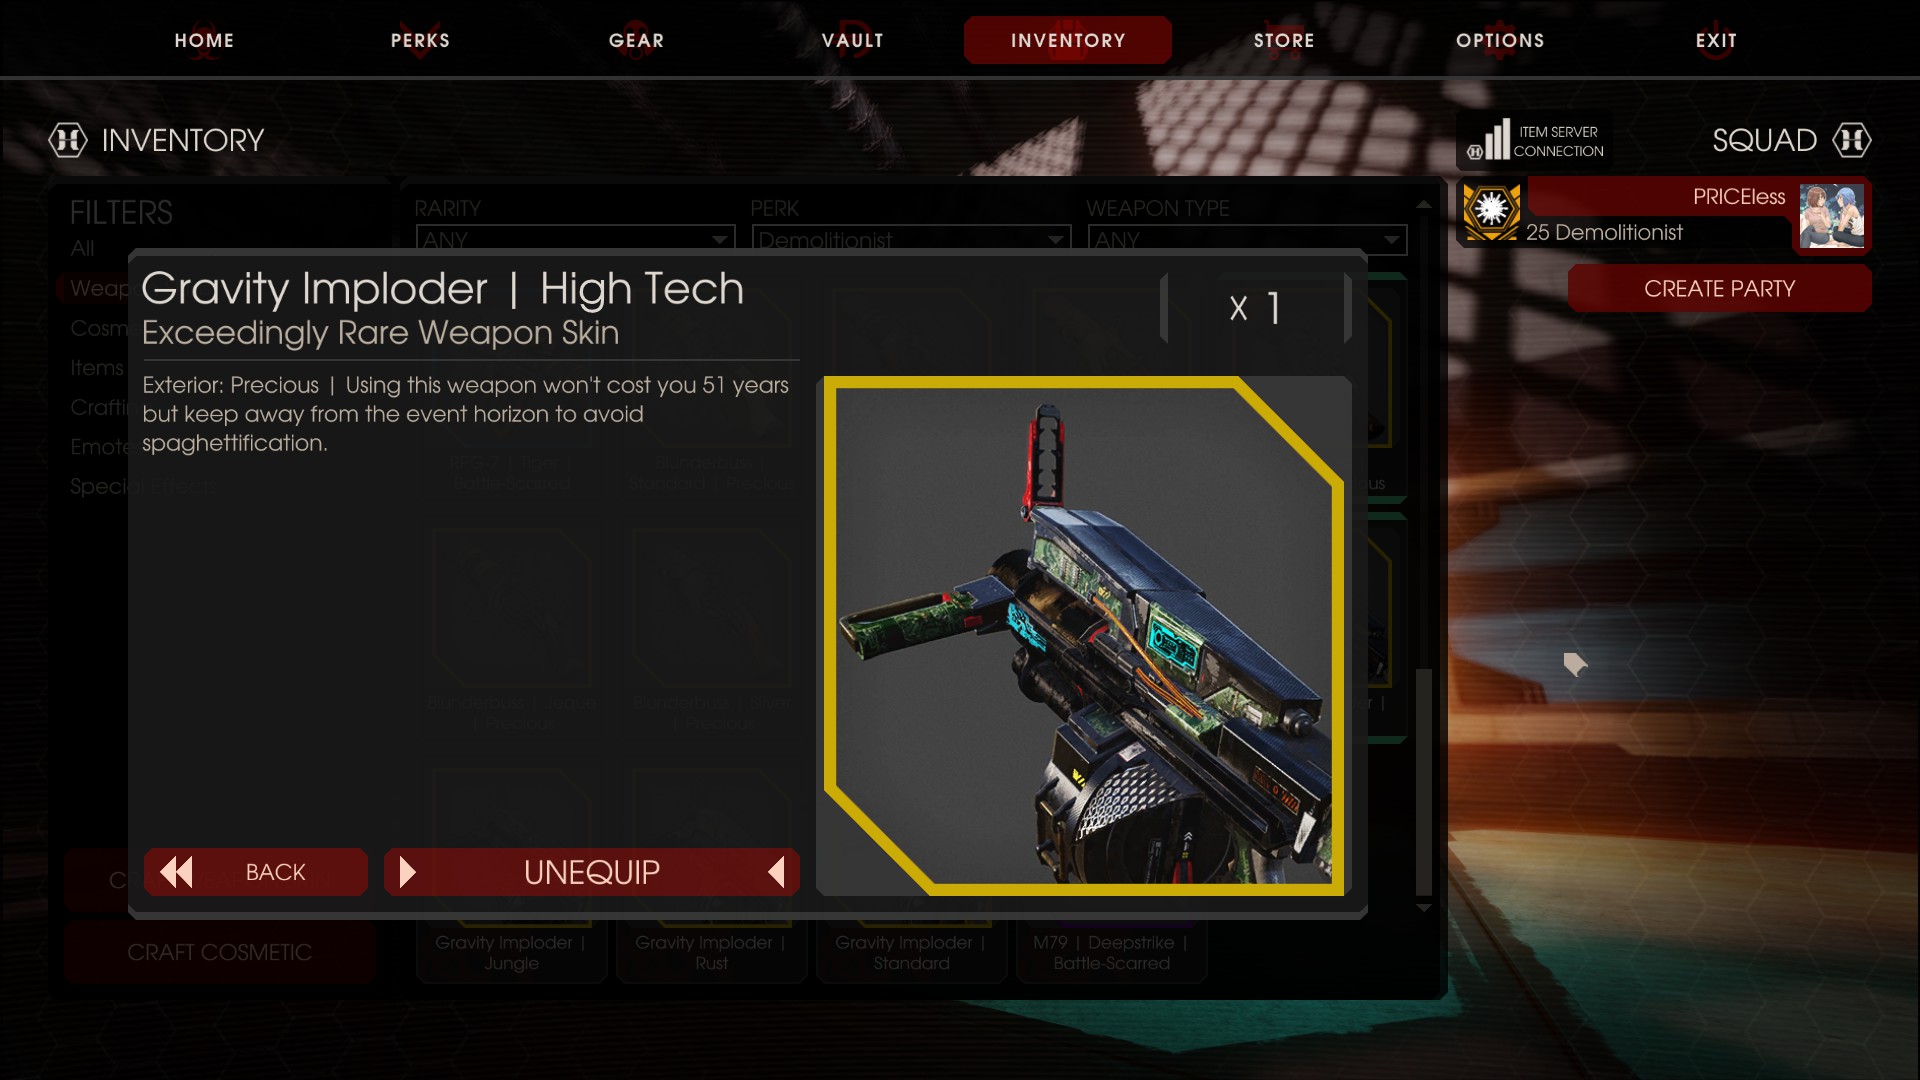
GRAVITY IMPLODER
=================
The gun M32 wishes it could be. This is the demo’s 2nd dlc gun and serves a similar purpose to m32. But PRICEless, you said m32 is ♥♥♥♥! Why do you praise this gun? Well for starters, not only is it lighter, has faster reloads, 0 recoil and does the job better, it also detonates at any range!! And to make things even better, does minimal self damage, so you can safely spam away.
• 6 max size. 42 max spare ammo (47 for lvl 25 demos). Already putting the m32 to shame.
• 8 weight. Which means you can carry another generalist demo weapon like the blunderbuss to deal with larges. Same can’t be said for m32.
• Primary fire fires black holes that implode zeds. Alt fire fires a gravity grenade that bunches them up for an easy detonation with the primary fire.
• Black hole does 150 impact damage, and 320 explosive damage
• Primary has an explosive radius of 280 with 2 falloff exponent
• Alt fire deals 200 impact damage and does 1 explosion damage
• Alt fire explosive radius is 450 units. The vortex it shoots out after 0.5s has 500 unit radius
• Alt fire pulls everything in its radius. Yes, even bosses lmao. Scrakes and below get knocked down same with unraged pounds.
• Kills all trash in 1 shot. Bloats, Husks and Rioters need it to be a headshot, otherwise it will take 2 shots.
• Kills Quarterpounds in 3 shots.
• Kills Fleshpounds in 6 shots. Can be comboed with dynamite to reduce it to 5 and for a safe takedown.
• Fires at 45 RPM
• Does 5 damage to a lvl 25 demo if shot point blank. (Might as well not exist)
The gravity imploder is imo another usable dlc released by twi. This + blunderbuss is now my favourite demo loadout and a fresh change of pace from the rpg meta. Below is a demonstration on how to kill a fleshpound with the imploder safely.
===============
DYNAMITE STICK
===============
The dynamite stick is demo’s version of the grenade. It has unique properties compared to other grenades.
• Does 300 damage
• Stuns zeds on contact. For fleshpounds it needs to be aimed at the legs, as a chest or head hit will instead rage it.
• Explodes on zed contact. If no zed contact is made, it will have a fuse time of 3s.
• Has an explosive radius of 400 units and falloff exponent of 2.
And with that marks the end of the weapons section.
Loadouts
LOADOUTS
Looking on what to bring onto the battlefield? Here are some suggested loadouts by me.
• T5 RPG + C4 + Desert Eagle = META large zed focused loadout
• T5 RPG + T2 HX = Large zed focus with self defense loadout
• RPG + Kaboomstick = Cheapest generalist/boss wave loadout (has ammo problems)
• T5 M16 + t4 Kaboom = Most versatile generalist loadout (very expensive!!)
• Blunderbuss + Imploder = P2W generalist loadout
• T5 RPG + mp5 + t2 101 = No medic in the team loadout.
• T5 RPG + T3 201 = No medic in the team (less ammo but easier heals)
• RPG + M79 = Cowering behind a zerkwall loadout.
Reload cancelling
Yes yes, you’ve heard enough about this by now. But it is essential, as demo weapons have slow reloads and reload cancelling helps alleviate that issue (mostly). It can mean the difference between life and death if an FP manages to get off a hit, so every second is precious.
Now while I can upload a video myself, I feel it might not be informative enough (I lack video editing skillz) for people who aren’t familiar with this so I will instead link a video by the talented Kabyidon. His reload cancelling tutorial is in depth and top notch:
Overcapping
What is overcapping? It means getting both the benefits of an ammo increase skill as well as the other one. In other words. Get the best of both worlds.
So how do you overcap?
1. First switch to the ammo increase skill during trader time. In the case for demo, that is Extra Rounds.
2. Then fill up your ammo to max.
3. Once that is done, drop your weapon on the ground.
4. Switch back the skills, in this case from Extra Rounds back to High Impact Rounds.
5. Pick your weapon back up.
Congratulations. You now have the extra ammo and the damage bonus together!!
WARNING : Do not pick up ammo boxes or take ammo from a fellow support player or your max ammo will be reset. It is safe to pick up ammo once you go below the glitched amount. Also do this trick in public at your own risk! I cannot stress this enough. Some people might have a few screws loose and instead steal the gun that you just dropped and sell it for their own personal gain. Best to do it in a secluded corner where those people won’t grief you.
Offperking
If you run T5 RPG + C4, there is an issue with that loadout that you might notice. You have 0 means of self defense and you only have 2 weight left, so no demo on perk guns can fit in. The lightest, HX25 is 4 weight. So what do you use to fill in the remaining 2 weight? Here’s your answer
==============
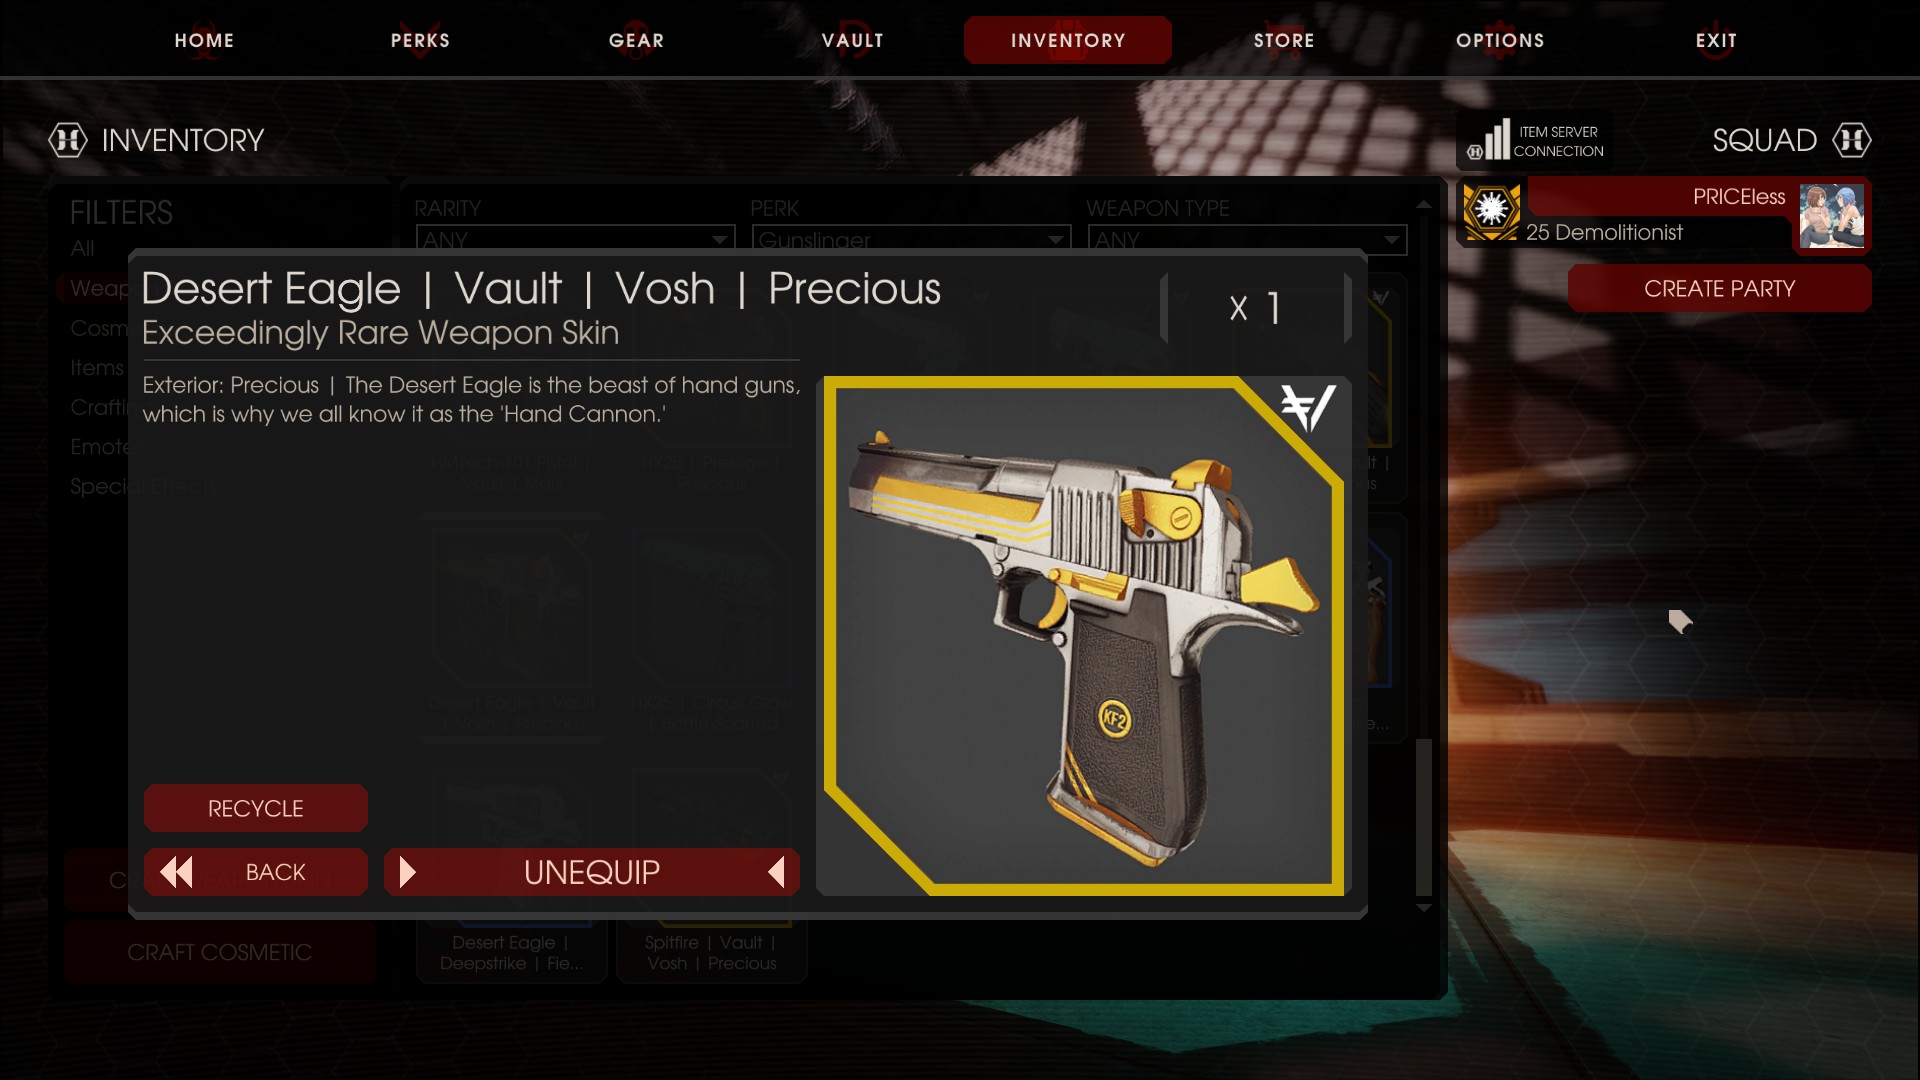
DESERT EAGLE
==============
The desert eagle, one of the most iconic handguns in video game history. At 2 weight, this thing packs quite a punch, even offperk. It provides a decent way of protecting yourself when rocking the T5 RPG + C4 loadout.
&nbsnbsp;
• 7 magsize. 105 max spare ammo.
• 91 damage per shot
• Takes 2 bullets for most mediums. 3 at the most and 4 for rioters.
• 1 shots those pesky cheerleaders stalkers.
• Has some recoil. So learn to control it.
• Fires at 300 RPM
============
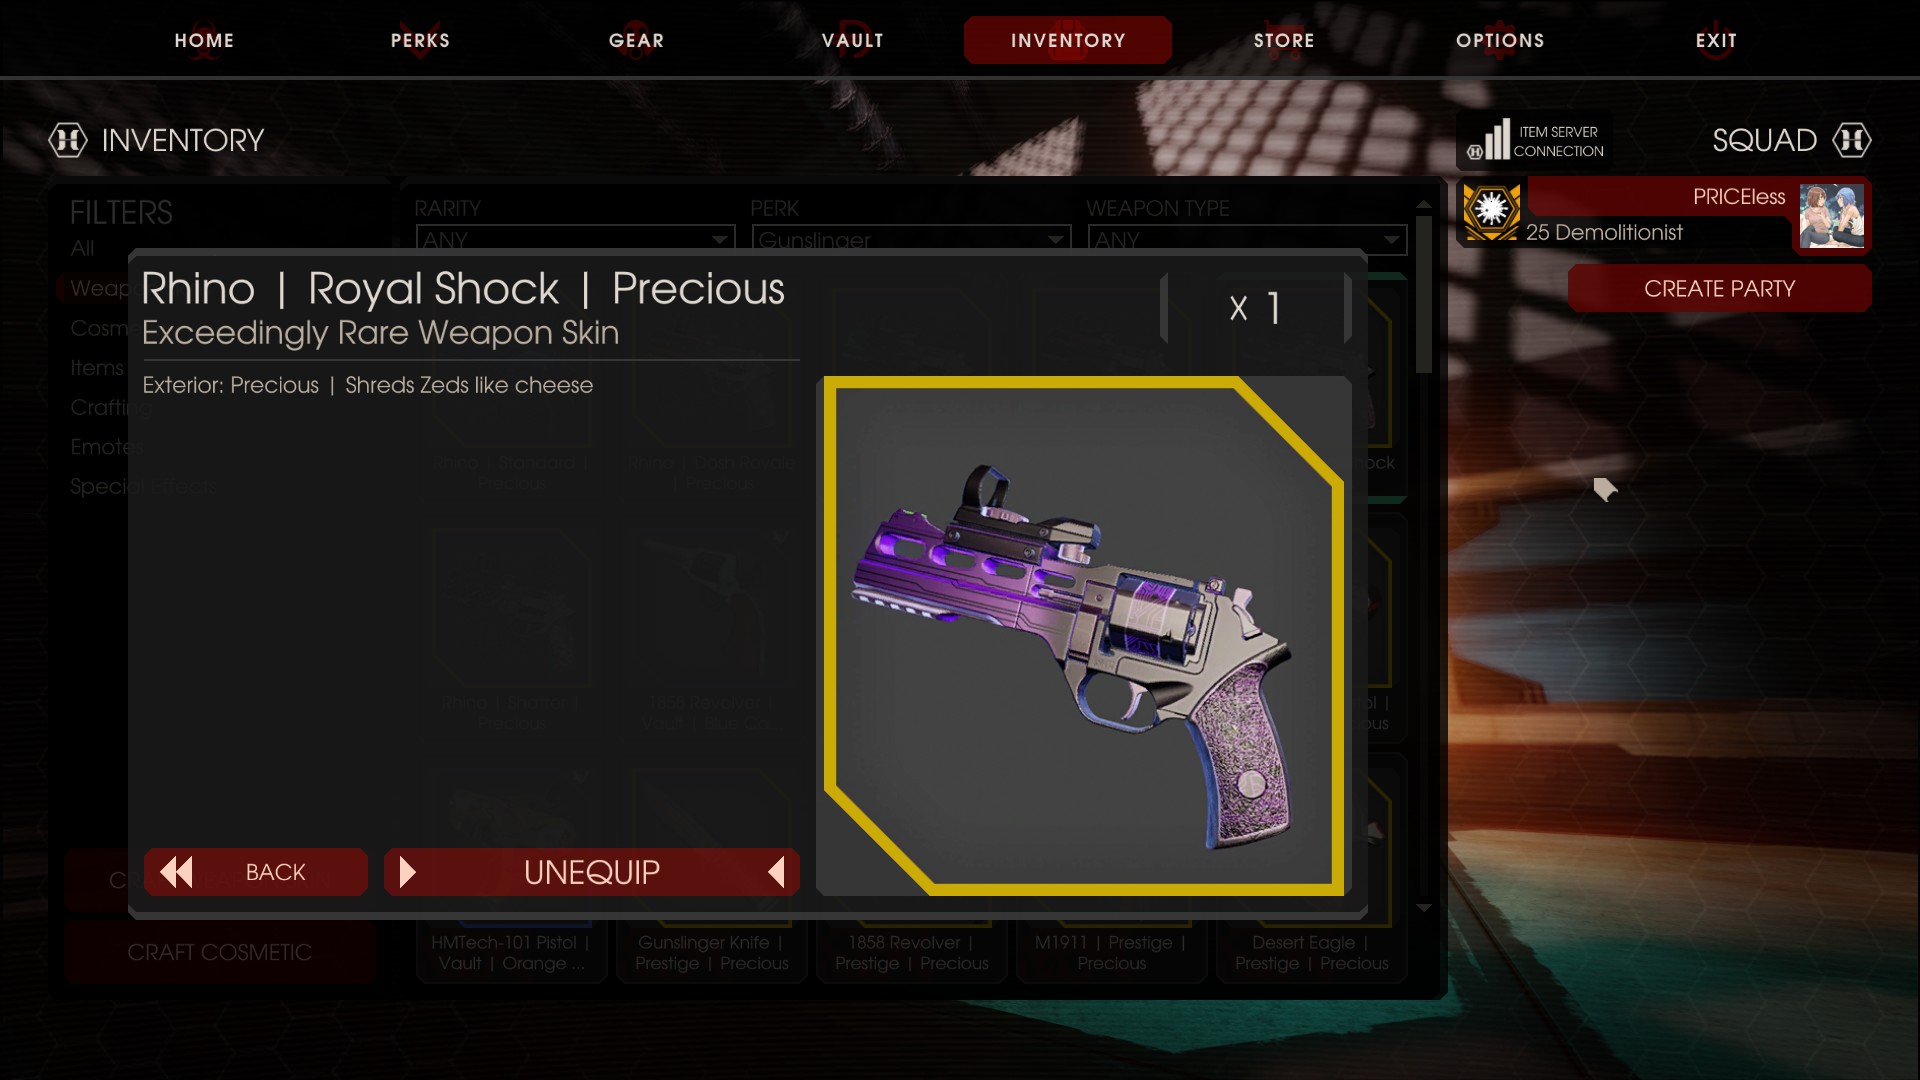
RHINO (DLC)
============
Yea its a DLC, But it does serve as an alternative to the deagle in the 2 weight slot. It trades medium killing capabilities for bigger aoe to kill trash over a small area.
• 6 magsize. 114 max spare ammo.
• 75 damage per shot. Each shot fires 3 shrapnels on impact.
• Shrapnels deal 80 damage each.
• Takes 1 shot more for each medium zed (roughly) than the deagle. 1 shot less for rioters though.
• Low recoil, shouldn’t have an issue firing this gun
• Fires at 342 RPM
General Tips and Tricks
TIPS
Explosive weapons deal IMPACT DAMAGE AT ANY RANGE. I know there are statements about them not applying impact damage if they explode, but this is false!!! These rumours are spread around by inexperienced demos who didn’t understand the full picture.
If you are good at aiming, feel free to do it from long range, as it is ultimately safer. The reason people run close to scrakes is because they just want to make sure their shots land. This however comes with a risk of its own as it means, trash zeds can surround and interrupt you or worse, you miss, and now you have an angry scrake right in front of your face who will chop you to pieces.
When to run up to a scrake and decap? When there are multiple larges nearby, so that your explosives don’t accidentally rage them! A pack of raged larges with one dead is worse than a pack of unraged larges with one dead or only one that is raged. (If you missed).
TRICKS
Dynamite throws
• When you see a scrake in an attack animation, do not throw your dynamite! Scrakes are immune to stun and stumble whenever they are doing their attack animation.
• When planning to stun a fleshpound with a dynamite, aim at the legs! This will prevent it from raging and ignoring the dynamite stun. If thrown anywhere else, he will rage and give you an a*s whooping.
Grenade supplies
• When buying items from the trader, stand a bit back, around the edges, so that teammates can get a grenade from you while you are shopping
• Trader time is considered part of the previous wave, so teammates can chain 2 free grenades off of you by getting one during trader time, and then immediately grabbing again once trader time ends.
Conclusion
Welp, hope this guide proves useful to you. Hopefully, you’ll be better at being a demolitionist once reading this guide and can make the right calls when it comes to it.
Don’t forget to rate this guide and let me know if I had missed anything that you were not sure about before looking up this guide and I’ll add it here.
*Also, shameless copy paste from my previous guide*
=========
ABOUT ME
=========
If you wish to play with me, I frequent the SG servers, most notably the CD variant, where I play as the medic, commando or sharpshooter. I also play on HOE servers regularly around the SEA region. (But usually as zerk or medic. Yes, I’m a medic main, how can you tell?)
============
FINAL WORDS
============
A big thank you to all who made this guide possible
• Patrick Fitzgerald for hosting servers where I can play with decent ping
• Kasder for making meme maps which I enjoy and keeps me playing KF2
• The Great Artemia and Nancy for always going demo or going medic whenever I don’t want to be medic.
• Fauxy for providing a superb test map
• And you, Dear Reader for reading all the way down here and paying this guide a visit.
Let me know if you guys want me to create another guide on another class. (Except survivalist, I hardly play that perk, even for solo lol)
Hope you enjoy the post for Killing Floor 2 Priceless Demolitionist Guide, If you think we should update the post or something is wrong please let us know via comment and we will fix it how fast as possible! Thank you and have a great day!
- Check All Killing Floor 2 Posts List


Leave a Reply