A guide for new or new-ish players of Hunt: Showdown to help improve game knowledge and start winning matches.
Overview
Right off the bat, I’d like to start by clarifying that this guide is intended for players who are just starting Hunt: Showdown and will not include many intermediate or advanced tips. This guide should help players who are roughly >300 hours into the game and are looking for ways to improve to start winning matches. I’d love to make a guide for more advanced tips and tricks but for now; The Basics. The guide will be a bit rough as this is my first attempt at an in depth guide but I will improve and tweak it wherever possible.
Know Your Hunters
If were going to talk basics then we first need to go over the difference in hunters. Hunt: Showdown offers up 4 different types of hunters which all play the same but start with different perks. After every hunt you’ll be able to refresh your recruitment tab to get 4 different hunters to recruit. These Hunters will have randomly assigned health bars (Big bars are 50 HP and small bars are 25 HP) totaling 150 HP. Upon dying you will lose the right-most health bar. After losing all health bars you will become “Red Skulled” and will need a partner with a bounty to revive you. Lost health bars can be bought back after the match in any combination to total 150 HP.
Tier I Hunters (Bloodline 0)
Tier I Hunters are the most basic hunters in terms of loadout and are what you’ll start with until you reach Tier II at Bloodline Rank 34. Tier I often wear bright clothing or even white shirts (Thus the moniker White-shirt) which don’t overly blend into the Bayou. They usually come with lower level weapons like Winchester rifles or Springfield rifles. Some may even come equipped with Axes. However, Tier I hunters are also the cheapest (~100-150) with a free Tier I being available after every hunt so you always have someone to play.
Tier II Hunters (Bloodline 34)
Tier II Hunters become available to you at Bloodline Rank 34 (A fancy way of saying player level 34 aka the number in the top level of the main screen) and are noticeably different from Tier I. Tier II often have darker clothing than their Tier I counter parts with some attempt at blending in being present. Their weapons are usually better featuring higher level unlocks, 2 tools and 2 consumables as well as 2 random perks. Perks grant special bonuses to hunters in various aspects of the game which we’ll touch on later. However Tier II hunters also come with an increased price tag (~300-500) that varies depending on their equipment and perks.
Tier III Hunters (Bloodline 67)
Tier III Hunters are the final and, at least in terms of lore, most experience hunters up for recruitment. Normally clad in black clothing or homemade camouflage these hunters offer the top level gear in the form of high level rifles, shotguns, special equipment or variants of these weapons. In addition they come with 3 tools, 2-3 high tier consumables and 3 perks. This of course makes them the most expensive hunter to recruit (~600-1000) but arguably the most aesthetically pleasing to have on your roster.
Legendary Hunters:
Legendary Hunters are acquired from the “Legendary Hunter” sub-tab under recruitment. Rich in lore and always wearing a signature uniform these hunters will cost 200 Hunt Dollars (After unlocking them for Blood Bonds, the games premium currency which you slowly gather after each match or by purchasing them in the shop) every time you recruit them. They come with 3 random perks and nothing else. If you intend to recruit one of these guys make sure you have some extra cash or stowed weapons as you’ll need to supply all their gear. While the Legendary Hunters are always available to you after unlock they may not be the best option if you’re short on cash or have a promising hunter in your recruitment tree.
Soul Survivors (Quickplay)
Personally I don’t count Soul survivors as a reliable recruitment option since they’re not always available but it’s worth noting just for completion sake. Winning a Quickplay match will allow you to keep the hunter you played as with all their acquired perks, gear and appearance and will add them to the “Soul Survivors” Sub-tab on the recruitment page.
Choosing a Loadout
While there are certain things I can tell you about choosing your loadout most of this will come down to personal preference and reflect how you like to play Hunt: Showdown. Instead some things to consider while making your kit:
-Make sure you have a working hunter. Your kit at the very least should consist of 2 weapons (1 big 1 small or 2 medium, (Including dual pistols) a melee to handle A.I. and a Medkit to heal your hunter.
– Don’t over specialize. If your primary weapon is a shotgun, you don’t need an axe. bring a kit that can fight at any range. Pistols are a great choice for any kit since Hunt: Showdown has no bullet drop (With the exception of arrows and thrown objects)
-Have a plan if things go bad. We all love taking dynamite but it may not be the best use of a consumable slot. Since you have 4 slots a good way to start is have 2 offensive (Dynamite, Frag Bombs, Poison Bombs, Bees, etc.) and 2 defensive/Support (Vitality shots, Concertina wire, Ammo Boxes, Buff Shots, etc.)
– Look at what your team is bringing. If 2 of your teammates have shotguns, consider a rifle to balance out your team’s combat range. Keep in mind that certain weapons like shotguns or scoped rifles likely indicate how your team intends to play (Getting close to your enemy or staying at a distance). If playing with friends or a team with active communication, you can even bring items to support them like ammo boxes or extra buff shots.
-Spend Wisely. A losing streak in hunt can really hurt the bank if you’re short on Hunt dollars. When building loadouts on a budget check to see if there are any items you can sell. Check to see if there are any daily challenge rewards to be claimed or if a free hunter has guns you like.
-Play what you enjoy. if you have a kit that suits you well or often provides results while on Hunt, consider bringing that rather than trying the fancy new gun you just unlocked.
Sound And Sound Traps
Hunt: Showdown is a game that focuses heavily on sound and sound queues. Everything you do in hunt makes sound from swapping weapons to picking up items to fight other players. It’s important you know what sounds you’re making and what sounds to look out for.
Your sounds:
Your hunter when moving will make noise based off what material you’re moving on. Sand for example will be very quiet while metal sheets will be extremely loud. But things like swapping weapons, readying grenades, healing or interacting with world objects will also make noise. This is important to know if you’re trying to maintain stealth in the world of Hunt:Showdown. Most noises can be reduced by moving slower (walking or crouching). Interacting with most doors while crouched will open them slower but quieter. Additionally hanging noise traps like cans, bottles or chains will not make noise if moved through while crouched. Keep in mind that even making as little noise as possible may not be enough to hide your location from hunters who are very close to you. Hunters below you in a building or on the other side of a wall will likely hear you regardless of how you move. Sometimes moving quickly to get away is better than trying to stealth in vain.
Noise Traps:
Around the world of Hunt:Showdown you’ll find sound traps which are designed to give away your location to other hunters and alert nearby A.I. who may come investigate. Crows, Ducks, Horses, Dry Branches, Dog pens and Chicken coops are the primary sound traps you’ll find. Get too close and they’ll start to make noise that can be heard and sometimes seen from anywhere nearby. There are however ways to deal with these traps if you’re not keen on alerting other hunters or nearby monsters.
1. Go around, sometimes the easiest way to deal with a problem is by just ignoring it and going a different way. If multiple sound traps are in your way or are surrounded by monsters. look around and see if a better path is available.
2: Deal with the problem. Every Sound trap can be dealt with in some manner. Birds can be burnt or poisoned. Horses upon taking nearly any damage will die. Branches can be crouched over. Dog Pens and Chicken Coops both have lanterns above them that can be destroyed to clear out the trap.
3: Trigger it on purpose. You can choose to just trigger the traps on purpose to alert hunters to where you are or appear to be going. Coupled with a clever detour or ambush, this can be an effective way to draw out hunters hiding nearby though at noticeable risk.
P.V.E.
Hunt: Showdown offers a Small but interesting cast of A.I monsters for you to encounter on your way to fight your bounty boss.
Grunt
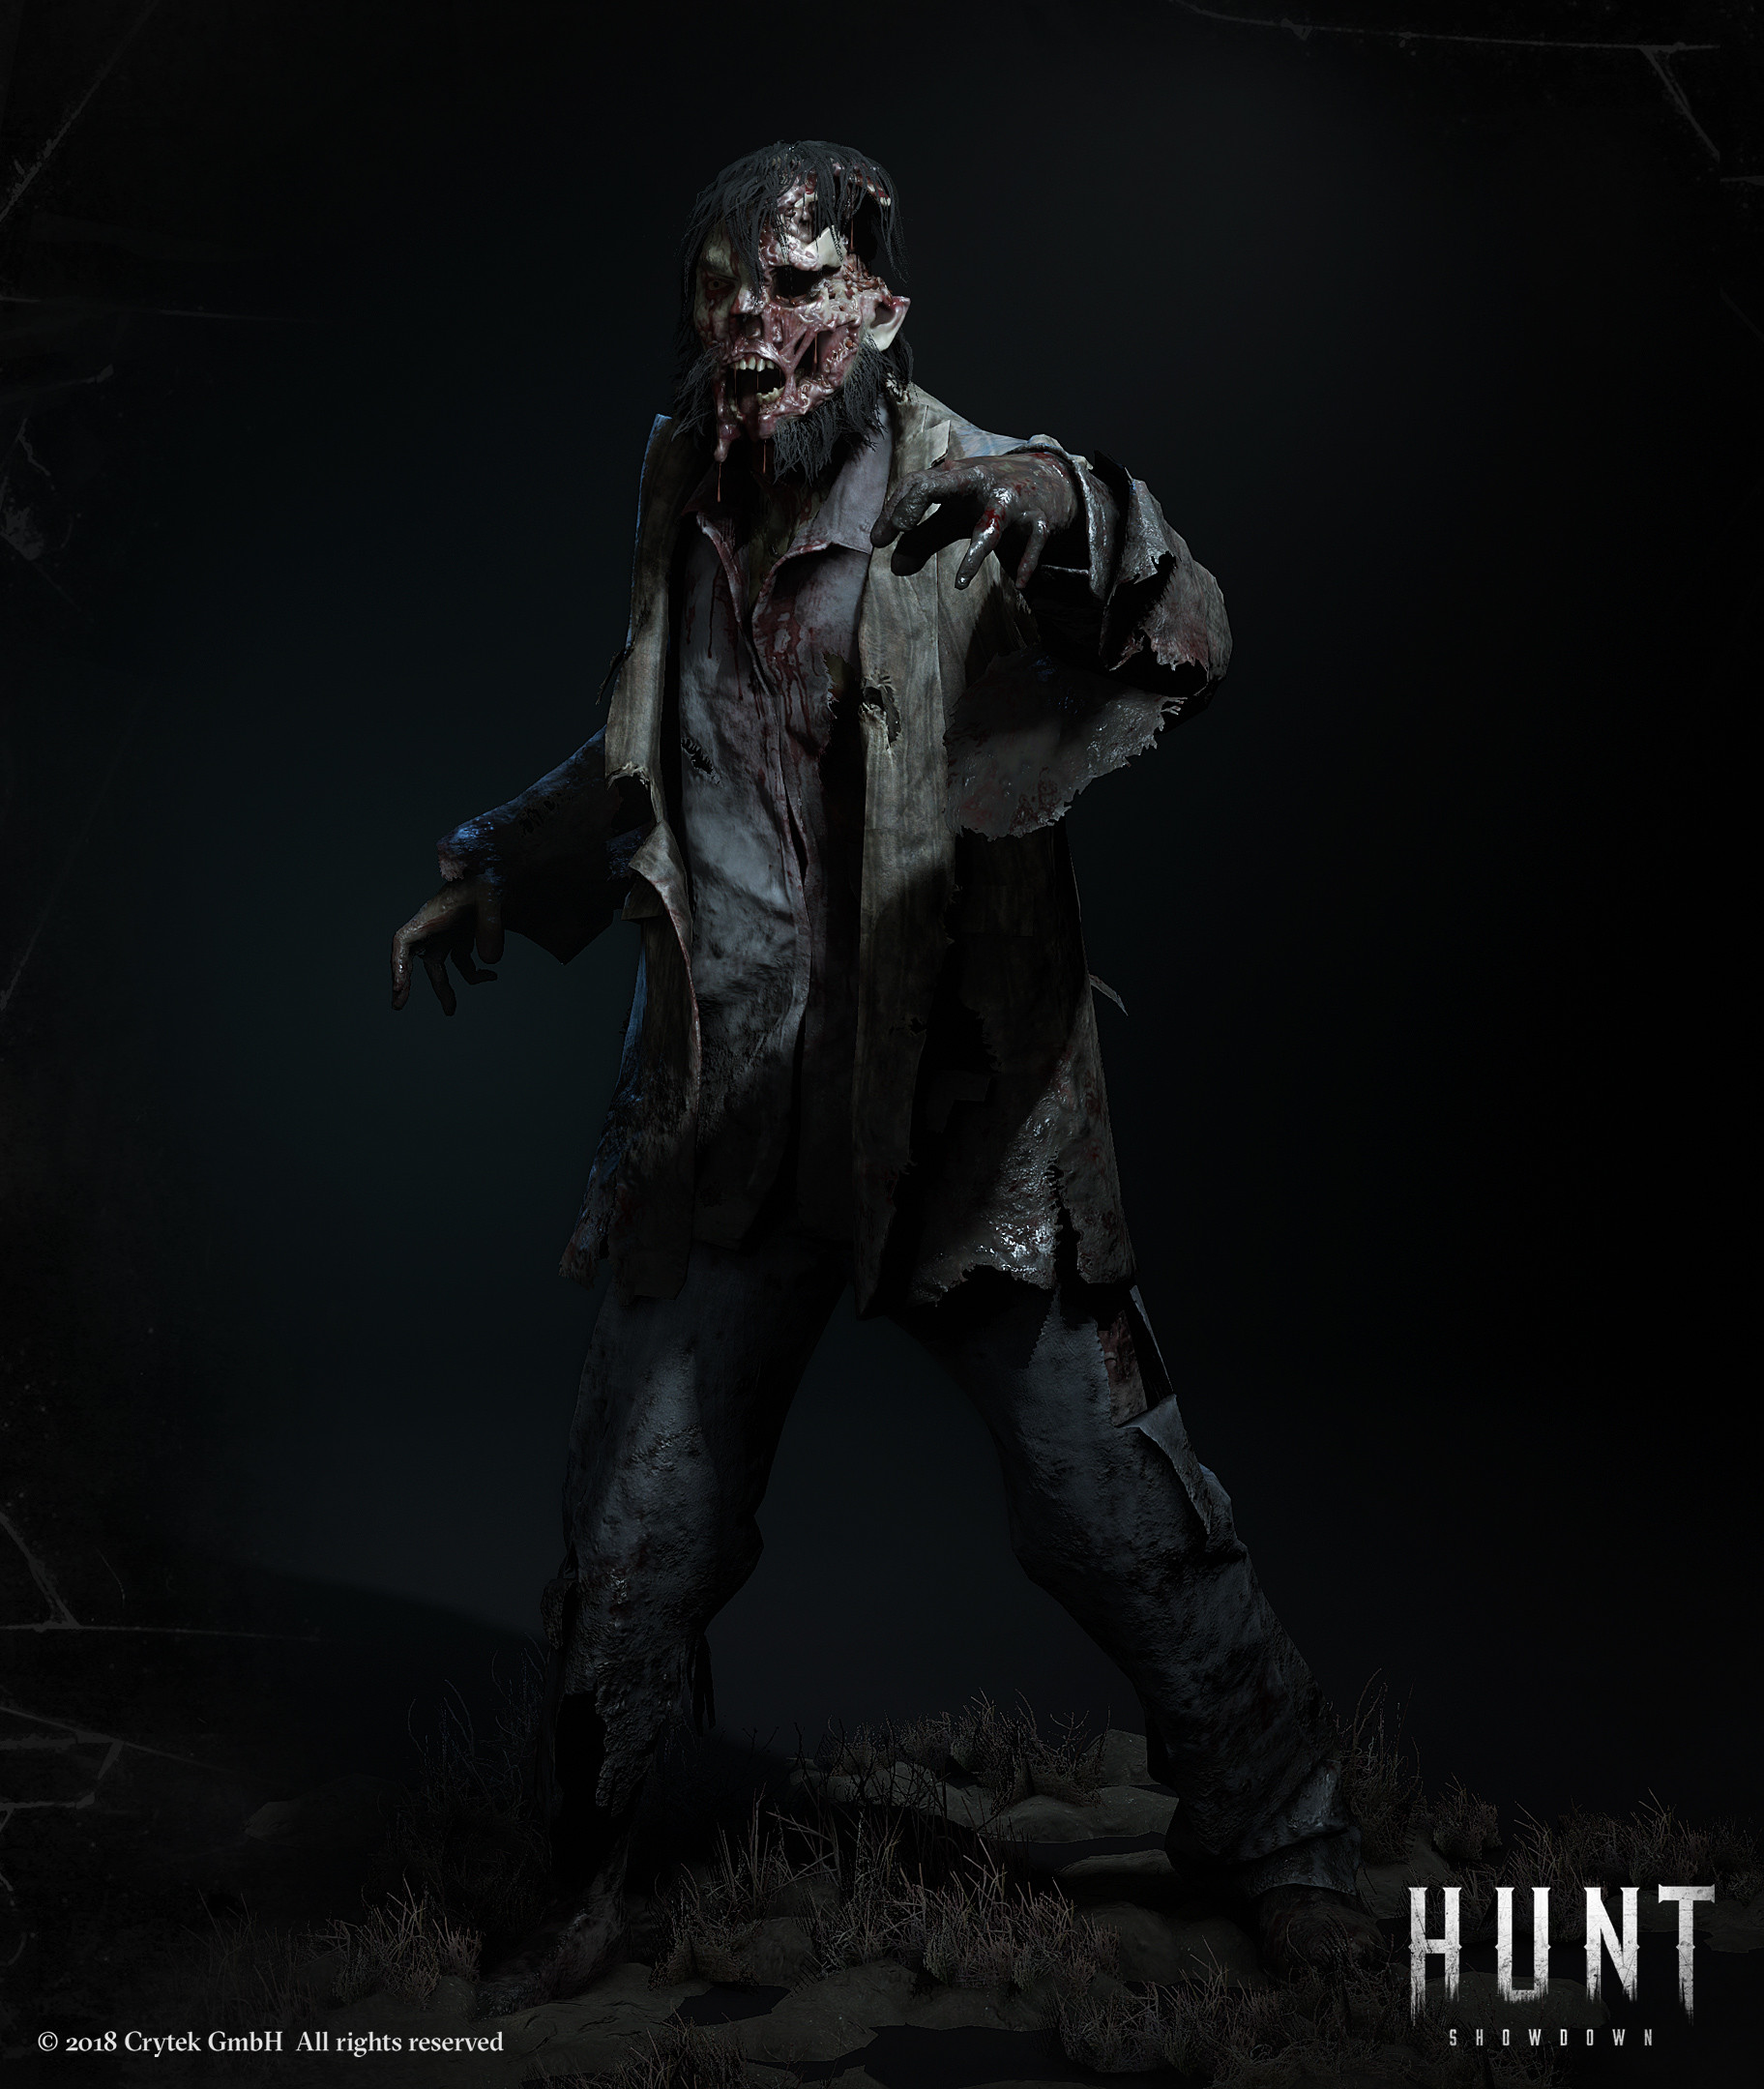
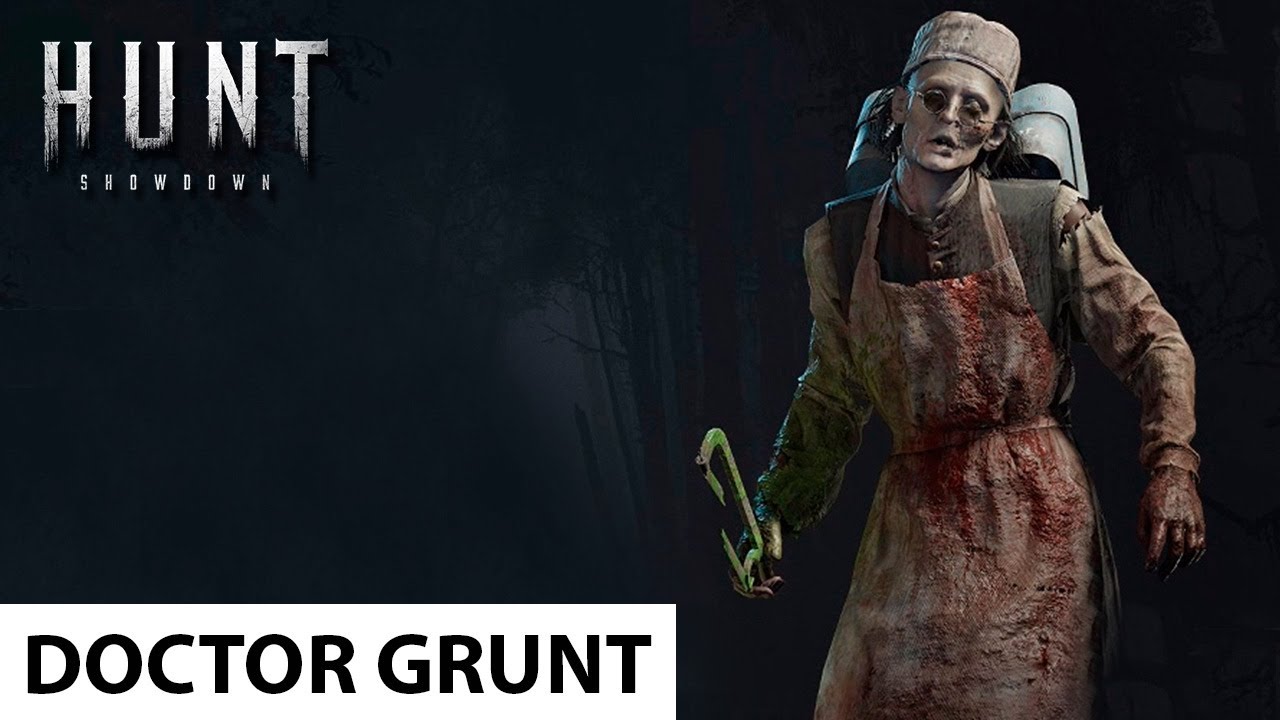
As their name would have you believe, Grunts are the common enemy of Hunt. They’re easy to find and dispatch but can be quite troublesome should you lack the means to deal with them efficiently or neglect to do so before getting into a fight with other hunters. They come in a variety of forms and can brandish torches, bladed weapons or have empty hands. Grunts with weapons will have the ability to cause bleeding or ignite you respectively. The grunt also has a doctor variant that carries around a med-kit on his back. Killing him will allow you to use the med-kit to restore all bars that have been damaged. A word of advice for dispatching them, go for the head with a charged melee. This is the easiest way to deal with these shambling nuisances.
Armored
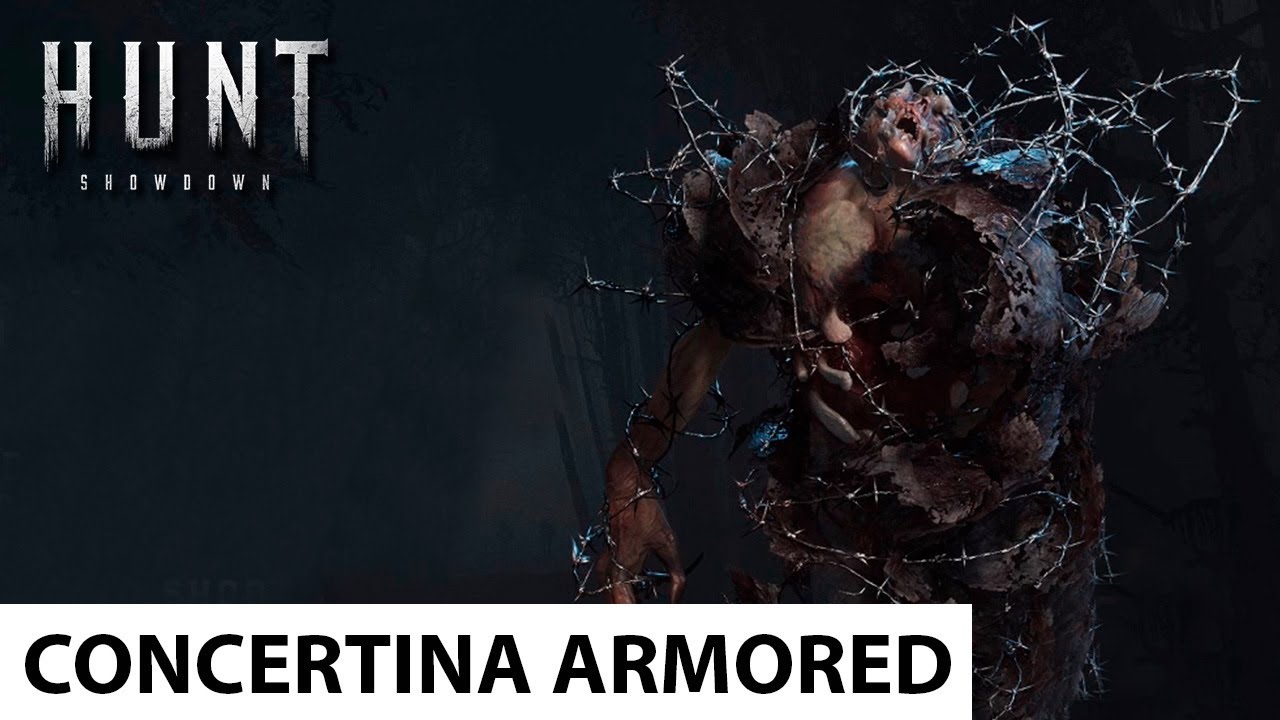
A thick husk covers these unfortunate creatures, likely contributing to their loud and frequent pained moans. Armoreds are similar in nature to grunts quite often in compounds and by bridges however not exclusive to these area. They’re resistant to gunfire with even the slightly less armored concertina variant boasting a healthy resistance. To take them down try using fire or resort to a trusty few stabs. Like the grunts their limbs can be targeted to slow them down if you don’t feel like challenging them.
Hive
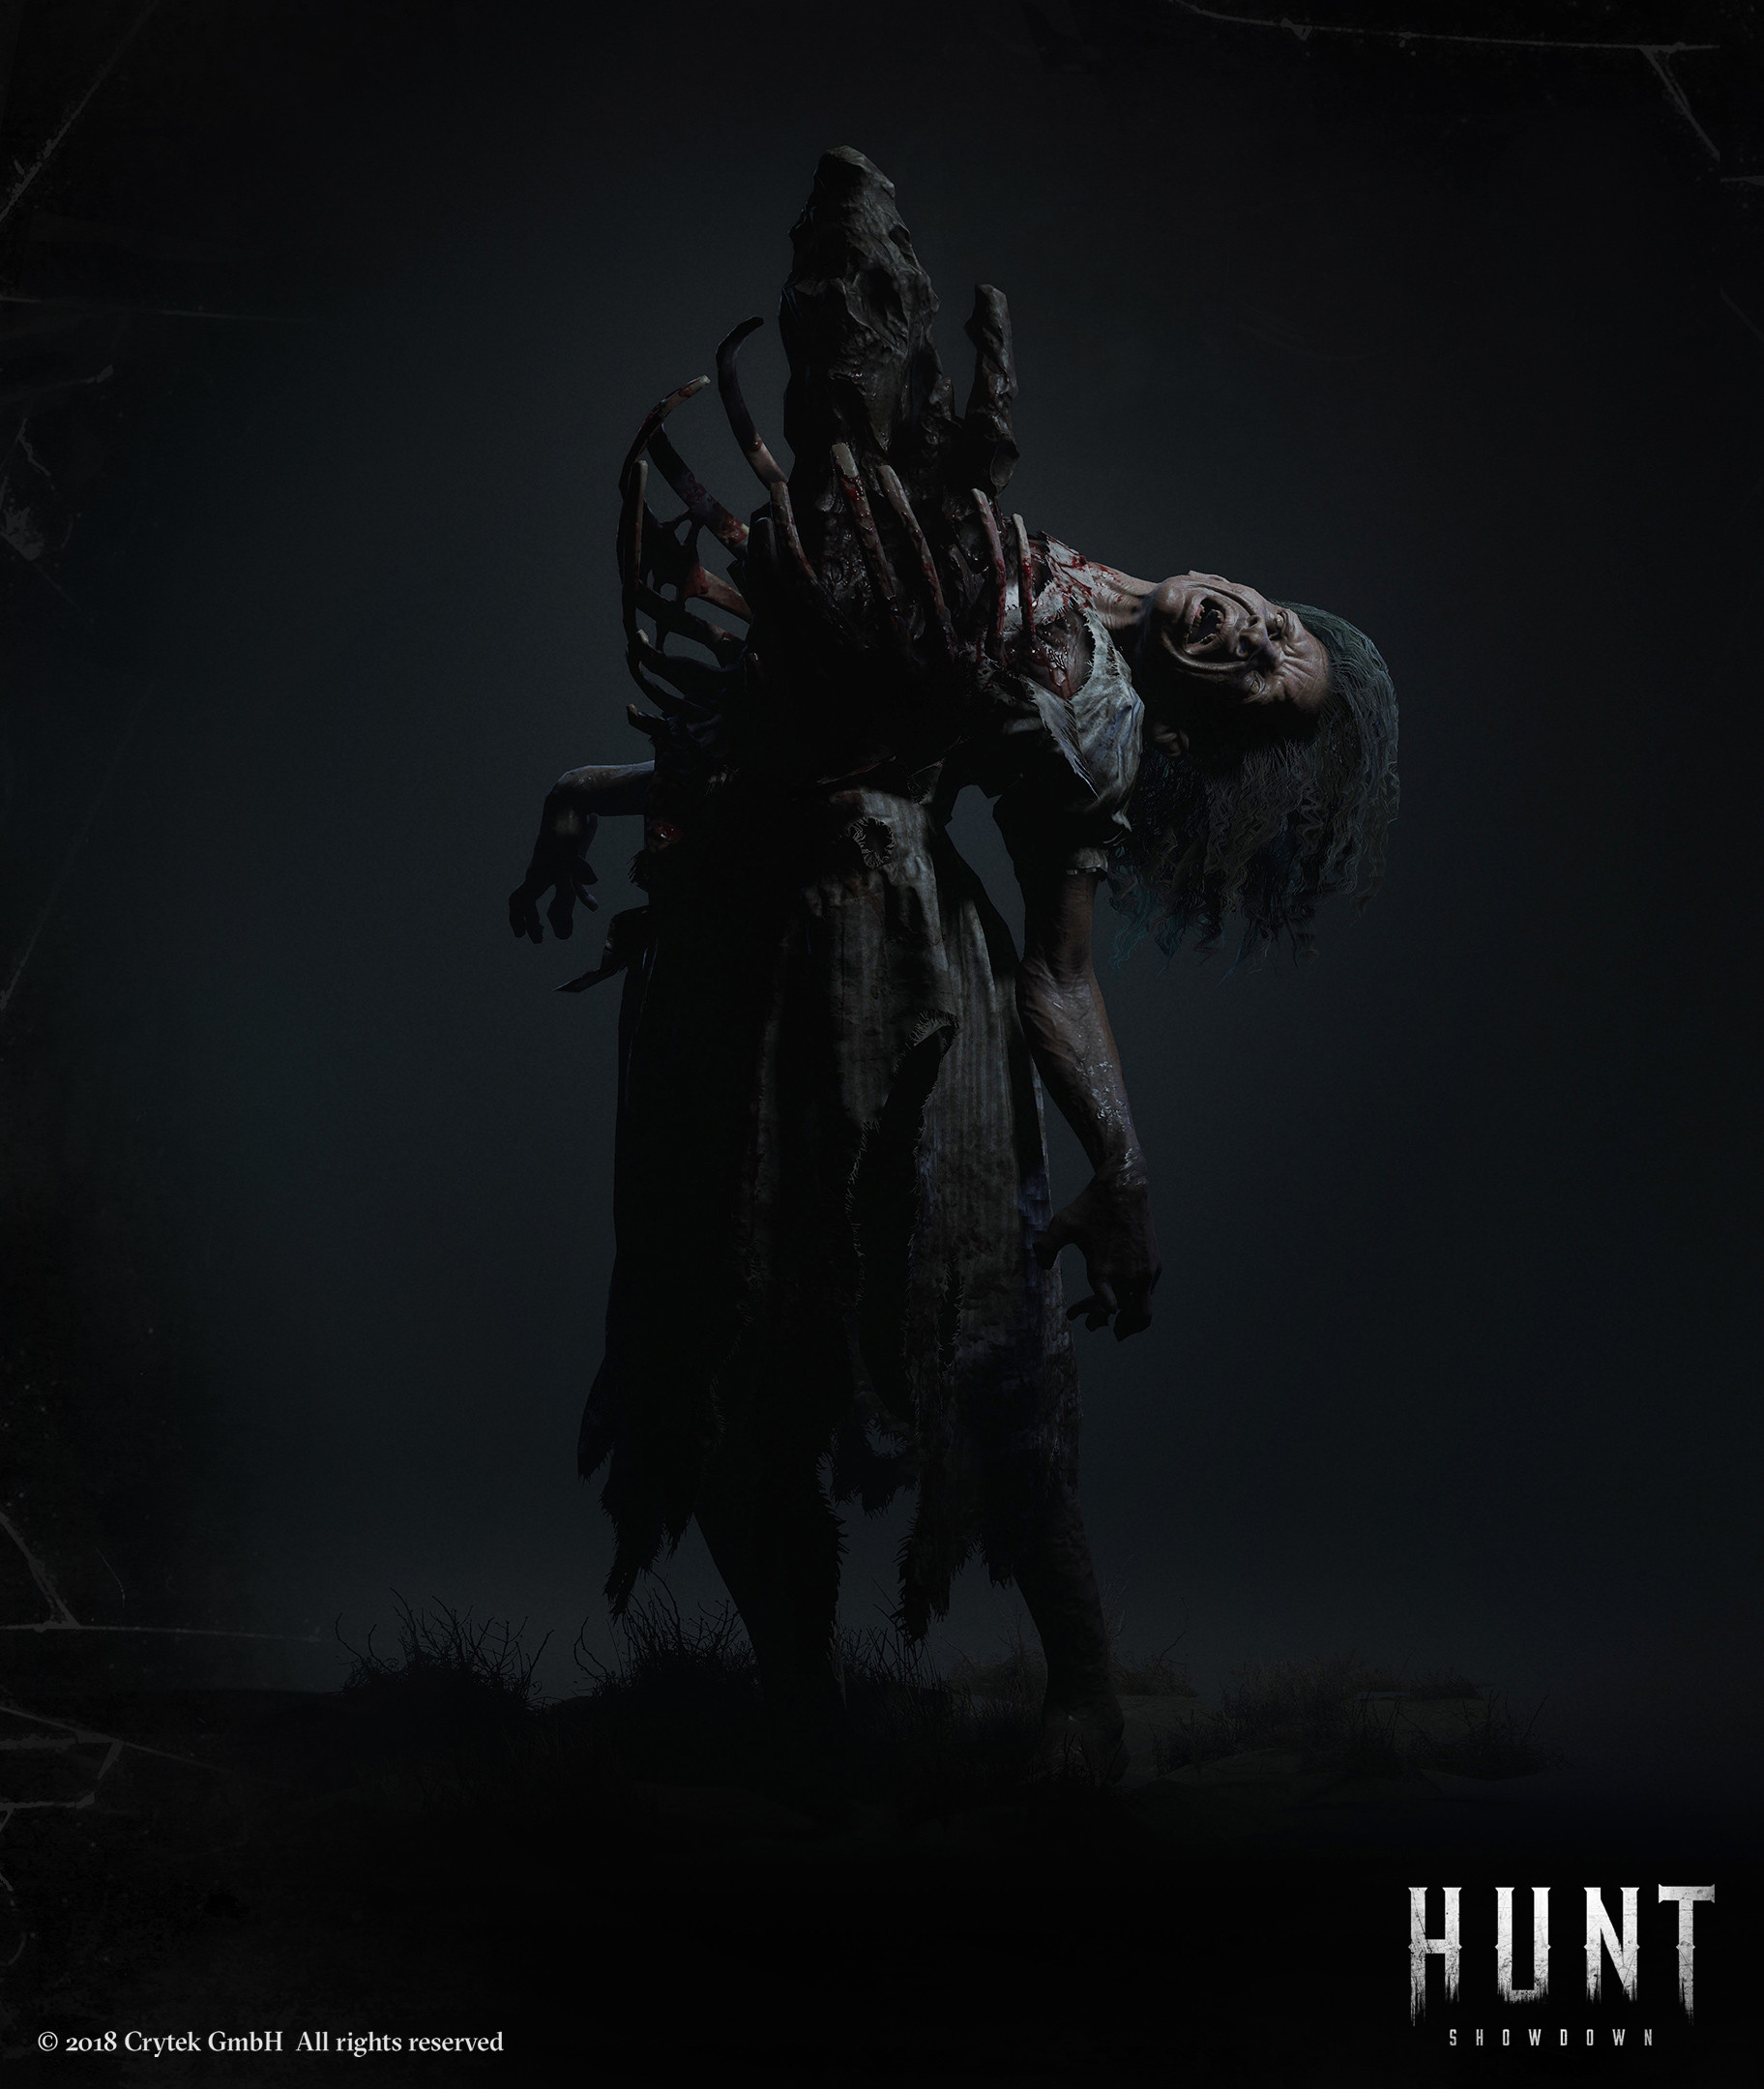
While brittle in nature these walking bee spawners can quickly put an end to your stealth plans if alerted. With a loud shriek and poison swarm of bees appearing when she’s angered, the hive has earned her place on your hit list by bothering you almost every time she’s near. A keen eye may notice her vulnerable head hanging to her side. A quick gunshot there will put her down for good. Can’t see the hive but you’re under attack by her swarm? Worry not, a few melee attacks will disperse the pesky insects and her poison will fade over time depending how long you were exposed to it.
Immolater
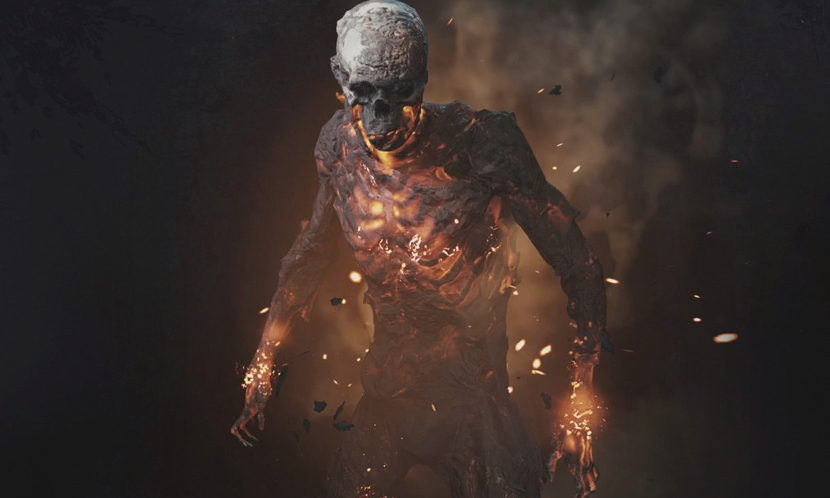
To call him “Hot Headed” Would be an understatement. This fiery tempered A.I can be quite the challenge to unprepared hunters. If his skin is pierced by any means he will erupt into a flaming rage igniting any nearby friends or foes, taking their precious health bars in an instant. However, that can all be avoided by the clever use of poison, choke bombs or blunt weapons. Luring him into waist deep water will also cool him off enough to use anything to dispatch him. Should you find yourself with an ignited immolater keep in mind that his flames can only be fueled for so long. After 45 seconds he’ll collapse consuming himself into little more than embers.
Meathead
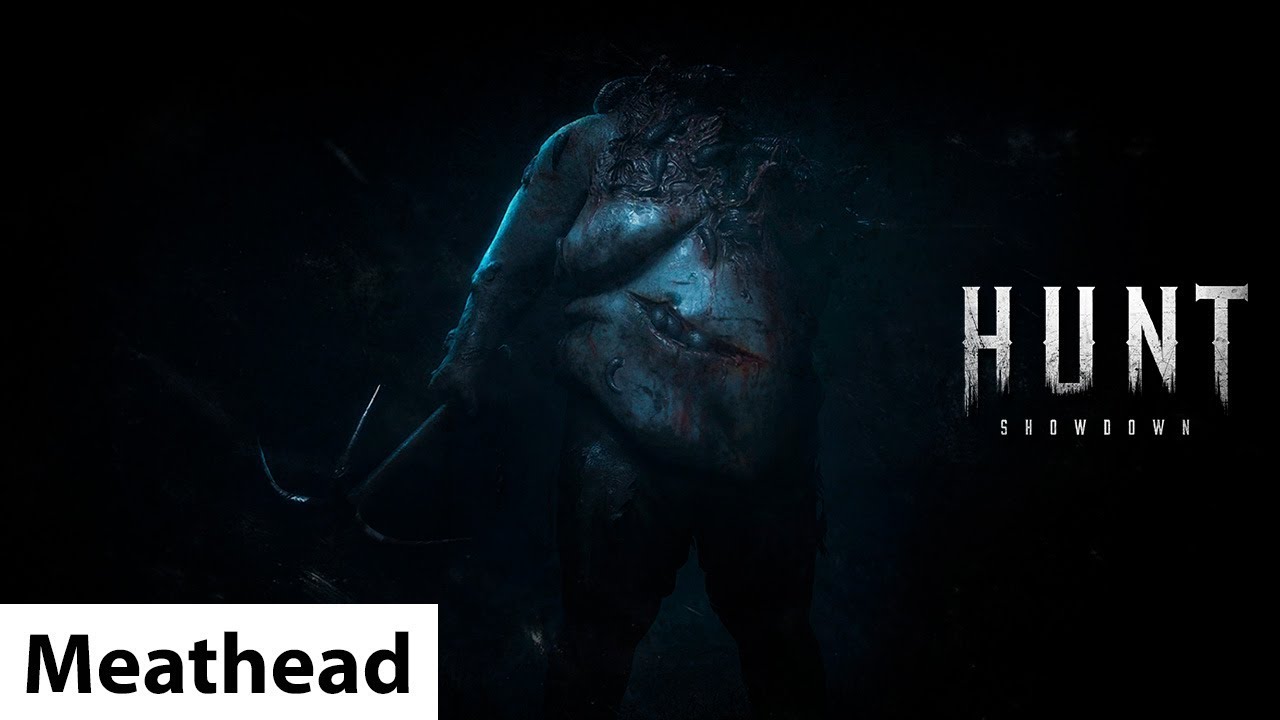
Often found lumbering around compounds followed by his trusty leeches, the hard hitting Meathead is the strongest creature you’ll find wandering the Bayou. He is however not without his weaknesses. While all that extra size has made him tough to take down, his lack of head has made him blind and deaf. His only means of locating hunters are by responding to his leeches or incoming attacks. Should one of his poison spitting friends get too close to you, it will mark you for the Meathead who will give chase for ~5 seconds before taking a wild swing. Doing damage comparable to the butcher, it’s highly recommended you avoid being hit by one of these guys. If you are looking to take them down for their experience or the chance for them to drop a free trait, consider using explosives or lure them into fire. Keep in mind neither option is quiet but both are effective.
Hellhound
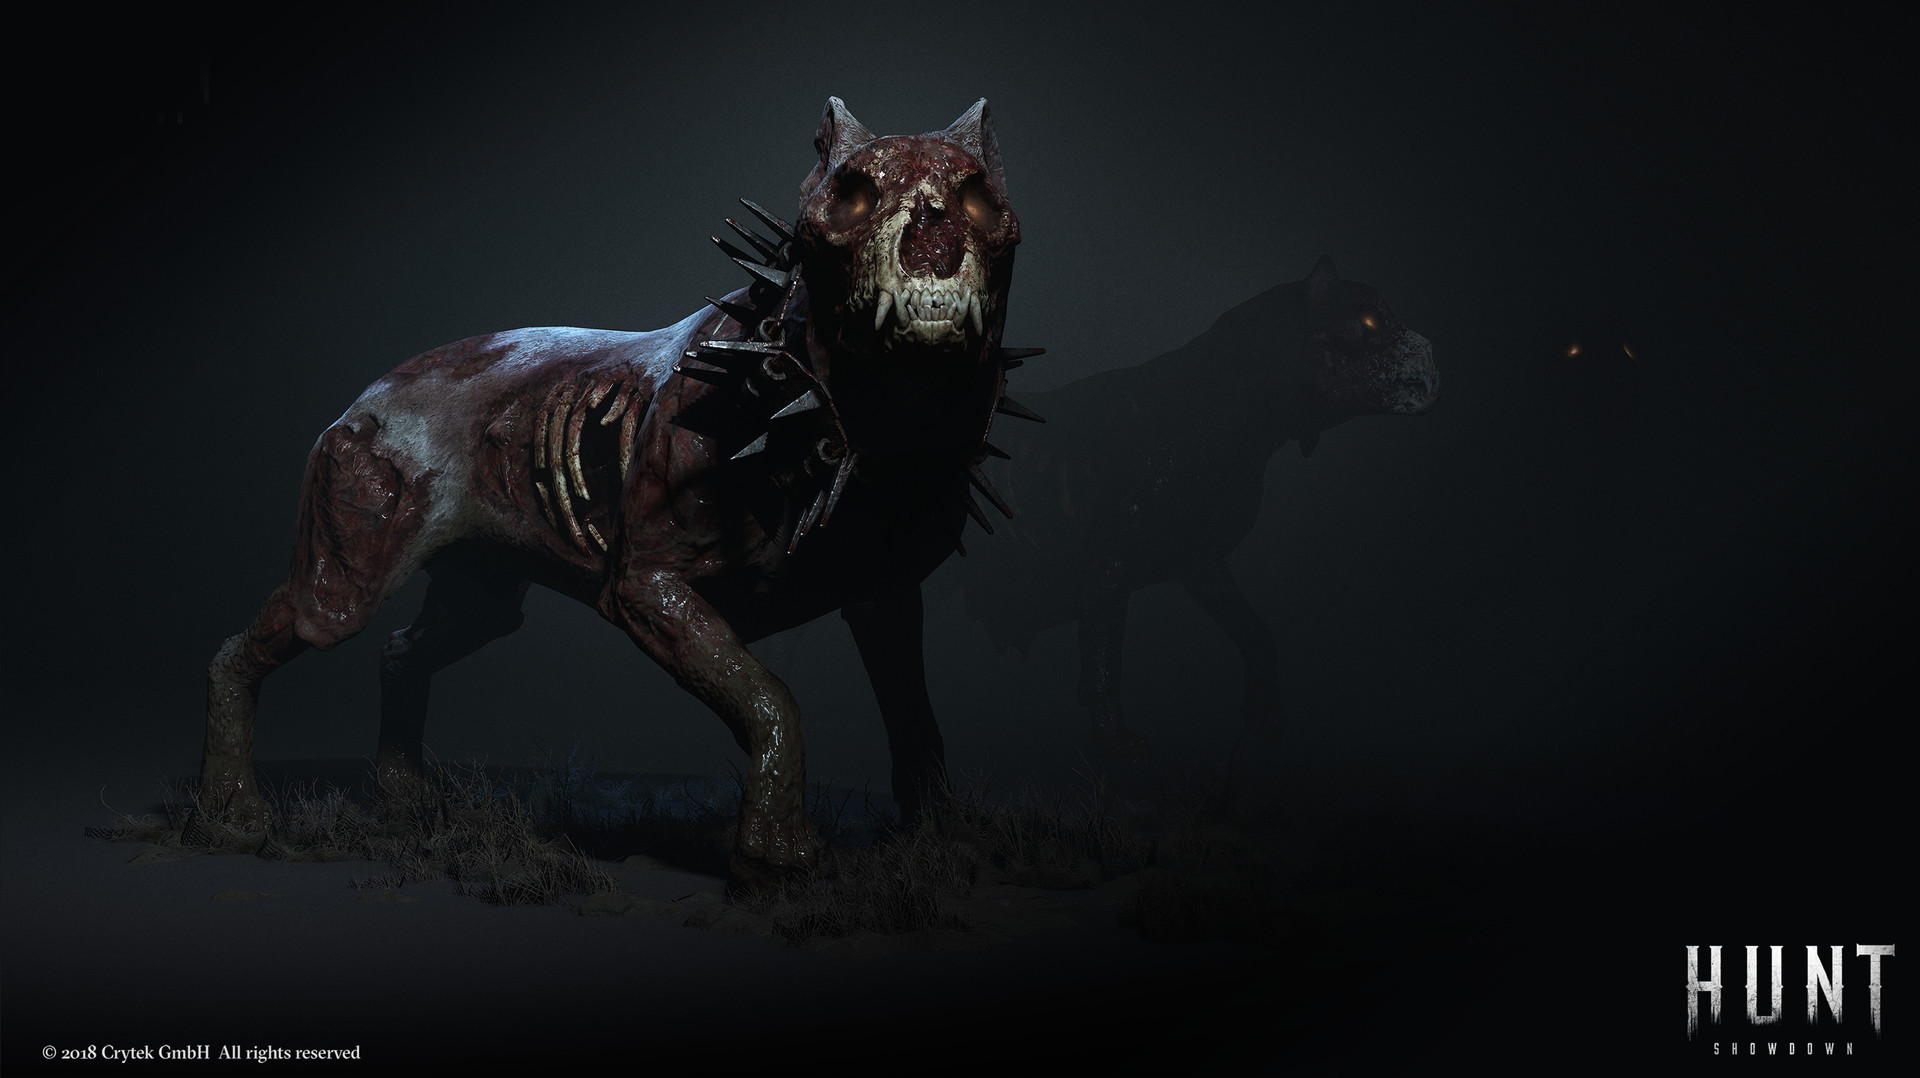
A far-cry from man’s best friend, these packs of gore covered canines roam the roads and fields of the bayou. While unlikely to encounter them inside a compounds walls these dogs are more than willing to run you down and bleed you with their sharp bites. spawning in packs of 4 they can sometimes split off from each other due to terrain. They are however easy to handle. A charged knife blow will easily fend them off. Wait for them to charge you and throw your attack just before they lunge. Be careful however as they are capable of suddenly jumping back to avoid being hit.
Water Devil
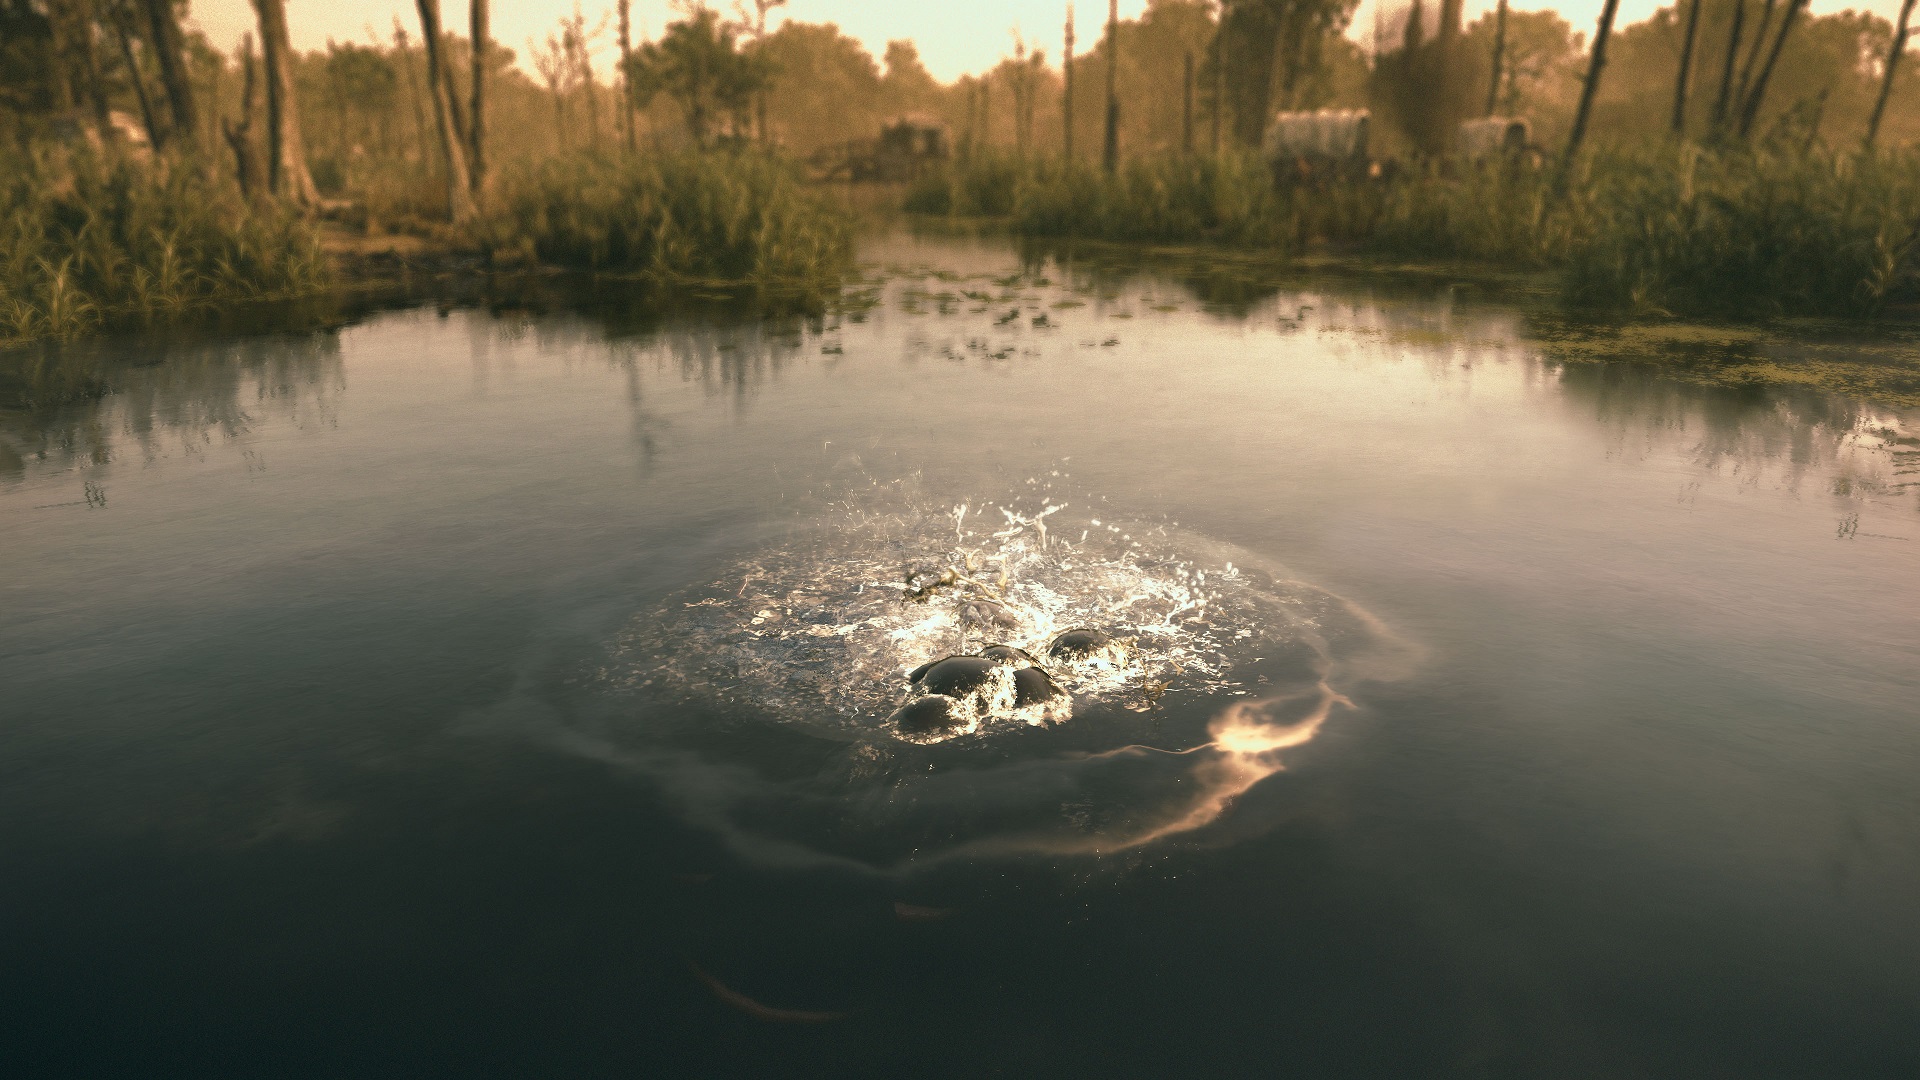
Lurking among the Bayou’s waters are these bloodthirsty eel-like creatures. Easily spotted by their loud splashing and rippling water, Water Devils will enrage should you enter the water too close to them. Darting to the site of the disturbance and causing one hell of a ruckus, these creatures make you glad those old wood bridges still hold. If unable to avoid crossing infested waters, consider crouching to avoid detection or dispatch one group of the devils to ward off others for a short time.
Bosses
Butcher
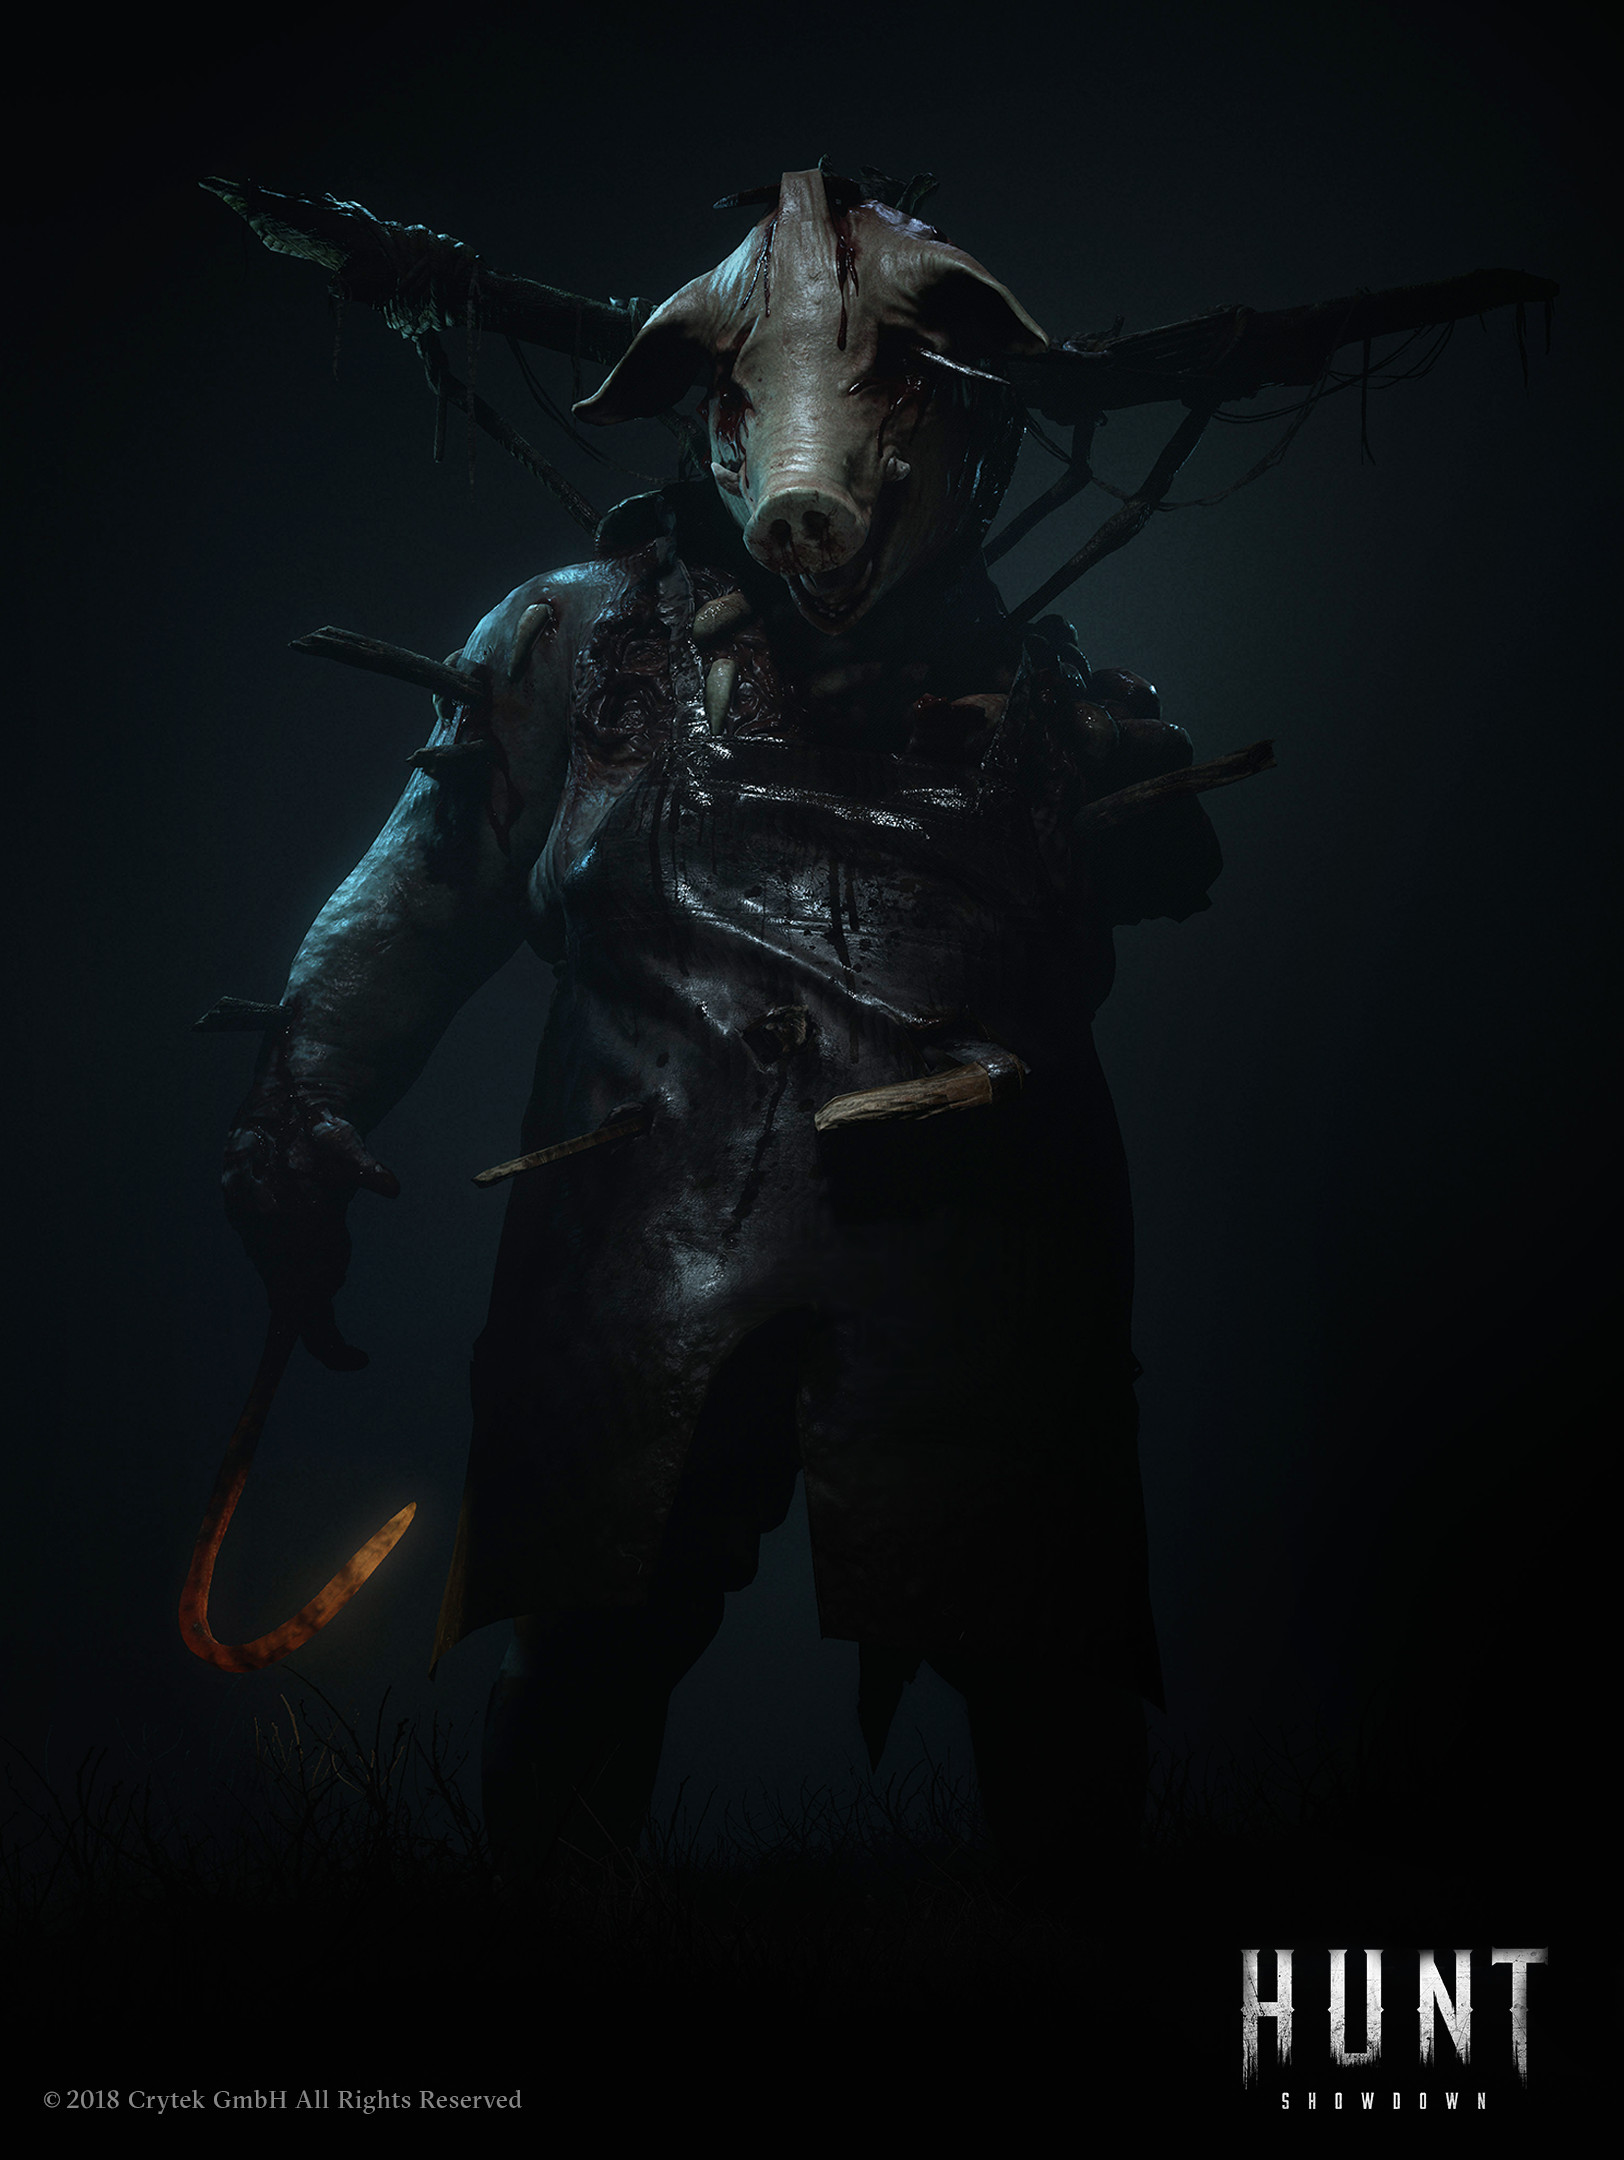
Everyone’s pig themed demon, the Butcher is perhaps the easiest boss to sum up. He’s an empowered meathead with a pig head bound to his body and a flaming hook to combat any would-be threats. The butcher enjoys an immunity to fire and resistance to gunfire. However, like his Meathead brethren, poison and explosives work wonderfully to quickly put him down. Swings from axes or other rending weapons will also prove to be effective. His flaming hook can also be snuffed using a choke bomb, just be careful he doesn’t reignite it by passing through fire or hitting a fire source. Upon death he will collapse sending out one last swing in an attempt to take some unwitting hunter with him to the grave. This hit will instantly kill any hunters within a ~180 degree radius of his direct front. Best to just let him swing and perish before going in for the banish.
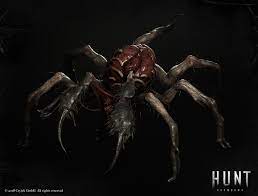
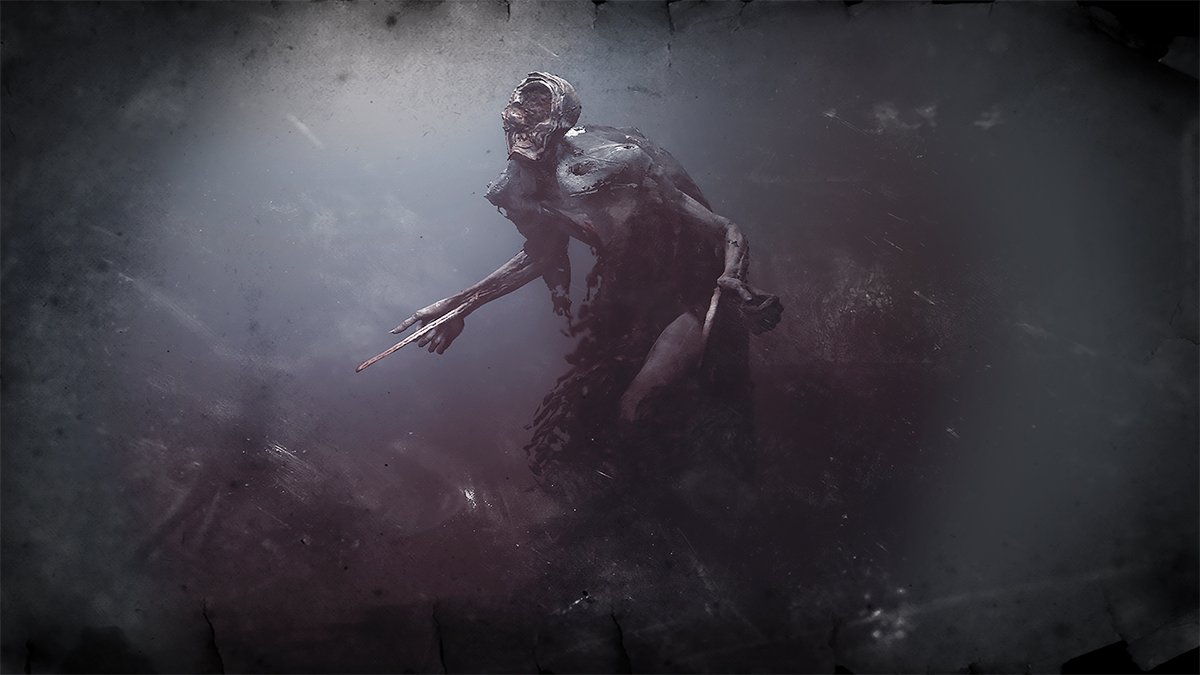
Spider
The boss we all love to hate. This Spider-Human abomination is quite possibly the most unnerving creature in the bayou. However, like all the other bounties, it must be banished. The old saying goes in this case “Kill it with fire” as the spider boasts an immunity to poison but a weakness to fire. Getting up close and smacking it’s human head between it’s mandibles will also do the trick. Watch out if it moves to the ceiling as this guy will pounce on you knocking you down and chunking your health. Taking an antidote syringe will let you ignore its poison clouds and the poison effect of it’s bite.
Image spoilered as a courtesy to the arachnophobic hunters (Good luck killing this boss)
Assassin
Mr. Waste your time is the boss who loves to draw out his fight length. The assassin is weak to both fire and poison but is resistant to blades as he’s capable of shape shifting into a swarm of cockroaches. He can appear on walls and throw a dagger at you that causes bleeding and damages your health. Every quarter bar when he enrages he’ll summon two decoys which will charge towards the nearest hunter. If not killed they’ll erupt into a face full of cockroaches obscuring vision partially and dealing a small amount of damage.
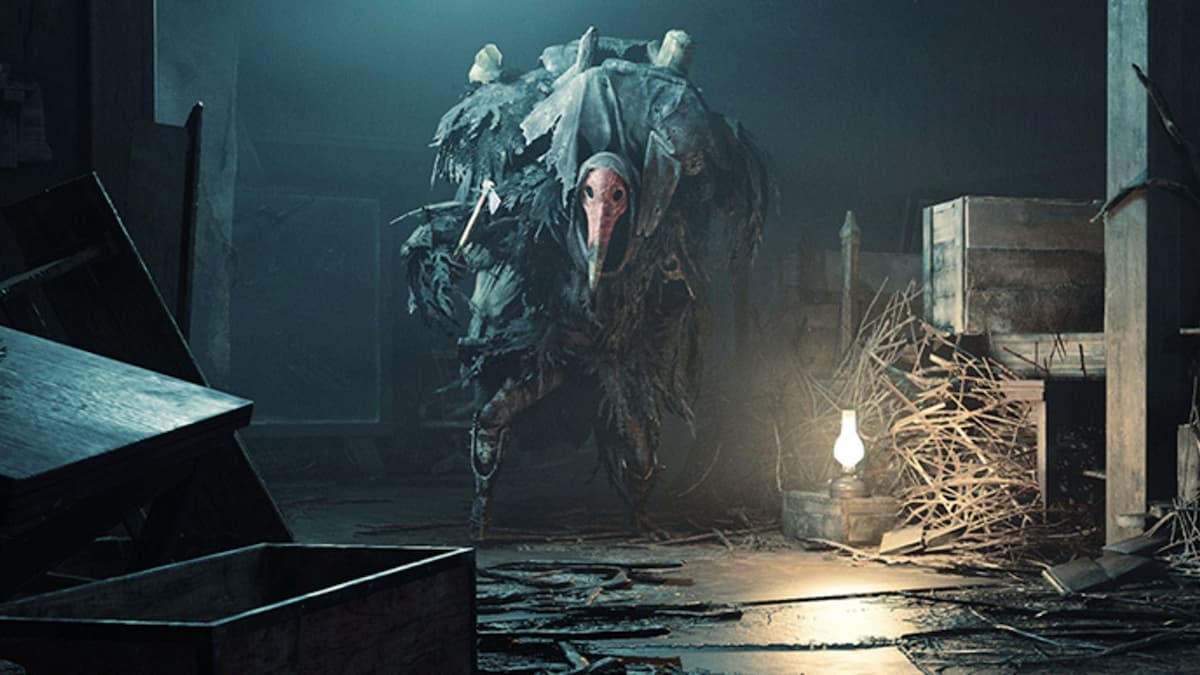
Scrapbeak
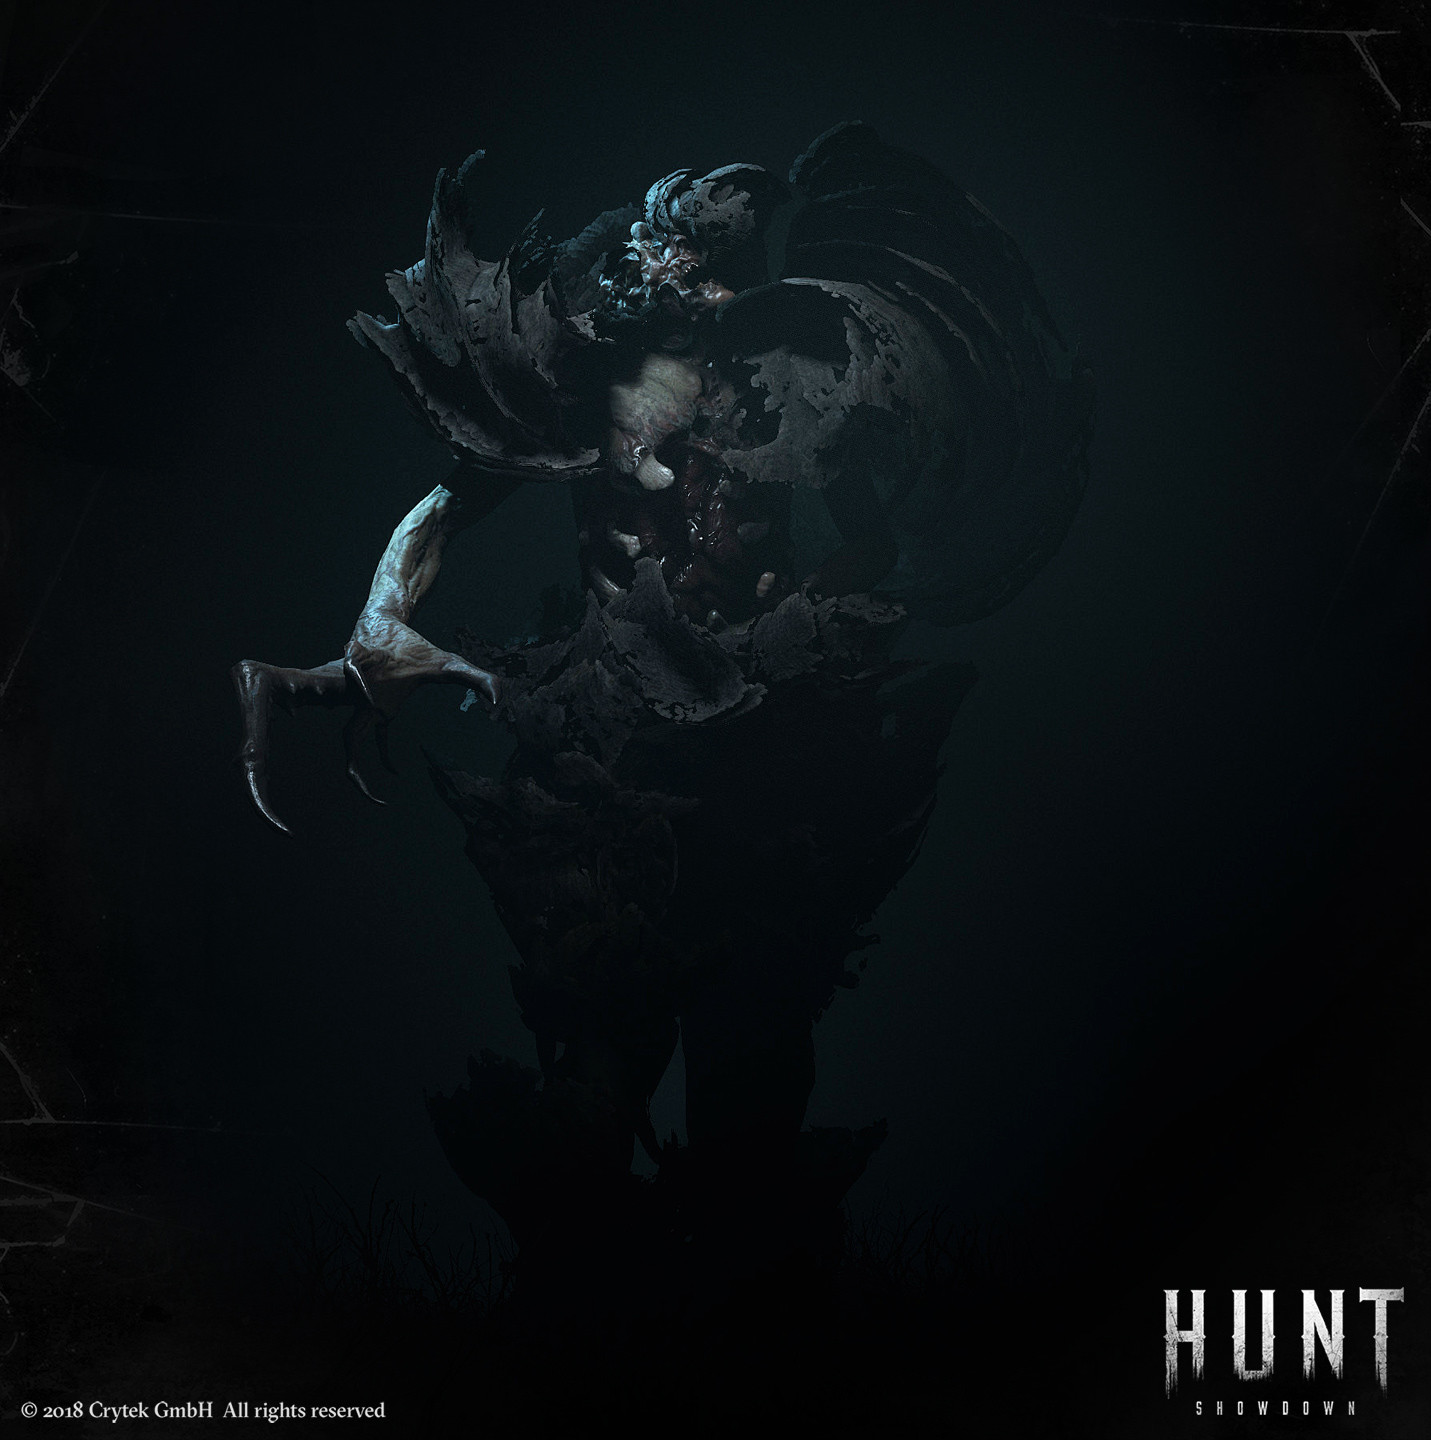
This overly loud bird-man is the latest addition to your bounty list bringing with him a new mechanic. Collecting all of the loot from his compound and storing it on his back, Scrapbeak will take some decision making from your team. While weak to fire, explosives and poison. only the latter will not damage your precious loot on his back. Dropping loot whenever he enrages, Scrapbeak’s other trick is his ability to summon concertina if targets are too far or unreachable. while enraged he will also drop concertina if damaged by players. If you’re feeling light on ammo or really want to fill that consumable slot, try fighting him with bullets and melee. If you’re not bothered losing whatever he may carry, exploit his weaknesses and finish him off in no time at all.
Hunting (Bounty Hunt)
With your hunter selected and kitted up it’s time to head into the Bayou and start your Hunt! Note: if you have not done the tutorial hunts yet then you should complete them before doing a live hunt. They provide insight on how Hunt plays out and provide blood bonds for completing them which allows you the option to buy legendary hunters or legendary weapon skins.
While you can play solo, I’d highly recommend as a new player you use the matchmaking feature. This will give you 2 extra hunters to play along side and lower how many extra teams there are.
If playing Duos there will be up to 6 Teams of 2
If playing Trios there will be up to 4 Teams of 3
In total every match will have up to 12 players
Tip: Counting bodies is a great way to figure out how many hunters are left. most matches will be full especially if playing at peak hours. Typically unfilled matches only occur when your searching timer (the red bar in the bottom right on the main screen) maxes out or you’re playing late at night/ early in the morning.
Having 2 extra teammates not only gives you allies to hunt with but will also give you the chance to learn from what they do. You may see them doing things that you hadn’t considered or playing in ways that differ from your own. This is also a good time to mention: pay attention to how you die. Dying sucks, I know and waiting can be a real bore but instead of quitting the match early and hindering your team, use that time to think how you died and how you could have avoided/ played differently. Do that enough and you’ll start playing better in no time at all. Keep note of any strange angles or ways your enemy killed you. You may be able to use that against other hunters in the future.
In terms of the bounty, (The main objective of your Hunt) a hunter can only hold 1 of each bounty type. Picking up the bounty marks you on the map for all players with a bolt of lightning that shows your rough location in darksight and on the map. However you will be given 5 seconds of enhanced darksight that will show you orange glows of hunters within 150 meters of you. You can replenish points upto 5 seconds by looting dead hunters. You’ll also be given the ability to revive teammates who have no health bars remaining by sacrificing your own health (25 Hp aka 1 small bar. Don’t worry you can heal this health back). Once you have a bounty you’ll need to make your way to one of the 3 extraction points on your map (The map features a legend on the right side for easy reading). Keep in mind any remaining hunters from opposing teams will try and stop you at all costs. Once extracted your match exp for both your hunter and Bloodline will be tallied up and awarded so you can spend your hunter trait points on perks and replenish/reequip for your next Hunt.
Traits (Aka. Perks)
Traits give hunters special bonuses to various aspects or unlock abilities to use during the Hunt. below i’ll list all the traits as of current build (1.6.1 Post Light the Shadow event) including their point cost (Trait Point: TP). At max, a hunter can have 15 traits at any time.
Adrenaline 1TP: Instantly start regenerating Stamina while your Health is critically low.
Conduit 4TP: Get a health and stamina boost when picking up a Clue, Rift, or Bounty token.
Greyhound 4TP: Sprint at full speed for a longer duration.
Packmule 3TP:Receive an additional Tool or consumable when looting or opening item boxes.
Hornskin 3TP: Reduce damage taken from blunt melee by 25%.
Determination 3TP: Stamina recovery starts sooner.
Iron Repeater 2TP: Remain in iron sights after firing a shot while using lever-action rifles and lever-action shotguns.
Resilience 2TP: Get revived with up to 100 Health.
Assailant 2TP:Increases melee damage of throwing knives and throwing axes.
Bolt Thrower 4TP: Reduced reload time for crossbows.
Levering 3TP: Faster rate-of-fire from the hip when using lever-action rifles and lever-action shotguns.
Salveskin 5TP: Reduces fire damage and burn speed by 25%, even when downed.
Bulwark 2TP: Reduce the damage from explosions and Bomb Lance harpoon attacks by 50%.
Fanning 7TP:Faster rate-of-fire when using 1-handed single-action pistols.
Ghoul 4TP: Killing Grunts at close-range restores a small amount of health (25m range).
Gator Legs 2TP: Walk and sprint faster in deep water. Also make less noise while crouched in water.
Deadeye Scopesmith 1TP: Remain in scope view after firing a shot while using any weapon with a short scope (Deadeye variants).
Silent Killer 5TP: Reduces the sound you make when performing melee attacks.
Lightfoot 5TP: Vault, jump, fall, and climb ladders silently.
Serpent 4TP:Using Dark Sight, interact with nearby Clues, Rifts, Banishable Targets, and abandoned Bounty from a safe distance (25m range).
Physician 5TP: Reduce the time needed to bandage. (with the First Aid Kit)
Steady Aim 3TP: Weapon sway gradually lessens when you’re looking through the scope of a rifle.
Whispersmith 2TP: Reduces noise when selecting equipment.
Steady Hand 2TP:Weapon sway gradually lessens when you’re looking through the scope of a pistol or a stock-less weapon.
Marksman Scopesmith 2TP:Remain in scope view after firing a shot while using any weapon with a medium scope (Marksman variants).
Bloodless 4TP:Bleeding will not escalate from light to medium or intense bleeding.
Frontiersman 8TP: Carried Tools can be used one extra time.
Beastface 3TP: Reduced reaction range of animals (doesn’t affect monsters like Hellhounds).
Decoy Supply 1TP:Restock all types of decoys from ammo crates.
Ambidextrous 3TP:Quicker reloading of matched pairs, and custom clip reloads for semi-auto pistol sets.
Tomahawk 1TP: Melee weapons found in the World can be thrown.
Iron Sharpshooter 3TP: Remain in iron sights after firing a shot while using bolt-action rifles.
Bolt Seer 2TP: Bolts, arrows, throwing axes, and throwing knives are highlighted in Dark Sight for better visibility (30m range, line of sight required).
Quartermaster 6TP: Can equip a medium slot weapon in addition to a large slot weapon.
Mithridatist 3TP: Drastically reduces the time needed to recover from poisoning.
Pitcher 6TP: Increased throwing range for all items using the aim helper.
Bulletgrubber 6TP: Recover the unfired round when performing partial reloads (applies to Bornheim, Dolch, Lebel, Mosin-Nagant, Specter, and Winfield Terminus variants).
Poacher 2TP: Place and disarm traps quietly.
Hundred Hands 3TP:Increases the damage of a Hunting Bow shot at full draw by 25%. Also reduces sway whilst at full draw.
Dauntless 1TP:Thrown explosives can be defused when interacting with them. (3m interaction range)
Kiteskin 1TP: Reduce damage from falling by 50%.
Iron Devastator 2TP: Remain in iron sights between shots using the Specter 1882.
Dewclaw 2TP:Enhances the melee attack of a bow and arrow.
Necromancer 4TP: Using Dark Sight, revive a downed partner from a distance, though at the cost of a small amount of health. (25m)
Vulture 3TP:Always be able to loot dead Hunters, even after they have been looted by other players.
Doctor 8TP: Doubles the amount of Health restored by First Aid Kits.
Sniper Scopesmith 3TP: Remain in scope view after firing a shot while using any weapon with a long scope (Sniper variants).
Vigilant 2TP: Nearby traps are highlighted in Dark Sight.
Vigor: 4TP While in Dark Sight, doubles the rate at which Health and Stamina regenerate.
Magpie: 1TP Receive a short effect similar to that of either the Antidote Shot, Stamina Shot or Regeneration Shot, when picking up a Bounty Token.
Poison Sense: 1TP You can see nearby poisoned Hunters while in Dark Sight
Closing Notes
I hope this guide gives you a place to start when learning how to hunt in the Bayou. I will try to keep the guide upto date with any new content that comes our way as well as work on a more advanced guide for hunters who already know a thing or two on how to keep themselves breathing. Until then however, feel free to ask questions or suggest where I could improve the guide!
Happy Hunting
Hope you enjoy the post for Hunt: Showdown Overview Guide – All Hunters Information & Gameplay, If you think we should update the post or something is wrong please let us know via comment and we will fix it how fast as possible! Thank you and have a great day!
- Check All Hunt: Showdown Posts List



Leave a Reply