This short guide aims to shed light to a rare and unconventional tactic, an unloved and often ignored stratagem and a very useful tool that a lot of people seem to take for granted.
Introduction
Hello there! This is a short guide presenting a play style that’s rarely been seen or used in Helldivers. I’m not talking about the 4Mech Stroll or the APC Family Roadtrip. Today, I’m here to introduce Stealthdiving: sneaking, distracting and running away from enemies you bump into.
Now, you might ask: “Lotte, you cowardly b****, why would I want to use Stealthdiving when I can simply shoot and blast everything within my line of sight?” First of all, rude. Second, this guide could hopefully teach you survival mechanics that you can use for regular playthroughs. You probably won’t use Stealthdiving in its entirety, but there are a few elements in it that could help you out of a sticky situation. Heck, you might even start to appreciate some of the game’s core mechanics more by the time we’re done.
A few disclaimers before we continue: I am NOT a pro player nor do I claim to be one. I normally don’t play shooters because I don’t have the best hand-eye coordination in the world (I look at my keyboard every now and then to see if my fingers are still on WASD). I’ve only recently started playing the game (October 1st), and I’ve absolutely fallen in love with it. This is sort of my thank you to the wonderful people behind the game, and hopefully a helpful contribution to the awesome community they have created. One more thing, this guide ONLY applies to “regular” missions: maps with several objectives to accomplish. Retaliation and Boss maps are totally different scenarios, and so Stealthdiving is not applicable to these. If this guide gets a decent amount of views and is deemed at least “probably okay”, I might start making another guide for Retaliation maps.
A special thanks to these brave and badass Helldivers whom I’ve had the pleasure of developing this play style with:
Peacekeeper
Brigador
Rainman
Lexion
rummy
Sir Tontonolous
Yon Sire Liege
FidgetyTonyMa
SamVampire
Hollow Kane
❥❤❤❤izzi❤❤❤❥
CandyPaintwithTheWhiteOnTop
DontWorry
Modest
5ko
Noob-friendly Dima
Racoon Chef Appreciator
Bob Belcher
Bogey3
stvladimirrr
KURT
Without further ado, let’s DIVE (eh? eh?) right in!
Pros and Cons
So you’ve decided to scroll down further. Now you may be thinking, is this kind of play style the right one for me? Assuming you haven’t asked your doctor about Stealthdiving yet, let’s list down its pros and cons, so you can determine for yourself if this fits your choice of gameplay.
Pros
– Less contact with huge amounts of possibly game-ending enemy mobs
– Less failed escort or defense missions
– Almost no issue of ammo running out
– Less amounts of emotional pain overall
Cons
– Missions will take a bit more time
– More running around, less spreading Managed Democracy
– Trying to Stealthdive with randos in Matchmaking will almost certainly result in frustration
The Battlefield
So one of two things happened: you either decided to give Stealthdiving a try or you figured, “Hey, I already wasted several minutes reading this garbage. Might as well finish it.” Either way, the next sections will list the two main things that make up Stealthdiving: your loadout and your mindset going into a mission. We will also delve into some of the game’s enemies so that you can familiarize yourself with what you’ll be facing.
Helldivers is a game where its difficulty is solely dependent on how good you are at managing a specific enemy: Patrols. Travelling around the map, you’ll encounter several enemies that you have to deal with. You’ll notice that these enemies are more densely scattered around objectives, so it’s never a good idea to set your initial drop near one.
The first type of enemy is the Hunter. No matter what planet level or race you are going up against, Hunters will always aim for one thing, and that’s to kill you. With the exception of the Bug’s Hunter at higher difficulties, these enemies can be dealt with at your own pace.
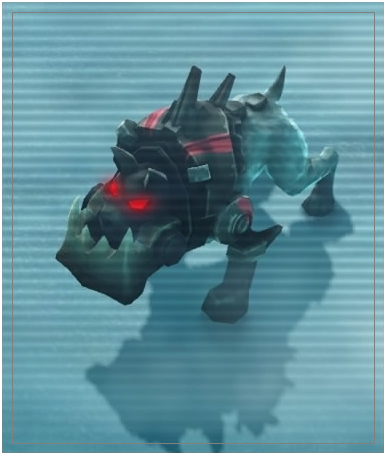
Cyborgs – The Hound
Fido gets a cybernetic makeover and all of a sudden he has a hunger for Helldivers. These Hunters always come in packs of three and can be put down easily with a few well-placed shots. Be careful not to let them leap at you at melee range; they’ll keep knocking you down and chomp on you til you’re nothing but Helldiver bits.
Image taken from the Helldivers Fandom Wiki
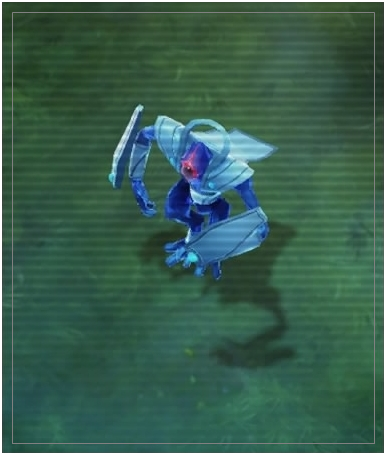
Illuminate – The Hunter
Normally, you won’t see where these snipers are at until they project that glowy blue light at you. Try not to get mesmerized by this and stand still for more than a few seconds. The blasts trajected from the light are enough to down an unprotected Helldiver. Luckily, they’re not used to the human concept of “aiming”, so if you move away from the light, you’ll come out unscathed. This is also advantageous to you, as their long pre-shot charge will give you enough time to find and kill them, or simply run away. They have shields at higher difficulties, but dealing with them is practically the same as with their unshielded cousins.
Image taken from the Helldivers Fandom Wiki
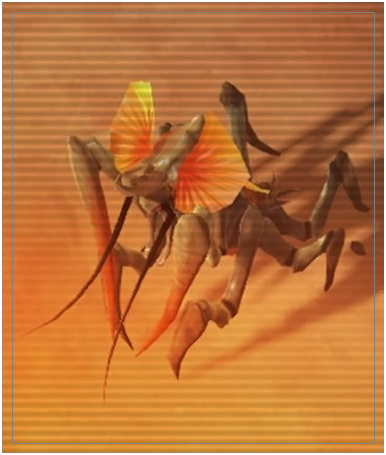
Bugs – The Stalker
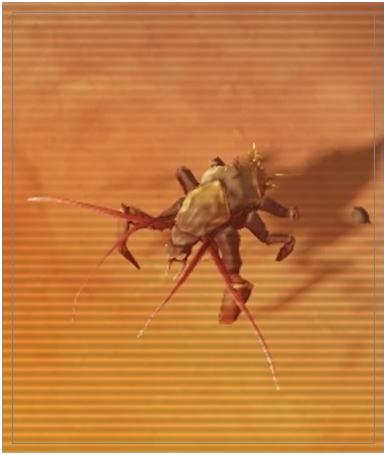
Possibly a cross between a praying mantis and a Japanese paper fan, these agile hunters can camouflage and leap at you from across the map. The most worrisome trait they have, however, is their poison attack. A successful hit will slow you down for a few seconds. This will make it hard for you to reposition and aim for the possible Patrol behind it. They may be agile, but you only need to shoot them a few times before they start retreating. While not as fast as the Hound, its leap and poison attack ensures that you won’t be able to outrun it without the proper gear, so you might as well kill it on sight. Unlike the other Hunters, the Stalker’s high-level counterpart, the Shadow, works as both Hunter and Patrol. They should be prioritized and killed if you come across one.
Image taken from the Helldivers Fandom Wiki
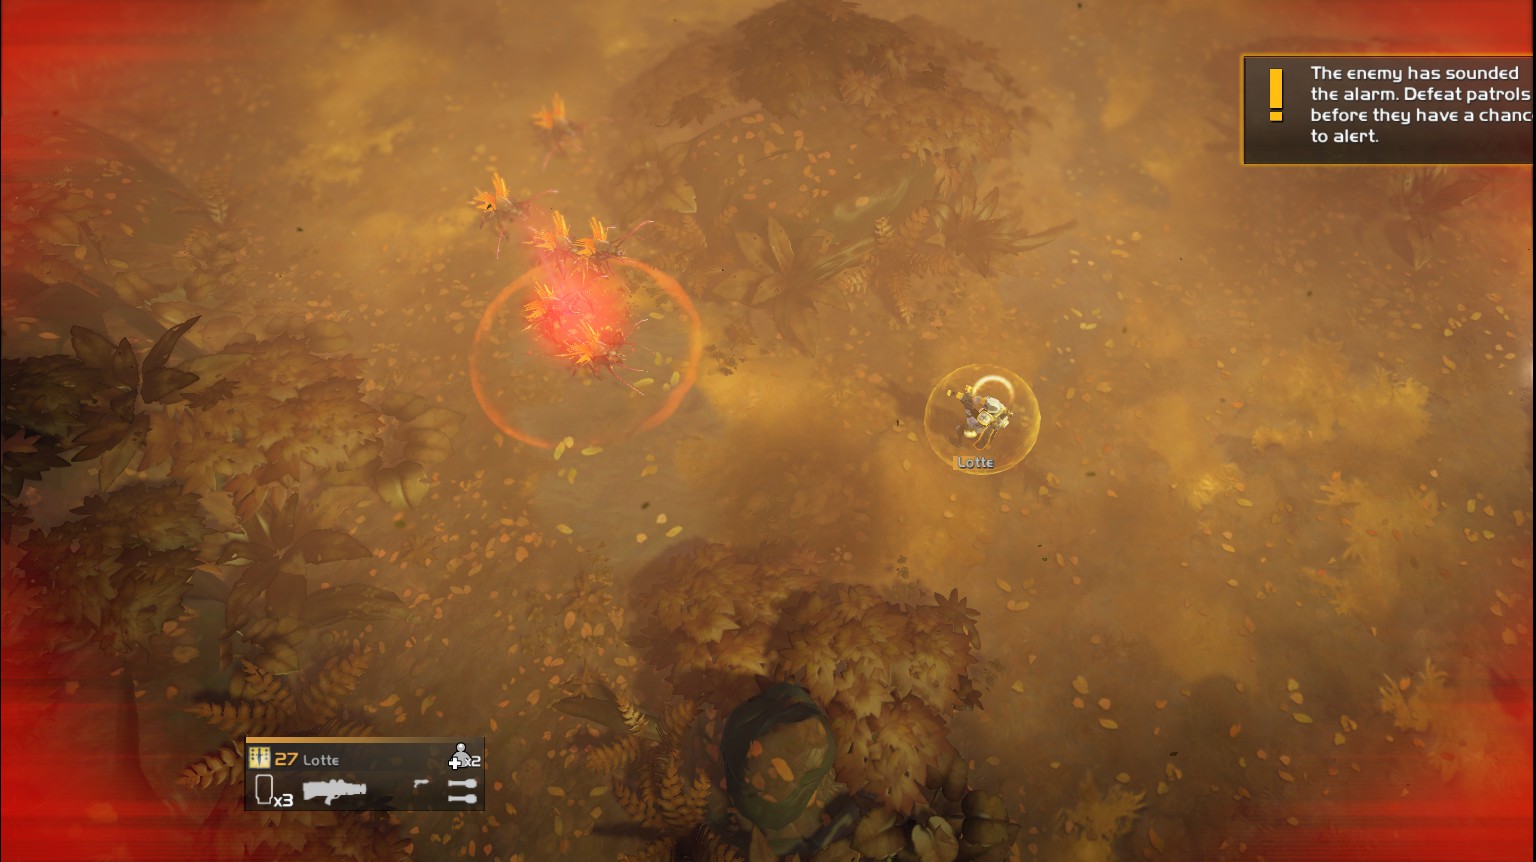
The next type of enemy, and the one our guide focuses on, is the Patrol. These enemies roam around the map much like the Hunter does. As soon as one sees you, however, it will set off an alarm that summons other enemies to fight you. This is what dictates the overall difficulty of the map you’re in. If you can somehow deal with the Patrol before it can send out an alarm, you basically have no real threat to worry about.
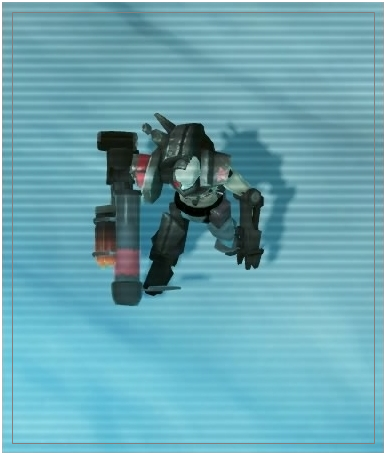
Cyborgs – The Squadleader
Cyborg Patrols consist of two or three Initiates, and one or two Squadleaders. These patrols are, in my opinion, the easiest ones to avoid. You’ll know that a Cyborg Patrol is nearby because they just won’t shut up. Grumbling and incoherent chatter give off their position, so you’ll be ready to face them or run the other way. You’ll also be able to tell which ones you need to prioritize based on their weapon: kill the ones with the grenade launcher arm first. Once spotted, they’ll point at you first, giving you a few precious seconds before they release a flare and bring down Cyborg-inspired destruction directly at your face. At very high levels, these Patrols will be heavily armored, and you either need to position yourself and target them at their exposed areas (behind their shields), or hit them with AP munitions.
Image taken from the Helldivers Fandom Wiki
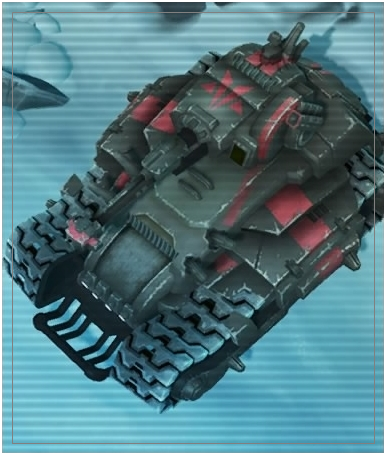
Cyborgs – The Infantry Fighting Vehicle
Only seen at Medium- to High-level planets, these tanks sometimes tend to drop out of nowhere, giving you a decent jumpscare and possibly newly-soaked undergarments. They’re very bothersome as anything short of anti-tank weapons won’t have an effect on them. What’s more, they seem to work with a universal radius sight, so it doesn’t matter if you’re behind an IFV: if you’re close enough to one, expect an alarm flare to shoot off immediately. Best avoided than fought, unless you’re cornered.
Image taken from the Helldivers Fandom Wiki
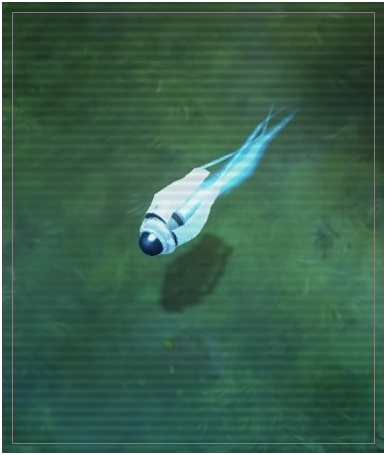
Illuminate – The Observer
Possibly the hardest Patrol to deal with, this lone drone is almost always invisible, disabling its cloak only to set off an alarm. Unlike other Patrols, the Observer doesn’t give you much time to react before it alerts other enemies. This is especially difficult at harder planets, as its cousins the Watcher and the Obsidian Observer both have shields and added armor. What’s more, the Obsidian Observer tends to release a confusion blast similar to what Council Members use, giving you additional problems while already having to deal with an Illuminate death party. It’s always best to pull up your map every now and then to watch for blips so that you can anticipate when an Observer will pass by.
Image taken from the Helldivers Fandom Wiki
Bugs – The Scout
They come in groups of three and are relatively easy to dispatch. You’ll hear a distinct screech once they spot you, giving you a few moments to kill them before they release their spores and sound an alarm. Oddly enough, its “powered up” cousin, the Vanguard, is easier to deal with. The Vanguard tends to leap at the nearest Helldiver it sees first and attack before actually setting off an alarm. Since they basically die in one hit, just standing still and timing each Vanguard leap with a melee attack is enough to put this Patrol down safely.
Image taken from the Helldivers Fandom Wiki
The Loadout
Now that you’ve familiarized yourself with the important enemies you’ll be facing, it’s time to look at the things you need to deal with them.
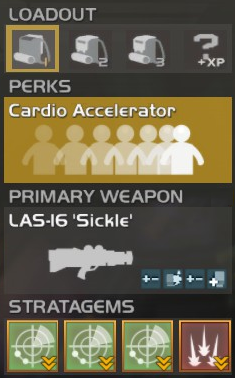
You’re free to choose whatever perk and gun suits you best, but it is advisable that you choose a laser-focused weapon, as you will not need to worry about ammo and reloading, provided that you have decent trigger discipline. Now for our stratagems.
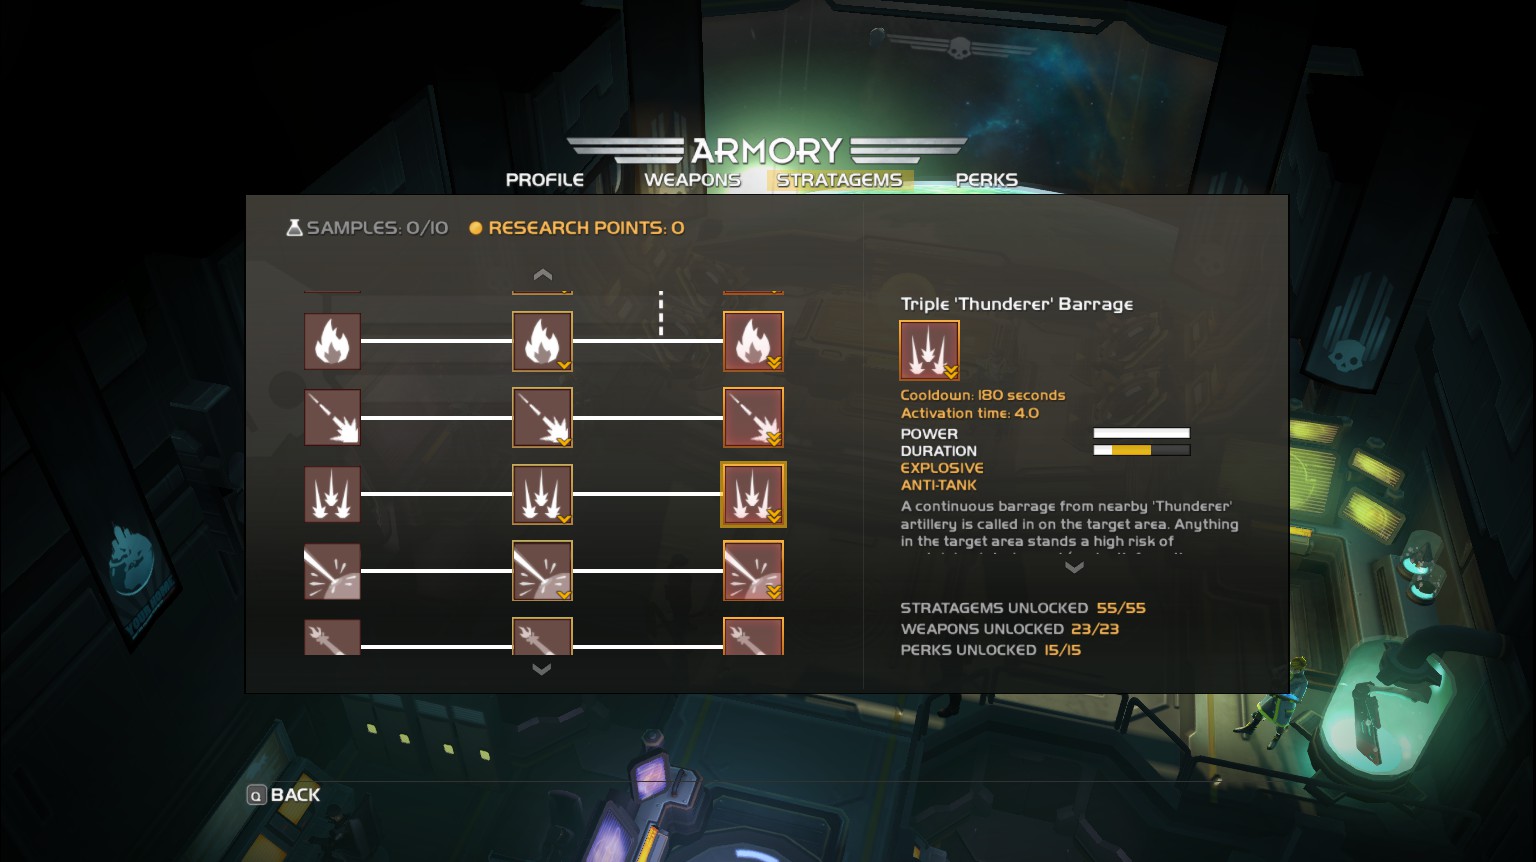
The Triple Thunderer Barrage works as an area denial stratagem, obliterating any enemy unfortunate enough to walk into its three blast zones. This stratagem is mainly used to deal with the “final swarm”, which we will look into in the next section.
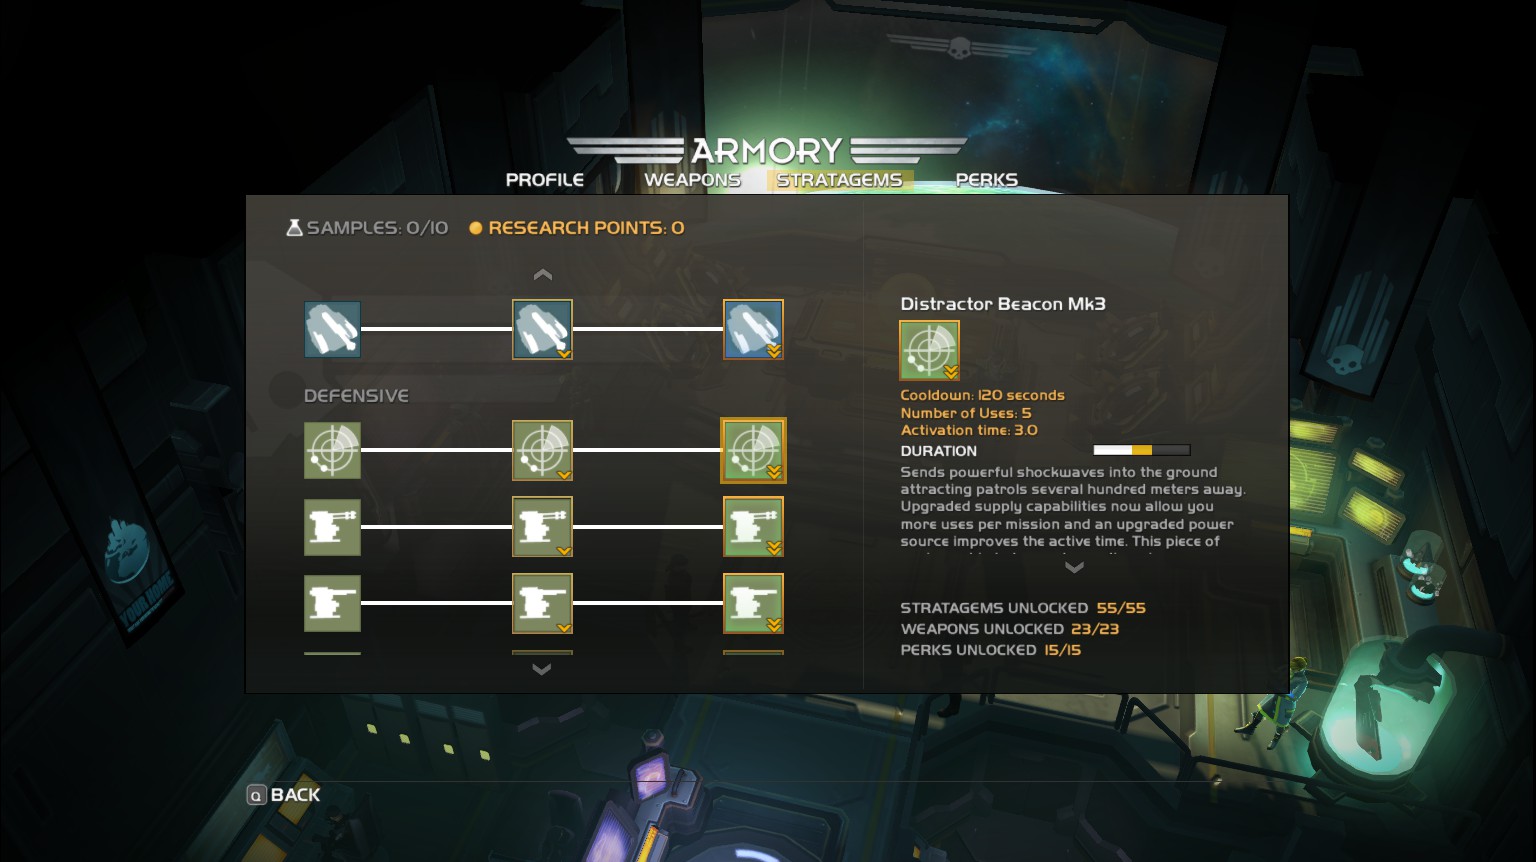
Our bread and butter. This stratagem is often skipped and chosen over ordinances and secondary weapons. The Distractor Beacon is a very important stratagem for a successful Stealthdive.
The Mindset
Helldivers, with all of its sweet guns and explosions, tends to put players in a gung-ho state. As long as the four of you have ammo and you’re all firing at the same time, everything should be fine. Unfortunately, this is never always the case. Stealthdiving tries to change that mindset by focusing your attention on what’s really important: accomplishing missions and surviving encounters. With that in mind, I would like to introduce the MADREE approach:
Mapping
Attacking
Distracting
Repositioning
Evading
Evacuating
And no, that was totally not a backronym.
Some terms that I’ll be using for this section:
Swarm – a group of Patrols and Hunters you have managed to corral using your Distractor Beacon.
Quick Blip or QB – the act of quickly pressing and then releasing the Minimap button to get a fresh scan of enemy positions. This is way faster than holding down the button and waiting for the map to rescan.
Quake – the Distractor Beacon’s location on the map represented by another yellow scan.
Final Swarm – the swarm you’ve been building up that will eventually attack your shuttle extraction position after all of your Distractor Beacons have been destroyed.
Mapping
You decided to go bold and drop off near an objective. You don’t see any enemies nearby and assume everything is safe. You start calling down your gear. Right in the middle of prepping your shield strat, three groups of Borg soldiers and a group of Hounds come at you from two directions. Well, f***.
Your map is your most reliable tool when doing a Stealthdive. It gives you a rough idea of where your enemies are, and therefore, where you shouldn’t be. I said it only gave a “rough idea” because it is never always accurate. By the time a red blip shows up on your map, the actual enemy might have already moved a few paces to where it originally was. QB’ing is recommended especially if you see multiple red blips near your position. That way, you’ll know which side to prioritize if they are about to approach you from multiple directions.
Some enemies do not actually spawn until you’re at their range, sometimes at a random location within the blip’s influence. The map might show you an enemy to your right, only to find a group of Scouts digging out a few steps below the blip. All these things aside, it’s always good practice to pull up your map every few other seconds, just so you know what sections you’re supposed to avoid.
Attacking
The idea is to always make sure you have enough space to deal with Patrols. Once you see a potential encounter, do not make a beeline for it. If you want to remove the threat, always try to kill it from a good distance. I often hold the right mouse button and aim towards the side where the Patrol will appear so that the camera adjusts and widens the view. This is especially ideal if you’re looking to deal with multiple threats (three or more Patrols, or a Patrol + Hunter encounter).
Momma has you in her sights.
Apart from the Cyborg’s IFV, Patrols rely on their own line of sight before they can actually call for backup. You may have encountered a few Scouts dancing around a big rock trying to see who’s on the other side. Use this to your advantage.
The Scout’s maximum range before it sets off an alarm.
Try to prioritize the ones closest to you to avoid a potentially difficult encounter. If the enemy is closing in and you still haven’t thinned them out enough to eliminate everyone, fall back so that you can widen the gap and safely secure kills.
Distracting
The first key component to Stealthdiving. Before using your Distractor stratagem, try to determine what paths the patrols will take so you can avoid them. Using the Distractor Beacon creates swarms, and it’s always good practice to check your map to see where they currently at. Make sure you send out additional beacons to keep the swarm wherever you want them to be: in an empty field far away from your objectives.
Repositioning
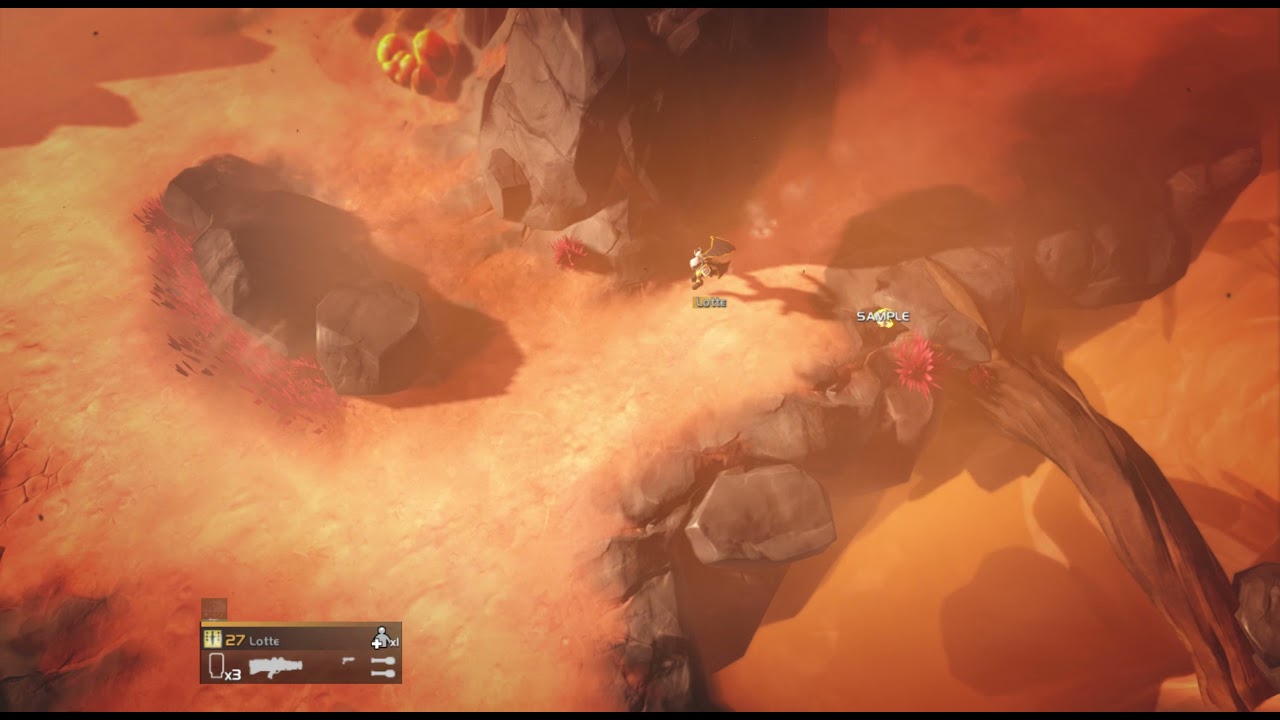
The second component to a successful Stealthdive. Picking which spots to move around in will determine if you’ll end up being unnoticed or if you’ve just cornered yourself with a swarm fast approaching. Below is a short clip showing how you can maneuver around a swarm using a Distractor Beacon and safely securing an objective:
Evading
During my many adventures in Matchmaking, I’ve noticed one particular thing. It seems that no matter how big or agile an enemy is, you can almost always outrun it. And if you run far away enough, they won’t bother chasing you. This is something that several people, especially new players, do not seem to know. Why bother wasting all your ammo on a group of slow-moving Elites when you can simply turn tail and live to fight another day? Apart from the kill count achievements, you won’t really gain anything from killing endless waves of enemies (well, maybe experiencing a small amount of catharsis from spreading Managed Democracy).
But your team is full of ammo and they don’t want to leave any bug alive. You take care of a few Elites while fresh new Scouts spawn and send off alarms completely unchecked. Then a group suddenly bursts out from where you’re standing. Sure, you can drop down again after getting killed. But then you’d have to fight your way to get back your gear. And then another teammate dies, so you have to call them back and then wait til they get their gear back. This could cycle several times, until someone finally realizes it’s a worthless effort and runs back to recall their teammates from a safe distance. All of this could’ve been avoided if Antonio simply turned around and started running towards the other direction. I’m looking at you, Antonio. Your terrible bug addiction is starting to make your family worry.
Evacuating
So you’ve managed to finish all of your objectives and pick up samples along the way. The only thing to do now is call in the shuttle to exit the map. The thing is, you’ll be exposed for a minute and a half. Once your decoys are dead (indicated by the sudden disappearance of Quakes on your minimap), that one final swarm will start marching towards your position. This is where your last stratagem, the Triple Thunderer Barrage, comes into play. Since most of the enemies will be coming from one direction, a perfectly-timed arty strike thrown their way will make short work of them. All you need to worry about now is taking care of any stragglers or newly spawned enemies attacking from the other sides. Make sure to stay away from the landing zone, or they’ll end up scraping you from the shuttle’s underbelly. Congratulations, you have just finished a safe and controlled Stealthdive.
Stealthdiving in Practice
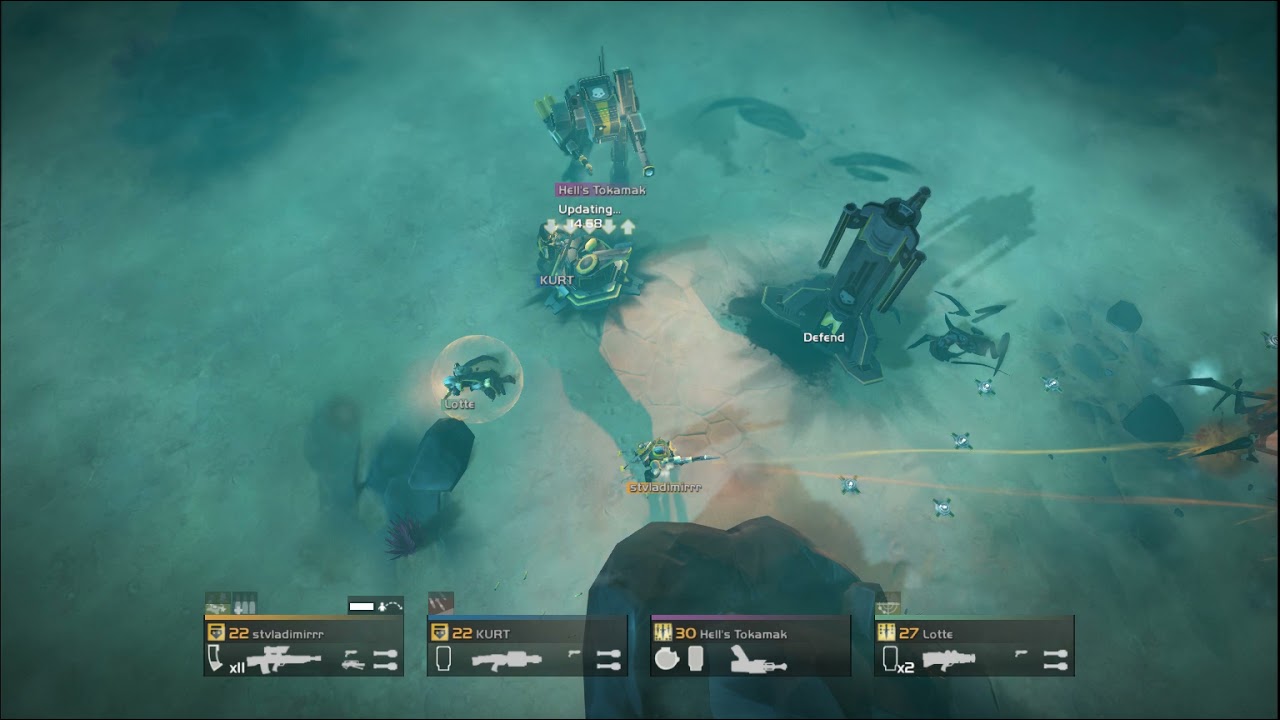
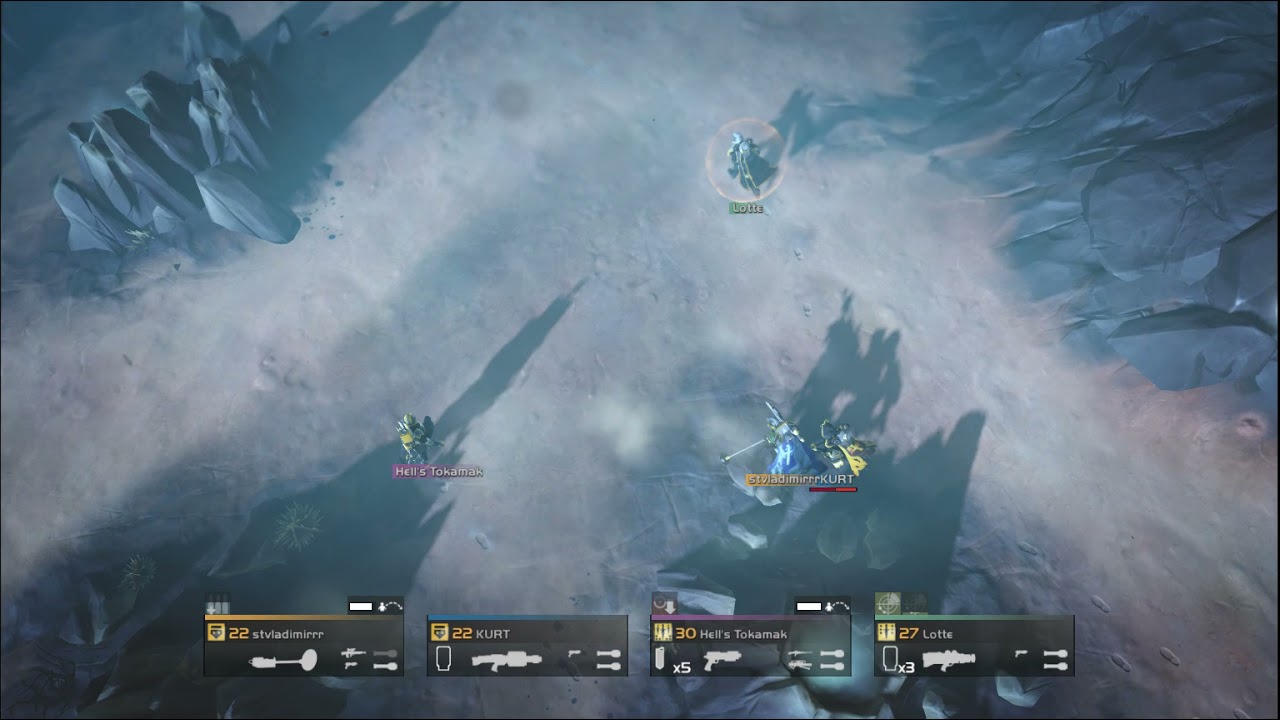
Below is a video using Stealthdiving on a level 10 planet. By the way, I recorded the Cyborg’s panic music over this gameplay, just because it’s the one I like the most. Notice that no alarms were sounded off, until the shuttle dispatch which I totally did on purpose. No really.
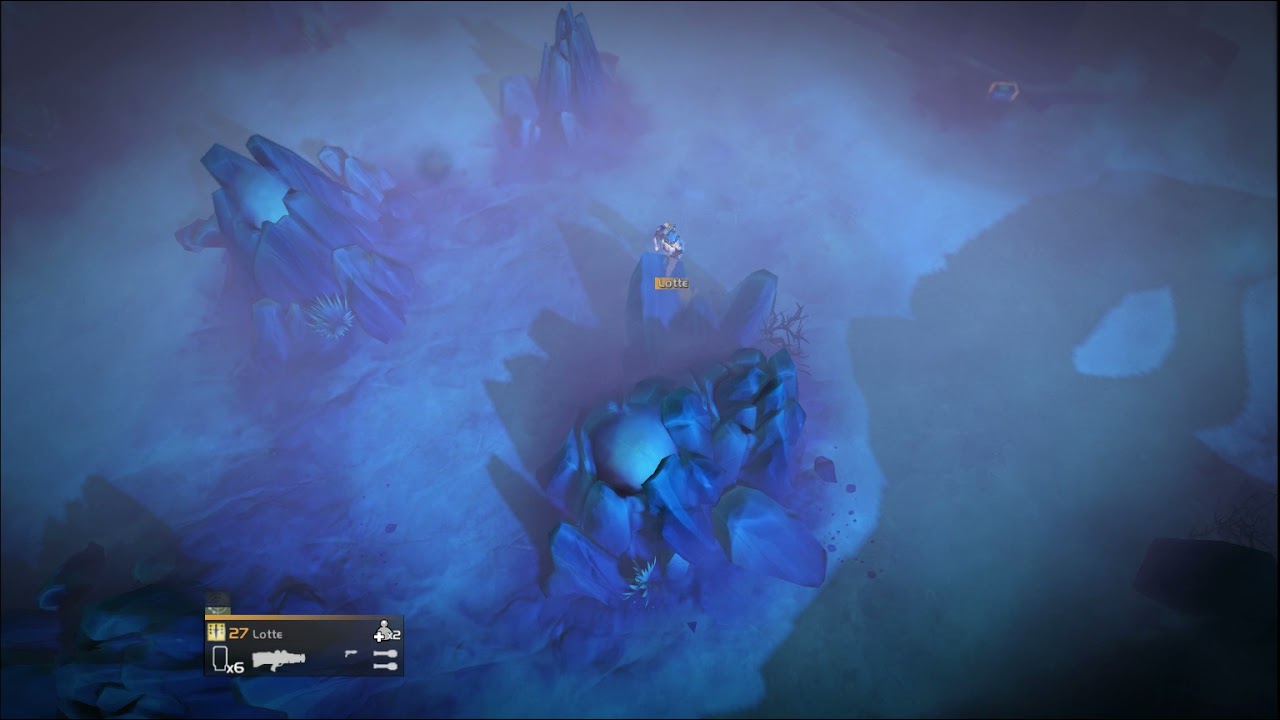
Two more videos showcasing elements of Stealthdiving in public matchmaking games. The only reason why I picked a shield over another beacon is because I’m afraid of getting randomly shot at by my teammates.
Conclusion
Thank you for joining me up to this point! I hope I was able to provide you with new insights and
tactics that you can use in your own gameplay. This guide is not trying to push everyone to start using Stealthdiving. Everyone should use whatever play style they prefer to fully enjoy the game. I just hope that my guide has given you useful information and probably a chuckle here and there. Thank you once again, and see you on the battlefield! 😀
This is all for HELLDIVERS™ Comprehensive Look at Map Control hope you enjoy the post. If you believe we forget or we should update the post please let us know via comment, we will try our best to fix how fast is possible! Have a great day!
- Check All HELLDIVERS™ Posts List


Leave a Reply