
So, there wasn’t anything on Steam talking about how to get started in this game, but there’s a clear need for it given the minimal tutorial popups and non-intuitive user interface. I may have consumed whiskey while producing this, but it’s better than nothing, right?
Adventure Mode First Clicks
So, the game recommends “easy” difficulty for a reason. Accept that your first run will be for familiarizing yourself with the interface, the concepts, and so on, and just start playing. You will probably die horribly well before turn 50 and that is okay.
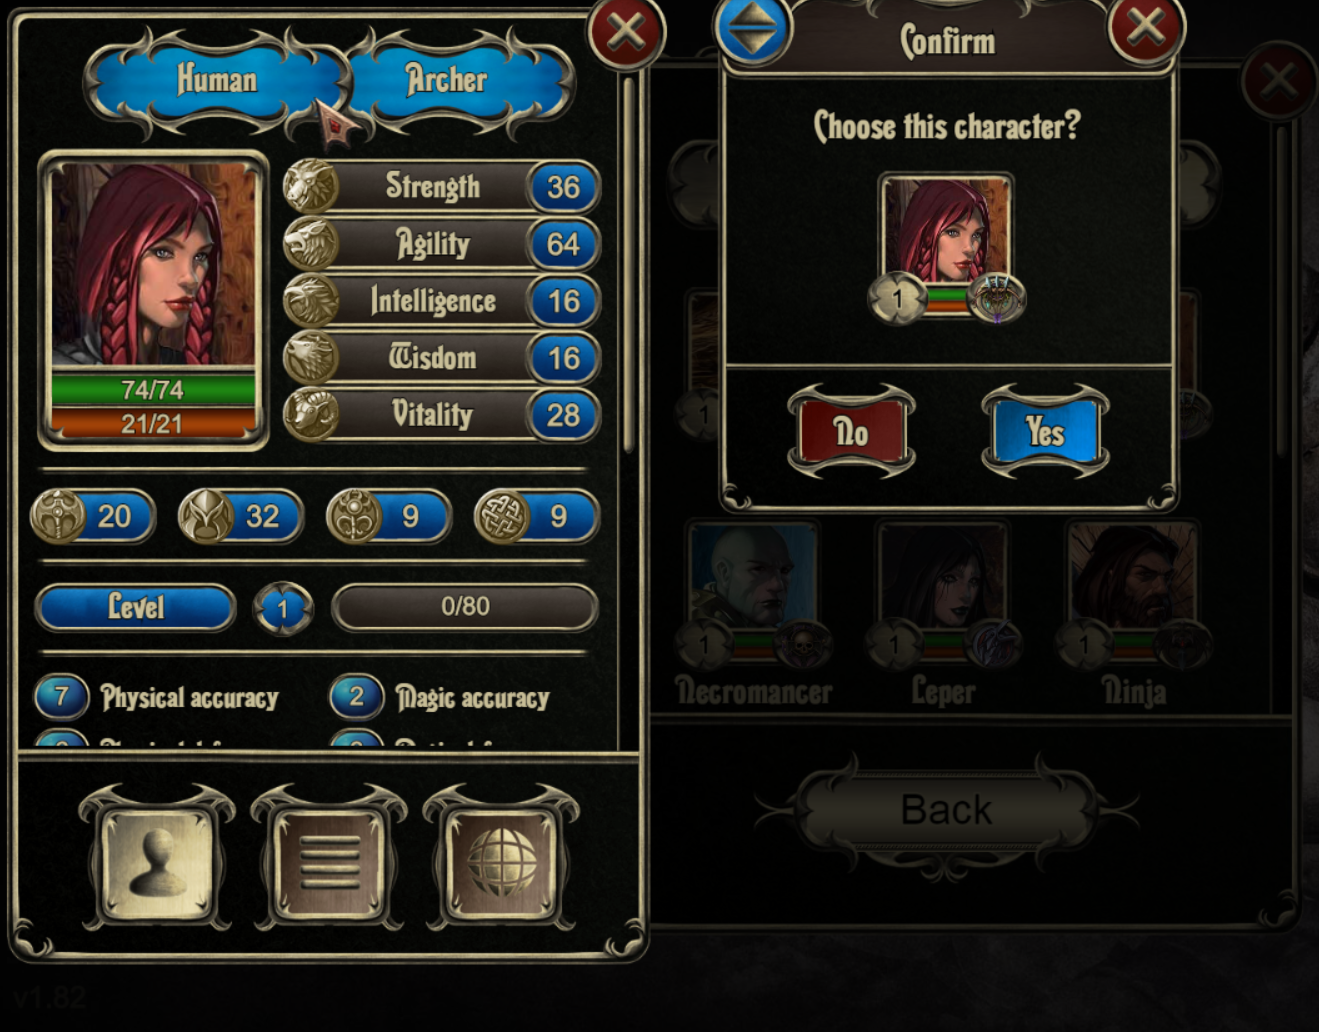
1) Pick your lead character’s race and class and wonder why you’re unable to name him or her. Some class options are not available for your lead, such as healer.
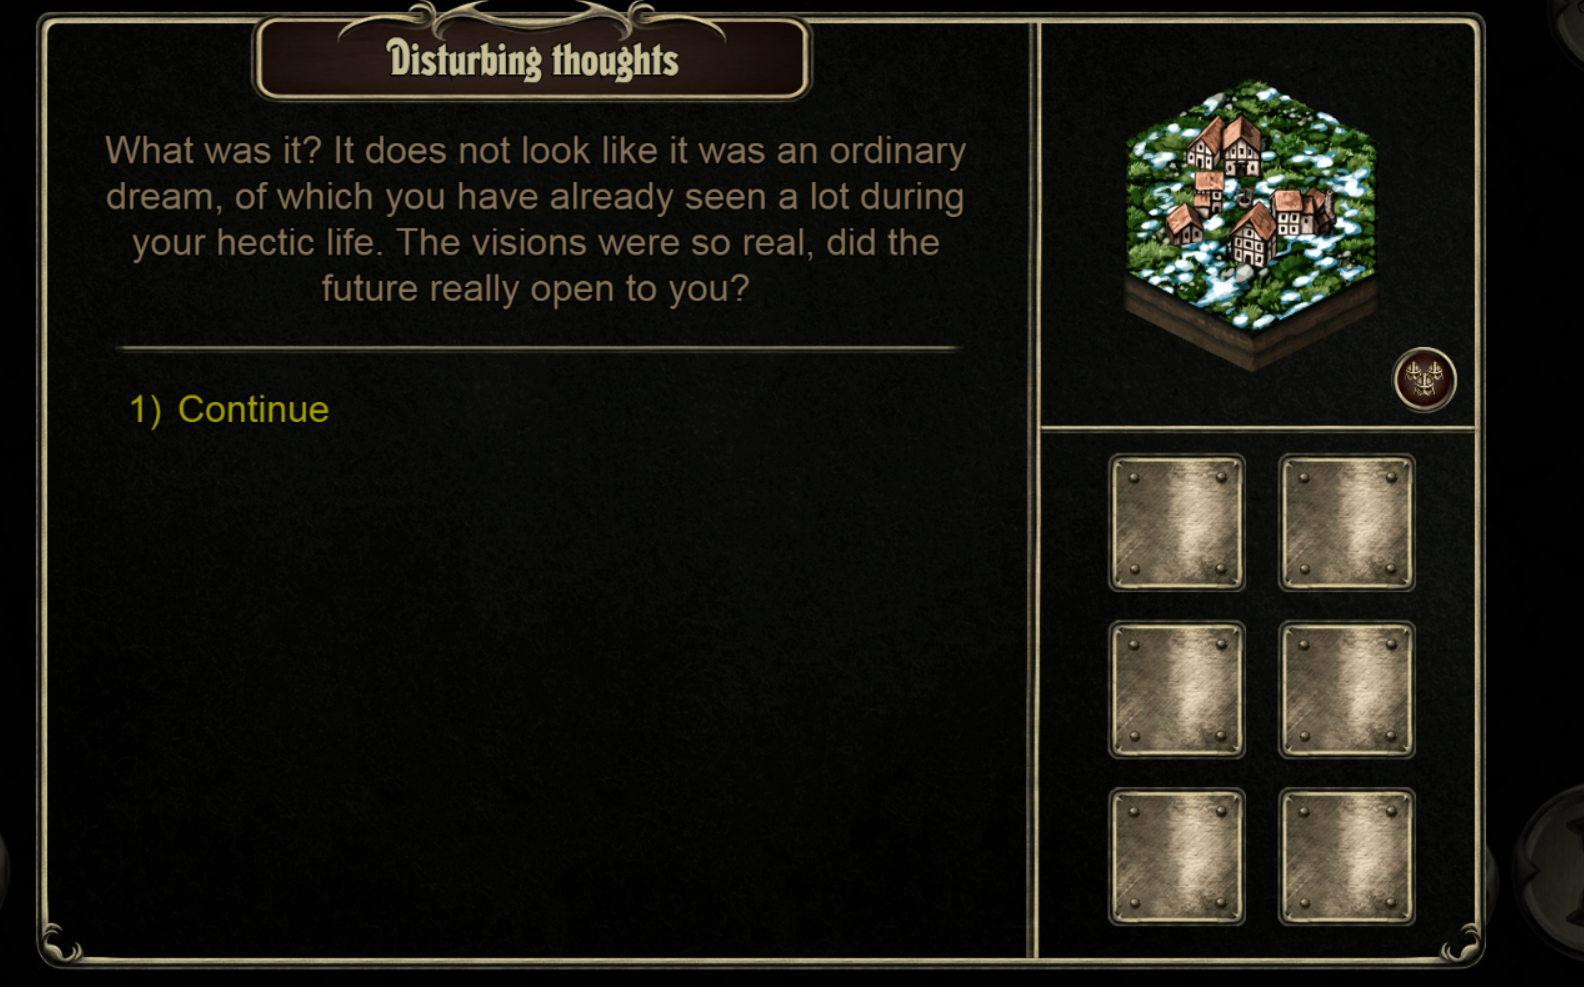
2) After the introduction test, you find yourself on a hex map and are given a starter quest “An Anxious Dream.” Ignore that dream for a moment because you have no skills, no equipment, and would have a hard time leaving the starting hex. Really.
Tip: If you insist on looking at the quest as directed by the tutorial, you can click on the scroll icon on the lower left of the screen from the base hex map, but really, we should go to the town in the starting hex for some hired help first.
Hometown Hired Help
Hopefully you didn’t leave the starting hex…let’s continue.
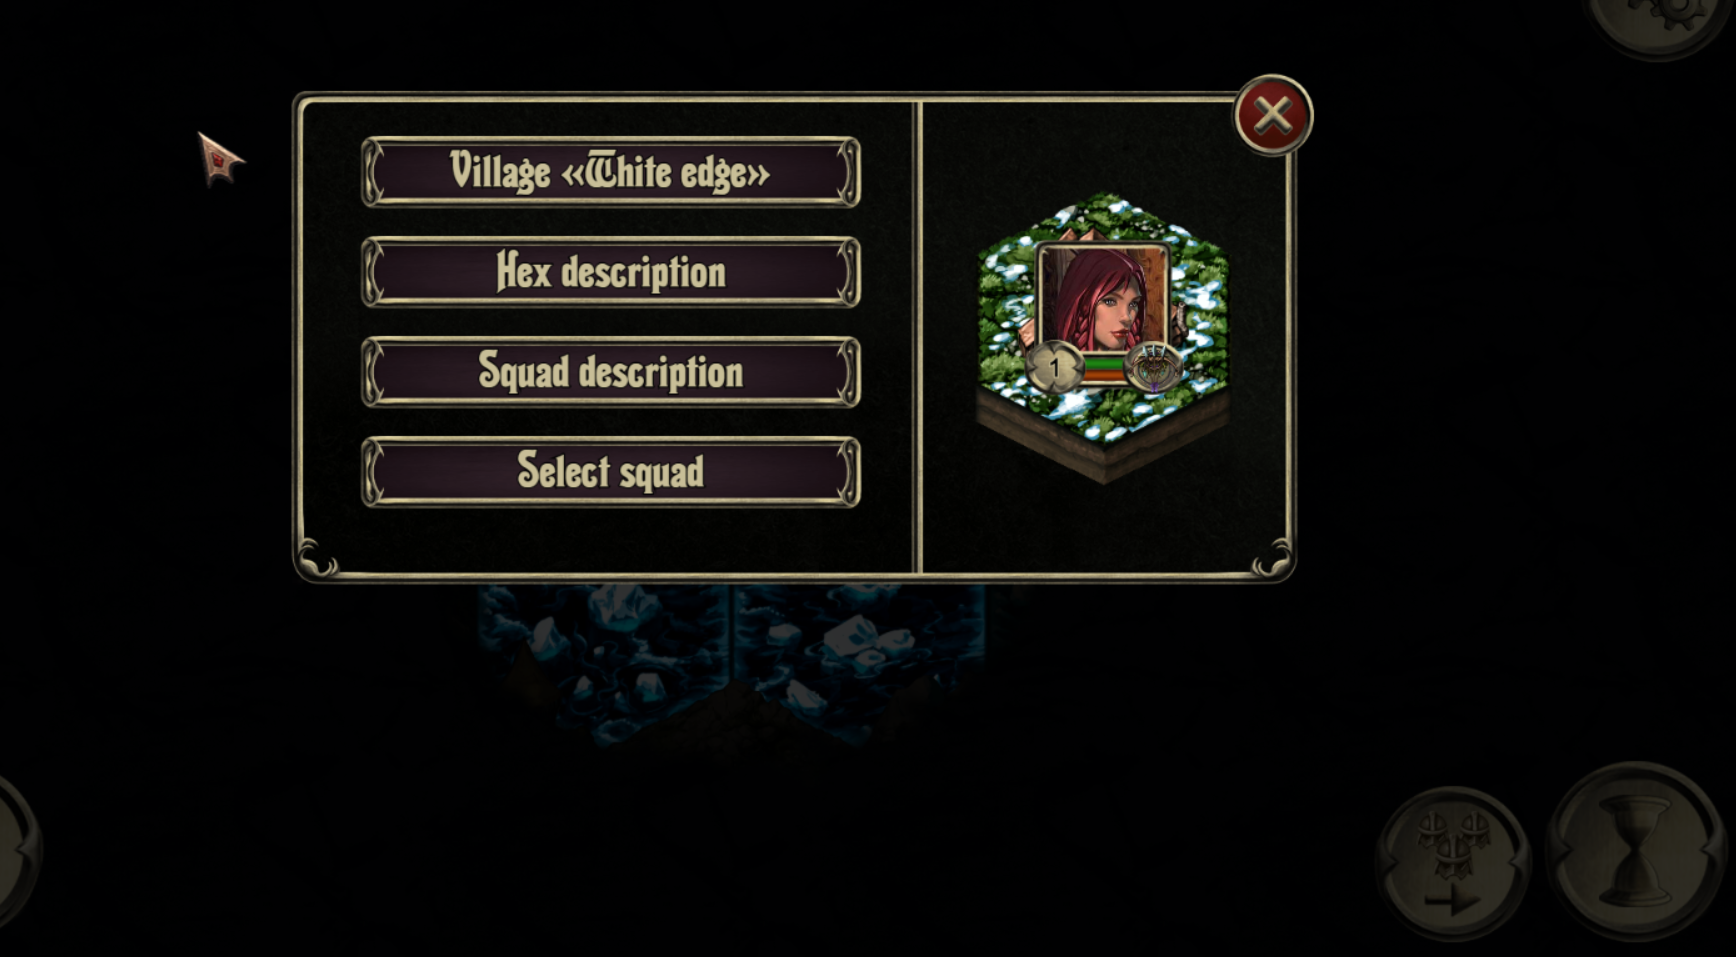
3) Click on the main character’s hex and go to the starting village of “White Edge.”
4) Check out the gear they have in the equipment (Artifacts) store so you know what your options are for the purchase of starting gear.
Tip: The gear selection in this village will change in 7 turns but you may not want to specialize in leather armor if there isn’t any here. I go here first because it informs my hiring choices for my starting party.
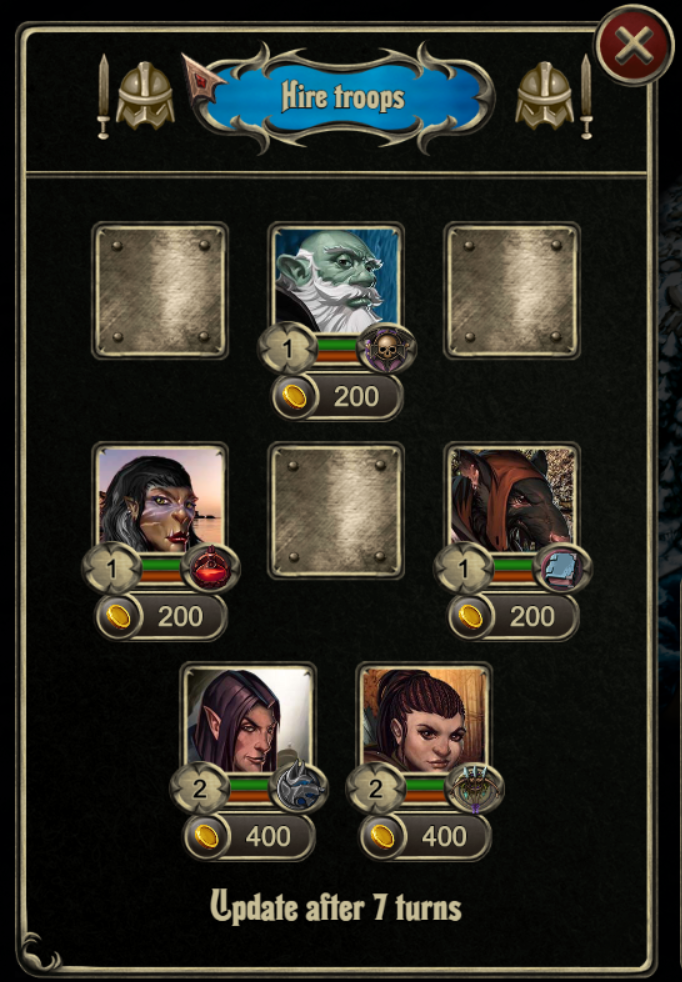
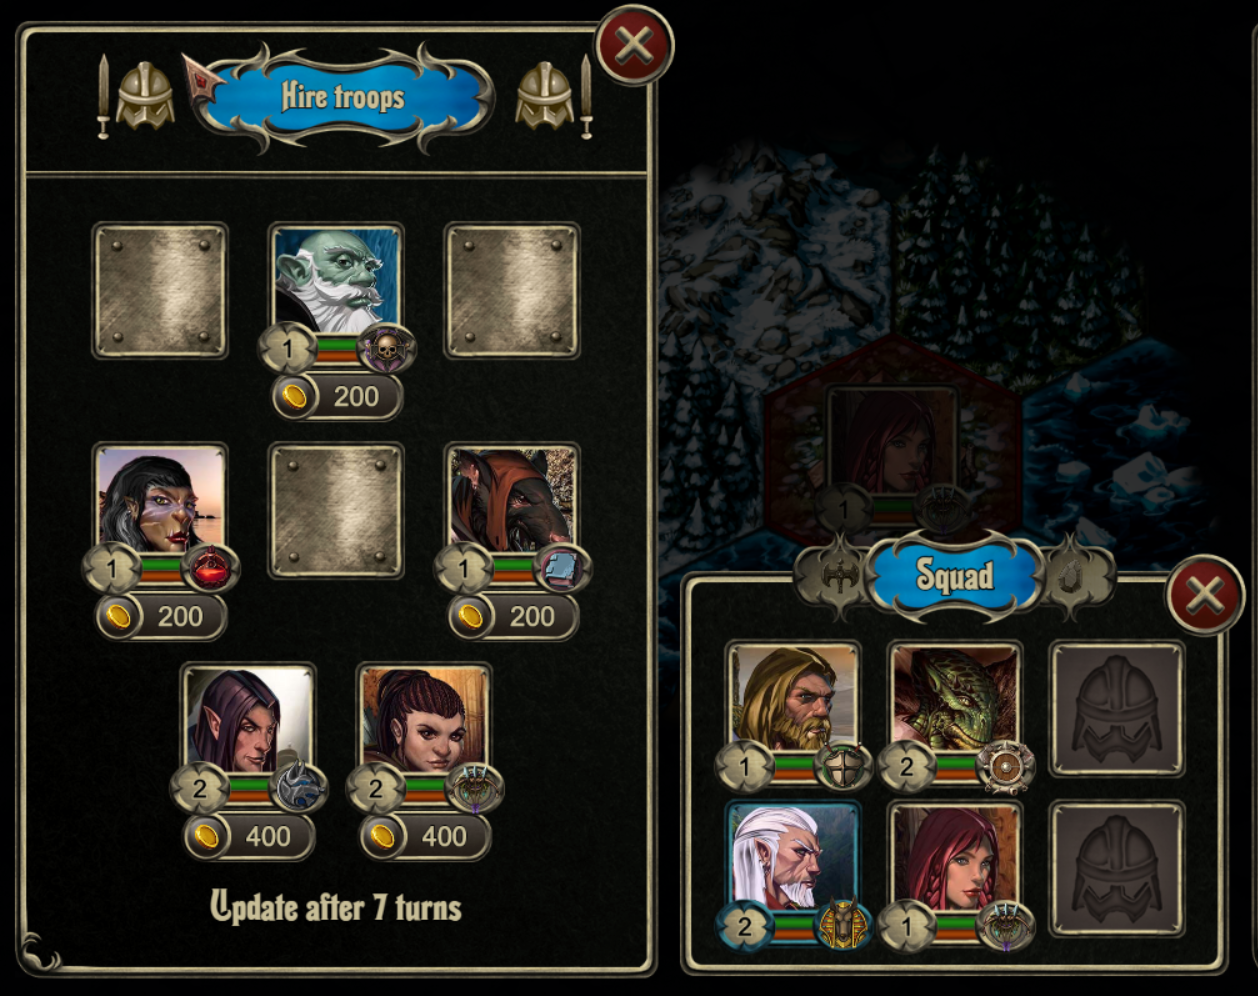
5) Go to the “hire troops” option and see who is available.
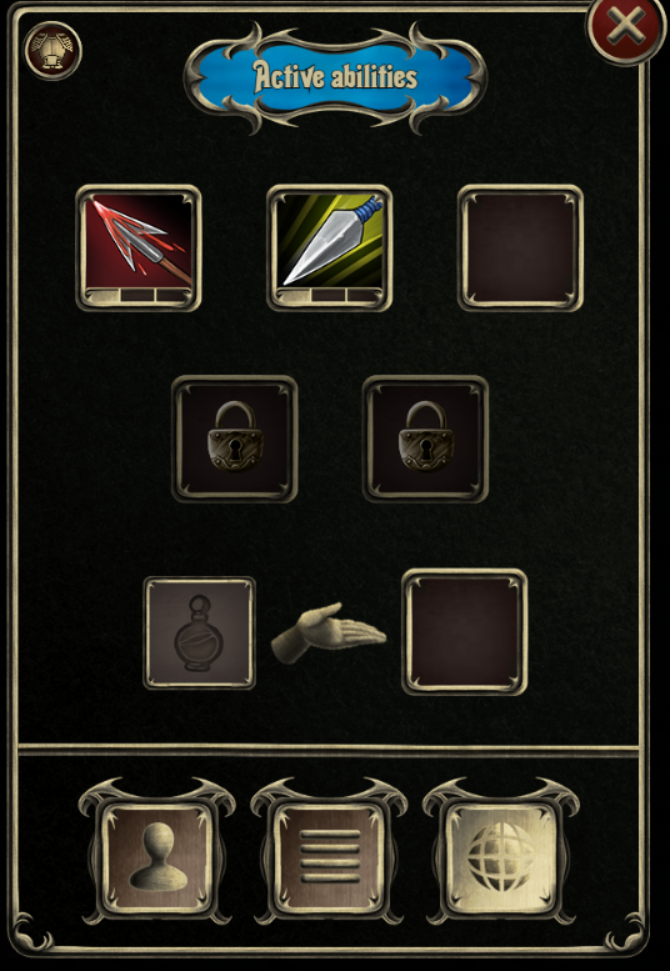
Tip: You’ll want to click over from the base stats window to see their active and passive skills. Do this for the main character as well, so you can understand what options you have for that character. This will help you to make better choices about your starting team–can that Paladin be your front-line tank if her weapon proficiency is in “Talismans?”
6) Hire your three starting people to build a somewhat balanced team with your lead character. You’ll have different options (in 7 turns or in other towns) but you want four people–the current max for several levels–to increase your survivability in a fight. The team doesn’t have to be perfect.
Tip: Unlike many RPGs, you don’t *have* to have a healer or a spellcaster to get by, but because of the way combat works, having several characters with ranged combat options makes things easier.
6) Go to the Training Center and assign passive skills (middle option on lower right of the screen) to your lead character based on a mix of what you want for that character and how he/she fits in with the party and what gear is available for purchase. If required, train active abilities (globe icon) and drag them into the area on the right so they are equipped.
Tip: You have enough gold to increase the “level” of your starting active abilities (right option on lower right) for your main character and I usually do this. It increases the energy costs of skill use but you’ll be waiting/resting in combat frequently and it’s worth the cost–whether you want to level select skills for the other three in your party is up to you.
Tip: You can use the “Drop passive abilities” button in the lower left to re-skill any character, to include the ones you just hired. You’ll lose a skill point but that may be worth it for you to make one of the starting characters available for hire “fit” your party concept. If you choose to do this, remember that after you allocate passive abilities you have to then go to active abilities and drag those into the available slots on the right or the character can only move and can’t do anything.
7) Go to the equipment (Artifacts) store and buy starter gear as required. Some characters may have no gear. I try to find a weapon and a piece of armor for everyone if I can but with randomized store selection you may have a character or two with one piece of gear…or none. This is okay and you’ll probably be fine for your first few encounters.
8) If you have a character able to equip scrolls or potions, you can go to that store and buy a few.
You now have a sporting chance at survival in Grim Wanderings II for the first few fights. It took me a few games to realize this sequence and why it mattered. When we get to combat it will be a bit more clear if it isn’t now.
Exploring Basics
We’re now ready to leave the White Edge hex, but we don’t have to. We click on the starting hex with our party in it and we see the “Hex description” option right under the starting village. From there, we have a few places we can explore. If you choose an option here to explore, that will automatically complete your turn, even if you take no action.
Example Action: I see the “hamlet” option. I select it, and have the option to talk to the villagers or attack. I choose talking, and have the option to buy food from them or try to buy the land. Even if I choose “leave” at this point my turn is complete.
Moving Your “Squad”
Clicking on a hex occupied by your party allows for you to “select squad” which means clicking into adjacent hexes allow for movement there–or a bit of reconnaisance. Let’s start with that.
1) Pick “select squad.”
2) Click an adjacent hex that isn’t ocean. If you don’t “own” the hex you’ll see the garrison defending it, which you’ll have to defeat to be able to explore that area further. You must spend the movement point on a given turn to see what options you’ve got.
Tip: If you “own” the hex you’ll see the searchable areas in it and there’ll be a little scroll icon next to one that’s associated with an active quest.
3) Choose how to interact with that garrison. You can attack them, bribe them, or, depending upon your passive skills, have a skills test that may allow for other options. Go ahead and “attack” them, we’ll talk through combat in the next section.
Core Concept: Passive Skills’ Impact on the Map Passive skills like Perception and Stealth, on a successful skills check, may provide a considerable advantage in battle. Stealth offers a good bit of damage to “soften up” a group of enemies, and if you fail, you get no advantage. The worst possible outcome is a shuffling of your characters on the combat hex map. Perception has a greater chance of success from the looks of it but inflicts less damage on the enemy.
First Fight and the Combat Interface
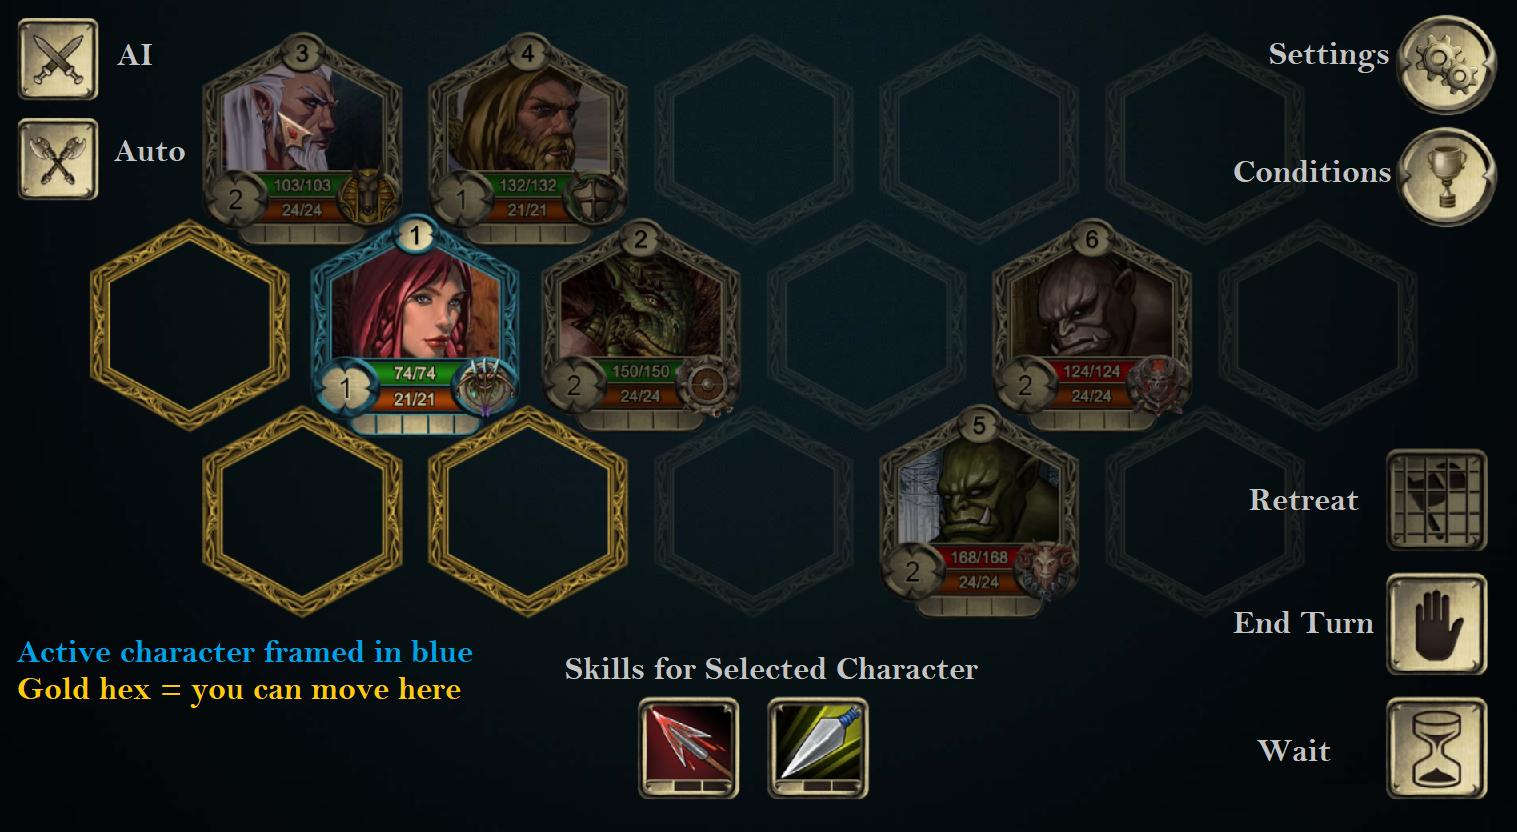
You will then transition from the overworld map to the combat interface, the map for which consists of three rows of hexes. Your starting disposition of your characters is based on where they were positioned in the “squad” menu–shown above on the right hand side. Note that a bad result on a Stealth check, if attempted, or your starting formation, can be fixed from the “squad” menu after the fight.
Orientation to the Combat Interface
Your characters begin on the left side, the enemy on the right side. It seems as if you can only retreat from the left middle hex, but hopefully things will go better than that and we won’t have to do that.
Combat Interface UI
The two buttons on the left hand side of the screen, from top to bottom:
– AI Control: gives control of your party to the AI (asks if you’re sure first).
– Calculate Result: AI determines the result of the battle automatically.
The buttons on the top right:
– Settings: allows you to adjust those.
– Conditions: for victory or defeat, usually involves killing of things.
The bottom right buttons, you’ll find, are the most important:
– Retreat: Note that you cannot retreat on the first turn of combat.
– End turn: Ends turn for that character. If no action is taken, the character rests and recovers
some energy.
– Wait: The character waits until later in the initiative sequence. Good if you’re blocked by another character or there is no target in range.
Tutorial: Conducting Your First Combat
1) The active character is brighter and pulsing. You can move to another hex, use a skill, wait, or end turn. Note that if you want to move, do that first; using a skill ends that character’s turn.
Tip: Moving and using skills requires energy, which can be recovered through spells, scrolls, or resting via “end turn.”
2) Proceed through the combat sequence.
3) Win. Even if you only paid a little bit of attention in party-building in White Edge, this shouldn’t be too difficult.
4) From the “Consequences” pop-up, see what phat loots you’re getting and select “Continue.”
5) You’ll go back to the overworld hex map. From the pop-up, either manually drag items to your resources/artifact inventory or click the blue down arrow and pouch button to “take all.”
Don’t worry, I’m not ending with that. That would be a jerk move.
Core Concepts for Sucess in Combat.
Let’s talk about some core concepts for GW II’s combat system. Some of these you may have used unconsciously in your first fight. Note that I’m just making up names for them and this is unofficial, but it’ll help to talk about these ideas if you’re having some trouble.
Terrain Management on the Combat Map: This is more than “armored characters in front.” During gameplay in combat, you can position characters in such a way as to allow multiple melee-range attackers to be able to attack a single enemy at once (I like to ‘gang up’ on enemies in turn-based games so I get fewer hits to the face). You can also minimize exposure of a wounded character to enemy attacks by moving a friendly character forward/hiding behind the “tank.” If you have a healer, maneuvering both the wounded person you want to heal and the healer requires a bit of deliberate planning. If you think of the hex map as a “terrain management” problem you’ll have an easier time of things.
Turn Management Over Time: You’ll notice over the course of the combat sequence that all skills have cooldowns and the energy “cost” of these skills means that after a certain number of turns you’ll have to “rest” one or more characters. It’s good to know when you can and cannot cast that heal spell! Managing cooldowns of skills and energy within your party are a core component to success in combat.
Tip: You know that you’re on the right track if you’re resting one turn “early” because you know the skill you need for your mage is available next turn and after that you want to take out the enemy healer. You’ll find that given the mix of skills in your group that some sequences are better than others.
Complimentary Skills: I spent the majority of the digital ink for this guide talking about how to build a functional party by carefully choosing your starting characters, building your main character accordingly, and buying/equipping items based upon your passive skills. It may be obvious to some folks, but you’ll want to think about how you want to damage your enemies and the sequence of actions, and refine this as your team levels up and you get more skills.
Tip:[b/] Don’t be afraid to ditch a character that isn’t working after several turns!
Team Building:Team Building: As you level up your team, you have to think about how to allocate those passive skills and utilize those resources–to include both what skills to train, and what items to buy and craft. Increasing your options is a Good Thing, but remember that passive skills increase your options, and can impact combat directly and indirectly–I used the example of Stealth, but Identify is a good spellcaster ability that will save you 30 gold/instance and is a Must Have for a sustainable team.
Next Moves/Conclusion
Do You See Dead People? Did anybody die in that first fight? In White Edge, you can use the “infirmary” to resurrect the active character selected from the Squad menu (cross with line underneath), heal the active character (cross), or heal the whole party (three crosses). If you want to recover energy, you can end turn on the hex map or rest in an inn (“tavern”).
1) Find the hermit to figure out the next step.
2) Cautiously gain control of additional hexes on the overworld map, revisiting the starting town and buying/selling artifacts as required.
3) Level your starting party up carefully, balancing skills that enable active skills and gear and passive skills that provide advantages in skills tests and additional options for encounters.
4) As you explore the hexes and different areas within them, periodically check your resources, they’re on the top of the menu. Your party consumes some gold, bread and meat each turn (click on the quest “scroll” icon to see how much).
Tip: Your equipment has durability and can break. You can repair or replace it at the right facility/with the right skills. That starter gear may not be worth repairing, though…
5) Find the first city, which has a slightly different menu of options than the starting village. Which one did the hermit want you to go to? Note that as you level up, additional, higher-tier shops become available.
6) Profit (?)
Wow, I’m pretty lazy. I didn’t touch on stores or crafting or the inventory or anything. Maybe I’ll periodically check back and update with, y’know, class descriptions and a discussion on skills and builds or something.
Also, y’know what? I’ve never made a guide on Steam before. So, if it’s not great, that’s part of why. Hope you found it at least somewhat useful in getting you started, and feel free to comment/gripe/etc.
Hope you enjoy the post for Grim wanderings 2 Basic Gameplay Tips – Adventure Mode – Playthrough, If you think we should update the post or something is wrong please let us know via comment and we will fix it how fast as possible! Thank you and have a great day!
- Check All Grim wanderings 2 Posts List


Leave a Reply