Introduction
This Guide will teach you how even you can make a good Sandbox map, if you want to make a Garry’s Mod map for another game mode like Trouble in Terrorist Town this guide will also help you but it might have different entities.
Finding Hammer
The first step of making a Garry’s Mod Sandbox map is finding hammer.
Hammer can be found in Steam\steamapps\common\GarrysMod\bin\hammer.exe
Now, what is hammer?
“The Valve Hammer Editor (more informally known as Hammer, and previously called Worldcraft) is the official mapping tool for the Goldsource and Source engines (which most newer Valve games run under). It is also included in every game made with Source Engine […]” – Valve Developer Community
Hammer User Interface
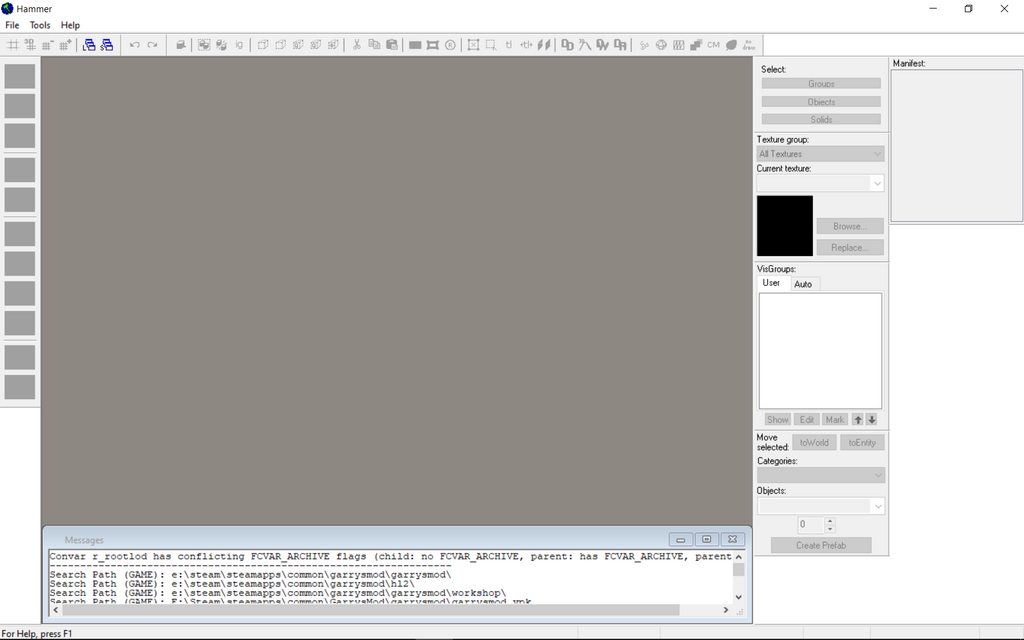
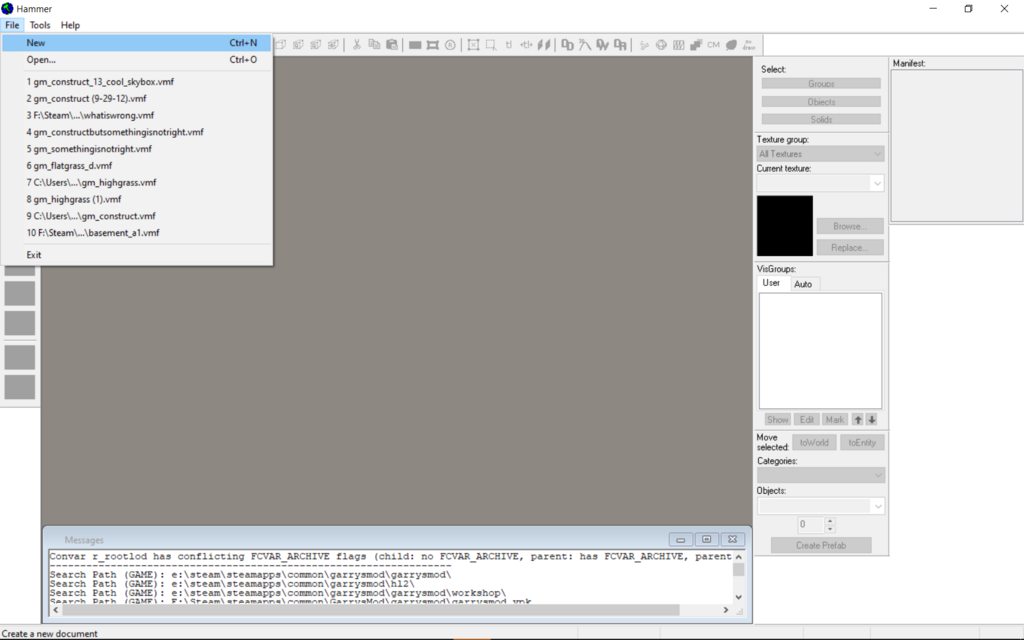
After opening hammer.exe, click the File tab and click new
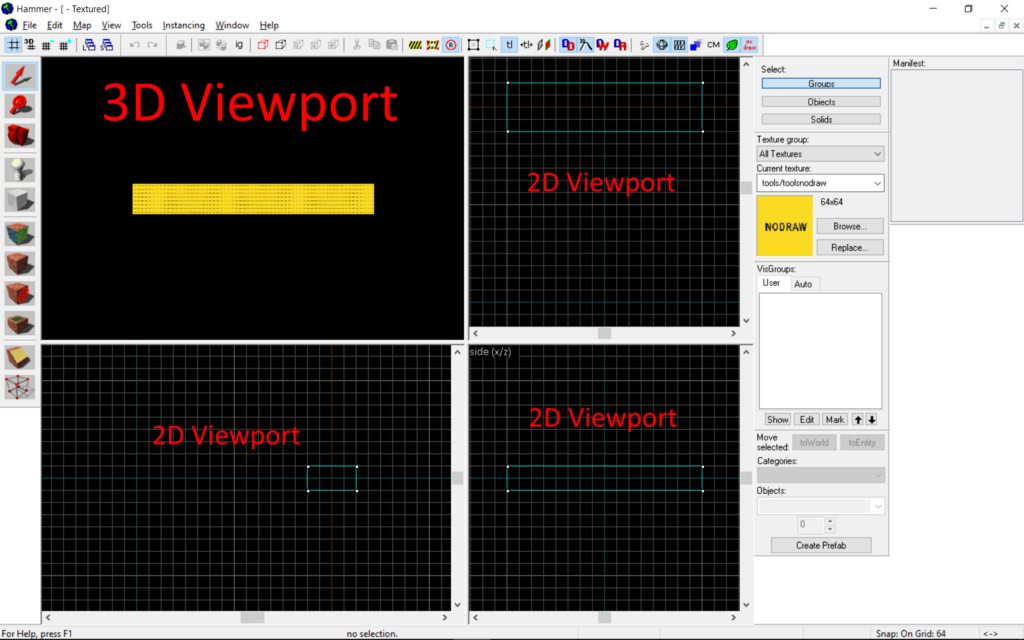
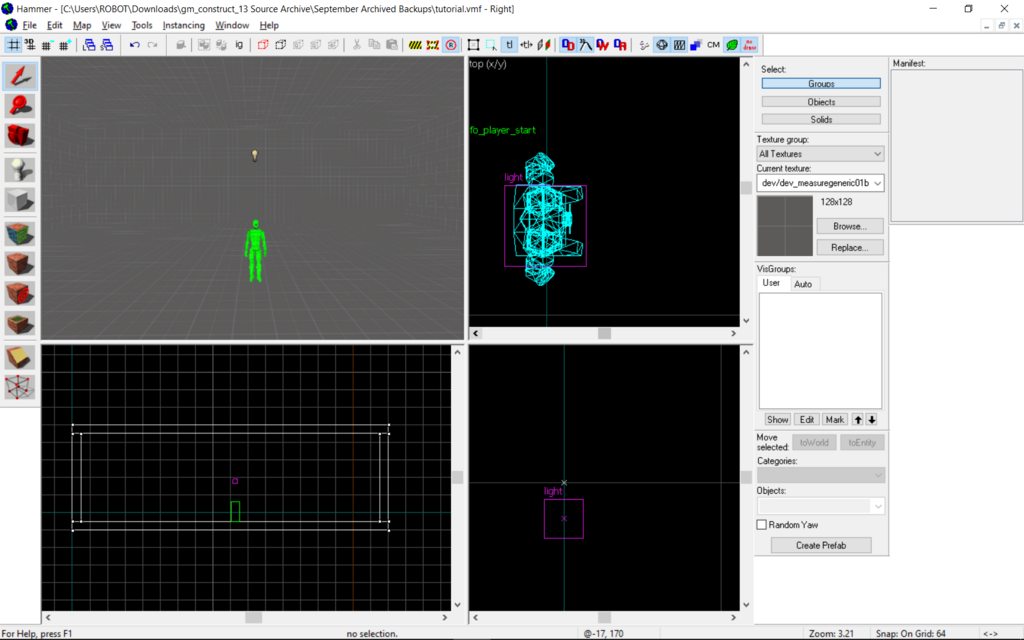
Hammer is divided into 4 viewports which all display your map, one 3D Viewport and three 2D Viewports.
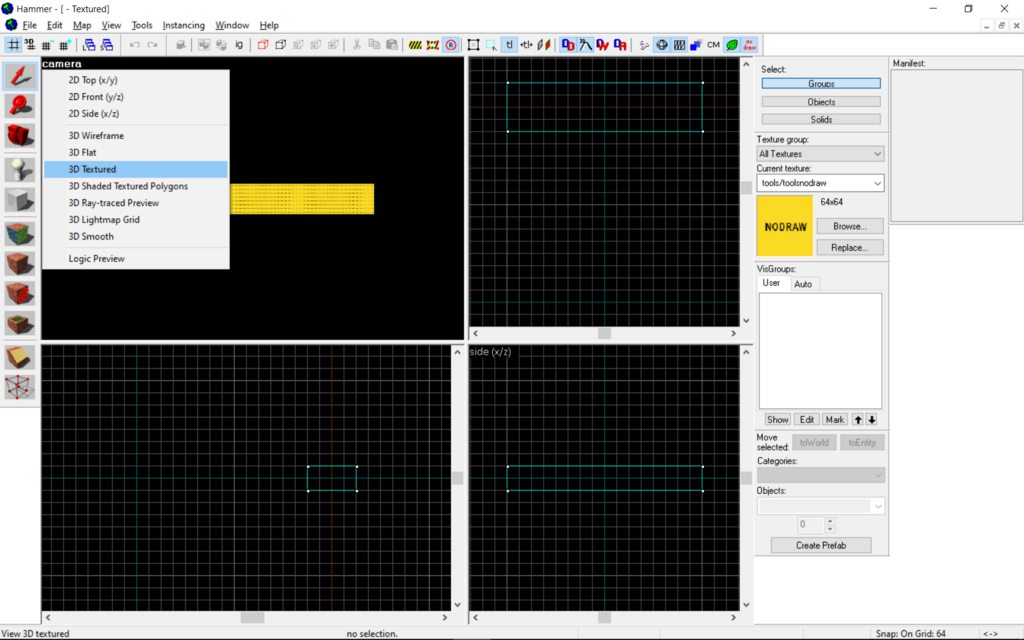
The first thing you’re gonna need to do is to move your mouse onto the left top corner of your 3D Viewport until “camera” appears, then click it and select 3D Textured. Now the 3D Viewport will also display Textures.
Using the Viewports
If you hover your mouse over the 3D Viewport and click “Z” you can now look around with your mouse and move around with WASD, you can get out of the 3D viewport by clicking “Z” again.
Now if you hover your mouse over any of the 2D Viewports you can use the scroll wheel to zoom in and out, if you hover your mouse over the left top corner of a 2D Viewport it will display from what side the 2D Viewport is displaying: top, side or front.
The Grid
Now the 2D Viewports have a grid which you can change by clicking these buttons:
You can check the current grid size in the bottom right corner
Basic Tools
Tools can be found in a bar on the left side of hammer,
In this section of the guide, we will be focusing on the three most important for now: The Selection Tool, The Block Tool and the Texture Tool.
Firstly, click the Block Tool, then drag and hold on one of the 2D Viewports, adjust it to what you want it to be, then click enter. Congratulations! You just made a brush, brushes are geometry that builds your map. Now you might see one problem, you want the brush to be a different size, for that we have The Selection Tool, select The Selection Tool and click on your brush in the 2D or 3D Viewport and resize it using the 2D Viewport. Now another problem you might encounter is that the brush doesn’t have any texture or has a texture you don’t like, for this we will need to firstly select a texture.
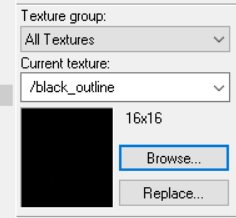
To select a texture find the “Browse” button
After you clicked the “Browse” button a new window will pop-up this is where you can select textures, you can search for specific textures using the Filter Bar
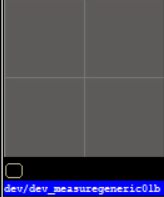
for now, type in dev inside the Filter Bar and find this texture
Double click it and then select your brush and click the Texture Tool. The selected texture will now apply to the selected brush.
Basic Room
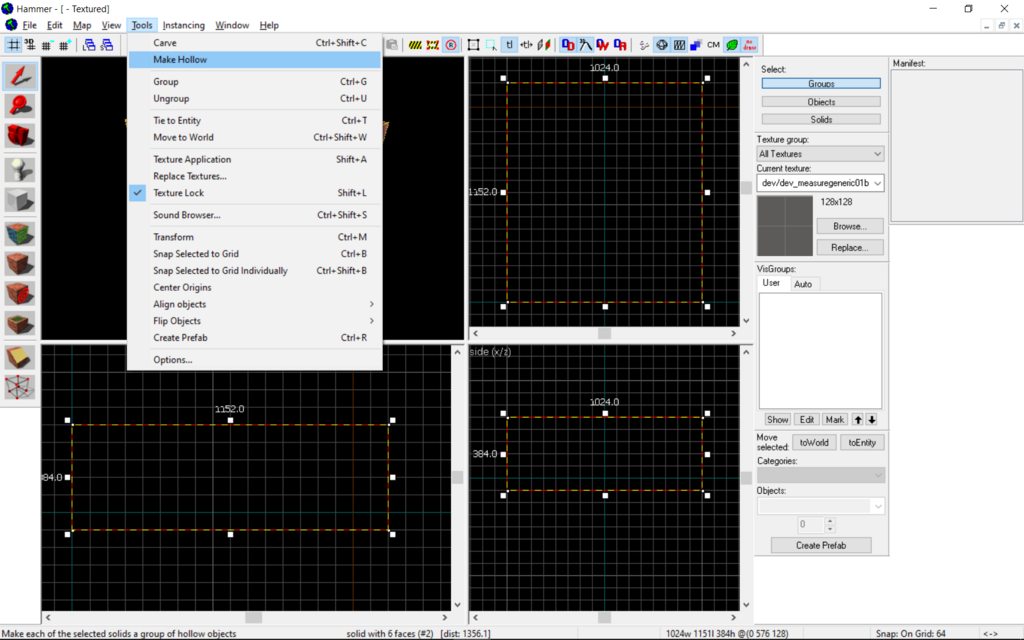
Now you’re gonna need to edit your brush to look like this: 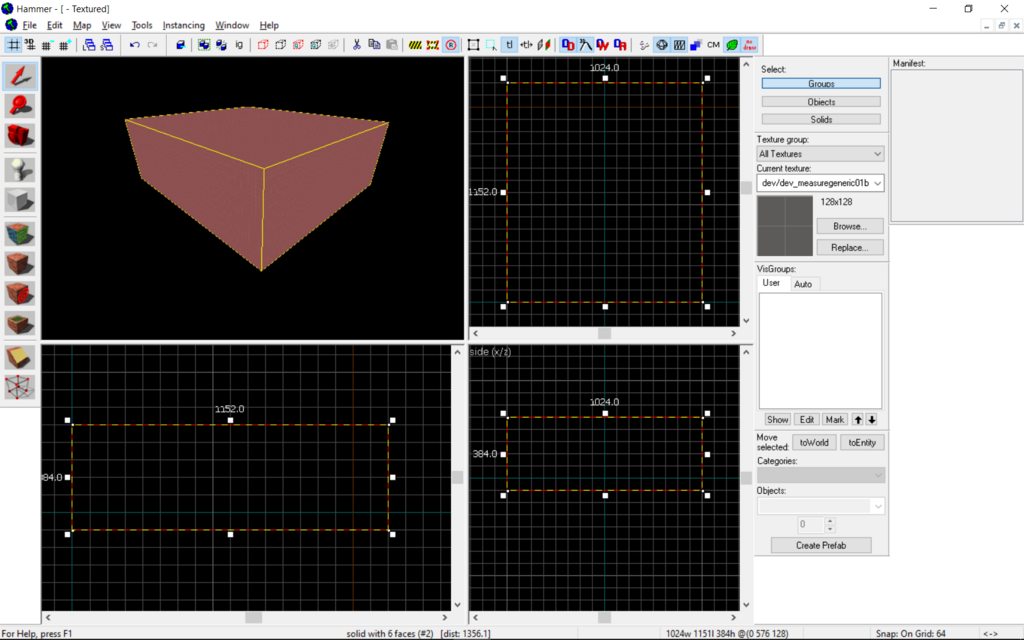
A window will pop-up, keep it at the default “32” and click OK, this will essentially hollow out your brush creating a room if you fly into the cube using the 3D Viewport you will see it is hollow.
Now Select the Entity Tool
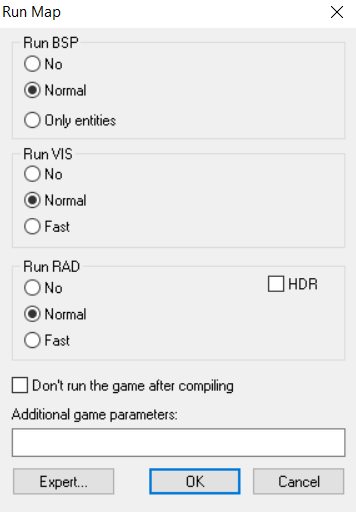
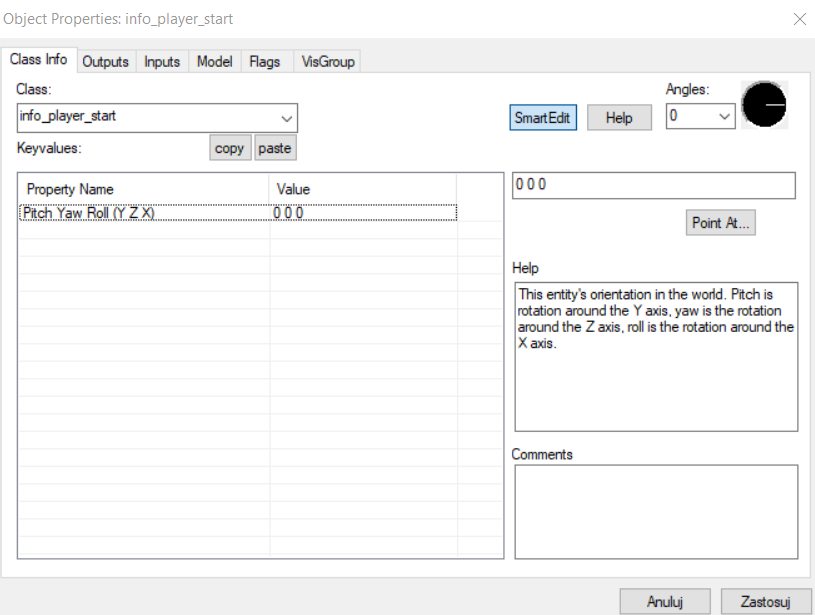
And click at roughly the centre of the room on the 3D Viewport, you should see a model of a green low poly Gordon Freeman, this is the default entity “info_player_start” it’s where the player will spawn on the map if you have multiple in one map the game will pick at random. Now click Control + S or go to the File Tab and click Save then save your map as a vmf, a valve map file which can be later opened with hammer. After you’ve saved your map click F9 and a window should pop-up
Now click OK and some windows should pop-up, don’t panic this is normal. After some time Garry’s Mod should open and launch your map, now feel free to run around. You might see that everything is bright but that is just because we don’t have any lighting on the map.
Basic Lighting
After closing Garry’s Mod come back to hammer and place down another info_player_start, then while having the selection tool selected double click it. It will open up the properties of the entity.
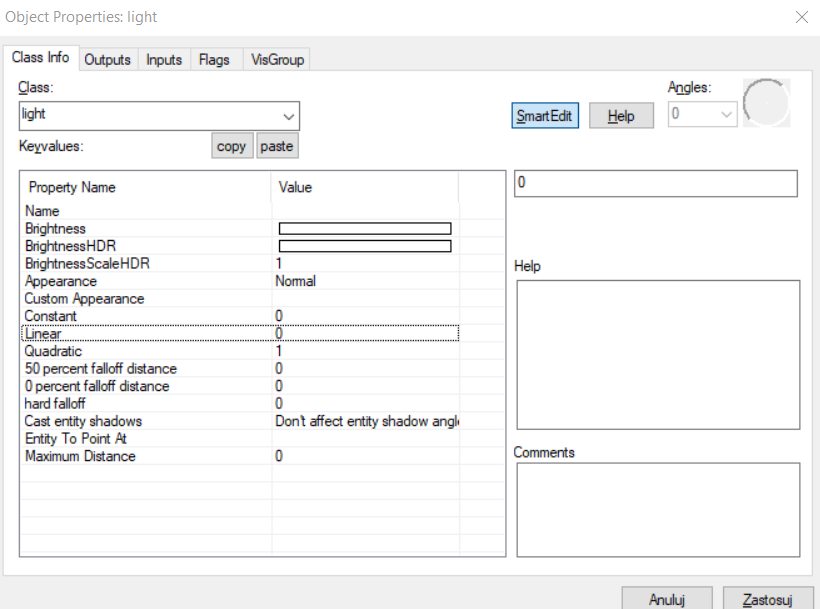
Now where it says info_player_start type in “light” then double-click enter. You should see new options appear and the appearance of the entity should change to a bulb icon.
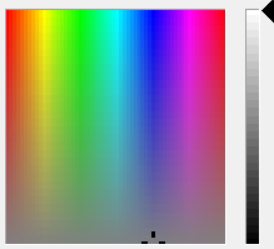
Now the only thing we’re going to focus on now is the “Brightness” value which determines the colour of the light, click on it and then click the “Pick Color” button that will show up.
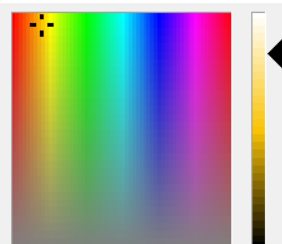
Now pick any colour you want
I’d recommend this one
Now click OK which will close the colour picker, now click apply and close the entity properties window, now position the light in the centre of the room so that it is in the air like this
Now when you click F9 and run the map the room will be lit up!
Props
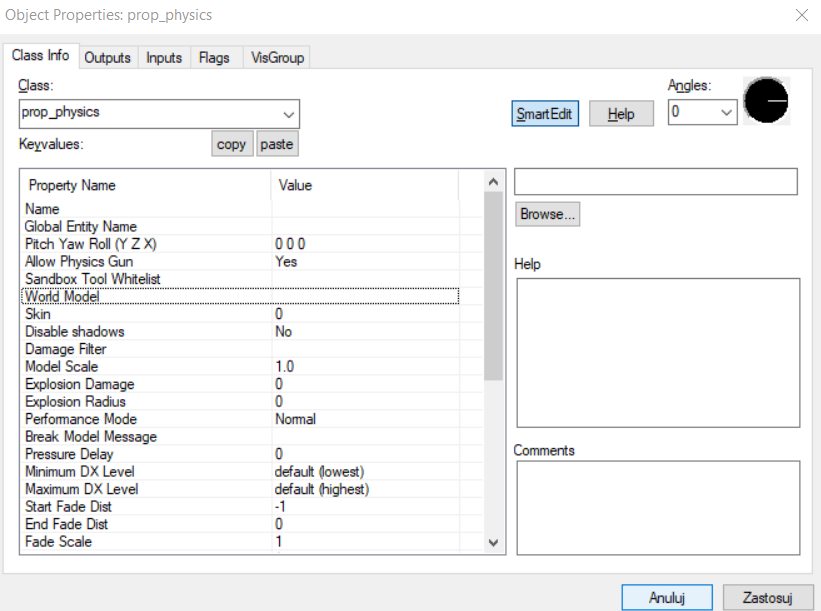
Place down a new entity and change its type to “prop_physics” click apply and select the World Model option and click “Browse…”
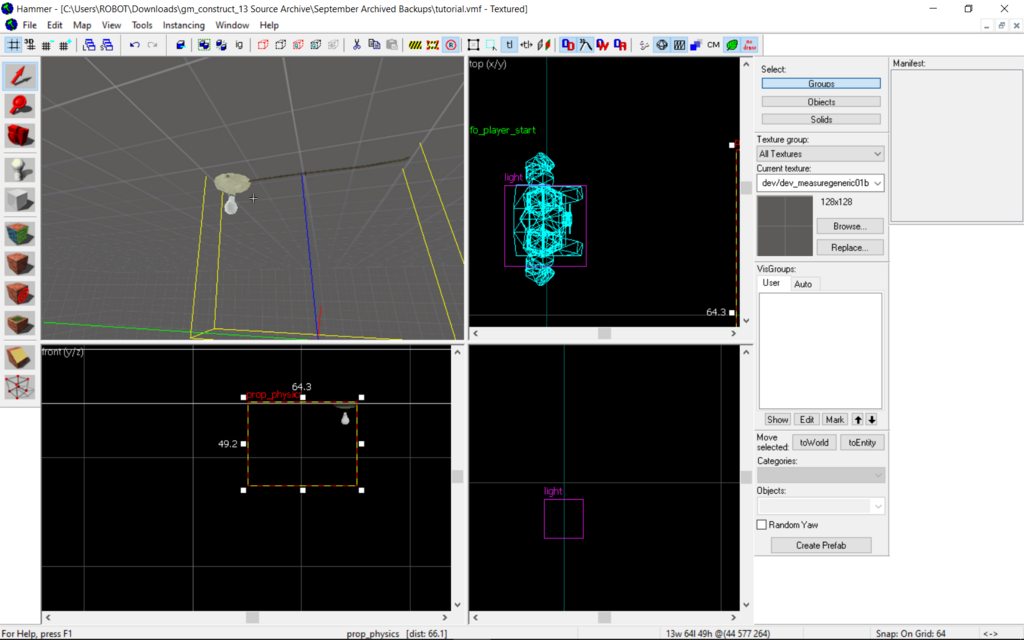
Now a window should pop-up this is the Model Browser here just like the Material Browser you can search for models for this tutorial we’re going to search for “lightbulb01a” then double click it and click “OK” then “Apply” now position it so it’s on the ceiling like this
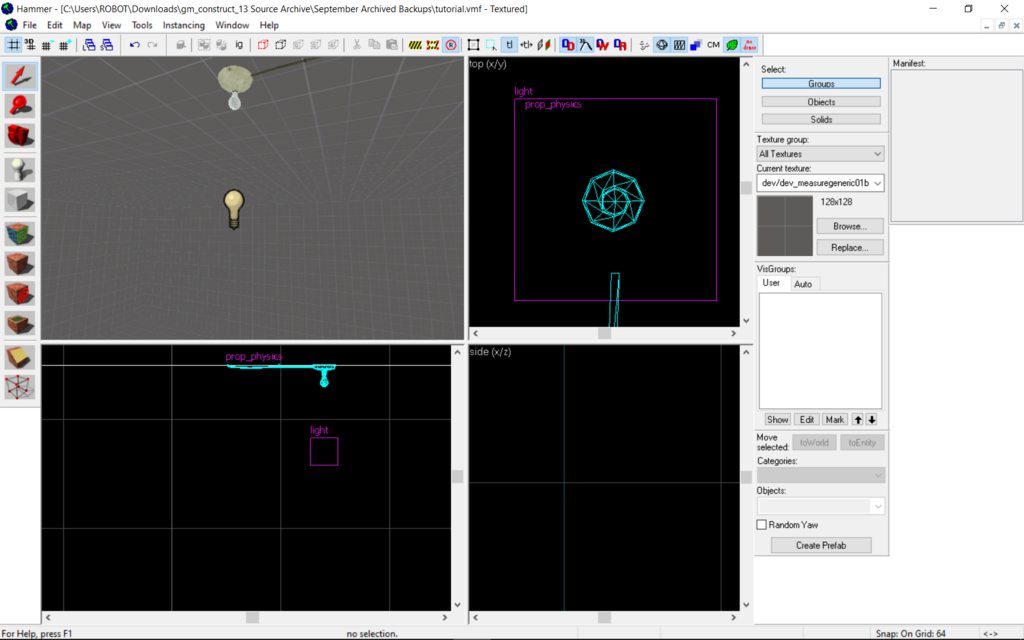
Now position the “light” entity a bit below the prop like this
Now if you run the map there should be a lightbulb on the ceiling that will emit light.
BSP, VMF, VMX
There are multiple file types you will see while mapping for Garry’s Mod:
BSP – “The BSP file contains the vast majority of the information needed by the Source engine to render and play a map. […]” – Valve Developer Community
VMF – A VMF file is a basic form of your map that hammer uses to edit it, it must be compiled to run inside the game
VMX – A VMX file is a backup of your maps VMF file, if it gets somehow corrupted or goes missing if you change the file format of the file from VMX to VMF then it can be opened by hammer.
Publishing a Map
Publishing a Garry’s Mod map can be done through GMPT here’s a tutorial you can use.

Hammer Editor Discord Group
Hammer Editor Discord Group, in short HEDG, is a Discord Server that aims to help people map for Source Games like Garry’s Mod if you want to learn more on how to make maps then join them, https://discord.gg/3wBY4ndQQt
Also, check out The Valve Developer Community which is essentially a wiki of Valve Games and Hammer where you can find documentation on entities and tools. https://developer.valvesoftware.com/wiki/Main_Page
Hope you enjoy the post for Garry’s Mod How to make a Sandbox map, If you think we should update the post or something is wrong please let us know via comment and we will fix it how fast as possible! Thank you and have a great day!
- Check All Garry's Mod Posts List





Leave a Reply