
This is a complete guide to the quest Wicked Eyes and Wicked Hearts which includes the locations of all bonus items and a guide on each of the five possible endings. Please keep in mind that it isn’t possible to reconcile Briala and Celene’s relationship and find all the Caprice coins in a single playthrough.
Who Should I Take?
As always, you can only take three people with you on this quest. It’s recommended that you take:
- Your love interest: If you are in a romance with Josephine or Cullen, then this doesn’t matter as they come along either way.
- Sera: This opens up a new quest for bonus items. However, please keep in mind that it’s not possible to complete Sera’s quest and “The Great Blackmail Hunt” in the same playthrough if you want Briala and Celene to rule together.
- Vivienne: Choose her if your character is a mage. This gives your character some extra credit as people respect Vivienne.
Quest Stage: Enter the Winter Palace
Scandalous Secrets: 1
Caprice Coins: 1
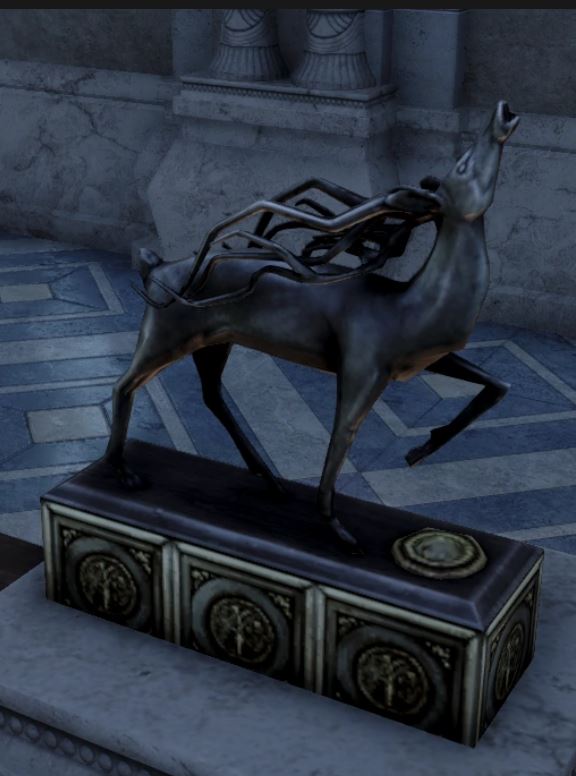
Halla Statuettes: 1
Your beginning court approval depends on your character’s race and fighting class. A human non-mage will win the highest approval and you will lose some if your character is a mage, an elf, or a Qunari. Even if you start with the lowest possible amount, it is still possible to achieve 100 court approval, so don’t let it concern you for now.
Head to the quest marker a few feet from where you begin and talk to the fretting noblewoman about her missing ring. Respond with “interesting stratagem” for a small approval bonus. It doesn’t really matter whether you give the ring back or not (you can easily find it hidden in a small fountain near where the noblewoman is standing), but if you do return it, you’ll get a little more approval.
Approach two talking nobles up the stairs on the left and they will berate you for disturbing them. Head to the balcony where you’ll find a red circle; stand inside it and select “Investigate” to listen to their conversation.
Find the storage key on the same balcony. Head to the area on the opposite side to find the halla statuette. Use the key to open the storage room directly below you. The halla statuette can be used to open the eastern storage room for some items; however, since it contains nothing quest-related, it is recommended you save it for future doors.
Scandalous Secrets
- You’ll find the first secret (1/30) in the room you unlocked with the storage key, which begins the quest “The Great Blackmail Hunt.”
Caprice Coins
- In the same room as the secret, you’ll find your first Caprice coin (1/1), starting the quest “Throwing Away Money.”
Halla Statuettes
- On the same balcony where you eavesdrop on the nobles, you’ll find a halla statuette (1/11).
Quest Stage: Enter the Ballroom
Scandalous Secrets: 2
Caprice Coins: 0
Halla Statuettes: 0
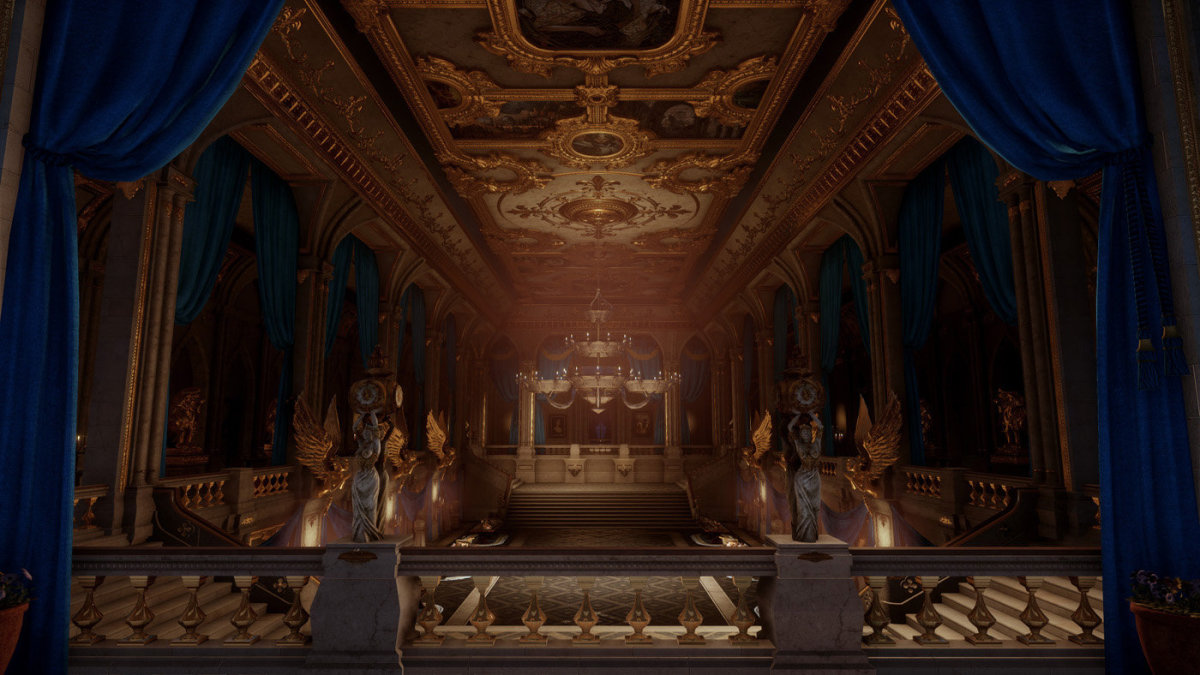
You’ll find yourself in the Winter Palace vestibule. You can talk to Cullen if you like. Avoid Gaspard for now and find the secrets.
Scandalous Secrets
- Head to the far end of the vestibule near the entrance to the library. “Investigate” in the red circle to eavesdrop on conversations. Repeat until it counts as a secret towards your total (2/30). Sometimes it may take a few attempts.
- You’ll find the other secret near the main stairs’ balcony when you eavesdrop (3/30).
After that, speak to Duke Gaspard to initiate the next stage.
Quest Stage: Speak with Leliana
Scandalous secrets: 0
Caprice coins: 0
Halla Statuettes: 0
Take your time walking across the ballroom if you’d like to hear the entirety of you and your companions’ introductions. Sera’s is particularly funny. When Celene addresses you, respond with:
- “It’s an honor”, though take note you will only receive court approval if your character is a non-mage human. If you’re a mage, you’ll only receive approval if Vivienne is in your party.
- If you’re a non-mage elf, Qunari, or Dwarf, select “The weather may turn foul” instead.
- Any dialogue option.
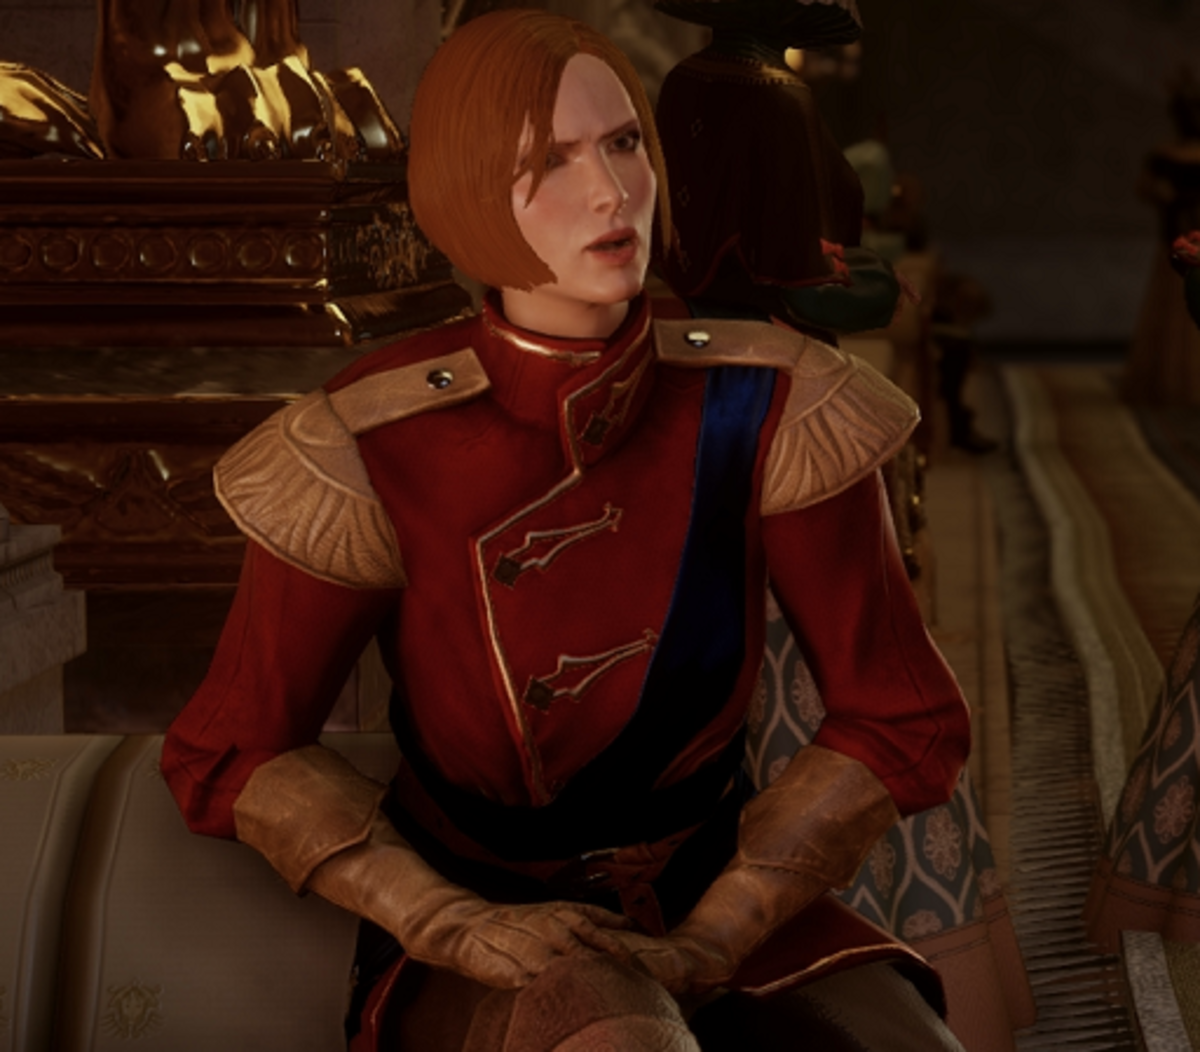
Before you approach Leliana, find your companions and chat with them. If you brought Sera, say “Any tips from your friends?” to start the quest “Red Jenny’s Stashes.” Only if your court approval is lower than 60, ask “How are you fitting in?”. If you’re in a romance with her or are interested in romancing her, ask her to dance. You can chat with Cullen and Josephine, too.
If your court approval is higher than 60, talk to Lady Mantillon and ask her to dance (requires the nobility knowledge perk) to obtain the quest “Dance with the Dowager: the Allemande.” If your approval isn’t high enough, don’t worry – you can come and do this later. Finally, go and talk to Leliana by going to the vestibule.
Quest Stage: Explore the Grand Library
Scandalous Secrets: 10
Caprice Coins: 2
Halla Statuettes: 1
You’ll find yourself back in the vestibule, where new items will have appeared. When facing the door to the ballroom, turn right and enter the guest wing. Run straight through into the room with a lot of people in it for now. Talk to Duke Germain and select the dialogue option “Investigate” and then “Gaspard is your nephew?” for some court approval.
Next, talk to the Council of Heralds Vassal and select “Philippe is a jerk!” for a nice boost in court approval. You can also talk to Lady Marcelette, but it won’t affect approval.
Iron Bull is in this room if you decided to bring him along. He’s got some interesting things to say. Blackwall is also standing in the Hall of Heroes (between where Iron Bull is and the vestibule).
Some elves will be having a discussion. Approach them and they’ll move; you must then find a place to eavesdrop on them. Next, head to the balcony (near where you met Duke Germain) to pick up the cylinder seal.
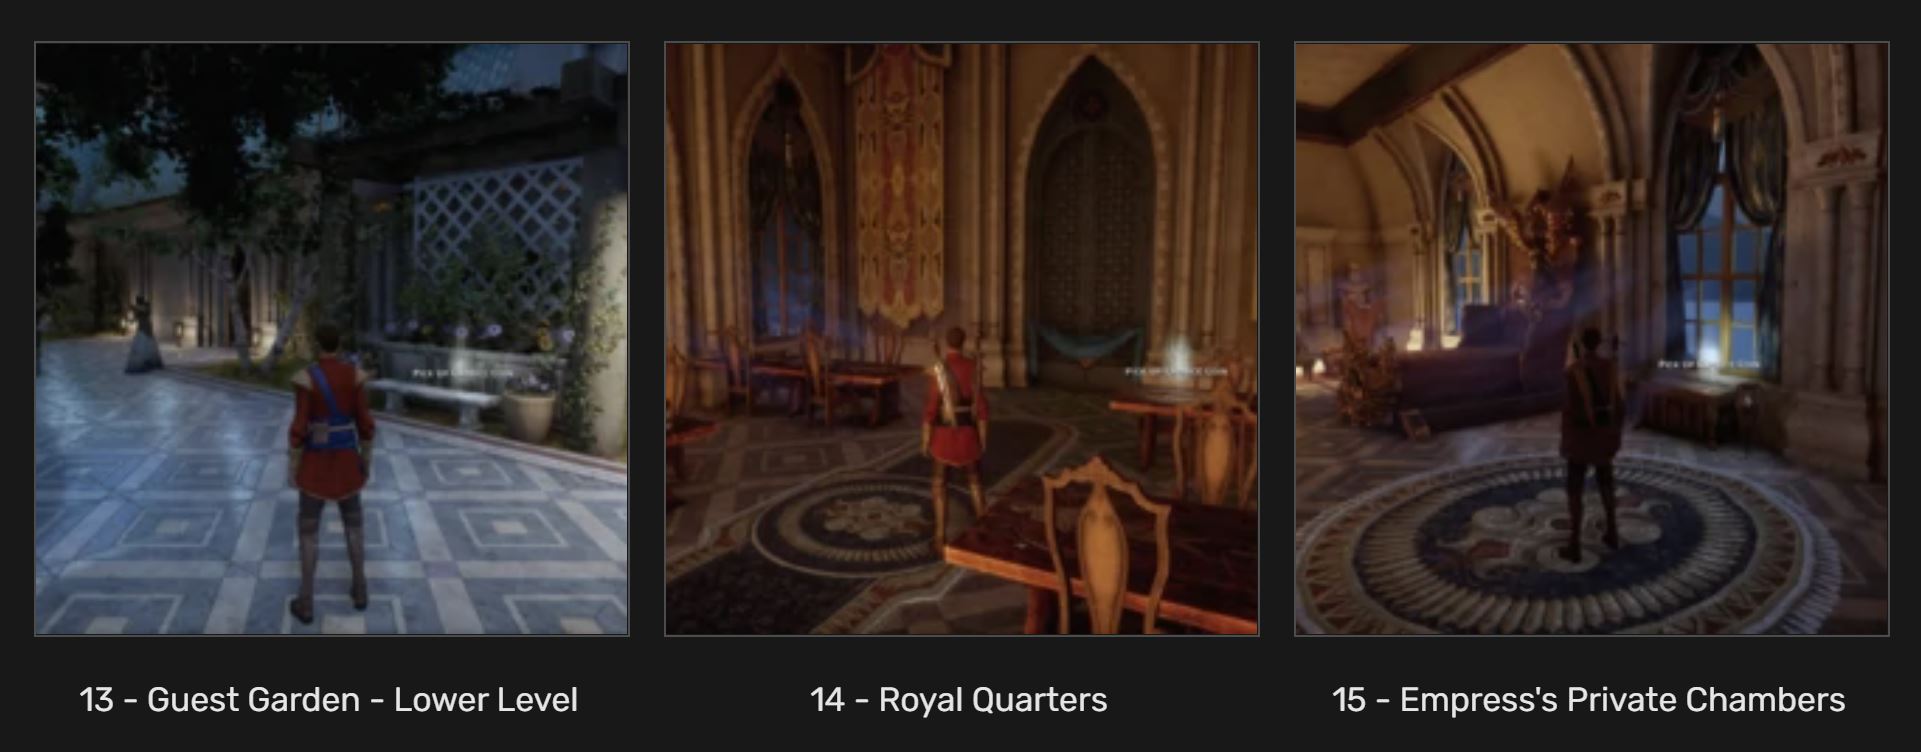
After that, go to the guest garden where you’ll be approached by some of Celene’s ladies. Respond how you like (being polite is better). You’ll then be free to explore the garden.
There’s a noble there who you can eavesdrop on; select the red circle in the far corner to listen in on the conversation. Do this twice. After that, approach him and, depending on your preference, agree with leashing templars or stopping mages. You’ll gain a new recruit for the Inquisition.
Near the locked door in the far side of the garden, there is a cobwebby corner with a box you can loot. This is one of Red Jenny’s Stashes.
Climb up the netting at the back of the garden and enter the doors to the library. Ignore everything in this room and turn right into one of the doors into the main part of the library. Go down the stairs and into the door on the right. If you’re a rogue, you’ll be able to pick the lock but if you’re a warrior or a mage, don’t worry – the room doesn’t hold any quest-specific items.
Make sure you explore the library and find all the secrets and coins below before you pick up any main quest items. When you’ve grabbed everything, get the book near the stairs between the garden and the library. After that, head to the room near the garden and “pull book” to reveal the secret room. Grab the veilfirebefore you pick up the secret and light the beacons to reveal the secret staircase and get some bonus items.
Only when you’re sure you’ve got all the secrets, coins, and items you can pick up the letter on the desk and open the door in the upper garden with the halla statuettes to pick up the negotiations. This will start the timer to get back to the ballroom. For the highest court approval, wait for the second bell (when your inquisitor will say “fashionably late, now”) before you enter the ballroom.
Scandalous Secrets
- Upon entering the room with a lot of people in it, find the red circle on your immediate left when you enter. Eavesdrop for a scandalous secret (4/30).
- After that, take the first left into the room with Duke Germain and eavesdrop in the red circle on the right (5/30).
- Talking to Germain (6/30), the Council of Heralds (7/30), and the nameless nobles both times (8/30, 9/30) all mentioned above also reveals another secret each.
- In the opposite side of the garden, you can eavesdrop for another secret (10/30).
- Upon climbing up the netting at the back of the garden, turn right and go to the end of the balcony to find a secret (11/30).
- When you go into the main library and down the stairs, go through the door on the left and pick up the documents for another secret (12/30).
- In the main area of the library, search for a secret on the far table on the left (13/30).
Caprice Coins
- Very close to Duke Germain is one of the lion statues where you’ll find a Caprice coin (2/15).
- In the Hall of Heroes, near where Blackwall is standing, is another Caprice coin (3/15).
Halla Statuettes
- When you climb up the netting at the back of the garden, make a sharp right and approach the end of the balcony to find a halla statuette (2/11).
Quest Stage: Enter the Servants’ Quarters
Scandalous Secrets: 0
Caprice Coins: 0
Halla Statuettes: 0
Here, you’ll meet Celene’s occult advisor. When she talks to you, respond with:
- “It’s a mystery.”
- “That’s a good question.”
If you haven’t already, deliver the scandalous secrets to Leliana. Then enter the ballroom and approach Briala. Choose all the possible conversation topics; none of them affect approval. Then talk to Celene’s ladies-in-waiting and select all dialogue options. These two steps will complete the quest “Behind Every Empress.” Then, head back to the Hall of Heroes and enter the servants’ quarters with the key the advisor gave to you.
Quest Stage: Explore the Servants’ Quarters
Scandalous Secrets: 0
Caprice Coins: 0
Halla Statuettes: 2
When you enter the servants’ quarters, make sure you equip your weapons and armor. Turn right and go into the room with the beds to pick up the Diary of a Nosy Servant. Go to the kitchen to grab the statuette and item, detailed below, then head back to the garden.
Go outside and take a sharp, immediate left to get the statuette before you jump down to see the body.
Halla Statuettes
- There is a statue on the beams above the kitchen. Climb the boxes and crates on the other side and walk across the beams to reach it (3/10), as well as the book. Save beforehand if you’re worried about losing a lot of court approval.
- As soon as you go outside from the servants’ quarters, take a sharp left to grab the hidden halla statuette in the far corner (4/10).
Quest Stage: Find the Harlequin
Scandalous secrets: 0
Caprice coins: 3
Halla statuettes: 2
After the cuscene, head north until you hit a wall and take the stairs on the right. Follow the path and up the ladder to collect the halla statuette and the Caprice coin (more details below).
Go back down to the garden and kill the Venatori. Keep an eye out for fountains near the wall, as some of them have a bag of gold you can loot. Head for the Grand Apartments next and kill the Venatori inside. After you’ve grabbed the Caprice coin, head back outside to find the second of the three Red Jenny’s Stashes (in the corner, in the southwest corner of the map).
Back in the Grand Apartments, go up the stairs and follow the path. On the left, grab a book for a codex and some experience, and then go towards the quest icon to battle more Venatori.
After the cutscene, go back into the room and grab the halla statuette.Explore the entirety of this floor; in one bedroom, there is a vault that contains an elven locket, an item that is essential to one of the endings.
After that, head back down to the gardens and to the vestibule.
Caprice Coins
- After finding the dead emissary, go north until you hit a wall and take the stairs on the right. After you follow the path and climb the ladder, keep going straight ahead until you reach the balcony railing. There is a Caprice coin on top of it (4/15).
- When you enter the Grand Apartments, go to the large hall straight ahead and you’ll find another Caprice coin (5/15).
- After you’ve grabbed the supply cache in the kitchen, go to the bedroom across from it. By the north wall, on the bed, is another coin (6/15).
Halla Statuettes
- After finding the dead emissary, go north until you hit a wall and take the stairs on the right. After you follow the path and climb the ladder, go to the room on the left where you’ll find a hidden halla statuette (5/11).
- Right after the cutscene with Briala, go back into the room and find a halla statue near the entrance to the balcony (6/11).
Quest Stage: Explore the Trophy Room
Scandalous Secrets: 14
Caprice Coins: 7
Halla Statuettes: 1
You’re under a timer here, but there’s still time to grab a few items. When the second bell rings, head straight for the vestibule. There is time to collect the extra items later.
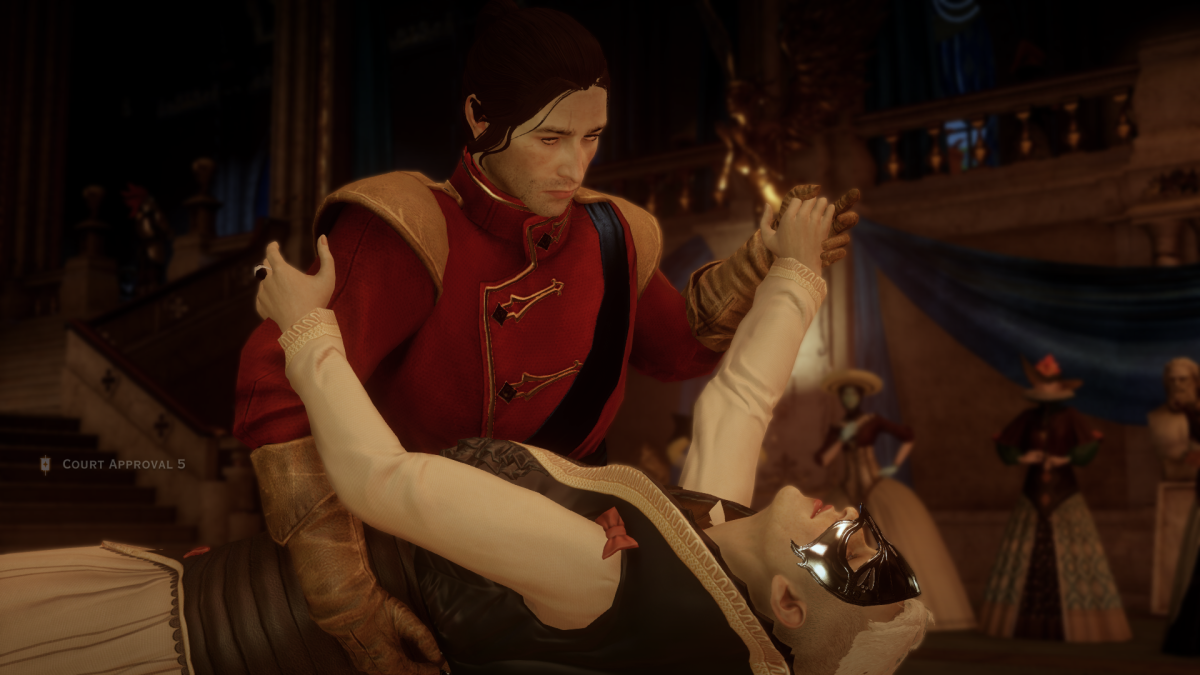
You’ll meet Grand Enchanter Florianne, who will invite you to dance. The next scene is vital to the overall court approval. Respond with the following to give your character a big boost.
- “May I help you?”
- “Let’s dance.”
- “Orlais’ war is Thedas’s war” if you have the nobility perk, or “Why don’t you educate me?” if you don’t.
- “Is that what we both want?”
- “Which am I to you?”
- “Who do you trust?”, “I trust the Inquisition” or “I trust no one.”
- “Isn’t everyone?”
Watch the cutscene with Cullen, Josephine, and Leliana. Reply how you like depending on the outcome you want. If you’re not sure, select “I need more information.”
Head clockwise around the room to find the items (detailed below) and then deliver your scandalous secrets to Leliana. If you want to blackmail Briala and Celene with their love affair, be sure to show Briala and Fleur the elven locket.
Head to the vestibule. After collecting the items, go towards the trophy room and eavesdrop on the conversation between the guards. Approach the guards and encourage them to go and talk to Cullen. Go into the trophy room and after collecting the bonus items, grab the evidence against Gaspard. You can also unlock the door for bonus loot if your character is a rogue.
Scandalous Secrets:
- Immediately after reaching the Hall of Heroes after coming from the servants’ quarters, head forward a few paces to grab a secret document (14/30).
- Enter the vestibule and head to the other end towards the library, but turn right instead of left. Eavesdrop for another secret (15/30).
- Go down the large staircase in the vestibule and turn left into a room. There’s a secret on a bench (16/30).
- Go to the room where Iron Bull is. Near the door to the garden, on the floor, is another secret document (17/30).
- A little farther on, past the door to the garden, is another secret on the table (18/30).
- Go to the wall on the left. There is another secret on the floor (19/30).
- Go to the room on the far left-hand side for another secret near the left wall (20/30).
- Go to the room next to it (where Duke Germain is) and find another secret in the far-right corner of the room (21/30).
- In the same room, go outside to the balcony and eavesdrop on the left (22/30).
- Jump over the railing into the grassy part of the balcony to find another secret document (23/30).
- On the other side of the same balcony, there’s another secret on the bench (24/30).
- Go to the guest garden and to the other side near the locked halla statuette door. Turn right to find another secret (25/30).
- Go back to the library and find another secret on top of one of a north side table (26/30).
- Enter the Trophy Room and go to the wall on the right-hand side. You’ll find a secret on the small table (27/30).
Caprice Coins:
- After dancing with Florianne, head around the ballroom clockwise to find the Caprice coin (7/15) near Josephine.
- After delivering your secrets to Leliana, continue up the hallway and find another coin near the statue in the corner (8/15).
- In the vestibule, go to the northeast corner of the room to find a coin near the railing (9/15).
- Near the many secrets in the room where Iron Bull is, go to the end room on the left to find another coin near a secret (10/15).
- Up the netting to the library from the garden and opposite the opened halla statuette door is another coin on the railing (11/15).
- Enter the Trophy Room and go to the wall on the left-hand side. There’s a Caprice coin on the floor (12/15).
- Unlock the Lower Garden door with your collected halla statuettes and head down to the garden where you’ll find a Caprice coin on the railing near the final Red Jenny stash (13/15). However, DO NOT DO THIS if you want a truce or you want to unite Briala and Celene, as you’ll need to save your halla statues for the final halla door.
Halla Statuettes:
- Right next to Gaspard’s orders is a halla statuette on his desk (7/11).
Quest Stage: Explore the Royal Wing
Scandalous Secrets: 3
Caprice Coins: 2
Halla Statuettes: 4
Go to the back of the vestibule and go up the stairs on the right to enter the Royal Wing. Don’t forget to equip your weapons and armor. Open the halla statuette door if you wish; after that, approach the door at the far end of the hall and watch the cutscene. If you want to support Briala, avoid asking the elf to testify against her.
If you want to support Gaspard or get all three to make a public truce, then open the halla door and set the nak*d guard free. You can also leave him where he is. After that, pass through the room where you saved the elf.
You will now be able to follow the marker for the boss fight. Please note that you cannot go back after the boss fight, so be sure you have all of the halla statues, coins, and secrets before you enter the room.

Scandalous Secrets
- Upon entering the Royal Wing, immediately turn left to find the secret on the desk (28/30).
- In a room on the western part of the Royal Wing, there’s another secret on the other end on top of a small bench (29/30).
- If you open the halla door in the Royal Wing, there’s the final secret on the left on a table when you walk in (30/30).
Caprice Coins
- In Empress Celene’s private quarters, you can get another coin only if you release the nak*d prisoner (14/15).
- When you hear the rift sound, approach the opposite door to the balcony. Follow the balcony anti-clockwise, jump through the window, and find the final coin on the far left (15/15).
Halla Statuettes
- After the cutscene with the elf, turn around towards the wall to see a statuette on a cabinet (8/11).
- In the western part of the main royal wing, head into the bedroom. There’s another statuette in the middle on a table (9/11).
- When you hear the rift sound and the cussing, just keep going and descend the stairs. The statuette is on the floor near a bookcase (10/11).
- There are two doors, one of which leads to the boss battle. Go through the opposite door to another balcony. Follow the path anti-clockwise and jump through the open window. You’ll find the final halla statuette on a table on the left side of the room (11/11).
Before doing the boss battle, go back to Leliana and deliver your secrets to complete the quest.
Quest Stage: Boss Battle
Enter the door where the rift sound is coming from and watch the scene. If Sera is in your party, choose the dialogue option “He’s used to it by now” when it presents itself, for a little approval.
After the battle, use the dialogue option “Come work for me” (requires the Underworld speech perk) to recruit the man left behind. Sera will slightly approve of this, too.
Head to the door opposite from where you came and grab the gold near the body on the balcony. Then head for the quest marker for the finale,
All Possible Endings
Depending on items you collected and dialogue options you chose, some endings will have become available to you. Here are the five possible endings, summed up.
- Celene rules alone.
- Celene and Briala rule together.
- Gaspard rules alone.
- Gaspard “rules” with Briala pulling the strings.
- All three come to a public truce and work together for the Inquisition.
Keep in mind that “I’ll talk to Florianne” yields more approval from certain companions, but can only succeed if you have high court approval. Once Florianne is captured, you can choose whether to imprison or execute her; “Take her away” gains more companion approval.
1. Celene rules alone
To achieve this, you must stop Florianne from assassinating Celene. Select:
- “Detain the duchess” or “I’ll talk to Florianne.”
- Use the evidence you got against Gaspard by selecting “Gaspard was planning a coup.”
- You can choose to spare Gaspard’s life or let him be sentenced to death.
2. Celene and Briala rule together
For this ending, you must have acquired the elven locket and presented it to both Celene and Briala. Select:
- “Detain the duchess” or “I’ll talk to Florianne.”
- “Briala helped stop Florianne.”
- Present evidence against Gaspard.
- Select “What about Briala’s reward?”
3. Gaspard rules alone
Cullen favors this ending and some agree that the “rightful” emperor of Orlais is the better choice. To achieve this, you have to select the following.
- “Wait for Florienne to attack.”
- Finish the boss fight.
- Select “Gaspard will be emperor.”
- Use evidence to blackmail Briala.
4. Gaspard “rules” with Briala pulling the strings
Gaspard will have the title of emperor, but Briala and her spies will have the real power. This shows the Inquisition’s support for elves. To achieve this ending, choose:
- “Wait for Florianne to attack.”
- Finish the boss fight.
- Select “Briala can take over.”
- Present evidence against Gaspard.
5. The public truce
Make sure you collect evidence against all three. You will have had to release the nak*d soldier in Celene’s private quarters and asked him to testify against her. You must also have court approval of 85 or higher.
- “Detain the duchess” or “I’ll talk to Florianne.”
- Present evidence about all three characters.
- Select “You work for me now.”
All endings have different effects on your companions’ approval. They also have various consequential war table operations.
Wicked Eyes and Wicked Hearts achievement
Unmissable storyline achievement.
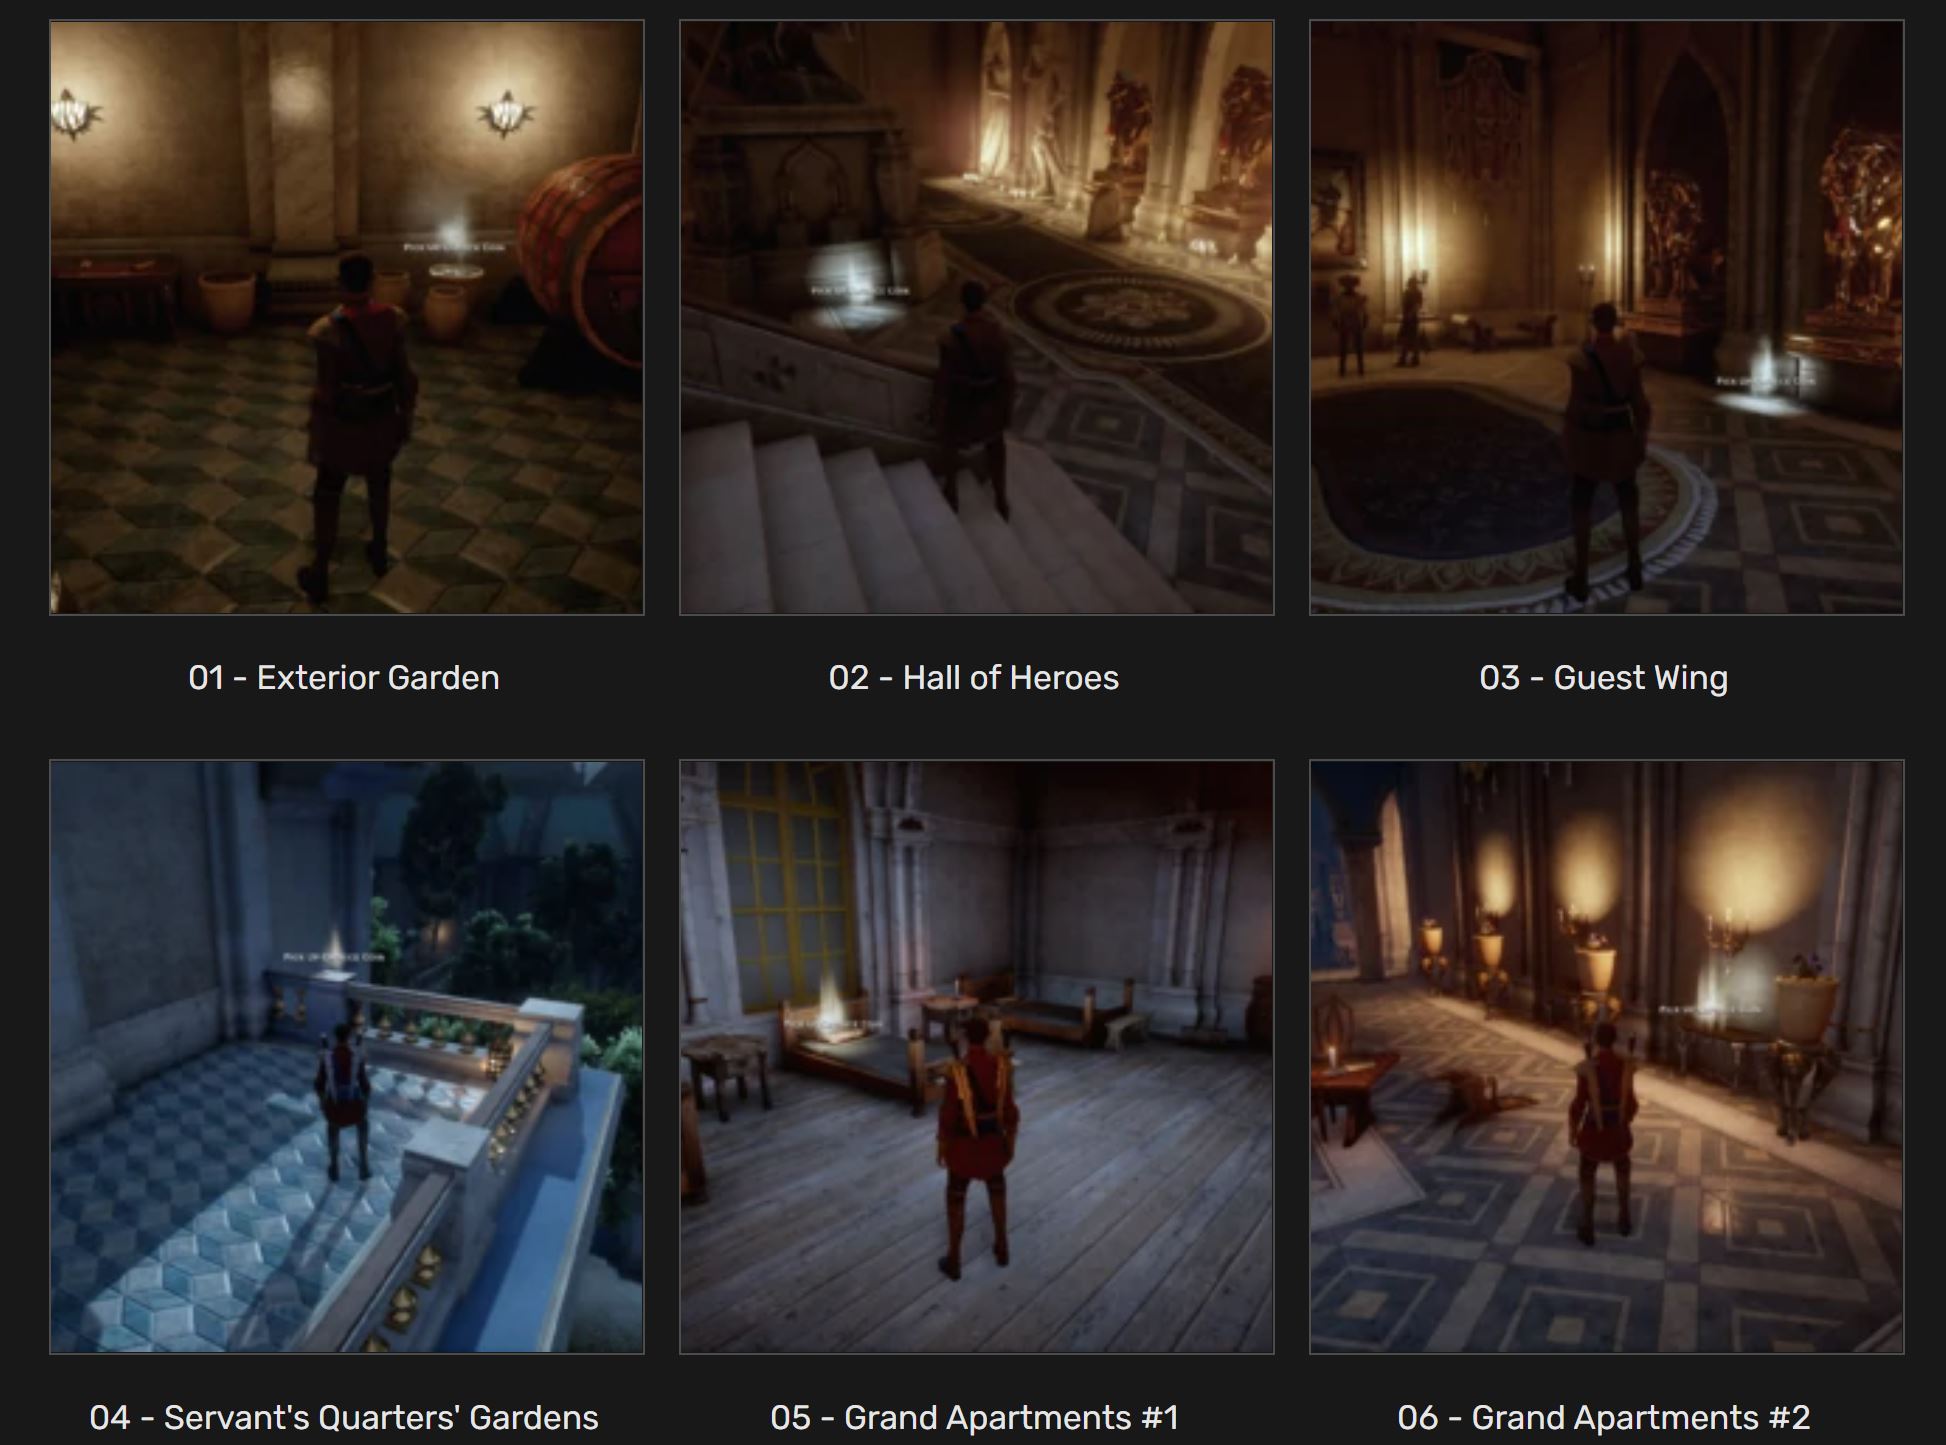
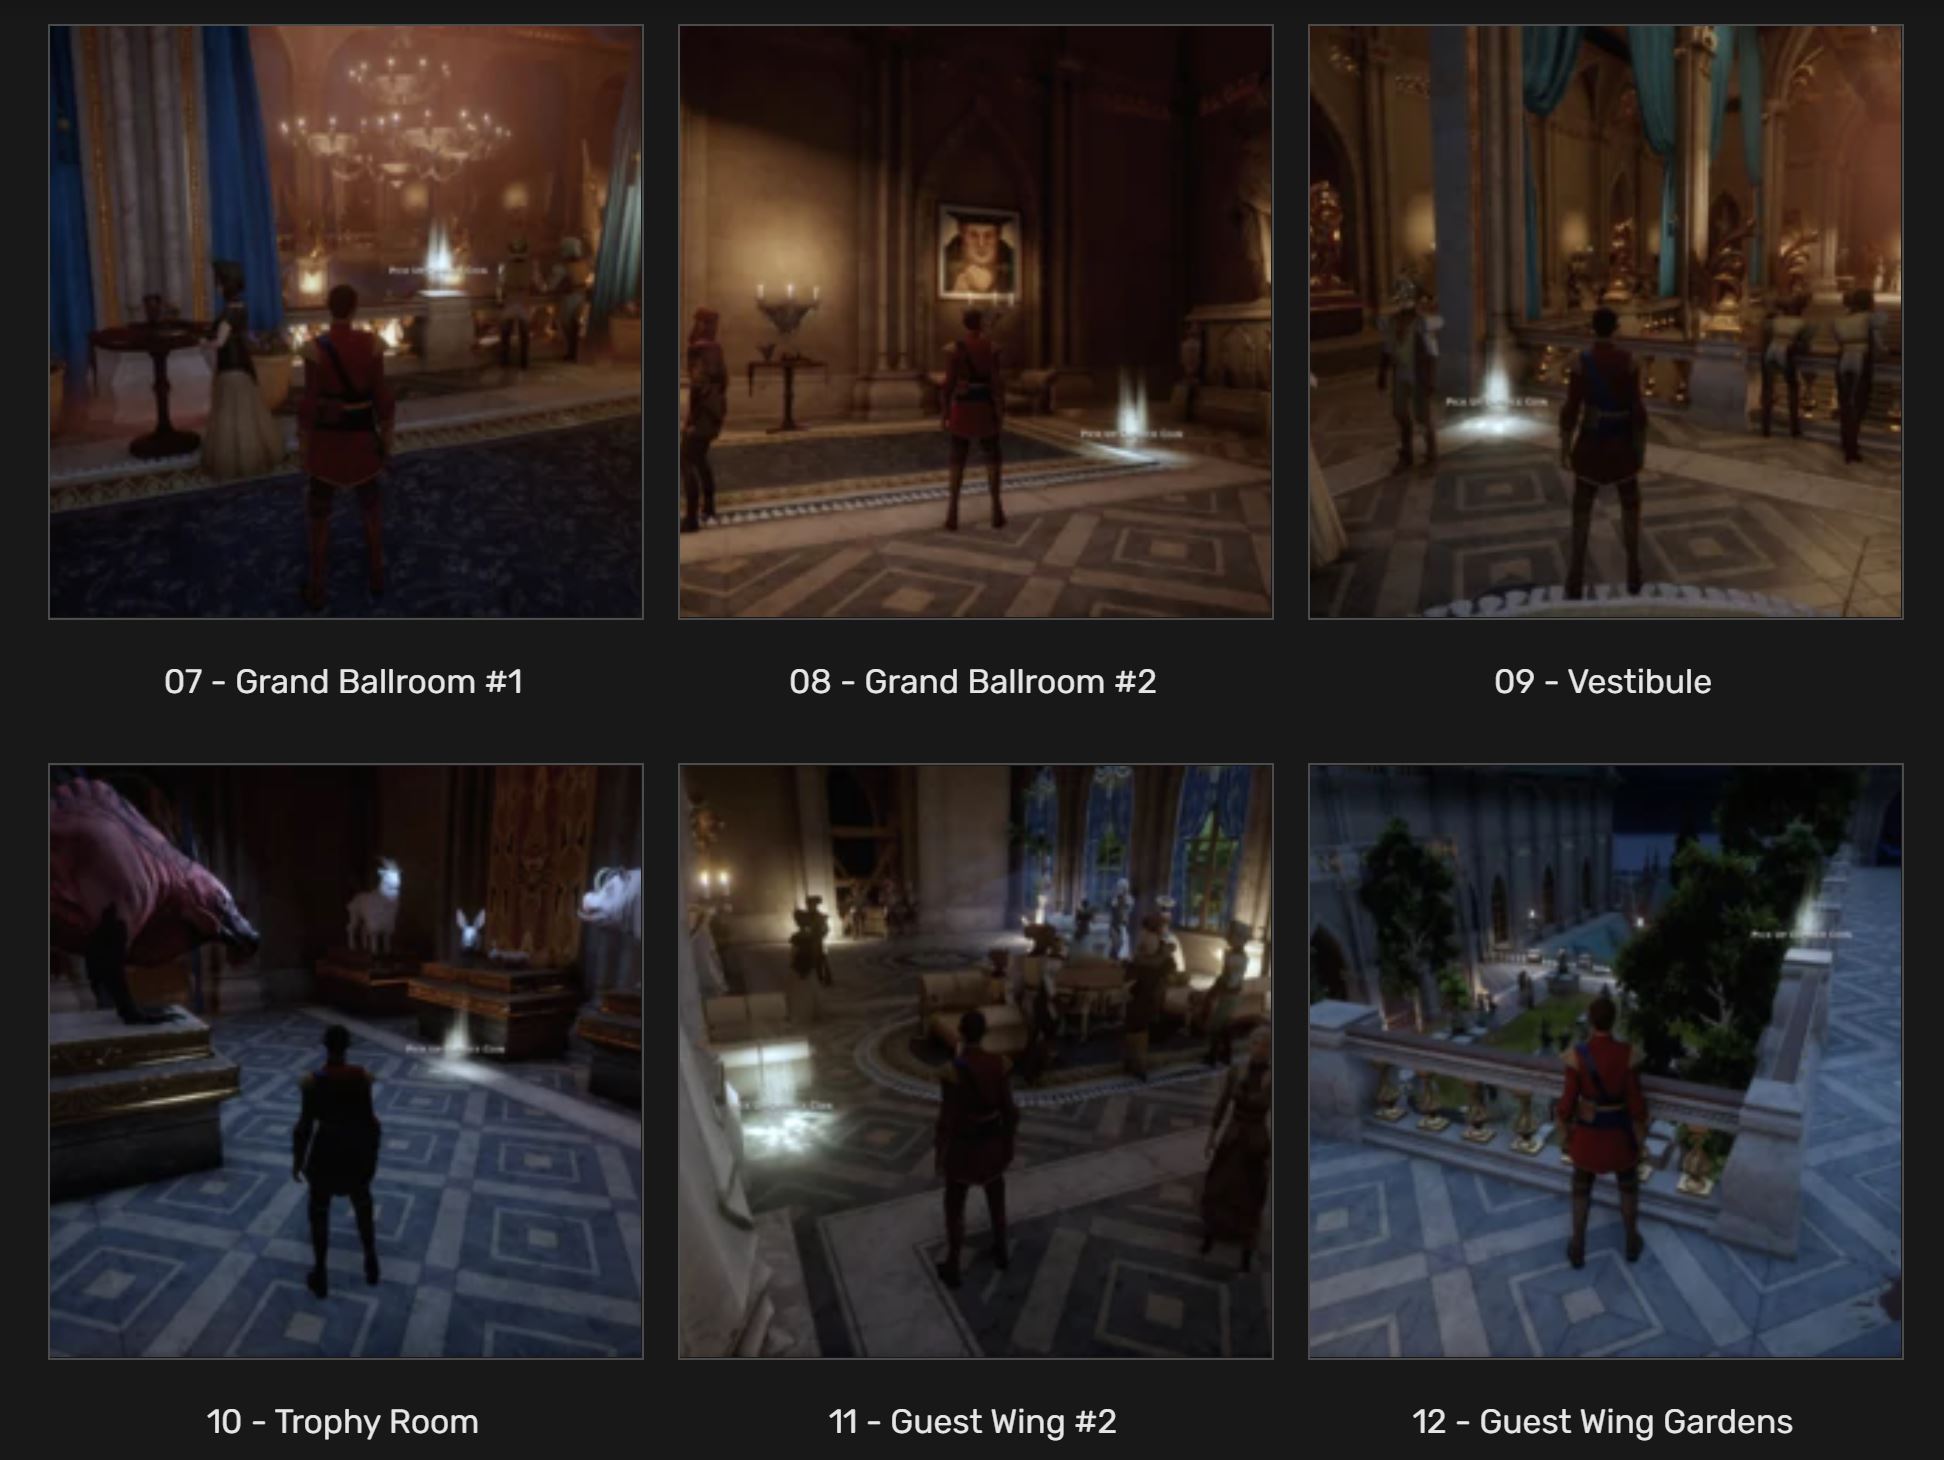
Throwing Away Money (Locations Images)
Red Jenny’s Stashes + (Location Image)
If you have Sera in your party during Wicked Eyes and Wicked Hearts, you can ask her in the ballroom if her contacts have any information. She will tell you that there are several stashes of items hidden around the Winter Palace.
Sera wants you to find 3 hidden stashes around the Winter Palace. It is required to empty the stashes for completion of the side quest. For a slight approval increase, make sure to talk to Sera after looting all three stashes.
Guest Wing Garden
- In the room with cobwebs within the Guest Garden (near where you eavesdrop on the nobles).
Servant’s Quarters’ Garden
- In the garden area of the Servant’s Quarters, in the South-Western most corner. From the fountain go south, take the west path, follow it to the end and then go south to find the stash next to some Embrium.
Lower Garden
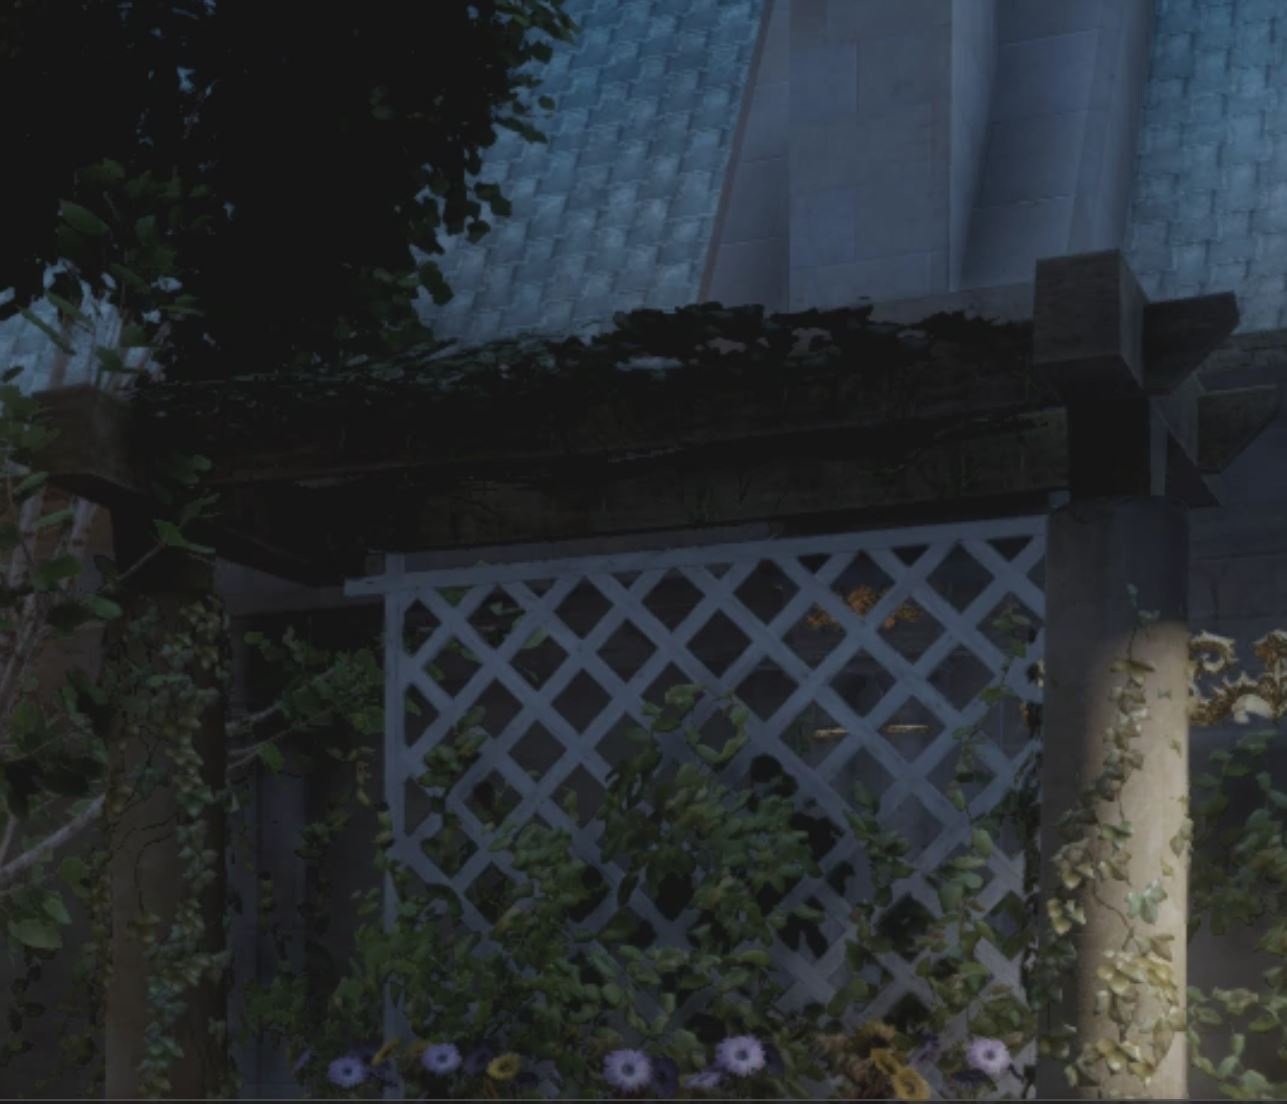
- Go through Lower Garden Door, through the building and down to the garden. The stash is behind the vine fence opposite from the three Council members.
- This is a Tier 3 chest, and may contain Tier 3 schematics.
Lower Garden Red Jenny Stash is behind the lattice behind the bench
Here we come to an end for Dragon Age™ Inquisition Wicked Eyes and Wicked Hearts – All Quests Walkthrough hope you enjoy it. If you think we forget something to include or we should make an update to the post let us know via comment, and we will fix it asap! Thanks and have a great day!




Leave a Reply