Battlezone Basics
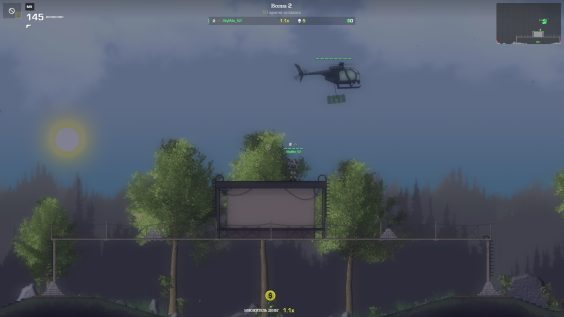
Battlezone is a unique multiplayer-only game mode that gives players the chance to loot large amounts of Shards and XP.
A Battlezone Access Pass is required to play Battlezone matches. Access passes cost 1 Shard to activate and will expire after 1 hour.
You must be at least Level 10 in Ranked to access Battlezone.
Each player has a limited number of respawns. If you run out, you can use Shards to add more.
Loot
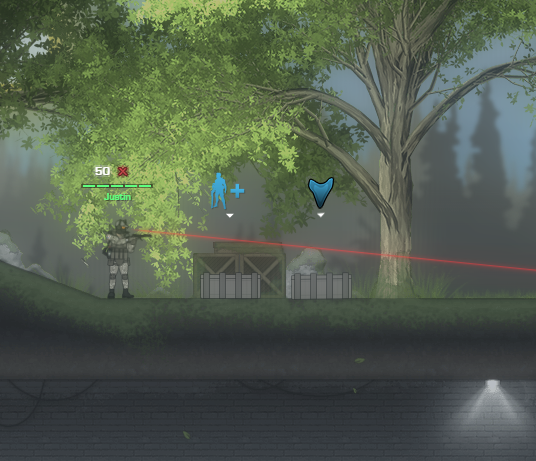
Random airdrop crates will be sent to your location every 30 seconds. Securing these crates is essential, since they are the only source of weapons, perks, killstreaks, and other loot.
Possible airdrops:
- Weapon Crate
- Perk Crate
- Killstreak Crate
- Respawn Crate
- XP Crate
- Shard Crate
Players will drop any carried loot when they are killed. Other players can then pick up this loot for themselves.
Mercenaries
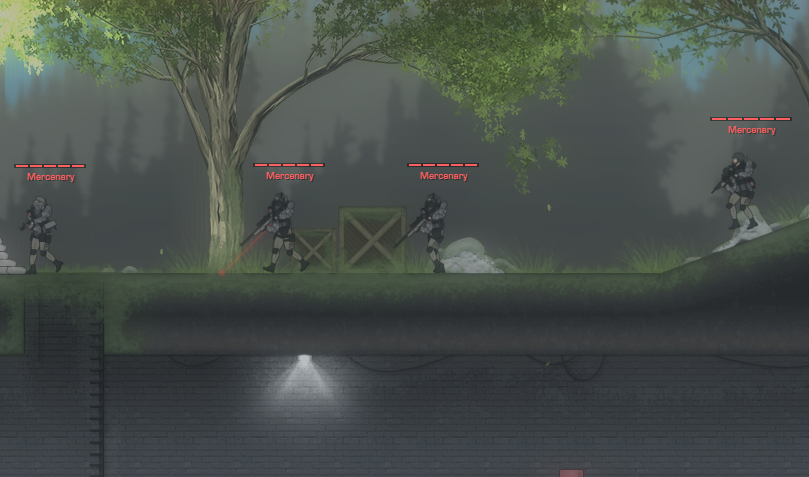
Mercenaries will be airdropped into the map every 60 seconds by a heavily armored Osprey helicopter. Each mercenary squad consists of random units, typically 3-5 per drop with an added SAM turret or sentry gun. They will target all enemy players, including zombies. They often place claymores around the map.
Mercenaries are highly skilled and extremely dangerous, and it’s wise to avoid a direct confrontation, especially if in numbers.
Mercenaries will explore the map and take any loot they can find; including crates, weapons, and dropped loot packs.
Hostile Air Support
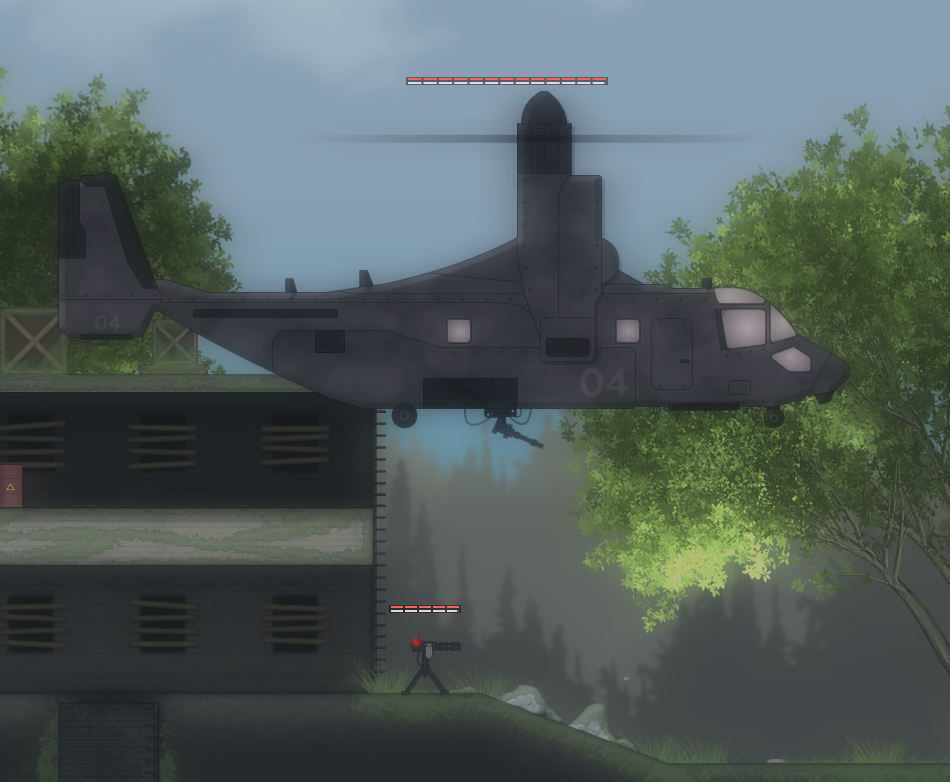
Mercenaries will call in hostile air support every 3 minutes, ranging from Dragonfire drones, Cobras, Chopper Gunners, Heli Snipers, and/or Pave Lows.
Staying underground or under cover is essential when enemy air support is present. Destroying enemy air support should be your priority, since they actively prevent allies from scavenging for loot in the open.
Juggernauts
In the last minute of the game, 2 mercenary Juggernaut airdrops are dispatched to your location. Each airdrop contains 2 extremely hostile Juggernaut units (total of 4). It’s possible to destroy these airdrops before they unload both Juggernauts.
Zombies
Alongside mercenaries, enemy zombies will spawn in the map every 30 seconds. Typically carrying only melee weapons, they are less dangerous but can be a hazard if left unchecked.
Zombies will target all enemy players, including mercenaries. They do not pick up loot.
Player Parties
You can enter Battlezone games as a solo player or in a party of players. Players in a party will be on the same team, preventing any possible friendly fire, and increasing the chance of survival.
Teaming up in a party is highly recommended to succeed in Battlezones games, as all players in the winning player’s party will receive their loot.
Note that you will not be able to kill your allies to take their loot.
Create Party
Once in Multiplayer, simply select Create Party to create a new party. You can invite players in the player list or send them the party ID directly.
Join Party
Once in Multiplayer, simply select Join Party and enter the party ID you wish to join.
Custom Battlezone Class
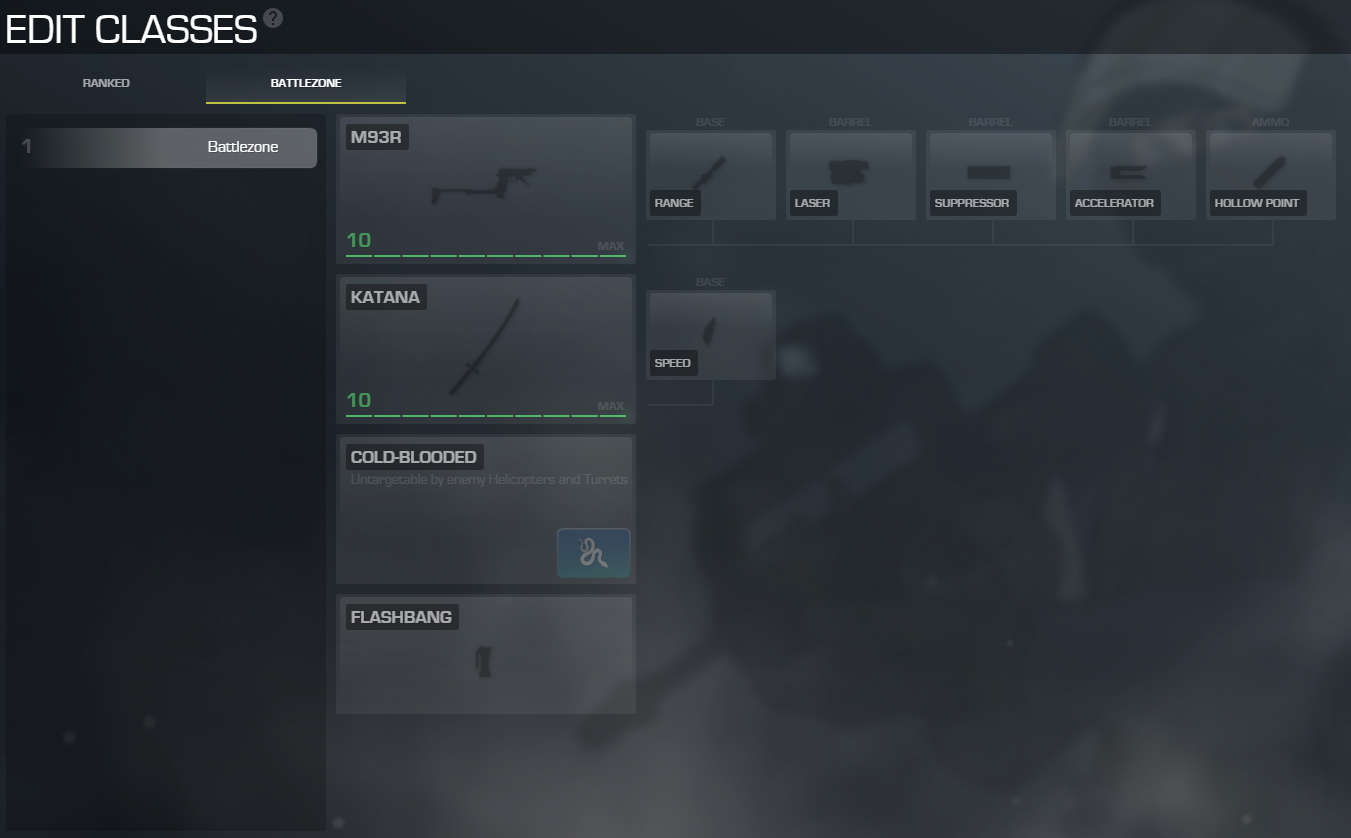
Like other Ranked games, you can customize your Battlezone class in the Edit Classes menu.
- Primary Weapon (Pistol or Machine Pistol)
- Secondary Weapon (Melee)
- Player Perk
- Equipment (Grenade)
This will apply to your loadout when you respawn. Replacing these weapons is highly recommended. Find dropped weapon or weapon crates to do so.
When playing in a party, each member should have a designated role.
Role: Marksman
Recommended Weapon: Assault Rifle or Sniper Rifle
Player Perk: Juggernaut
Using the Juggernaut perk grants the player more health, which can be the difference between life and death when it comes to dealing with aggressive mercenaries. The Marksman should focus on picking off targets at longer ranges, preventing enemies from overwhelming players in enclosed areas, such as buildings.
Role: Anti-Air
Recommended Weapon: LMG or Launcher
Player Perk: Cold-Blooded
Using the Cold-Blooded perk prevents the player from targeting from enemy helicopters and sentry guns. This allows them to access areas that would otherwise be impossible due to these enemies. This player should focus on destroying enemy helicopters and turrets safely.
Role: Stunner
Recommended Weapon: SMG or Shotgun
Player Perk: Scavenger
Equipment: Stun Grenade or Flashbang
Using the Scavenger perk allows the player to replenish ammo and equipment from killed enemies. Due to the ongoing battles between players, mercenaries, and zombies, there is bound to be plenty of scavenger packs laying around. This ensures the player always has equipment, and stun grenades/flashbangs are very useful in immobilizing groups of enemies, especially Juggernauts.
Role: Spotter
Recommended Weapon: SMG or Assault Rifle
Player Perk: Sitrep
Using the Sitrep perk allows the player to detect enemy equipment like claymores and grenades. Mercenaries will plant numerous claymores around the map if left unchecked, often hidden within sandbags. These claymores are a direct hazard and will easily kill players with full health. The Spotter should destroy these claymores to protect allies. In addition, Sitrep gives the player resistance to enemy stun grenades, flashbangs, and from being stunned by mutated exploder zombies.
Role: Speedy
Recommended Weapon: SMG or Melee
Player Perk: Lightweight
Using the Lightweight perk increases player movement and sprint speed, making them extremely mobile. The primary purpose of this role is for the most important part of Battlezone: the final 60 seconds when the Juggernauts are dispatched. When playing in a party, all party members will receive their loot if a party player is the winner. The Speedy player can easily outrun Juggernauts and avoid being killed all together, possibly winning the game for the whole party.
Strategy
Having a strategic party is essential.
Players should focus on killing mercenaries and preventing them from stealing any potential loot. Avoid enemy air support by taking cover in buildings or staying underground.
Only target enemy zombies if they are an immediate threat to you, as they can often kill or distract multiple mercenaries.
Set up a defensive position in the map that allows you to cover all angles while bottlenecking any approaching enemies. Remember to keep doors closed when possible. Once the area is clear, scope the map and pick up any loot that is available.
Dealing With Juggernauts
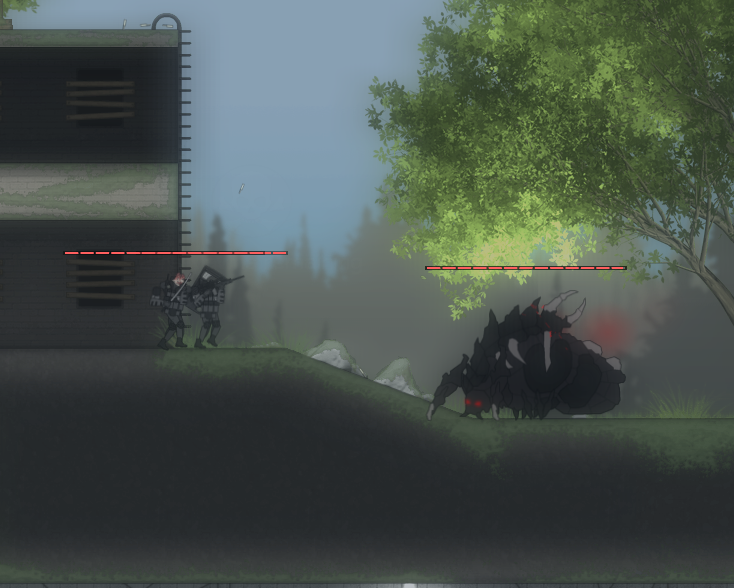
At 1 minute remaining, 2 mercenary Juggernaut airdrops will be dispatched. It is crucial that these airdrops are destroyed before reaching their target. This will prevent both Juggernauts from being deployed.
The ideal way to destroy the airdrops is to use an EMP that has been looted previously. If found, save the EMP for the Juggernaut airdrops.
Airstrikes, Stealth Airstrikes, and Napalm Strikes are also effective.
While more dangerous, using a launcher or Grenade Turret is also viable. Make sure to stay clear of the Osprey helicopter’s mounted gun.
If you fail to destroy the Ospreys before they deploy the Juggernauts, it’s wise to avoid them entirely. A single player will rarely be able to take on a Juggernaut, let alone 3 or 4. Use stun grenades, flashbangs, and napalm to immobilize Juggernauts to give you the chance to run away. Keeping the Juggernauts at distance and in pursuit is key to surviving.
Here we come to an end for Deadswitch 3 Battlezone Guide hope you enjoy it. If you think we forget something to include or we should make an update to the post let us know via comment, and we will fix it asap! Thanks and have a great day!
- Check All Deadswitch 3 Posts List


Leave a Reply