Foreword: I Have A Question… For God!
Hello! If you’re reading this guide, you might have run up against a wall–or an axe–in trying to navigate the tight, dangerous confines of Sen’s Fortress. You might be wondering why anyone would ever design such an area: one that seems to pee on your hard-earned mastery of the Dark Souls combat system, developed through blood and tears throughout the first portion of the game. Perhaps you’re wondering how anyone could ever fight their way through this harrowing maze of snakes-on-bridges and snakes-in-hallways and snakes-on-bridges-in-hallways-with-boulders-flying-down-the-track-to-kill-you-both, and live to light the hidden bonfire at the top of the tower. I am not any sort of deity, by the way, but I will try to answer your question regardless.
The answer is that it’s not a fight; it’s a puzzle. Sen’s Fortress is meant to be solved more than slaughtered, and I am here to show you how.
Part I: White Clouds: The Inevitable Encounters
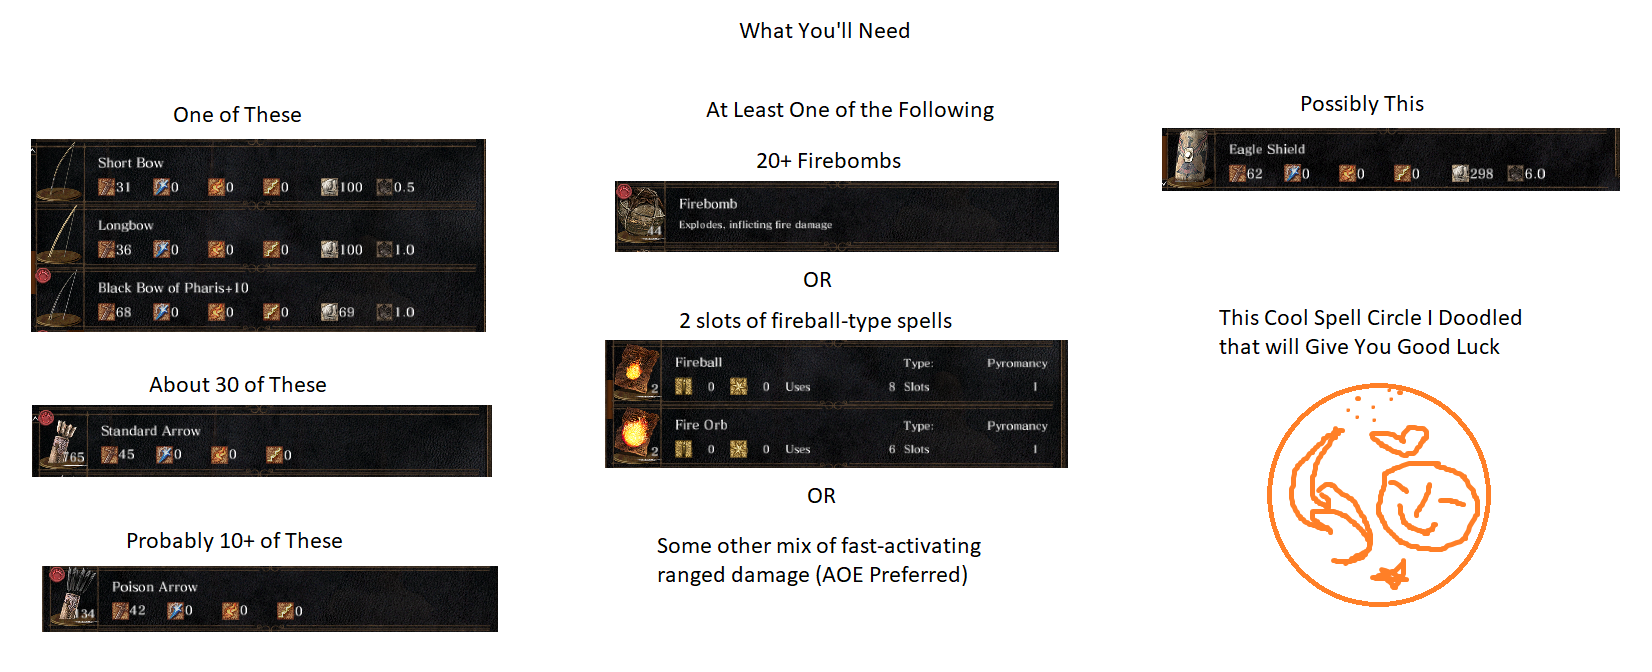
This part of the guide will cover a pathway to the next bonfire with no diversions or fluff. Nothing fancy like boulder backstep-skips or anything like that; we’ll be playing through Sen’s Fortress along the intended path. We’ll start with a handy graphic of the items you may need:
These resources each solve different parts of the fortress, and they are also listed below in text. I’ll additionally mention at each “puzzle” what’s needed to bypass it, but this is a full shopping list if you intend to follow the steps from start to finish. Additional items needed for Side Paths are listed in Part 2. Note that the below items cover a single run, and you can multiply quantities by 3 or 10 or however much you like.
You’ll want:
A Bow
- Any kind is fine
- Stats don’t matter here; you’re gonna use it for applying statuses and pulling foes
10 Poison Arrows OR 20 Normal Arrows OR the Eagle Shield
- The arrows are, imo, a lil more reliable once you’ve got the hang of em
- Sold by the Undead Female Merchant in the aqueduct for 100 a pop
- Eagle shield location is in darksouls.wikidot.com – http://darksouls.wikidot.com/blighttown
- Note that you need 16 STR to 1-hand the Eagle Shield, 11 STR to 2-hand it, or 10/12 STR/DEX for the Shortbow
Two Additional Arrows
- Any kind will be fine
- Sold by Andre of Astora, or Undead Merchants
- Add like 20-100 more arrows per titanite demon if you wanna kill those (there are four, all covered in Part II)
- It’ll depend on your stats and bow upgrades
A Firey Explosive Option
- Firebombs are sold by the Undead Male Merchant for 50 souls each
- You need 10-30 to clear the route (20 is realistic)
- Laurentius and Quelana will sell fireballs and variations thereof
- Two slots each carrying any sort of fireball should be enough
- Don’t bring the Great Chaos Fireball, you clown
Puzzle 1: The Twin Snakes
What You’ll Need:
- 6-20 Firebombs (12 is realistic) OR 1 slot of fireballs (1 is realistic)
- 2 Legs, a weapon, etc
- You can sub out the ranged explosion with anything of decent speed and reliability. Lightning or spells if you’ve got em.
I recorded some really cute gifs for this, but they were too large to be embedded in a guide, so you’ll have to trust some external links, sorry.
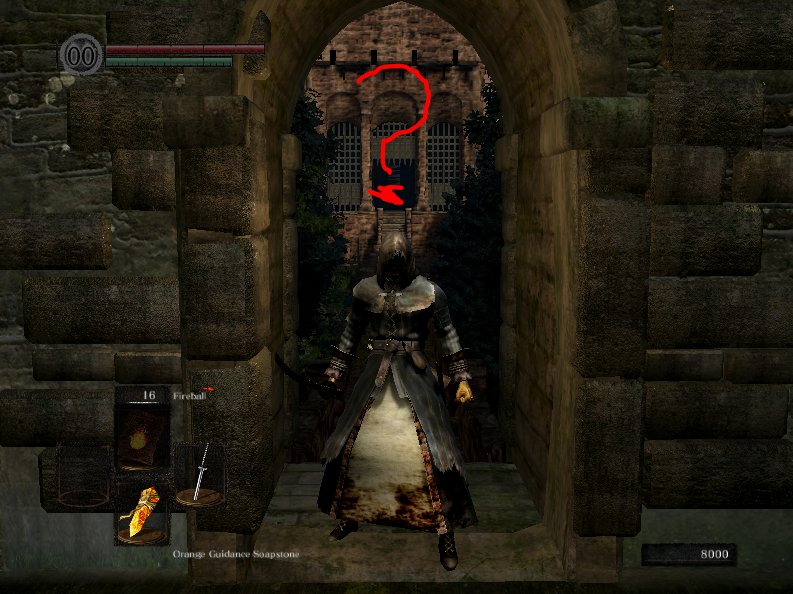
This section covers the theory of entering Sen’s Fortress. There are two snakes. We’ve all seen em. There’s also a trapped plate that launches three darts when you step over it. We’ve seen that too.
In the ideal scenario, you’ll pull both snakes at once, walk back over the pressure plate, let the darts kill one snake entirely, and defeat the other in combat however you like. I’ve shown that scenario https://imgur.com/a/PLe1kS4
In the less ideal scenario, both snakes survive–for whatever reason–and follow you onto the bridge. Conservatively back off and spam your explosives until at least one dies, and finish what remains in the manner of your choosing. I’ve shown that scenario https://imgur.com/a/MqDUzfn. For this guide, I will use firebombs as my explosive of choice, because they are the weakest viable option available and I’d like to prove these strategies as sound.
Puzzle 2: Bridge Snake
What you’ll need:
- A bow
- An arrow
This one! This snake can be pretty tough to fight on a bridge. It’s got high poise, fast attacks, and the aid of axes swinging behind you so there’s only so far you can run.
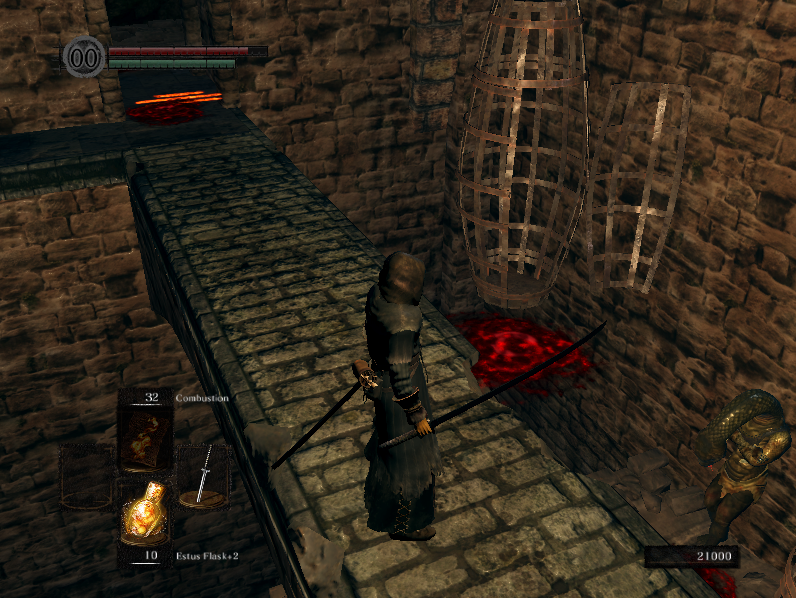
Turn those axes to your favor! Get the snake’s attention with a shot to the head, and then stand with a shield raised before where the earliest axe swings. https://imgur.com/a/BhwDStu how that looks.
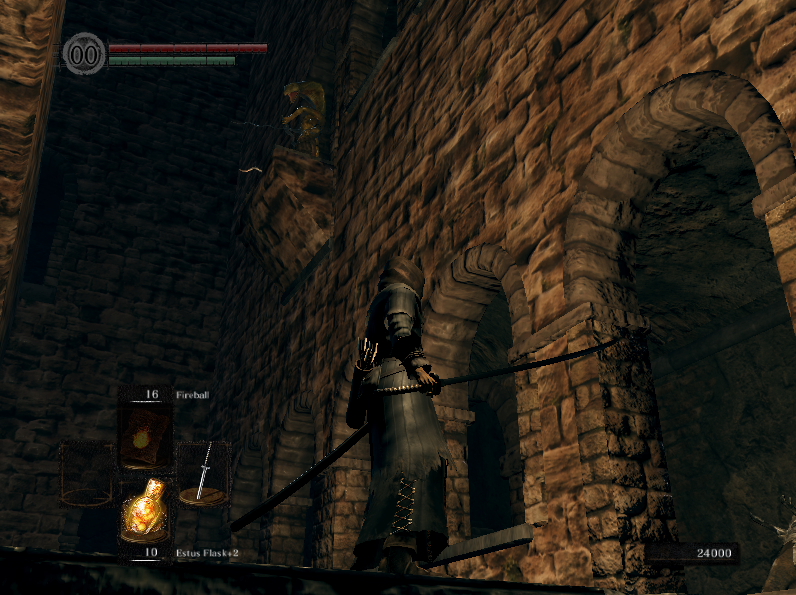
It’ll either get knocked off along the way, or deflect off your shield and get knocked down (all snake-man attacks can be blocked, including the overhead bite). If it survives, it can actually, slowly, climb up and come back to attack you; window of origin and snake corpse shown here–
–but in most cases you’ll be long gone by the time it comes back, and I’ve never seen this one make it through the axes again to follow me. If you get a random +500 at some point, it’s probably this guy. Of course, you can also wait around half a minute to a minute and fight it on the relatively thicker platform where I’m standing in the image.
Puzzle 3: Bridge Snake 2: Electric Boogaloo
What You’ll Need:
- Eagle Shield OR
- 3-10 Poison Arrows (10 is realistic) OR
- 10-20 Arrows (Wooden or normal are good)
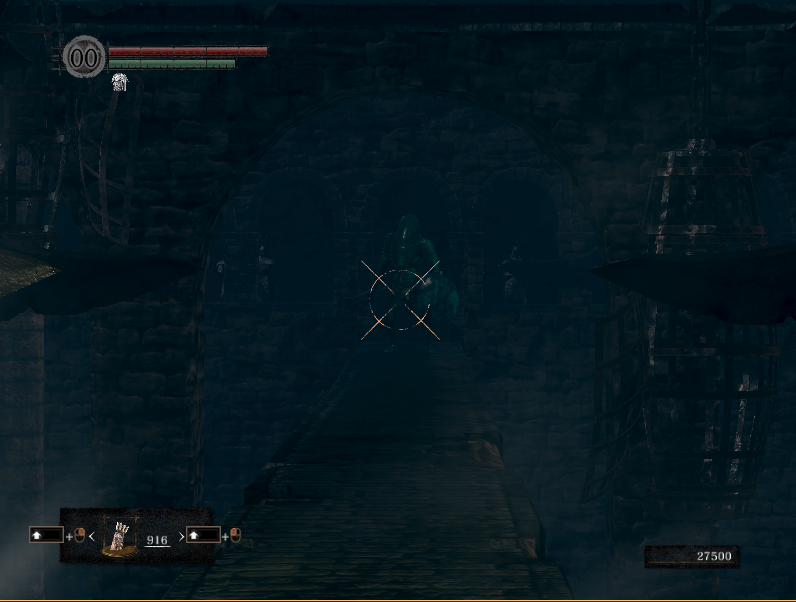
Guh, this caster gave me quite some trouble on my first playthrough. I will present not one but two ways past it–use whichever is most suited to your build and playstyle. Remember that there is a dart trap on the other side of the bridge.
Method 1: The Eagle Shield.
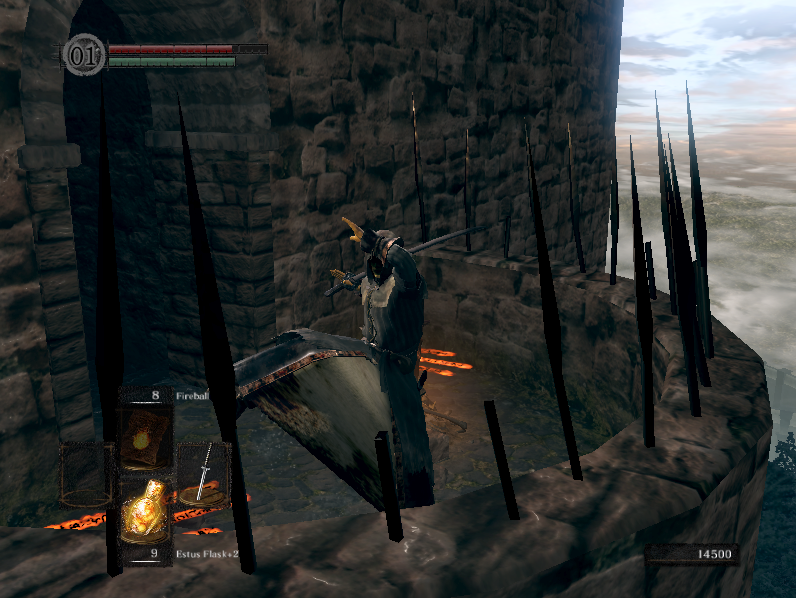
Equip it and go forward. The safest space to pause and take a hit is between the first two and the latter two axe-blades. If you’re like me and don’t have enough STR to 1-hand it in the off hand, 2-hand it in the right-hand (RH) slot instead, and swap to a weapon once you’re close enough. This screenshot was one of the hardest to time and take in this whole guide; please appreciate it.
The nice thing about caster-snakes is that they have no poise, so you can hit-spam them to death once you’ve closed to melee. I demonstrate this method https://imgur.com/a/MniT42i
Method 2: 10 Poison Arrows and a Bow.
You don’t actually need 10–3 will do if you’re lucky. Just stand in the entryway to the entire room (NOT the archway leading to the narrow bridge this caster stands on) and poison the caster. While you wait for it to die you can take care of the snake in the prior puzzle, or remain on guard for its ill-fated return. I demonstrate a good place and timing to do it from https://imgur.com/a/vpcjdLl.
Method 2b: 20 Normal Arrows and a Bow
As method 2, but could be cheaper, and requires less consistency with your shooting. Just use the impact from any kind of arrows to knock the caster all the way down into the pit, where it will either die or become an easily-killed and/or easily-ignored non-factor.
Lastly, note that Side Path 1 diverges from here after you’ve killed this caster, and is covered in Part II.
Puzzle 4: Just Some Guy
This snake won’t attack you. The trick is to walk on by. You could try to bait it into breaking the wall behind it (thus granting access to an item and a quest NPC), but you’d need the Master Key or one from the rooftop (which is outside the scope of this guide) to make either of those things happen. It is also more reliable to break this wall using a boulder (soon, we will control the boulders). For the purpose of reaching the next bonfire, we ignore it. I did not record a GIF for this tactic.
Puzzle 5: The Snake with the High Ground
What You’ll Need:
- A bow
- An arrow
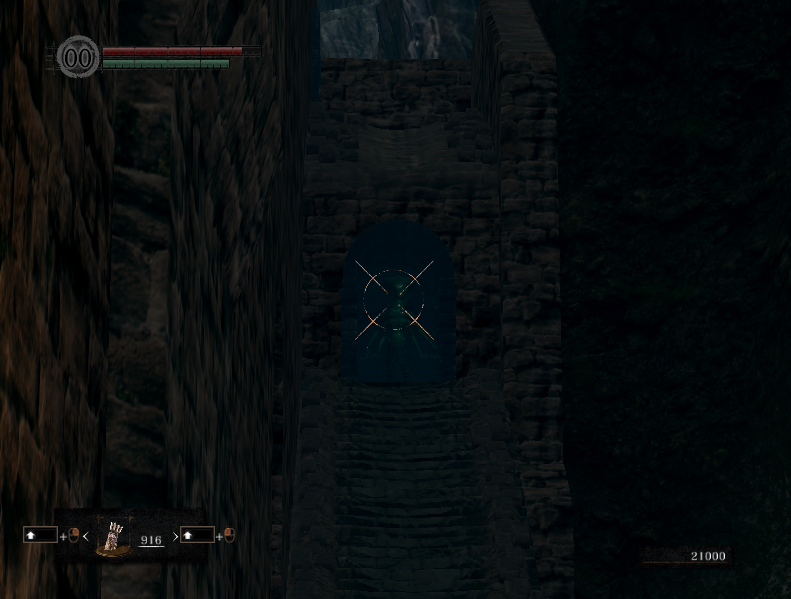
Lure this snake down between boulders using a shot from an arrow. It should launch some bolts at you and then walk down. The boulders will get it. If, for some reason, the boulders are not set to your current track, then you can shoot it to lure it down, and kill it in the archway where you’re standing. If it just won’t come, you can run up and hit-spam it to death. The boulders probably won’t retarget tracks while that happens, but if they do, that’s rare and tragic luck. I suspect that the boulders retarget towards a set track whenever you step on an associated pressure plate, but I don’t have enough proof to make the claim solidly. No GIF again.
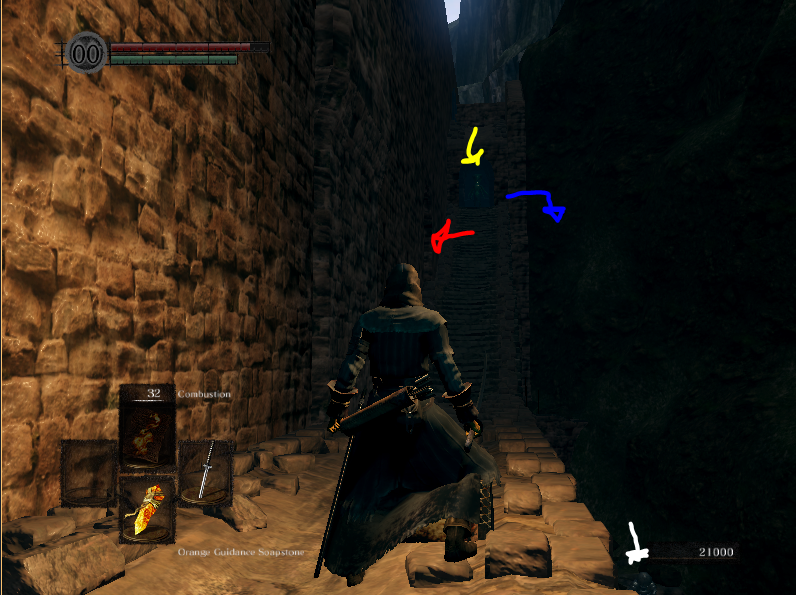
Once the snake is dead, you can run up the track and into an alcove to the left to continue progressing towards the bonfire. You can also run safely into the room the caster was blocking to get the Steel Defender Ring, which gives +50 (!) to each of your physical defenses. If you aren’t super attached to both your ring slots already, this one is worth considering.
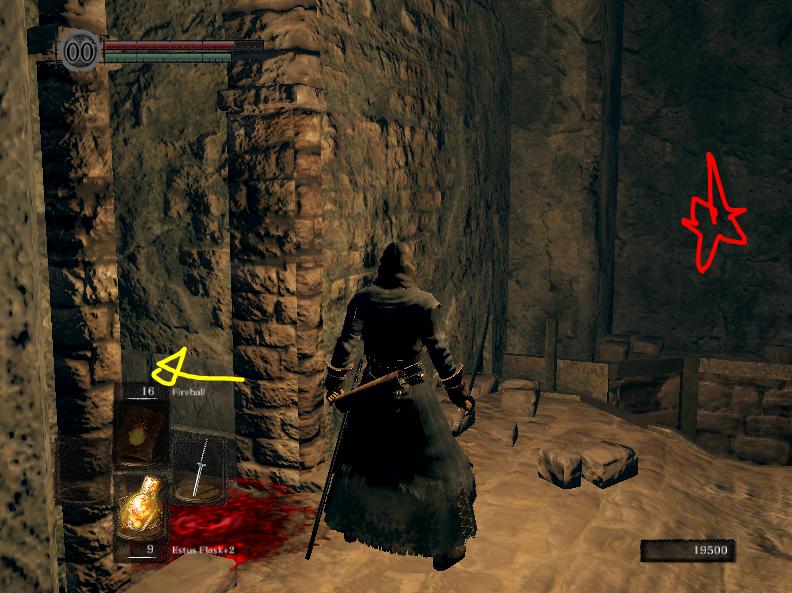
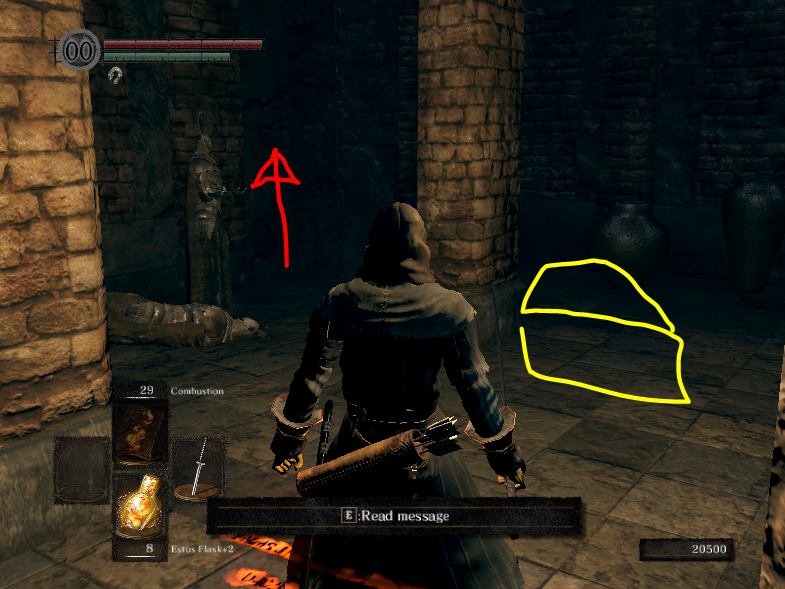
You can also drop down off the top of the ramp to the right for a Shotel (Lautrec’s sword) and to meet the next stage of the onion-dude’s quest. Here’s an image that covers all that:
Way forward in Red, Steel Defender Ring in Yellow, Shotel drop in blue, Onion Quest in white. Fun fact: I was squashed while labeling and saving this photo, but survived and moved on.
Puzzle 6: A Snake, a Trap, and a Corner
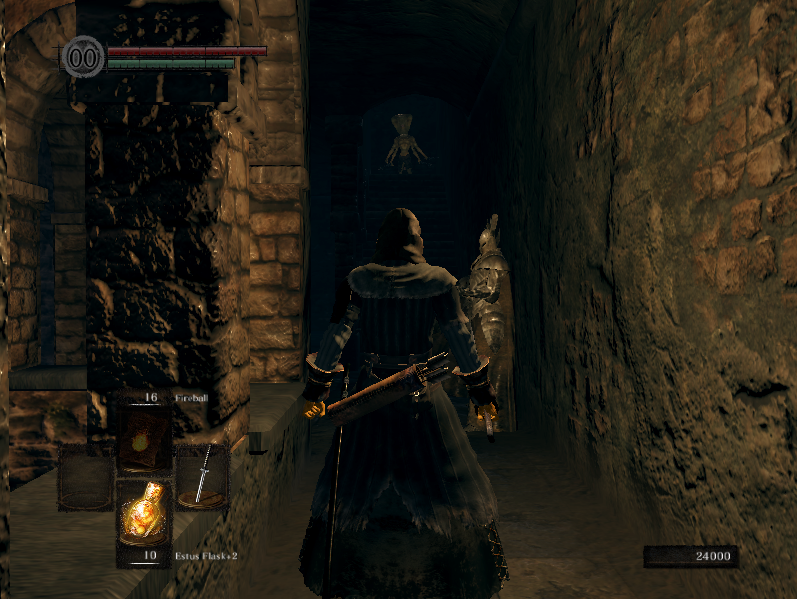
There’s a plate on the ground and a snake around the corner. You can take a few steps into the corridor–not enough to step on the plate–to pull the snake back into the room you’ve just entered. Defeat it however you like. Note that individual snakes are pretty easy to circle around and backstab. We’re solving a puzzle, not trying to have Righteous Combat amidst a gauntlet of lethal gimmicks. No GIF again. Once you’re done, quickly move into the next room–rolling is nice–to avoid the trap darts. Alternatively, you can walk backwards over the plate with a shield up.
Puzzle 7: Boulderdash
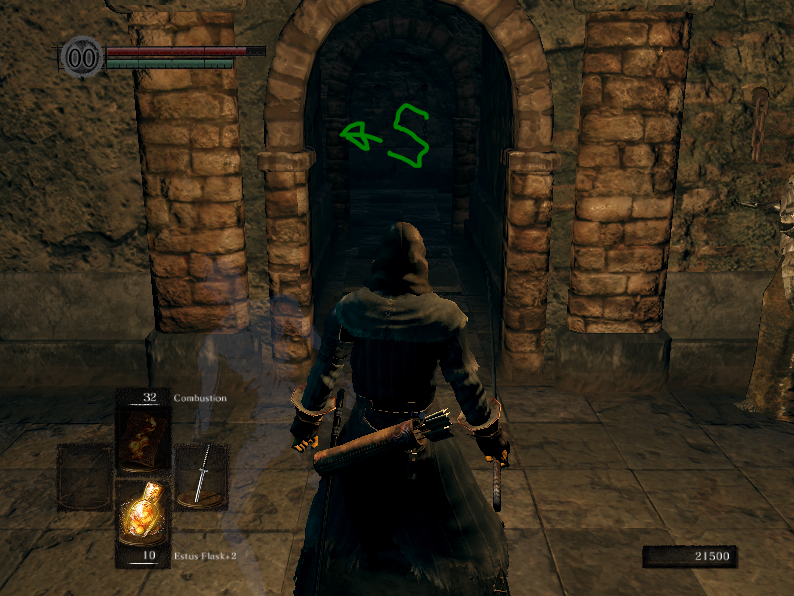
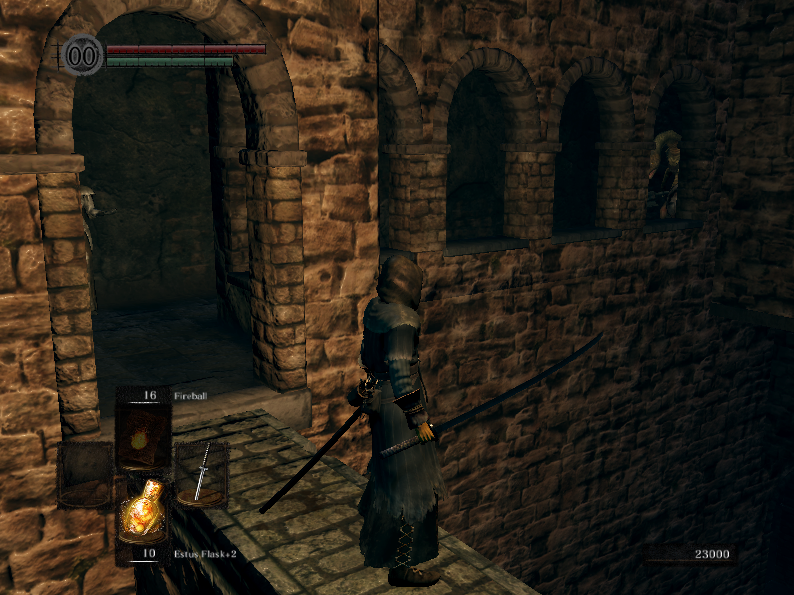
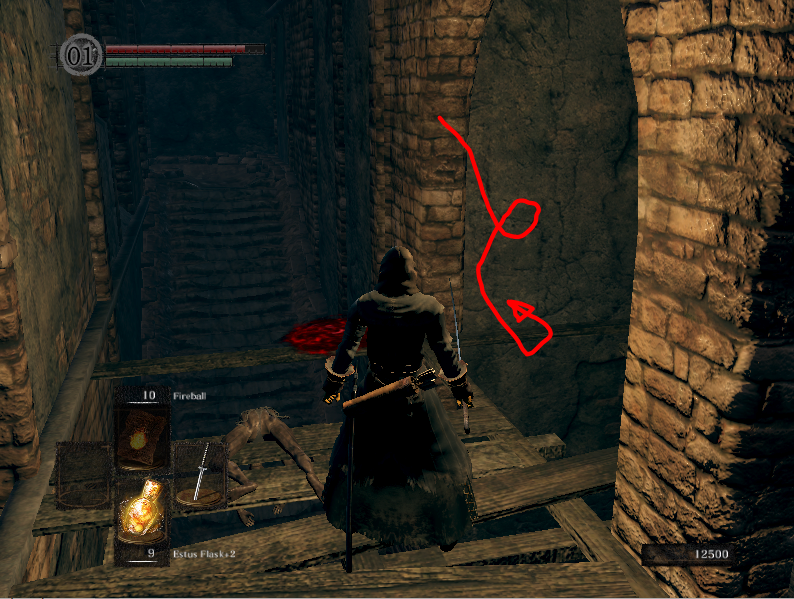
This one’s scary. There will be a boulder that routinely thunks against the doorway and rolls away. Don’t touch it! Its hitbox doesn’t go away. Run up to the right, and then drop down through the fourth or fifth archway on the left. Your goal is to land on a reasonably wide platform where a snaky caster awaits. Hit-spam the poiseless sap and move on:
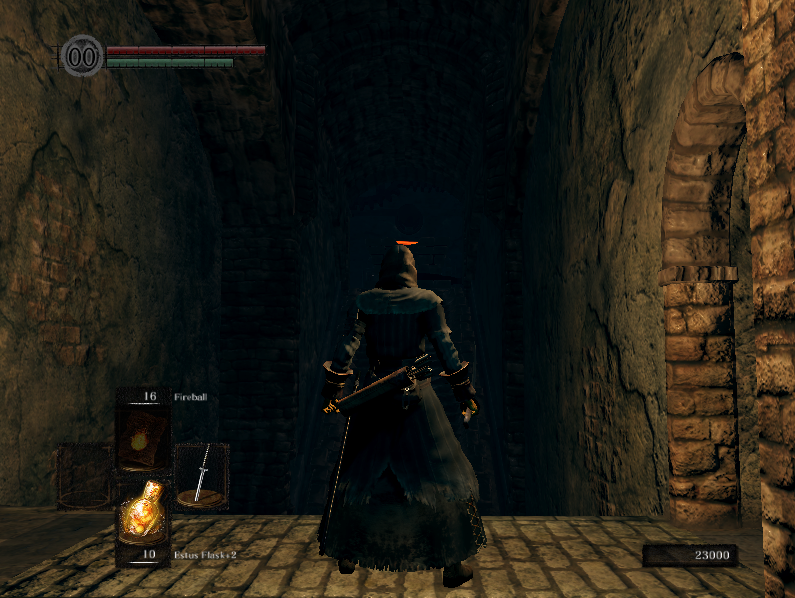
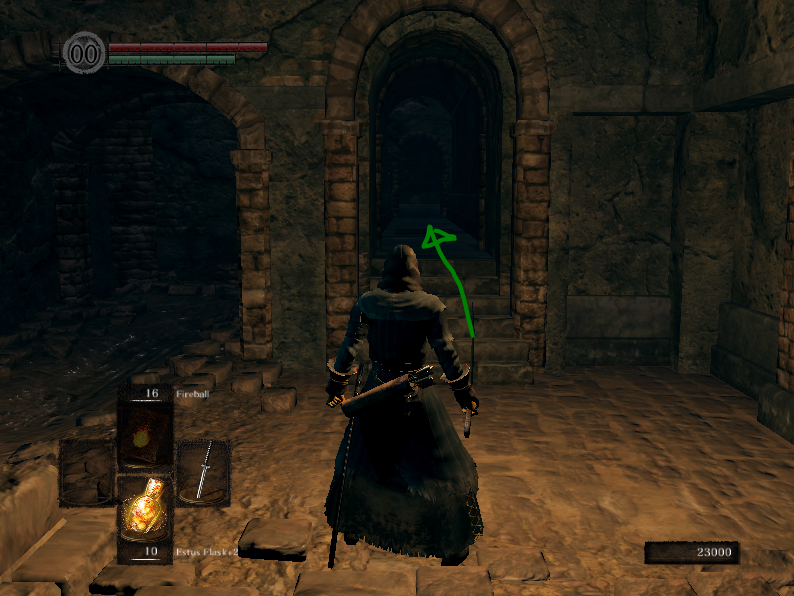
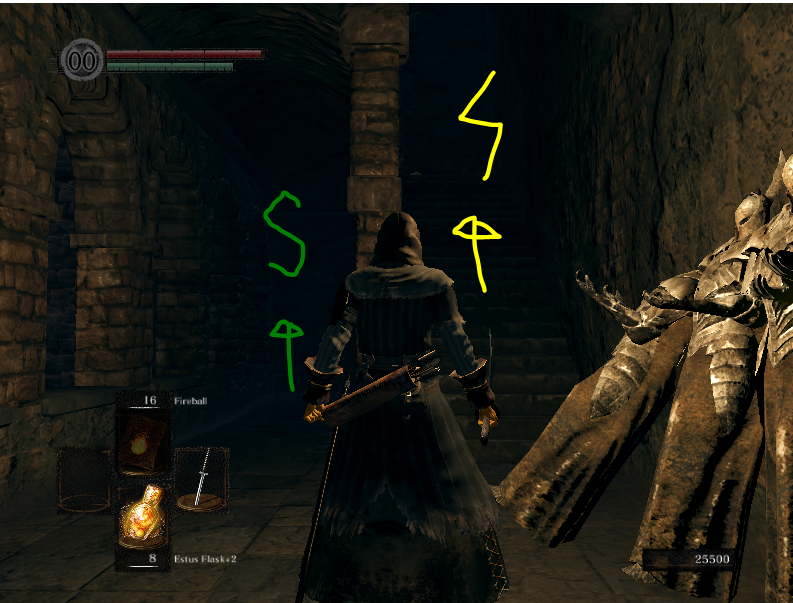
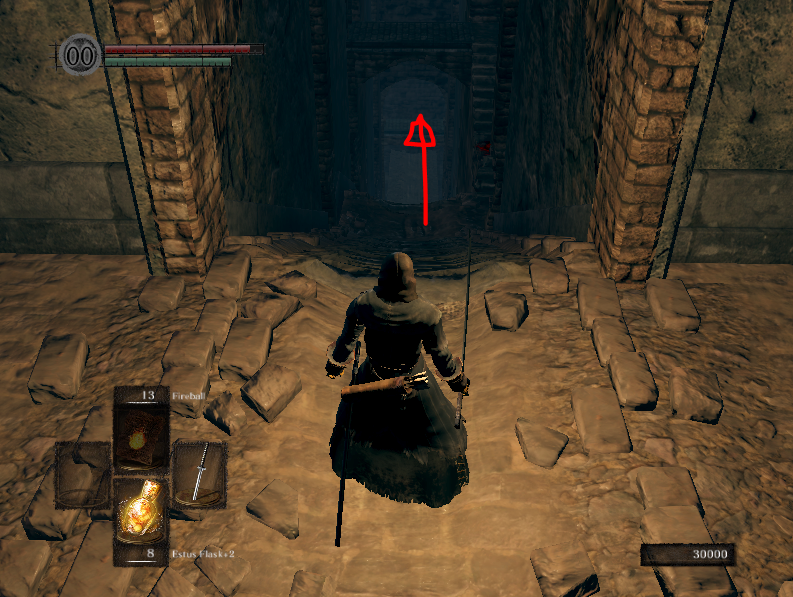
Once you’ve taken possession of the platform, progress through the arch, not the hole in the wall. Here’s the correct archway:
Lastly, note that Side Paths 2 and 3 both diverge from this point, as covered in Part II.
Puzzle 8: The Path of Least Resistance
After a small set of stairs and a gate you can open, you’ll come to a small bridge over a boulder track. Look to your left. See the boulder on the pedestal. It should be launching periodically to the left–it’s fine if it isn’t. Run up into that room, and take possession of boulder control! Continuing along the walkway I’m on in this photo leads to a trapped elevator that’s hard to board from above (you can wander in and see what I mean). The elevator does go down to a room with treasure, but the best access method is covered in Part II.
You can play with the boulder controls if you like; just don’t squash yourself. This is a better way to kill the snake from Just Some Guy and access the path behind it, as well. For the way forward, we don’t actually need to do anything with the device.
Find an archway set into one of the walls and sally forth. Beware the trapped plate! Set it off with your weight or an arrow, and wait for the crossfire to cease.
Proceed until you reach an archway with some swinging axes.
Note that Side Path 4 diverges from within the boulder control room, and is covered in Part II.
Puzzle 9: Three Snakes, Some Axes, and You
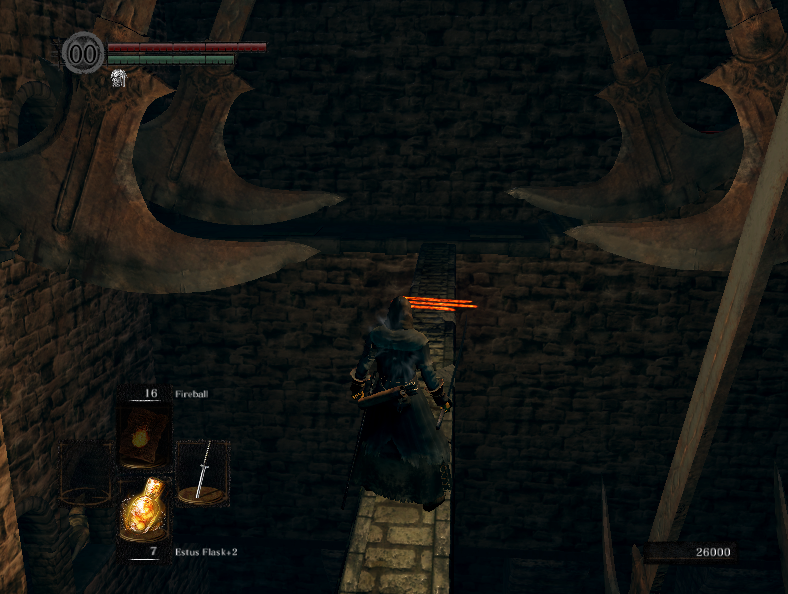
Here is the archway we’re looking at. From the axes’ timing, it’s pretty clear that this group needs to be sprinted right on through. You can do that by positioning yourself a step before the first of the axes and sprinting. Before you do that, though, I will present some information from the other side of the axes.
To the left of the bridge, a caster awaits on a small platform. If you linger on the bridge after having crossed the axes, it’ll zap you right off. This is undesirable.
On the right interior of where you’ll arrive, there is a snake. It will aggro to you as you cross the bridge.
On the left interior of where you’ll arrive, there is a caster. It will not aggro to you unless you walk in its direction.
So what does all this mean? Here’s the plan:
- Pause on the bridge right before the axes
- Sprint through the axes and into the hallway
- Keep moving: jog towards the right and engage the snake there
- Afterwards, turn back around and you should be free to breathe.
That’s a lot, right? At long last, it is time for another https://imgur.com/a/wQg08xc
That progression should leave you looking up at the caster. You can go smush it and continue forwards, or smush it and come back down to the left to kill a single snake-man in hopes of earning the two large titanite shards it guards.
Caster (Kill this first) and way up in yellow, optional snakeman and 2 large titanite shards to the left.
Note that the snake warrior is guarding a drop down. It leads to the middle of Side Path 2, and isn’t as favorable an approach as the route outlined in Part II of this guide, in my opinion.
When you’re ready, continue up those stairs until you see the next set of axes (do NOT go out).
Puzzle 10: Lightning Gank and Some Axes
What You’ll Need:
- 4-10 Firebombs (6 is realistic) OR
- X Fireballs, where X is the number needed to kill a caster OR
- Some other fast projectile–throwing knives are viable
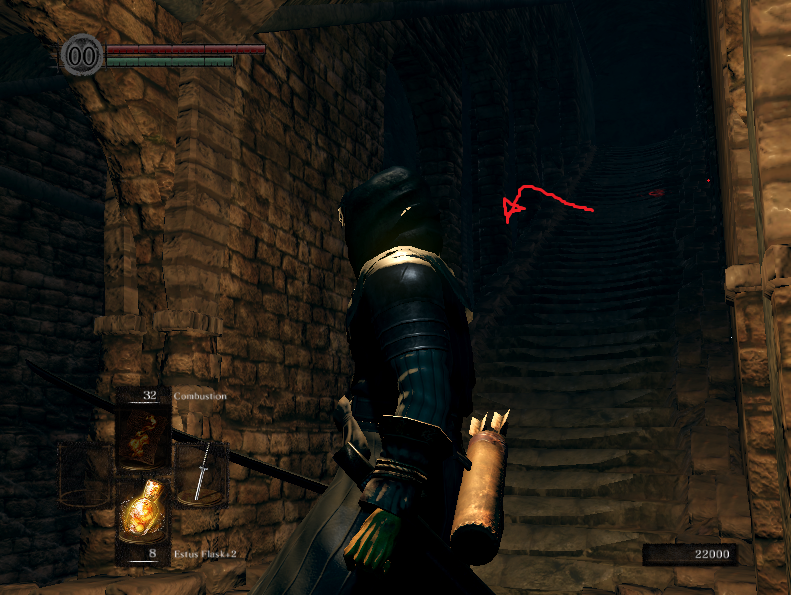
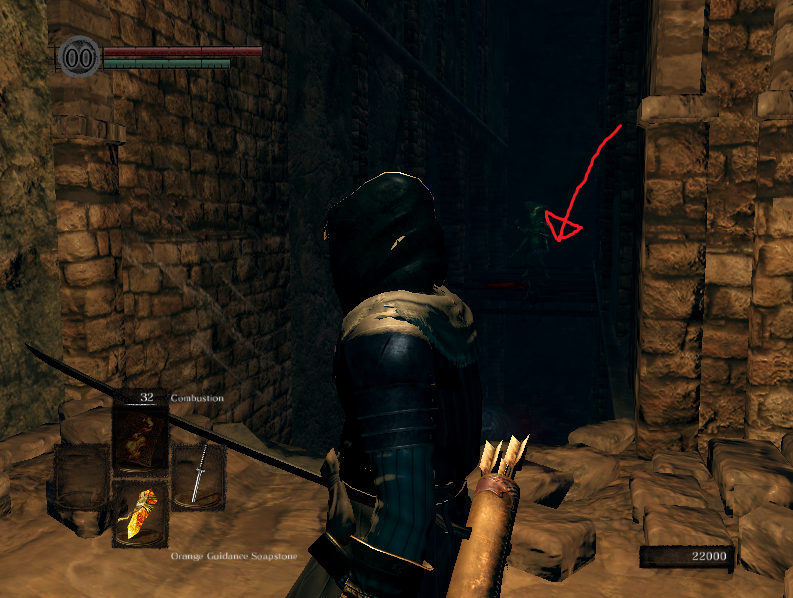
The next set of axes lies beyond. However, there is a caster remaining. I’ve aggroed it and walked back into the door way to demonstrate where it is. Remember that casters stagger on impact. This means we want, in turn, to stagger it.
I recommend getting some poise (Wolf Ring or armor works) and then using your explosion of choice to lock the caster down until it dies. Use the archway as a kind of brace/guide so you don’t step off the hallway and die (you will die). This https://imgur.com/a/5f8OIvy demonstrates what that looks like. It does take four firebombs, not three; I made a mistake and hit it once without my recorder up.
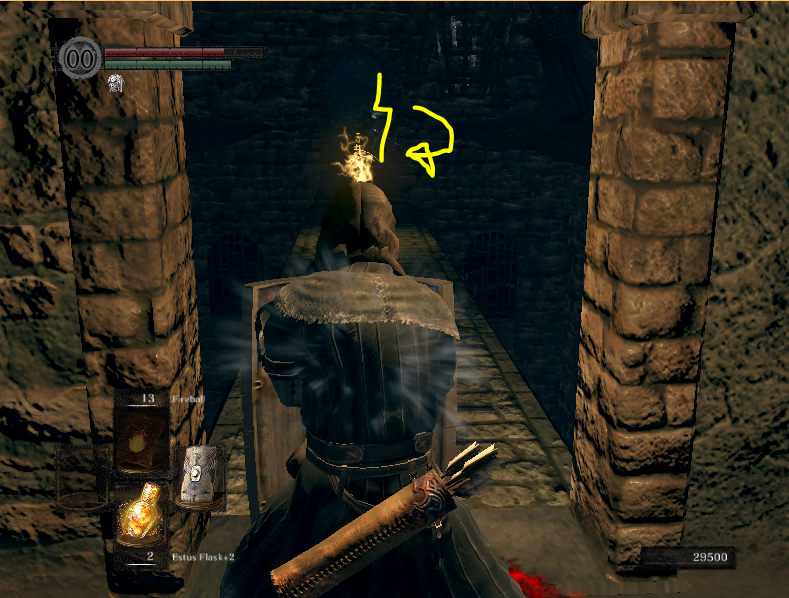
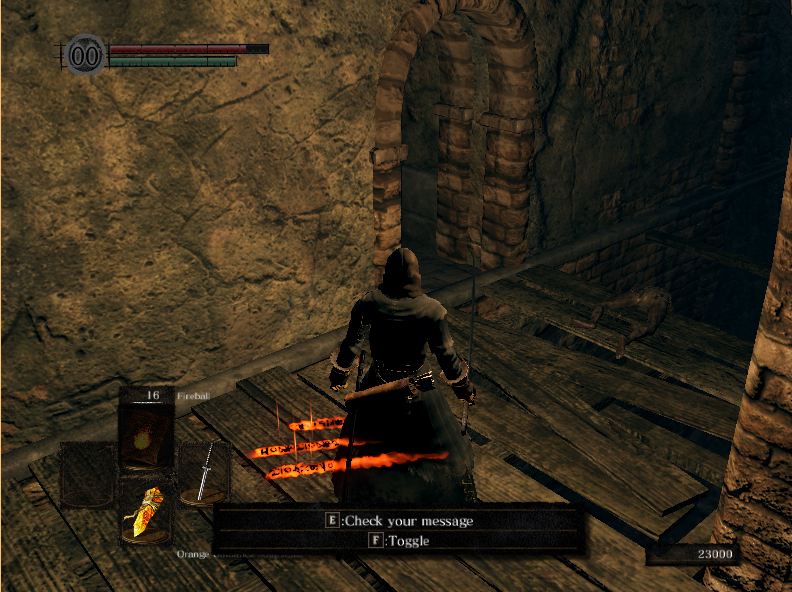
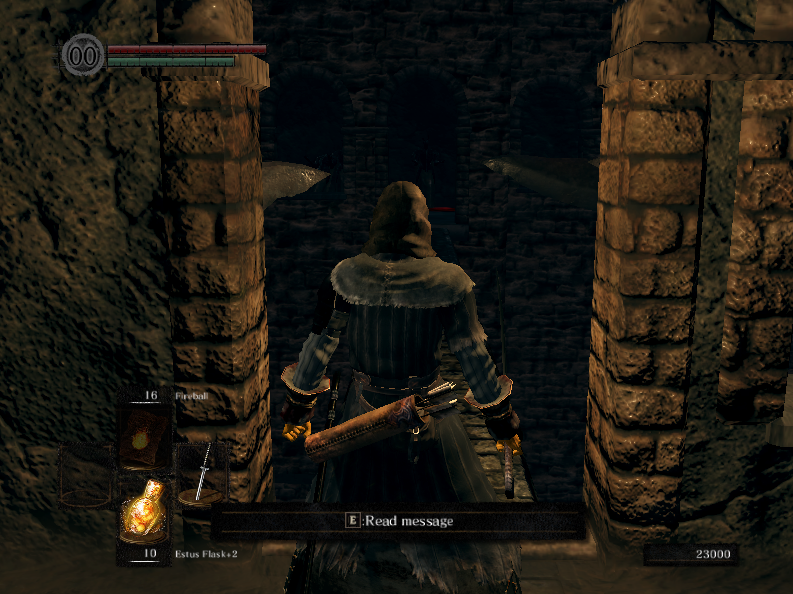
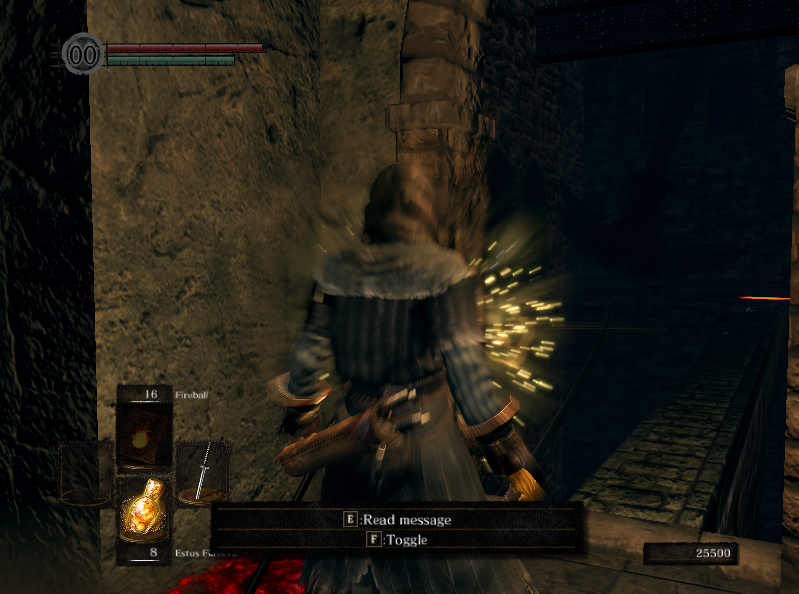
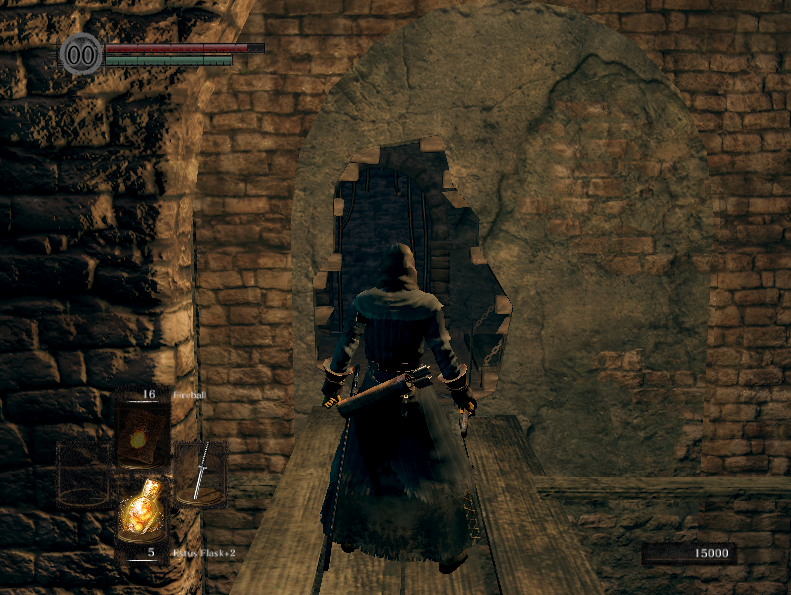
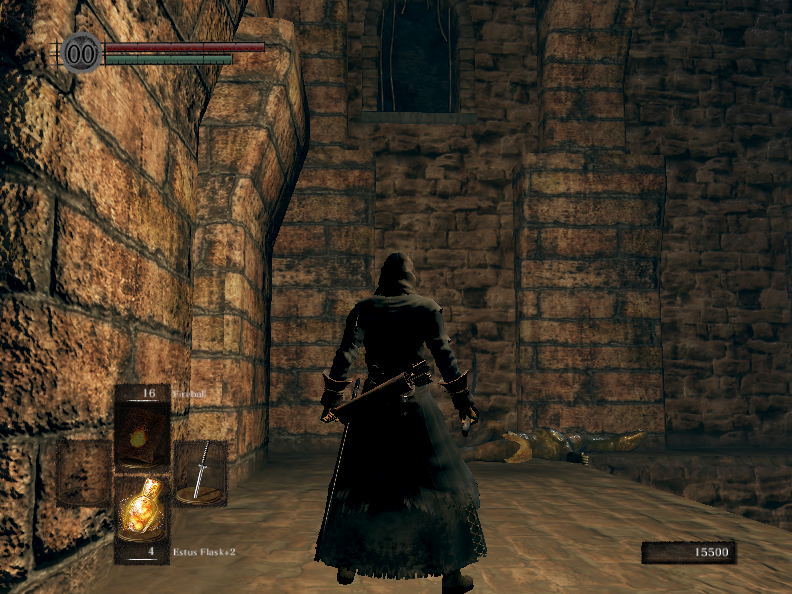
Next we’ll walk up to the swinging axes. They come in a pair; you WILL need to pause in-between. As a mercy, there is a developer message showing you exactly where to stand:
Step past the first two, stand on it, and then move on. There are two trap plates on the far side! Smoosh your face into the far wall so any darts activated will miss you. Here’s where they are:
I set one off by accident and lived by smooshing my face into said wall. Don’t drop your guard yet. One last challenge remains through the fog door on your right.
Puzzle 11: This Isn’t a Puzzle at All but I Wanted Consistency in the Section Names
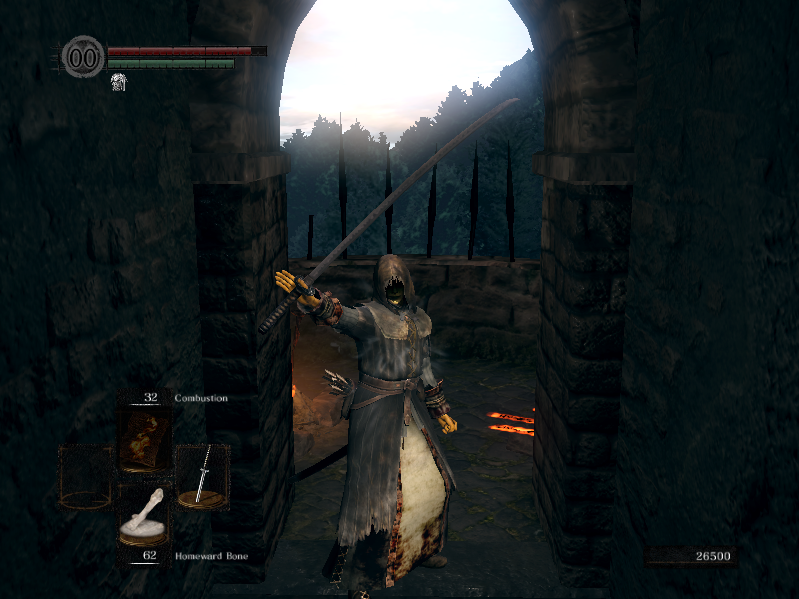
Beyond this gate is a sprint to the finish. The roof lies beyond. It is unsafe: an enemy gamer will be hurling bombs at you. Don’t worry, though–they will only devastate one “square” at a time. If we keep moving, it is a rather safe jog to the bonfire. There’s not much else to do other than show you. Study the path carefully, and do not hesitate: https://imgur.com/a/hlfpwkP Sorry about the lighting quality. I’m sure you understand.
With that, you have reached the bonfire.
End of Part I
With that, you’ve completed the route from bonfire-to-bonfire and should be able to move on with your adventure. The rooftop isn’t nearly as puzzle-like and marks a return to the more conventional exploration and combat loop, so I’m not especially inspired to write a guide for it. If you’re sick of Sen’s Fortress and want to move on, there’s not much else this guide can do for you!
The rest of this guide–Part II–will cover some optional missed loot in the Keep interior. Keep scrolling for that. You’re otherwise free to leap to the concluding thoughts and acknowledgements, or to close this guide and forget me forever. I’d appreciate a rating or a comment, though.
Part II: The Things They Left Behind
Hello! Welcome to Part II of this guide! Here I will cover various side routes from the path outlined in Part I, and the strategies and paths used in progressing towards the loot that can be won in the process. You will ultimately need all items from the Part I shopping list to reach locations relevant to Part II and get back up to the bonfire.
In addition, you will want:
- 20-100 Arrows for killing the first titanite demon (it’s safer this way, trust me)
- 60-300 Arrows, optional, for the other three titanite demons (also safer, but not as mandatory as the first)
- 9 Poison Arrows, for killing three more casters
- 1 darksouls.wikidot.com – http://darksouls.wikidot.com/rusted-iron-ring, for navigating the tar pits at the bottom of the Fortress (technically optional but hugely helpful, especially if you want to fight the demons hand-to-hand)
The following sections will be organized as “Side Paths,” each representing a deviation from and return to the main path. I wanted to call them “Cuzzles”–as in “Combat-Puzzle,” but decided that some of the sections were straight-up combat and thought better of it. Would you still have given me a 5-star rating if I’d called them “Cuzzles?” Let me know in the comments.
Side Path 1: Into the Pits
What You’ll Need:
- 6-9 Poison Arrows more
- 20-100 Arrows, mandatory
- 20-100 Arrows more, optional but helpful
- Rusted Iron Ring, recommended if you want to fight titanite demons
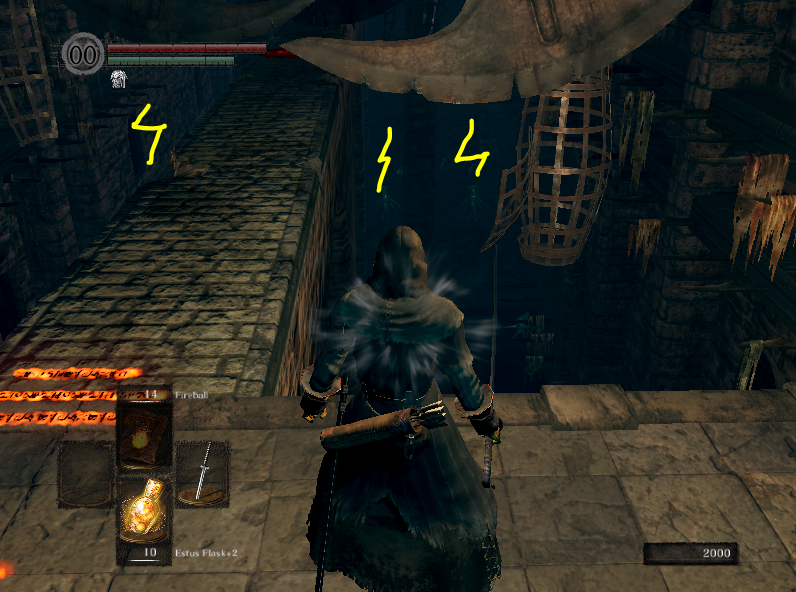
This side path should be pursued, optimally, after completing Puzzle 3: Bridge Snake 2: Electric Boogaloo. Dare to stand where that caster stood, and look down and to the right:
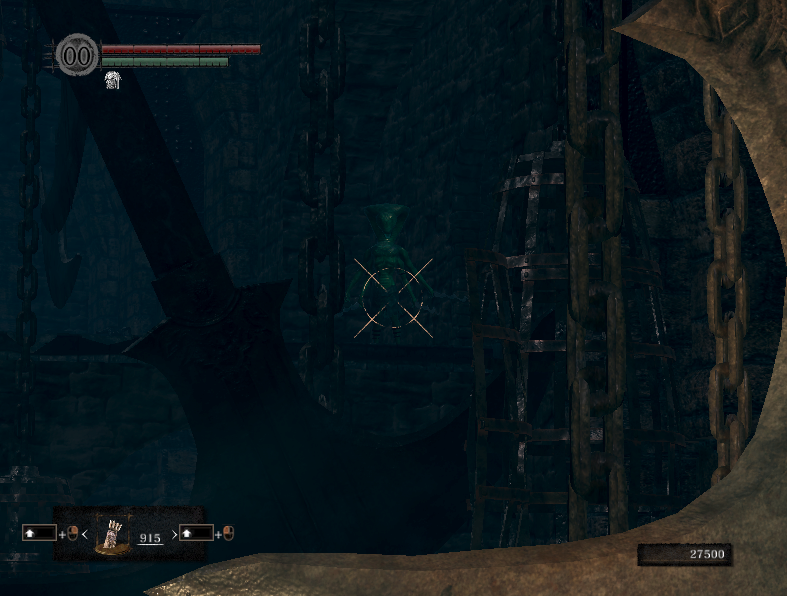
As you can see, there is a Titanite Demon sitting down there. How fiendish. This is what the titanite demon should look like, and if yours looks any different, you are surely a clown.
Kill it with arrow spam. You’ll do extra damage if you can hit its face-slab. We do this because it clears space for us to fight the OTHER titanite demon who is hiding down there.
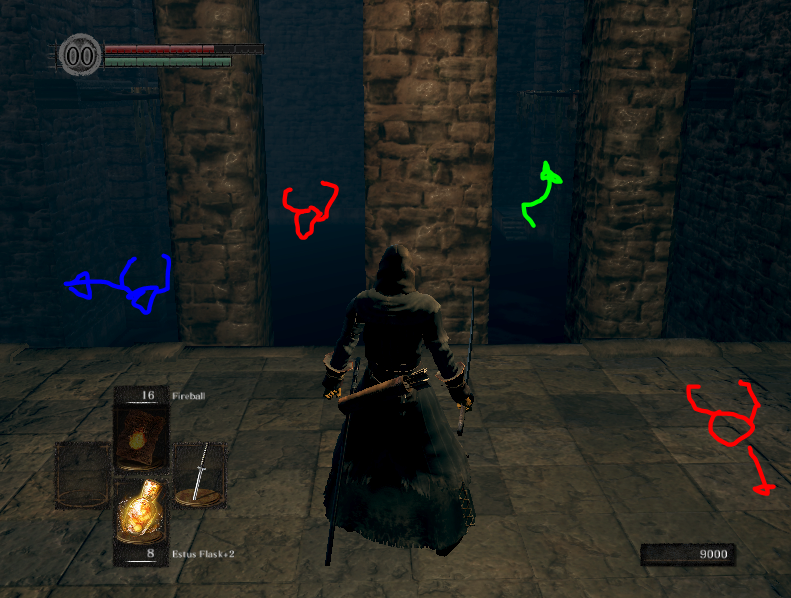
Next, go back down all the way to the entry of the first axe room, and look under the walkway. You should see three casters:
Poison two or three of them with your bow. 3 Poison arrrows in short succession will do the trick. Wait for them to die. Walk to their side of the walkway, and drop down onto that platform. Kill the third caster with hit-spam if you spared it. Looking out into the room we can see…
The Titanite Demon on-screen should be dead. The green arrow represents the path back up. The Titanite Demon in the bottom-right represents another demon, waiting at the end of a low hallway. The blue marks a hallway leading to another hallway with two stronger Titanite Demons inside. Equip the Rusted Iron Ring if you’ve got it.
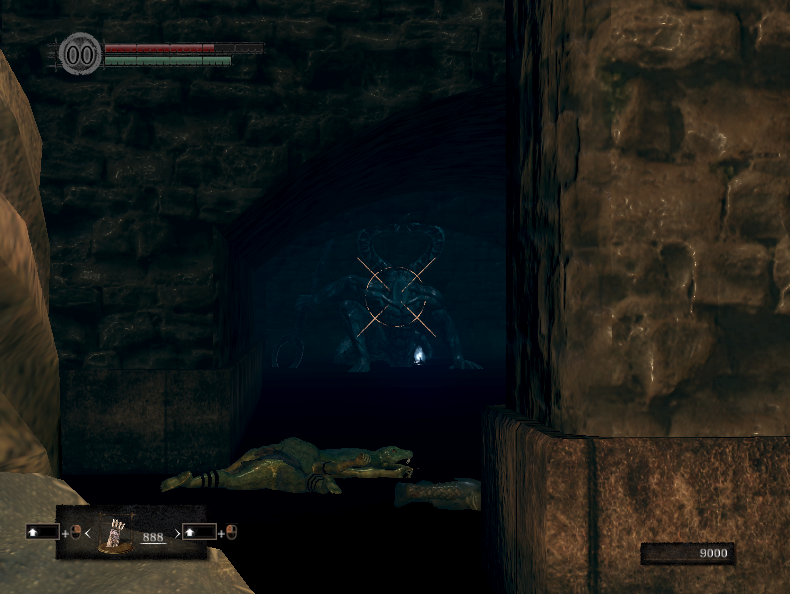
I recommend dropping forward off this platform, running forward a bit, and then turning 180 degrees to get a view like this:
Arrow spam will kill it. You’ve also got the local environment as clean as possible, so you could try fighting it in single combat. The Scythe and a soul item lie beyond it.
At this point, you can consider going into the blue hallway. The Titanite Demons there are stronger, and there is no easy way to kill them. I wouldn’t recommend it until you’ve gotten later in the game.
Furthermore, they guard nothing but the demon titanites they each drop. There are no extra paths or items here.
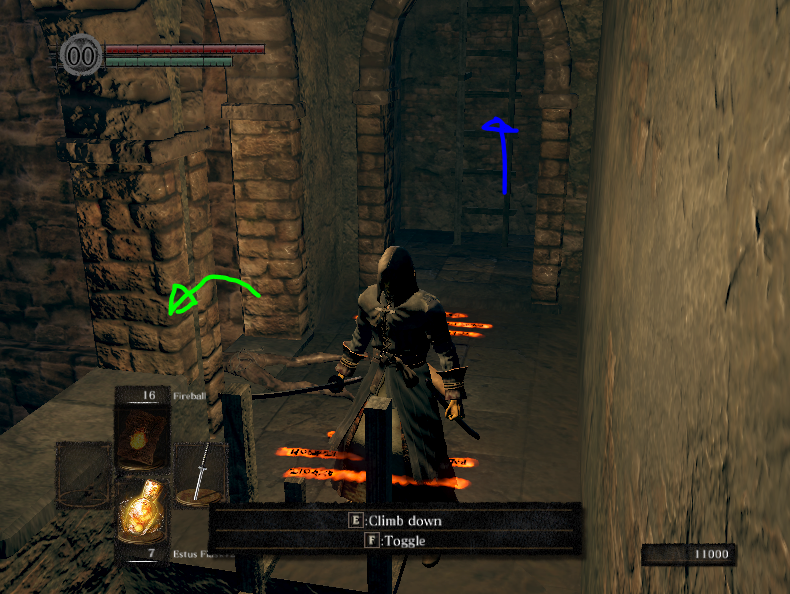
Lastly, go back up the ladder shown by the green arrow earlier and stand at the top. There’s an invisible wall you can kick, with another ladder behind it:
Blue arrow leads to a creature you can fight for a one-time titanite chunk. Green arrow leads back down to the path. Taking the green drop represents the end of this Side Path.
Side Path 2: The Dead Spook
What You Might Need:
- 40-200 Arrows
- Only if you haven’t completed Side Path 1 tho
This side path diverges right after Puzzle 7: Boulderdash, and is safest when completed after Side Path 1.
Standing on the caster platform, go into the hole instead of the archway. Be aware that a snake warrior awaits at the bottom of the resulting drop. You can kill it with a plunging attack, or simply plop out and defeat it where there’s room:
Don’t drop down anything further past this point, yet. Instead, look around the area and pick up the black sorceror’s set and the hush spell. Now pick one of the two square holes and drop down using the little ledges that circle its edges. I am something of a rhyming master.
If you haven’t completed Side Path 1 all the way through, there will be a Titanite Demon at the bottom. It can be pretty awkward dropping onto and fighting it, so it is safer to use arrows to kill it. Note that if you only have a Shortbow, this might actually be the better way to kill this Titanite Demon compared to Side Path 1, as you’ll have less damage loss due to range. Otherwise plop on down and find your way out again (more details on this in Side Path 1). So ends Side Path 2. Kabam, Kaboo(m). (For best results, pause for a moment before pronouncing the last “-m.”)
Side Path 3: The Rundown
This Side Path also diverges from the end of Puzzle 7: Boulderdash. It can be completed before or after Side Paths 1 and 2. Furthermore, you should open the gate at the start of Puzzle 8: The Path of Least Resistance in order to come back from this Side Path with minimal issues:
Standing on the caster platform, watch for a boulder and then follow it down. You can drop from flight-to-flight on the stairs down for a faster experience. There will be an alcove on the left to run into, and the timing isn’t particularly tight. Here’s a https://imgur.com/a/SpSraKc
You’ll probably be left staring at something like this:
To the left there is a “treasure chest.” The red impact shows a secret room that can be opened if you wait for boulders to fill the reservoir and then smash through the wall.
Go into the smashed-open room, and be careful not to get smashed yourself. Inside is the Covetous Gold Serpent ring, which boosts your item drop rate by 200 (for comparison, having 10 humanity boosts your drop rate by 110). Sen’s Fortress contains some of my favorite rings in the game.
Don’t take the left exit to the smashed room; it’s a dead end that will dead end your person. Instead, run out and back into the yellow “treasure chest” room.
In hindsight, we don’t really need this graphic, but I made it so I’m uploading it. Ha-ha.
Handle the “treasure chest” (you can equip your new ring for a boosted chance at a rare drop, the Head of Avarice) and look at the elevator. Note that it goes up, slows, and goes up again. Get off at the first stop. Waiting for the second will reveal to you why there are weird brown stains on its floor. This will leave you in a familiar room, allowing you to rejoin the main progression at Puzzle 8: The Path of Least Resistance.
Side Path 4: The Cage-Gardens
What You’ll Need:
- The Master Key OR
- darksouls.wikidot.com – http://darksouls.wikidot.com/cage-key
This Side Path diverges at the boulder control center.
Find the path that leads straight down, and turn the boulders in that direction. A single boulder will smash the wall for you, and can also kill the snake warrior guarding the hole. Do not count on this, though–sometimes it can be knocked aside and survive until you come down.
Turn the boulder aside again, and run right on down. Kill the snake warrior if it is still alive, and take in the view. There are two cages that can be opened with either of the Keys. One is a soul item, and one is a person. Once you’re done in the area, head back out and rejoin the path where Puzzle 5: A Snake with the High Ground was located. This is the last of the Side Paths.
End of Side Path II
Hooray!
Across these paths, you should’ve gathered the Slumbering Dragoncrest Ring, the Covetous Gold Serpent Ring, the Black Sorceror’s Set, some soul items, some Demon Titanites, a scythe, and maybe a Titanite Chunk if you killed the creature at the top of the ladder. If you need the Cage Key, it can be found fairly easily (or at least, fairly reasonably) in the rooftop portion of the Fortress.
A Fond Farewell
That’s it for this guide–I hope it was helpful! Thank you for your time, and for bearing with my sense of humor. Remember that many of the techniques shown here are applicable elsewhere in the game. Poison arrows, especially, can be quite effective against certain ranged foes in Anor Londo–you’ll know them when you see em.
I’d also appreciate a rating and/or a comment! If you’re strapped for things to say, you could tell me about your favorite NPC.
And finally:
Be safe, friend. Don’t you dare go hollow.
Here we come to an end for DARK SOULS™: REMASTERED Defusing the Traphouse: A Guide to Sen’s Fortress hope you enjoy it. If you think we forget something to include or we should make an update to the post let us know via comment, and we will fix it asap! Thanks and have a great day!
- Check All DARK SOULS™: REMASTERED Posts List



Leave a Reply