Introduction
Crimsonland is a fast-paced action game with some RPG elements, so players may not expect a puzzle minigame, let alone one that is required to unlock a perk needed for the Perky achievement. This guide will help you earn the high score required to unlock the perk, and with it, one of the more elusive achievements in this game.
The Basics
This section will explore the basics of Gembine.
To access the game, type G, E, M, B, I, N and E in that order during the credits. You will hear a chime each time you input the correct letter. If you make a mistake, you will hear an error message and have to start over. Once you enter the code, the game will offer a brief tutorial on how to play Gembine.
The game is a bit similar to 2048game.com – https://2048game.com/ in some ways. It takes place on a 4×4 grid, and by pushing the arrow keys, the player moves gems of various colors and shapes around the board. Pushing an arrow key will cause all gems to move in the same direction, but they will not move if the wall at the edge or a gem of a different type is in their way. For example, if you try to move a triangle shaped gem up when it’s against the top of the board, it will not move, and neither will the circle gem one space below it. Unlike 2048, the gems only move one space at a time, instead of going until they hit the wall or another gem.
However, if a gem moves into a space occupied by another gem of the same color and shape- imagine if both the gems mentioned in the previous paragraphs are triangles- the two gems will combine into a larger gem, and the player will earn points.
Every time the player moves, a new gem will appear on the board. The goal of the game is to keep combining gems to gain points and keep the playing field clear.
The game ends when all 16 squares are filled with gems and the player is unable to make any more moves.
If you want to get the high score for the Lifeline perk and the achievement, you’ll need just over 53,000 points. For more on how to get to that point, see the next two sections- a more advanced discussion on game mechanics and a collection of tips and tricks.
Game Mechanics
Now that the basics have been explained, here’s a more in-depth guide to game mechanics.
It’s important to note how the gems change over time as they combine, and the sequence is as follows
- 2 small circles=1 large circle
- 2 large circles=1 triangle
- 2 triangles=1 square
- 2 squares=1 pentagon.
- 2 pentagons=1 small circle of the next color.
The process repeats from here. The gems start out red, then turn green, then turn blue; the largest gem I’ve been able to make is a small blue circle. For context, you’ll most likely need to make a green square before you get to your goal of just over 53,000 points, which is equivalent to 128 small red circles.
Every time you move, a new gem will be added in a vacant space(usually toward the edges), and the interface will show you which gem will be added next. At first, you’ll only see small and large red circles, but as you make bigger circles, more shapes will come into the mix.
Around the time you make your first pentagon, you’ll start seeing triangles among your new pieces. After you make a green square for the first time, you can expect to see red squares. If you manage to reach the small blue circle, you’ll start seeing red pentagons. This can be a double-edged sword- there are times when it may give you the gem you need, but it also makes it harder to predict which new gems will arrive.
The larger a gem is, the longer it takes to make, so it can be difficult to combine large gems. As such, you should generally aim to only have one green gem of each type on the board at any given time. For example, if you’re about to make a green square, you should have one green triangle, one large green circle, one small green circle, one red hexagon, one red square and one red triangle, before using your incoming pieces to merge each of the gems. As you can imagine, it takes careful planning to make larger gems.
Fortunately, you also get more points for making larger gems- for example, making a green large circle is worth several times as much as a red large circle- so getting to 53,000 points is easier than it initially seems. The next section will give advice on how to get there.
Tips and Tricks
Now that you understand how to play the game, here are a few tips and tricks.
- Combine multiple gems simultaneously whenever you can. Every time you make a move, a new gem will be added, so you’ll need to remove one gem per move on average. You won’t always be able to merge gems, so take advantage of the opportunity to remove multiple ones at once.
- Put gems next to each other in a sequence when you can. For example, if you have a red pentagon in the top left corner, you should have a red square in the space below that, a red triangle in the space below the square, and a red large circle in the bottom left corner. That way, if you merge a circle with the one in the bottom left hand corner, you can then move it all the way to the top and get a green circle in the top corner.
- Try to avoid moving your larger gems around. As I mentioned in the previous section, larger gems are more difficult to combine with others, so it’s generally best to keep your largest gem in a corner, and out of the way. For this reason, you generally should think twice before making a move that will also result in your largest gem moving out of a corner, unless you have no feasible alternatives.
- Think ahead. Whenever you make a move, you should consider a few things- what if any gems will be created, what gem will be placed onto the field next and where it will end up. You should also plan a few moves ahead, especially when it comes to the above bullet point.
- Don’t panic if you’re down to one space. In fact, it’s advantageous in some ways, since you can tell exactly where your next gem will go. If possible, move your gems so that the new gem will end up next to one of the same type, enabling you to merge the gems and stay in the game.
- Don’t get discouraged. This may sound obvious enough, but the amount of points you earn increases over time, so even if you end up getting a Game Over with only a fraction of the points you need, you may be closer to your goal than you think.
Conclusion
I hope this guide helps. Getting to the high score can seem like an unattainable goal at first, but it can be achieved through practice, the right strategies and a bit of luck. Once you get the hang of Gembine, it’s a rather fun and addictive game.
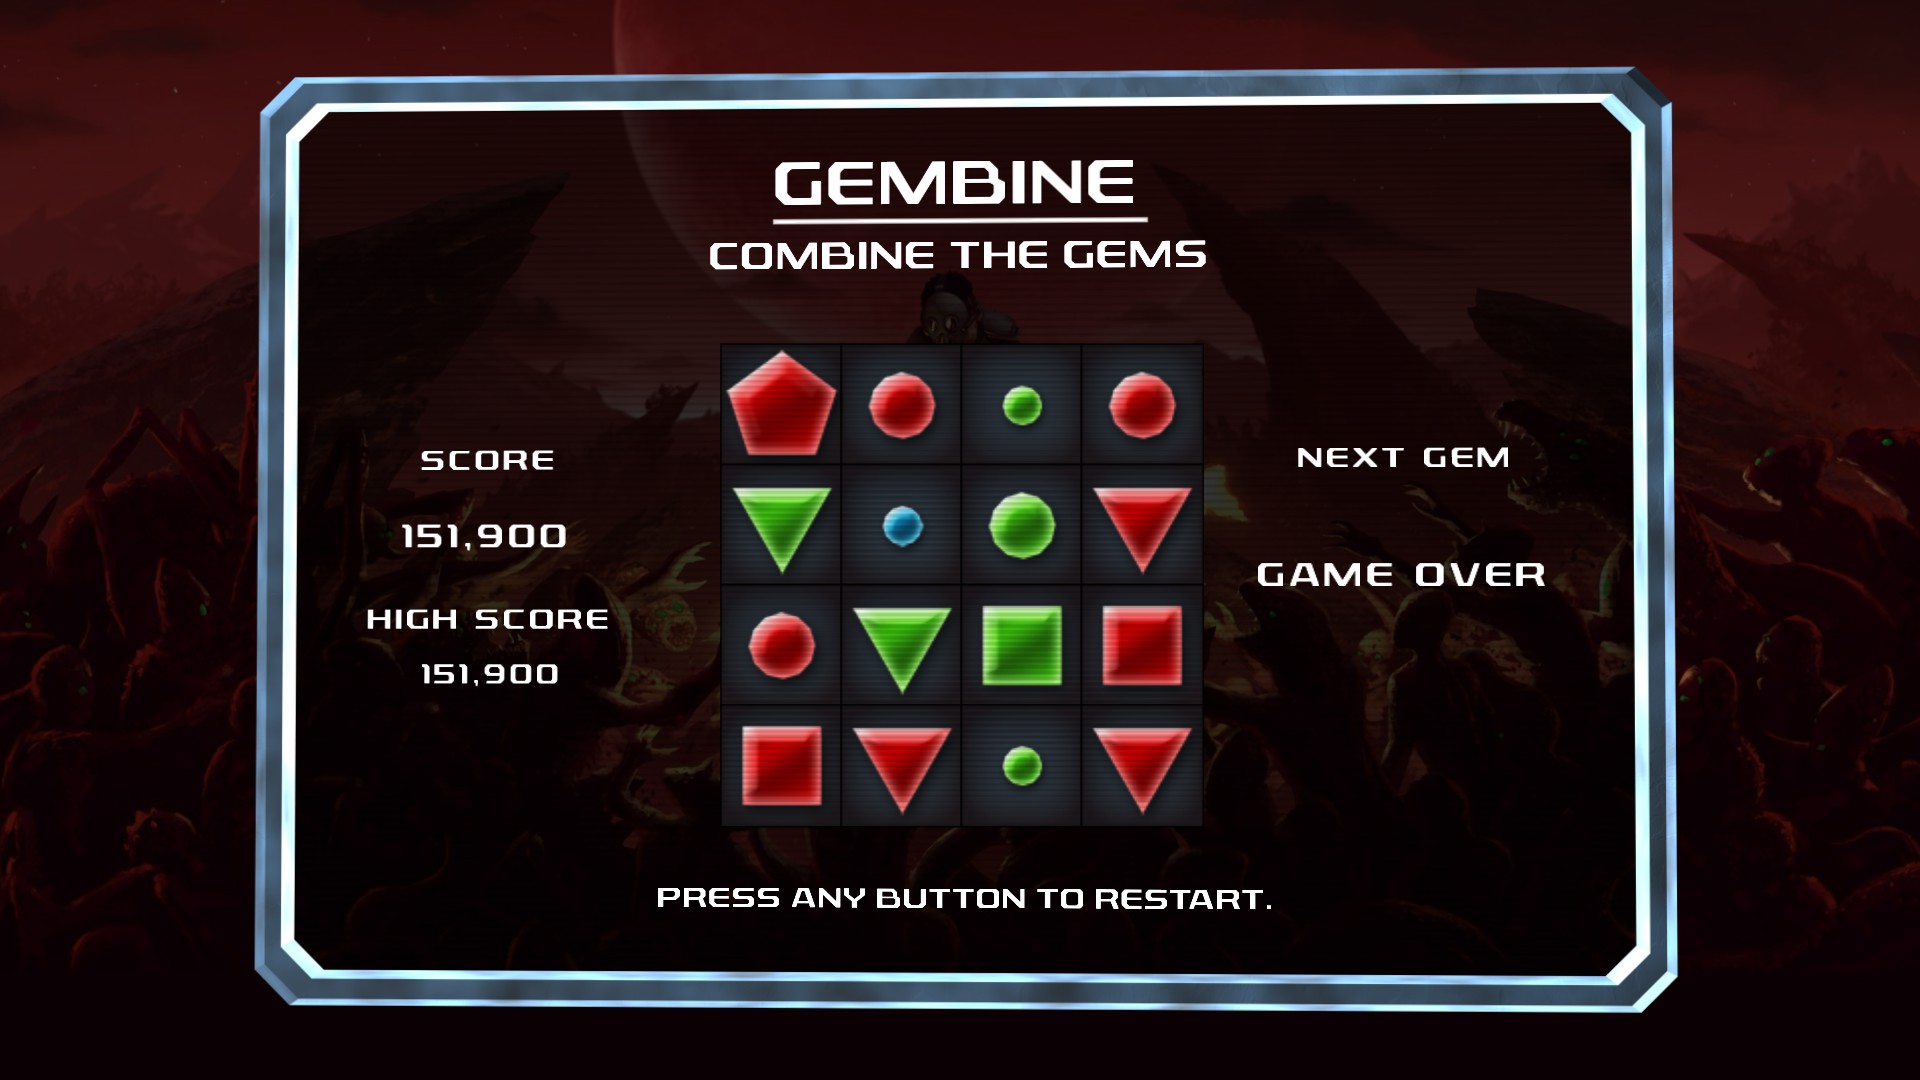
As a final note, here’s a screenshot of my personal high score-over 150,000 points. 
Hope you enjoy the post for Crimsonland Gembine Guide, If you think we should update the post or something is wrong please let us know via comment and we will fix it how fast as possible! Thank you and have a great day!
- Check All Crimsonland Posts List


Leave a Reply