A guide to the optional side quests for Bugsnax.
Basics
Side quests in Bugsnax aren’t necessary, but it’s a good idea to finish them anyway. It helps flesh out characters, improves their relationships with each other, and more importantly, increases your chances to get the best possible ending to the game. You’re also awarded special items for your home once each Grumpus’ quests are finished. You also are unable to access the Isle of Bigsnax unless you complete Snorpy and Chandlo’s quests.
Side quests for each character become available once you return them to town and complete their interview. Some rely on witnessing cutscenes with other characters, completing main or side quests, or sitting through Filbo’s campfire gatherings that basically divide the game into chapters. Each one of these opens up a new area of the game, making it possible to find the next group of characters.
Filbo is the only Snaxburg resident to not have any side quests (discounting Eggabell and Lizbert, obviously). Everything he gives you is for the main story. If you ever reach a point where you have no more quests of either sort available, it’s possible Filbo’s waiting for you to talk to him for vital story events.
Wambus Digs Deeper
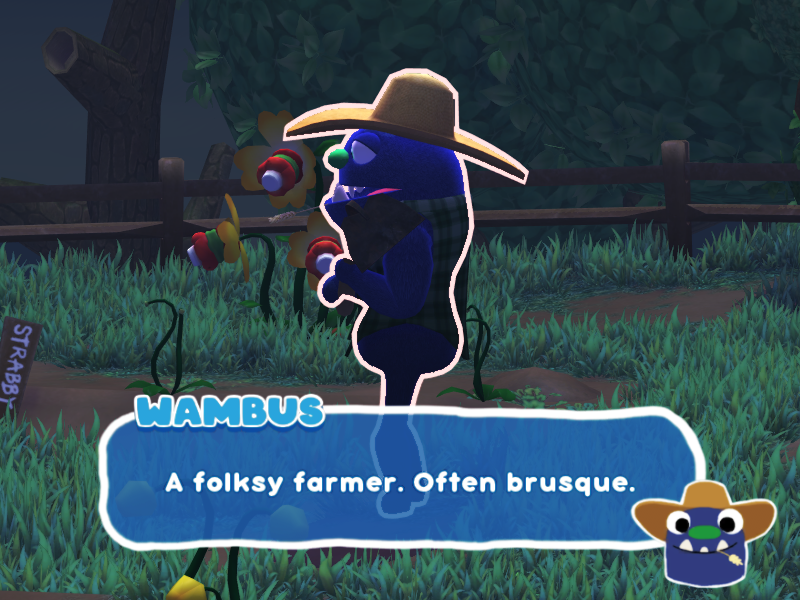
Wambus is usually in his garden, hard at work.
Roots and Fruits!
- Plant a root Bugsnak in the garden.
The only root snak you can find right now is the Rootle. Head over to Flavor Falls to catch the one that’s pacing in circles to the right of the entrance. The regular orange Rootle is around from 6 PM to 4 AM. The White Rootle is there from 6 AM to 4 PM.
- Plant a fruit Bugsnak in the garden.
You can catch a Strabby for this one, either the white one in Gramble’s old garden, or the regular further back in Flavor Falls.
Soiled
- Catch one Spuddy
These are in Scorched Gorge. The easiest way to catch one is to follow the left wall from the Snaxburg entrance, where two Spuddies path near each other. Lead one to the other, and back away. They should aggro on each other, and charge, which will knock them both out. Go ahead and snag both of them — you can donate the spare to Gramble’s barn.
- Talk to Wambus.
He’ll send you to feed the Spuddy to Filbo, and… uh… ew.
Daily Fiber!
- Feed one Spuddy.
Feed the Spuddy to Filbo and follow him to the outhouse. Once he’s done, pick up the ‘fertilizer.
- Return to Wambus.
Soiled!
(continued)
- Return to Wambus.
This will finish the quest.
Undergrowth!
- Plant a Snaquiri in the garden.
Snaquiri are in Simmering Springs, and are the easiest to catch. From the entrance to Snaxburg, follow the path to the right, and hang a left by Gramble’s old campsite. You’ll see a Snaquiri popping up from the hot spring by the bottom of the ramp. Just set your trap down there, and you’ll catch it.
- And an Incherrito.
In Sizzlin’ Sands, head toward the giant Grumpus statue where you found the cheese sauce; there’s an Incerrito burrowed in the sand at its base. Plop some hot sauce on the flat stones nearby {where you see the pile of Breakfasty Bits), and lead the Incherrito to it with a trail of more sauce. Once it’s on the rocks, get close, and it’ll try to buttow, stunning itself on the solid surface. Snag it with your net.
- And a Sherbie.
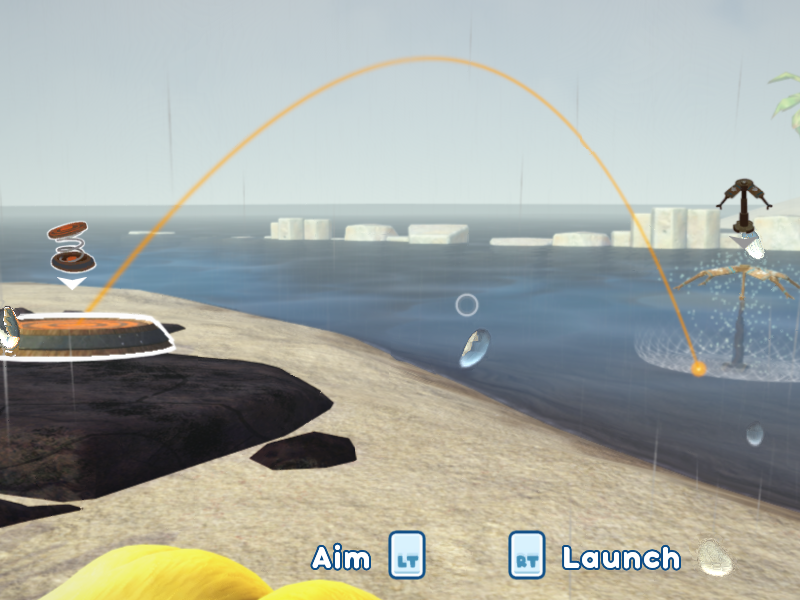
Sherbie is a little trickier to catch. It has the Frosty trait, which will freeze you any time you come into contact with it, even when it’s in the Snak Trap. In addition, it lobs balls of ice cream at you, will also freeze you. The easiest way to catch it is to set your Snak Trap in the water, place the Lunchpad in Sherbie’s path, and aim the pad’s landing to the sand inside the trap’s area (don’t aim it at the trap, it might just bounce off the top and go back to burrowing). When the Sherbie walks over the pad, launch it into the trap, and the warm water will thaw the Frosty trait away, making it safe to catch.
(Note: You can place the trap on the pad, and launch it into the water once the Sherbie is in it, but it takes time for it to thaw, and you might lose precious seconds while the trap is flying through the air.)
- Return to Wambus
It’s time for more waiting!
Harvest Time!
- Visit Wambus later.
You can either sleep til 5 AM, or do other tasks to pass time. When you see the checkmark showing you the task is complete, head towards Wambus, and you’ll be pulled into a short dialogue scene. After this, you’re finished with Wambus’ side quests!
Beffica Seeks the Truth
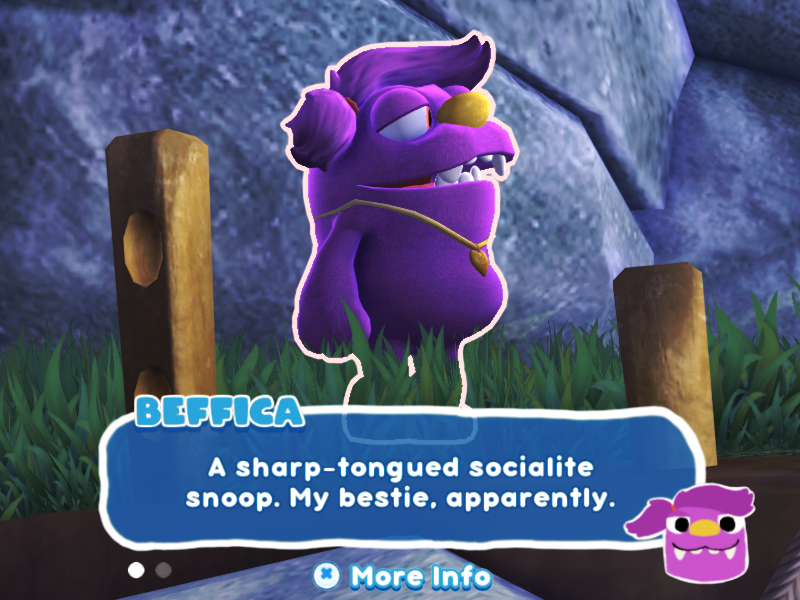
Beffica sometimes wanders around town, but I often found her in either Filbo’s or Eggabell and Lizbert’s houses.
Rumor Mill!
- Find out what Wiggle does at midnight!
Sleep (or wait) until midnight, and you’ll see Wiggle eventually leave her house. Follow her, then once she reaches her destination and starts talking, approach to trigger a short cutscene. Return ti Beffica the next day to give her the scoop.
Rumor Mill Part 2!
- Catch one Crispy Snakpod.
The easiest Crispy Snakpod is inside Beffica’s cave, right where she said it was. When you enter, turn right, and it’s on the wall close enough to catch with the net.
- Feed one Crispy Snakpod.
Go ahead and shove these right into Beffica’s gosspy maw.
The Big Snoop!
- Find out what Cromdo does at midnight!
As usual, sleep or wait until midnight, then follow along behind Cromdo until he reaches his destination. You’ll get another cutscene when you interrupt him. Return to Beffica in the morning.
The Big Snoop Part 2!
- Find three Grumpy Snakpods on the beach. (3/3)
After a short cutscene where Cromdo confronts Beffica for her snooping, Beffica sends you off to Simmering Sands to catch three Grumpy Snakpods. If it helps, I’ve posted a guide to the Snakpods here – [steamcommunity.com] with all the locations.
Imitation Beef!
- Find out what Chandlo does at midnight!
Chandlo doesn’t actually leave his house at midnight. Just go up the stairs when the time comes, and he’ll talk to you. See Beffica in the morning to report.
Imitation Beef Part 2!
- Turn Beffica’s arms into green Snax. (4/4)
You’ll either need a total of four green Bugsnax. If you haven’t gotten the upgraded Snaktivator from Floofty, the easiest place to catch all four would be Flavor Falls, as there’s a total of six, two of each type there. You can mix and match from any of these:
Garden Grove: none
Flavor Falls: Pinkle, Green Lollive, Inchwrap, Mama Mewon (Boss)
Simmering Springs: Green Grapeskeeto
Boiling Bay: Green Crapple
Scorched Gorge: Scorpenyo, Green Peelbug
Sizzlin’ Sands: none
Sugarpine Woods: none
Frosted Peak: Mt Sodie
- Get the truth out of Snorpy.
Once you’ve snakified Beffica’s limbs, she drags you along on another cutscene.
- Talk to Beffica…
With this, you’re done with Beffica’s side quests!
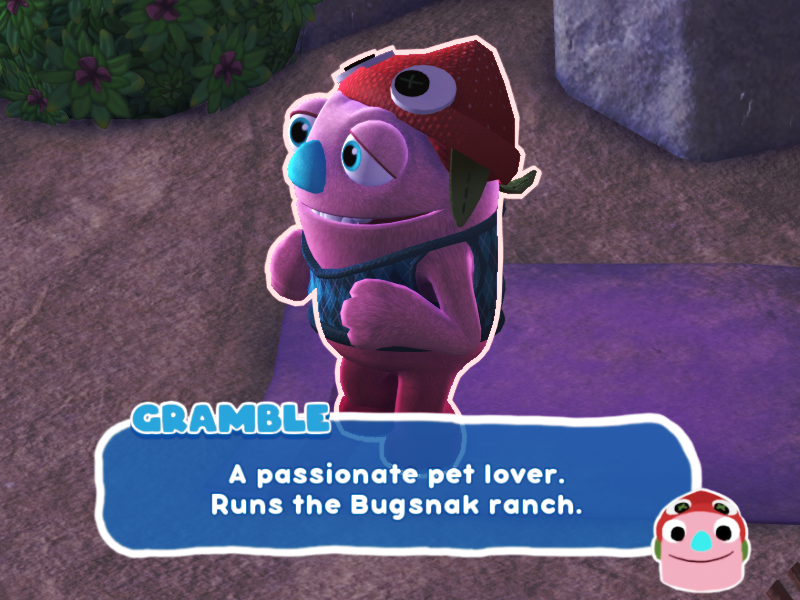
Gramble Grows His Horde
Empty Nest!
- Donate six Bugsnax to the ranch! (6/6)
Gramble’s asking you to donate six Bugsnax to his barn. You most likely already have a few from the beach or your trip down from the crash site. You can pick some up if you do this one along with Wamble’s Roots and Fruits! quest. Reaching six snax donated will give you an expanded backpack.
Training Day!
- Use the Buggy Ball to guide Charwee to the finish!
Cover the Buggy Ball in chocolate to get the Kweeble to follow it. This can be a bit tricky, since the other Grumpuses can interfere by kicking the Buggy Ball off track. It might be safer to take the longer route around the campfire so you can sneak them behind Beffica. Once you’ve got Charwee in the corral, the quest automatically finishes.
More to Love!
- Donate a Preying Picantis to Gramble!
The Picantis is a little tricky to catch, because it’s on fire. Head over to Sizzlin Sands. On the northeast side, half way between the Scorched Gorge gate and the giant Grumpus statue, are two large flat rocks that each have a single Preying Picantis on top. The one closest to the gate will be a bit more convenient to catch as that stone is low enough for the Picantis to chase you from. Nearby is a bit of flat stone and a tree; set your Trip Shot between these, but don’t fire it yet. Lure the Picantis from its lair, have it chase you into the water to douse its fire, then draw it around the tree. Once you’re past the Trip Shot line, fire it, and the Picantis should run right into it to get stunned. (Note: If, for some reason, you fail to stun it and it breaks apart into its smaller snax, you can try again with the second Picantis. This one, however, you’ll have to launch off the platform using your Lunchpad. Be quick, though, since it’ll catch the wood on fire. Or just leave the area and come back.)
- And a Scoopy Banoopy!
Surprisingly, this one’s much easier. Next to the gate to Sugarpine Woods is a campfire. Set your Trip Shot on the boulder to the left (just past the hiding bush) and aim it at the campfire, but don’t deploy it yet. Wait for the Scoopy Banoopy to get close, lead it backwards to get the line between you and it, then trigger the Trip Shot. The line will catch on fire, which both stuns the Banoopy and thaws its Frosty trait.
- Return to Gramble.
Love is Patient!
- Visit Gramble later.
Another waiting quest. Sleep until 5 AM, or go do more quests. Once it’s got a ‘completed’ checkmark, head towards the barn, and you can see Gramble’s progress with his new family members. This will finish Gramble’s side quests… on a rather sad note. Poor Gramble.
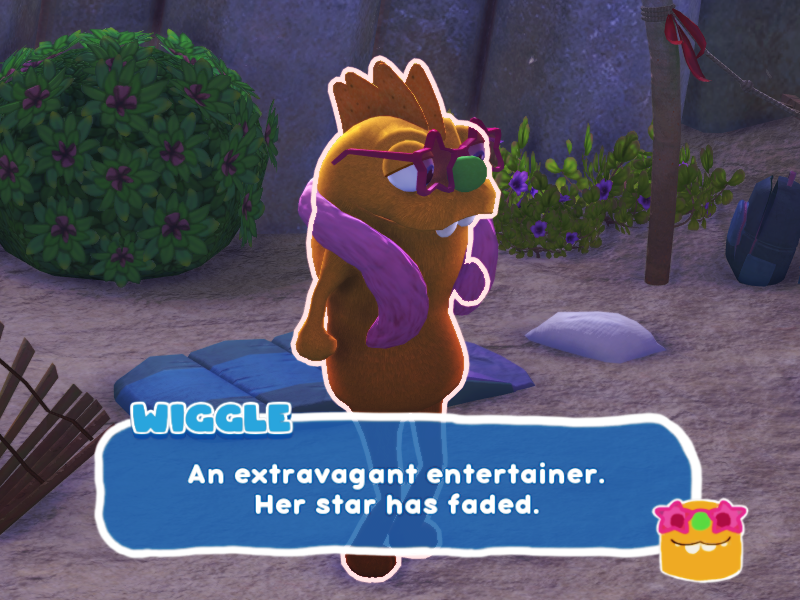
Wiggle Gets Inspired
Wiggle doesn’t move around as much; you can usually find her near your mailbox. Fun fact: Whenever you’re near Wiggle in town, she adds her banjo playing to the background music.
Yellow Submarine!
- Catch two Sub Sandopedes.
It’s possible to catch the Sandopedes with the Lunchpad, but it’s much easier to get the Trip Shot from Snorpy’s quests first. Just lay it across the stream, or on the rock wall above the Peelbug’s hole, and pick up the Sandopedes when they’re stunned.
- Feed two Sub Sandopedes.
Stuff these in Wiggle’s mouth, and you’ll get a little bit of her backstory.
Fly Me to the Moon!
- Catch one White Cheepoof.
These are over in Scorched Gorge; you might’ve caught one for Cromdo. Despite Wiggle saying the snak only comes out on the full moon, it really just has to be nighttime. Wait until 6 PM, and you can catch one flying around by launching your Snak Trap with the Lunchpad.
- Feed one White Cheepoof.
Poor Wiggle just can’t find her muse.
Dance with the Dragon!
- Meet Wiggle in Boiling Bay!
You’re taken to the area at nighttime. Follow Wiggle to Floofty’s boathouse for a private concert, followed by your second boss fight!
- Catch one Megamaki!
This one can be tough if you’re not used to aiming the Trip Shot along a flying snak’s path, because this one is all about the Trip Shot. While you can attach it to the new poles that have emerged from the water, it might be able to use trees and other permanent structures. Megamaki will shoot out projectiles that look like giant roe that will temporarily destroy the pillars.
When it hits the Trip Shot, the dragon will separate. All the Minimakis run around, and you can pick them up in your net, while Megamaki charges at you to stop you. Once it reforms, it will likely have changed to an aerial path; scan it again to see its new route. Just keep tripping it up and catching all the Minimakis. Once they’re all gone, you can pick up Megamaki.
- Feed one Megamaki.
Give Wiggle the Megamaki, and after a bit of a talk, she’ll head back to town. Meet her there to see a conversation between Wiggle and Gramble. After this, Wiggle’s quests are done!
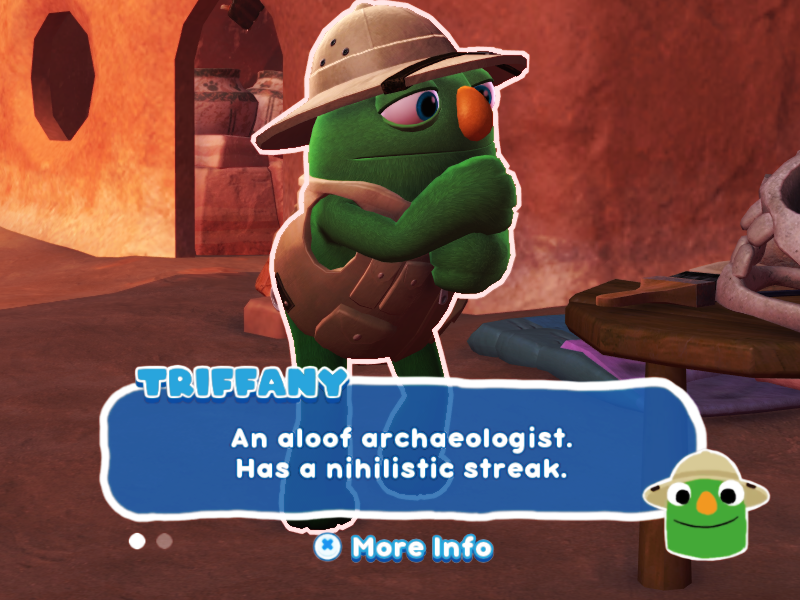
Triffany Makes History
Triffany is usually either in the science tent, or by the waterfall behind Gramble’s barn.
That’s a relief!
- Meet Triffany in Flavor Falls!
When you begin this quest chain, you’ll be automatically taken to Flavor Falls. Talk to Triffany to continue.
- Scan a stone Grumpus and report to Triffany.
Pass under the roots next to Triffany and enter the next chamber. Scan the face on the wall. While you’re here, use your Snakgrappler to steal the Pinkle’s jar. Quickly toss the jar aside and pick up the Pinkle in your net.
- Feed Triffany a Pinkle.
After you feed her, Triffany will give you a bit more lore.
- Return to Triffany.
At the end, Triffany will head back home, leaving you to make your own way from here.
Dead Man’s Chest!
- Meet Triffany in Boiling Bay.
As usual, you’re hijacked, and taken over to boiling Bay. Talk to Triffany.
- Scan a treasure chest and report to Triffany.
There’s part of a shipwreck on the sandbar in the ocean, with a treasure chest in the middle. Sadly, it’s empty.
- Feed Triffany a Paletoss.
It’ll be easier to lead the Paletoss Grande into the water and have it chase you in circles until it pops. The two smaller Paletoss can immediately be picked up in your net; feed one to Triffany.
- Return to Triffany.
You’ll find out a little more about why Triffany’s here. Afterward, the quest is over.
A Peak to Remember!
- Meet Triffany in Frosted Peak!
Triffany will meet you there, and lead you up the mountain. Follow her to the top, where there’s an abandoned campsite. After she talks to you, head back to town, and watch a conversation between her and Floofty.
A Peak to Forget!
- Talk to Triffany.
One last conversation, and Triffany’s side quests are complete.
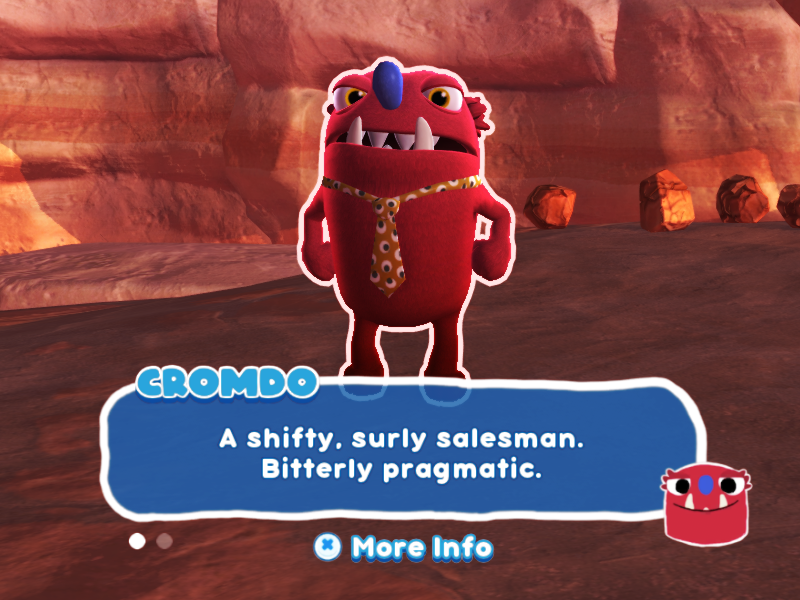
Cromdo Does Crime
Cromdo is almost always by his house Cromdo Mart, waiting to sell anyone a cup of bug juice.
Deal or No Deal!
- Catch a Buffalocust.
This one is locked behind access to Sizzlin’ Sands, after Filbo’s Break Time! quest. Once you can enter the area, head toward the pyramid to see the Buffalocust circling overhead. The easiest way to catch it is during the daytime. Wait for the Flapjackarak to path nearby (or lure it yourself), then cover it with hot sauce or ranch. The Buffalocust will dive at the Flapjackarak. Its flames will be extinguished and it’ll be stunned, so you can just pick it up in your net. Talk to Cromdo, and you’ll get a short cutscene between him and Triffany.
Inside Man!
- Steal Triffany’s map.
Sneak into the house and up the stairs. The map is on Triffany’s worktable. Snag it, and sneak back out.
- Return to Cromdo.
Cromdo is waiting just outside to the right. He’ll let you know it’ll be a while until the next quest. It won’t be available until you get Shelda to return to Snaxburg.
A Slice of Heaven!
- Meet Cromdo in Sizzlin’ Sands!
Once again, you’re hijacked, this time to the desert. Let Cromdo lead you over to the pyramid.
- Figure out how to summon Mothza Supreme.
Head down to that casket, and use your Snakgrappler to trigger the giant pizza cutter. It’ll break open the box. This will reveal a lone Bombino that’s retreated into his pocket. Pick it up, take it to the top of the pyramid, and toss it onto the stone in the center. This will reveal a familiar circular indentation. Set your Lunchpad into it, and the fight will begin!
- Defeat Mothza Supreme.
Mothza will hover over one of the statues, and stir up a few whirlwinds. This will momentarily extinguish the Bombinos, and they’ll hide in their pouches. Grab one, toss it onto the Lunchpad, and launch it into Mothza. If Mothza lands under the statue, hurry down and trigger the giant pizza cutter to smash into it.
After the second hit, Mothza will begin summoning larger whirlwinds when it stops. You can’t launch Bombinos through it. Instead, go to the side Mothza isn’t at, and pile as many ‘hidden’ Bombinos as you can in the area where the large whirlwind will spawn. When it forms, it should, hopefully, send at least one Bombino flying into Mothza. This third hit will finish off Mothza Supreme, and you can finally catch it.
- Catch one Mothza Supreme.
- Feed one Mothza Supreme.
Pick up the defeated Legendary Bugsnak, and give it to Cromdo. Head back to town for a confrontation between Beffica and Cromdo. Talk to Cromdo one last time, and then you’re finished with his side quests!
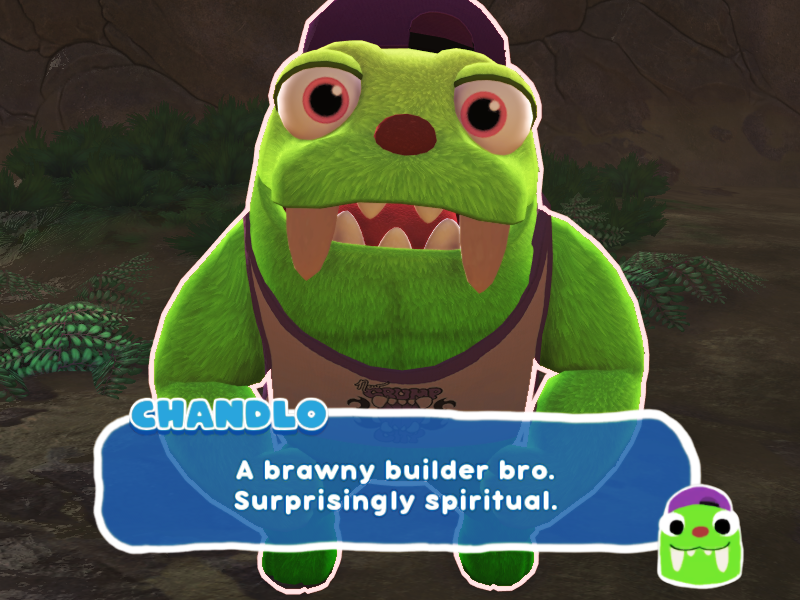
Chandlo Tests His Might
Chandlo is constantly training, which means running laps around Snaxburg, or pausing to do some pushups.
Beef Up!
- Catch aggressive meaty Bugsnax! (3/3)
After a short cutscene between Chandlo and Snorpy, Chandlo will ask you to catch him some beefy snax. Here’s a list, choose whatever you have available. You can have duplicates, he’s not picky about types, so the Sandopede might be the fastest since you can get all four at once.
Garden Grove: Bunger
Flavor Falls: Sandopede, Sub Sandopede
Simmering Springs: Waffstackarak
Scorched Gorge: BBQ Bunger
Boiling Bay: Noodler, Minimaki (Boss minion), Megamaki (Boss)
Sizzling Sands: Preying Picantis, Buffalocust, Flapjackarak, Incherrito, Bombino (Boss minion), Mothza Supreme (Boss)
Sugarpine Woods: none
Frosted Peak: Stewdler
- Feed the aggressive meaty Bugsnax to Chandlo. (3/3)
After feeding him, he’ll ask you to help with some more training.
Weigh In!
- Drop weights on Chandlo. (5/5)
The timing on this can be tricky until you get the hang of it. Fortunately, there’s no time limit, and the weights respawn once you’ve knocked them all down so you can keep trying. The suspended weights have a familiar symbol on them, telling you to use your Snakgrappler to trigger them. Just watch out for other Grumpuses and random objects laying around town that can get in your way.
Throw Down!
- Meet Chandlo in Flavor Falls!
You’re automatically taken back to Flavor Falls. Follow Chandlo until he reaches a massive stone door that’s been locked until now. He’ll open it, and you’ll be faced with your first Legendary Bugsnak: Mama Mewon.
You won’t be able to damage her directly. Place your Snak Trap in front of one of the stone Grumpus statues surrounding the arena. Trap one of the Wee Mewons, but don’t pick up the trap. Mama Mewon will charge the trap to free the baby, hit the statue, and be stunned for a few seconds. Look up to the stalactites, which have the familiar Snakgrappler symbol on them. Once Mama Mewon is stunned, knock down the stalactite above her, and it’ll smash onto her back.
Tip: The Wee Mewons will constantly jump around you, which can interfere with your Snakgrappler shots. Set down your Snak Trap away from the statues, let the Wee Mewons cluster around it, then trigger it to trap them. When Mama Mewon charges the trap, she’ll end up stunning all of the Wee Mewons that were in her way, and you can pick them up to thin the herd. This’ll make it much easier.
After three stalactites hit Mama Mewon, her form changes, and you reach the second stage. She’ll charge at you and knock you out — this can’t be avoided. Chandlo rescues you, and offers to distract her for you by snaknapping one of her babies. When she charges him, knock down a fourth stalactite, and this will finish her off by shrinking her down small enough to catch with the net.
- Catch one Mama Mewon.
- Feed one Mama Mewon.
Go ahead and feed Chandlo, then head back to town. The quest is complete, but you need one more cutscene to finish it off. Go to where the stump is and you’ll see one final chat between Snorpy and Chandlo, after which Chandlo’s side quests are done!
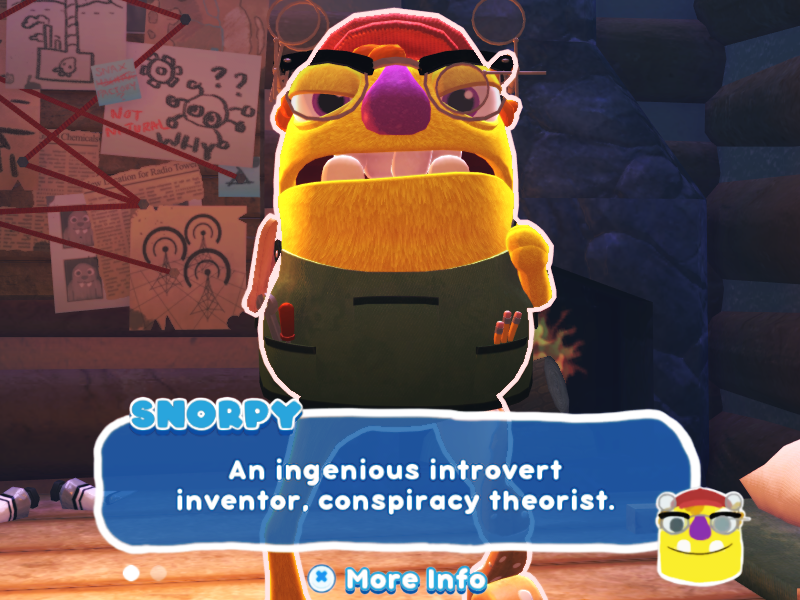
Snorpy Saves the World
Snorpy can usually be found around the mill where he and Chandlo live.
Splitting Up!
- Catch one Scoopy Banoopy.
This is easier than it looks. Next to the entrance to Frosted Peak is a campfire. Stick your Trip Shot on a boulder further along the cliff to your left, and aim it at the fire, but don’t launch it yet. Wait for the Scoopy Banoopy to get close, lure it toward the trap, and once you’re past the line, trigger it. The Trip Shot will catch on fire, which both stuns the Scoopy Banoopy, and thaws out its Frosty state.
- Feed one Scoopy Banoopy.
As soon as you feed him the snak, you’re drawn into his next quest.
Get Lit!
- Light all the flares. (7/7)
You’ll need to use the Trip Shot to spread fires between the flares. The first one is already lit, next to Snorpy.
2: Path next to Gramble’s donation box. Lit from #1.
3: The cliff overlooking Snaxburg, next to your airship. Lit from #2.
4: In the middle of Wambus’ garden. Lit from #3.
5: On top of Eggabell and Lizbert’s house. Lit from #2.
6: The path next to your mailbox. Lit from #5.
7: On top of Filbo’s house. Lit from #5.
- Return to Snorpy.
It’ll be a little while until the next task from him. His final quest won’t show up until you find Eggabell, and finish all of her quests.
Cake Boss!
- Travel to the Frosted Peak!
For once, you’re not automatically taken to an area when a quest starts. Run (or fast-travel) to Frosted Peak, and Snorpy will meet you there. Follow him to the cave where you first met Eggabell. There’s a ‘suspicious candle’ sticking out of the snow mound in the center of the cave. Light it from the flares using your Trip Shot, and the final Legendary Bugsnak fight begins!
Daddy Cakelegs will raise a bunch of ice pillars around the arena. He’s got two candles on his middle tier, one on either side of his eyes. In the first and second stage, you need to set your Trip Shot on the flare to light it up, and aim it either at one of the candles, or attach it to a pillar in time for him to hit the trip line before the pillar melts. Once both candles are lit, he’ll spawn a bunch of Baby Cakelegs, and leave to the next area.
Follow the Baby Cakelegs, and they’ll lead you from the first cave to the area with the puzzle door at the base of the mountain. Daddy Cakelegs is buried under the snow again; light his candle to bring him out, and work on lighting the second two candles. This one’s a little more difficult. Daddy Cakelegs is moving faster, he tosses projectiles that are difficult to avoid and will freeze you when they hit, and the Baby Cakelegs can get in your way. Once the second candle is lit (again), he’ll spawn even more Baby Cakelegs, and run away.
Follow the Baby Cakelegs again, this time around the base of the mountain, along the path past the frozen pond. You’ll end up at the campfire at the eastern end of the Scoopy Banoopy’s route. Daddy Cakelegs only has one candle this time, but he’s still quick, and climbs up the wall. Scan him to find his route, and you’ll see that, fortunately, there’s a point where you can set your Trip Shot and aim at a nearby ice pillar at the perfect level. Fire it in time, light his final candle, and you’ll finally be able to catch him.
- Catch one Daddy Cakelegs.
- Feed one Daddy Cakelegs.
Feed him to Snorpy, then head back to town to watch the conversation between Snorpy and Chandlo. After this, Snorpy’s side quests are done!
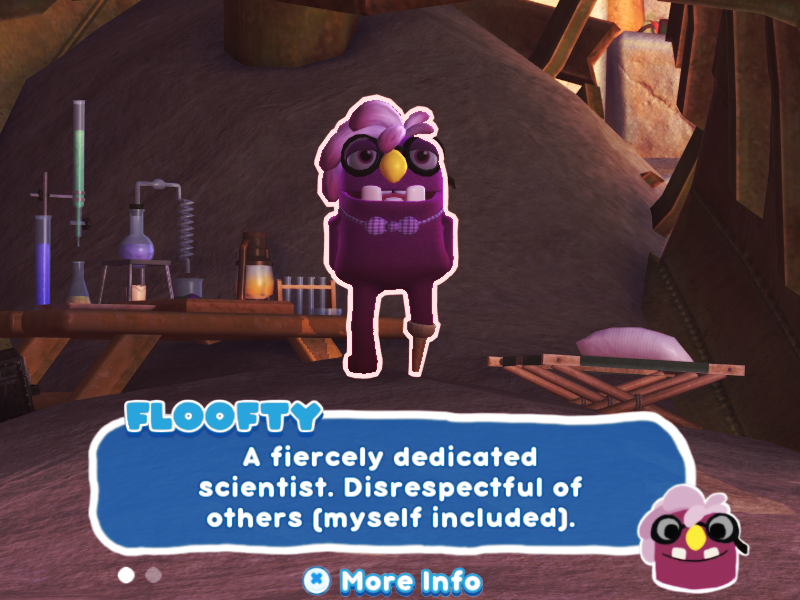
Floofty Faces Judgement
Floofty is generally in their side of the science tent.
Volunteers Needed!
- Ask Grumps to help Floofty. (8/8)
Floofty’s attempts at mad science aren’t done. Talk to the other Grumpuses to see if any are willing to help in an experiment.
- Return to Floofty.
The responses probably should come as no surprise.
Last Meal!
- Fully transform Floofty.
Despite them telling you to get the sweetest, most filling Bugsnax, anything will do, even a bunch of Snakpods. Feed them enough to finish their transformation (body will be the last), and you’ll be automatically pulled into the next part.
Head Games!
- Load Bugsnax into the funnel!
You’ll be given a Strabby in your Snakpack, but it doesn’t matter what you put into the funnel. Pick a Snak, and stand back to watch the show.
- Talk to Floofty.
With this, Floofty’s side quests are done. Probably the shortest chain.
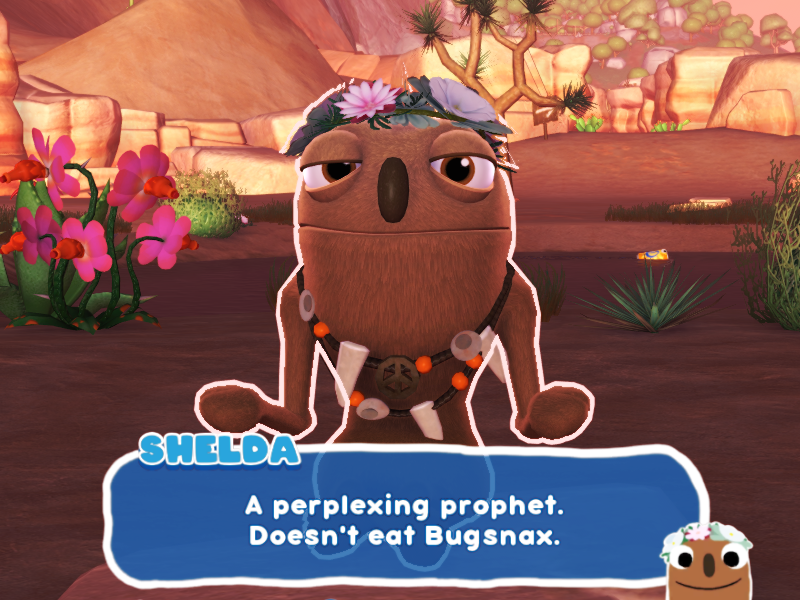
Shelda Loses Faith
Shelda spends most of her time meditating around her house.
Box Lunch!
- Offer a Bugsnak to the box.
For this first request, anything will do.
- Return to Shelda.
Let her know you’ve made your donation, and she’ll tell you to return the next day. Either sleep, or do other tasks to pass time.
Dream of Bugsnax!
You should be familiar with catching all three of these by now, but just in case:
- Offer an Inchwrap to the box.
Head to Flavor Falls, follow the stream to the right and go through the path where you duck under the roots. Draw the Inchwrap out by splashing ranch on the rocky ground near the water. Once it’s out of the ground, approach it, and it’ll stun itself by bonking its head on the stones.
- And a Cheeser.
In Sizzlin’ Sands, scan the Cheezer to see its path. Find a spot where you can lay your Trip Shot across the route, and wait for it to get stunned. Or, try to get the Flapjackarak in its path, and hope the Cheezer gets swept up, which will daze it.
- And a Green Peelbug.
This one is in Scorched Gorge. There are two on the south wall, on the left when you come in from Snaxburg. The first hole is close to the Snaxburg gate with its exit beneath the wooden path leading up to the central plateau. The second hole has one end in the ruins chamber with the Shy Weenyworms, and the other end next to the Scorpenyo beneath the Sizzlin’ Sands bridge. Set your Snak Trap on one end of the tunnel, send the Buggy Ball through the other end, and trigger the trap when you get the alert. Be careful of the Spuddys and the Scorpenyo, though, as they can interfere.
- Talk to Shelda.
Time for another wait!
False Idol!
- Offer a Sprinklepede to the box.
The only Sprinklepede is high up the side of the watchtower in Sugarpine Woods, where you found the Trip Shot. I think you’re technically meant to lure it down with sauce and trap it that way, but I find it much easier to use the Lunchpad to launch the trap at the snak.
- And a Paletoss.
You should be familiar with this one too. Head over to Boiling Bay. Lead the Paletoss Grande into the water, and let it chase you in circles until it separates, and catch one of the halves.
- And a Flapjackarak.
You can’t trap Flapjackarak, you have to catch it in your net when it’s stunned. You can either try to let one of the Loaded Spuddys charge it, let it get bonked by the Incherrito by the Grumpus statue, or
- Return to Shelda.
Talk to her one last time, and you’re done with Shelda’s side quests!
This is all for Bugsnax Basic Side Quests hope you enjoy the post. If you believe we forget or we should update the post please let us know via comment, we will try our best to fix how fast is possible! Have a great day!
- Check All Bugsnax Posts List


Leave a Reply