
A text guide for getting the Post-Mortem Interval achievement, complete with screenshots of every important step. Also includes some other achievements you can pick up along the way.
General Information and Important Notes
This achievement requires you to find and interact with 7 dead scientists found throughout Chapter 16, Gonarch’s Lair. None of them are particularly out of the way or hidden, save for the last one which requires some setup to find.
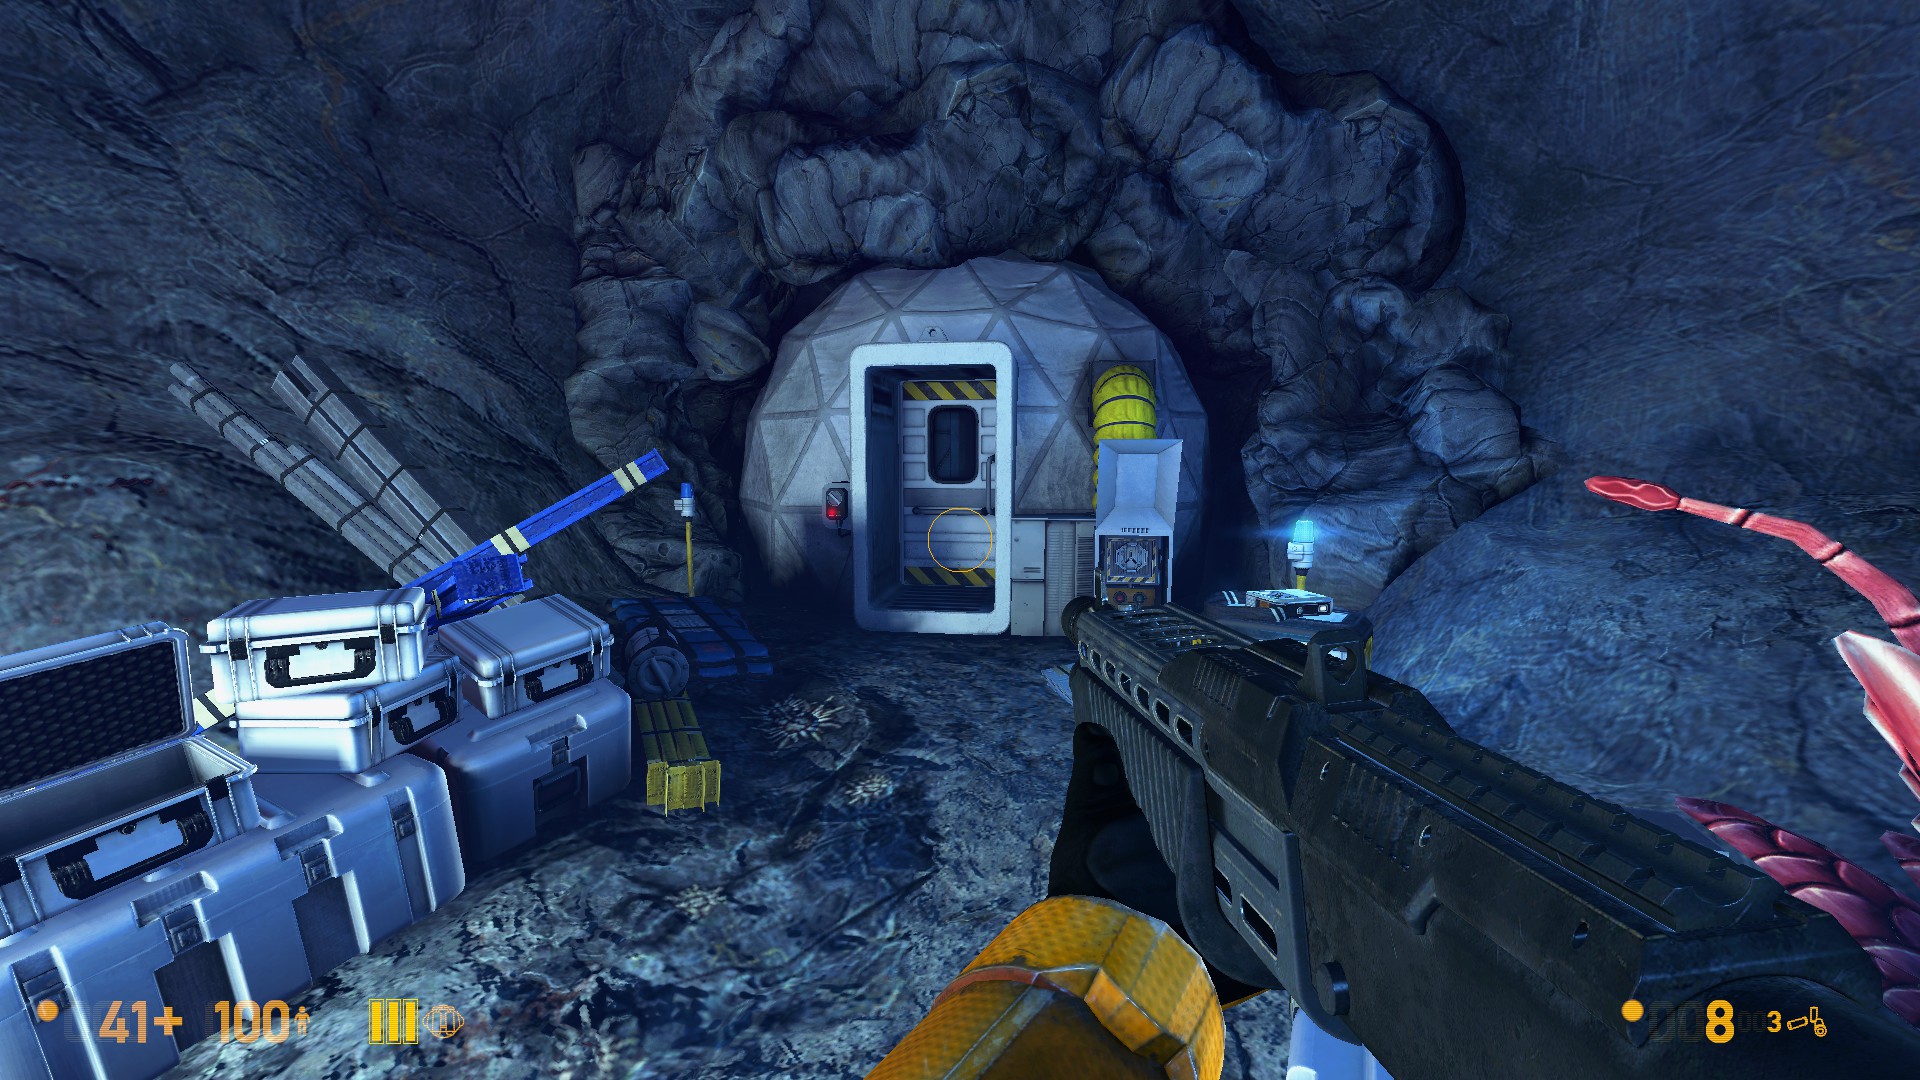
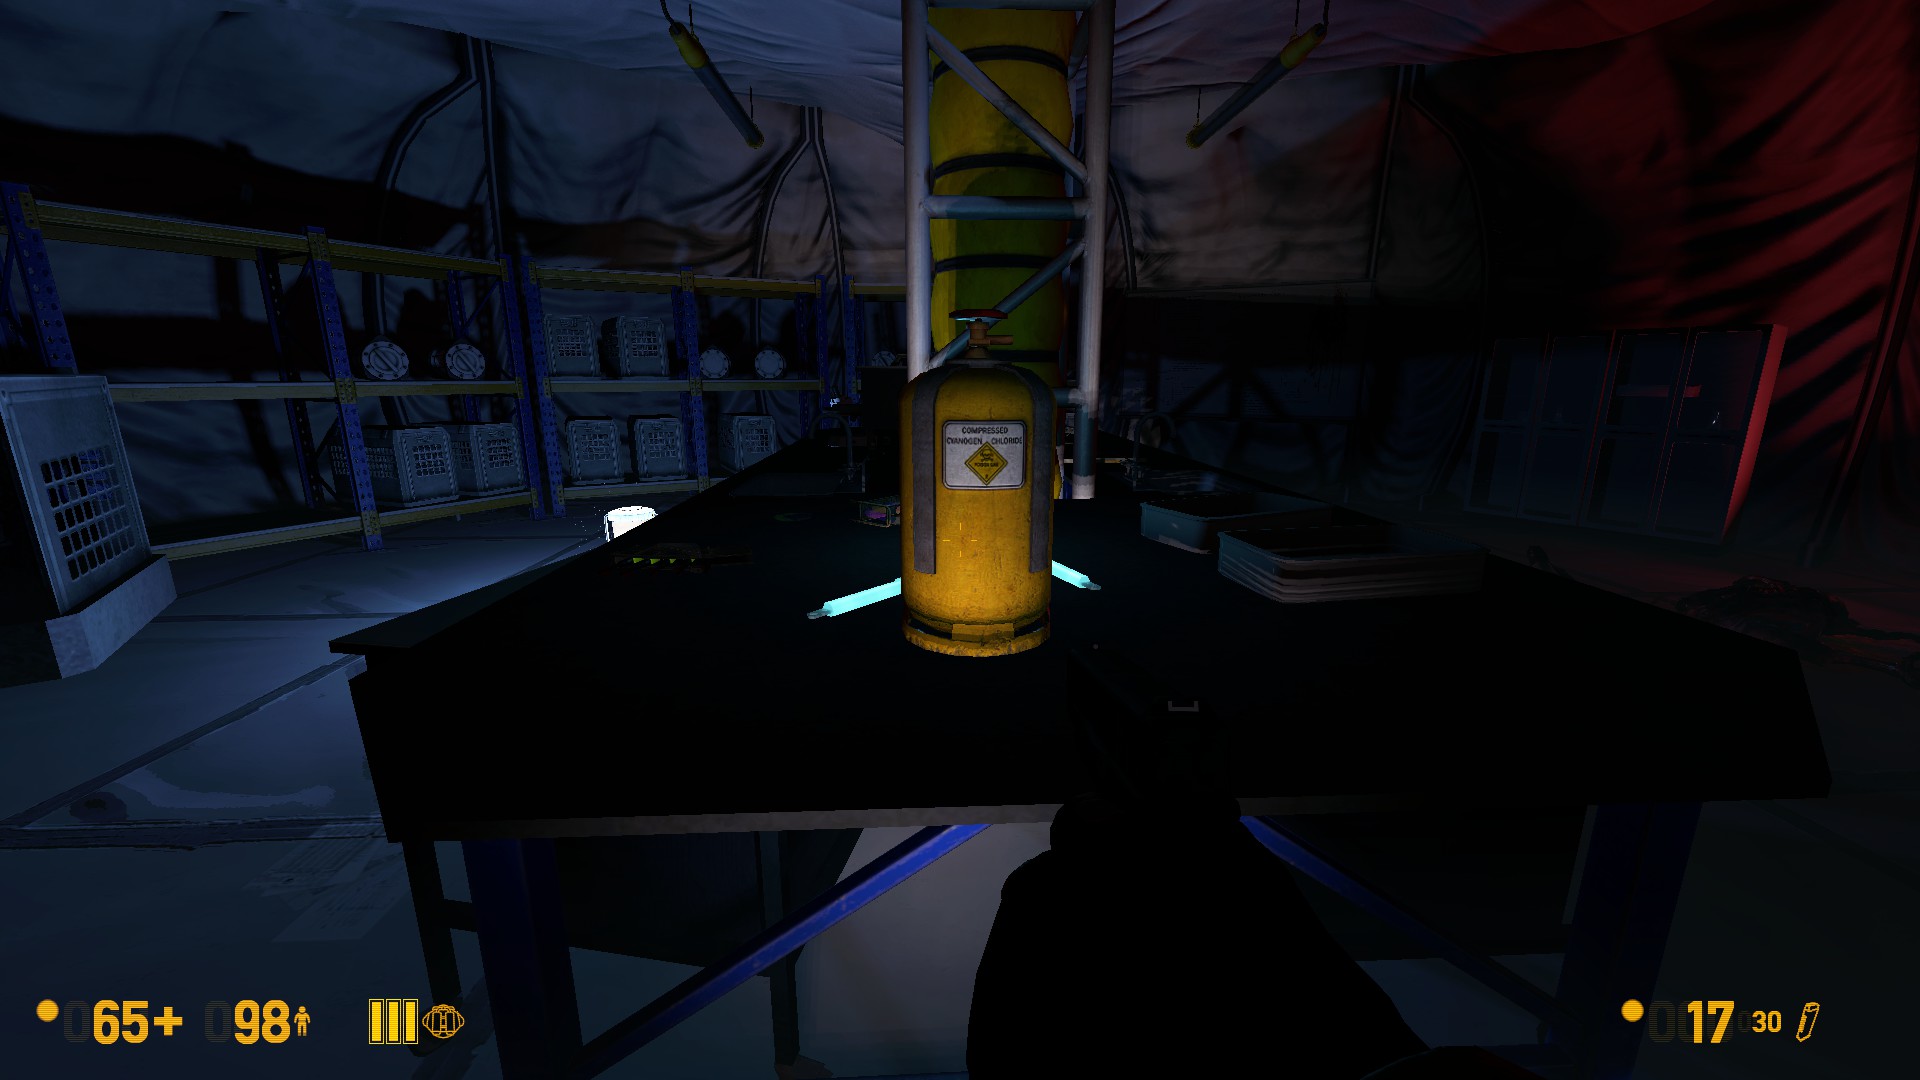
To begin, you will need to locate the cyanogen canister in the previous chapter, Xen. You can find this near the beginning of the chapter, in the headcrab-infested research station.
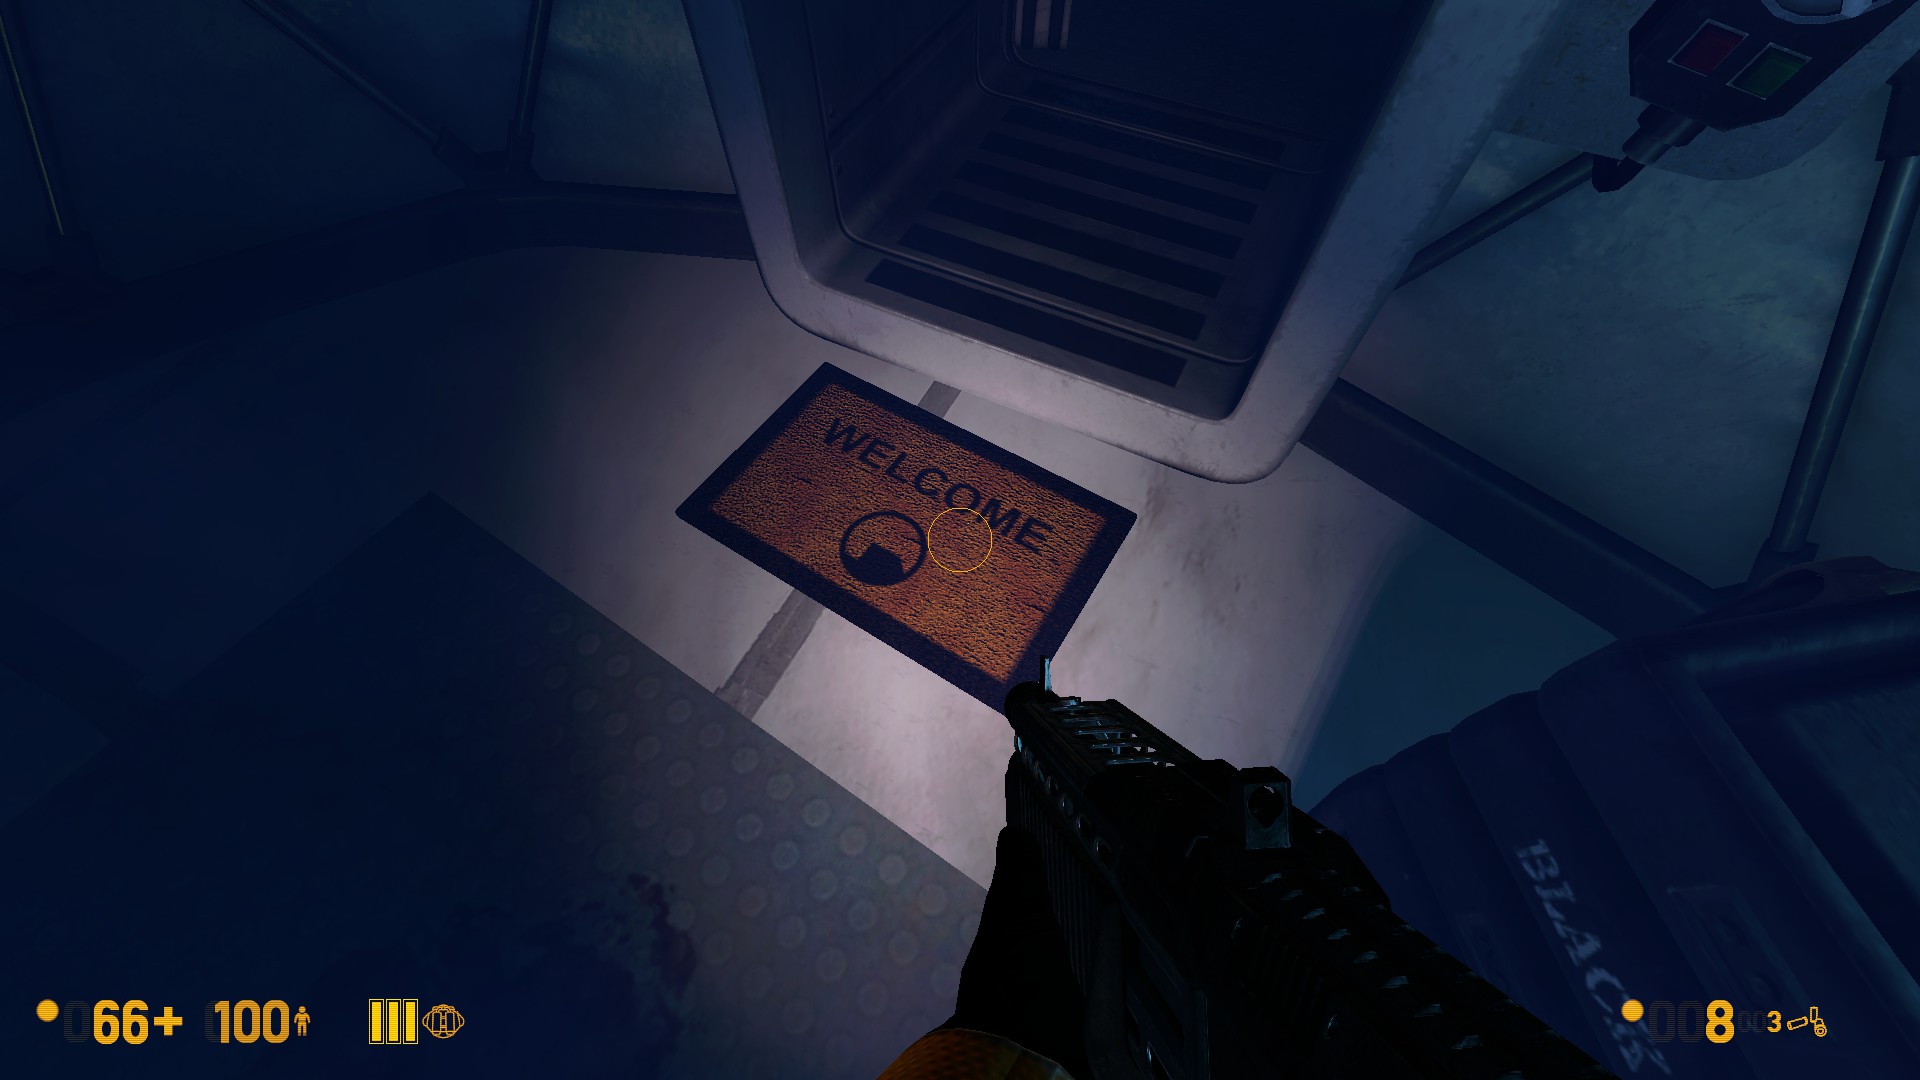
In here you will also find the welcome mat that you can interact with to get the Following the Rules achievement.
The canister itself will be on the table in the room with the crawling zombie, after you’ve powered up and opened the door.
Once you get the canister you need to carry it through the rest of the chapter, as well as the beginning of the next.
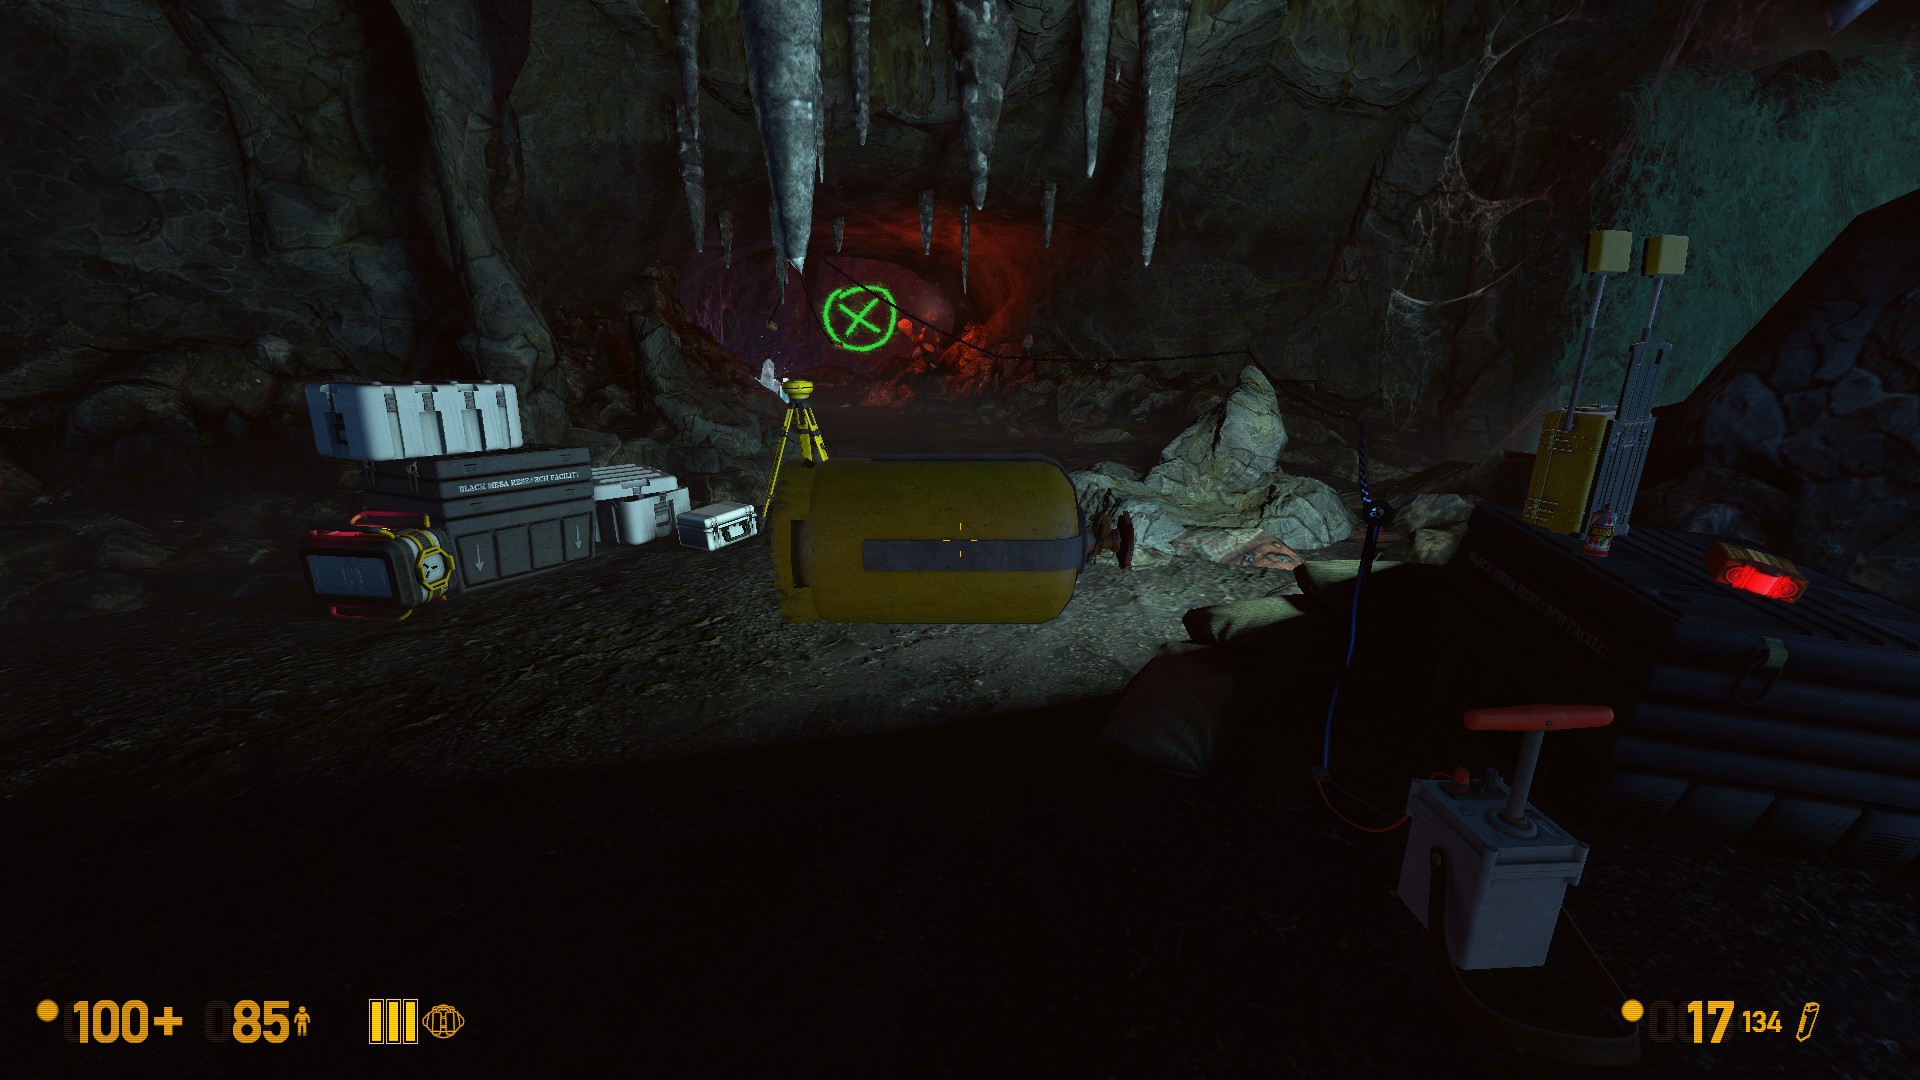
After your first encounter with the Gonarch and falling down the hole, you will need to blow up a wall:
Once on the other side, you will find a teleporter that you can only activate if you have the canister with you. Activating it will teleport the canister to and unlock the secret room at the end of the chapter that is necessary to complete the achievement.
Important notes:
After finding bodies 2 through 7 I had to reload a save from the beginning of the chapter to get the first one, which didn’t register the first time around. This unlocked the achievement for me, so I believe that you can find the bodies on separate playthroughs. However, I can’t say for certain.
Interacting with the body can be a bit tricky. Be sure to pick up any items that are next to them, crouch down and press E (or whatever you have your interact key set to) a few times.
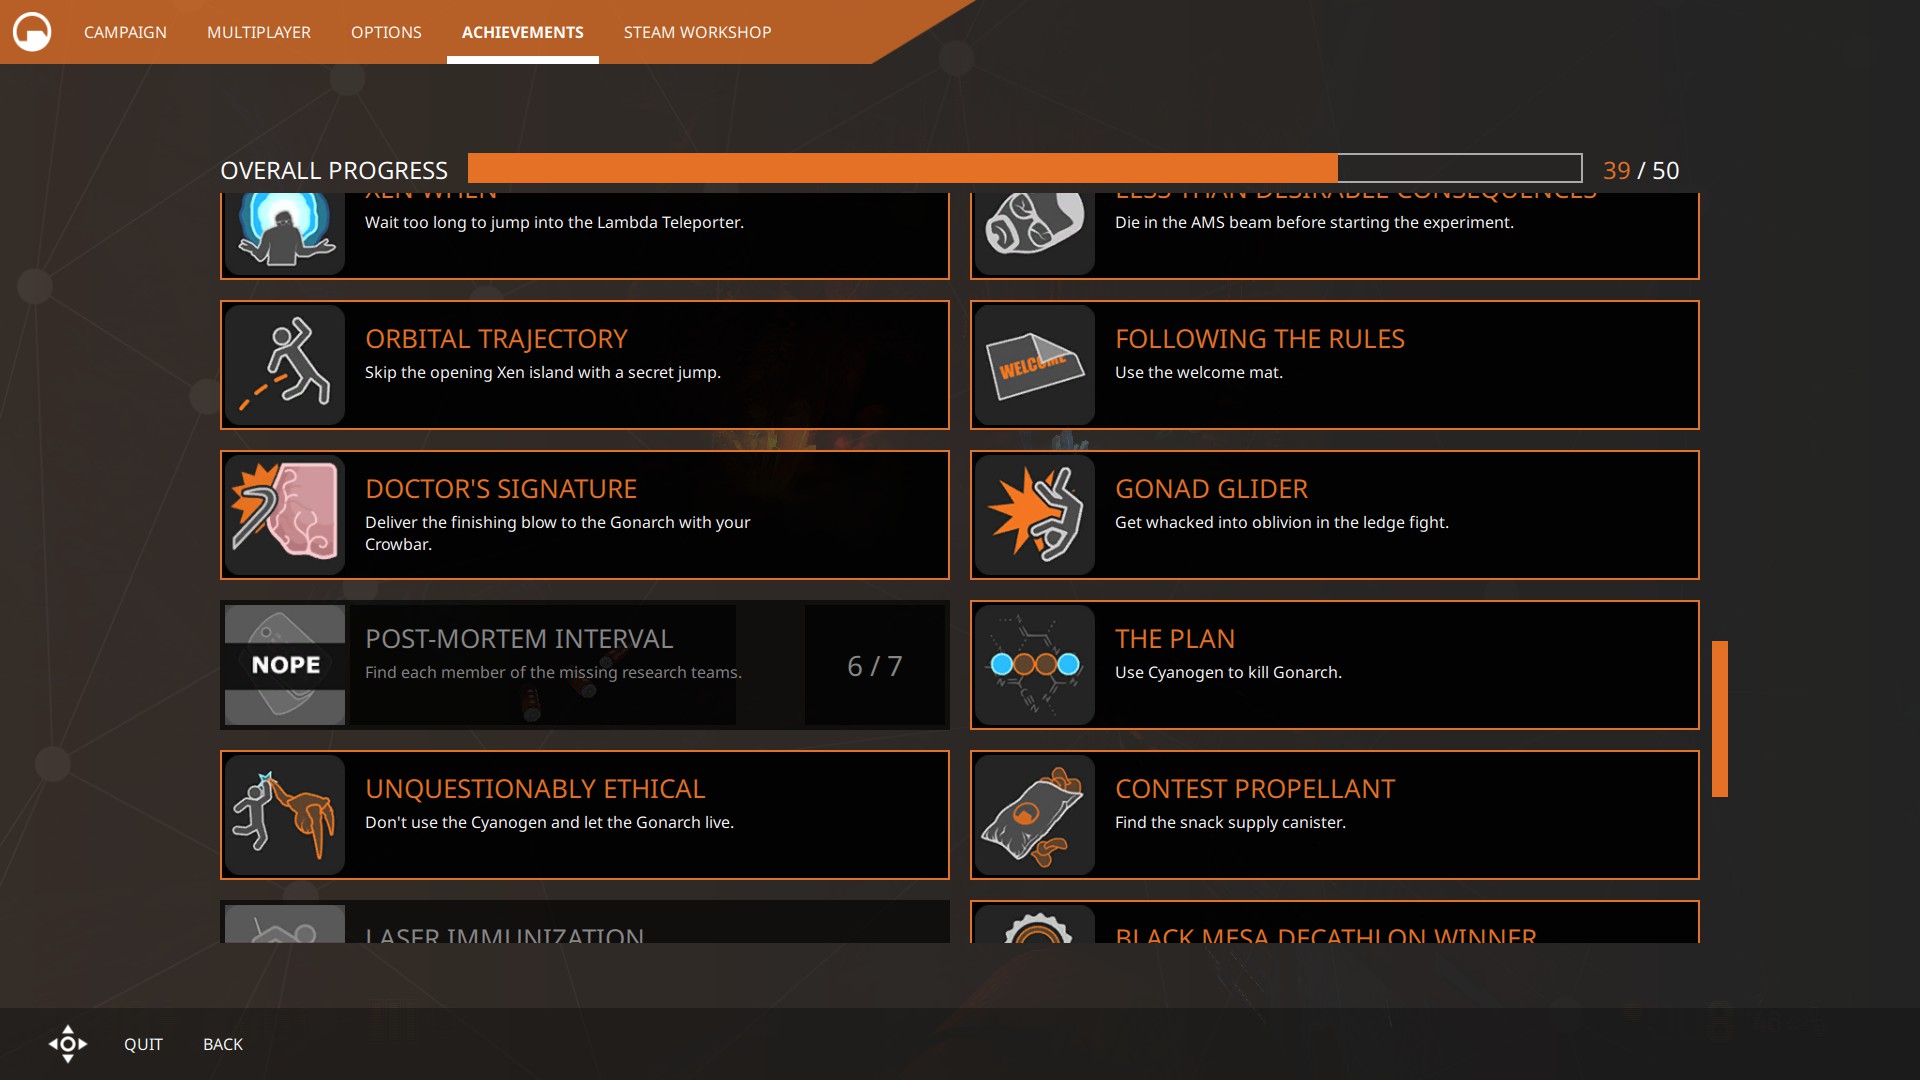
Make sure that you’ve interacted with the body before you move on to the next one in order to avoid missing one by accident and having to redo everything from the beginning. You can do this by checking the achievement progress in the menu:
If the count hasn’t increased by one, keep trying to interact with the body. It should register after some persistence.
Locations
Body #1
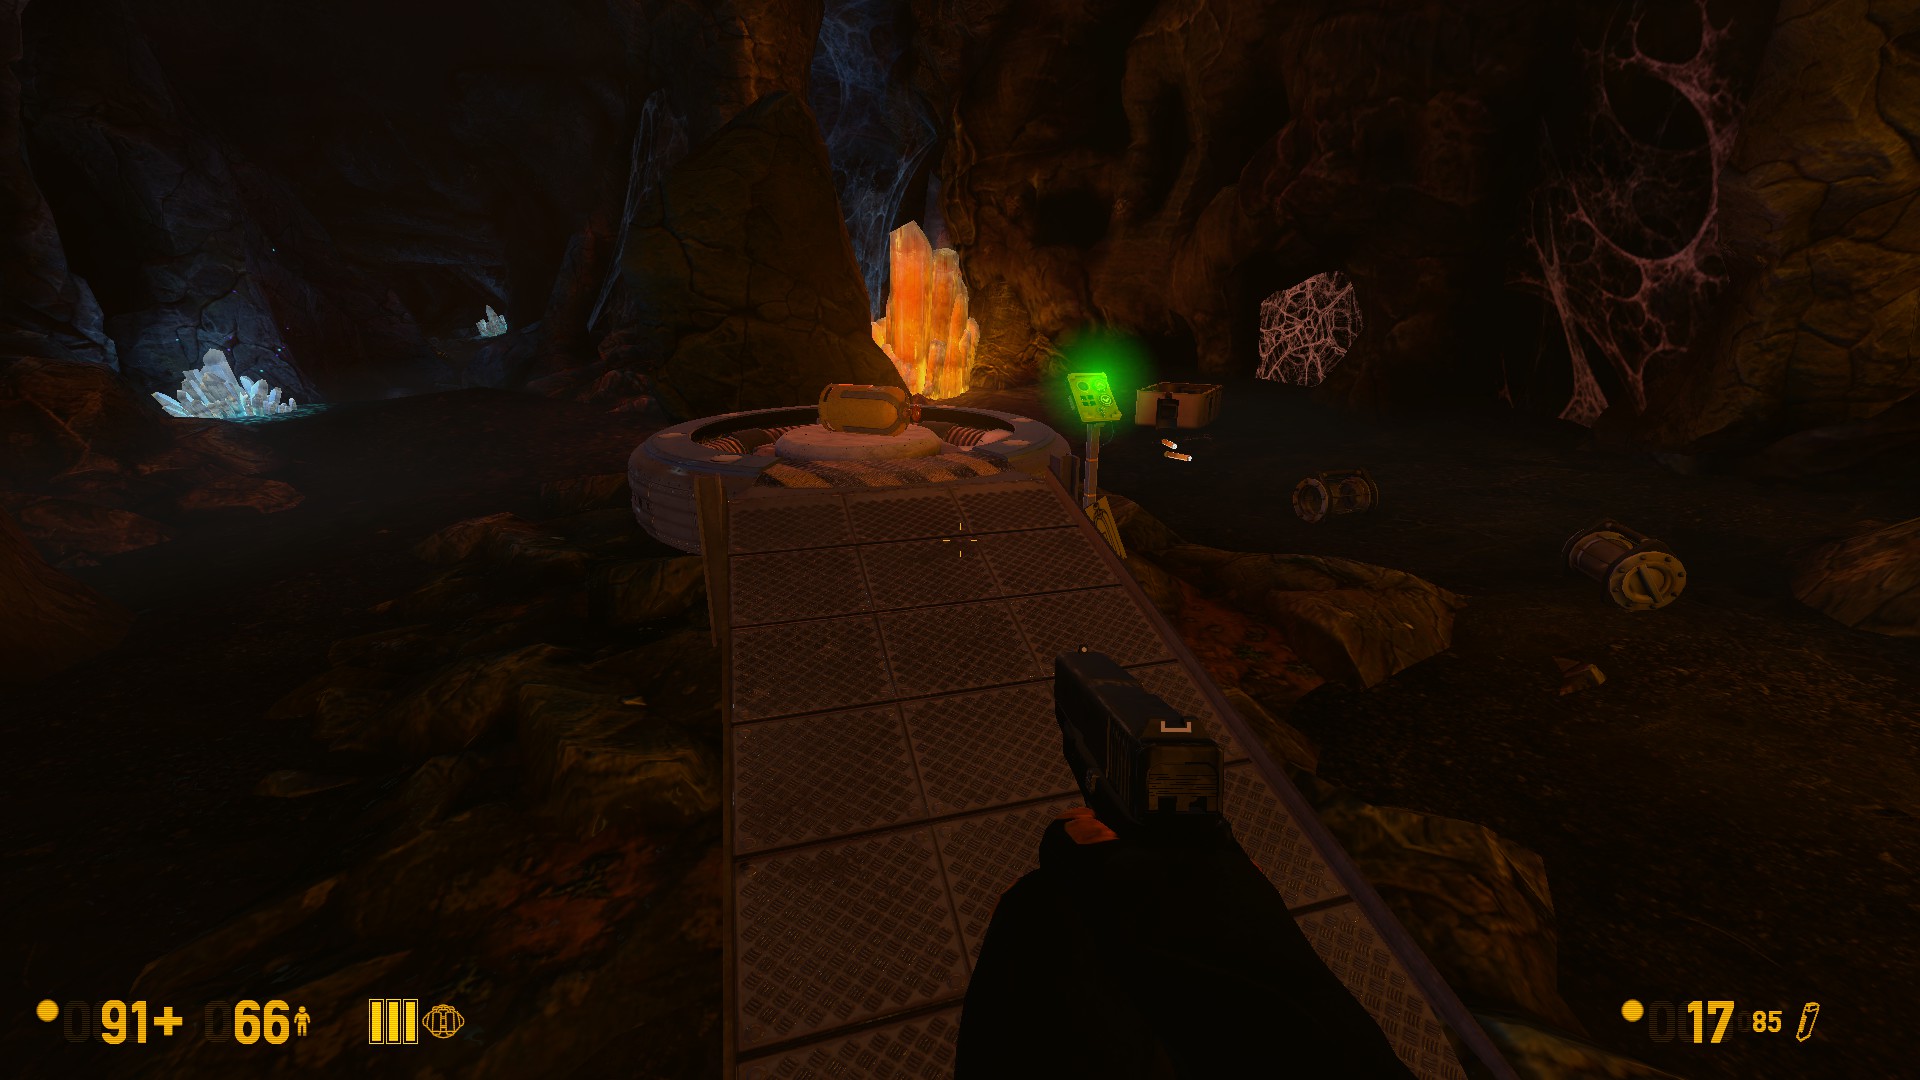
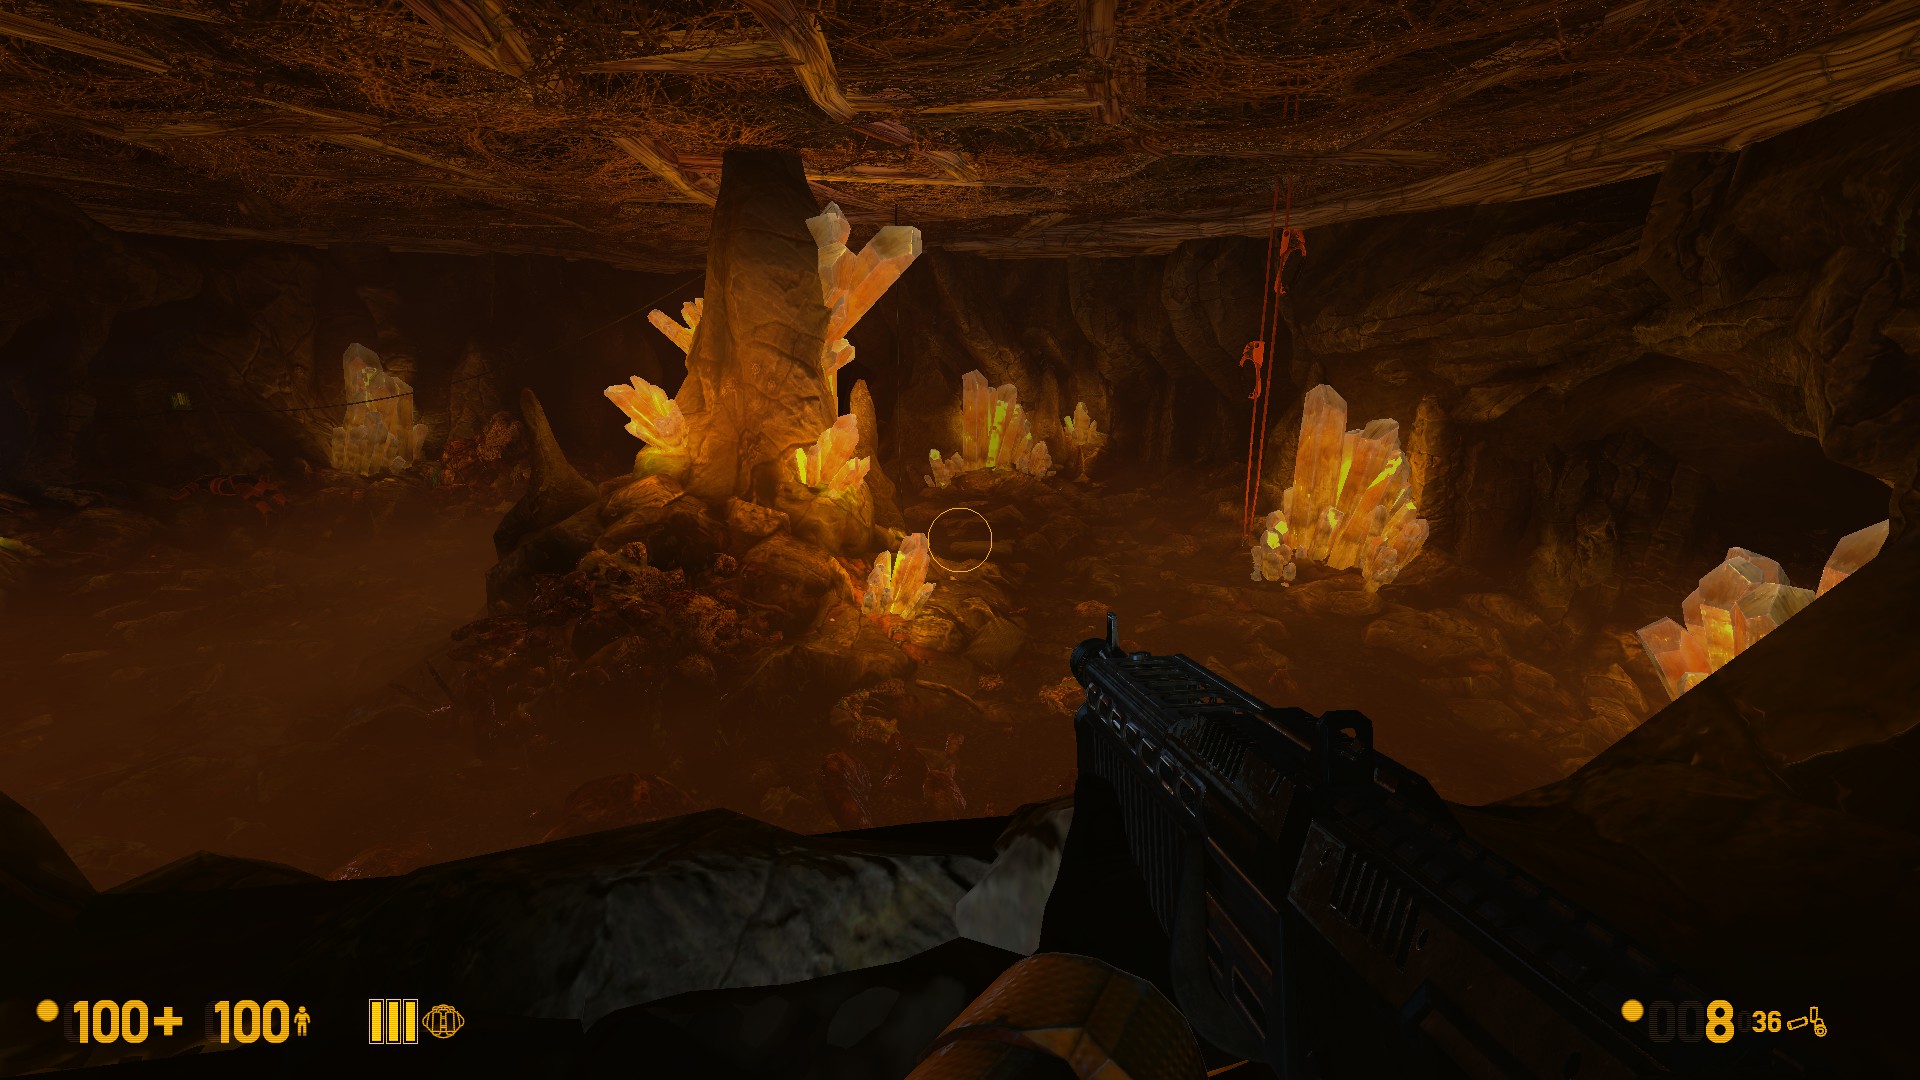
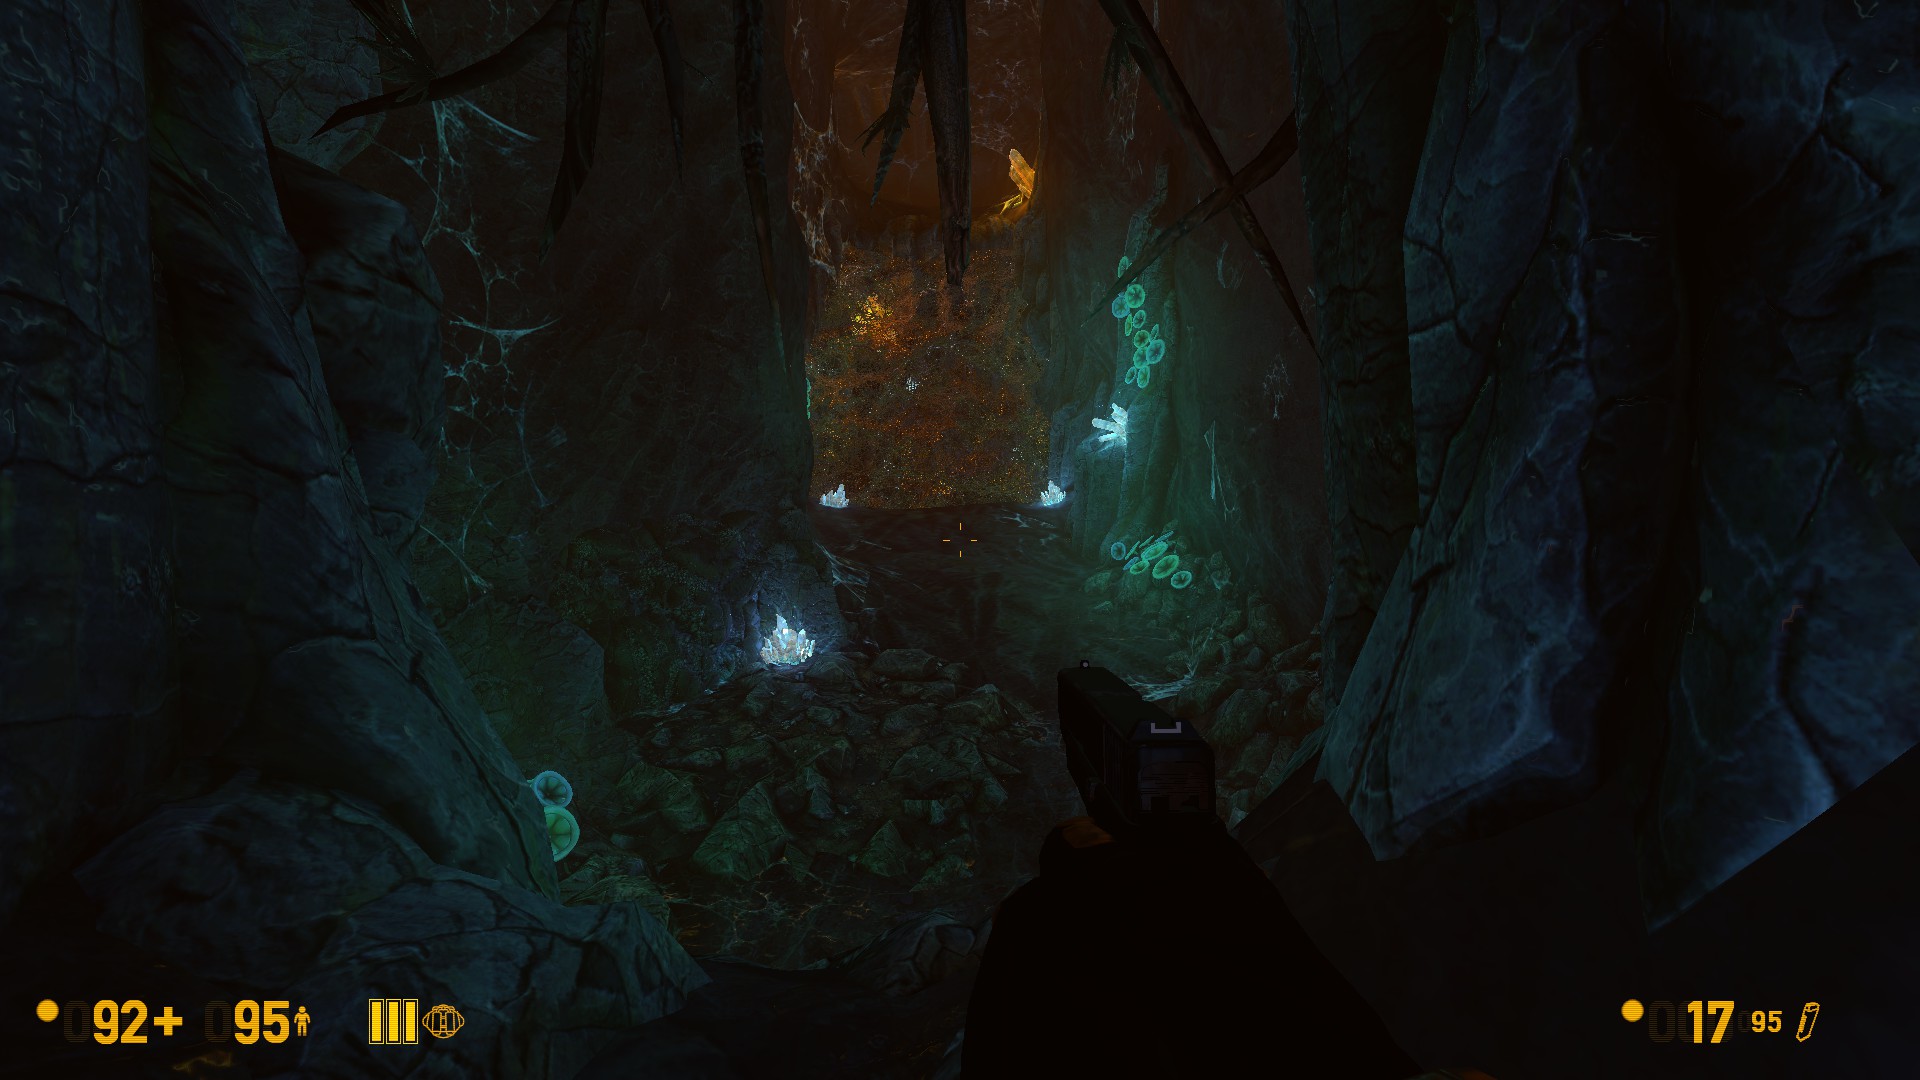
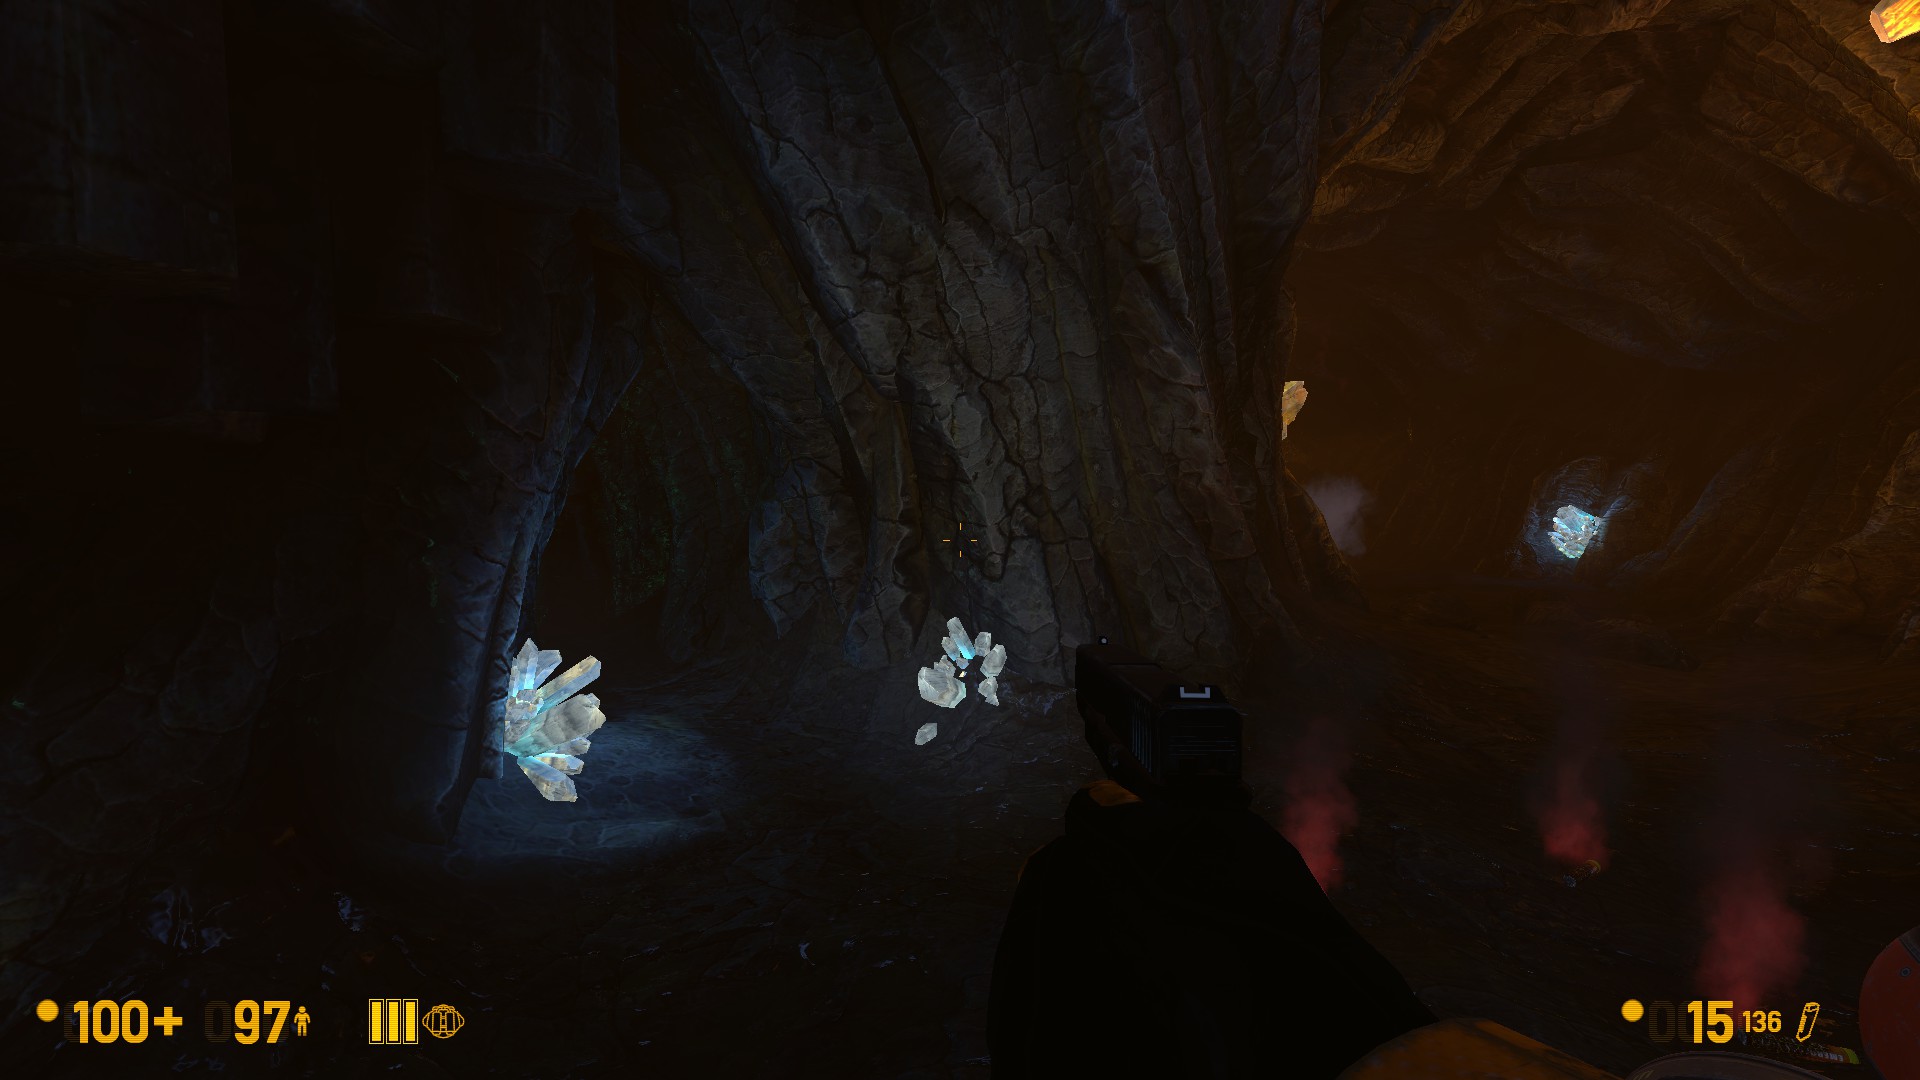
This first body can be easy to miss. After the section where the Gonarch spits acid from you from a cliff, you will find yourself in a cave.
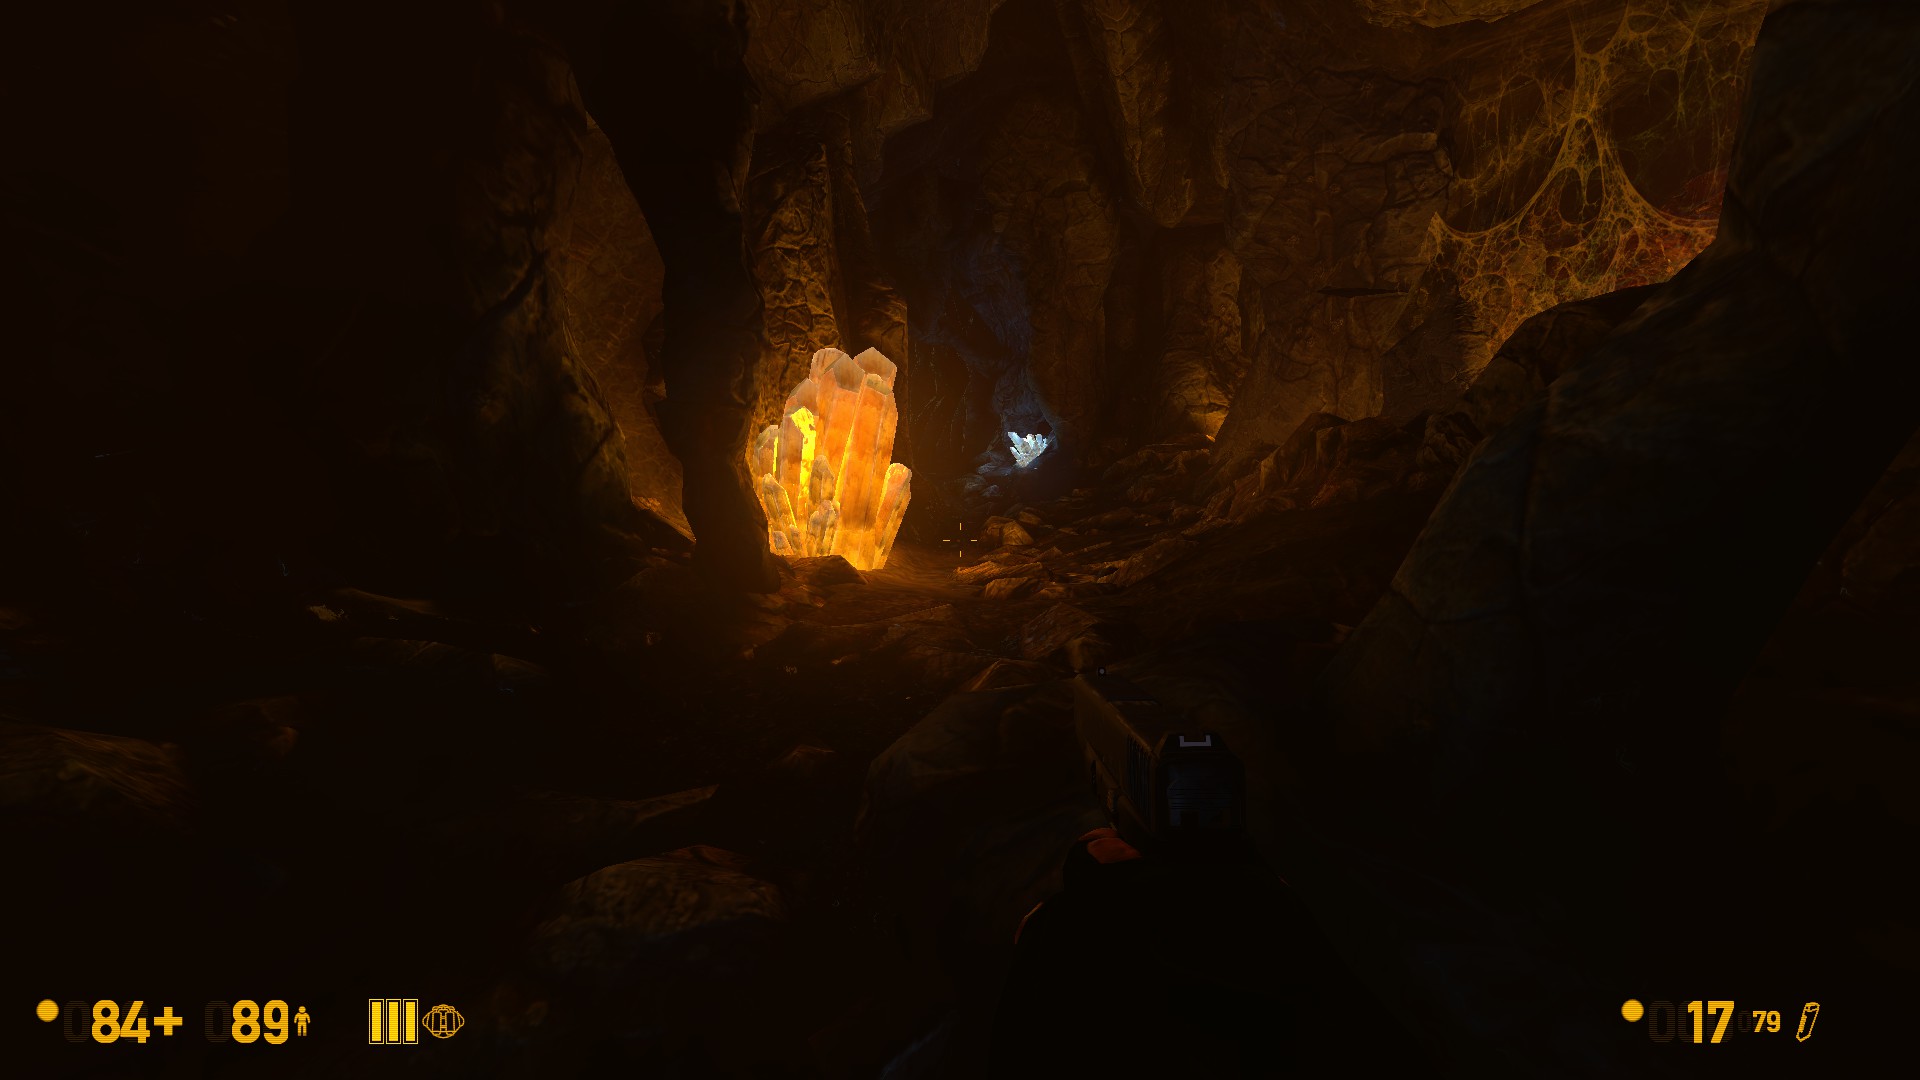
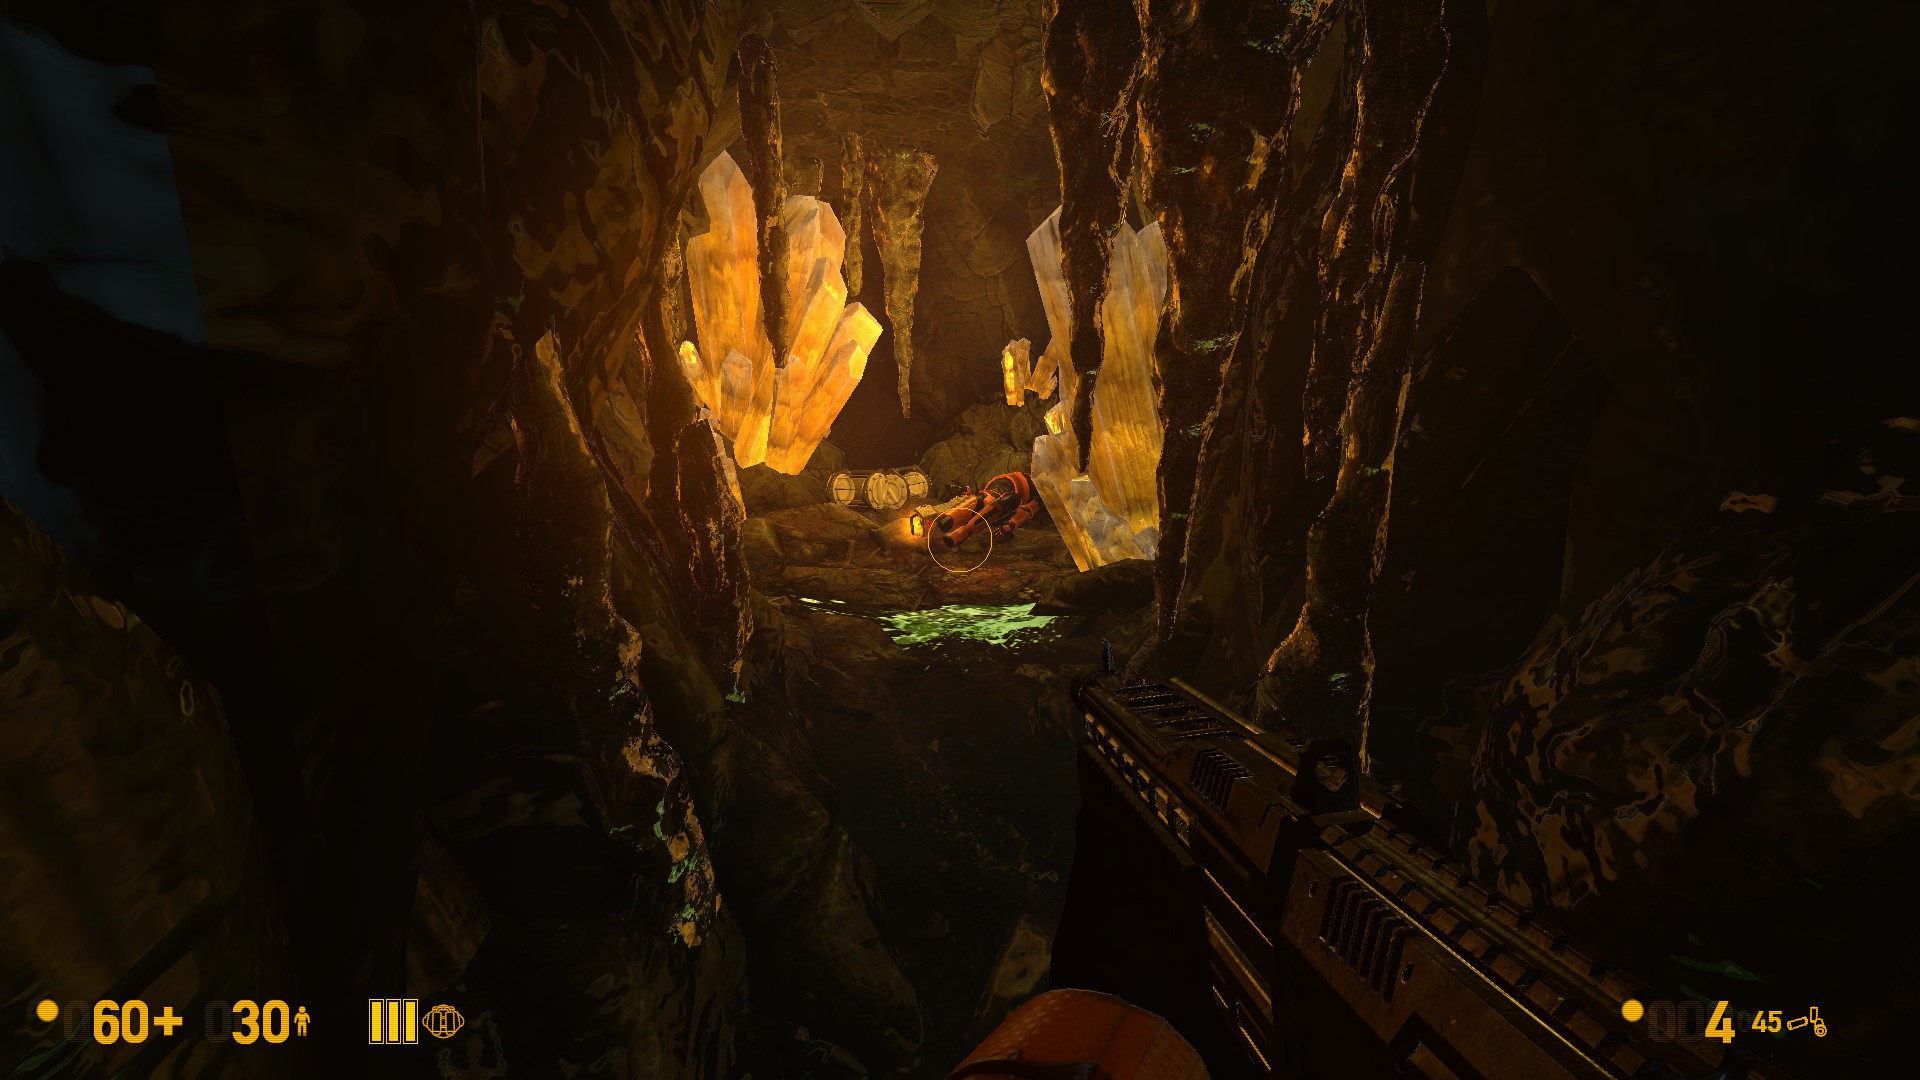
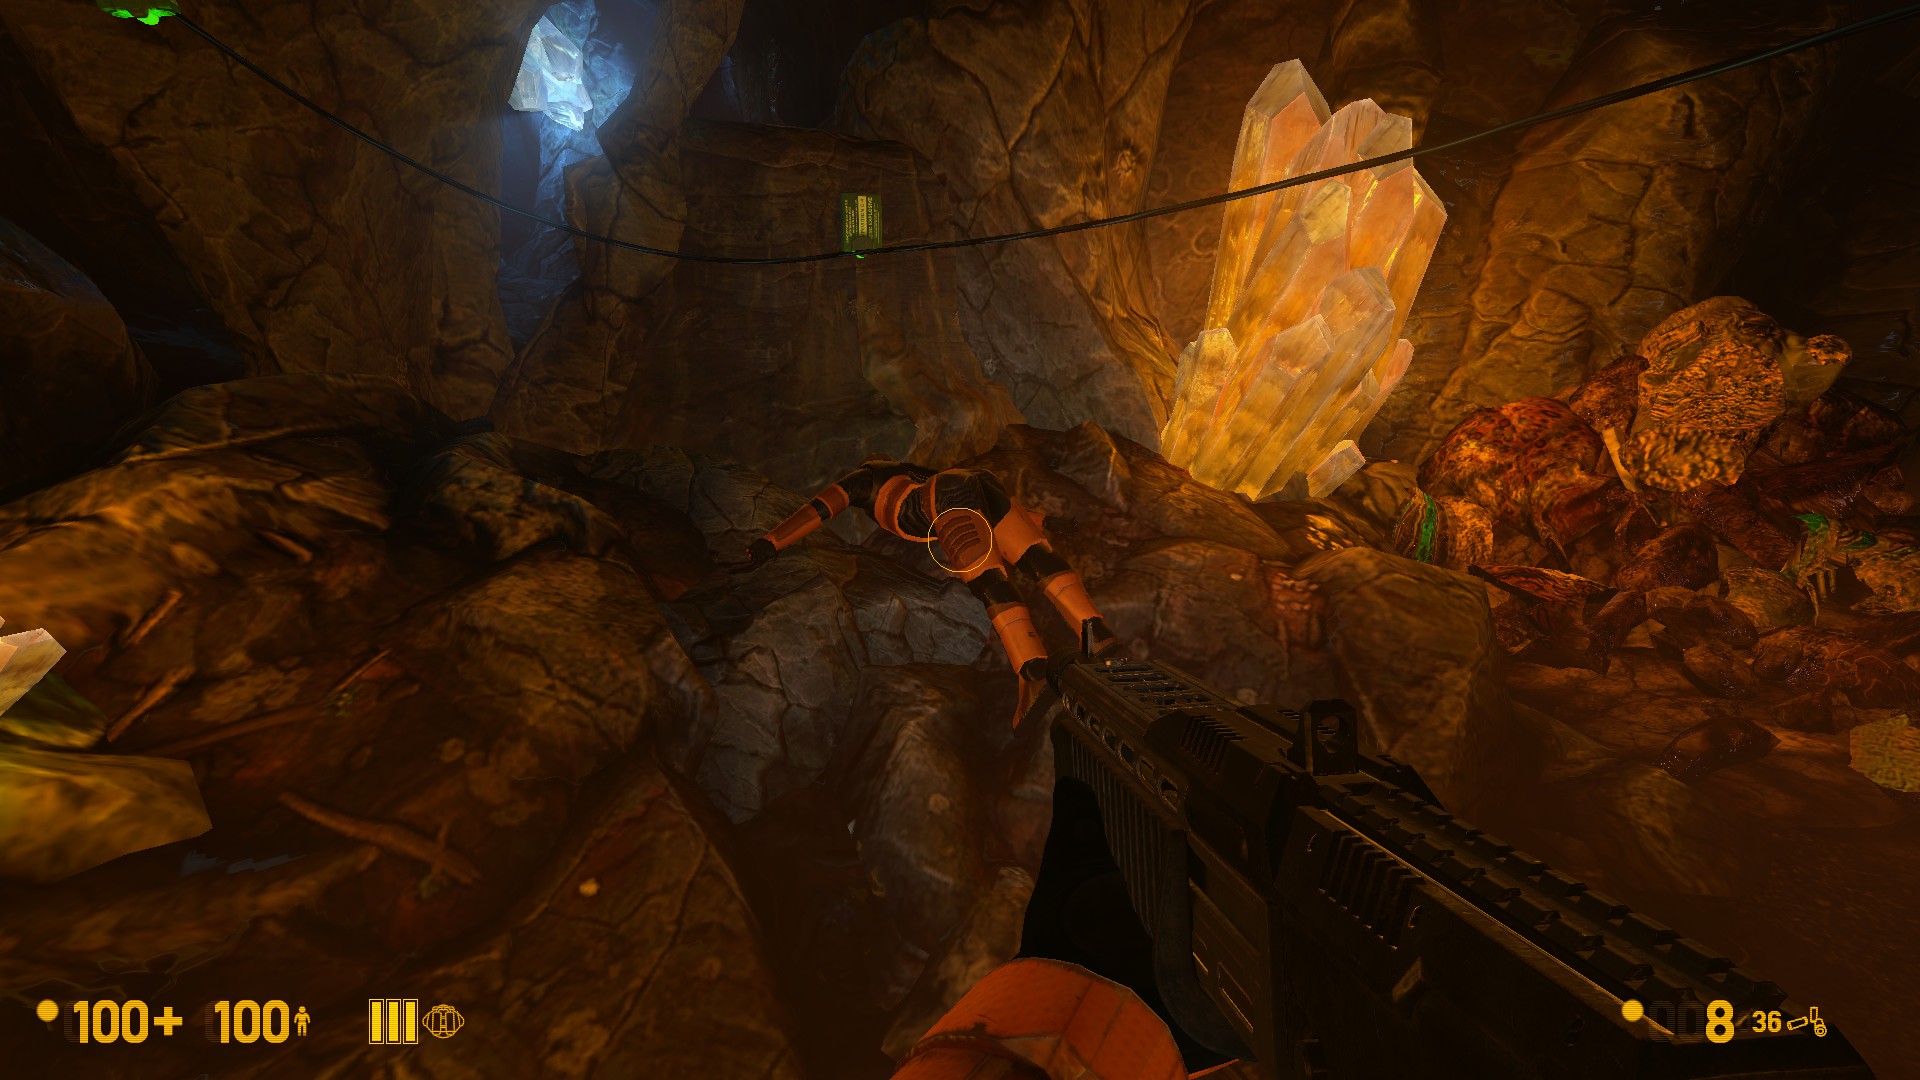
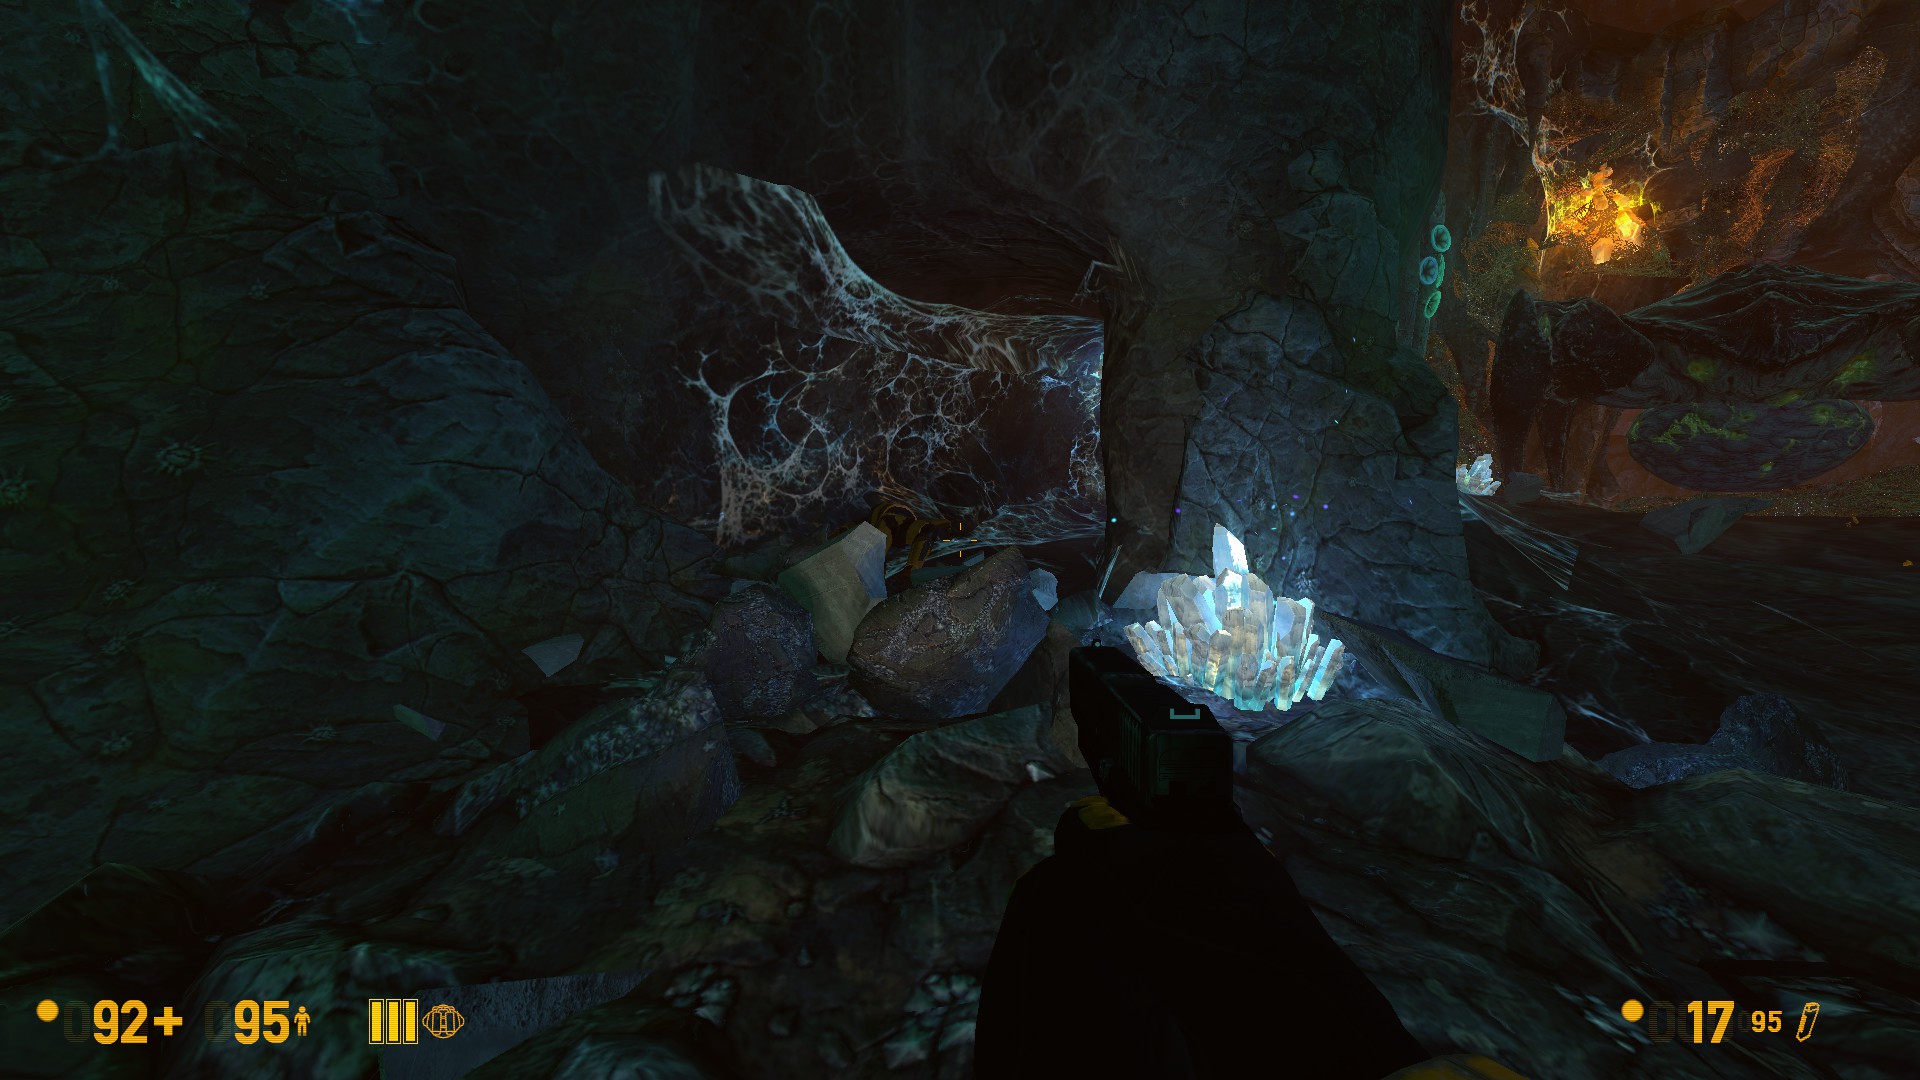
After fighting off a Bullsquid, go to the left and you will find the body between some orange crystals.
Note that this body in particular was problematic for me as I’ve mentioned, so do keep an eye out on the achievement progress in the menu.
Body #2
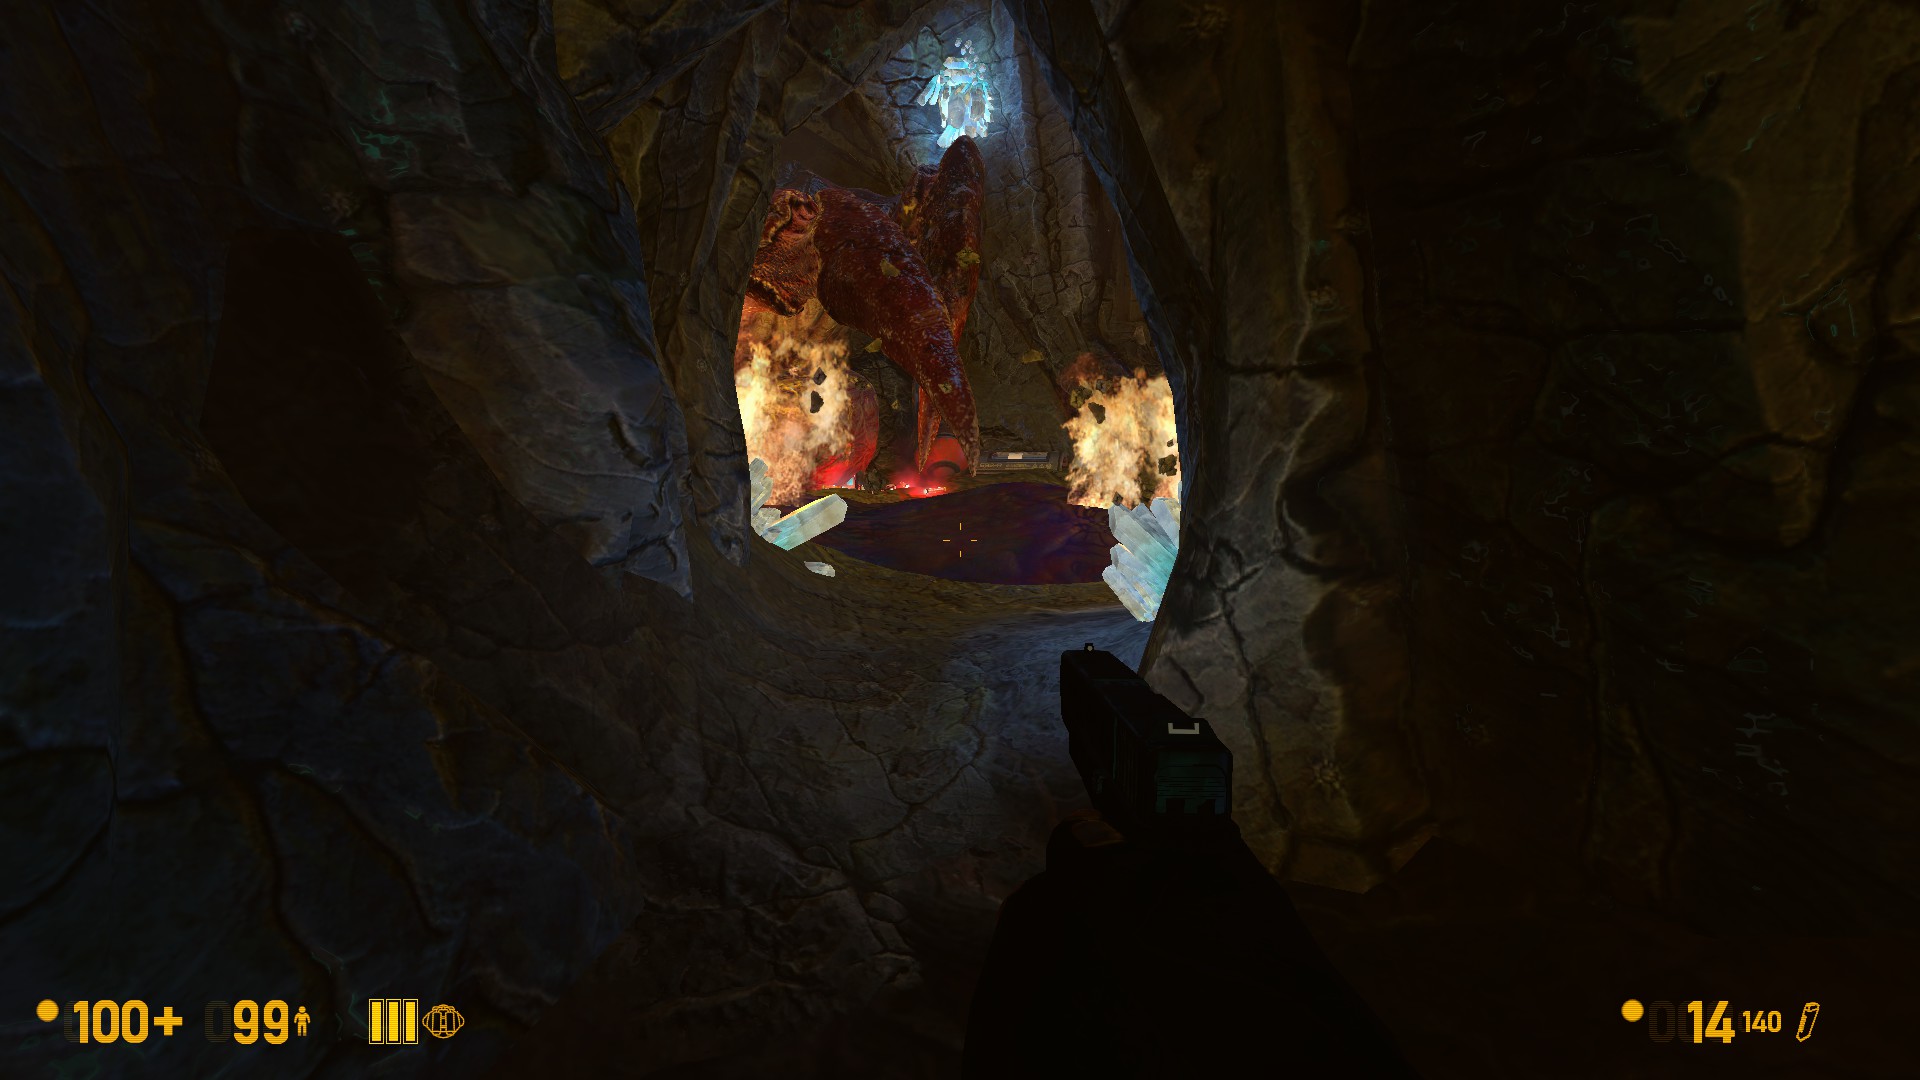
The second body is hard to miss, as it’s in the cave where you have to fight off the Gonarch’s headcrab babies until an explosion lets you move on.
Body #3
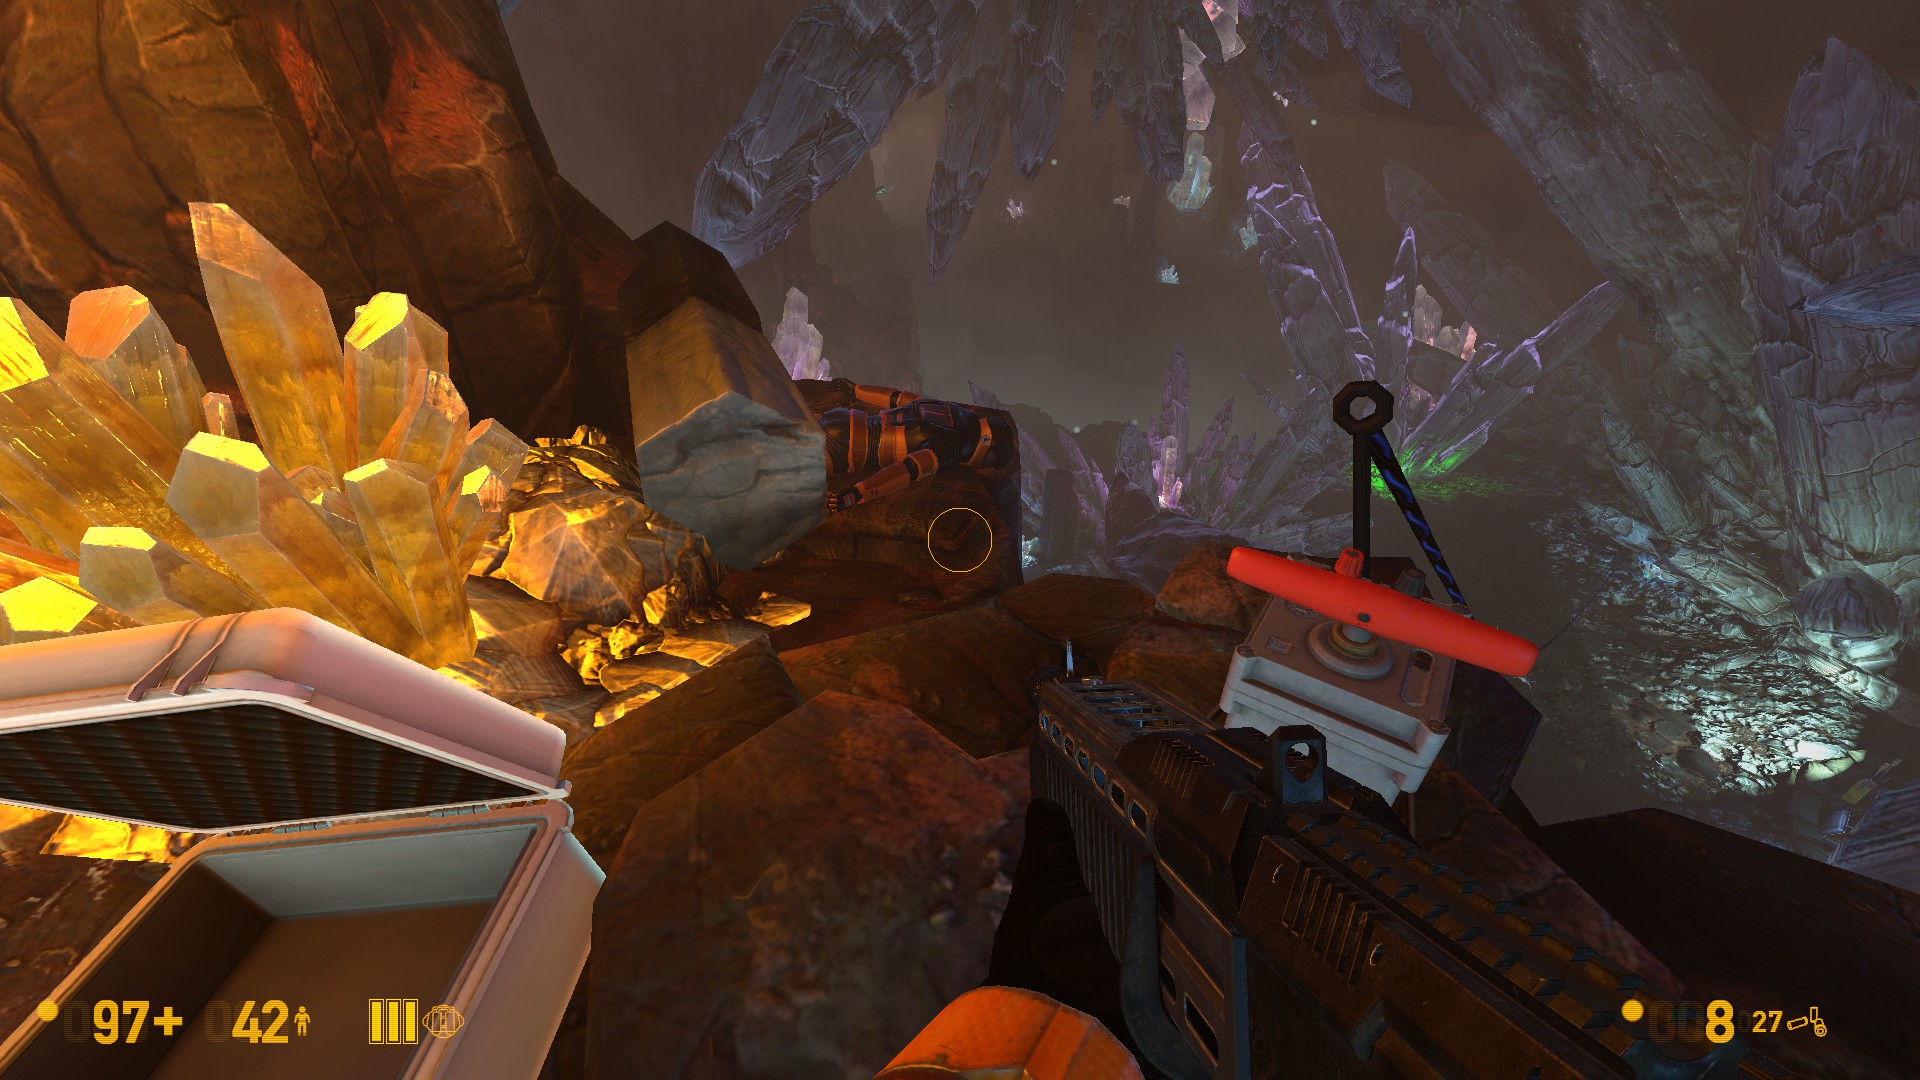
As the Gonarch chases you in the crystal caves, you will need to complete a jumping puzzle to get to a detonator. The third body can be found next to it, hard to miss.
Body #4
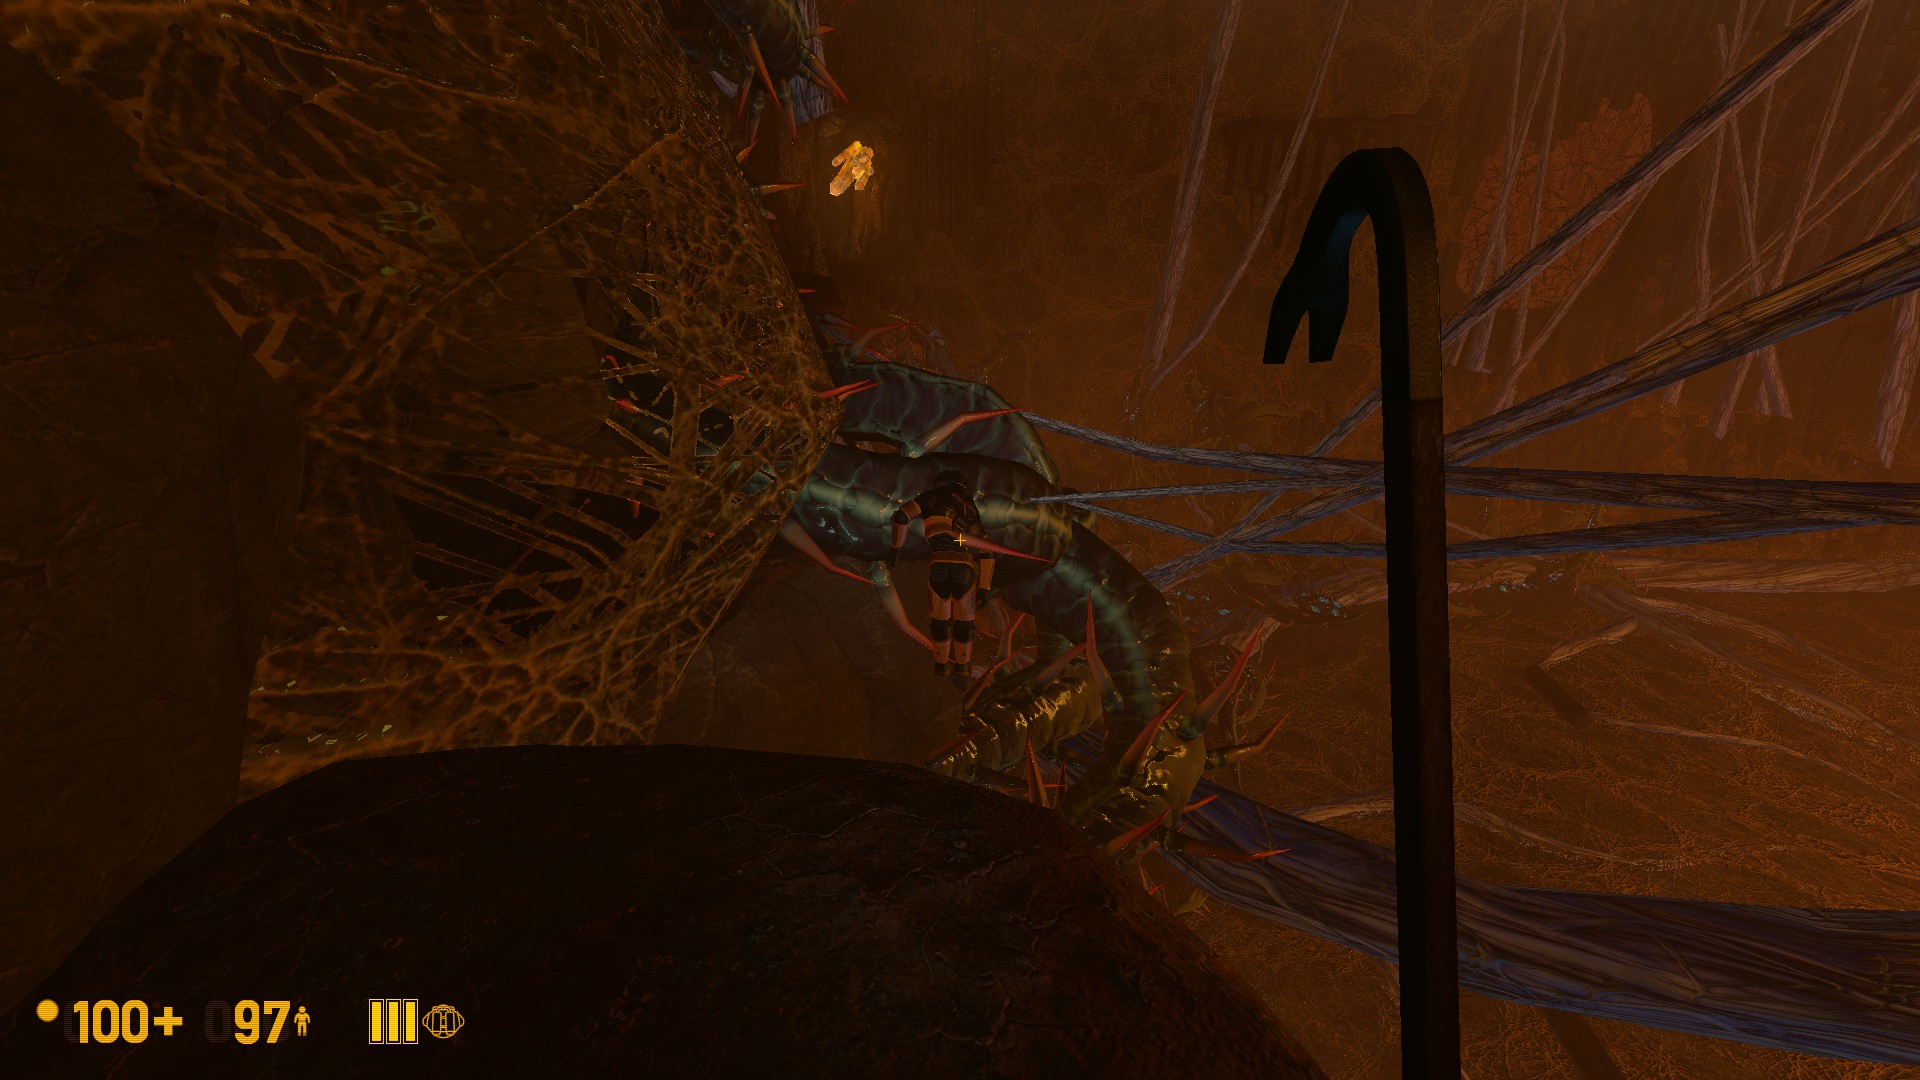
When the Gonarch causes a cave in, you will need to go left in order to progress further. The fourth body will be stuck in some webs blocking your way.
Body #5
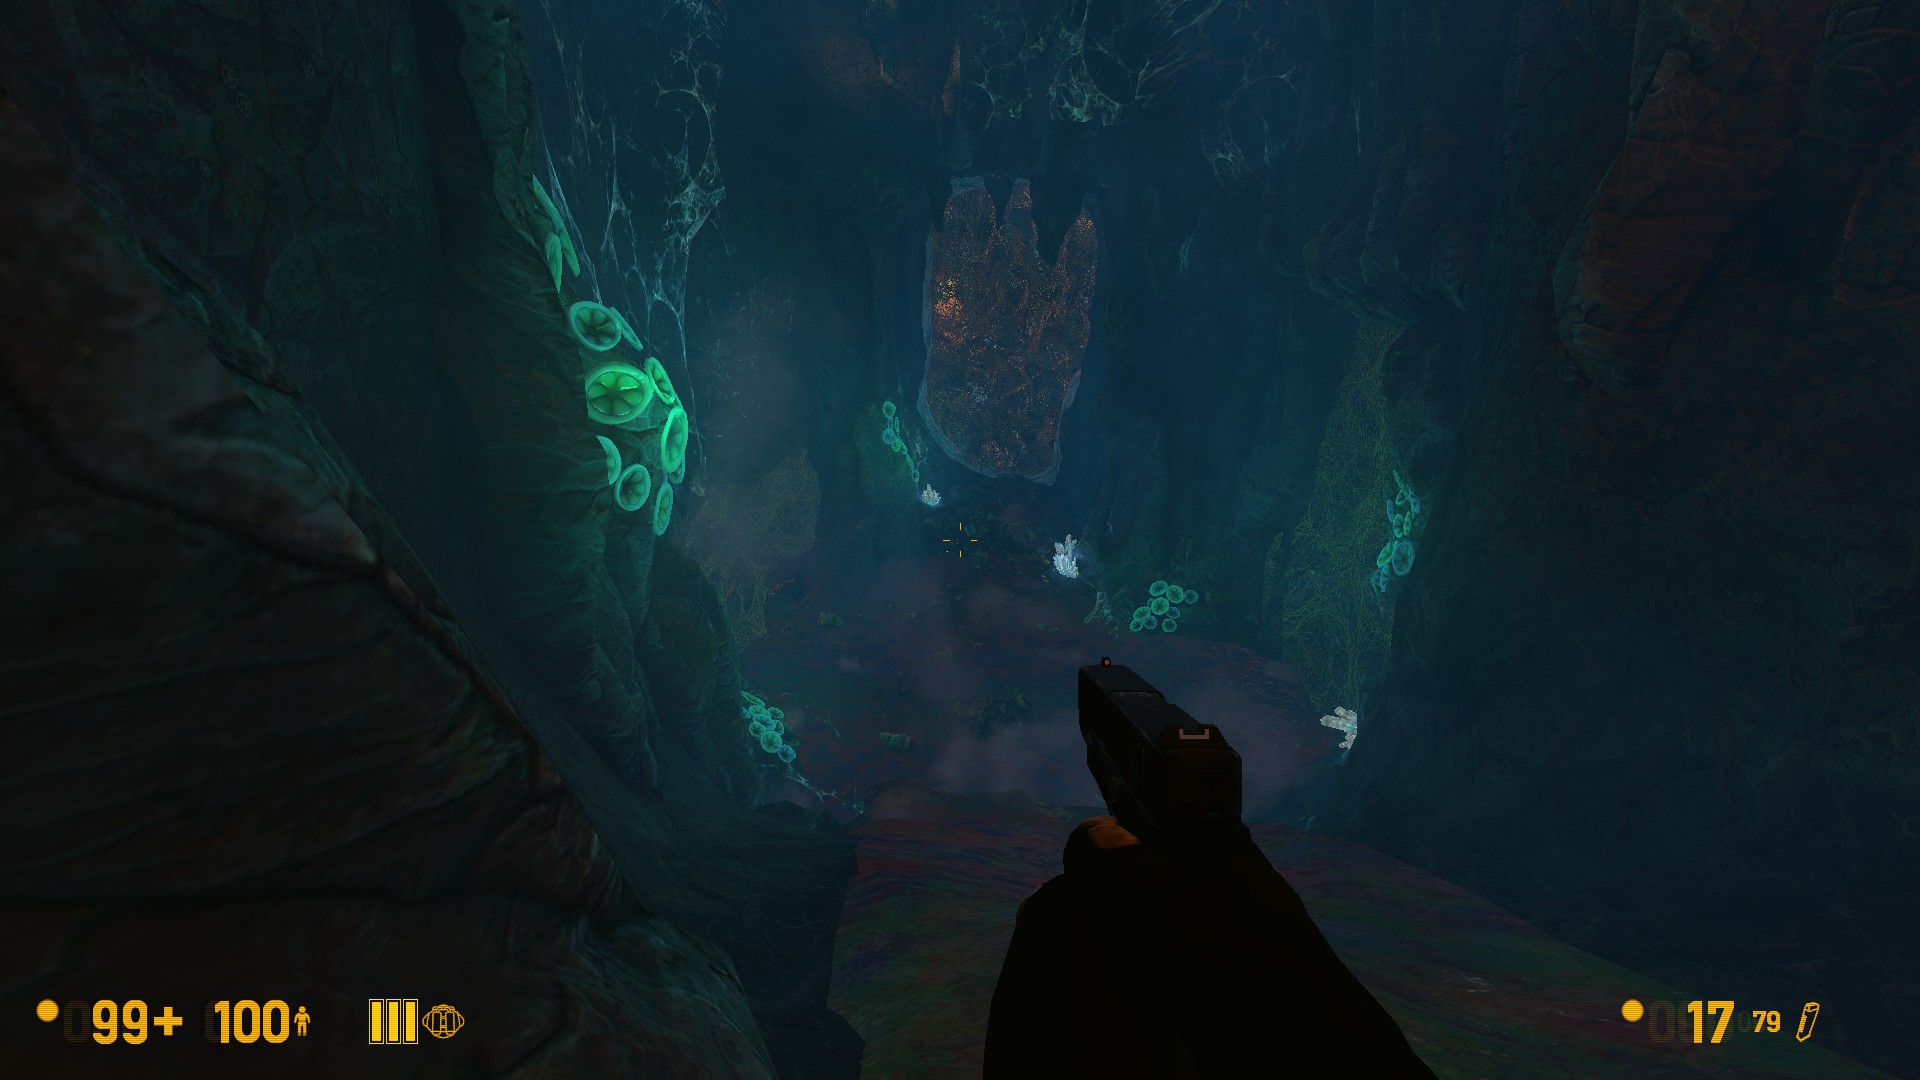
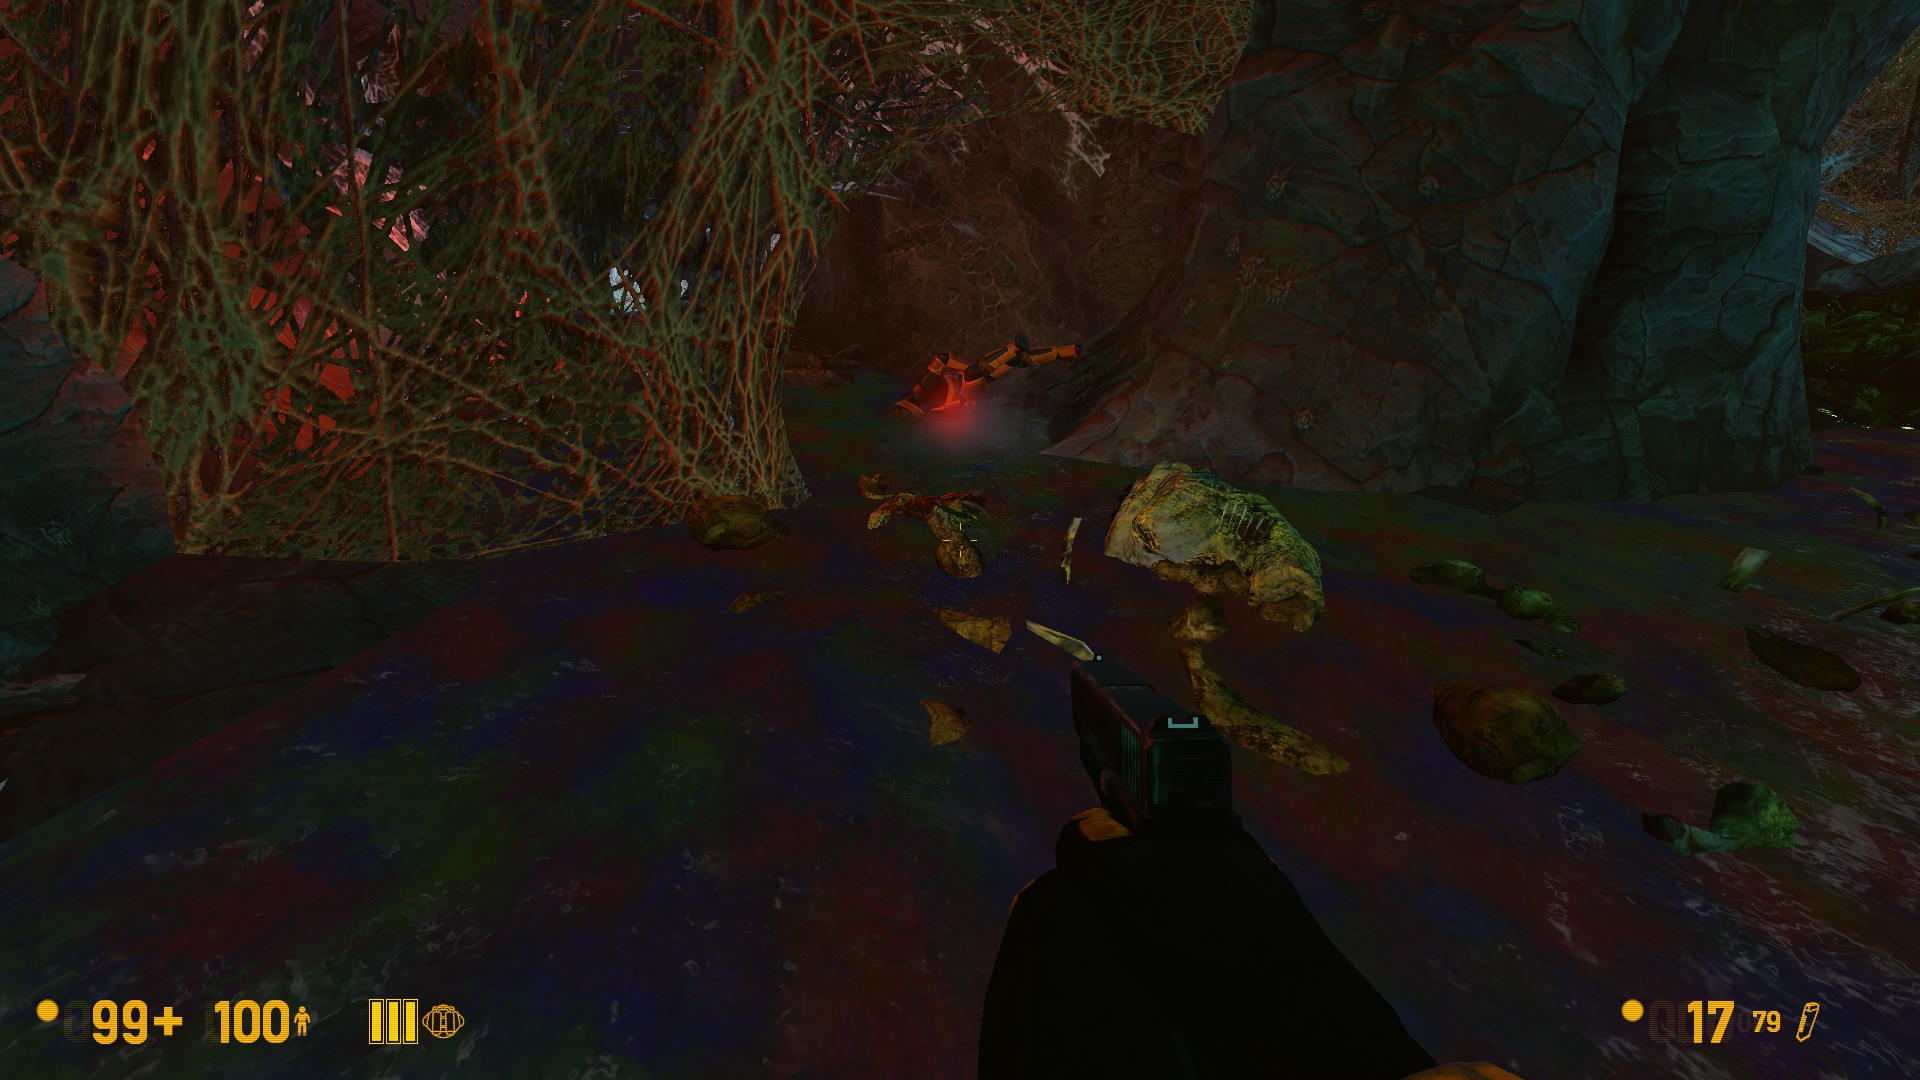
Right before the beginning of a chase scene, you might notice a red light blinking from one of the rocks on the left side (didn’t capture the light on the screenshot):
A secret path will open up right as the Gonarch appears, which will allow you to get behind it and also reveals the body.
Body #6
Another hard to miss one, as the Gonarch appears once more you will have to set some webs on fire, the body is located right where you need to go.
Body #7
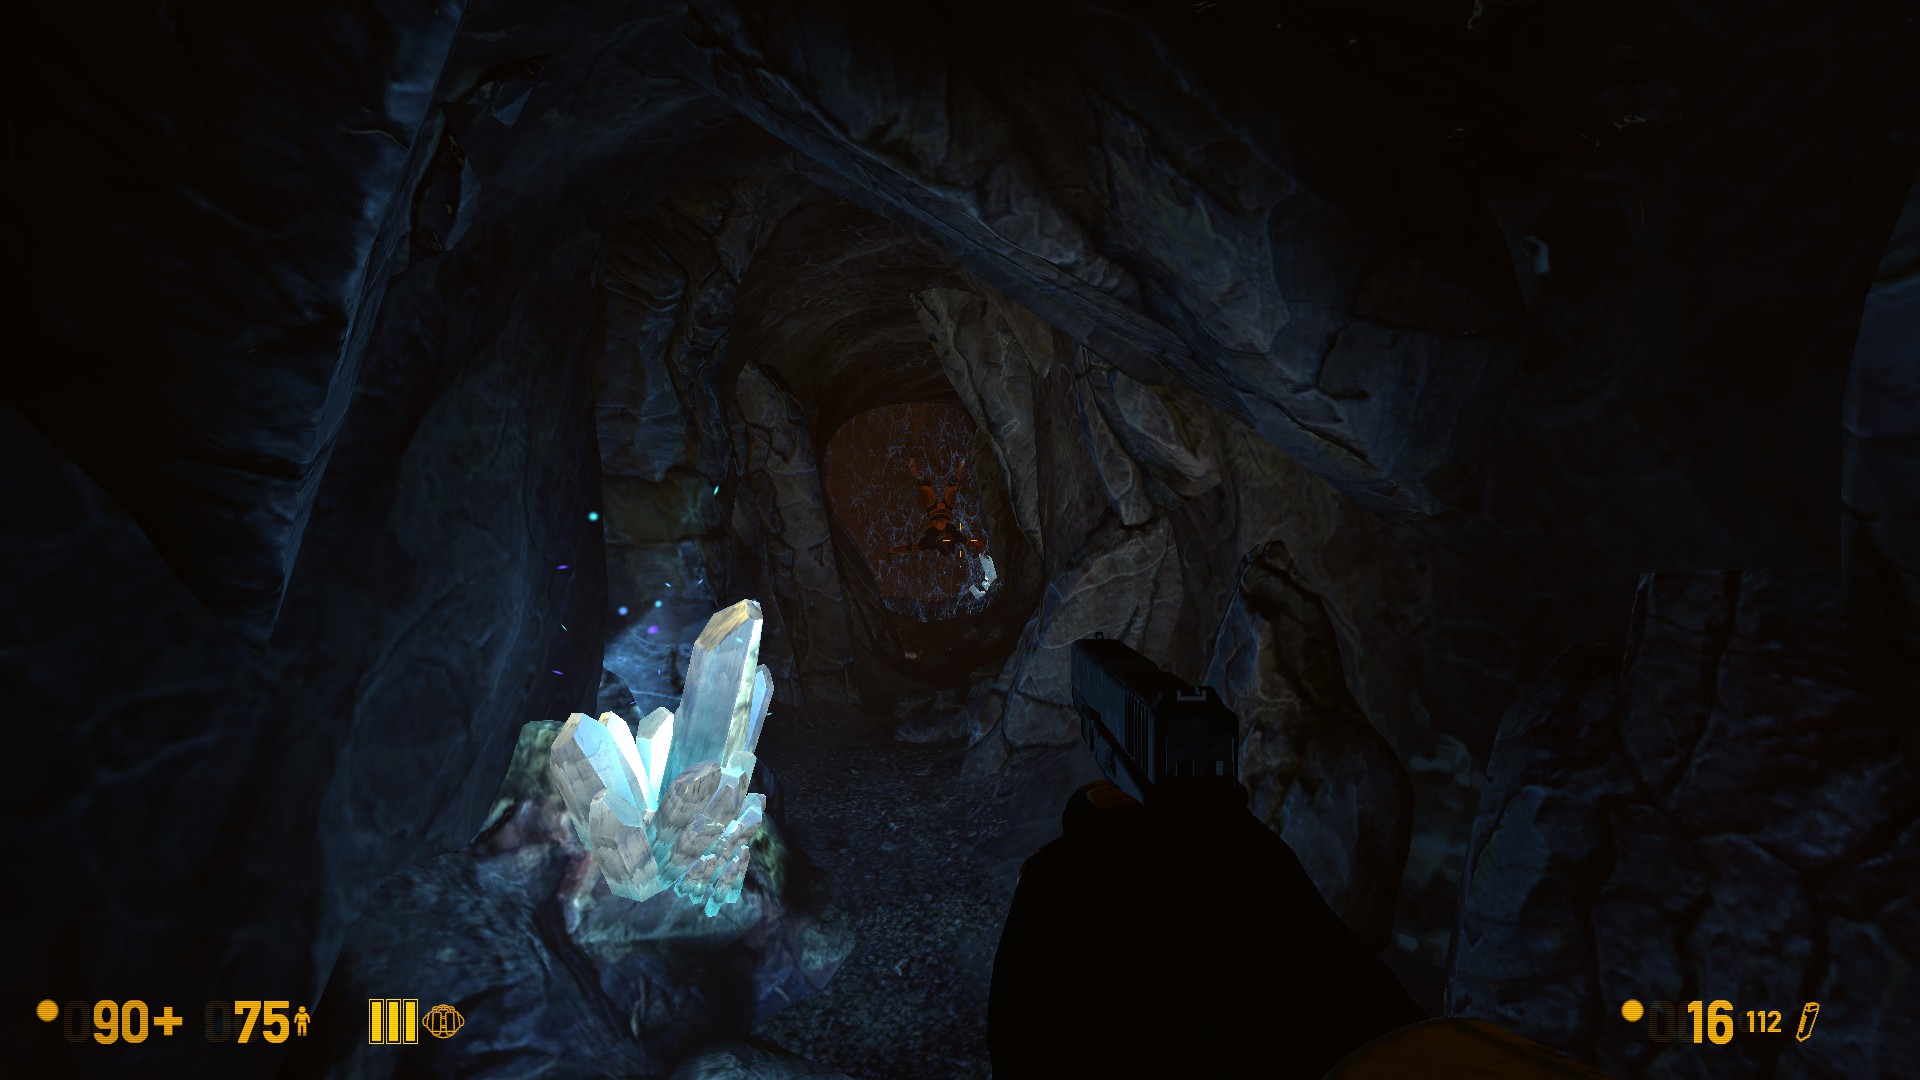
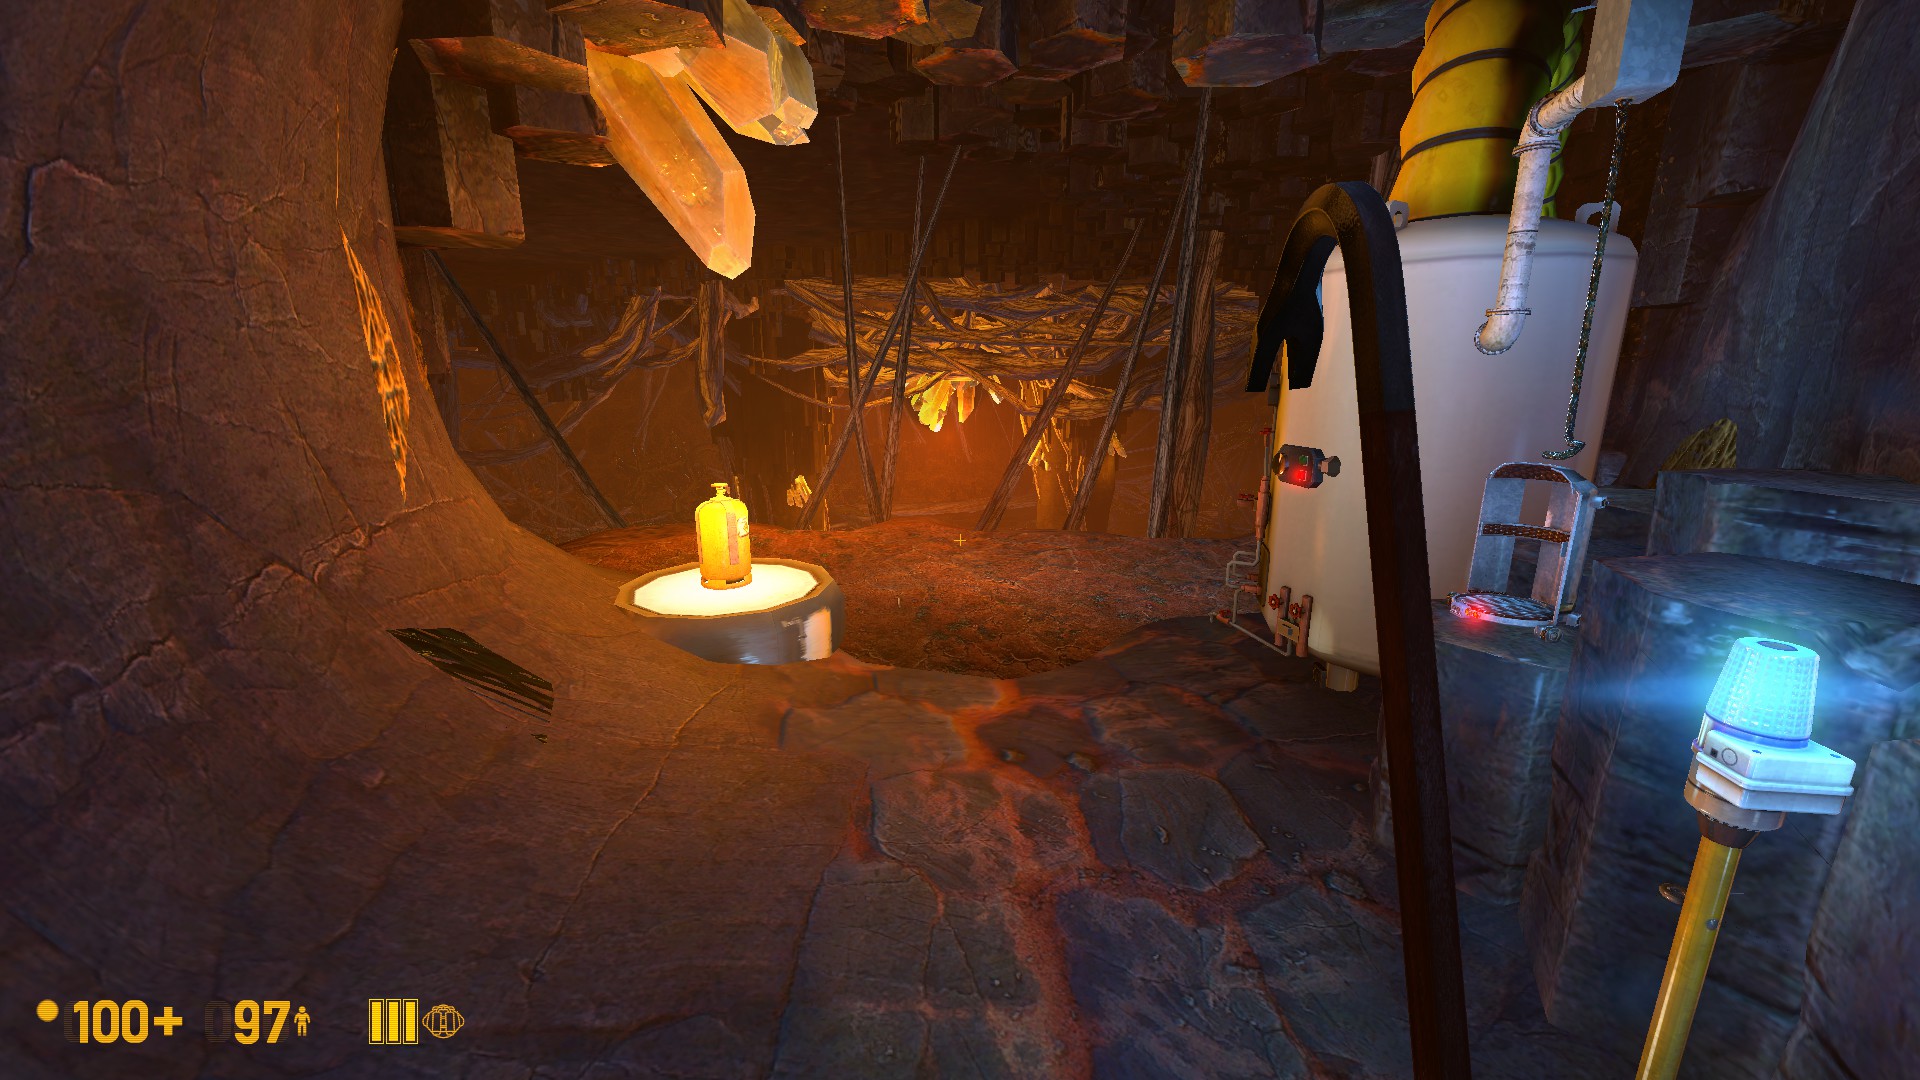
If you’ve done the canister setup, you will be able to find a passage on the left wall during the final chase sequence, a bit before the boss arena. (This passage also contains a protozoan required for the Prolific Popper achievement, so if you’re haven’t done it yet, don’t forget to kill it.)
You will be able to find the canister in the room it leads to, and if you haven’t yet you can unlock the achievements The Plan and Unquestionably Ethical, by either inserting the canister into the machine and turning it on, or leaving via the jumping puzzle and sparing the Gonarch altogether respectively.
Either way, in the end you’ll have to leave by jumping across the ledges on the left side, where you will find the last body impaled on some thorns. You can interact with this one from the ledge, even though it seems quite far away.
If you’ve done everything correctly, the achievement should now pop up. Congratulations!
I hope that this guide was helpful, and thank you for reading!
Hope you enjoy the post for Black Mesa Post-Mortem Interval Achievement Guide, If you think we should update the post or something is wrong please let us know via comment and we will fix it how fast as possible! Thank you and have a great day!
- Check All Black Mesa Posts List


Leave a Reply