The recent combat abilities of the Berzerk Monofleet have been brought under scrutiny due to their recent failures to perform to expectations due to recent changes in Cylon tactics. However, I still maintain that the Berzerk Monofleet continues to be cost effective and reliable even under these suboptimal conditions.
Intro
Colonial Combat Log
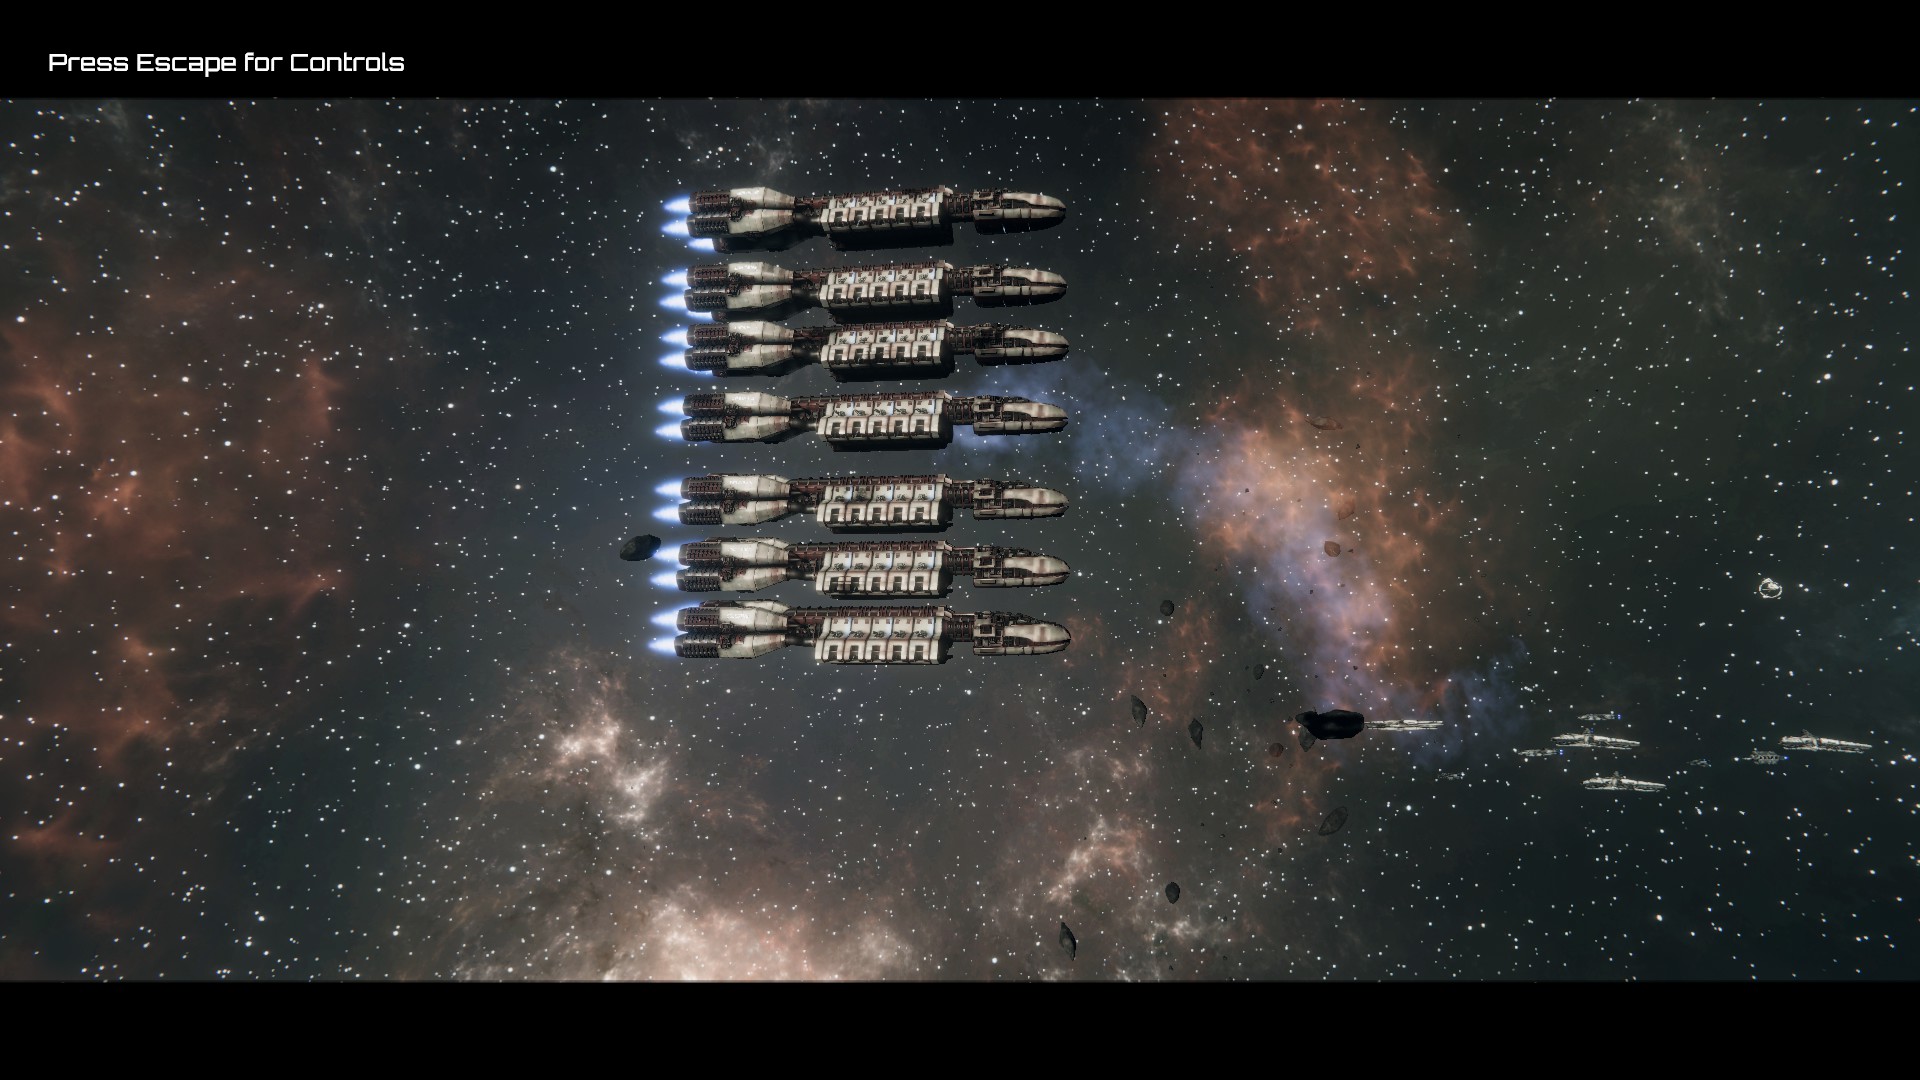
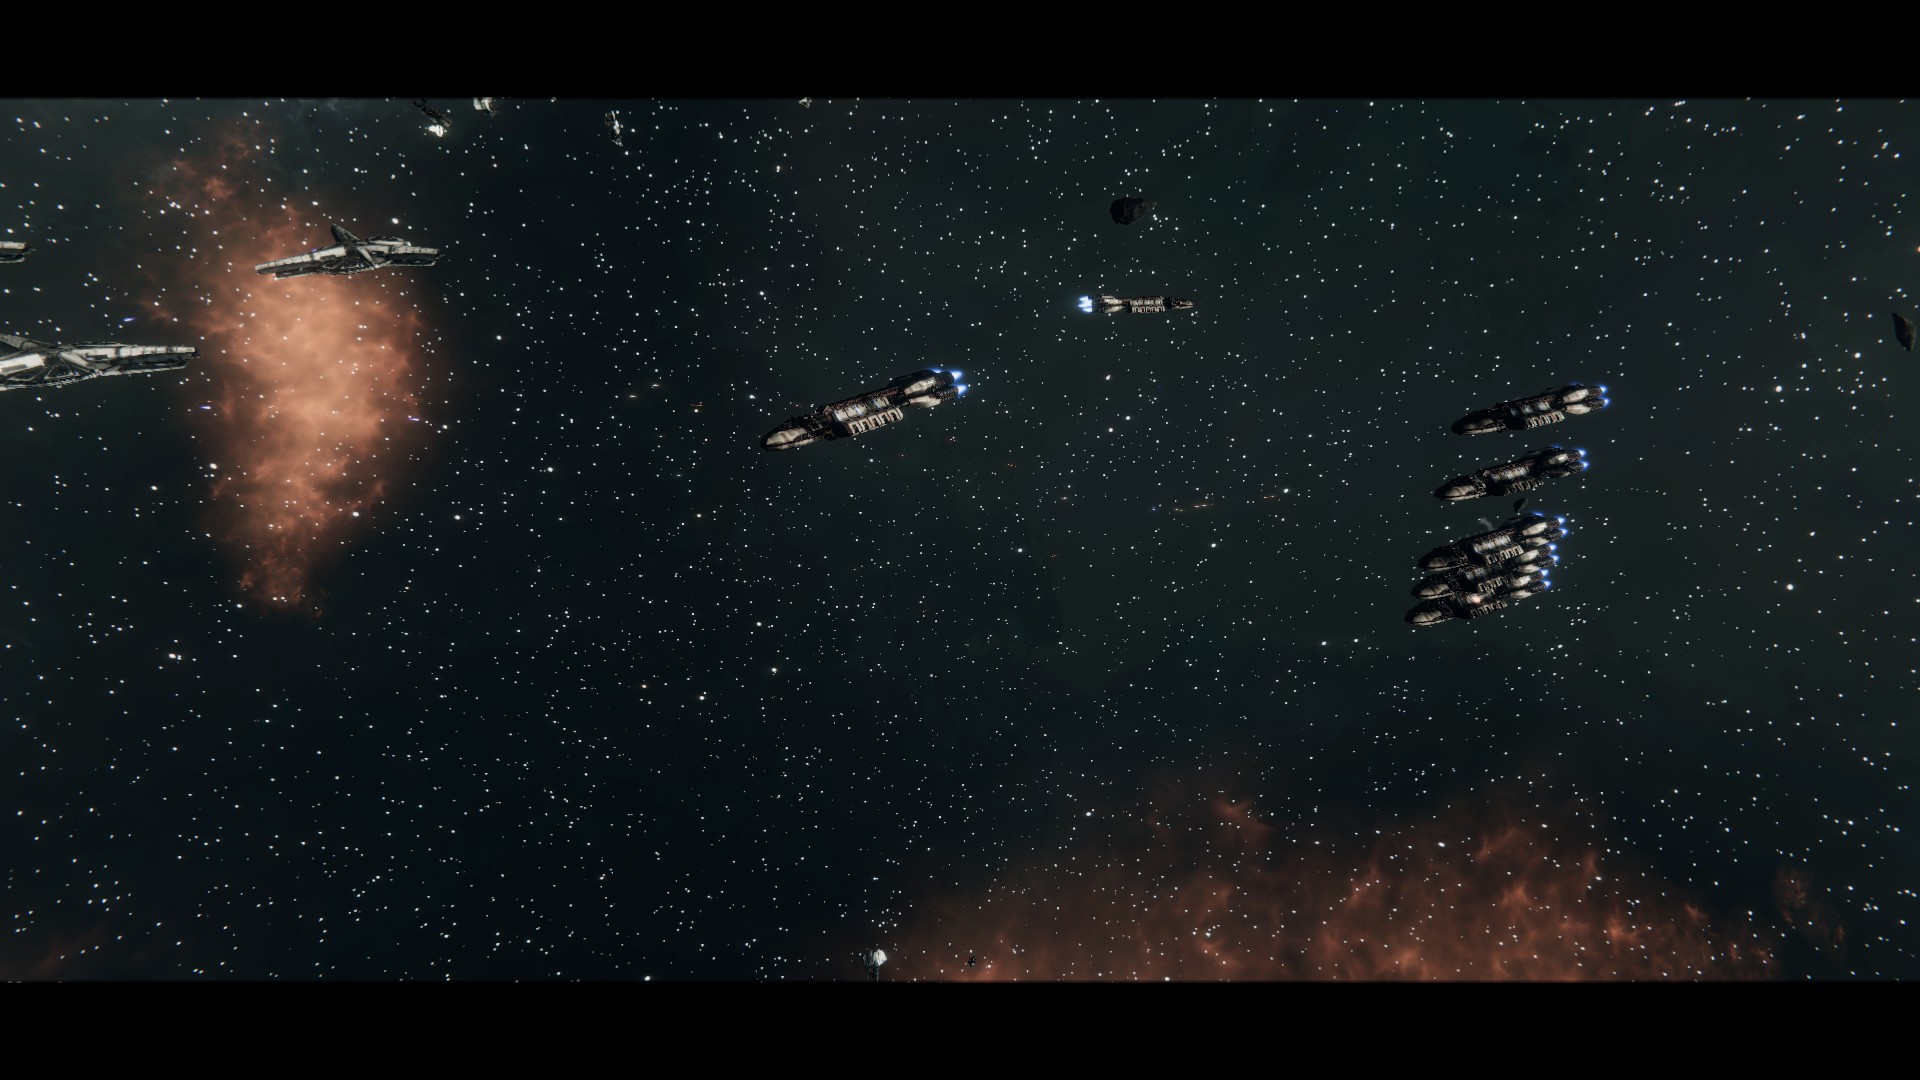
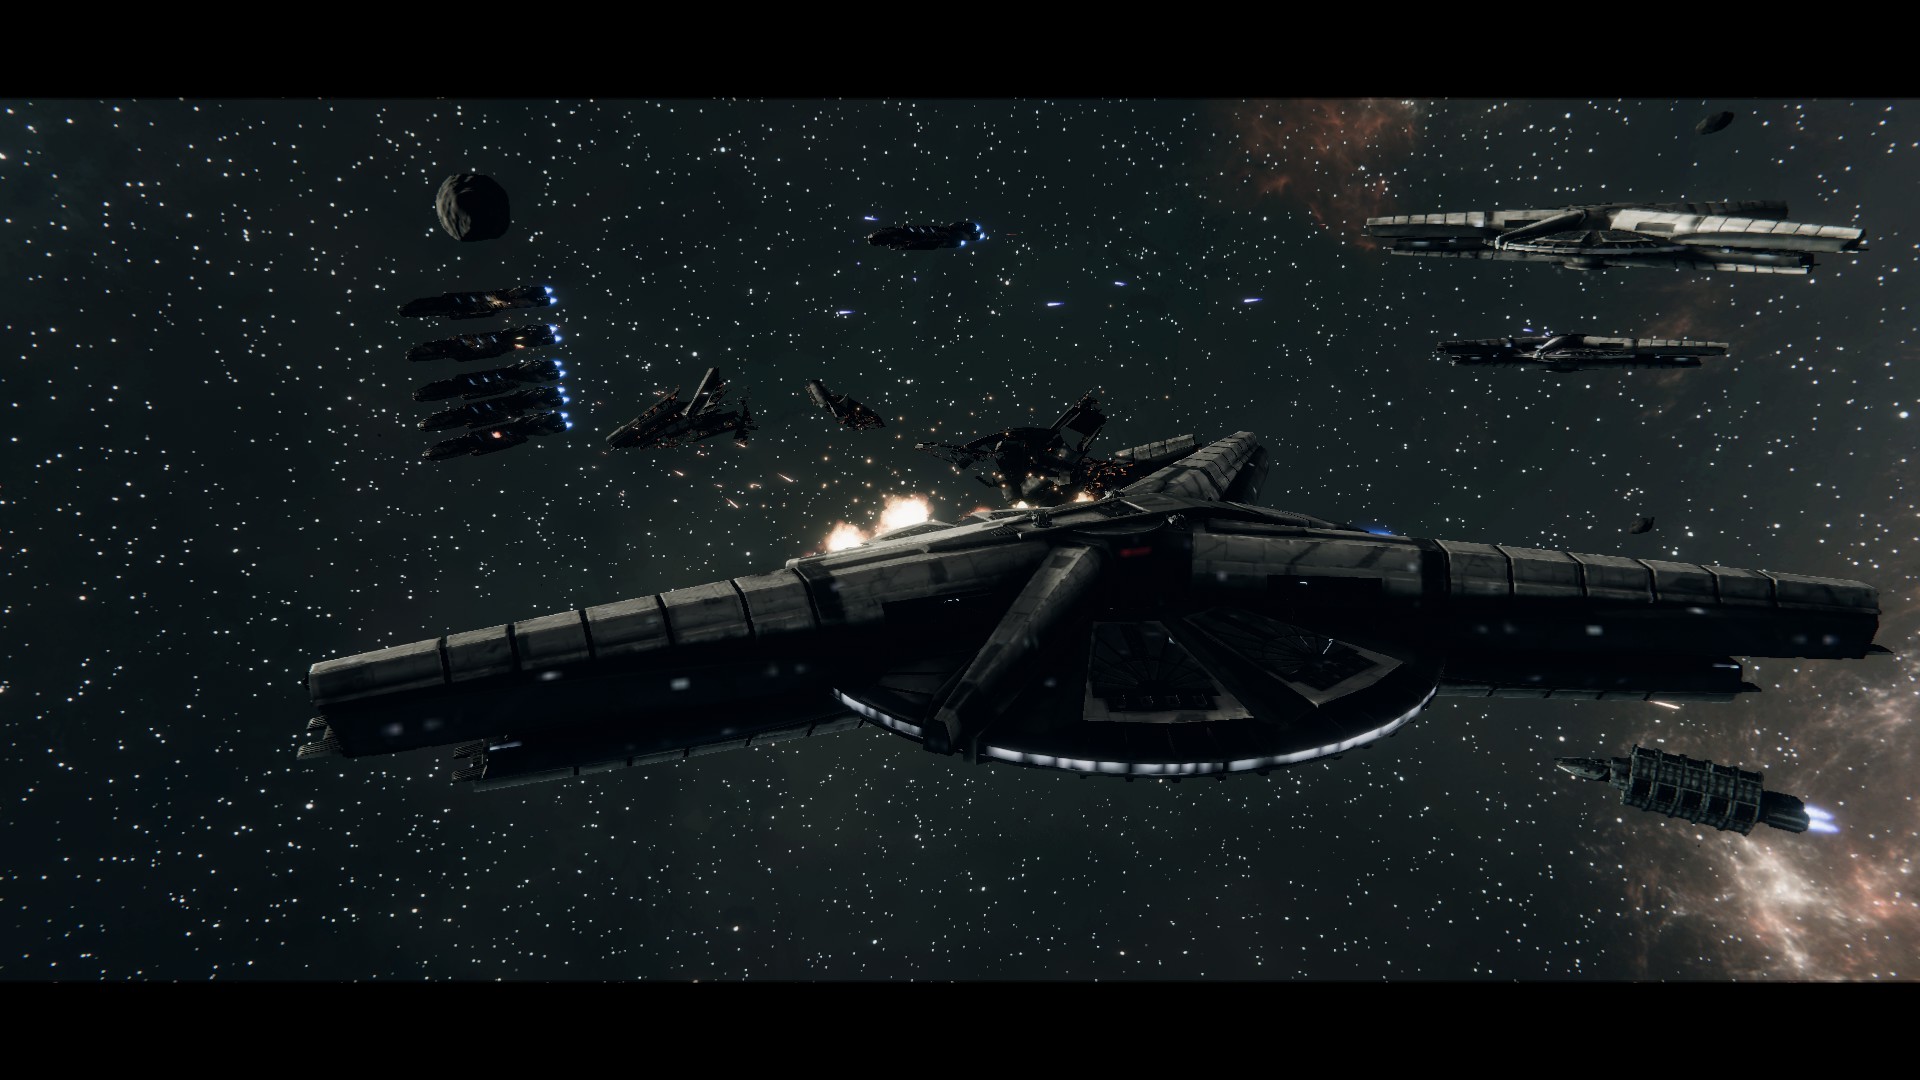
All Berzerk began in top condition, arrayed in the standard Wall of Battle. These are veteran crews with dozens of confirmed kills each. Compared to non-veteran crews, the gunners are 10% more accurate and the fighter pilots are 15% more likely to evade incoming fire.
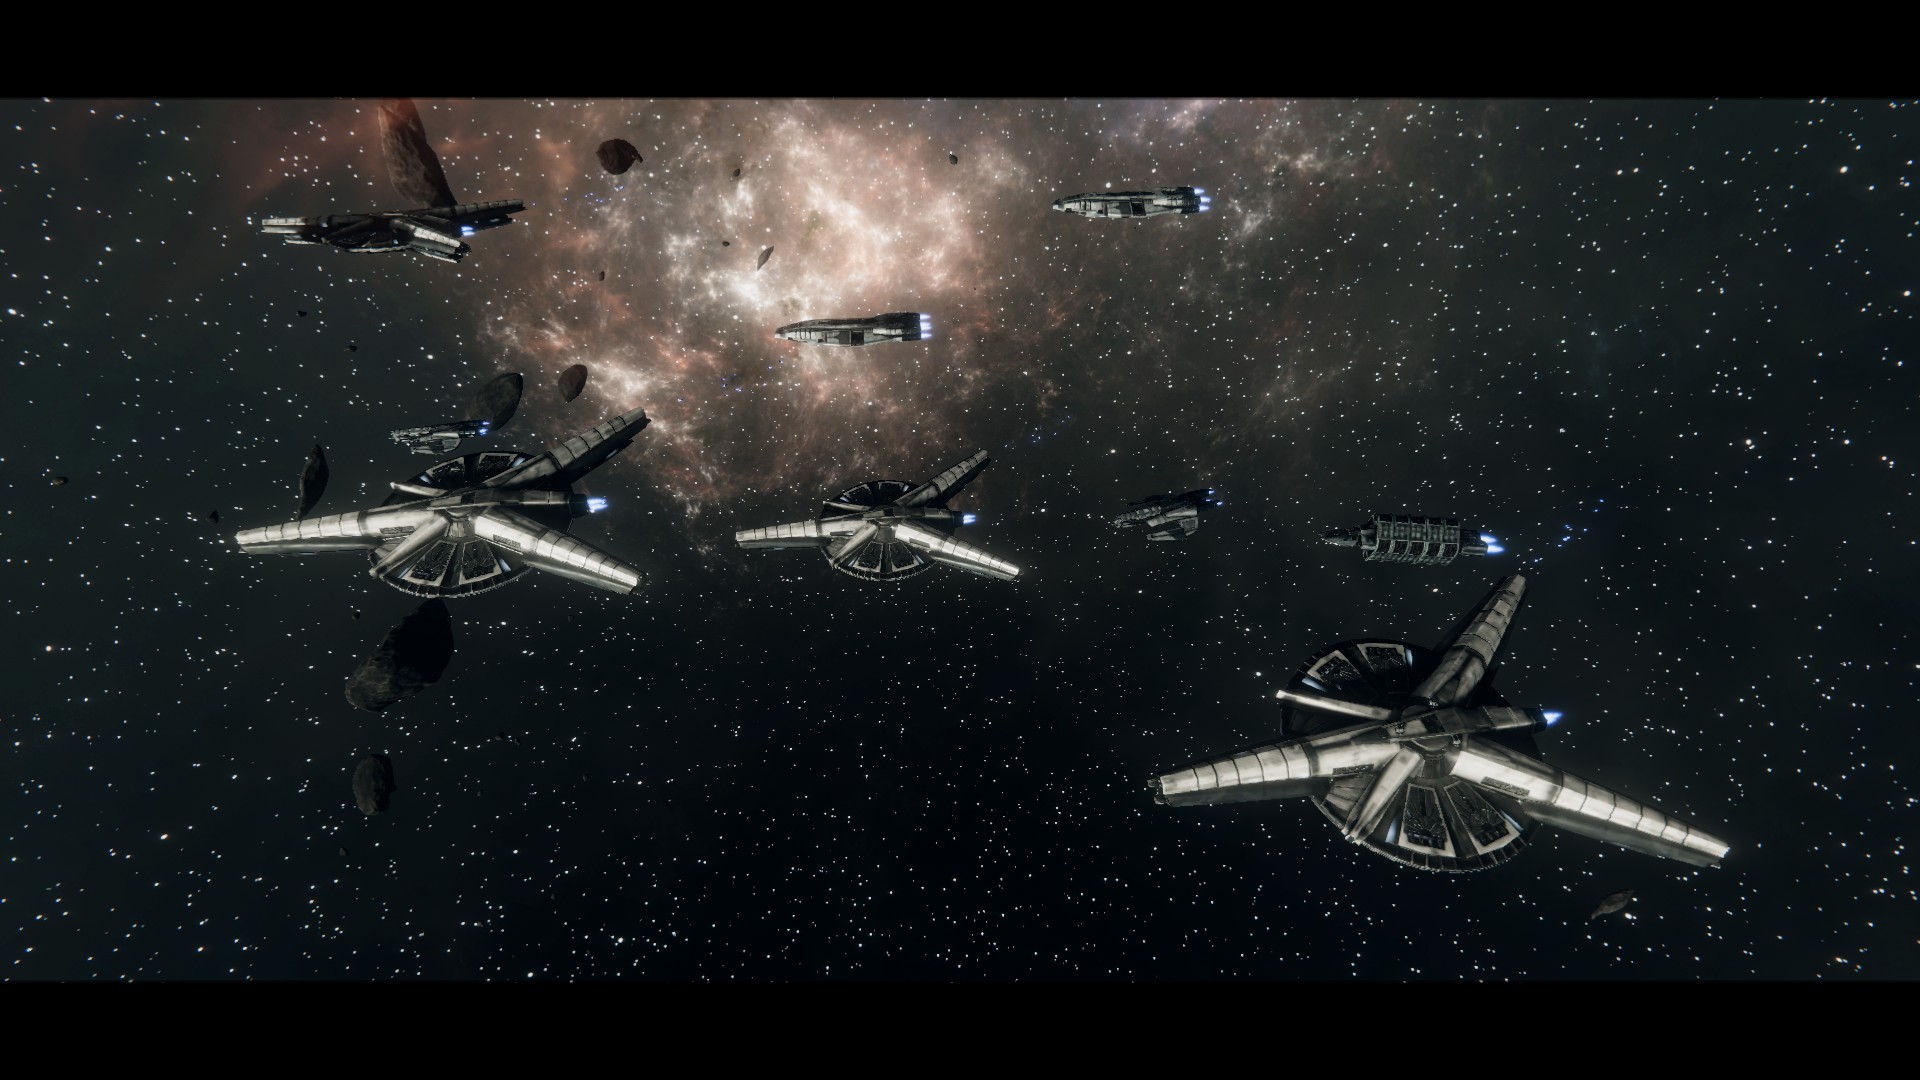
Although we were not aware of this initially due to the fog of war, the cylon fleet had an unprecedented 4 Cerberus Heavy Carriers, backed up by 2 Arachne and 2 Nemesi backed up by a Hydra Missile Coordination Support.
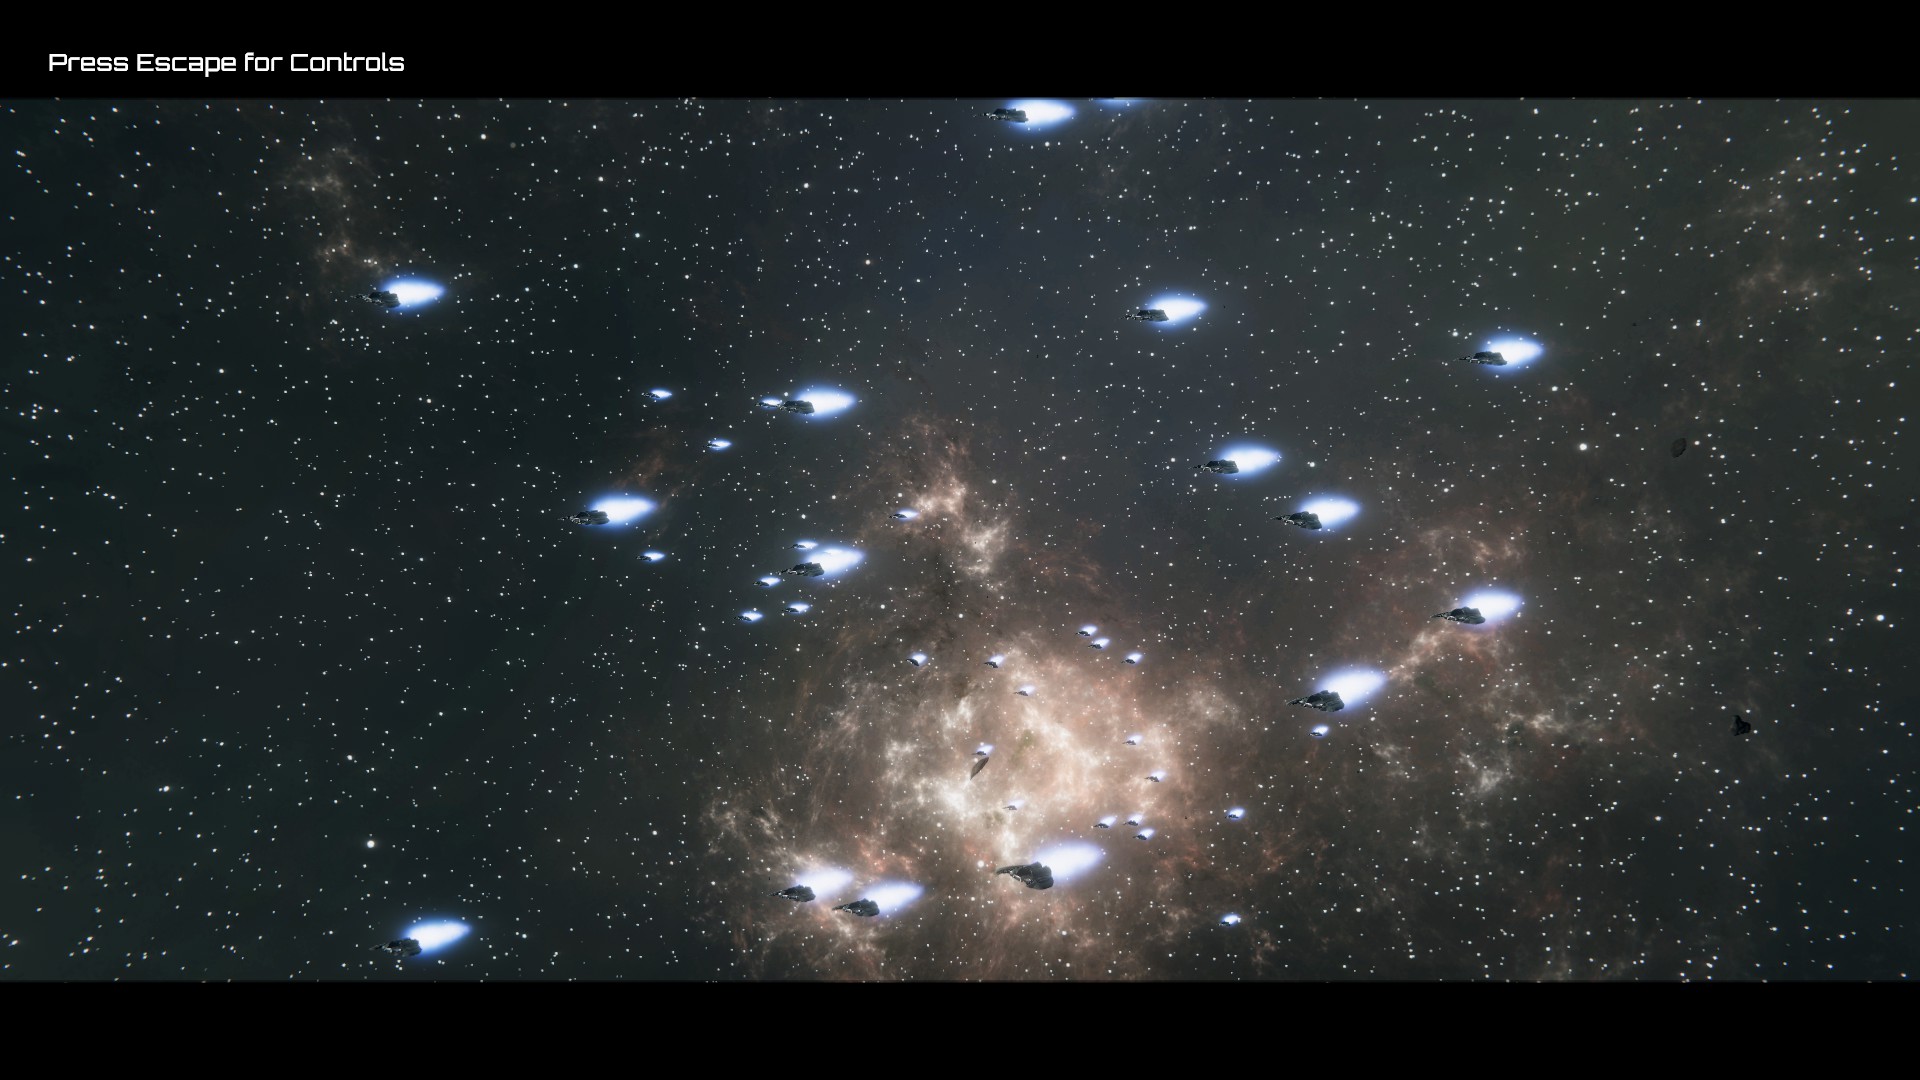
That is enough to support 18 fighter squadrons, nearly a 3:1 Cylon fighter advantage. Additionally, 4 munition salvos can be fired multiple times in a row thanks to the Hydra Missile Coordinator. Nemesi are the fastest* Cylon capital.
If there was ever a Cylon fleet designed to hard counter the Berzerk Monofleet, this is it.
*(I’d argue that the jump drive equipped Phobos is slightly faster. In any case, the Cylon fighters alone were sufficient to let the Cylons get a target lock on Colonial fleet.)
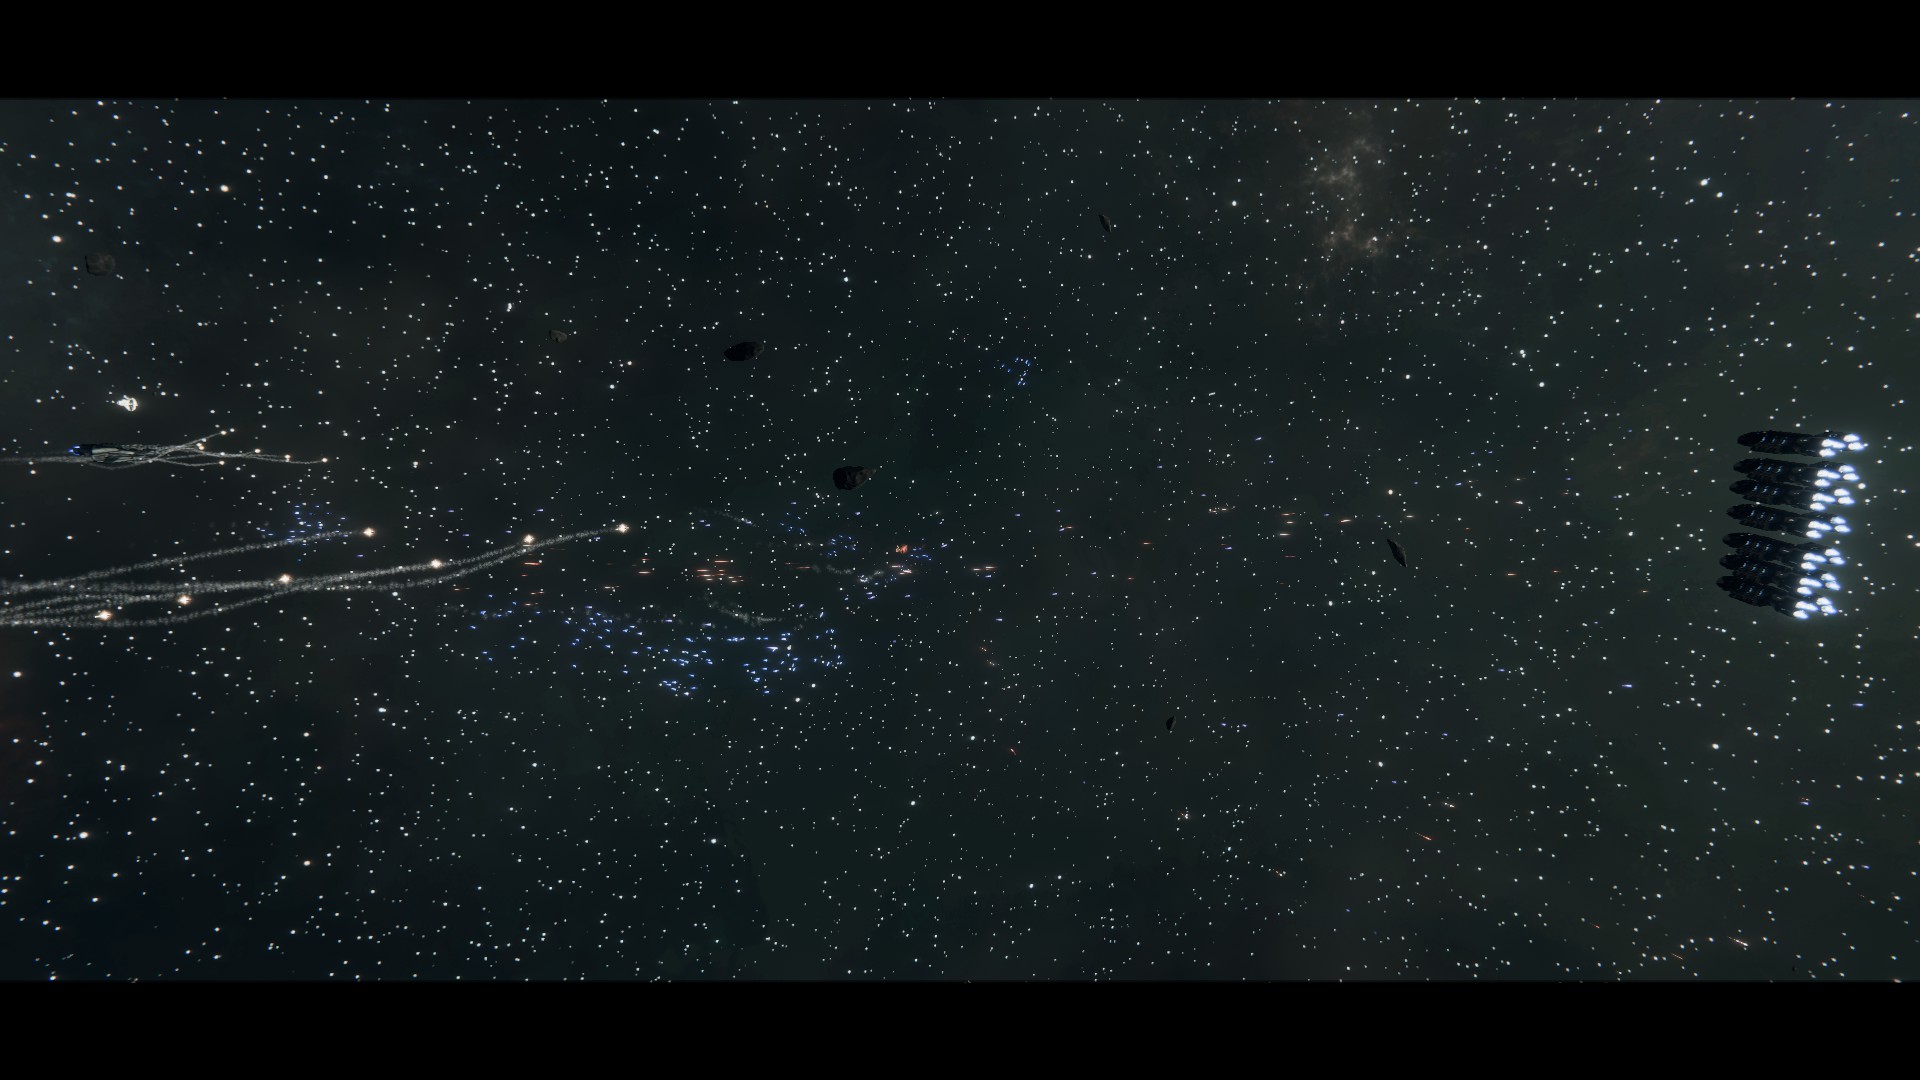
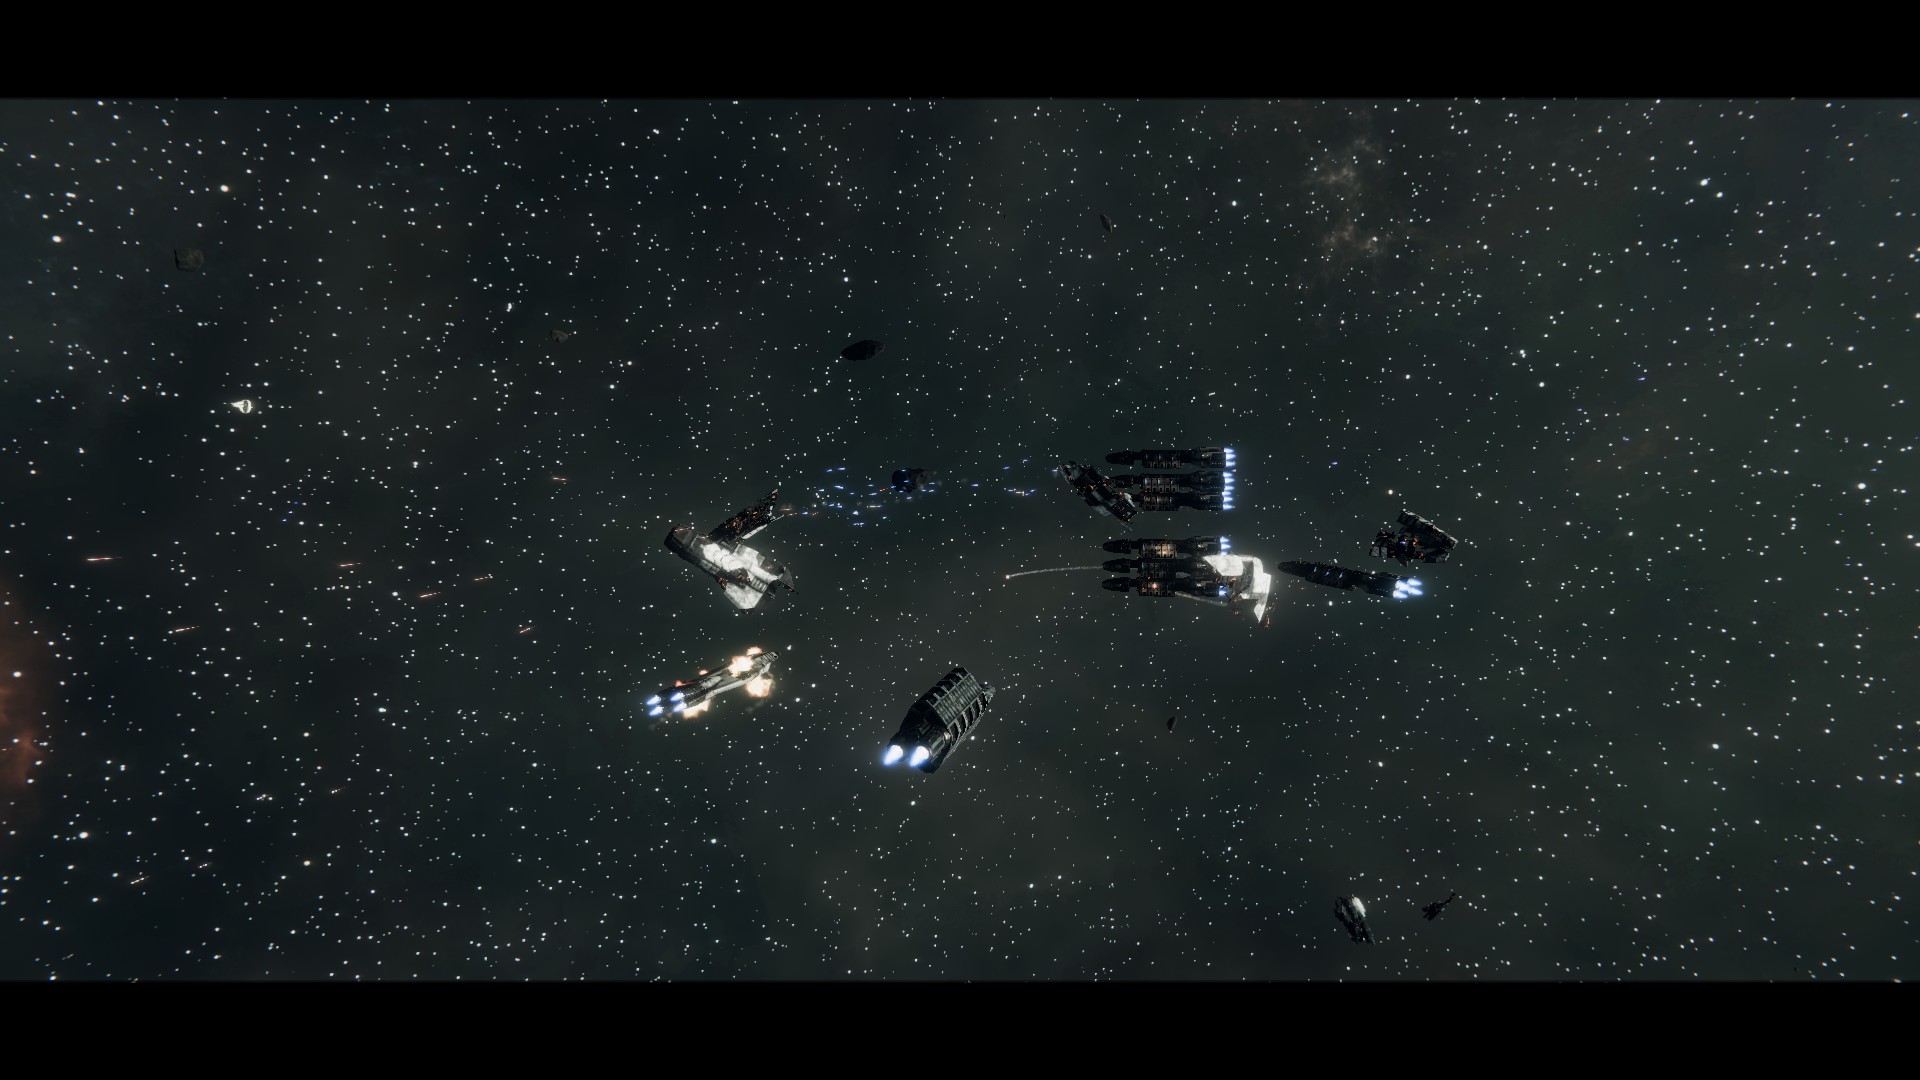
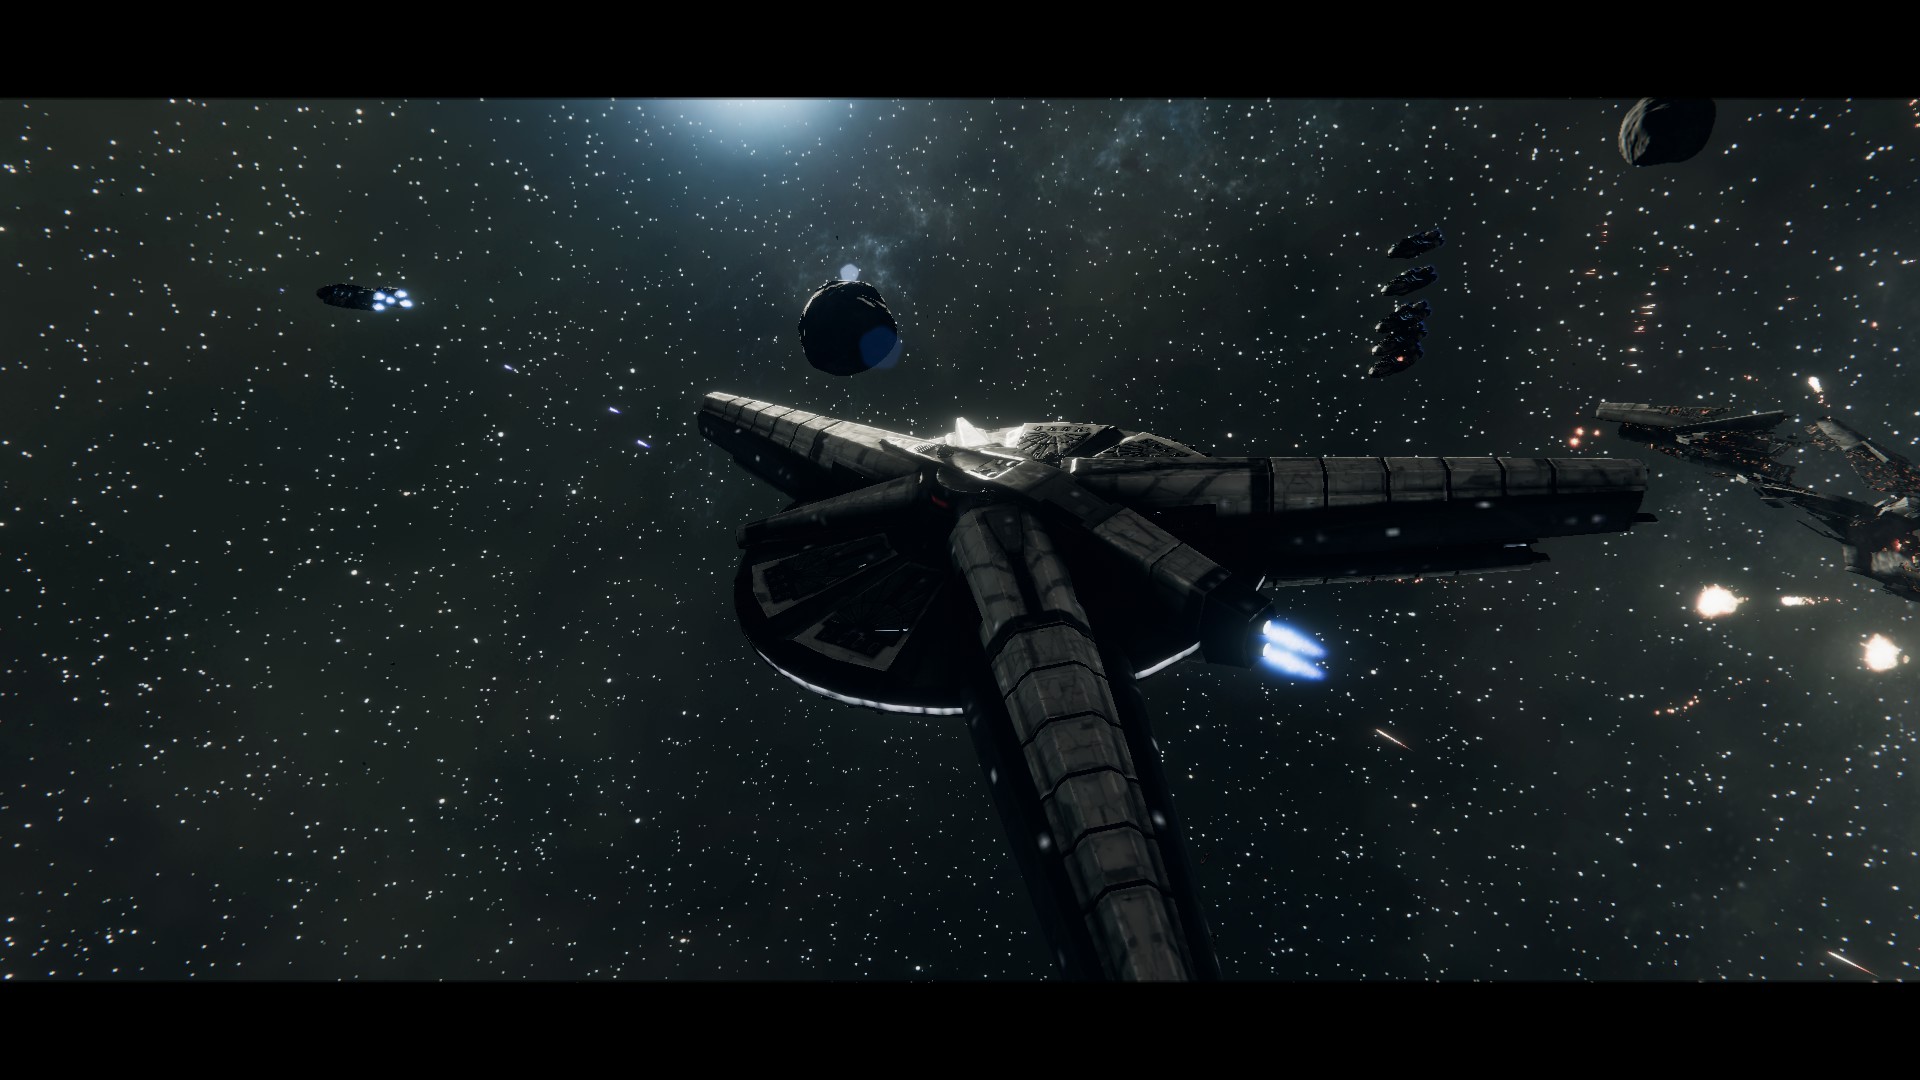
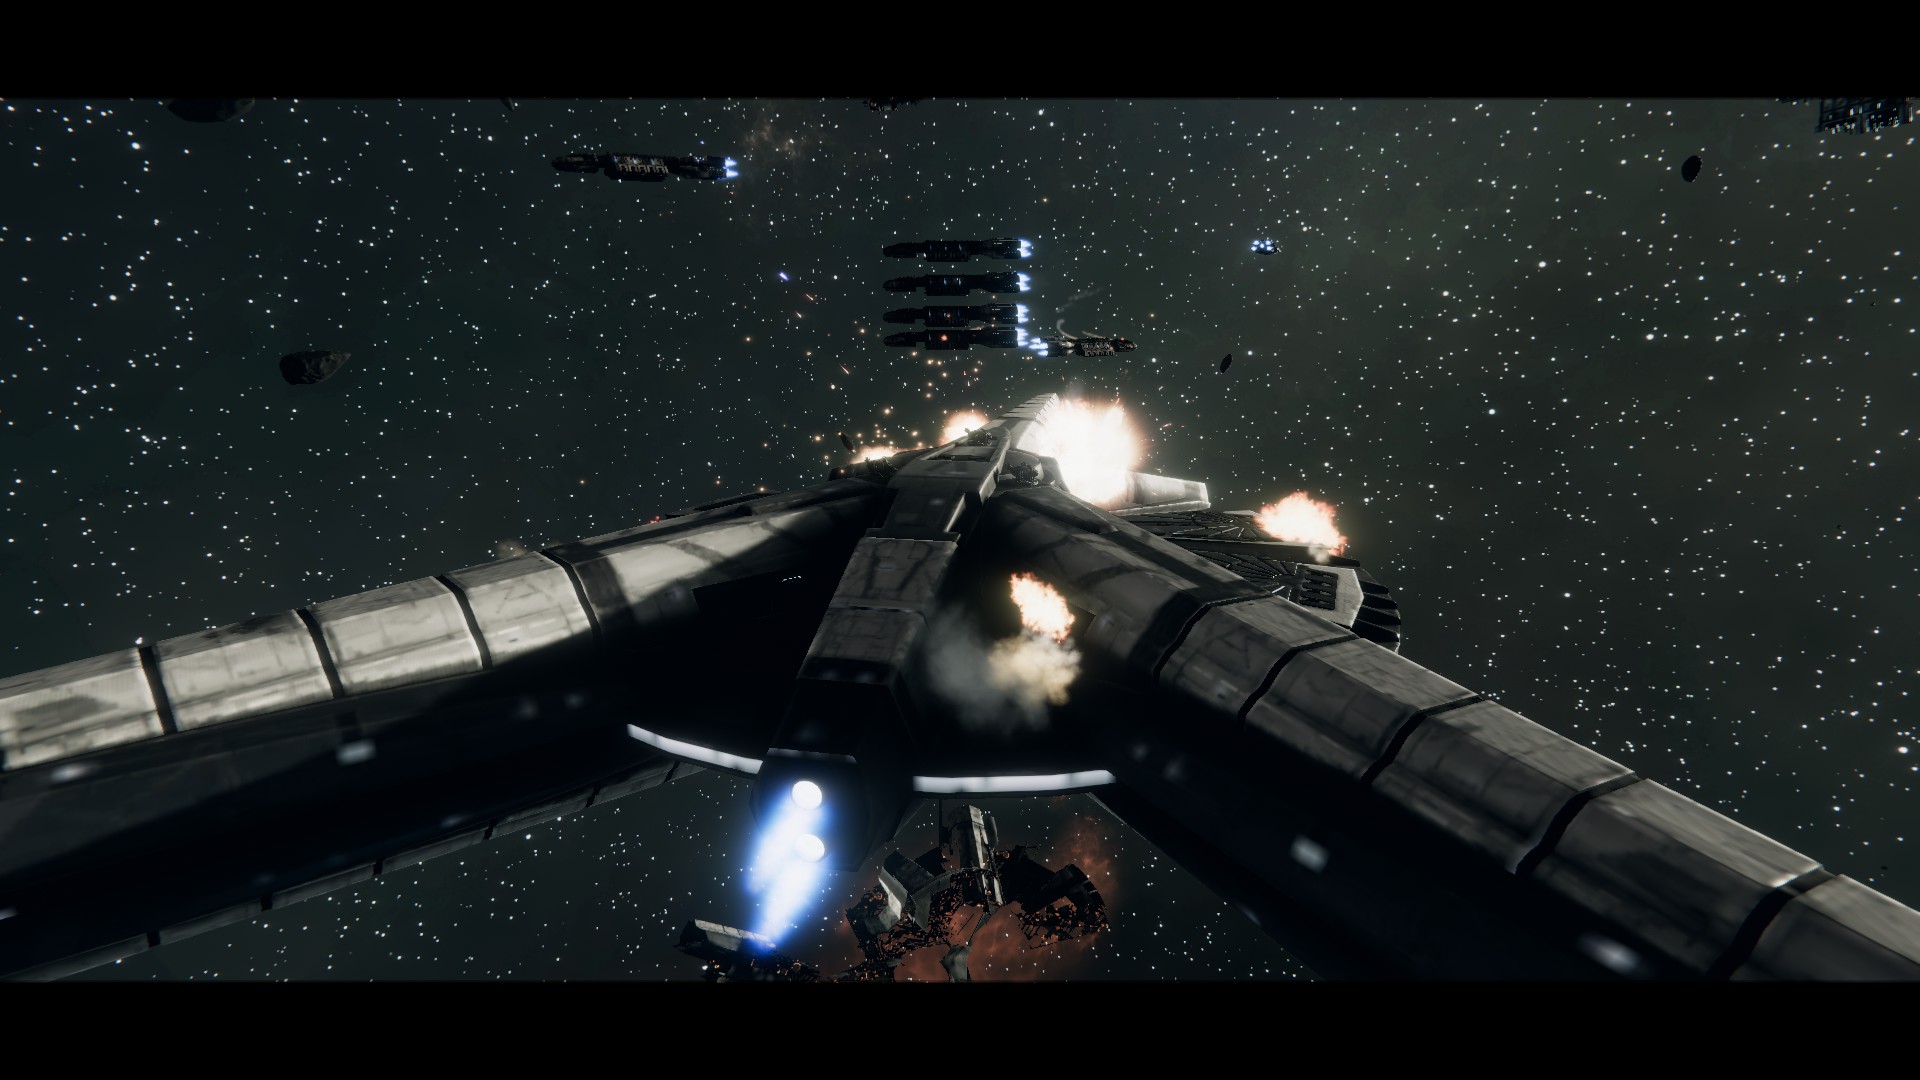
When it became clear that outrunning the Cylon fighters was not an option, and that the Colonial fighters were severely outnumbered, I turned the fleet around and began focusing the heavy weapons of the Berzerk Assault Carriers on the Cylon fighters.
Thanks to our veteran gunnery crews, we were able to knock out multiple Cylon squadrons despite using medium weapons ill suited to point defense.
The Colonial fighters were unable to defend against missiles due to barely holding their own against the Cylon fighters, so we adapted by turning the front armor of the Berzerks directly towards the Cylon missile salvos.
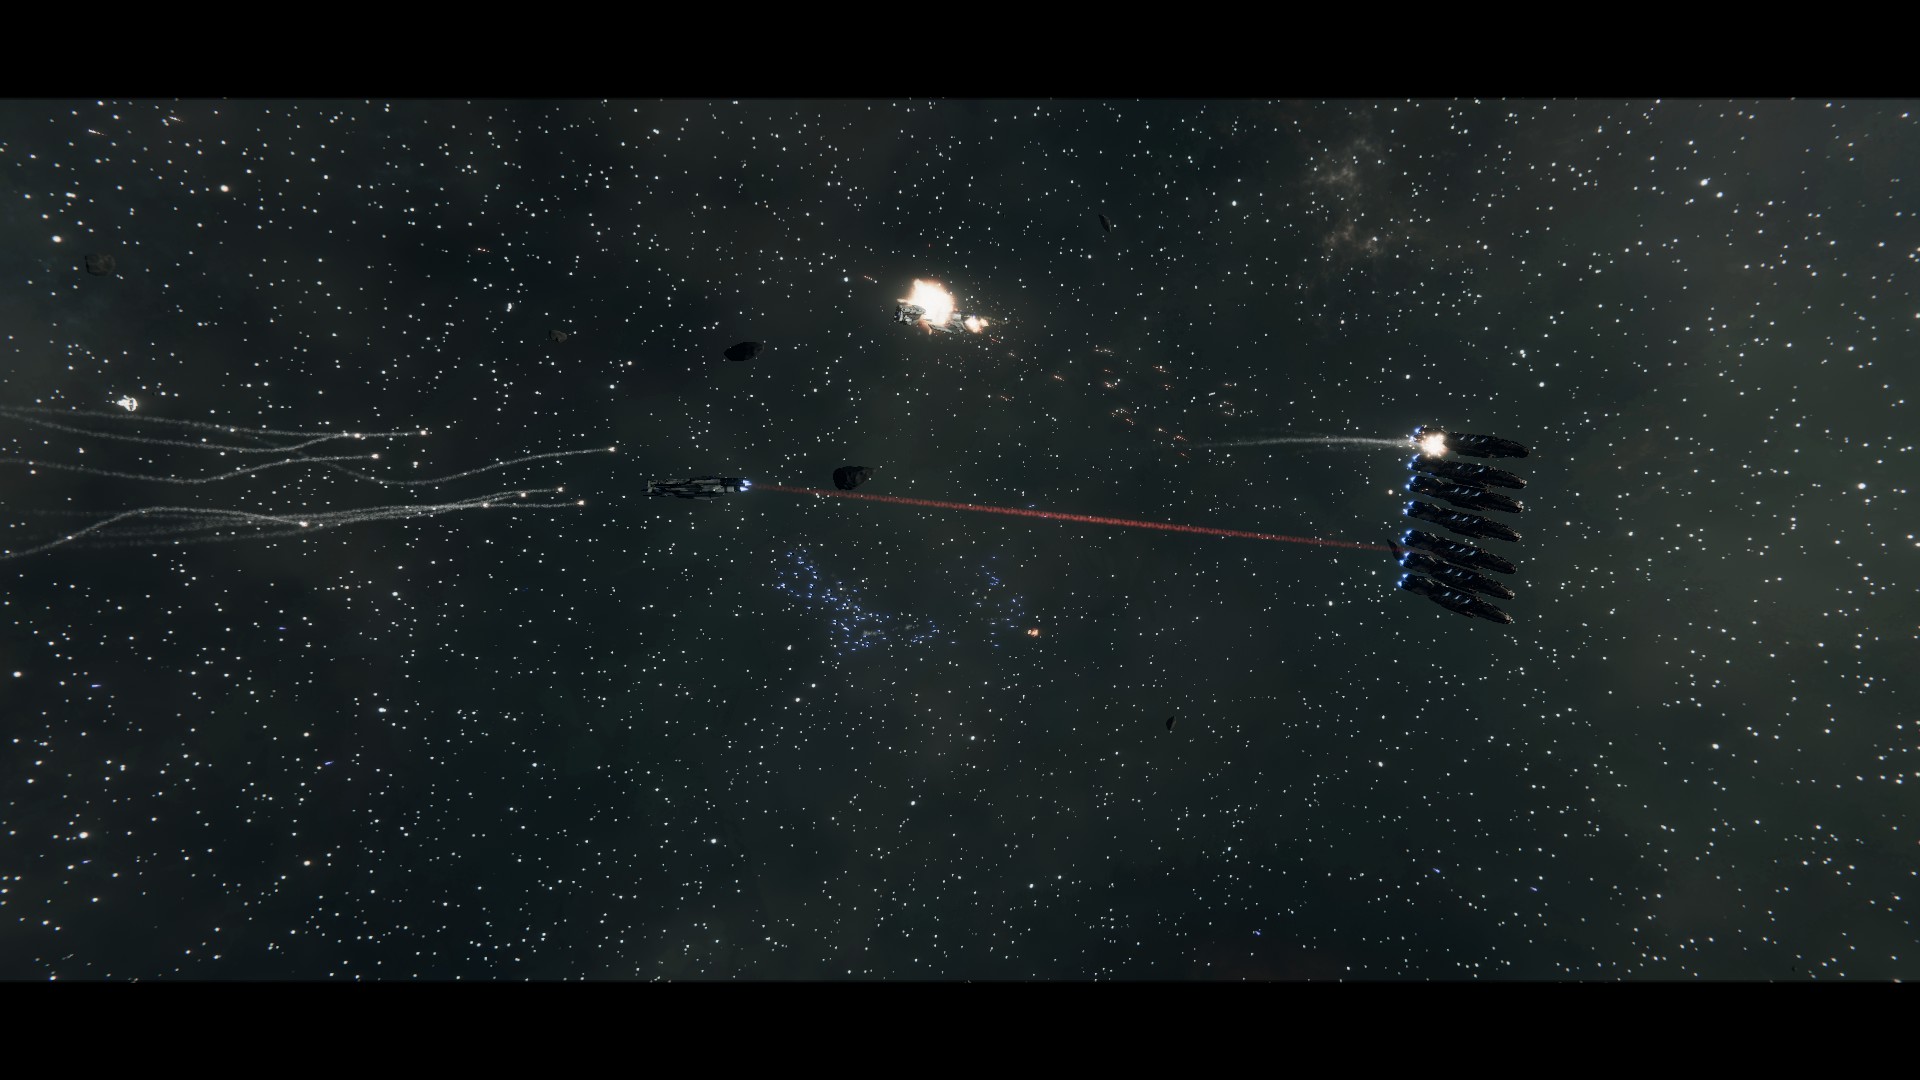
The Berzerks continued to rotate their armor, while alternating focus fire between the Cylon fighters and the nearby Nemesi.
Many Colonial fighter pilots gave their lives to protect our carriers. Had the fighters retreated, the carriers would have been overwhelmed by Cylon fighters and perished.
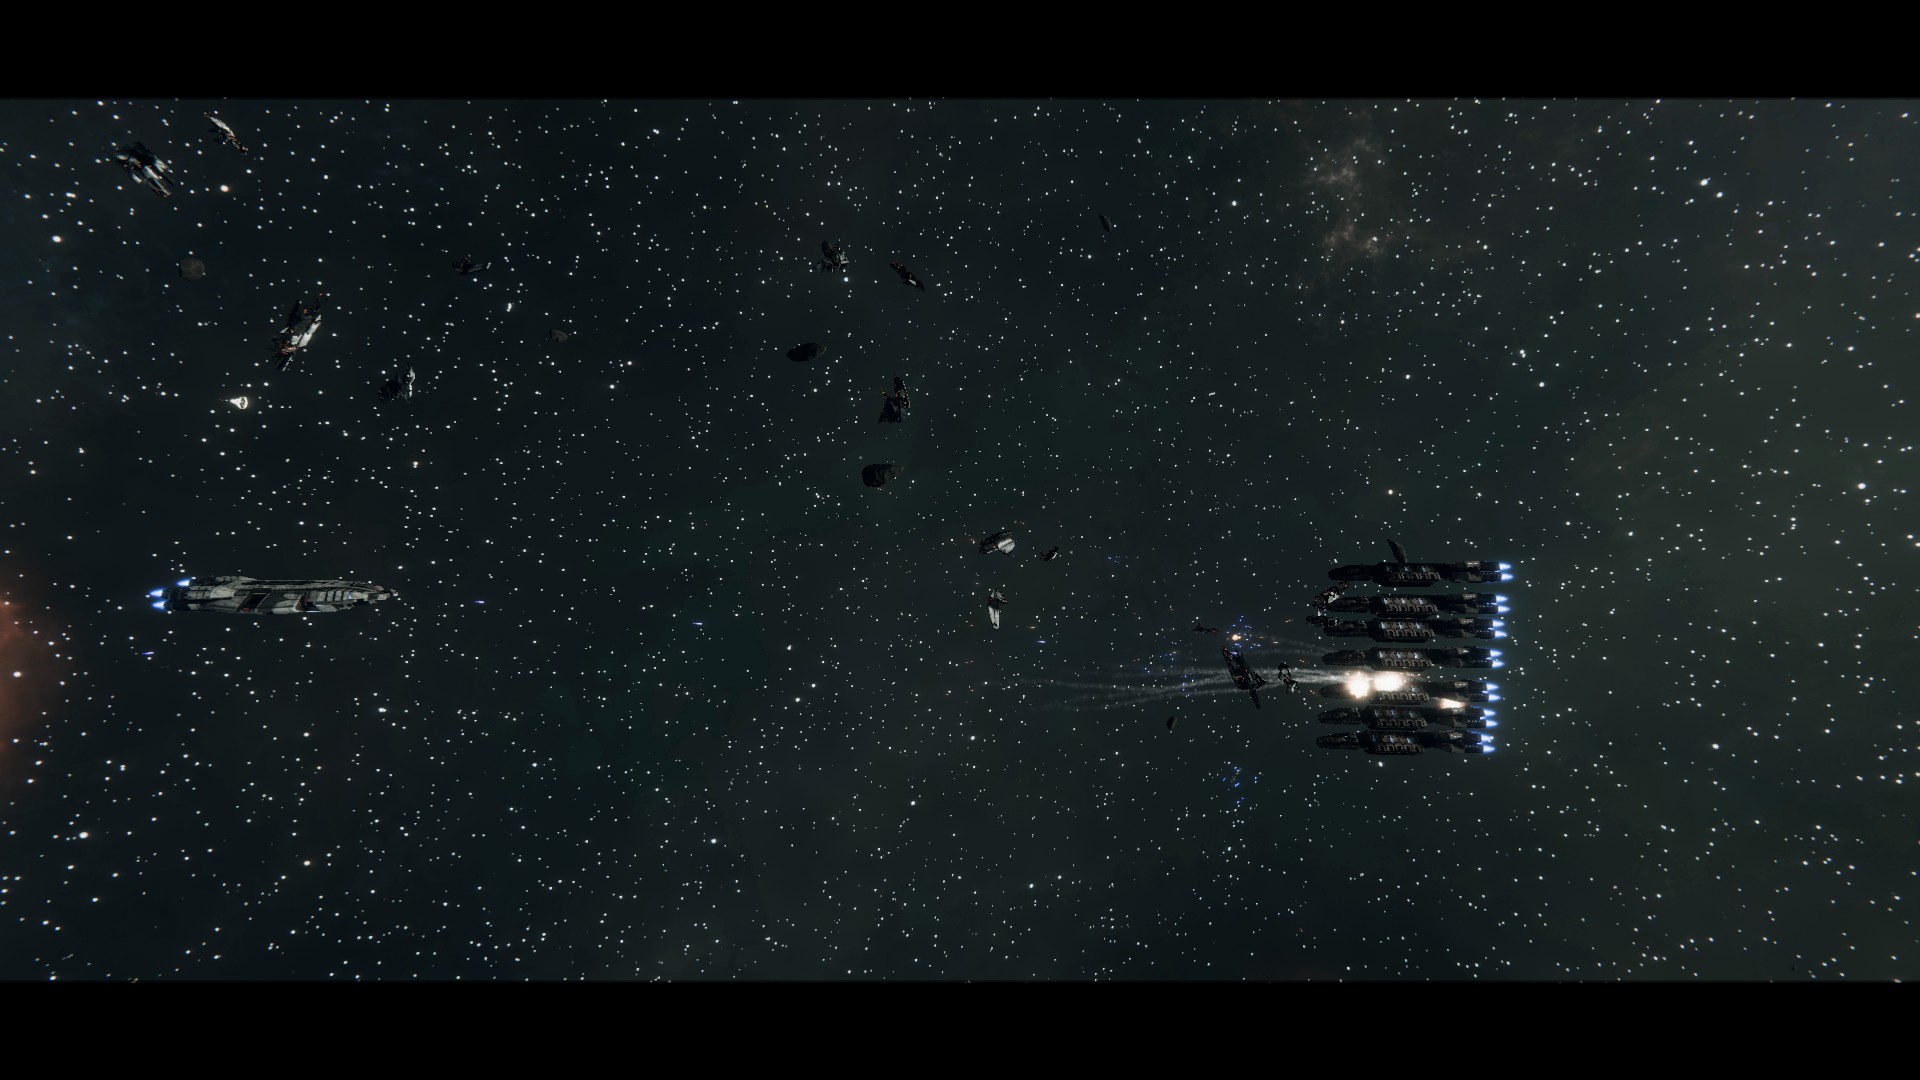
The fighter battle was won, but at great cost. All Berzerks were suffering hull damage, all but two Colonial fighter squadrons were completely wiped out, and Cylon boarding party of over 200 crippled all subsystems on one of the Berzerks – meanwhile the first Arachne entered weapons range.
Running was not an option.
Fortunately, Arachne main guns are innacurate and slow firing, so the Berzerk stack was able to wipe it before any of the capitals could become casualties.
For the remainder of the fight, the boarded Berzerk was unable to move, fire, and struggled to even rotate. They had no chance of outrunning even the slow Cerberus Heavy Carriers. Desperate to prevent further casualties, I ordered the remaining Berzerks to defend our crippled ally.
A book could be written about the valiant efforts of the marines that fought off the Cylon boarding party, and the engineers that kept the reactor from going critical, but this is not their story. I will say this much, however: Keeping the Cylon boarding crews busy meant one less Cylon squadron participating in the already desperate fighter battle.
As long as the Cylons arrive one by one, they are no match against even a heavily crippled Berzerk fleet. Again, books could be written about the engineering crews that repaired critical systems during this battle.
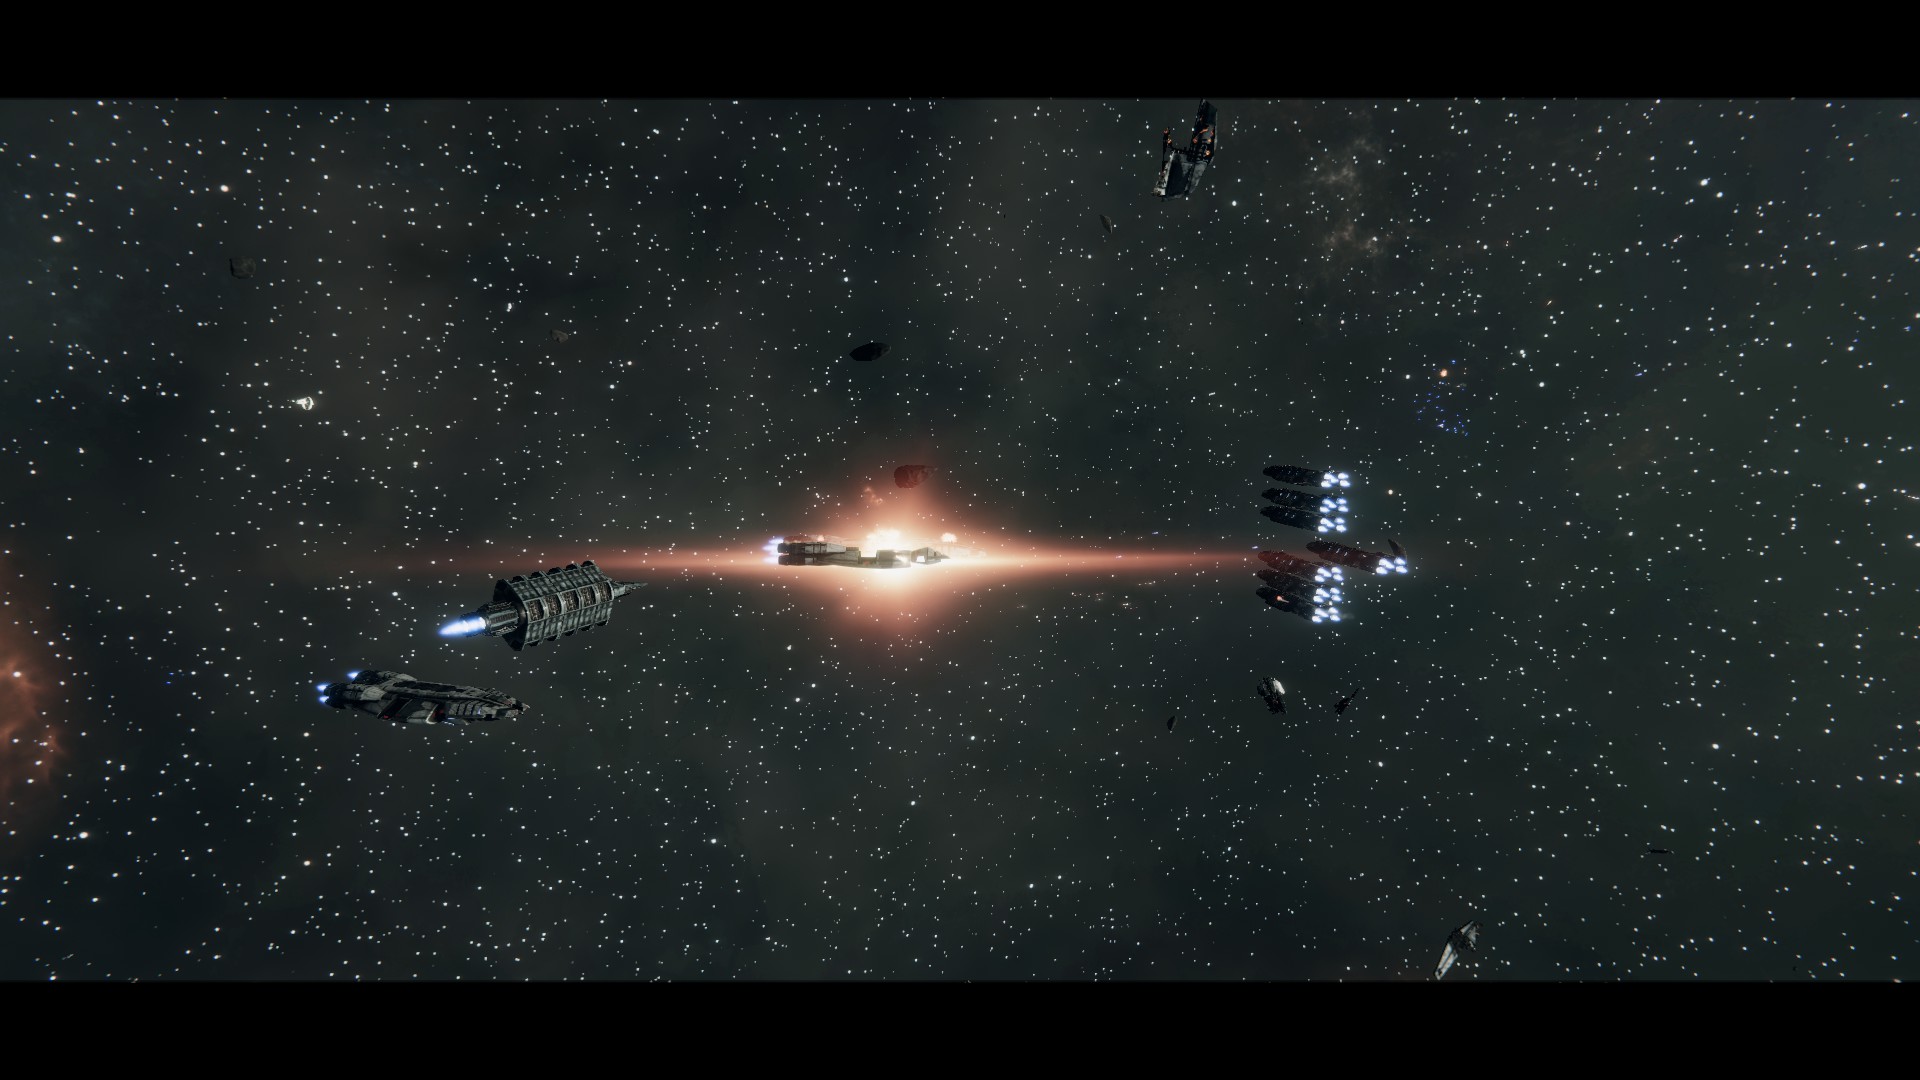
The Cerberus began catching up to the boarded Berzerk. To protect it, the valiant crew of the ?, the only Berzerk that had yet to suffer internal hull damage, deliberately entered Cylon weapons range to bait their weapons.
The remaining battle ready Berzerks followed. Despite critical hull damage, all combat critical subsystems had been fully repaired.
The lead Cerberus trained it’s weapons on the lead Berzerk.
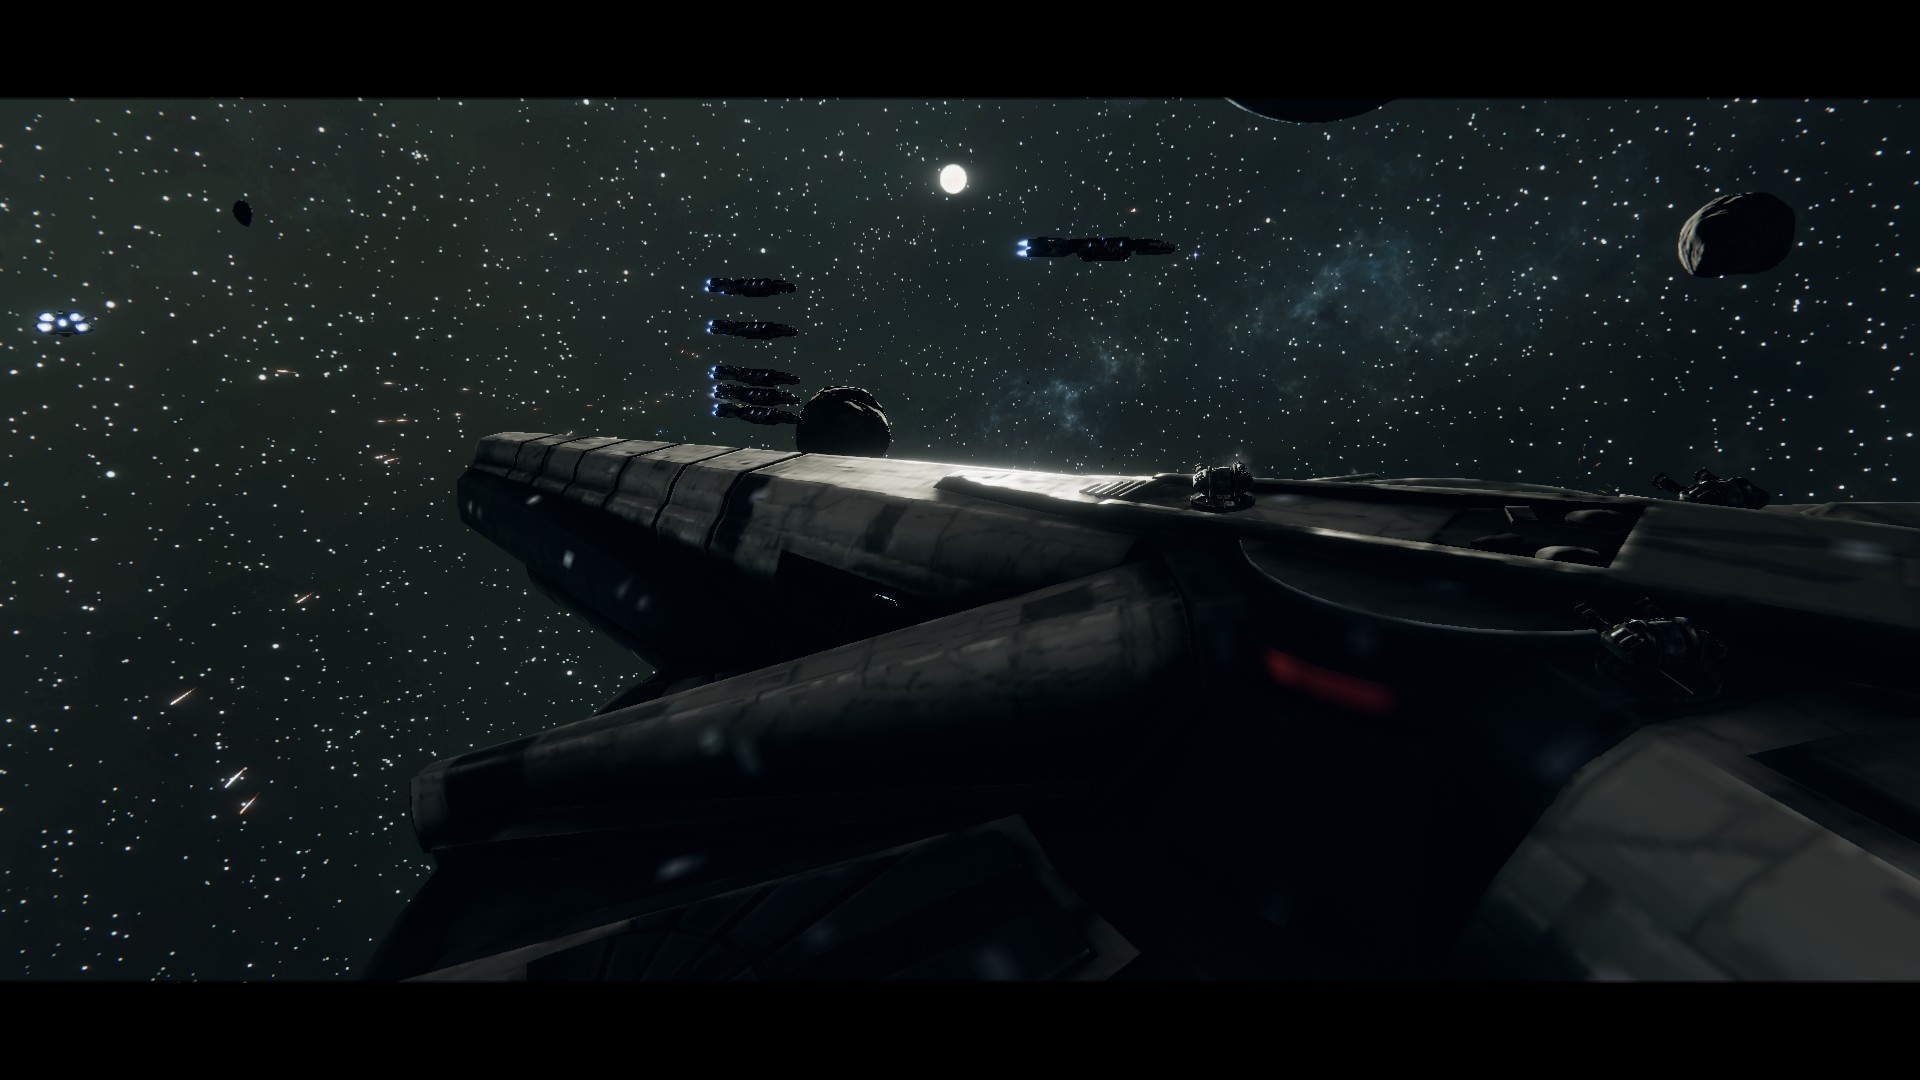
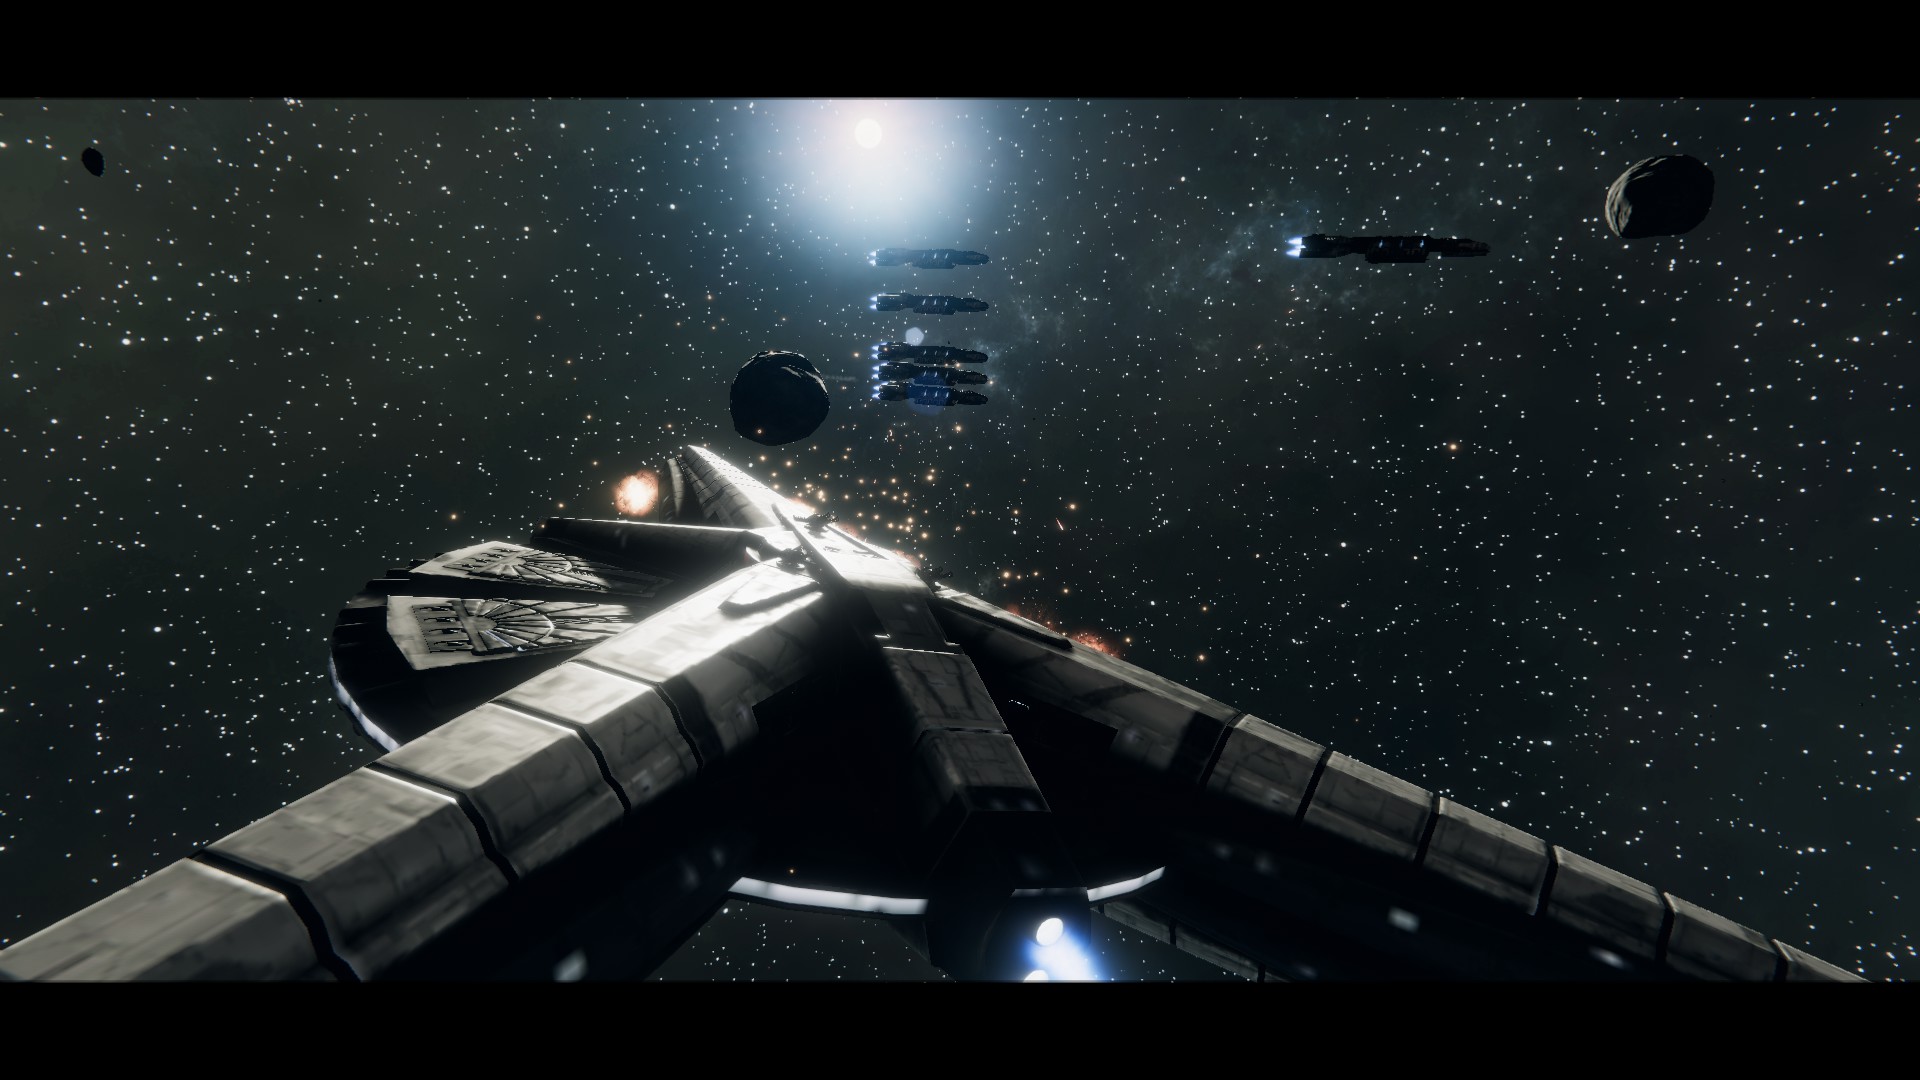
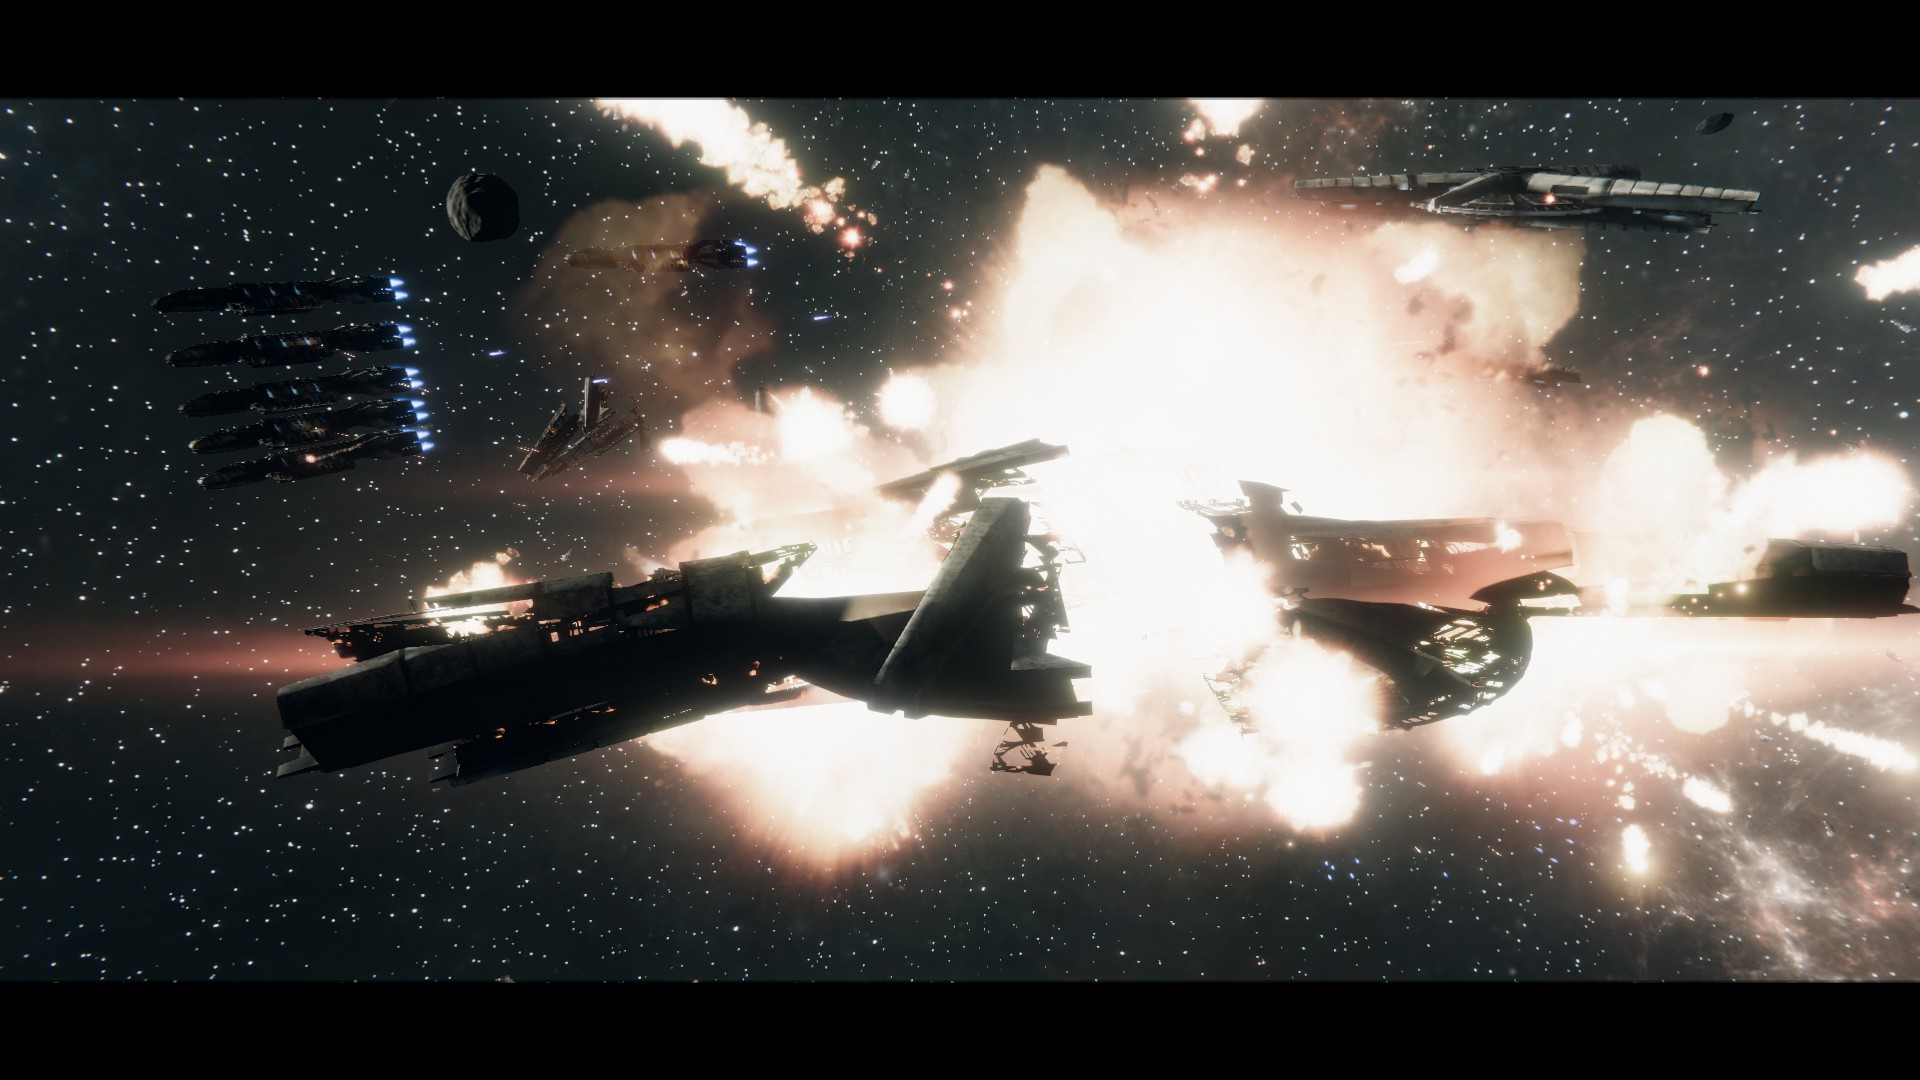
A stack of 6 fully functionally gunnery crews tore the first Cerberus apart in short order.
The second Cerberus entered firing range of the boarded Berzerk. Fortunately, despite the havoc the Cylon boarders did to the internal subsystems, the external armor was sufficiently intact to survive.
We opened fire on the second Cerberus.
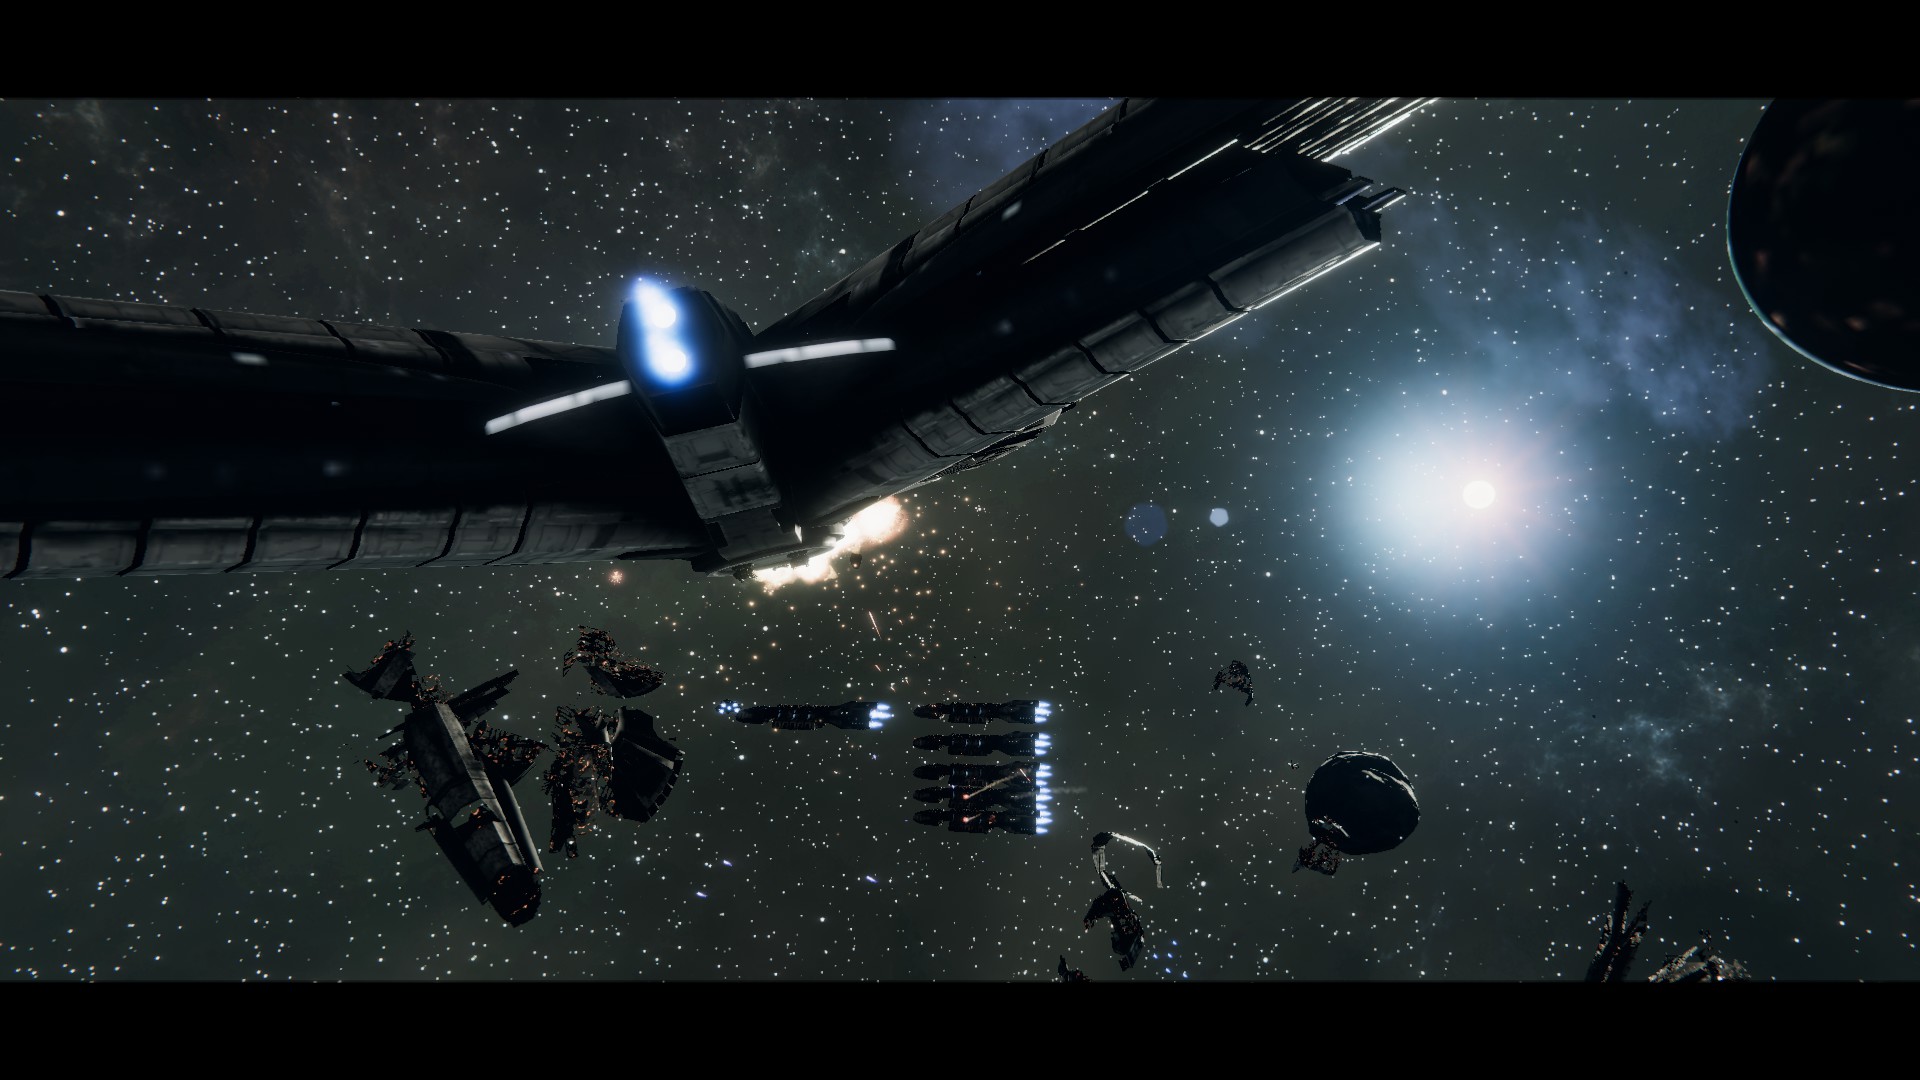
It died in short order. By now, the lead Berzerk that had baited the Cerberus heavy weapons was starting to lose what remained of it’s armor, so it boosted it’s engines to catch up with the rest of the fleet.
The remaining Cerberi died in short order.
It should be noted that aside from the initial but devasting impact of the Cerberus fighter squadrons, they are possibly the second weakest Cylon capital in direct combat. Their guns are slow firing, inaccurate, and they have pitiful engines. Only the Talon Light Carrier is weaker in a direct confrontation.
After Battle Report
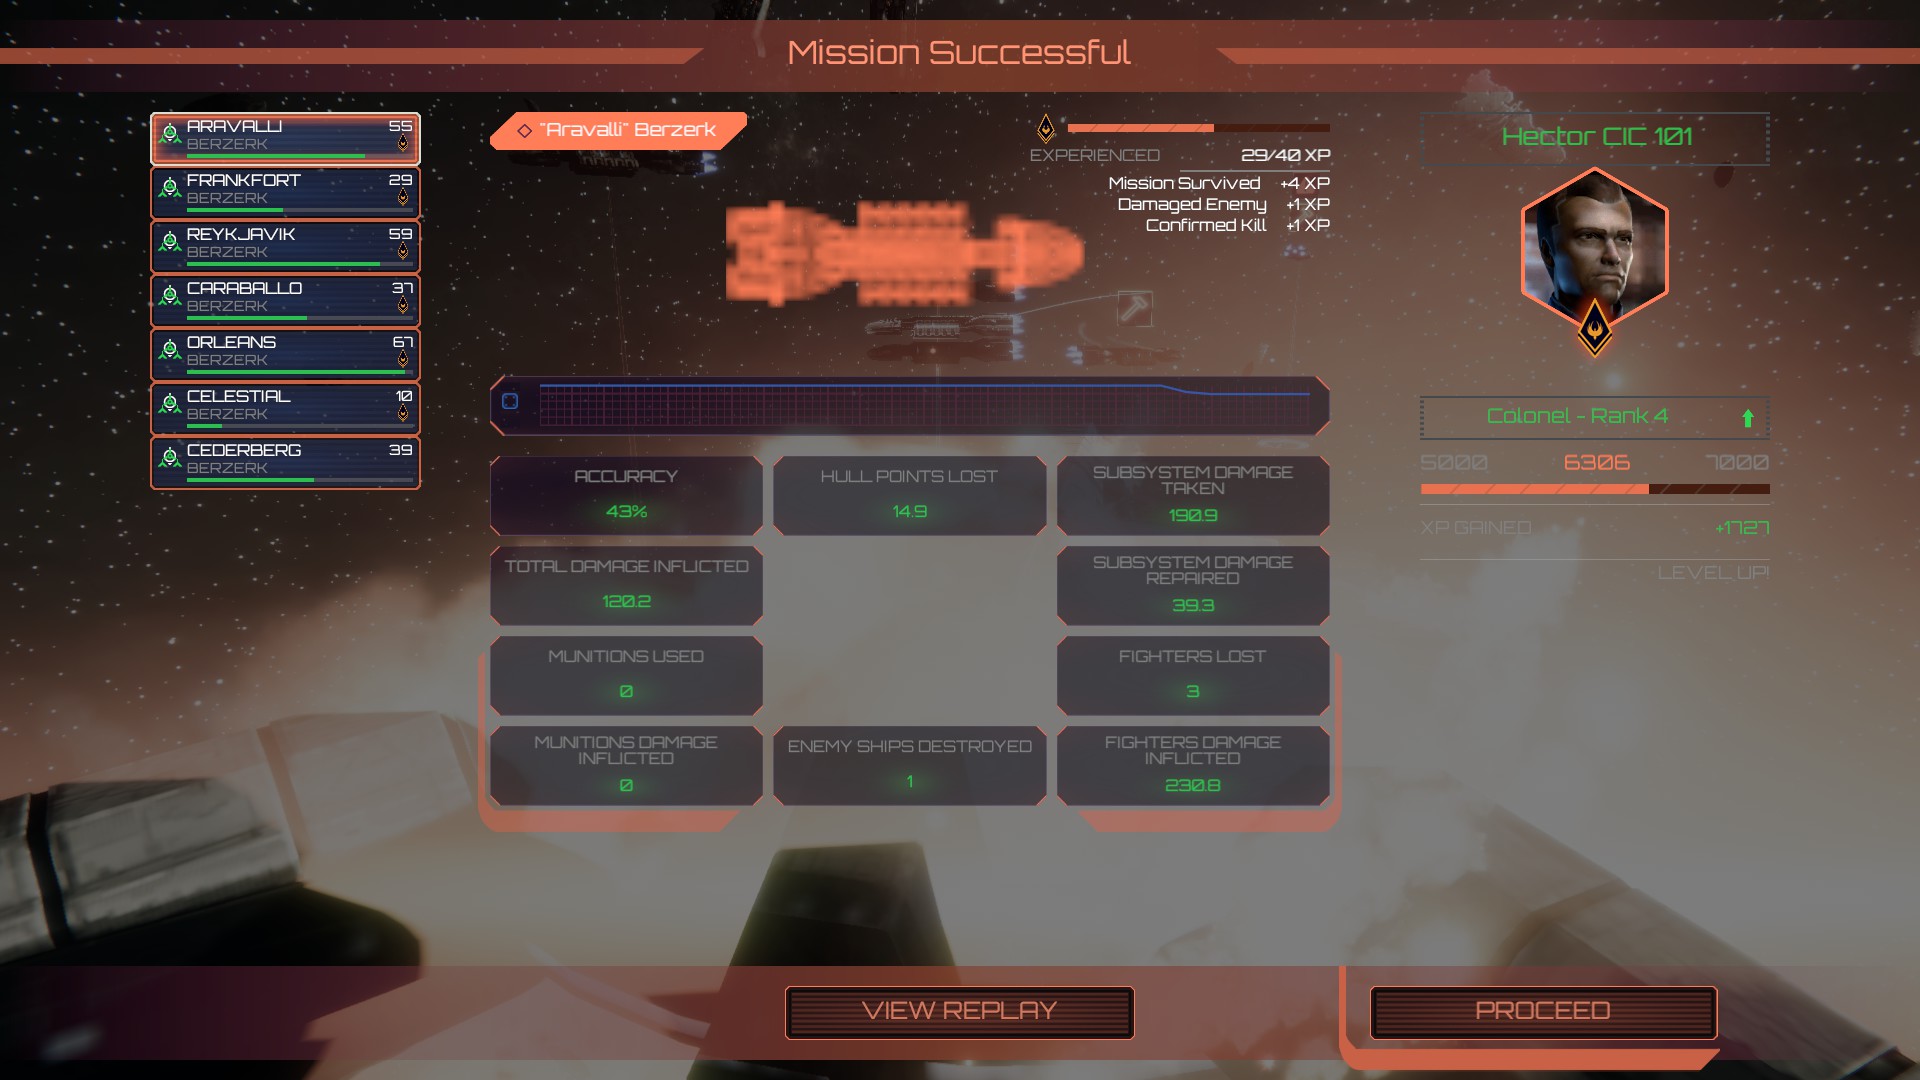
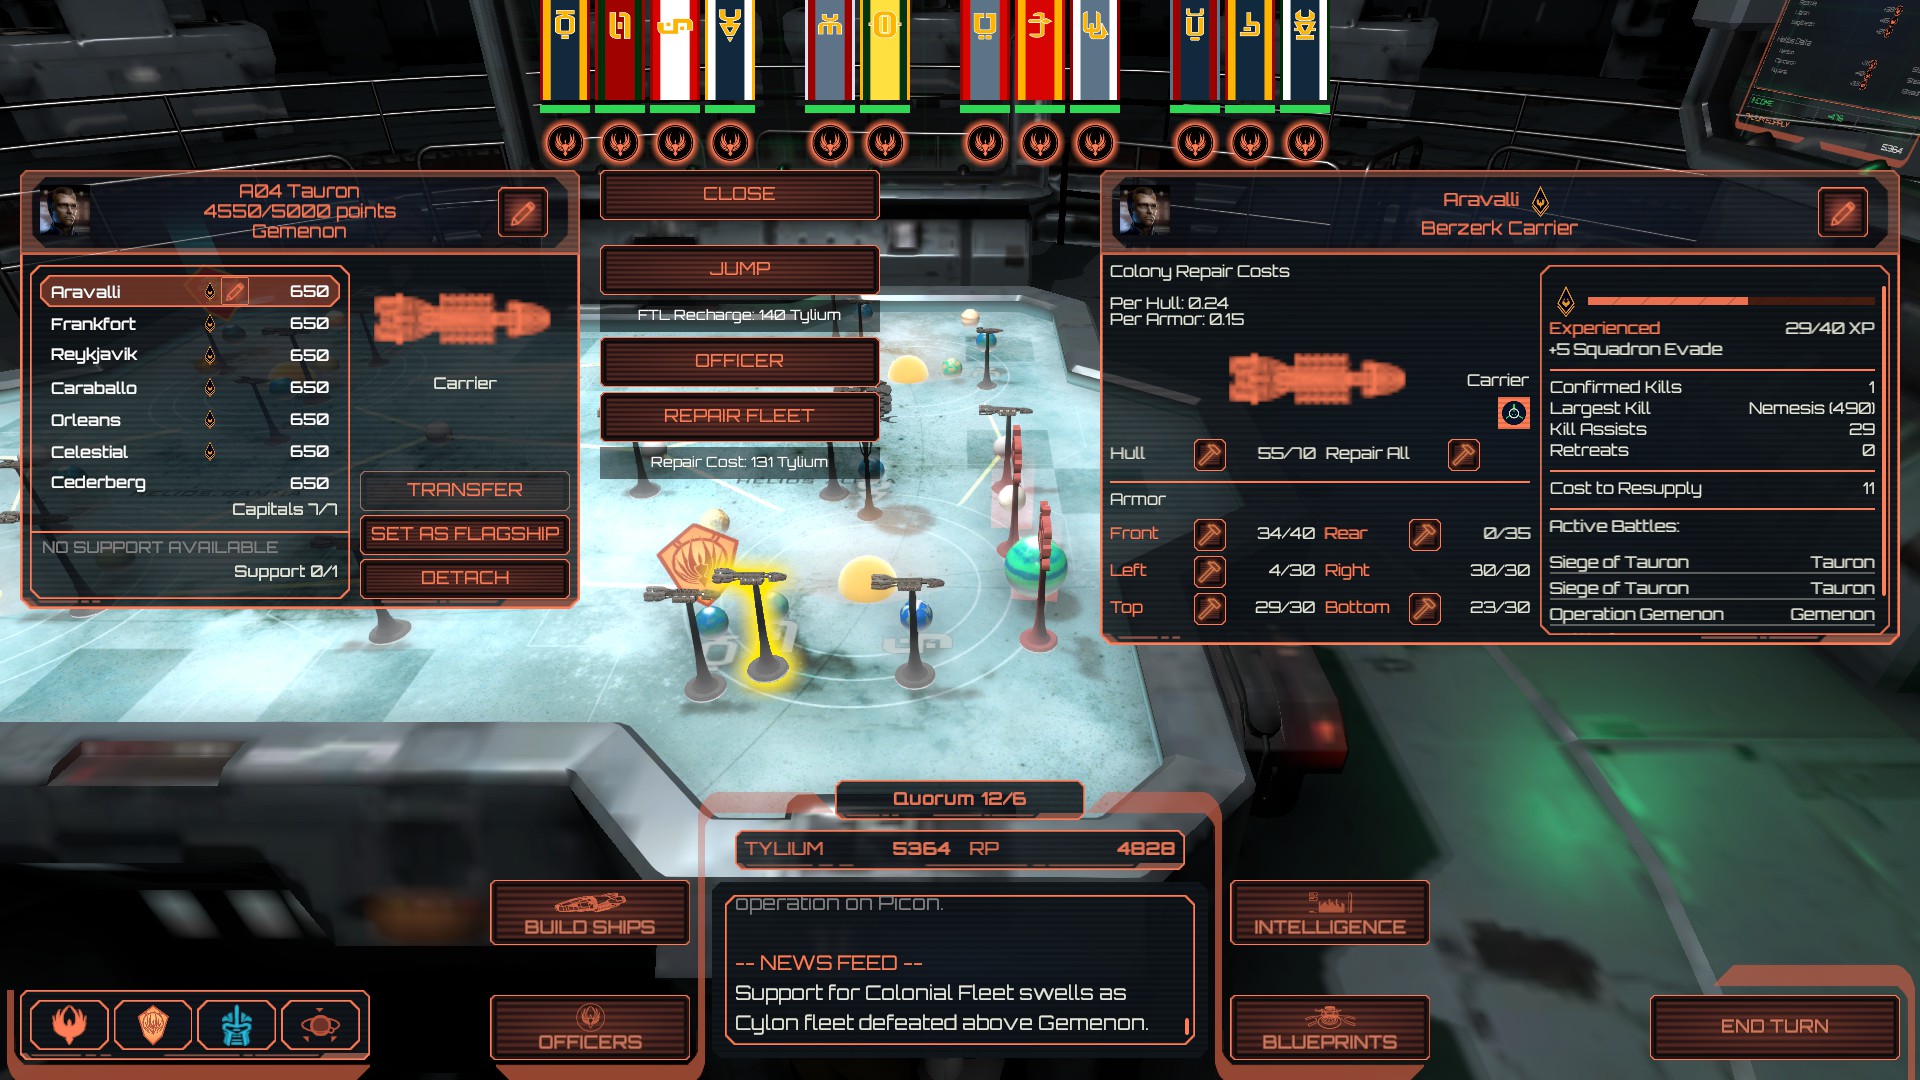
The Aravali was unable to participate in much of the battle due to the aforementioned boarding party that crippled it’s engines and weapons. As it only participated in the initial confrontation against Cylon fighters, it’s accuracy and damage output was abysmmal.
Nonetheless, they were vital for the survival of the fleet, for reasons I already mentioned.
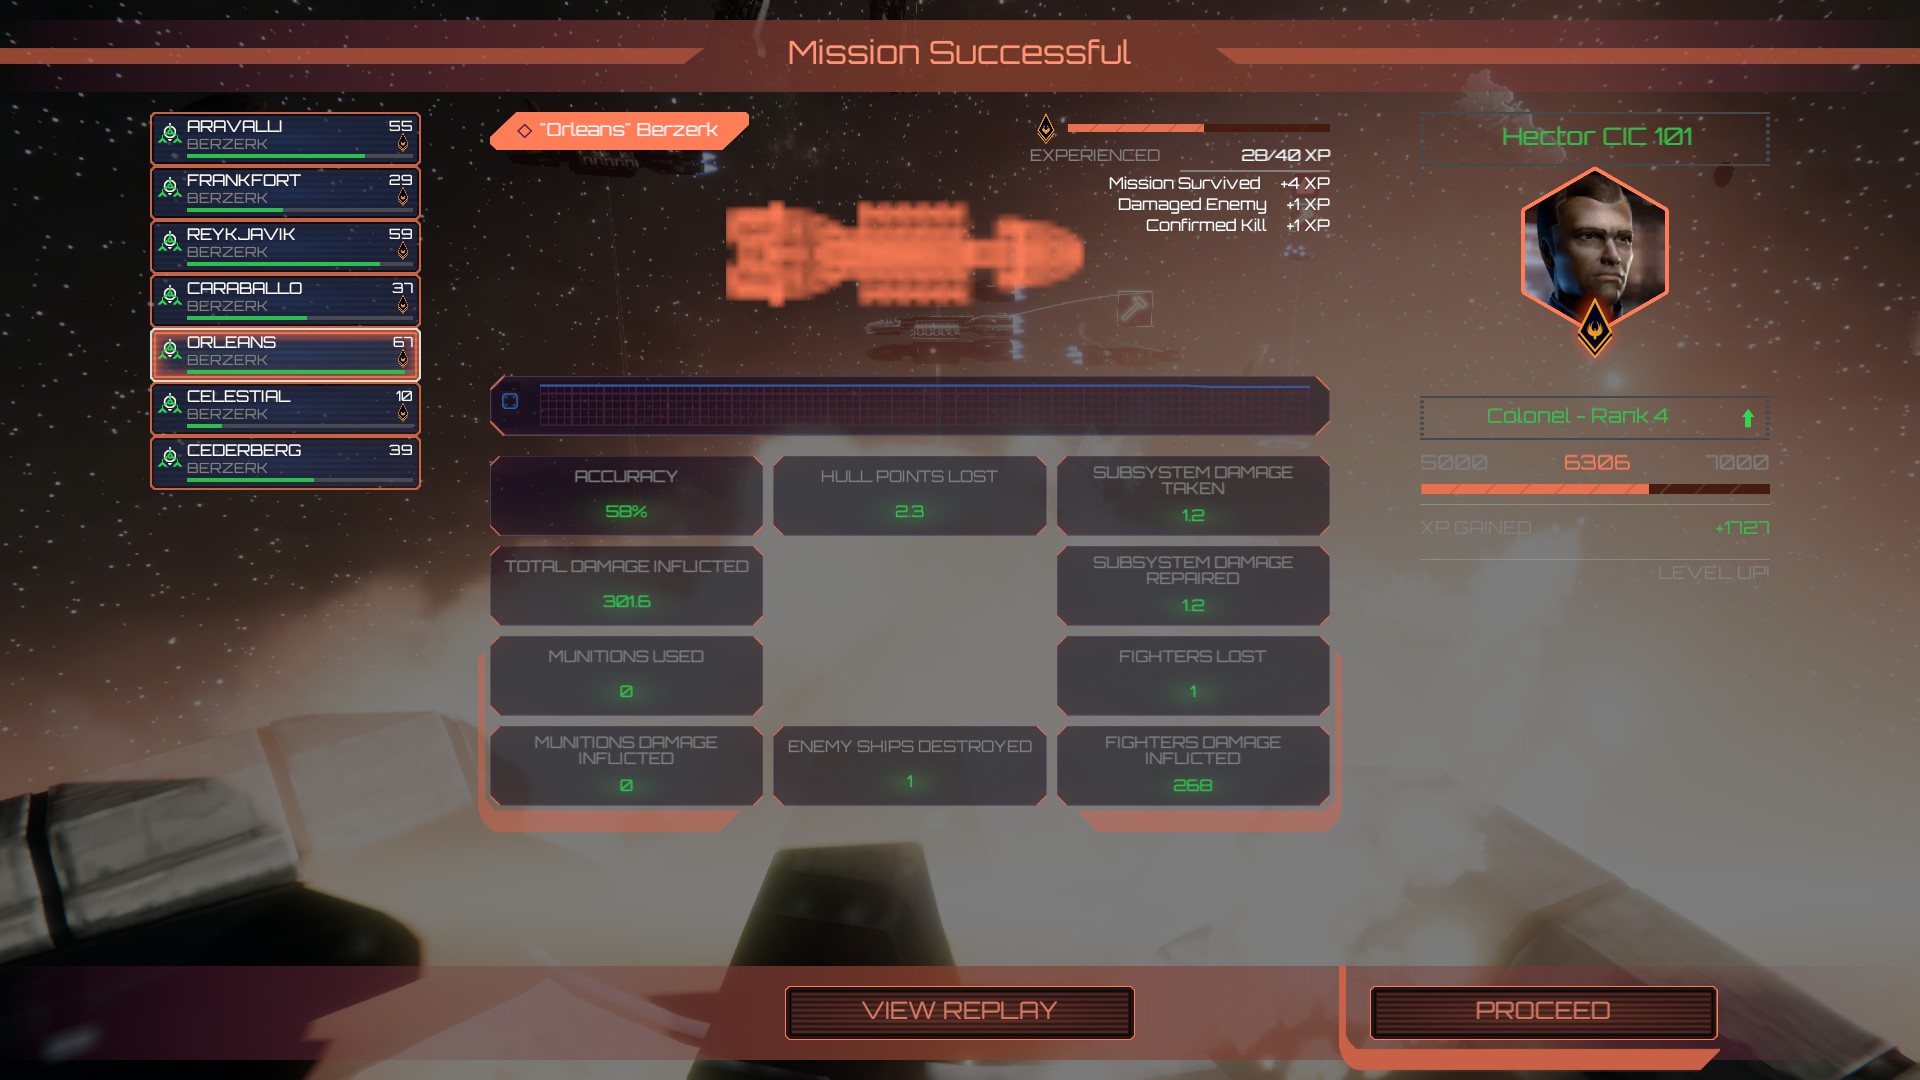
The Orleans suffered only minor hull damage, which was why they volunteered to bait the majority of incoming fire when battling the Cerberi. The value of rotating armor, and baiting enemy fire against relatively undamaged capitals cannot be understated.
Again, the low accuracy is primarily due to using medium weapons against small, evasive cylon fighters.
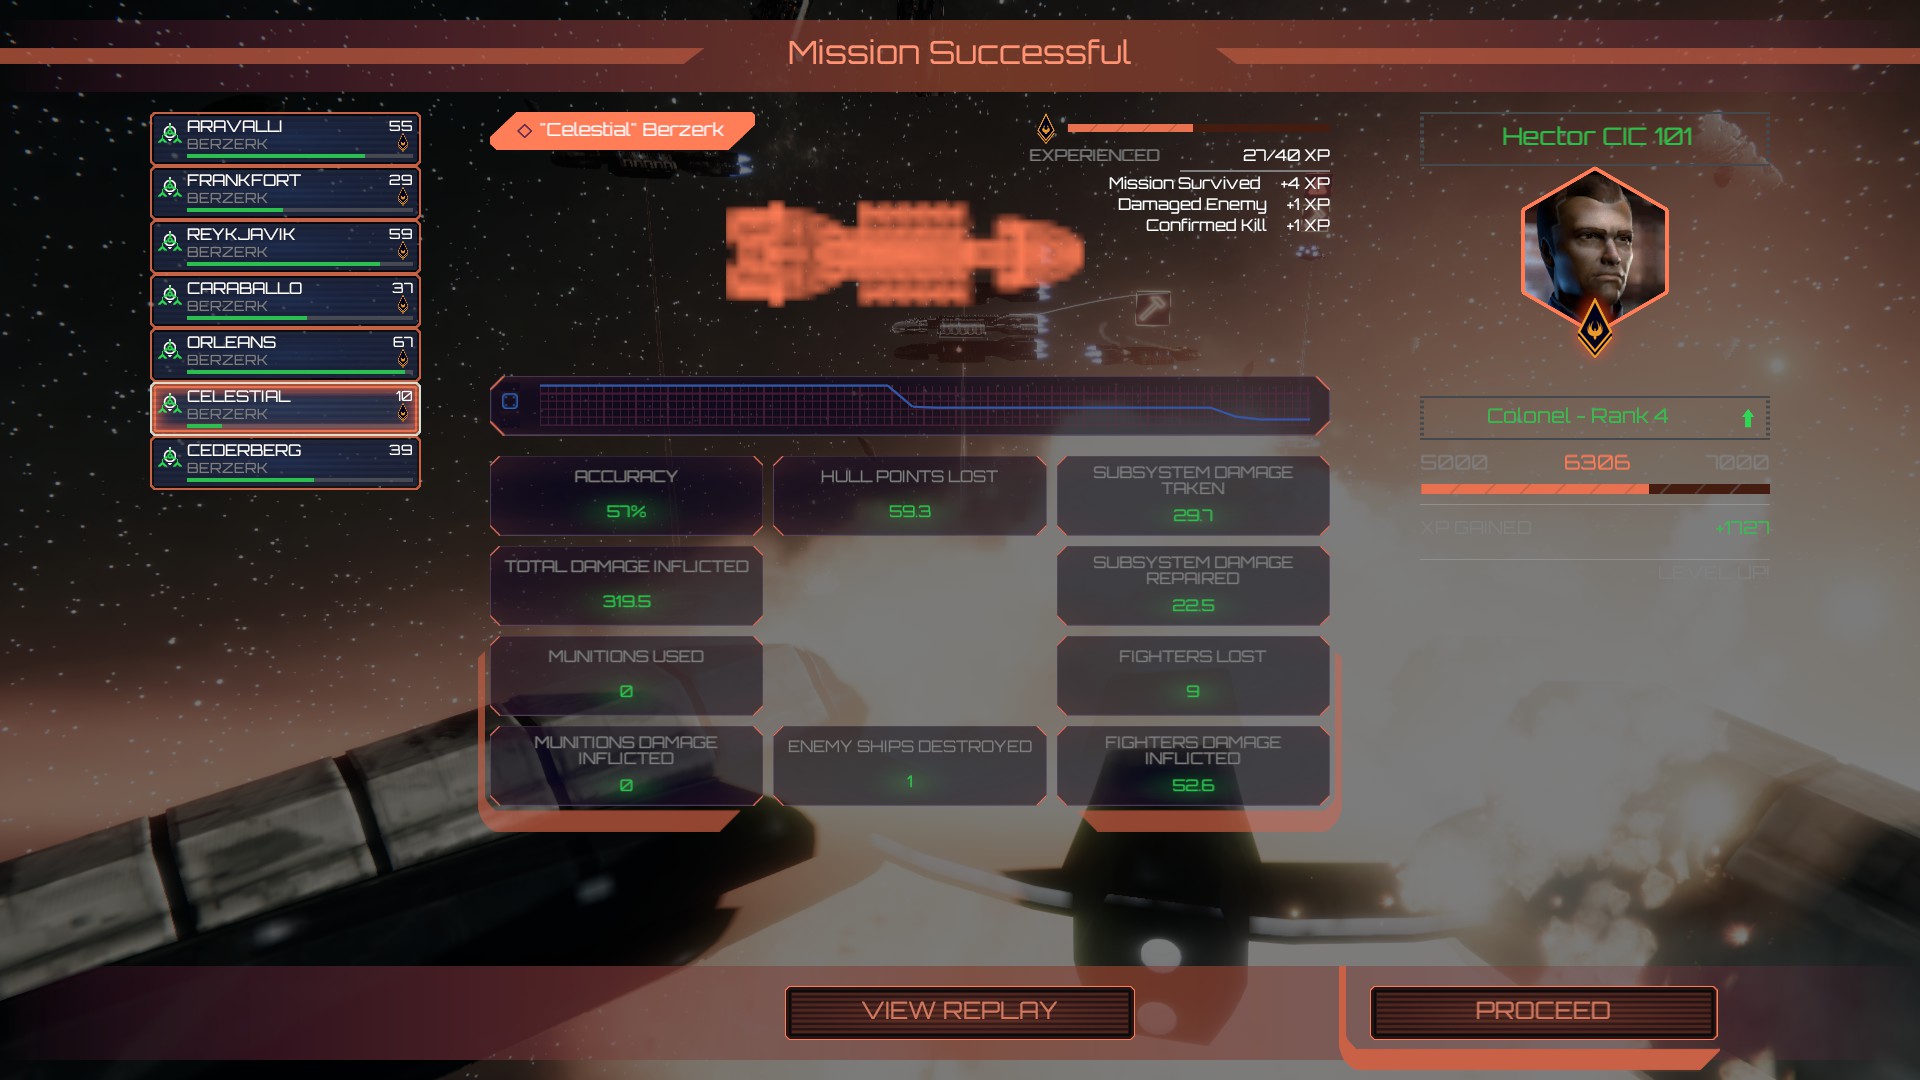
Despite near critical damage, the Celestial was able to operate it’s weapons at peak efficiency throughout the battle. Had the crew been concerned for their own lives and fled, it is possible this entire fleet could have been wiped out.
The final repair cost was 121 tons of tylium, less than the cost of producing a single Berzerk. All this, despite almost losing an engagement against a Cylon fleet tailor made to counter the Berzerk Monofleet.
Under the circumstances, I would consider this a resounding victory.
Lessons Learned
Had the Berzerks turned around to support the fighters slightly sooner, it’s possible they could have saved many of our pilots, thinning out Cylon fighters before missile locks forced us to divert fire to the Nemesi.
The best way to defend against overwhelming Cylon boarding parties is to attempt to repair the armory subsystems. Even if the CIC is heavily damaged and holding on by a single thread, as long as their is at least some resistance elsewhere the Cylon boarders will ignore the CIC. Had the boarded ship adopted a defensive posture sooner and devoted repairs to the armory, they might even have been able to become combat capable before the fight was over.
The value of officers that know how to boost the efficiency of subsystems continues to prove vital. In this battle, fighter evasion allowed our Vipers to win – barely – against a 3:1 disadvantage. A CIC officer could have helped the normally inaccurate medium turrets destroy enemy fighters, an ENG officer could have ignored a portion of incoming fire to focus on priority targets, and a NAV officer could have outrun the Cylons longer in order to gain a more favorable firing position.
Even an ARM officer – generally considered the least useful – could have gotten a boarded ship back into the fight.
Hope you enjoy the post for Battlestar Galactica Deadlock Combat Log & Abilities Berzerk Monofleet, If you think we should update the post or something is wrong please let us know via comment and we will fix it how fast as possible! Thank you and have a great day!
- Check All Battlestar Galactica Deadlock Posts List


Leave a Reply