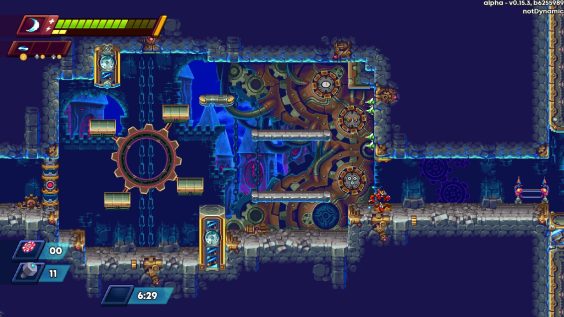
Stage Lineup
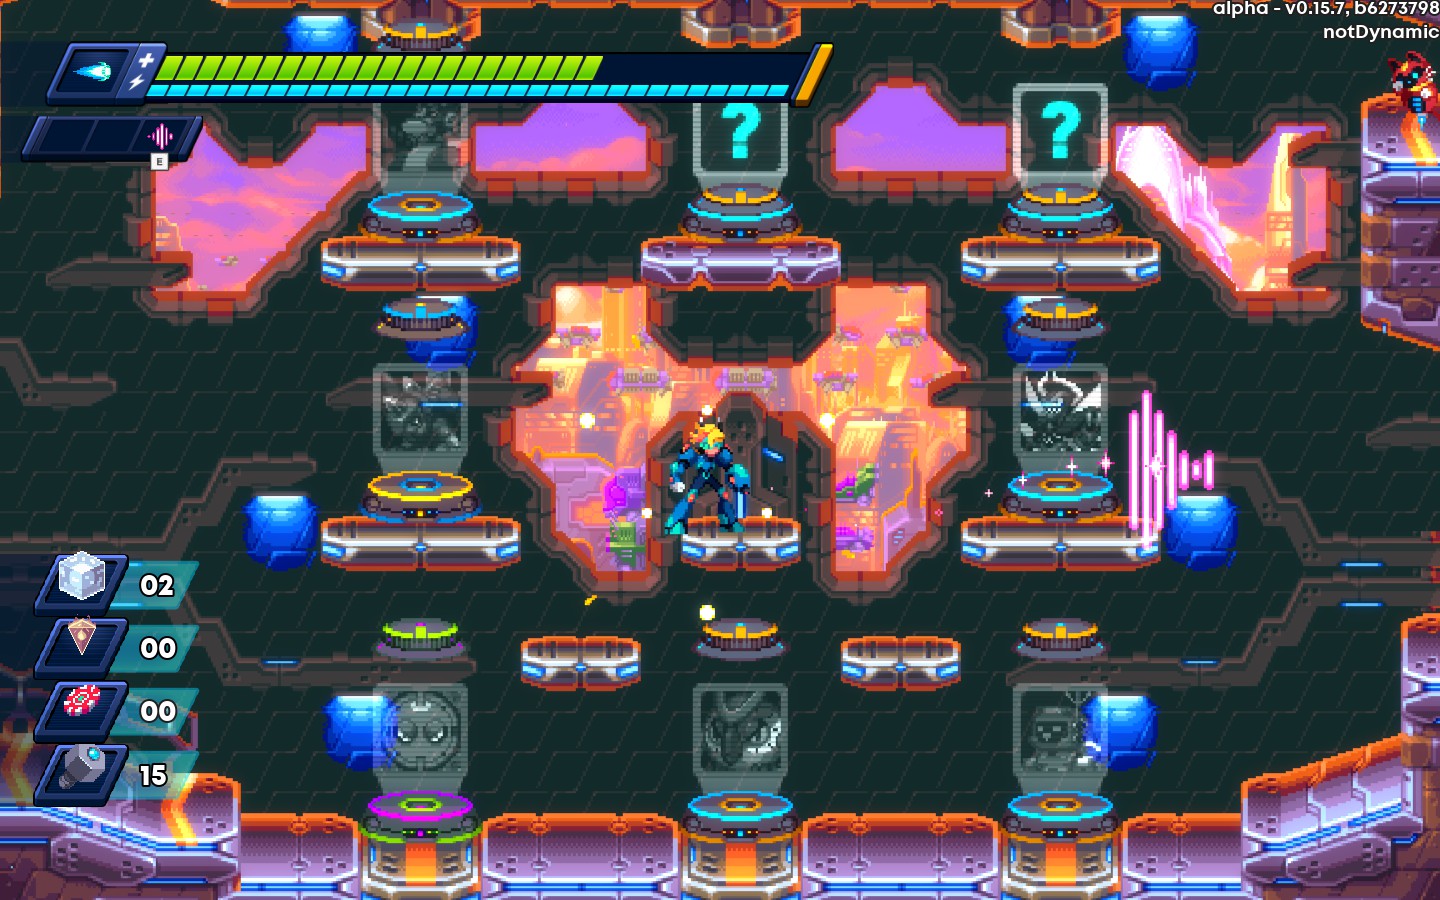
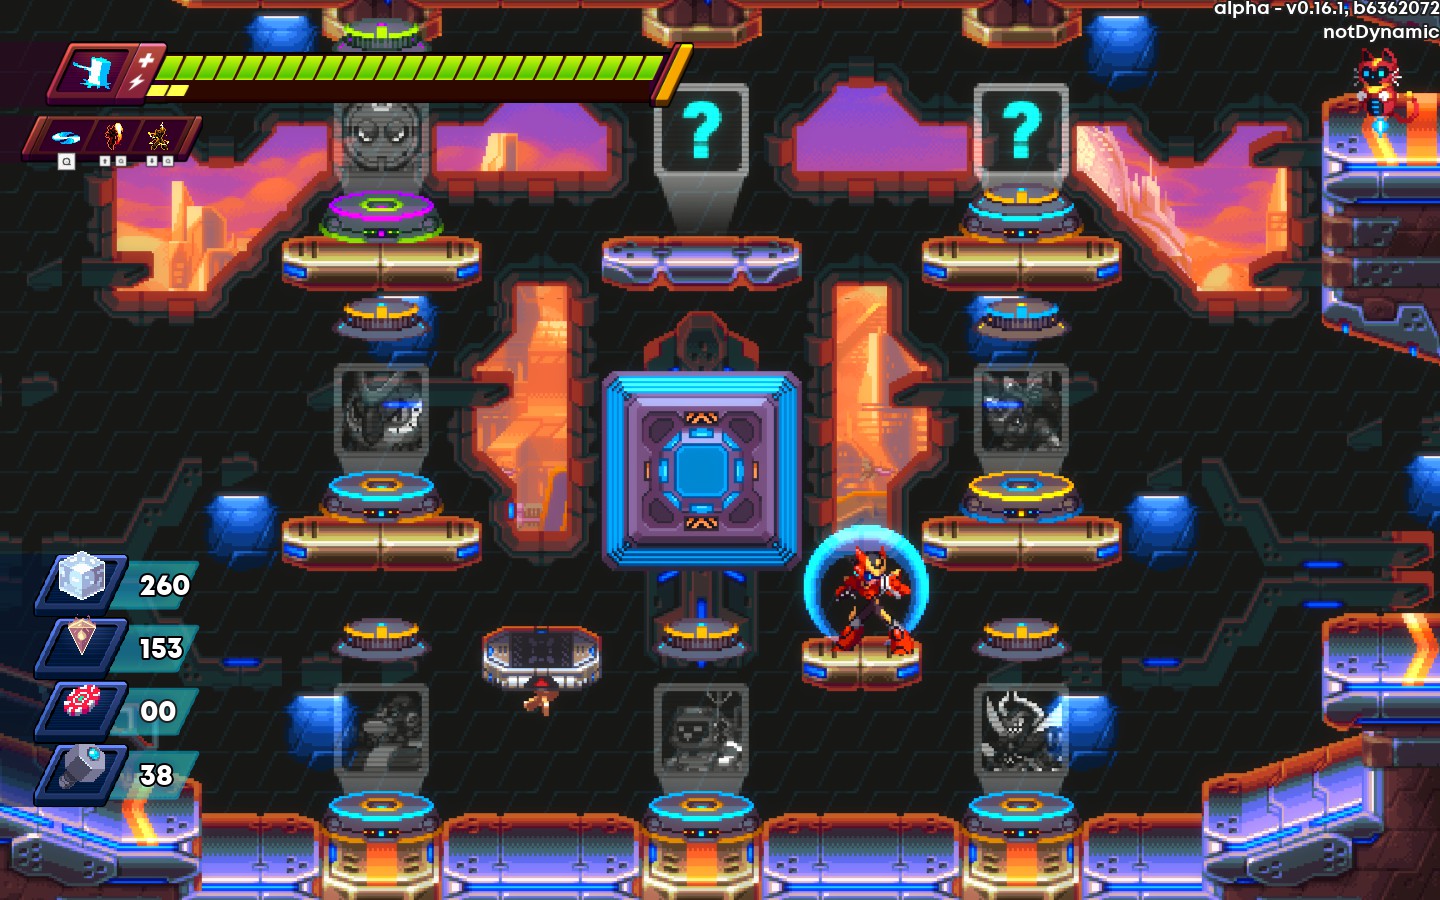
Here’s the current list of bosses, their respective stages, and the powers they offer to Nina and Ace Respectively.
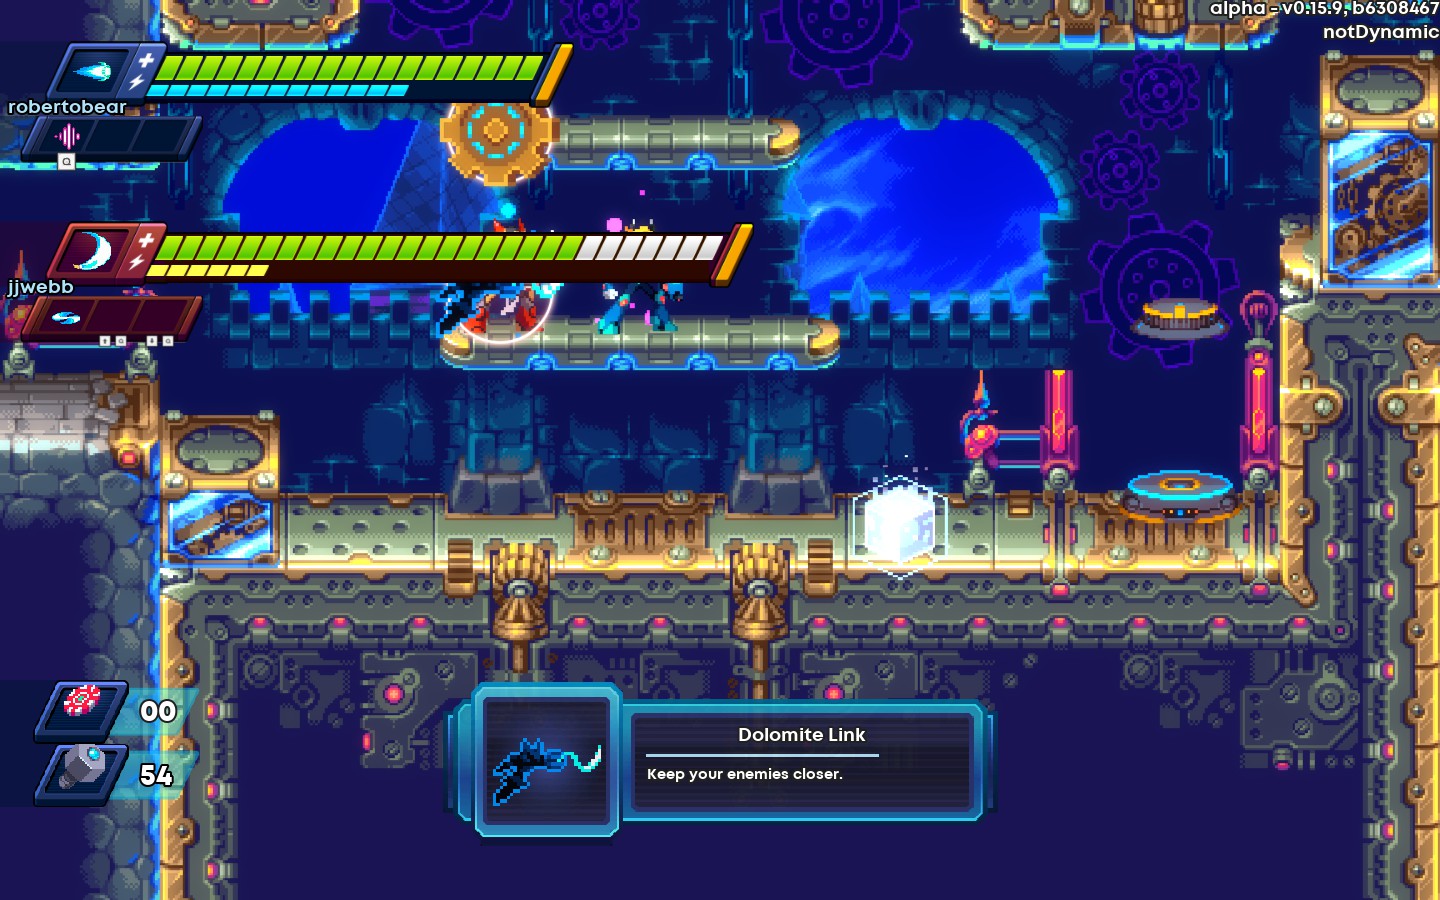
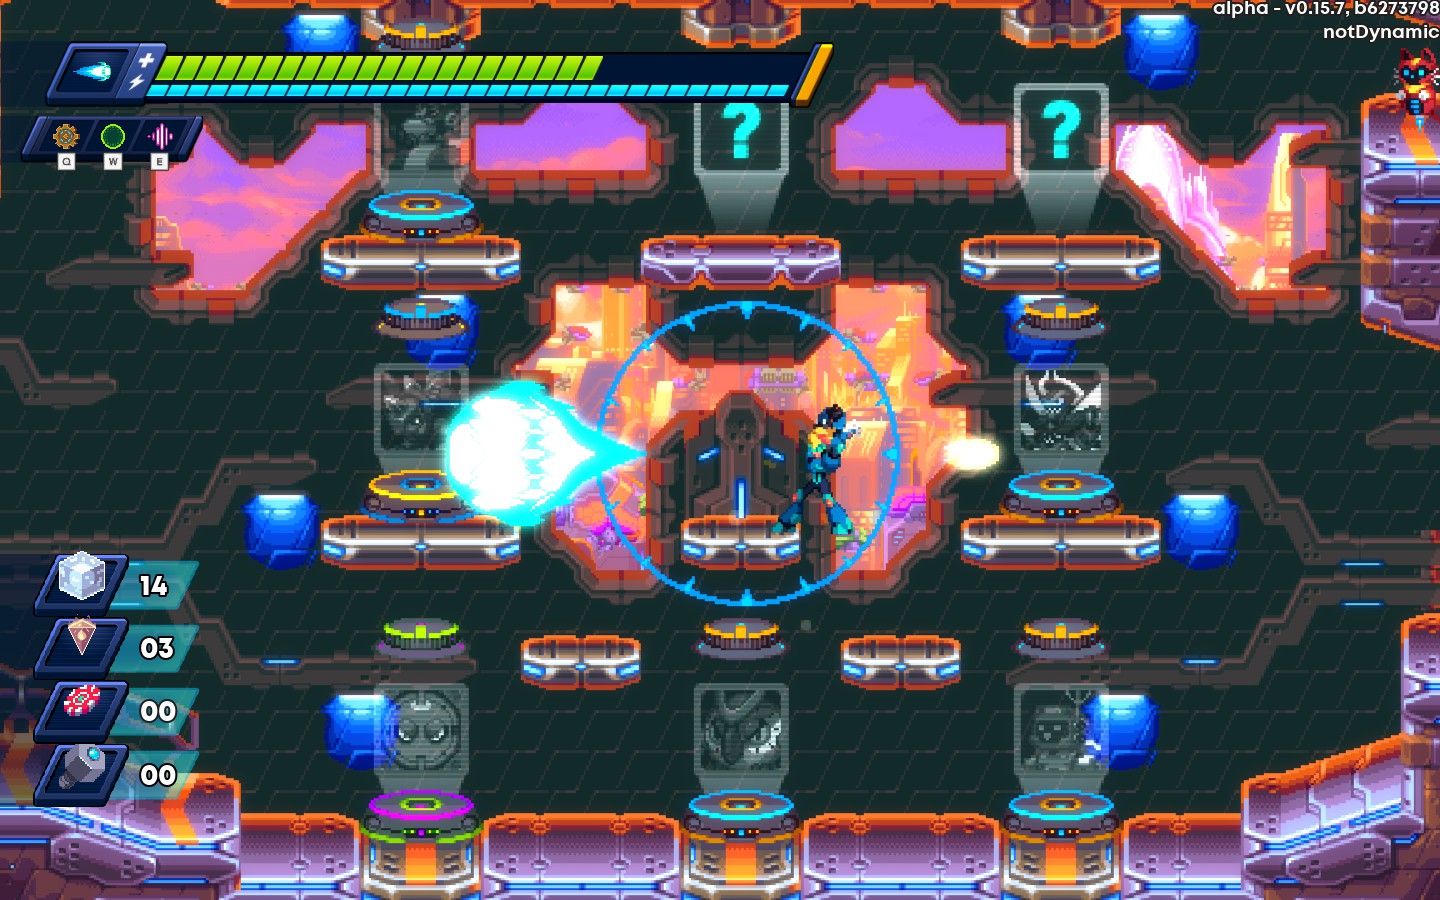
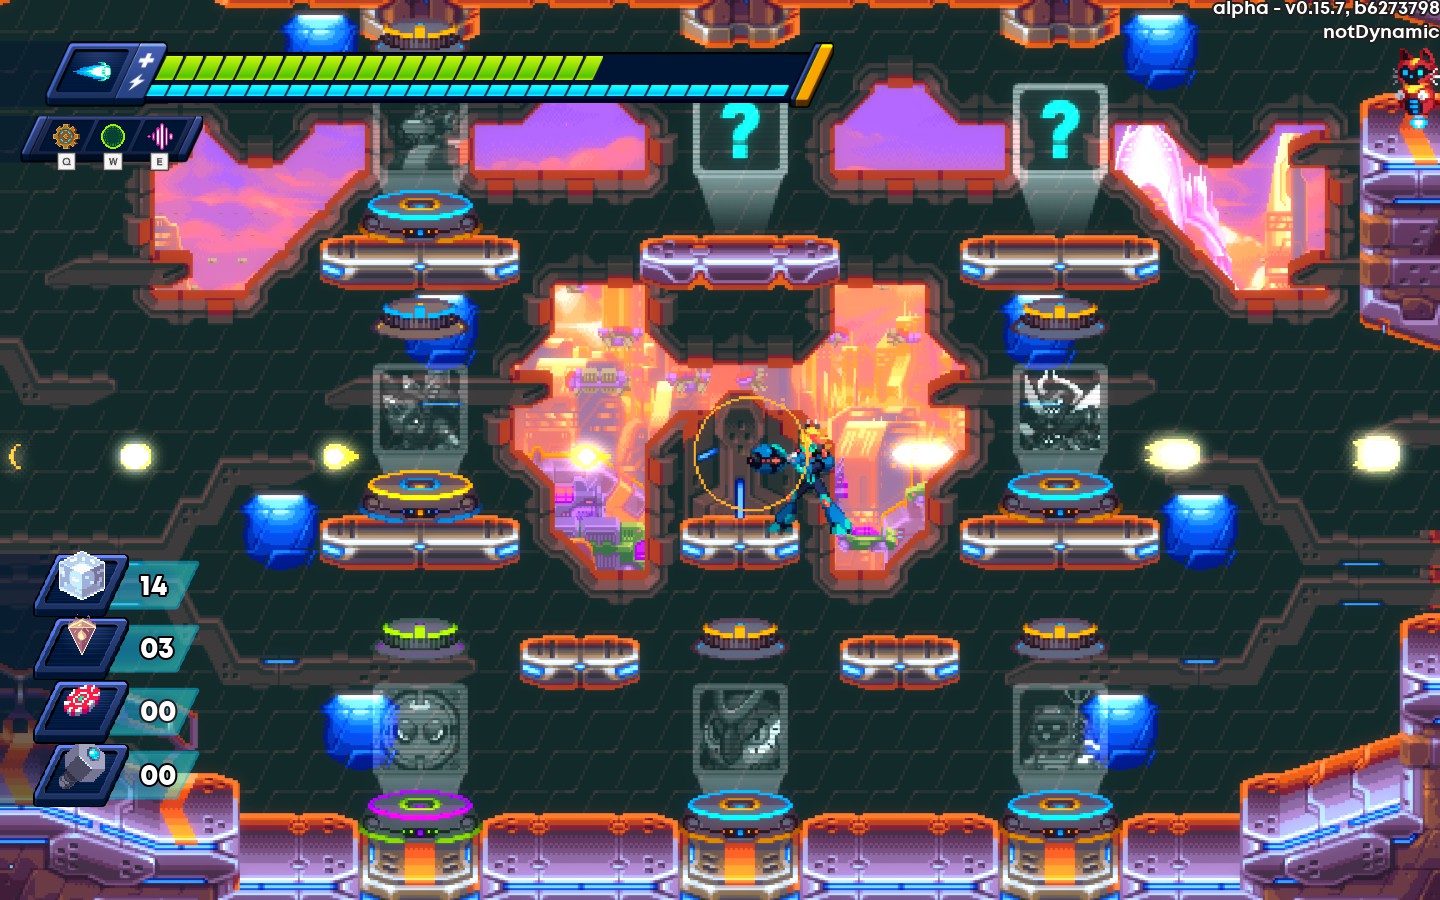
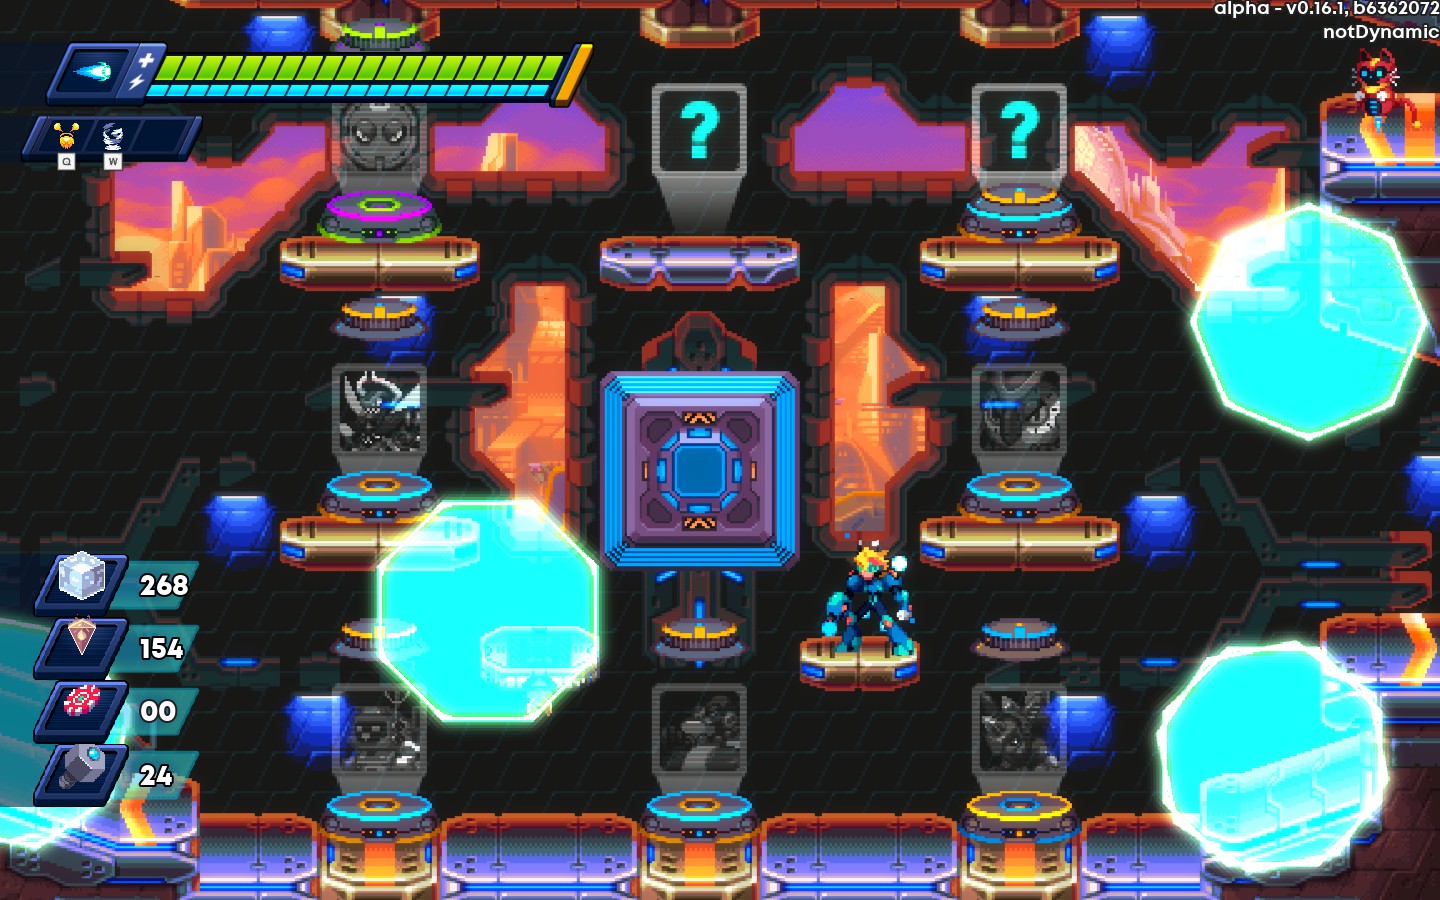
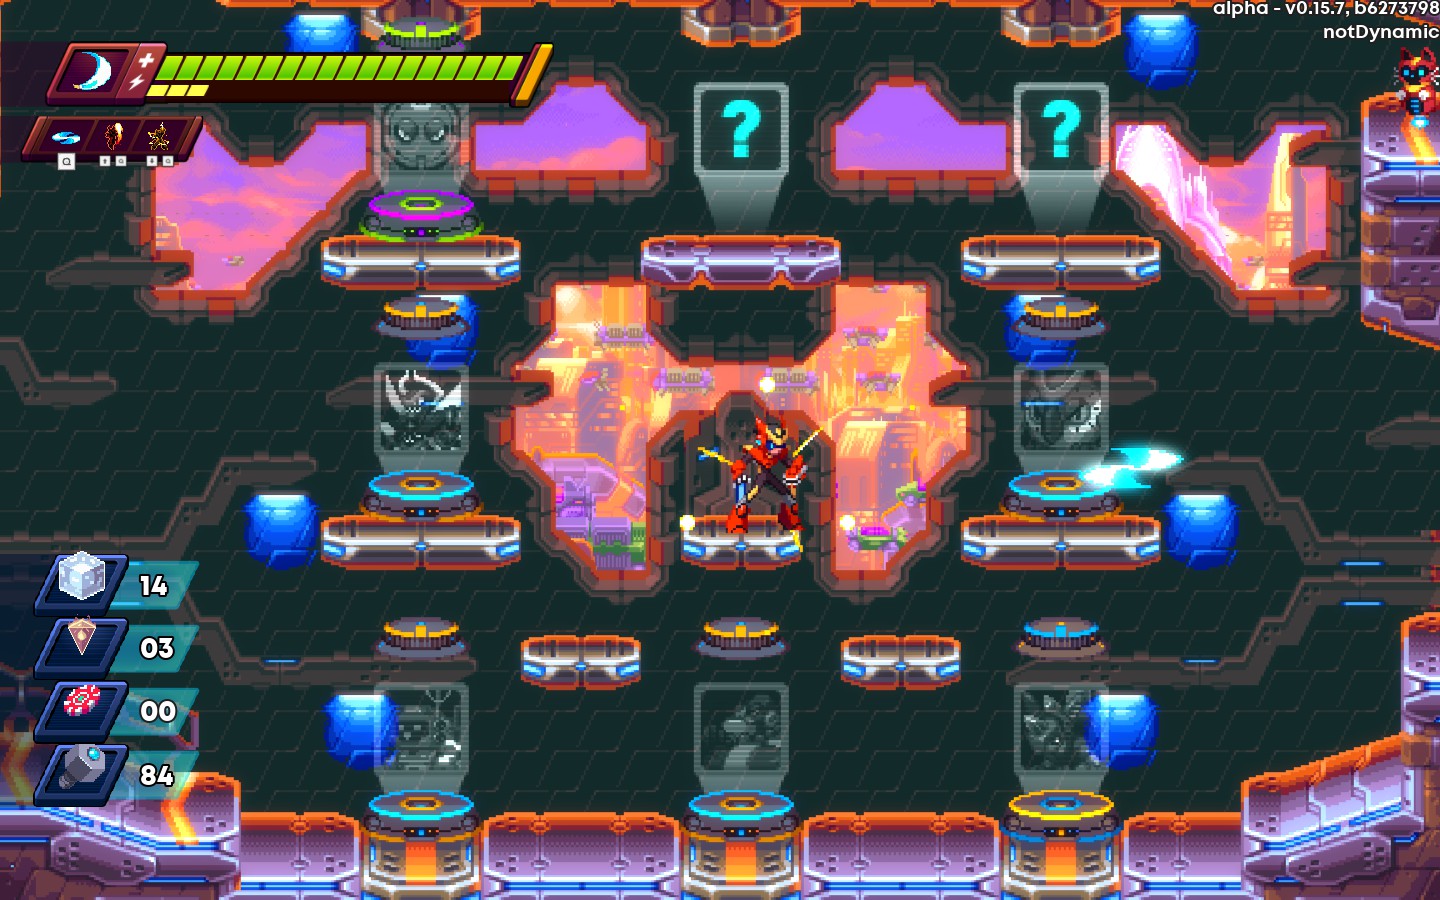
Boss:Lethal Tempo | Area:Clockzone | Power:Aiming Gear(Nina)/Dolomite Link(Ace)
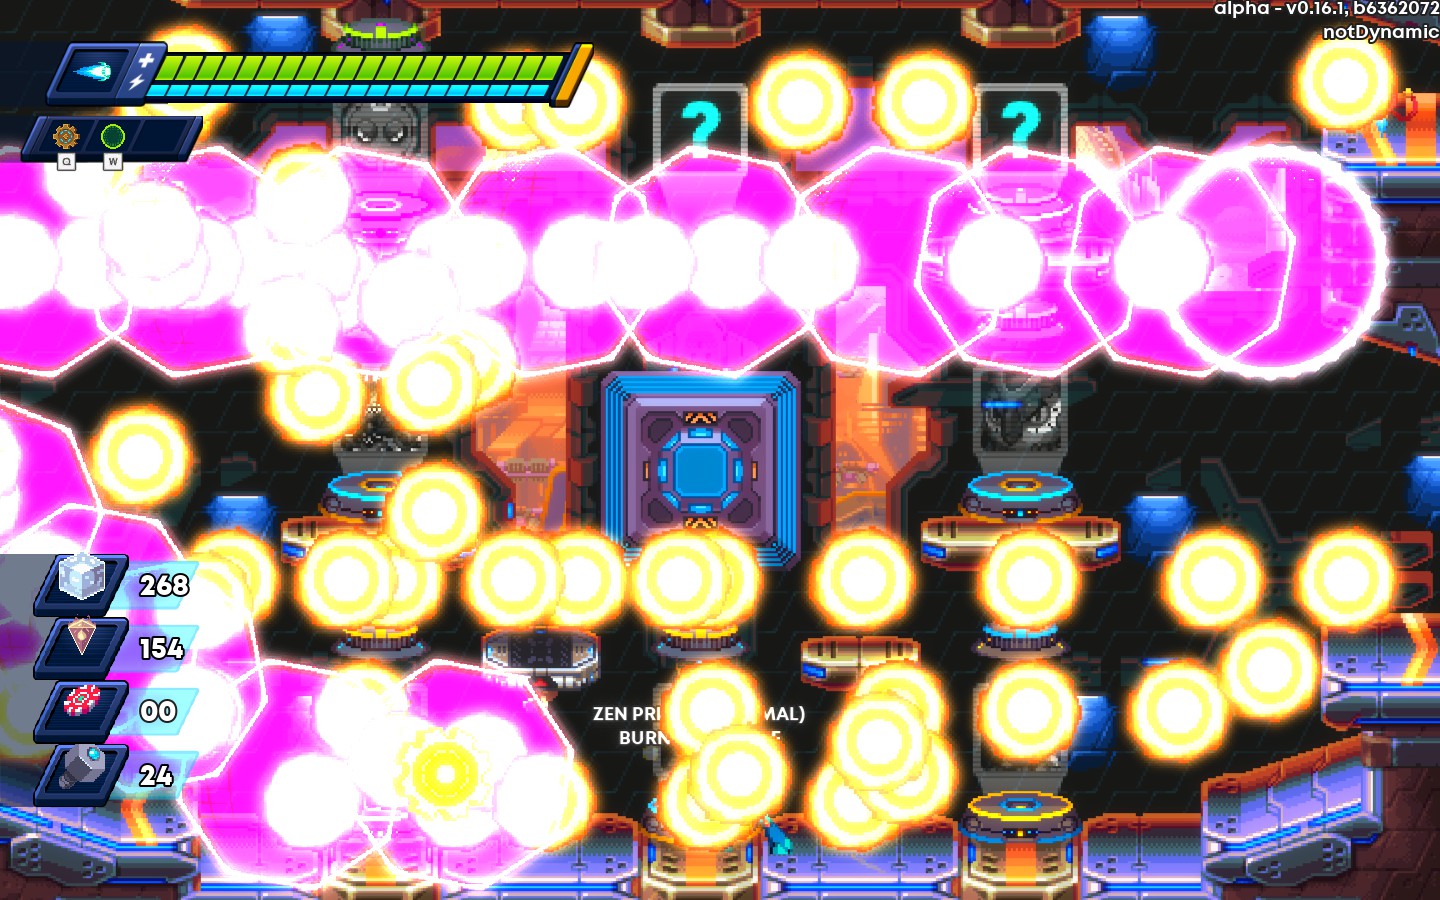
Boss:Zen Primus | Area:Burning Temple | Power:Zen Mortar(Nina)/Zen Ascent(Ace)
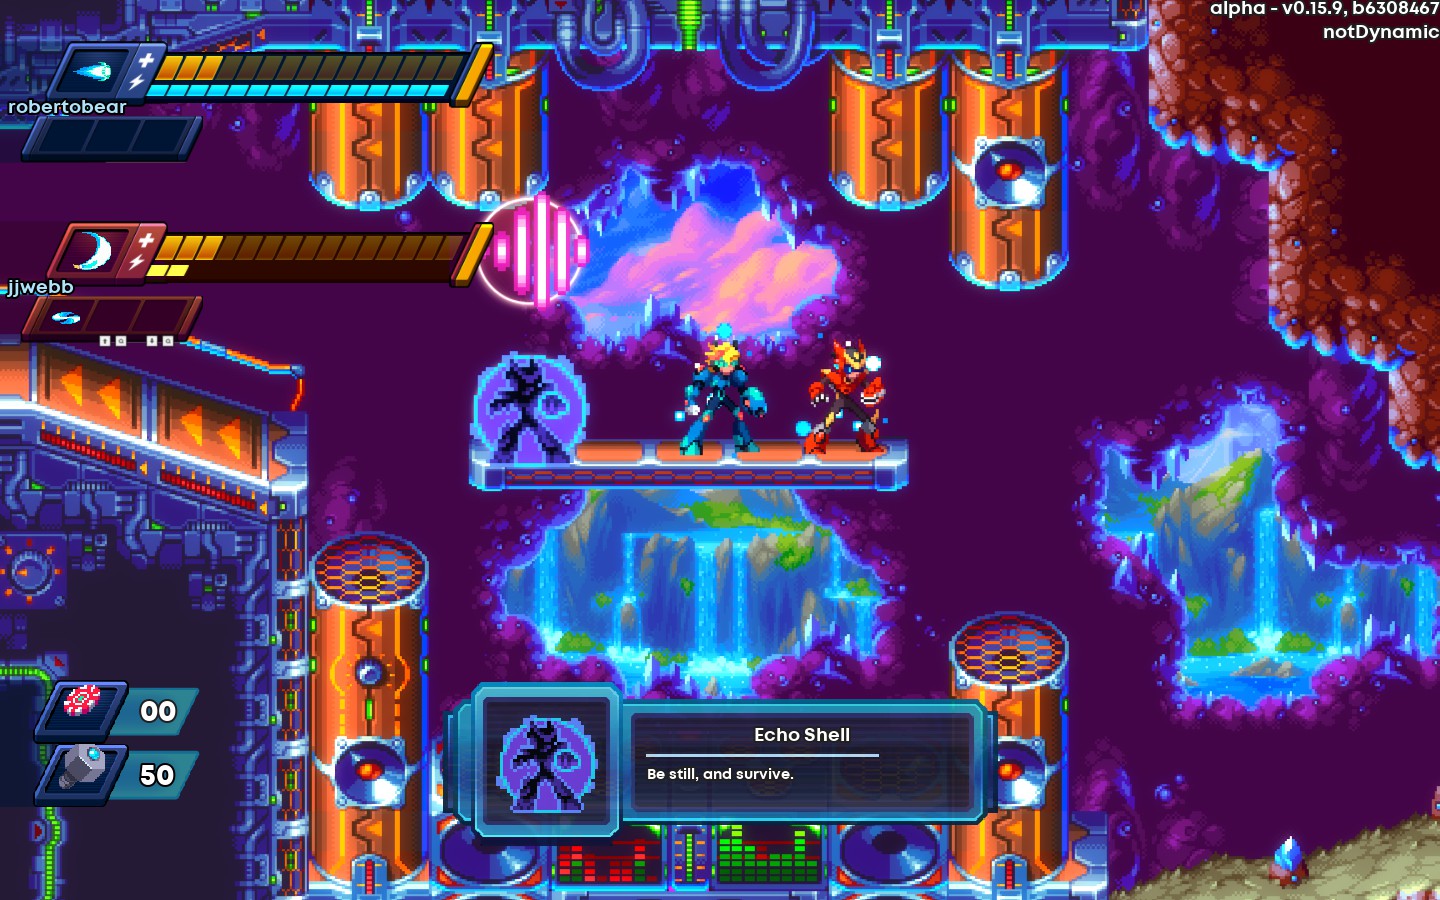
Boss:Echobeast | Stage:Echocave | Power:Crystal Wave(Nina)/Echo Shell(Ace)
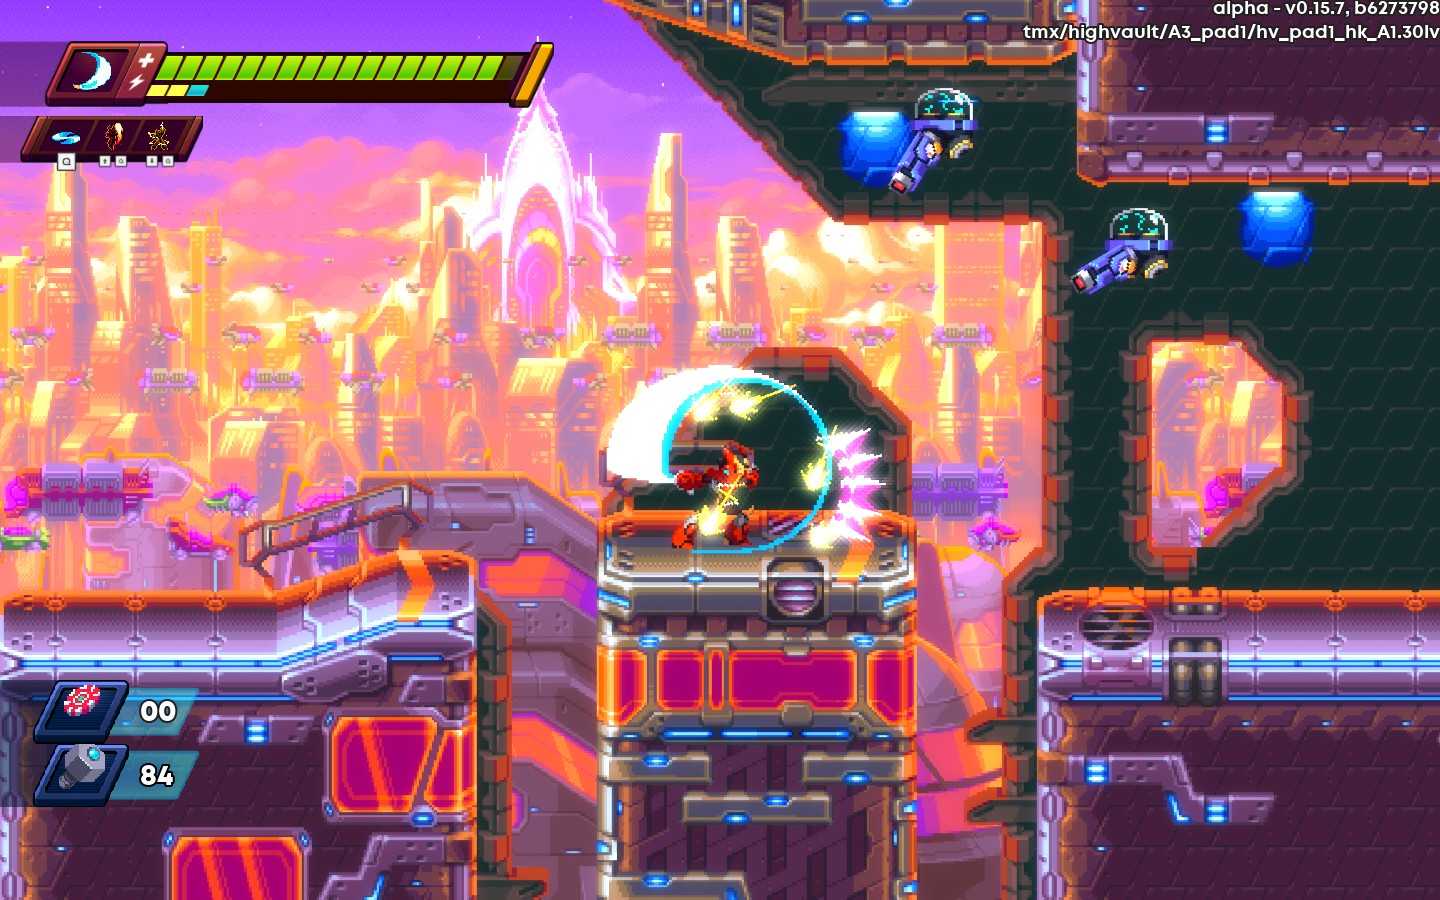
Boss:Omega Hoot | Stage:Highvault | Power:Rending Whirl(Nina)/Raijin Call(Ace)
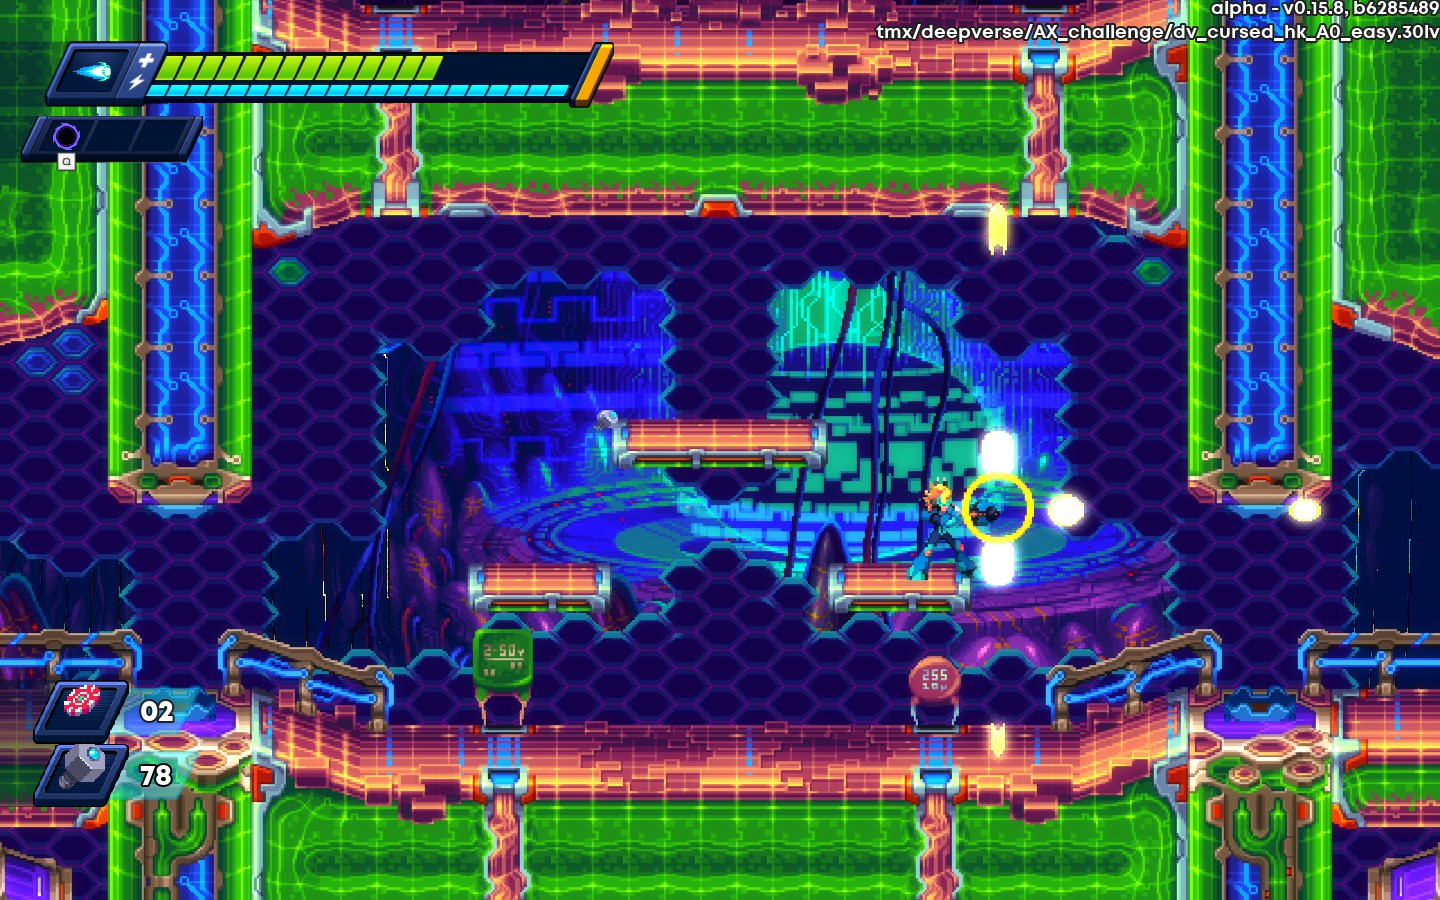
Boss:Legacy | Stage:Deepverse | Power:Negation Pulse(Nina)/Osafune(Ace)
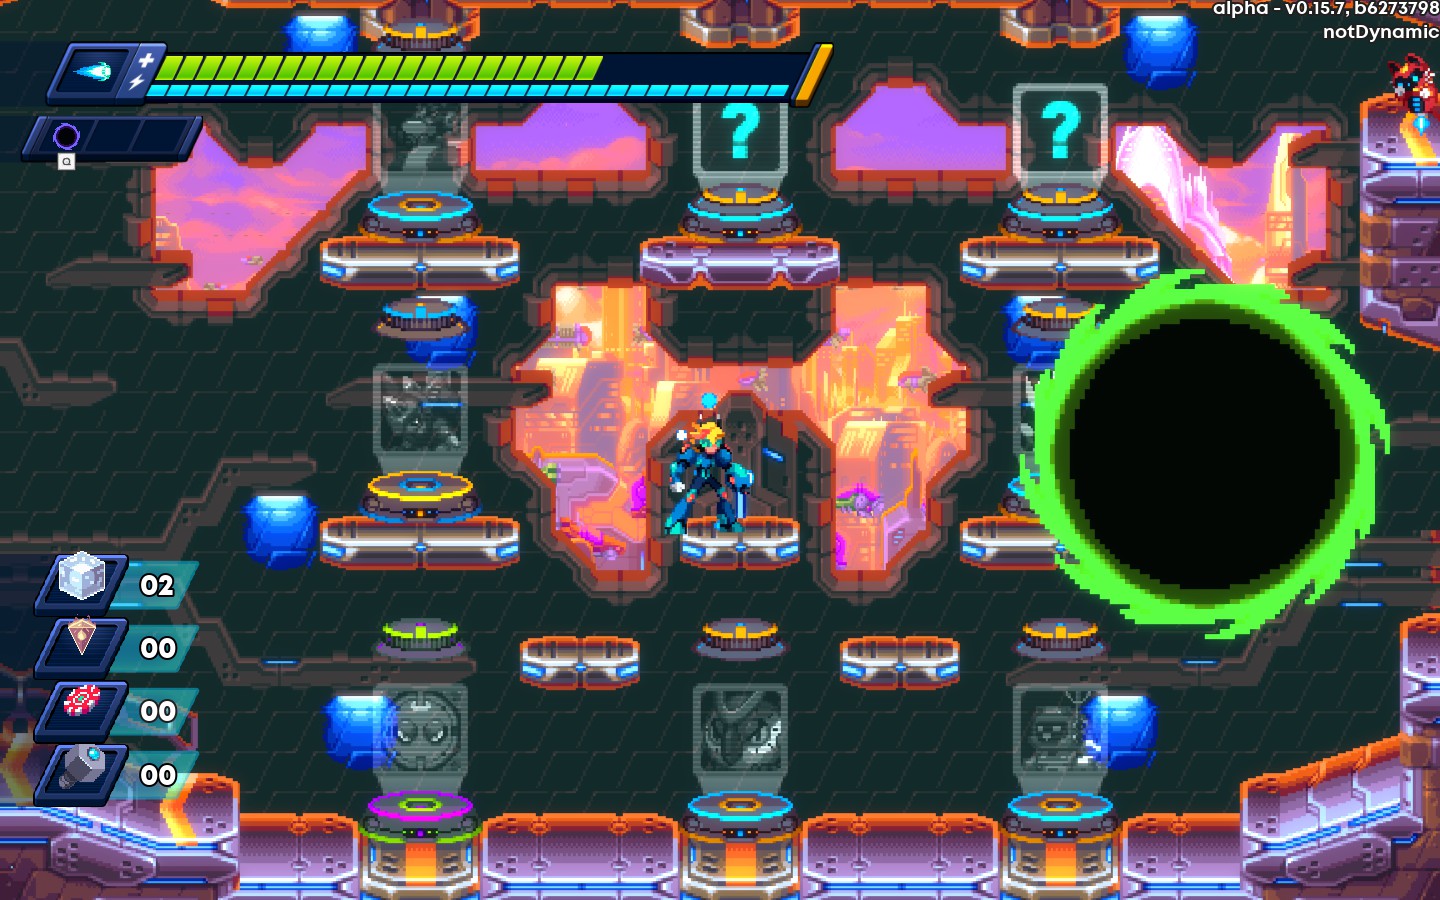
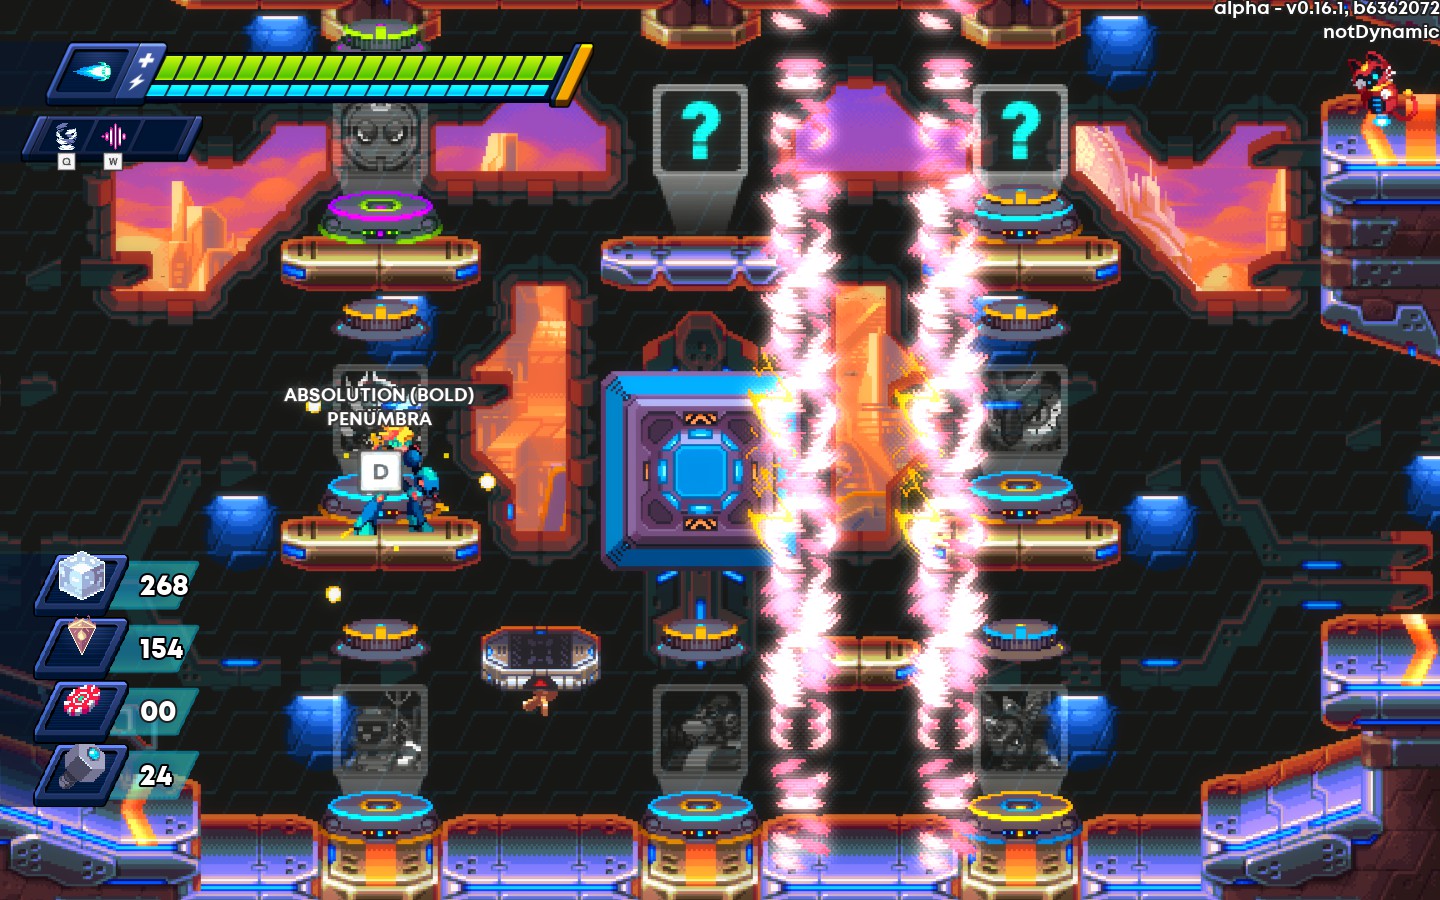
Boss:Absolution | Stage:Penumbra | Power:Crushing Void(Nina)/Void Double(Ace)
Salvaging
Salvaging is a system added as a secondary option to equipping an augment(core or otherwise). The salvage result is random for each item you find, but is always either +1 Maximum health, +1 Maximum Energy, +1 Core Capacity, or +10 Bolts. These amounts will increase by +1, or +5 bolts per tier of the augment.
Uncertain Blessing
Uncertain Blessing’s are this game’s versions of the prototype augments. Instead of having several pre-designed ones, they have randomized positives and negatives. If the game considers the positive or negative too extreme, they will give a random stat or resources based on that difference. Here is the list of what I’ve found.
Positives
Everfont:Removes the energy cost of powers(Removed)
Force:Increase the your Attack-based damage by 1.5x. Resonator increases the damage to 1.75x
Sagelens: Increase your Power-based damage by 1.5x. Resonator increases the damage to 1.75x
Hysteria:All future non-blessing augments give a copy of itself to you on pickup. Doesn’t apply to Salvaging. Resonator adds an additional copy on pickup.
Core:Sets your Core Capacity to 99. Resonator gives 2 random Core Augments.
Clover:Gain one free Re-roll on each augment. Resonator gives an additional free Re-roll.
Archive:Gain three random Core Augments. You still have to pay the core capacity cost of equipping them. Resonator gives 2 additional Core augments.
Grab Bag:Gain three random (basic) Augments. Resonator gives 2 additional augments.
Mender:Heal to full after defeating a boss. Resonator gives also gives +2 max health on boss kill.
Nutfinder: Nut drops give twice as much. Resonator gives no additional effect(?)
Balancing
+ 5 Memoria
+ 3 Potentia
-/+ 5 Bolts
-/+ 1 Maximum Health
-/+ 1 Core Capacity
-/+ 1 Attack Strength
-/+ 1 Power Strength
Negatives
Powerless:You cannot use your powers.
Noodleshot: Adds a 0.25x(?) Multiplier to your Attack Damage.
Outcast: You cannot buy from shops
Stoic:You gain no benefit from Movement augments or Movement-based Cores(All other cores and augments function fine)
Defiant:Bosses gain 50%(?) more HP(This augment made no effect during my testing, but may of been some form of bug, or simply a fault of my testing. My videos are in the playlist)
Immaterial:You cannot Equip Cores.
Uncharging: You cannot charge your weapons. Does not effect powers.
Famine: Health capsules have a chance 50% to offer no health in return, but still restores your energy. This applies to both large and small capsules.
Debilitating: Taking damage will also reduce your hp by that amount. This indirectly prevents any form of healing in the process.
Fragile:You take double damage from all sources. This modifier is multiplicative, and includes red vending machines.
Augmentations
Augmentations are the more generic upgrades you are expected to find during a run.
Health, and Energy add a single cell of storage into their respective bars. Armor is unique from health in that it added on-top of your maximum health, but is lost on taking damage. Armor also gives you knock-back immunity damage absorbed by armor.
All other stats will be roughly +10% of that stat when above that stat, or +5% of that stat when below zero. These stats are additive to themselves, so 10 Attack strength will be equal to +100% damage(2x), and -10 Attack Strength will be equal to -50% Damage(0.5x). Here a few of the current lineup of them.
(1)Heart Container: +2 Maximum Health
(3)Megaheart:+4 Maximum Health
(1)Lander’s Essence:+1 Maximum health. Also restores your health to full.
(0)Potato Battery:+2 Maximum Health
(1)Vibroroserve: +4 Maximum Energy
(0)Vitaboost: +1 Armor, +1 Maximum Health, and +1 Maximum Energy.
(0)Armorall:+3 Armor, +1 Maximum Energy, and +1 Run Speed.
(2)Cerebral Nourishment Meal: +2 Maximum health and +4 to Maximum Energy. Also restores your energy to full.
(0)Band of Might:+2 Attack Strength.
(0)Thorned Hull:+1 Attack strength, for each 2 maximum health points above your base.
(1)Power Enhancer:+3 Power Strength.
(1)Spicy Incense:+1 attack damage. Also, gives +1 attack damage defeat a boss.
(0)Juiced Reserves:+1 Power strength for every 2 Maximum Energy above your starting amount.
(0)Speed Juicer:+2 Run Speed
(1)Mobility Realizer:+4 Run Speed
(2)Quantum Spook: All Attacks Ingore walls and shields. Also applies to most powers.
(1)Deconstructor’s Might: if an enemy dies, deals 12 damage to any enemies around them, can also trigger from itself.
(0)Vibrofocus: Gives +1 Maximum health, and +4 Power strength, in exchange for -4 Maximum Energy.
(0)Kinetic Converter:Increases your Jump Height and Run Speed by +4 each, but gives -1 to power strength, and -2 to attack strength.
(1)Contractor Plus:Gives +1 to all stats.(currently doesn’t give Run Speed or Jump Height?)
(4)Contractor Omega:Gives +3 to all stats.(currently doesn’t give Run Speed or Jump Height?)
(1)Advanced Repair:Increases the amount of health restored from Health Capsules by +1. Also gives +1 armor upon triggering Armatort’s Dome. (Base Rarity pre-0.14)
(1)Armor Scavenger:Gives a 5%(?) chance a enemies to drop 2 armor capsules(for a total of 4 armor). Can only happen twice per stage, and grabbing any additional Armor Scavengers will reduce it to Once per stage(?). +1 Armor.
(1)Intensifier:adds a 1+0.2x(The number of Charged Intensifiers) Multiplier to your charge weapons(does not apply to powers). Lucavi instead gets +1 Kunai on charged shot(doesn’t stack)
(0)Core Extender:+2 Core Capacity.
(0)Charging Magnet:Pulls in items when charging. Must be manually charging to use, even with Autocharge.
(1)Shopaholic:Spending bolts on an item will give you both the equipping and salvaging effects of an item(Does not work in Mega mode)
(0)Frail Glory:Gives you a 1.3x damage multiplier to all your attacks. Upon taking knockback, drop the augment. The augment can be picked back up, but is lost permanently if left behide.
(1)Solution Gambler:Allows you to spend 10 bolts in order to spin the slot machine.
System Restore:Removes a single Curse you received from Unseen Blessings(Balances are still there?)
(0)Protobalanacer: Future picked up prototypes do not apply their negative balancing effect. Positive effects are instead increased by 50%. Does not effect curses, or already picked up prototypes.
(1)Prototype Resonator: Future prototypes have their blessings enhanced. See Uncertain Blessings for more details.
(0)Volunteer:A safe lab will always (Try to) Spawn in future levels.
Core Augmentations
Core augmentations are armor upgrades that apply to specific parts of your body, and generally the most valuable gear you’ll get during the run. Unlike the last game, you can hold as many Core augmentations you can find, and even equip two different parts on the same body(May be a bug). In exchange, this game introduced Core Capacity. Armor pieces cost Core Capacity in order to equip. You start with a measly 7, and can currently only get more through the Permanent upgrade “Timeless Core), the augment “Core Extender, and through Salvaging.
Generally, All Head, Body, Arm, and Leg cores cost 2,3,4, and 5 cores to equip respectively. For salvaging, the Helment, body and leg are +1, and the Arm is +2. Though it isn’t always the case due to some balance changes.
Armatort, the Unstoppable
Armatort’s set is designed around brute force. The end goal of the set is to minimize the cost of taking damage, and pray you can kill the enemy before you get hit too many times. You usual idiot-resistant protective gear.
Armatort’s Dome:Helmet(2CP>3CP)
Gives a 20% chance to gain armor on small health pickups, and a 30% chance on large health pickups. This is increased to 30% and 60% respectively when at max hp. Note that this also allows you to pickup health capsules at full health, so it may hurt your teammate in the long run.
Armatort’s Shell:Body
Grants immunity to both knock-back and the hit-stun caused by it. Remember that you still take damage regardless of how it makes you feel.
Armatort’s Pound:Arm
Charge shots now destroy bullets on contact, as well as increase your attack and power strength by +2 each. Notably useful for bursting down otherwise painful projectile spammers. Also allows for easy hit-and-run against the projectile-based bosses.
Armatort’s Momentum:Leg
Gives you an up to 2 second hover while in the air. It’s the only leg core with no vertical movement, but can still help with precision platforming, or simply to throw some extra damage at an enemy before gravity brings you back down.
Dracopent, the Foul
Dracopent Set’s can be refereed to as the attack set. Generally, this the only armor set that gives a noticeable increase in your damage output. The main goal of the set is to burst down select groups of enemies through it’s bonuses given to charge shots.
Dracopent’s Fang:Head
Allows you to fire off two charged weapon shots before recharging. Double damage makes a pretty big difference.
Dracopent’s Pride:Chest
Gives a 8% chance to gain 1 health upon killing an enemy with a weapon. Did I mention I like free stuff?
Dracopent’s Claw:Arm
Gives you an additional charge level for your weapons, as well as +4 attack strength. As each charge level is additive with eachother, This totals 300% damage from an uncharged shot, or a 50% increase in damage from a level 1 charge.
Dracopent’s Bound:Leg
Gives you an additional mid-air jump that is about half current jump height. Most notable for being the only leg core that keeps your momentum after using it, making it particularly useful to reaching across long gaps. Otherwise, It’s just generally the easiest to use leg piece, at the cost of being an arguably smaller safety net then the other options.
Owlhawk, the Wise
Owlhawk’s set was usually referred to as the “power” set. Without the addition of set bonuses, I prefer simply calling it the “Survivability” set. The main goal of the set is to regenerate your resources before the long-term effects of using them so much sinks in.
Owlhawk’s Focus:Helmet(2>3 CP)
This gives a 50% chance to not consume energy. Now you can spam twice as much. Particularly usefull with Owlhawk’s Reign
Owlhawk’s Reign:Body
Gives a 10% chance to gain 1 health upon killing an enemy with a power. Free health never hurts, right?
Owlhawk’s Talon:Arm
Gives a 15% chance to gain 1 energy upon killing an enemy with a weapon. Also gives +4 power strength. Helps reward a proper balance of weapon and power usage.
Owlhawk’s Feather:Legs
Allows you 1 second of flight in mid-air. This has much more versatility then Armatort’s Momentum, in exchange for half it’s time. In general, it’ll save you from much more precision platforming then it, while still keeping it’s function as a sustain tool against aerial enemies.
Oxjack, the Flash
Oxjack’s set generally seems to just have a bunch of utility attached to it’s parts. It lacks any clear identity the other two has, but each part has specific situations where they are notably more powerful then similarly slotted items. With that in mind, This set doesn’t really have a goal. Unless you count “Just dash around more” as a solid game plan.
Oxjack’s Ken:Head
Fires a bolt based on the direction you dash. It deals 15+3x Run Speed as damage, and pierces enemies. For comparison, The N-buster’s charge shot does 20+2x Attack Strength at base. Fairly Redundant for Nina, but gives Ace a notable ranged tool that he usually is lacking in.
Oxjack’s Guile:Chest
Creates a shield based on the direction you dash. For such a fast-paced game, the shield lasts for a fairly long time. Arguably outclasses Armatort’s Pound in terms of projectile spam, though you (usually) can’t dash in the air to trigger this shield.
Oxjack’s Fury:Arm
Reduces the Charge Time of both your weapons and powers by 25%, Also increases attack and power strength by 2 each. Just your generic arm upgrade. Can’t really complain about this either way, especially if it stacks with Dracopent’s Claw.
Oxjack’s Blitz:Leg(5CP>4CP)
Allows you to dash mid-air. Arguably the most clunky movement tool out of the leg sets. That being said, once you get used to the movement, this easily the best in terms of both exploration and bossing. Also worth noting that this is the one of a few core augments that scale off of a stat. For this in particular, it’s run speed. The only real weakness of these is that it’s the only leg part that doesn’t ease precision platforming.
Other Tips(Augmentations)
Here are some other things to mention about Augmentations, but didn’t what cluttering my other pages.
Currently, all stats are additive to itself, this includes stat increases from Core Augmentations,
Leg Cores can be equipped together, and go in the order of Dracopent’s Bound>Owlhawk’s Feather>Armatort’s Momentum.
As salvaging offers you health, energy, and cores. They are comparably less worth collecting as actual augments.
Currently, Kinetic Converter is the only augment that increases Jump Height, making it a relatively high priority augment when available.javascript:Cancel()
Anything that mitigates knockback, such as Armatorts Shell or Armor, will prevent dropping of Frail Glory. This can be used to more safely use this augment.
It’s not recommended to use Fate Distortion on Augments +2 or above, as you currently don’t get items of the same tier, and the majority of items are salvaged for less.
Nina
Nina’s your classic jump-and-shooter, and she hasn’t changed too much in these years. With the removal of Energy Capsules, she instead gets energy from Life Capsules(at a rate of roughly 2 energy healed for every 1 point of health healed), on-top of their usual health gain. Additionally, she gained the ability to fuse two weapons together. The fused version of these weapons are almost always a straight upgrade, with the only cost being that you only ever get one of each power per play-though. Note that you can always change both your current powers and their fusions in the pause menu.
Nina’s Weapons
Currently, Nina doesn’t have any truly unique weapons for her to switch to. Instead, she gets weapon modifications that (arguably) enhance the weapon in exchange for Core Capacity. Currently, Weapon modifications work when equipped with each-other. All of Nina’s weapons are considered bottom rarity for Salvaging.
Keep in mind there is a damage penalty for multiple pellets hitting the same target, but I am still struggling to understand how this works. I’ll be removing the total damage from all these weapons for now to prevent further confusion. Scattershot and Wave beam remove this penalty, so they will be excluded from this rule.
In addition, bosses take half damage after the first volley of the weapon, and will be invincible for a short period after being hit by 3 volleys. However, If multiple shots connect at the same time, they do not receive the damage reduction, and will properly connect regardless of the actual number of pellets before going into I-frames(if the threshold was reached).
N-Buster
Your standard lemon shooter. mash the button to rapid fire. Each pellet does 10 attack damage, while charging it doubles the damage, as well giving it a much bigger hitbox. Charge shots also pierce through defeated enemies.
Retrobeam
Costs 2 Core Capacity. This upgrade adds projectiles behide you. Currently, the secondary shots do not fire charged shots unless you have Scattershot or Wavy beam.
VertiBeam
Cost 3 Core Capacity. This upgrades adds projectiles upwards and downwards. Currently, the secondary shots do not fire charged shots unless you have Scattershot or Wavy Beam.
Forkalator
Costs 3 Core Capacity. This upgrade adds two projectiles that fly diagonally along the main projectile. However, the secondary pellets deal 0.5x damage.
Scattershot
Costs 2 Core Capacity. Removes Multi-hit Penalty. Fires a 5 pellet spread of projectiles. Each projectile does 0.3x base damage(or totaling to 1.5x), but has limited range.
Wavy Beam
Costs 3 Core Capacity. Removes Multi-hit Penalty. Pellets move through walls as well as giving a 1.2x damage multiplier. Charge shots now go through enemies and shields. In exchange, the pellets move in an down and up pattern.
Arc Shot
Costs 1 Core Capacity. Instead of firing in a straight line, goes straight upwards before curving downwards, or upwards with the Wavy Beam. This weapon generally causes Multi-projectile weapons to clump together, allowing for easy multi-hits at the cost of general coverage.
Toy Beam
One of the few core augments Nina that has no capacity cost, it instead gives you five cores while it is equipped. In exchange, it decreases the accuracy of the pellets, and gives a 0.75x damage multiplier on your weapon.
Nina’s Powers
Currently, there are six powers. I will be explaining each power individually below, but here are some general notes about the modifiers they give when used as fusion. Any fusion lacking pictures has little to no visual change attached to it. Similarly, any fusions that do not have a difference in damage or charge modifiers will not be mentioned.
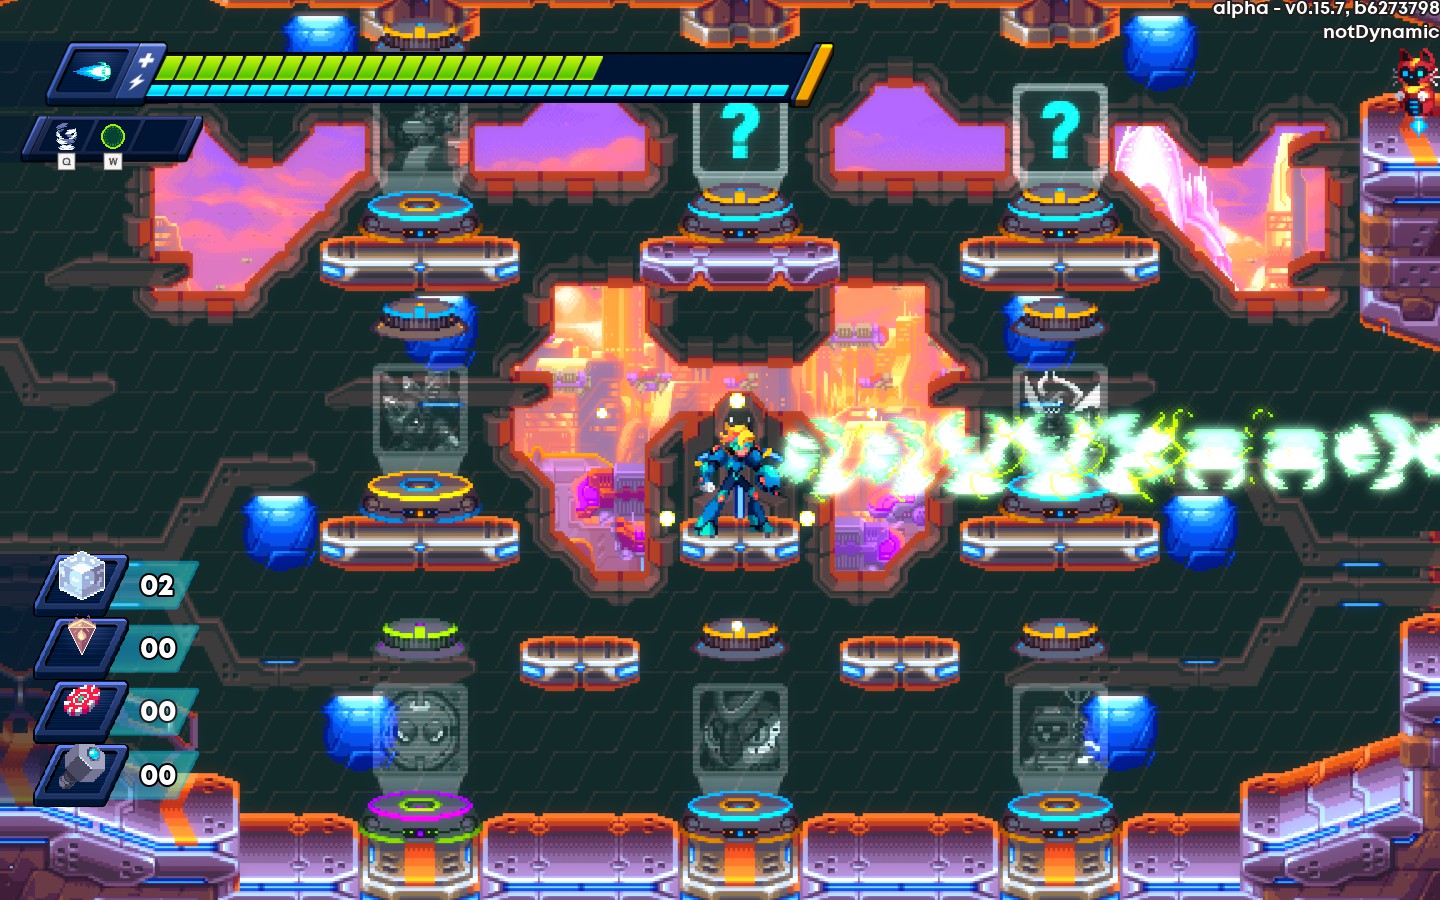
Aiming Gear(Aim):Allows you to change the direction the power is fired.
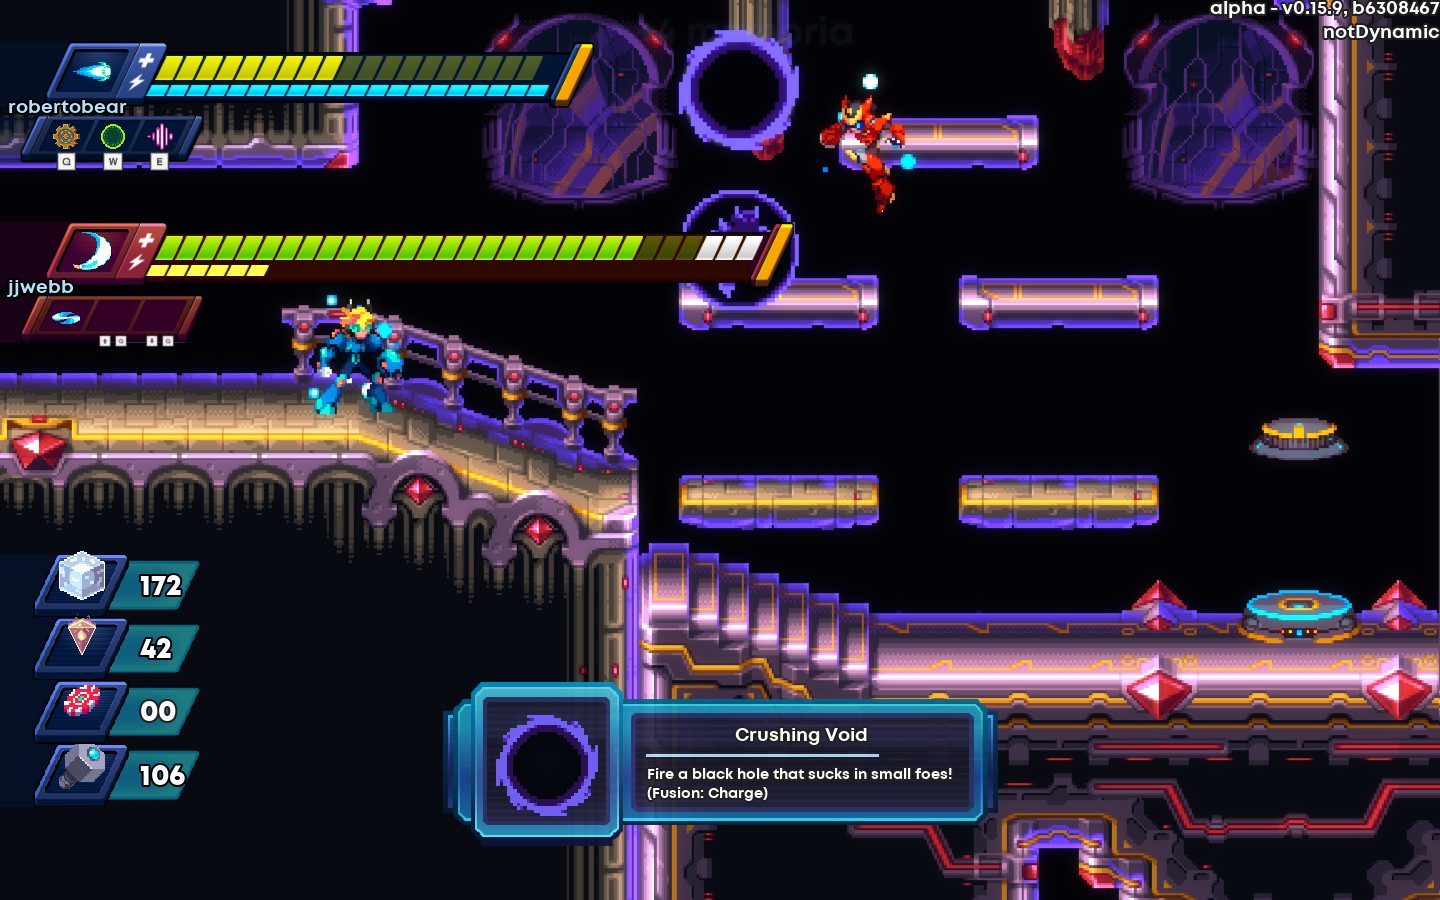
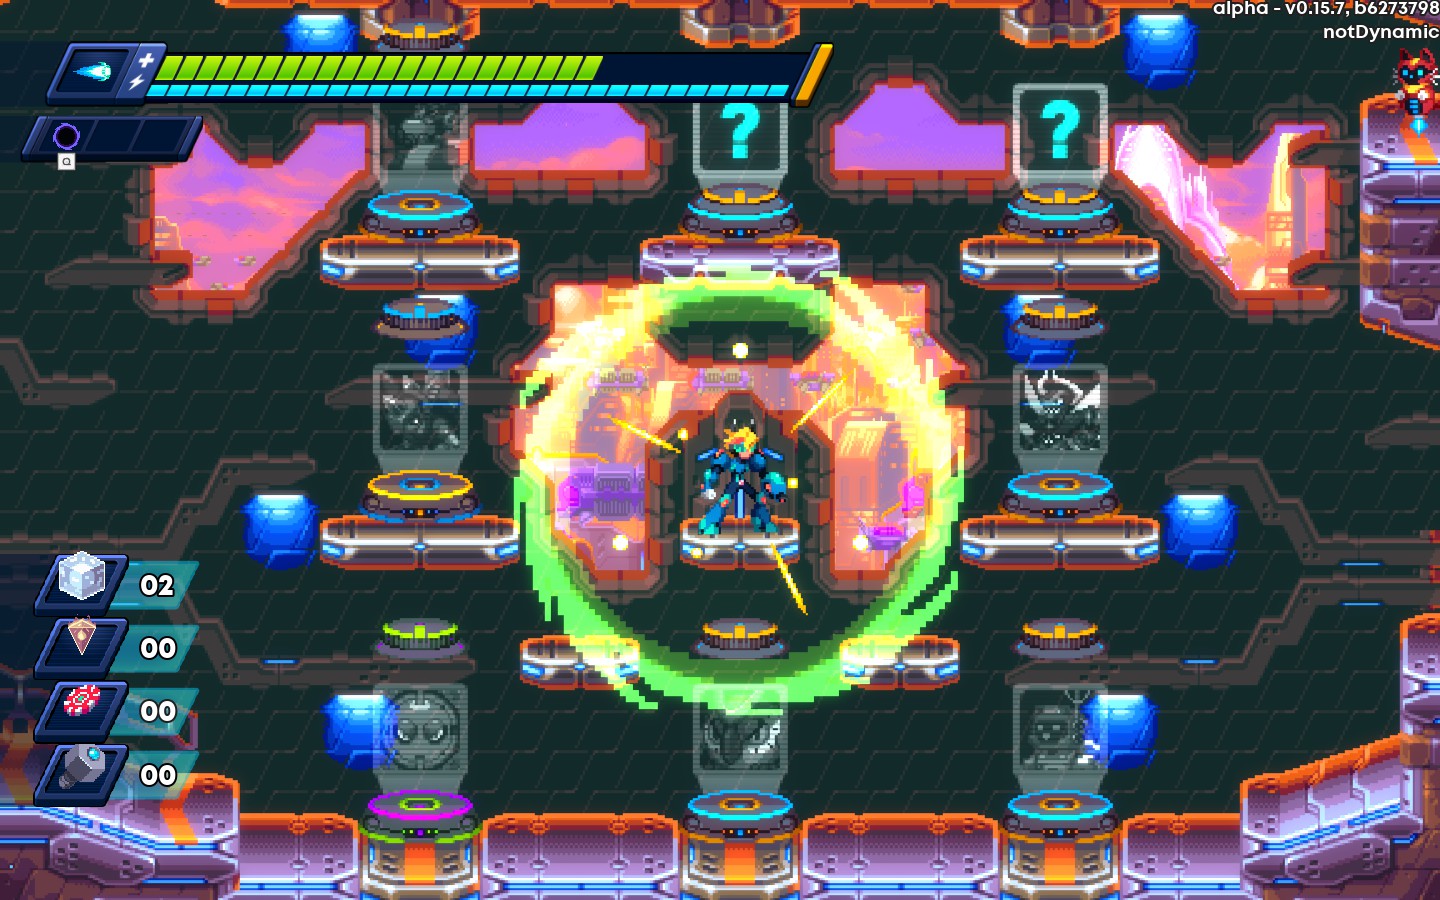
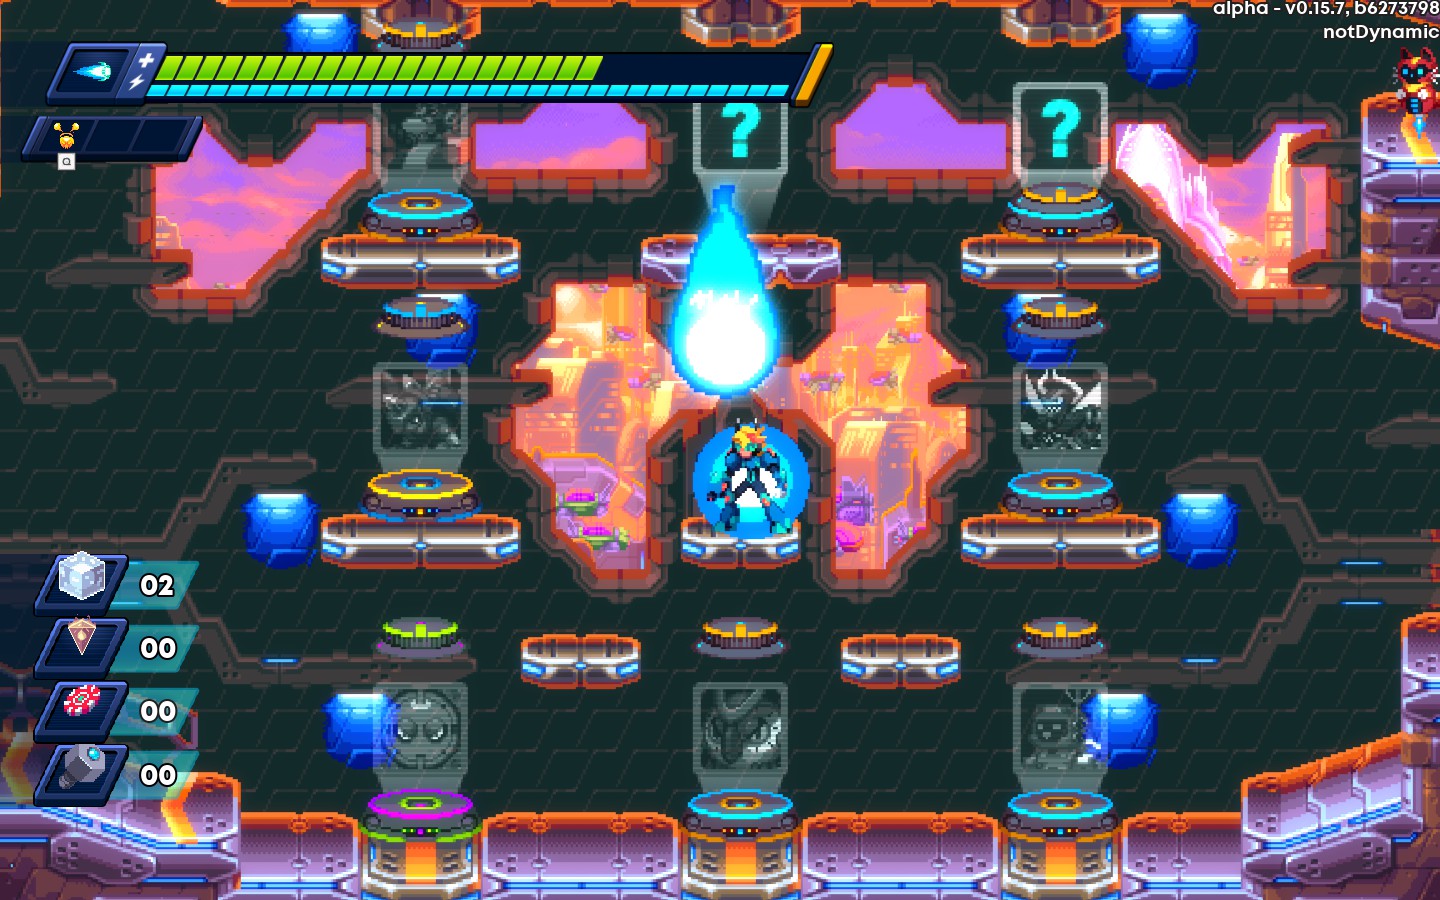
Crushing Void(Charge):adds a single charge level to the power. Most of the time, this Increases the damage, size, and duration/speed by 50%. In exchange of increasing the cost by 1.
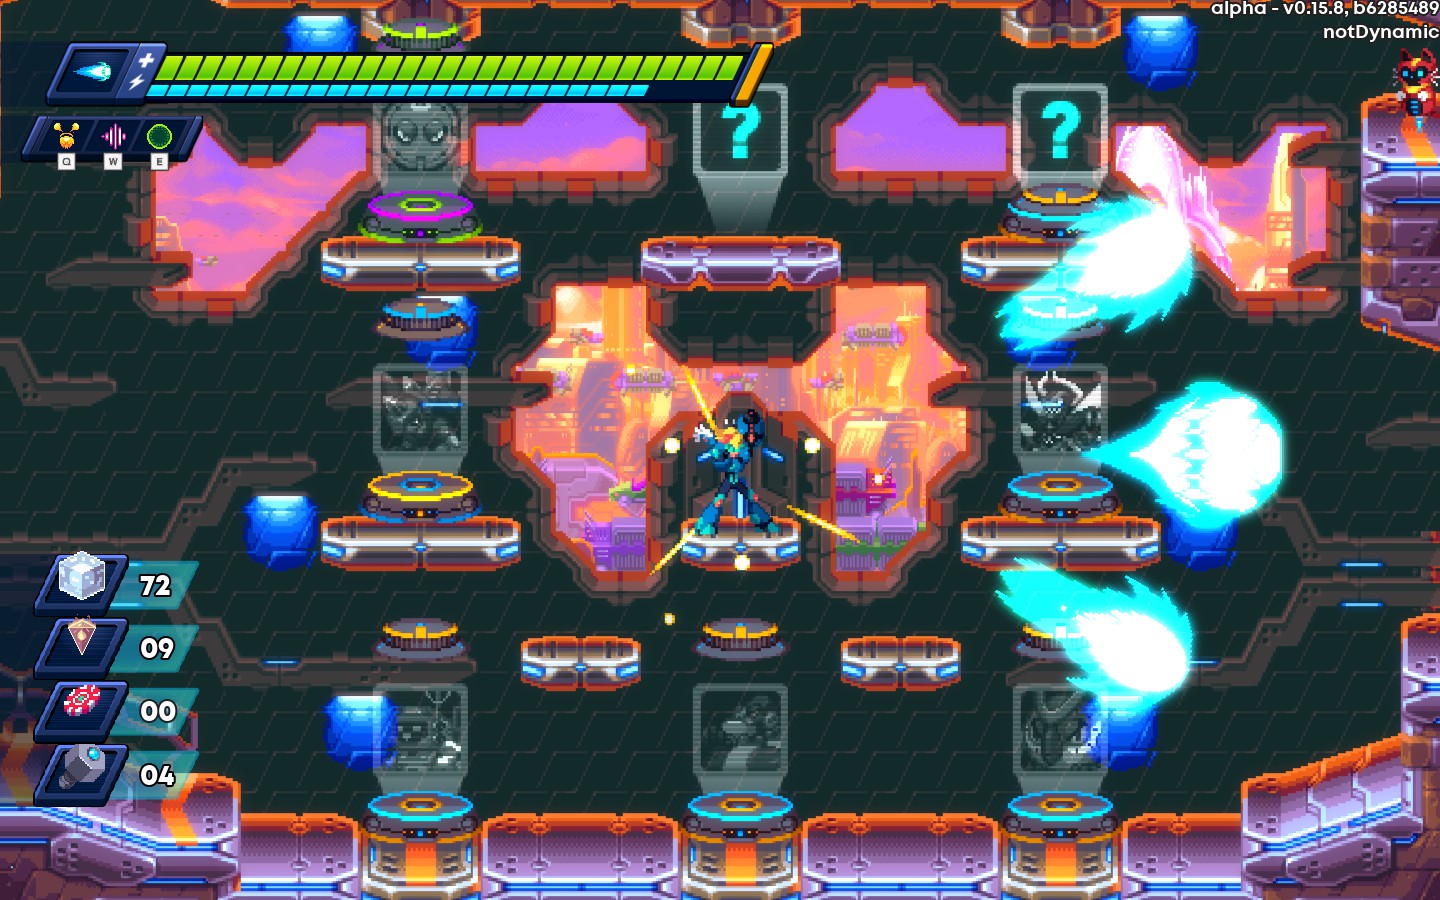
Crystal Wave(Freeze):Freezes enemies on hit, turning them into ice blocks for a limited time.
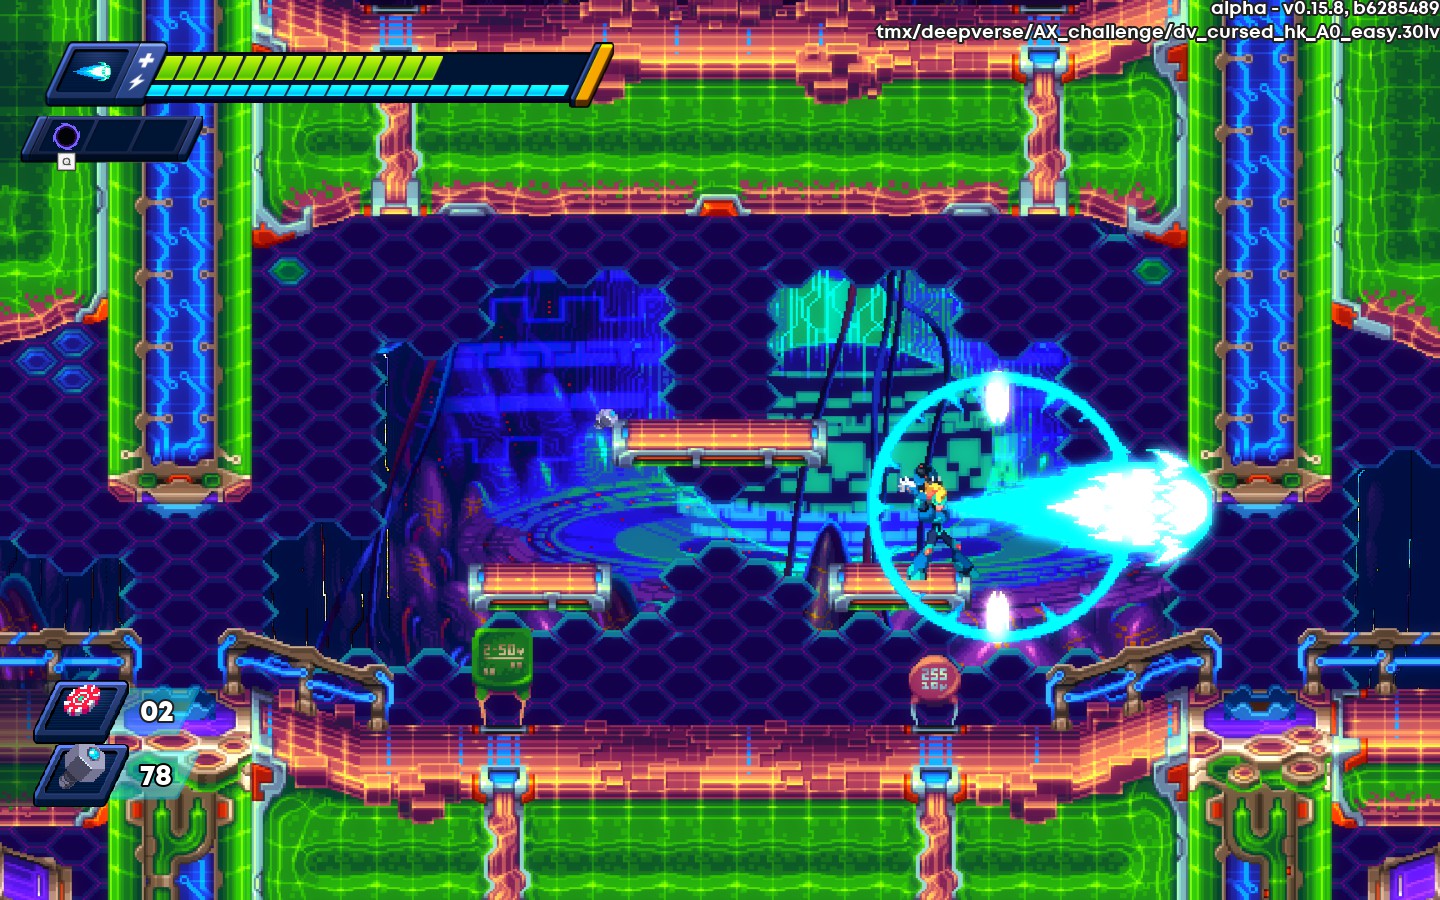
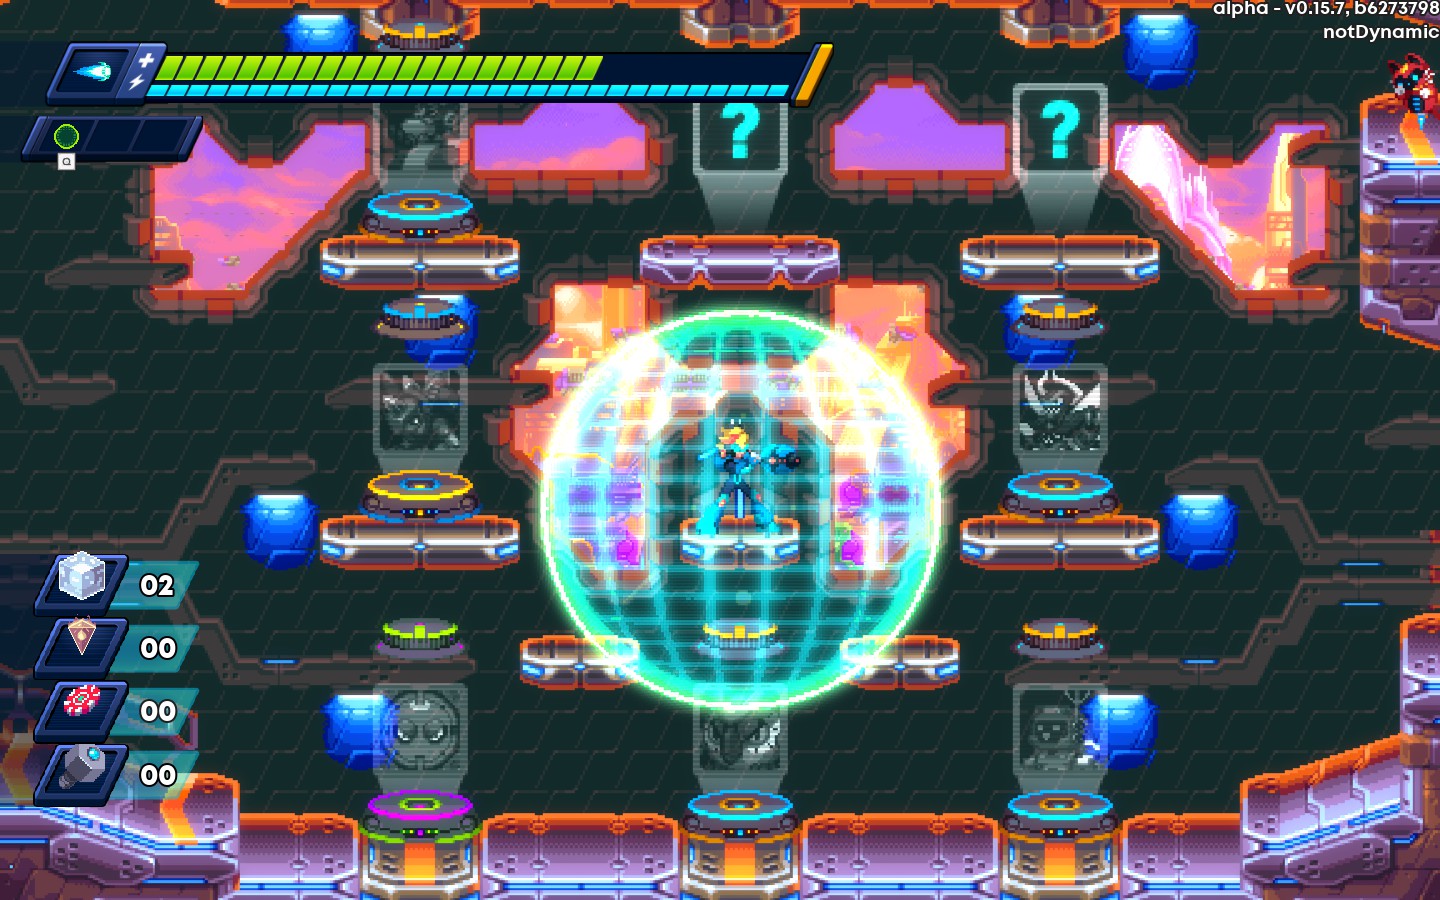
Negation Pulse(Shield):Allows weapon to destroy projectiles.
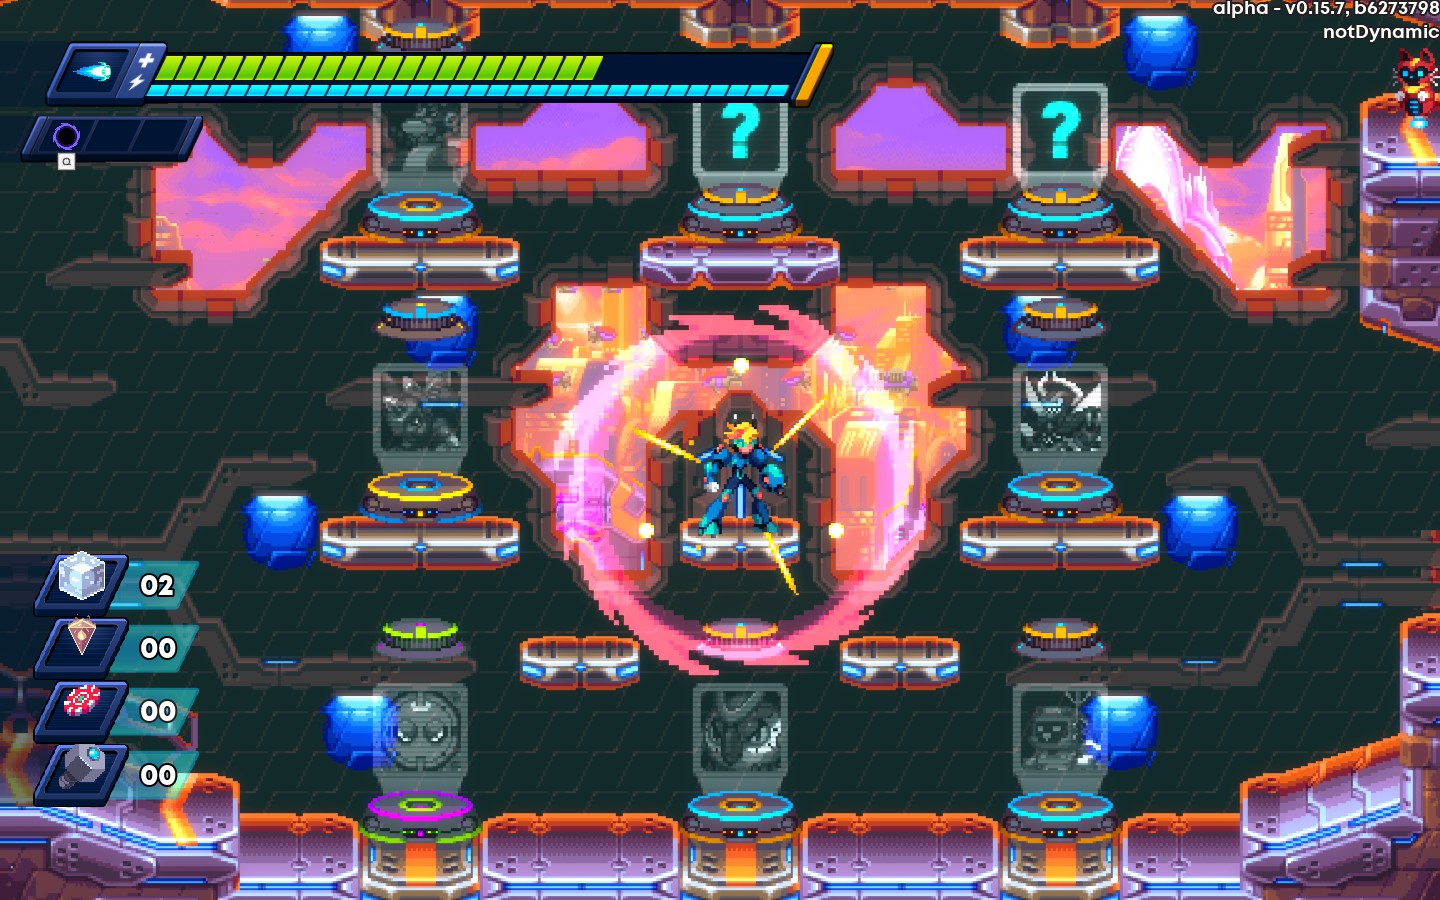
Rending Whirl(Persist):Gives the weapon a lingering effect, or extends it’s duration.
Zen Mortar(Echo):Gives a secondary effect upon using the power again, limiting power spam slightly.
Aiming Gear
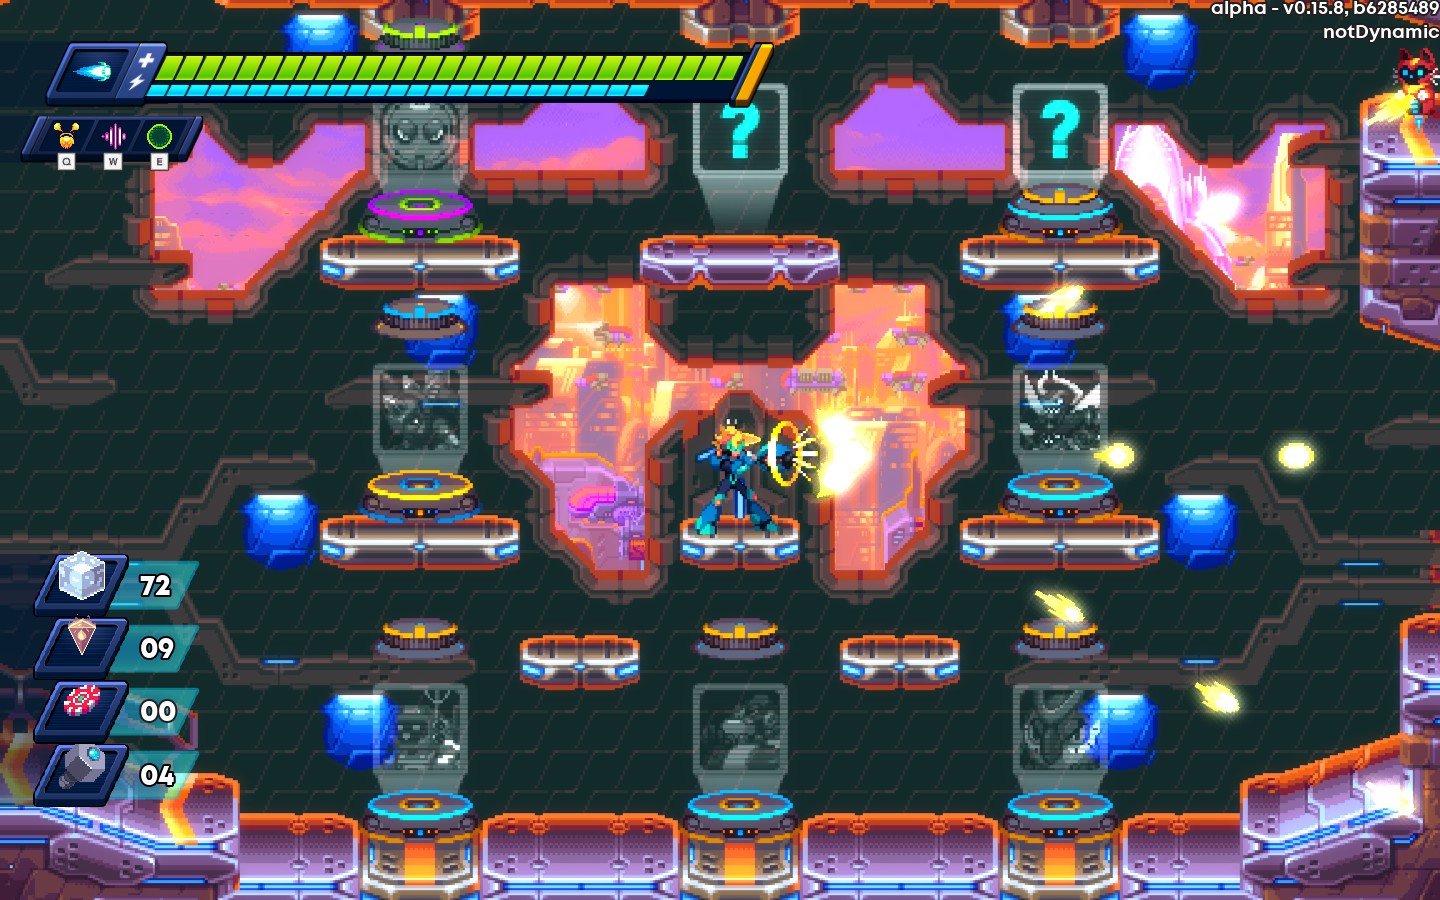
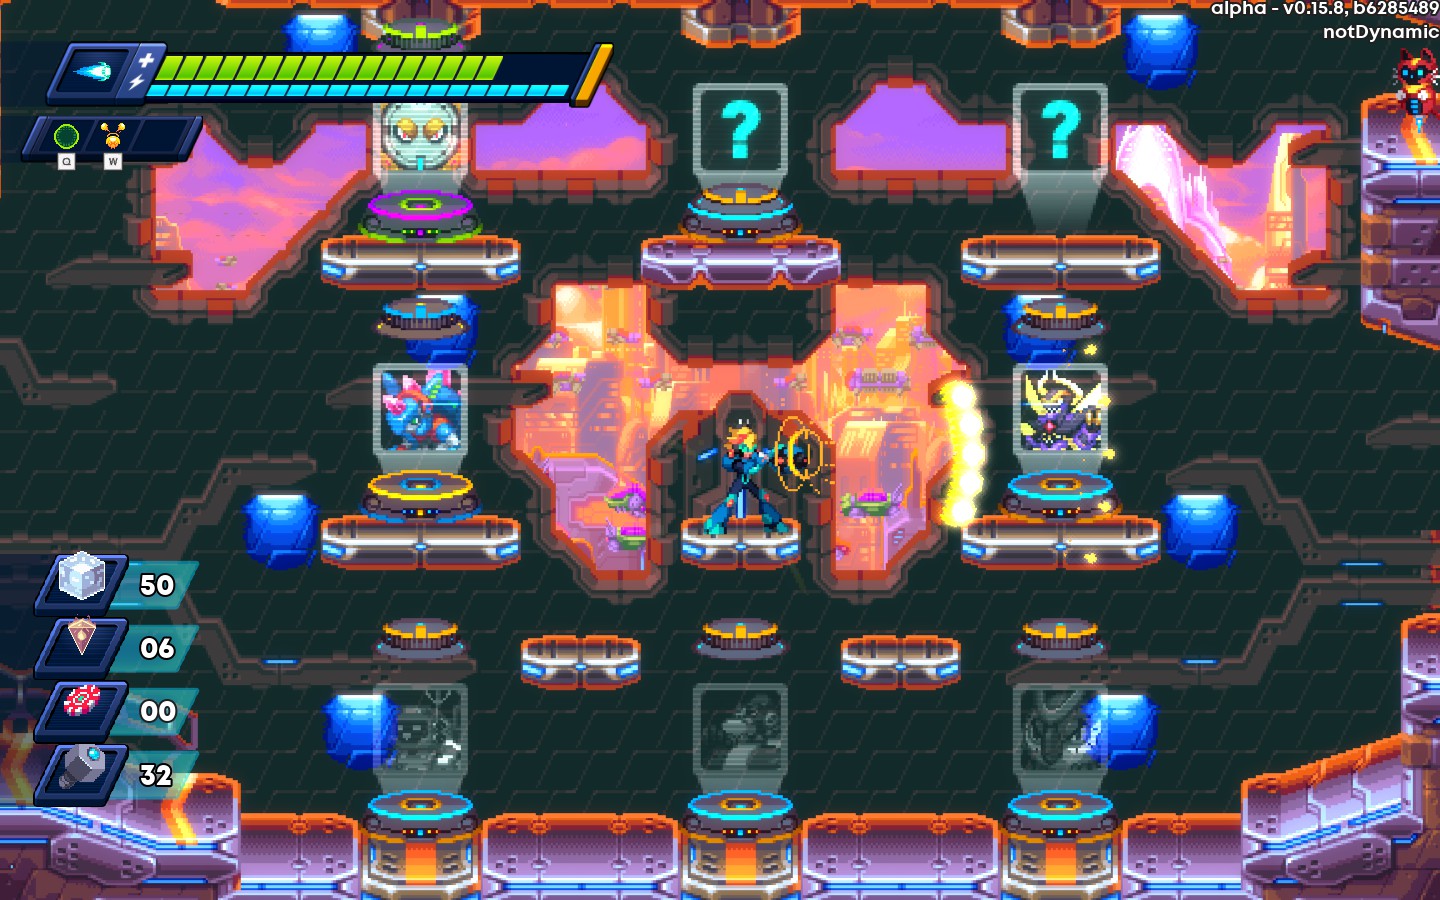
Aiming Gear fires a fairly fast projectile that deals up to 20 Power damage before expiring. Currently, this costs 0.5 energy, can be fired in 8 directions, and will slide off platforms that are not perpendicular to it.
Gear+Void(Charge):Fires 3 gears at the cost of 1 bar, and has no charge level.
Gear+Crystal(Wave):Freezes enemies, no longer deals damage.
Gear+Pulse(Shield):Currently does nothing(?)
Gear+Whirl(Persist):After the projectile is destroyed, it leaves an AOE that does 20 damage(currently doesn’t scale with power?) at the rate of 10 Ticks per second over 5 Seconds.
Gear+Mortar(Echo):Using the power again will cause the gear to split into 8, each firing at a different angle.
Crushing Void
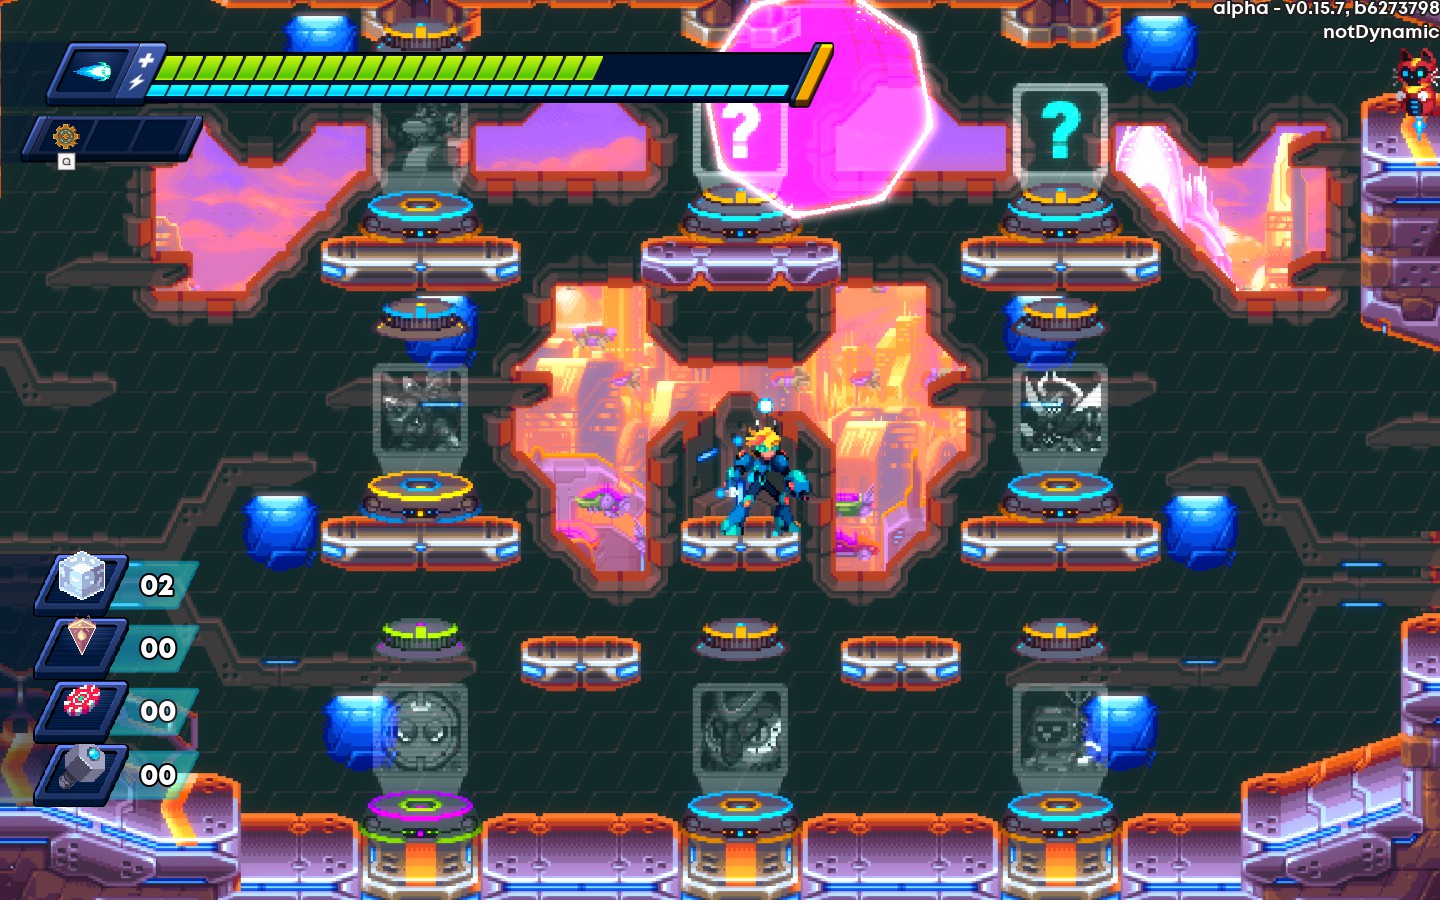
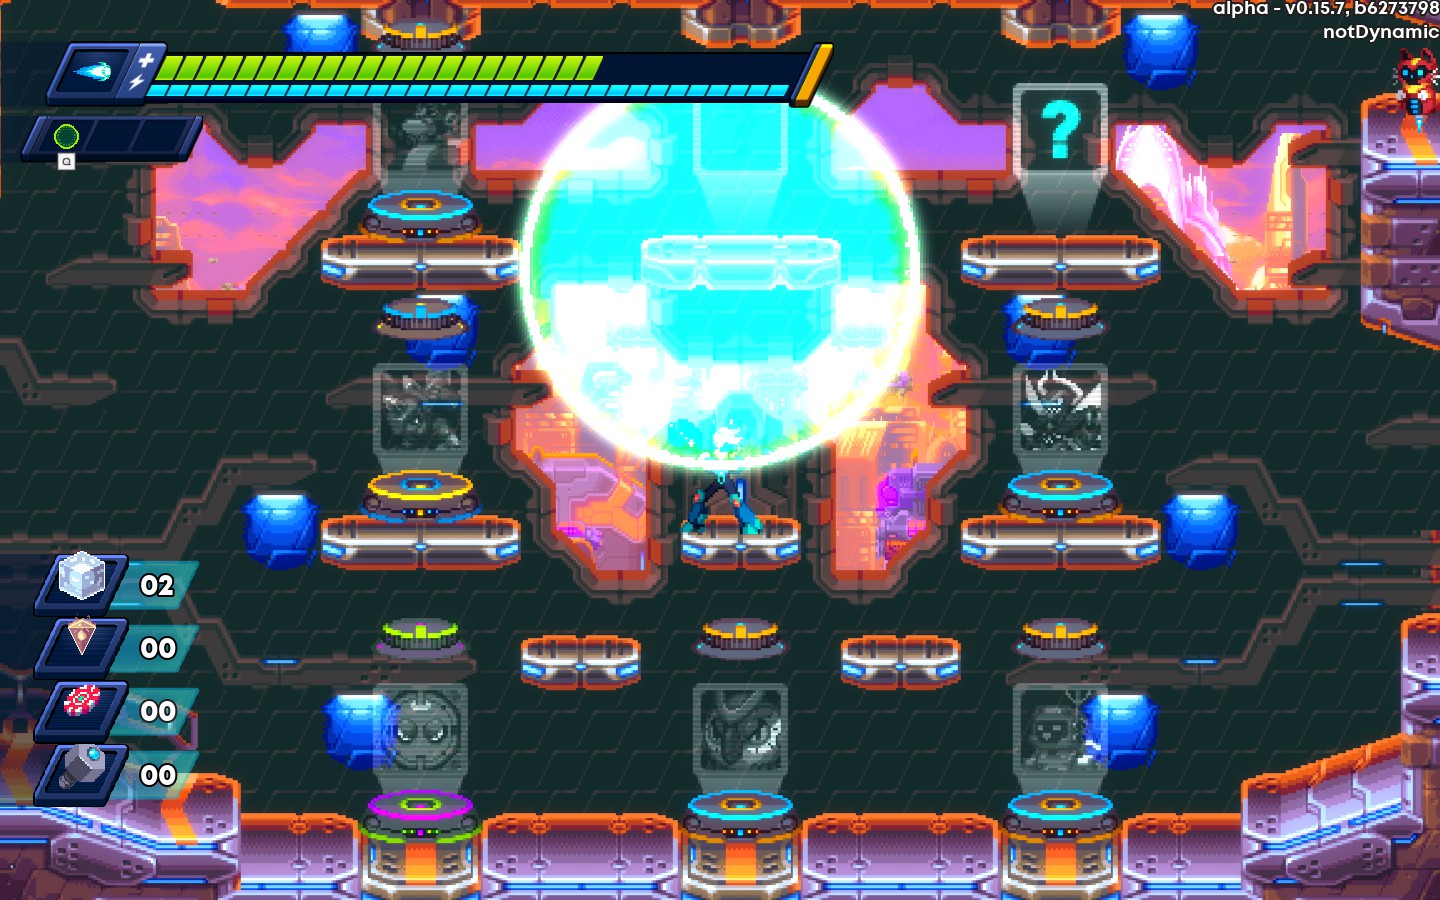
Crushing Void fires a slow-moving projectile that destroys enemies until the damage totals to 50 power damage. Charging the weapon increases the size, speed, and maximum damage by 50% per charge level, in exchange for 1 additional energy each charge. All of Void’s powers have two charge levels.
Void+Gear(Aim):Allows you to fire the projectile in the 8 possible directions.
Void+Wave(Freeze): Changes the weapon. Instead, spawn an ice-block below you. It will fly fowards untill it expires. This block can pass through enemies(?) and deals 50 damage for each tick the enemy is overlapping it. The starting cost is 2
Void+Pulse(Shield):Allows the Void to both pull in and destroy projectiles.
Void+Whirl(Persist):Changes the weapon. Instead, form a void around you as a lingering AOE that deals 15 Damage at a rate of 5 Ticks per second for 5 Seconds. The Void will stay on you until it expires.
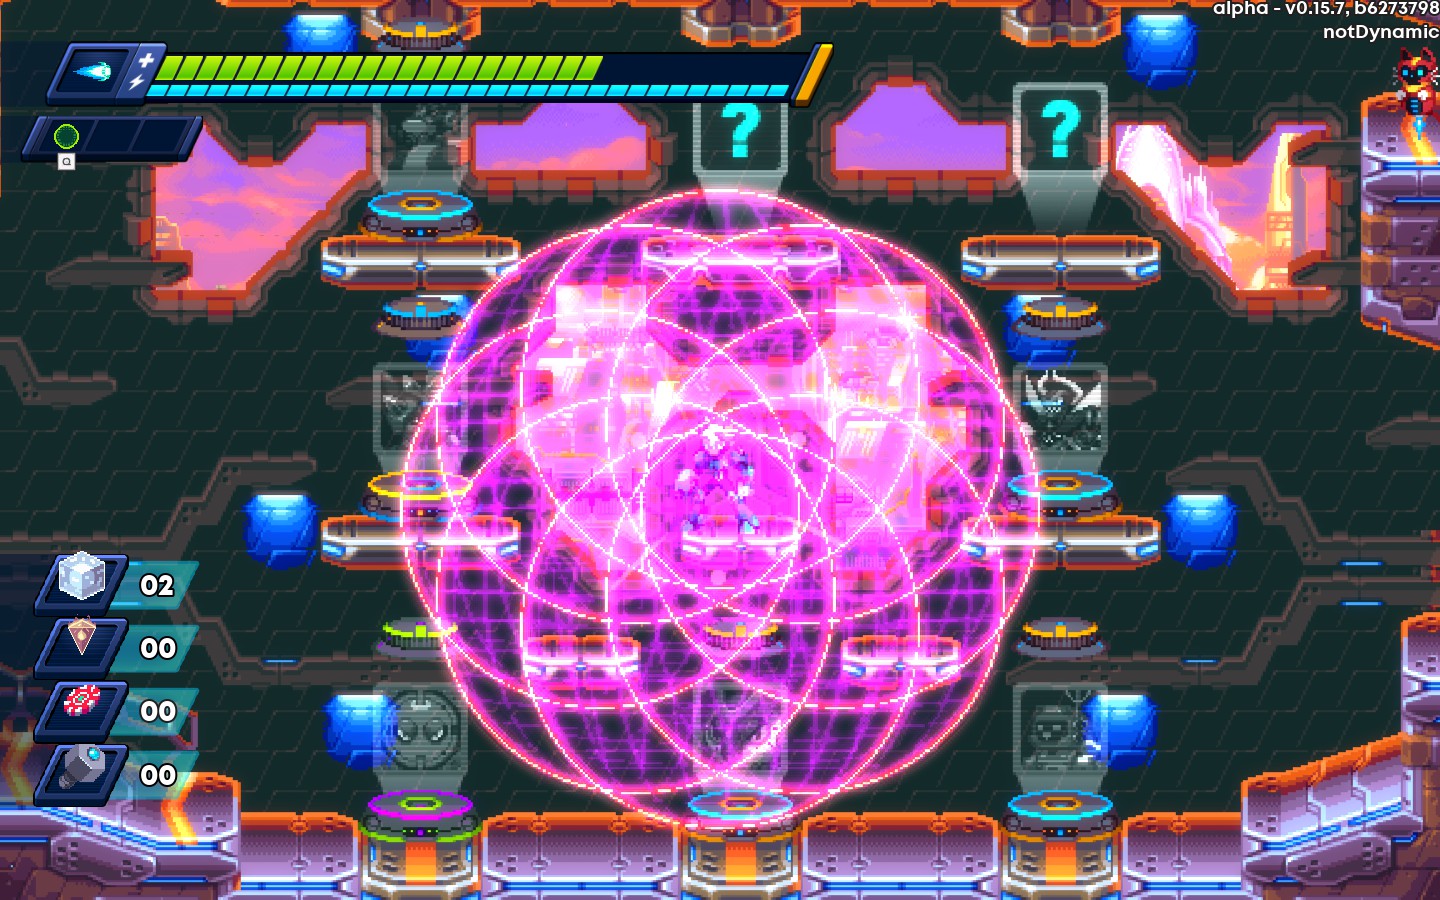
Void+Mortar(Echo):Using the power again will cause the cause the void to explode, deals 50 damage across twice it’s area(This currently does not scale with any stat?). The explosion damage also seems to increase based on how much the void dealt(at the rate of roughly half?) Also, this fusion gives a 100% the charge modifier as opposed to the standard 50% on powers, giving a noticeable damage increase when charged(?).
Crystal Wave
Crystal wave fires a projectile that freezes basic enemies it hits. This weapon does not deal any damage, but can be used to stall the enemies, or simply as platforms to reach higher areas. The starting cost is 1.
Wave+Gear(Aim):Allows you to fire it in the 8 possible directions.
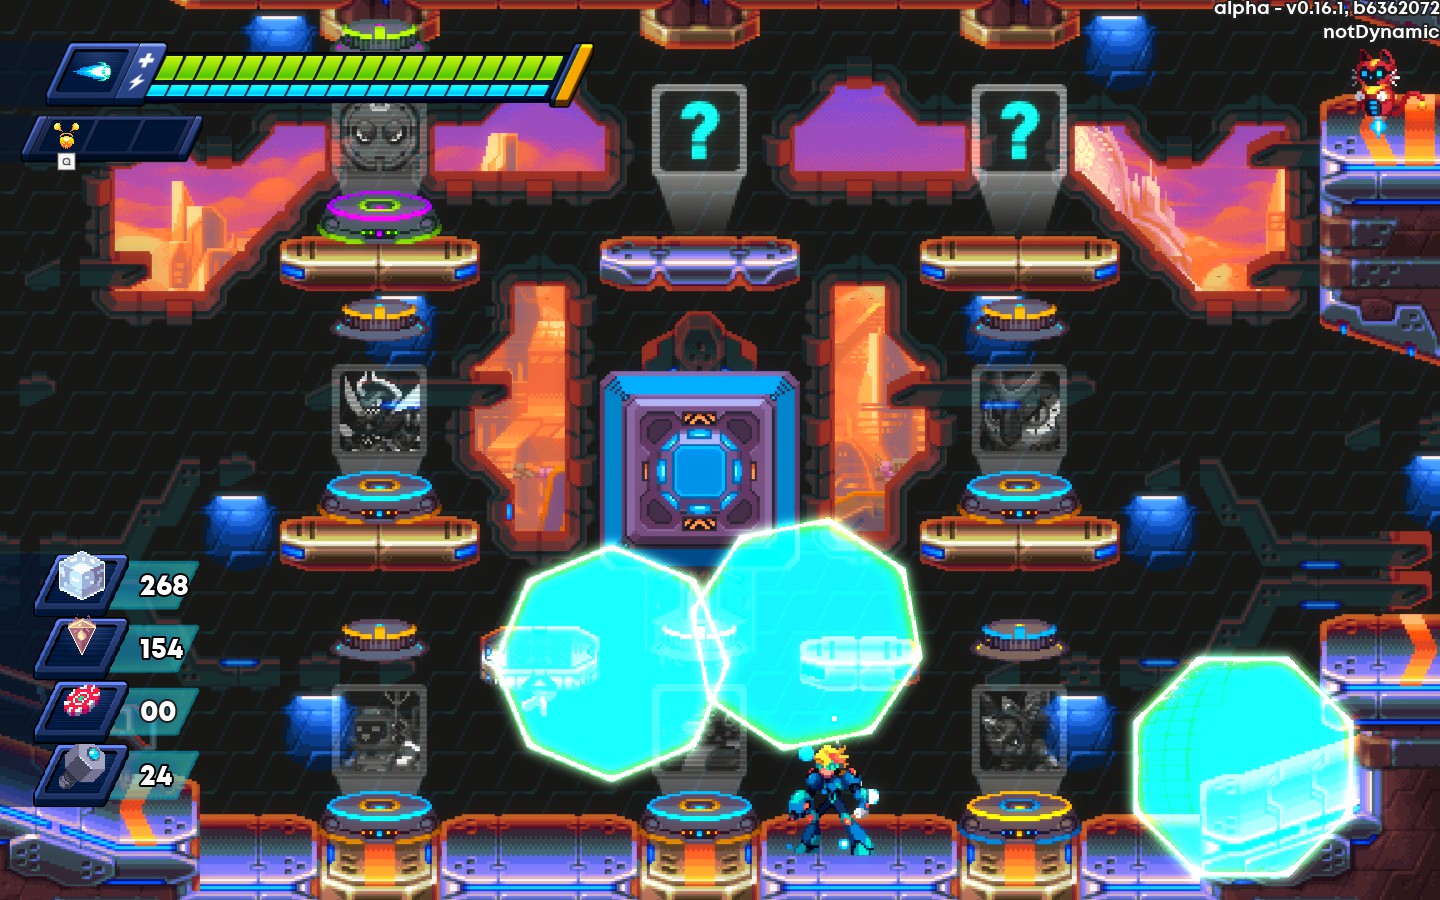
Wave+Void(Charge):The charged version of the weapon fires three pulses around you to freeze enemies at the cost of two energy.
Wave+Pulse(Shield):Causes the weapon to turn projectiles into ice blocks, destroying them in the process
Wave+Whirl(Persist):Increases the duration of the freeze. Currently, it seems to last around a minute.
Wave+Mortar(Echo): Using the power again will turn the projectile into an ice block.
Negation Pulse
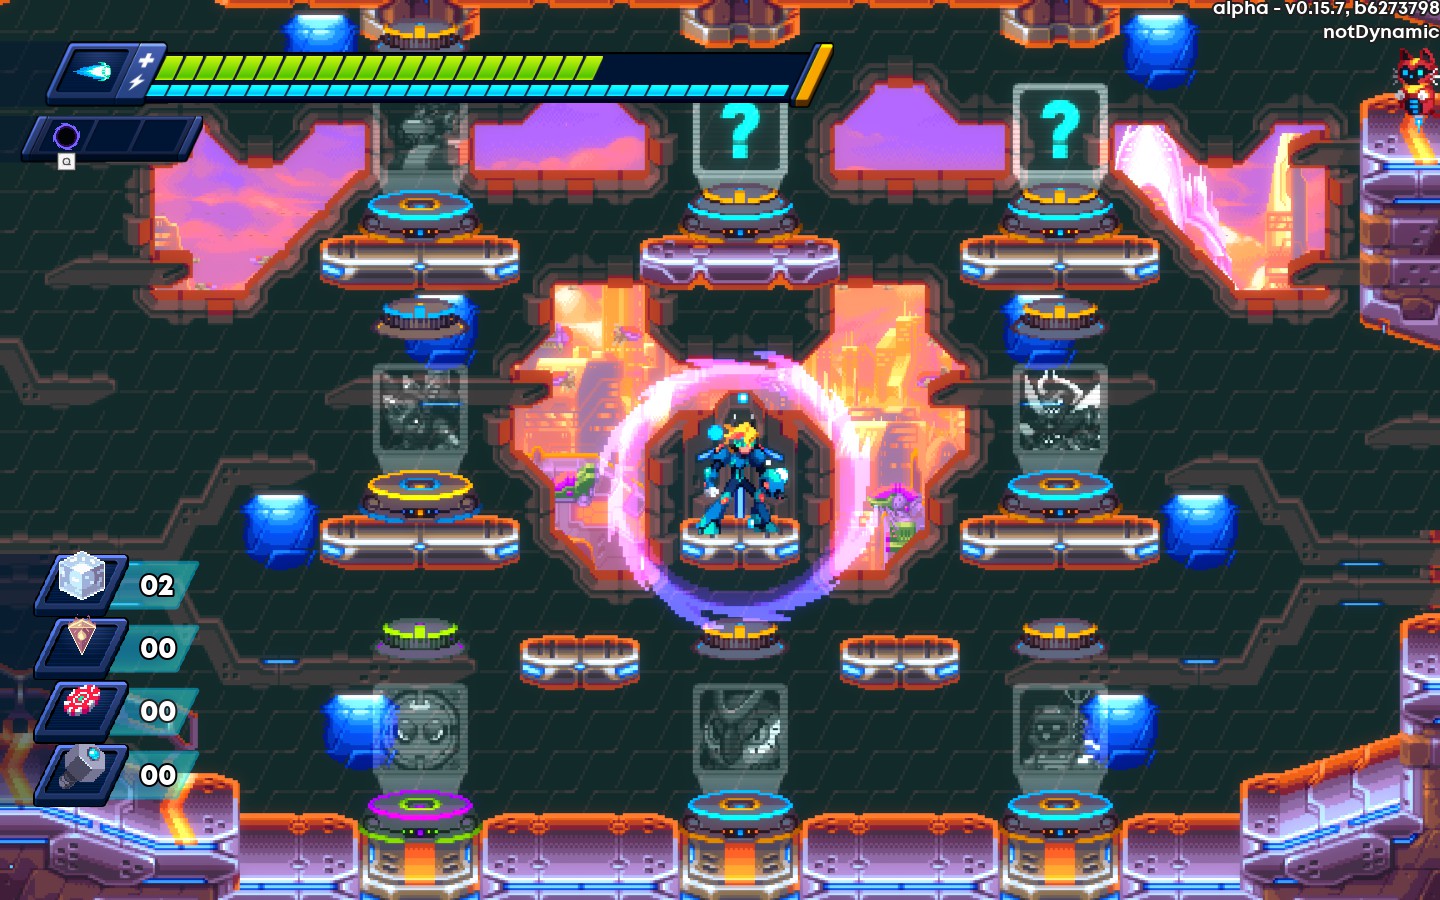
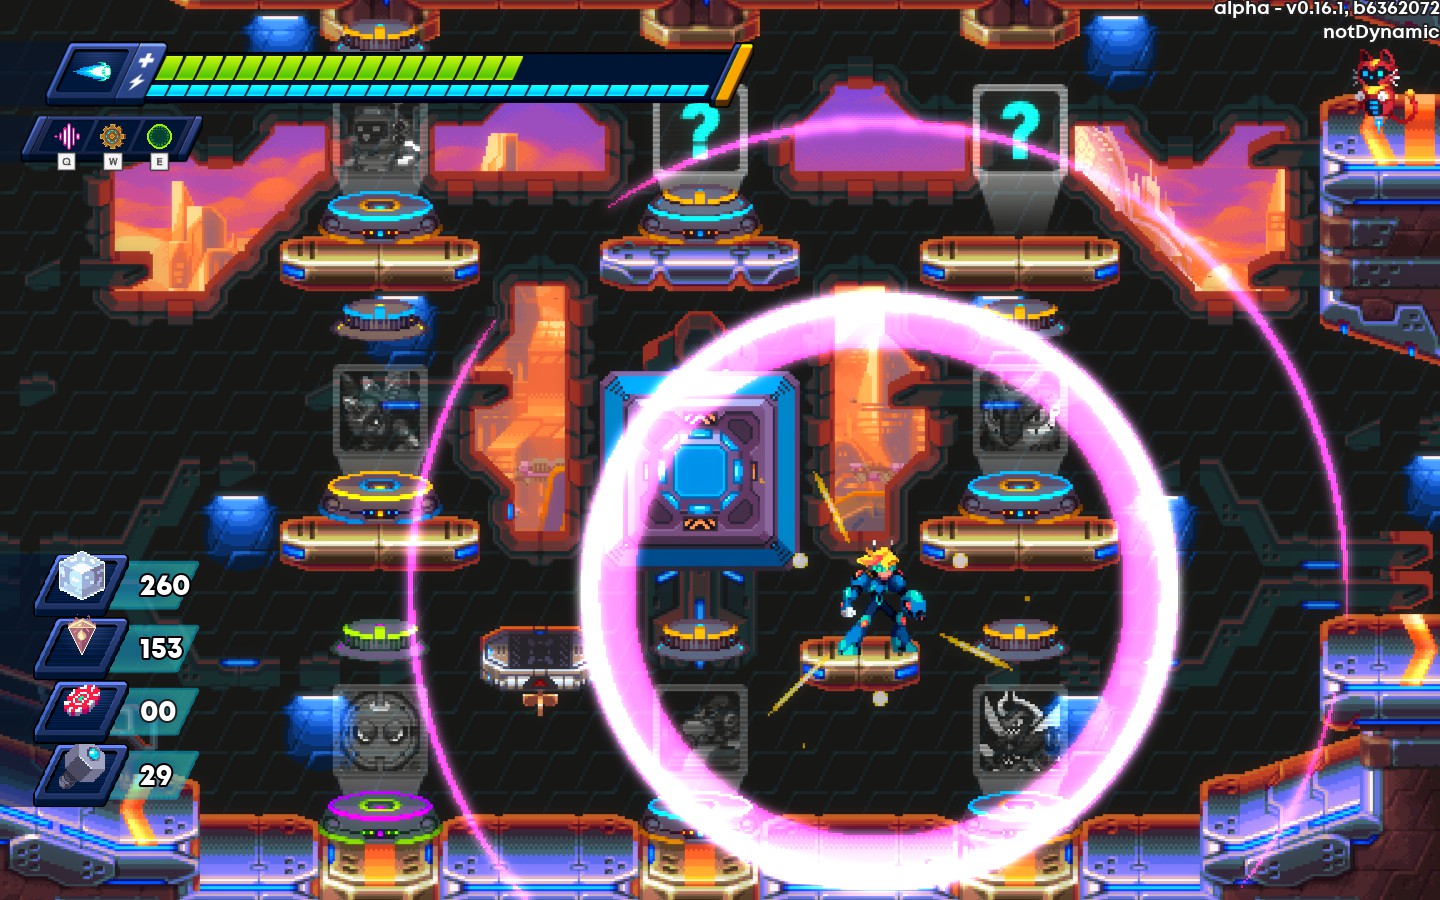
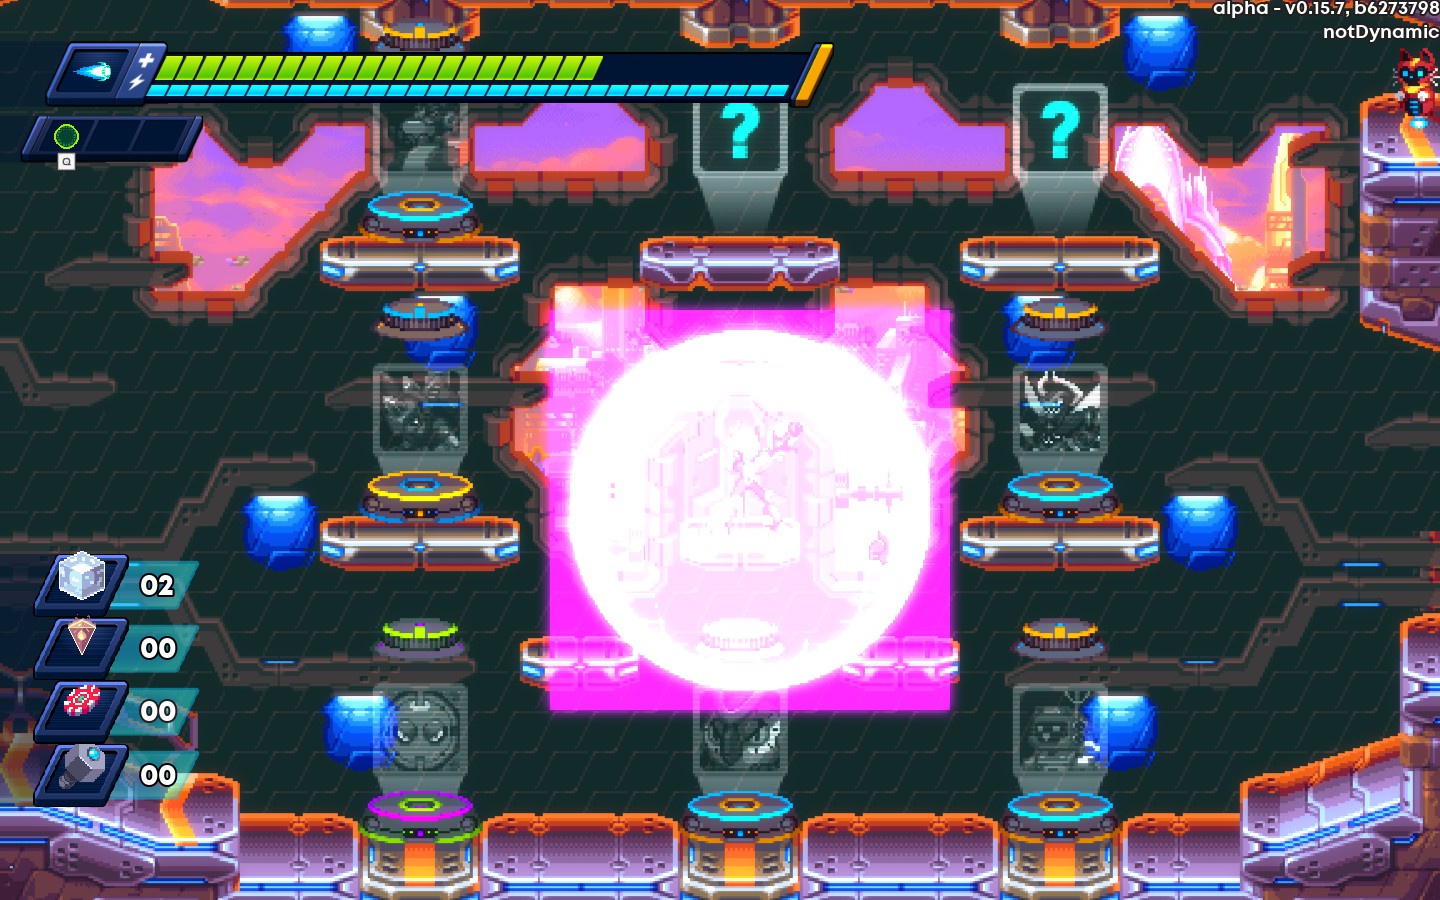
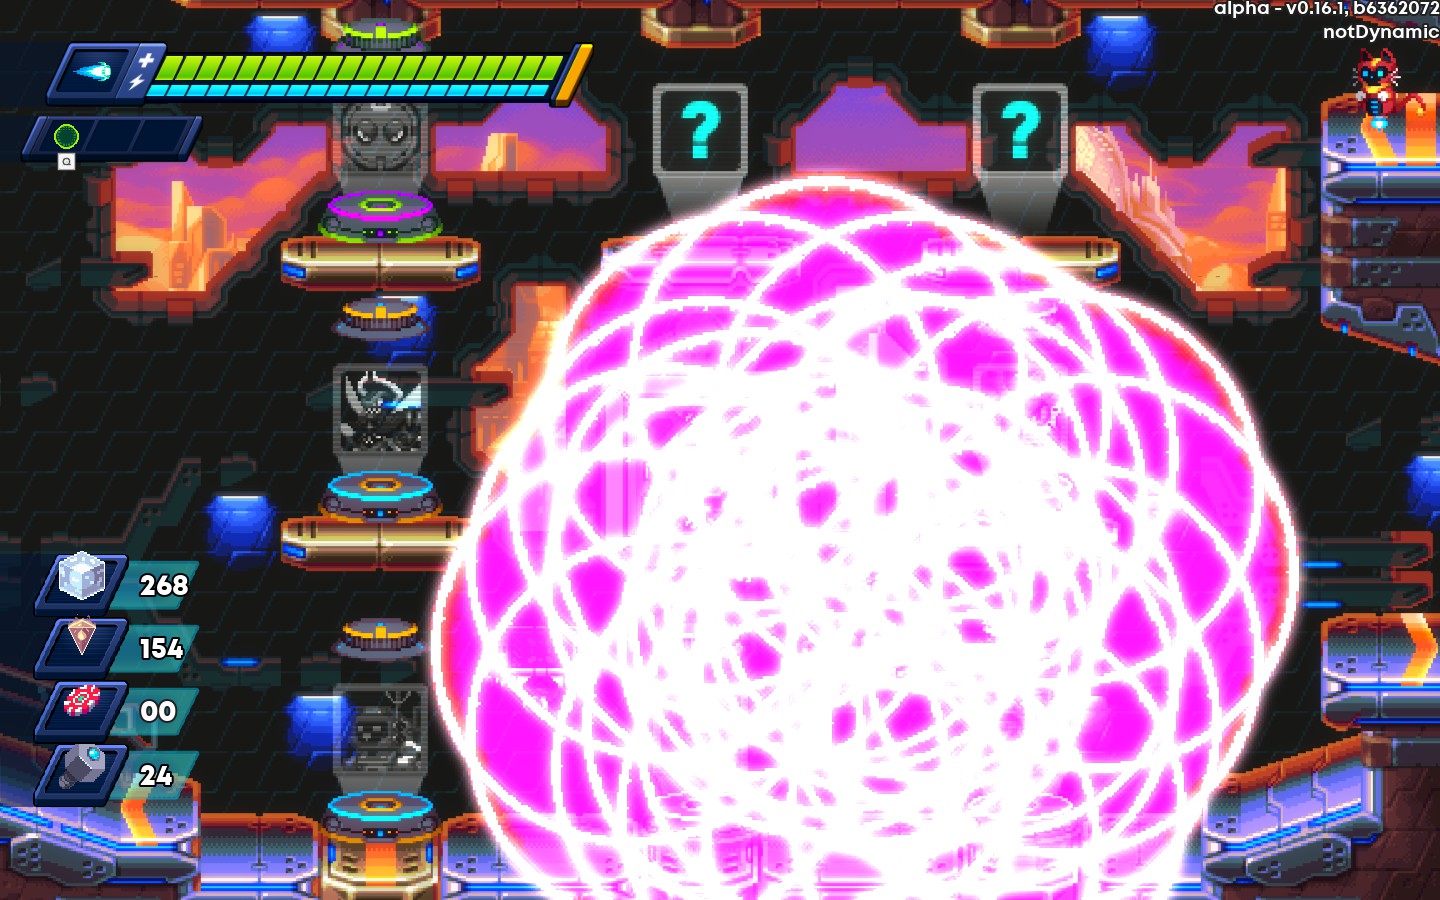
Negation pulse fires an AOE centered around you. The Pulse will deal 20 Power damage to enemies, and destroy projectiles. The starting cost of this power is 1.
Pulse+Gear(Aim):Allows you to aim the pulse in the 8 possible directions
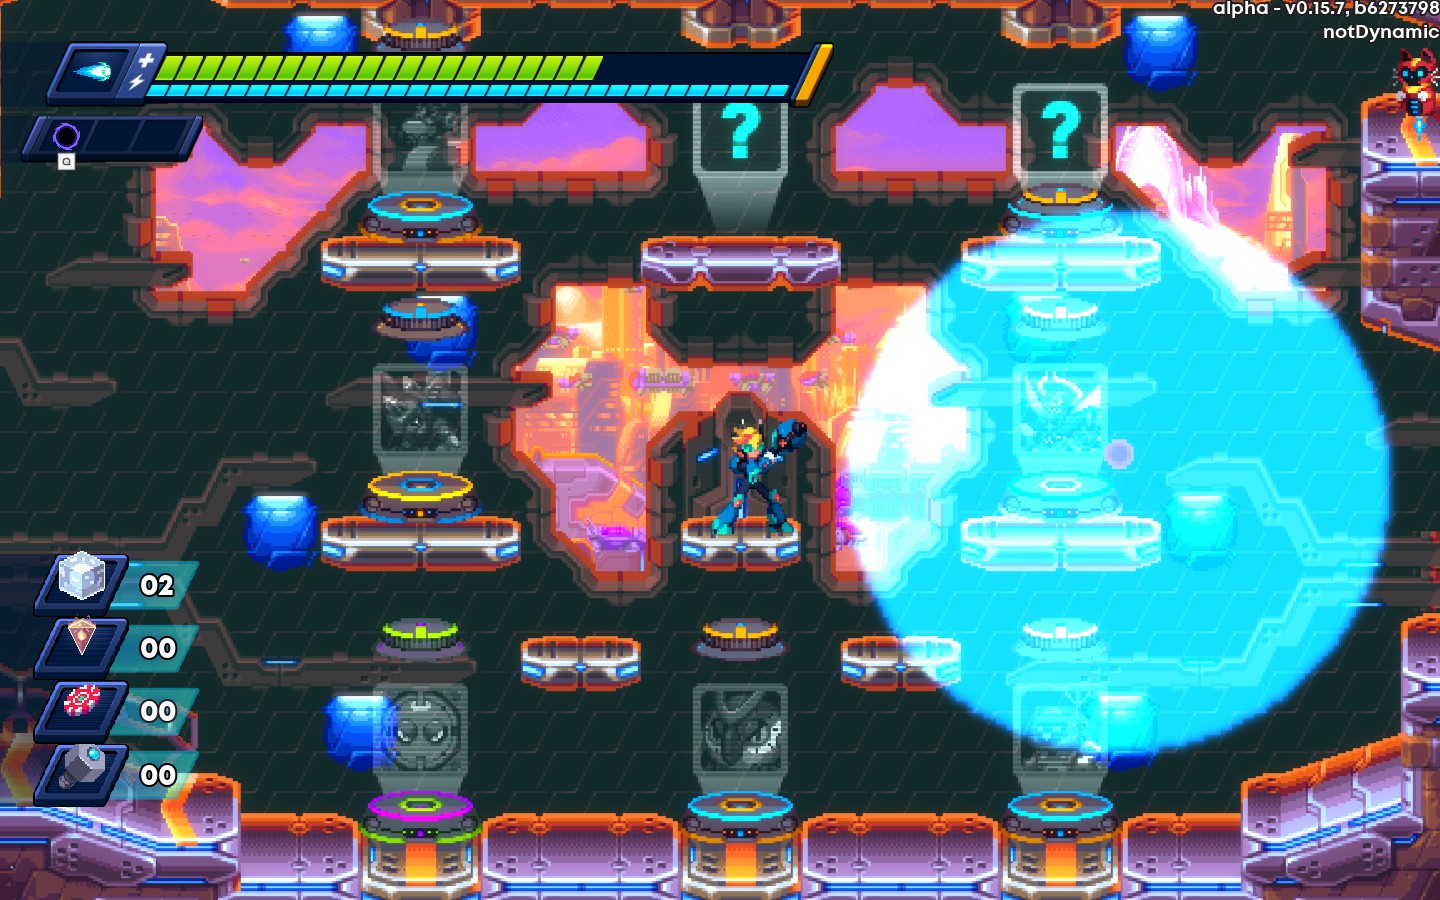
Pulse+Void(Charge):The charged version of this weapon will deals 100 power damage and covers most of the screen. the charged version costs 4.
Pulse+Wave(Freeze):Causes the wave to freeze enemies, but removes the damage of the weapon.
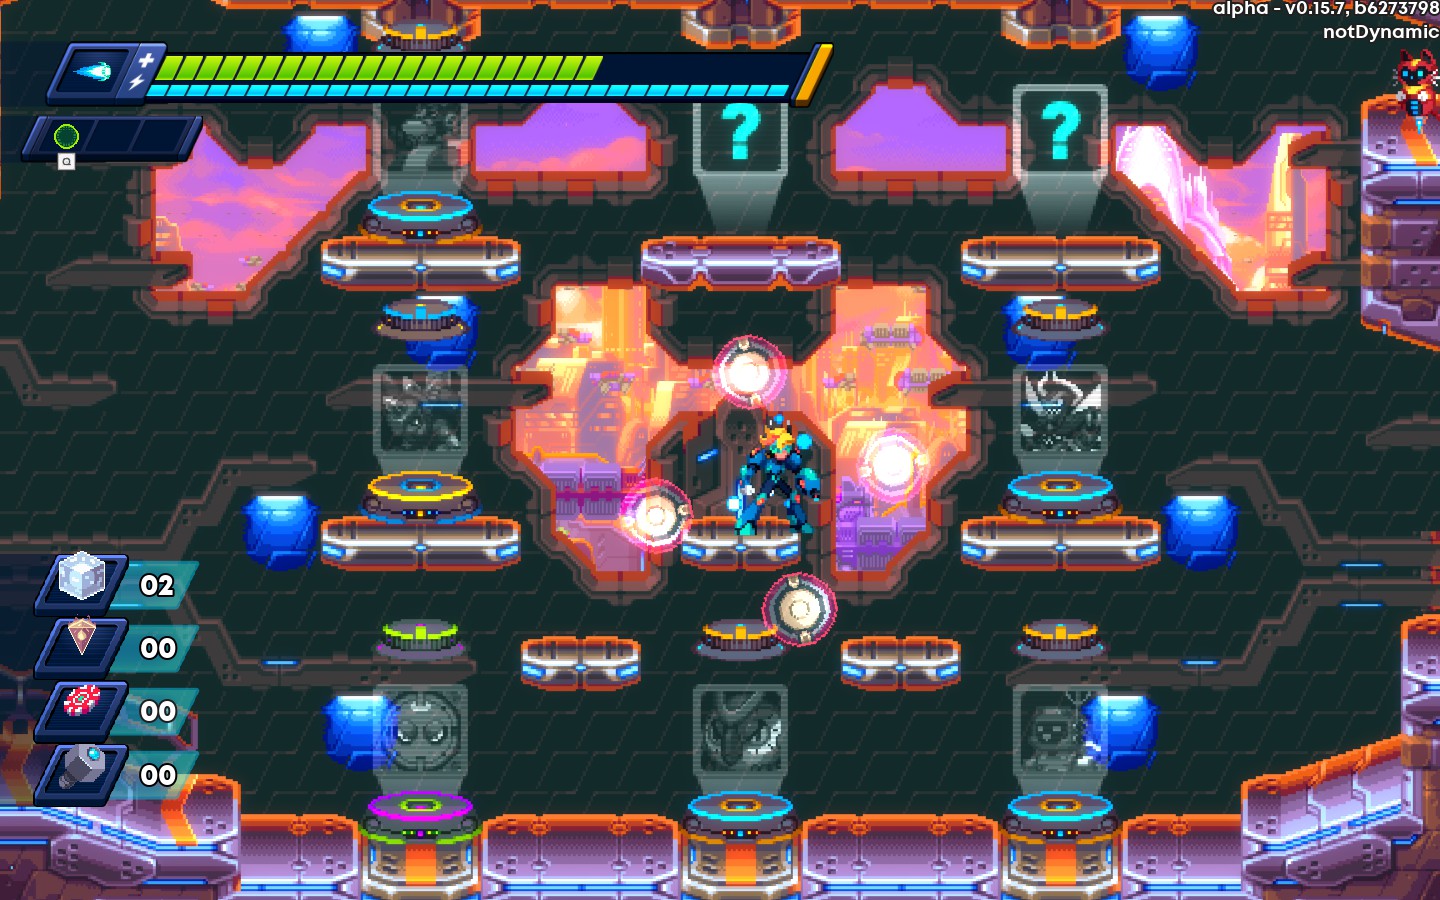
Pulse+Whirl(Persist):Changes the weapon. The weapon creates four bubbles that orbit around you. bubbles will deal 20 power damage to enemies, and destroy projectiles, but are destroyed by the first threat it connects with. The bubbles otherwise have unlimited duration.
Pulse+Mortar(Echo): Using the power again will cause the pulse to split into 8, each firing at a different angle.
Zen Mortar
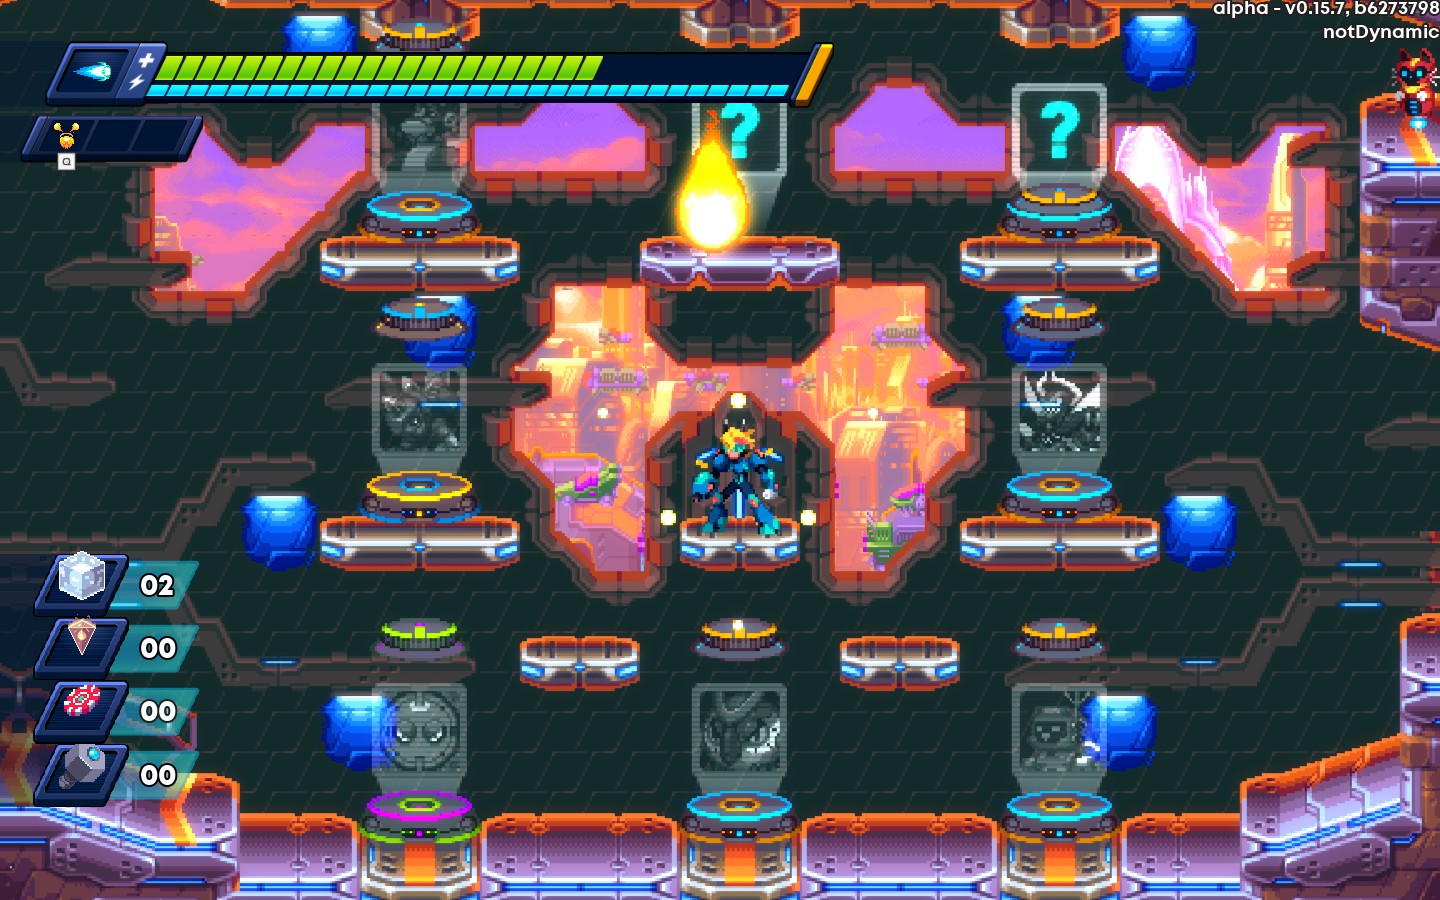
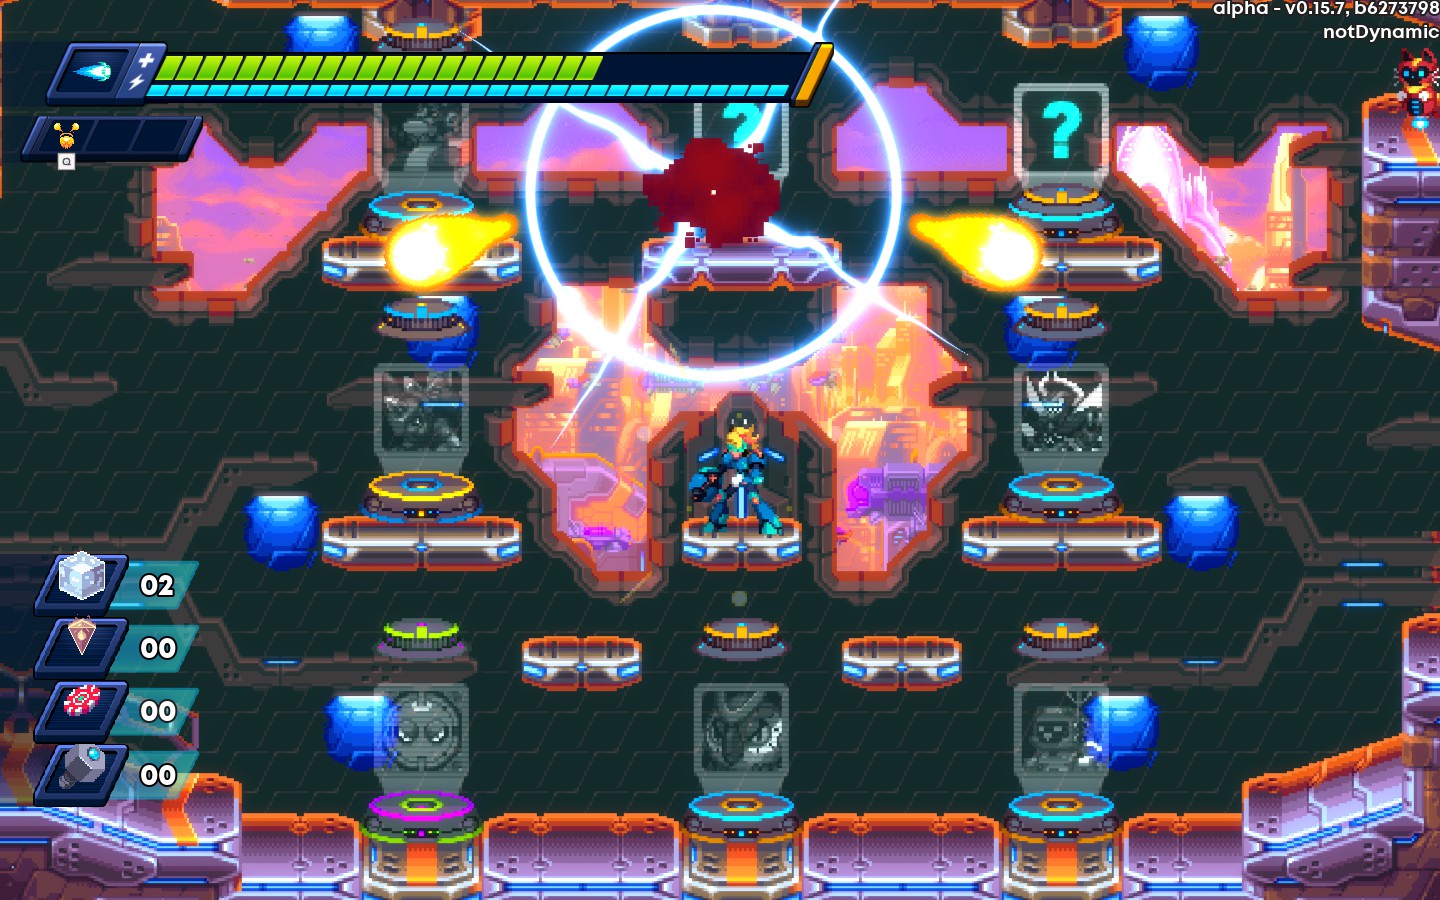
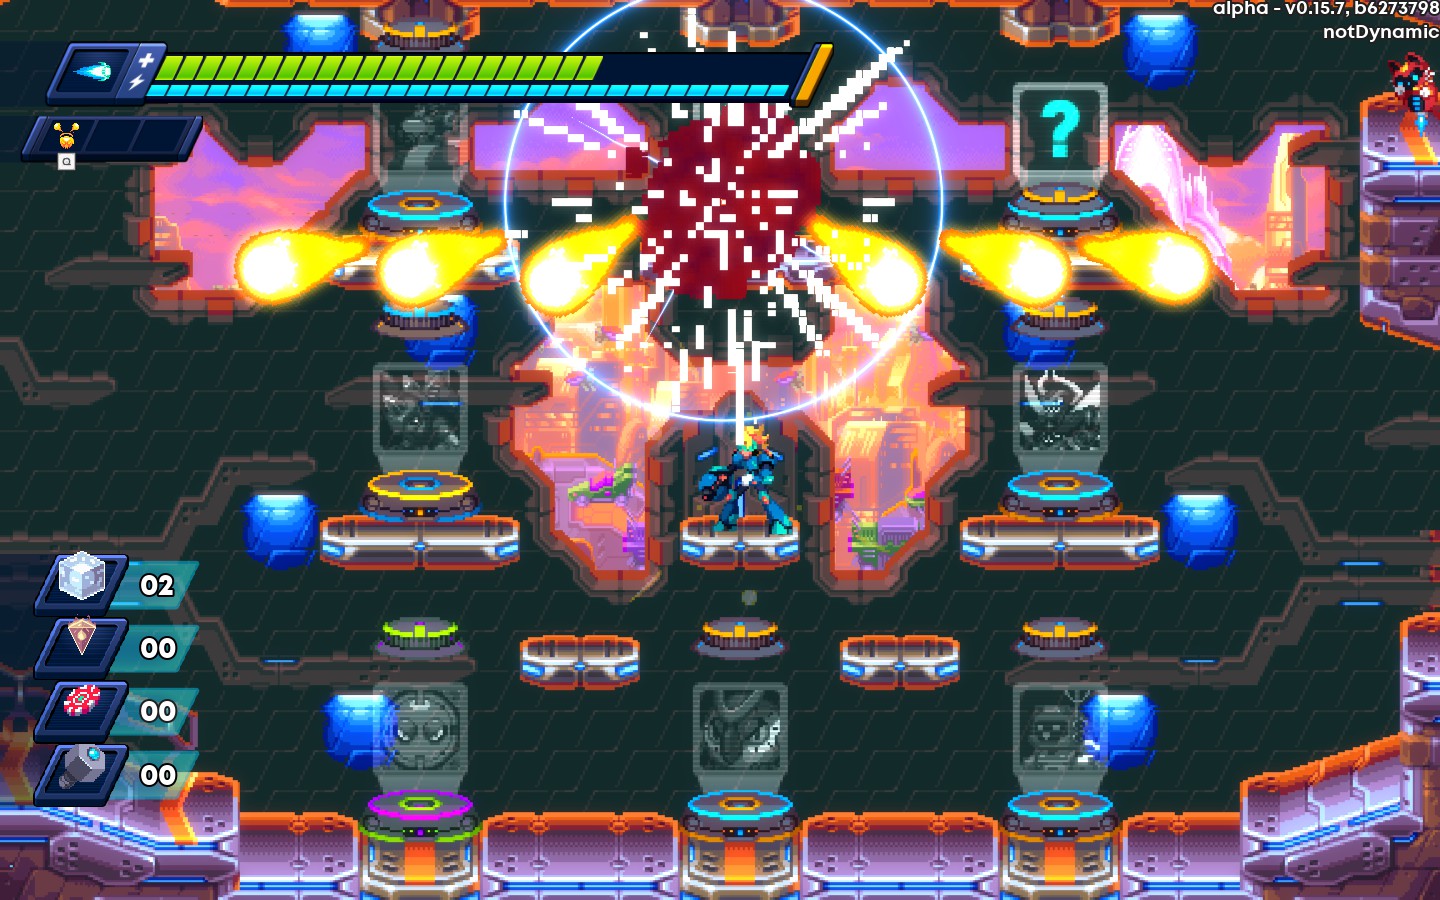
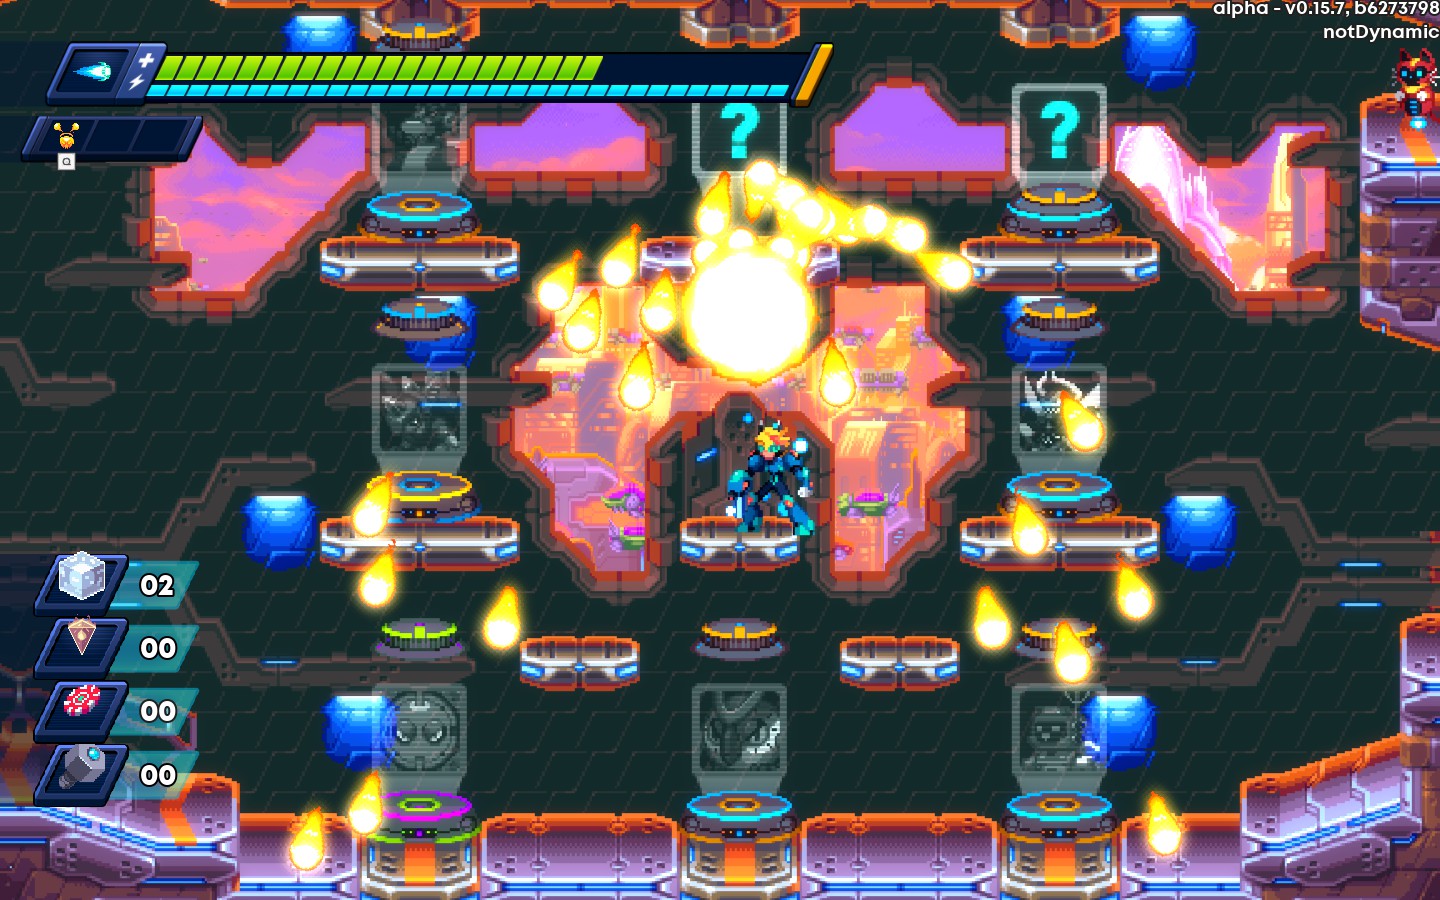
Zen Mortar fires a projectile straight upwards. This weapon is affected by gravity, so will fall straight down after some time. On impact, it will deal 50 Power damage to the enemy. Using the power again will cause it to explode, firing two additional Mortars perpendicular to the first. The starting cost of this Power is 1.
Mortar+Gear(Aim):Allows you to fire in the 8 possible directions.
Mortar+Void(Charge):Charging the weapon makes the main projectile slightly bigger, and deal 60 damage. Using the power again will instead splits into 6, which are not affected by the charge bonus.(currently cost 2 regardless if charged)
Mortar+Wave(Freeze):Spawns an ice block at the detonation point.
Mortar+Pulse(Shield):Using the power again will also cause an lingering AOE to spawn at the detonation point that destroy projectiles on contact.
Mortar+Whirl(Persist): Using the power again will freeze the mortar in place in order to spit out up to 50 smaller mortars over it’s duration. constantly spit out smaller mortars that deal each 10 damage(doesn’t scale with either stat?) for the duration of it’s effect. The main explosion will end early if it hits an enemy, dealing 50 Power damage.
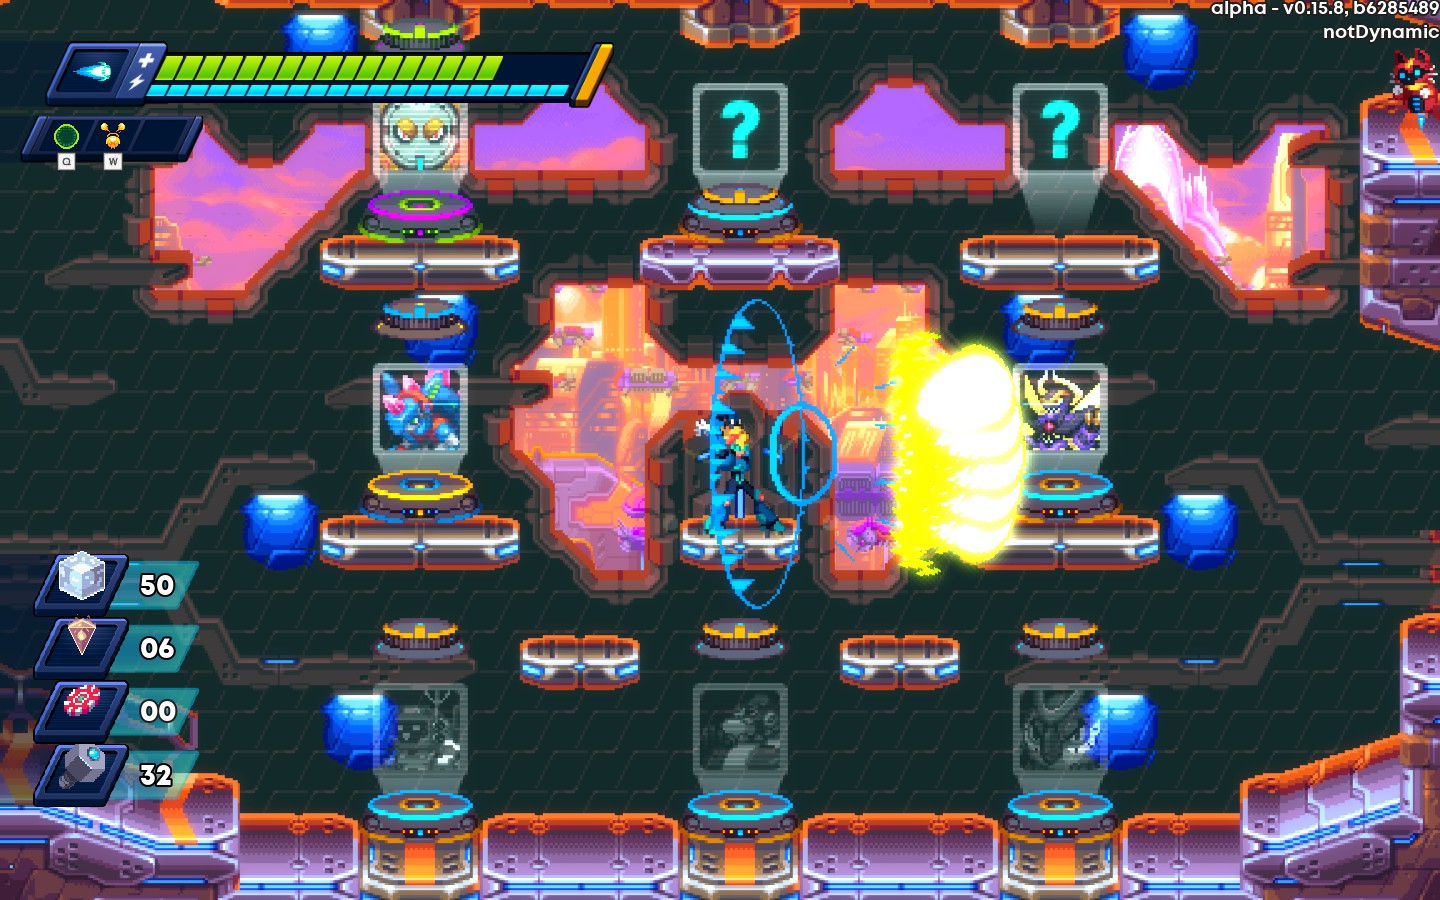
Rending Whirl
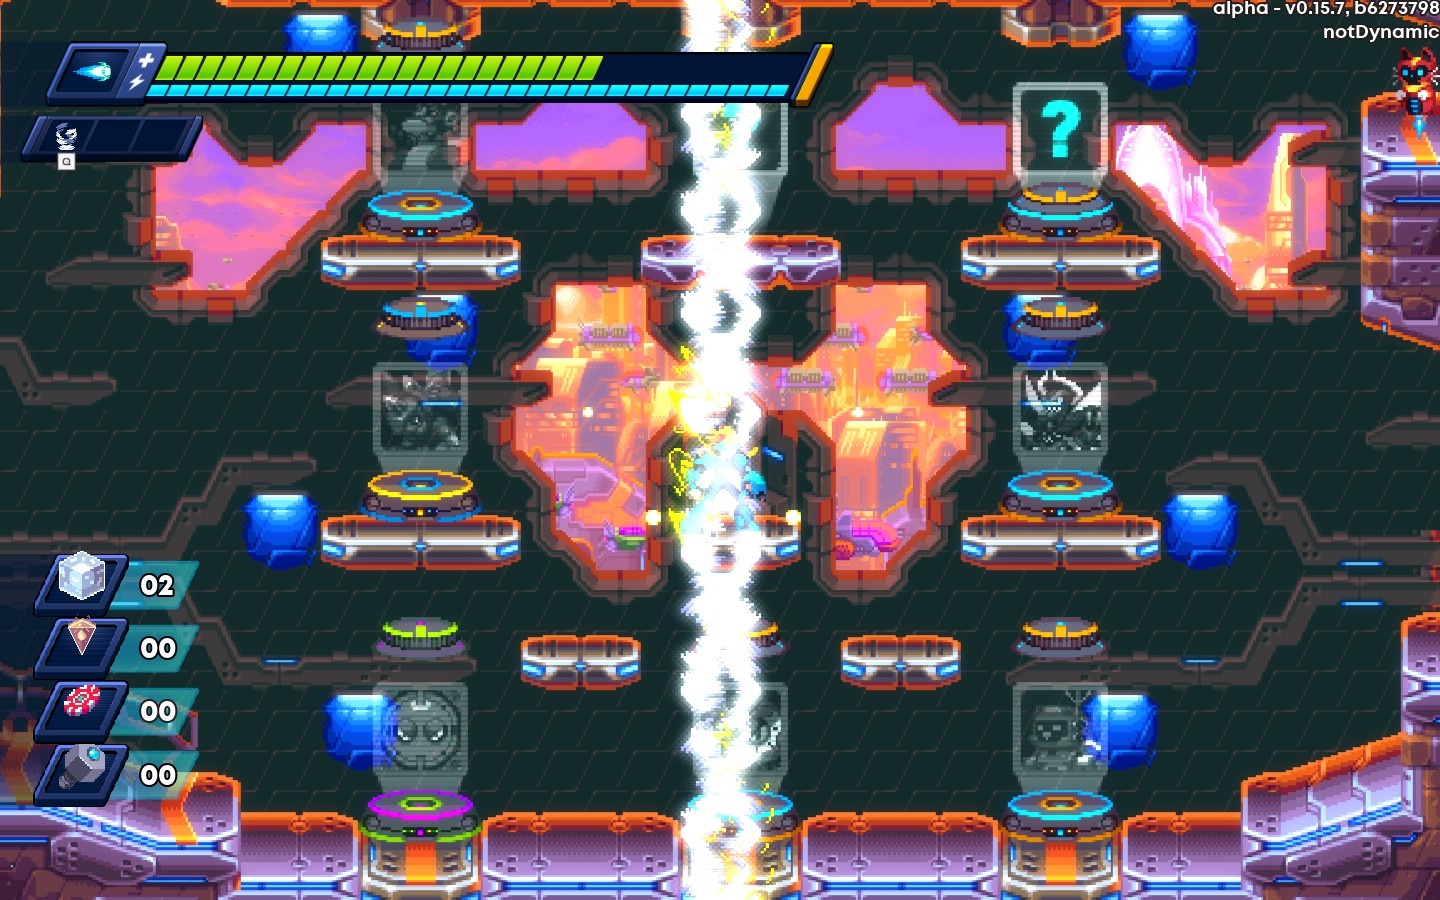
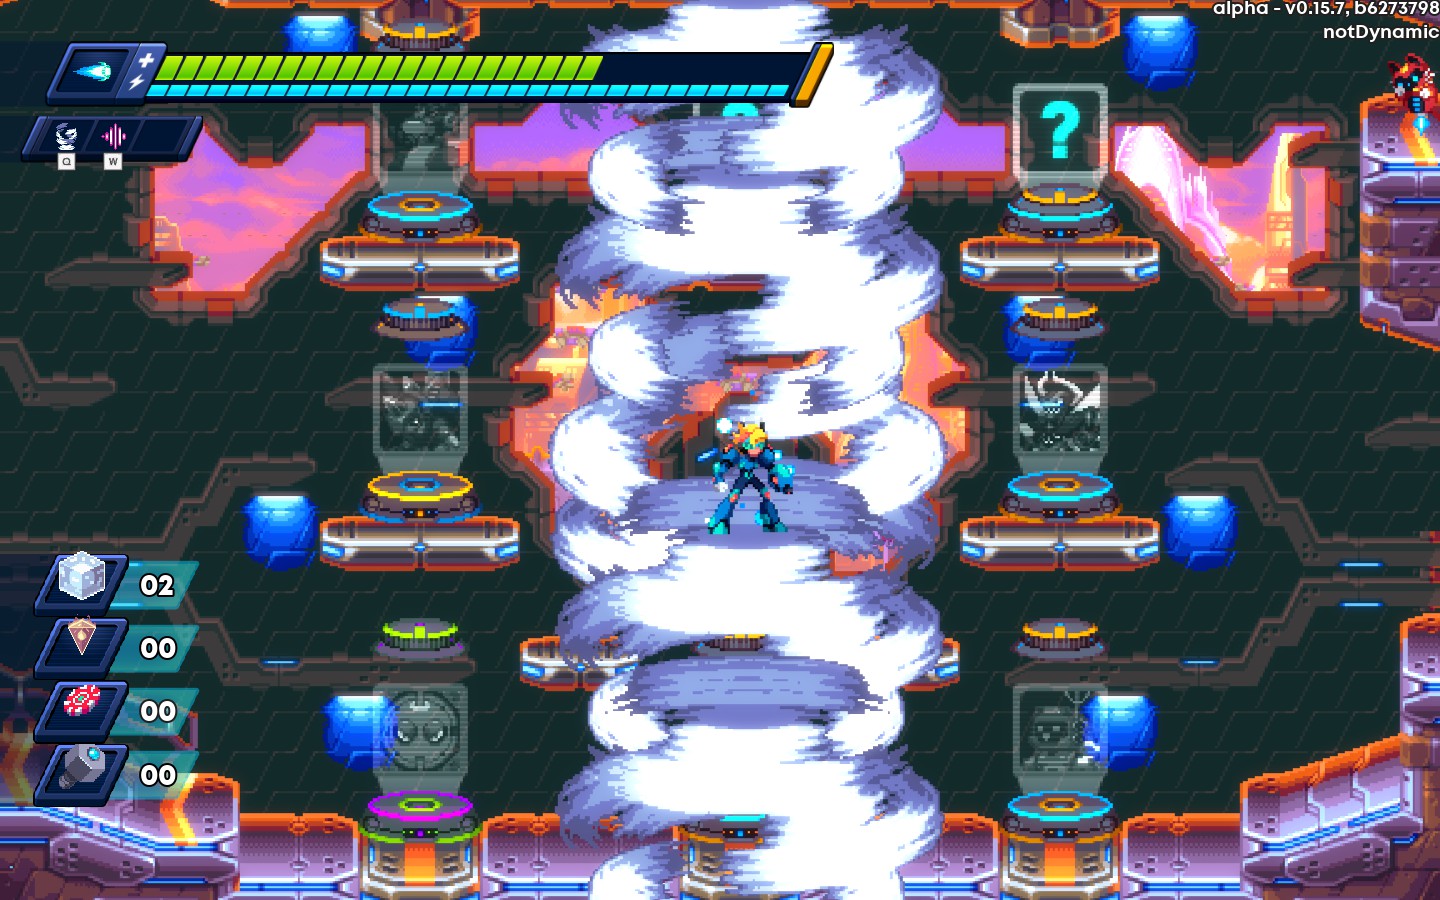
Rending Whirl fires a vertical line centered on you, dealing 15 power damage at a rate of 5 Ticks per second for 2 Seconds or a total of 120 power damage(the startup animation loses 2 ticks?). This both hits above and below you a fair distance, but has limited horizontal range. The starting cost is 1.
Whirl+Gear(Aim):Allows you to fire in 8 possible directions. Weapon instead starts from the tip of the barrel and moves forward.
Whirl+Void(Charge): Charging Increases the duration to 10 seconds, but reduces the damage to 10, for a total of 500 damage. Also increases the range
Whirl+Wave(Freeze):Causes enemies to spawn ice-blocks on death.
Whirl+Pulse(Shield): Causes the tornado to reflect projectiles. Reflected projectiles will instead damage enemies.
Whirl+Mortar(Echo):Using the power again will split the tornado into two, the tornados move opposite directions. These tornadoes also deal 15 power damage per tick for 8 ticks.
Other tips(Nina)
Here are some other things to mention about Nina, but didn’t what cluttering my other pages.
Forkanator, Vertibeam, and Retrobeam do not meaningfully interact with each other. You will generally get more payoff getting another weapon(Most notably Wavy beam, or Scattershot) then by stacking these.
Remember that energy is much more plentiful then the previous game. You’ll generally maintain full energy even if you use your powers to cover your weapon’s weakness, or simply block projectiles that would otherwise hit you.
Similarly, most mid-bosses give a large cache of health capsules after the fight, these will usually restore most of your energy bar as well.
Shield fusions with persistent AOEs can be used to effectively “turn off” stationary projectile spammers. The most notable of these are Zen Mortar, Rending Whirl, and Crushing Void.
Crushing Void will knock down vending machines when fully powered. For health machines in particular, this will usually refund itself too.
Whirl+Shield’s projectile reflection will also stun Penumbra’s mini-boss. Similar to if you reflected them with the mirrors instead.
Currently, Legacy will not move until his drones reach their next position, So freezing them can stall the time before he attacks again. Most notable with Crystal Wave+Rending Whirl(Persist), which can freeze non-boss enemies for nearly a minute.
This can similarly be used for Absolution’s clock faces. Note that the while the clock faces don’t leave while frozen, the others still appear in sequence, allowing you to attack all three at once
Currently, Echo effects do not check if the power used is the same as the currently active projectiles. While this has very little pratically(epecailly in real-time co-op), it creates some humurous results when you’re allowed the time to set it up. Here’s some combos I found.
Rending Whirl+Aim>Echo/Zen Mortar+Charge>Shield
Negation Pulse+Persist>Echo/Aiming Gear+Persist>Echo
Ace
Ace exchanges a ranged weapon for a variety of mid-short ranged tools. Aside a completely new set of powers, Ace has a few additional traits that differentiate him from Nina. All of ace’s are free at base. He instead drains his 4 energy for a one time “Surge” for a select power by double tapping. Ace’s energy can be restored simply from enemies dying around him. Additionally, A-saber, Tobokirki, and Grandmaster give 1 NRG after connecting a full combo against (mini-)bosses.
Ace’s Weapons
Ace has a larger collection of weapons then Nina’s. While Ace’s weapons do not functionally change by charging it(other then the raw damage boost), he does have a skill that changes depending on his weapon. All of Ace’s weapons are considered bottom rarity for Salvaging.
A-Saber
Basic attack:3 slash combo that deals 12/12/20 damage, and has a 100% charge modifer. Full combo restores 1 NRG
Unleashed: throws a boomerang that deals a constant 6 Power damage damage a short distance before returning to you. Catching the boomerang resets the style cost and cooldown of the skill. Surging it doubles the damage.
Lara
This weapon costs 3 cores to use.
Basic Attack:a single slow swing that deals 20 damage, and has a 50% charge moduifer
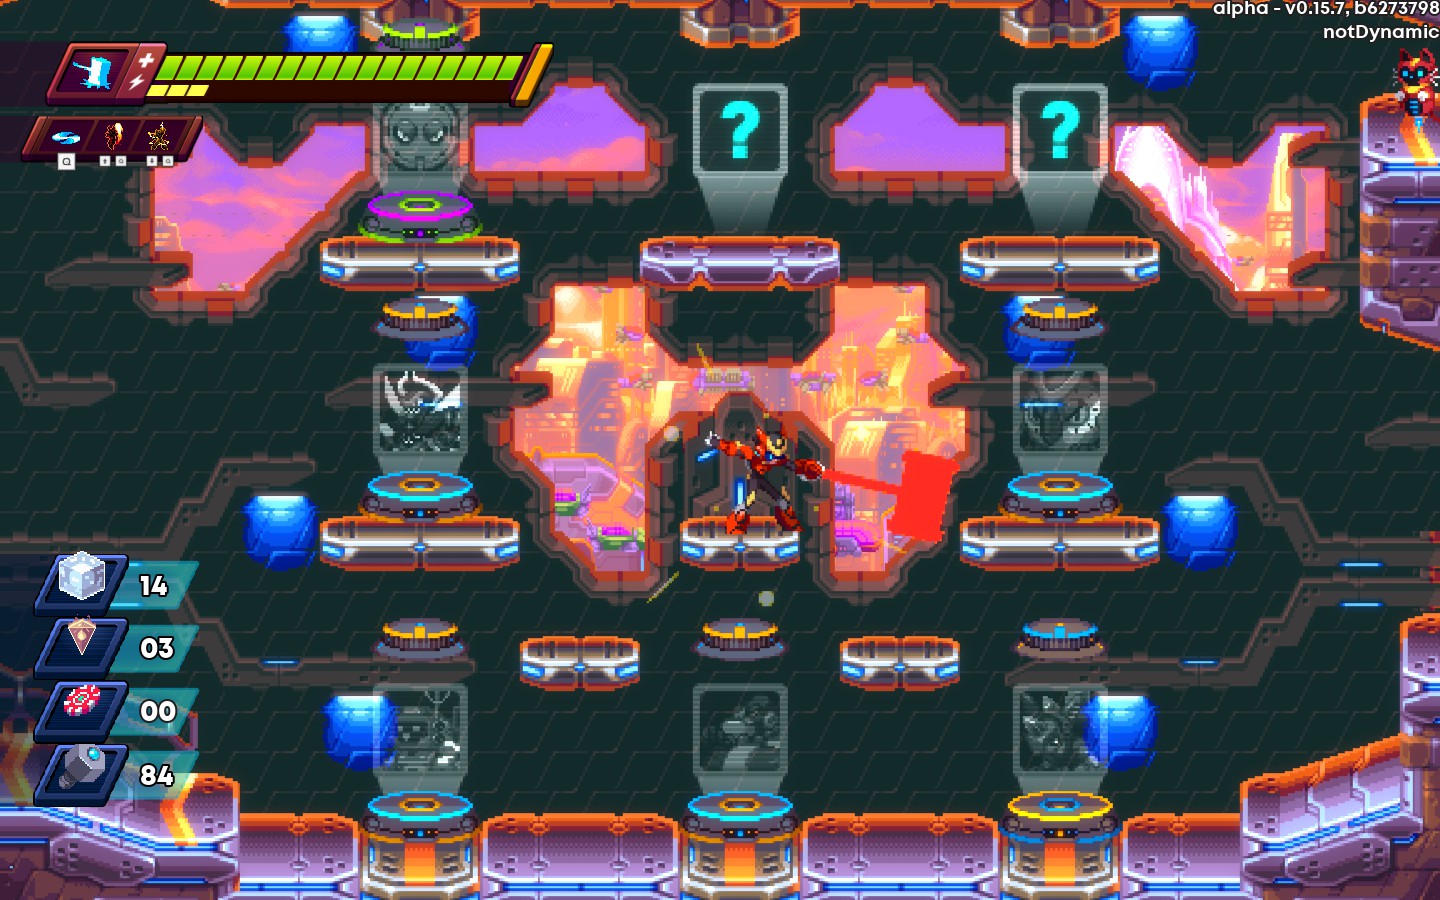
Unleashed:Throws the hammer in an arc for 25 damage. Surging it deals double damage
Tonbokiri
Basic attack:2 swing combo that does 18/22 Damage, and has a 50% charge modifer. full combo restores 1 NRG.
Unleashed:Throw the spear fowards, dealing 20 Damage. The spear will stick to the wall it hits, and can be used as a platform. Surging it doubles the damage and duration of the stuck spear.
Lucavi
Basic attack:Fires a mid-range kunai that does 10 damage, and can be rapid fired. Charging instead adds +2 kunai to the throw per level.
Unleash:unleash a 7 slash combo. First hit deals double the rest, for a total of 80 damage. Has no Surge version.
Grandmaster
Basic Attack:throw out a single punch that deals 10 damage, and can be rapid fired. Has a 100% charge modifer, and instead builds up charge by attacking and decays over time.
Unleash:Throw a single strong punch that deals 20 damage. This attack also has a 200% charge modifier, but consumes the charge after use. No Surge version.
Ace’s Powers
Instead of fusion, Ace has the ability to equip all 8(though currently 6) powers at the same time. this is done by pushing up or down as well as the respective power key. Here are the default commands for each power. Note that you can change the position of these powers at any time.
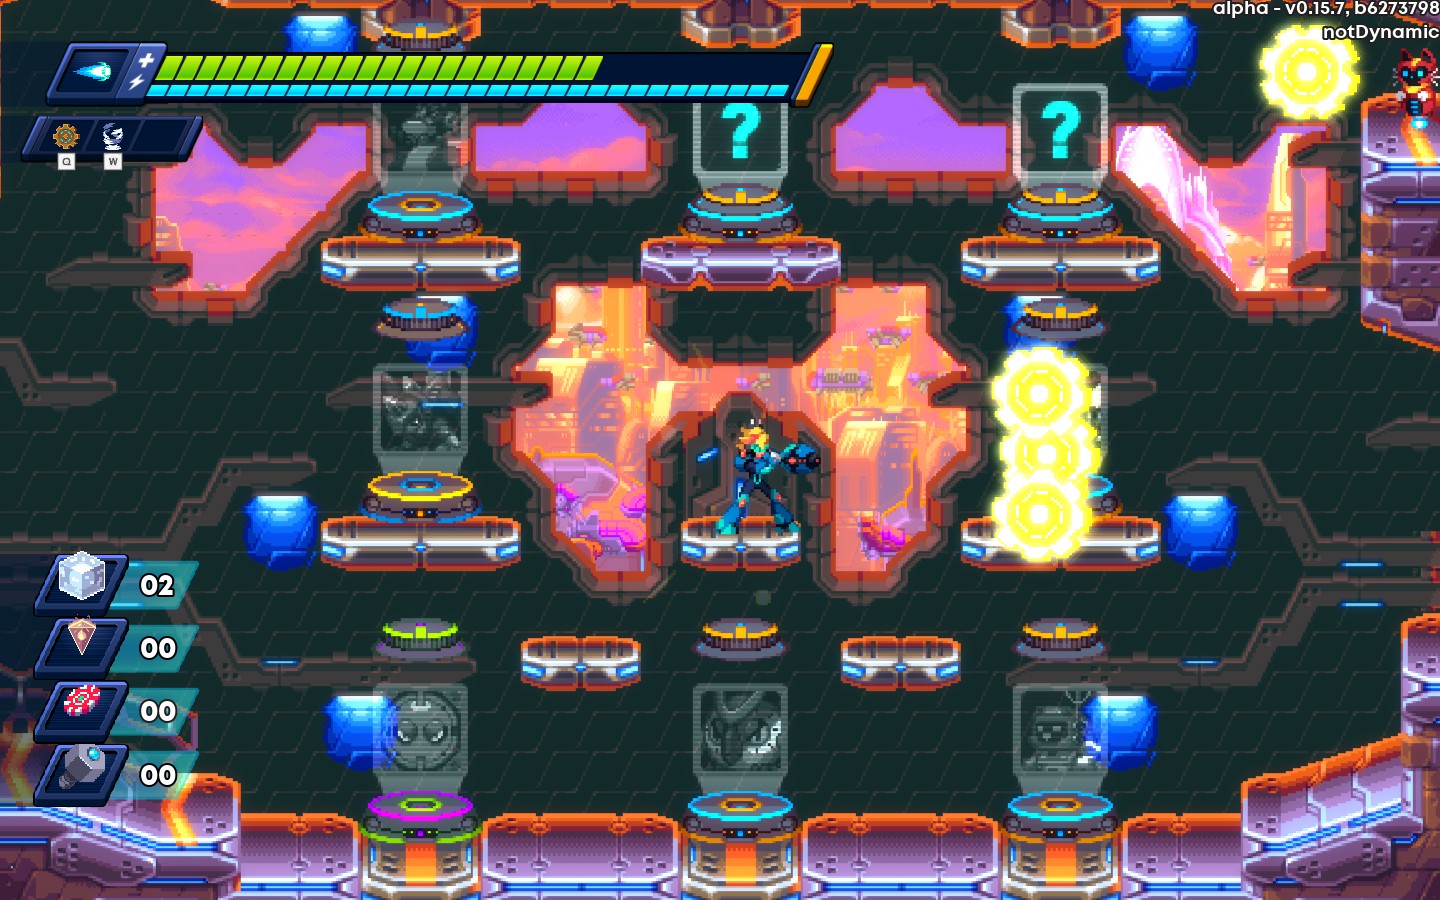
^,P1 Zen Ascent
^,P2 Void Double
P1 Unleash Blade
P2 Dolomite Link
P3 Osafune
v,P1 Raijin Call
v,P2 Echo Shell
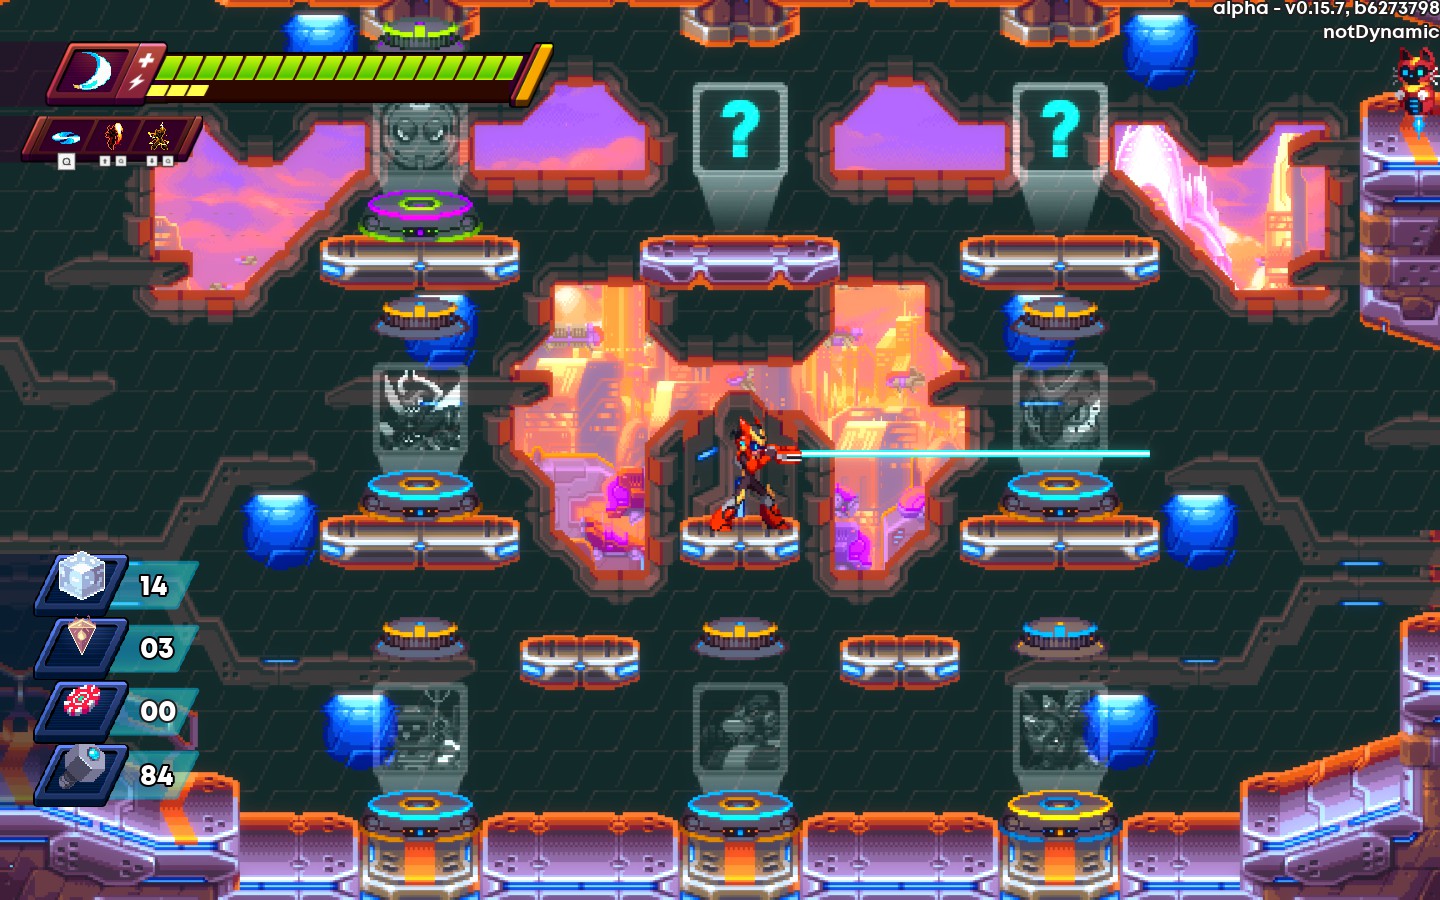
Zen Ascent is a flaming uppercut that deals 20 Power damage. can be used as both an anti-air tool, and as an additional mid-air jump. Boosted version has double duration and damage.
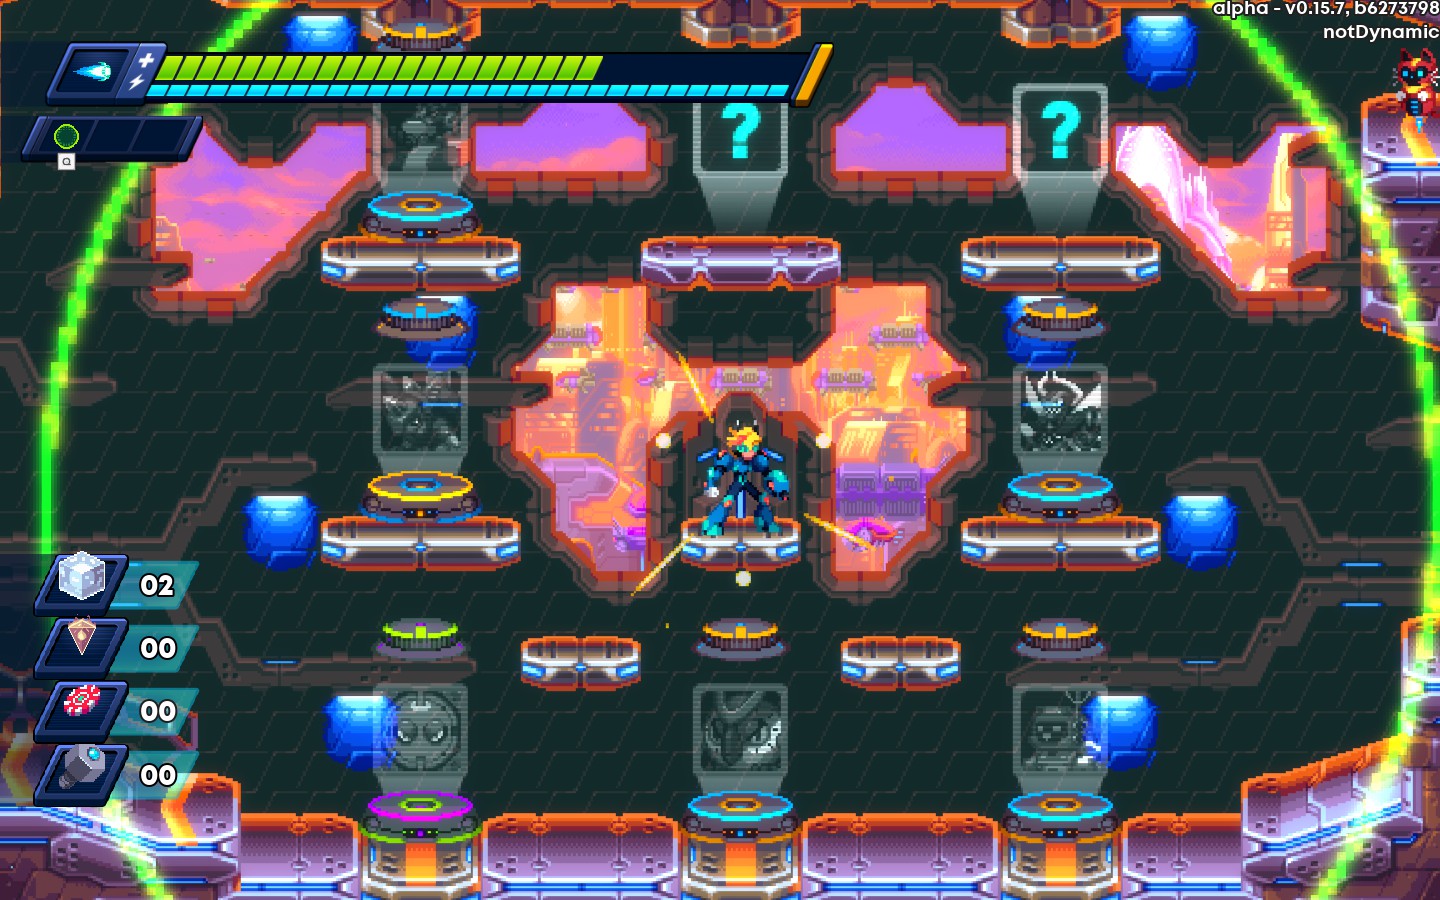
Void Double spawns a clone of yourself. He copies all of your attacks, but he stays in his respective spot. Currently, only his weapon attacks have a noticeable impact in battle. Using the power while the clone is active will return you to his location. The base version consumes the double in the process, but the boosted version allows you to switch freely for it’s duration.
Unleash Blade is a skill that changes based on the weapon you have equipped. Refer to Ace’s Weapons for more details.
Dolomite Link is a whip that pulls you towards the first enemy hits. Upon impact, you are invincible for a very short amount of time after the launch, and deal 20+ 3x Jump Height, or 20 Power damage to enemies around the target, depending on which is higher. the boosted version only costs 2 NRG, does 1.5x damage, and removes the cooldown for the next cast.
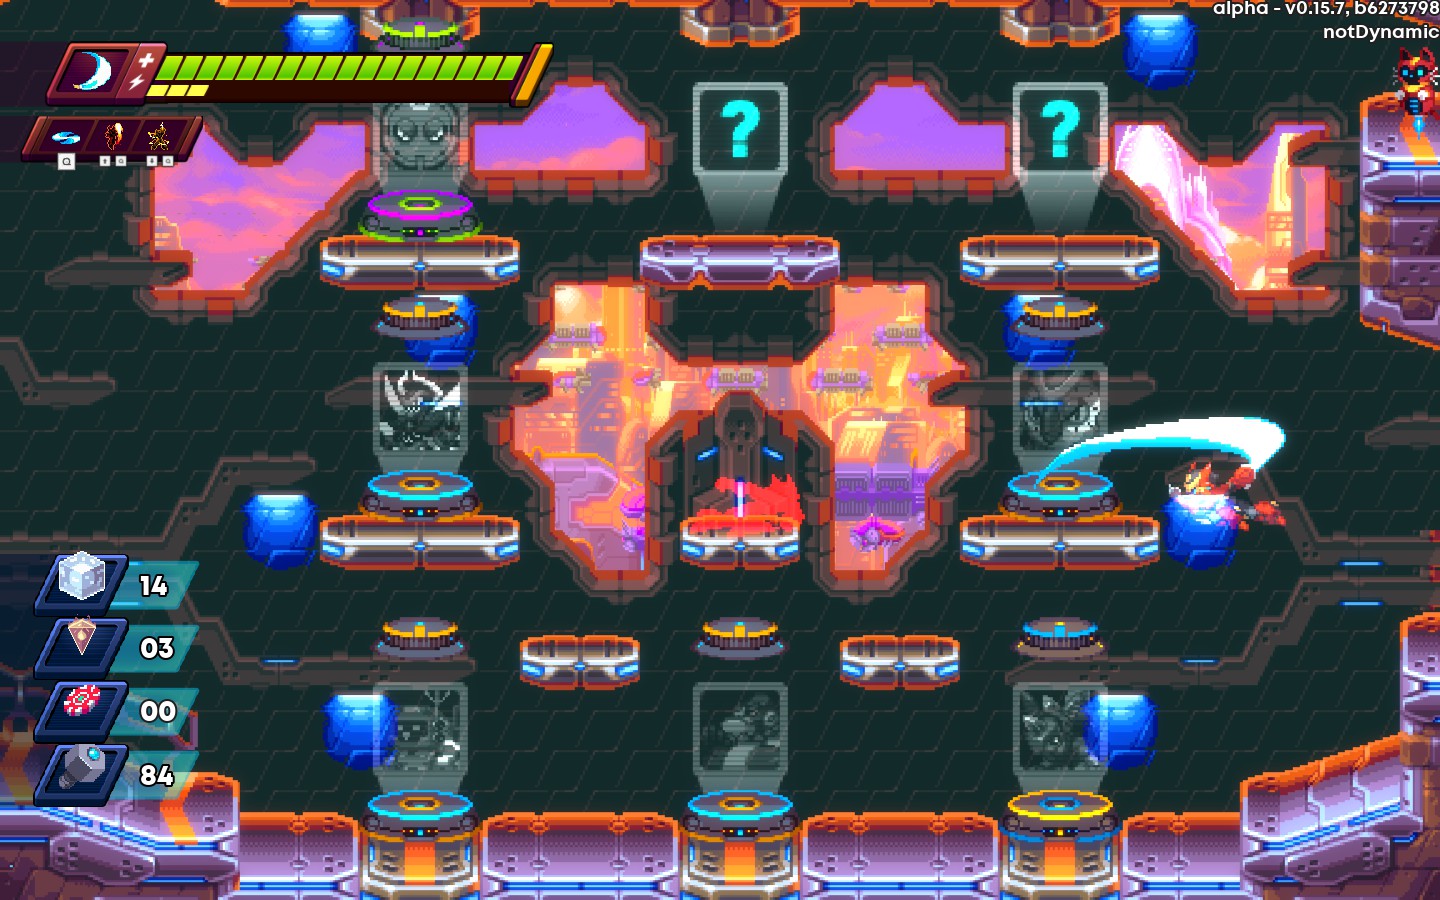
Osafune freezes you in the air in order to dash be-hide an enemy and slash twice. Each hit deals 20 Power damage. The boosted version swings two additional times.
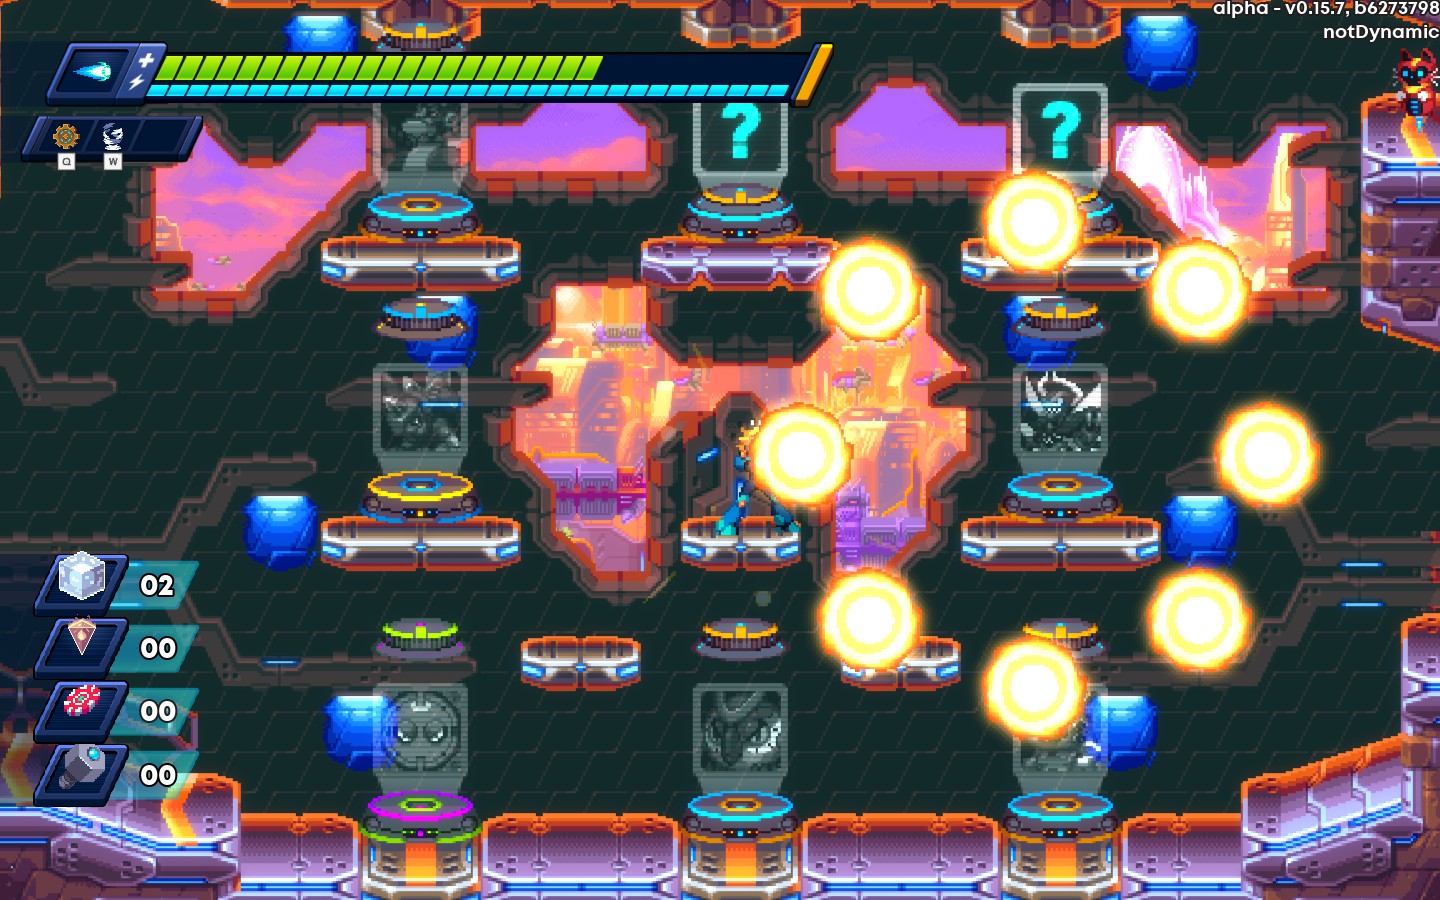
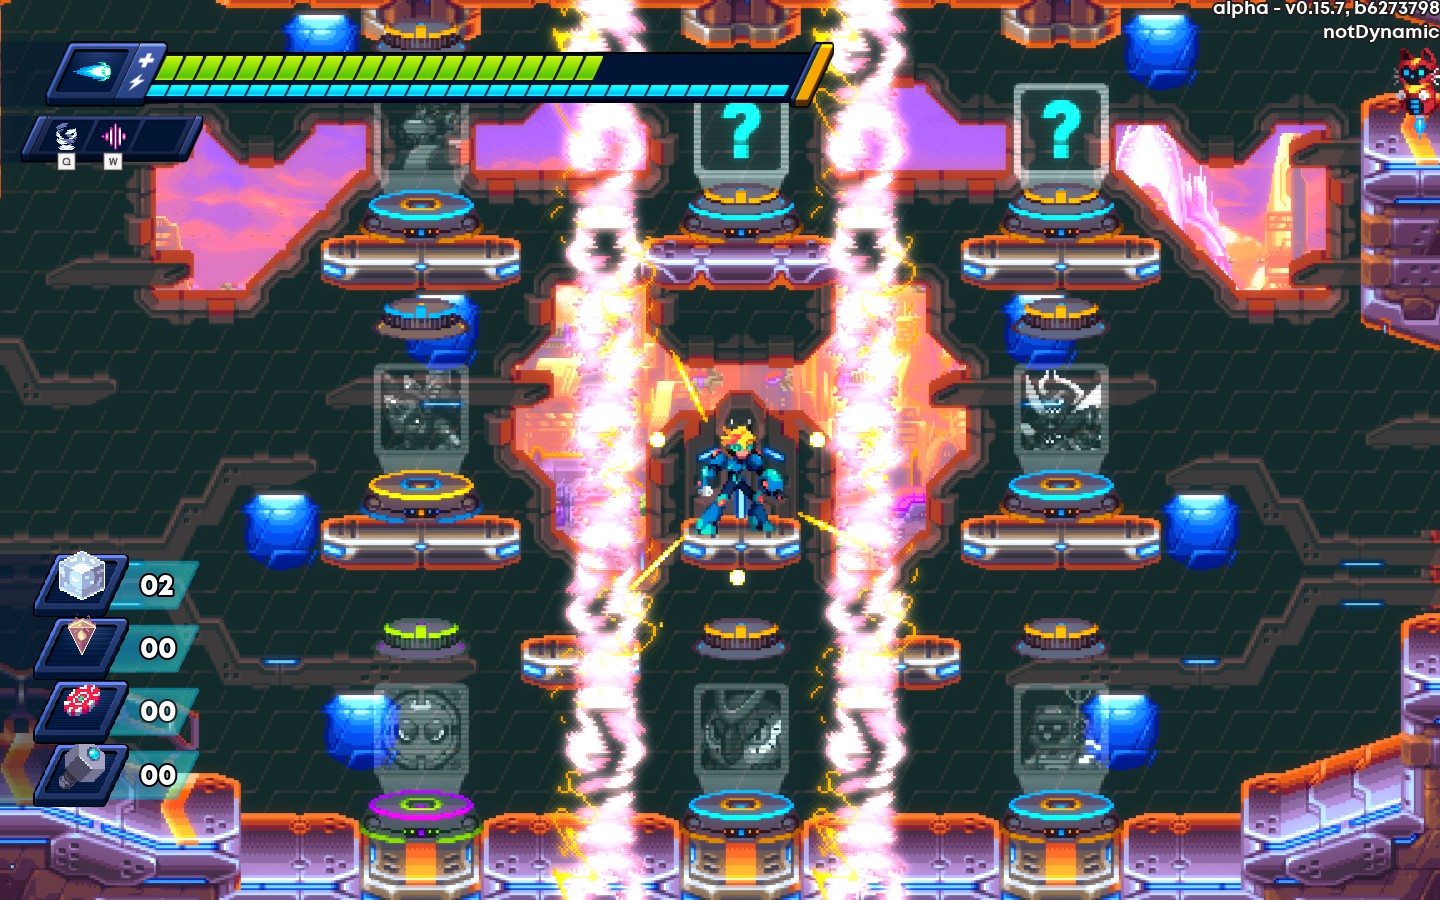
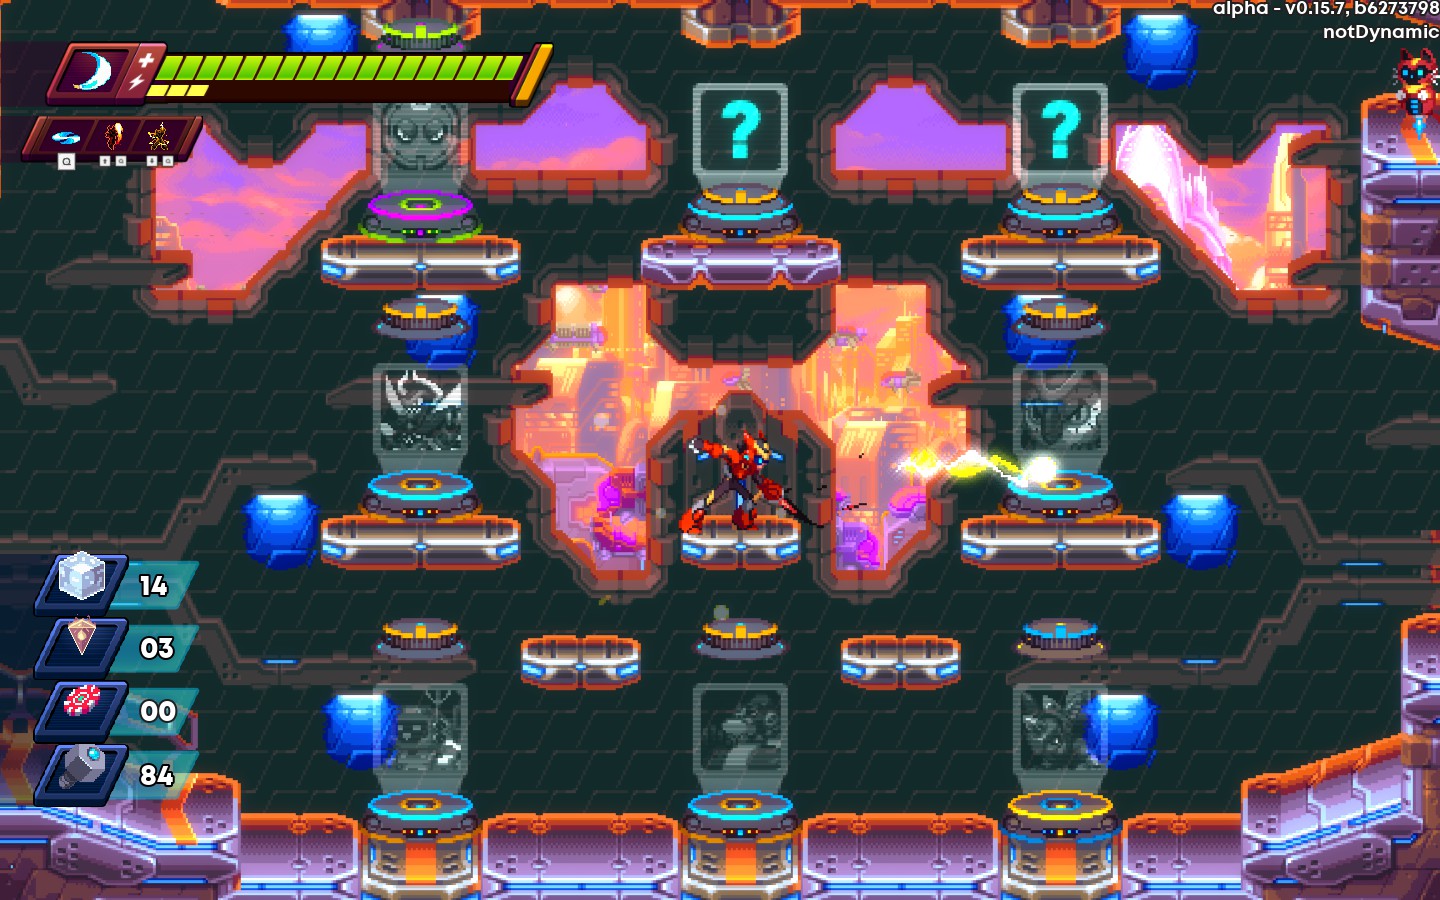
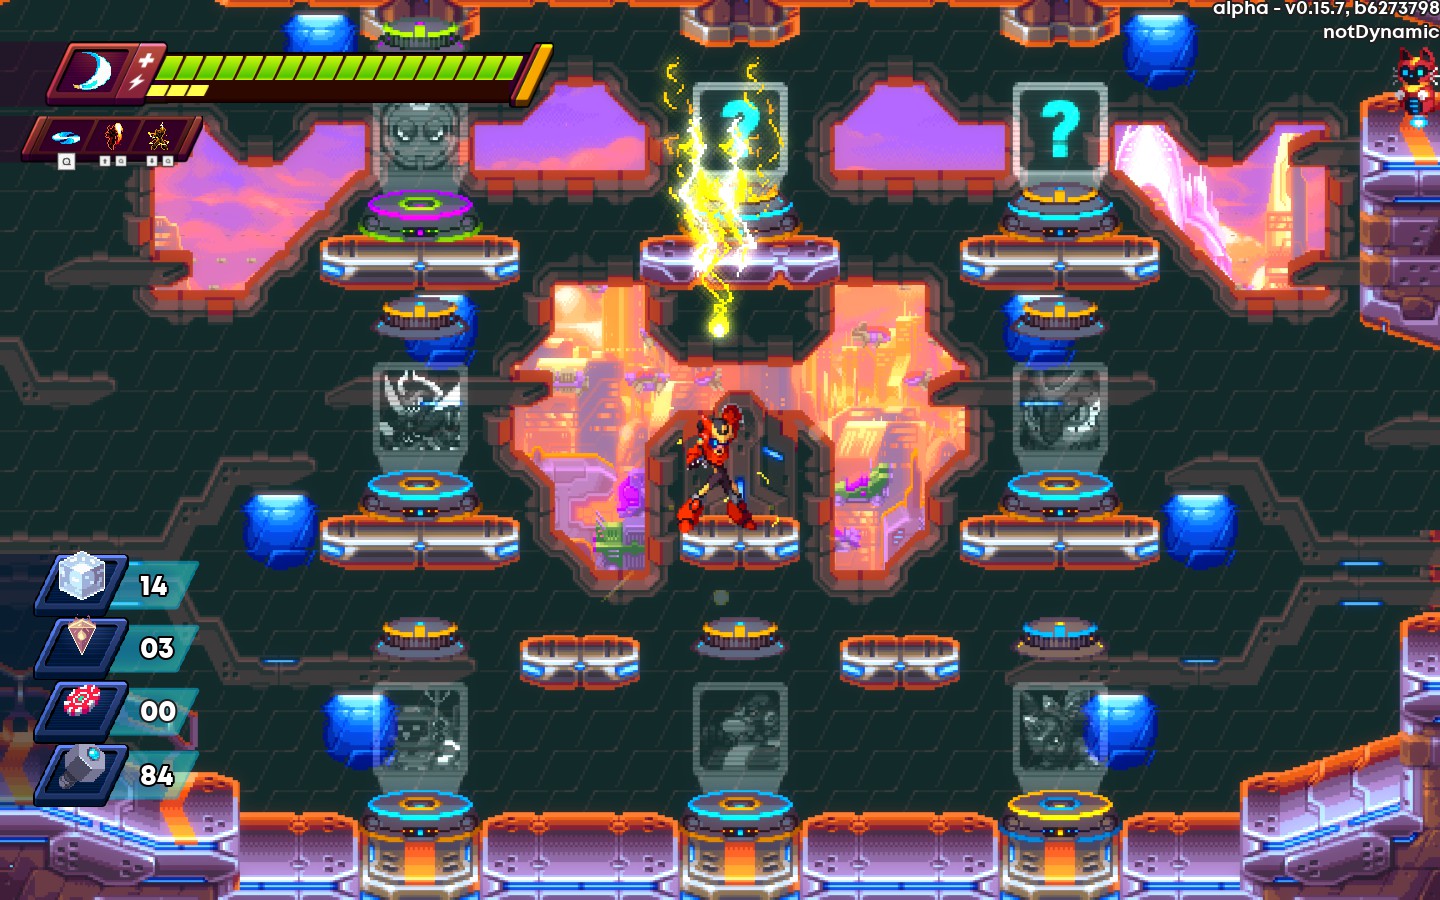
Raijin Call summons lightning from the sky, dealing 15 Power damage to everything in it’s path. Additionally, you can catch the lightning in order to fire fowards with your next attack. The boosted version summons 3 bolts, and deals double damage.
Echo Shell puts you into a counter state. If you get hit by a projectile during this counter state, you fire off a fan 5 Kunai. Each one deals 8 Power damage, and you are invincible during the counter attack animation. The boosted version keeps the counter state longer, and allows free movement for that additional time.
Proof/test sources
The majority of my numbers are from the previous 20XX wiki(and a few from other current guides of 30XX). As these are functionally the same game, many of the numbers have carried over. I’ve only recently starting to do proper recordings for my tests, but here’s where i’ll be throwing them in the future.
This is all for 30XX Casual Guide hope you enjoy the post. If you believe we forget or we should update the post please let us know via comment, we will try our best to fix how fast is possible! Have a great day!
- Check All 30XX Posts List
















Leave a Reply